





Tri Force Heroes 100% Completion Walkthrough8 chapters
- Hytopia and the WoodlandsMeet King Tuft, then clear Deku Forest, Buzz Blob Cave, Moblin Base and Forest Temple.
- RiversideSecret Fortress, Abyss of Agony, Cove of Transition and the Water Temple, with Water Rod and Gripshot puzzles.
- VolcanoBlazing Trail, Hinox Mine, Den of Flames and Fire Temple, with every stage, the Hinox Brothers and Moldorm.
- Ice CavernFrozen Plateau, Snowball Ravine, Silver Shrine and the Ice Temple, with the Freezlord and Blizzagia fights.
- FortressSealed Gateway, Bomb Storage, Training Ground and The Lady’s Lair, with every puzzle, chest and boss.
- The DunesInfinity Dunes, Stone Corridors, Gibdo Mausoleum and Desert Temple, with Vulture Vizier and Stalchampion tips.
- The RuinsIllusory Mansion, Palace Noir, Lone Labyrinth and Grim Temple, with Grim Repoe and Prismantus.
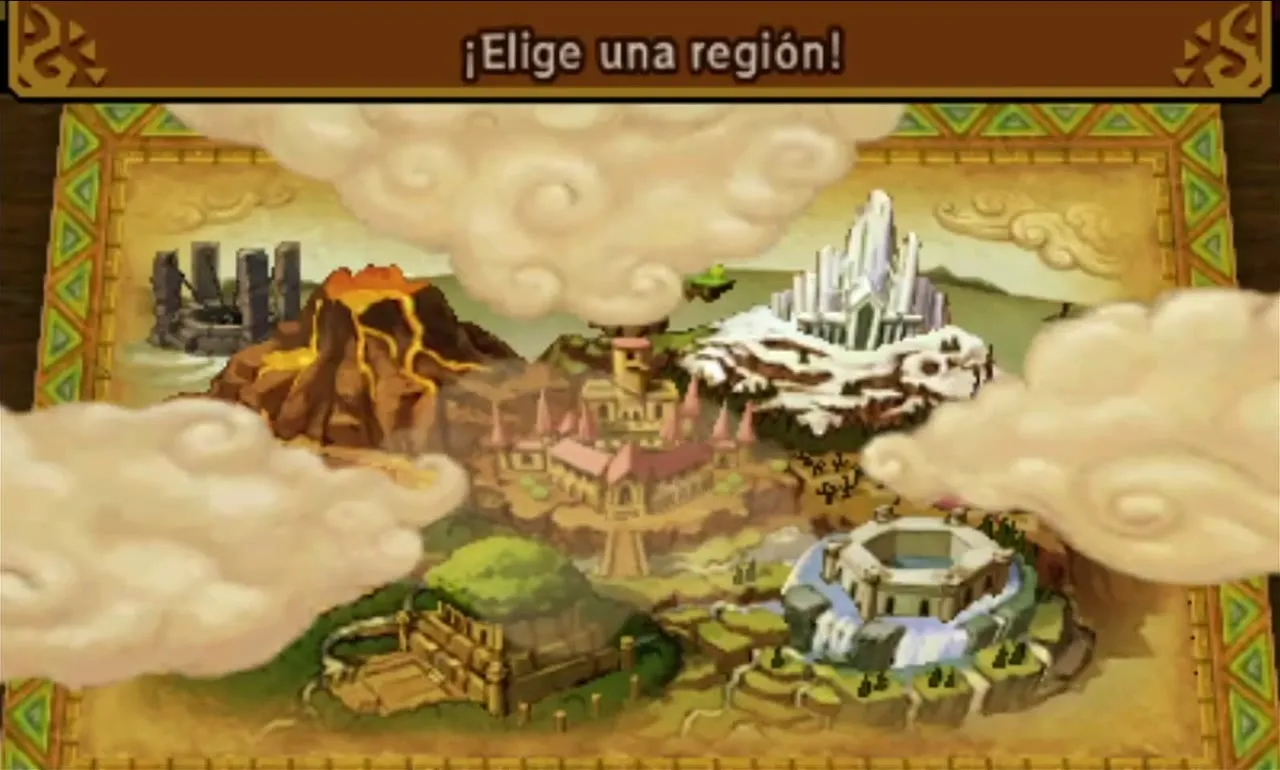
- Sky RealmFloating Garden, Deception Castle, Dragon Citadel and Sky Temple, with Gigaleon, Lady Maud and the ending.
| Levels | Frozen Plateau, Snowball Ravine, Silver Shrine, Ice Temple |
|---|---|
| Items used | Fire Gloves, Boomerang, Magic Hammer |
| Boss | Freezlord (Snowball Ravine mini-boss), Blizzagia (Ice Temple boss) |
| Unlocks | The Fortress, once the Water Temple and Fire Temple are also cleared; the Cheetah Costume, Queen of Hearts, Rupee Regalia and Sword Suit outfits once all three temples are done |
The Ice Cavern is one of three Areas that open once the Woodlands are done. It is built around two items you meet here for the first time, the Fire Gloves and the Magic Hammer, with the Boomerang borrowed from the Volcano for one Level. Fire melts ice, lights Braziers and strips Freezlord’s armour, while the Hammer pounds Stakes, springs Moles and finishes Deadrocks. Beating Blizzagia in the Ice Temple finishes the Area and, together with the Water and Fire Temples, opens the Fortress. The slippery floors make the Cozy Parka, a Woodlands outfit, a handy choice.
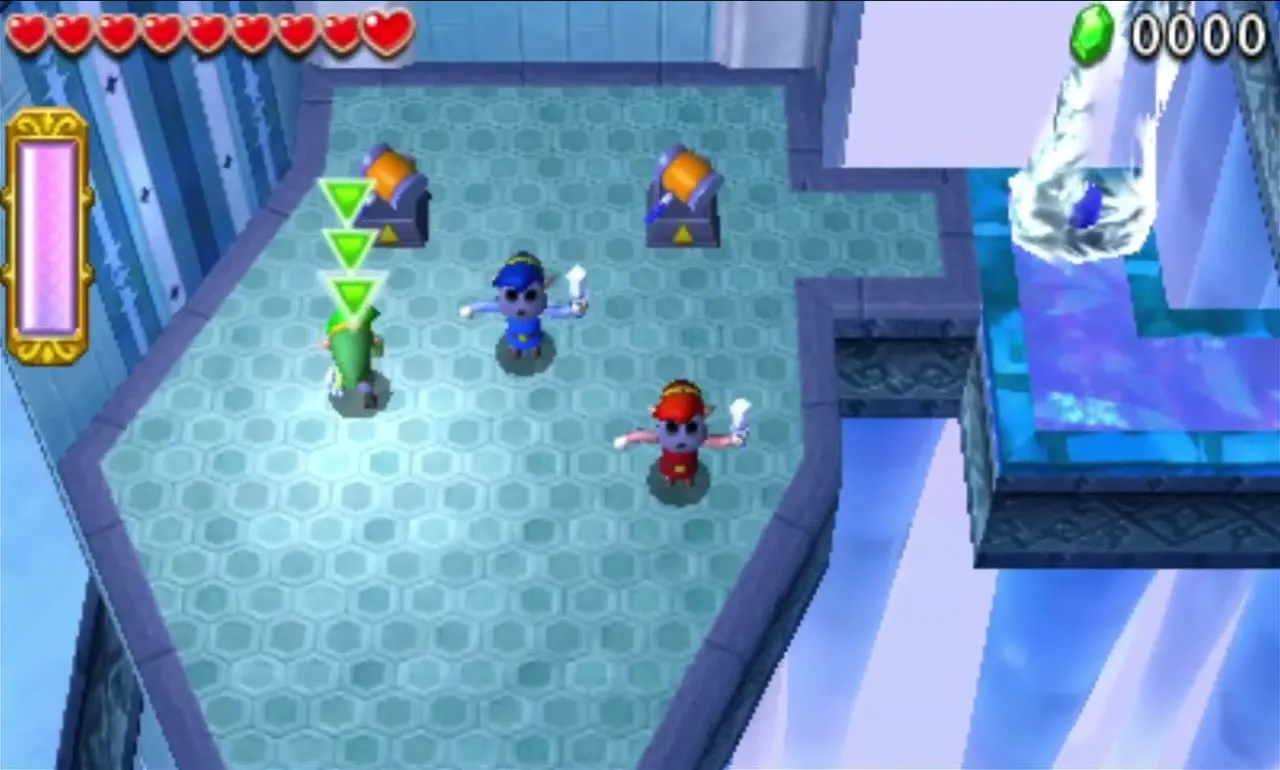
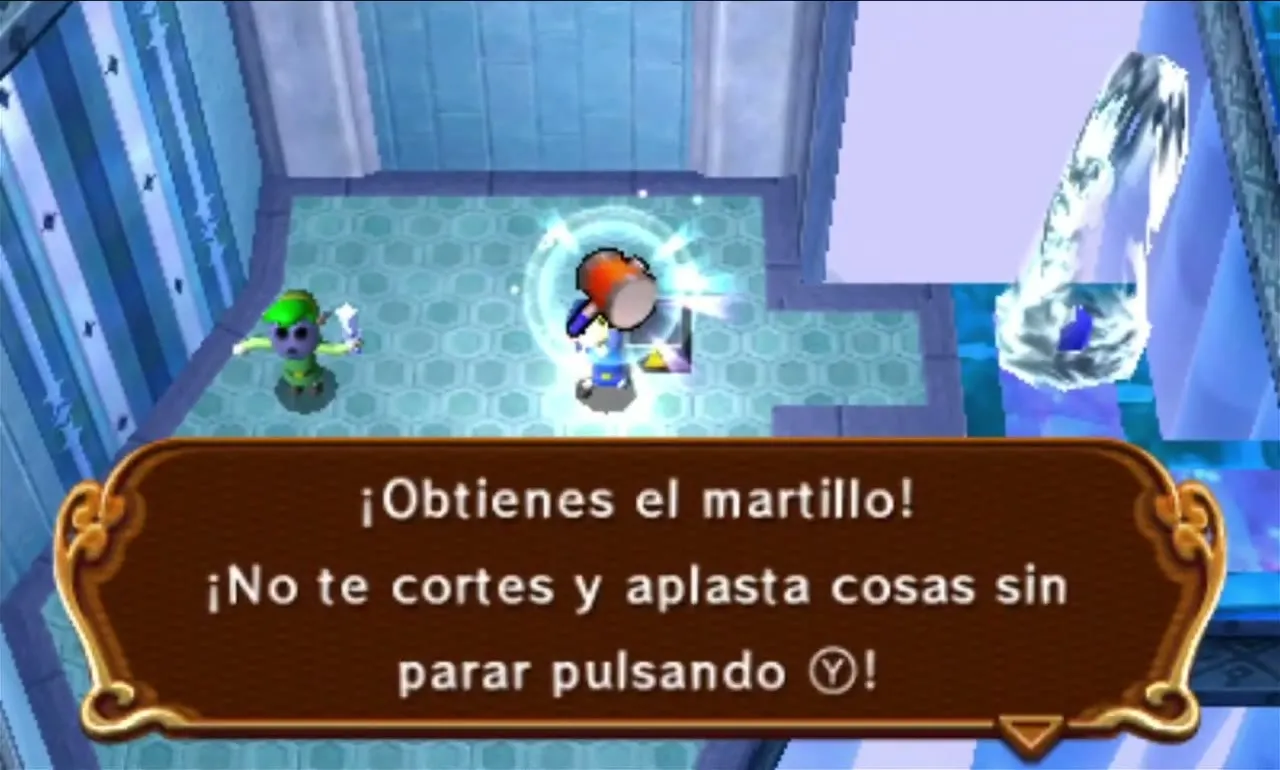
Table of Contents
Frozen Plateau
Frozen Plateau hands out three pairs of Fire Gloves, one for each Link. Ice Stalagmites block slopes and hide hearts, cracking ice tiles hang over chasms, and Freezards blast you with cold air. Nearly every obstacle yields to fire, so pick up your gloves early and keep an eye on the Energy Gauge.

Frozen Plateau Stage 1
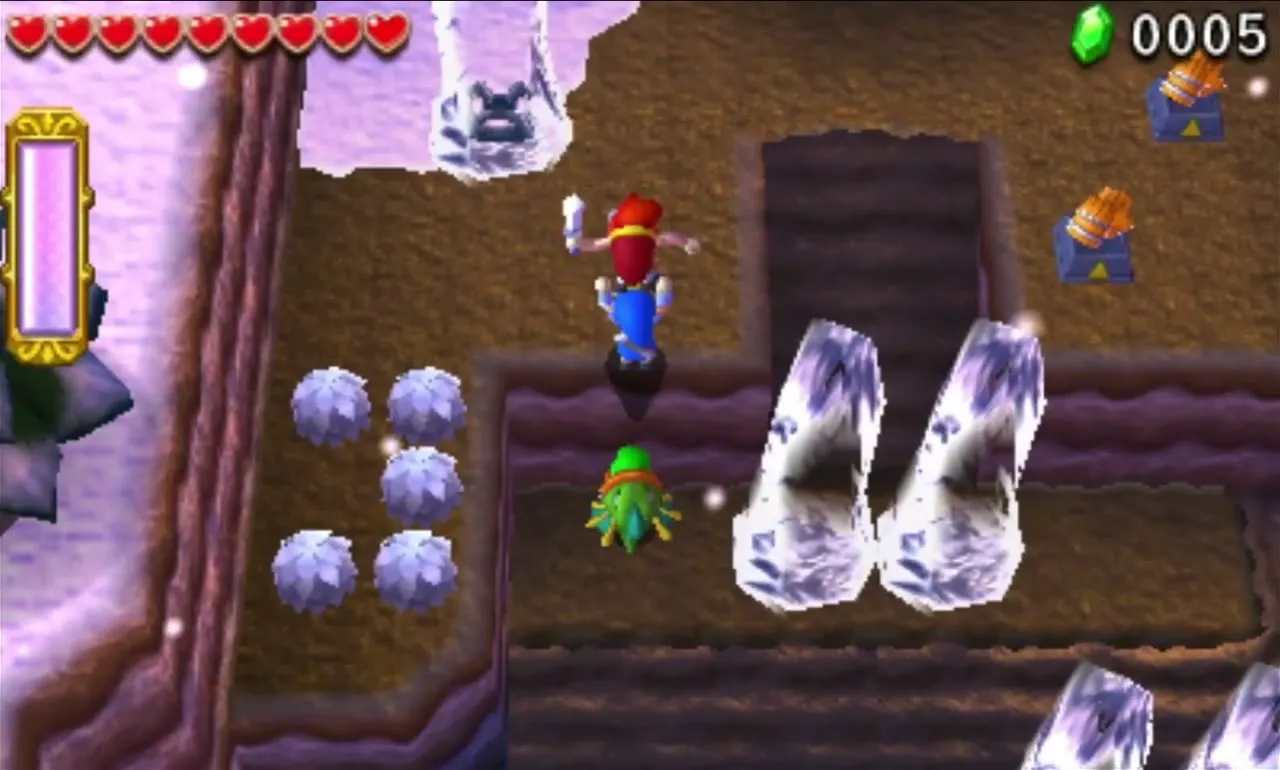
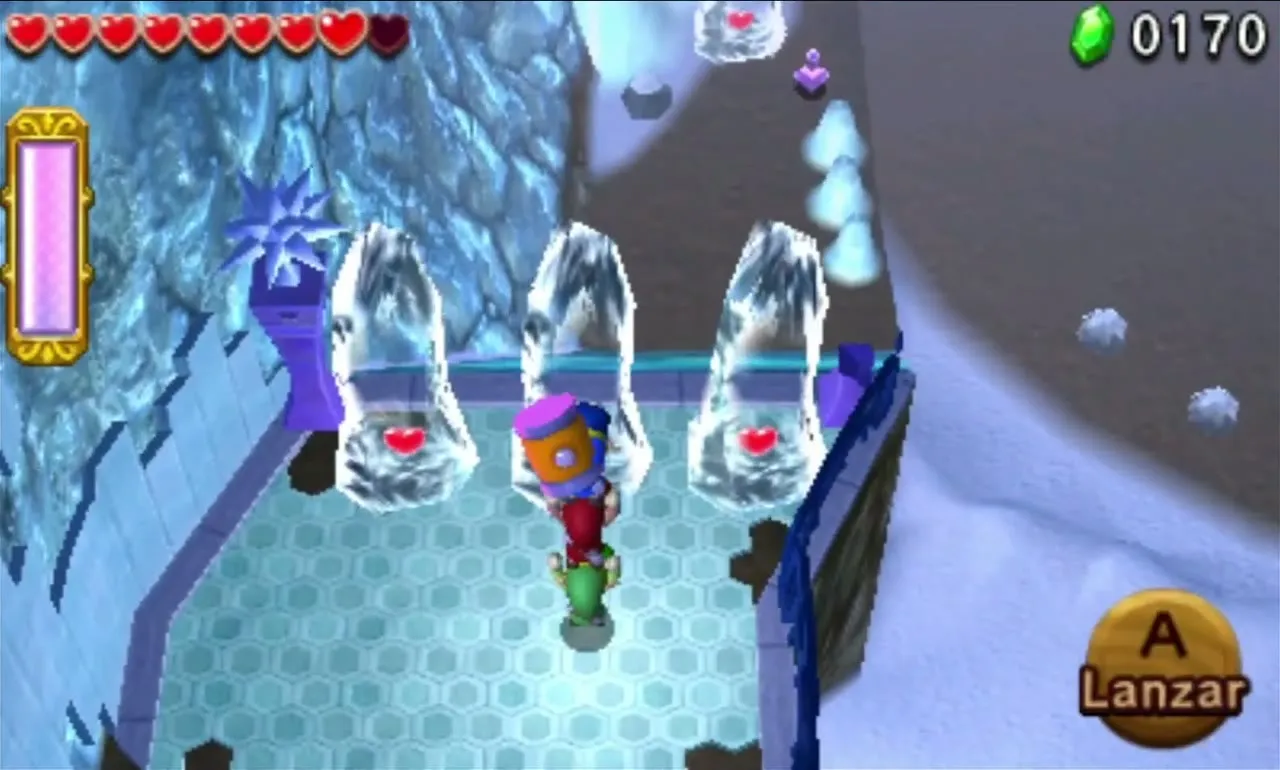
Walk through the snowy firs into the wide field of ice, where Mini Freezards ricochet off the walls and Stalagmites. The Fire Gloves lie on a ledge to the north, but Stalagmites block the slope. Lift one Link and throw him onto the ledge; he grabs his gloves, then melts the Stalagmites so the others can walk up and collect theirs.

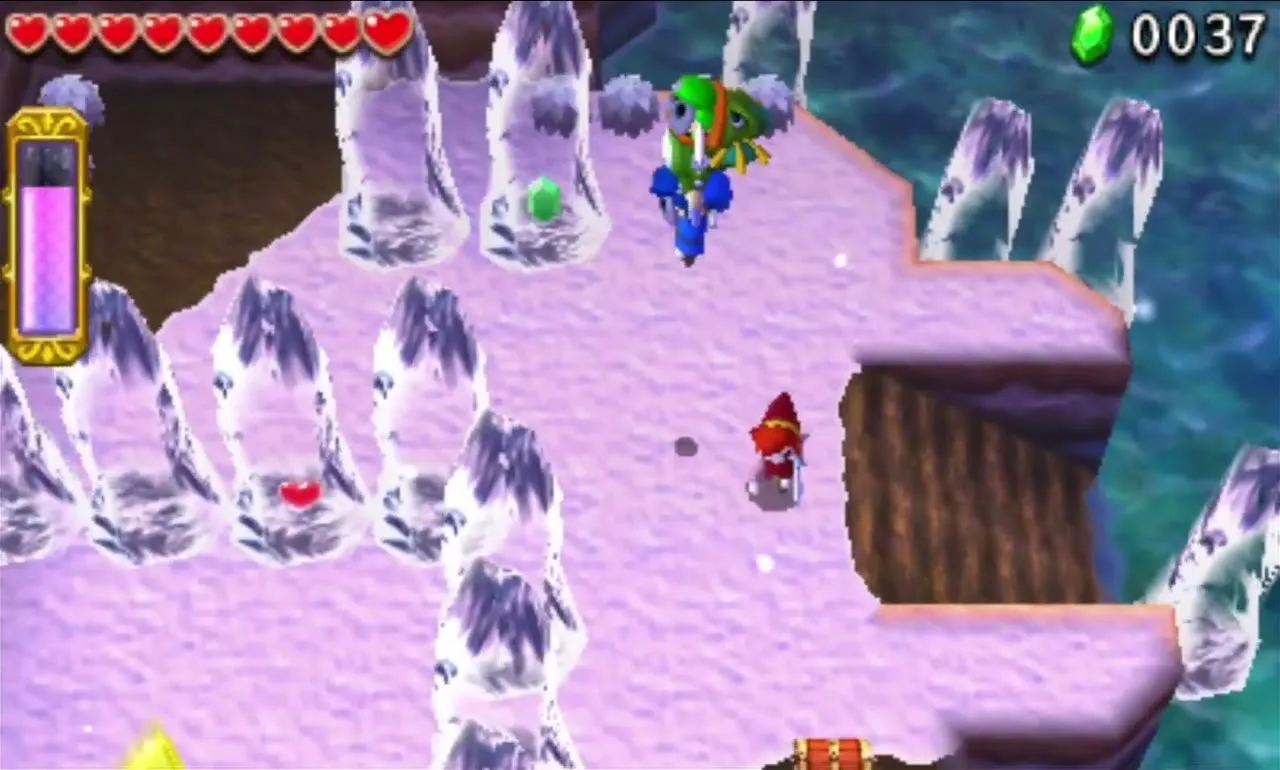
Beside the gloves stands a Brazier frozen in ice. Melt the ice, light the Brazier, and a chest appears nearby with a Red Rupee. Two more chests near the inactive Triforce Gateway hold a Blue Rupee and three hearts. Once all three Links hold Fire Gloves, melt the Stalagmites on the western slope and step onto the Gateway.
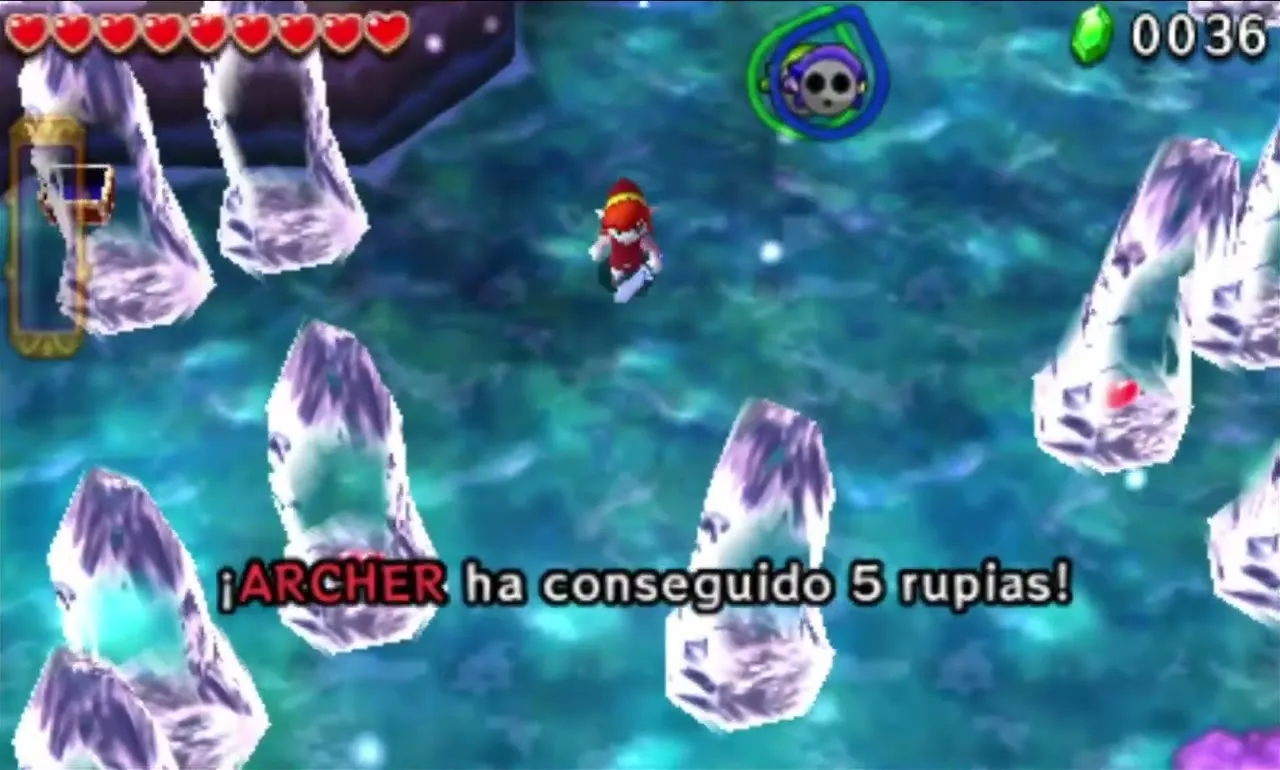

Frozen Plateau Stage 2
A big Freezard blows icy wind down the path and a sliding wall keeps you from hitting it. Next to the wall sits an unlit Brazier among Floor Spikes. Throw a fireball at it from a distance to move the wall, then melt the Freezard and carry on.

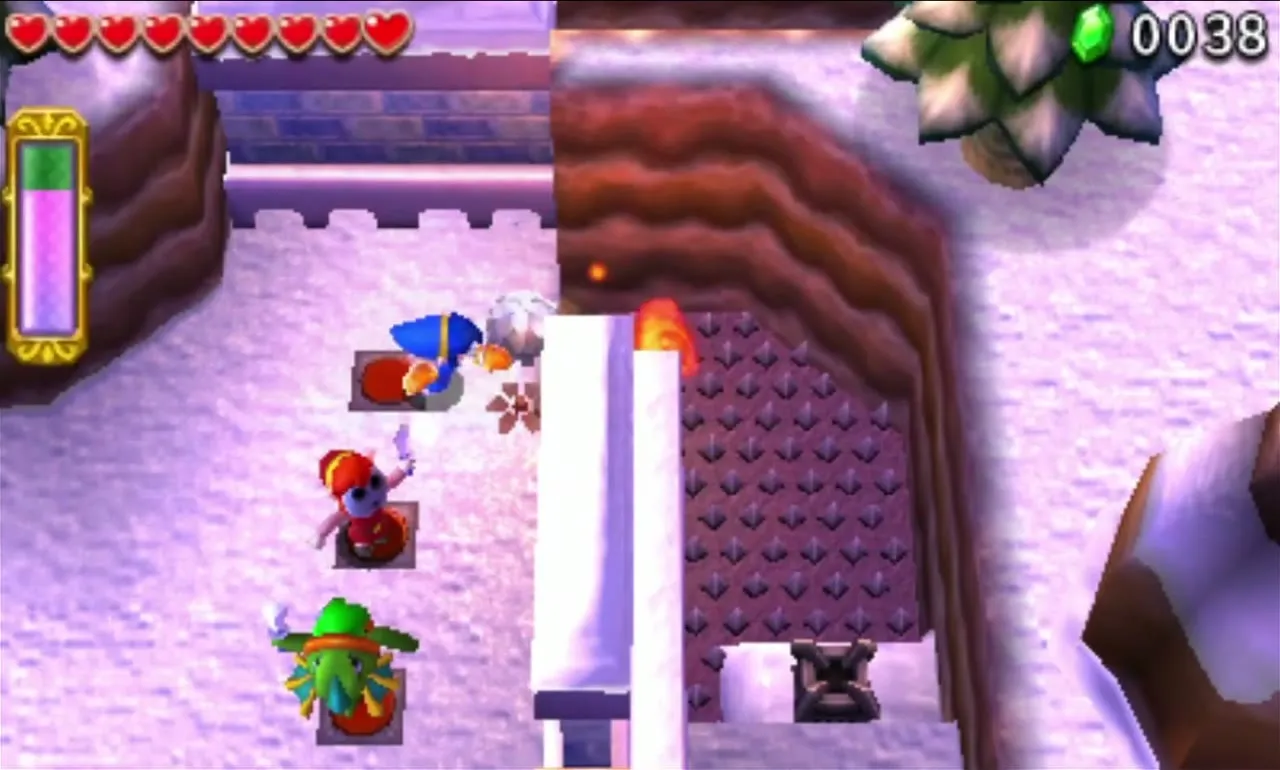
The next wall is tied to three Floor Switches. Have all three Links stand on them at once to slide it away, then bounce a fireball off the cliff face so it lands in the Brazier behind. That opens a wall to a staircase leading north.
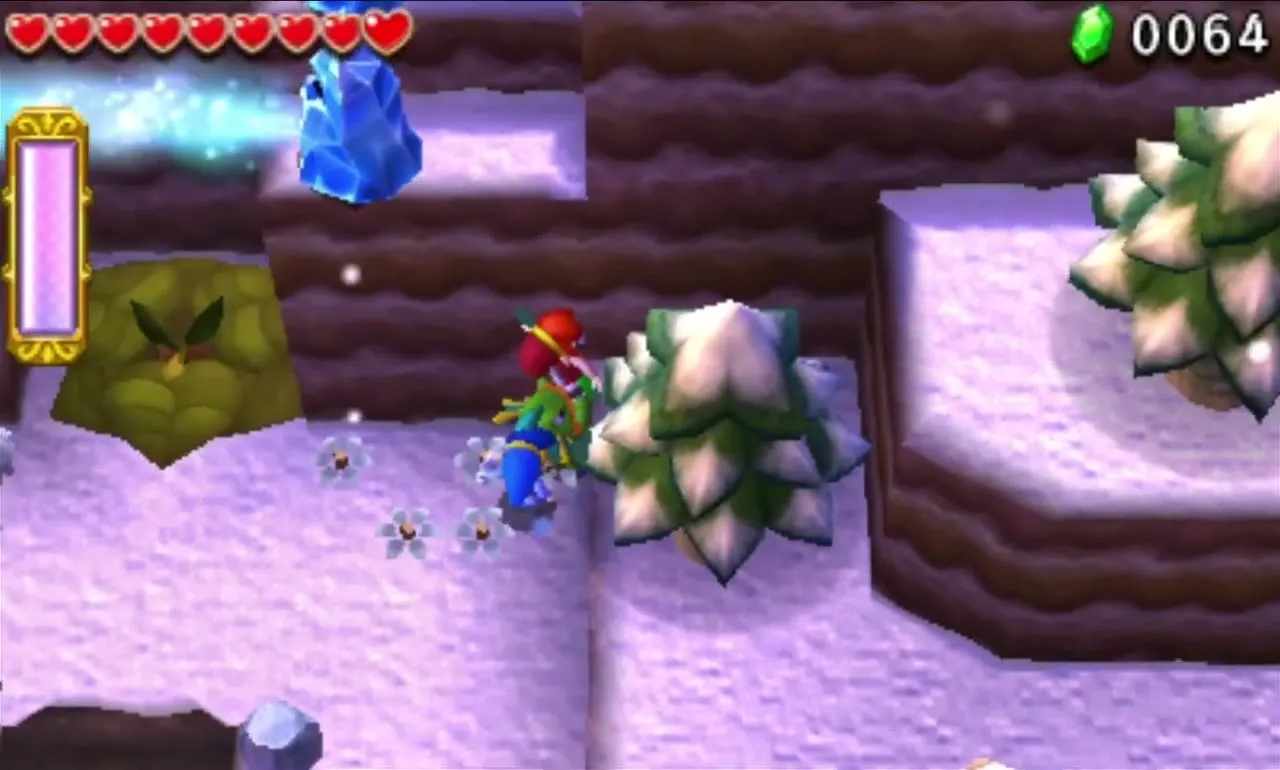
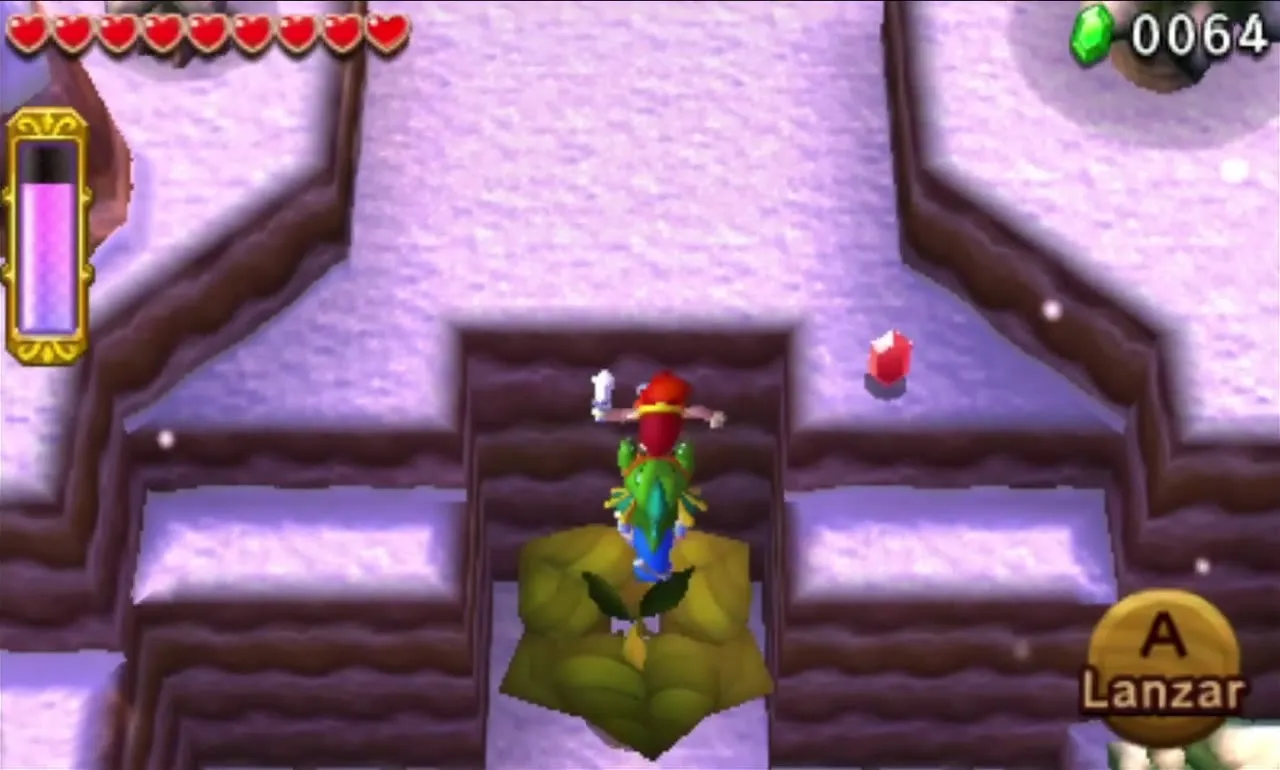
Three Freezards sit on the stairs. Skip their wind: hurl fireballs at the slanted wall on the east side, and they bounce over the Floor Spikes to melt the Freezards from behind. Keese and an Ice Keese flap beyond them, so stay ready with your swords.
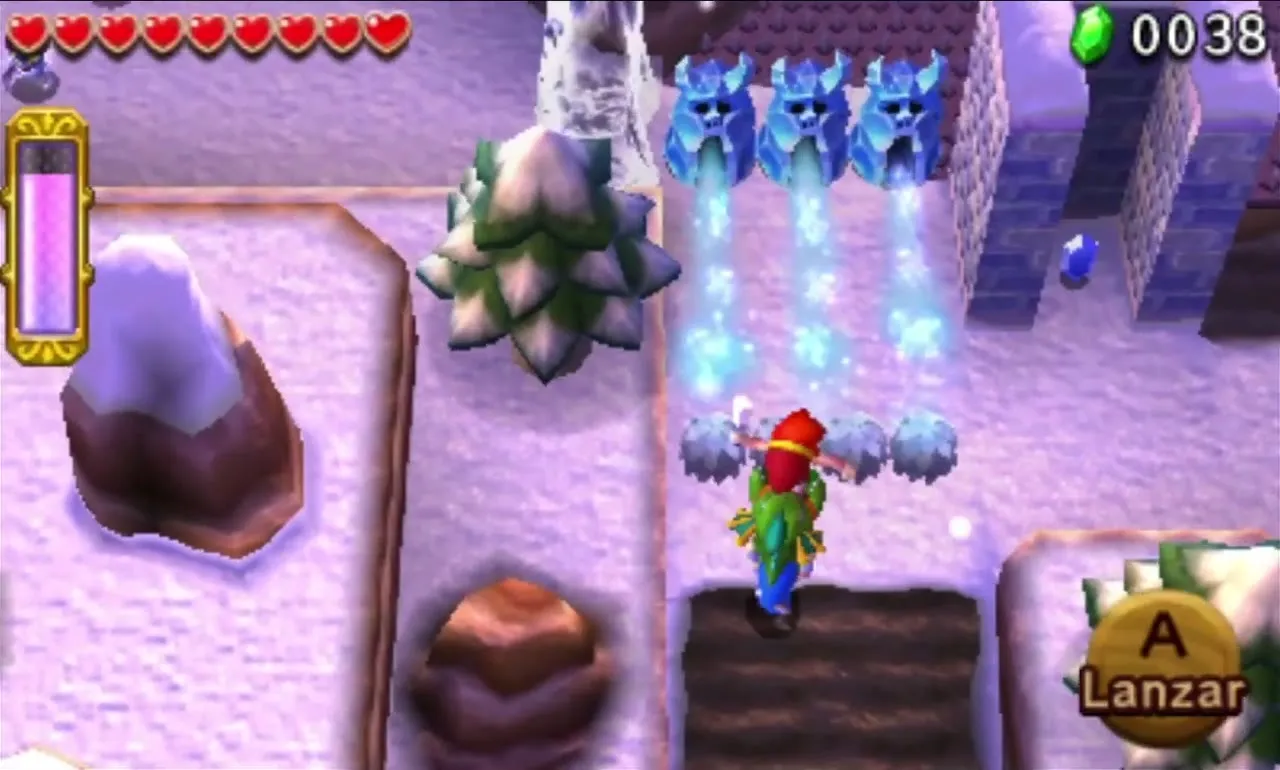
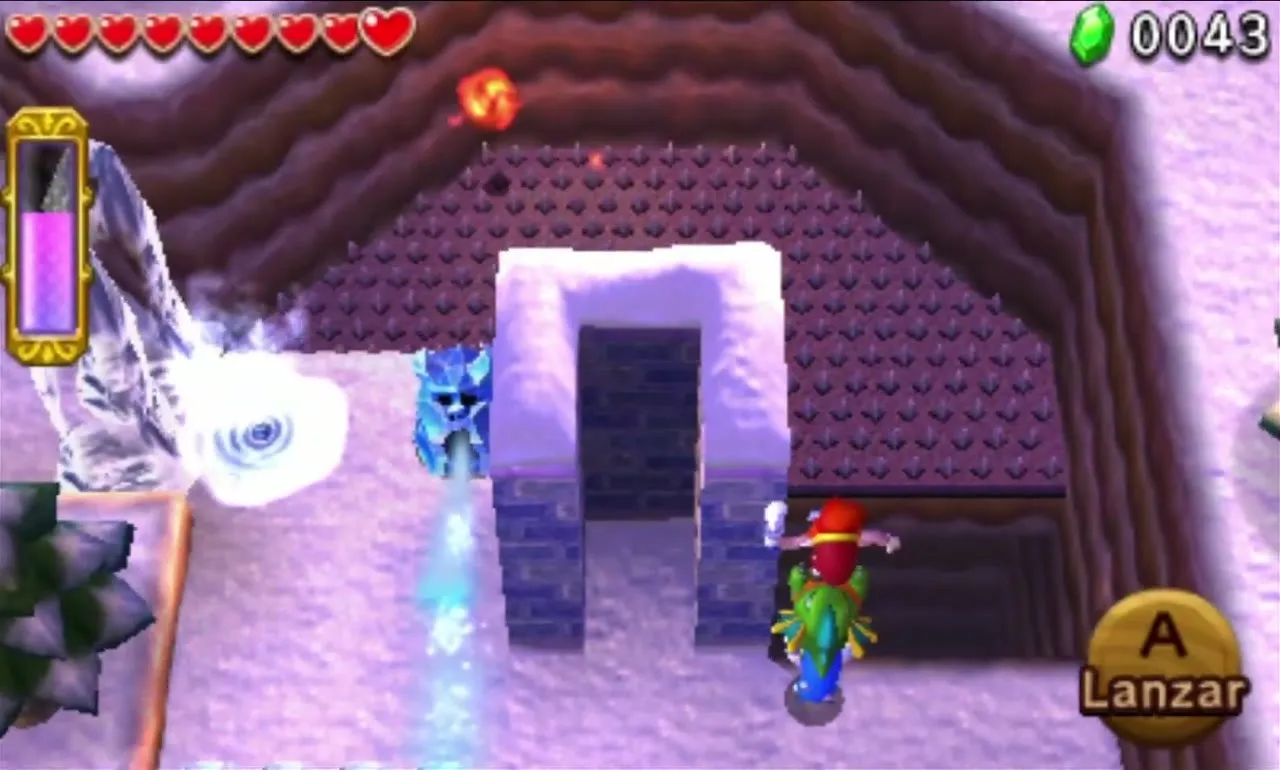
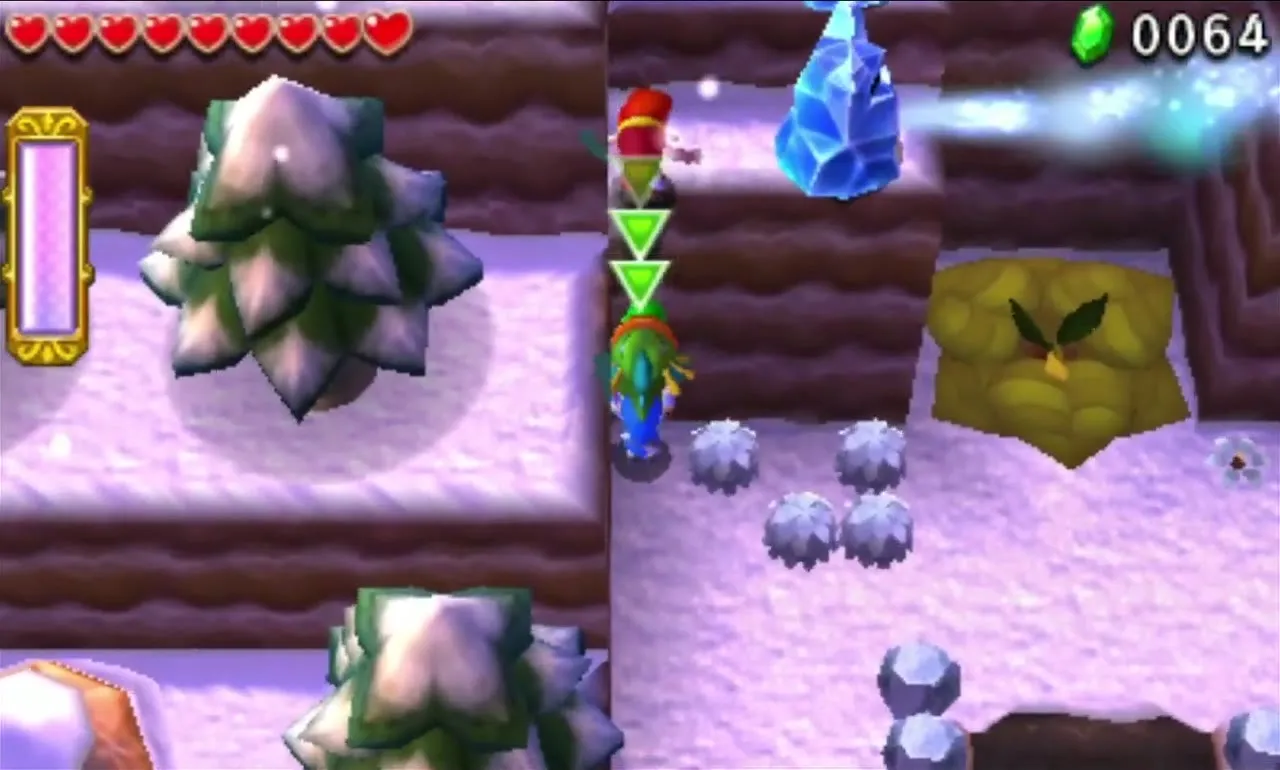
A Magic Plant carries you up to the ledge with the Triforce Gateway, but Freezards on the way freeze anything it carries through their breath. Stack a Totem to match their height and let the Link on top melt them with the Fire Gloves, then ride the plant up and step onto the Gateway.

Frozen Plateau Stage 3
Small islands of ground float above a huge chasm, linked by ice tiles that crack if you stand still. Keep moving, and throw each other across when a Freezard is blowing, or melt it when its breath pauses. The first solid ground hides hearts inside Stalagmites and has a Squiddy. Two Red Rupees sit on tiles off the main route.
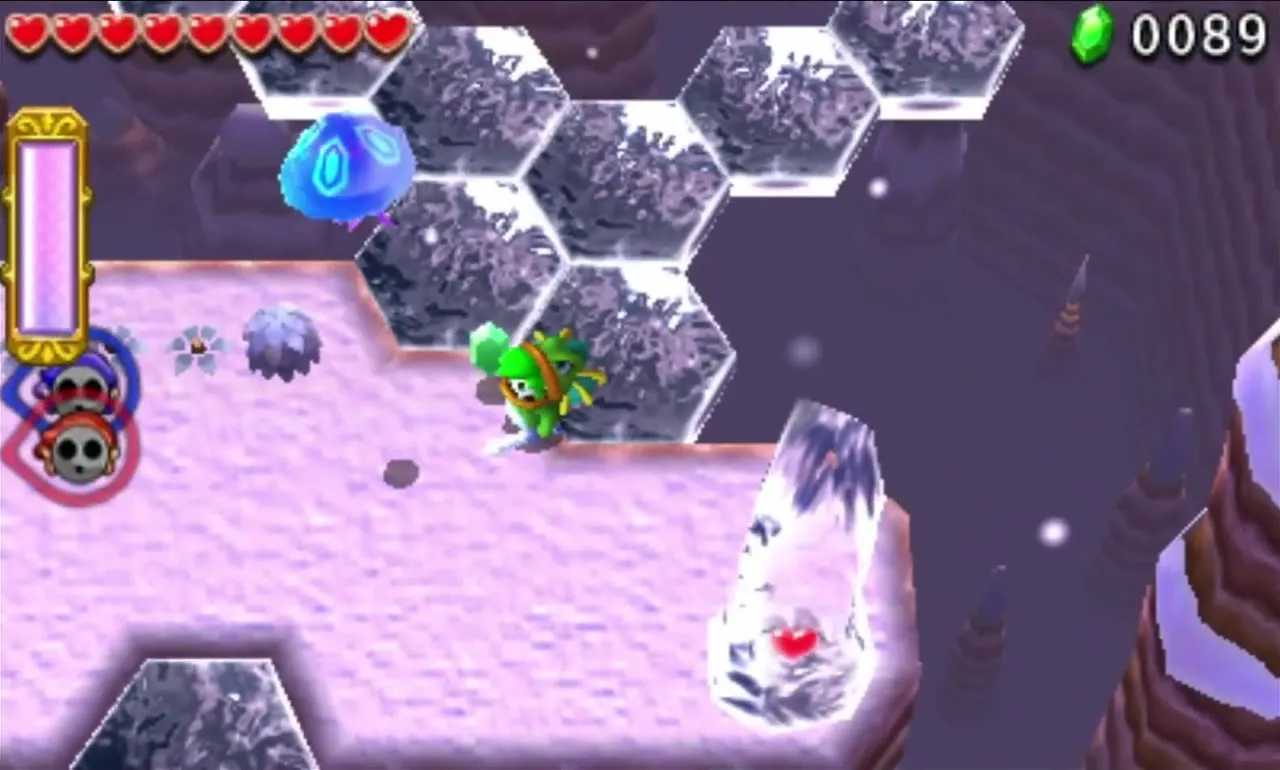
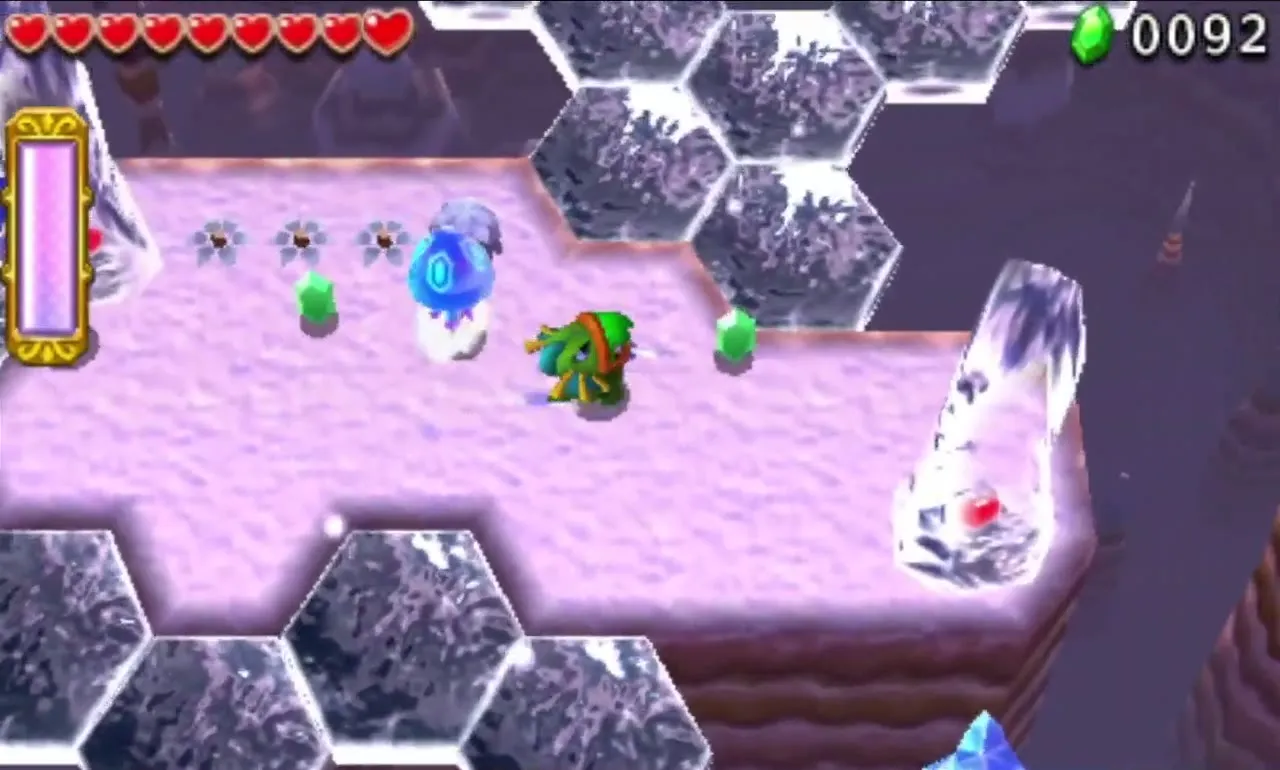
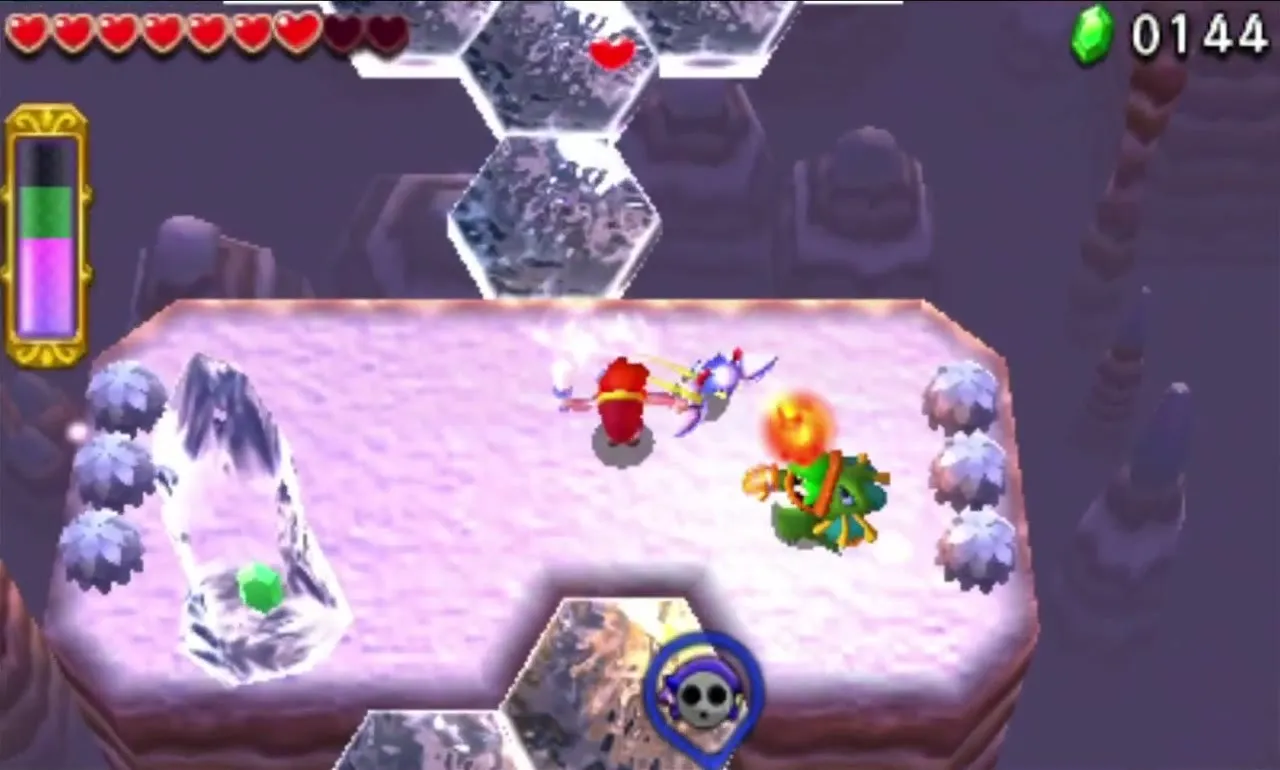
On the next island two Ice Keese attack. Beyond them a large ice platform holds a Keeleon throwing Bombs that can shatter the tiles. Form a Totem to reach and defeat it, then light the two Braziers on the pillars at either side with fireballs to build the narrow bridge to the Gateway.
Frozen Plateau Stage 4
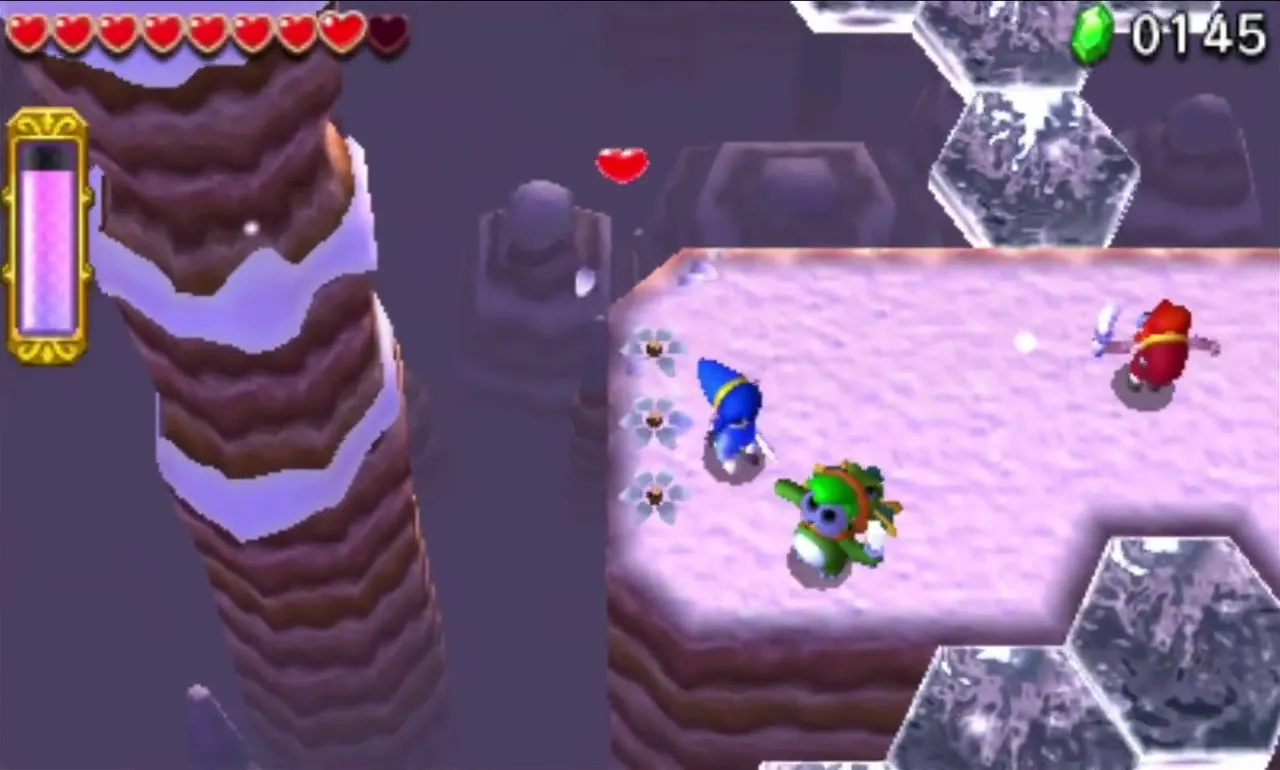
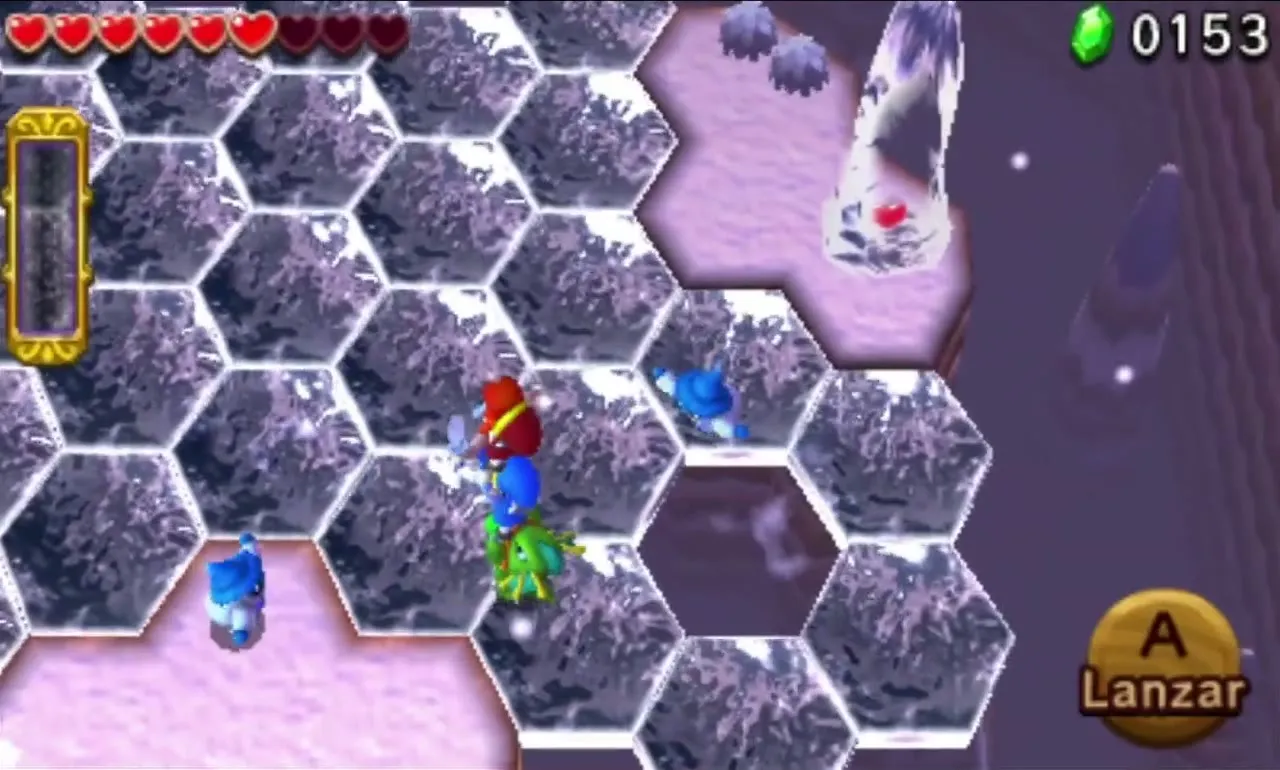
A frozen slope drops you into an arena of ice tiles above a pit, where Ice Wizzrobes strike. Both swords and fireballs hurt them, but flames also melt the floor beneath you, so choose your shots with care. A few Wizzrobes hover out of reach, which calls for a Totem. Once they are all down, the Gateway shows up at the foot of the slope.
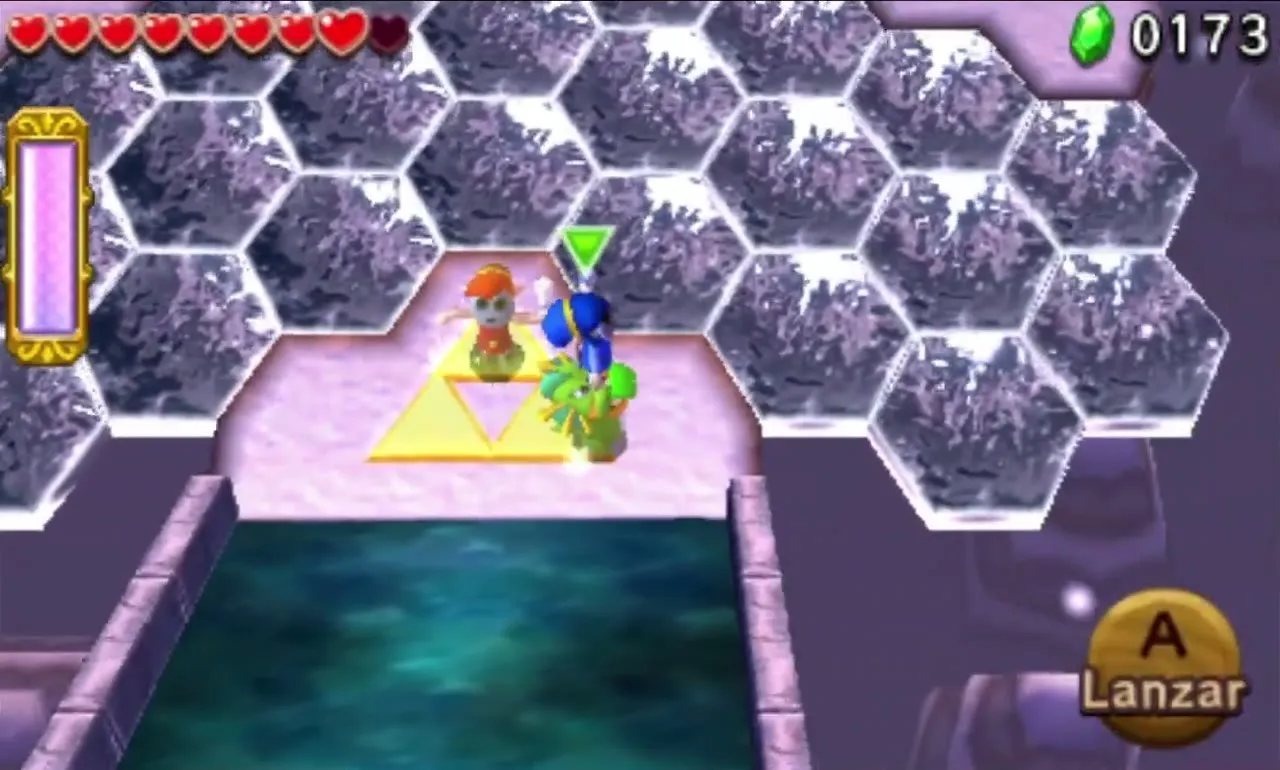

Frozen Plateau treasure chests
Each Link opens one of three chests in the reward room: two hold the same Material and one a rarer one. A first clear gives 2 Fluffy Fuzz and 1 Tiny Snowflake, and Drablands Challenge runs here can add Serpent Fangs, Crimson Shell and Freezard Water. See Materials for what they are used for.
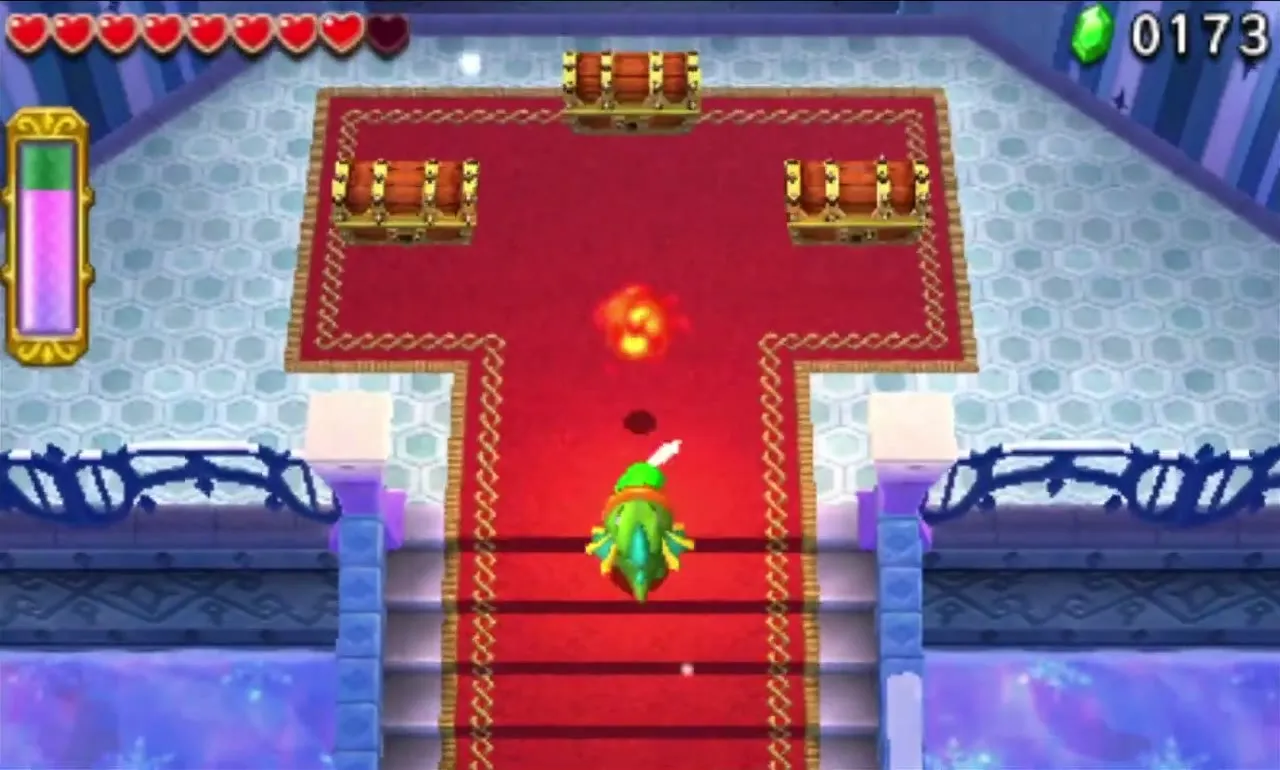

After the first clear Frozen Plateau offers three Drablands Challenges: Don’t get hit by snowballs, Pop all balloons and Guard the orb. Several balloons are only in reach from a Totem with an extra boost from a fireball, and some float under the ice tiles. See Drablands Challenges for details.

Snowball Ravine
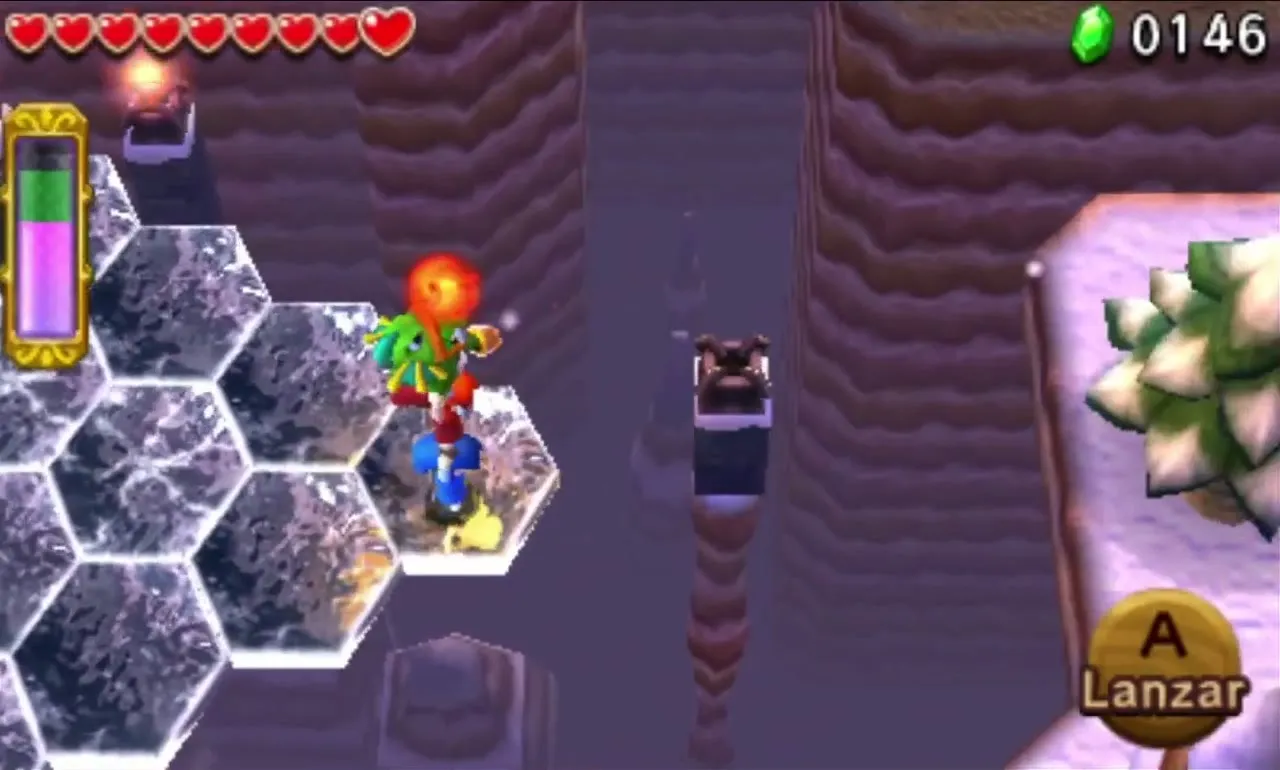
Snowball Ravine is a mountain of rolling Snowballs and unmeltable Boulders. Fire Gloves shrink Snowballs, and you can also slash snow mounds that may hide hearts, Rupees or Blue Rats. You collect a Boomerang for one Link and two pairs of Fire Gloves for the others, and the Level ends with the Freezlord mini-boss.
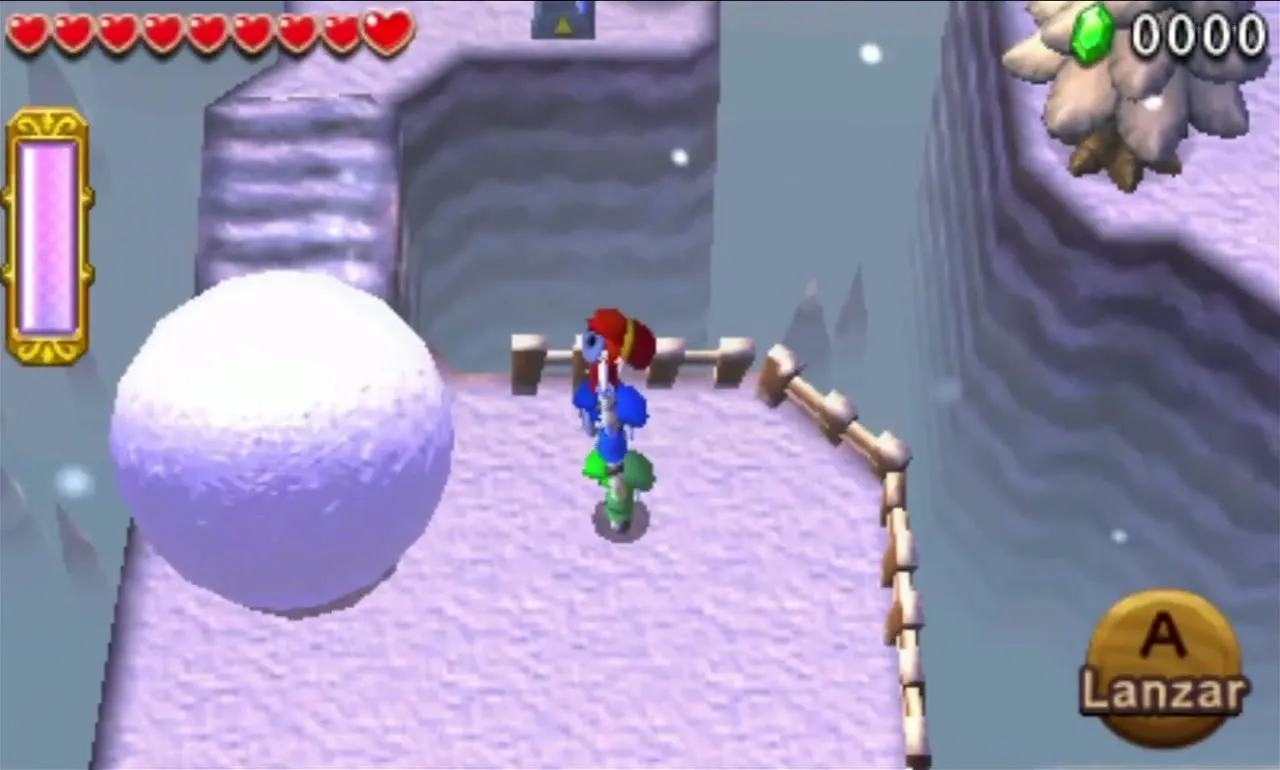
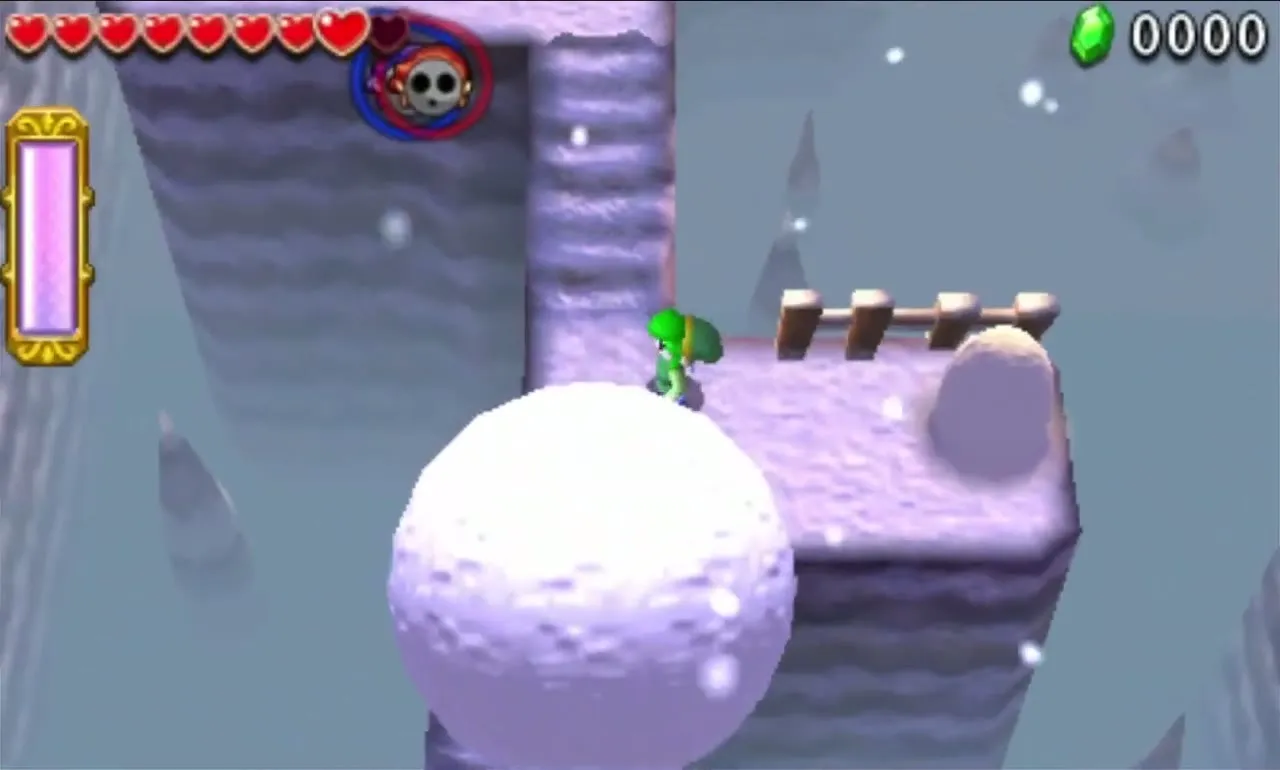
Snowball Ravine Stage 1
Frozen stairways climb from the start, with Snowballs and Boulders tumbling down them. Grab the Boomerang and the two Fire Gloves farther up. Melt the Snowballs, and simply step aside from Boulders, which cannot be destroyed.

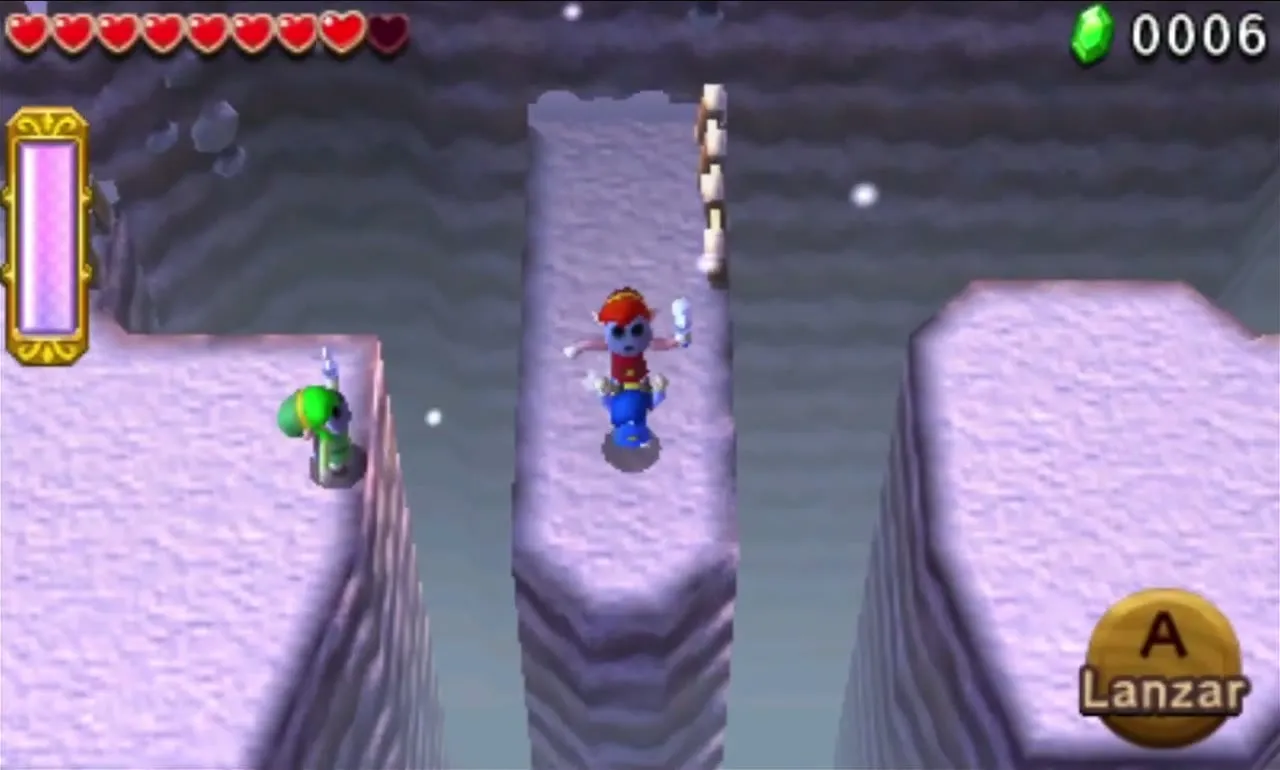
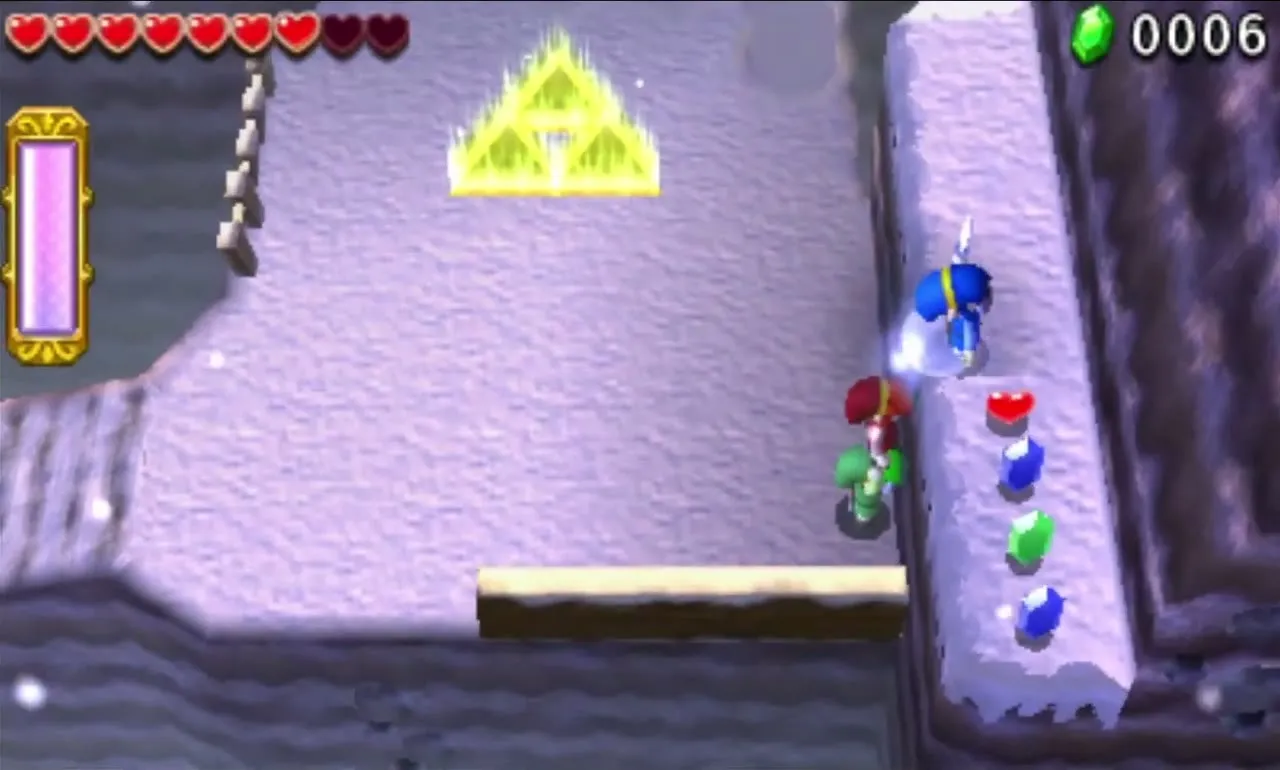
Two gaps lie between you and the Triforce Gateway. Form a Totem and throw Links across; the Link with the Boomerang stays behind last and can pull the others over. A ledge near the Gateway has hearts and Rupees, but rolling hazards fall right above it, so grab them between rolls.
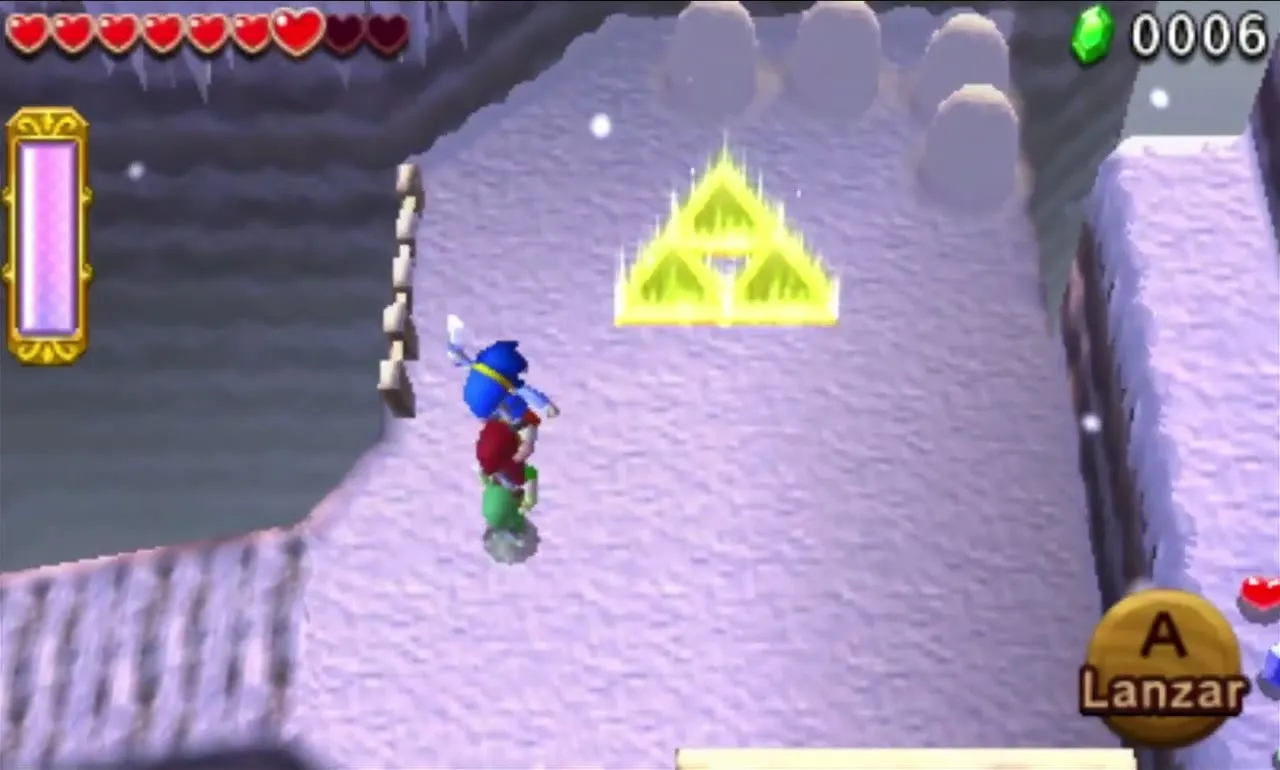
Snowball Ravine Stage 2
The Level opens above a chasm. Ignite both Braziers and an icy bridge of platforms that rise and sink forms. Across it lies a snowy area with Hardhat Beetles, plus snow mounds that might conceal Blue Rats. Two chests on an ice island may contain Rupees and hearts.


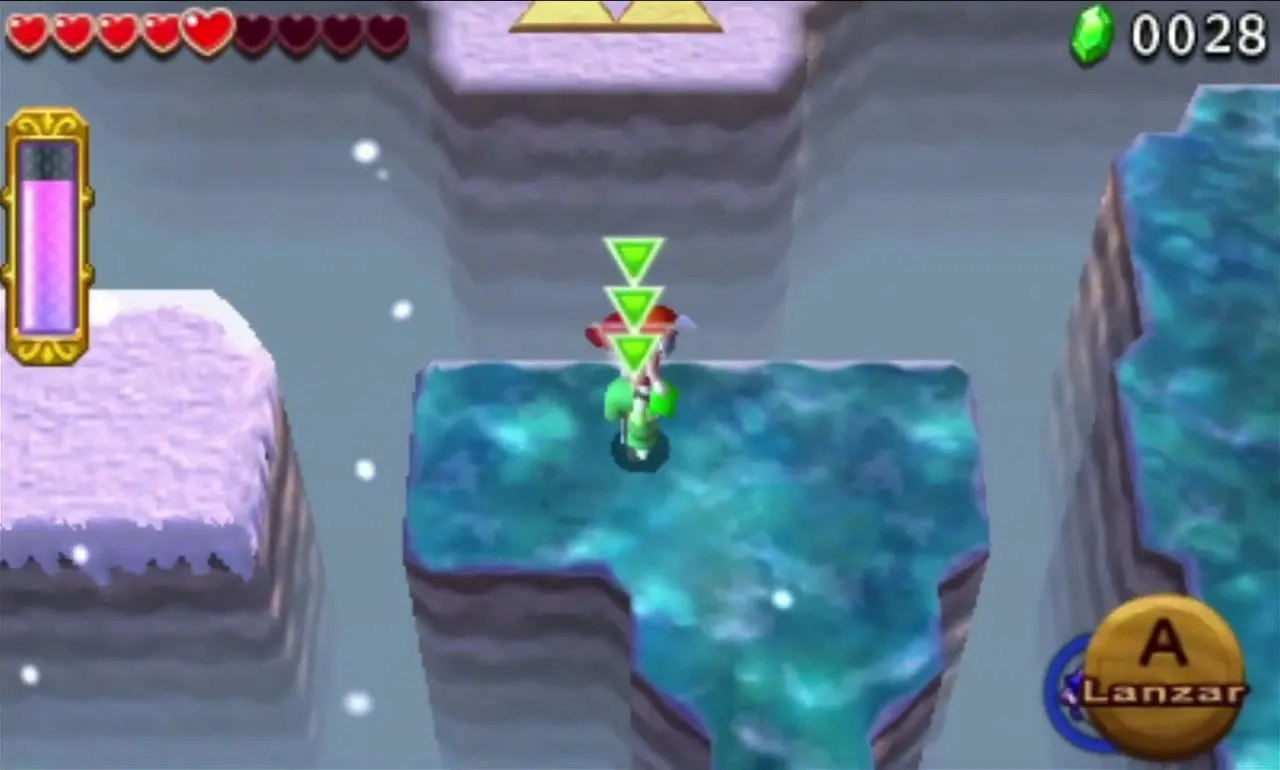
An icy path forks to the left and right; throw yourselves over the gap on whichever side you like. The left branch has two Floor Switches that lower a platform before a line of unlit Braziers. Light them with a fireball, and pass the flame along with the Boomerang through each one.
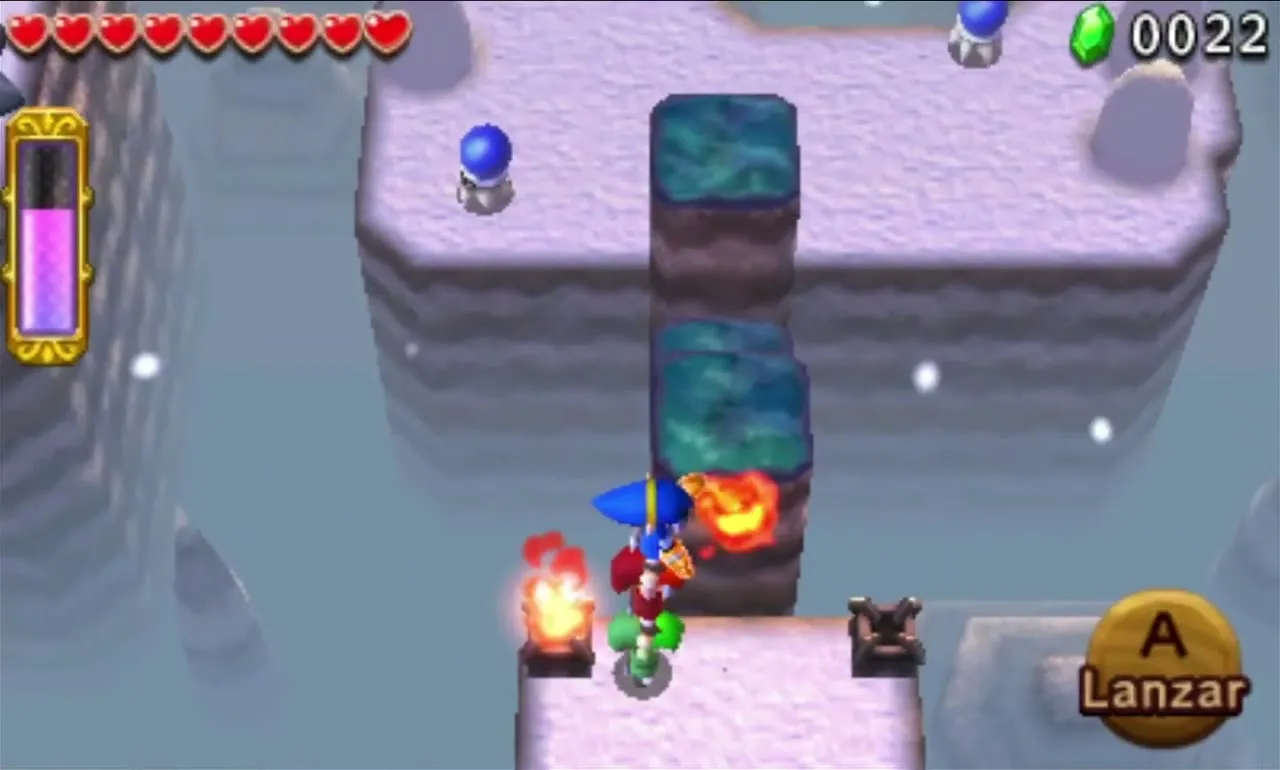

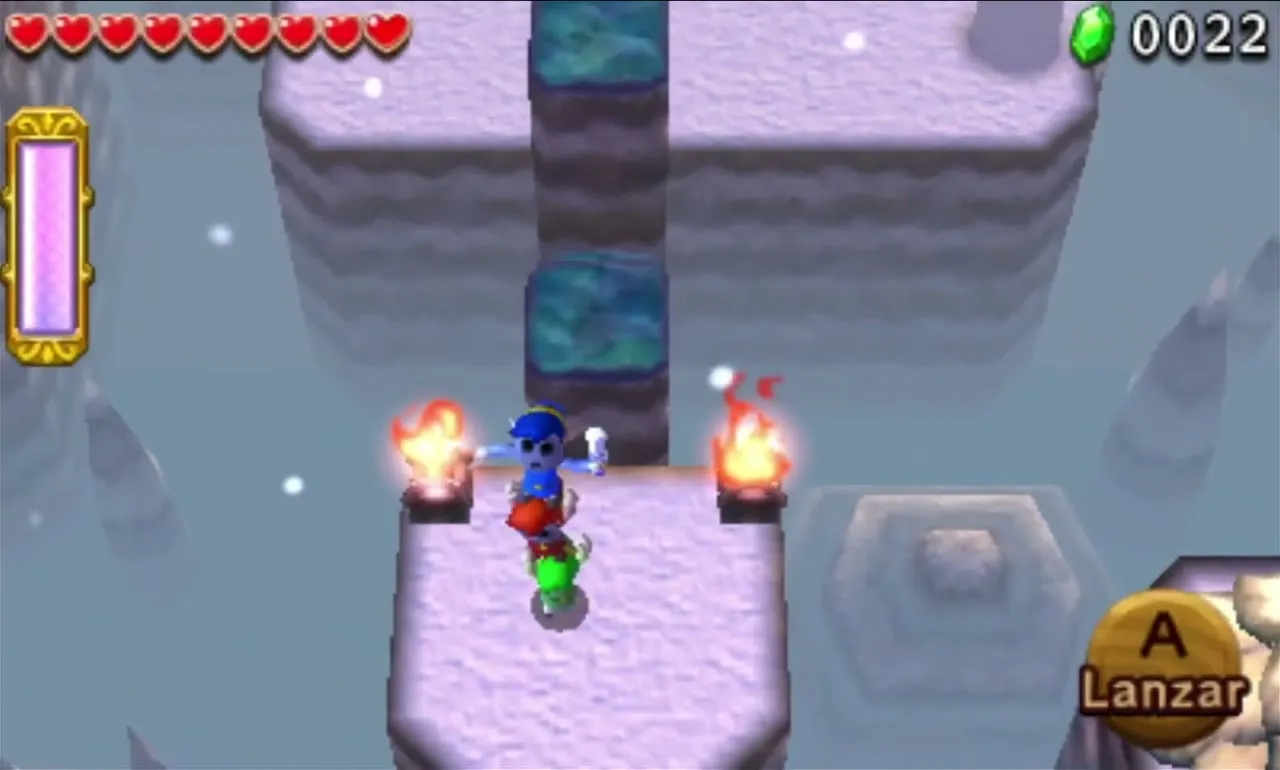
On the right, Hardhat Beetles try to shove you off the icy platform. Throw the Bomb Flower that grows there at a Cracked Block on a tall Brazier, which means a quick Totem. Then light that Brazier from close range so the fireball bounces on to a second one. Both done, a bridge to the Triforce Gateway appears.


Snowball Ravine Stage 3
This winding mountain path climbs through Snowballs and Boulders. Melt Snowballs that roll at you and run from Boulders. Move in short bursts and heal from hearts along the way.
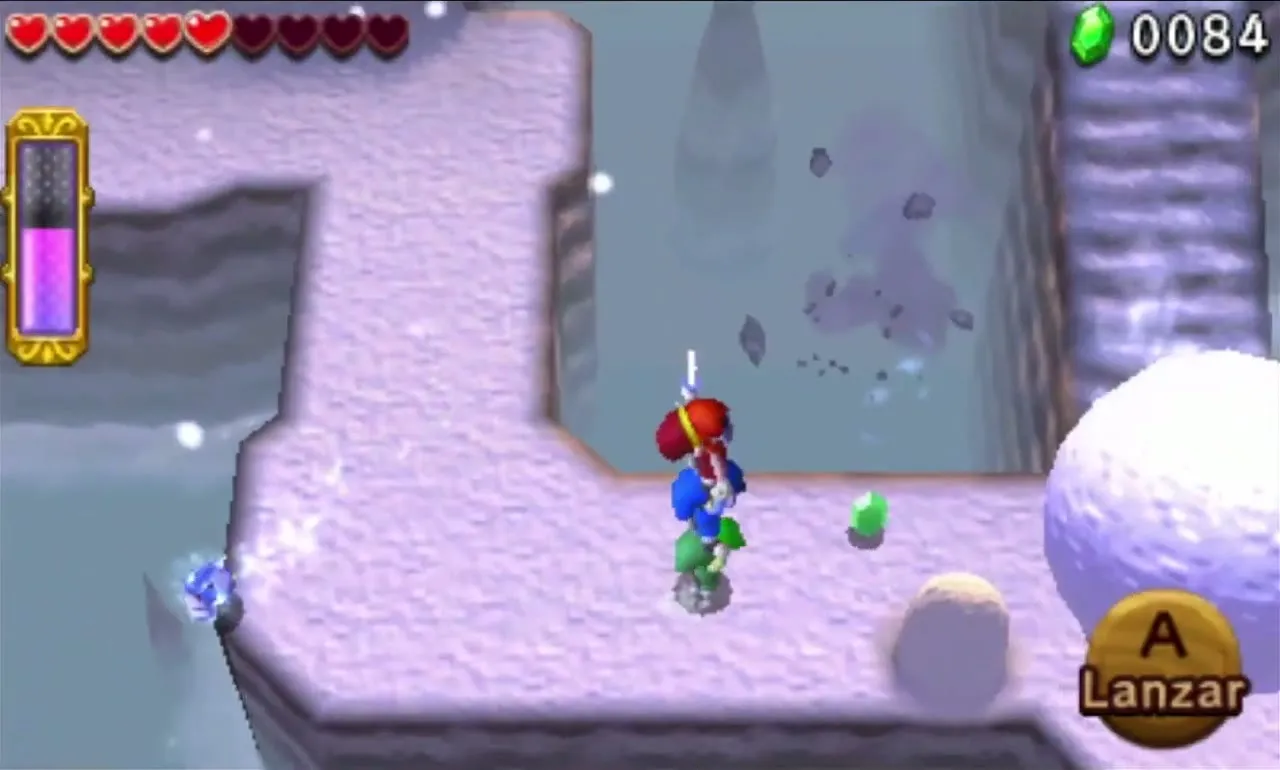

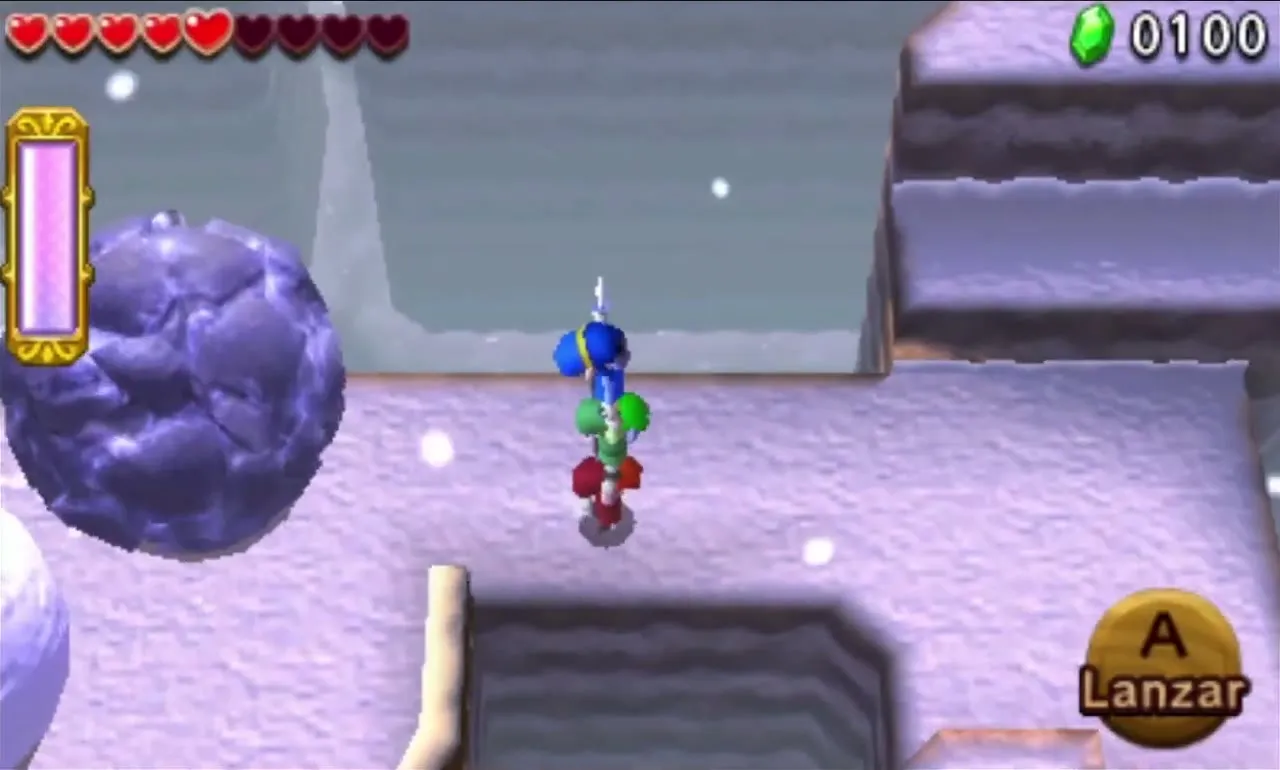
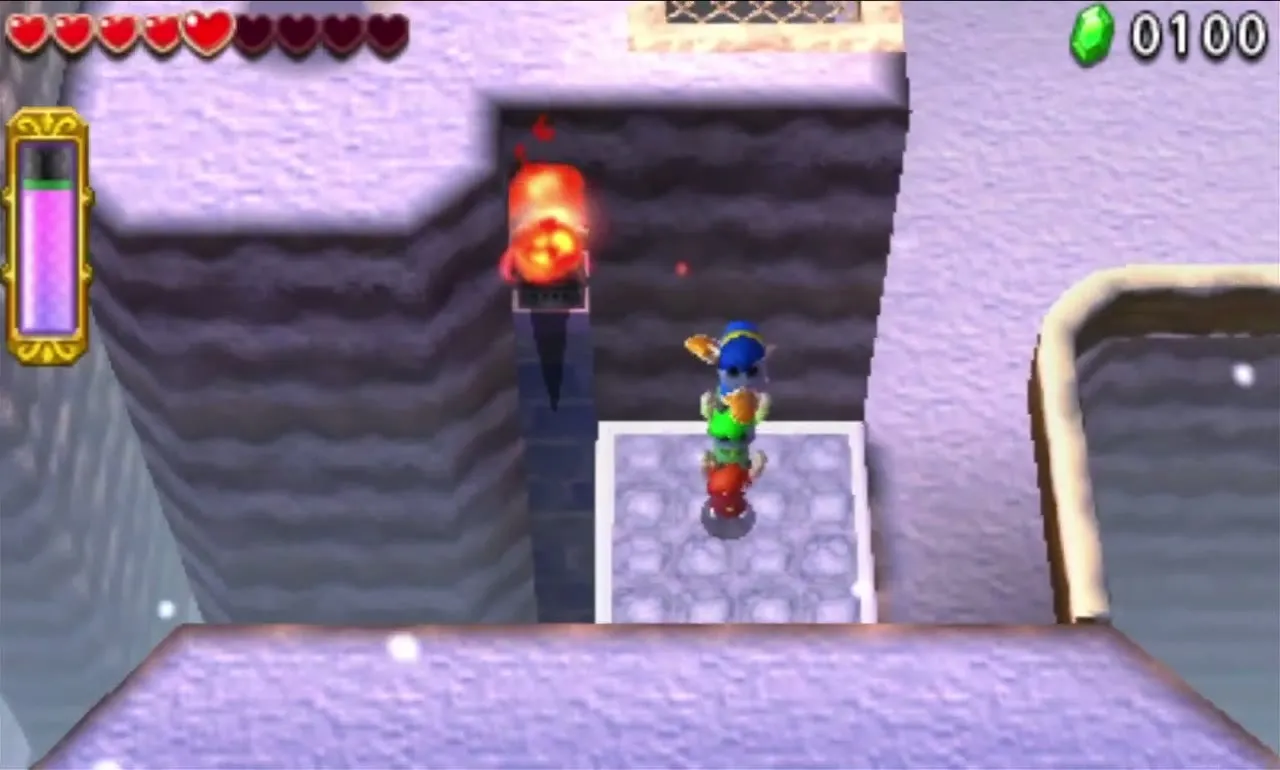
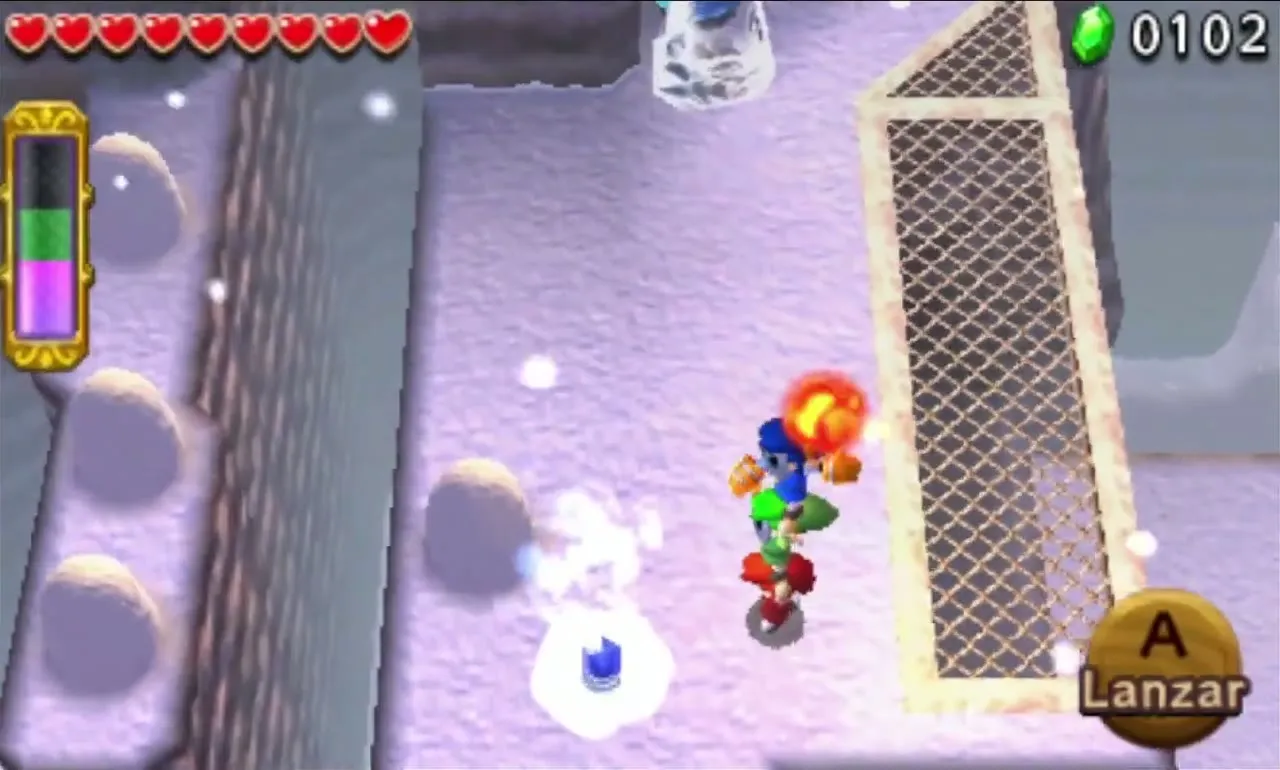
Heading west you face Snowballs and Boulders rolling out of a big chute side by side. A lift beside it rises once you light the Brazier overhead, and a Squiddy hides in the snow south of the lift. At the top, pass a Freezard, then cross a gap with Ice Wizzrobes while Snowballs roll both ways, to reach the Gateway.
Snowball Ravine Stage 4
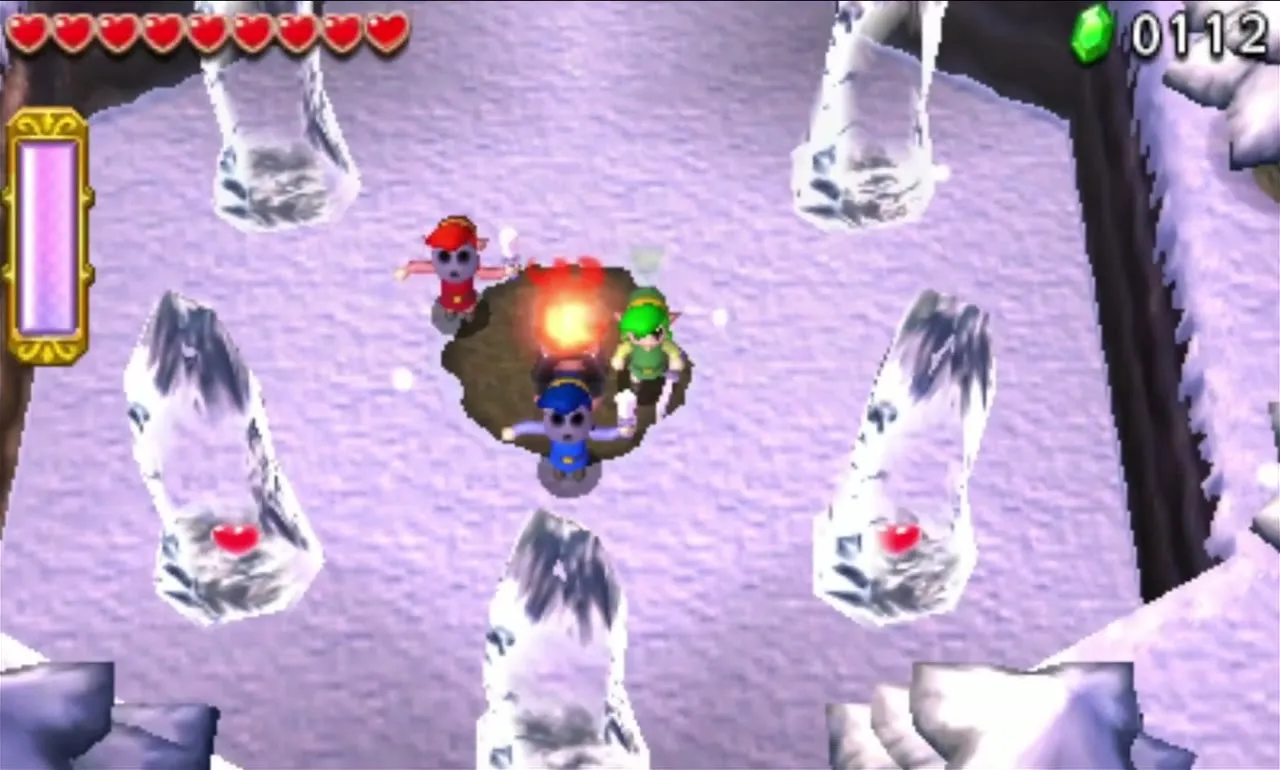
Gather round the lit Brazier at the top of the hill and melt the Stalagmites for hearts. Slide down the slope past two Energy Potions to a round pit lined with Braziers where Freezlord waits. Jars in the alcoves along the outer wall hold hearts, an Energy Potion and a Rupee.
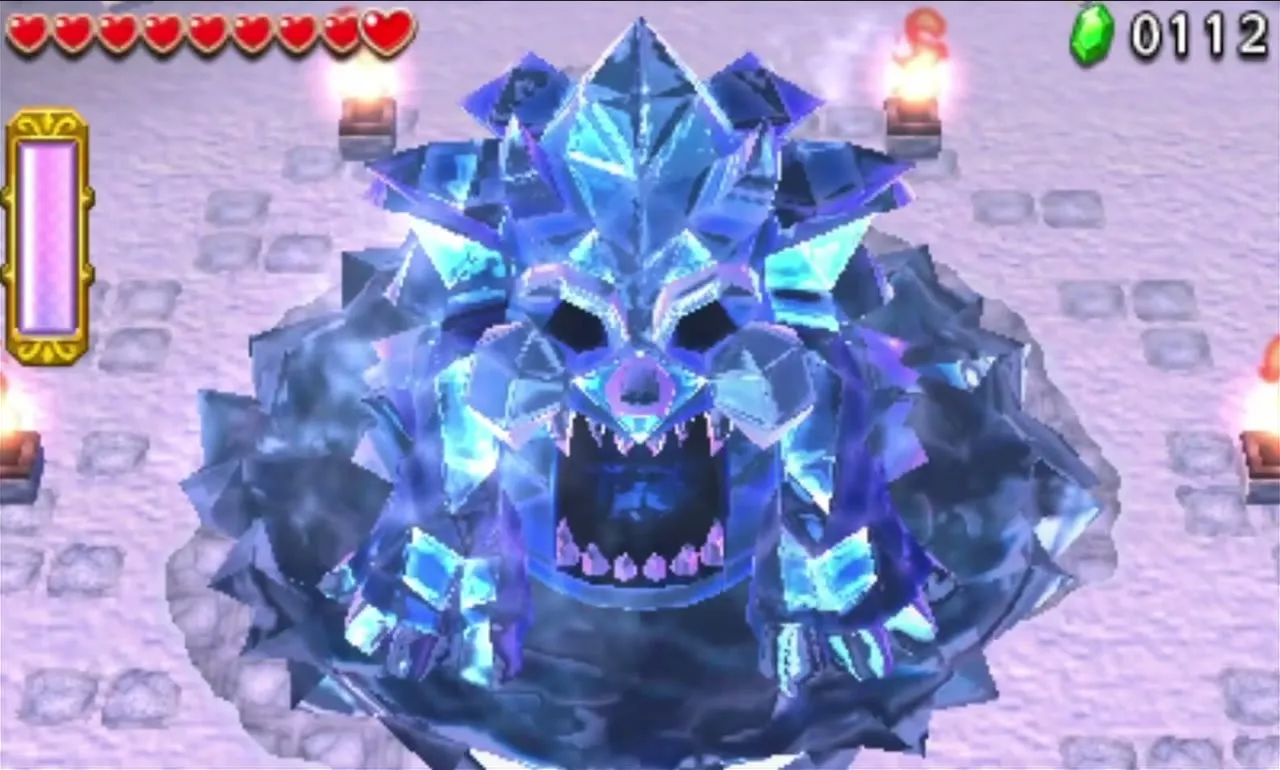
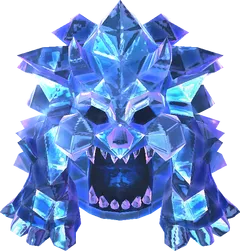
Freezlord boss fight
In phase one Freezlord spins in a frozen pond wrapped in ice armour and cannot be hurt while it spins. When it stops it breathes a freezing blast that locks any Link in its path in ice, so have a teammate thaw them with fire. While it is stopped, strip its armour with Fire Gloves fireballs, or throw the Boomerang through a Brazier to make a flaming Boomerang. A fireball into its mouth leaves it dazed.
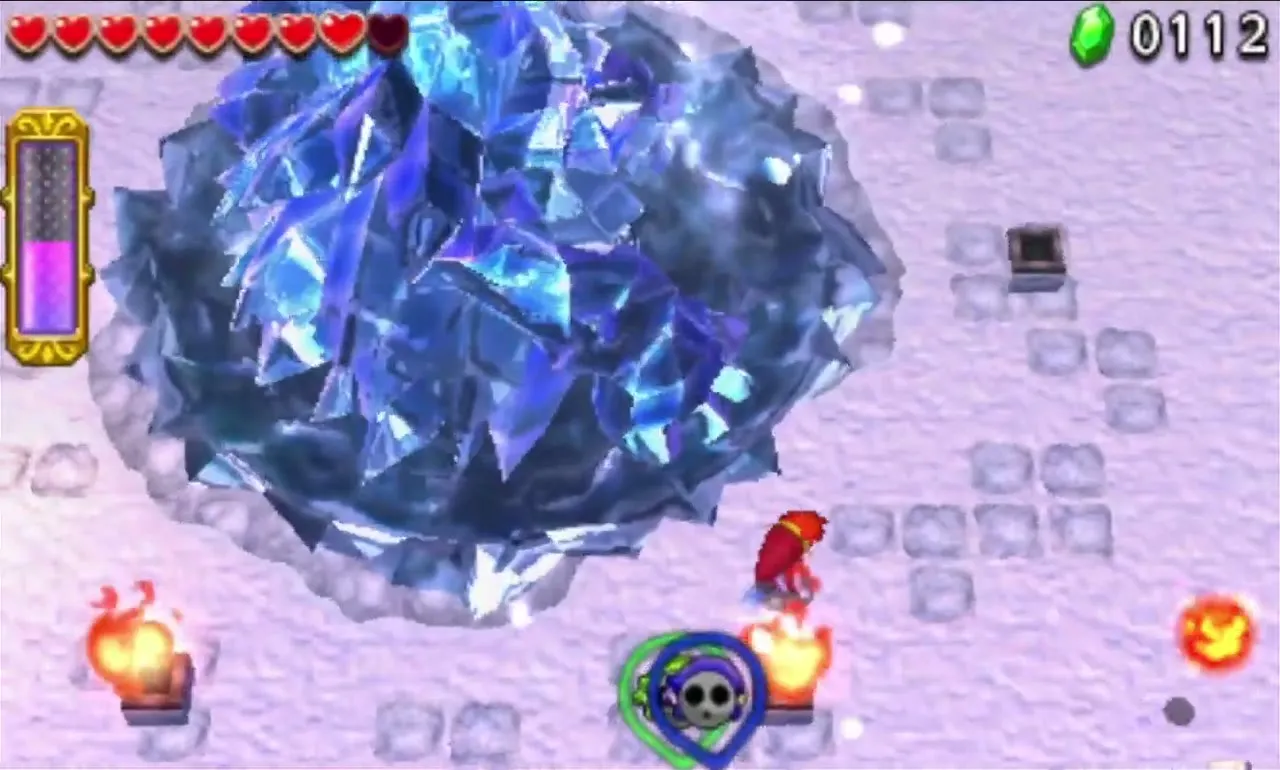
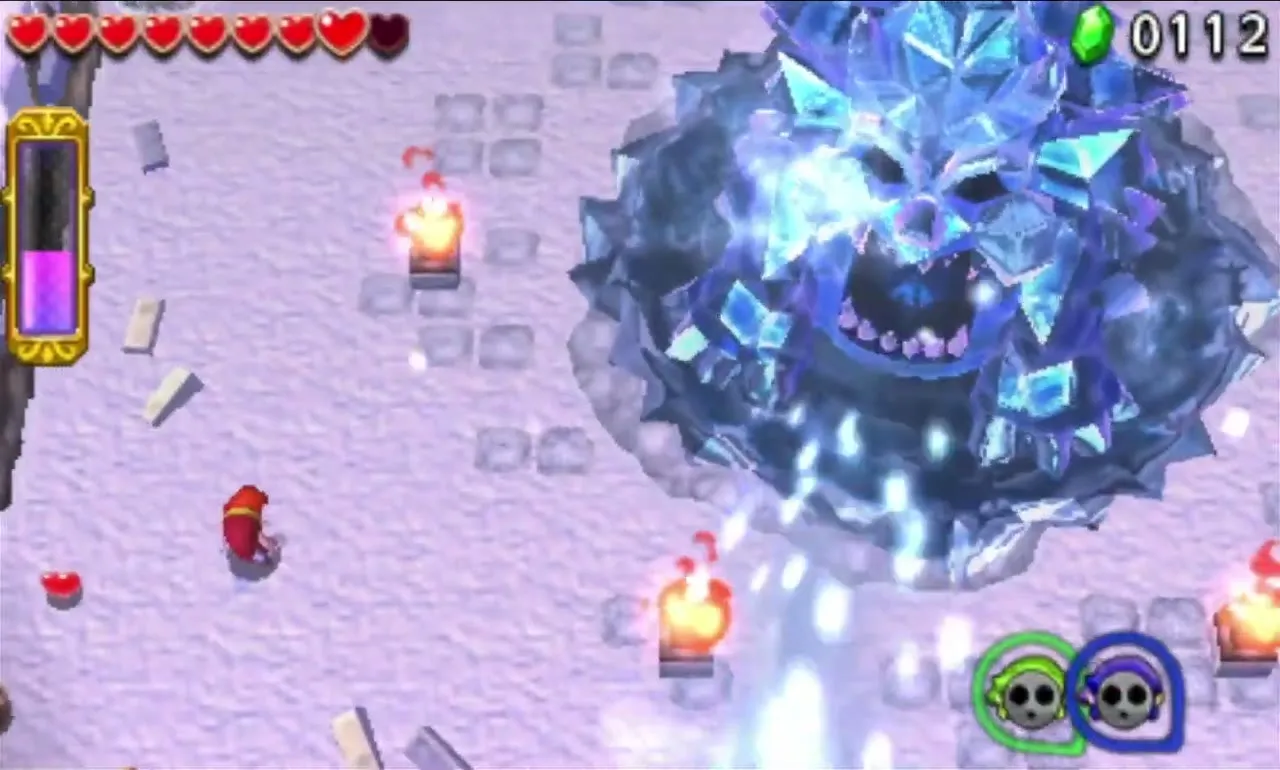
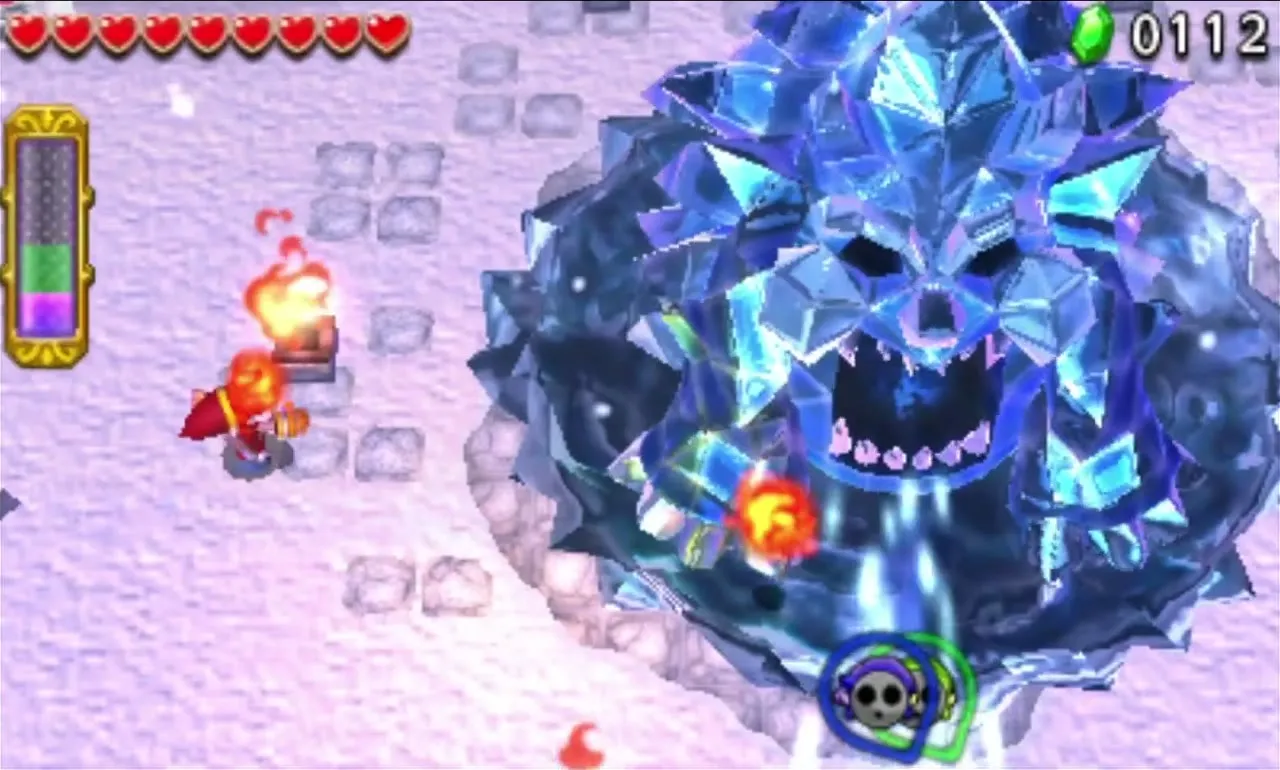
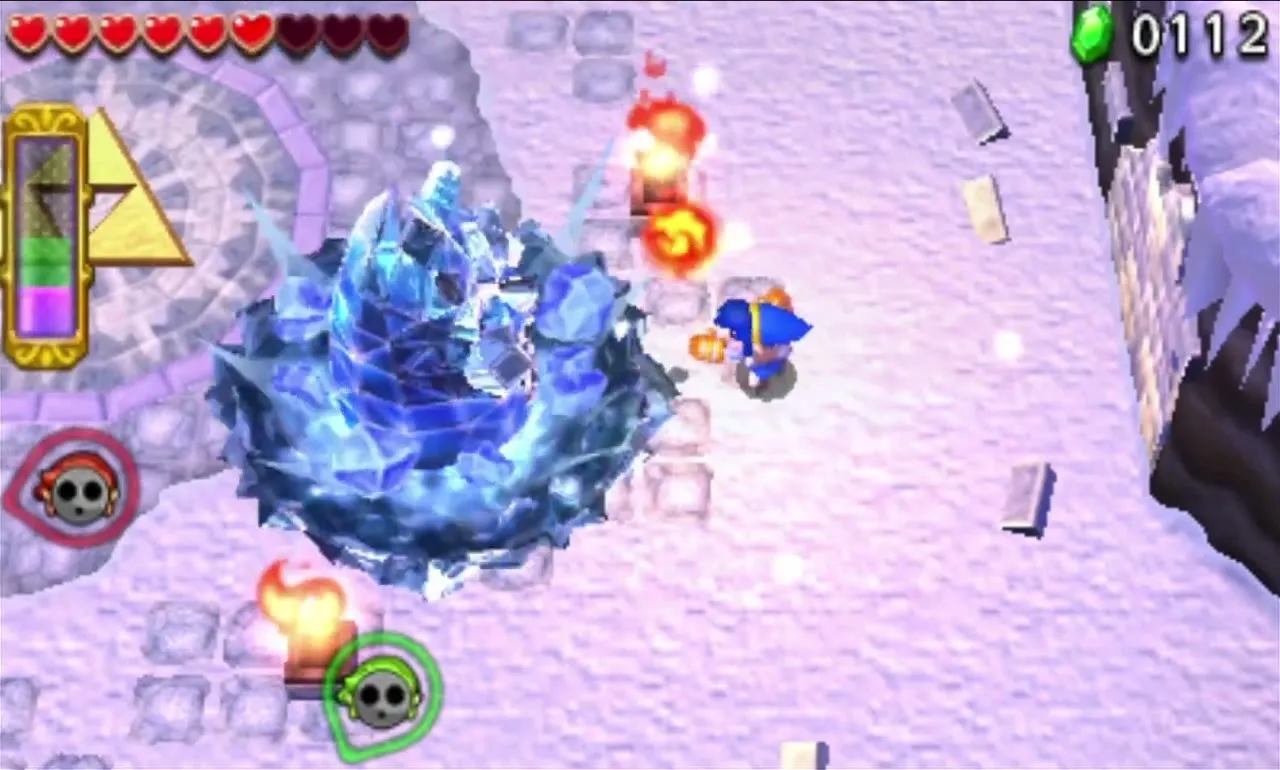
Once the armour is gone, the pond drains and Freezlord hops after you, leaving puddles where it lands. Dodge the jumps and hit it with fire the moment it lands. It jumps faster as it weakens, and a few more hits finish it. Once it falls, the Gateway to the chest room opens.

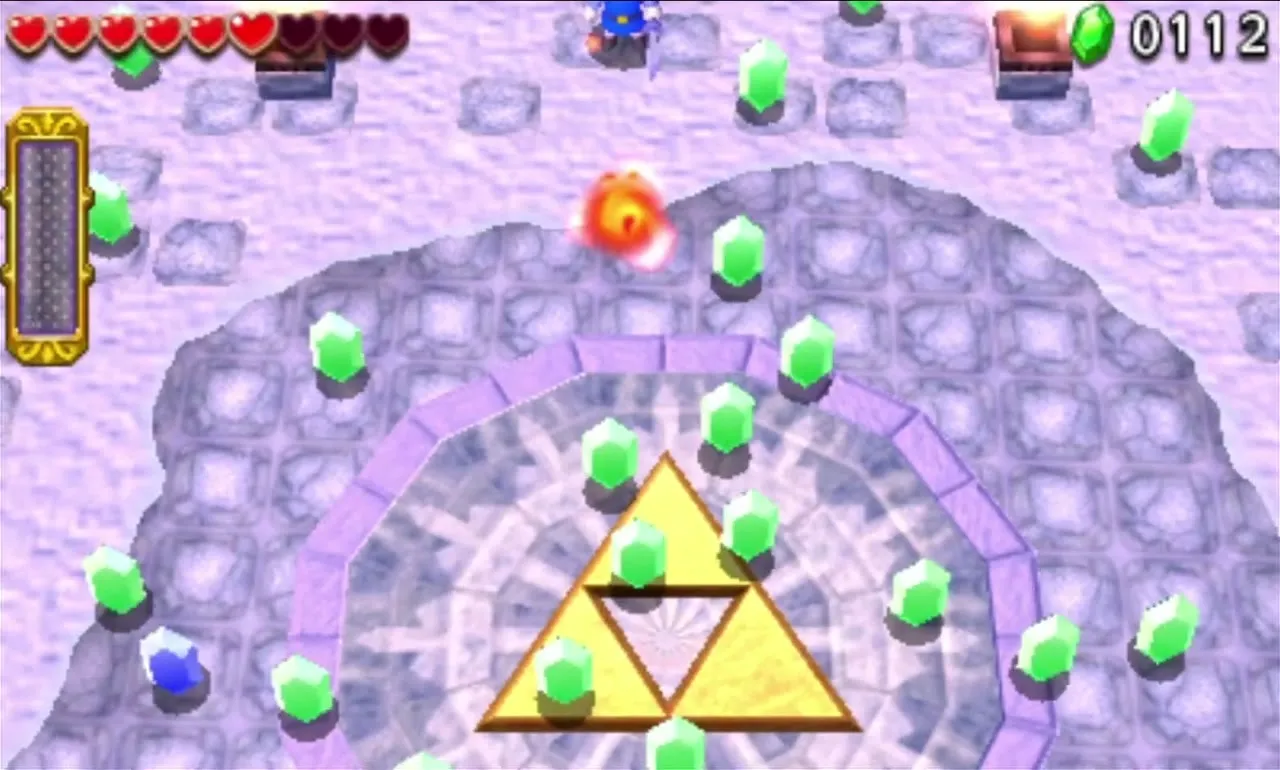

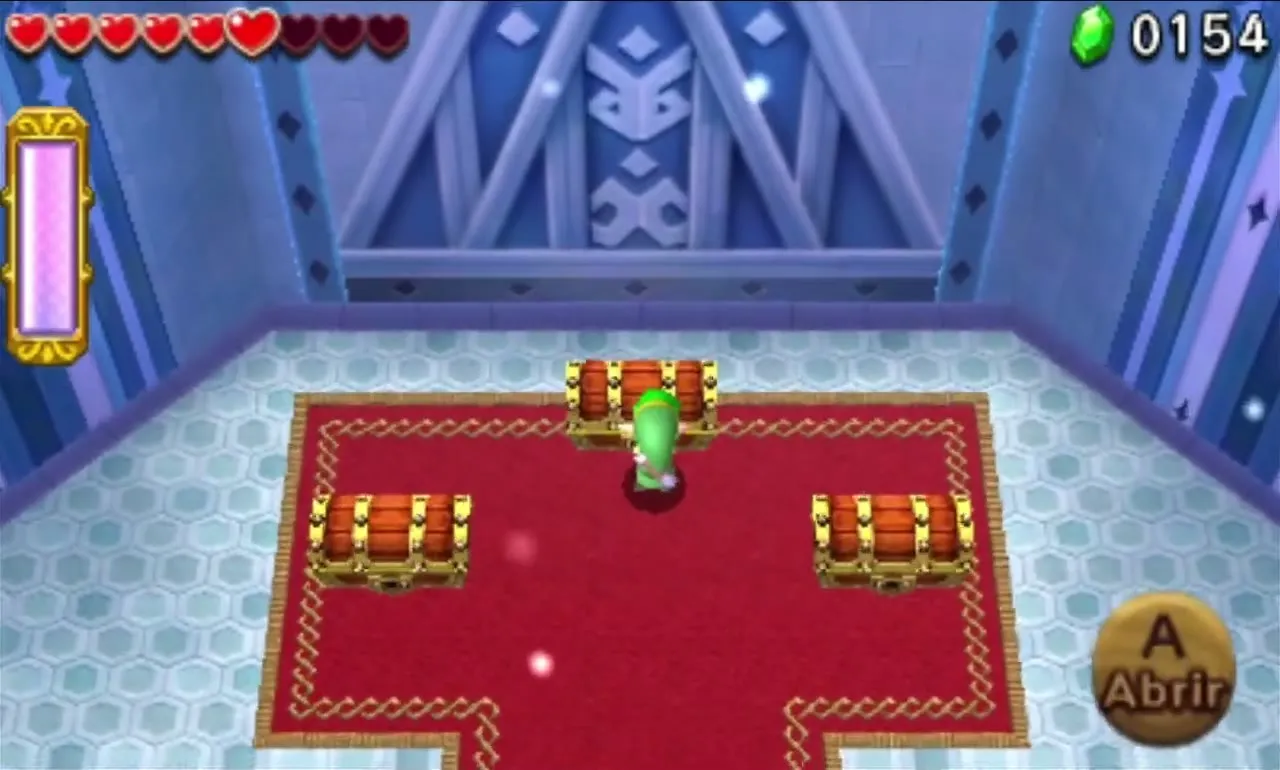
Snowball Ravine treasure chests
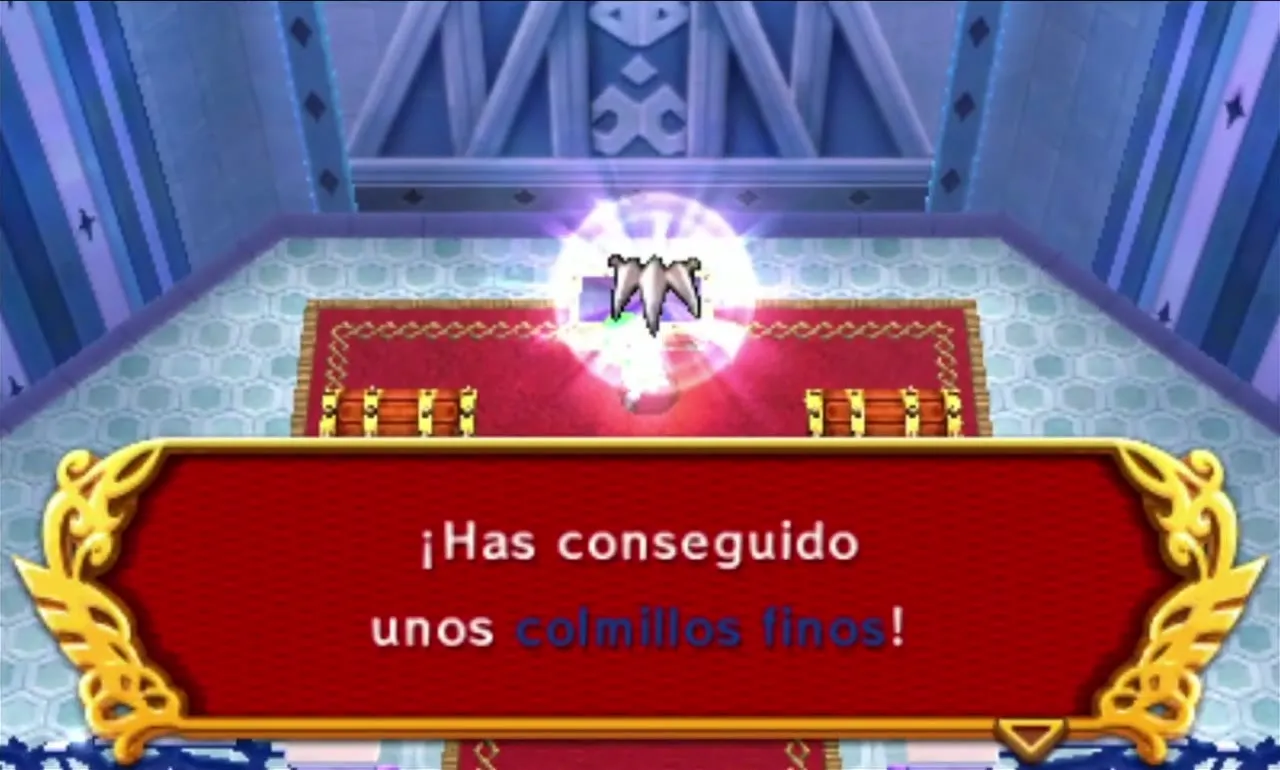
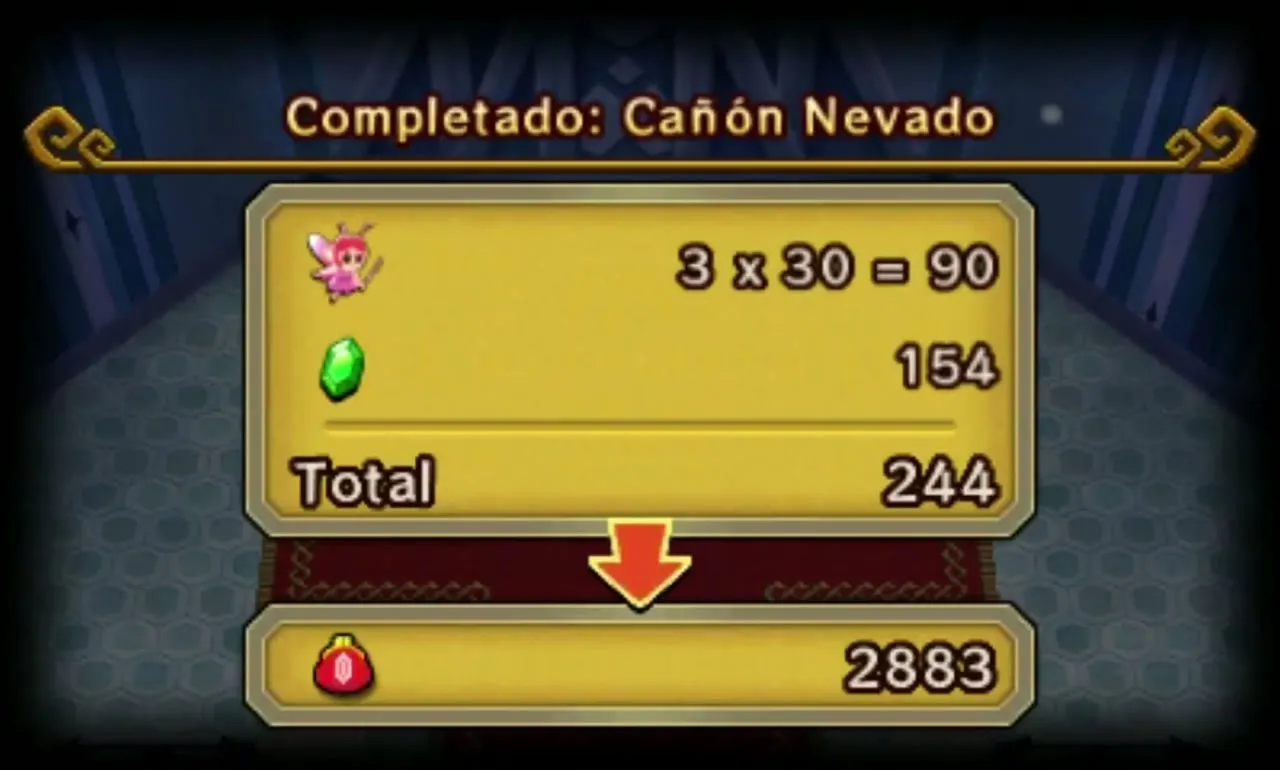
A first clear pays out 2 Fluffy Fuzz and 1 Serpent Fangs. Harder Drablands Challenge runs here can also give Tiny Snowflake, Crimson Shell, Freezard Water and Chill Stone. Fluffy Fuzz is needed for the Cozy Parka.
Snowball Ravine offers Adventure in the dark, Fewer Heart Containers and Transport the orb quickly. The last allows three minutes with a group and slightly longer alone. Look them up on Drablands Challenges.
Silver Shrine
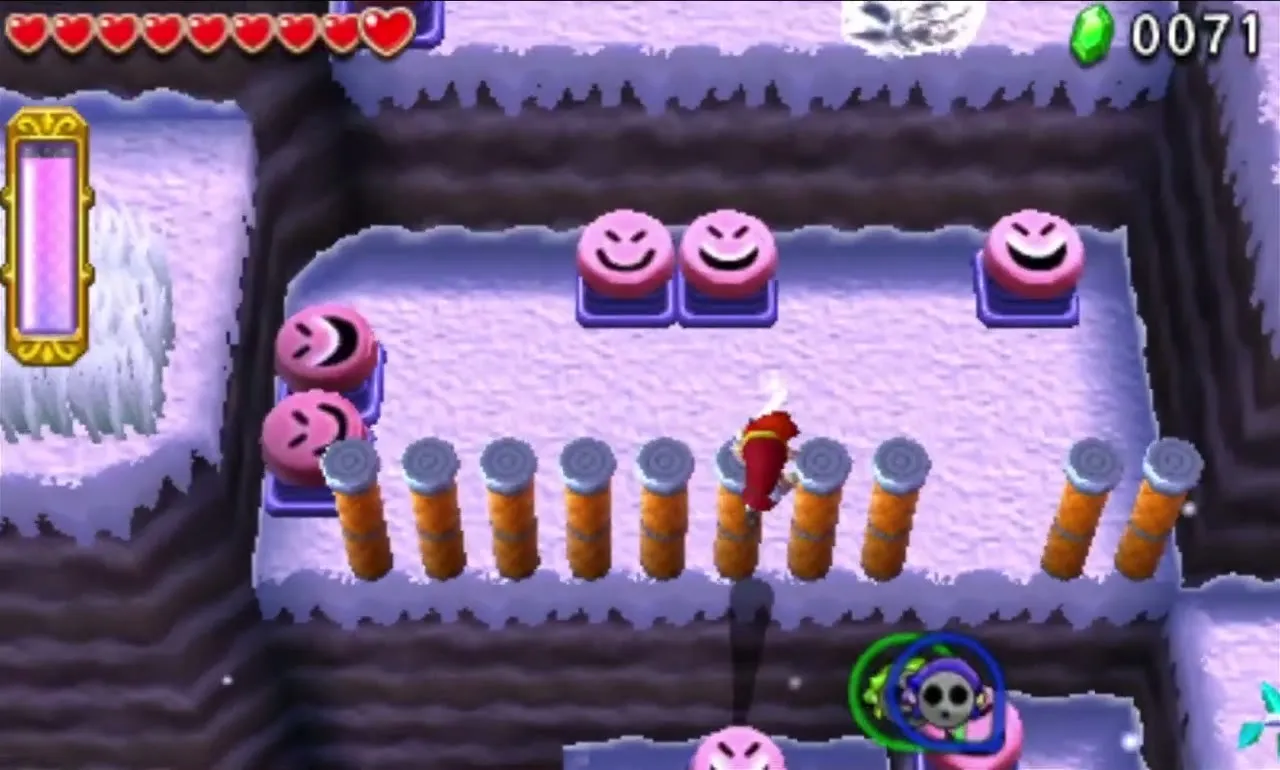
Silver Shrine is the last climb before the temple. It gives each Link a Magic Hammer, and the Level is full of Moles that spring you up ledges when pounded. Hammers also shatter Stalagmites, flip Terrorpins and finish Deadrocks, so expect a lot of hammering.

Silver Shrine Stage 1
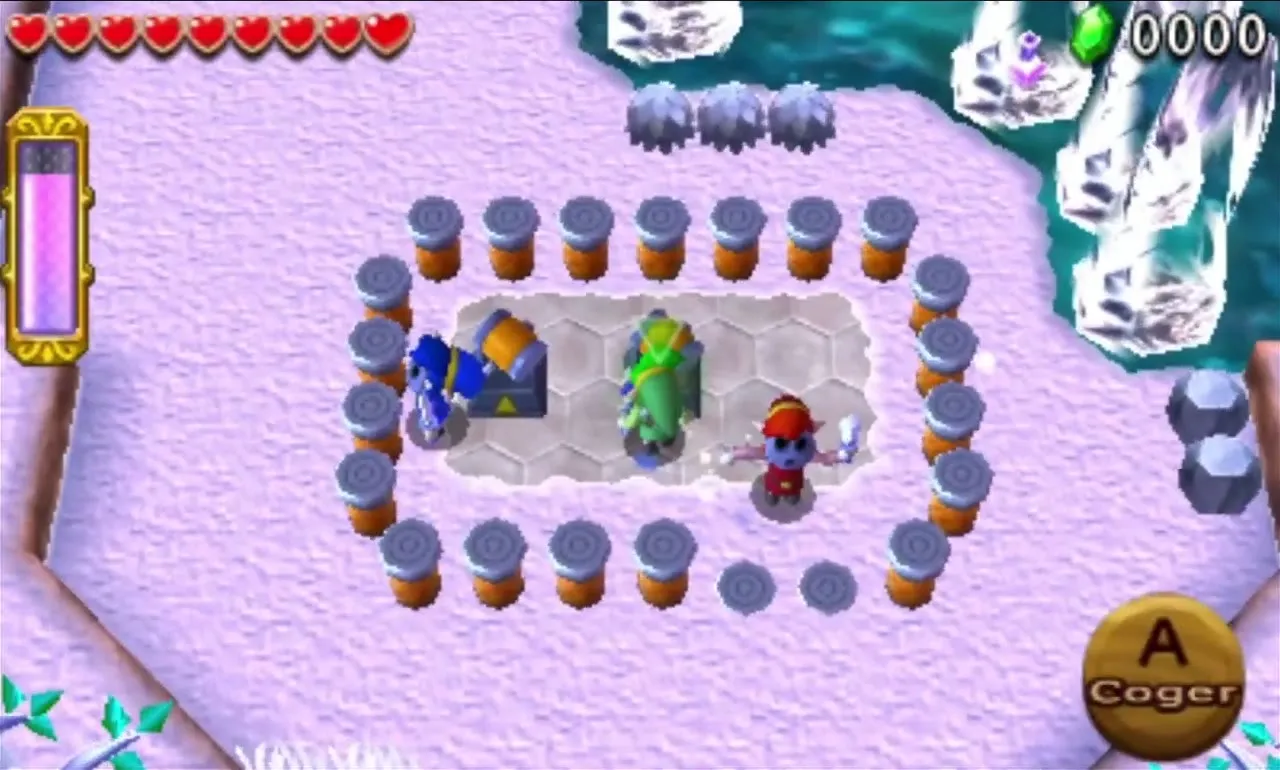
Three Magic Hammers sit surrounded by Stakes, and you need the Hammer to pound Stakes, so throw one Link after another in to grab them. East of the hammers is an ice rink with a Squiddy. West are Moles that spring you up to a ledge.
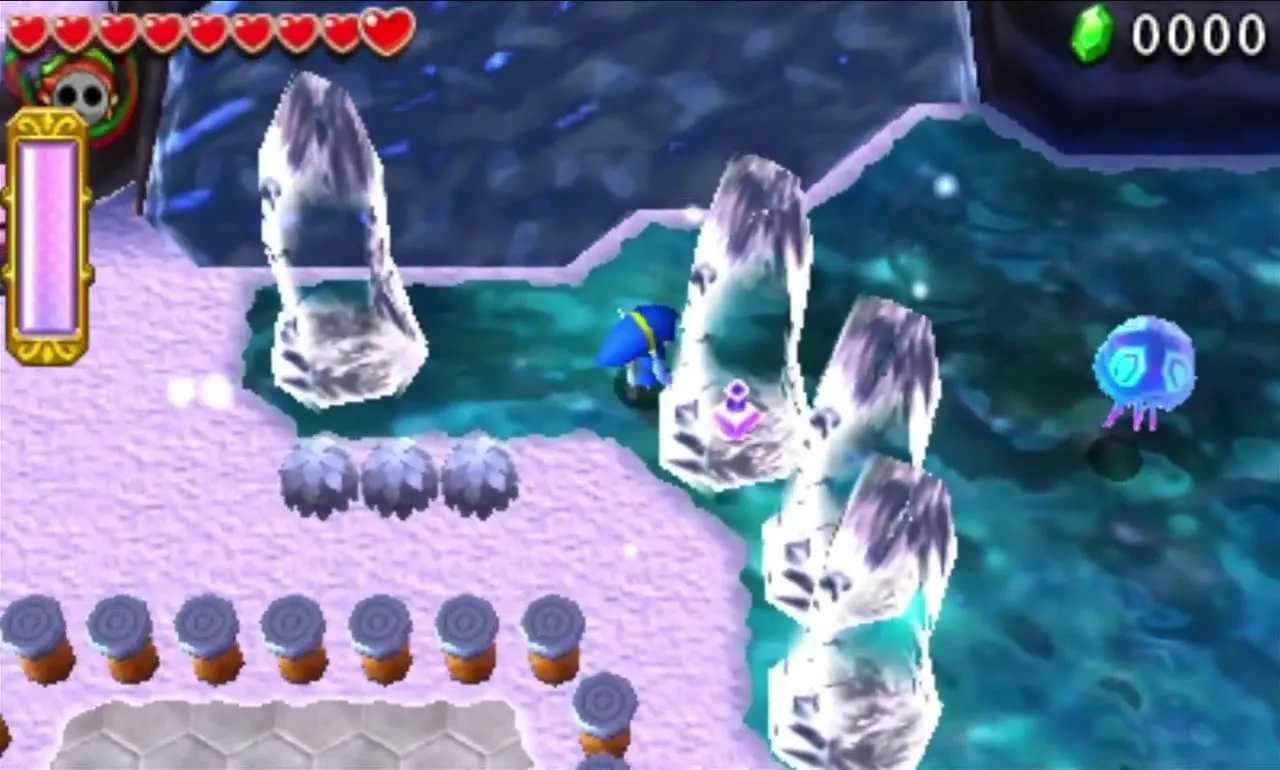
Cross the narrow curved ice bridge; if you fall, you return to the start. At the next Moles, tall Stakes stop the left Mole from reaching the ledge. Throw two Links onto the smaller ledge on the right, where they spring through a gap, then they stack a Totem and pound the tall Stakes so the third can follow. A few more Mole hops lead to the Gateway, and two chests along the way hold a Blue Rupee and a Red Rupee.

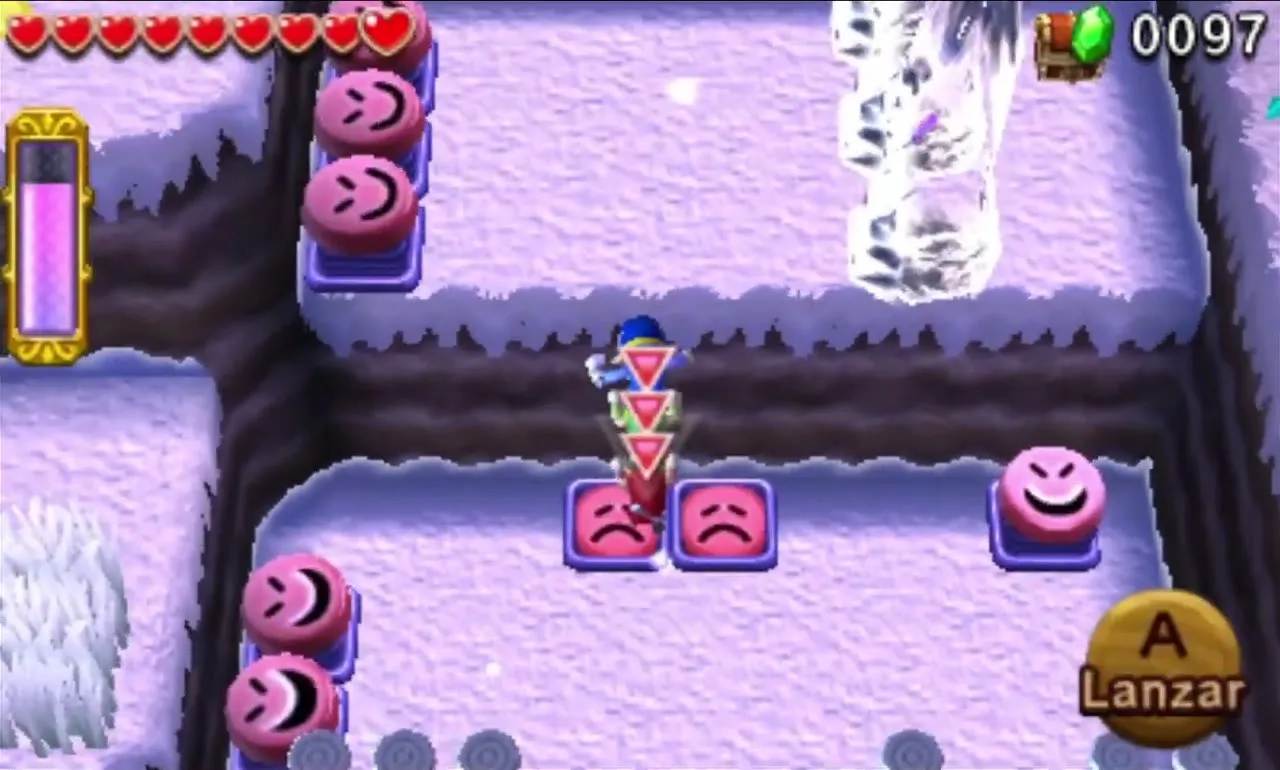

Silver Shrine Stage 2
Spring up to the next platform and a group of Terrorpins attacks. Whack them with the Hammer to flip them and expose the soft underside, which also breaks up stacked ones. A lift then carries you higher.

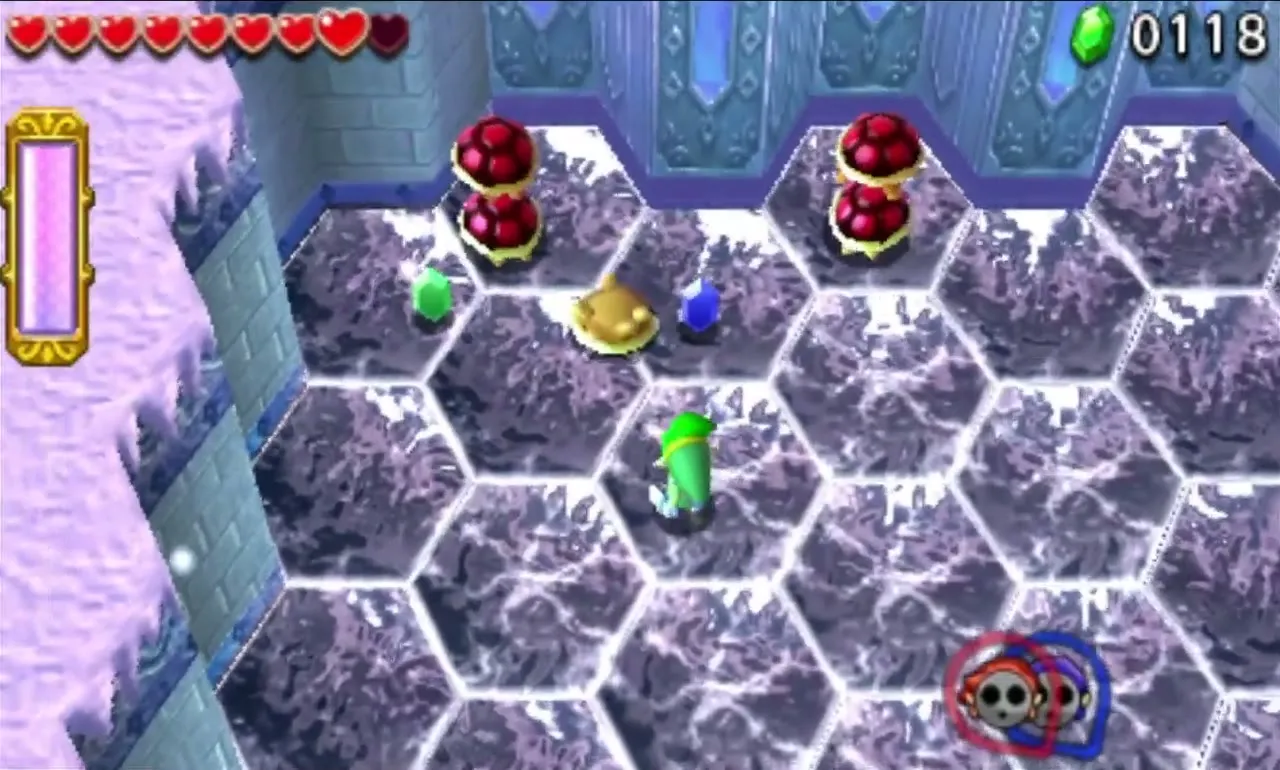
The second group stands on ice tiles over a pit, and Hammer hits make the tiles break faster. Use that: once tiles crack, knock the Terrorpins into the pit. When they are gone, a wall drops and Moles launch you to the Gateway.

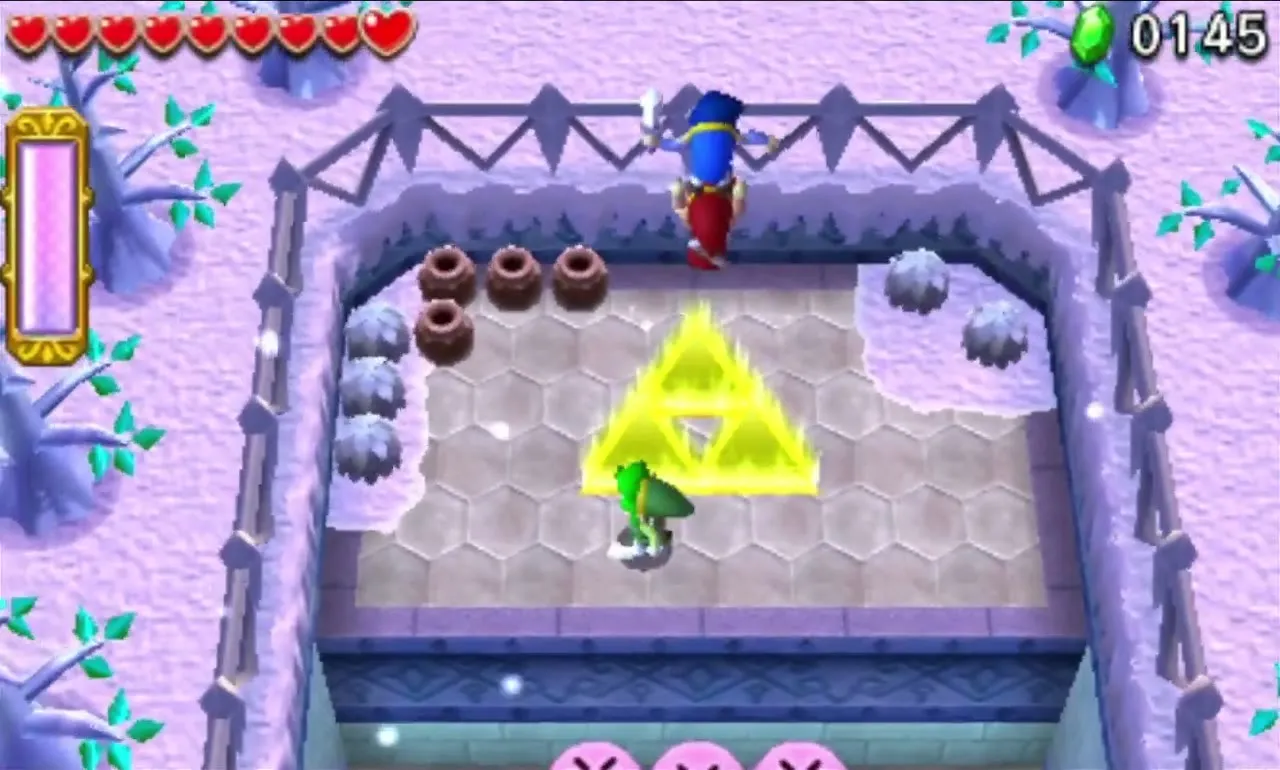
Silver Shrine Stage 3
An icy cliff is too slippery to climb. Pound the three Moles so they spring you toward a small platform sliding along the cliff edge, and time your hit to land on it. A Big Switch just beyond opens a gate when all three Links stand on it.
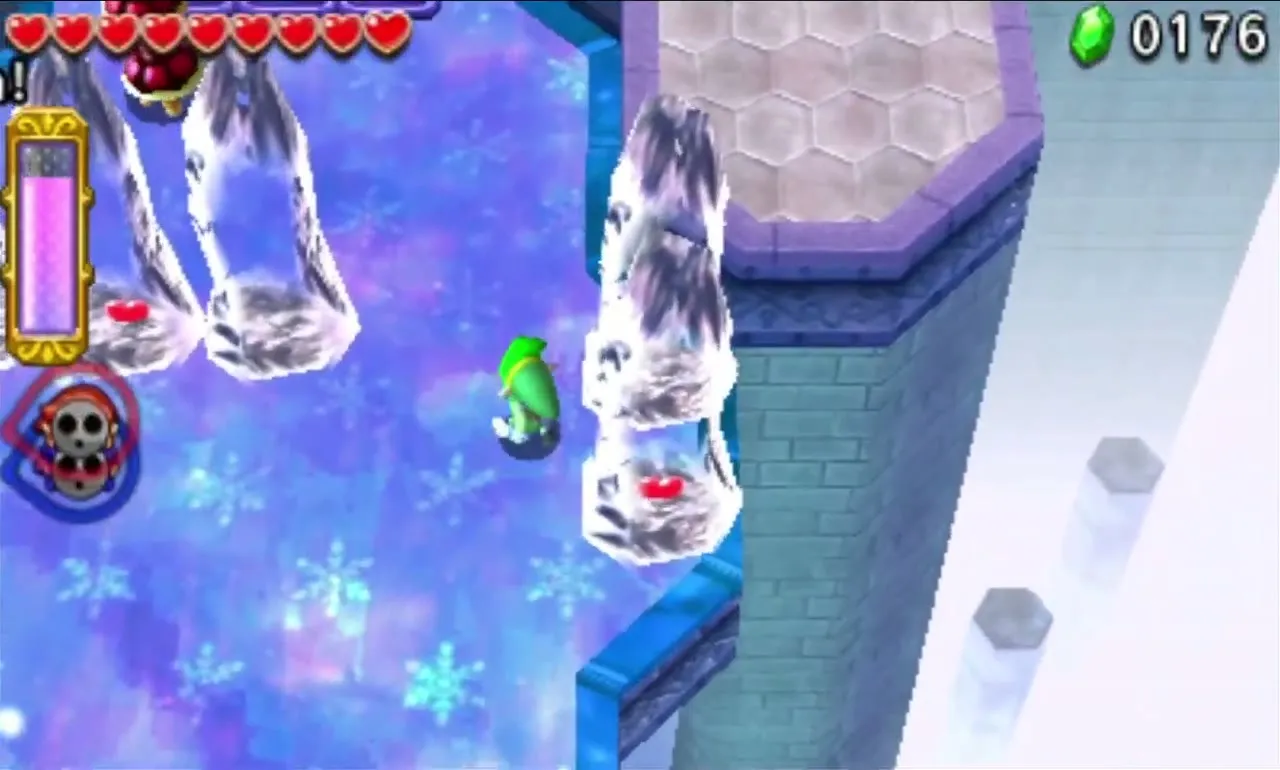
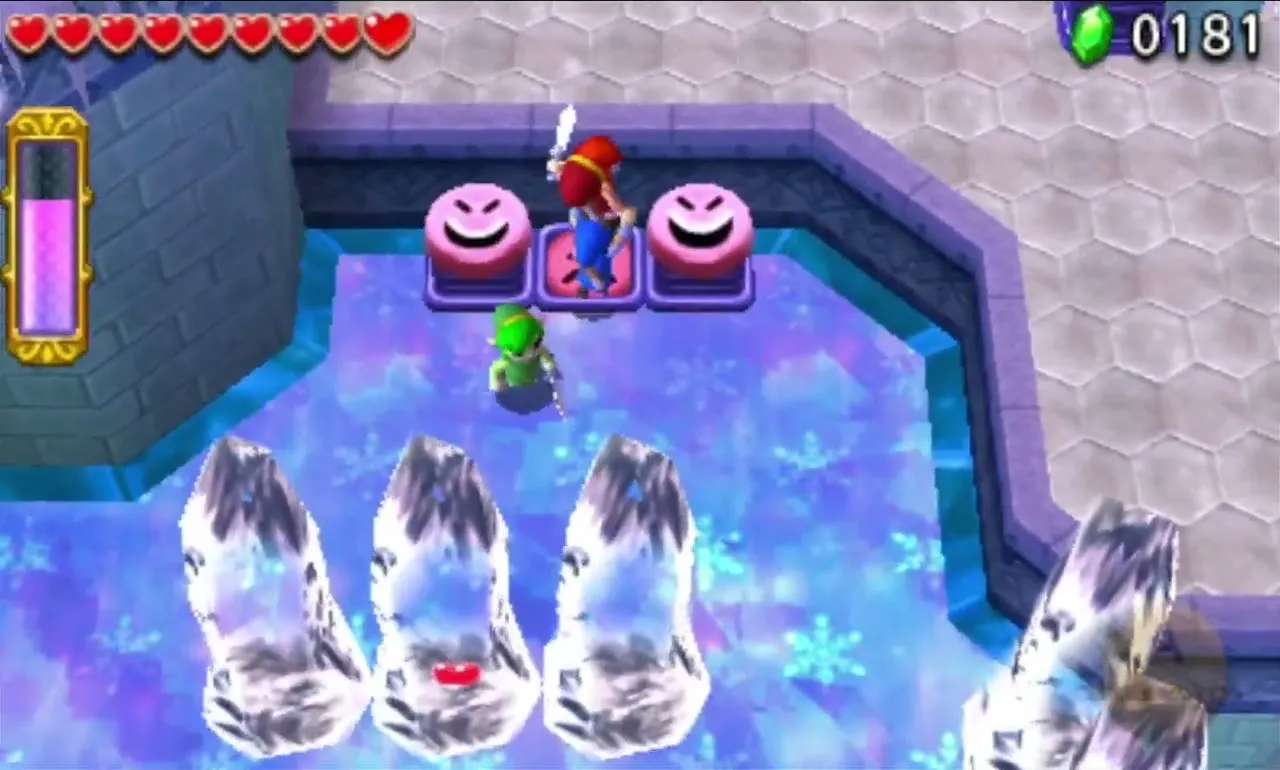

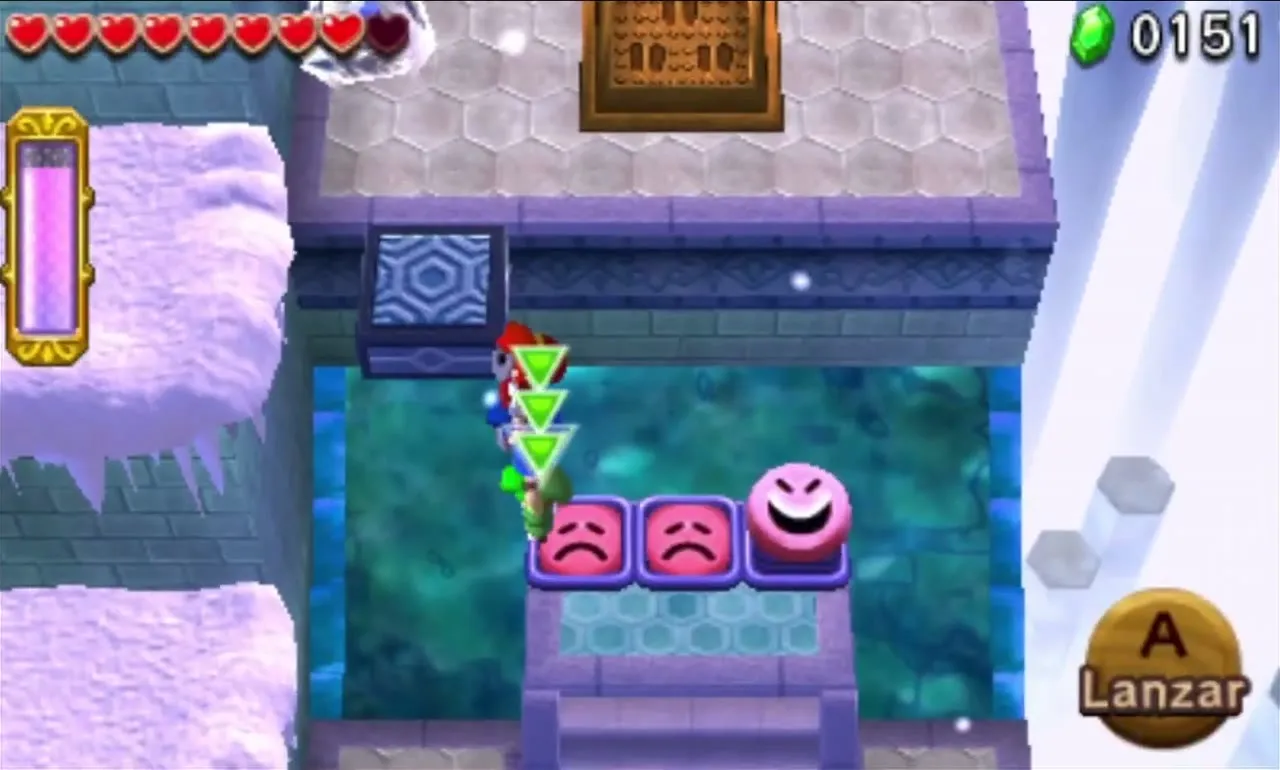
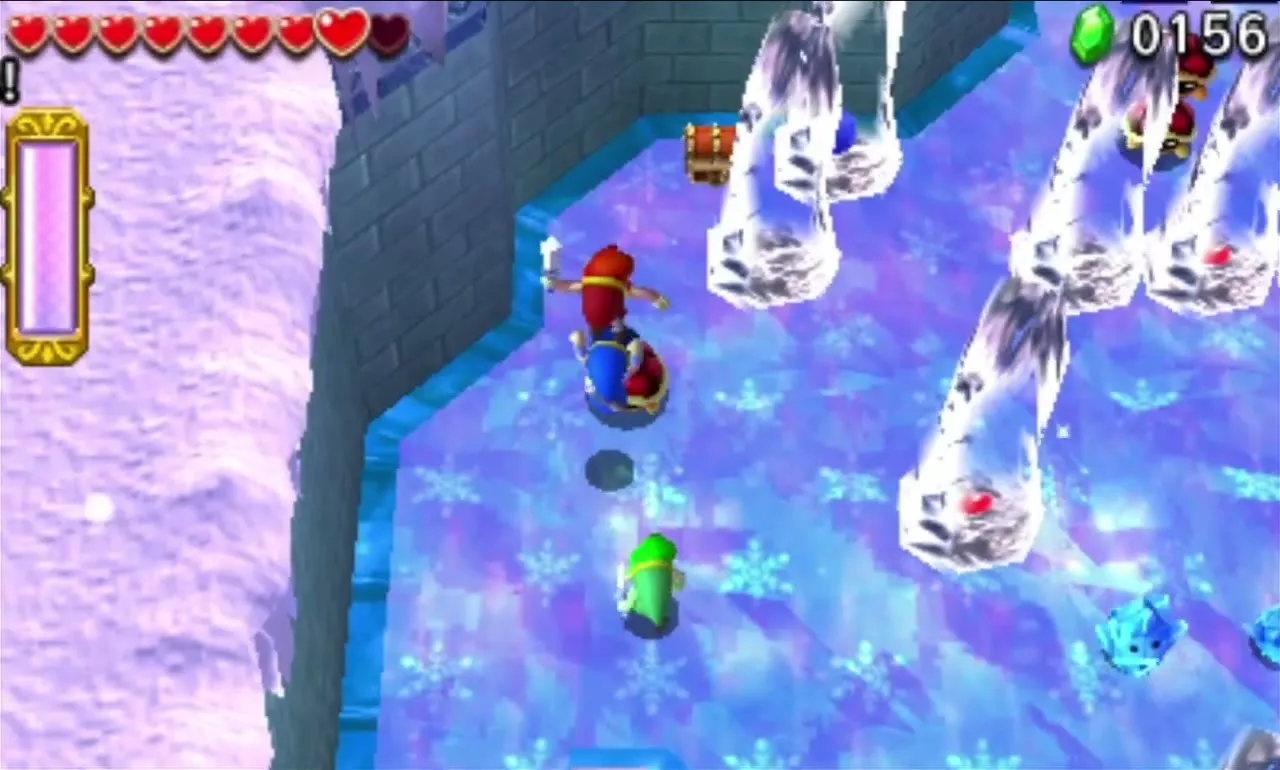
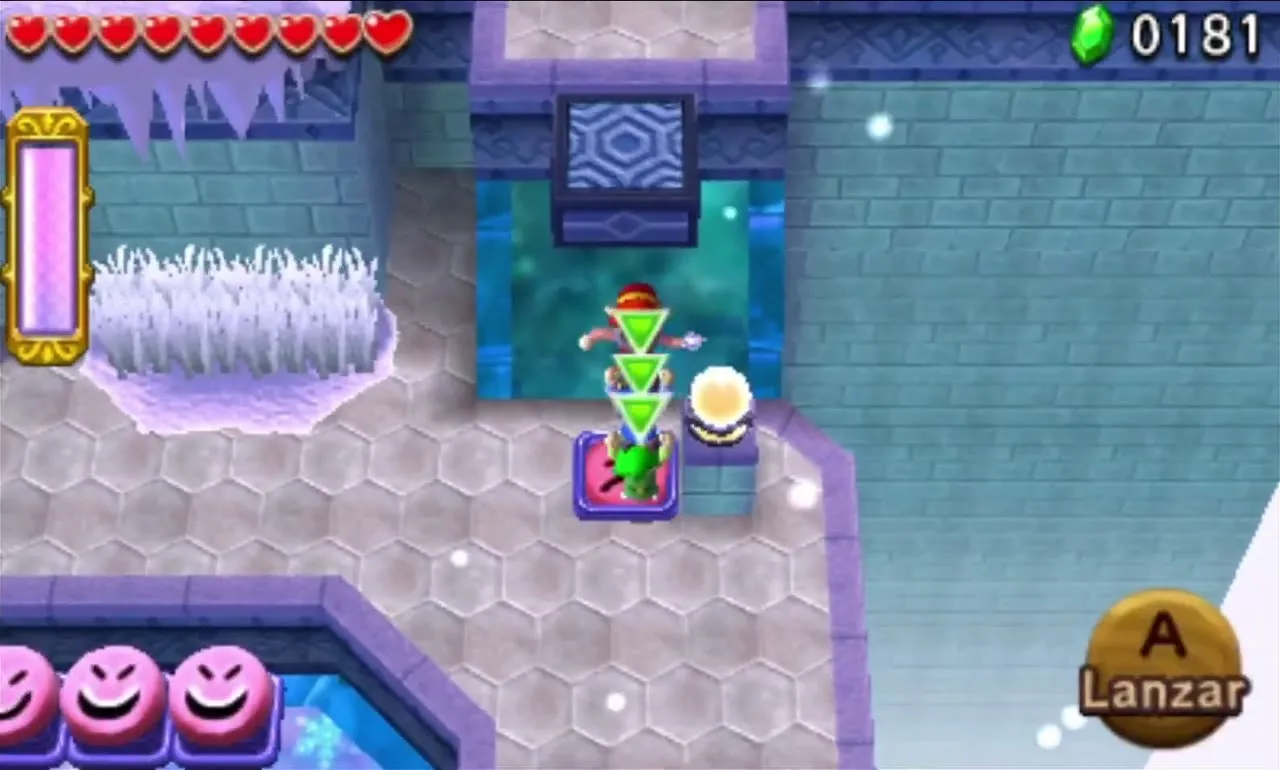
Inside lies an ice rink populated by Stalagmites, Terrorpins and sliding Mini Freezards. A Red Rupee chest hides behind one Stalagmite. At the north end, Moles fling you onto a ledge beside a very tall Mole and a raised Shock Switch. Two Links make a Totem to hit the Mole and the switch; the third boosts them into a full Totem and jumps onto the timed platform before it vanishes. A last Big Switch unlocks the path to the Gateway.
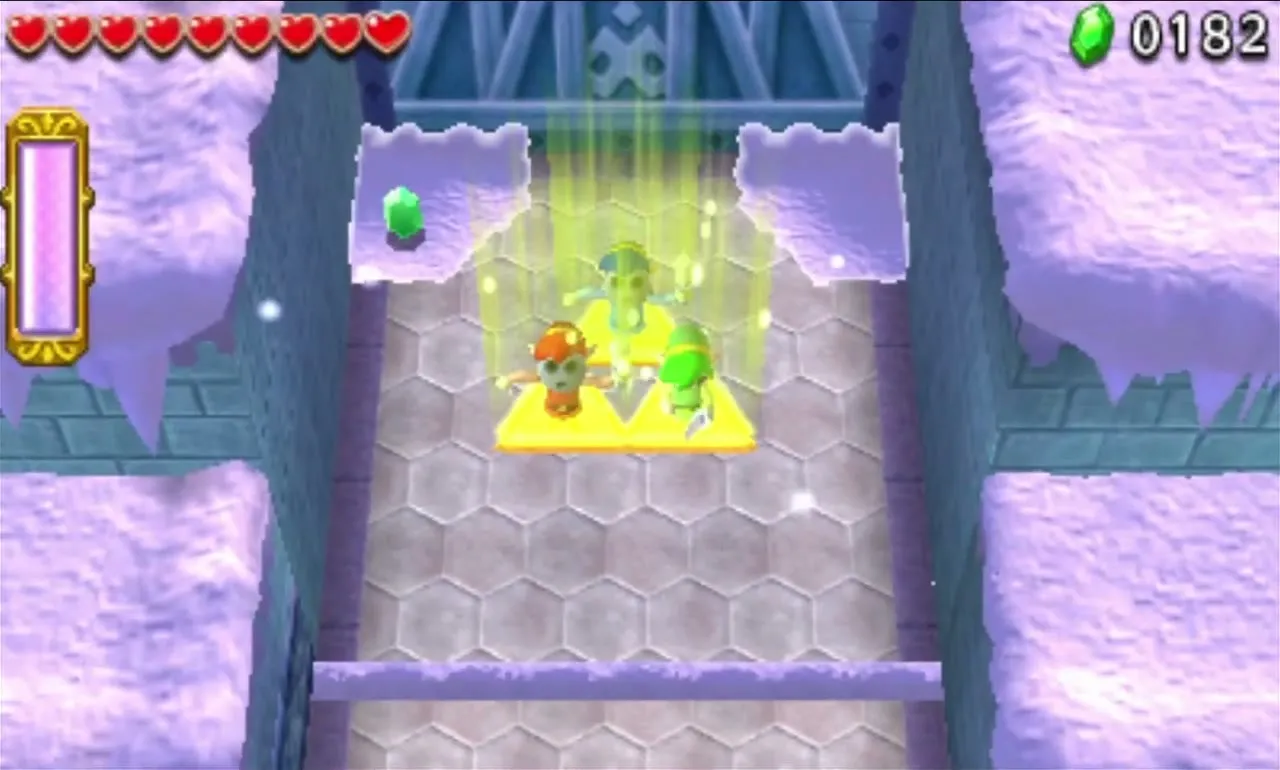
Silver Shrine Stage 4
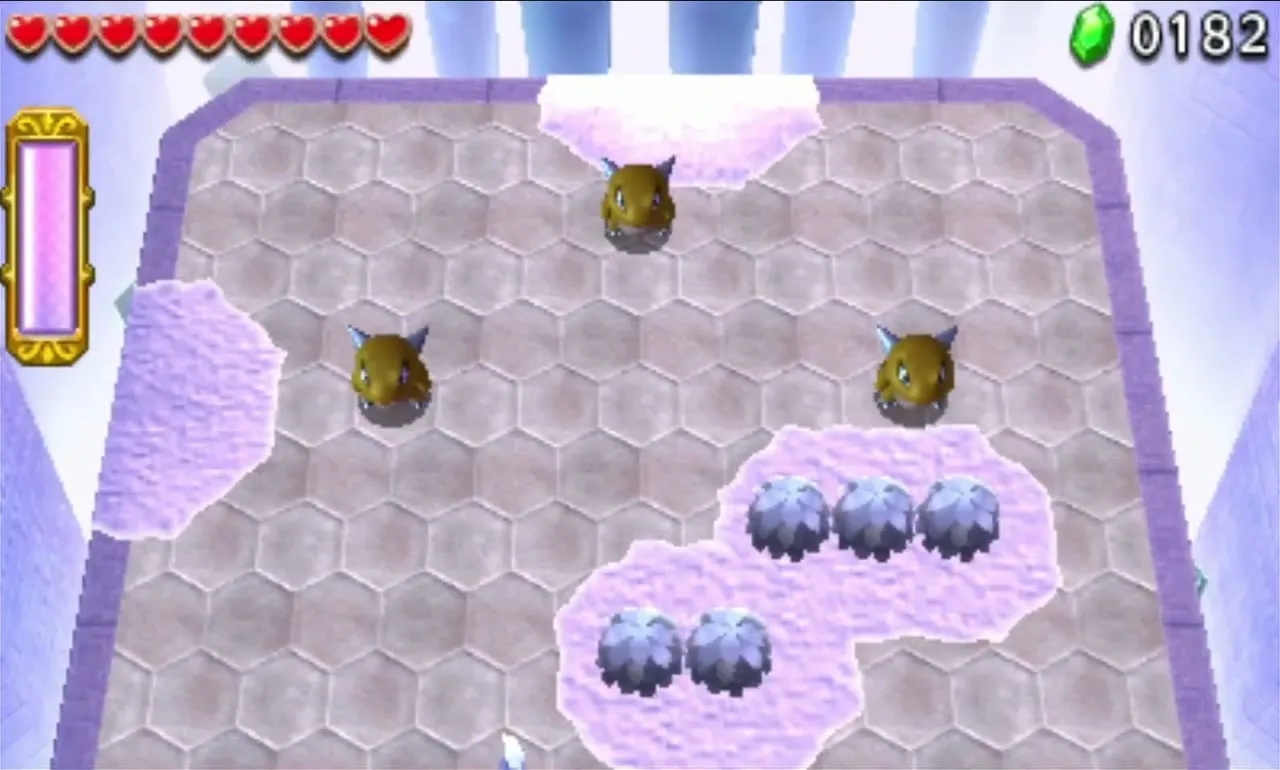
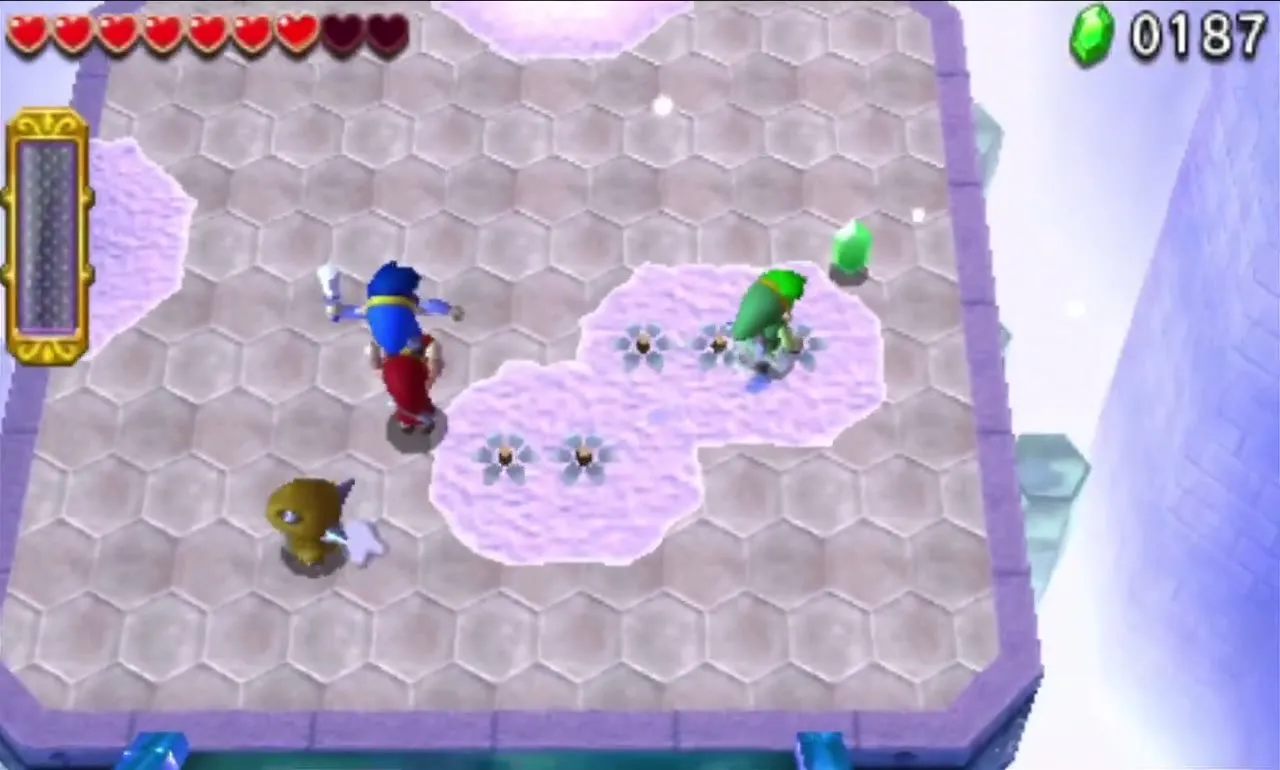
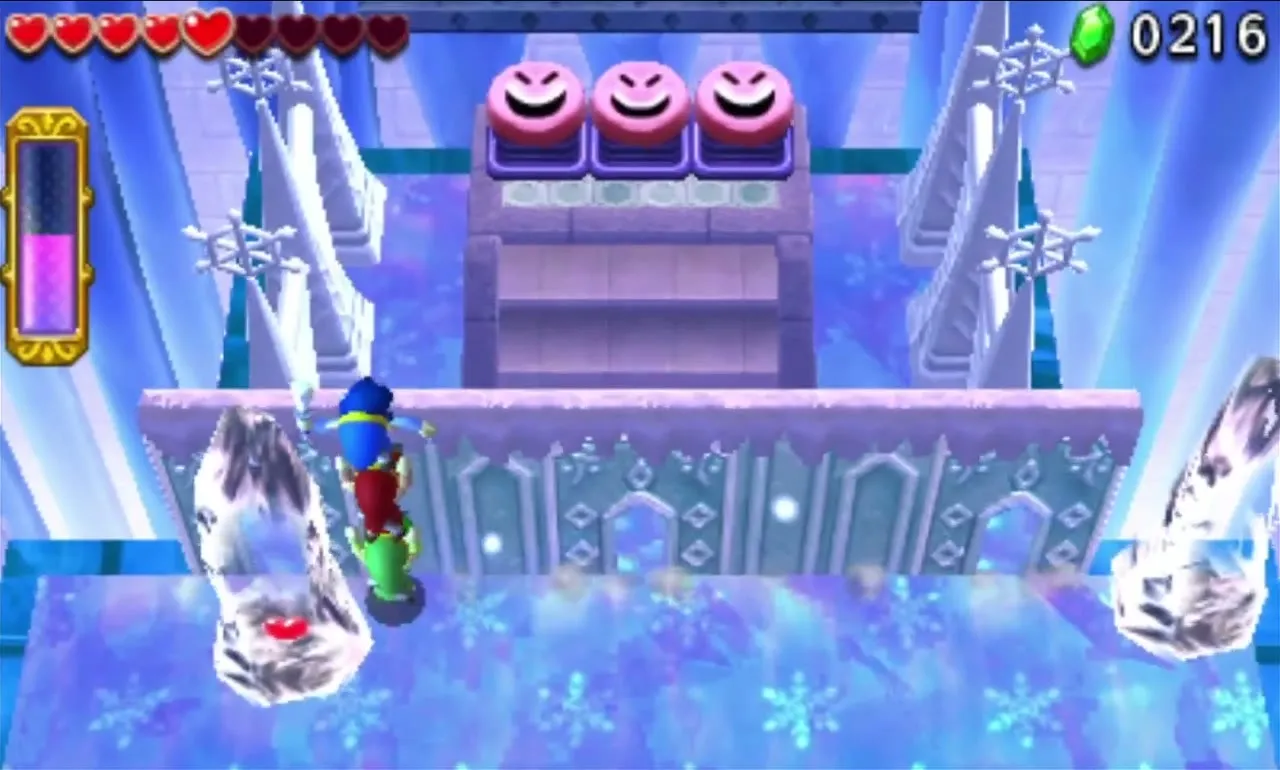
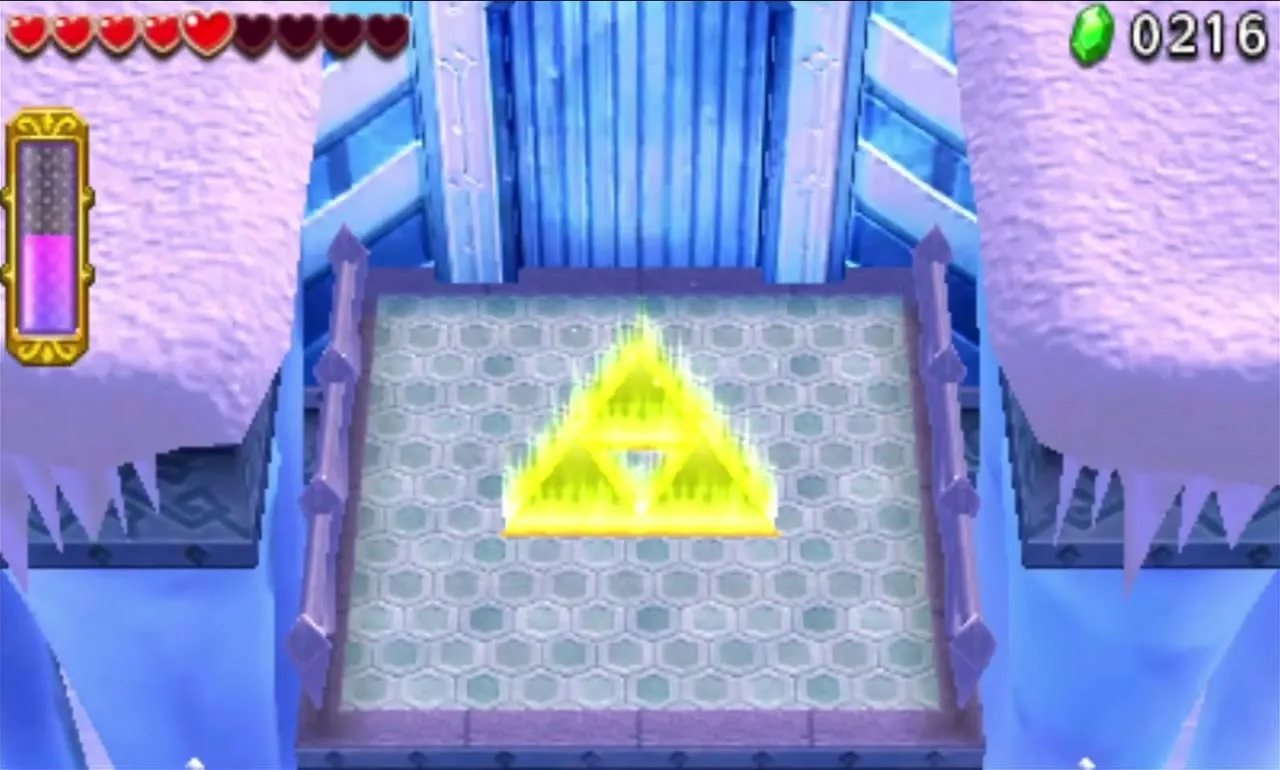
At the top of the mountain, three Deadrocks wait on a platform. A sword hit stuns them into stone for a moment, but only the Magic Hammer kills them. A bridge then leads to an icy platform with three more, where you slide away after each sword strike. Throw a Pot at them to stun instead, or team up so one Link stuns and another smashes. Moles after the last one lead to the final Gateway.

Silver Shrine treasure chests
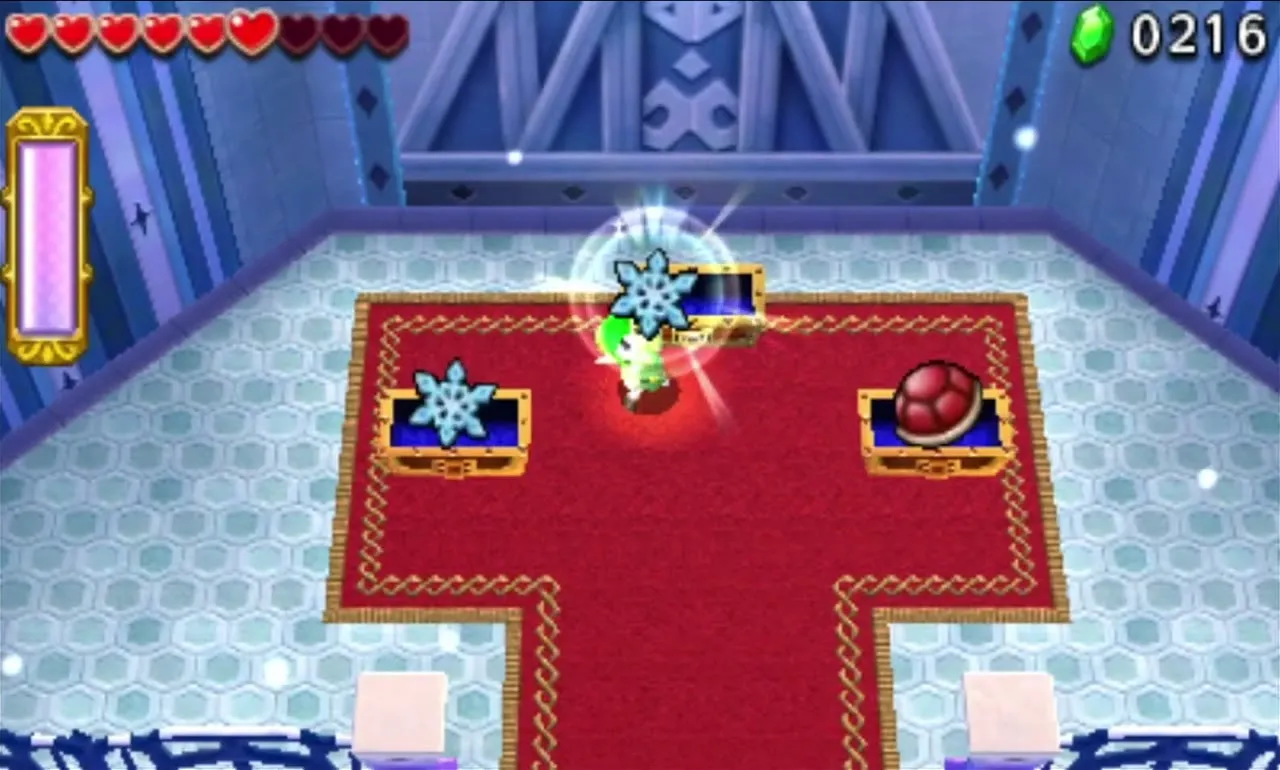
A first clear gives 2 Tiny Snowflake and 1 Crimson Shell. Other challenge runs can add Serpent Fangs, Freezard Water, Chill Stone and, from the hardest challenge, an Ice Rose.

Silver Shrine offers Win without using a sword, Halved attack and defense, and Evade the Wallmaster. Their rewards are on Drablands Challenges.

Ice Temple
The Ice Temple is the Area’s final Level and uses all of its tricks: Hammers and Fire Gloves in the same team, icy floors, Snowballs used as shields and a Blizzagia boss at the end. Slippery floors make the Cozy Parka useful, and Stalagmites and snow mounds hide hearts and Rupees.


Ice Temple Stage 1
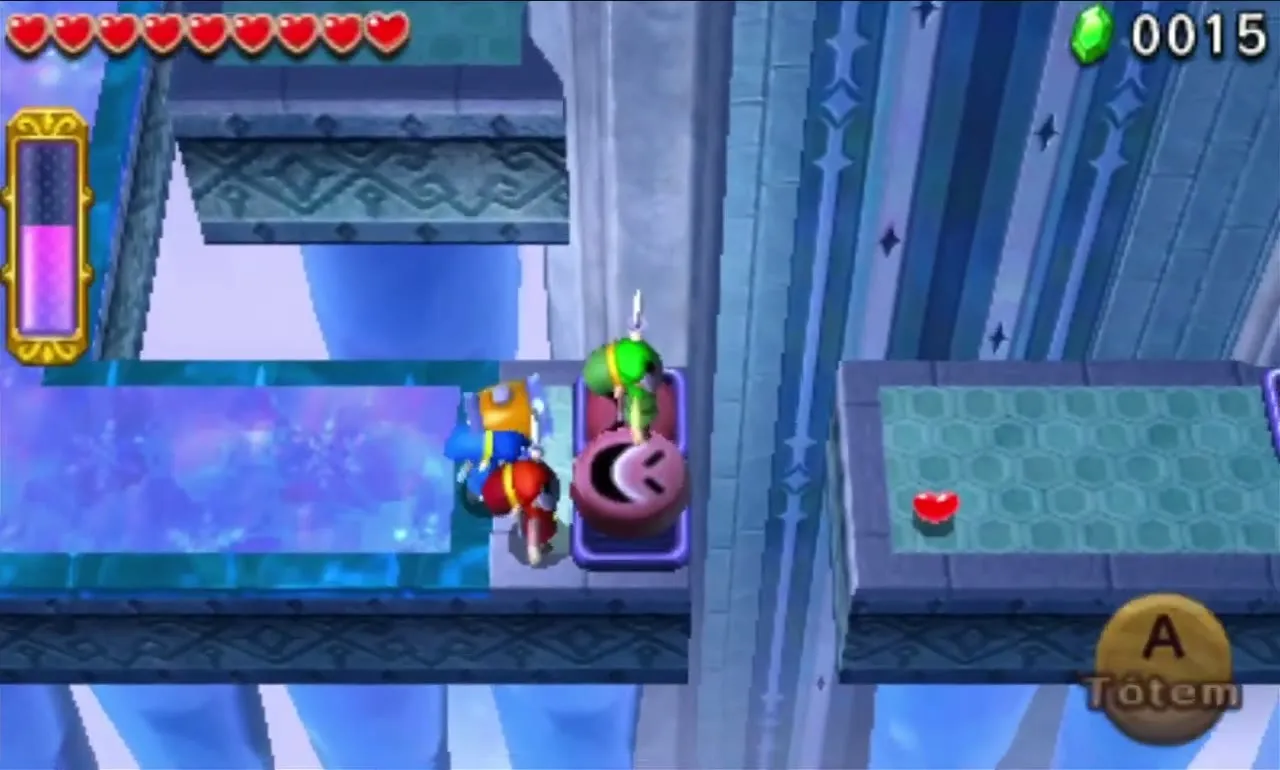
Two Magic Hammers wait at the start. One Link takes a Hammer and smashes the Stalagmite blocking the frozen walkway to a platform with Terrorpins. Flip them with the Hammer. Moles to the east spring you toward the Gateway, but Stalagmites block the far side for now.
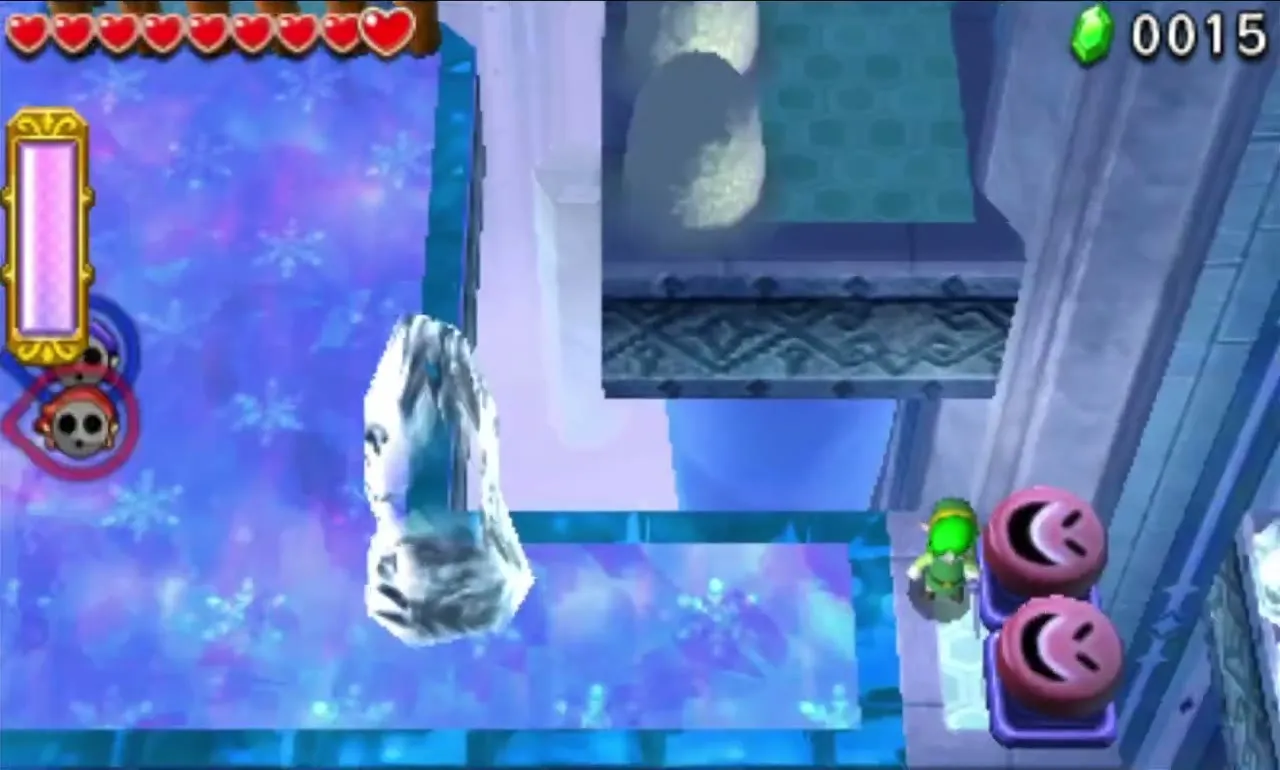
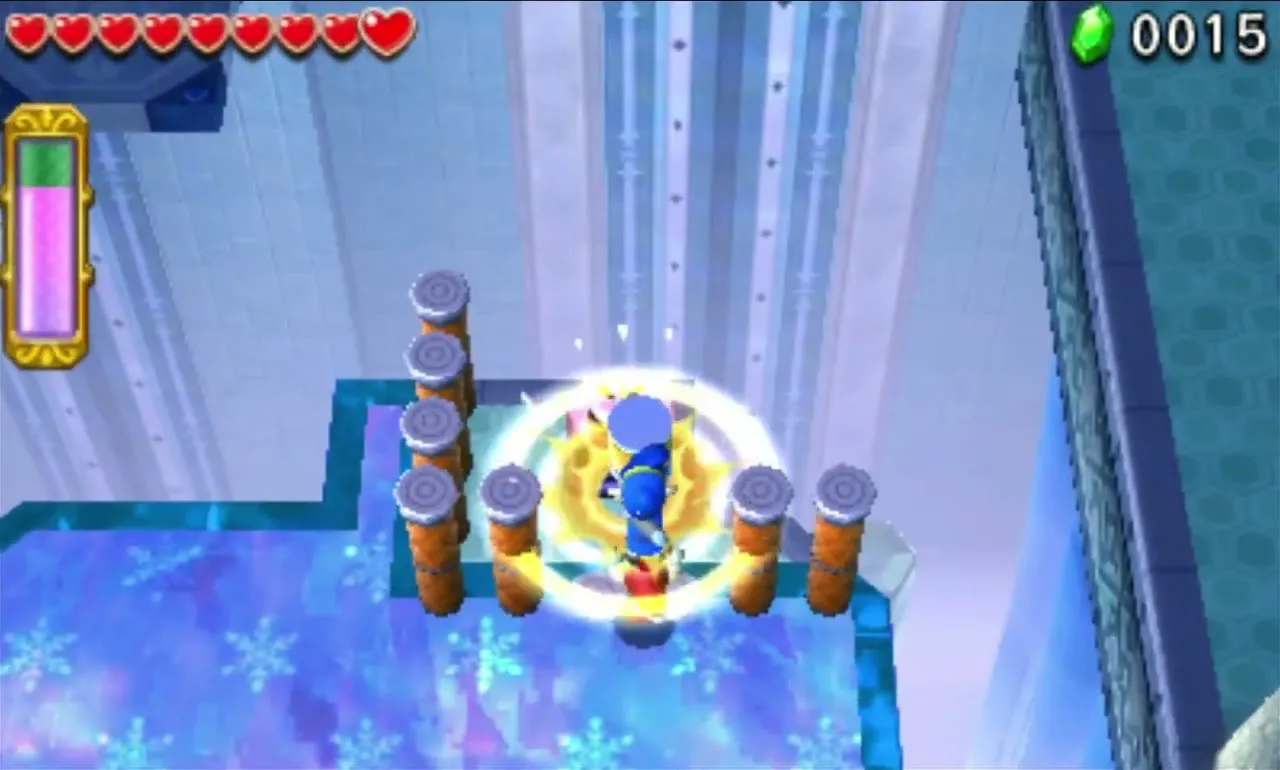
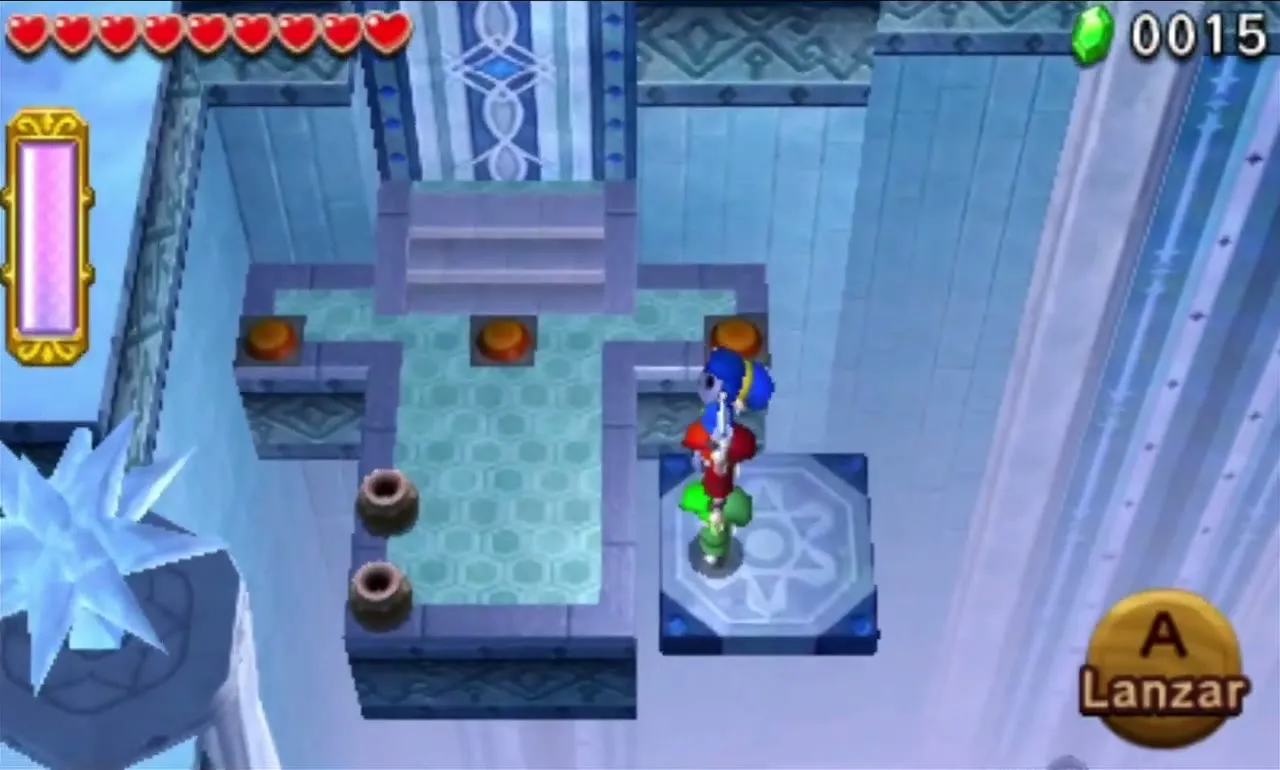
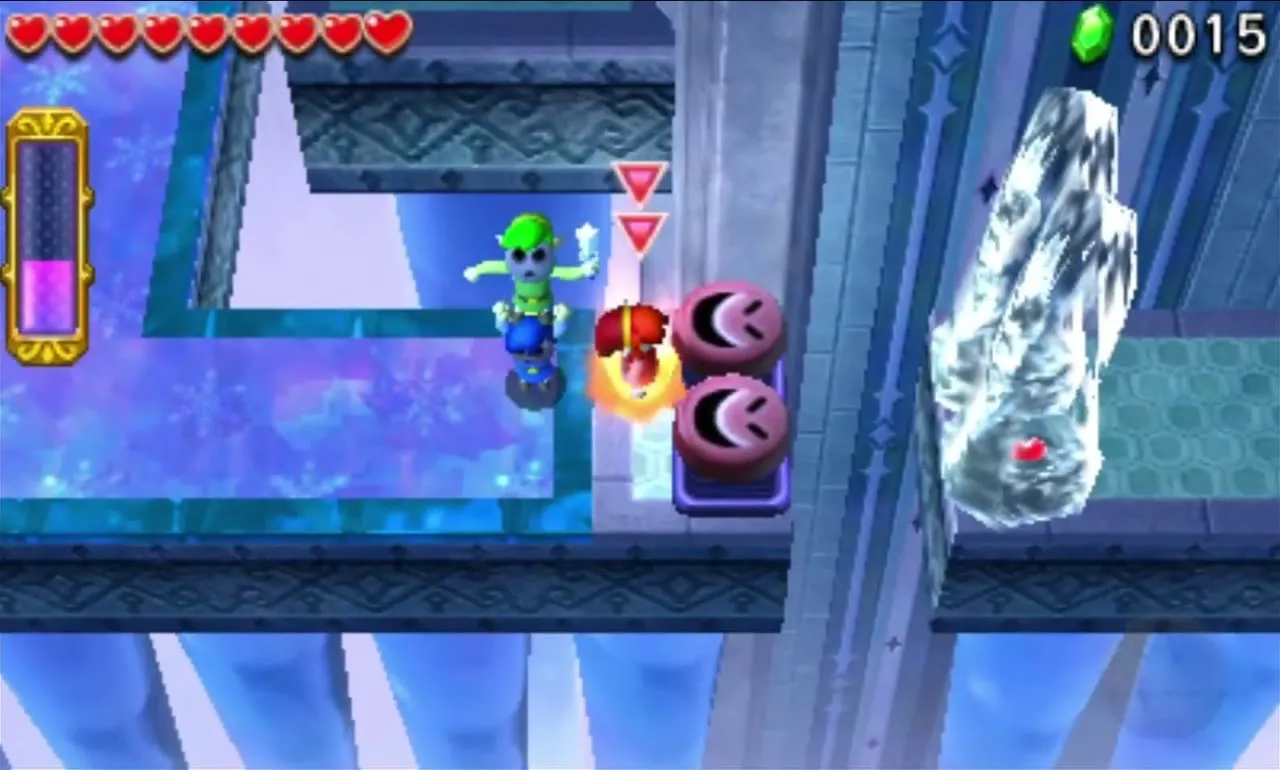
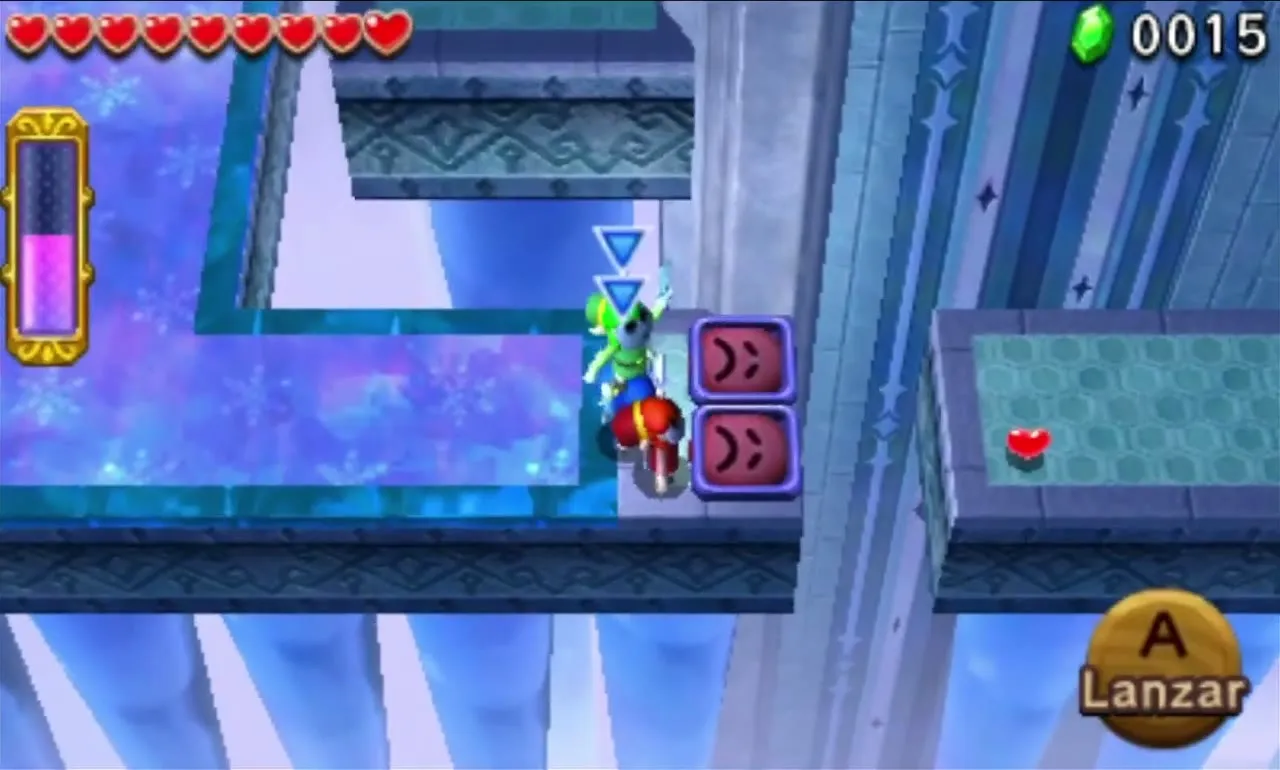
To reach the Fire Gloves, the Mole to the north is blocked by tall Stakes. Form a Totem and pound them down, then hit the Mole so you land on a moving platform rather than in the pit. That leaves you on a high ledge with three Floor Switches that open the room holding the Fire Gloves. Take them, then melt the Stalagmites by the Gateway.
Ice Temple Stage 2
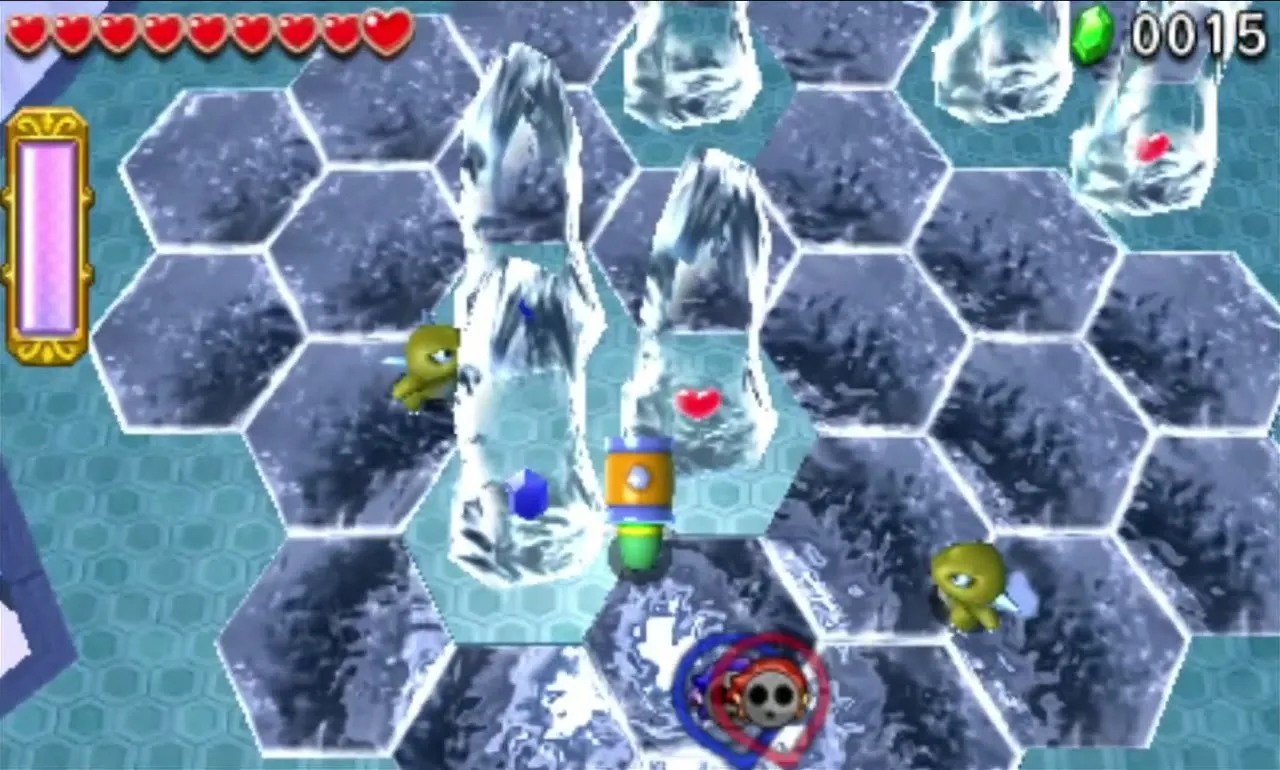
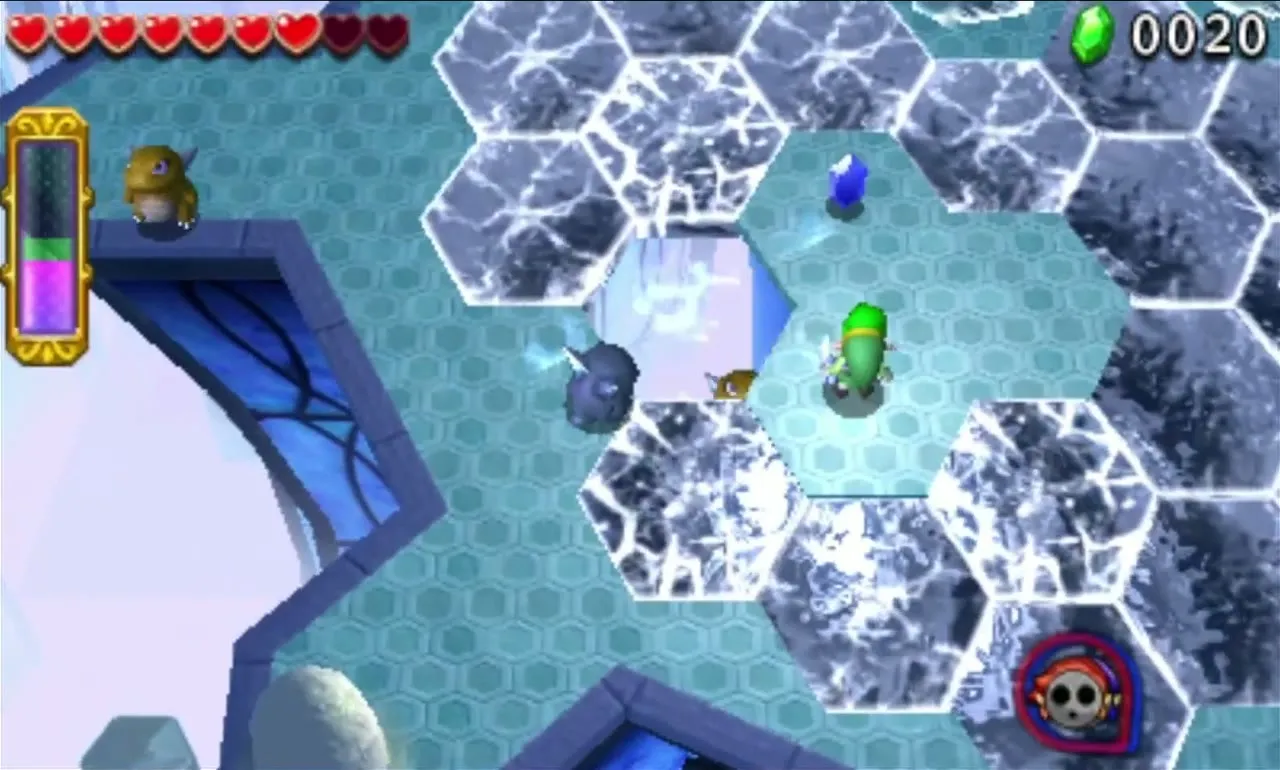
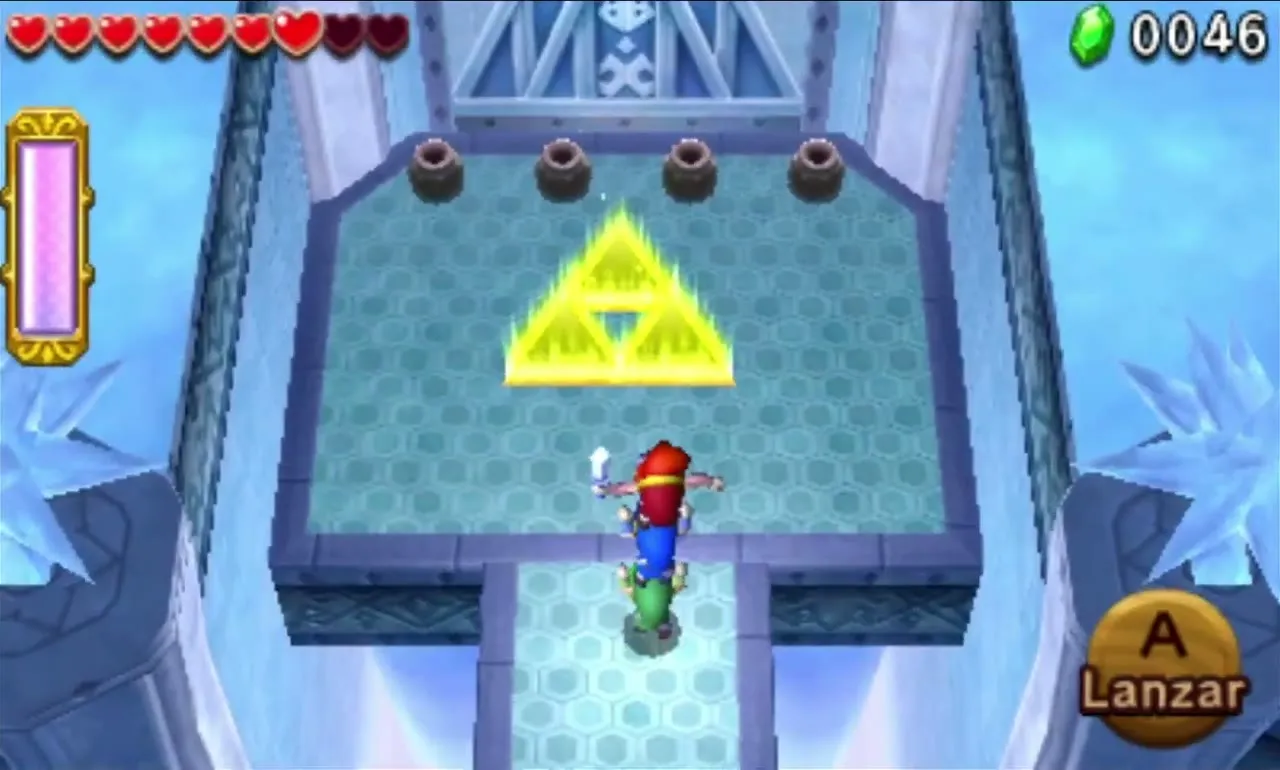
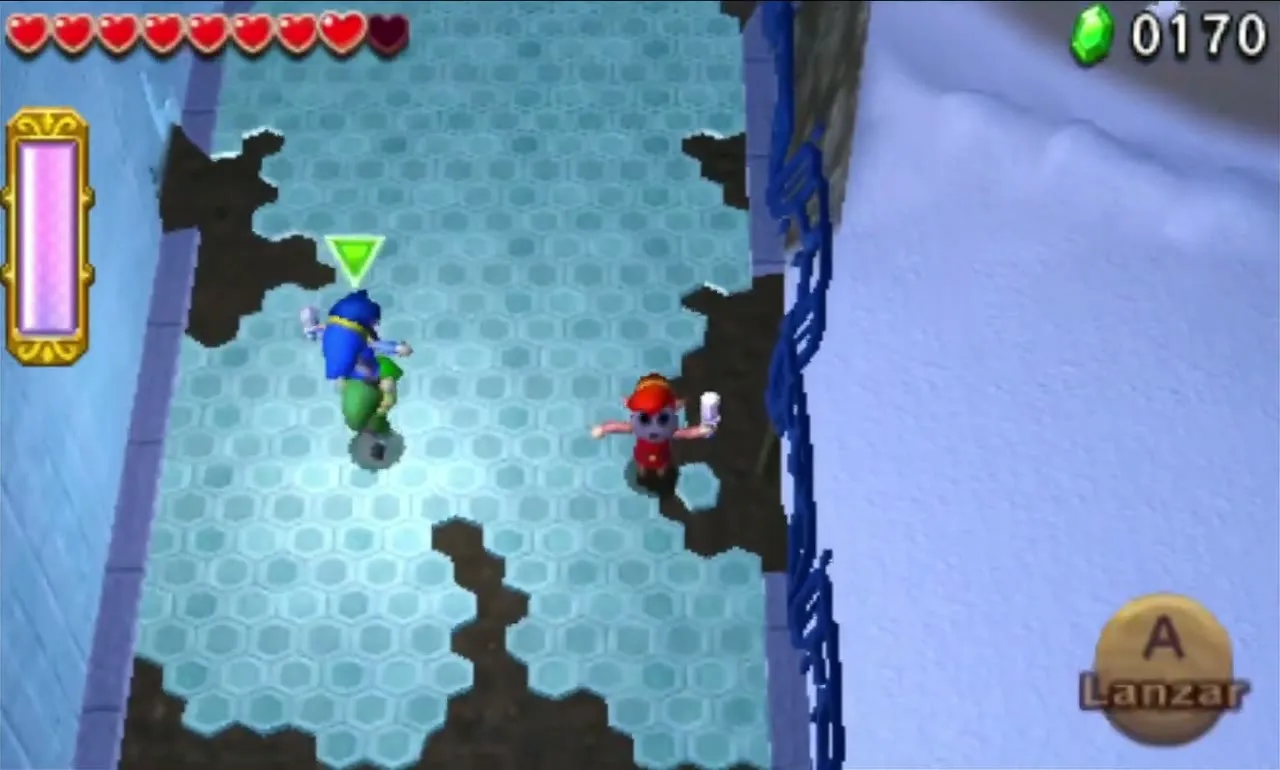
A huge snowflake-shaped platform of ice tiles cracks under you, and a horde of Deadrocks appears. Stun them with a sword hit or a thrown object, then smash them with the Hammer. You can also break the tile under one to drop it into the pit. Tiles refreeze after a short while. Defeat them all and a bridge appears to the Gateway.
Ice Temple Stage 3
Giant Snowballs roll along a chute, and a Stake in the middle of the path holds them back until you pound it down. Walk the parallel path while Snowballs pass through jets of cold air, using them as shields. A Mole at the end springs you up to a second chute whose Snowballs roll the other way along a narrow icy walkway.
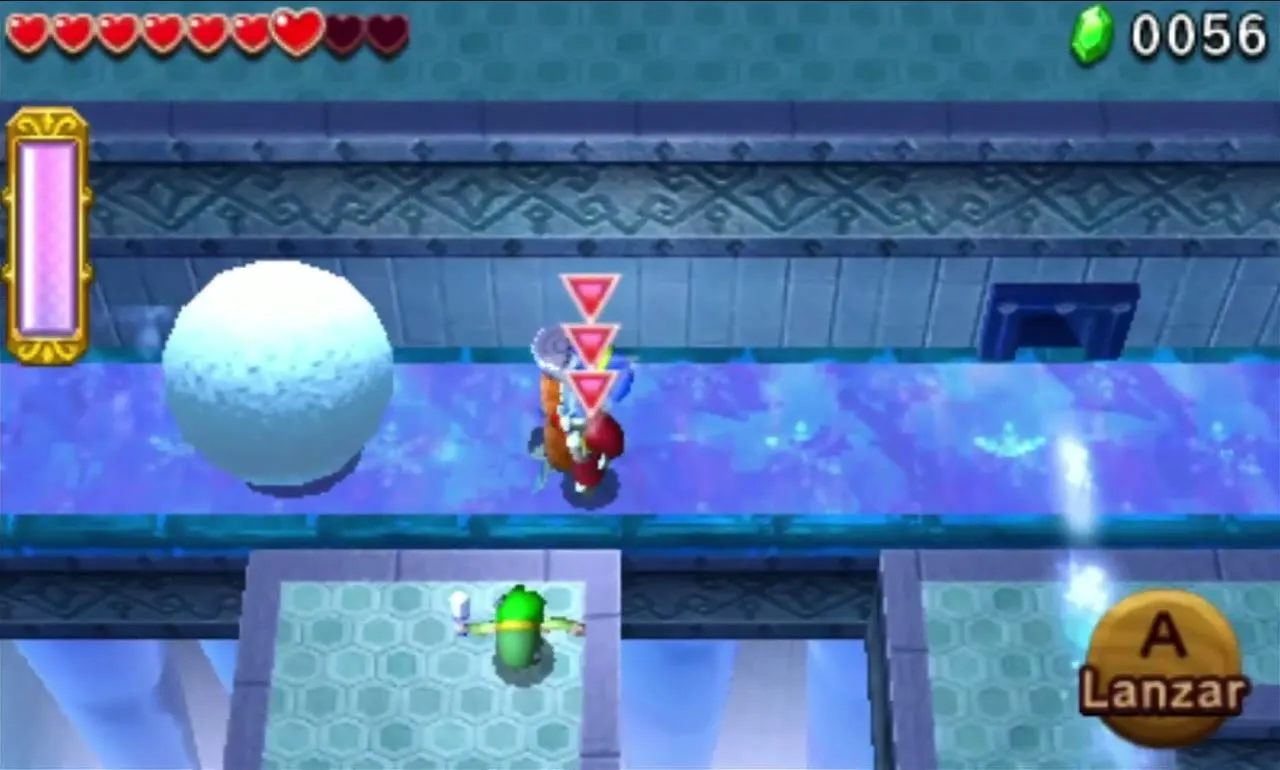
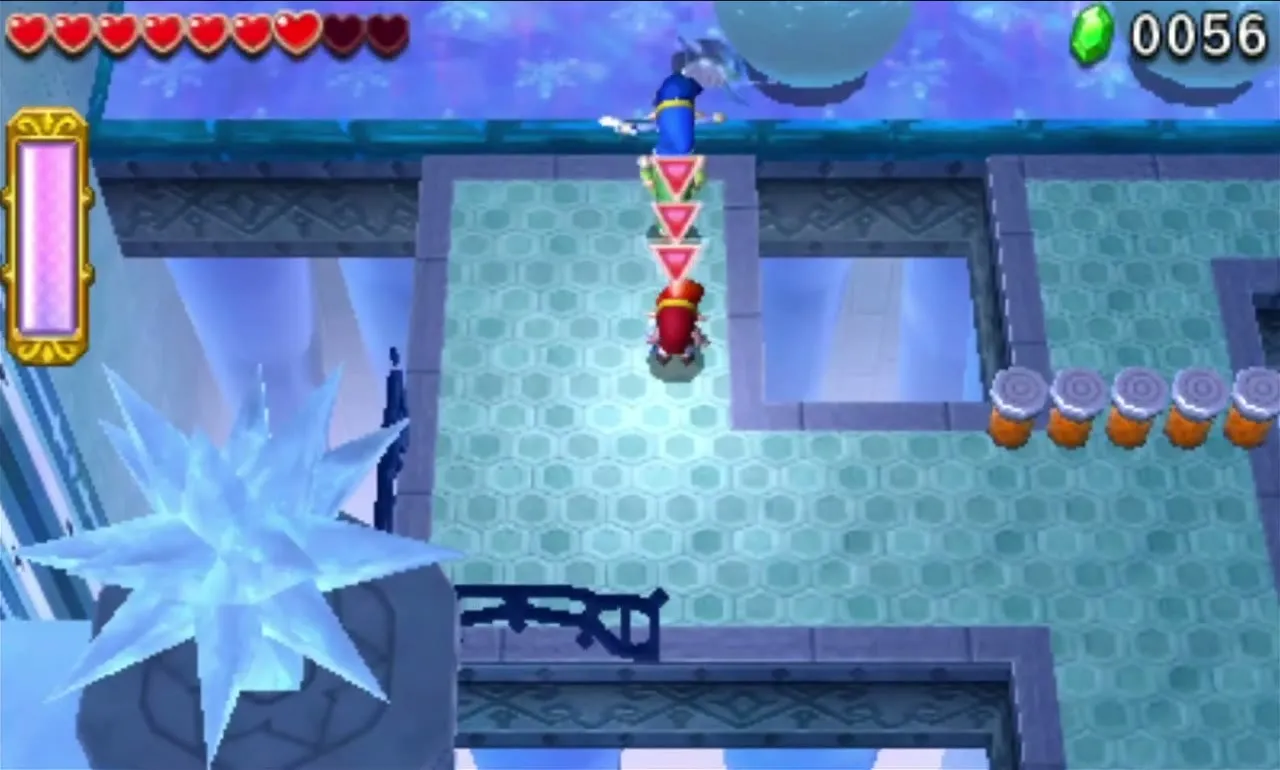

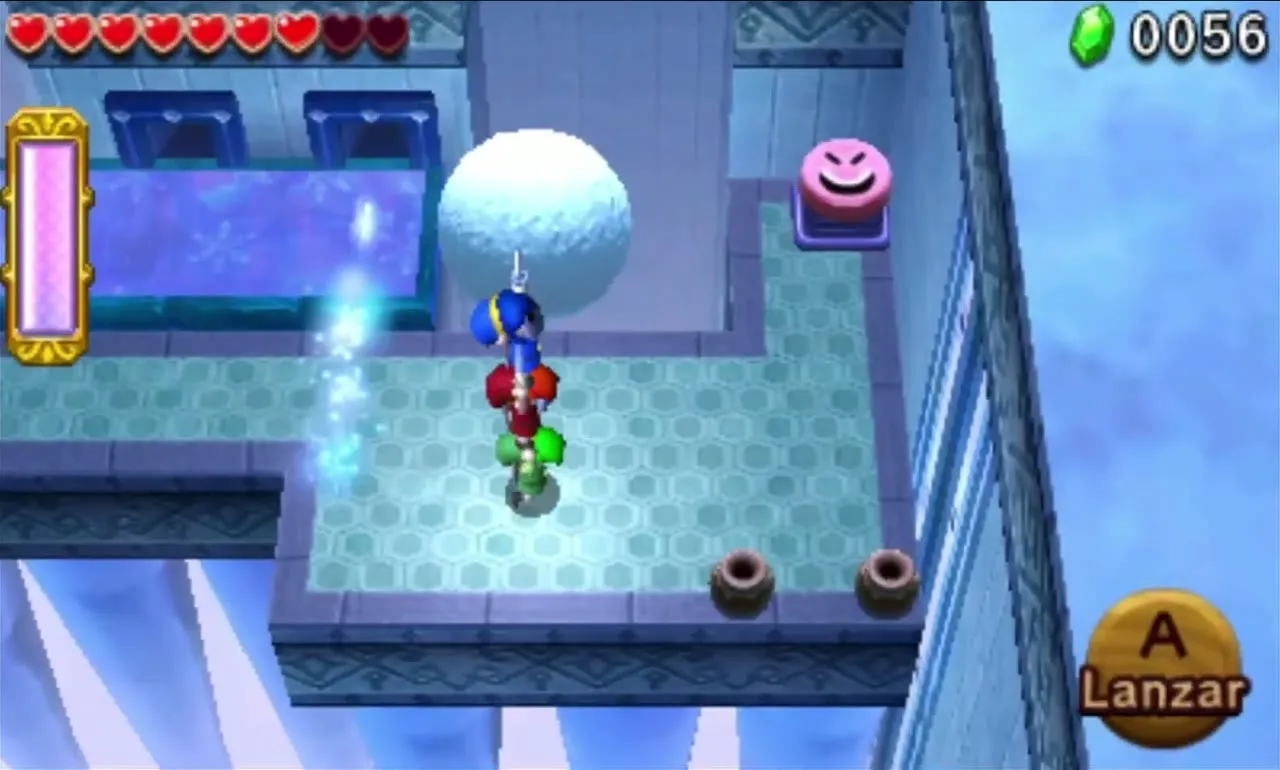
A final Mole takes you over a gap, but time it so a Snowball blocks the wind at the landing. Climb the stairs toward the chasm, defeat the Keese and Ice Keese, and open the chest on a ledge for a Red Rupee. The Link with the Fire Gloves then throws a fireball that bounces across the row of Braziers to make a bridge to the Gateway. Jars and a Squiddy nearby restore hearts before the boss.


Ice Temple Stage 4
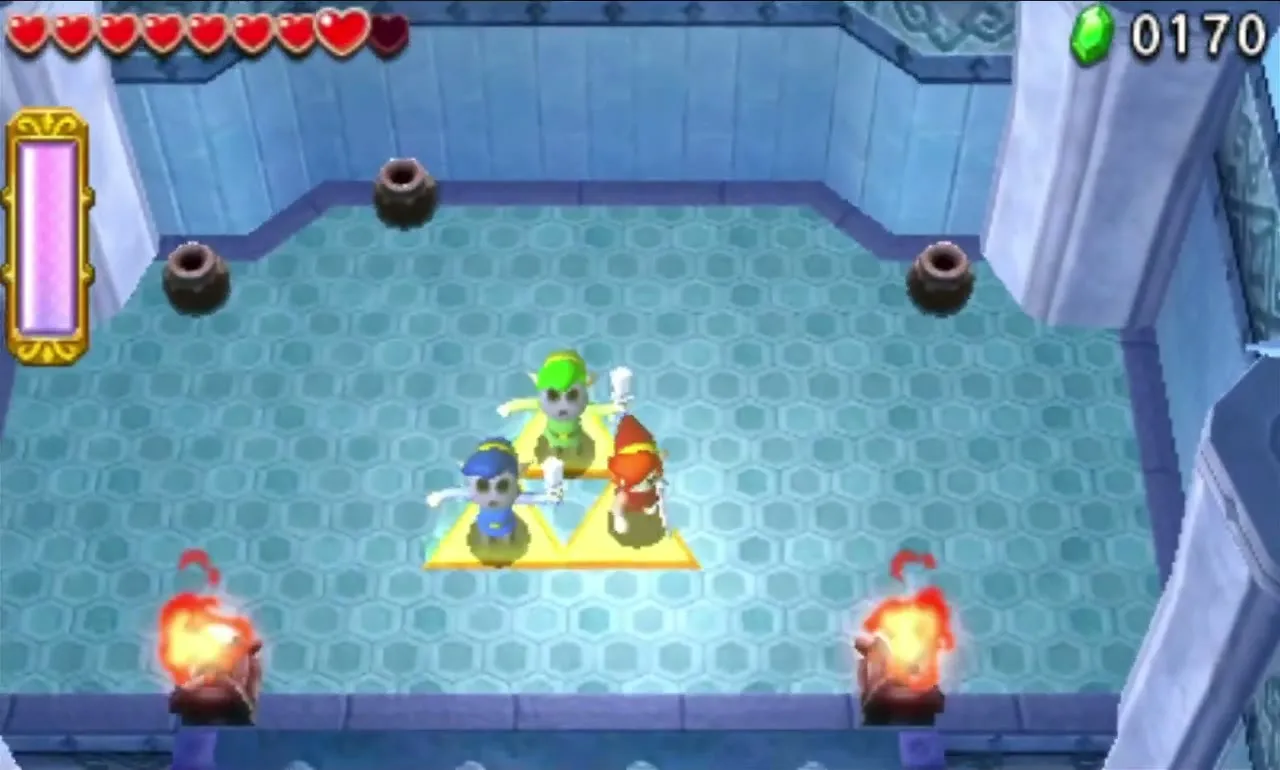
You start on a ledge in a cavern. Rocks and Stalagmites here hold hearts, and the opposite side has a similar ledge. When you drop down, the fight starts. Have the Hammer carriers lead and keep a Link with Fire Gloves nearby for the tail and ice crystals.

Blizzagia boss fight
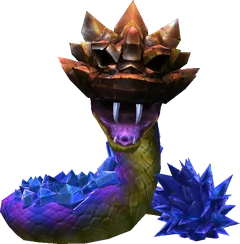
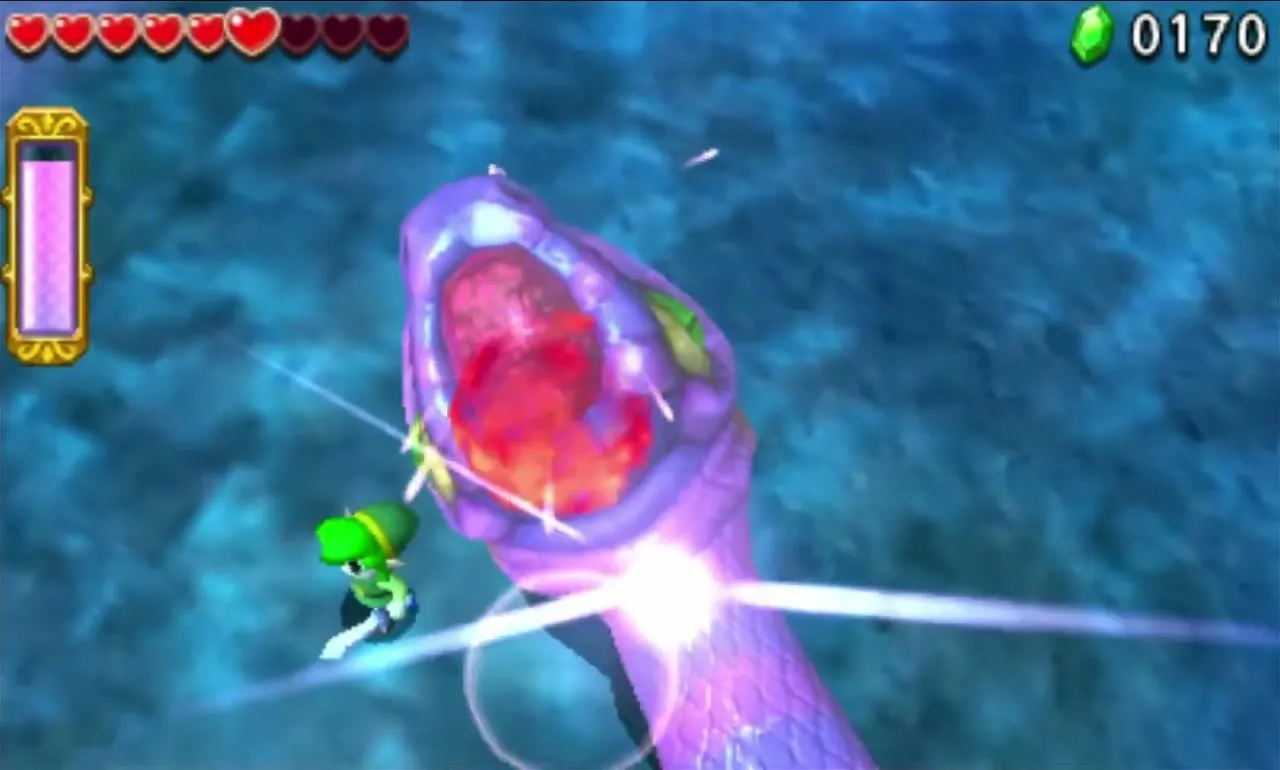
Blizzagia rises from one of five caves and flashes its eyes in the colour of the Link it targets before lunging. Dodge sideways, then strike its head with the Magic Hammer before it retreats. After four hits its mask cracks, it roars and freezes the floor.
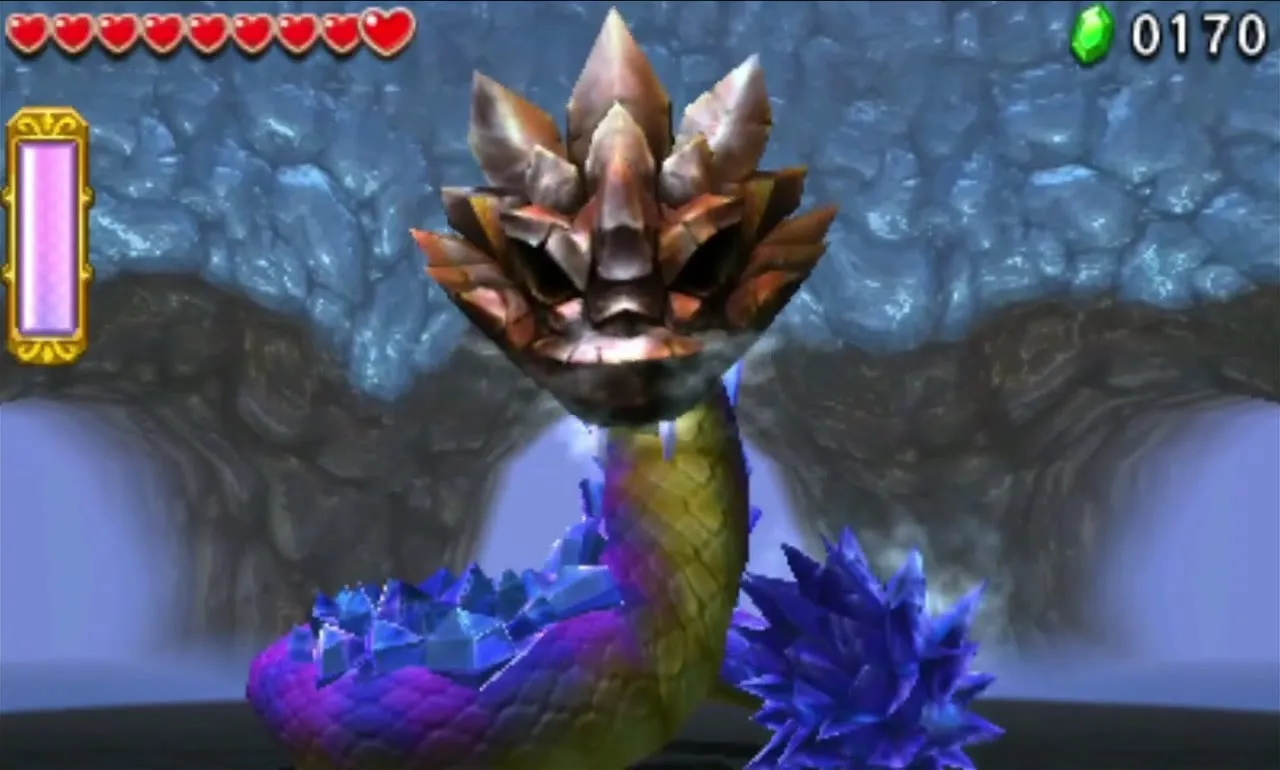
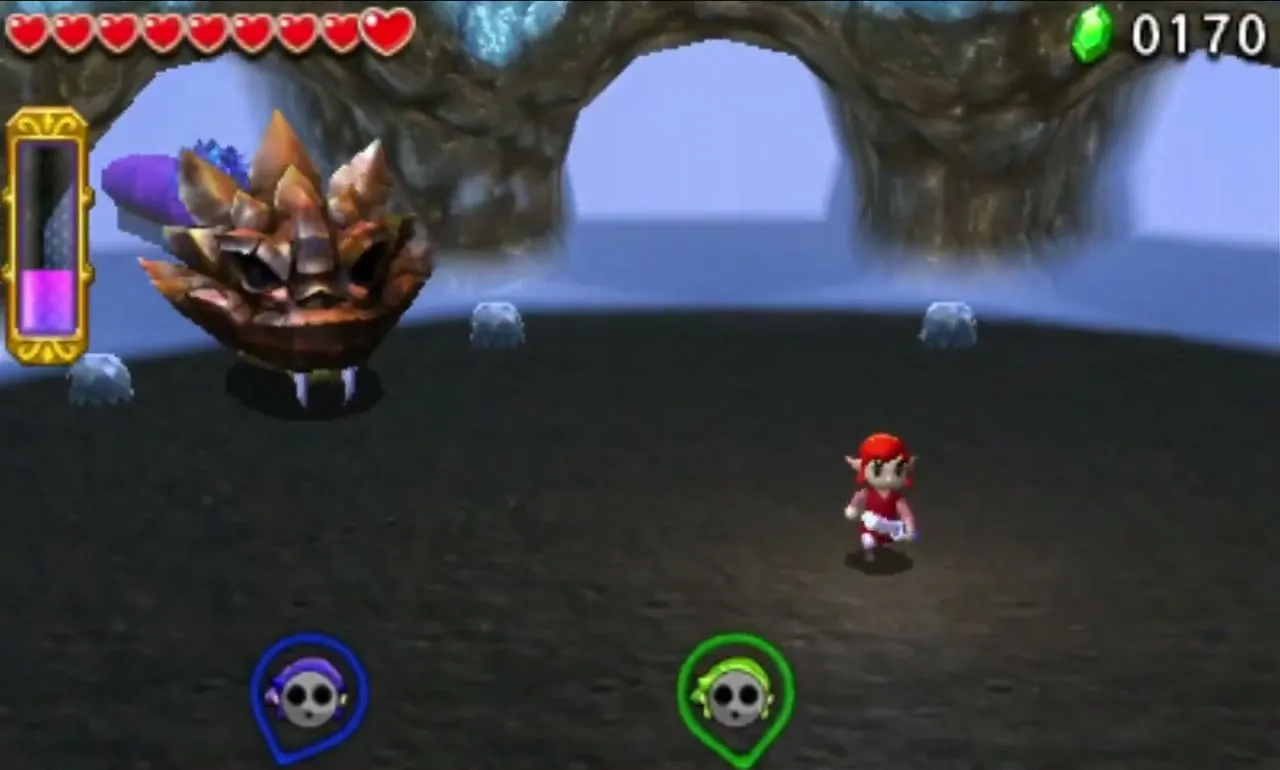

Now it slithers around the pit. Hammer its head when it gnashes its teeth, and a Hammer hit on its body stops it briefly. Its icy tail freezes you on contact, but Fire Gloves melt it for about five seconds. The crystals on its back drop hearts and Energy Potions when smashed or melted, and it regrows them after a trip into a cave.
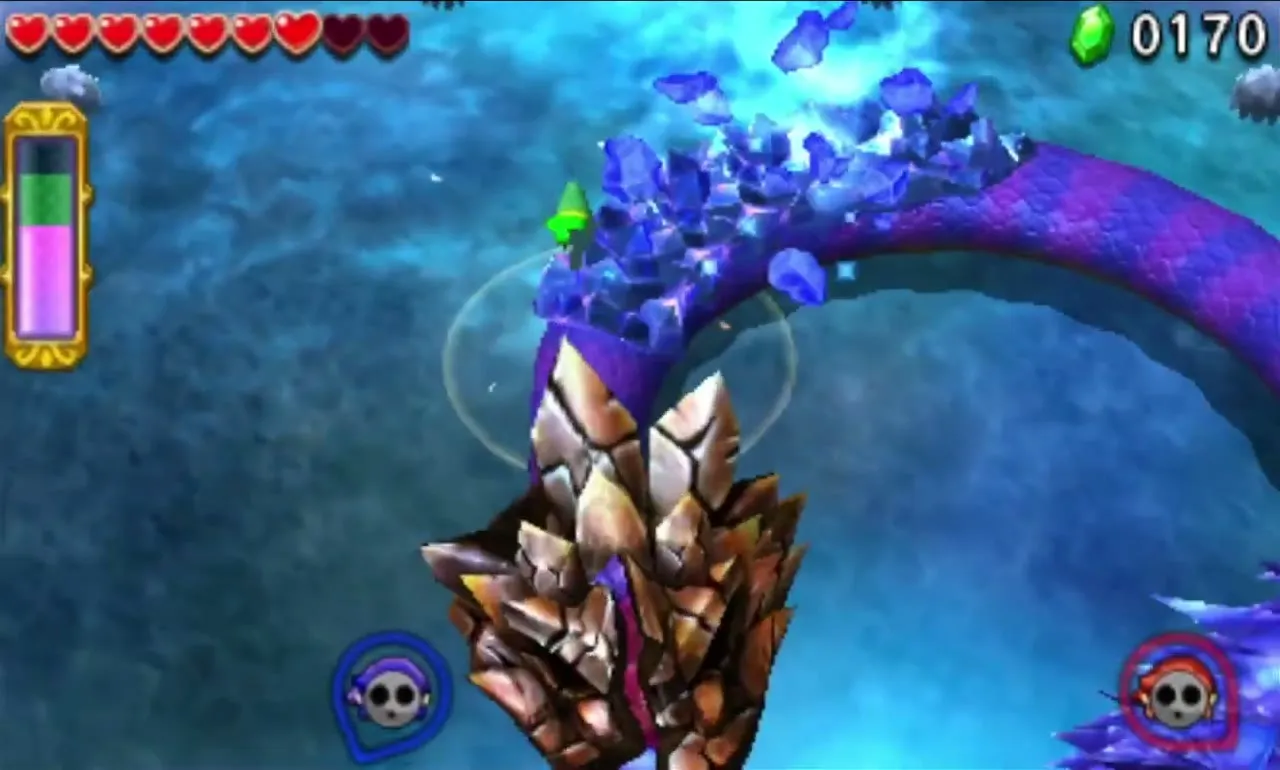
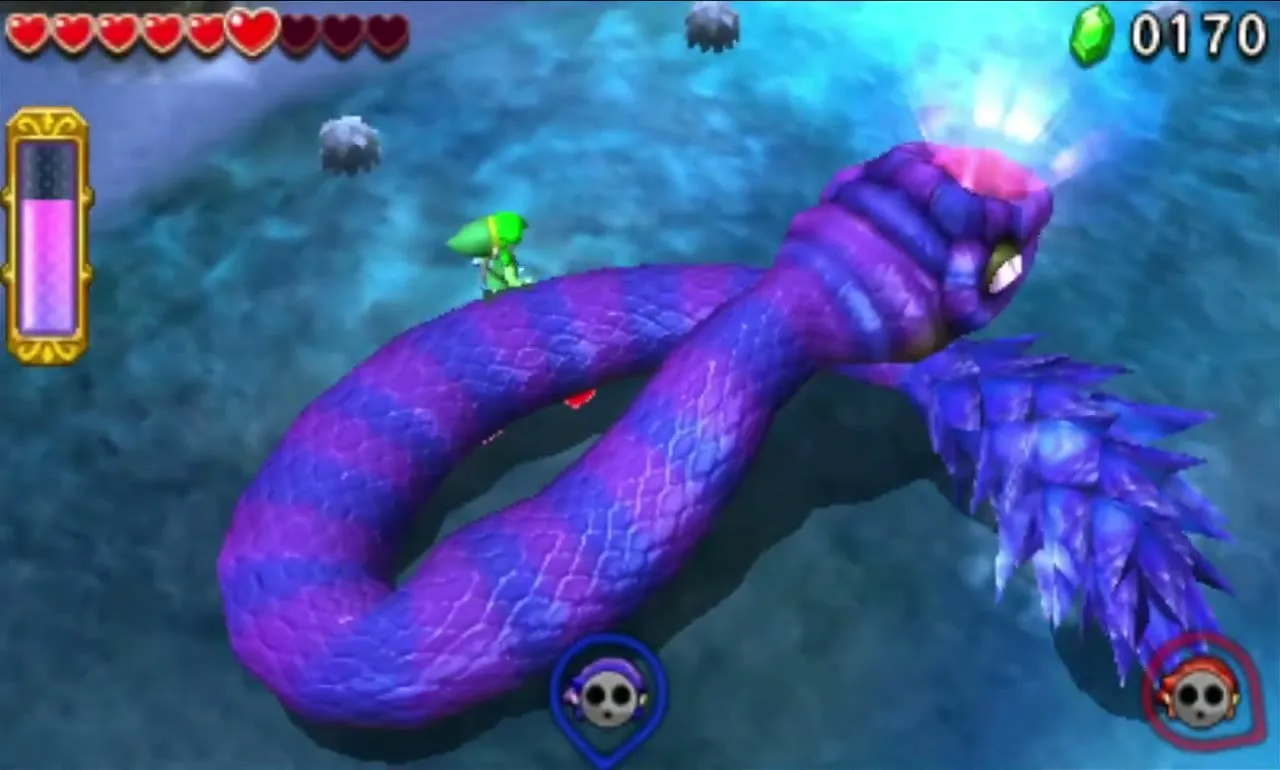

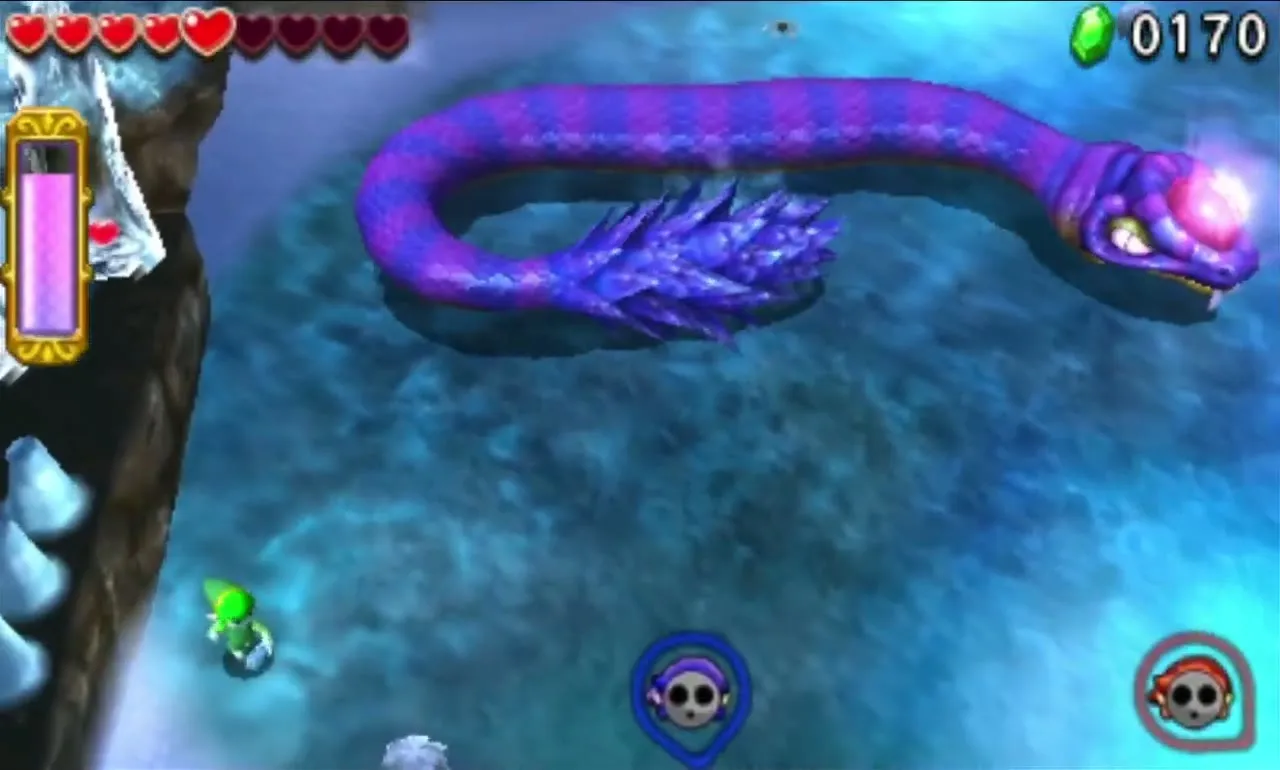
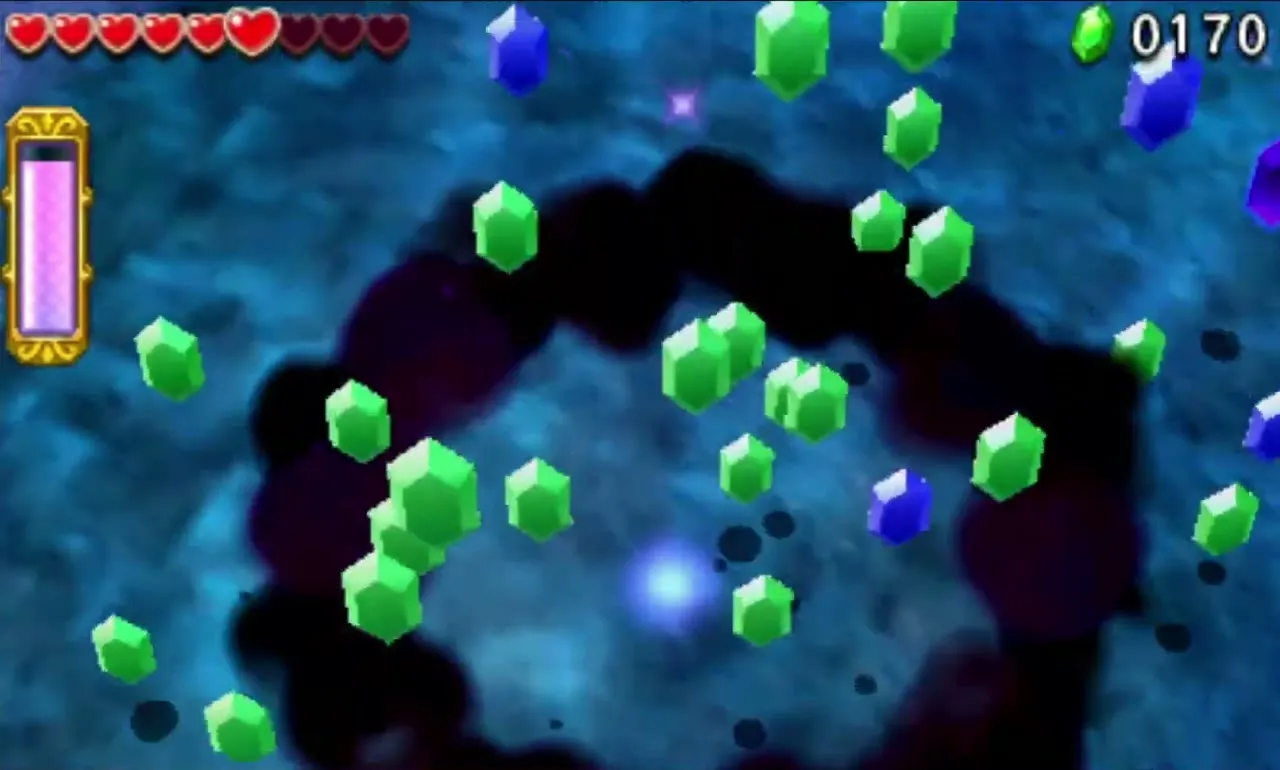
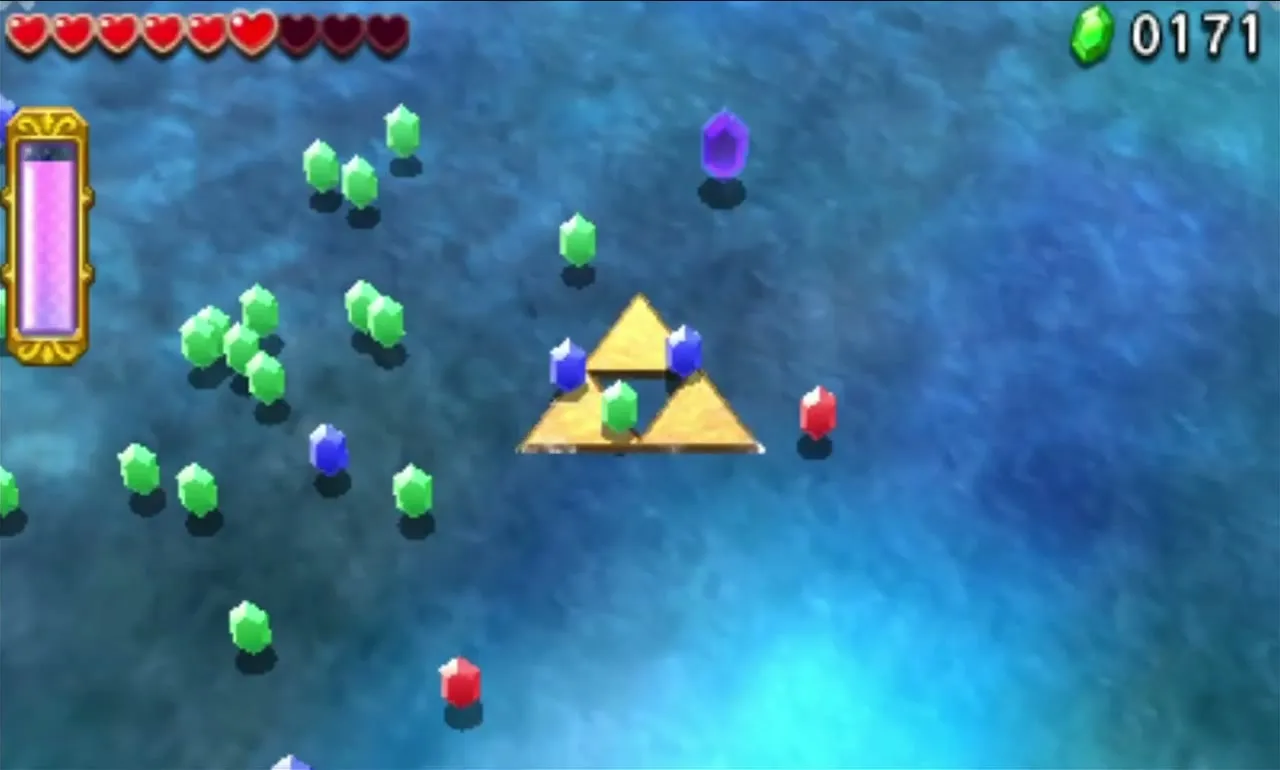
After more hits the mask shatters and a glowing jewel is exposed. Blizzagia now moves erratically and coils around the nearest Link, but its head can be hurt by any weapon, including the Sword. Hit it each time it lowers its head until it falls. Once it falls, the Gateway to the chest room opens.

Ice Temple treasure chests
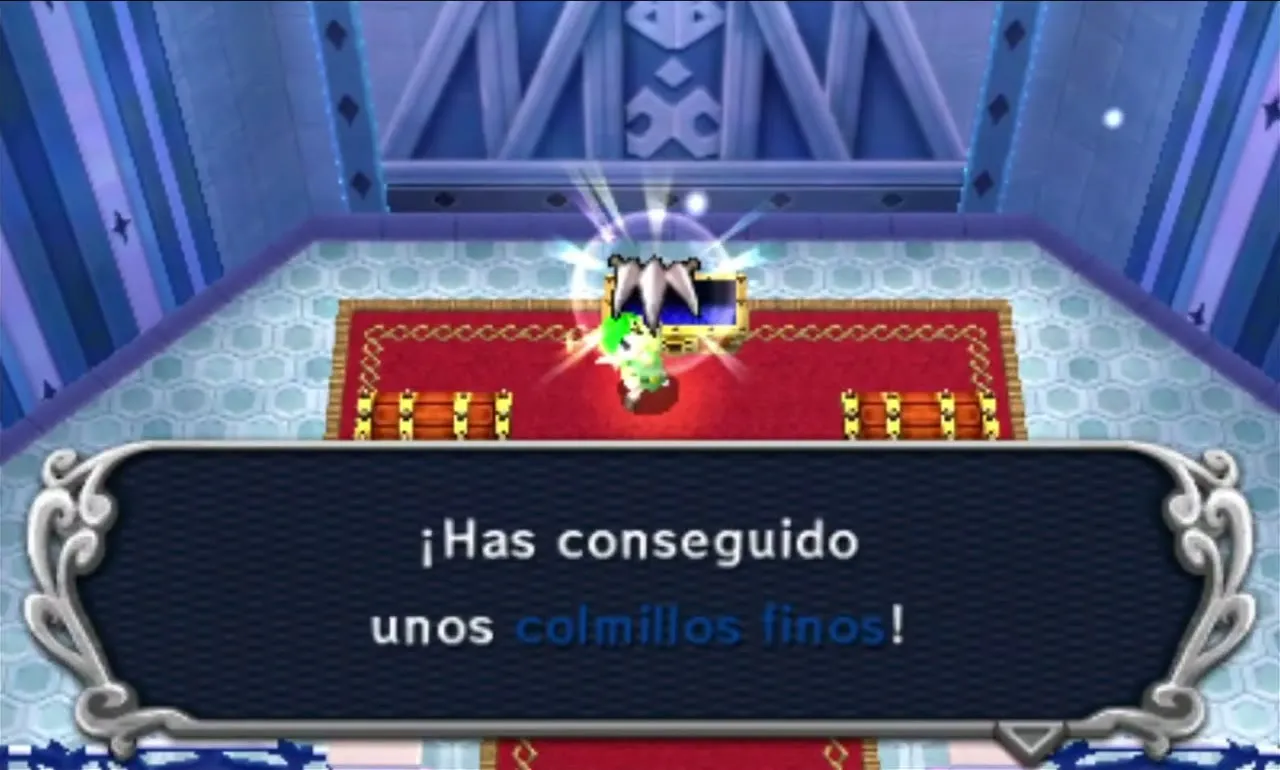
A first clear pays out 2 Serpent Fangs and 1 Freezard Water. Further runs can give Crimson Shell, Chill Stone and Ice Rose. Check Materials to see which you still need.
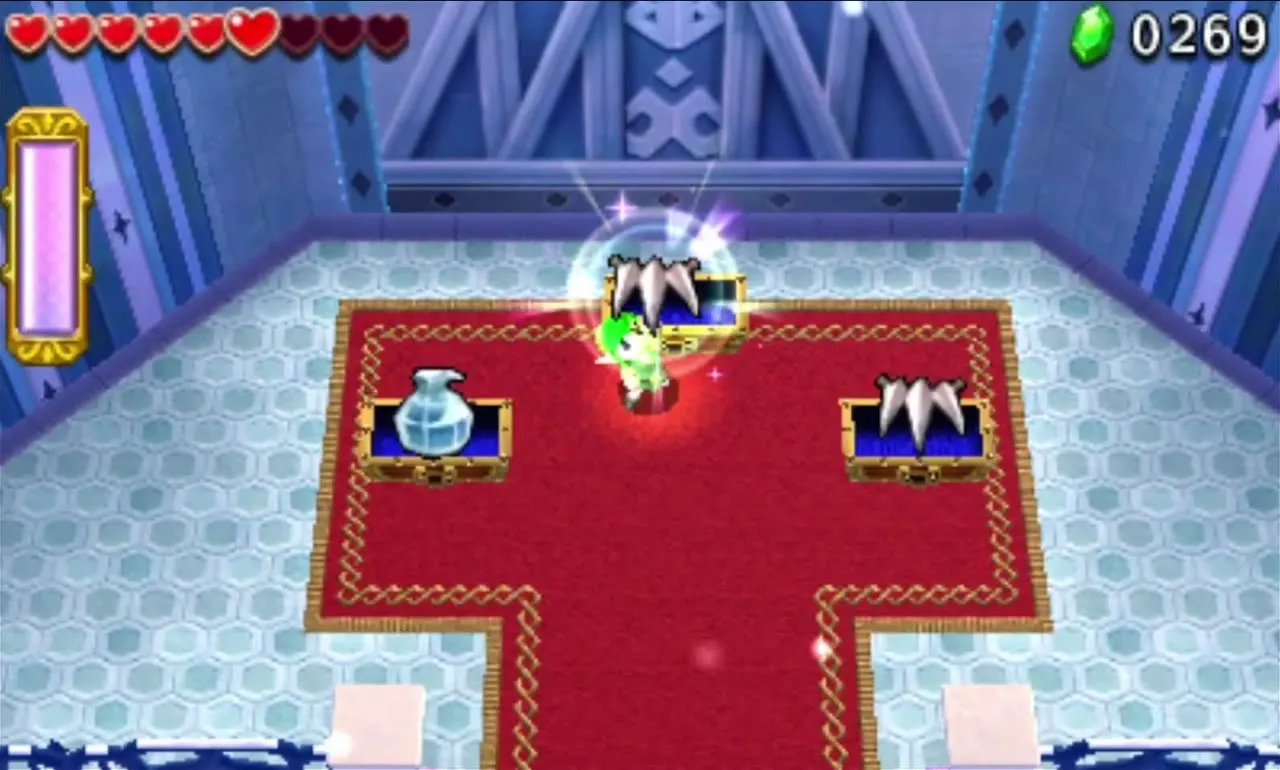
After Blizzagia falls, the Ice Temple offers three challenges: Fewer Heart Containers, Don’t get hit by snowballs and Transport the orb quickly. The last has a two-minute limit in multiplayer or three and a half minutes solo. See Drablands Challenges.
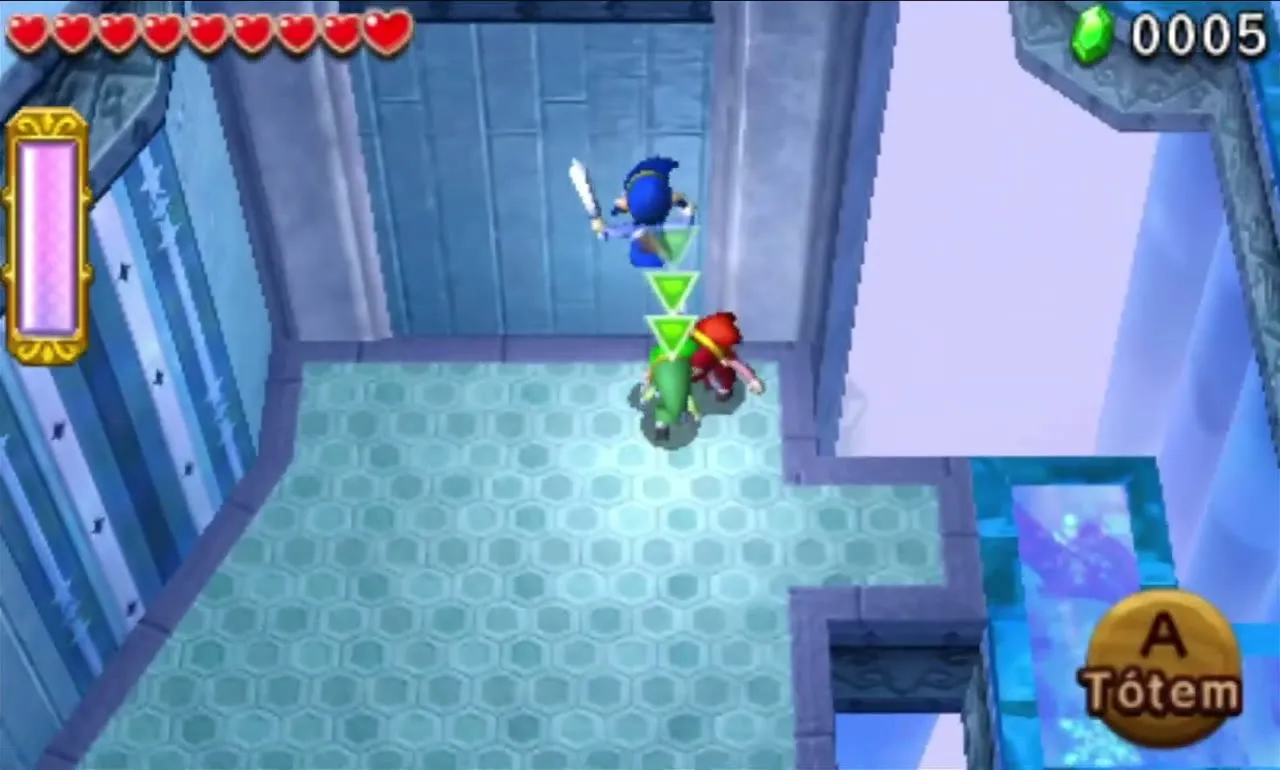

Area checklist
| Level | Items | Boss or mini-boss | Materials |
|---|---|---|---|
| Frozen Plateau |  Fire Gloves x3 | None |  Fluffy Fuzz, Tiny Snowflake |
| Snowball Ravine |  Boomerang, Fire Gloves x2 | Freezlord | Fluffy Fuzz, Serpent Fangs |
| Silver Shrine |  Magic Hammer x3 | None | Tiny Snowflake, Crimson Shell |
| Ice Temple | Magic Hammer x2, Fire Gloves | Blizzagia | Serpent Fangs, Freezard Water |
With the Water Temple and Fire Temple also cleared, the Fortress opens next. Head to the Fortress walkthrough and bring all your items.