






Tri Force Heroes 100% Completion Walkthrough8 chapters
- Hytopia and the WoodlandsMeet King Tuft, then clear Deku Forest, Buzz Blob Cave, Moblin Base and Forest Temple.
- RiversideSecret Fortress, Abyss of Agony, Cove of Transition and the Water Temple, with Water Rod and Gripshot puzzles.
- VolcanoBlazing Trail, Hinox Mine, Den of Flames and Fire Temple, with every stage, the Hinox Brothers and Moldorm.
- Ice CavernFrozen Plateau, Snowball Ravine, Silver Shrine and the Ice Temple, with the Freezlord and Blizzagia fights.
- FortressSealed Gateway, Bomb Storage, Training Ground and The Lady’s Lair, with every puzzle, chest and boss.
- The DunesInfinity Dunes, Stone Corridors, Gibdo Mausoleum and Desert Temple, with Vulture Vizier and Stalchampion tips.
- The RuinsIllusory Mansion, Palace Noir, Lone Labyrinth and Grim Temple, with Grim Repoe and Prismantus.
- Sky RealmFloating Garden, Deception Castle, Dragon Citadel and Sky Temple, with Gigaleon, Lady Maud and the ending.
| Levels | Sealed Gateway, Bomb Storage, Training Ground, The Lady’s Lair |
|---|---|
| Items used | Boomerang, Gust Jar, Bomb, Bow, Gripshot |
| Boss | Hinox Brothers (mini-boss, Bomb Storage); The Lady’s Pets (boss, The Lady’s Lair) |
| Unlocks | The Dunes and The Ruins;  Dunewalker Duds,  Fire Blazer,  Gust Garb,  Light Armor,  Ninja Gi and  Serpent’s Toga at Madame Couture’s |
The Fortress is Lady Maud’s stronghold, a castle packed with Soldiers, Bomb Flowers and Totem Armos. It hands out no new gear; instead it mixes the Boomerang, Gust Jar, Bomb, Bow and Gripshot you already know into tighter team puzzles. You reach it by clearing the Water, Fire and Ice Temples. Beating The Lady’s Pets at the top opens The Dunes and The Ruins and puts six new outfits on sale at Madame Couture’s.

Table of Contents
Sealed Gateway
Sealed Gateway is the castle grounds, and it hands out two Boomerangs and a Gust Jar. Nearly every fight is against Soldiers, so keep your Totem handy for ledge-top enemies and use the Boomerang to pull a separated Link to your side. In single player, switch to the Doppel holding the item a puzzle needs; with three people, whoever carries it does the job.

Sealed Gateway Stage 1
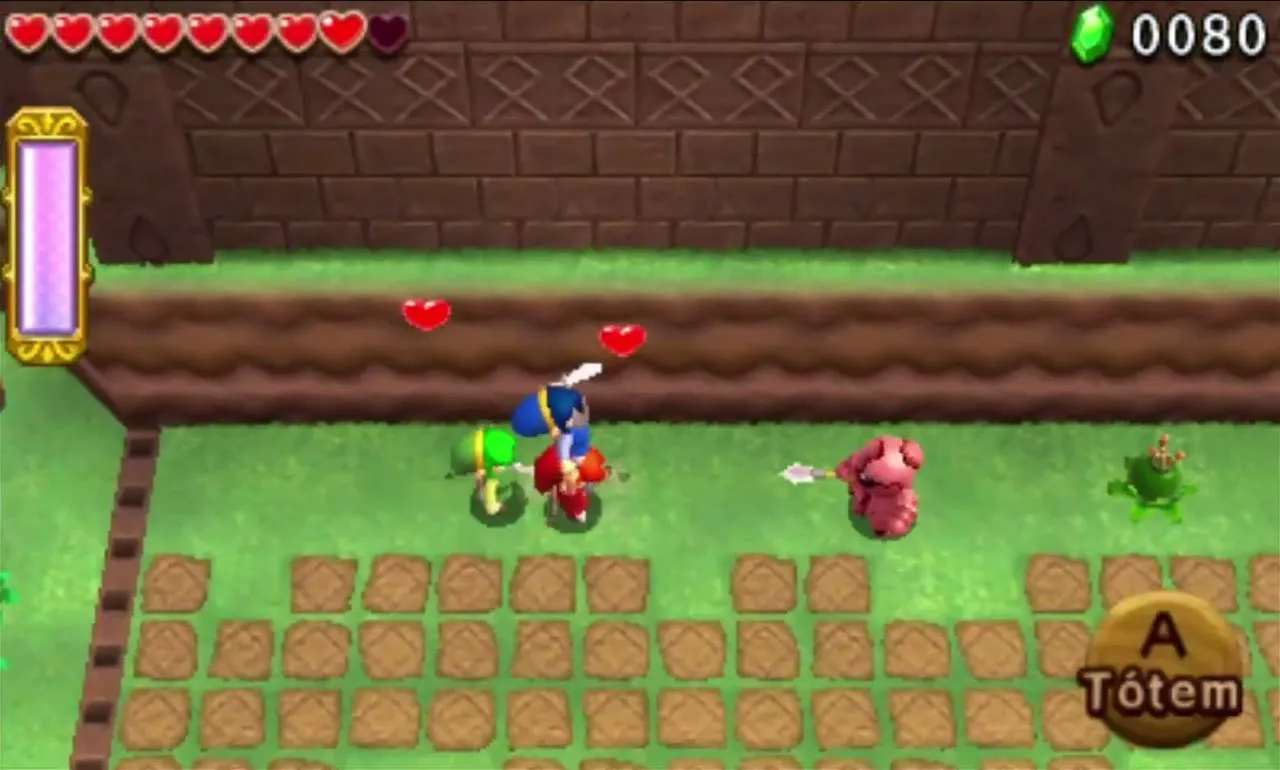
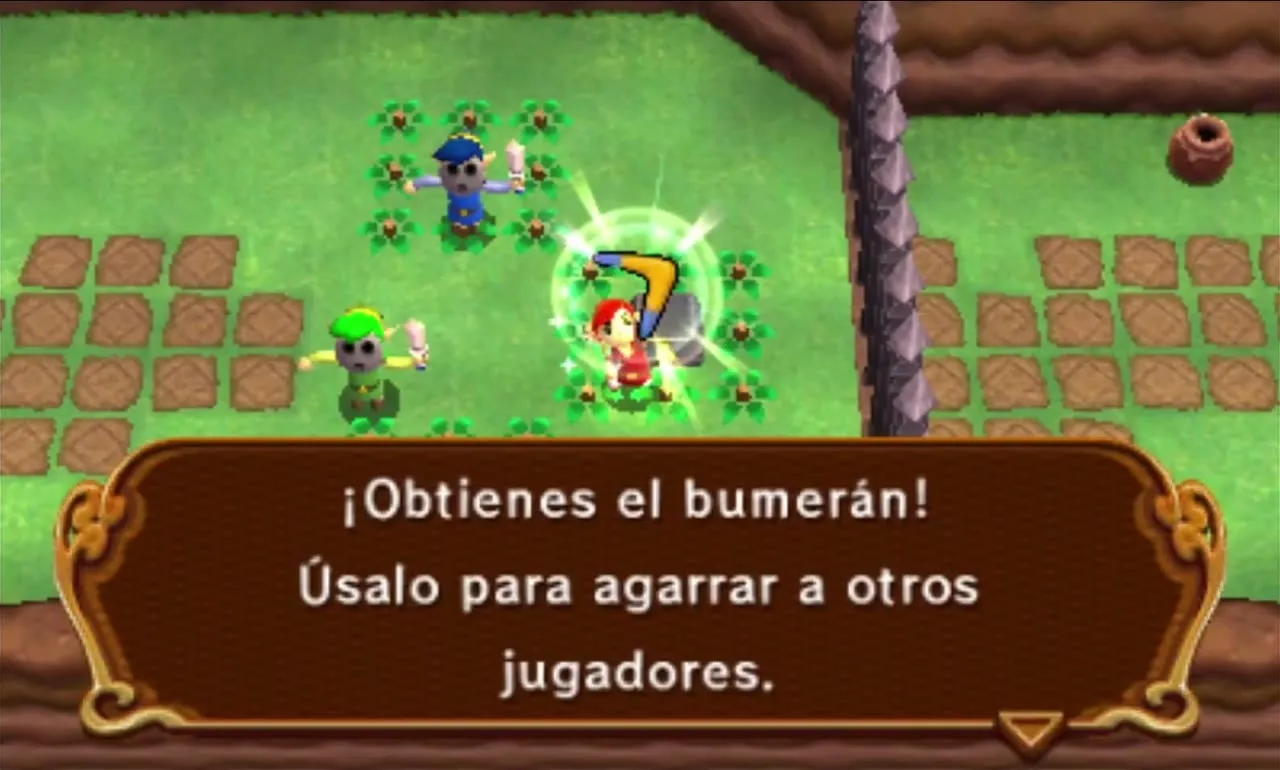
Start in the clearing and deal with the two Green Sword Soldiers. An iron gate bars the way east, and in front of it sit the two Boomerangs and the Gust Jar. Take all three items and the gate lowers. Hand the Boomerangs to two Links and the Jar to the third; the Boomerang can grab another Link and drag him across a gap, which becomes useful later.

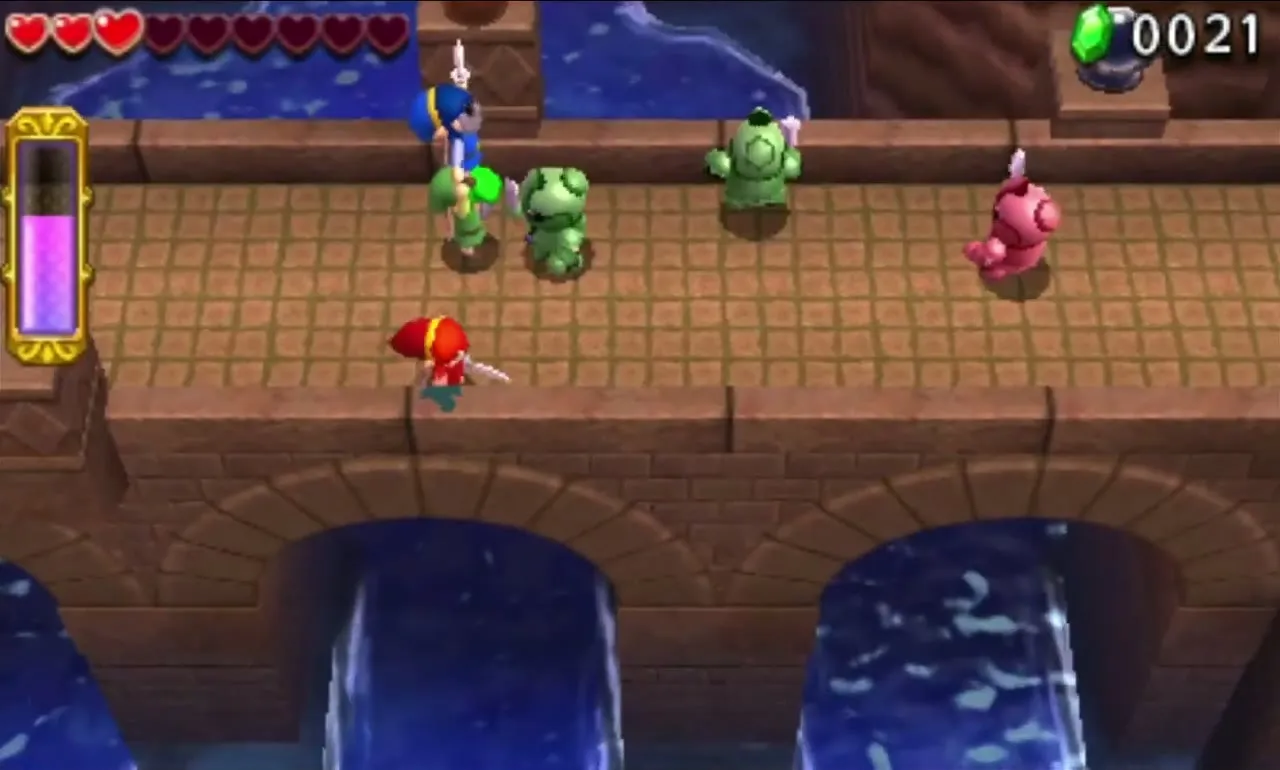
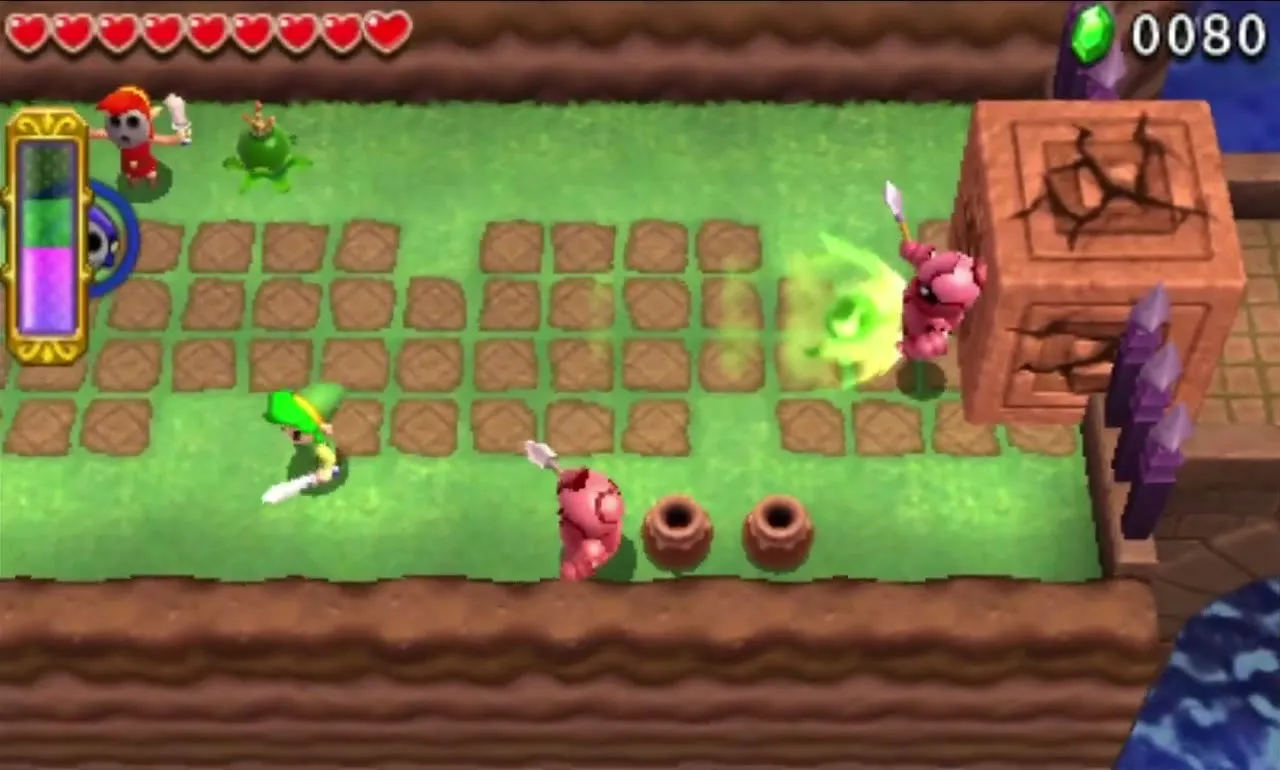
A huge Cracked Block seals the bridge leading into the fortress. Two Bomb Flowers grow close by. Lift one, carry it to the block and throw it, then bring the other to finish the job. On the bridge you meet further Sword Soldiers and a Spear Throwing Soldier; take them on as a Totem, or drag the throwers down.
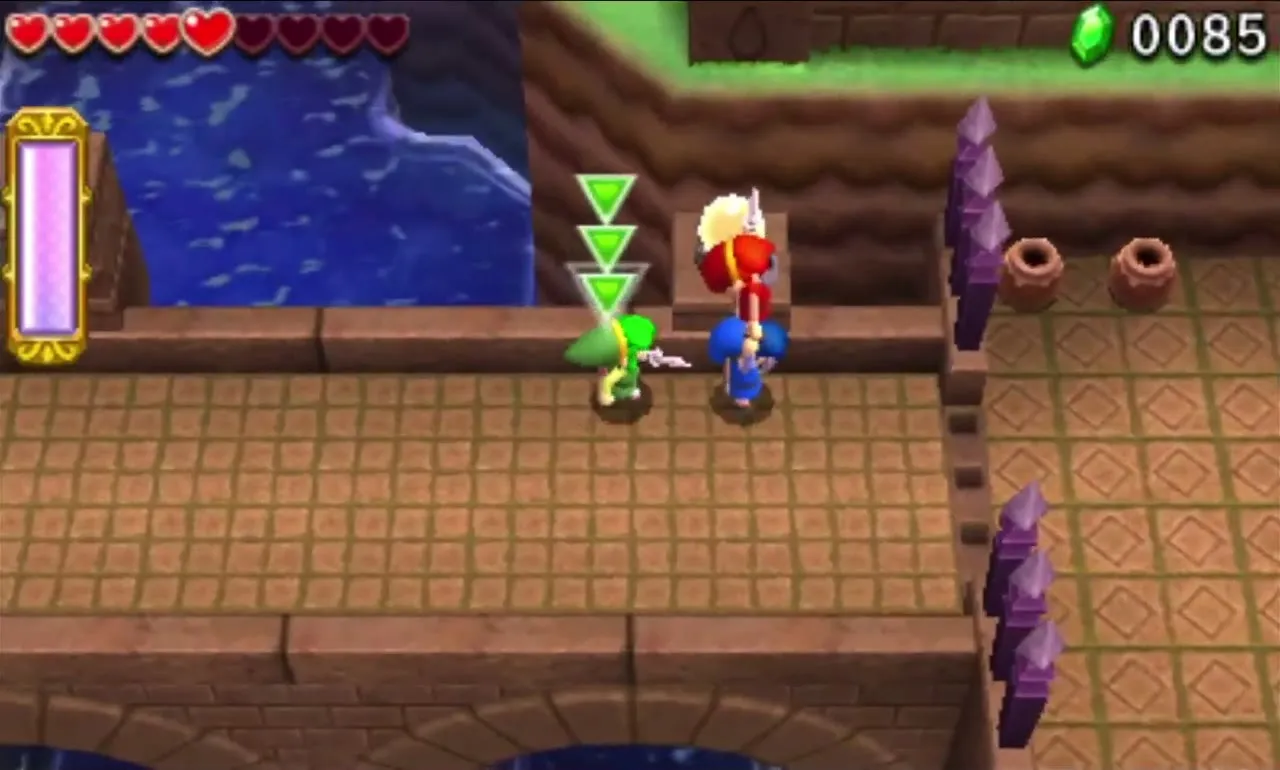
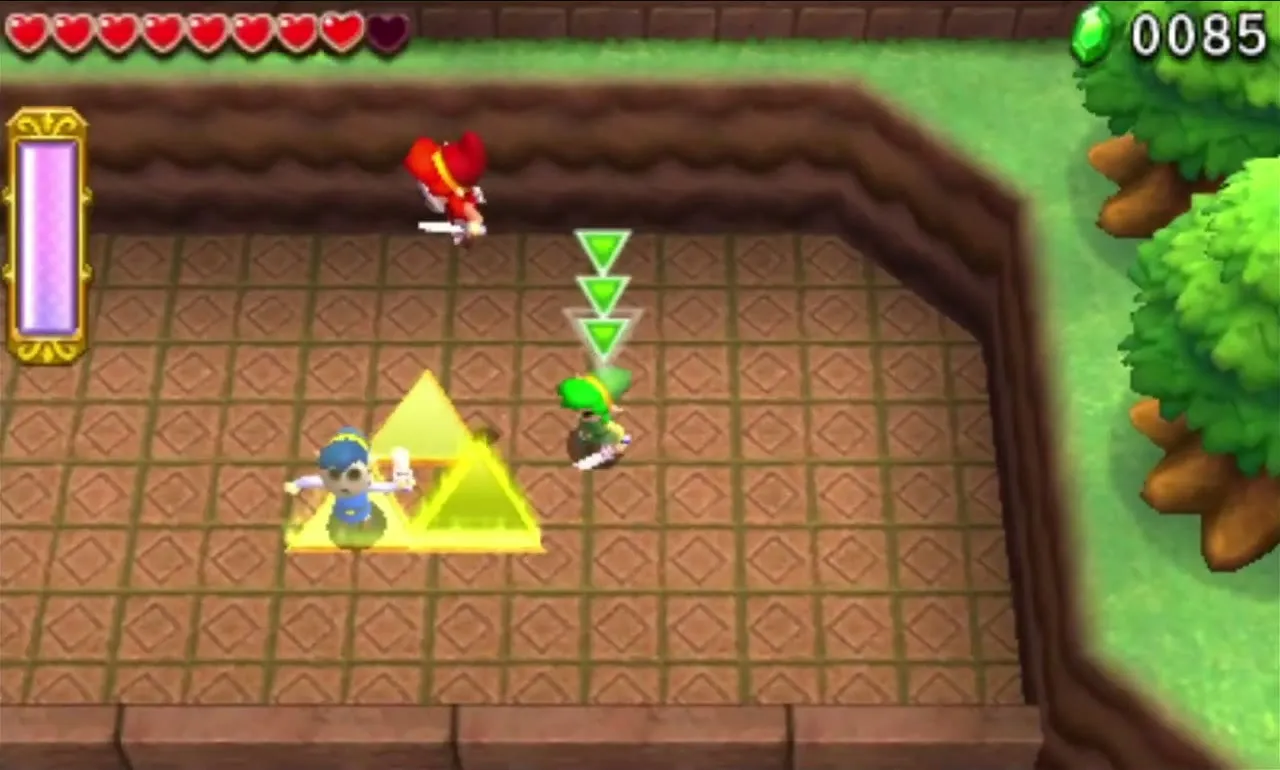
At the far end of the bridge a second iron gate waits. Strike the Shock Switch on the bridge railing with the Boomerang to lower it, then follow the brick corridor to the Triforce Gateway and step on it together.
Sealed Gateway Stage 2
Climb the staircase into the courtyard and the gates slam shut behind you as a Grey Ball and Chain Soldier arrives. Stay clear of the swinging ball and hit the Soldier with the Sword whenever he leaves himself open. Once he falls, the gates to the next yard lower.
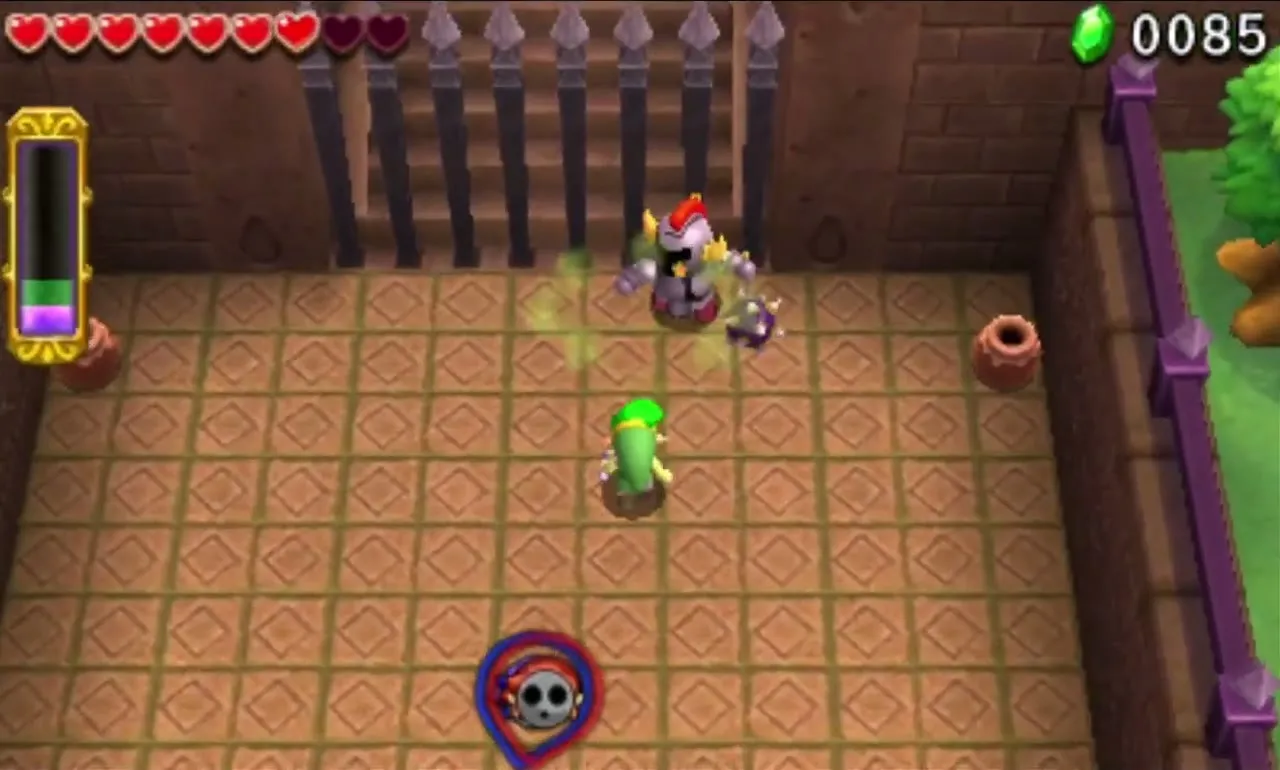
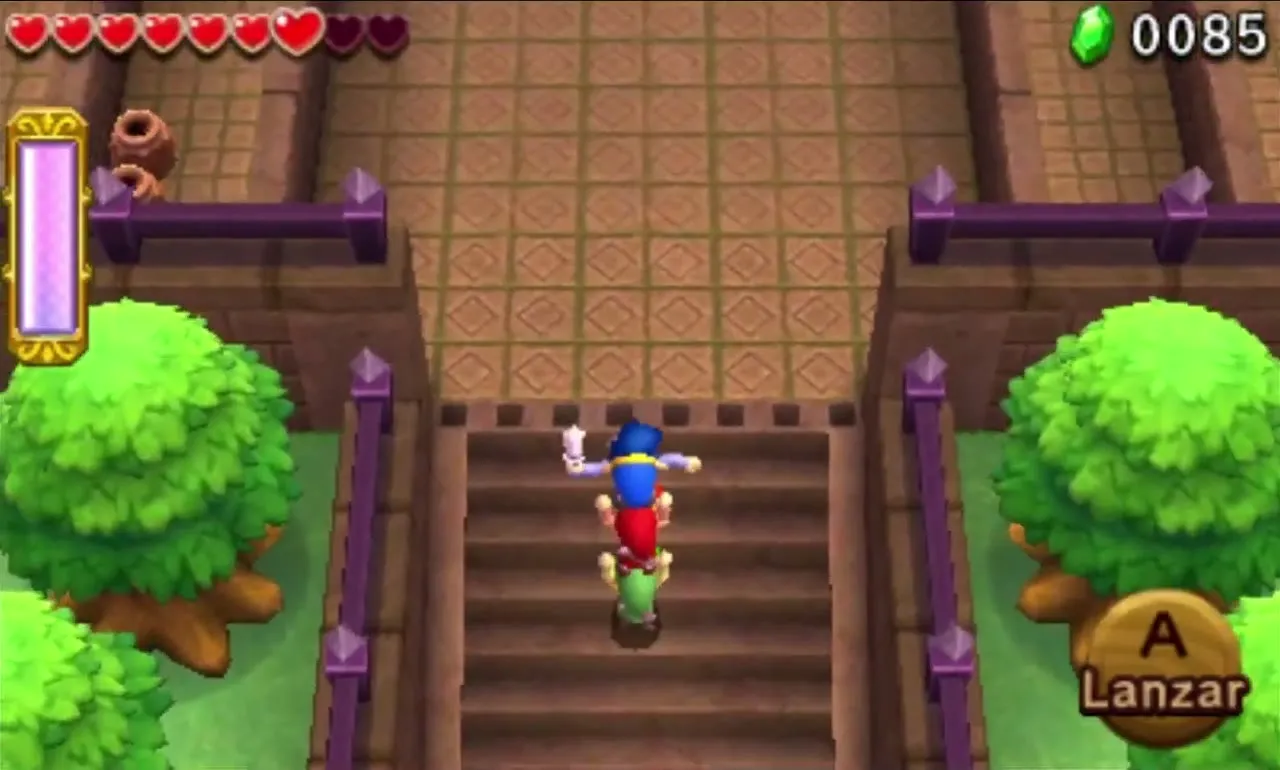
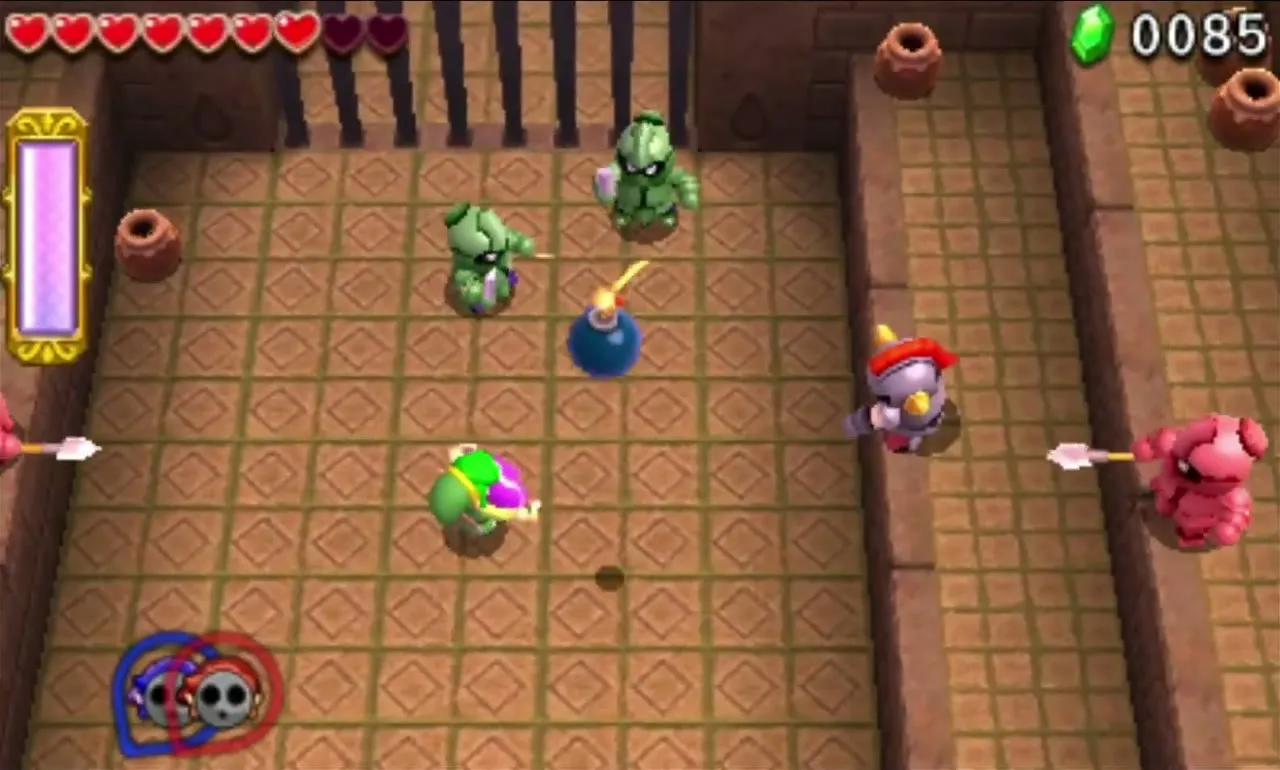
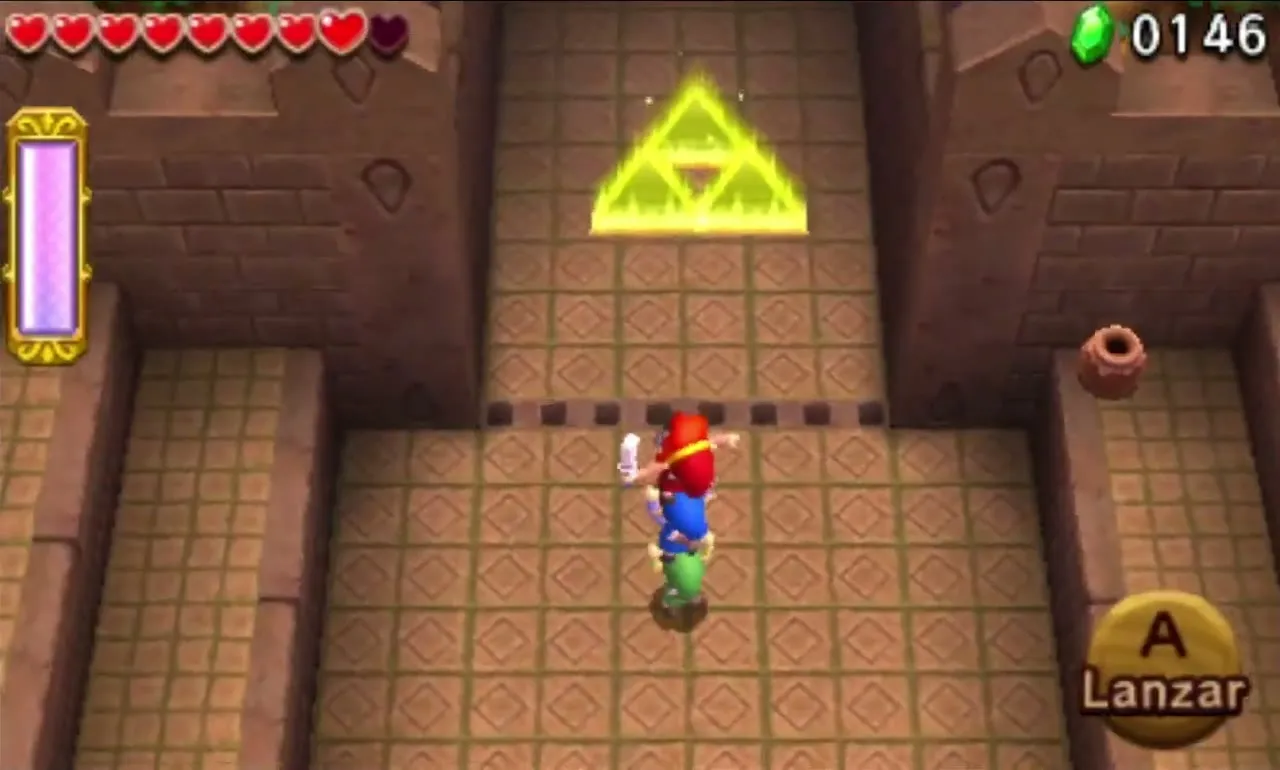
The following yard seals itself again, and you are attacked by Bomb Soldiers, Spear Throwing Soldiers and Green Sword Soldiers at the same moment. The spear and bomb throwers sit on ledges, so build a Totem or toss a Link up. You can catch Bombs they send your way and fling them back. Once every Soldier is down, the last gate opens to the Triforce Gateway.
Sealed Gateway Stage 3
A wall of raised yellow Elevator Blocks and a lowered purple wall block the path to the moat. Hit the nearby Shock Switch to swap them. One Link can strike it twice so the others walk over, or throw them across; the last Link stands on the lowered yellow blocks, hits the Switch to rise, and joins them.
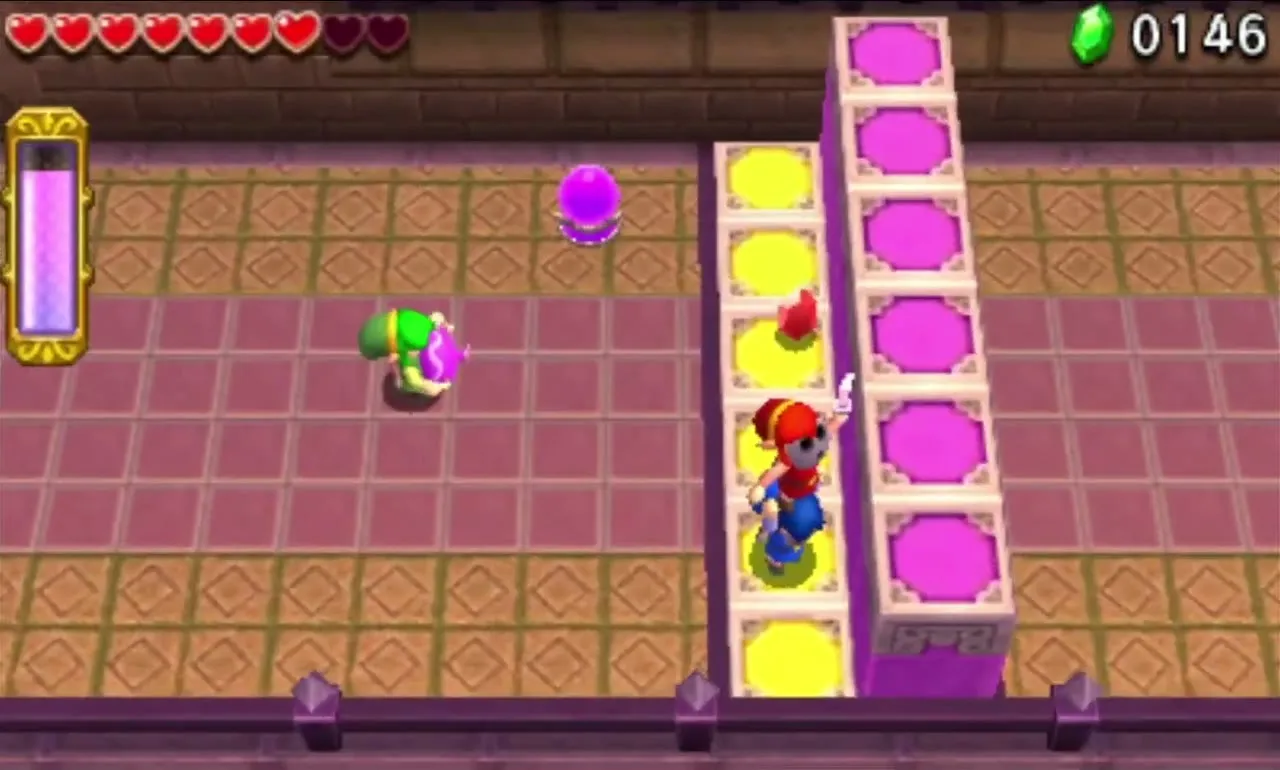
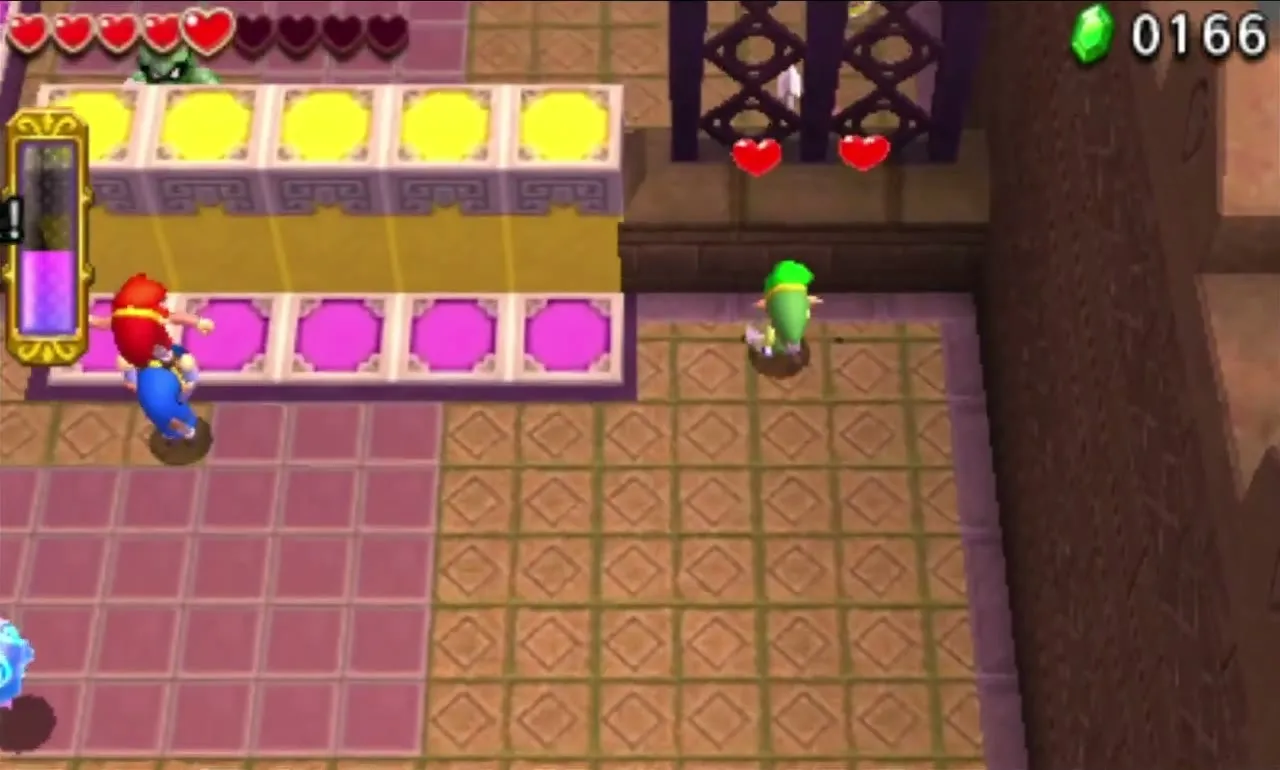
Past the blocks wait a Squiddy and a pair of Spear Throwing Soldiers, and further Elevator Blocks climb north toward the moat. On the right, a Shock Switch protects a ledge with a chest containing a Red Rupee. On the left, put two Links on lowered purple blocks and let the third strike the Switch to lift them. Then toss one Link to the high ledge, where you find jars of Hearts, one chest packed with three Hearts, and another holding a Purple Rupee.
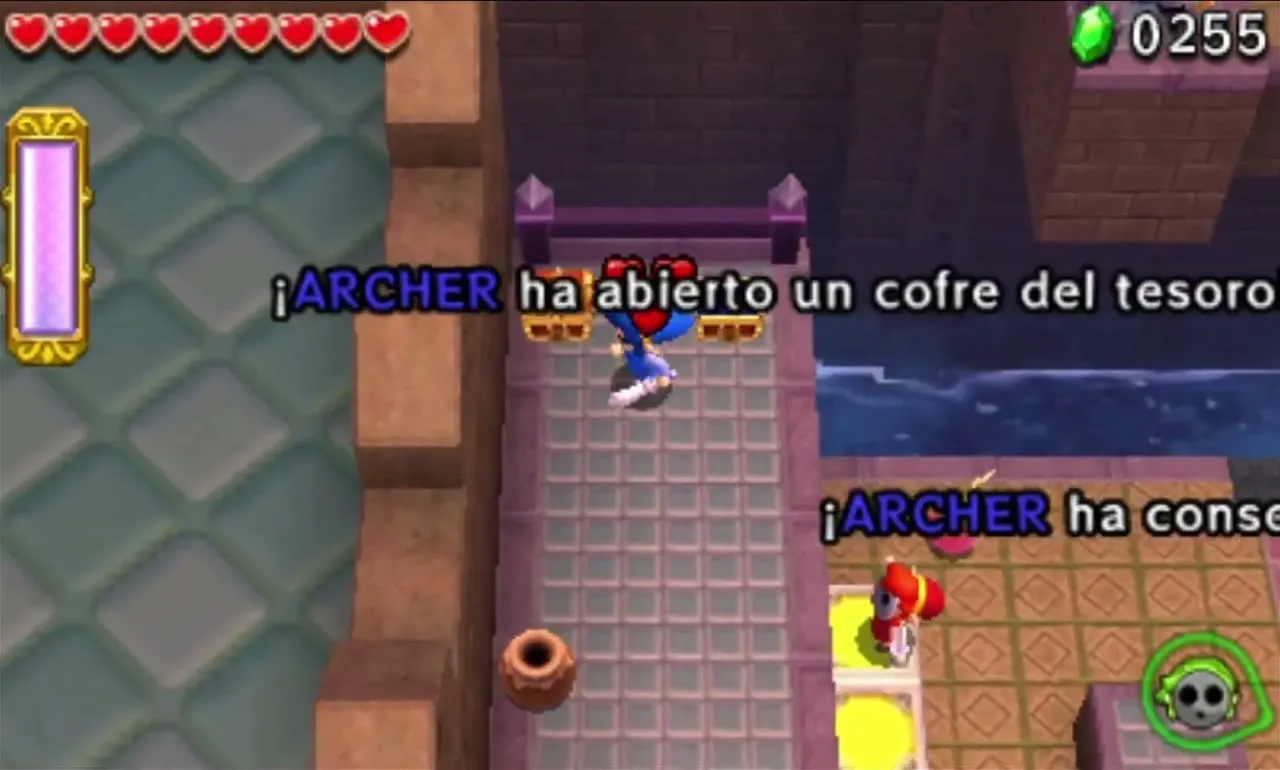
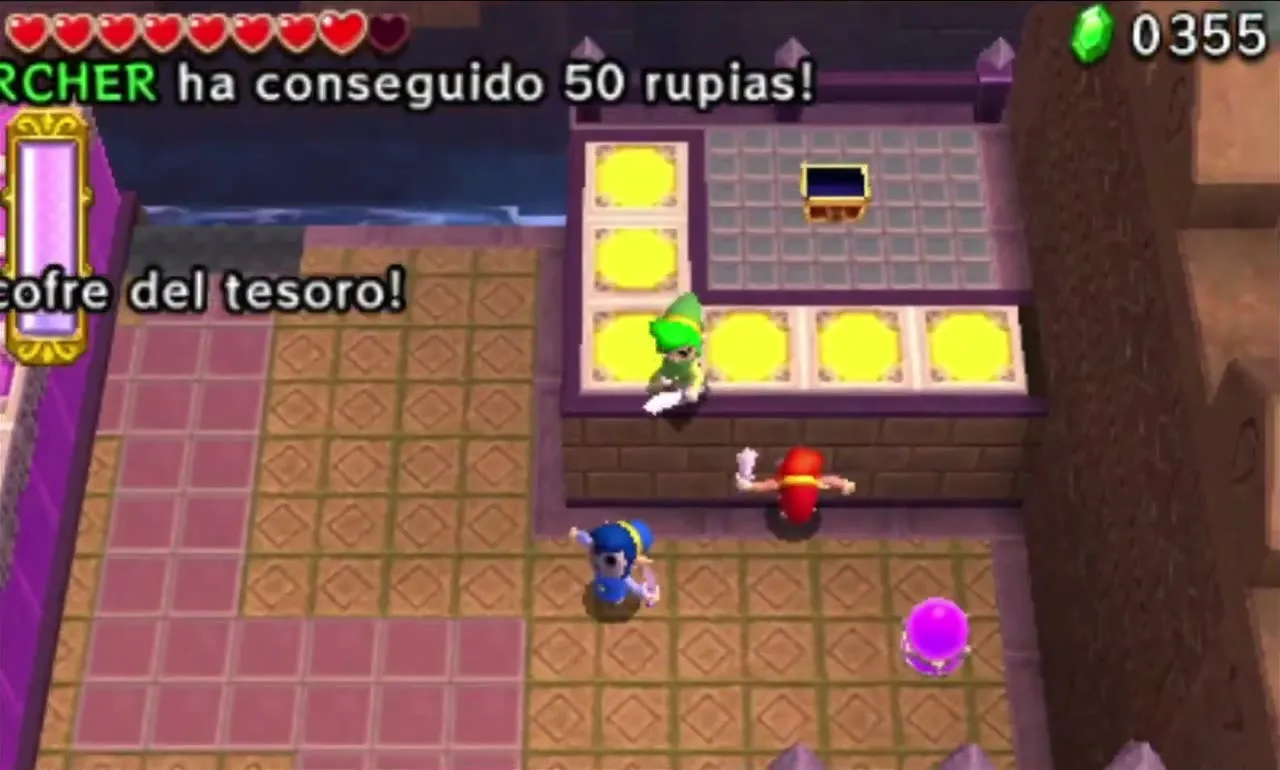
To cross the moat, put two Links on the yellow blocks between the two Shock Switches and raise them with the third; the purple blocks on the far side drop. Use the Gust Jar and Boomerangs to fly each other across, then stand on the pair of Floor Switches to build a staircase for whoever is left behind. Watch out for the Bomb Soldier and the spear thrower on the far ledges, then reach the Triforce Gateway.


Sealed Gateway Stage 4
The lift carries you up through the fortress interior while Bomb Soldiers throw Bombs from ledges. One ledge has a chest with a Red Rupee. At the summit you reach a chasm; two Floor Switches lie across it. Blow two Links across with the Gust Jar; standing on the switches builds a bridge that lets the third follow.


Two swinging Pendulums bar a thin walkway above a pit. Stand to the right and aim the Gust Jar at them to push them out of the way, letting one or more Links cross. On the far side, a Floor Switch opens a wall to the left. Whoever carries the Boomerang pulls the others through that opening, and the party is back together.
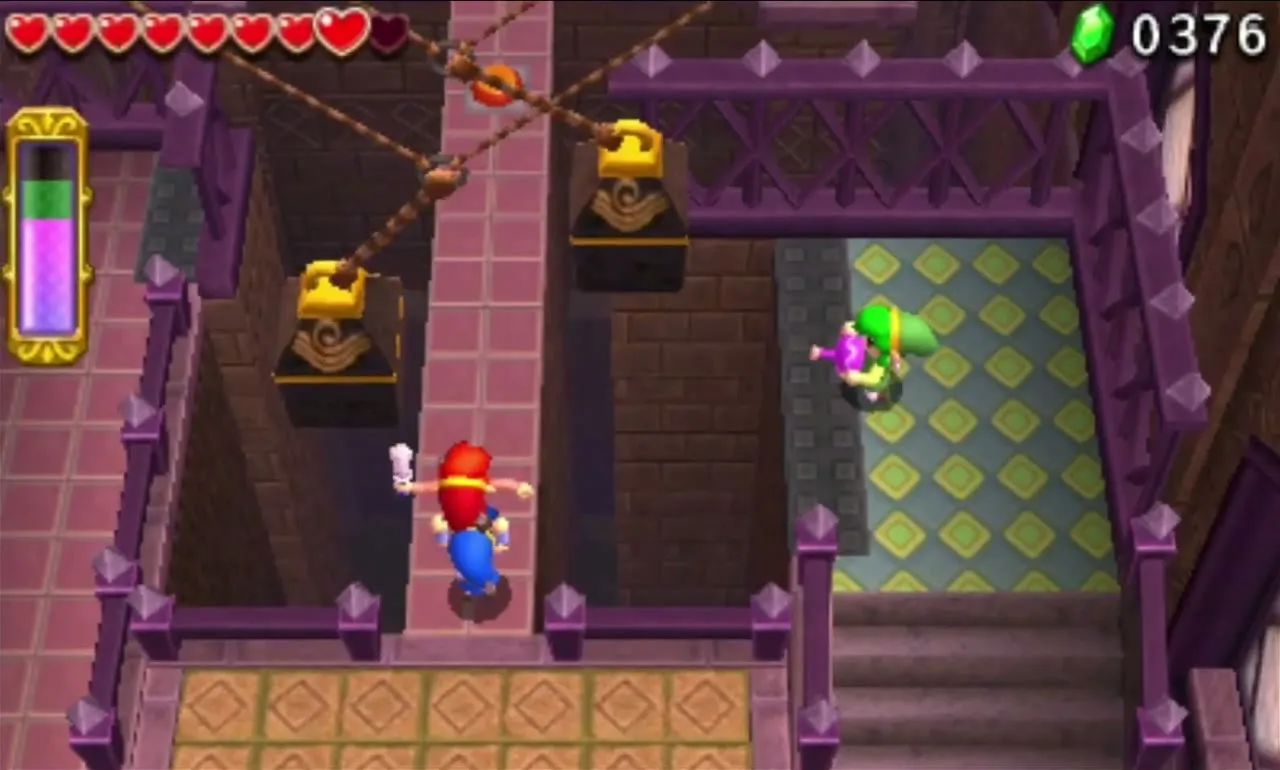
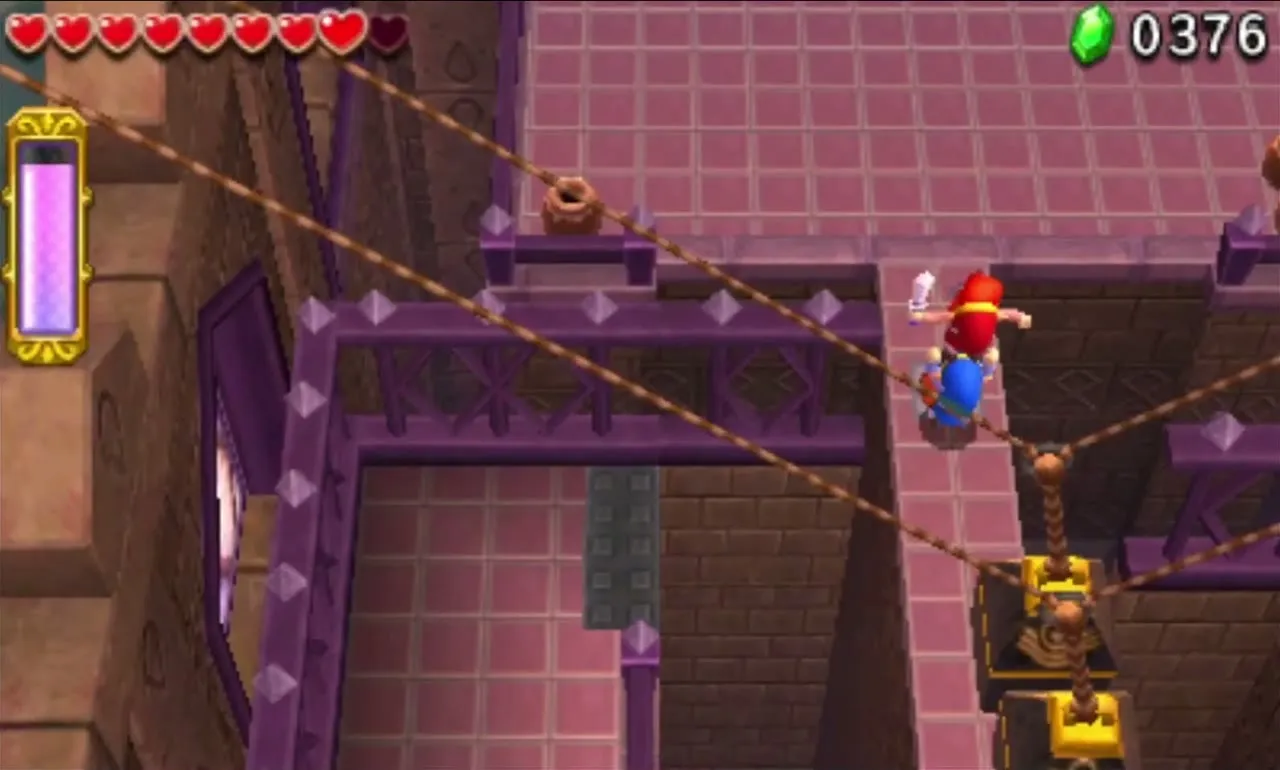
Once the team is back together, a pair of Grey Ball and Chain Soldiers closes in. Spread out so no single swing catches two Links, avoid the balls and strike them down. Beating them opens the balcony doors and reveals the Triforce Gateway at the end of the Level.

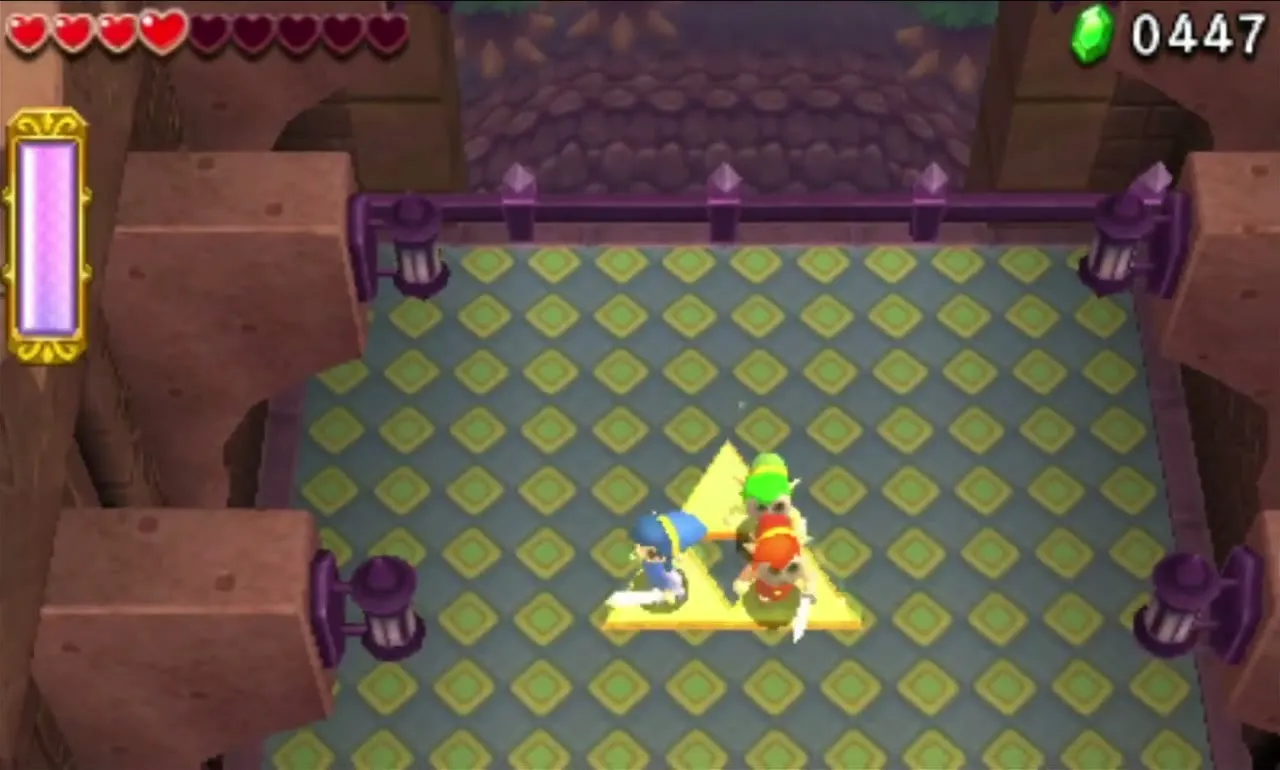

Sealed Gateway treasure chests
Each Link opens one of the three chests in the final room. On a first clear with no challenge, two chests hold Stiff Puff and the third holds a Silver Thread. Both are Bronze Materials that outfit recipes such as the Sword Suit call for; see Materials for where each one is used.
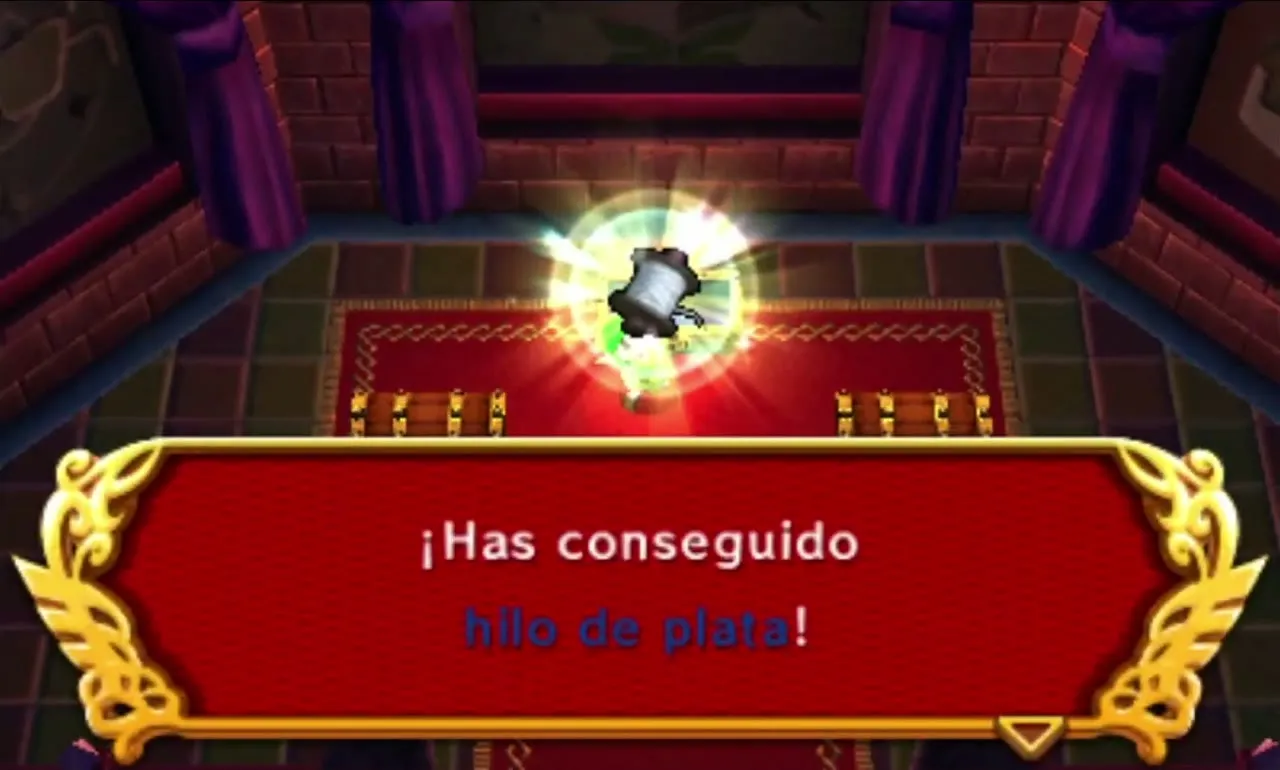
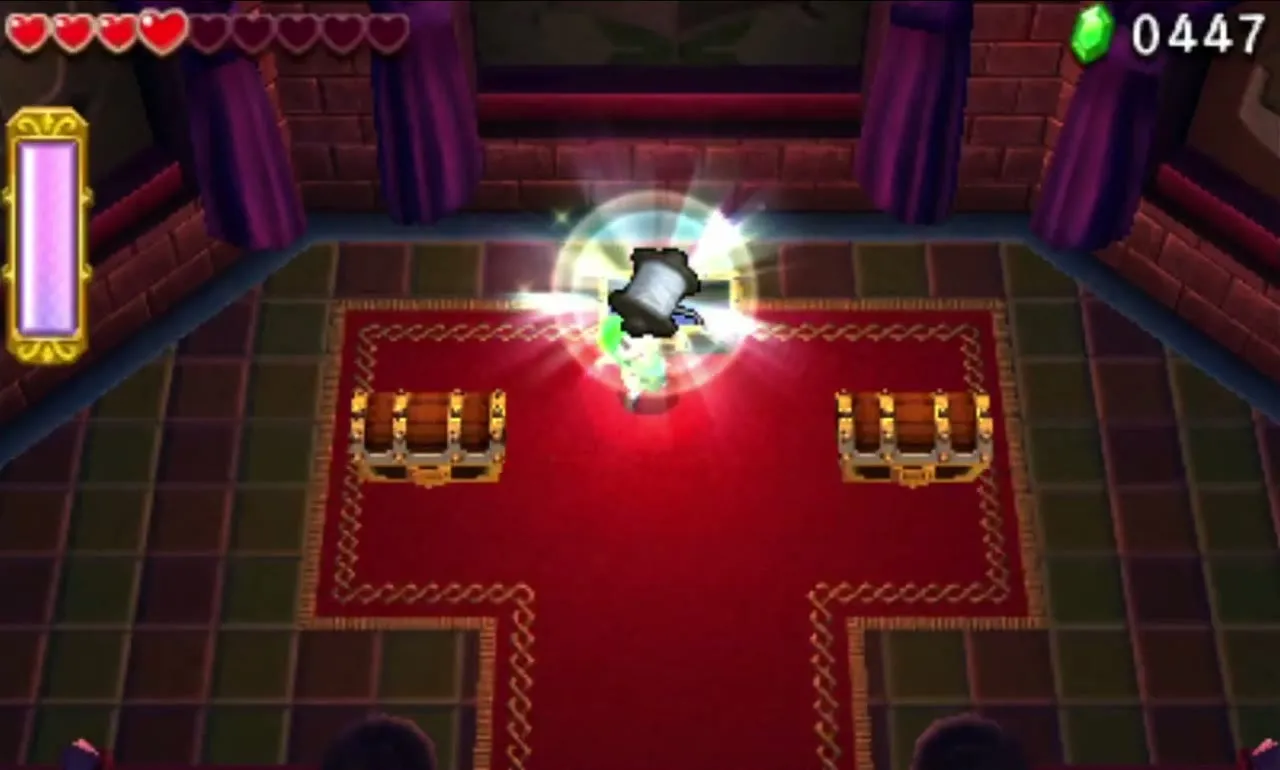
Once The Lady’s Pets are beaten, Sealed Gateway returns with three Drablands Challenges: Evade the Wallmaster!, Halved attack and defense! and Don’t drop the pot!. Each rewards a different set of Materials, all listed on Drablands Challenges.
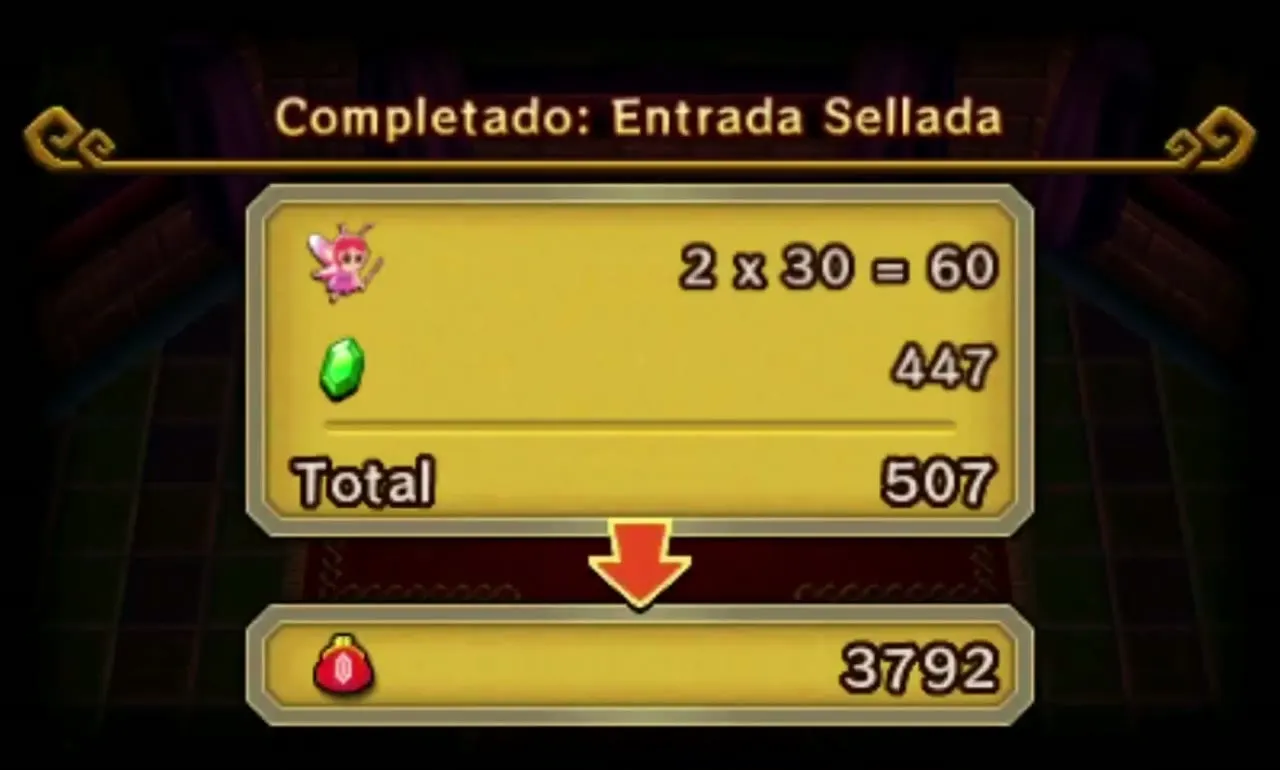
Bomb Storage
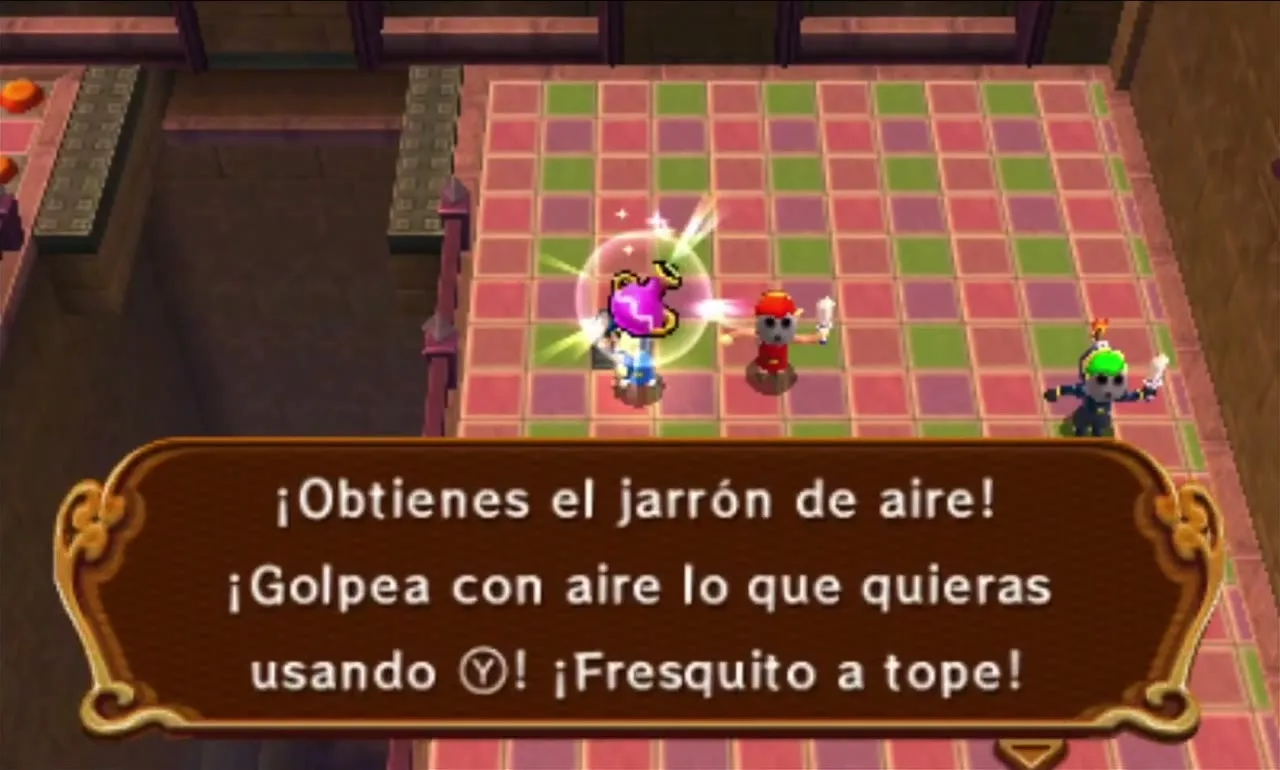
Bomb Storage supplies one Link with Bombs and two with Gust Jars. The Jar blows Bombs and Links across gaps and douses flames, so the Bomb carrier should stay behind a Jar owner. Hardhat Beetles will try to knock you off ledges, and the Level ends against all three Hinox Brothers.

Bomb Storage Stage 1
The start room gives you the Bombs and the Gust Jars. Fire a Gust Jar at one Link to blow him over the large gap, do the same for a second, then have both stand on the pair of Floor Switches to make a bridge for the Link who stayed behind.


A cracked window on a balcony hides a Shock Switch. Grab the Bomb Flower growing nearby, set it down in front of a Gust Jar owner and blow it into the window to shatter the glass, then repeat the trick to hit the Switch and lower the drawbridge. A string of Green Rupees floats over the gaps; swing your Sword from the side or blow a Link across to collect them.
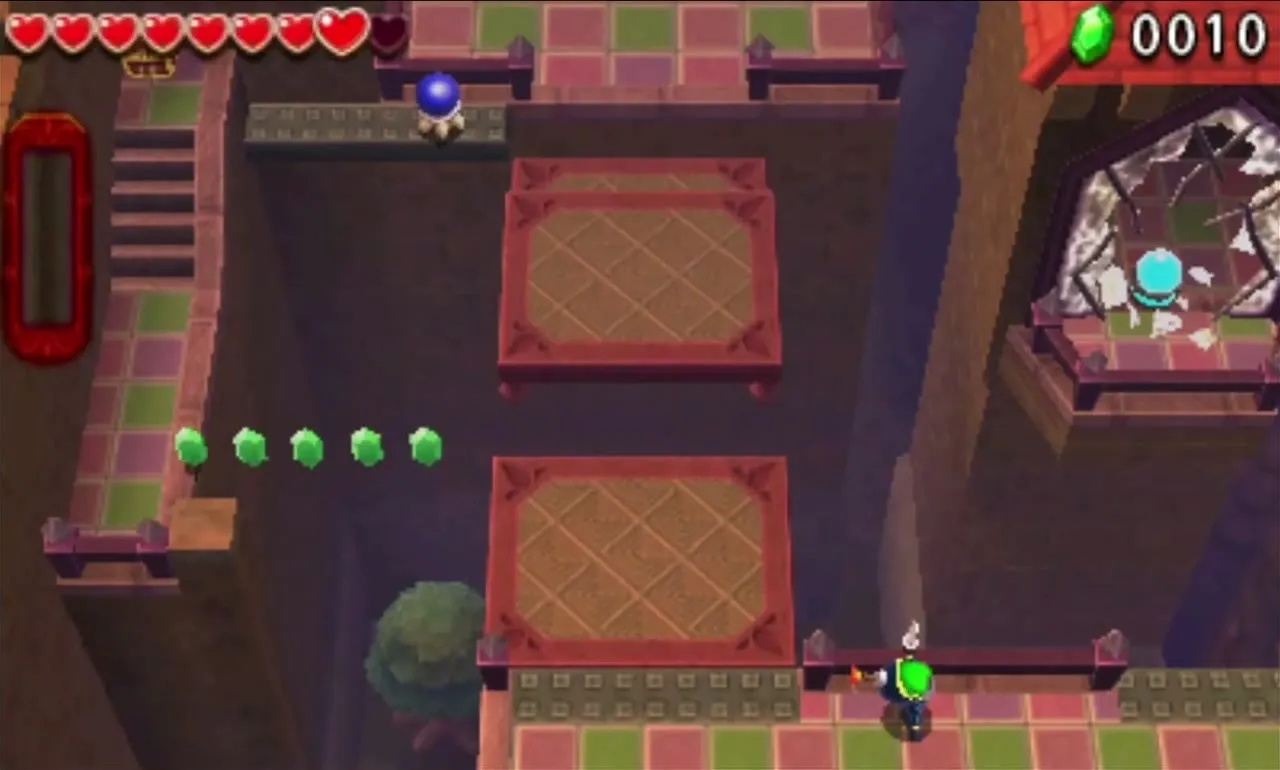
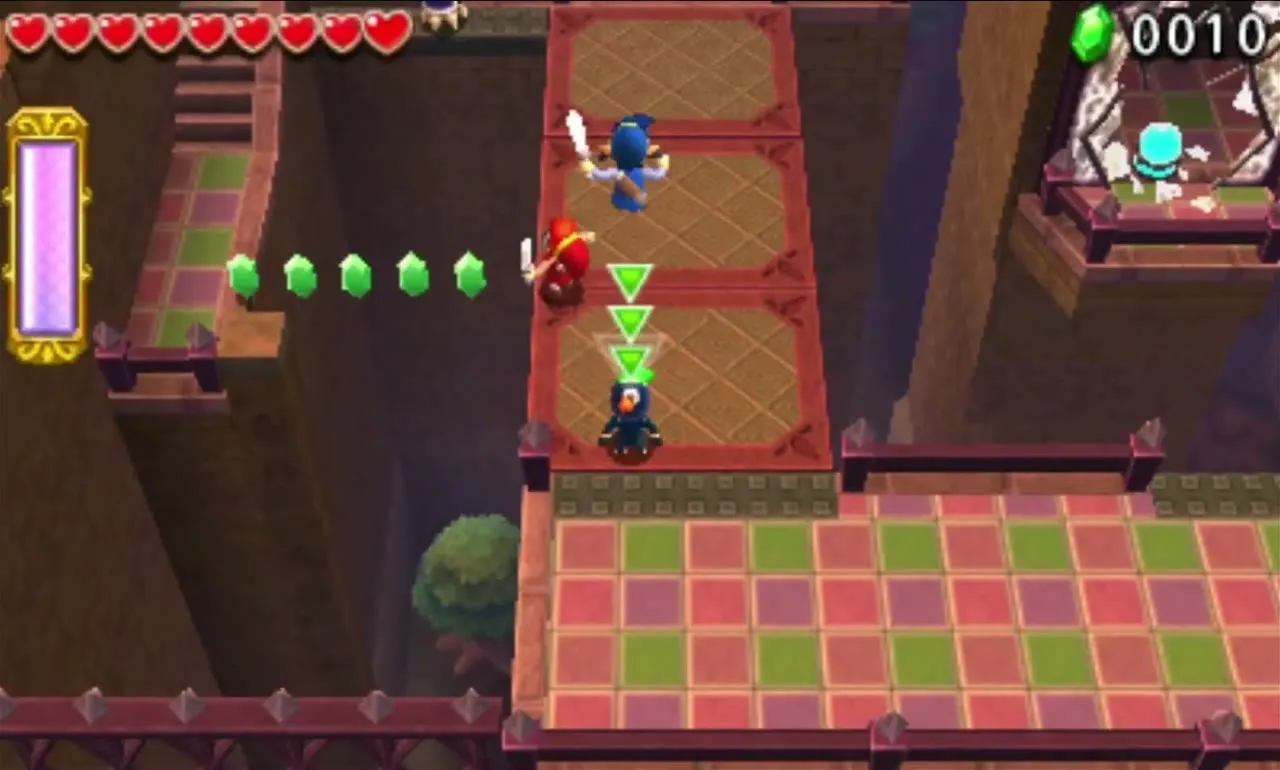
Across the bridge, a second window hides another Shock Switch, but no Bomb Flower grows here. Put a Bomb on the floor yourself and send it into the window with the Gust Jar while dodging Blue Hardhat Beetles. The Switch raises three platforms to the Triforce Gateway. A chest with a Red Rupee sits on a ledge that a thrown Link can reach.
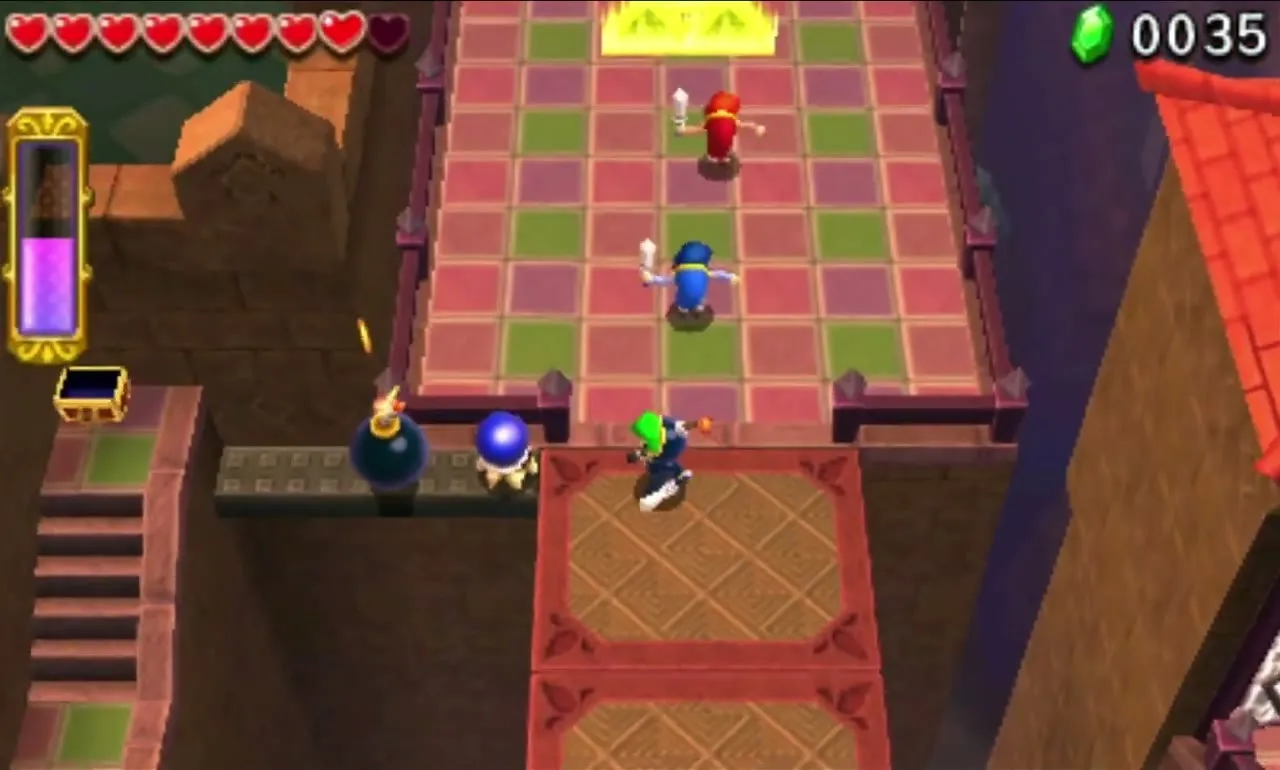

Bomb Storage Stage 2
Three paths branch off in this room, each holding a Floor Switch and a gate. Use the Gust Jar to blow every Link over; the best setup is the Bomb carrier on the far left, with the Jar owners in the centre and right. Pressing all three switches opens the gate. Cracked Blocks cover the two right-hand paths, and a Flame Wall covers the left one.


Bomb the Cracked Blocks and snuff the Flame Wall with the Gust Jar, then fight the Hardhat Beetles on the way. The middle and right paths join up. Blow one Link to the left path so the Bomb thrower can hit the distant Shock Switch, ideally from a two-Link Totem; it starts a moving platform for the right path. Ride it, Totem up to hit a second Switch for the left path, and meet at the end.


With all three Links reunited, build a Totem of three and hit the final Shock Switch with the top Link’s item or a Bomb. It lowers a drawbridge to the Triforce Gateway.


Bomb Storage Stage 3
An aerial lift hangs from a Tightrope over a long pit. Use the Gust Jars to push it forward; Arrow Traps on the back walls fire as you move. Rupees float along the cable, and a Totem of three lets the top Link throw himself at them.


At the lift’s stop stands a tower with a Shock Switch that keeps opening and closing. Lob a Bomb across the gap to strike it while open; this wakes a second tower, where spinning shields protect another Switch. Stack a Totem of three, throw a second Bomb into that tower and the bridge to the Triforce Gateway falls into place.


If a Link gets stuck on the wrong side, a lever Switch beyond the pit sends the lift back immediately. Over there you also find a Squiddy and jars of Hearts and Rupees to refill before the mini-boss.


Bomb Storage Stage 4
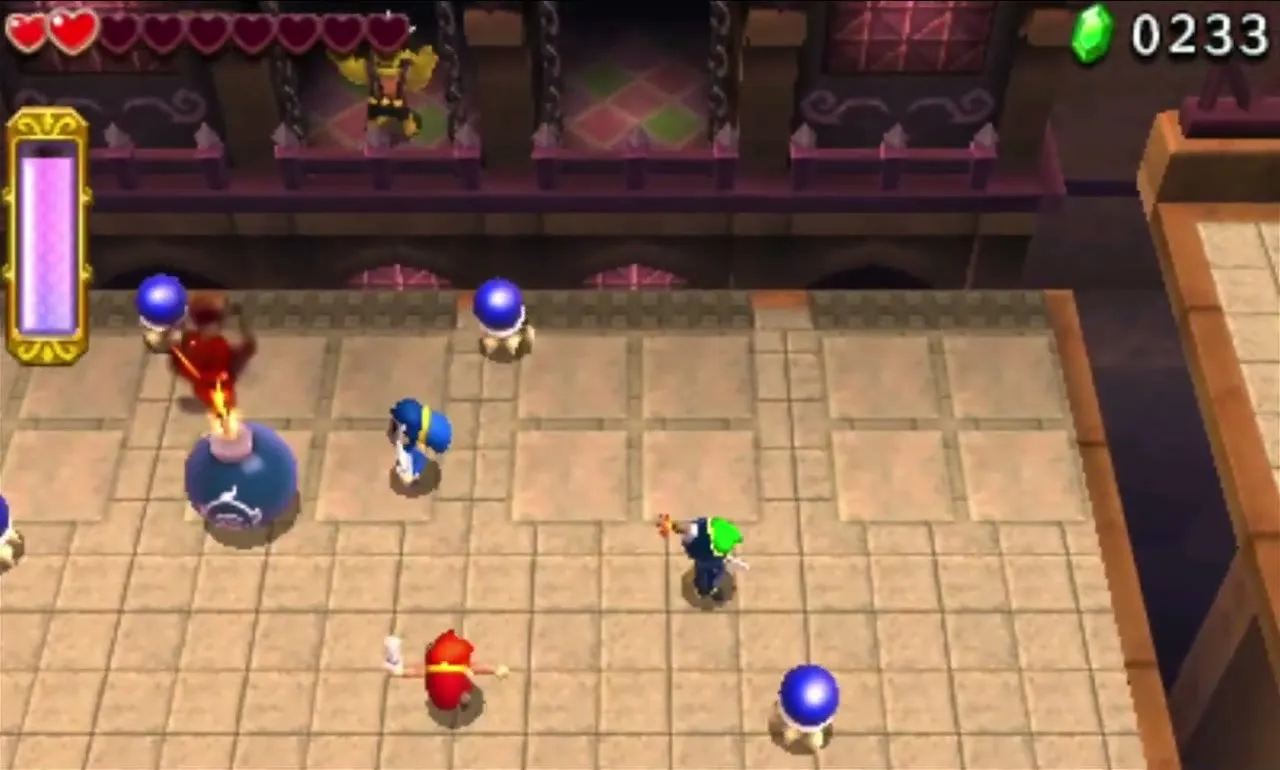
The last stage is one big square platform with no walls, so a fall means a pit. Two raised side ledges hold jars of Hearts, and five barred balconies line the far wall. Stay near the middle with the Bomb Link and two Gust Jar owners; the Hinox Brothers appear in the balconies as soon as you enter.


Hinox Brothers mini-boss fight
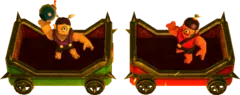
Phase 1 pits you against Hinox the Eldest and Hinox the Elder, who lob Bombs from their balconies. The gap is too wide for you to throw anything back, so catch each Bomb in a Gust Jar blast and blow it back onto the balcony. Repeat until both brothers fall and their doors close.


Phase 2 brings Lil’ Hinox, who jumps between all five balconies and throws huge Big Bombs. You cannot lift these, and the explosion hurts, so stay away from the splash. Set a normal Bomb on the floor, blow it into his open balcony with the Gust Jar, and move on before his next throw.


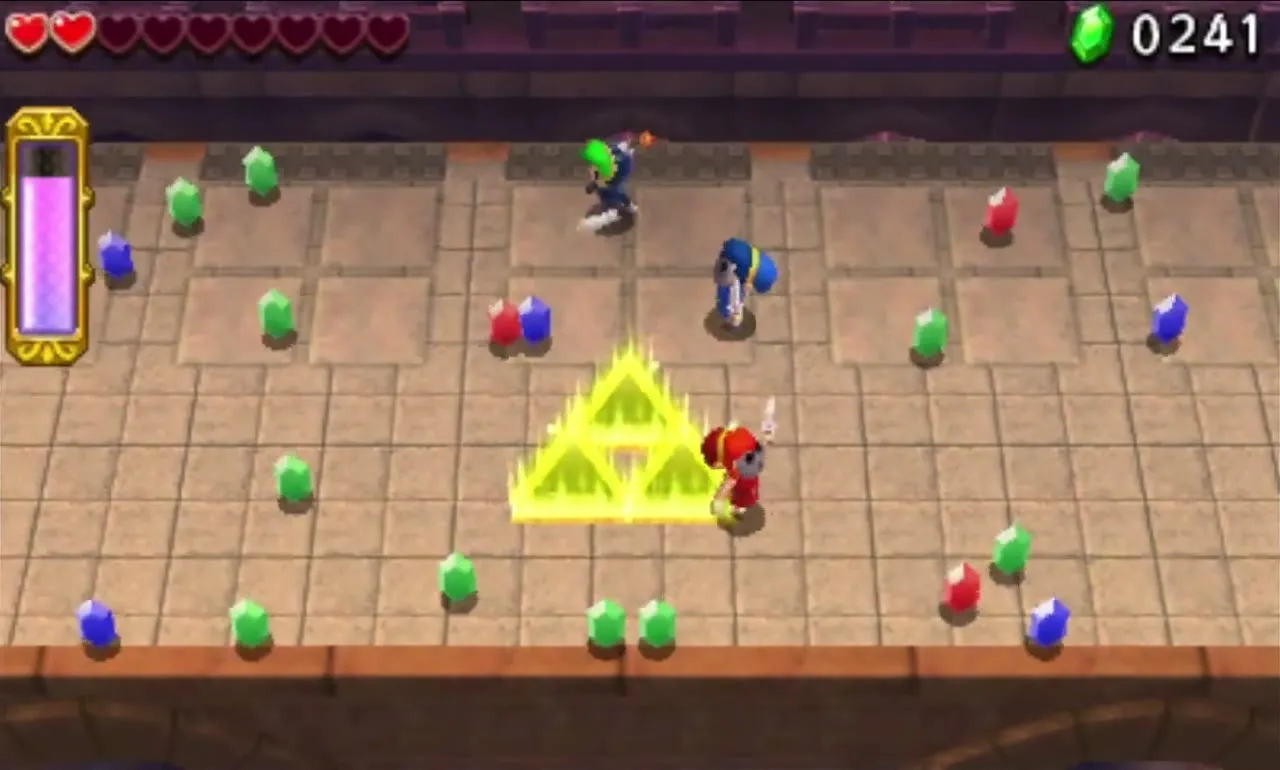
As Lil’ Hinox takes damage he gets faster and opens decoy doors, so watch which balcony he really stands in. Hardhat Beetles drop onto your platform to shove you off; kill them for Hearts and Rupees. After enough hits he falls and the Triforce Gateway appears.

Bomb Storage treasure chests
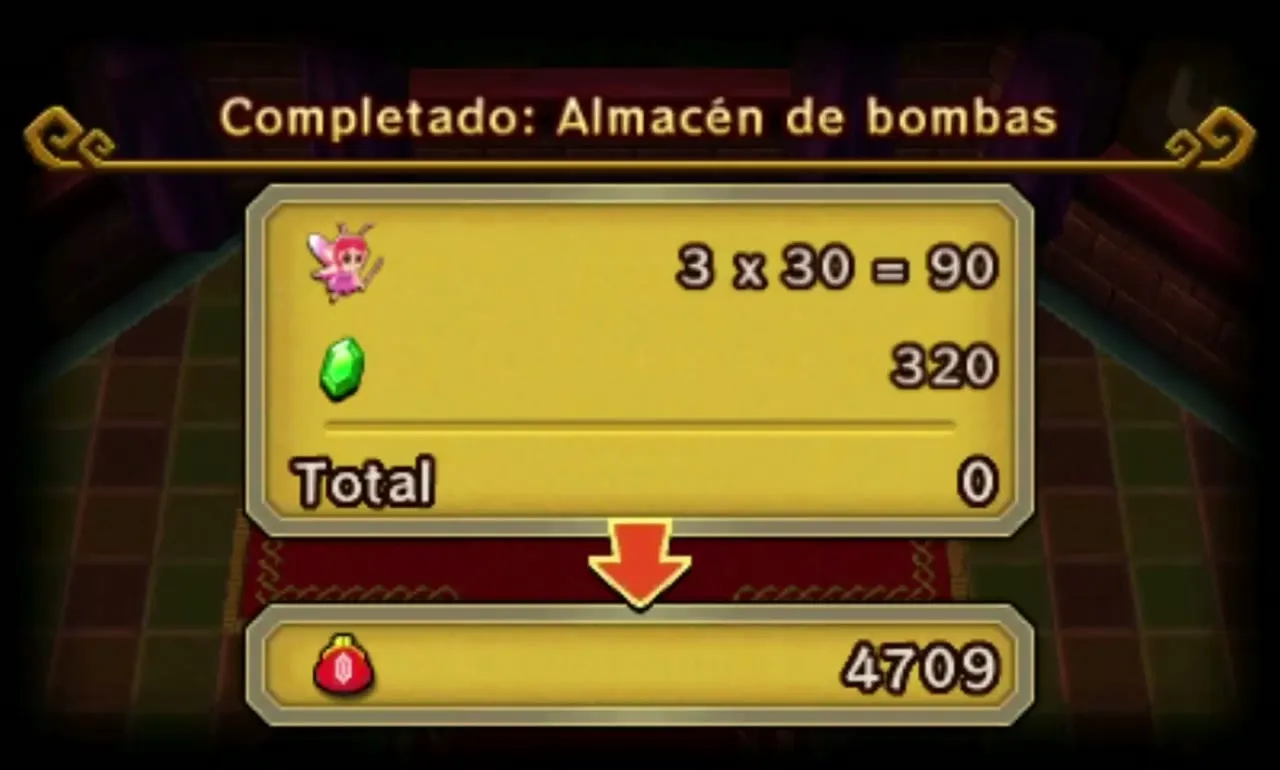
The reward room has three chests. On a first clear, two hold Stiff Puff and the third a Royal Ring, both Bronze Materials that the Sword Suit uses.


When The Lady’s Pets are defeated, Bomb Storage brings back Win without using a sword!, Transport the orb quickly! and Don’t fall at all!. The rewards appear on Drablands Challenges.

Training Ground
Training Ground gives you the Bow, the Gripshot and a Gust Jar, and parks several Totem Armos around the rooms. You can ride them: they crush Soldiers, trample rolling balls and block fire. The Bow can be fired at distant Switches and at Beamos eyes, so stack a Totem to aim it.
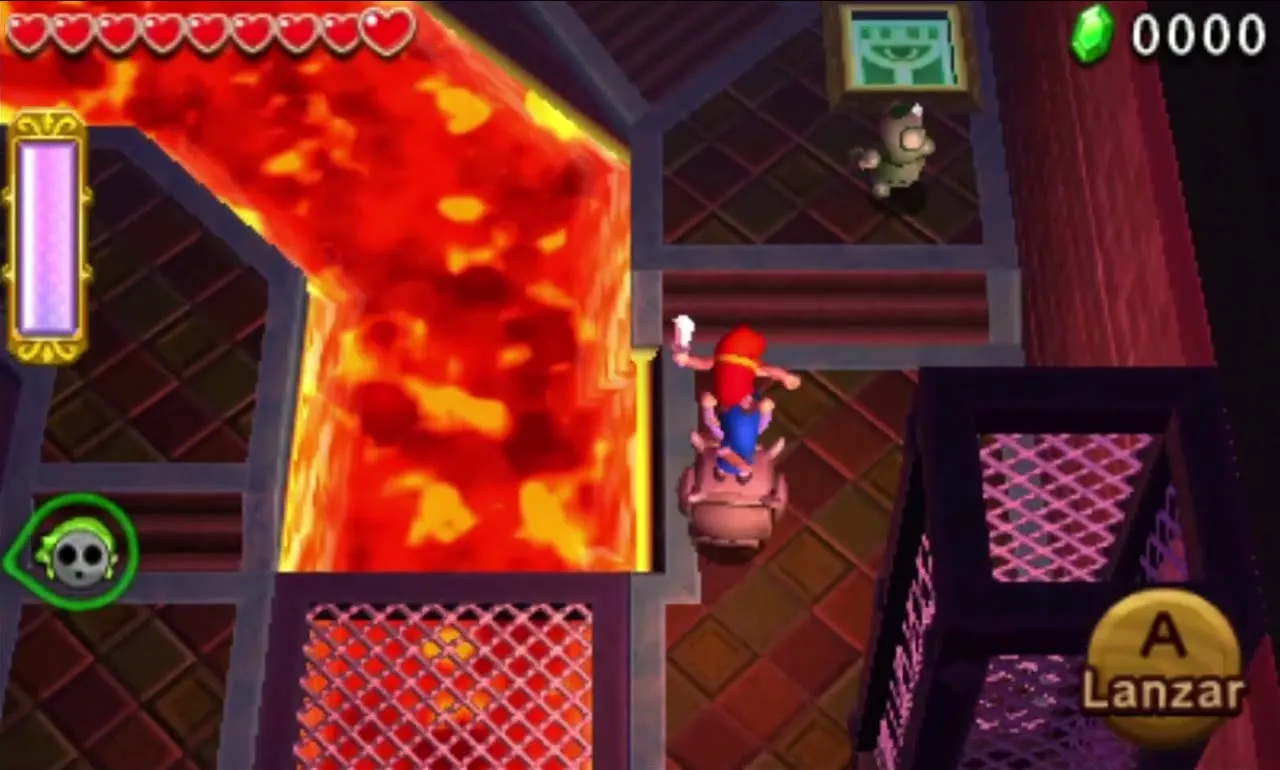
Training Ground Stage 1
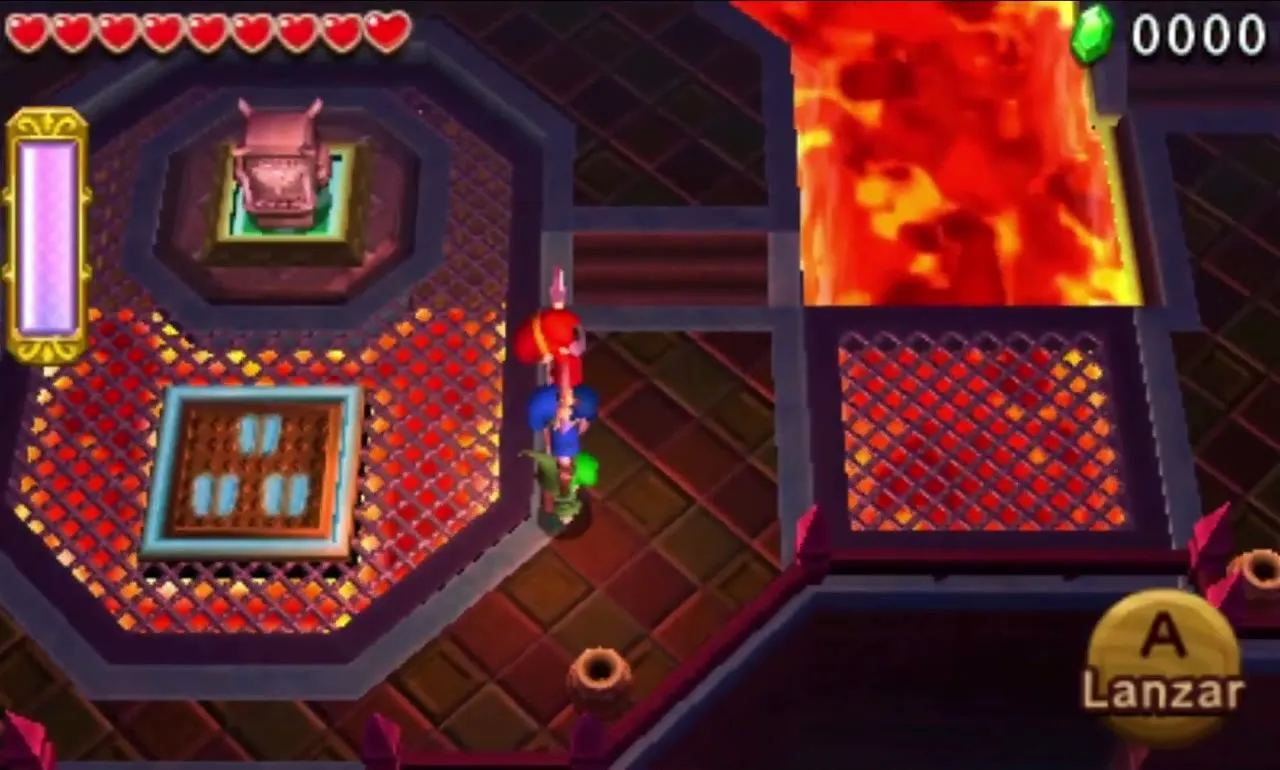
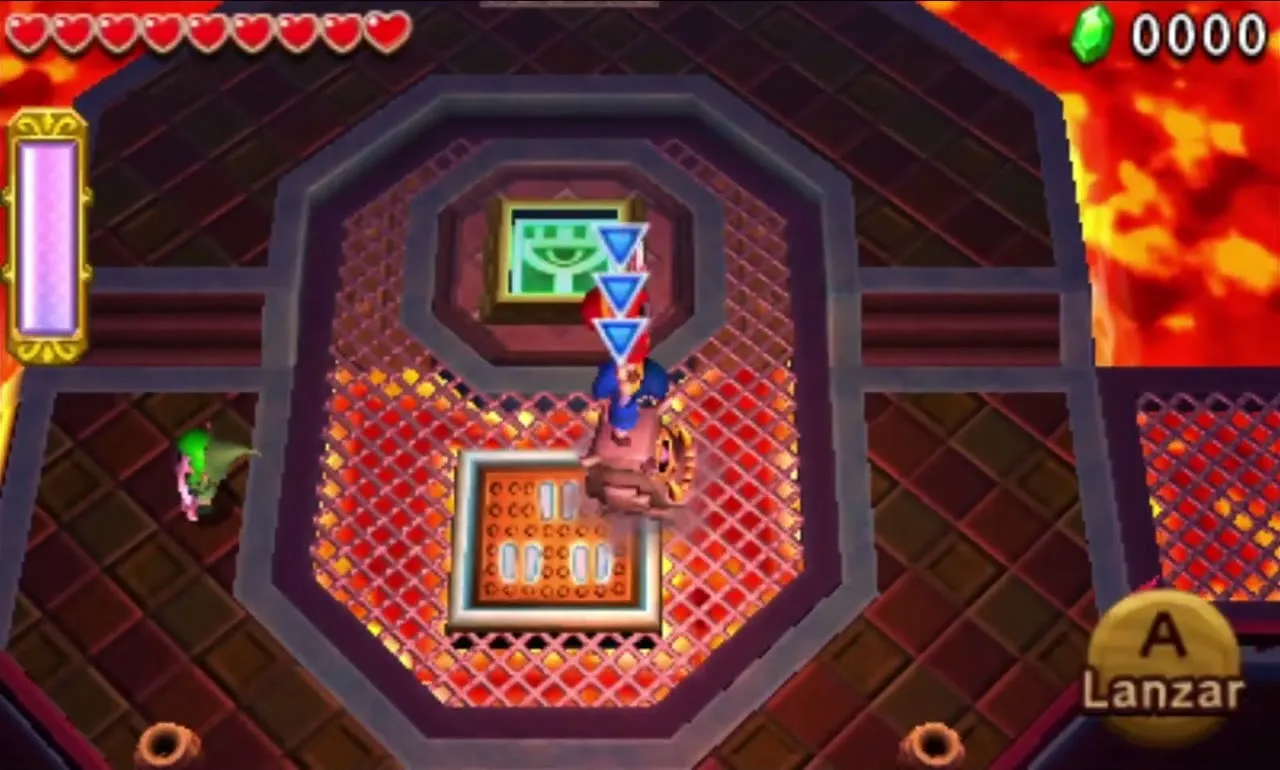
The first room is a pit of Lava with a Big Switch in the centre. Stand all three Links on it and a Totem Armos rises from a trap door. A Bow lies up the staircase to the right of the start; take it with one Link. The Armos can cross the Lava ahead and to the left; the Gust Jar and Gripshot wait on the far side.

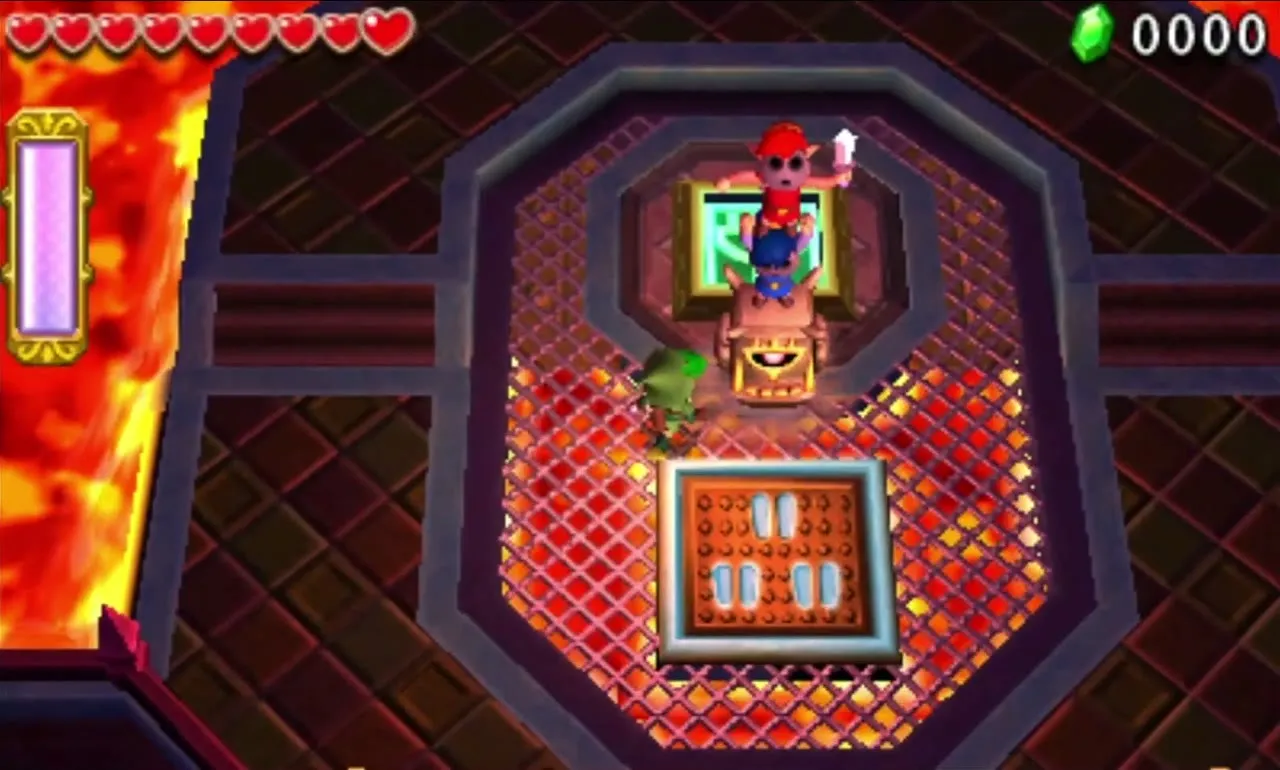
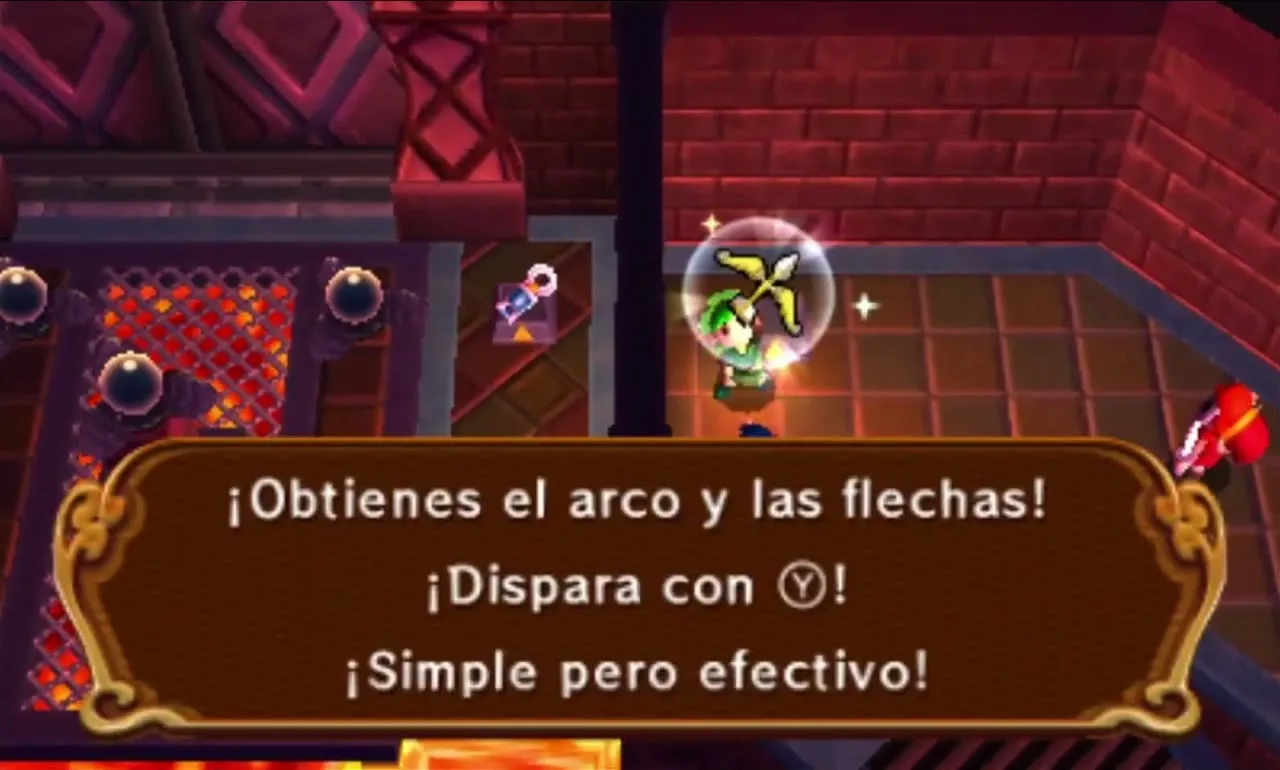
With two Links across, have them stand on the two Floor Switches to build a bridge over the Lava. Then three Shock Switches have to be hit quickly, and from a distance since they cover themselves when you get too close. Use the Gripshot, Bow and Gust Jar together; the raised centre Switch needs a quick Totem or a Link riding the Armos.

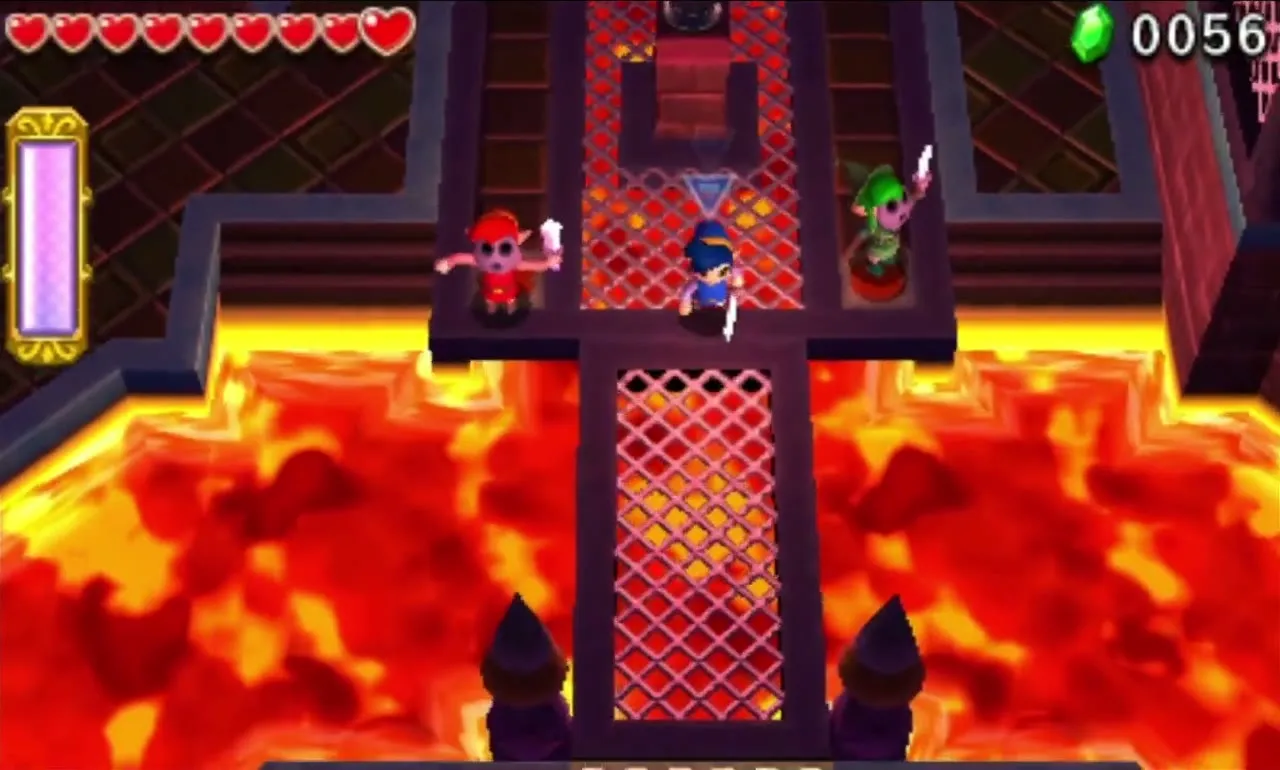
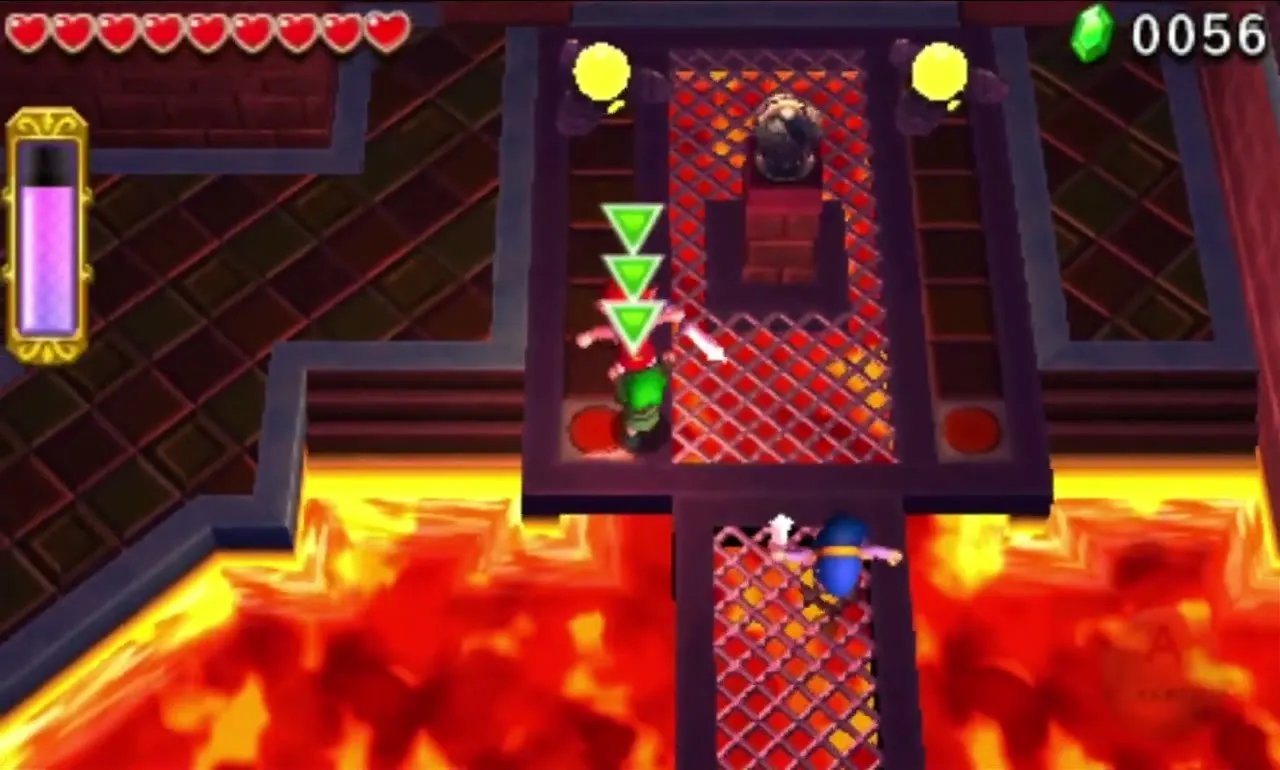
A door opens onto four more Floor Switches, one inside a green panel. Park the Totem Armos on the green panel and stand on the other three switches to open the second door. Walk through to the Triforce Gateway.

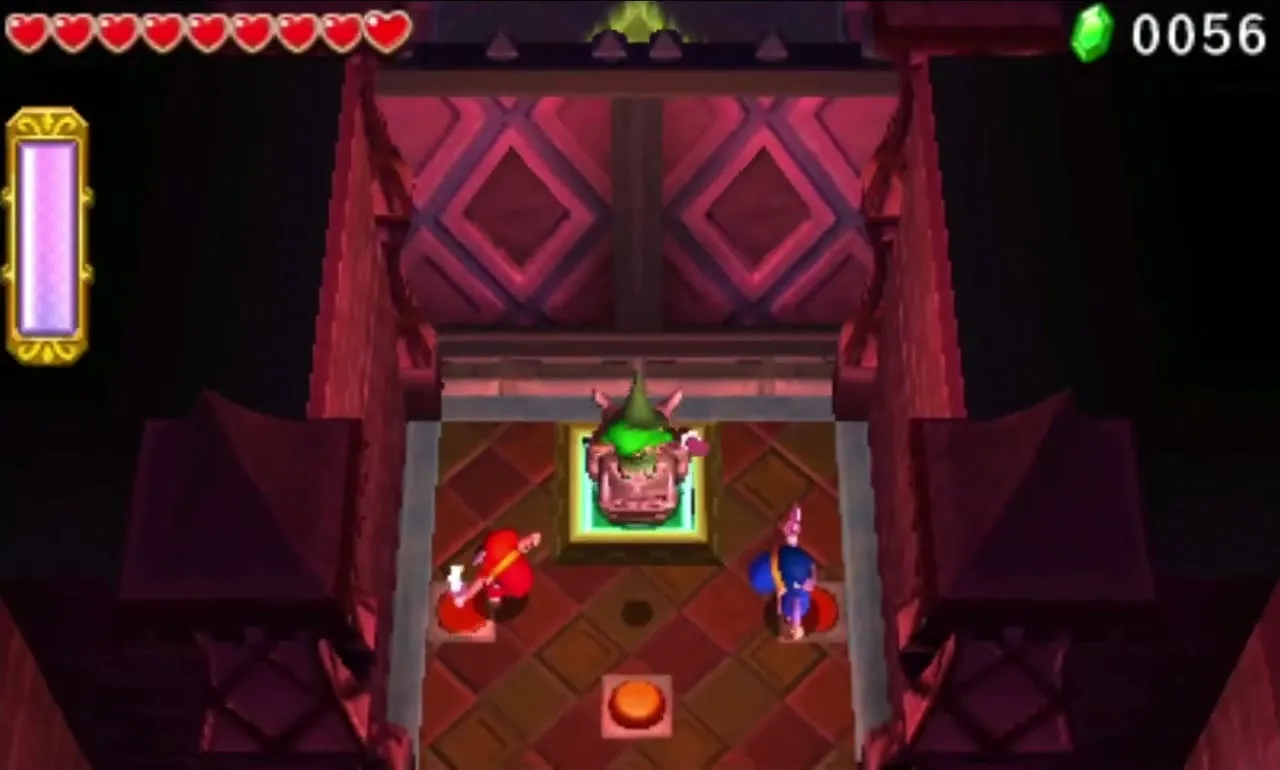
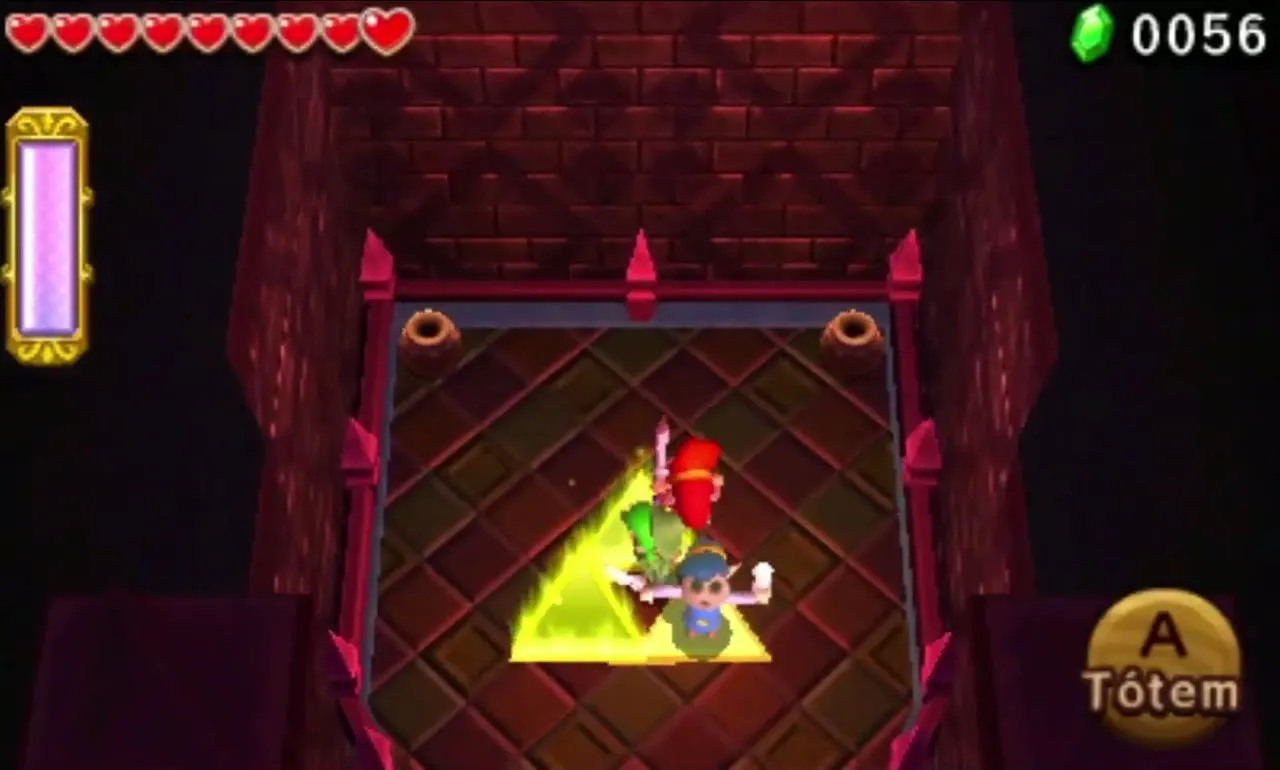
Training Ground Stage 2
An elevator lifts you into a room holding another Totem Armos at its centre. Nearing it triggers Blue Sword Soldiers and Red Hardhat Beetles that slide in down the slanted walls. Climb onto the Armos and run over them; nearly everything in its path is crushed.


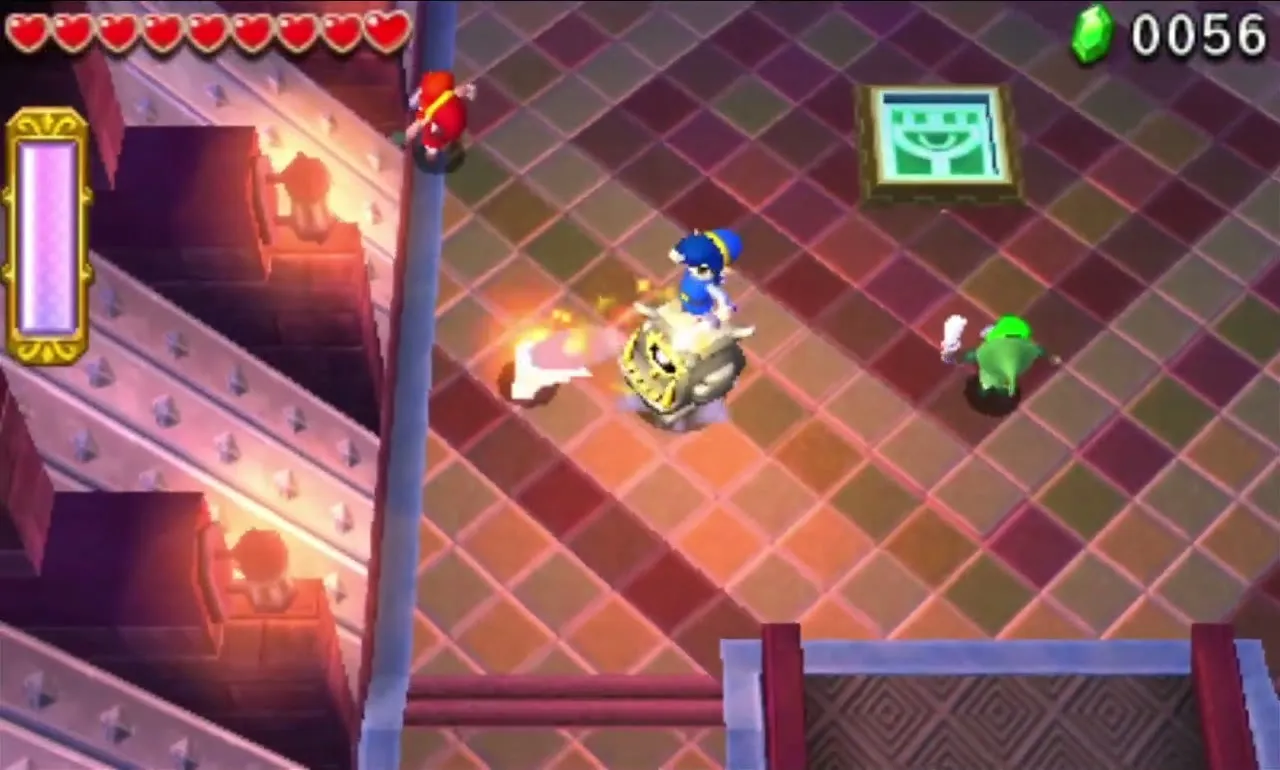
Blue Sword Soldiers hide behind shields that even the Armos cannot break. Fire the Gripshot at a shield to rip it away, then trample the Soldier. Clear every enemy and the doors to the Triforce Gateway open.


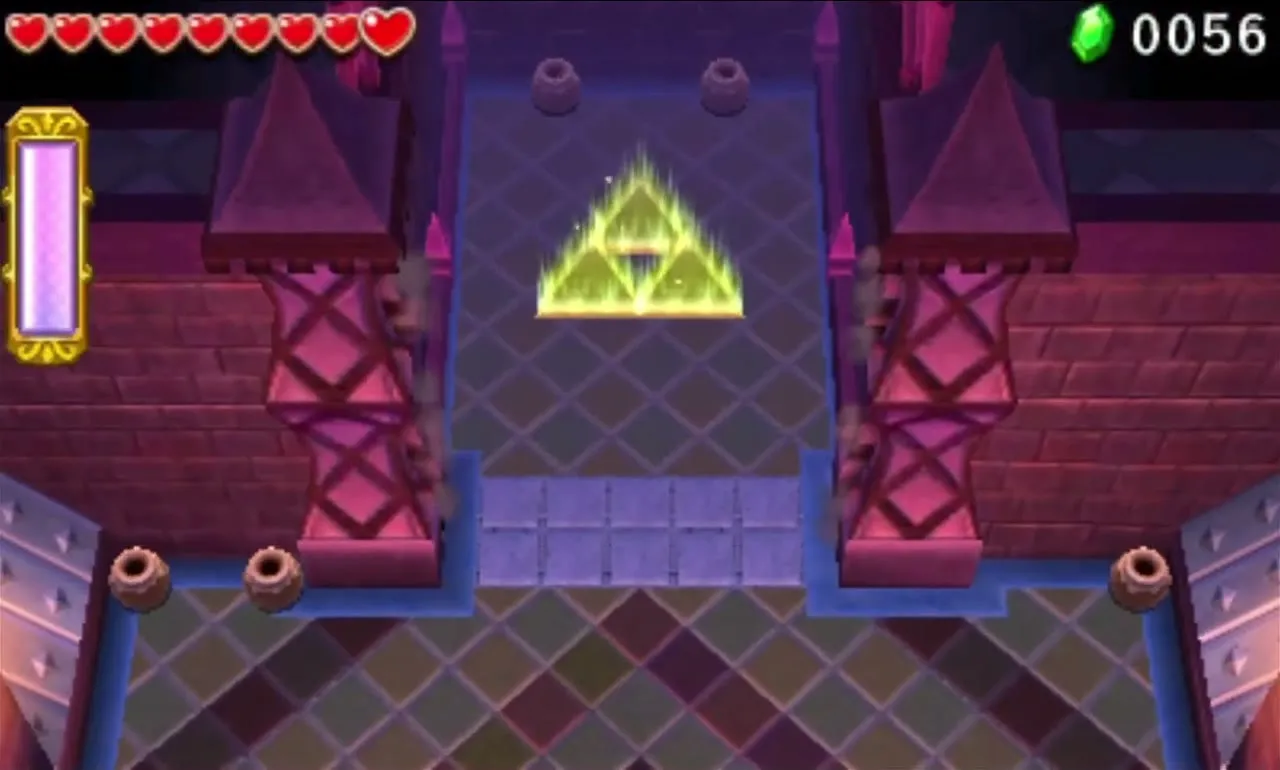
Training Ground Stage 3
A narrow walkway beside the Lava is swept by Gargantuan Balls, and a Beamos rides a Totem Armos nearby, firing at any Link who gets close. Build a Totem and shoot an Arrow into its eye, blow it off with the Gust Jar, or stun it and use the Sword. Then ride the freed Armos down the walkway to flatten the balls.

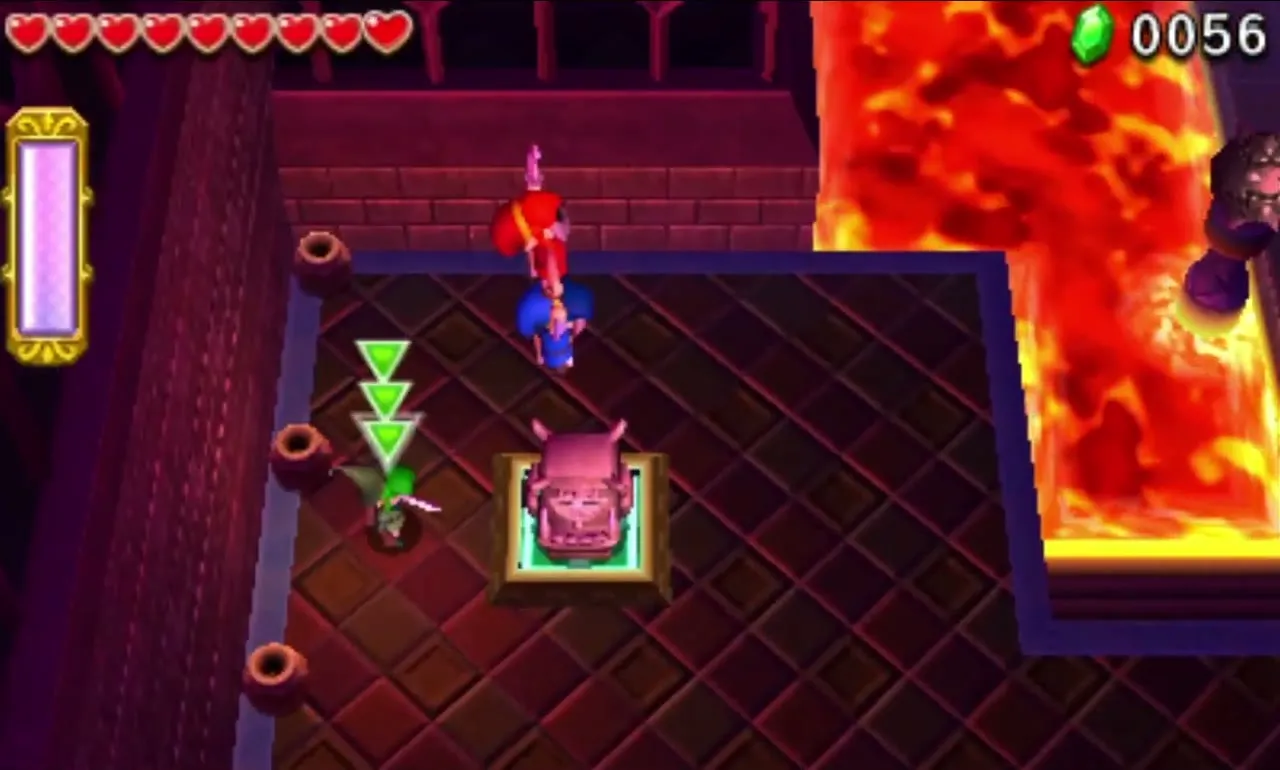
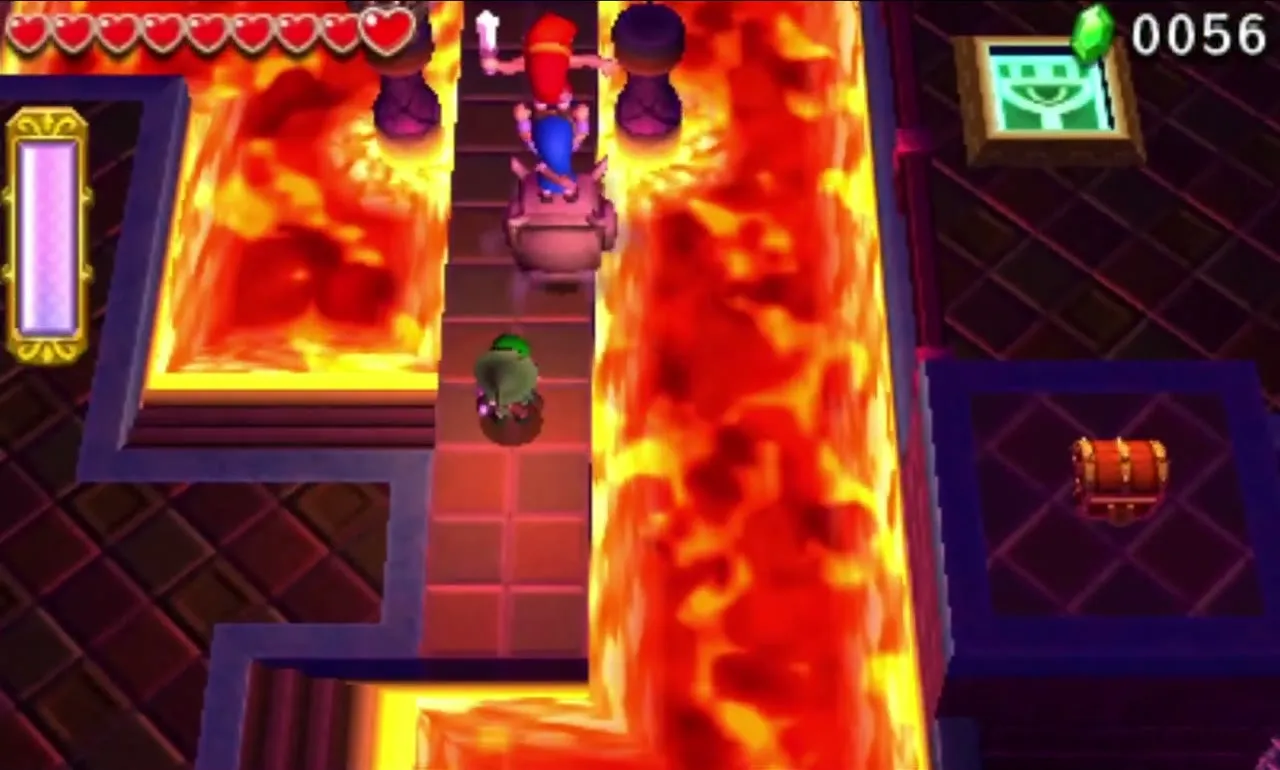
More Beamos sit in the Lava ahead, and a green panel is waiting for the Armos. A ledge nearby holds a chest with three Hearts. Park the Armos on the panel to progress, then climb the right-hand path to the flame trap.
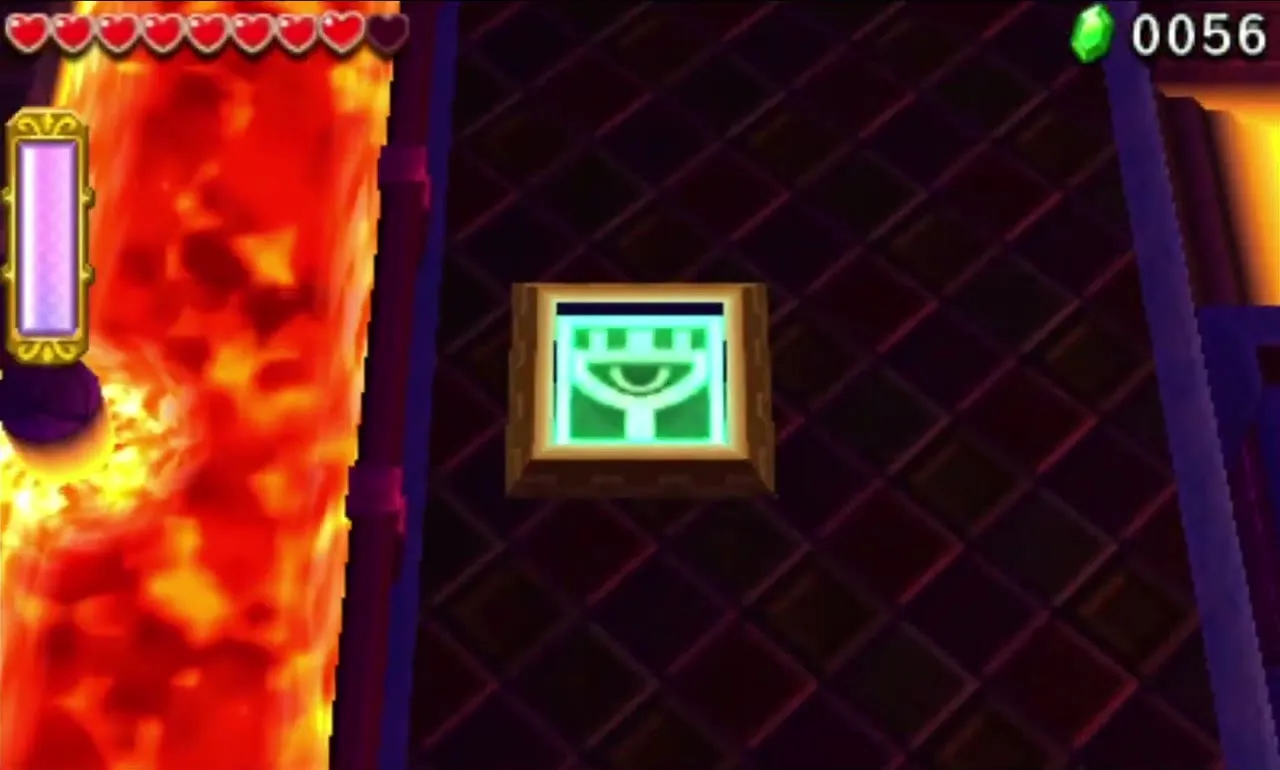
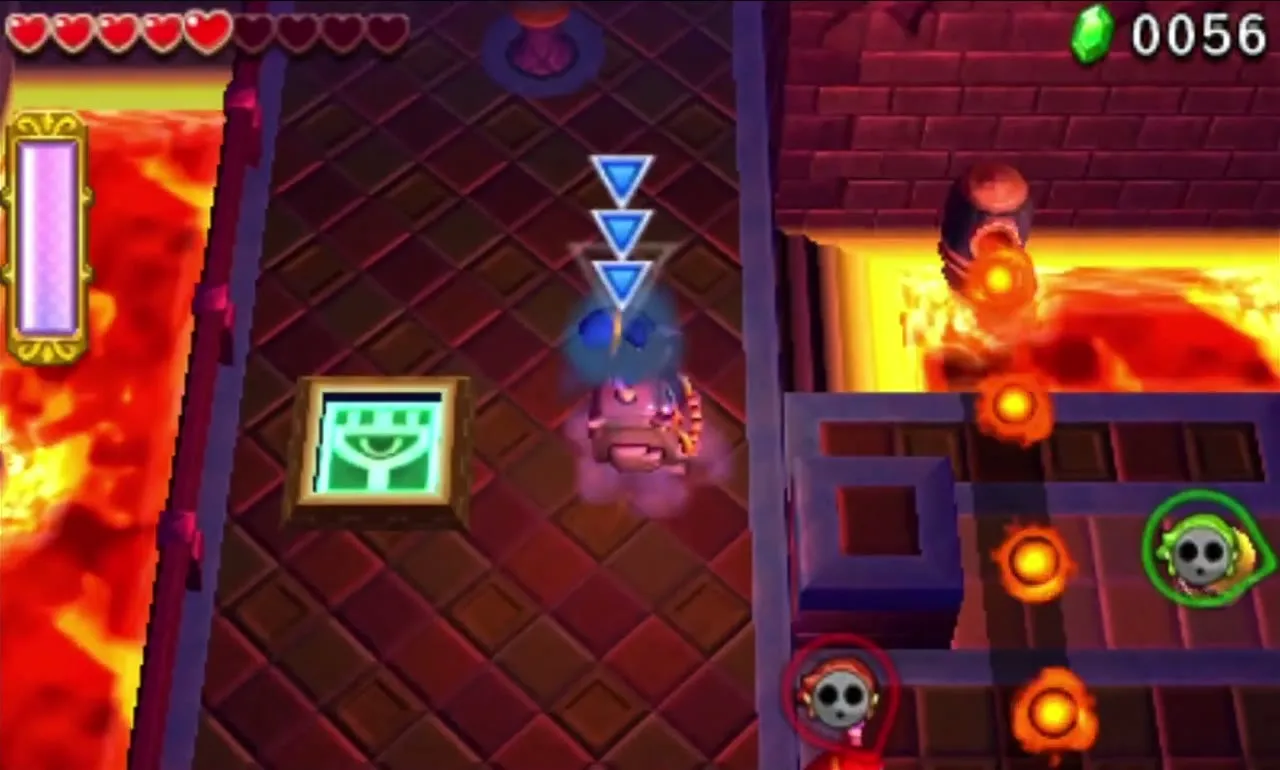
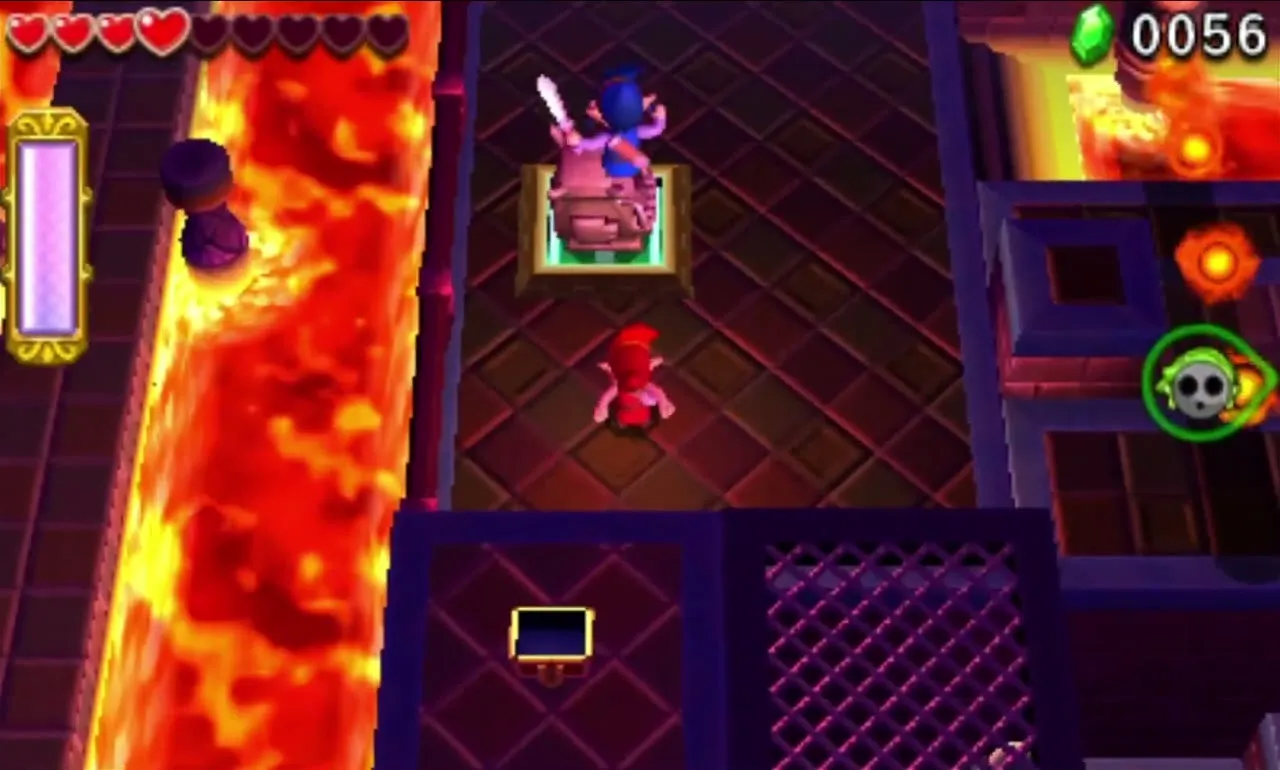
The trap is four fixed Guruguru Bars firing streams of flames with Shock Switches between them. One Link rides the Armos straight through; its body blocks the flames. The floor gives way to Lava for the rider, so the Links on foot hit a Switch to raise or lower a grated platform before each stream, staying below the Armos to avoid the fire. Falling just sends you back to the start by elevator.

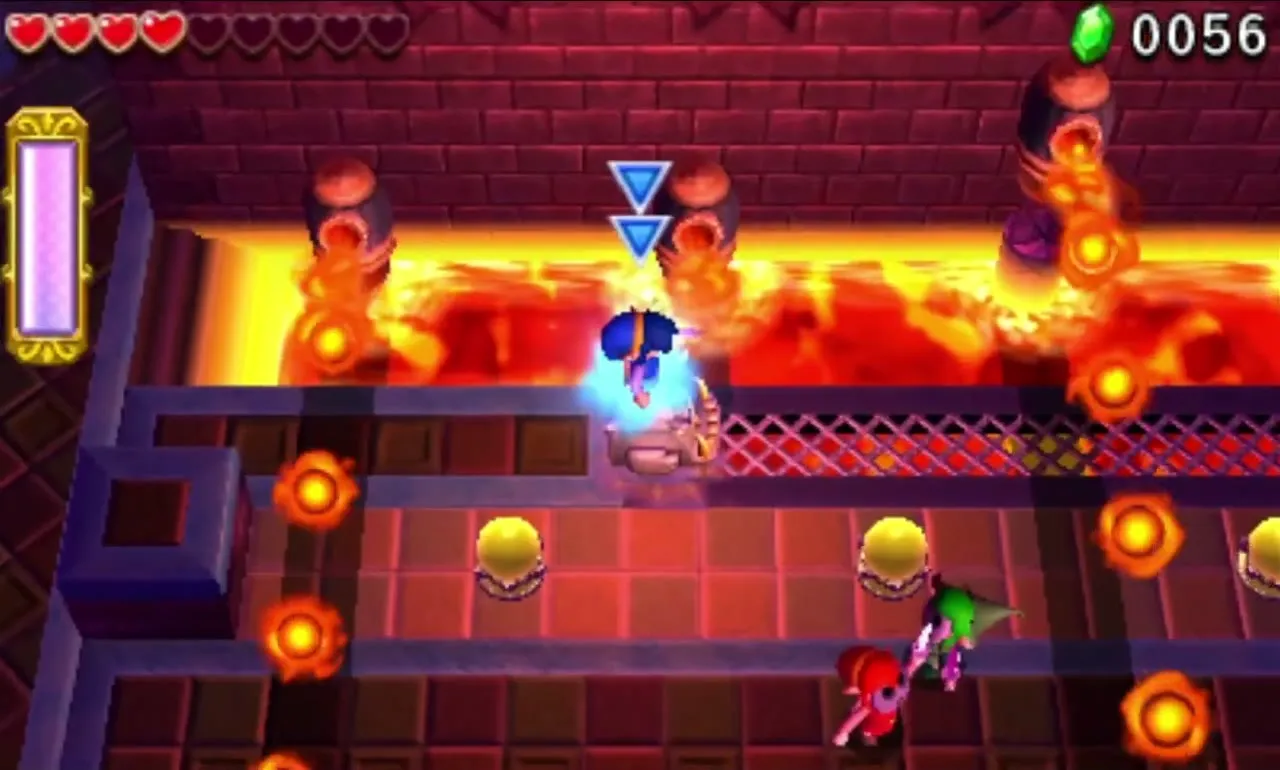
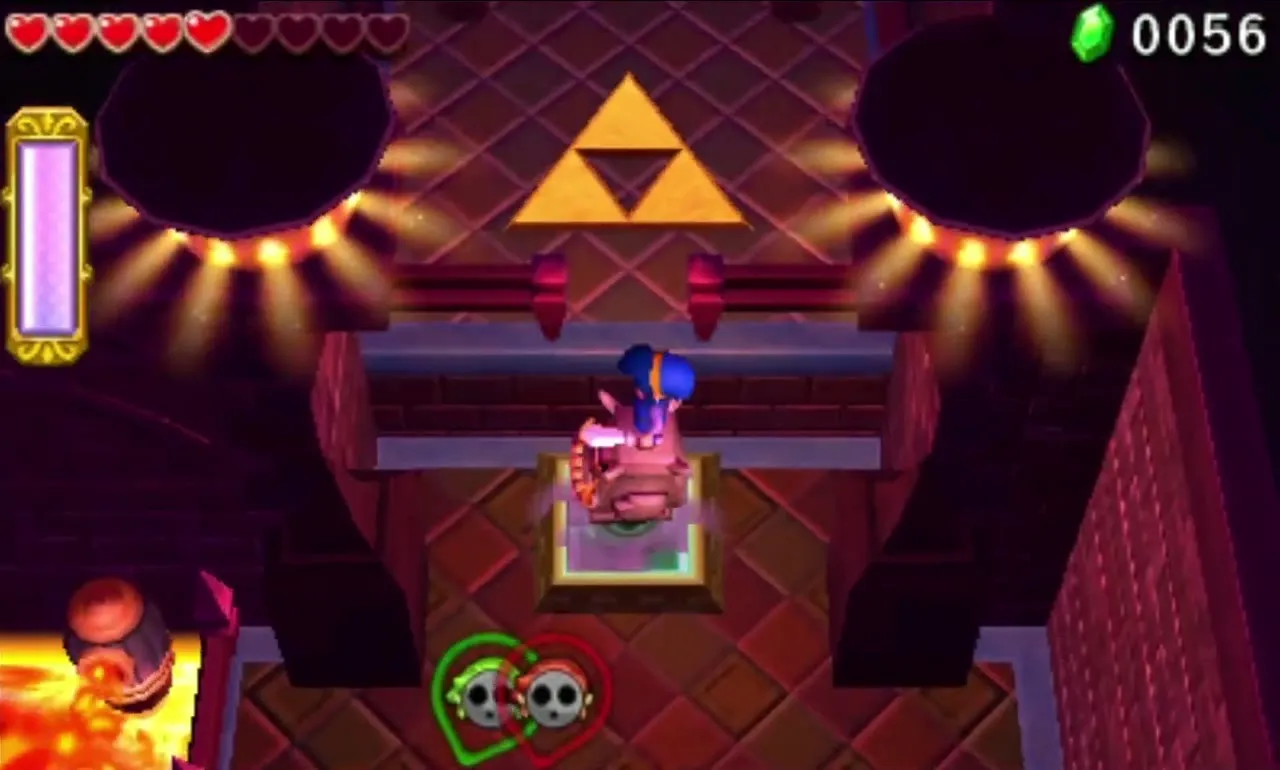
The last room has a Squiddy, a rising floor lift and a green panel. Parking the Armos on the panel launches the rider towards the Triforce Gateway. Everyone else stands on the lift, rides it up while the Armos hops nearby, and drops into a Totem to reach the gateway together.


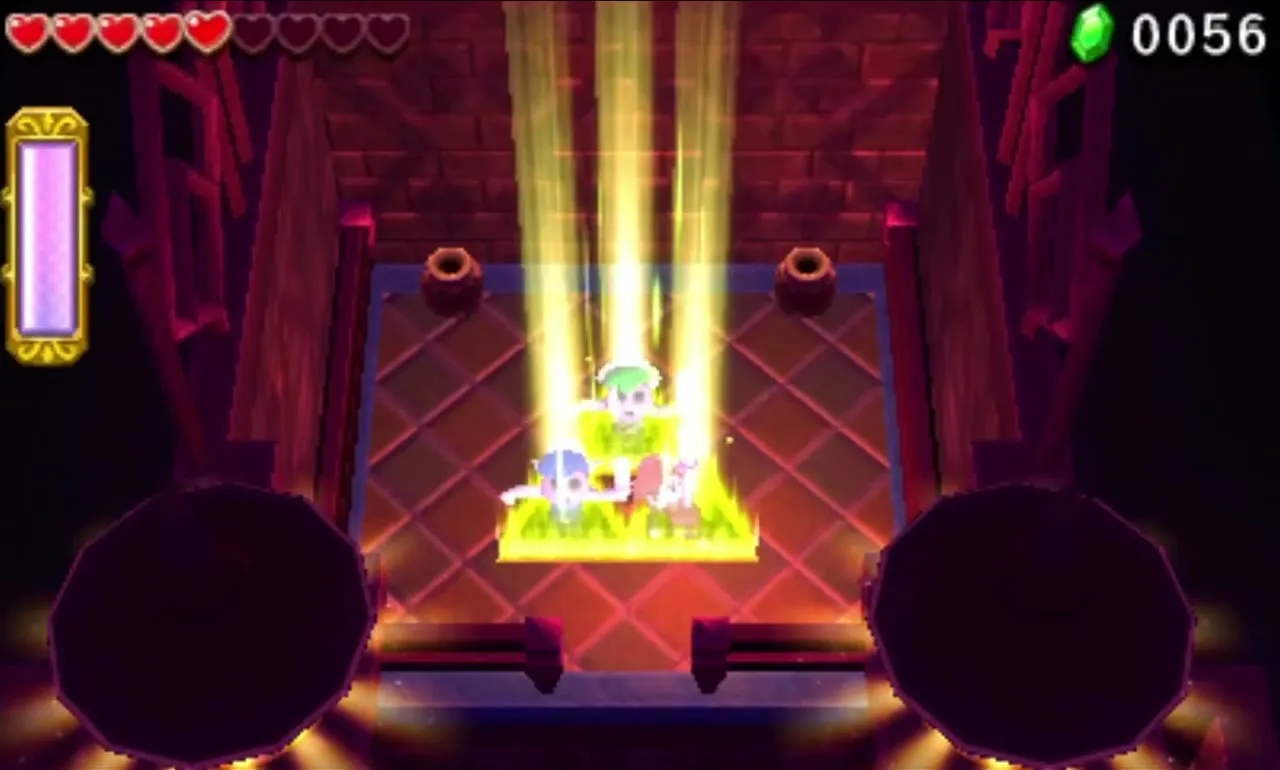

Training Ground Stage 4
Every Link begins on a ledge over a stationary Totem Armos, opposed by Soldiers mounted on their own: two Sword Soldiers and a Spear Throwing Soldier. Pick them off with Arrows or well-timed Sword hits, or use the Gust Jar to shove them off and trample them. The Blue Sword Soldier takes more punishment, and the Gripshot can snatch away its shield.


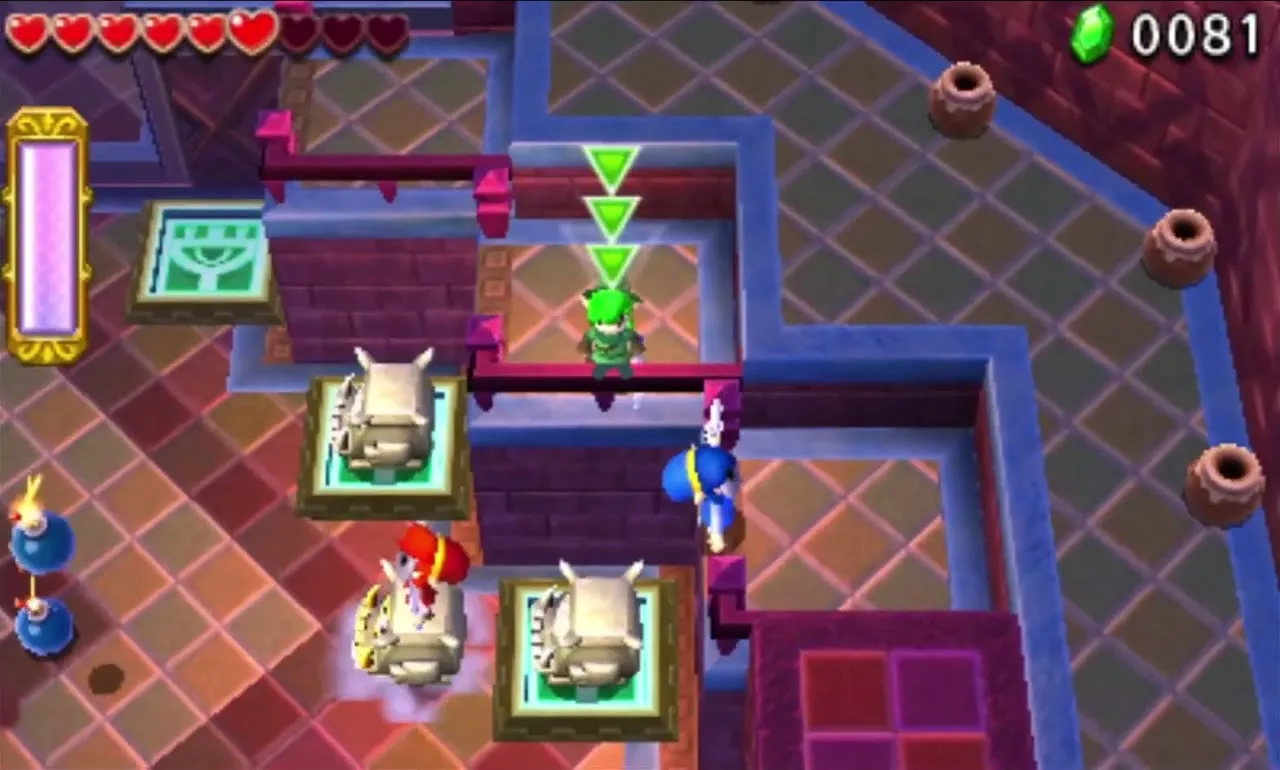
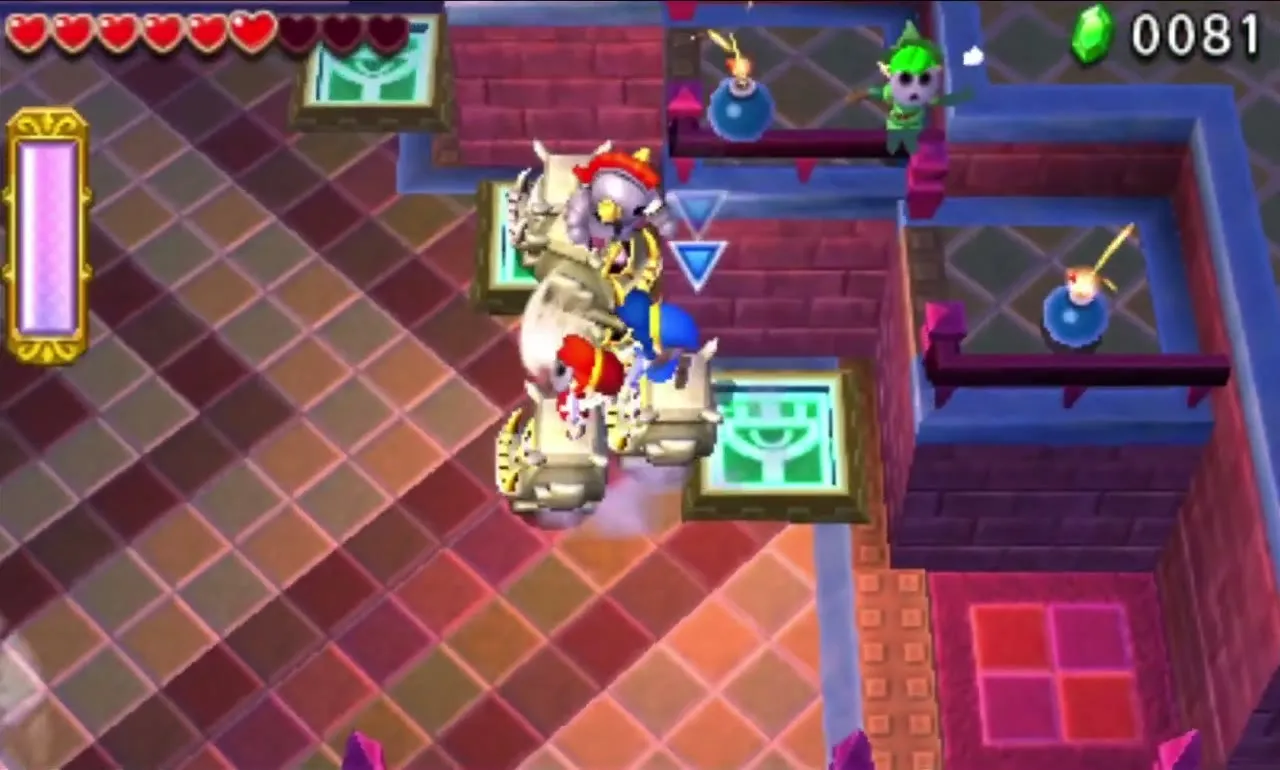
When a wall drops, the next foes are a Bomb Soldier standing on two stacked Armos, plus a Grey Ball and Chain Soldier and one more Blue Sword Soldier, each on an Armos. Hit that stacked Soldier from a ledge at the side. After all riders fall, a door opens onto three green panels and the Triforce Gateway.
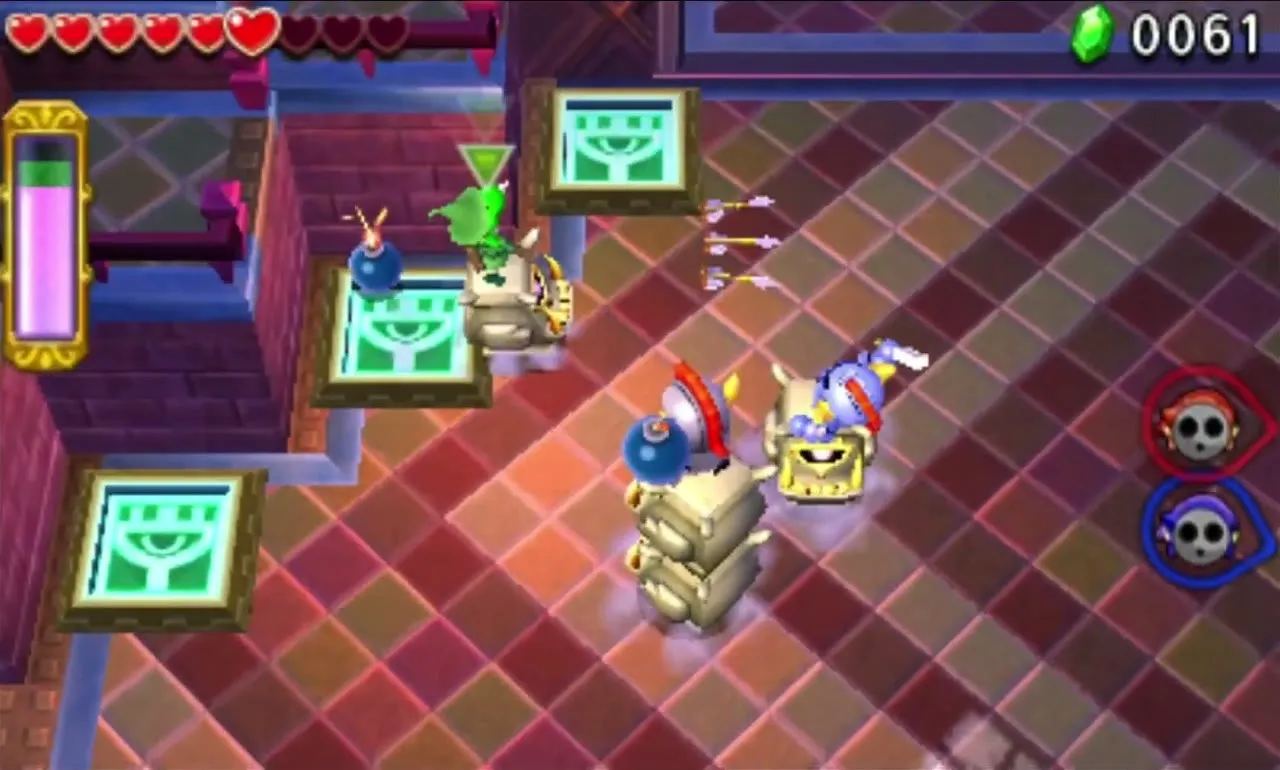


Training Ground treasure chests
Open the three chests at the end. On a first clear two hold Silver Thread and one holds an Antique Coin, a Silver Material that outfits such as the Rupee Regalia need.

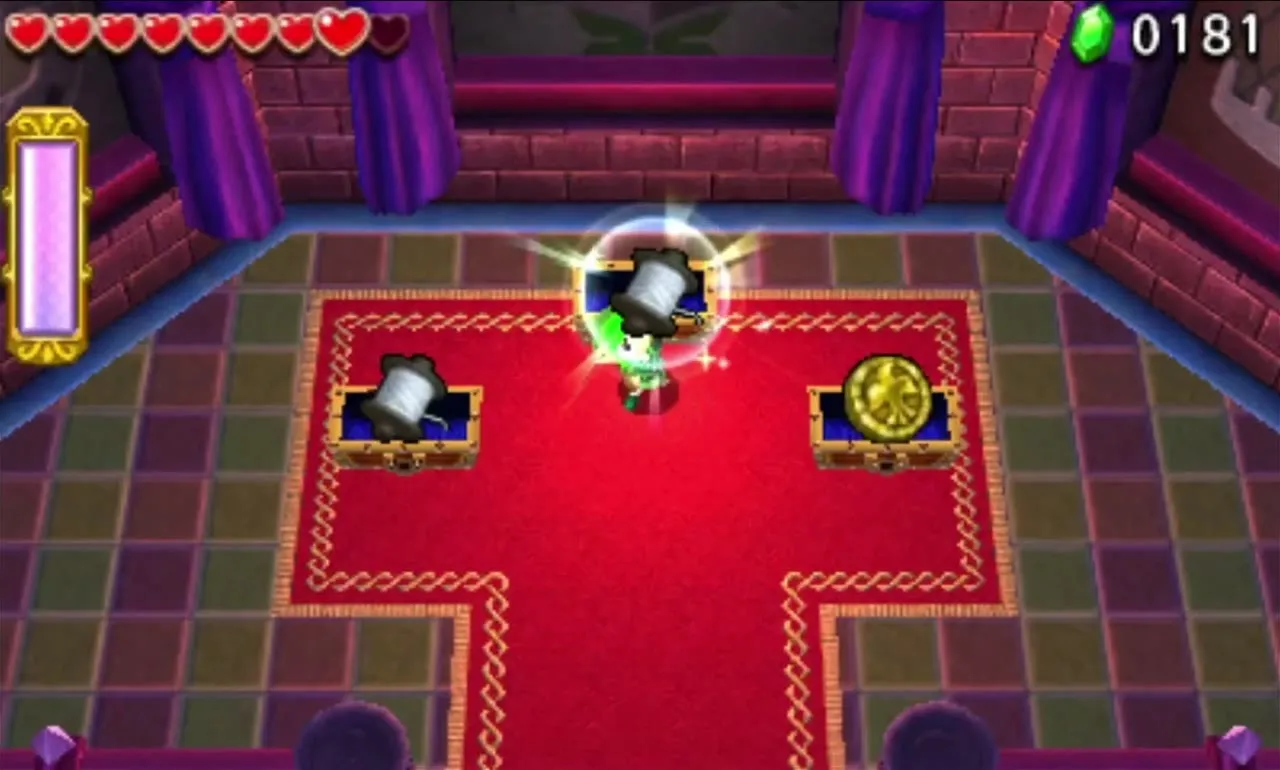
With The Lady’s Pets beaten, Training Ground adds Clear within the time limit!, Halved attack and defense! and Don’t drop the pot!. The details sit on Drablands Challenges.

The Lady’s Lair
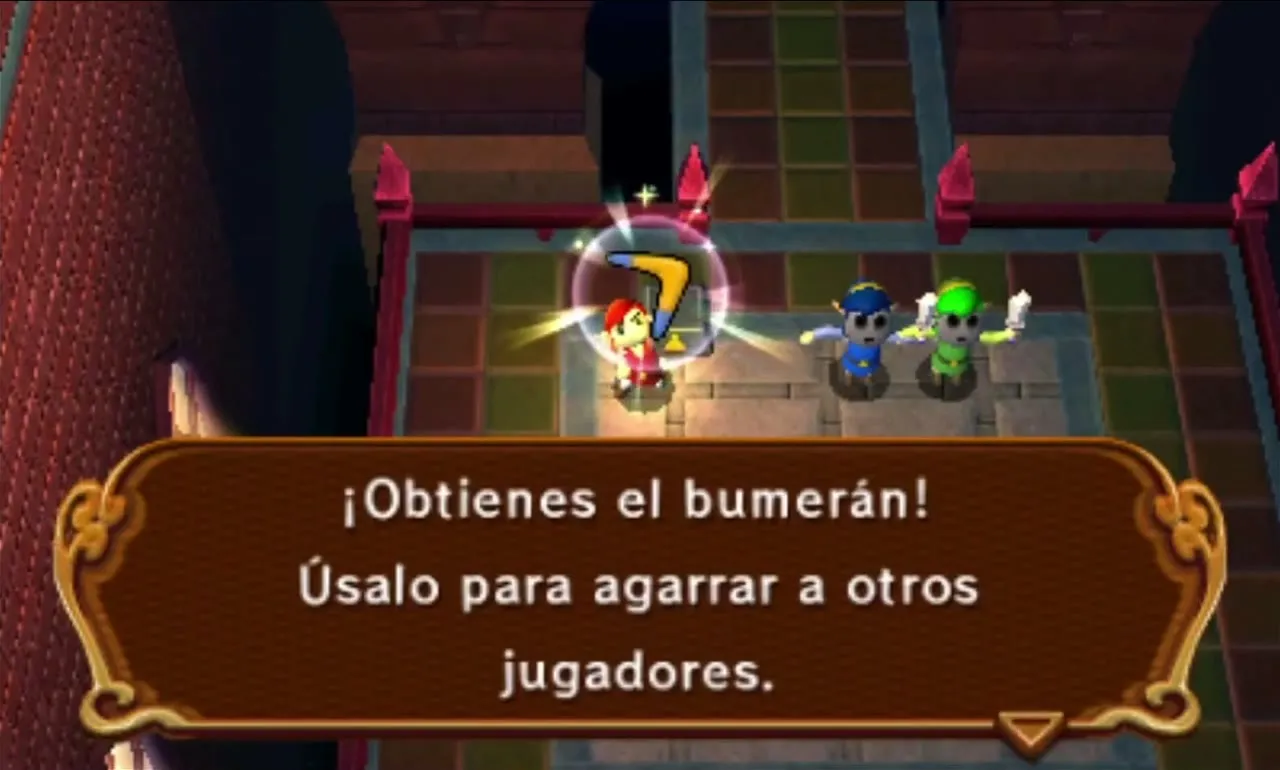
The Lady’s Lair sits at the top of the Fortress, and you get a Boomerang, Gust Jar and Gripshot, one for each Link. Expect timed Switch puzzles, Bomb Flowers hanging out of reach and a long climb outside the castle. It ends with the Lady’s three mechanical pets, so keep your Totem tight and your Bomb Flowers ready.

The Lady’s Lair Stage 1
Stack a Totem in the first room to reach the upper ledge and take the three items; the Link with the Boomerang, the Gust Jar and the Gripshot is decided here. Climb the stairs to the puzzle that crosses the bottomless pit.


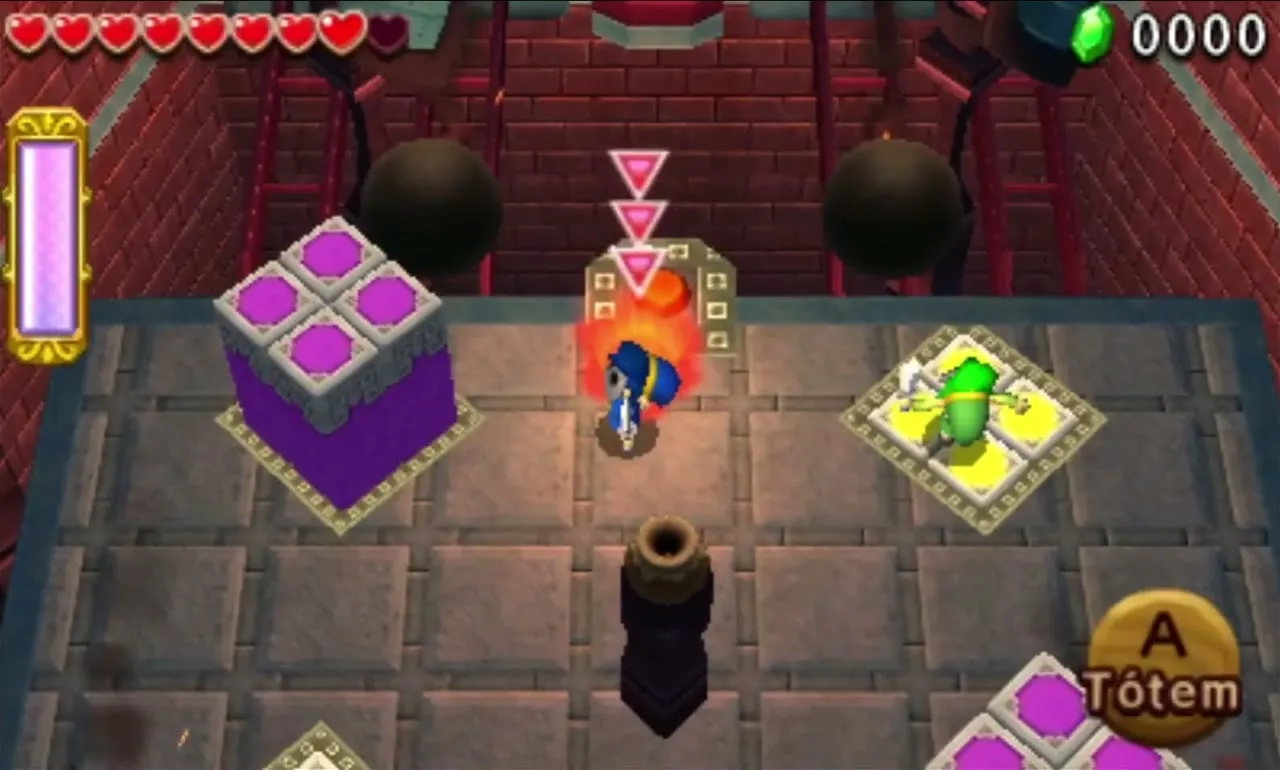
Each side of the pit has a Shock Switch beneath a flap, and a chute overhead rains iron balls onto it. One Link steps on the central Floor Switch to raise the flaps, then uses an item to strike a third Switch across the pit. That one makes diamond-shaped Elevator Blocks alternately rise and sink. The remaining two Links build a Totem on the sunken block, ride up, and strike the Switch on their side.

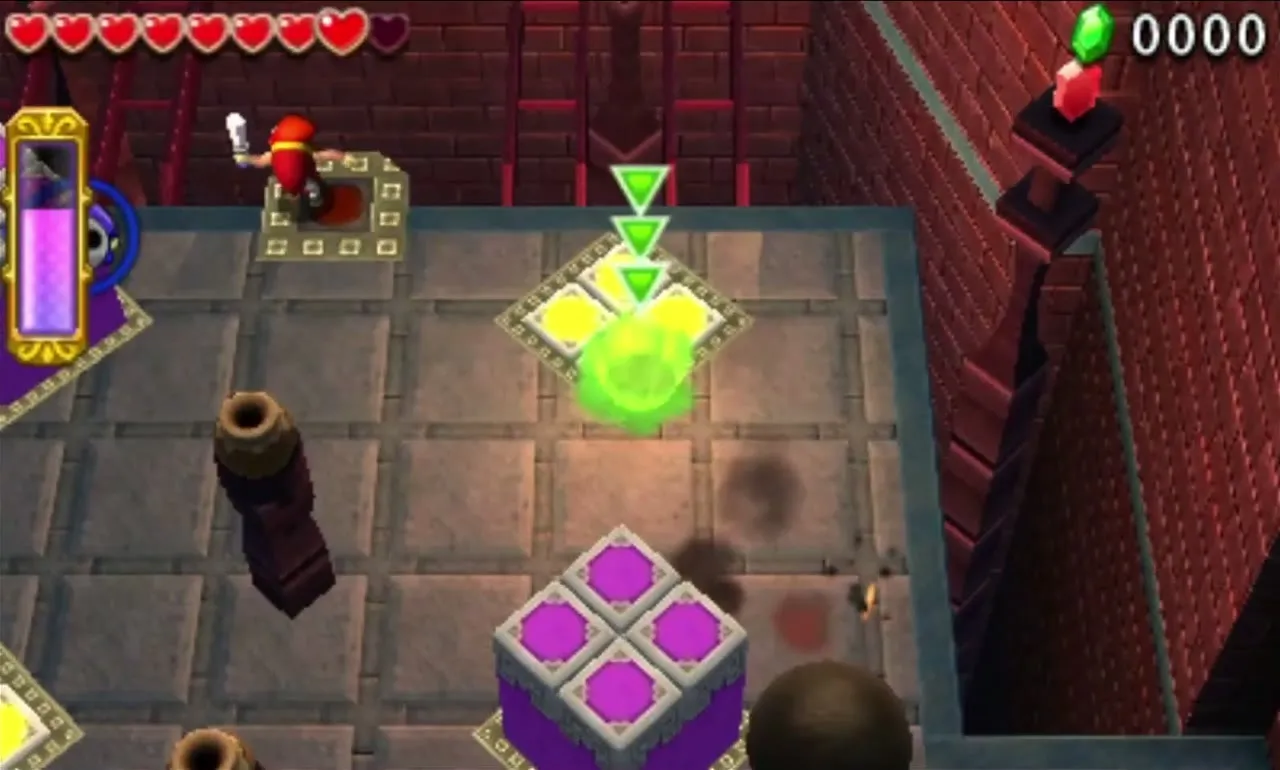
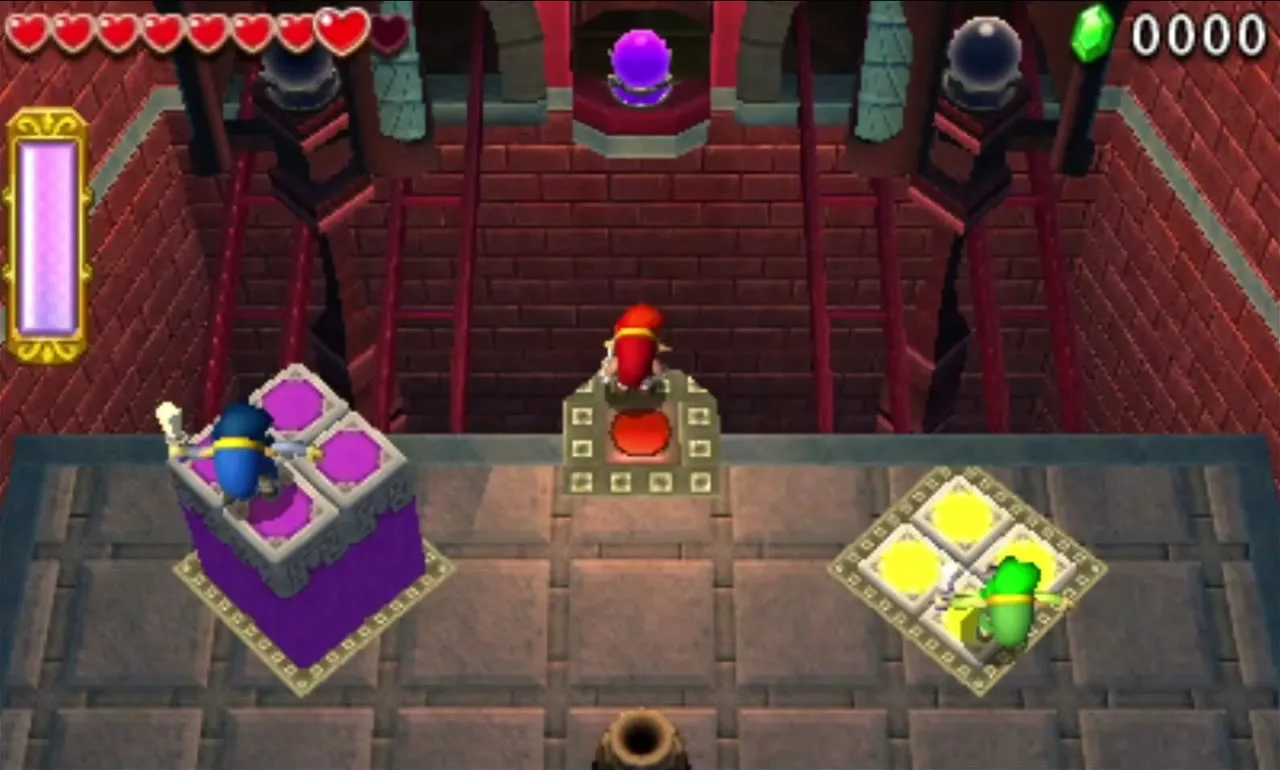
Then both must run to the opposite block and repeat before the timer ends and the Switches shut down. Dodge the rolling balls while you do it. When both Shock Switches are hit, a staircase lowers to the Triforce Gateway.


The Lady’s Lair Stage 2
You stand on a platform hanging from chains that rises fast. Ahead, three gazebos rotate like a Ferris wheel, each carrying a Bomb Soldier or Spear Throwing Soldiers. Bomb Flowers hang at the sides; fetch them with the Boomerang or Gripshot.


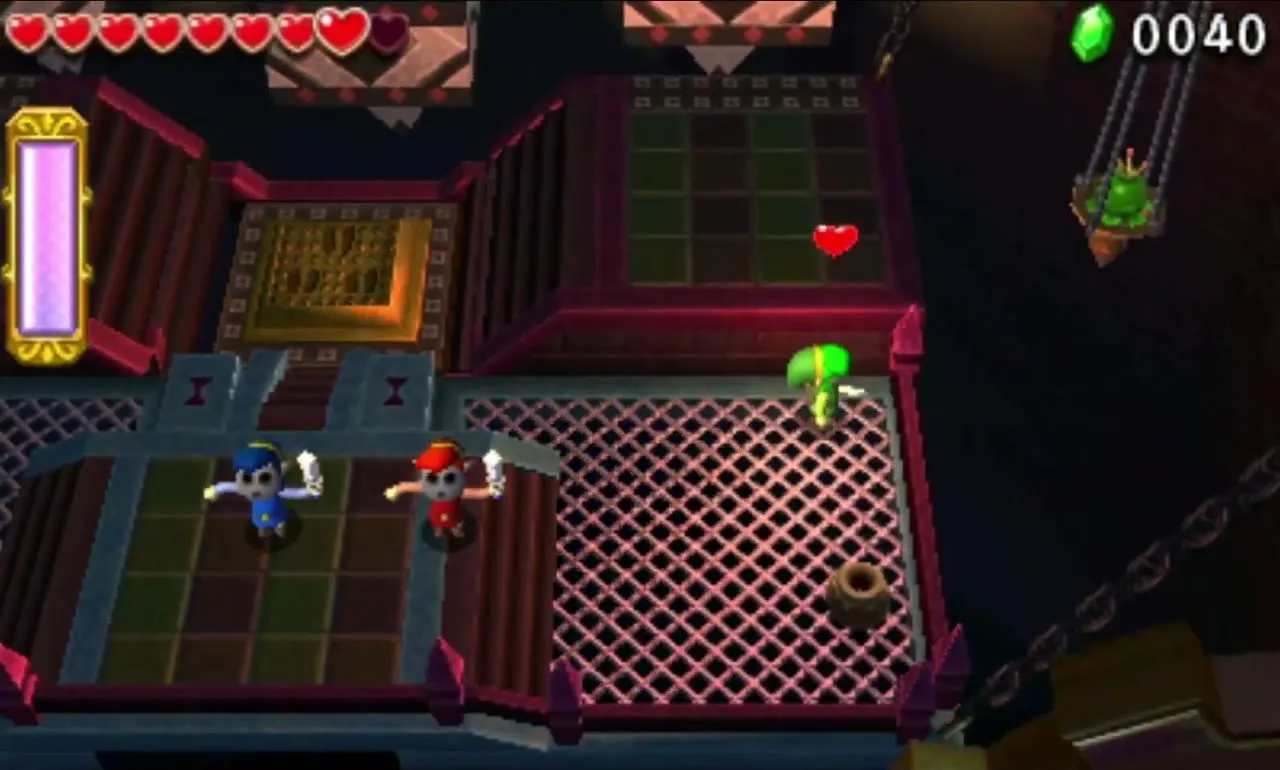
Throw Bomb Flowers at the Soldiers or catch the Bomb Soldier’s Bombs and return them. The spear throwers sit under awnings that deflect throws, so use the Gust Jar to fire Bombs straight forward. Once every Soldier is down, a Big Switch appears in the floor: all three Links stand on it and it carries you up to the Triforce Gateway and a chest with three Hearts.
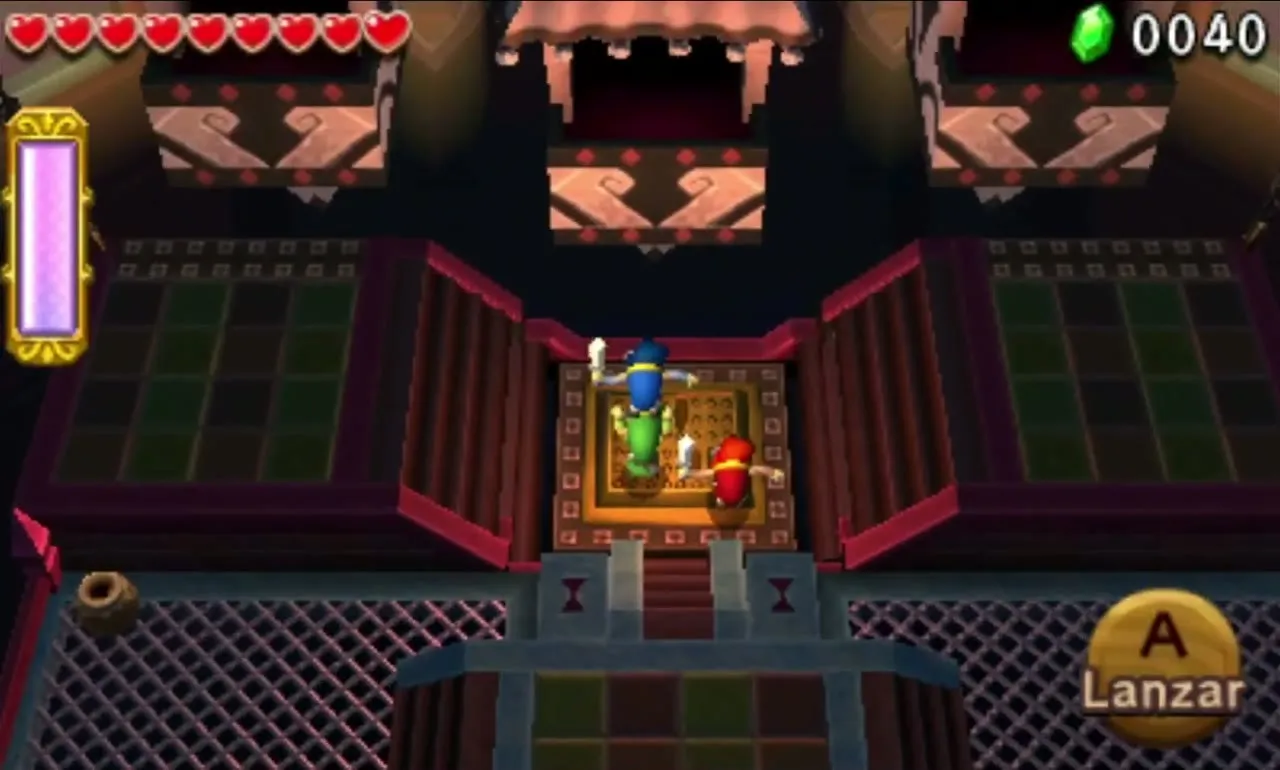

The Lady’s Lair Stage 3
You start on a walkway circling the outside of the Fortress, which you have to climb to the top. Spear Throwing Soldiers and a Squiddy attack on the way up the first long staircase. Look for high ground that a thrown Link can reach.
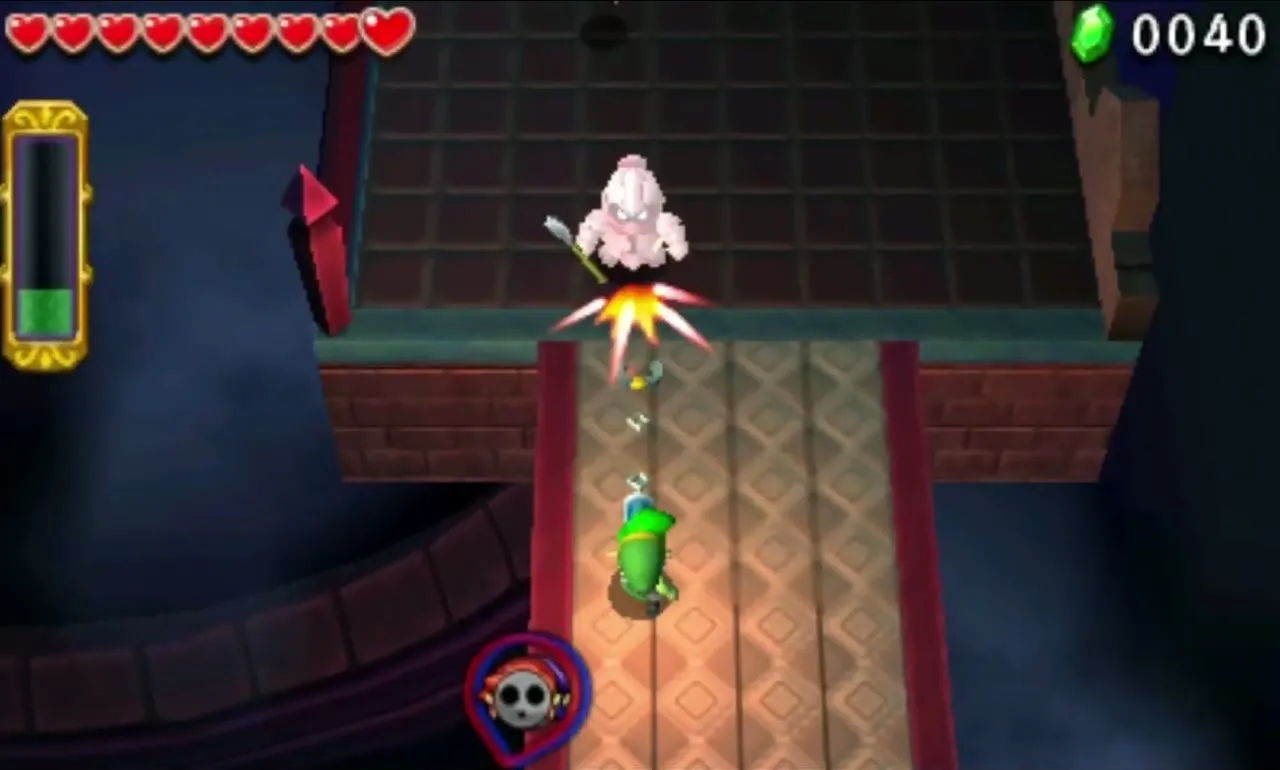

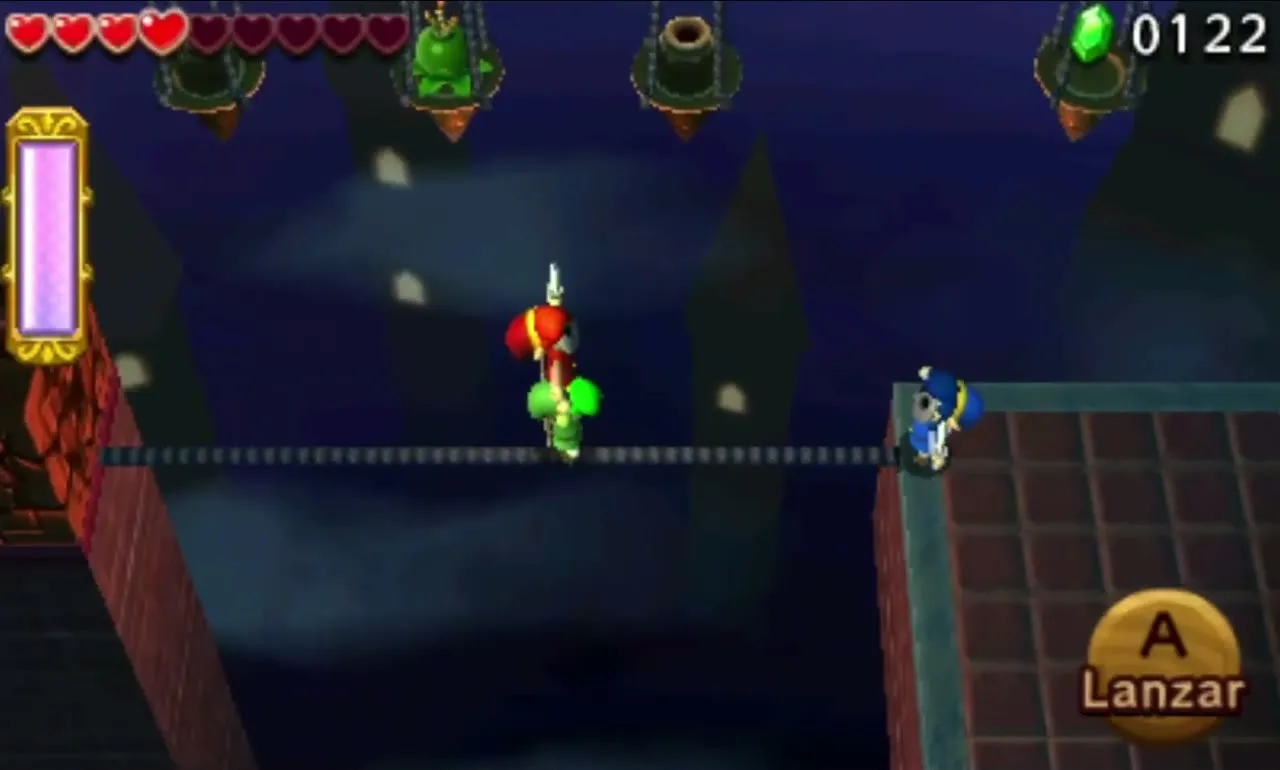
A Tightrope with Crows around it leads to a Cracked Block, and a Bomb Flower floats in mid-air. Form a Totem on the rope, turn to grab the Flower with an item, turn back and throw it at the block. A Floor Switch underneath starts a moving platform to the next stairs. First throw one Link onto the small ledge for a chest with a Purple Rupee.
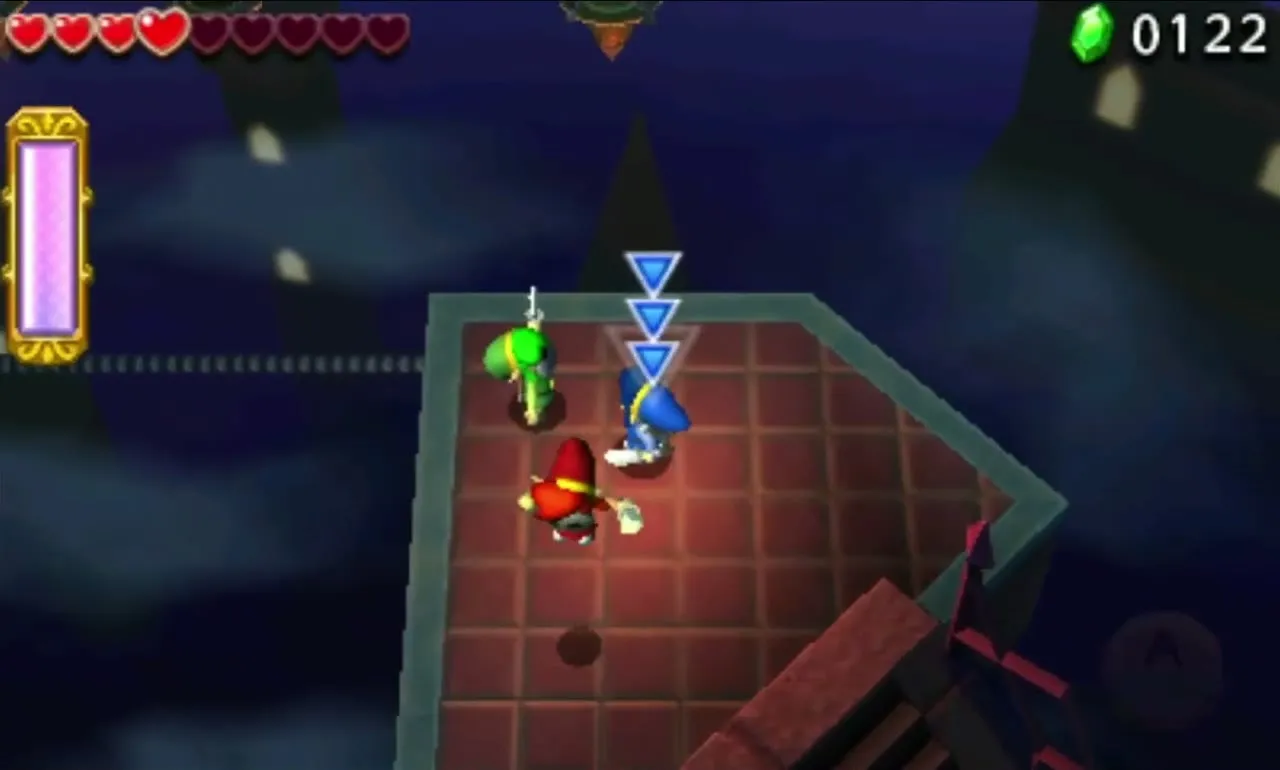
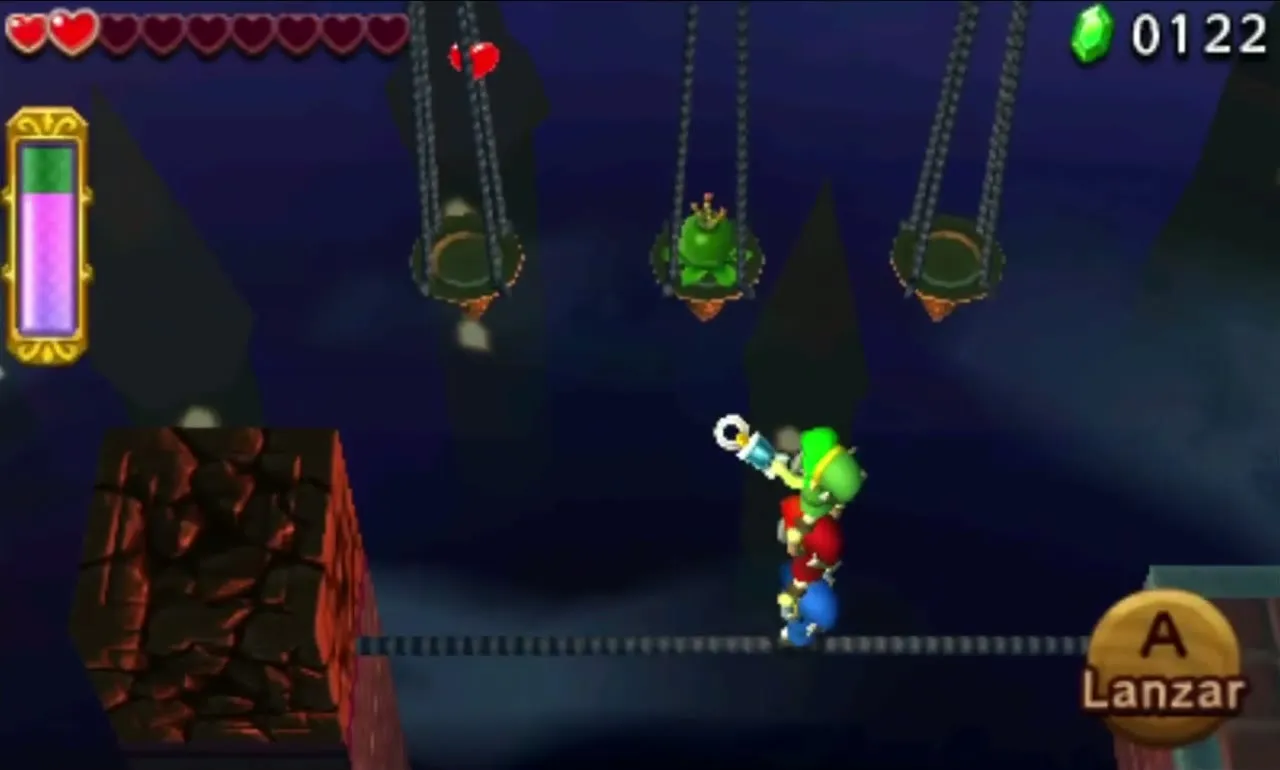
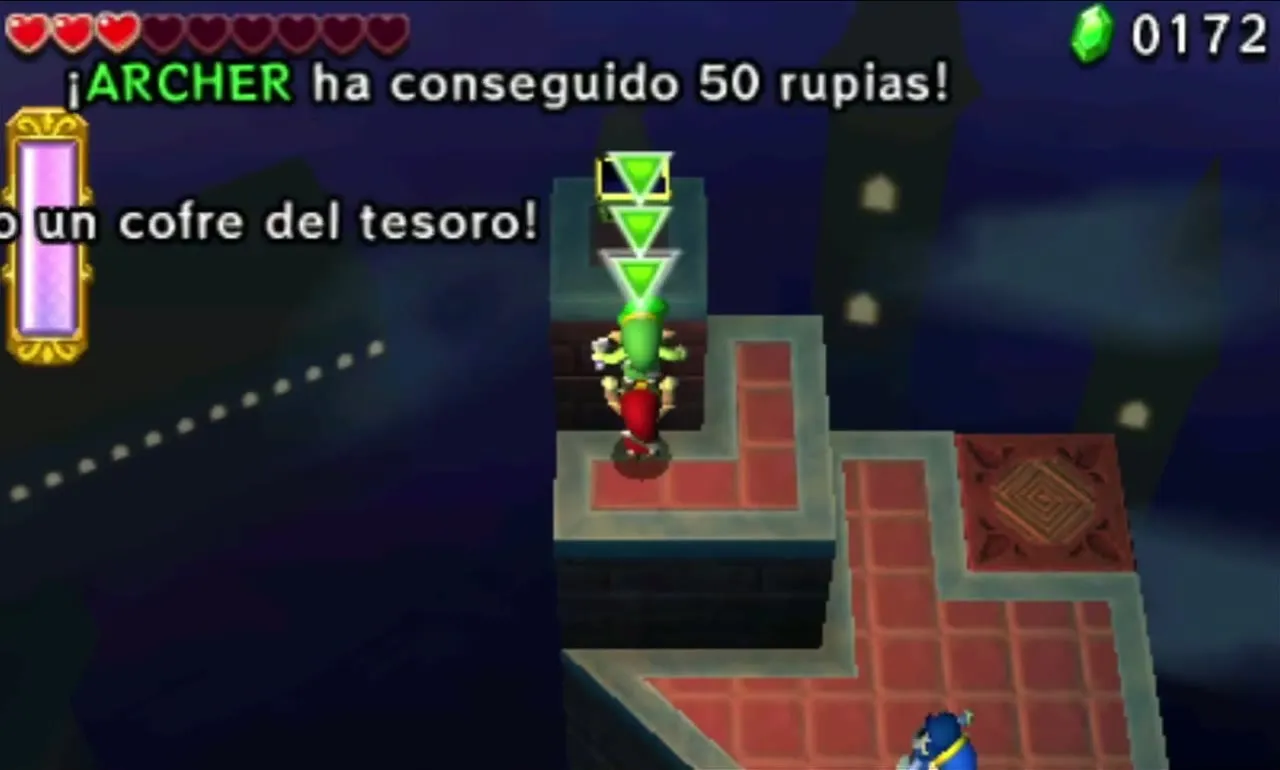
The staircase top brings a bridge fight against Hardhat Beetles and a Blue Sword Soldier, and winning unlocks the gate to the last staircase. Two Hinoxes and a Gold Ball and Chain Soldier guard it. Beat them to reveal the Triforce Gateway.


The Lady’s Lair Stage 4
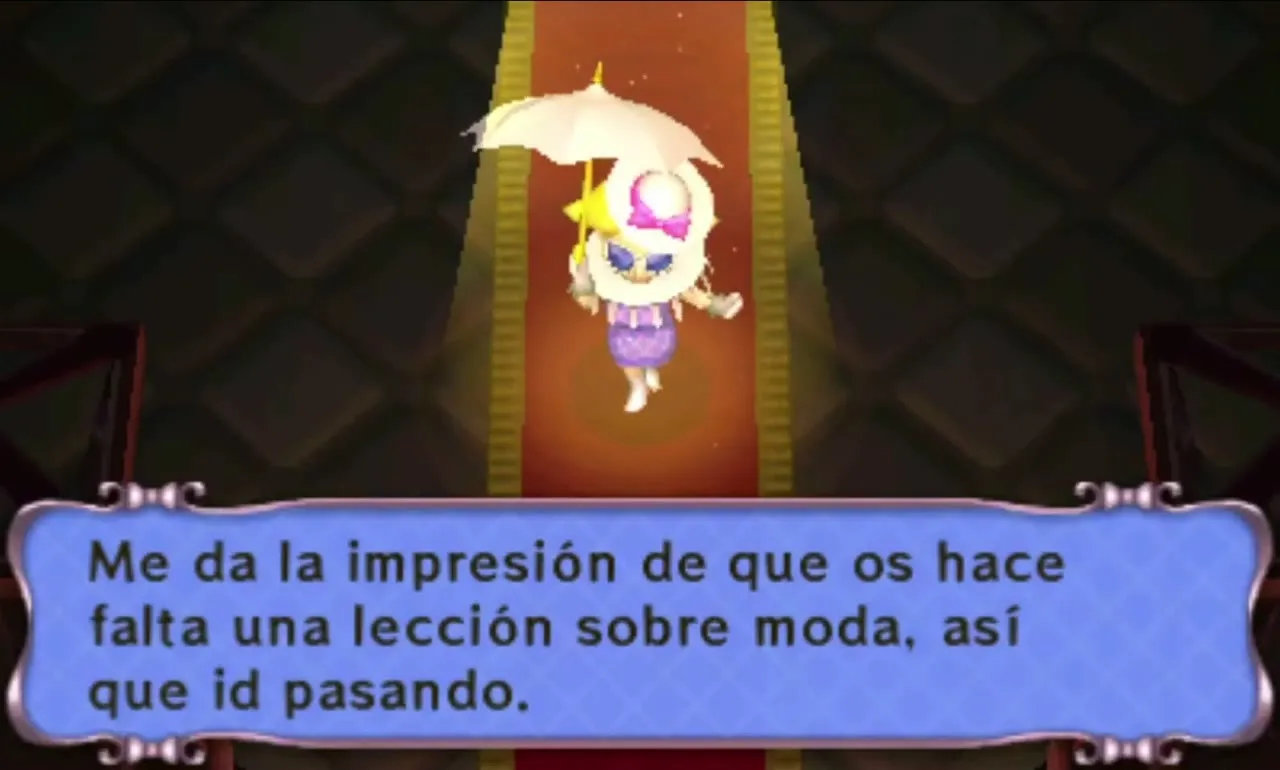
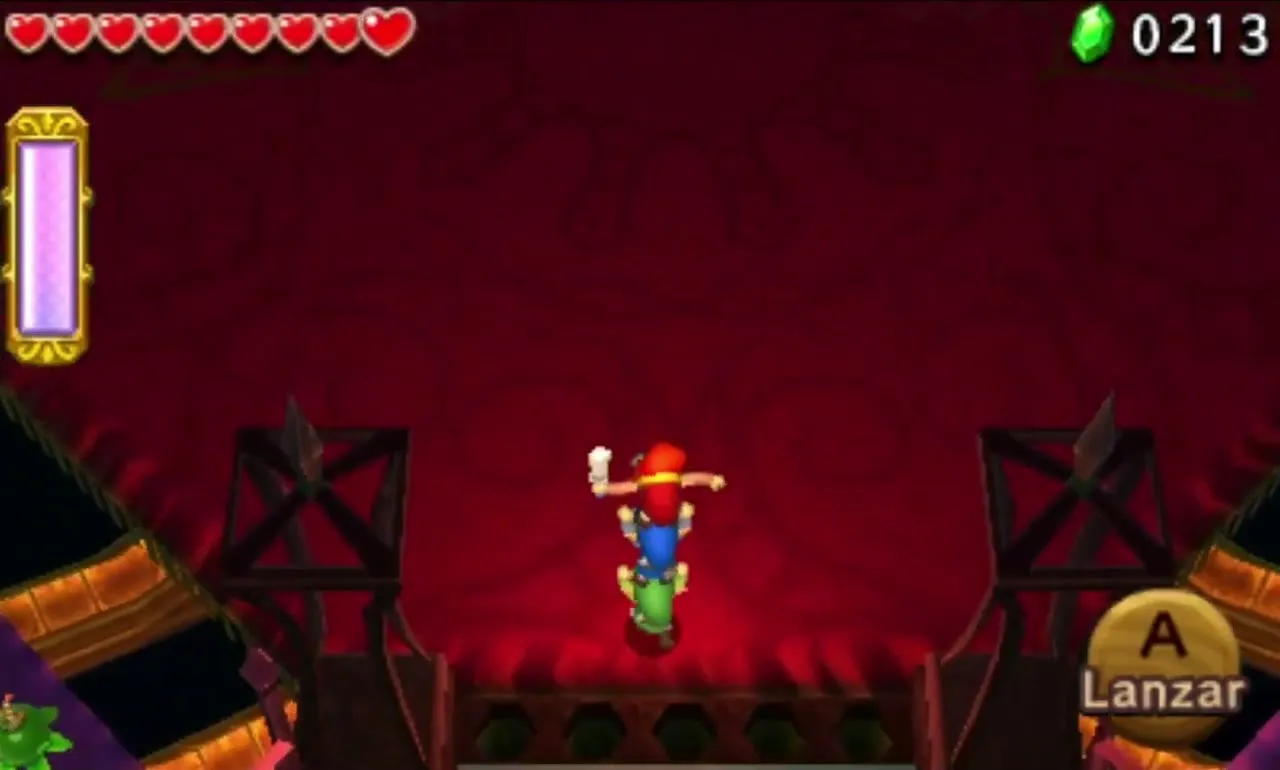
The stairway ends in a red-carpet hall. Lady Maud waits on a stage and sends her three mechanical pets at you. The octagonal arena has Bomb Flowers on ledges to the east and west, and Hearts on the north-east and north-west ledges.

The Lady’s Pets boss fight
Phase 1 is a pet shaped like Margoma. It chases a Link, then crashes into a wall and gets stuck for a moment. Use the Boomerang or Gripshot to grab Bomb Flowers off the side ledges, throw one into the opening on its top, and a purple crystal pops out. Throw the top Link on to Sword the crystal. It also blows gusts while hovering.
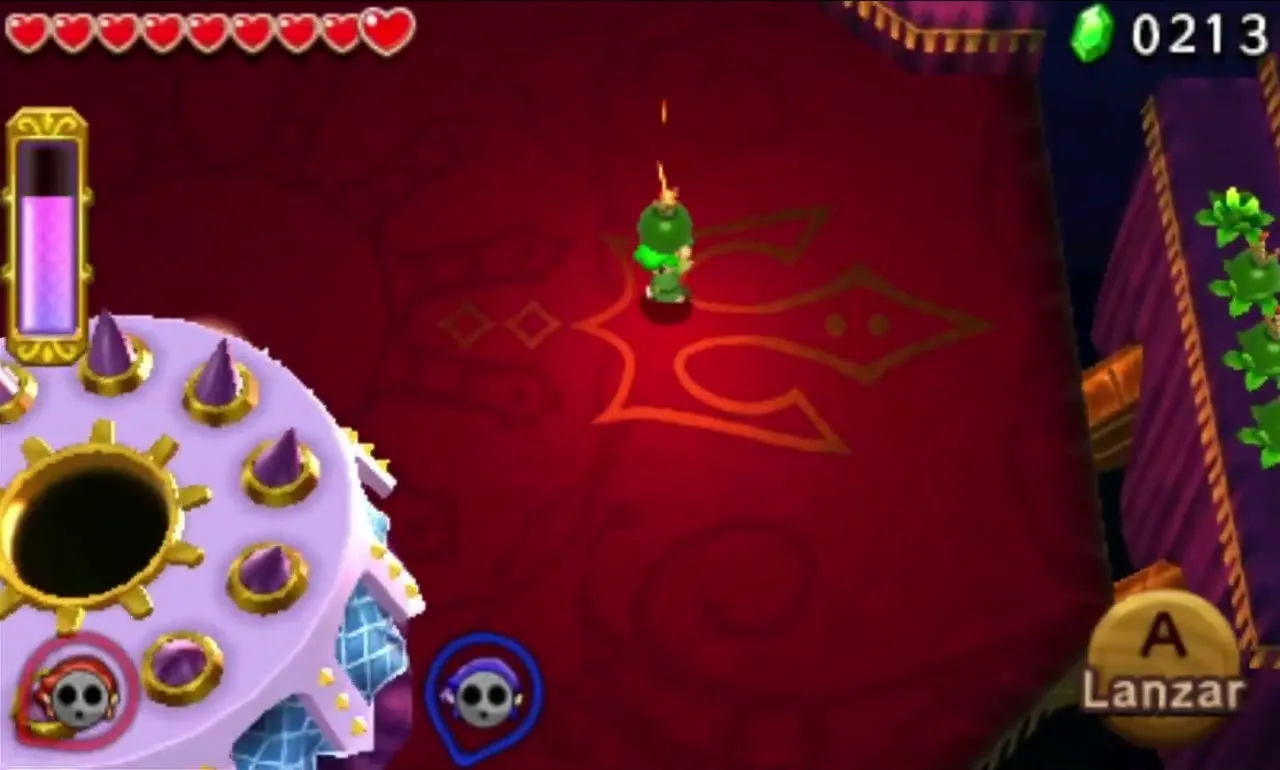
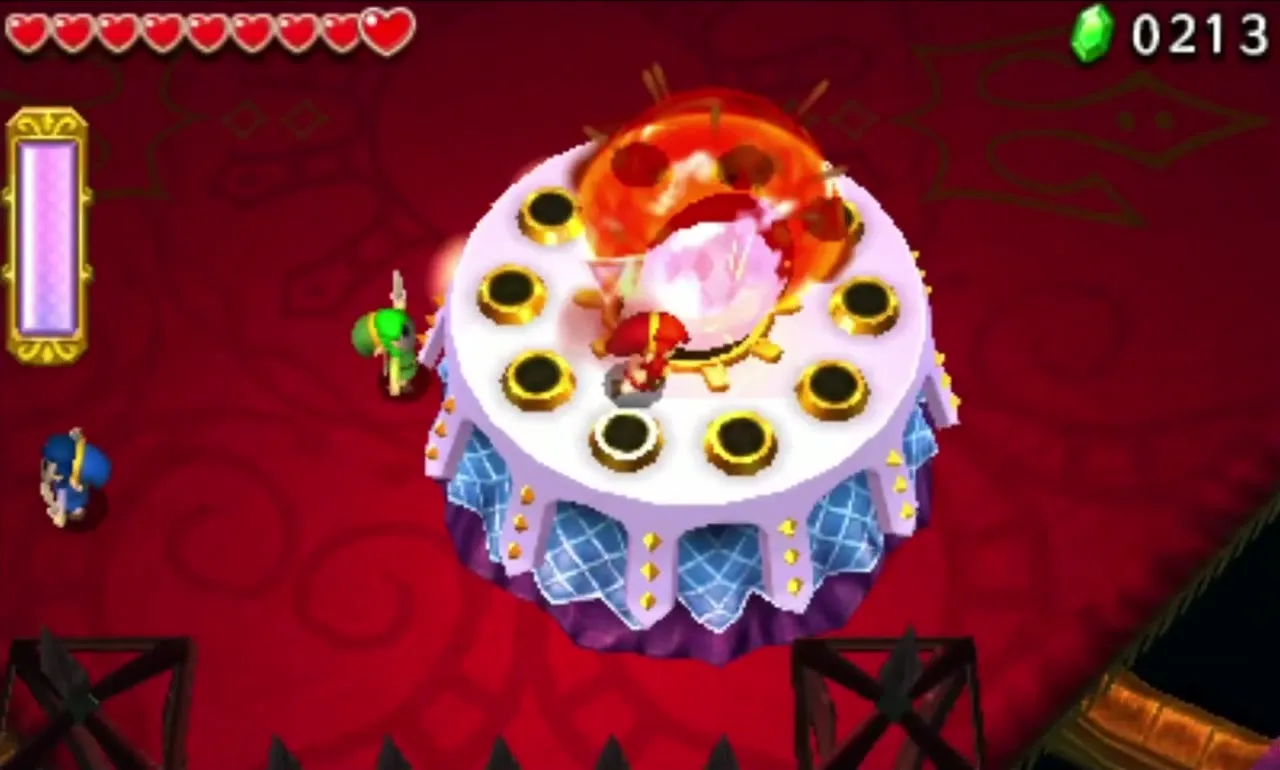
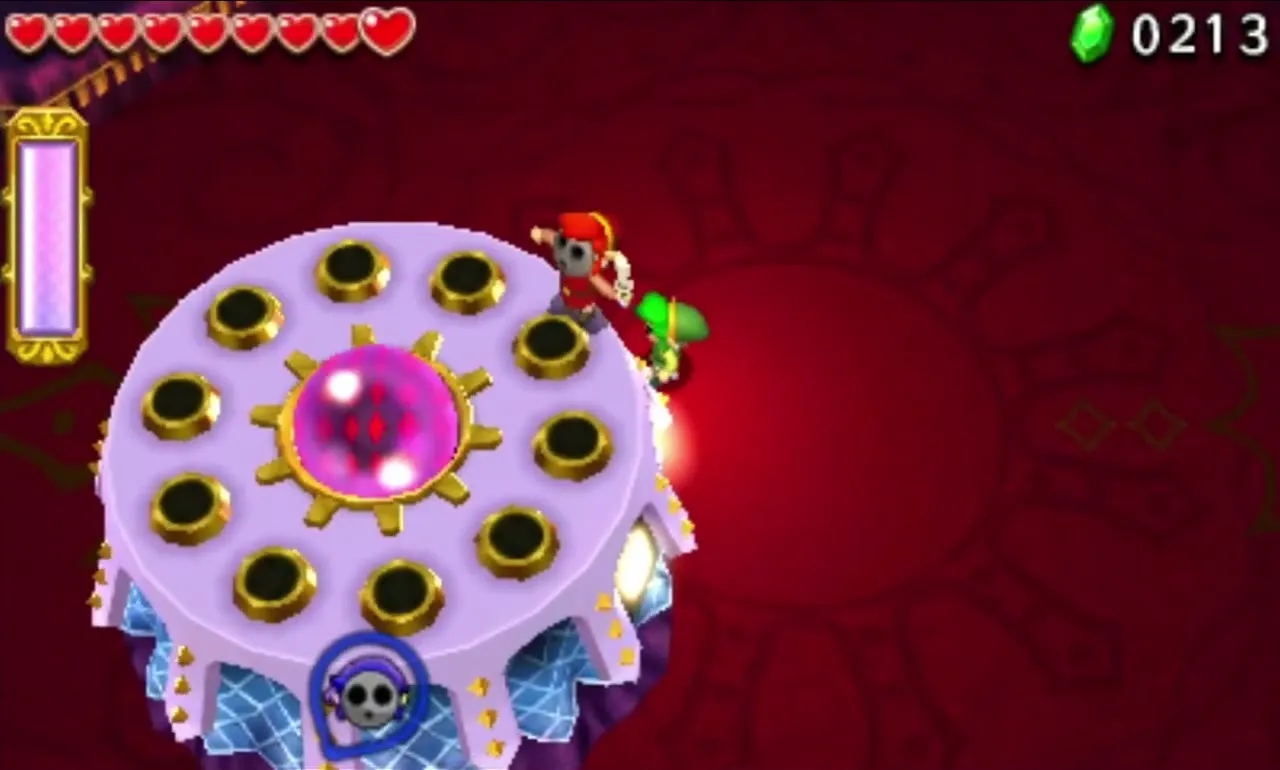
Phase 2 is a pet shaped like Moldorm that spews flames, which the Gust Jar can blow out for a while. It does not show whom it targets, so keep the Link it follows moving away. The other two form a Totem and slash the raised tail. Later it thrashes wildly, and you need a Totem of three to hit the tail.


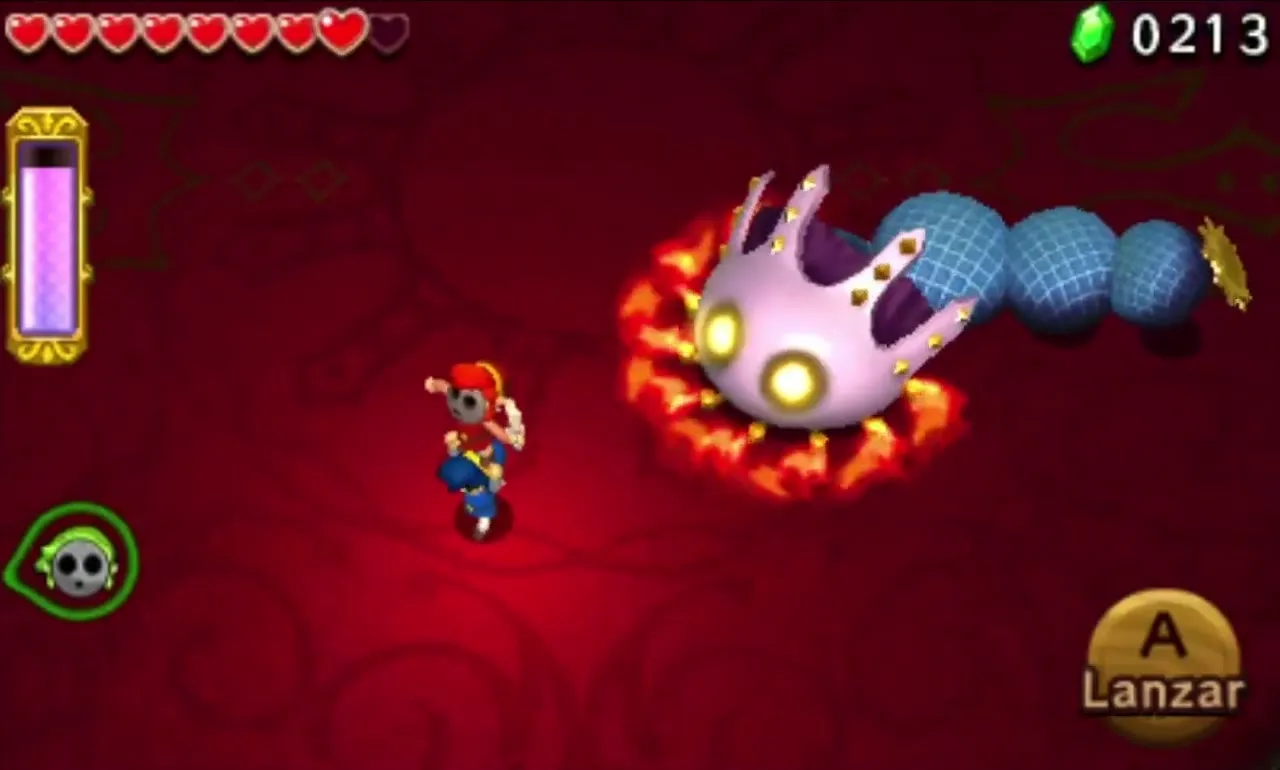
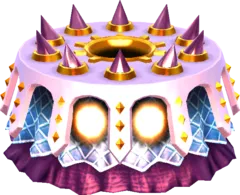
Phase 3 is a pet shaped like Arrghus, with four eyes circling it, two on fire and two in ice. Do not hit them with the Sword, since that burns or freezes you. Stun them with an item instead: the icy ones respond only to the Gust Jar. Or pull them off with the Gripshot from a Totem, blow them away, or Bomb them.
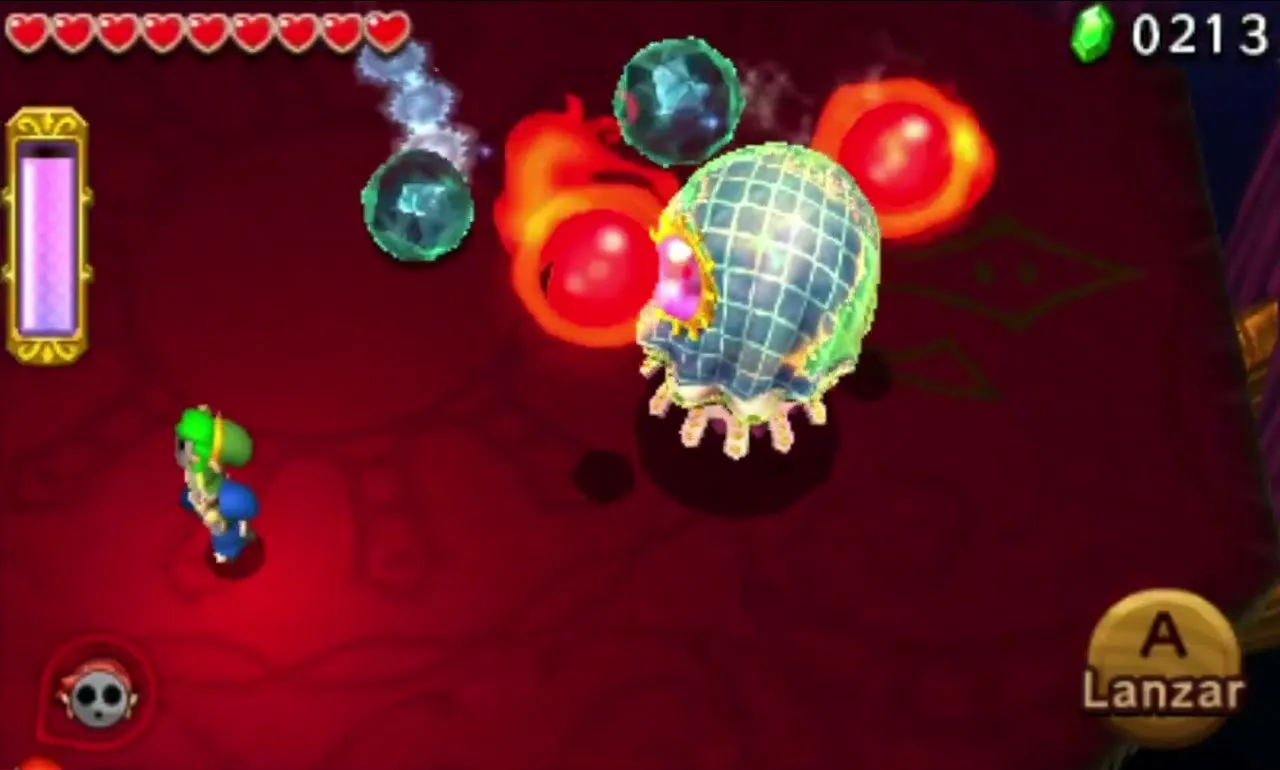
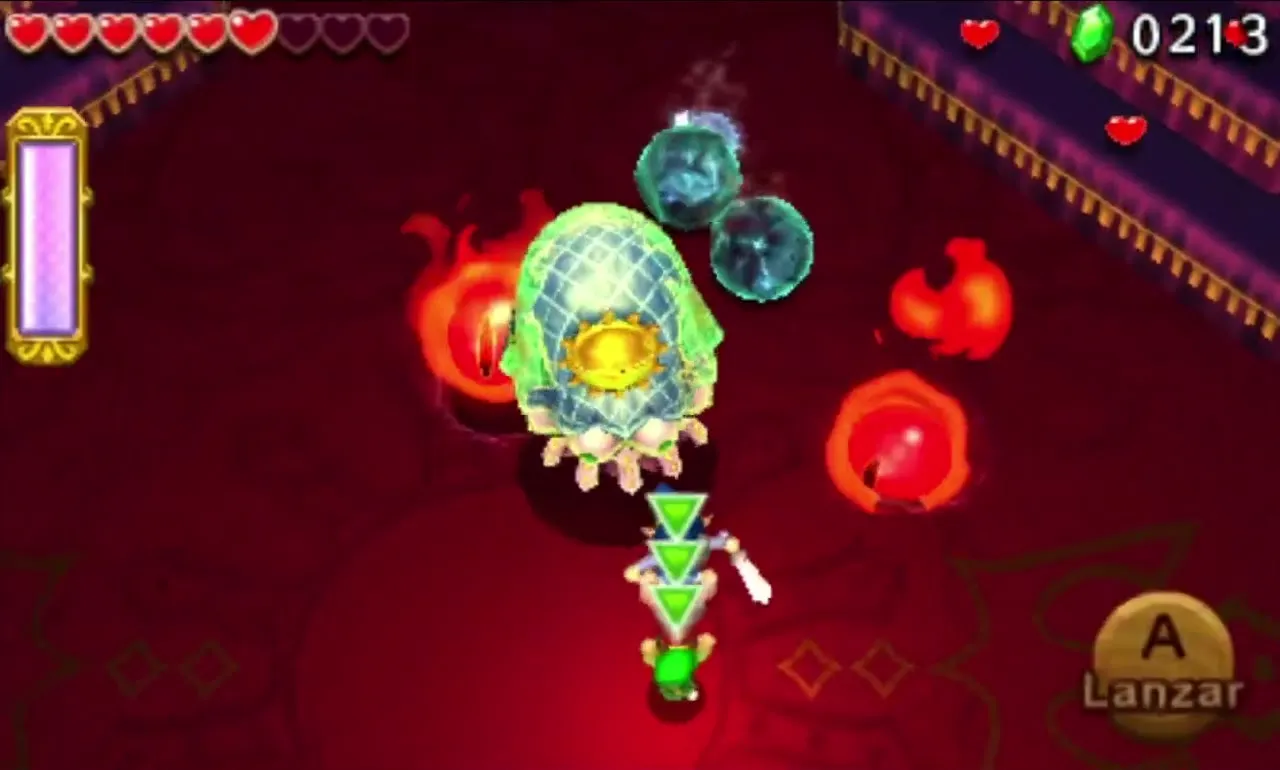
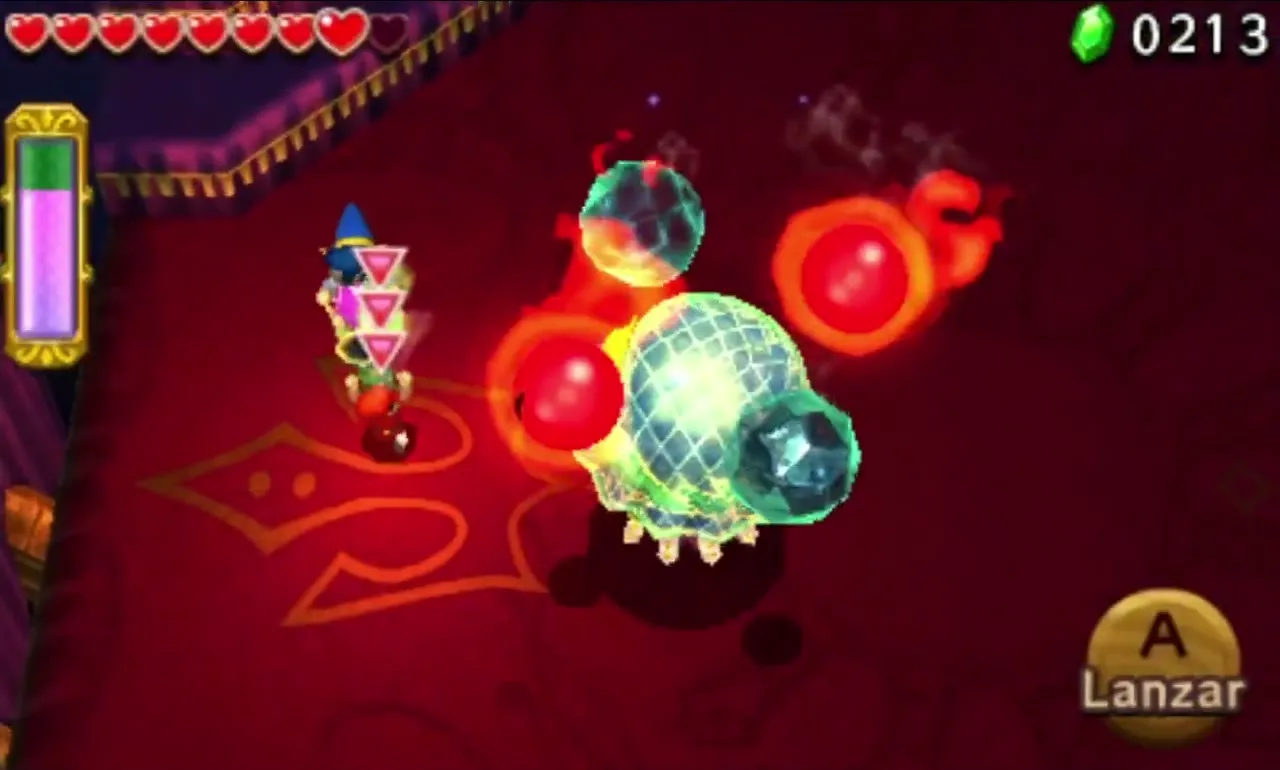
With the eyes gone the pet starts firing ink. Stack a Totem and stun its real eye with any weapon, then run in and slash it with the Sword. Stun it again after each hit and the last pet falls. Remaining eyes turn into Hearts.
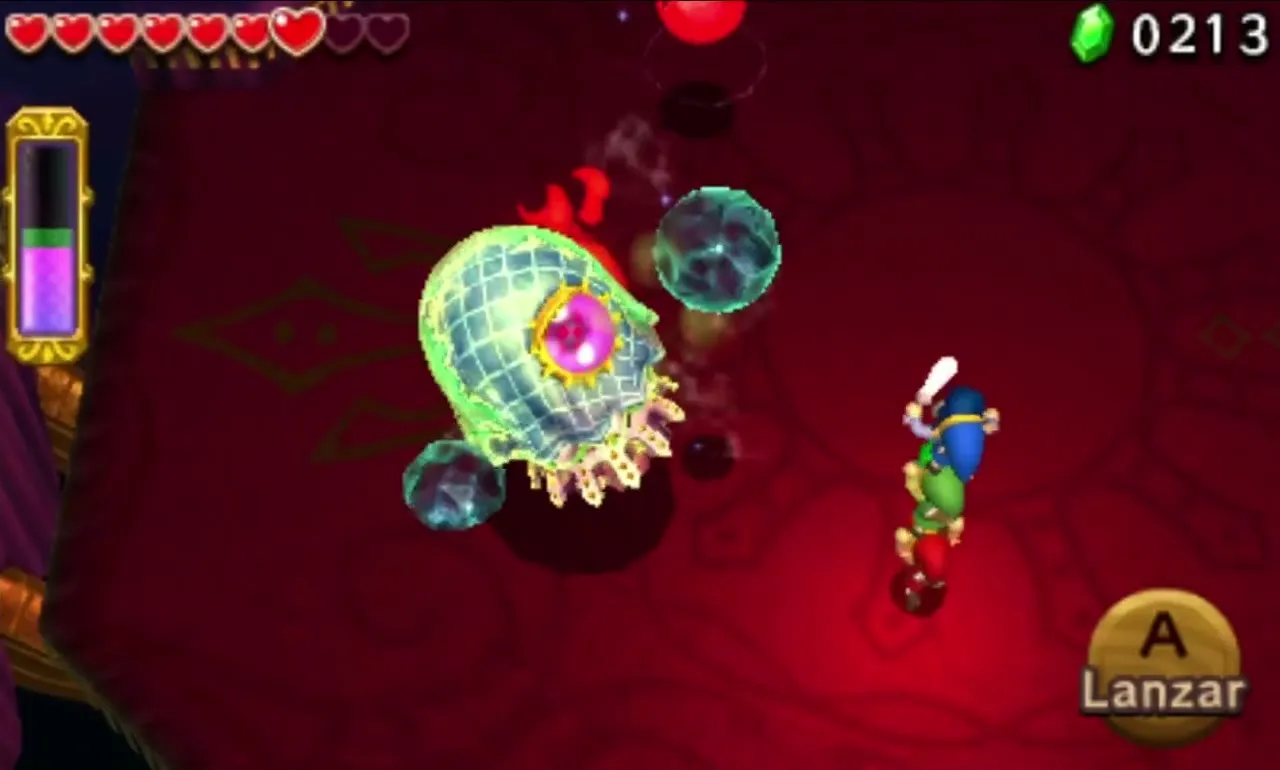

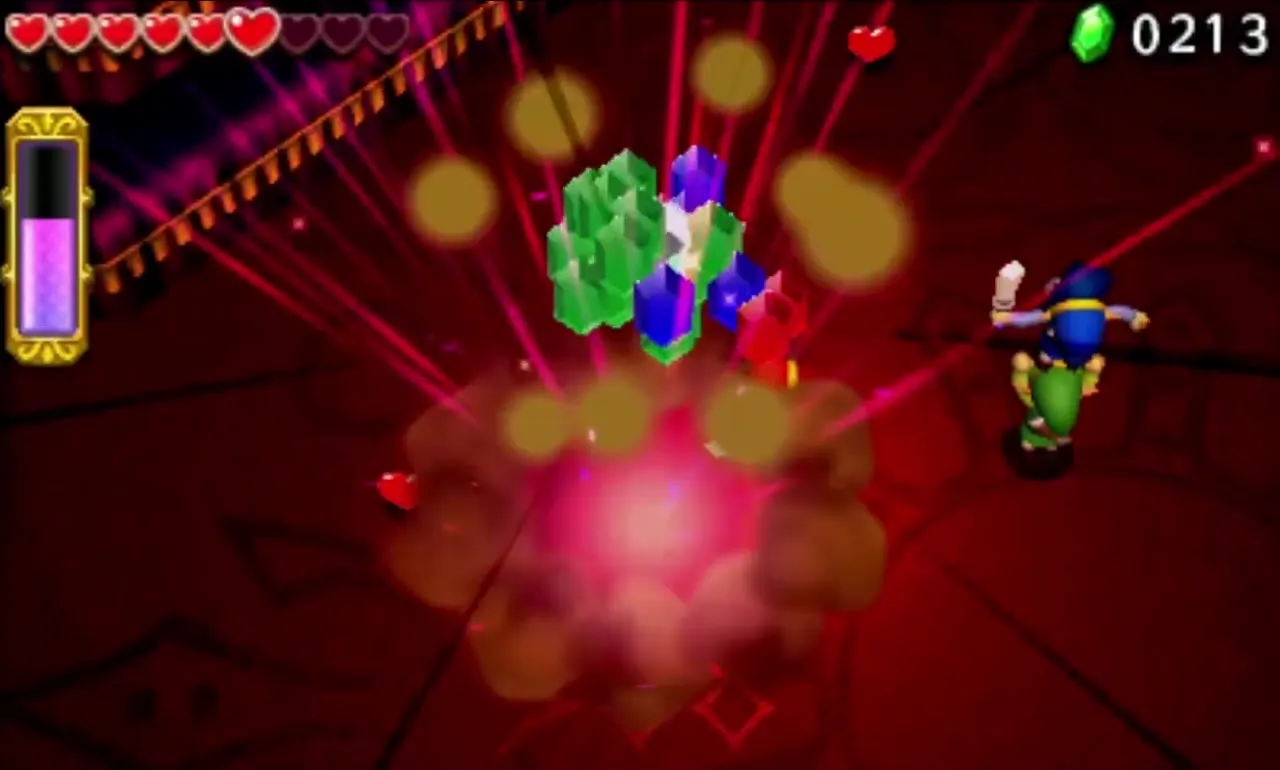
Once the last pet is down, Lady Maud flees. Step on the Triforce to leave.


The Lady’s Lair treasure chests
The reward room has three chests. On a first clear two hold Royal Rings and the third a Fancy Fabric, and the bottom of a chest also holds the Lady’s Collar, one of the three Lady’s Materials that you need for the Lady’s Ensemble.
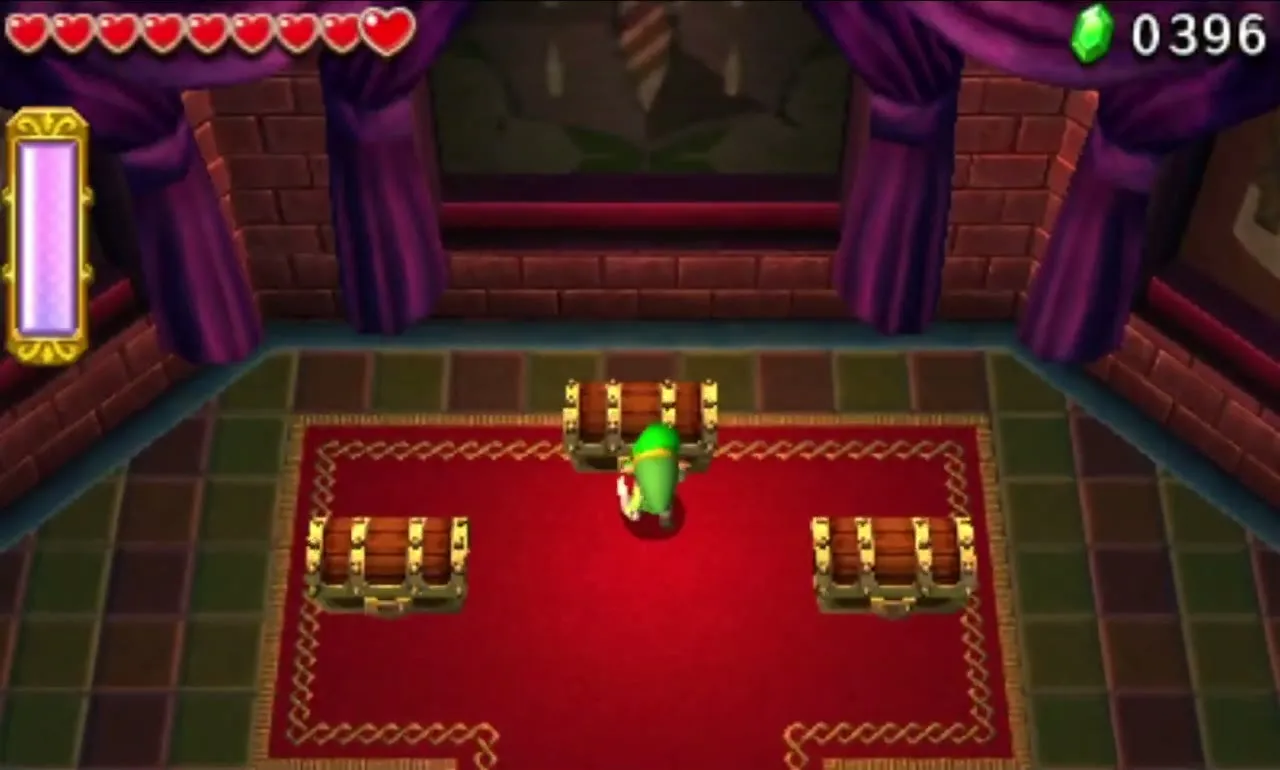

Following your first clear, The Lady’s Lair returns with Evade the Wallmaster!, Fewer Heart Containers! and Only Bombs—no swords!. You find them on Drablands Challenges, and finishing all twelve Fortress challenges earns Brittle Papyrus from King Tuft.


Area checklist
| Level | Items | Boss or mini-boss | Materials |
|---|---|---|---|
| Sealed Gateway |  Boomerang x2,  Gust Jar | None |  Stiff Puff, Silver Thread |
| Bomb Storage |  Bomb, Gust Jar x2 |  Hinox Brothers (mini-boss) | Stiff Puff, Royal Ring |
| Training Ground |  Bow,  Gripshot, Gust Jar | None | Silver Thread, Antique Coin |
| The Lady’s Lair | Boomerang, Gripshot, Gust Jar | The Lady’s Pets (boss) | Royal Ring, Fancy Fabric,  Lady’s Collar |
With The Lady’s Pets beaten, The Dunes and The Ruins open at once. Pick either one; The Dunes Walkthrough starts with sand, quicksand and the Water Rod.