





Tri Force Heroes 100% Completion Walkthrough8 chapters
- Hytopia and the WoodlandsMeet King Tuft, then clear Deku Forest, Buzz Blob Cave, Moblin Base and Forest Temple.
- RiversideSecret Fortress, Abyss of Agony, Cove of Transition and the Water Temple, with Water Rod and Gripshot puzzles.
- VolcanoBlazing Trail, Hinox Mine, Den of Flames and Fire Temple, with every stage, the Hinox Brothers and Moldorm.
- Ice CavernFrozen Plateau, Snowball Ravine, Silver Shrine and the Ice Temple, with the Freezlord and Blizzagia fights.
- FortressSealed Gateway, Bomb Storage, Training Ground and The Lady’s Lair, with every puzzle, chest and boss.
- The DunesInfinity Dunes, Stone Corridors, Gibdo Mausoleum and Desert Temple, with Vulture Vizier and Stalchampion tips.
- The RuinsIllusory Mansion, Palace Noir, Lone Labyrinth and Grim Temple, with Grim Repoe and Prismantus.
- Sky RealmFloating Garden, Deception Castle, Dragon Citadel and Sky Temple, with Gigaleon, Lady Maud and the ending.
| Levels | Blazing Trail, Hinox Mine, Den of Flames, Fire Temple |
|---|---|
| Items used | Boomerang, Bow, Gust Jar |
| Boss | Hinox Brothers (mini-boss, Hinox Mine); Moldorm (boss, Fire Temple) |
| Unlocks | The Fortress, once the Water and Ice Temples are also cleared; Cheetah Costume, Queen of Hearts, Rupee Regalia and Sword Suit go on sale at the same point |
The Volcano is one of three Areas that open once the Woodlands are done, and it is a tour of lava, flame walls and mine carts. Its two new tools are the Boomerang, which stuns enemies, fetches faraway objects and drags another Link to you, and the Gust Jar, which blows out fires and shoves Links across gaps. Hinox Mine adds the Bow. Beat Moldorm in the Fire Temple and you take a big step towards opening the Fortress.
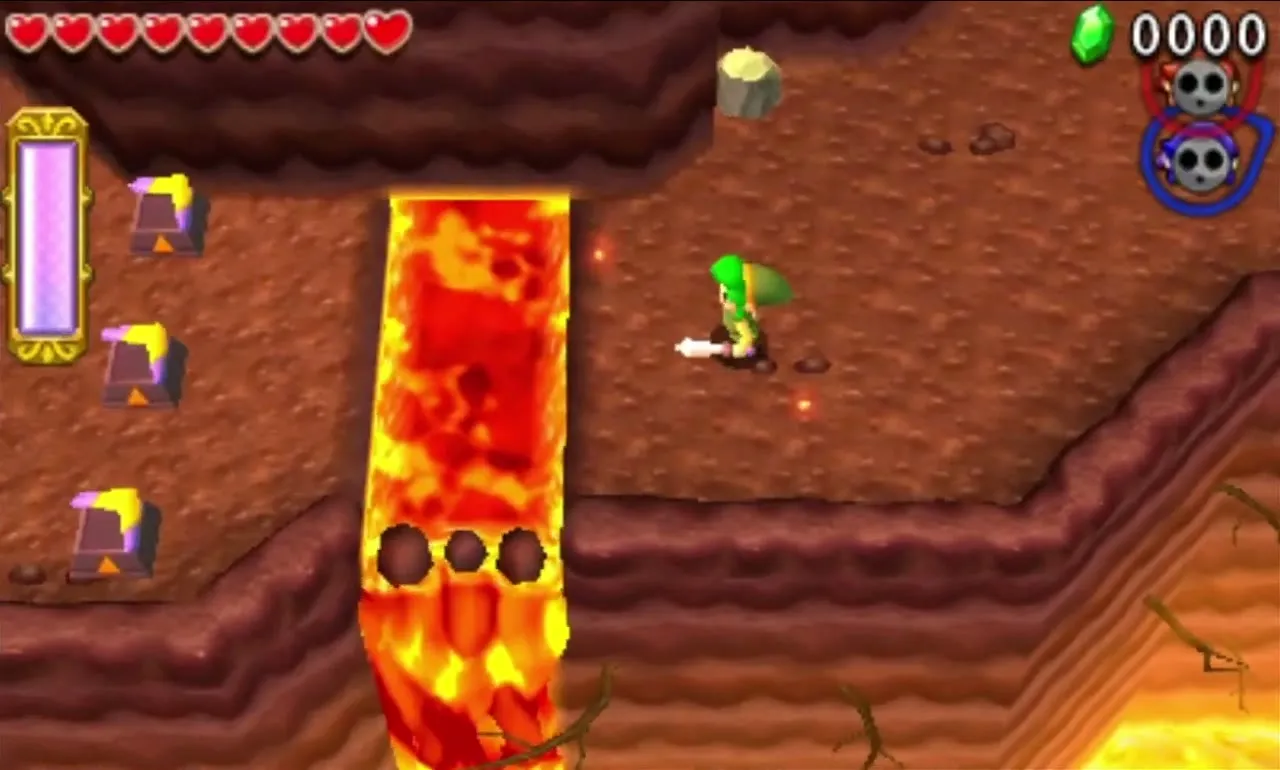

Table of Contents
Blazing Trail
Blazing Trail is the gentlest introduction to the Boomerang: all three Links get one in Stage 1, and almost every stage is about ferrying friends over lava. Lava Rocks sink under your weight, so keep moving, and watch the timing of the Lava Geysers. In single player, hold the Boomerang on the Doppel who stays behind and swap to whoever needs carrying.

Blazing Trail Stage 1
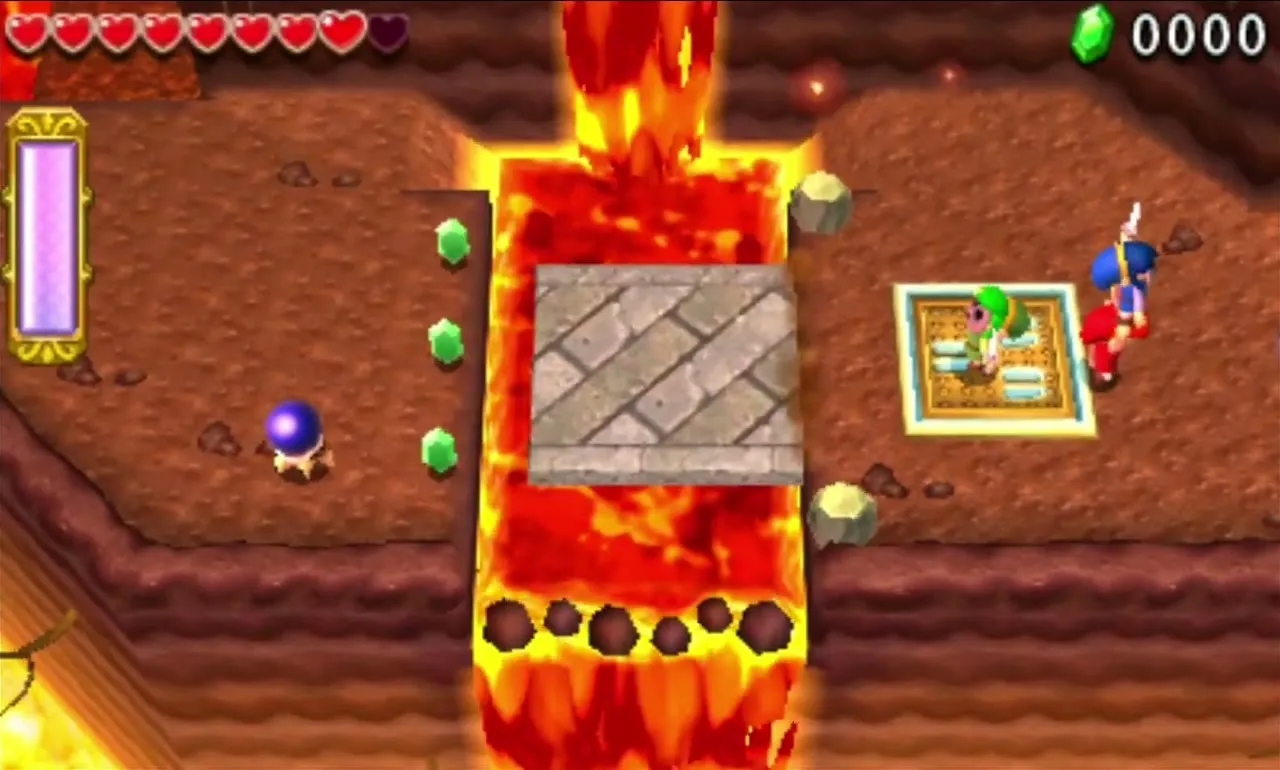
Stand on the first ledge and throw each Link across the lava channel one at a time. A pedestal on the far side holds the three Boomerangs. Pick them up, then have the last Link left behind be pulled across by a throw of the Boomerang from a Link on the far bank.
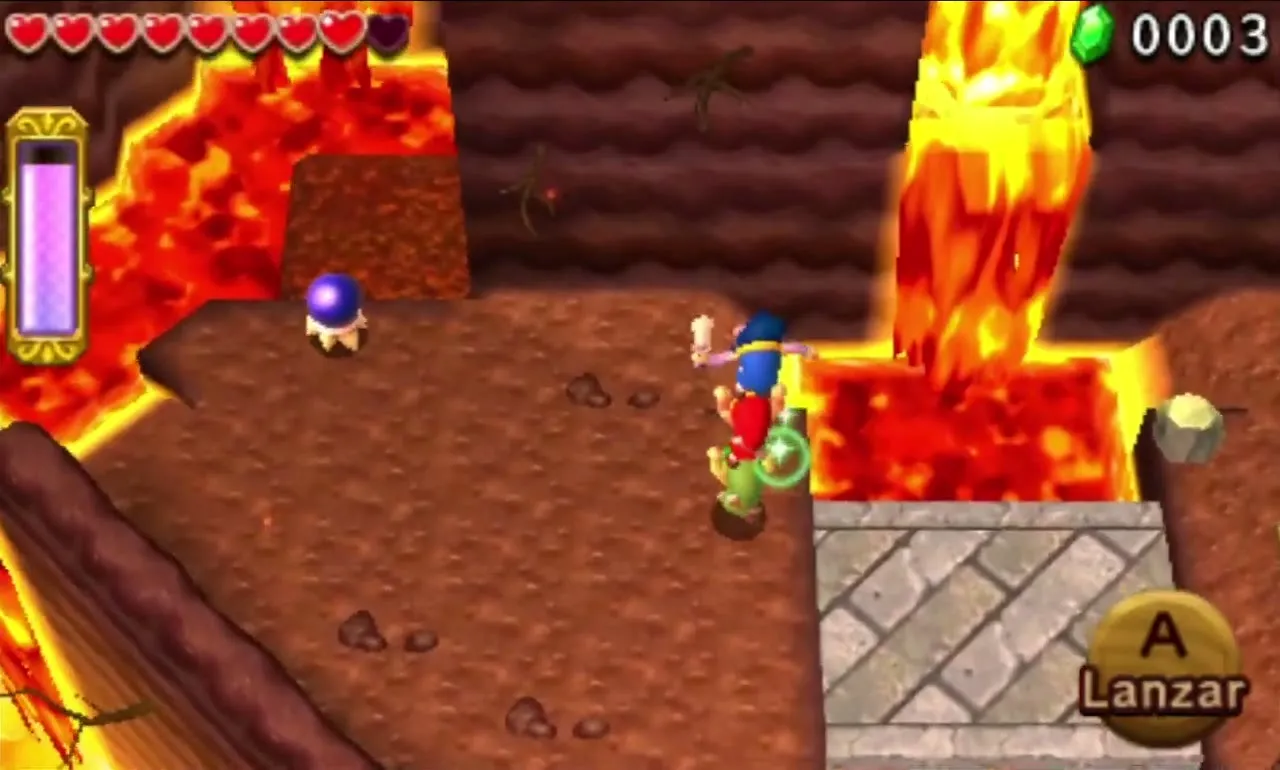
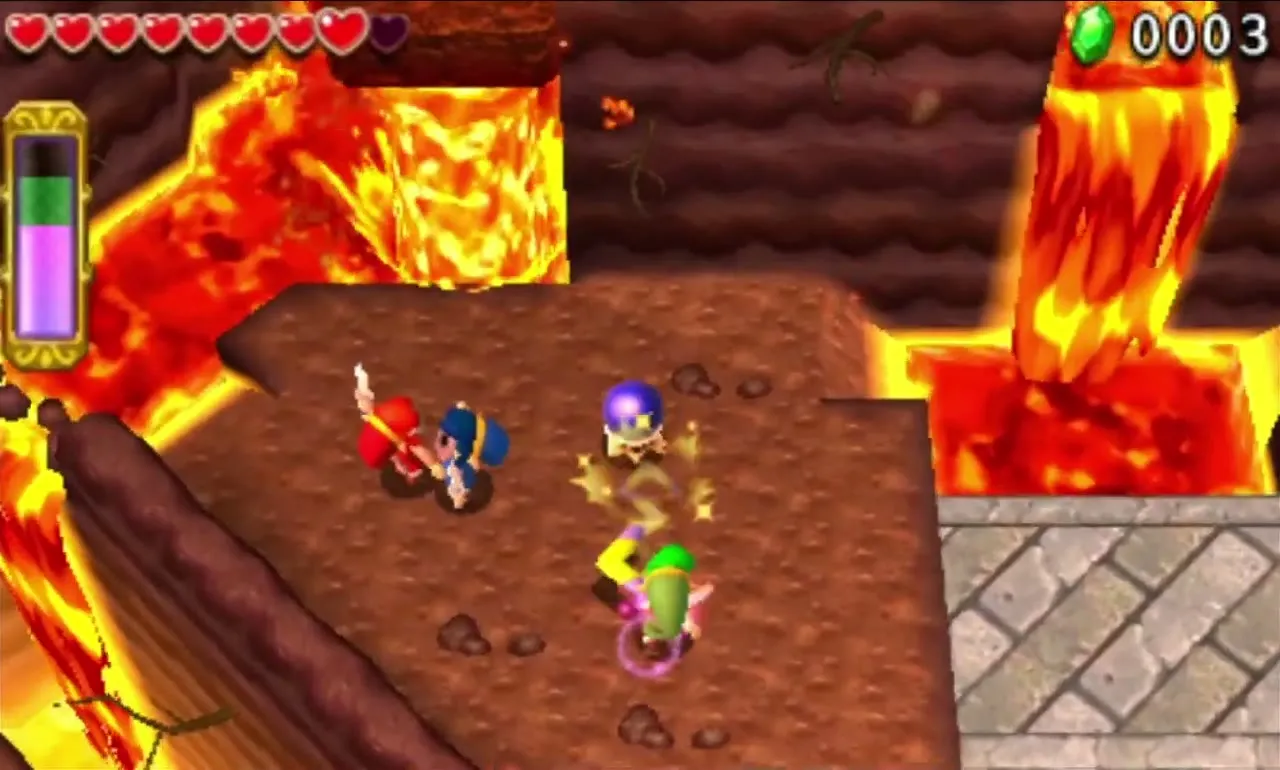
Step on the Big Switch on the far side to raise a stone bridge over the wider river. Climb onto the Lava Rock beside the Lava Geyser, let the geyser lift all three of you, and ride it to the upper ledge. The last river has Lava Geysers firing in turn, so cross just after one finishes and head for the Triforce Gateway.


Blazing Trail Stage 2
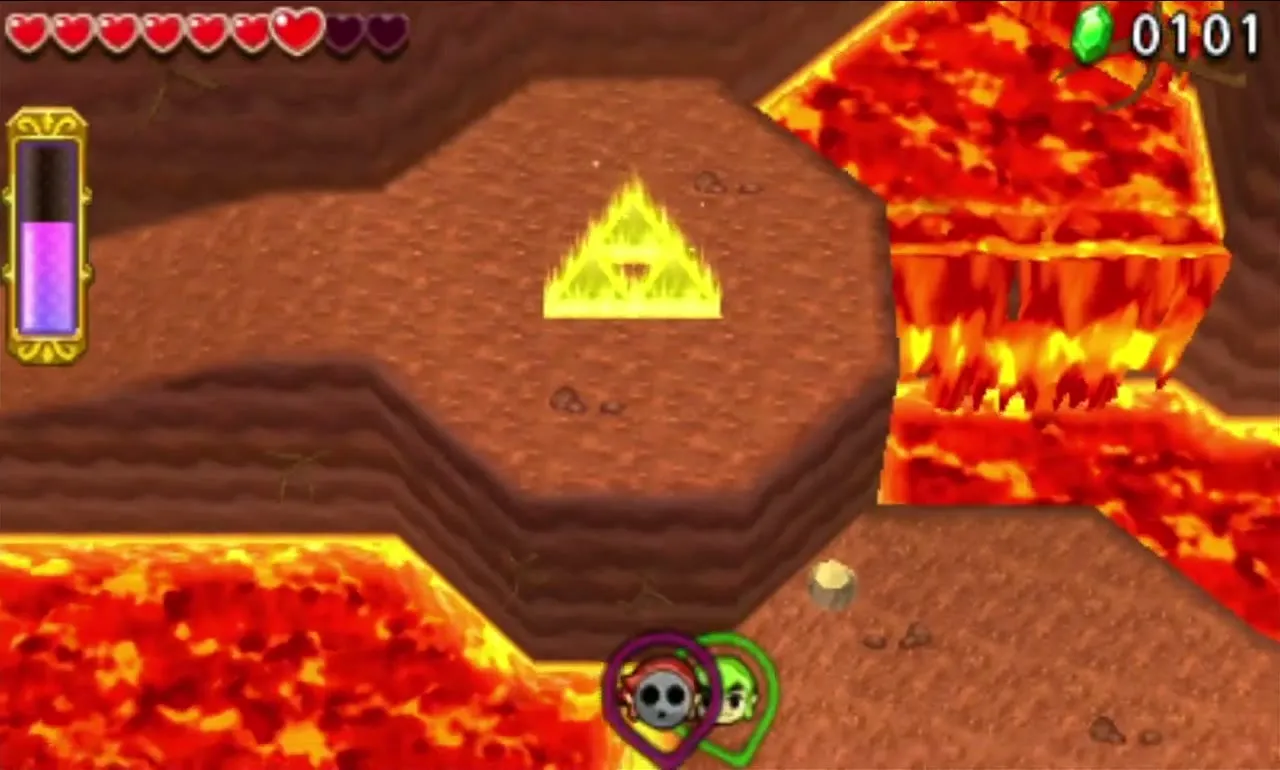
The Triforce Gateway sits behind a Flame Wall, so you cannot go straight to it. Cross the lake on the Lava Rocks, which sink slowly once you stand on them, and keep throwing each other from rock to rock when the gaps are too wide. Collect the Hearts and Rupees you pass; a chest sits on a platform southwest of the island with the switches.
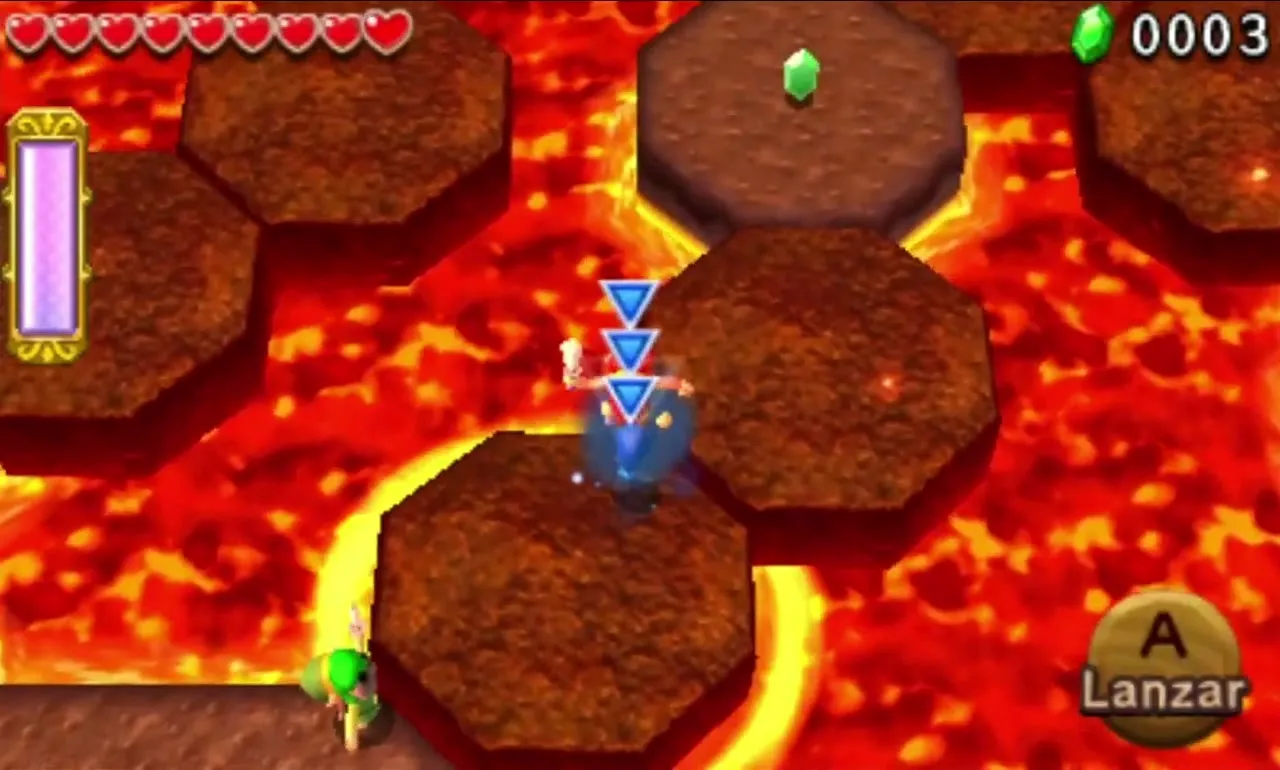

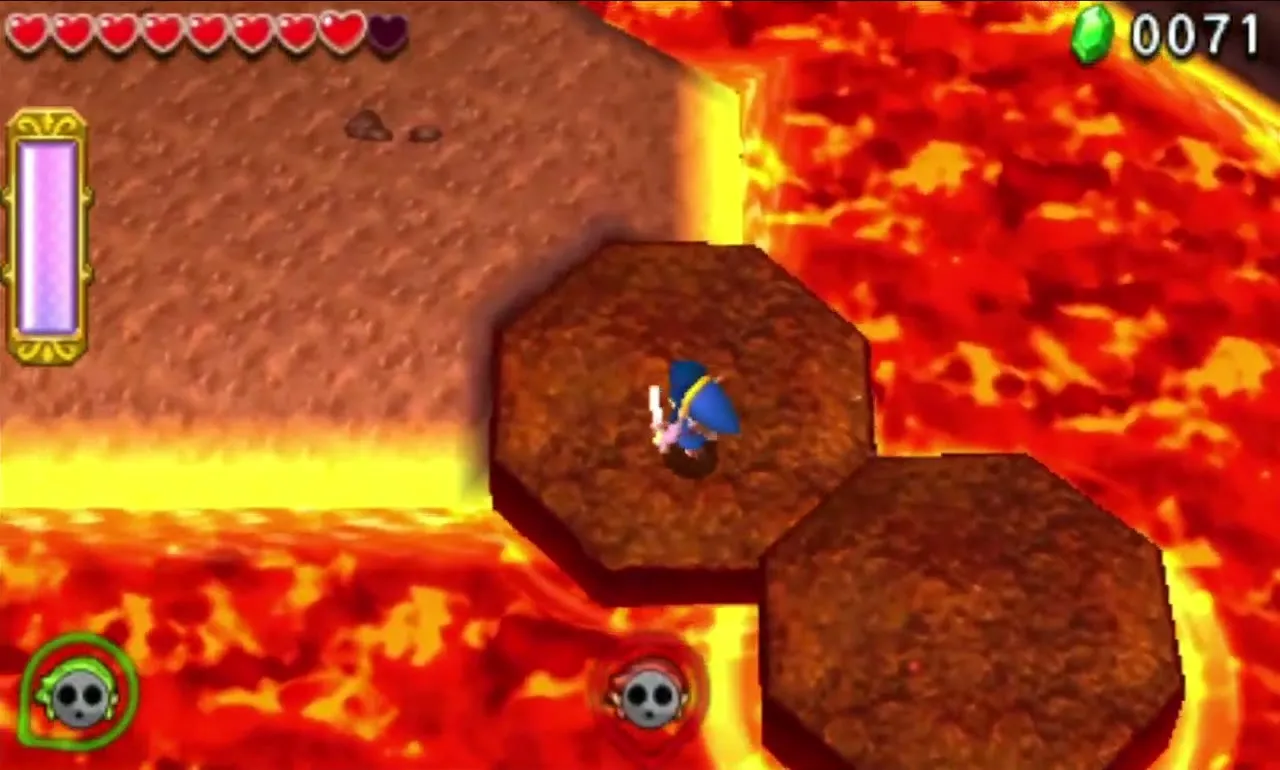
Your goal is the island ringed by flame jets with three Floor Switches. All three Links must stand on a switch at once, and doing so seals you in a Flame Wall while Hinox and Fire Keese appear. Stun the Hinox with the Boomerang, return anything they throw, and swat the Keese. When the last one falls, both the trap and the wall around the Triforce Gateway disappear.

Blazing Trail Stage 3
You start beside a lava-fall, and Volcanic Rocks drop from above, so never stand still. Climb upward by stacking a Totem to reach higher ledges and by using the Boomerang to pull a Link across each river. Keep an eye on the falling rocks and step aside before they land.

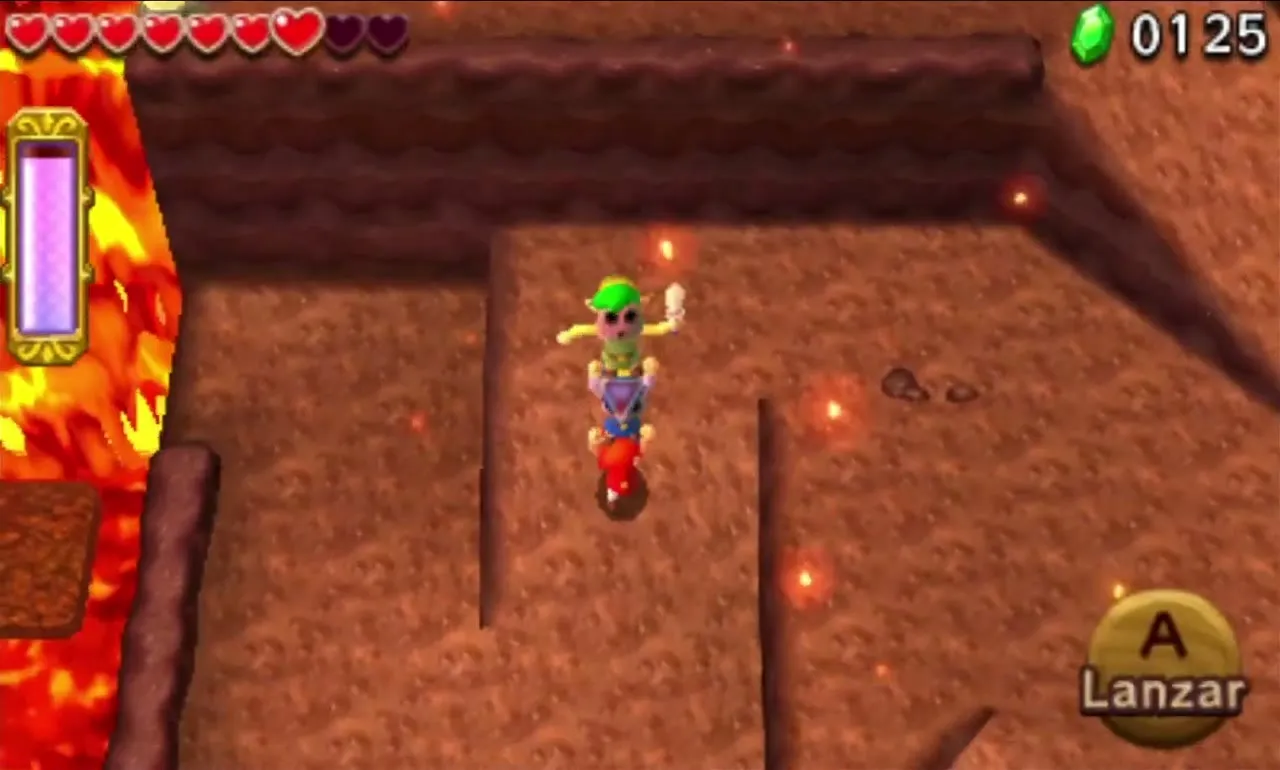
At the top a Flame Wall blocks the route, and two Shock Switches wait on the far side of it. Form a Totem of three. The Link on top throws the Boomerang over the flames and hits both switches, which opens the way to the Triforce Gateway. In single player, put the Boomerang on the top Doppel before you stack.

Blazing Trail Stage 4
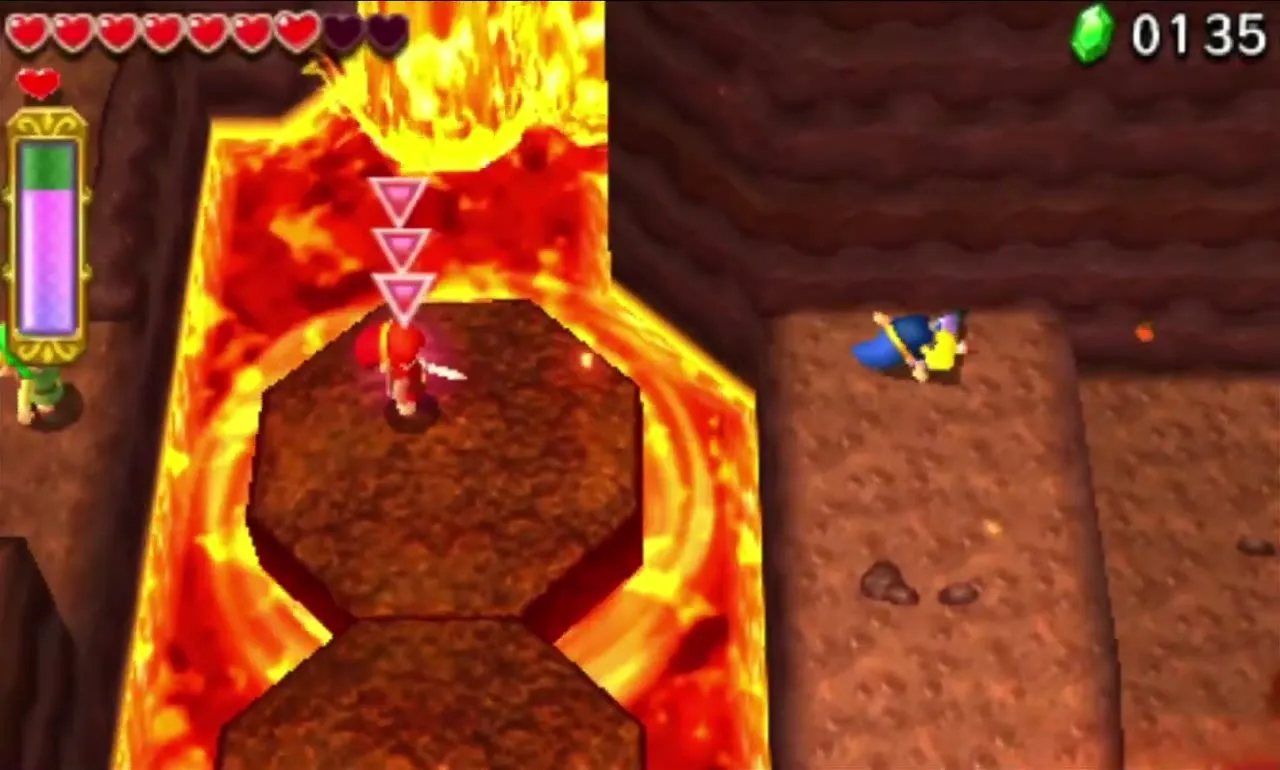
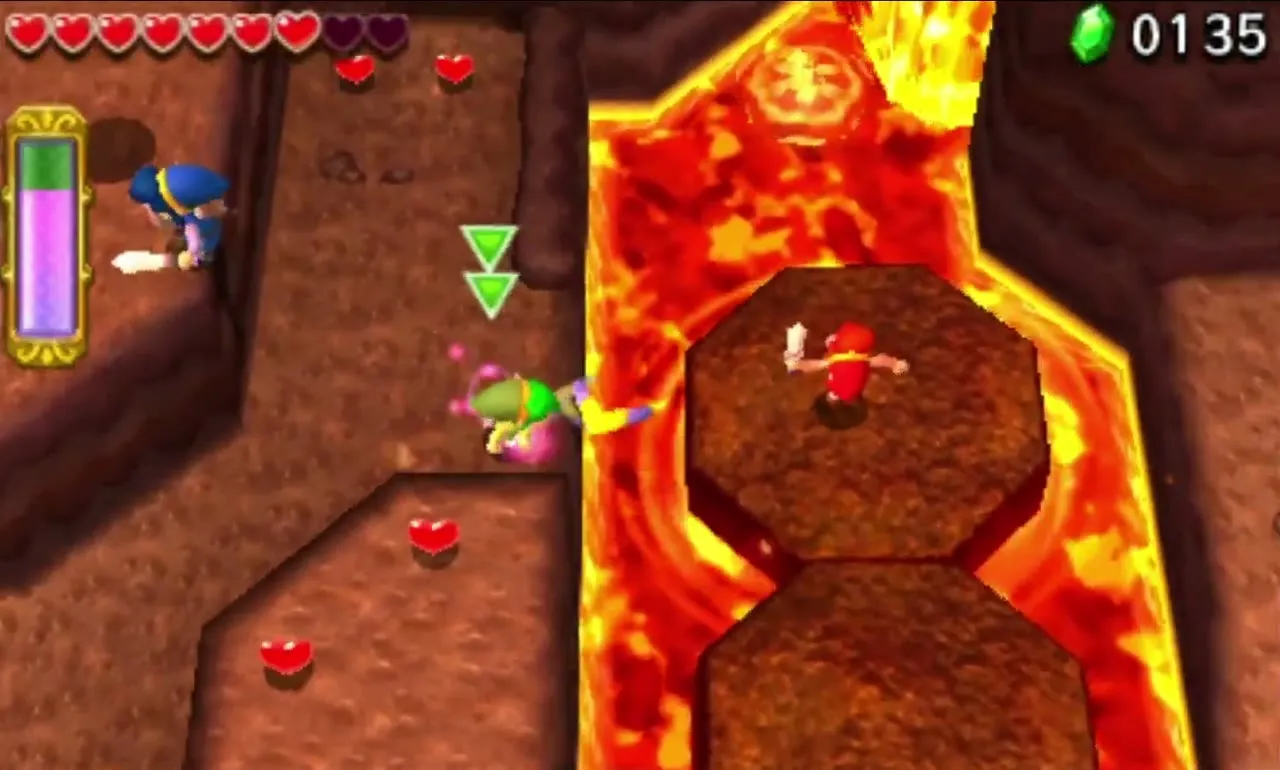
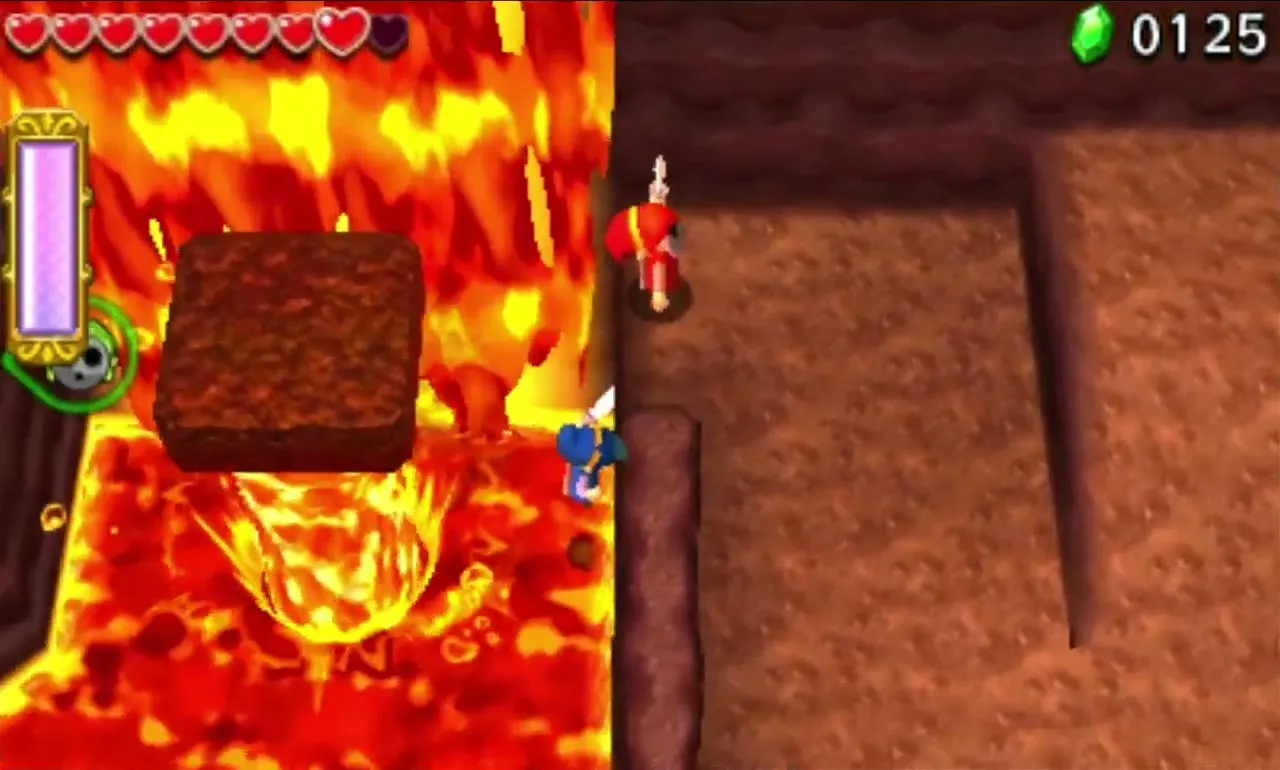
You land on a lone island in a lava lake. The lava drops and rises in cycles, exposing red stone paths between islands for a few seconds. Fire Keese and Red Kodongos attack here; the Kodongos swim in the magma and can only be hit while the lava is low, so wait for the drop and then strike together.
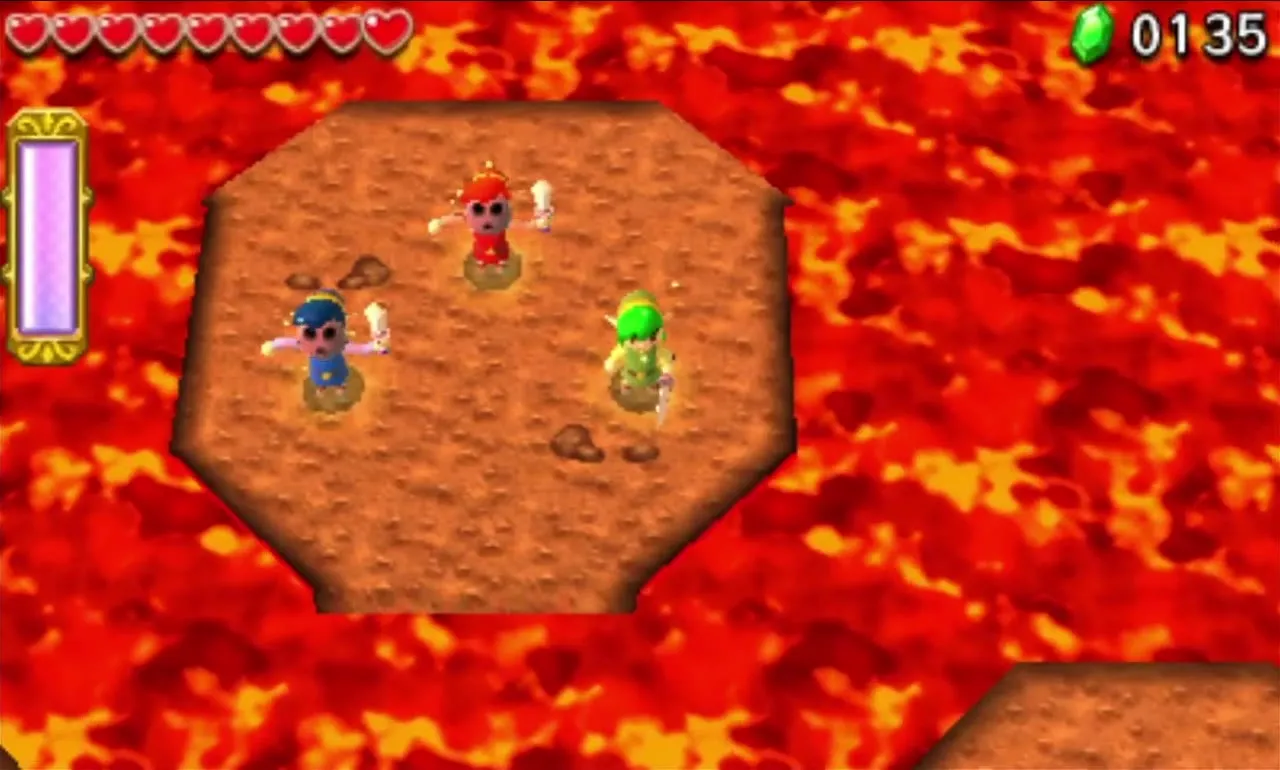
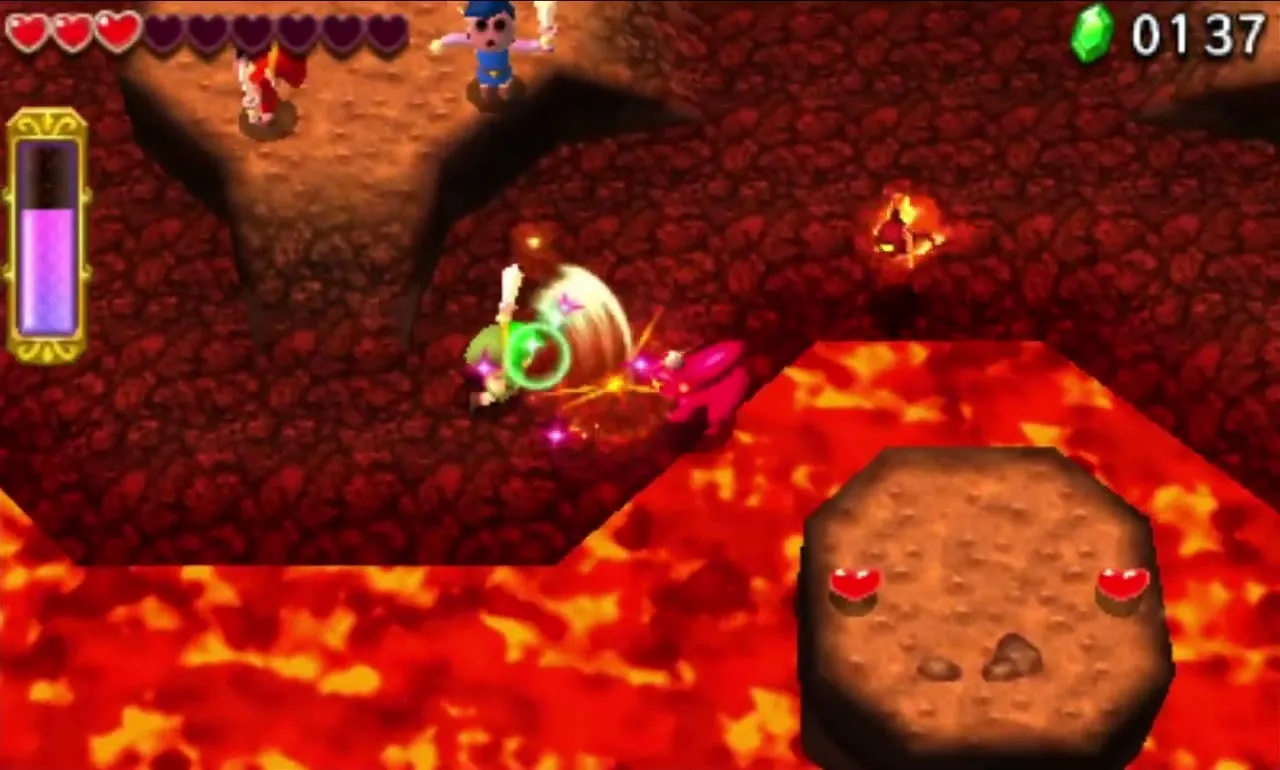

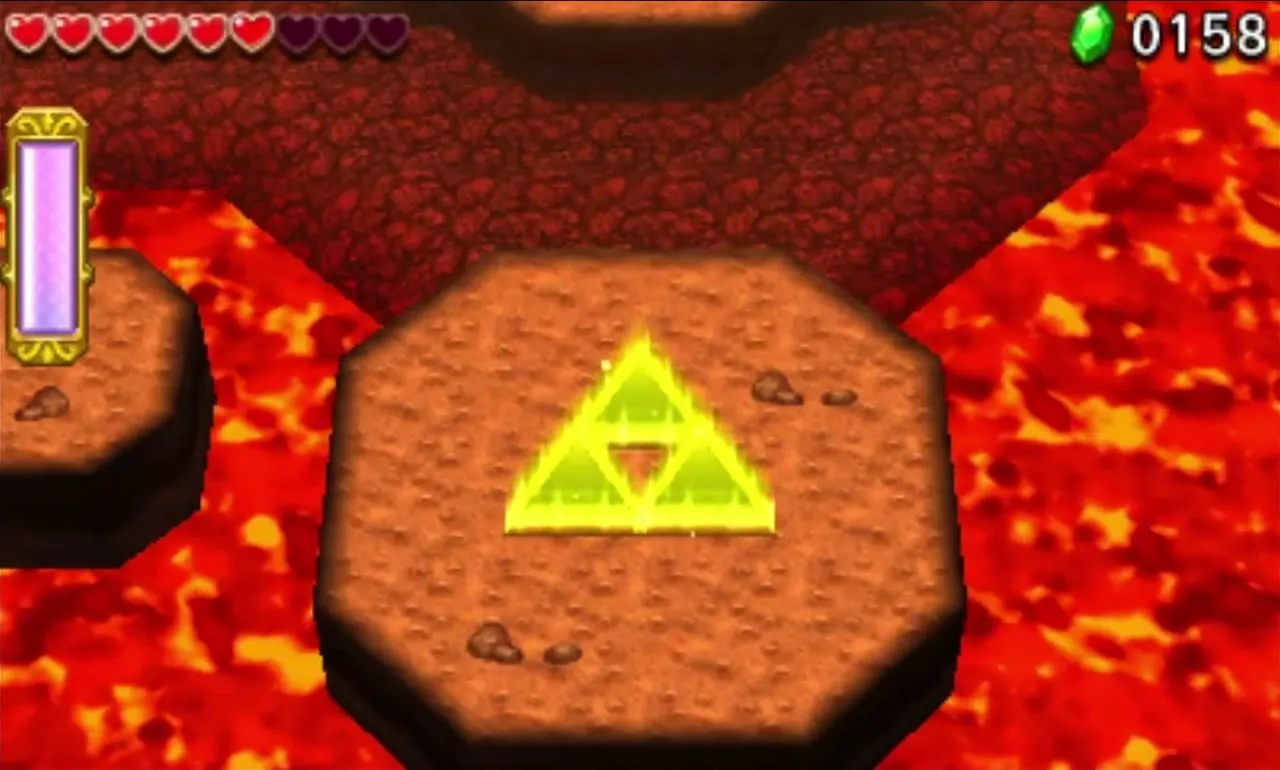
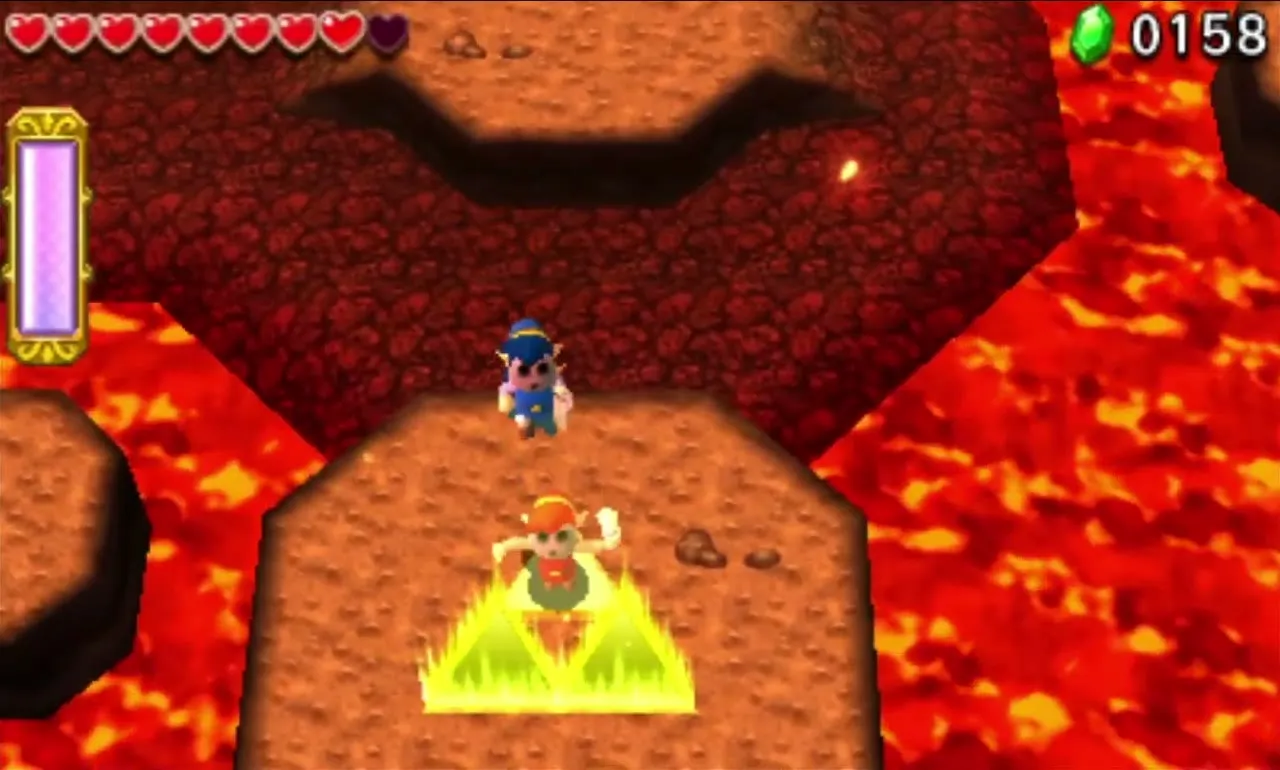
Once every enemy is down, the lava stops rising and the Triforce Gateway opens on the island to the south. Throw one or more Links onto that raised island, then use the Boomerang to pull the others over from the nearby island. Chests on the side islands hold Rupees and Hearts, so grab them first.


Blazing Trail treasure chests
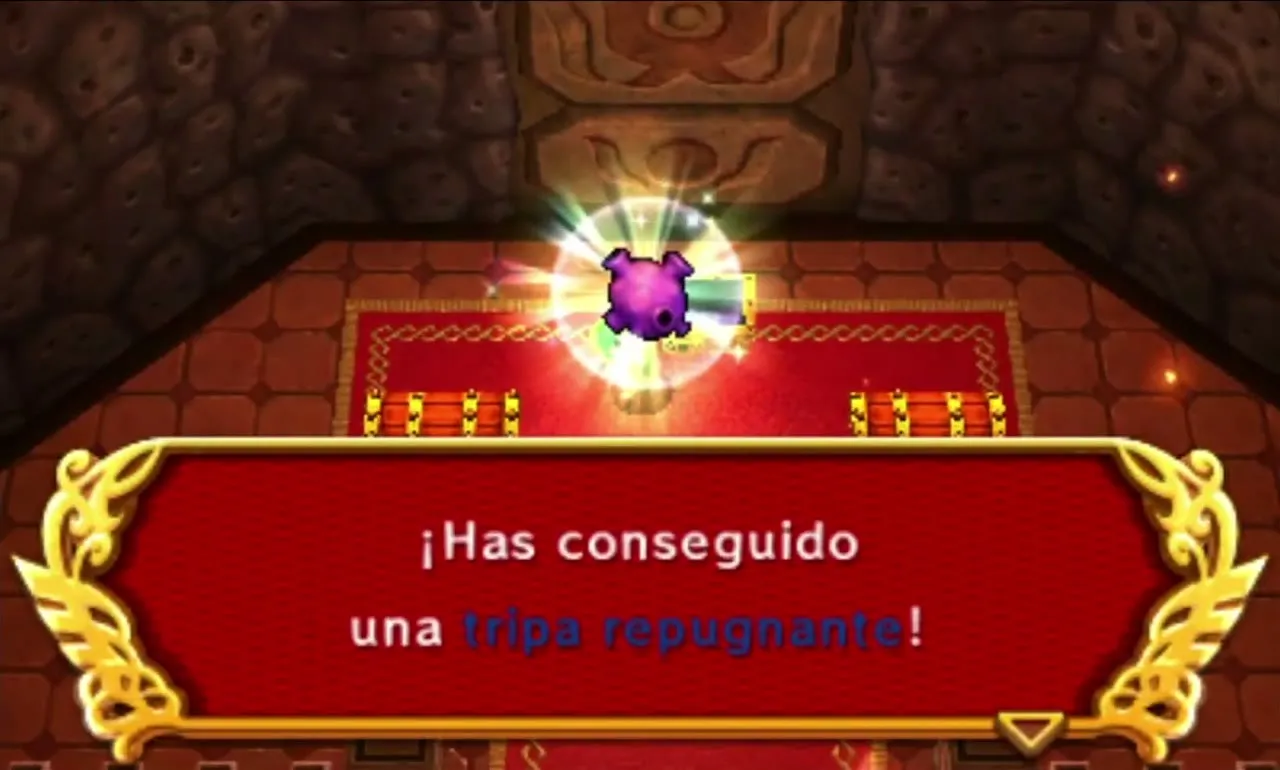
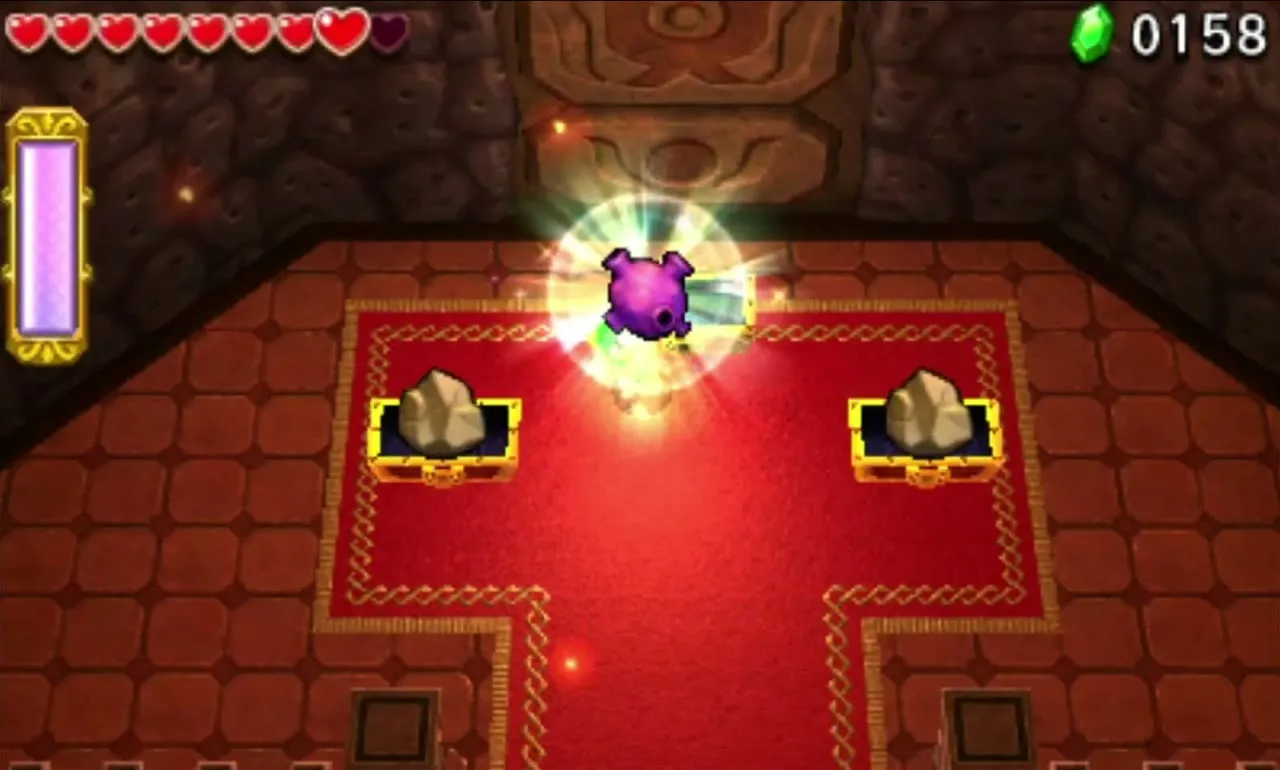
After the last Triforce Gateway you reach a room with three chests, and each Link opens one. Two chests hold the same common Material and the third holds a better one. A first clear gives two Goron Ore and a Monster Guts. Blazing Trail also drops Demon Fossil, Rugged Horn and Kodongo Tail once you replay it with challenges, and the Goron Ore here is a key part of the Goron Garb and Boomeranger outfits (see outfits).

Defeat Moldorm and Blazing Trail returns with three Drablands Challenges: “Pop all balloons!”, “Evade the Wallmaster!” and “Transport the orb quickly!”. Many balloons drift past the walkways, so keep a Boomerang ready for popping them. Rewards are described on the Drablands Challenges page.

Hinox Mine
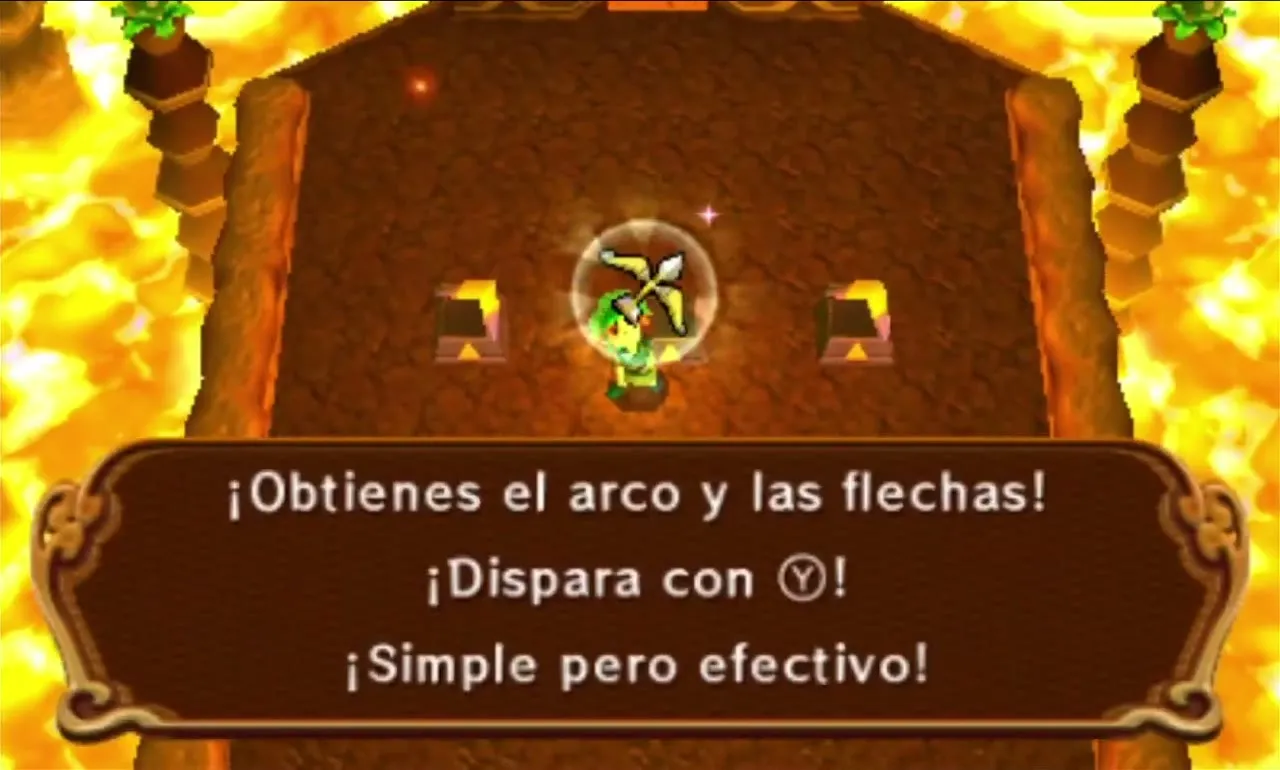
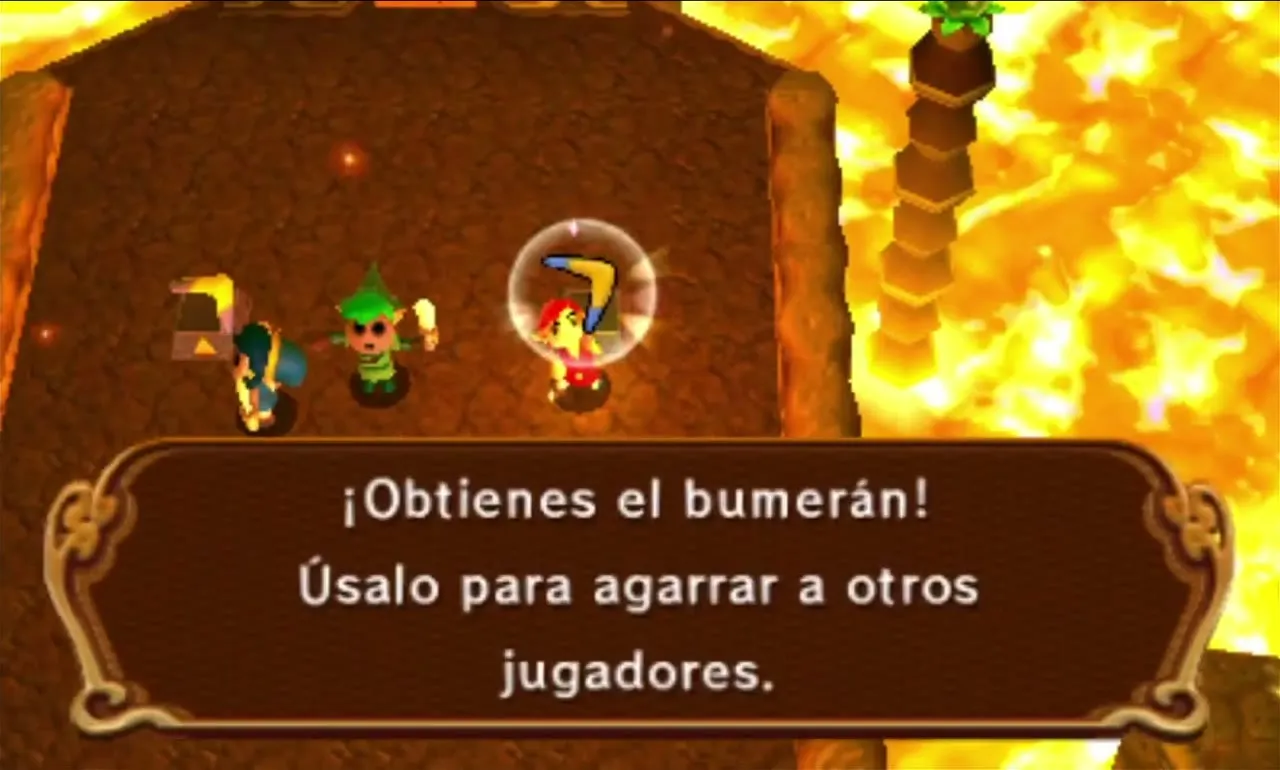
Hinox Mine hands out two Boomerangs and one Bow, and its Stage 4 is the Volcano mini-boss. Bomb Flowers, Cracked Blocks and Shock Switches are everywhere, and the cart rides keep you on the move. Wearing the Kokiri Clothes lets the Bow fire three arrows at once, but see the challenge notes below before you rely on them.
Hinox Mine Stage 1
A Cracked Block bars the way. Use a Boomerang on each Bomb Flower on the pillars to snatch its Bomb, then throw the Bombs at the block; it takes two blasts. Behind it a Shock Switch is out of reach, so have the Link with the Bow shoot it. That raises a staircase to the next room.
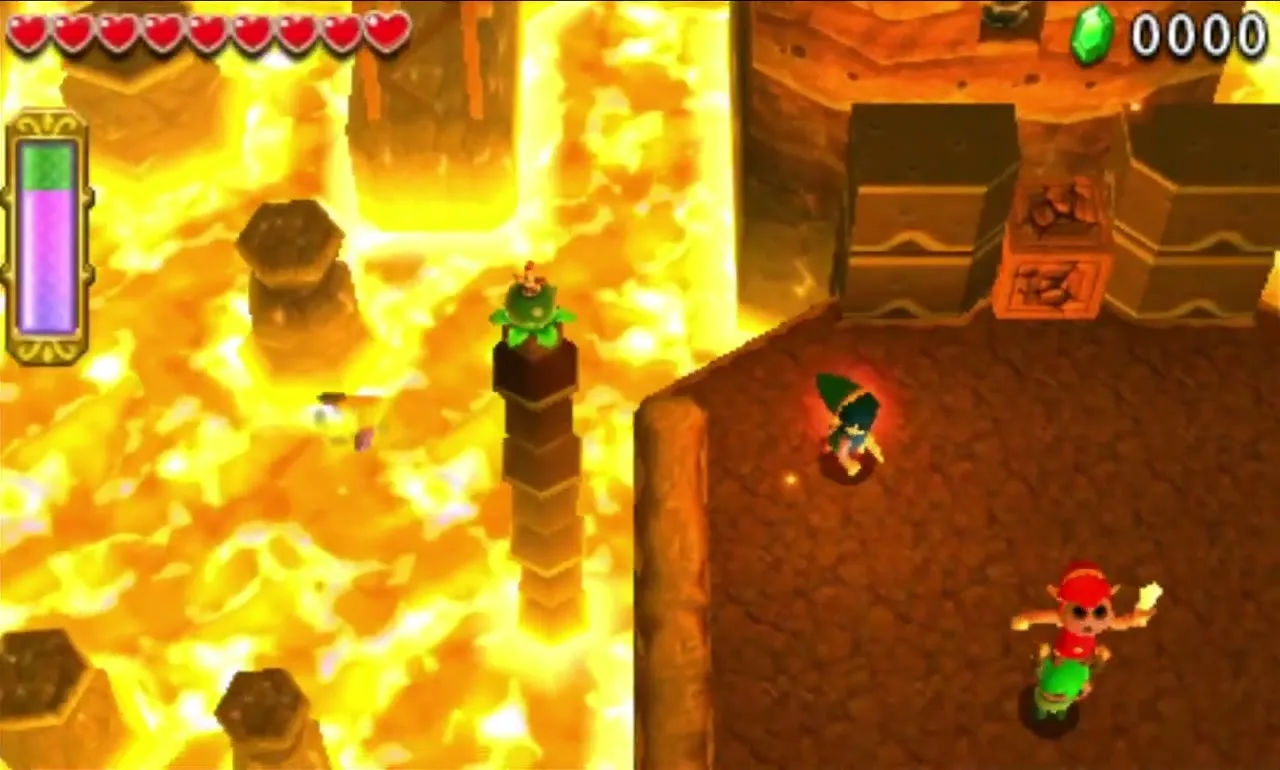
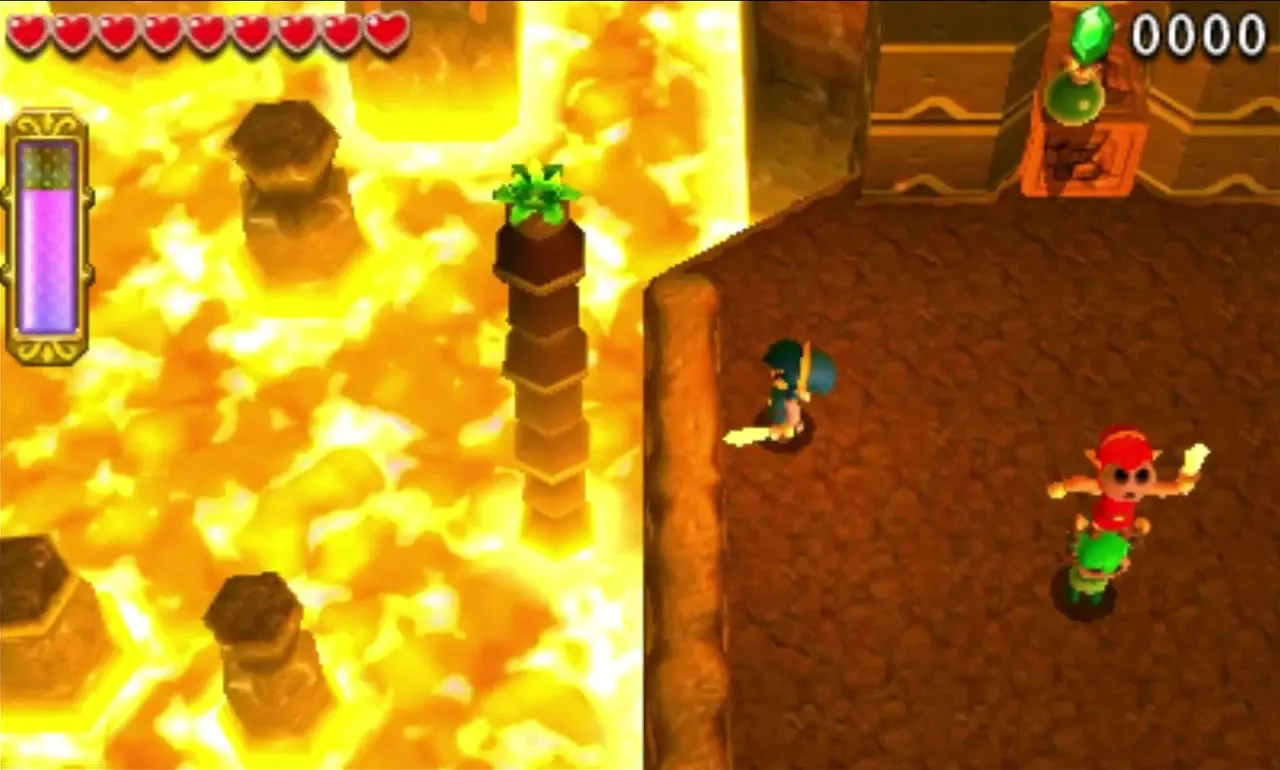
This room has three timed Shock Switches over a gap. A neat approach: bring a Bomb Flower over from the side and drop it in the gap between the two flowers beside the switches; the chain blast strikes two of them. Right after that, stack a Totem; its top Link shoots the high central switch before the others reset. A platform then appears and takes you to the Triforce Gateway.
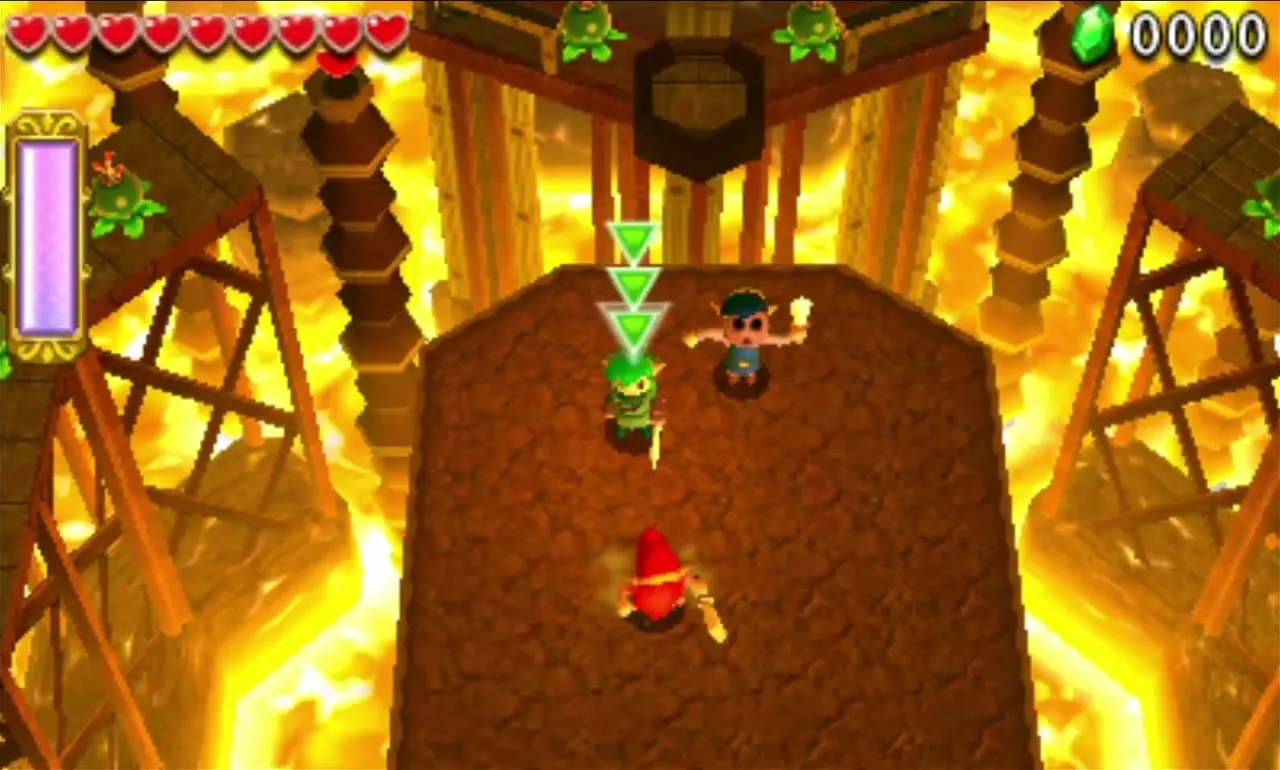
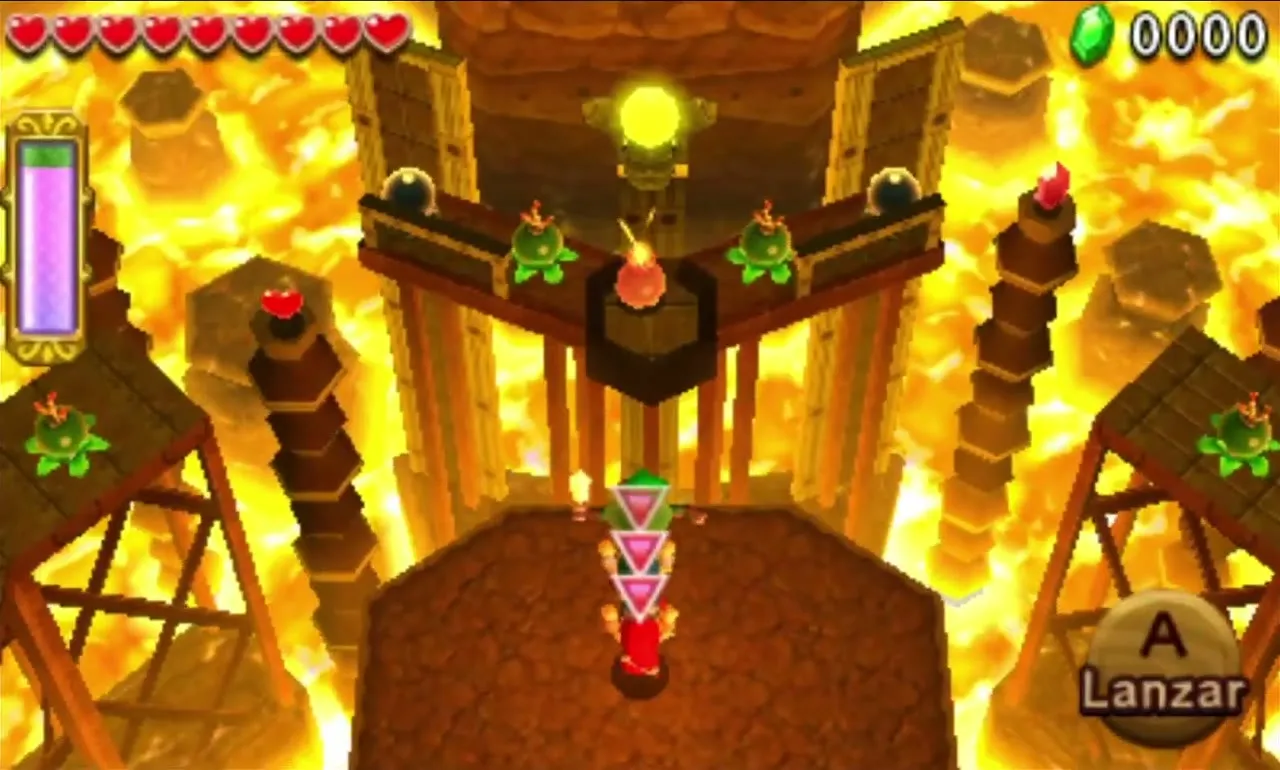
Hinox Mine Stage 2
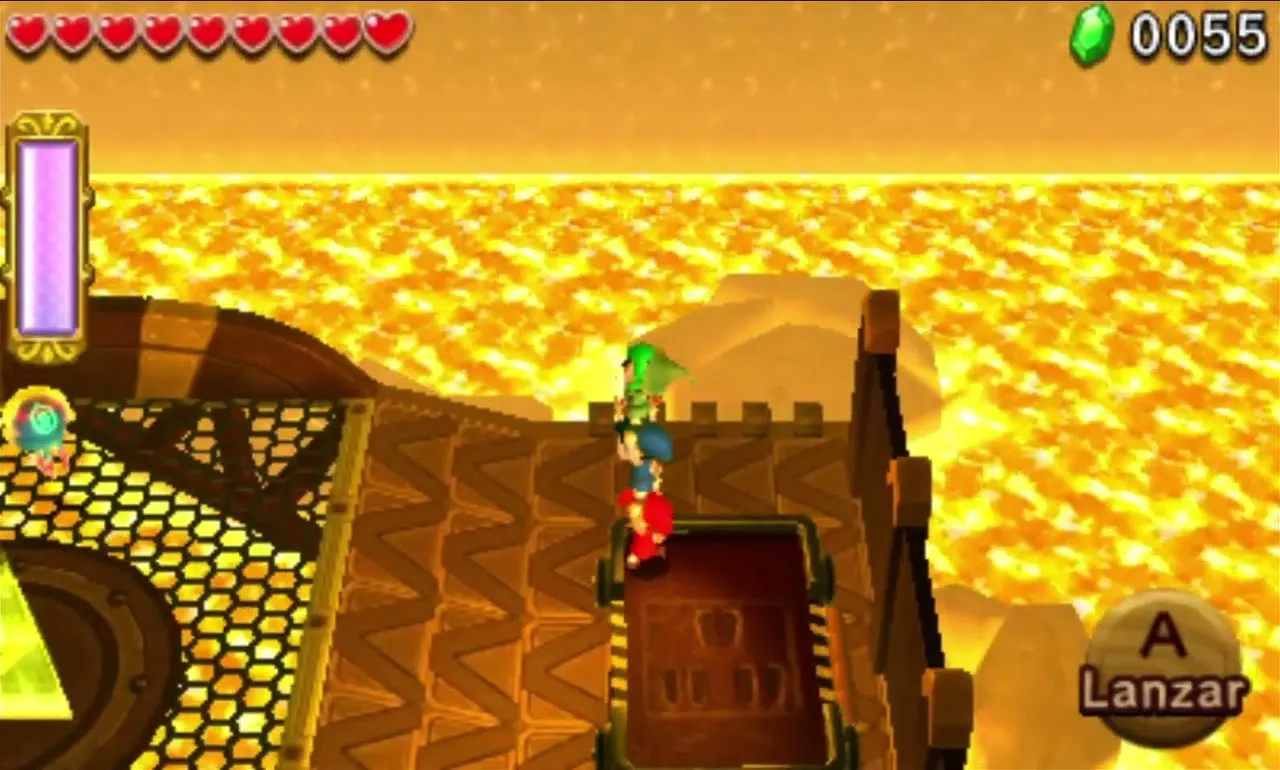
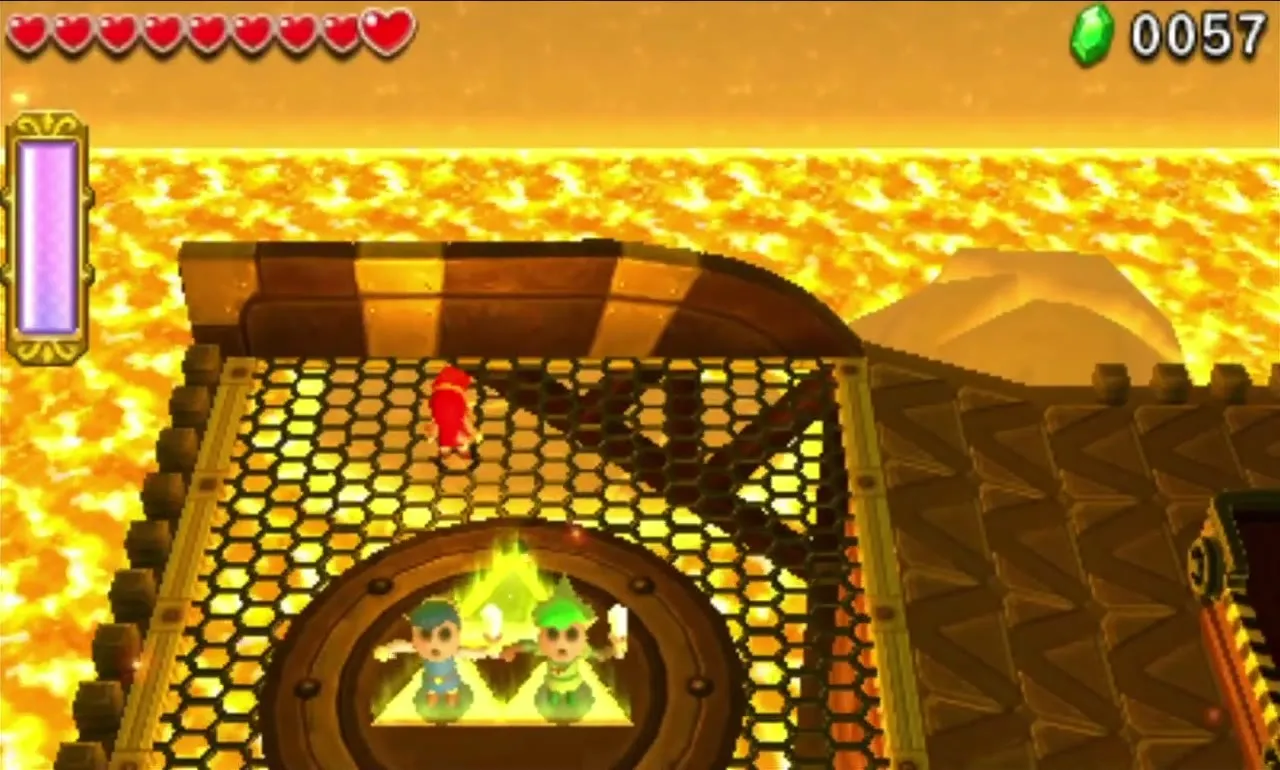
Hop into the Mine Cart and it loops around the lava on its own. Each lap passes Bomb Flowers and Rupees on a ledge, along with a large Cracked Block. Snatch Bombs with the Boomerang while rolling by and throw them at the block until it breaks apart; a Purple Rupee and a Shock Switch are underneath.
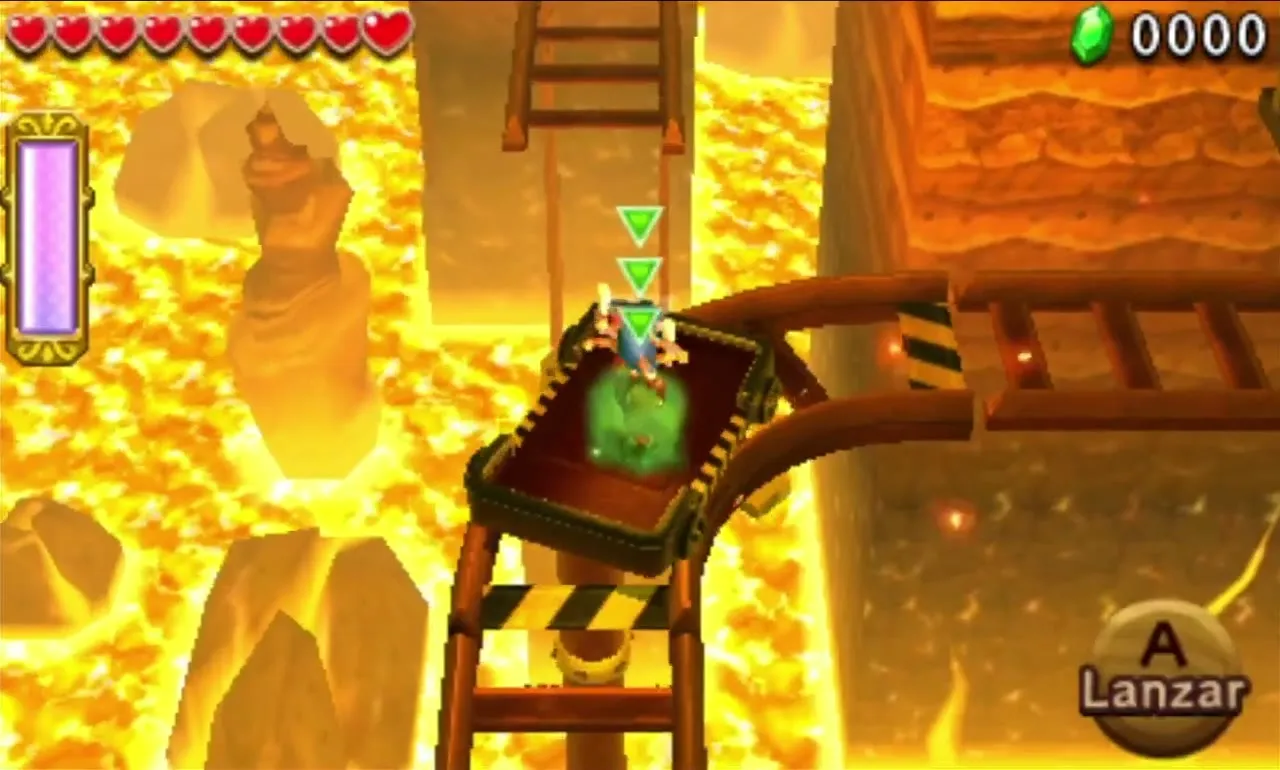
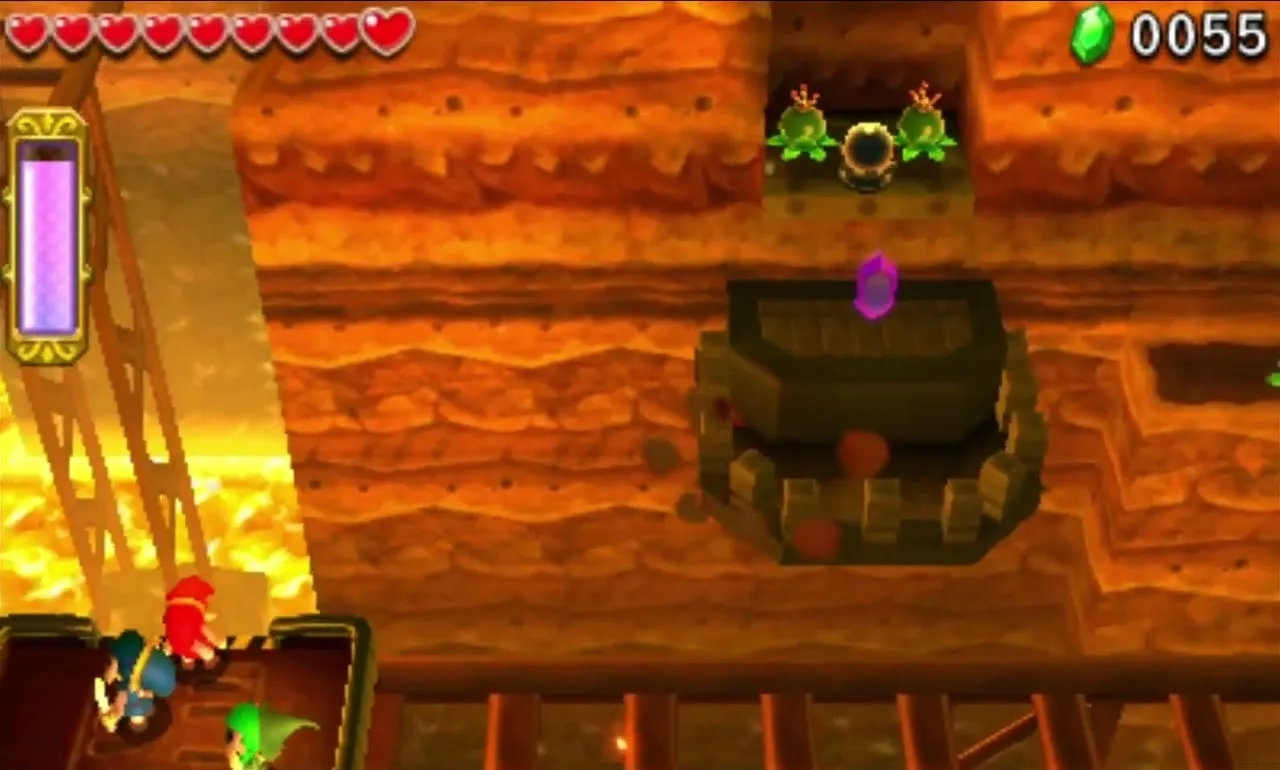
Reach the Purple Rupee with a Boomerang from a Totem of two. For the switch, build a Totem of three and shoot it with an arrow; the two Bomb Flowers next to it will also trigger it, so your aim need not be perfect. This turns the rails north and takes the cart to the Triforce Gateway.

Hinox Mine Stage 3
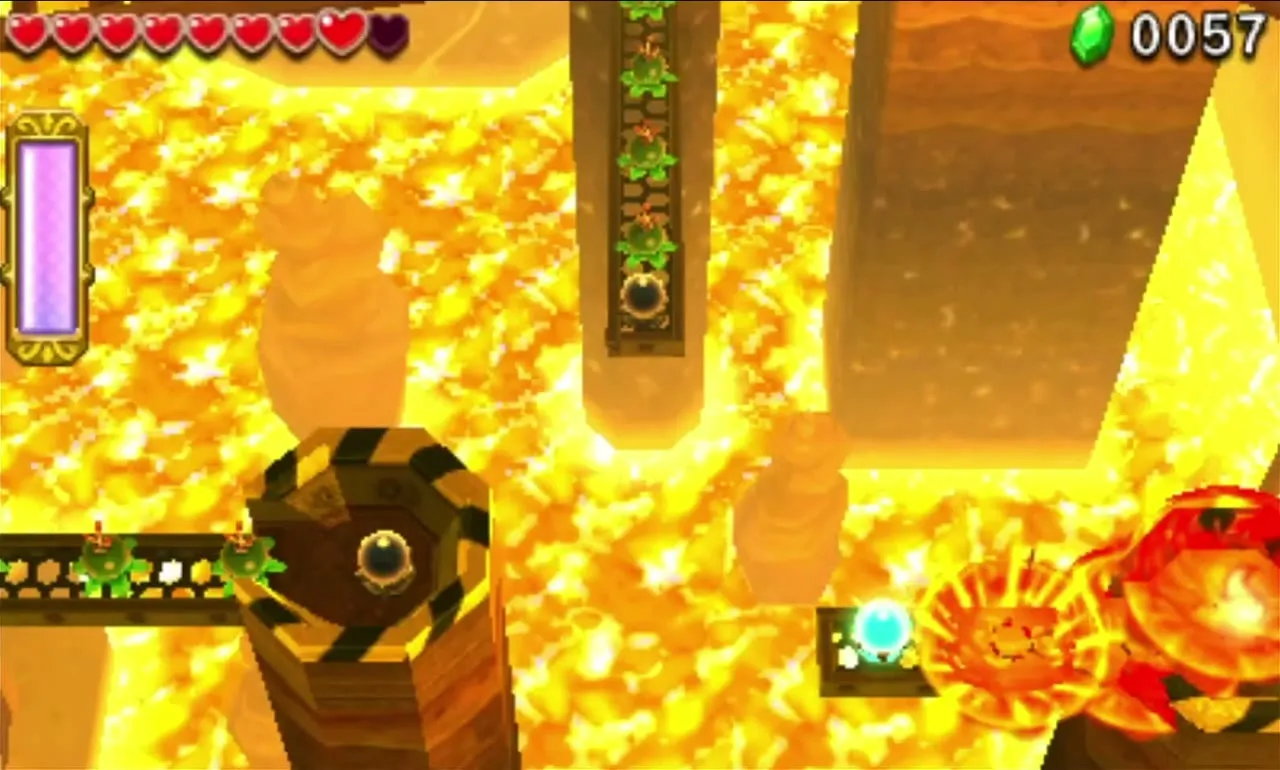
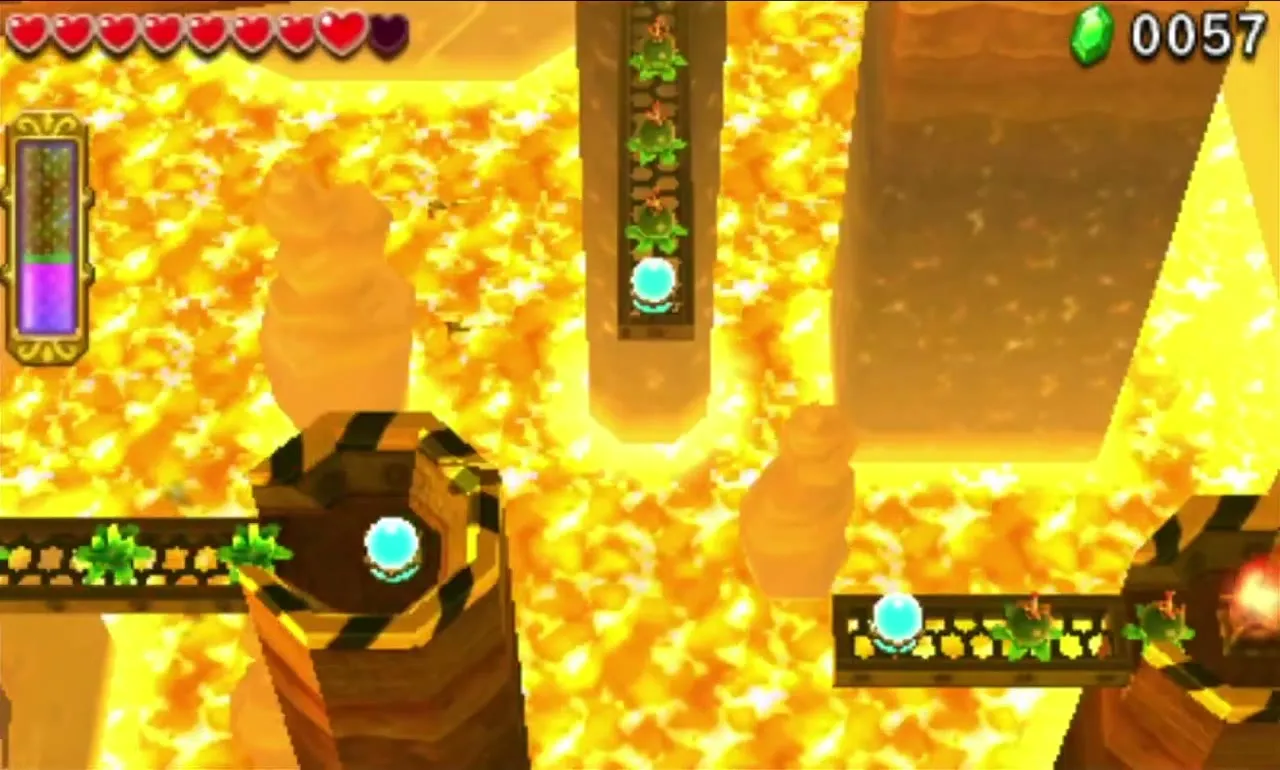
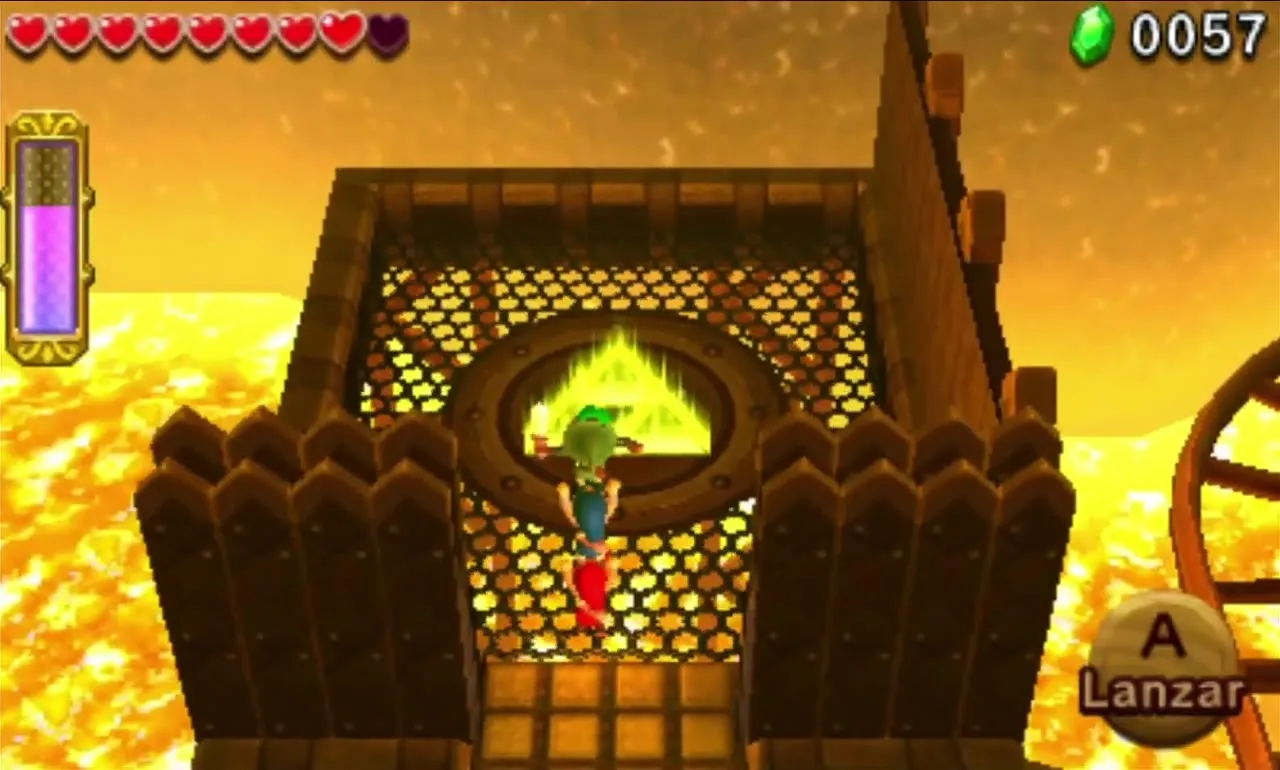
Another cart carries you along a longer track. Strike the lever Switch as you pass to send the cart onto the big loop, and watch for Totem prompts on the ledges. Along the loop are three Shock Switches, each reached by a row of Bomb Flowers.
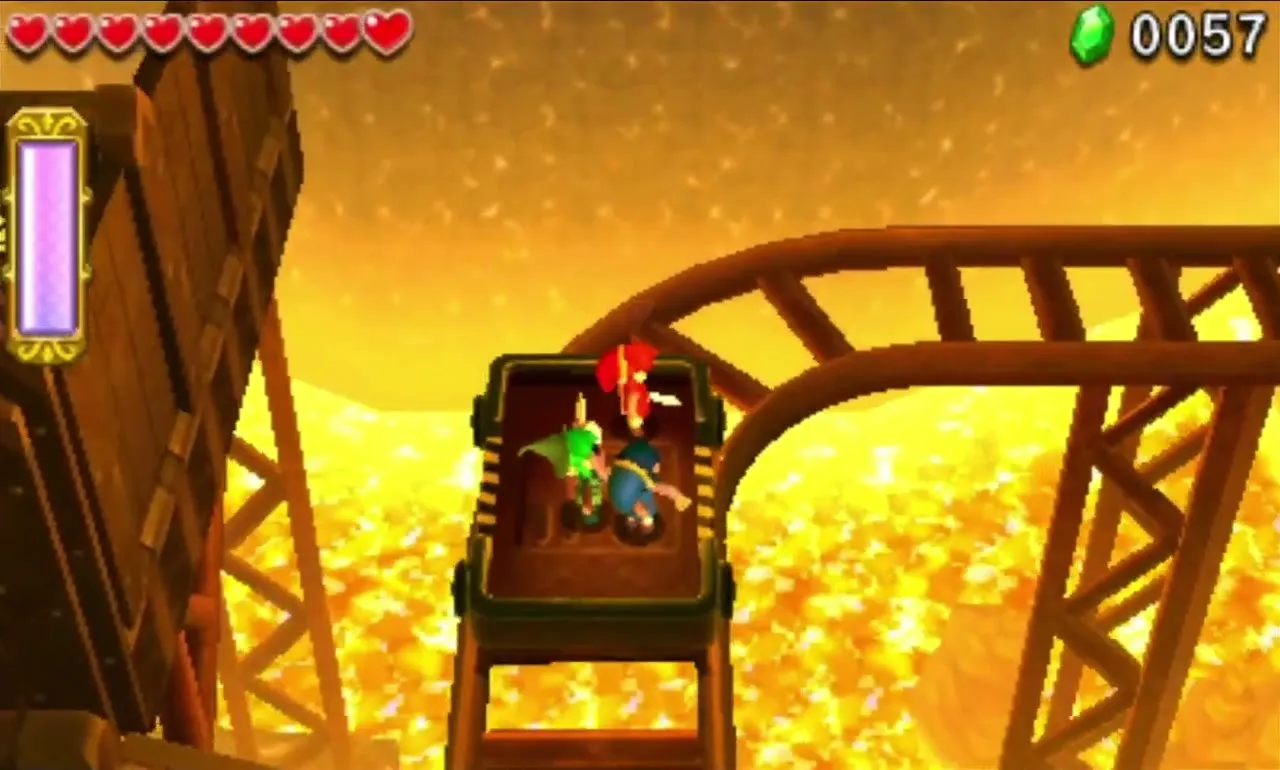
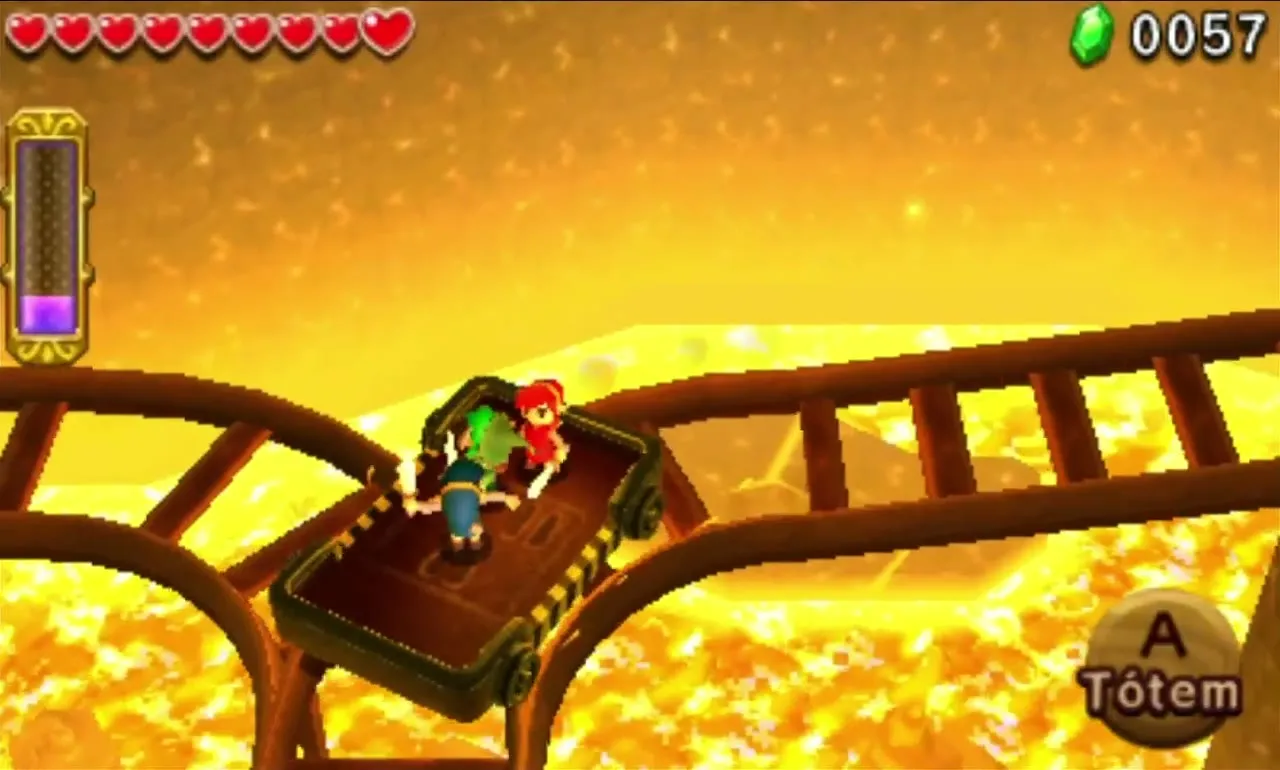
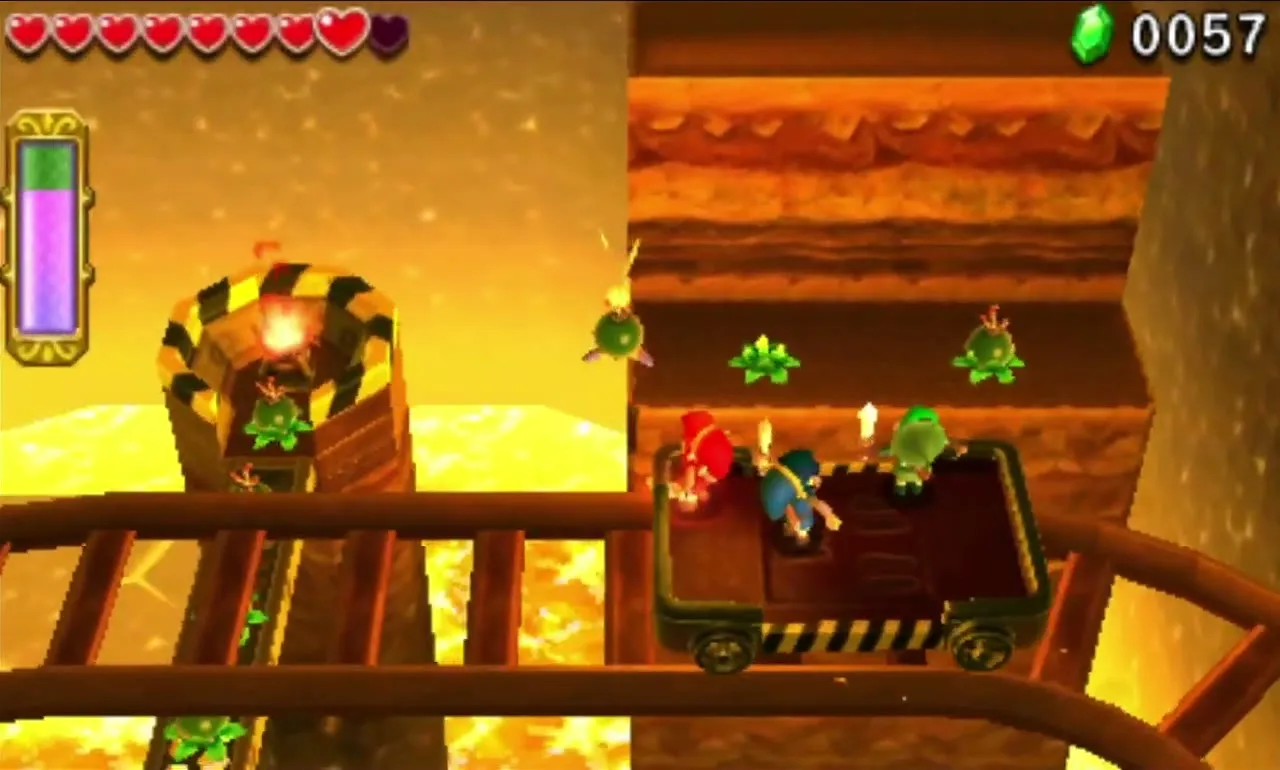
Detonate each Bomb Flower line to trigger its switch. One line only needs an arrow shot from the top of a Totem. The other two start at fire stacks beside the rails, so throw a Bomb into each stack. When all three switches are lit, a door opens at the start platform and the rails lead you back to the Triforce Gateway.
Hinox Mine Stage 4
Stage 4 is the mini-boss. You board a larger two-car cart on rails that run around the edge of a huge lava pool, while the Hinox rides on a parallel track. Hearts sit on ledges around the arena, so snatch them with the Boomerang whenever your health runs low.
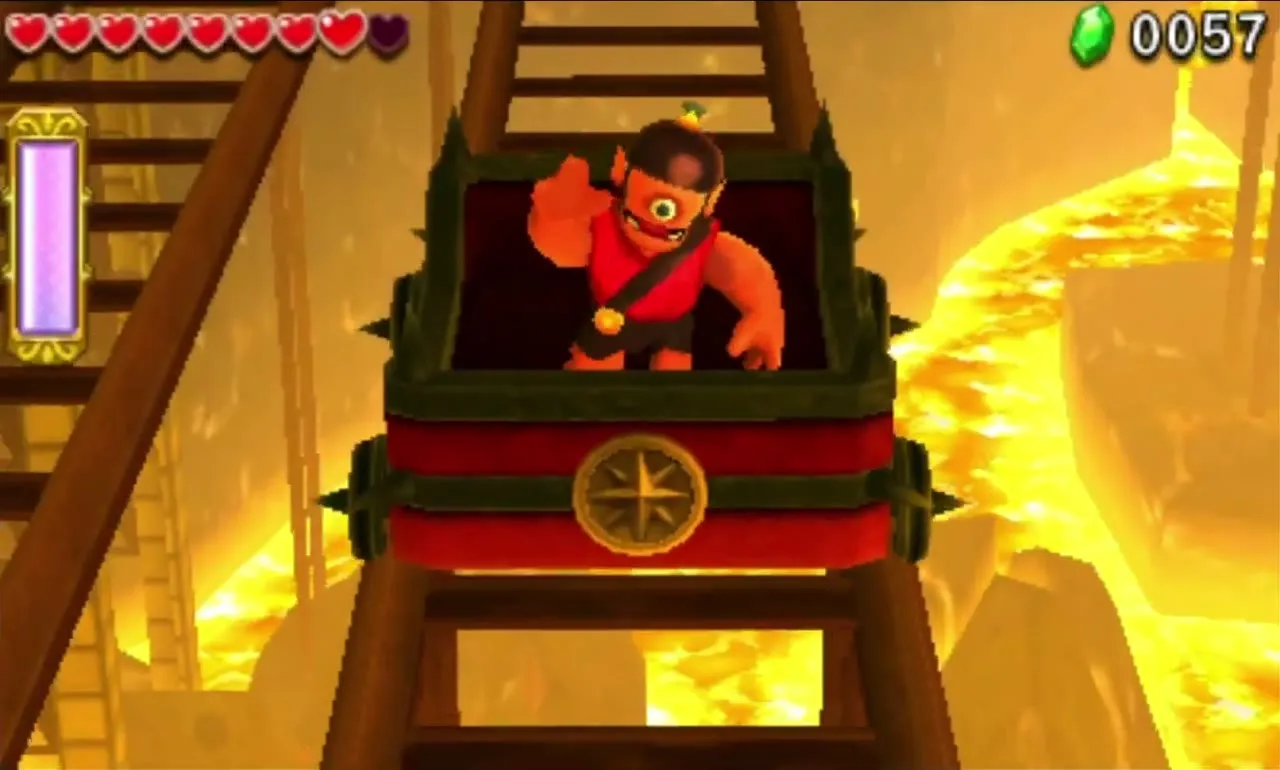
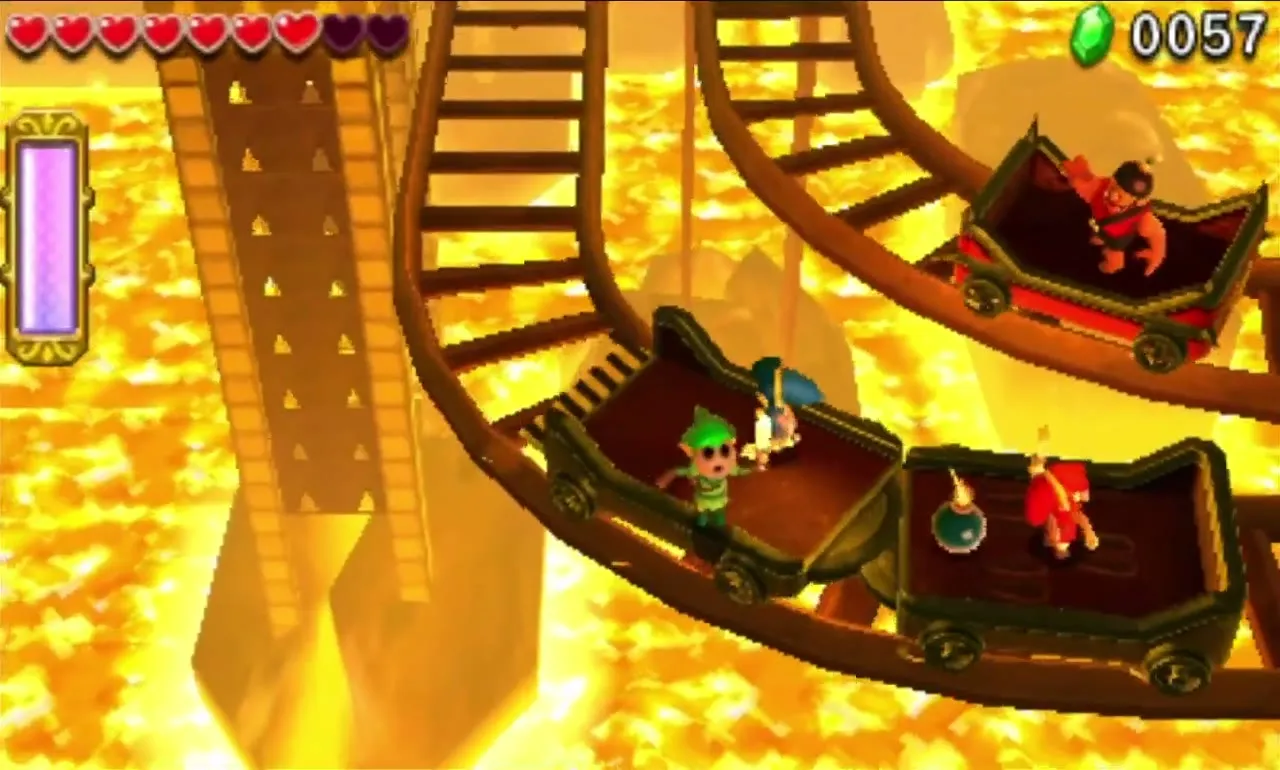
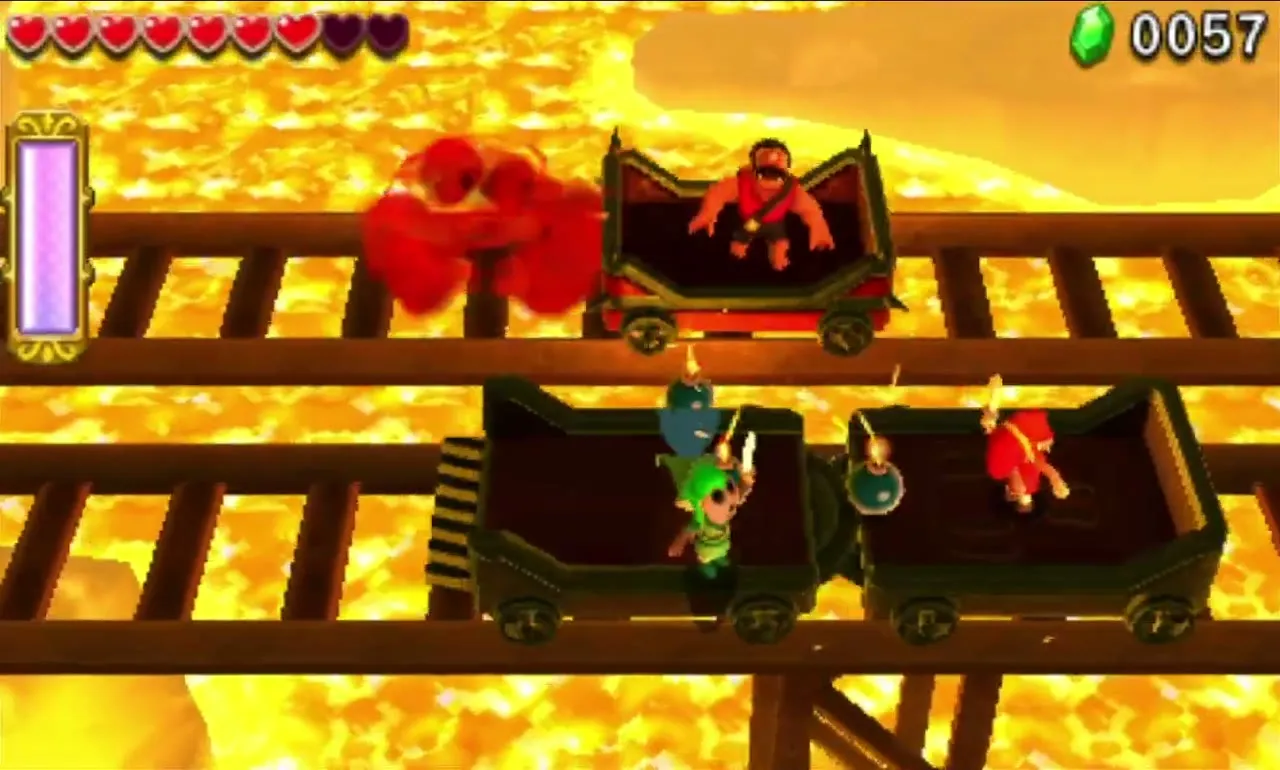
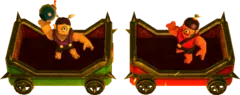
Hinox Brothers mini-boss fight
First you face Hinox the Eldest alone. He lobs Bombs whenever the carts pass close. Grab one in mid-air and throw it straight back into his cart. A Boomerang hit stuns him for a moment, and Bow arrows work too, though for far less damage than his own Bombs.
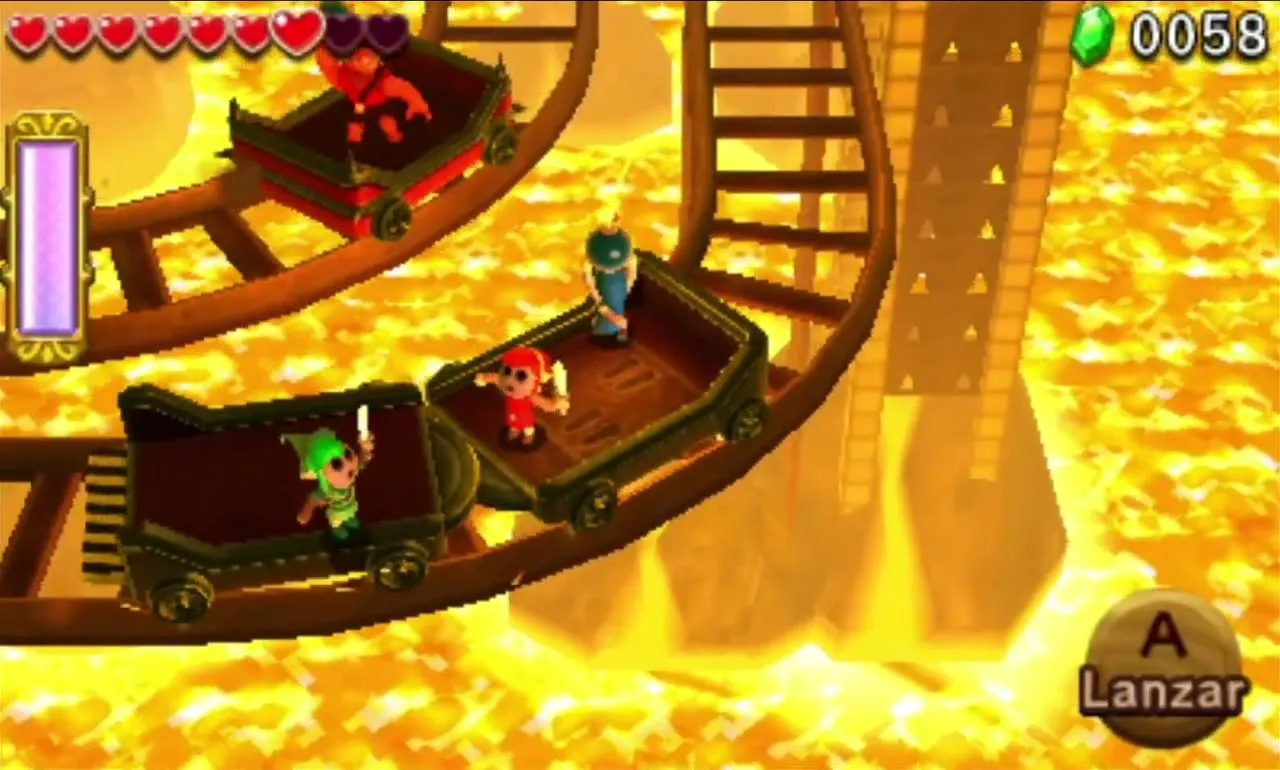
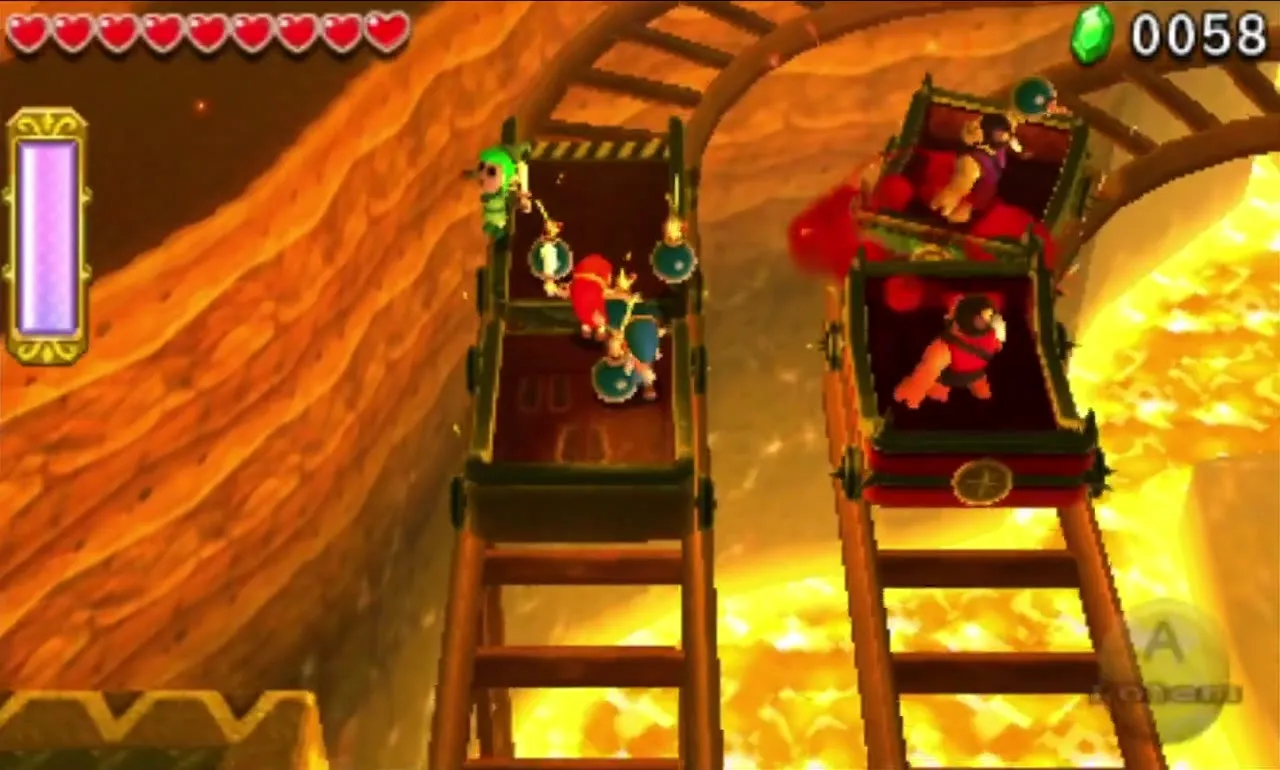
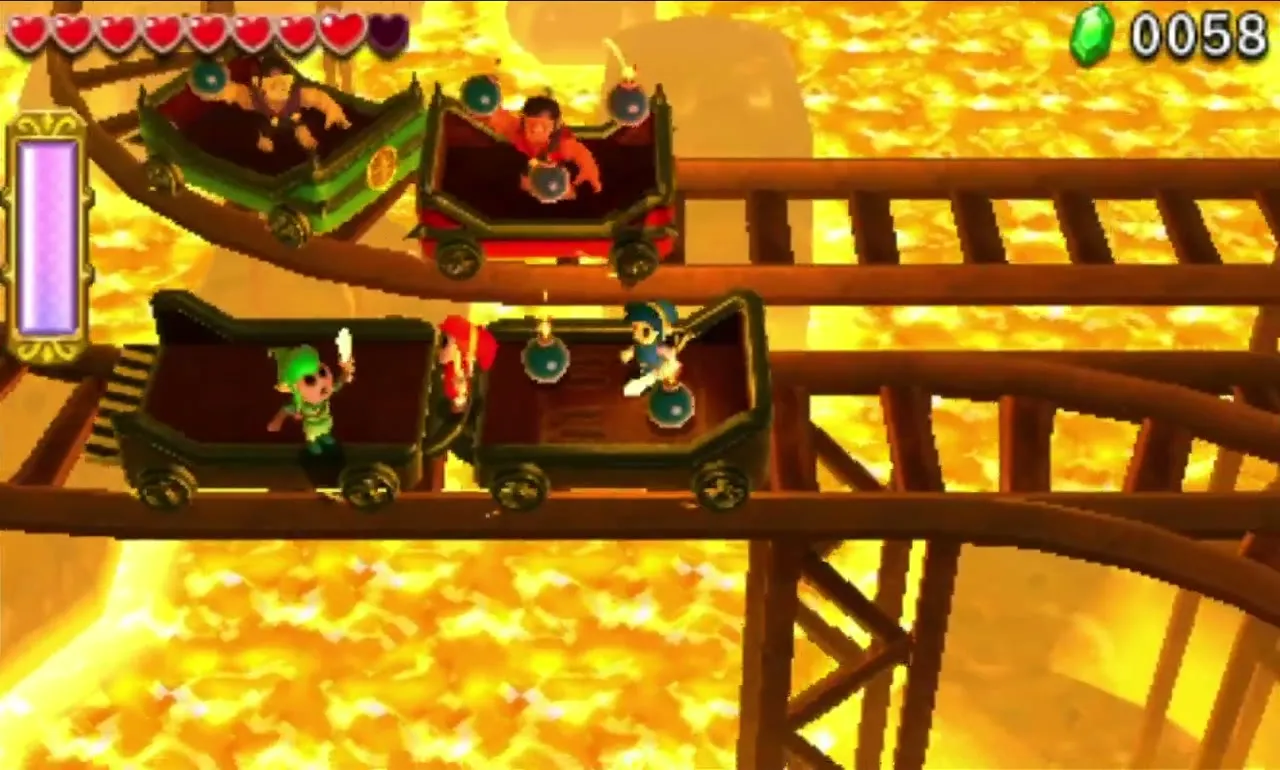
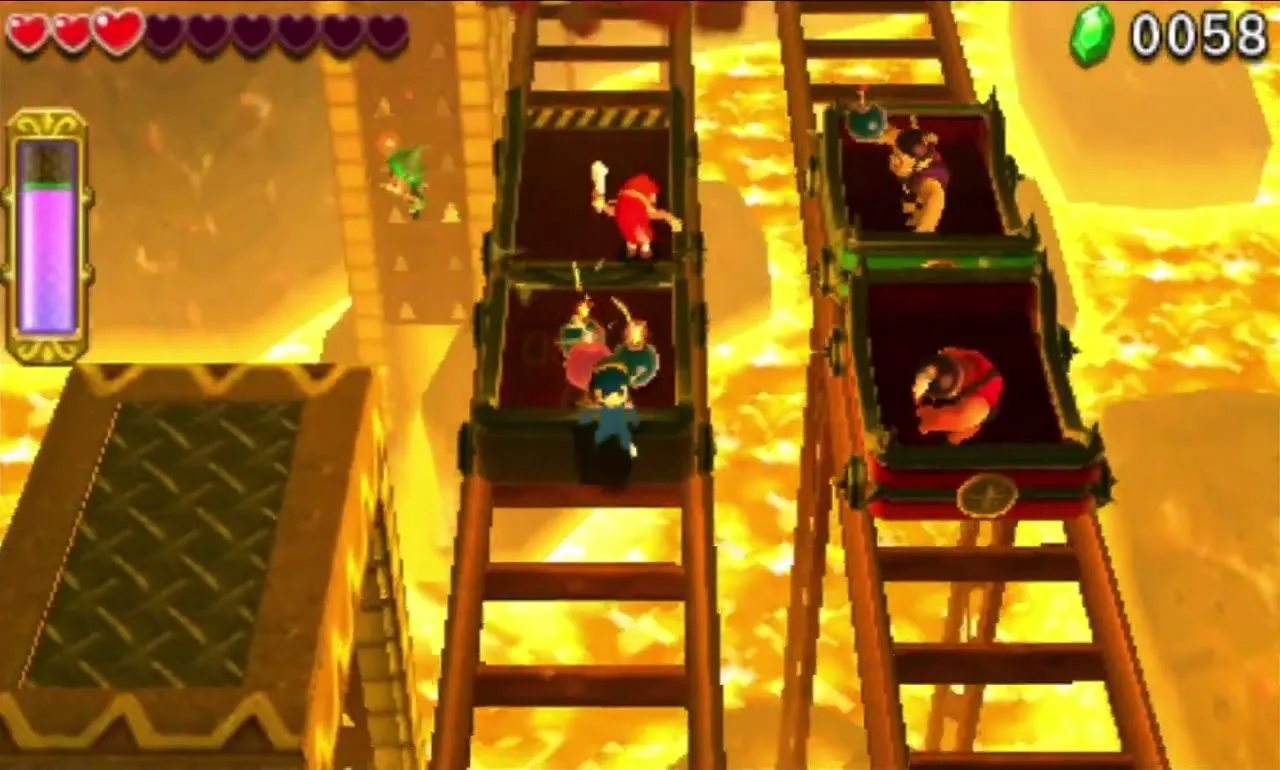
After he has taken enough damage, Hinox the Elder joins on a second cart and the two throw Bombs at once, so watch both. Keep returning Bombs the same way. When one brother is beaten he sinks to his knees and stops throwing, which lets you concentrate on the other. After the second falls, the cart returns to the start and the Triforce Gateway opens.


Hinox Mine treasure chests
The chest room offers two Goron Ore and a Demon Fossil on a first clear. Both are used in Madame Couture’s recipes, and Demon Fossil is part of the Boomeranger.

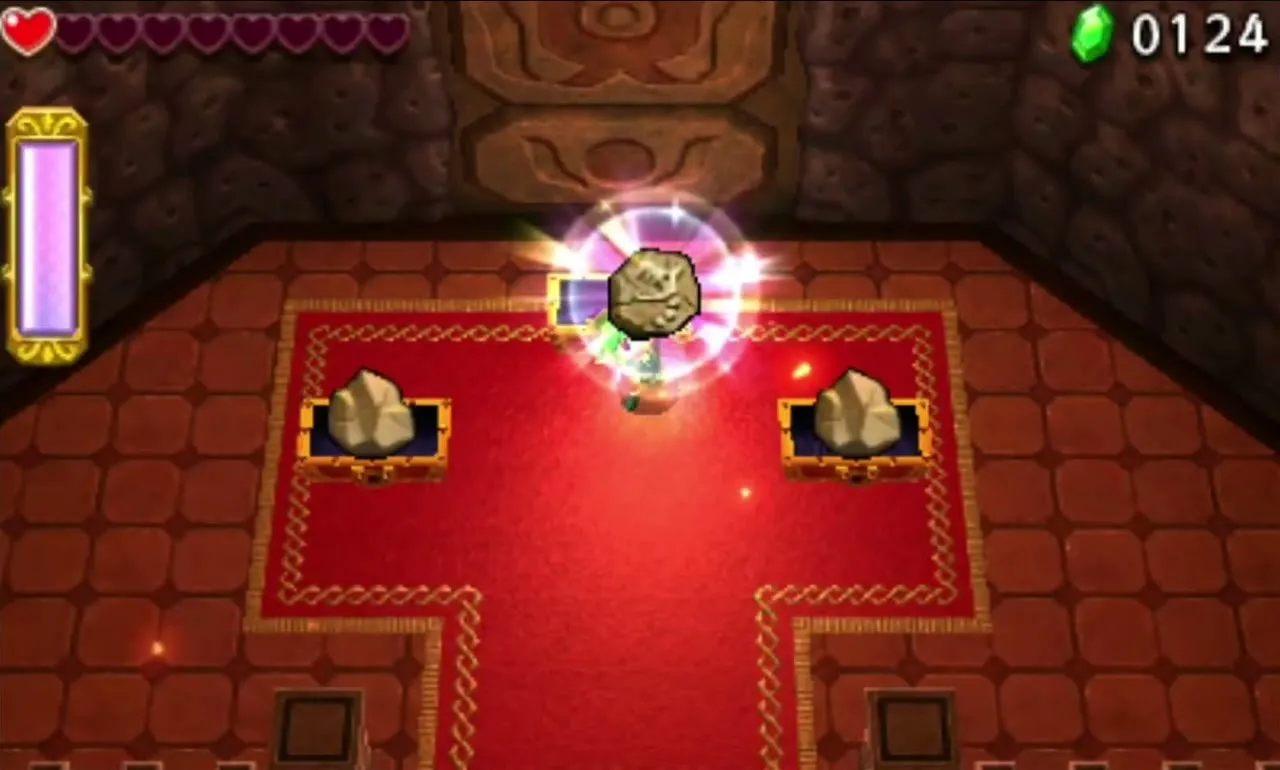
With Moldorm defeated, Hinox Mine opens again with “Clear within the time limit!”, “Pop all balloons!” and “Don’t pop any balloons!”. The last is among the hardest challenges: balloons drift near many Bomb Flowers and switches, and if the Bow Link wears the Kokiri Clothes it cannot be done. See the Drablands Challenges page for the rewards.

Den of Flames
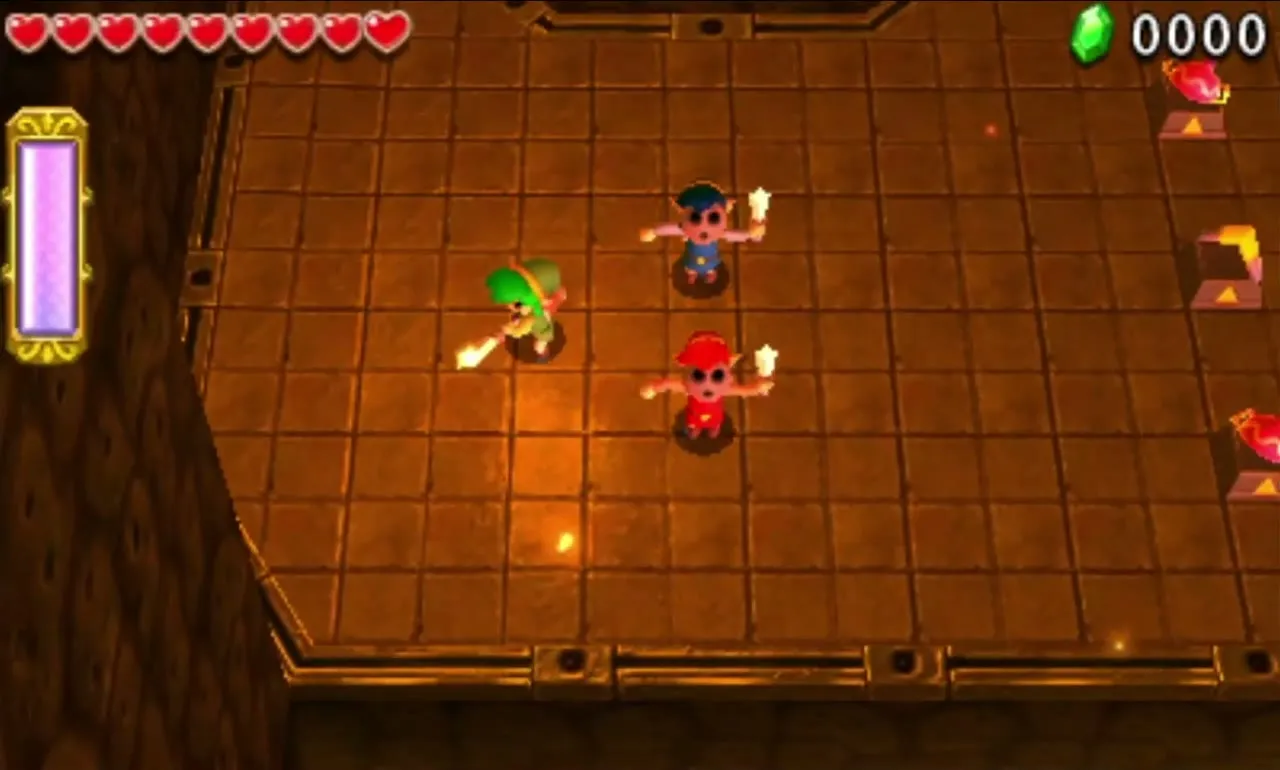
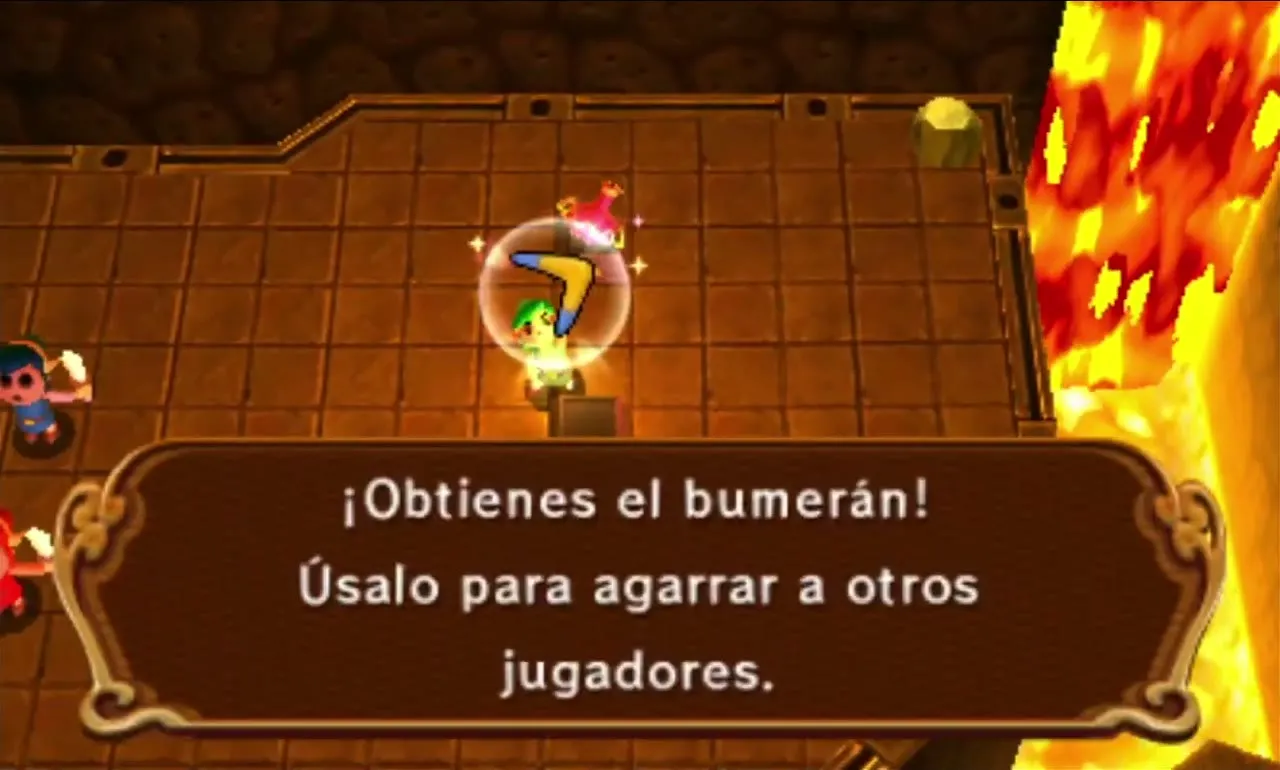
Den of Flames pairs the Gust Jar with the Boomerang. You get two Jars and one Boomerang, so work out in single player which Doppel carries which. The Jars blow out fire, push moving platforms and shove the Boomerang Link across gaps. Expect flaming enemies, which need to be stunned or doused before you can attack them.
Den of Flames Stage 1
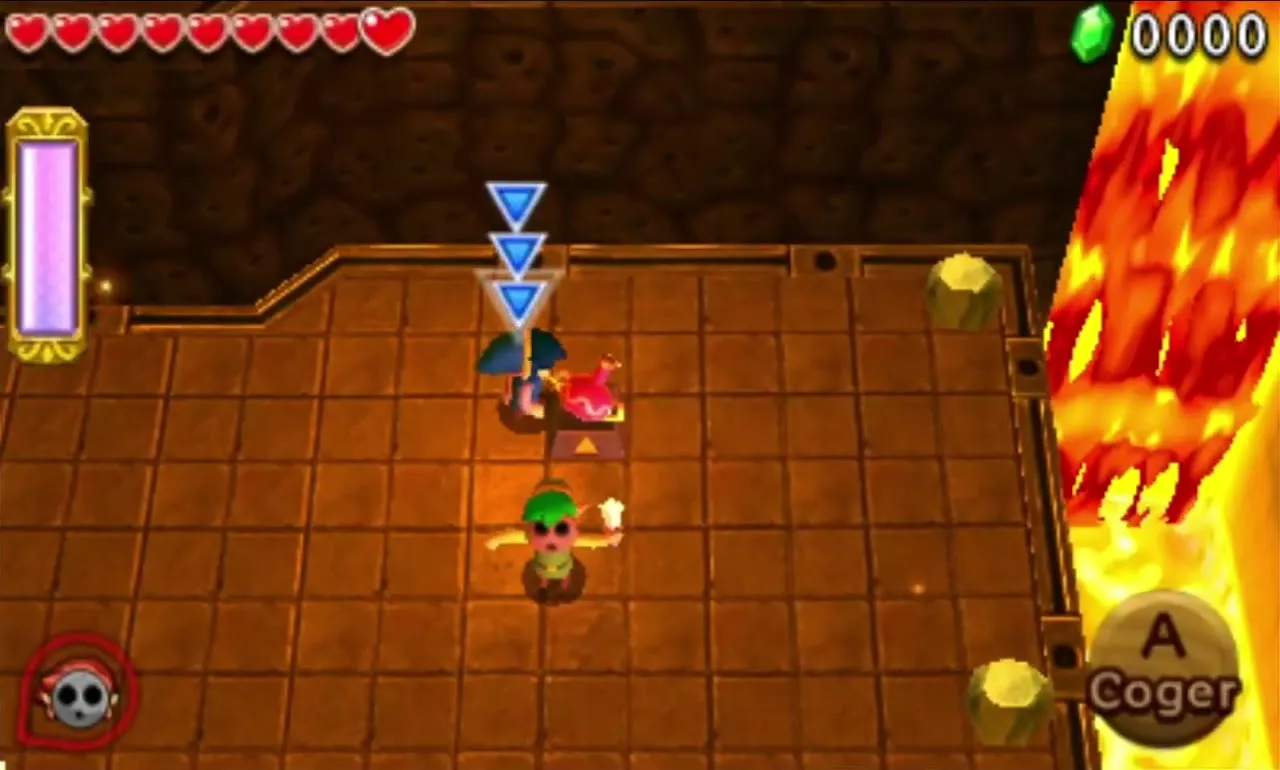
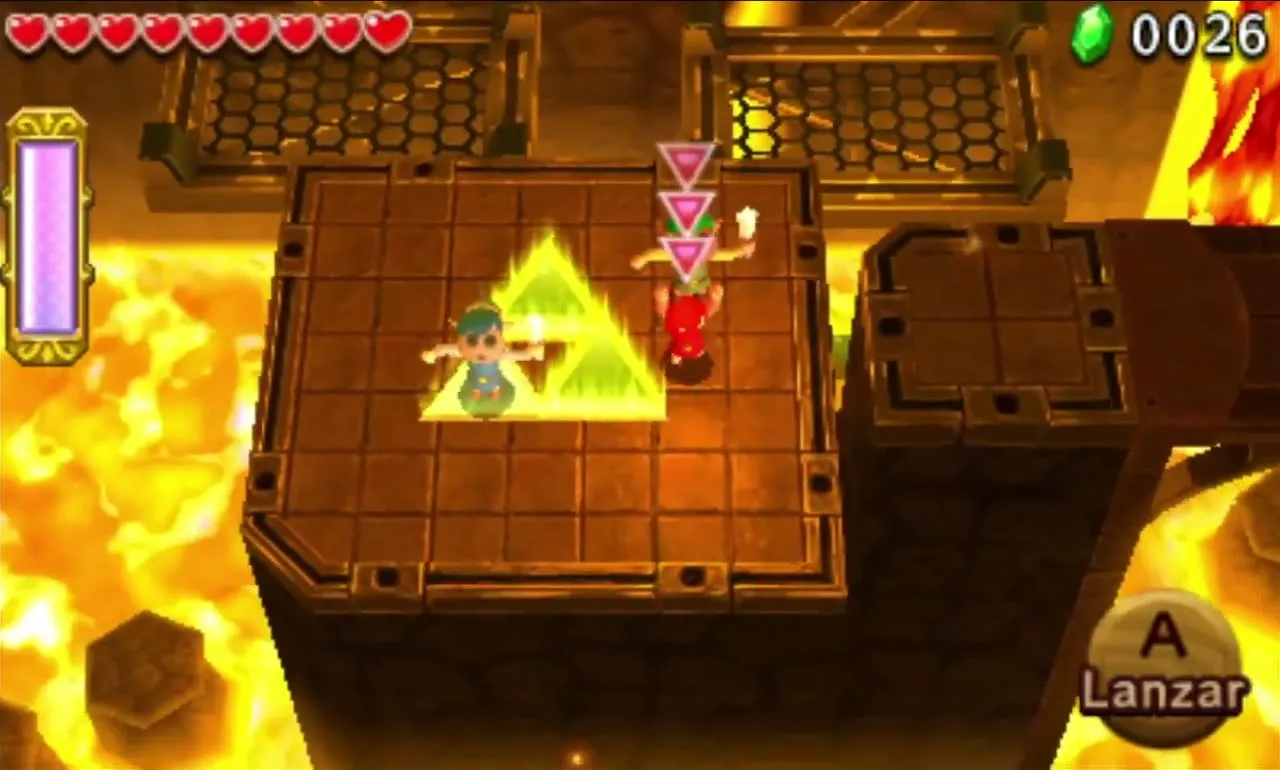
Pick up the Boomerang and both Gust Jars. To cross the first gap, have the Link with the Boomerang stand in front of the other two, who blast him over with their Jars. Once he lands, he pulls the others across with the Boomerang.
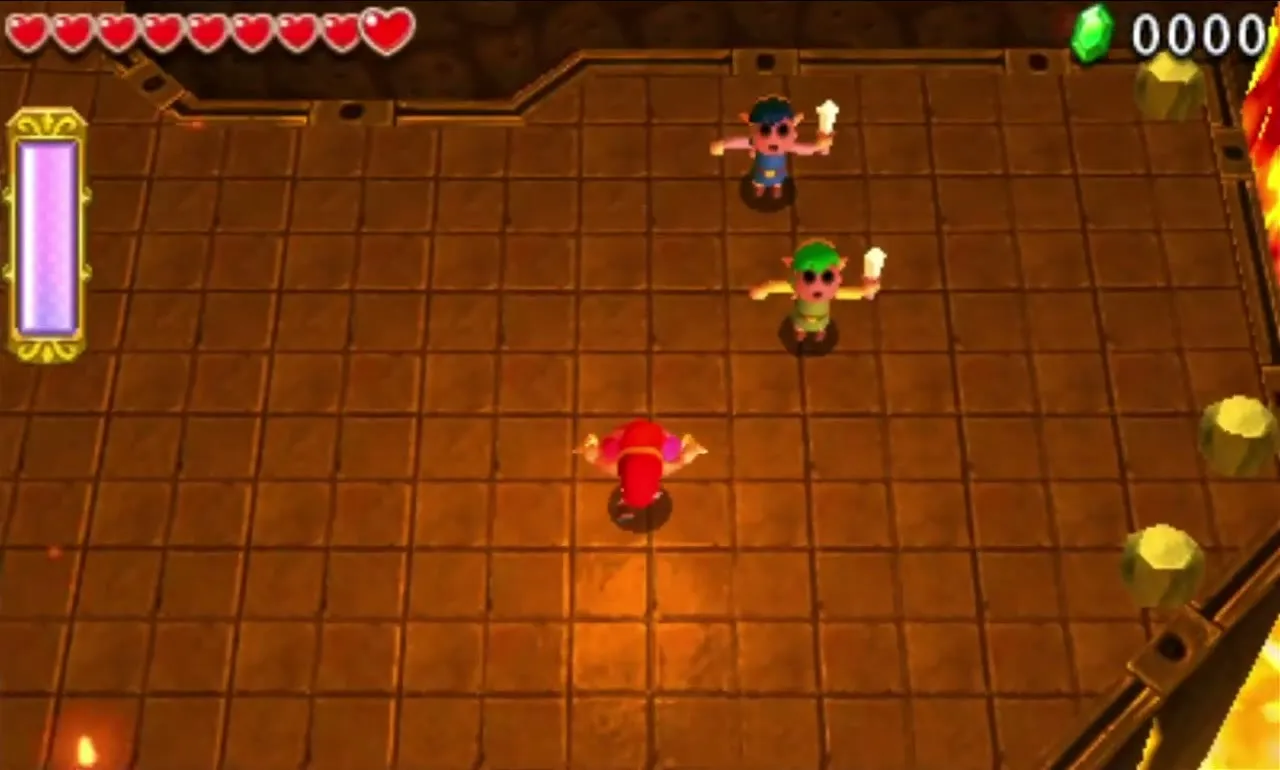
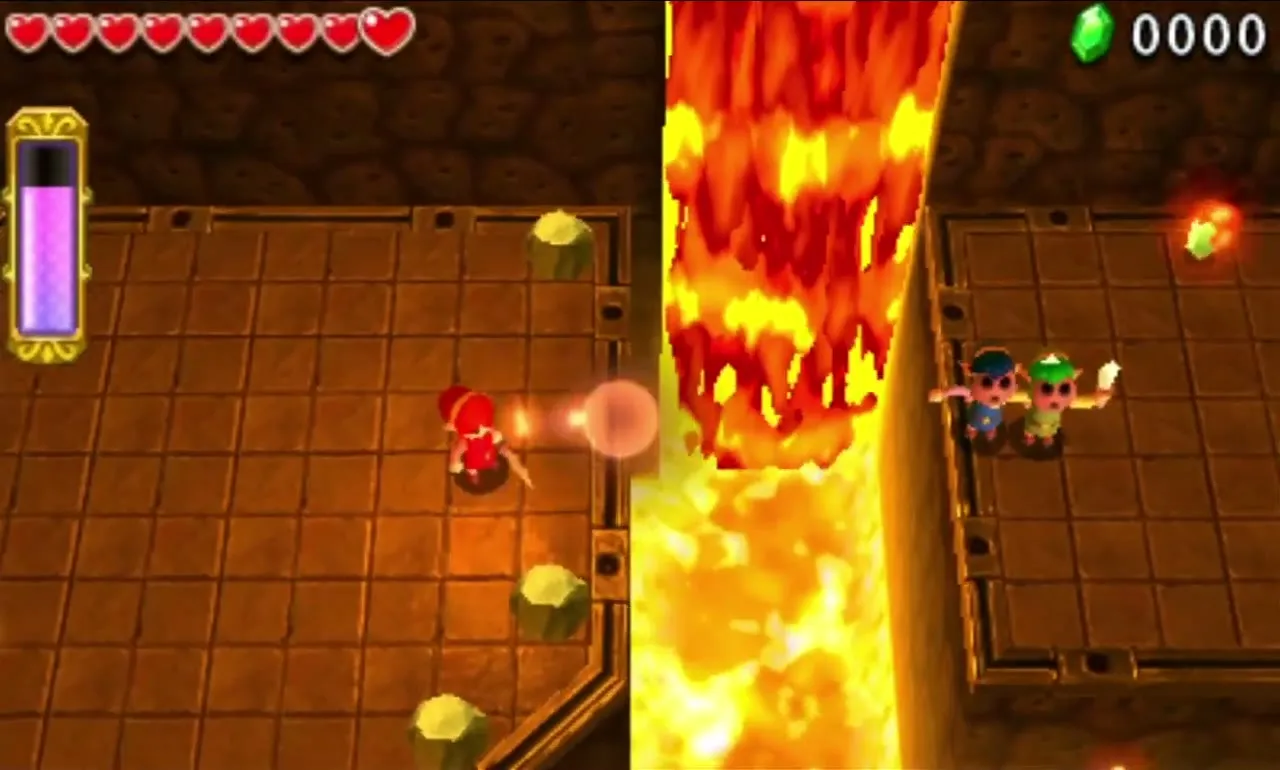
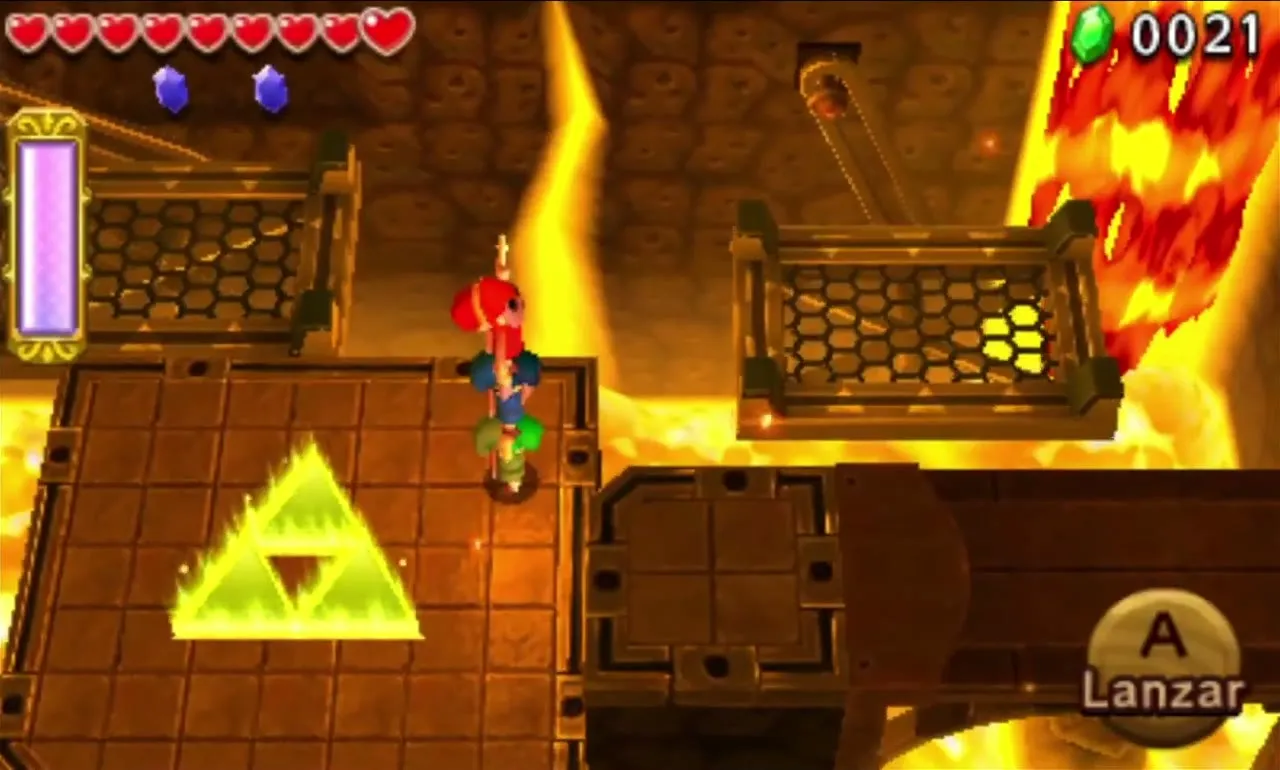
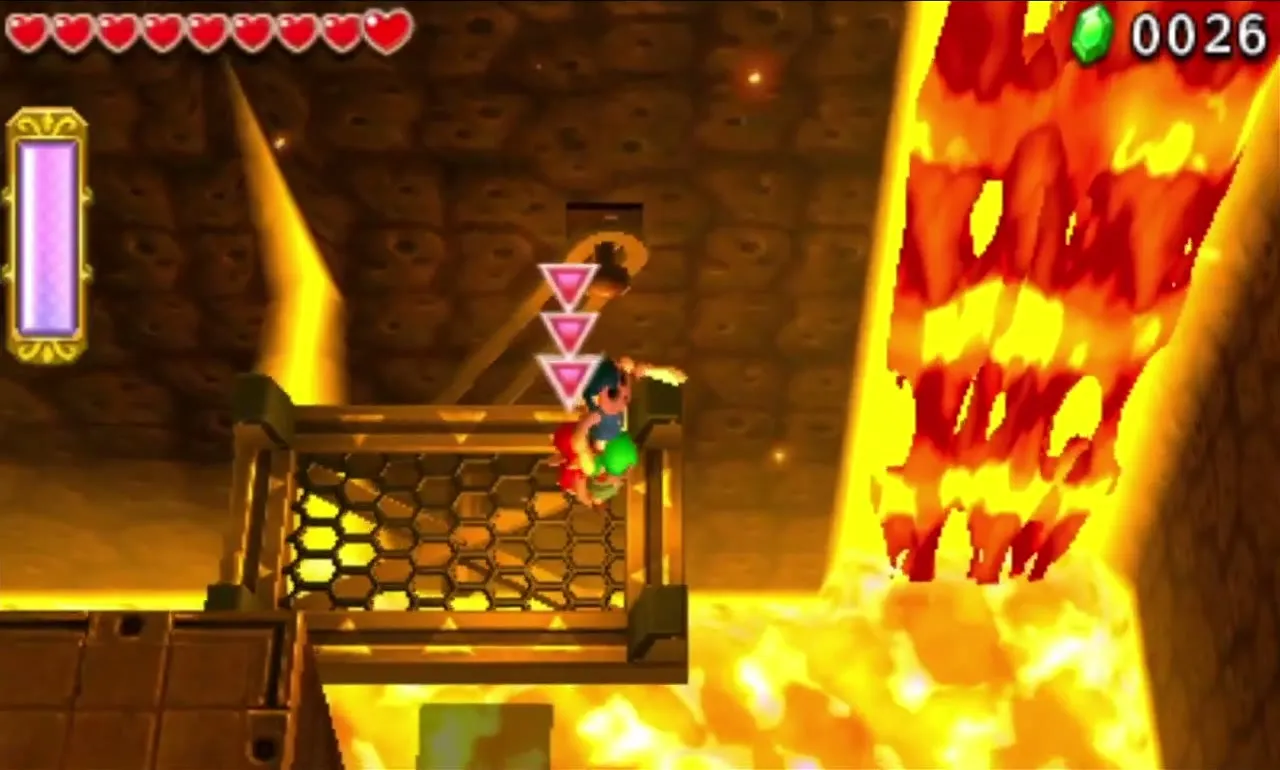
A chest with a Red Rupee sits behind a Flame Wall. Make a Totem and let the top Link blast the flames out with the Gust Jar. Then climb onto the Swinging Platform to ride it to the ledge with the Triforce Gateway. Push it further with a Jar to reach a second platform and a chest with three Hearts, or just throw one Link up onto the nearby ledge.
Den of Flames Stage 2
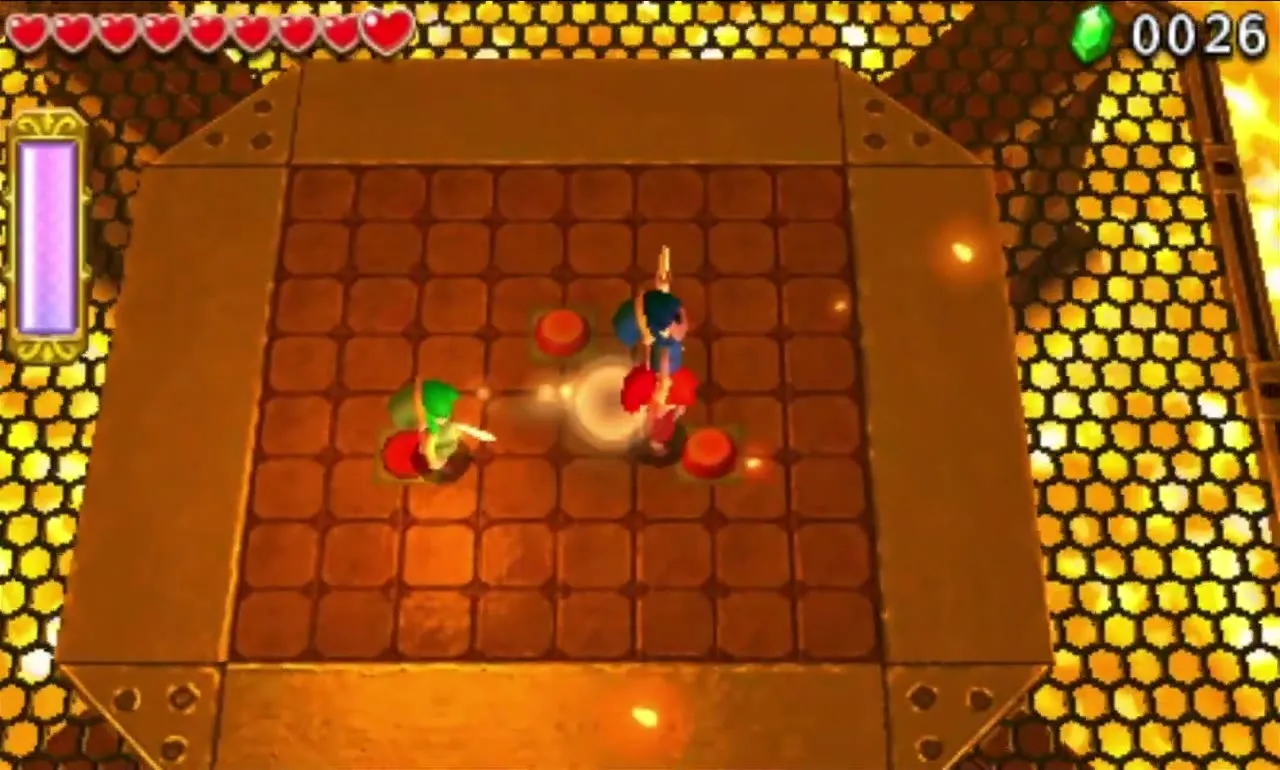
Drop onto a large grate with three Floor Switches. Pressing them calls a swarm of Red Hardhat Beetles, which are on fire. Stun each one with the Boomerang or put out the flames with a Gust Jar first, otherwise attacking burns you. If a Link wears the Goron Garb, he can hit them with the Sword straight away.
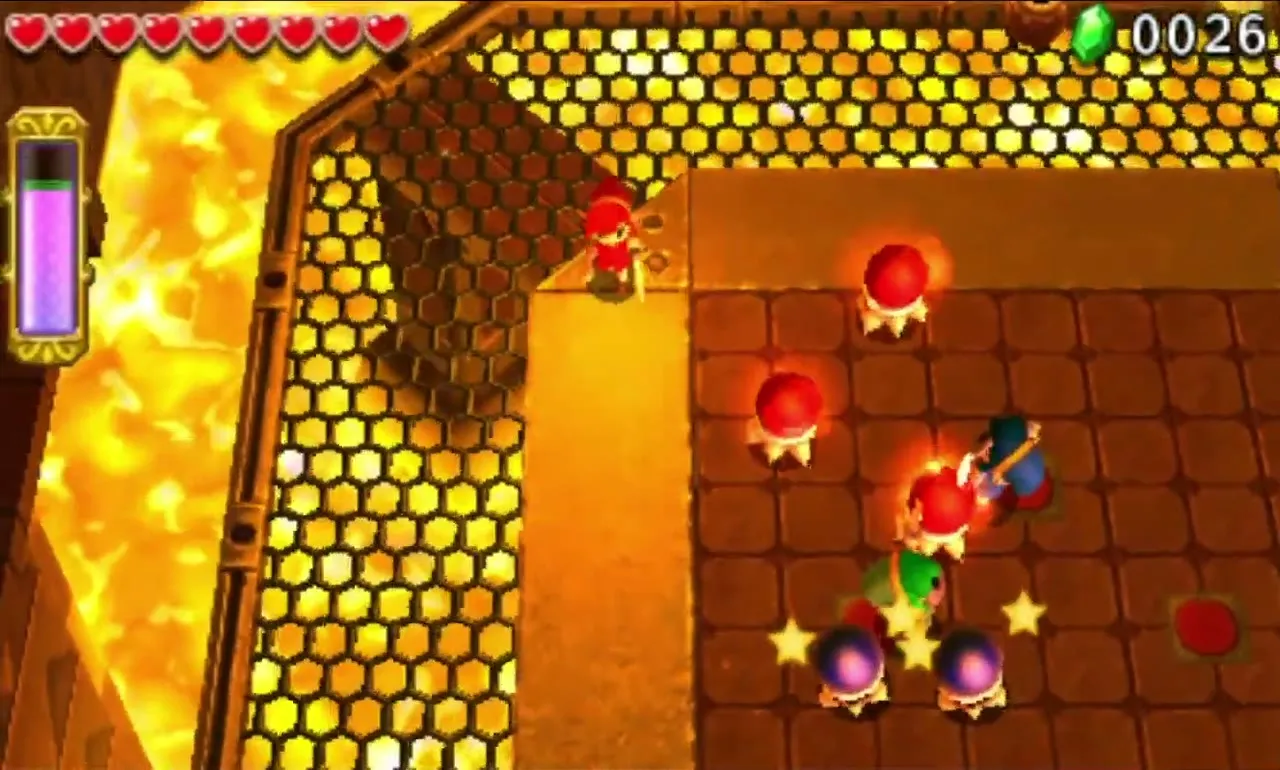
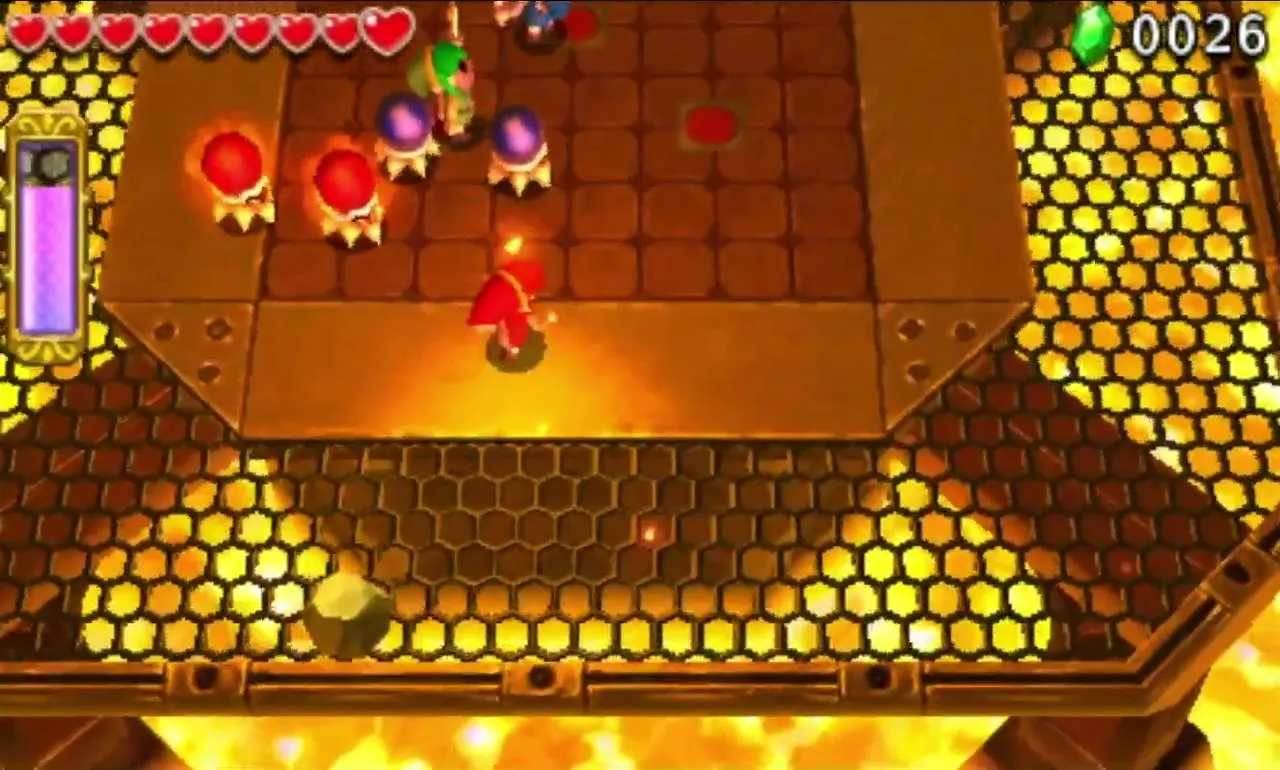
More beetles appear as you clear the first group. Once all of them are down, a bridge extends to the Triforce Gateway. Hearts and Rupees on the ledges along the way are easy to fetch with the Boomerang.


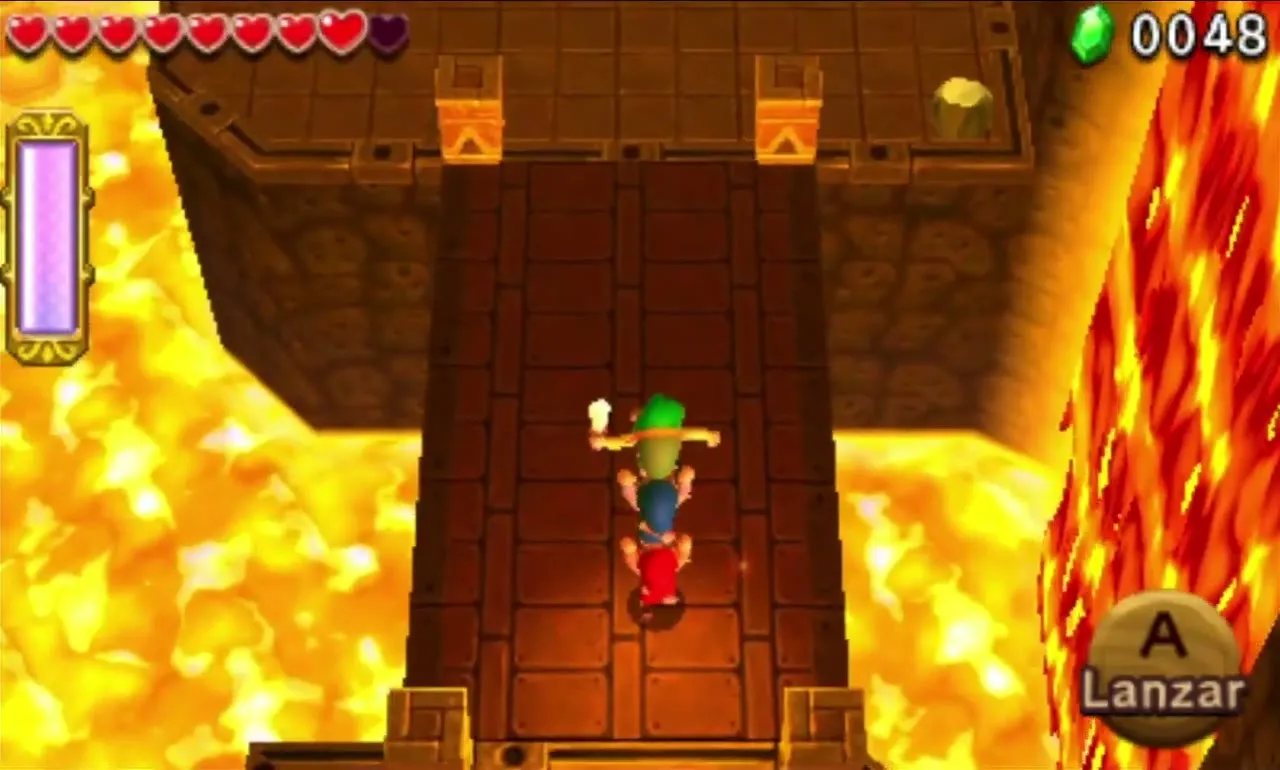
Den of Flames Stage 3
Two Guruguru Bars rotate on the platform past the gap, the top one faster than the bottom. Cross with care using the Gust Jars and Boomerang, then follow the bridge north to the Swinging Platforms. The first one cannot swing far enough to touch the second, so push it with a Jar until it can.
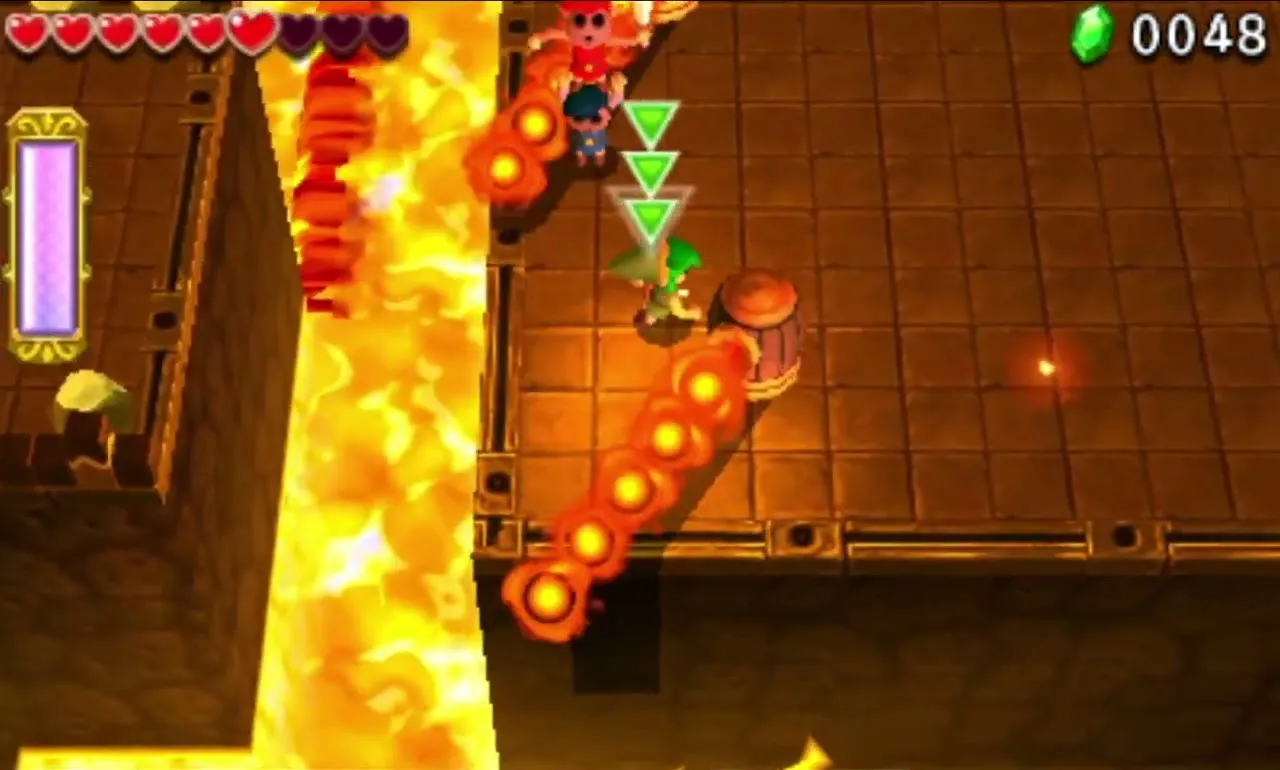


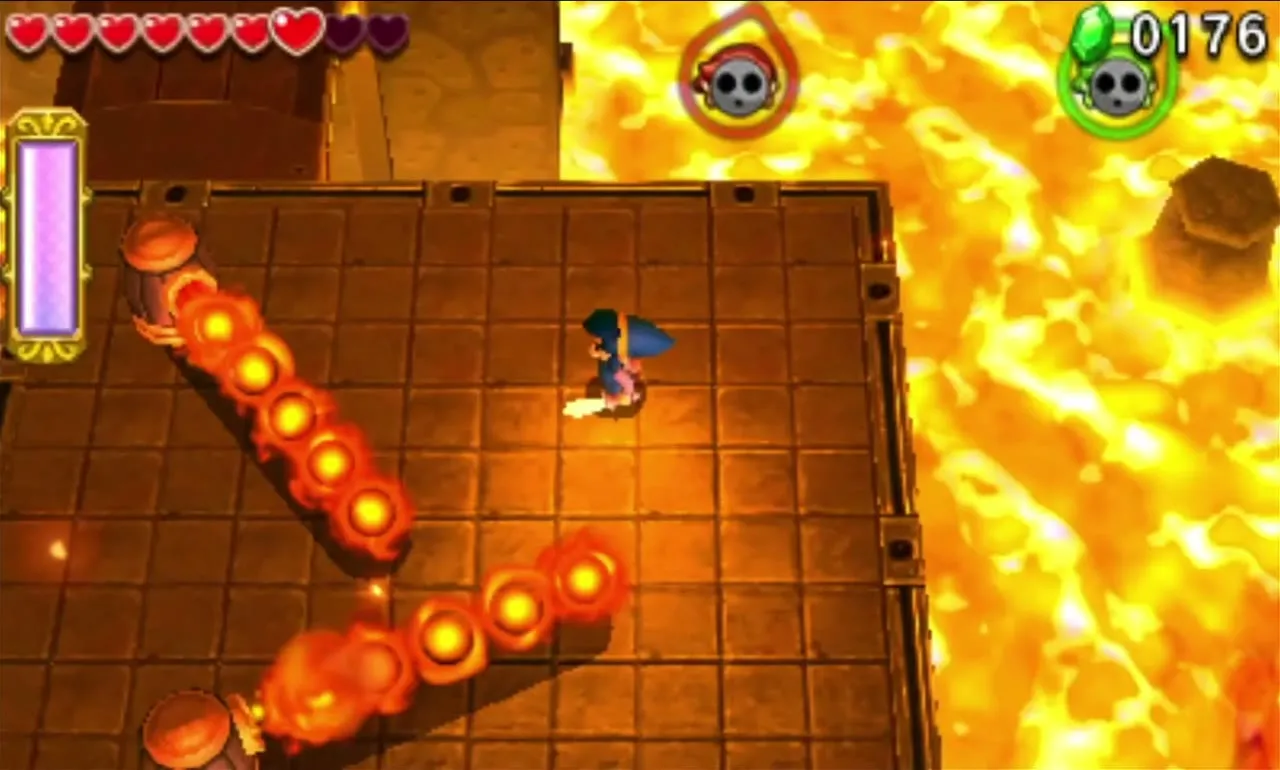
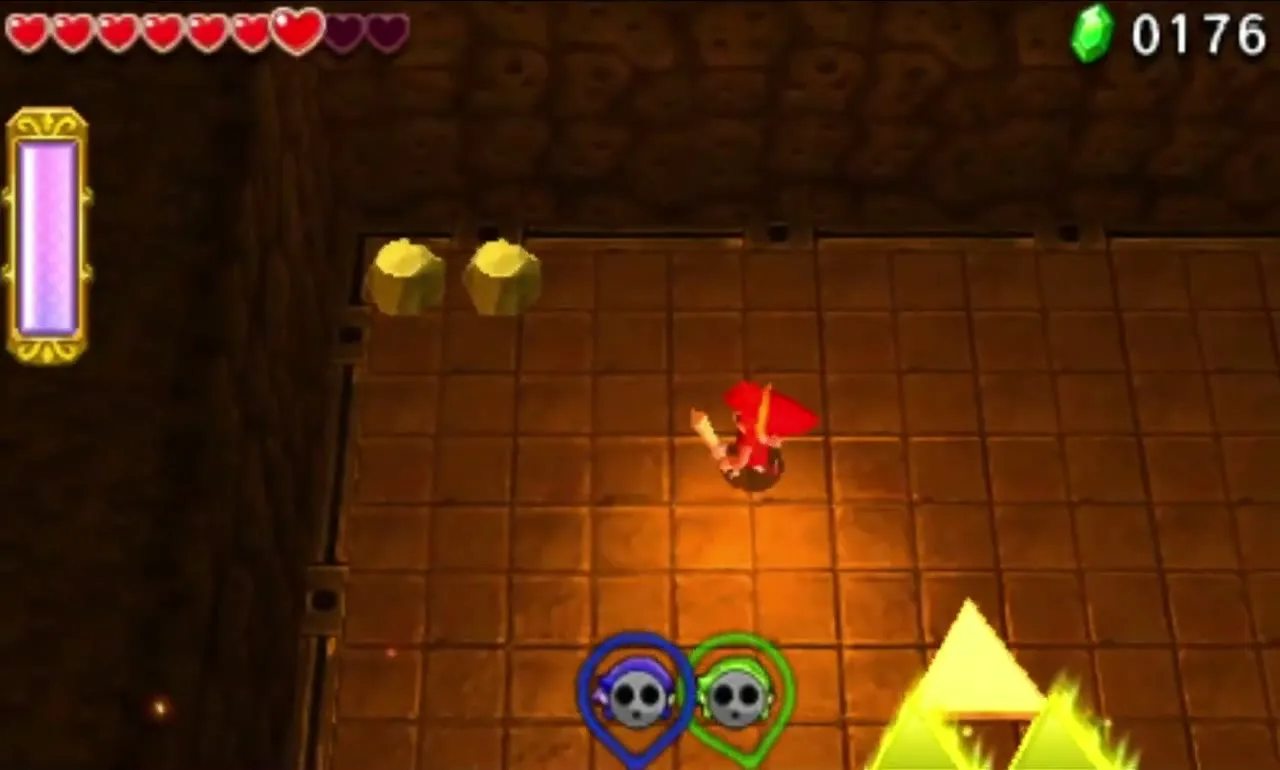
Ride the next ledge’s Lava Rock up on its Lava Geyser, then hop onto the final Swinging Platform, again powered by a Gust Jar. Defeat the two Red Hardhat Beetles in the passage north, then wind your way along the narrow path over the lava, timing each Guruguru Bar, to the Triforce Gateway.

Den of Flames Stage 4
This stage is a single arena with Fire Keeleons. They are on fire, so stun them with the Boomerang or put them out with a Gust Jar, and form a Totem to reach them. When the first group is beaten, more Keeleons and a few Red Hardhat Beetles arrive; defeat them too and a stairway to the Triforce Gateway appears.


Den of Flames treasure chests
The chests give two Monster Guts and a Rugged Horn on a first clear. Rugged Horn is a Silver material, useful in several outfits.
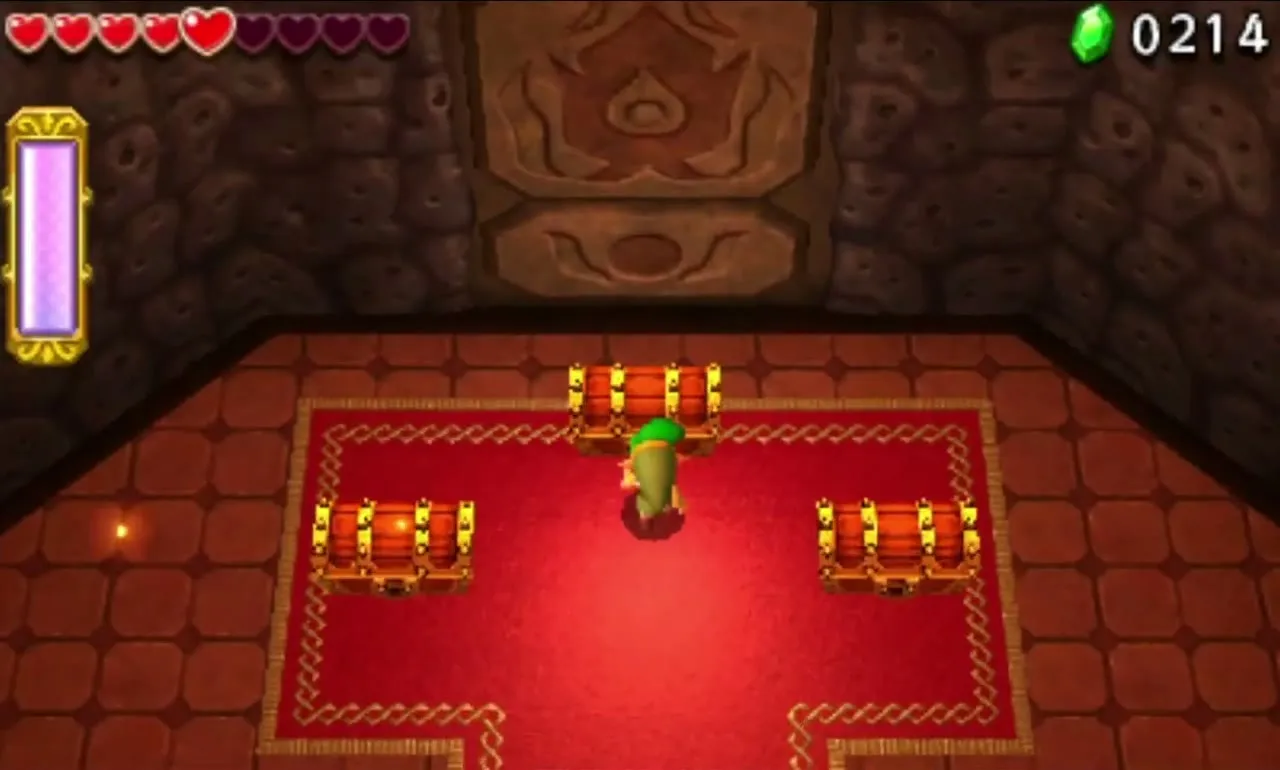
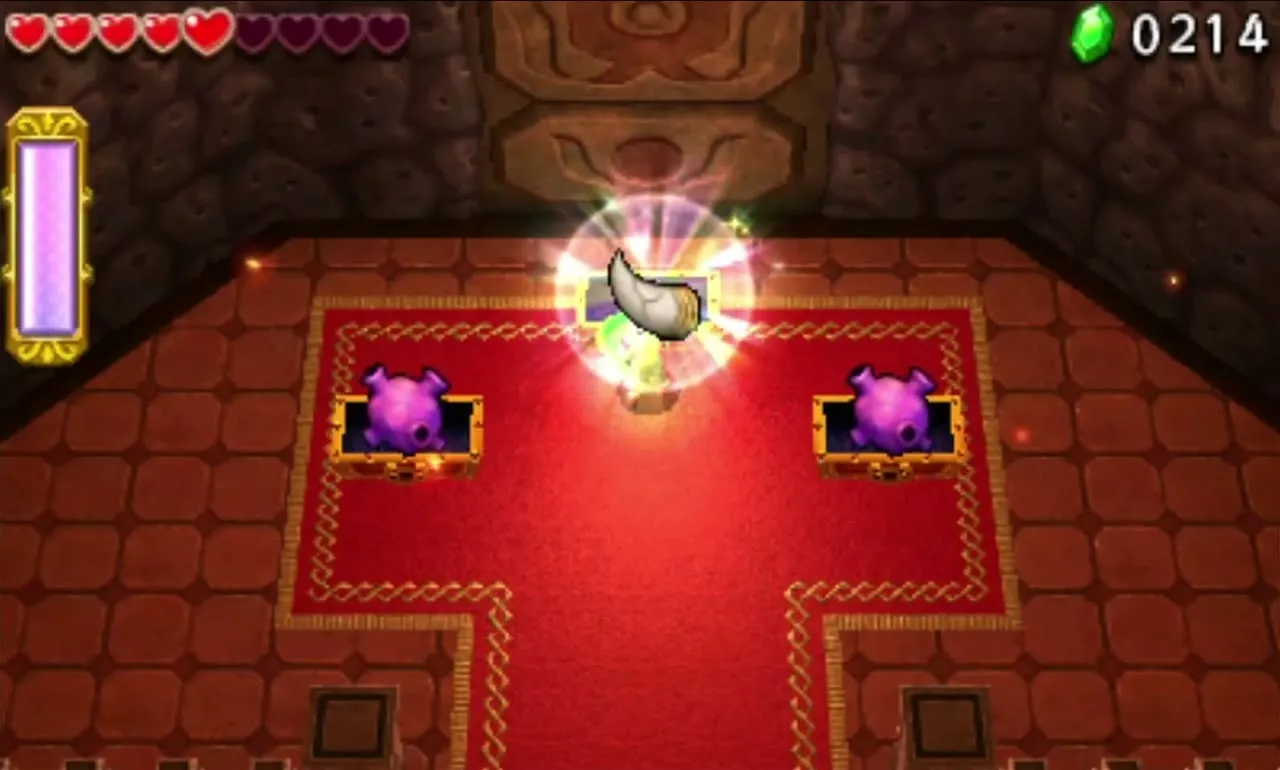
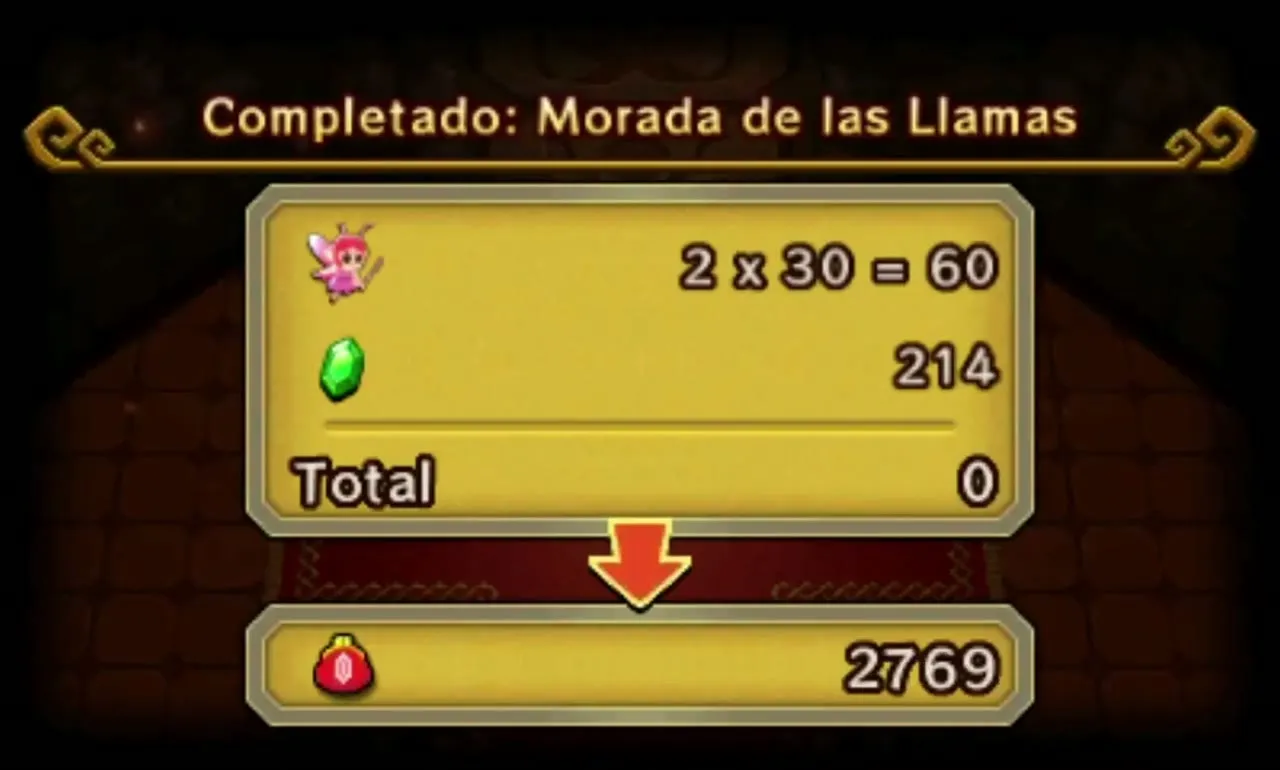
Moldorm’s defeat unlocks three Drablands Challenges: “Fewer Heart Containers!”, “Avoid the volcanic rocks!” and “Clear within the time limit!”. The timed one allows just a minute, so head directly for the exit. The Drablands Challenges page has the full details.
Fire Temple
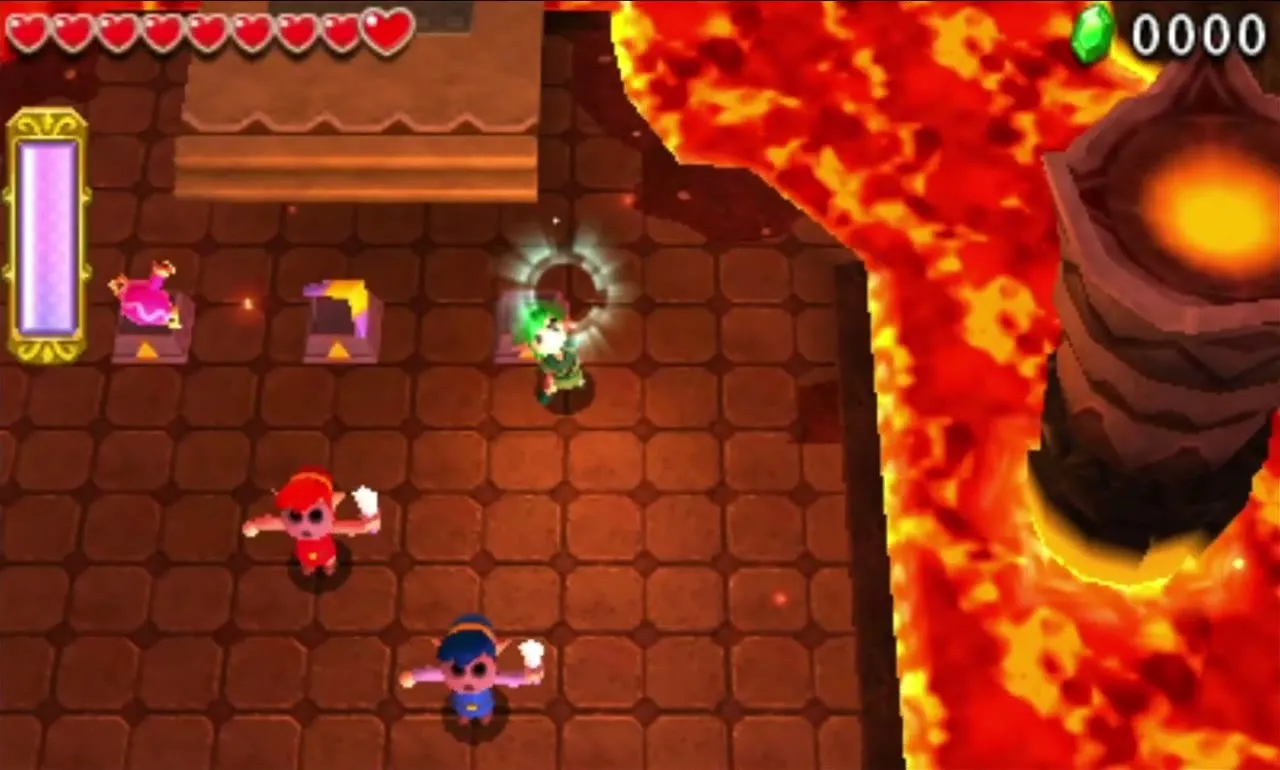
The Fire Temple gives one Boomerang, one Bow and one Gust Jar, so each Link has a different job. Wearing the Goron Garb lets you swim through lava and walk through flames, which makes the whole Level easier. It ends with the Volcano boss, Moldorm.
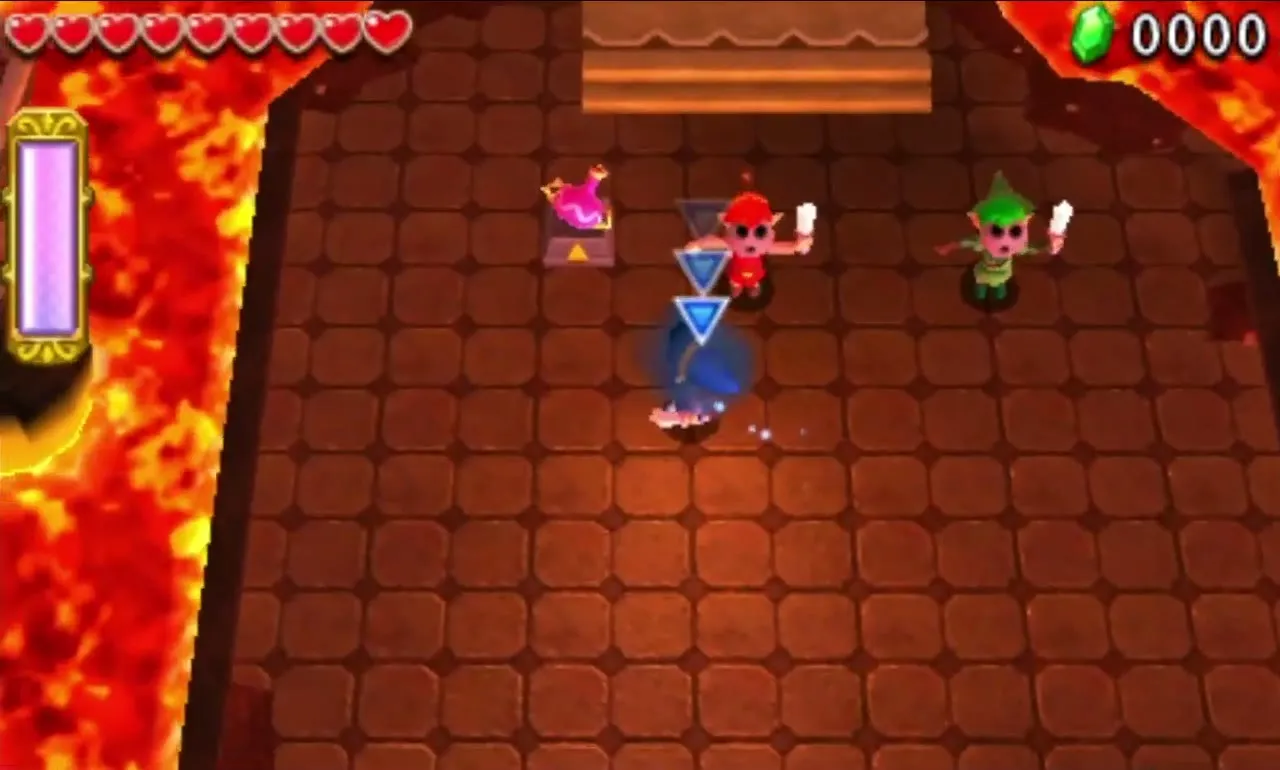
Fire Temple Stage 1
Cross the first lava pool with the Gust Jar and Boomerang. The Boomerang Link lands on a Lava Rock that sinks quickly, so act fast. Blow him across with the Jar, and pull the other Links over with his Boomerang. Then press the three Floor Switches together while avoiding the Guruguru Bars.

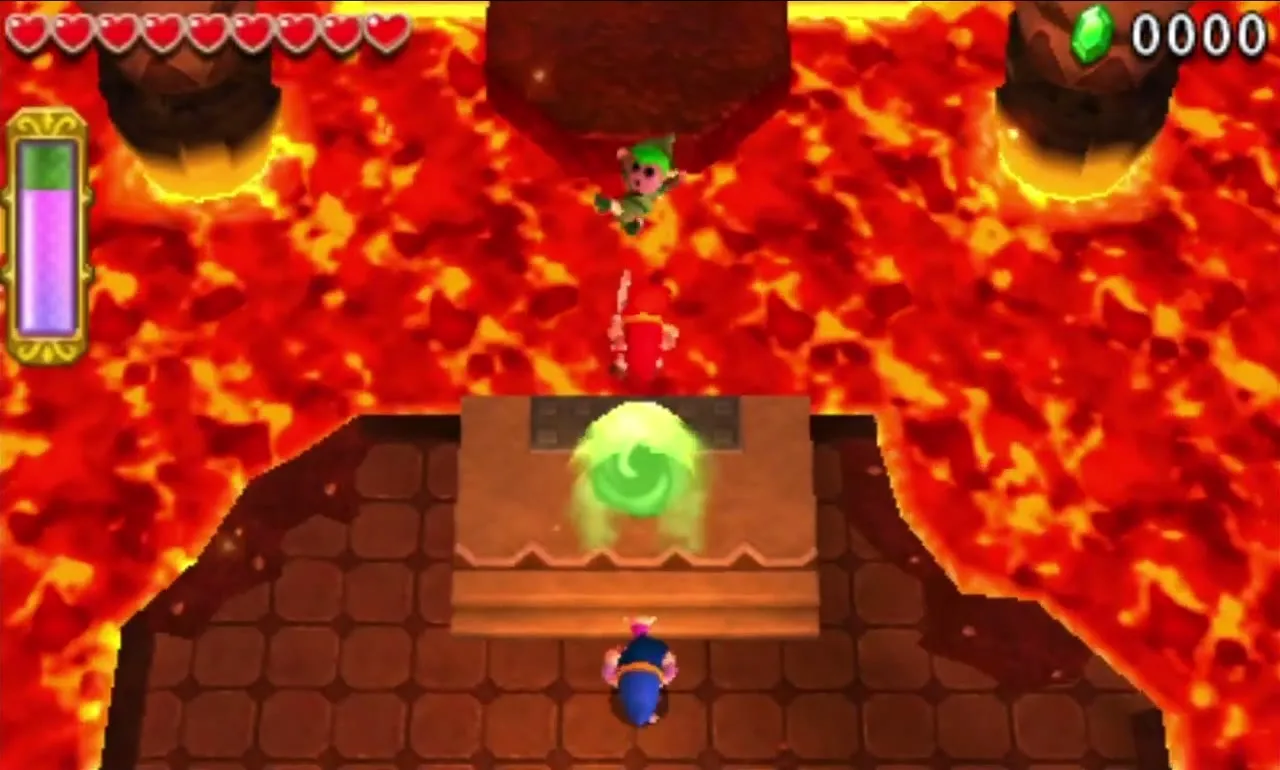
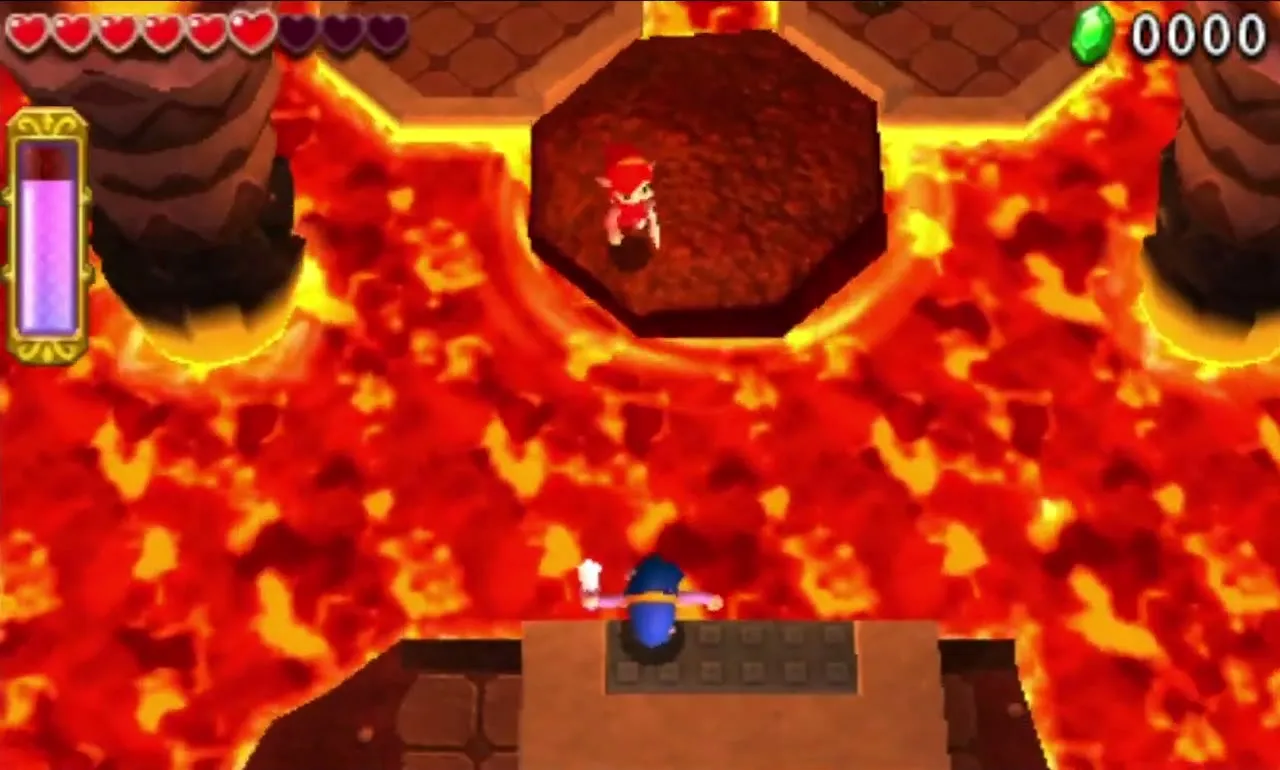
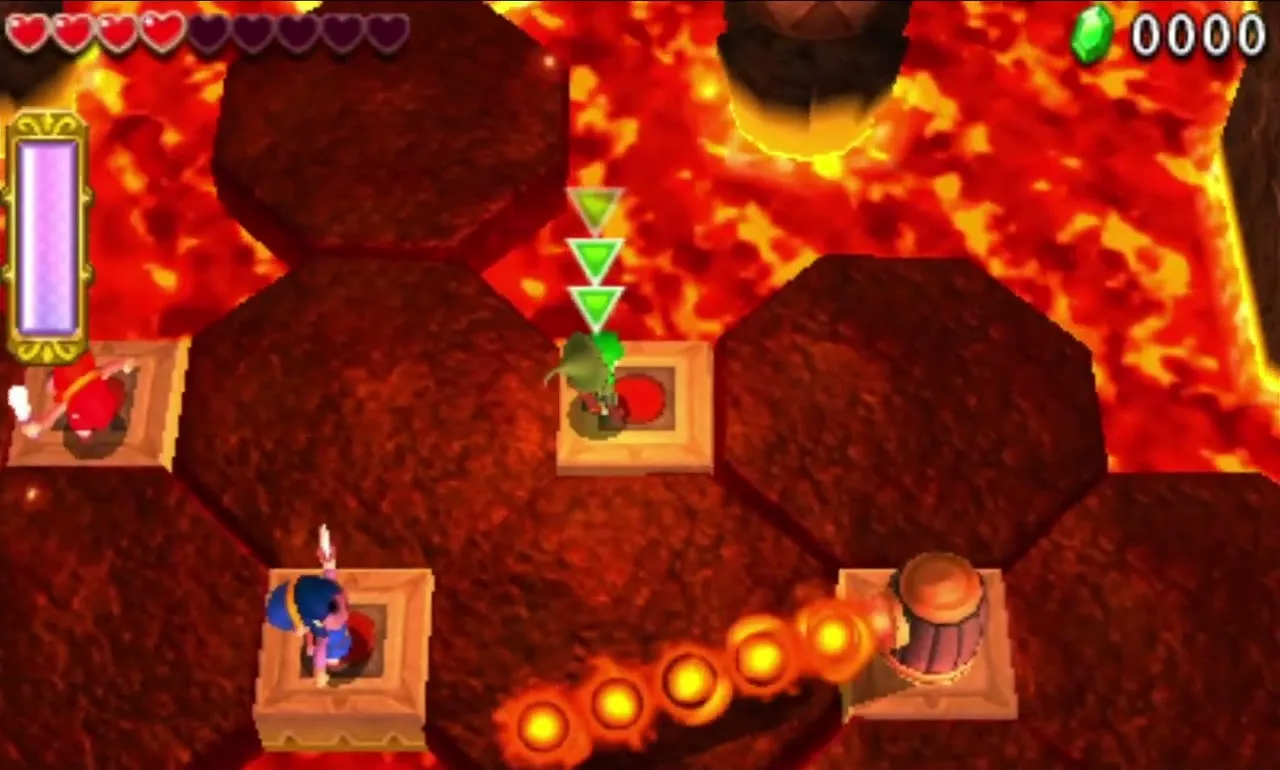
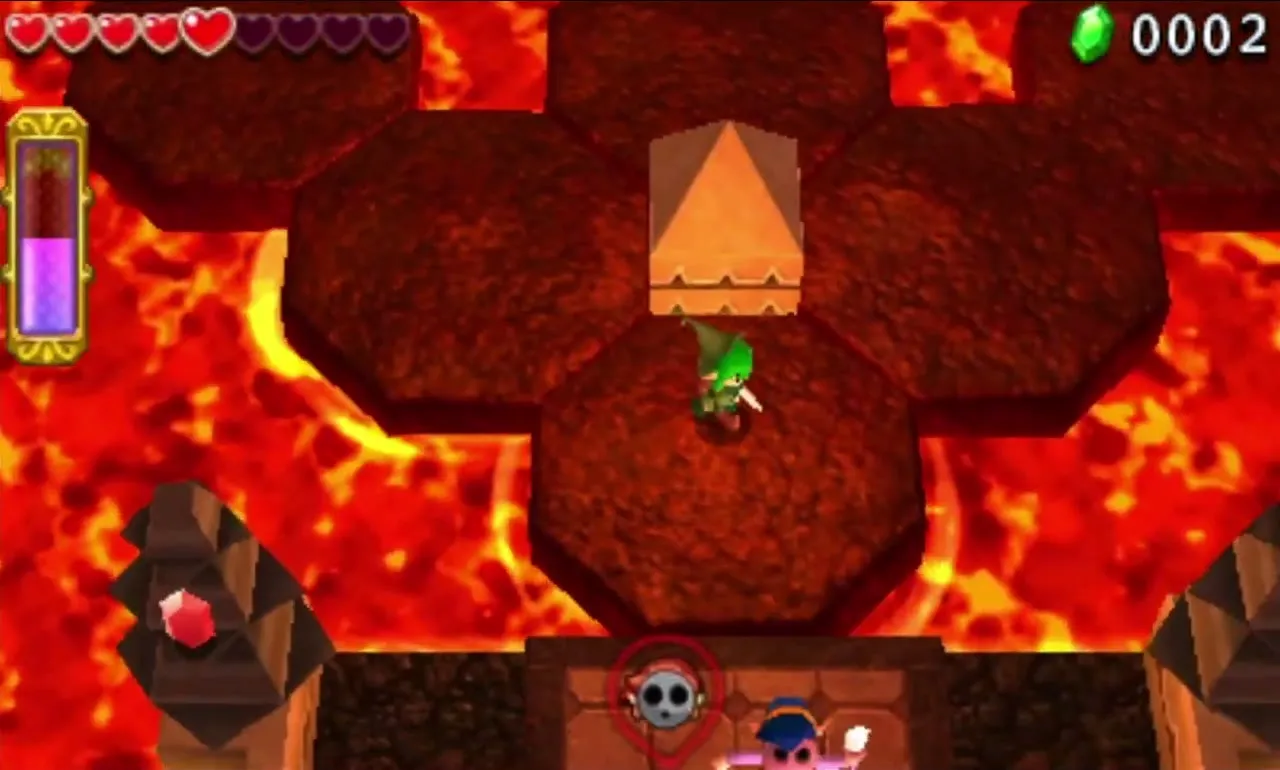
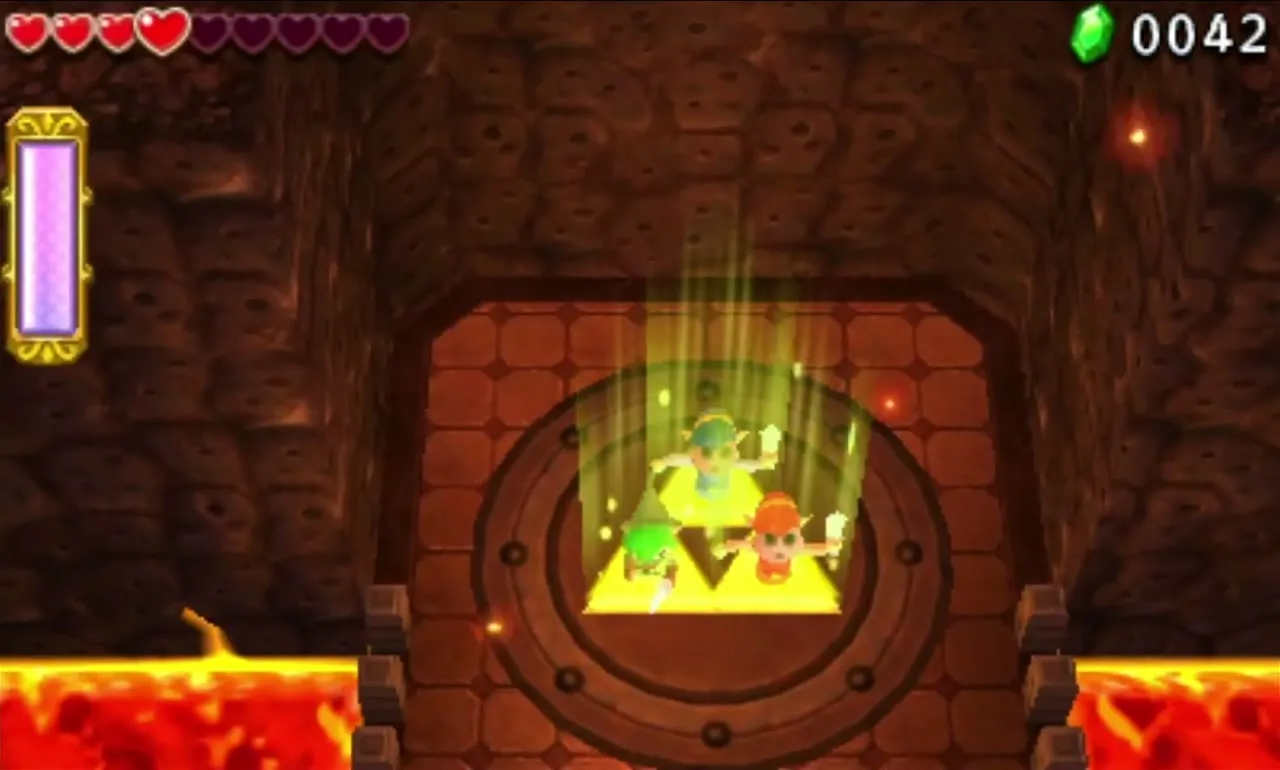
Past a pair of Hardhat Beetles you run across more sinking Lava Rocks to light three Shock Switches at once. Each Link can hit one, or in single player the Bow Doppel can stand on the central slab and fire diagonally to hit all three. The staircase to the Triforce Gateway appears when all three are lit.

Fire Temple Stage 2
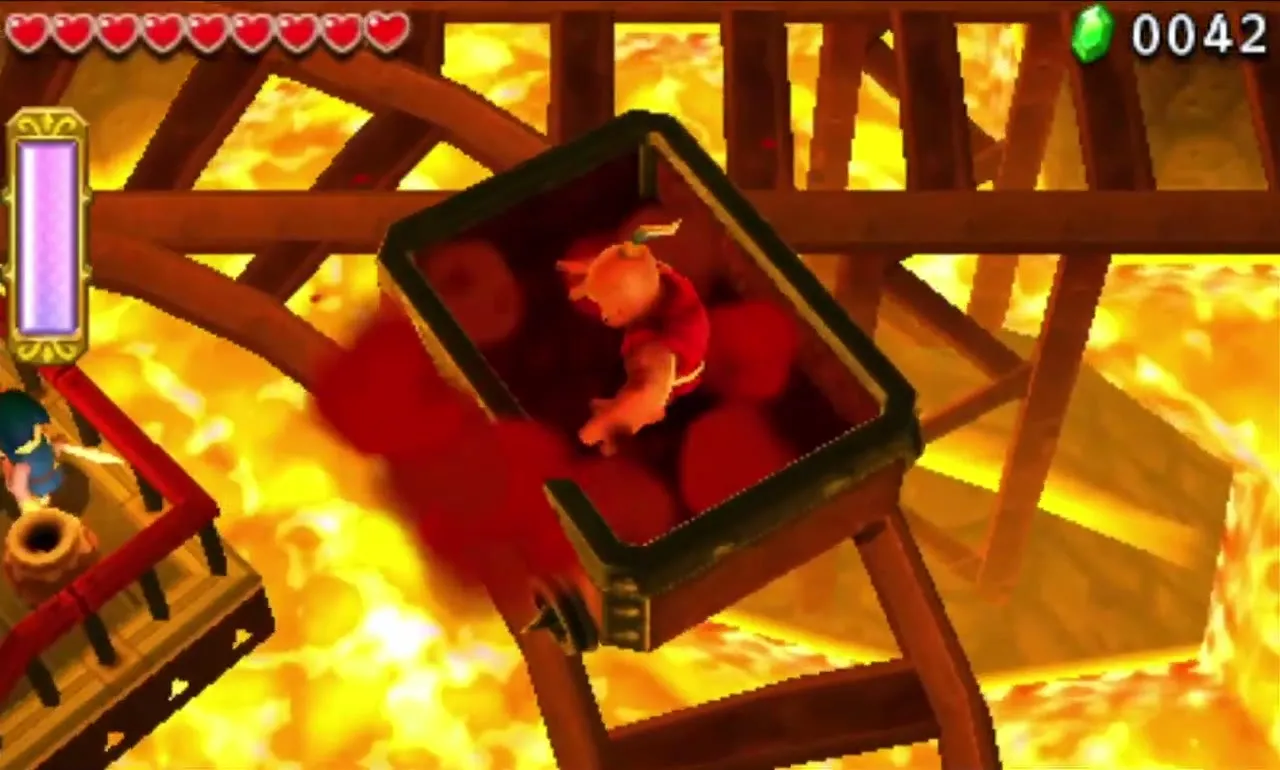
The Level opens on a platform far above the lava, with Pots of Hearts in every corner. A Hinox riding a Mine Cart circles around you, throwing Bombs. Catch those Bombs and return them, or grab Bombs from the flowers on nearby pillars with the Boomerang. Arrows from a two-Link Totem do only minor damage.


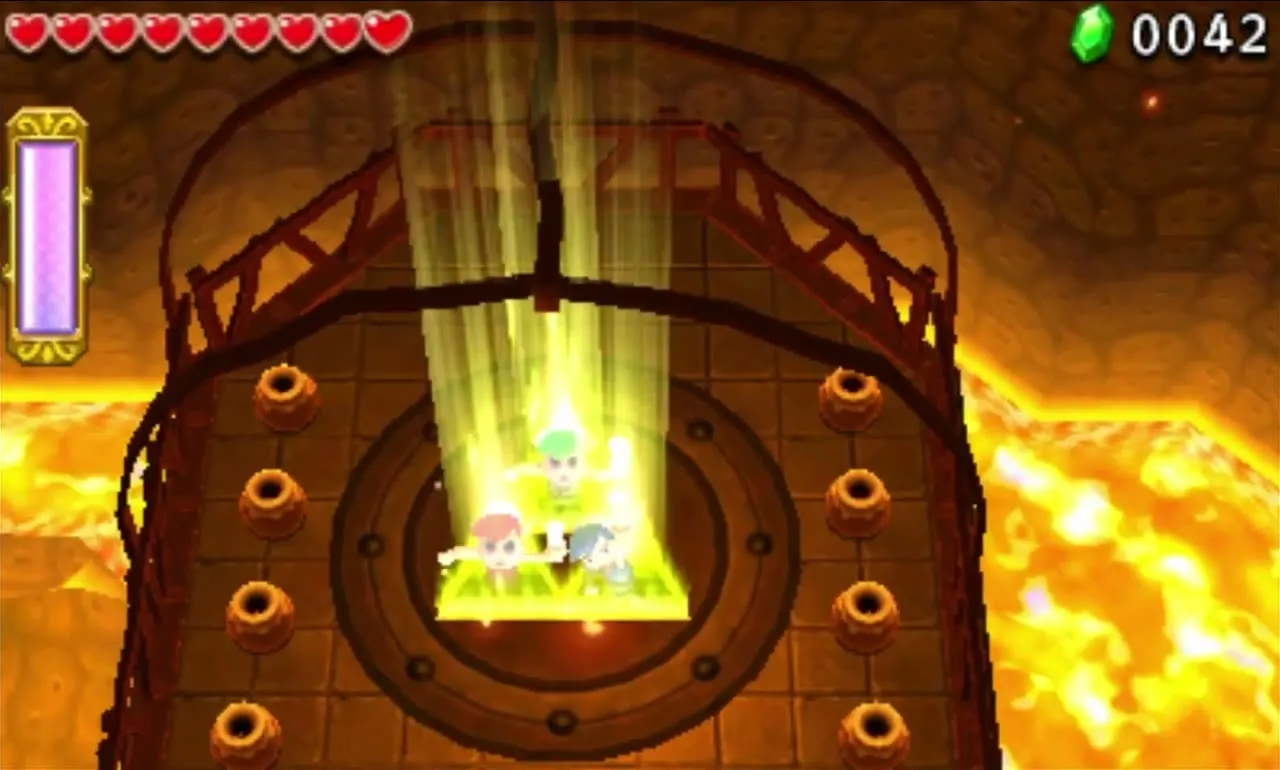
When the first Hinox falls, two more follow with the same attack. Finish all three and a bridge drops onto your platform, giving you the way to the Triforce Gateway.
Fire Temple Stage 3
A Large Block sits on a grate above Lava Geysers. When the block is over a geyser it is blasted into the air for a few seconds, and two Links can form a Totem on top of it to reach a Shock Switch that is otherwise too high. Take care on the walkways, since the geysers erupt on a cycle.
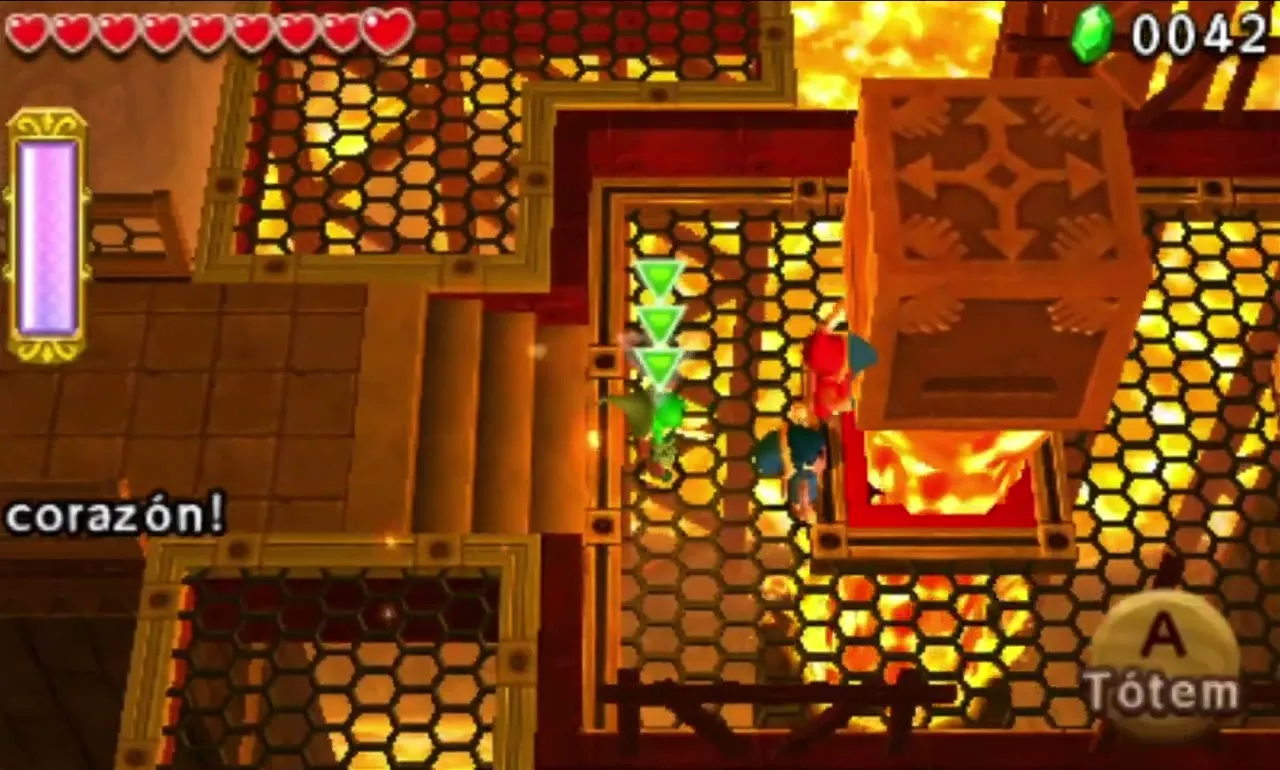
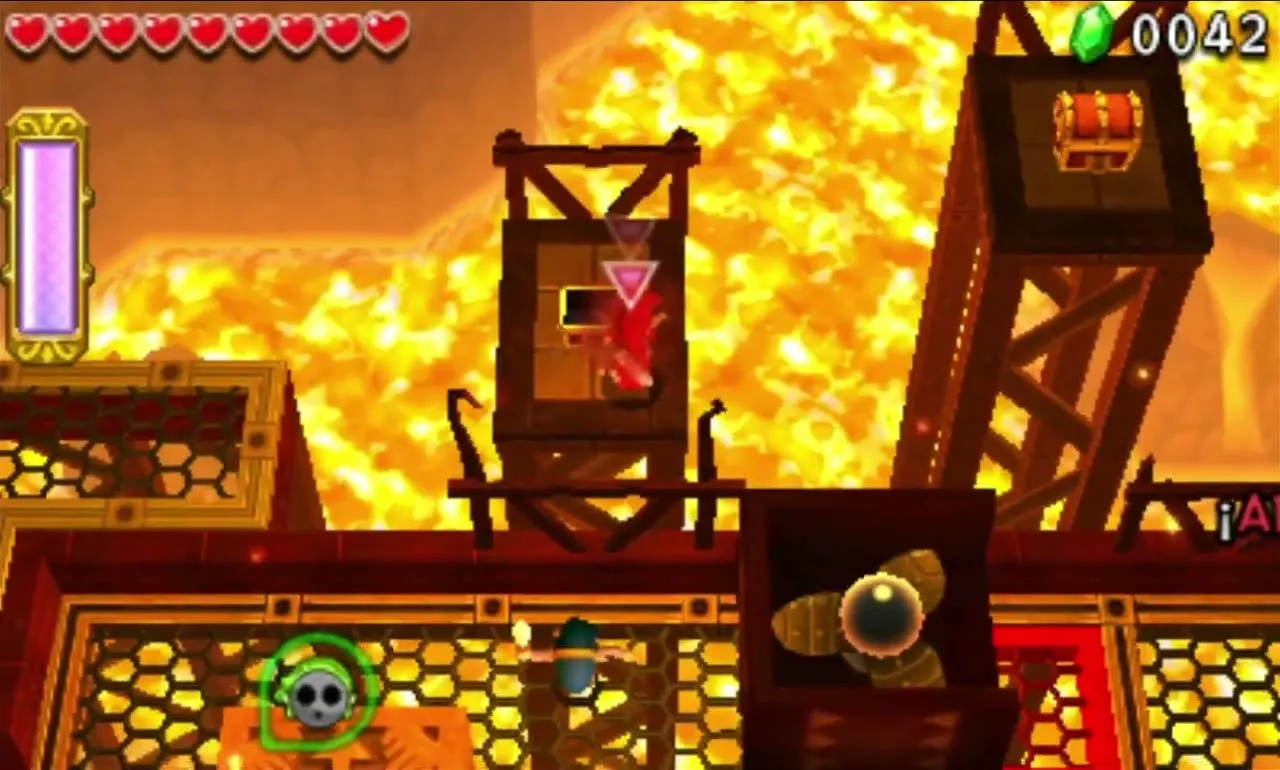
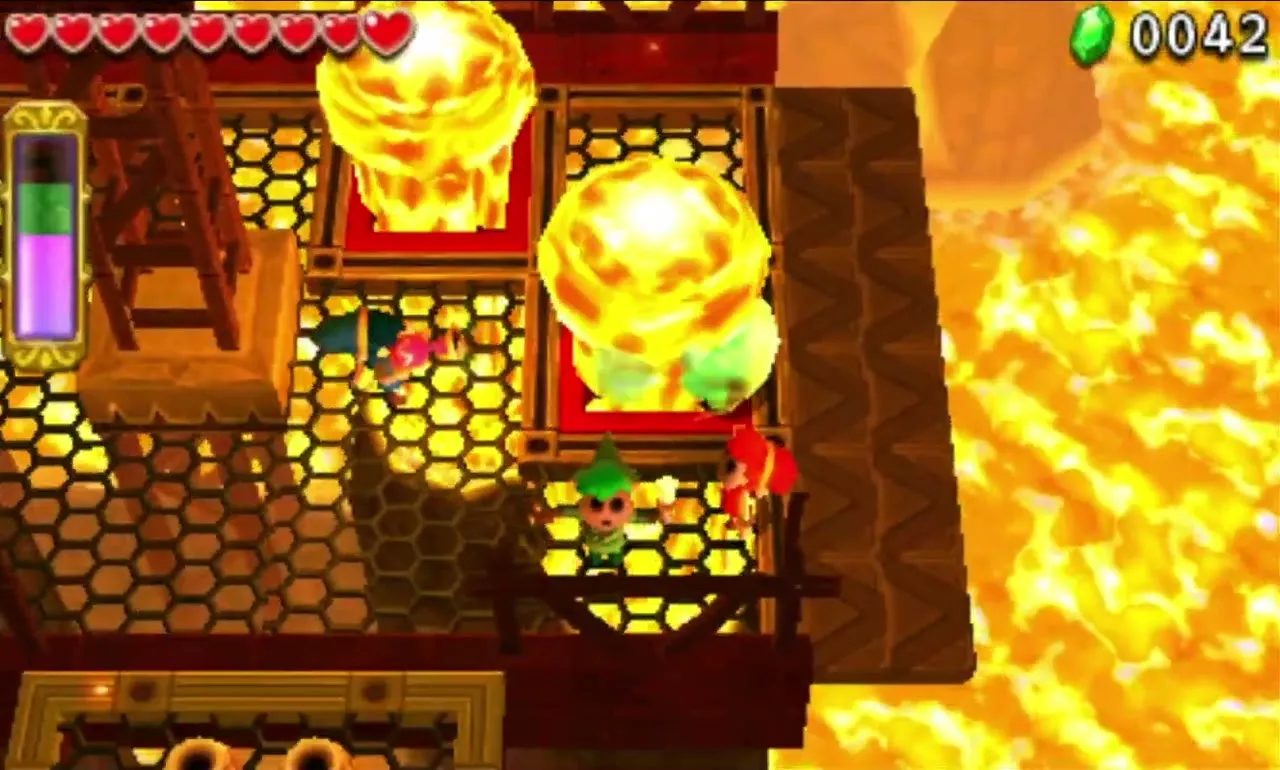
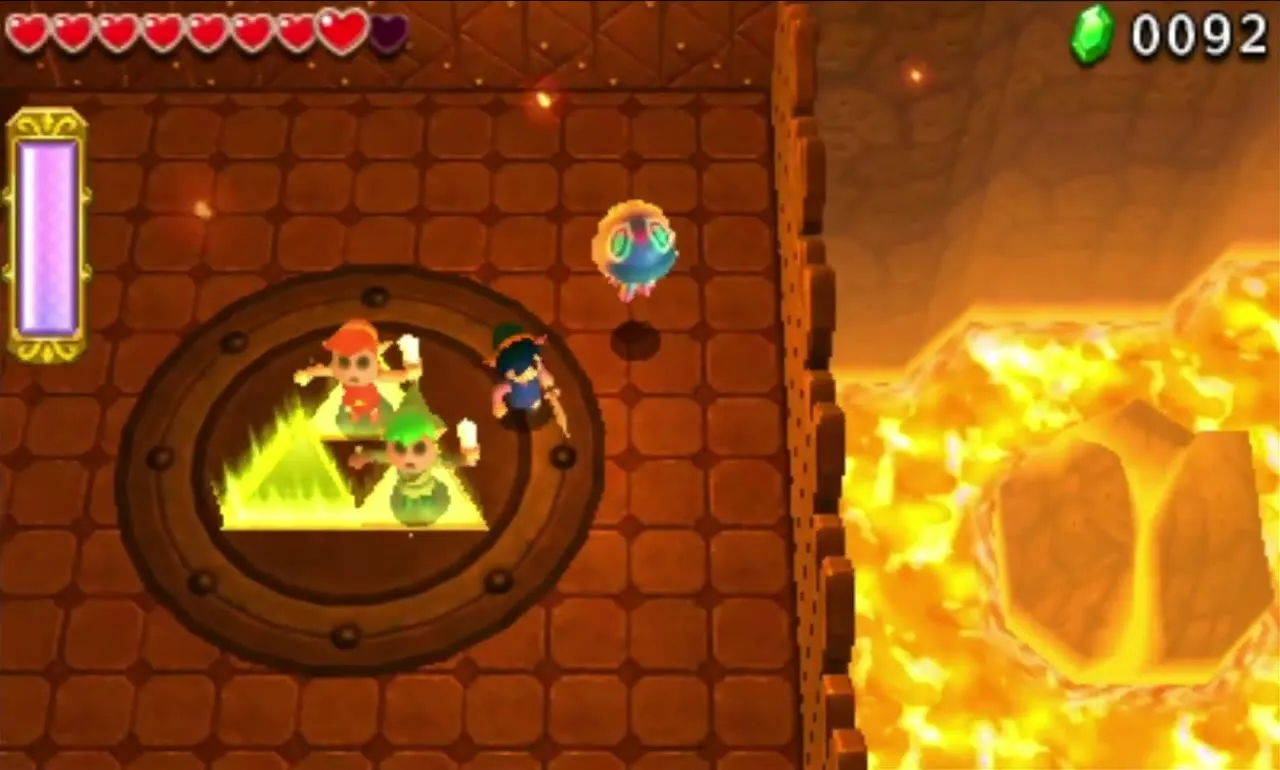
The switch is fenced off on three sides, so all three Links must push or pull the block to the far side of the grate, dodging geyser eruptions. Place it on the red panel that marks the next geyser, throw the Links on top, stack up and hit the switch with an item. A bridge to the Triforce Gateway lowers.


Fire Temple Stage 4
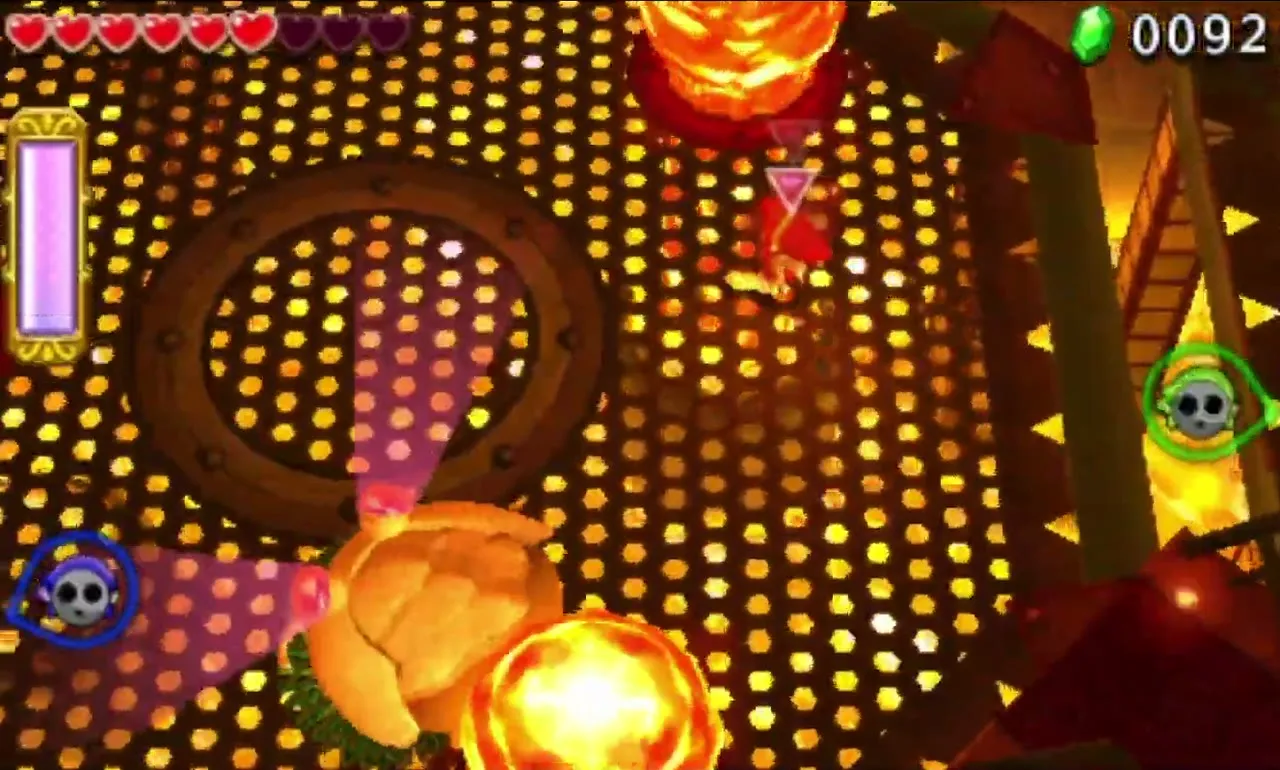
Each Link starts on a separate catwalk. Drop onto the grate when you are ready, and the fight begins. Ledges on both sides hold Hearts that only a thrown Link can reach, and Lava Geysers erupt through the floor, so save your heart refills for the later phases.


Moldorm boss fight
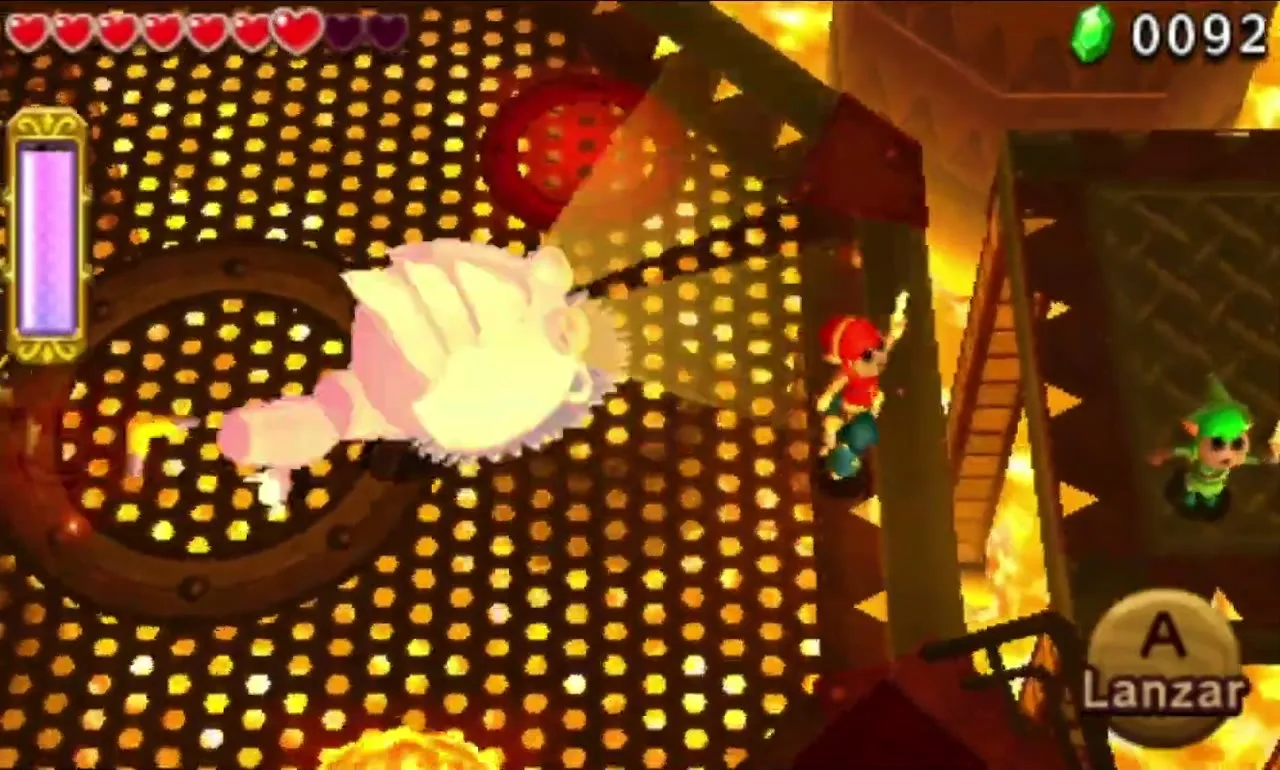
Moldorm is a mechanical worm whose headlight eyes glow green, red or blue. It chases the Link whose tunic matches that colour. Let that Link lead it round in circles while the others dash to the glowing tail and slash it with the Sword. A hit makes it curl its segments and then chase a different Link.
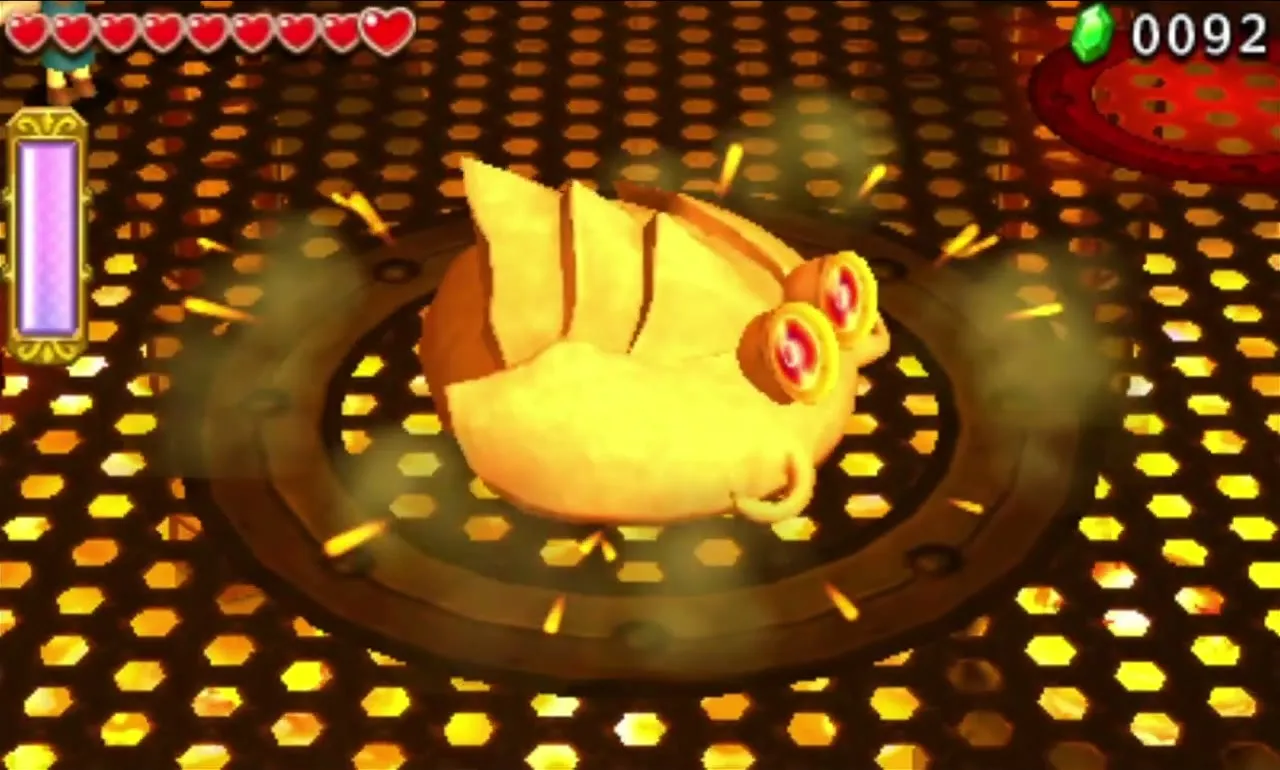
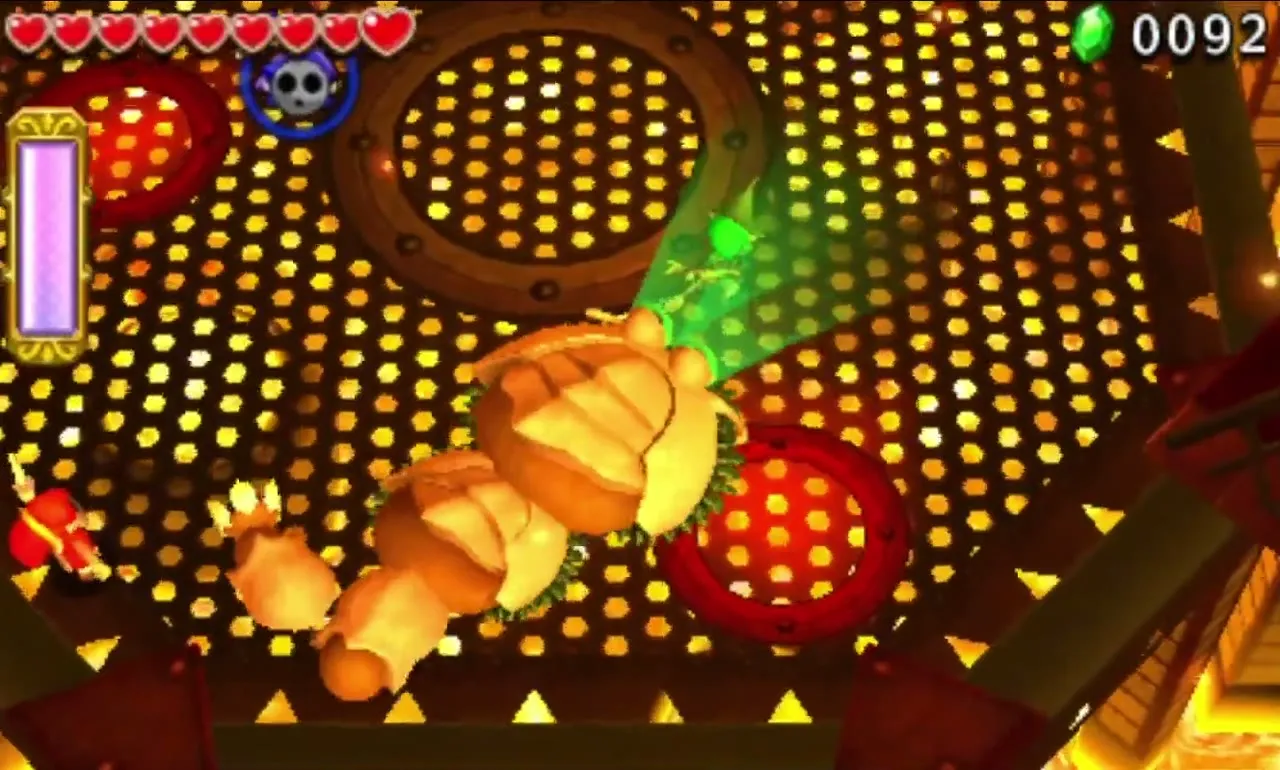
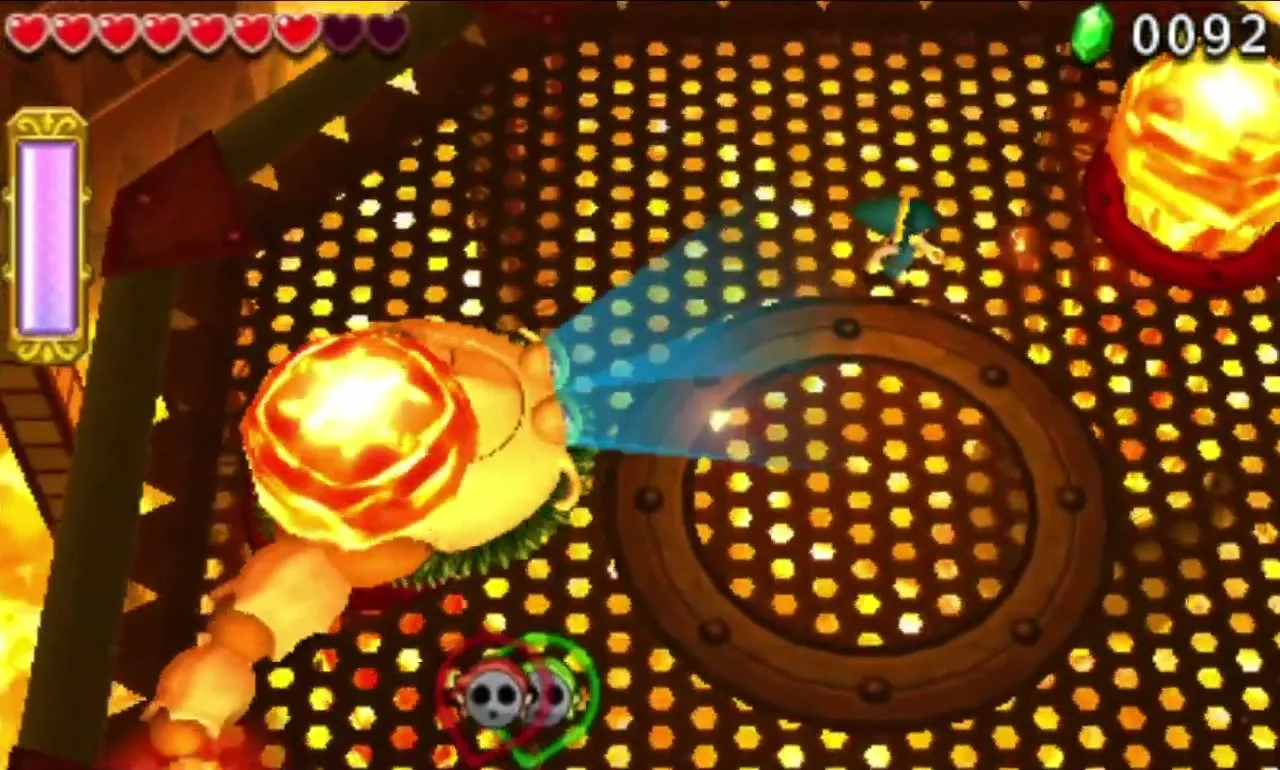
Each hit makes the tail wrap in a shell and speeds Moldorm up. Watch the circular red grates on the floor; lava pillars rise through them and burn anything above. Keep clear of those grates.


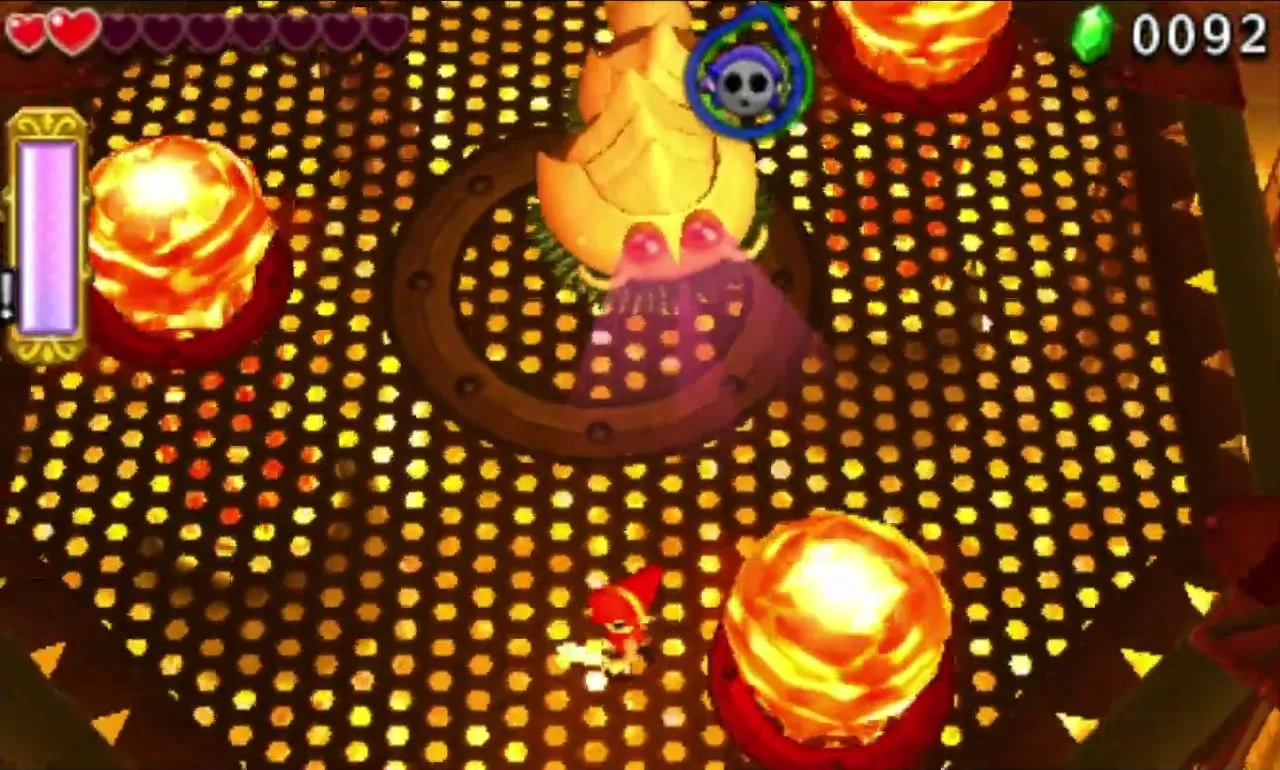
In the next phase the tail glows brighter red and is held higher, so form a Totem of two to reach it. Keep luring the chaser away while the Totem Links dash in for a strike. After more hits Moldorm goes wild and moves erratically with its tail even higher. Stack a Totem of three and hit the tail to finish it.


Fire Temple treasure chests
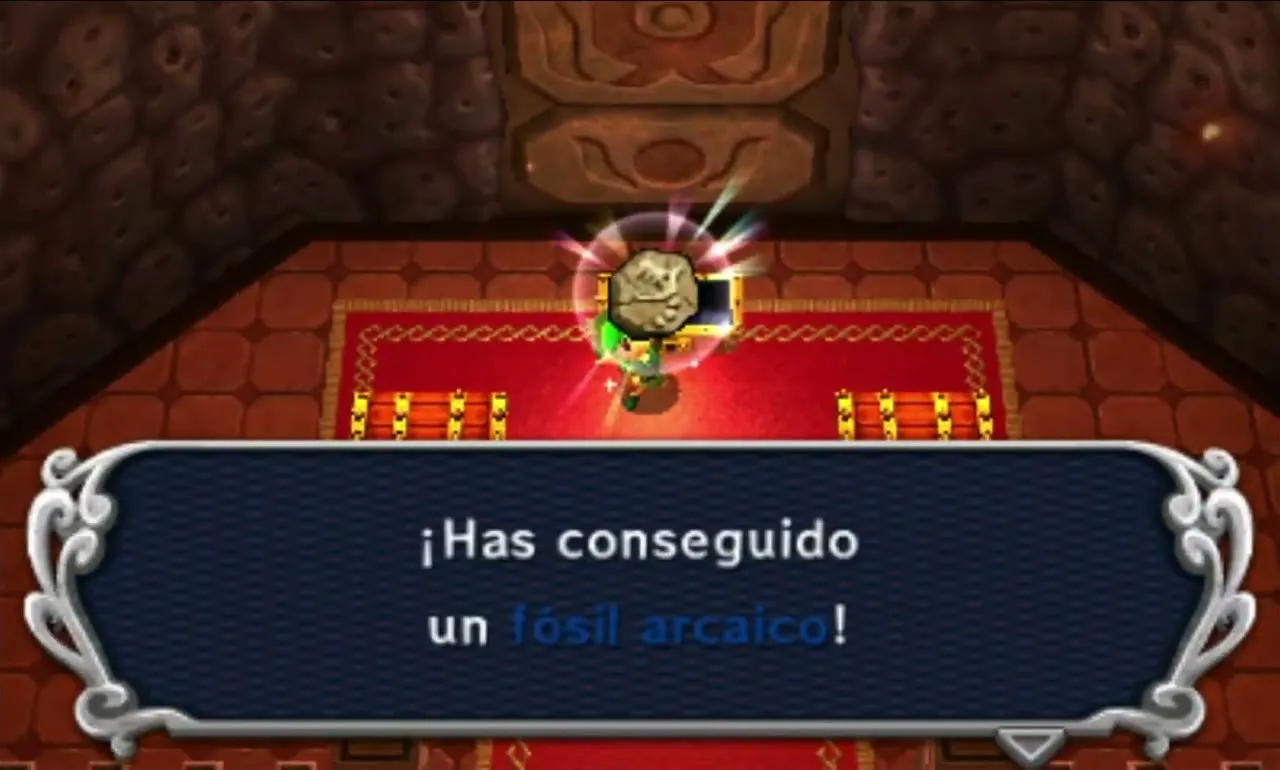
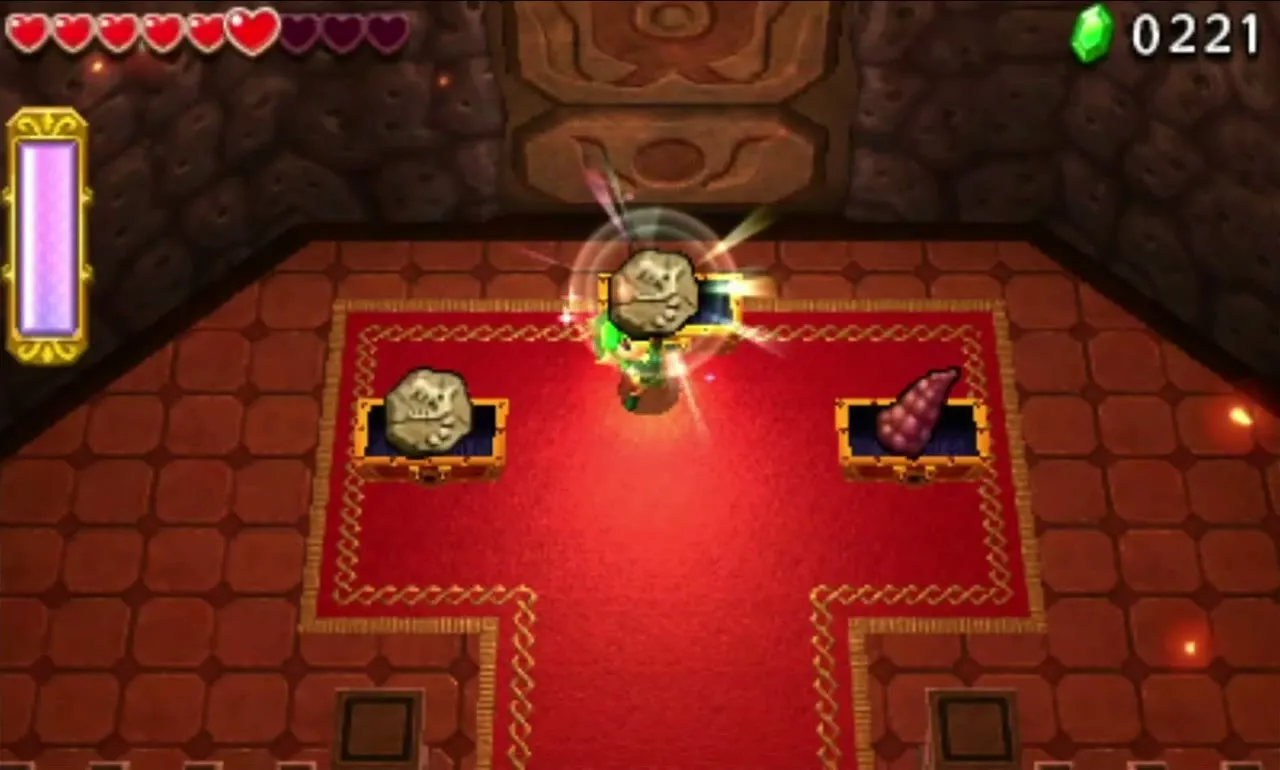
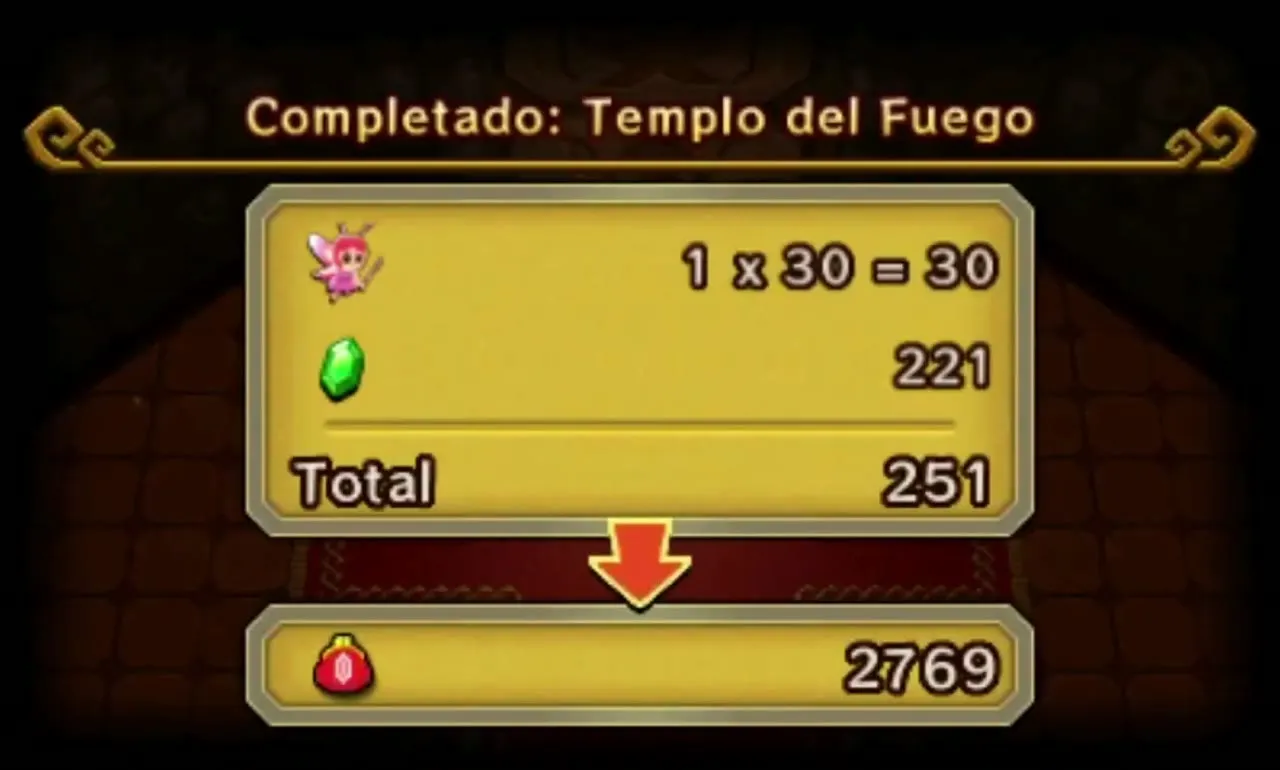
After Moldorm falls you enter the chest room. A first clear pays two Demon Fossils and a Kodongo Tail. The Fire Temple is also one of the three temples (with the Water and Ice Temples) that opens the Fortress and the four outfits listed in the table above, when all three are cleared.
Once Moldorm is down, the Fire Temple offers “Clear within the time limit!”, “Evade the Wallmaster!” and “Only Bombs – no swords!”. The limit is 1 minute 30 seconds for three players and 2 minutes 45 seconds solo. Rewards are on Drablands Challenges; for the other fights, open the boss strategies page.
Area checklist
| Level | Items | Boss or mini-boss | Materials |
|---|---|---|---|
| Blazing Trail |  Boomerang x3 | None |  Goron Ore, Monster Guts |
| Hinox Mine | Boomerang x2,  Bow |  Hinox Brothers (mini-boss) | Goron Ore, Demon Fossil |
| Den of Flames | Boomerang,  Gust Jar x2 | None | Monster Guts, Rugged Horn |
| Fire Temple | Boomerang, Bow, Gust Jar | Moldorm (boss) | Demon Fossil, Kodongo Tail |
Next stop is the Ice Cavern, where Frozen Plateau gives you the Fire Gloves. Do the Water Temple and the Ice Temple too and the Fortress opens, starting with the Sealed Gateway.