





















Tri Force Heroes 100% Completion Walkthrough8 chapters
- Hytopia and the WoodlandsMeet King Tuft, then clear Deku Forest, Buzz Blob Cave, Moblin Base and Forest Temple.
- RiversideSecret Fortress, Abyss of Agony, Cove of Transition and the Water Temple, with Water Rod and Gripshot puzzles.
- VolcanoBlazing Trail, Hinox Mine, Den of Flames and Fire Temple, with every stage, the Hinox Brothers and Moldorm.
- Ice CavernFrozen Plateau, Snowball Ravine, Silver Shrine and the Ice Temple, with the Freezlord and Blizzagia fights.
- FortressSealed Gateway, Bomb Storage, Training Ground and The Lady’s Lair, with every puzzle, chest and boss.
- The DunesInfinity Dunes, Stone Corridors, Gibdo Mausoleum and Desert Temple, with Vulture Vizier and Stalchampion tips.
- The RuinsIllusory Mansion, Palace Noir, Lone Labyrinth and Grim Temple, with Grim Repoe and Prismantus.
- Sky RealmFloating Garden, Deception Castle, Dragon Citadel and Sky Temple, with Gigaleon, Lady Maud and the ending.
| Levels | Deku Forest, Buzz Blob Cave, Moblin Base, Forest Temple |
|---|---|
| Items used | Bow (every Level), Bomb (Moblin Base and Forest Temple) |
| Boss | Electric Blob King (mini-boss, Buzz Blob Cave); Margoma (boss, Forest Temple) |
| Unlocks | Riverside, Volcano and Ice Cavern; 11 outfits at Madame Couture’s, including the Lady’s Ensemble |
The Woodlands is the first of the eight Areas, and it is the gentlest. Nothing here asks for more than the Bow and the Bomb, so the four Levels are really a long lesson in Totems: stacking, throwing and shooting from the top of the pile. Before you set out, the story and the shops of Hytopia hand you a tunic, a pair of Doppels and your first outfit. Beating Margoma in the Forest Temple opens Riverside, Volcano and Ice Cavern and puts eleven new outfits on sale.
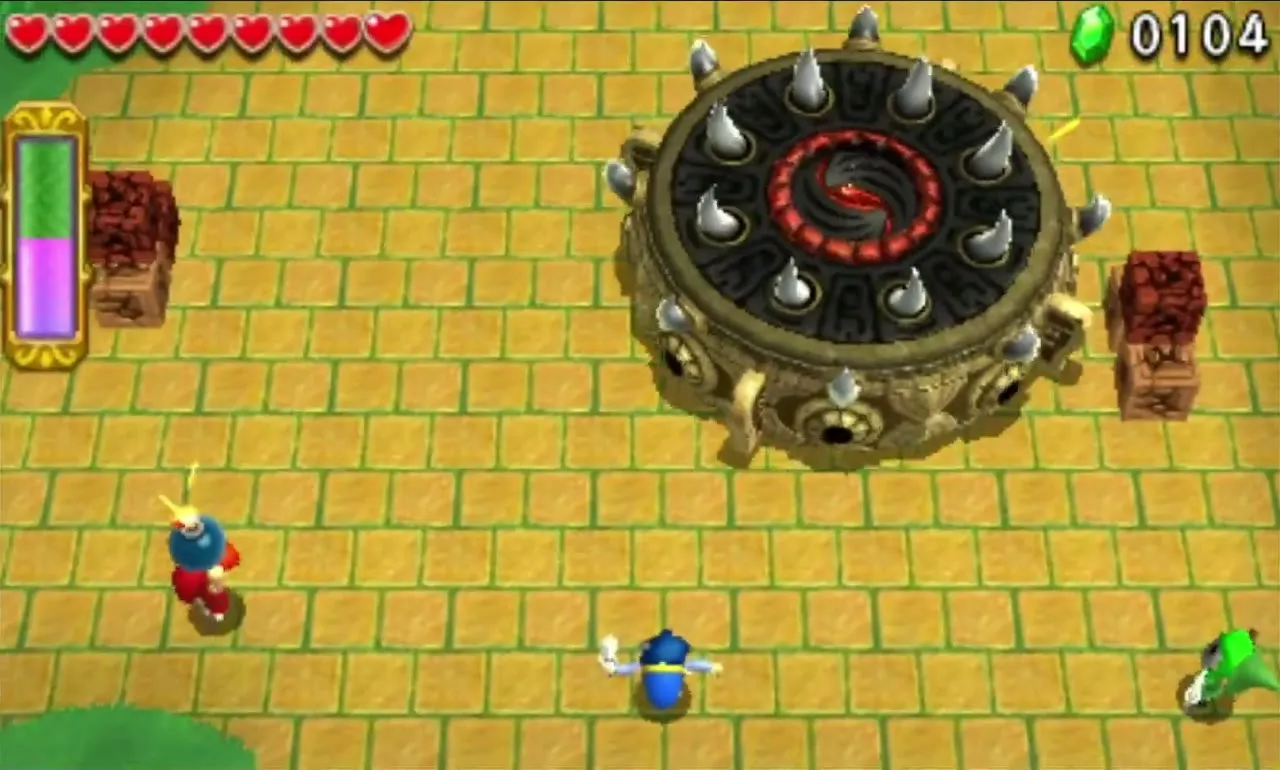
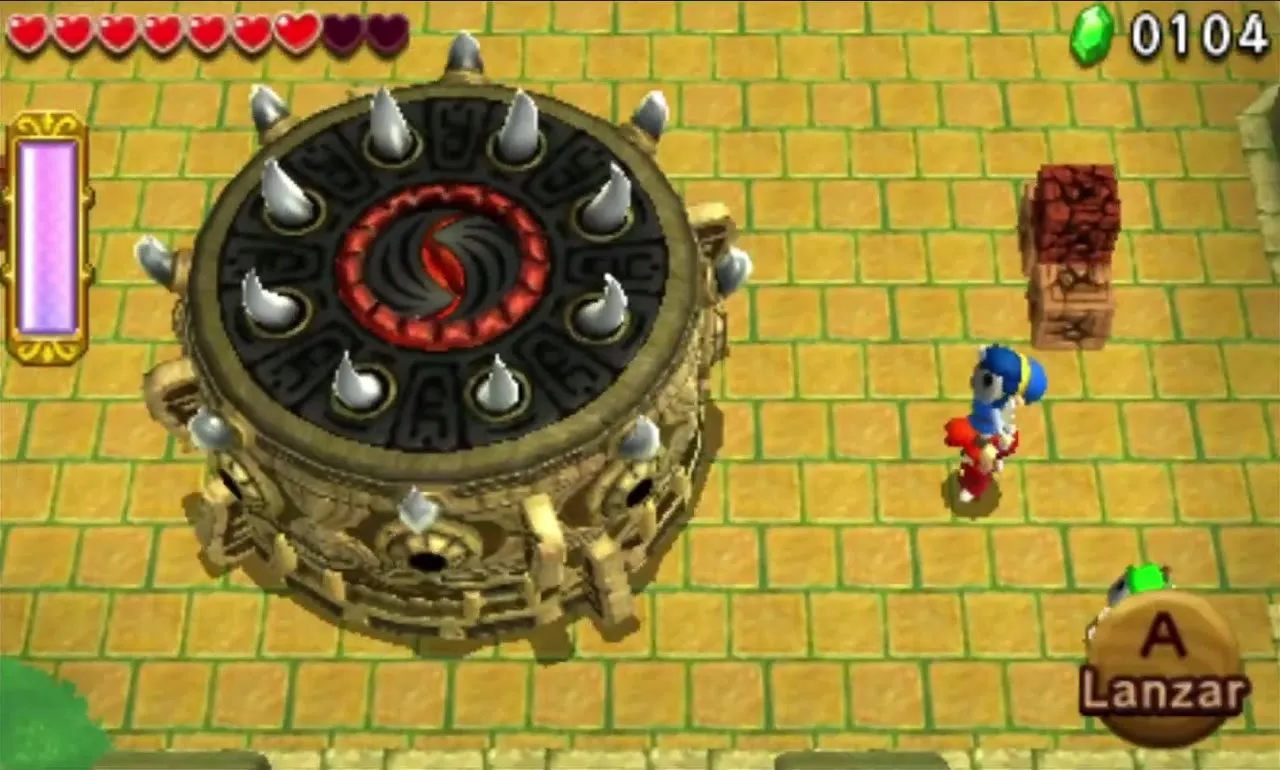
Table of Contents
Hytopia and the opening
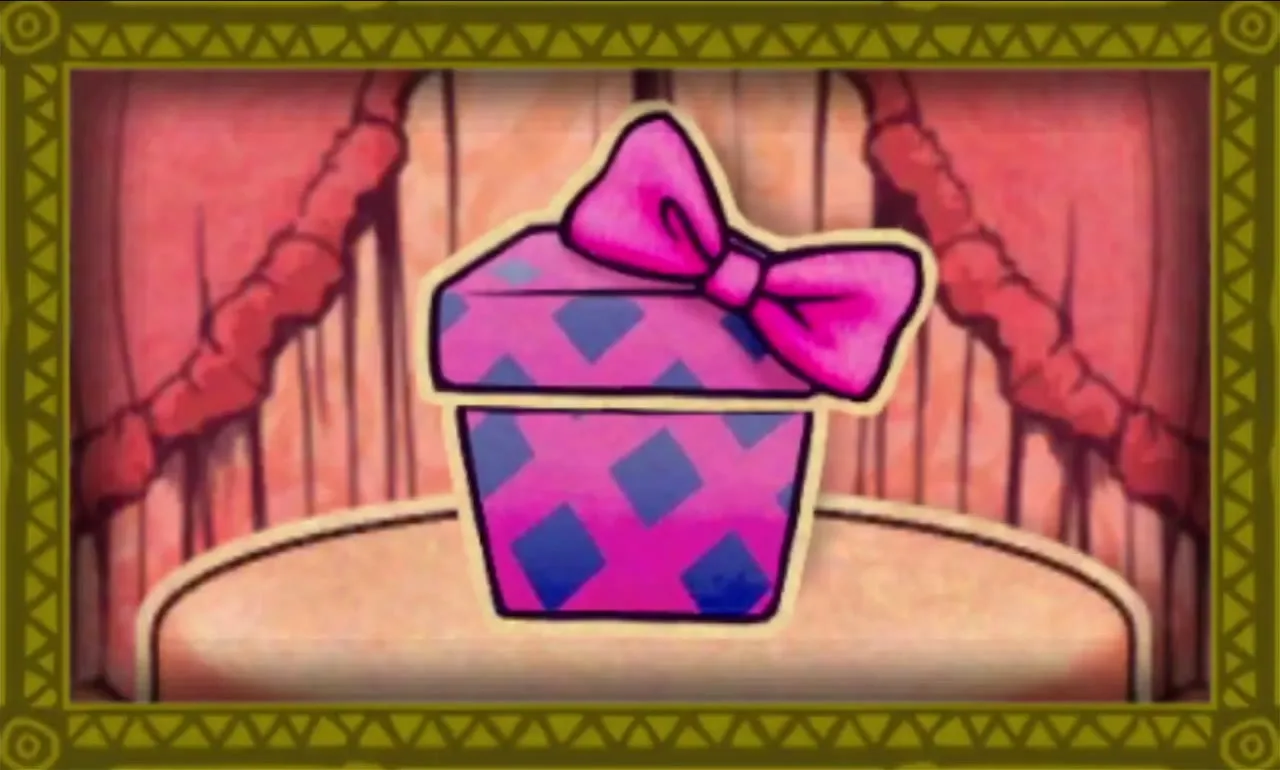
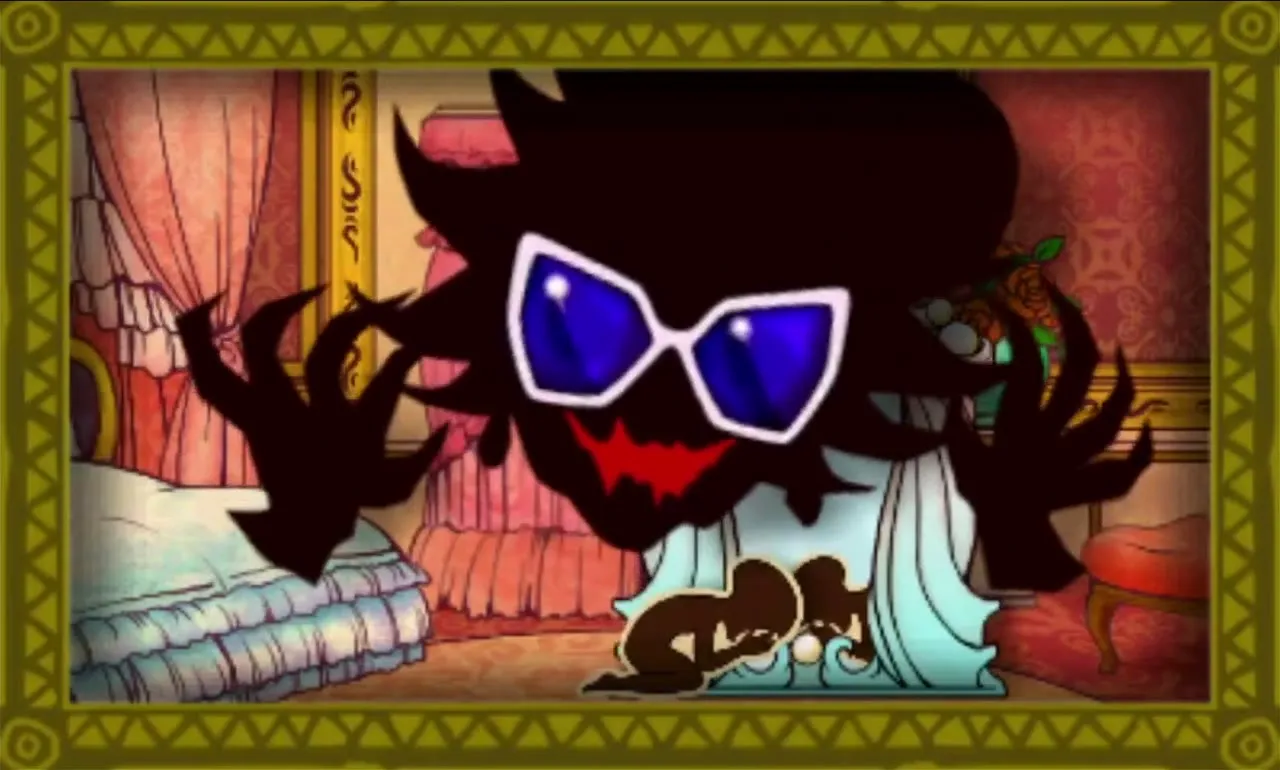
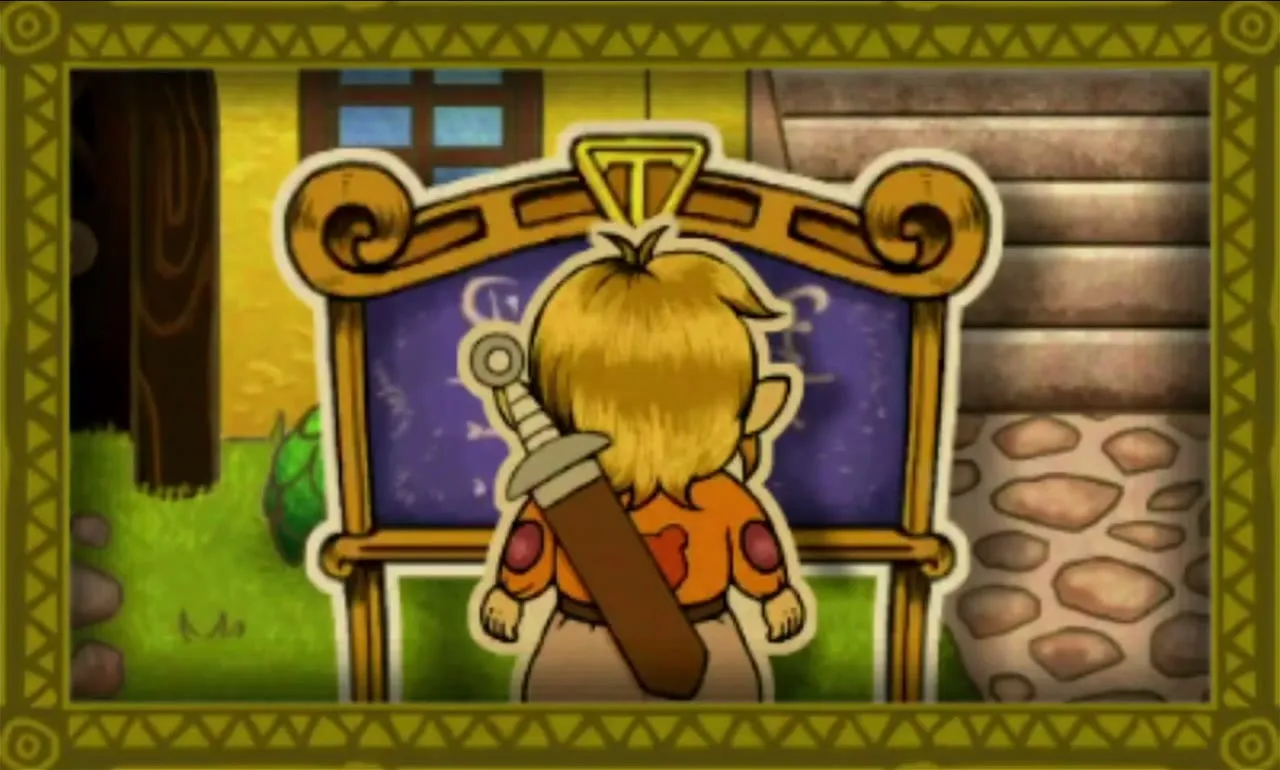
The game opens on a storybook. Princess Styla, the most fashionable girl in the kingdom of Hytopia, is sent a parcel by the witch of the Drablands. The box bursts and leaves her in a hideous jumpsuit that will not come off. She locks herself in her room, and a proclamation goes up in the square asking for three heroes with pointed ears and side-parted hair. You arrive as Link and read the notice.
Walk around the square before you do anything else. The guard at the gate lets you save and quit, and the Tri Force Hero Statue by the fountain is another save point. Talk to the Bearded Baron beside it for the local view of the prophecy. When you are ready, head for the big purple workshop in the middle of town: Madame Couture’s. She decides you do not look like a hero yet and sends you to the castle to speak to the commander first.
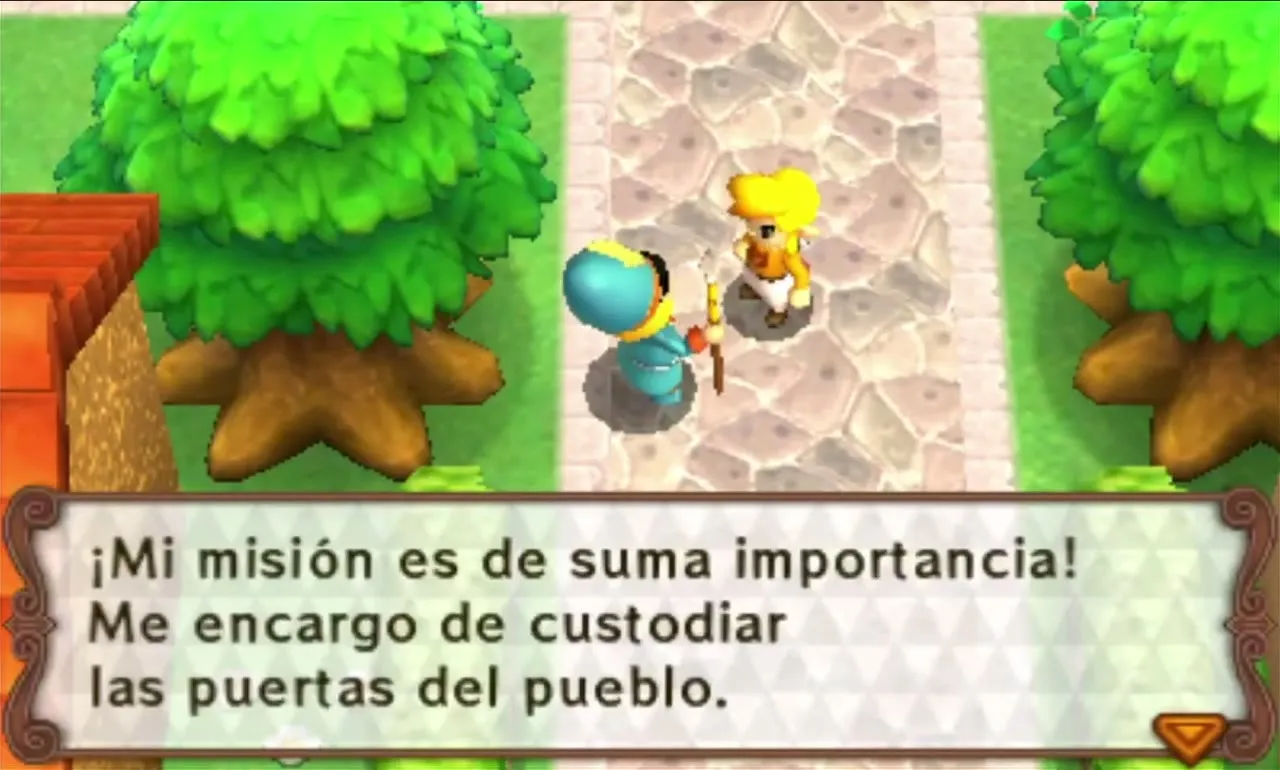
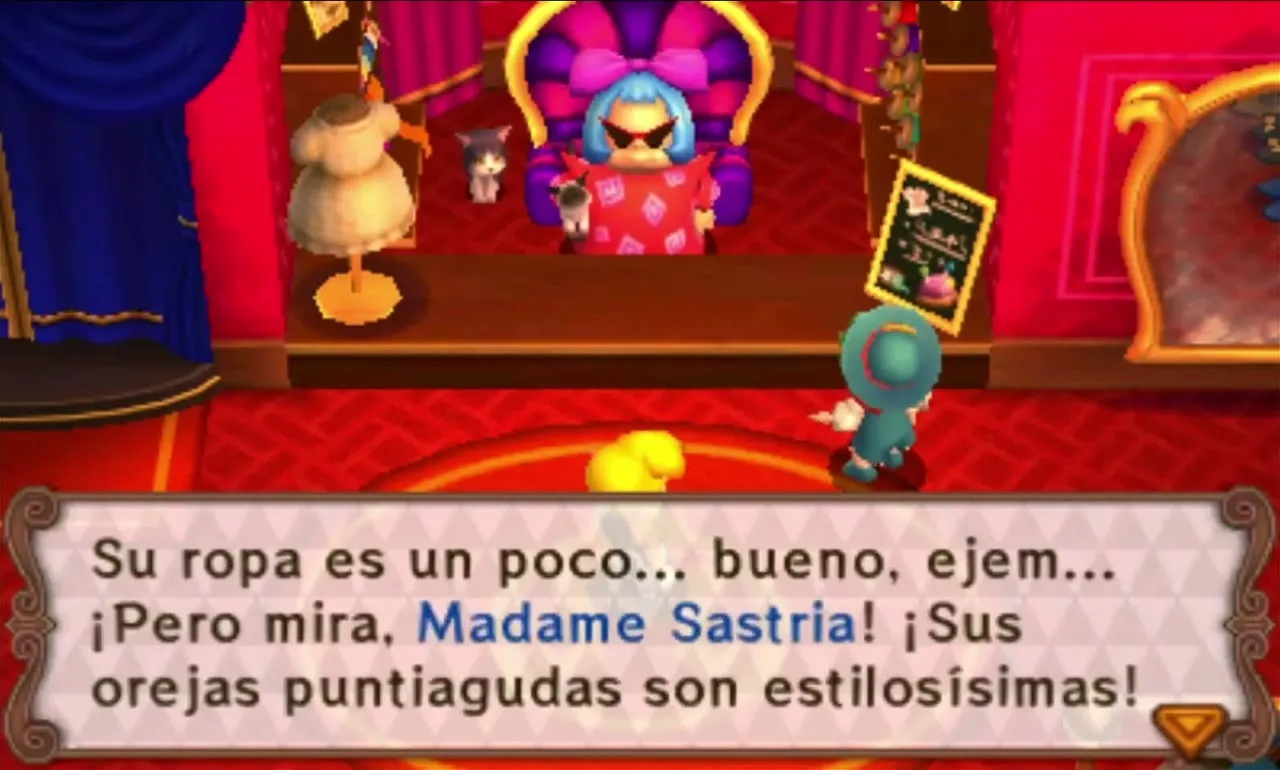
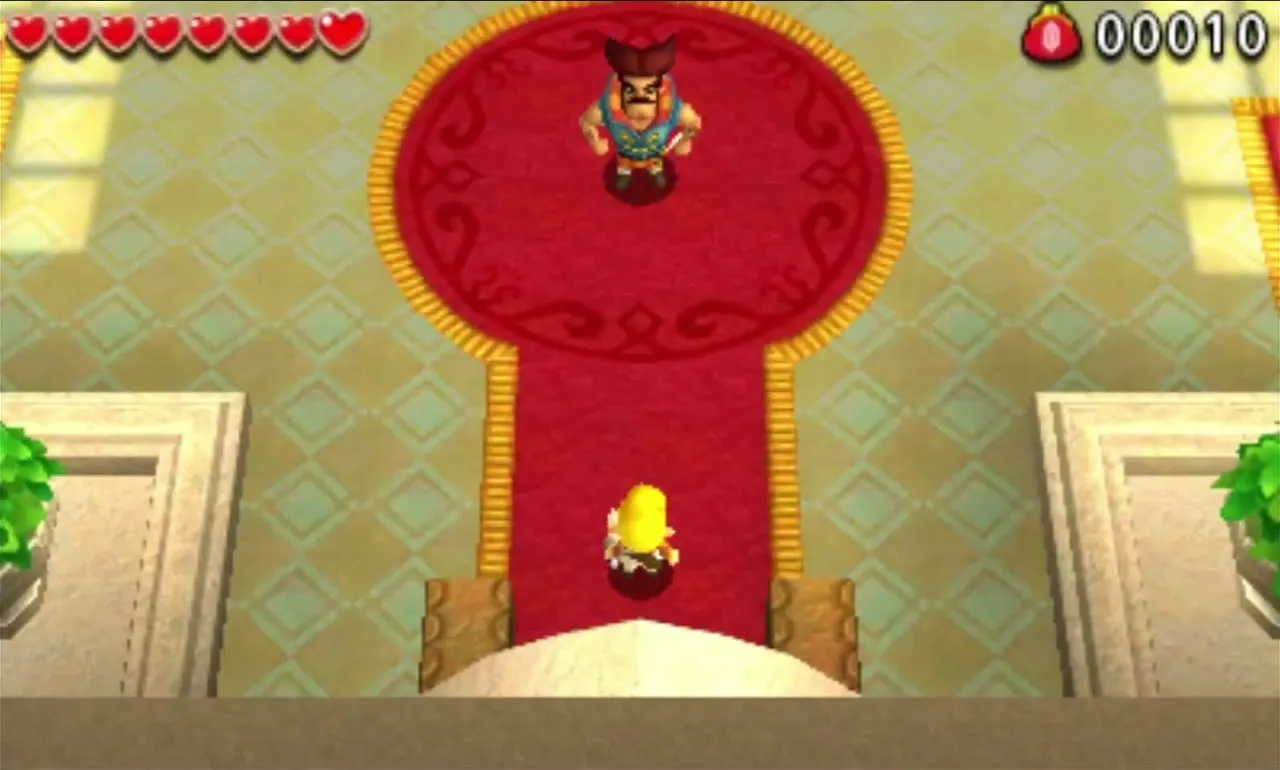
Climb to Hytopia Castle. The guard waves you in and tells you to follow the orders of Sir Combsly, commander of the Witch-Hunting Brigade. Sir Combsly also sets the name that other players see, and you can change it later by talking to him again. He enlists you in the brigade, grants you the Hero’s Tunic as your uniform and hands over a Hytopian Silk, the Material the tailor needs to make it.
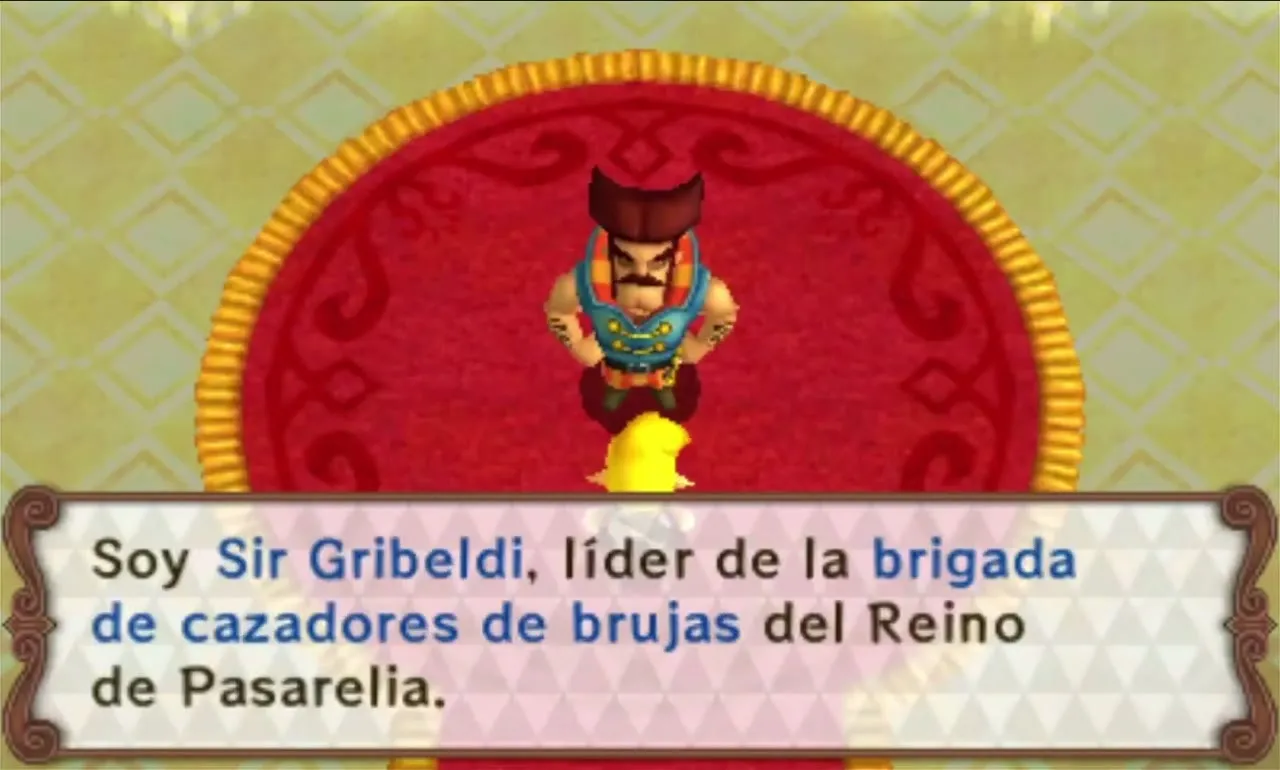

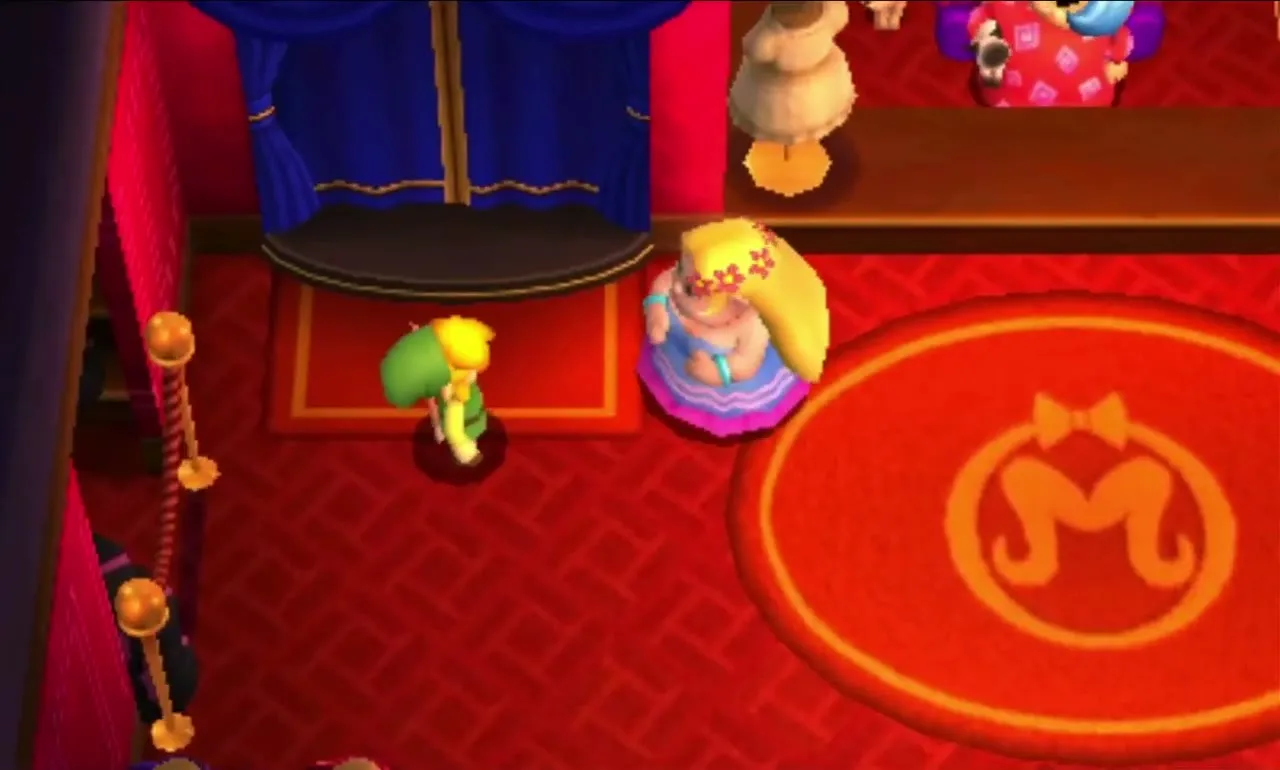
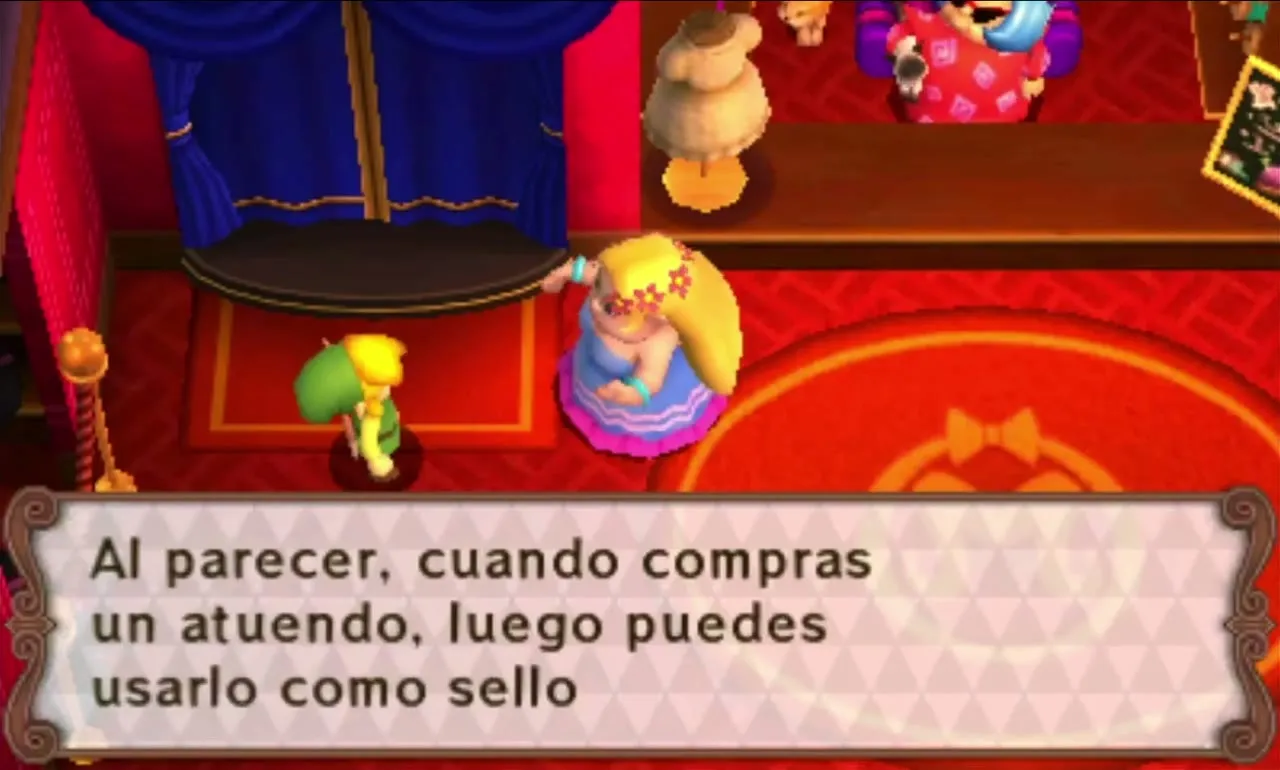
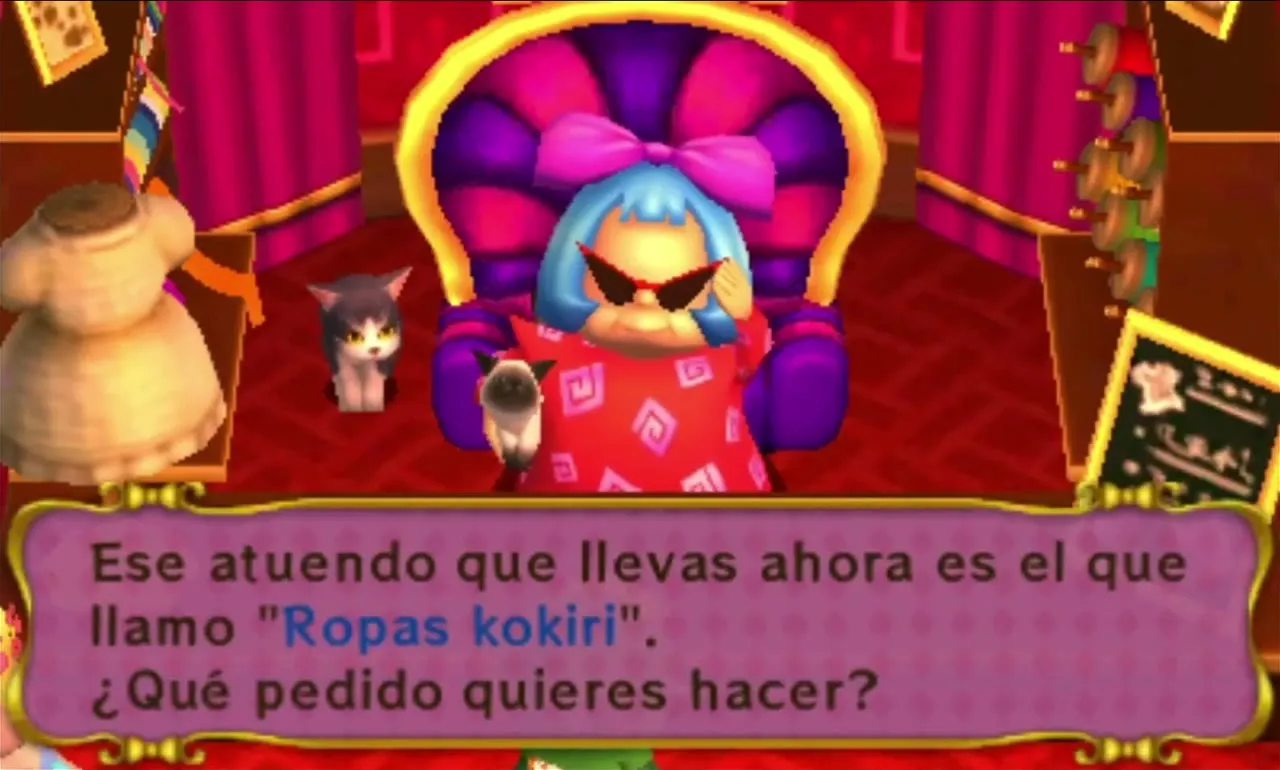
Take the silk back to Madame Couture. Open her order menu, choose the Hero’s Tunic and confirm; she stitches it on the spot and sends you through the fitting room. You begin the game in the Bear Minimum, plain clothes that double the damage you take and cost the party a Heart Container, so putting the tunic on right away is worth it. The same menu lists the other outfits on sale at the start, such as the Legendary Dress and Lucky Loungewear, all of which need Materials that only the Levels give. The full list is on the outfits page.

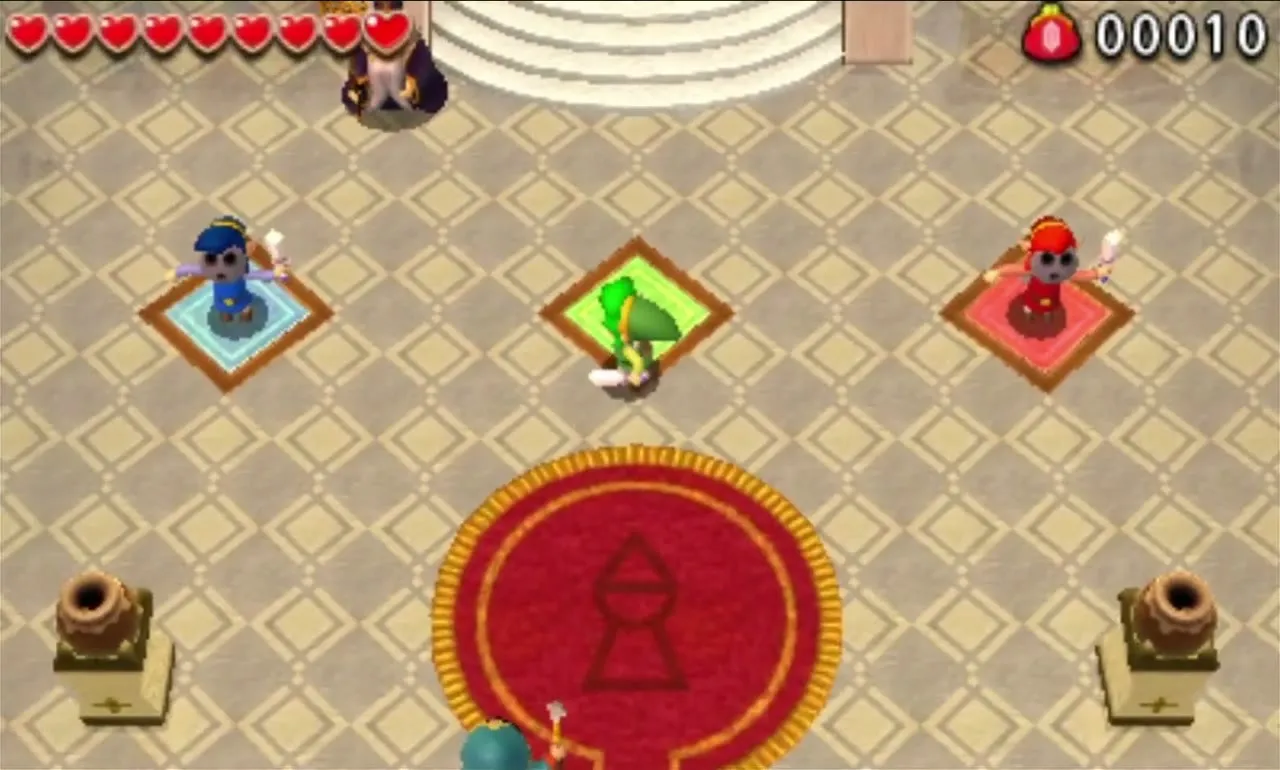
Back at the castle, the Doppel Master waits in the Hall of the Doppels. A trio of heroes is required, so if you play alone he wakes two wooden Doppels for you. Use the touch screen to tap a Doppel panel and jump into that body; the other two copy your actions when they are stacked in a Totem. All three Links share one pool of health and one Energy Gauge. If you play with friends you can ignore all of this, because each player simply is a Link. Details are on the single-player and Doppels page.
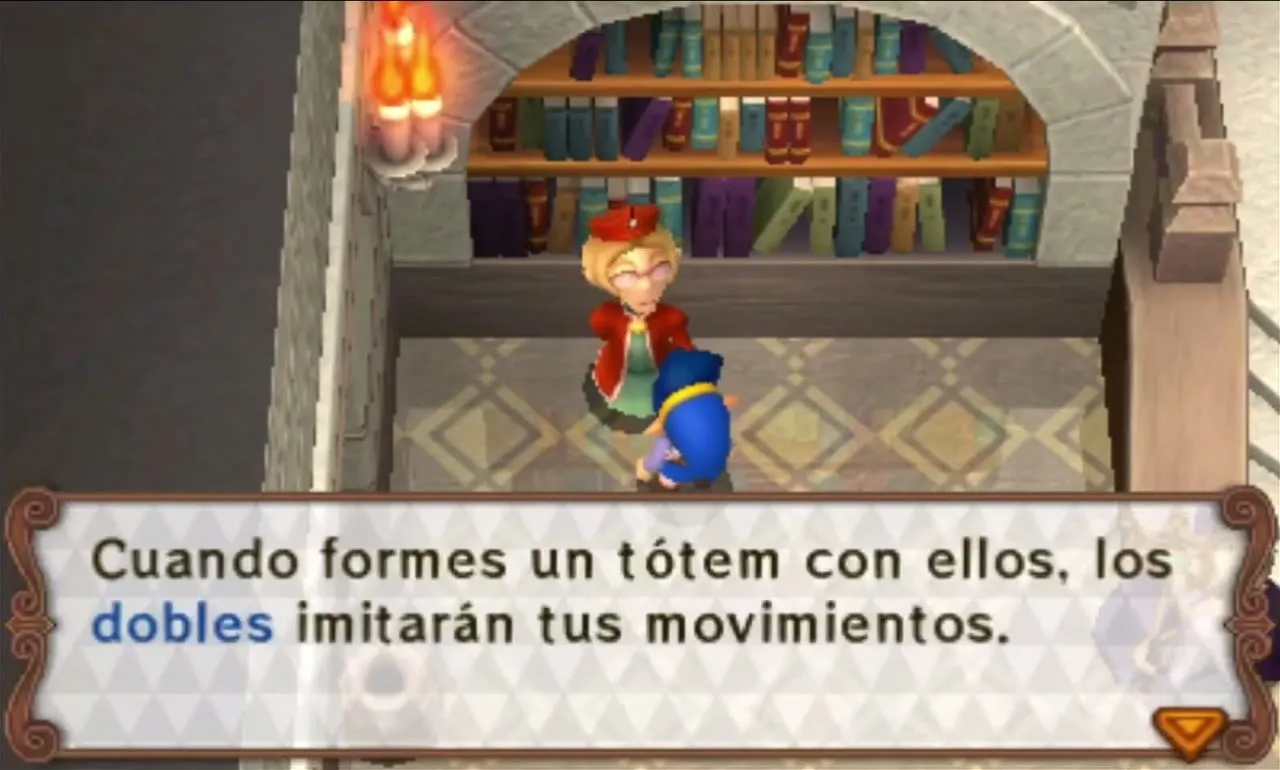
Leave the hall and the world map opens. Only the Woodlands is available at first, so pick it, choose a Level, and the game asks which outfit each Link wears. Keep the Hero’s Tunic on all three for now. Once you have a Blob Jelly and an Armos Spirit from Deku Forest, the Kokiri Clothes make a good first purchase for 100 Rupees, because they let the Bow fire three Arrows at once.


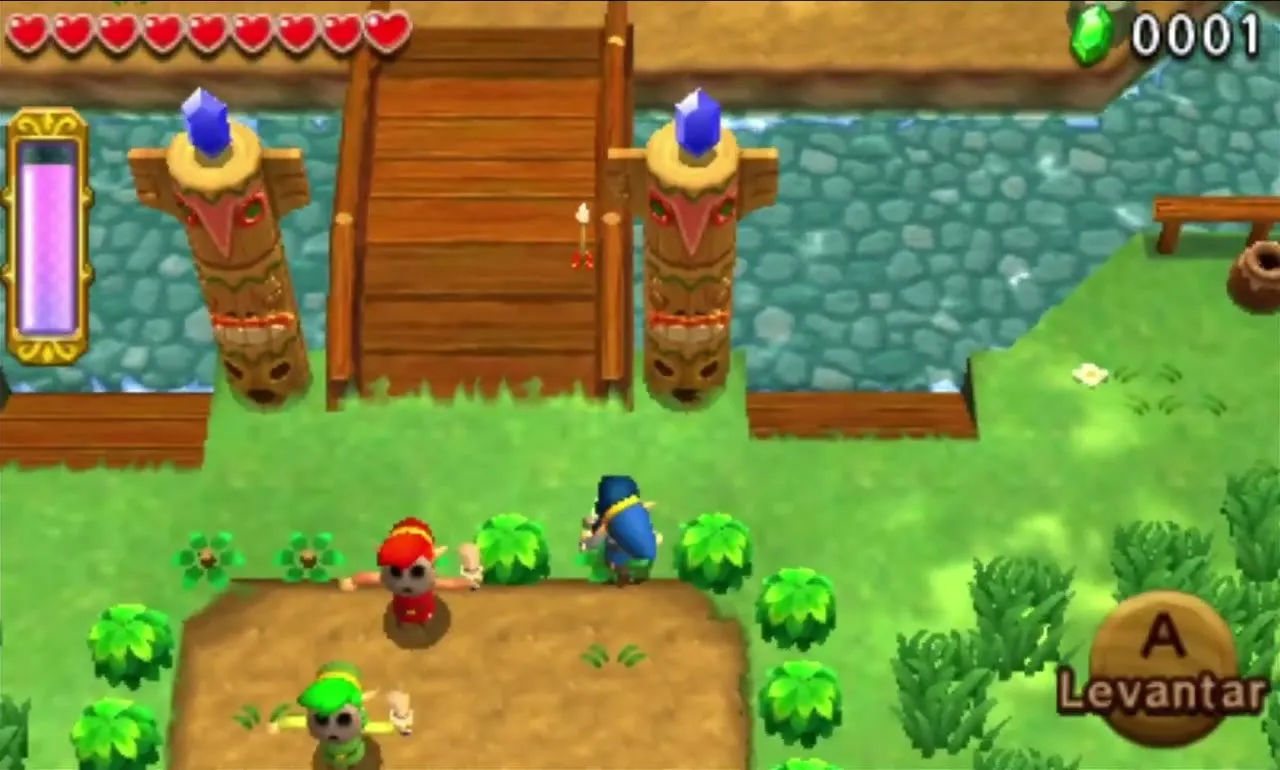
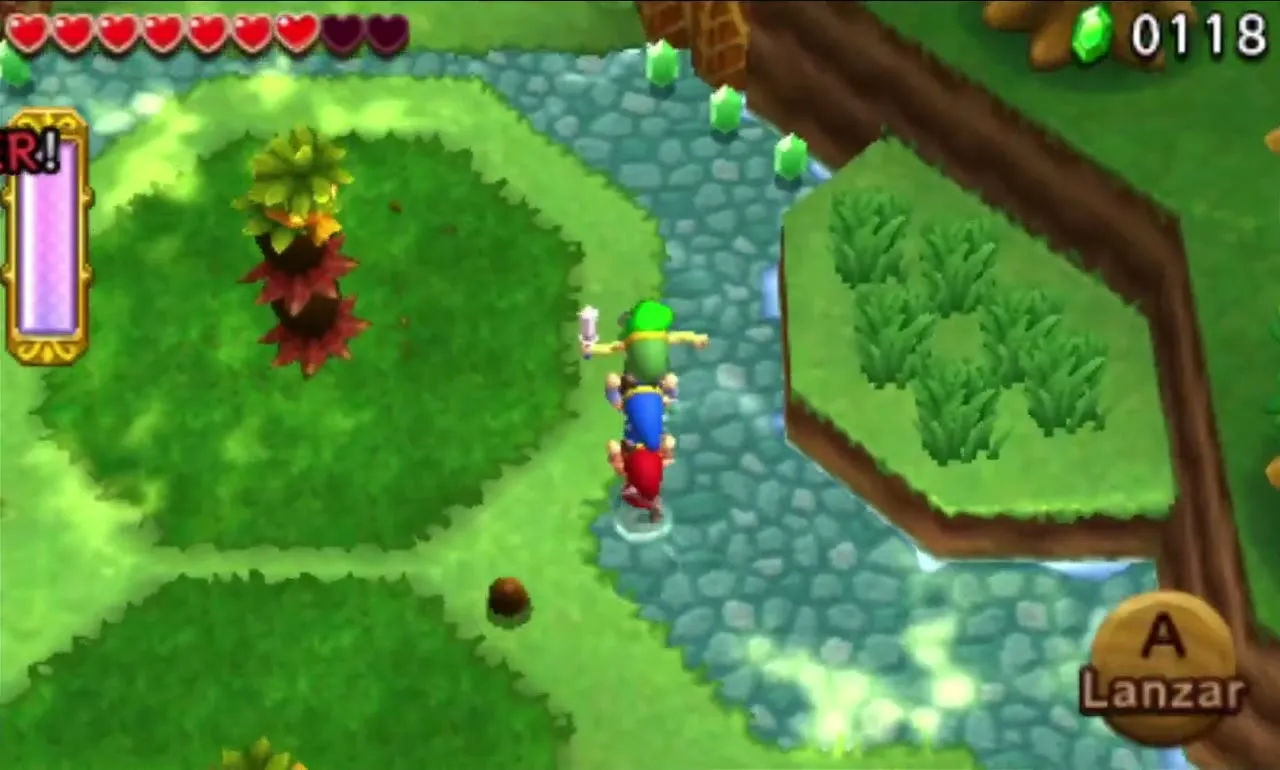
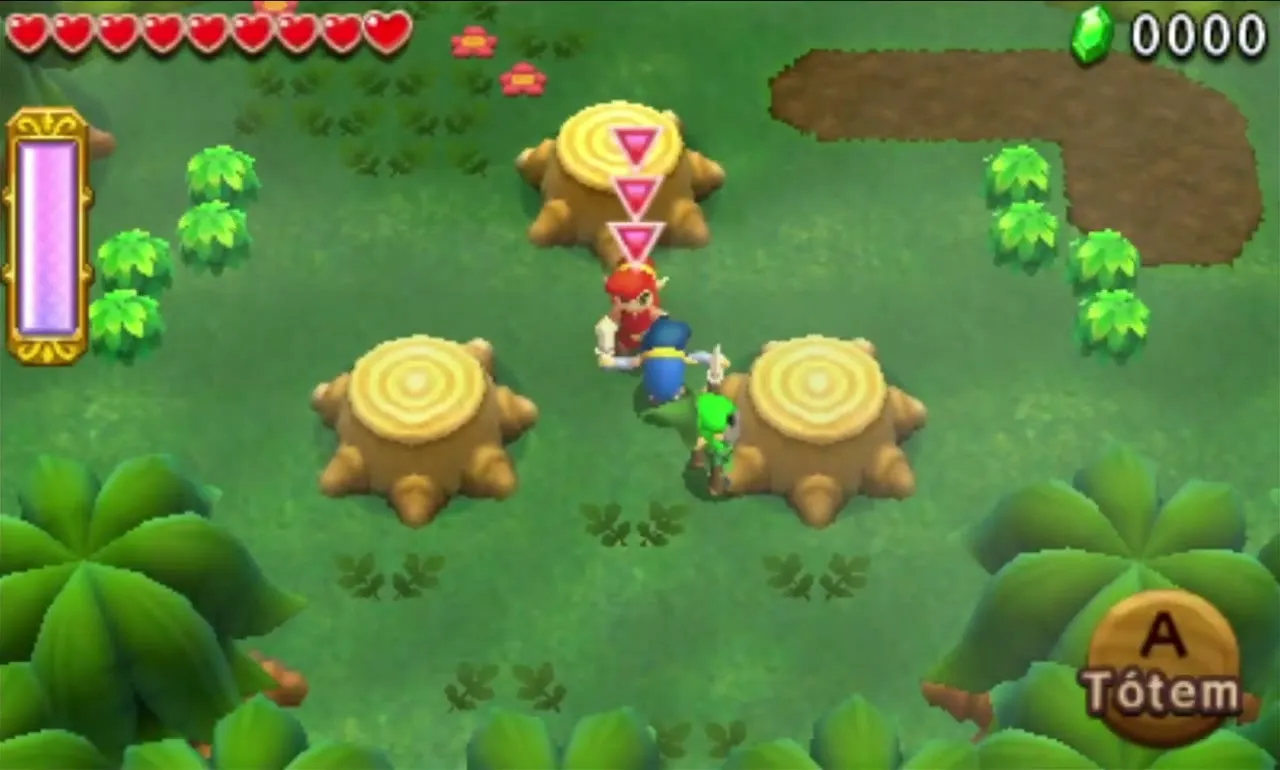
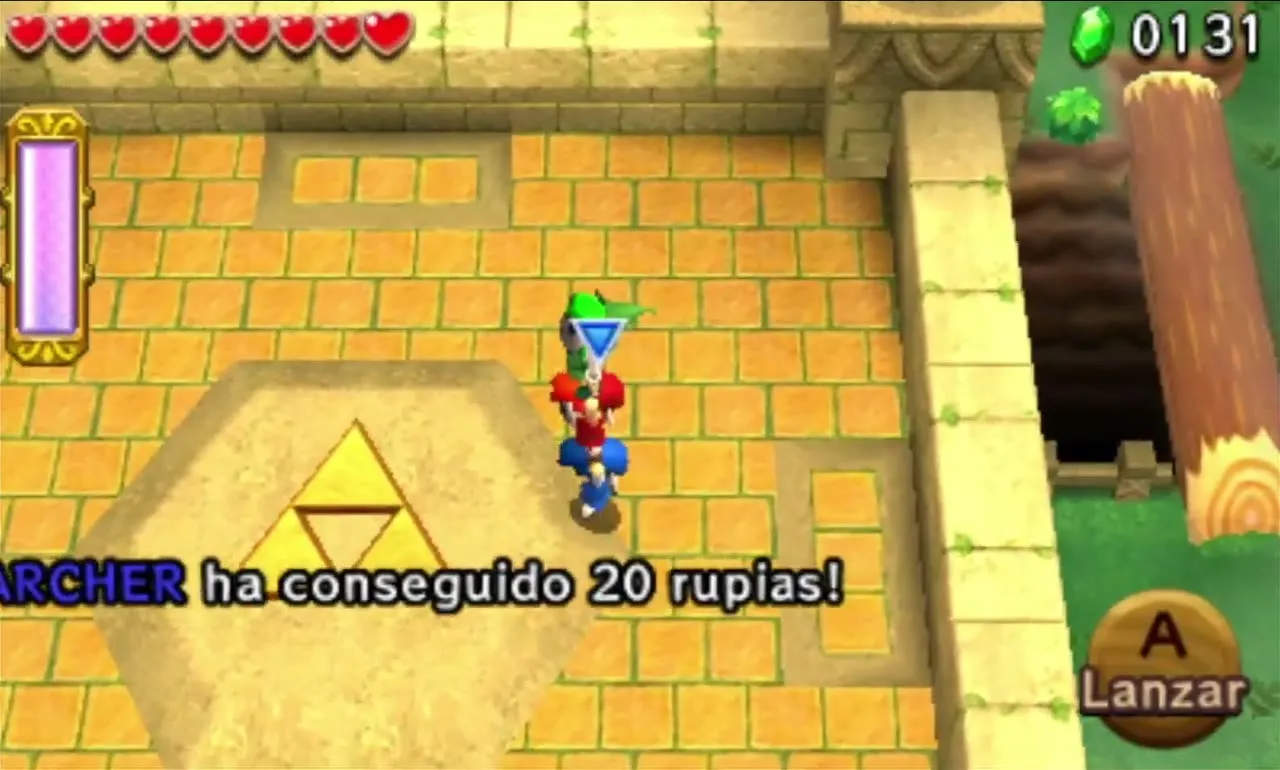
Totem basics are quickest to learn in the first stage. Stand next to another Link and press A to lift him over your head, then press A again to throw him. A full stack is three Links high. Only the Link on top can use his Sword and item, only the Link on the bottom moves, and the Link in the middle can throw the one above him. Anything that knocks the stack down drops the Links above the one that was hit, so move slowly and keep the pile together.

Deku Forest
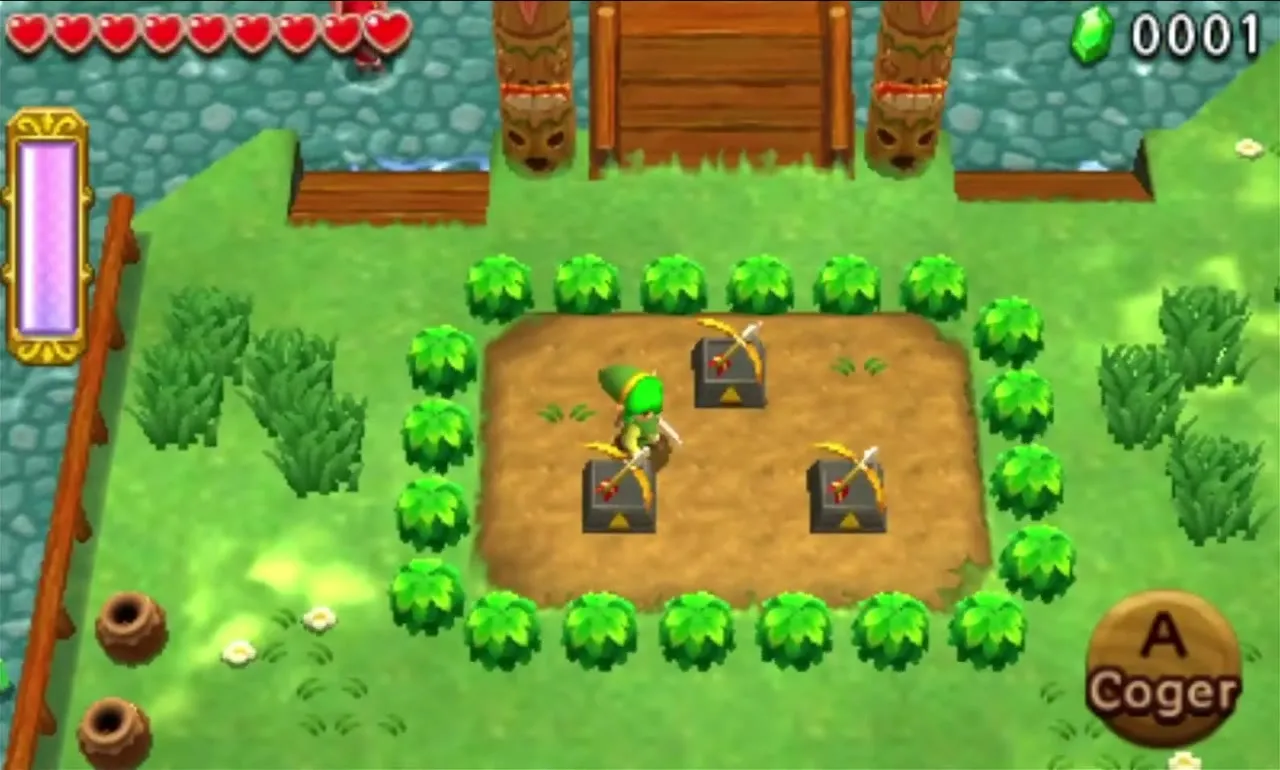
Deku Forest is the first Level of the game, and every Link receives a Bow. Arrows spend a little of your Energy Gauge instead of ammunition, so shoot freely. Each stage teaches one habit: standing on switches at different heights, throwing a Link onto a ledge, shooting a distant switch, and aiming at targets that hide from you. Hearts and chests are easy to find, so treat this Level as practice for the rest of the Area.
Deku Forest Stage 1
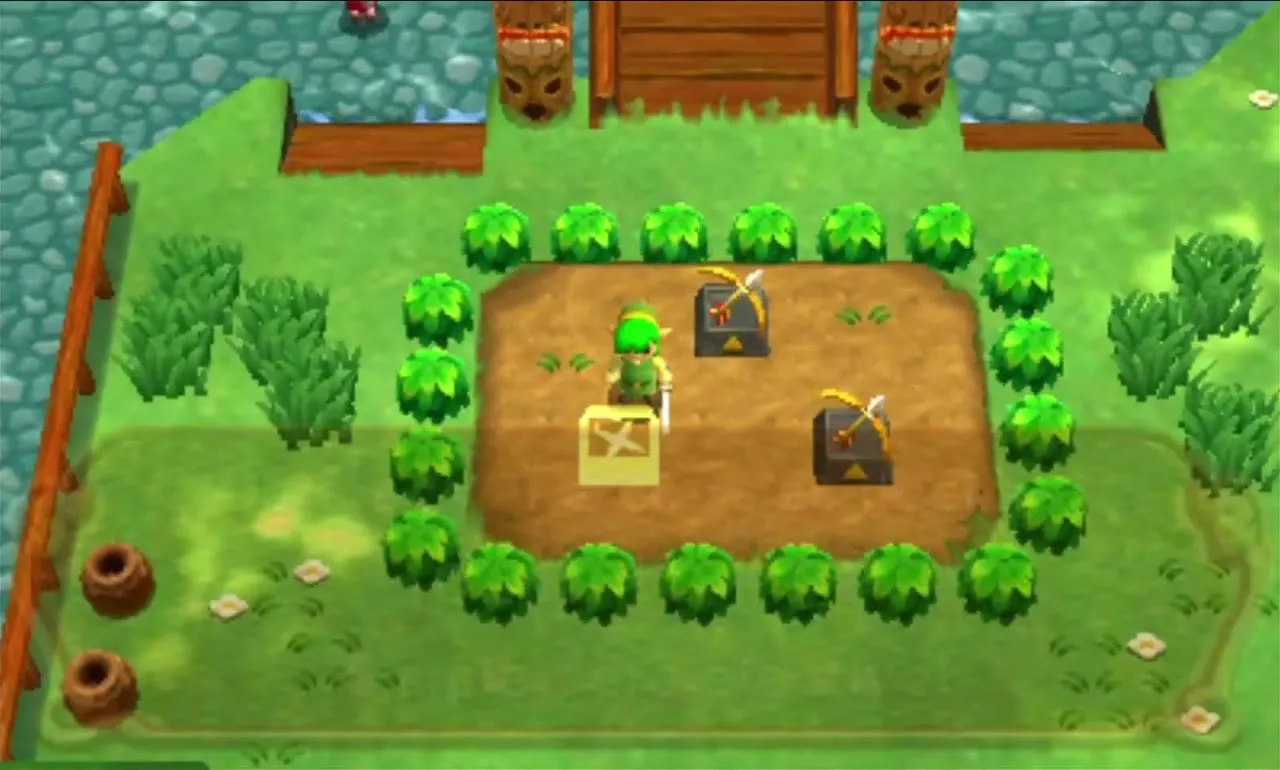
Start by taking the Bows. Three Bows sit ahead of you in a bushy clearing, one for each Link. Pick up yours, then collect the other two with your Doppels, or let each player grab his own. Cut the bushes and Jars around the clearing for Rupees before moving on.
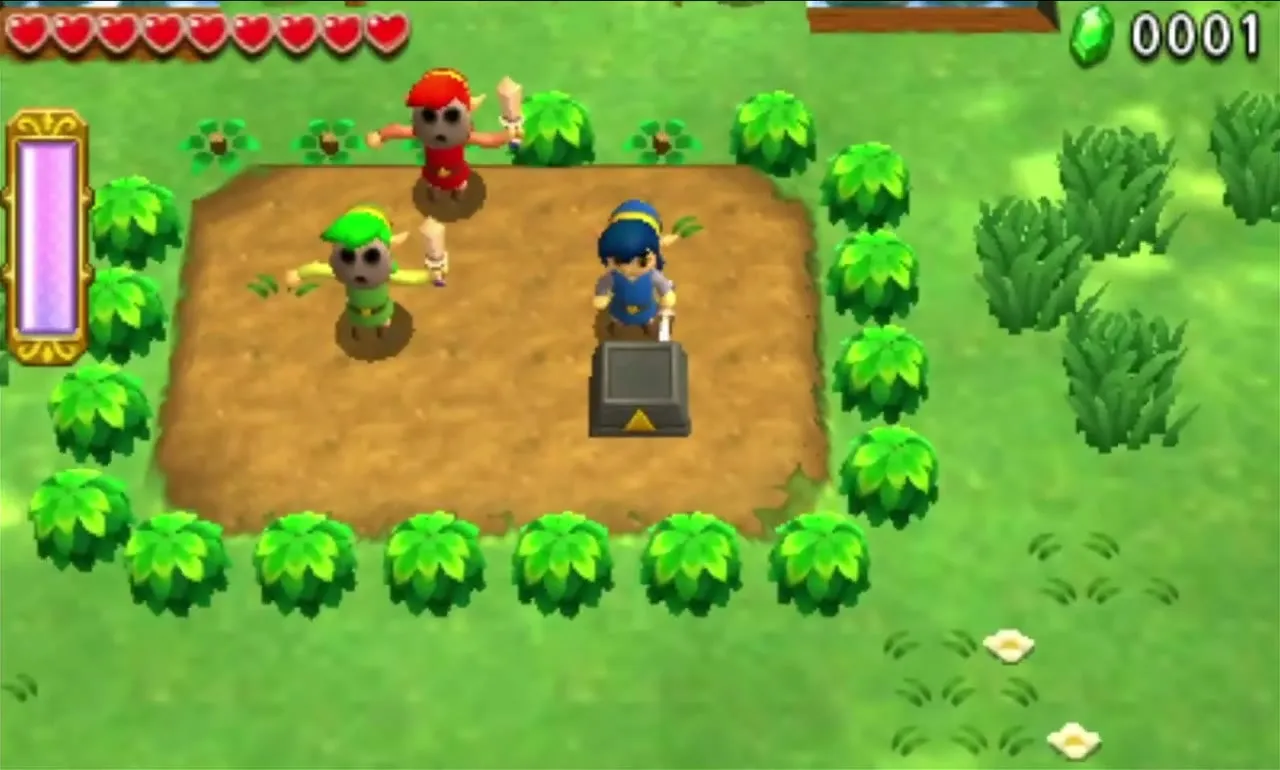
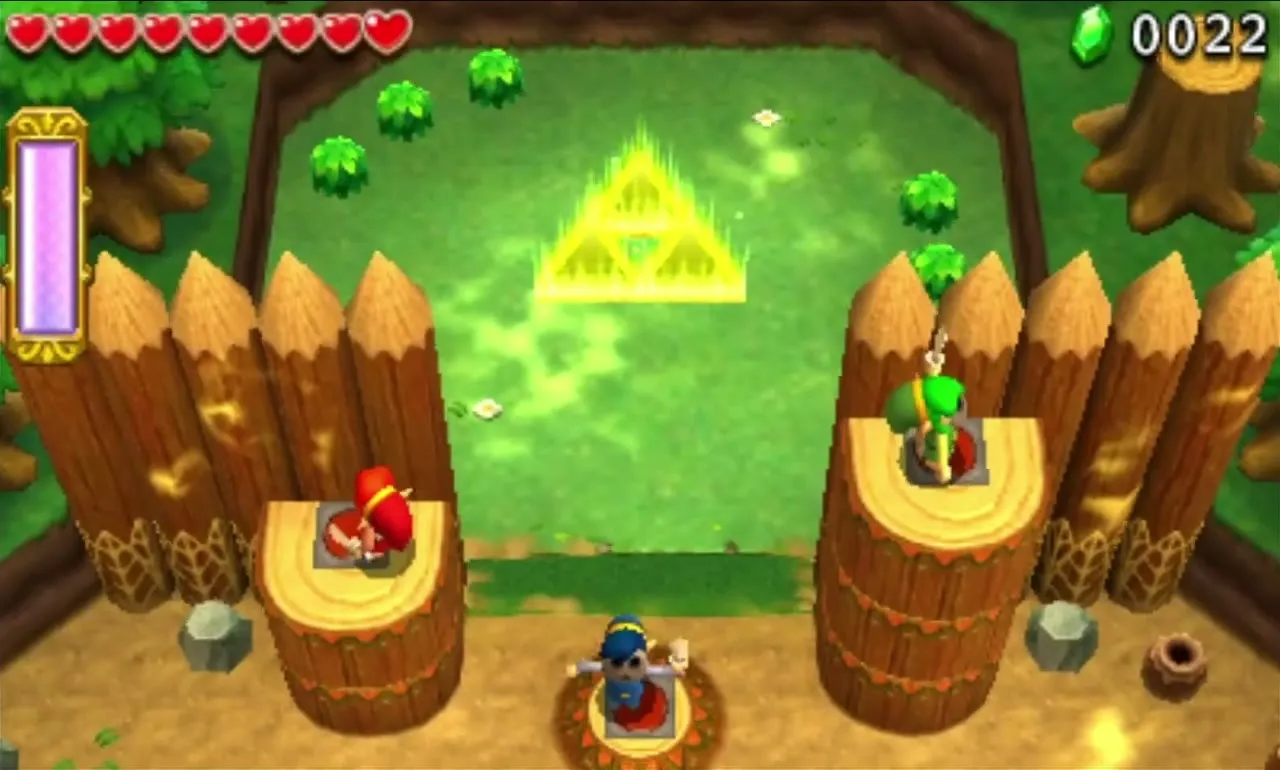
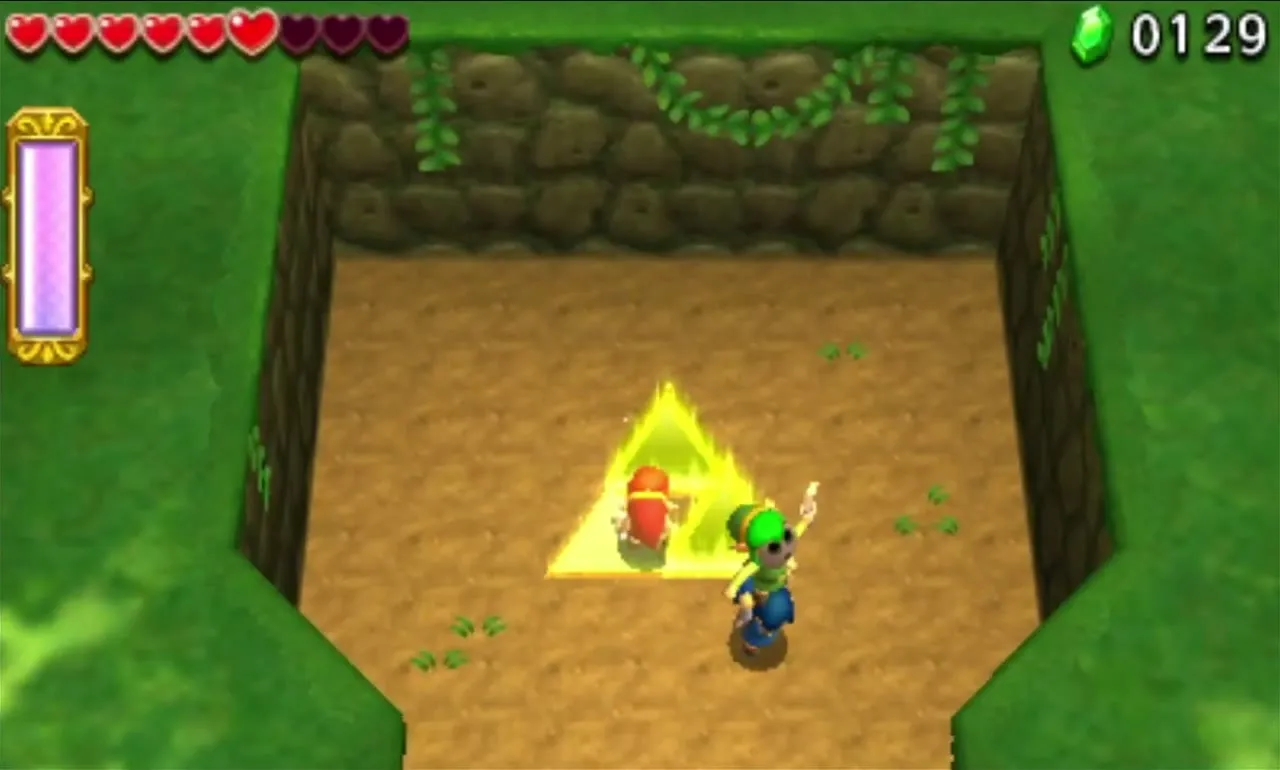
The wooden gate at the far end needs three Floor Switches pressed at the same time, and they sit on logs of different heights. The shortest log needs a Totem of two. For the tallest log, build a full Totem of three, then have the middle Link throw the top Link up onto it. When all three Links stand on a switch, the gate opens and the Triforce Gateway is behind it. A ledge to the east holds a few Rupees; a Totem throw will get one Link up there.

Deku Forest Stage 2
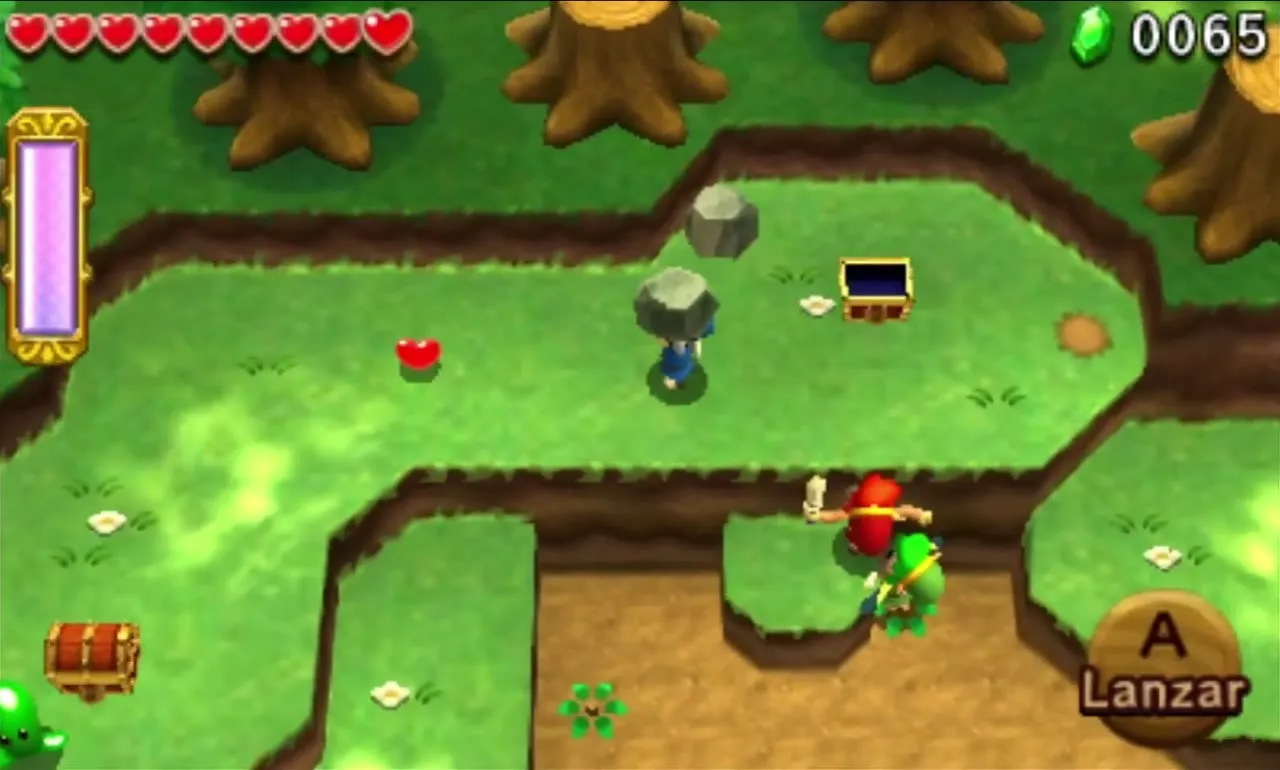
Eight Blobs are spread over several ledges, and the Gateway only appears once all of them are gone. Walk up the ramp on the east side and throw each other onto the higher ledges, using Arrows on any Blob that is out of reach. Two chests sit on the top ledge: one holds three Hearts and the other a Blue Rupee, which is worth 5. Top up your Hearts there before the exit.

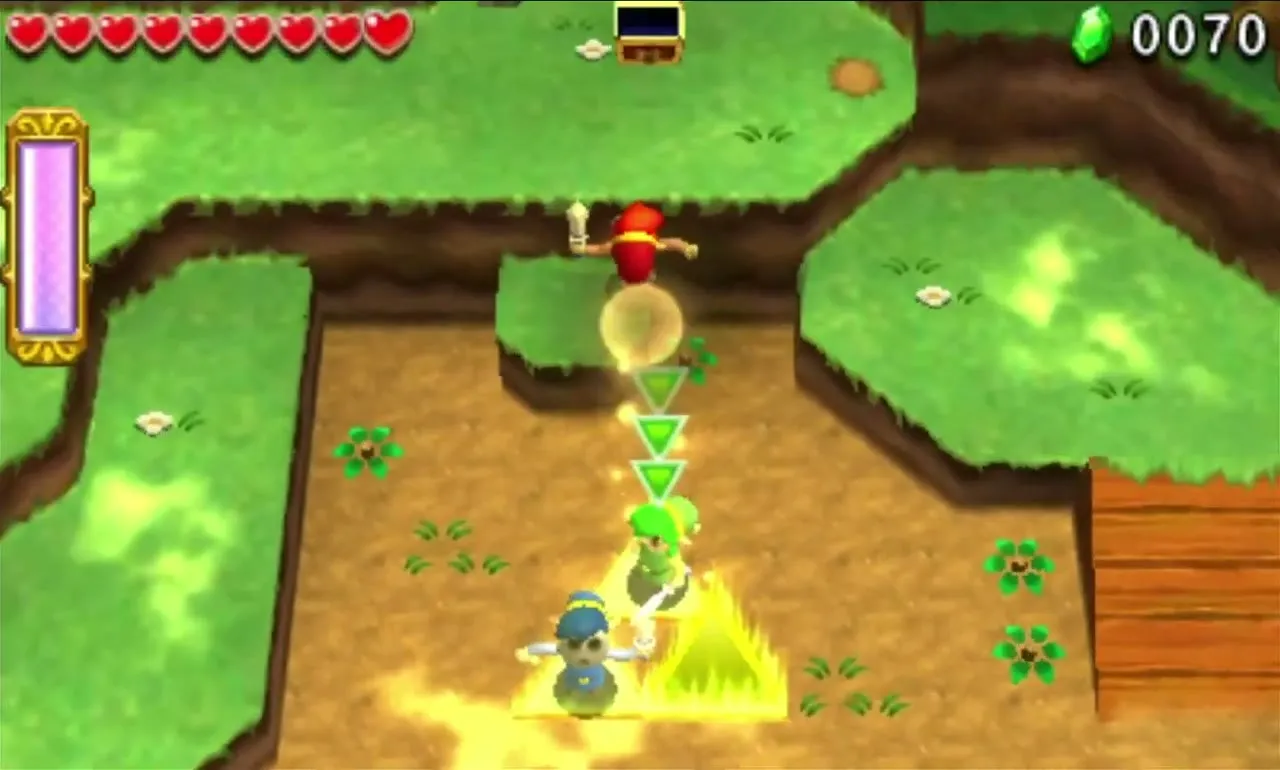
Deku Forest Stage 3
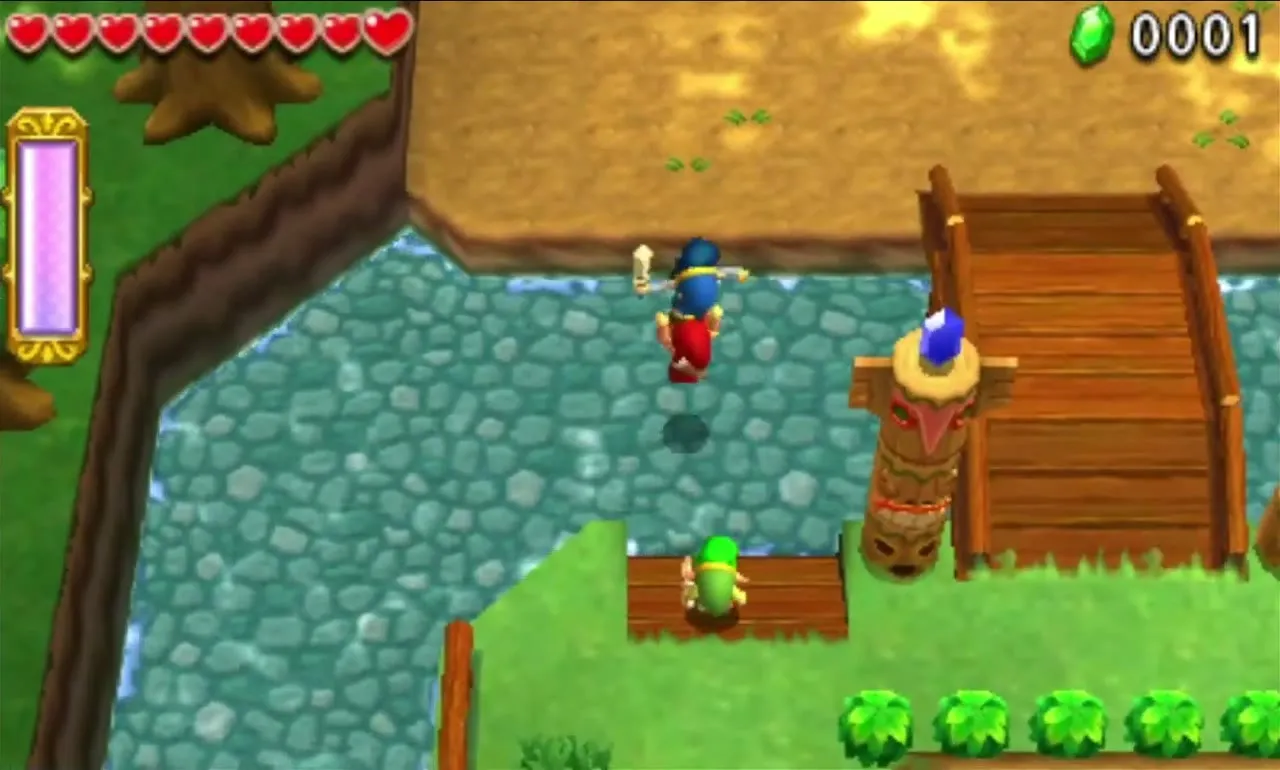
This stage is a chain of cliffs high above water. Hit the Shock Switch you start beside to bring a platform across the first gap. On the next cliff, throw two Links up to an upper ledge and form a Totem there so the top Link can shoot a second Shock Switch across the gap. Near the third cliff are two chests: one holds a Blue Rupee, and the other, a Red Rupee (worth 20), sits on a ledge that you can only reach by throwing a Link up.
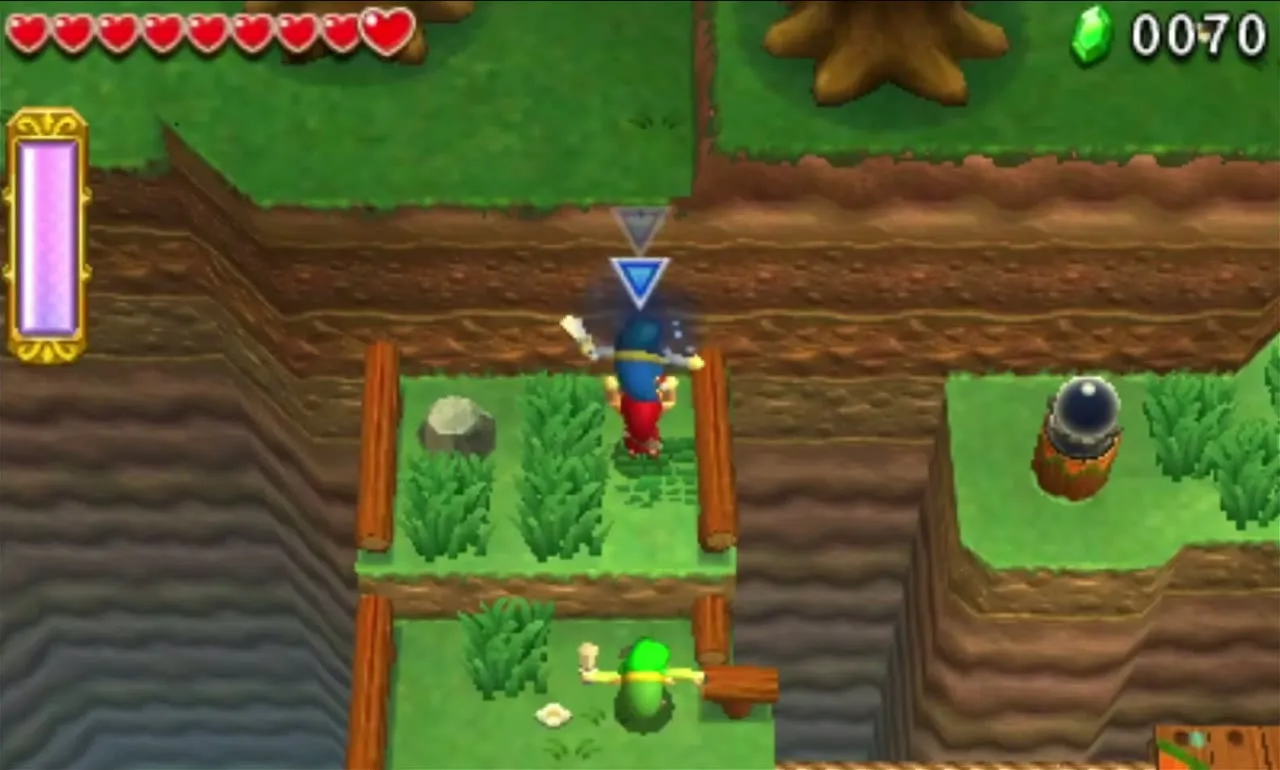

A moving platform shuttles between the third and fourth cliffs, and a Shock Switch is tucked into an alcove high above it. Only the Link on top of a full Totem can shoot it with an Arrow. Hit it and a bridge appears to the last cliff and the Triforce Gateway. Two Hearts rest on a ledge beyond it if you are low on health.
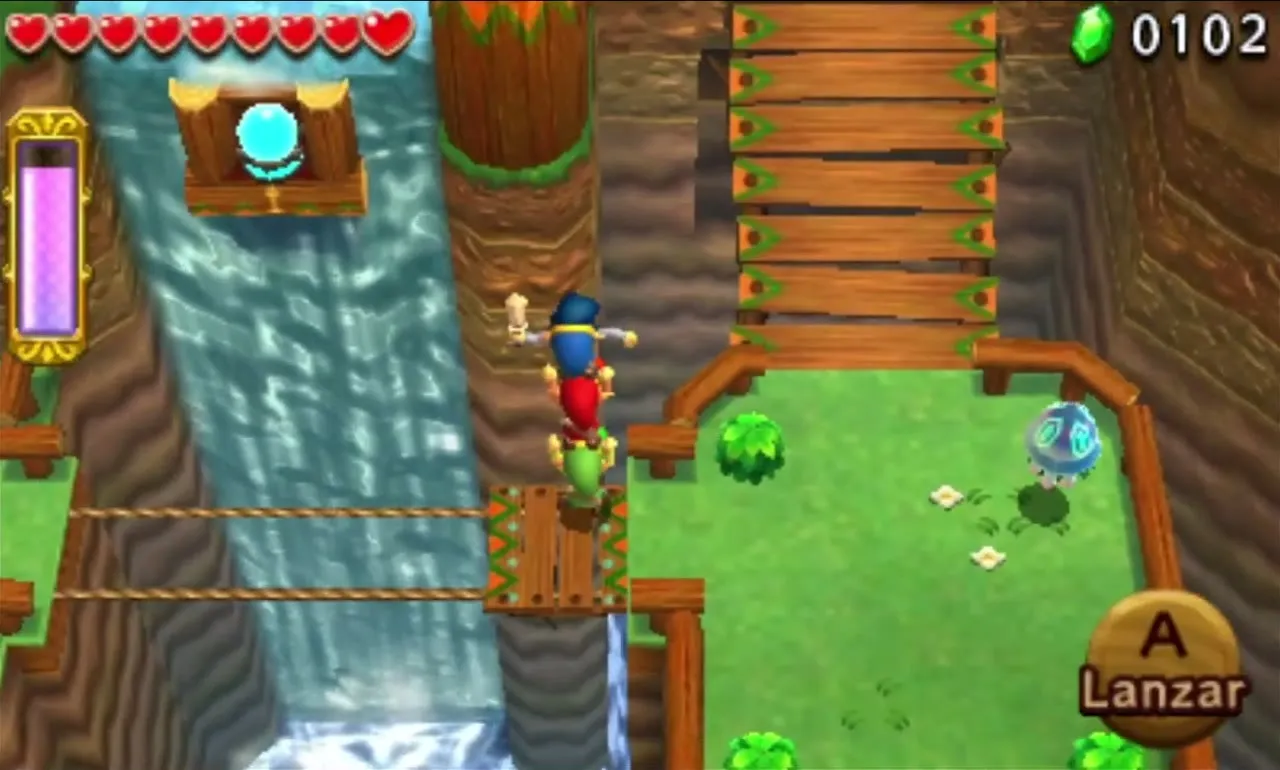
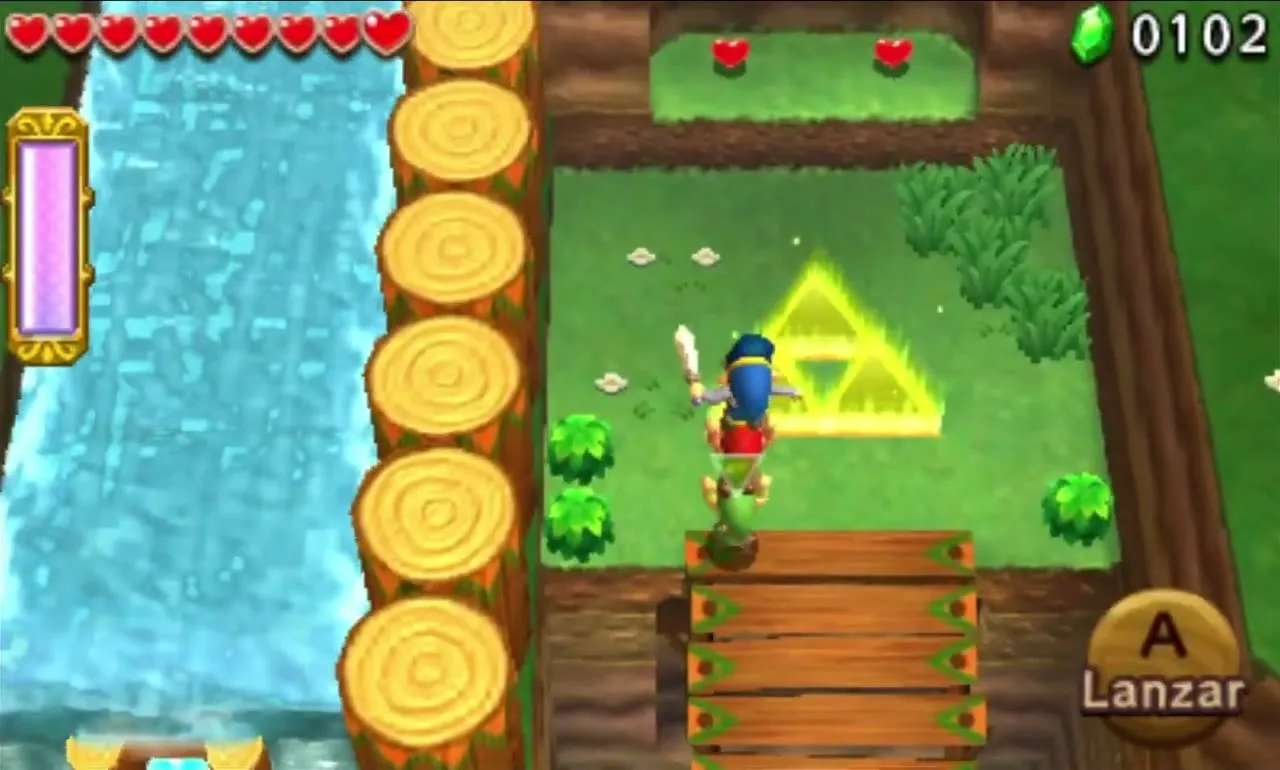
Deku Forest Stage 4
The last stage is a clearing with four Totem Dekus. They sink into the ground when you come close, so keep your distance and shoot their heads. One stands at ground level and needs only a single Link’s aim. Two require a Totem of two, and one a full Totem of three. When all four are down the gate opens and the Gateway appears. There are plenty of Green Rupees around the clearing.

Deku Forest treasure chests
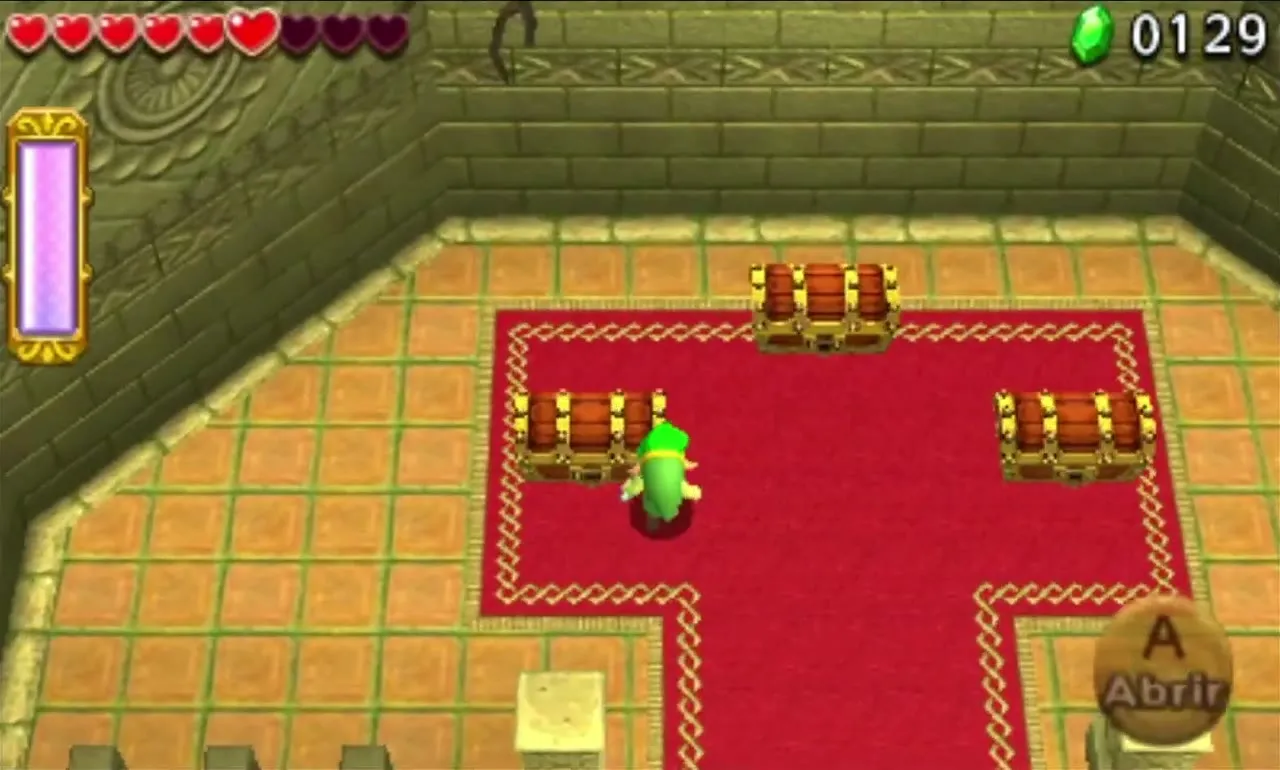
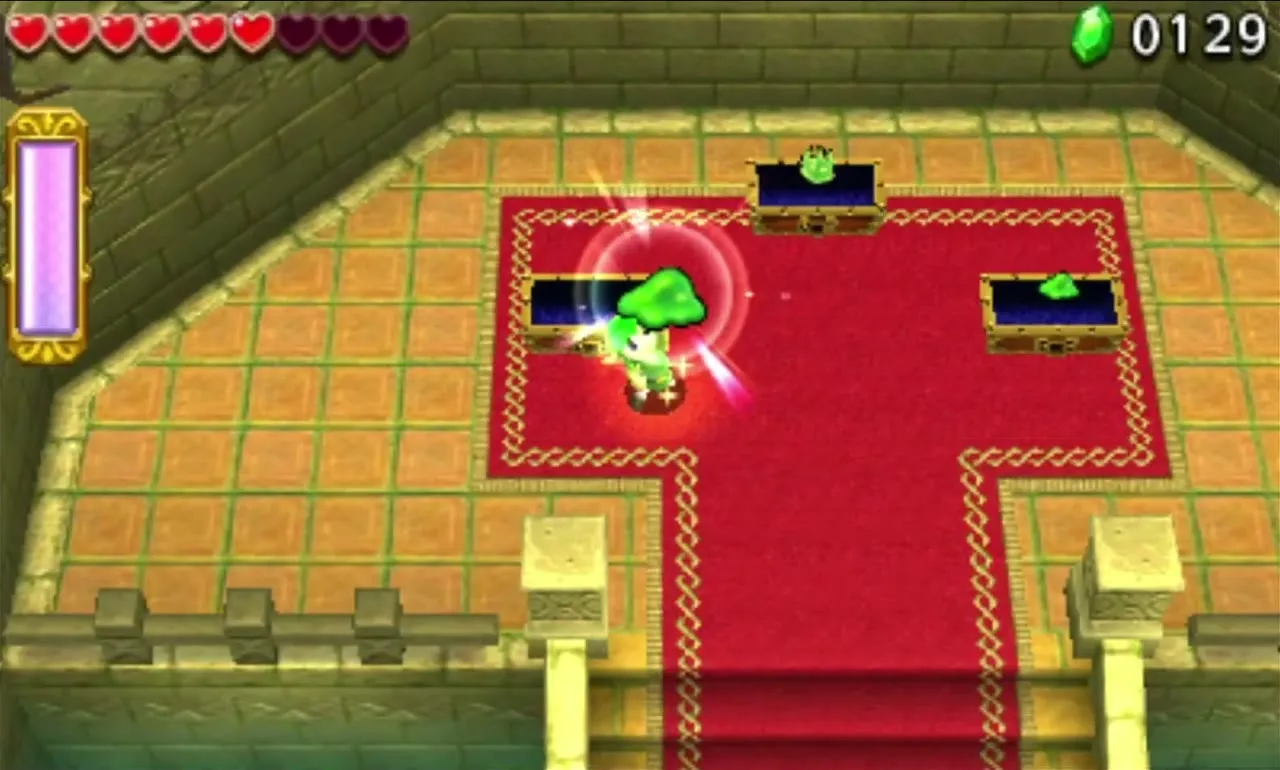
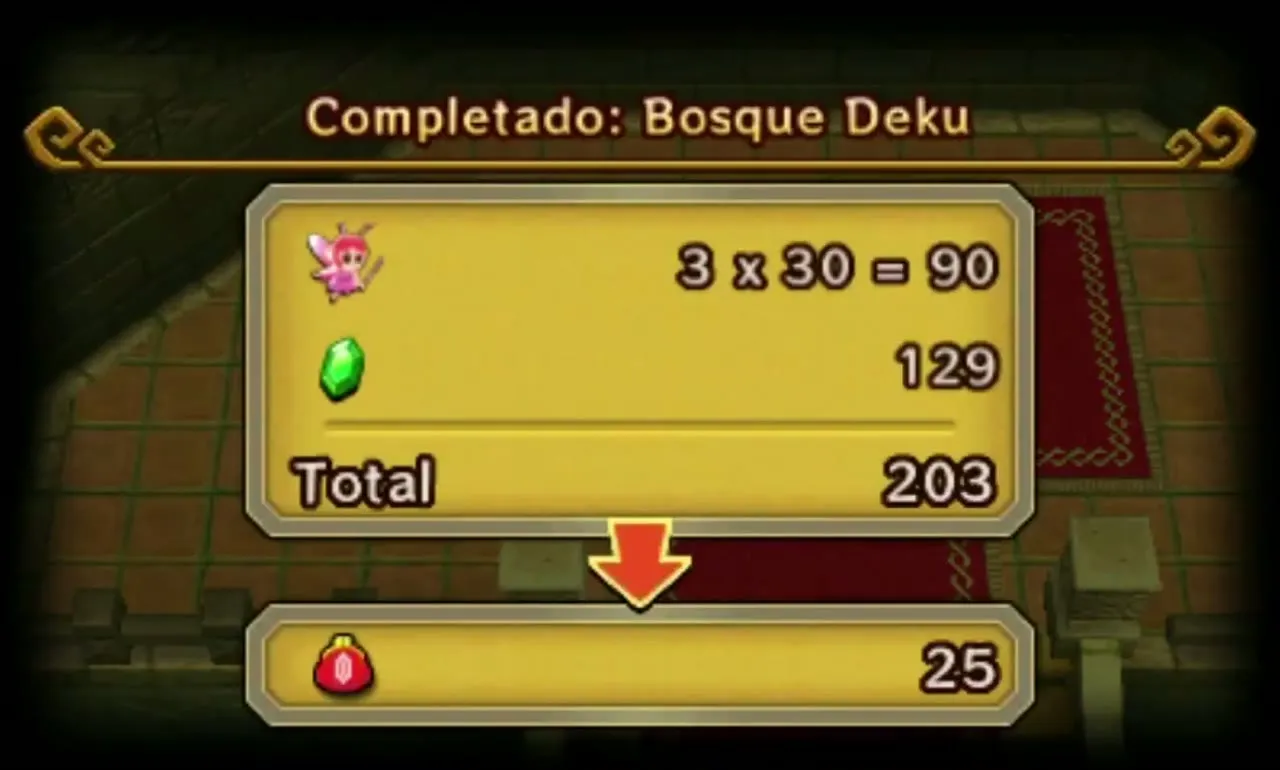
After the last Gateway each Link opens one of three chests. Two hold the same Material and one holds a rarer one. Clearing Deku Forest with no challenge pays out Blob Jelly and an Armos Spirit; both go into the Kokiri Clothes. The Level ends with a bonus of 30 Rupees for every Fairy you still have, so try not to lose any.
Defeat Margoma and Deku Forest comes back with three Drablands Challenges: “Fewer Heart Containers!”, “Clear within the time limit!” and “Guard the Orb!”. Rewards are listed on the Drablands Challenges page.

Buzz Blob Cave
Buzz Blob Cave is a deep earthen cavern with chasms between the ledges, and it again gives each Link a Bow. The new threat is the Buzz Blob, which shocks any Link that touches it, so it can only be hurt from a distance. The Level ends with a mini-boss, the Electric Blob King. The Kokiri Clothes help a lot here.

Buzz Blob Cave Stage 1
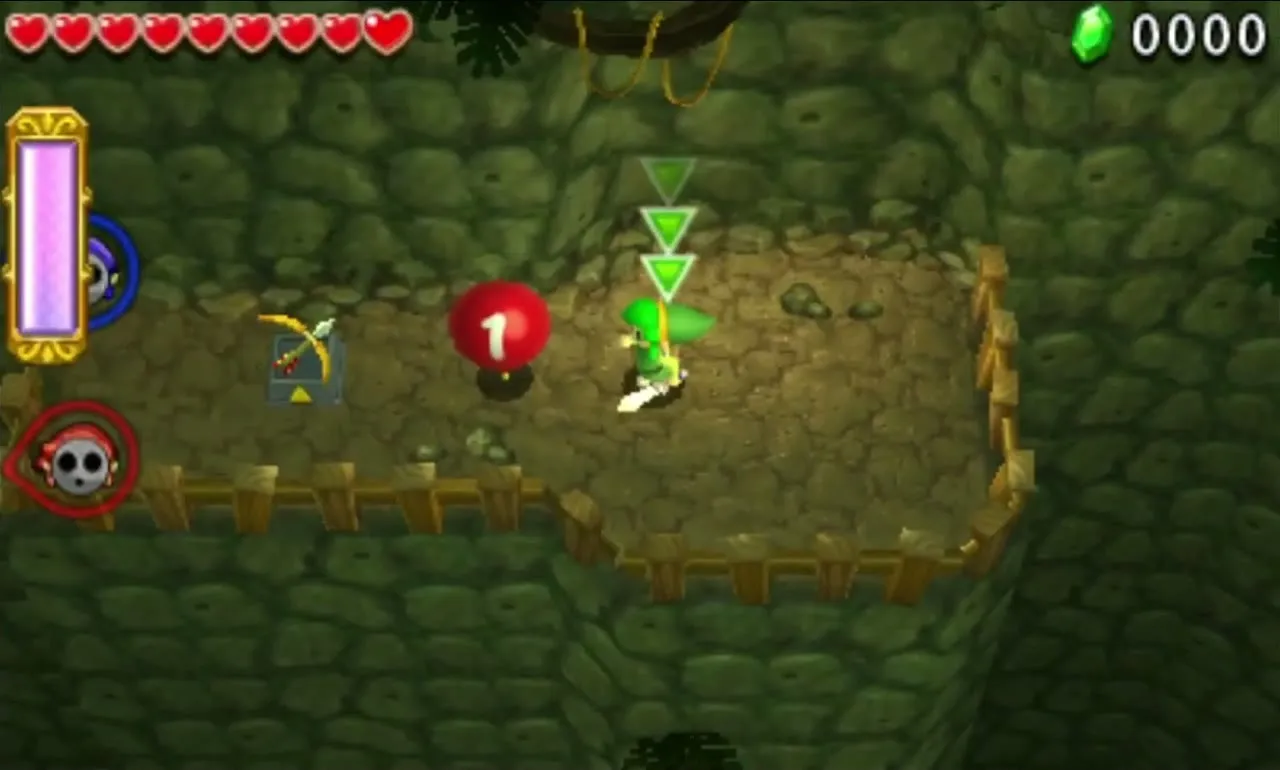
The Links begin on separate ledges, each with a Bow, and a floating Balloon holds up the bridge to the middle of the cave. Shoot the Balloon from your ledge and your bridge drops into place. When the Links meet, three Blobs wait. Defeat them to reach the final stretch.
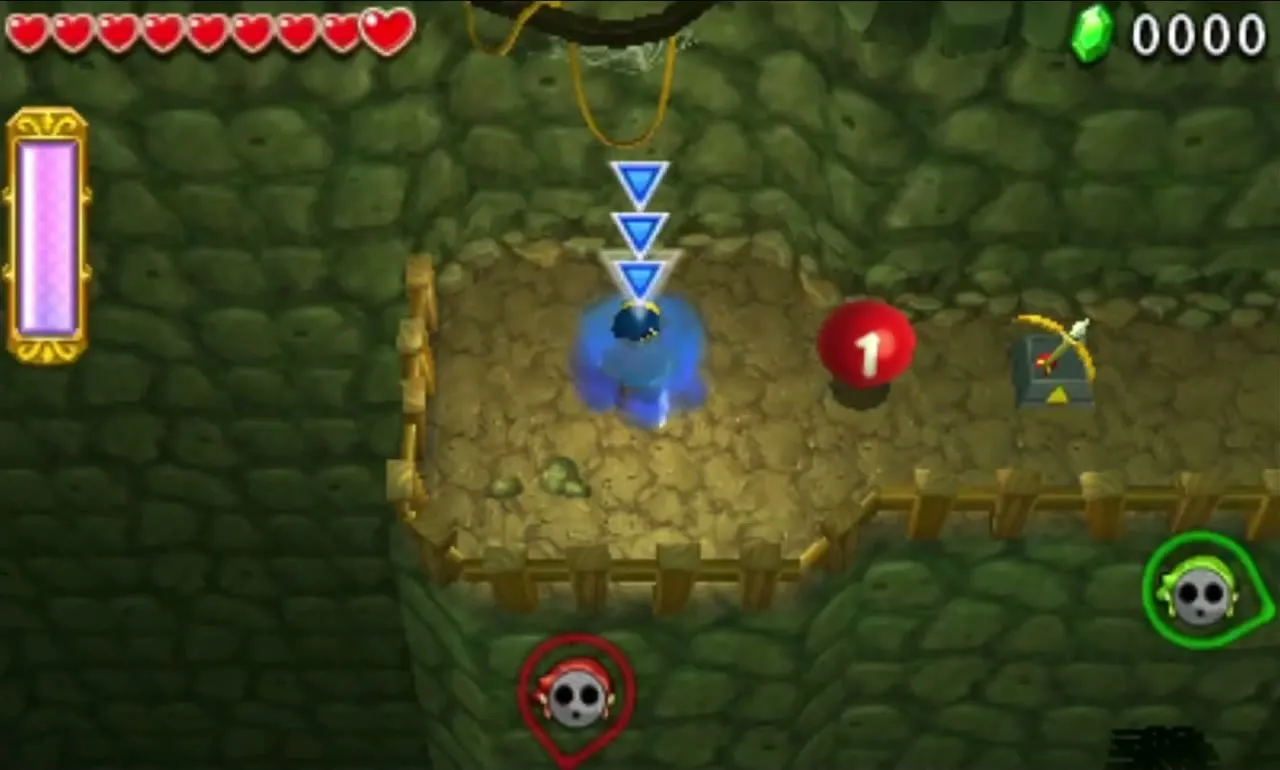
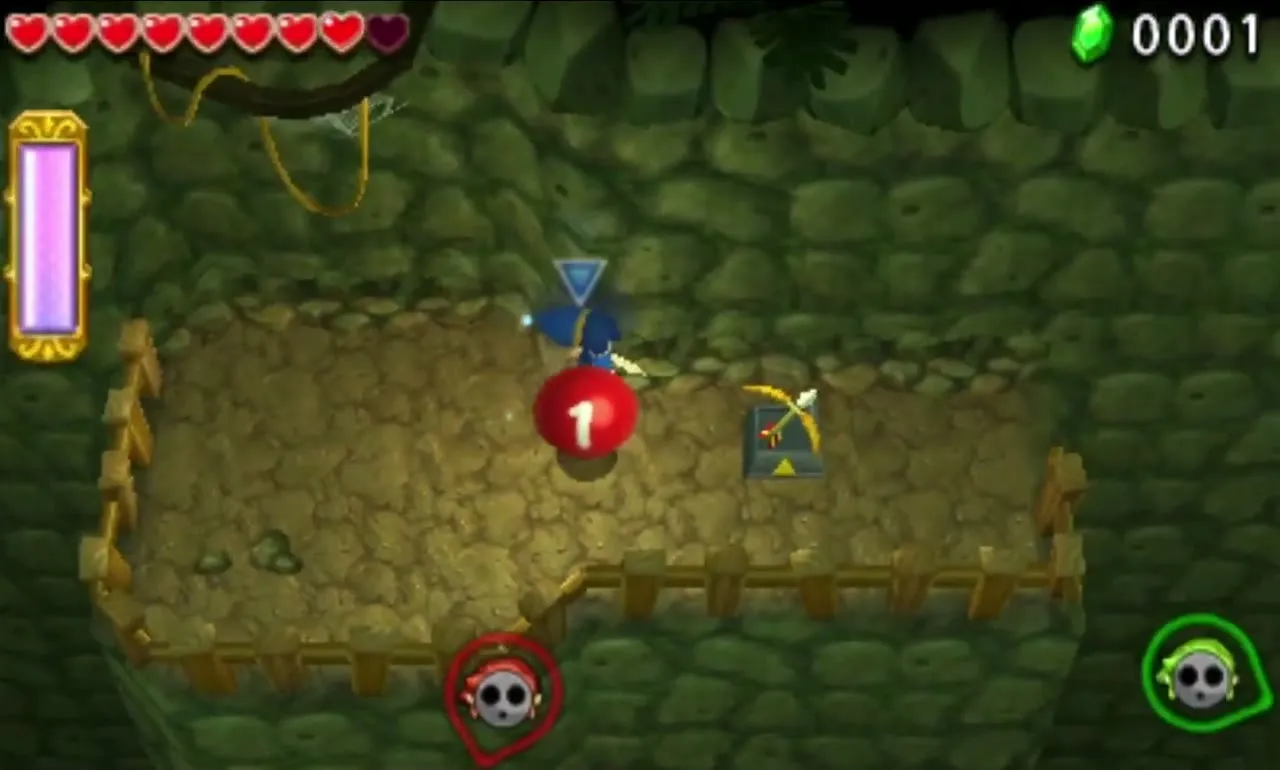
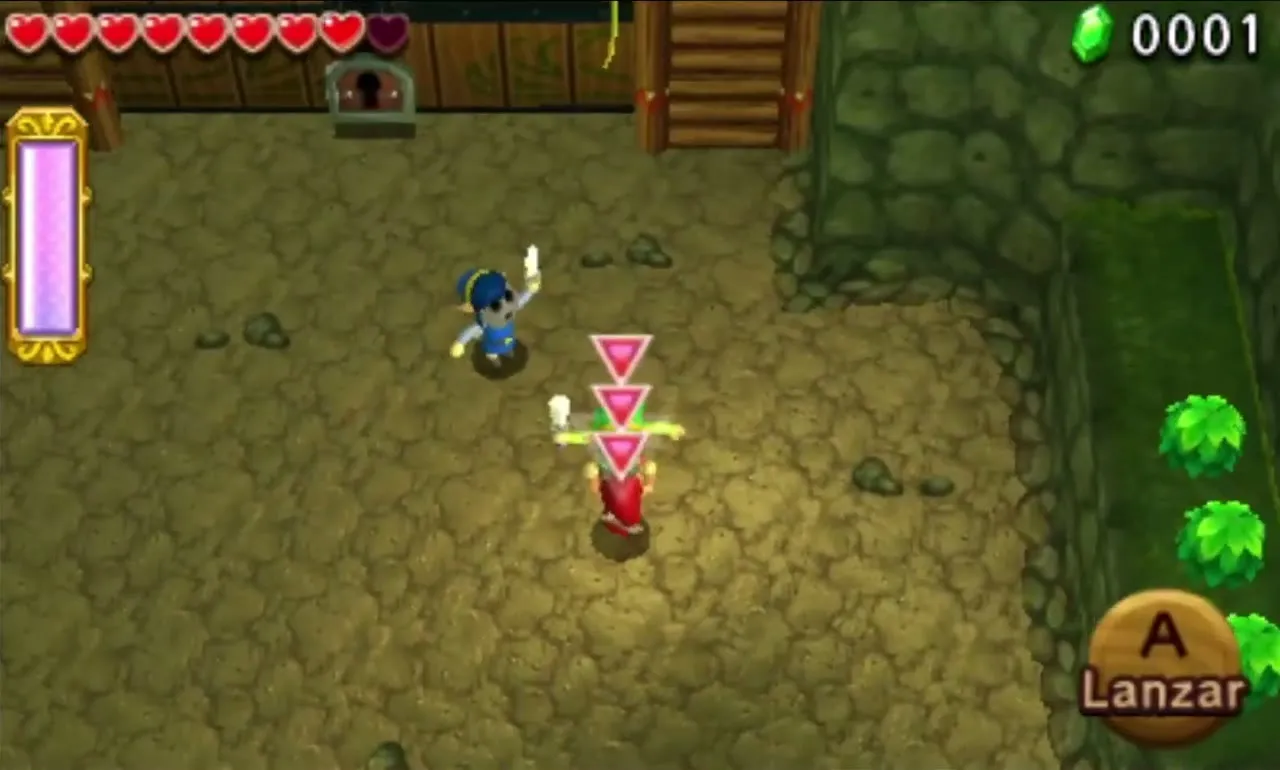
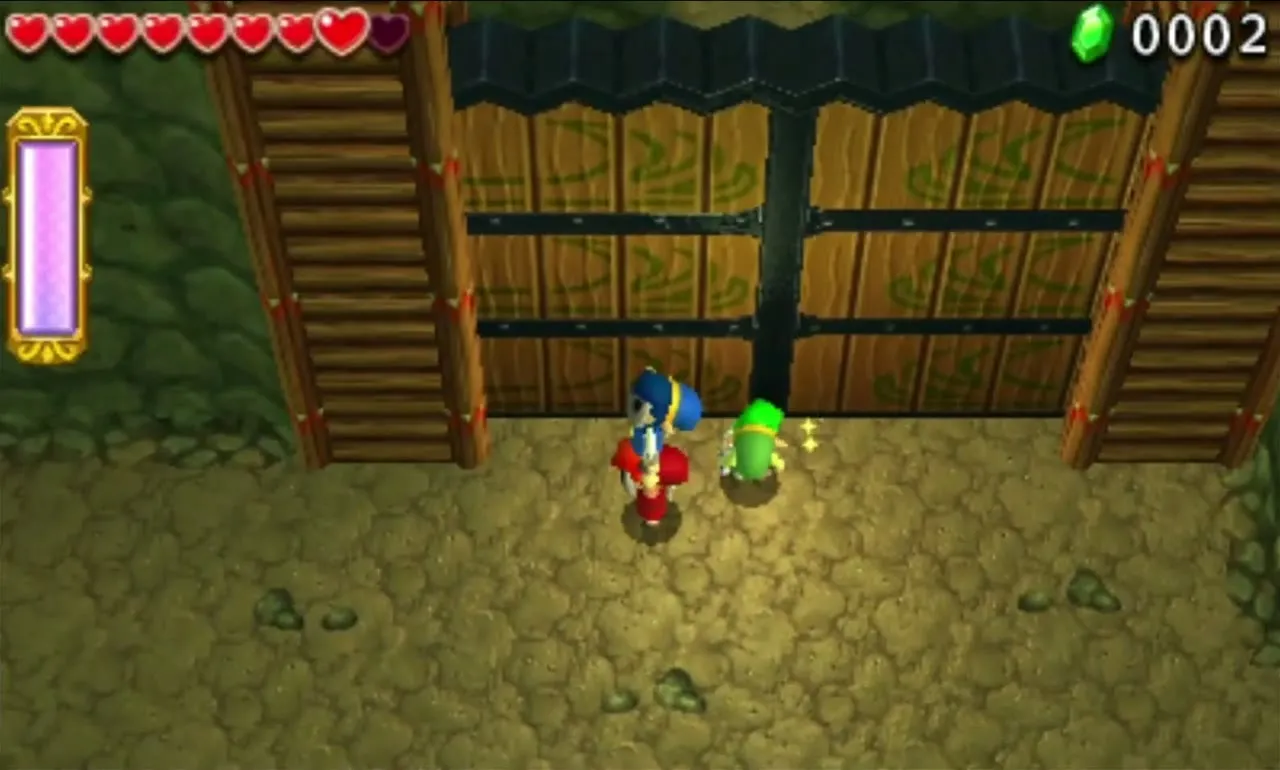
The Gateway is behind a locked gate, and its Key hangs inside a Balloon beside the gate. Throw the Links up two nearby ledges until one of them can burst the Balloon. Pick up the Key, carry it to the gate and walk through to the Triforce Gateway.

Buzz Blob Cave Stage 2
Below the starting ledge is a Big Switch in a large room, and all three Links must stand on it at once. Seven Blobs and a Buzz Blob appear in a ring around it, so shoot the Buzz Blob with an Arrow and use your Swords on the rest.

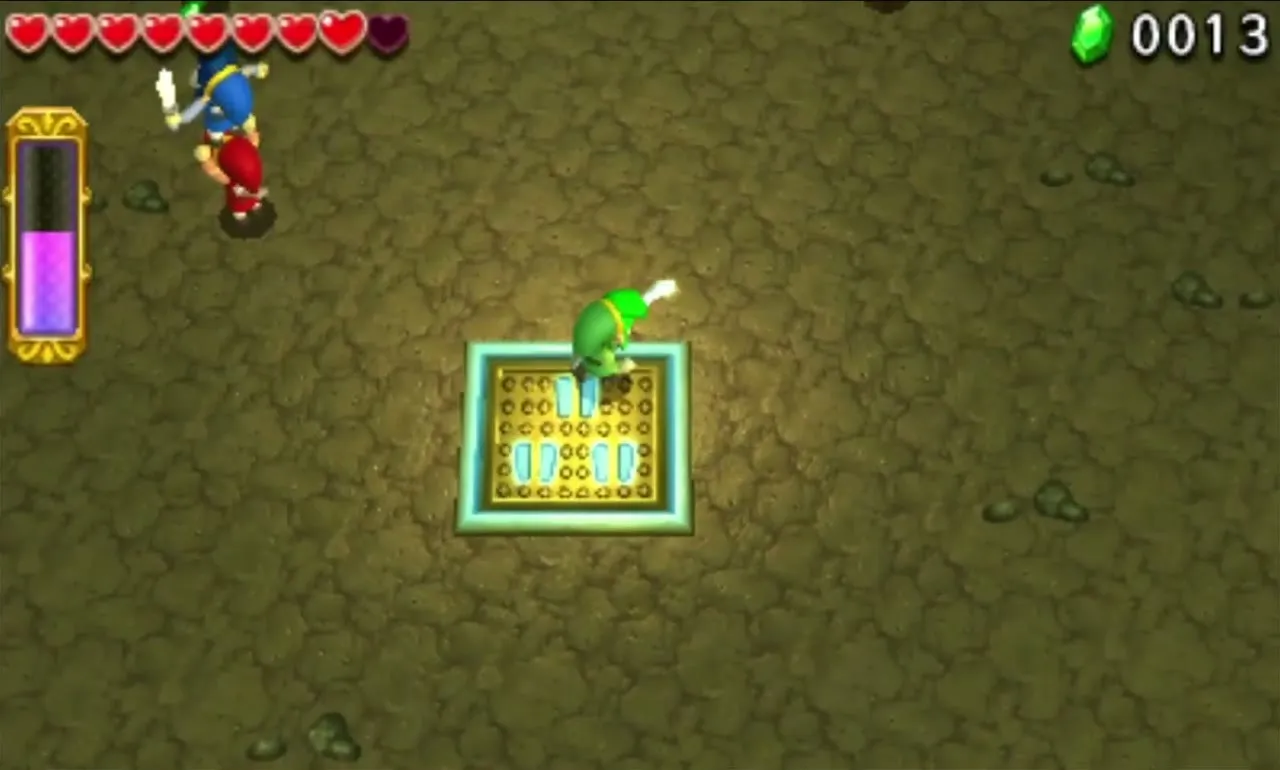
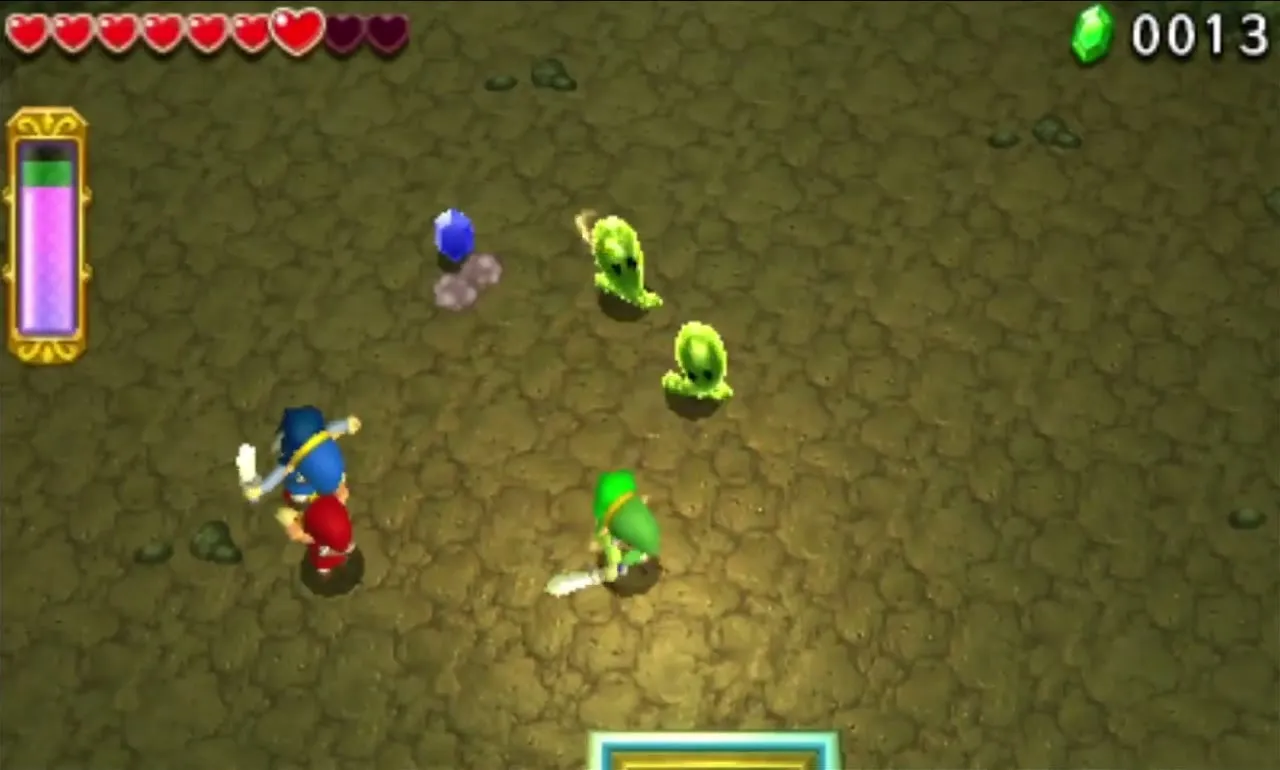
Beat them and a second wave of five Blobs and two Buzz Blobs appears in front of the closed gate. Once every enemy is down the gate opens. A short branch beyond it leads to a chest with a Purple Rupee, worth 50, before the Gateway.

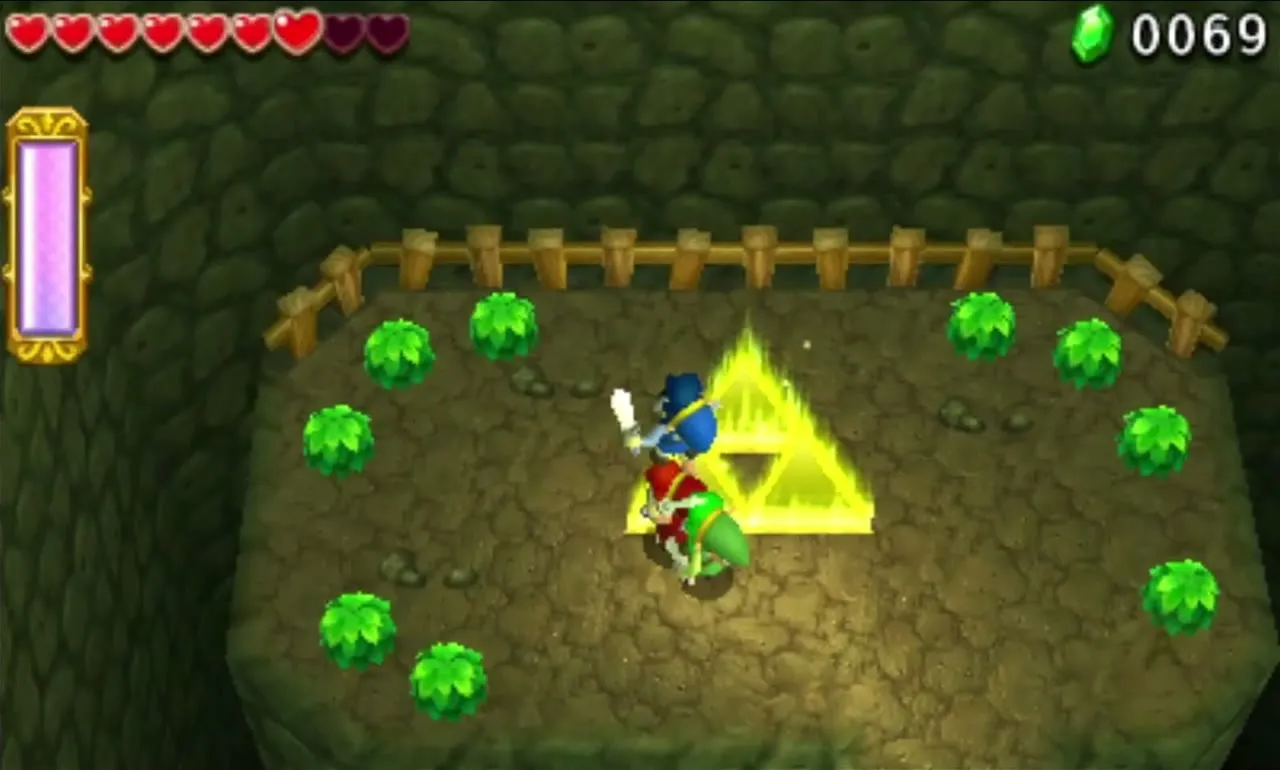
Buzz Blob Cave Stage 3
You start on a cliff above a chasm, with a central island ringed by four floating platforms. Three Shock Switches stand on different cliffs, and each covers itself in metal when a Link gets close, so it has to be shot from a distance by the Link on top of a full Totem. Cross to the central cliff, deal with the Totem Dekus and build your stack there, then take the east and north cliffs the same way.
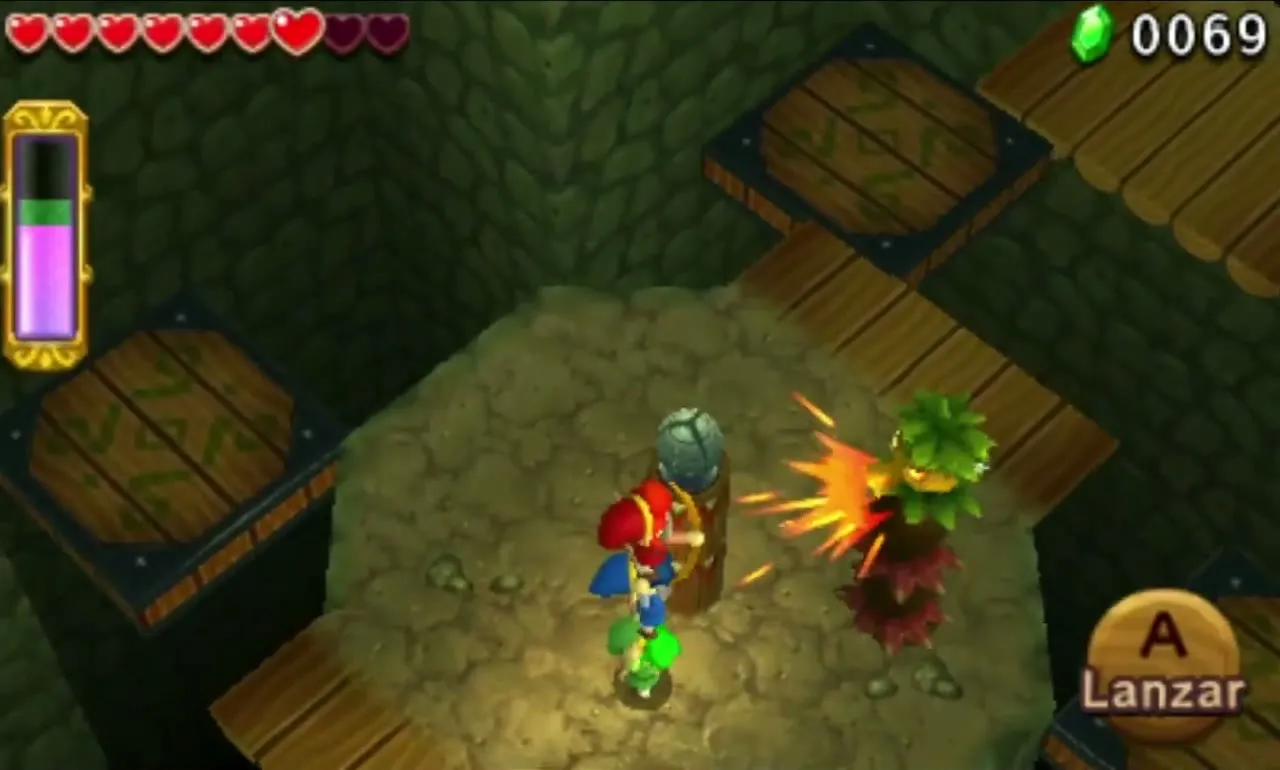
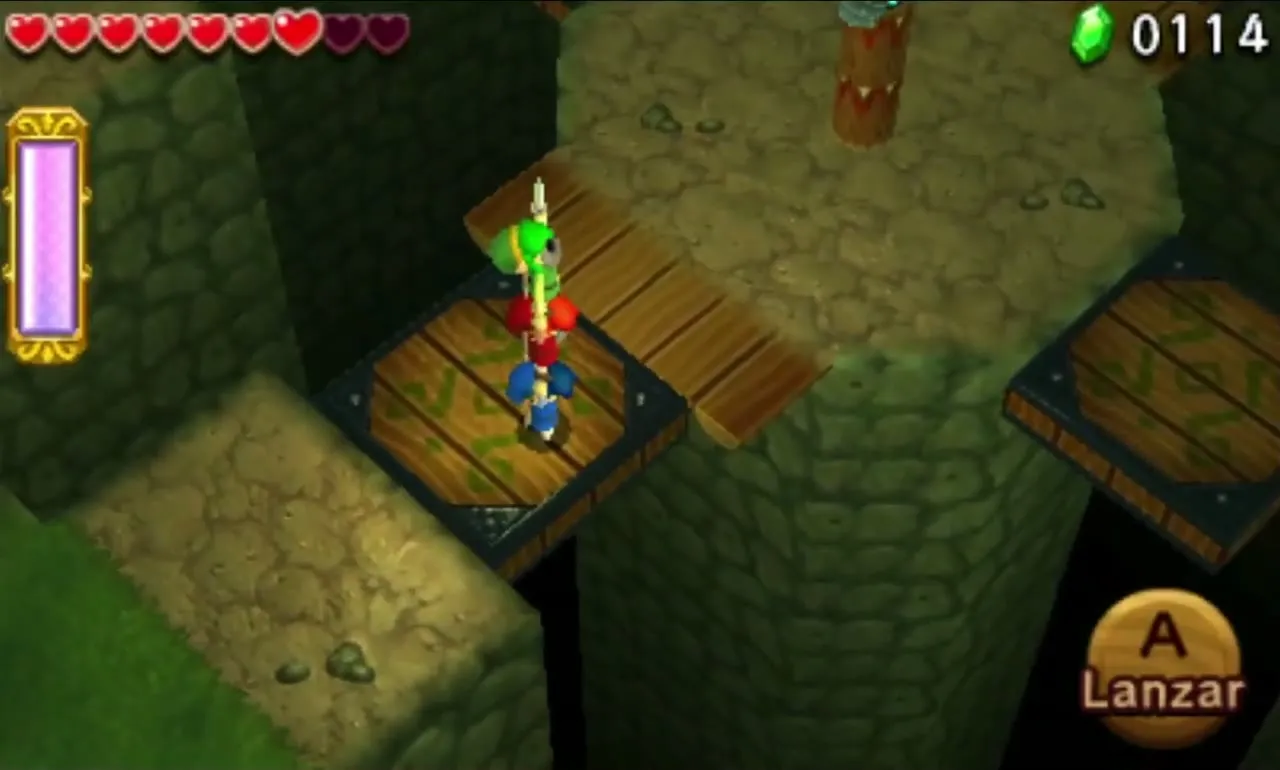
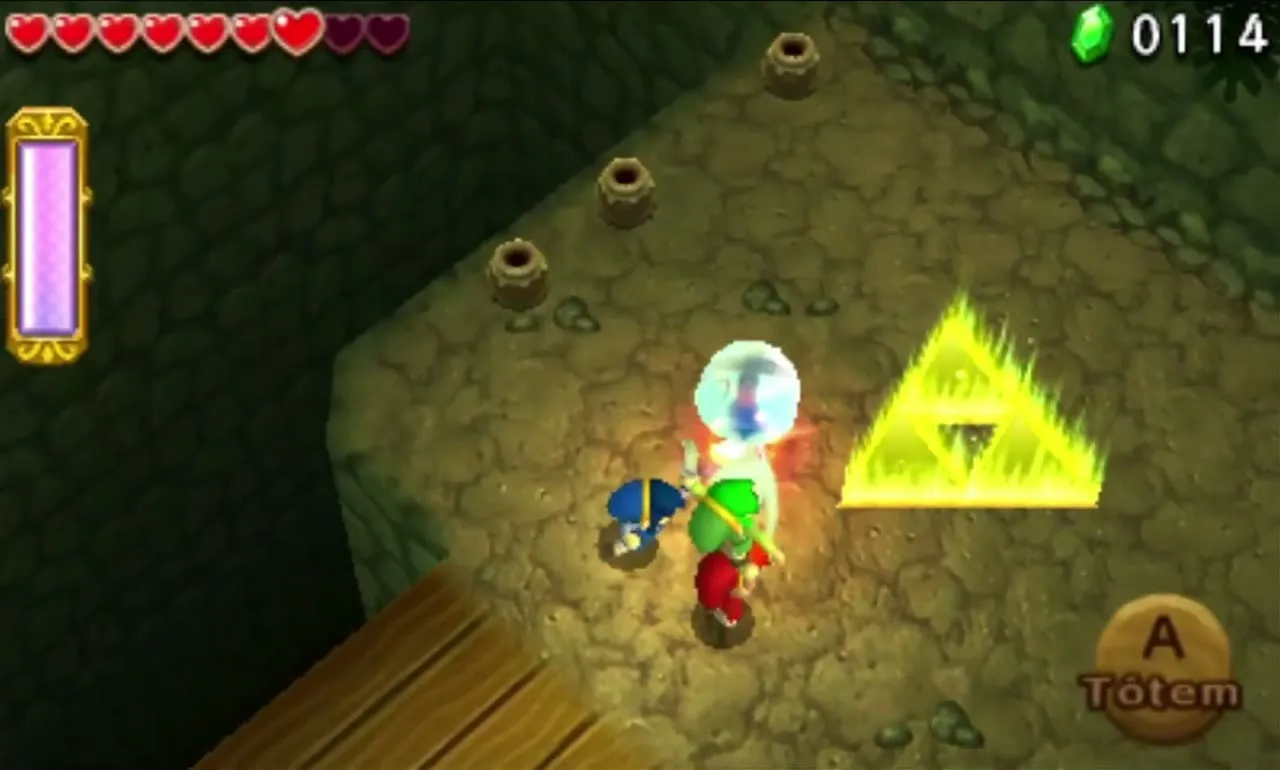
On the west cliff, a raised chest holds a Red Rupee. Throw a Link up to open it. When all three switches have been shot, the gate on the northeast cliff opens and a short bridge leads to the Gateway. A Squiddy and several Jars stand beside it.
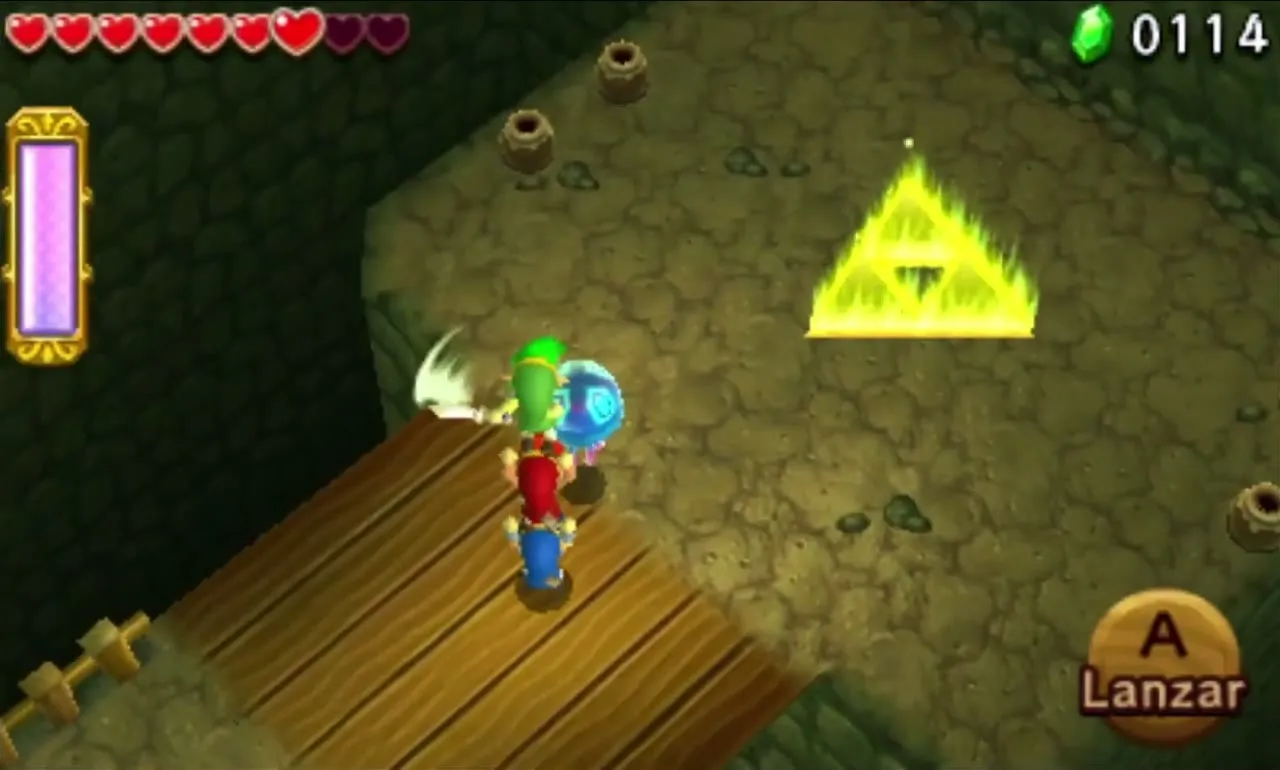
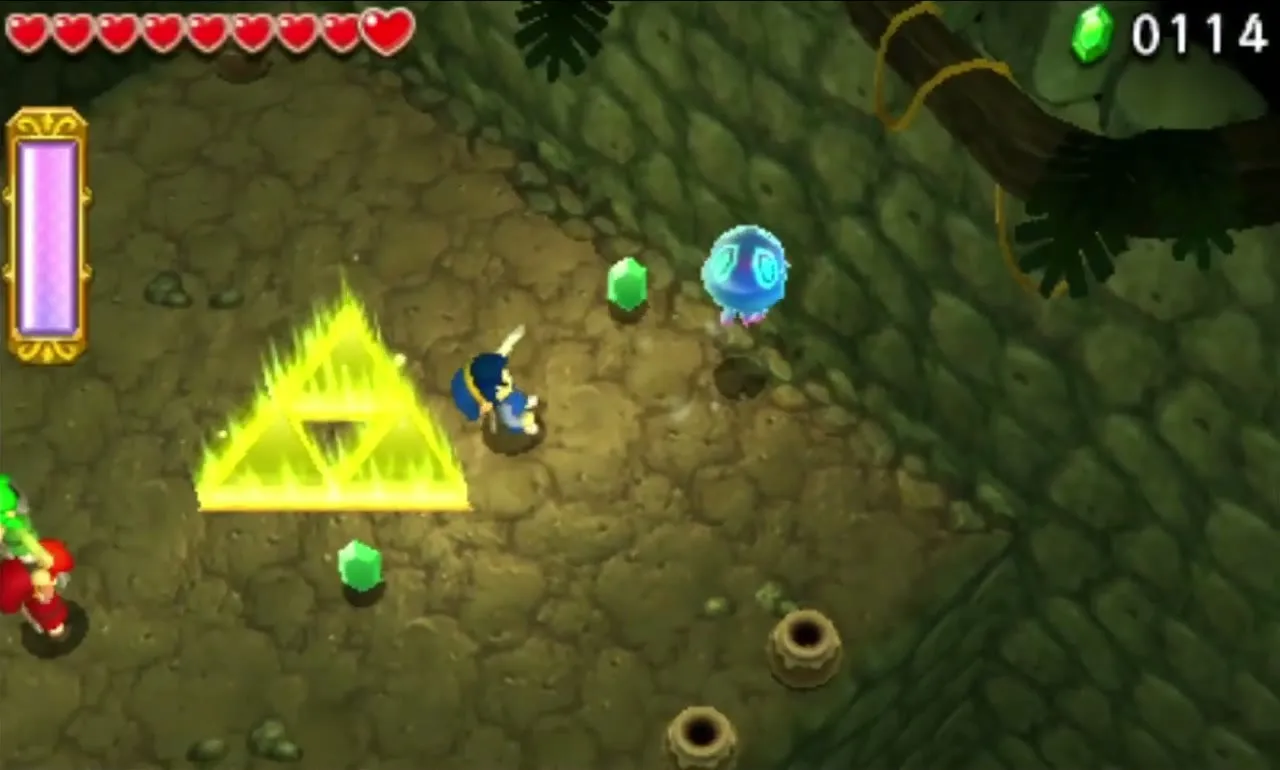
Buzz Blob Cave Stage 4
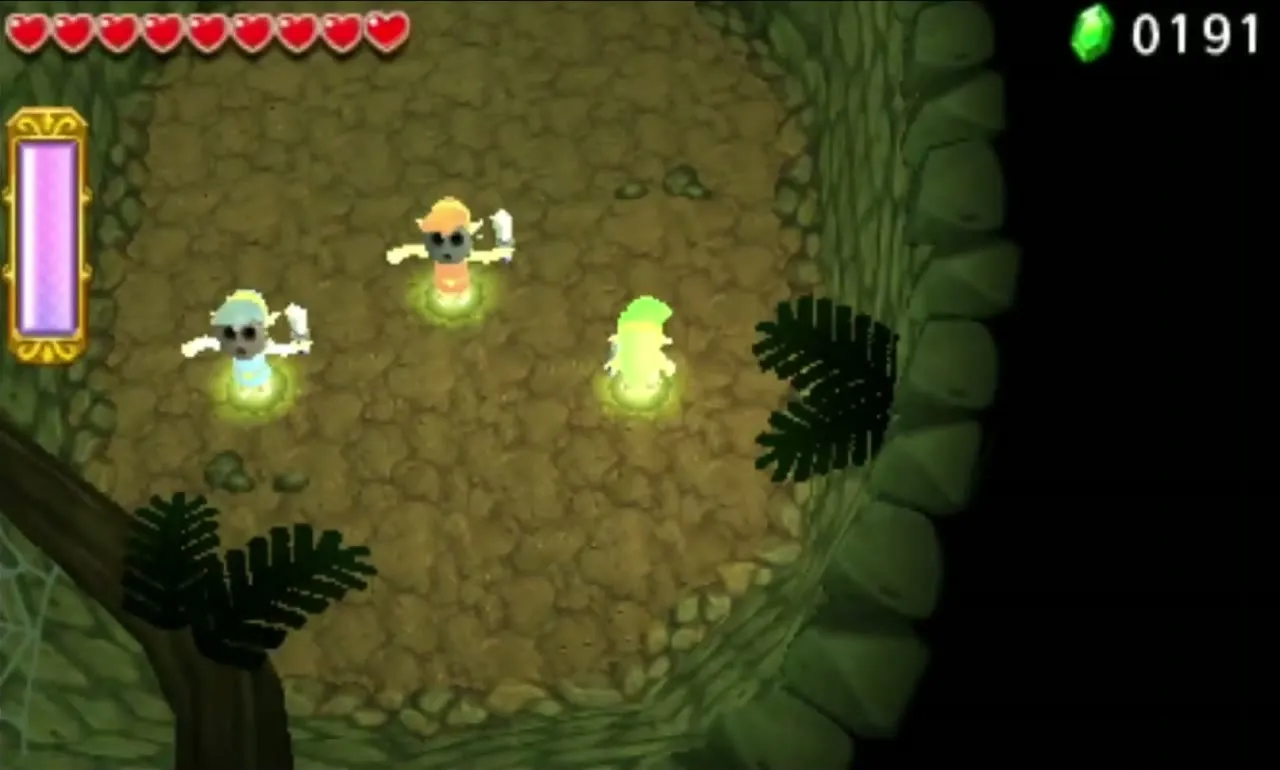
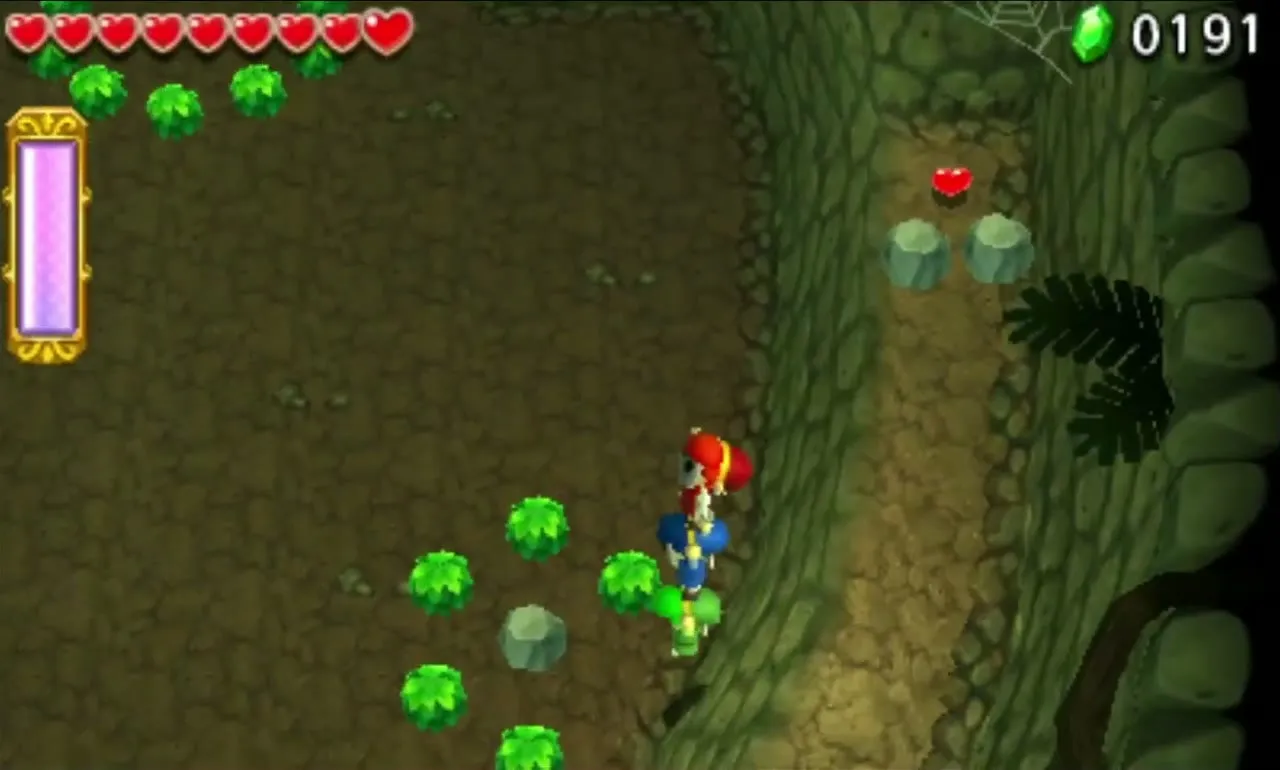
The Links drop into a large pit, and the fight starts once all three have fallen in. Before jumping, circle the rim: a Heart is hidden behind some rocks on the east side. In the north-east of the pit, a hidden tunnel can be reached by Totem and a throw, and it holds more Rupees, including a Red one.
Electric Blob King boss fight
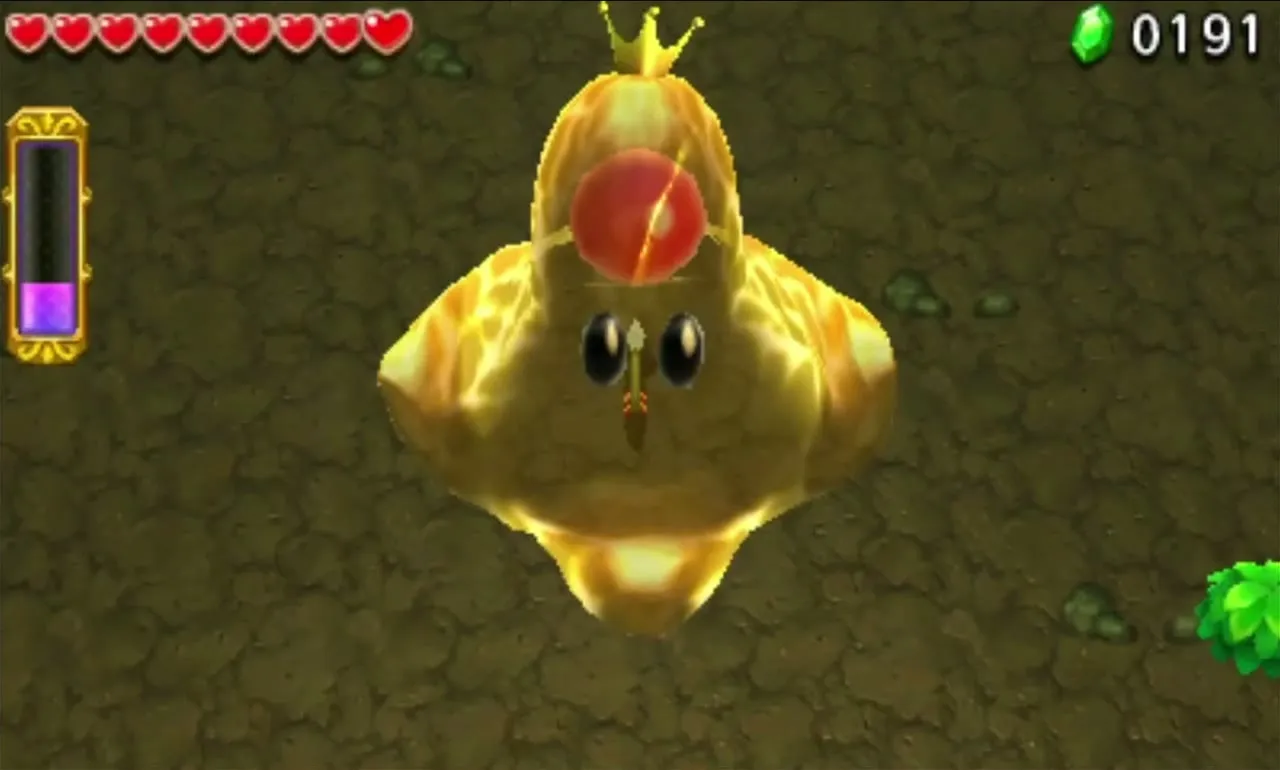
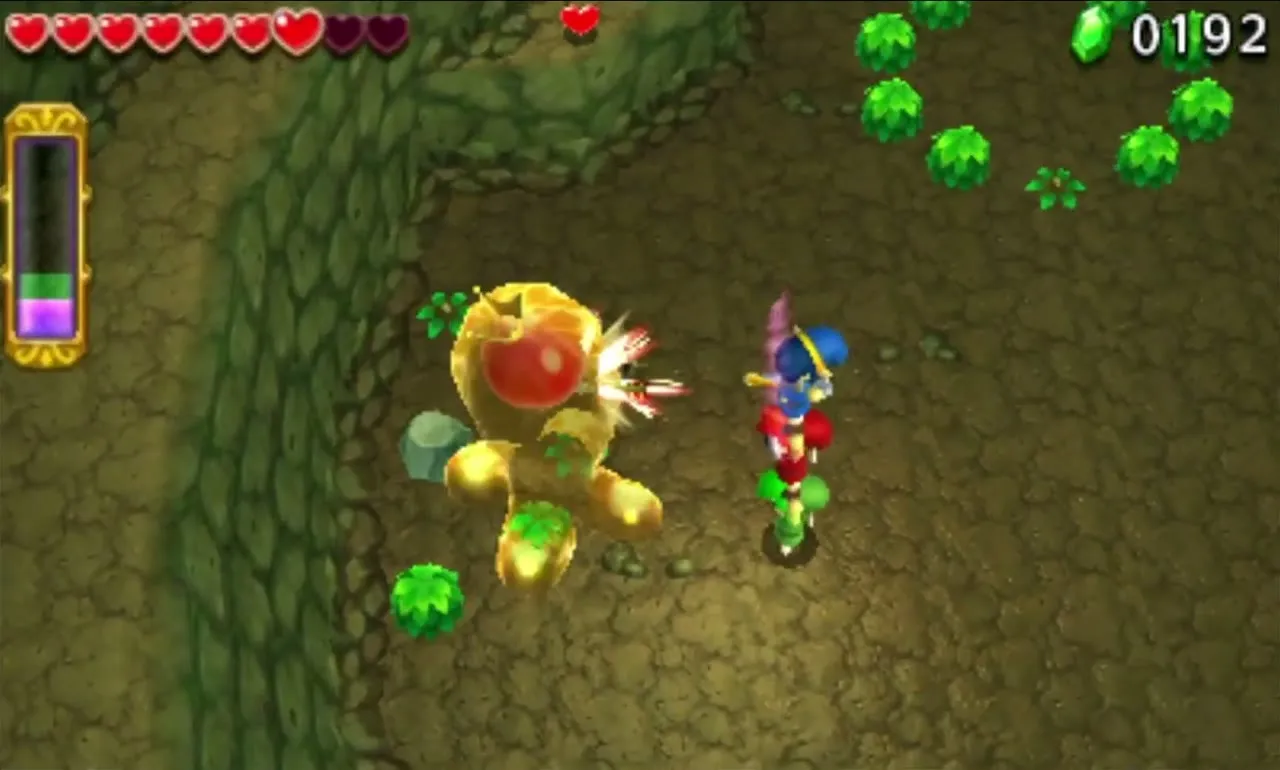
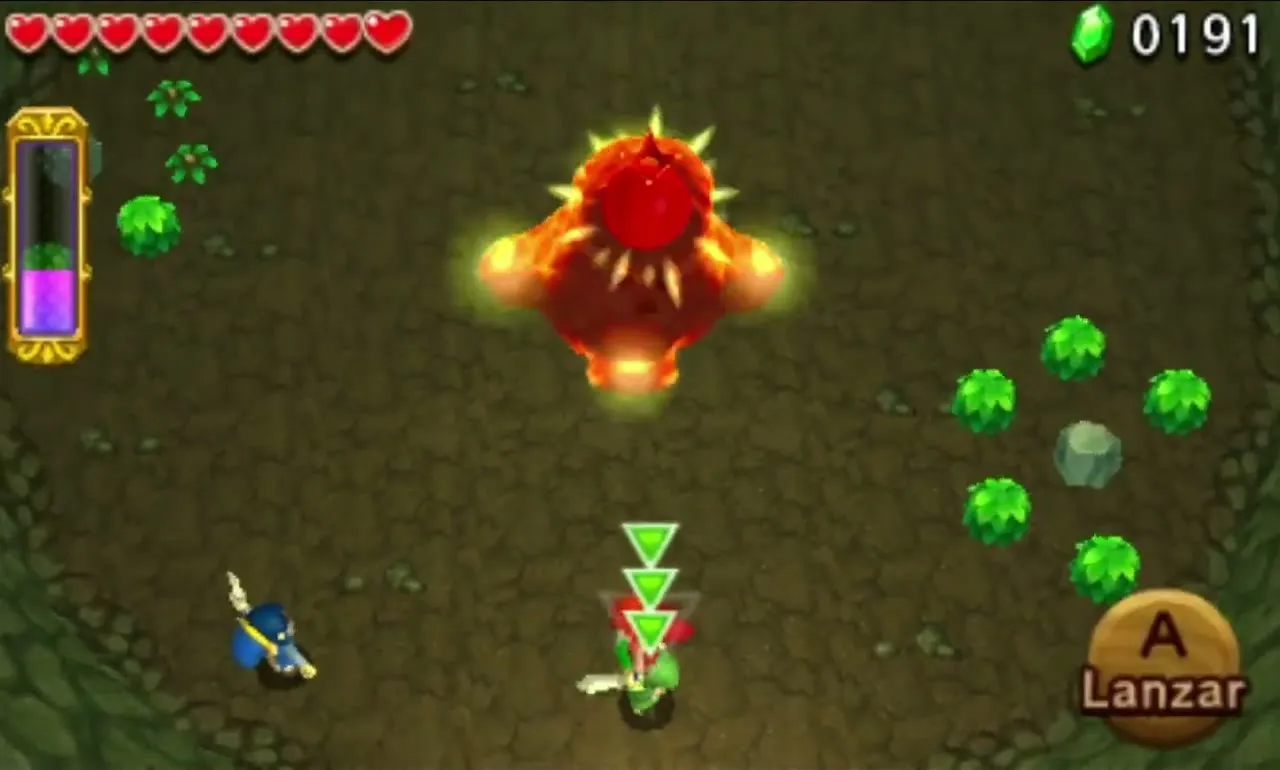
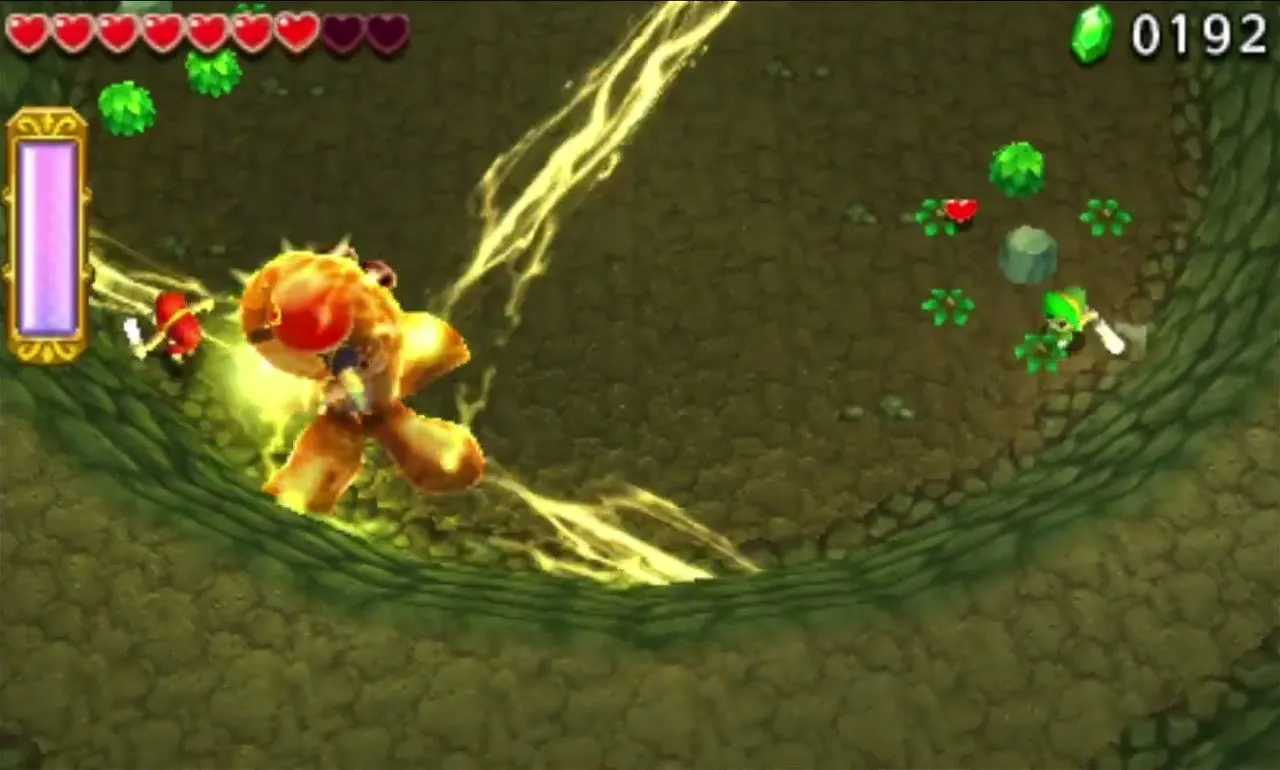
The Electric Blob King is a crowned jelly that shocks anything that touches it, so keep your Swords away. Shoot the red core on its head with Arrows. At first a Totem of two lifts the shooter high enough. The King then grows taller, and you will need the full three-Link Totem to reach the core.
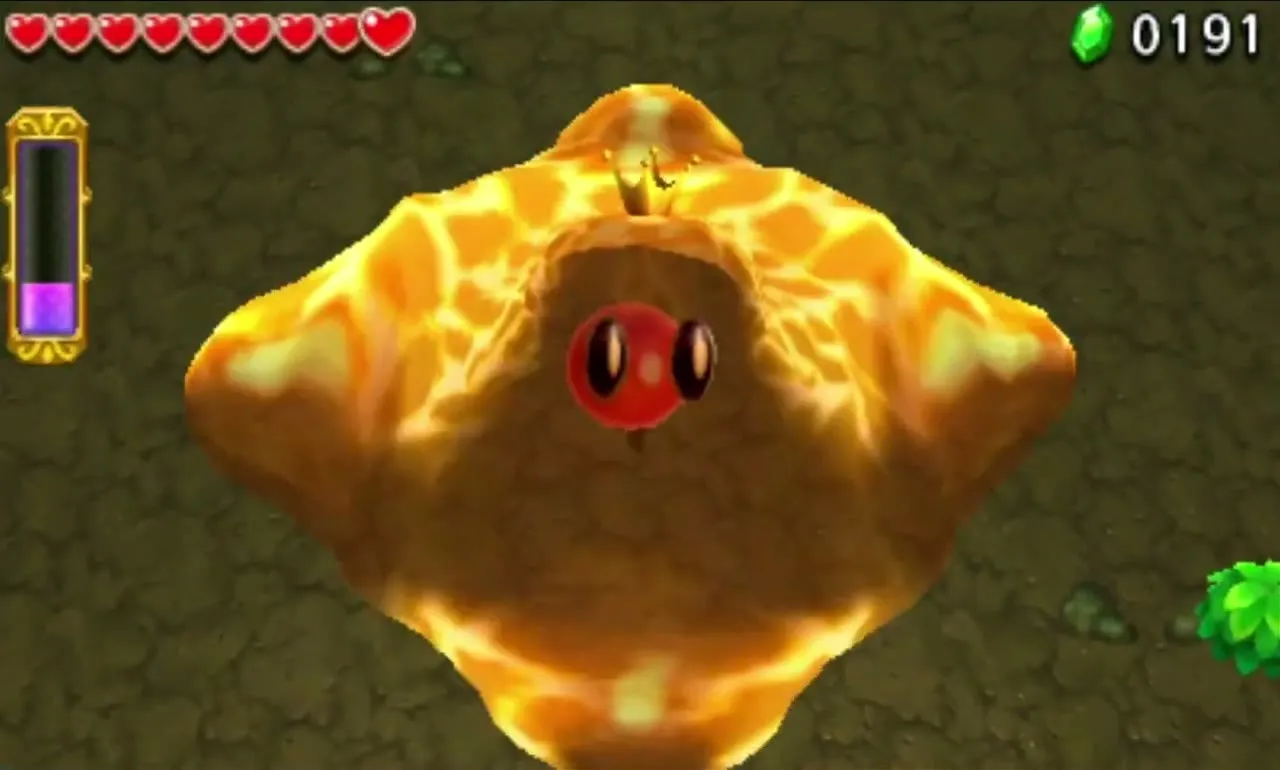

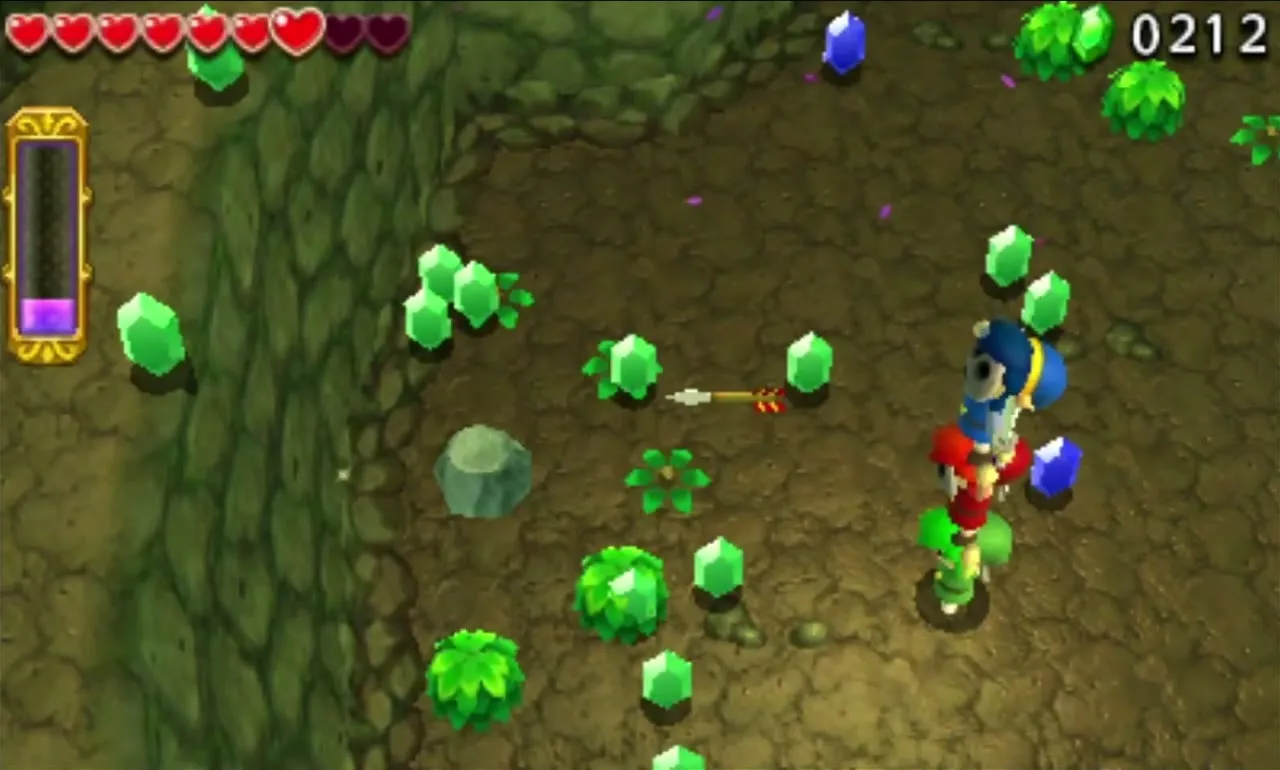
He fires bolts of electricity along the ground from his feet, so keep moving and rebuild the Totem whenever it is knocked down. Hearts and Rupees sit on the ledges around the pit, so grab them between phases. When he falls, the Gateway appears.

Buzz Blob Cave treasure chests
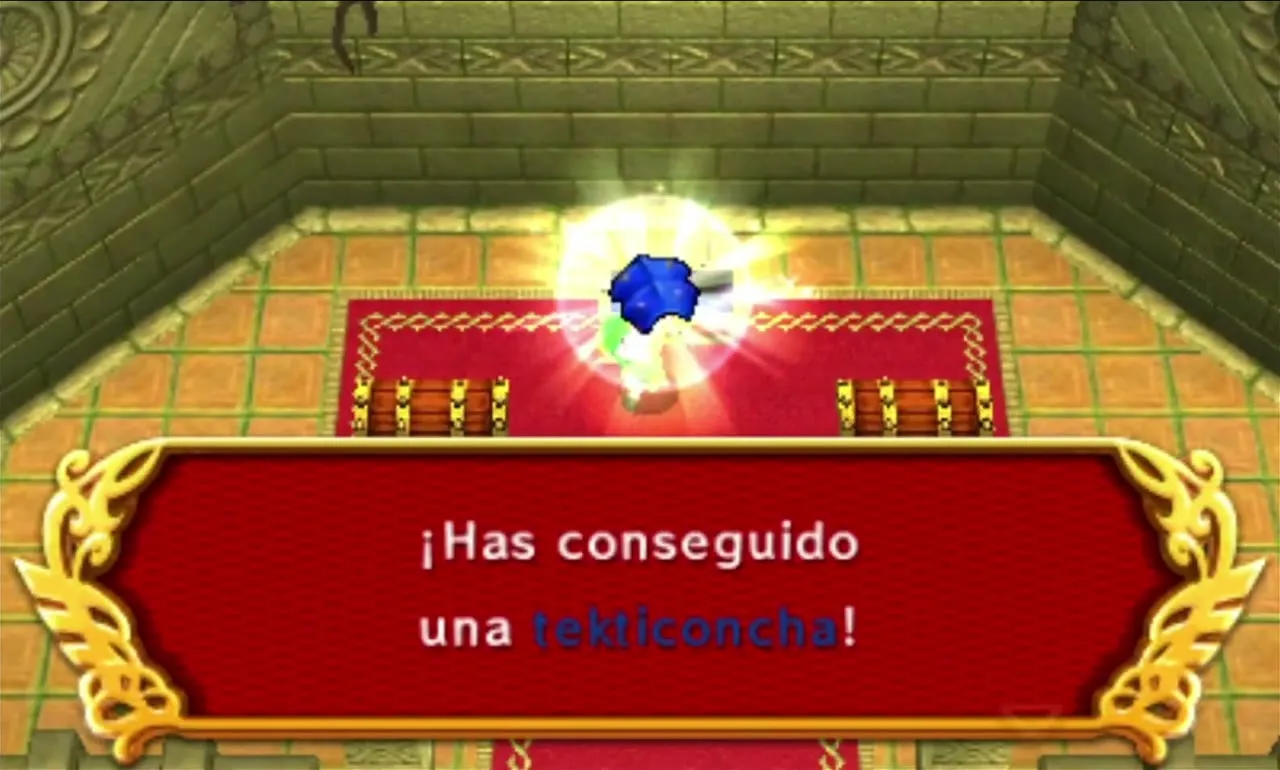
The Level-end chests give two Blob Jelly and one Tektite Shell when played with no challenge. Tektite Shell is the second Material for the Big Bomb Outfit, so it is worth having.
Following the Woodlands boss, Buzz Blob Cave provides “Pop all balloons!”, “Clear within the time limit!” and “Clear using only Bombs!”. Find them on the Drablands Challenges page.
Moblin Base
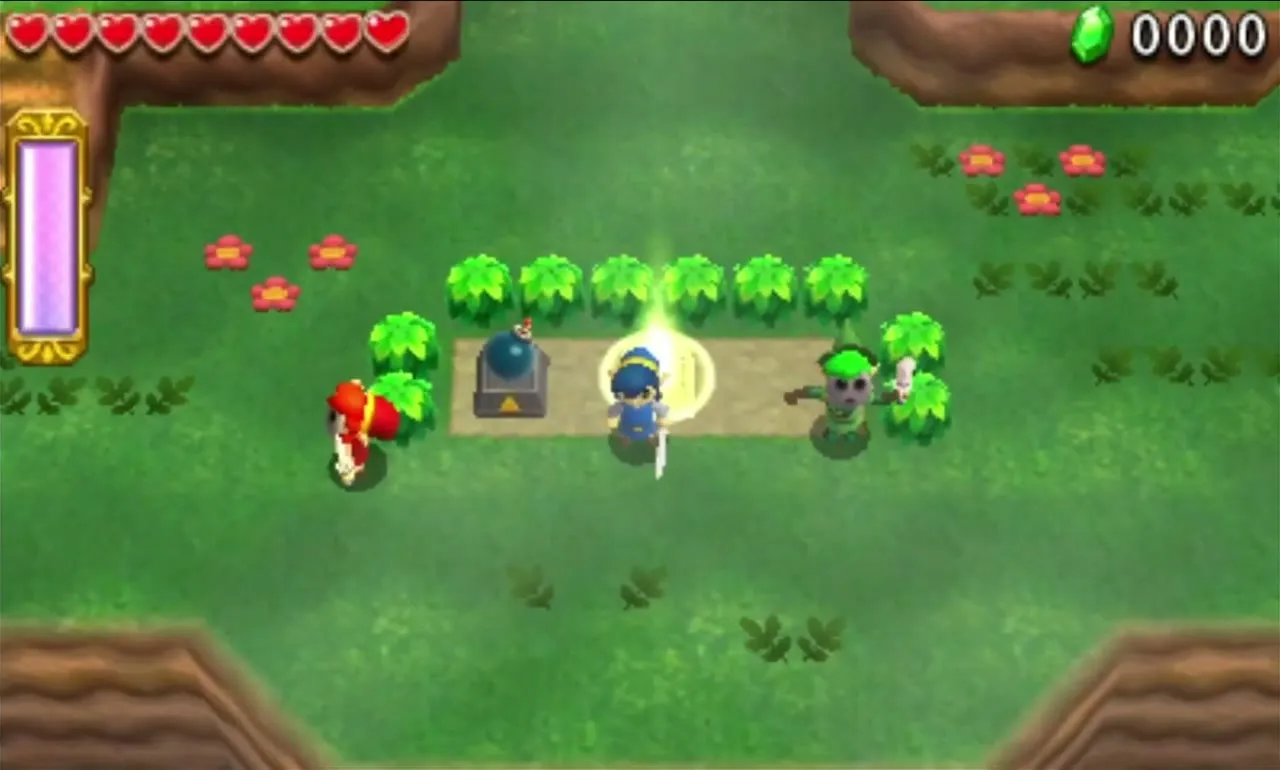
Moblin Base is a fortress hidden in a forest and the first Level to give you a Bomb. Two Links get a Bow and one gets a Bomb, so whoever holds the Bomb is the one to throw it at anything cracked or hidden. Expect spear-throwing Moblins that stay out of Sword range and the first Life Likes, which pose as Hearts.

Moblin Base Stage 1
Climb the cliff using one of the Magic Plants, which lift you when you stand on them. On top you will find two Bows and a Bomb in the grass. Take them before you go on, because the river crossing cannot be done without them.

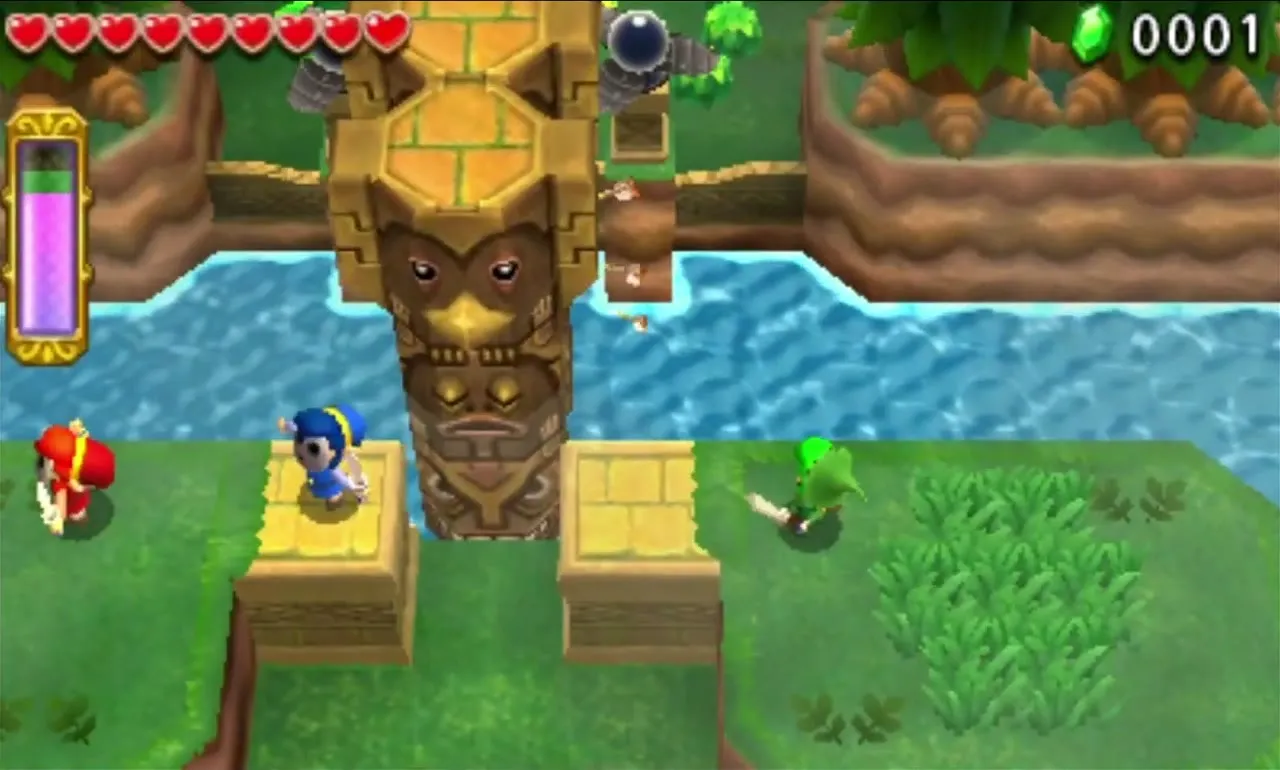
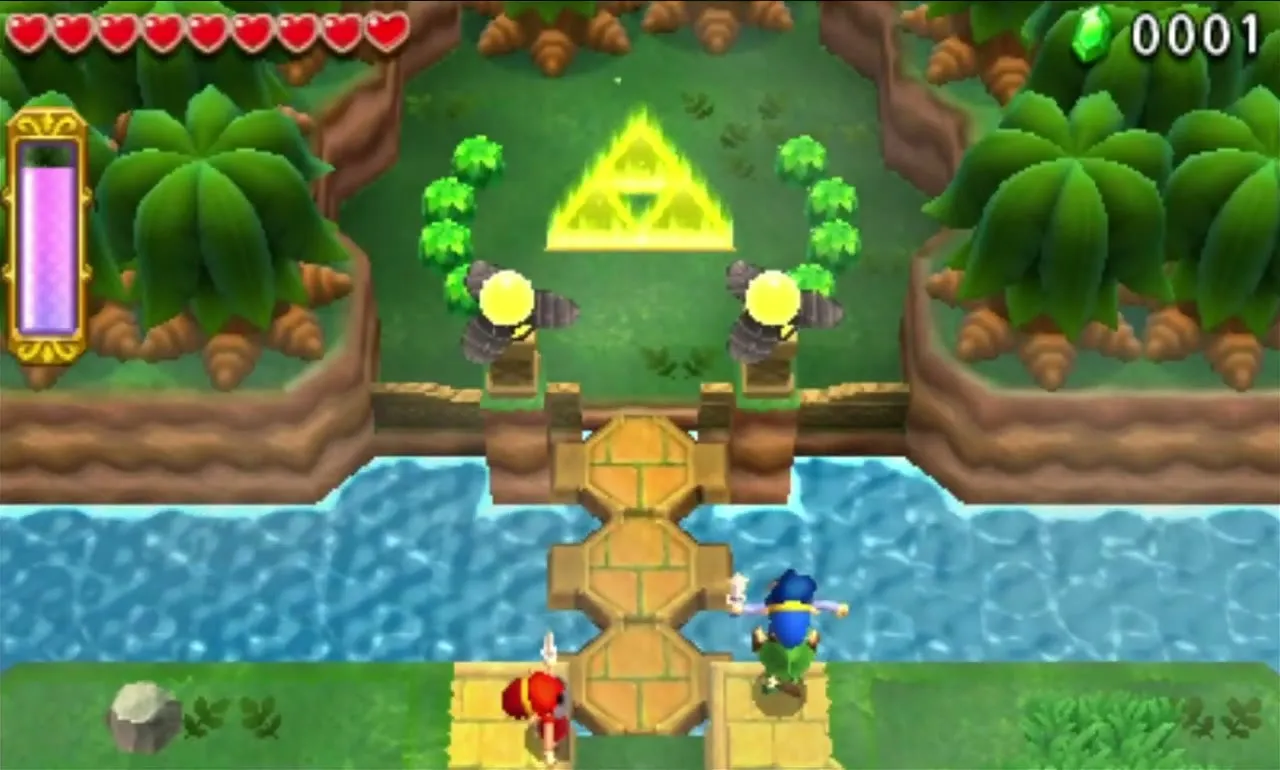
Statues across the river form a barrier. They sink into a bridge when two high Shock Switches on the water are struck almost simultaneously. On the left, blast the Cracked Blocks crowning the ramp using the Bomb. On the right, throw a Link upward. Build a two-Link Totem on either ledge and shoot the first switch, then throw the top Link to the other ledge so he hits the second before the first resets.
Moblin Base Stage 2
You arrive in the corner of a big square clearing, with a stone building in the middle holding the closed Gateway. All the enemies are outside. Four Buzz Blobs are on the west side, two Life Likes sit among a group of four Hearts to the north, and three Totem Dekus are on the east. Shoot or bomb the Life Likes from range rather than walking up to them, and shoot the Dekus from Totems of the right height.


When the last enemy falls, the Gateway activates. Before you go, use the Bomb to blast open two cliff faces in the north and north-east, each hiding a chest with a Red Rupee.

Moblin Base Stage 3
Cross the river over a log and clear the Buzz Blobs, the Life Like and the Totem Deku on the far side. A large bridge leads to a higher ledge with a Spear Throwing Moblin and a locked door. Another log takes you around the river bend to the Key puzzle.
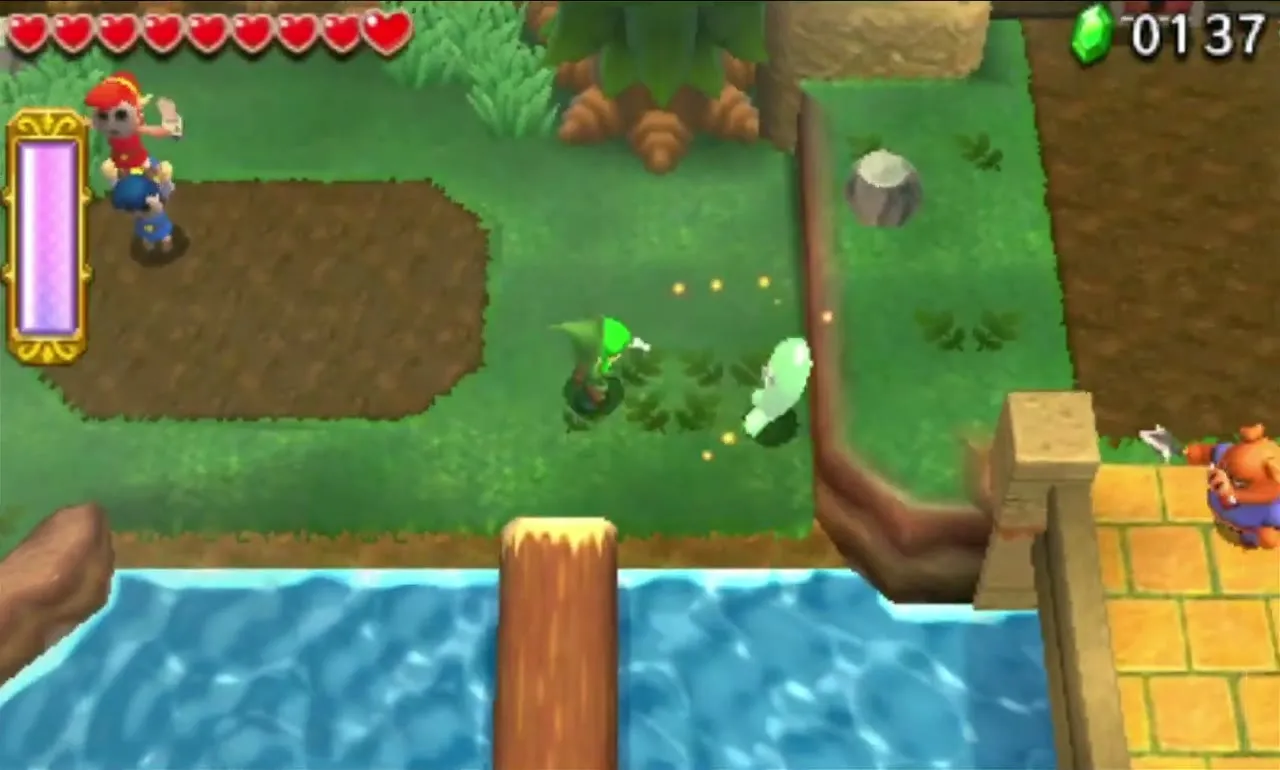


A Shock Switch behind a grate can only be hit by a Bomb blast. Once it opens a gate, five more Shock Switches stand across the water, and all five must be shot within a few seconds of each other. Two of them are in reach of a single Link and three need a Totem of two. When all five are lit, a Key appears on a platform in the river.

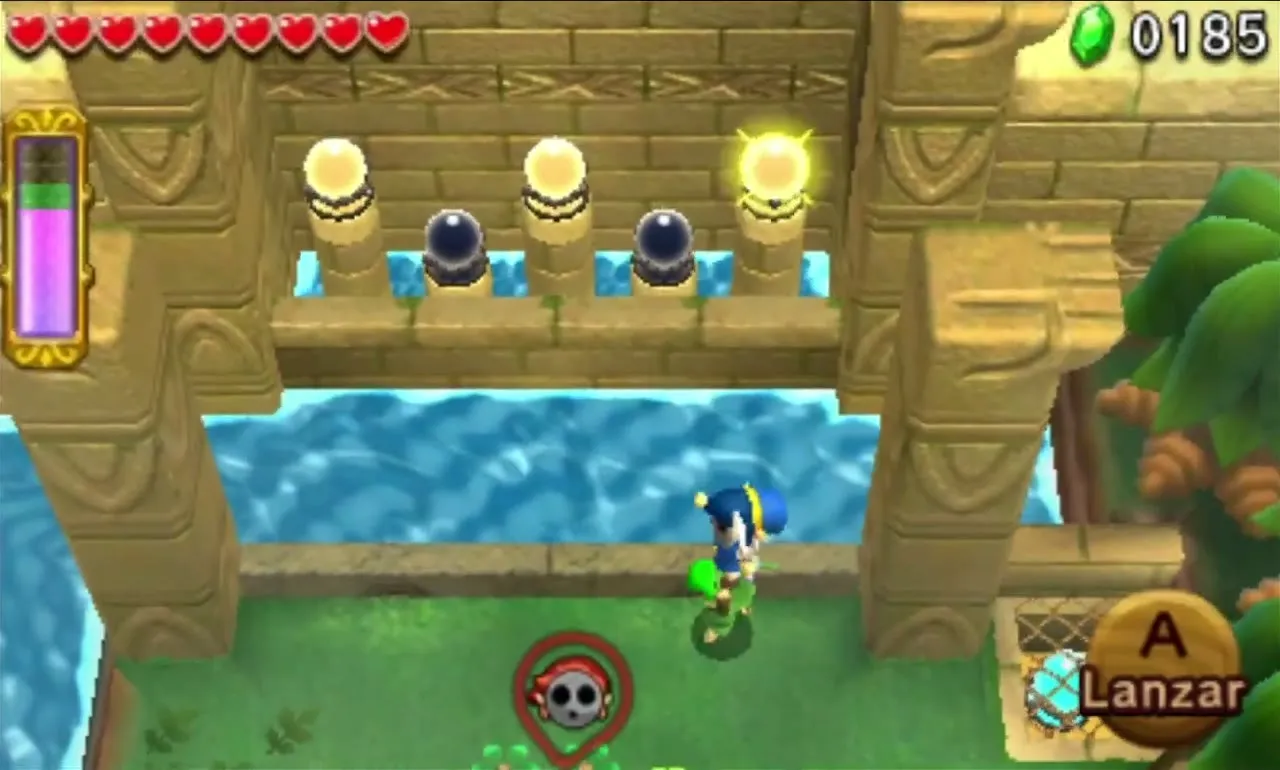
Toss two Links onto the platform that rises mid-river, then throw one of them onward to the Key. The remaining Link throws the Key over to the middle platform, and from there it is passed along to the Link on the far bank. Bring it back over the log to the locked door and go through to the Gateway. A Key that falls in the river returns to its platform.


Moblin Base Stage 4
You walk through a foggy path into a stone pit, and waves of Spear Throwing Moblins appear. Three arrive first, one riding a Totem Armos, then three more, two on Armos, then two more, one on a tall stack. Two more stand on wooden lookout towers at the side. Throw the top Link up to a tower or have him lob Bombs, and shoot the riders so the Armos collapse. When every Moblin is down, a staircase rises to the Gateway.


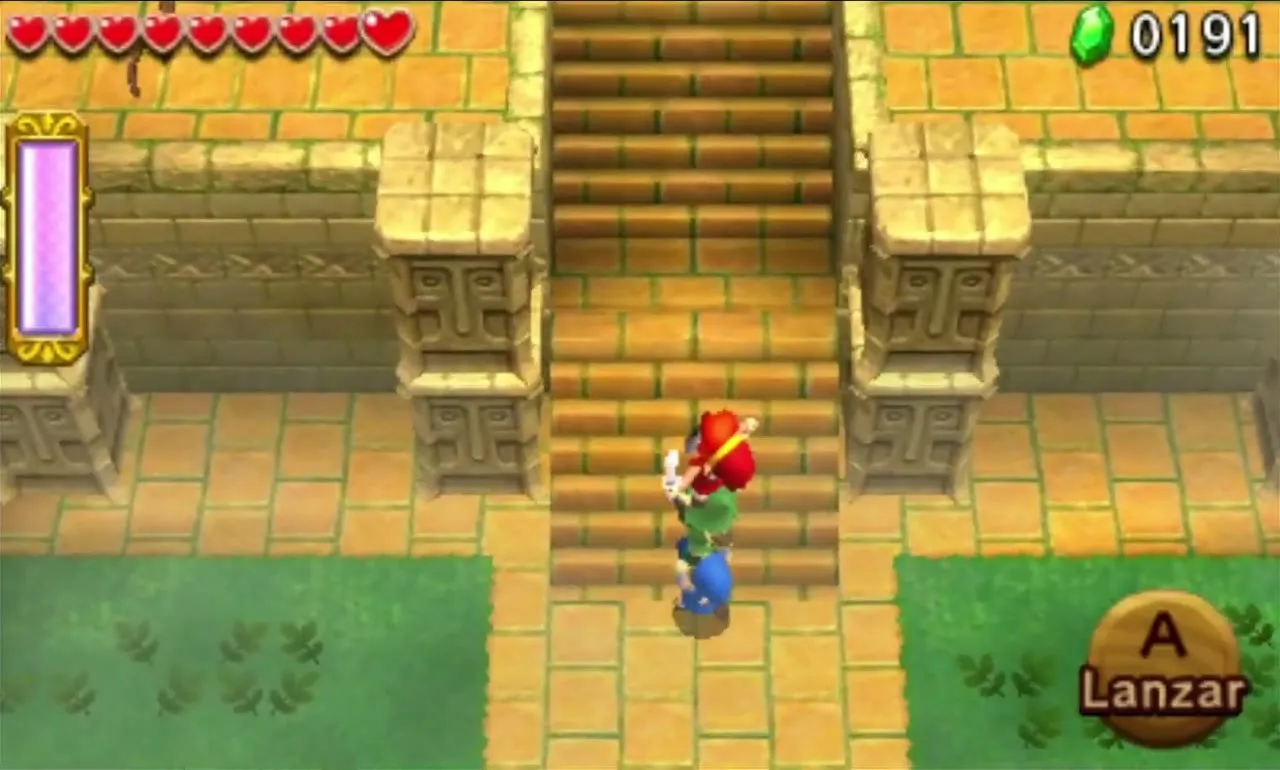
Just before the Gateway, on the left, a Link can be thrown onto a high ledge for a hidden chest with a Red Rupee. Hearts line the ledges at both sides of the pit, but you need all three Links throwing each other to reach them.


Moblin Base treasure chests
The no-challenge chests give two Armos Spirits and one Sweet Shroom. Sweet Shroom goes into the Legendary Dress and Lucky Loungewear. The Level-end screen also adds 30 Rupees for each Fairy you have left.
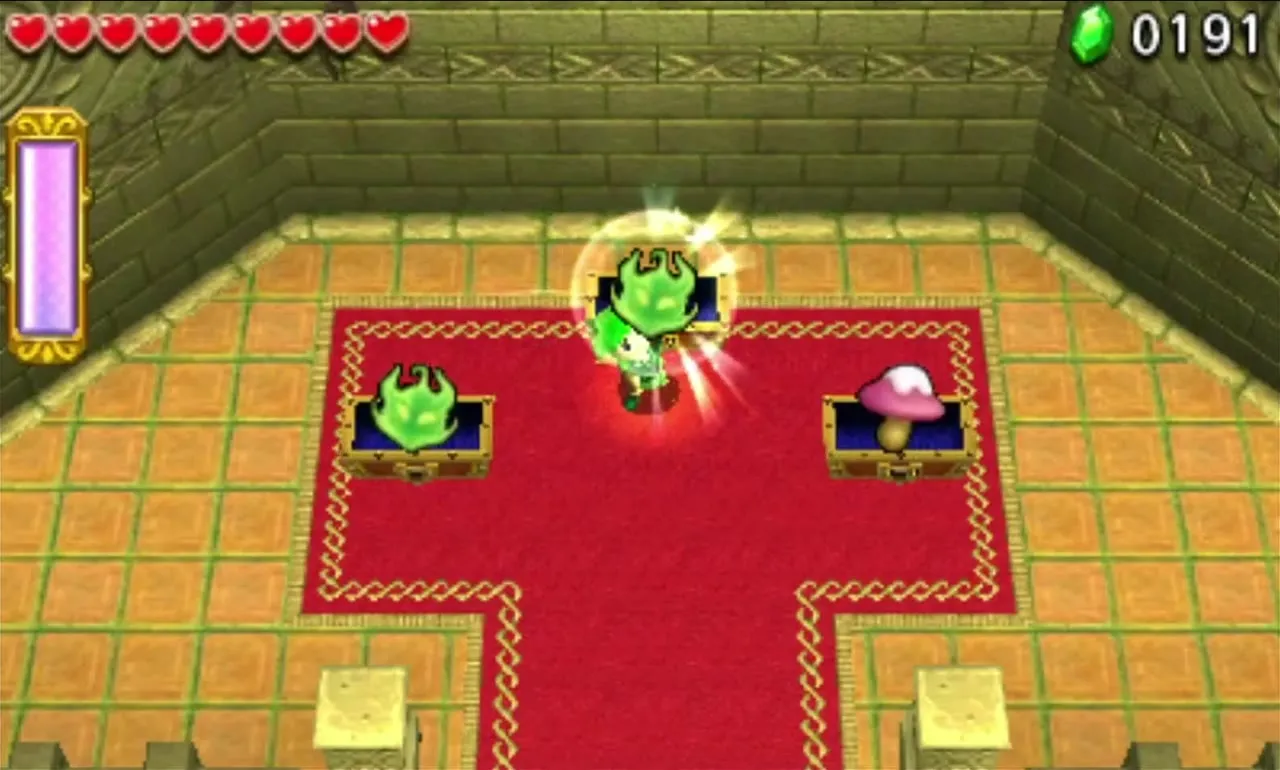

Here you find “Pop all balloons!”, “Defeat all foes sans sword!” and “Transport the orb quickly!”. They are covered on the Drablands Challenges page.

Forest Temple
The Forest Temple closes the Area. You get two Bombs and one Bow, and the Level is full of traps. Plan who carries what: the Bomb Links deal with Mini-Margos and Tektites, and the Bow Link lights Braziers. Margoma waits at the end, and beating it also unlocks Riverside, Volcano and Ice Cavern.
Forest Temple Stage 1
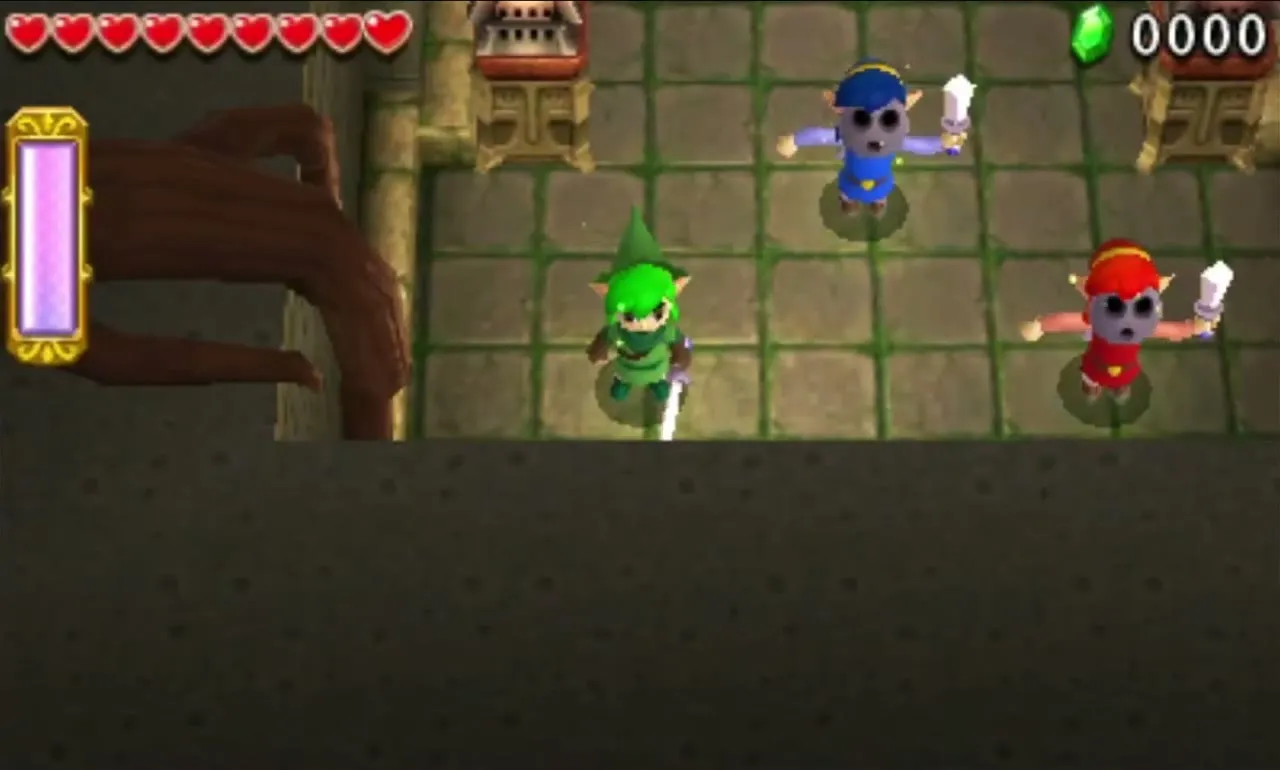
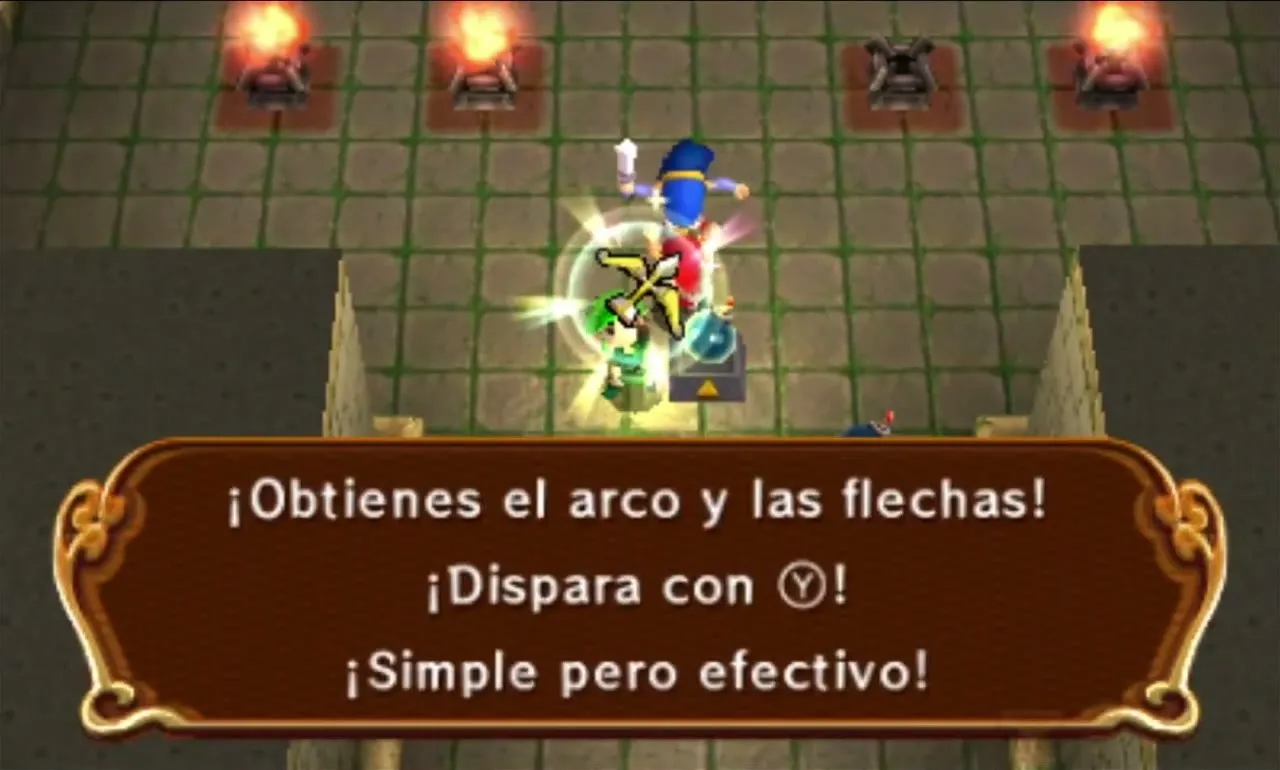
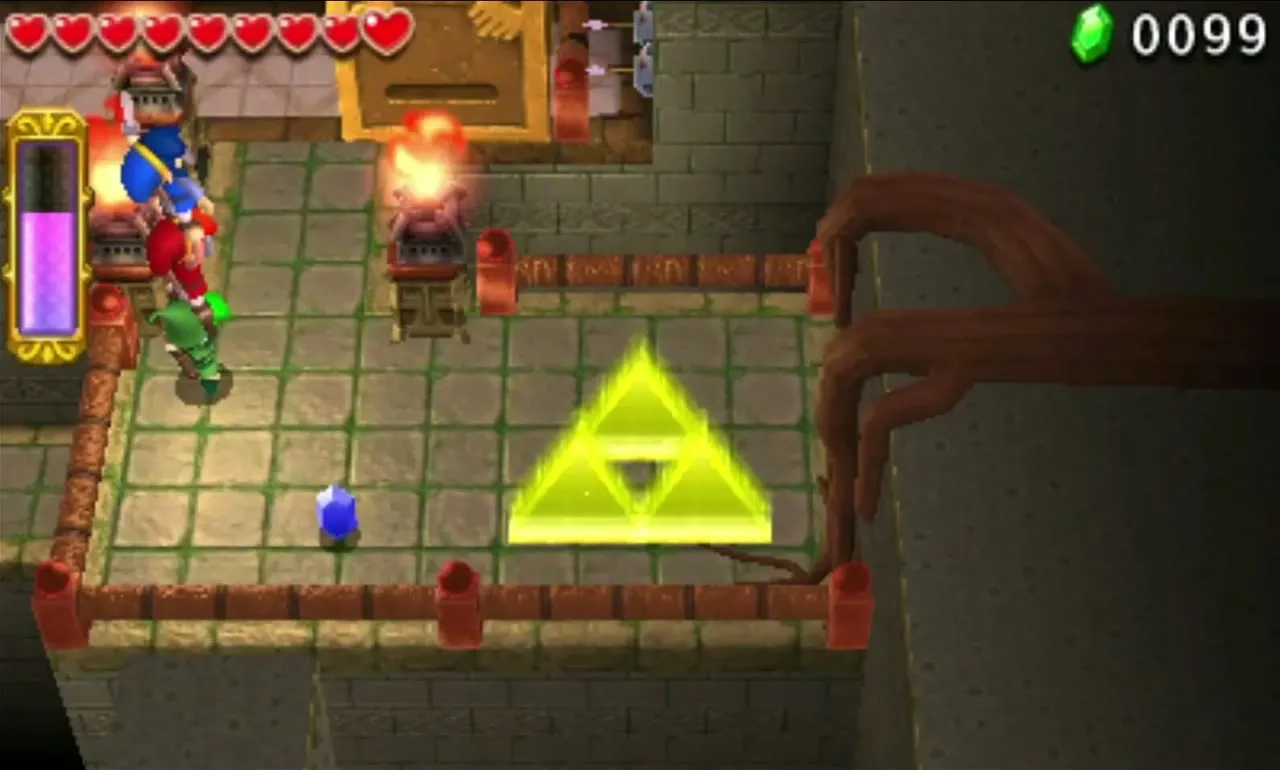
You enter a room of Braziers with two Bombs and a Bow on pedestals. A gate stays shut until the unlit Braziers are lit. Stand behind a lit Brazier and shoot an Arrow through its flame, and the Arrow carries the fire to the next Brazier. The second one is too high, so form a Totem and let the top Link do the shooting.
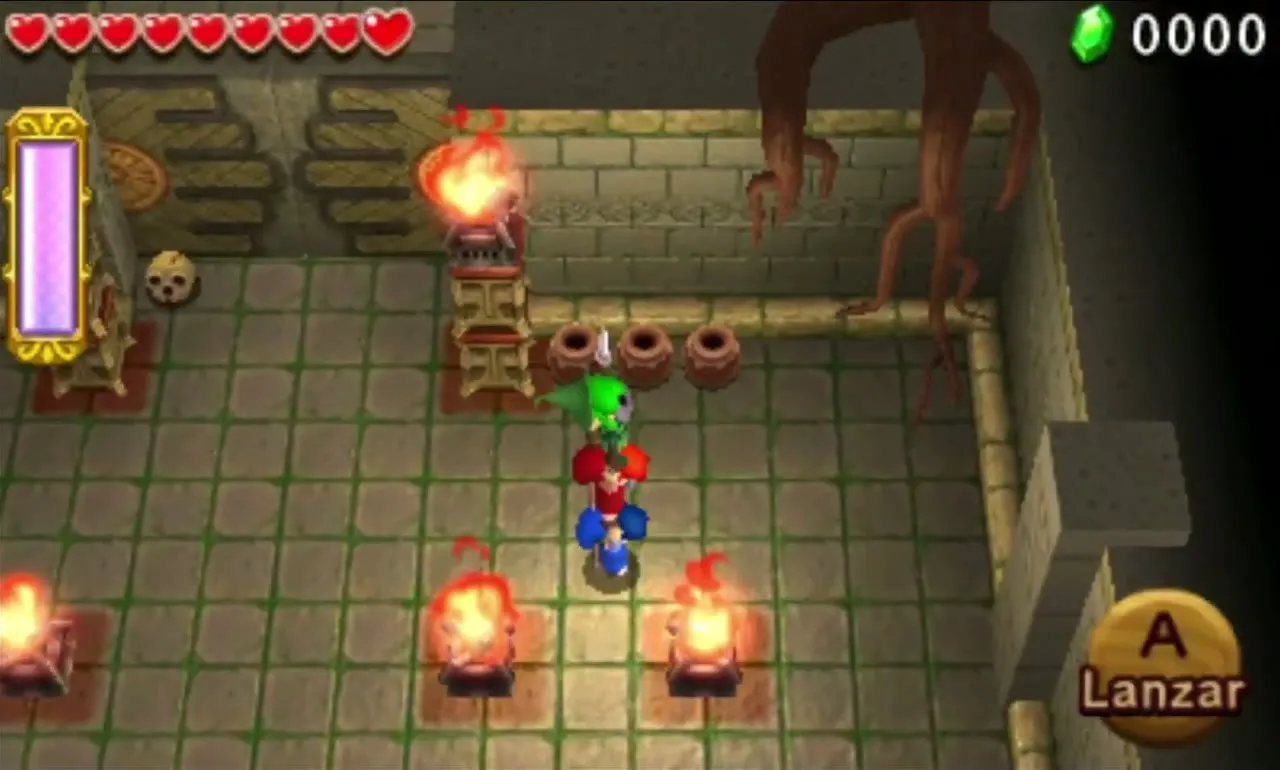

The gate opens on a room of four spinning Mini-Margos on set routes. Swords bounce off their spiked shells, so throw a Bomb into the opening on each. Squiddies and Jars scatter Hearts and Rupees. The last Mini-Margo drops a Key for the gate to the Gateway.


Forest Temple Stage 2
A big empty chamber has a Big Switch at the centre, and all three Links must stand on it. Pillars rise and four Mini-Margos and four Tektites appear. The Mini-Margos follow fixed paths, so wait for each one to pass and throw a Bomb into it.
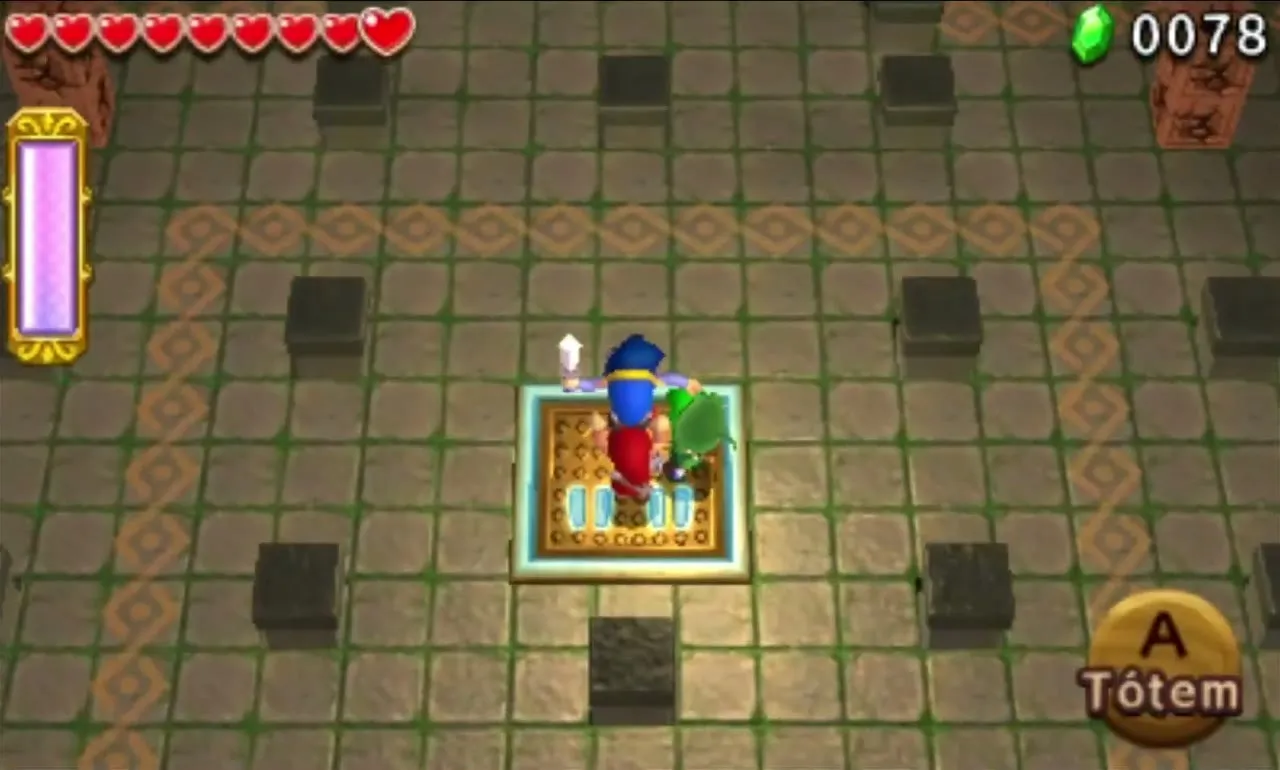
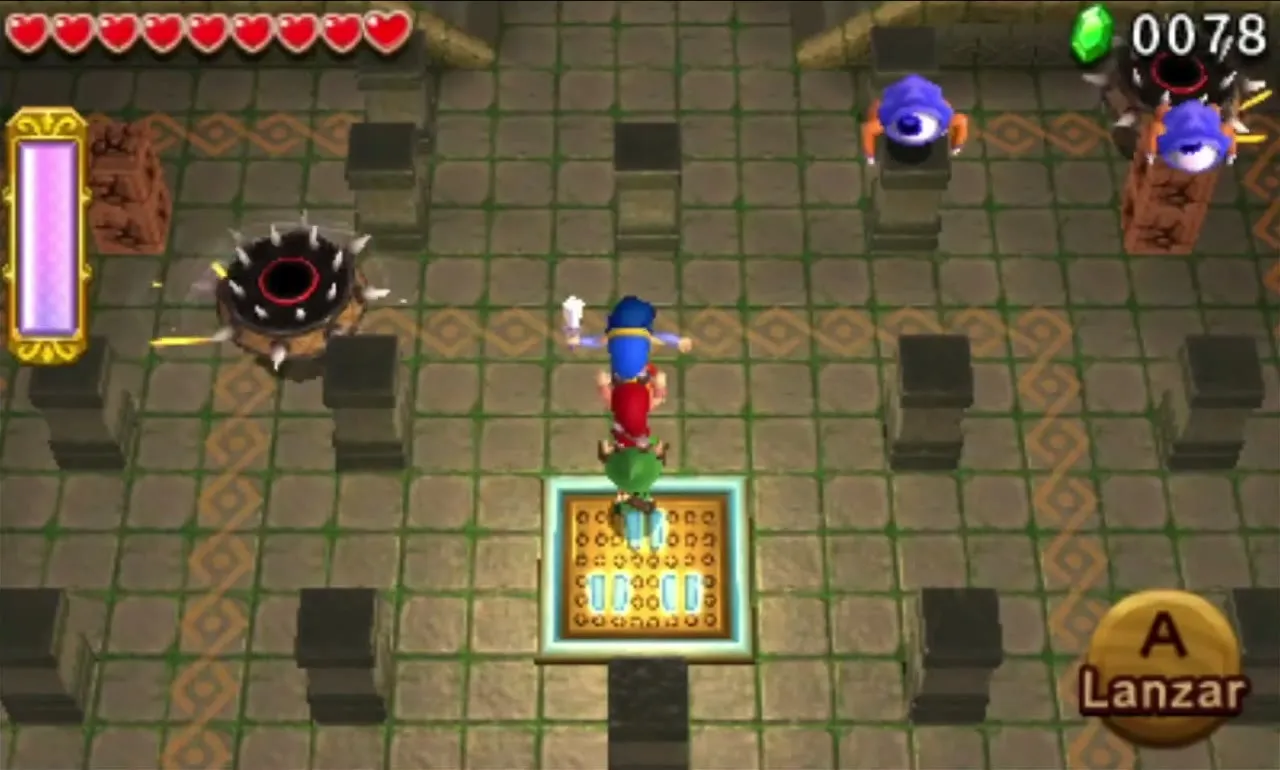
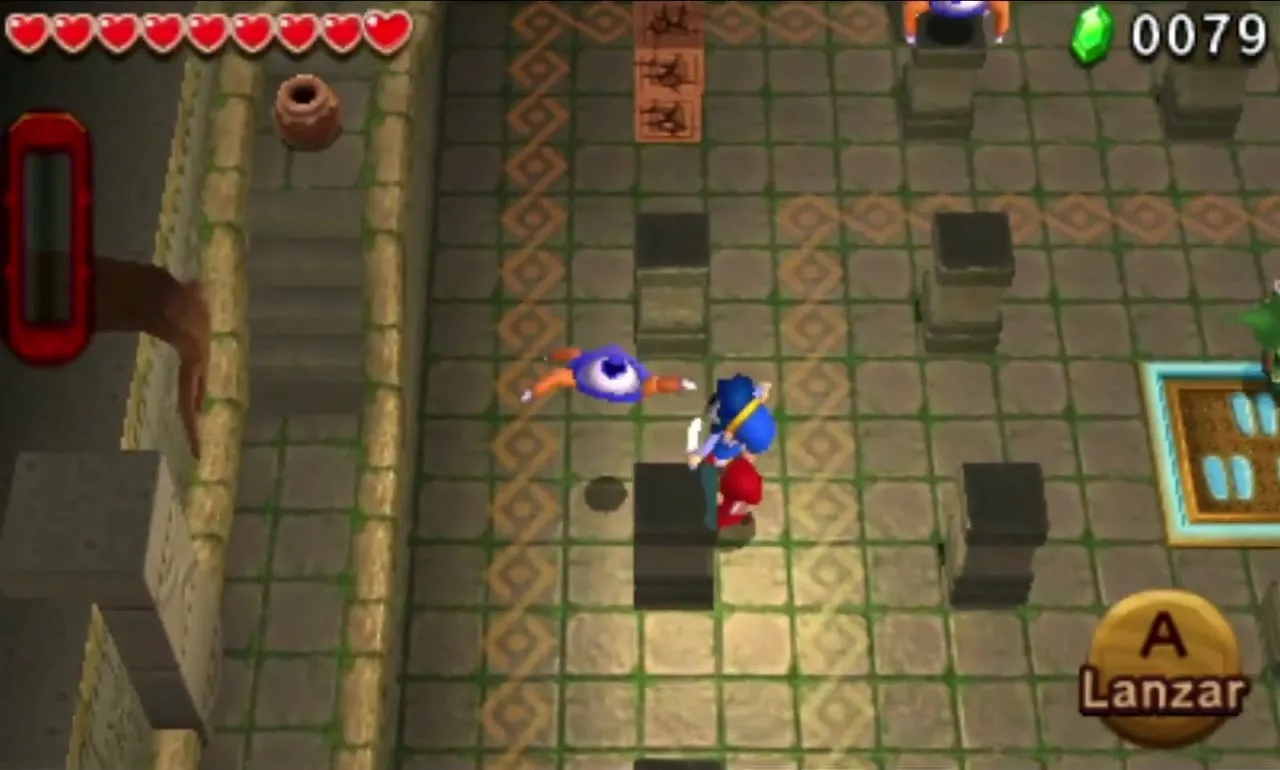
The Tektites hop along the pillars. Shoot them from the side ledges, build a Totem so the top Link can Sword them, or time a Bomb throw. Once knocked down they can be hit on the floor, but they jump back up fast. When every enemy is gone, the gate to the Gateway opens.
Forest Temple Stage 3
Narrow paths cross a pit while Arrow Traps fire from the walls. Move between volleys. One trap Arrow flies through a Brazier and picks up its flame, but Cracked Blocks stop it. Blow the blocks up so the flaming Arrow reaches a Brazier at the far end. Once it burns, shoot a fire Arrow from it to the other Braziers to raise a staircase.
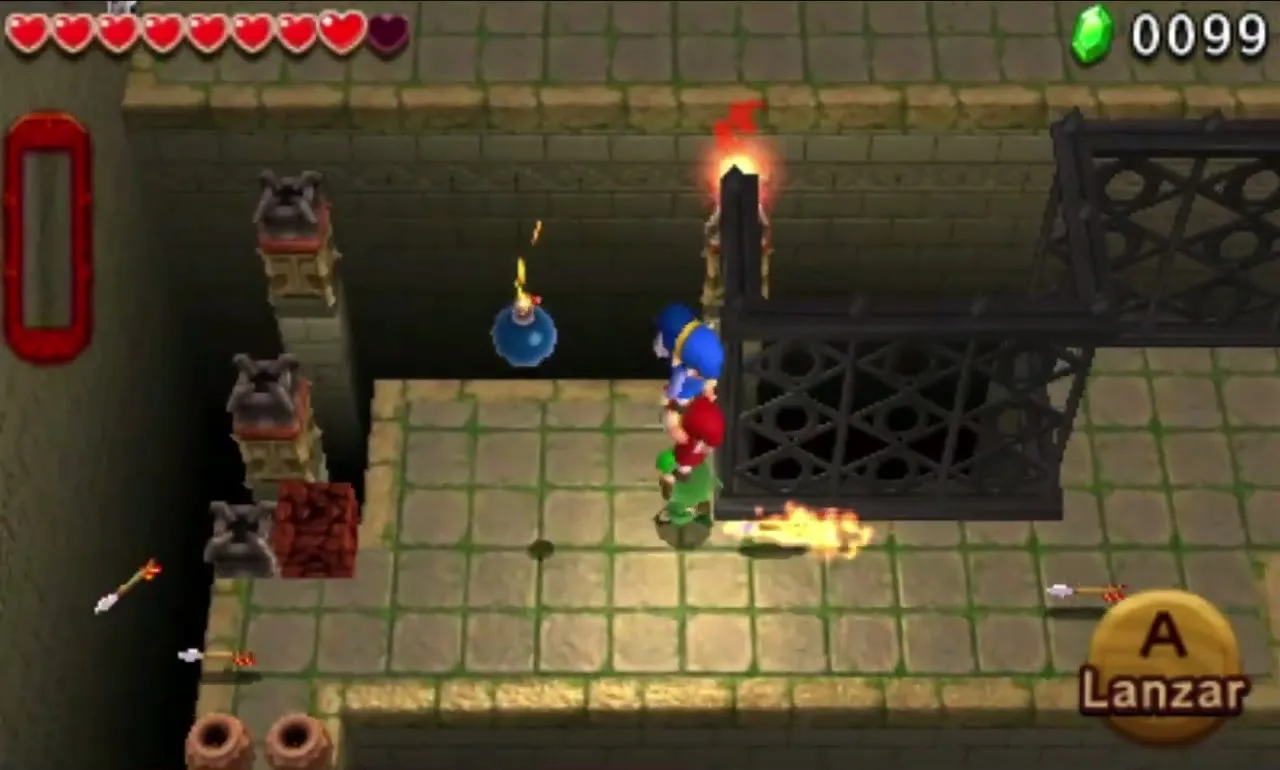

At the end of the paths, a Large Block sits on a ledge. Push it into the line of Arrows and walk behind it to the Gateway, using it as a shield. In single-player the block is a wooden one that a single Link can push. A Mini-Margo circles the Gateway platform; defeat it with a Bomb to activate the exit.

Forest Temple Stage 4
The last stage is the boss arena. The Links slide from a high ledge into a courtyard outside the Temple. Grass on the left drops Hearts when cut, and a raised ledge on the right is a safe place to throw from. Small Cracked Blocks on the ground can be used to stop Margoma’s charge.

Margoma boss fight
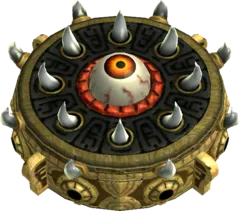
Margoma is a spiked wheel with an eye hidden inside. It twirls around the pit, stops to spin and chooses a Link, whose colour glows in two holes on its side. It then sprouts spikes and charges at him. Dodge and let it ram into a wall or a Cracked Block, which stuns it and opens the hole in its middle.
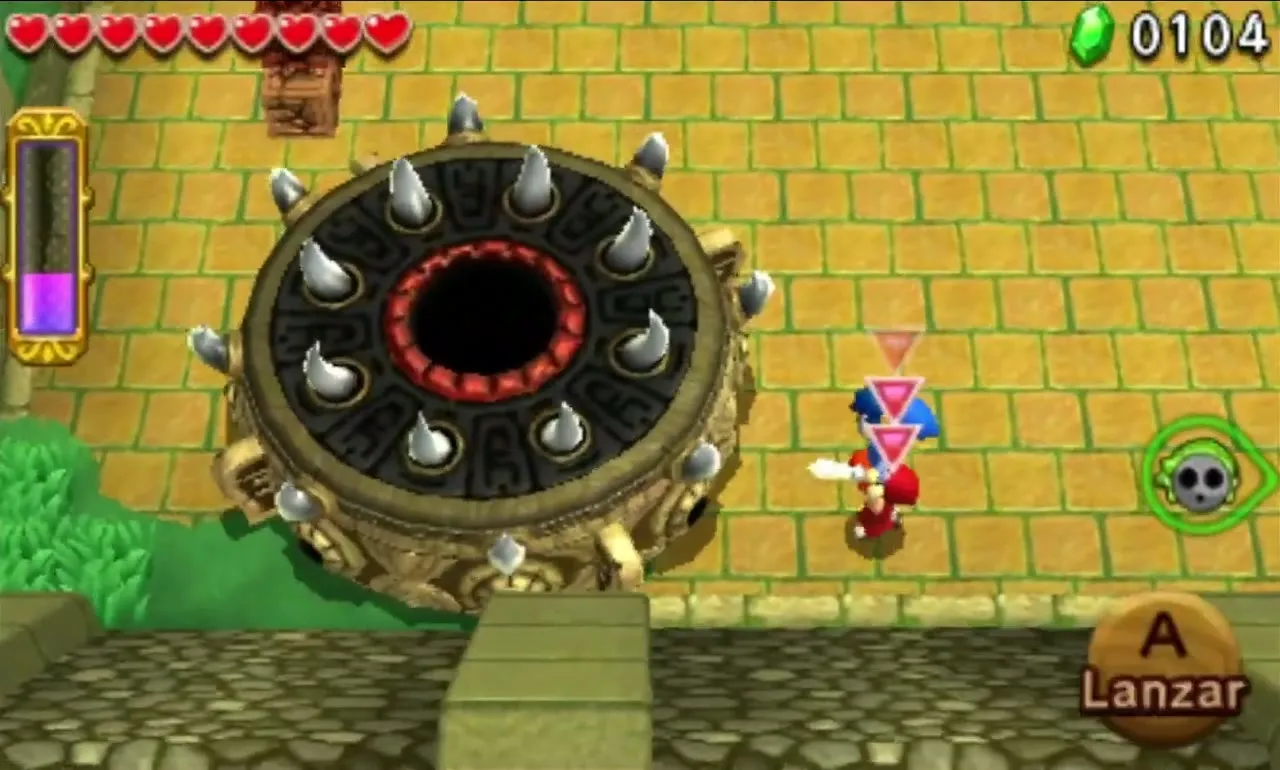

Make a Totem, and while Margoma is stunned the top Link throws a Bomb into the hole. The eye pops out and the Links can slash it. The safest spot is the ledge on the right: lure Margoma toward it, throw Bombs from above, then jump down to attack.
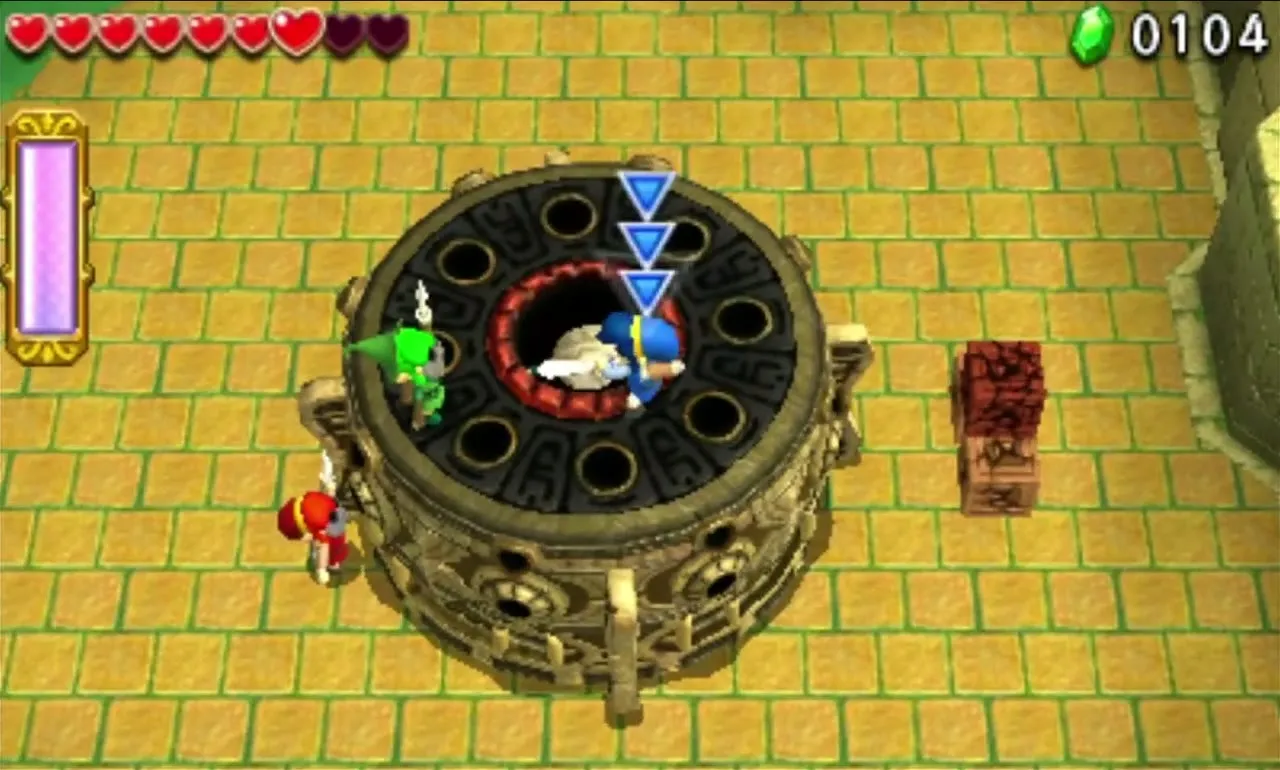
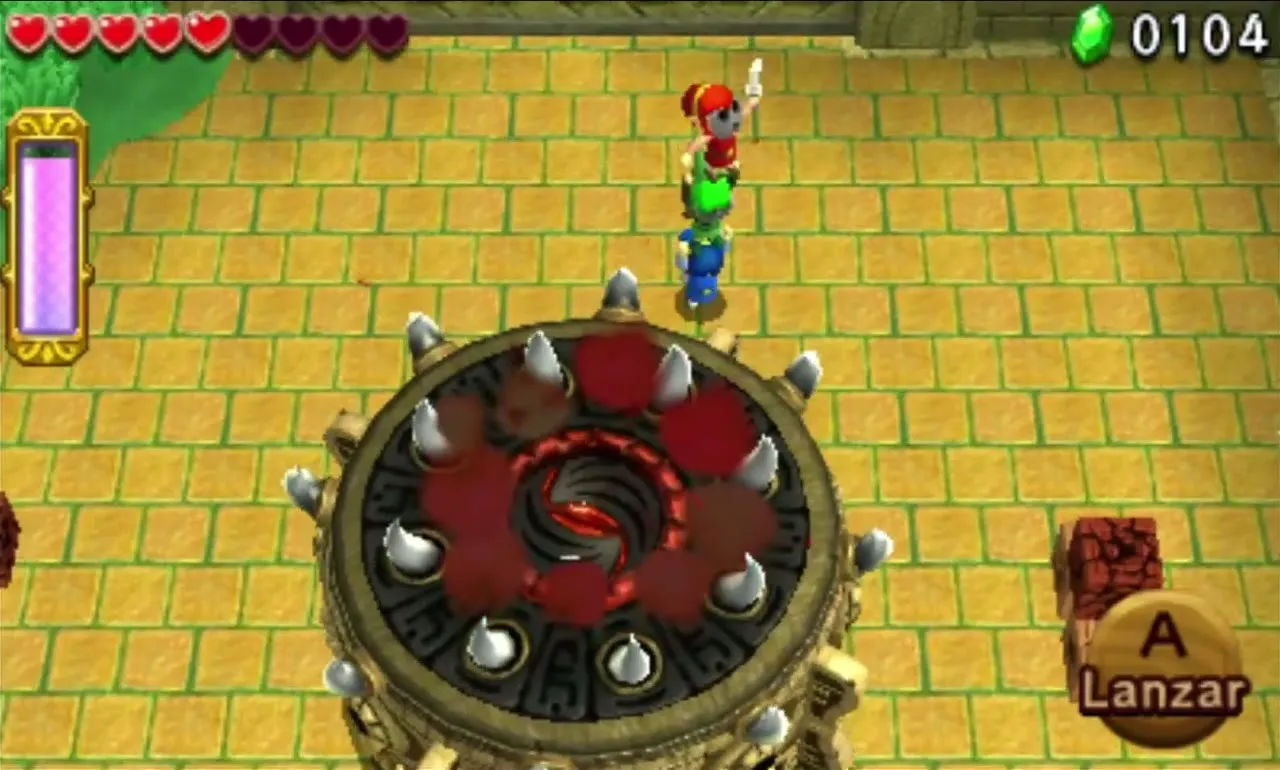
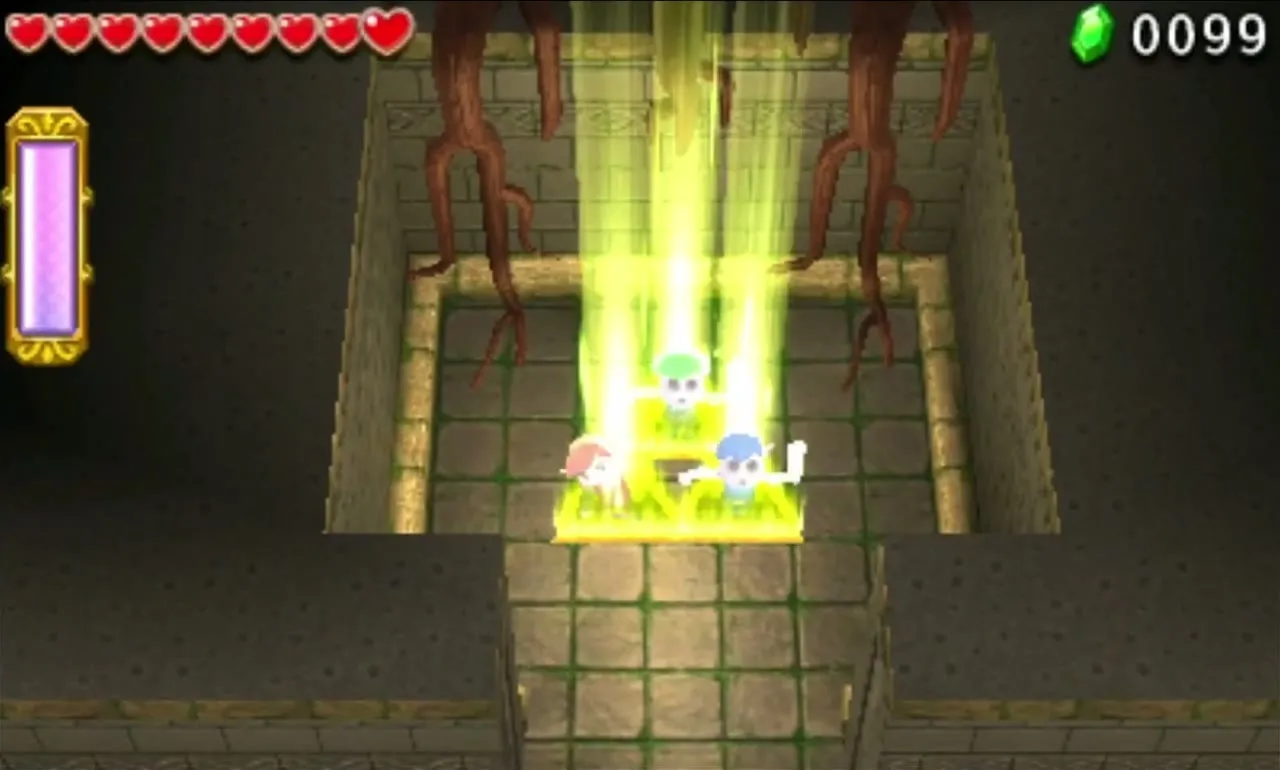
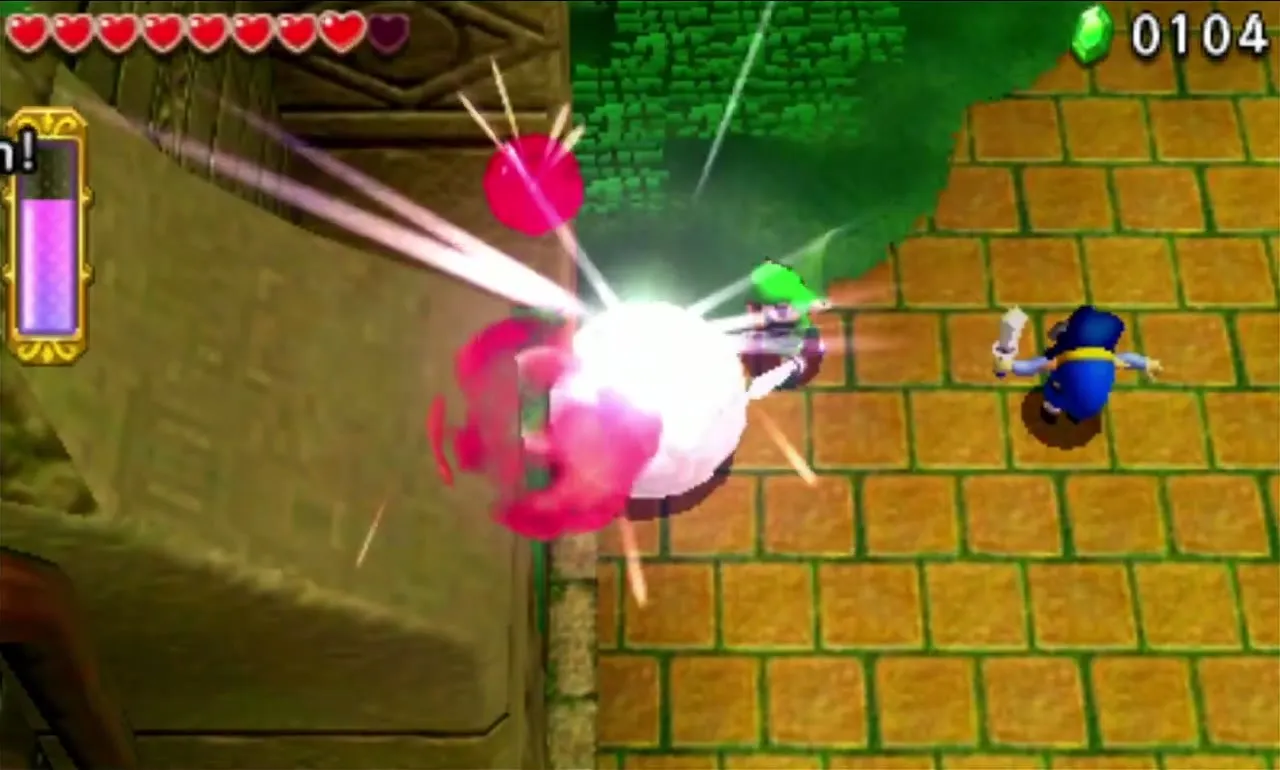
After a few hits Margoma grows a second shell, but it attacks the same way. Repeat until the eye is forced out and bounces around the pit. Hit it until it breaks, and Rupees rain down. The Gateway opens to the north.


Forest Temple treasure chests
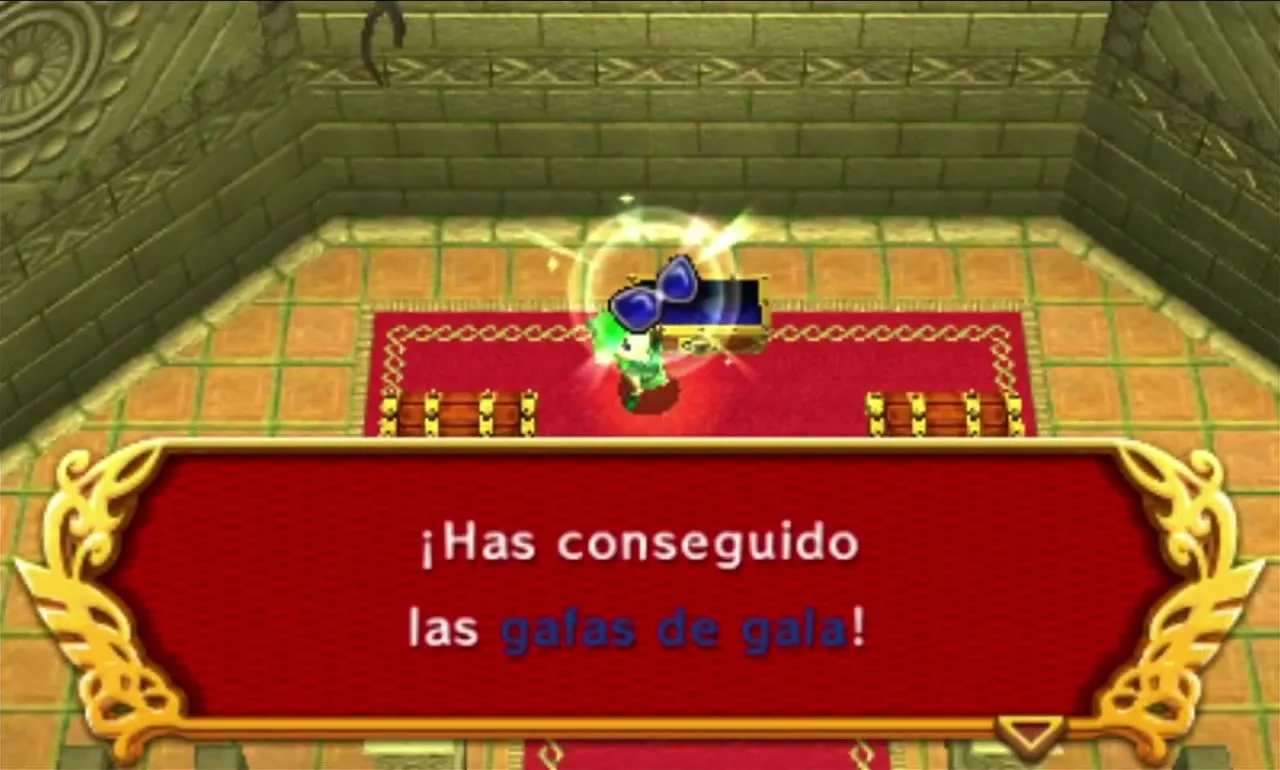
The no-challenge chests give two Tektite Shells and one Blin Bling. On your first clear, the game then says there is something more in the chest, and the Lady’s Glasses turn up, the first of the three Lady’s Materials. Keep them: with the Collar and Parasol they make the Lady’s Ensemble that ends the curse.
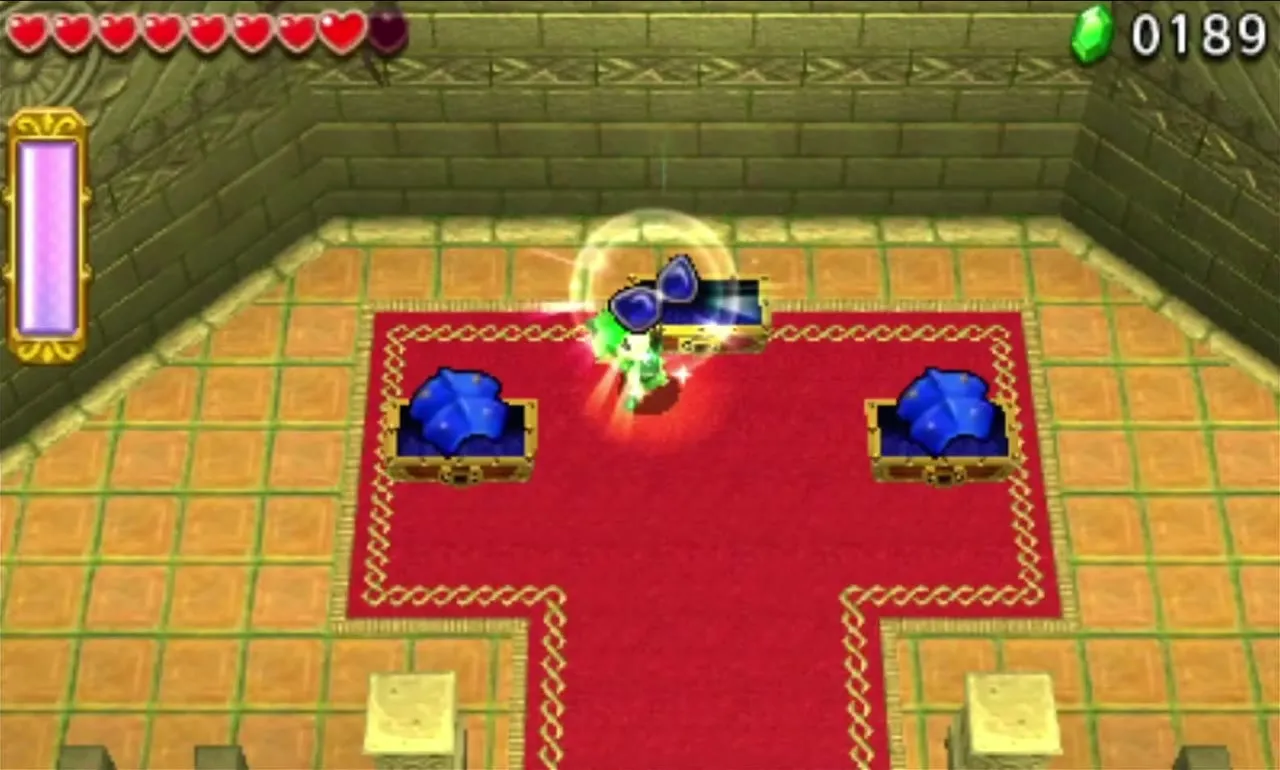
This Level offers “Adventure in the dark!”, “Clear within the time limit!” and “Fewer Heart Containers!”. All appear on the Drablands Challenges page.


After the Forest Temple
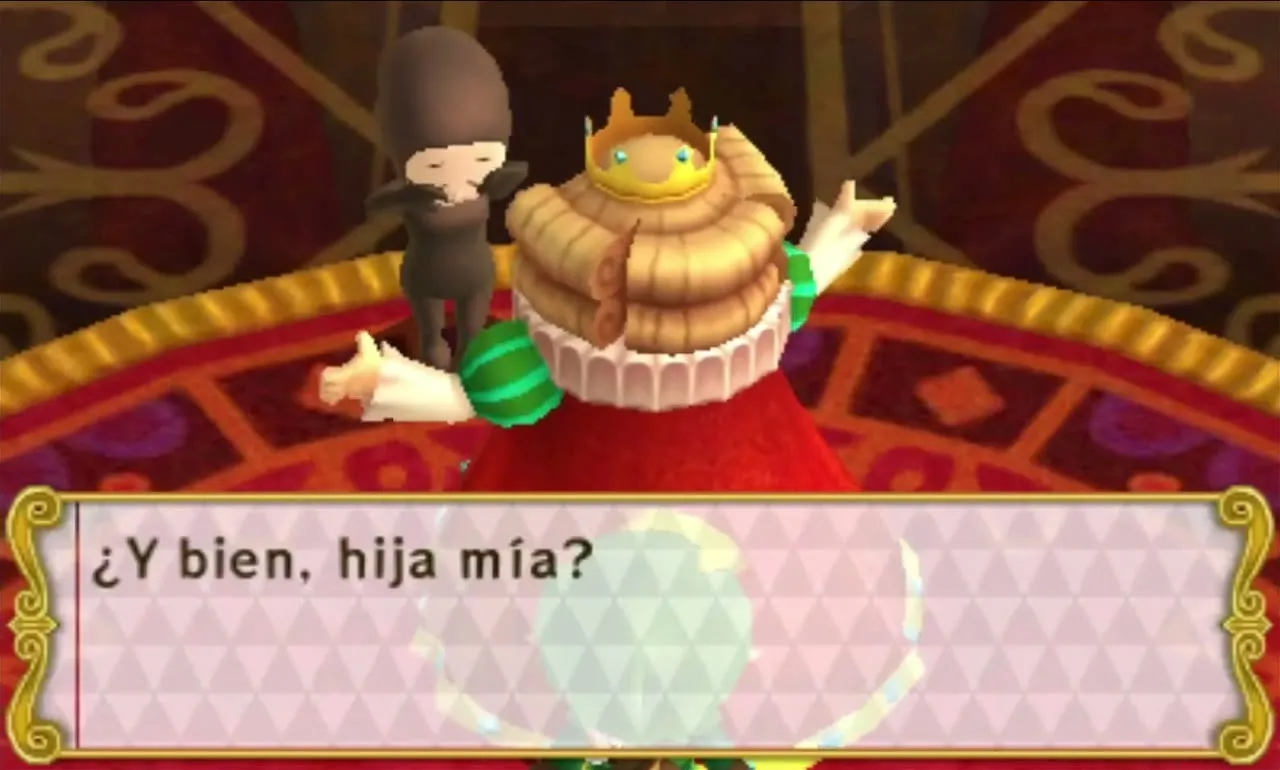
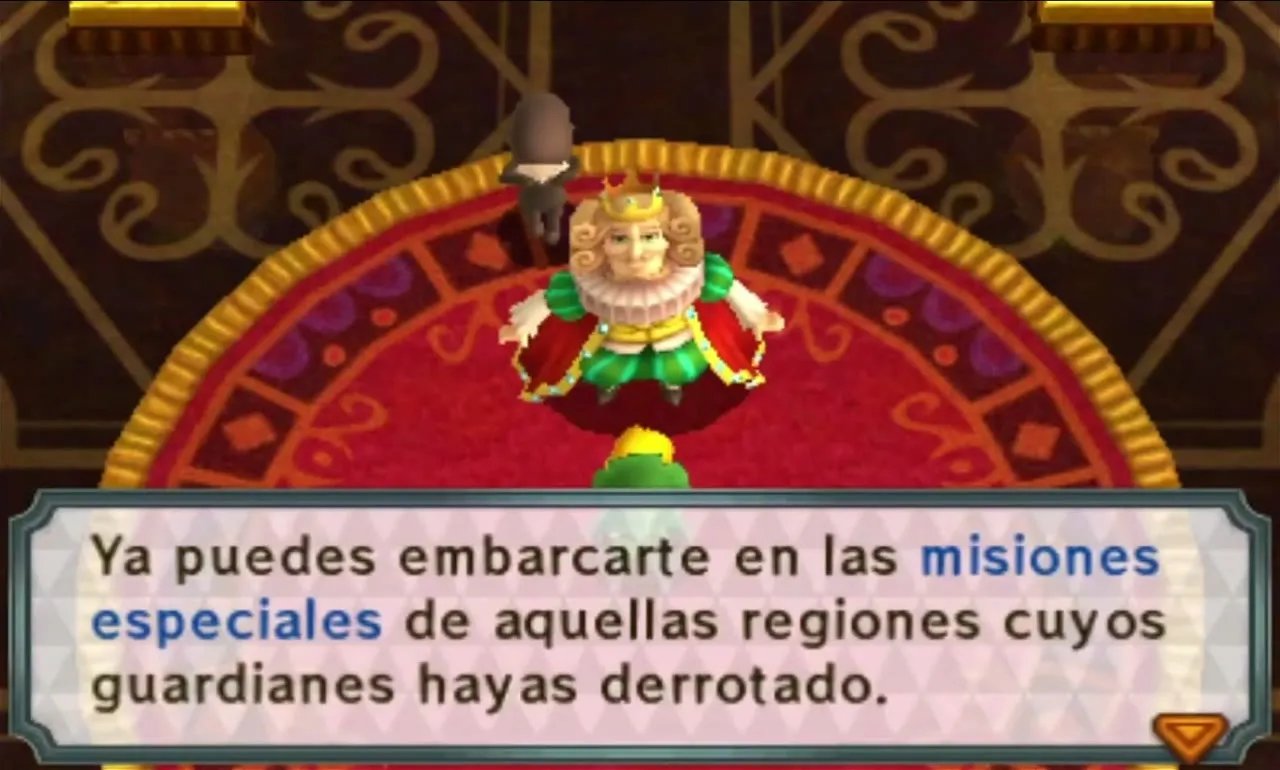
Go back to Hytopia Castle. King Tuft calls you to the throne room, where the princess appears, too upset to speak. He tells you that the special missions, the Drablands Challenges, are open in every Area whose boss you have beaten. The world map now offers three new Areas to choose from.
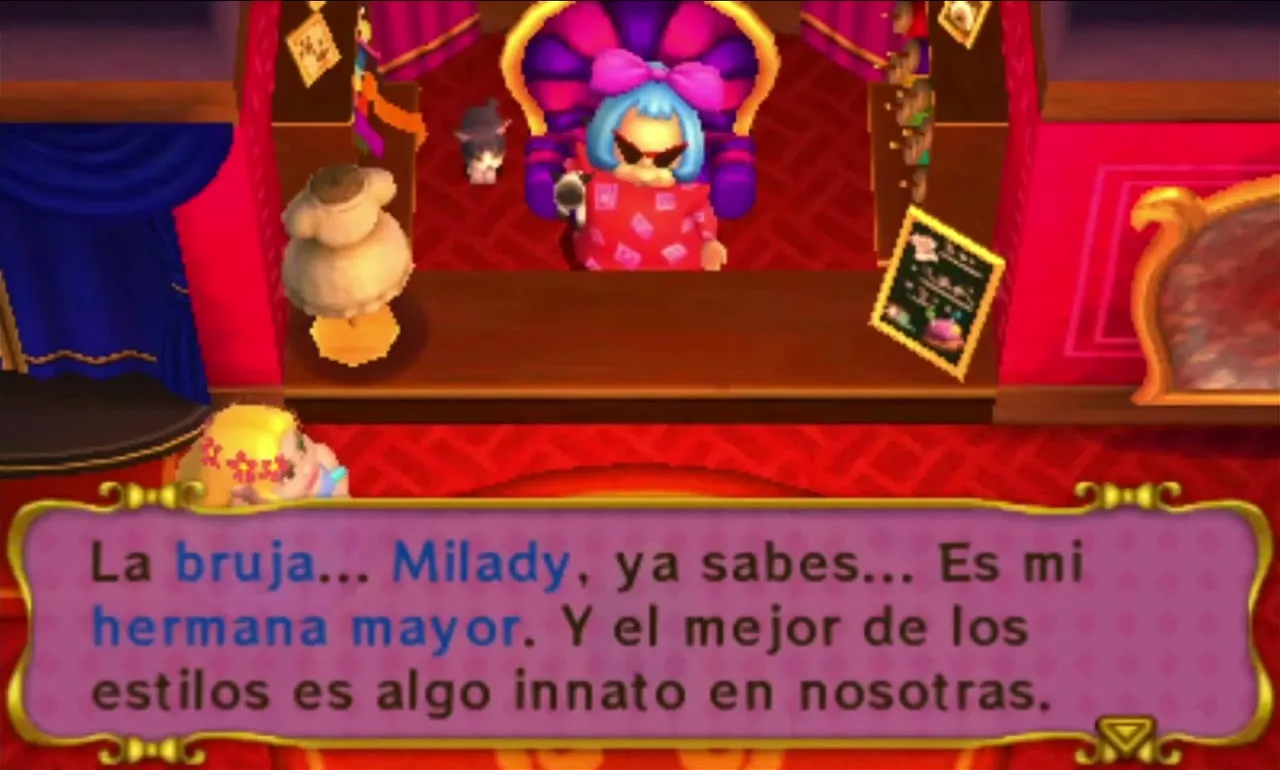
Visit Madame Couture’s afterwards. Show her the Lady’s Glasses and she tells you the truth about the witch: Lady Maud is her sister. She then adds a batch of outfits to her catalogue. The Boomeranger, Cacto Clothes, Cozy Parka, Energy Gear, Goron Garb, Hammerwear, Jack of Hearts, Lady’s Ensemble, Tingle Tights, Torrent Robe and Zora Costume go on sale, eleven in all. Most need Materials from later Areas. The materials page says where each one drops.
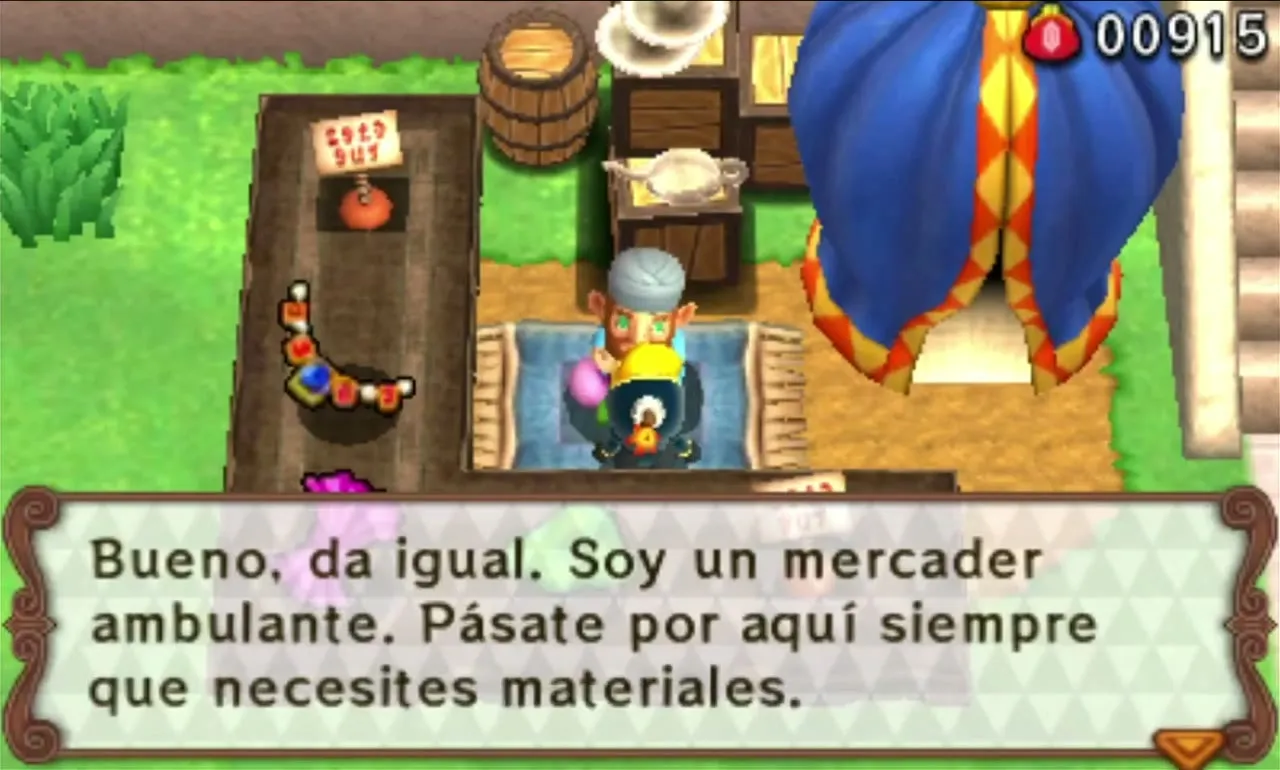
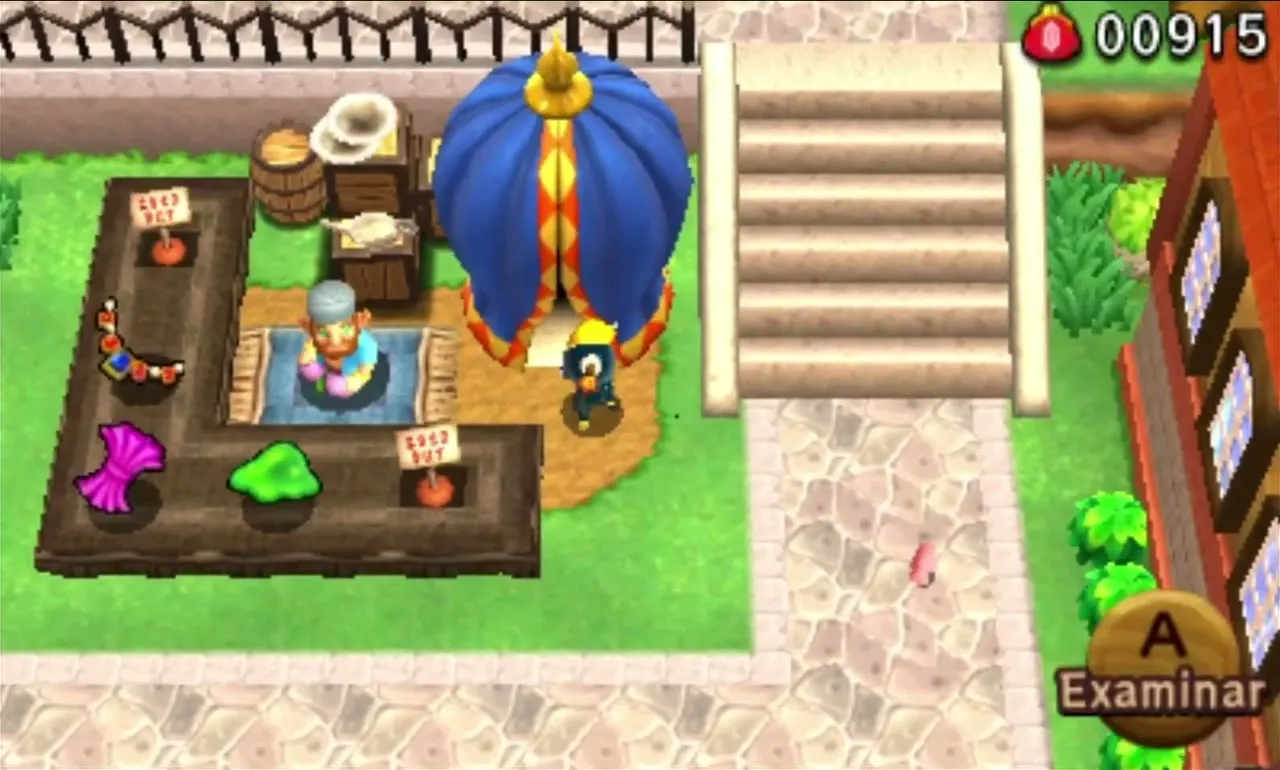
The Street Merchant also sets up in the square once you have cleared a few Levels. He sells the rare Frilly Fabric for 3,000 Rupees and trades in Materials. You do not need him yet. Check the Daily Riches shop and the Miiverse Gallery, where the Photo Bro lends you a Camera, whenever you have spare Rupees.


Area checklist
| Level | Items | Boss or mini-boss | Materials |
|---|---|---|---|
| Deku Forest |  Bow x3 | None |  Blob Jelly, Armos Spirit |
| Buzz Blob Cave | Bow x3 | Electric Blob King (mini-boss) | Blob Jelly, Tektite Shell |
| Moblin Base | Bow x2,  Bomb x1 | None | Armos Spirit, Sweet Shroom |
| Forest Temple | Bow x1, Bomb x2 | Margoma (boss) | Tektite Shell, Blin Bling,  Lady’s Glasses (first clear) |
With Margoma beaten, pick Riverside, Volcano or Ice Cavern from the map. The next stop is Riverside, where the Water Rod and the Gripshot make their debut.


