






















Tri Force Heroes 100% Completion Walkthrough8 chapters
- Hytopia and the WoodlandsMeet King Tuft, then clear Deku Forest, Buzz Blob Cave, Moblin Base and Forest Temple.
- RiversideSecret Fortress, Abyss of Agony, Cove of Transition and the Water Temple, with Water Rod and Gripshot puzzles.
- VolcanoBlazing Trail, Hinox Mine, Den of Flames and Fire Temple, with every stage, the Hinox Brothers and Moldorm.
- Ice CavernFrozen Plateau, Snowball Ravine, Silver Shrine and the Ice Temple, with the Freezlord and Blizzagia fights.
- FortressSealed Gateway, Bomb Storage, Training Ground and The Lady’s Lair, with every puzzle, chest and boss.
- The DunesInfinity Dunes, Stone Corridors, Gibdo Mausoleum and Desert Temple, with Vulture Vizier and Stalchampion tips.
- The RuinsIllusory Mansion, Palace Noir, Lone Labyrinth and Grim Temple, with Grim Repoe and Prismantus.
- Sky RealmFloating Garden, Deception Castle, Dragon Citadel and Sky Temple, with Gigaleon, Lady Maud and the ending.
| Levels | Secret Fortress, Abyss of Agony, Cove of Transition, Water Temple |
|---|---|
| Items used | Water Rod (Secret Fortress, Abyss of Agony, Water Temple), Bow (Abyss of Agony), Gripshot (Cove of Transition, Water Temple) |
| Boss | Electric Blob Queen (mini-boss, Abyss of Agony); Arrghus (boss, Water Temple) |
| Unlocks | Drablands Challenges for all four Riverside Levels; with the Fire Temple and Ice Temple also cleared, the Fortress and the Cheetah Costume, Queen of Hearts, Rupee Regalia and Sword Suit outfits |
Riverside is the wet Area of Tri Force Heroes, and almost every puzzle is about crossing water. The Water Rod, handed out in Secret Fortress, Abyss of Agony and the Water Temple, raises pillars of water you can stand on. The Gripshot, which arrives in Cove of Transition, pulls you to Stakes, fences and even to your teammates. You also pick up the Bow once, for the Electric Blob Queen. Beat the Water Temple and Riverside’s Drablands Challenges open; clear the Fire Temple and Ice Temple too and the Fortress and four new outfits follow.
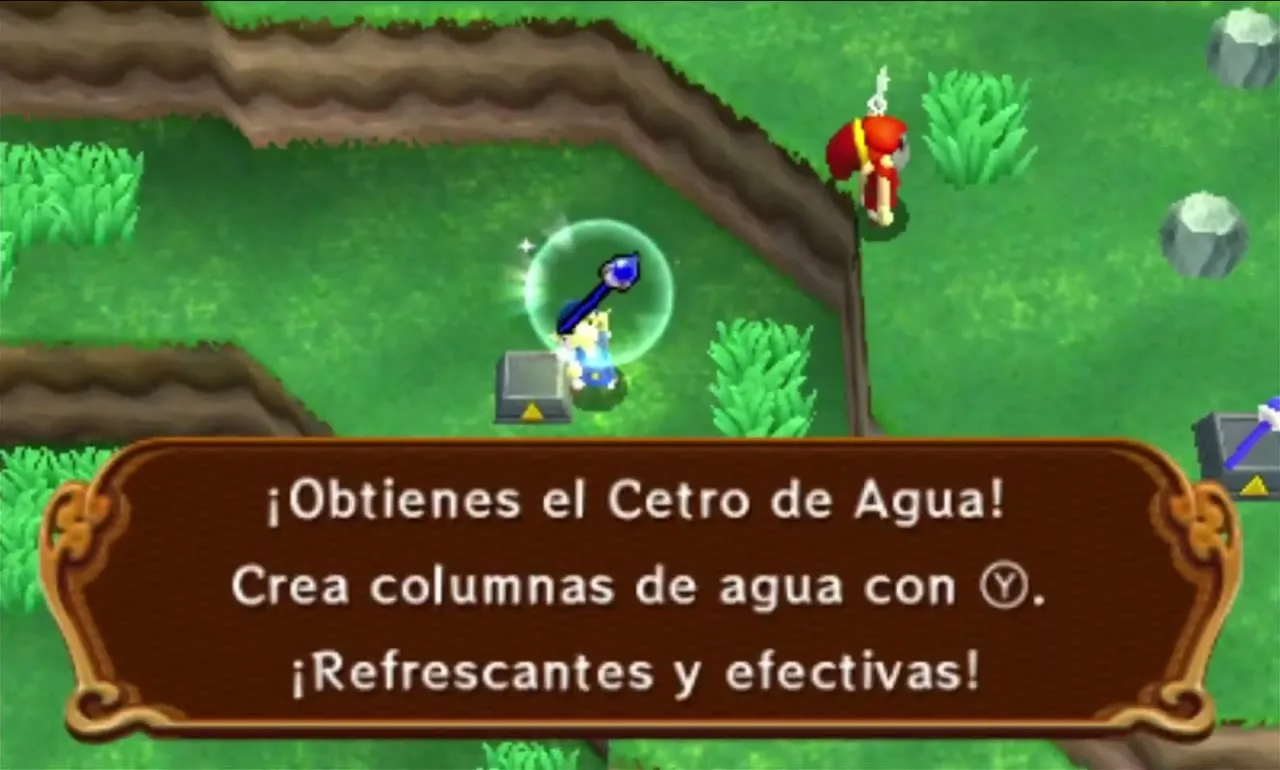
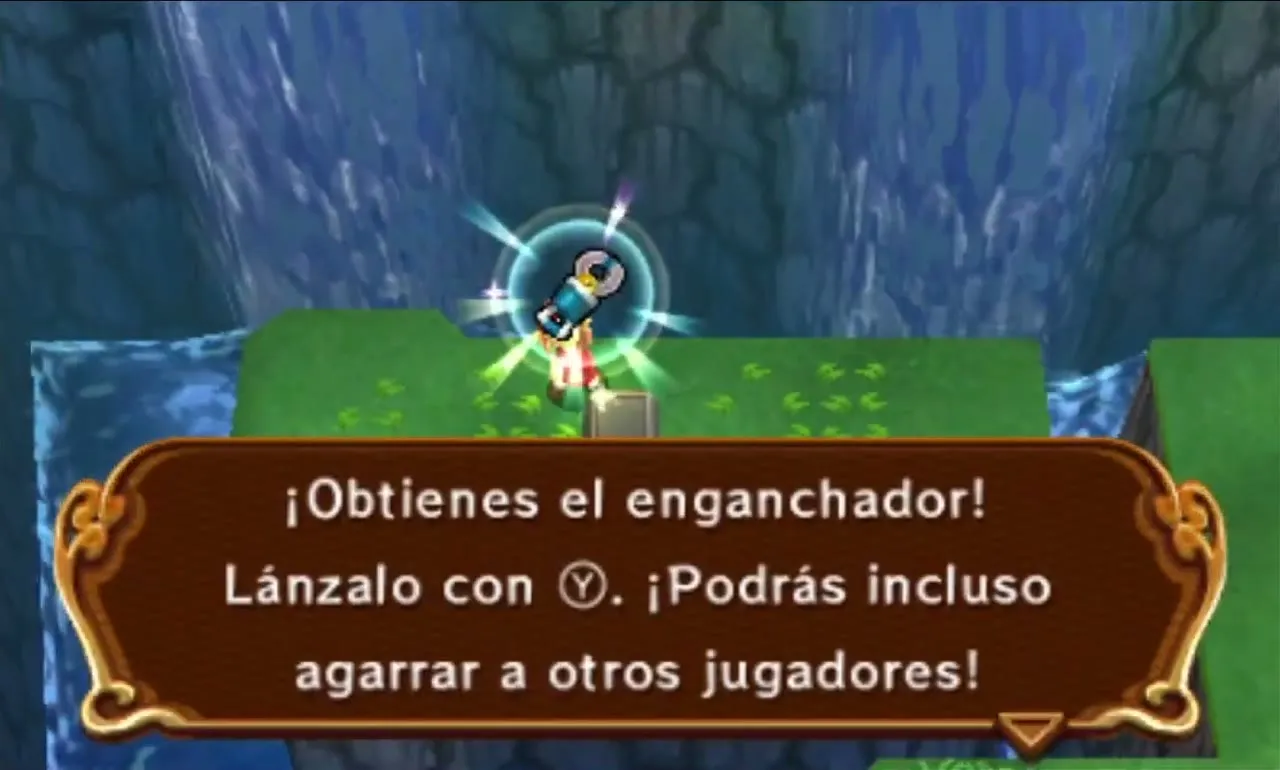
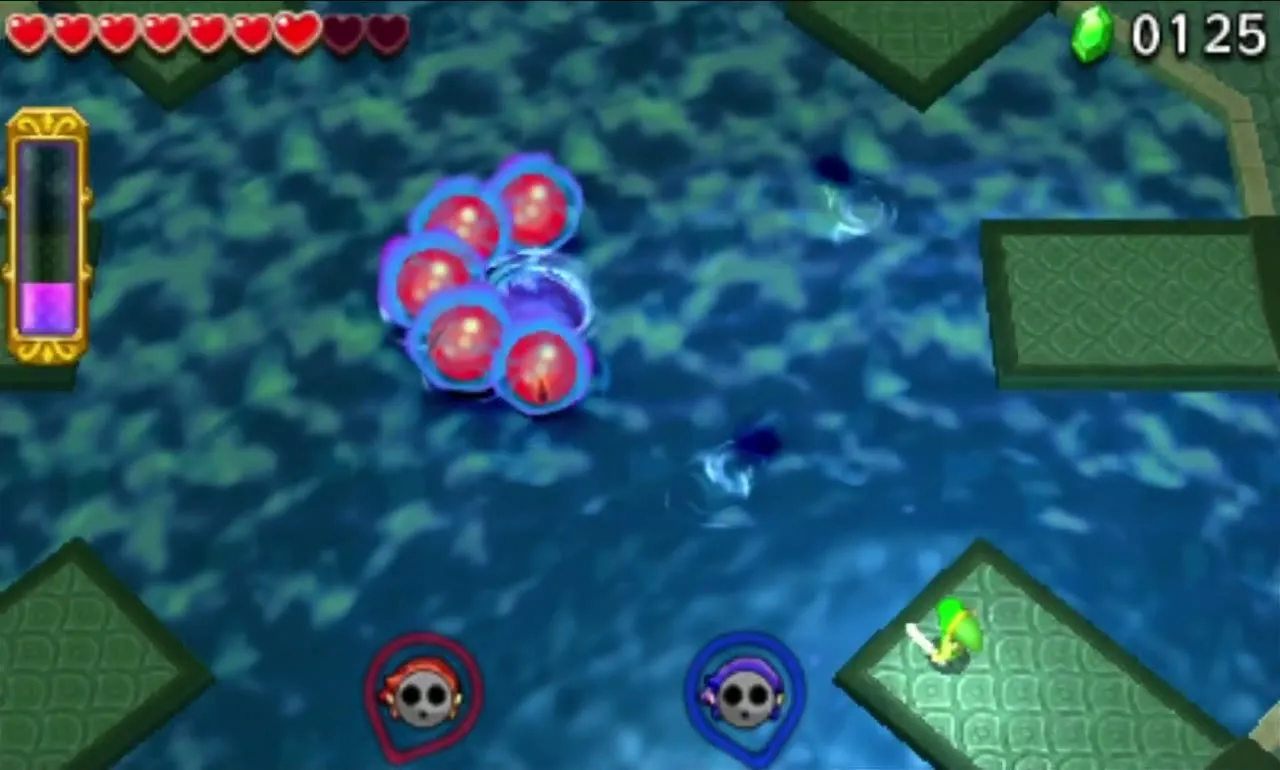
Table of Contents
Secret Fortress
Secret Fortress is the first Riverside Level, set around a lake with a fortress on the far shore, and every Link receives a Water Rod. Water pillars sink after a few seconds, so build one, step onto it and raise the next before the first is gone. In single player, switch to whichever Doppel needs to build the next pillar; with three players, each Link builds for himself.

Secret Fortress Stage 1
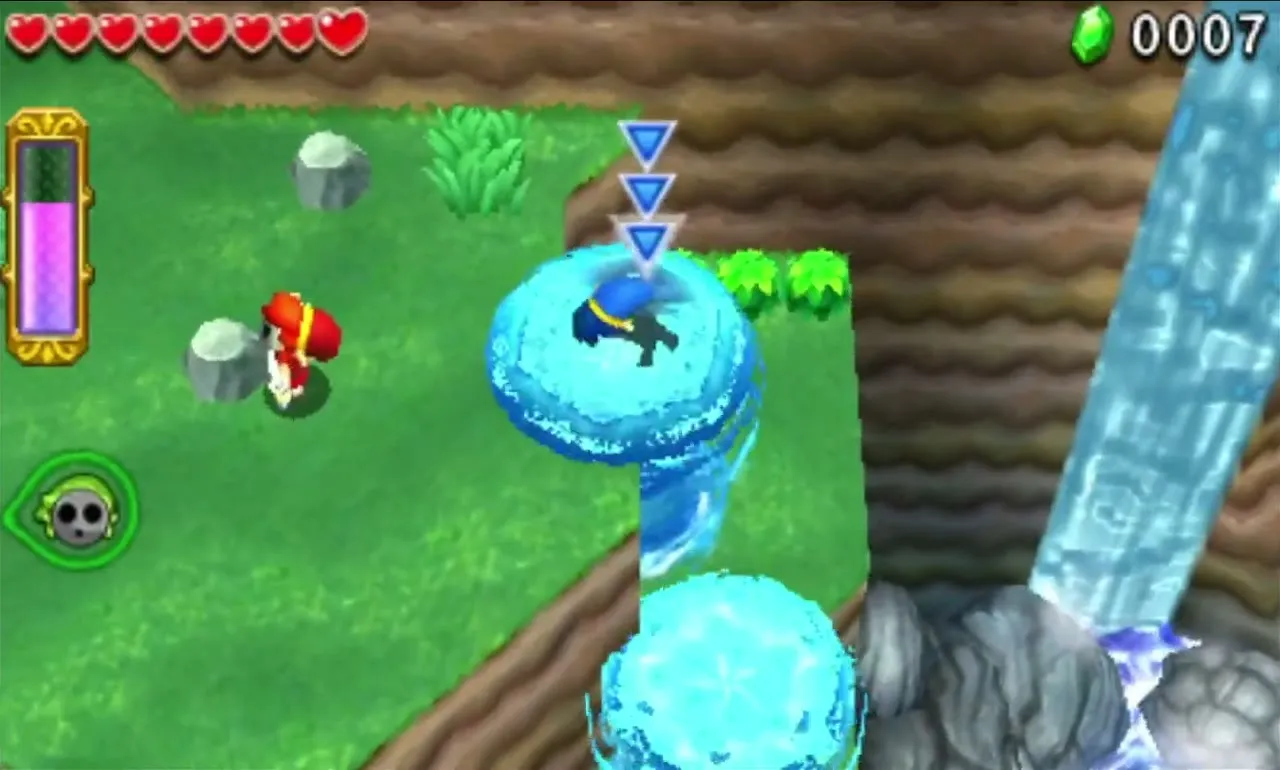
Pick up a Water Rod from the lower ledges beside the waterfall, then use it to climb the hill. Point the rod at the ground in front of a ledge and a pillar of water lifts you up to it. Blobs wander the slopes, so slash them as you pass instead of letting them gather while you build.
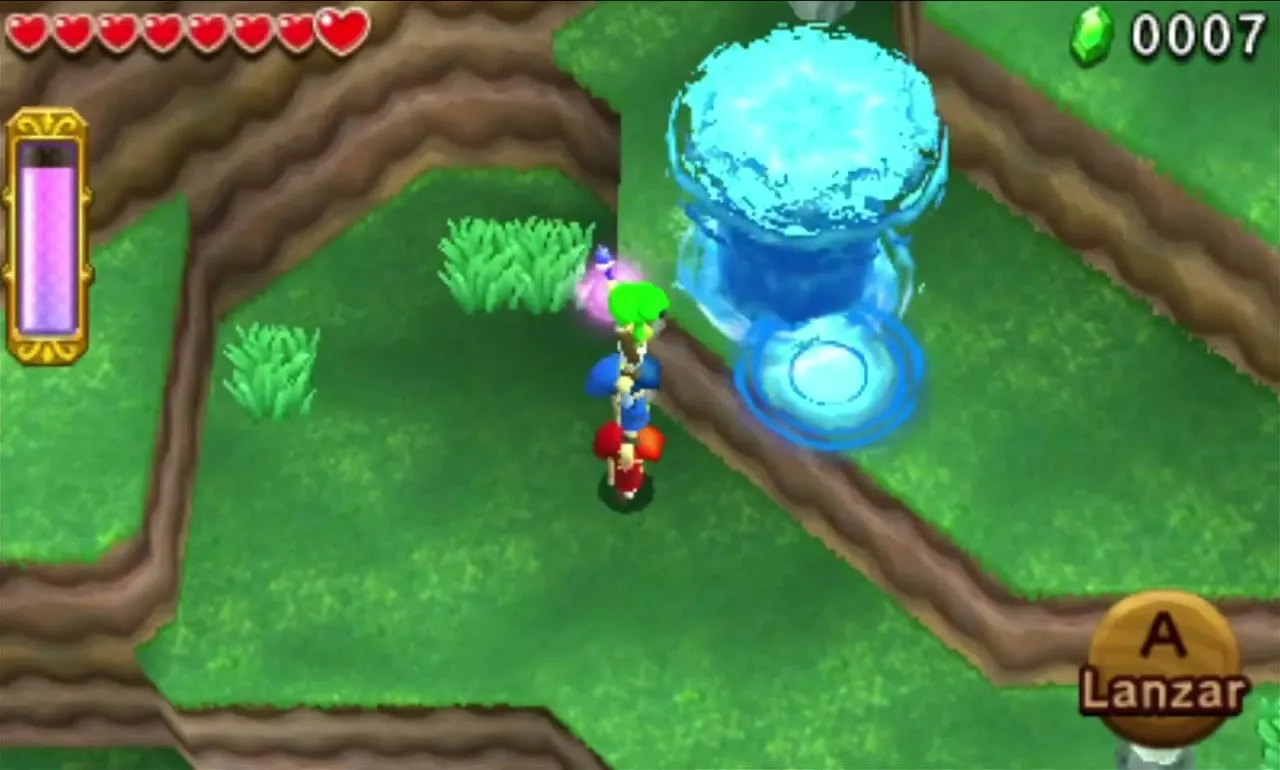
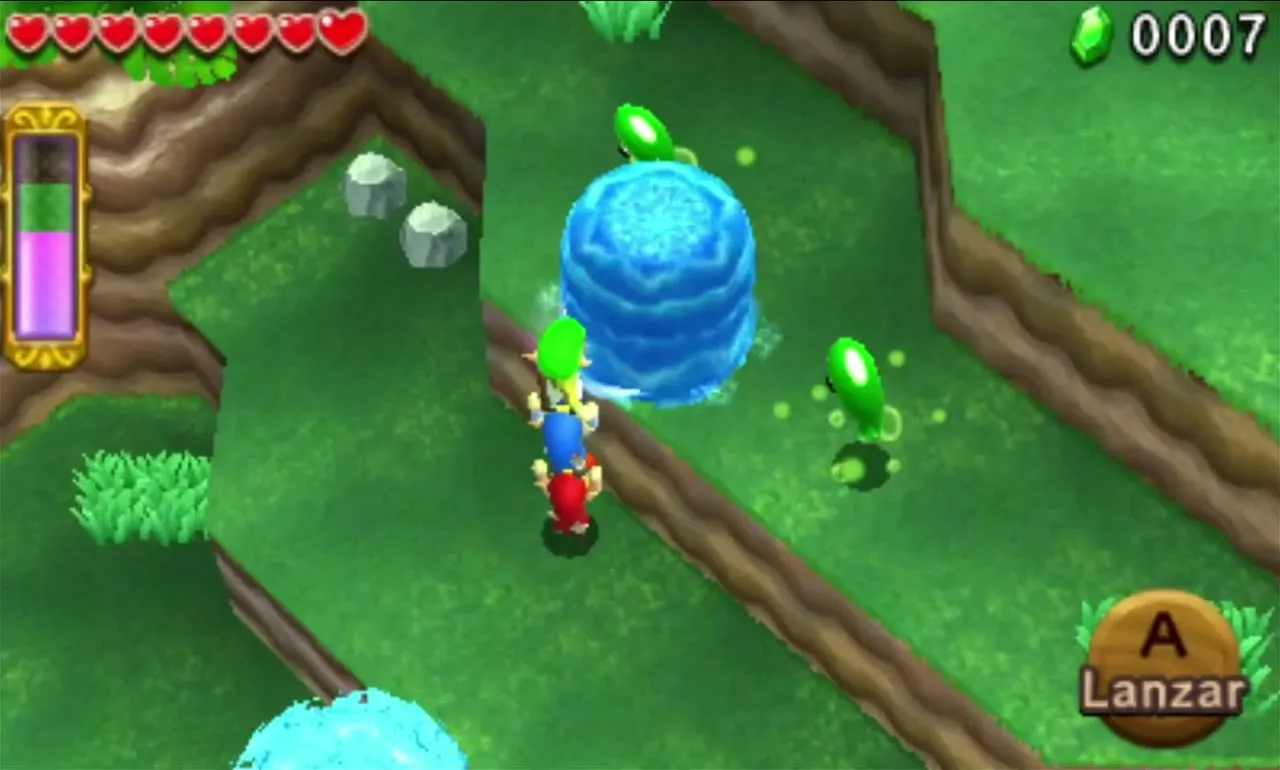
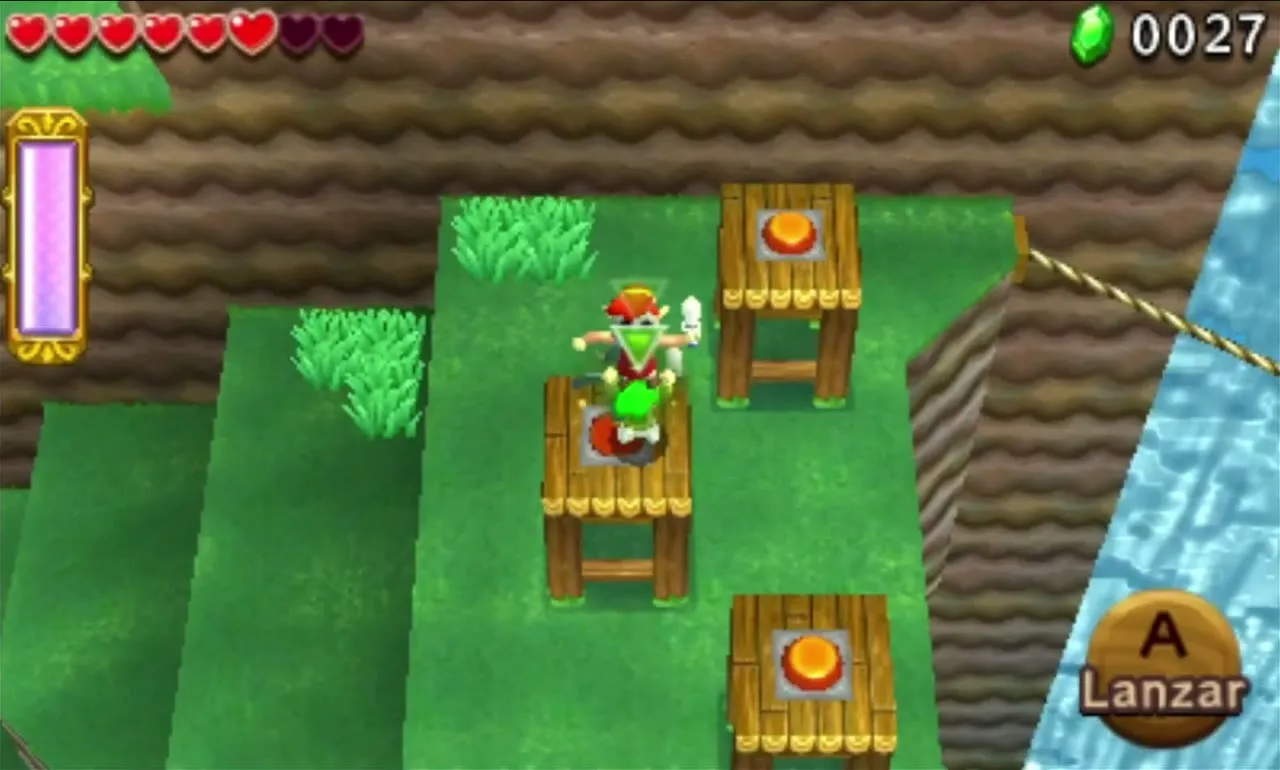
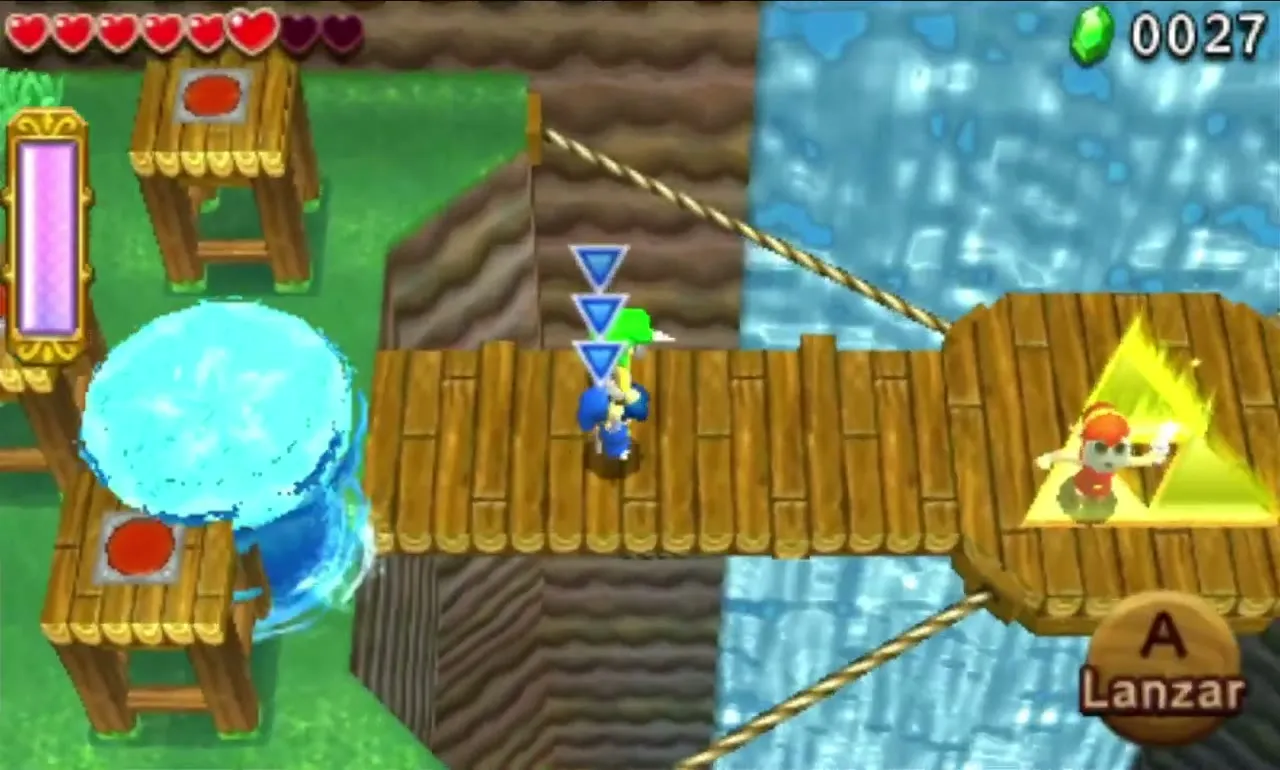
At the top of the hill, three lookout posts stand in a row, each with a Floor Switch on it and a pair of Spear Throwing Moblins keeping watch. Raise a pillar for each Link, climb onto a post and stay on the switch. When all three are held down at once, a bridge extends to the wooden platform hanging over the waterfall, where the Triforce Gateway waits.
Secret Fortress Stage 2
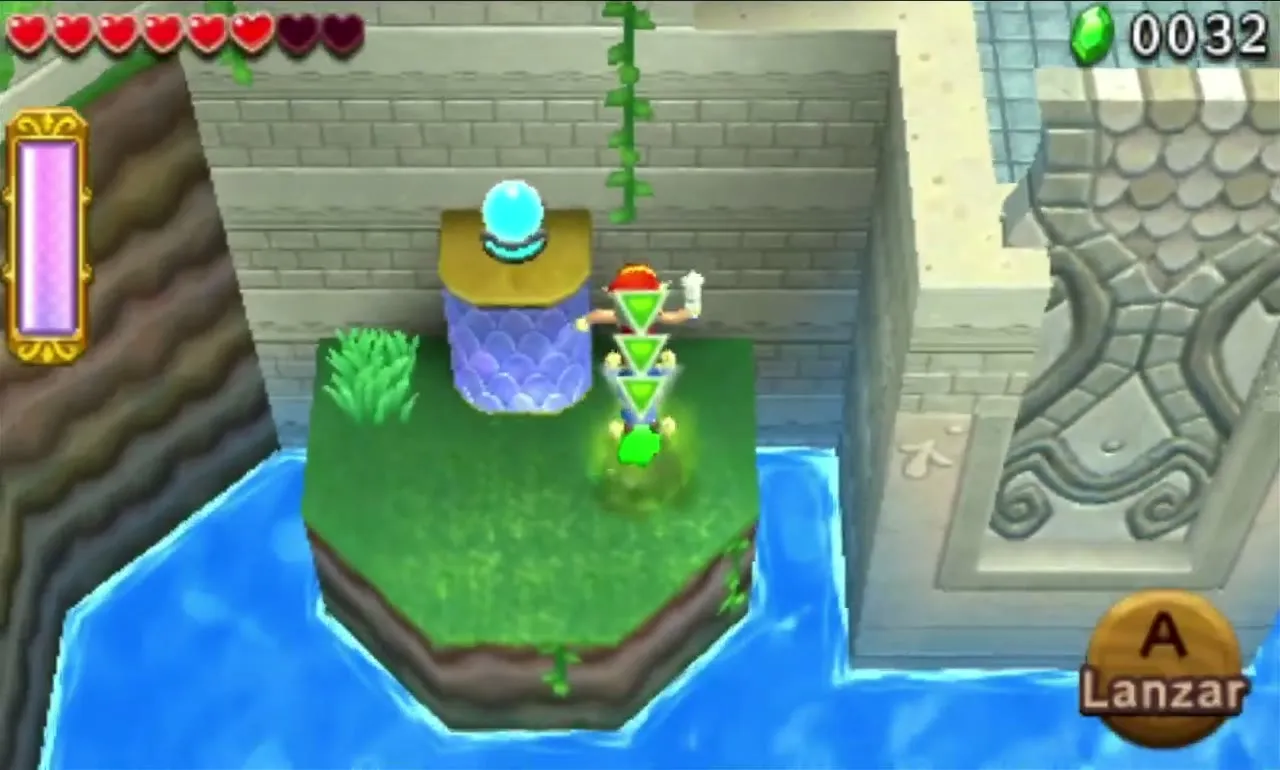
The fortress gate on the far shore will not open until two Shock Switches on the ledges to its left and right are struck. Build bridges of water pillars out to each ledge and hit the switches with your Sword. Once both have flashed, the gate lowers and you can pillar-hop to the entrance.

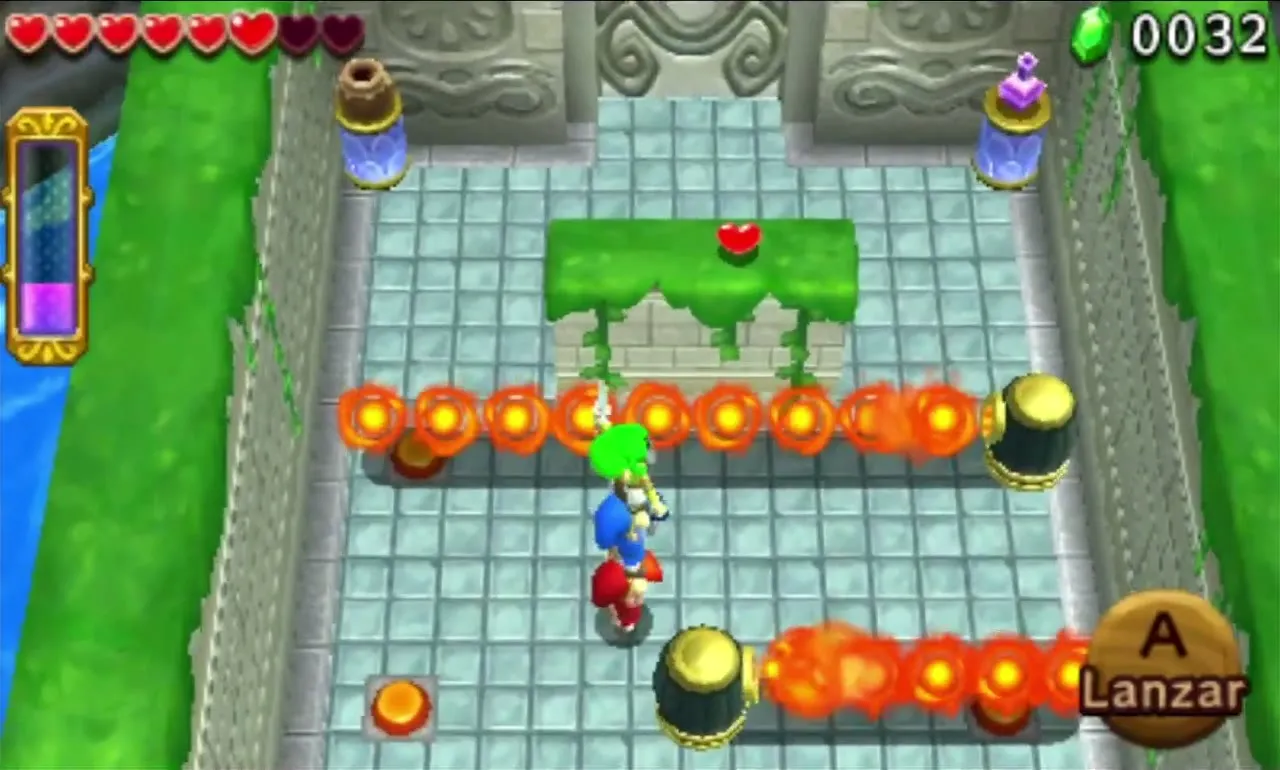
Inside the walls, stationary Guruguru Bars shoot streams of fire across the path and block the Floor Switches beneath them. Aim the Water Rod at a flame to put it out for a moment, then run in and stand on the switch before it relights. Pressing the switches lowers the next gate.
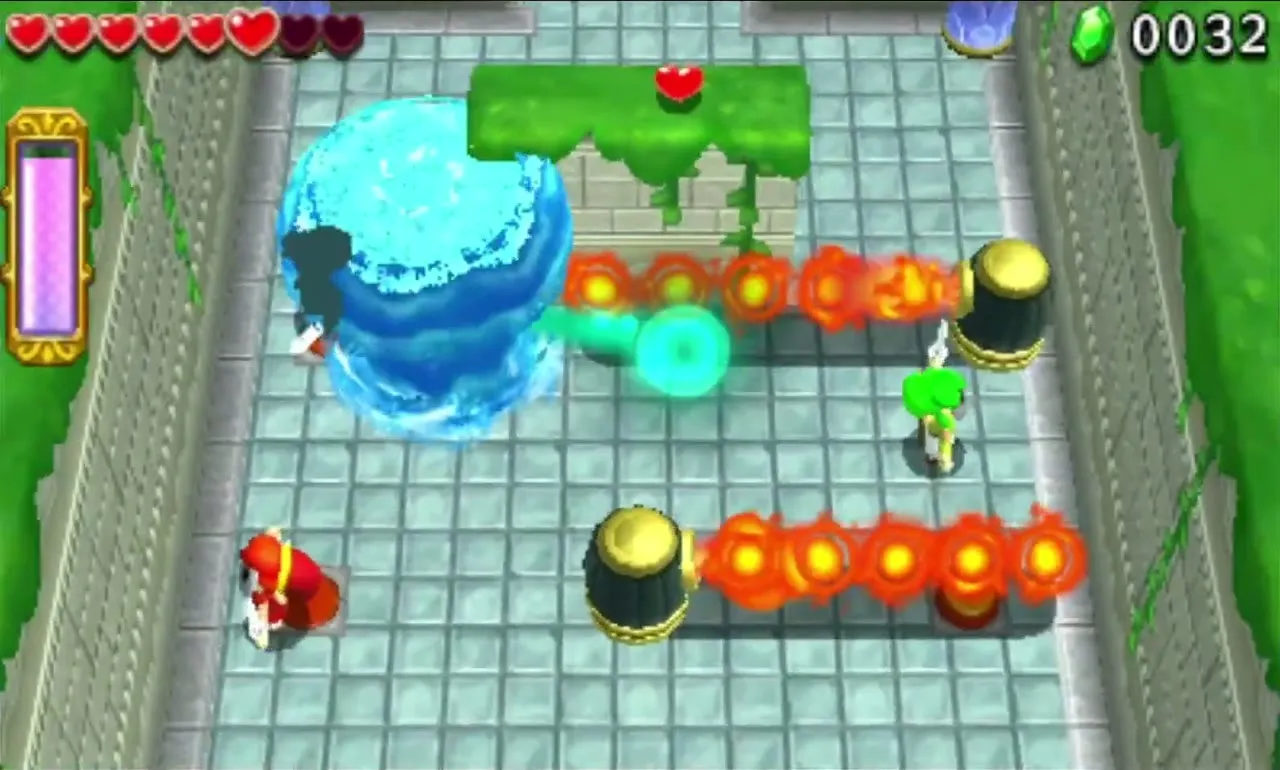
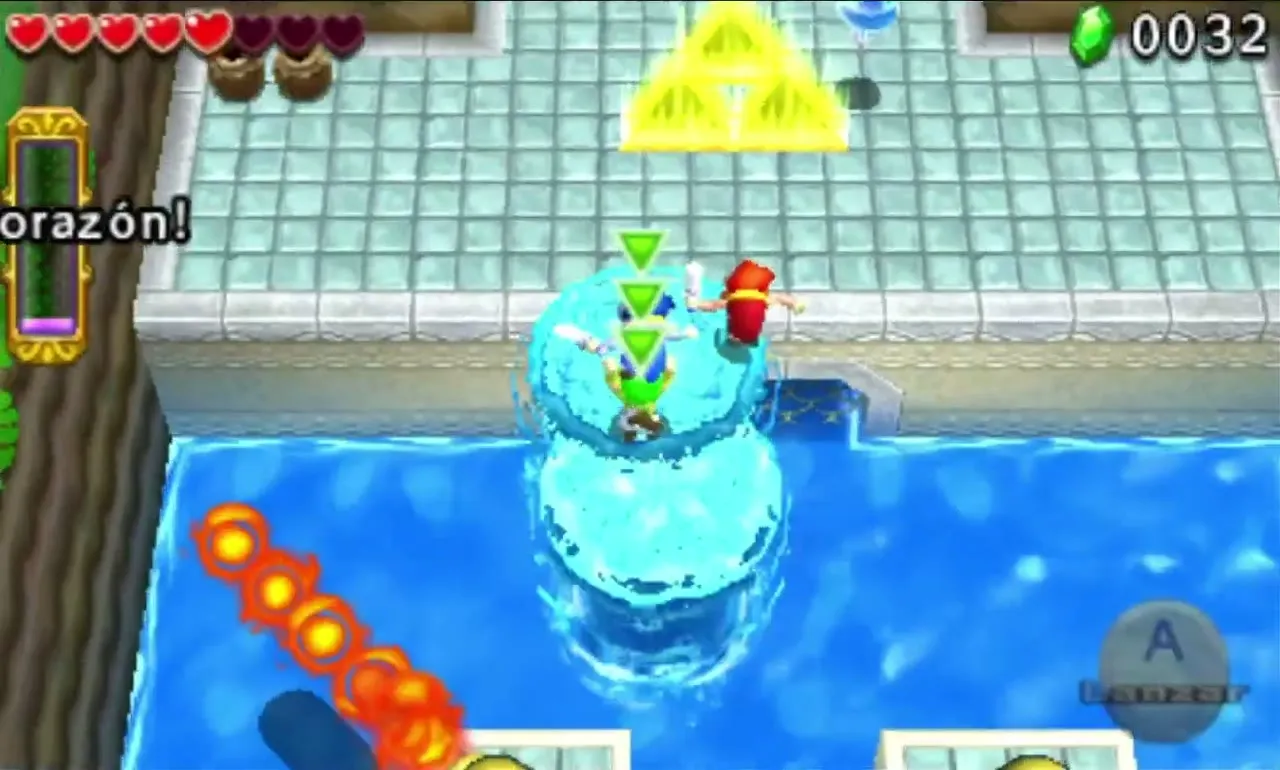
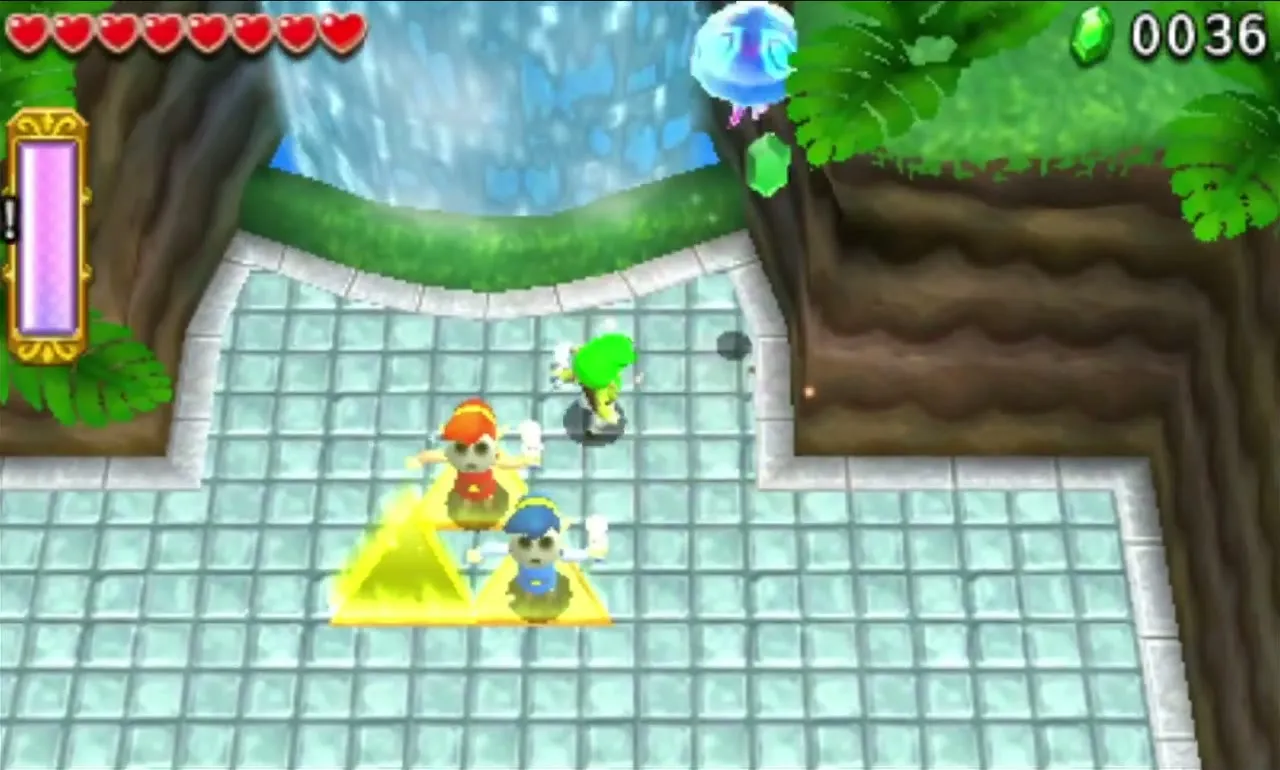
Back outside, the last stretch is a waterway guarded by two spinning Guruguru Bars. Lay pillars across the water, time your steps to the rotating fire and hop to the Triforce Gateway, where a Squiddy sits beside the exit. Step onto the Gateway together.
Secret Fortress Stage 3
This Stage is a river crossed by wooden docks, crowded with Tektites and Spear Throwing Moblins. Cross to each dock on Water Rod pillars and clear the enemies as you land. The wide dock at the end spans the whole river and leads to a fast-flowing pool.
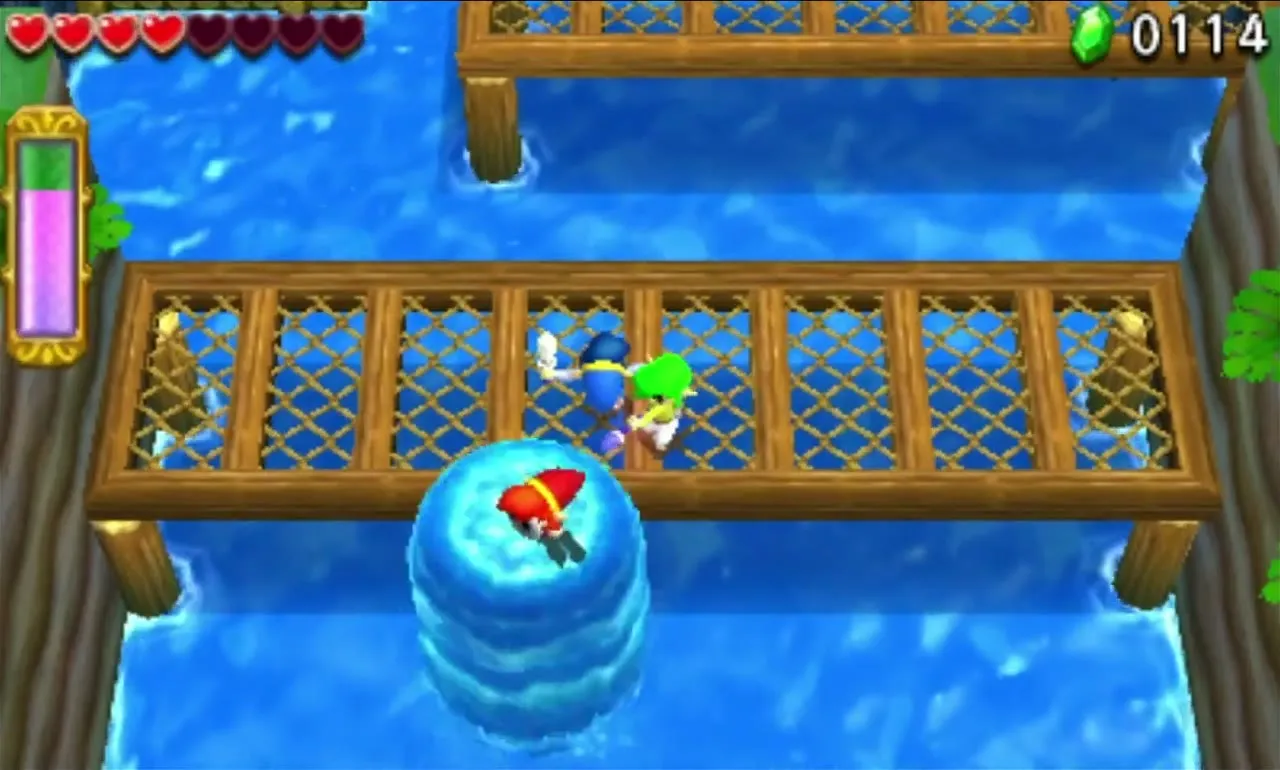
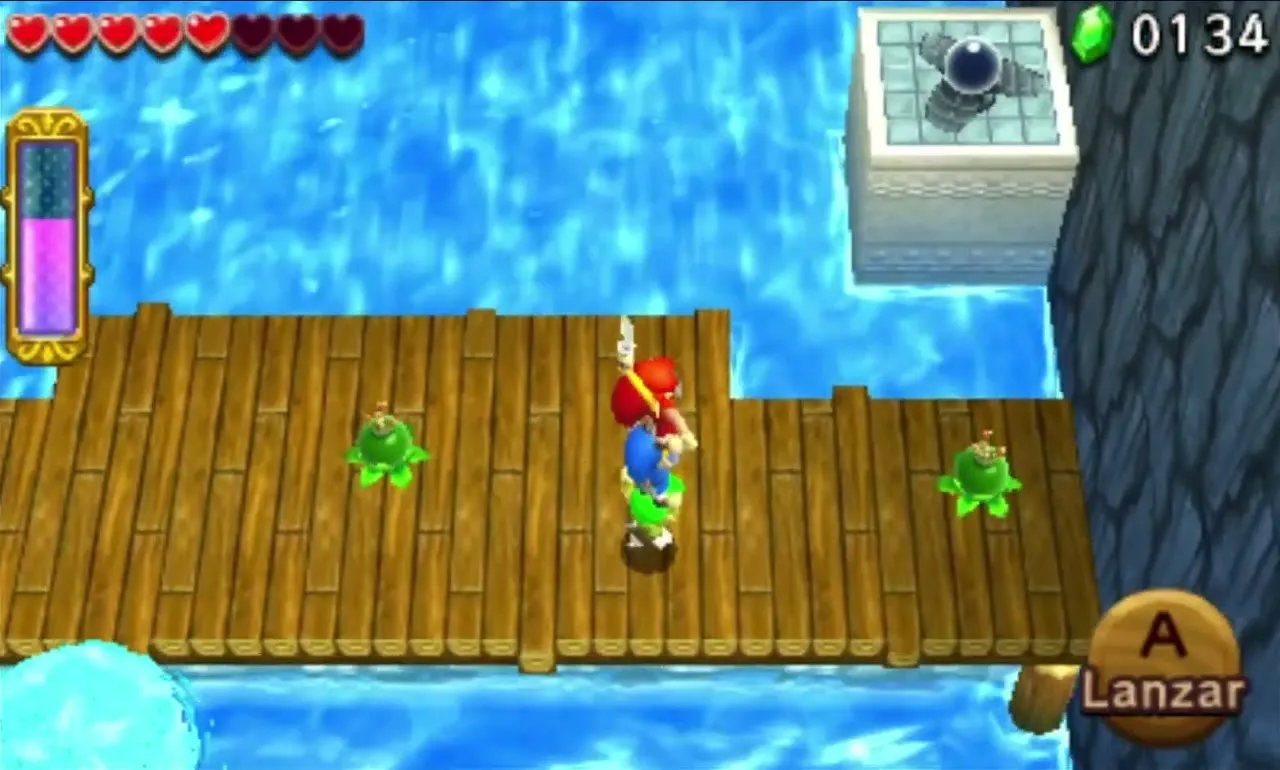

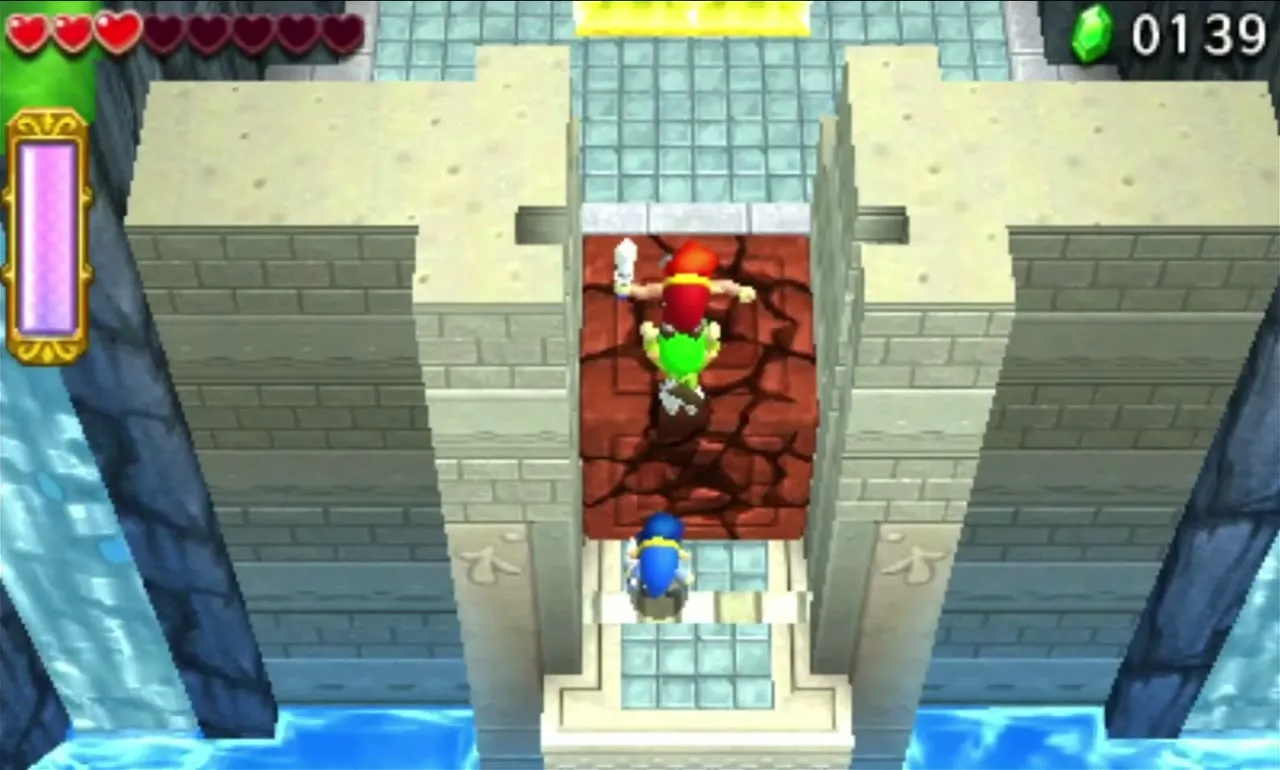
That wide dock is covered in Bomb Flowers. A pair of Shock Switches sit at the sides of the pool beyond it, behind metal flaps that close if you walk near them. Pick up a Bomb Flower, throw it from a distance onto each switch, and the gate at the far end rises to show two Cracked Blocks. Two Crows start circling over the pool at the same moment.
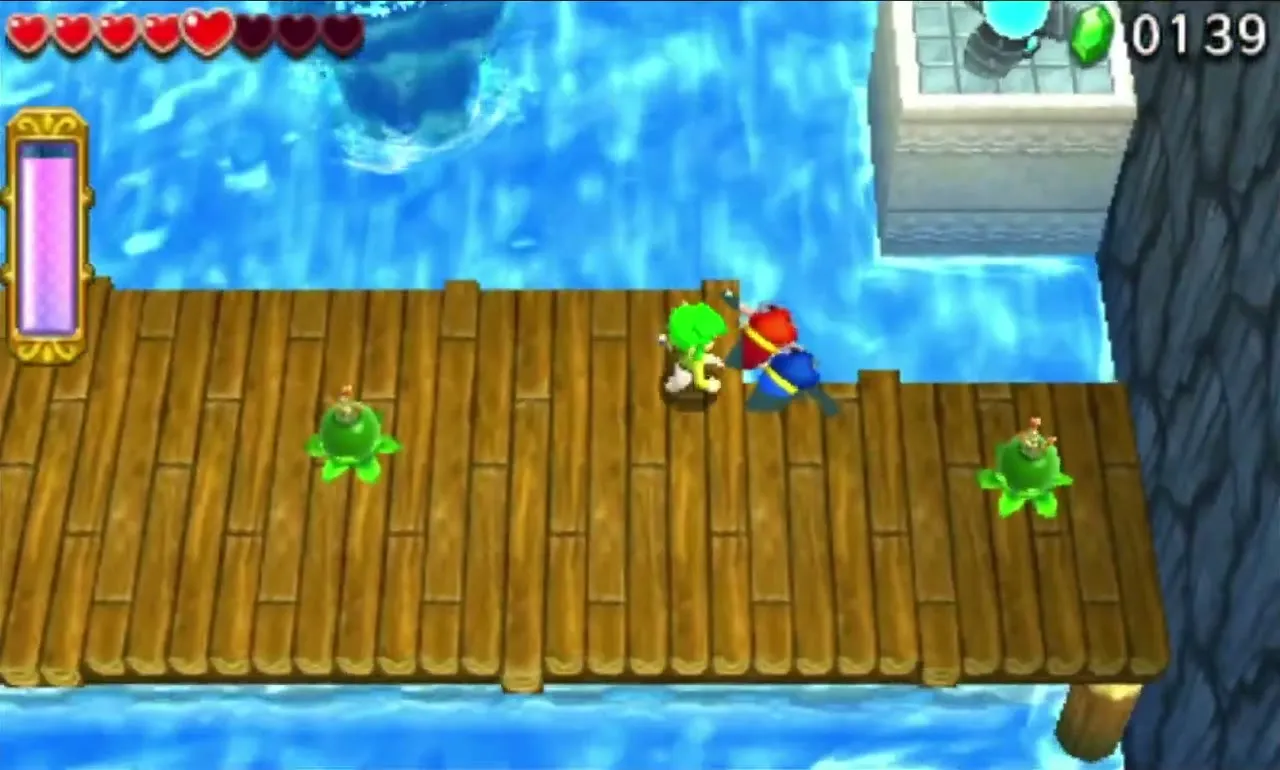

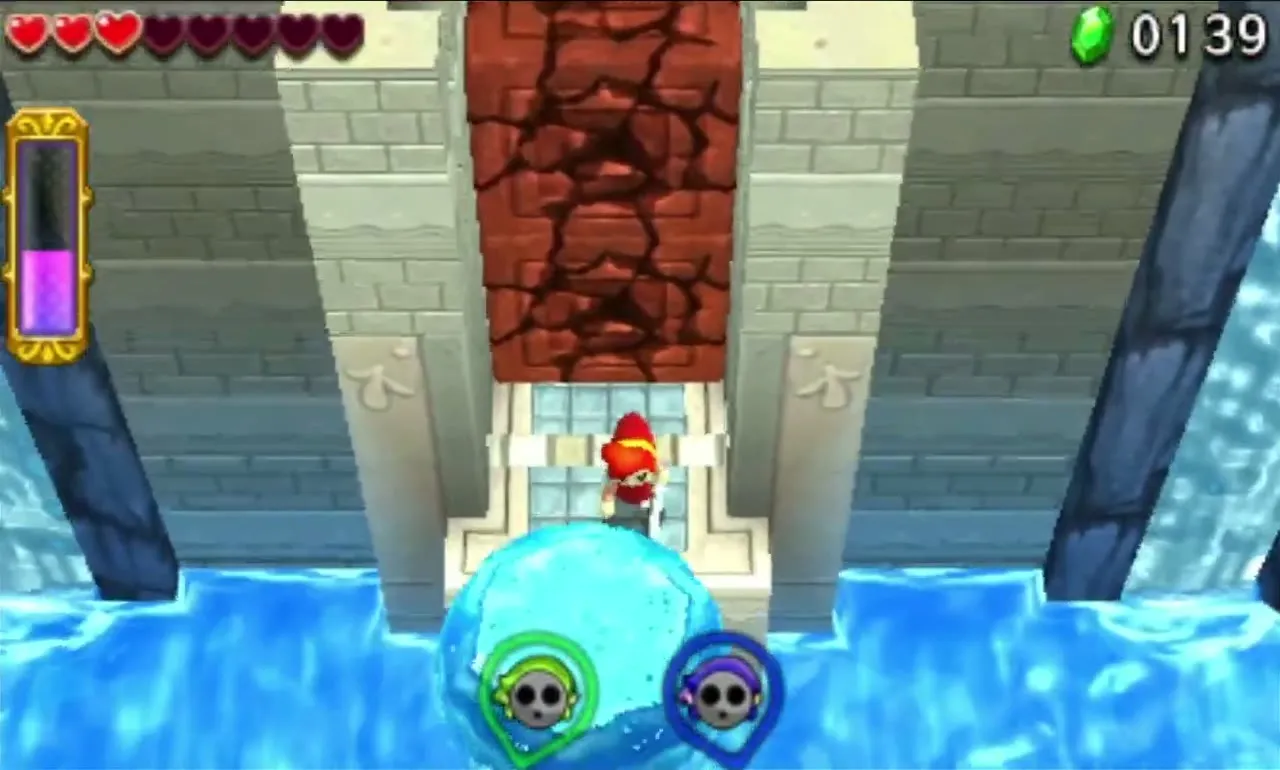
Build a water pillar bridge across the pool, carry a Bomb Flower over it and blow up the Cracked Blocks, then step through to the Triforce Gateway. If only one block breaks, you can simply pillar over the other one.

Secret Fortress Stage 4
You land on a dock above a waterfall, and the current carries any Link who falls in over the edge, so stay on the platforms. Walk to the Big Switch in the middle of the small platforms and make all three Links stand on it together.
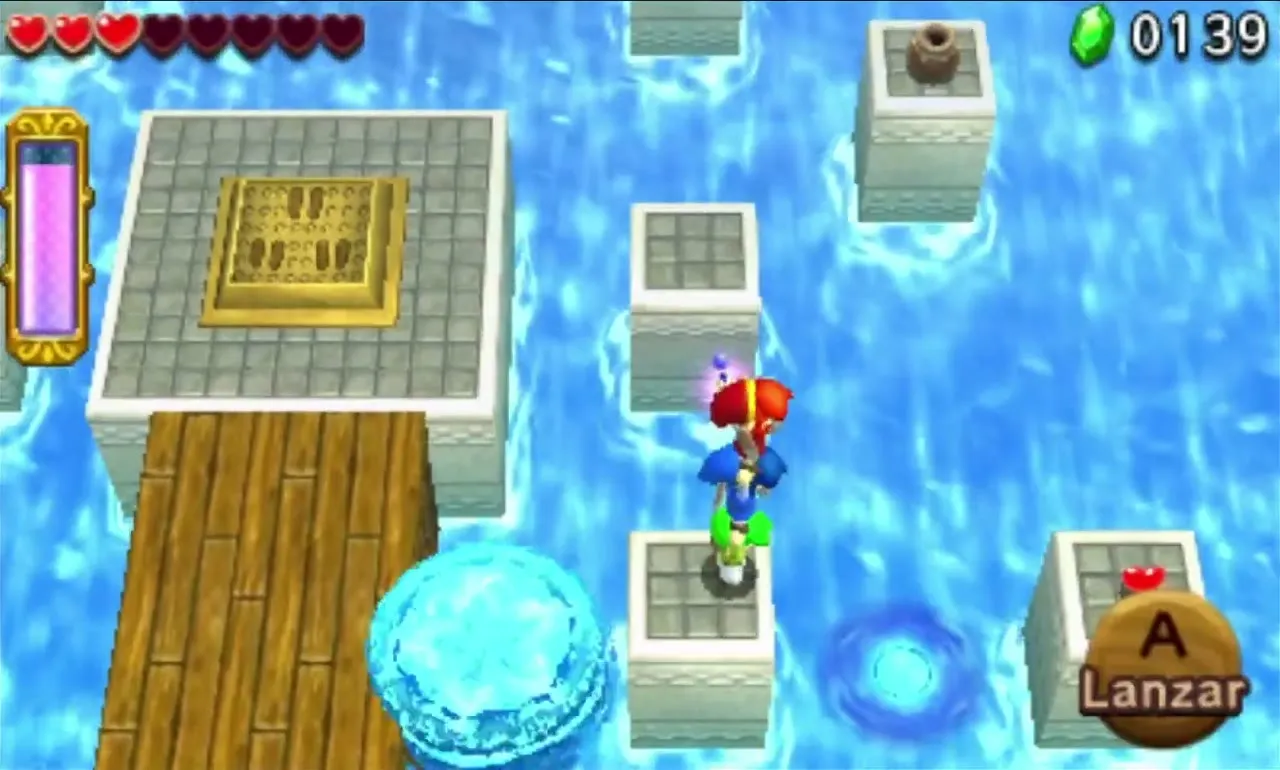
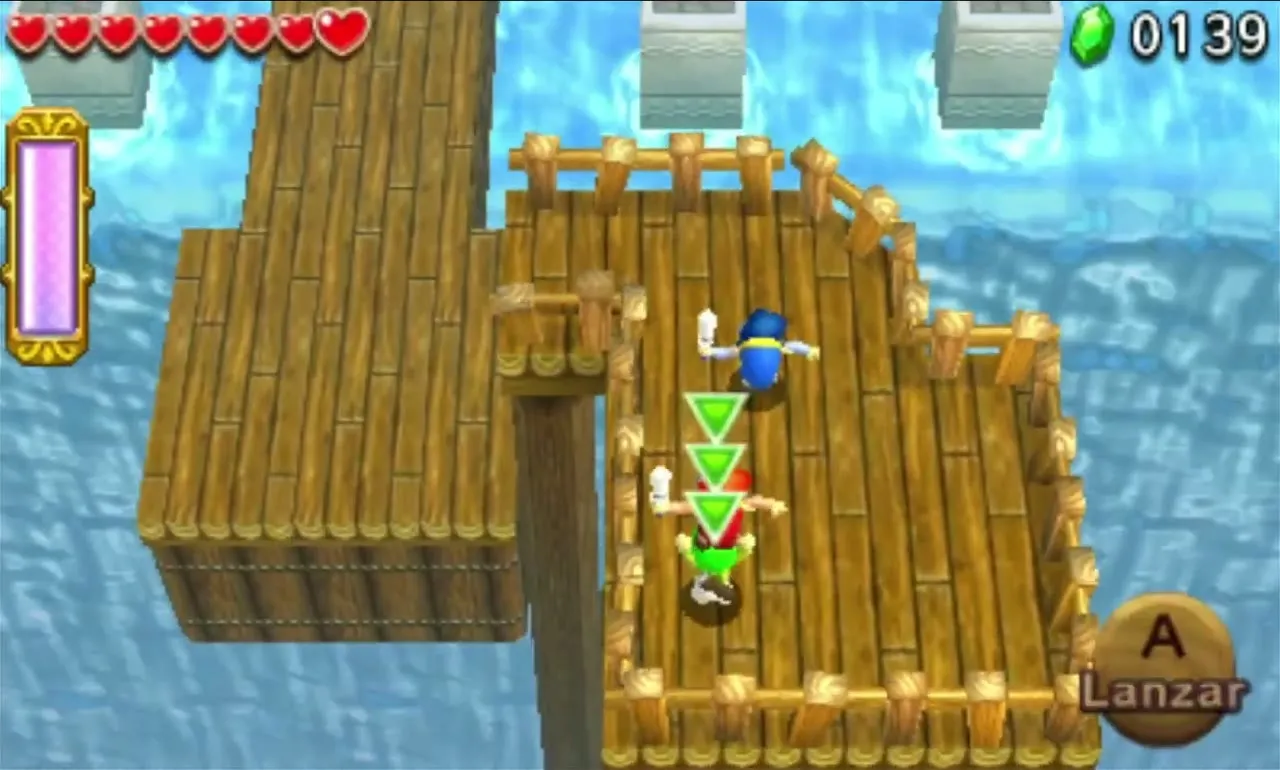
Pressing it breaks away the dock behind you and calls in a crowd of Spear Throwing Moblins and three Keeleons on the surrounding platforms. Reach them with Water Rod pillars. Stun a Keeleon with the rod, send its bombs back at it, or build a Totem to hit it from above. Walkways rise out of the water as you defeat enemies and link the platforms.


When every enemy is gone, a platform with the Triforce Gateway rises in the centre of the Stage. Reach it and step on together to enter the room with the end-of-Level chests.

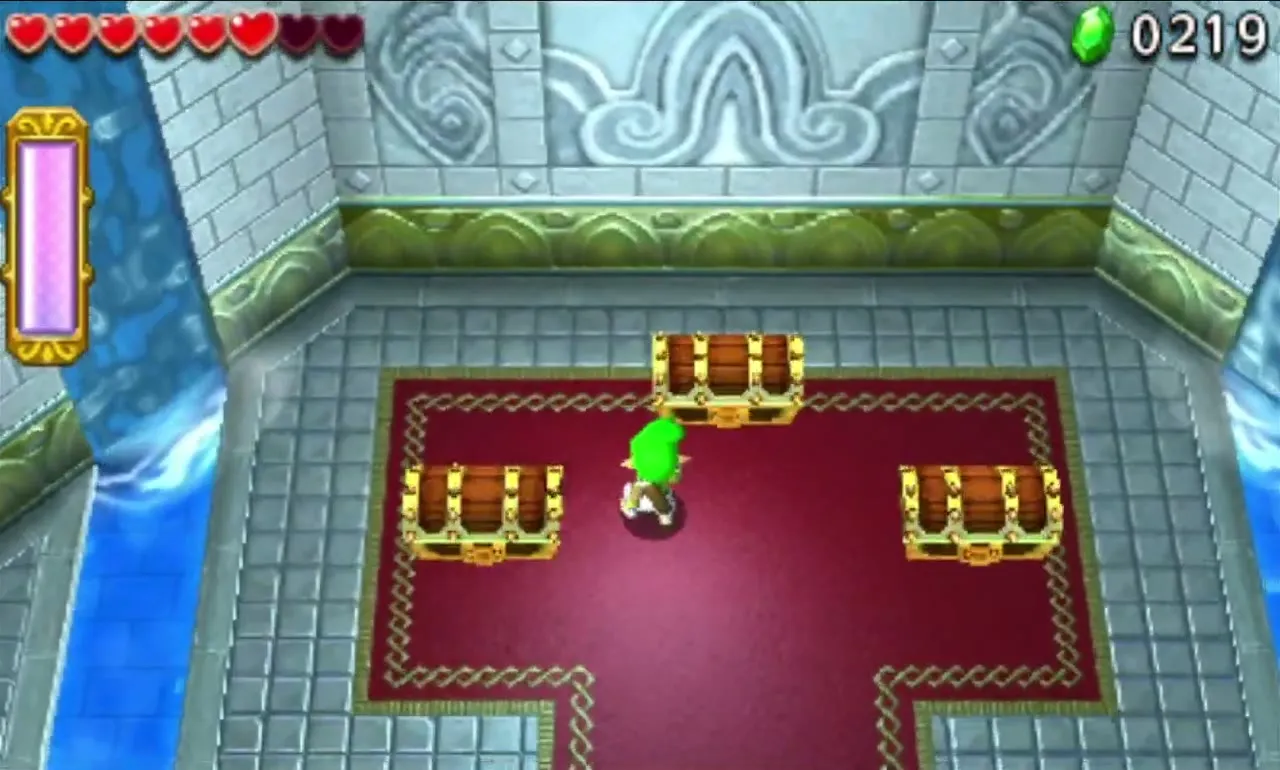

Secret Fortress treasure chests
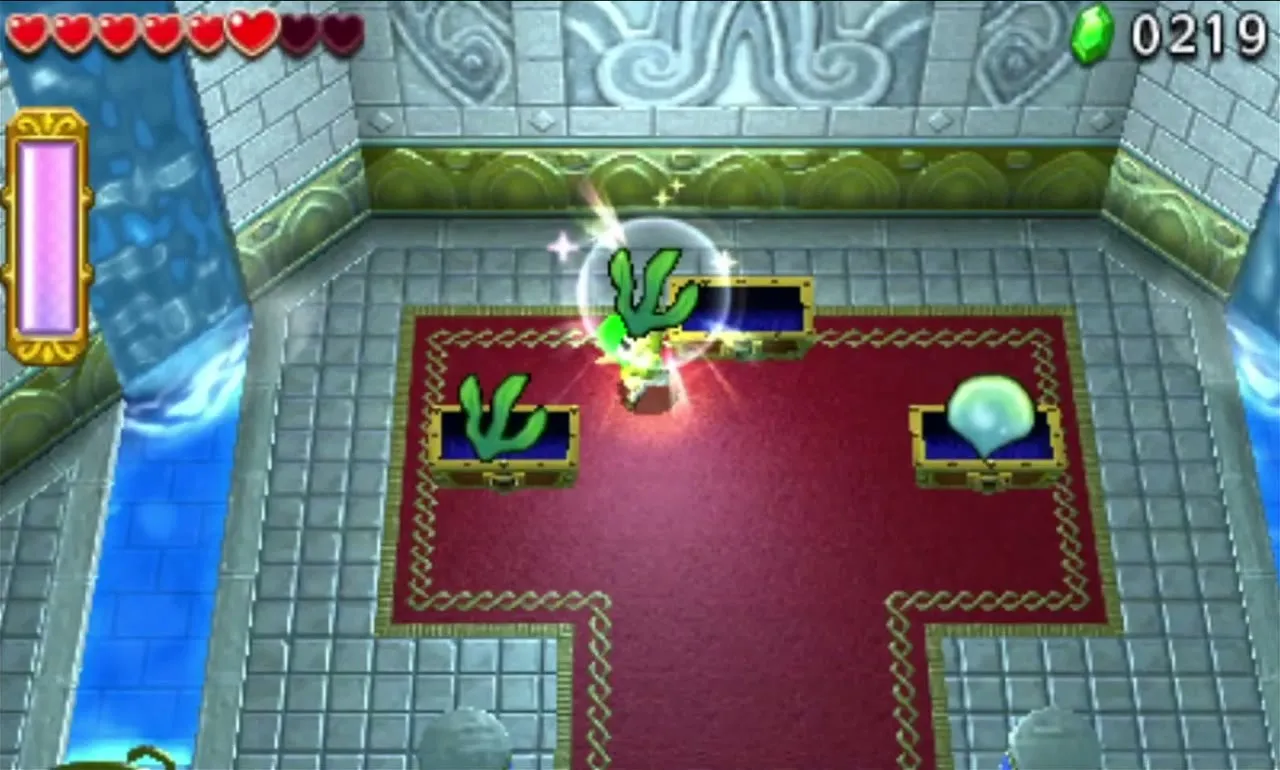
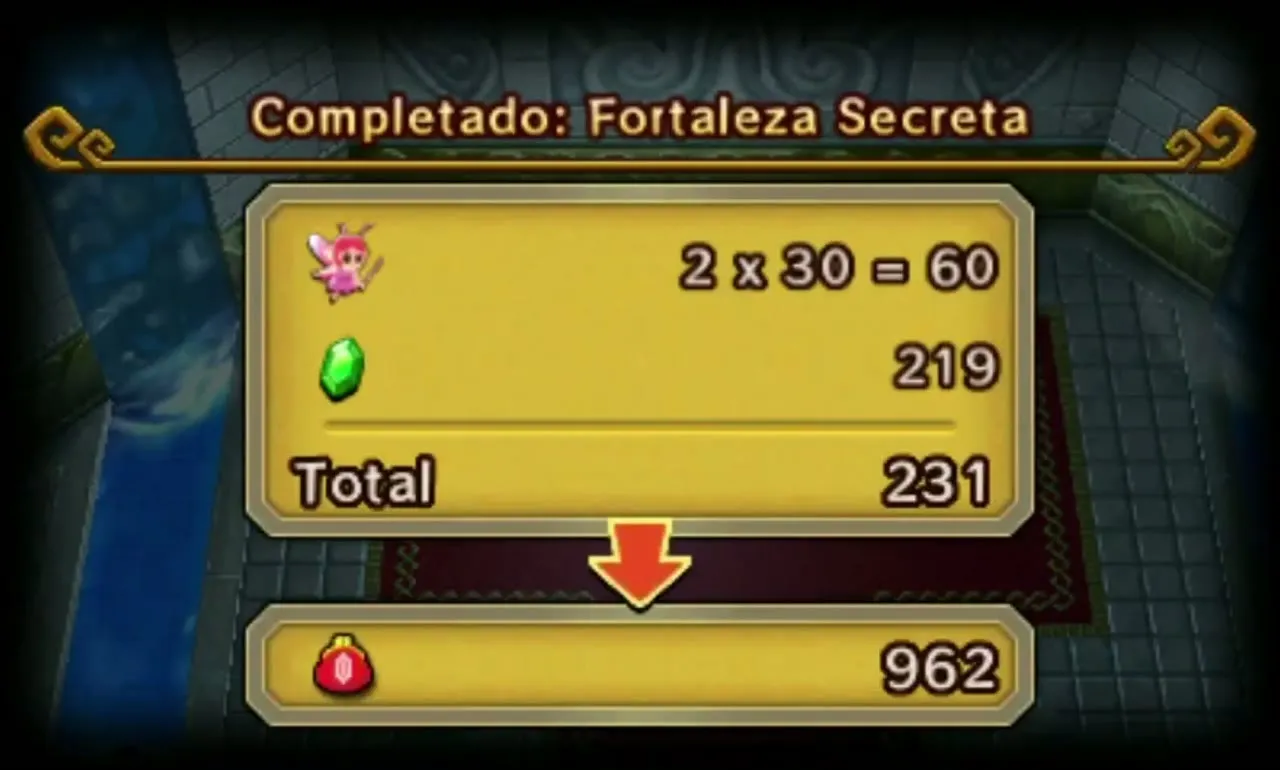
Each Link opens one of three Treasure Chests when the Level ends. Two chests contain the same common Material, the third a rarer one. Your first run yields two Fresh Kelp and a Zora Scale. Both are needed for the Zora Costume at Madame Couture’s, while Fresh Kelp also goes into the Torrent Robe, which makes your Water Rod pillars twice as big.

Beat the Water Temple and Secret Fortress unlocks three Drablands Challenges: “Pop all balloons!”, “Clear with halved energy!” and “Evade the Wallmaster!”. The Materials improve with each, topping out at Hytopian Silk, Zora Scale, Aqua Crown and Octorok Sucker. The whole list is in the Drablands Challenges guide.
Abyss of Agony
Abyss of Agony climbs a cliff beside rushing waterfalls and ends in a grotto with the Area’s mini-boss. You get two Water Rods and one Bow. Decide who holds the Bow before you start, because you need Arrows for Shock Switches and for the final fight. In single player, give it to the Doppel you aim best with and switch to him whenever a target needs shooting.

Abyss of Agony Stage 1
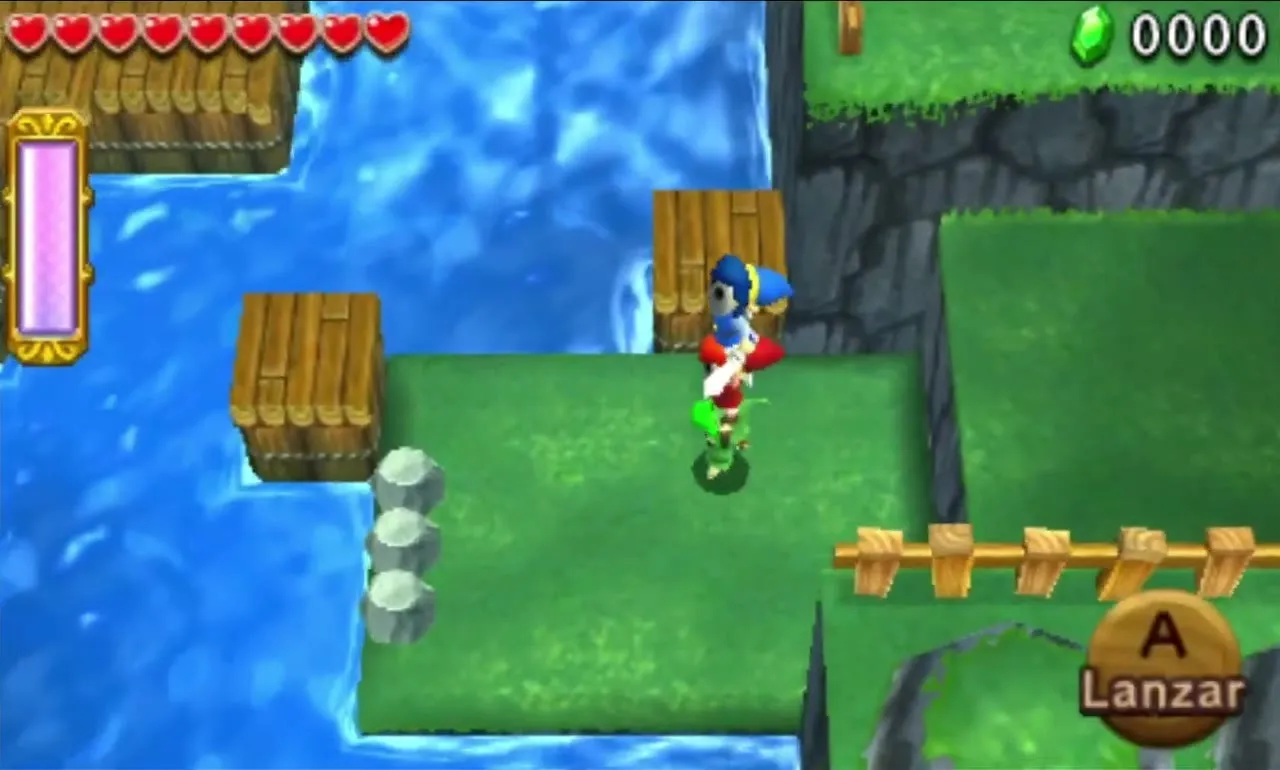
You start by a lake with strong currents. Swim with the flow, and stay clear of the Spikes floating in the water. Shoot a Spike with an Arrow or hit it with a Spin Attack from a safe distance and it explodes. Swim to the small island that holds the two Water Rods and the Bow.
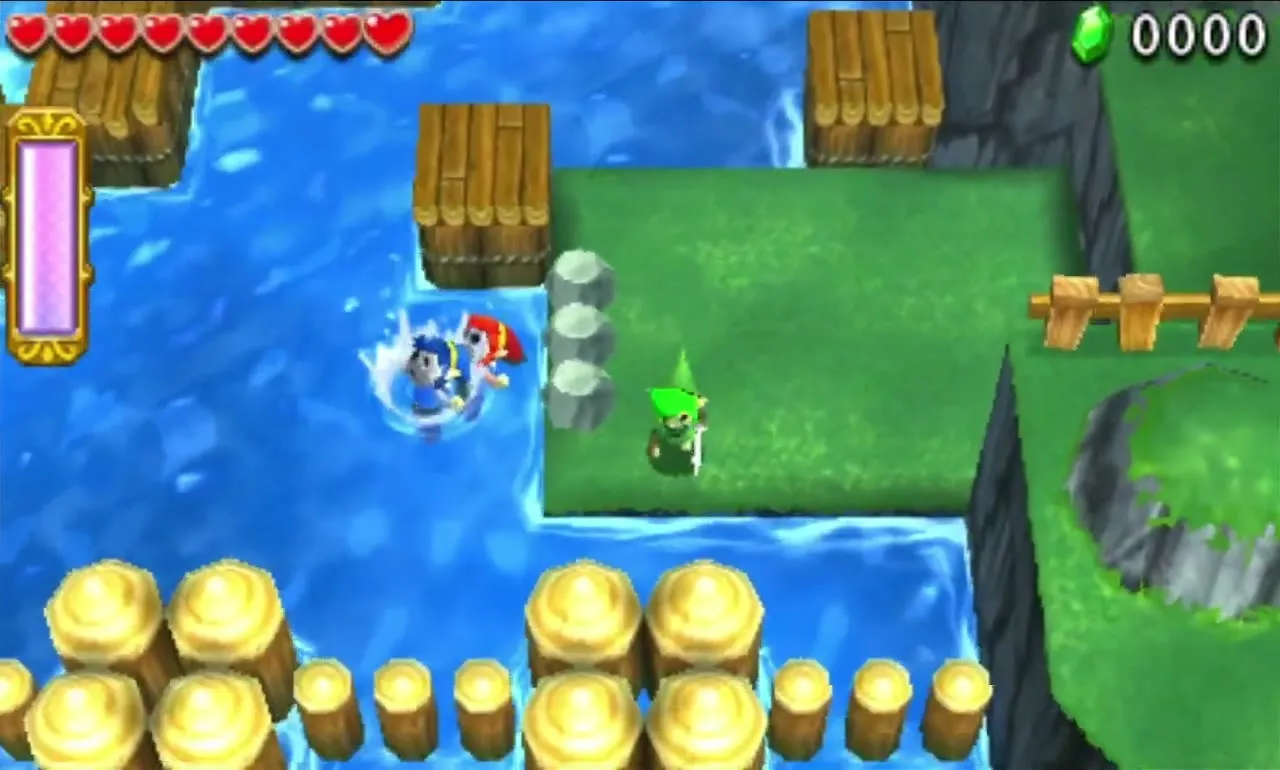
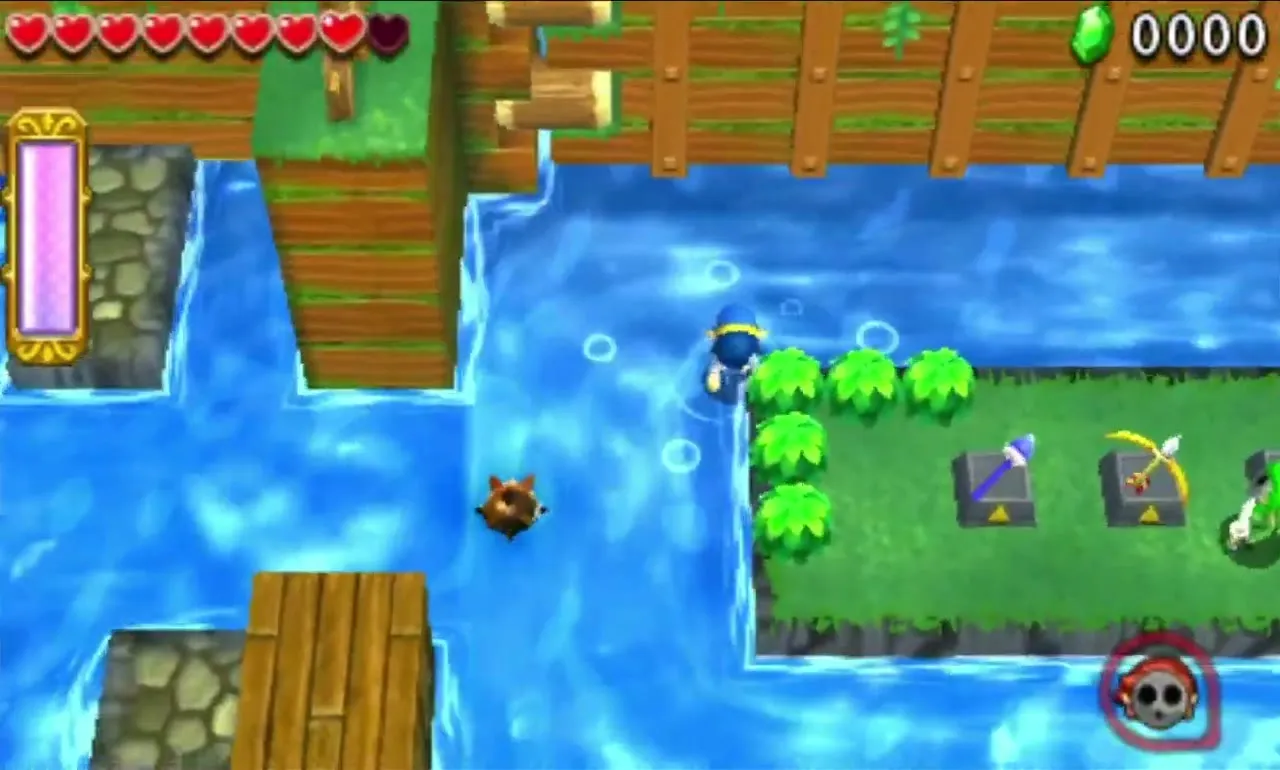
Get to the left and right shores with the Water Rod, where a Shock Switch awaits on each. Metal flaps shut over the right one as you approach, so shoot an Arrow from afar. The left one hides behind a ledge; set off the neighbouring Spikes in a chain to strike it. Every hit drops a wooden dam on its side and uncovers more switches. Keep going until both sides are finished and the central dam’s two locks fall off.

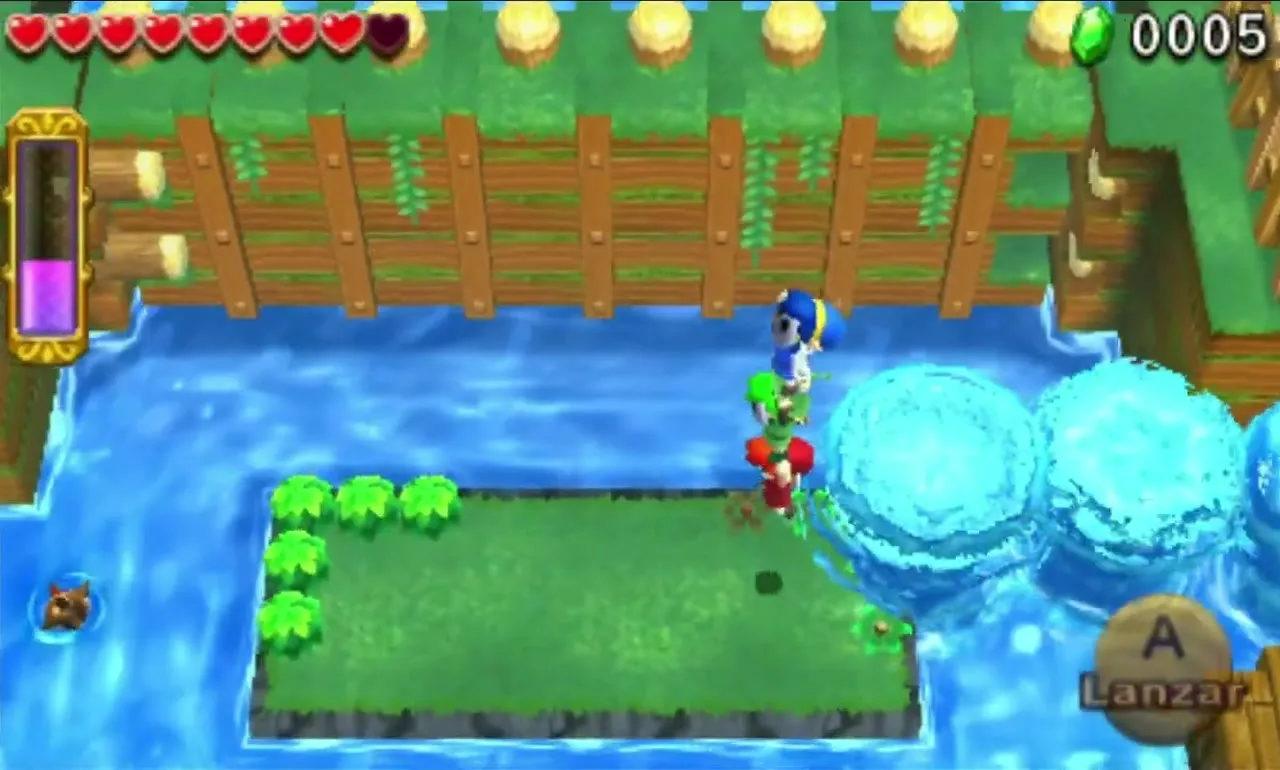
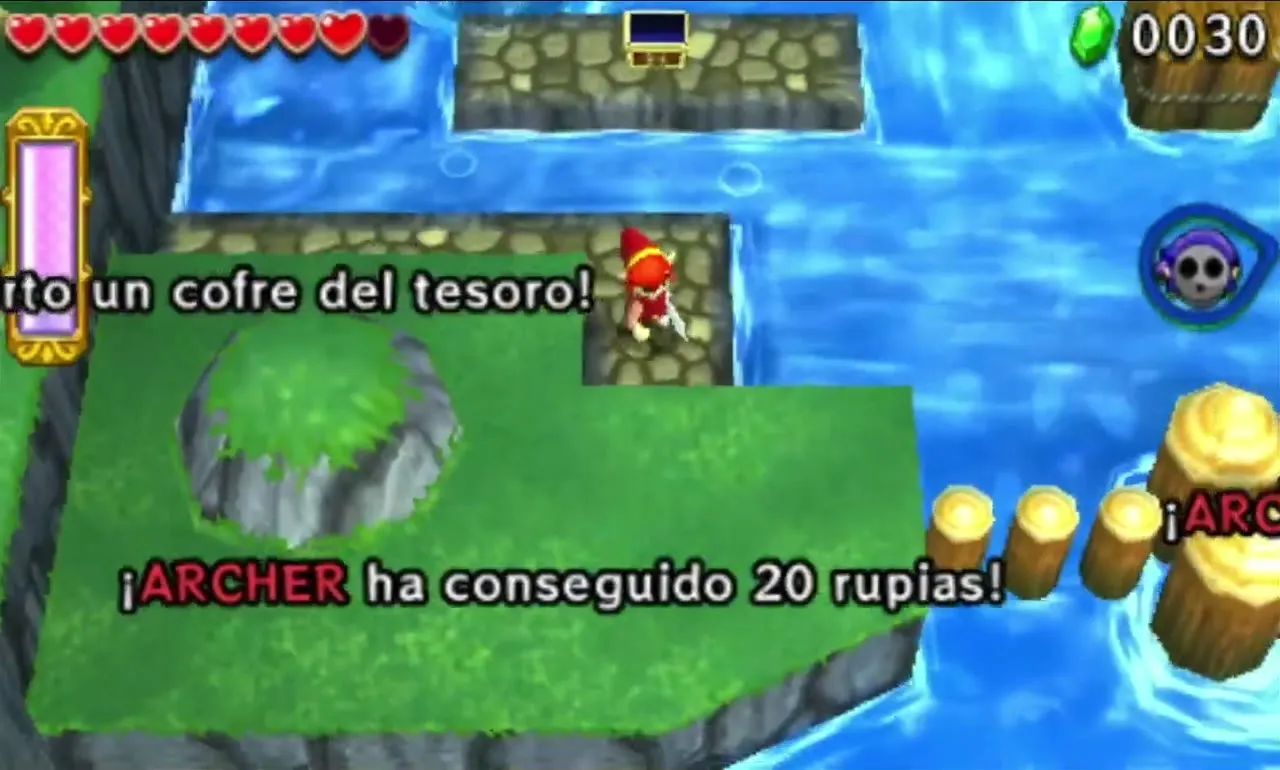
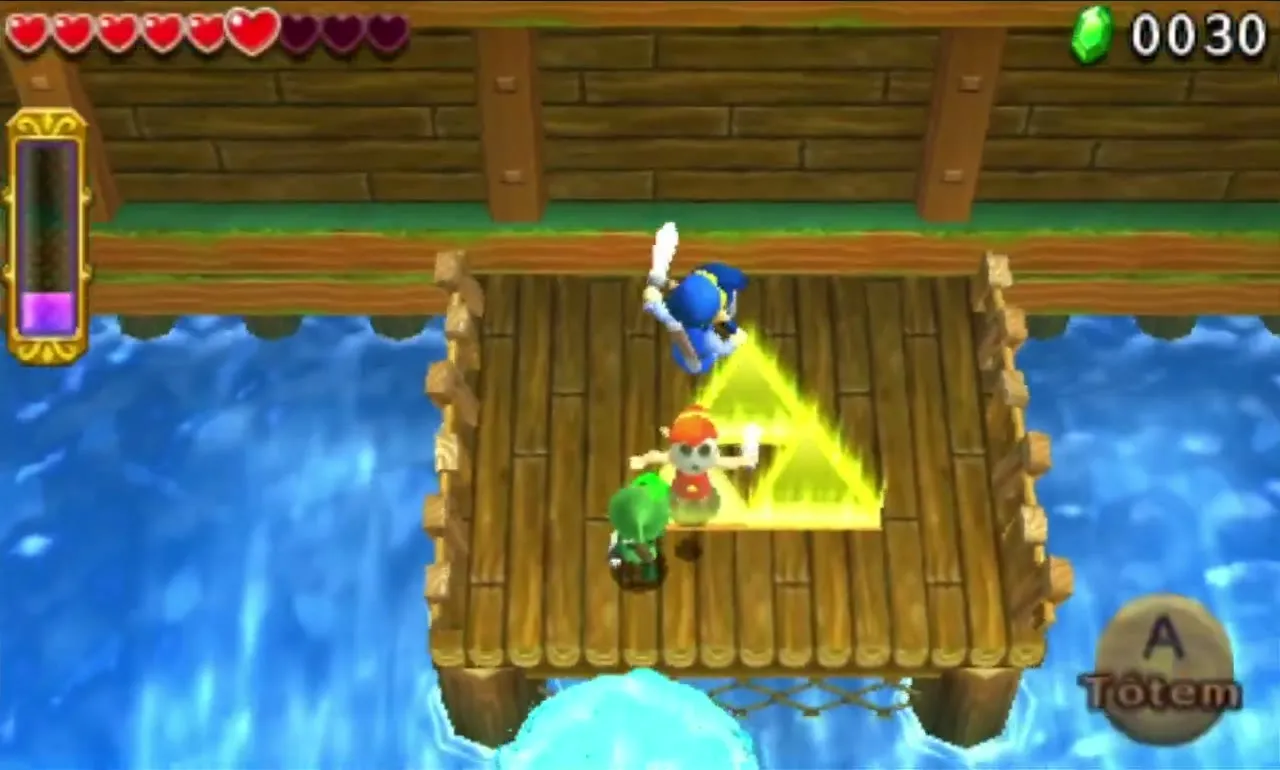
Make a Water Rod pillar to get over the waterfall onto the platform holding the Triforce Gateway. If you want 20 Rupees, a Treasure Chest with a Red Rupee waits on a stone platform in the south-west corner.
Abyss of Agony Stage 2
You begin at the foot of the waterfalls beside a tall cliff. Climb it with Water Rod pillars, building each one beside a ledge and stepping up. At the top you arrive at a fast river with a few patches of solid ground.

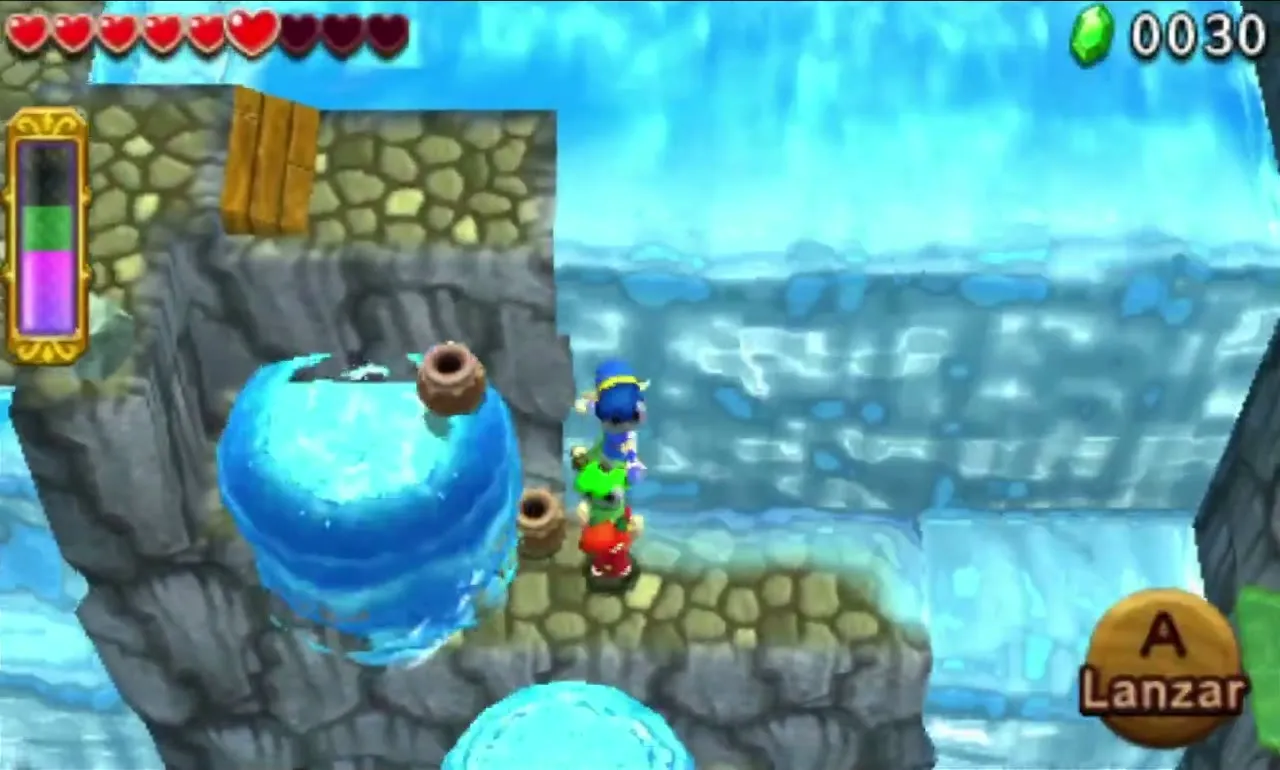
Water Octoroks and a Keeleon appear, so stay on land and cut them down or shoot them. Once they are gone, two electrified Buzz Blobs come out; Arrows are the safe answer. Defeat everything and the Triforce Gateway opens, reachable with Water Rod pillars.
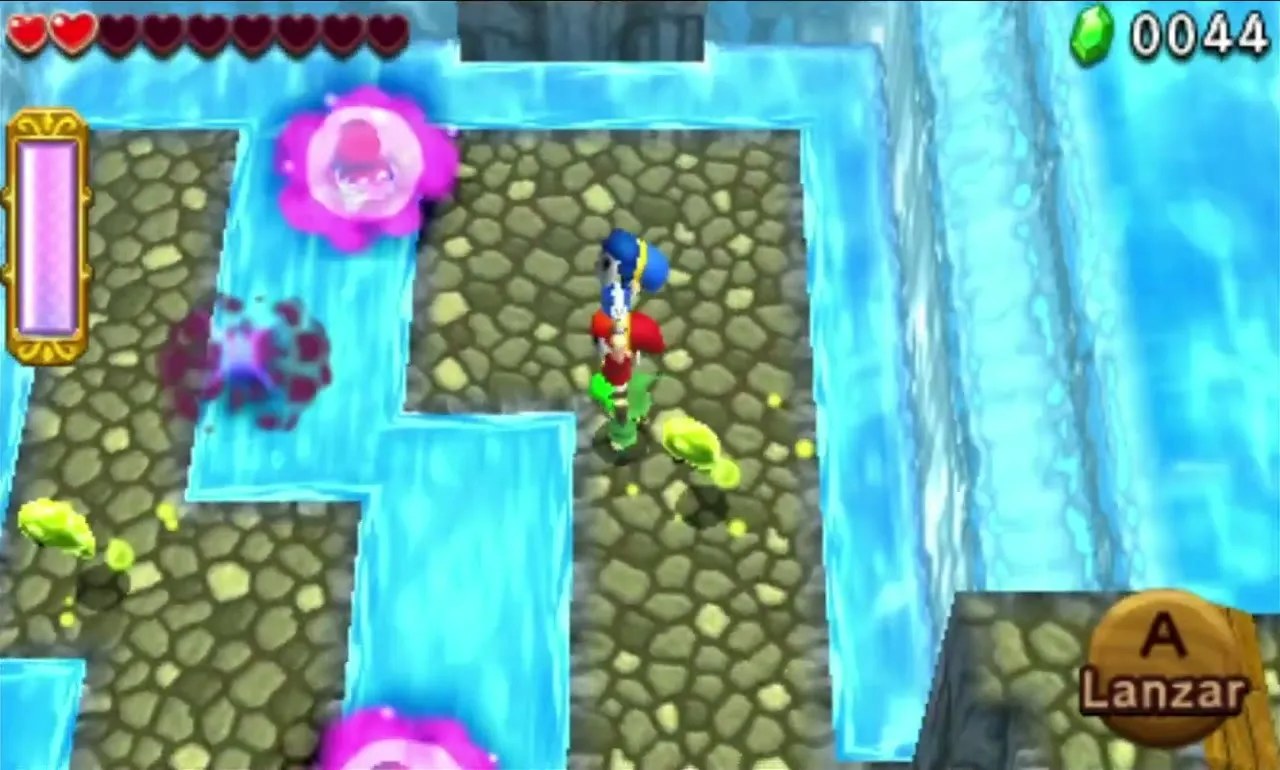

Abyss of Agony Stage 3
You come back out higher on the cliff, beside a Squiddy and a high brick pillar. A few ledges up on the left sit a Water Wheel and a wooden platform dangling from a pulley. Spray the wheel from below with a Water Rod and the rising water spins it. Using the rod on the left moves the platform right; using it on the right moves the platform left.
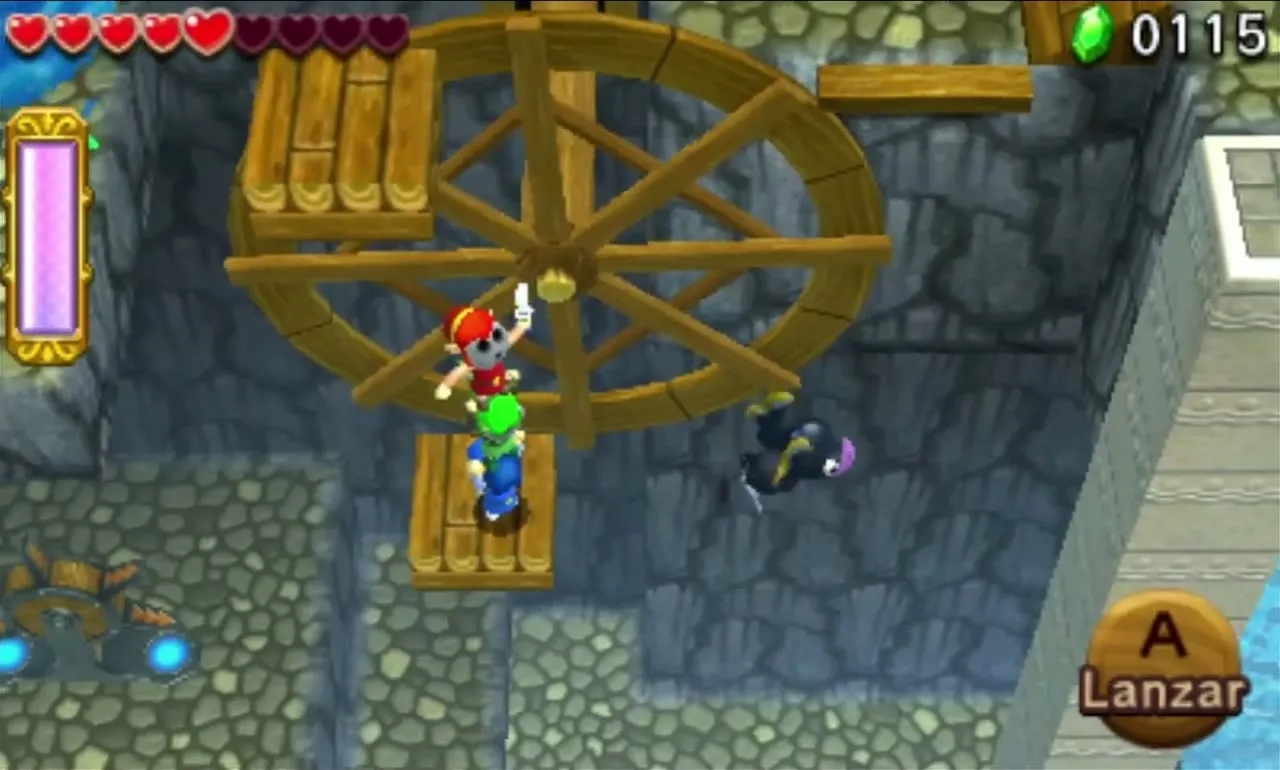

Take turns turning the wheel and riding the platform so every Link crosses to an alcove with a second wheel, which sends the platform back for anyone left behind. The Link with the Bow shoots two Shock Switches from the moving platform. Each one opens a wooden wall that blocks the path up the cliff.

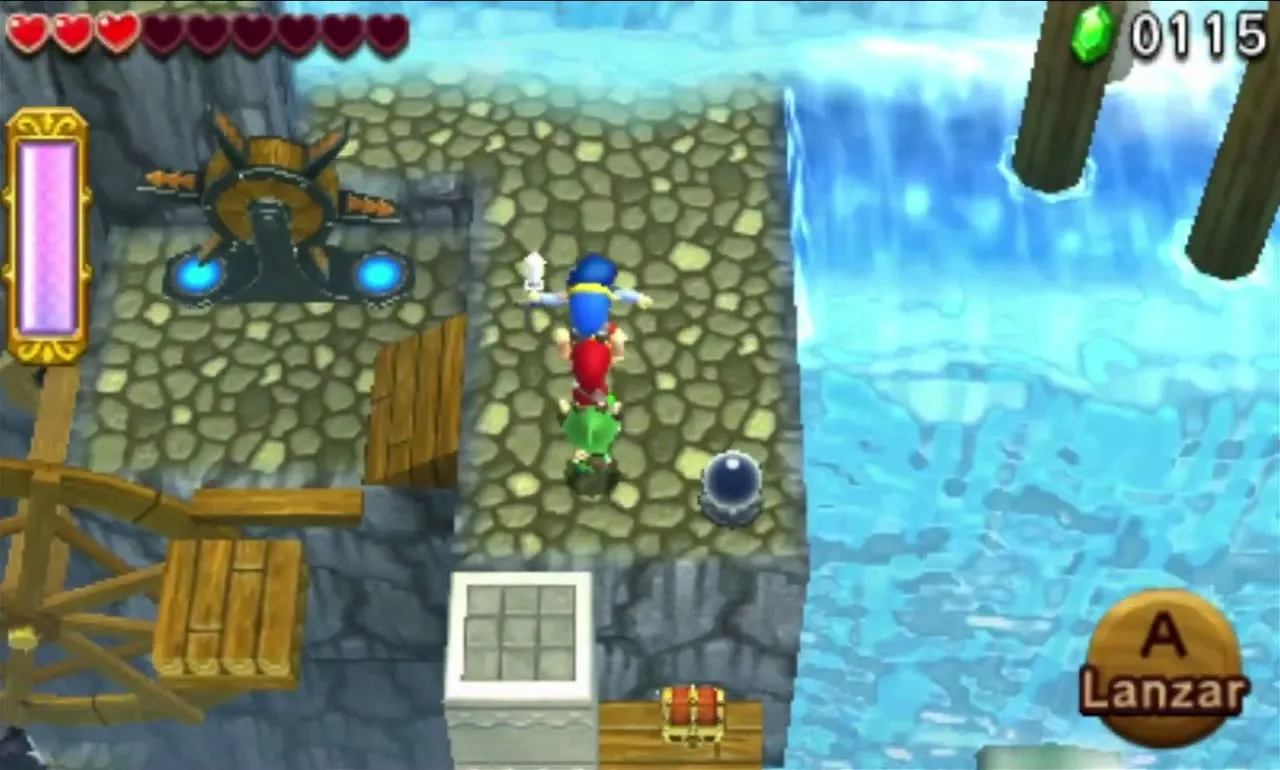
A third Water Wheel turns a large Ferris wheel of platforms that carries you across a big gap above the starting area. On the far ledge a second wheel brings over anyone behind, and a Shock Switch turns the tall brick pillar into a lift that carries anyone who falls back up. A chest with a Red Rupee sits on a wooden ledge near the top of the lift, and the Triforce Gateway is at the very top of the cliff.

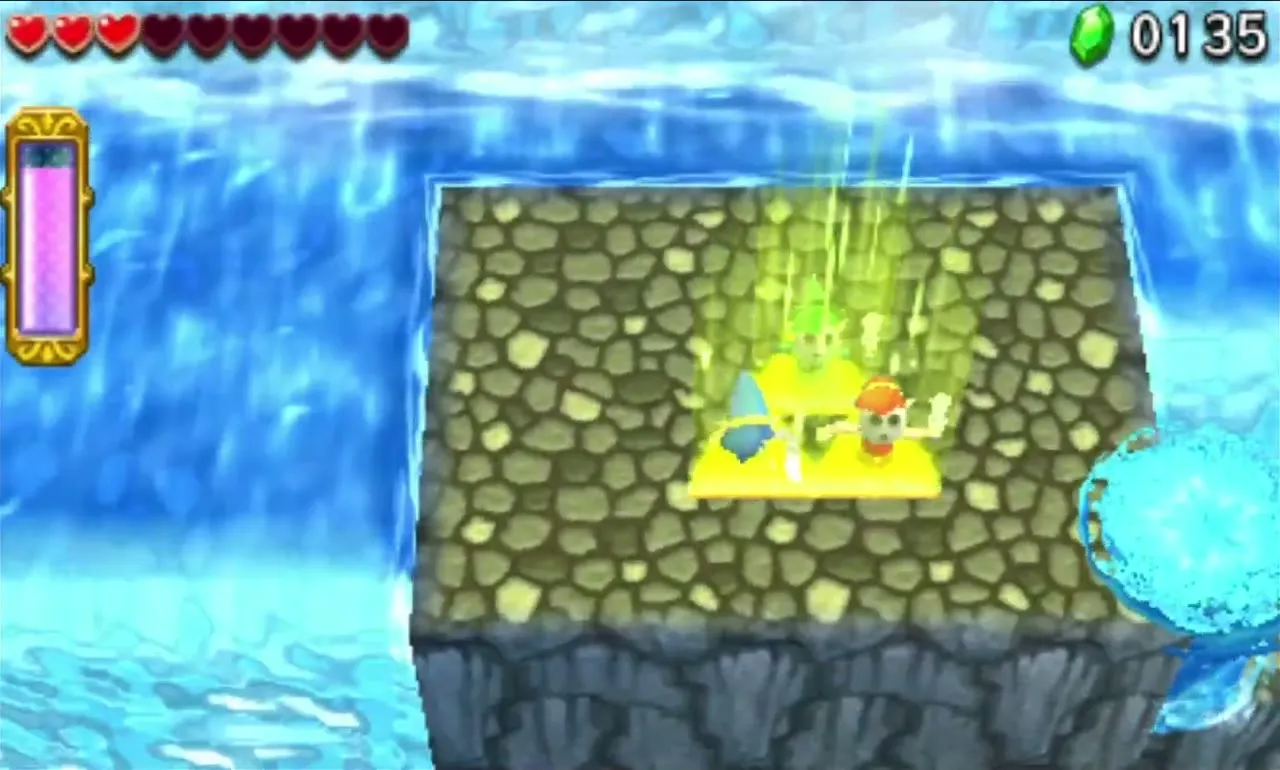
Abyss of Agony Stage 4
You start at the top of a cliff above a grotto with a large pool. A chest with a Red Rupee sits on the upper left ledge before you drop down. Jump down to ground level together and the fight begins; Hearts lie hidden underwater in the pool if you need them.
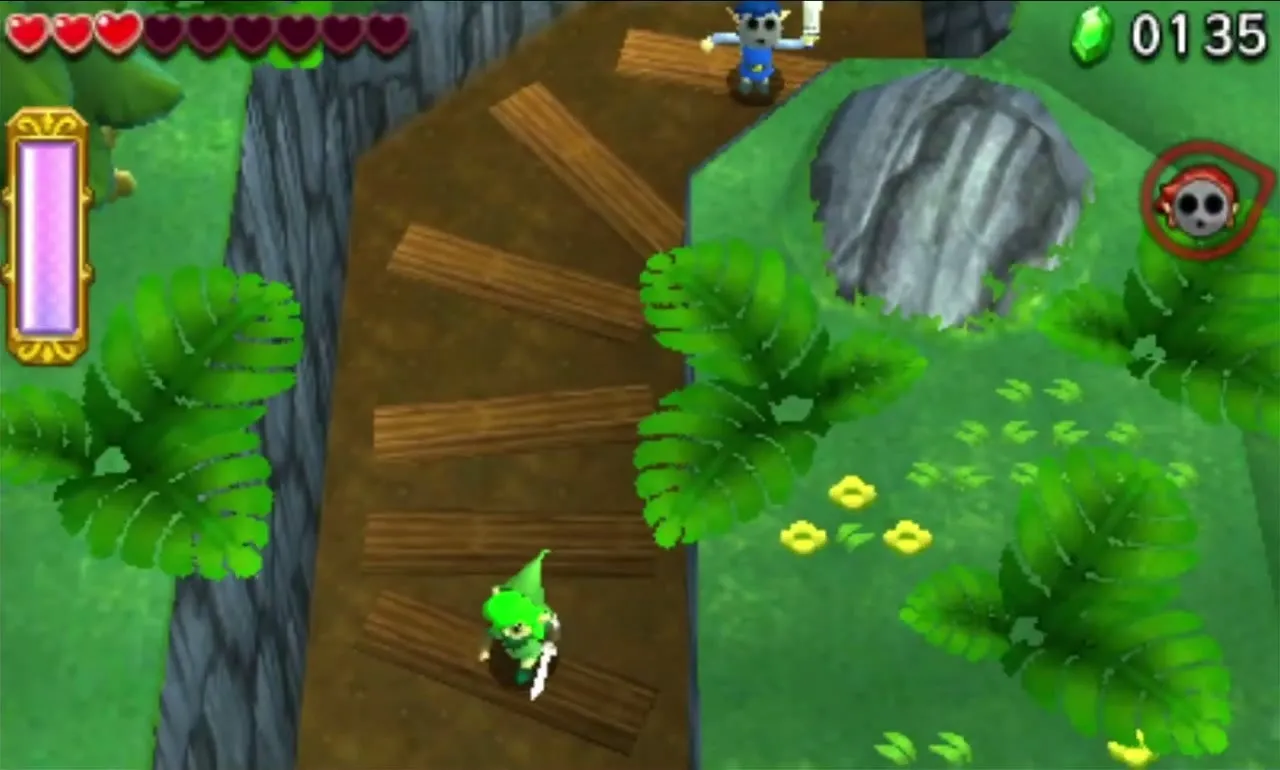
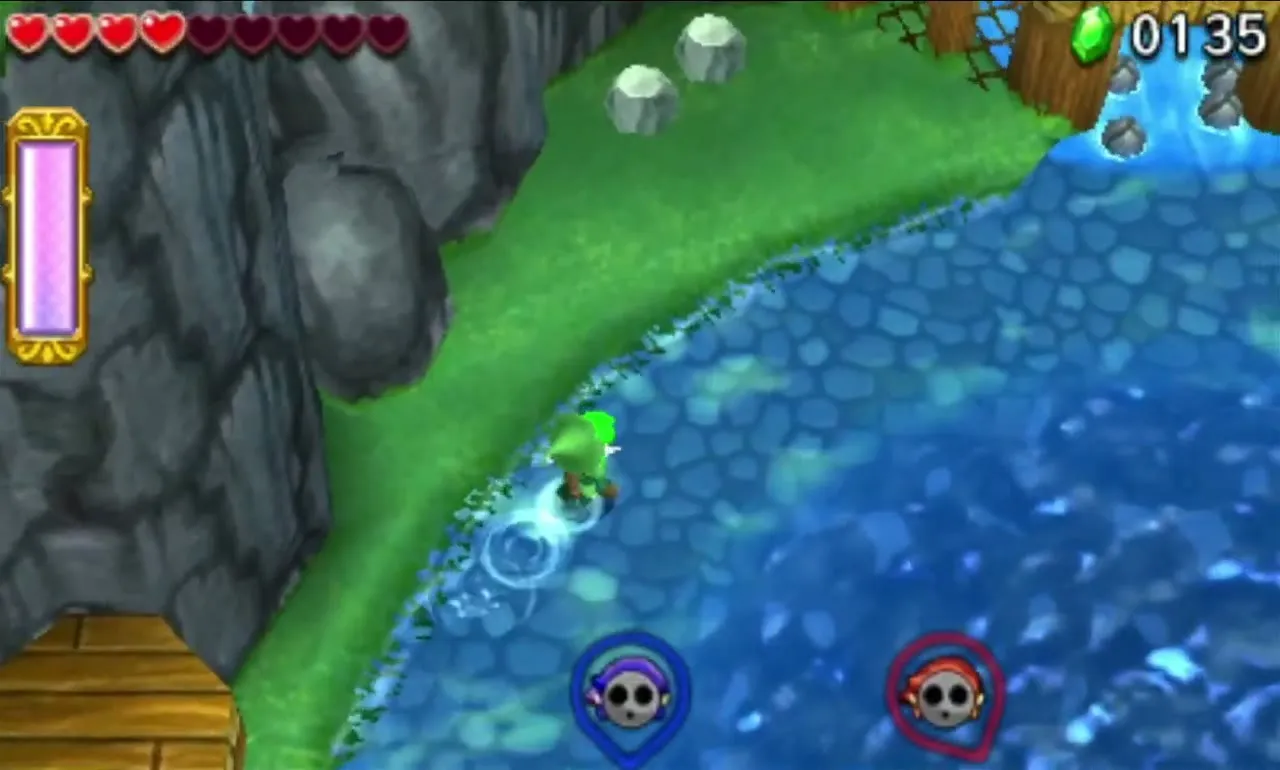
Electric Blob Queen mini-boss fight
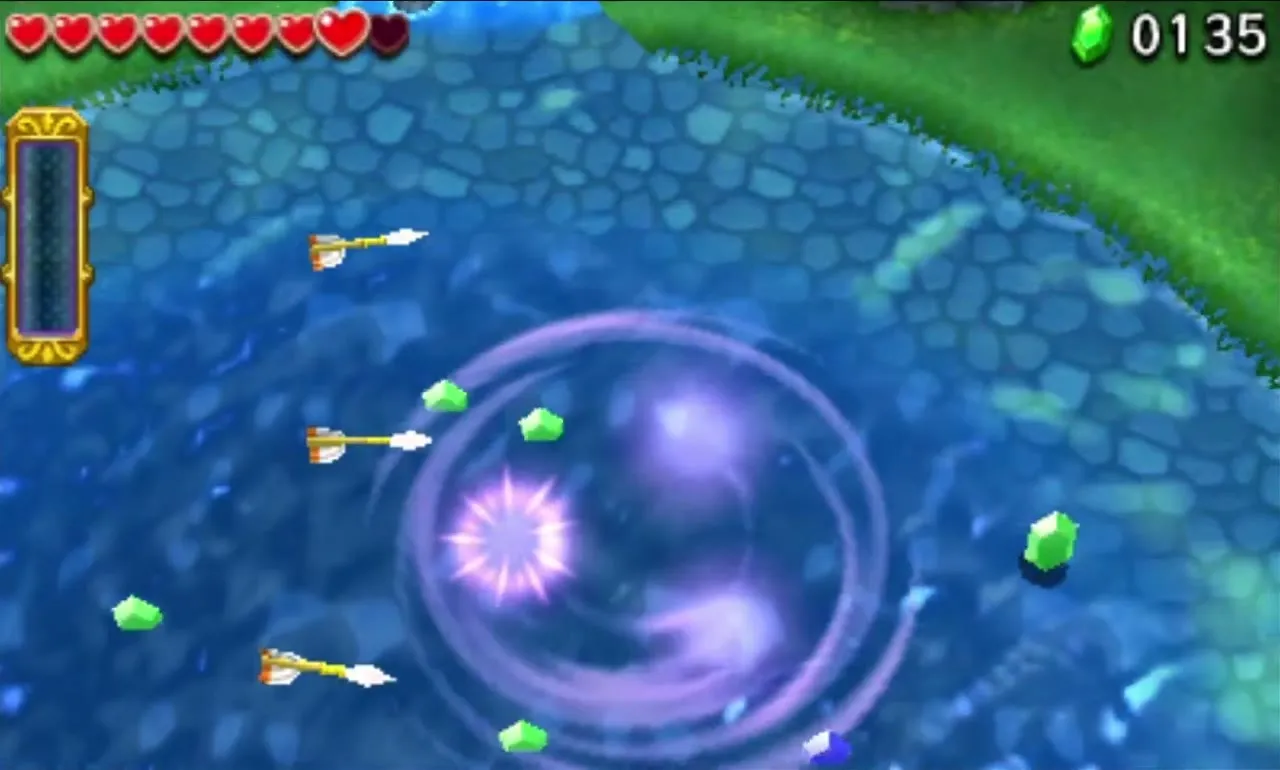
The Electric Blob Queen is a giant Buzz Blob, the King’s counterpart, and she floats on the surface of the pool. She fires three bursts of electricity that travel through the water, so keep out of the pool when it flashes pink; the grassy edges are safe if you dodge the blasts. Shoot the red core inside her body with Arrows. She twirls now and then, which blocks Arrows, so wait for her to stop spinning.
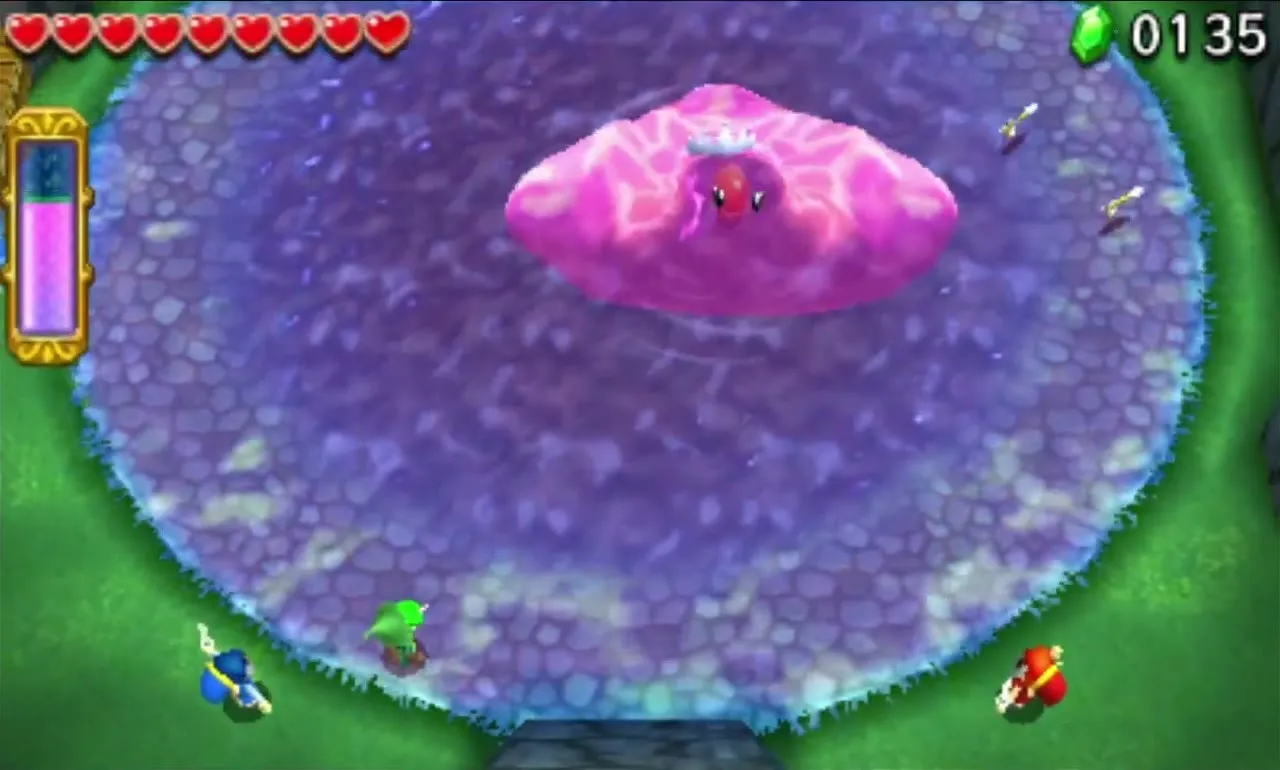
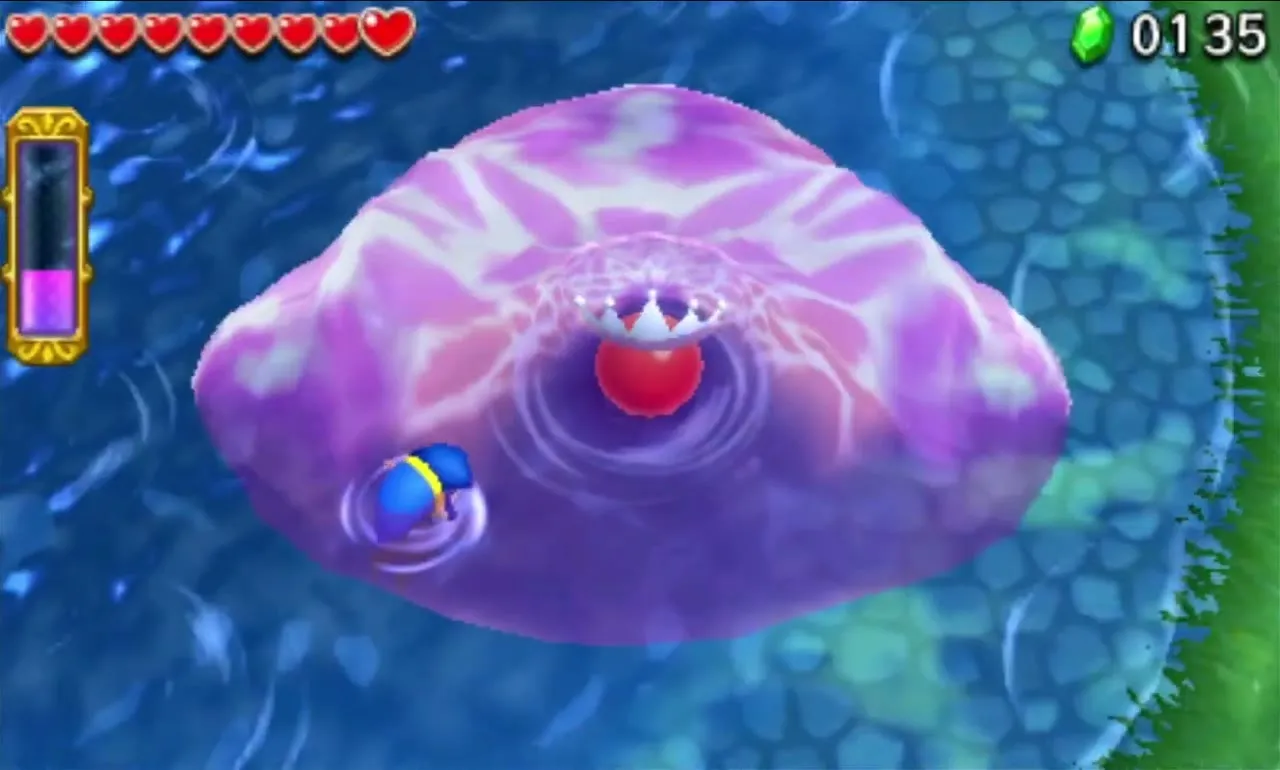
After enough hits she dives out of sight. Use the Water Rod where she vanished and the blast forces her back to the surface. Now she grows tall and the core is out of reach, so stack a Totem of two Links so the top Link can shoot it. A hit on the core interrupts her attack.

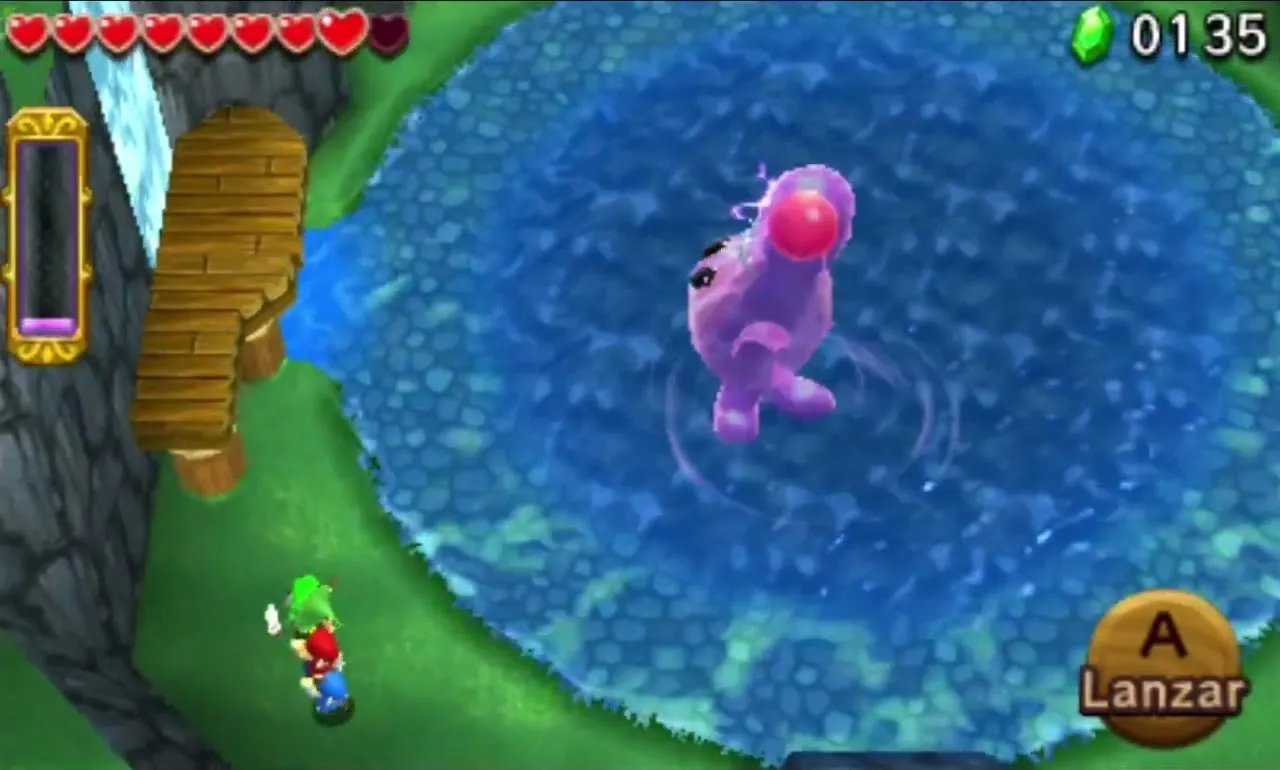
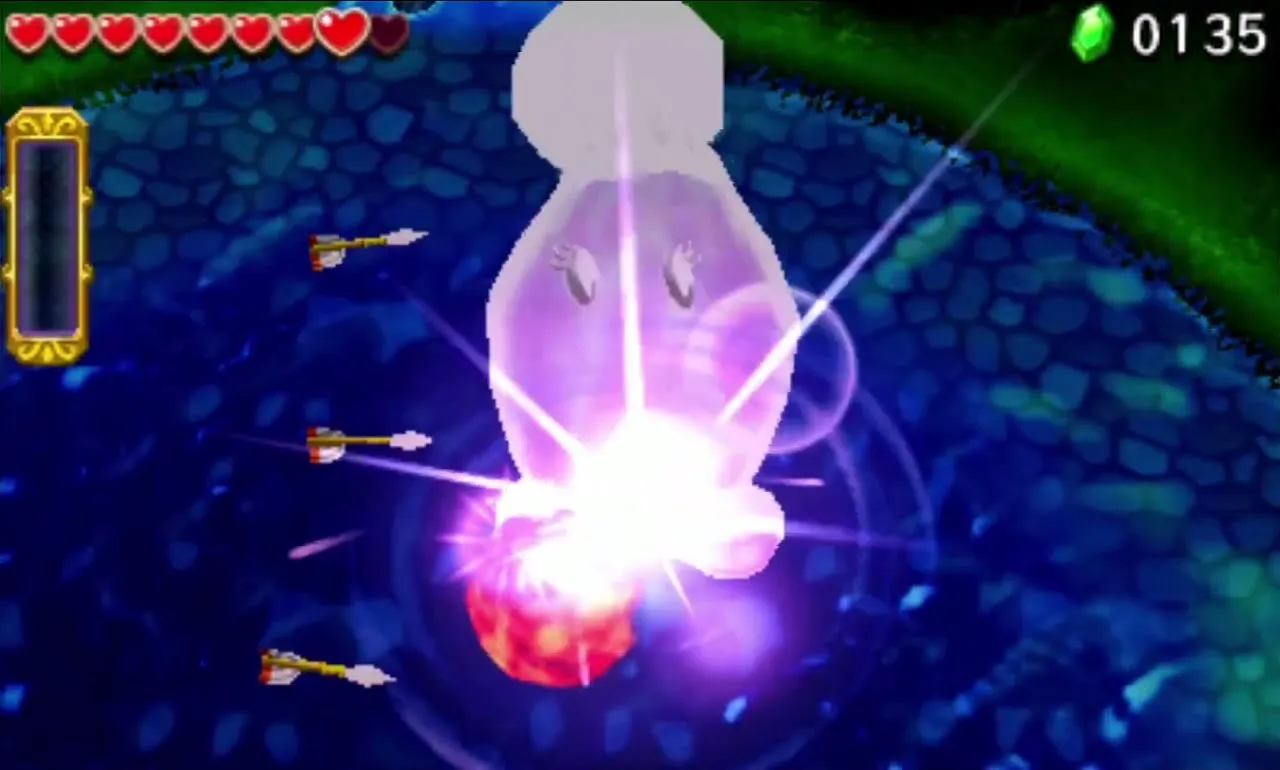
She grows to full height next. Form a Totem of three, or climb a Water Rod pillar to line up a shot. In her last phase she pushes the core up through the top of her head, out of reach even for three Links, so put a two-Link Totem on a wooden platform or a water pillar, shoot the core and she falls after a few more hits. The Triforce Gateway then appears on a wooden dock on the hill to the north.

Abyss of Agony treasure chests
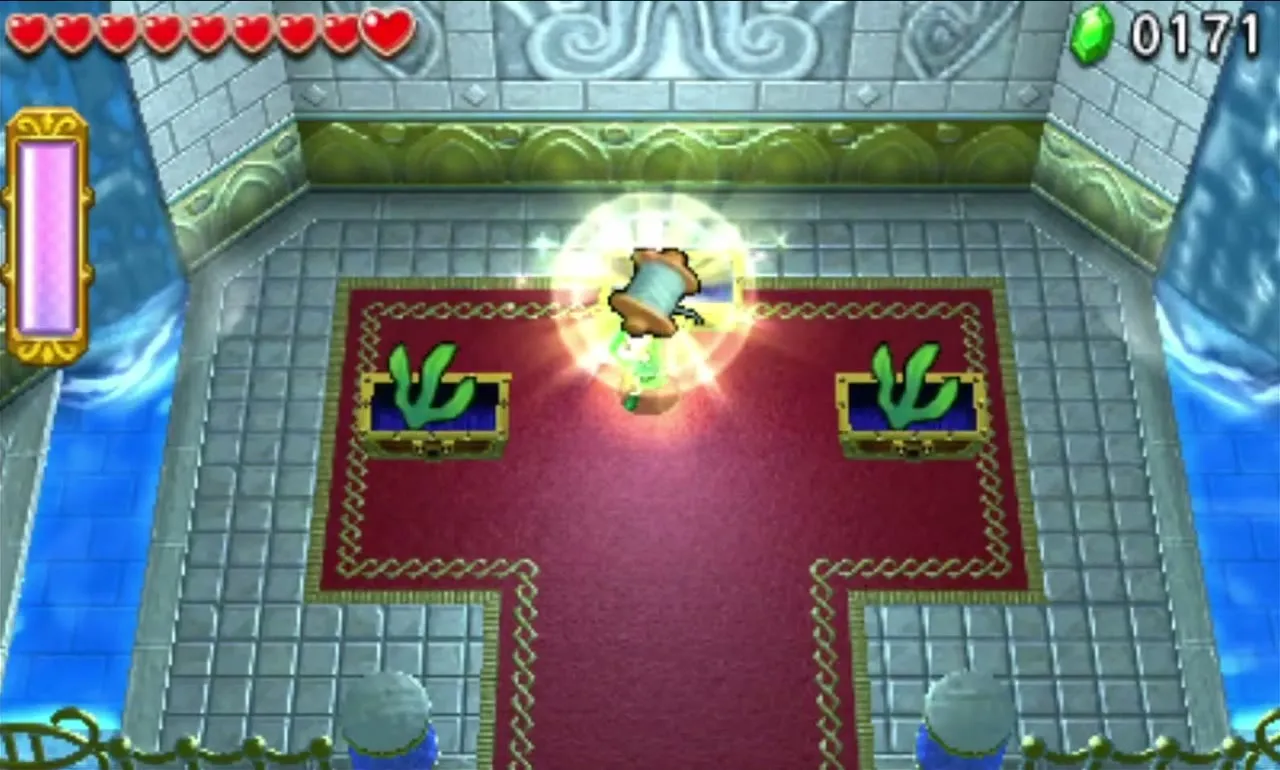
The end-of-Level chests hold two Fresh Kelp and a Hytopian Silk. Hytopian Silk goes into the Torrent Robe along with Fresh Kelp and an Aqua Crown, and the Aqua Crown comes from the Cove of Transition chests or the better Drablands Challenge rewards.

After the Water Temple, three Drablands Challenges become available: “Halved attack and defense!”, “Guard the orb!” and “Clear within the time limit!”. The final one has the best prize, two Aqua Crowns and a Fairy Dust. See the Drablands Challenges guide for more.
Cove of Transition
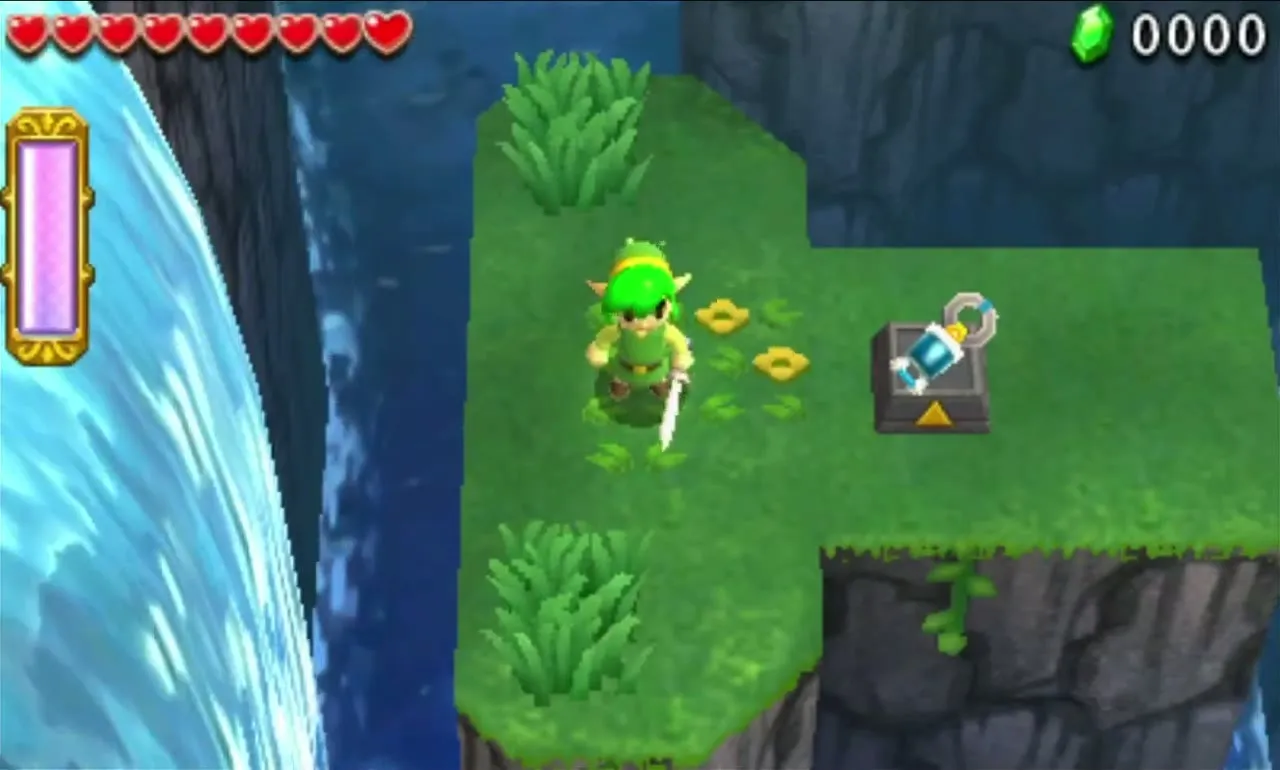
Cove of Transition hands every Link a Gripshot, the item that grabs Stakes and pulls you across gaps. It can also grab other Links, which makes it the glue of your Totem puzzles. Fire it with the item button, aim at a Stake or a teammate and you glide over to it. It also pulls the Gyorms out of their shells in the last Stage.
Cove of Transition Stage 1
The Level begins on thin walkways by a waterfall, with your teammates out of reach. Take out your Gripshot, aim at the Stakes on the far side of each gap, and haul every Link over until you are together. A collapsed bridge works the same way: grip the three Stakes beyond it, one after another.
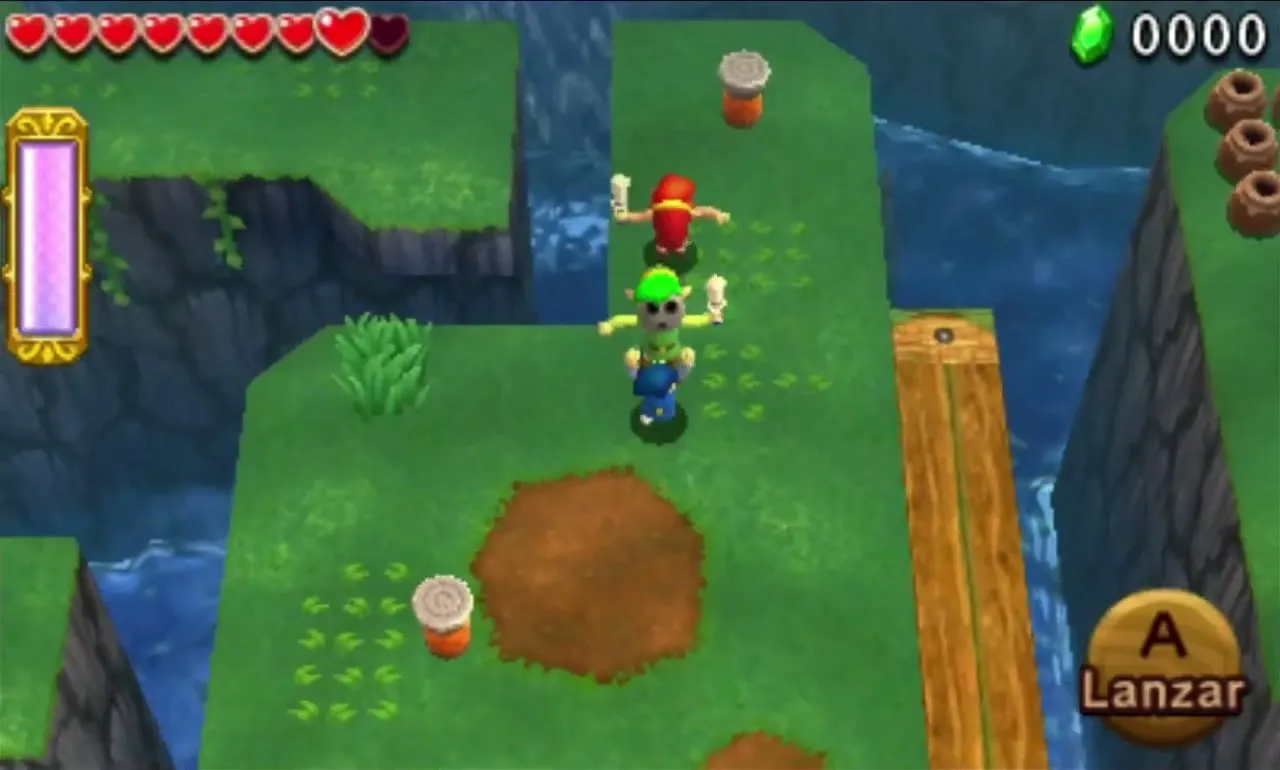
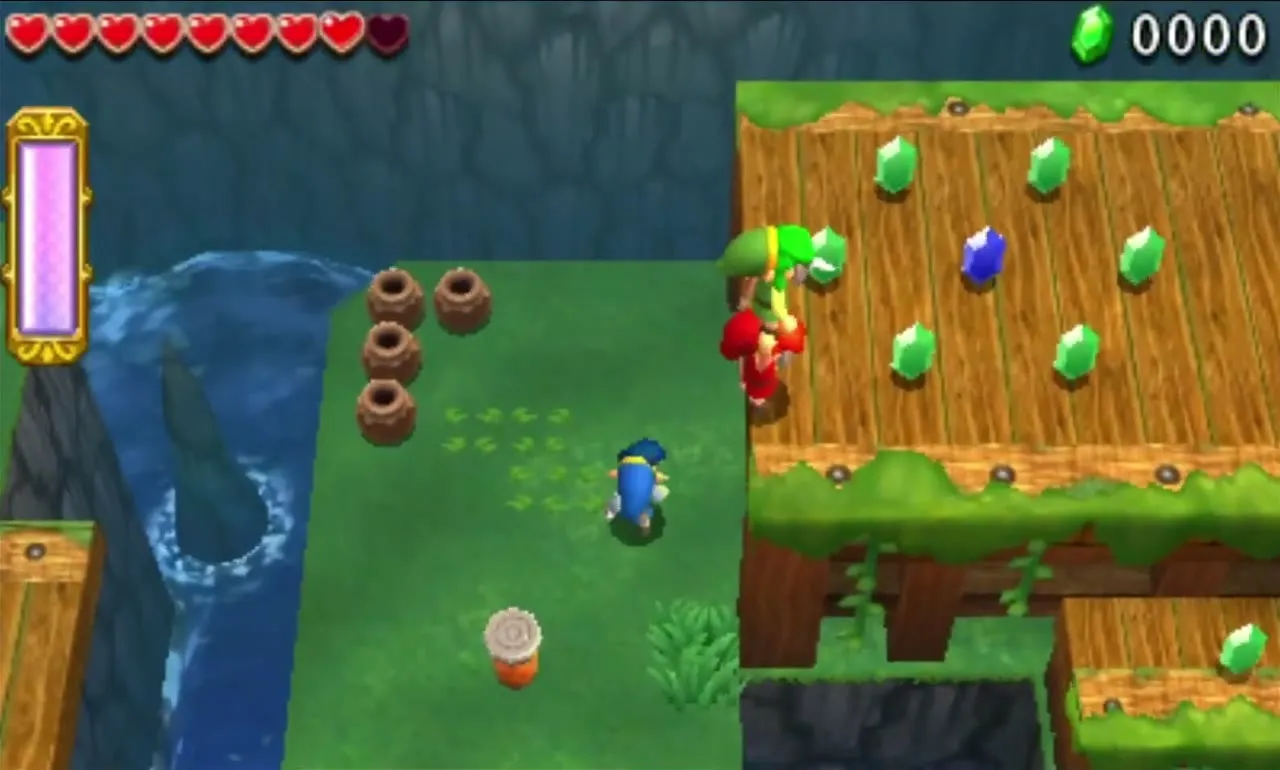
The next gap is wider than the Gripshot can span. Build a Totem and throw the top Link to the wooden platform carrying Rupees on the far side; it sinks to the other side with him aboard. The rest grip onto him to cross. Head east to one more gap: throw two Links over, then have the last one grip onto either.
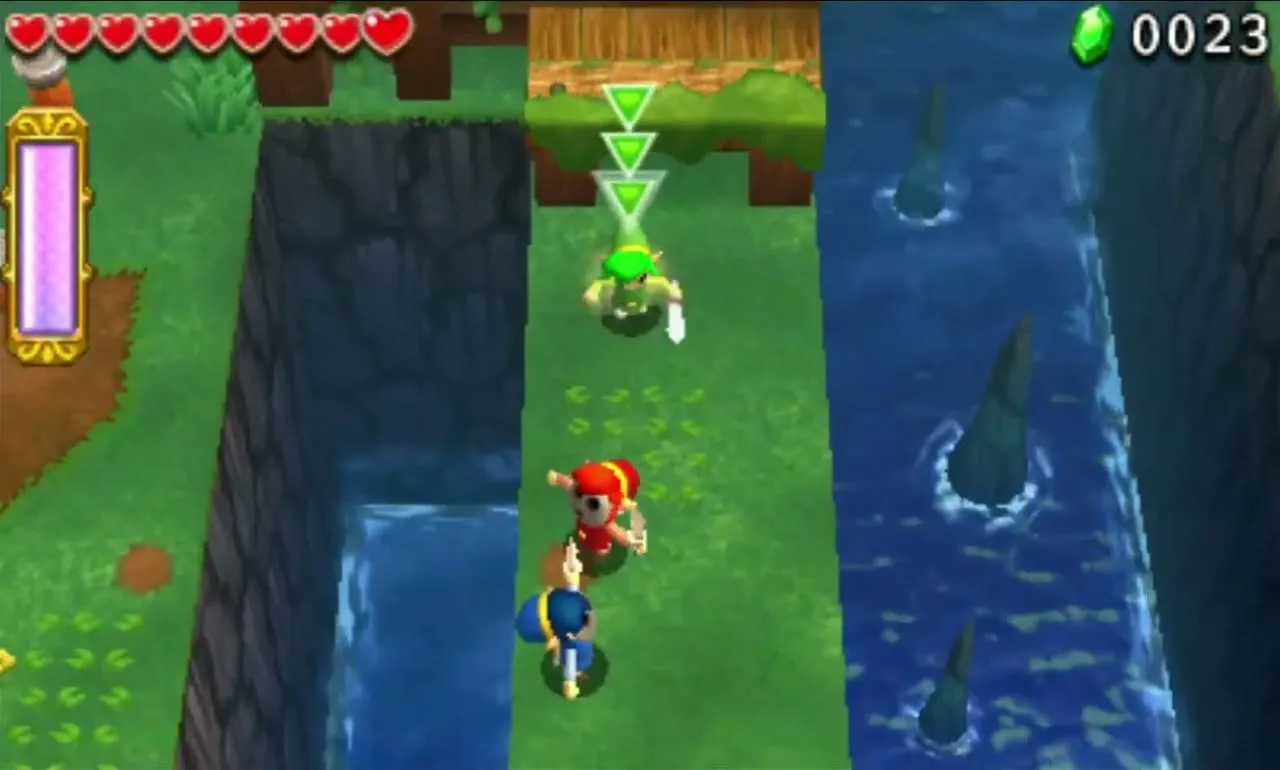
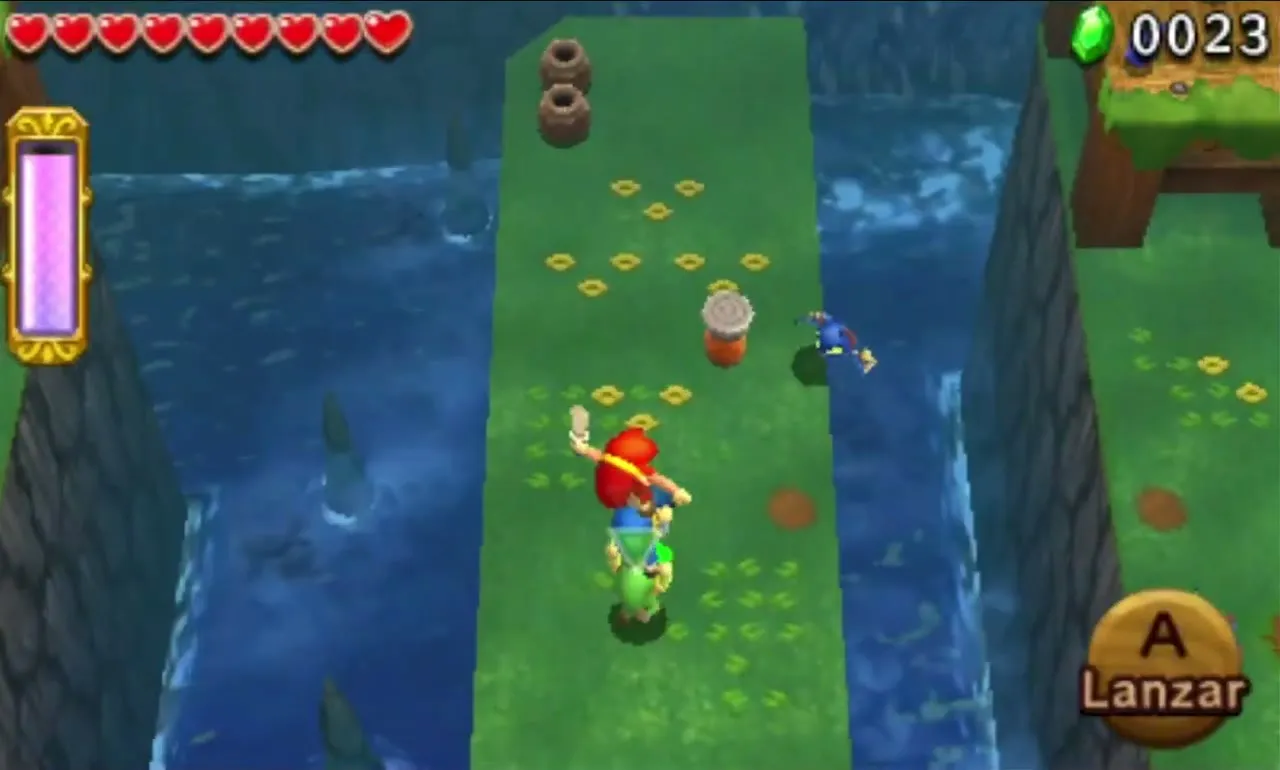

A Stake sits atop a wooden platform as the final hurdle. Make another Totem so the top Link can grip it, then let everybody else grip that Link in turn. The Triforce Gateway lies just a short walk beyond.

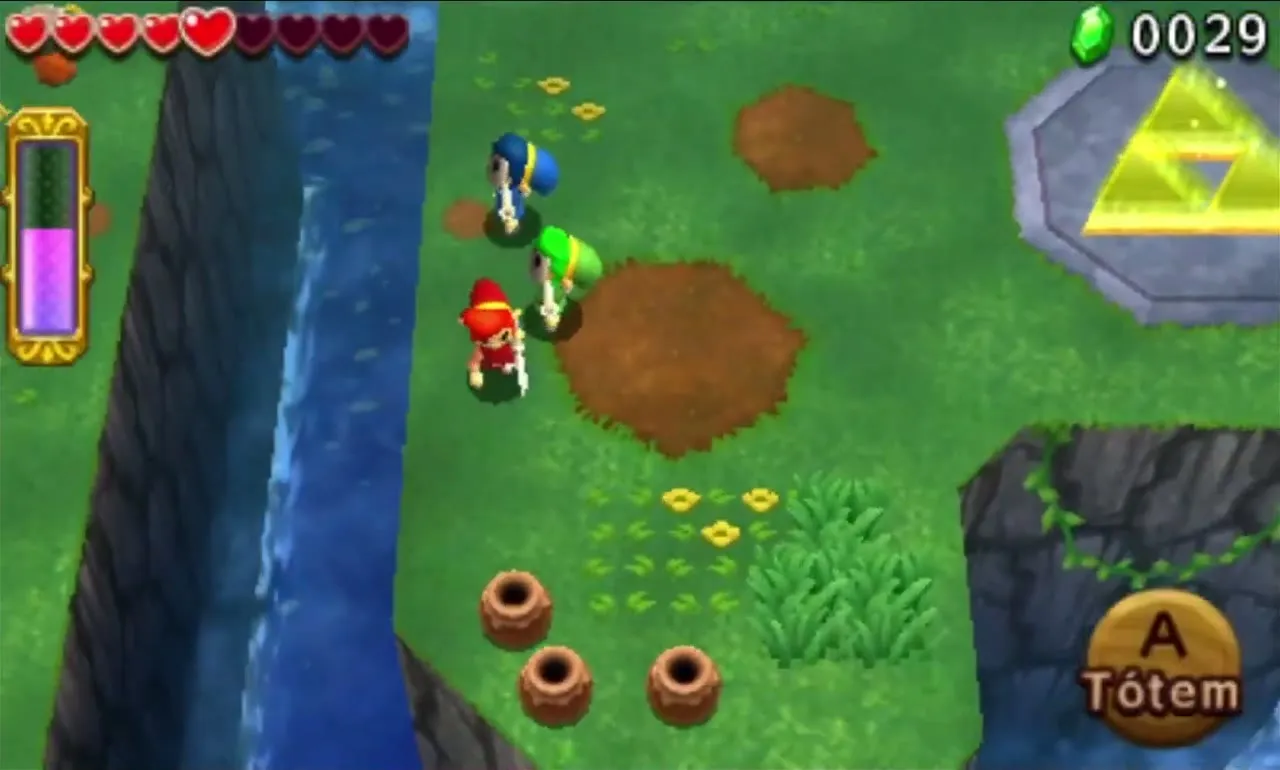

Cove of Transition Stage 2
You begin on a stone platform in the centre of a small lake. Dams in the surrounding wall open and water floods in, bringing Tektites and Water Tektites. Afterwards the water rises and drops in repeating cycles, submerging the platform and forcing you to swim.
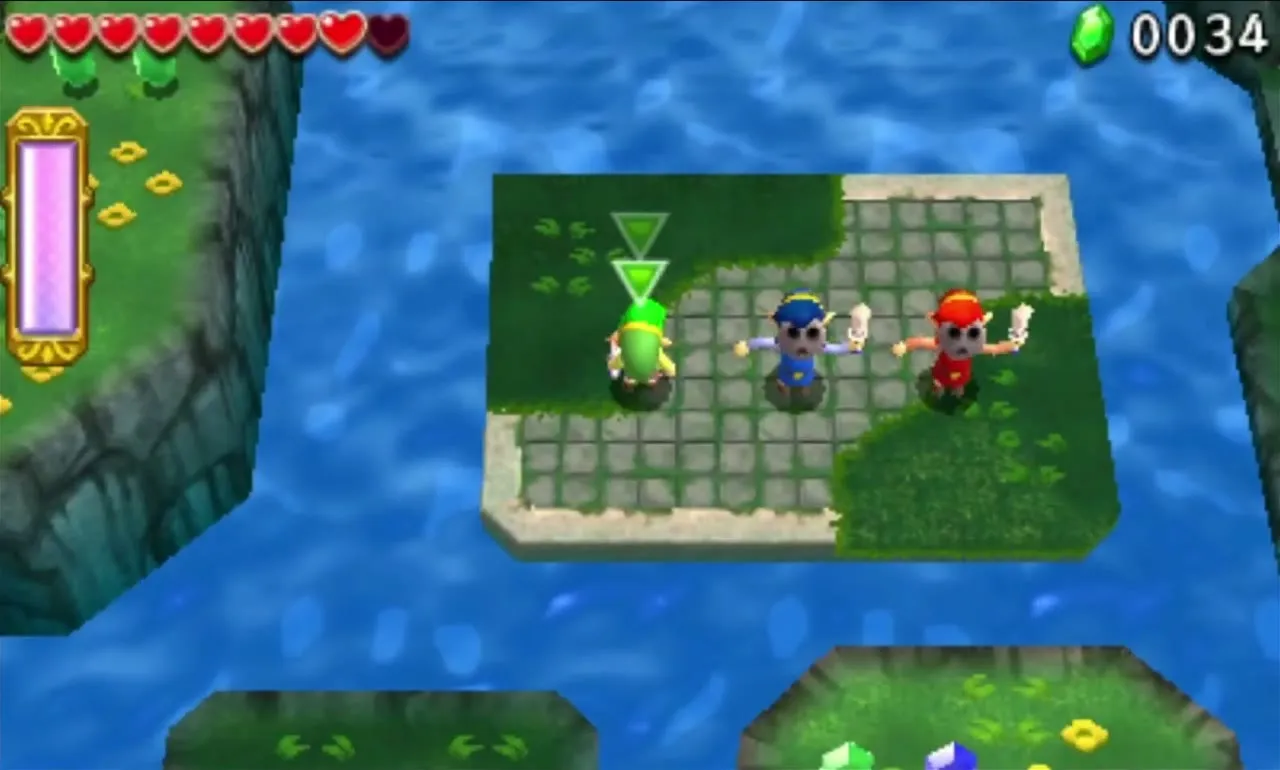
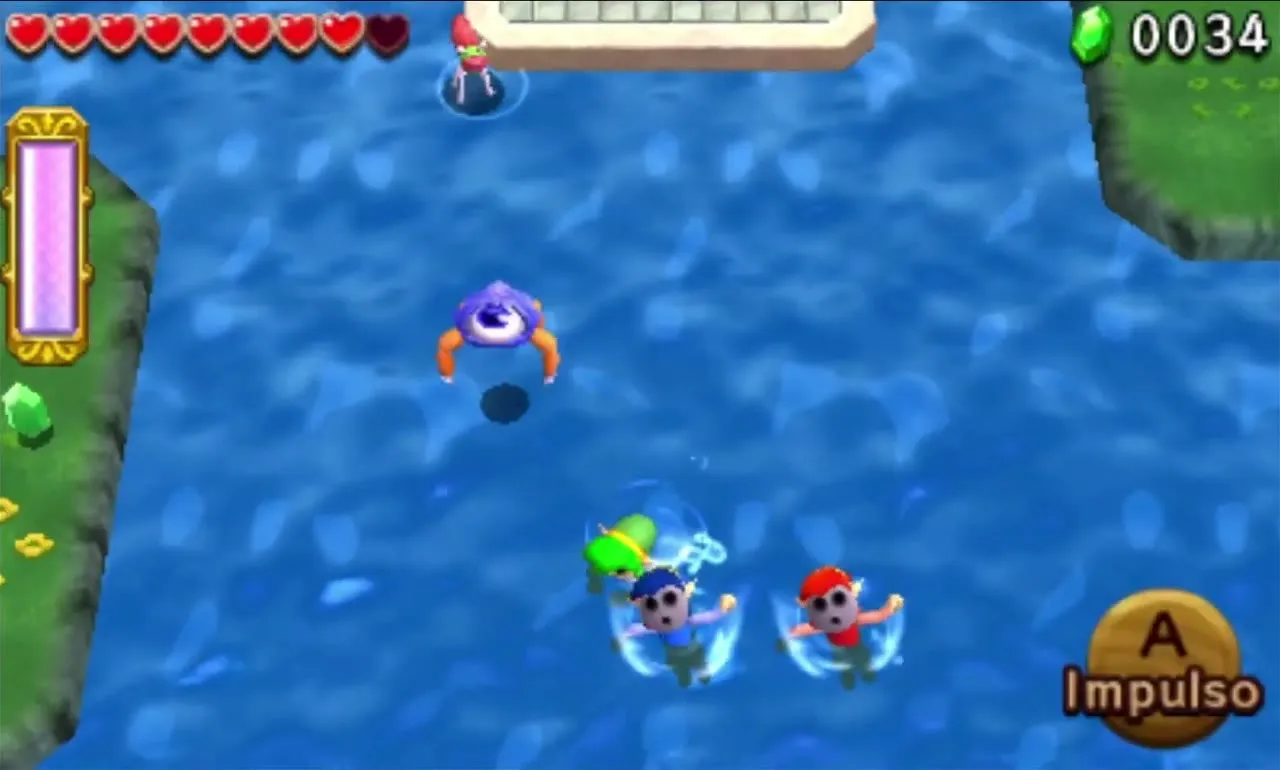
Take advantage of the shifting water to get onto the tiny ledges to the west and south and in the north-east corner, and slash the Tektites as they approach. After you defeat them all, the Triforce Gateway opens on a platform overhead and the water stays high.
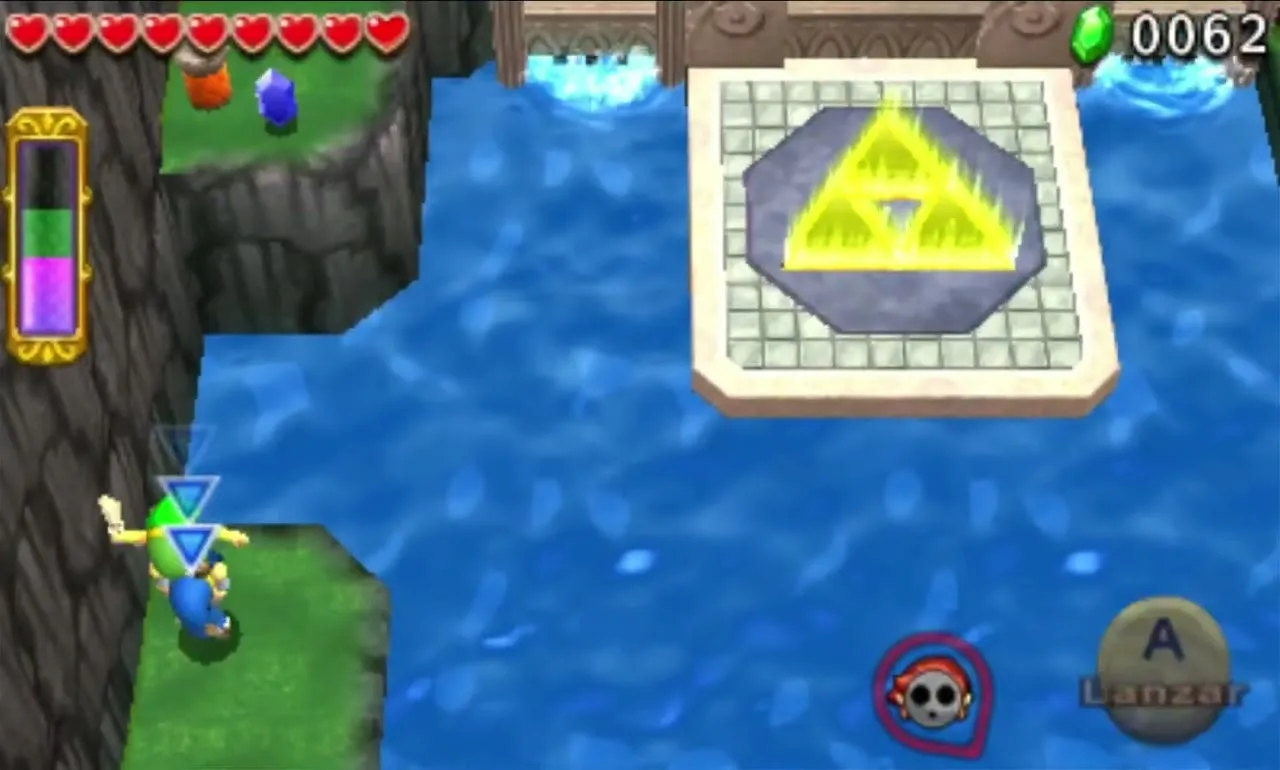
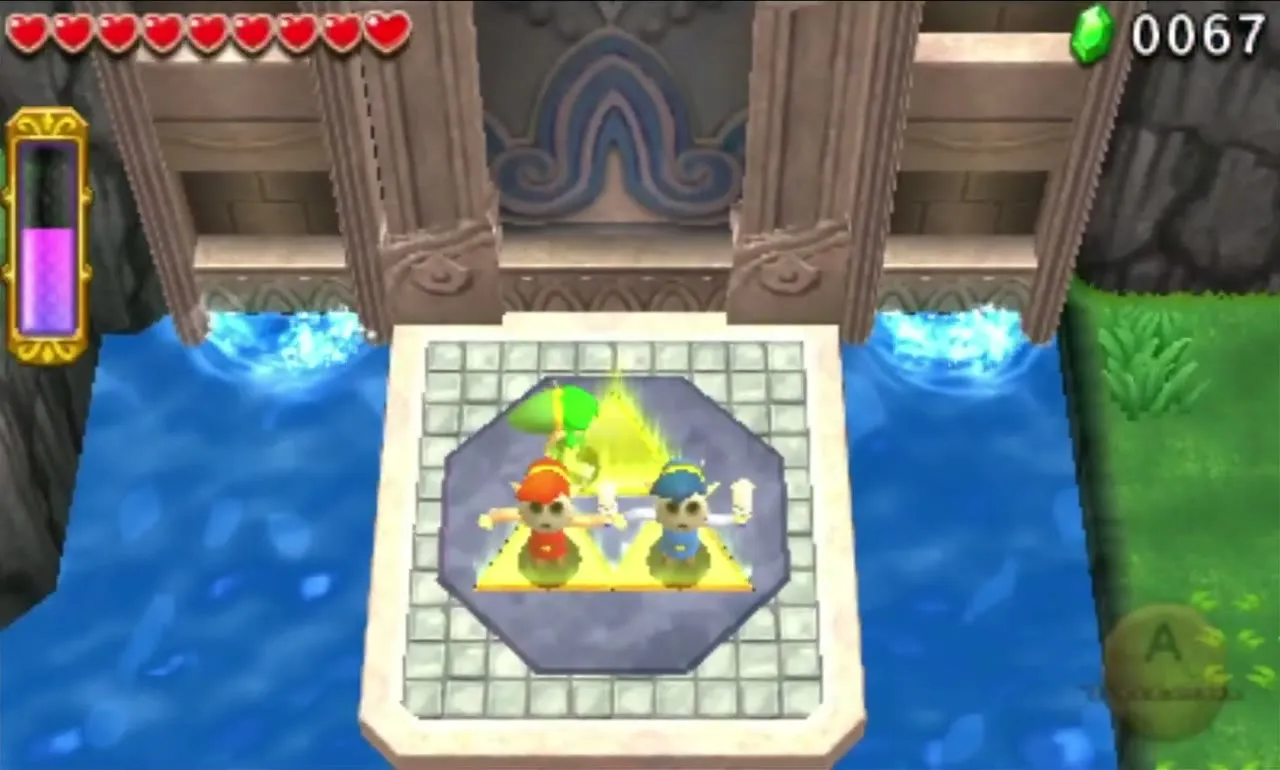
Cove of Transition Stage 3
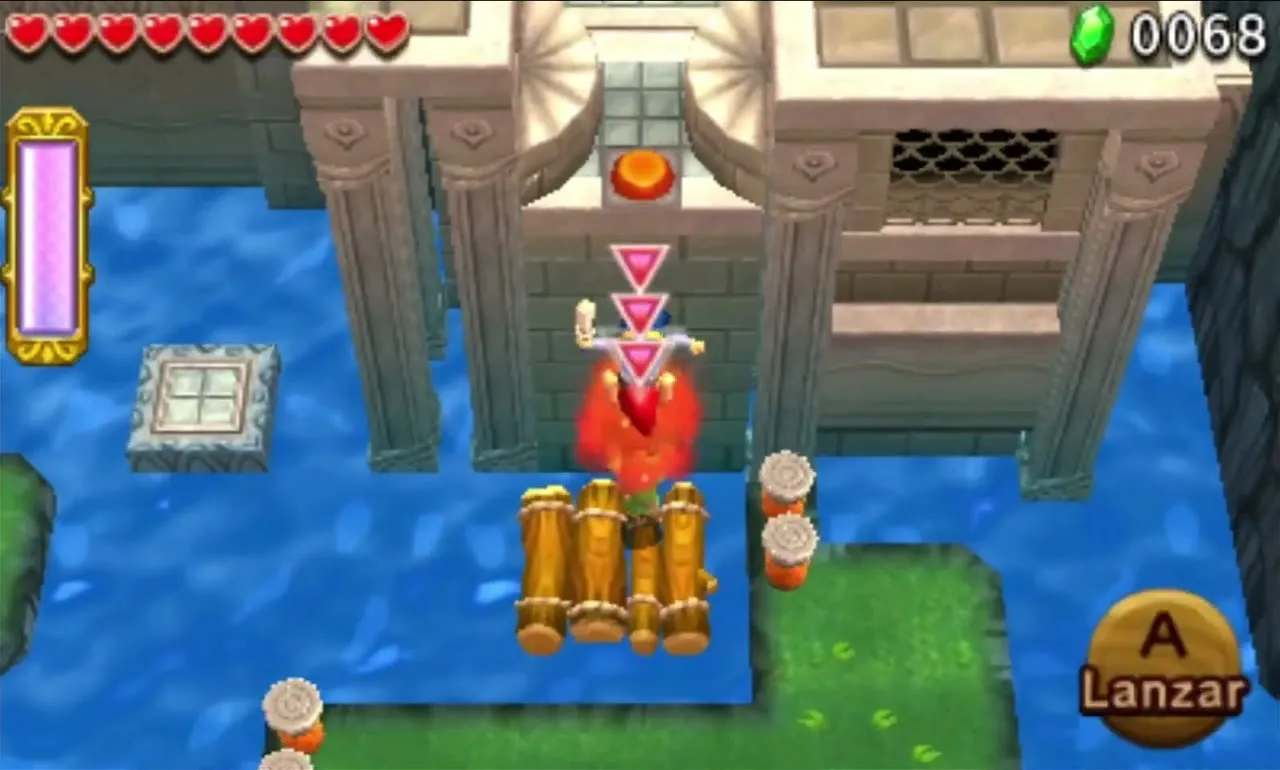
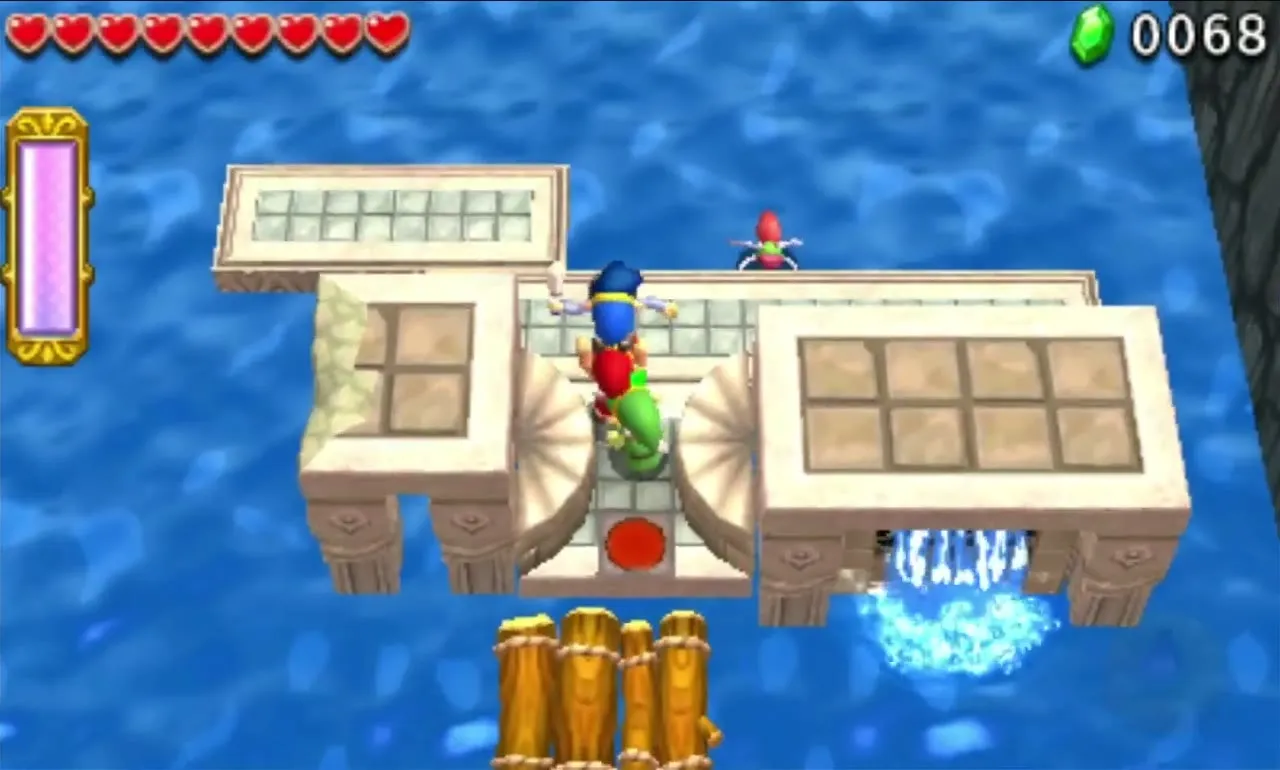
The Floor Switch you need sits on top of a tall dam at the lake’s edge. A Raft floats nearby: stand on it and fire your Gripshot at a Stake to tow it. This brings you to a square platform, where one Link steps off and the others grip onto him to keep the raft moving.
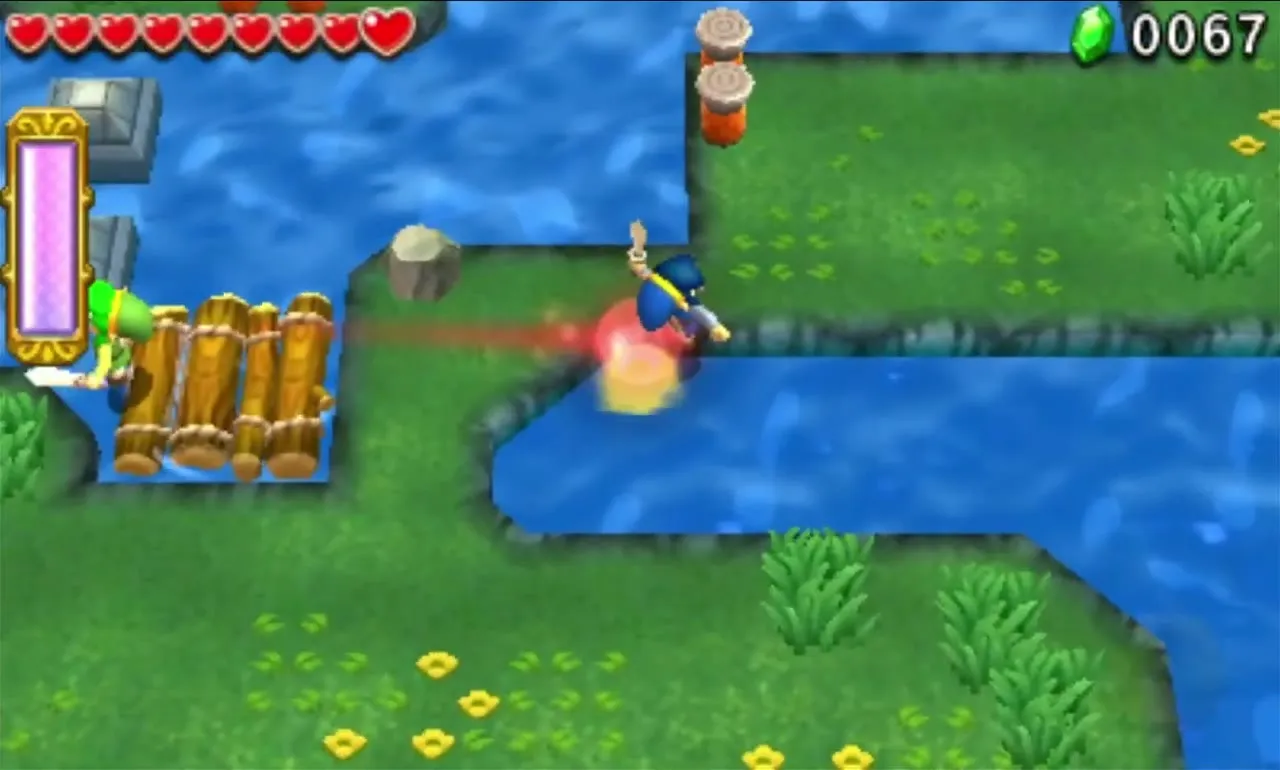


Guide the raft up to the dam wall, make a Totem, and let the top Link step on the Floor Switch. The dam opens and the entire Stage floods. Swim over to the platform with the Triforce Gateway, where a Squiddy lurks next to it.

Cove of Transition Stage 4
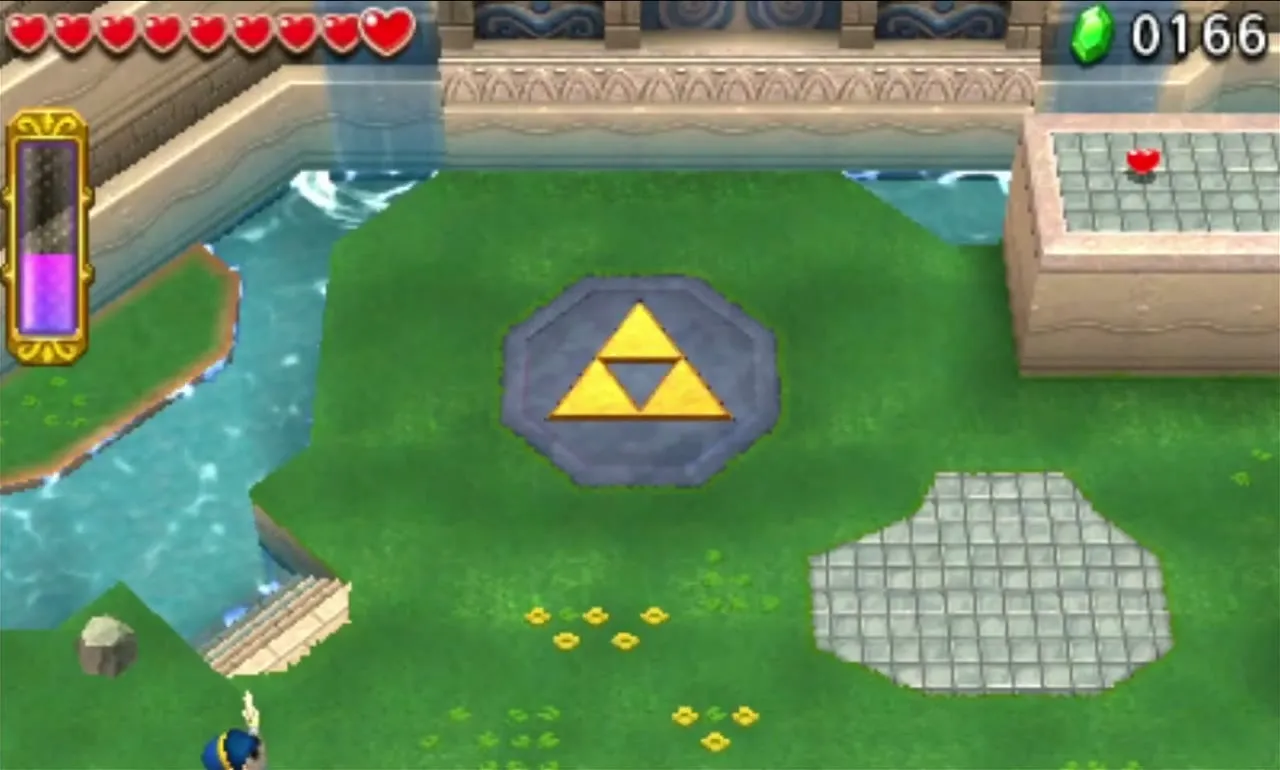
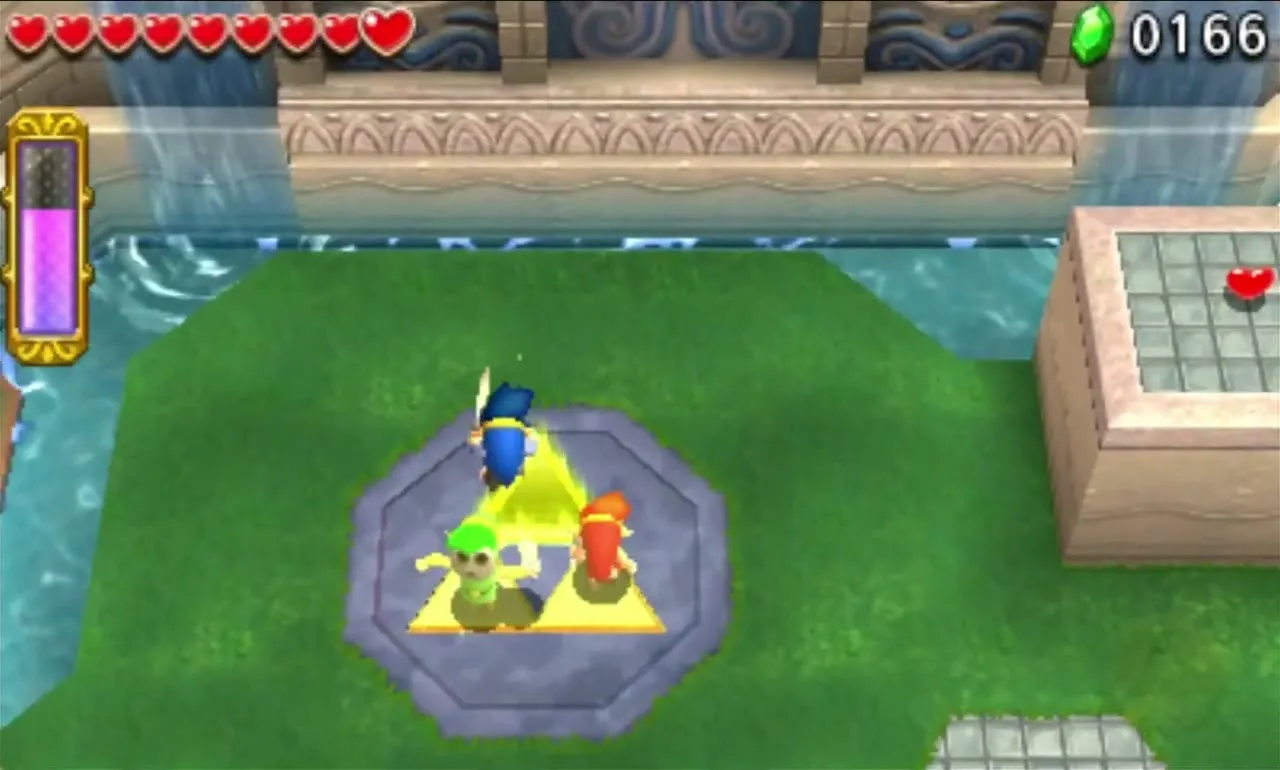
You enter a temple courtyard with shallow water and uneven ground. A Gyorm hides in a shell in the centre. Fire the Gripshot at it to yank it out, then fire again to stun it, or let another Link slash it. Three more Gyorms rise once the first is dead, so repeat the same trick for each one.
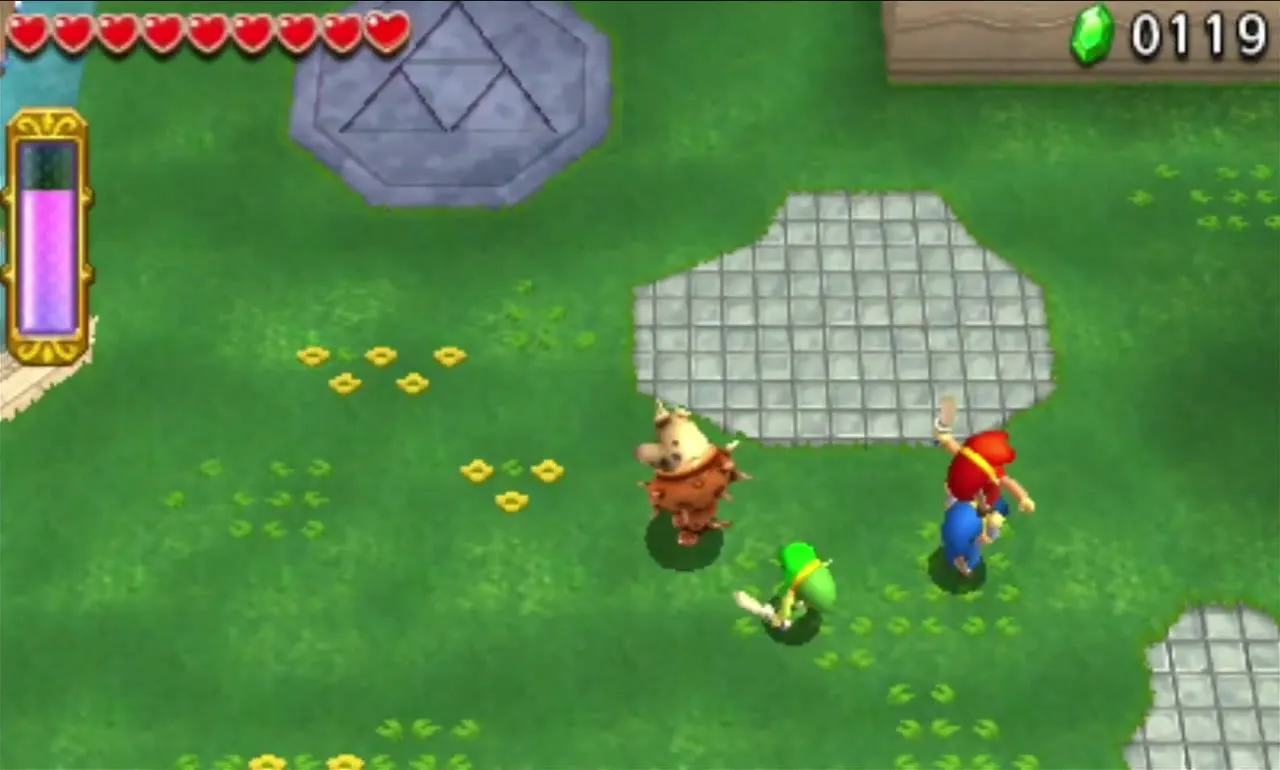
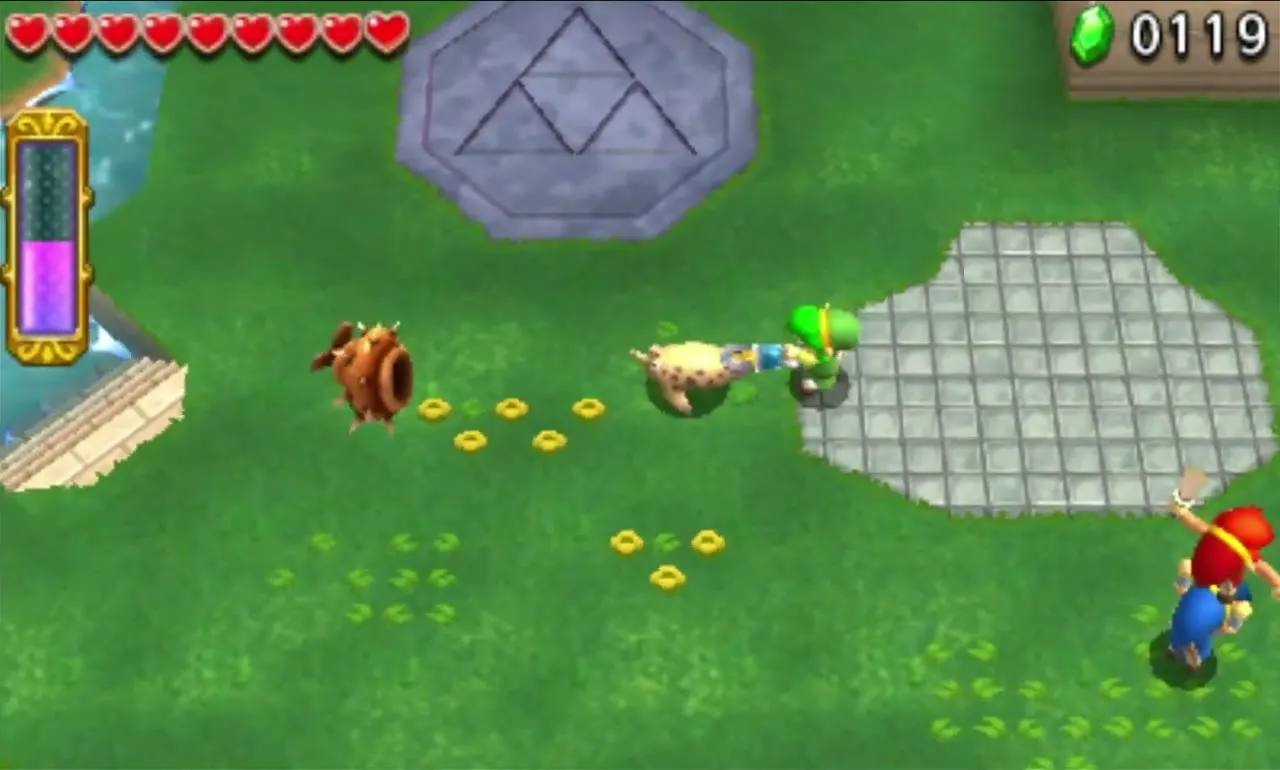
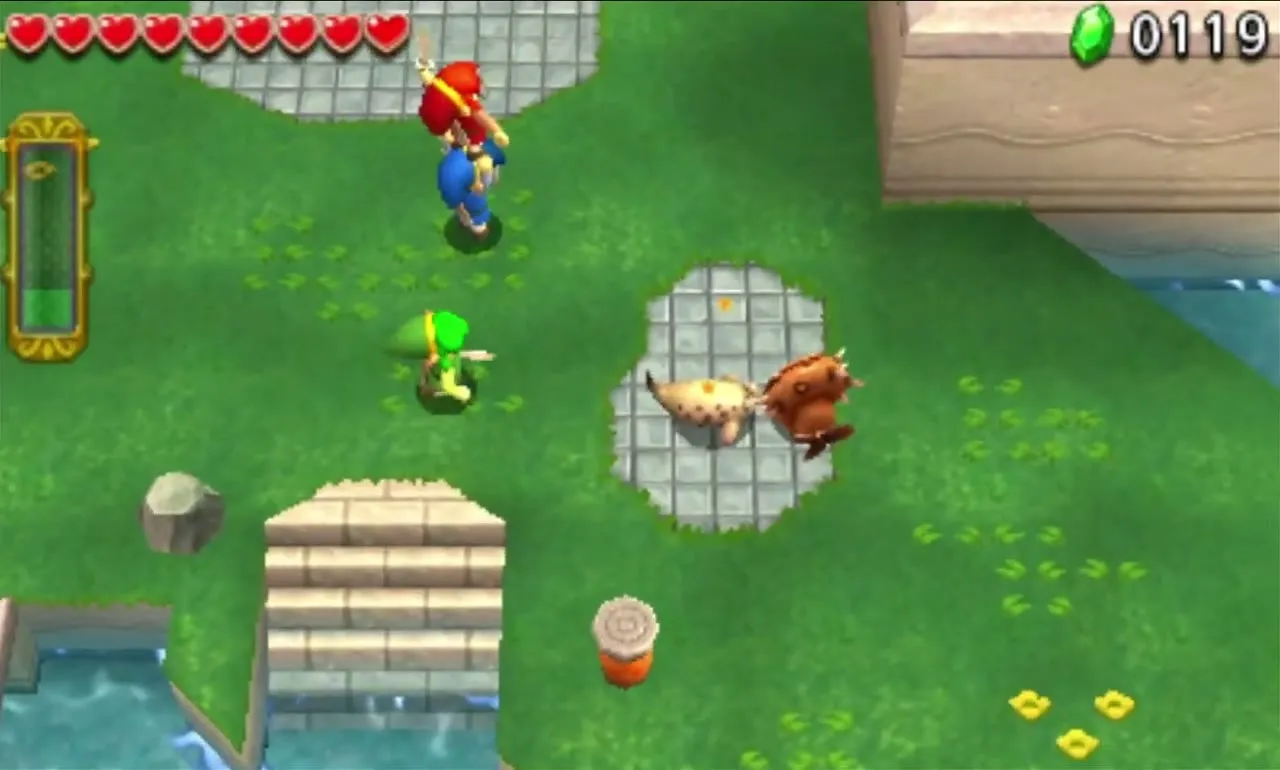
Hearts and Rupees sit on raised platforms around the courtyard, reachable with a Totem, and Red Rupees line the southern edge. Once every Gyorm is gone, the Triforce Gateway opens.
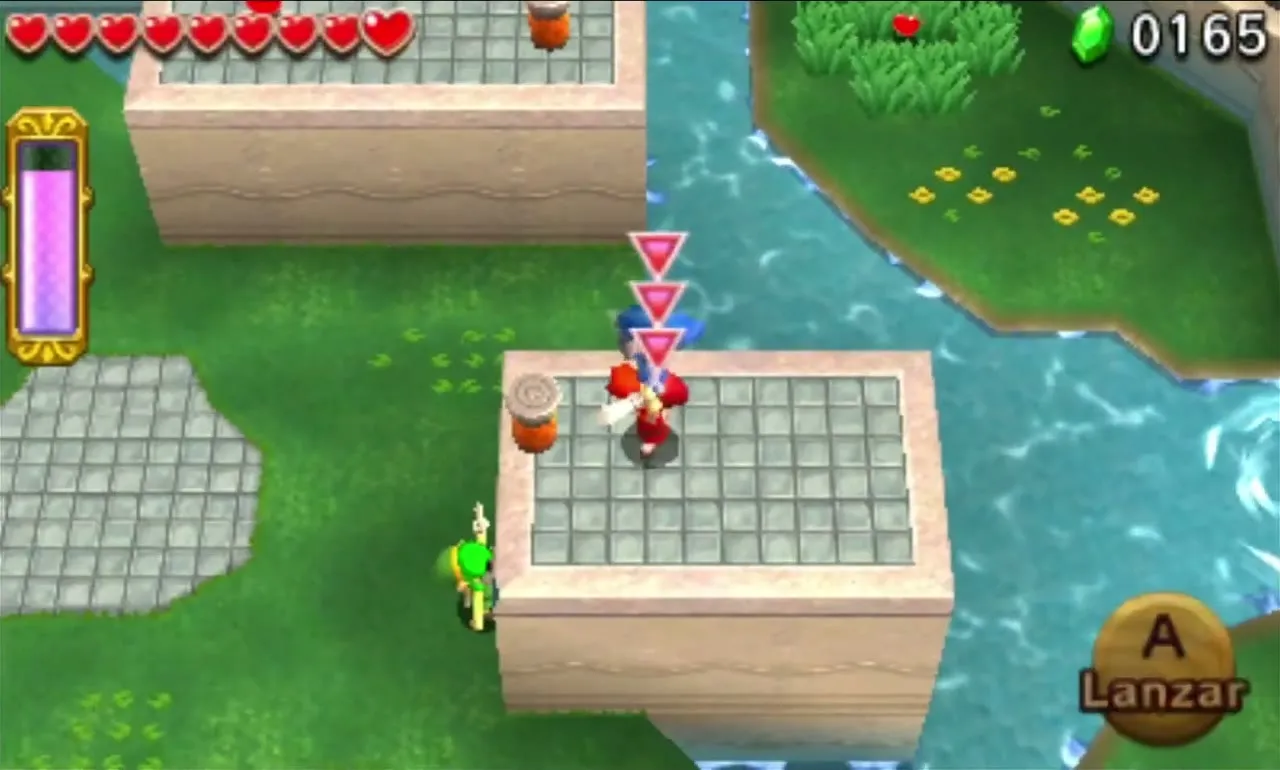

Cove of Transition treasure chests
The chests hold two Zora Scales and an Aqua Crown. The Aqua Crown is the missing piece of the Torrent Robe, and the Zora Scale is half of the Zora Costume, which lets you swim faster and against strong currents.


Once the Water Temple is done, the Cove can be run again with “Halved attack and defense!”, “Evade the Wallmaster!” and “Clear within the time limit!”. The time limit one rewards best: two Octorok Suckers and a Rainbow Coral. Check the Drablands Challenges guide first.

Water Temple
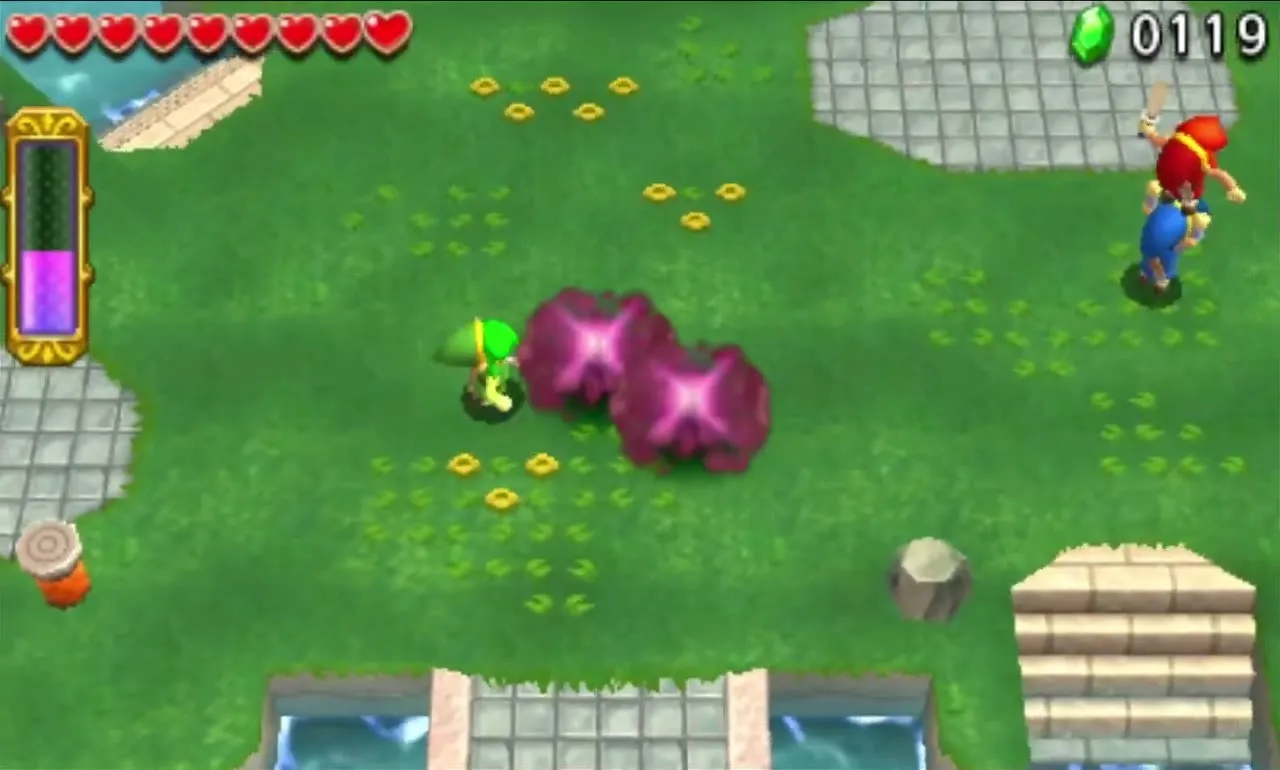
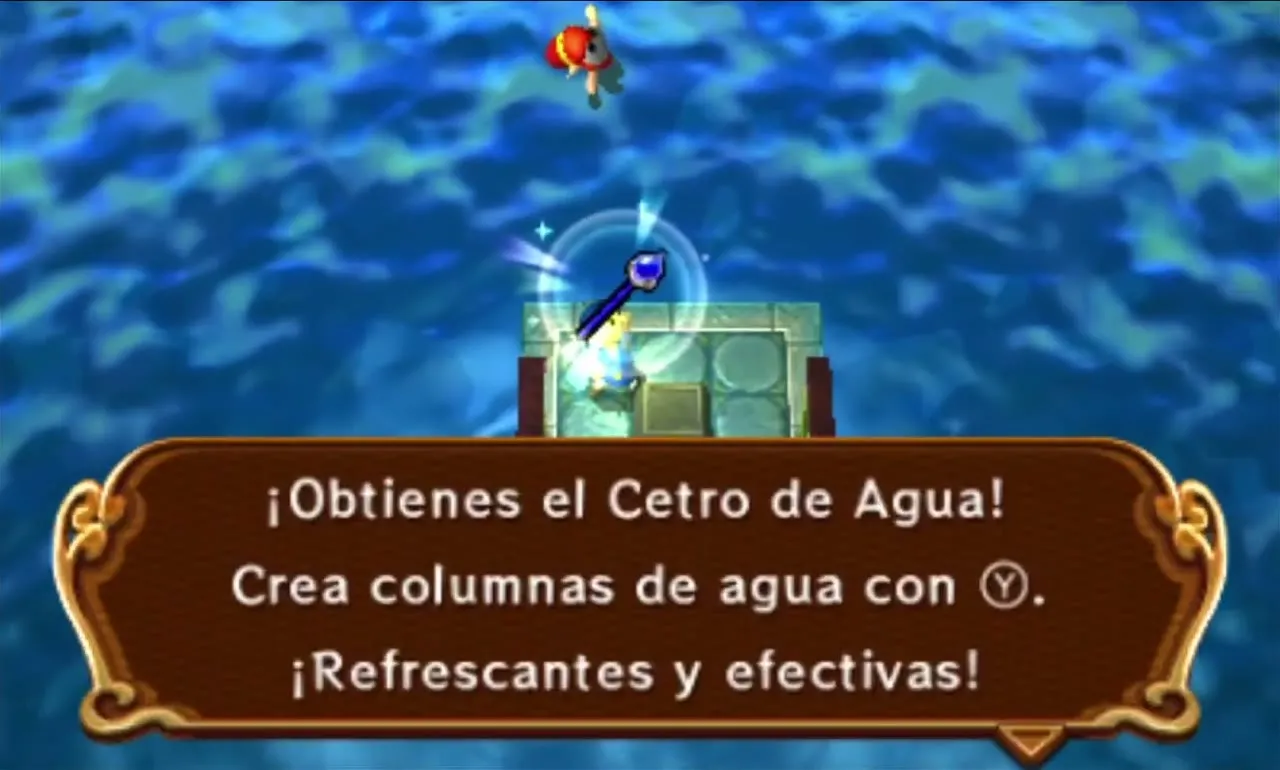
The Water Temple is a flooded palace of pools, and it gives you both Riverside items together: two Gripshots and one Water Rod. You will be in and out of the water, so a Zora Costume or Torrent Robe from Madame Couture’s helps a great deal. In single player, switch to the Doppel holding the Water Rod whenever pillars are needed.

Water Temple Stage 1
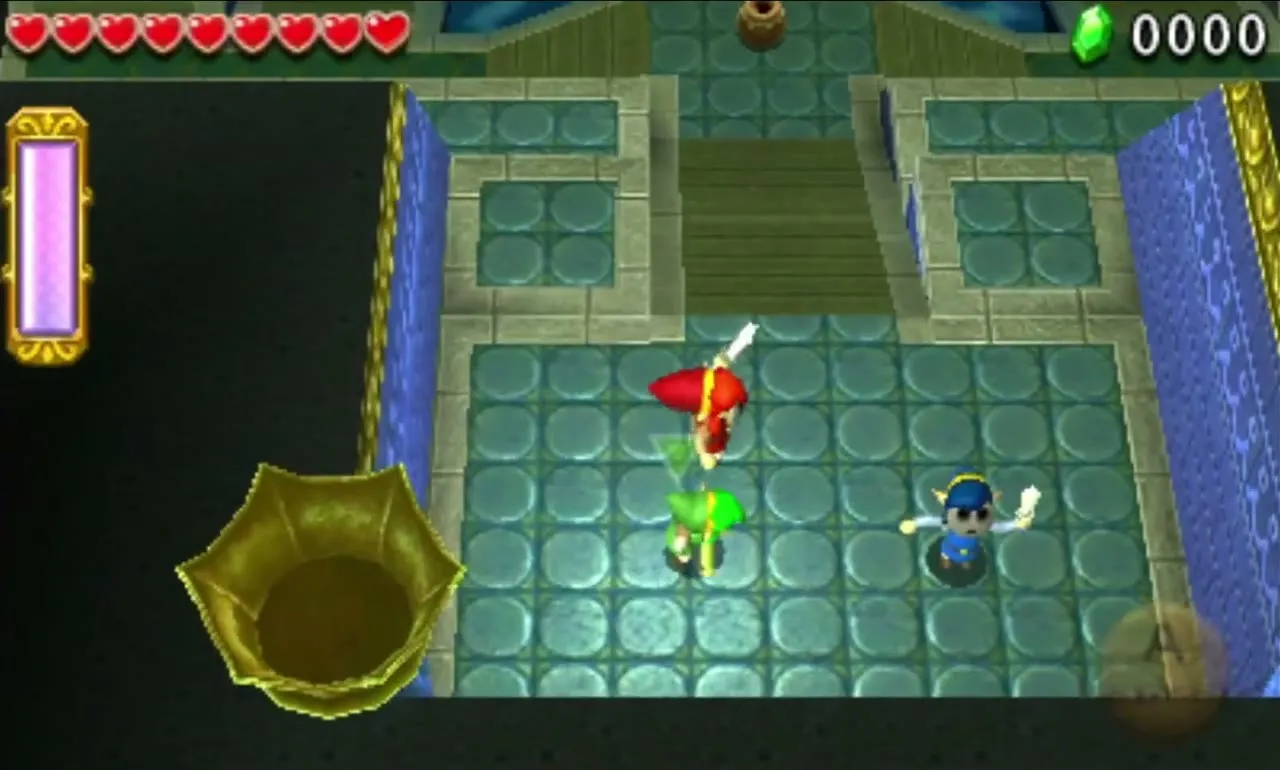
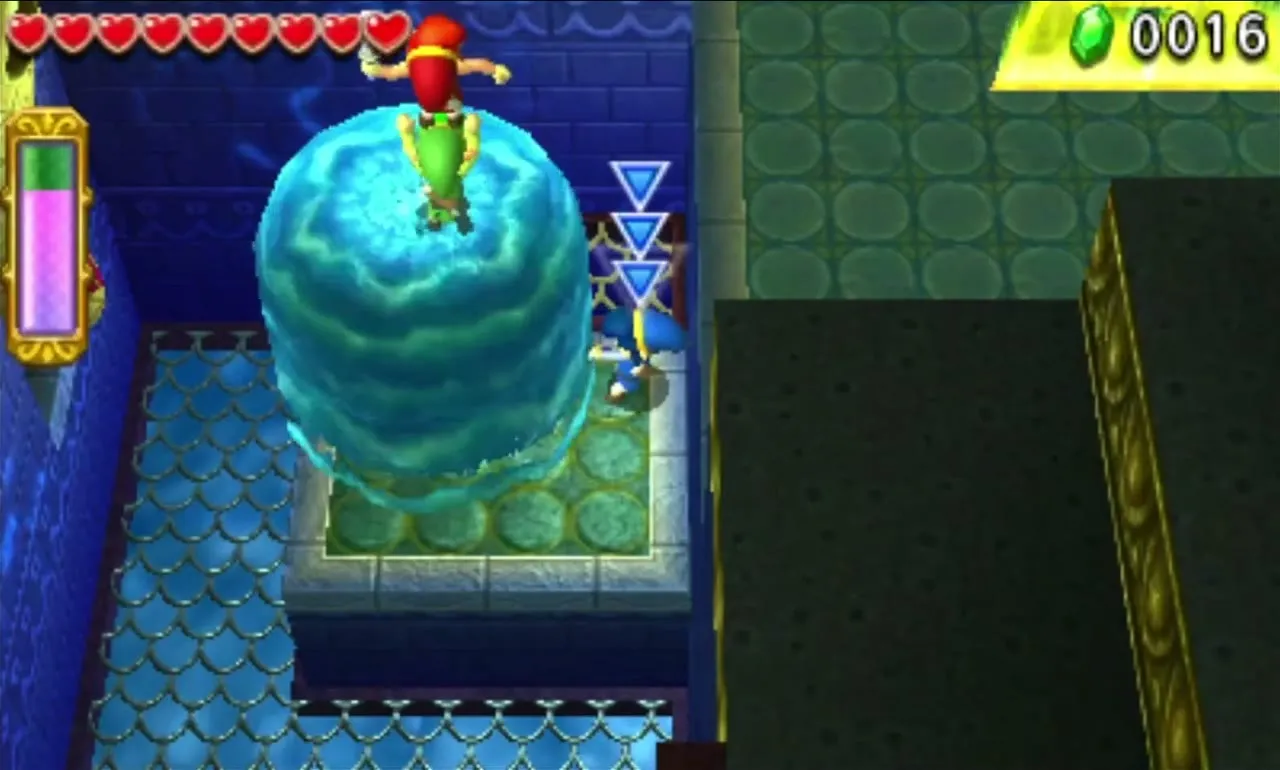
Go down the ramp to the large pool and pick up the two Gripshots on the side ledges. Fire each one north at the fences and pull yourselves across a corner of the pool, dropping onto platforms. In the middle stands a tall platform with a Water Rod on top that you cannot reach yet.


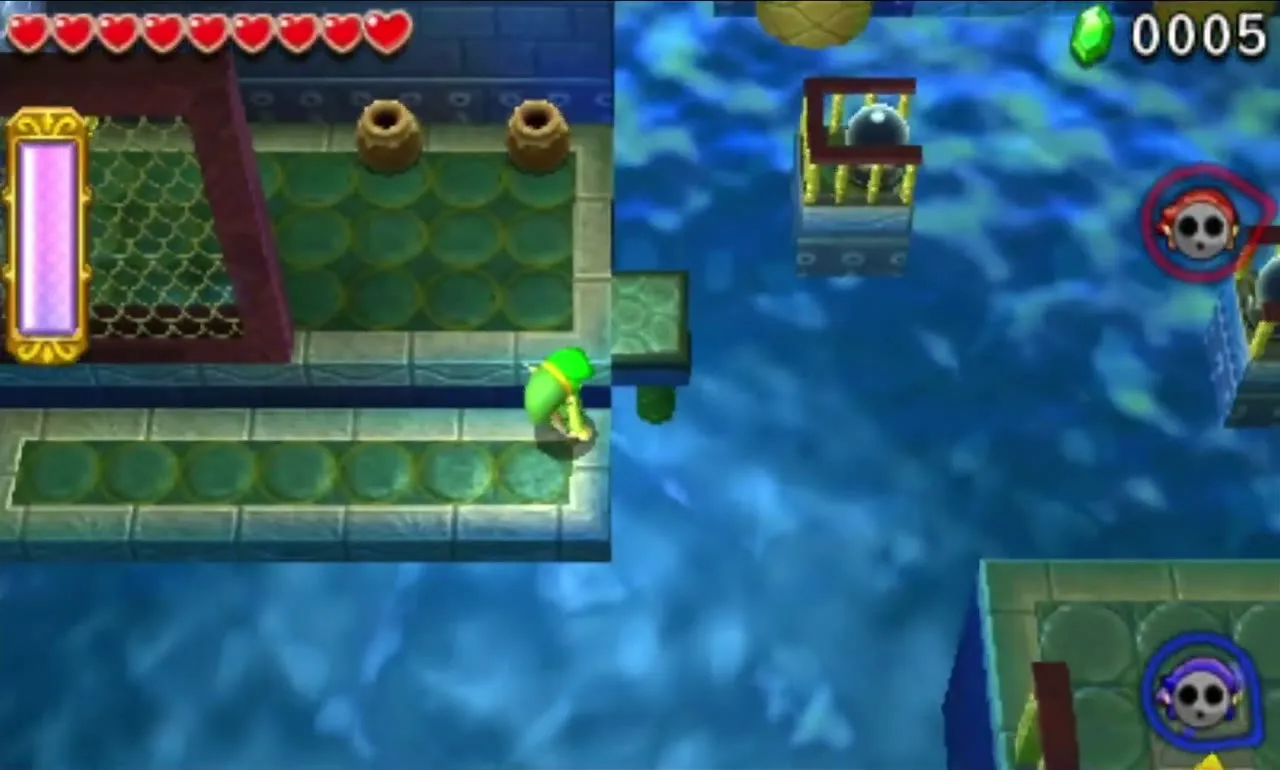
Two Shock Switches stand in the pool, with railings shielding certain sides. Standing on opposite platforms, shoot each switch across the pool with a Gripshot (left platform to the right switch, right platform to the left) and time it so both are hit together. A small platform then rises in the middle of the pool.

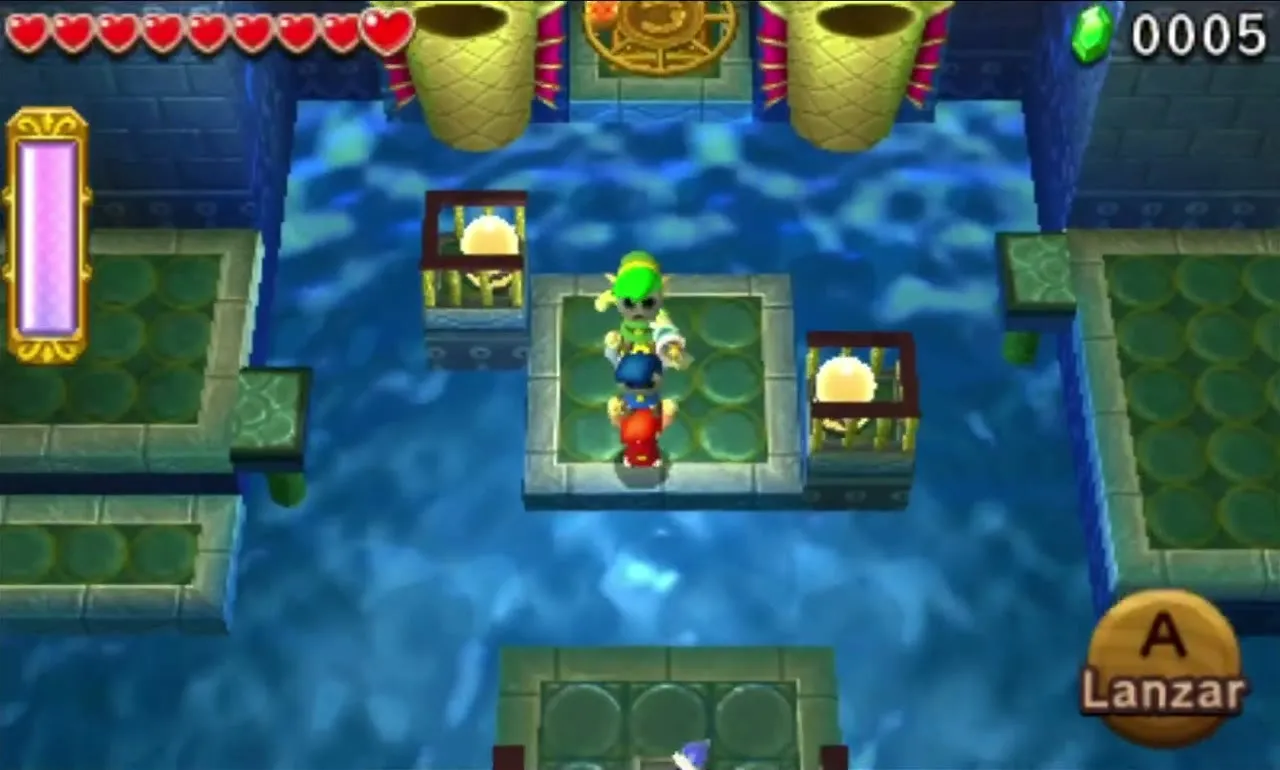
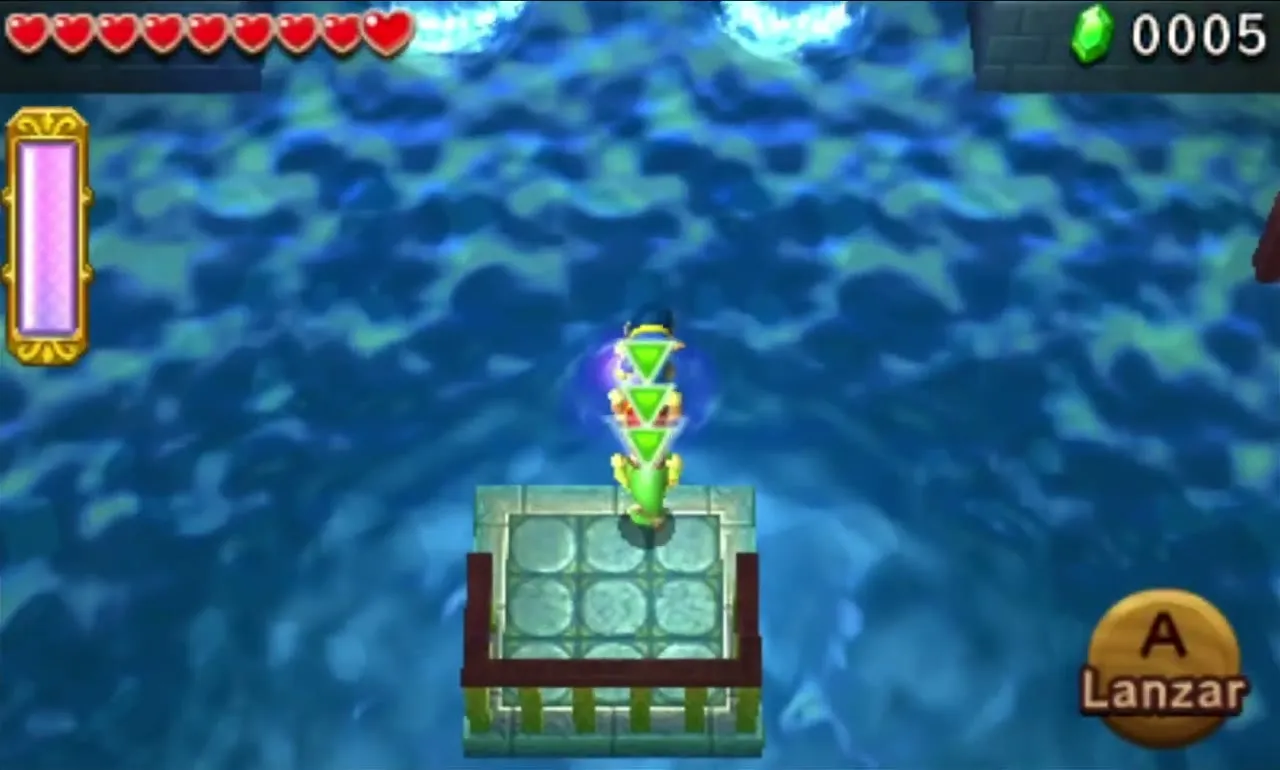
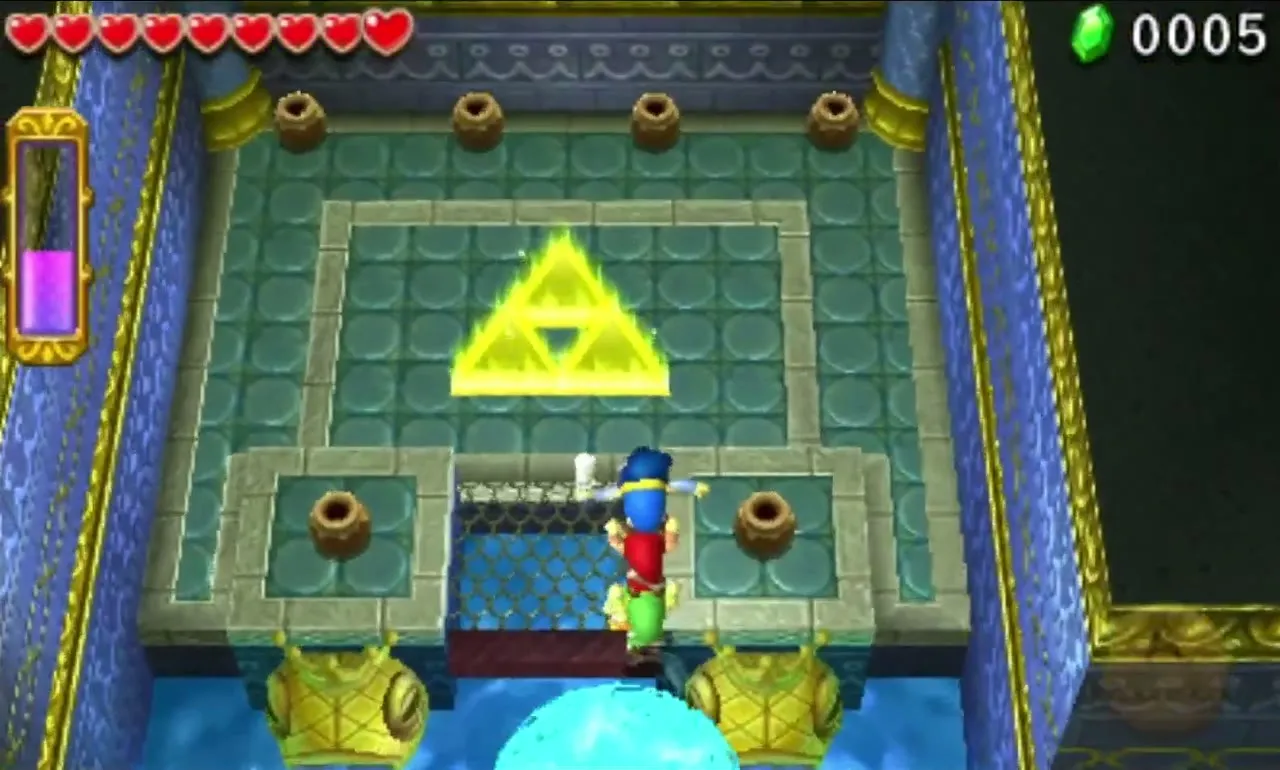
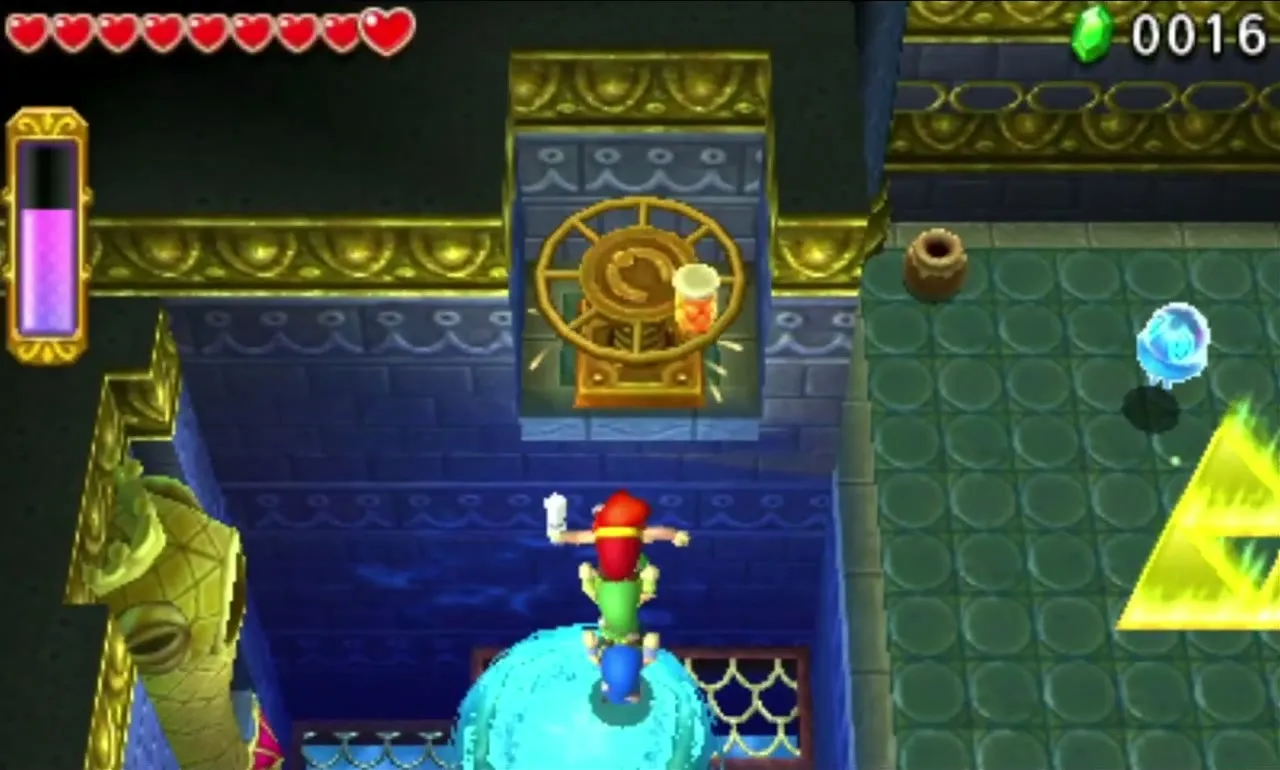
From that platform, fire the Gripshot at the Crank to the north. The room floods and you can reach the Water Rod on the tall platform. The Link with the rod builds pillars for everyone to cross to the Triforce Gateway at the north end.
Water Temple Stage 2
The Level begins on a caged floor over a pool, with a Big Switch in its centre. All three Links must stand on it at once. That opens a Crank in the north-east corner and floods the room, and Tektites, Water Tektites and Skullfish show up. Swim to small platforms to strike them, or stun them using the Water Rod.
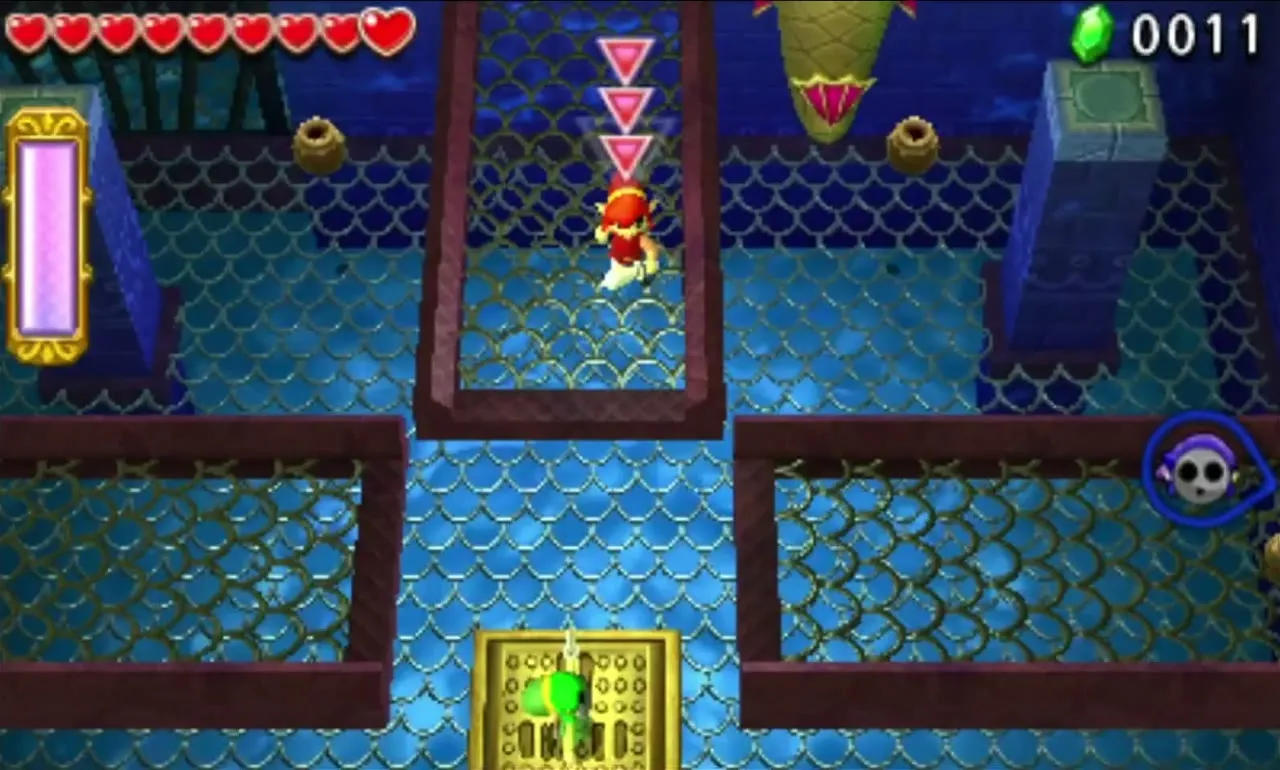


You can make the fight easier by draining the room: reach the north-east platform with the Water Rod or a Totem and pull the Crank with a Gripshot. When every enemy is down, a steel grate in the north-west corner rises, and the room must be drained to walk under it.
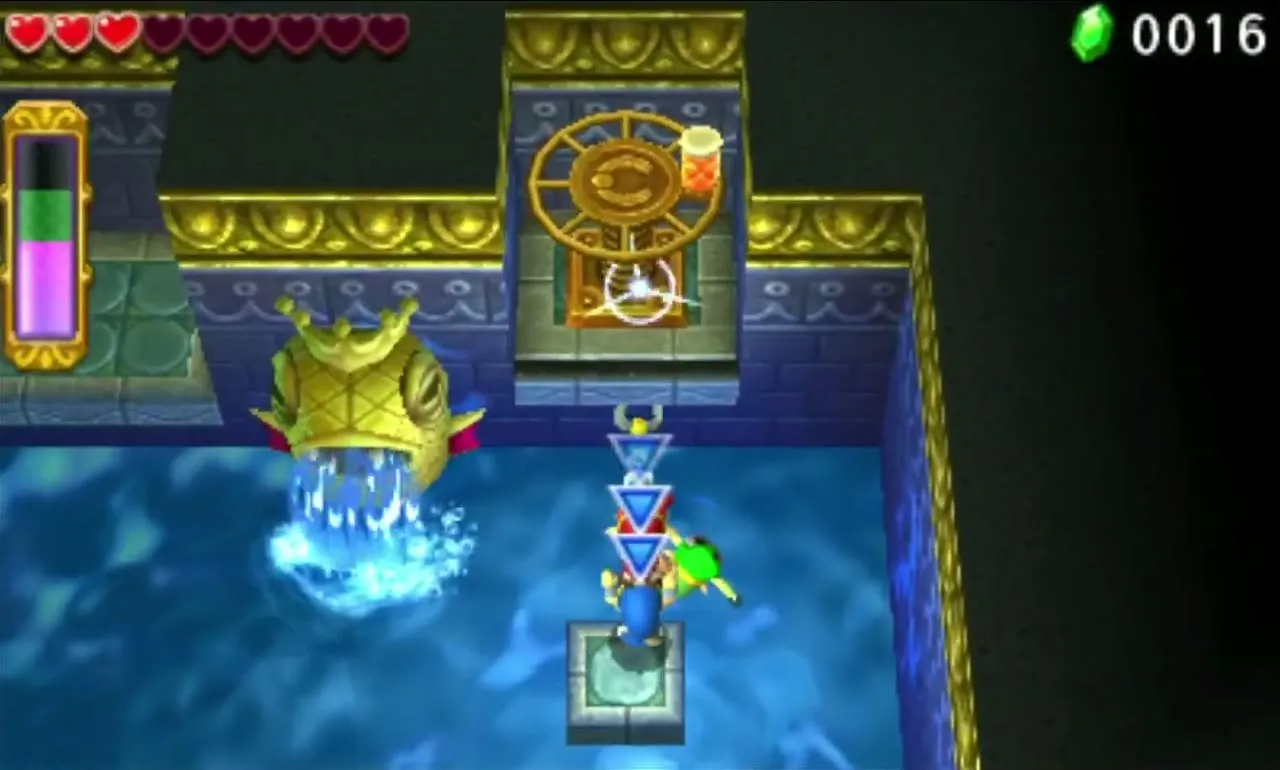
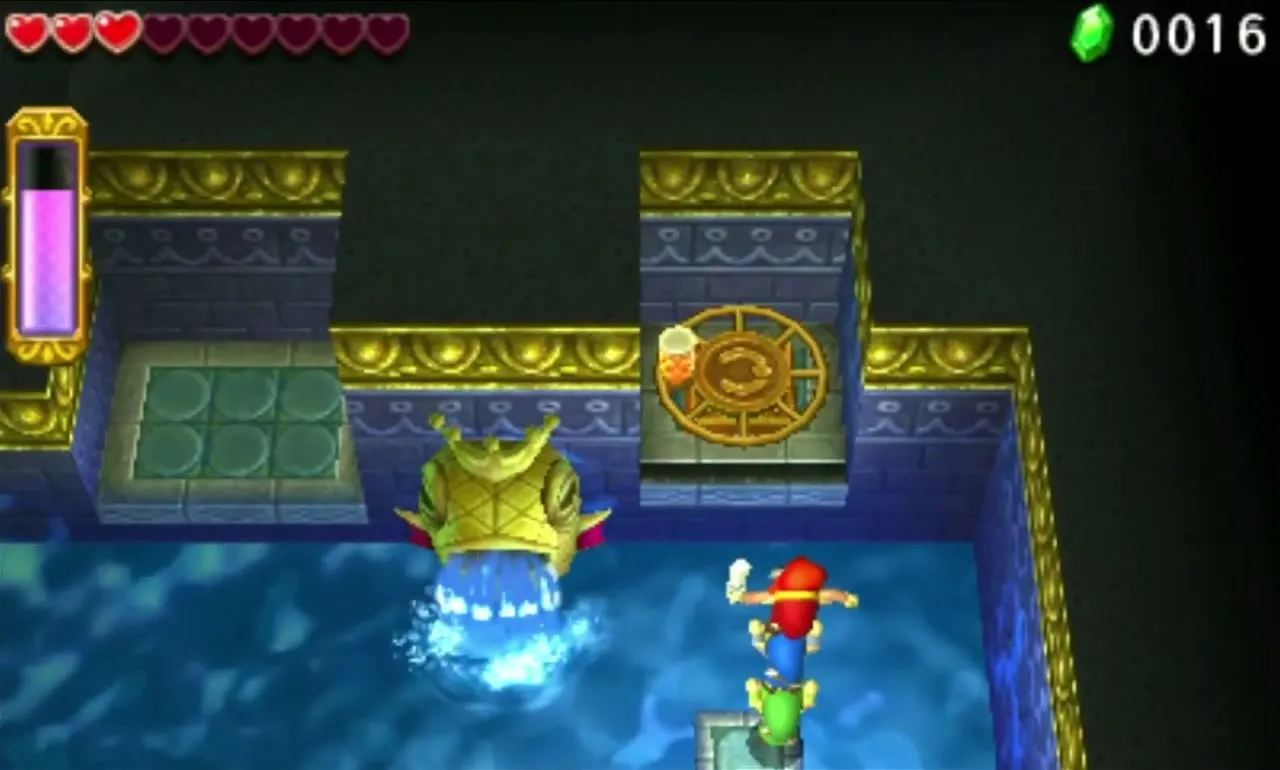
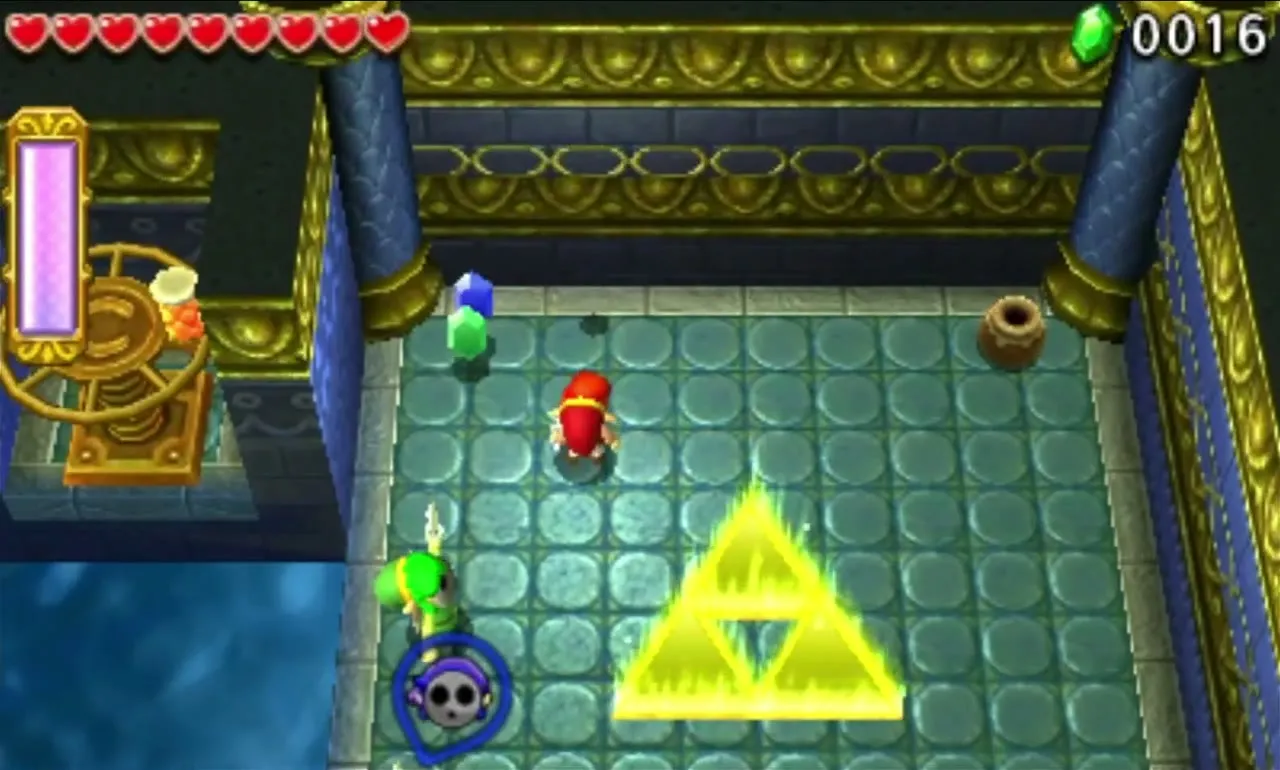
Past the grate you reach a platform you can climb with the Water Rod. A second Crank hangs high on the wall: build a pillar with the rod, form a full Totem on top, and pull the Crank. That floods the room again so you can swim to the Triforce Gateway, where a Squiddy waits.
Water Temple Stage 3
You begin trapped in a cage with a Water Octorok. Two Links use the Gripshot on a panel in the cage wall, which flips and drops them outside. Those two stand on the Floor Switches to open the cage door for the third Link.

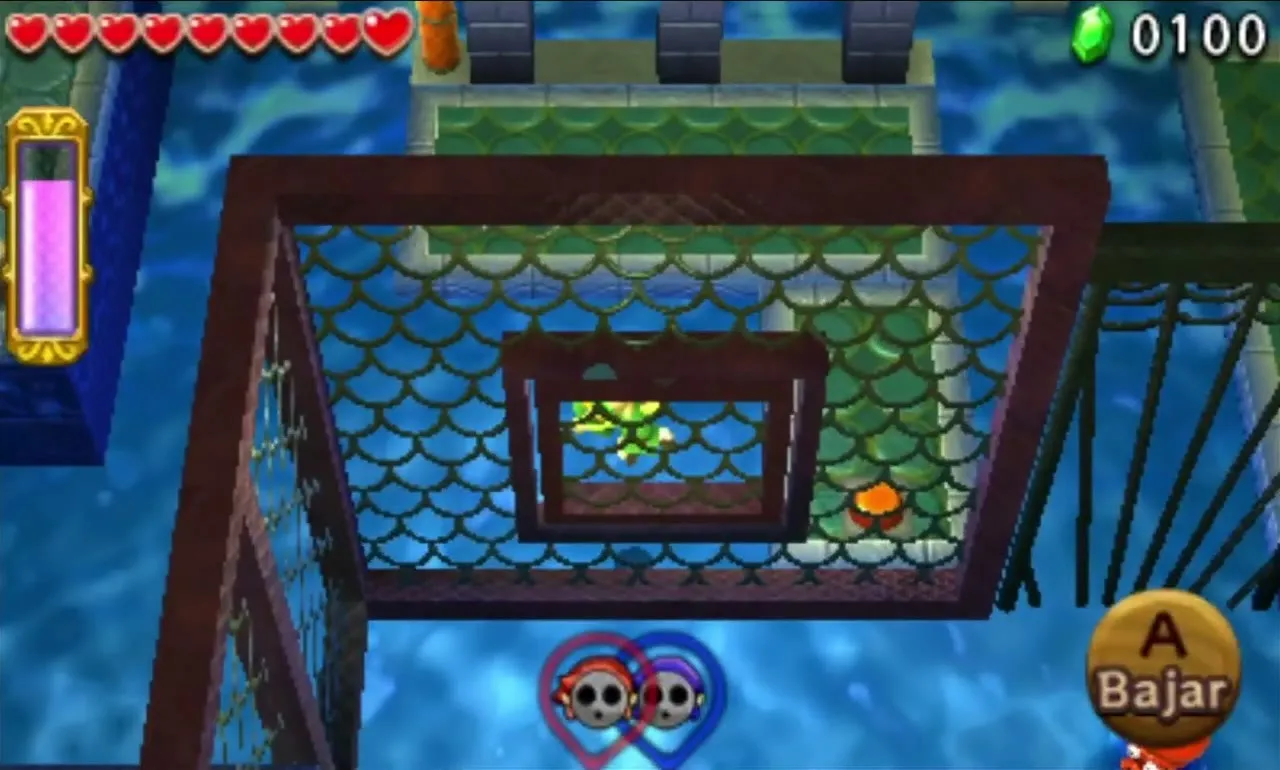
Outside, the room is made of platforms at assorted heights. One platform that only the Water Rod can reach has a Crank that lifts the water level. Send the rod carrier first while the others follow with Gripshots, and avoid the rocks that nearby Water Octoroks fire. Gripshot the next cage panel to get to the opposite side of the fence.
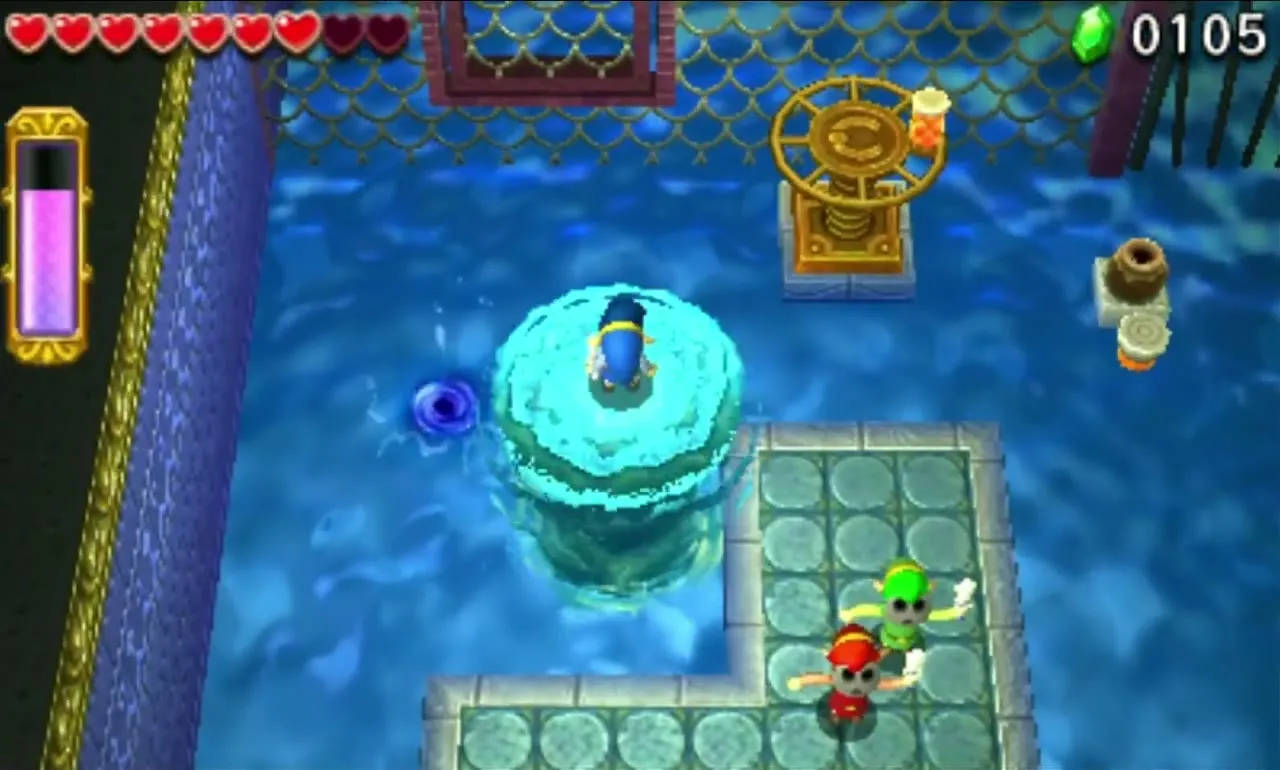
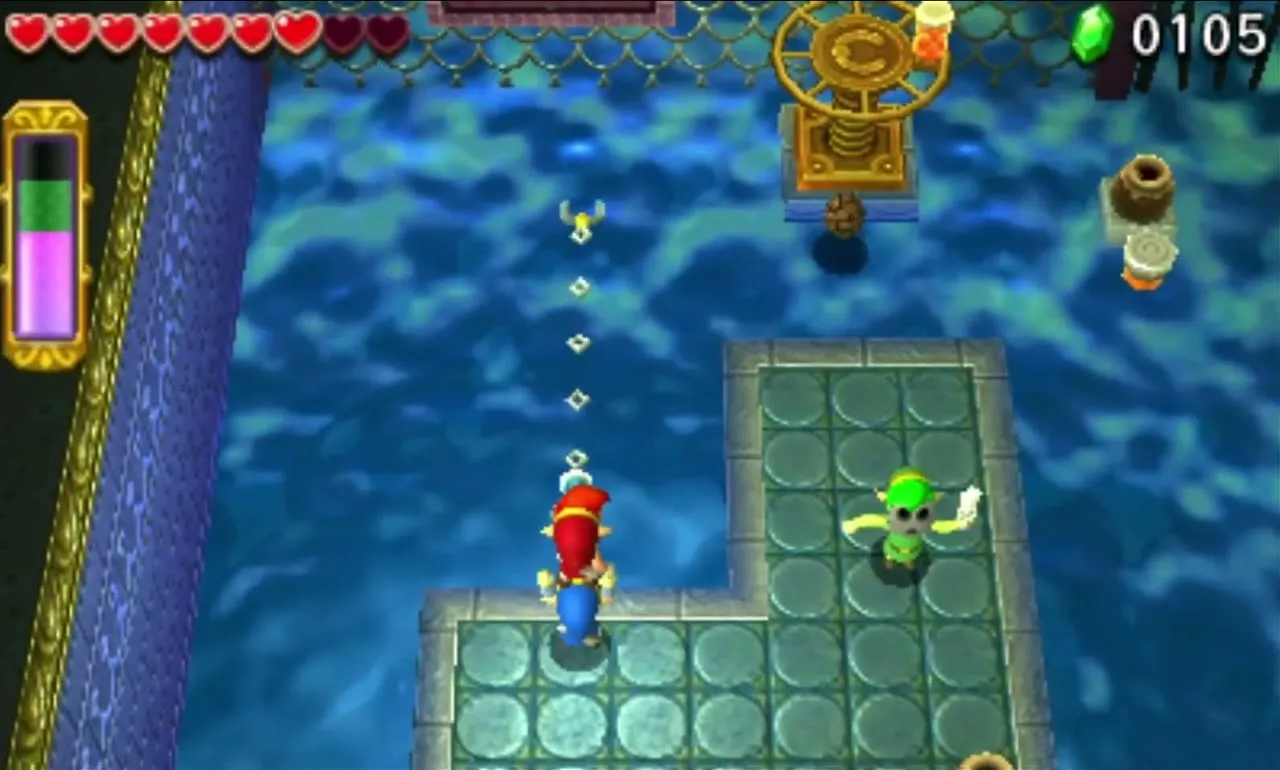

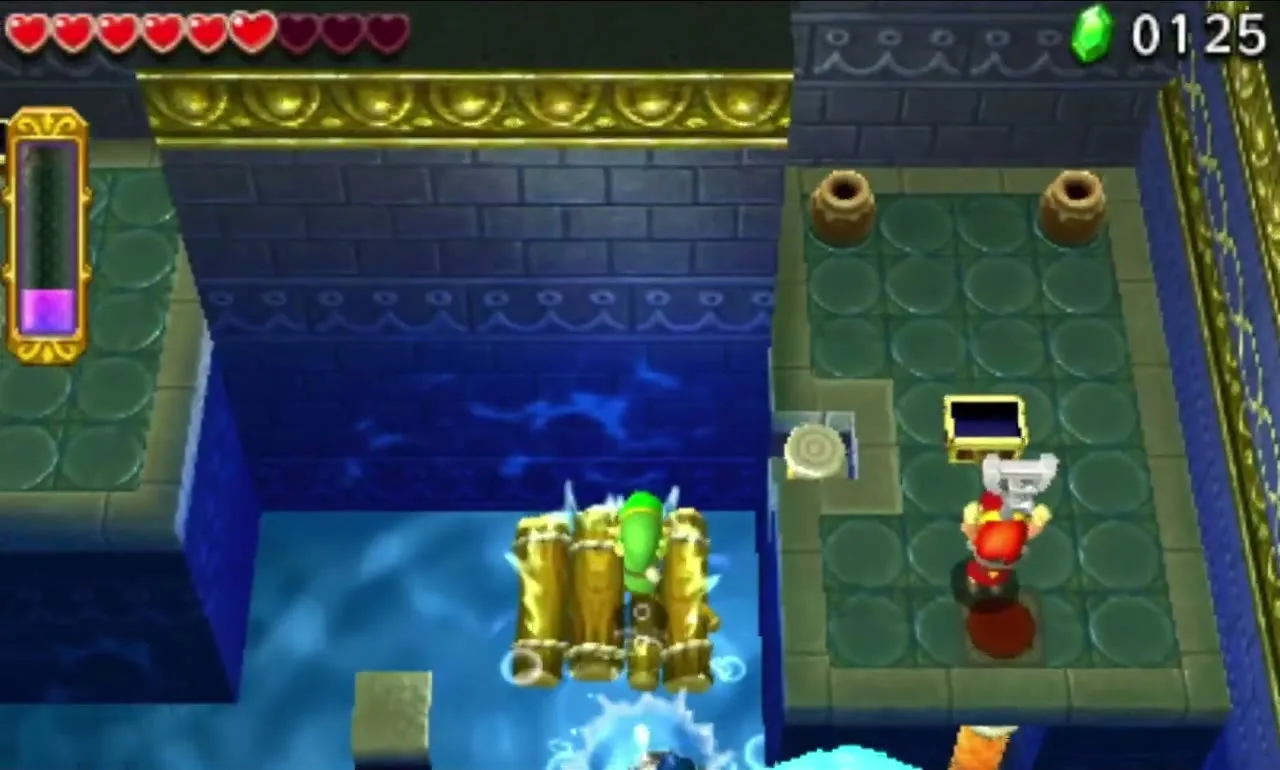
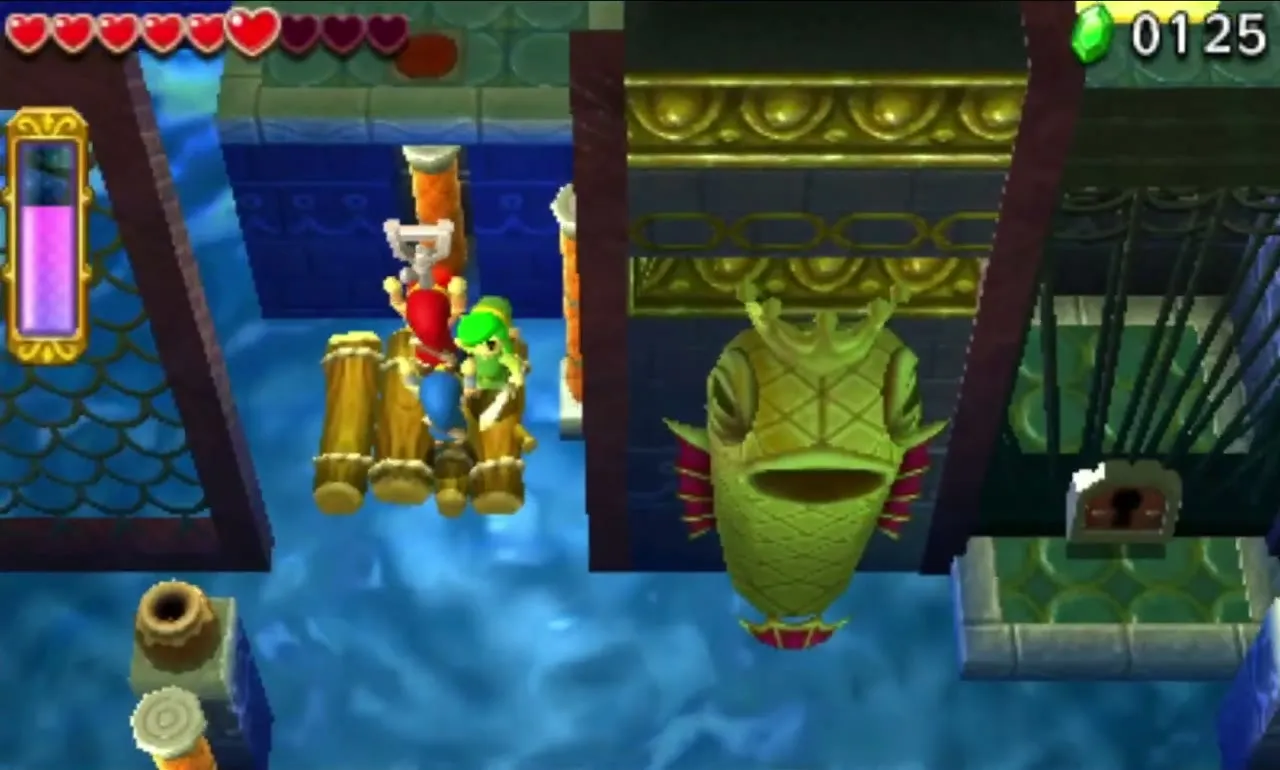
Behind the fence sit a Raft and a chest with a Red Rupee; fire a Gripshot at a Stake to tow the Raft to another platform. Open the chest there to take a Key, then step on a Floor Switch to unlock the cage door and return to the main room. The locked gate is submerged, so two Links turn the Crank again to drain the water. Finally, carry the Key aboard the Raft, Gripshot your way to the gate and head into the Triforce Gateway.
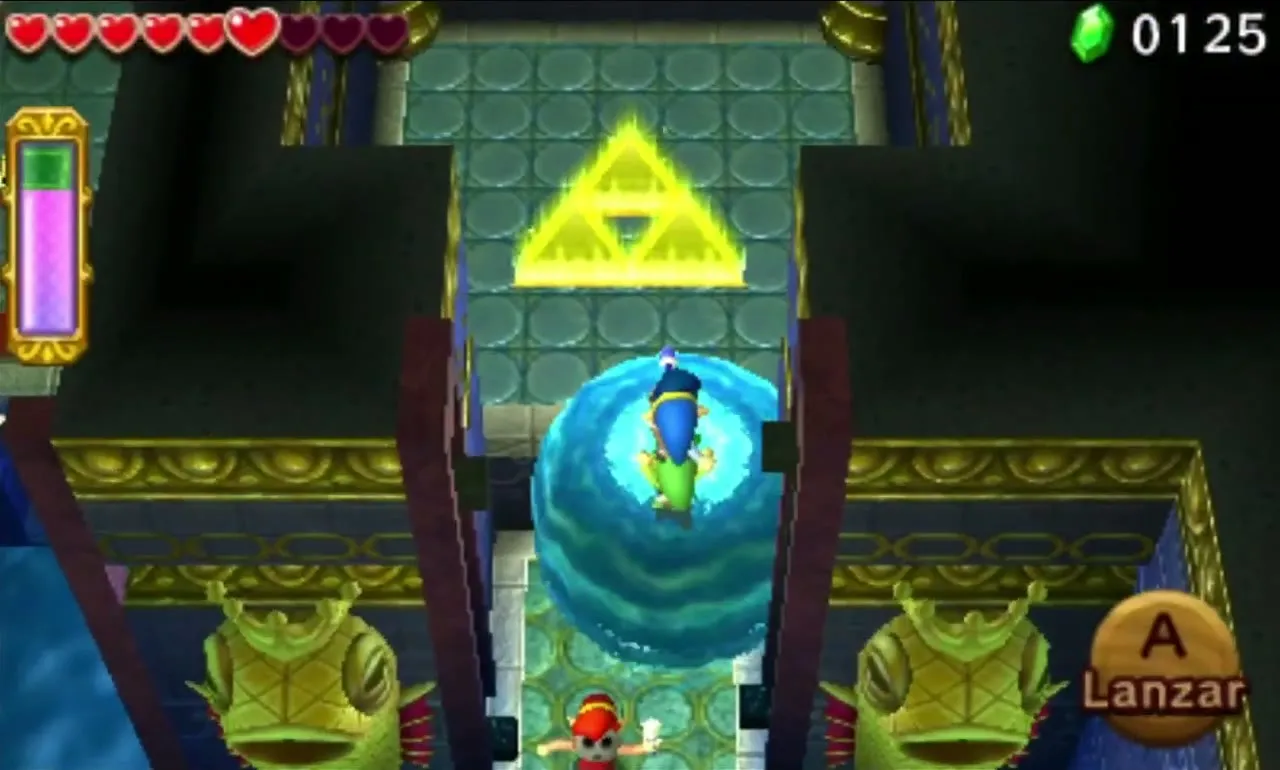
Water Temple Stage 4
Stage 4 is the boss pool, and the fight begins as soon as the eyes surface. Pots on the floor of the drained pool hold Hearts and Energy Potions, so remember them for the later phases.

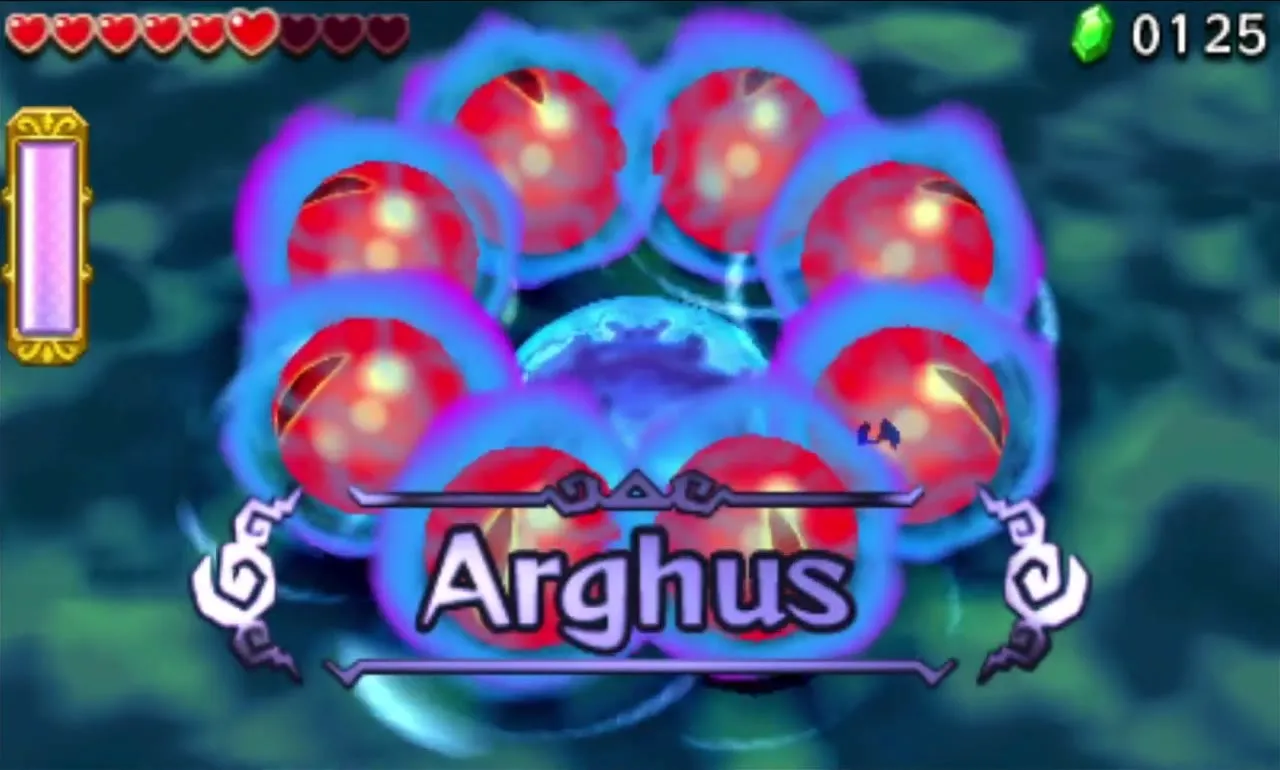
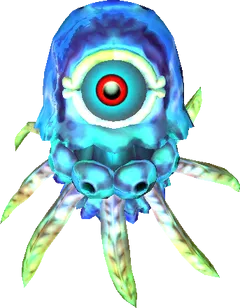
Arrghus boss fight
Eight eyes rise out of the water, protected by bubbles. They dive and resurface in turns. Hit an underwater eye with the Water Rod to force it up, or stun one as it dives. Surfaced eyes can be pulled apart with the Gripshot. A stunned or separated eye can be slashed with the Sword before it rejoins the others. Platforms round the pool edge help you get close.
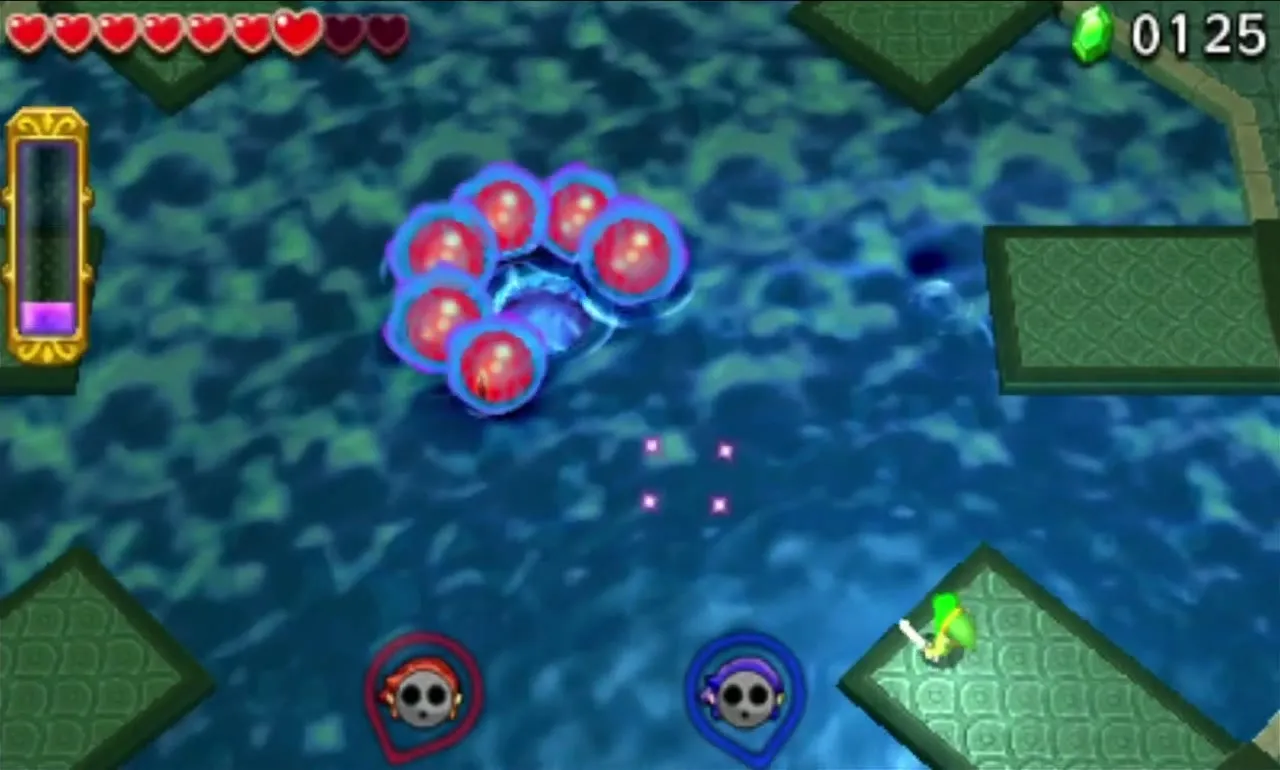

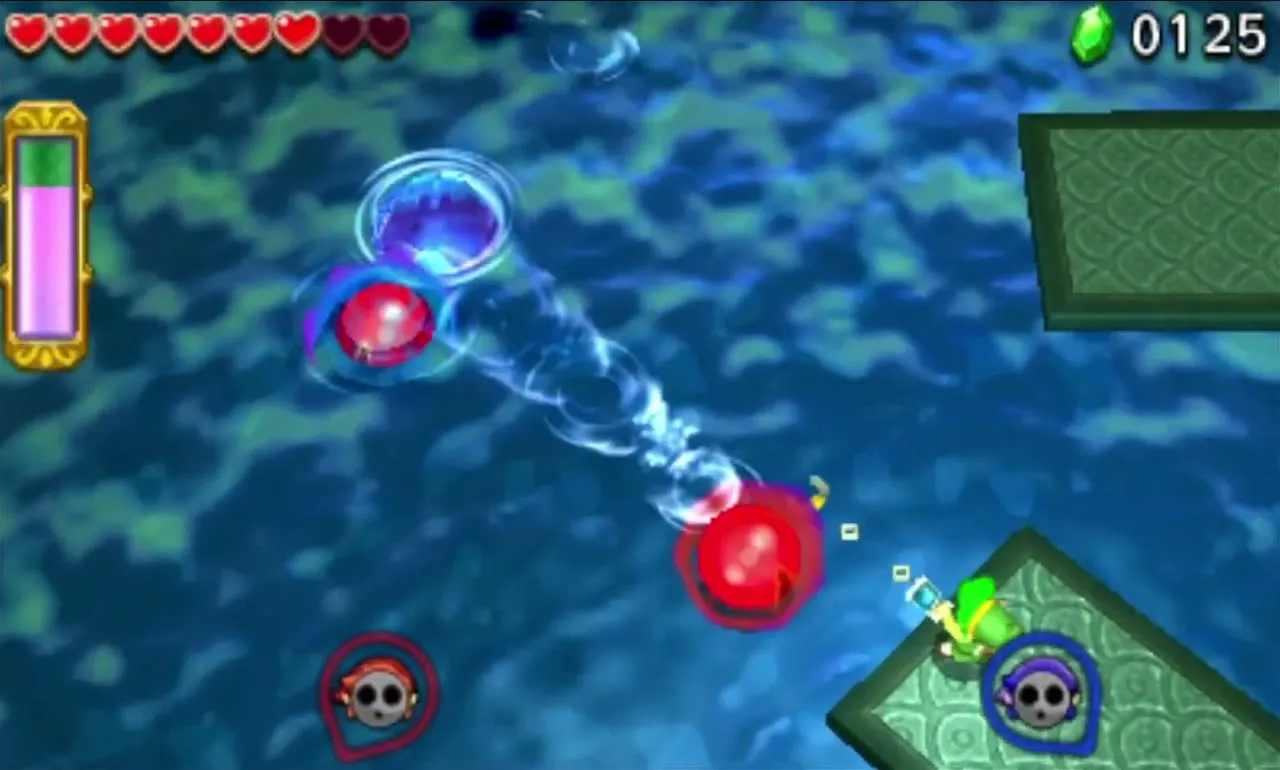
When all eight eyes are gone, the platforms retract and the pool drains, leaving Arrghus floating above the dry floor. It sends out its red eyes in waves. It floats too high to reach, so raise yourselves with Water Rod pillars (much faster than a Totem), then pull the eyes off with the Gripshot or stun them with a rod blast as they fly at you.
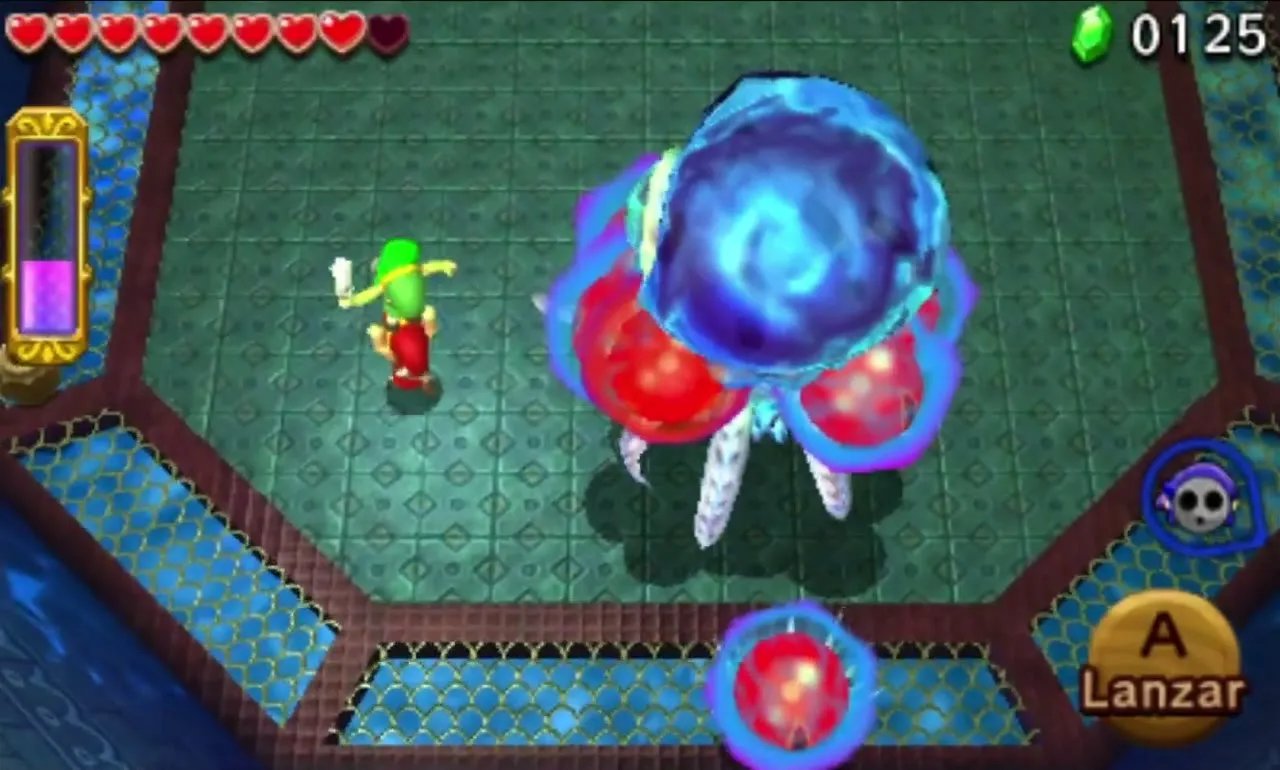
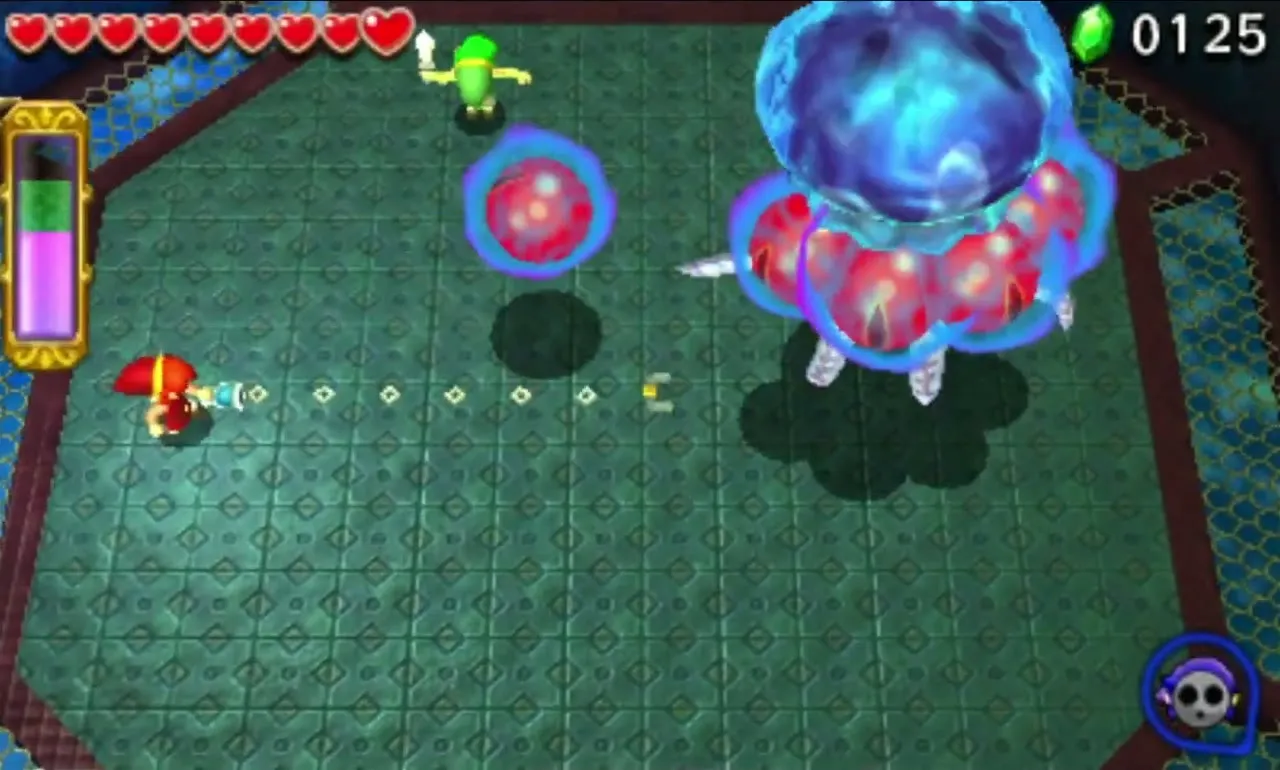
With its red eyes all gone, Arrghus opens one large real eye and fires ink in all directions. Ink that hits you blocks your item for a short time, so keep dodging. Build pillars, aim a Gripshot at the open eye to stun it, and strike with your Sword while it is stunned. A few rounds defeat it, and a door opens at the north end to the Triforce Gateway.

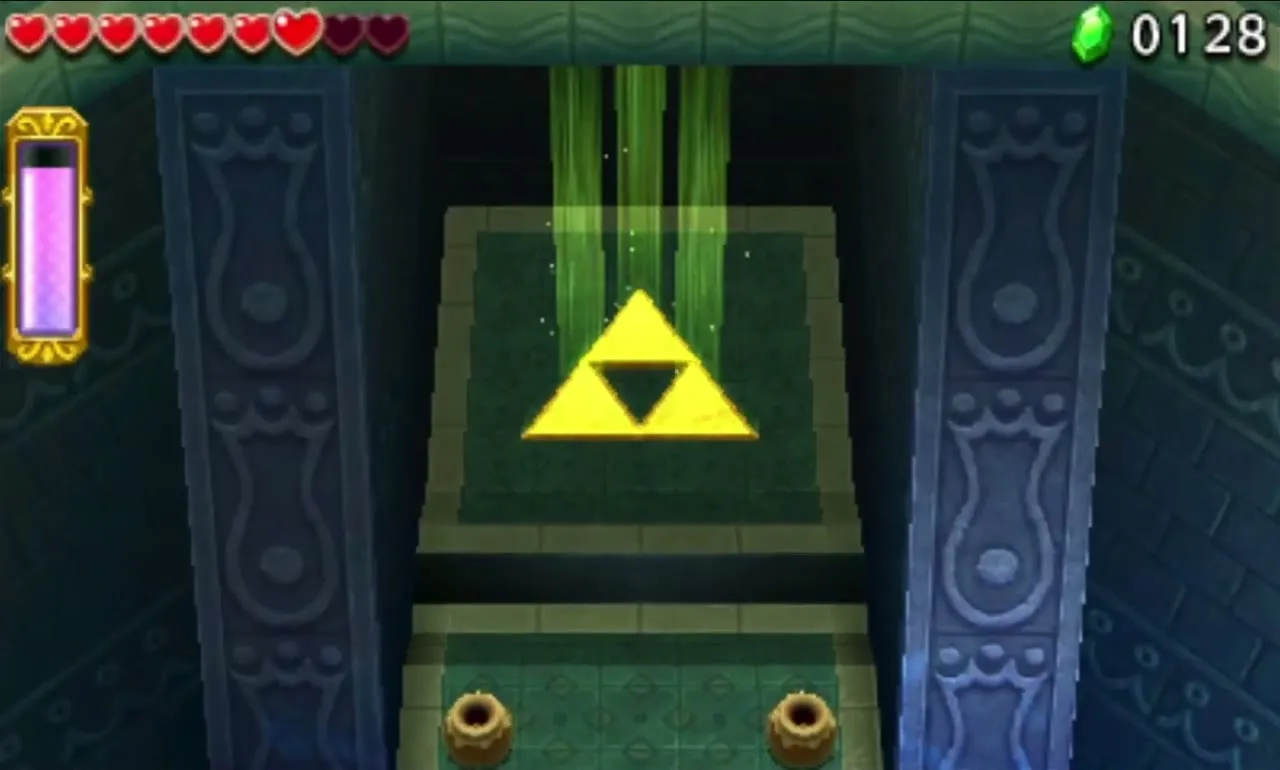


Water Temple treasure chests
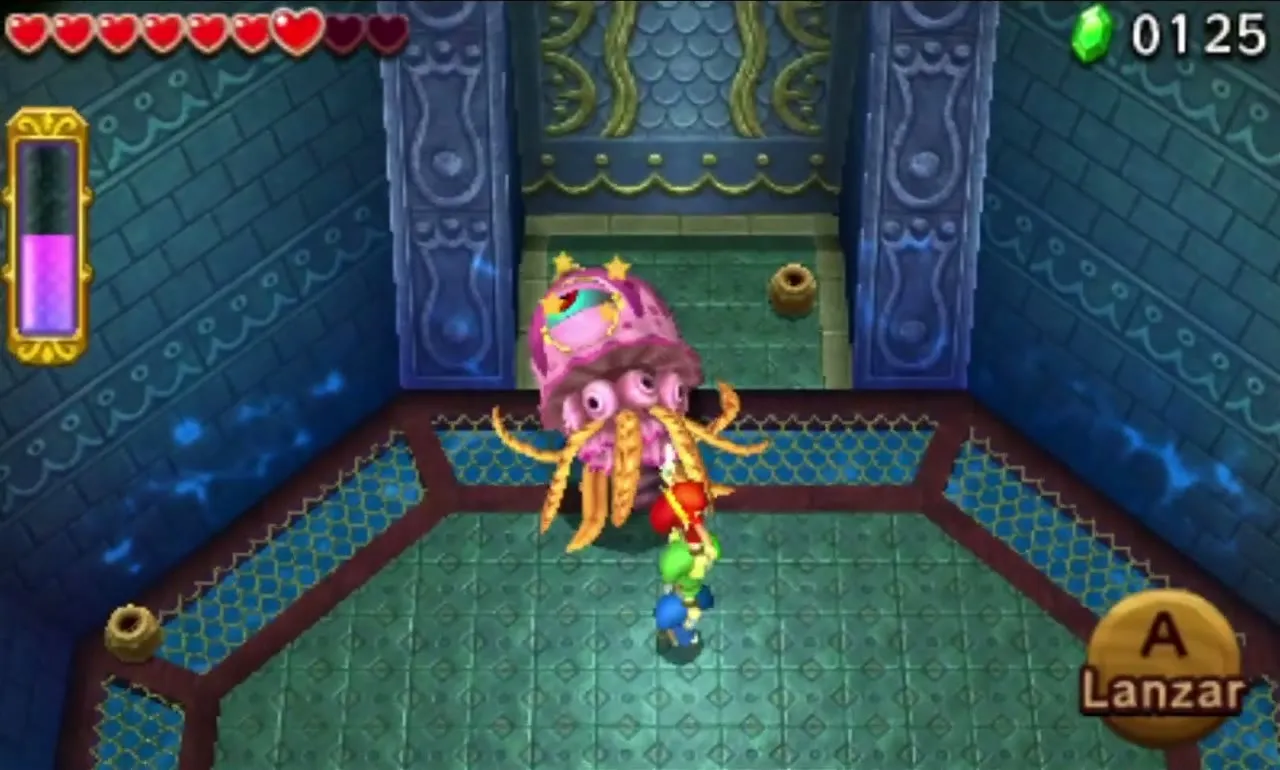
The chest room gives two Hytopian Silk and an Octorok Sucker. With Fresh Kelp, Hytopian Silk and an Aqua Crown in your bag you can order the Torrent Robe, and with a Zora Scale and Fresh Kelp the Zora Costume.
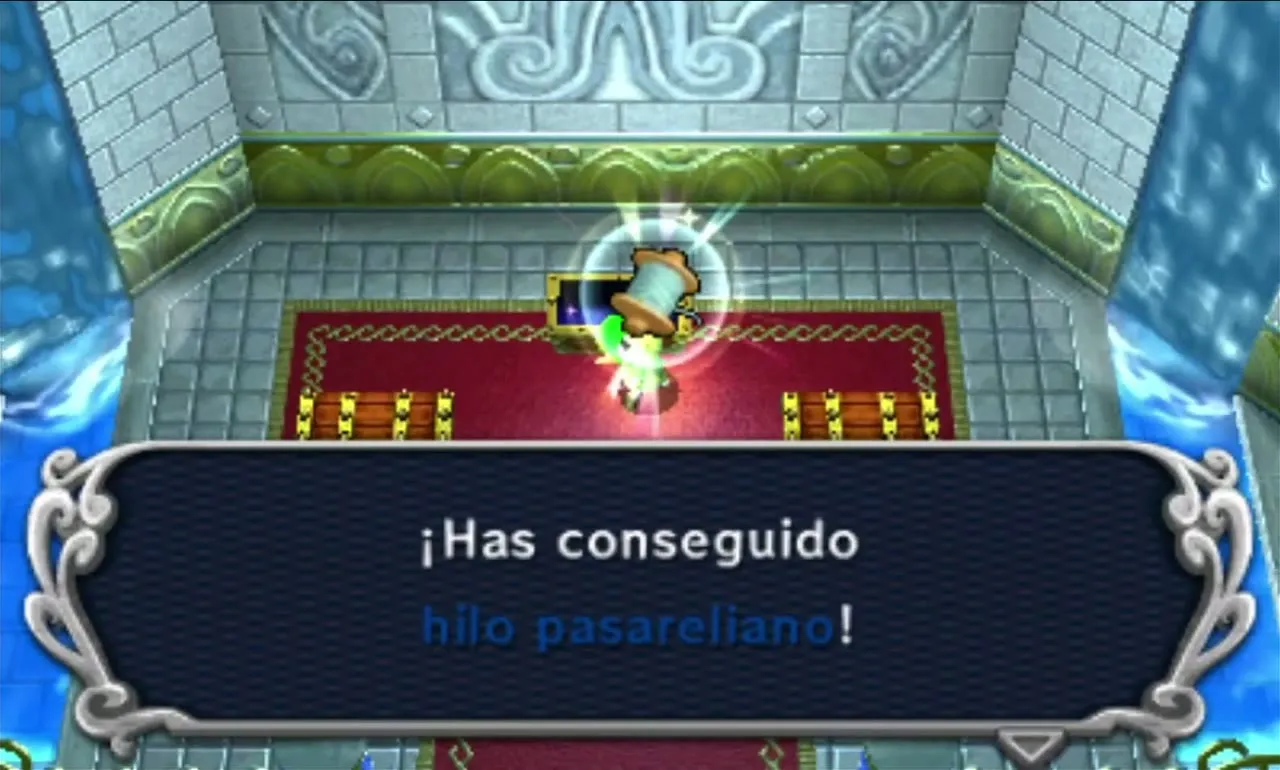

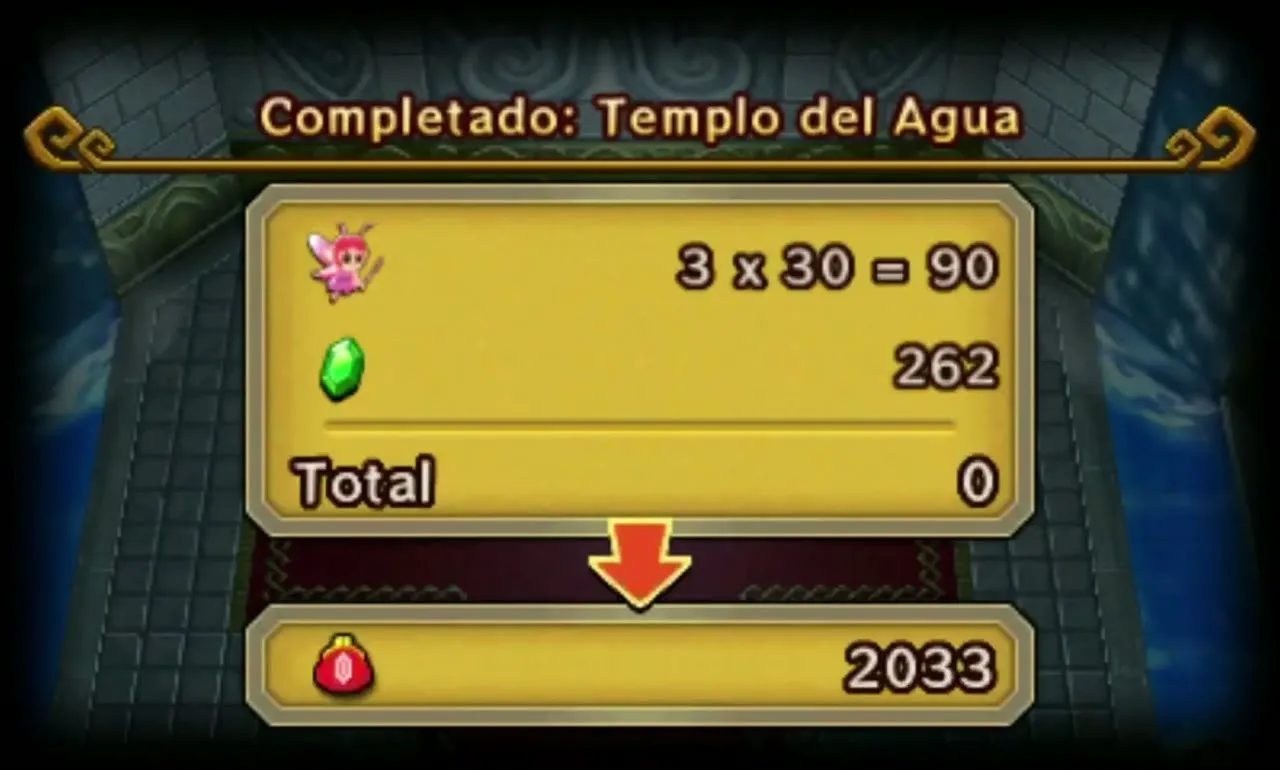
Defeat the boss and the Water Temple opens up again with “Fewer Heart Containers!”, “Clear with halved energy!” and “Transport the orb quickly!”. The final one gives two Fairy Dust and a Rainbow Coral, which is a gold Material. Refer to the Drablands Challenges guide.
Area checklist
| Level | Items | Boss or mini-boss | Materials |
|---|---|---|---|
| Secret Fortress |  Water Rod x3 | None |  2 Fresh Kelp, 1 Zora Scale |
| Abyss of Agony |  Bow, Water Rod x2 | Electric Blob Queen (mini-boss) | 2 Fresh Kelp, 1 Hytopian Silk |
| Cove of Transition |  Gripshot x3 | None | 2 Zora Scale, 1 Aqua Crown |
| Water Temple | Gripshot x2, Water Rod | Arrghus (boss) | 2 Hytopian Silk, 1 Octorok Sucker |
With the Water Temple done, head back to Hytopia and pick your next Area. Volcano and Ice Cavern are open too, and clearing both of their temples unlocks the Fortress.

