
























The Legend of Zelda Second Quest Walkthrough12 chapters
- Second Quest StartBuy the Blue Candle, get the 100-rupee cave gift, take the first Heart Container and Power Bracelet, reach Level 1.
- Second Quest Level 1Wooden Boomerang, Map and Compass, Aquamentus for a Heart Container.
- Second Quest Blue Ring and White SwordBuy the 250-rupee Blue Ring from the hidden northeast shop, get the White Sword with five hearts.
- Second Quest Level 2Enter via the Armos stairway, collect keys, the Map and the Recorder, then beat two-headed Gleeok for a Heart Container.
- Second Quest Level 3Pond entrance and Recorder, Monster Bait for the Magical Boomerang, three Dodongos, and the third Triforce piece.
- Second Quest Level 4Enter the Lost Hills dungeon, get the Book of Magic, Compass, Map, bomb upgrade, Heart Container, Raft.
- Second Quest Level 5Raft to the lake labyrinth, get the Bow, Map and Compass, beat the three-headed Gleeok and take the Triforce piece.
- Second Quest Magical Sword and LetterHeart Containers 8 and 9, the arrow shop, the Letter, then the graveyard stairs to Level 6.
- Second Quest Level 6Open the graveyard entrance with the Recorder, get the Stepladder, and beat blue Gohma for the Triforce piece.
- Second Quest Level 7Burn the forest tree, collect the Red Candle, Map and Compass, then beat Gleeok for Heart Container 12.
- Second Quest Level 8Enter with the Stepladder and bombs, get the Magical Rod and Magical Key, buy the bomb upgrade, beat three Dodongos.
- Second Quest Level 9 and EndingReach the north-west entrance, collect the Map, Compass, Red Ring and Silver Arrow, then defeat Ganon.
| Covers | the raft crossing to Level 5 at F5, then the Second Quest labyrinth up to the Triforce piece |
|---|---|
| Dungeon | Level 5 (Z-shaped labyrinth in the Second Quest): Raft to reach it, Bow inside, boss a three-headed Gleeok, Triforce piece |
| Rewards | Bow, Map, Compass, the seventh Heart Container (Gleeok), one Triforce piece |
Level 5 in the Second Quest sits on an island in the central lake (F5), so you need the Raft to get there. Inside, you collect the Bow, the Map and the Compass, then beat a three-headed Gleeok for a Heart Container and a Triforce piece. The next chapter picks up the Raft again for the hidden Heart Container on the north-east island.
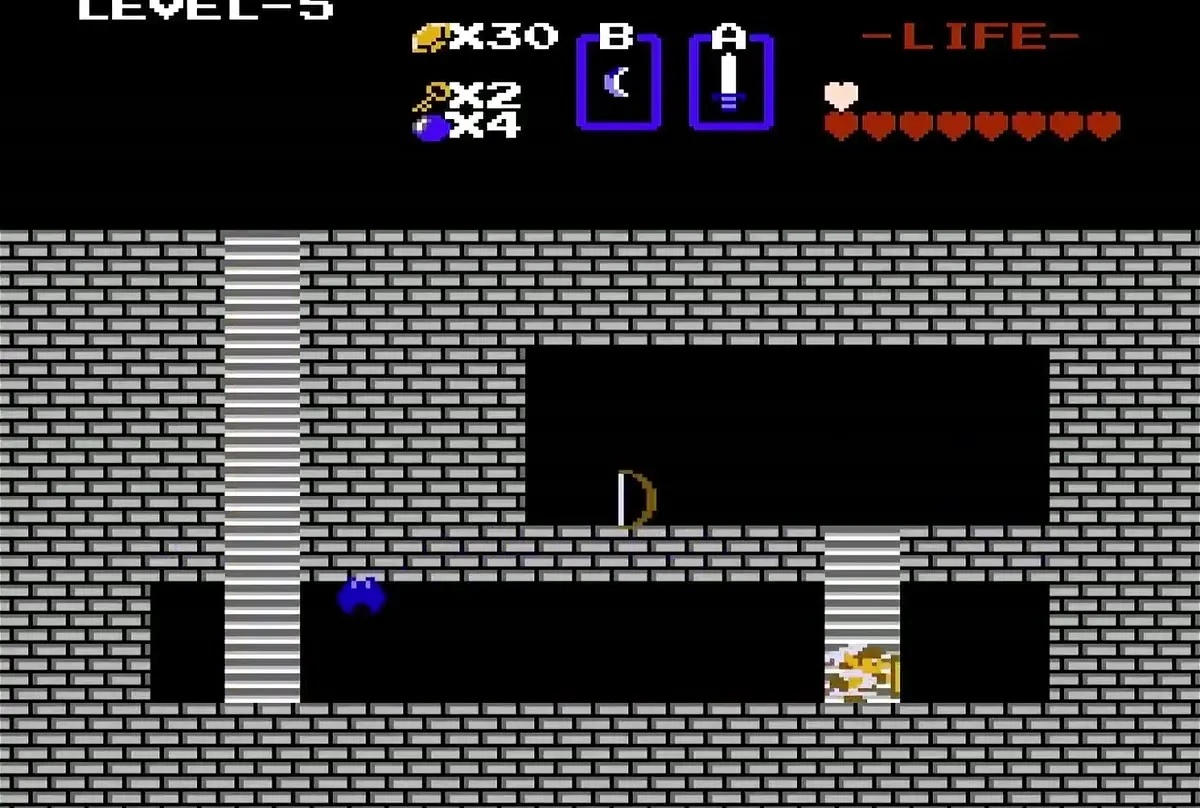
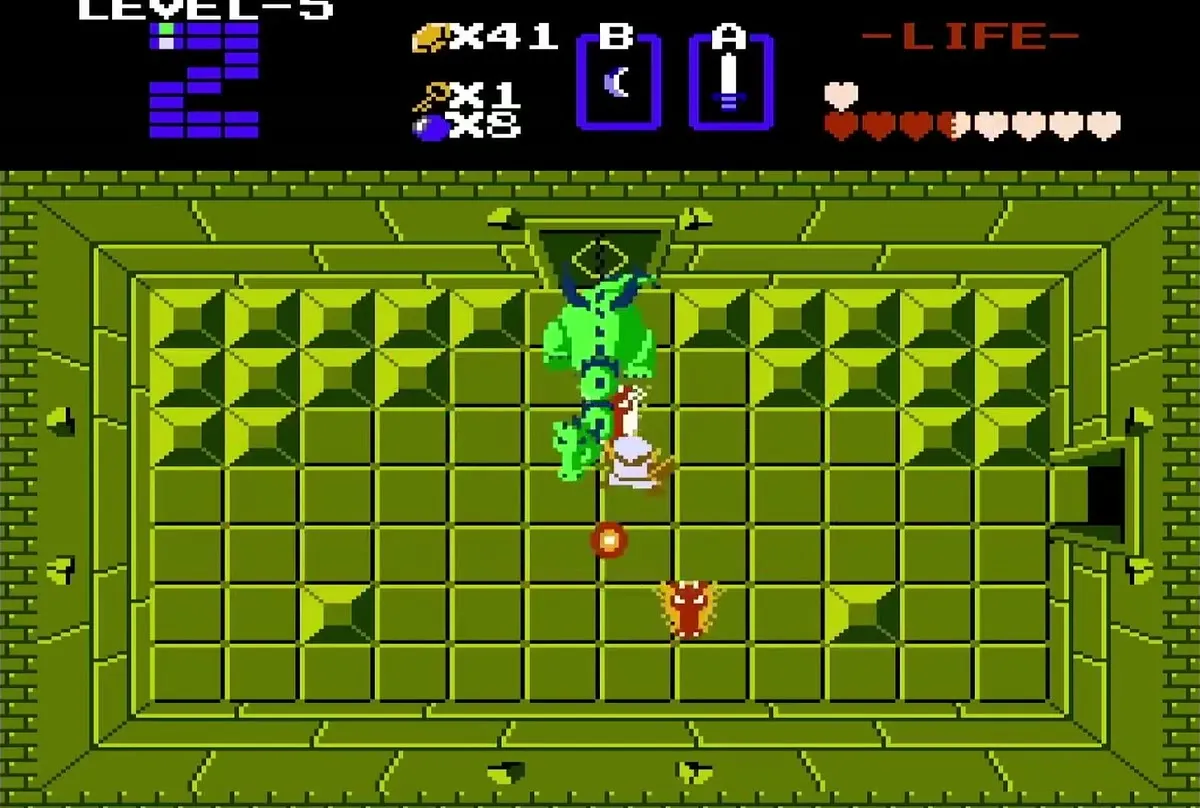
Table of Contents
Reaching the Level 5 entrance
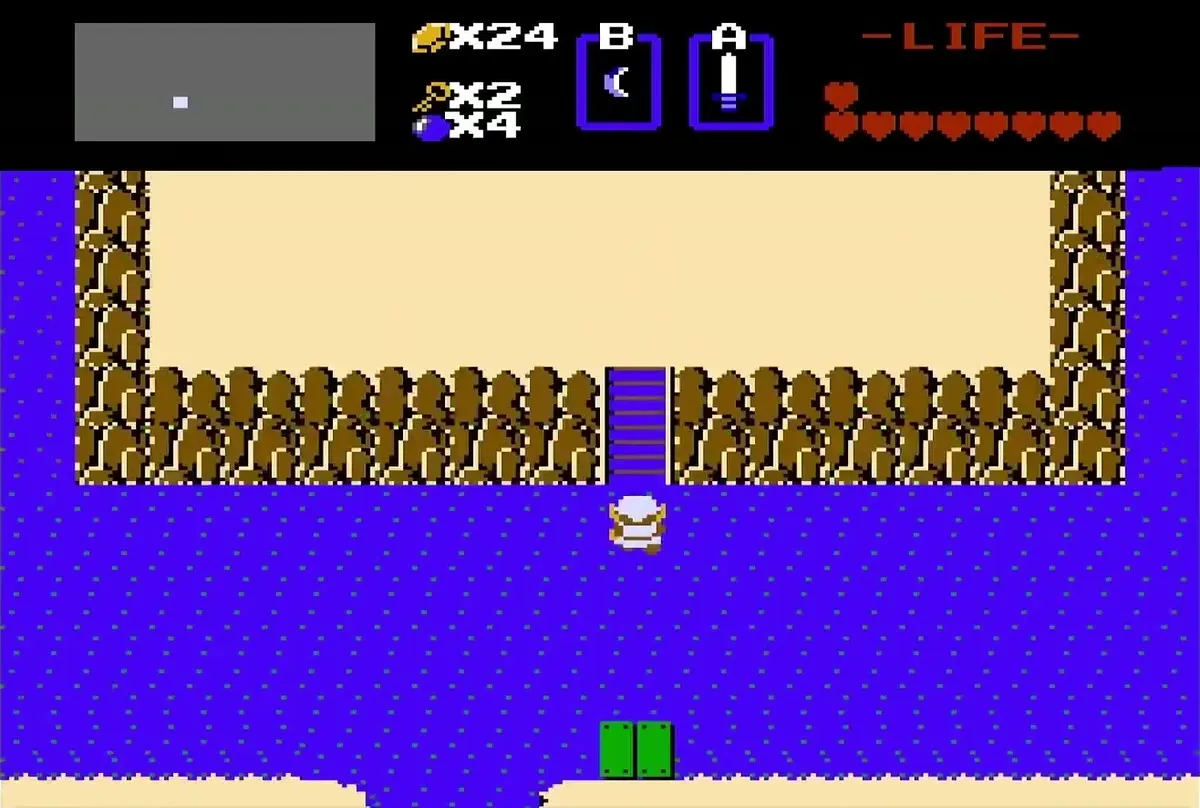
Cross the lake by raft
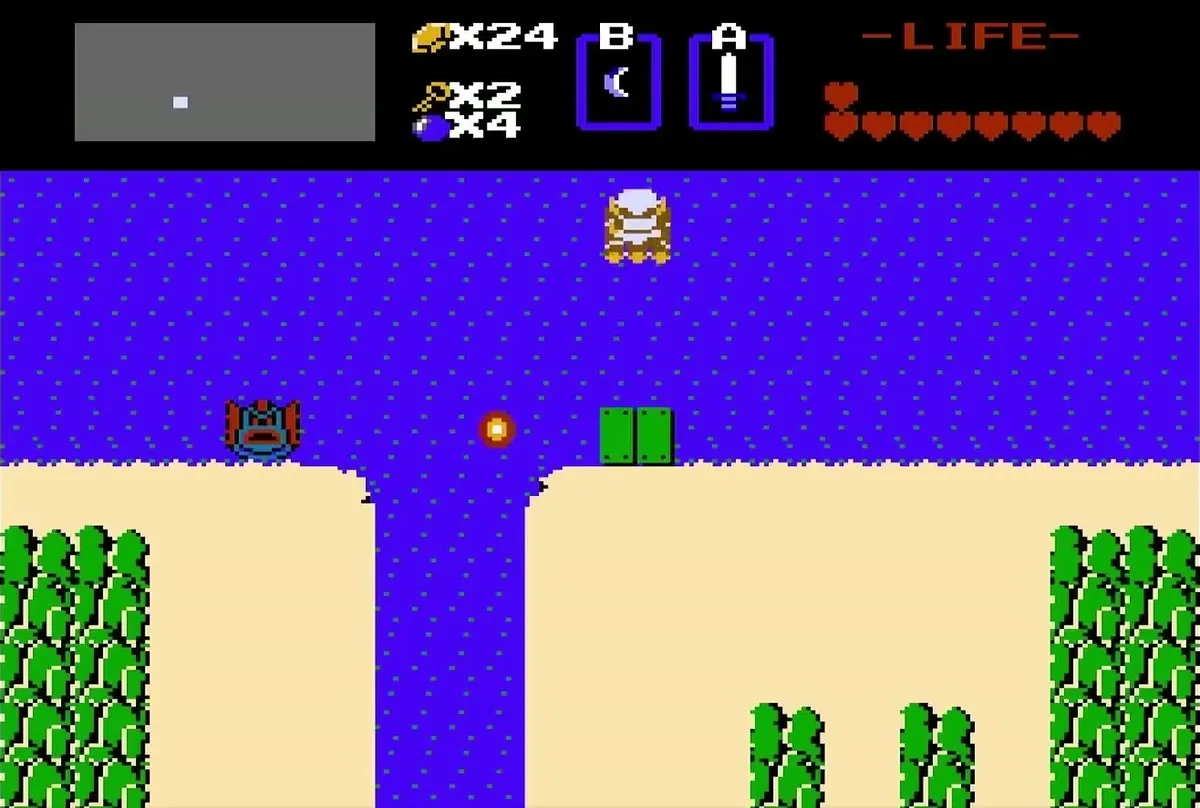
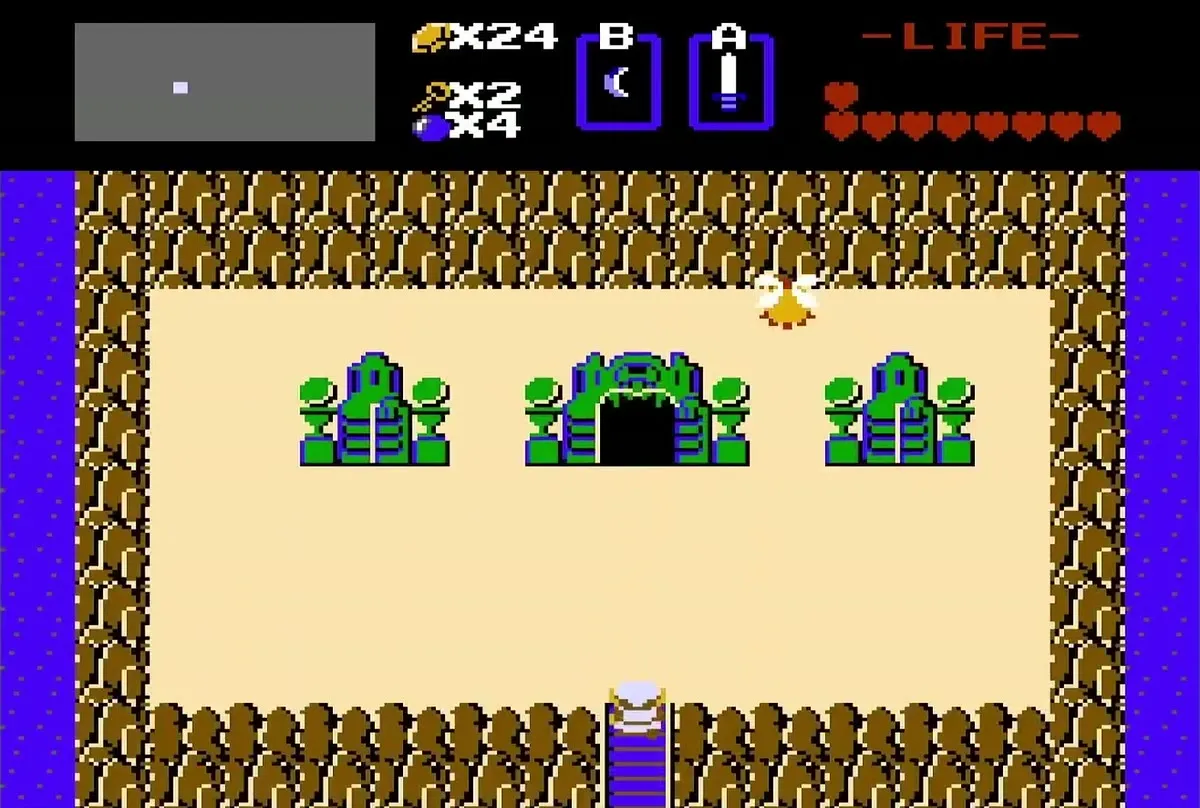
Launch the Raft from the dock at F6 and paddle across the central lake toward the island in the middle of the water. The island is the landmass with three green statues and a dark archway, so keep the archway in view as you approach.
Enter through the archway
Step off the Raft onto the island and walk to the central archway, which sits between two green statues. Walk straight into the arch to enter the labyrinth. Nothing needs to be used at the doorway.
Level 5: the Z-shaped labyrinth
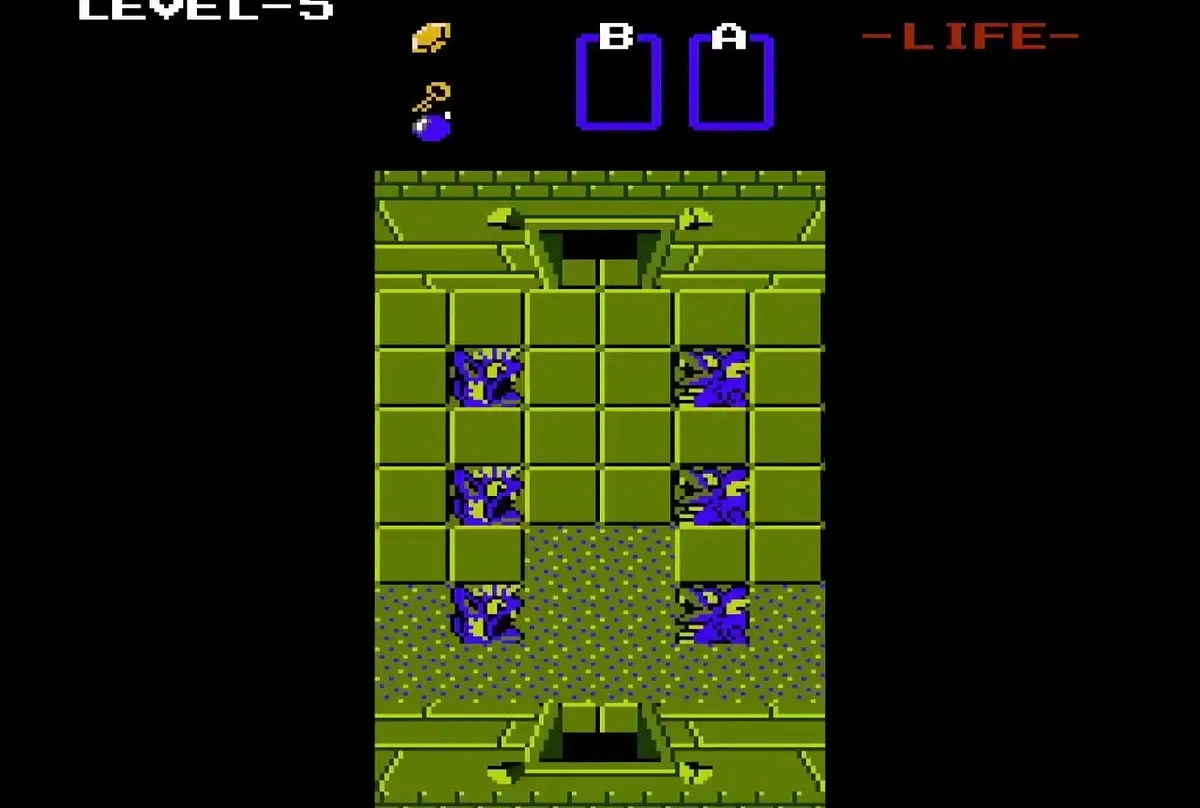
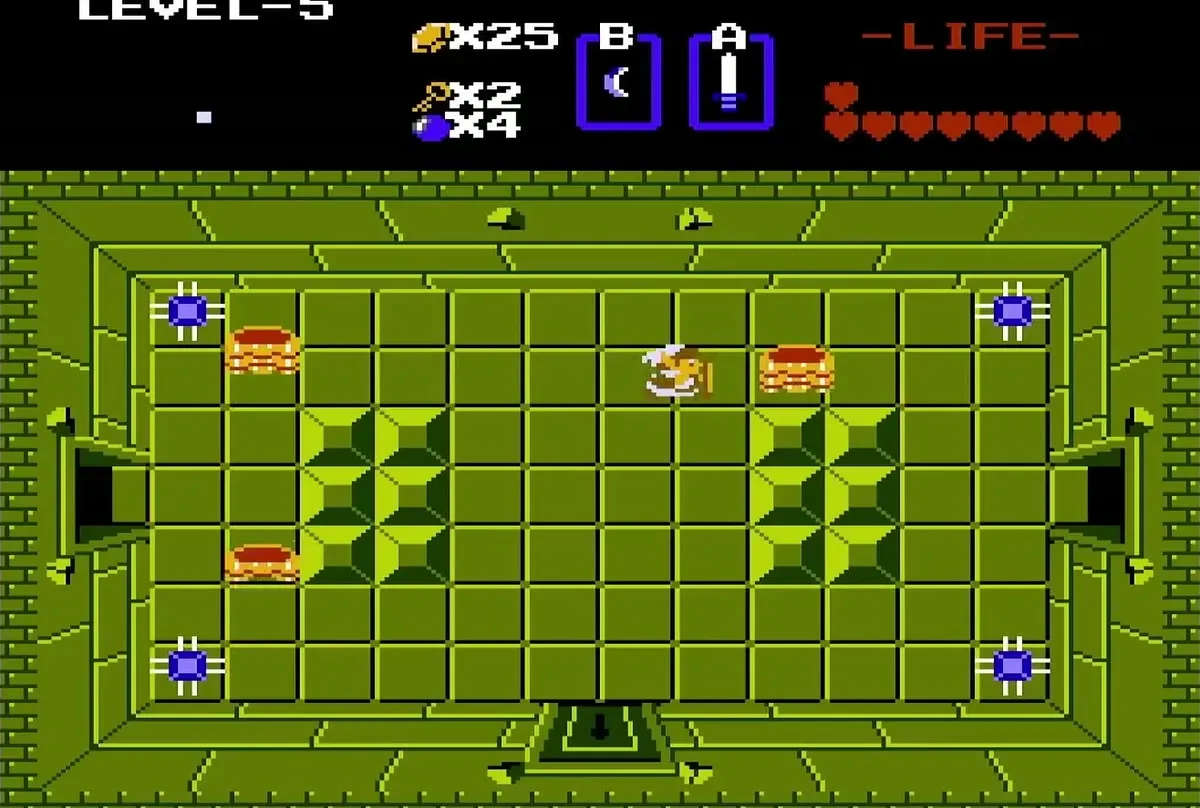
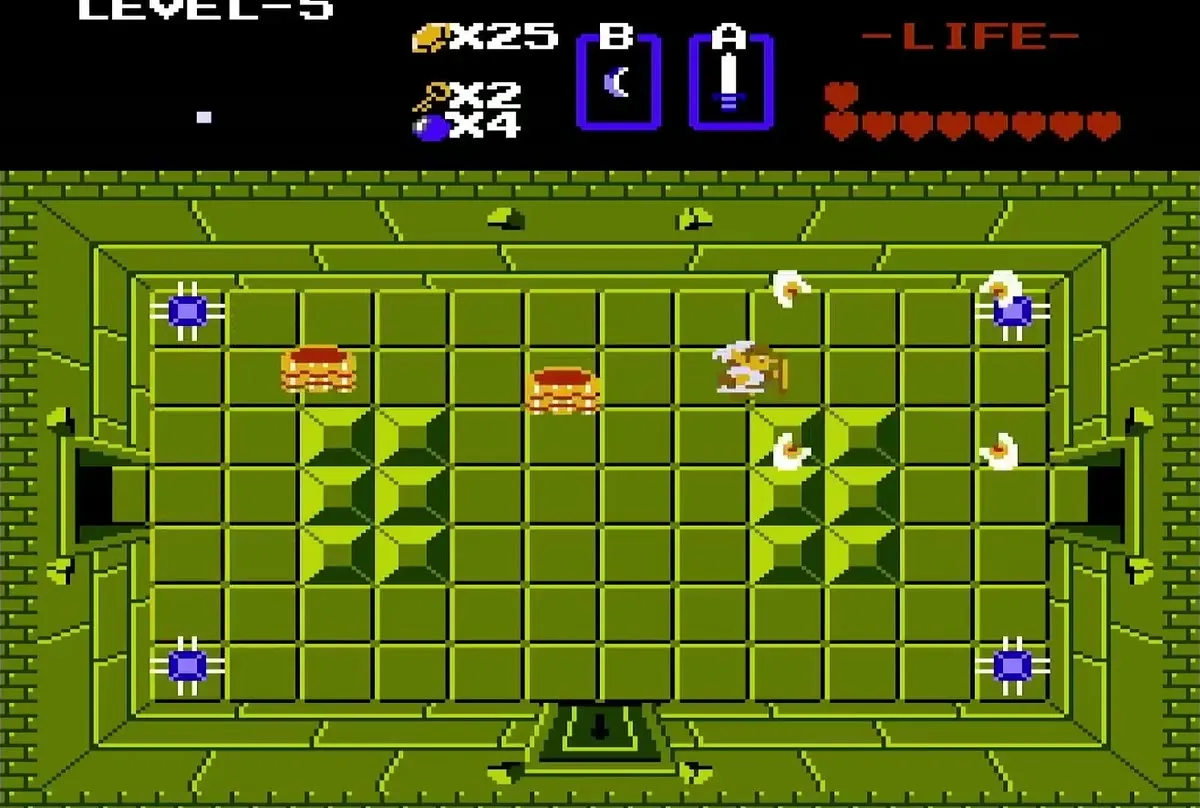
In the Second Quest, the labyrinth is shaped like the letter Z rather than the lizard of the First Quest. Its walls and floors are olive green, and it is packed with Zols, Wizzrobes and Like-Likes. Clear each room you enter, because the keys and the Bow are spread across several rooms.
First rooms, keys and hidden passages
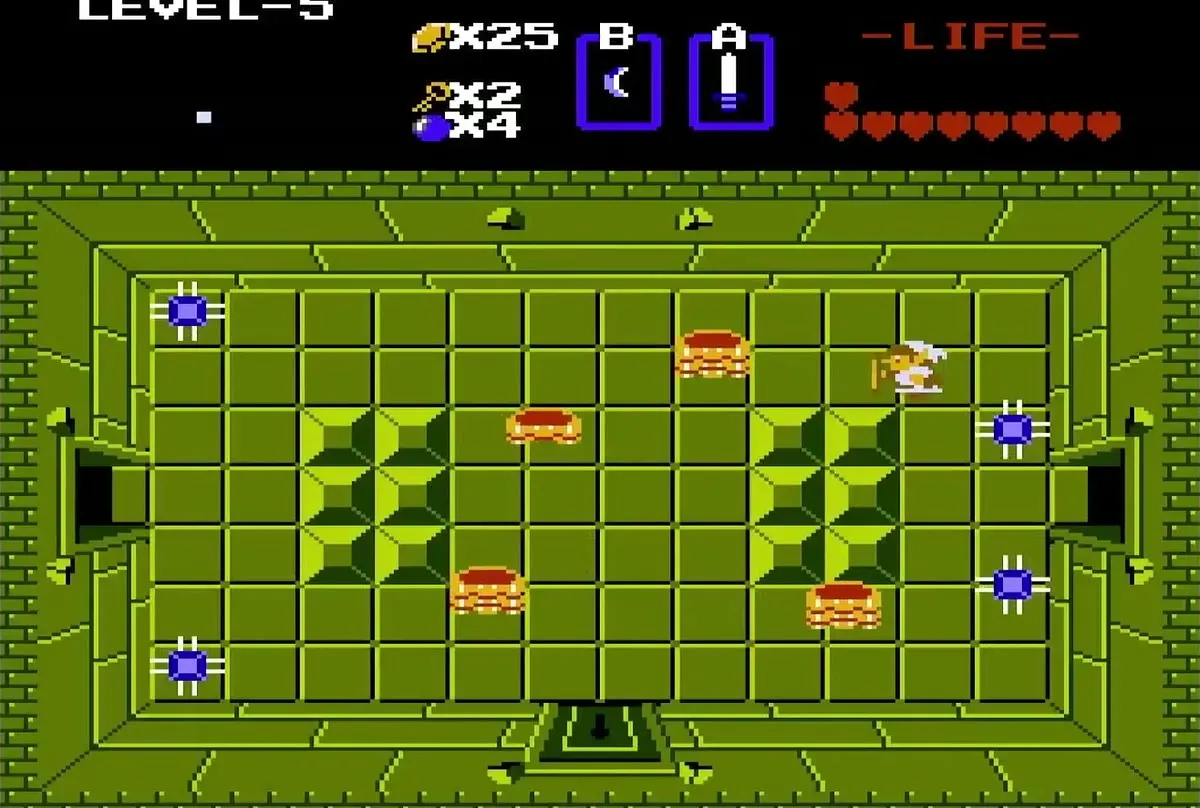
From the entrance room, go through the top door and avoid the blue blade traps in the corners. Defeat the Zols in the room, then leave through the left door. The next room has Like-Likes; defeat all of them to get a blue rupee, then unlock the bottom door with your key.
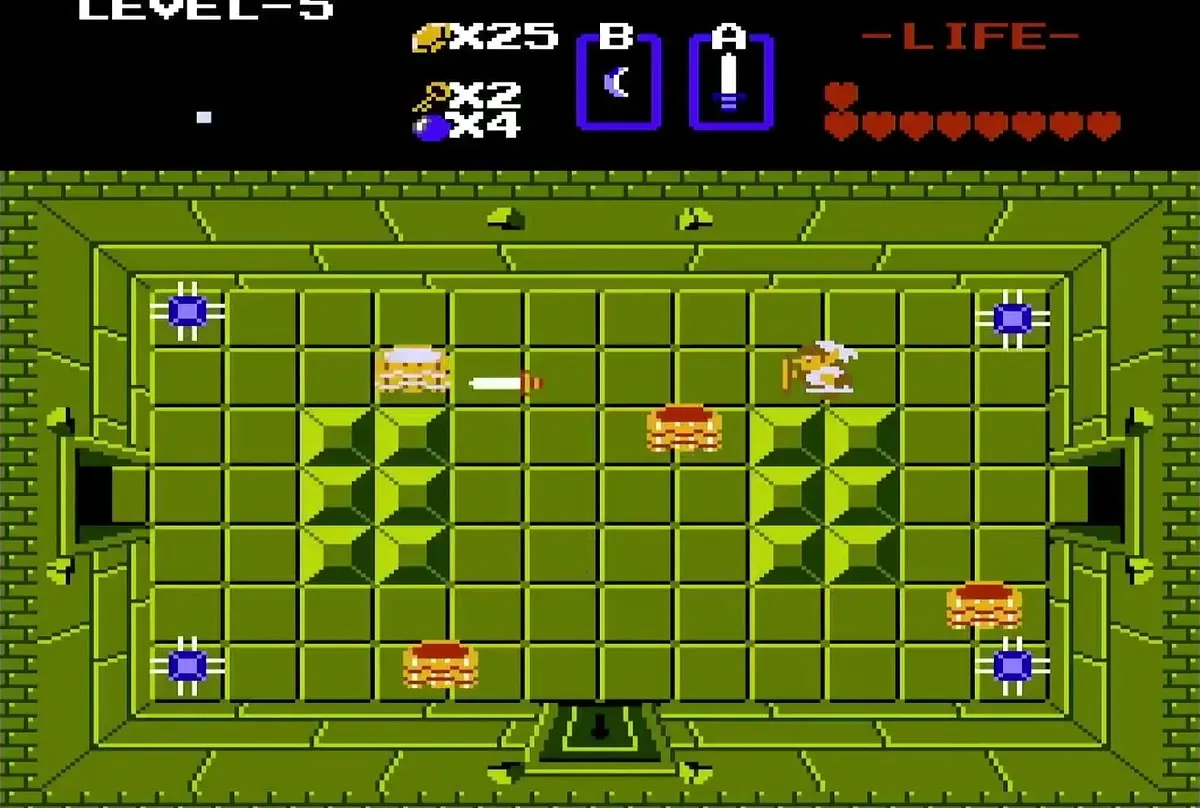
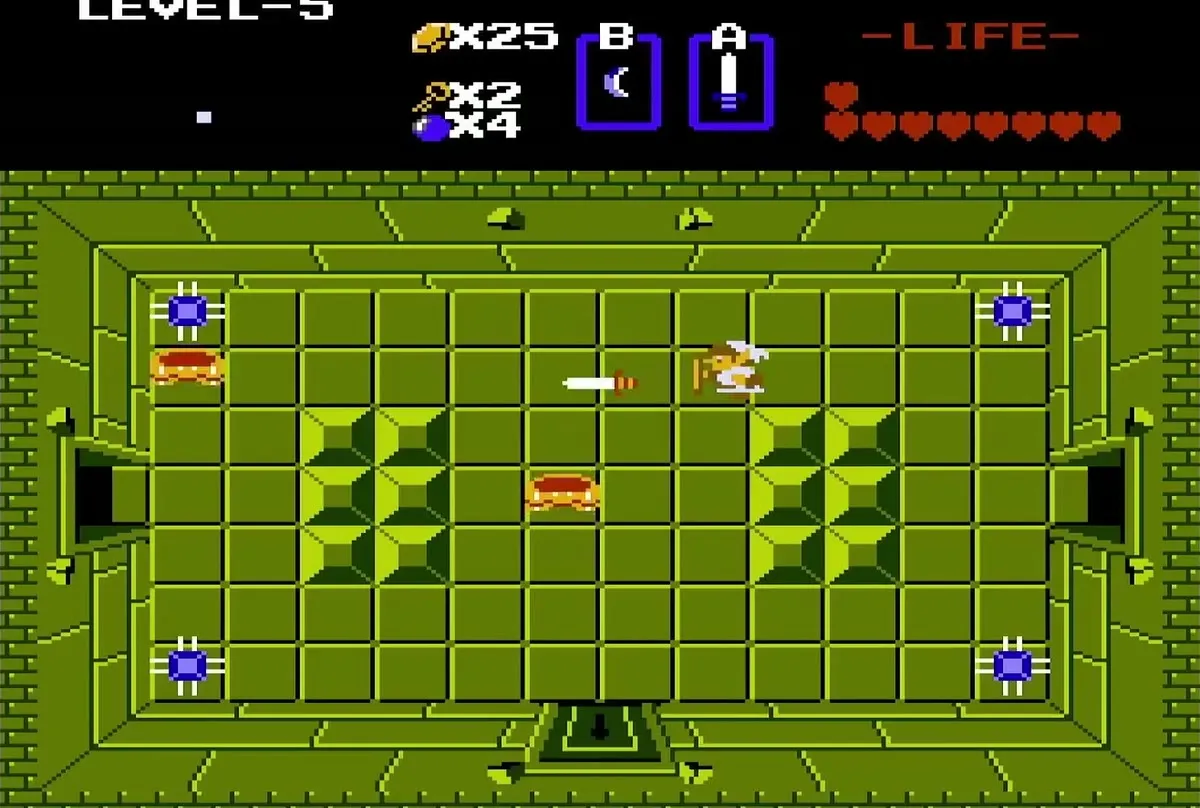
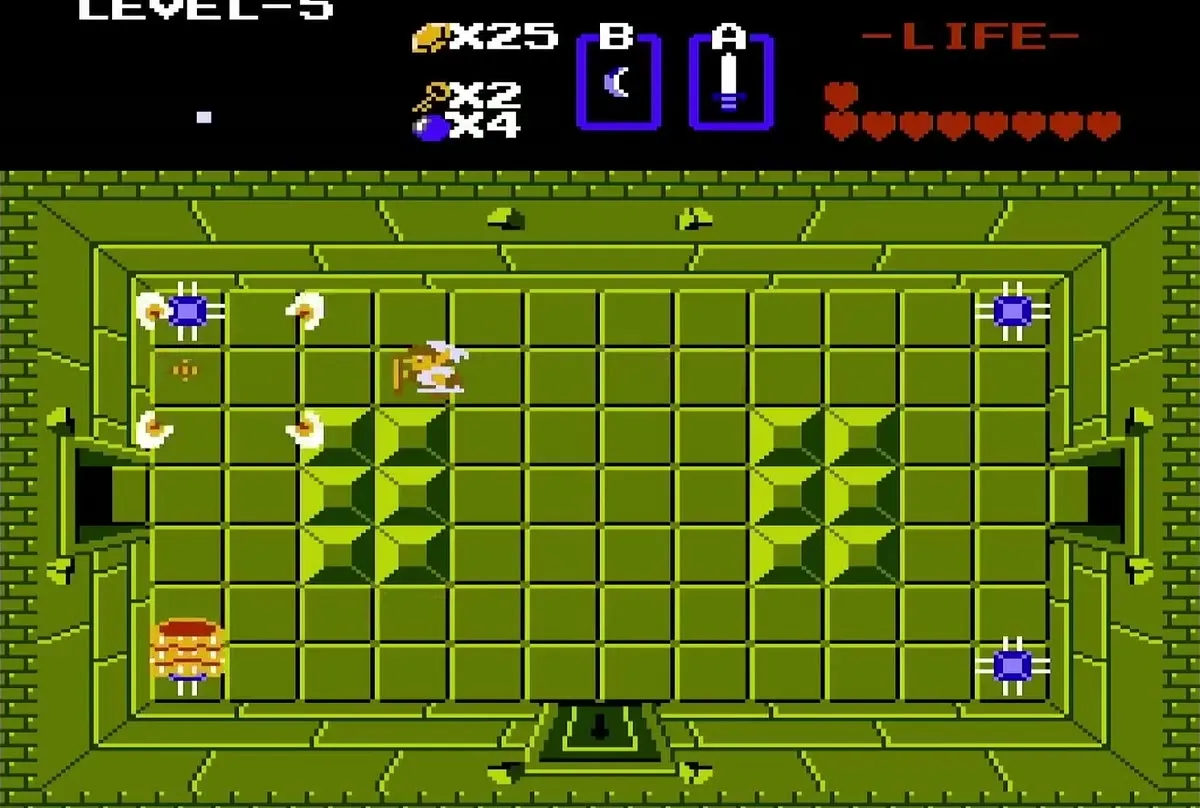
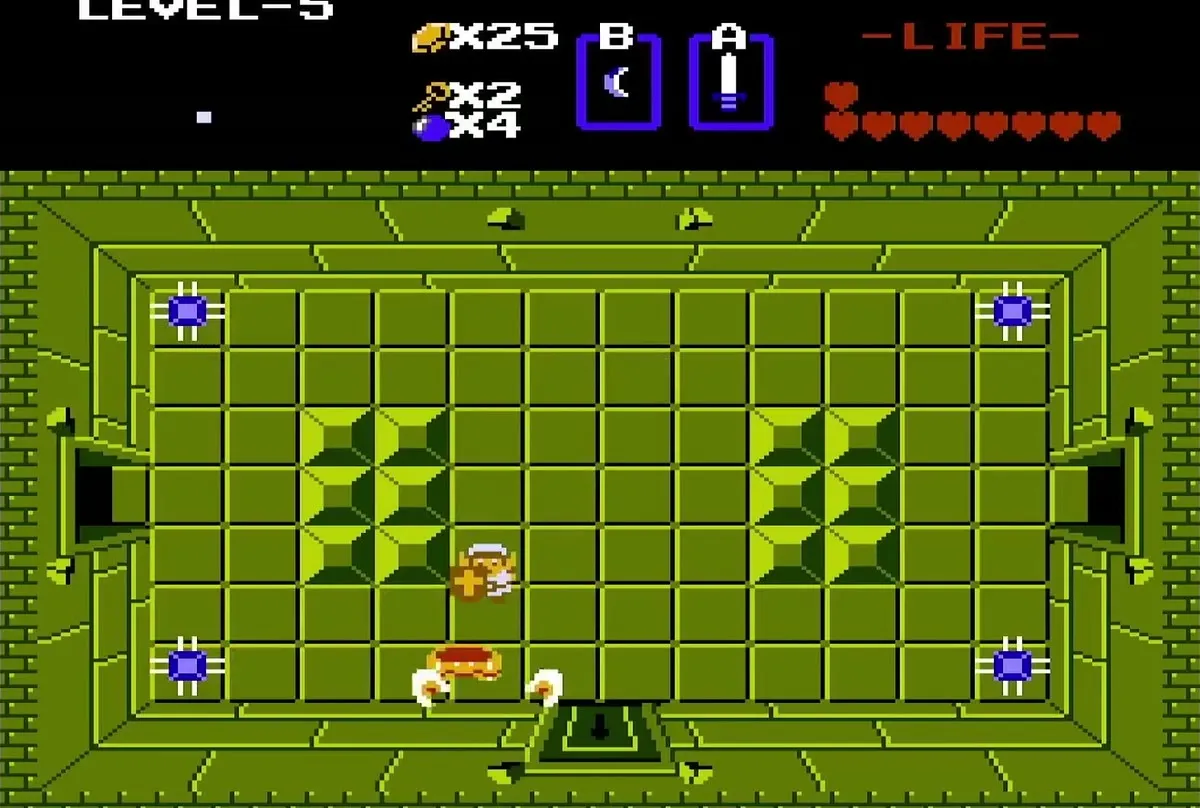
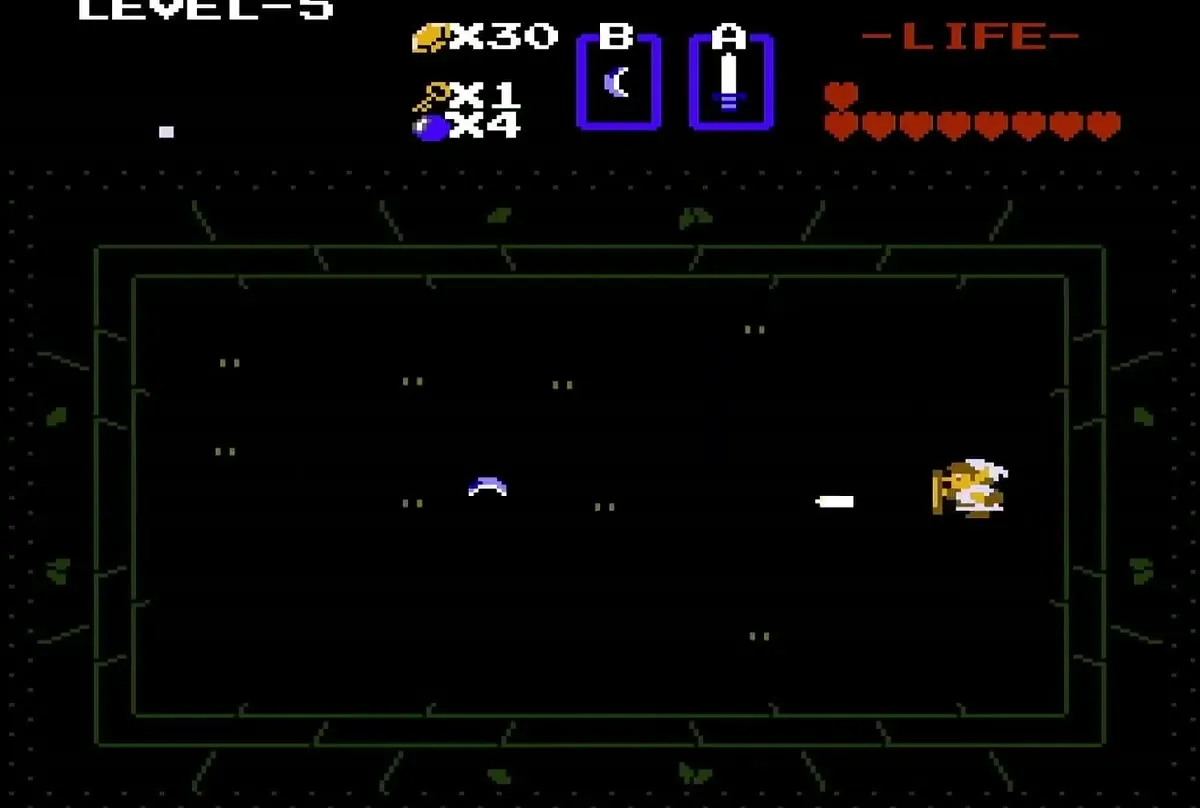
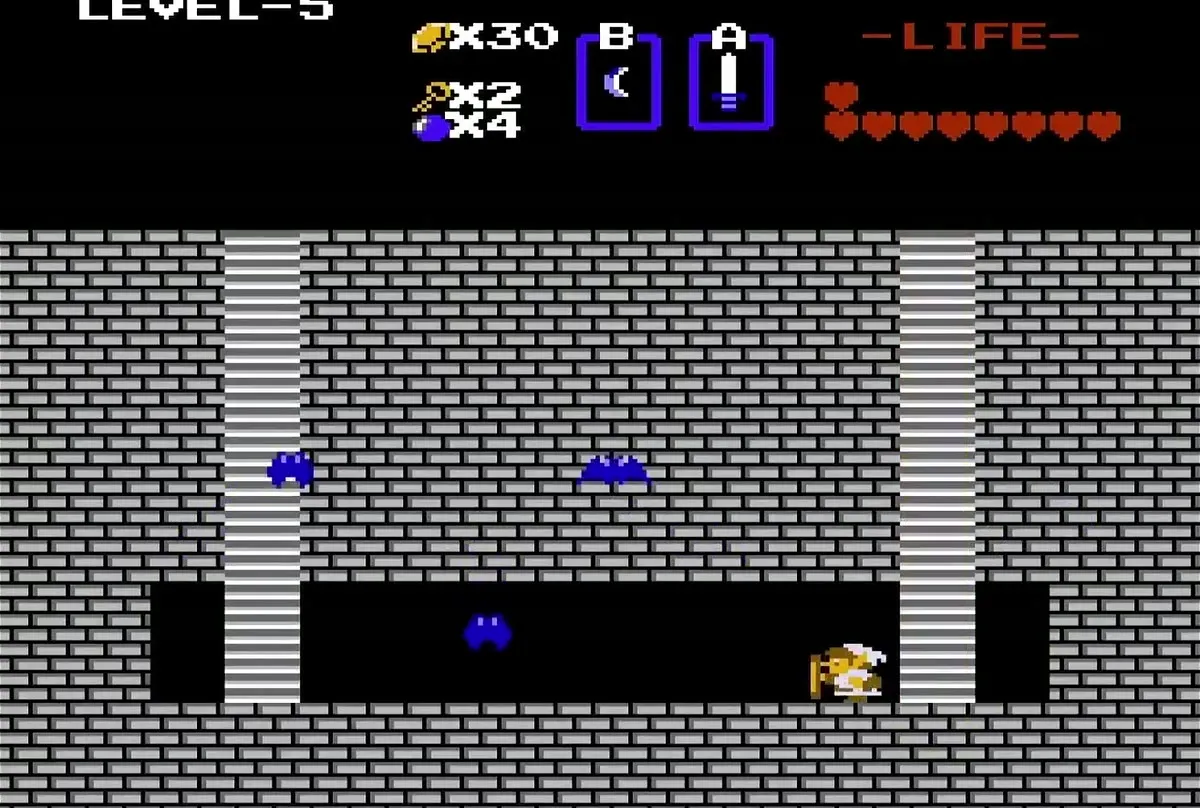
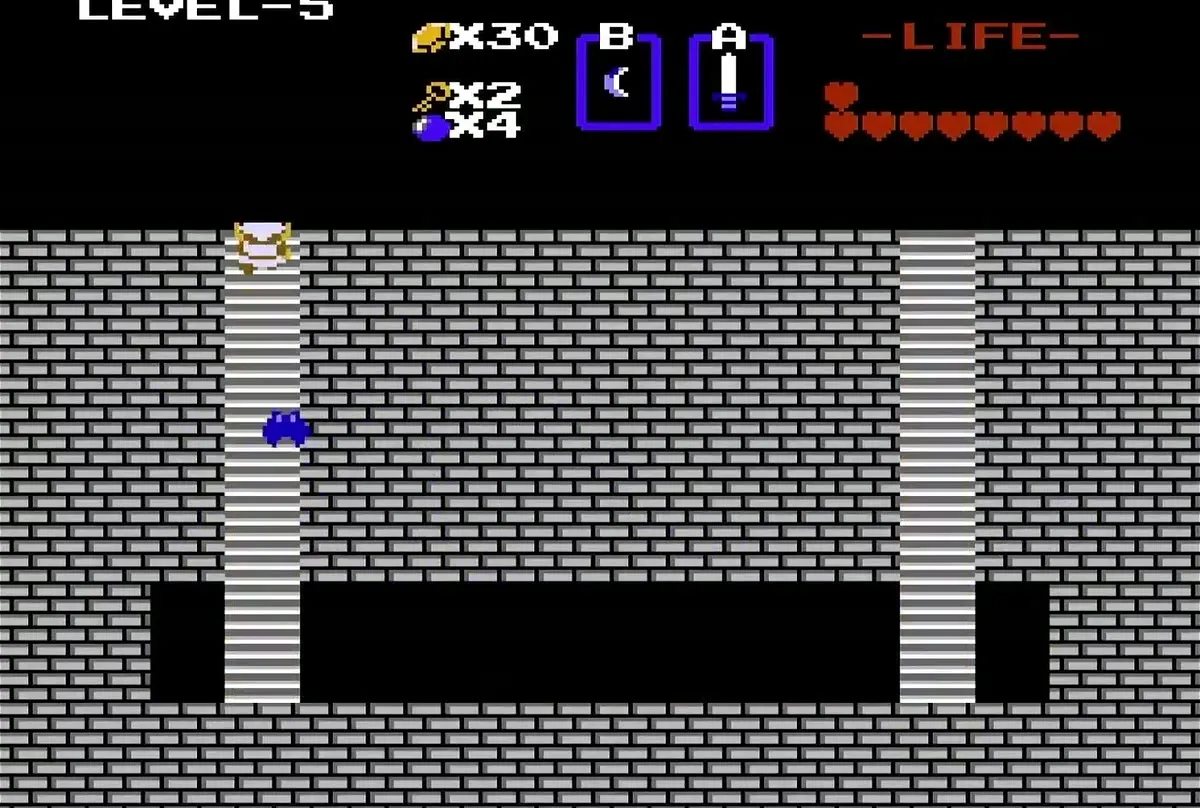
Beyond the bottom door, defeat the Wizzrobes and push against the left wall to walk through an invisible passage. In the Keese room, defeat every Keese to collect a key, then walk back through the right wall. Enter the stairwell there to reach an underground passage that leads to the top of the dungeon.
Get the Bow
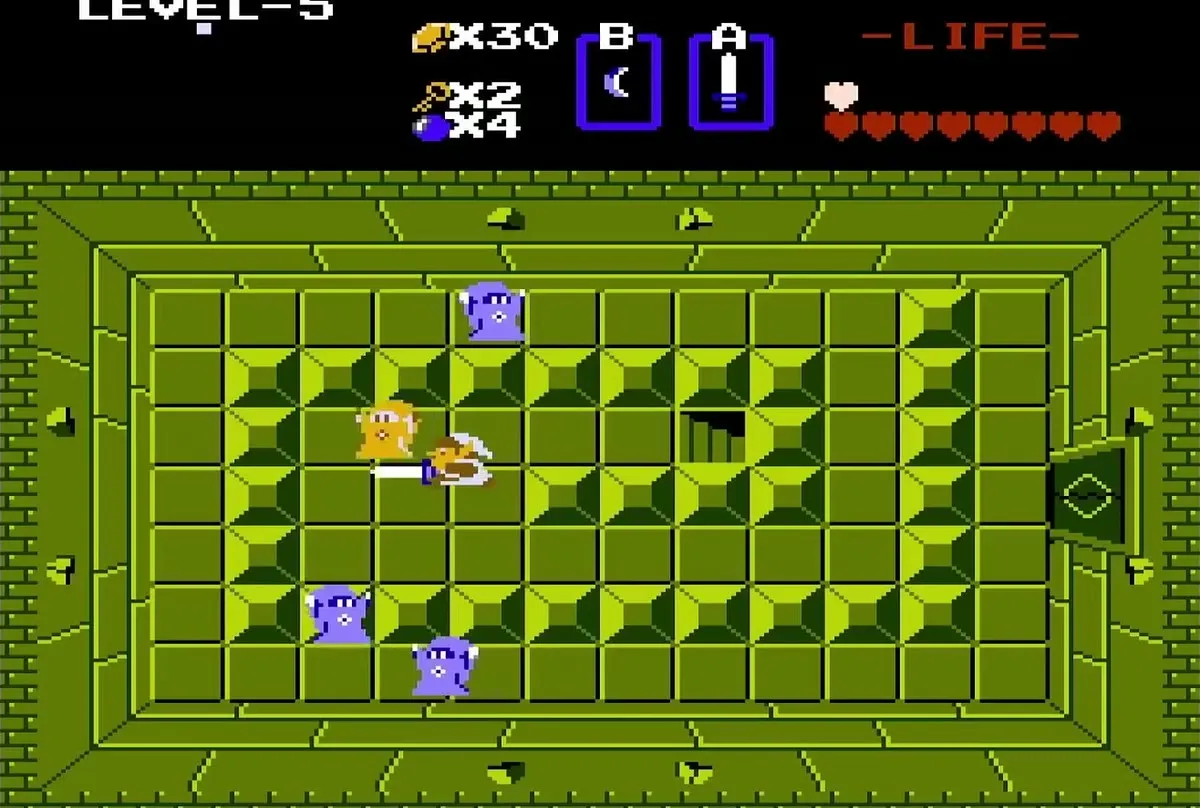
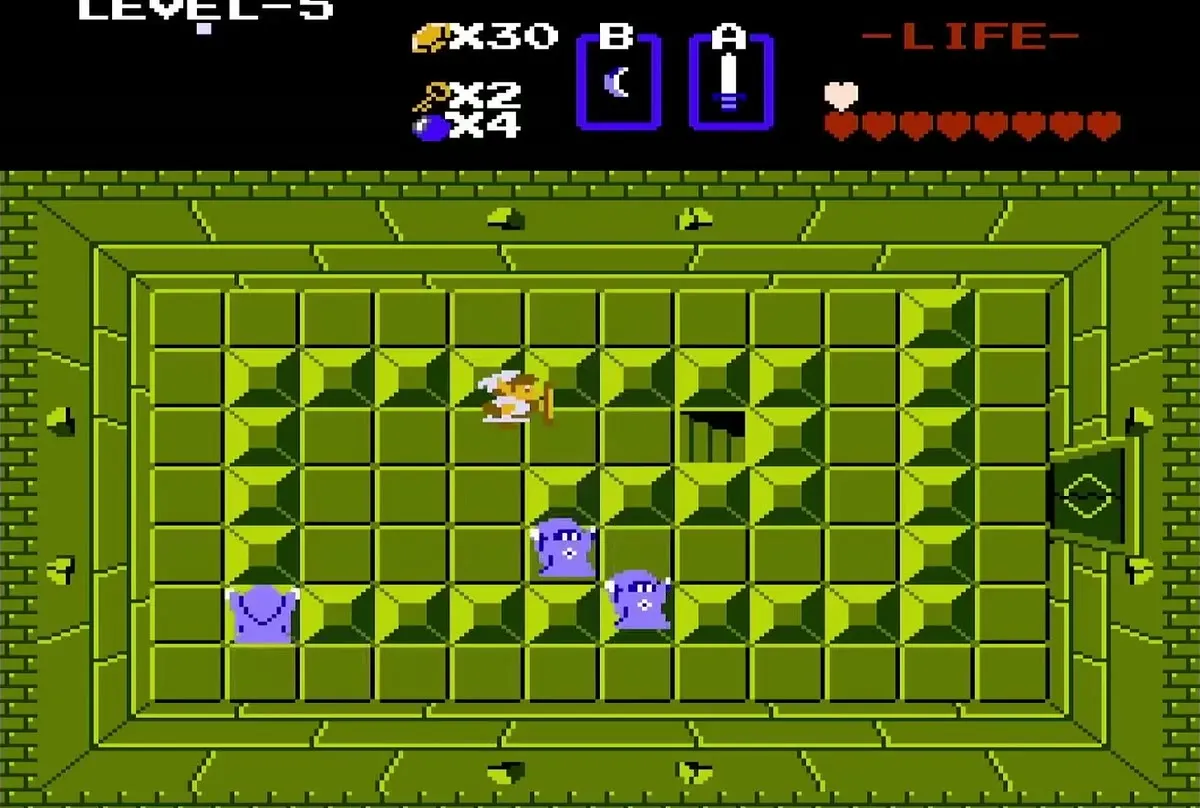
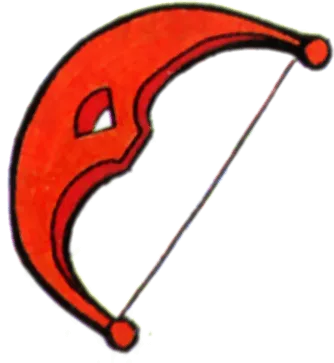
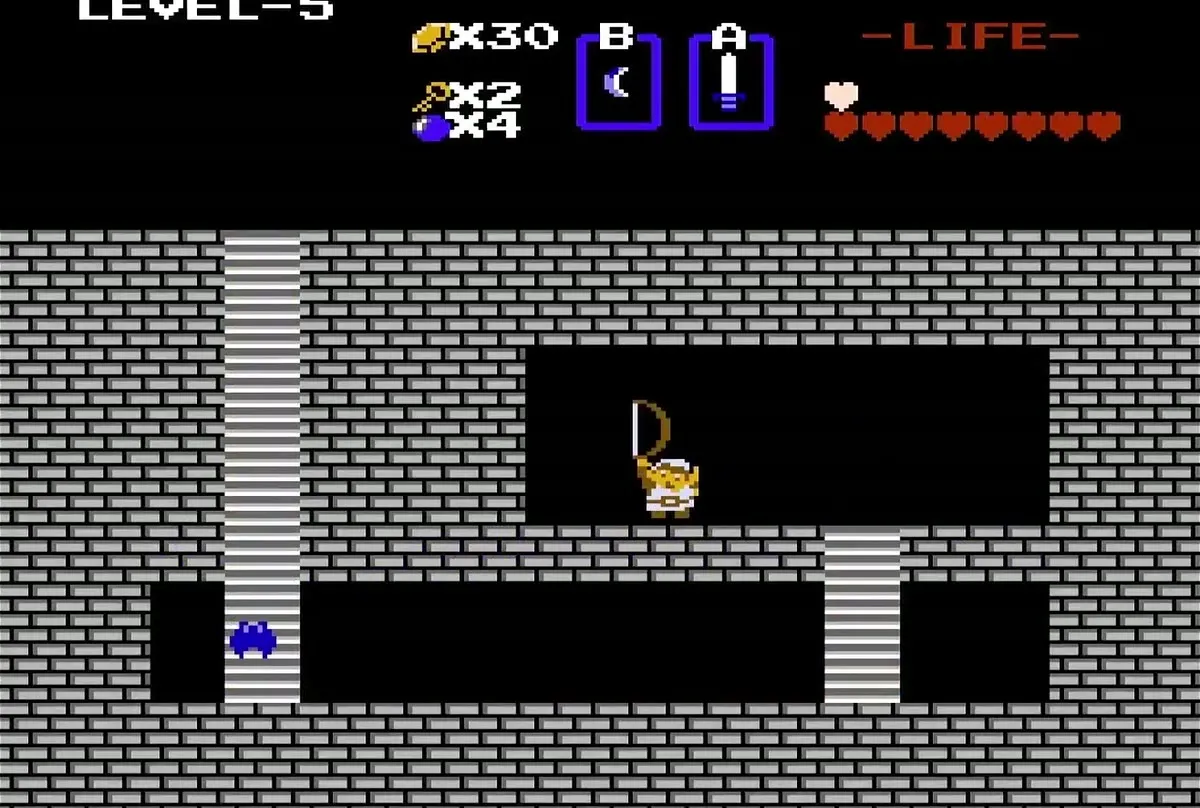
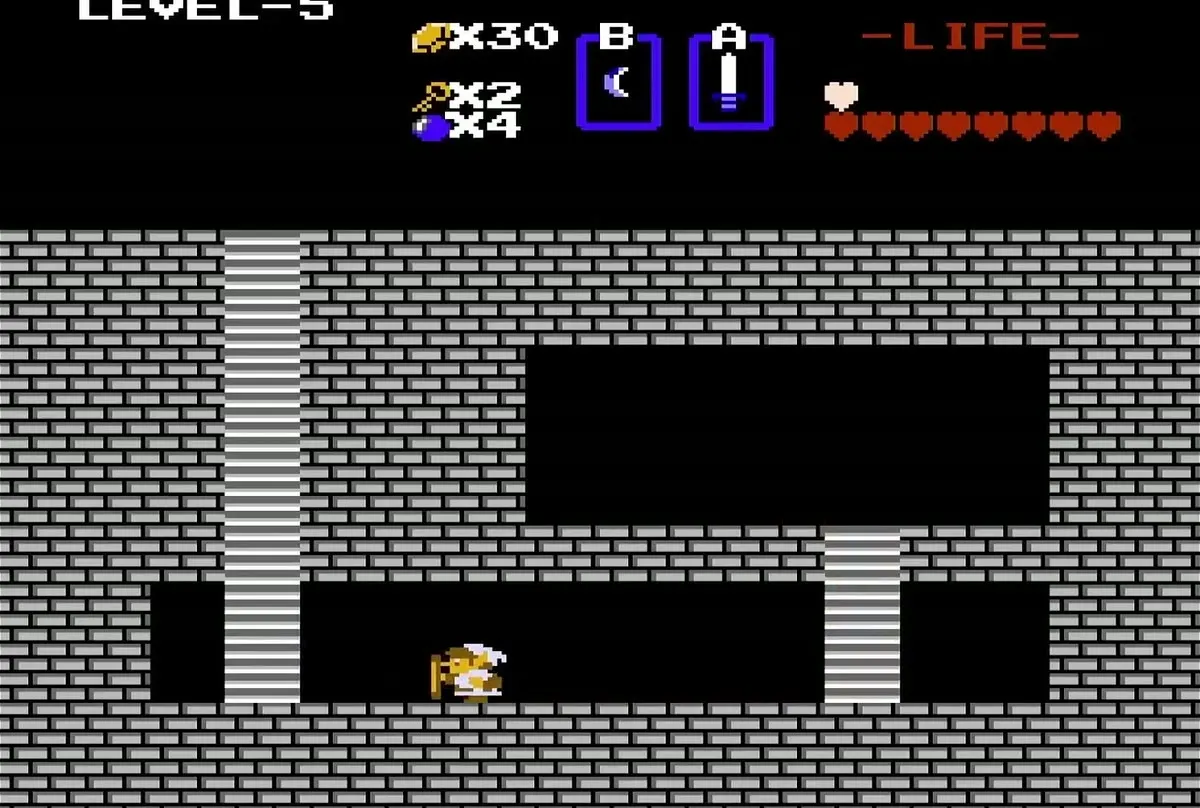
At the top of the dungeon, defeat the Wizzrobes and push the center block along the left side to open the right door. Go through the bottom door, keep clear of the red bubbles, and climb the staircase. The Bow lies on the floor of the gray-brick room at the top of those stairs, so walk onto it to take it.
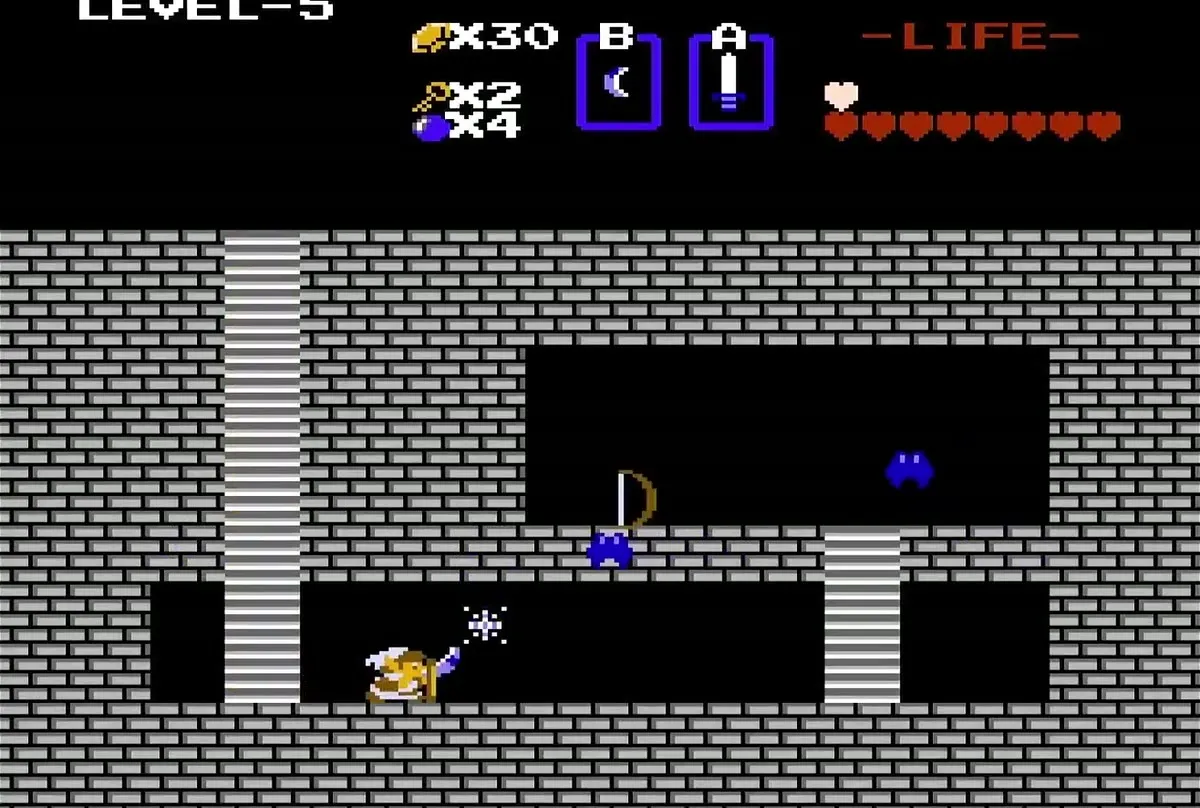
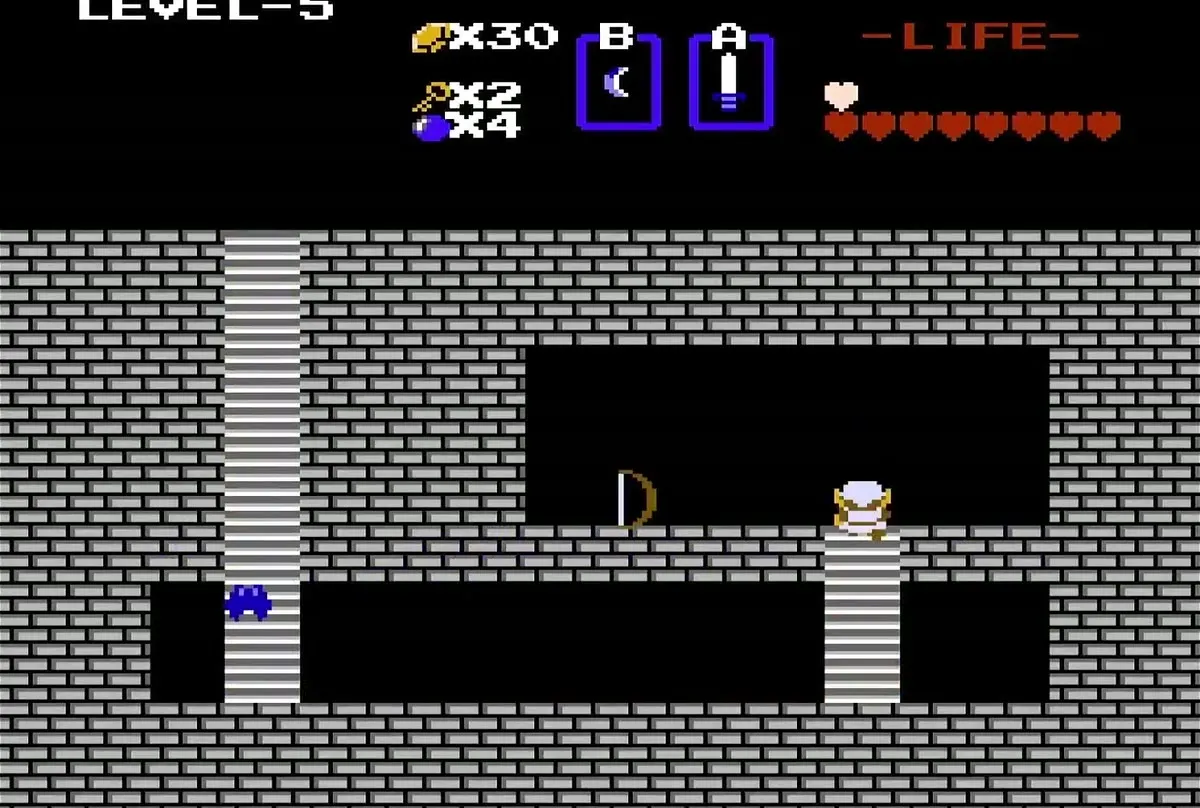
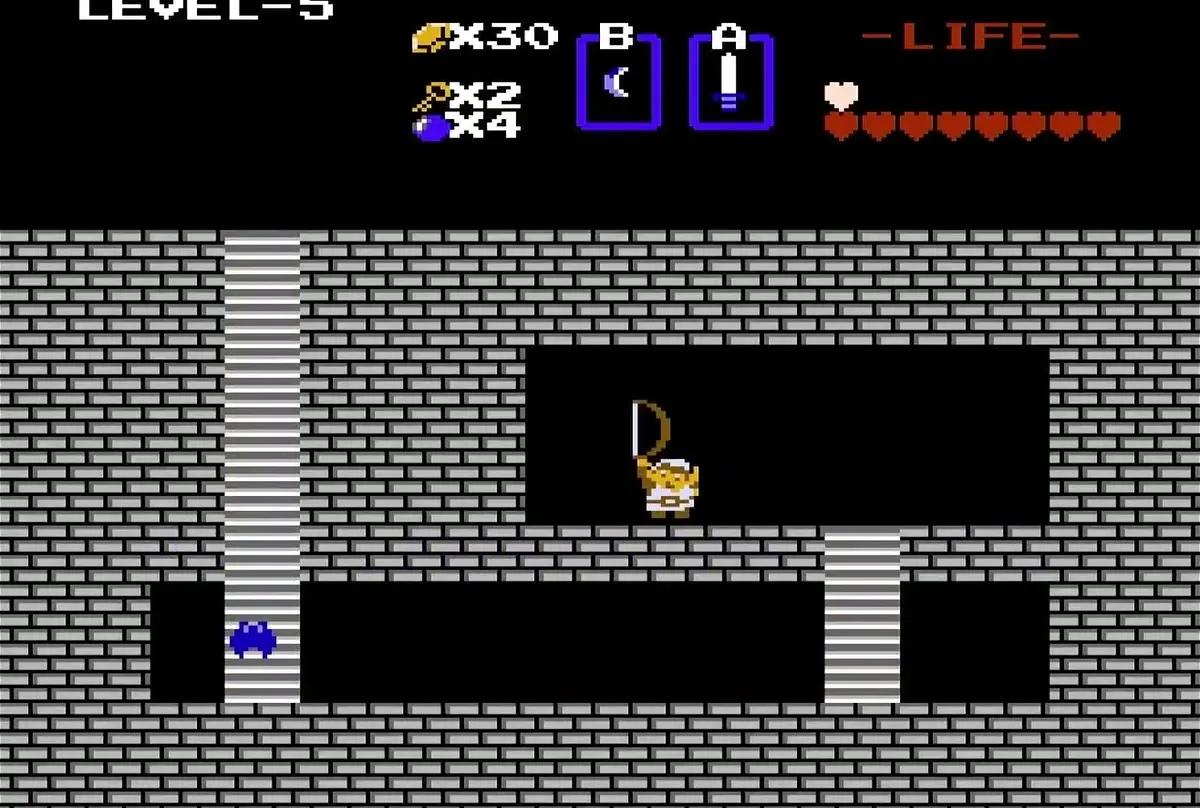
The Bow does nothing without arrows, and you need it to beat the blue Gohma in the room above, which guards a key. You can buy arrows for 80 rupees at the cave shop one screen west of the dock (E5), reached by a short detour, but you do not need them to finish this dungeon. Make sure you have some before Level 6, where the Bow decides the boss fight.
Get the Map
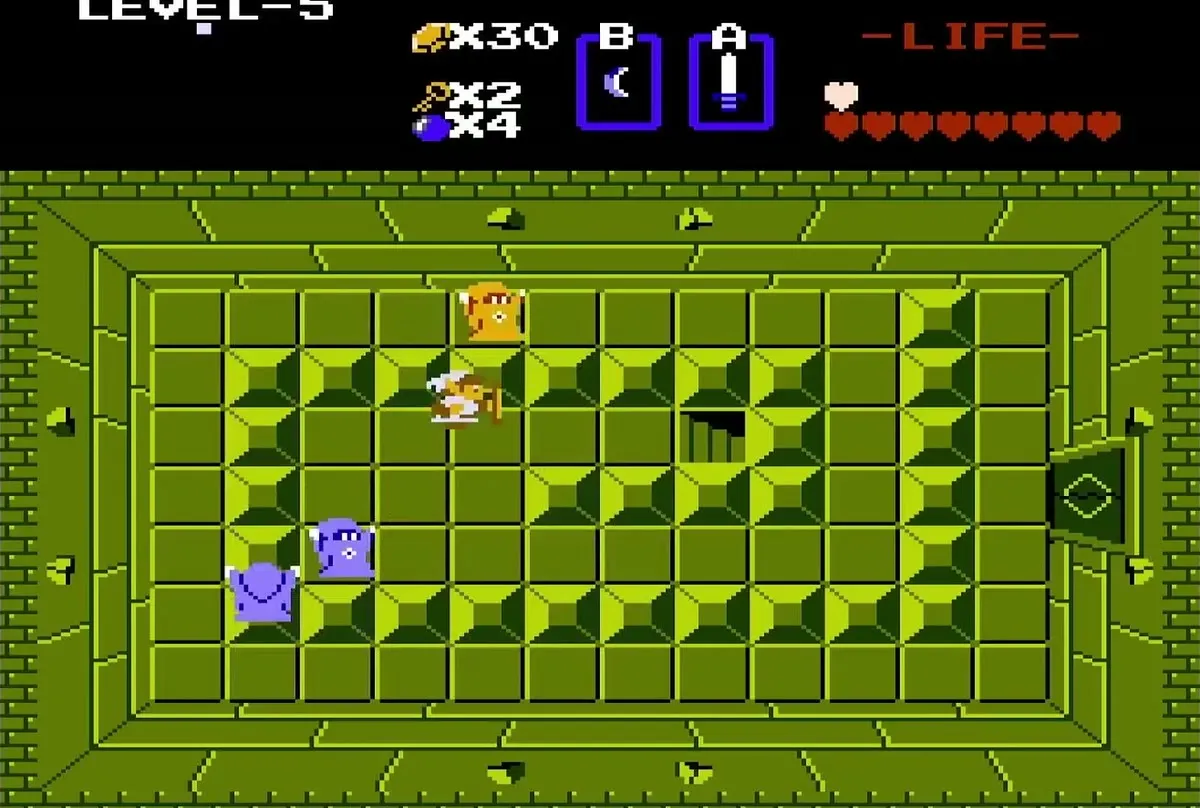
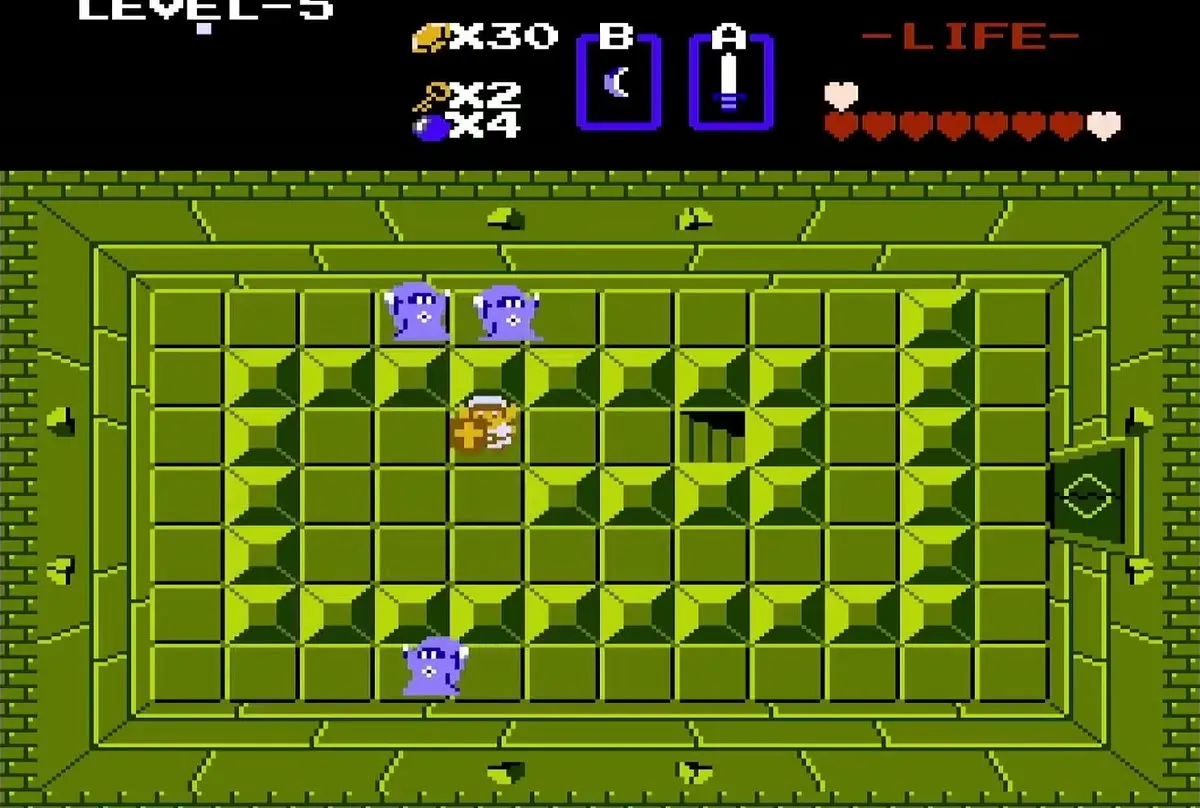
From the bottom of the dungeon, return through the top door to the room with the traps and head through the left door. Defeat all of the Vires in this room to collect the Map.
Get the Compass
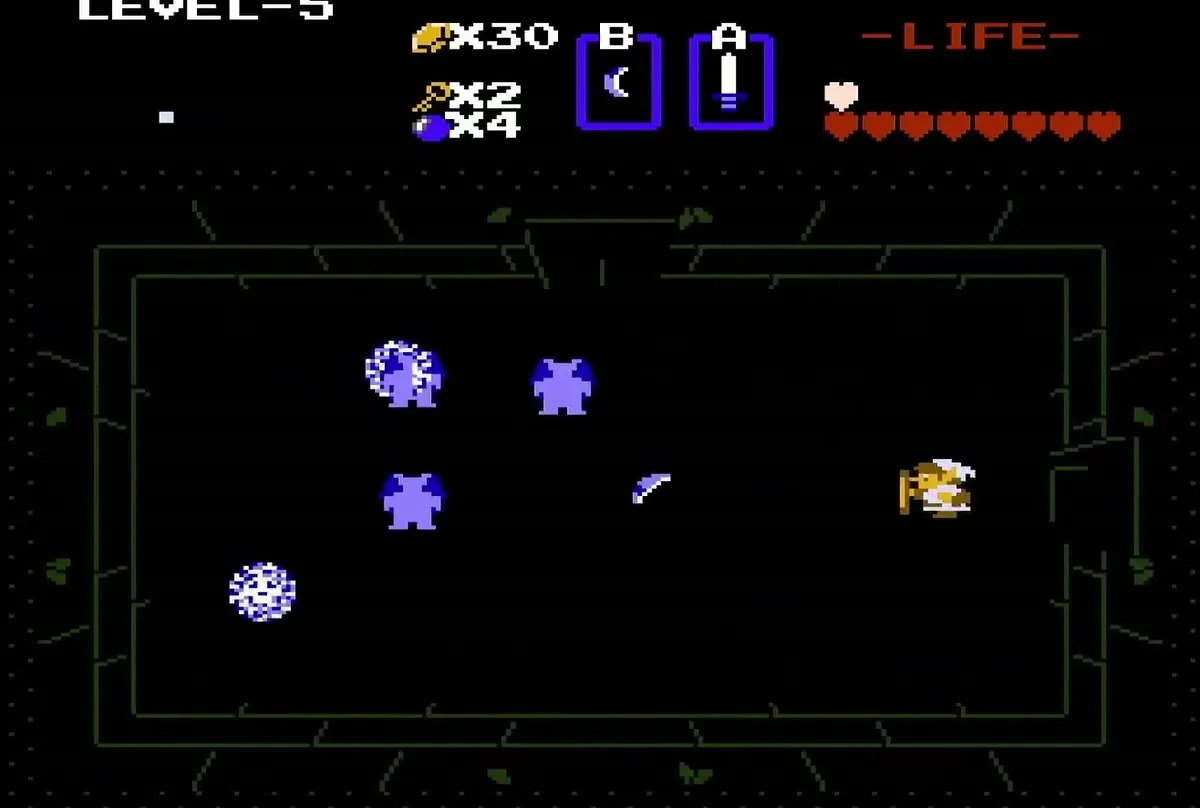
Go through the top door, fight the Wizzrobes, and pass through the next top door. Then go through the right door of the room after the traps. You reach a room with a black floor and black Zols that you can only see by their eyes. Defeat them and the Compass is yours.
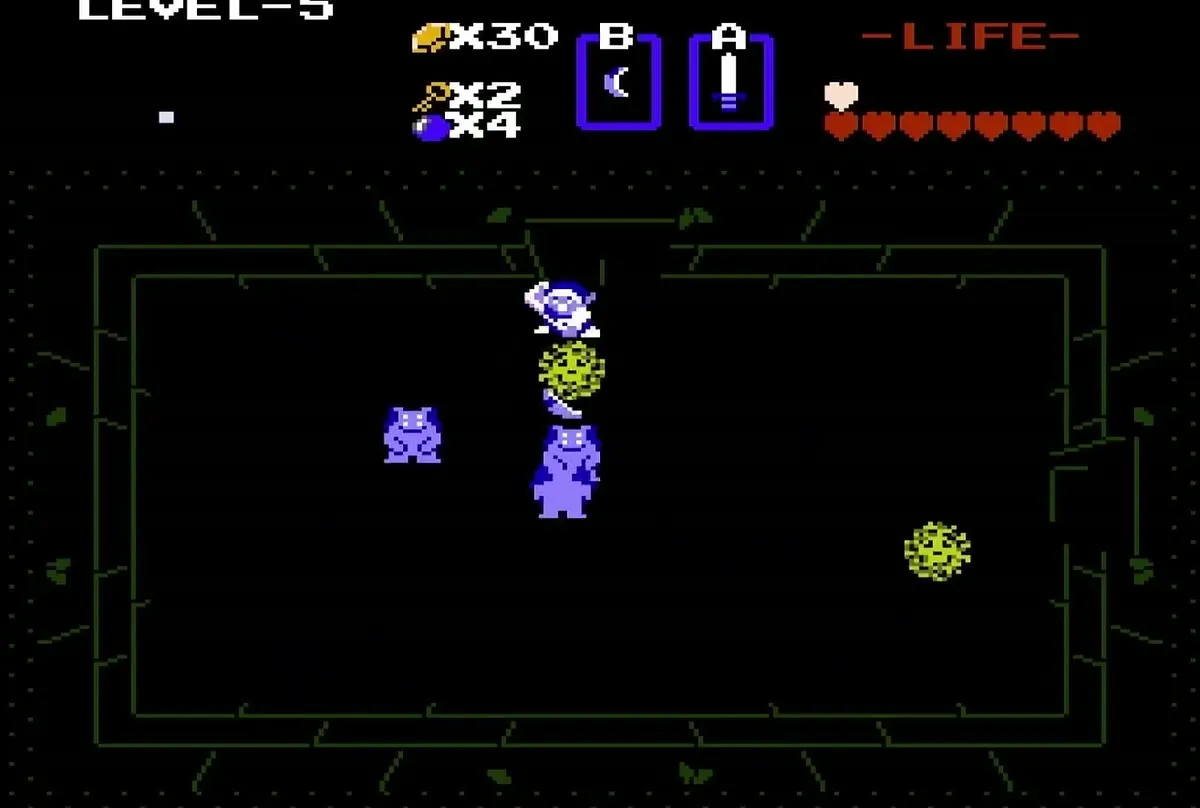
Clear the way to the boss
Head through the top door of the Compass room to reach the Wizzrobe and Like-Like room, then pass through the right door. Defeat the Manhandla to open the top door, and collect the blue rupee it guards. Go through that top door and follow the Keese to the staircase, which leads down to an underground passage.
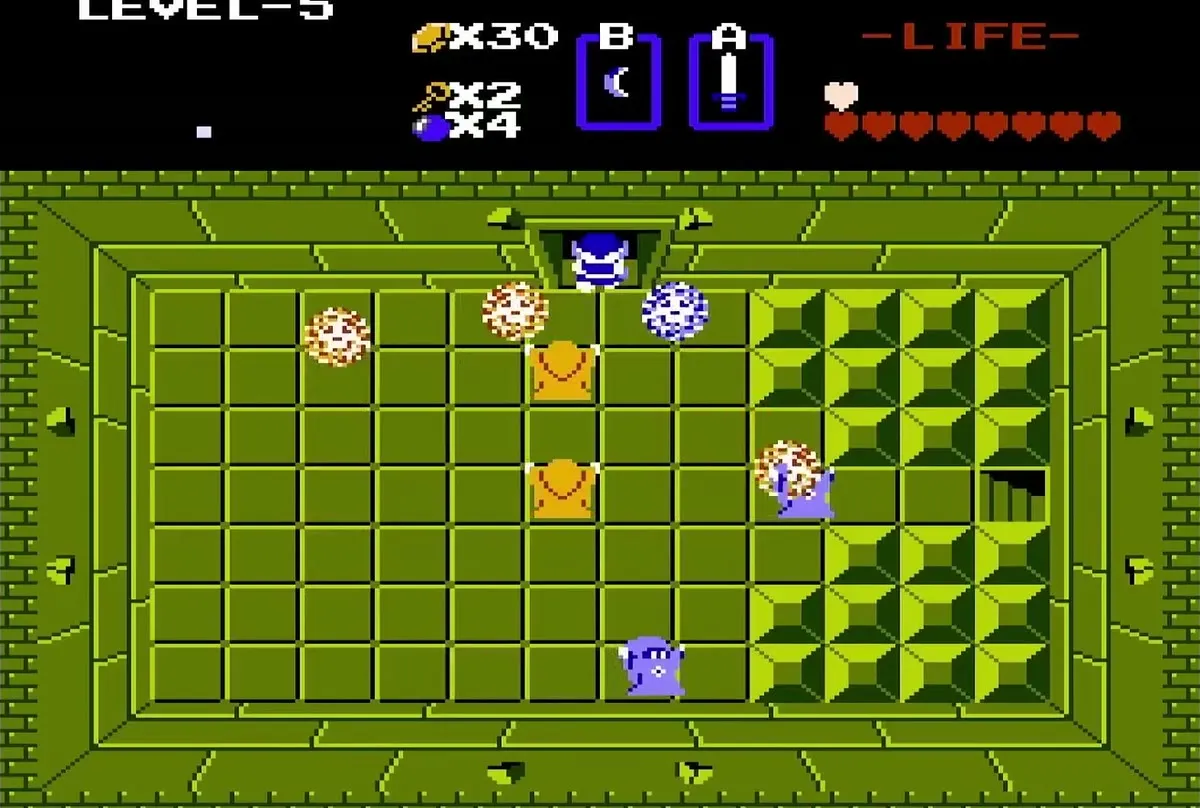
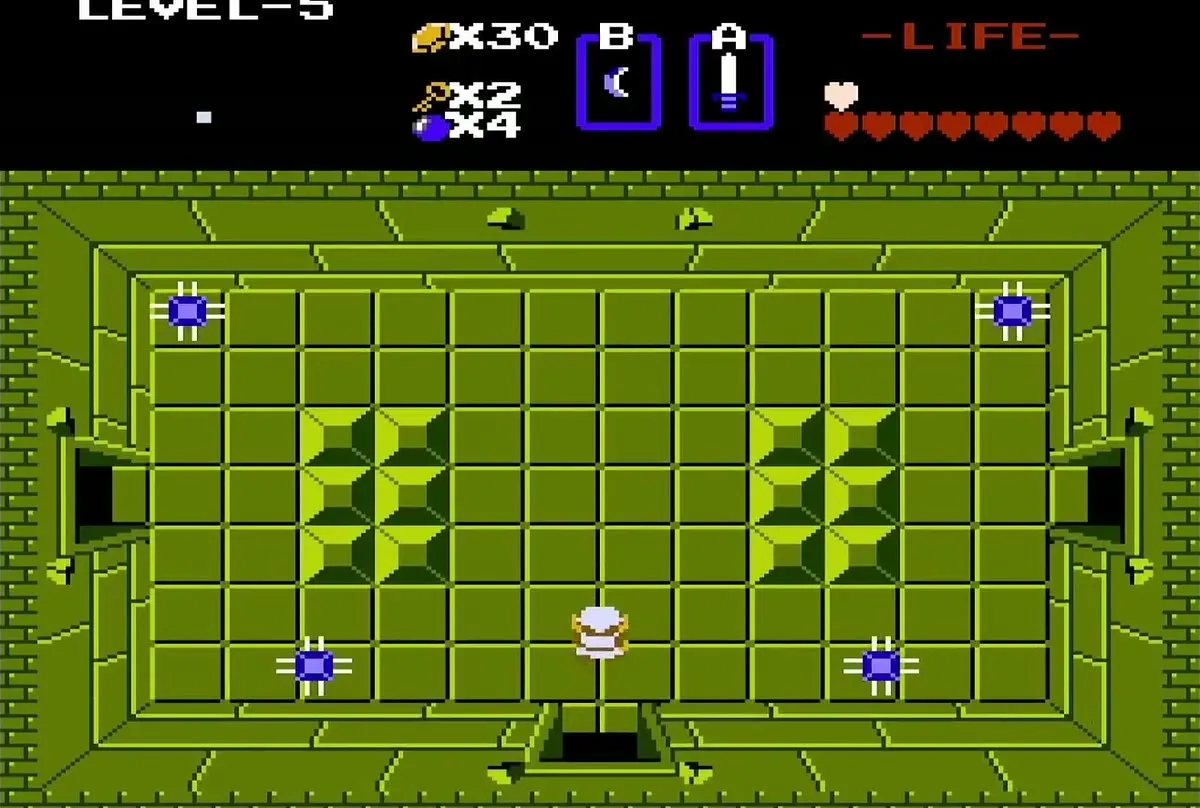
The underground passage comes out in the room beside the boss. Defeat the Vires there, then unlock the left door to face the boss.

Level 5 boss: Gleeok and the seventh Heart Container
Defeat the three-headed Gleeok
Gleeok is a long green serpent with three heads on one body. Attack each head while it remains connected to the body, and keep moving so the heads cannot pin you against a wall.
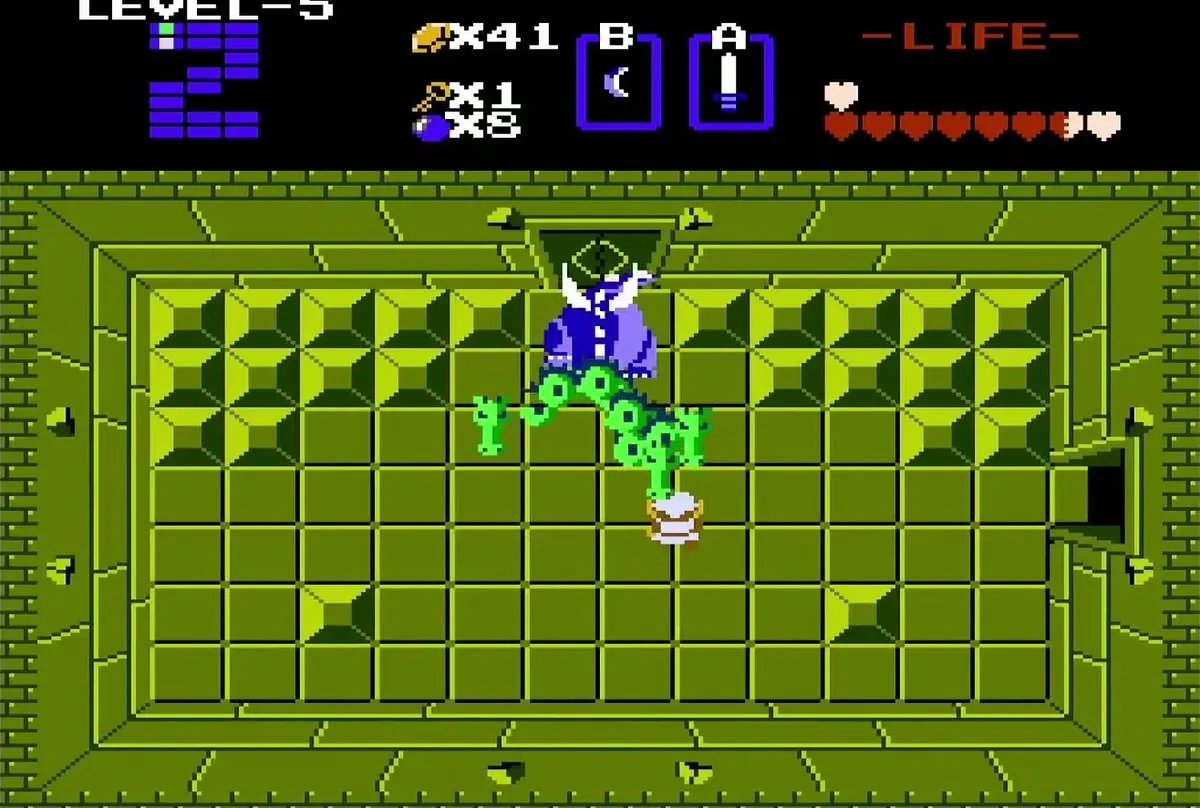
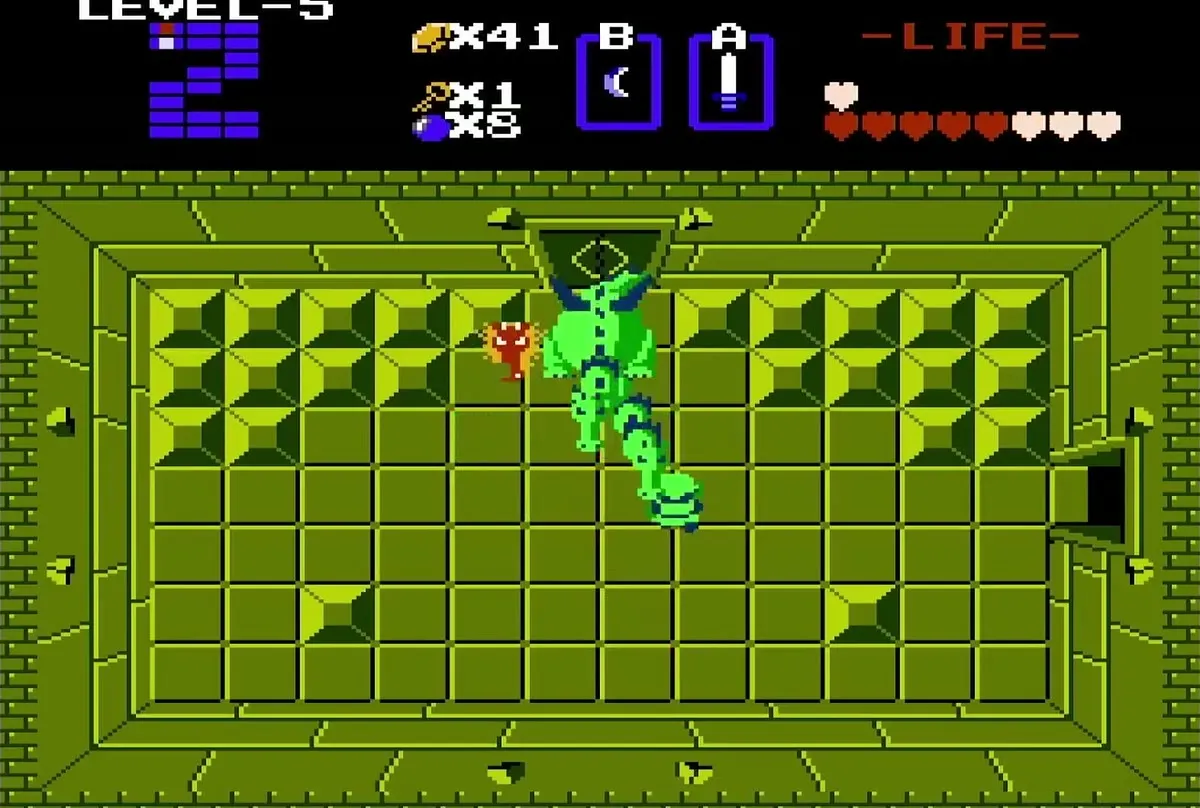
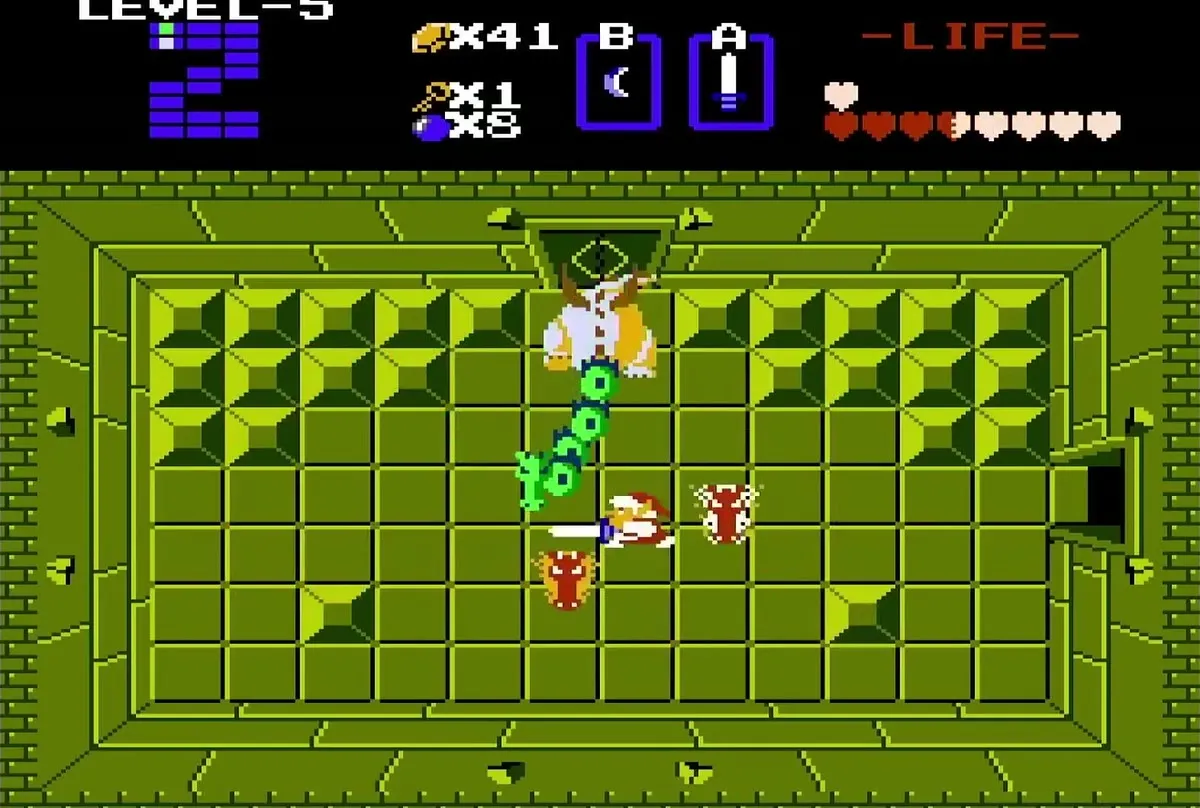
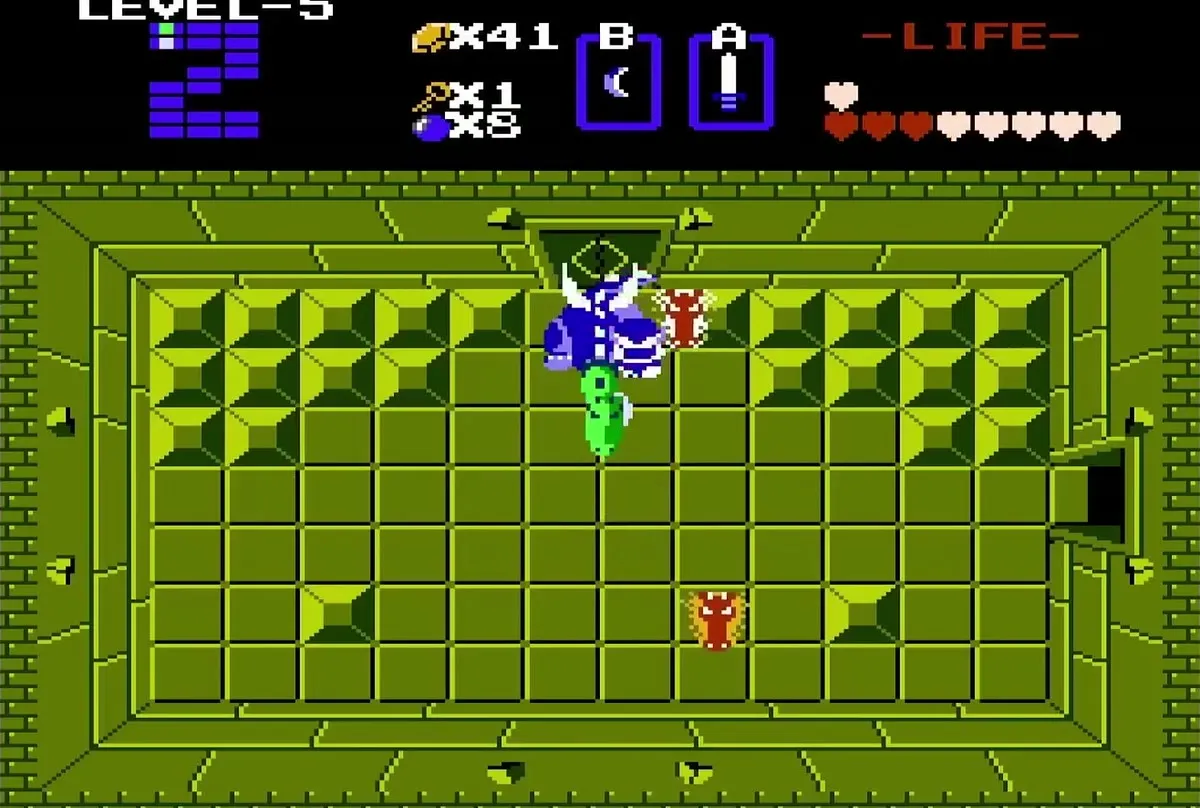
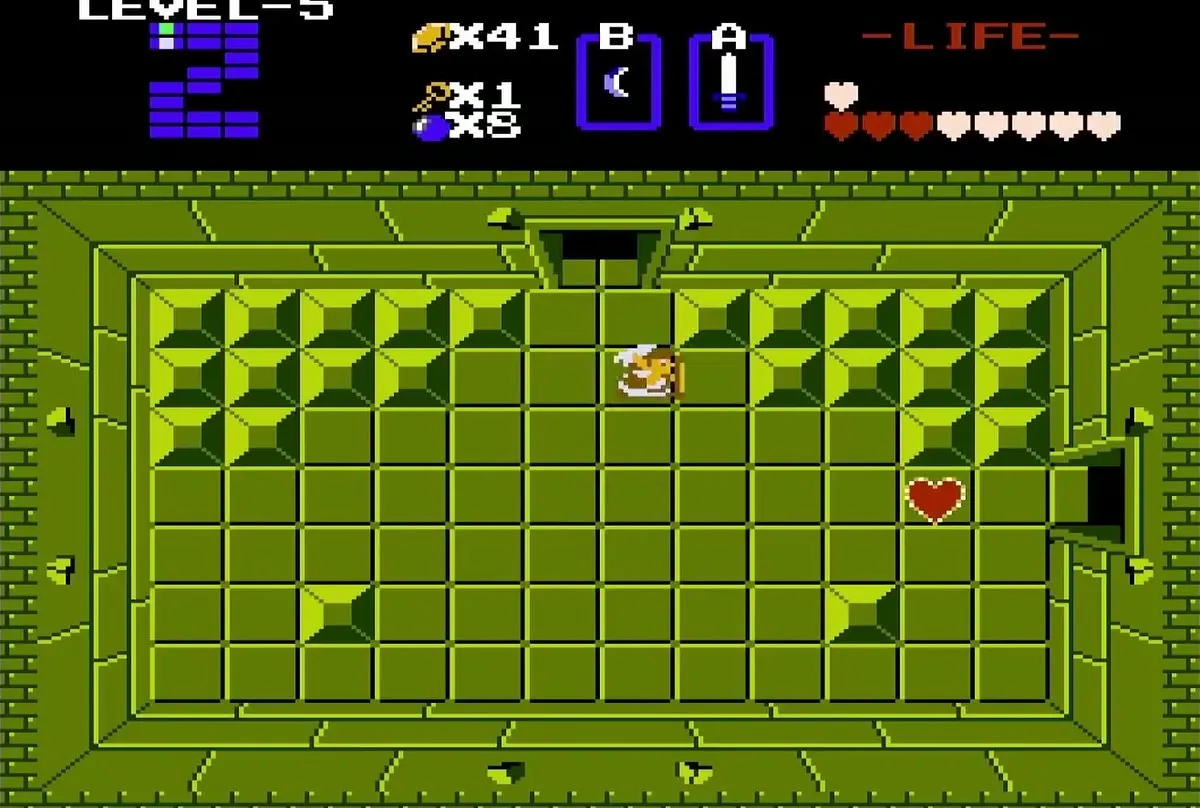
Keep striking until no head remains attached to the body. Once the Gleeok is defeated, a Heart Container appears where the boss fell, and you collect it. It counts as the seventh Heart Container on the route through the Second Quest.
Collect the Triforce piece
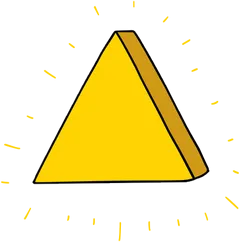
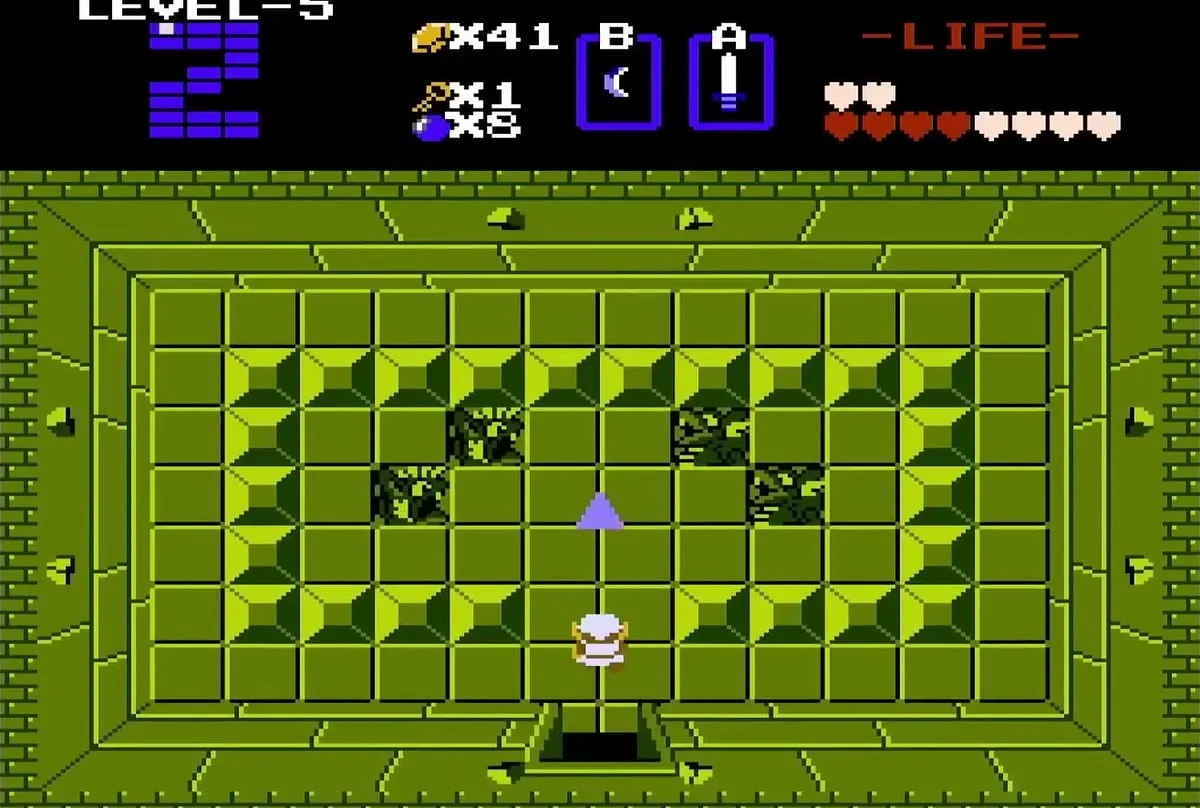
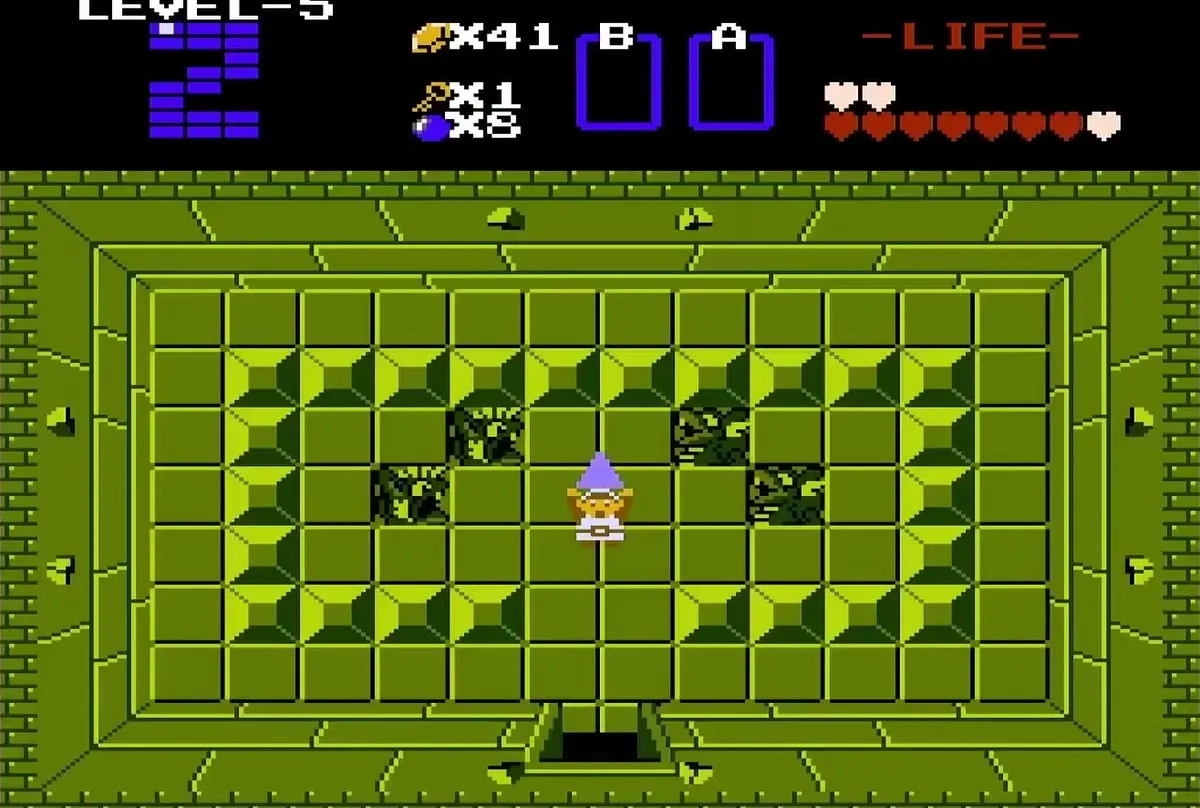
Go through the top door of the boss room into the room above. The Triforce piece waits there, and Link holds it up once you pick it up. Collecting it completes the labyrinth. Leave through the exit and head for the north-east, where the next chapter collects the eighth Heart Container.
Chapter checklist
| Type | Name | Where |
|---|---|---|
| Item | Bow | Gray-brick room at the top of the staircase in Level 5 |
| Map | Dungeon Map | Vires room, past the room with the traps |
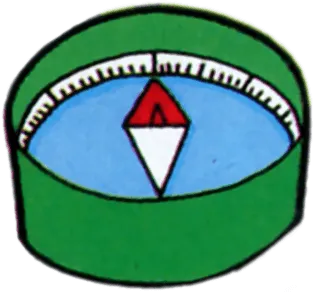 Compass | Dungeon Compass | Black-floor room with black Zols |
 Heart Container | Seventh Heart Container | Gleeok boss room, Level 5 |
| Triforce piece | Level 5 Triforce piece | Room above the Gleeok boss room |
