
























The Legend of Zelda 100% Completion Walkthrough14 chapters
- The GatheringGet the Wooden Sword, buy bombs, take your first Heart Container, collect early rupees and buy the Blue Candle.
- Money Caves, the Red Potion and the Blue RingMoney cave payouts, the Blue Candle, a Heart Container gift, the Magical Shield for 90, Red Potion for 68.
- Level 1 The EagleKeys, Bow, Boomerang, Dungeon Map, Compass, the Aquamentus boss, and the Heart Container.
- Level 2 The MoonReach the entrance, get the Magical Boomerang and Map, then beat Dodongo for a Heart Container and a Triforce piece.
- Level 3 The ManjiTake its keys, the Raft, Compass and Map, then defeat Manhandla for a Heart Container and the third Triforce piece.
- Level 4 The SnakeLevel 4 The Snake walkthrough with the lake route, keys and dark rooms, Stepladder.
- The Magical Sword and the Medicine ShopThe graveyard cave with the Magical Sword, the three-staircase warp cave.
- Level 5 The LizardReach the statue cave on the Lost Hills, collect small keys, and buy the 100-rupee bomb upgrade that raises bomb.
- Level 6 The DragonKeys, the Magical Rod, Gleeok mini-boss and Gohma boss tactics for its Heart Container and sixth Triforce piece.
- The Potion Shop and the Ring Shop AgainBuy the Red Potion and the Monster Bait between Level 6 and Level 7 in The Legend of Zelda NES.
- Level 7 The DemonRecorder entrance, bomb upgrade, Monster Bait, Red Candle, Map, Compass, Aquamentus and Triforce piece 7.
- Level 8 The LionBurn the entrance bush, get the Book of Magic and Magical Key, then beat four-headed Gleeok for its Heart Container.
- Level 9 Death MountainReach Spectacle Rock, clear the skull-shaped dungeon, and get its Map, Compass, Red Ring and Silver Arrows.
- The EndingBeat Ganon in his dark room with a Silver Arrow after the sword hits, take the Triforce of Power.
| Covers | the lake shore west of Level 5, the old man’s cave, the graveyard medicine shop, and Level 6 The Dragon |
|---|---|
| Dungeon | Level 6 The Dragon: small keys, the hint about Gohma‘s eyes, Compass, Map, the Magical Rod, the three-headed Gleeok mini-boss, and the Gohma boss |
| Rewards | Magical Rod, Map, Compass, several small keys, 1 Heart Container (from Gohma), 1 Triforce of Wisdom piece (sixth piece) |
This chapter takes you from the end of Level 5, west along the lake and past the graveyard, and into Level 6 The Dragon. You collect the keys, the Compass, the Map, and the Magical Rod on the way, then fight the three-headed Gleeok and the Gohma boss. Gohma is the only enemy that you must hit with arrows, and it gives you a Heart Container and the sixth Triforce of Wisdom piece.
Table of Contents
Overworld: from Level 5 to the graveyard
Cross the bridge over the purple lake
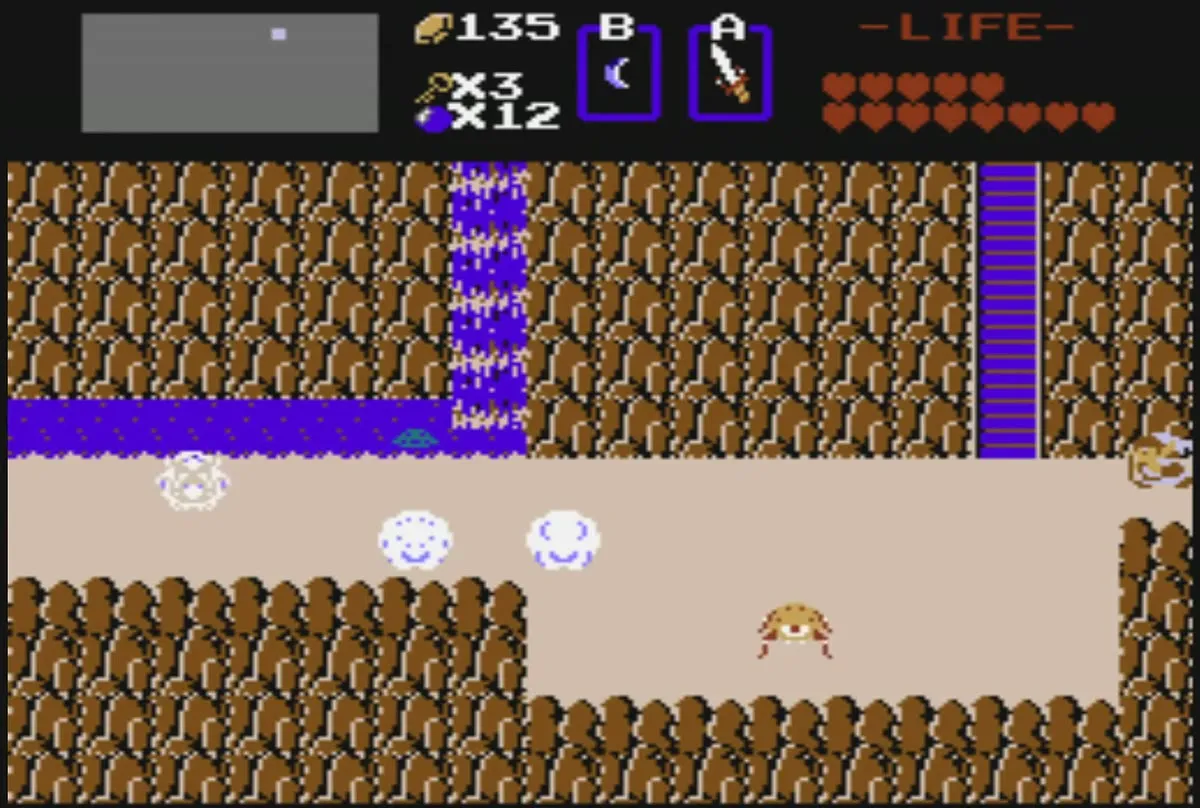
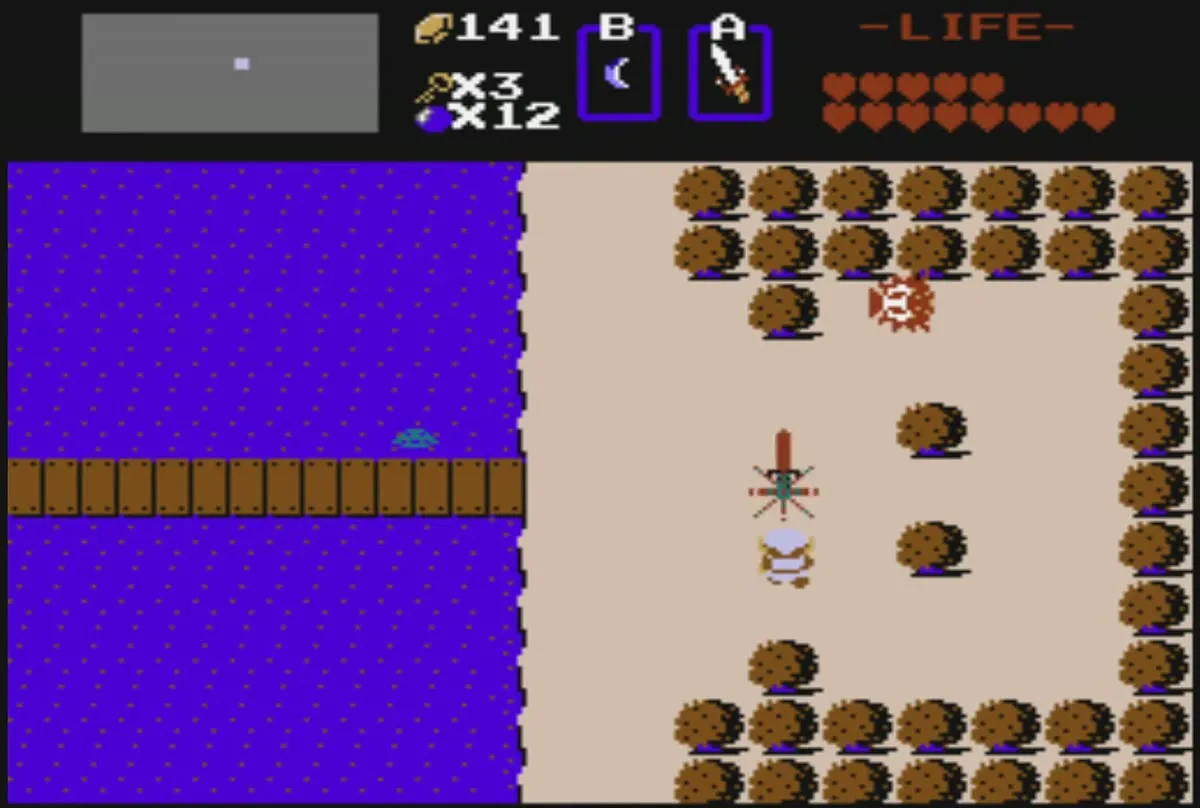
Leave Level 5 and walk west across the sand. The dungeon’s entrance cave sits at the top of the field, so turn away from it and follow the lake shore. Cross the wooden plank bridge over the purple water, and clear only the enemies that block your path, since the lake route is short.
The old man’s warp cave
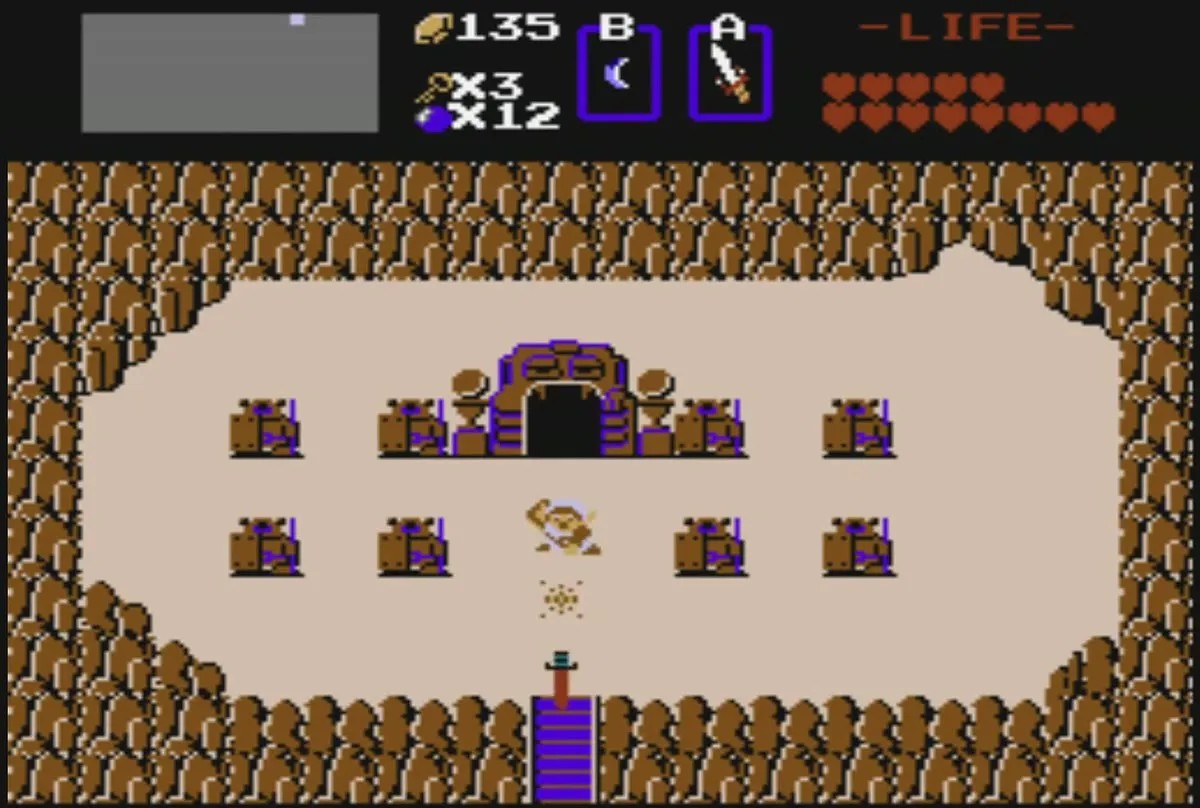
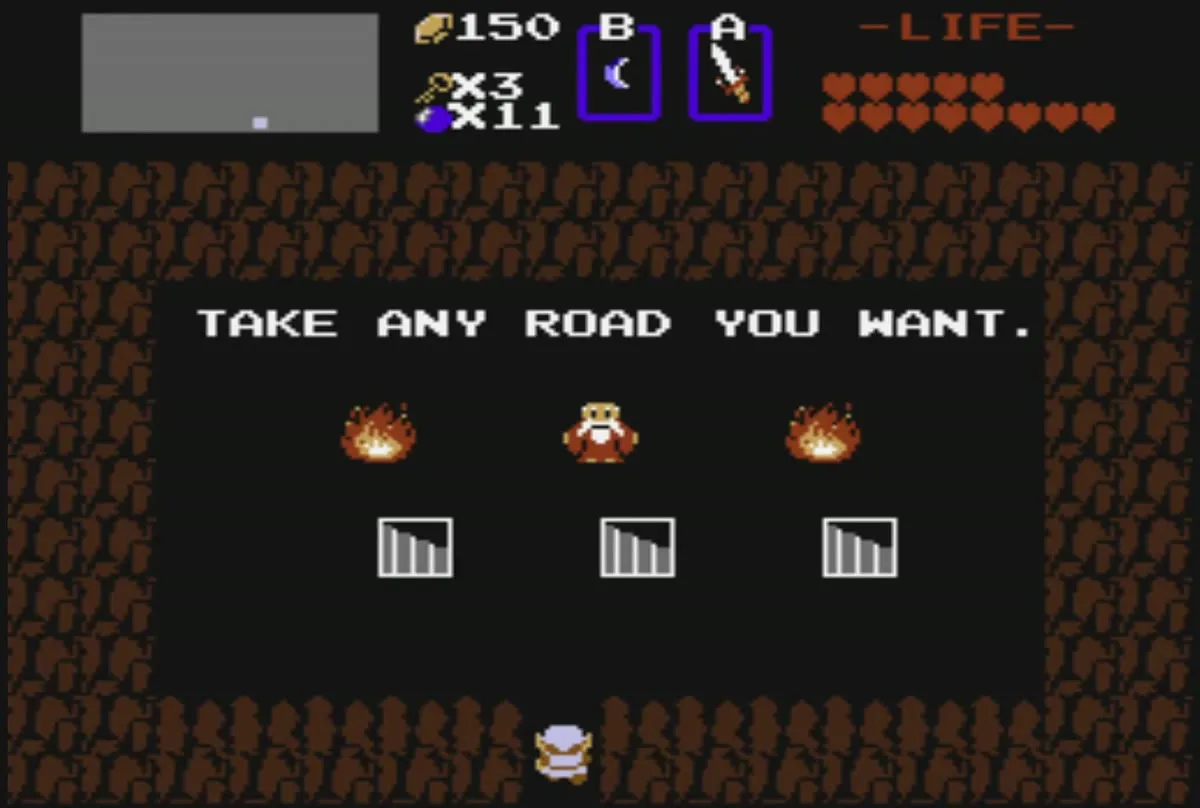
Continue past the brown rock walls to a stairway in the rock. Inside, an old man stands between two fires above three staircases and tells you to take any road you want. This is a warp cave: each staircase carries you to a different place on the map. Take the one that drops you at the graveyard to the west.
Medicine shop beside the graveyard
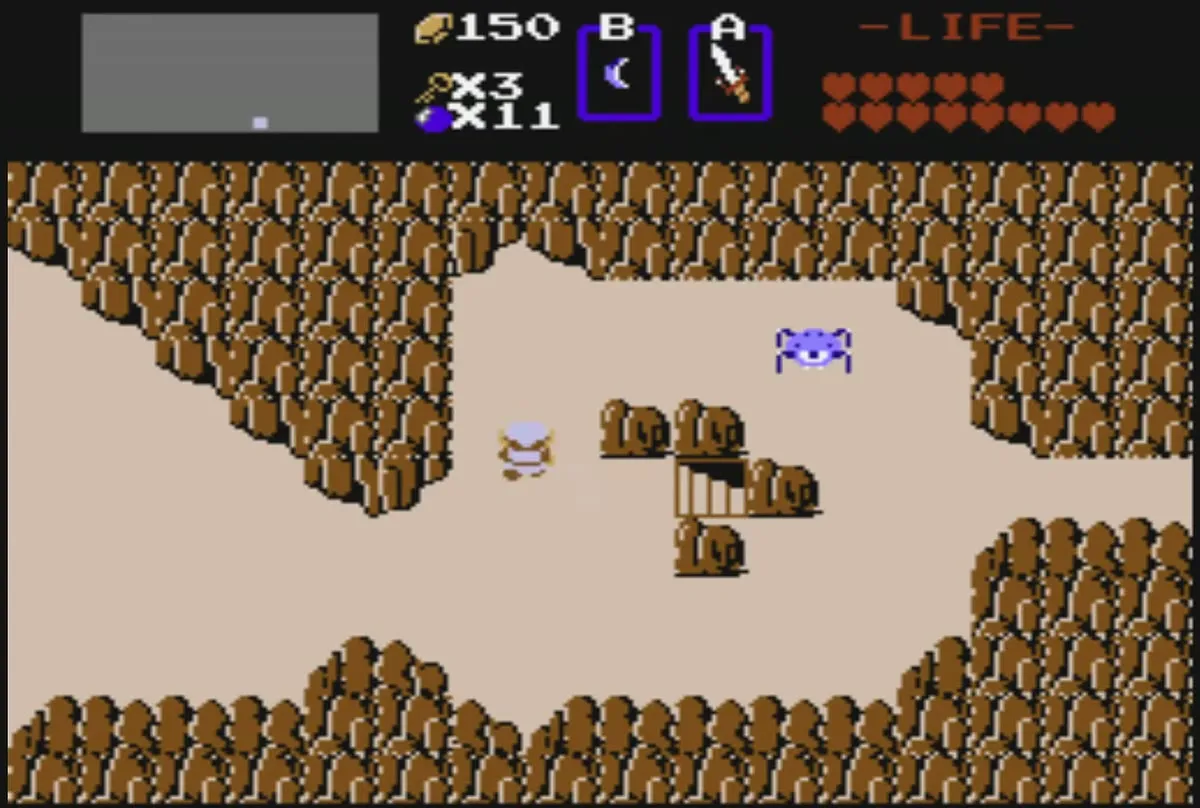
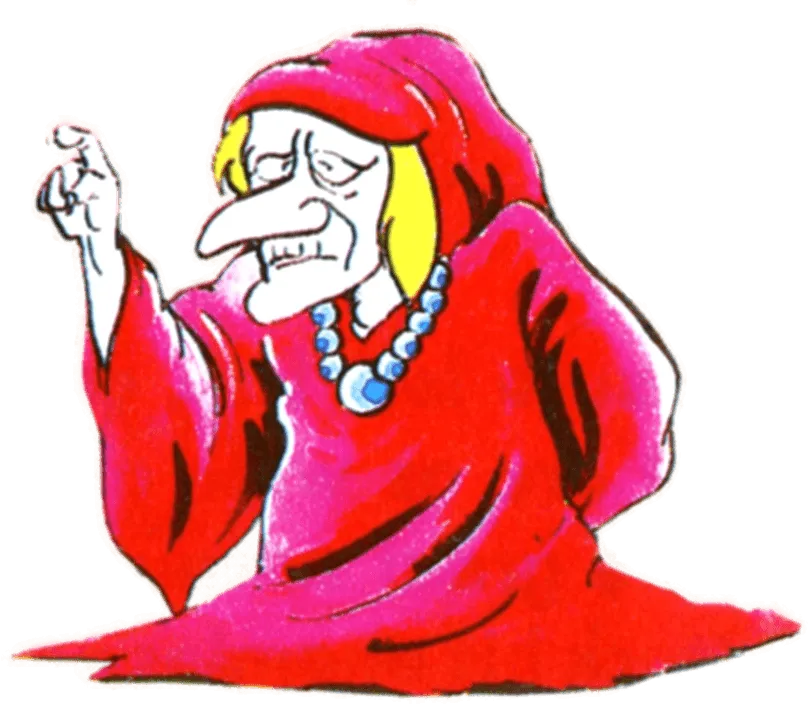
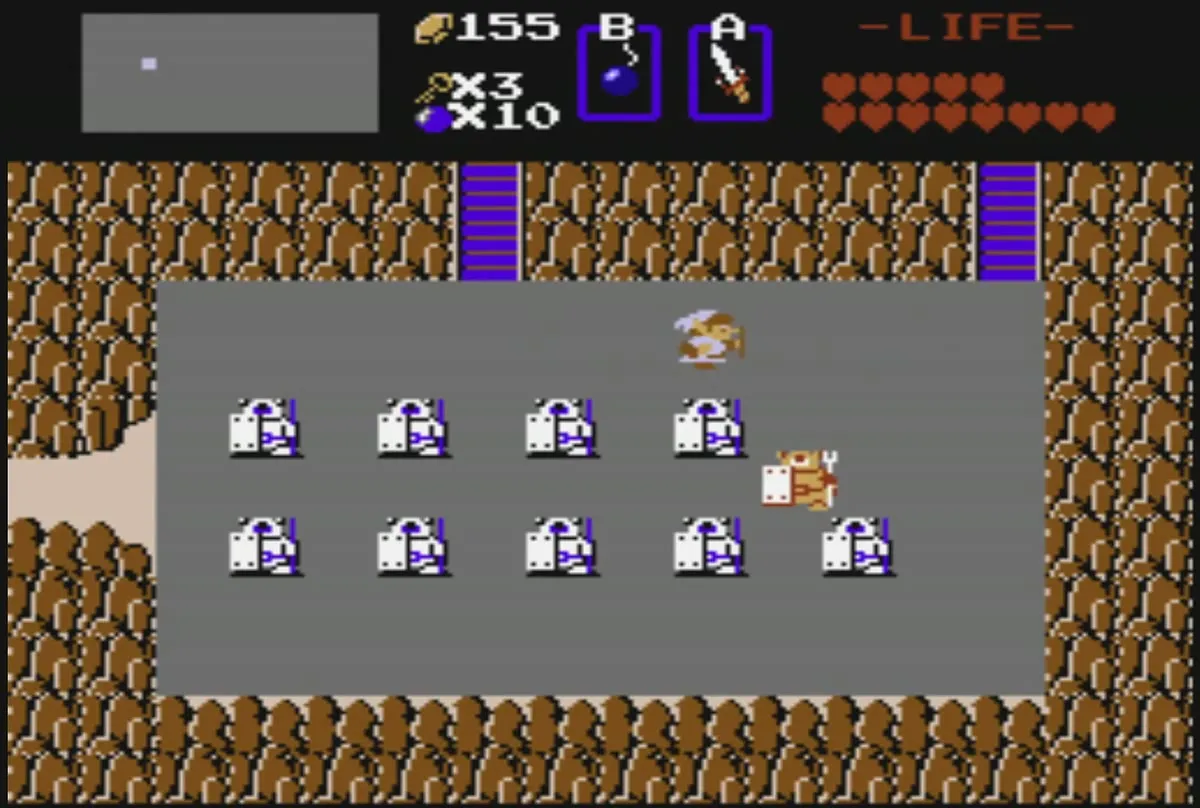
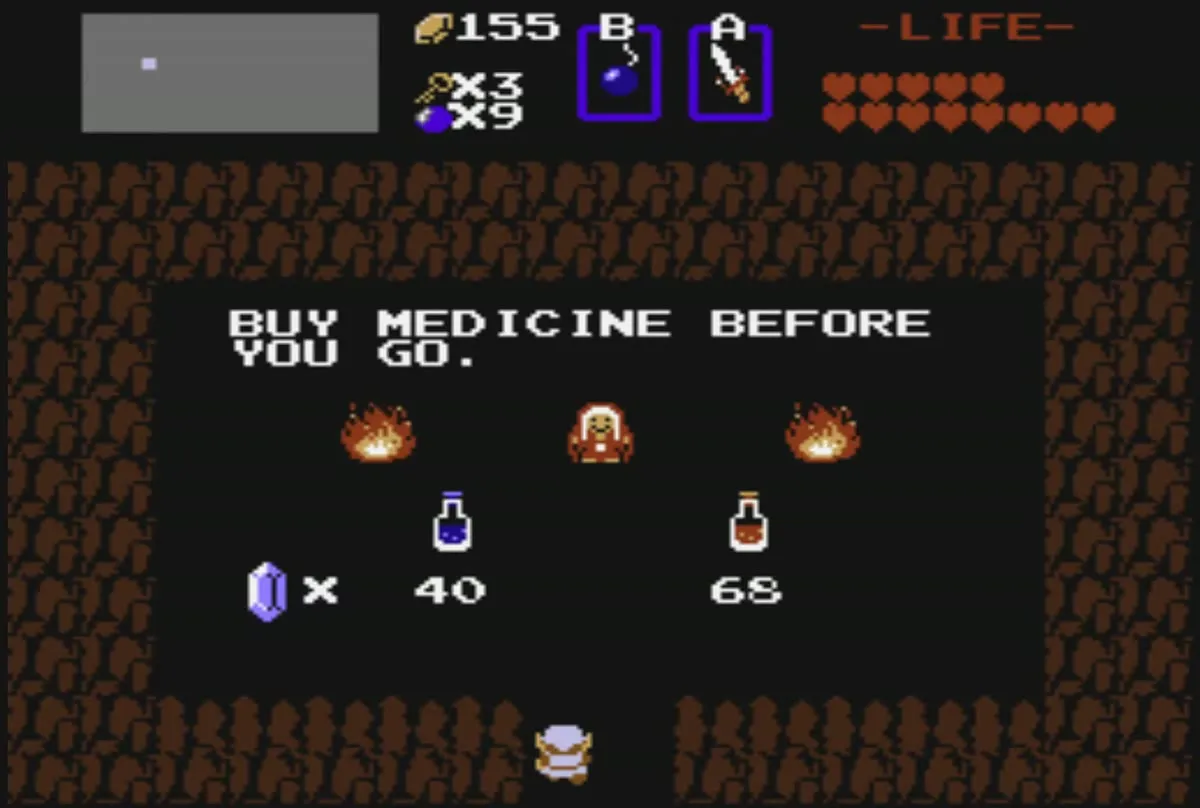
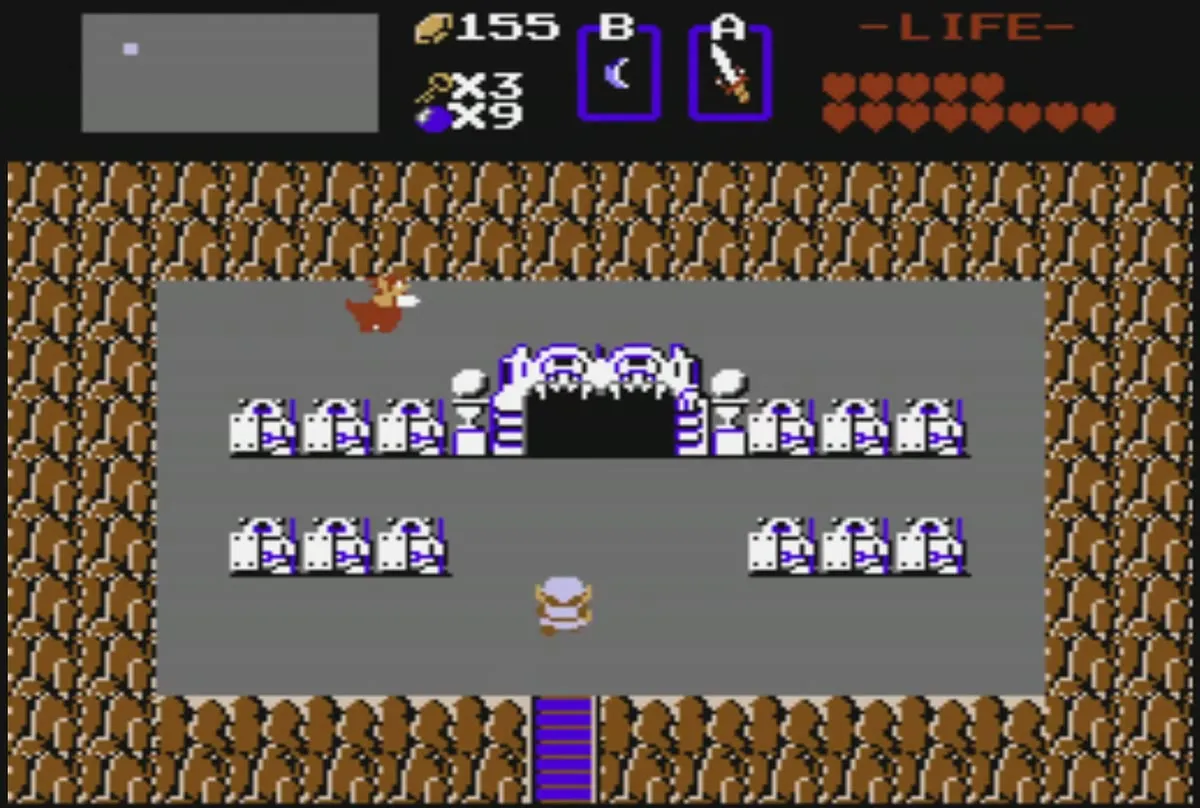
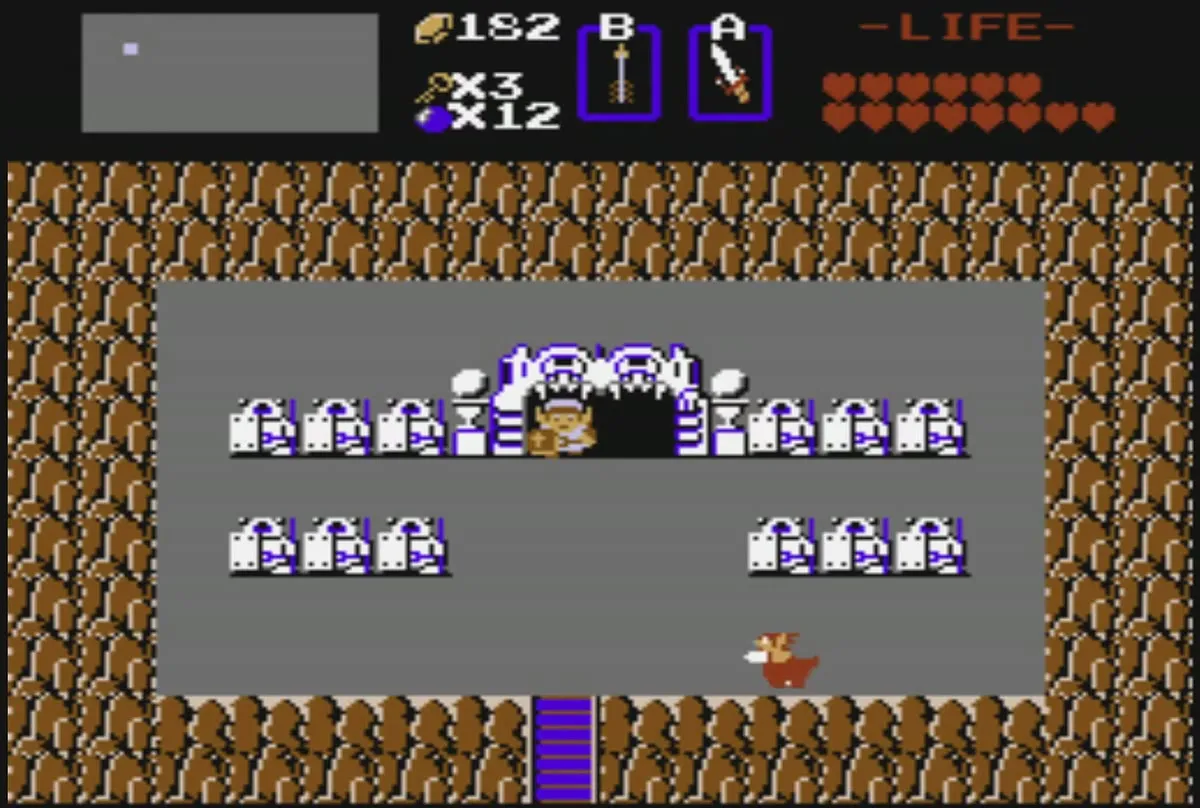
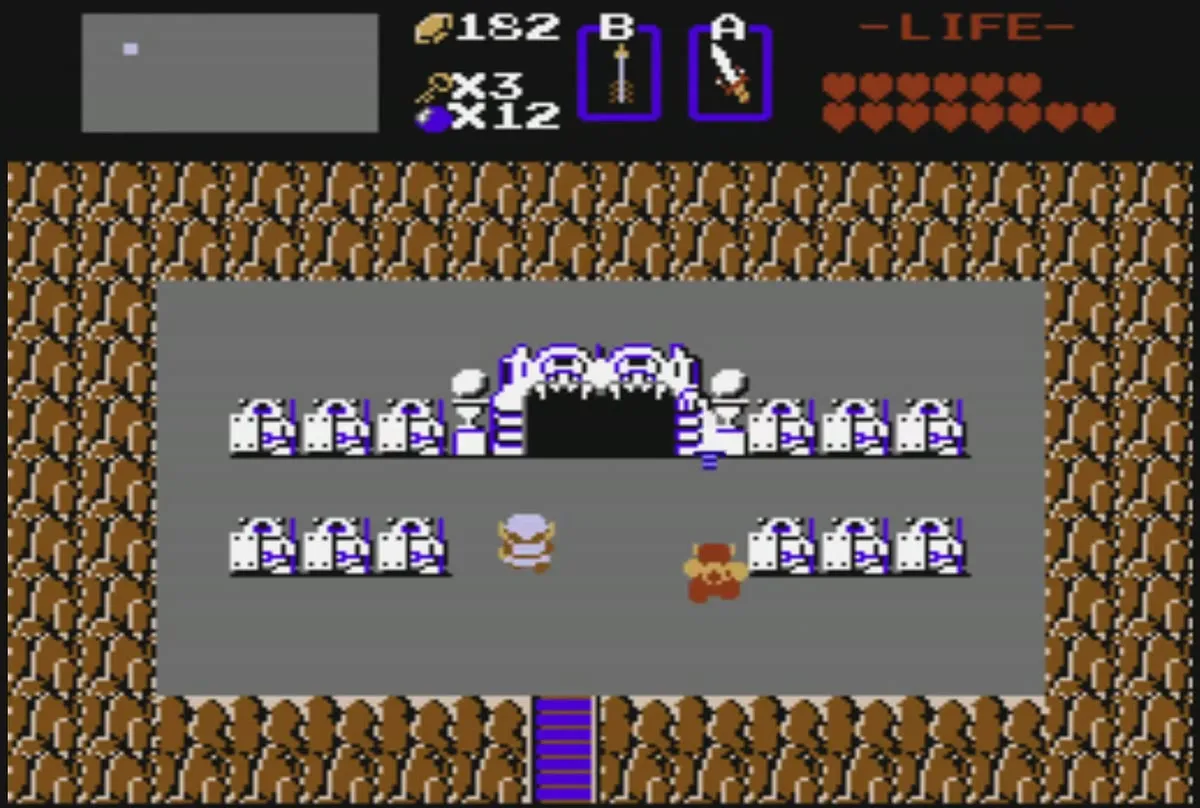
Enter the graveyard, a gray field of headstones with enemies roaming among them. Near its entrance, a cave holds a medicine woman who says “BUY MEDICINE BEFORE YOU GO.” She sells a Red Potion for 68 rupees and a Blue Potion for 40 rupees, but only after you have given her the Letter. Buy one now if you want a spare potion for the dungeon, or come back later.
Find the Level 6 cave
Level 6 is on the graveyard screen at C3. From Level 5 at L1 the route runs south and then west along row 2, down to D3 and D4 beside the medicine woman, then west to C4 and north to C3. The dungeon entrance is a black cave in the wall on that screen. Step into the cave to enter Level 6.
Level 6: The Dragon
Entrance room and the first key
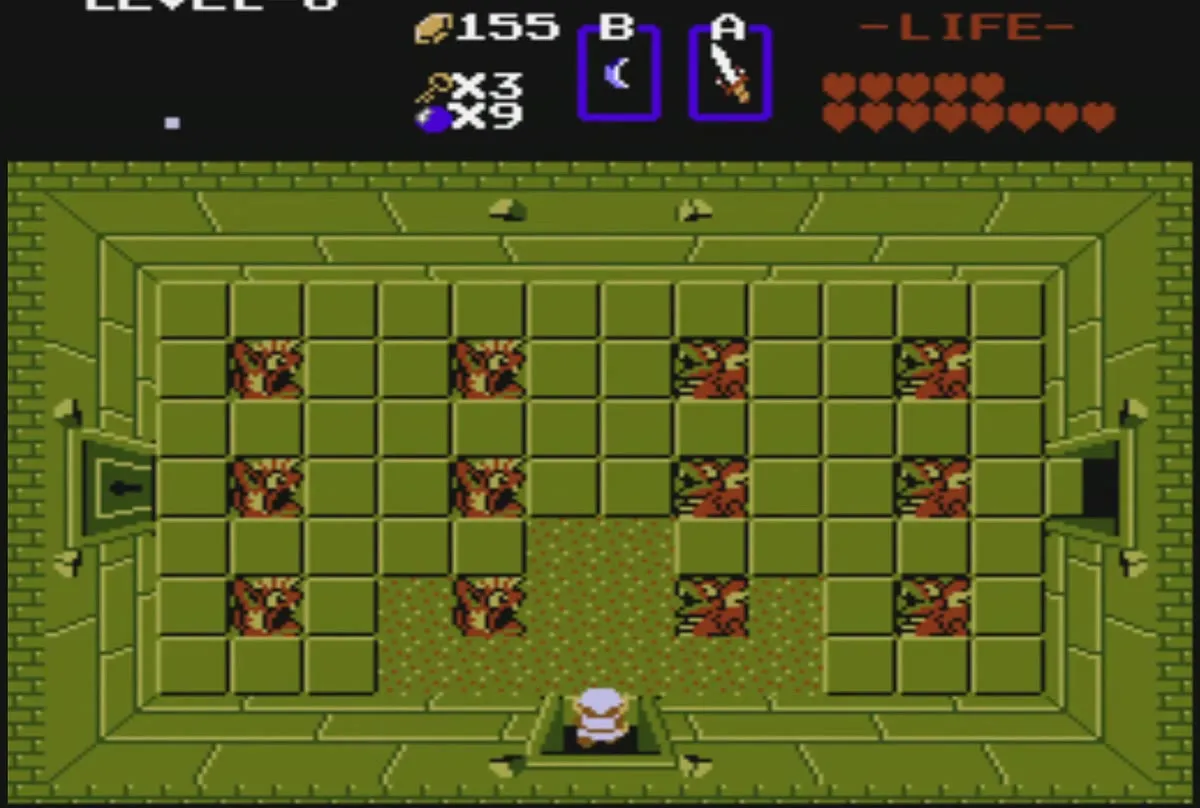
Level 6 has olive walls with brown statue blocks at the entrance. Go right through the door from the entrance room. The Wizzrobes in this room, which teleport and fire magic, must be cleared before the room opens up, and they drop a small key when you defeat them.
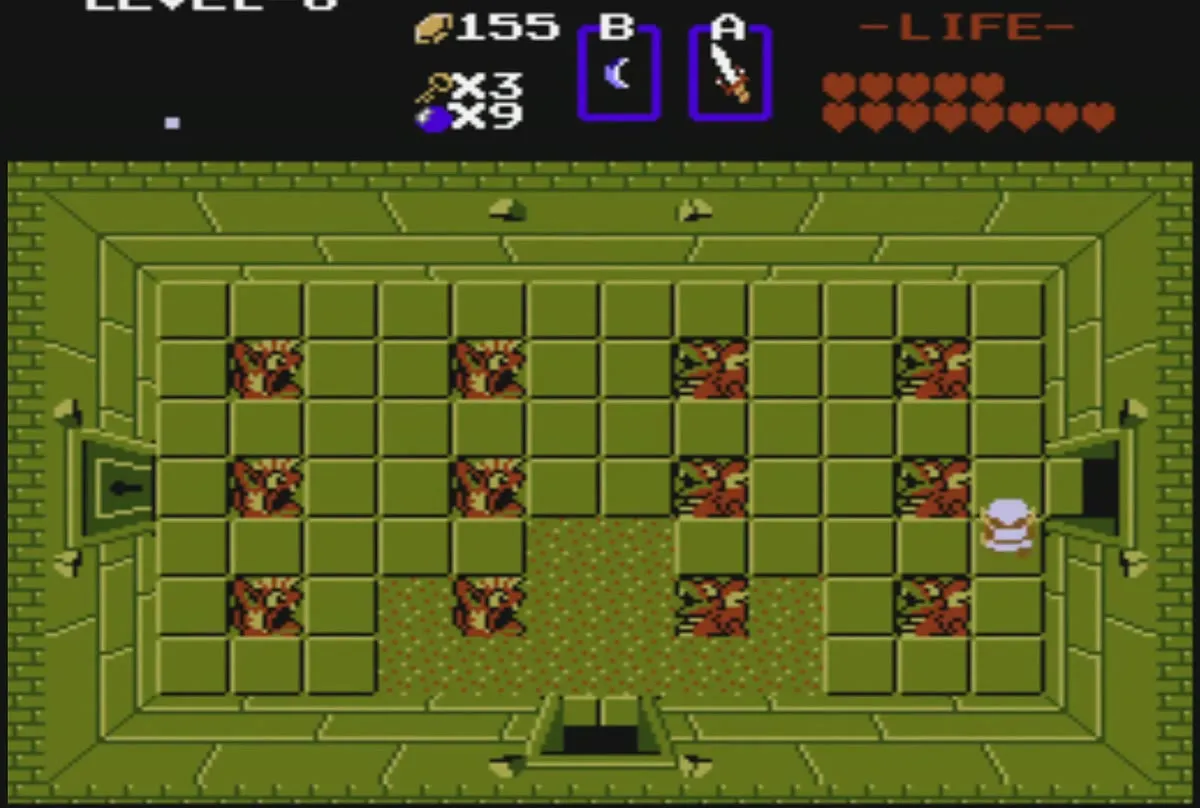
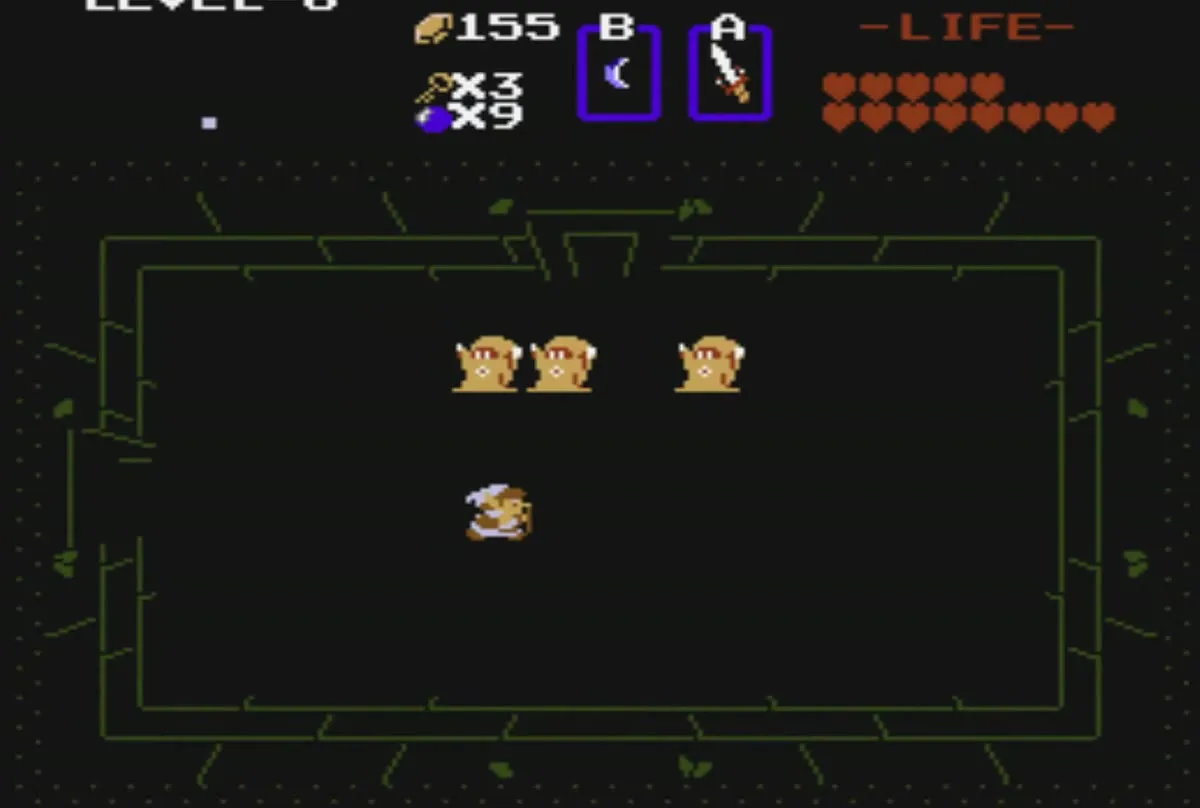
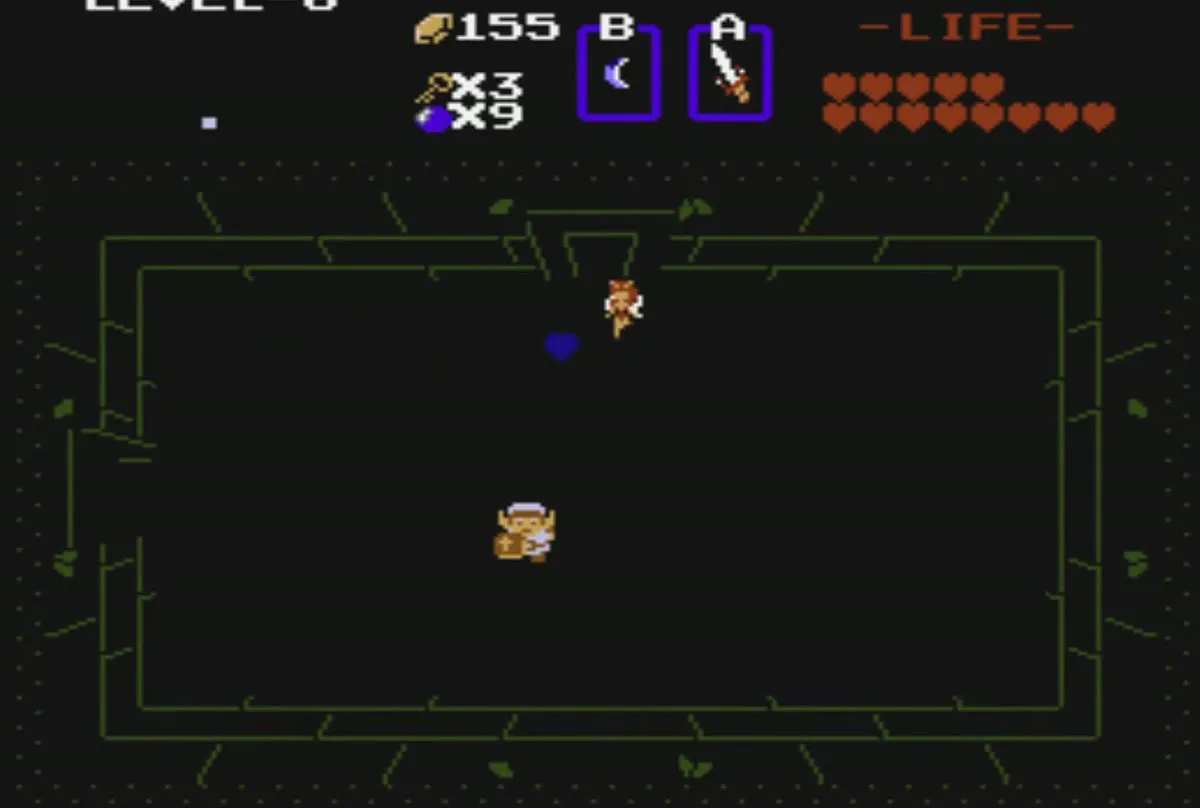
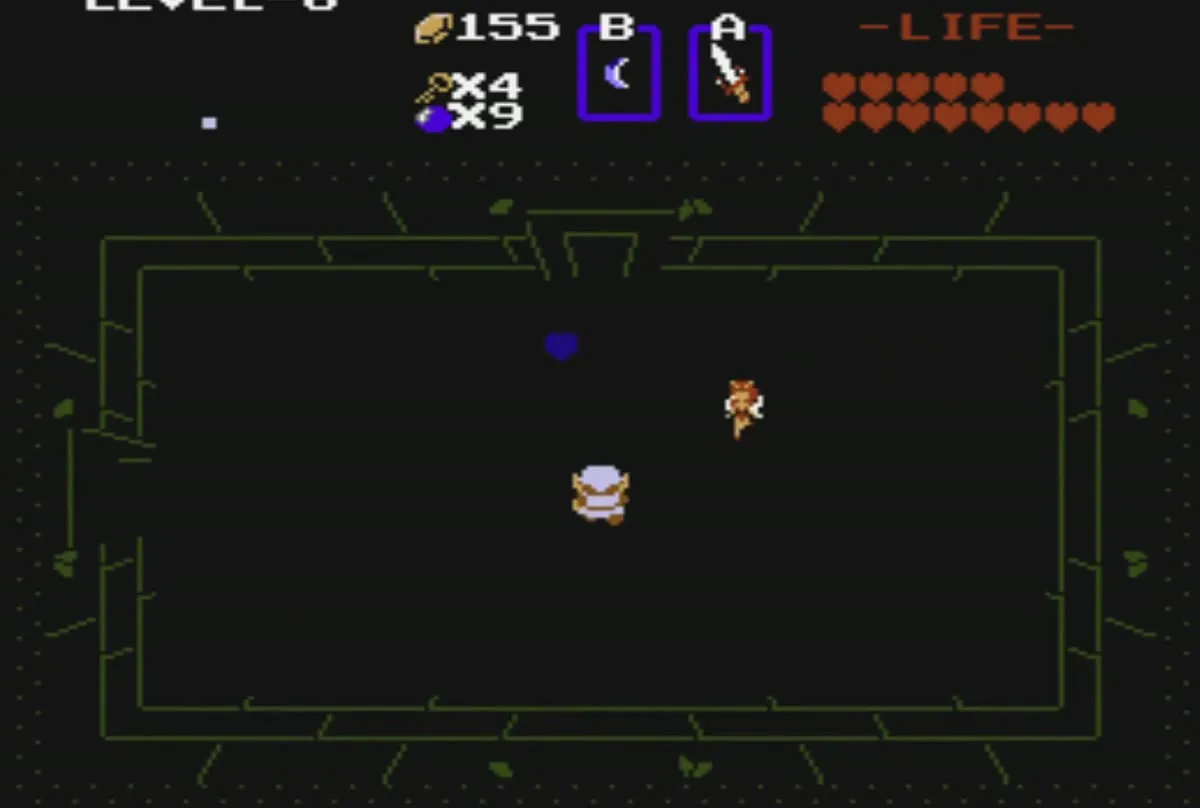
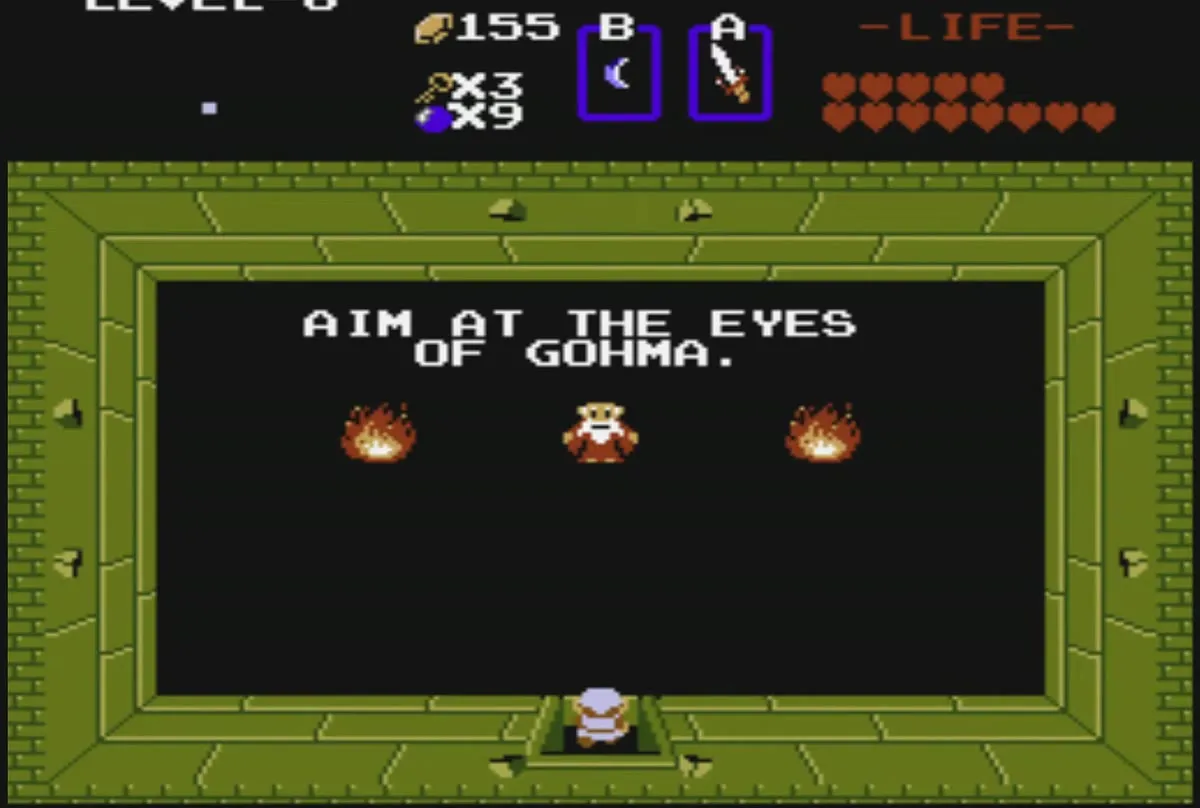
Use that key on the locked door at the top of the Wizzrobe room, and listen to the old man in the room behind it. His hint is “AIM AT THE EYES OF GOHMA.” Remember it: Gohma is the dungeon boss and its eye is its only weak point.
Compass room and the Zols
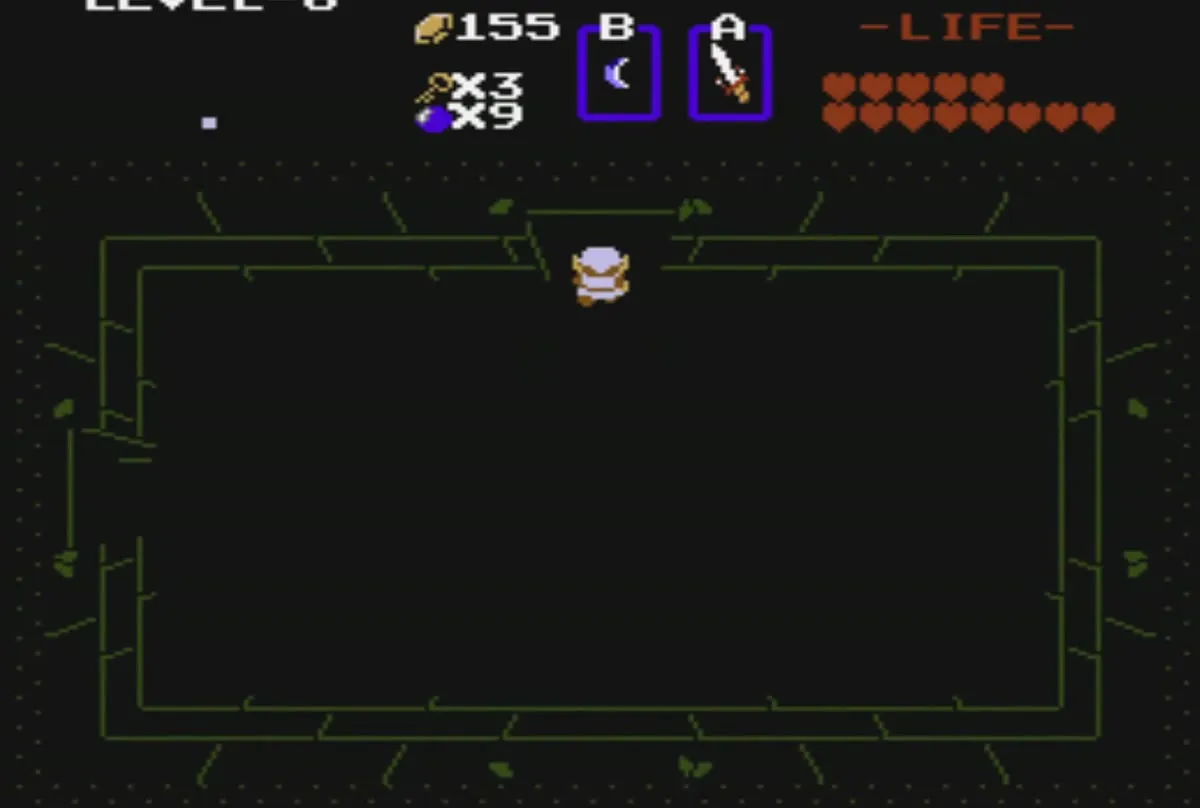
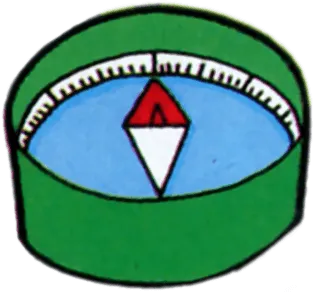
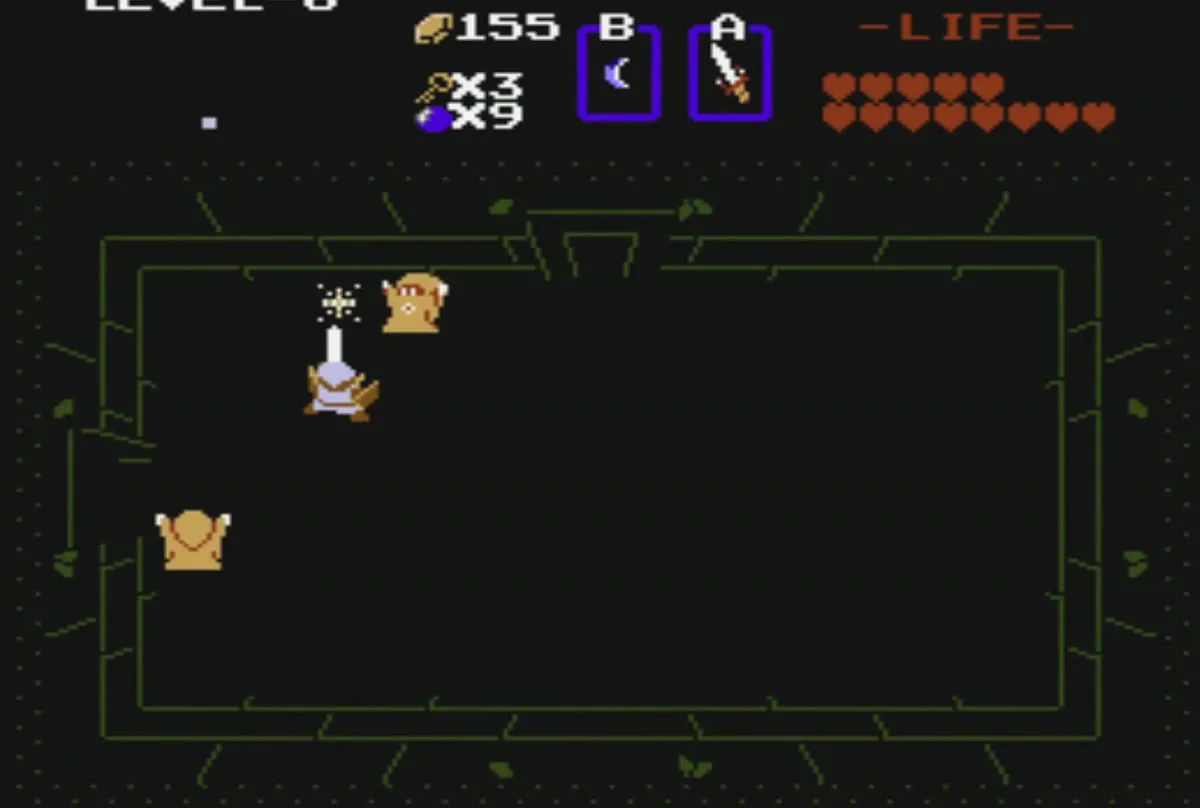
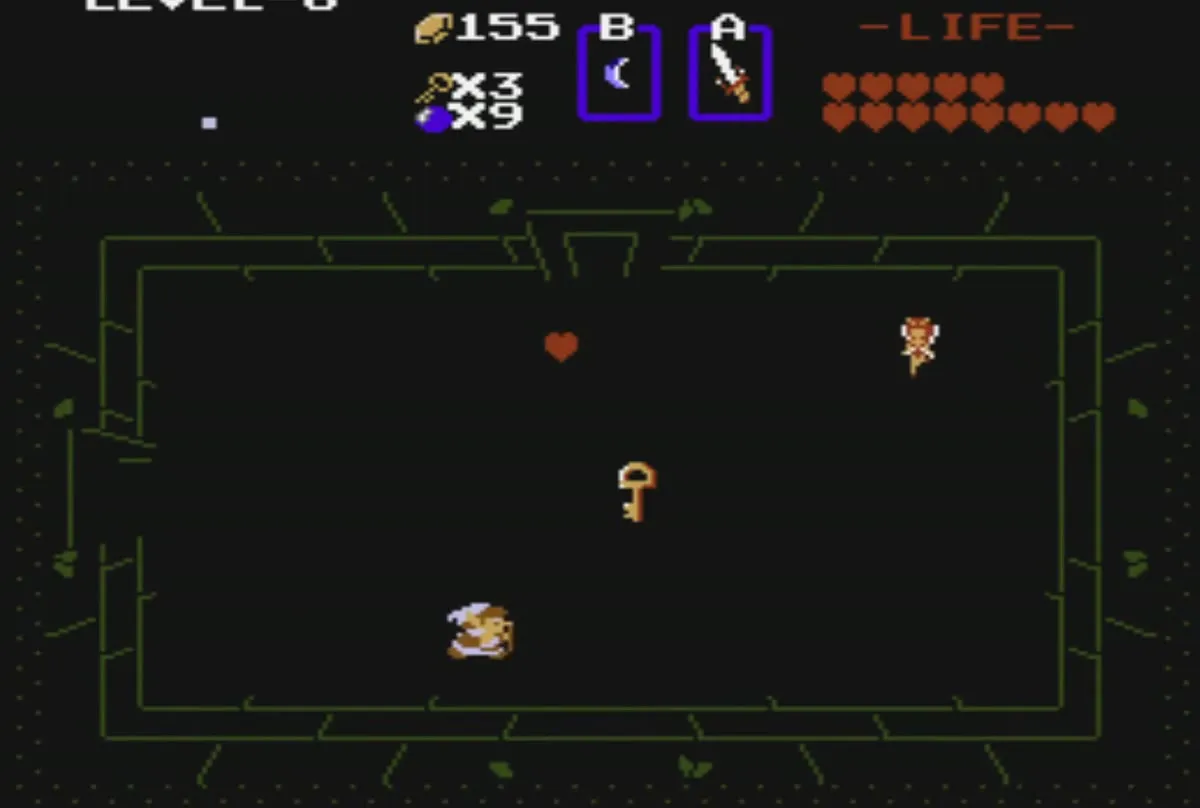
Go back to the entrance room, where the statue blocks stand, and head left into the room above. Defeat the Zols in this room, and the Compass is the reward. Go up from here into the next room, which has a key on the floor and a few blade traps along the walls, so move past them carefully.
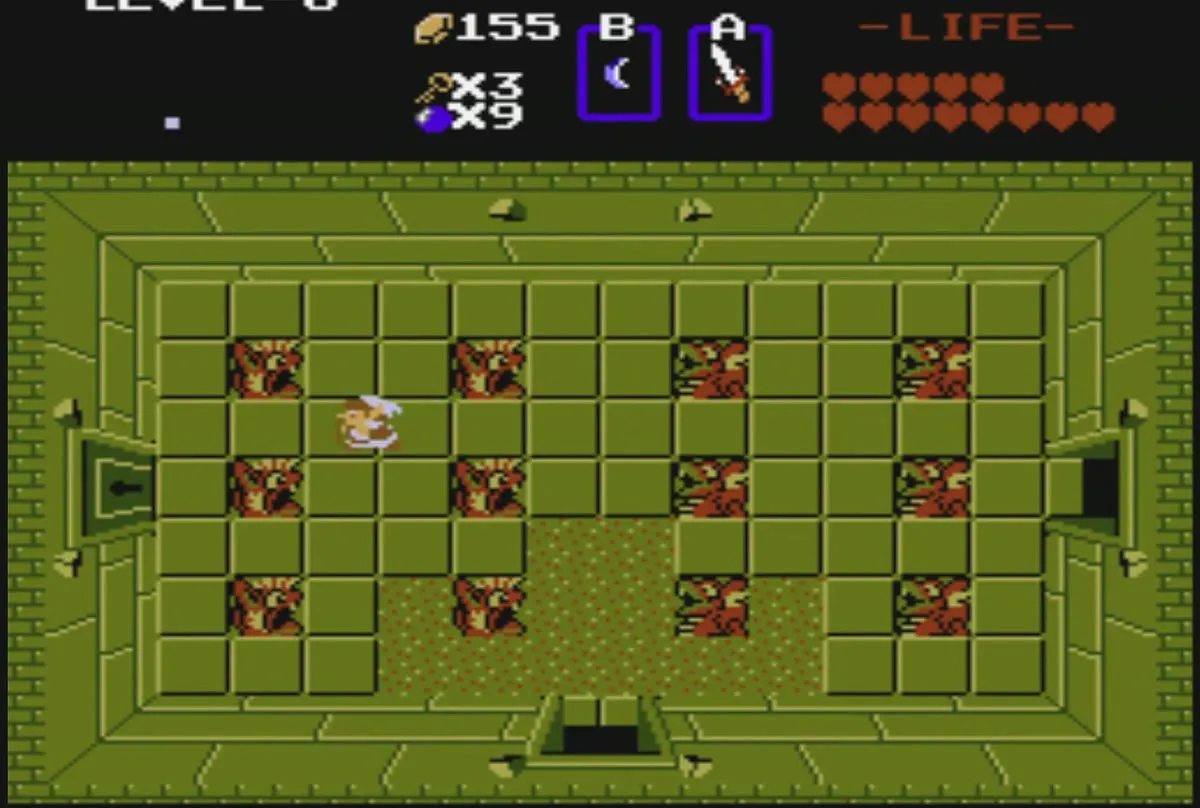
Keys, Keese and the fireball statues
In the next rooms, statues along the walls shoot fireballs and Keese fly around the corners. Stay in the doorways where the fireballs cannot reach you, and clear the room before you cross it. Blue Wizzrobes and Like-Likes guard the way north. Clear them, then push the left block to move on.
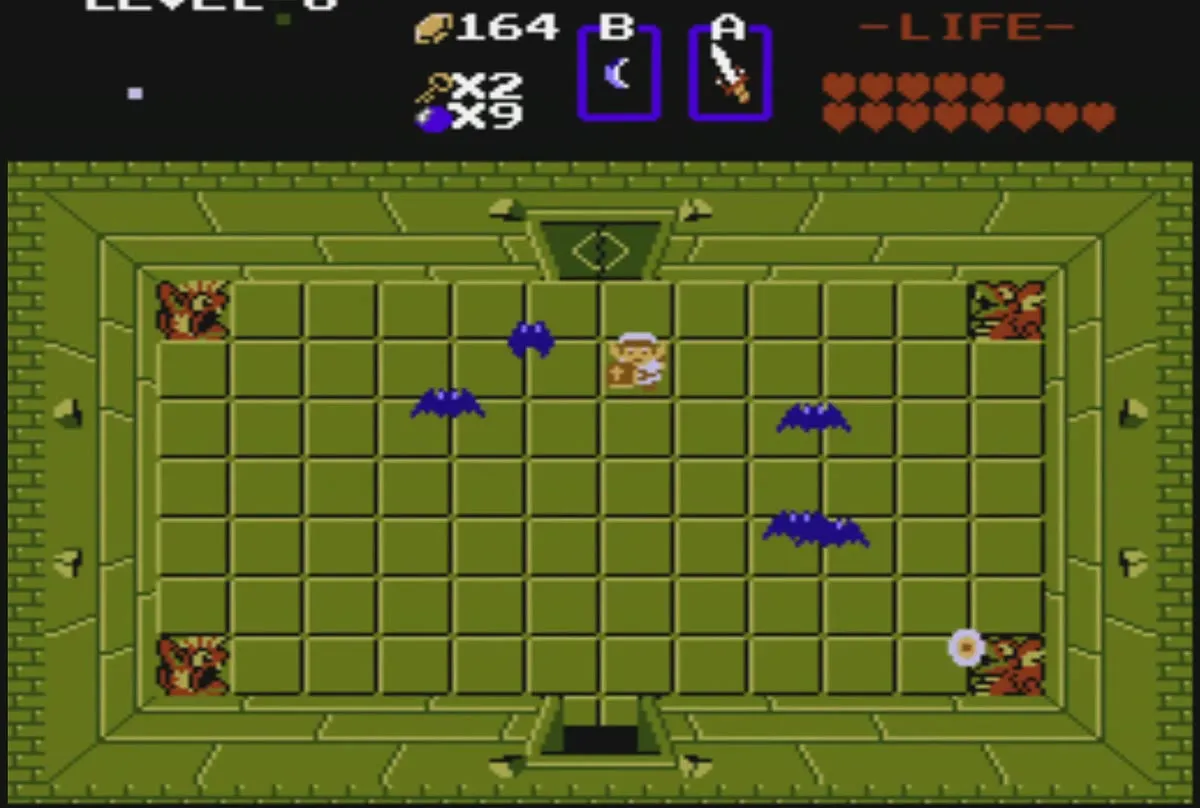
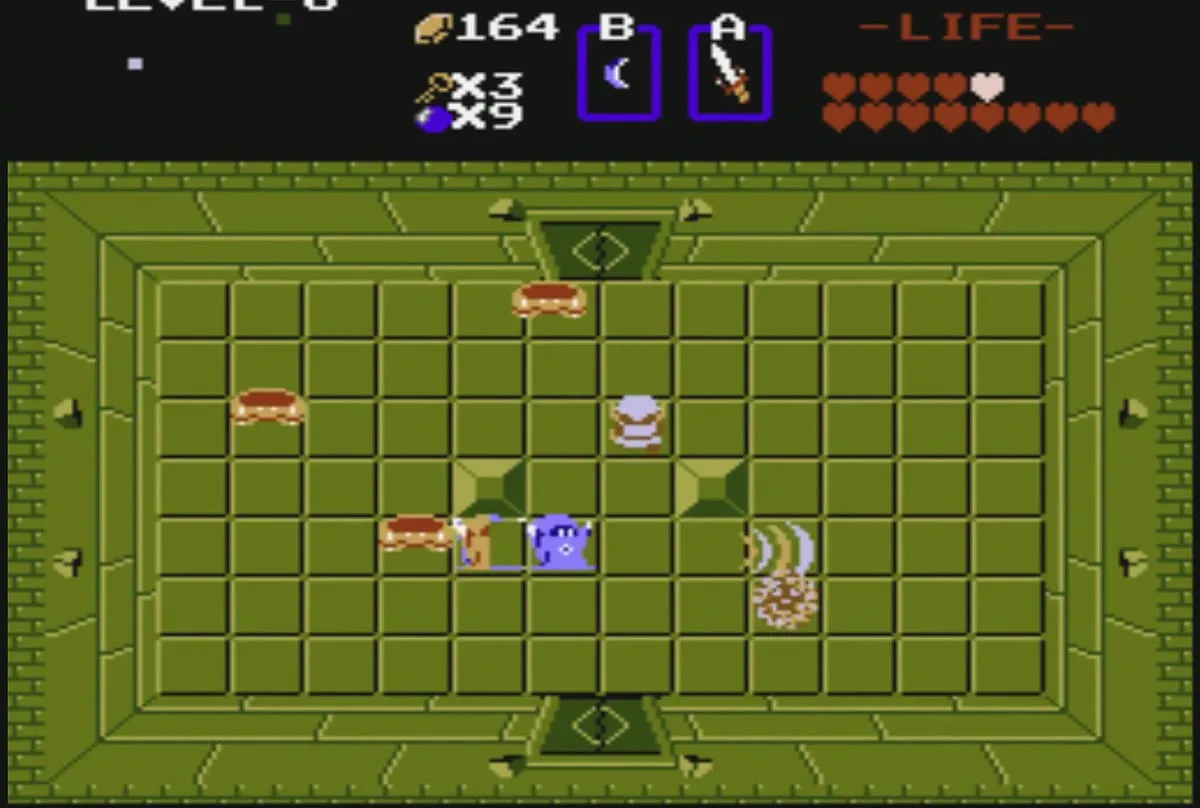
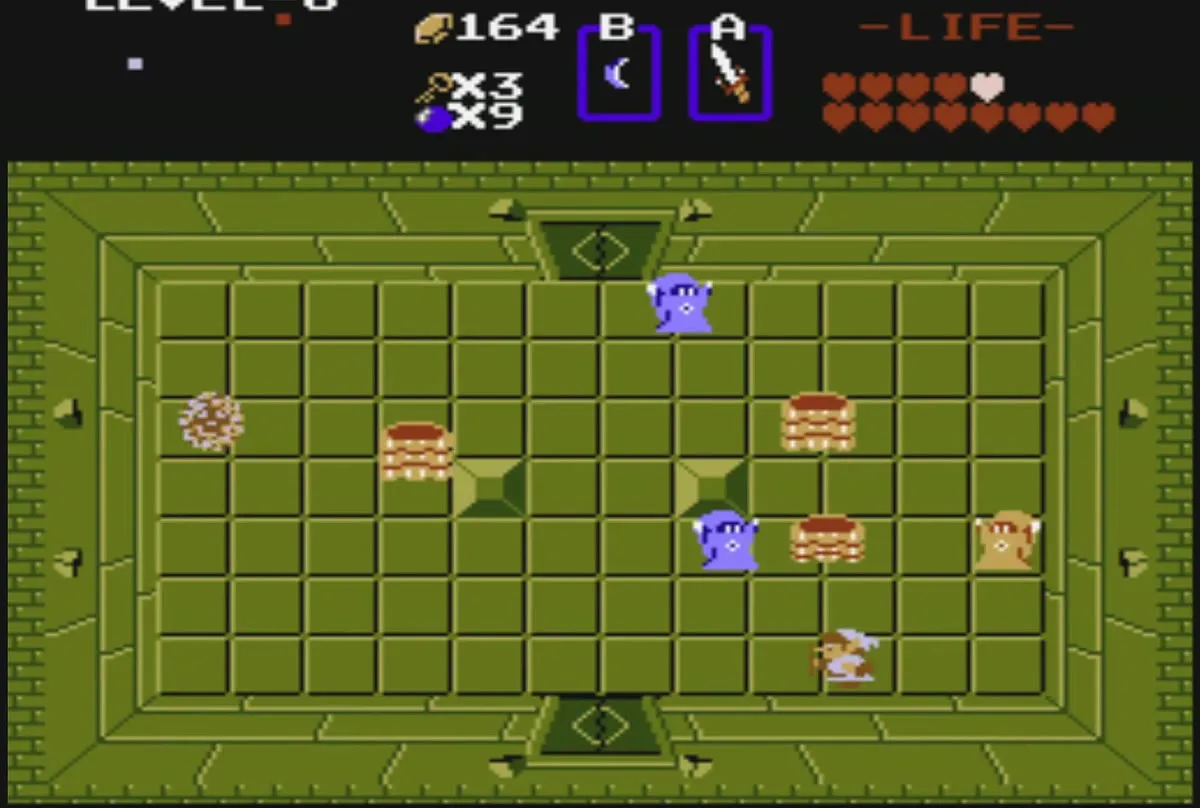
Continue up through the block-filled rooms, where Vires and Like-Likes attack. Watch for the Bubbles, which can take away your sword for a few seconds, so keep your distance from them. Use a key on each locked door that you pass, and check your key count before you open one.
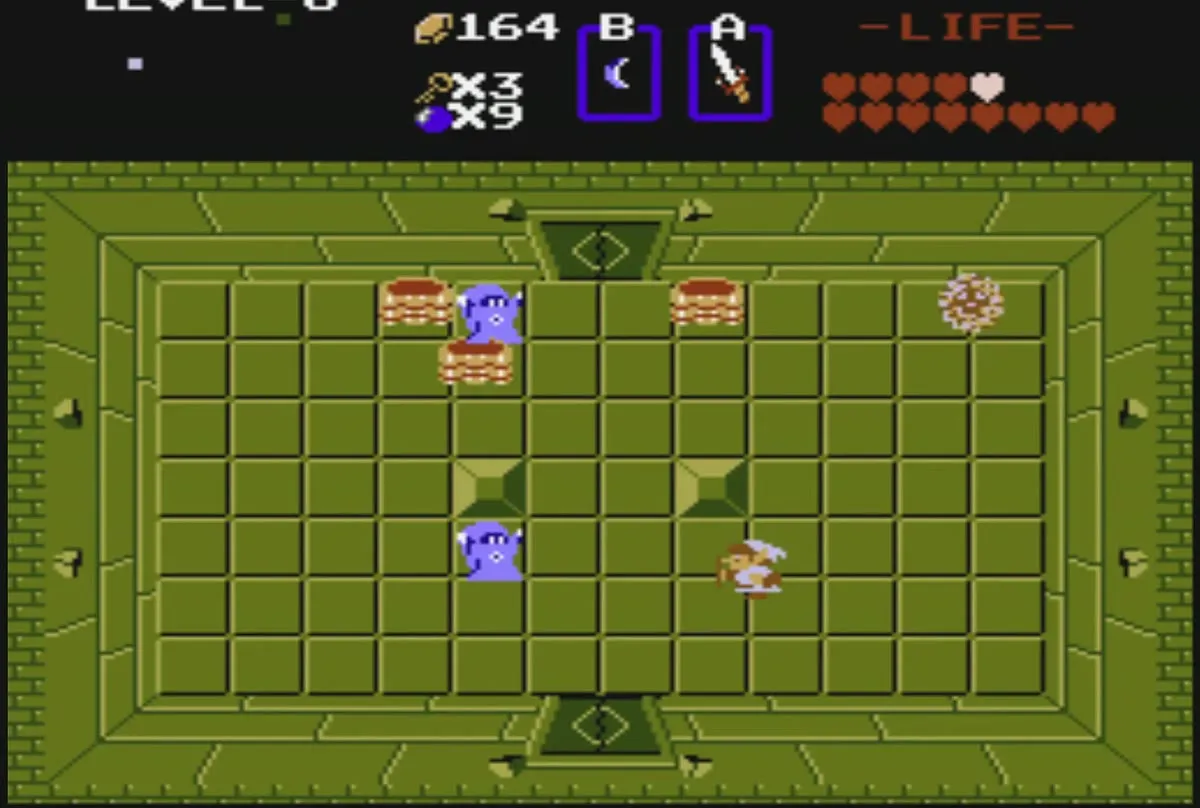
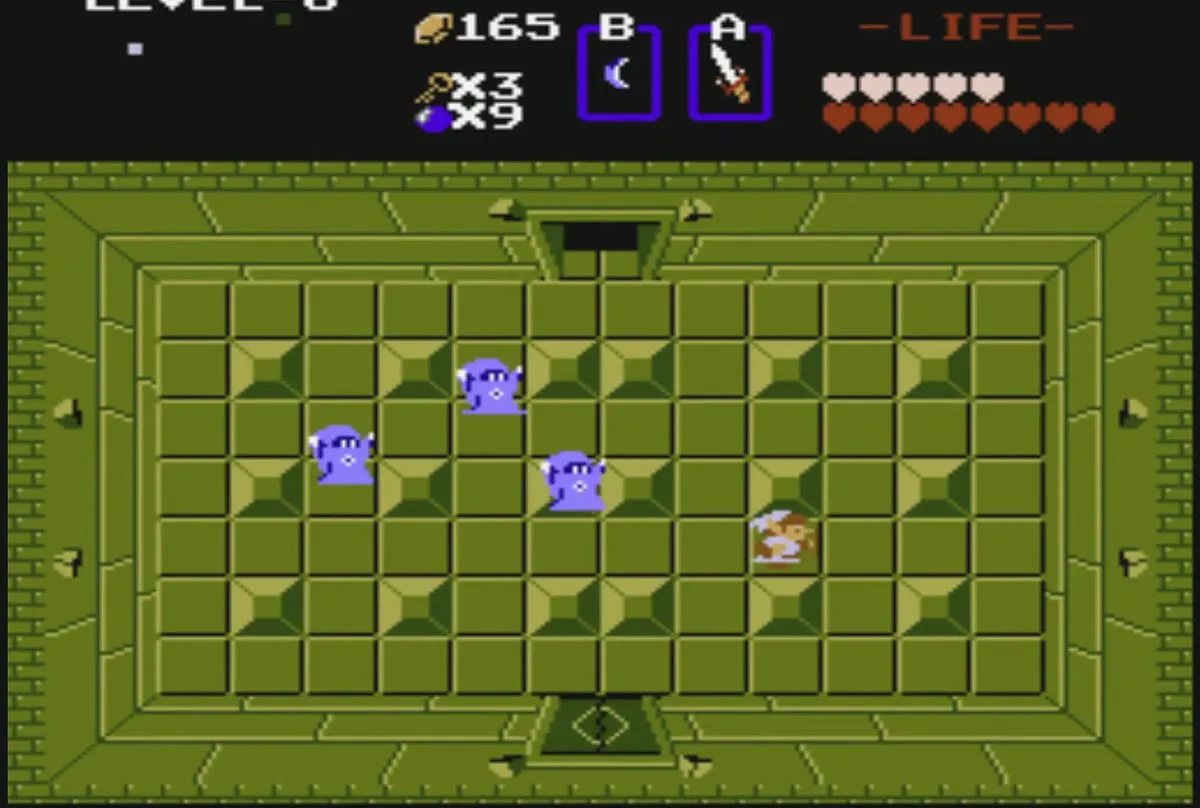

The three-headed Gleeok
The next room holds the mini-boss of this dungeon, a three-headed Gleeok. Its necks grow from the body and its heads shoot fireballs, so keep moving and strike the heads one at a time. You can also skip the fight: bomb the right wall of the room before the Gleeok and walk through the hole into the room beyond.
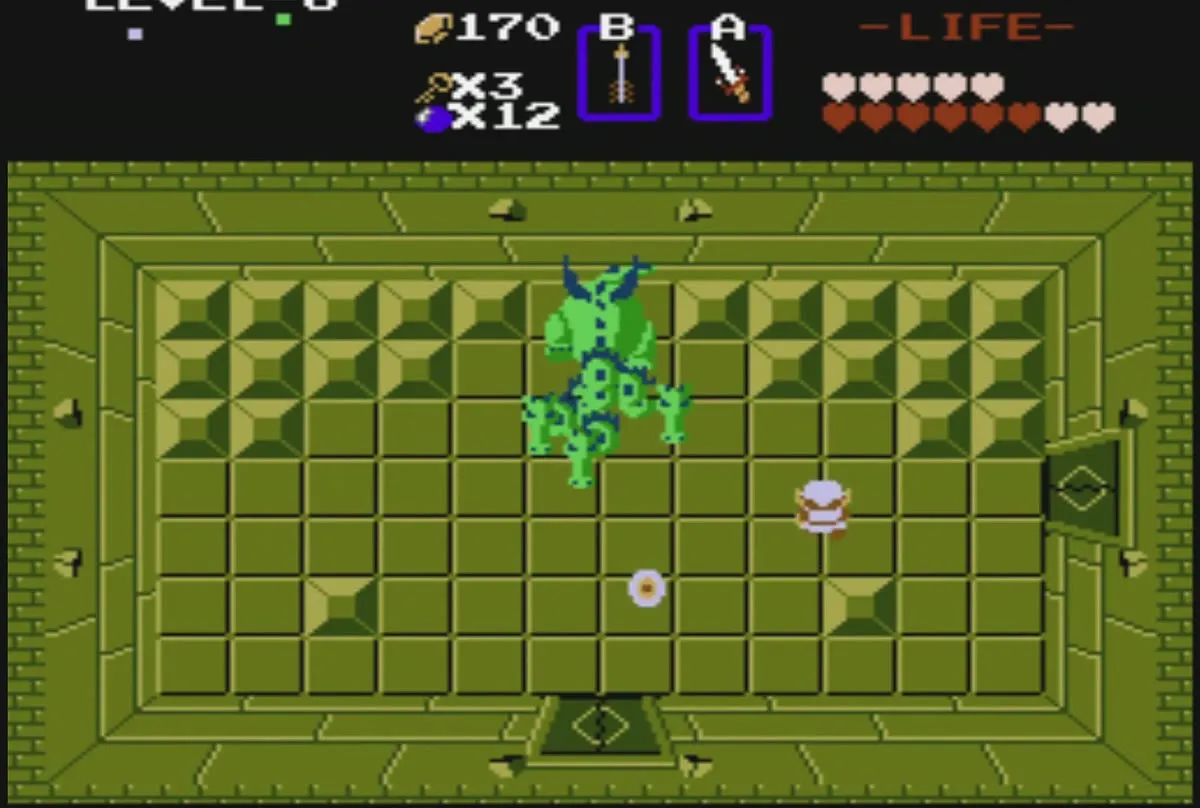
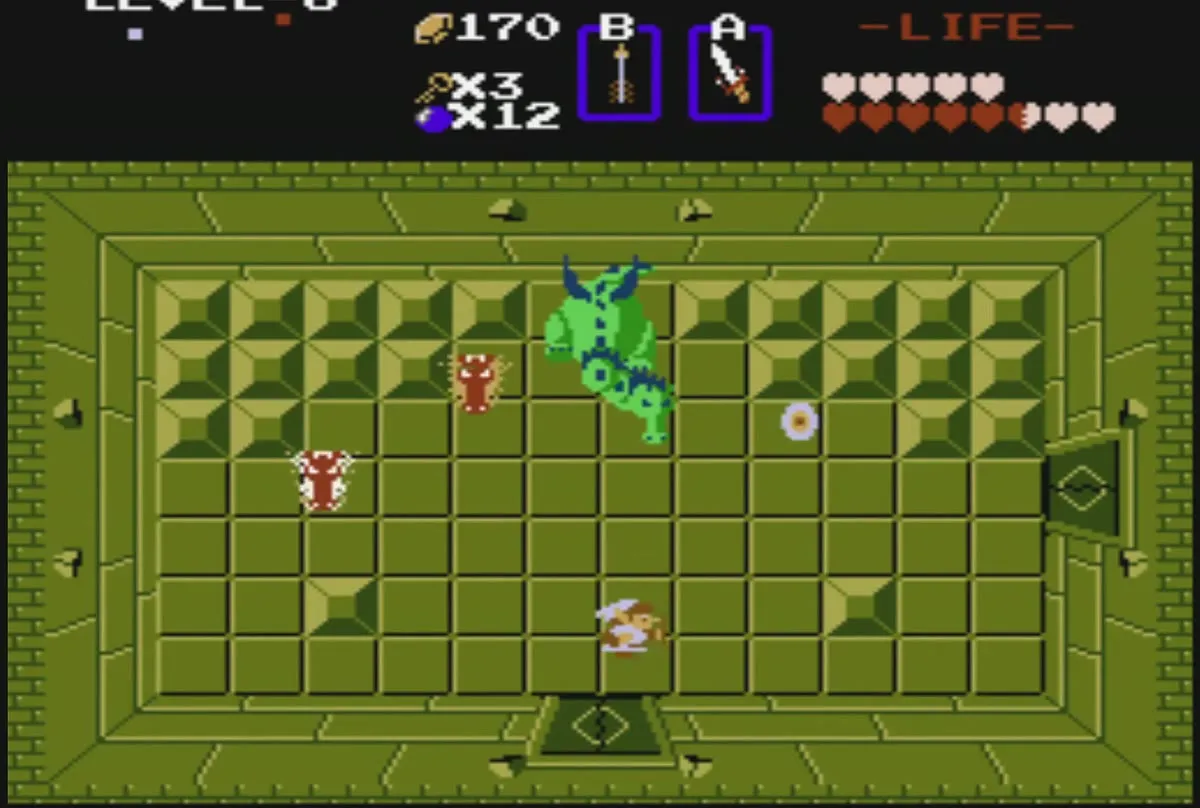
Beat the Gleeok, or go around it. Once it is gone, the room to the right holds the Map. Pick it up and then return to the room with the Wizzrobes. Clearing the room is the first step toward the Magical Rod, and you should keep your bombs ready for the next room’s walls.

Magical Rod and the staircase
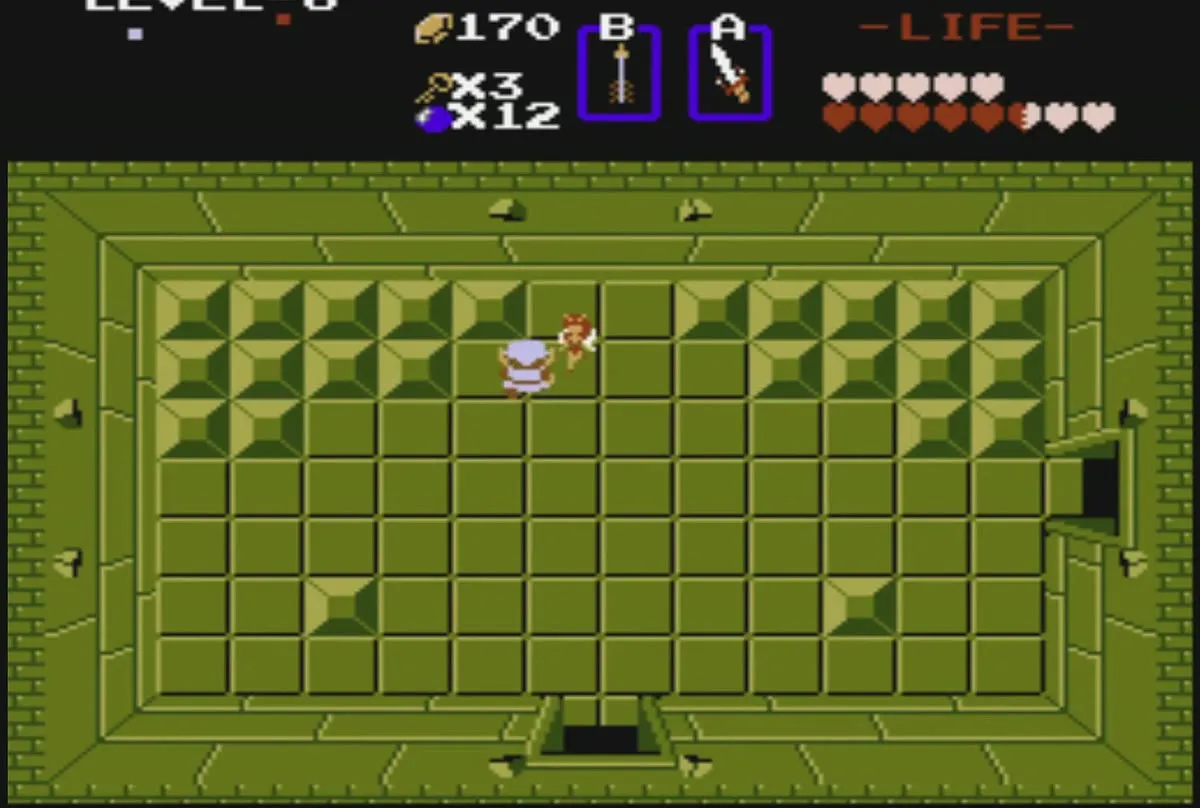
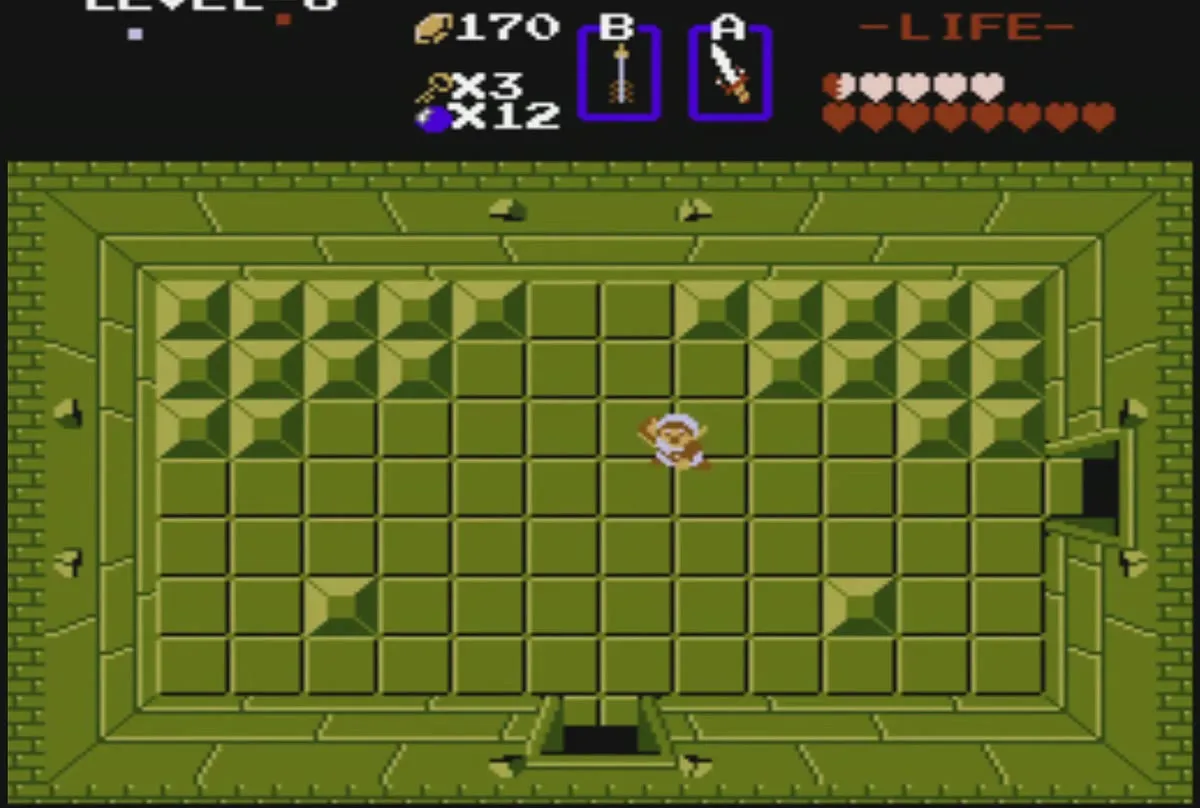
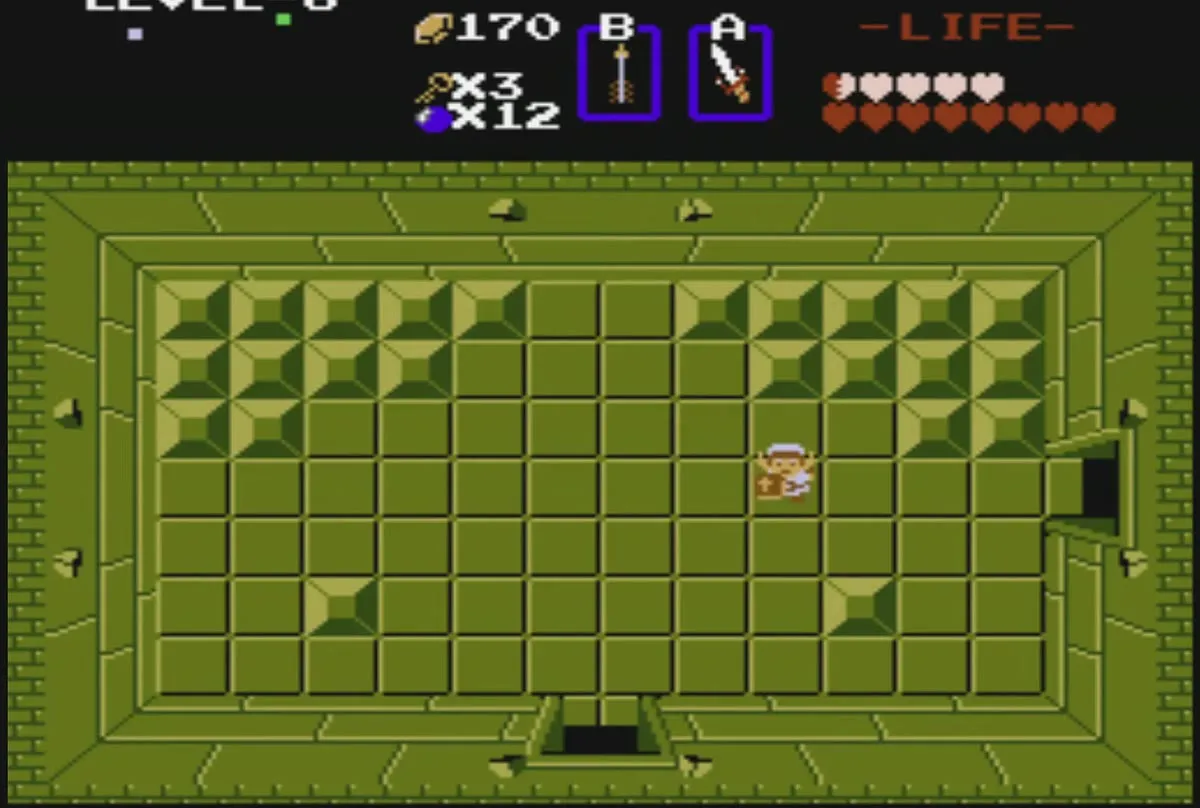
In the room with the Wizzrobes, defeat every enemy, then push the left block to reveal a staircase. Go down into the underground passage and clear it, and take the Magical Rod at the far end. The rod fires magic beams like the ones the Wizzrobes shoot.
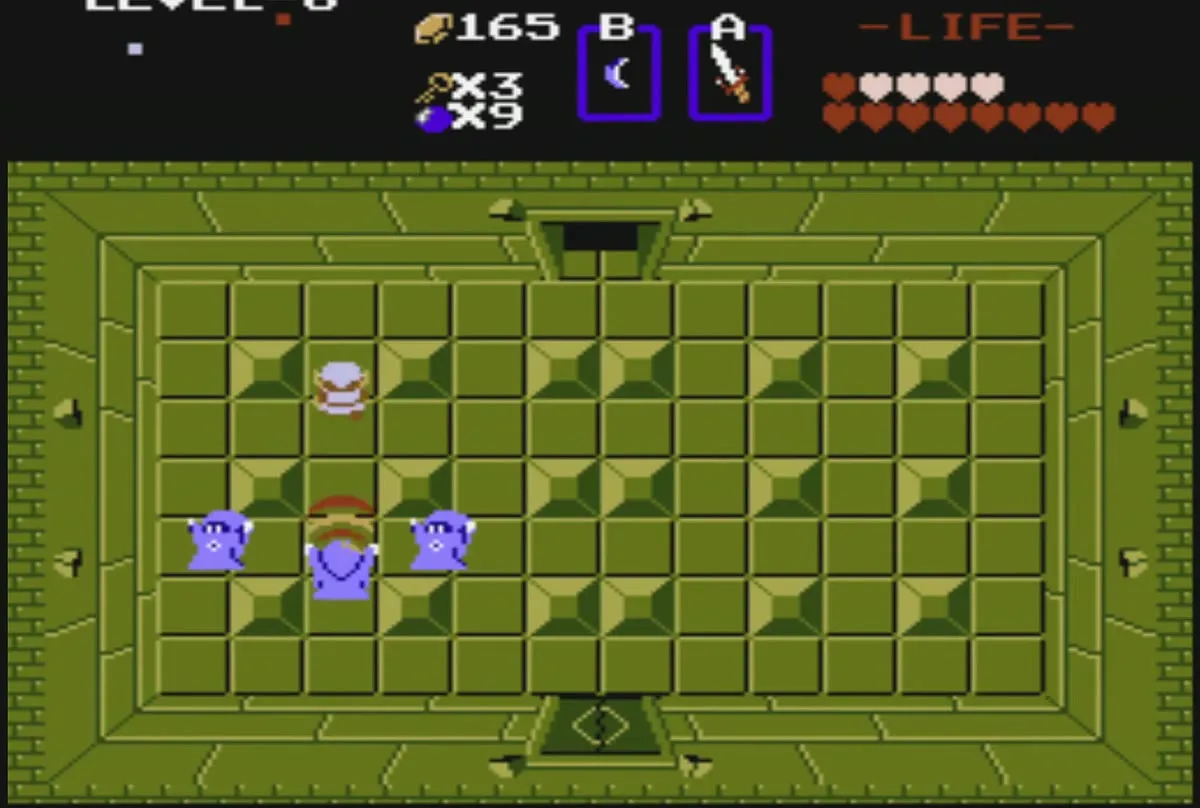
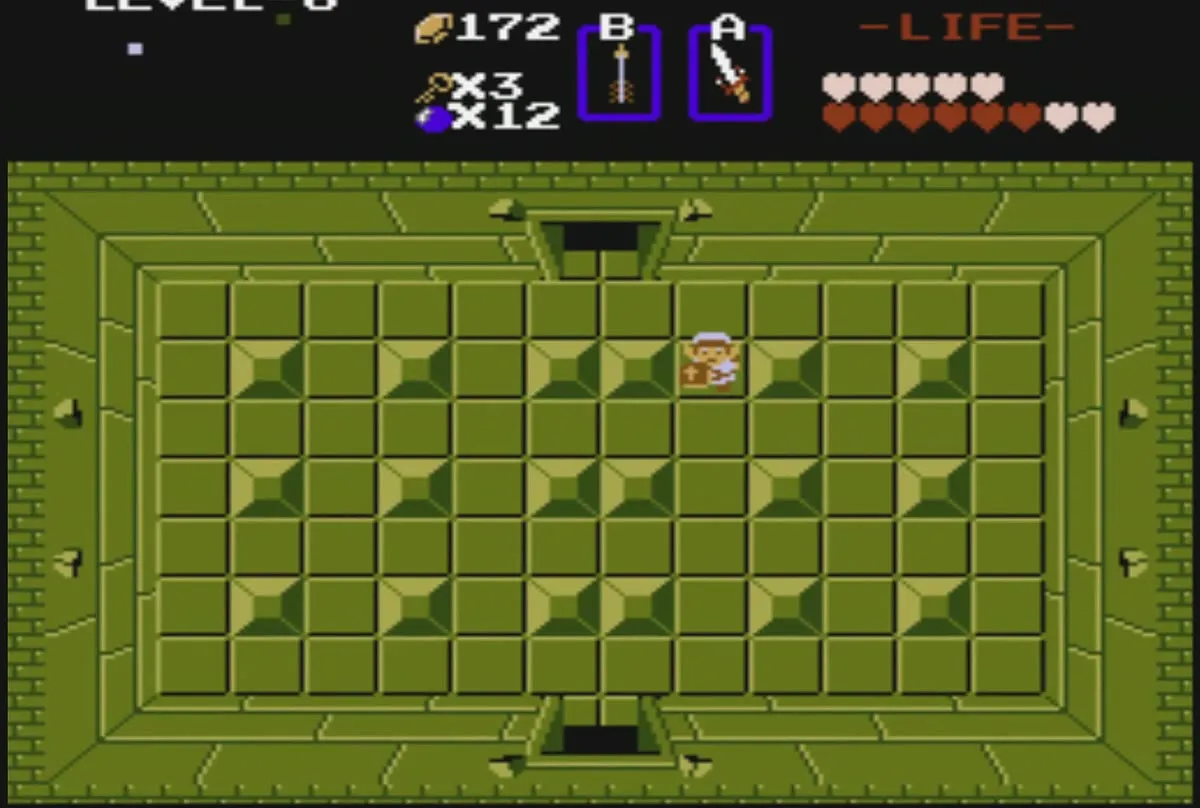
Leave the underground passage and go down through the dungeon, going down one screen and then left. A dark room on this stretch holds a small key on the floor, guarded by Wizzrobes, so take it. Continue through the Vire room, and clear the Wizzrobes and Like-Likes in the room that follows. Push the single block there to open a staircase that leads to the boss area.
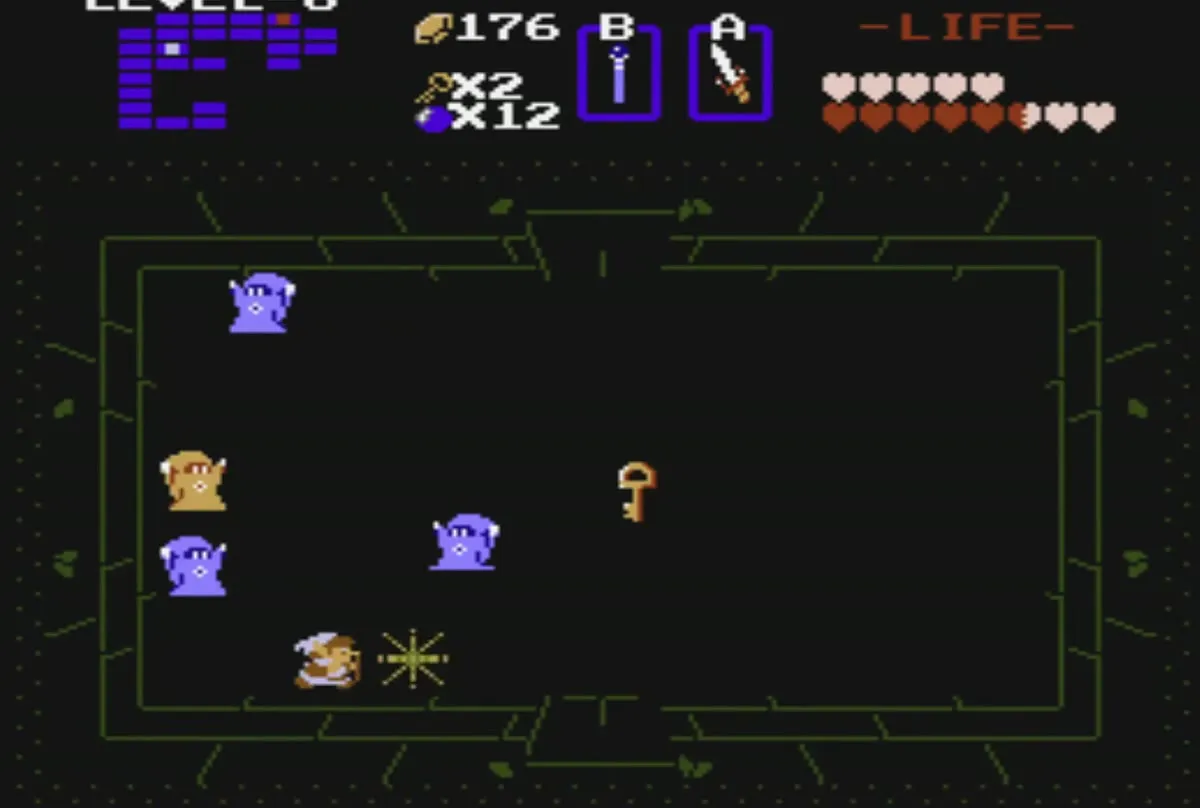
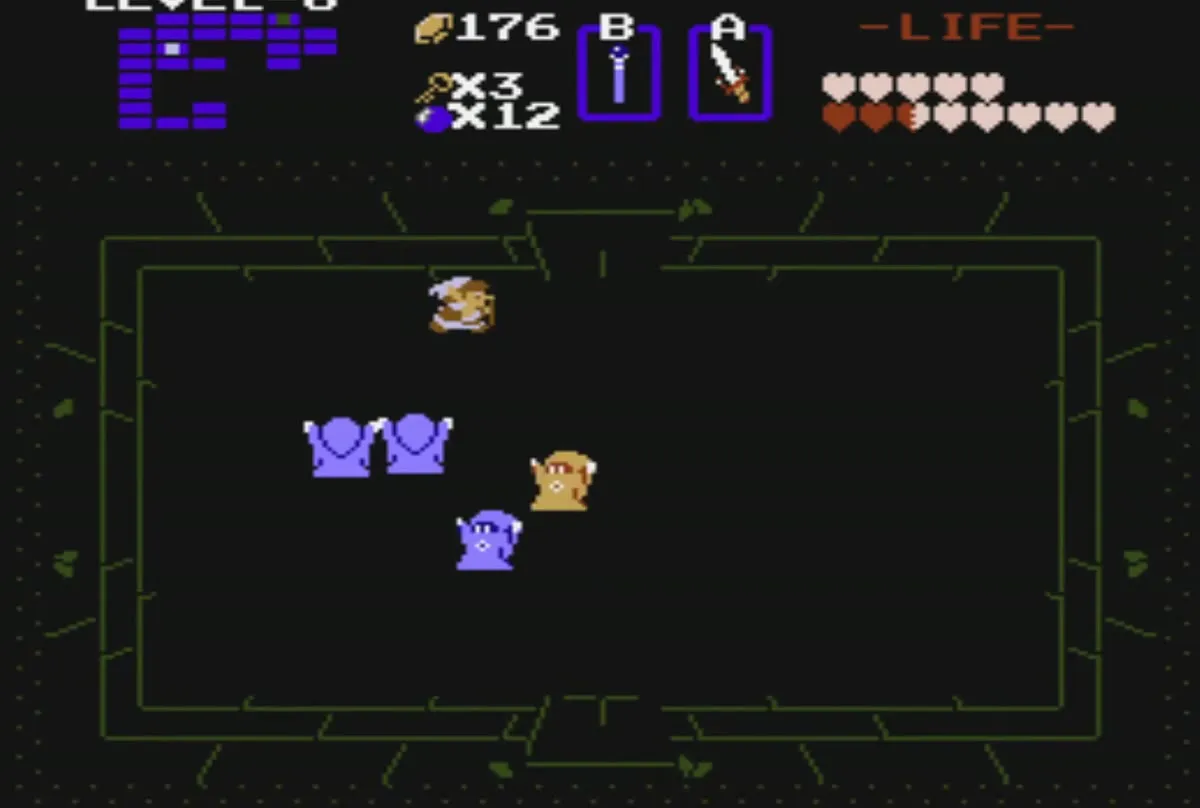
Use your remaining keys on the locked doors in the boss approach, and watch the key count so you do not run out. A dead end below the boss room holds only Wizzrobes, so skip it and go up toward the boss.
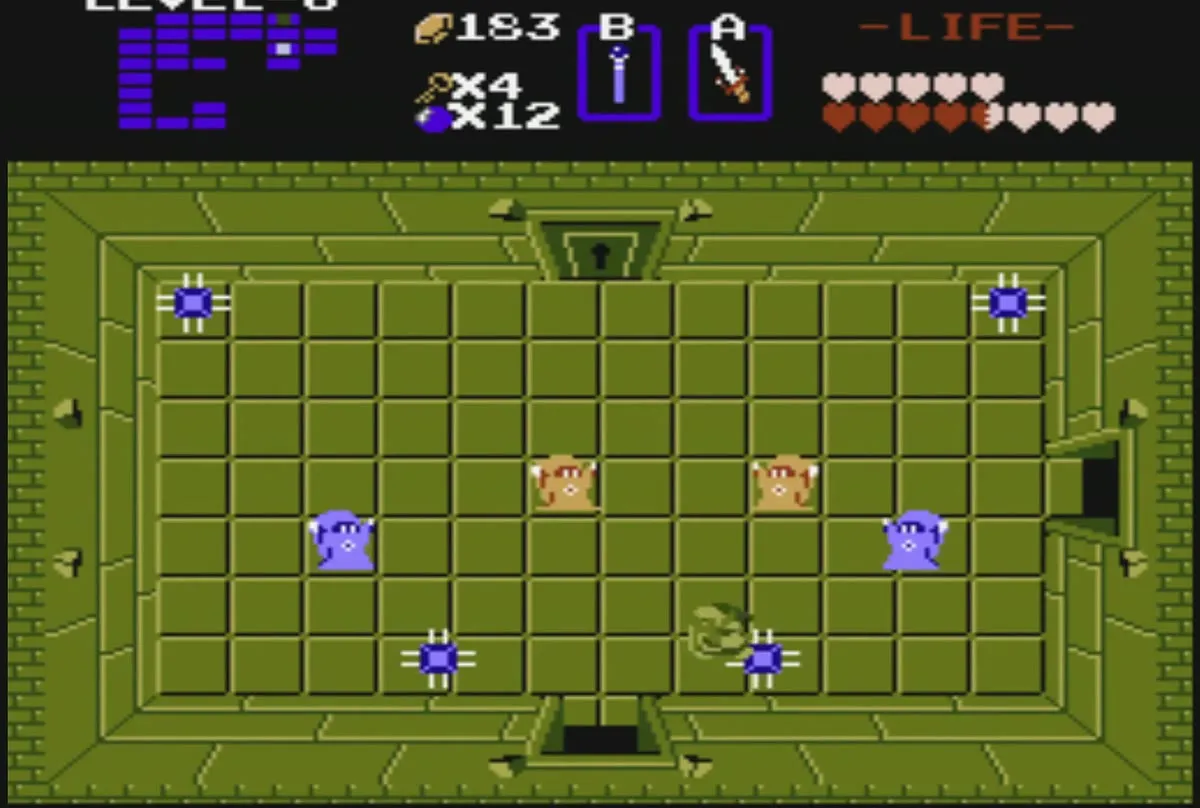
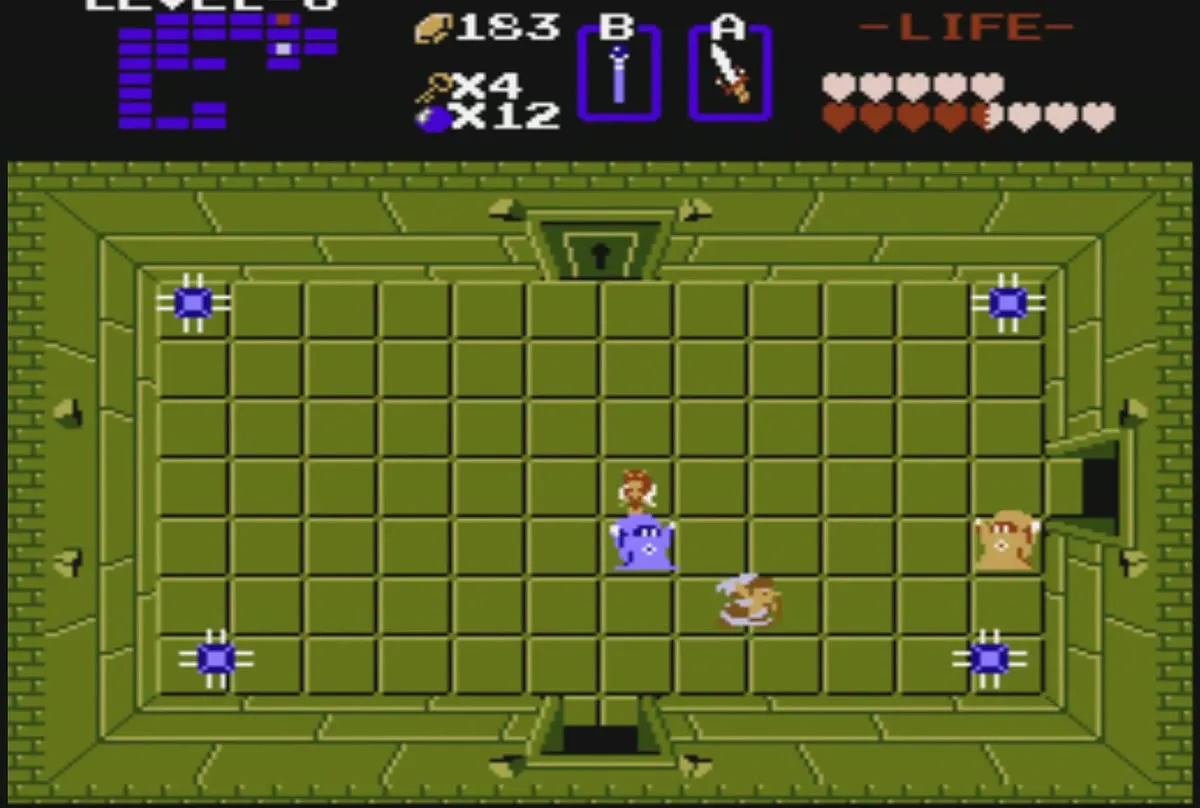

Gohma boss
Gohma is a large crab-like creature with one big eye in the middle of its body. The eye opens and closes, and the boss sends fireballs at you, so keep moving and avoid its path. Only arrows damage the eye, which means you need a Bow and arrows for this fight, and sword strikes do nothing. The red Gohma of this level falls to one arrow, while the blue Gohma that appear in Level 8 need three.
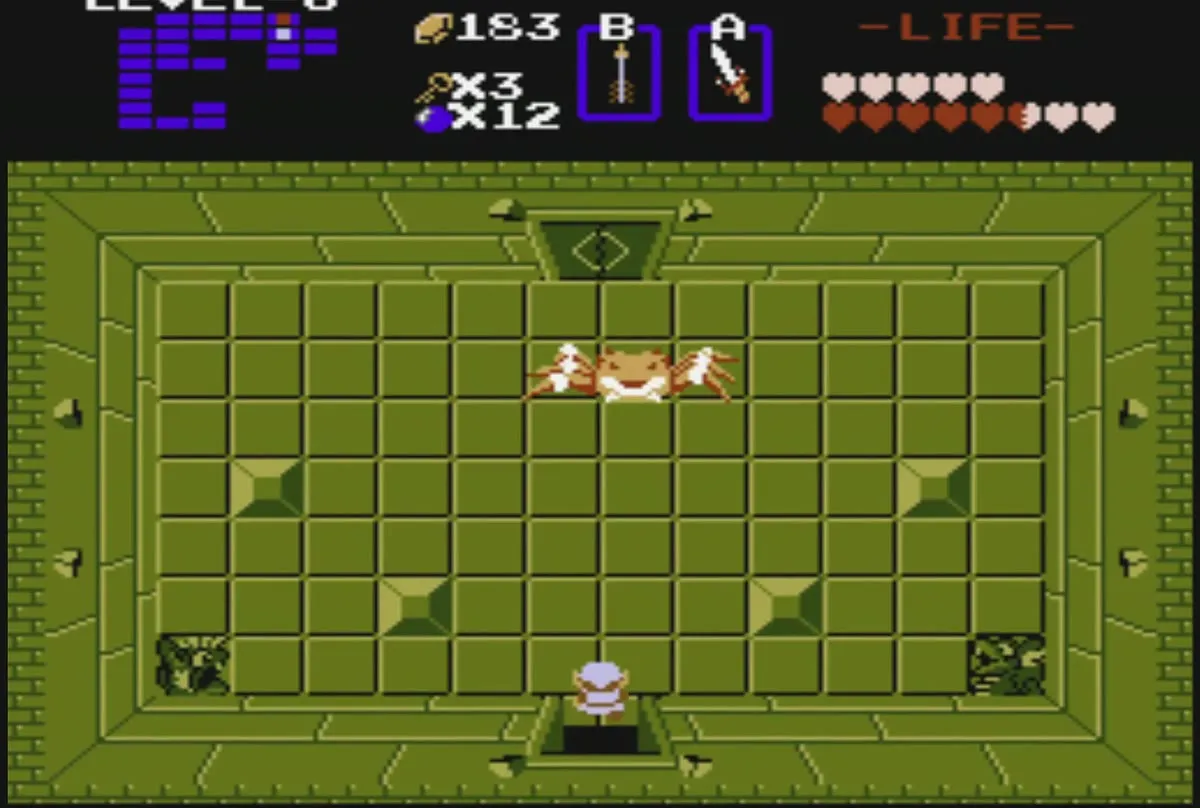
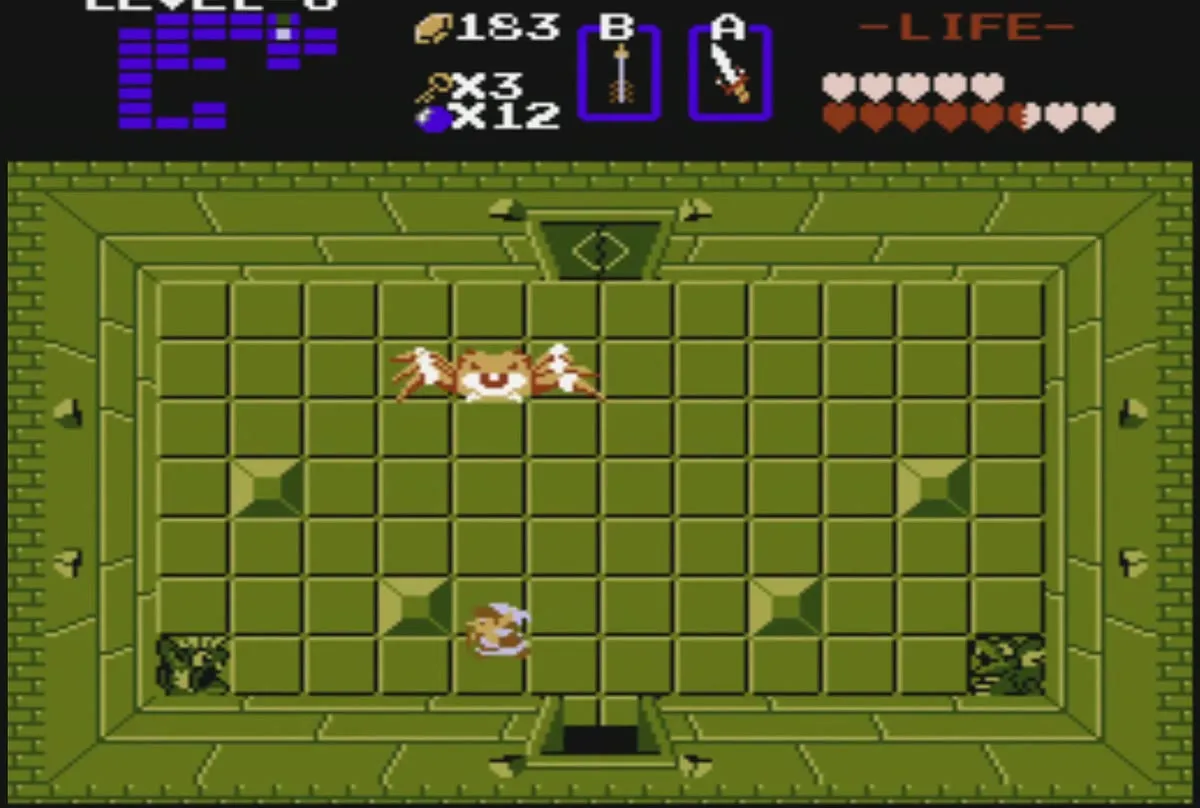
Wait for the eye to open, then fire an arrow into it. The old man’s hint is the signal to watch: aim at the eye, not at the body. One well-placed arrow is enough to defeat Gohma in the original game, and the boss must be hit at the moment the eye is exposed.
When Gohma dies, collect the Heart Container it leaves in the room, which raises your maximum life by one heart, from thirteen to fourteen. Then go up through the open door at the top of the boss room into the room above and take the sixth Triforce of Wisdom piece there.
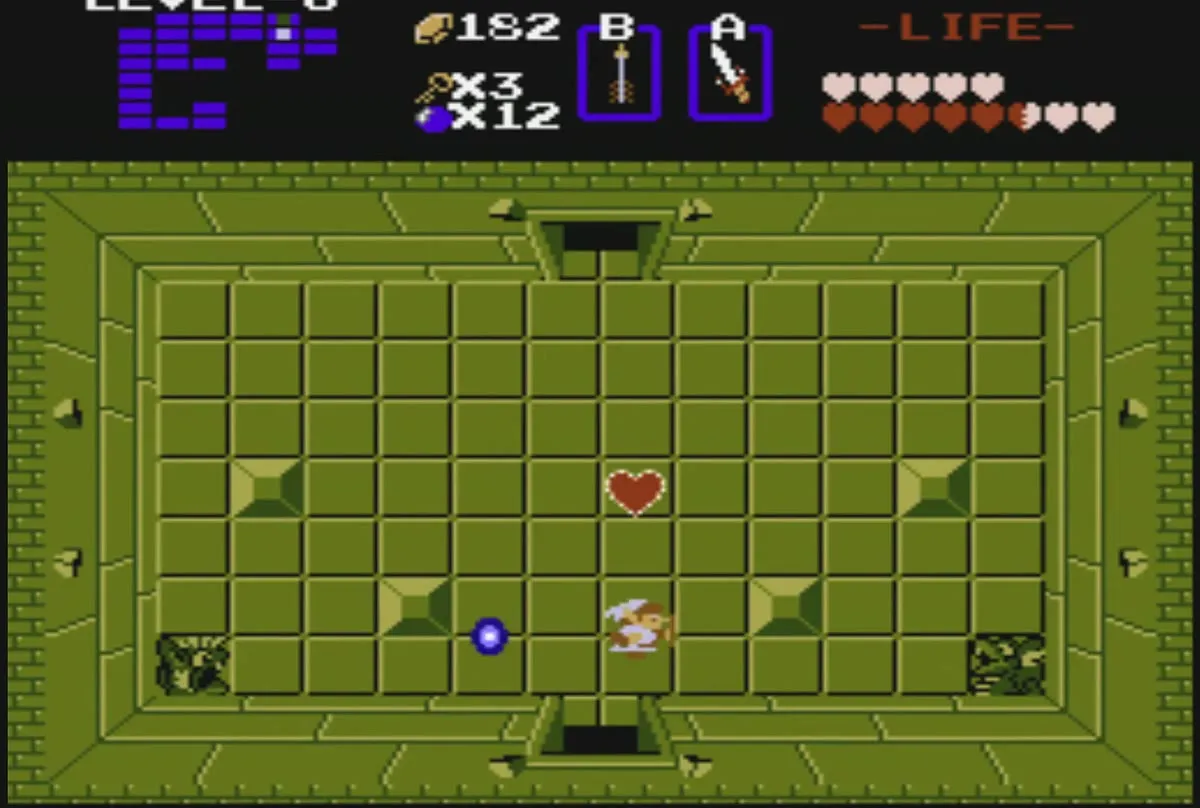
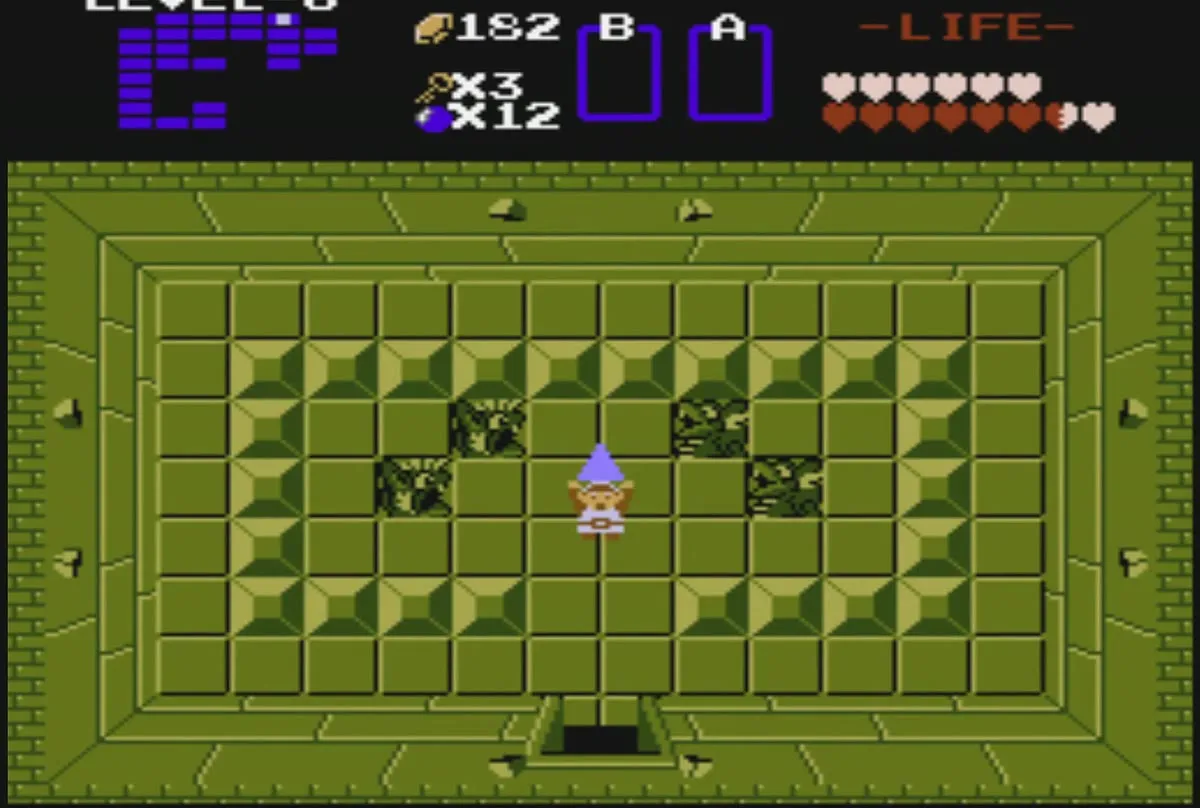
Taking the Triforce piece carries you straight out of the dungeon. You appear at the cave in the graveyard, where the next leg of the route starts.
Chapter checklist
| Type | Name | Where |
|---|---|---|
 Heart Container | Gohma reward | in the boss room after Gohma dies |
| Triforce piece | Triforce of Wisdom, sixth piece | room above the Gohma boss room |
| Key item | Magical Rod | underground passage behind the push block in the Wizzrobe room |
| Dungeon item | Map | room to the right of the three-headed Gleeok |
| Dungeon item | Compass | room above the entrance, after the Zols |
| Small keys | Several | Wizzrobe rooms, Zol room, and the middle of the dungeon |
| Old man hint | “AIM AT THE EYES OF GOHMA” | room behind the first locked door |
| Shop | Red Potion 68, Blue Potion 40 | medicine woman beside the graveyard, after showing the Letter |
