
























The Legend of Zelda Second Quest Walkthrough12 chapters
- Second Quest StartBuy the Blue Candle, get the 100-rupee cave gift, take the first Heart Container and Power Bracelet, reach Level 1.
- Second Quest Level 1Wooden Boomerang, Map and Compass, Aquamentus for a Heart Container.
- Second Quest Blue Ring and White SwordBuy the 250-rupee Blue Ring from the hidden northeast shop, get the White Sword with five hearts.
- Second Quest Level 2Enter via the Armos stairway, collect keys, the Map and the Recorder, then beat two-headed Gleeok for a Heart Container.
- Second Quest Level 3Pond entrance and Recorder, Monster Bait for the Magical Boomerang, three Dodongos, and the third Triforce piece.
- Second Quest Level 4Enter the Lost Hills dungeon, get the Book of Magic, Compass, Map, bomb upgrade, Heart Container, Raft.
- Second Quest Level 5Raft to the lake labyrinth, get the Bow, Map and Compass, beat the three-headed Gleeok and take the Triforce piece.
- Second Quest Magical Sword and LetterHeart Containers 8 and 9, the arrow shop, the Letter, then the graveyard stairs to Level 6.
- Second Quest Level 6Open the graveyard entrance with the Recorder, get the Stepladder, and beat blue Gohma for the Triforce piece.
- Second Quest Level 7Burn the forest tree, collect the Red Candle, Map and Compass, then beat Gleeok for Heart Container 12.
- Second Quest Level 8Enter with the Stepladder and bombs, get the Magical Rod and Magical Key, buy the bomb upgrade, beat three Dodongos.
- Second Quest Level 9 and EndingReach the north-west entrance, collect the Map, Compass, Red Ring and Silver Arrow, then defeat Ganon.
| Covers | the graveyard entrance to Level 6, the Level 6 labyrinth, the medicine woman’s cave, and the far-dock Heart Container |
|---|---|
| Dungeon | Level 6 (Second Quest): needs the Recorder to open the entrance and the Bow for Gohma; mini-boss Gleeok; boss blue Gohma; Triforce piece 6 |
| Rewards | Stepladder, Map, Compass, Heart Container from Gohma, Triforce piece 6, Heart Container on the far dock (overworld), and the Blue and Red Potions from the medicine woman |
This chapter takes you from the graveyard in the north-west of Hyrule into the Second Quest’s sixth labyrinth. The Stepladder found inside lets you cross water for the far-dock Heart Container. Clear Level 6, defeat Gohma with arrows, and take the sixth Triforce piece, then return to the overworld for the potion shop and the far-dock heart (P6).
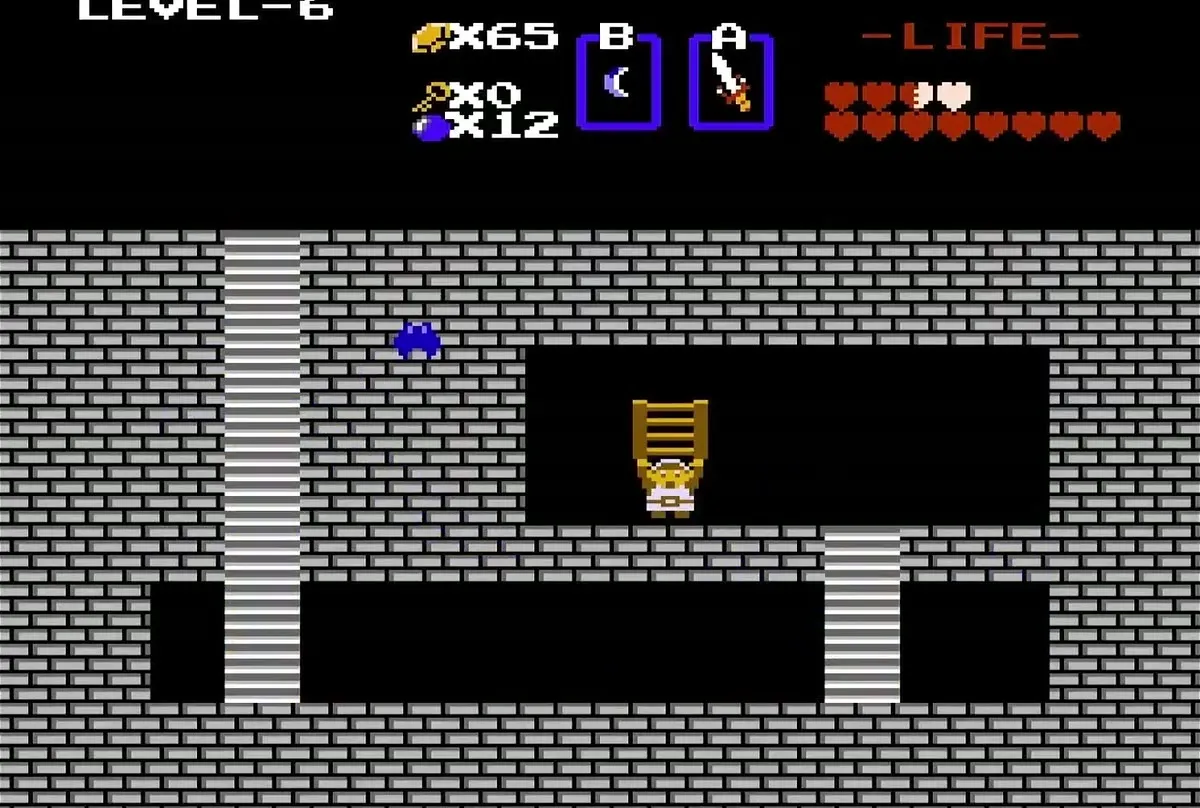
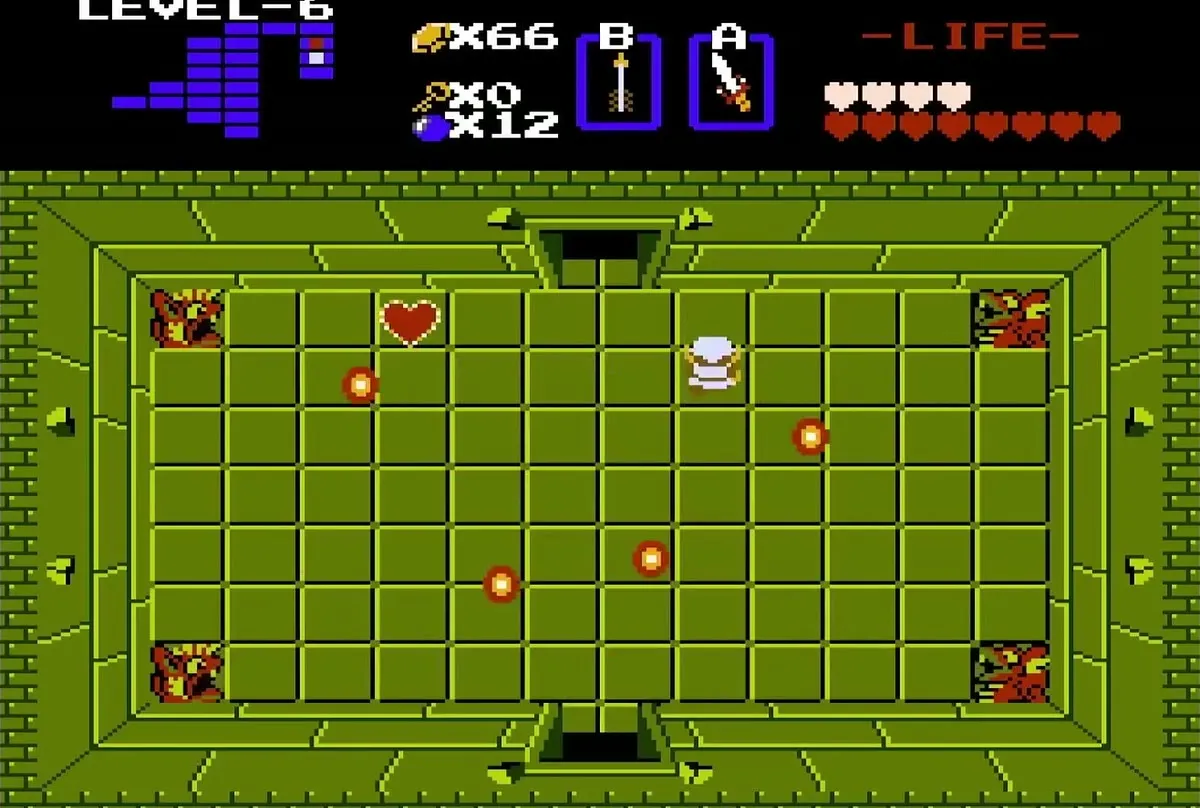
Table of Contents
Reaching the Level 6 entrance in the graveyard
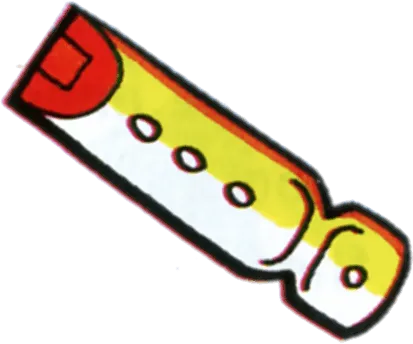
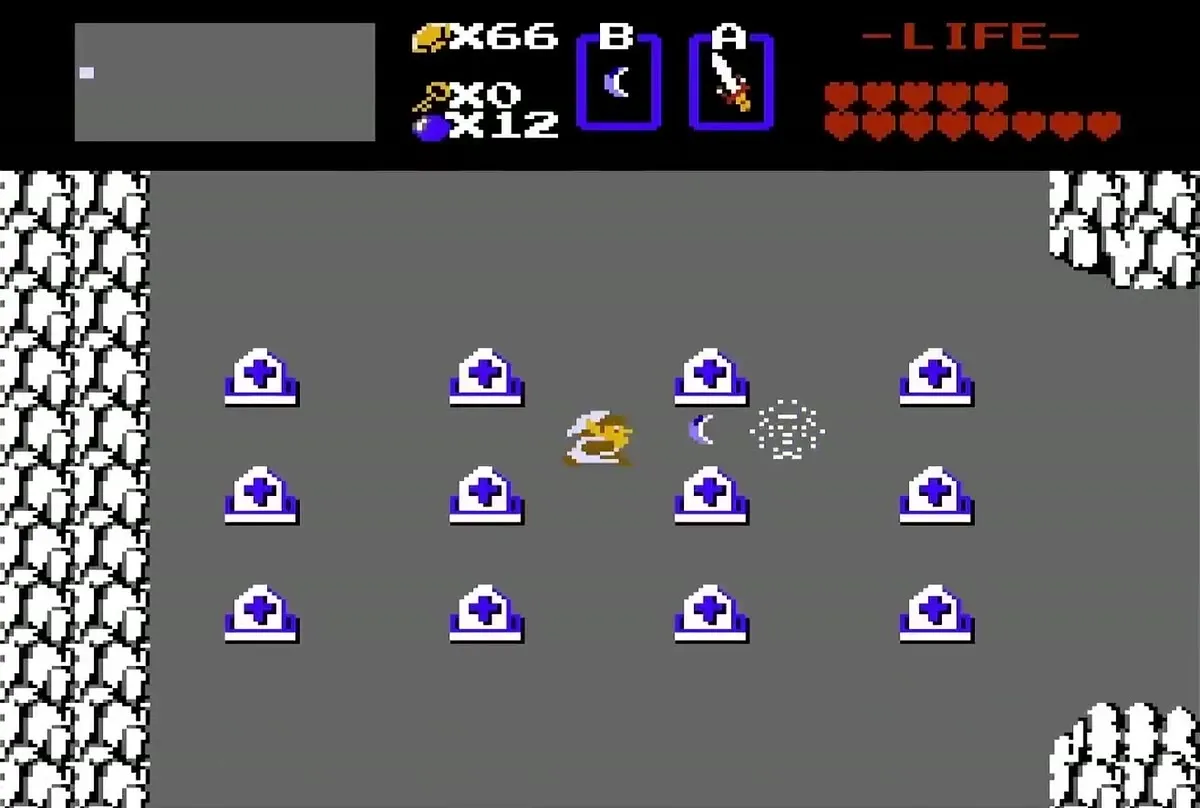
Play the Recorder on the graveyard tombstones
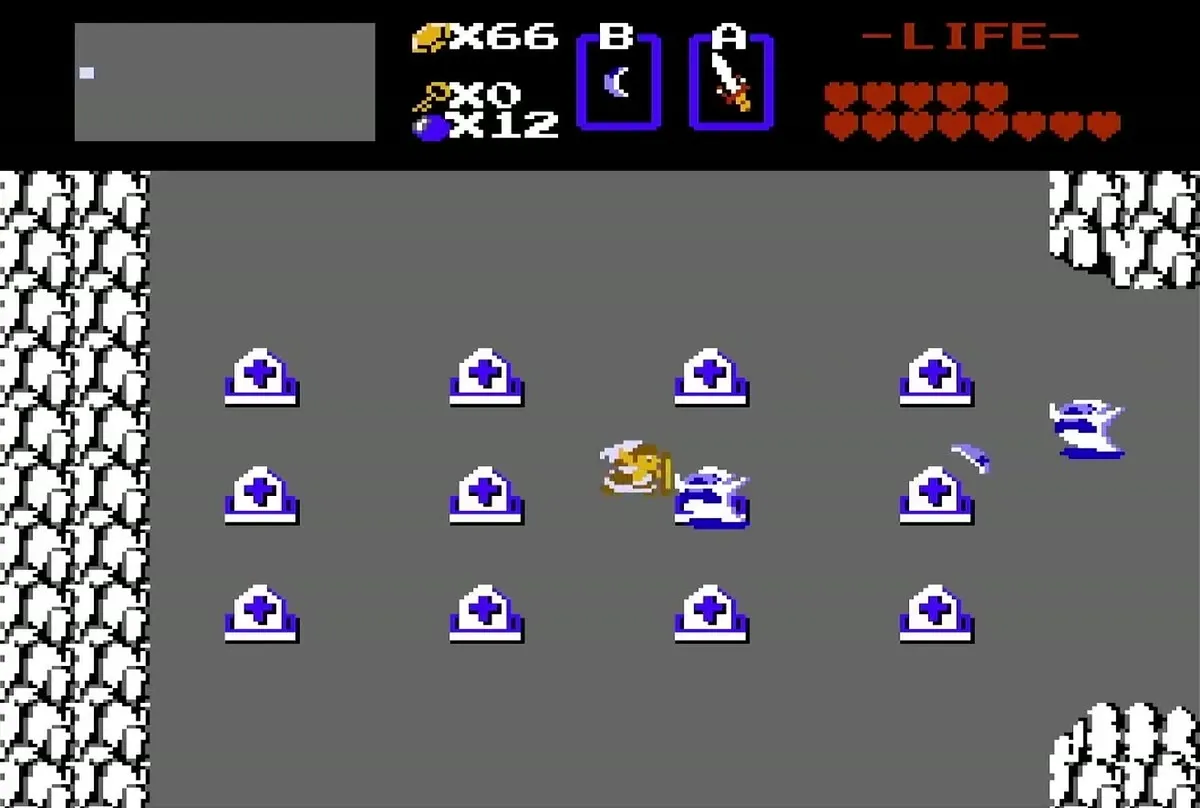
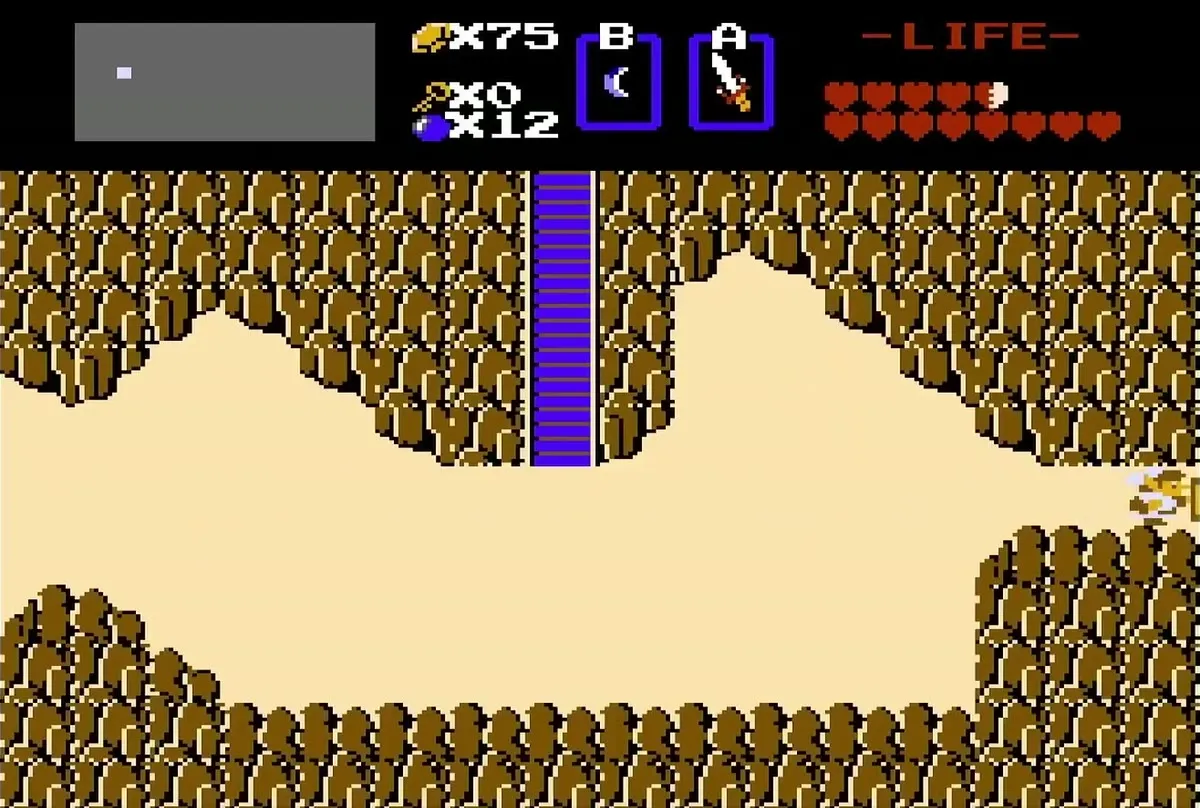
Head into the graveyard in the north-west corner of Hyrule (A4) and stand among the middle tombstones on the western side. The Second Quest hides the Level 6 entrance here, and it only appears after you play the Recorder. Play a few notes while standing near the tombstones, and one of them turns into a stairwell that leads into the labyrinth.
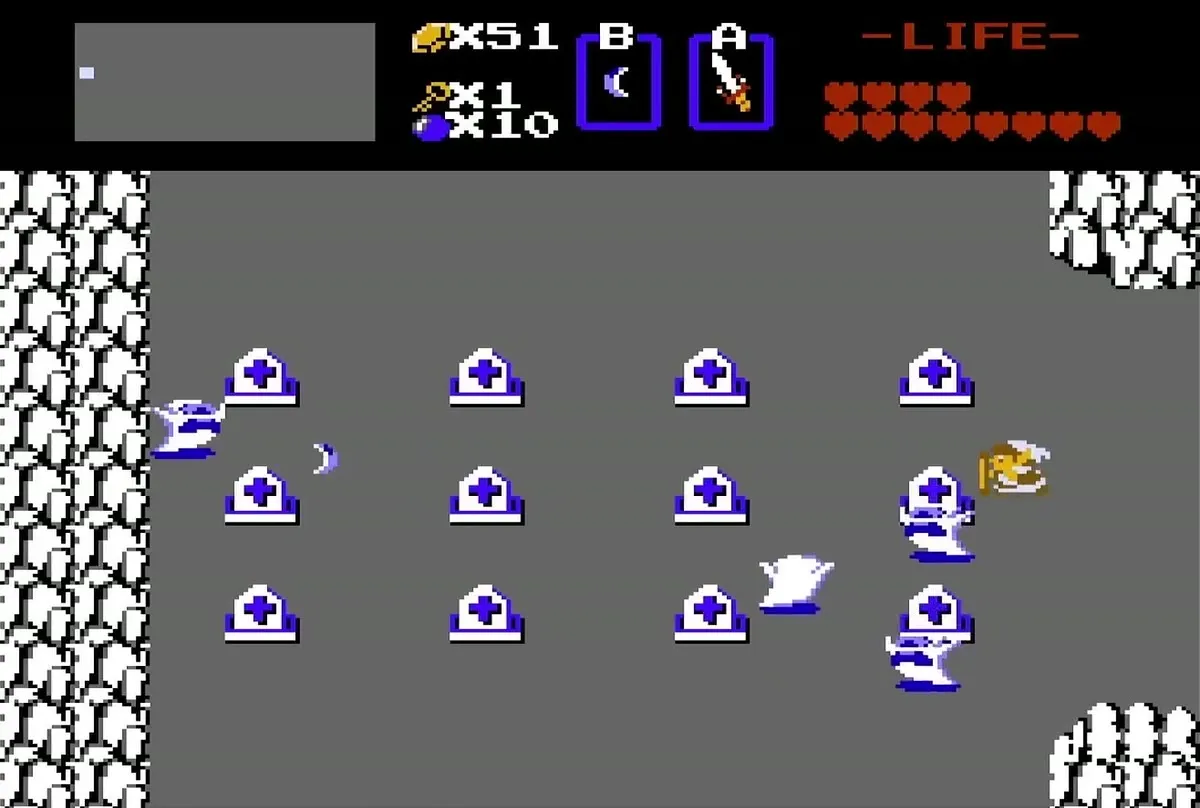
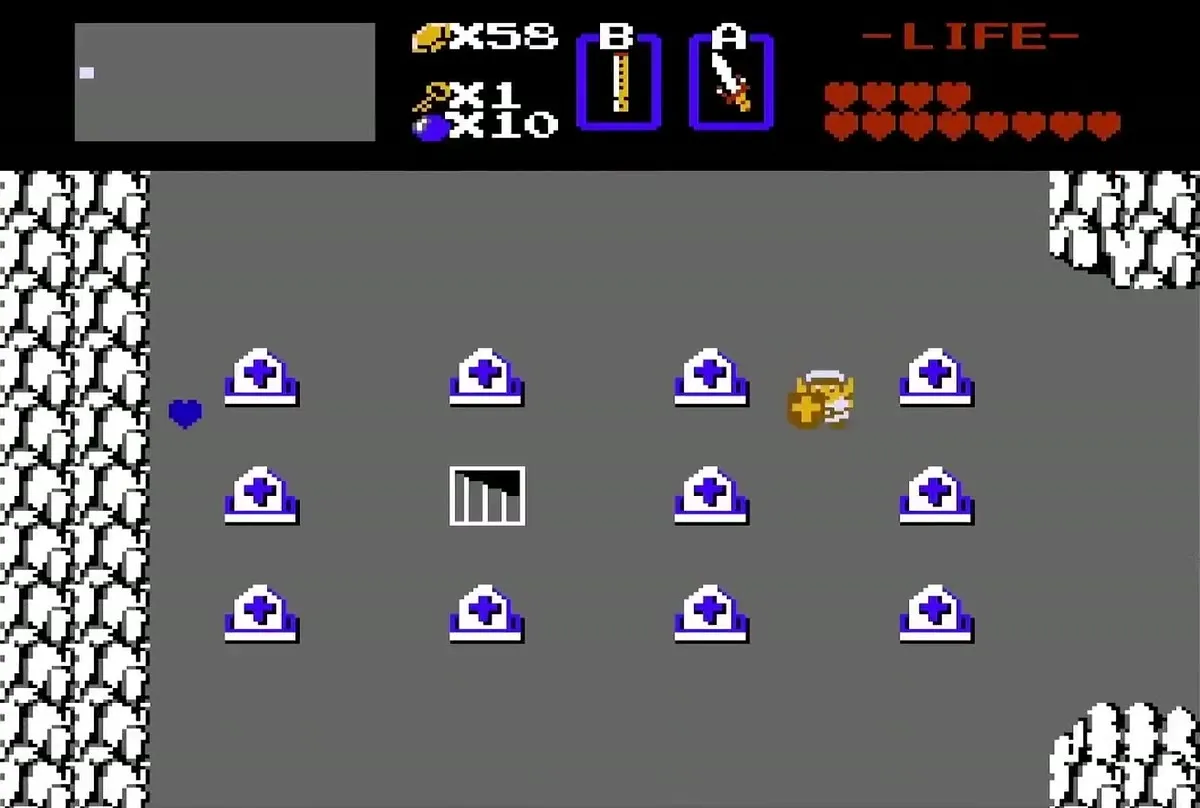
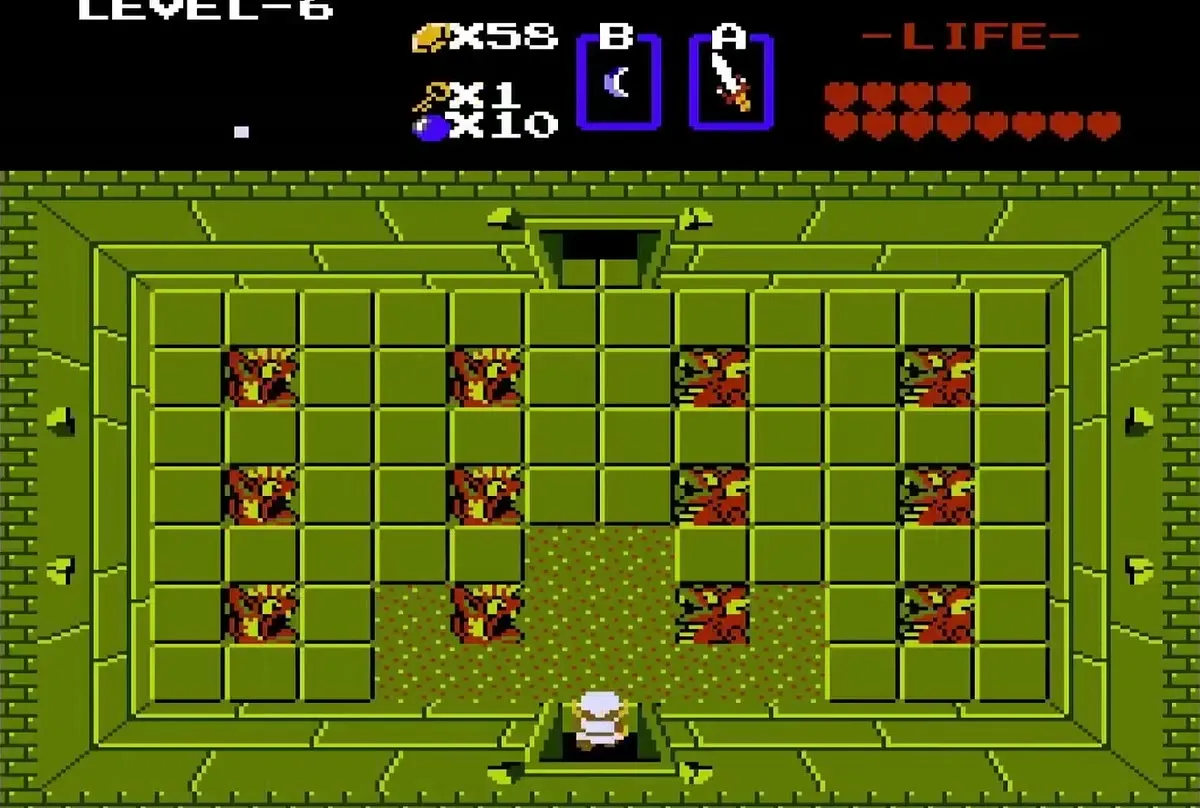
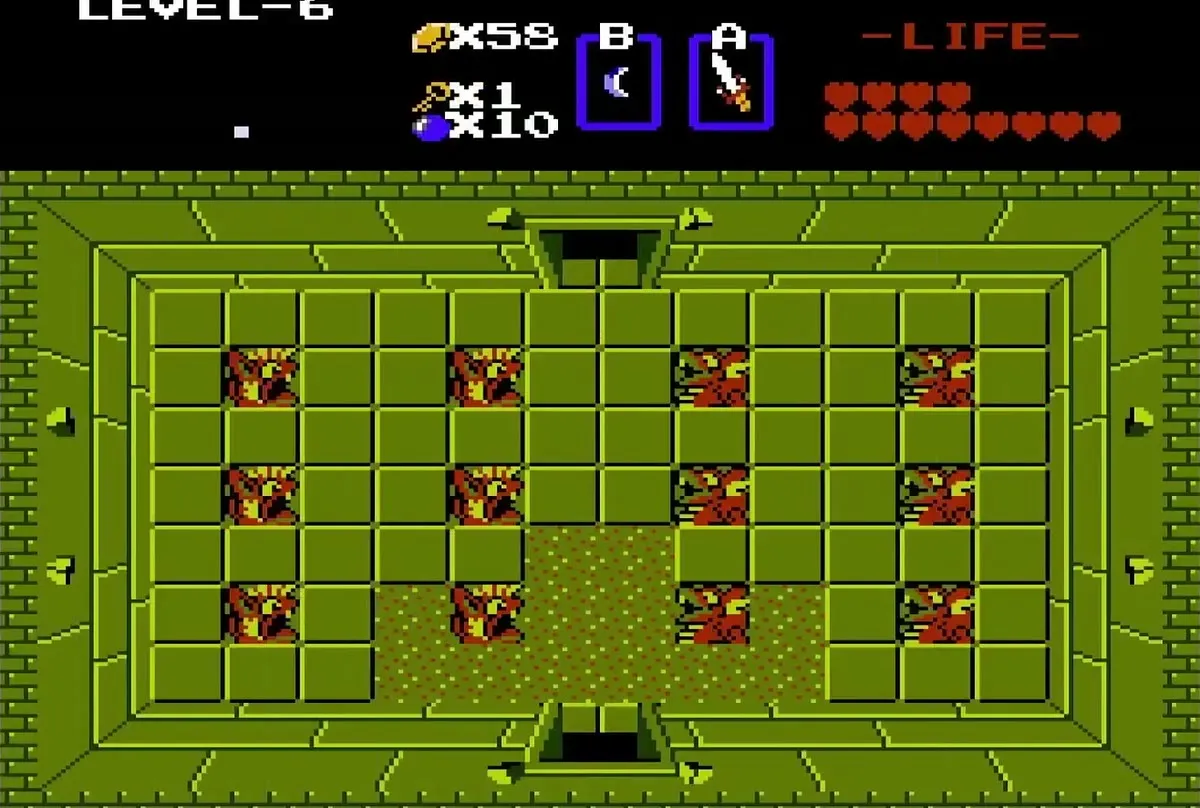
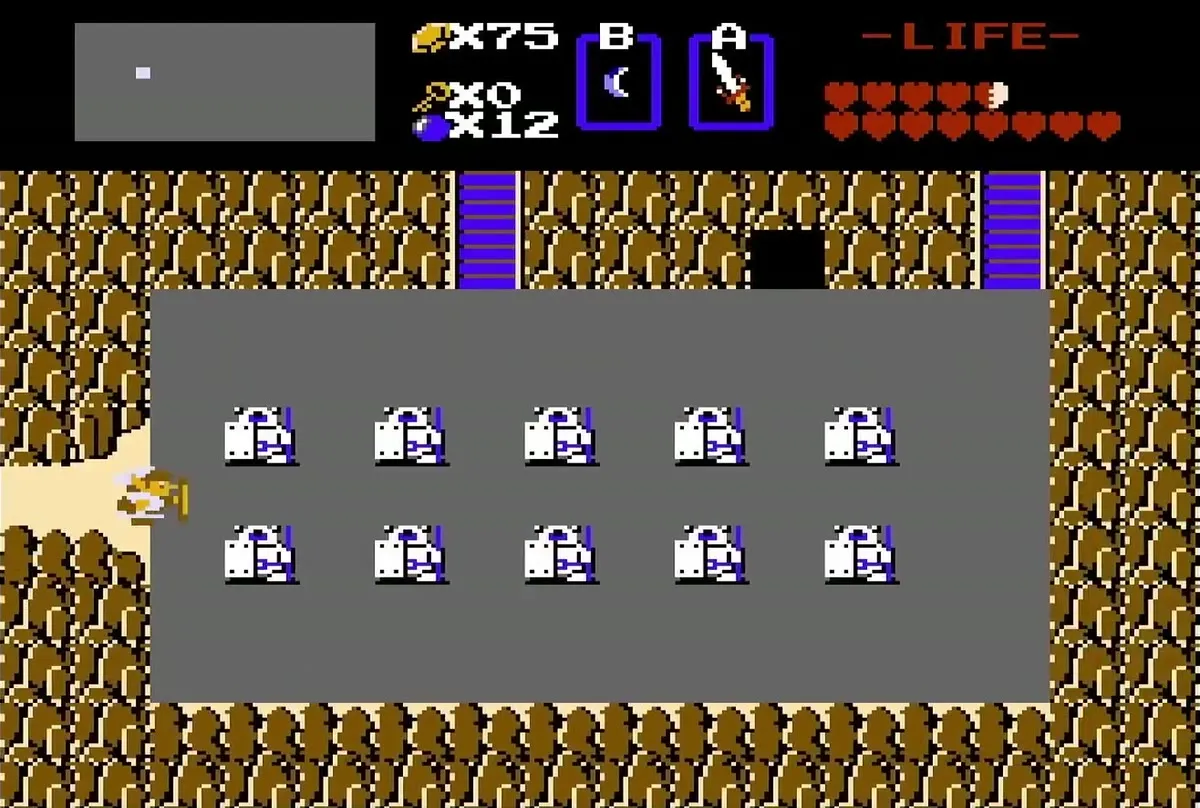
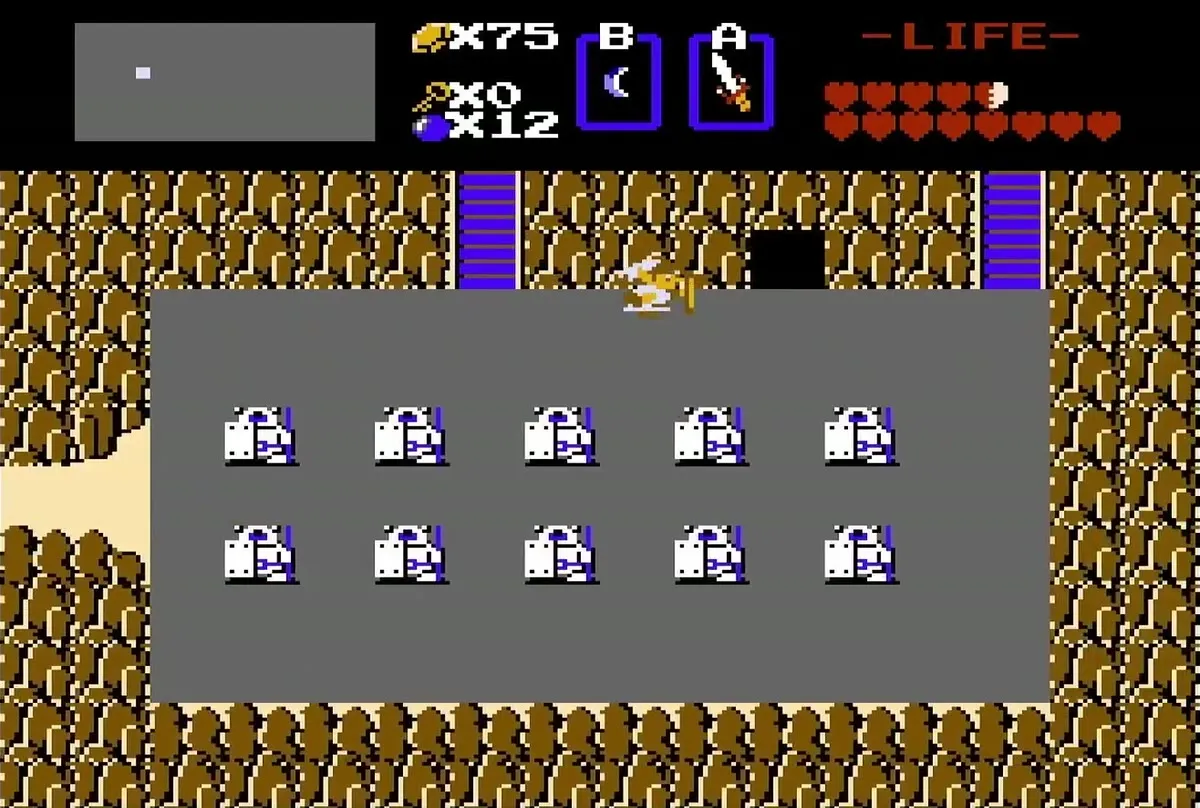
Enter the stairwell and you arrive in the Level 6 labyrinth at its entrance room. The room is filled with statue blocks and a patch of sand, so push forward toward the northern door to begin.
Level 6: first rooms and the Stepladder

Bombs from the Wizzrobes and the zig-zag rooms
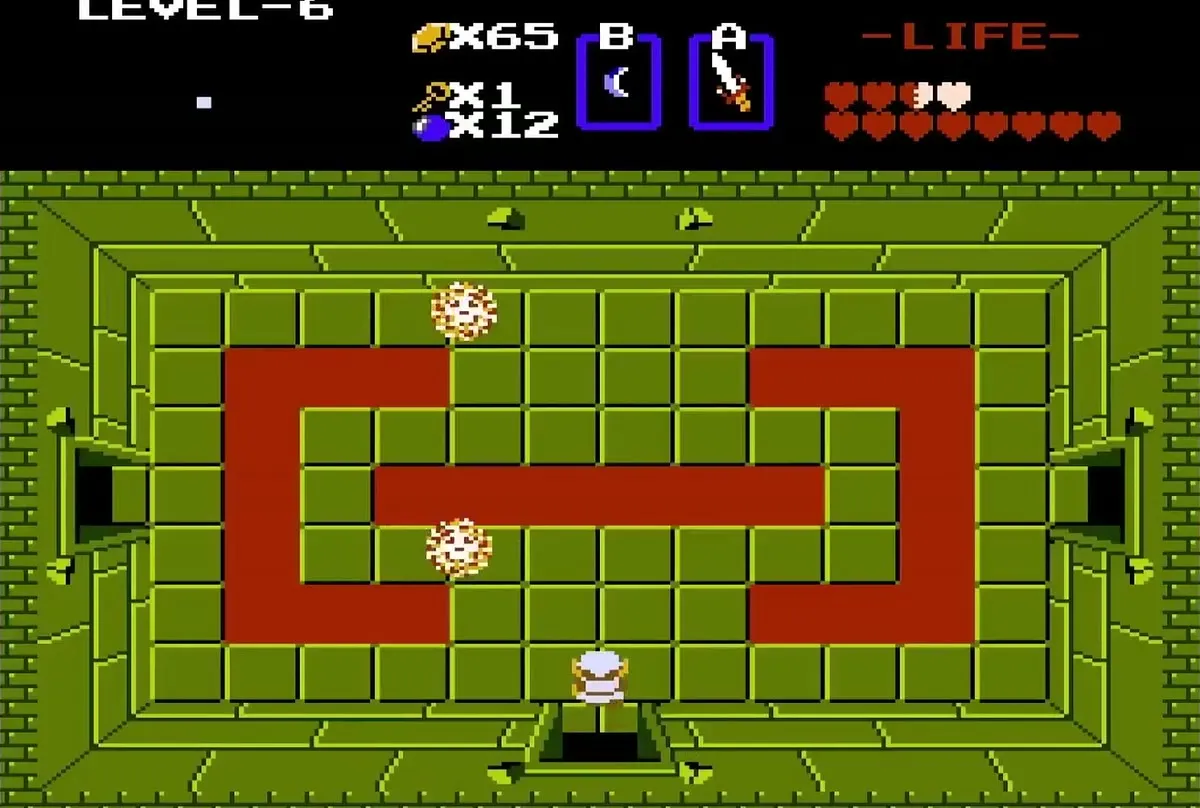
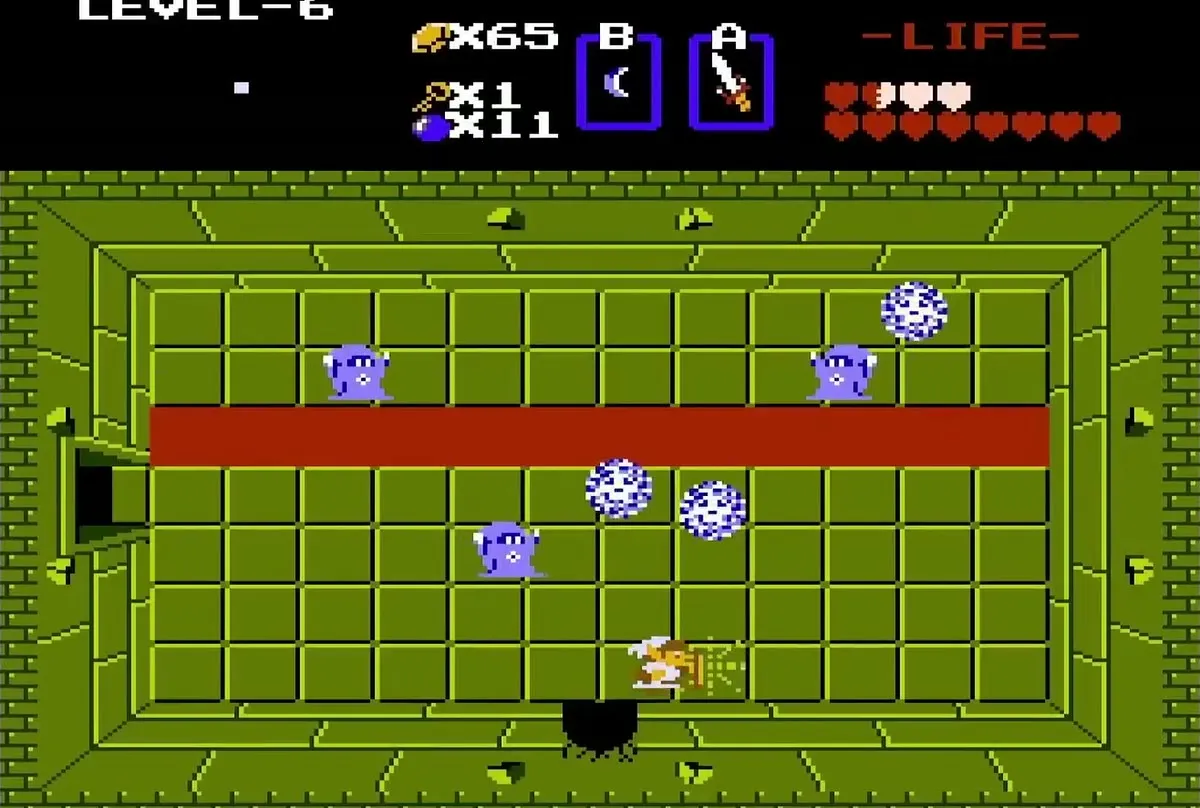
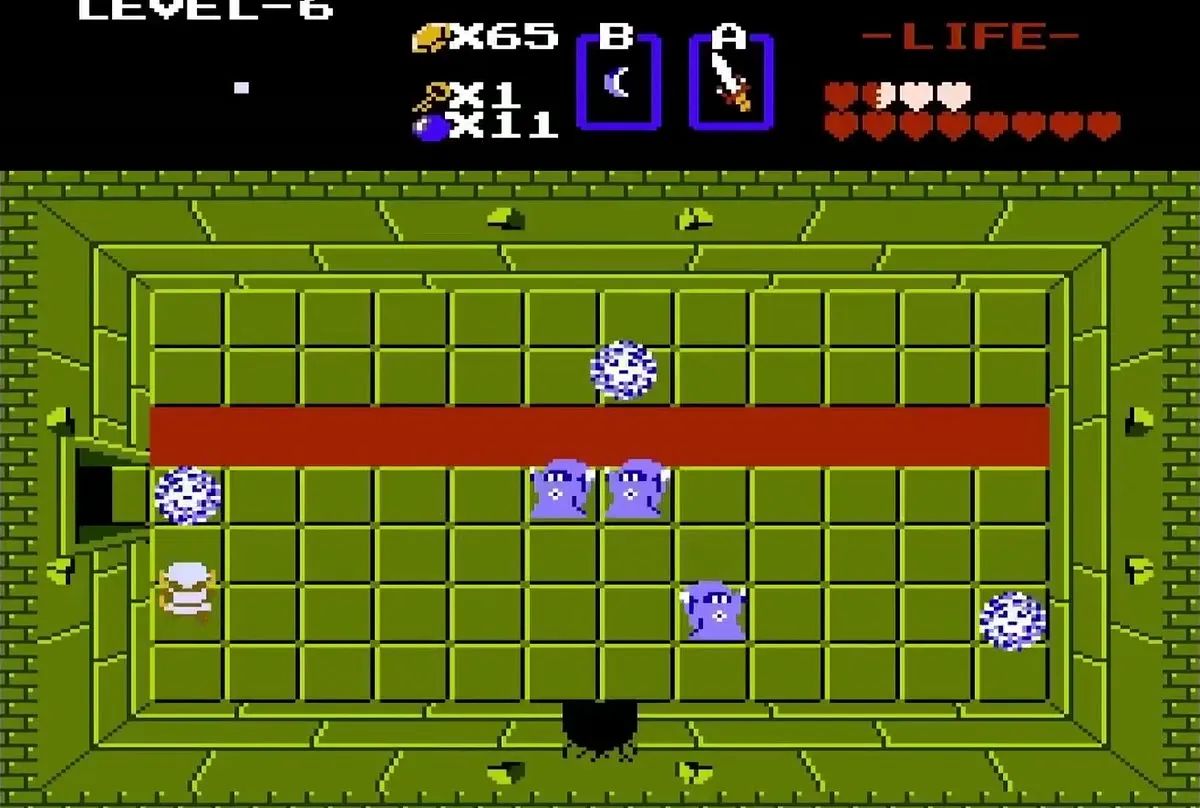
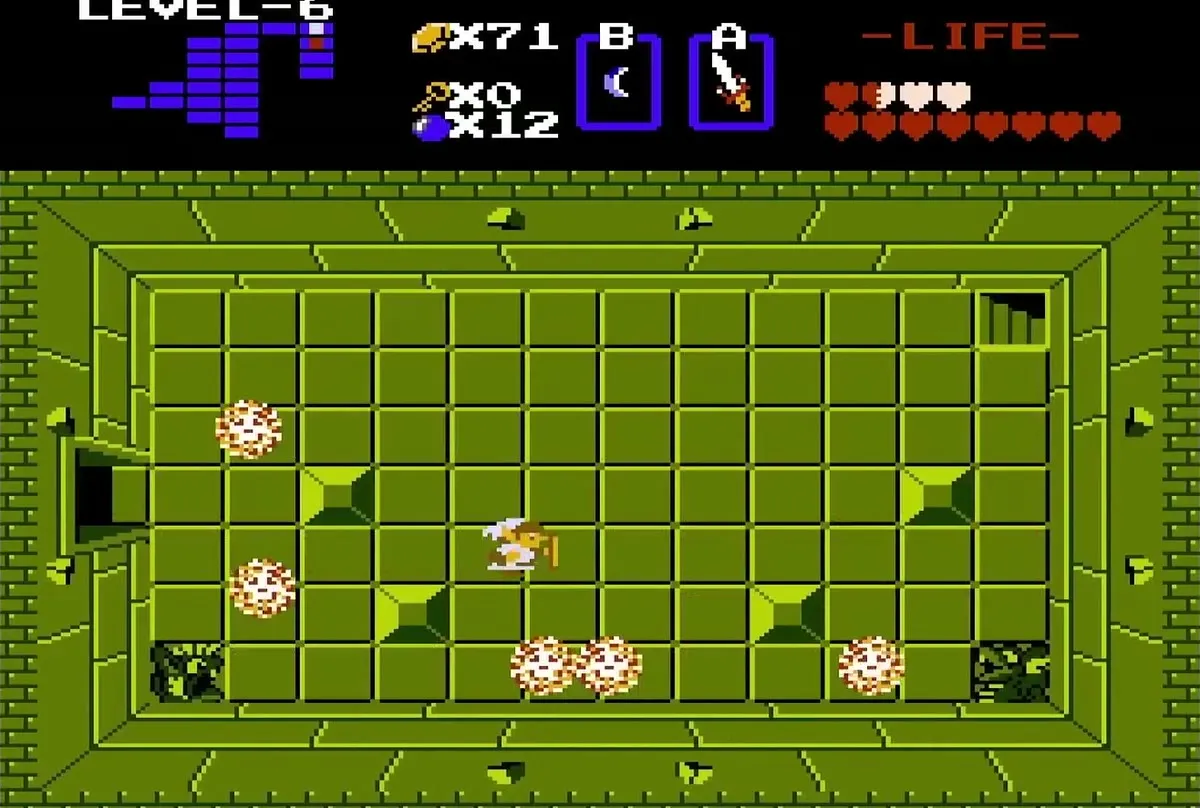
Go through the top door and defeat every Wizzrobe in the room. They leave a set of bombs behind, which you will need for the walls later. Continue into the rooms with red barriers that snake across the floor, and fight the Like-Likes and Keese that guard the way. Clearing every enemy in one of these rooms also earns a blue rupee.
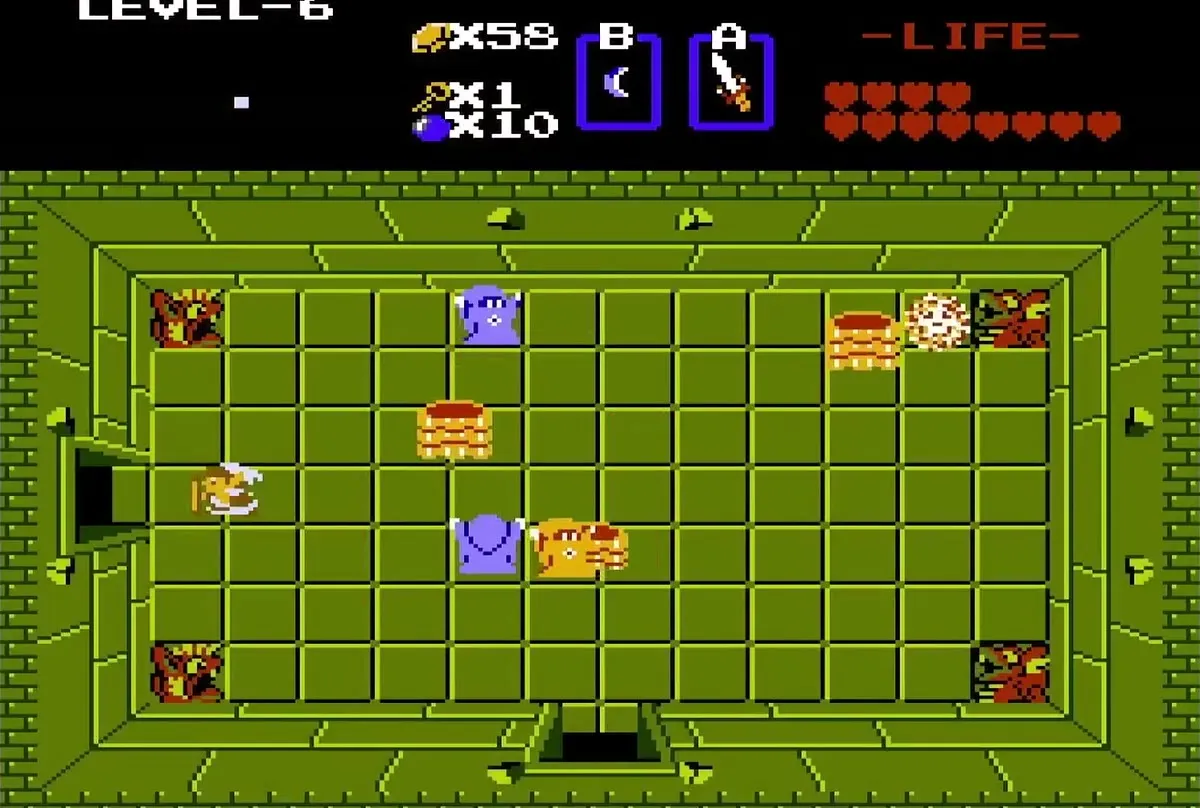
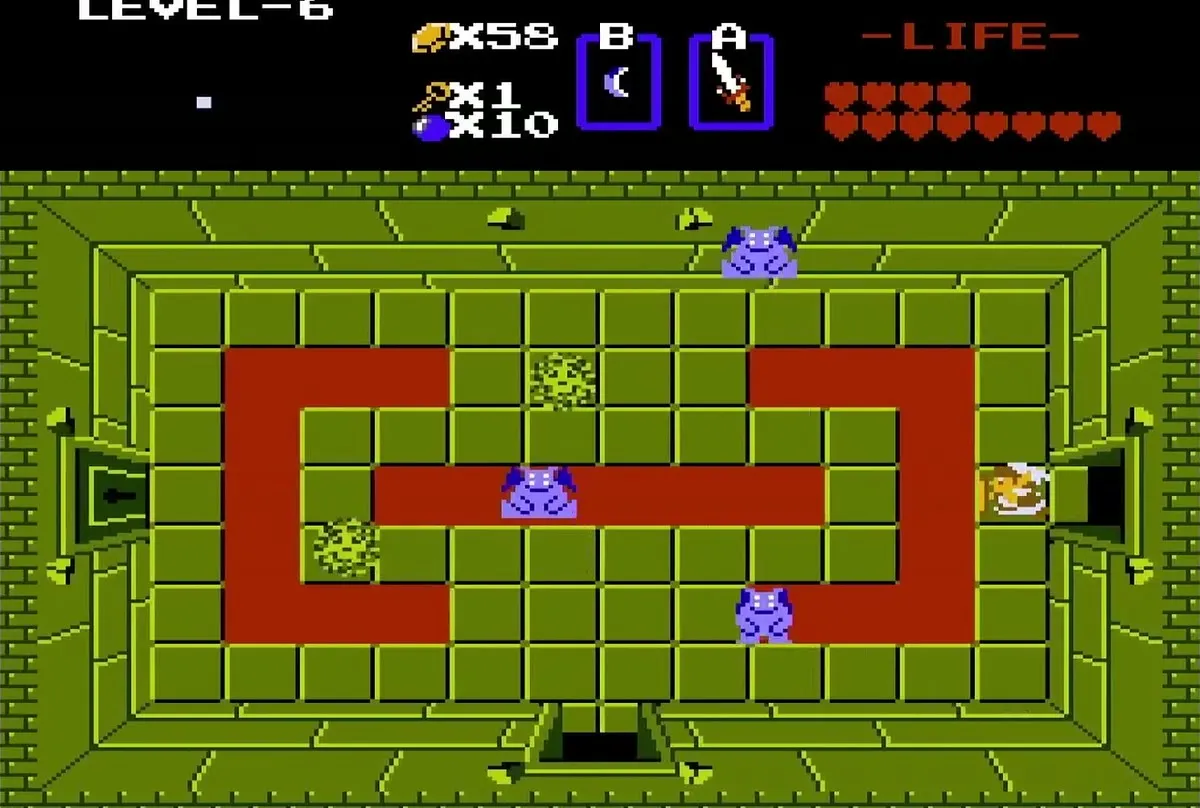
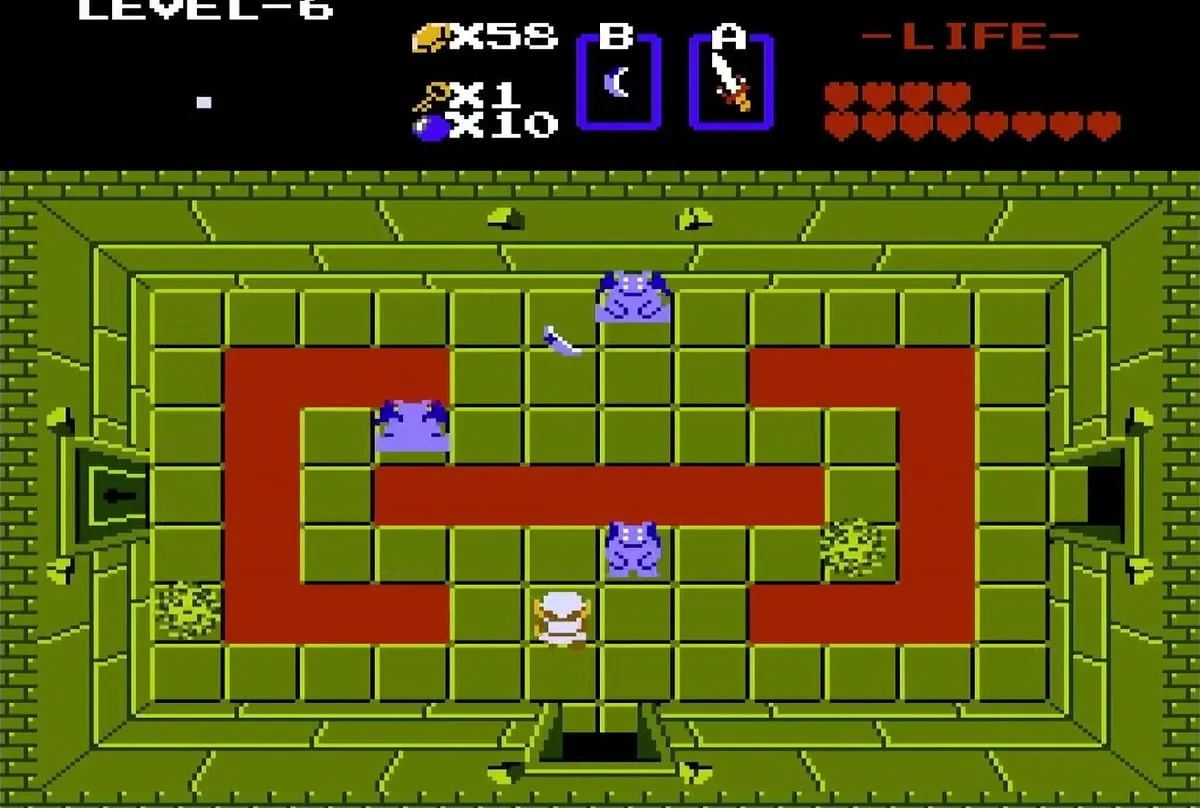
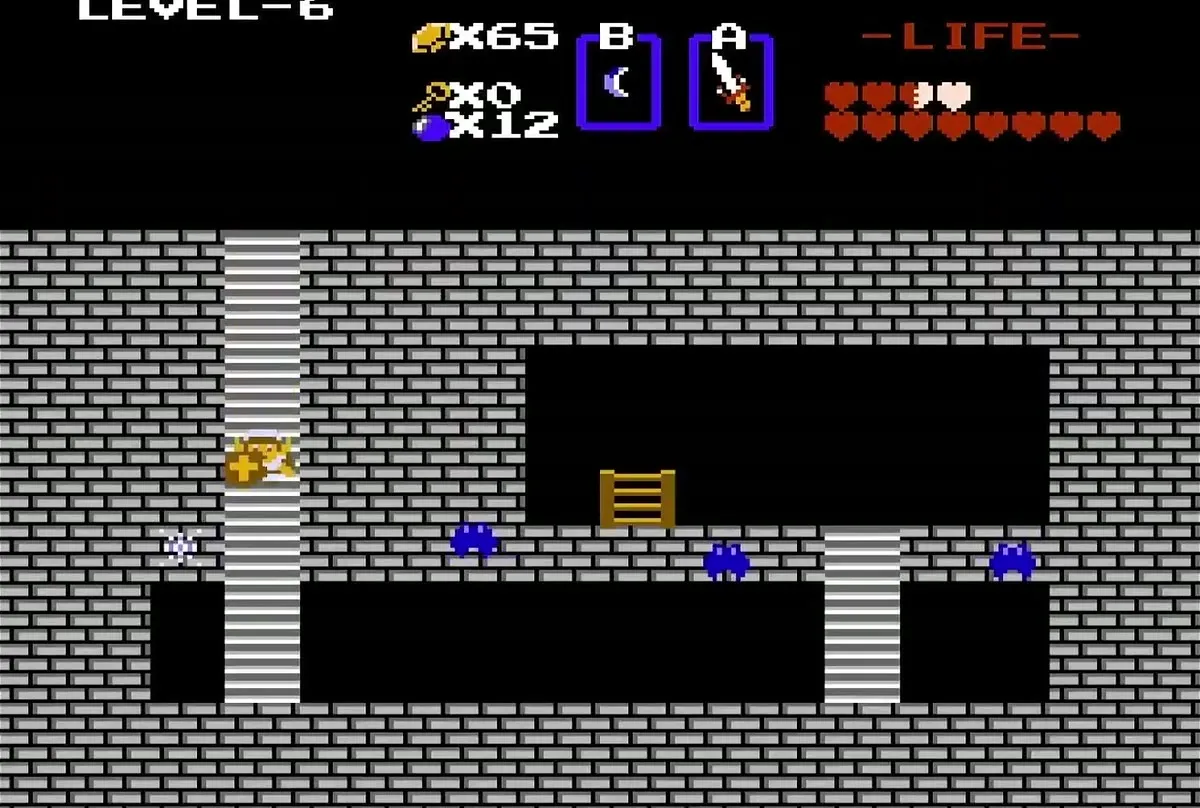
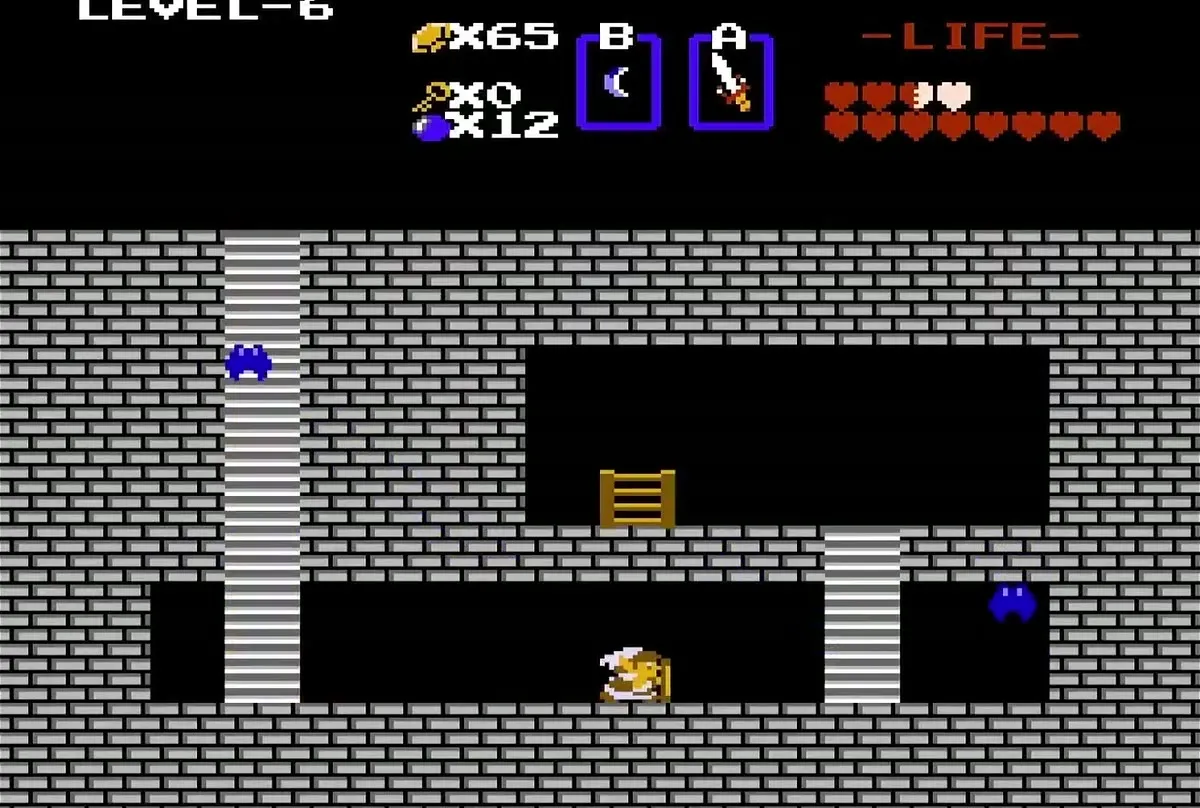
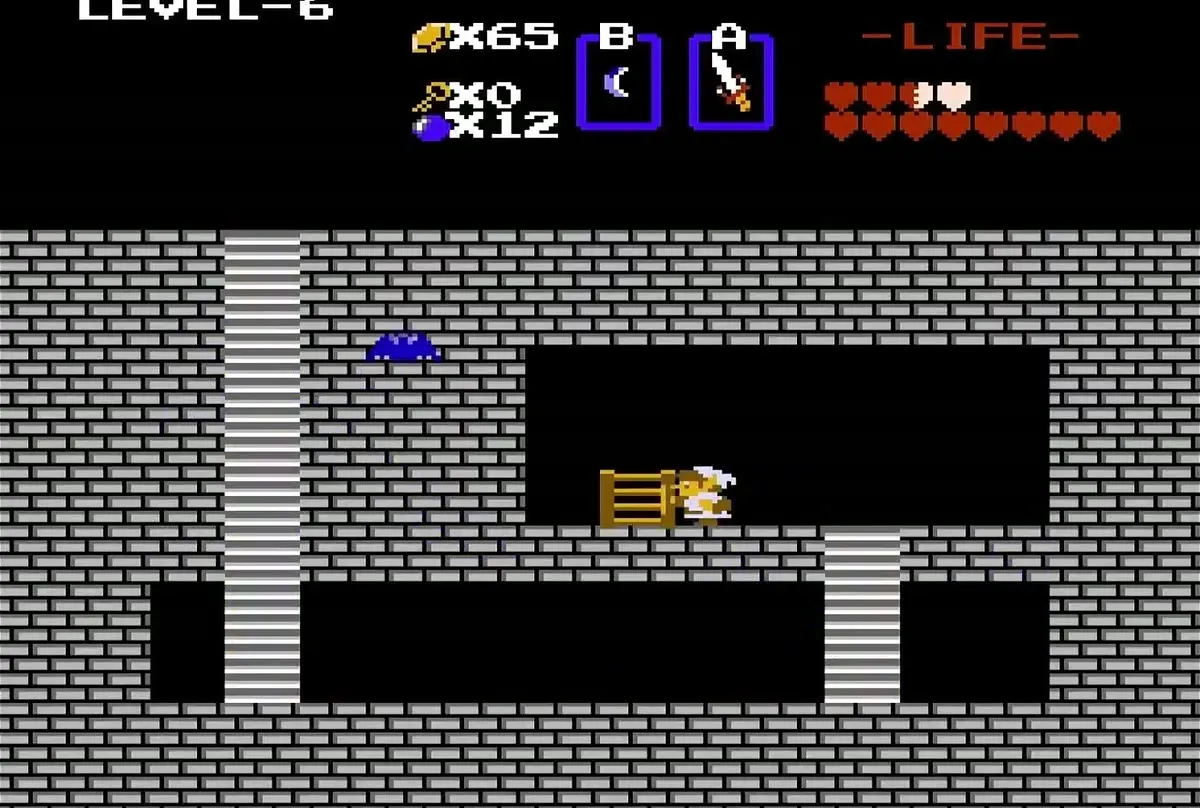
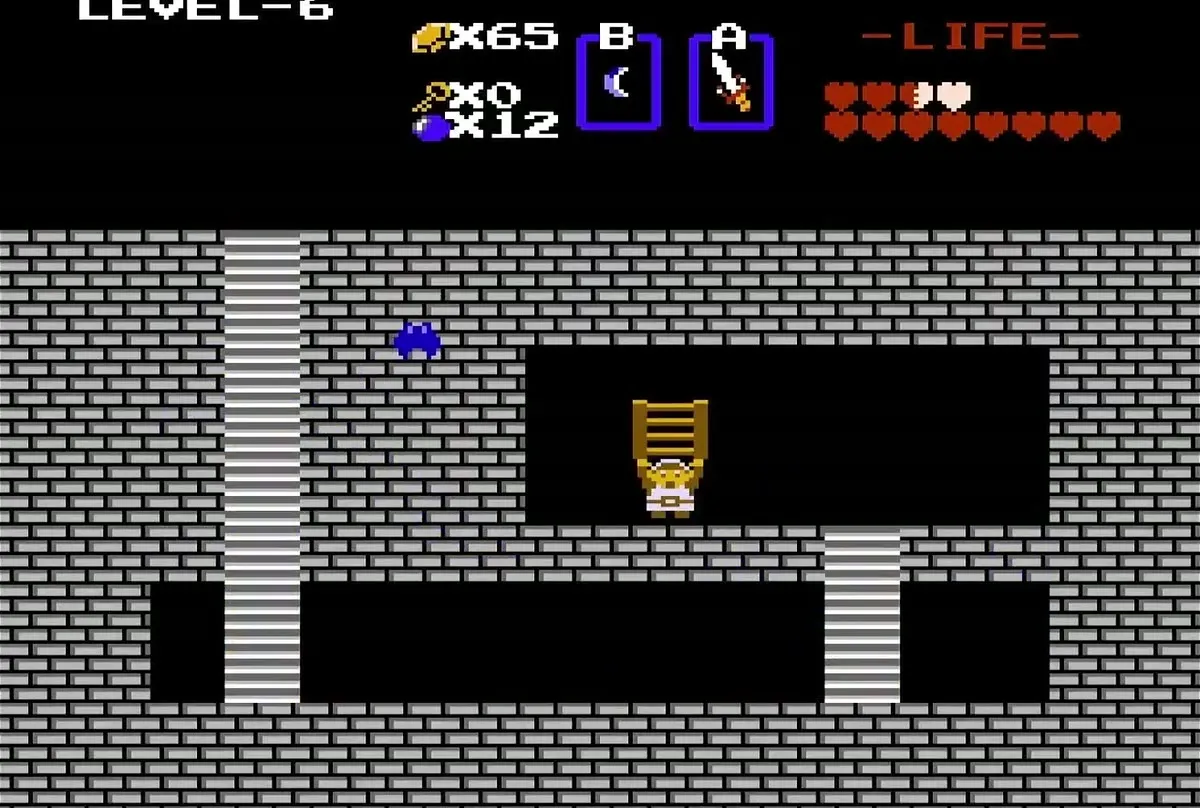
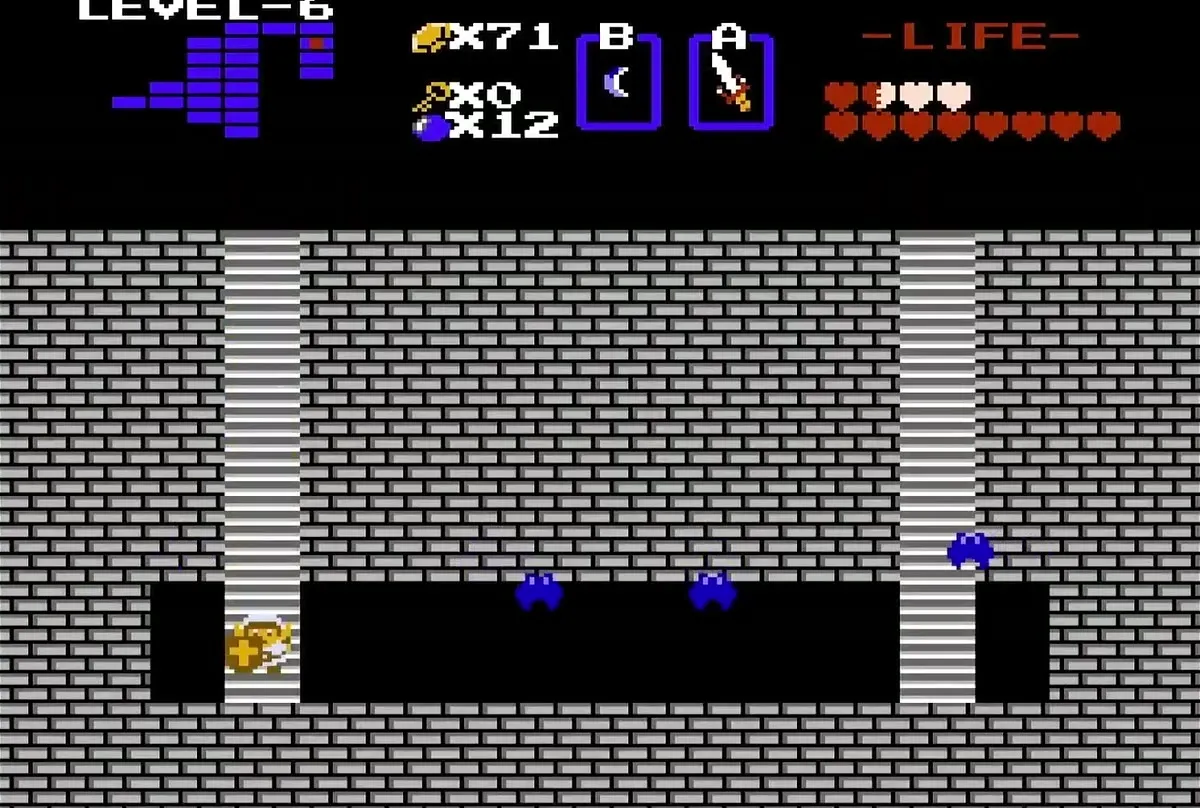
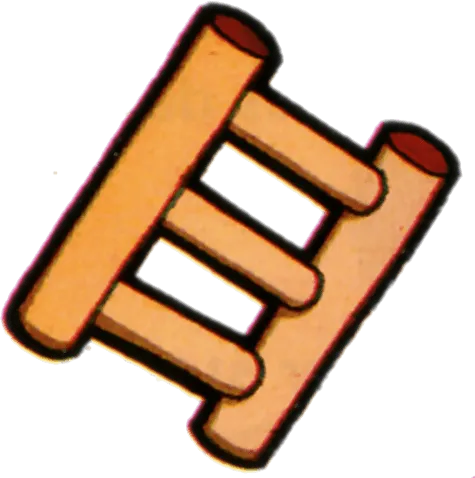
Take the left door of the Vire room and watch for the traps as you step through. Push the left-most block to uncover a staircase. Walk down the stairs and you find the Stepladder in a gray brick passage lined with striped pillars. Grab it, and then keep it in your item slots for the rest of the chapter.
Optional key and the hint man
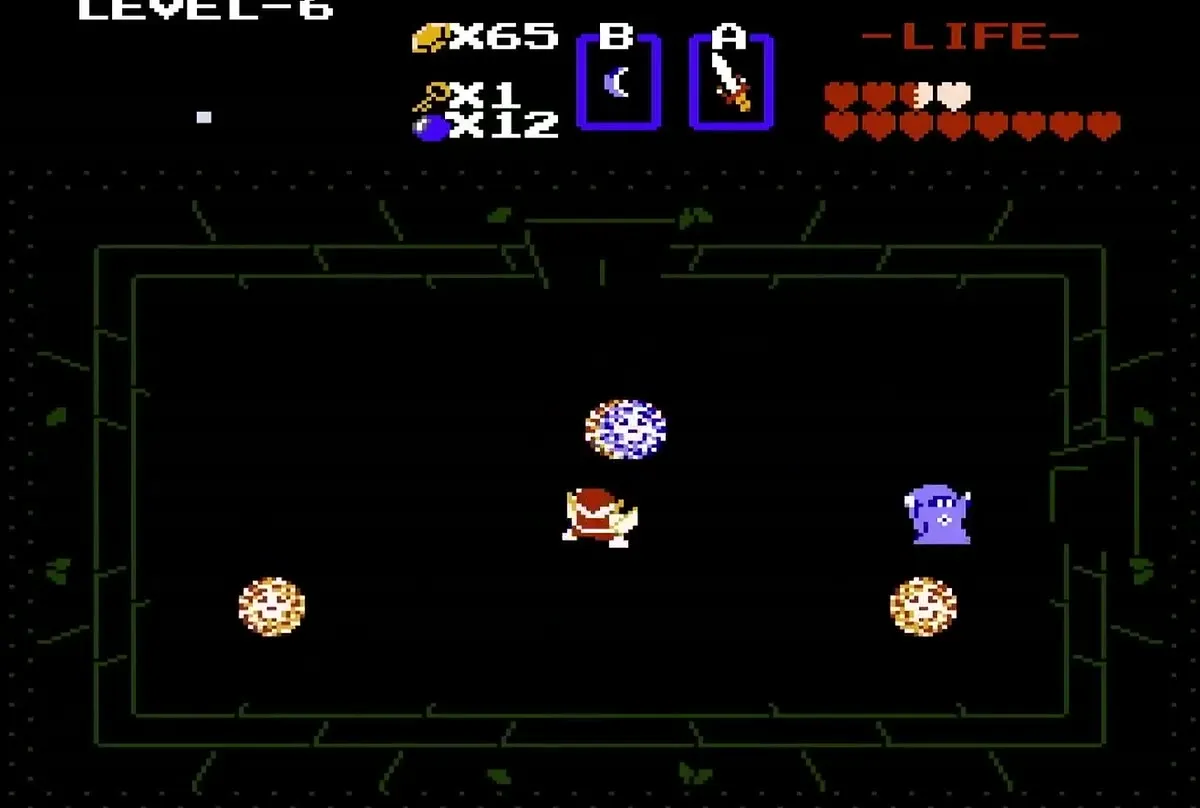
If you run short on keys, go back two rooms to the right, where the Vires and blue Bubbles are, and enter the bottom door. Defeat the Wizzrobes inside to collect a key. From the Stepladder room, return to the room on the right, unlock the door above, and step inside to meet a man who gives a hint about one of the underground passages.
Level 6: map, compass and keys
Map behind the Like-Likes
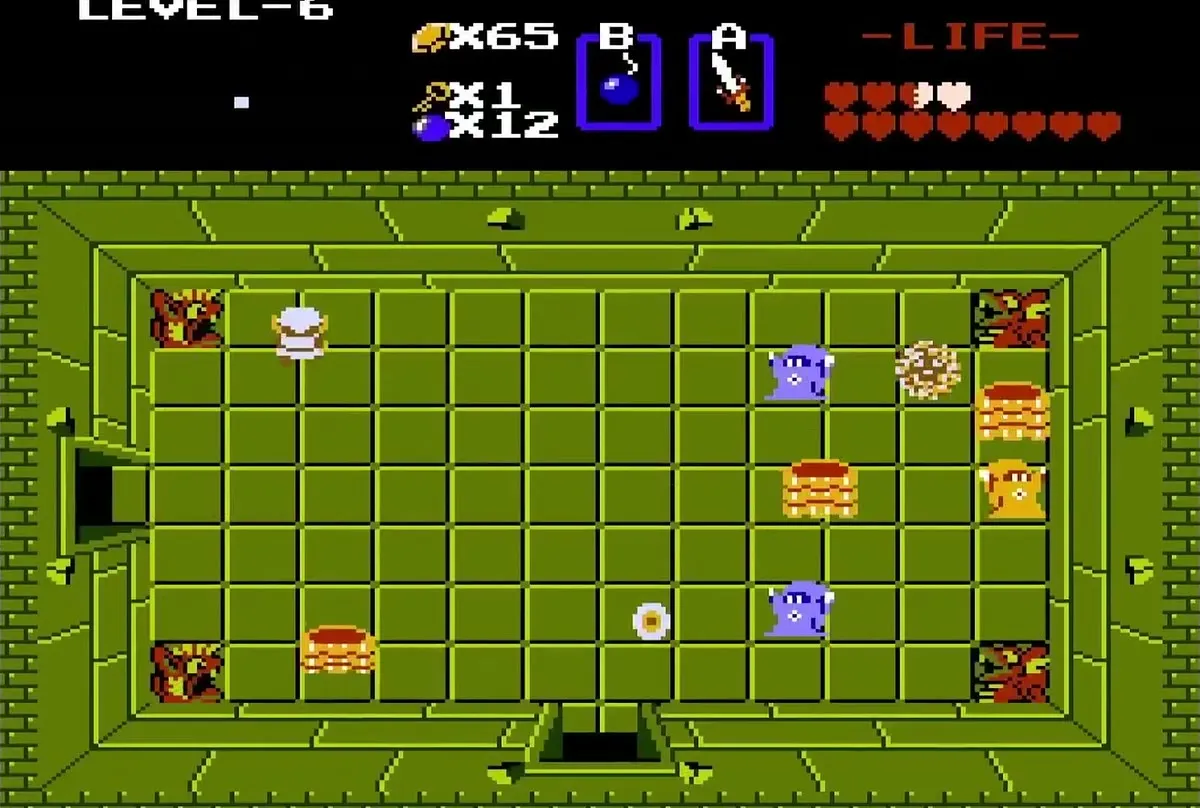
Return to the room with the Like-Likes and defeat them to reveal the Map. Push against the top wall of that room, and a hidden passage opens that leads you back to the rest of the labyrinth.
Compass behind the bombable right wall
In the room with the Wizzrobes, bomb the right wall to open a passage. Follow it through to the Compass. Walk back to the left side of the labyrinth and take the top door, where you will face several Vires. Once they are cleared, push the right wall to walk through another invisible passage.
Open the Map screen after you collect it, and you will see the outline of the labyrinth with the Compass marker on it. These two items show the layout and the boss location for the rest of Level 6.
Stairs under the center row
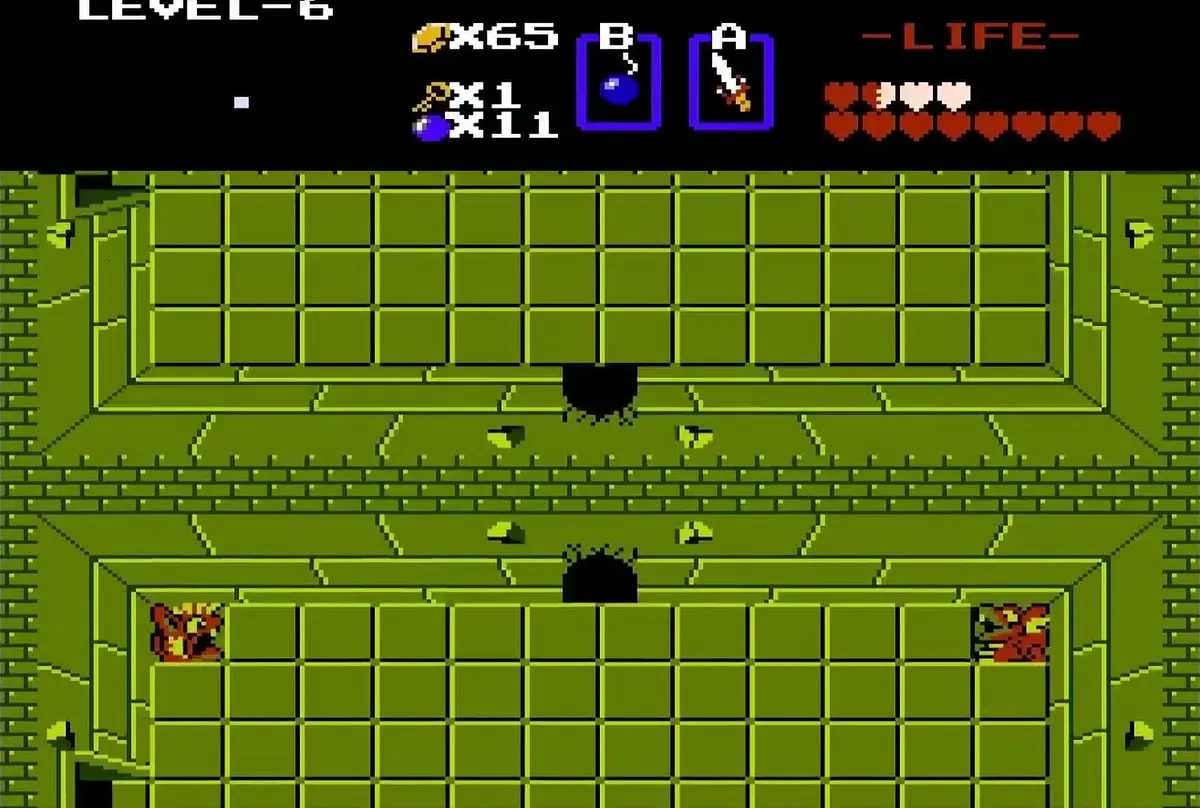
Push the left-most block of the center row to reveal a stairwell. The stairs carry you into an underground passage and drop you two rooms above. Fight past the Keese here and bomb the bottom wall, which opens another passage. Beyond it, defeat the Wizzrobes to collect a key, then go back up and unlock the right door of the room above.
Level 6: Gleeok and the passage to Gohma

Gleeok mini-boss
Defeat the green multi-headed Gleeok that guards the room beyond the right door. Keep moving around the room and strike the heads as they come within reach of your sword. Once it falls, the right door opens and a blue rupee is left behind.
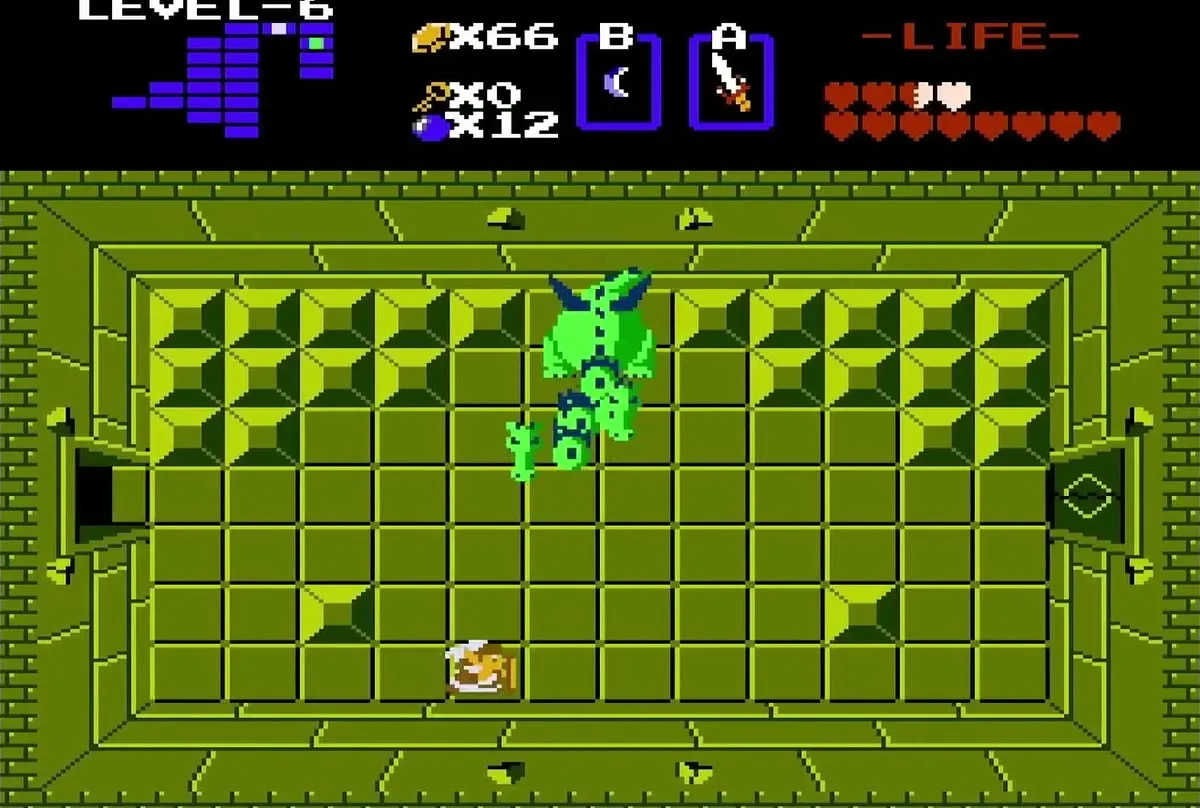
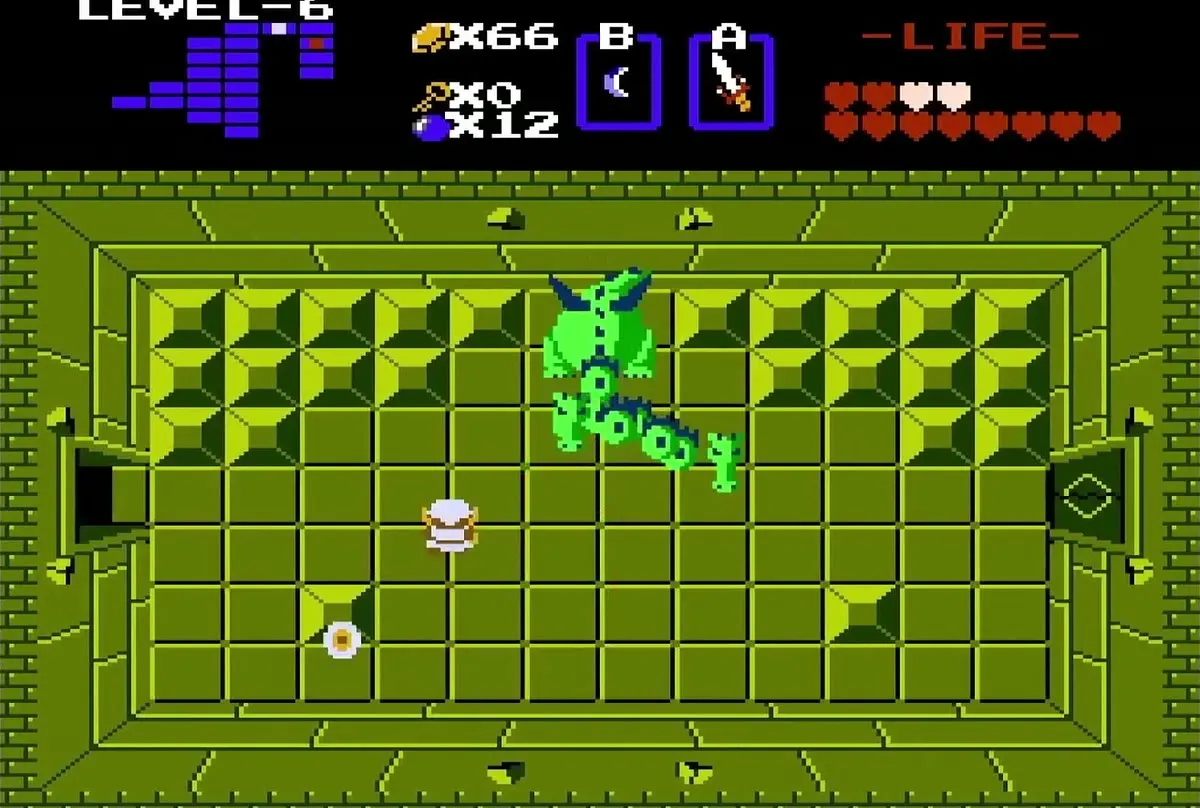
Cross the right door and push the left-most block while staying clear of the red Bubbles. The block opens a staircase down to another underground passage, and that passage takes you to three rooms below. When you come out, a Manhandla waits in the room. You only have to defeat it if you want a shortcut back through the passage. To reach the boss, go through the top door.
Level 6 boss: blue Gohma and the Triforce piece

Defeating blue Gohma with arrows
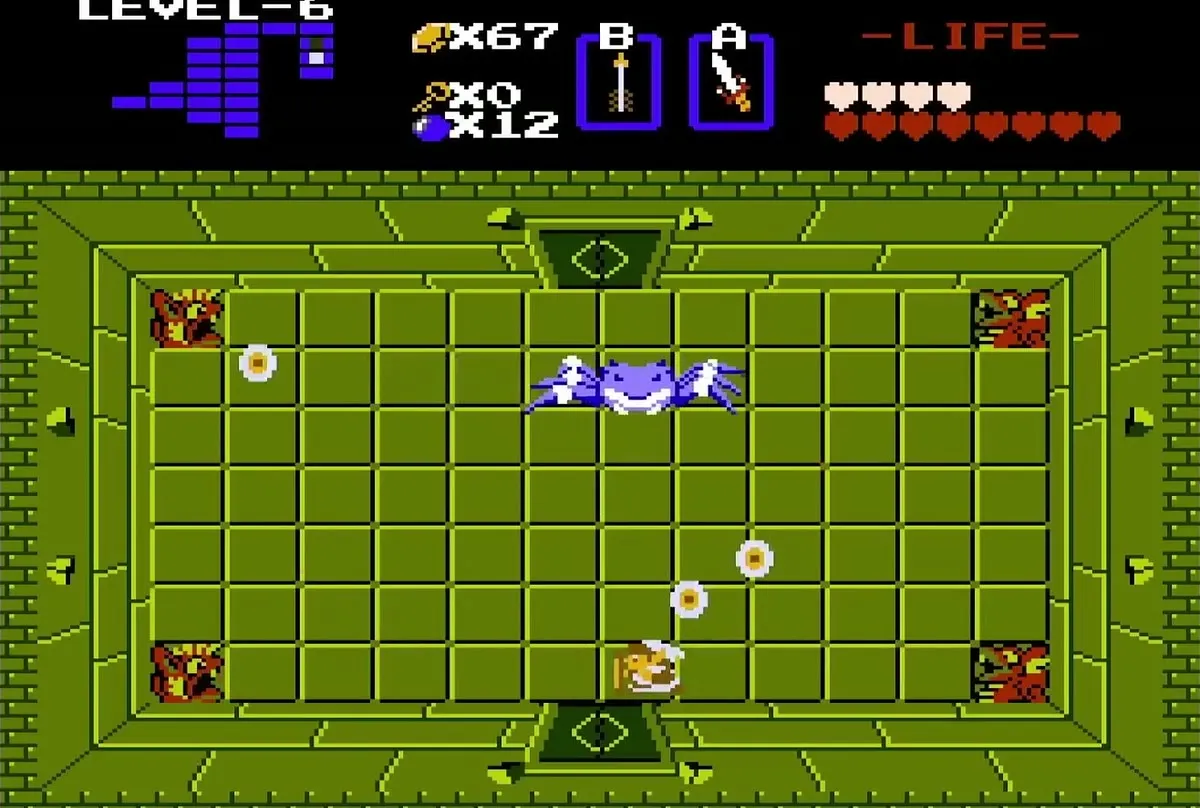
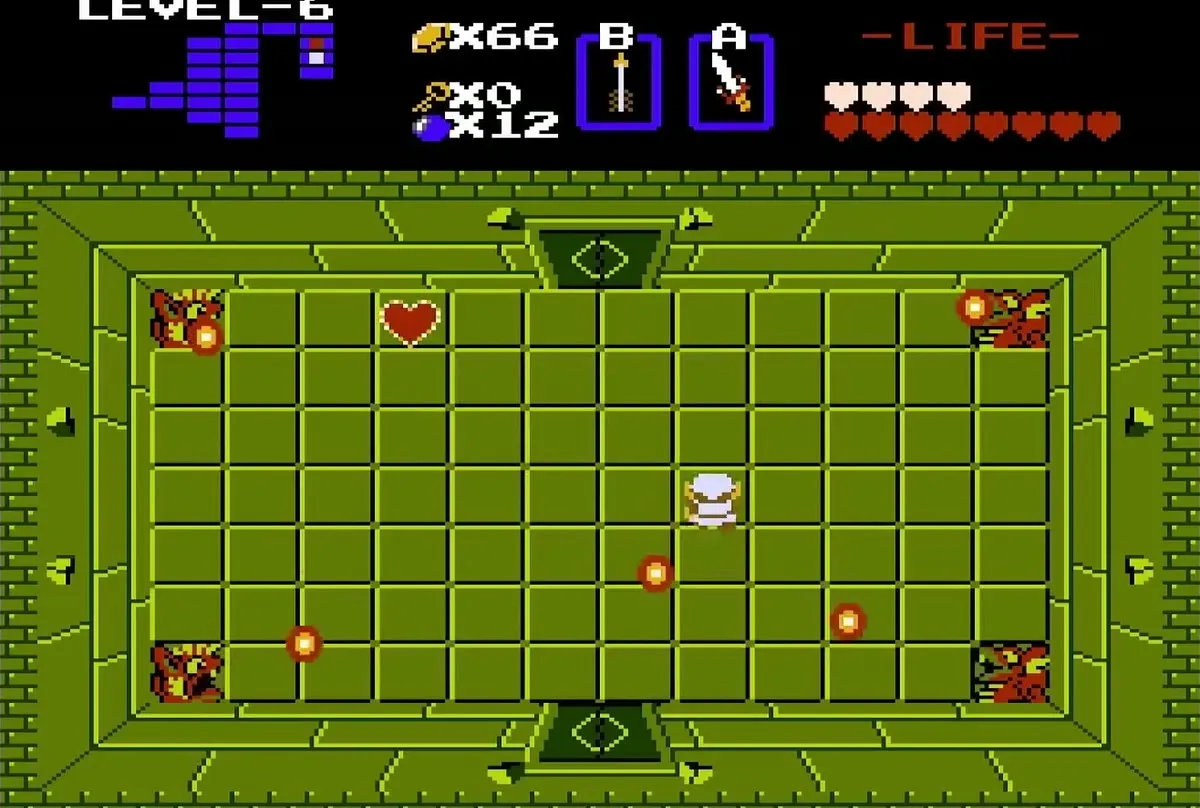
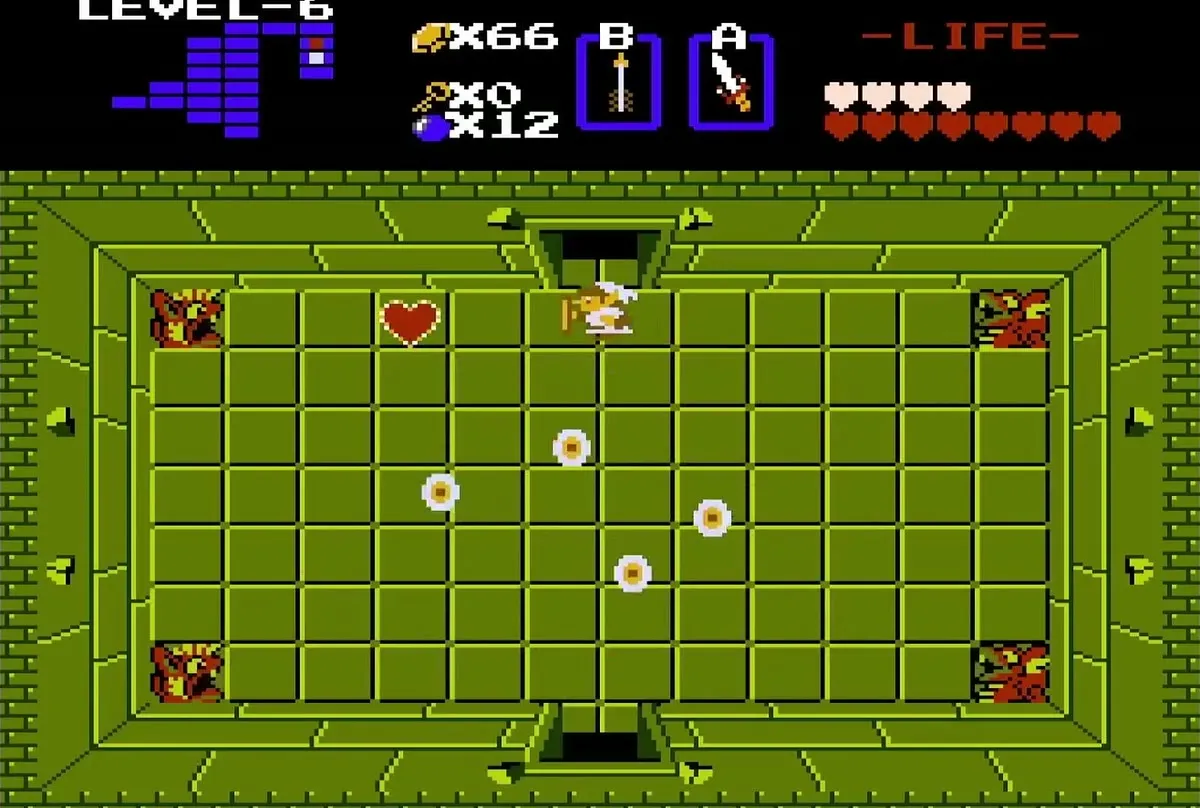
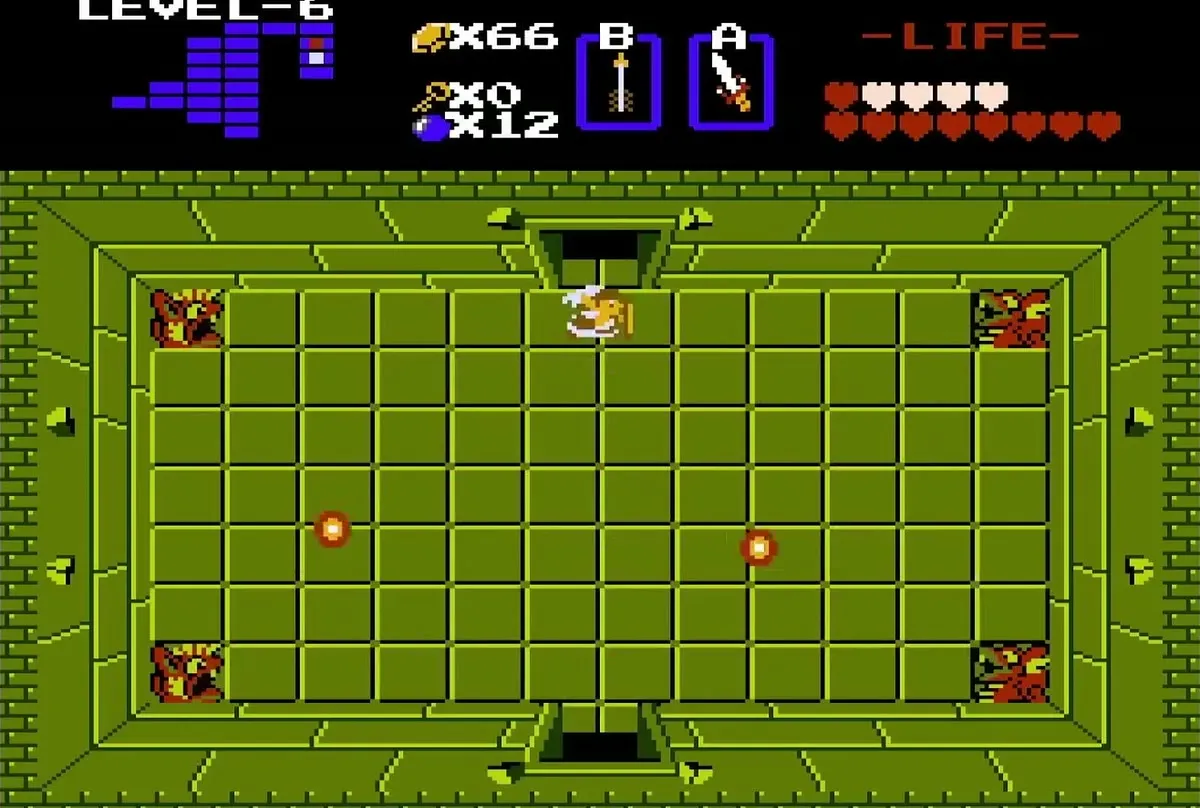
Gohma in this labyrinth is the blue variant, and only arrows hurt it. Watch for its large eye to open, then fire arrows into it while it is exposed. Expect to fire several volleys, because this version takes more hits than the standard Gohma of the First Quest, so keep your bow stocked with arrows.
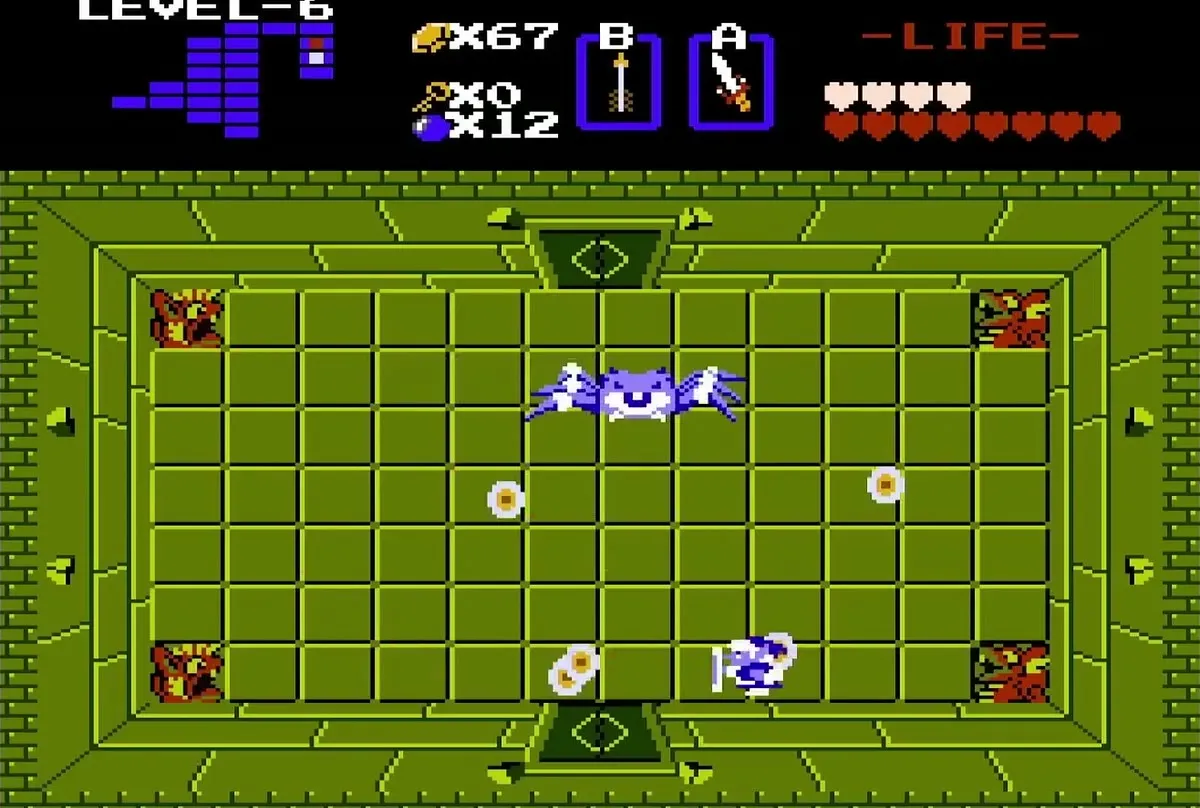
After Gohma dies, a red Heart Container appears in the middle of the room. Pick it up to add a heart to your life meter, which brings the total number of Heart Containers you have found to ten.

Sixth Triforce piece in the room above
Go through the top door of the boss room to reach the room above it. The sixth Triforce piece sits there, so step onto it to collect the piece and watch Link raise it over his head. The Triforce is one of the eight pieces needed later to reach Ganon.
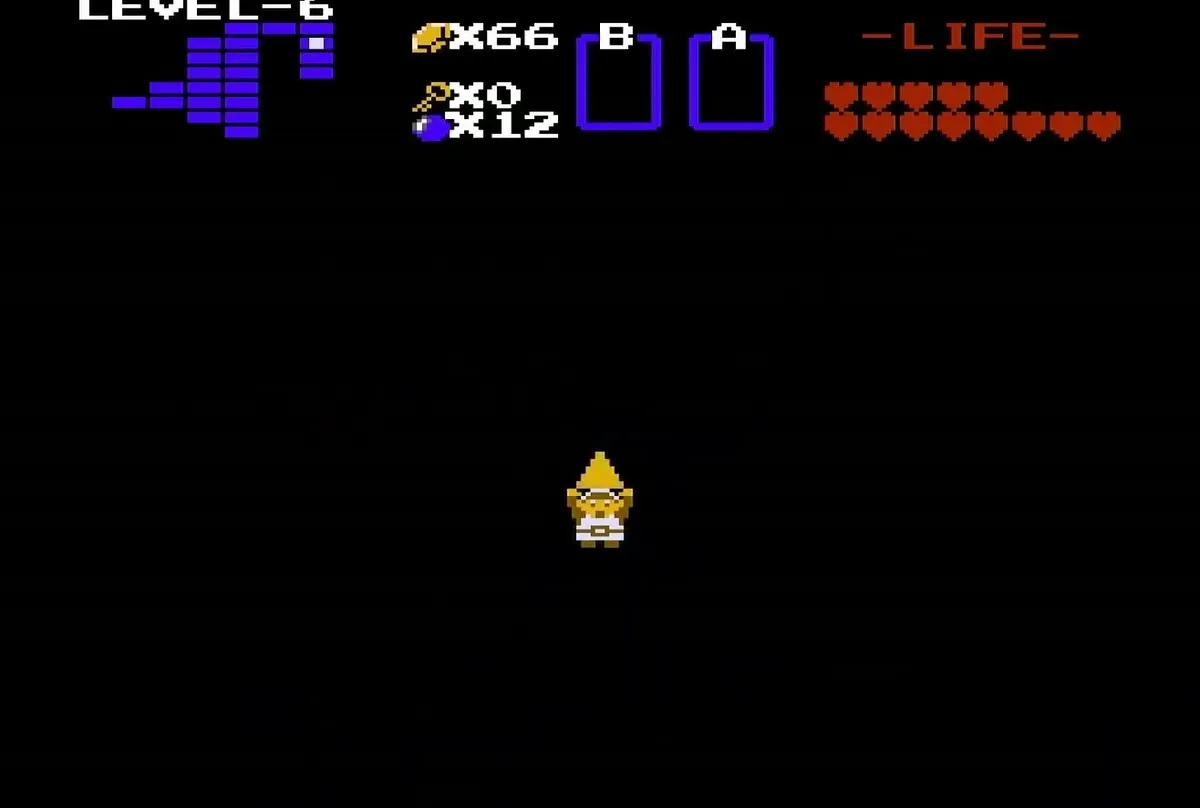
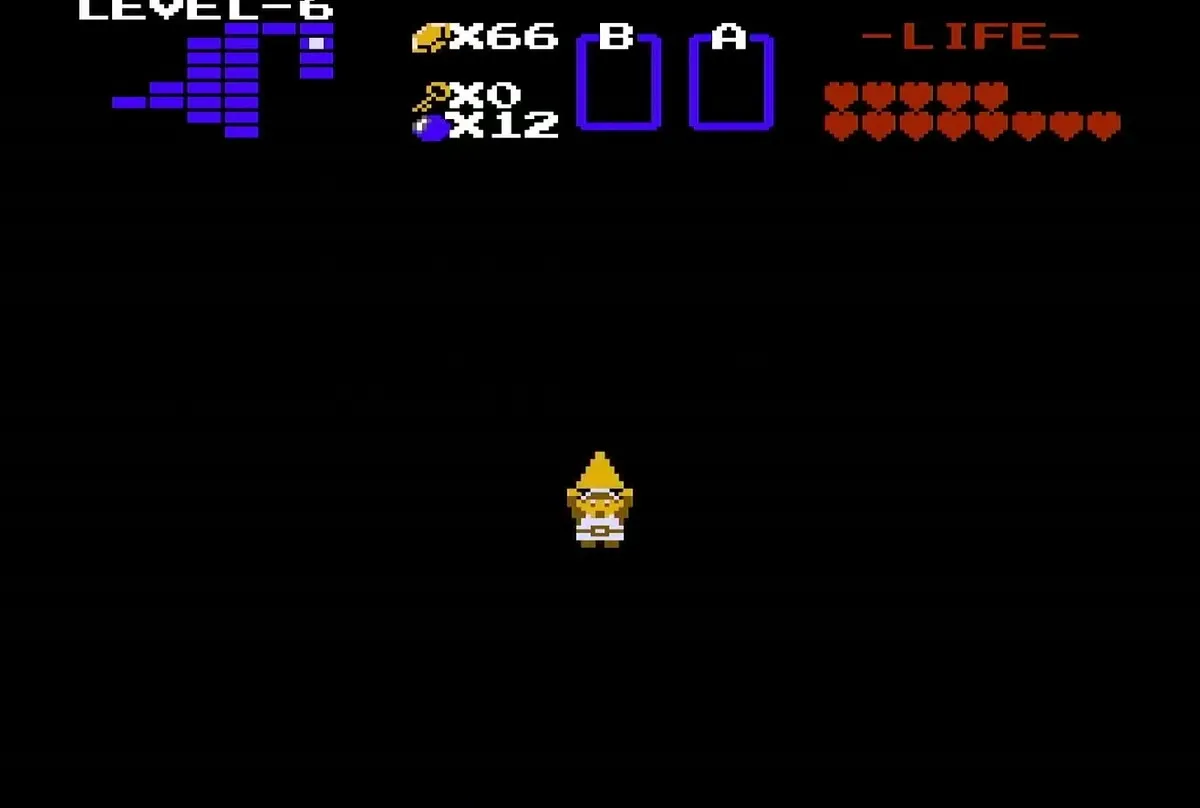
Once you have the piece, leave through the room’s exit and walk back out to the graveyard. The walk back is short, and you come out among the blue tombstones near the place where you entered the labyrinth.
Medicine woman and the Blue and Red Potions
The cave with the Letter requirement
From the graveyard, walk to the stairs on the western side of the section and bomb the wall between the two staircases. That opens a cave where a medicine woman lives. She only trades once you have shown her the Letter, so make sure you have delivered it before you visit.
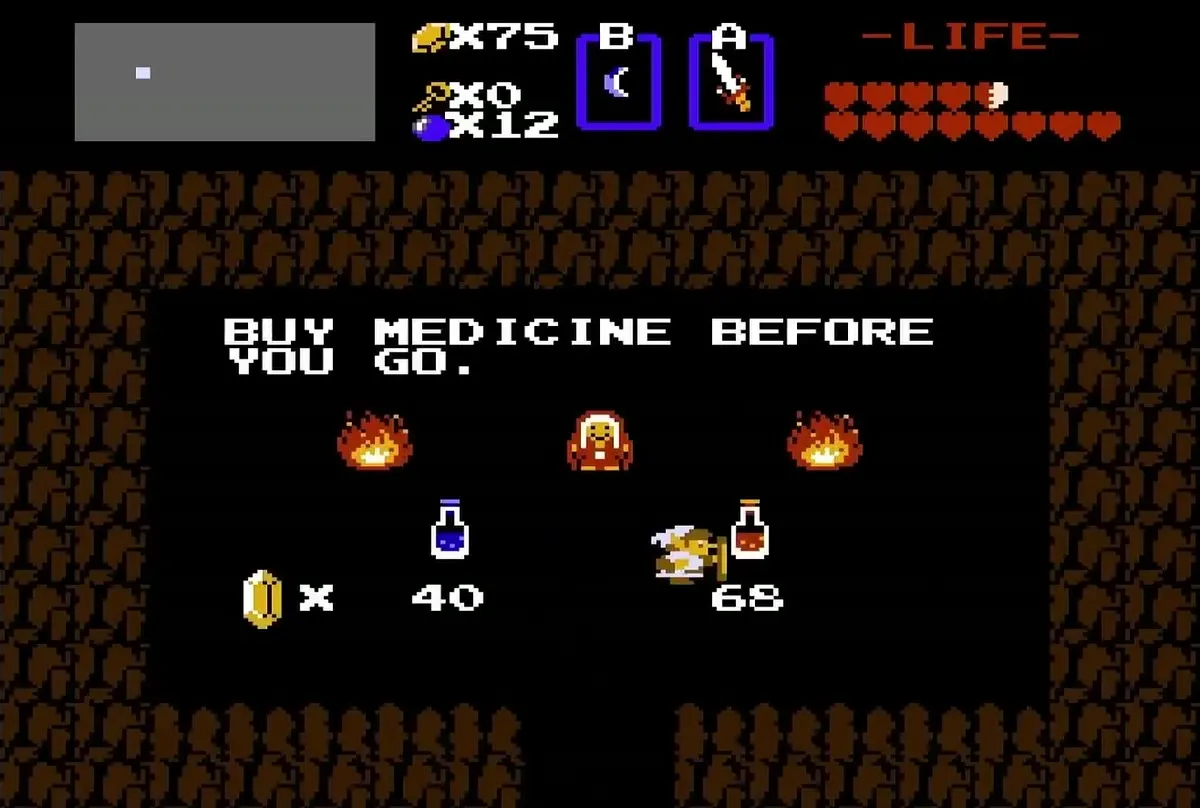
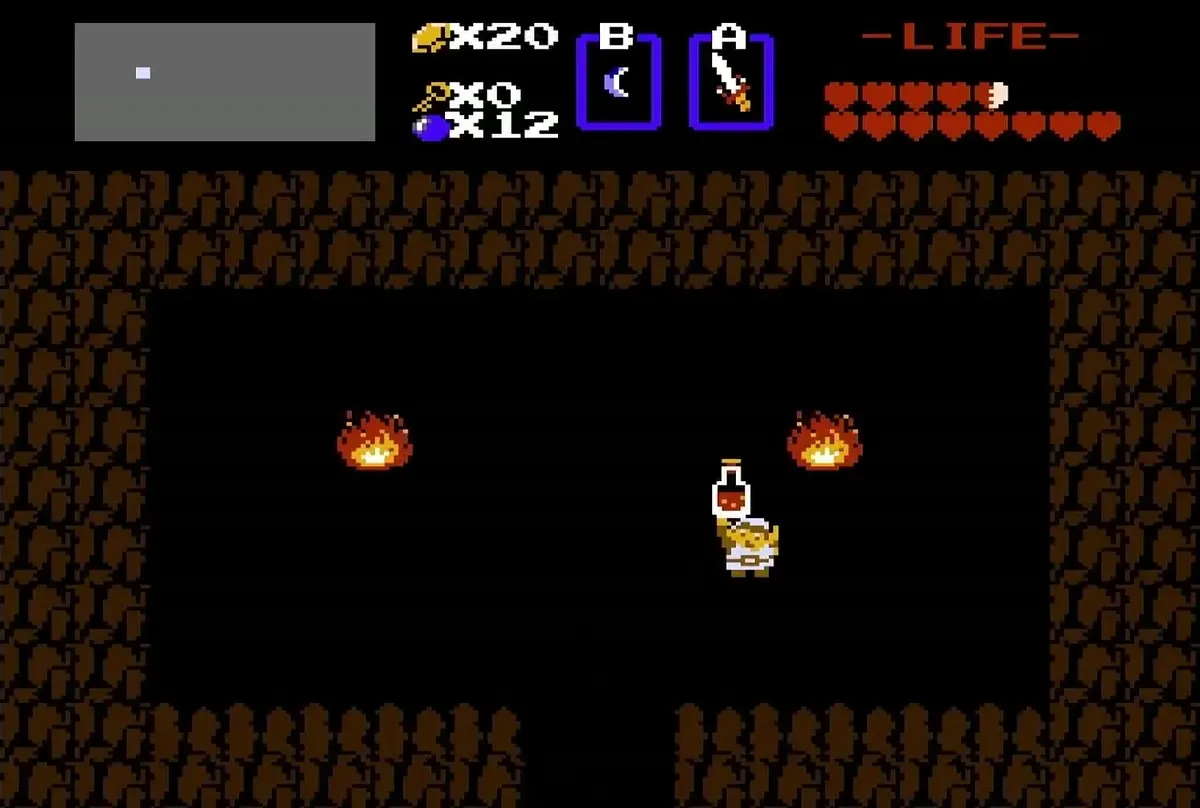
Buy the Blue Potion for 40 rupees or the Red Potion for 68 rupees. The shop board reads “Buy medicine before you go,” and both potions appear side by side with their prices. Pick whichever one suits your next dungeon.
Far-dock Heart Container across the lake
Crossing with the Stepladder
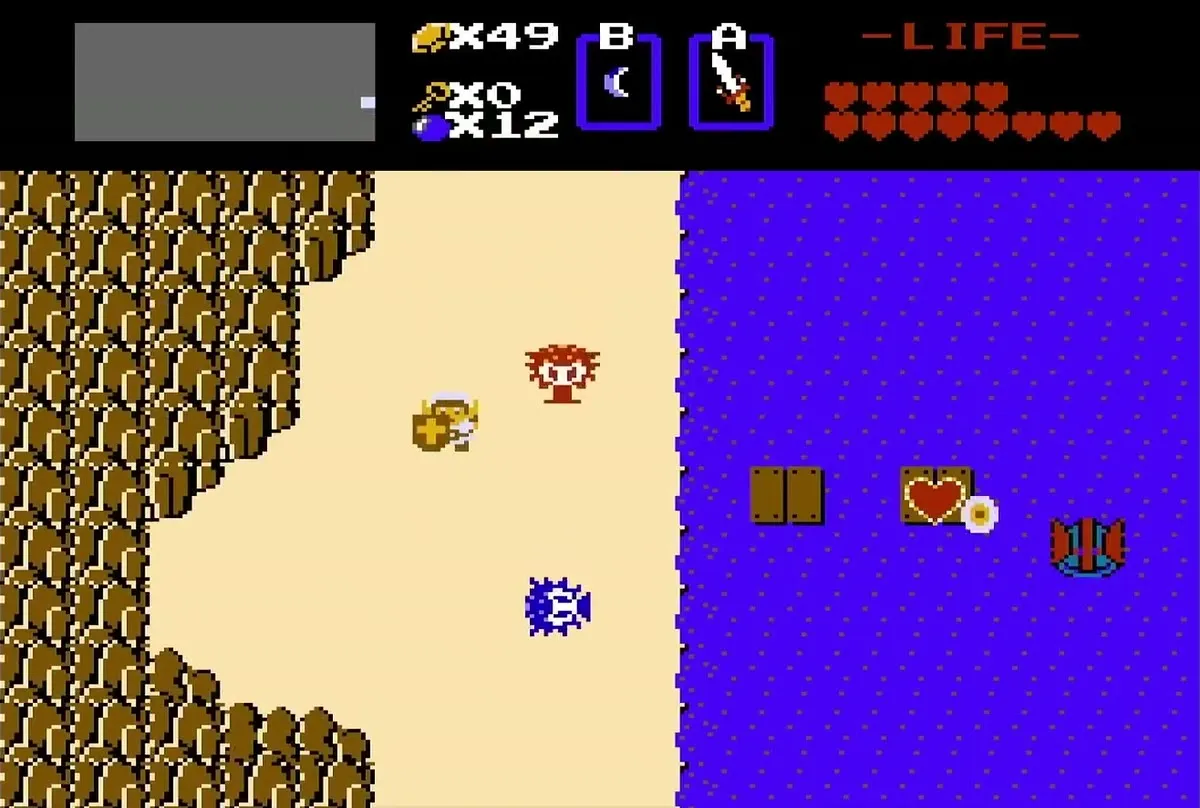
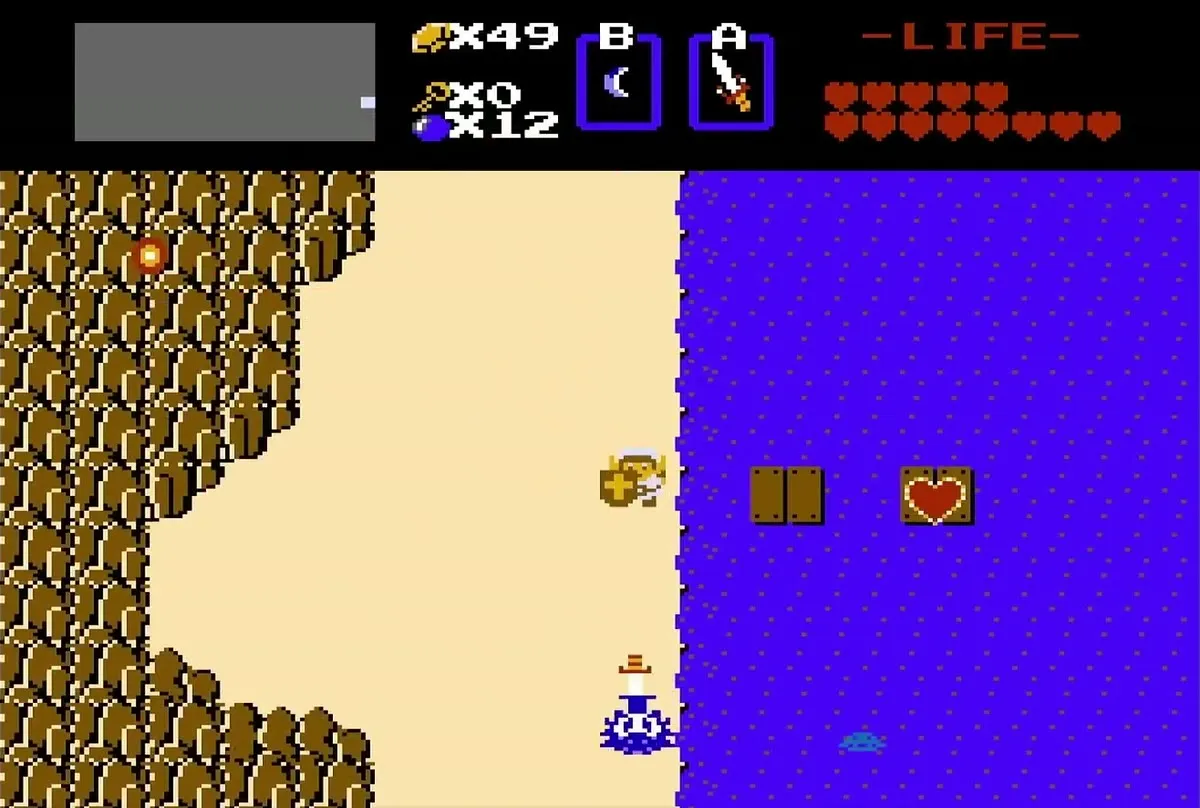
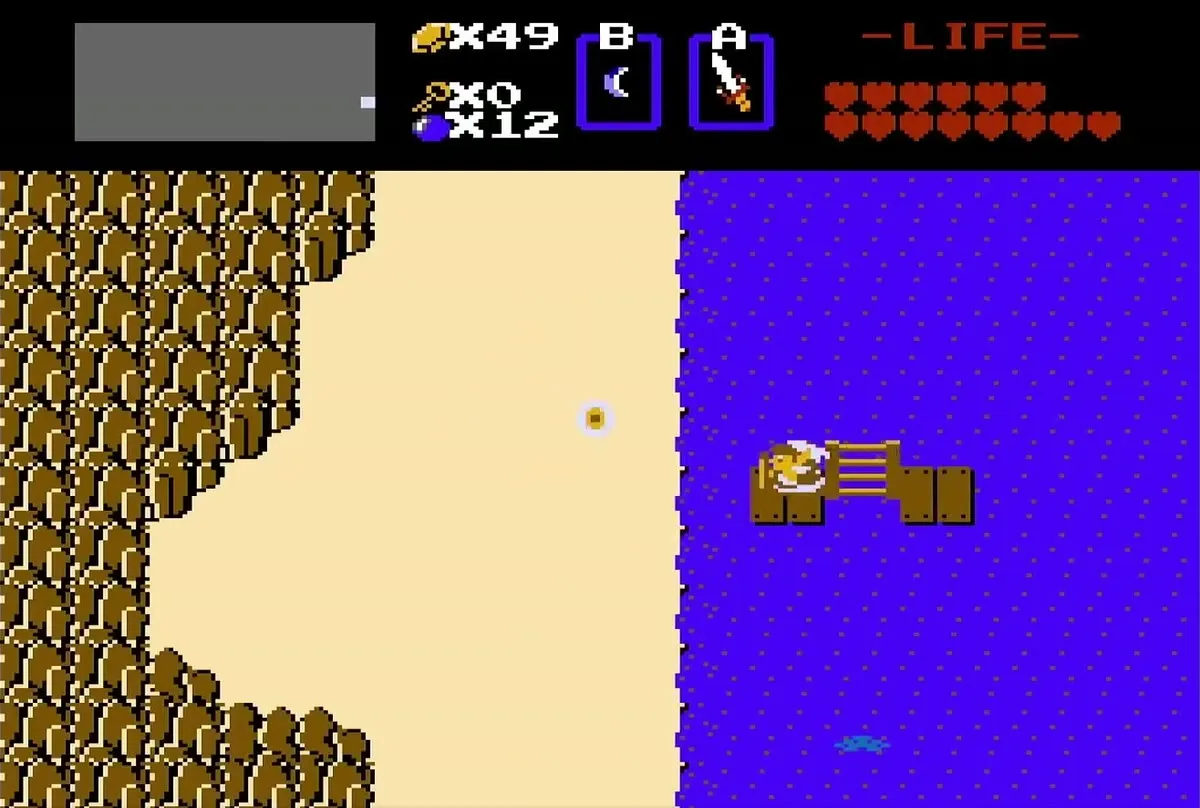
Travel to the lake shore on the east side of Hyrule (P6). A Heart Container sits on a dock that stretches out across the water. You cannot reach it by walking, so set the Stepladder across the gap and walk over it. Once you stand on the dock, pick up the Heart Container to finish the chapter’s collectibles.
Chapter checklist
| Type | Name | Where |
|---|---|---|
| Item | Stepladder | Gray brick passage in Level 6, behind the left-most block of the Vire room |
| Map | Level 6 Map | Like-Likes room, behind the invisible passage at the top wall |
| Compass | Level 6 Compass | Wizzrobe room, through the passage behind the bombed right wall |
 Heart Container | Heart Container 10 | Level 6 boss room, after blue Gohma |
| Triforce piece | Triforce piece 6 | Room above the Gohma room |
| Potion |  Blue Potion (40 rupees), Red Potion (68 rupees) | Medicine woman’s cave in the graveyard section, after showing the Letter |
| Heart Container | Heart Container 11 | Far dock across the east lake, reached with the Stepladder |
For the next labyrinth, continue to the Second Quest Level 7 walkthrough, and see heart container locations for every heart in the game.
