| Total | 57 challenges (14 at Lv 31-33, 23 at Lv 36-39, 20 at Lv 41-45), not counting scouting challenges and Vicious Battles |
|---|---|
| Where | Tabantha Frontier, Death Mountain, Gerudo Desert, Lanayru Wetlands, Ash Swamp, Damel Forest, Seres Scablands, Great Hyrule Forest, Tanagar Canyon Temple, the Depths and the sky islands |
| Opens | During Chapter 4, from The Crimson Omen to Fire and Sand |
| Korok Seeds |  21 from first clears (Protect that Forest!, Defending Eastern Hyrule Forest, Defending Western Hyrule Forest, Two Brave Warriors, Calamo and Ardi) |
| Rewards | Cooking materials,  Rupees,  Zonaite Steel, random weapons and Korok Seeds, each paid once |
The middle of the game holds 57 optional challenges for recommended levels 31 to 50, and the highest recommended level among them is 45. They open between The Crimson Omen and the end of Chapter 4: 14 sit at Lv 31-33, 23 at Lv 36-39 and 20 at Lv 41-45. Each is a one-time fight with its own warrior rules and a fixed first-clear reward, and five of them pay Korok Seeds (21 in total). The scouting challenges that recruit new warriors are on Scouting Challenges, and the Vicious Battles have their own page, Vicious Battles.
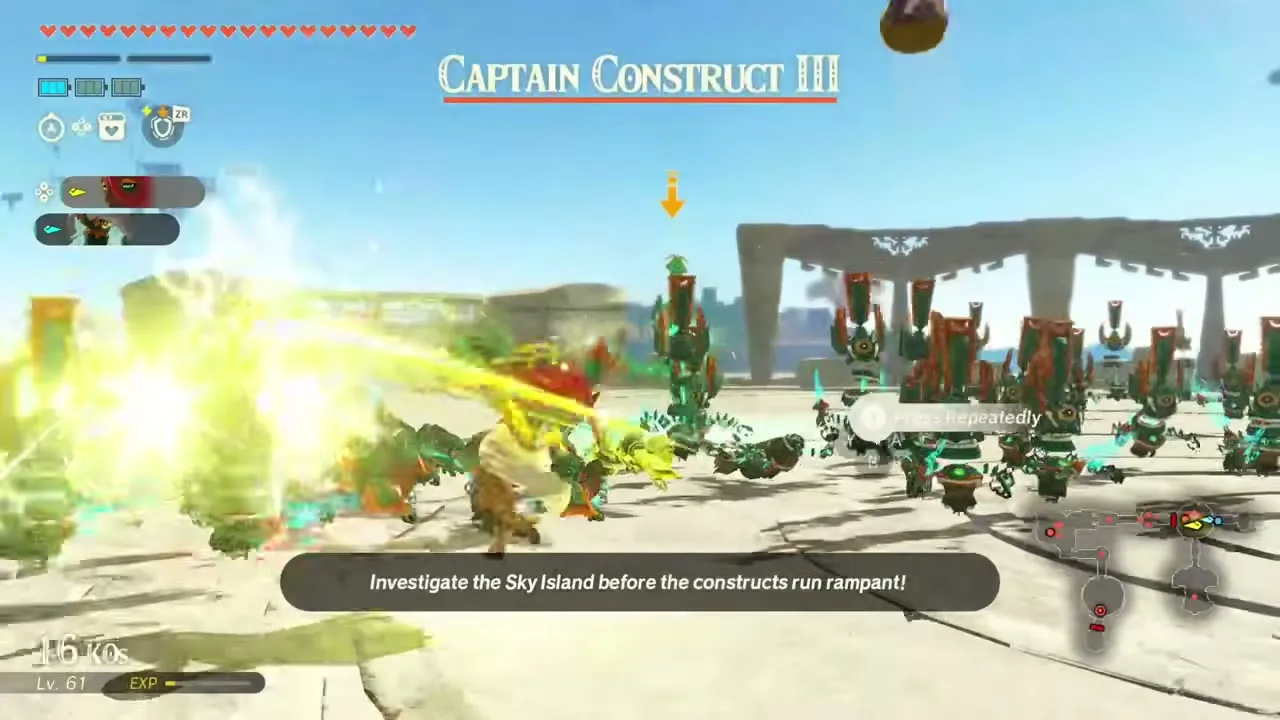
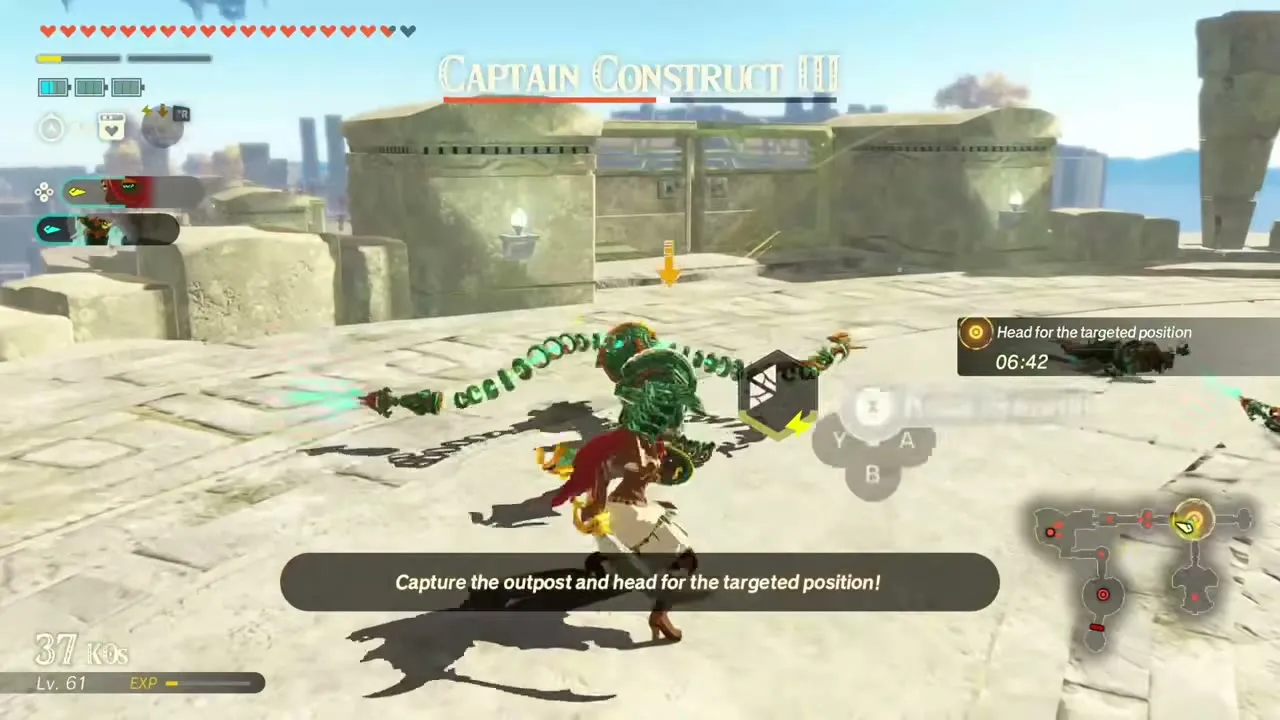
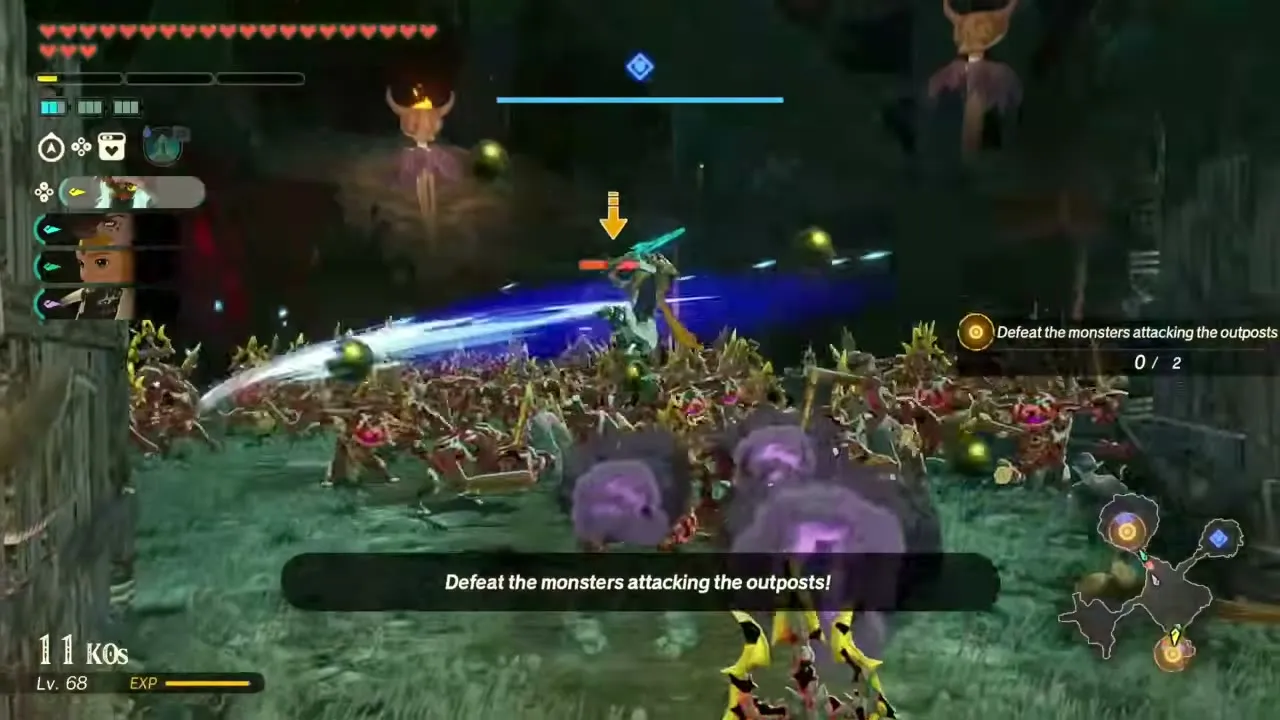
Table of Contents
How these challenges unlock
Scenario unlocks and chains
Most of these challenges wait on a story battle. The Crimson Omen opens the first group, A Time for Action adds the Death Mountain, Gerudo Desert, Damel Forest and Depths fights, and The Counterstrike adds the four secret-stone battles plus the Scablands and Ash Swamp follow-ups. Purging the Shadows and Fire and Sand open the Lv 41-45 group. Several challenges form chains, where clearing one makes the next appear on the map, and the entries below name the link whenever one is known.
Quick reference
All Lv 31-50 challenges at a glance
This table lists every challenge in level order with its region, the warriors allowed and the first-clear reward; the level sections after it give the full detail.
| Done | Challenge | Lv | Region | Warriors | First-clear reward |
|---|---|---|---|---|---|
| A Tabantha Excursion | 31 | Tabantha Frontier |  Agraston,  Qia |  Blue Nightshade ×10, Glowing Cave Fish ×10,  Zonaite Steel (Two-Handed) ×1 | |
| Wind and Water | 31 | Tabantha Frontier |  Raphica, Qia | Blue Nightshade ×10,  Endura Carrot ×7,  Zonaite Steel (Bow) ×1,  Zonaite Steel (Pristine) ×1, Rupee ×500 | |
| A Wind Through the Desert | 31 | Gerudo Desert |  Calamo, Raphica | Rushroom ×10, Sunshroom ×10, Zonaite Steel (Bow) ×1 | |
| Taking the Mantle | 31 | Ash Swamp | Qia,  Ardi |  Bomb Flower ×10, 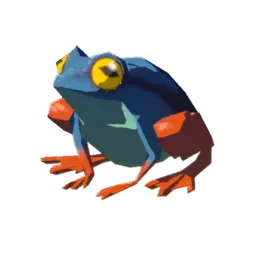 Sticky Frog ×10, random weapon | |
| A Sword to Banish Shades | 31 | The Depths | Rauru, Qia | 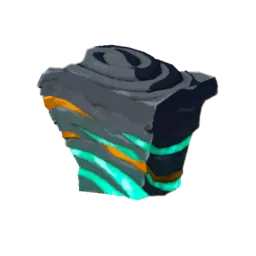 Zonaite ×10, 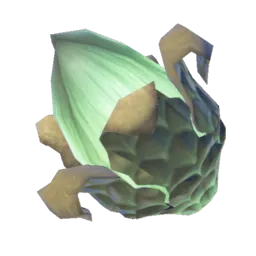 Giant Brightbloom Seed ×10,  Zonaite Steel (Spear) ×1 | |
| To Clearer Skies | 32 | Tabantha Frontier | Raphica + one other | Sunset Firefly ×10, Bladed Rhino Beetle ×10, Zonaite Steel (Pristine) ×1, Rupee ×500, random weapon | |
| Oath of the Wetlands | 32 | Lanayru Wetlands | Qia + three others | Ironshell Crab ×10, Mighty Carp ×10, Zonaite Steel (Spear) ×1, Zonaite Steel (Pristine) ×1, Rupee ×500 | |
| With Fire in His Heart | 32 | Death Mountain | Agraston + three others | Endura Carrot ×10, Warm Safflina ×10, Zonaite Steel (Two-Handed) ×1, Zonaite Steel (Pristine) ×1, Rupee ×500 | |
| Protect that Forest! | 32 | Great Hyrule Forest | Calamo, Knight Construct + one other |  Hearty Lizard ×10,  Restless Cricket ×10, Zonaite Steel (Pristine) ×1, Korok Seed ×5, random weapon | |
| A Flash of Steel in the Desert | 32 | Gerudo Desert | Ardi + three others |  Warm Darner ×10, Endura Carrot ×10, Zonaite Steel (Pristine) ×1, Rupee ×500, random weapon | |
| For the Kingdom of Hyrule | 32 | Central Hyrule Field | Zelda + three others |  Silent Princess ×10,  Hearty Bass ×7, Zonaite Steel (Pristine) ×1, Rupee ×700, random weapon | |
| Struggle in the Sands | 33 | Gerudo Desert | Ardi + one other | Raw Bird Drumstick ×10,  Mighty Bananas ×10, random weapon | |
| Cleansing Damel Forest | 33 | Damel Forest | Any warrior | Armored Carp ×10,  Tireless Frog ×10, Sticky Frog ×10, Rupee ×700, random weapon | |
| Those Who Were Taken | 33 | Ash Swamp | Rauru, Ardi | Ironshell Crab ×10, Swift Violet ×10, Zonaite Steel (Spear) ×1 | |
| Defending Ash Swamp | 36 | Ash Swamp | Any warrior |  Sneaky River Snail ×20,  Razorshroom ×10, Zonaite Steel (Pristine) ×1, Rupee ×800, random weapon | |
| Battle for South Death Mountain | 36 | Death Mountain | Any warrior | 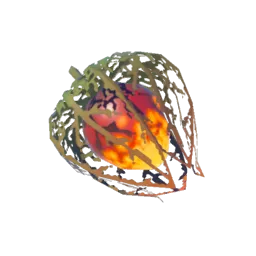 Fire Fruit ×10, Sunshroom ×10, Zonaite Steel (Two-Handed) ×1 | |
| Rescuing the Gerudo Soldiers | 36 | Gerudo Desert | Ardi + one other | 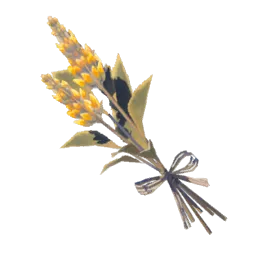 Electric Safflina ×10,  Hydromelon ×10, random weapon | |
| Purging Damel Forest | 36 | Damel Forest | Any warrior | 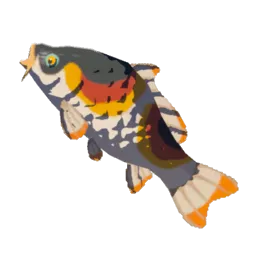 Sanke Carp ×10, 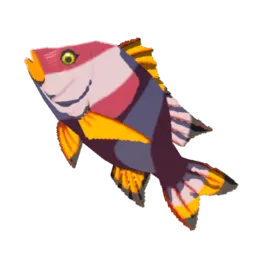 Mighty Porgy ×10, random weapon | |
| Counteroffensive in Ash Swamp | 36 | Ash Swamp | Any warrior | Hearty Salmon ×10, Blue Nightshade ×10, Bright-Eyed Crab ×10, Zonaite Steel (Two-Handed) ×1, Rupee ×700 | |
| Liberating Death Mountain | 36 | Death Mountain | Any warrior |  Flint ×10, Tireless Frog ×7, Zonaite Steel (Two-Handed) ×1 | |
| Reclaiming the Gerudo Desert | 36 | Gerudo Desert | Any warrior | Hydromelon ×10,  Ironshroom ×10,  Golden Apple ×10, Rupee ×700, random weapon | |
| Investigating the Faron Depths | 36 | Faron Depths | Rauru + one other | Giant Brightbloom Seed ×12, Zonaite ×10, Zonaite Steel (Spear) ×1 | |
| Good and Evil | 36 | Tanagar Canyon Temple | Rauru, Mineru |  Mighty Thistle ×10, Hearty Salmon ×10,  Big Hearty Truffle ×7, Zonaite Steel (Spear) ×1, Rupee ×700 | |
| Warriors at the Ready | 36 | Tanagar Canyon Temple | Any except the nine main fighters | Mighty Thistle ×10,  Stealthfin Trout ×15, Zonaite Steel (Pristine) ×1, Rupee ×900, random weapon | |
| Seeking Treasure in the Depths | 36 | The Depths | Any warrior |  Luminous Stone ×5,  Ruby ×3, Giant Brightbloom Seed ×10, Rupee ×4,000, random weapon | |
| Seeking Treasure on a Sky Island | 36 | A sky island | Any warrior |  Opal ×3,  Diamond ×2, Rupee ×4,000, random weapon | |
| Seeking Treasure in Damel Forest | 36 | Damel Forest | Any warrior |  Topaz ×3,  Sapphire ×3,  Amber ×7, Rupee ×4,000, random weapon | |
| Trial: Lightning, Ice, And Fire | 36 | Stone training hall | Any warrior |  Endura Shroom ×10, Sunset Firefly ×10, random weapon | |
| Defending the North Seres Scablands | 38 | Seres Scablands | Any warrior |  Swift Carrot ×10, Mighty Carp ×10, Zonaite Steel (Pristine) ×1, Rupee ×700, random weapon | |
| Battle for North Death Mountain | 38 | Death Mountain | Any warrior | Mighty Thistle ×10, Flint ×10, Zonaite Steel (Pristine) ×1, Rupee ×700, random weapon | |
| Pacifying the Seres Scablands | 38 | Seres Scablands | Any warrior | Acorn ×10,  Hylian Tomato ×10, Sunset Firefly ×10, Rupee ×700, random weapon | |
| The Rushing Gale | 38 | Tabantha Frontier | Raphica + one other | Mighty Porgy ×10, Cold Darner ×10, Chillfin Trout ×10, Zonaite Steel (Bow) ×1, Rupee ×700 | |
| The Raging Torrent | 38 | Lanayru Wetlands | Qia + one other | Swift Violet ×10, Swift Carrot ×10,  Energetic Rhino Beetle ×10, Zonaite Steel (Spear) ×1, Rupee ×700 | |
| The Red-Hot Boulder | 38 | Death Mountain | Agraston + one other | Smotherwing Butterfly ×10, Fireproof Lizard ×10, Razorshroom ×10, Zonaite Steel (Two-Handed) ×1, Rupee ×700 | |
| The Brilliant Thunderbolt | 38 | Gerudo Desert | Ardi + one other | Voltfin Trout ×10, Bladed Rhino Beetle ×10, Ironshroom ×10,  Zonaite Steel (One-Handed) ×1, Rupee ×700 | |
| Battle for the Tabantha Frontier | 39 | Tabantha Frontier | Any warrior | Hearty Bass ×10,  Big Hearty Radish ×7, Zonaite Steel (Pristine) ×1, Rupee ×700, random weapon | |
| Battle through the Grime | 39 | Lanayru Wetlands | Any warrior |  Fleet-Lotus Seeds ×10, Stealthfin Trout ×10, Zonaite Steel (Spear) ×1, Zonaite Steel (Pristine) ×1, Rupee ×500 | |
| Defending Against the Gloom | 41 | The Depths | Any warrior | Sunset Firefly ×10, Giant Brightbloom Seed ×10, random weapon | |
| Unfazed by the Frigid Peaks | 41 | Tabantha Frontier | Calamo, Raphica |  Hearty Truffle ×10, Hearty Salmon ×10, Golden Apple ×10, Rupee ×800, random weapon | |
| Unfazed by the Sweltering Volcano | 41 | Death Mountain | Knight Construct, Raphica | Mighty Thistle ×10, Big Hearty Radish ×7, Tireless Frog ×10, Rupee ×800, random weapon | |
| Purging the Scablands | 41 | Seres Scablands | Any warrior | Bright-Eyed Crab ×10,  Apple ×10, Zonaite Steel (Two-Handed) ×1 | |
| Liberating Lanayru | 41 | Lanayru Wetlands | Any warrior | Swift Violet ×10, Armored Carp ×10, random weapon | |
| Protectors of Zonai History | 41 | A sky island | Any warrior | Sundelion ×10,  Large Zonaite ×7, random weapon | |
| Defending in the Scorching Heat | 42 | Death Mountain | Any warrior | Spicy Pepper ×10, Smotherwing Butterfly ×10, random weapon | |
| Cleansing the Seres Scablands | 42 | Seres Scablands | Any warrior | Thunderwing Butterfly ×10, Mighty Bananas ×10, random weapon | |
| Struggle at the Depths Outpost | 42 | Depths Outpost | Any warrior | Sunset Firefly ×10, Cold Darner ×10, Zonaite Steel (Spear) ×1 | |
| Defending Eastern Hyrule Forest | 44 | Great Hyrule Forest | Any warrior | Golden Apple ×10,  Korok Frond ×10, Zonaite Steel (Pristine) ×1, Korok Seed ×3, random weapon | |
| Defending Western Hyrule Forest | 44 | Great Hyrule Forest | Any warrior | Hearty Truffle ×10, Swift Carrot ×10, Zonaite Steel (One-Handed) ×1, Zonaite Steel (Pristine) ×1, Korok Seed ×5 | |
| Two Brave Warriors | 44 | Great Hyrule Forest | Raphica, Agraston + two others | Tireless Frog ×10, Hearty Truffle ×10, Zonaite Steel (Bow) ×1, Rupee ×800, Korok Seed ×3 | |
| Shouldering Guilt | 44 | Seres Scablands | Ardi, Raphica | Voltfruit ×10, Electric Safflina ×10, Hydromelon ×10, Zonaite Steel (Bow) ×1, Rupee ×800 | |
| Calamo and Ardi | 44 | Tanagar Canyon Temple | Calamo, Ardi | Big Hearty Truffle ×7, Endura Shroom ×10, Zonaite Steel (One-Handed) ×1, Zonaite Steel (Pristine) ×1, Korok Seed ×5 | |
| The Cutting Edge of Research | 44 | The Depths | Zelda, Mineru, Calamo | Brightcap ×10, Large Zonaite ×7, Zonaite Steel (One-Handed) ×1 | |
| Trial: The Immovable Boulders | 44 | Shrine of Light | Any warrior | Diamond ×1, Topaz ×2, Ruby ×2, Zonaite Steel (Two-Handed) ×1 | |
| The Traveler’s Homecoming | 44 | Great Hyrule Forest | Calamo + one other | Chickaloo Tree Nut ×10, Hearty Bass ×10, Zonaite Steel (One-Handed) ×1 | |
| A Cool Head in Intense Heat | 45 | Death Mountain | Agraston + one other | Chillfin Trout ×10, Smotherwing Butterfly ×10, Zonaite Steel (Two-Handed) ×1 | |
| Training with Agraston | 45 | Tanagar Canyon Temple | Zelda, Agraston | Hyrule Herb ×10, Bright-Eyed Crab ×10, Zonaite Steel (One-Handed) ×1 | |
| Calamo, the Spear Wielder! | 45 | Great Hyrule Forest | Knight Construct | Razorclaw Crab ×10, Stealthfin Trout ×10, Zonaite Steel (Spear) ×1 |
Level 31 to 35
A Tabantha Excursion
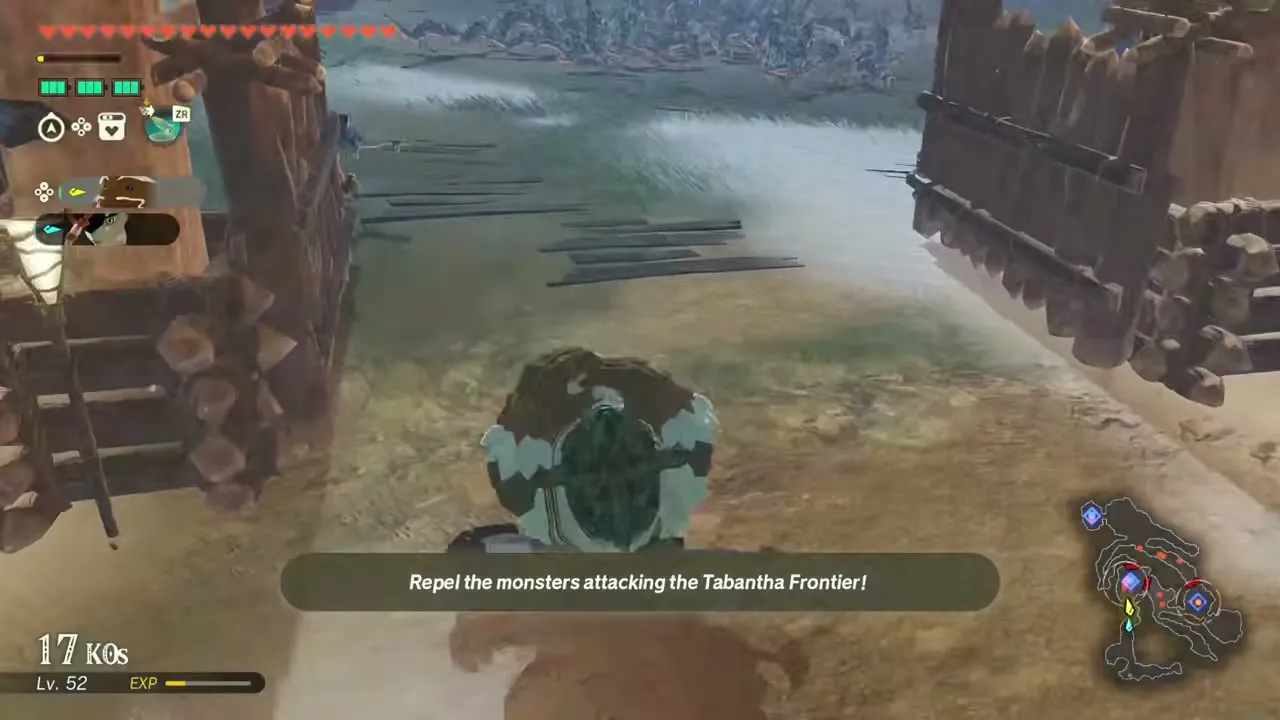
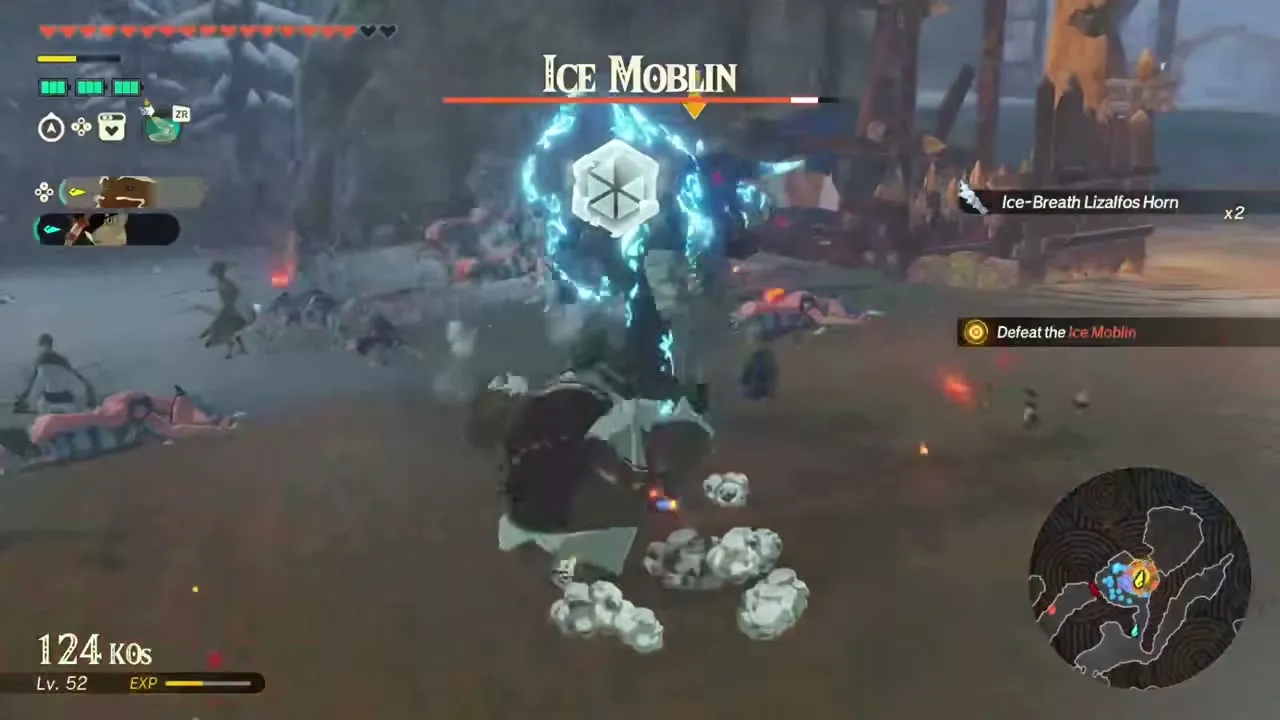
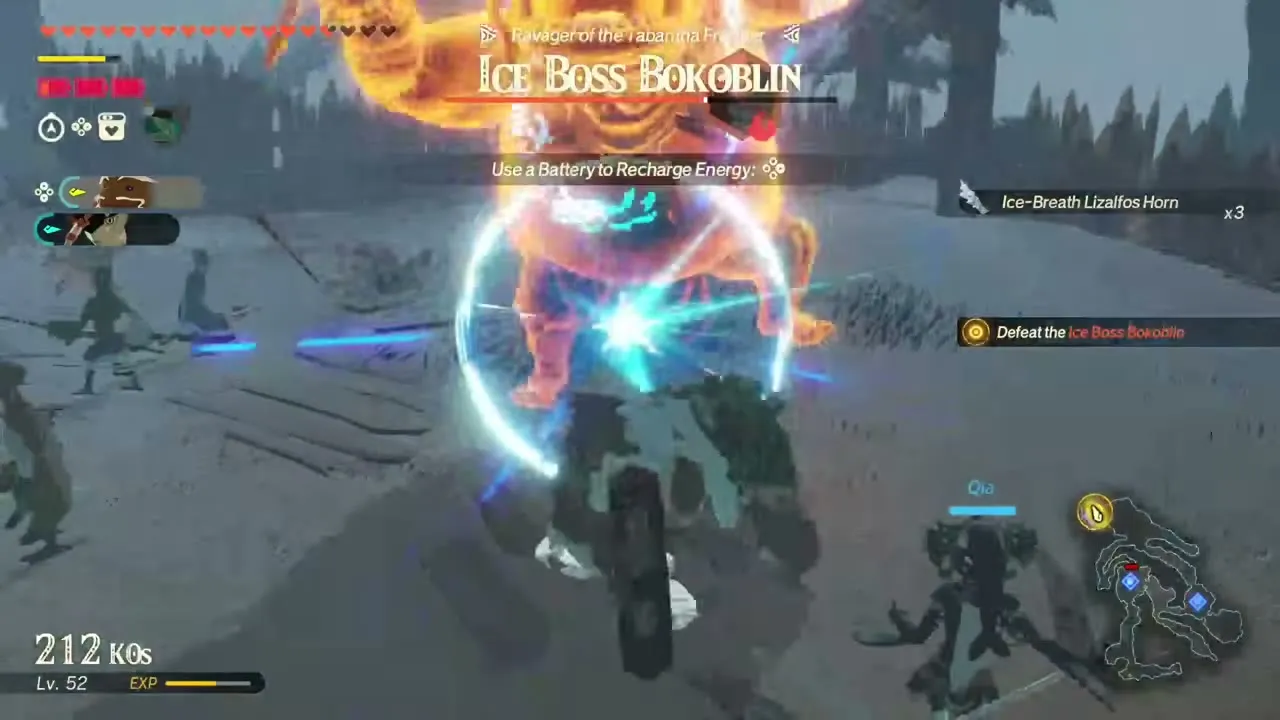
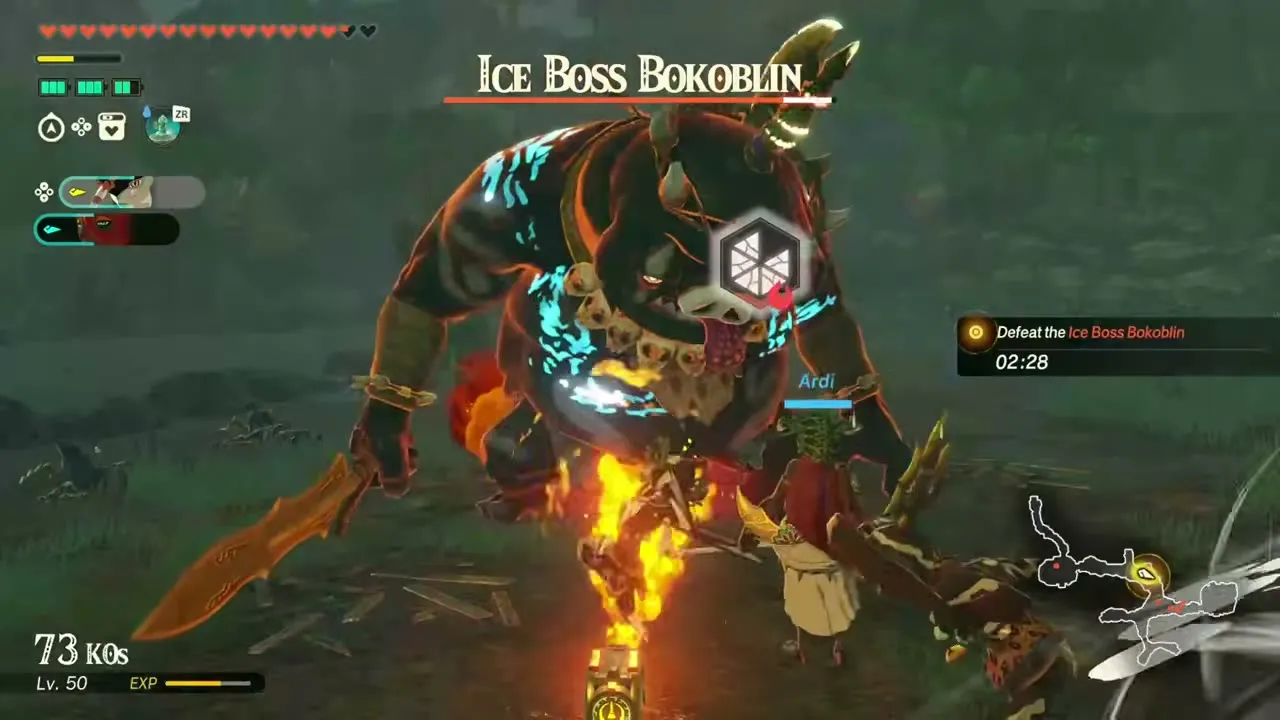
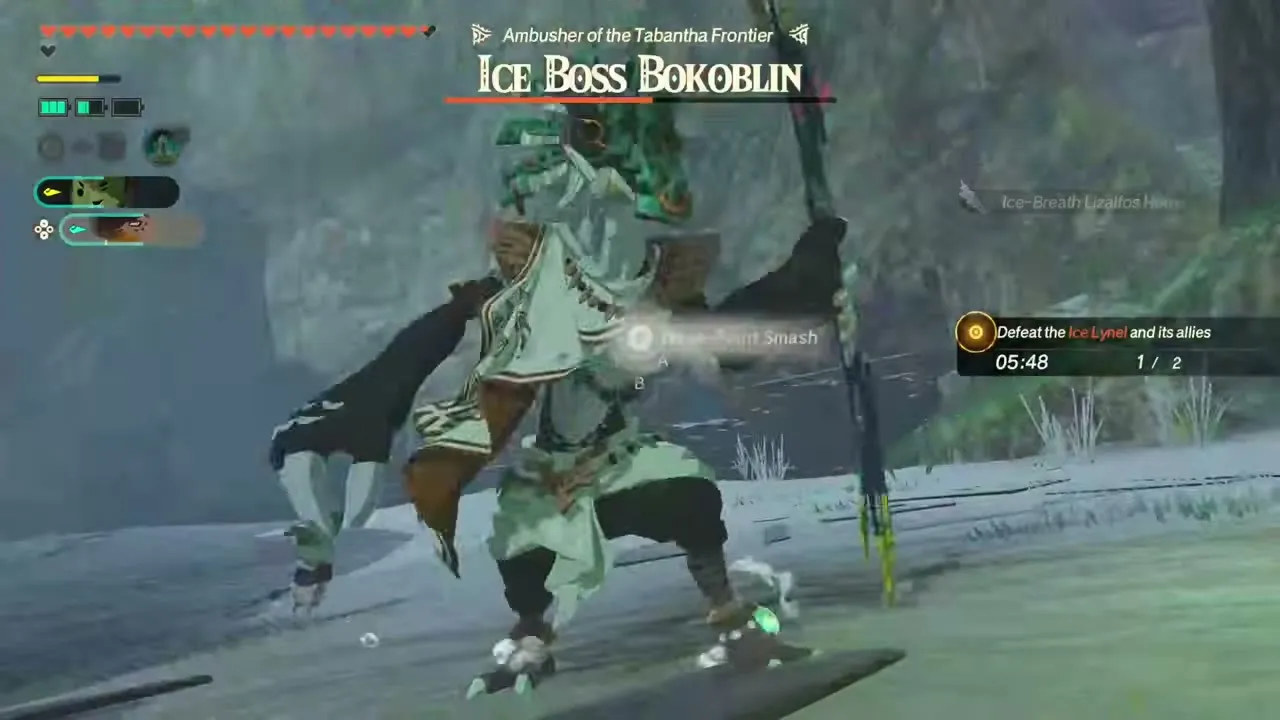
Recommended level 31, in Tabantha Frontier. A pack of monsters is hitting the Tabantha Frontier, and Agraston and Qia push through wind and snow to help the Rito turn it around. The warriors are fixed: Agraston and Qia. Expect Ice Boss Bokoblin, Ice Keese, Snow Octorok, Ice-Breath Lizalfos and Ice Moblin on the field. The battle runs from the outposts to an Ice Moblin and finally the Ice Boss Bokoblin, the Ravager of the Tabantha Frontier. First-clear reward: Blue Nightshade ×10, Glowing Cave Fish ×10 and Zonaite Steel (Two-Handed) ×1.
Wind and Water
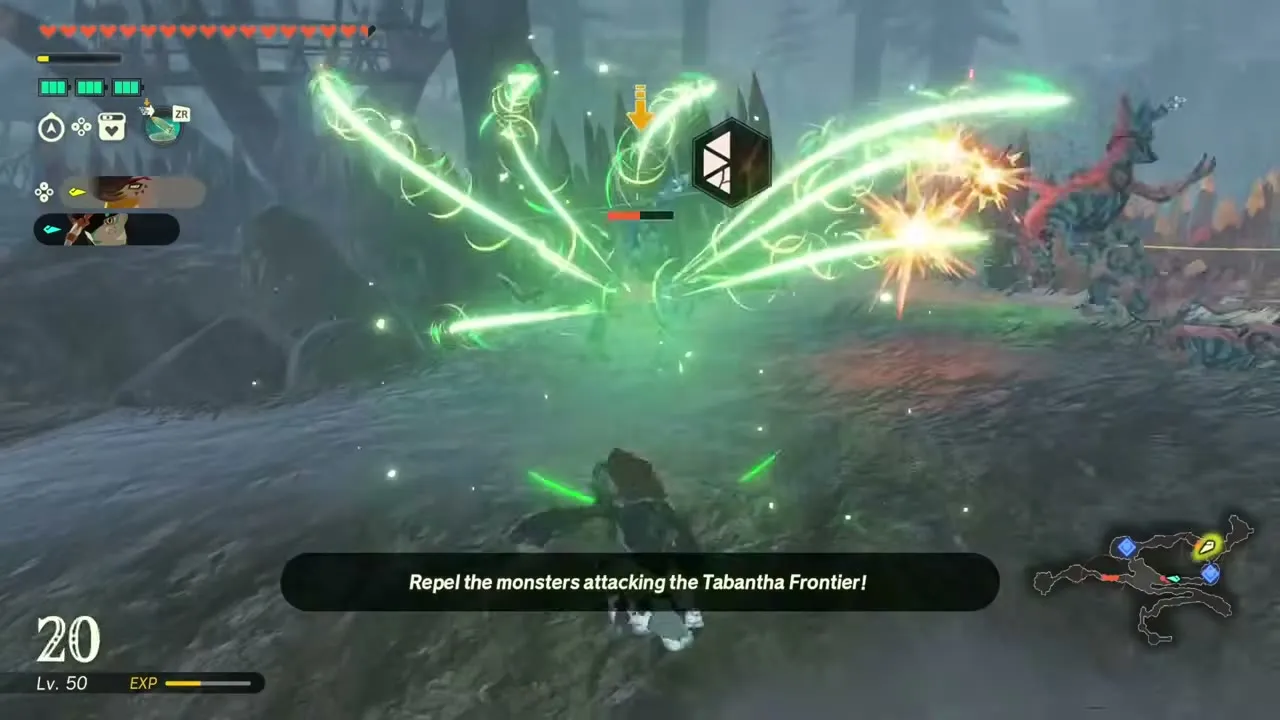
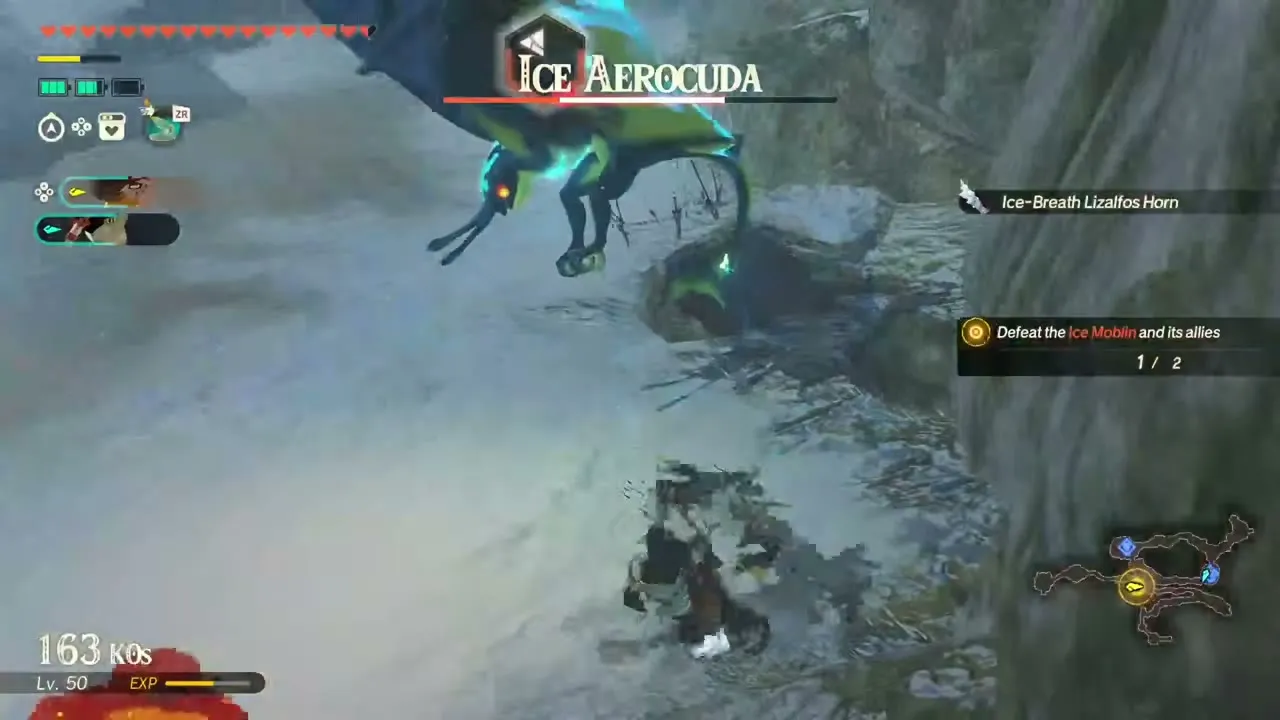
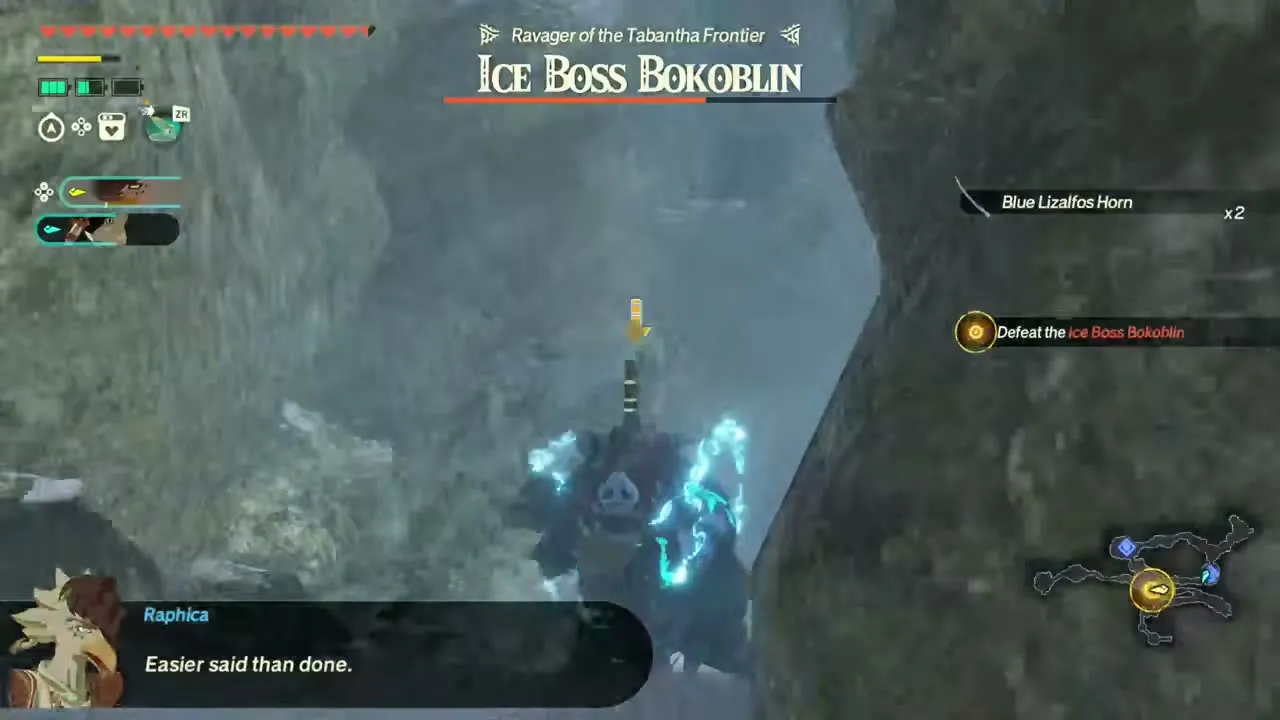
Recommended level 31, in Tabantha Frontier. Raphica and Qia combine forces to defend the outposts of the Tabantha Frontier from an invasion. The warriors are fixed: Raphica and Qia. Expect Blue Lizalfos, Ice Boss Bokoblin, Ice-Breath Lizalfos, Ice Moblin and Ice Aerocuda on the field. The objectives are to repel the monsters attacking the Tabantha Frontier and defend the outpost, with an Ice Moblin, an Ice Aerocuda and an Ice Boss Bokoblin as the main enemies. First-clear reward: Blue Nightshade ×10, Endura Carrot ×7, Zonaite Steel (Bow) ×1, Zonaite Steel (Pristine) ×1 and 500 Rupees.
A Wind Through the Desert
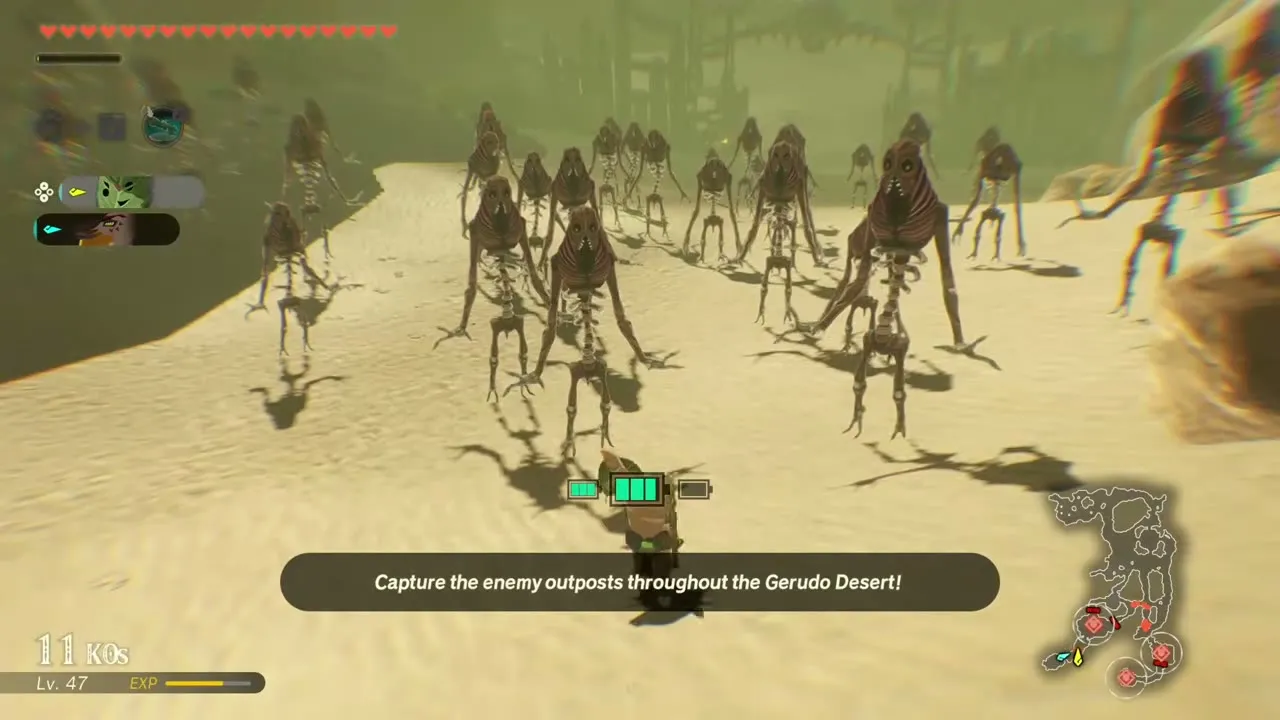
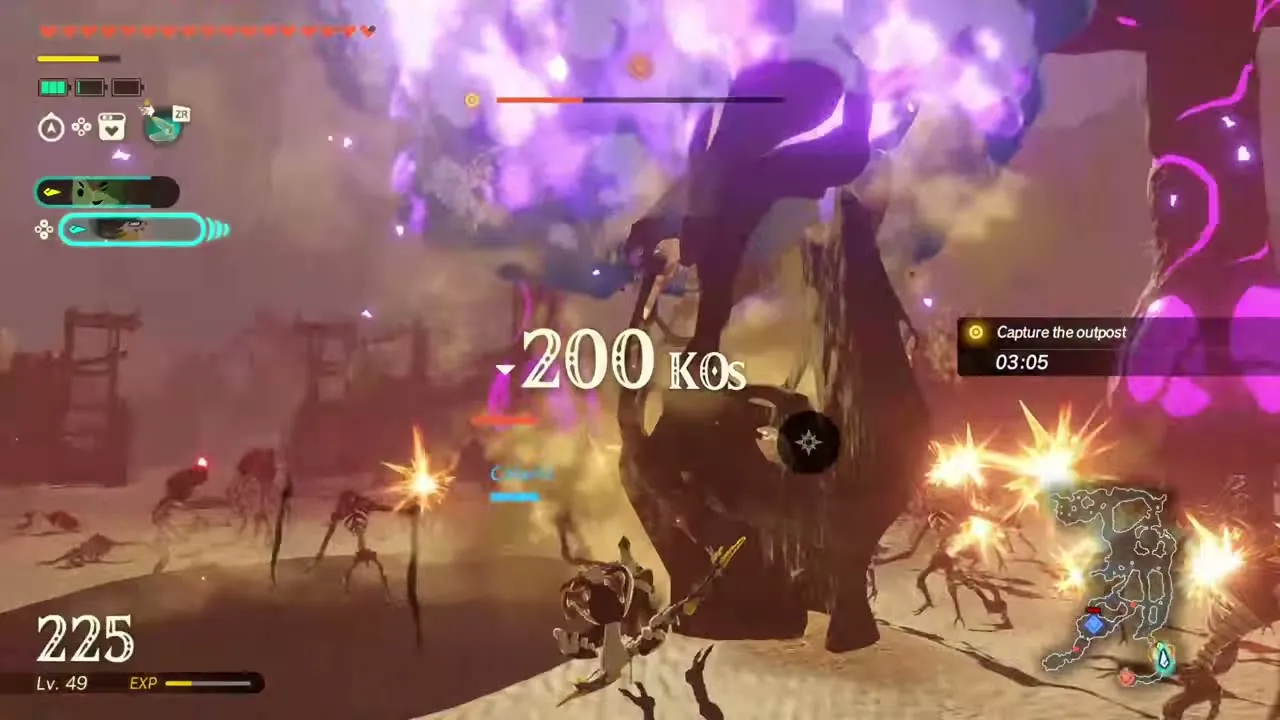
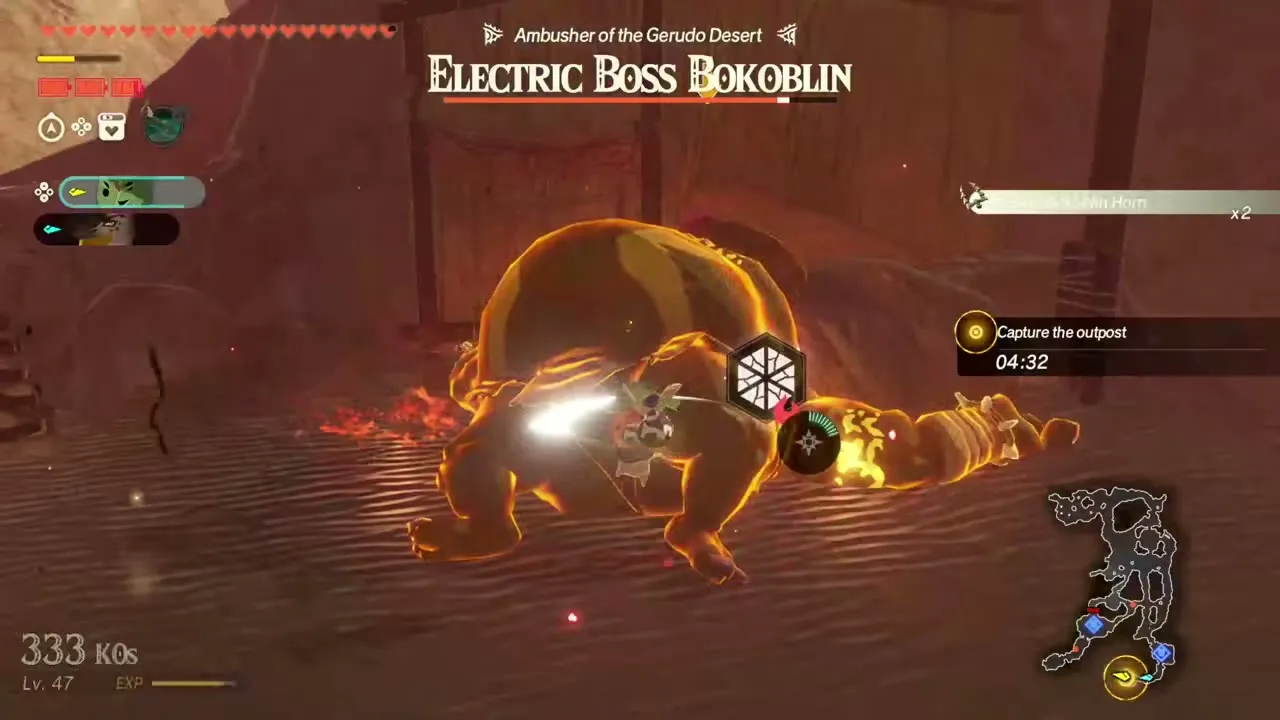
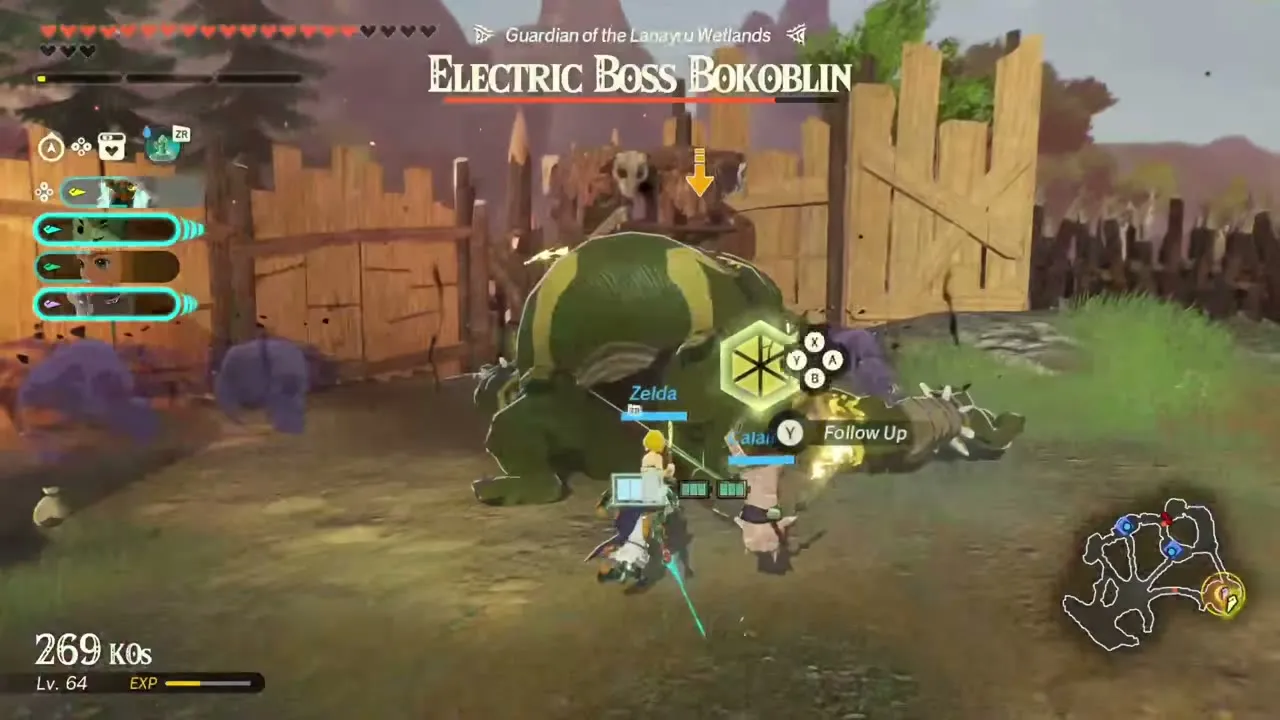
Recommended level 31, in Gerudo Desert. Fresh Gibdo hives have turned up in the Gerudo Desert, and Calamo is talked into joining Raphica’s extermination run. It opens once The Crimson Omen is complete. Expect Blue Bokoblin, Electric Boss Bokoblin, Gibdo and Moth Gibdo on the field. The warriors are fixed: Calamo and Raphica. The battlefield has Electric Darner and Palm Fruit to gather. The objectives are to capture the enemy outposts throughout the Gerudo Desert and to destroy the Gibdo hives and capture the outpost within the time limit, and the Electric Boss Bokoblin, Avalanche of the Gerudo Desert, is the boss. First-clear reward: Rushroom ×10, Sunshroom ×10 and Zonaite Steel (Bow) ×1.
Taking the Mantle
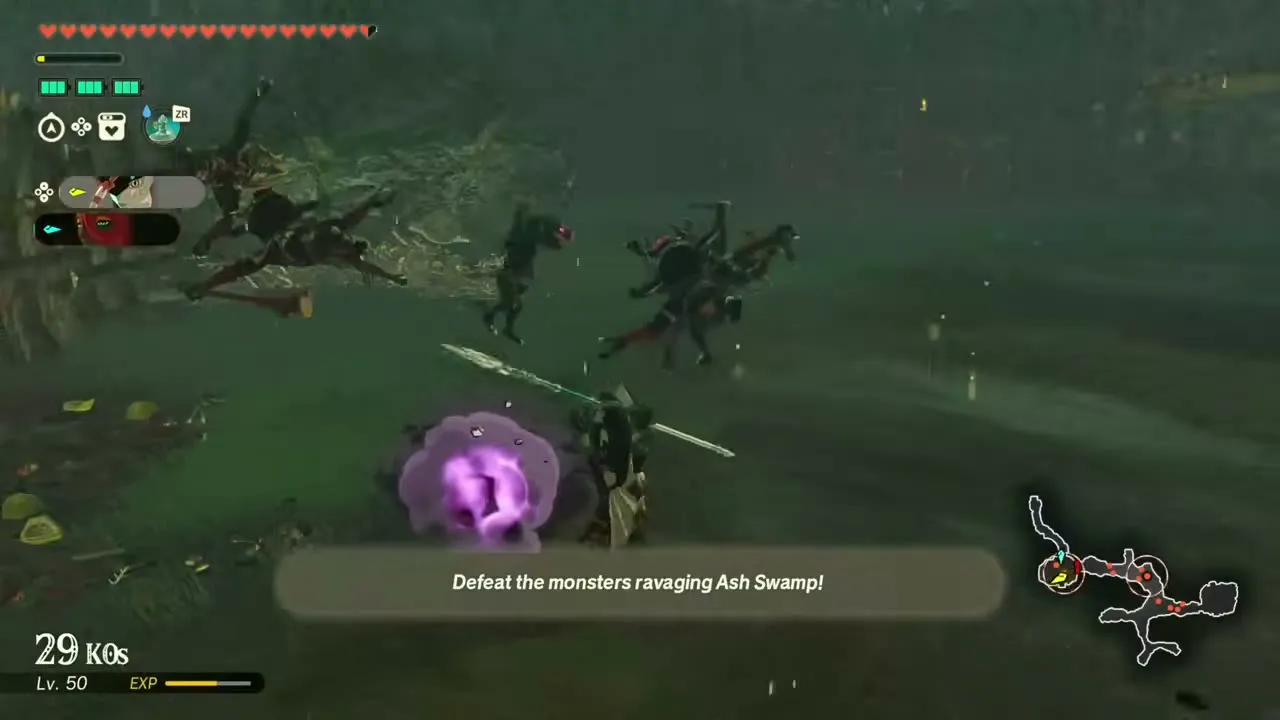
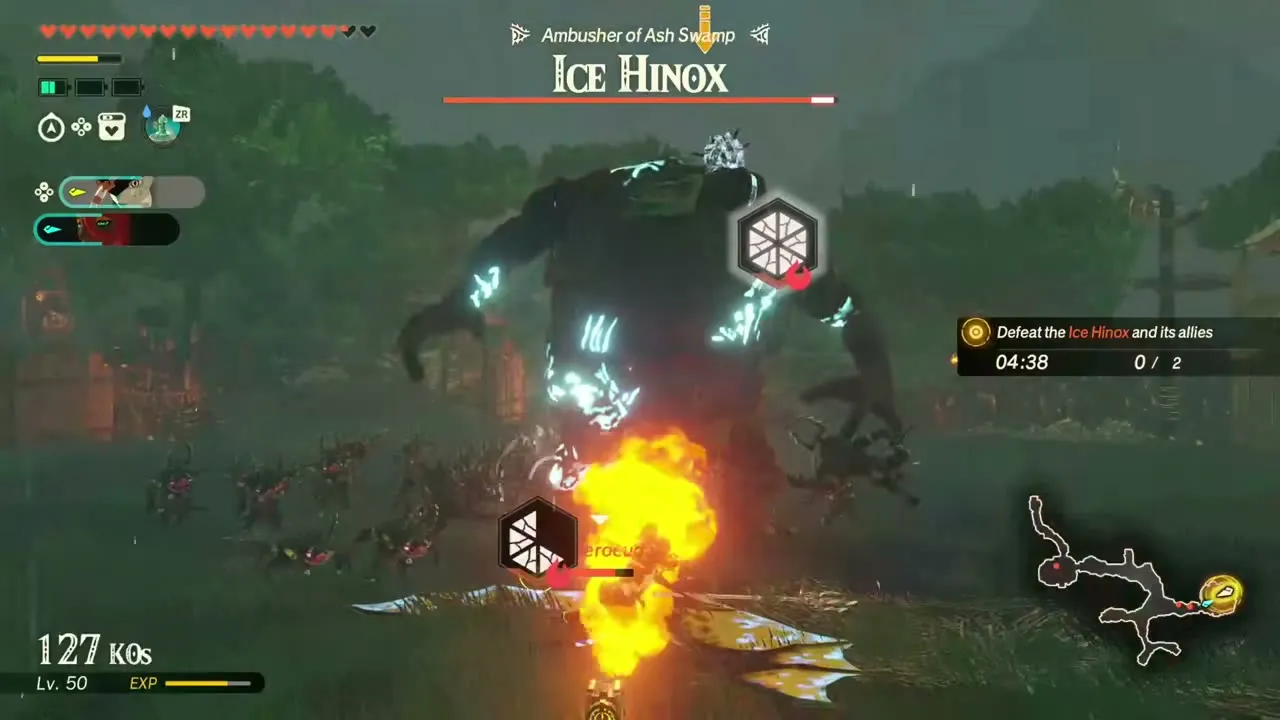
Recommended level 31, in Ash Swamp. Qia and Ardi, both new to leading their peoples, take it on themselves to clear the monsters out of Ash Swamp. It opens once The Crimson Omen is complete. The warriors are fixed: Qia and Ardi. Expect Blue Bokoblin, Evermean, Ice Hinox, Ice Boss Bokoblin and Ice Aerocuda on the field. The objectives are to defeat the monsters ravaging Ash Swamp, then the Ice Boss Bokoblin and the Ice Hinox, Ambush of Ash Swamp, within the time limit. First-clear reward: Bomb Flower ×10, Sticky Frog ×10 and a random weapon.
A Sword to Banish Shades
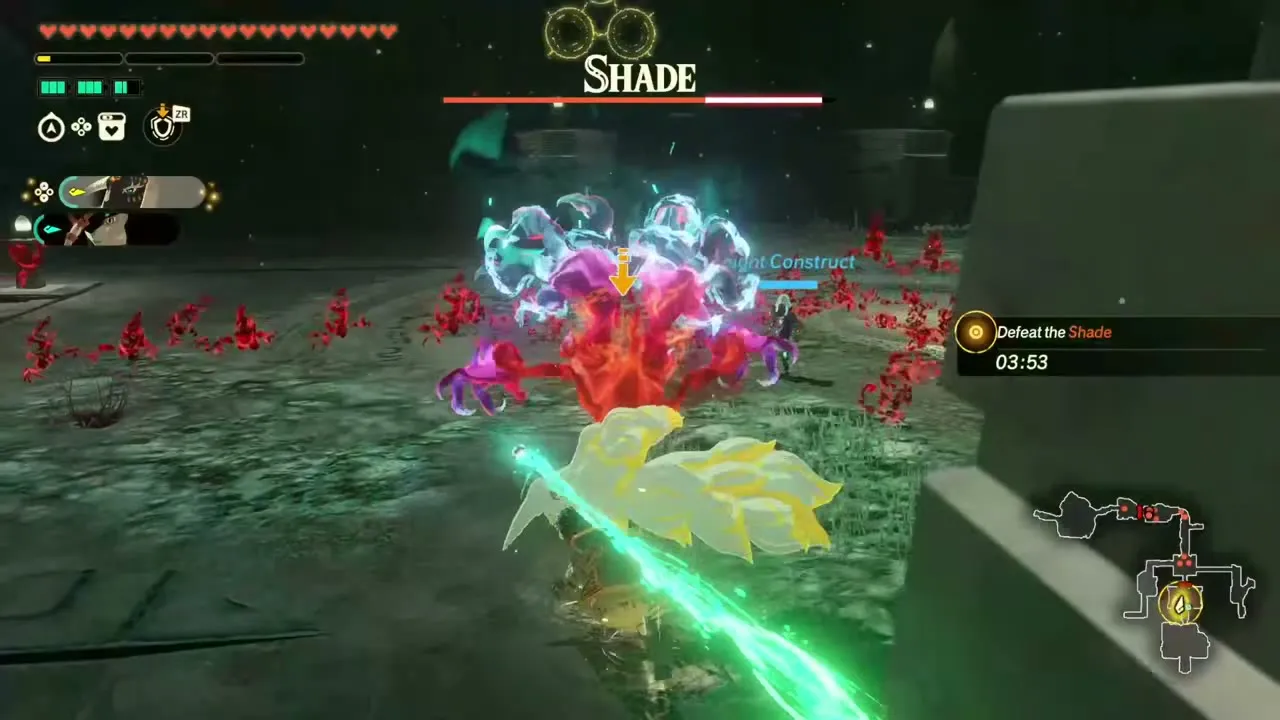
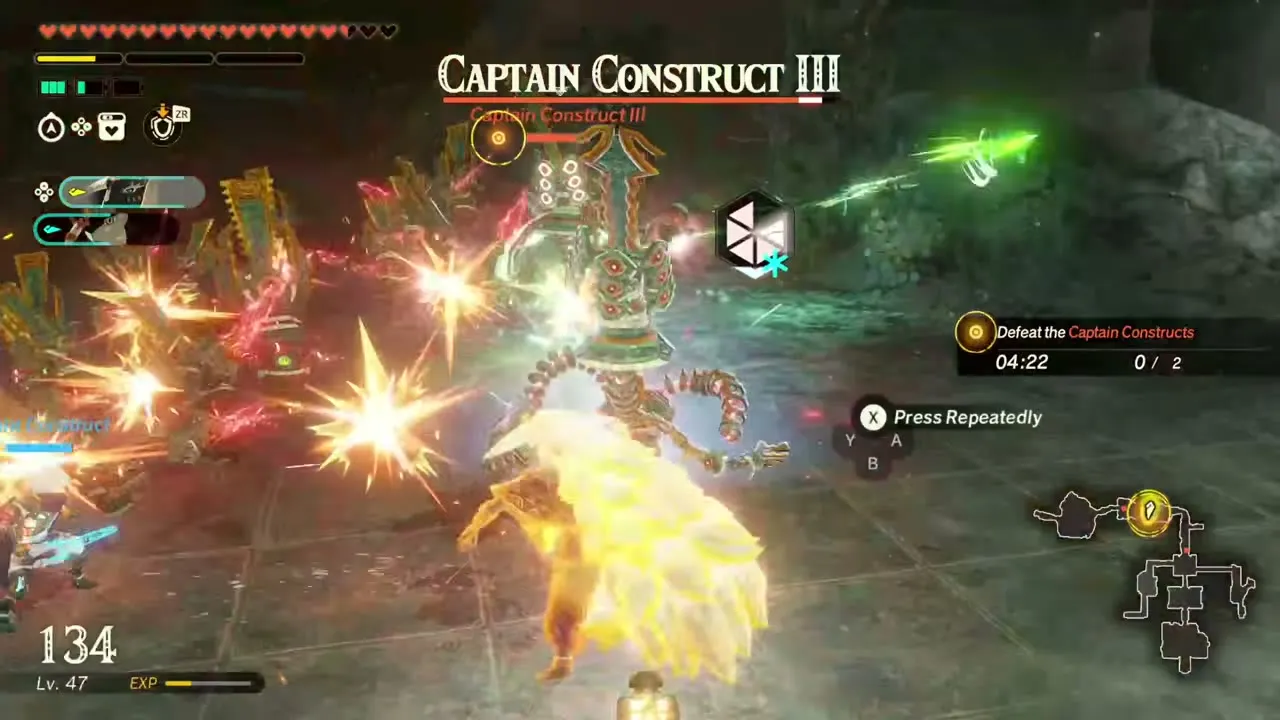
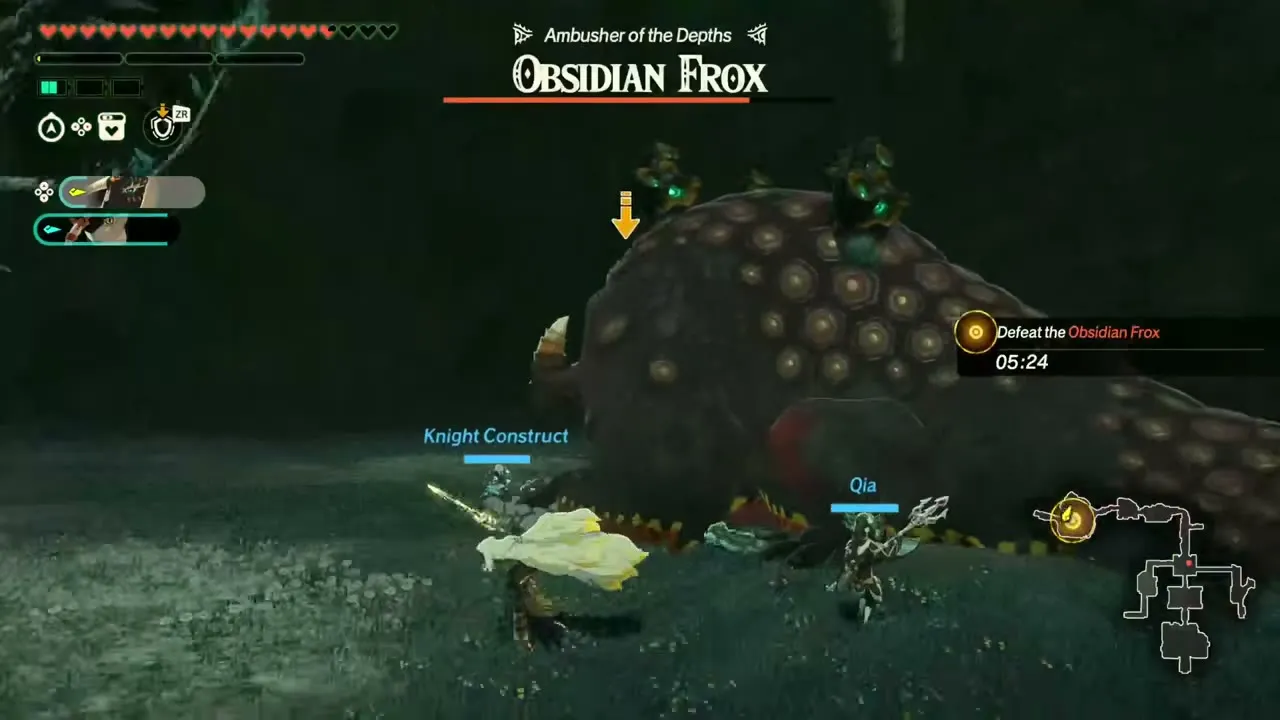
Recommended level 31, in the Depths. The Knight Construct suddenly bolts away and starts fighting shades, so Rauru and Qia give chase. The warriors are fixed: Rauru and Qia. Expect Shade, Little Frox, Captain Construct III, Soldier Construct III and Obsidian Frox on the field. It opens once The Crimson Omen is complete. The Shade comes first, then Captain Construct III, then the Obsidian Frox, Ambusher of the Depths. First-clear reward: Zonaite ×10, Giant Brightbloom Seed ×10 and Zonaite Steel (Spear) ×1.
To Clearer Skies
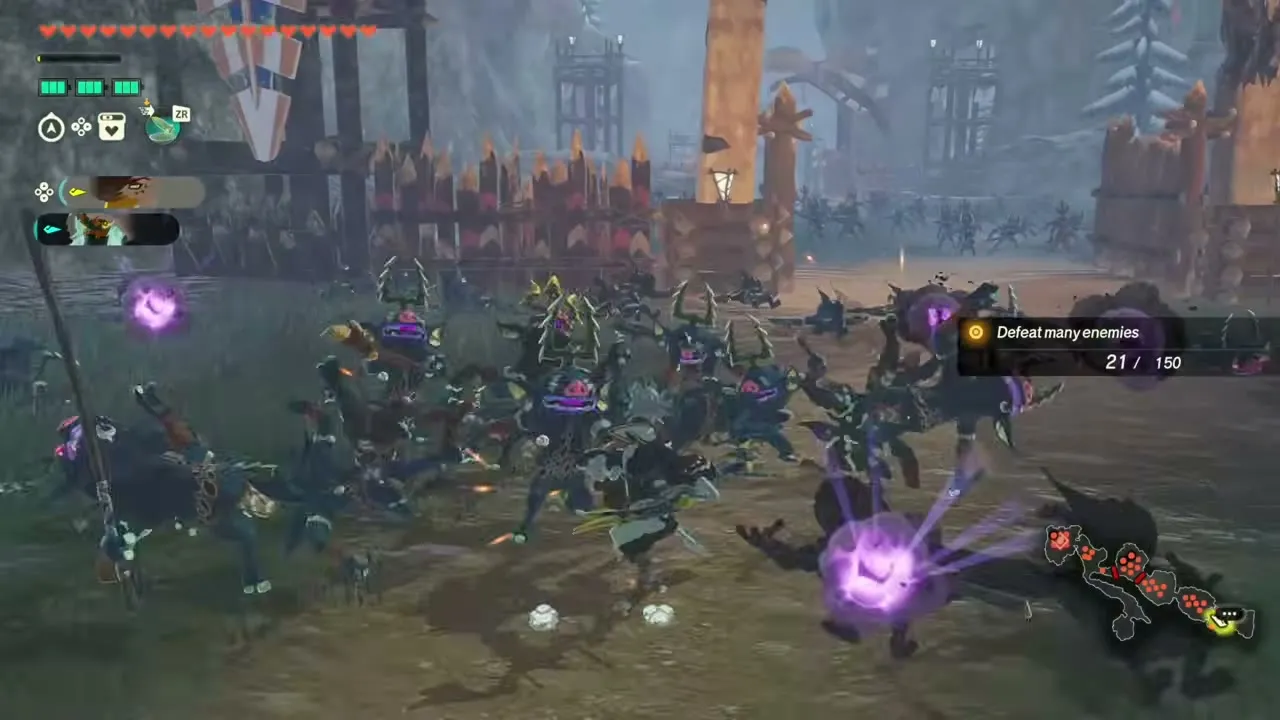
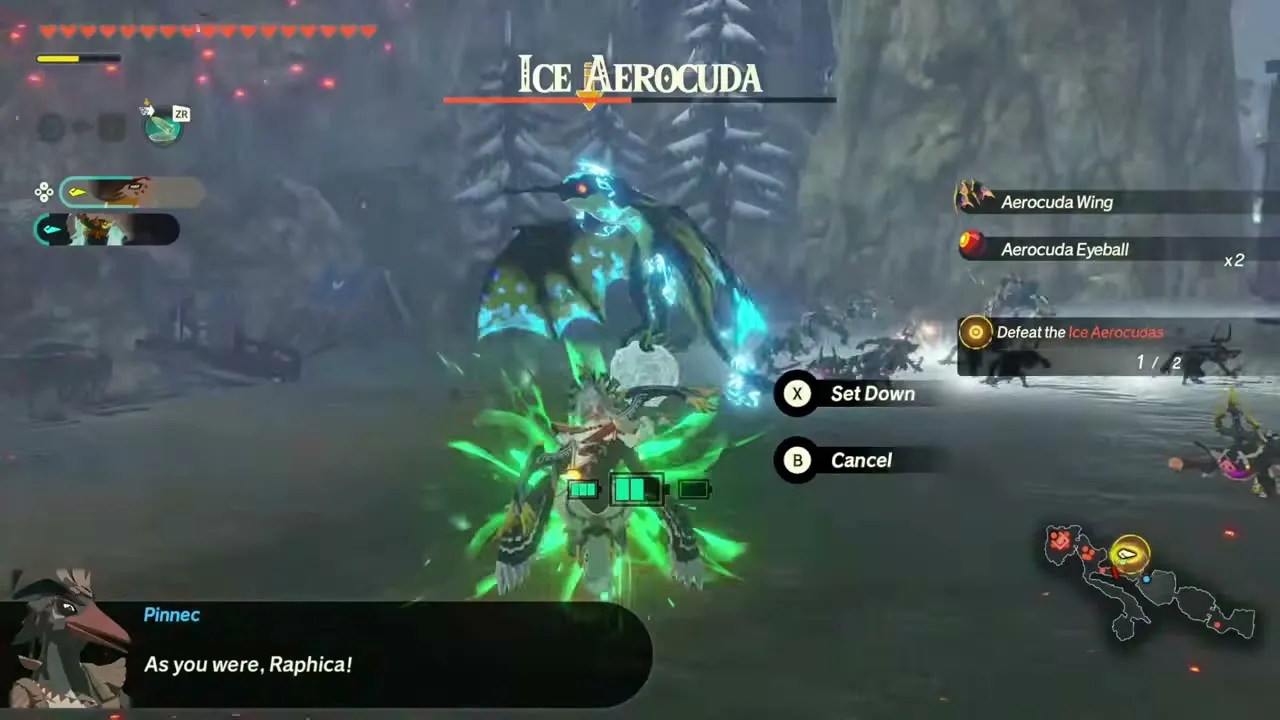
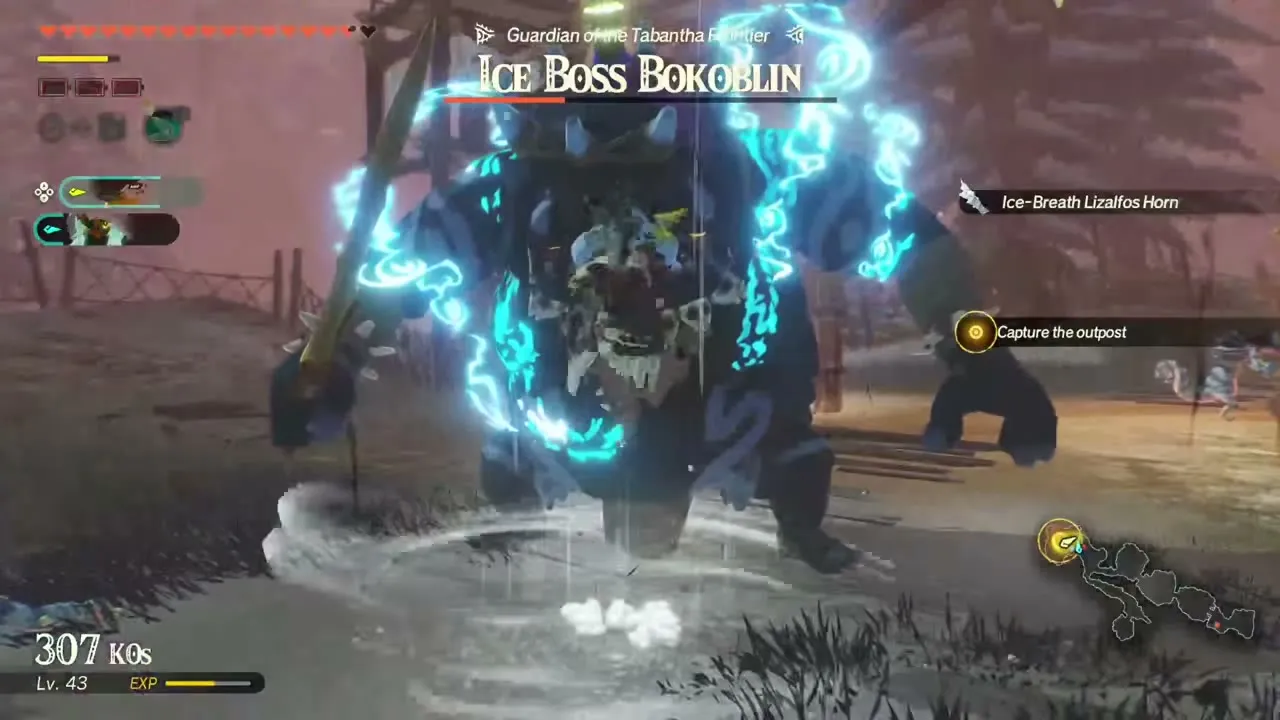
Recommended level 32, in Tabantha Frontier. Raphica hears that a monster legion is on the move and flies home to Tabantha to meet it head-on. You fight as Raphica plus one other warrior of your choice. Expect Blue Bokoblin, Ice Boss Bokoblin, Ice Keese, Ice-Breath Lizalfos and Ice Aerocuda on the field. The battlefield has Ice Fruit and Brightcap to gather. It opens once The Crimson Omen is complete. The first objective is to defeat 180 enemies, then you take down an Ice Aerocuda, capture an outpost and beat the Ice Boss Bokoblin, Guardian of the Tabantha Frontier. First-clear reward: Sunset Firefly ×10, Bladed Rhino Beetle ×10, Zonaite Steel (Pristine) ×1, 500 Rupees and a random weapon.
Oath of the Wetlands
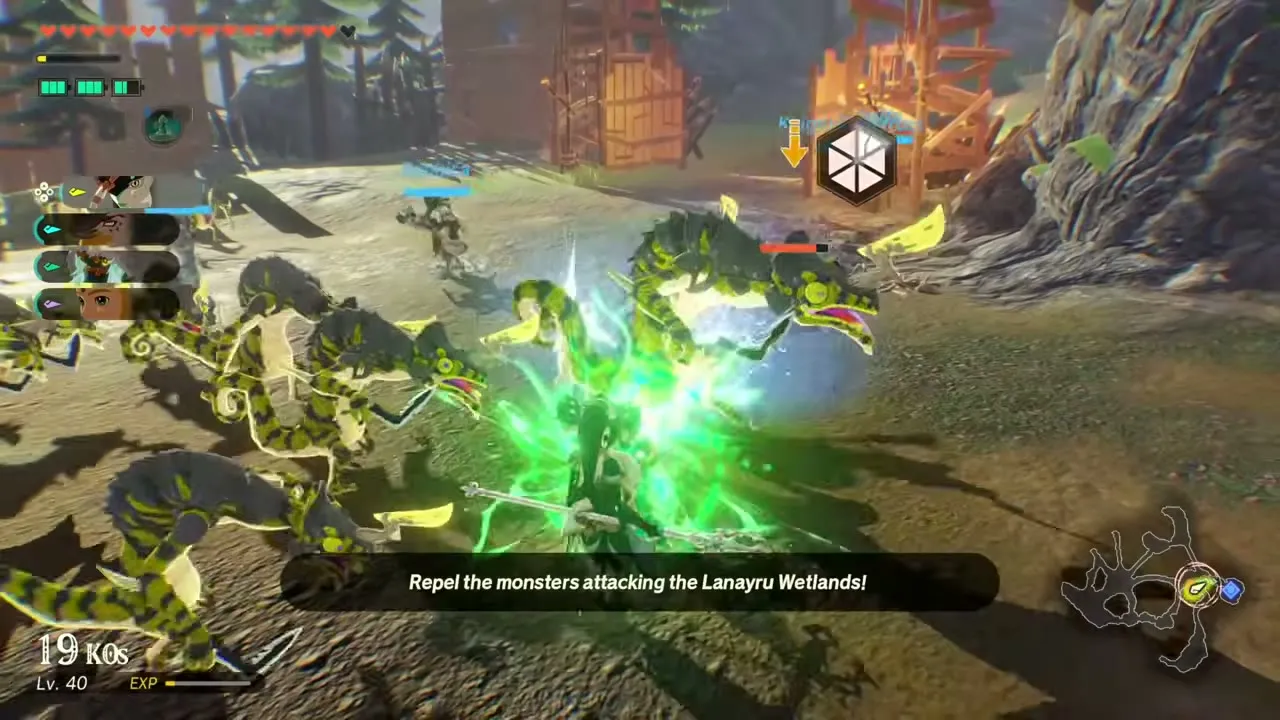
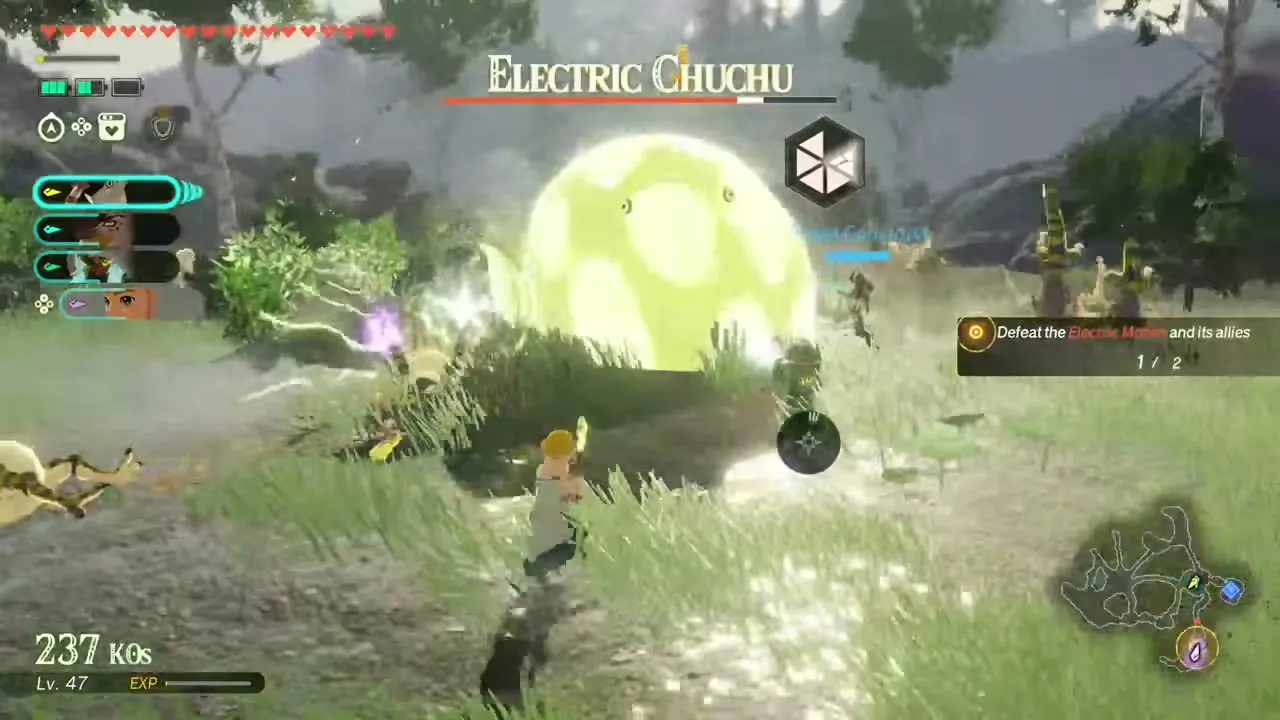
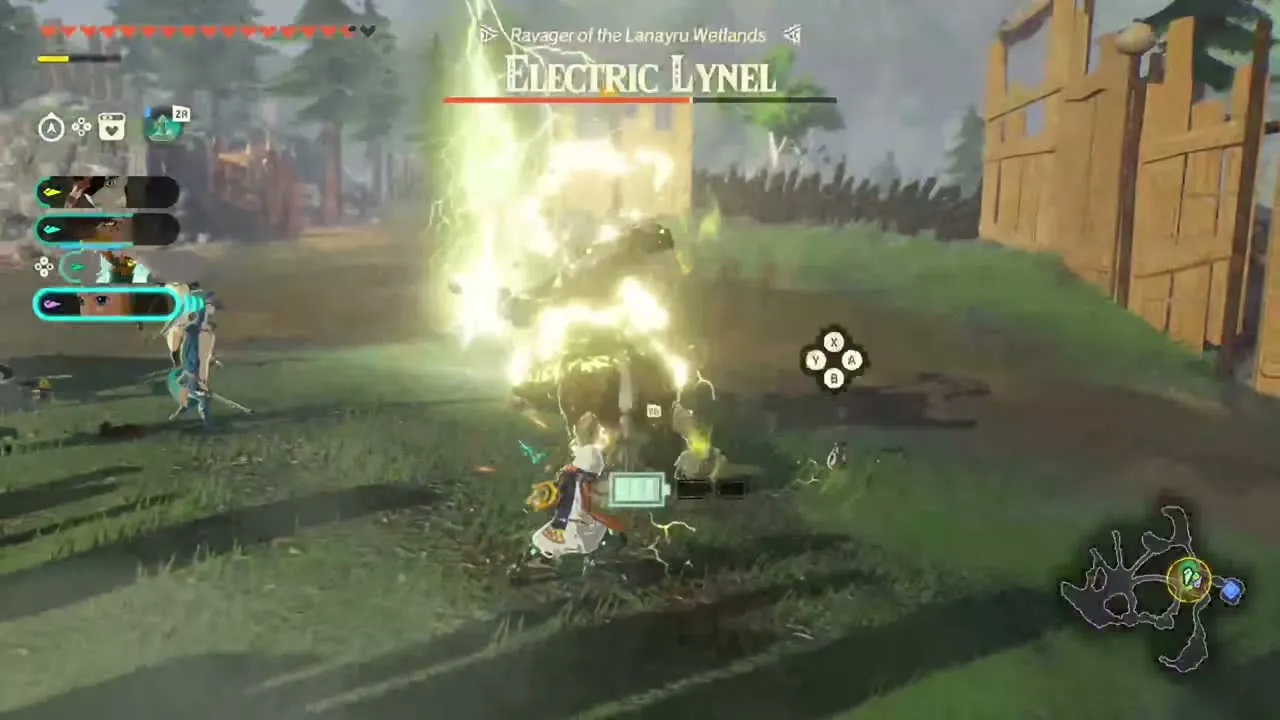
Recommended level 32, in Lanayru Wetlands. A sudden monster attack puts Cadlan in danger in the Lanayru Wetlands, and Qia charges the enemy lines to protect her home. Expect Water Octorok, Electric Moblin, Electric Lizalfos, Electric Lynel and Electric Chuchu on the field. You fight as Qia plus three other warriors of your choice. The objectives are to defeat the monsters attacking the outpost, then the Electric Moblin and its allies, an Electric Chuchu and finally the Electric Lynel. First-clear reward: Ironshell Crab ×10, Mighty Carp ×10, Zonaite Steel (Spear) ×1, Zonaite Steel (Pristine) ×1 and 500 Rupees.
With Fire in His Heart
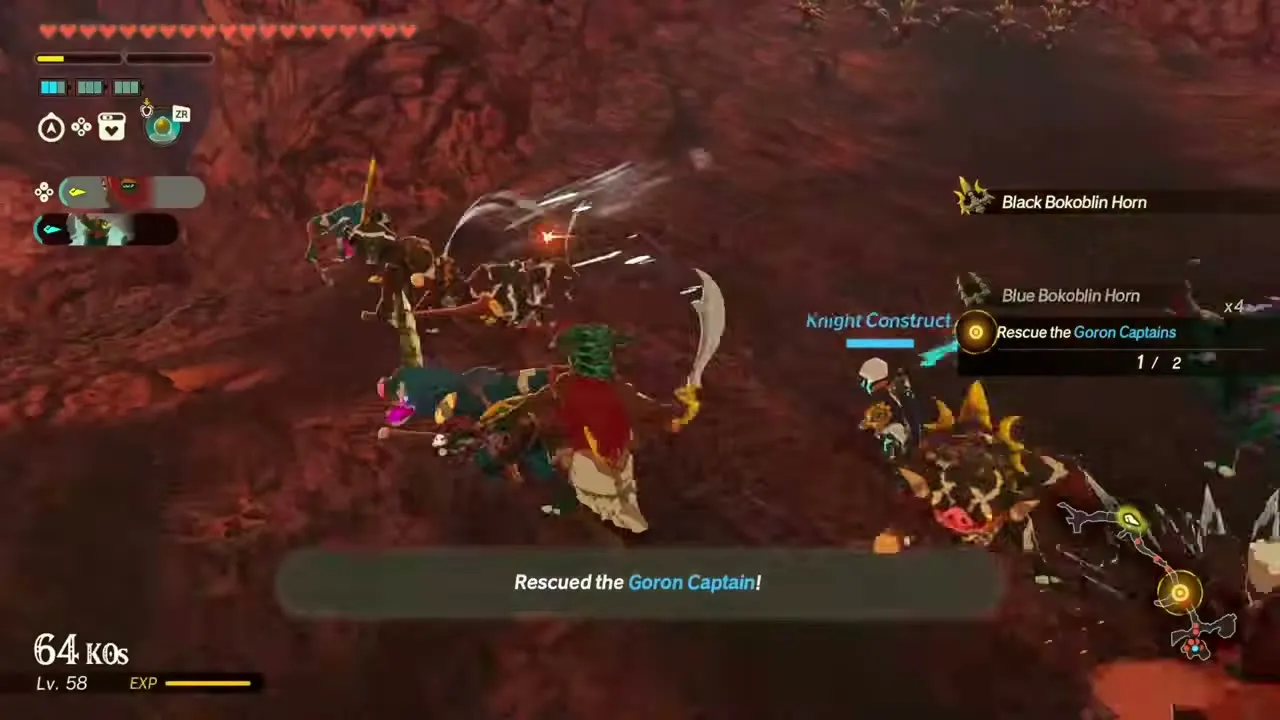
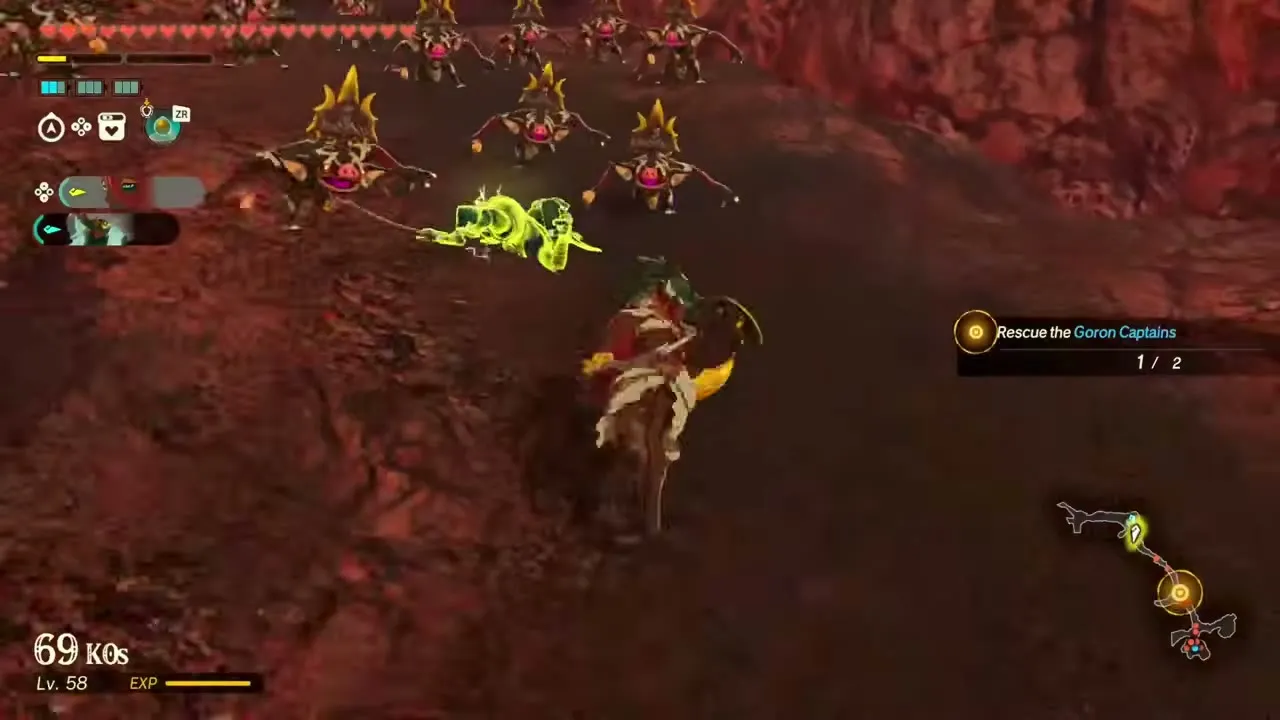
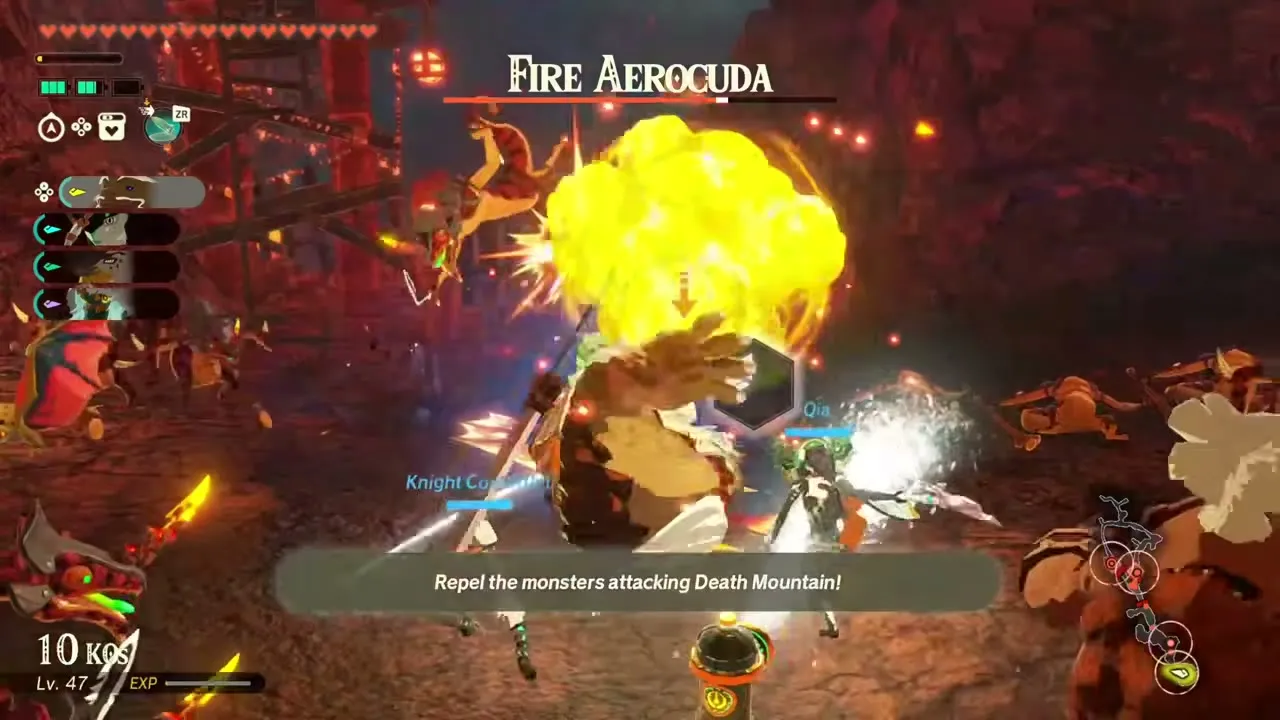
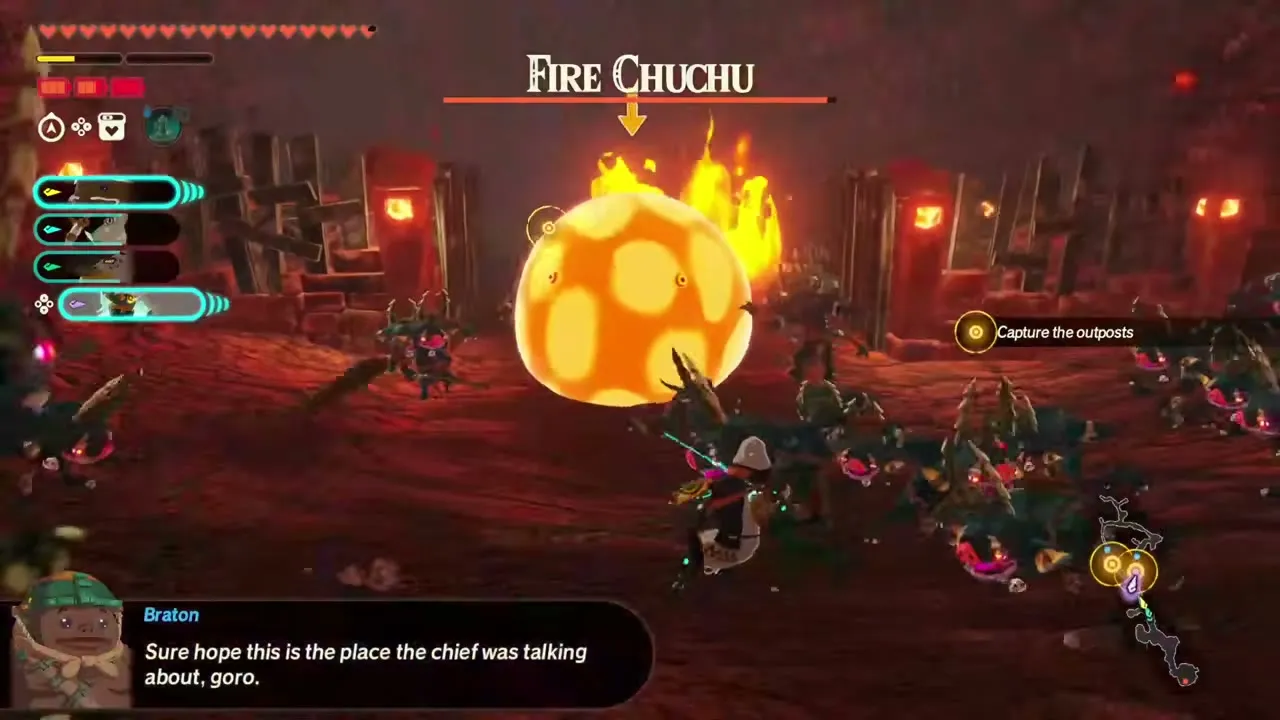
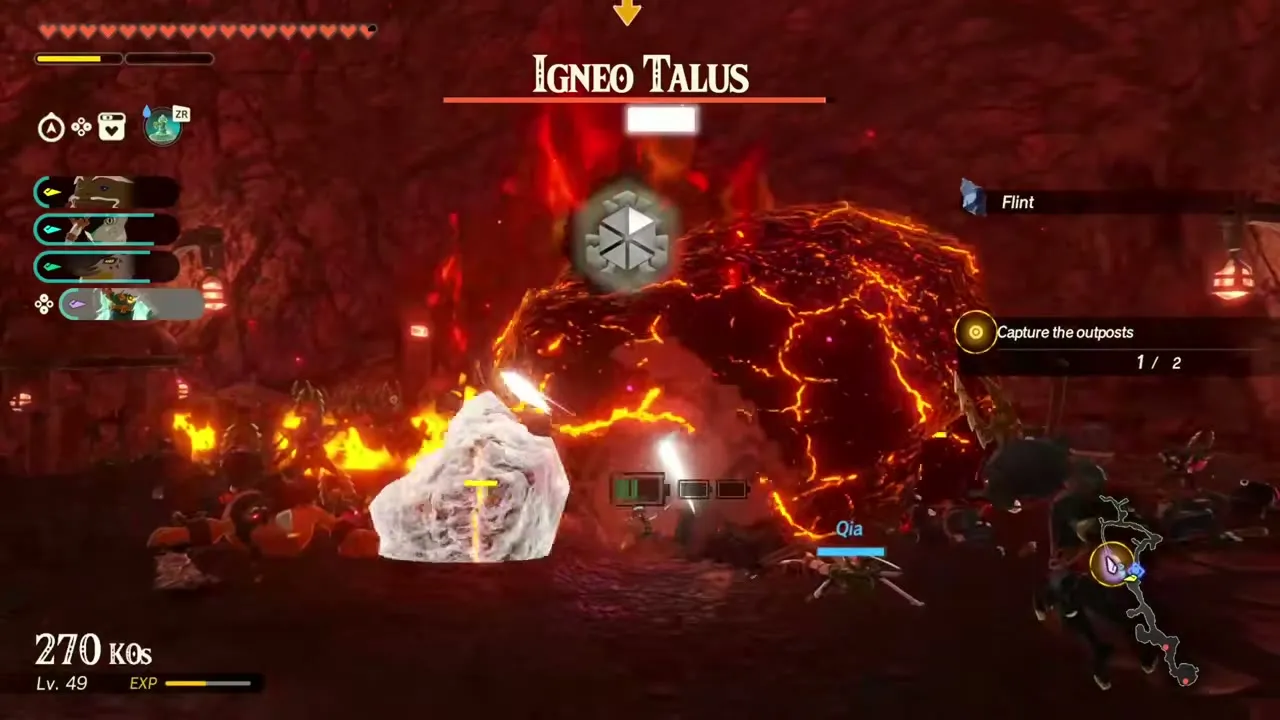
Recommended level 32, in Death Mountain. Monsters are overrunning the scorched slopes of Death Mountain, and Agraston takes command, angry that his homeland is threatened again. You fight as Agraston plus three other warriors of your choice. Expect Blue Bokoblin, Igneo Talus, Fire-Breath Lizalfos, Fire Aerocuda and Fire Chuchu on the field. The battlefield has Warm Darner and Sunshroom to gather. The objectives are to rescue the two Goron Captains and repel the monsters attacking Death Mountain, with a Fire Aerocuda, a Fire Chuchu and an Igneo Talus as the main enemies. First-clear reward: Endura Carrot ×10, Warm Safflina ×10, Zonaite Steel (Two-Handed) ×1, Zonaite Steel (Pristine) ×1 and 500 Rupees.
Protect that Forest!
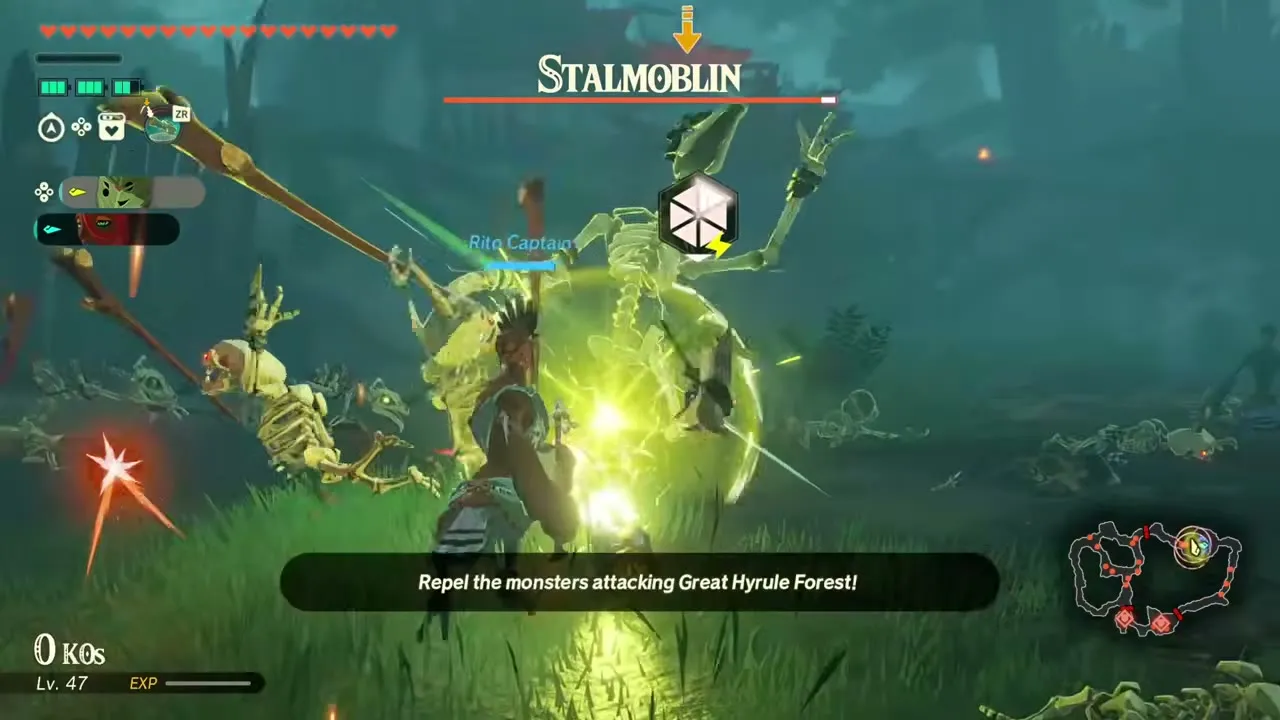
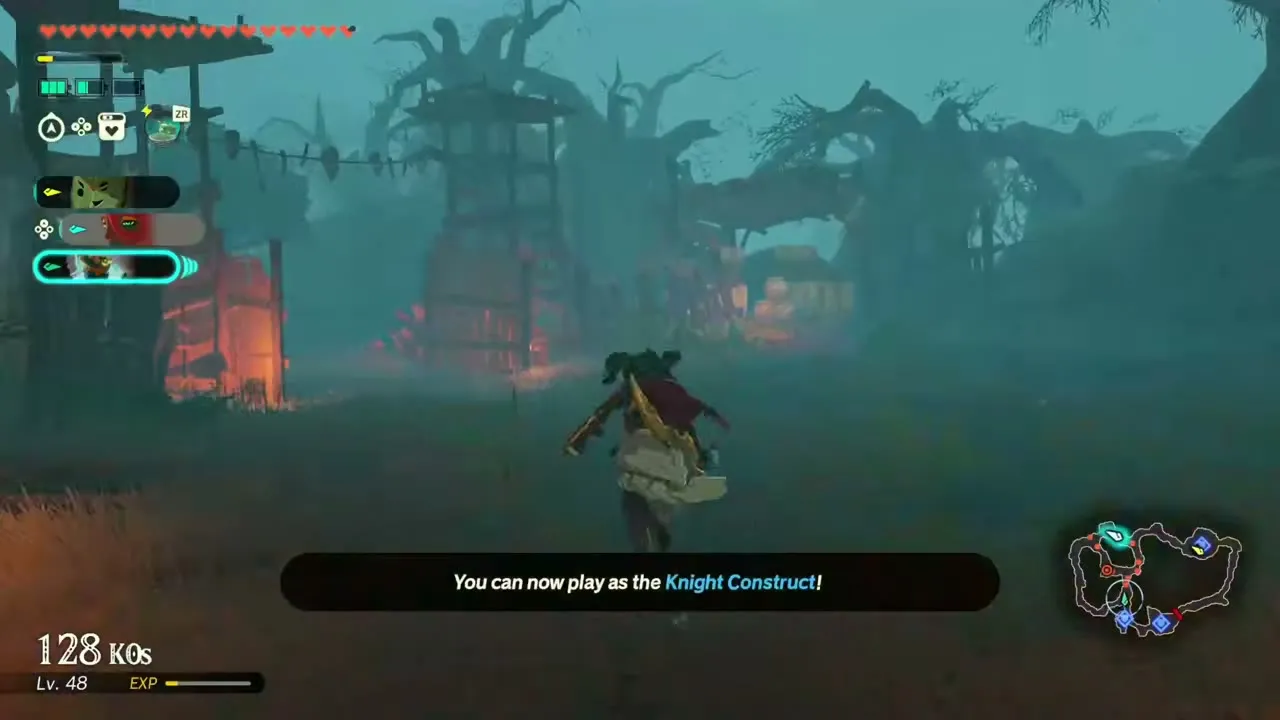
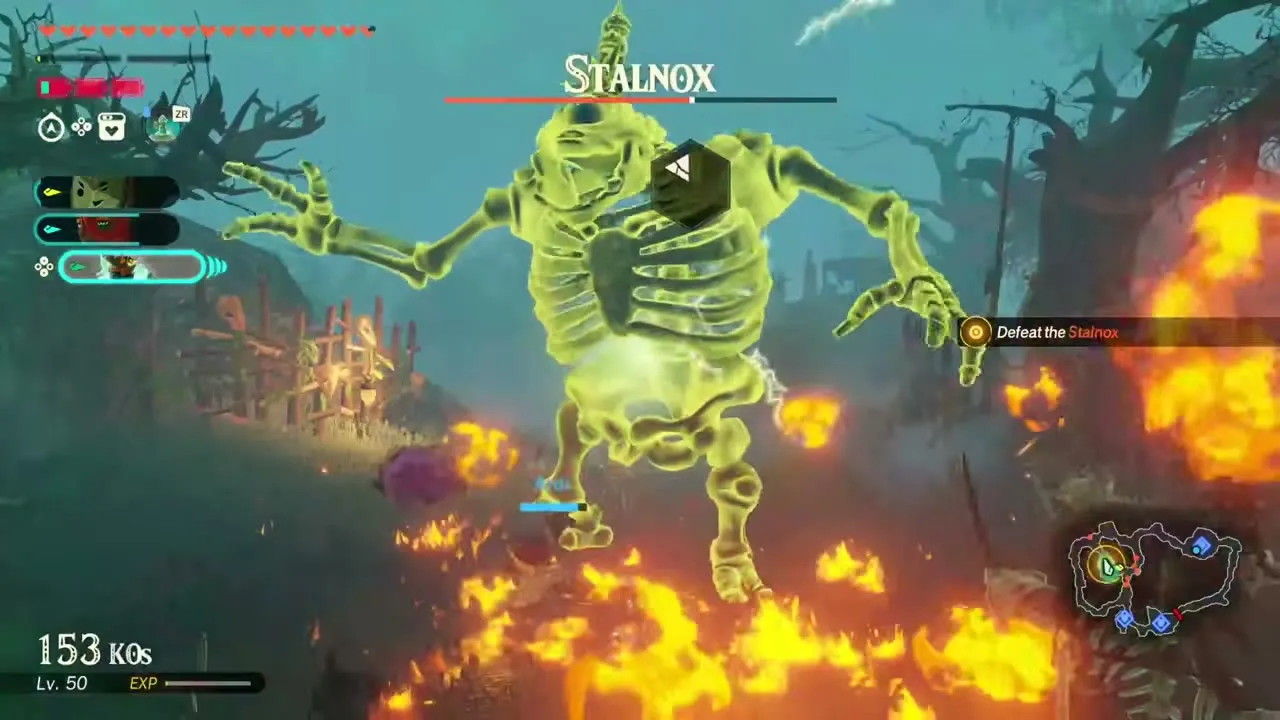
Recommended level 32, in Great Hyrule Forest. Calamo remembers the day monsters hit his homeland while his companion was away, and returns to Great Hyrule Forest to defend it. You fight as Calamo and Knight Construct plus one other warrior of your choice. Expect Blue Moblin, Stalmoblin, Stalkoblin, Stalnox and Stalizalfos on the field. The battlefield has Acorn and Korok Frond to gather. The main enemies are a Stalmoblin, a Blue Moblin and a Stalnox, and Knight Construct fights on your side. First-clear reward: Hearty Lizard ×10, Restless Cricket ×10, Zonaite Steel (Pristine) ×1, 5 Korok Seeds and a random weapon.
A Flash of Steel in the Desert
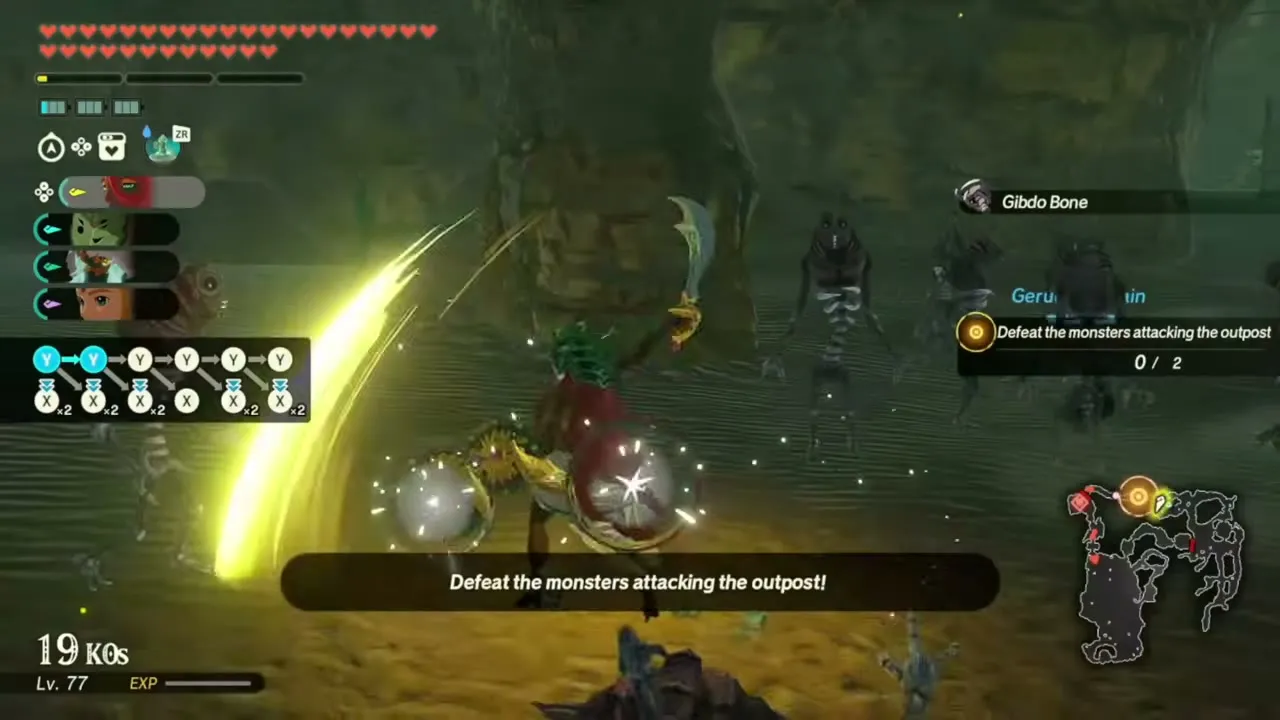
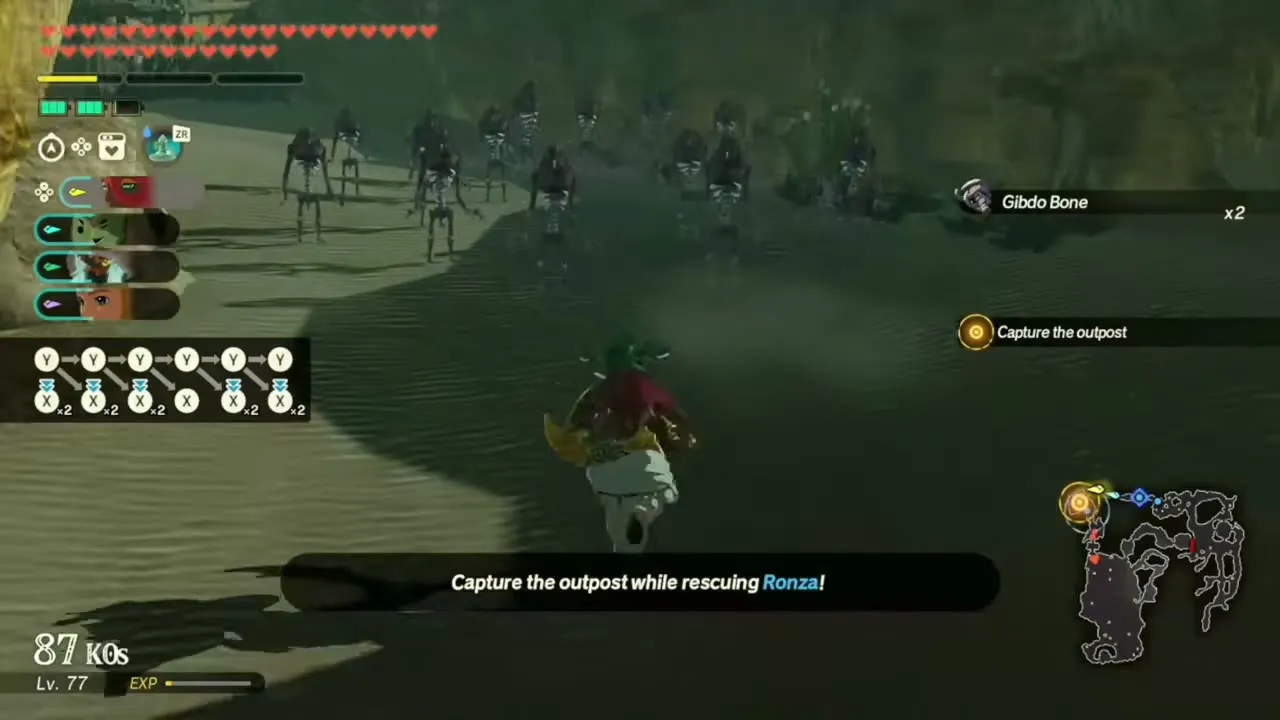
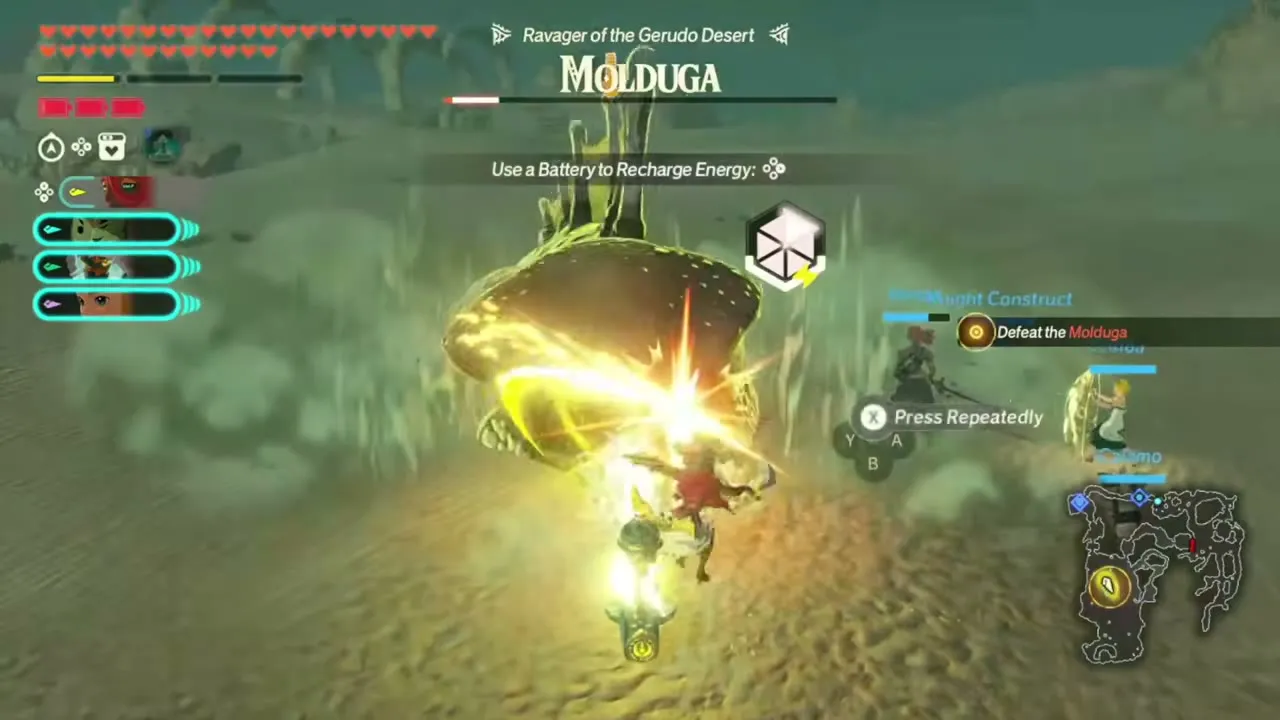
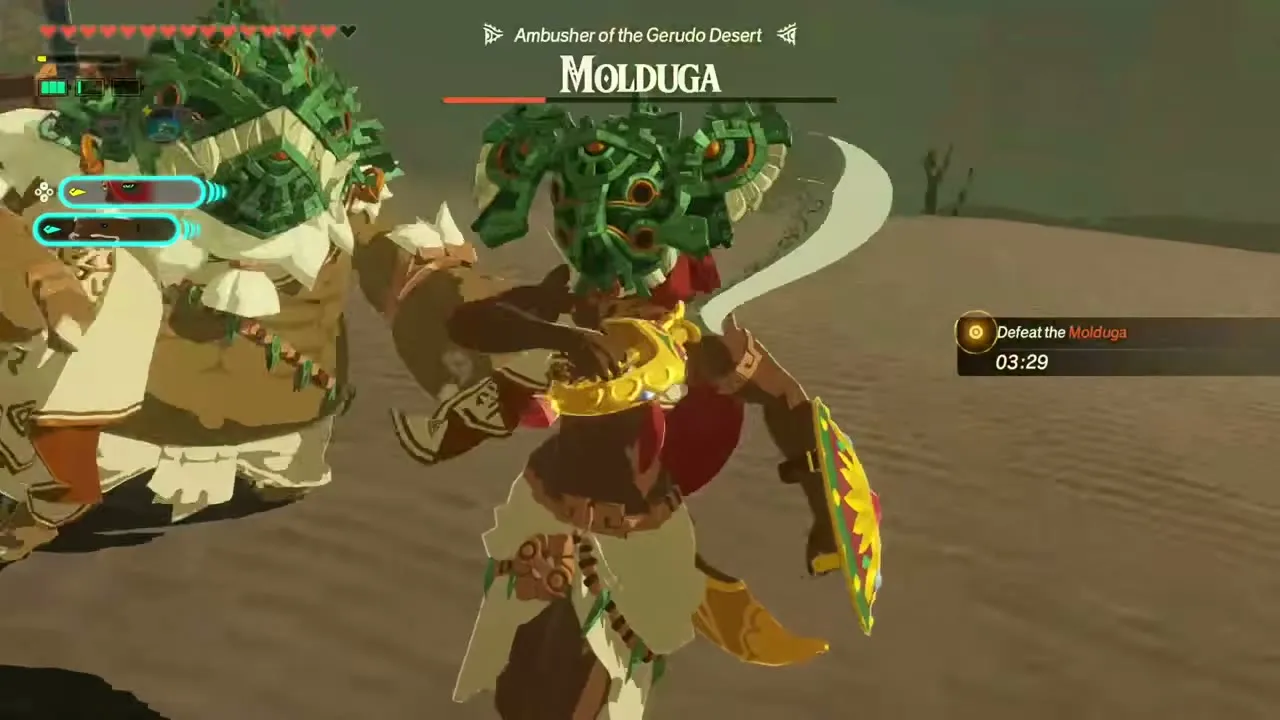
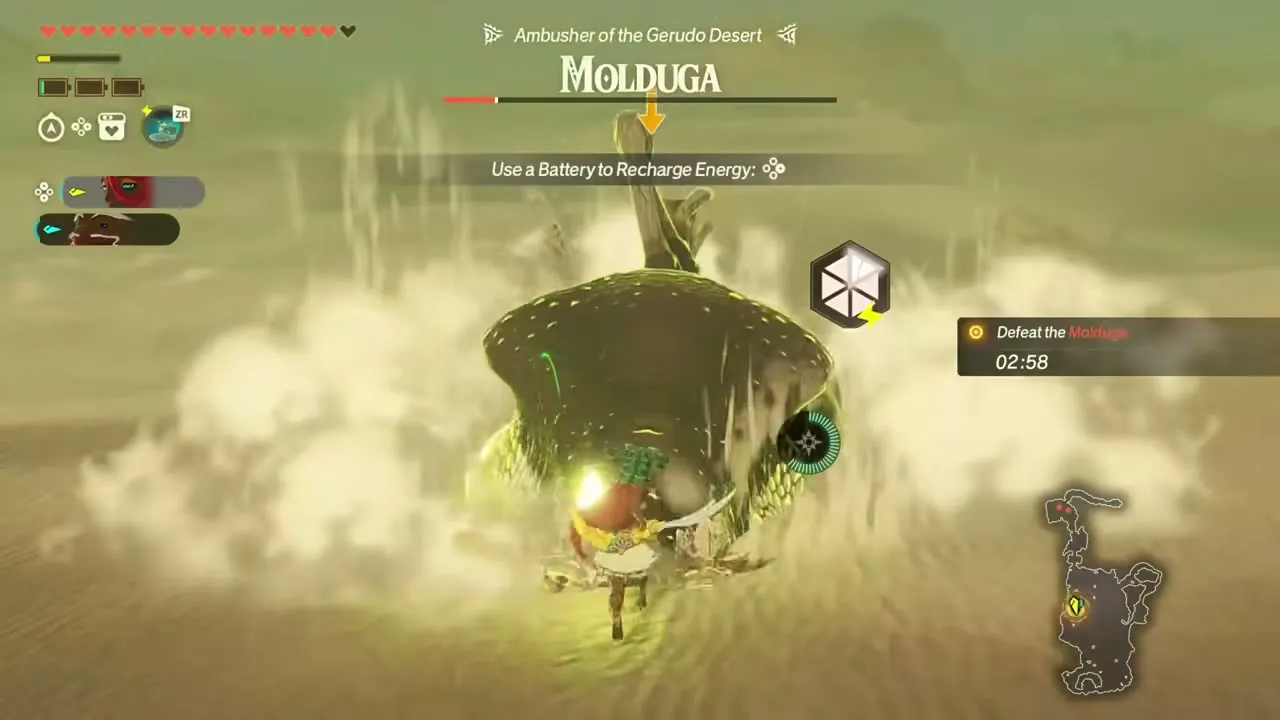
Recommended level 32, in Gerudo Desert. Monsters hold the Gerudo Desert, and Ardi, now the Gerudo’s leader, rides out with her people to take their homeland back. It opens after The Crimson Omen; a bug in the original release held it back until A Clash of Constructs, and version 1.0.3 fixed that. Expect Blue Lizalfos, Blue Bokoblin, Molduga, Gibdo and Moth Gibdo on the field. You fight as Ardi plus three other warriors of your choice. The battlefield has Thunderwing Butterfly and Voltfruit to gather. The objectives are to defend the outpost, capture the outpost while rescuing Ronza, and then take down a Molduga, Ravager of the Gerudo Desert. First-clear reward: Warm Darner ×10, Endura Carrot ×10, Zonaite Steel (Pristine) ×1, 500 Rupees and a random weapon.
For the Kingdom of Hyrule
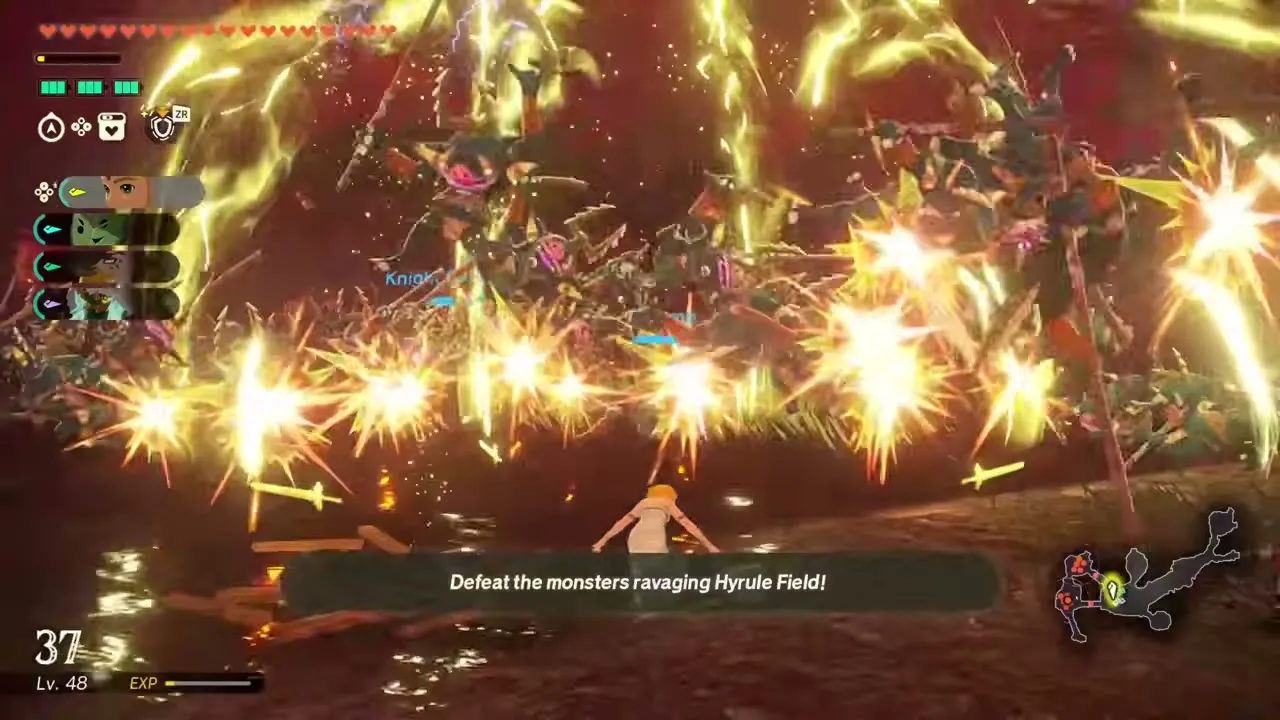
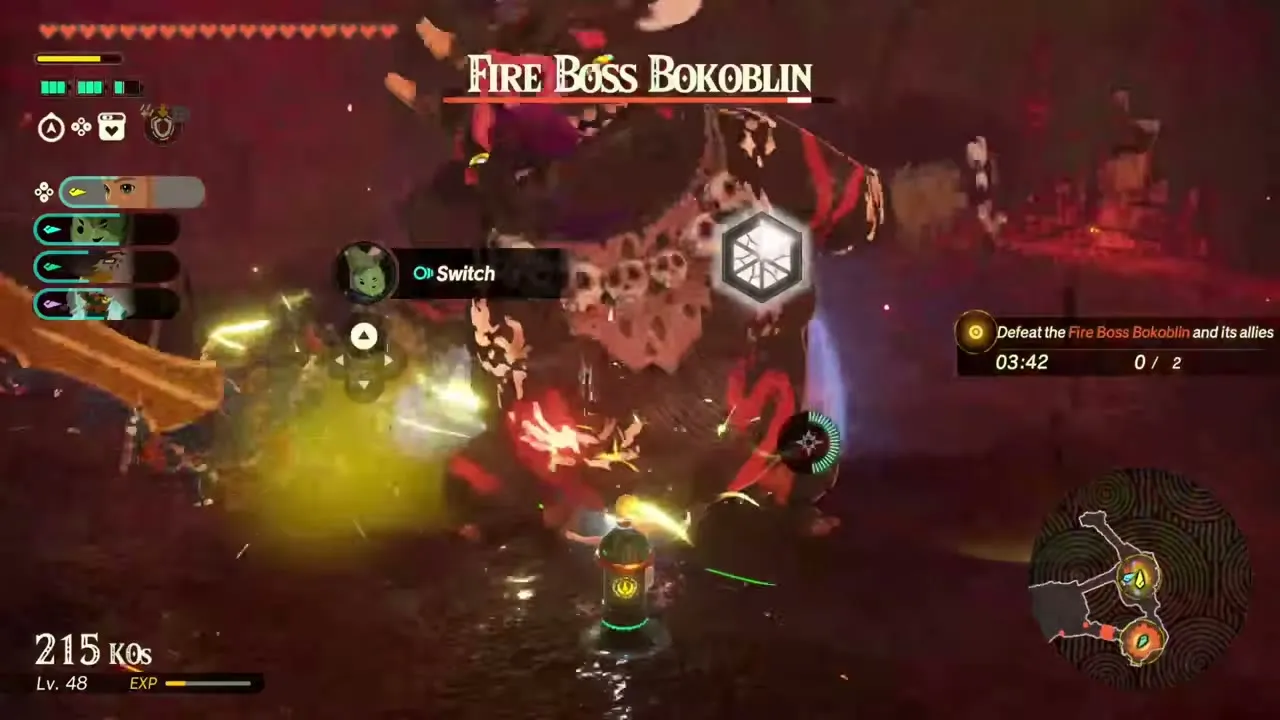
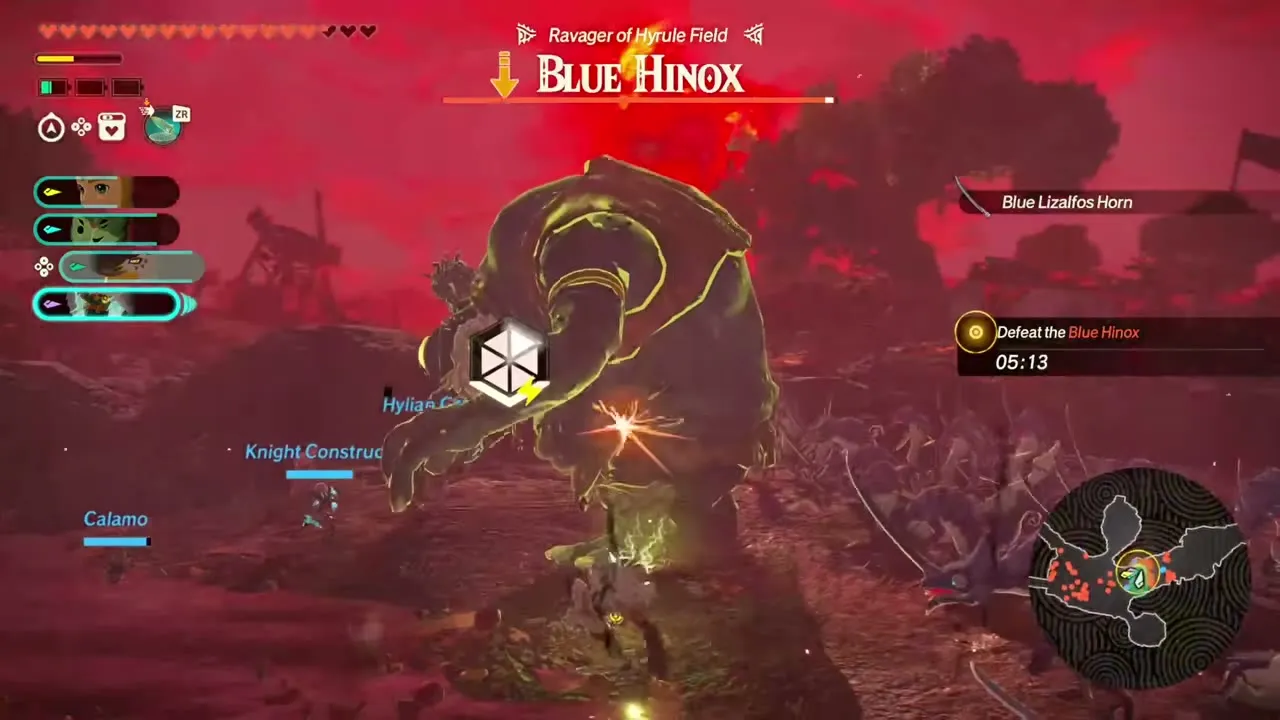
Recommended level 32, in Central Hyrule Field. A monster horde appears on Hyrule Field and Zelda picks up a weapon to help protect it. You fight as Zelda plus three other warriors of your choice. Expect Blue Lizalfos, Blue Bokoblin, Fire Boss Bokoblin and Blue Hinox on the field. The objectives are to defeat the monsters ravaging Hyrule Field and the Fire Boss Bokoblin and its allies within the time limit, and a Blue Hinox, Ravager of Hyrule Field, arrives afterwards. First-clear reward: Silent Princess ×10, Hearty Bass ×7, Zonaite Steel (Pristine) ×1, 700 Rupees and a random weapon.
Struggle in the Sands
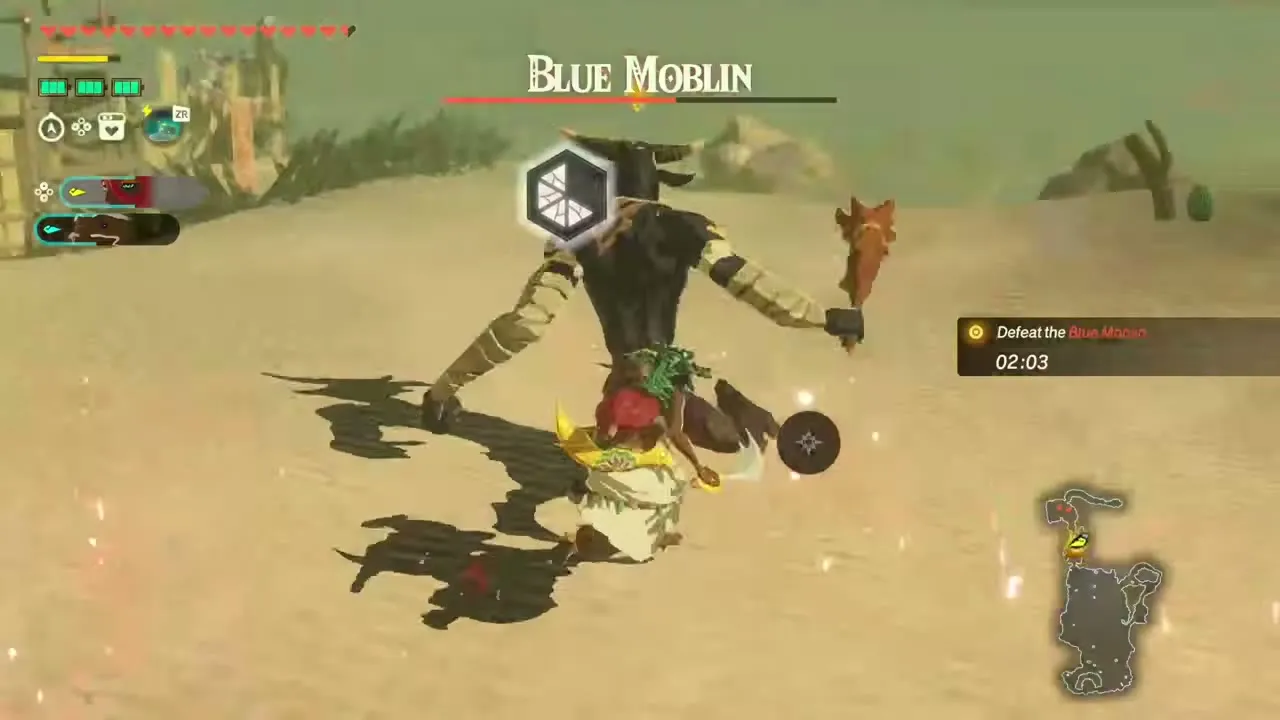
Recommended level 33, in Gerudo Desert. Monsters are sweeping across the Gerudo Desert, and Ardi gets ready to defend her people’s home. It appears after you clear Pacifying the Gerudo Desert. Expect Blue Moblin, Blue Lizalfos, Shade and Molduga on the field. You fight as Ardi plus one other warrior of your choice. The objectives are to defeat the enemy forces ravaging the Gerudo Desert, with a Blue Moblin and a Molduga as the main enemies and a time limit on the Moblins. First-clear reward: Raw Bird Drumstick ×10, Mighty Bananas ×10 and a random weapon.
Cleansing Damel Forest
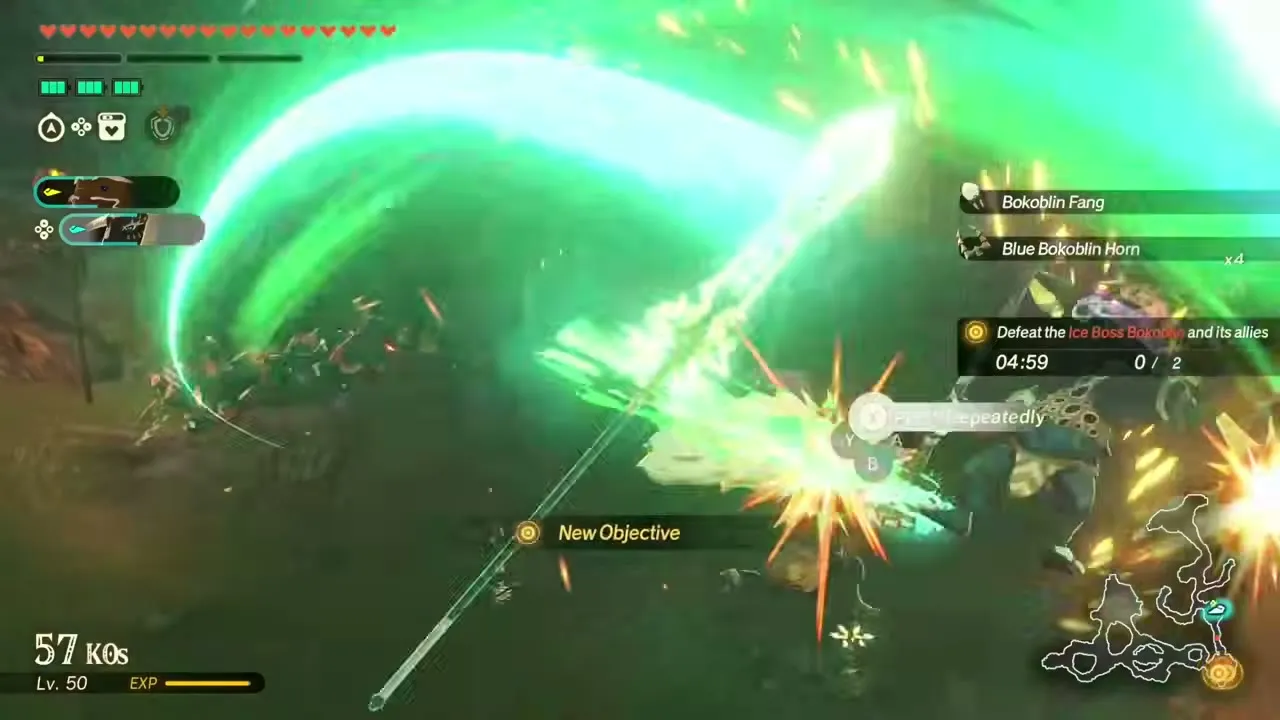
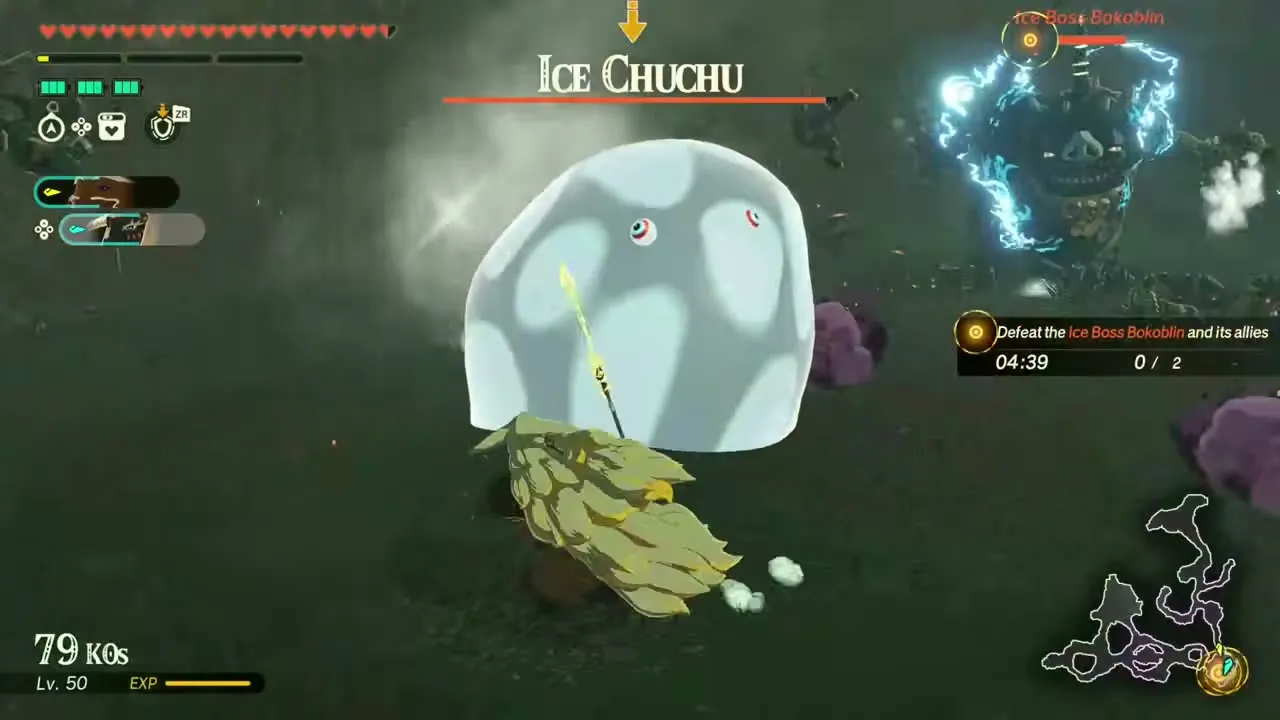
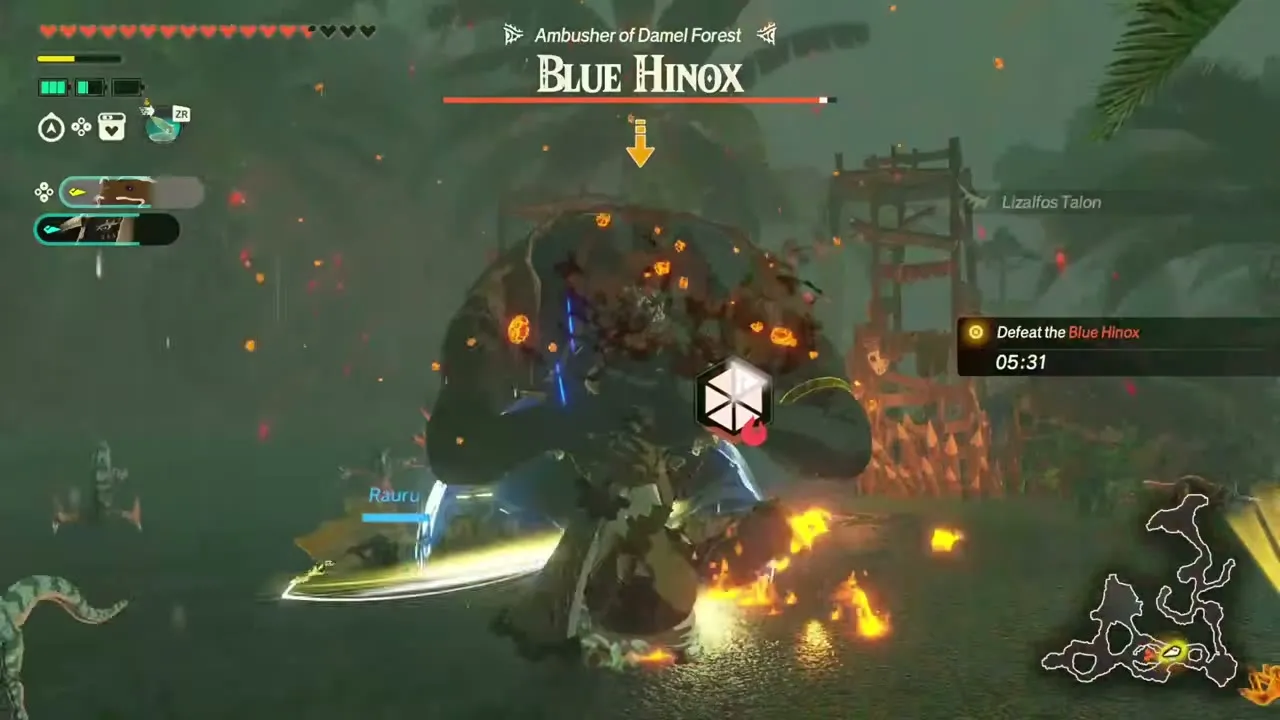
Recommended level 33, in Damel Forest. Damel Forest has the trees and water Hyrule needs for supplies, so the monsters infesting it have to go. It appears after you clear Pacifying Damel Forest. Any warriors you like can take part. Expect Blue Bokoblin, Ice Boss Bokoblin, Ice-Breath Lizalfos, Ice Chuchu and Blue Hinox on the field. The objectives are to defeat the monsters ravaging Damel Forest, with an Ice Chuchu, an Ice Boss Bokoblin and a Blue Hinox, Ambush of Damel Forest, as the main enemies. First-clear reward: Armored Carp ×10, Tireless Frog ×10, Sticky Frog ×10, 700 Rupees and a random weapon.
Those Who Were Taken
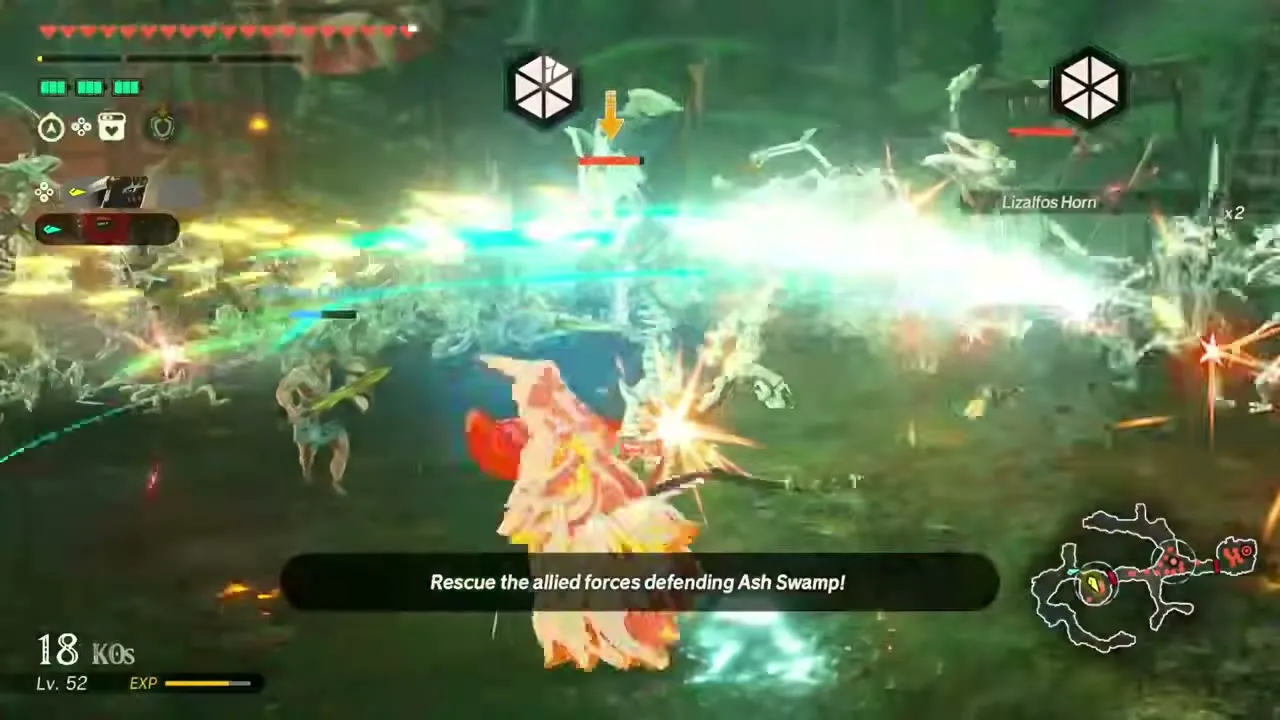
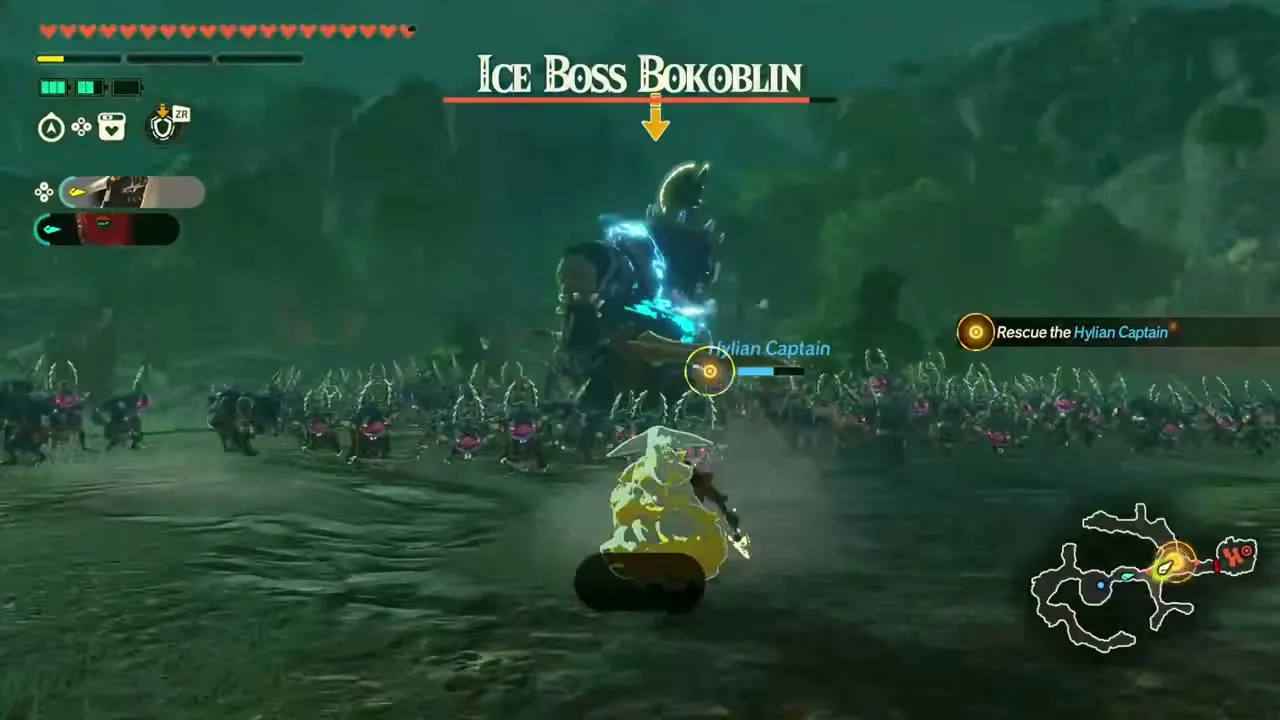
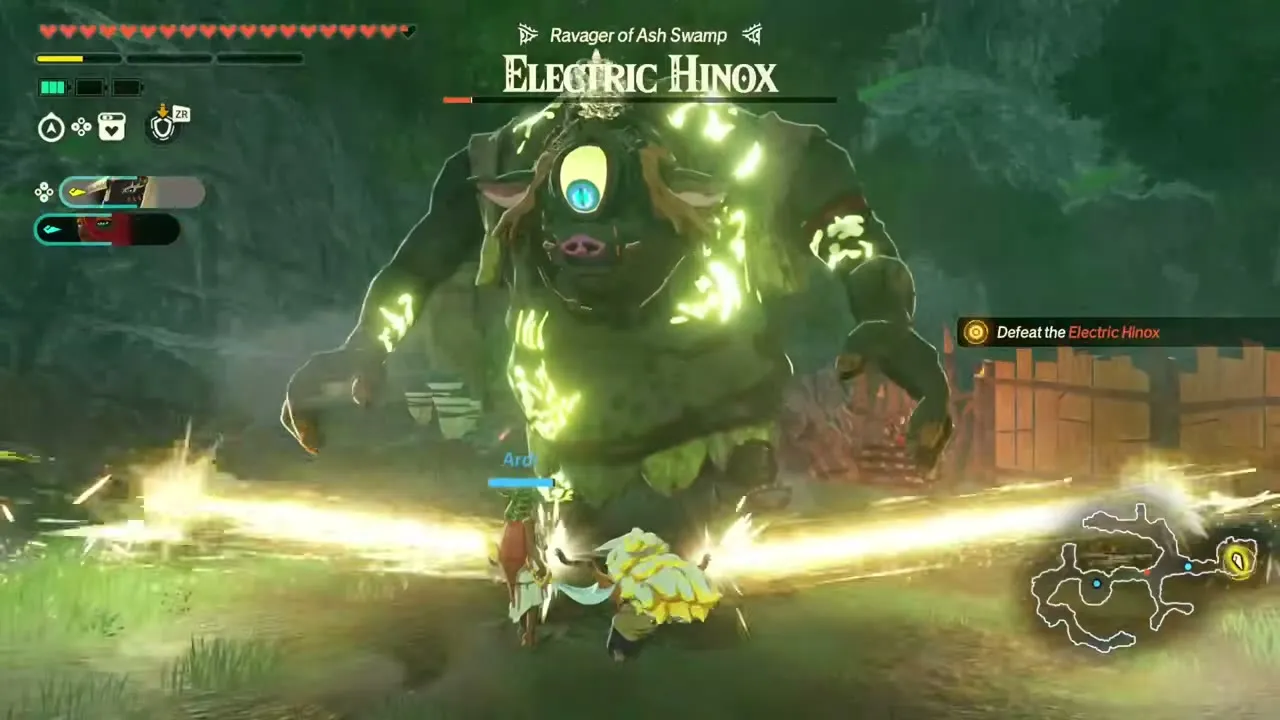
Recommended level 33, in Ash Swamp. Rauru and Ardi answer a call for help in Ash Swamp, both more set than ever on bringing down the Demon King. The warriors are fixed: Rauru and Ardi. Expect Blue Bokoblin, Evermean, Ice Boss Bokoblin, Electric Hinox and Stalizalfos on the field. It opens once The Counterstrike is complete, and it also follows The Zonai Siblings. The objectives are to rescue the Hylian Captain and the allied forces defending Ash Swamp, with an Ice Boss Bokoblin and an Electric Hinox as the main enemies. First-clear reward: Ironshell Crab ×10, Swift Violet ×10 and Zonaite Steel (Spear) ×1.
Level 36 to 40
Defending Ash Swamp
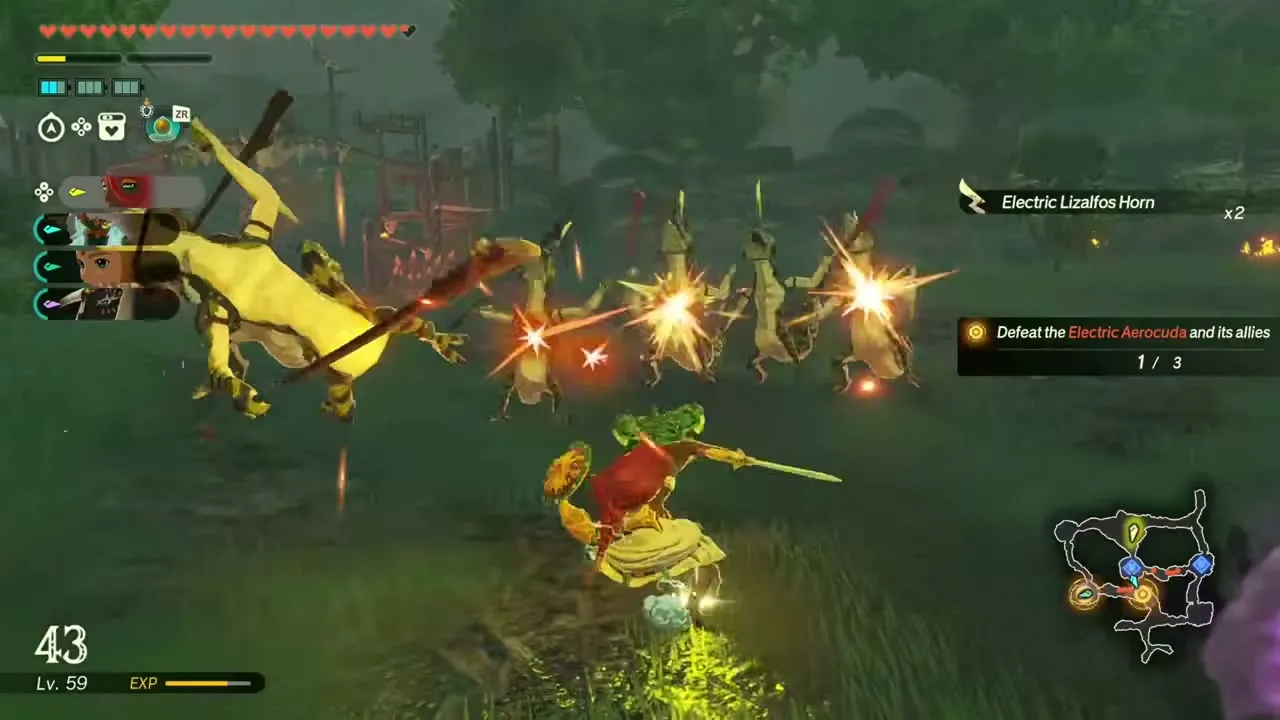
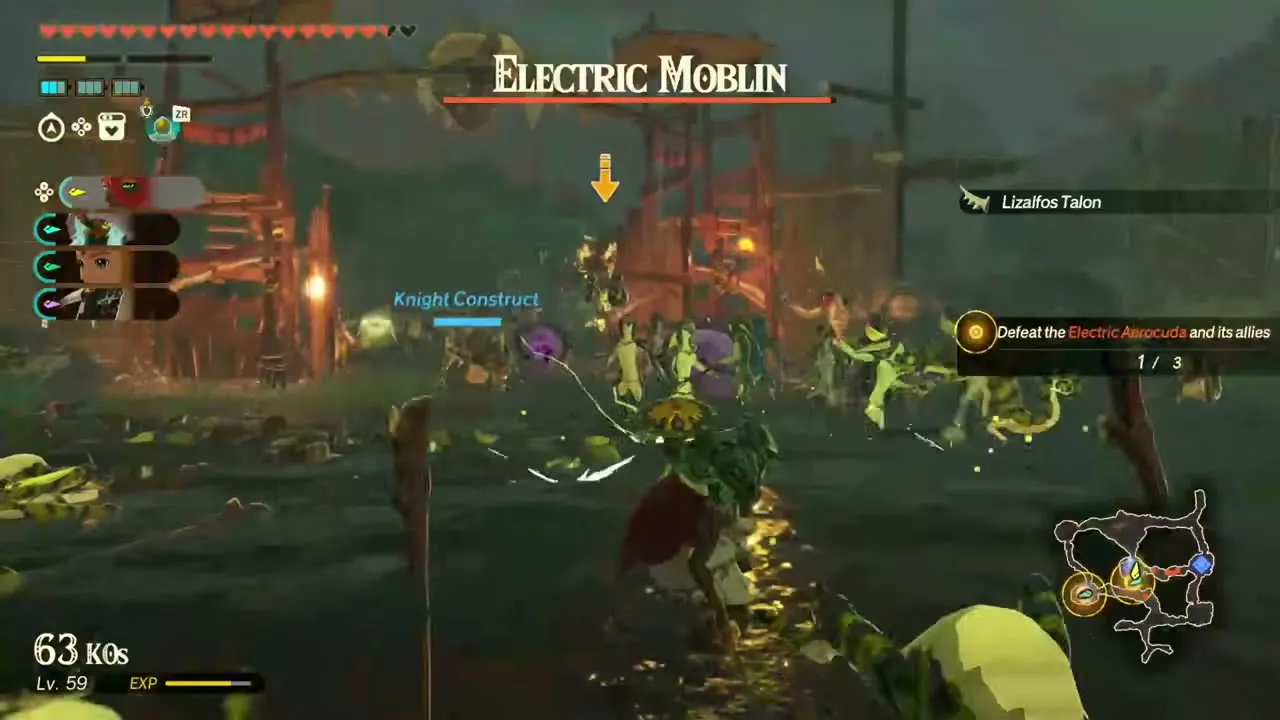
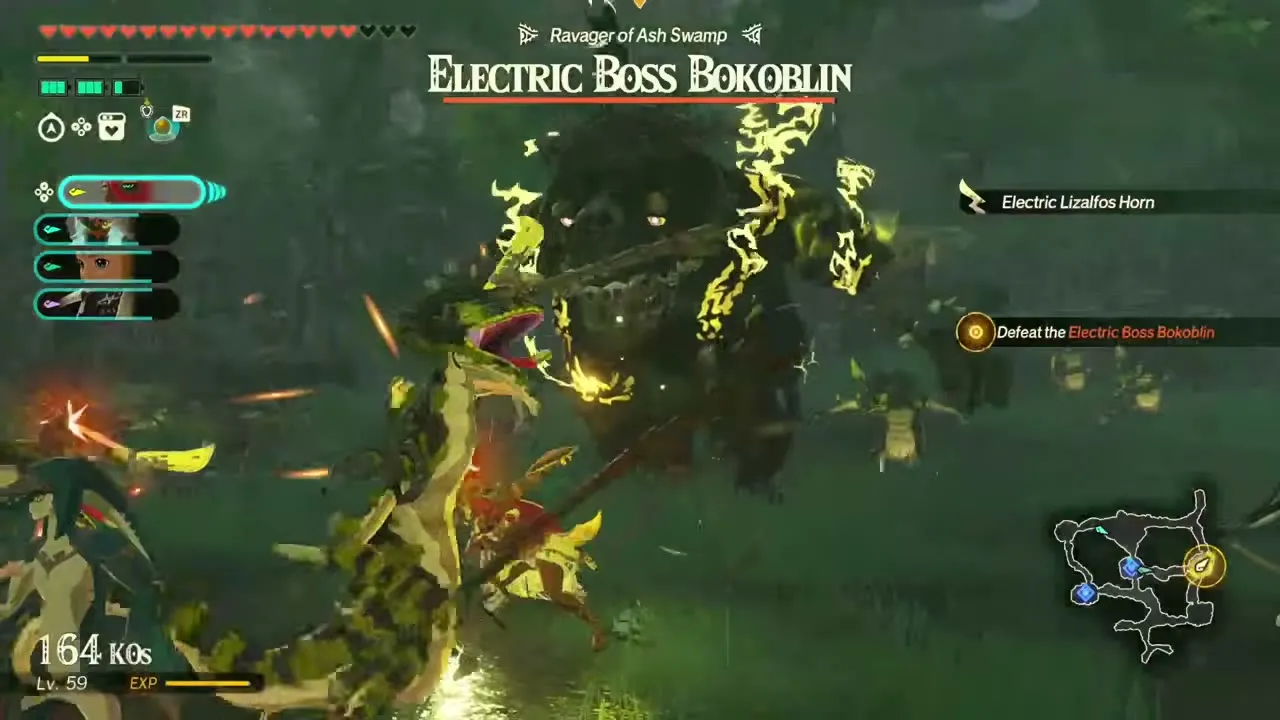
Recommended level 36, in Ash Swamp. Lightning-based monsters besiege the Ash Swamp outposts, and they are at their most dangerous near water. Any warriors you like can take part. Expect Electric Moblin, Electric Keese, Electric Lizalfos, Electric Boss Bokoblin and Electric Aerocuda on the field. The objectives are to repel the monsters attacking Ash Swamp and defend the outpost, with an Electric Moblin, an Electric Aerocuda and the Electric Boss Bokoblin, Ravager of Ash Swamp, as the main enemies. First-clear reward: Sneaky River Snail ×20, Razorshroom ×10, Zonaite Steel (Pristine) ×1, 800 Rupees and a random weapon.
Battle for South Death Mountain
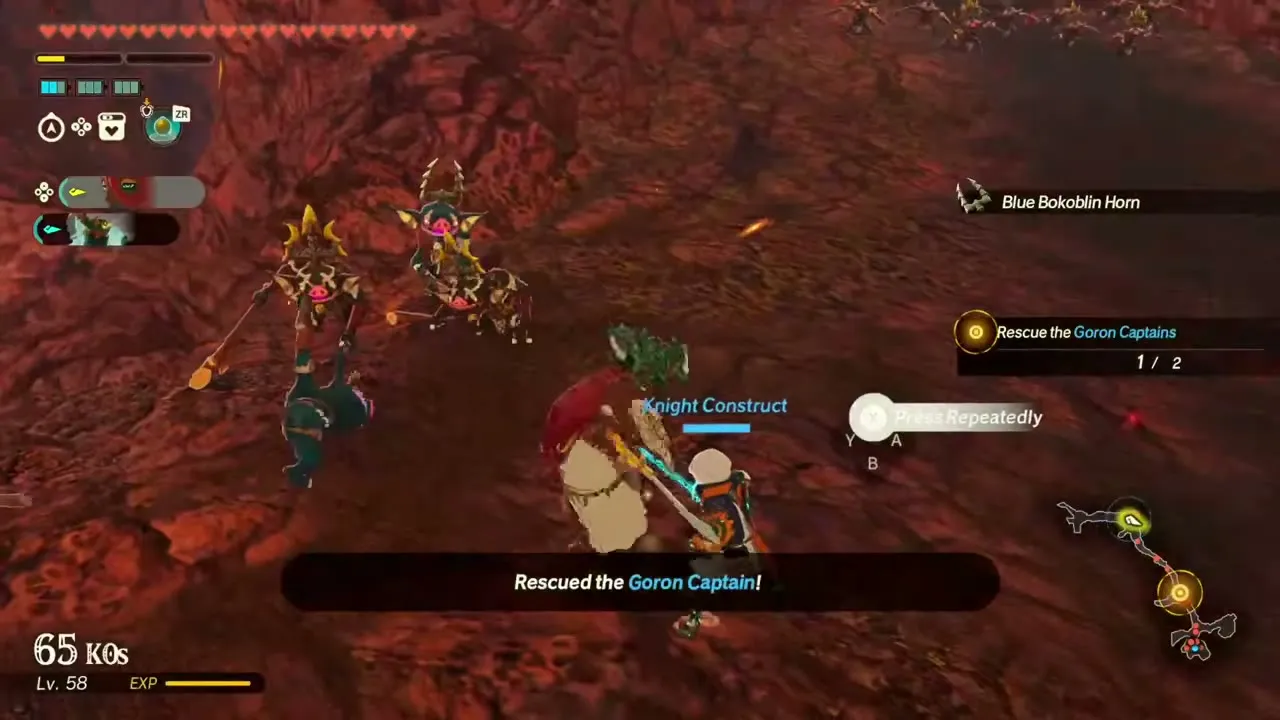
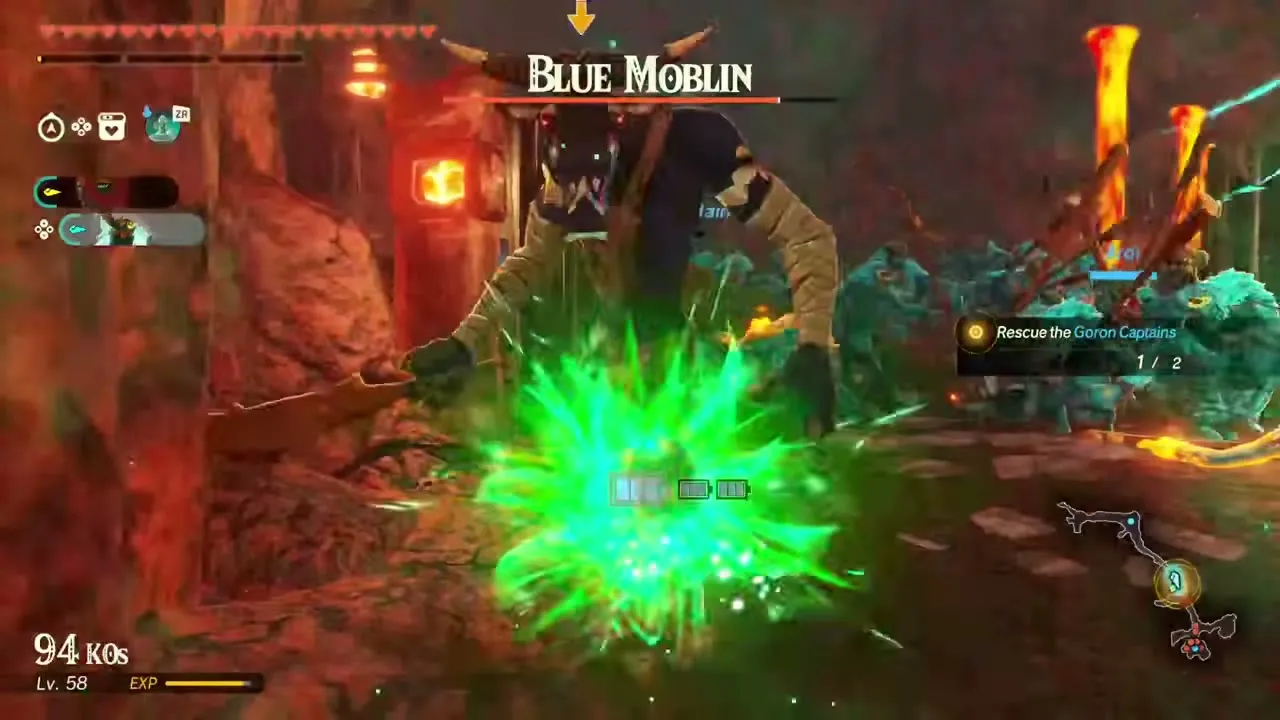
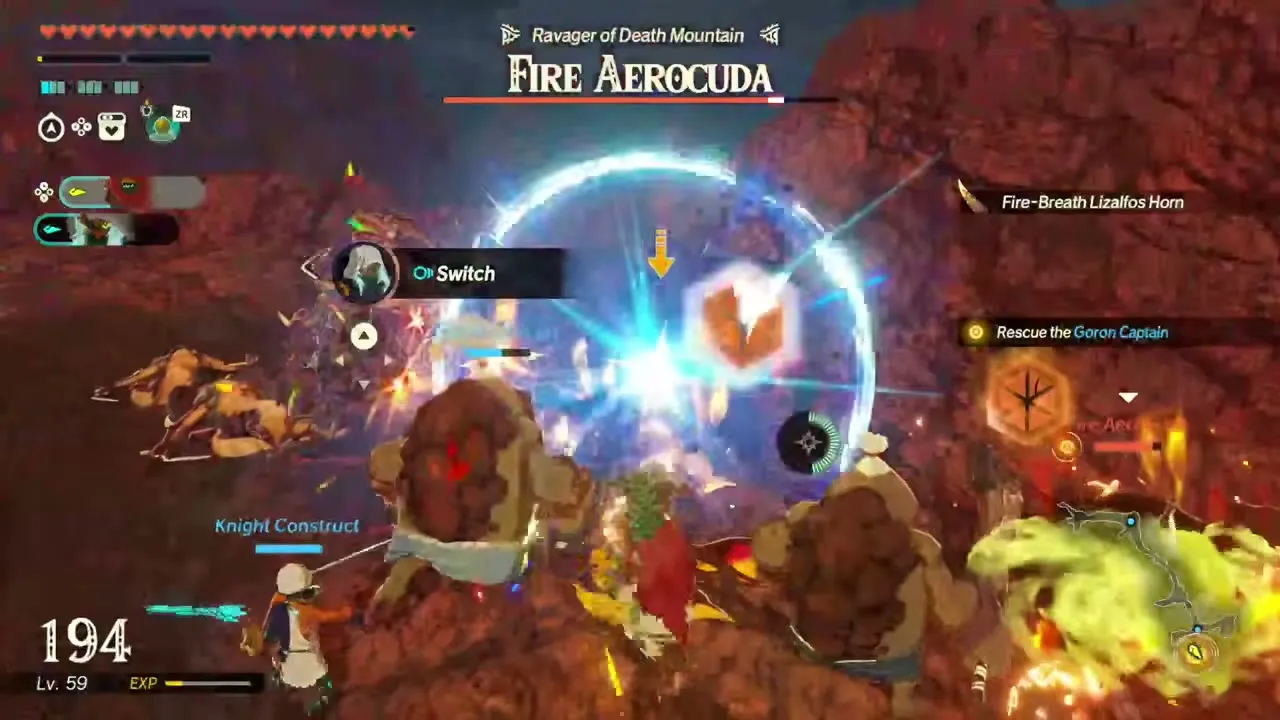
Recommended level 36, in Death Mountain. A new monster surge has cut off the Goron unit holding Death Mountain, and you have to fight up the lava-scorched slope to reach it. It appears after you clear Liberating Death Mountain. Expect Blue Moblin, Fire-Breath Lizalfos, Black Bokoblin, Fire Aerocuda and Blue Horriblin on the field. Any warriors you like can take part. The objectives are to rescue the two Goron Captains and the allied forces defending Death Mountain, with a Blue Moblin and a Fire Aerocuda, Ravager of Death Mountain, as the main enemies. First-clear reward: Fire Fruit ×10, Sunshroom ×10 and Zonaite Steel (Two-Handed) ×1.
Rescuing the Gerudo Soldiers
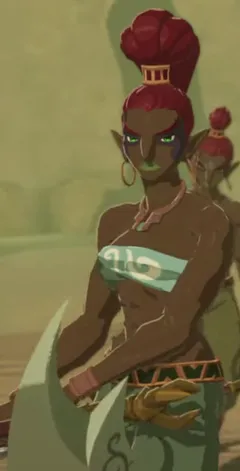
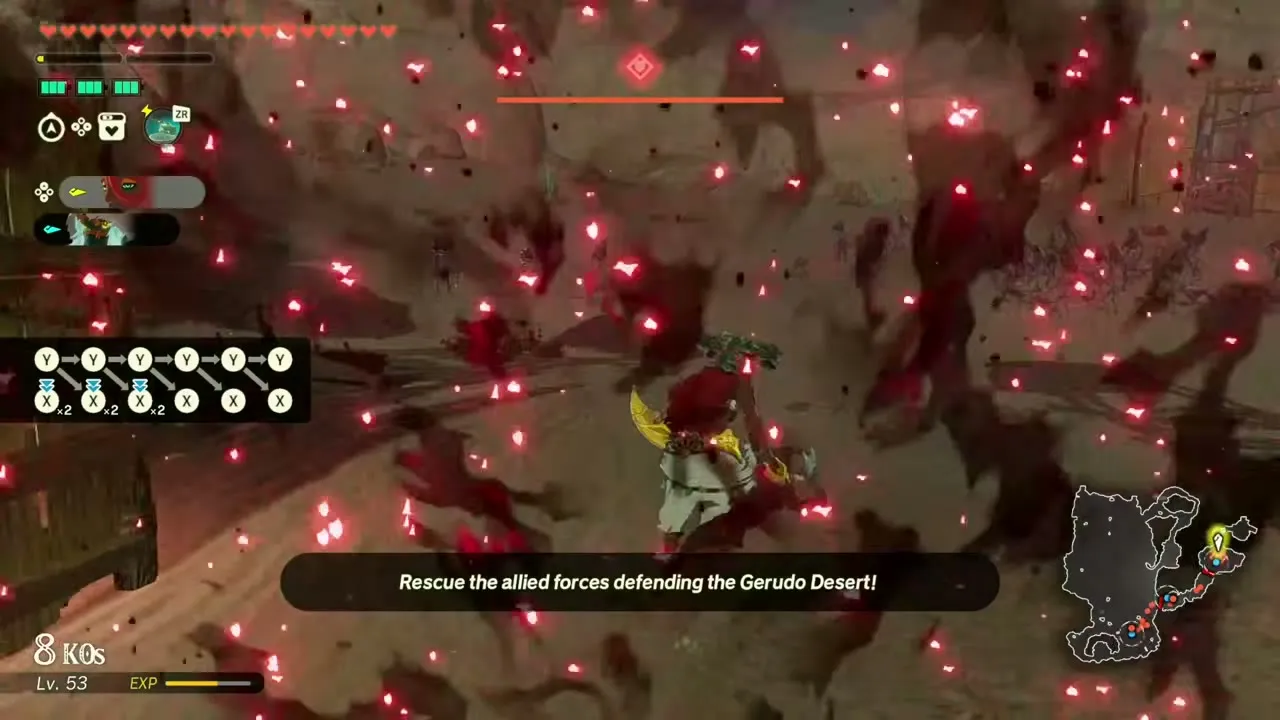
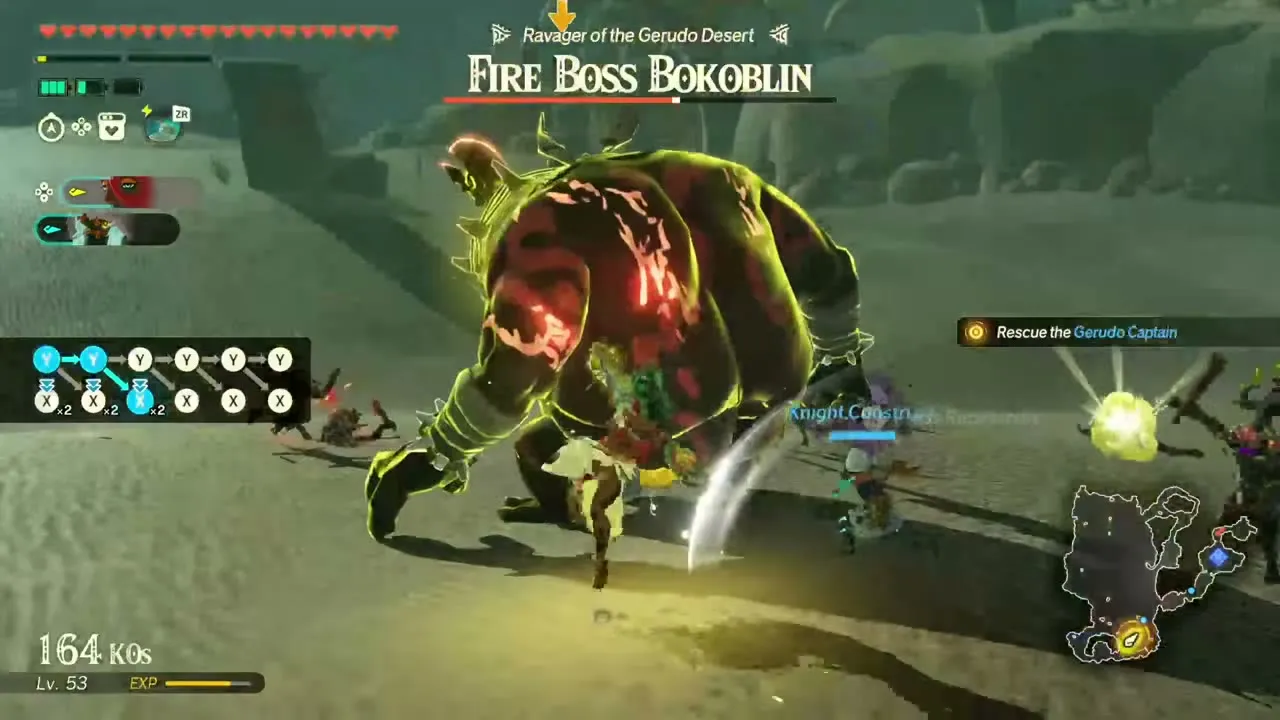
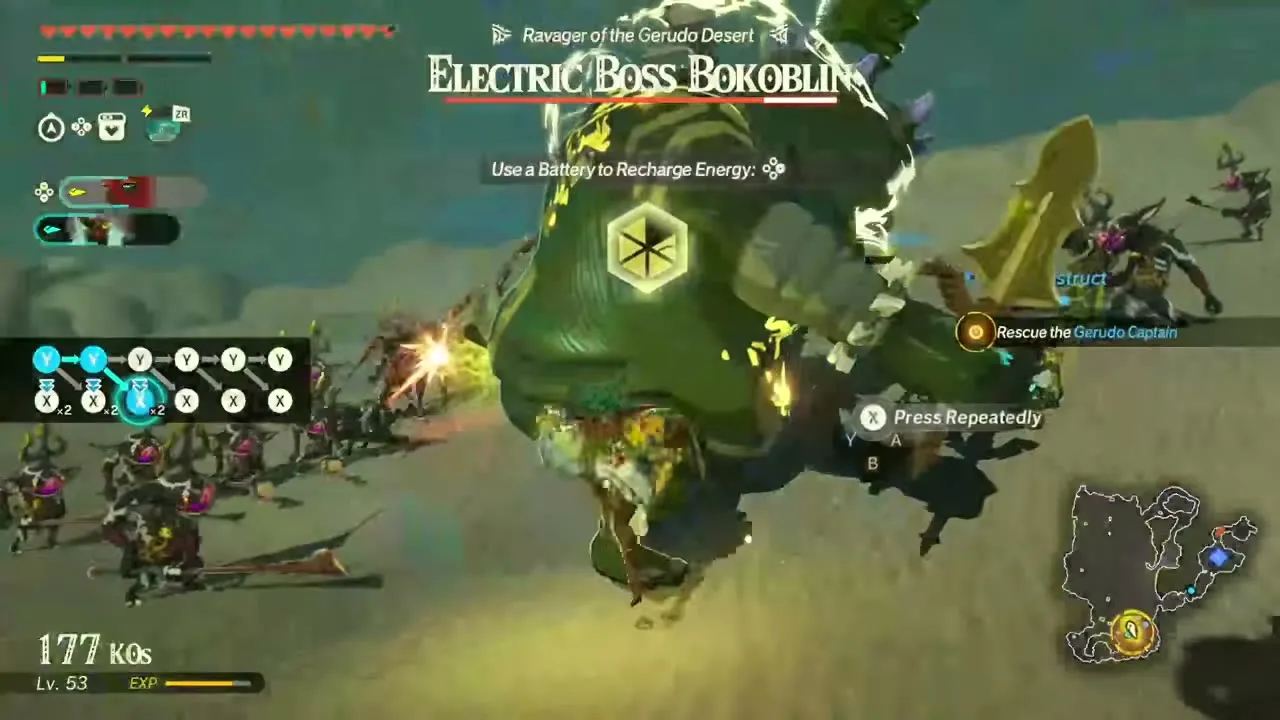
Recommended level 36, in Gerudo Desert. The Gerudo unit defending the desert has been cut off by another monster surge, and Ardi sets out to save her comrades. It appears after you clear Reclaiming the Gerudo Desert. You fight as Ardi plus one other warrior of your choice. Expect Fire Boss Bokoblin, Fire Moblin, Electric Boss Bokoblin, Gibdo and Black Bokoblin on the field. The battlefield has Electric Darner and Palm Fruit to gather. The objectives are to rescue the Gerudo Captains and the allied forces defending the Gerudo Desert, then to defeat a Fire Moblin, a Fire Boss Bokoblin and an Electric Boss Bokoblin. First-clear reward: Electric Safflina ×10, Hydromelon ×10 and a random weapon.
Purging Damel Forest
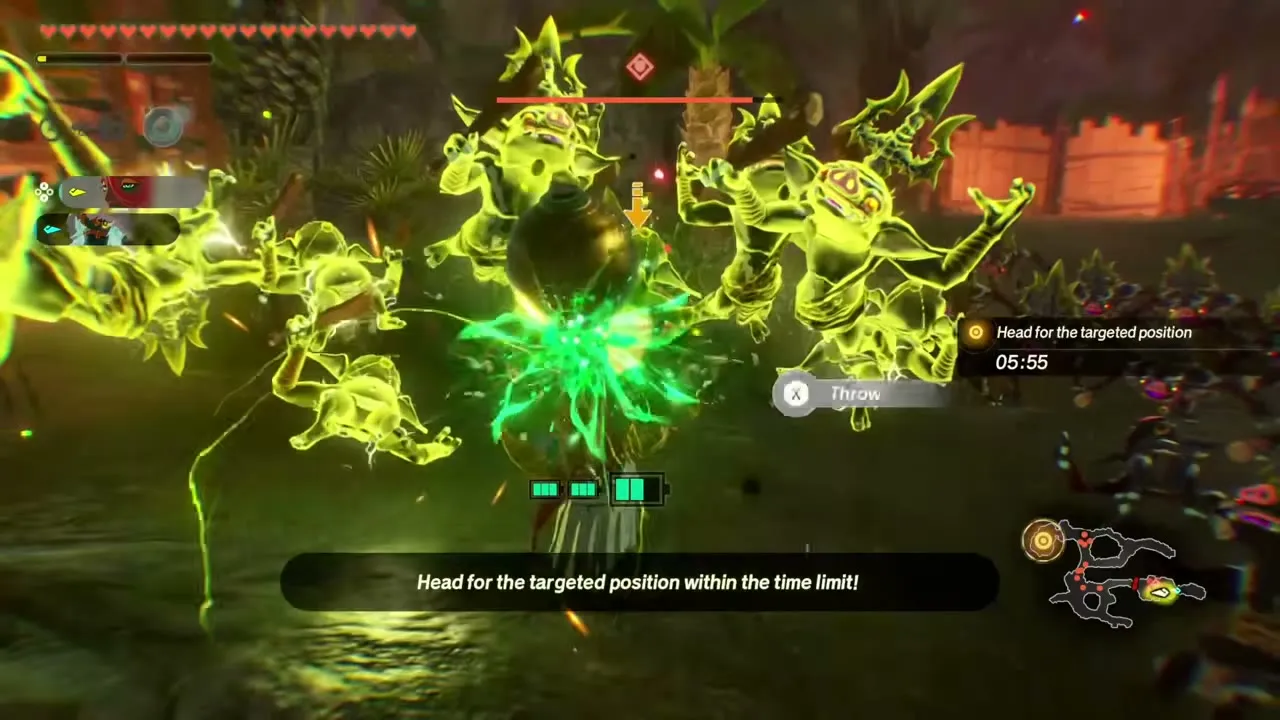
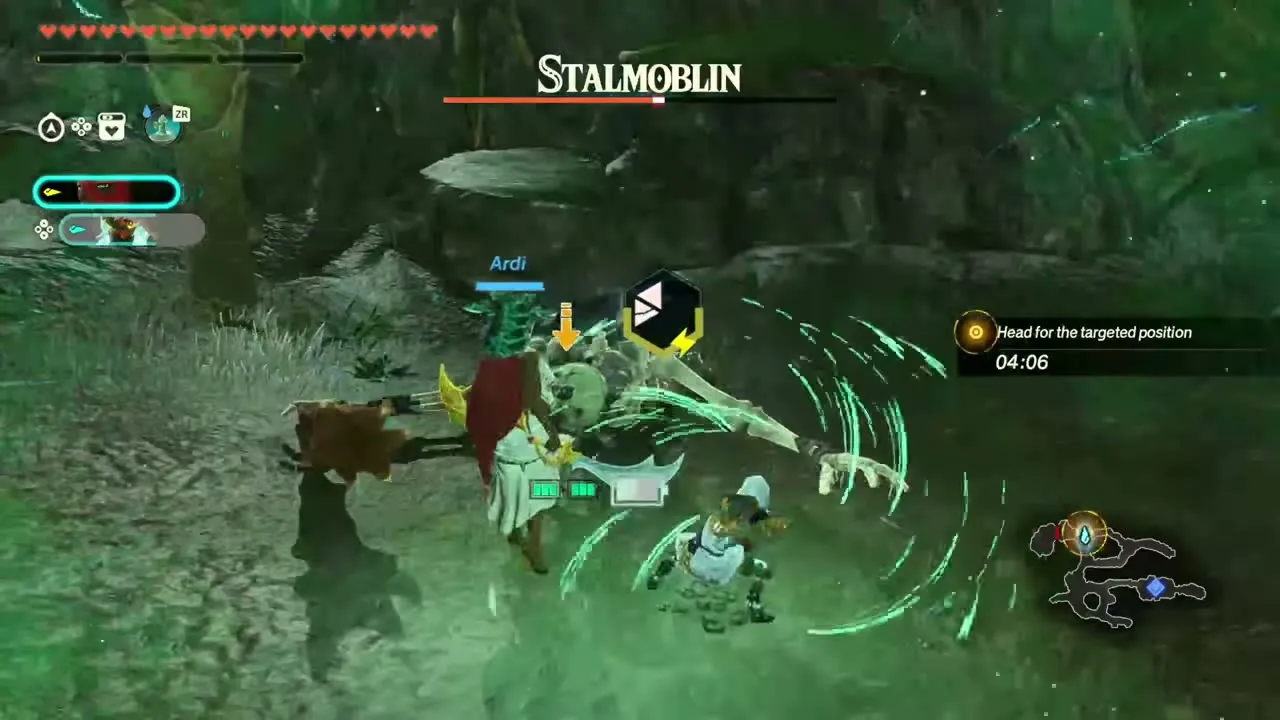
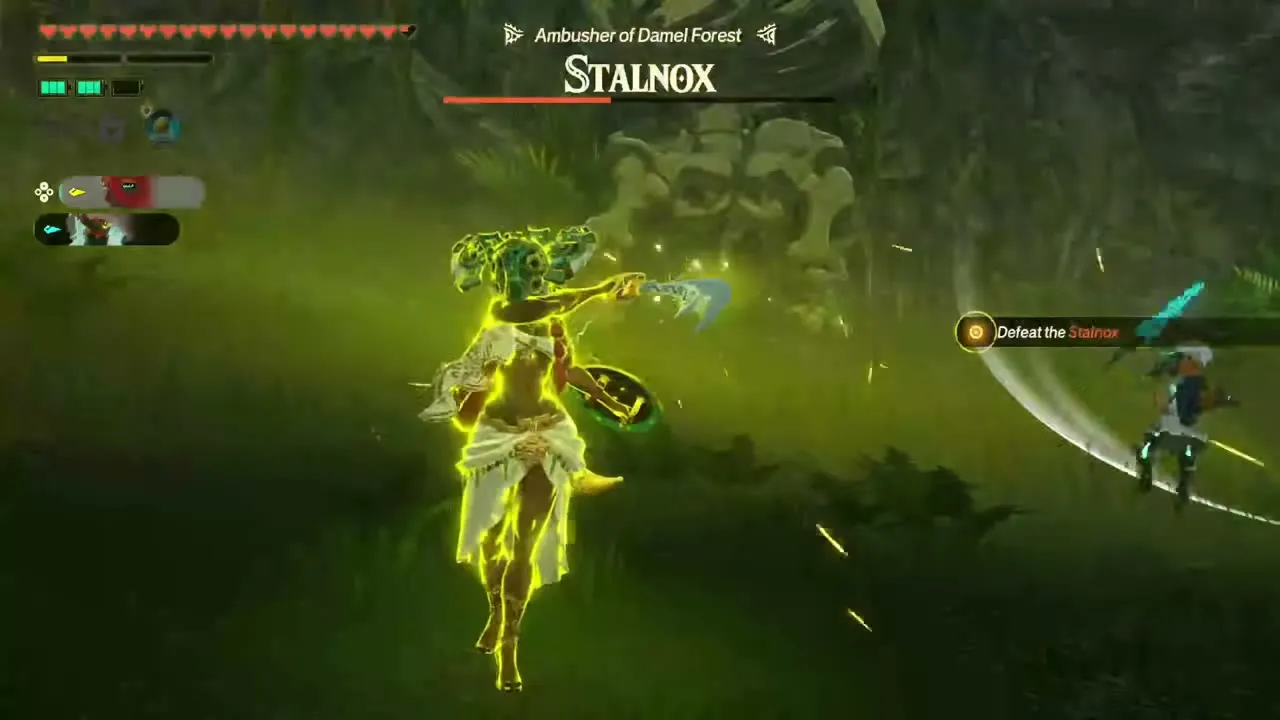
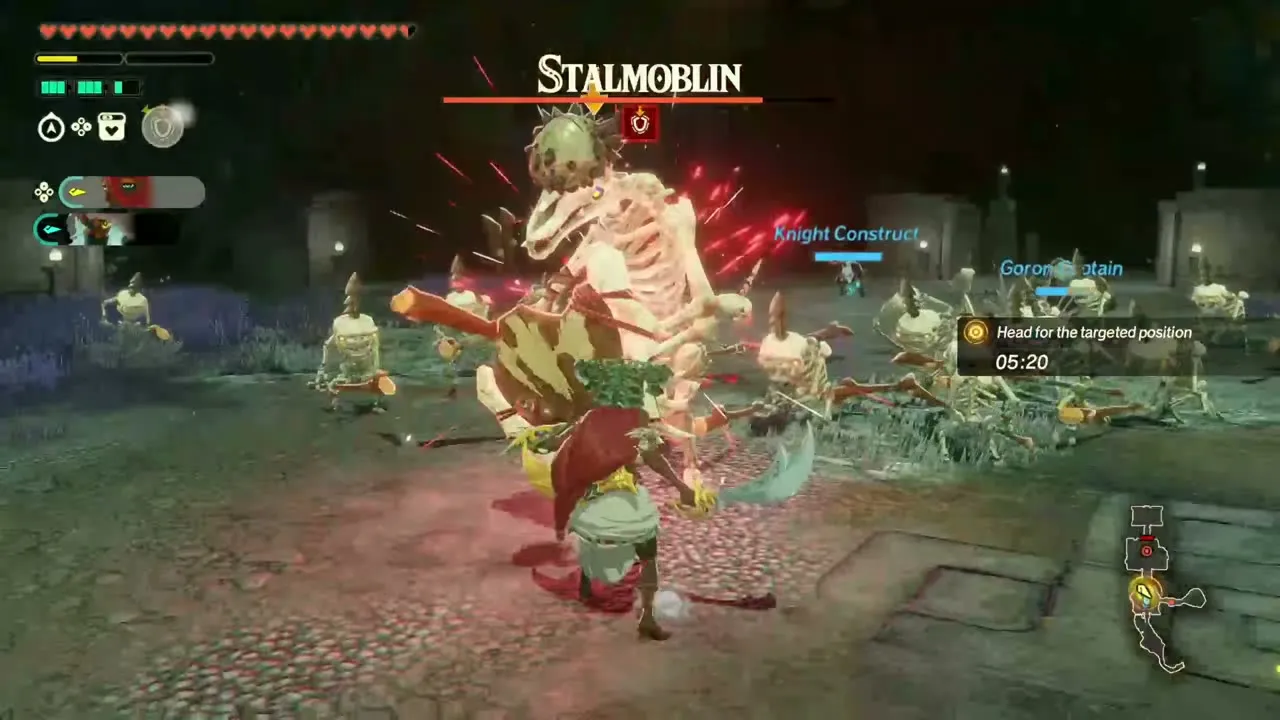
Recommended level 36, in Damel Forest. A soldier gathering lumber in Damel Forest saw a monster so strong it shook him, and you are sent to remove it. Any warriors you like can take part. Expect Stalmoblin, Black Bokoblin, Stalnox and Stalizalfos on the field. It opens once A Time for Action is complete. The objectives are to head for the targeted position through gates that close behind you, defeating a Stalmoblin and then a Stalnox on the way. First-clear reward: Sanke Carp ×10, Mighty Porgy ×10 and a random weapon.
Counteroffensive in Ash Swamp
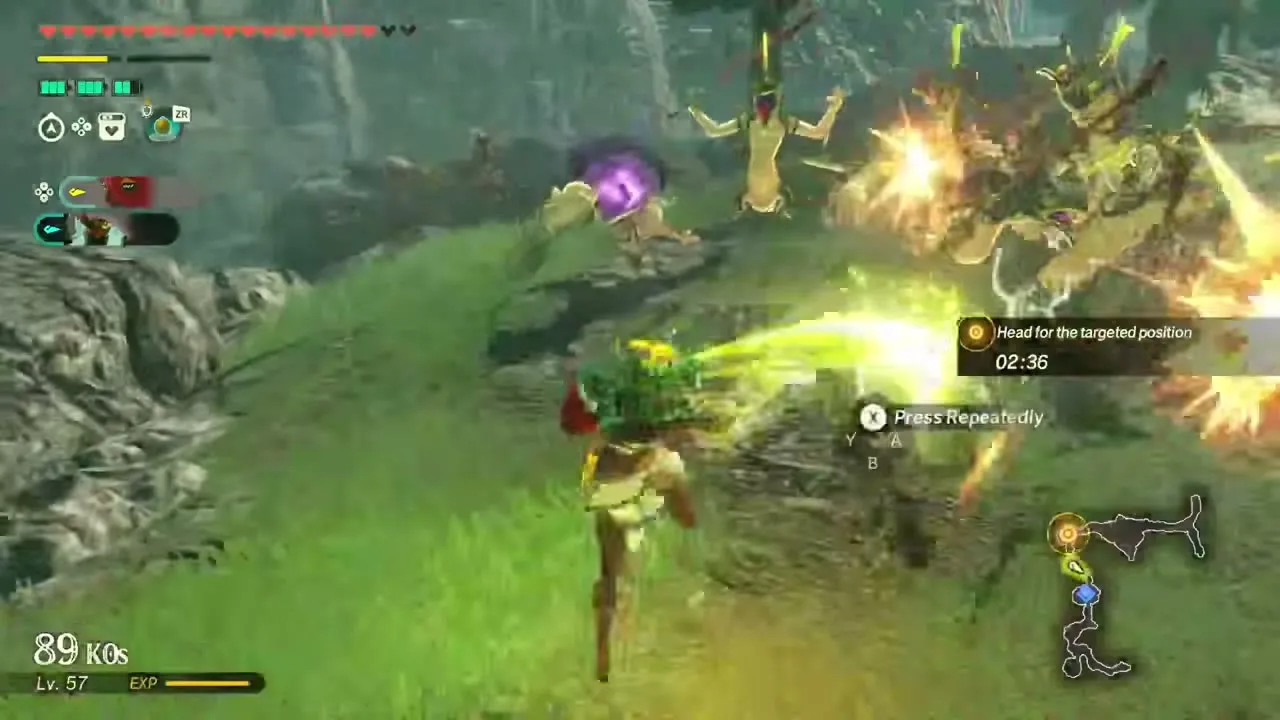
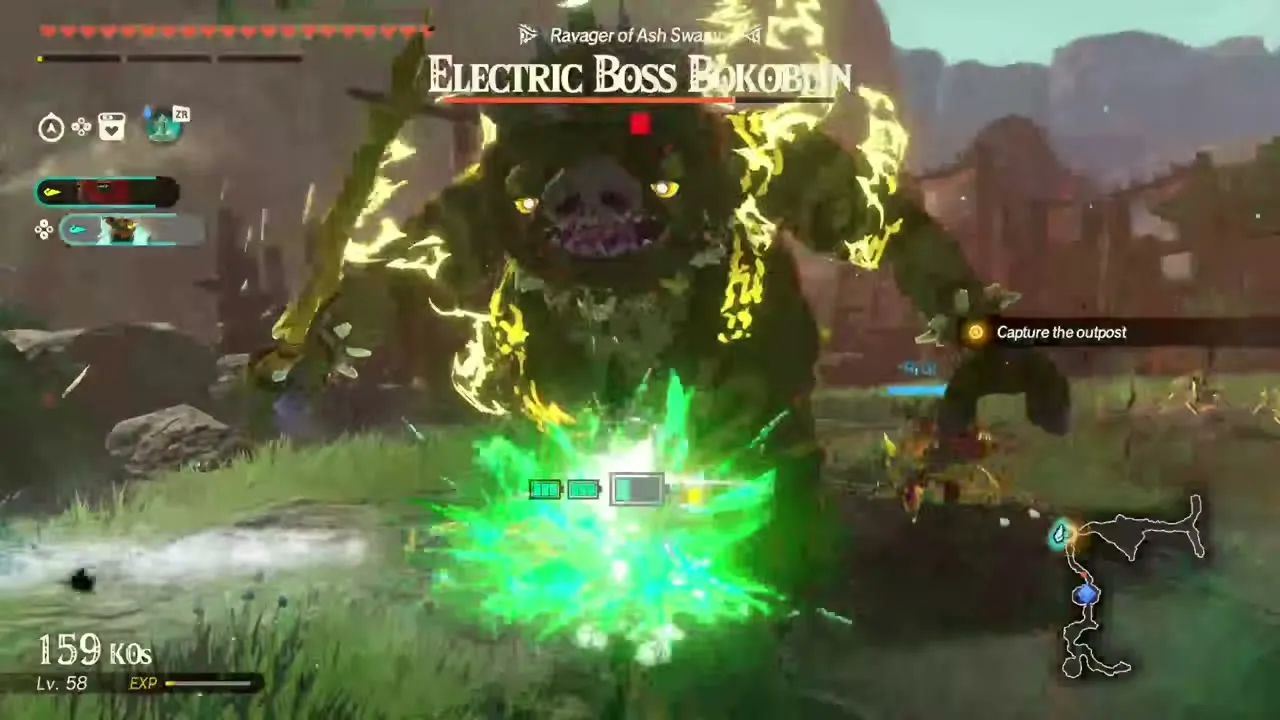
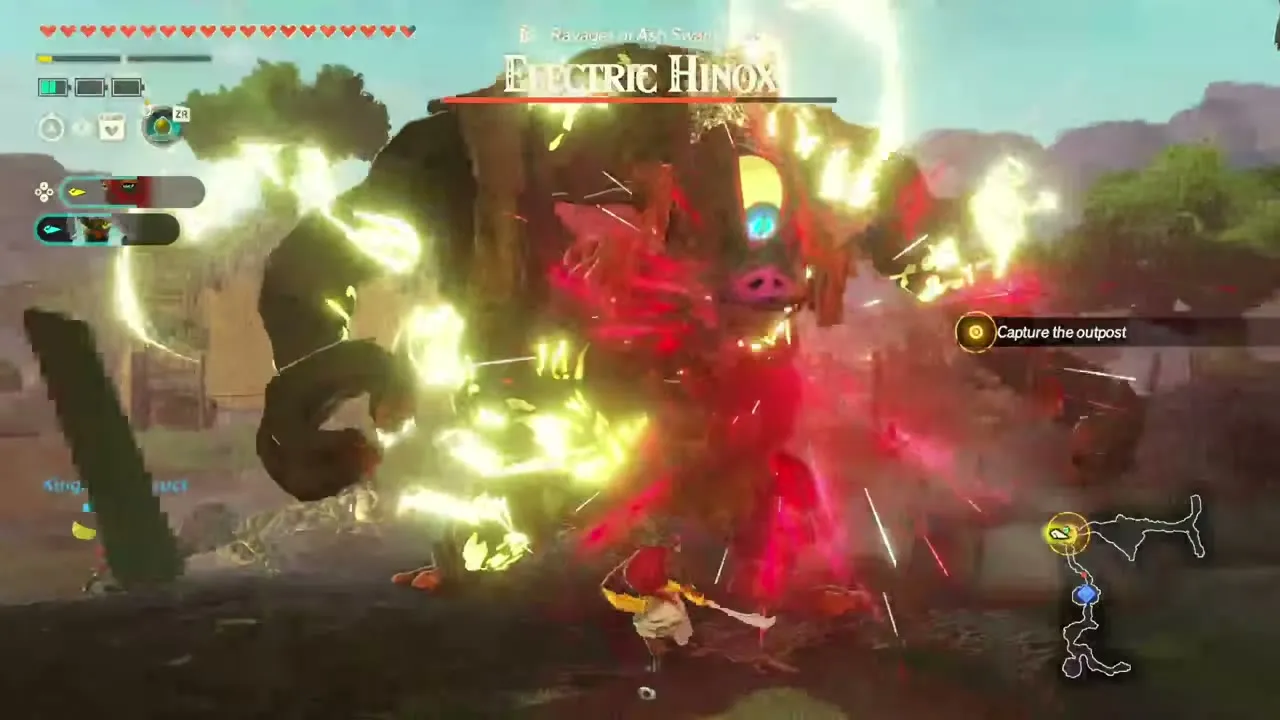
Recommended level 36, in Ash Swamp. Electric monsters have driven the Hylian soldiers out of Ash Swamp, and this battle is your chance to hit back. It appears after you clear Purging Damel Forest. Expect Evermean, Electric Hinox, Electric Lizalfos and Electric Boss Bokoblin on the field. Any warriors you like can take part. The objectives are to capture the outpost and head for the targeted position within the time limit, with an Electric Boss Bokoblin, Ravager of Ash Swamp, and an Electric Hinox as the main enemies. First-clear reward: Hearty Salmon ×10, Blue Nightshade ×10, Bright-Eyed Crab ×10, Zonaite Steel (Two-Handed) ×1 and 700 Rupees.
Liberating Death Mountain
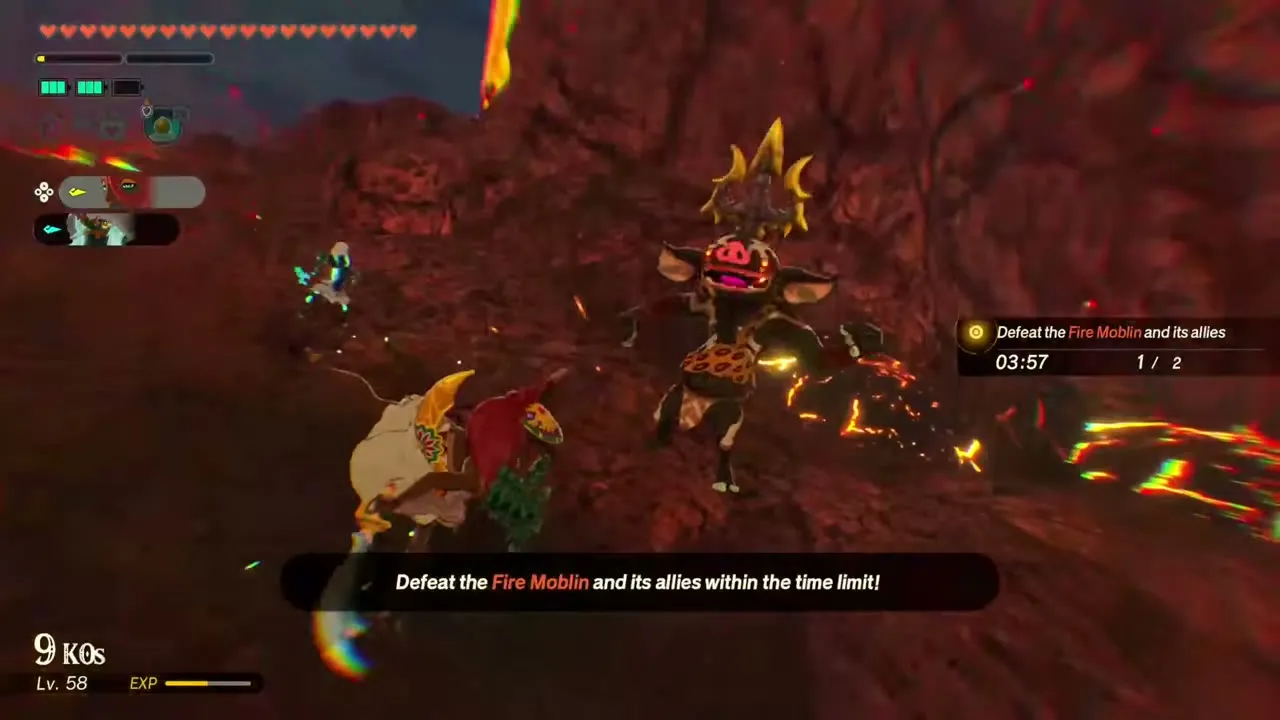
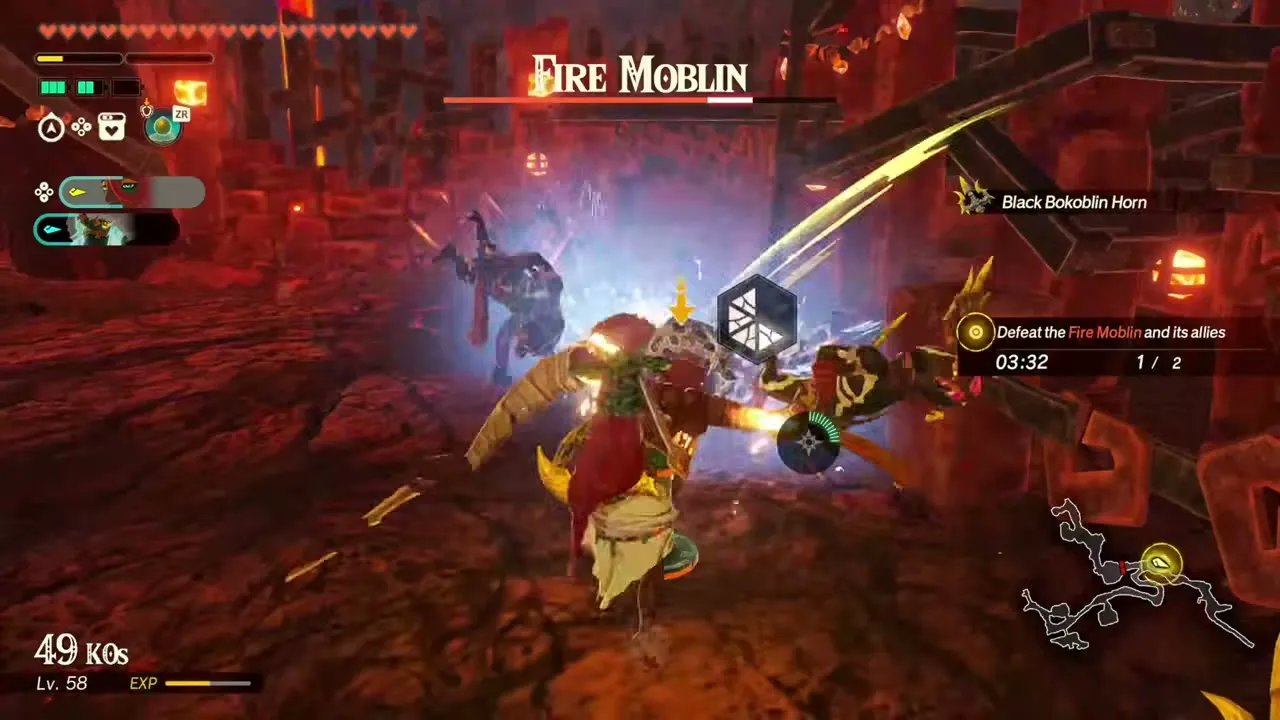
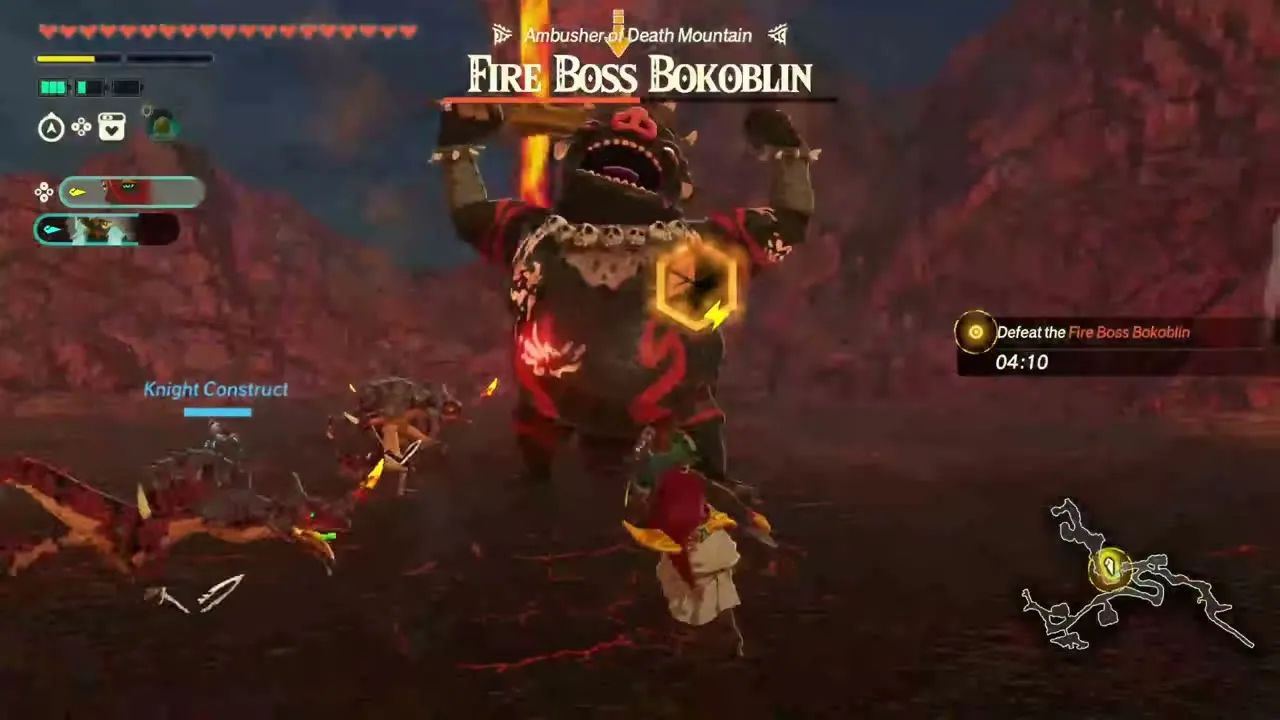
Recommended level 36, in Death Mountain. Monsters have retaken Death Mountain and captured two Goron outposts, so you must win the area back. It opens once A Time for Action is complete. Any warriors you like can take part. Expect Fire Boss Bokoblin, Fire-Breath Lizalfos, Fire Moblin, Fire Keese and Black Bokoblin on the field. The objectives are to defeat the monsters ravaging Death Mountain, first a Fire Moblin and then the Fire Boss Bokoblin, Ambusher of Death Mountain, within the time limit. First-clear reward: Flint ×10, Tireless Frog ×7 and Zonaite Steel (Two-Handed) ×1.
Reclaiming the Gerudo Desert
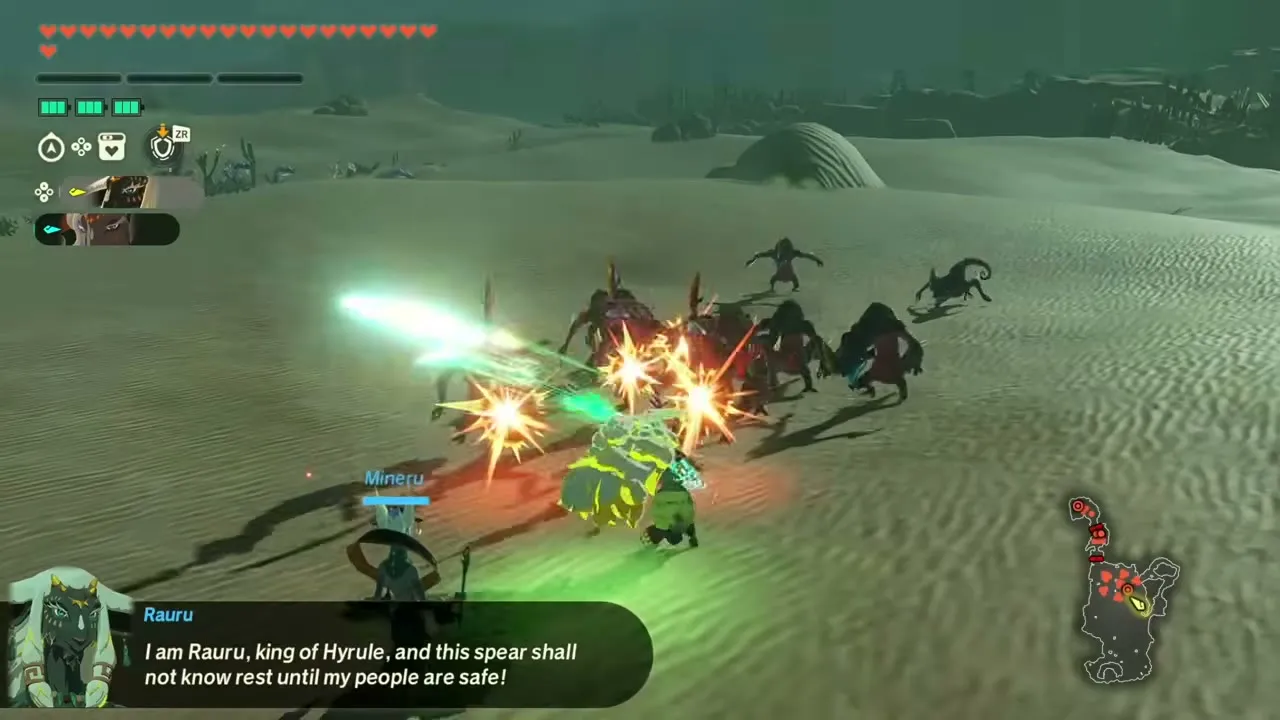
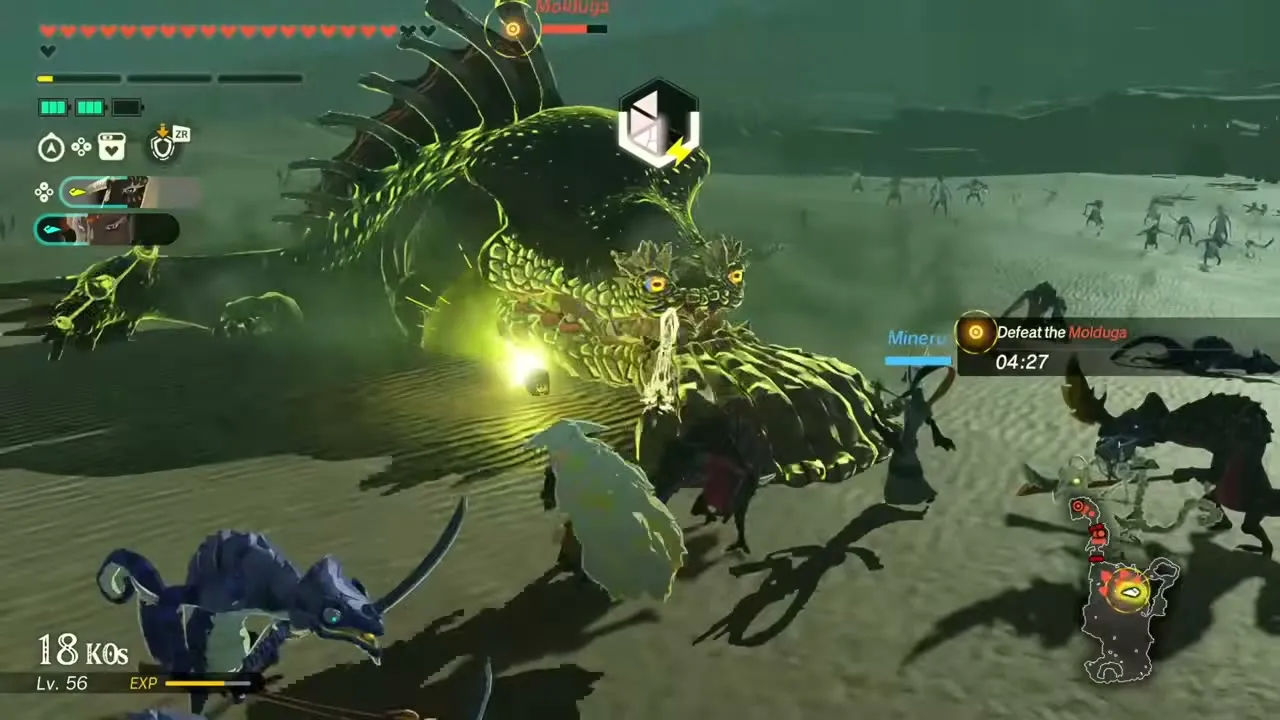
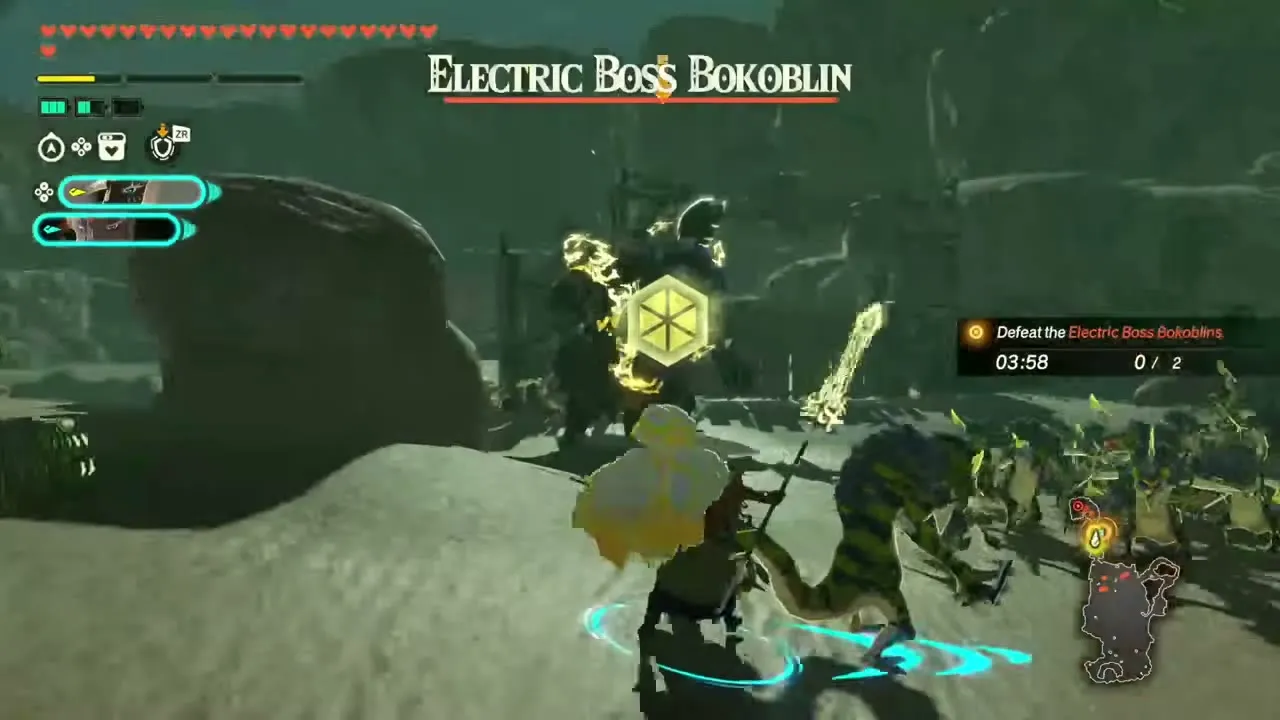
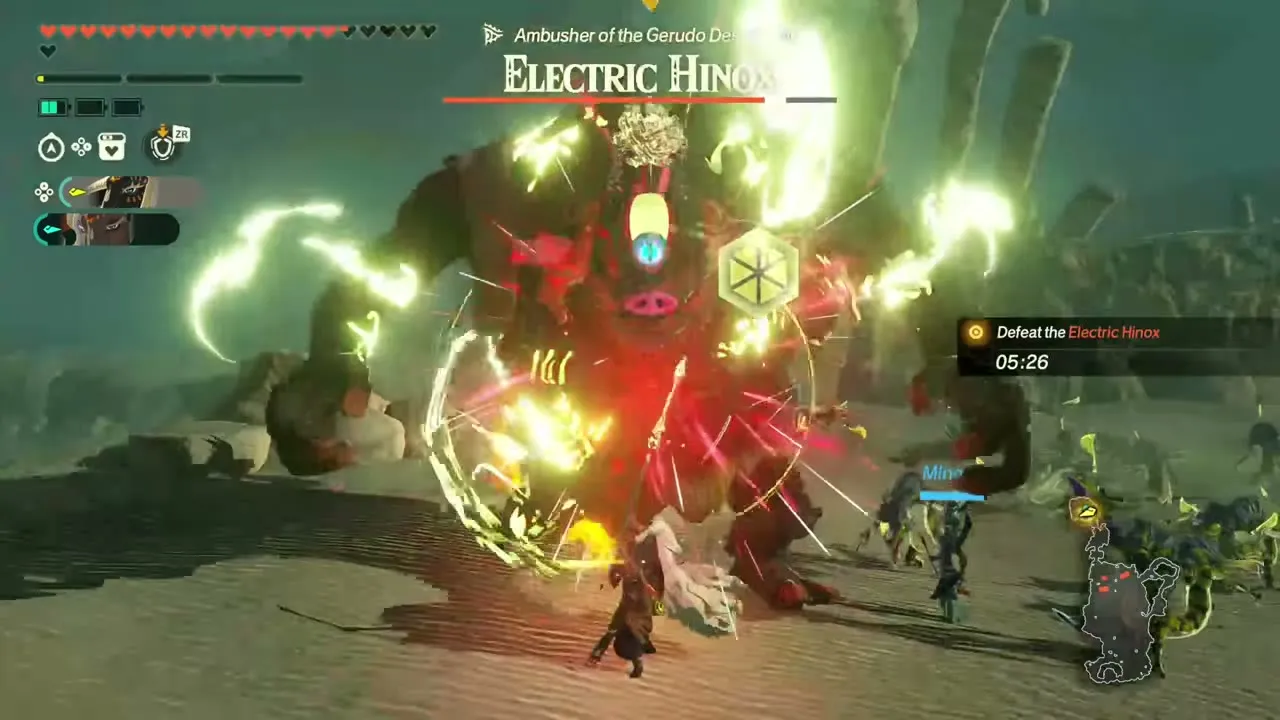
Recommended level 36, in Gerudo Desert. A big pack of monsters is getting more violent in the Gerudo Desert, and the way to calm it is to defeat their leaders. Any warriors you like can take part. Expect Electric Hinox, Electric Lizalfos, Molduga, Electric Boss Bokoblin and Black Lizalfos on the field. It opens once A Time for Action is complete. The objectives are to defeat the enemy forces ravaging the Gerudo Desert, first a Molduga, then an Electric Boss Bokoblin and finally an Electric Hinox, Antagonist of the Gerudo Desert. First-clear reward: Hydromelon ×10, Ironshroom ×10, Golden Apple ×10, 700 Rupees and a random weapon.
Investigating the Faron Depths
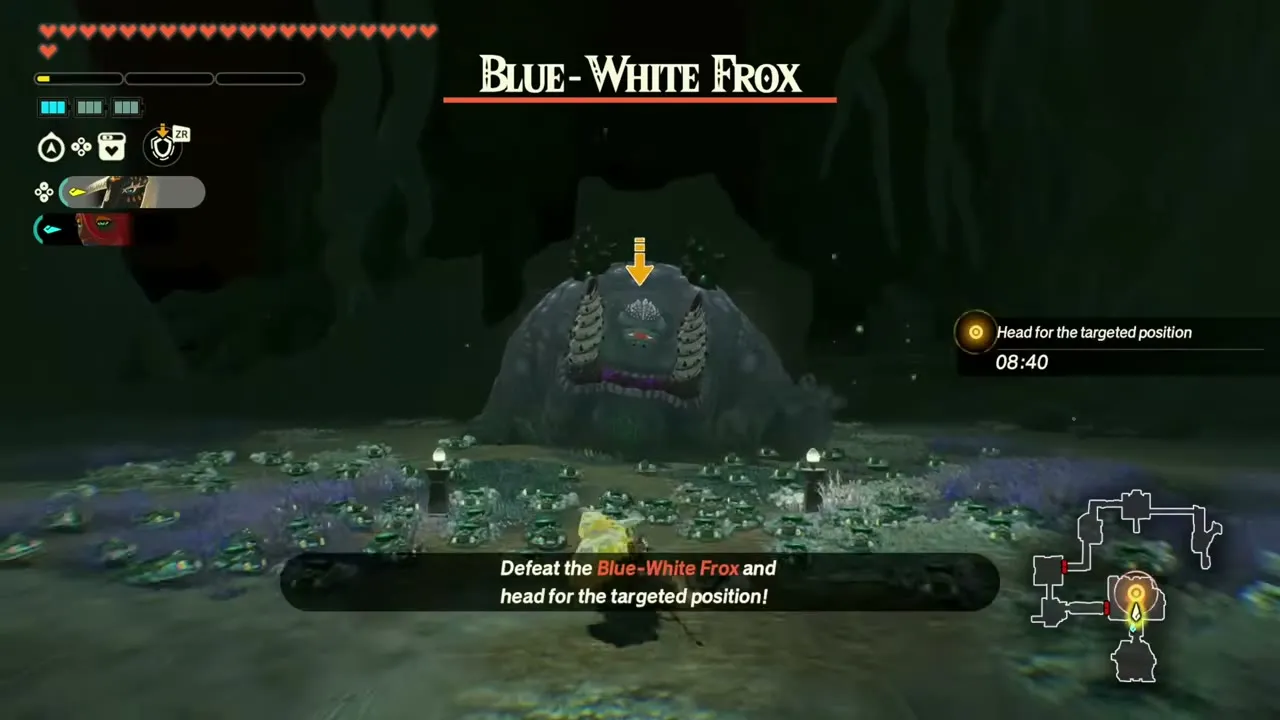
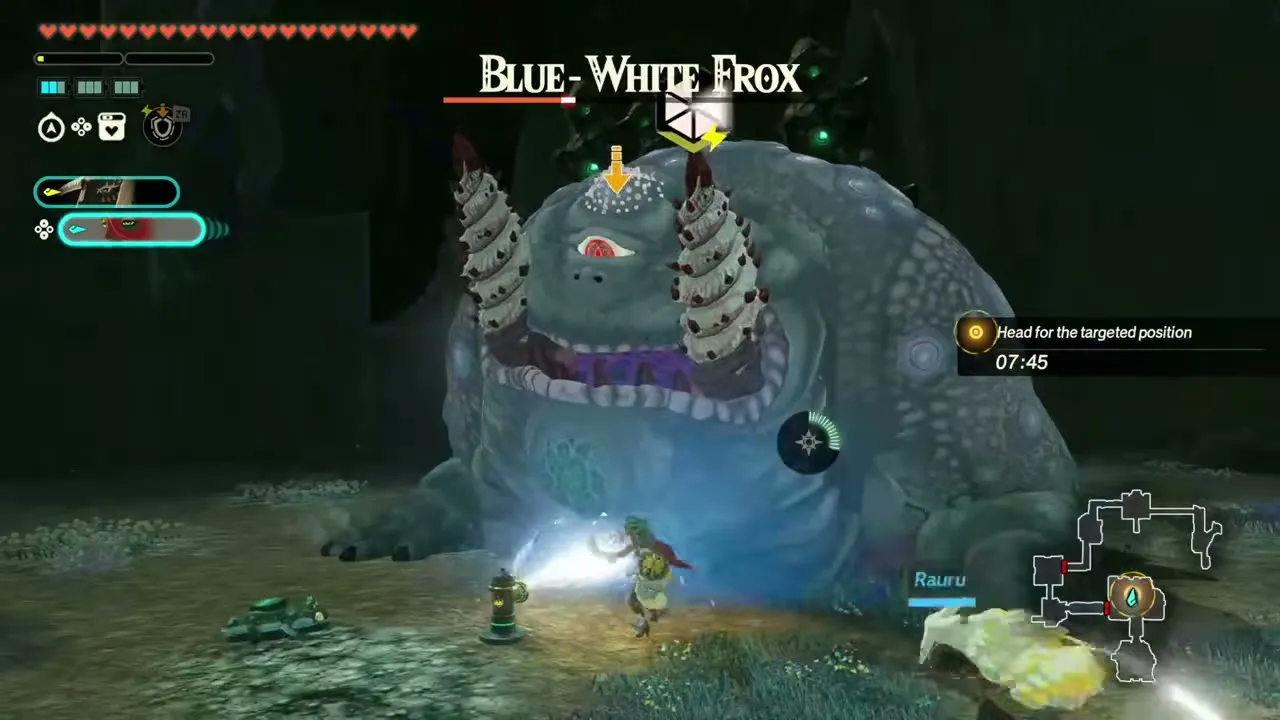
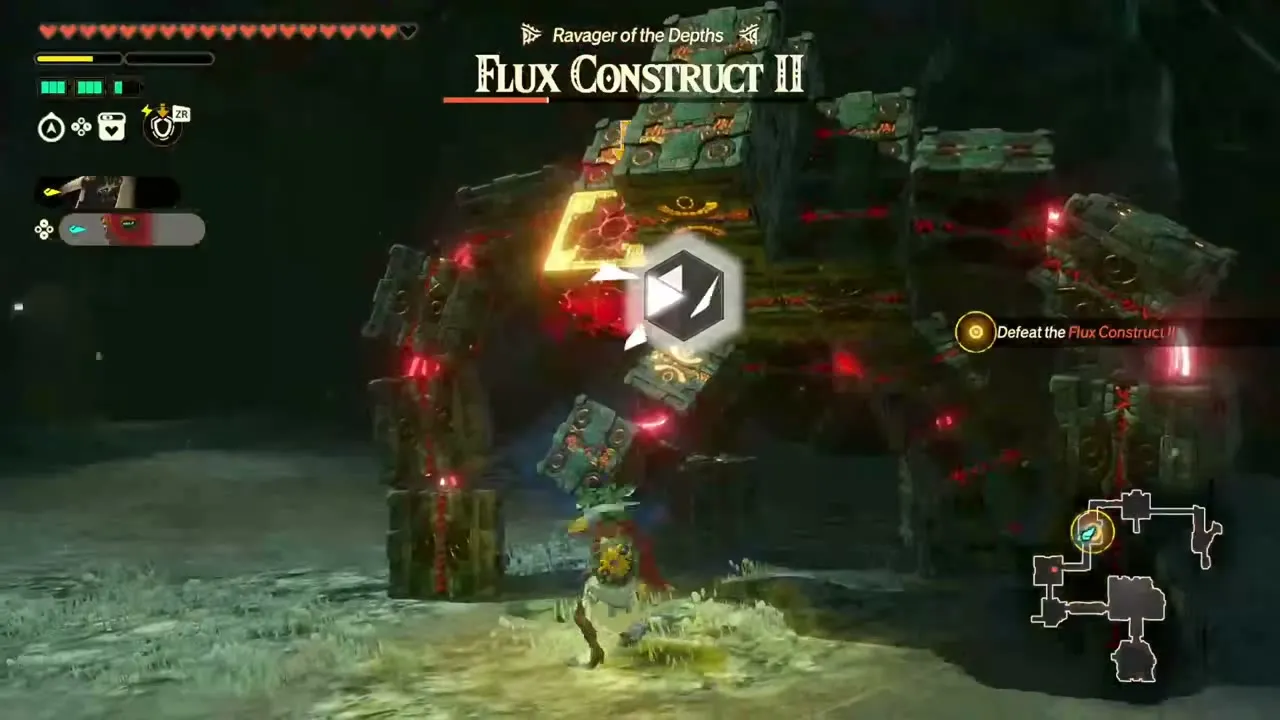
Recommended level 36, in Faron Depths. Troubling reports of a disturbance in the Depths send Rauru to find out what is causing it. It appears after you clear Seeking Treasure in the Depths. Expect Shade, Little Frox, Soldier Construct III, Flux Construct II and Blue-White Frox on the field. You fight as Rauru plus one other warrior of your choice. The objective is to defeat the Shades and head for the targeted position, with a Blue-White Frox and a Flux Construct II, Reaver of the Depths, as the main enemies. First-clear reward: Giant Brightbloom Seed ×12, Zonaite ×10 and Zonaite Steel (Spear) ×1.
Good and Evil
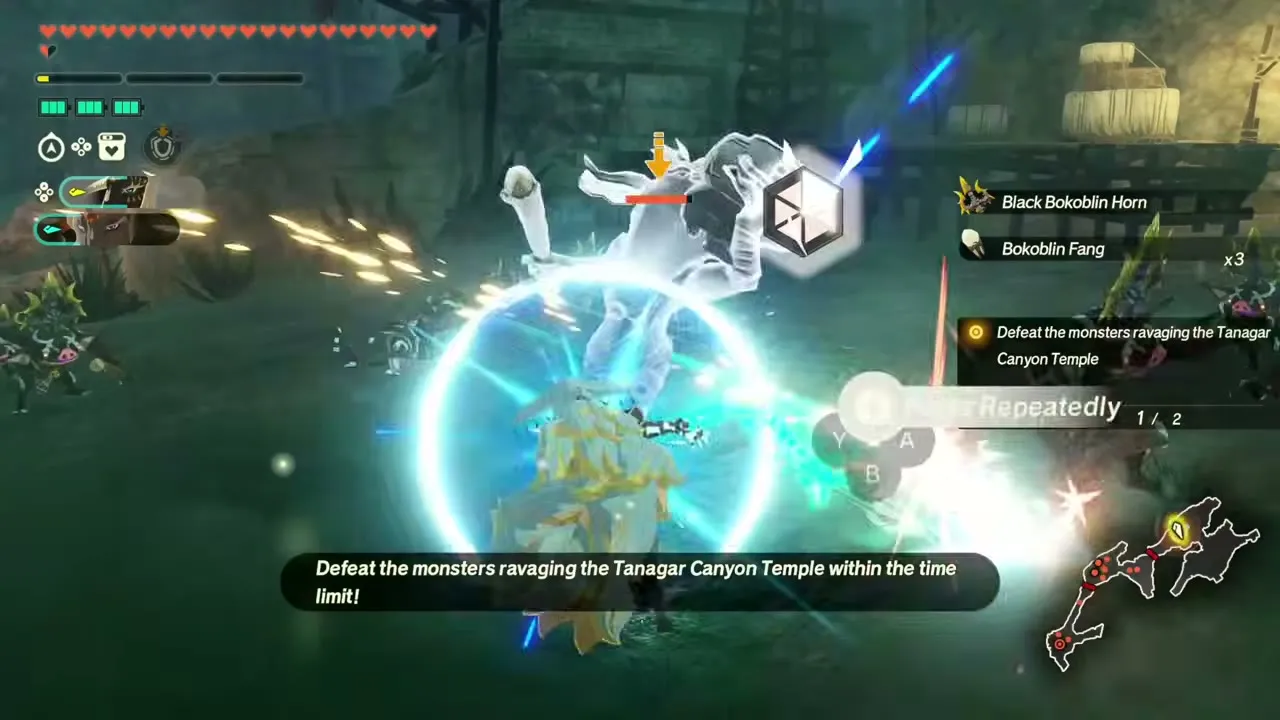
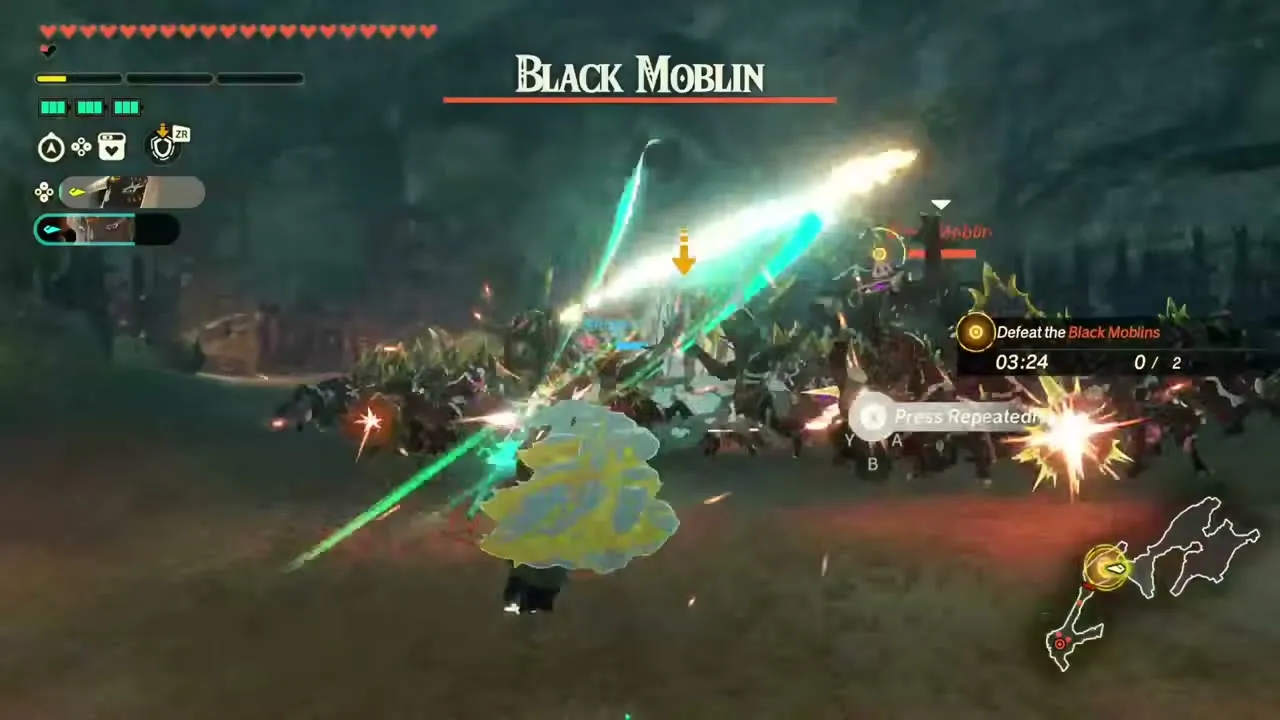
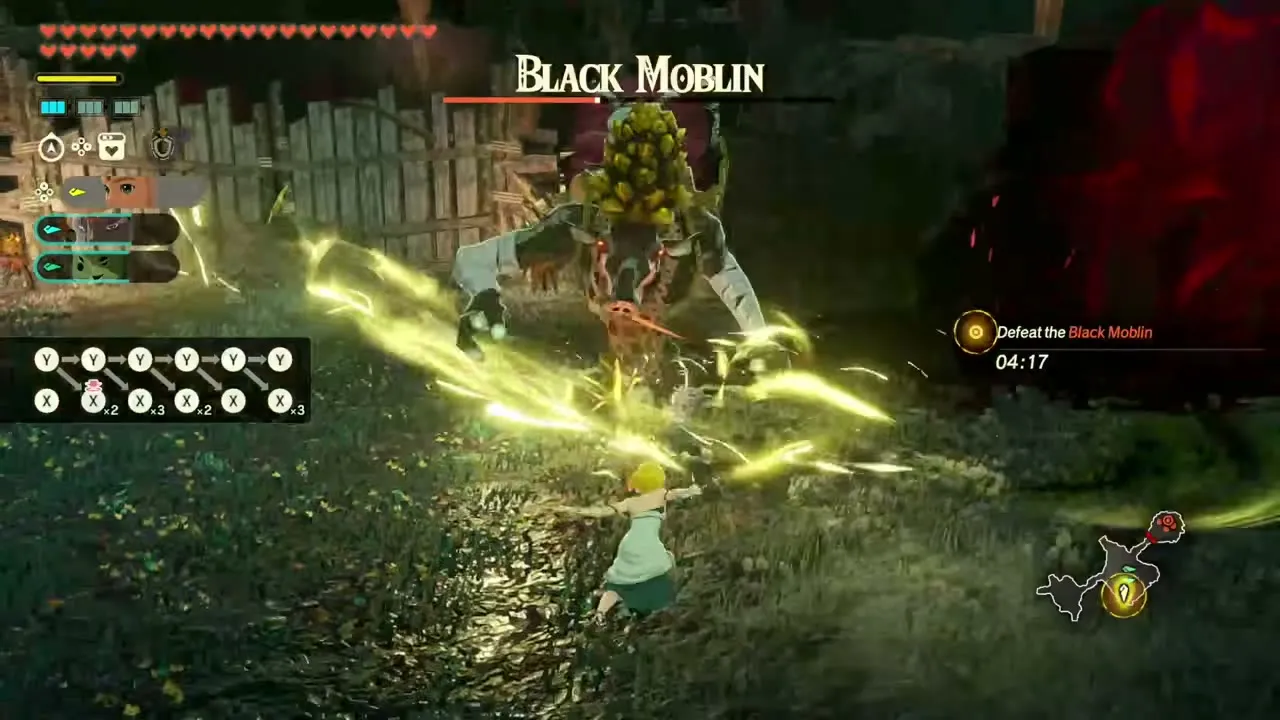
Recommended level 36, in Tanagar Canyon Temple. This is a Rauru and Mineru battle. The warriors are fixed: Rauru and Mineru. Expect Keese, Black Bokoblin, Black Moblin and White-Maned Lynel on the field. The objective is to defeat the monsters ravaging the Tanagar Canyon Temple, including a Black Moblin and a White-Maned Lynel. First-clear reward: Mighty Thistle ×10, Hearty Salmon ×10, Big Hearty Truffle ×7, Zonaite Steel (Spear) ×1 and 700 Rupees.
Warriors at the Ready
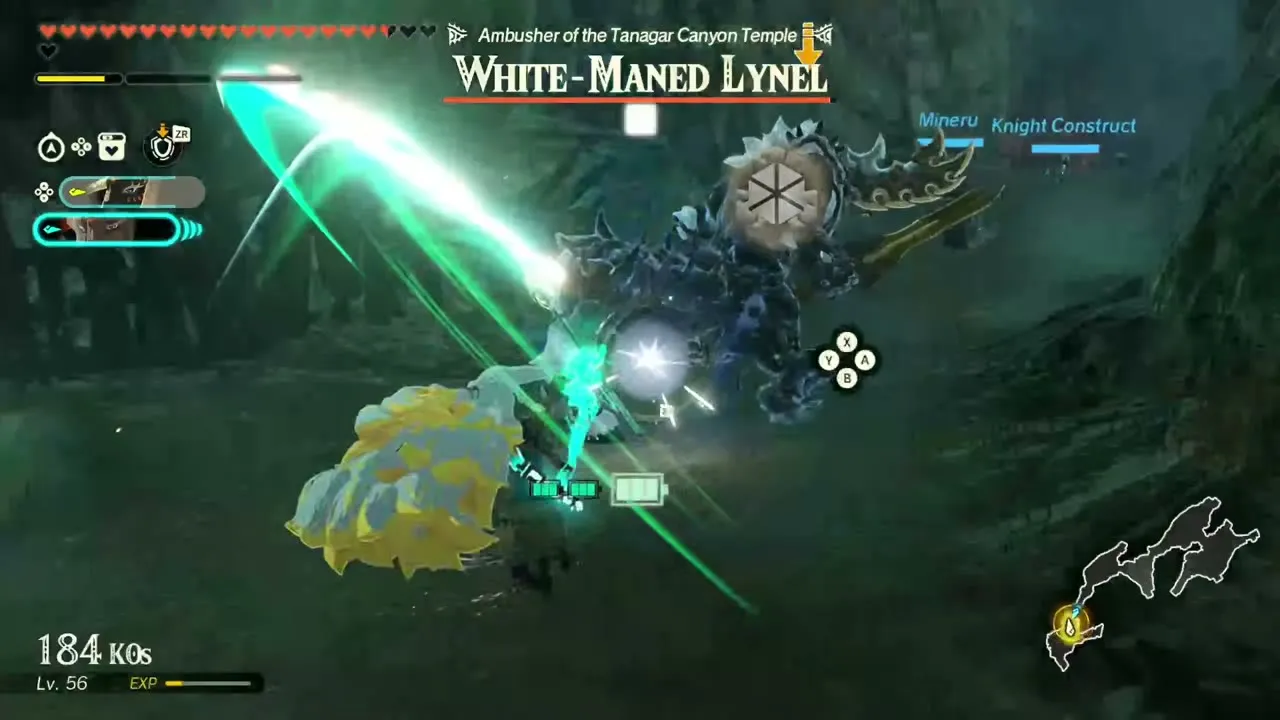
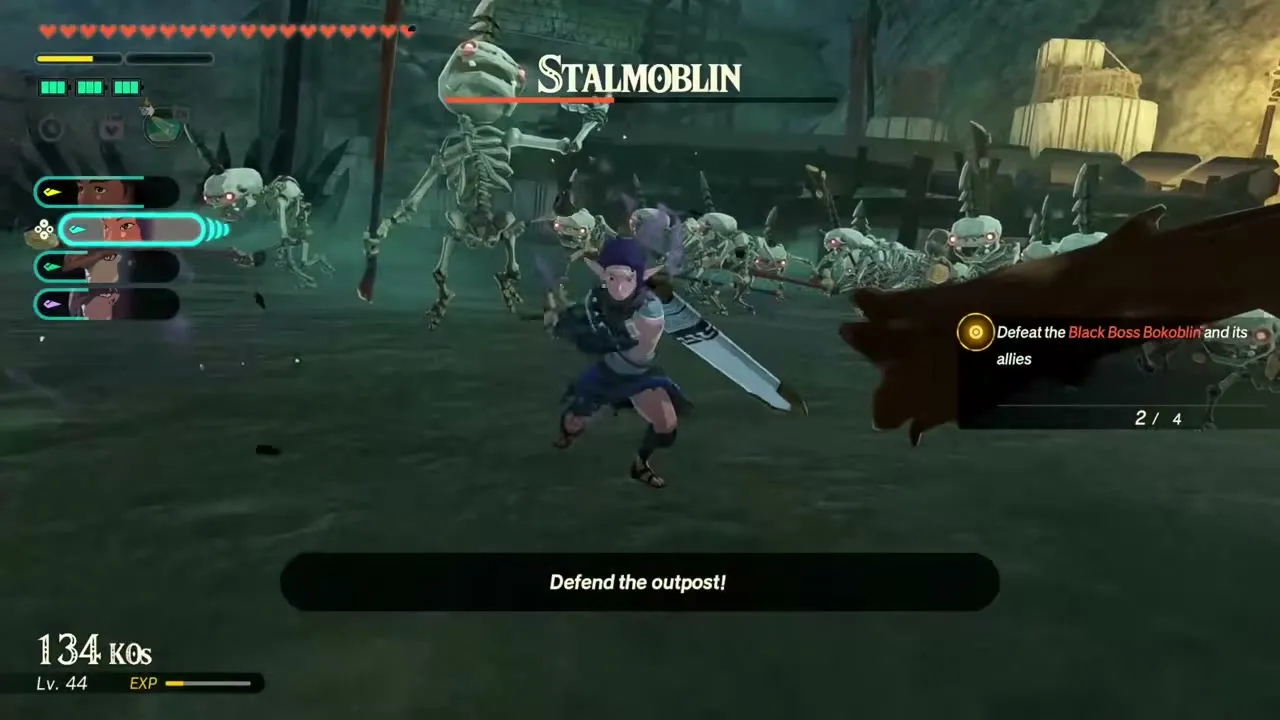
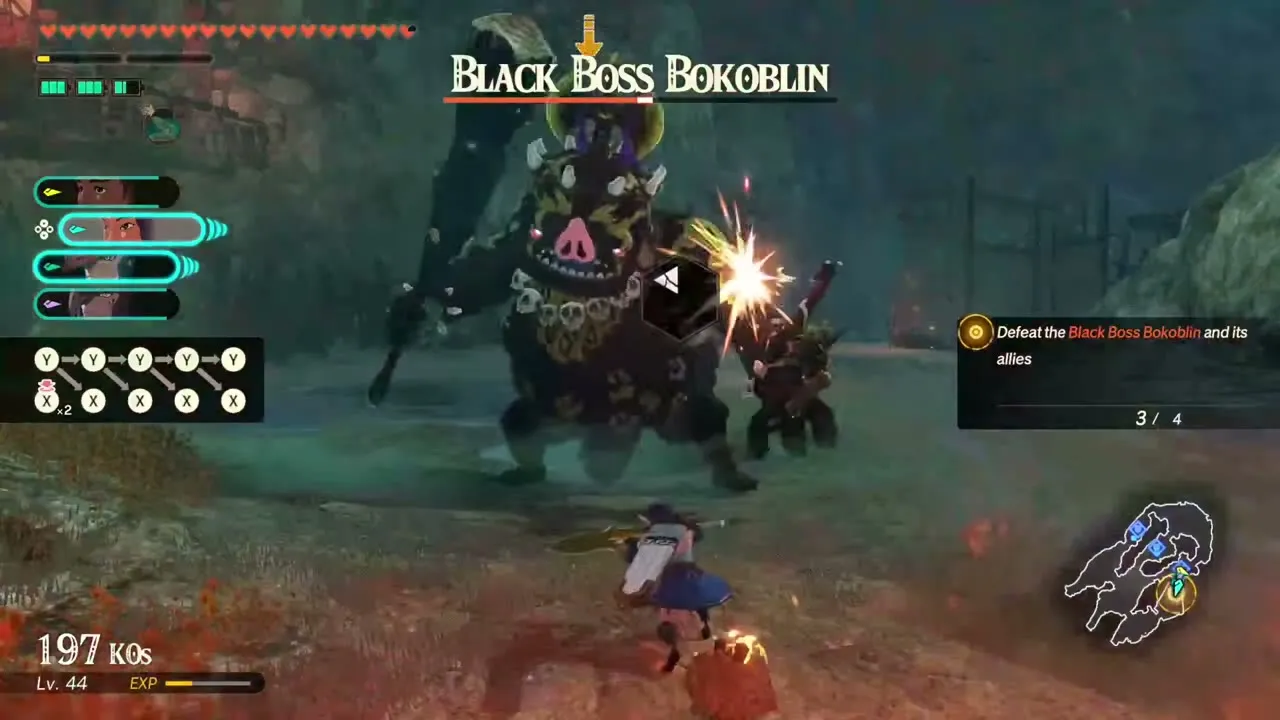
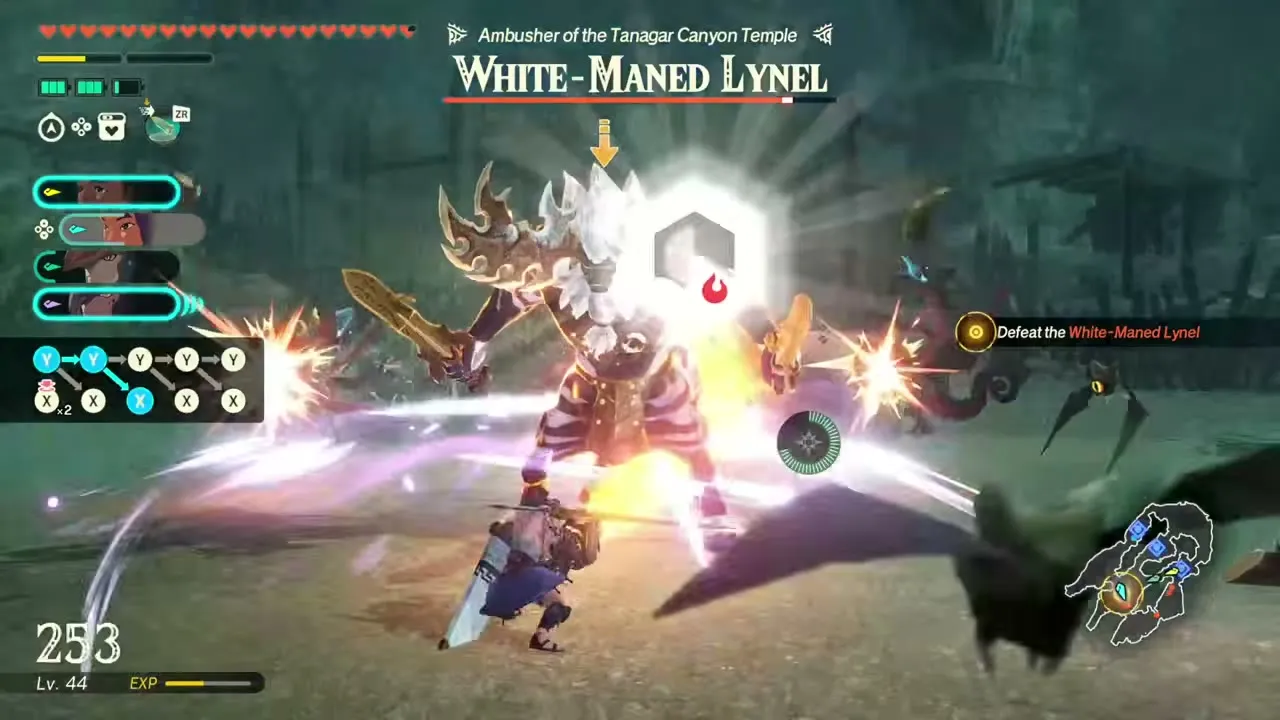
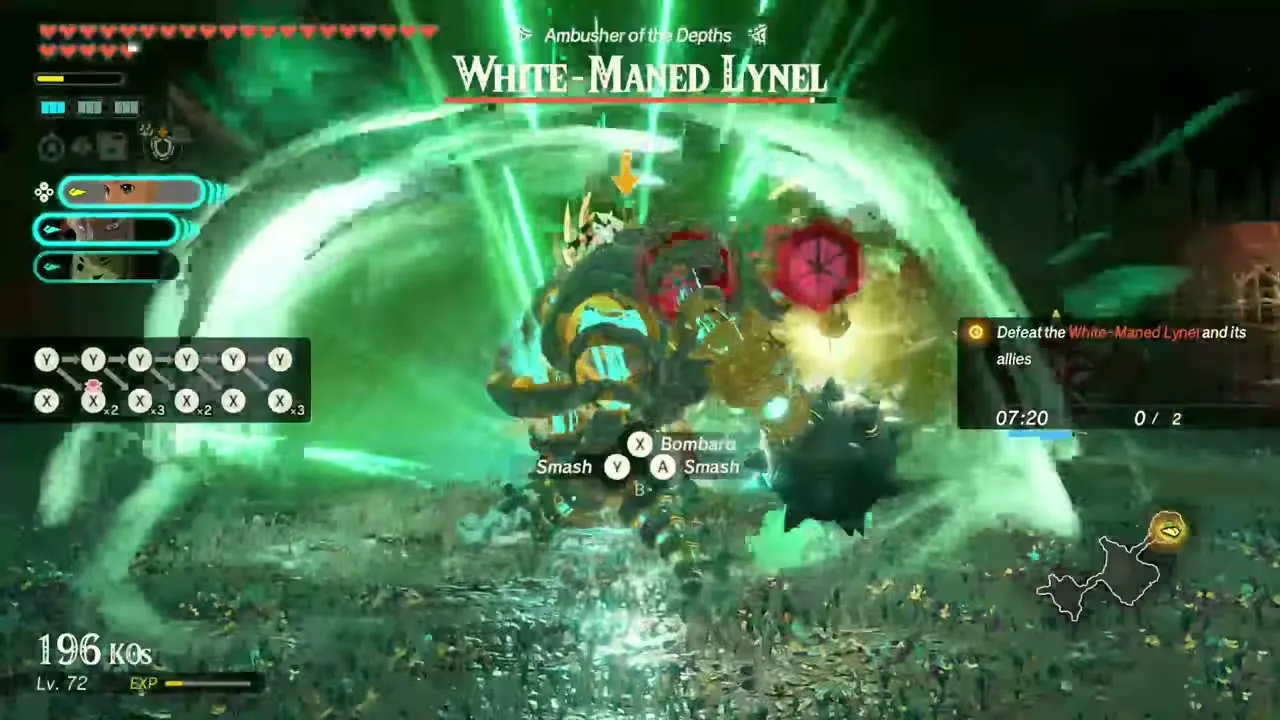
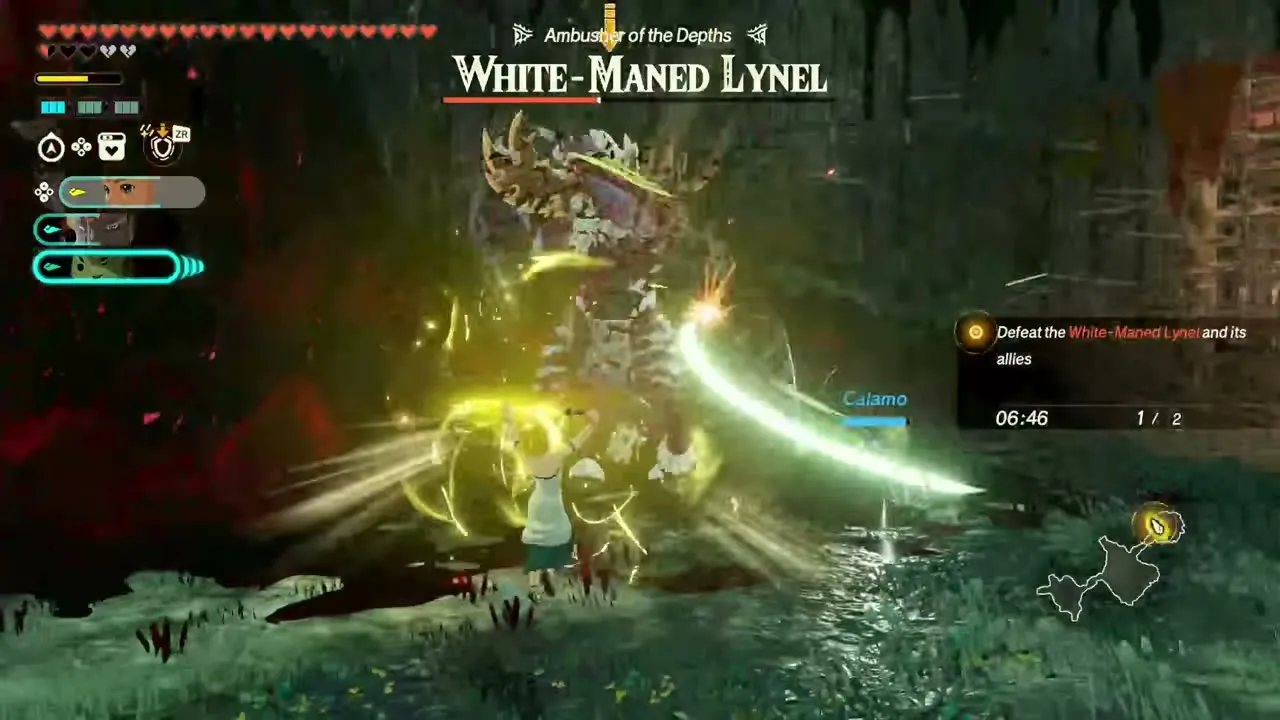
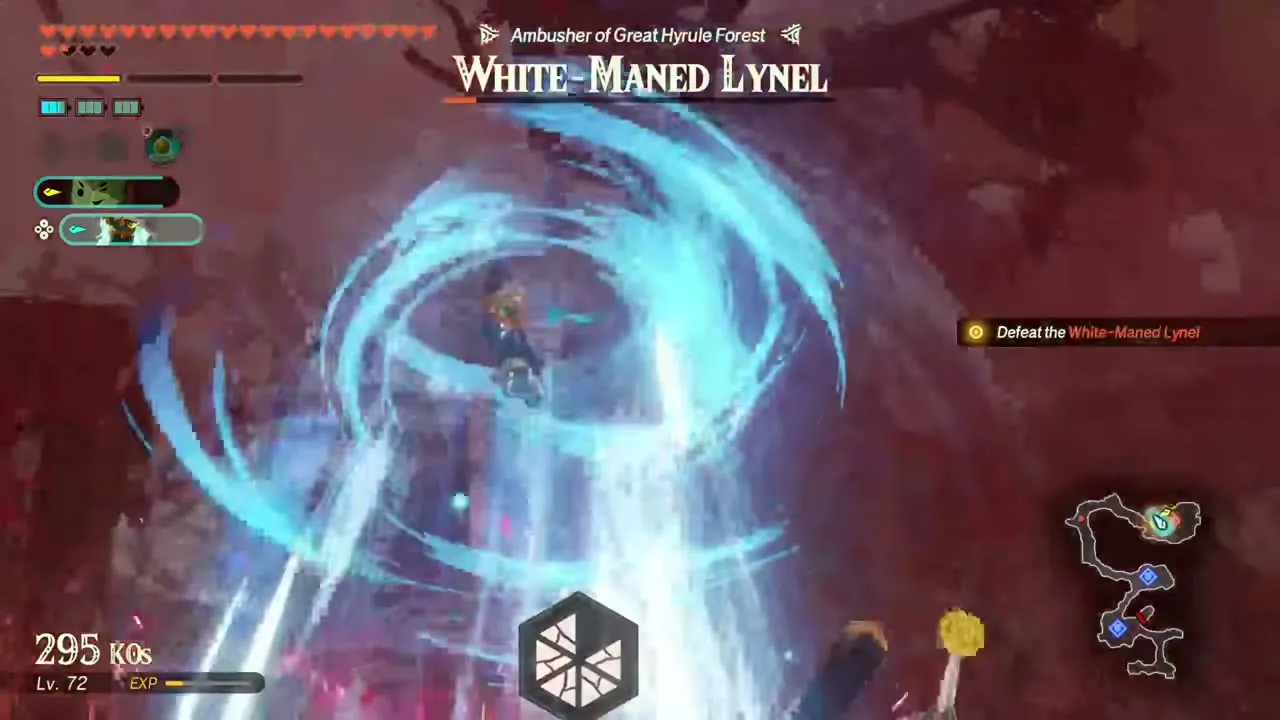
Recommended level 36, in Tanagar Canyon Temple. While Rauru is away, a huge monster force attacks the temple in Tanagar Canyon, and it falls to you to hold it without the main cast. Expect Stalmoblin, Black Bokoblin, Black Lizalfos, Black Boss Bokoblin and White-Maned Lynel on the field. You can bring any warriors except the nine main fighters (Zelda, Rauru, Mineru, Agraston, Qia, Raphica, Ardi, Calamo and the Knight Construct). The objectives are to repel the monsters attacking the temple and defend its outposts, with a Stalmoblin, a Black Boss Bokoblin and a White-Maned Lynel, Ambusher of the Tanagar Canyon Temple, as the main enemies. First-clear reward: Mighty Thistle ×10, Stealthfin Trout ×15, Zonaite Steel (Pristine) ×1, 900 Rupees and a random weapon.
Seeking Treasure in the Depths
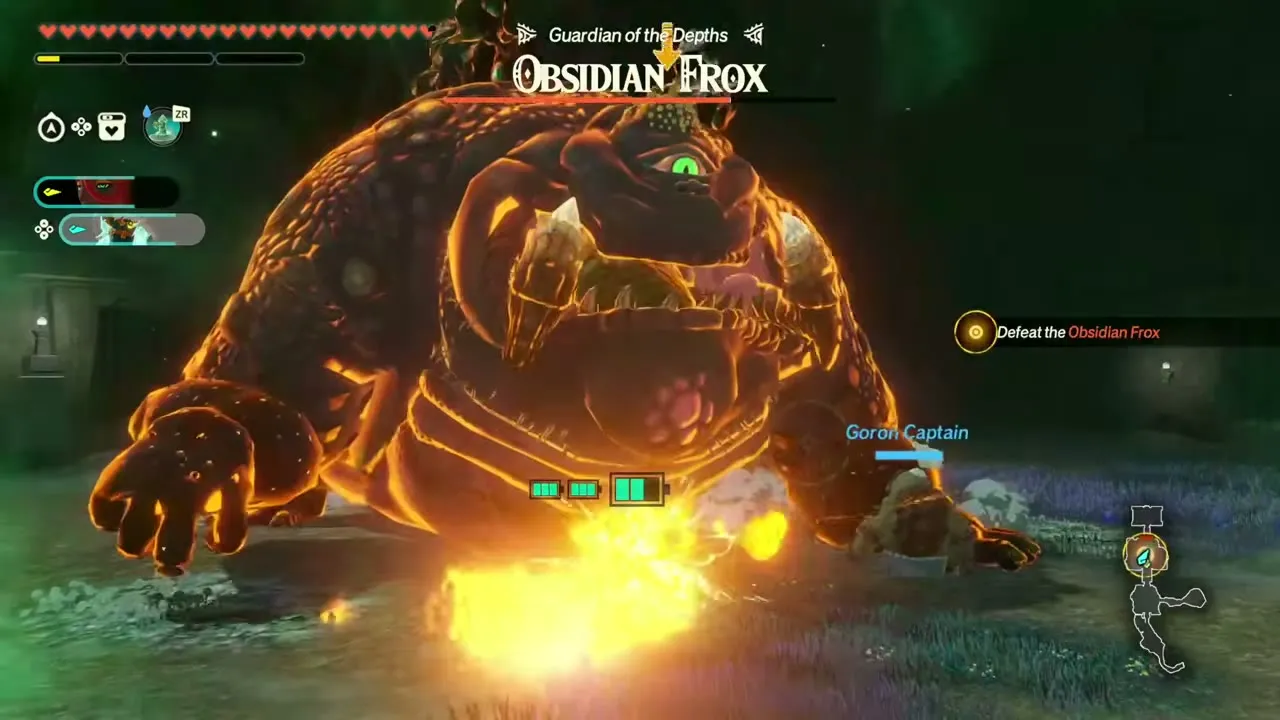
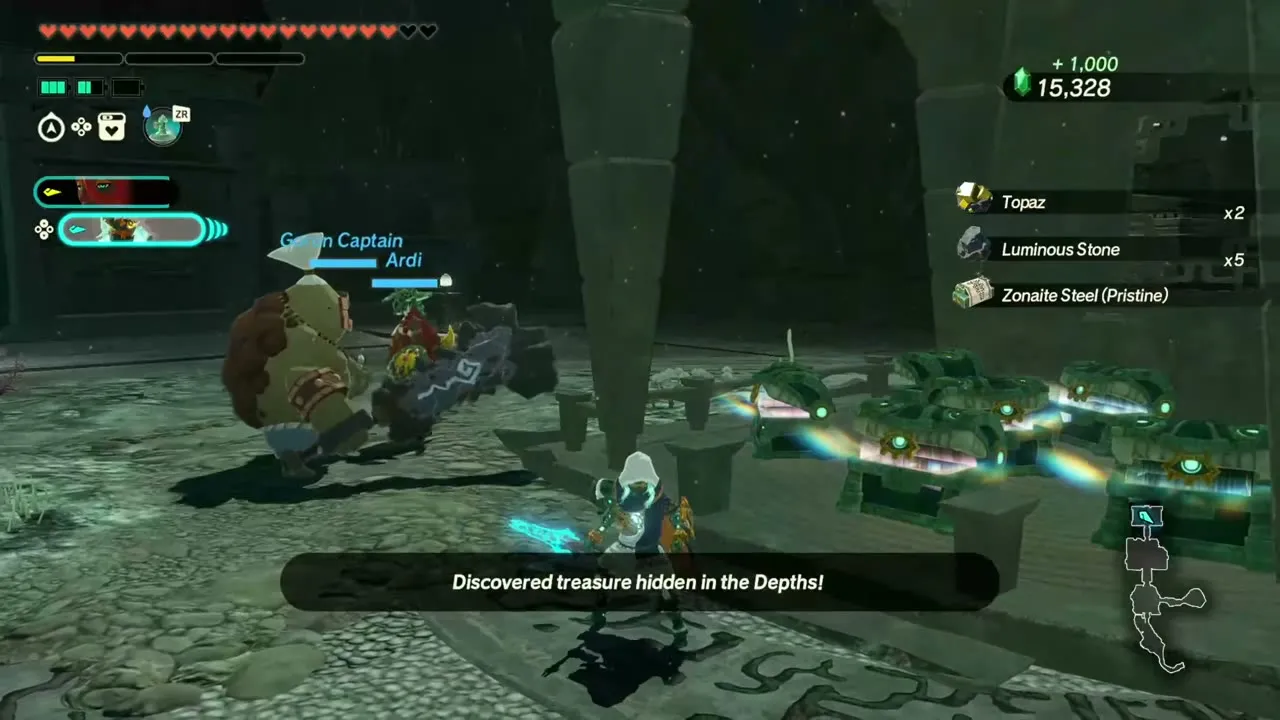
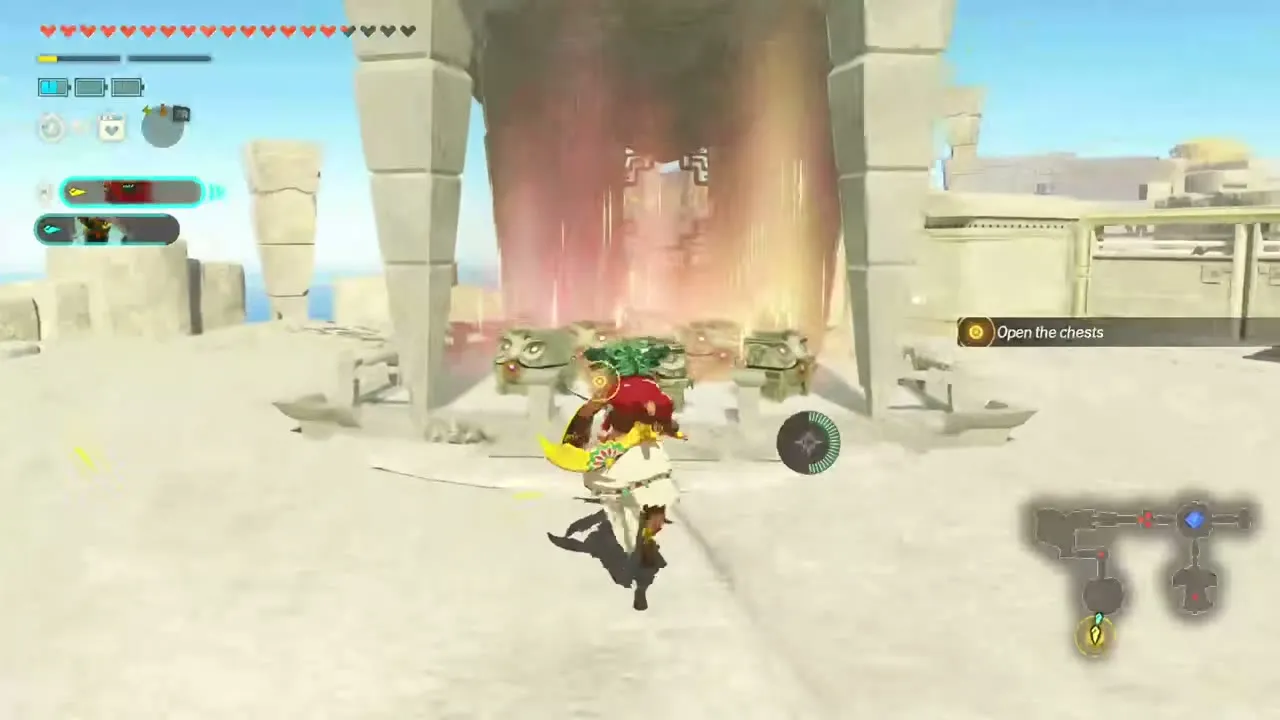
Recommended level 36, in the Depths. Searchers have seen a cluster of chests in the Depths but cannot reach them, so you go down to clear a path and fetch the contents. It opens once A Time for Action is complete. Any warriors you like can take part. Expect Little Frox, Stalmoblin, Stalkoblin, Black Bokoblin and Obsidian Frox on the field. The objectives are to head for the targeted position, defeat a Stalmoblin and an Obsidian Frox, Guardian of the Depths, and then open the chests. First-clear reward: Luminous Stone ×5, Ruby ×3, Giant Brightbloom Seed ×10, 4,000 Rupees and a random weapon.
Seeking Treasure on a Sky Island
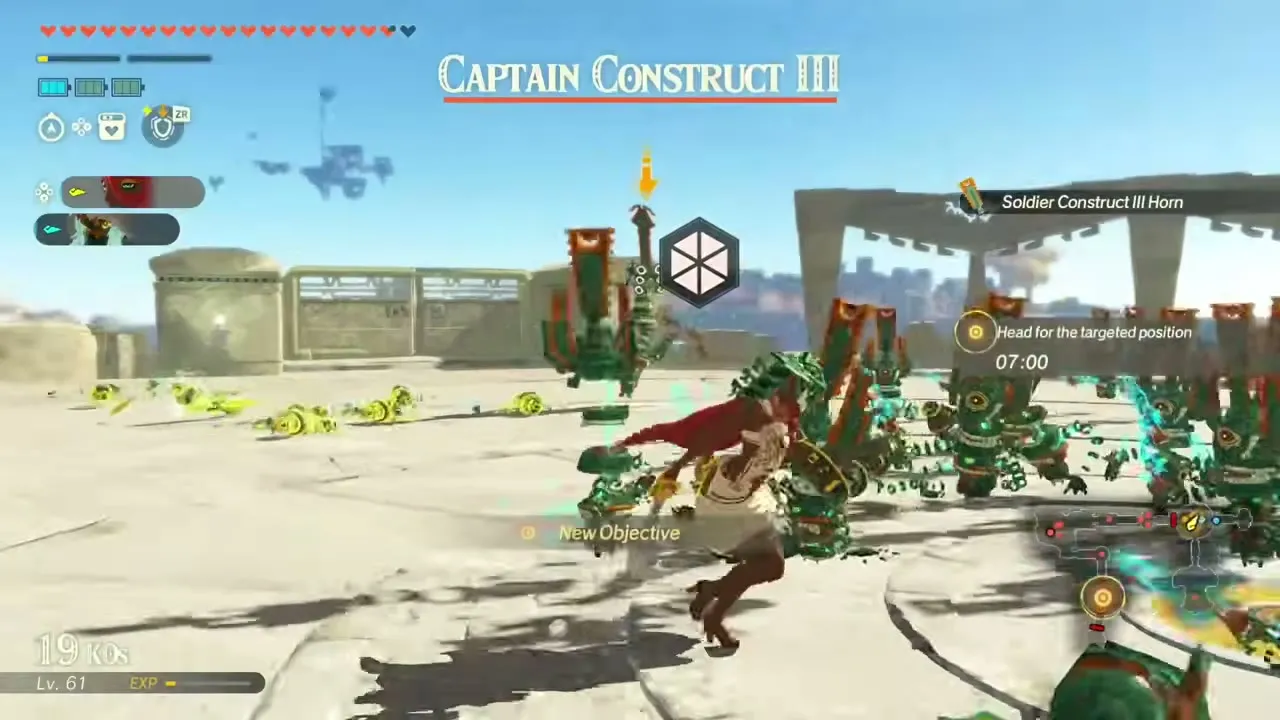
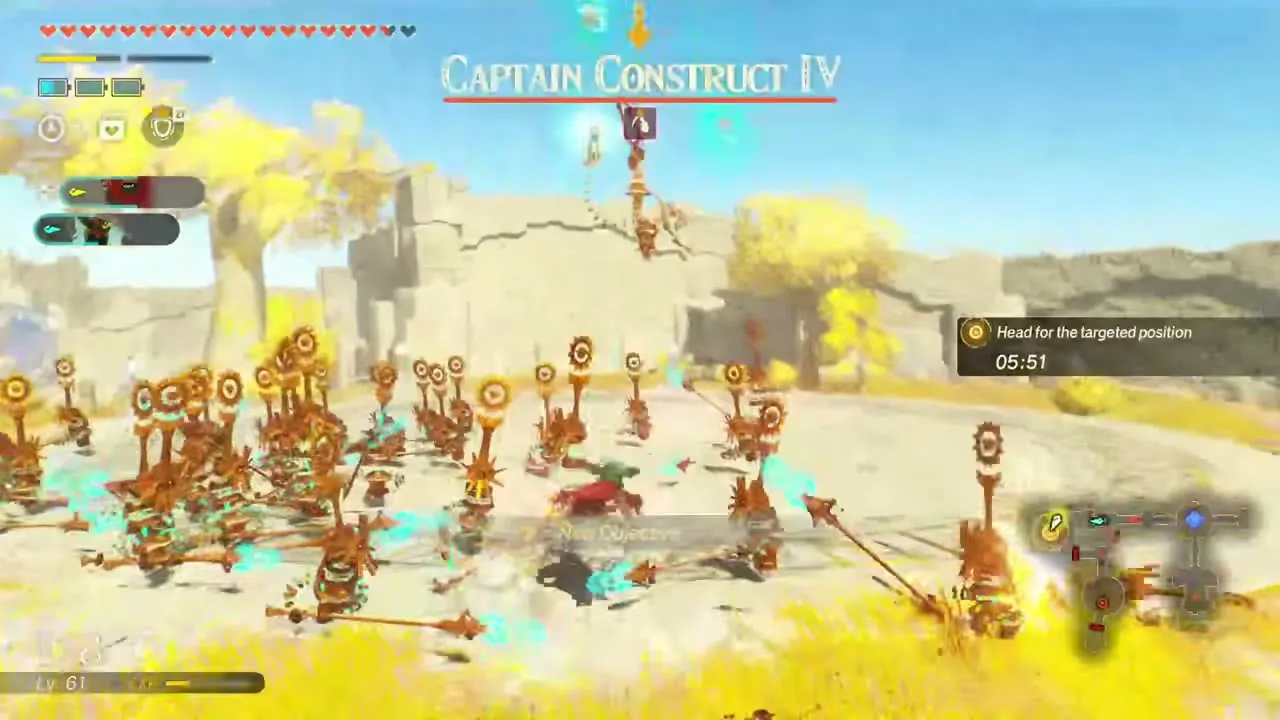
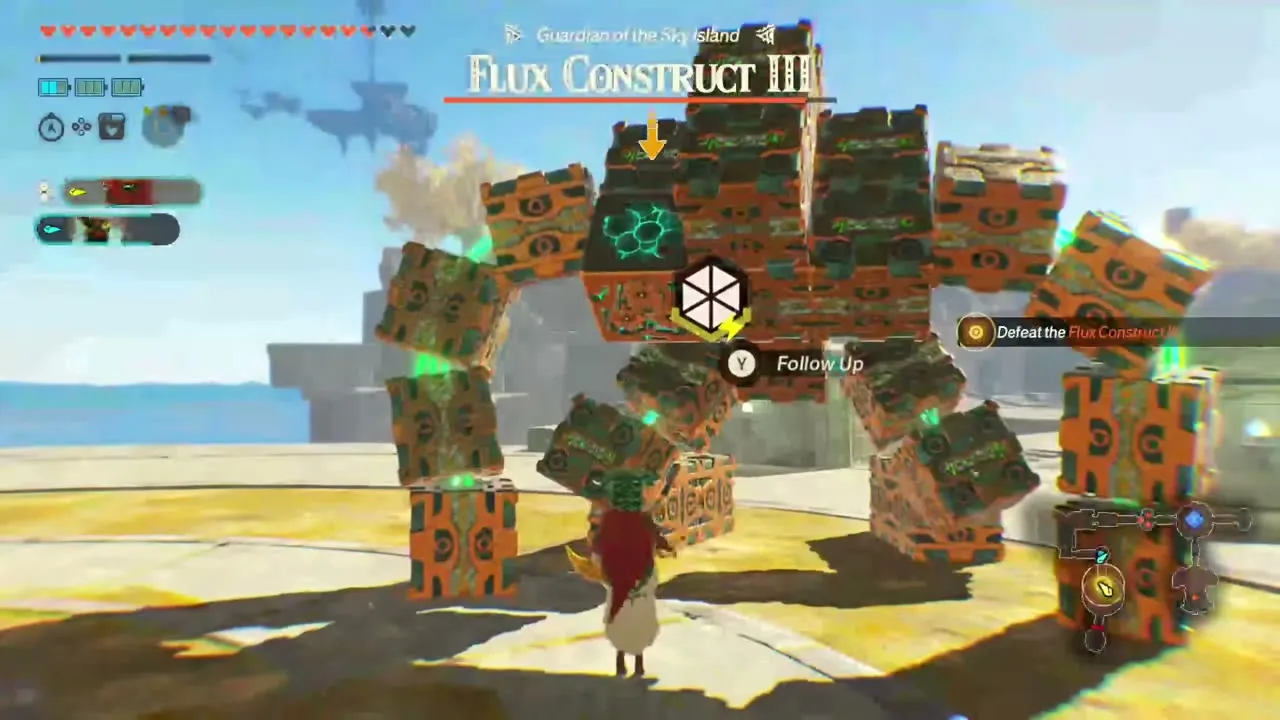
Recommended level 36, on a sky island. An unexplored sky island probably hides valuables, and this battle sends you there to look. Any warriors you like can take part. Expect Captain Construct IV, Soldier Construct IV, Flux Construct III and Treasure Octorok on the field. The battlefield has Skyshroom and Stamella Shroom to gather. It opens once A Time for Action is complete. The objectives are to investigate the sky island before the constructs run rampant, defeating Captain Construct III and IV and a Flux Construct III before opening the chests. First-clear reward: Opal ×3, Diamond ×2, 4,000 Rupees and a random weapon.
Seeking Treasure in Damel Forest
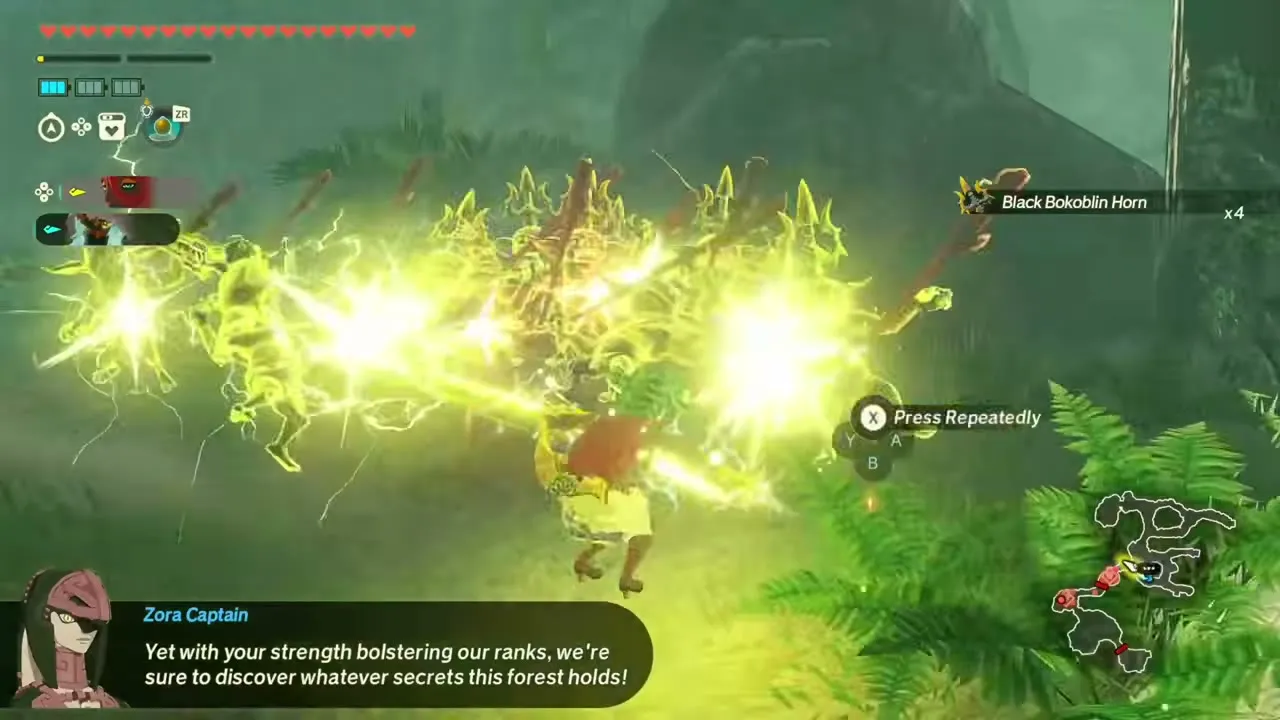
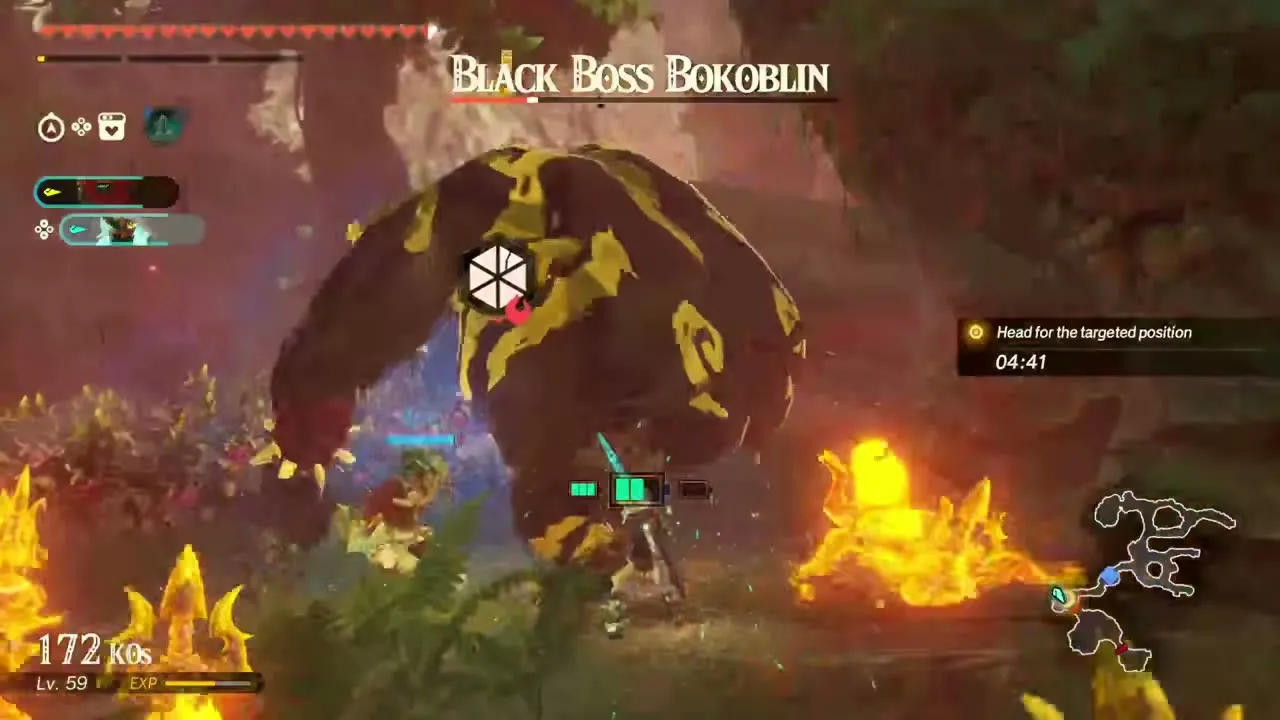
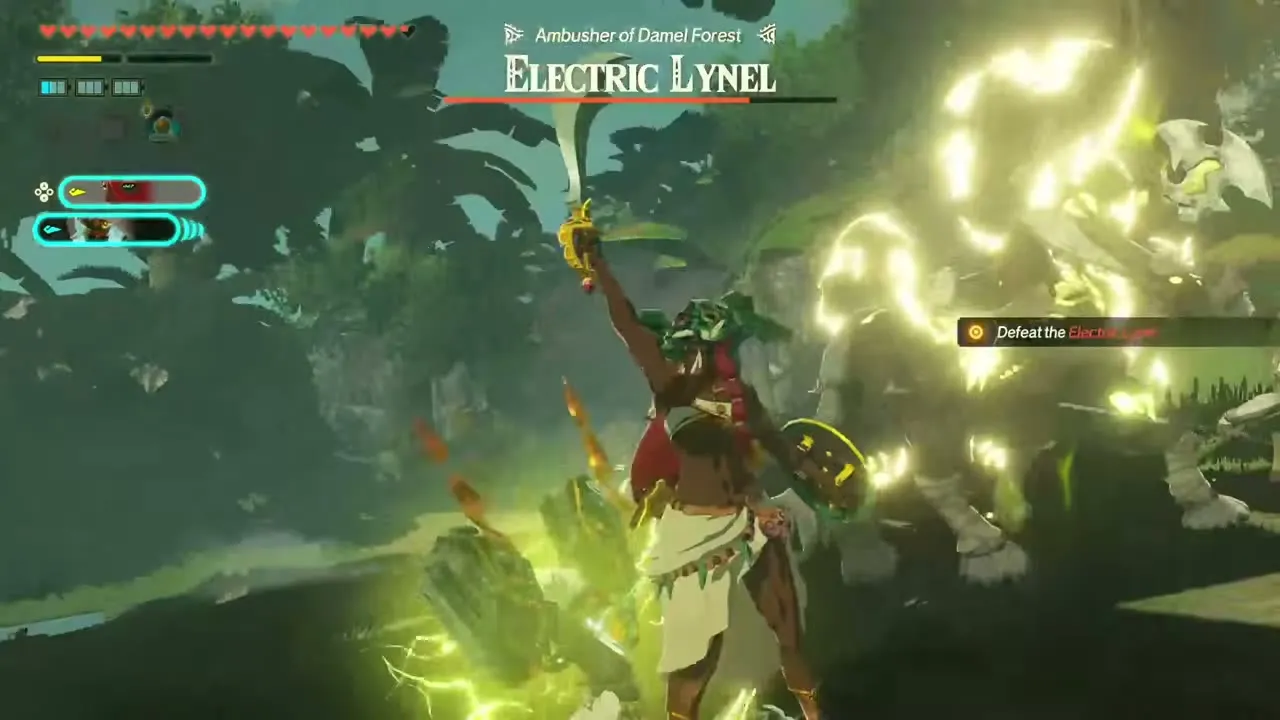
Recommended level 36, in Damel Forest. A survey team in Damel Forest asks for backup so it can reach its goal deep in the trees. It appears after you clear Purging Damel Forest. Expect Keese, Black Bokoblin, Electric Lynel and Black Boss Bokoblin on the field. Any warriors you like can take part. The battlefield has Raw Meat and Stambulb to gather. The objectives are to investigate Damel Forest before the monsters run rampant, head for the targeted position and capture the outpost, with a Black Boss Bokoblin and an Electric Lynel, Ambusher of Damel Forest, as the main enemies, and then you open the chests. First-clear reward: Topaz ×3, Sapphire ×3, Amber ×7, 4,000 Rupees and a random weapon.
Trial: Lightning, Ice, And Fire
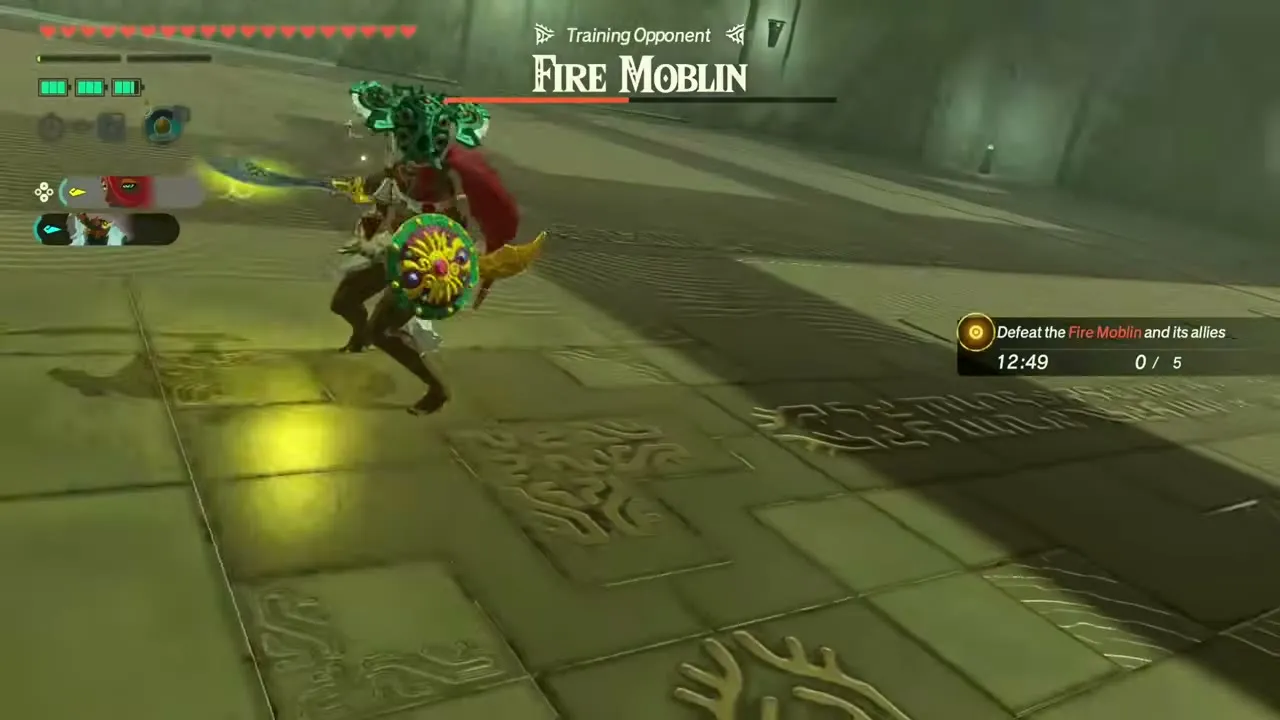
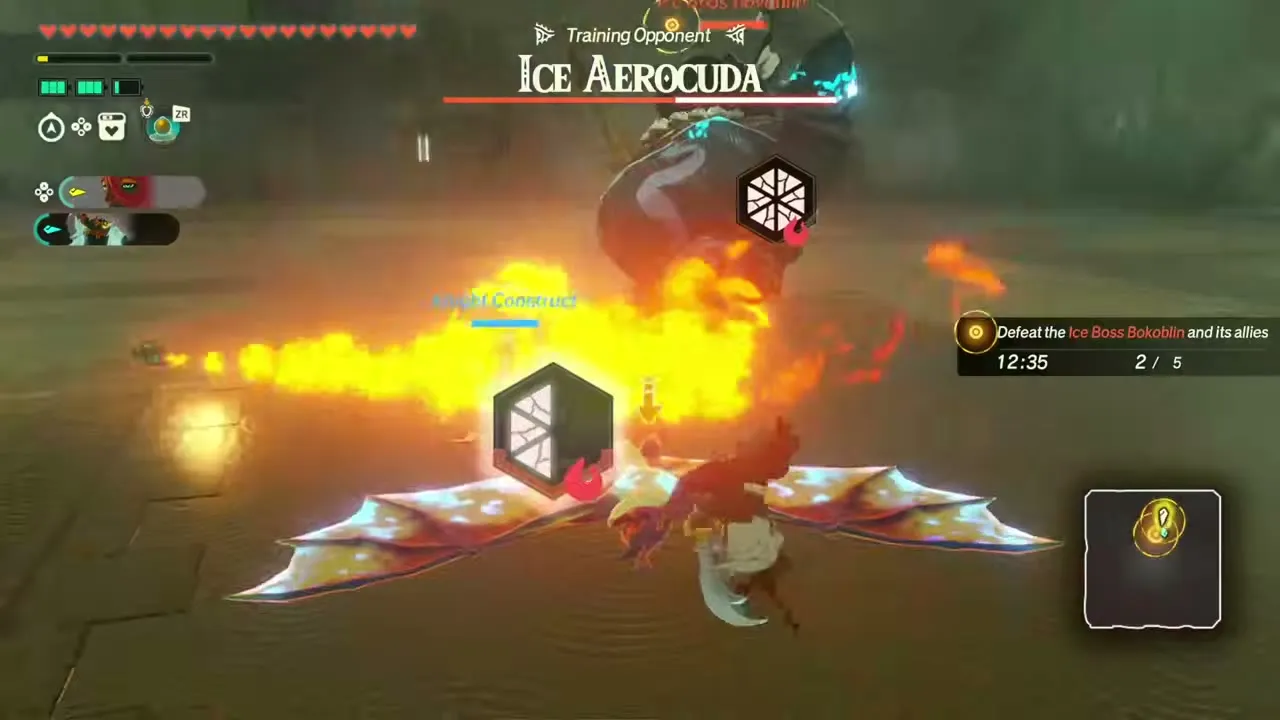
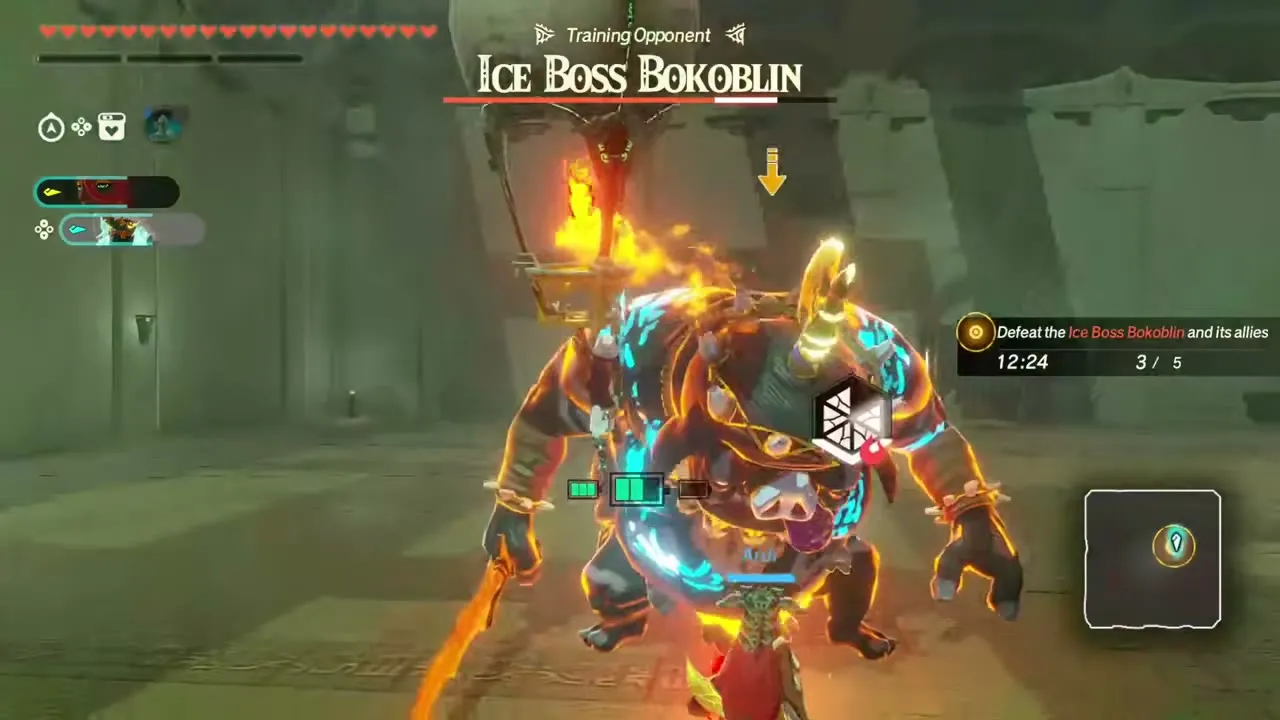
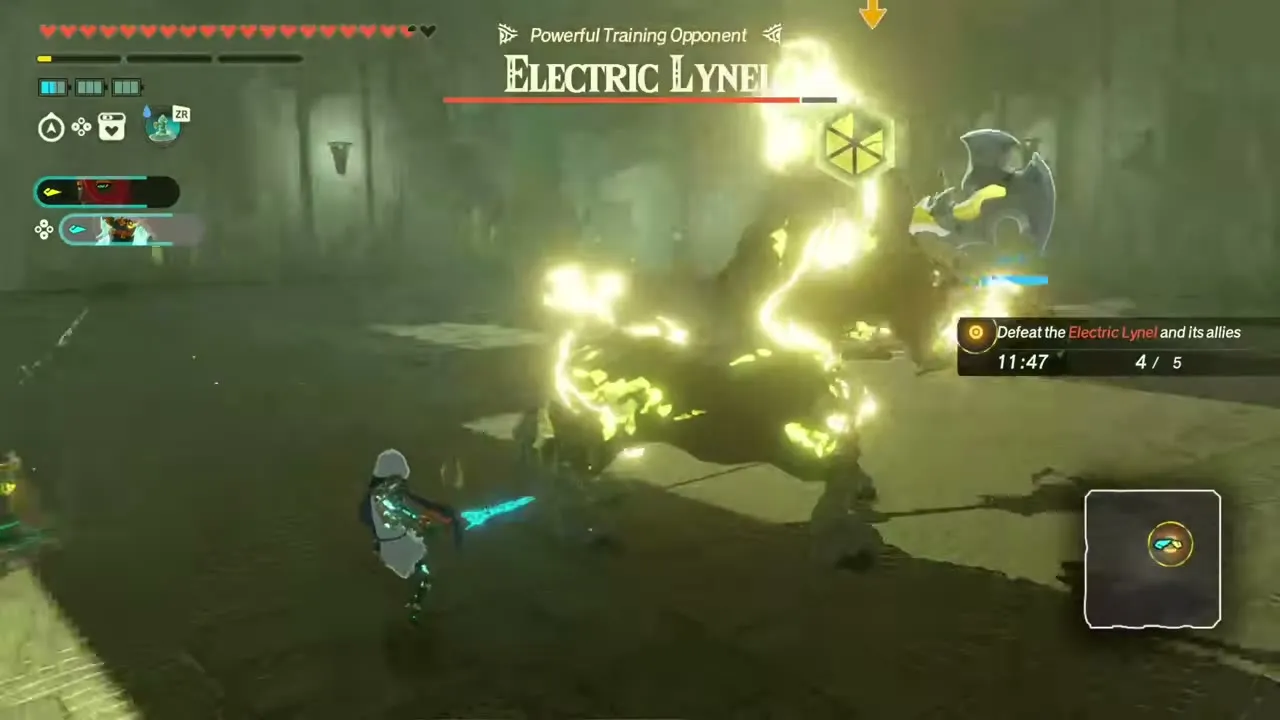
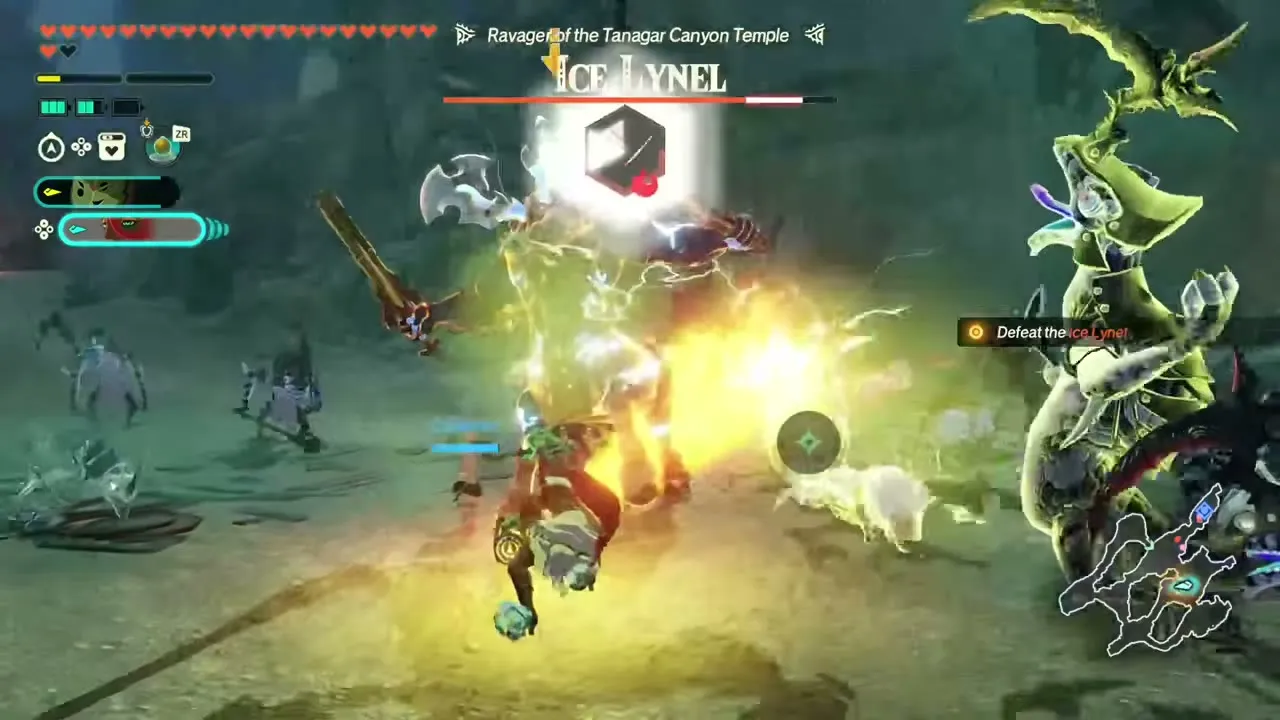
Recommended level 36. This trial throws ice, fire and electric enemies at you in one fight. Any warriors you like can take part, and the fight takes place in a stone training hall. Expect Ice Boss Bokoblin, Ice Aerocuda, Fire Moblin, Electric Lynel and Fire Chuchu on the field. The fight is a run of waves: Fire Moblin and its allies, a Fire Chuchu, an Ice Boss Bokoblin and its allies with an Ice Aerocuda, an Ice Lynel and finally an Electric Lynel. First-clear reward: Endura Shroom ×10, Sunset Firefly ×10 and a random weapon.
Defending the North Seres Scablands
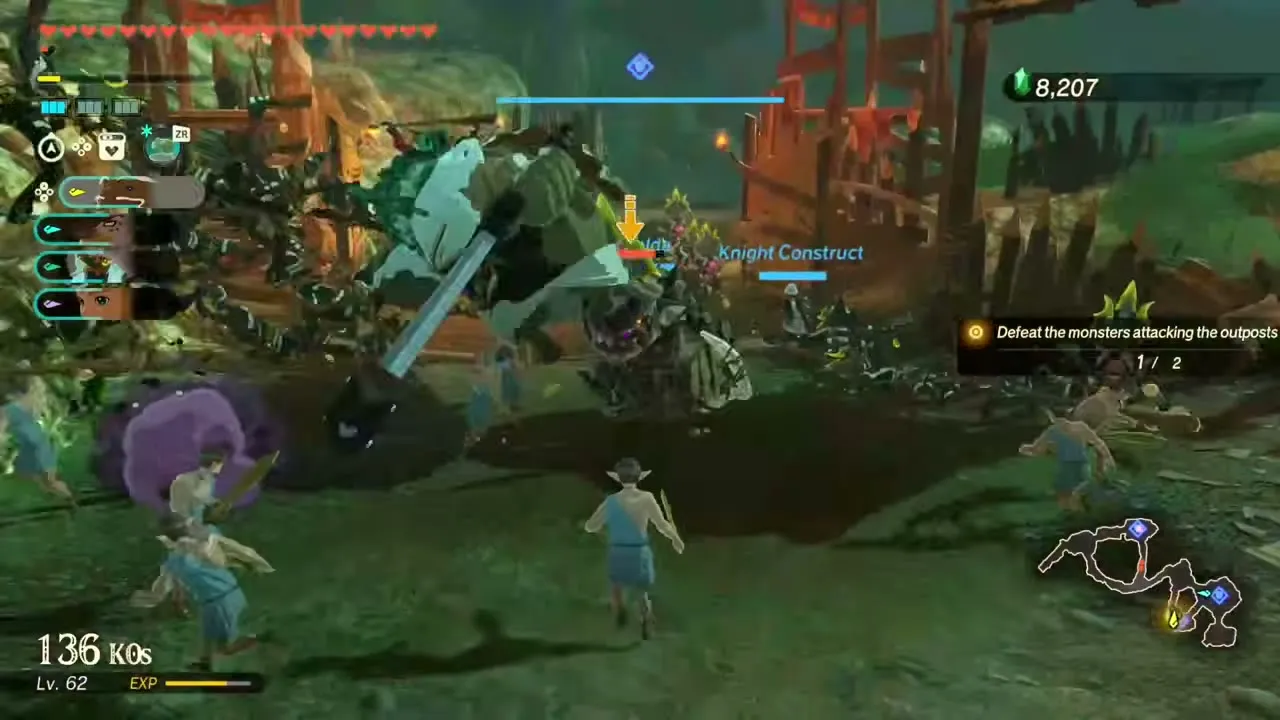
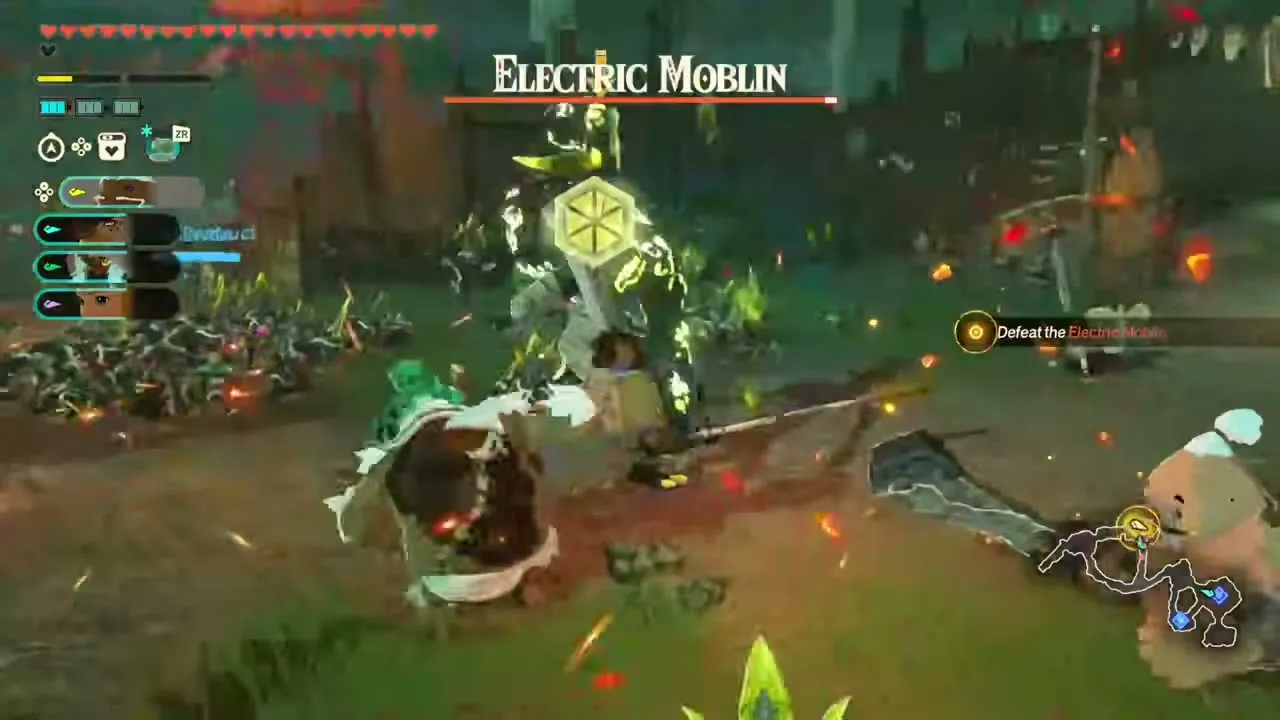
Recommended level 38, in Seres Scablands. Monsters strike the Seres Scablands without warning, and if they break through, the temple in Tanagar Canyon is at risk, so the outpost must hold. Any warriors you like can take part. Expect Fire Boss Bokoblin, Electric Moblin and Black Bokoblin on the field. The objectives are to defeat the monsters attacking the outposts and defend them, with an Electric Moblin and a Fire Boss Bokoblin as the main enemies. First-clear reward: Swift Carrot ×10, Mighty Carp ×10, Zonaite Steel (Pristine) ×1, 700 Rupees and a random weapon.
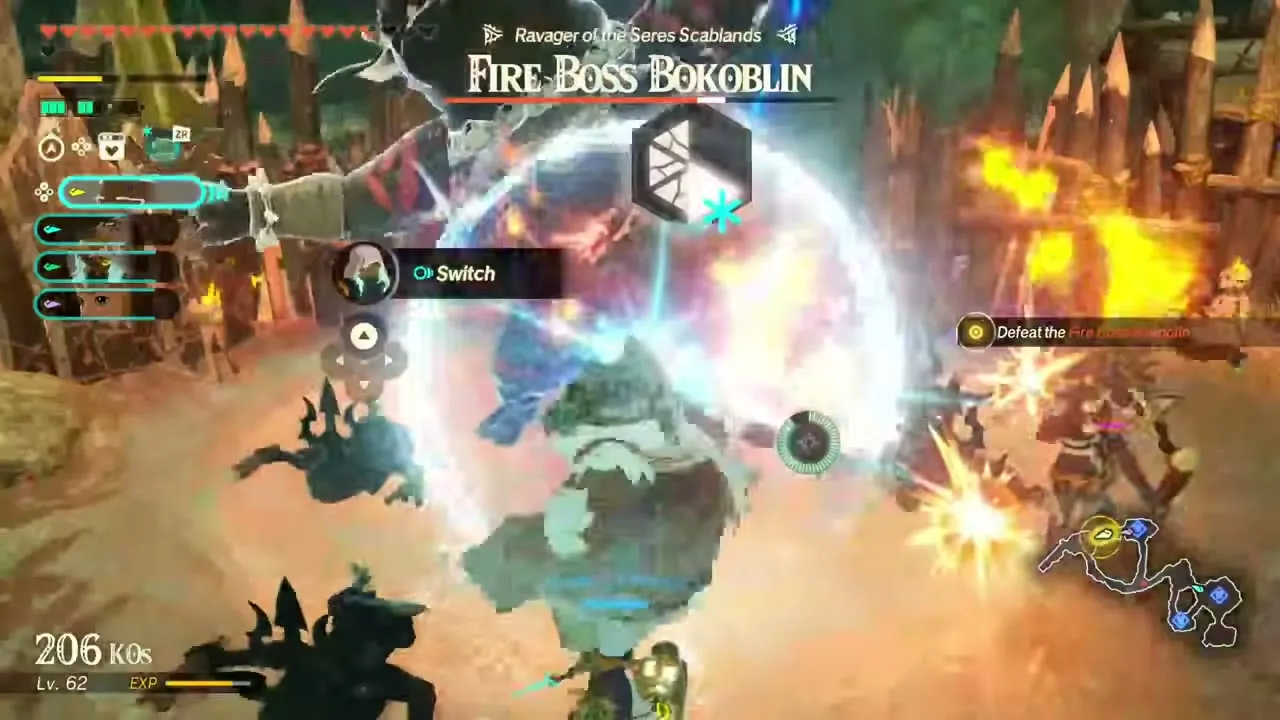
Battle for North Death Mountain
Recommended level 38, in Death Mountain. The monsters have come back to Death Mountain even fiercer than before, and the Gorons need you to race up the mountain and help. Expect Fire-Breath Lizalfos, Fire Moblin, Black Bokoblin and Black Boss Bokoblin on the field. Any warriors you like can take part. The objectives are to rescue the Goron Captain and the allied forces on Death Mountain, with a Black Boss Bokoblin and a Fire Moblin, Ravager of Death Mountain, as the main enemies. First-clear reward: Mighty Thistle ×10, Flint ×10, Zonaite Steel (Pristine) ×1, 700 Rupees and a random weapon.
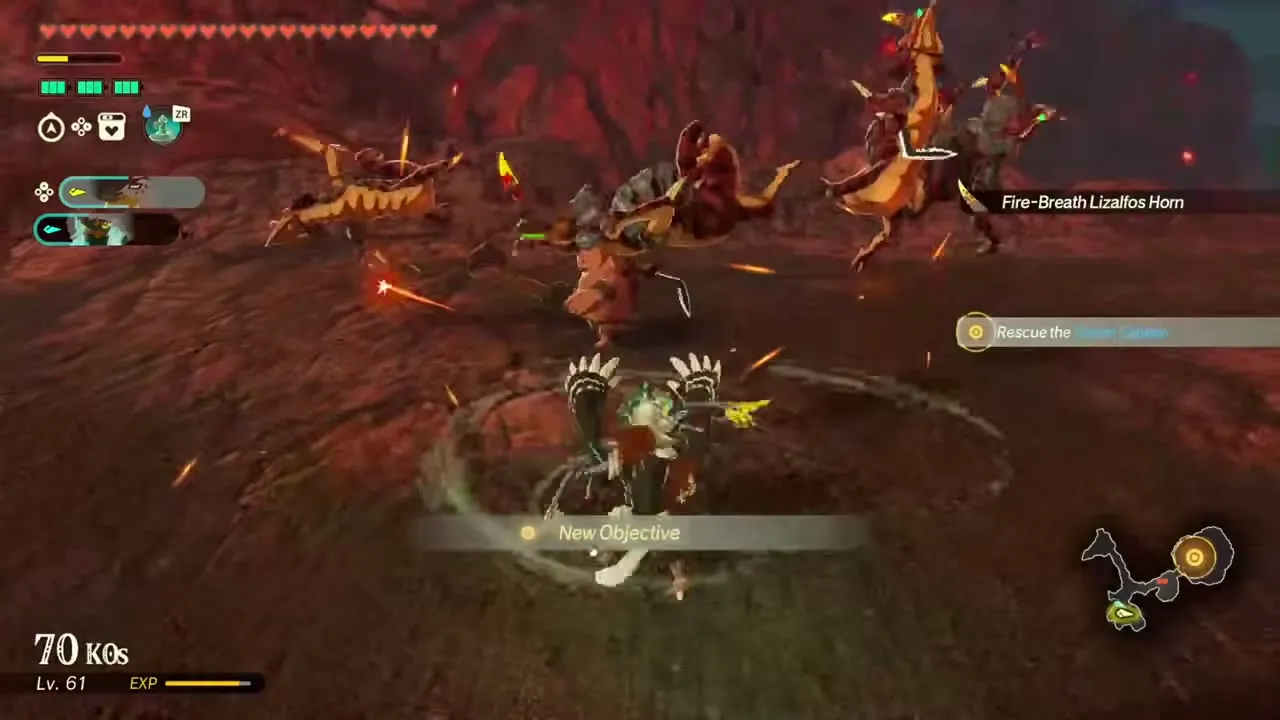
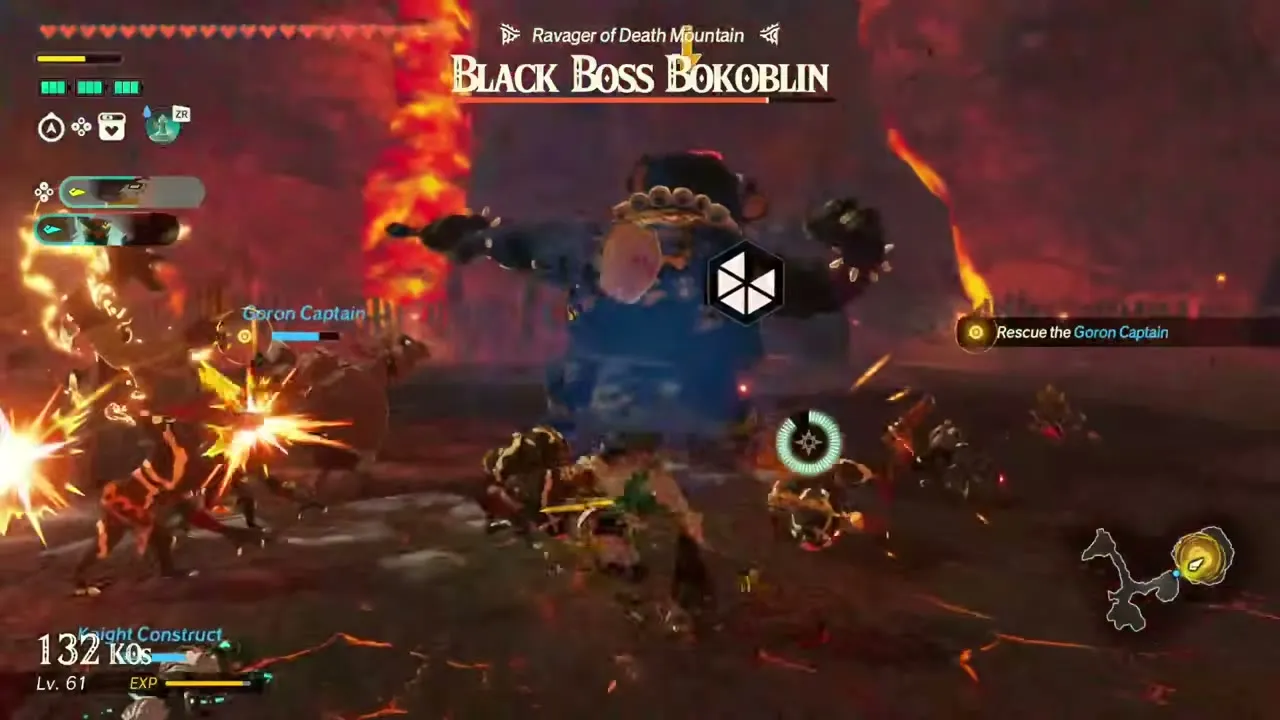
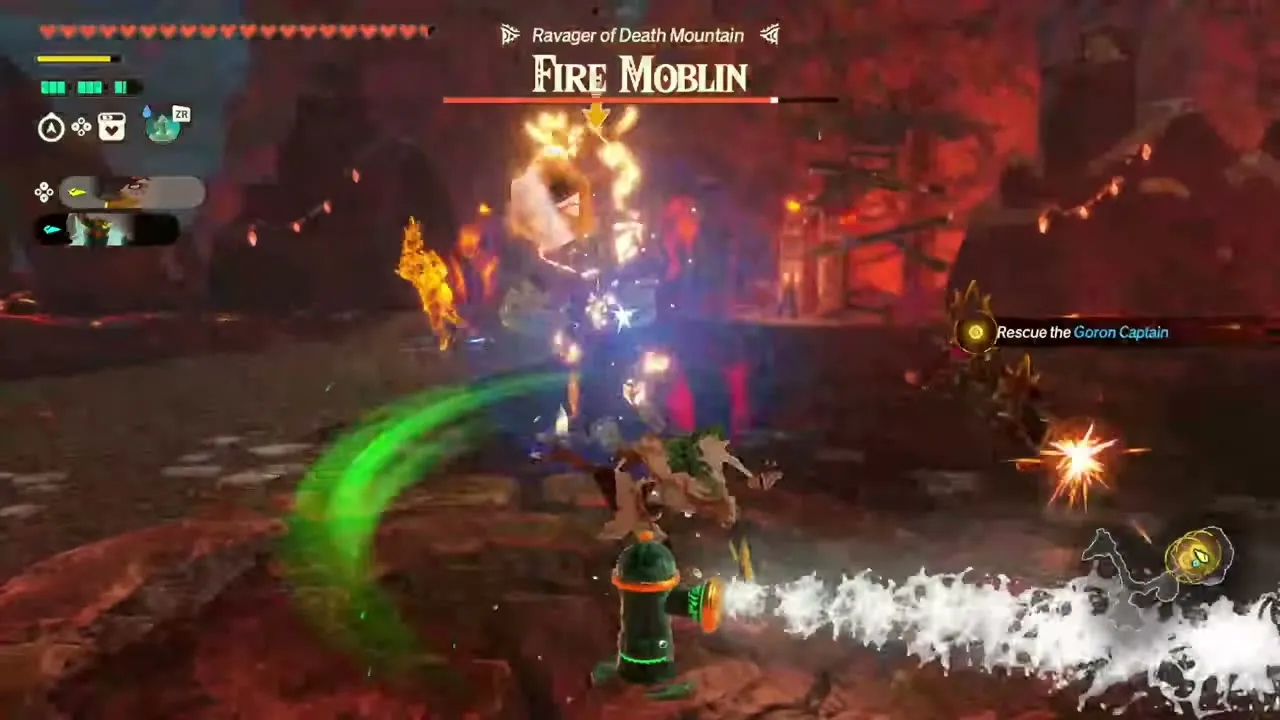
Pacifying the Seres Scablands
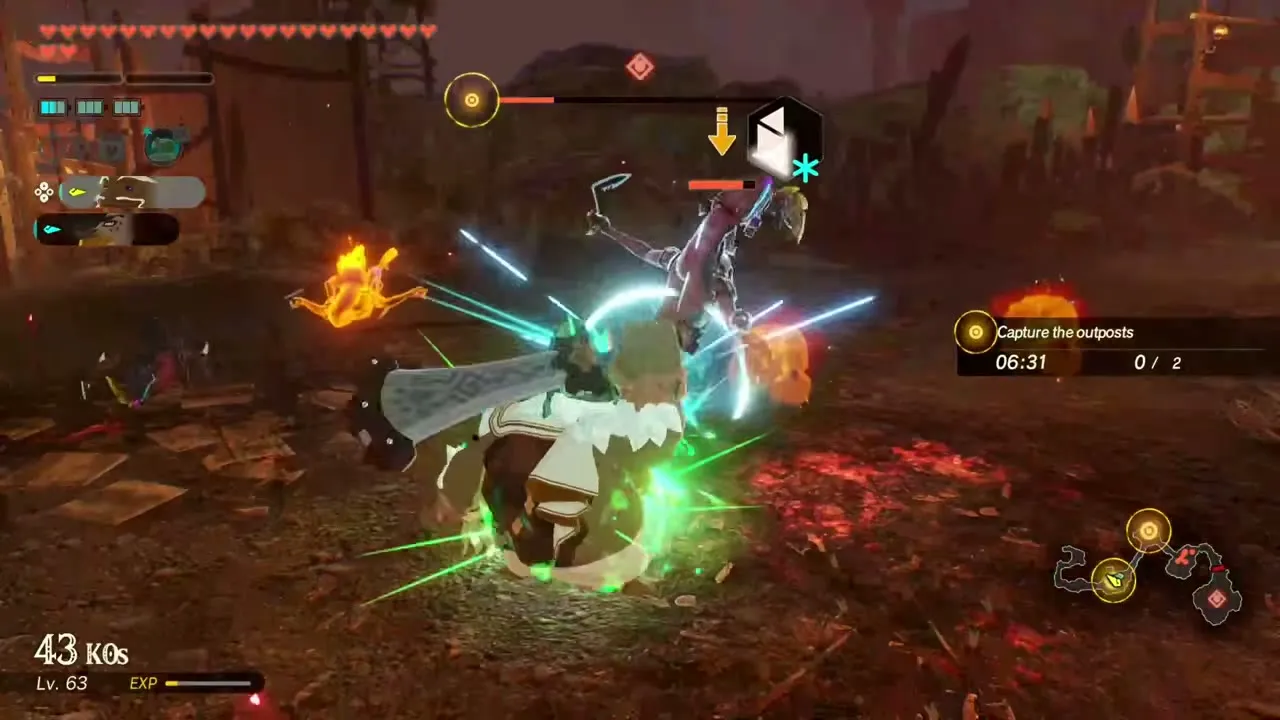
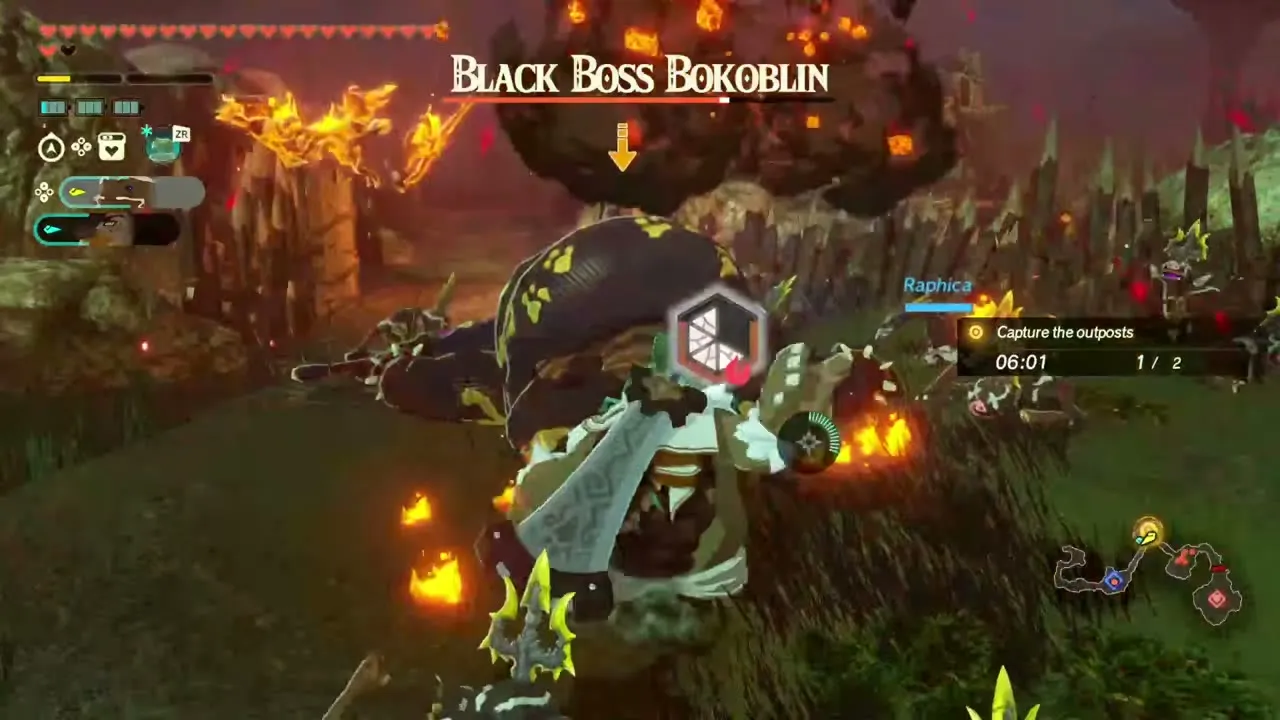
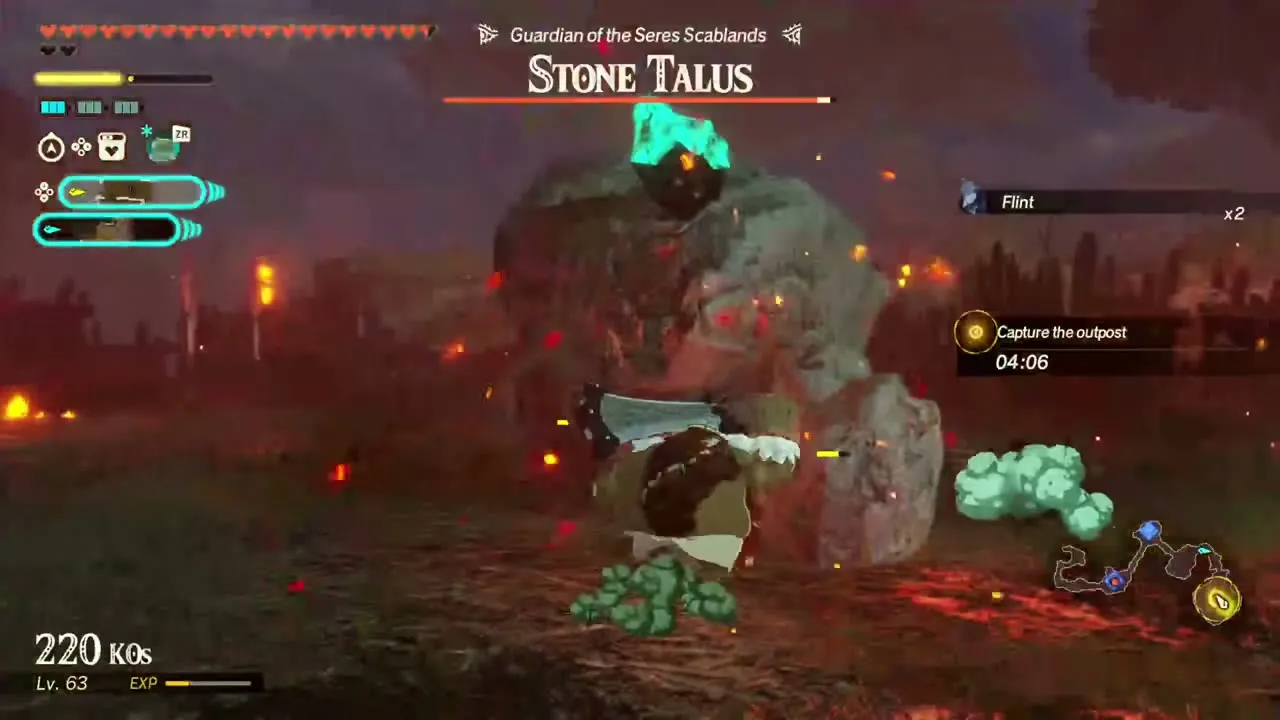
Recommended level 38, in Seres Scablands. Monsters in the Seres Scablands threaten to flood into Tanagar Canyon, so you capture the nearby enemy outposts to stop them. It opens once The Counterstrike is complete. Any warriors you like can take part. Expect Stone Talus, Stone Pebblit, Black Bokoblin, Black Moblin and Black Boss Bokoblin on the field. The battlefield has Silent Shroom and Muddle Bud to gather. The objective is to capture the enemy outposts throughout the Seres Scablands, with a Black Moblin, a Black Boss Bokoblin and a Stone Talus as the main enemies. First-clear reward: Acorn ×10, Hylian Tomato ×10, Sunset Firefly ×10, 700 Rupees and a random weapon.
The Rushing Gale
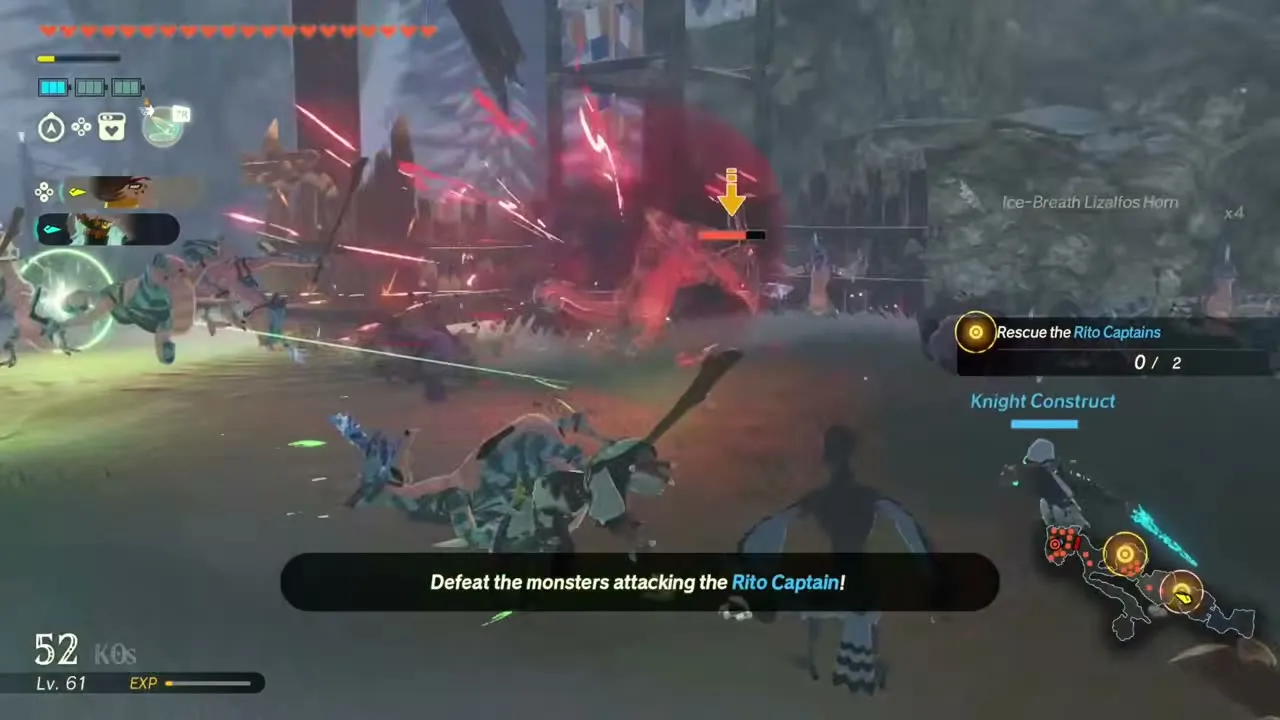
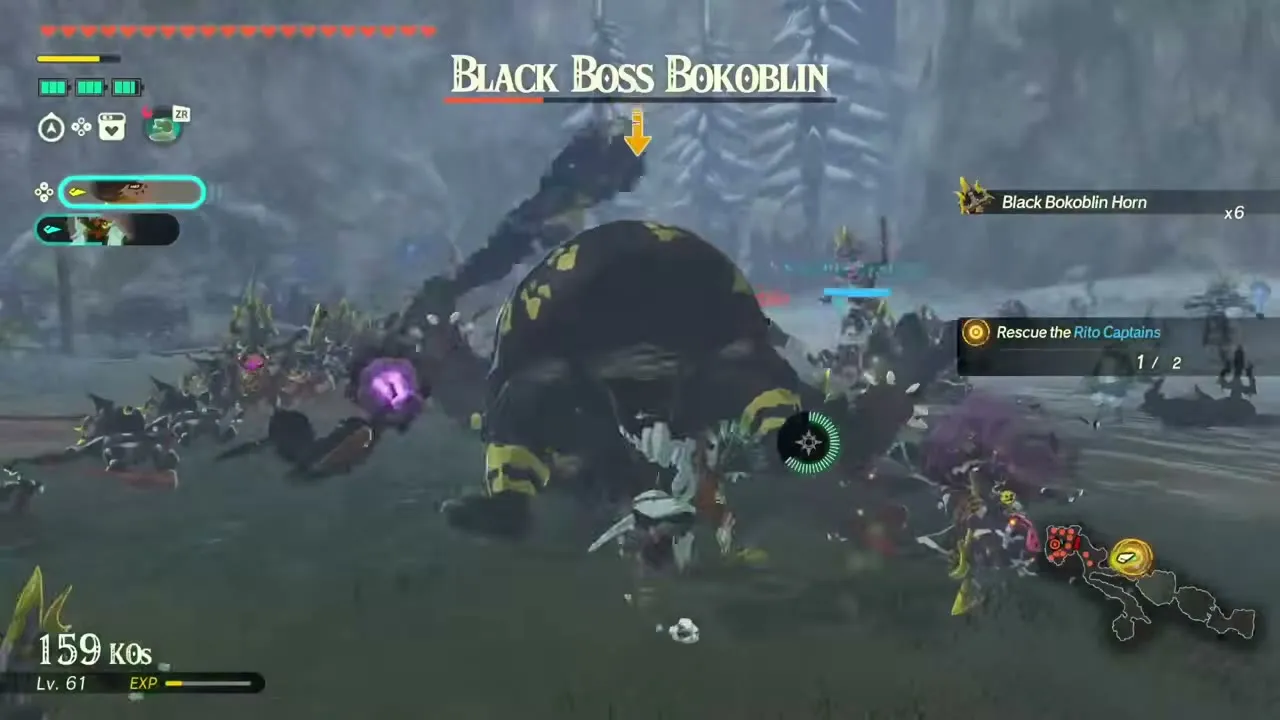
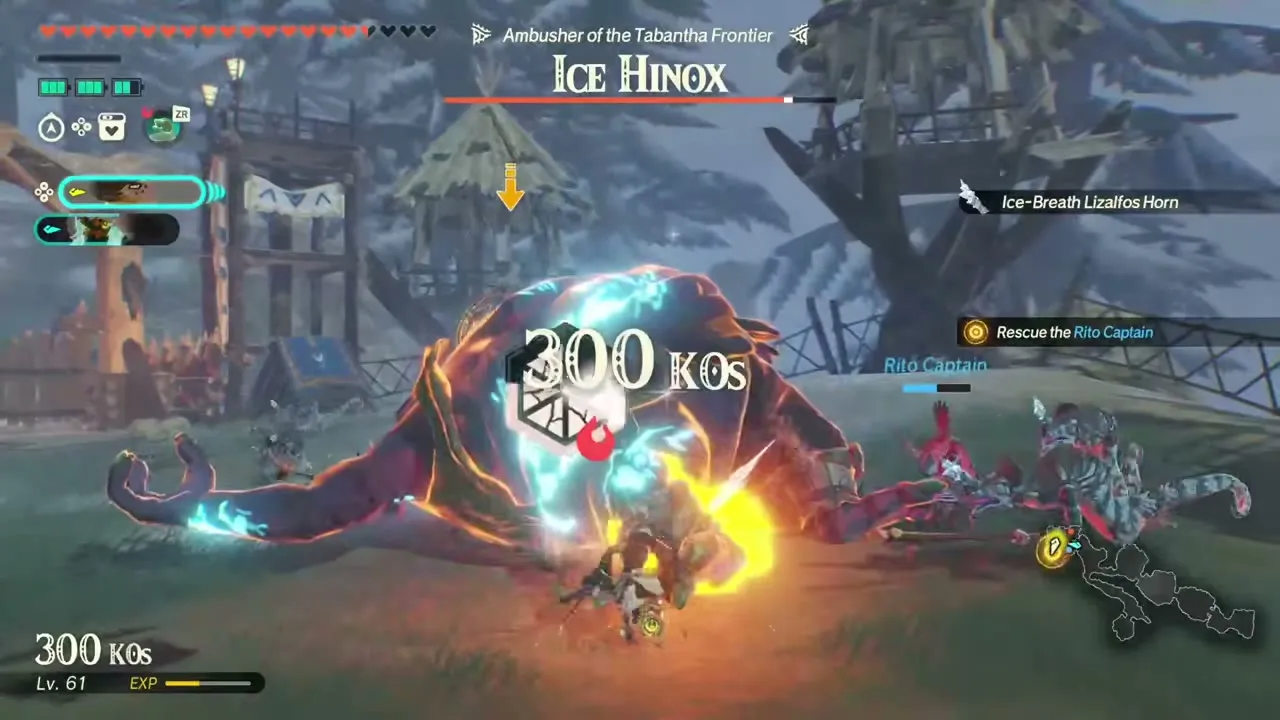
Recommended level 38, in Tabantha Frontier. As Rito leader and keeper of a secret stone, Raphica takes up his bow and hurries to the Tabantha Frontier to defend his people. It opens once The Counterstrike is complete. Expect Ice Hinox, Ice-Breath Lizalfos, Black Bokoblin, Black Moblin and Black Boss Bokoblin on the field. You fight as Raphica plus one other warrior of your choice. The objectives are to rescue the Rito Captain and the allied forces defending the Tabantha Frontier, with a Black Boss Bokoblin and an Ice Hinox as the main enemies. First-clear reward: Mighty Porgy ×10, Cold Darner ×10, Chillfin Trout ×10, Zonaite Steel (Bow) ×1 and 700 Rupees.
The Raging Torrent
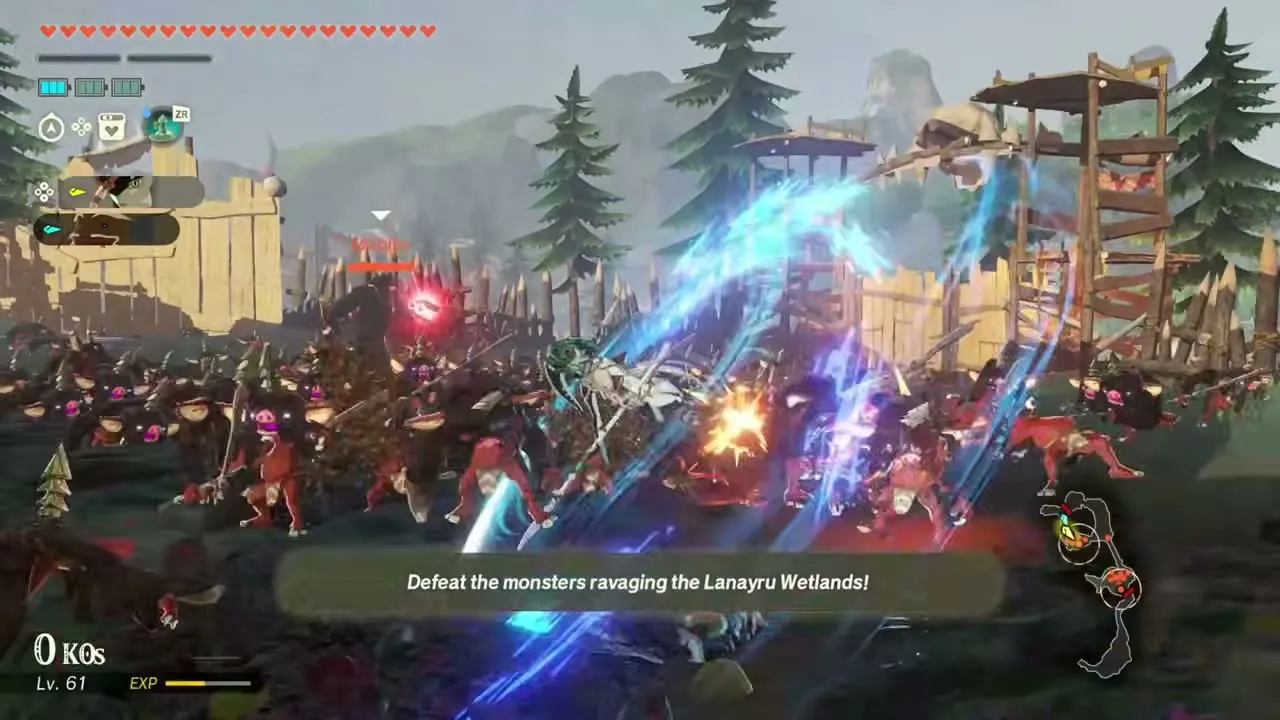
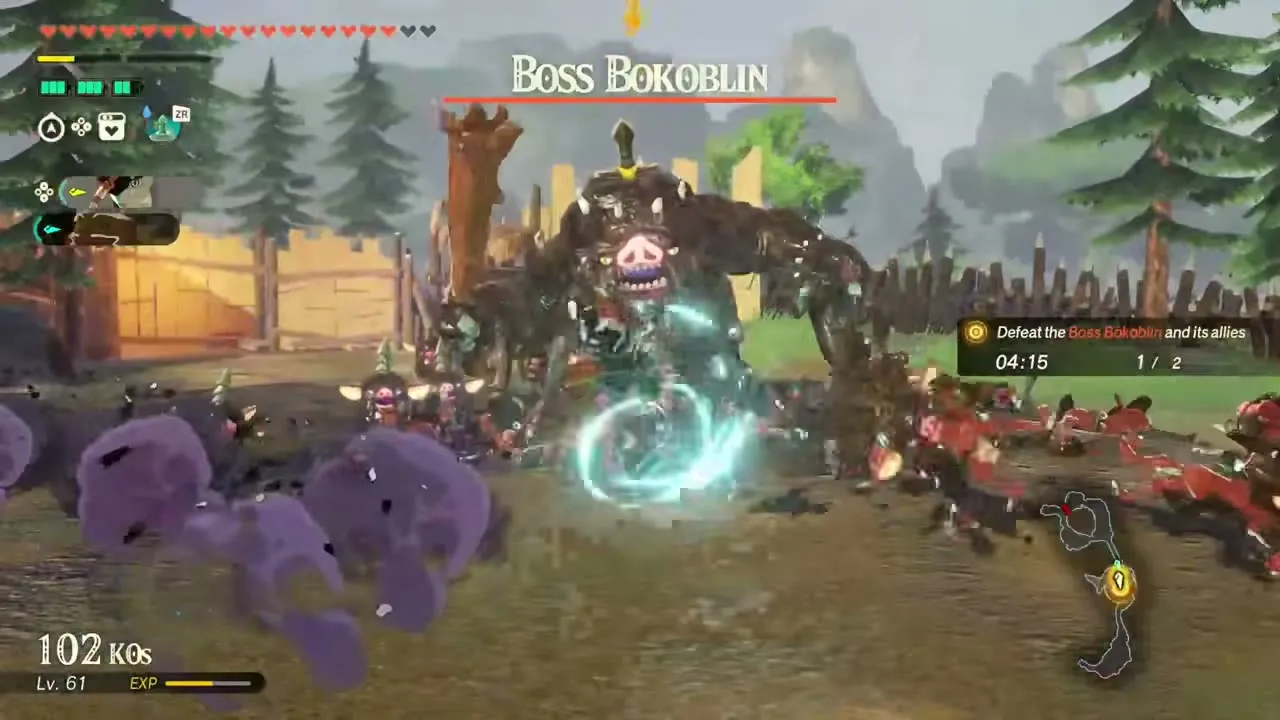
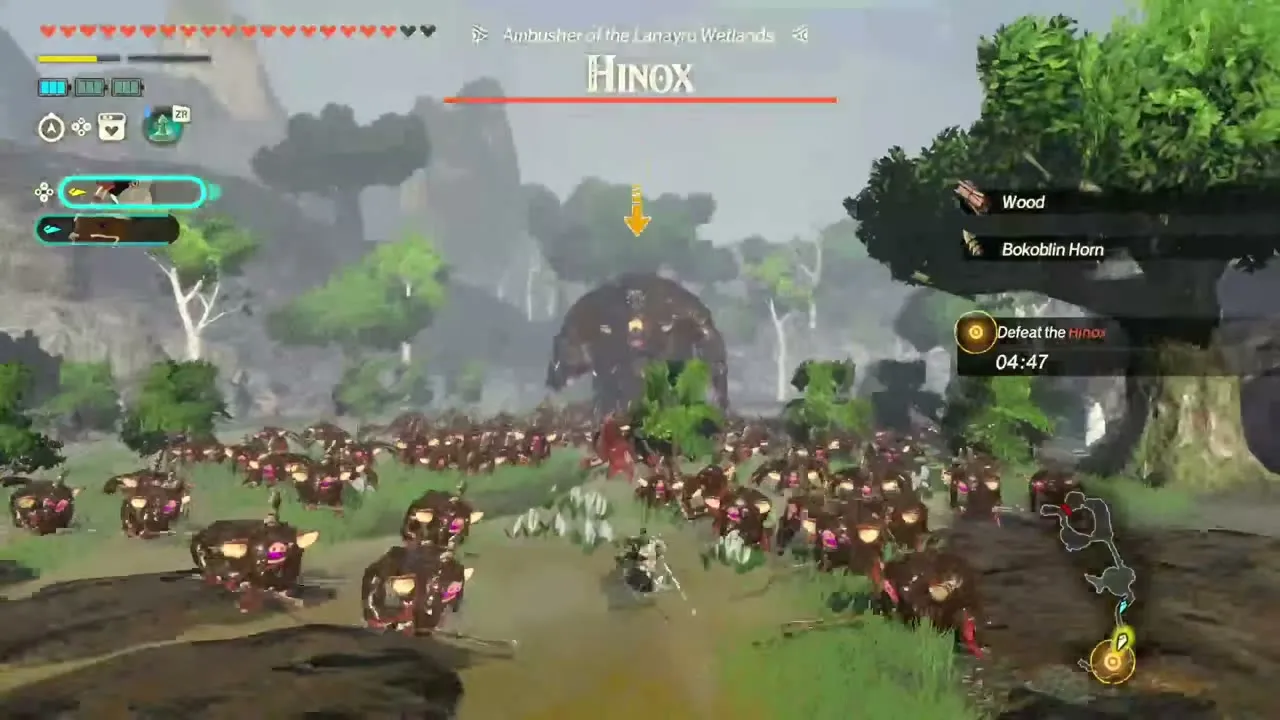
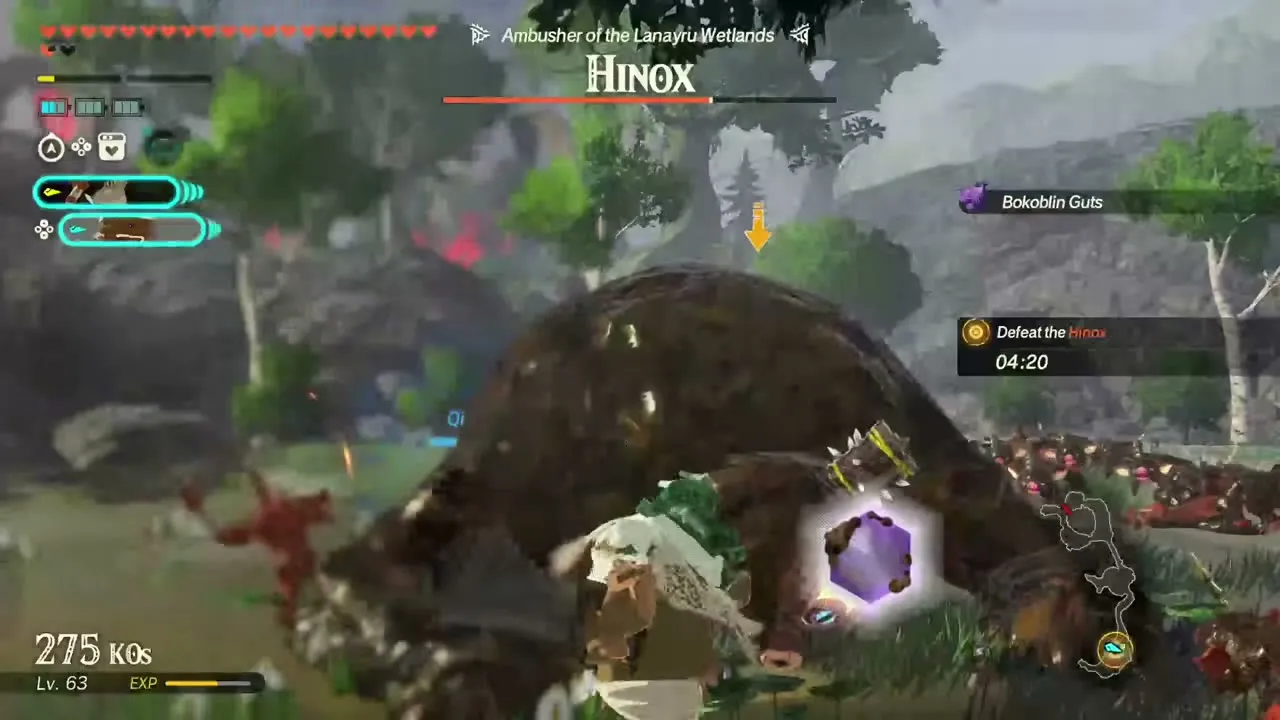
Recommended level 38, in Lanayru Wetlands. To repay the trust Rauru showed by giving her a secret stone, Qia hunts the monsters in the Lanayru Wetlands with her spear. It opens once The Counterstrike is complete. You fight as Qia plus one other warrior of your choice. Expect Boss Bokoblin, Moblin (Sludged), Bokoblin (Sludged), Hinox and Chuchu (Sludged) on the field. The objectives are to defeat the Moblin and its allies within the time limit, then the Boss Bokoblin and its allies, then a Hinox. First-clear reward: Swift Violet ×10, Swift Carrot ×10, Energetic Rhino Beetle ×10, Zonaite Steel (Spear) ×1 and 700 Rupees.
The Red-Hot Boulder
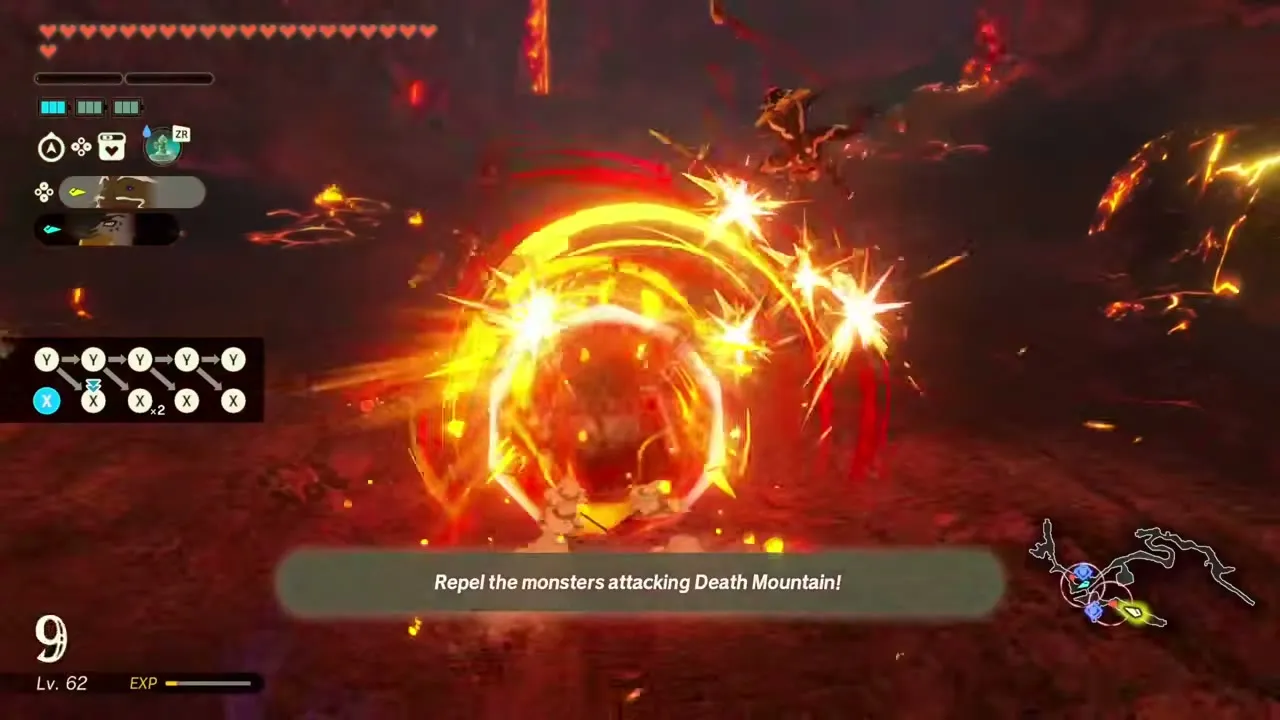
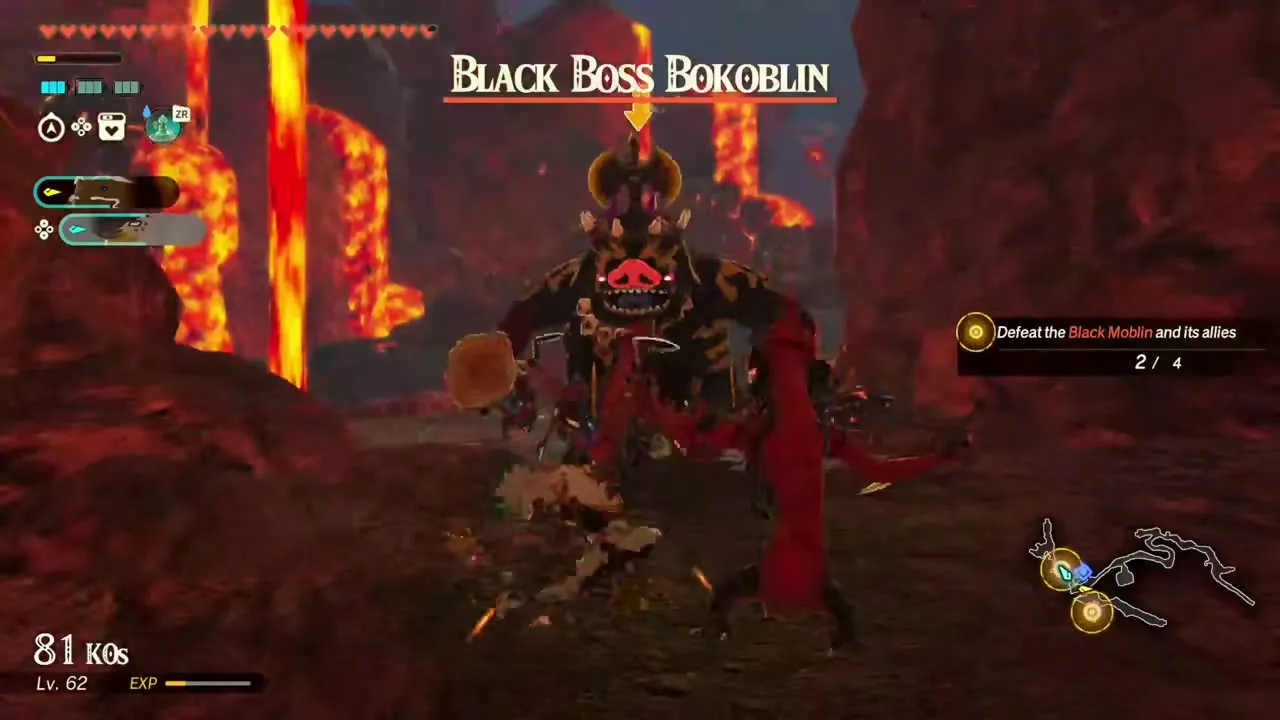
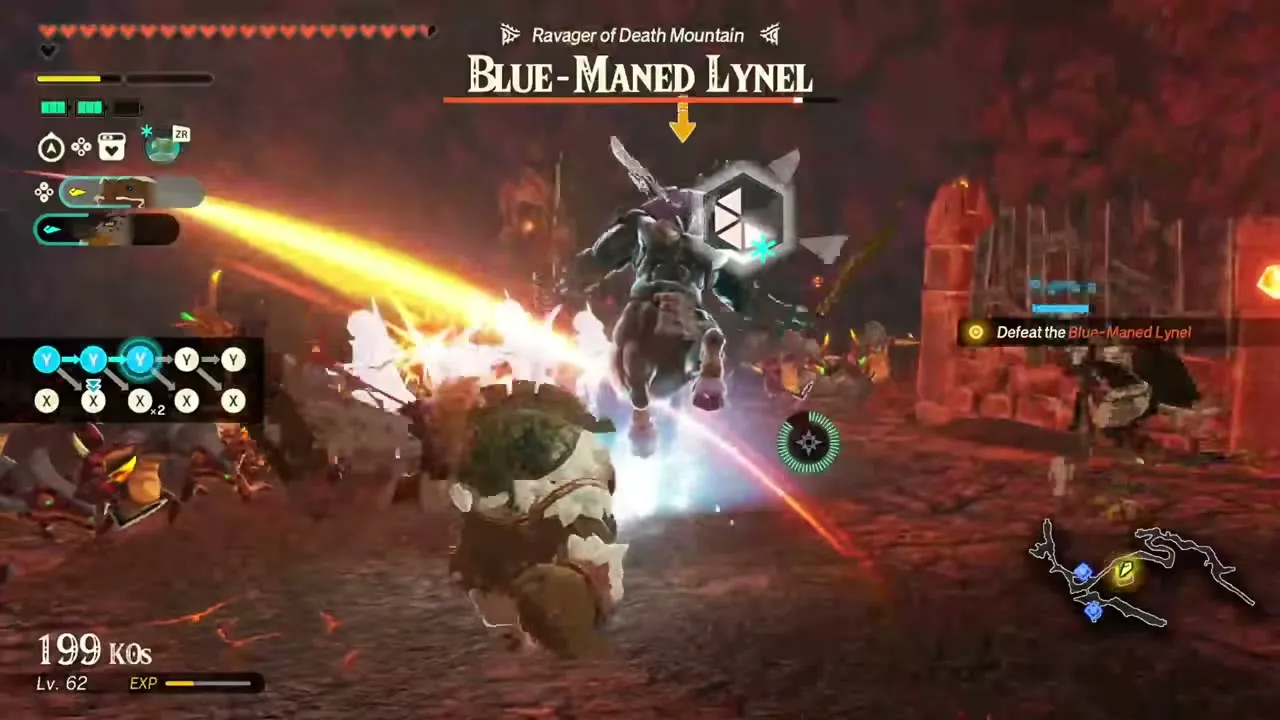
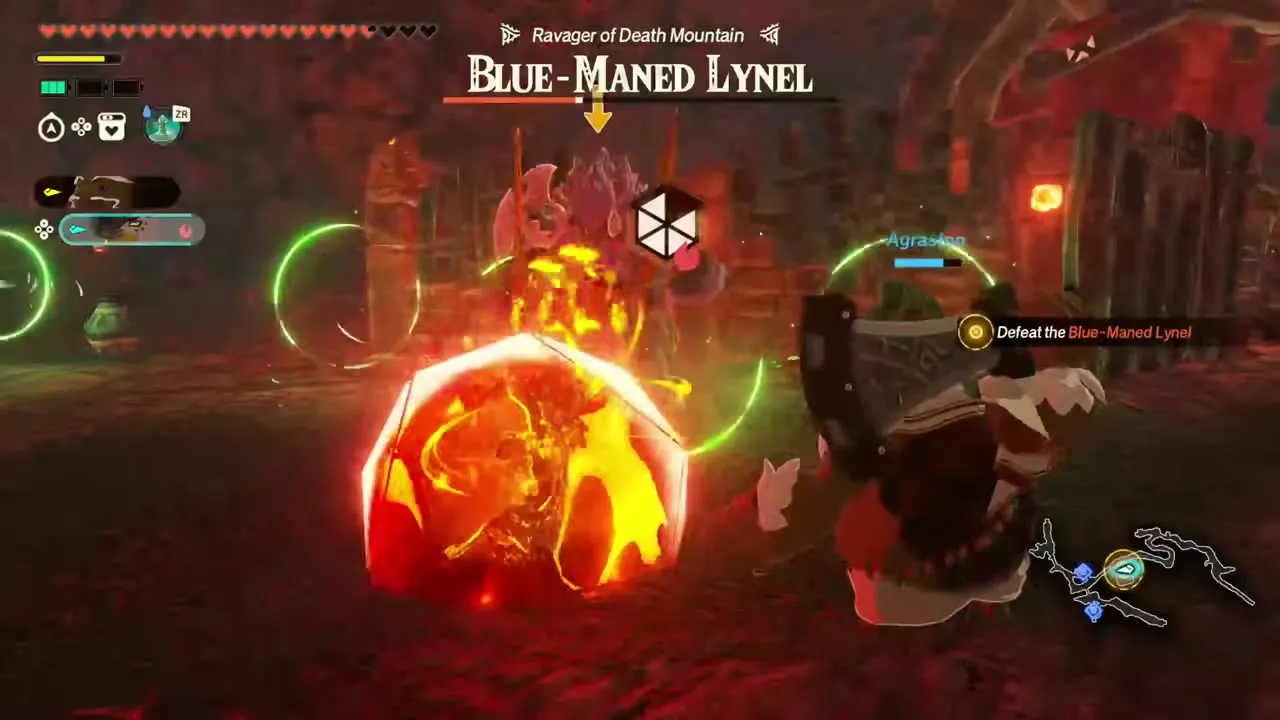
Recommended level 38, in Death Mountain. Agraston, aware of the power of his new secret stone, fights the monsters of Death Mountain to honour Rauru and protect the Gorons. You fight as Agraston plus one other warrior of your choice. Expect Blue-Maned Lynel, Fire-Breath Lizalfos, Black Bokoblin, Black Moblin and Black Boss Bokoblin on the field. It opens once The Counterstrike is complete. The objective is to defeat the monsters attacking the outpost, with a Black Boss Bokoblin and a Blue-Maned Lynel as the main enemies. First-clear reward: Smotherwing Butterfly ×10, Fireproof Lizard ×10, Razorshroom ×10, Zonaite Steel (Two-Handed) ×1 and 700 Rupees.
The Brilliant Thunderbolt
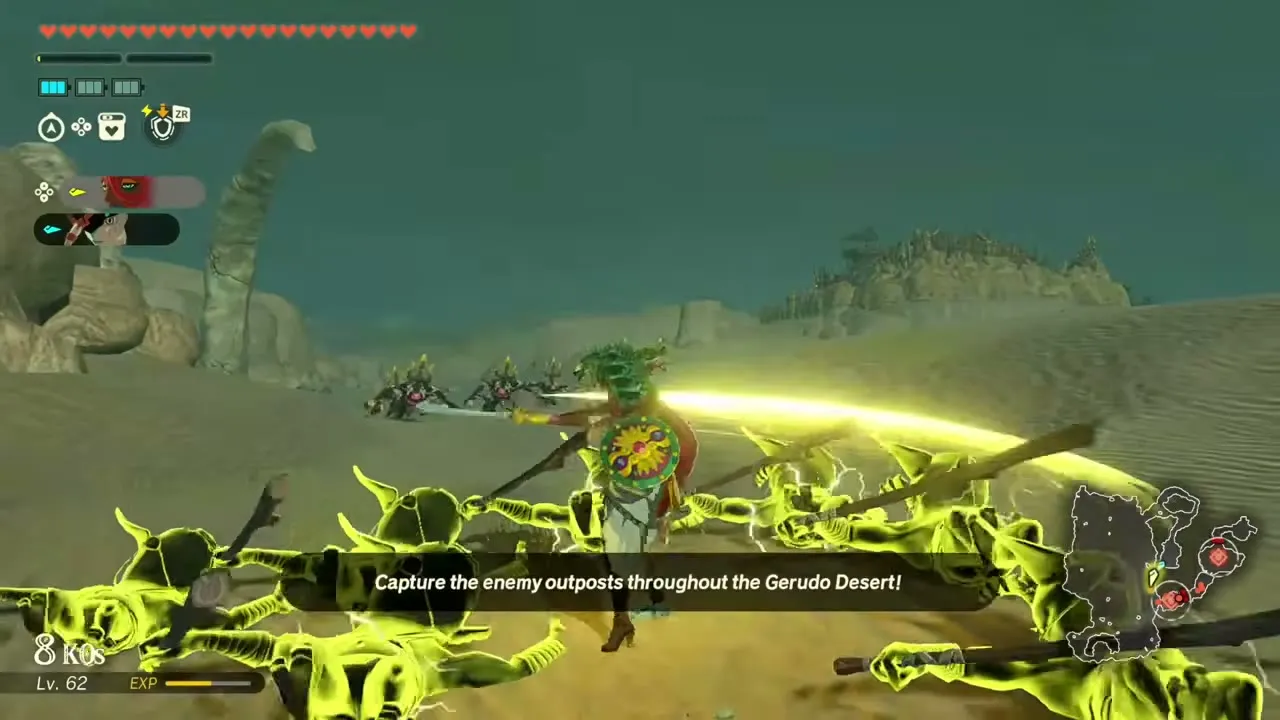
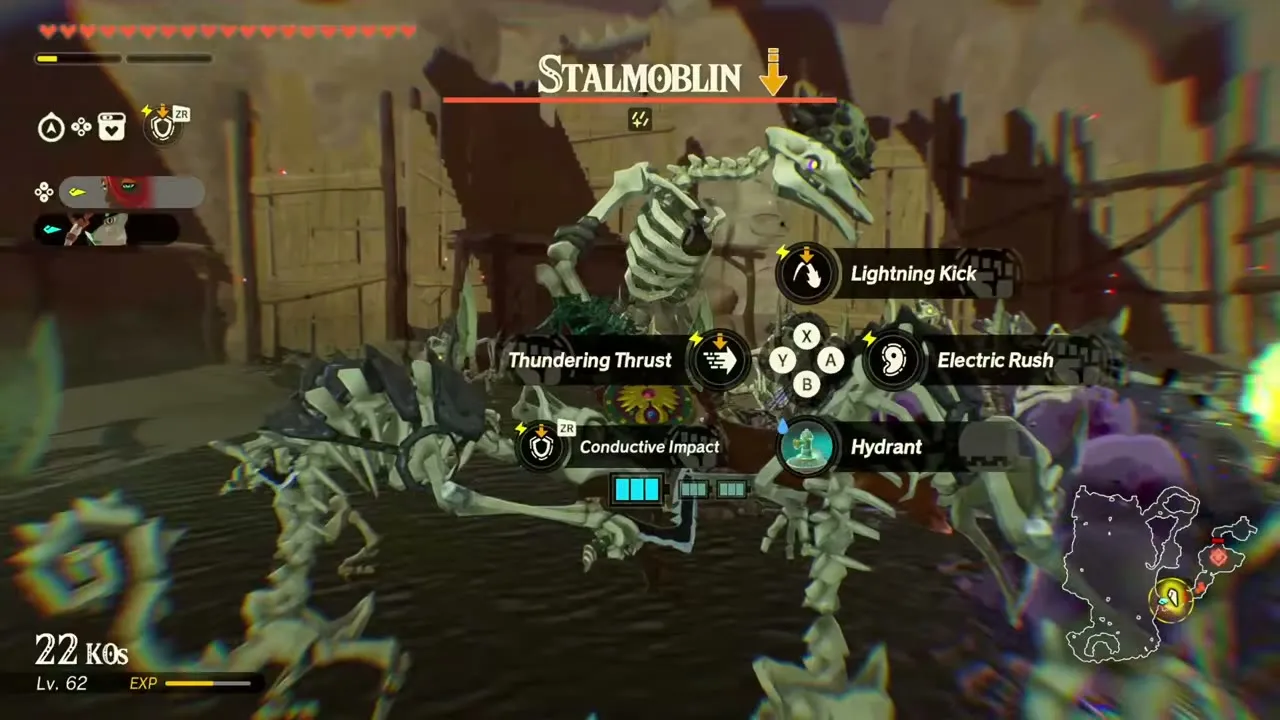
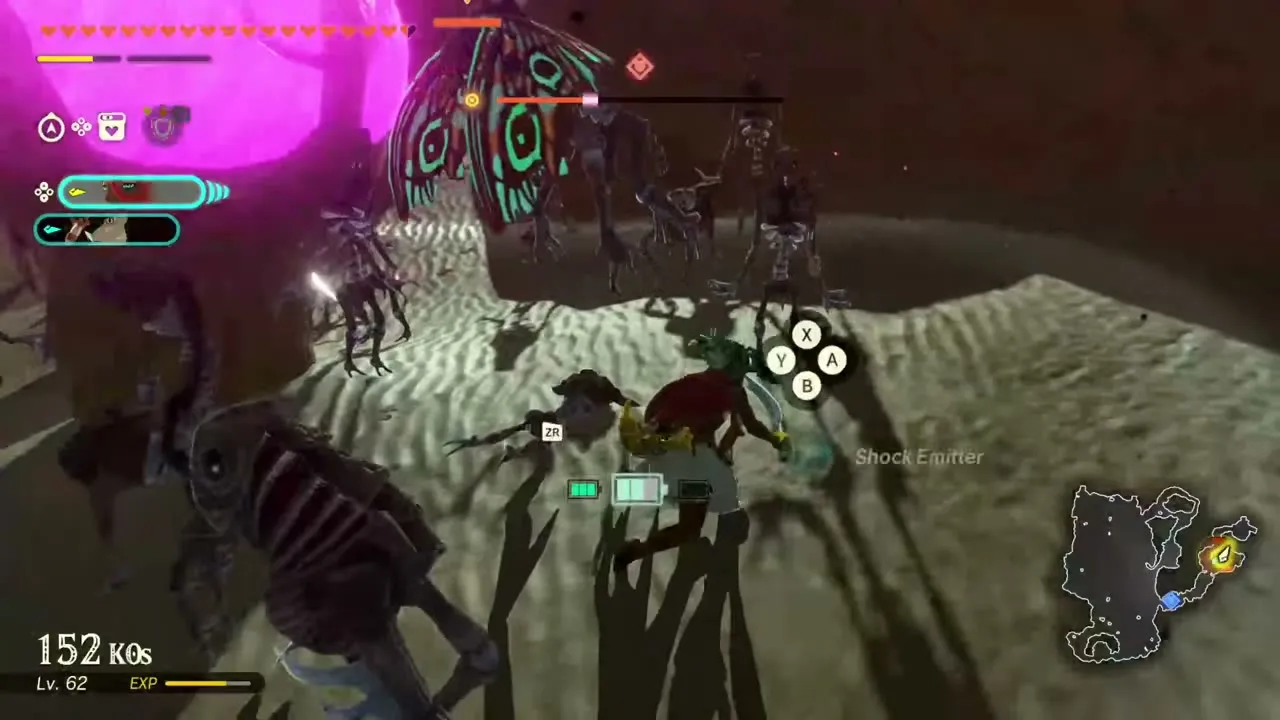
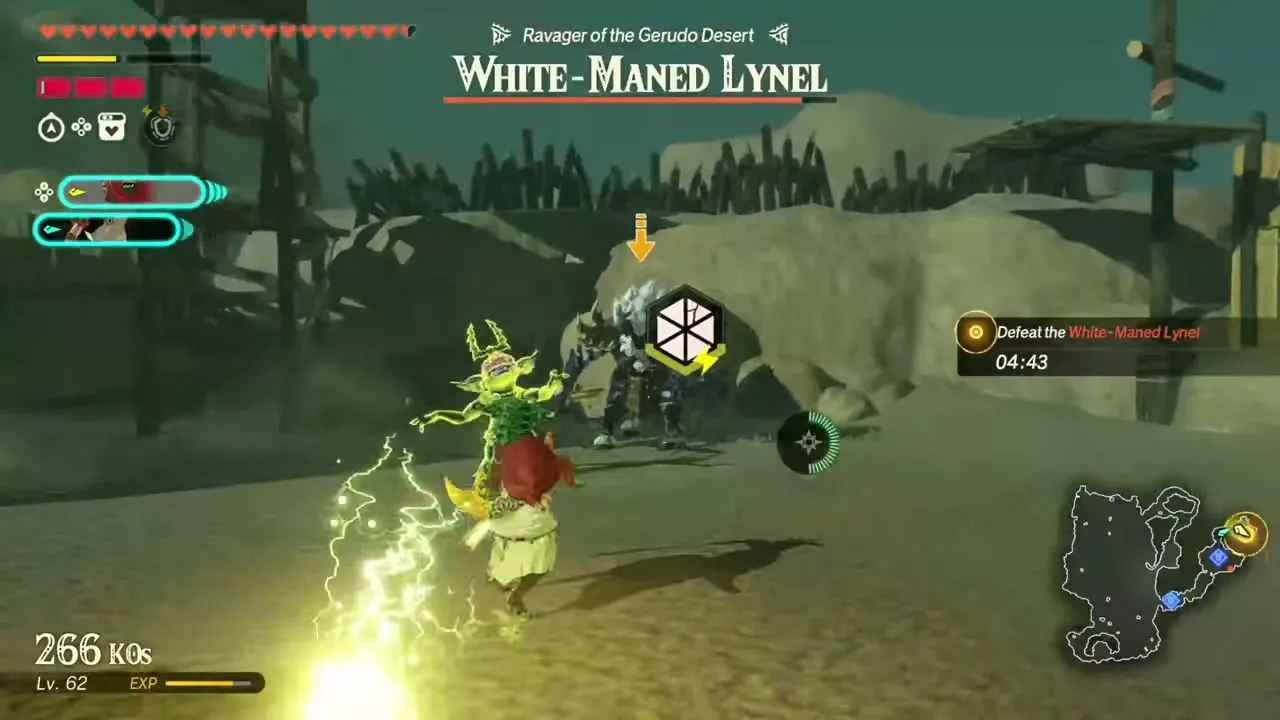
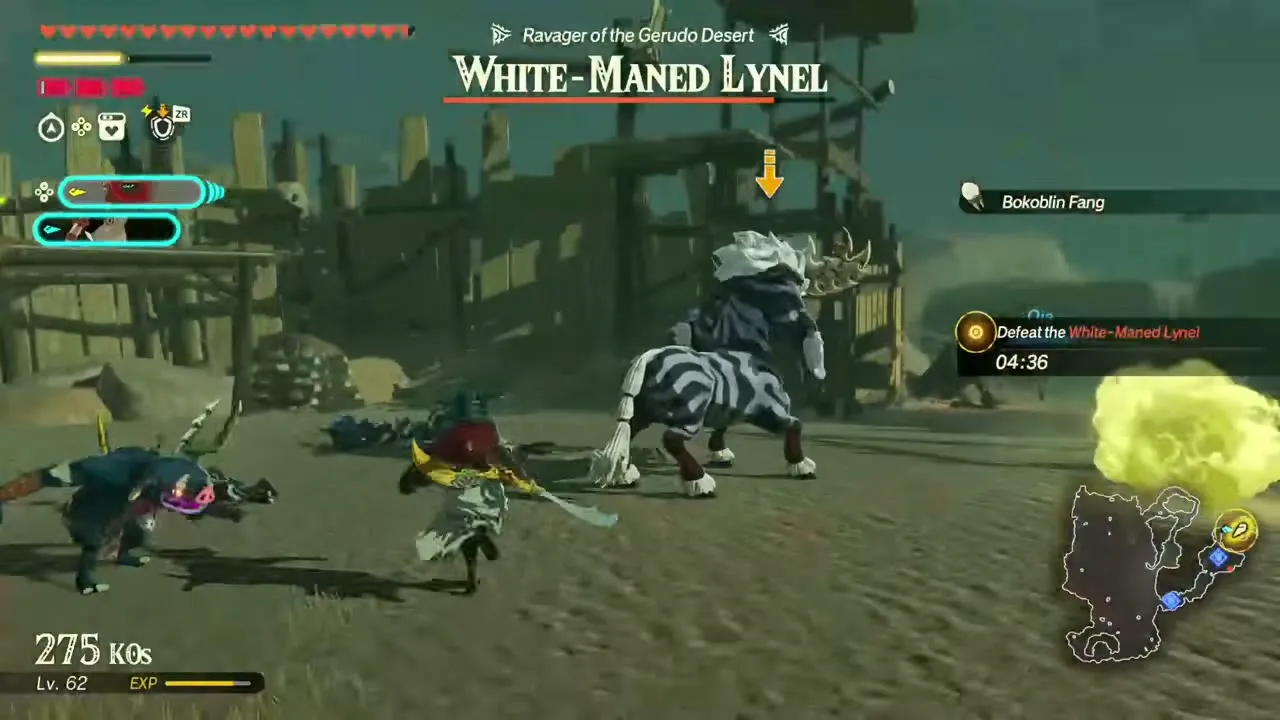
Recommended level 38, in Gerudo Desert. Ardi, newly armed with her secret stone and dancing blade, takes on the monsters of the Gerudo Desert and renews her vow to defend her land. It opens once The Counterstrike is complete. Expect Stalmoblin, Gibdo, Black Bokoblin, Stalizalfos and White-Maned Lynel on the field. You fight as Ardi plus one other warrior of your choice. The battlefield has Shock Fruit and Palm Fruit to gather. The objectives are to capture the enemy outposts throughout the Gerudo Desert and destroy the Gibdo fence, with a Stalmoblin and a White-Maned Lynel as the main enemies. First-clear reward: Voltfin Trout ×10, Bladed Rhino Beetle ×10, Ironshroom ×10, Zonaite Steel (One-Handed) ×1 and 700 Rupees.
Battle for the Tabantha Frontier
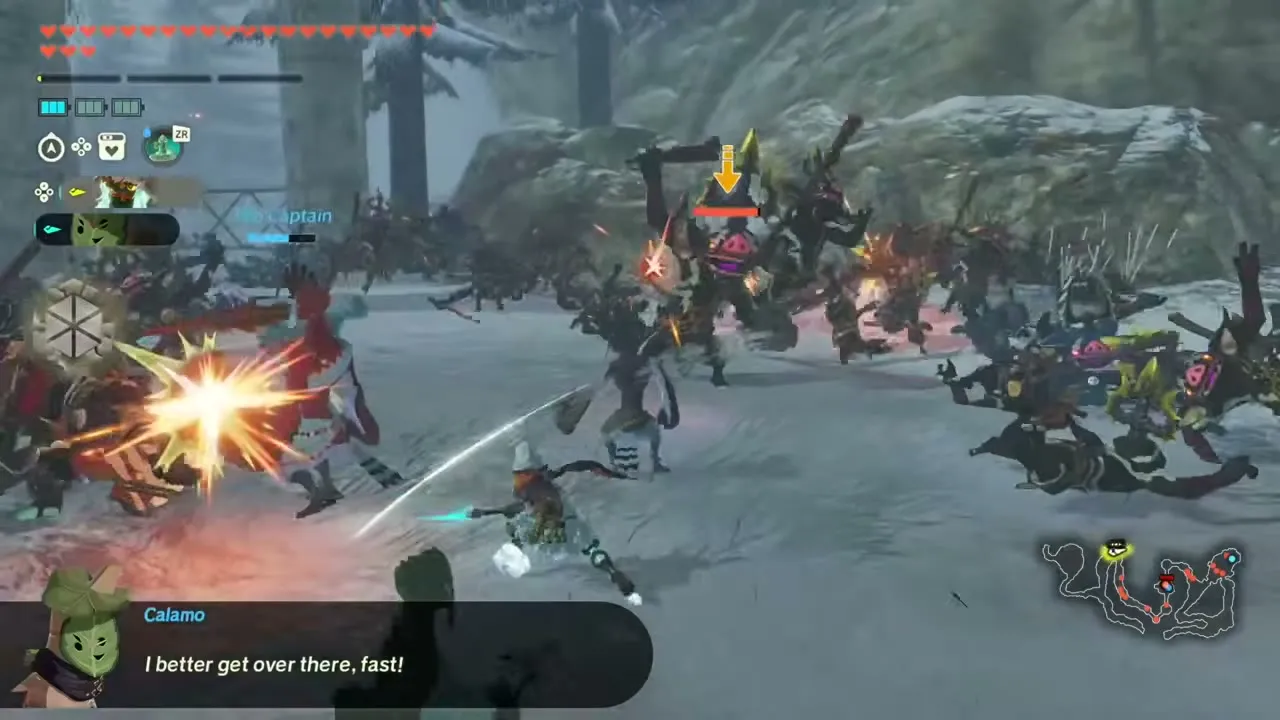
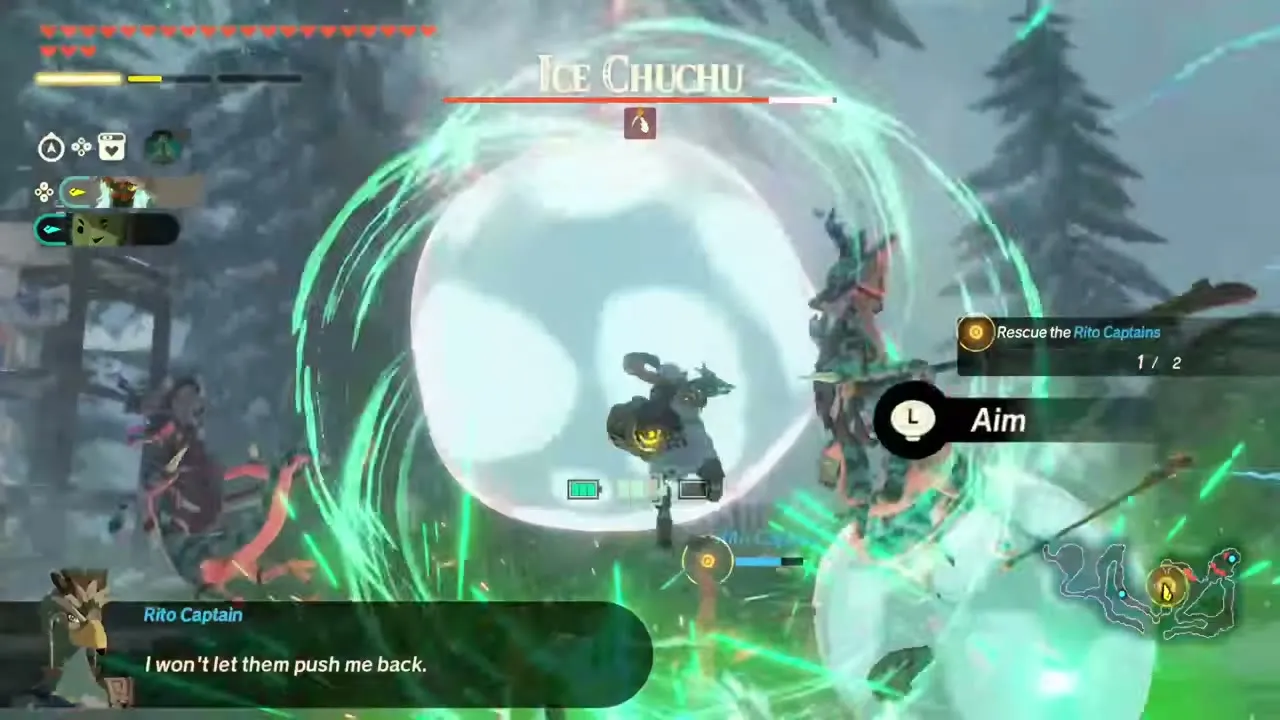
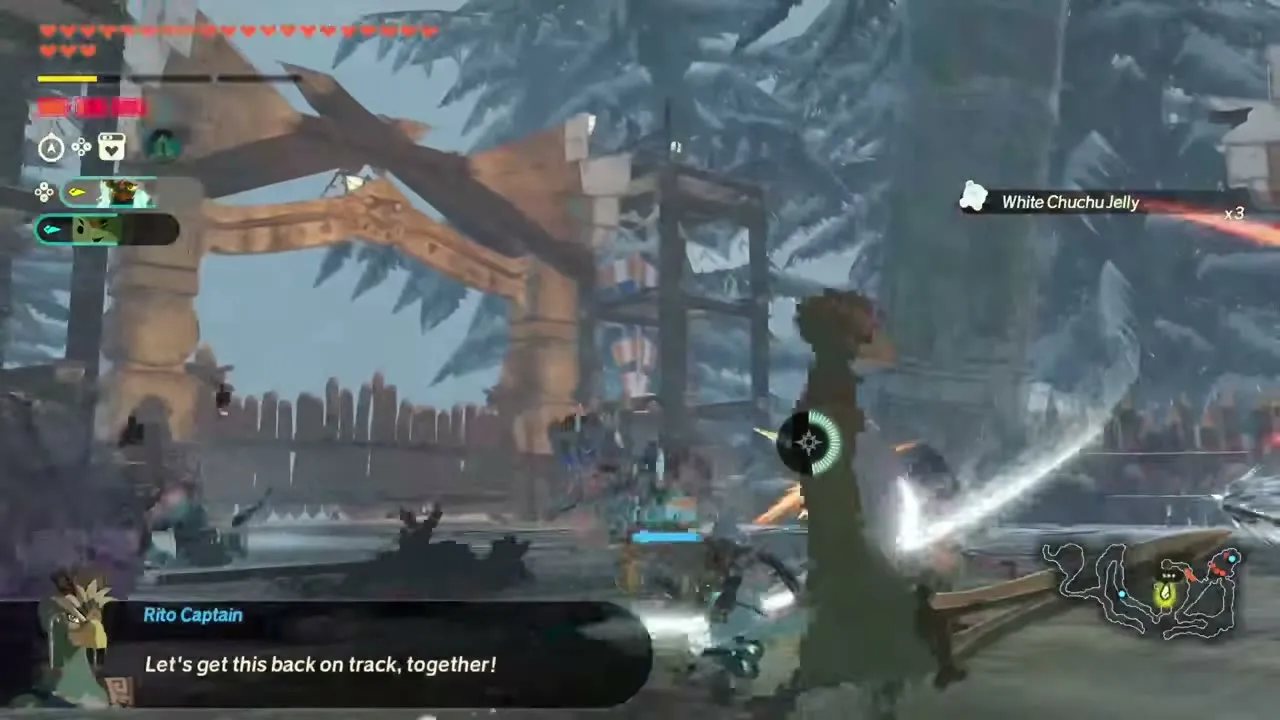
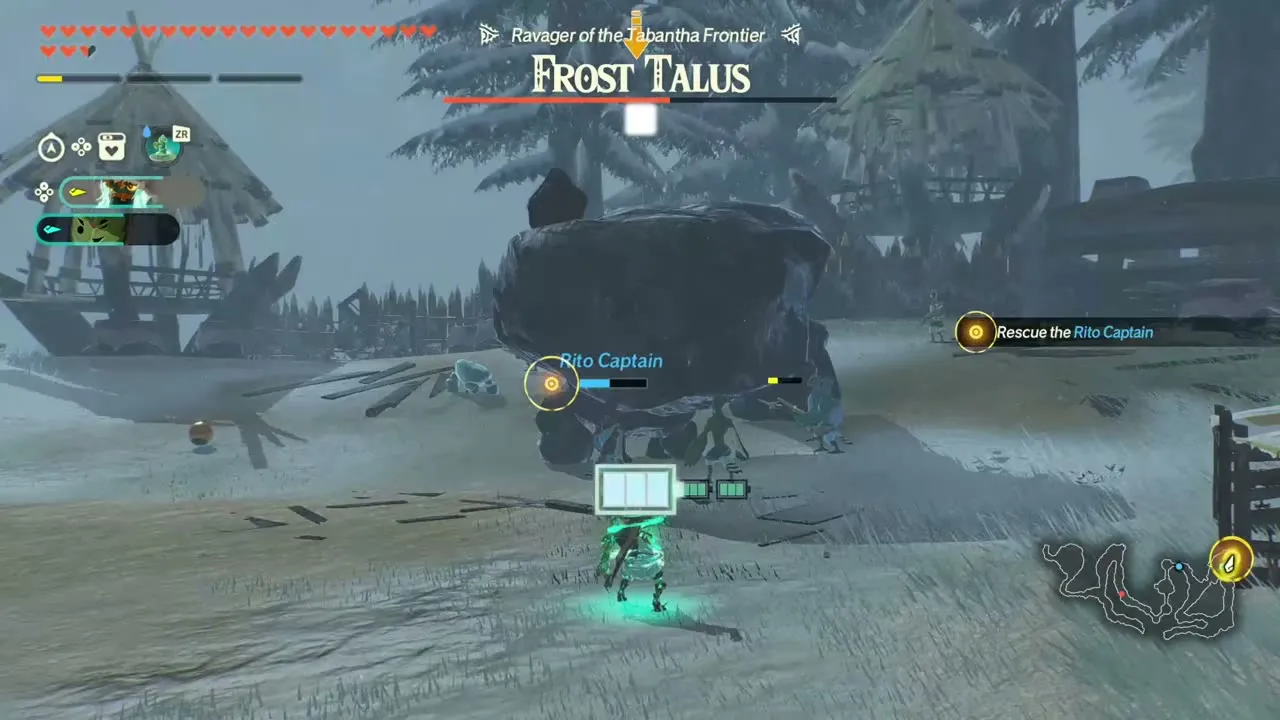
Recommended level 39, in Tabantha Frontier. Powerful monsters are rampaging over the Tabantha Frontier, and you climb the frozen peak to drive them back before they do lasting damage. It appears after Ambush in the Depths, provided you have already cleared The Rushing Gale. Any warriors you like can take part. Expect Snow Octorok, Ice-Breath Lizalfos, Ice Chuchu, Black Bokoblin and Frost Talus on the field. The objectives are to rescue the Rito Captains and the allied forces defending the Tabantha Frontier, with an Ice Chuchu and a Frost Talus as the main enemies. First-clear reward: Hearty Bass ×10, Big Hearty Radish ×7, Zonaite Steel (Pristine) ×1, 700 Rupees and a random weapon.
Battle through the Grime
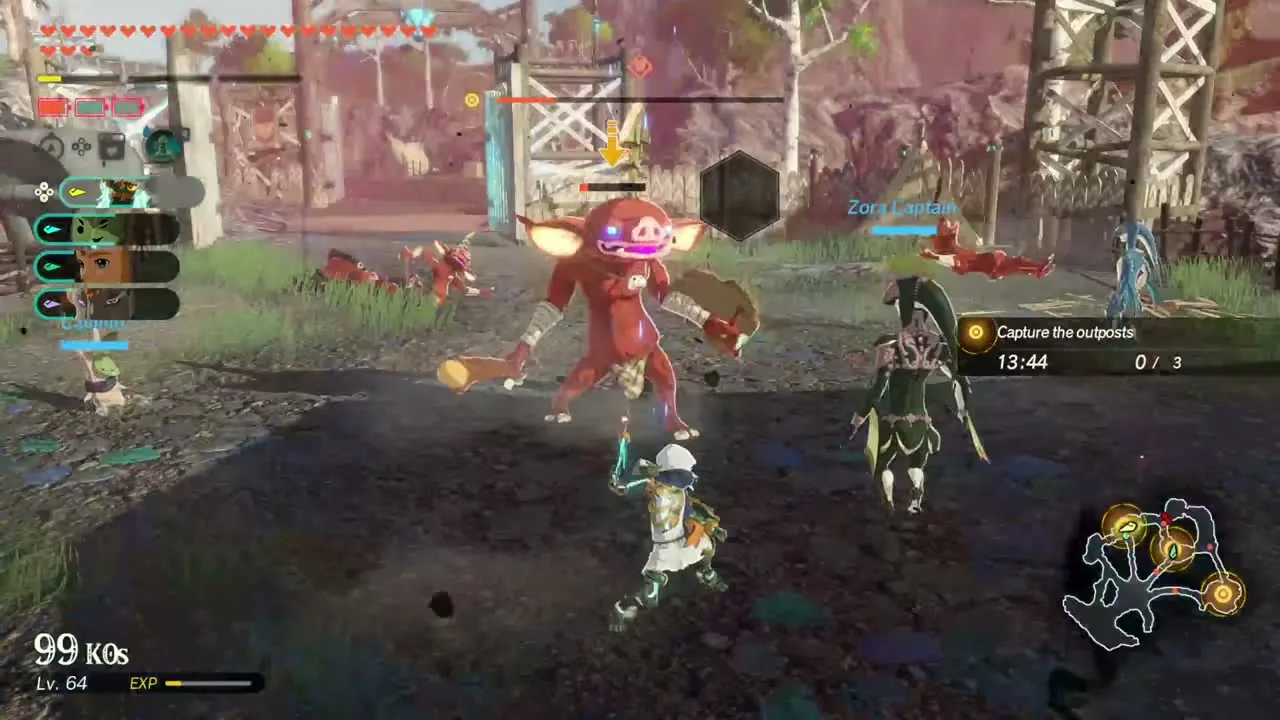
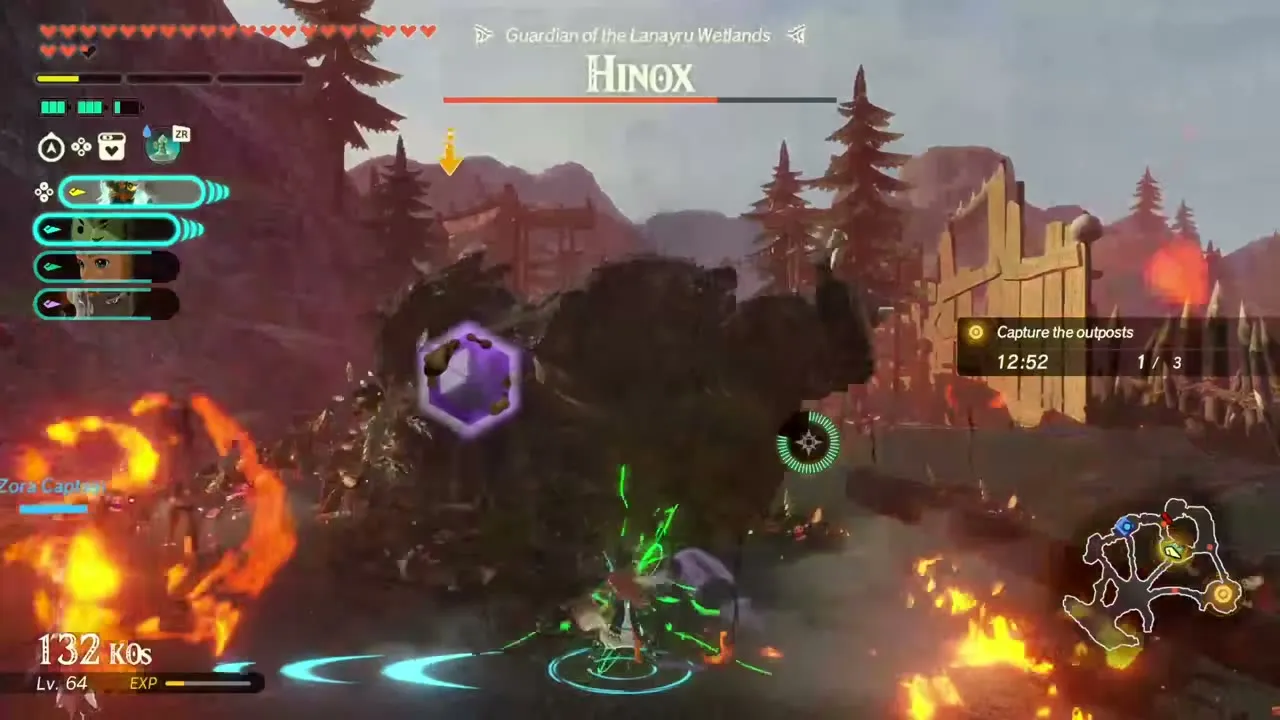
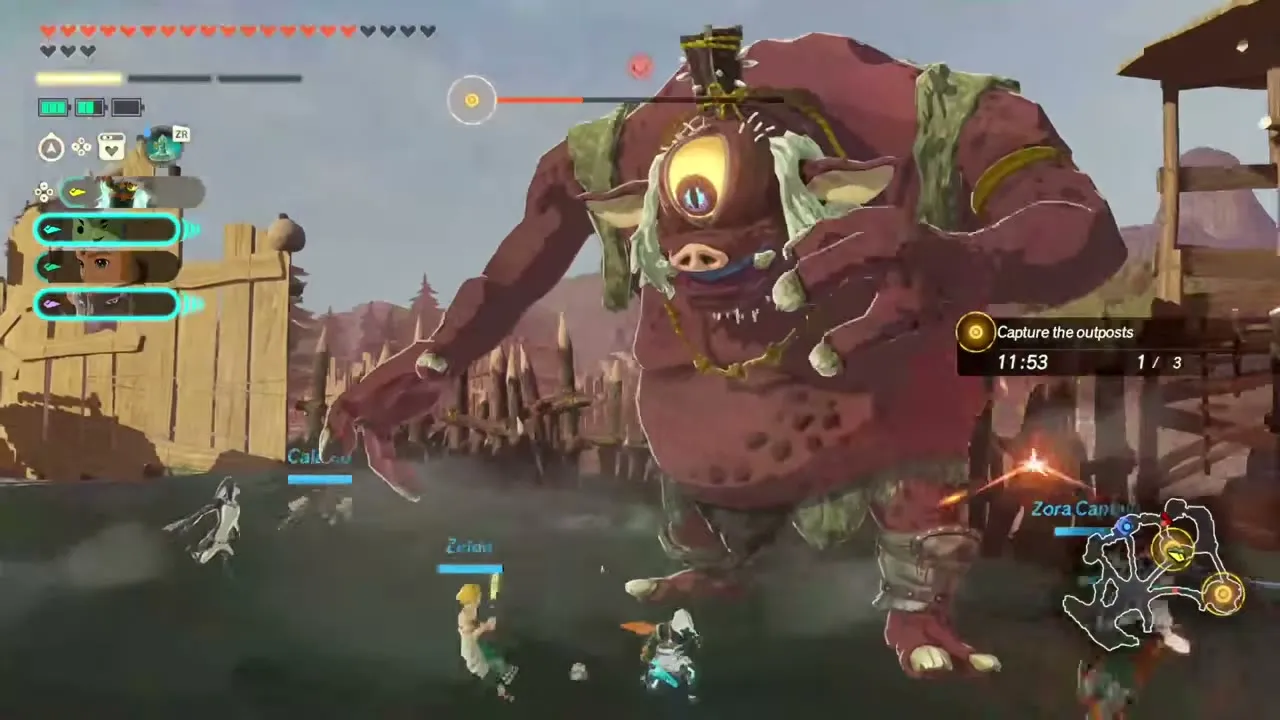
Recommended level 39, in Lanayru Wetlands. Lightning and sludge monsters, the worst enemies the Zora can face, are attacking the Lanayru Wetlands, so you hurry through the swamp to assist. Any warriors you like can take part. Expect Moblin (Sludged), Bokoblin (Sludged), Electric Lizalfos, Hinox and Electric Boss Bokoblin on the field. The battlefield has Hyrule Arowana and Sneaky River Snail to gather. The objective is to capture the enemy outposts throughout the Lanayru Wetlands, with a Hinox, waves of Moblins and an Electric Boss Bokoblin as the main enemies; the Hinox is billed as the Guardian of the Lanayru Wetlands. First-clear reward: Fleet-Lotus Seeds ×10, Stealthfin Trout ×10, Zonaite Steel (Spear) ×1, Zonaite Steel (Pristine) ×1 and 500 Rupees.
Level 41 to 45
Defending Against the Gloom
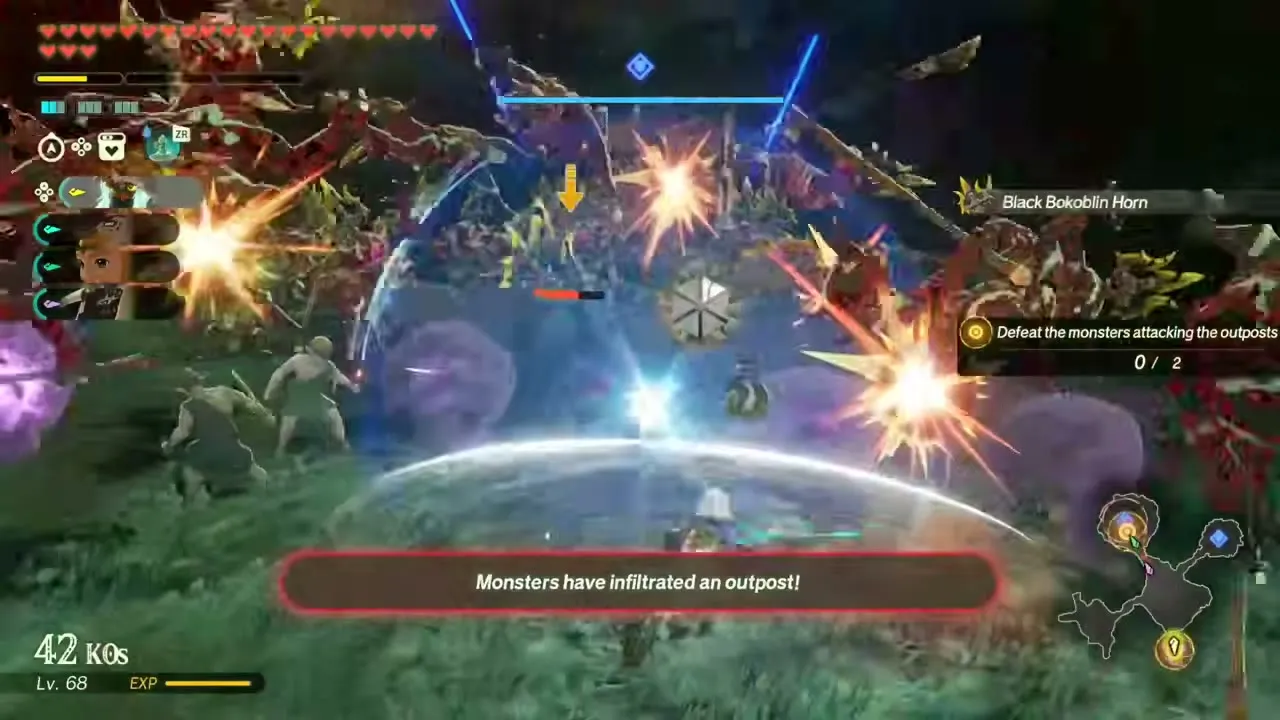
Recommended level 41, in the Depths. Monsters coated in the Demon King’s gloom assault a trio of outposts in the Depths, and you must help them survive. Any warriors you like can take part. Expect Keese, Black Bokoblin, Black Moblin, Black Boss Bokoblin and White-Maned Lynel on the field. It opens once Purging the Shadows is complete. The objectives are to defend the outposts and repel the monsters attacking the Depths, with a Black Moblin, a Black Boss Bokoblin and a White-Maned Lynel, Reaper of the Depths, as the main enemies. First-clear reward: Sunset Firefly ×10, Giant Brightbloom Seed ×10 and a random weapon.
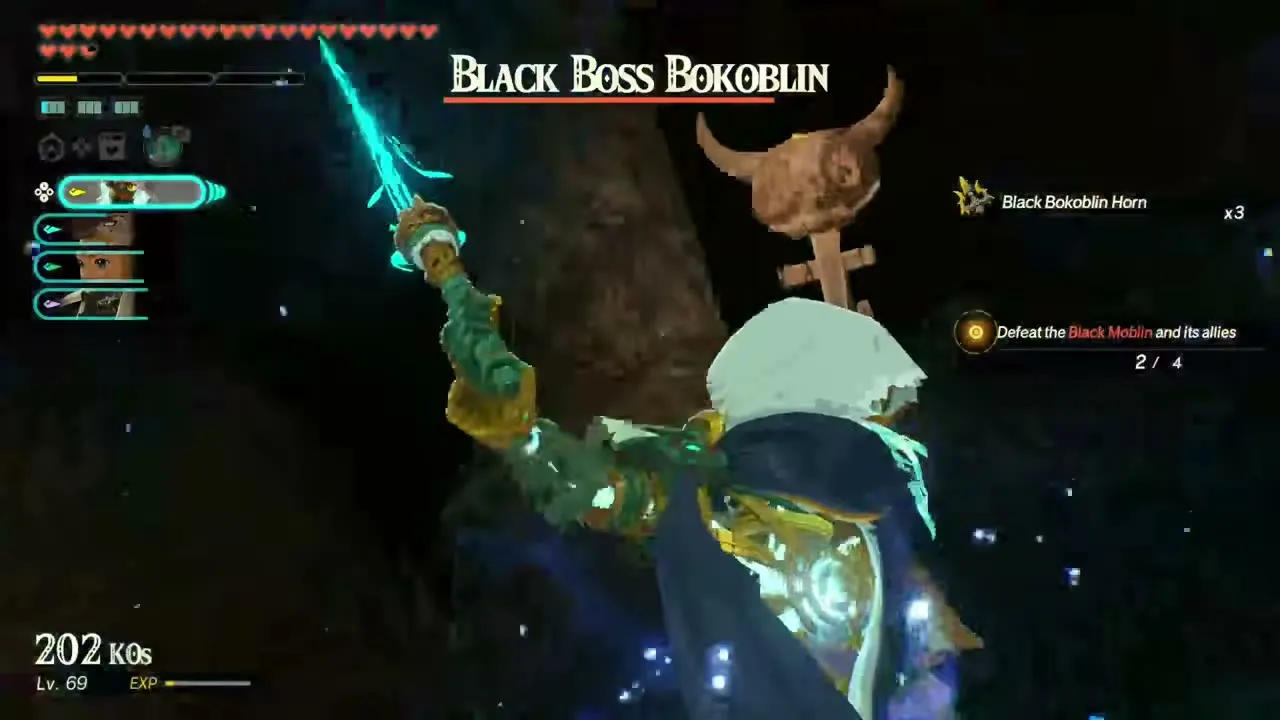
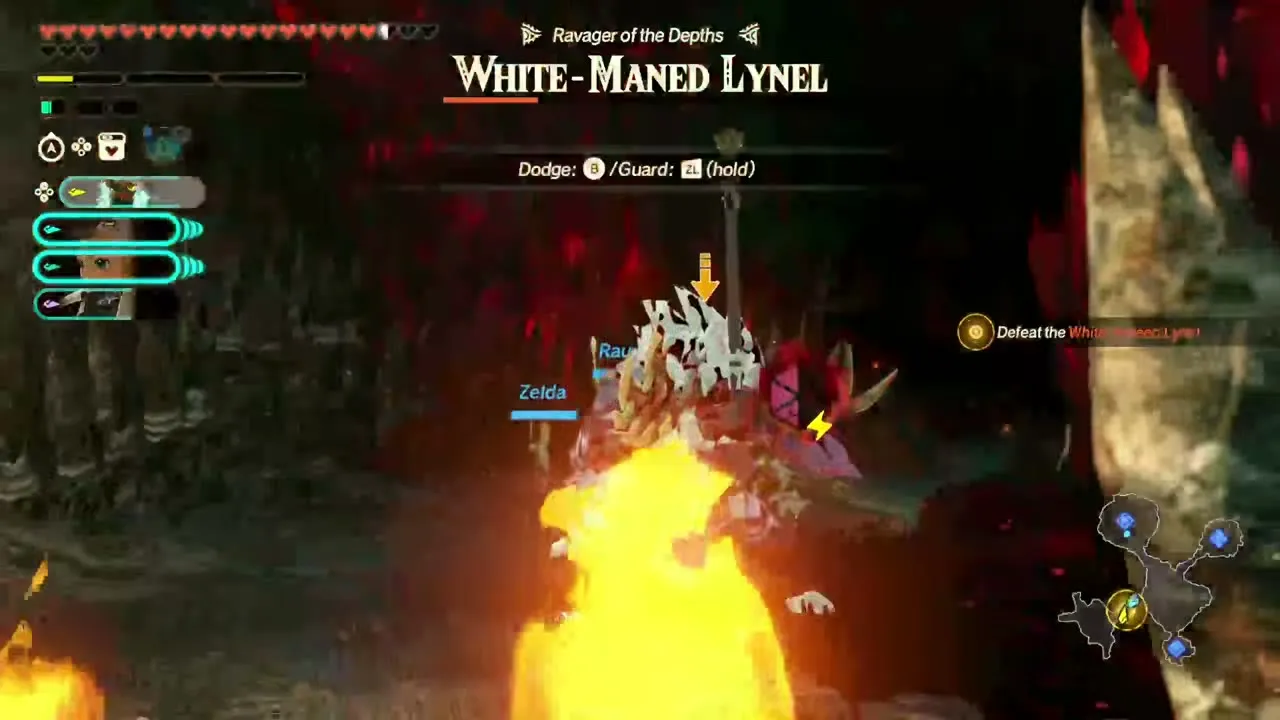
Unfazed by the Frigid Peaks
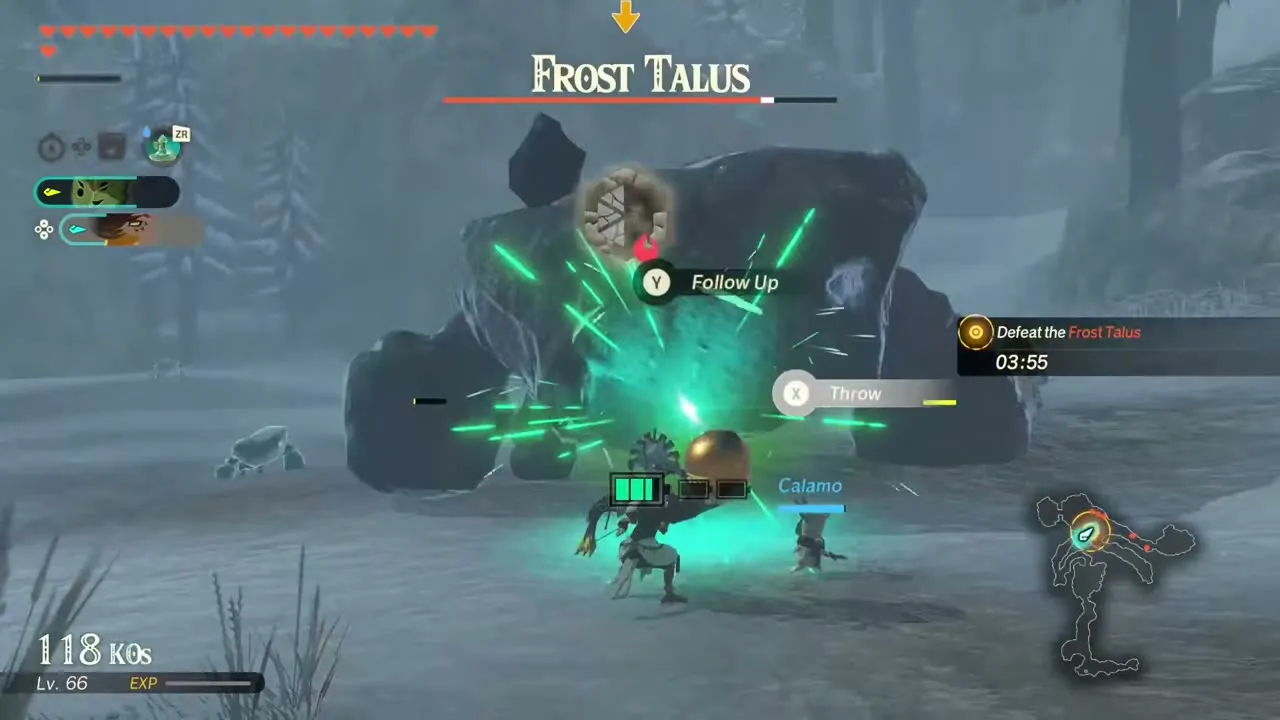
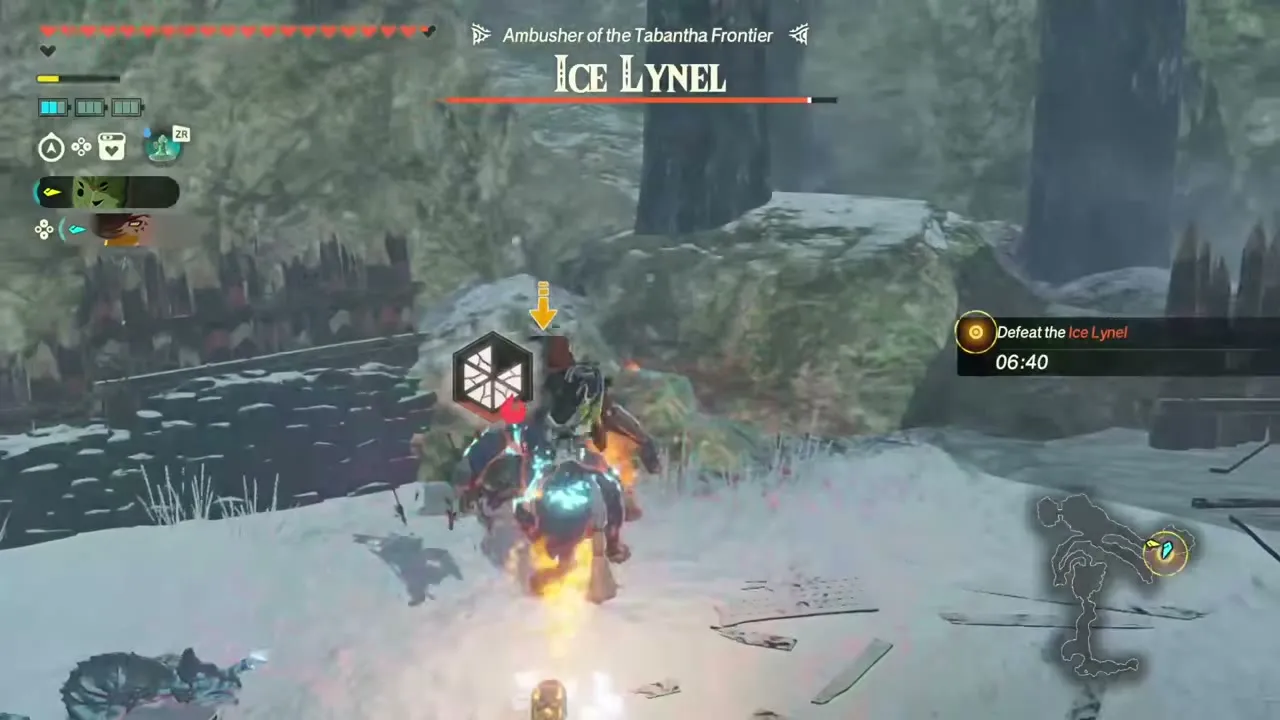
Recommended level 41, in Tabantha Frontier. The Tabantha Frontier is still overrun, so Raphica goes hunting and drags a reluctant Calamo along. It opens once Purging the Shadows is complete. The warriors are fixed: Calamo and Raphica. Expect Ice Boss Bokoblin, Ice Lynel, Ice-Breath Lizalfos, Black Bokoblin and Frost Talus on the field. The main enemies are a Frost Talus, an Ice Lynel, which you must defeat within the time limit, and an Ice Boss Bokoblin. First-clear reward: Hearty Truffle ×10, Hearty Salmon ×10, Golden Apple ×10, 800 Rupees and a random weapon.
Unfazed by the Sweltering Volcano
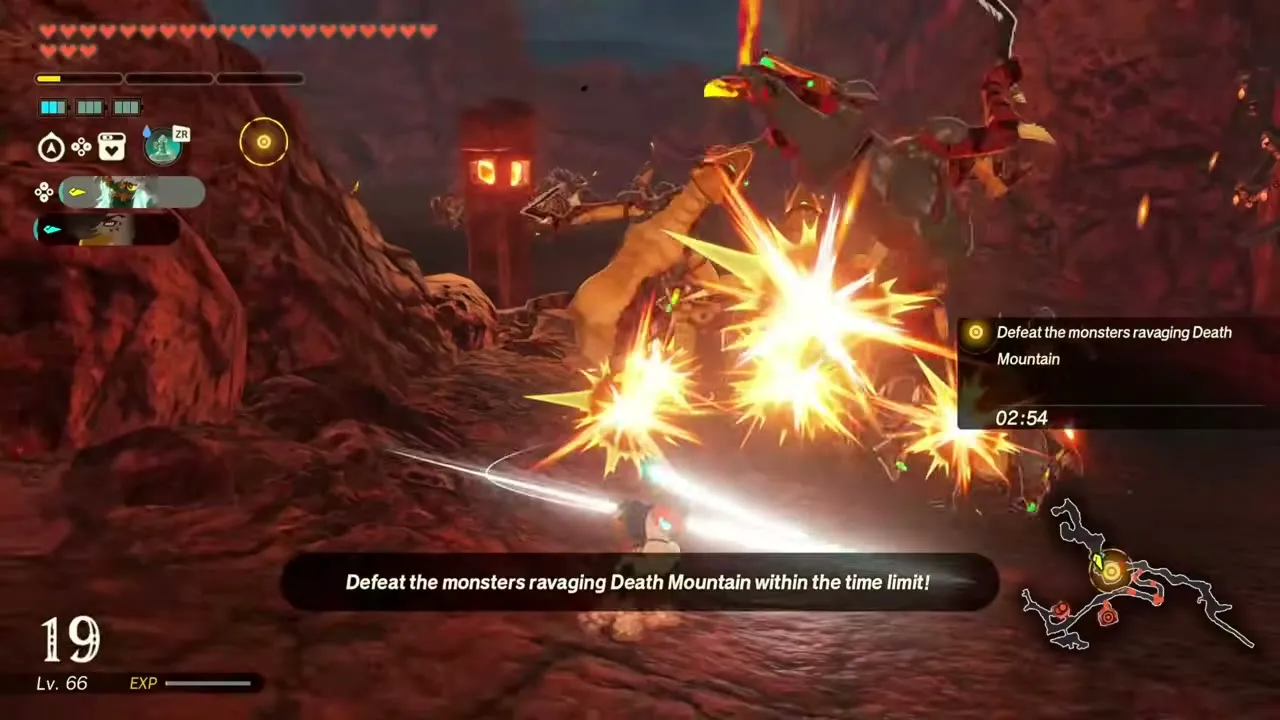
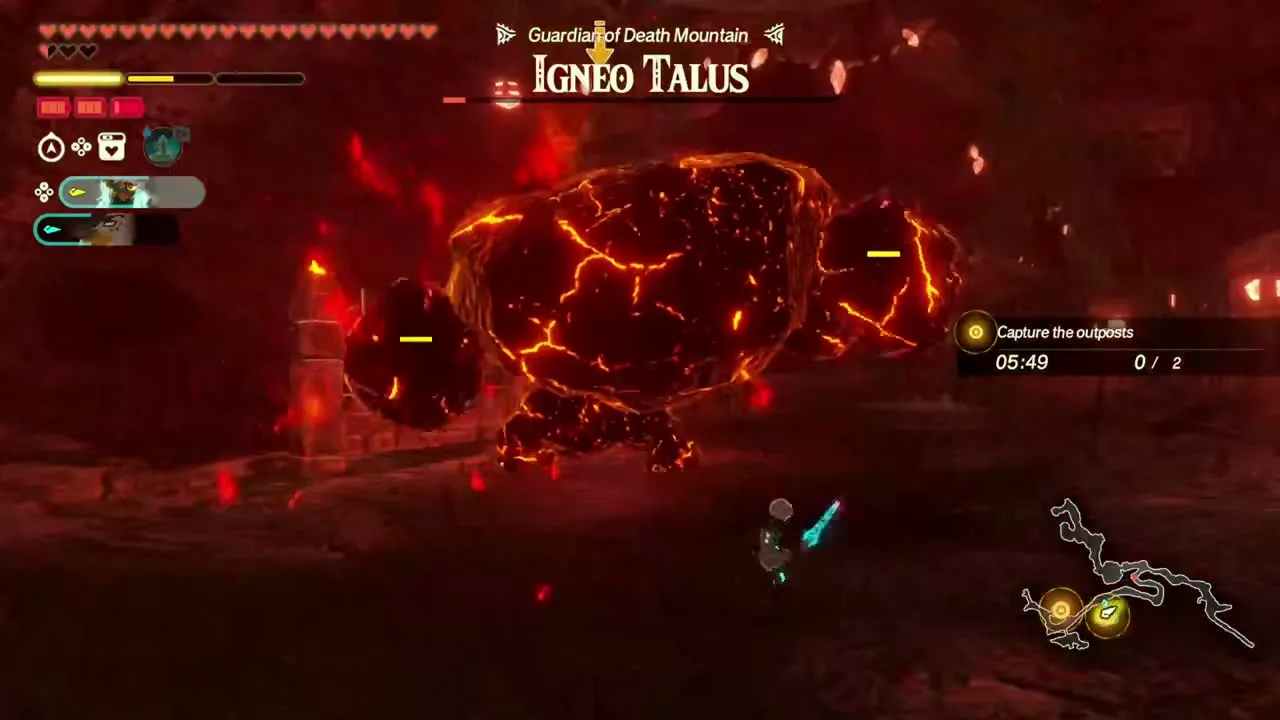
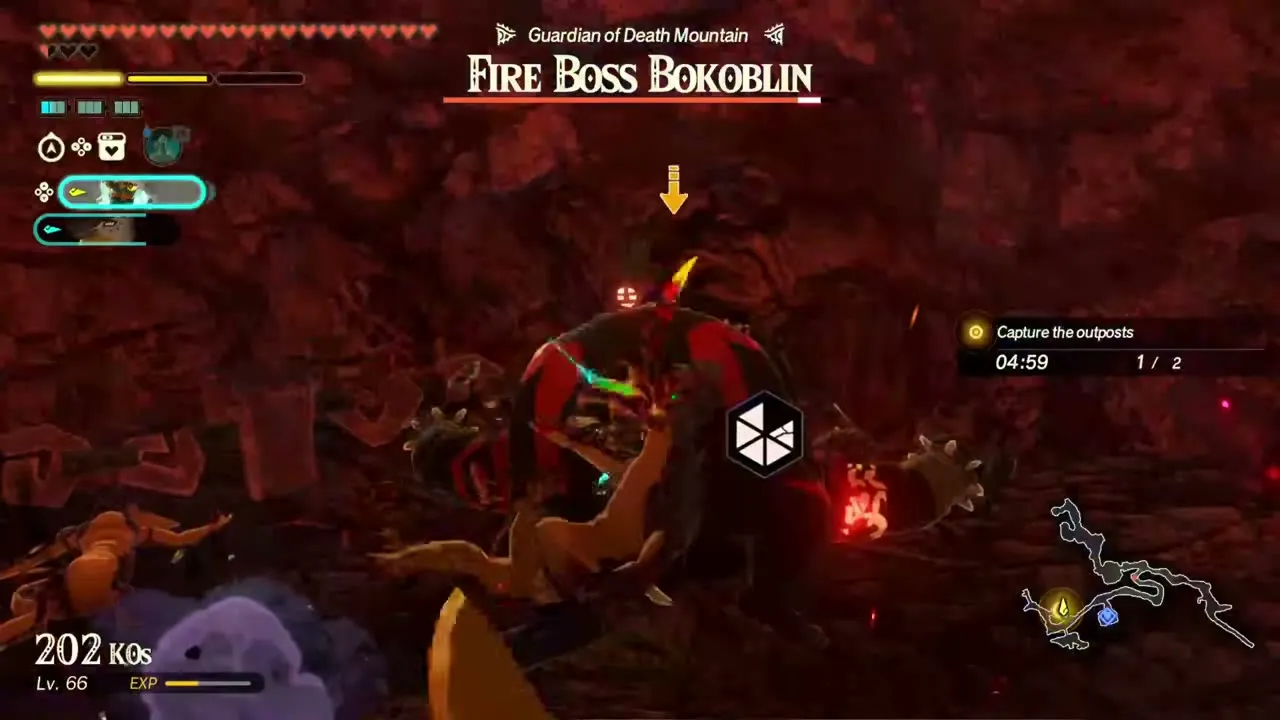
Recommended level 41, in Death Mountain. With monsters still spilling down Death Mountain, Raphica and the Knight Construct go thin them out before the final battle. The warriors are fixed: Knight Construct and Raphica. Expect Igneo Talus, Fire Boss Bokoblin, Fire-Breath Lizalfos, Fire Keese and Black Horriblin on the field. The battlefield has Fire Fruit and Smotherwing Butterfly to gather. It opens once Purging the Shadows is complete. The objectives are to defeat the enemy forces ravaging Death Mountain and capture two outposts within the time limit, with an Igneo Talus and a Fire Boss Bokoblin as the main enemies. First-clear reward: Mighty Thistle ×10, Big Hearty Radish ×7, Tireless Frog ×10, 800 Rupees and a random weapon.
Purging the Scablands
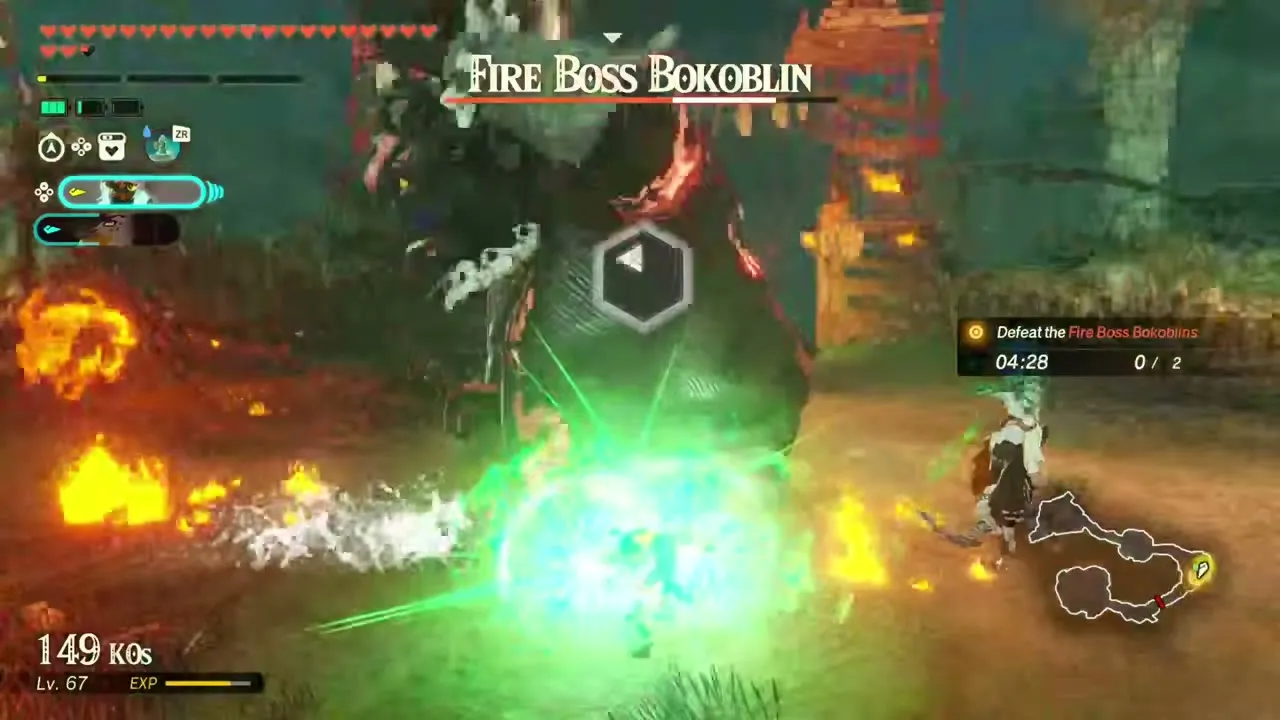
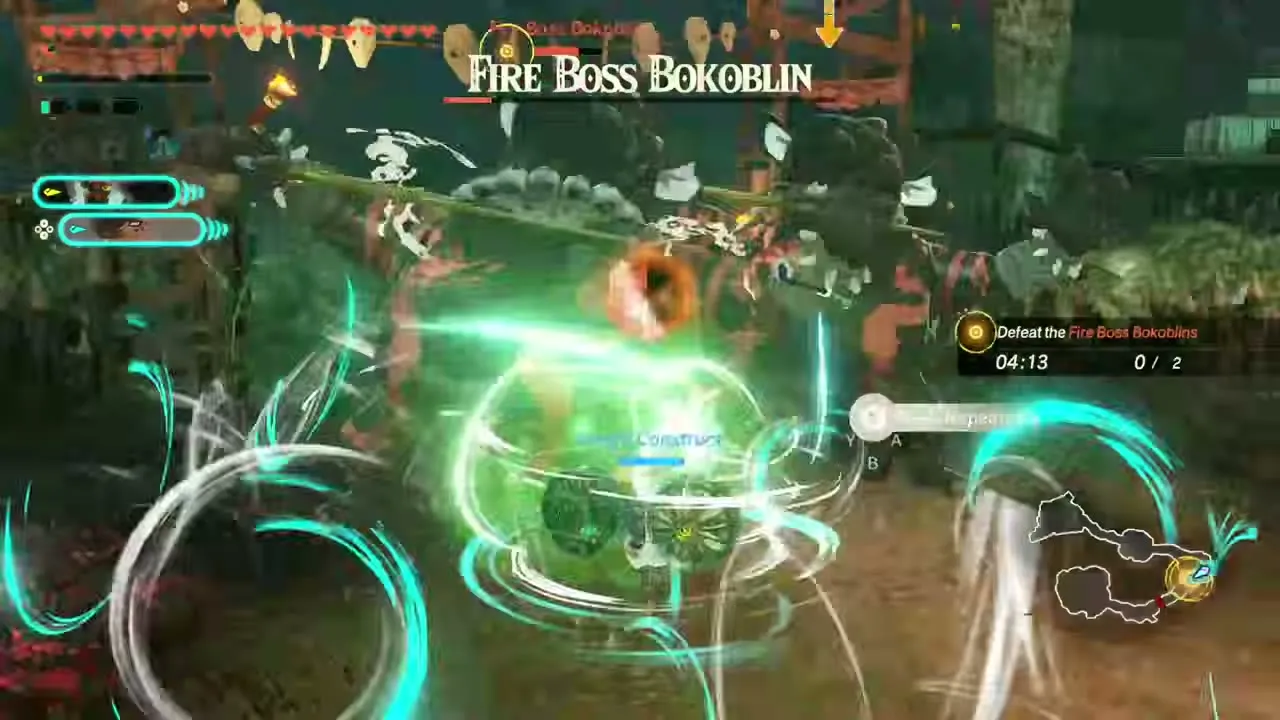
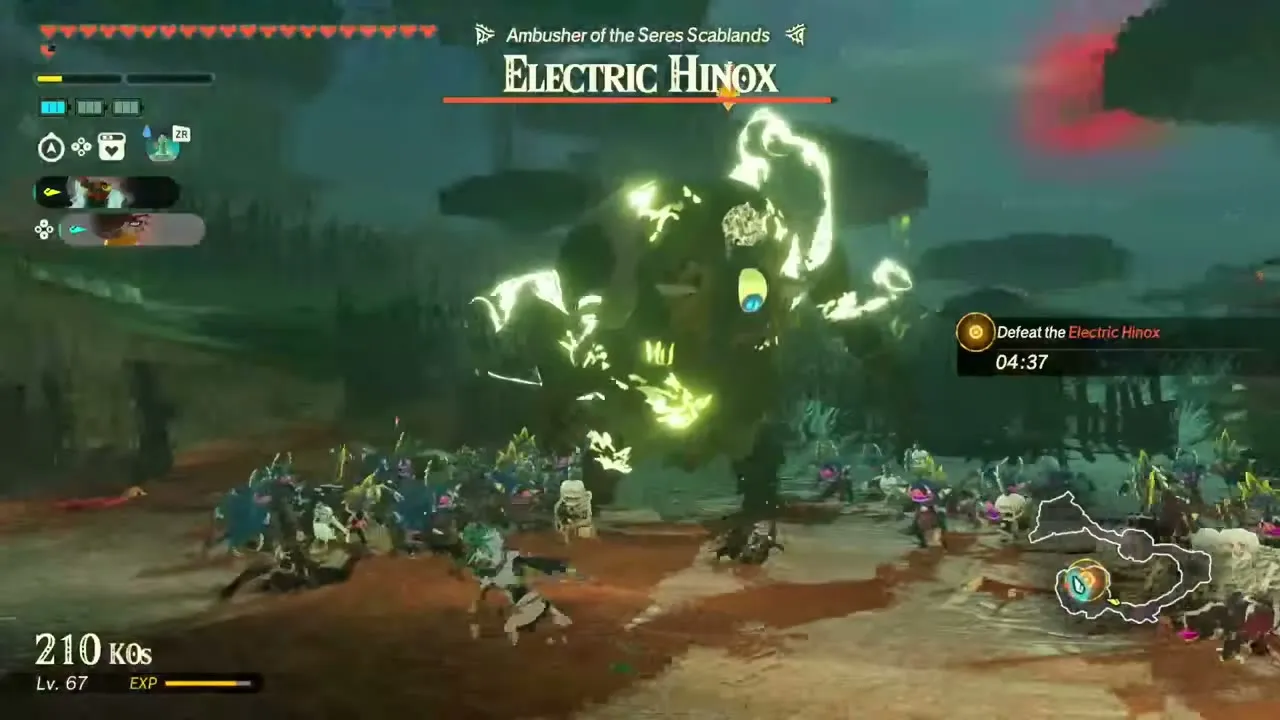
Recommended level 41, in Seres Scablands. Even after earlier victories, a monster horde is closing in on the Seres Scablands, and you cut down the strong creatures leading it. It opens once Purging the Shadows is complete. Expect Fire Boss Bokoblin, Fire-Breath Lizalfos, Electric Hinox, Fire Keese and Black Bokoblin on the field. Any warriors you like can take part. The objectives are to defeat two Fire Boss Bokoblins and then an Electric Hinox. First-clear reward: Bright-Eyed Crab ×10, Apple ×10 and Zonaite Steel (Two-Handed) ×1.
Liberating Lanayru
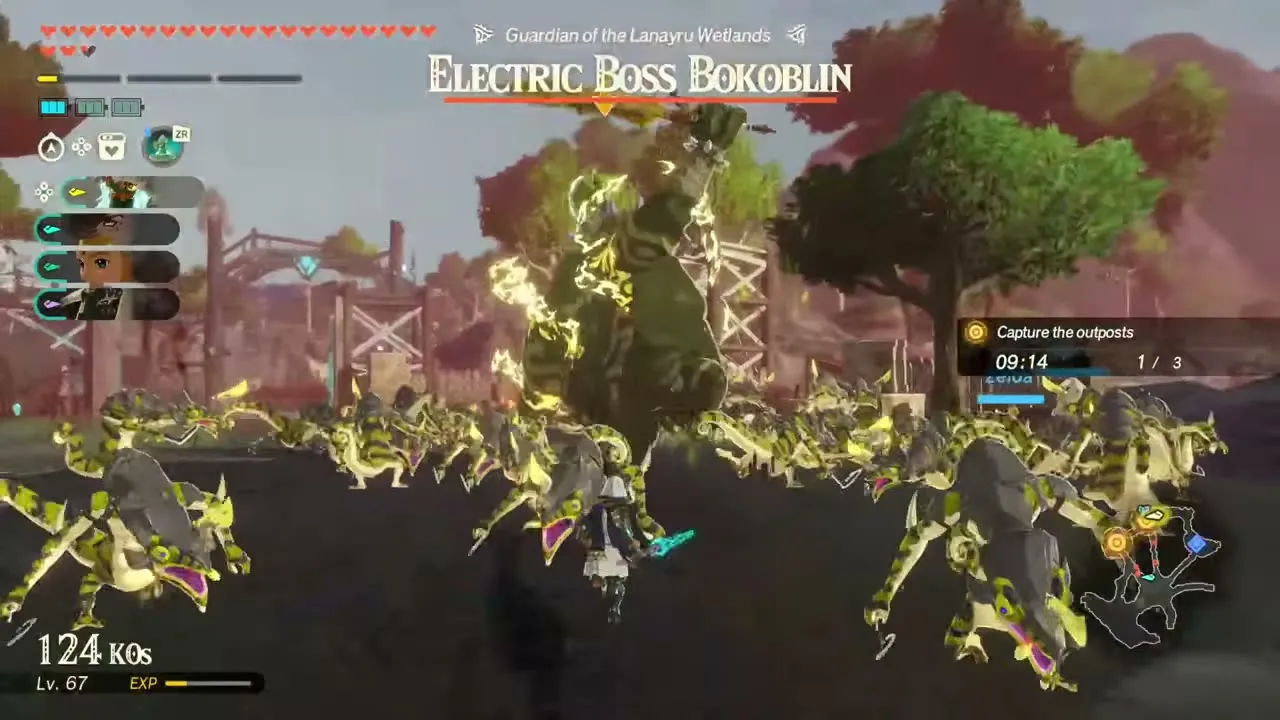
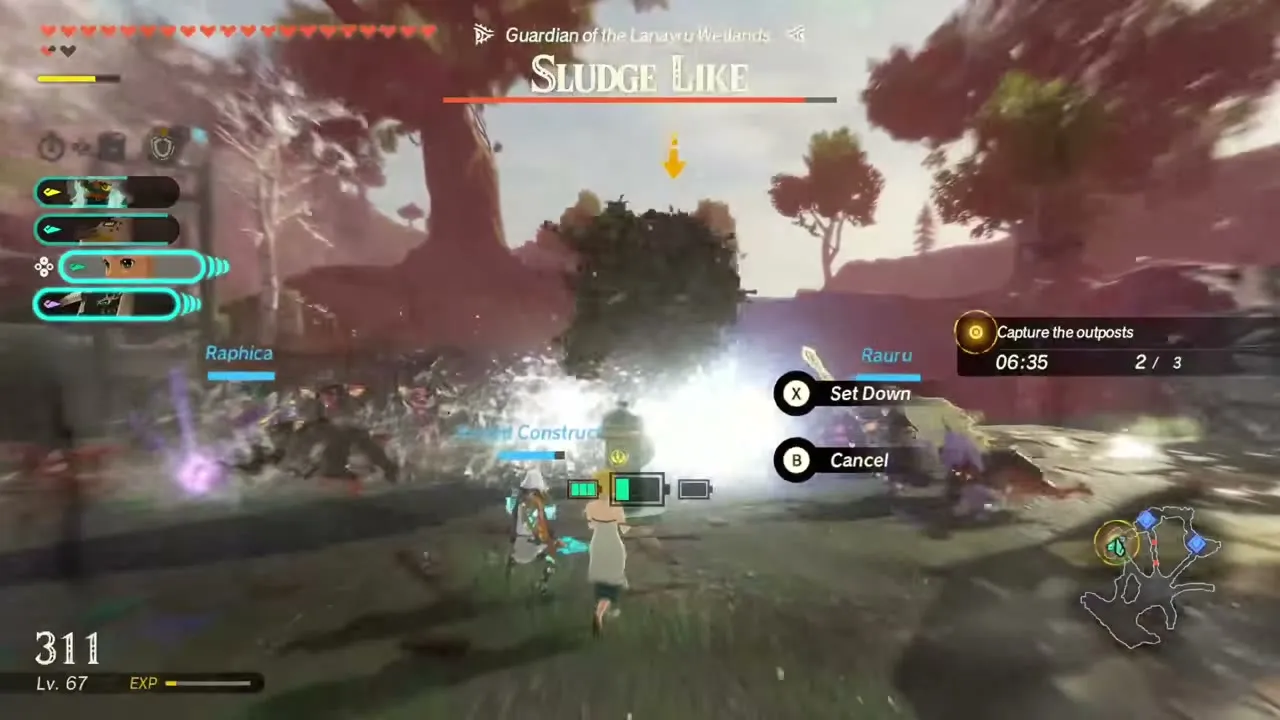
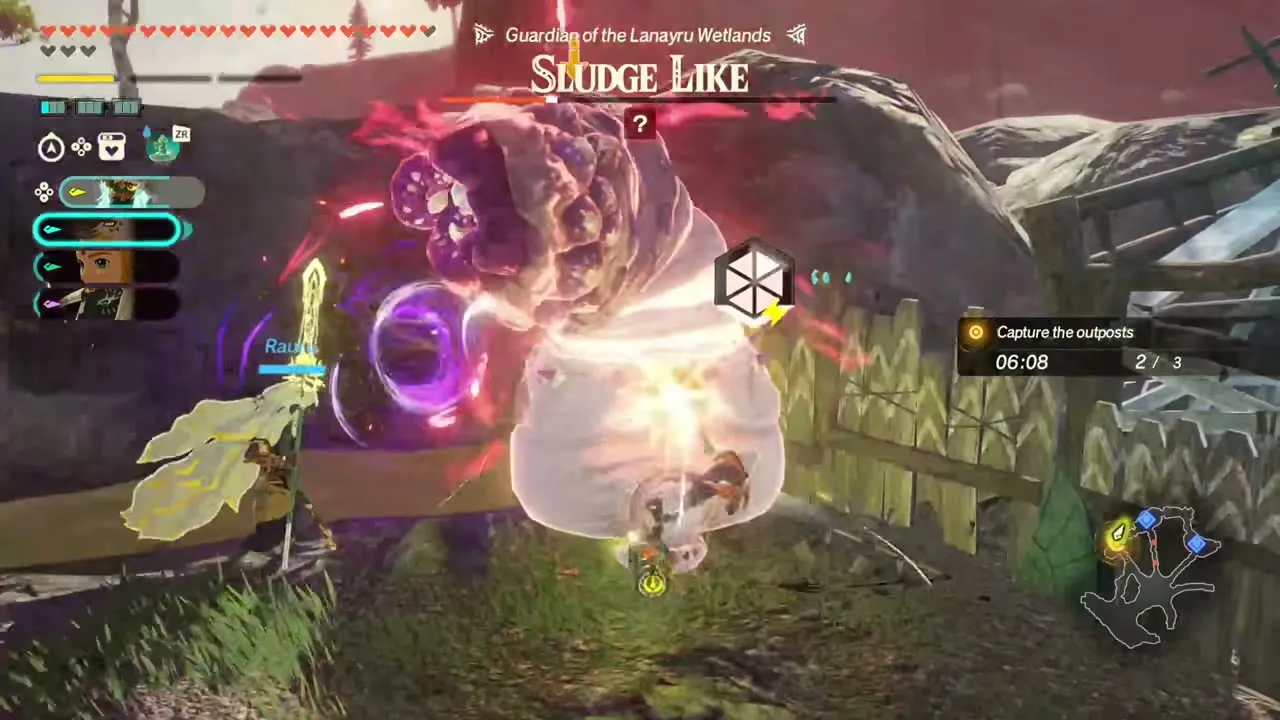
Recommended level 41, in Lanayru Wetlands. While the army fights in the Depths, word comes that the Lanayru Wetlands are under attack again. It opens once Purging the Shadows is complete. Expect Moblin (Sludged), Bokoblin (Sludged), Sludge Like, Electric Lizalfos and Electric Boss Bokoblin on the field. Any warriors you like can take part. The battlefield has Hyrule Bass and Fleet-Lotus Seeds to gather. The objective is to capture the enemy outposts in the Lanayru Wetlands, with an Electric Boss Bokoblin, a Sludge Like and Moblins as the main enemies. First-clear reward: Swift Violet ×10, Armored Carp ×10 and a random weapon.
Protectors of Zonai History
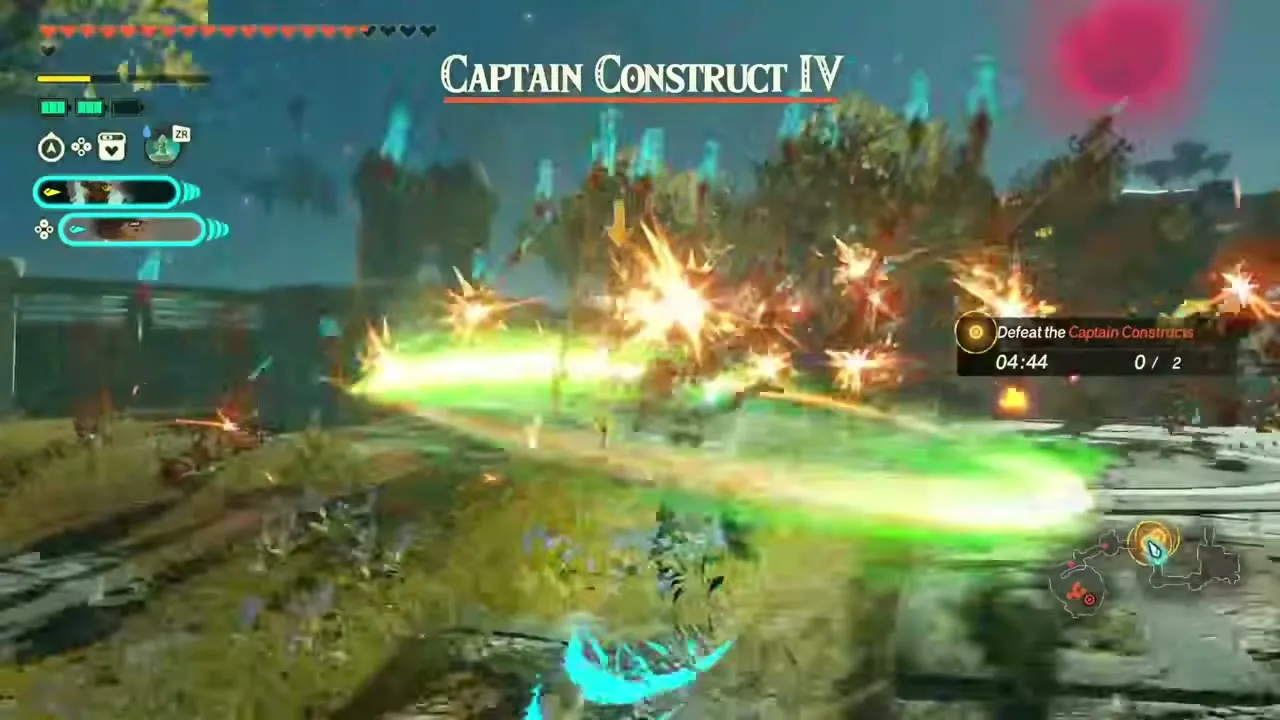
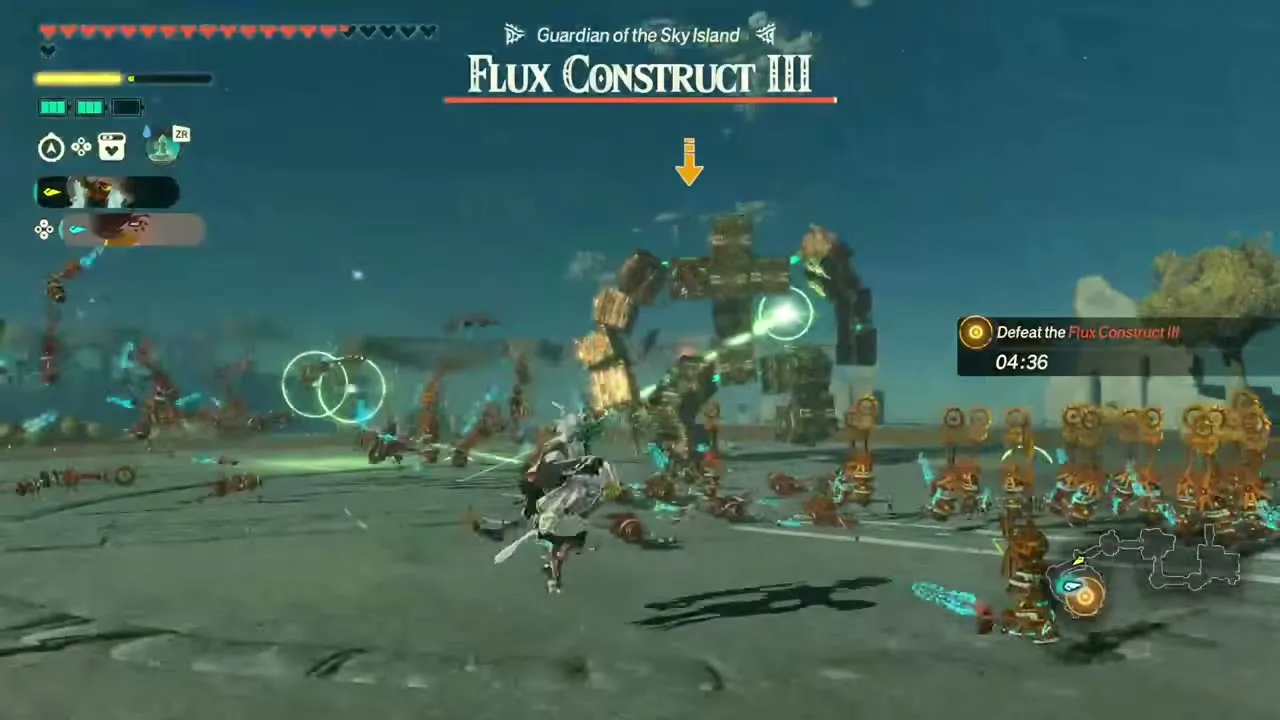
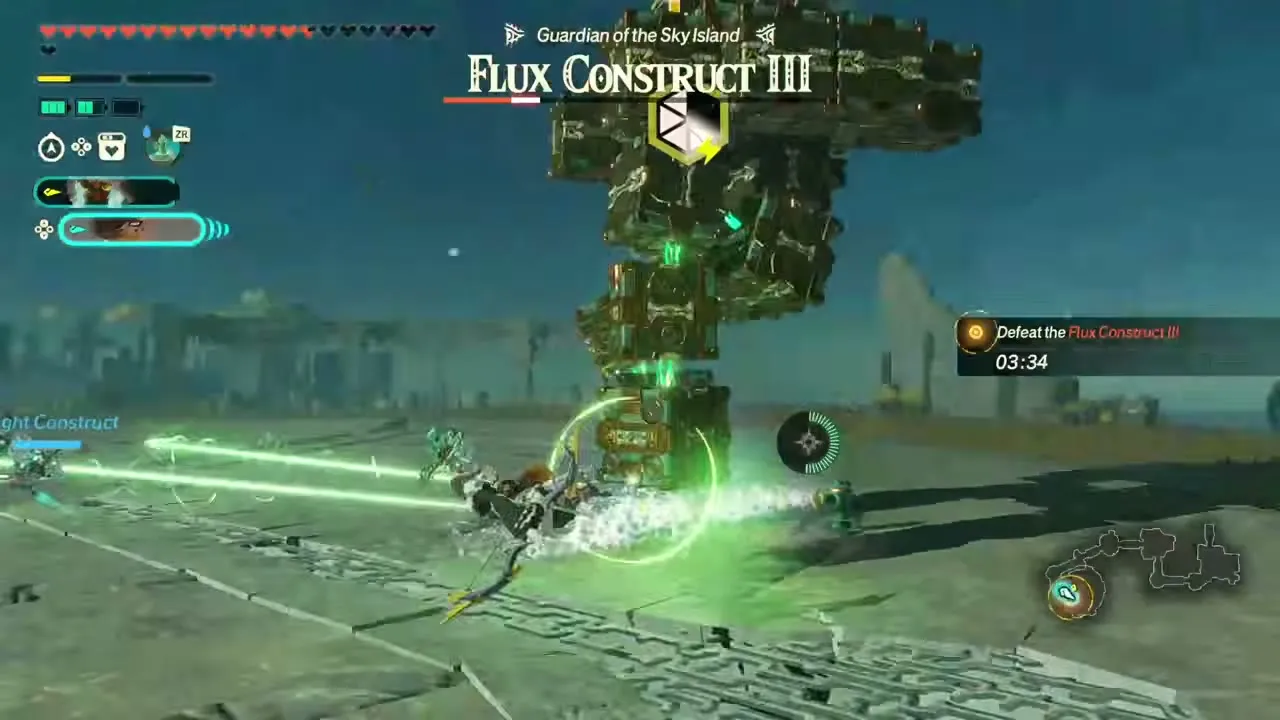
Recommended level 41, on a sky island. A newly found sky island is packed with hostile constructs, and you cross it to subdue them. It opens once Purging the Shadows is complete. Any warriors you like can take part. Expect Captain Construct IV, Soldier Construct IV and Flux Construct III on the field. The main enemies are Captain Construct I, Captain Construct IV and a Flux Construct III, Guardian of the Sky Island. First-clear reward: Sundelion ×10, Large Zonaite ×7 and a random weapon.
Defending in the Scorching Heat
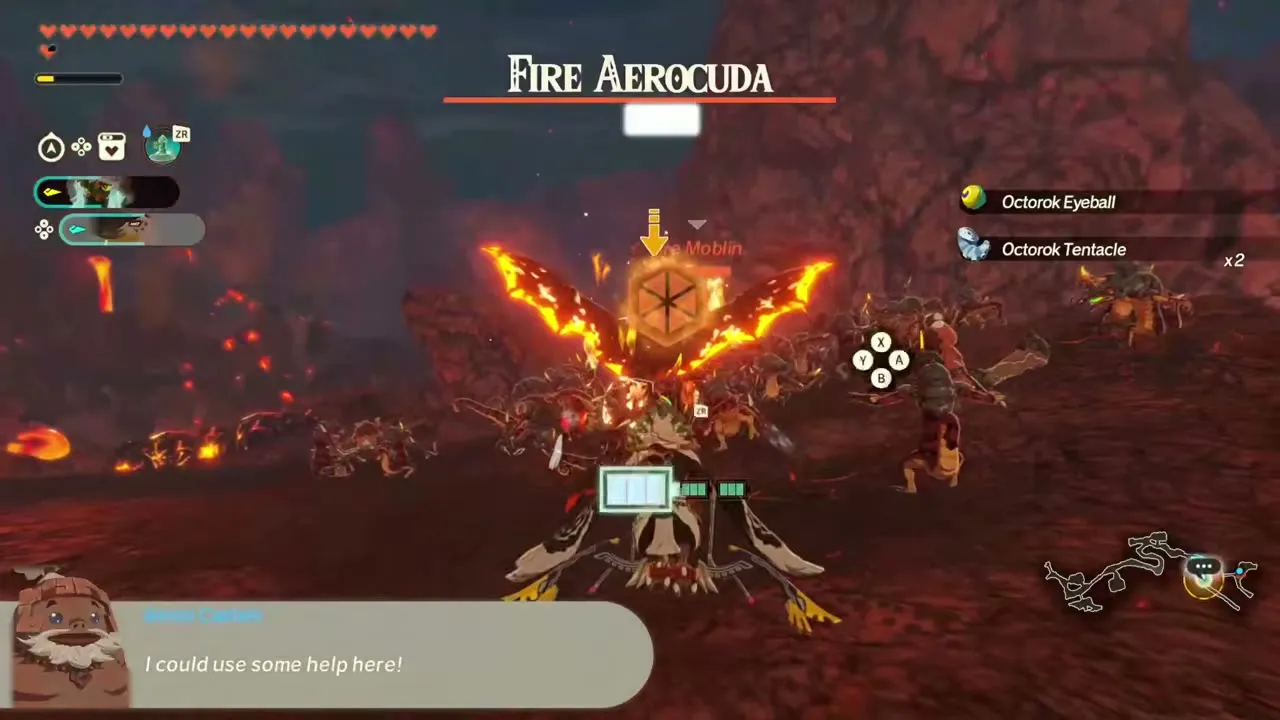
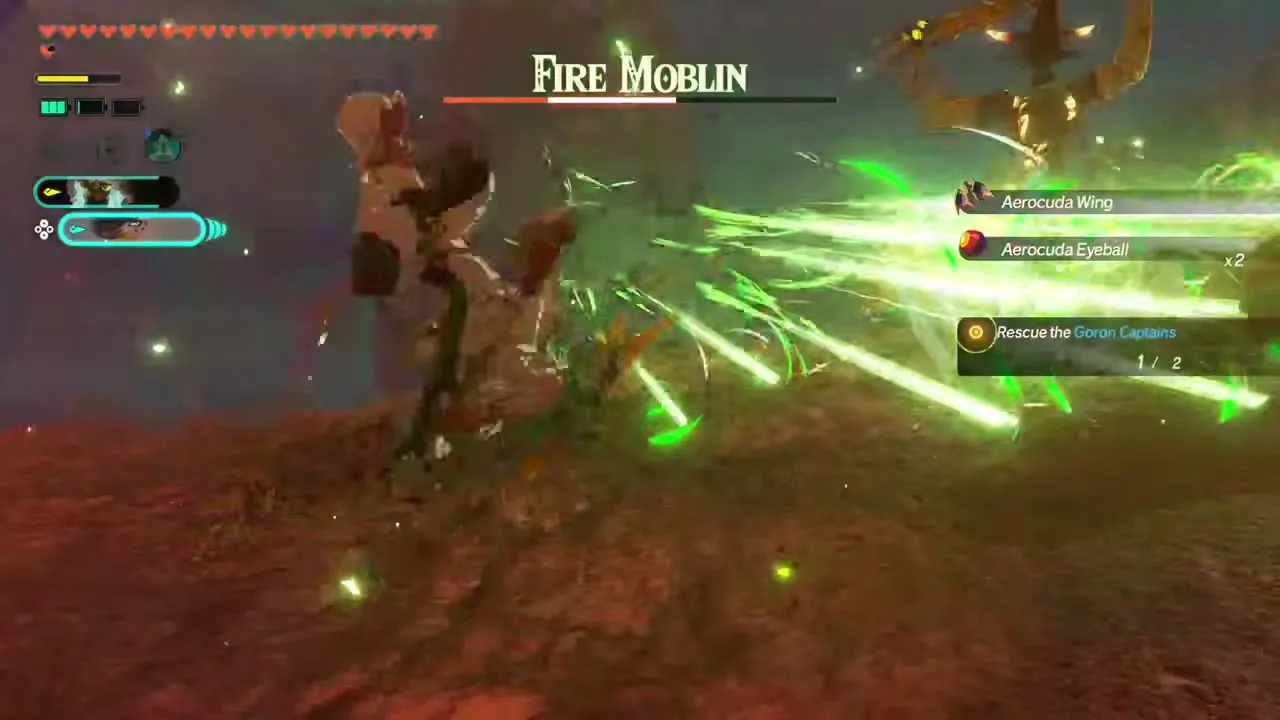
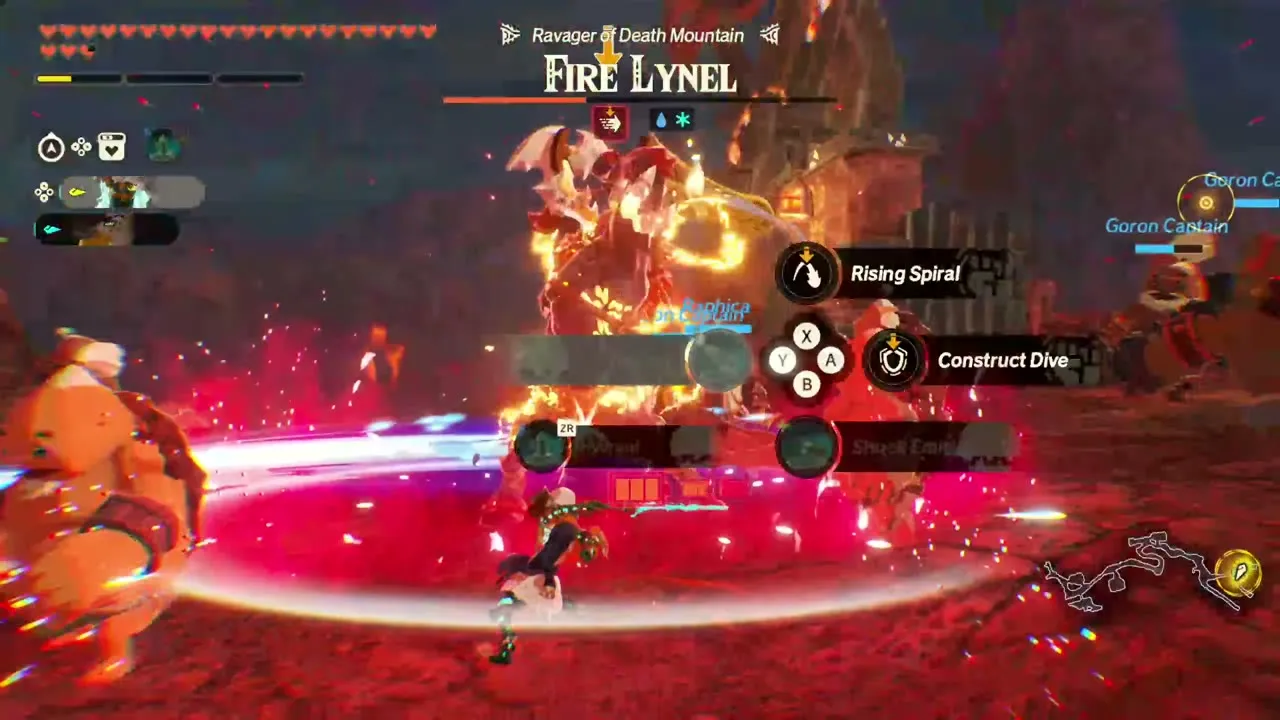
Recommended level 42, in Death Mountain. Extremely powerful monsters ignore the volcano’s heat and rampage across Death Mountain, so you go to protect the Gorons. It appears after you clear Unfazed by the Sweltering Volcano. Expect Fire-Breath Lizalfos, Fire Lynel, Fire Moblin, Fire Aerocuda and Rock Octorok on the field. Any warriors you like can take part. The objectives are to rescue the Goron Captain and defeat the monsters attacking him, with a Fire Aerocuda, a Fire Moblin and a Fire Lynel as the main enemies. First-clear reward: Spicy Pepper ×10, Smotherwing Butterfly ×10 and a random weapon.
Cleansing the Seres Scablands
Recommended level 42, in Seres Scablands. A bold, deliberate monster assault hits the reinforced Hyrulean defences in the Seres Scablands, and you intercept the strong foes behind it. It appears after you clear Purging the Scablands. Any warriors you like can take part. Expect Black Lizalfos, Black Boss Bokoblin and Black Hinox on the field. The objectives are to defeat the monsters ravaging the Seres Scablands, then a Black Boss Bokoblin and finally a Black Hinox within the time limit. First-clear reward: Thunderwing Butterfly ×10, Mighty Bananas ×10 and a random weapon.
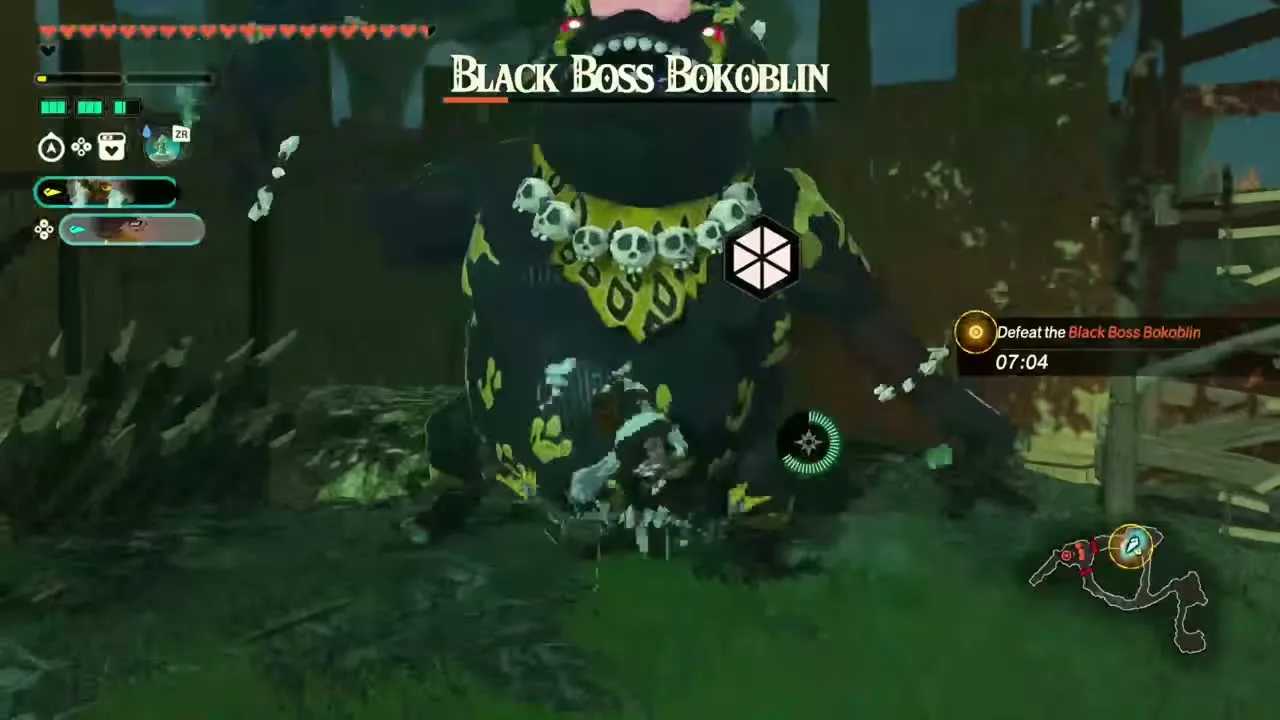
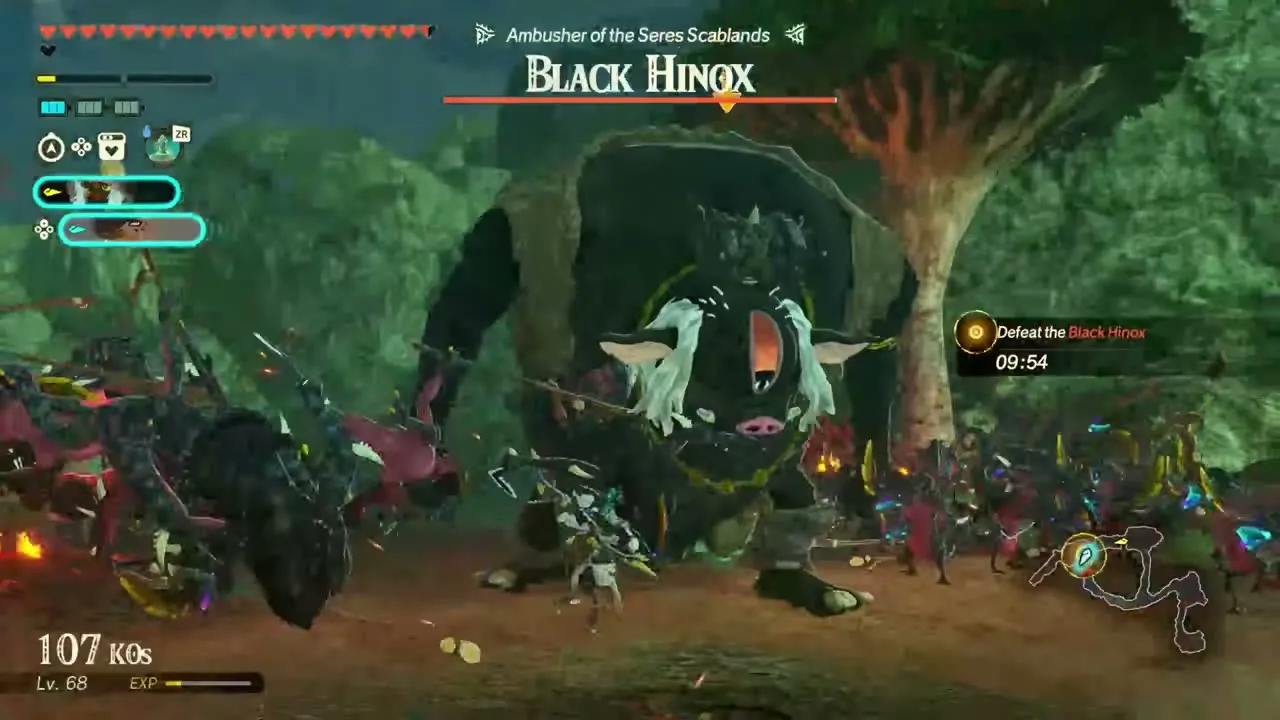
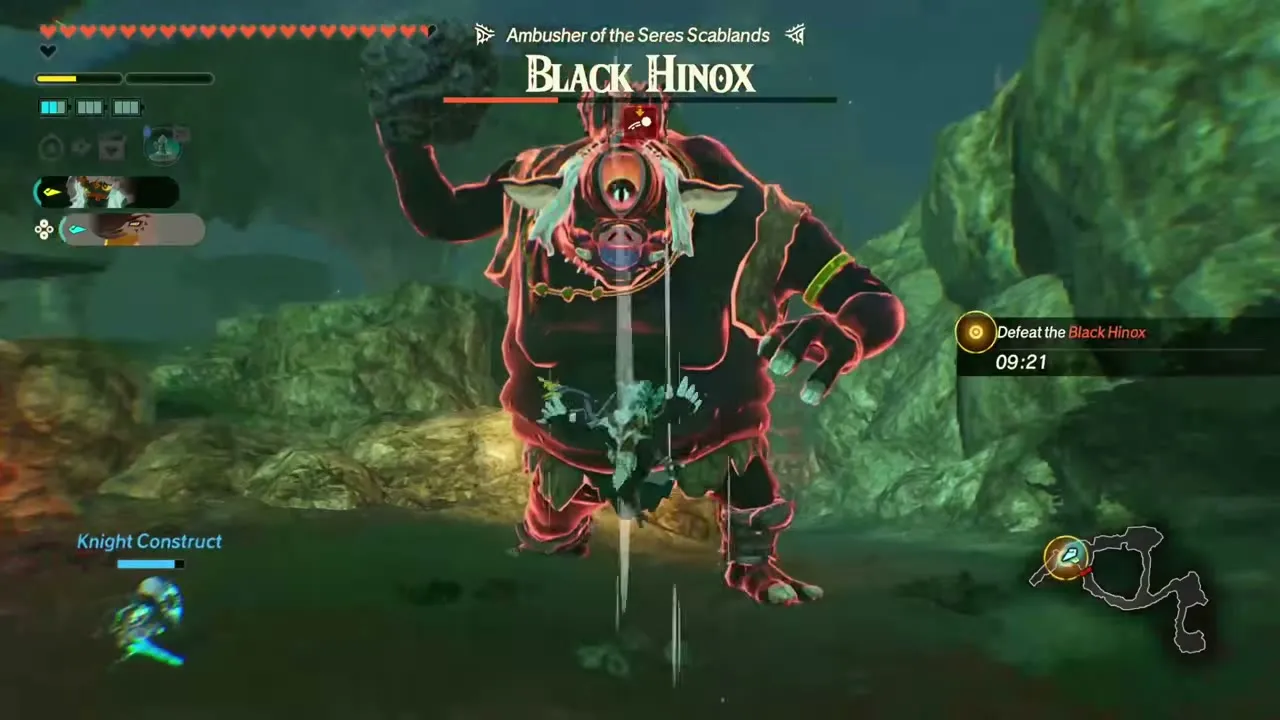
Struggle at the Depths Outpost
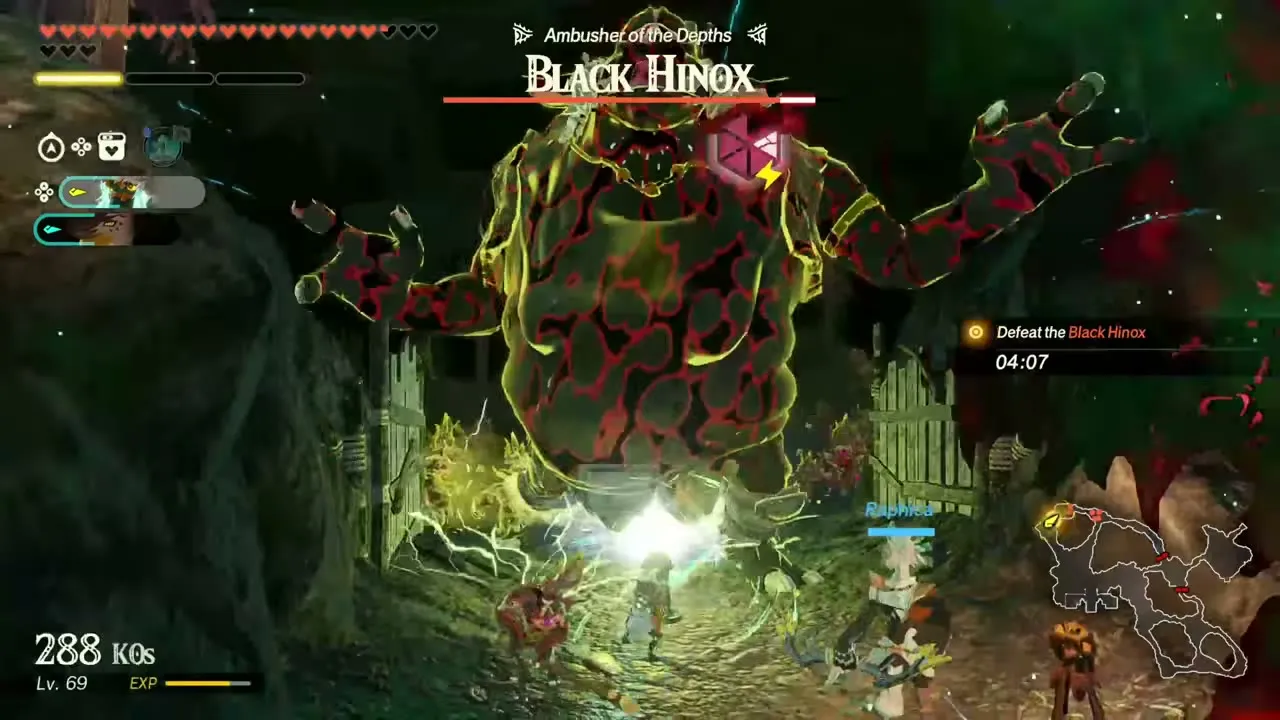
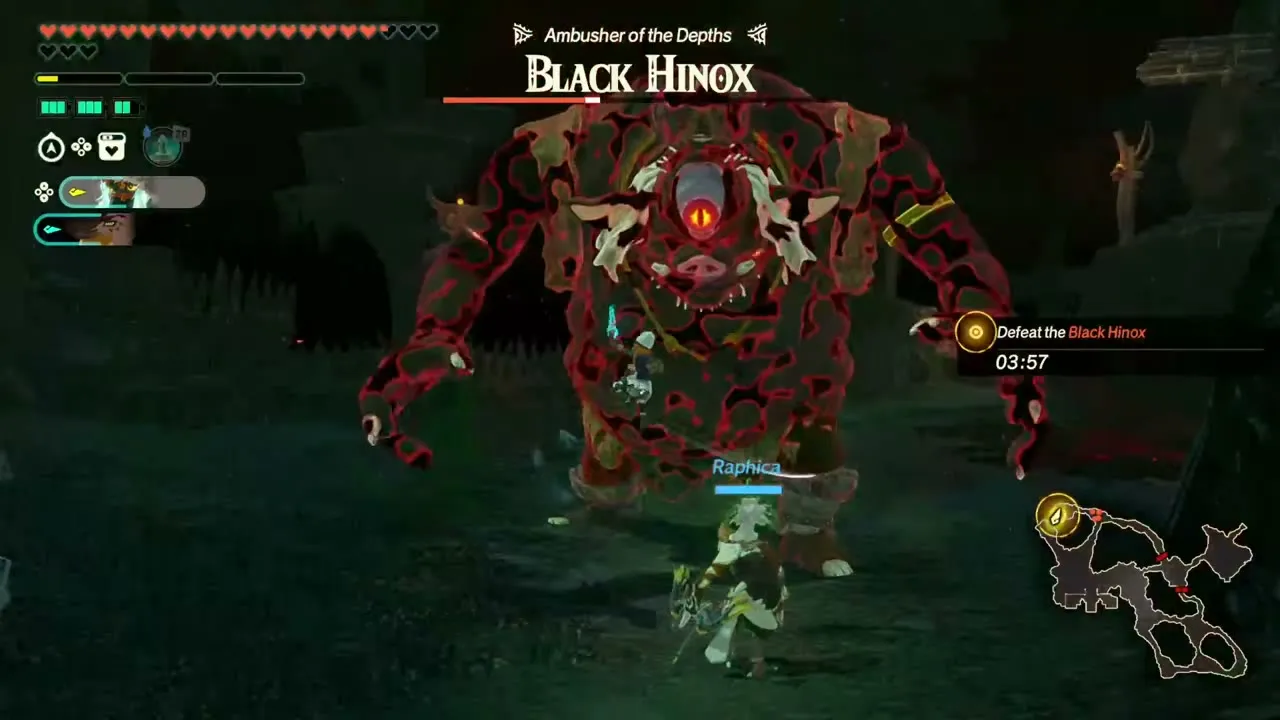
Recommended level 42, in Depths Outpost. A gloom-covered pack is closing in on an outpost in the Depths, and you wipe out the strong monsters before their plan works. Any warriors you like can take part. Expect Evermean (Depths), Black Bokoblin, Black Moblin, Black Lizalfos and Black Hinox on the field. It appears after you clear Defending Against the Gloom. The objectives are to defeat a Black Moblin and its allies and then a Black Hinox, Ambusher of the Depths, within the time limit. First-clear reward: Sunset Firefly ×10, Cold Darner ×10 and Zonaite Steel (Spear) ×1.
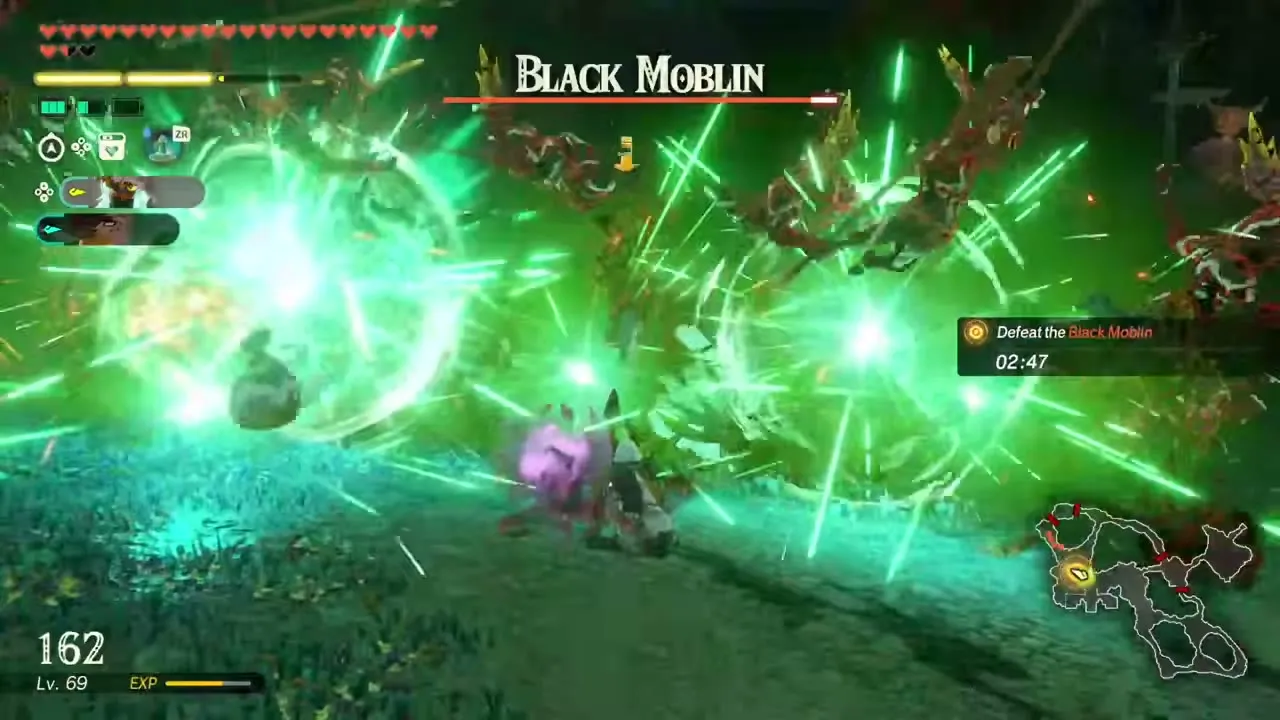
Defending Eastern Hyrule Forest
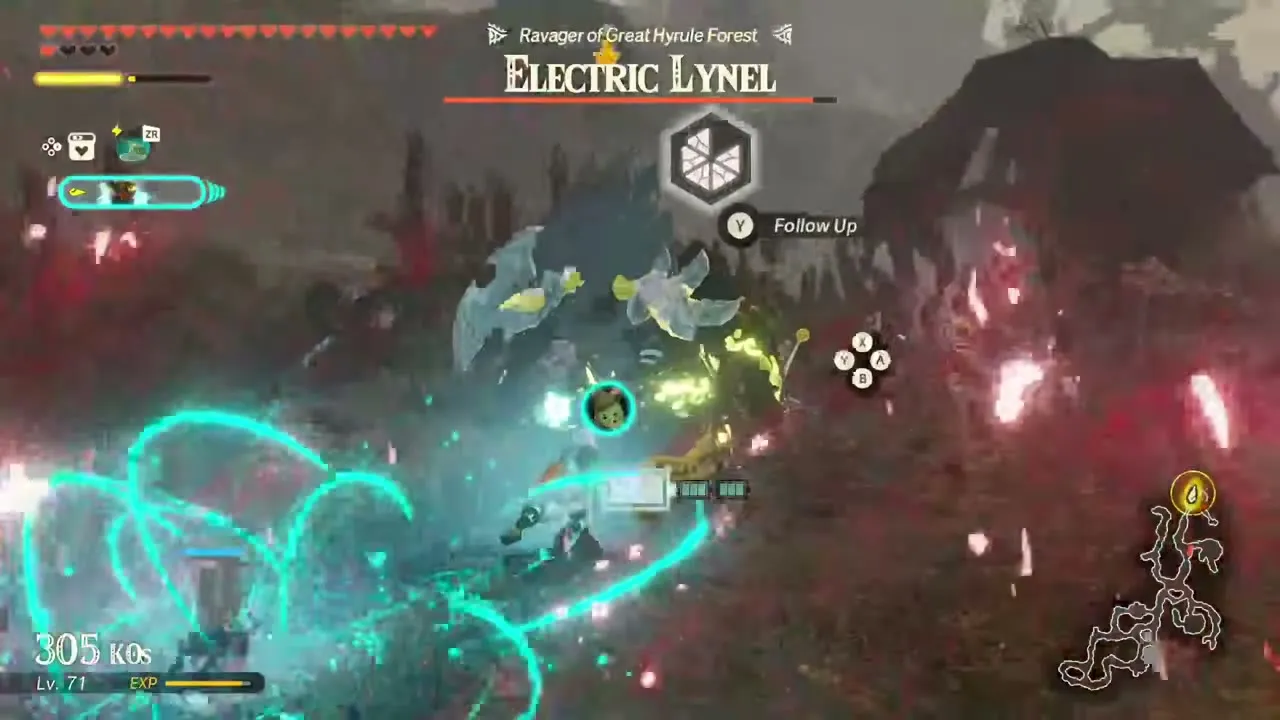
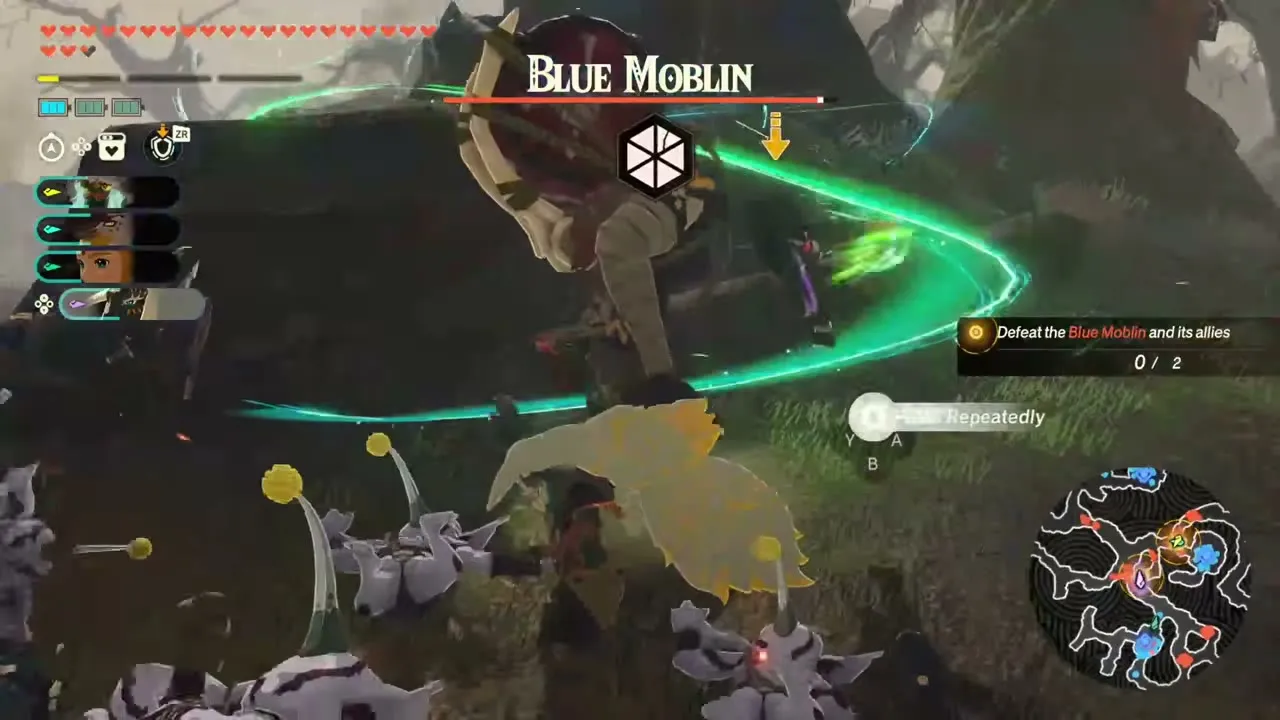
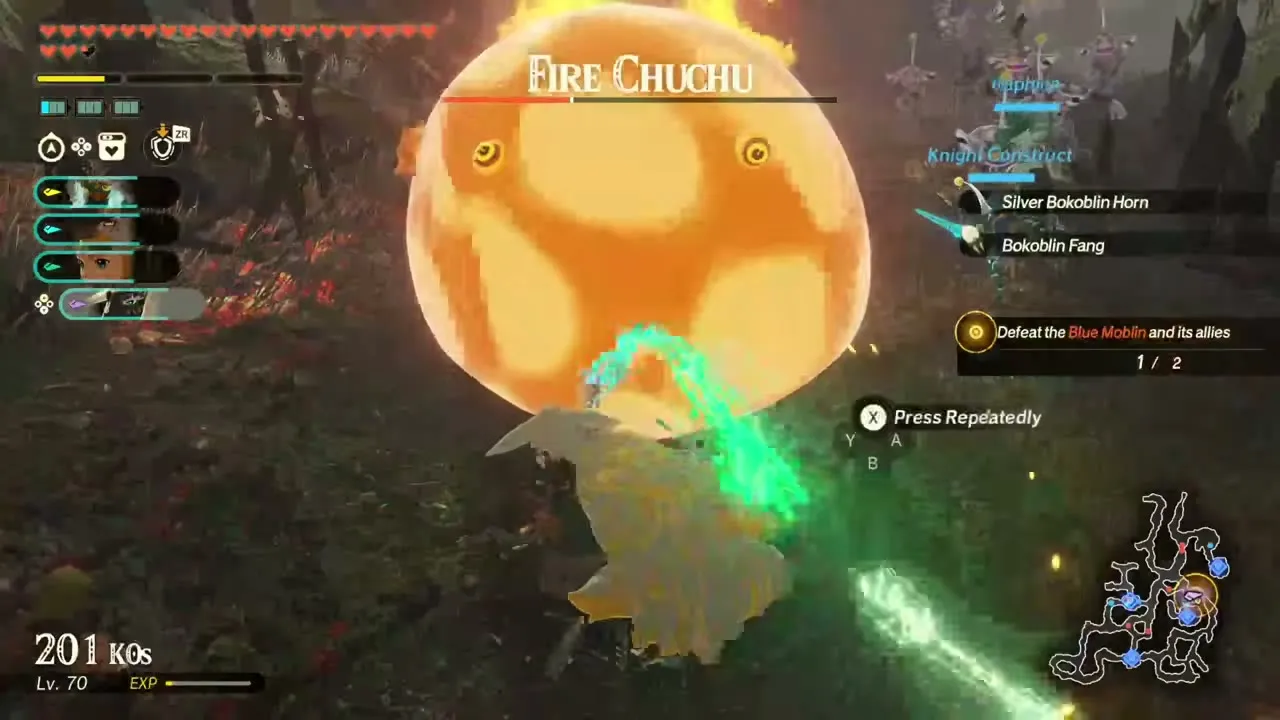
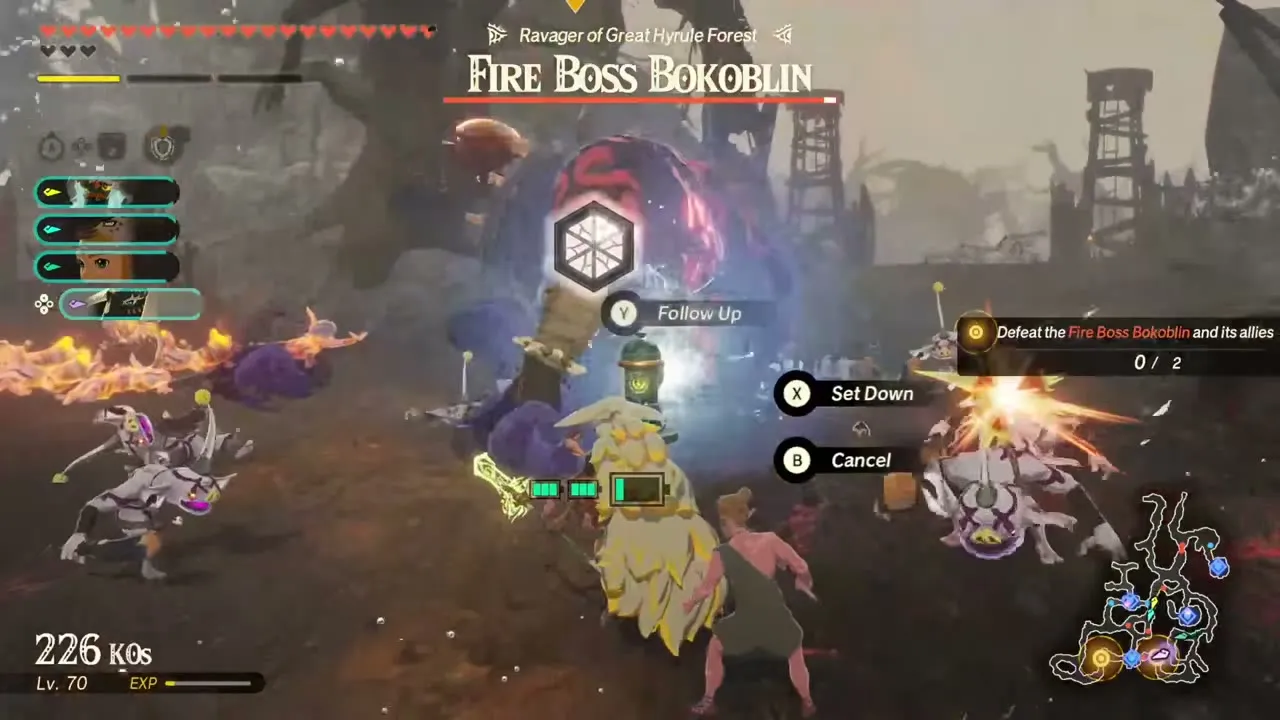
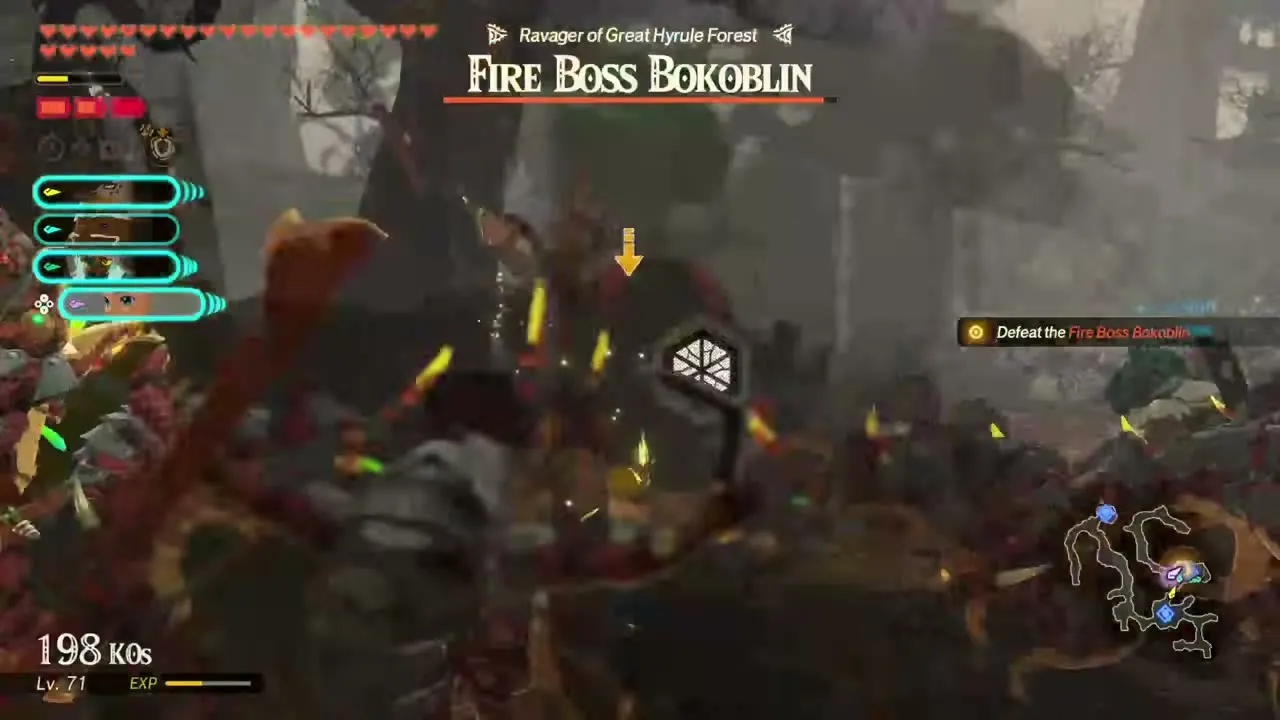
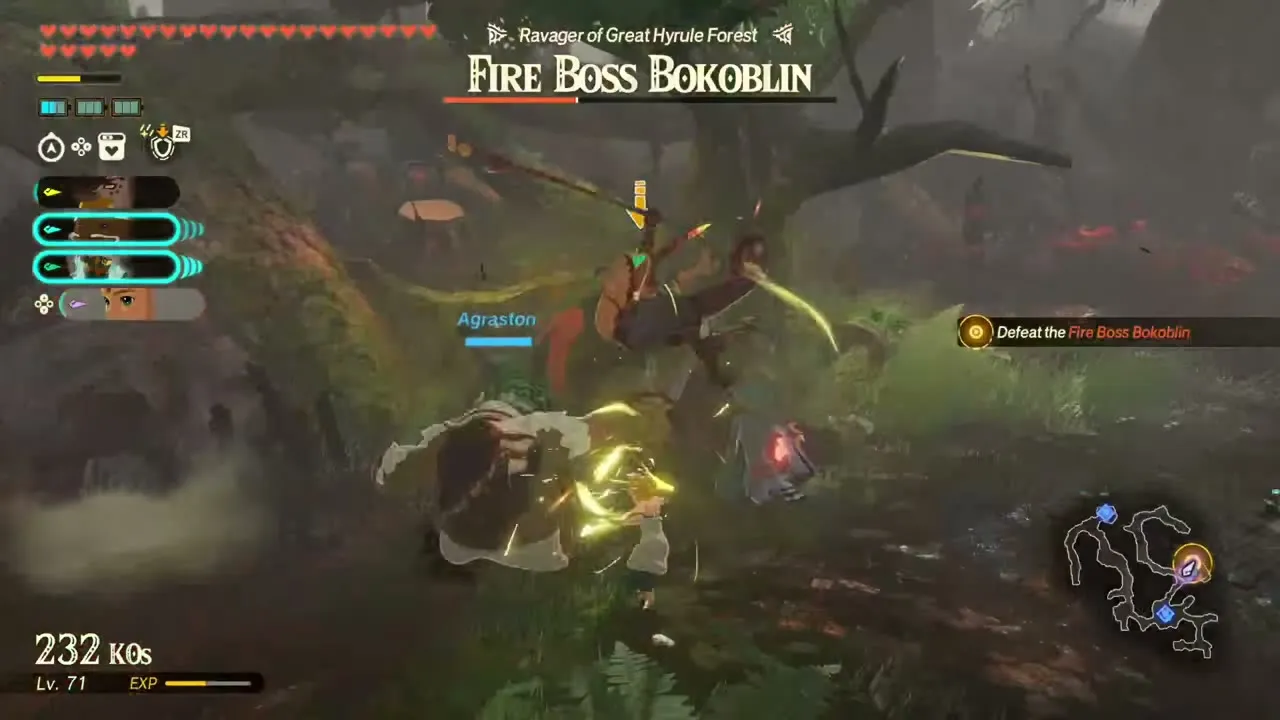
Recommended level 44, in Great Hyrule Forest. Great Hyrule Forest is still being attacked even though Grimgibdo has fallen, and this battle covers its eastern side. Any warriors you like can take part. The objectives are to defend four outposts, then defeat a Blue Moblin, a Fire Chuchu and a Fire Boss Bokoblin, Ravager of Great Hyrule Forest. First-clear reward: Golden Apple ×10, Korok Frond ×10, Zonaite Steel (Pristine) ×1, 3 Korok Seeds and a random weapon.
Defending Western Hyrule Forest
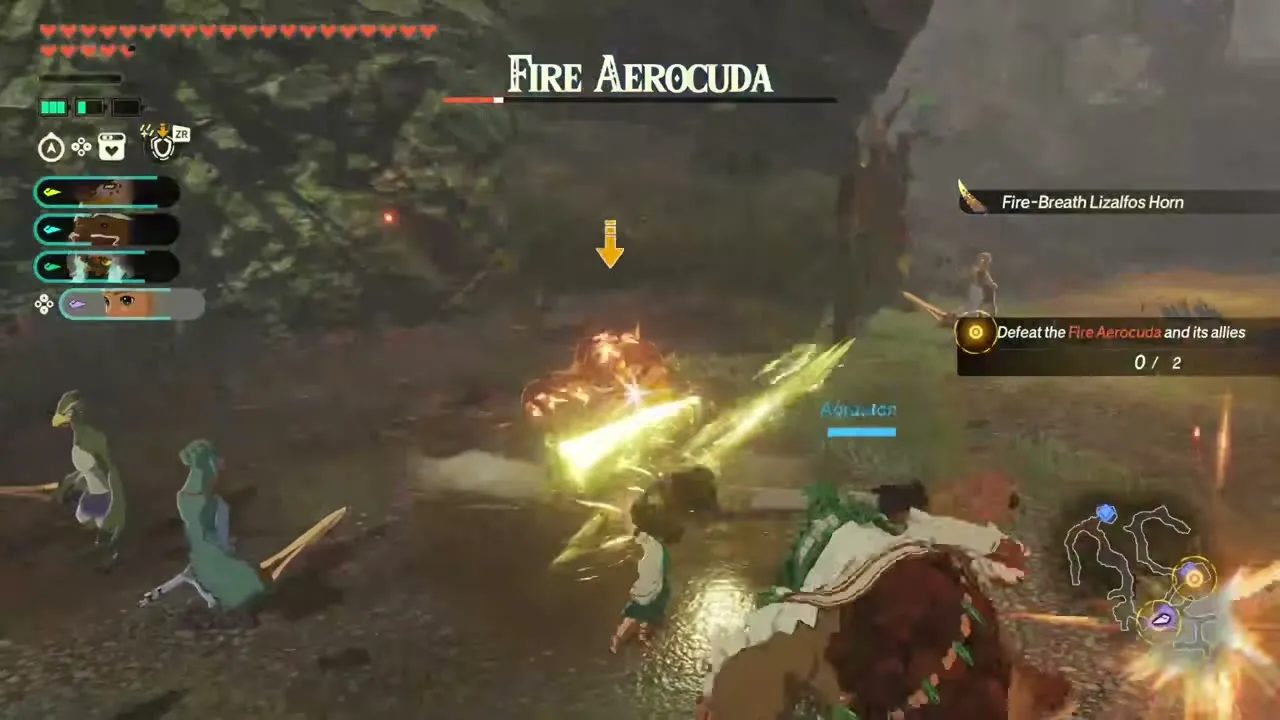
Recommended level 44, in Great Hyrule Forest. More monsters have pushed into Great Hyrule Forest and even the forest’s sacred power cannot expel them, so you clear the western side. Any warriors you like can take part. The objectives are to keep the outposts from falling and to defeat a Fire Aerocuda and a Fire Boss Bokoblin. First-clear reward: Hearty Truffle ×10, Swift Carrot ×10, Zonaite Steel (One-Handed) ×1, Zonaite Steel (Pristine) ×1 and 5 Korok Seeds.
Two Brave Warriors
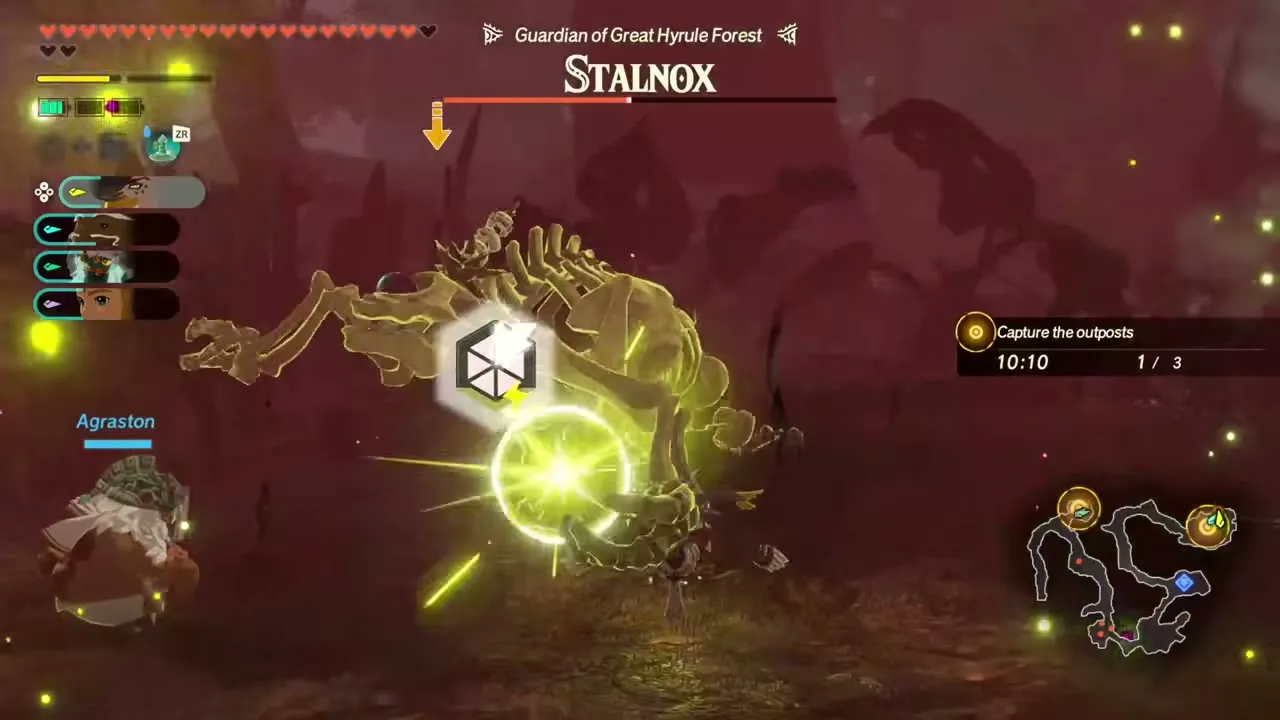
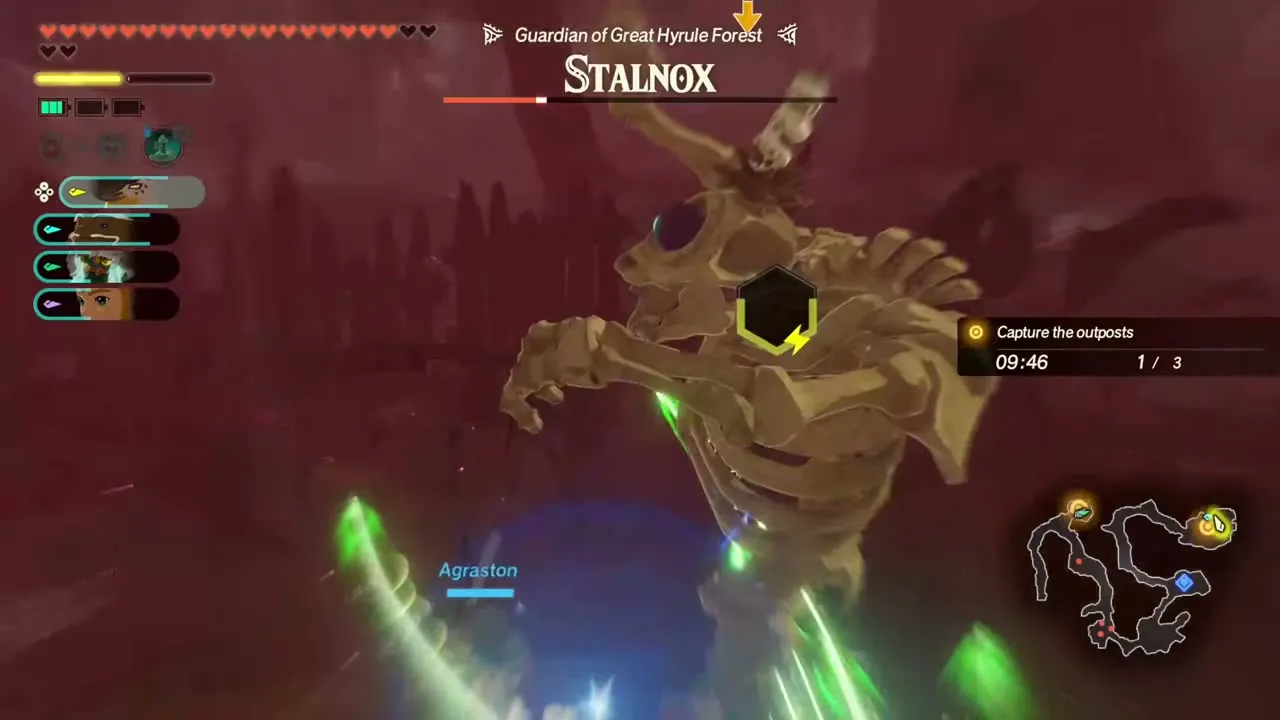
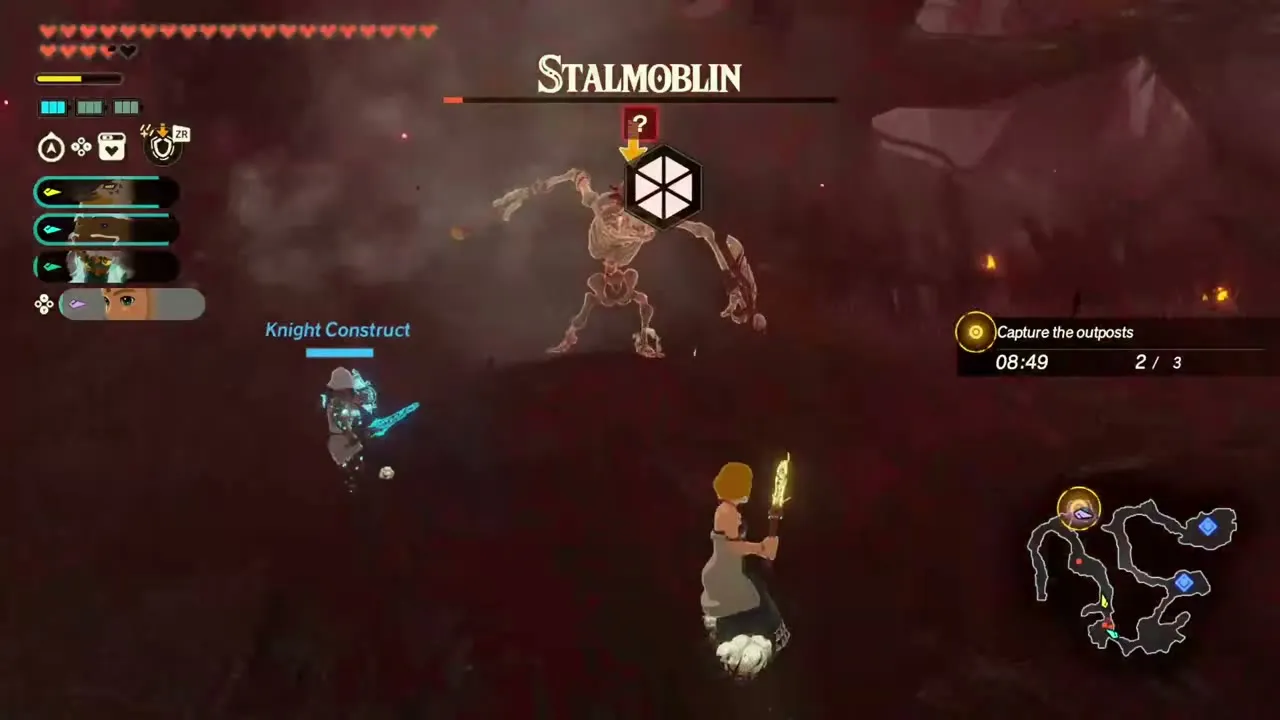
Recommended level 44, in Great Hyrule Forest. Monsters hold Great Hyrule Forest, and Raphica and Agraston join forces to take back its outposts. It opens once Fire and Sand is complete. You fight as Raphica and Agraston plus two other warriors of your choice. The battlefield has Mighty Bananas and Chickaloo Tree Nut to gather. The objective is to capture three outposts within the time limit, with a Stalnox, Guardian of Great Hyrule Forest, and a Stalmoblin as the main enemies. First-clear reward: Tireless Frog ×10, Hearty Truffle ×10, Zonaite Steel (Bow) ×1, 800 Rupees and 3 Korok Seeds.
Shouldering Guilt
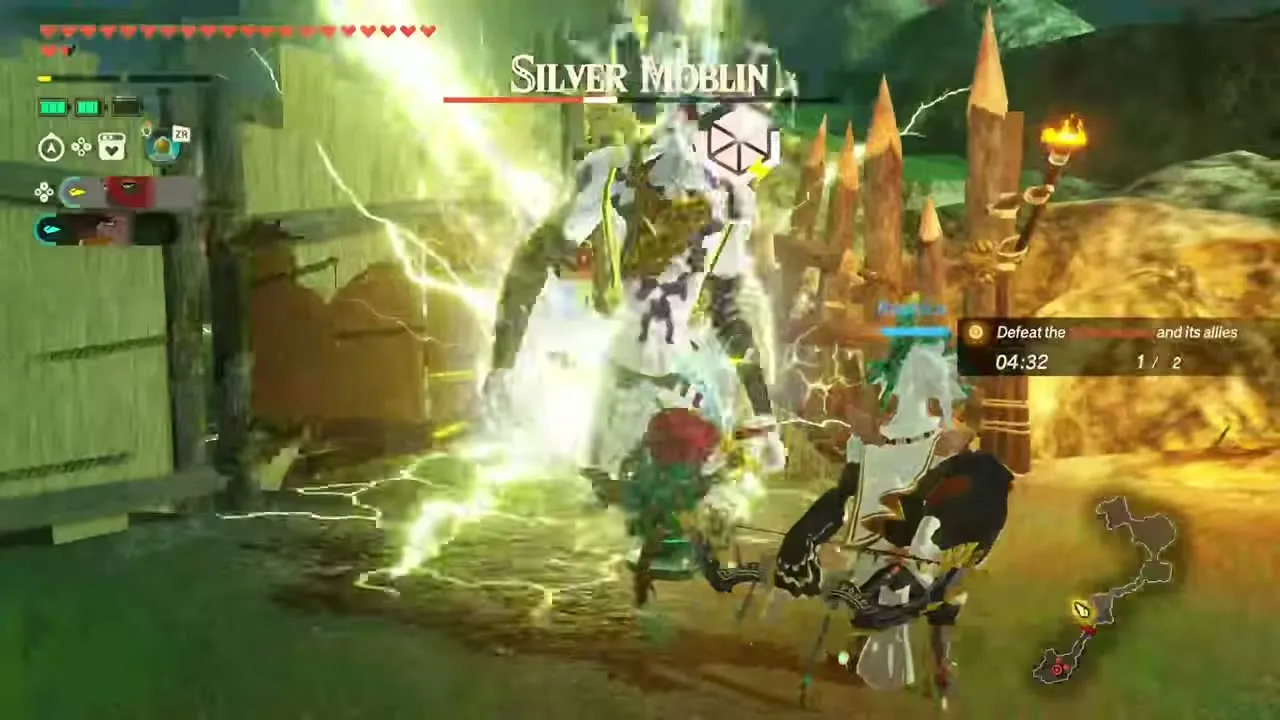
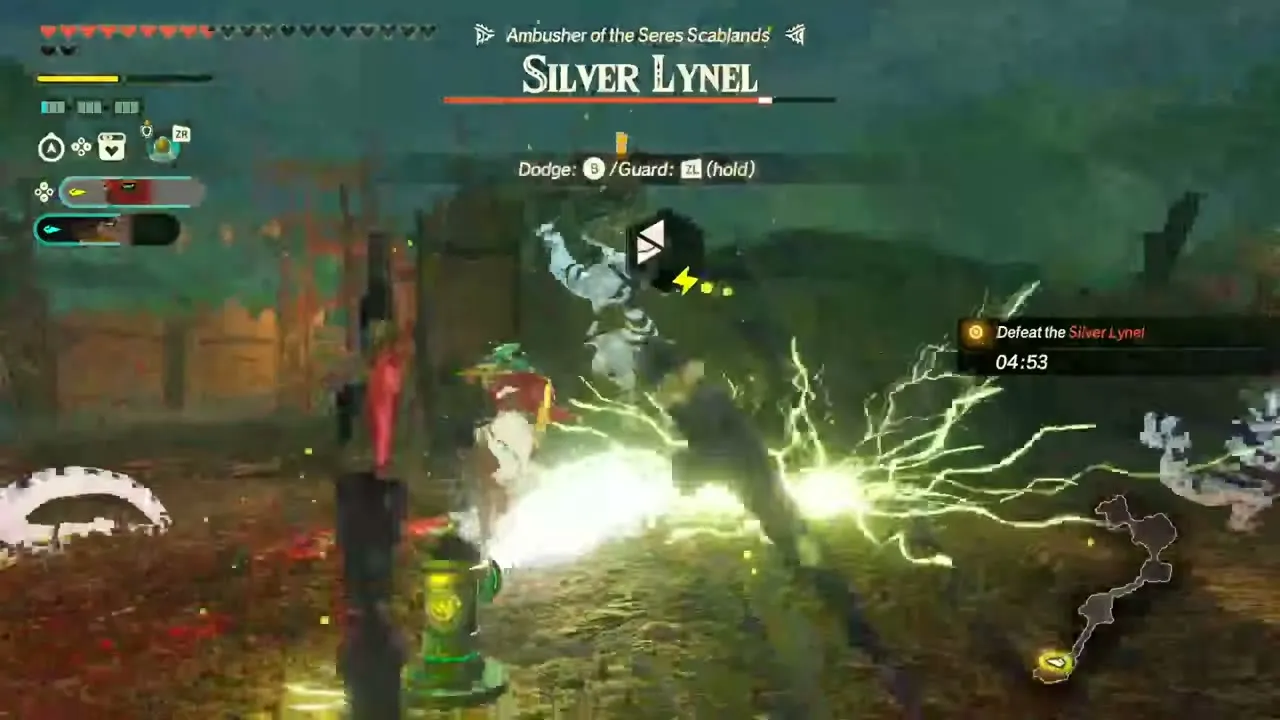
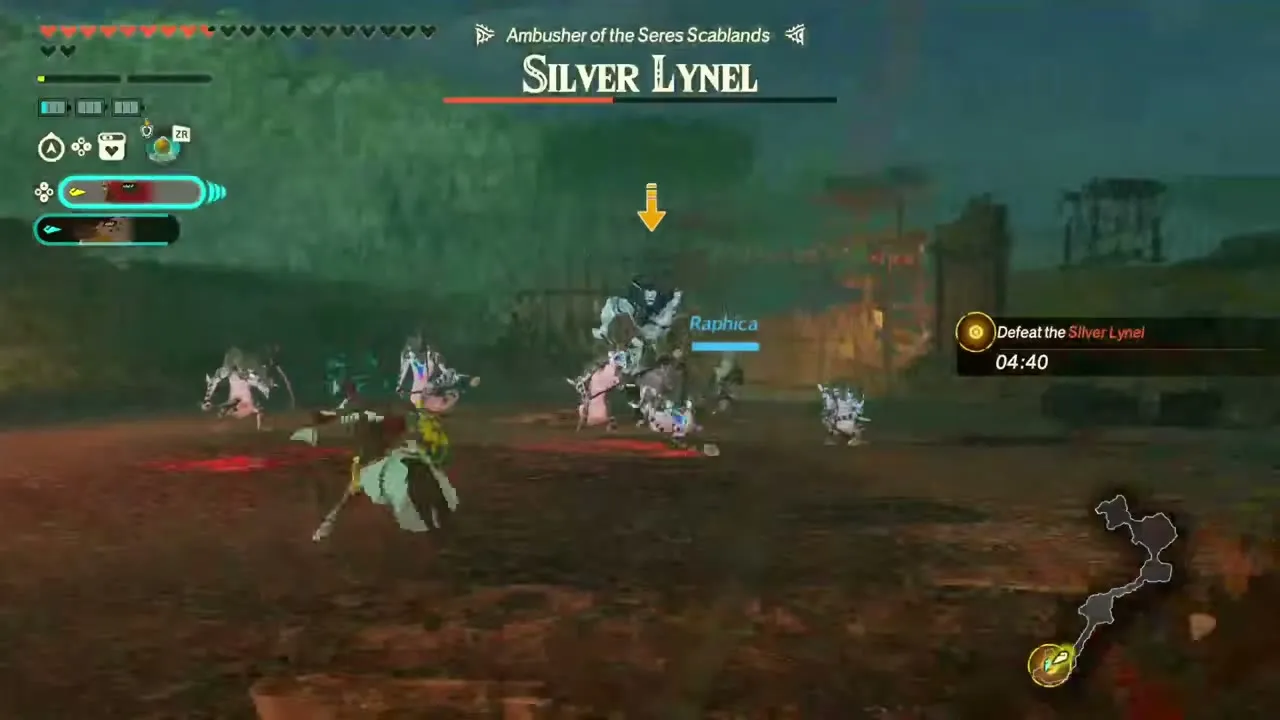
Recommended level 44, in Seres Scablands. Ardi hunts monsters from dawn to dusk, weighed down by the fact that the Gerudo gave rise to the Demon King, and Raphica tries to ease her mind. It opens once Fire and Sand is complete. Expect Silver Lizalfos, Silver Bokoblin, Silver Lynel and Silver Moblin on the field. The warriors are fixed: Ardi and Raphica. The objectives are to defeat the monsters ravaging the Seres Scablands, including a Silver Moblin and a Silver Lynel, the latter within the time limit. First-clear reward: Voltfruit ×10, Electric Safflina ×10, Hydromelon ×10, Zonaite Steel (Bow) ×1 and 800 Rupees.
Calamo and Ardi
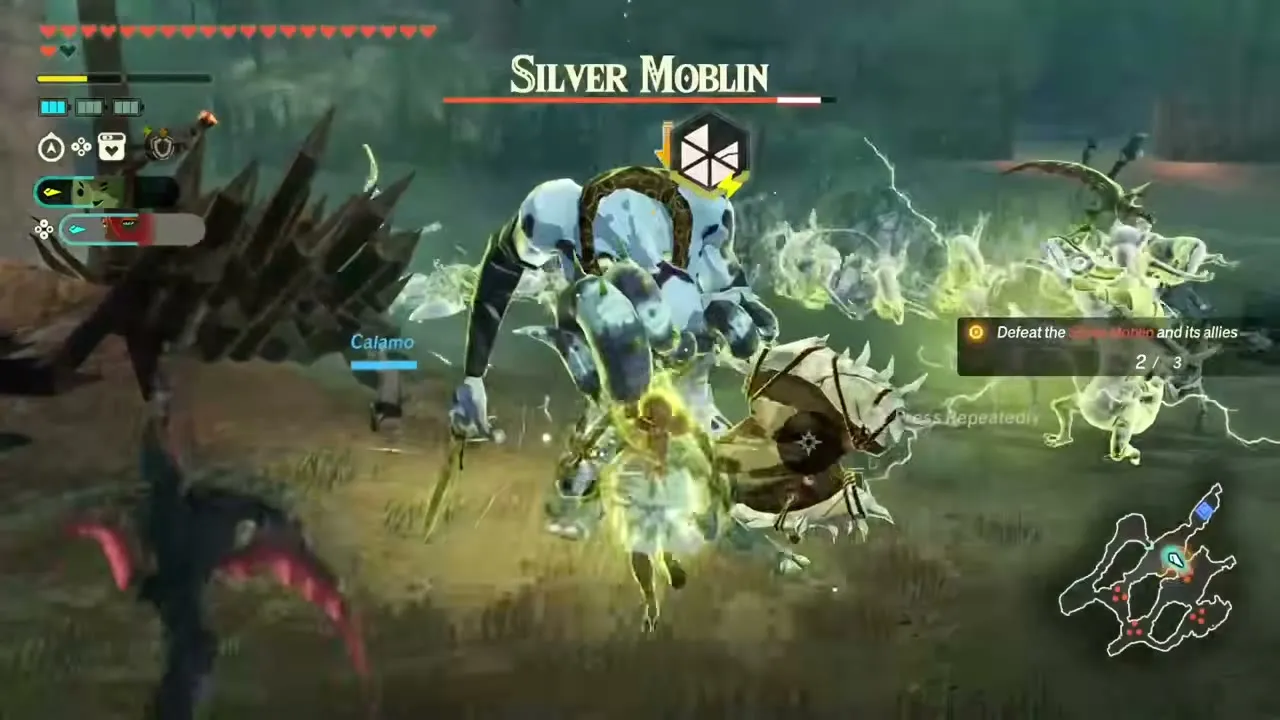
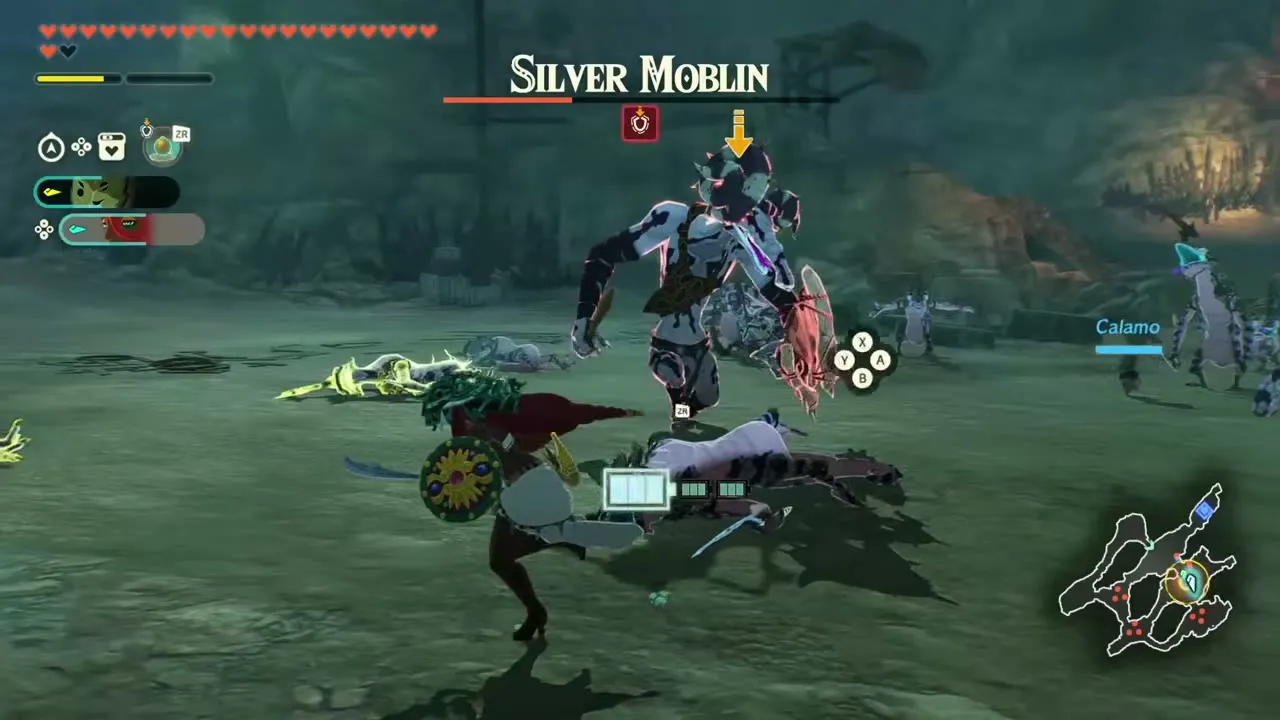
Recommended level 44, in Tanagar Canyon Temple. A horde bears down on the temple in Tanagar Canyon, and Calamo and Ardi fight it together while recalling how oddly they first met. The warriors are fixed: Calamo and Ardi. The objectives are to defeat a Silver Moblin and its allies and an Ice Lynel. First-clear reward: Big Hearty Truffle ×7, Endura Shroom ×10, Zonaite Steel (One-Handed) ×1, Zonaite Steel (Pristine) ×1 and 5 Korok Seeds.
The Cutting Edge of Research
Recommended level 44, in the Depths. The Knight Construct heads into the Depths after detected monsters, with Zelda, Mineru and Calamo tagging along and praising it more and more. The warriors are fixed: Zelda, Mineru and Calamo. Expect Stalkoblin, Black Bokoblin, Black Moblin and White-Maned Lynel on the field. It opens once Fire and Sand is complete. The objectives are to defeat a Black Moblin and then a White-Maned Lynel, Ambassador of the Depths, and the challenge also counts toward the aside quest to deploy Zelda and Calamo to a battle. First-clear reward: Brightcap ×10, Large Zonaite ×7 and Zonaite Steel (One-Handed) ×1.
Trial: The Immovable Boulders
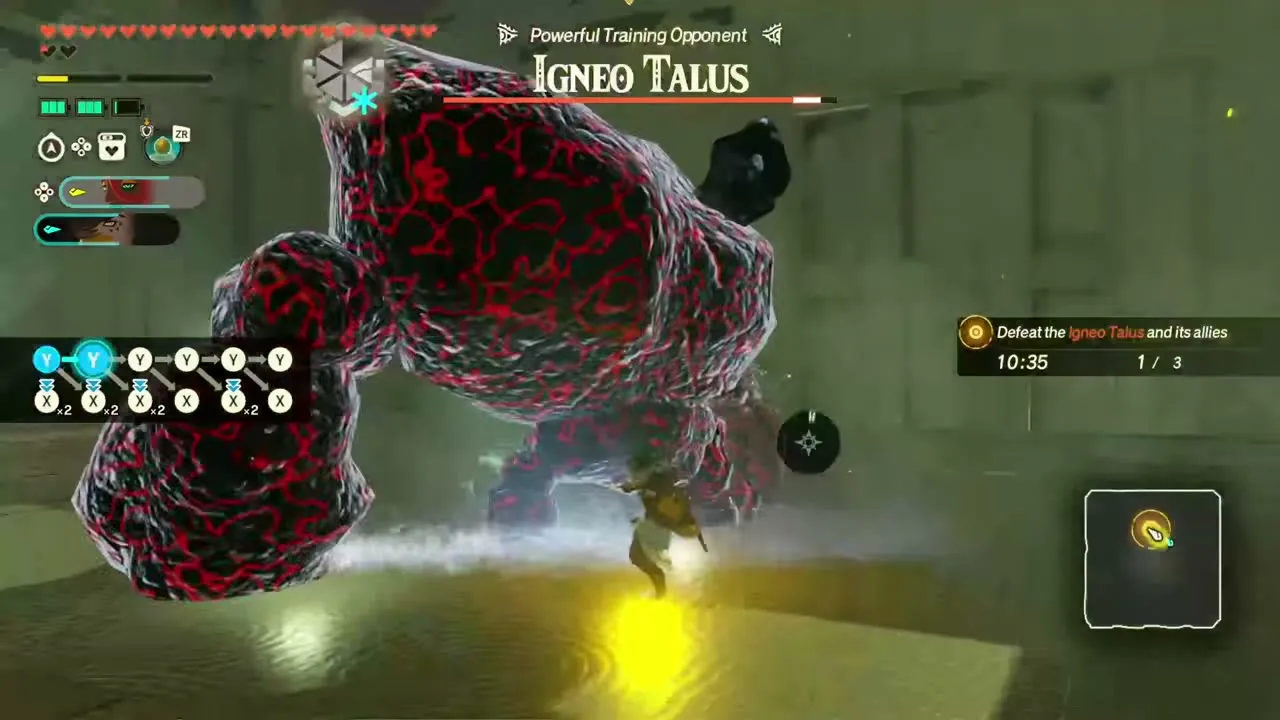
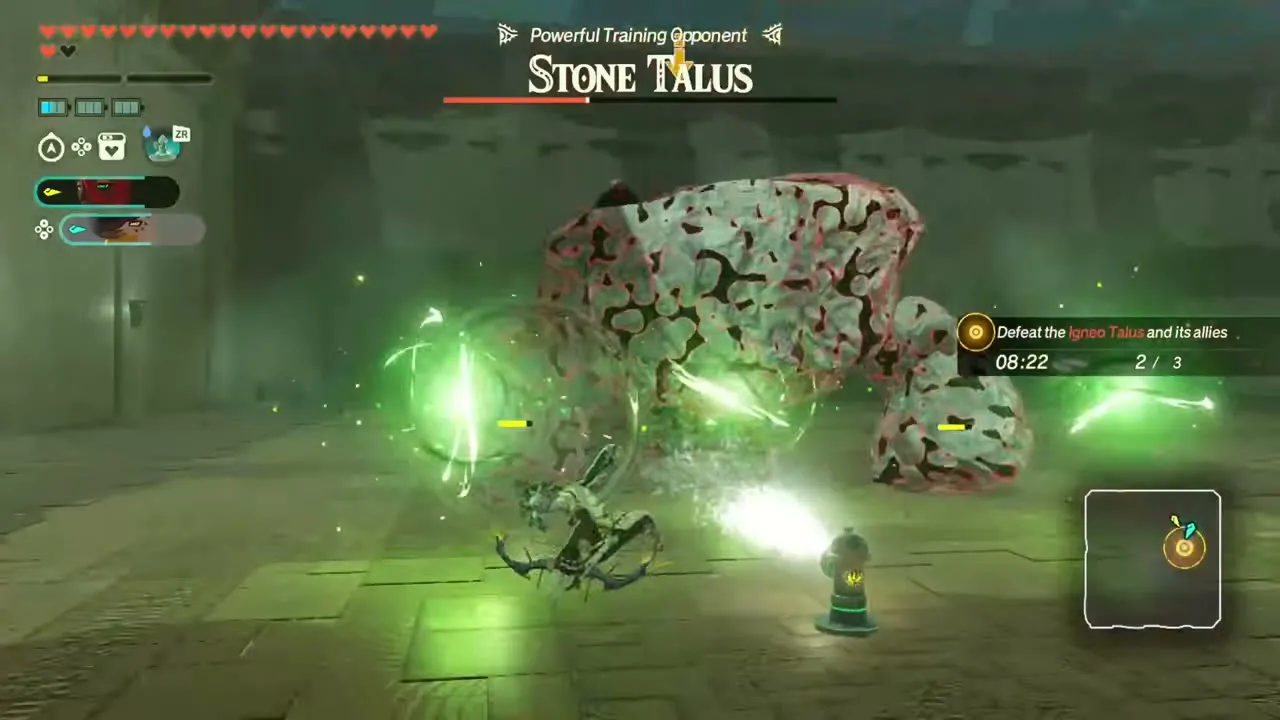
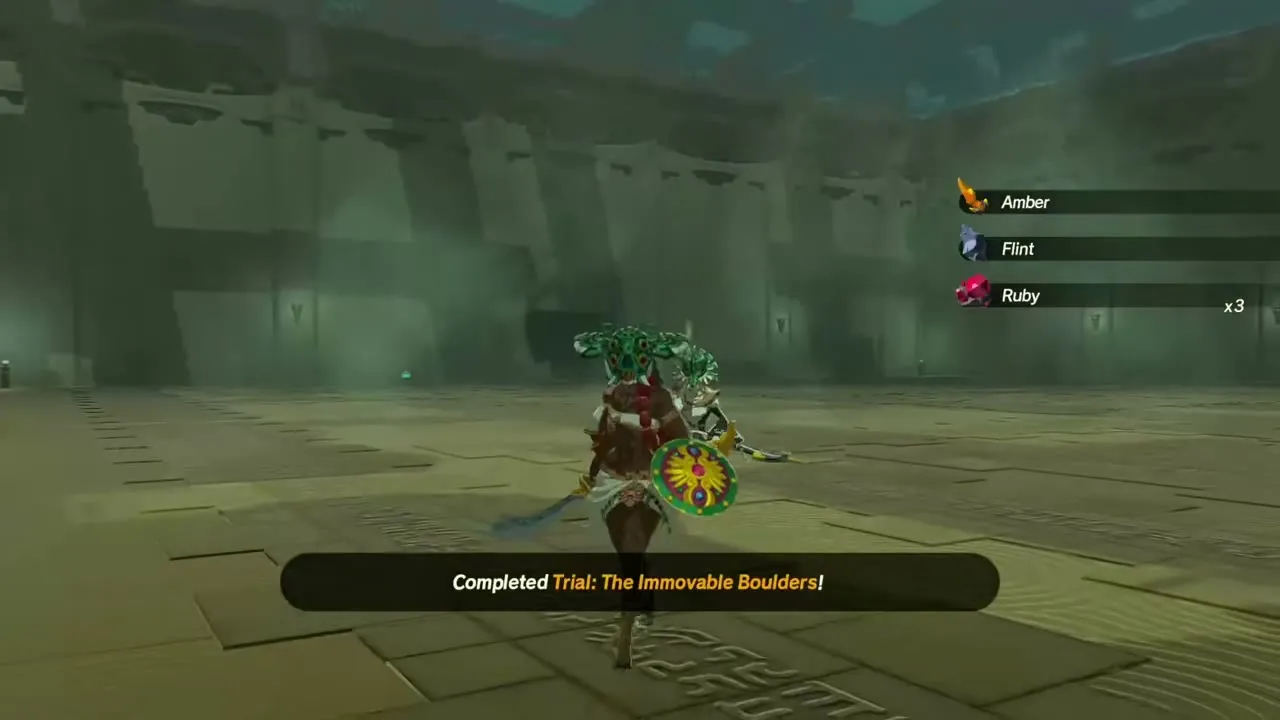
Recommended level 44, in Shrine of Light. Stone Taluses have one weak spot, and the trial is about finding it and bringing them down. Any warriors you like can take part. Expect Stone Talus, Igneo Talus and Frost Talus on the field. It opens once Fire and Sand is complete. The trial is three waves: an Igneo Talus and its allies, then a Stone Talus, and it finishes when all three objectives are met. First-clear reward: Diamond ×1, Topaz ×2, Ruby ×2 and Zonaite Steel (Two-Handed) ×1.
The Traveler’s Homecoming
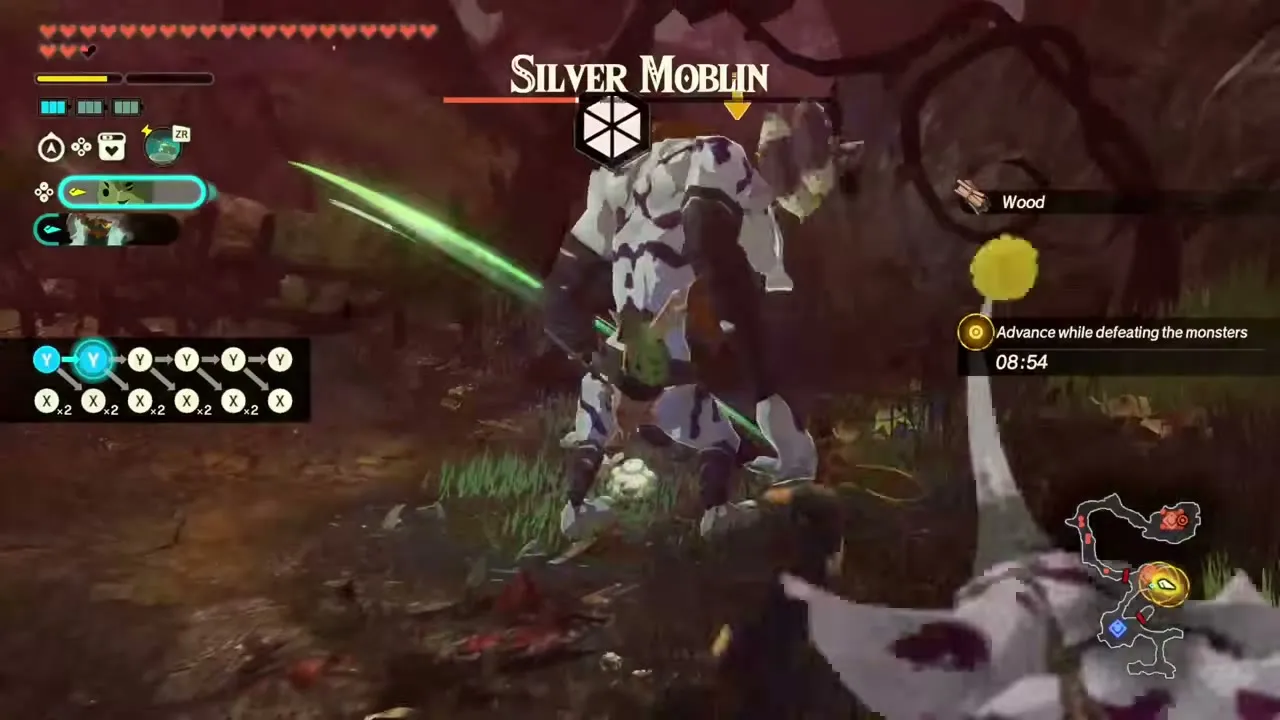
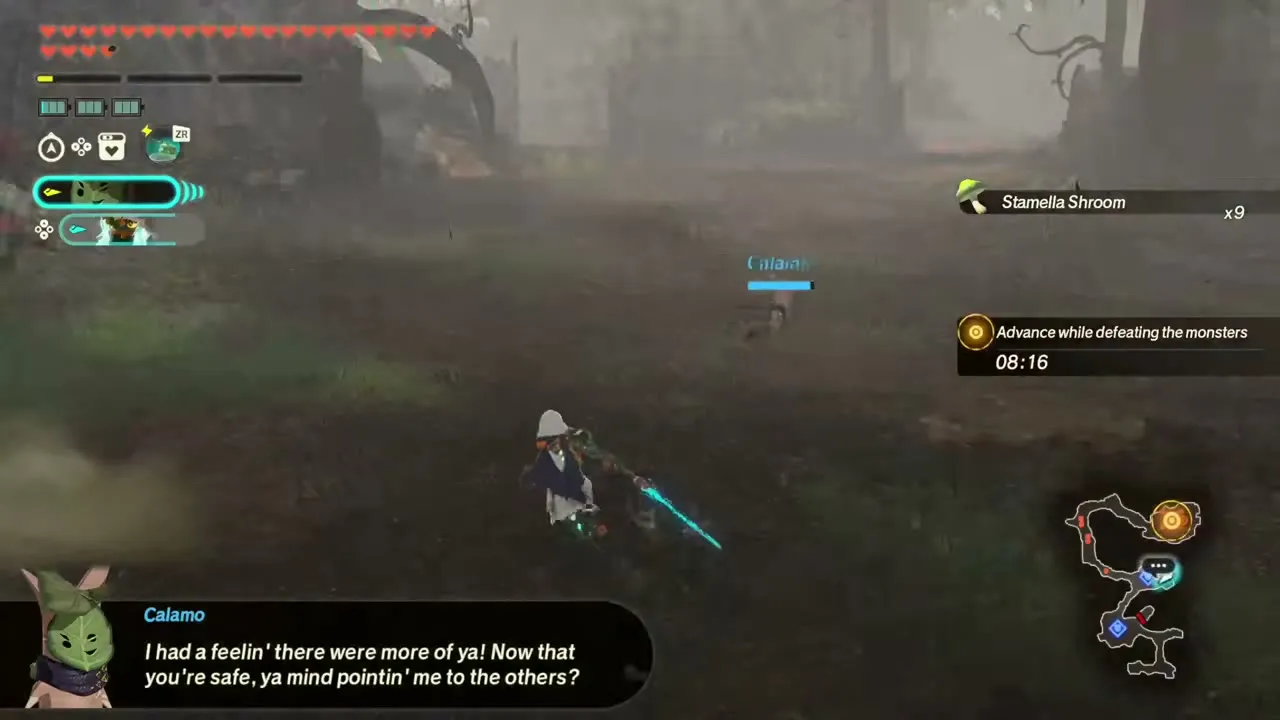
Recommended level 44, in Great Hyrule Forest. Calamo comes back to a Great Hyrule Forest burned beyond recognition, fights the monsters still defiling it and searches for his fellow Koroks. It opens once Fire and Sand is complete. Expect Keese, White-Maned Lynel, Silver Bokoblin and Silver Moblin on the field. You fight as Calamo plus one other warrior of your choice. The battlefield has Stamella Shroom and Flint to gather. The objectives are to search for the Korok while defeating the monsters and advance through the forest, with a Silver Moblin and a White-Maned Lynel as the main enemies, and the battle ends once the Koroks are found. First-clear reward: Chickaloo Tree Nut ×10, Hearty Bass ×10 and Zonaite Steel (One-Handed) ×1.
A Cool Head in Intense Heat
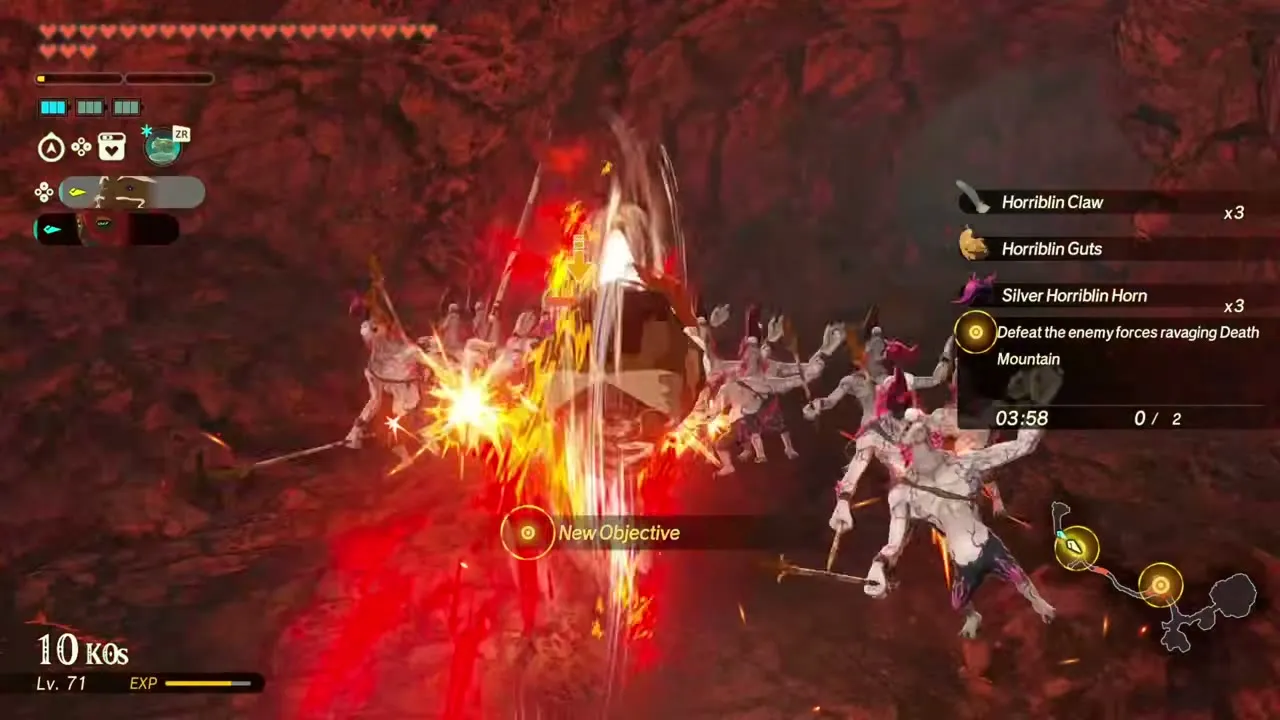
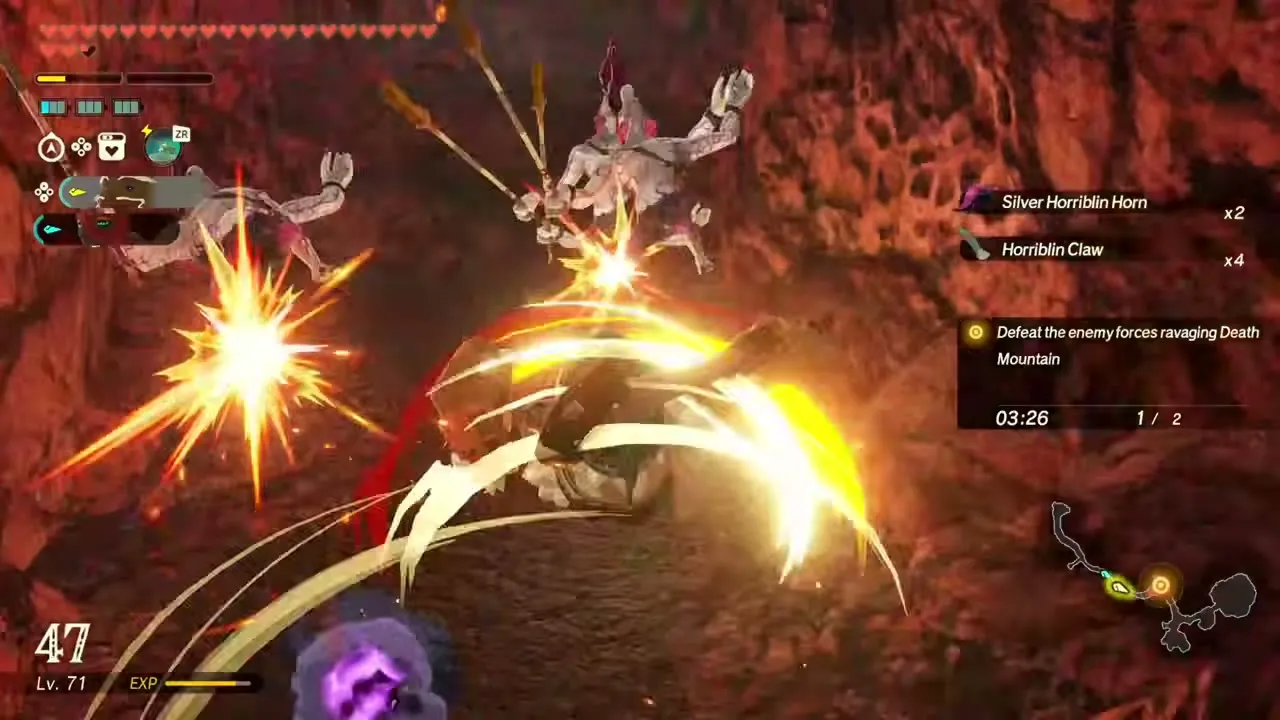
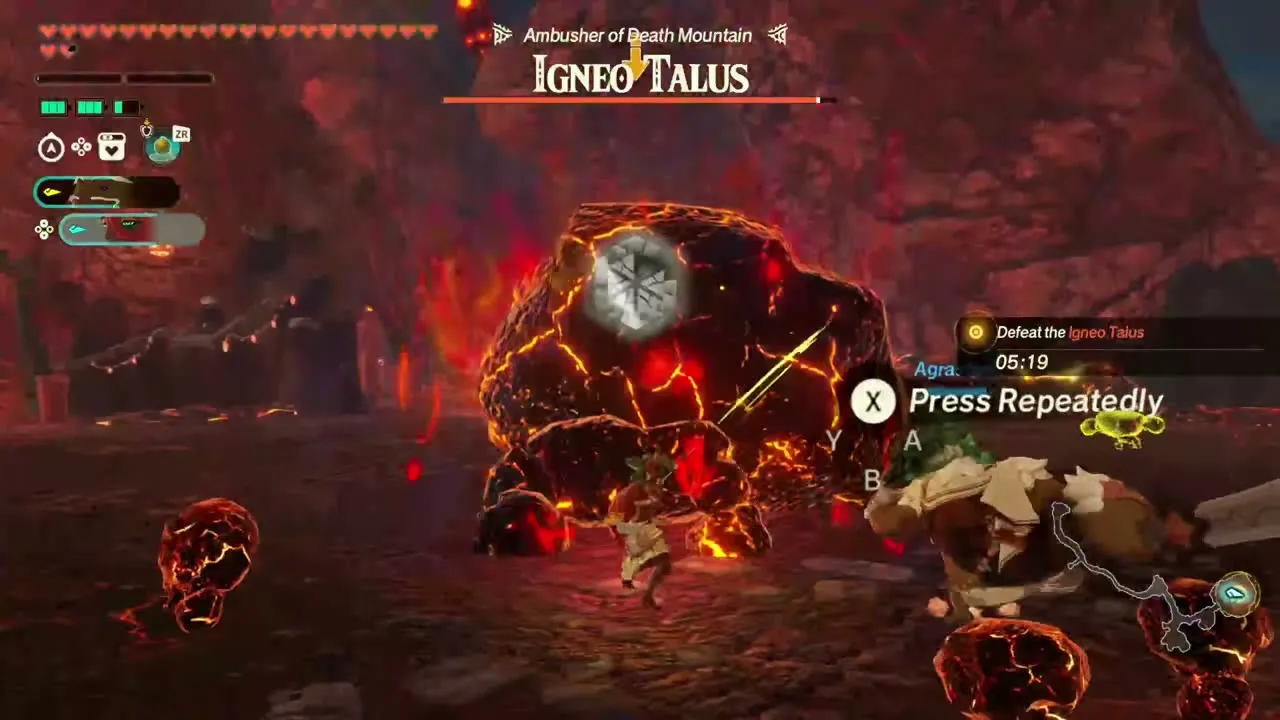
Recommended level 45, in Death Mountain. Death Mountain is full of monsters, and Agraston races in to cut their numbers down. It appears after you clear Training with Agraston. Expect Shade, Igneo Talus, Fire-Breath Lizalfos and Silver Horriblin on the field. You fight as Agraston plus one other warrior of your choice. The objectives are to defeat the enemy forces ravaging Death Mountain, centred on an Igneo Talus, Ambusher of Death Mountain. First-clear reward: Chillfin Trout ×10, Smotherwing Butterfly ×10 and Zonaite Steel (Two-Handed) ×1.
Training with Agraston
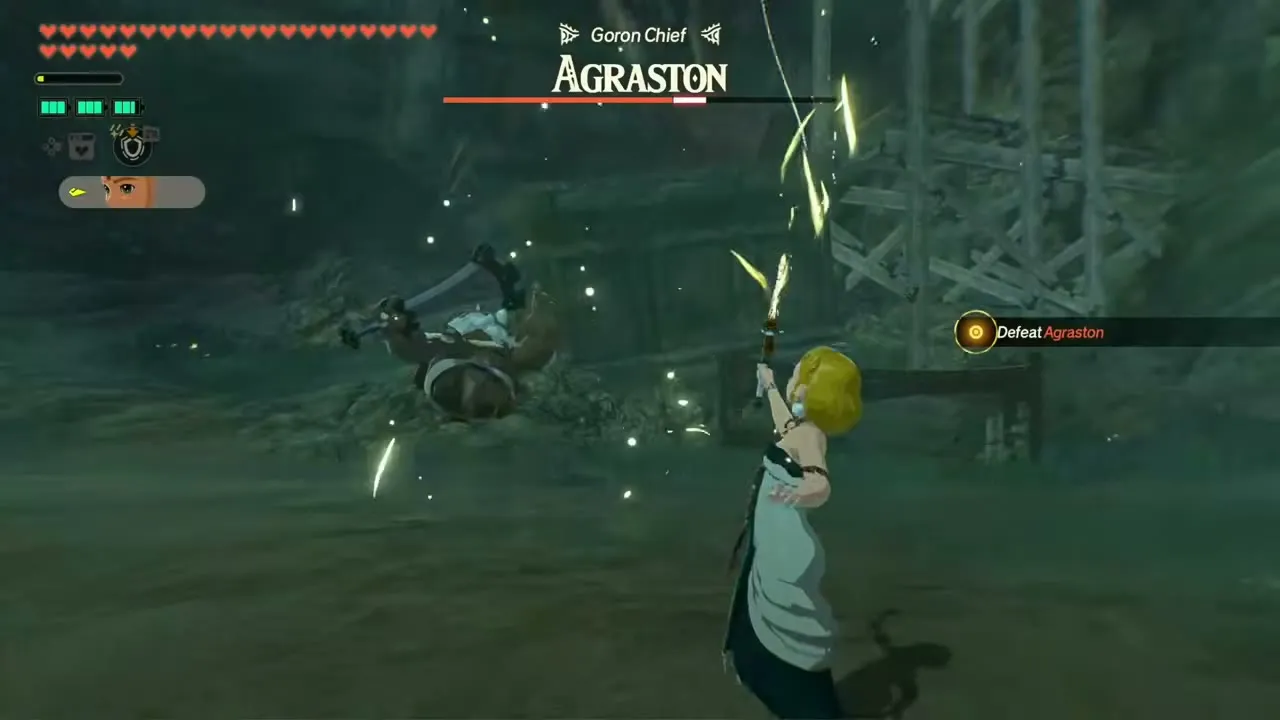
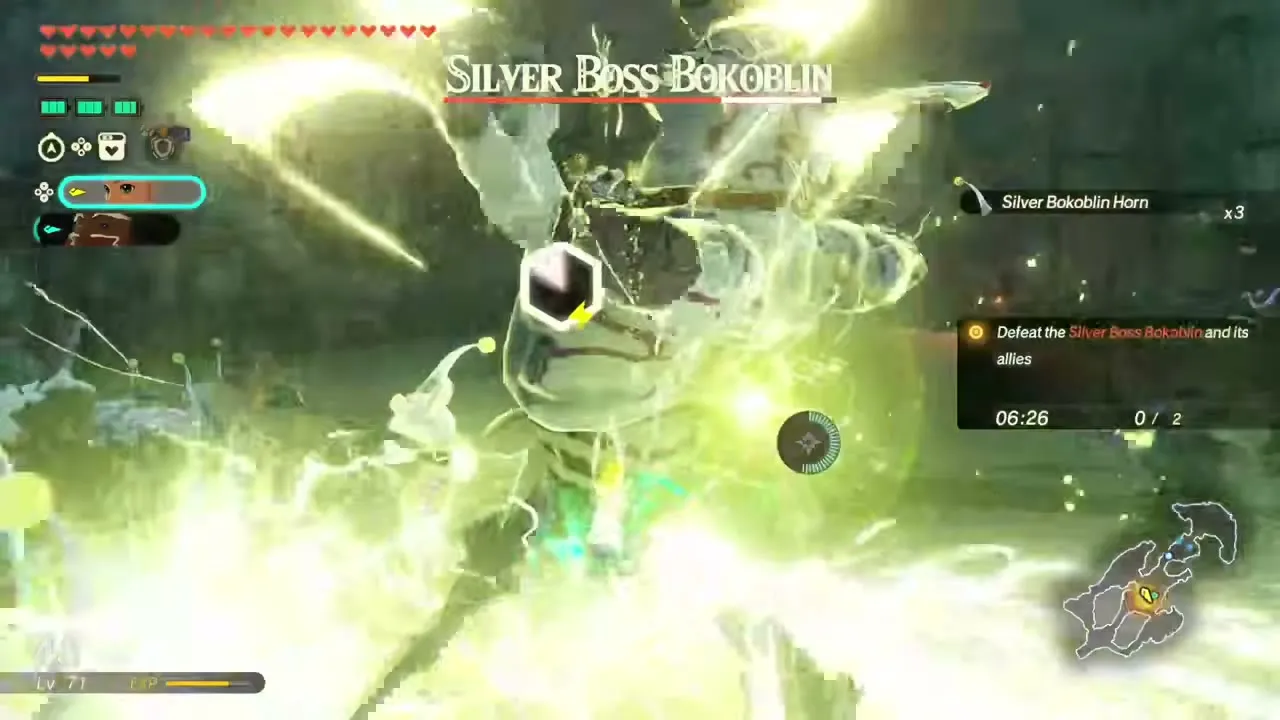
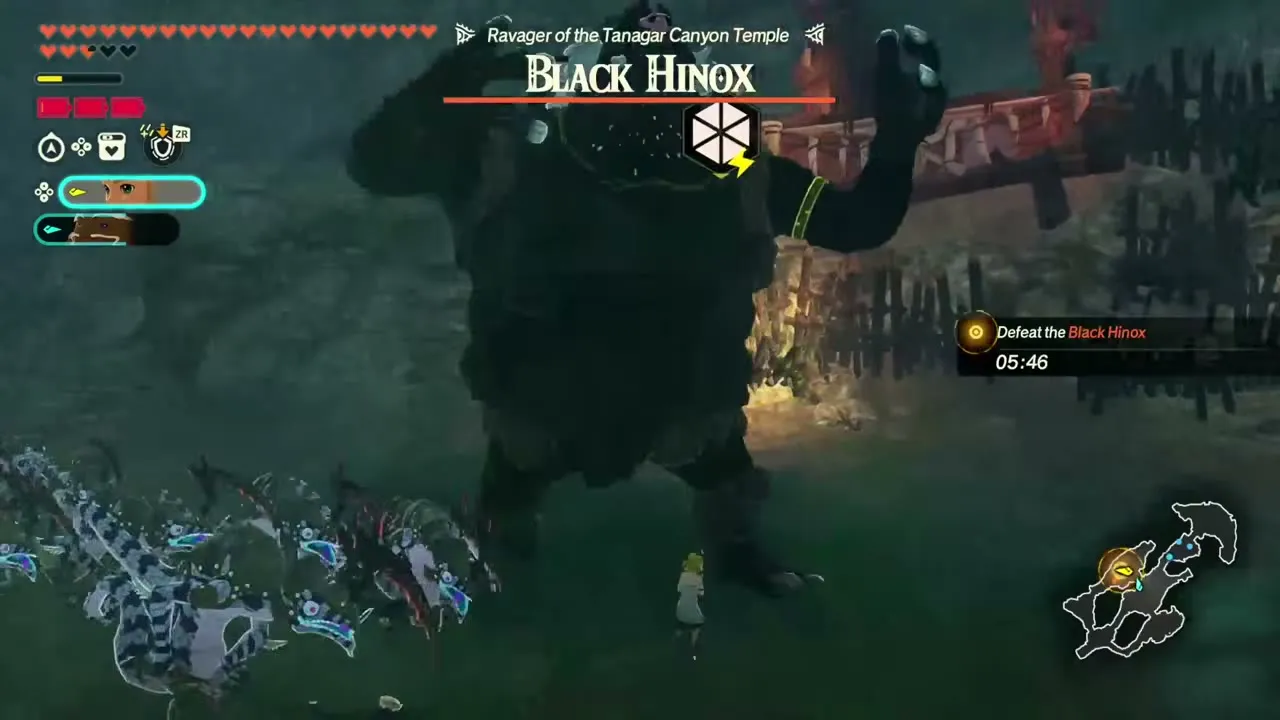
Recommended level 45, in Tanagar Canyon Temple. Zelda asks Agraston for a sparring match so that she can become strong enough to protect her friends. The warriors are fixed: Zelda and Agraston. Expect Agraston on the field first. It opens once Fire and Sand is complete. After the spar with Agraston comes a Silver Boss Bokoblin and its allies, then a Black Hinox, Ravager of the Tanagar Canyon Temple. First-clear reward: Hyrule Herb ×10, Bright-Eyed Crab ×10 and Zonaite Steel (One-Handed) ×1.
Calamo, the Spear Wielder!
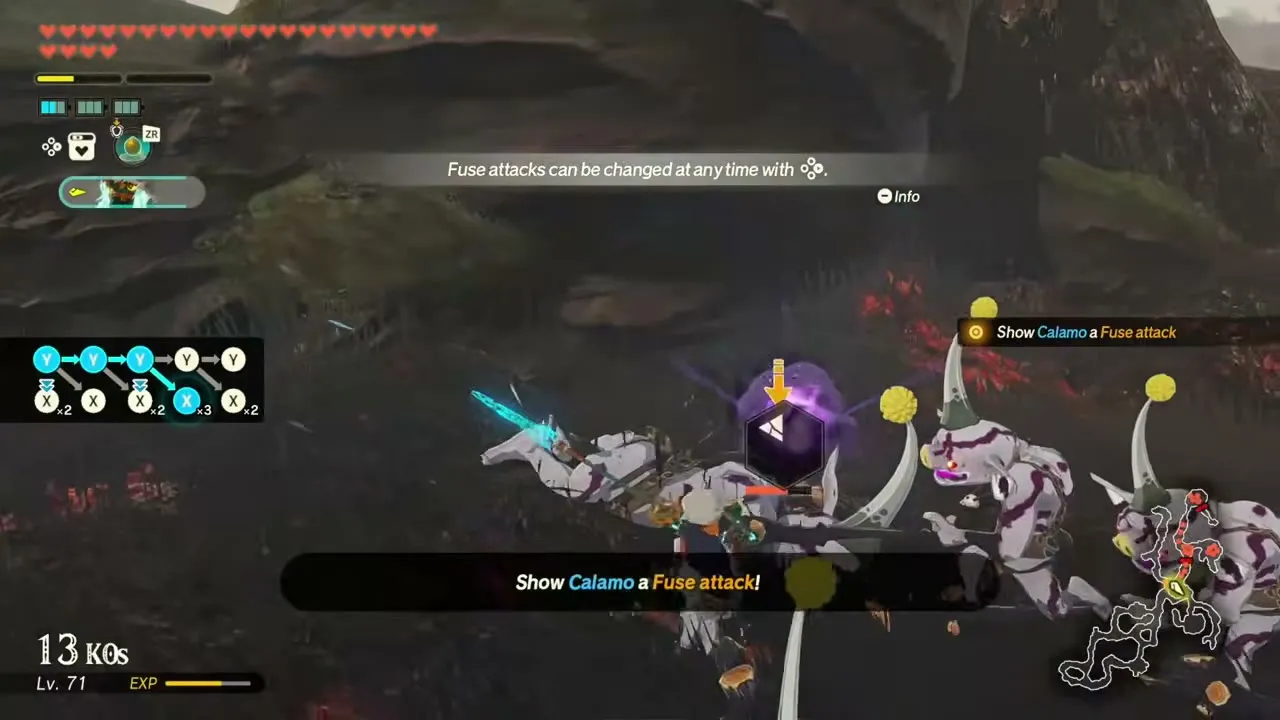
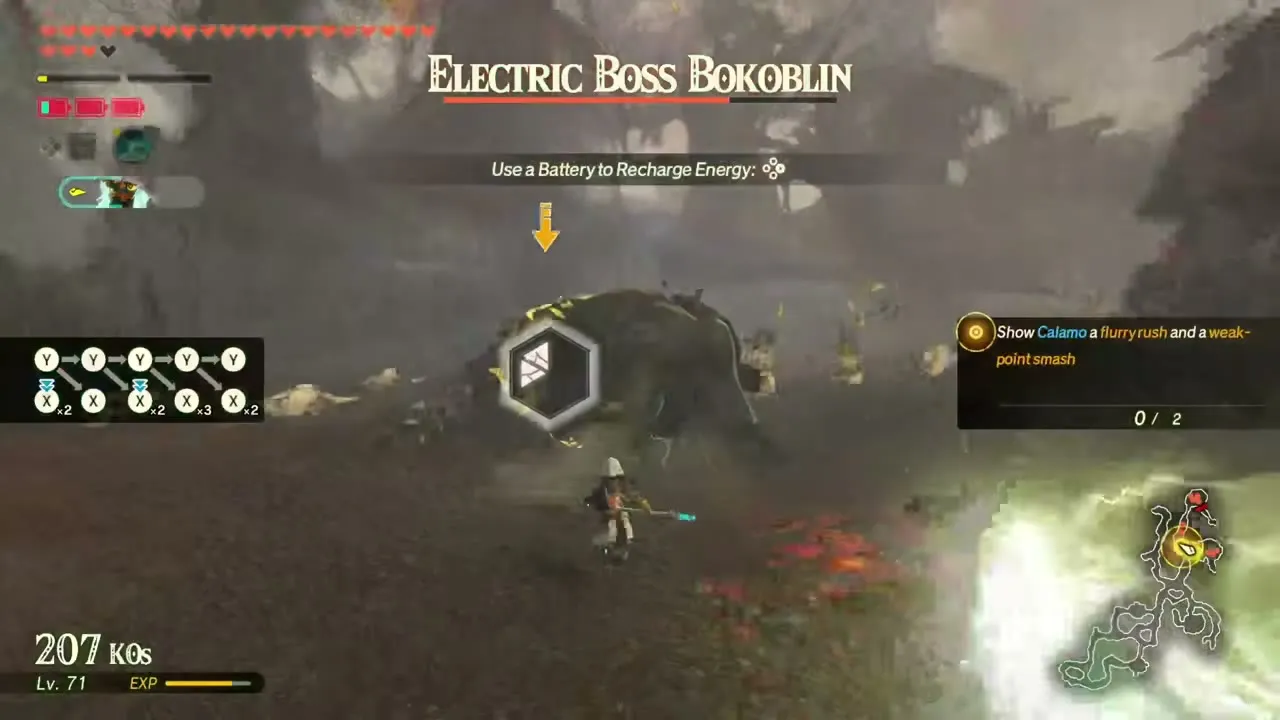
Recommended level 45, in Great Hyrule Forest. Watching his companion use sword, spear and bow equally well, Calamo has an idea for his broken spear and makes a strange request of the Knight Construct. It opens once Fire and Sand is complete. Expect Electric Moblin, Electric Lizalfos, Electric Boss Bokoblin, Electric Lynel and Silver Bokoblin on the field. The warriors are fixed: Knight Construct. The battlefield has Acorn and Korok Frond to gather. The request is to show Calamo a fuse attack, a sync strike, a special attack and a weak-point smash, after which an Electric Boss Bokoblin and an Electric Lynel must be defeated, and the challenge can pay out a weapon such as the Forest Dweller’s Longsword. First-clear reward: Razorclaw Crab ×10, Stealthfin Trout ×10 and Zonaite Steel (Spear) ×1.