Age of Imprisonment 100% Completion Walkthrough28 chapters
- To the Great Plateau Walkthrough (Chapter 1, Battle 1)A short tutorial walk with Zelda, Rauru and Sonia. Controls, rewards and what opens next.
- The Art of the Blade Walkthrough (Chapter 1, Battle 2)Beat Typhan, Quino, Rauru, Pastos, Braton and Agraston, find the Korok Seed, chests and rewards.
- Where Ancient Wisdom Sleeps Walkthrough (Chapter 1, Battle 3)Flame Emitter, Time Bomb, Frox, Stone Talus and Flux Construct I, plus all five chests.
- Raging Sands Walkthrough (Chapter 2, Battle 4)Take the outposts, beat four Gerudo Captains, the Molduga and Ardi, and find all 3 Korok Seeds and 5 chests.
- The Hands of Evil Walkthrough (Chapter 2, Battle 5)Capture the outpost as the Mysterious Construct, get the Rocket and rescue Ardi from two Gerudo Captains.
- Growing Suspicion Walkthrough (Chapter 2, Battle 6)All three Korok Seeds, four chests, the Gerudo Assassin, Stone Talus and the final corrupted construct.
- Striking North Walkthrough (Chapter 2, Battle 7)Rescue three Hylian Captains, beat the Hinox and Lynel, and find both Korok Seeds and all seven chests.
- Beneath the Blood Moon Walkthrough (Chapter 2, Battle 8)Flight controls, both Korok Seed ring runs and how to beat the Frost Gleeok.
- The Howling Tempests Walkthrough (Chapter 2, Battle 9)Unlock Fuse attacks, Calamo and Typhan, find all 3 Korok Seeds and 4 chests, and beat Grimgera.
- Shadows in the Snow Walkthrough (Chapter 3, Battle 10)Unlock Raphica, rescue Pinnec, beat the ice enemies, and find all 3 Korok Seeds and 4 chests.
- Lanayru Defiled Walkthrough (Chapter 3, Battle 11)Clear sludge enemies, recruit Qia, get the Hydrant, beat Grimtorok, and find 3 Korok Seeds and 4 chests.
- The Behemoth in the Crater Walkthrough (Chapter 3, Battle 12)How to beat the Moragia flight battle with Zonai attack devices and get the Korok Seed.
- Crisis on Death Mountain Walkthrough (Chapter 3, Battle 13)Rescue the Gorons, unlock Agraston, beat the Fire Lynels and find all 5 Korok Seeds and 5 chests.
- Under Cover of Mist Walkthrough (Chapter 3, Battle 14)Capture outposts through hidden passages, beat the Aerocudas and Grimgera, and find all 7 Korok Seeds.
- Terror of the Sands Walkthrough (Chapter 4, Battle 15)Play as Ardi, clear Gibdo hives, defend the main outpost, and find all 4 Korok Seeds and 7 chests.
- The Crimson Omen Walkthrough (Chapter 4, Battle 16)Beat the corrupted Forbidden Construct as Calamo and the Knight Construct, with tips for its attacks.
- A Time for Action Walkthrough (Chapter 4, Battle 17)Four-sage outpost siege, all 4 Korok Seeds, 4 chests and the five elites.
- The Counterstrike Walkthrough (Chapter 4, Battle 18)Outposts, Zelda joining, the Grimgohma boss fight, 4 Korok Seeds and 4 chests.
- Ambush in the Depths Walkthrough (Chapter 4, Battle 19)Flight battle devices, Rock Octoroks, the breakable wall and the Black Hinox finale.
- Purging the Shadows Walkthrough (Chapter 4, Battle 20)Flux Construct outposts, Gloom Spawns, Phantom Ganon boss fight and all 5 chests.
- Fire and Sand Walkthrough (Chapter 4, Battle 21)Outposts, Silver Moblins, Grimgibdo boss tips, eight chests and first-clear rewards.
- Into the Fray Walkthrough (Chapter 5, Battle 22)Zonai devices for the flight battle, the Korok ring seed and how to beat King Gleeok.
- The Archfiend’s Return Walkthrough (Chapter 5, Battle 23)How to beat Grimgera in his third fight, best warriors and first-clear rewards.
- The Battle of Hyrule Castle Walkthrough (Chapter 5, Battle 24)Outposts, Grimtorok and Grimgohma, 5 Korok Seeds and 6 chests.
- The Demon King, Ensnared Walkthrough (Chapter 5, Battle 25)Outposts, Silver Lynel, Captain Construct III, three Phantom Ganons, 3 Korok Seeds and 4 chests.
- The Battle of Hyrule Field Walkthrough (Chapter 5, Battle 26)Empty the enemy army gauge, then defeat the Archfiend Grimgibdo.
- The Final Confrontation Walkthrough (Chapter 5, Battle 27)The Phantom Ganon wave, the L-button blast and Demon King Ganondorf strategy with Zelda and Rauru.
- A Clash of Constructs Walkthrough (Chapter 6, Battle 28)The three-phase Forbidden Construct fight, flight tips, the ending and what opens in the post-game.
| Chapter | Chapter 4, Battle 21 |
|---|---|
| Region | Great Hyrule Forest |
| Recommended level | Lv 43 |
| Warriors | A party of four: Zelda, Rauru,  Raphica and the Knight Construct;  Calamo,  Ardi and Mineru fight alongside as allies |
| Boss | Grimgibdo, Archfiend of Sand |
| Korok Seeds | 0 |
| Unlocks | First-clear battlefield materials; the next story battle, Into the Fray |
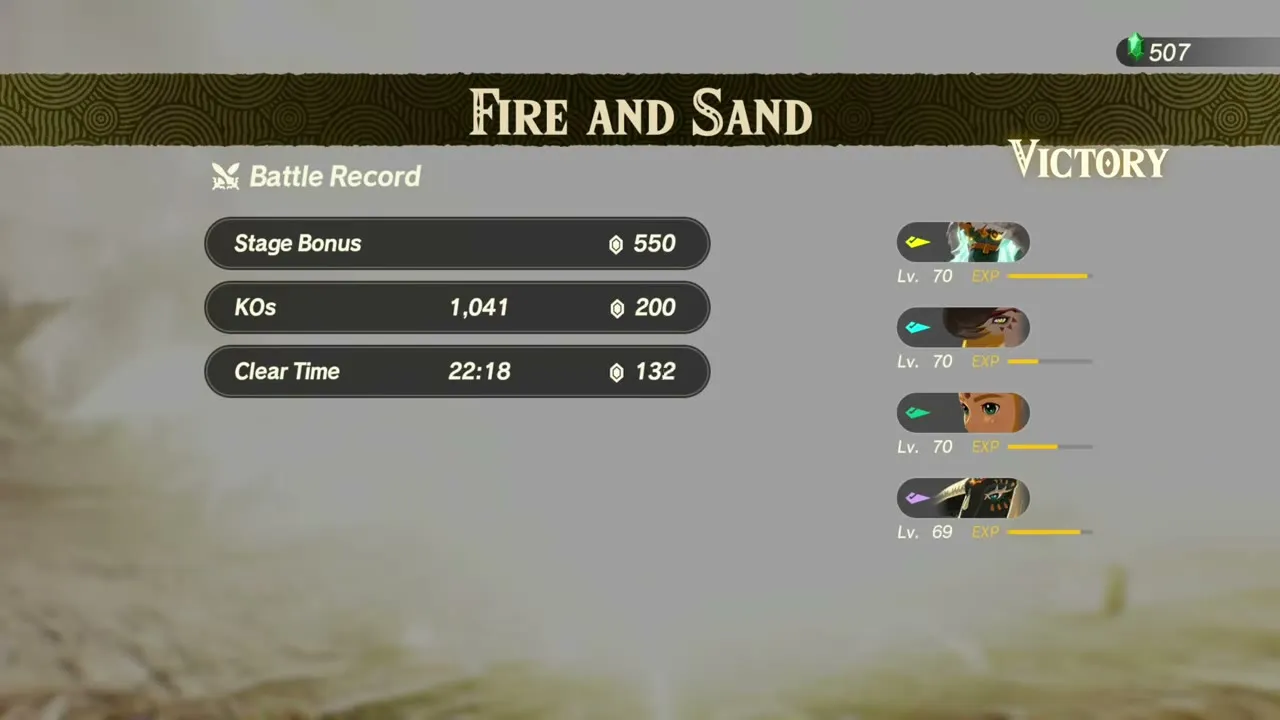
Fire and Sand is the seventh and last battle of Chapter 4. You rescue the Rito Captains, capture outposts while a Silver Moblin leads an ambush of newly arrived monsters, and then travel to the south-east corner of the map to defeat the Archfiend Grimgibdo. There are no Korok Seeds here, but eight treasure chests are scattered around the map and the clear pays out seven battlefield materials.
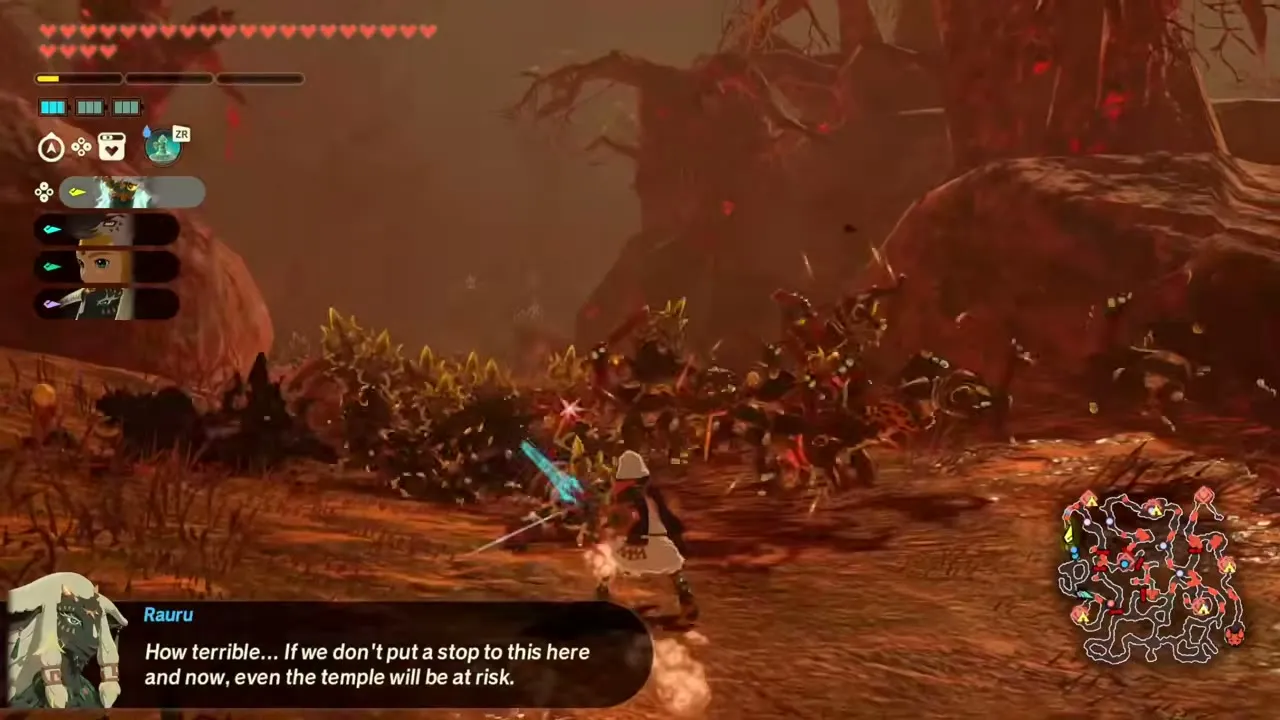
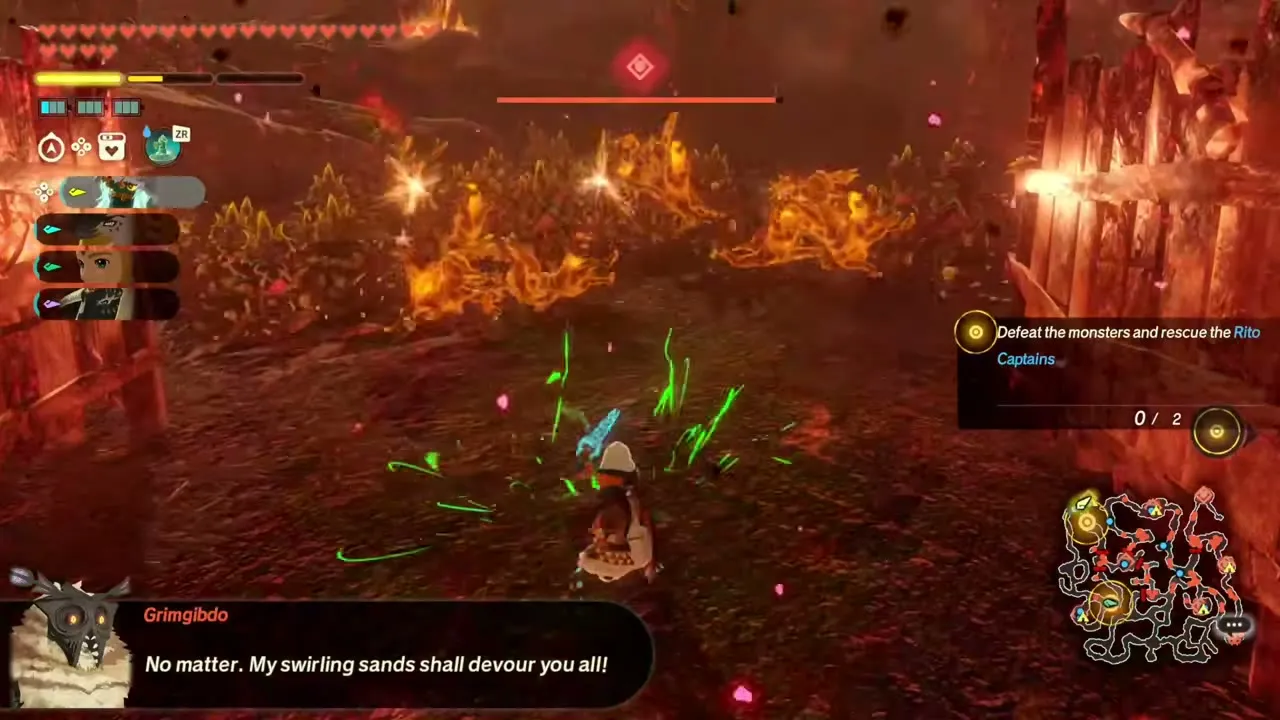
Table of Contents
Before you start
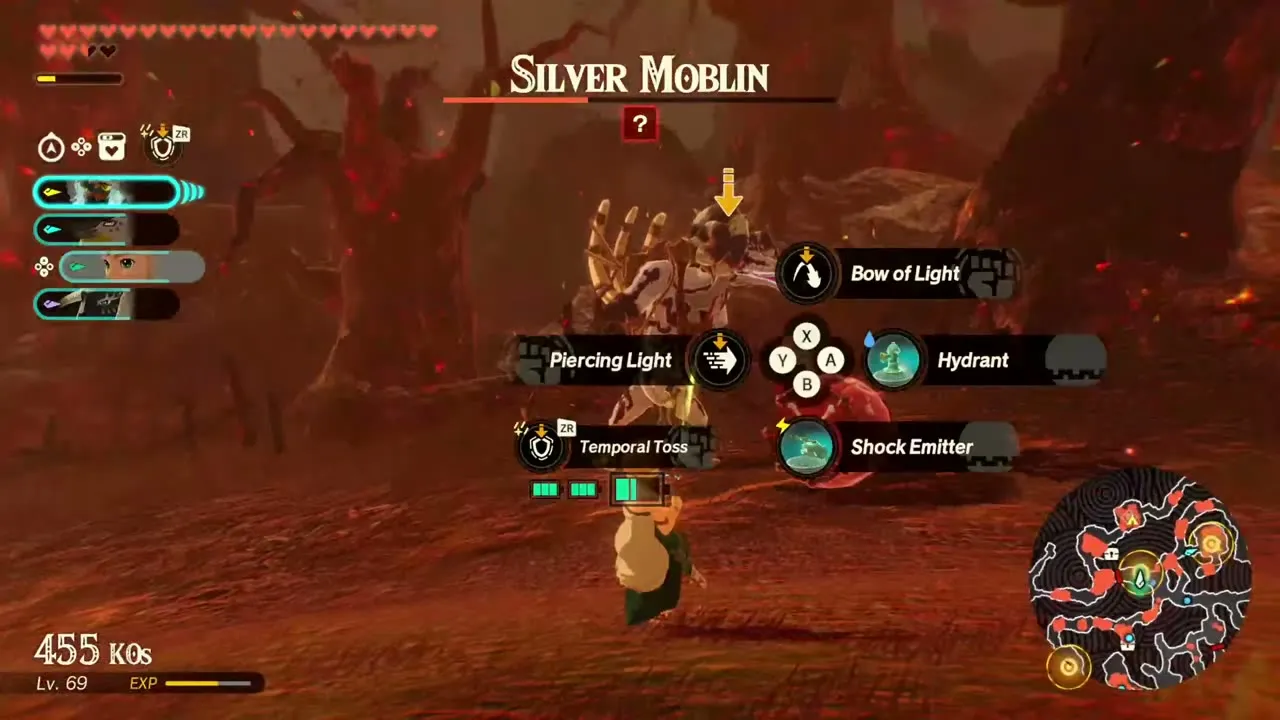
Bring warriors at about level 43. Your party is made up of Zelda, Rauru, Raphica and the Knight Construct, and you can switch between them from the Allies menu. Wind is the key element for the boss, so favour whoever has strong wind attacks (Raphica’s bow is a good fit), and keep shield-breaking moves handy. Check your quick-select wheel before you leave: Zelda’s Bow of Light, Piercing Light and Temporal Toss sit alongside the Hydrant and Shock Emitter Zonai devices, and Temporal Toss is what sends the Silver Moblins’ blasts back.
Fire and Sand objectives
Capture the first outposts
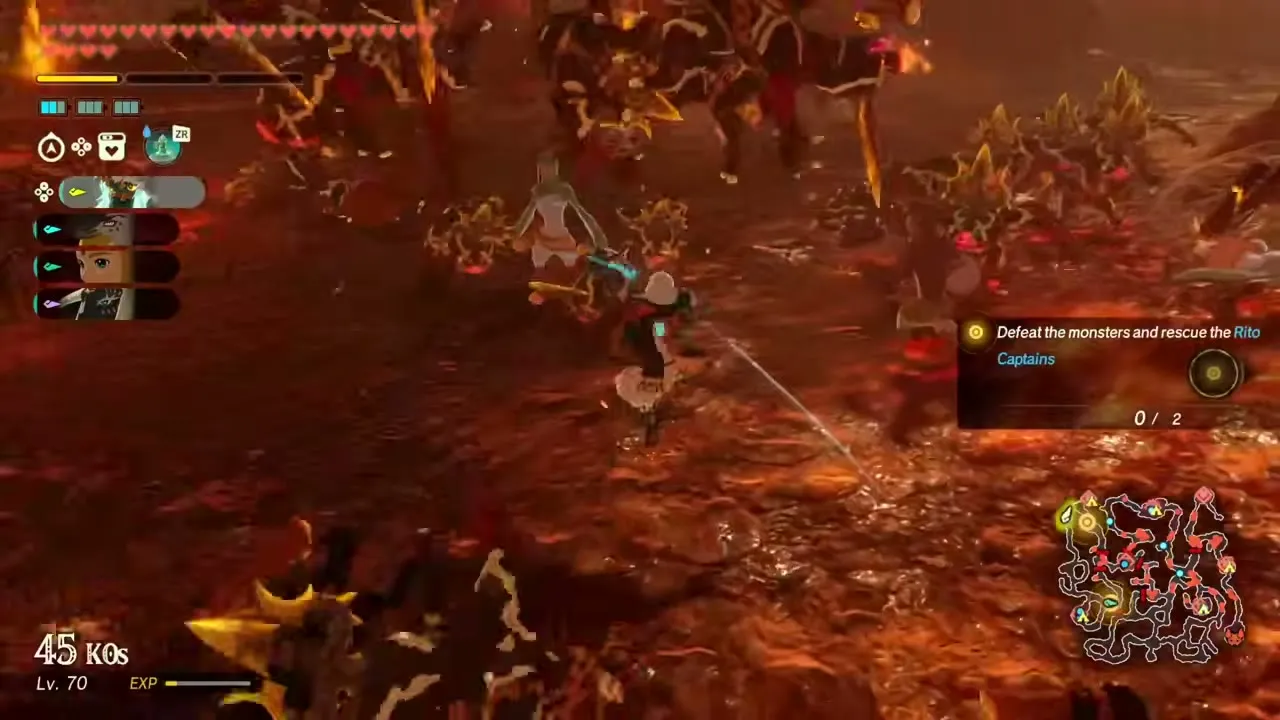
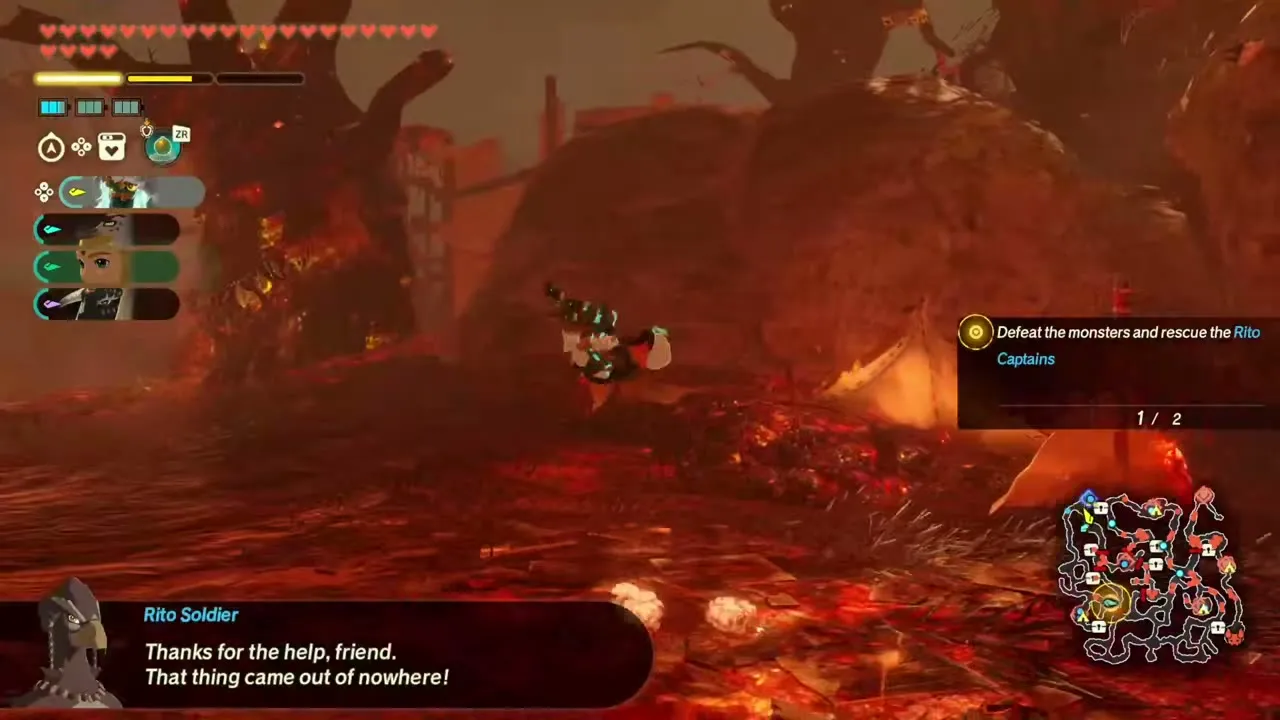
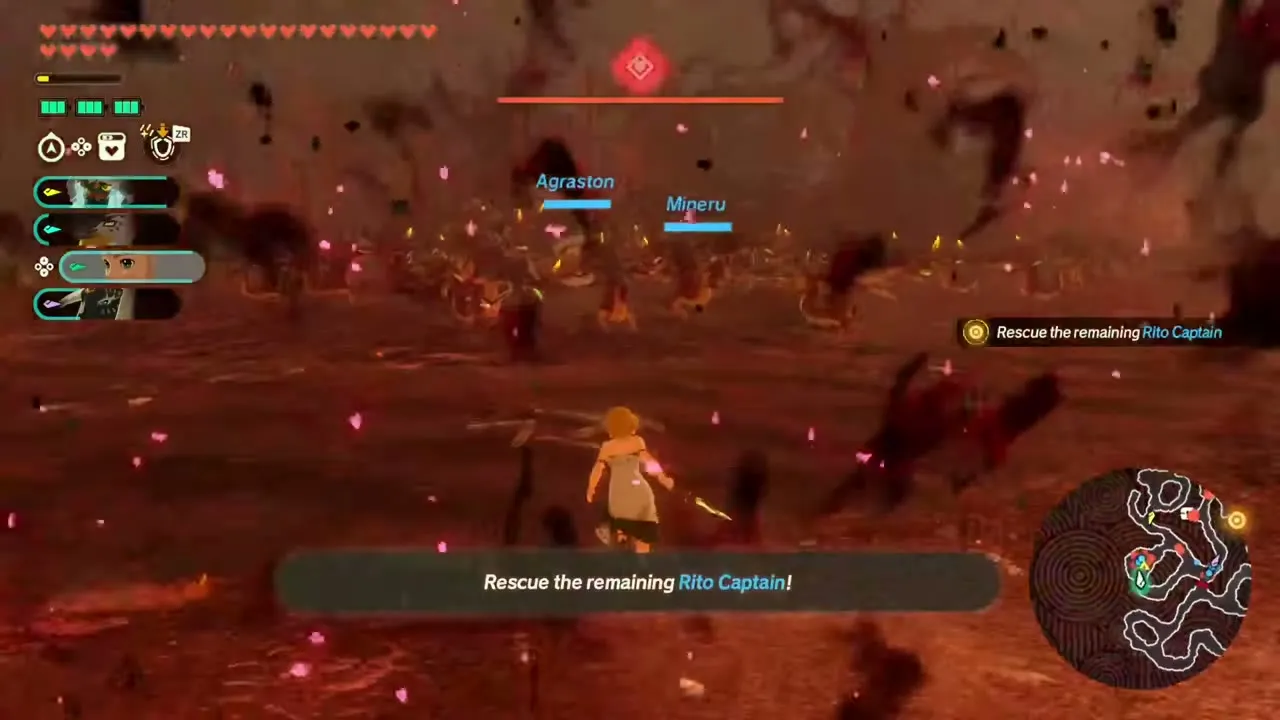
The battle opens with the objective “Defeat the monsters and rescue the Rito Captains” (0/2). Fight through the crowds of Bokoblins and Lizalfos along the burning roads, past the wooden barricades, to free the two captains. A Black Moblin guards the way to the second one. When both are free, a new objective asks you to rescue the remaining Rito Captain.
Rito Captain and Silver Moblins
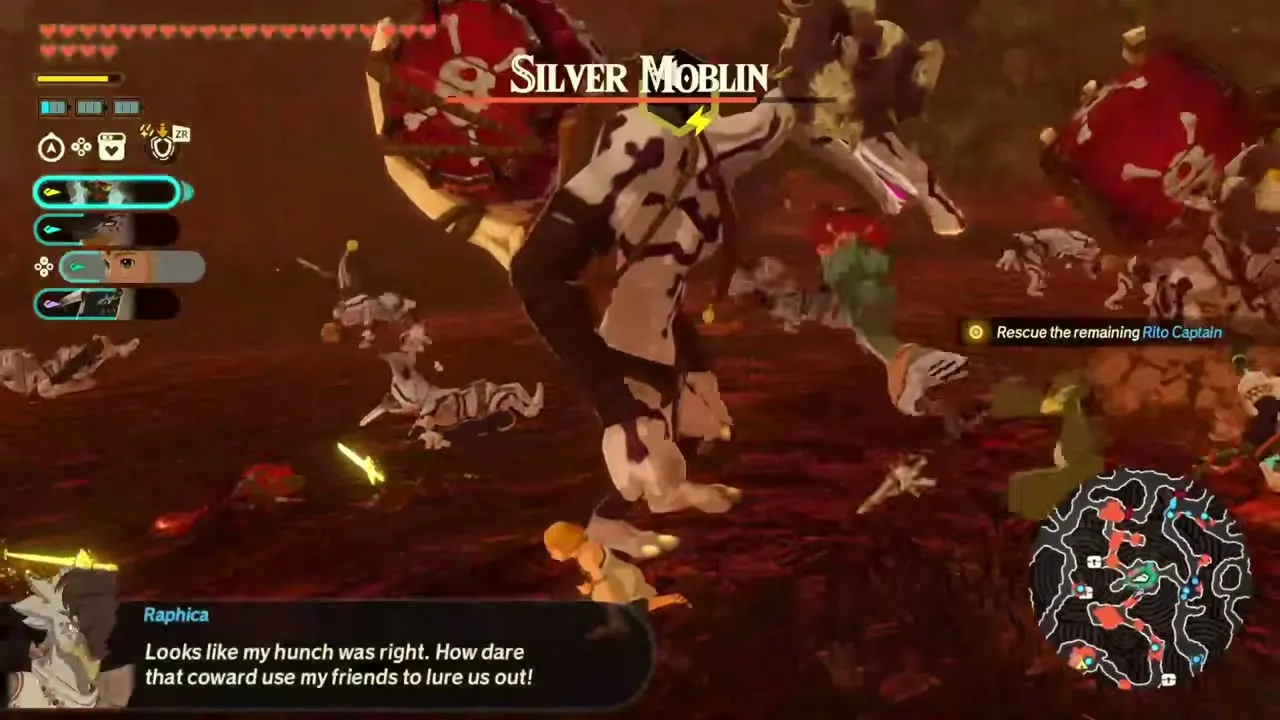
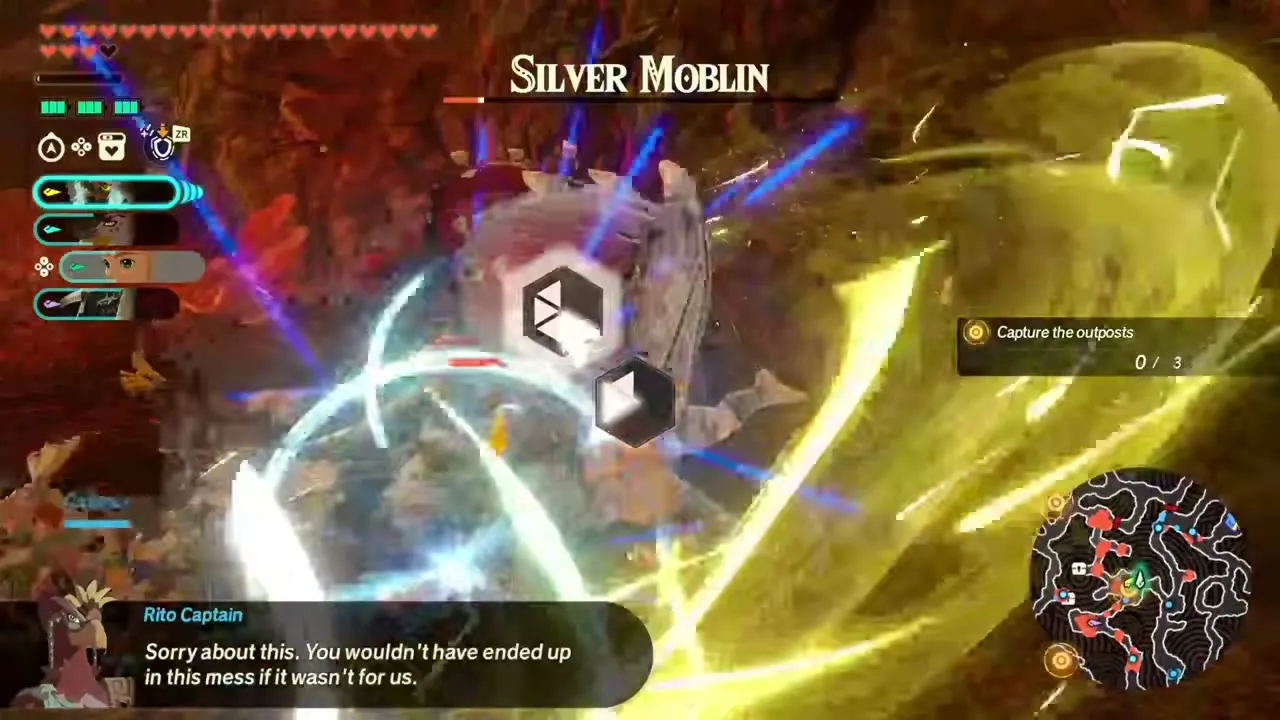
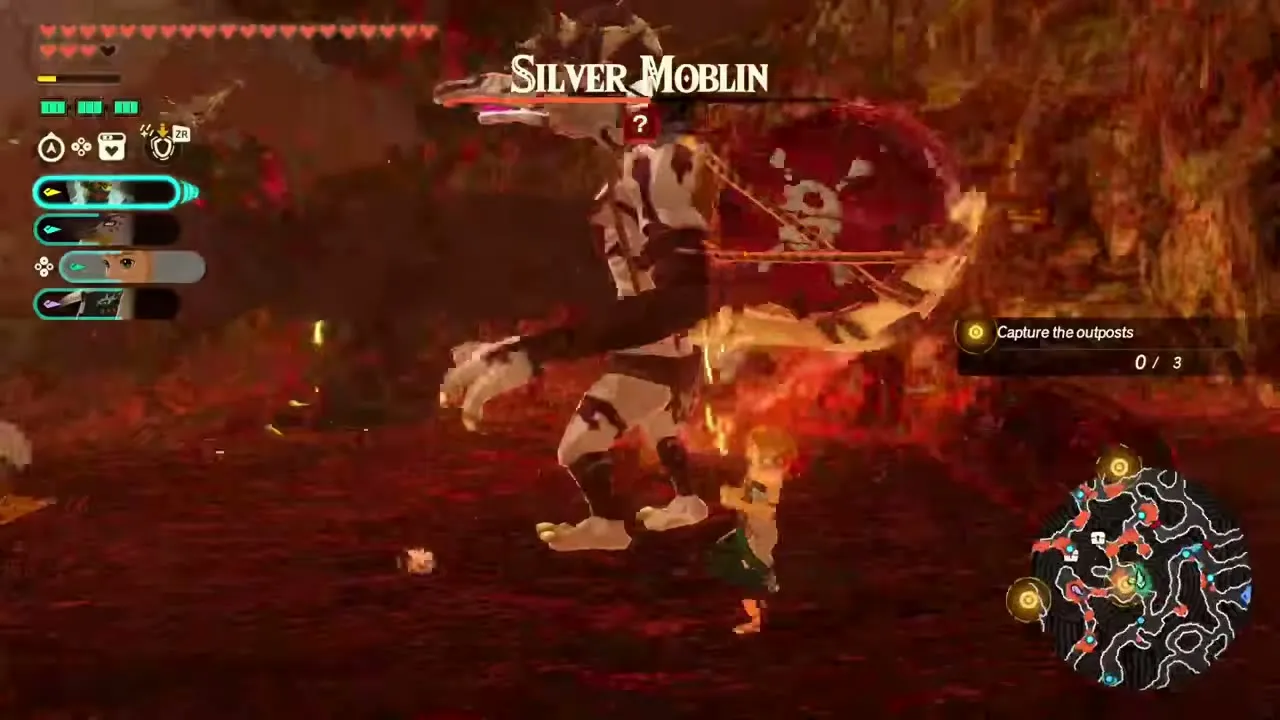
The last captain is held by a Silver Moblin. Keep clear of the explosions the Moblin sets off, and use Zelda’s Temporal Toss to send them back at it, then defeat the Moblin and free the captain.
Send units to the far outposts
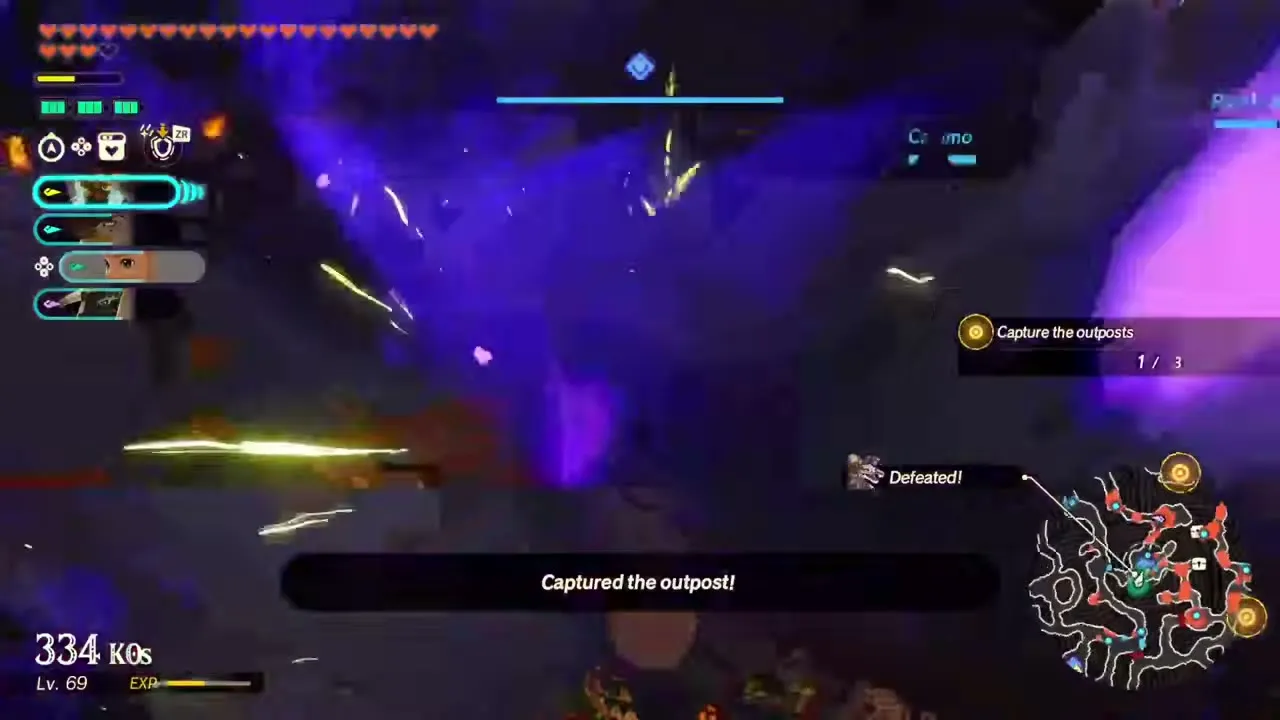
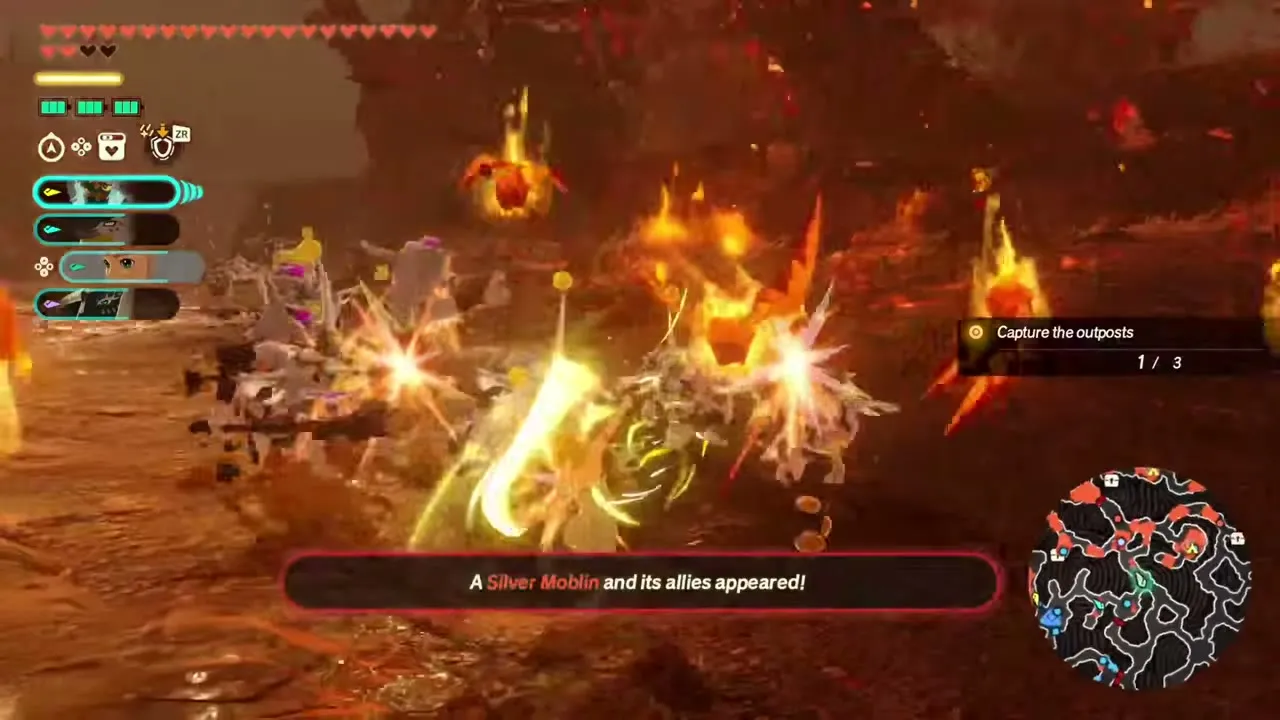
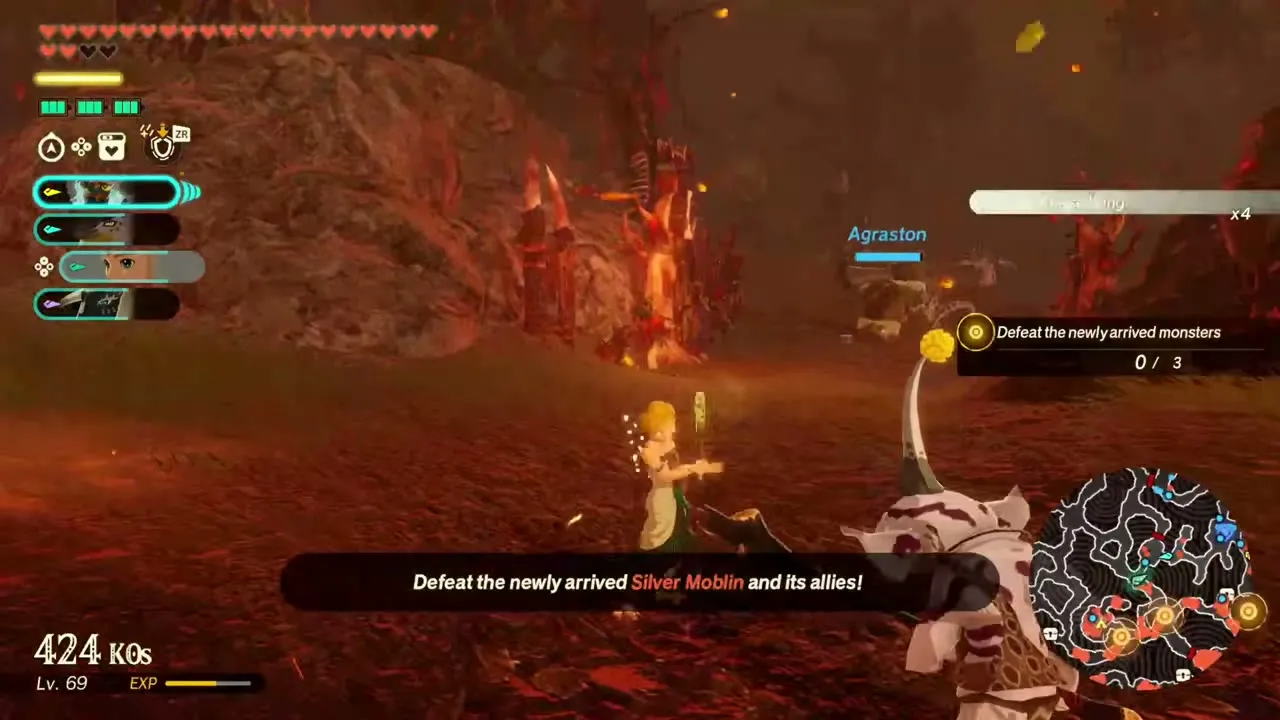
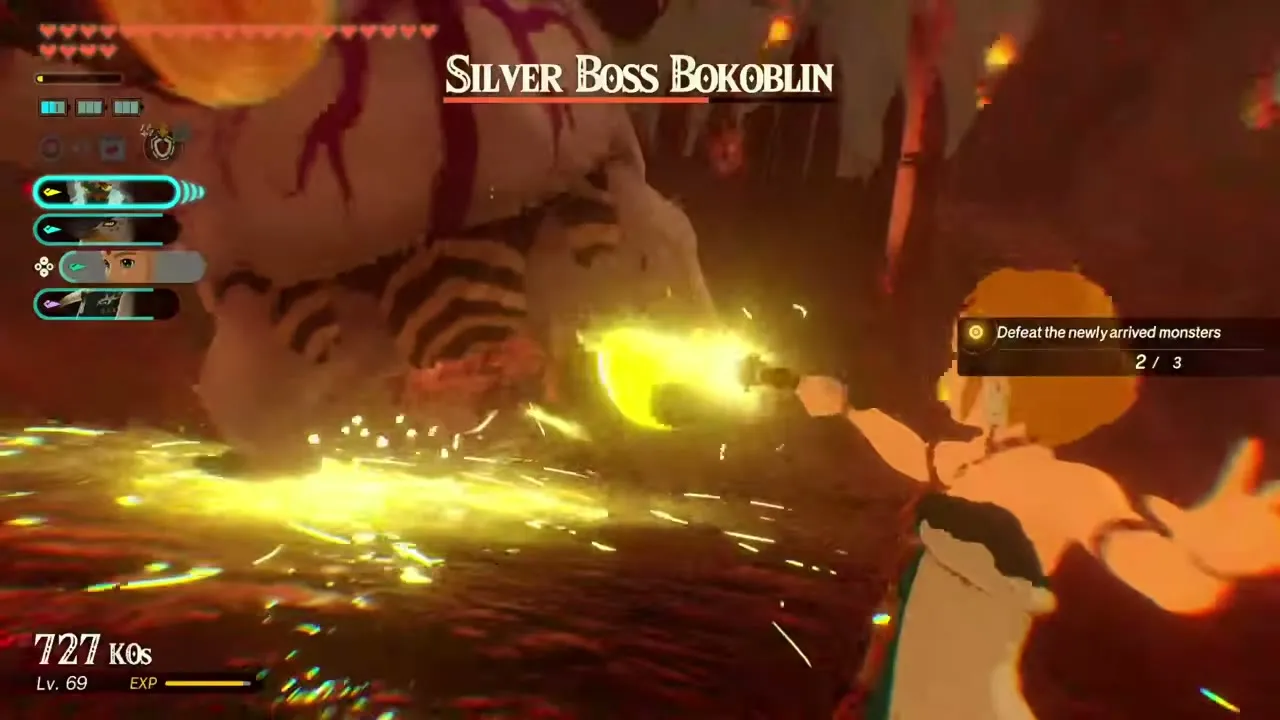
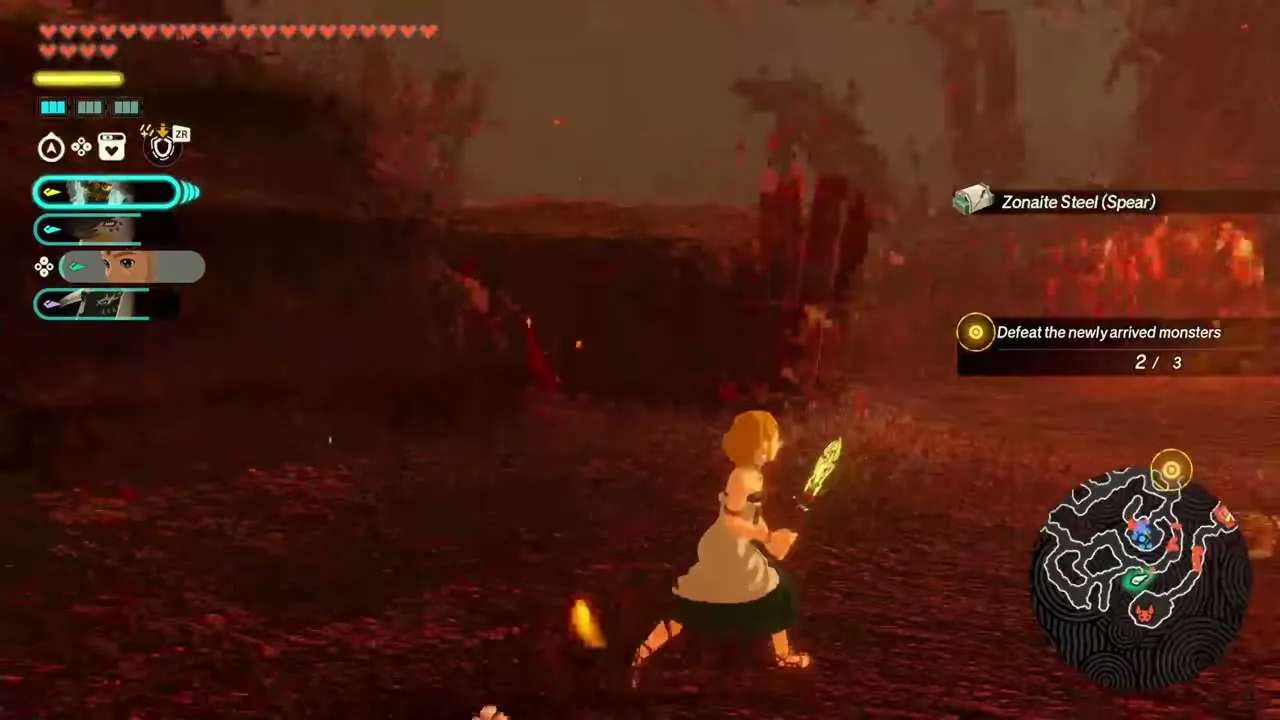
With the captains free, the objective becomes “Capture the outposts” (3). As you take the first one, the Silver Moblin shouts for reinforcements and a second wave arrives from the Koroks’ secret passages. The banner reads “A Silver Moblin and its allies appeared!” and a new objective, “Defeat the newly arrived monsters” (3), appears.
Take the middle outpost
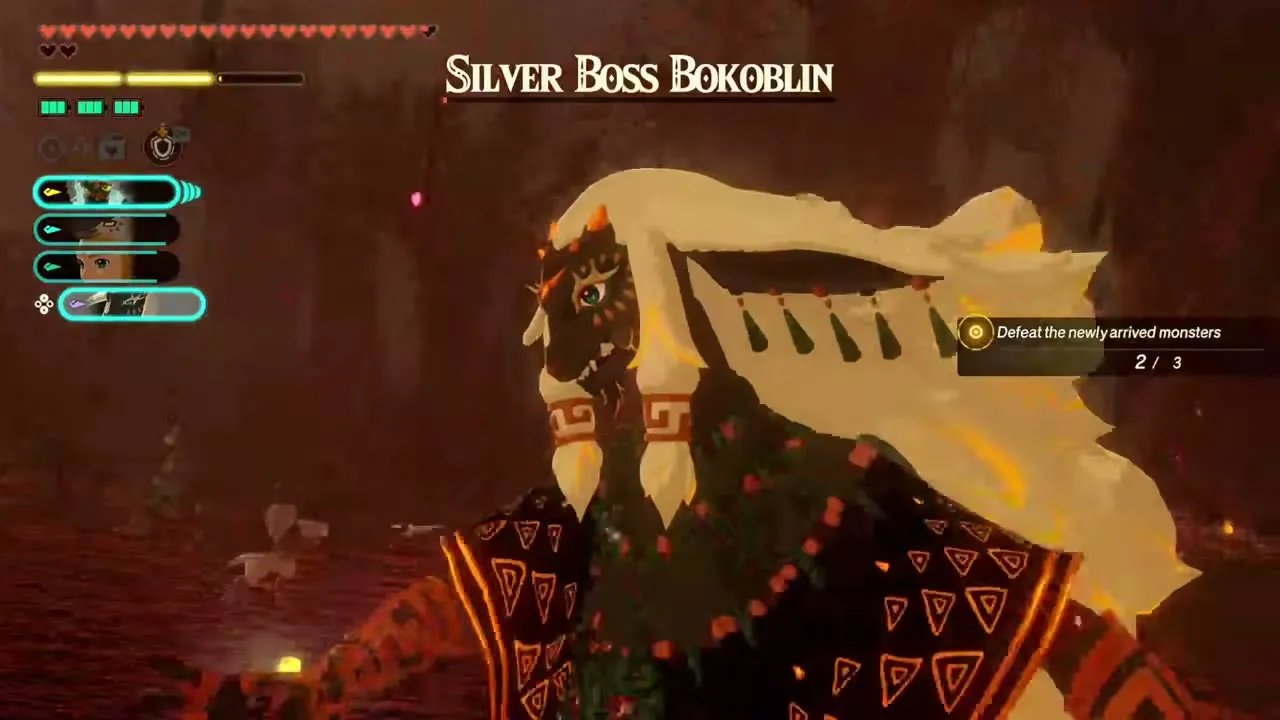
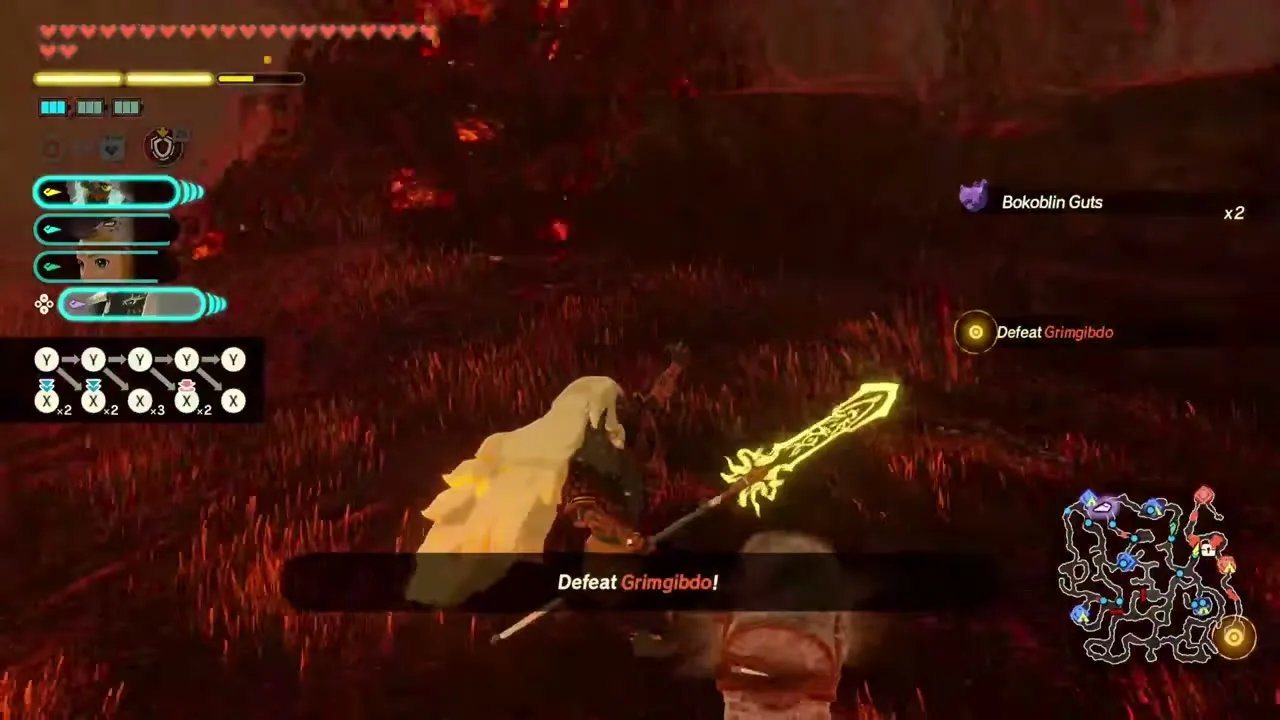
Defeat the newcomers, which include a Silver Boss Bokoblin, and capture the remaining outposts. The objective then changes to “Defeat Grimgibdo” and marks her position in the south-east corner of the map.
Grimgibdo boss fight
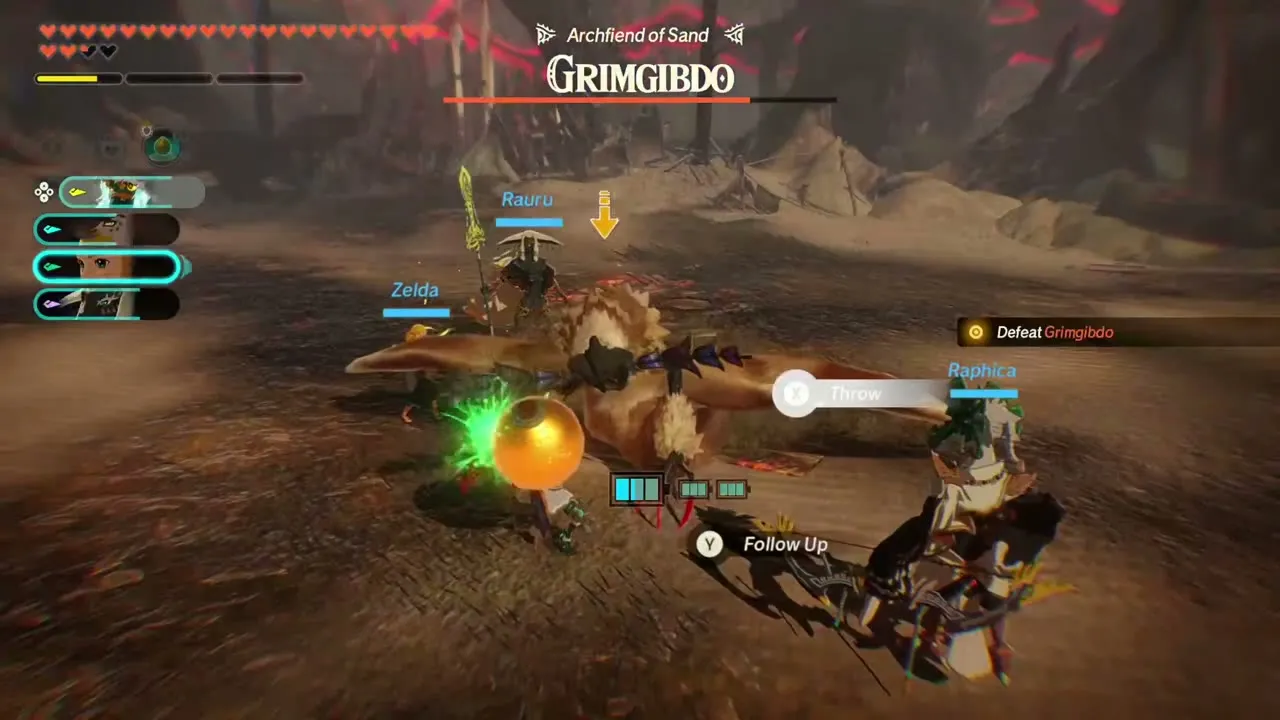
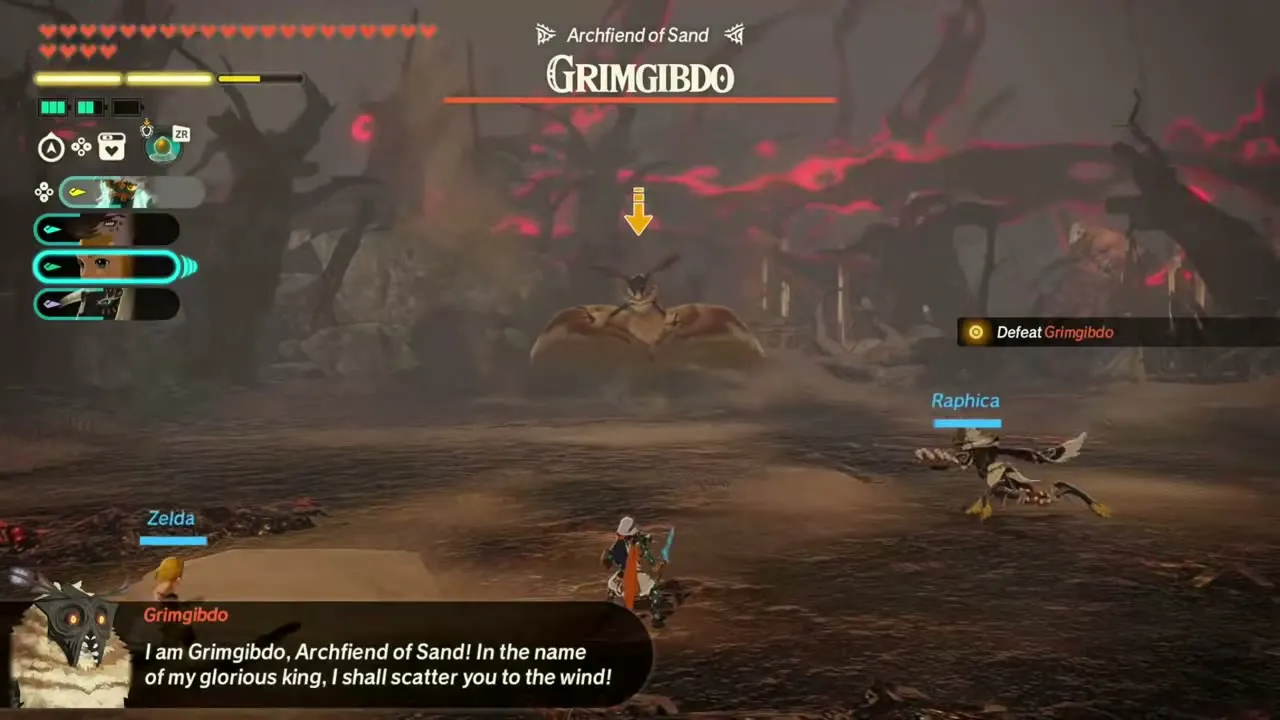
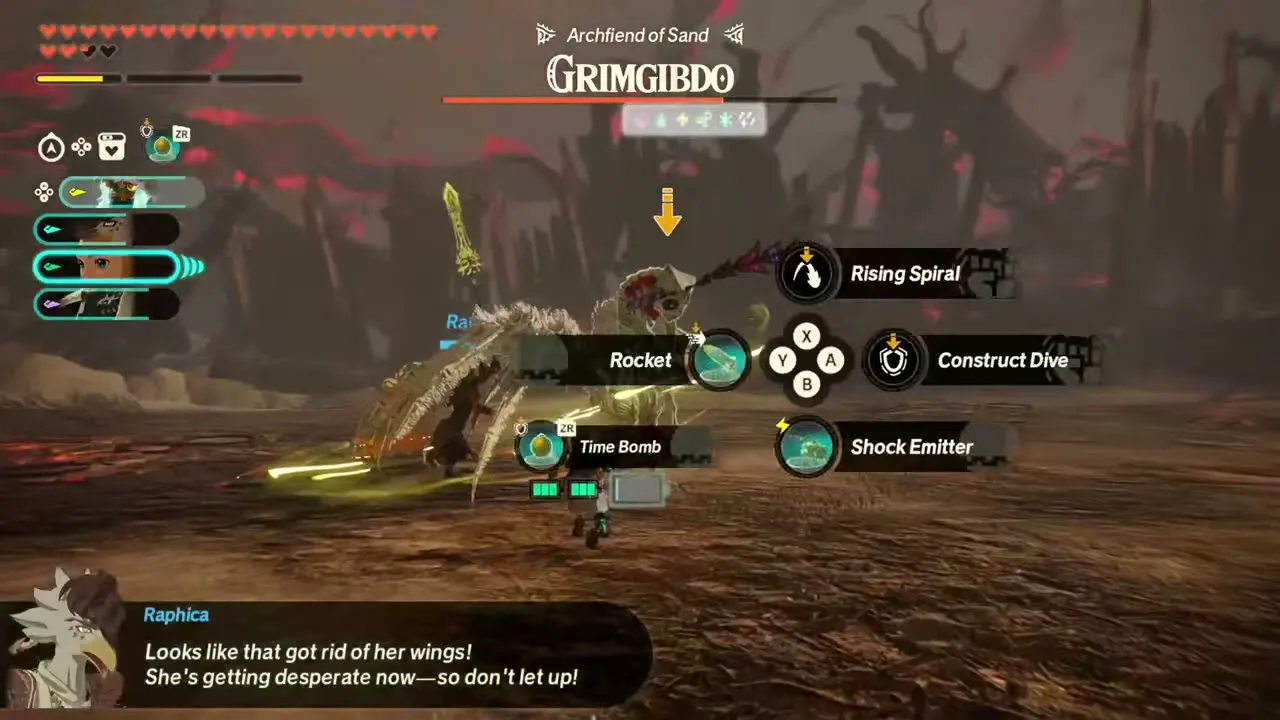
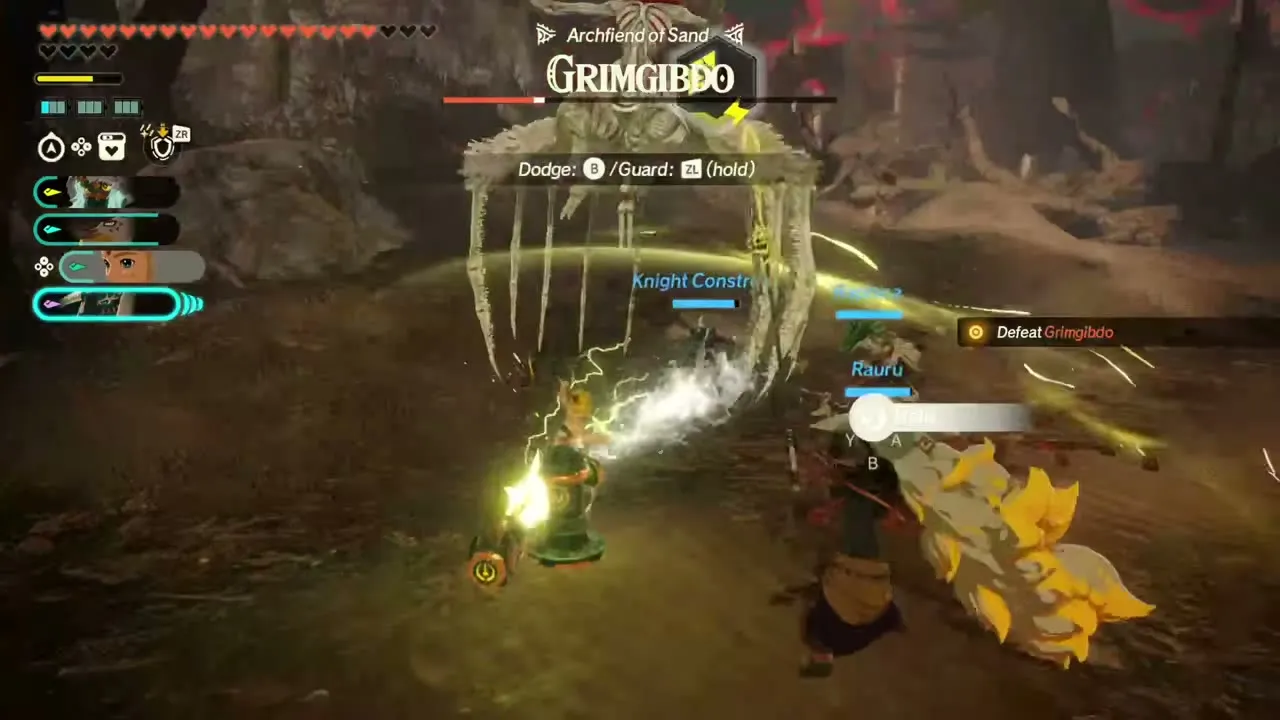
With the outposts cleared, head to the south-east corner of the map. Grimgibdo, Archfiend of Sand, shrouds herself in sand and spends the first part of the fight flying around, which makes her hard to hit. She is weak to wind, so wind combos do well, and shield-breaking moves drain her weak-point gauge quickly.
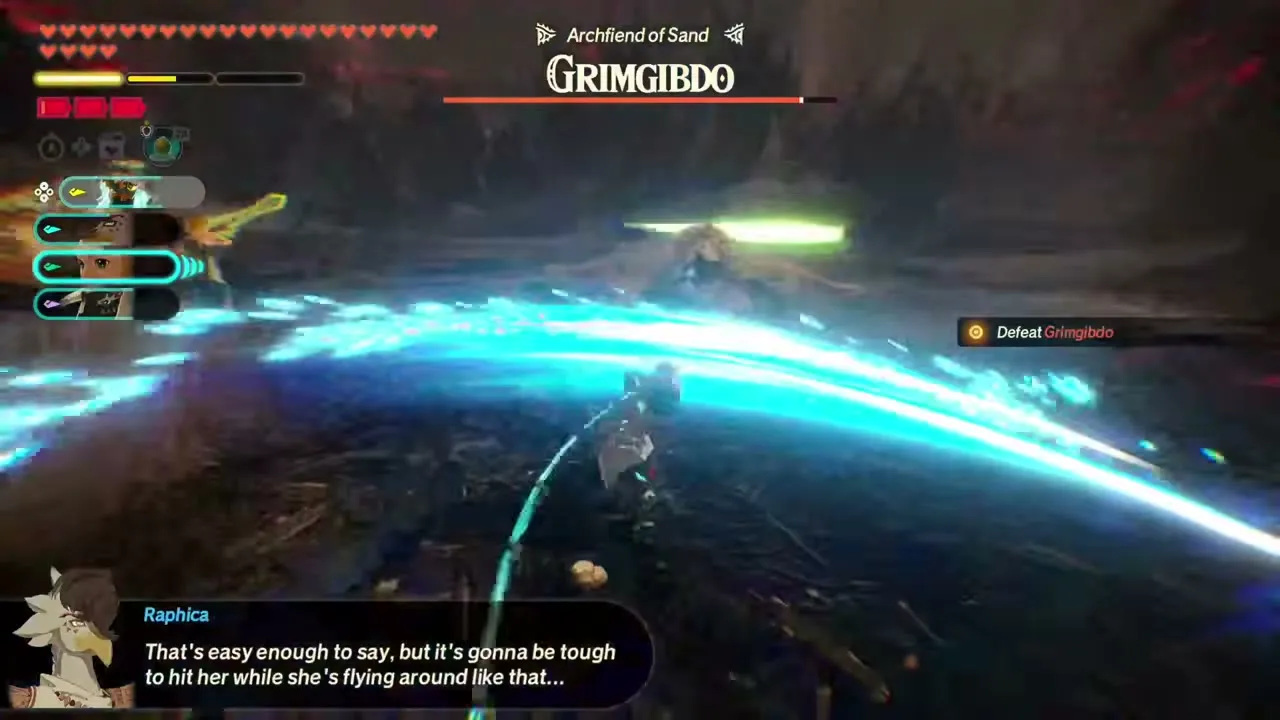
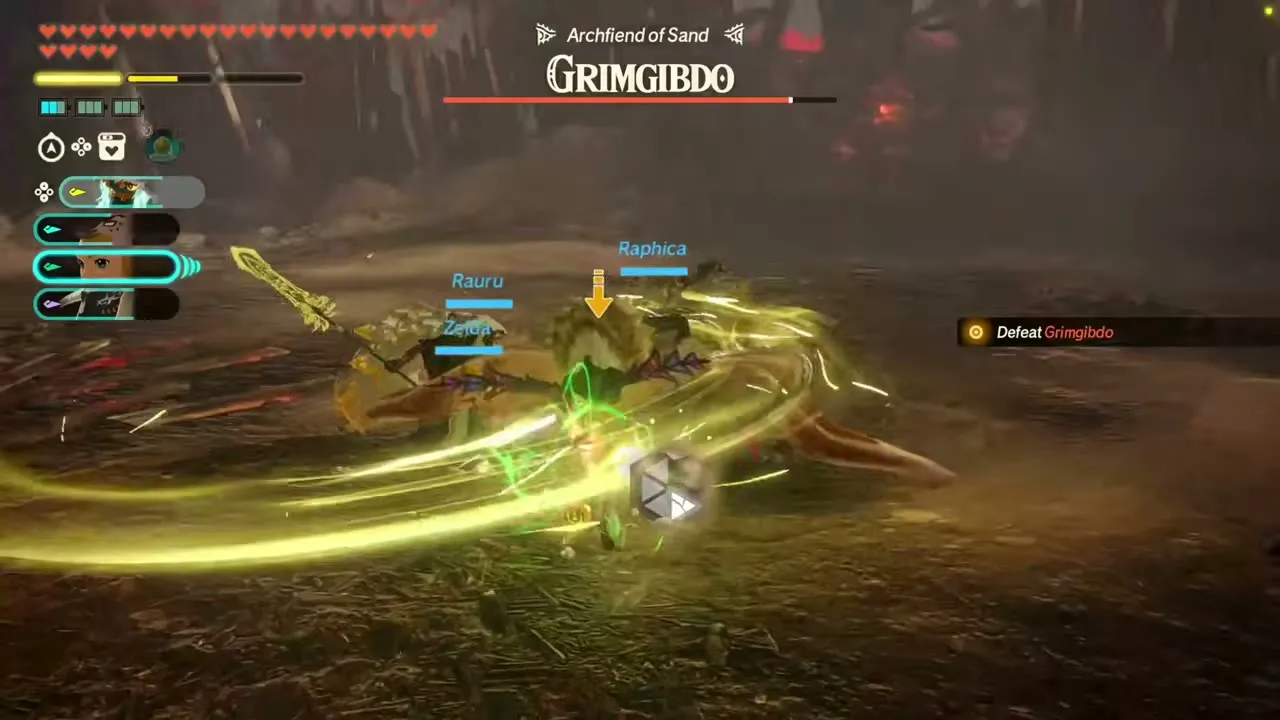
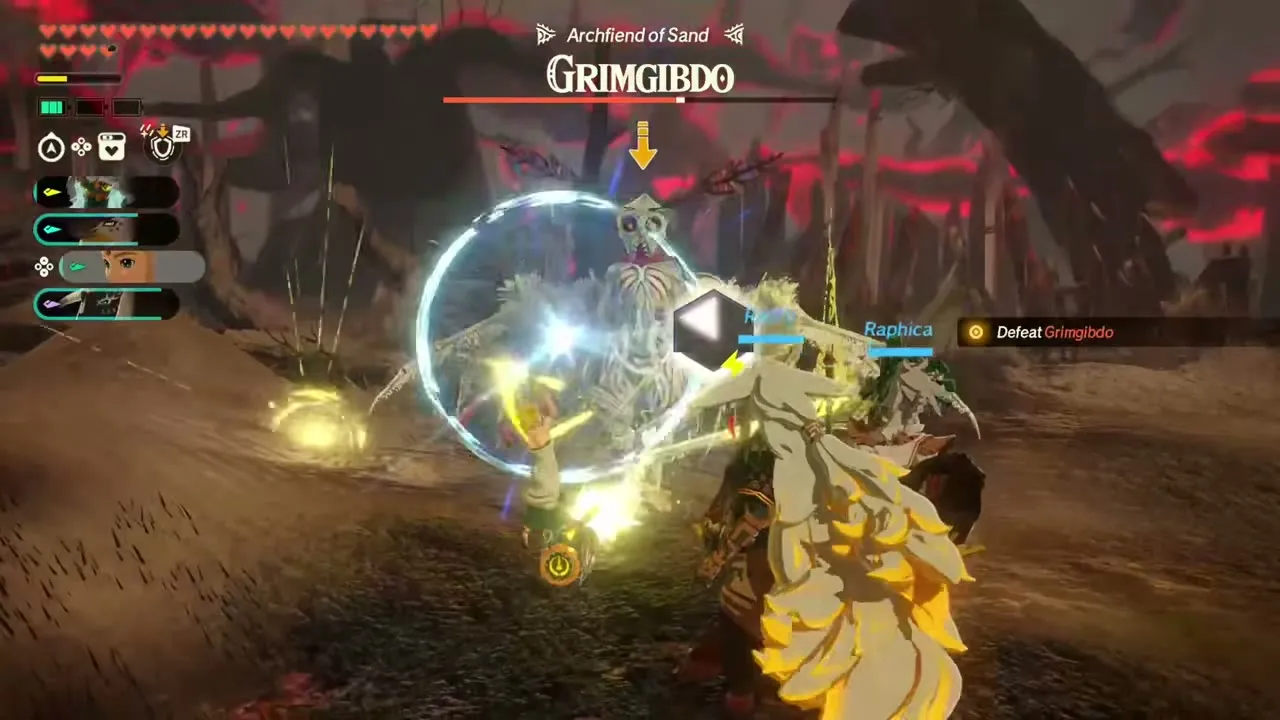
When she sends out whirlwinds, use Temporal Toss or a Zonai device to blow them back at her. A successful counter staggers her for a good while and leaves her open to attack.
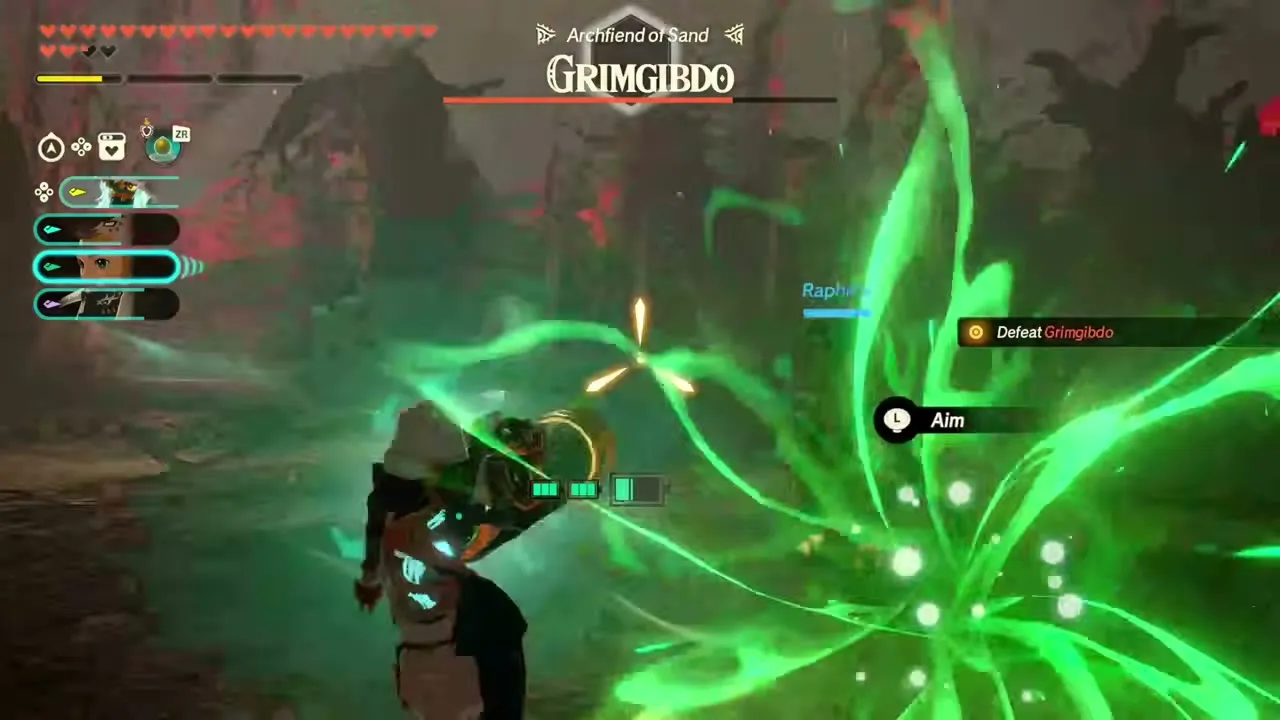
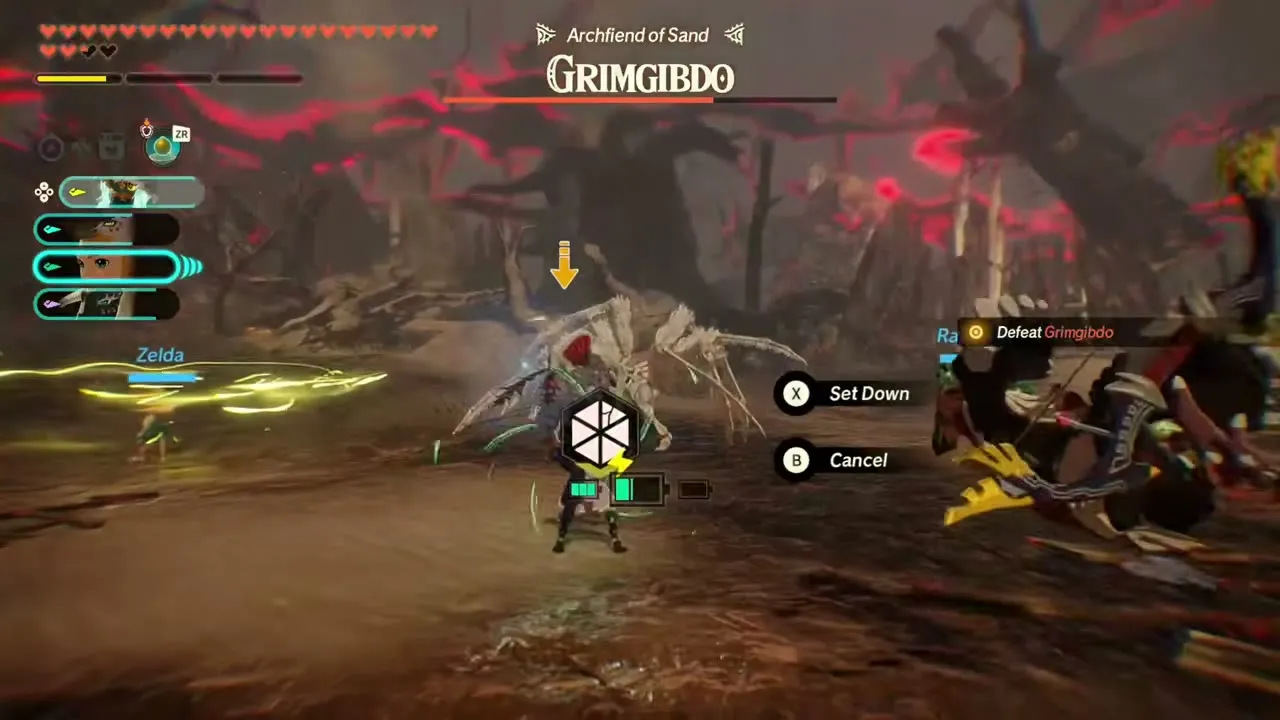
When the first gauge empties her wings are torn off and she loses her protection, becoming weak to every element. A second gauge appears: break it with elemental Special Attacks and finish her off to end the battle.
Fire and Sand treasure chests
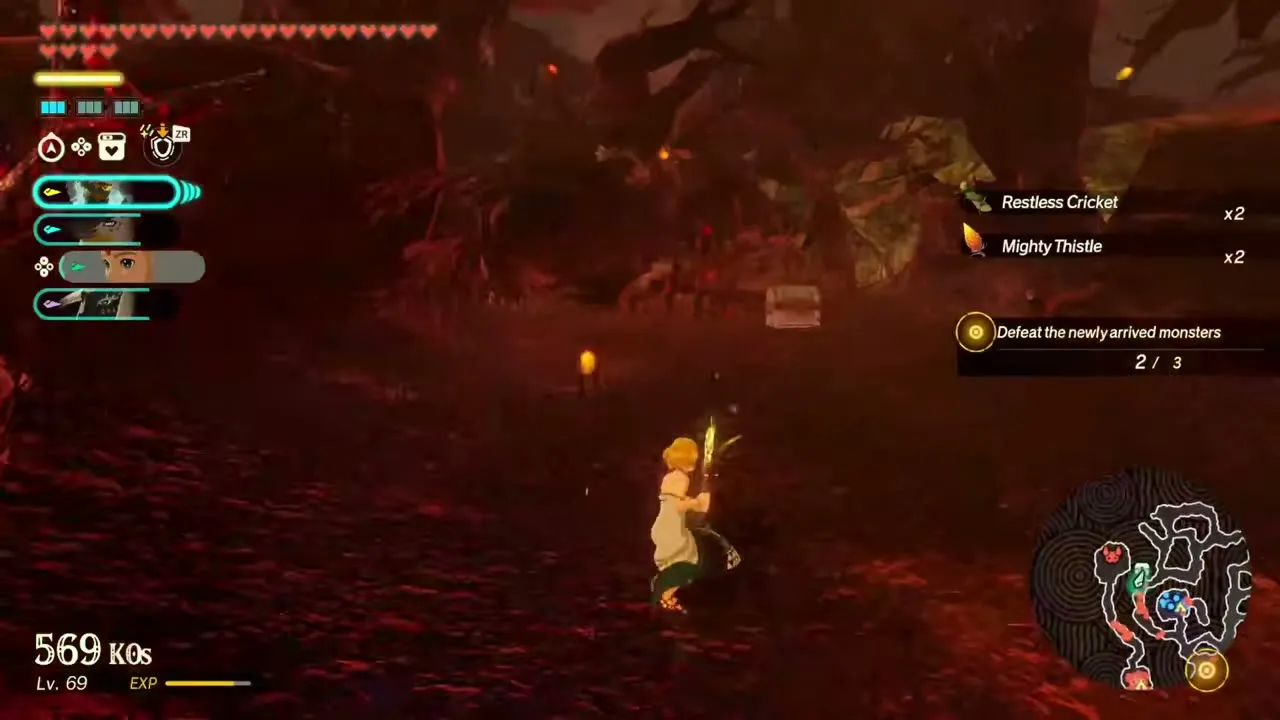
There are eight chests, all listed in the table below. The Rupees chest is tucked into a nook north of the Black Moblin mini-boss, the Fire Fruit chest sits along the path east of the south-west campsite, and the Endura Shroom chest is in the centre of the map near some Silver Bokoblins. The Bow chest is south of the north-west campsite, guarded by Black Bokoblins, and the Splash Fruit chest lies south of the northern campsite beside a Silver Bokoblin horde.
The remaining three chests hold Zonaite Steel weapons: a One-Handed one in a sloped nook in the north, a Spear near a gate in the south, and a Two-Handed one beneath an archway decorated with bones, north of the eastern campsite.
Rewards and what unlocks next
| Collectible | Type | Where |
|---|---|---|
 Zonaite Steel (Bow) | Chest | South of the north-west campsite, guarded by Black Bokoblins |
 Fire Fruit x20 | Chest | East of the south-west campsite, along the path |
 Rupees x500 | Chest | Nook north of the Black Moblin mini-boss |
 Endura Shroom x10 | Chest | Centre of the map, near Silver Bokoblins |
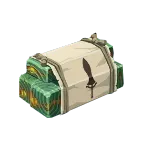 Zonaite Steel (One-Handed) | Chest | Sloped nook in the north of the map |
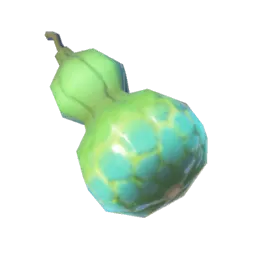 Splash Fruit x17 | Chest | South of the northern campsite, near a Silver Bokoblin horde |
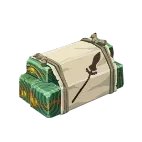 Zonaite Steel (Spear) | Chest | Near a gate in the south of the map |
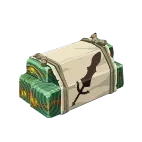 Zonaite Steel (Two-Handed) | Chest | Under a bone-decorated archway north of the eastern campsite |
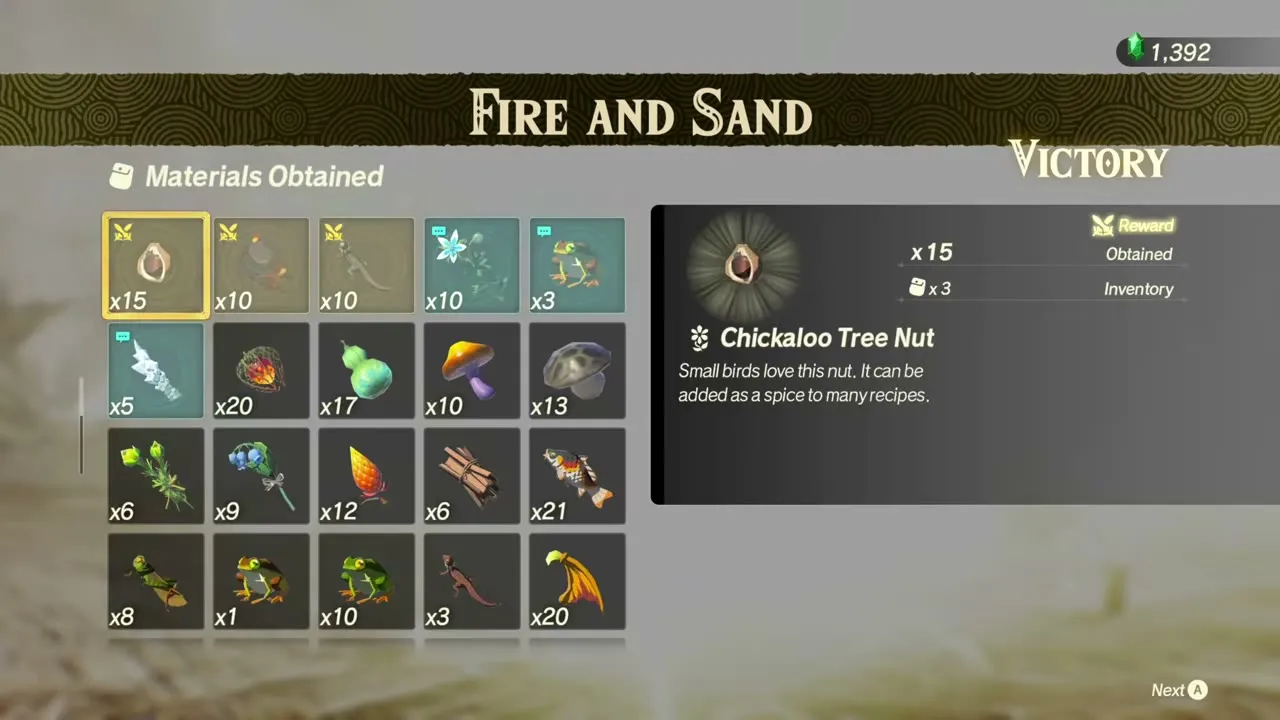
Chickaloo Tree Nut, Fireproof Lizard, Smotherwing Butterfly, 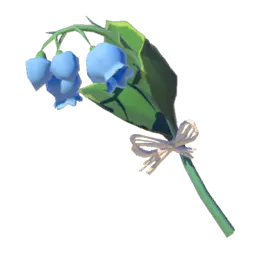 Blue Nightshade, 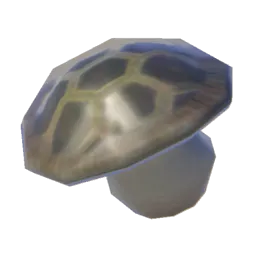 Ironshroom,  Mighty Thistle, 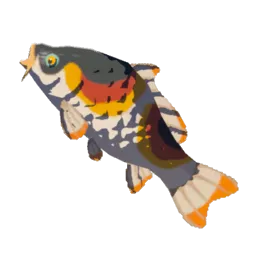 Sanke Carp | First-clear battlefield materials | Battle clear |
Chapter 5 begins with the flight battle Into the Fray.