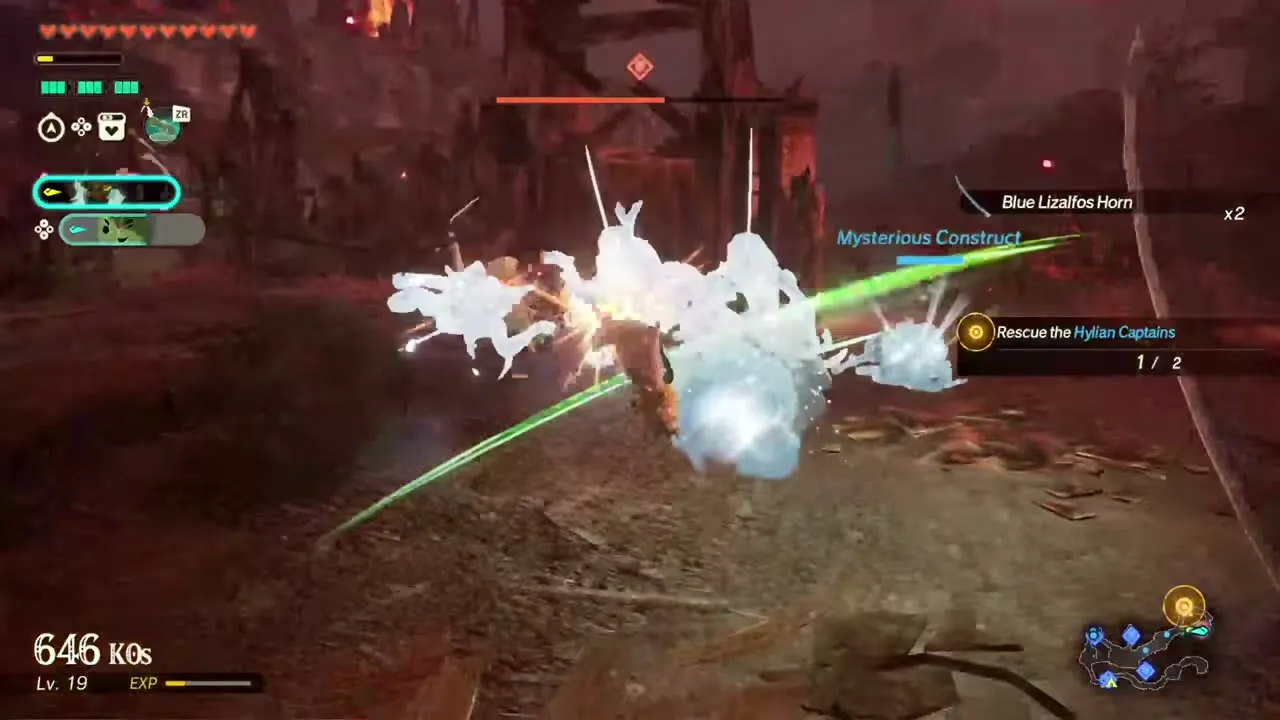
| Devices | 11 (10 attack and movement devices plus the Battery), plus the Wing in flight battles |
|---|---|
| Equip limit | 2 at a time: one on ZR, one on the lower quick inventory |
| Controls | Hold R, then press Y, X, A or B for the device assigned to that button |
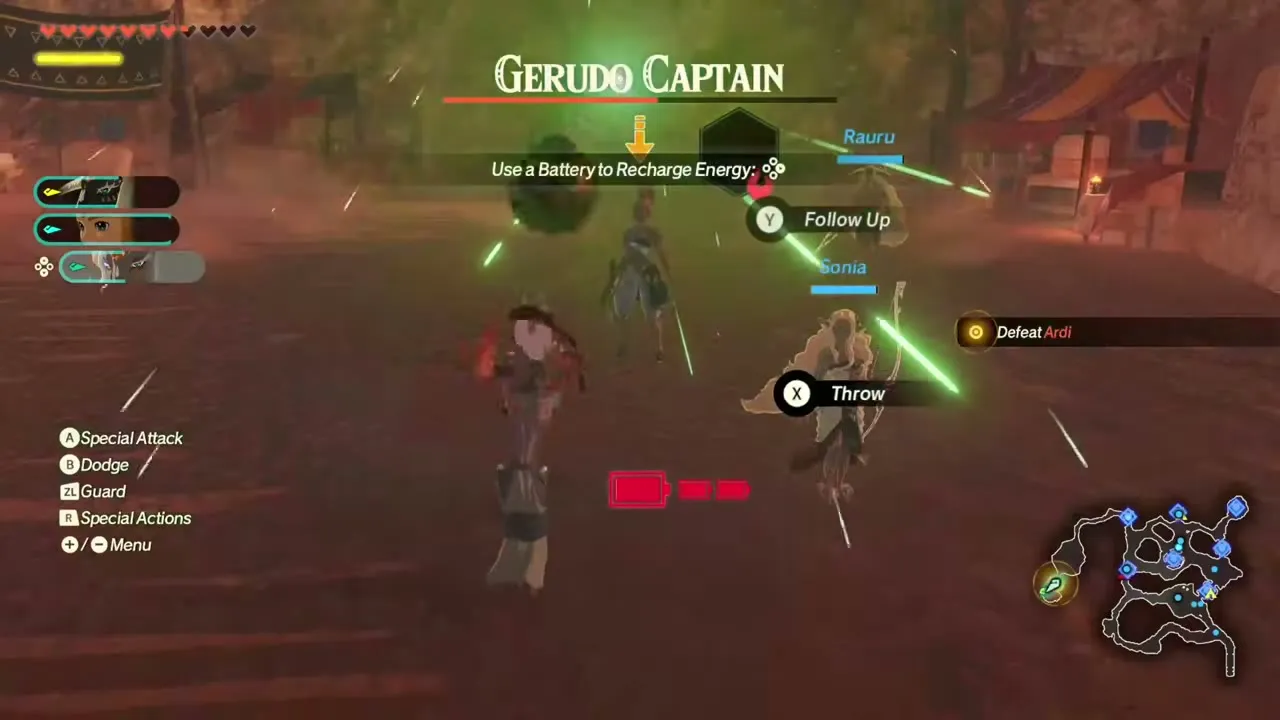
| Energy gauge | Every device except the Balloon drains it; a Battery refills it at once |
| Battery capacity | Starts at 3; the quest “A Wandering Korok!” adds 1 |
| Best picks | Time Bomb for stunning, Hydrant for sludge, the three emitters for elements |
Age of Imprisonment has 11 Zonai devices: Battery, Fan, Balloon, Rocket, Time Bomb, Flame Emitter, Frost Emitter, Shock Emitter, Beam Emitter, Hydrant and Cannon, plus the Wing that the flying battles add. You assign them in the Special Actions menu, call them up in battle with R plus a face button, and pay for each use out of the energy gauge, which a Battery tops up instantly. This page lists each device with its cost, what it does and where you get it.

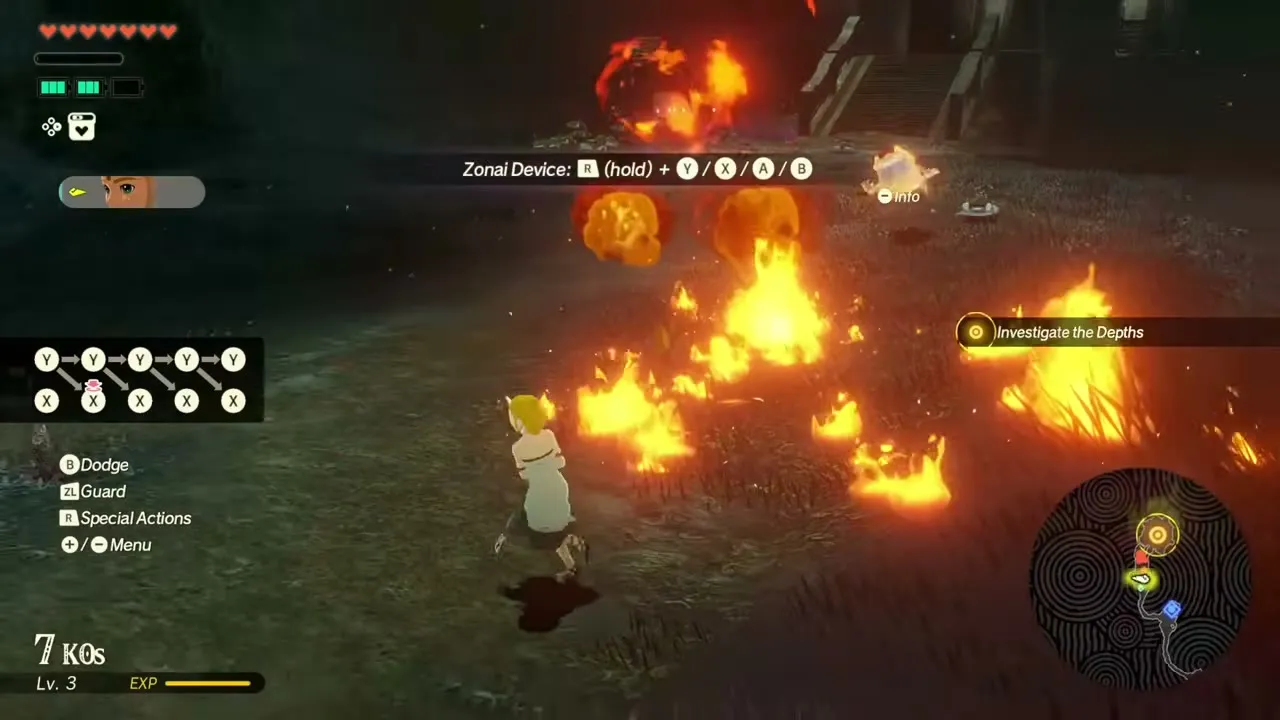
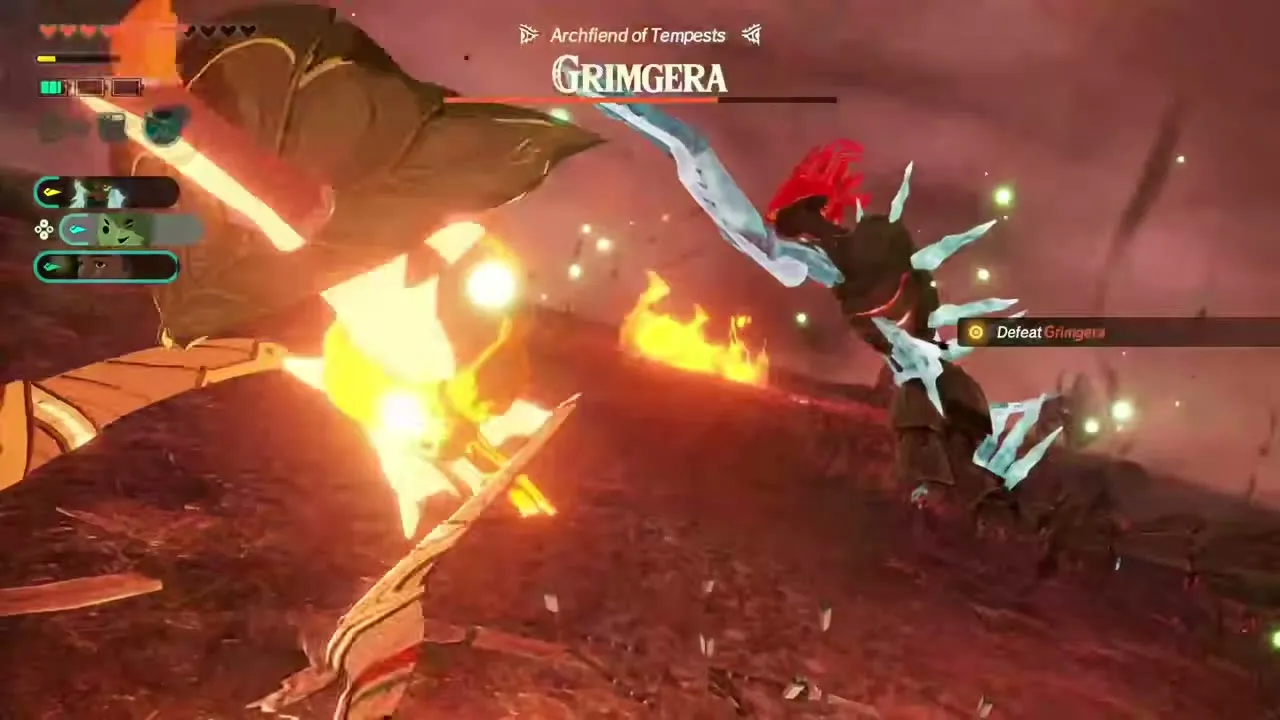
Table of Contents
How Zonai devices work
Equipping devices
Open the Special Actions menu with the D-Pad, pick a device and assign it to a face button with A. Each warrior can carry two at once, one tied to ZR and one in the lower part of the quick inventory. You can also reassign devices in battle from the same menu.

Using devices in battle
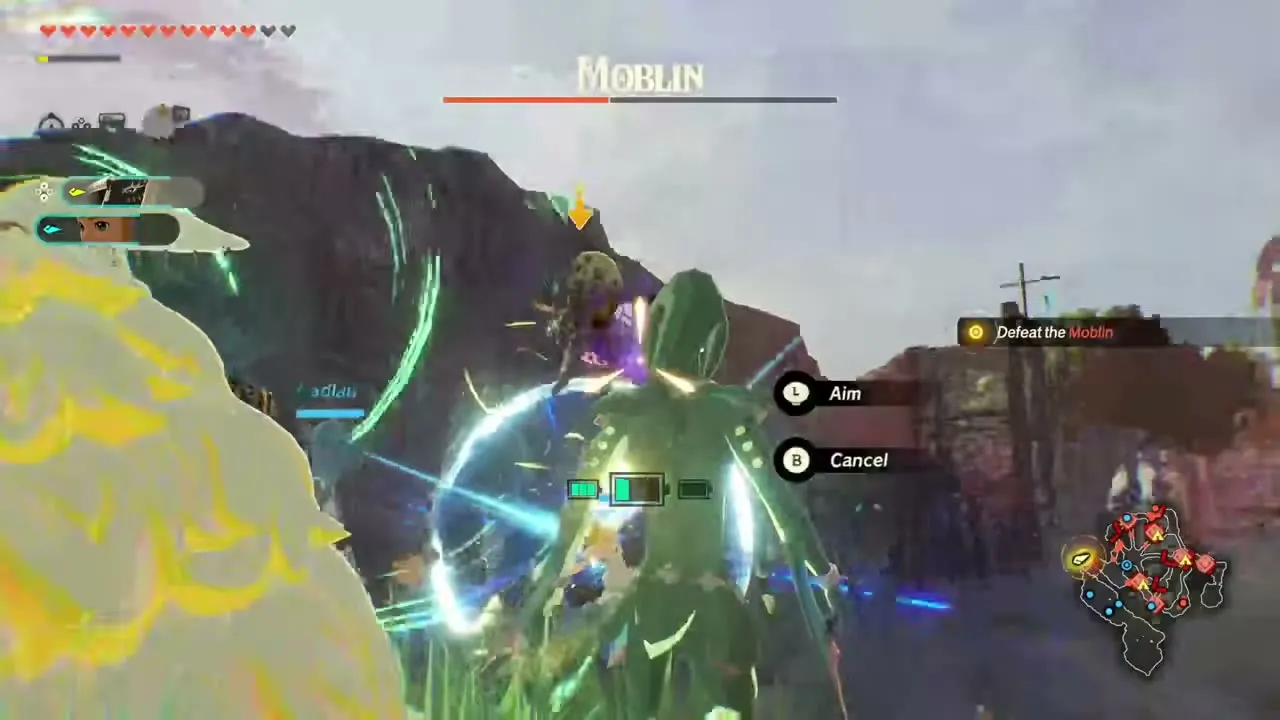
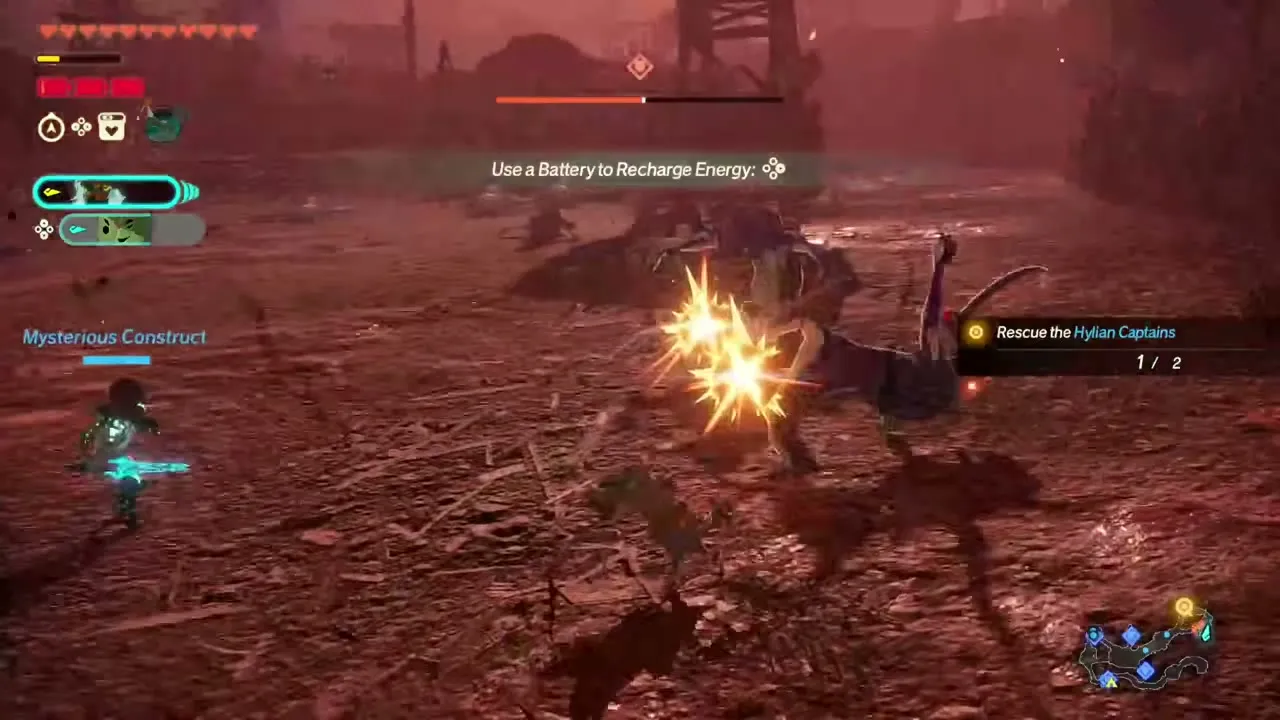
Switch to the warrior who carries the device, hold R and press the button it is assigned to (Y, X, A or B). Each use spends energy. When the gauge empties it turns red and starts to refill by itself, or you can use a Battery to refill it immediately. The Battery is the one device you cannot put on a Special Action button.
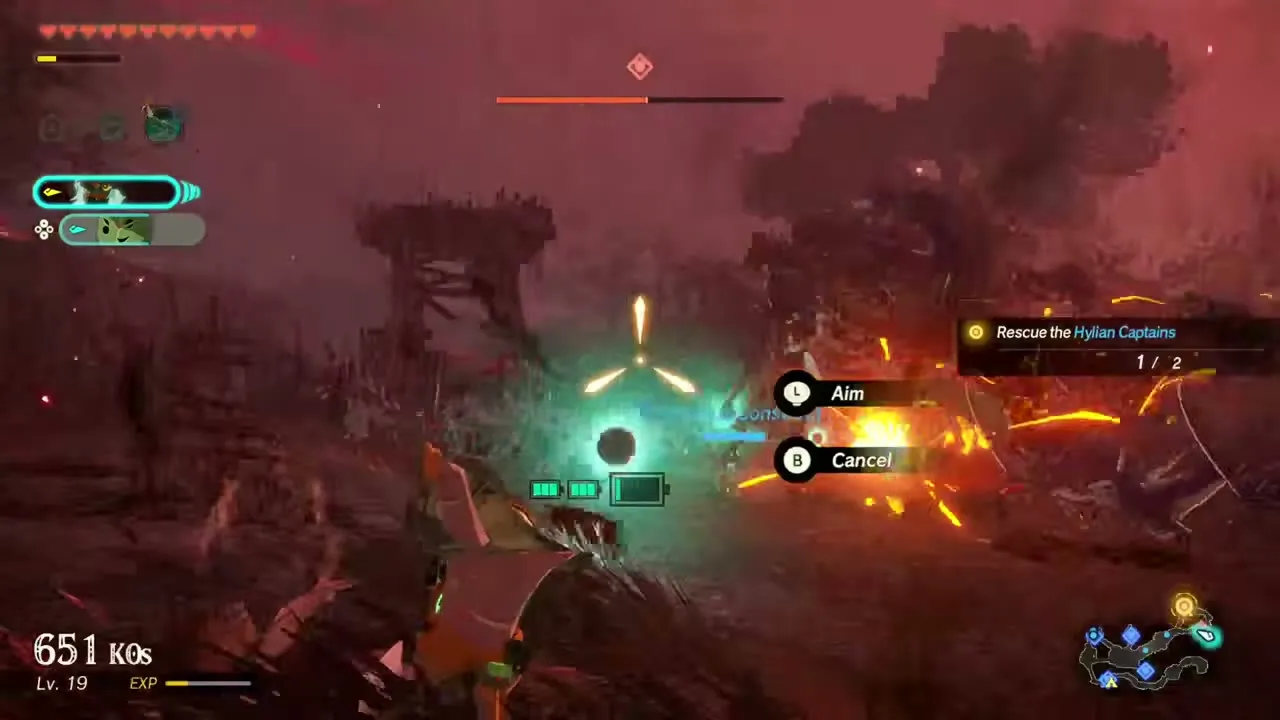

Zonai device Strong Attacks
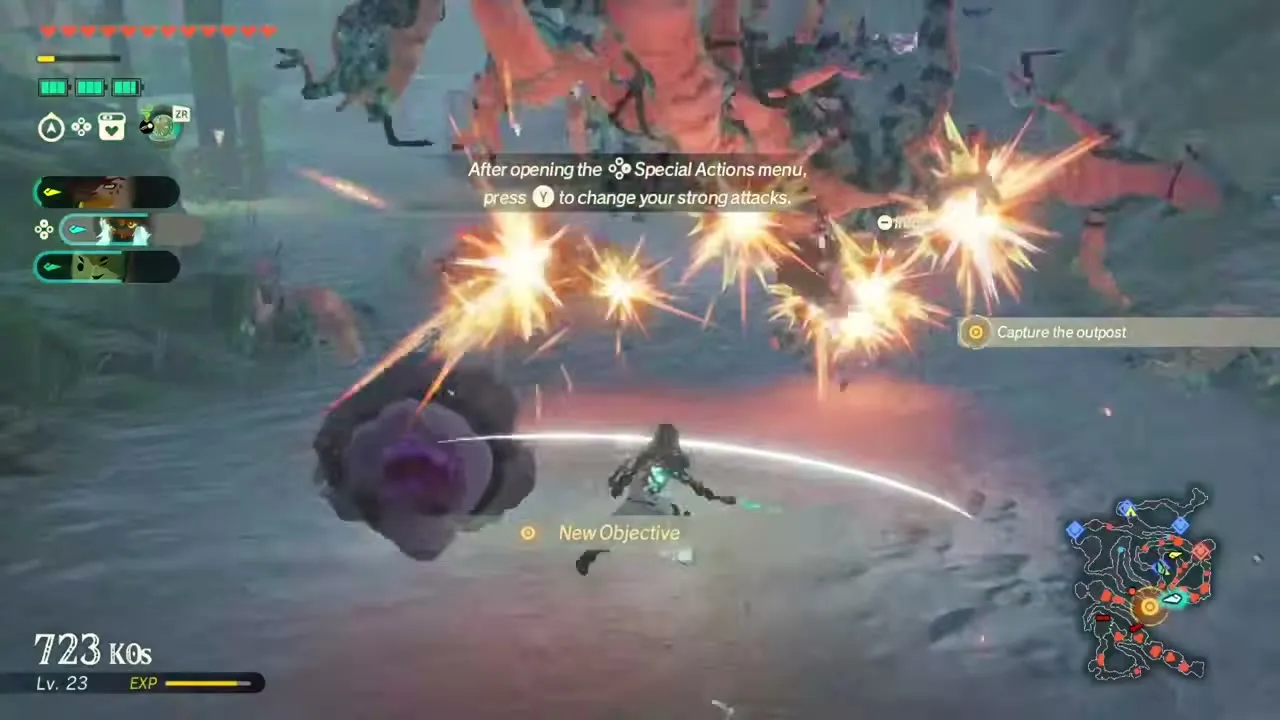
The Knight Construct and Mineru can attach devices to their Strong Attacks, so the X combo changes depending on what you have equipped, and each such attack also costs energy. Press Y in the Special Actions menu to change which devices the Strong Attacks use. Mineru gets this ability as a quest reward; see the character quests.

Batteries and energy
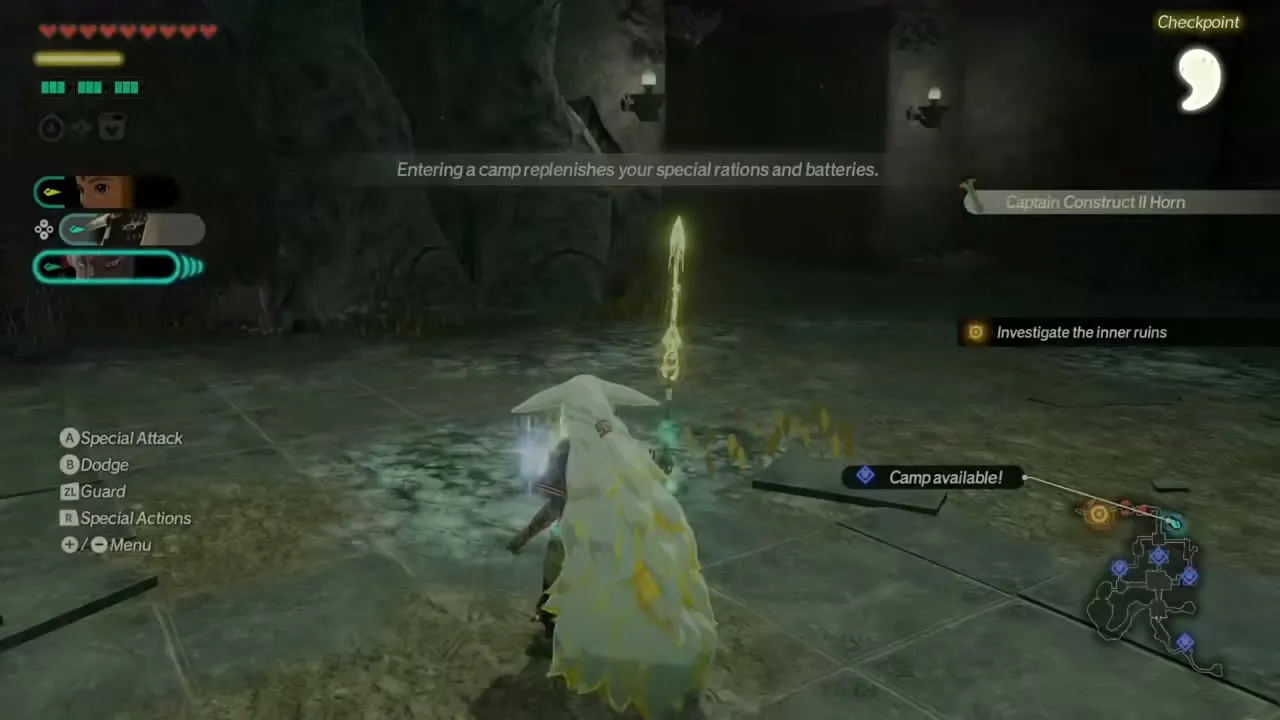
You begin with room for 3 Batteries, and finishing the quest “A Wandering Korok!” raises that to 4. Entering a camp replenishes the Batteries you have used. The Bonus Exchange can also lower the energy cost of devices for the rest of a battle, in return for Bonus Vouchers.

All Zonai devices at a glance
| Device | Energy | Effect | How you get it |
|---|---|---|---|
| Battery | None | Refills the energy gauge at once | Mineru’s Workshop, just before the descent in “Where Ancient Wisdom Sleeps” |
 Fan | 10 | Wind that pushes enemies back and reflects projectiles | Pickup in “Beneath the Blood Moon” |
| Balloon | 0 | Teleports you to any allied outpost | Device Dispenser on the map after “Crisis on Death Mountain” |
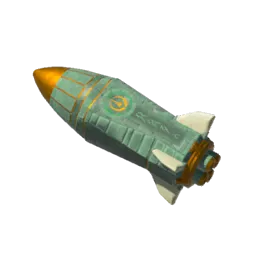 Rocket | 25 | Charges through enemies until the energy runs out | Chest in “The Hands of Evil” |
| Time Bomb | 25 | Timed blast that hits everything nearby | Chest after the Captain Constructs in “Where Ancient Wisdom Sleeps” |
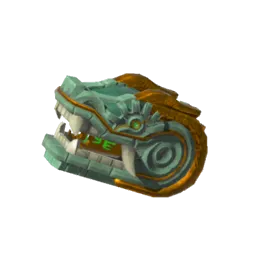 Flame Emitter | 55 | Fire ahead of you | Mineru’s Workshop, just before the descent in “Where Ancient Wisdom Sleeps” |
 Frost Emitter | 40 | Freezing blast | Device Dispenser after “Where Ancient Wisdom Sleeps” |
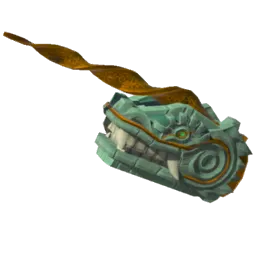 Shock Emitter | 65 | Electric bolt | Device Dispenser after “Growing Suspicion” |
 Beam Emitter | 65 | Light beam through every enemy in its path | Pickup during “Purging the Shadows” |
| Hydrant | 45 | Water that soaks enemies and washes away sludge | Drops after the Sludge Like in “Lanayru Defiled” |
 Cannon | 40 | Repeated powerful shots in the direction you face | Picked up in “The Howling Tempests” |
| Wing | Flight battles | Adds support fire while the Knight Construct flies | Dropped by allied soldiers early in “Into the Fray” |
Every device in detail
Battery
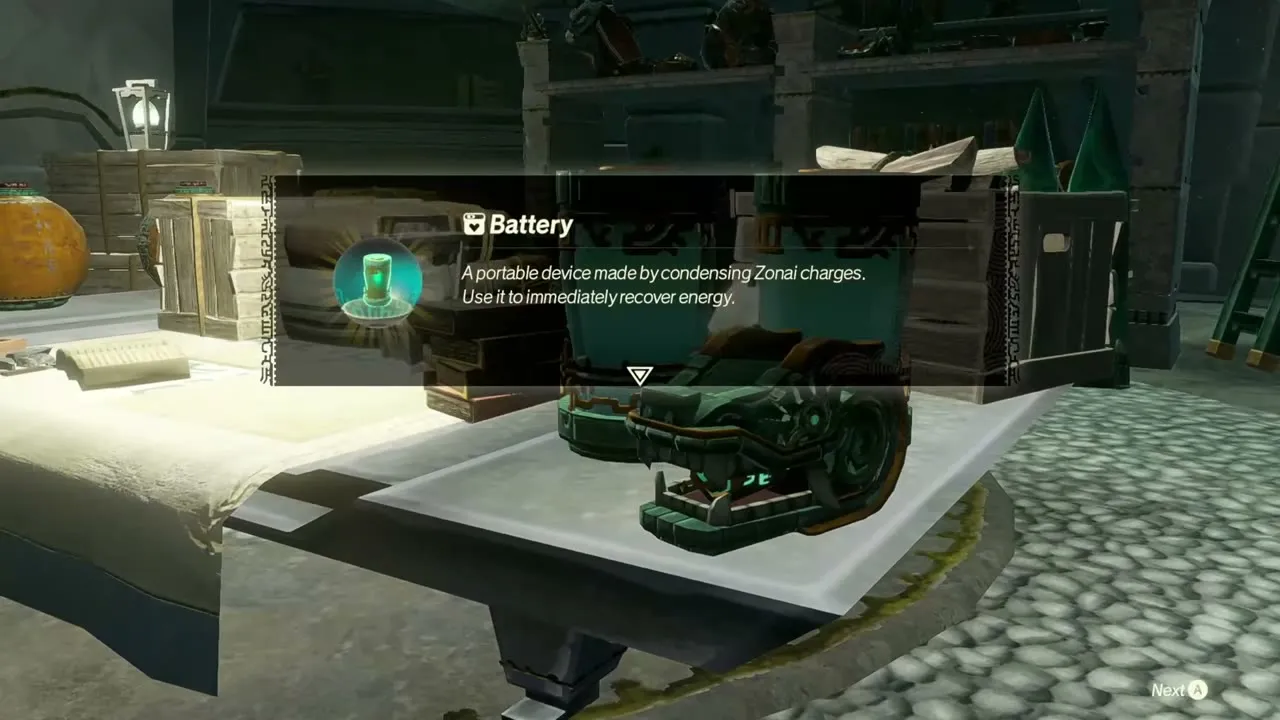
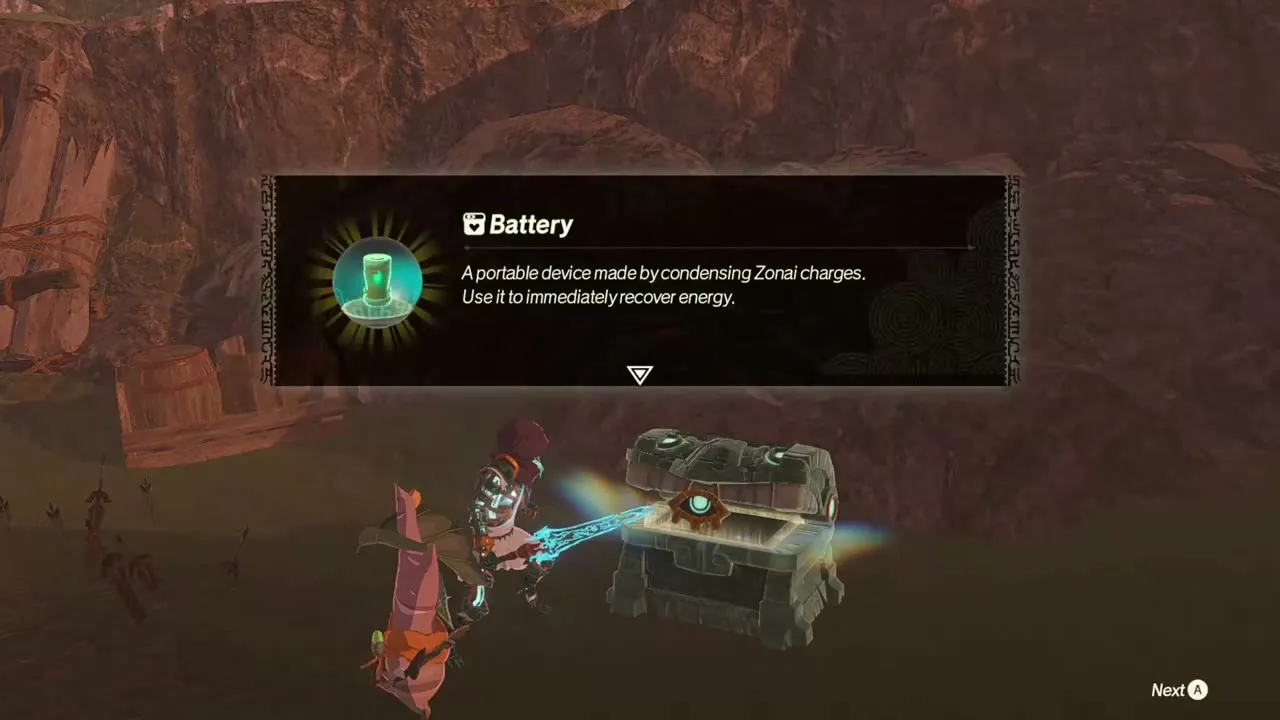
The Battery is a refill item rather than an attack. Use it when the energy gauge runs dry and you do not want to wait for the automatic recharge. Mineru hands it over at her workshop in Where Ancient Wisdom Sleeps, together with the Flame Emitter, before the descent into the Depths.
Fan
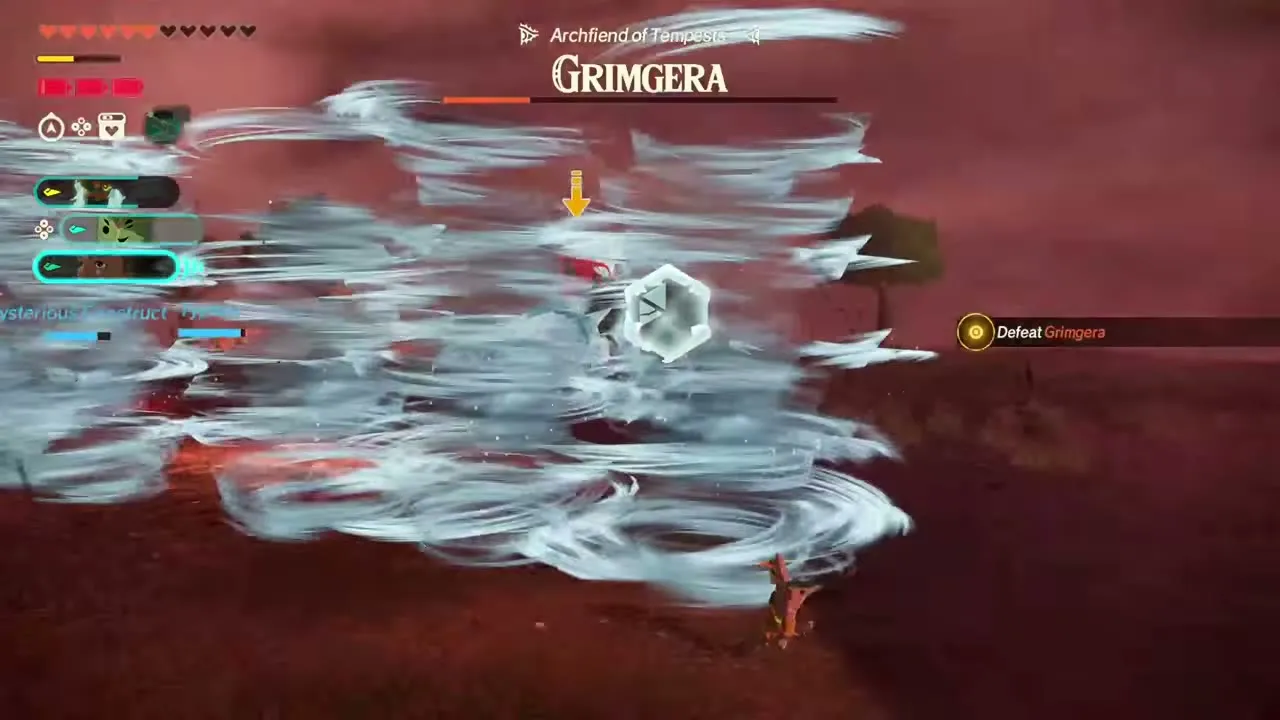
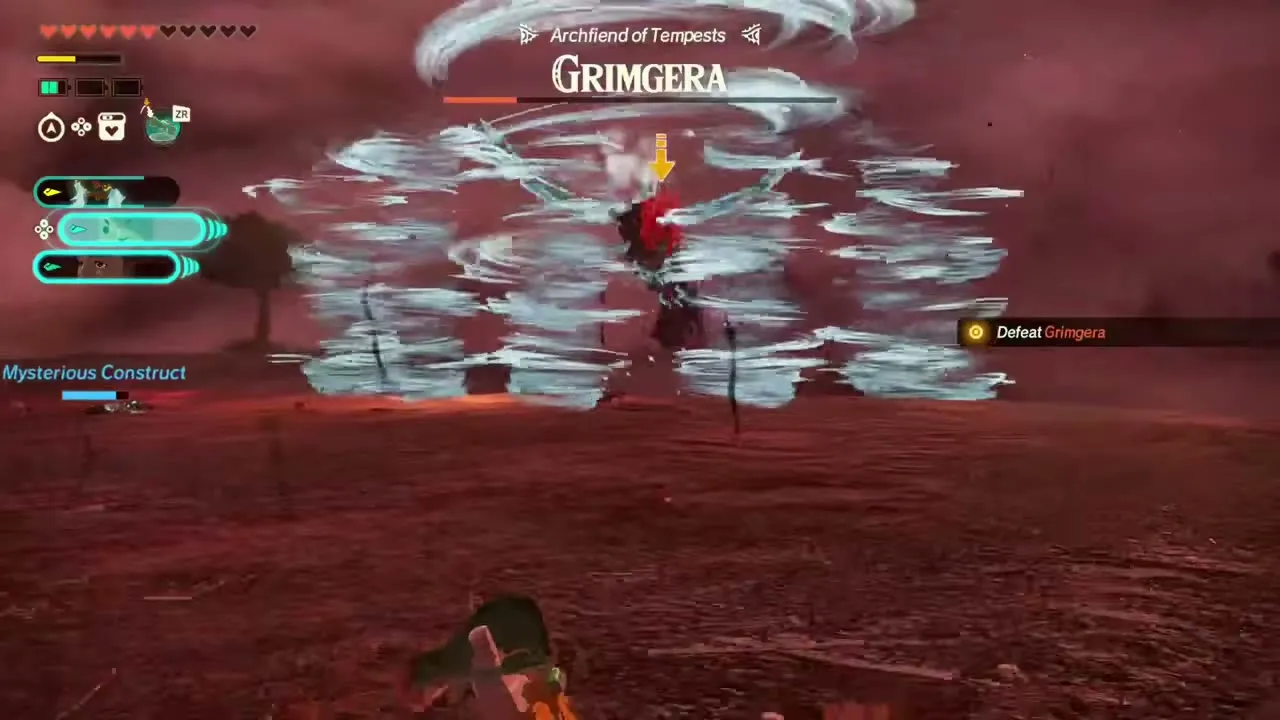
You pick the Fan up in Beneath the Blood Moon. It costs 10 energy and blows wind in the direction you face, which knocks enemies back and bats projectiles away. Thrown instead of aimed, it blows the wind upward as an updraft. In the flying battles it deflects projectiles when you dodge. It is the cheapest attacking device, so it suits crowd control when your gauge is low.
Balloon
The Balloon costs no energy. It lifts you and drops you at any allied outpost you have captured, which makes it the quickest way to answer a siege at your main outpost. Once you finish Crisis on Death Mountain, the Device Dispenser on the map hands out the Balloon. Pick an allied outpost on the map afterwards to fly there at once.


Rocket
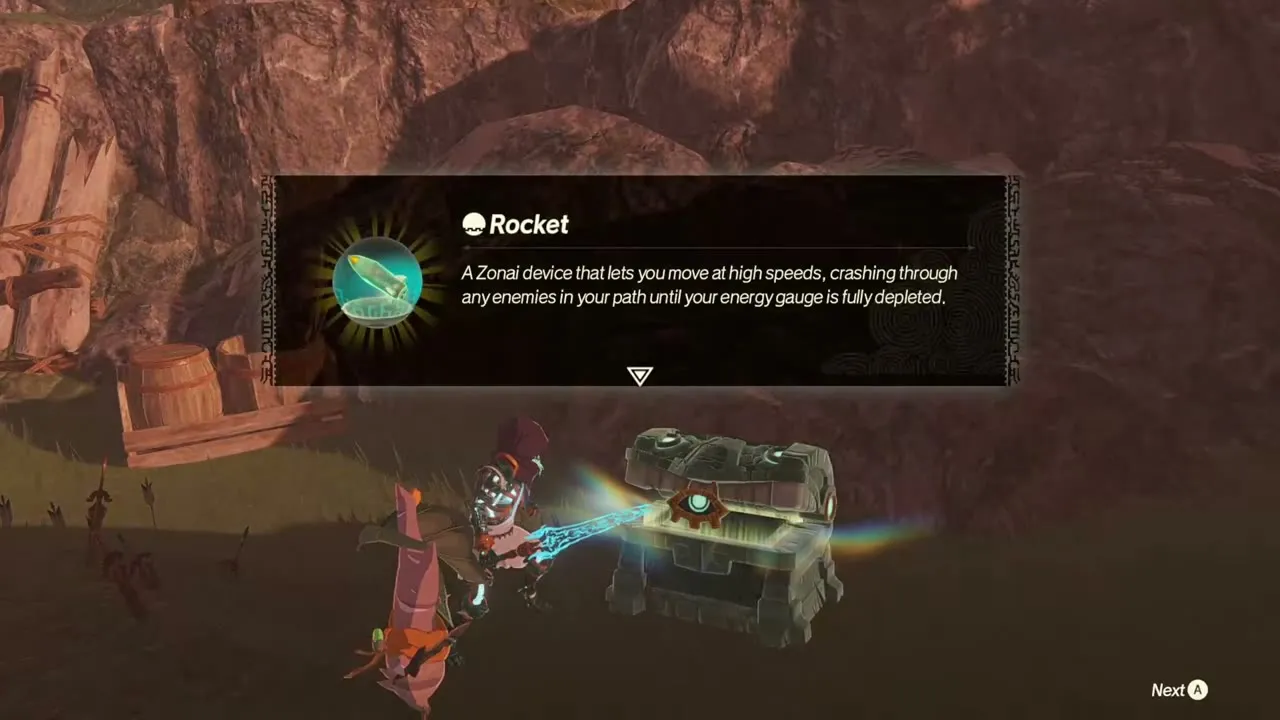
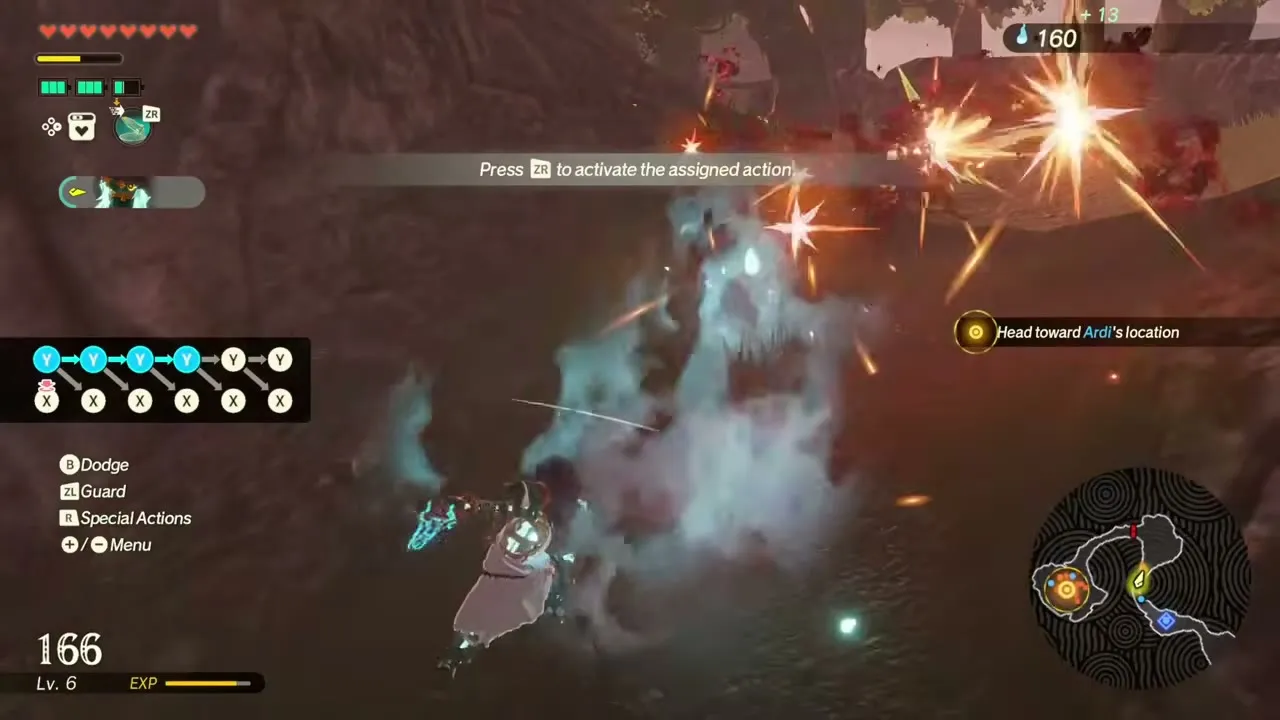
The Rocket, found in a chest in The Hands of Evil, costs 25 energy and sends you forward at speed, crashing through everything in the way until its energy runs out. Devices can be strengthened: a second Rocket capsule in Beneath the Blood Moon raises it to Lv.2, which locks on to more targets at once. Use it to cross a battlefield or to break through a line of weak enemies.
Time Bomb
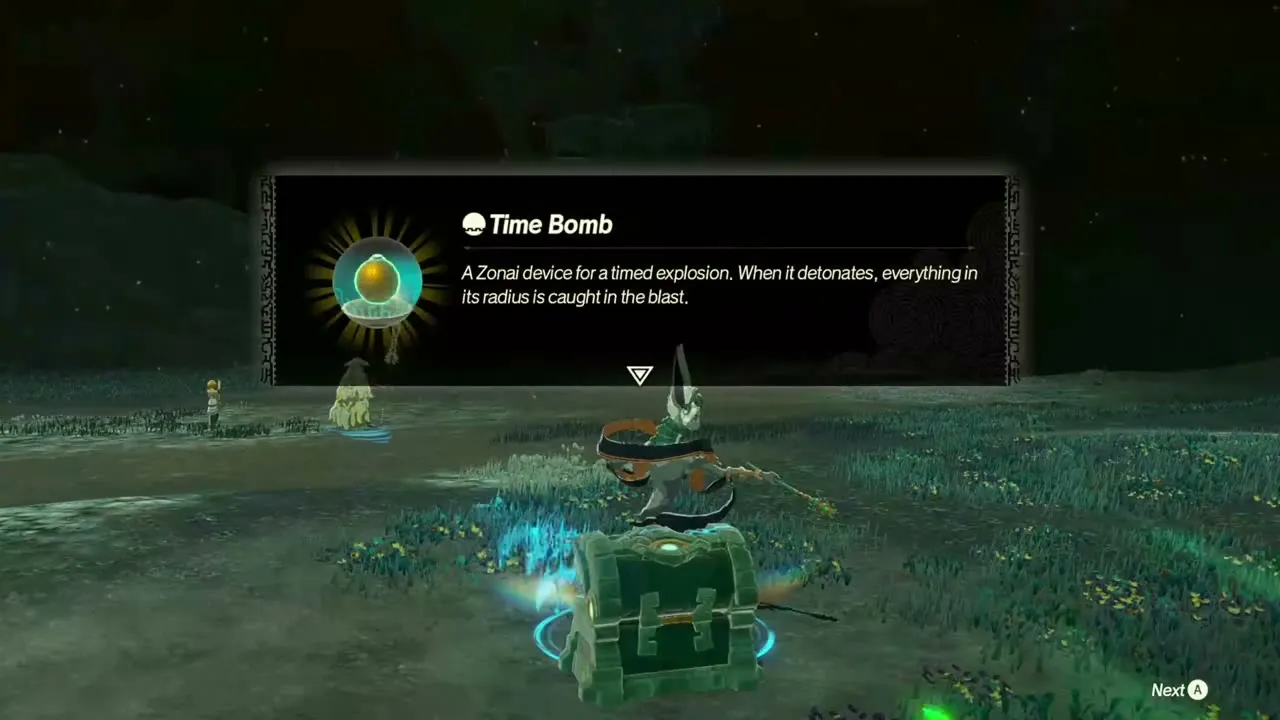
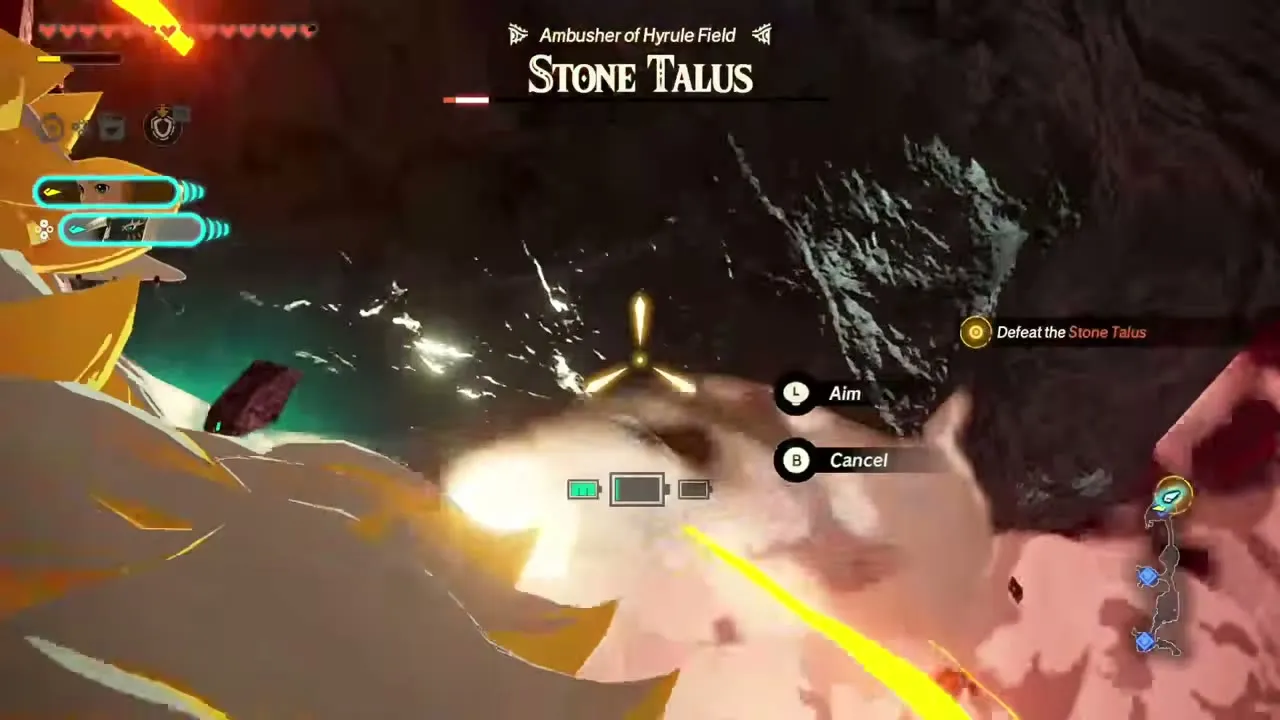
The Time Bomb costs 25 energy and explodes after a short delay, damaging everything in its radius. It can be thrown very quickly, and it also goes off the moment it hits a powerful enemy, so repeated bombs keep a large enemy stunned and drain its Weak-Point Gauge fast. It is the strongest pick for Dangerous Enemies and bosses.

Flame Emitter
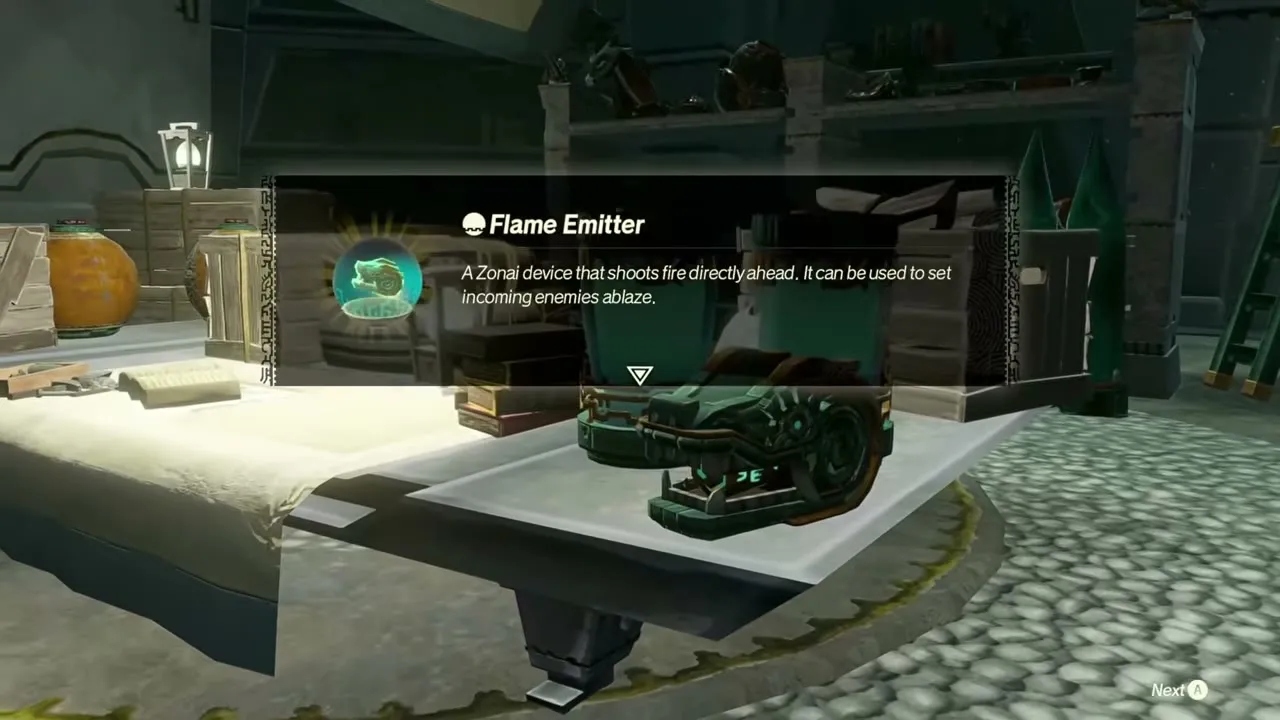
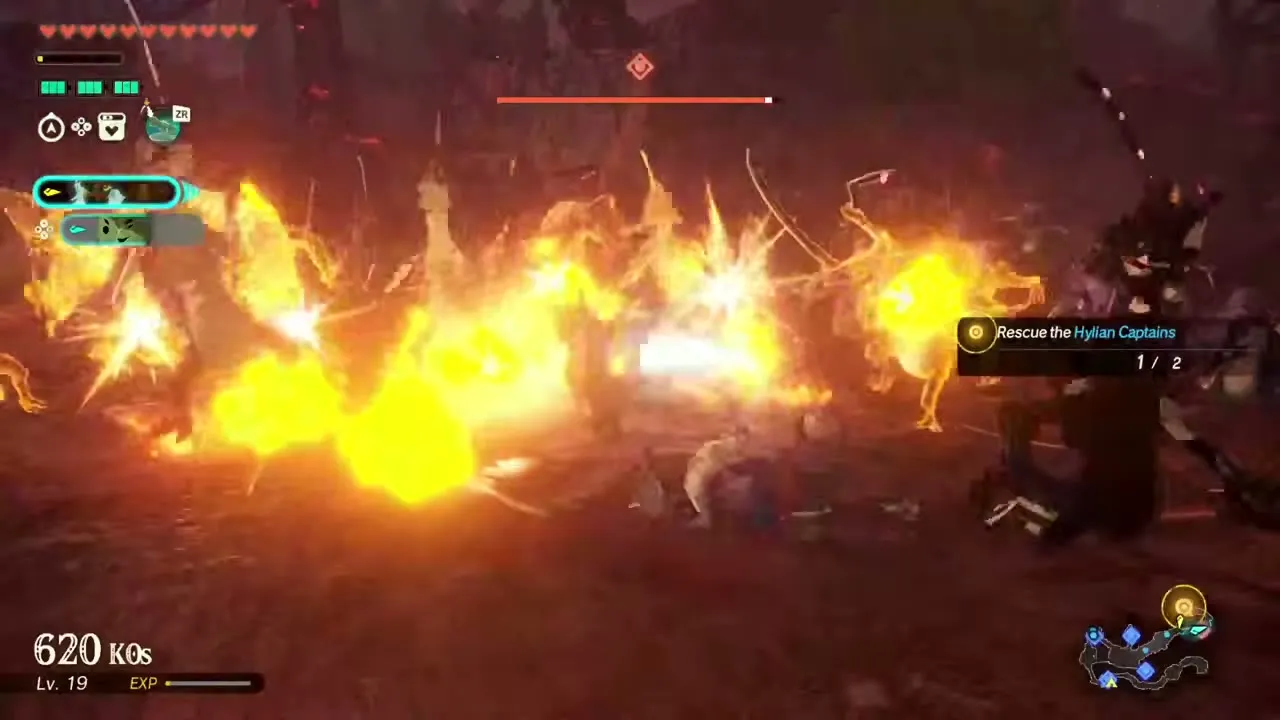
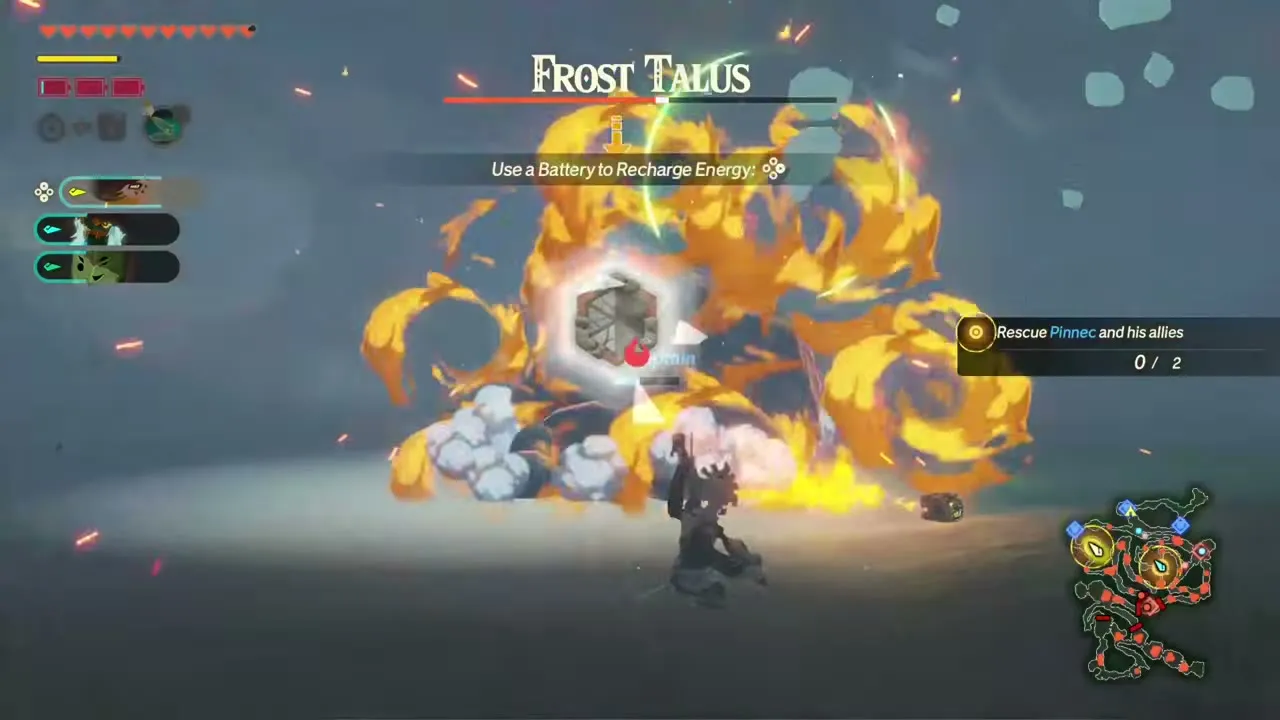
The Flame Emitter costs 55 energy and sets incoming enemies ablaze with fire shot straight ahead. It is your first attack device, handed over at Mineru’s Workshop in Where Ancient Wisdom Sleeps, and it is the natural answer to ice enemies such as Frost Talus.
Frost Emitter
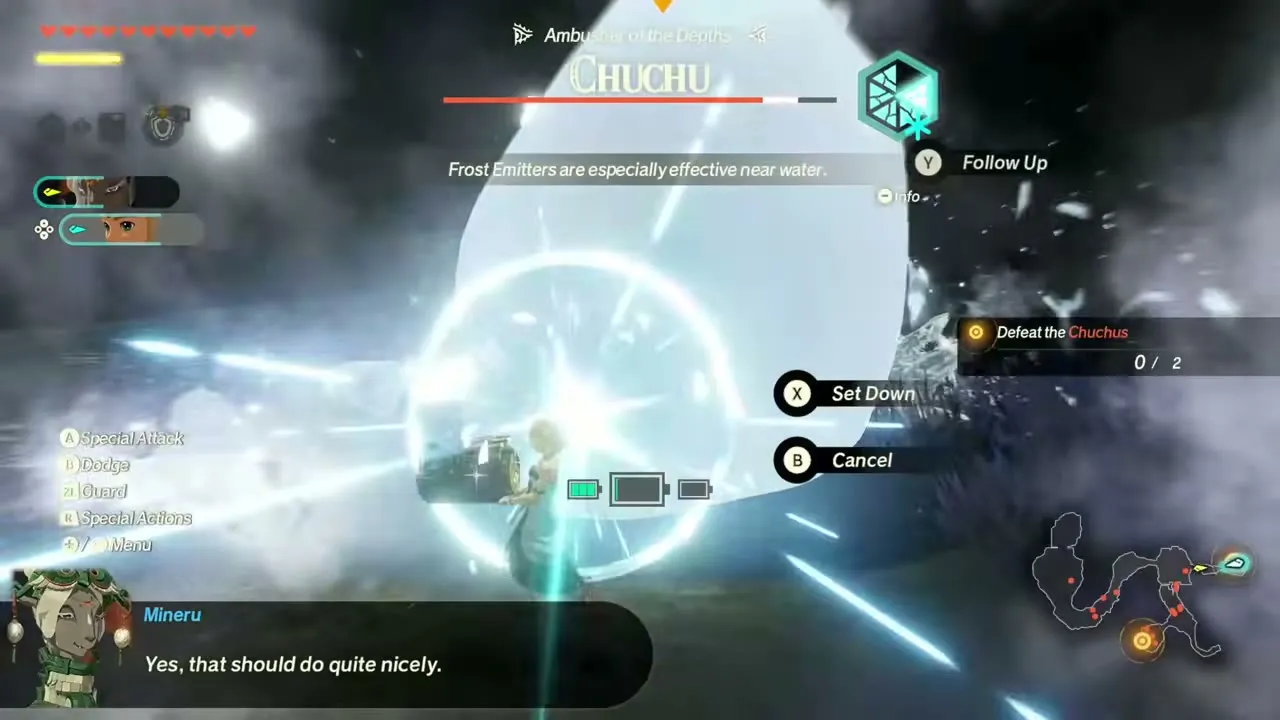
The Frost Emitter costs 40 energy and blasts frigid air straight ahead to freeze incoming enemies. It becomes available at the Device Dispenser once you have finished Where Ancient Wisdom Sleeps. Its effect is stronger near water, and a frozen enemy takes heavy damage from a big blast such as a Time Bomb.


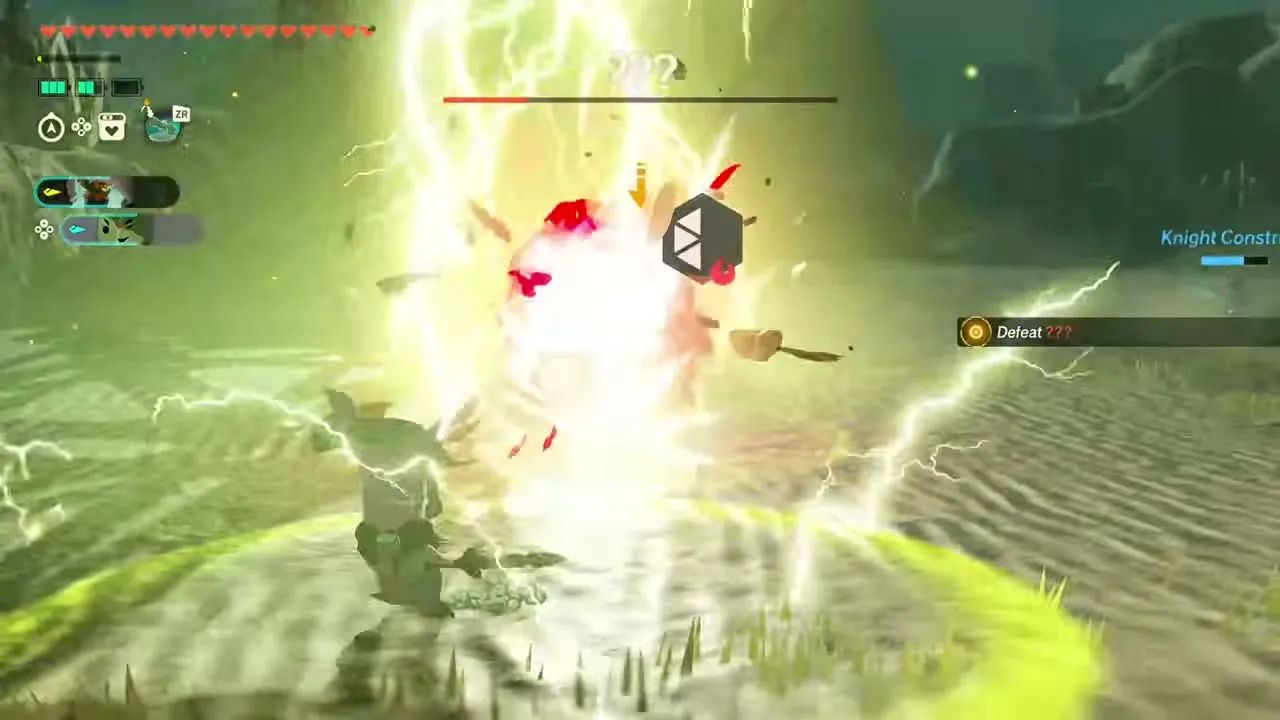
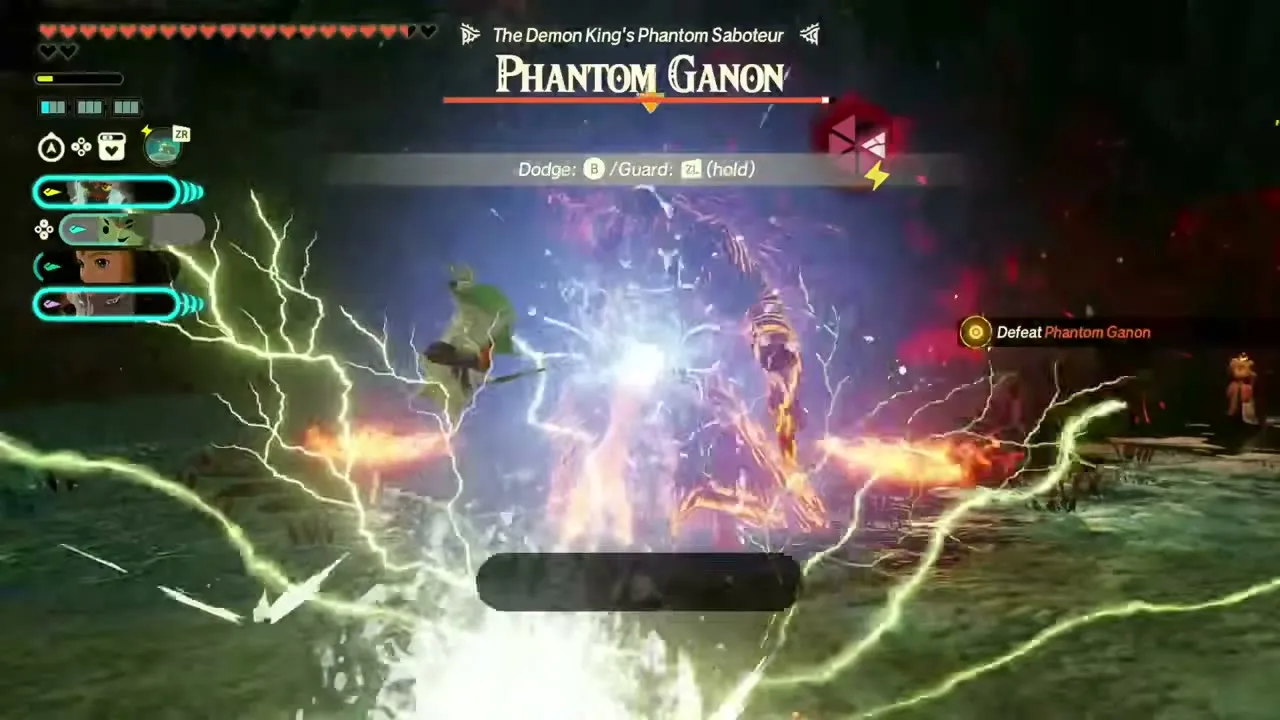
Shock Emitter
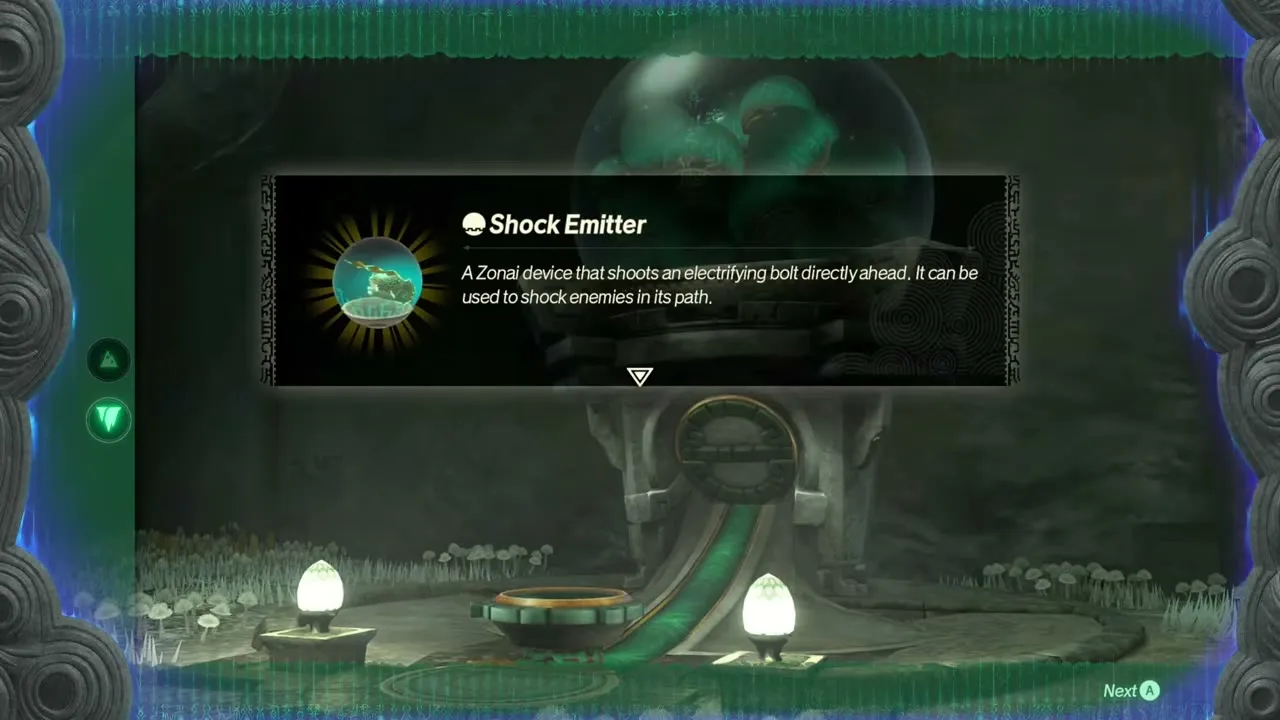
The Shock Emitter costs 65 energy and fires an electric bolt that shocks the enemies in its line. You unlock it at the Device Dispenser after finishing Growing Suspicion.
Beam Emitter
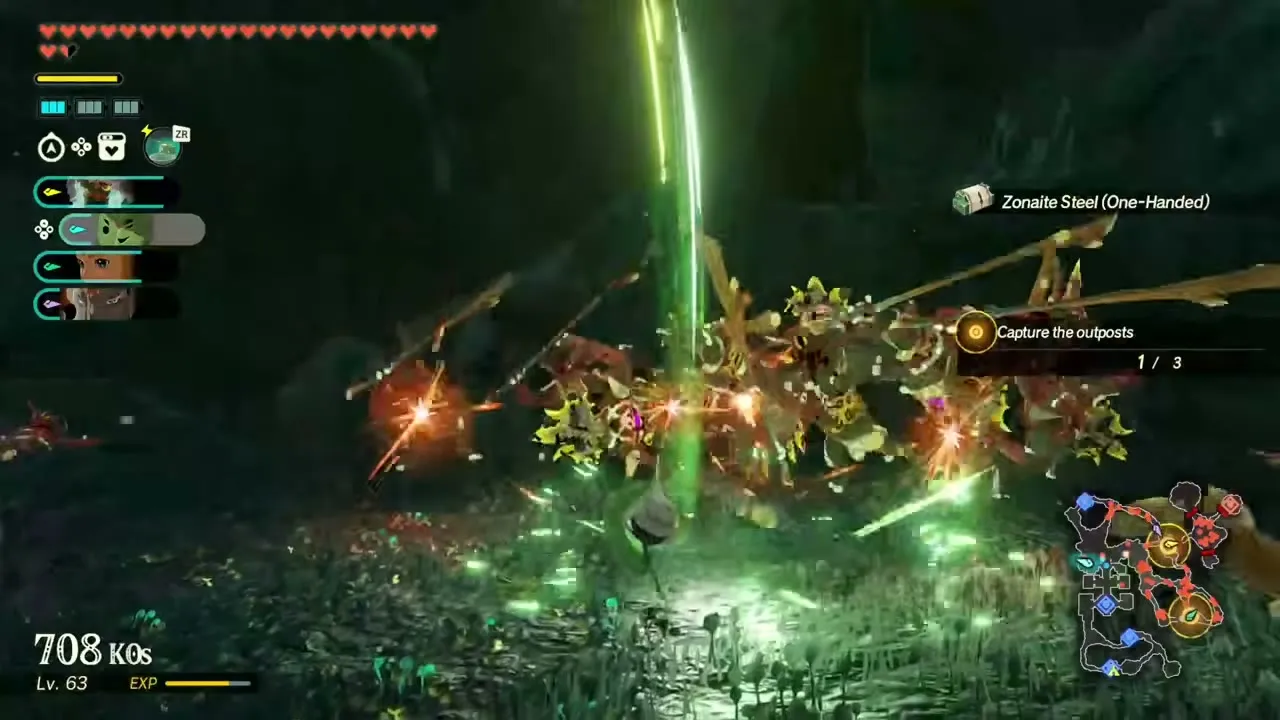
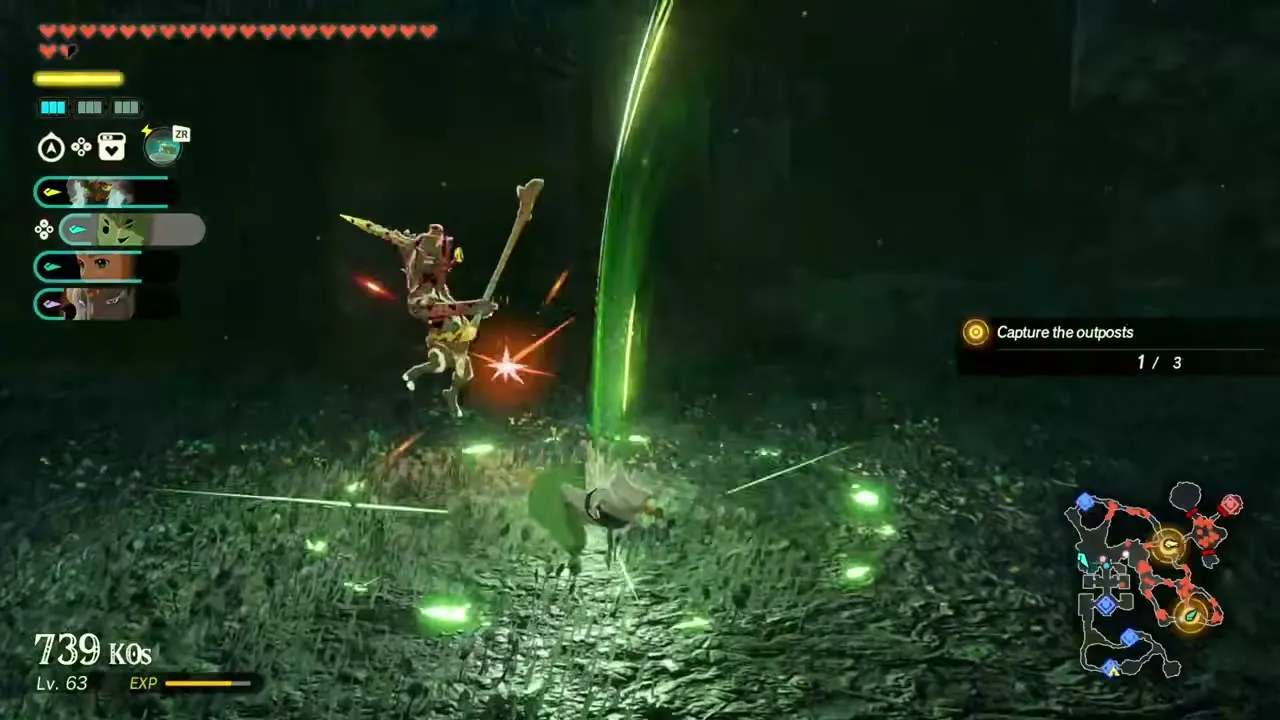
The Beam Emitter costs 65 energy and fires a beam of light that strikes everything along its path. You pick it up during Purging the Shadows. Hold the button to charge the beam for more strength, at a higher energy cost. Stal enemies are weak to light, so it works well against them.

Hydrant
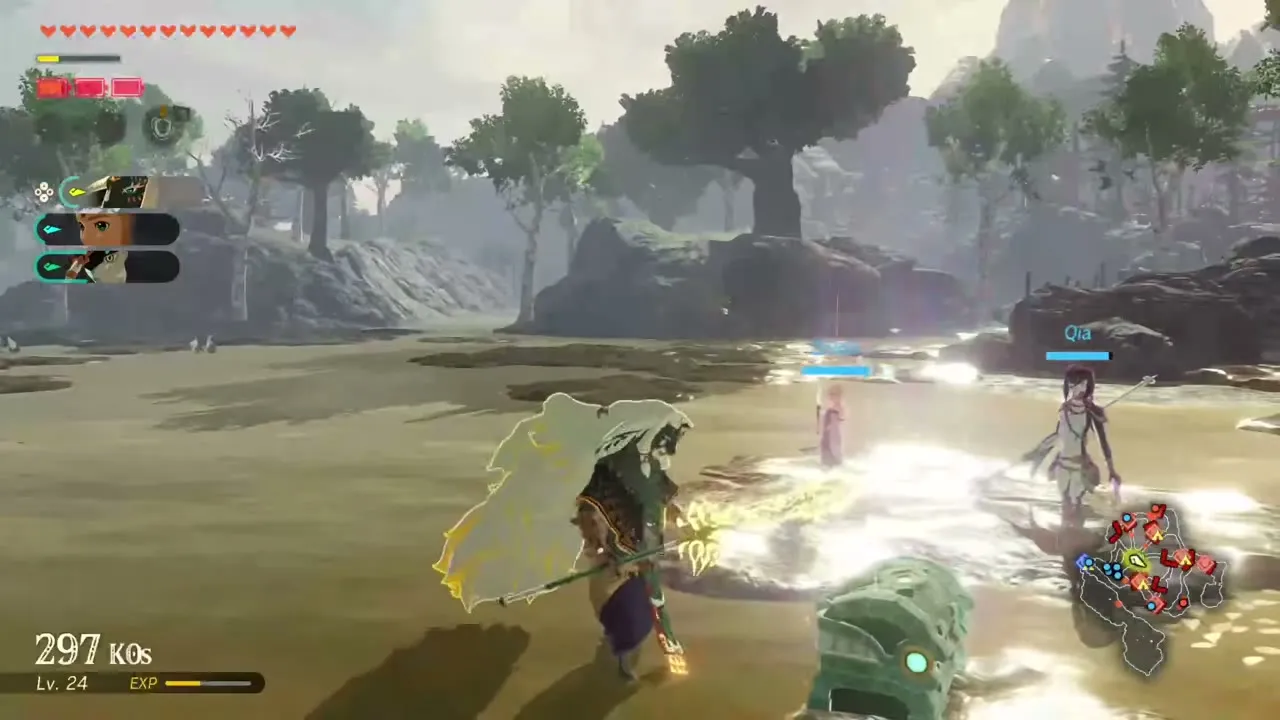
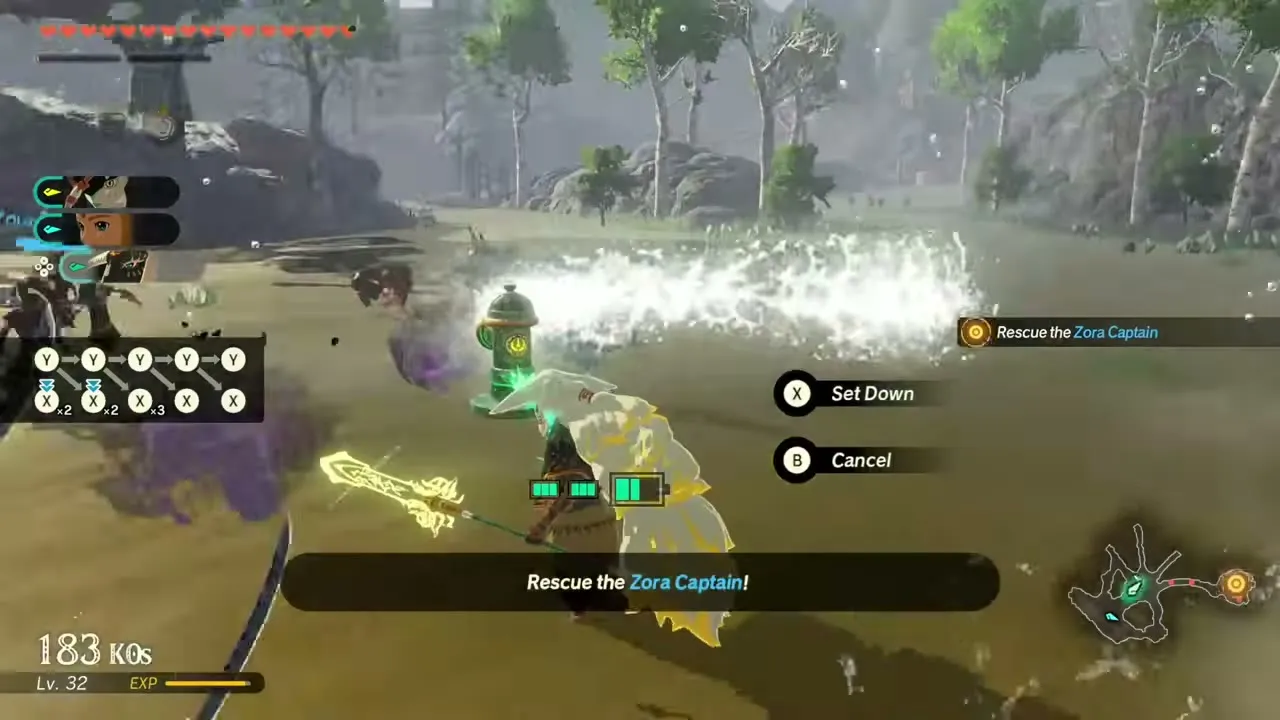
The Hydrant costs 45 energy and sprays water forward, soaking enemies and washing away sludge. It also uncovers Koroks that hide under sludge, which matters for the Korok Seed locations. It drops in Lanayru Defiled once the Sludge Like is beaten.

Cannon
The Cannon costs 40 energy and fires a quick barrage of powerful shots in the direction you face. You pick it up on the burning road in The Howling Tempests. It is a good ranged option when you cannot get close to a target, and especially against flying enemies.


Which devices to bring
Bosses and Dangerous Enemies
Bring the Time Bomb to stun and break the Weak-Point Gauge, then add the emitter that matches the enemy’s element: Flame Emitter against ice creatures, and the Hydrant to clear sludge. The boss list covers the individual fights.


Crowds and exploration
The Fan and the Rocket are cheap and good for moving through groups, while the Balloon gets you across the map for free. Carry the Hydrant when a battle has sludge or hidden Koroks, since both are easier to clear with water.