Age of Imprisonment 100% Completion Walkthrough28 chapters
- To the Great Plateau Walkthrough (Chapter 1, Battle 1)A short tutorial walk with Zelda, Rauru and Sonia. Controls, rewards and what opens next.
- The Art of the Blade Walkthrough (Chapter 1, Battle 2)Beat Typhan, Quino, Rauru, Pastos, Braton and Agraston, find the Korok Seed, chests and rewards.
- Where Ancient Wisdom Sleeps Walkthrough (Chapter 1, Battle 3)Flame Emitter, Time Bomb, Frox, Stone Talus and Flux Construct I, plus all five chests.
- Raging Sands Walkthrough (Chapter 2, Battle 4)Take the outposts, beat four Gerudo Captains, the Molduga and Ardi, and find all 3 Korok Seeds and 5 chests.
- The Hands of Evil Walkthrough (Chapter 2, Battle 5)Capture the outpost as the Mysterious Construct, get the Rocket and rescue Ardi from two Gerudo Captains.
- Growing Suspicion Walkthrough (Chapter 2, Battle 6)All three Korok Seeds, four chests, the Gerudo Assassin, Stone Talus and the final corrupted construct.
- Striking North Walkthrough (Chapter 2, Battle 7)Rescue three Hylian Captains, beat the Hinox and Lynel, and find both Korok Seeds and all seven chests.
- Beneath the Blood Moon Walkthrough (Chapter 2, Battle 8)Flight controls, both Korok Seed ring runs and how to beat the Frost Gleeok.
- The Howling Tempests Walkthrough (Chapter 2, Battle 9)Unlock Fuse attacks, Calamo and Typhan, find all 3 Korok Seeds and 4 chests, and beat Grimgera.
- Shadows in the Snow Walkthrough (Chapter 3, Battle 10)Unlock Raphica, rescue Pinnec, beat the ice enemies, and find all 3 Korok Seeds and 4 chests.
- Lanayru Defiled Walkthrough (Chapter 3, Battle 11)Clear sludge enemies, recruit Qia, get the Hydrant, beat Grimtorok, and find 3 Korok Seeds and 4 chests.
- The Behemoth in the Crater Walkthrough (Chapter 3, Battle 12)How to beat the Moragia flight battle with Zonai attack devices and get the Korok Seed.
- Crisis on Death Mountain Walkthrough (Chapter 3, Battle 13)Rescue the Gorons, unlock Agraston, beat the Fire Lynels and find all 5 Korok Seeds and 5 chests.
- Under Cover of Mist Walkthrough (Chapter 3, Battle 14)Capture outposts through hidden passages, beat the Aerocudas and Grimgera, and find all 7 Korok Seeds.
- Terror of the Sands Walkthrough (Chapter 4, Battle 15)Play as Ardi, clear Gibdo hives, defend the main outpost, and find all 4 Korok Seeds and 7 chests.
- The Crimson Omen Walkthrough (Chapter 4, Battle 16)Beat the corrupted Forbidden Construct as Calamo and the Knight Construct, with tips for its attacks.
- A Time for Action Walkthrough (Chapter 4, Battle 17)Four-sage outpost siege, all 4 Korok Seeds, 4 chests and the five elites.
- The Counterstrike Walkthrough (Chapter 4, Battle 18)Outposts, Zelda joining, the Grimgohma boss fight, 4 Korok Seeds and 4 chests.
- Ambush in the Depths Walkthrough (Chapter 4, Battle 19)Flight battle devices, Rock Octoroks, the breakable wall and the Black Hinox finale.
- Purging the Shadows Walkthrough (Chapter 4, Battle 20)Flux Construct outposts, Gloom Spawns, Phantom Ganon boss fight and all 5 chests.
- Fire and Sand Walkthrough (Chapter 4, Battle 21)Outposts, Silver Moblins, Grimgibdo boss tips, eight chests and first-clear rewards.
- Into the Fray Walkthrough (Chapter 5, Battle 22)Zonai devices for the flight battle, the Korok ring seed and how to beat King Gleeok.
- The Archfiend’s Return Walkthrough (Chapter 5, Battle 23)How to beat Grimgera in his third fight, best warriors and first-clear rewards.
- The Battle of Hyrule Castle Walkthrough (Chapter 5, Battle 24)Outposts, Grimtorok and Grimgohma, 5 Korok Seeds and 6 chests.
- The Demon King, Ensnared Walkthrough (Chapter 5, Battle 25)Outposts, Silver Lynel, Captain Construct III, three Phantom Ganons, 3 Korok Seeds and 4 chests.
- The Battle of Hyrule Field Walkthrough (Chapter 5, Battle 26)Empty the enemy army gauge, then defeat the Archfiend Grimgibdo.
- The Final Confrontation Walkthrough (Chapter 5, Battle 27)The Phantom Ganon wave, the L-button blast and Demon King Ganondorf strategy with Zelda and Rauru.
- A Clash of Constructs Walkthrough (Chapter 6, Battle 28)The three-phase Forbidden Construct fight, flight tips, the ending and what opens in the post-game.
| Chapter | Chapter 1, Battle 3 |
|---|---|
| Region | Faron Grasslands Depths, Era of Foundation (entered through Tobio’s Hollow) |
| Recommended level | Lv 2 |
| Warriors | Zelda, Rauru and Mineru; Mineru becomes playable partway through |
| Boss | Flux Construct I, after the Frox and the Stone Talus |
| Korok Seeds | 0 |
| Unlocks | Mineru as a warrior, the  Flame Emitter and Time Bomb Zonai devices, the Special Actions menu and the Allies menu |
Where Ancient Wisdom Sleeps takes Zelda, Rauru and Mineru into the Depths below Faron, where hostile Constructs guard ancient ruins. You collect a Flame Emitter, switch to Mineru, beat a Frox and a Stone Talus, light three emblems and then defeat Flux Construct I to finish. It is the battle where Zonai devices and ally orders are introduced.
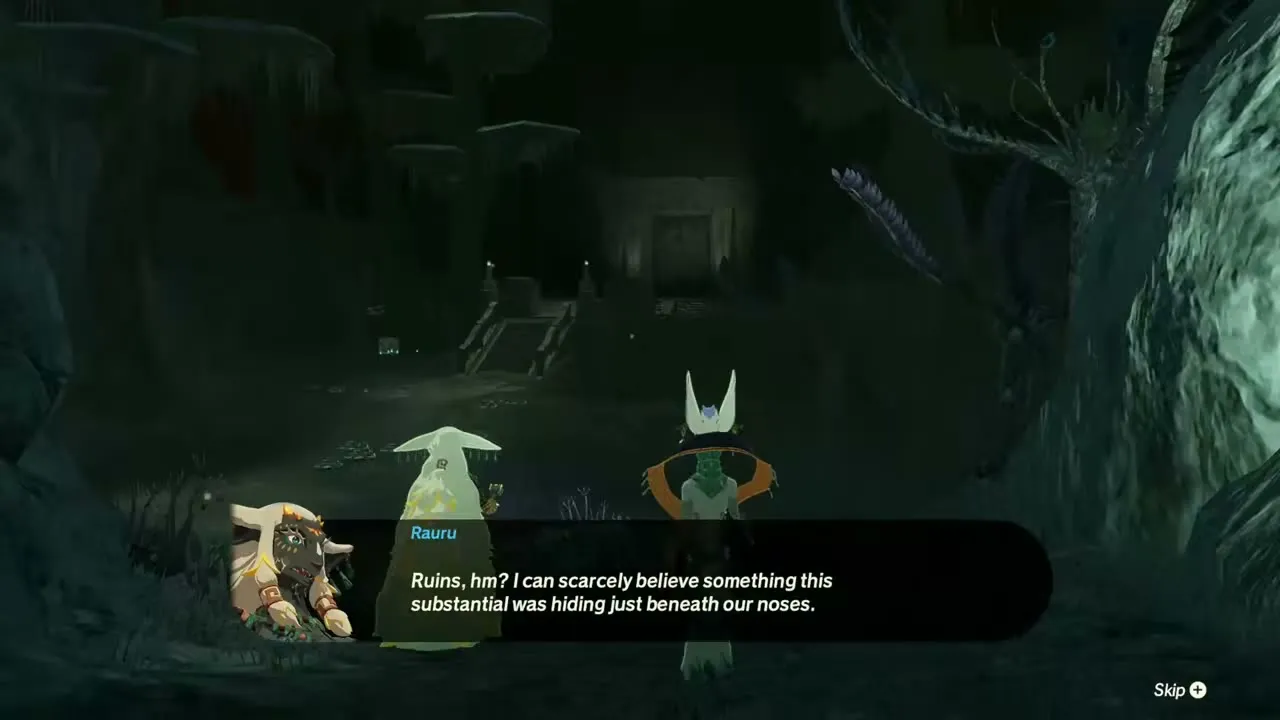
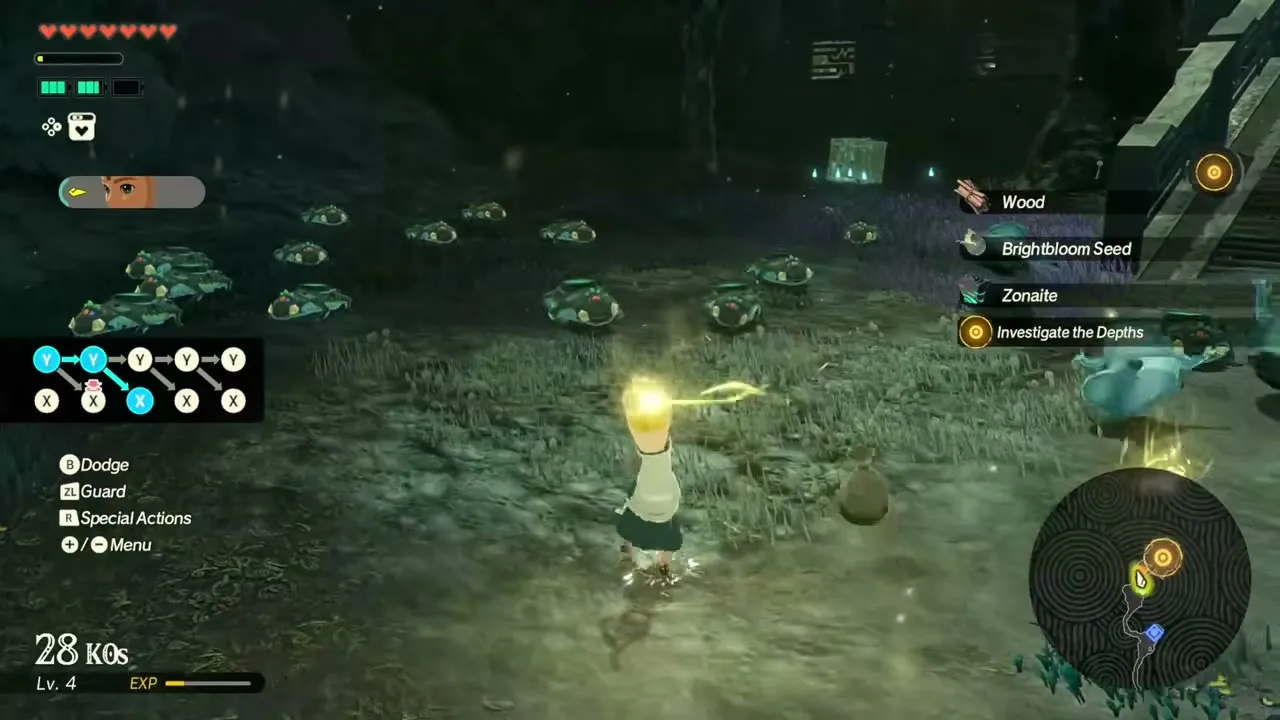
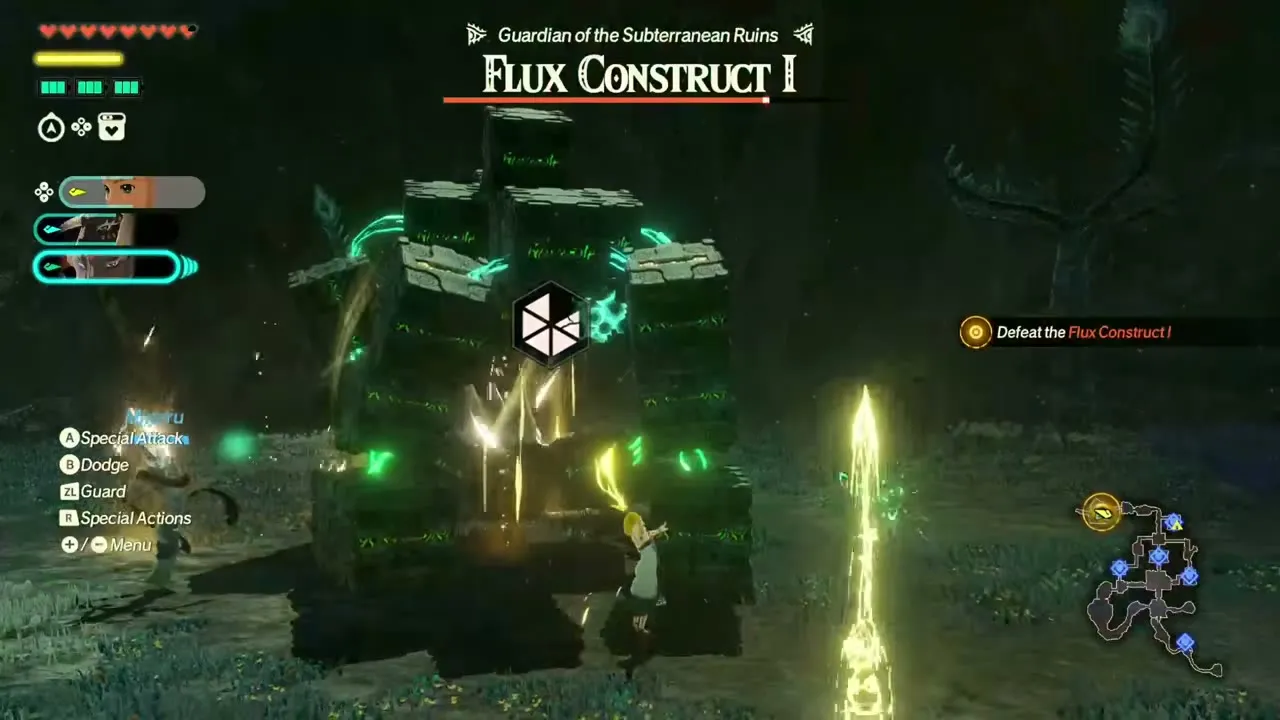
Table of Contents
Before you start
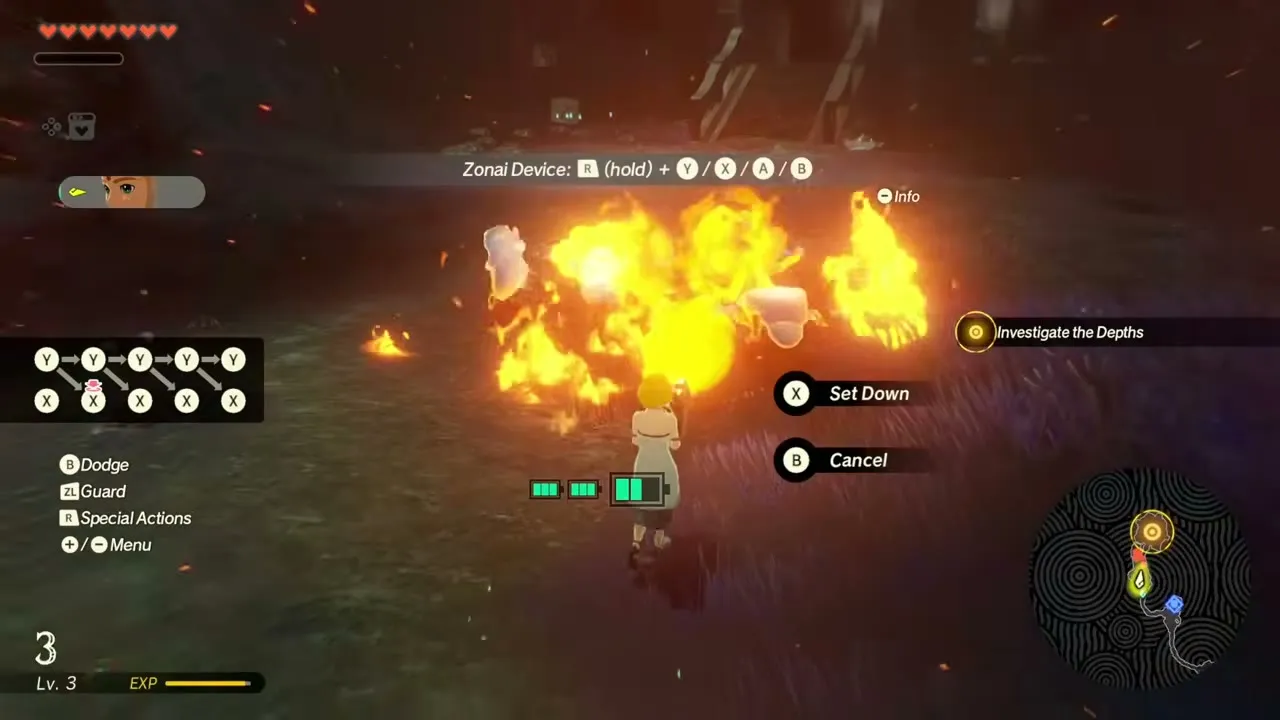
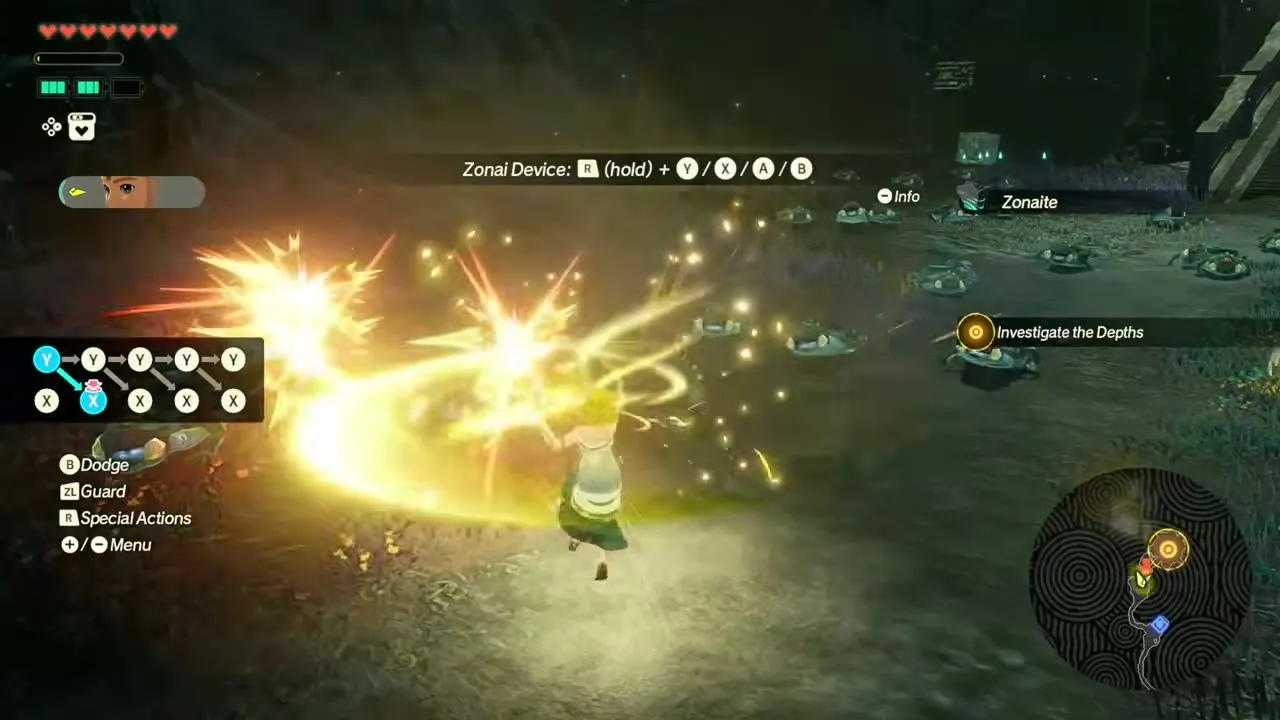
Level 2 is enough. Keep Zelda’s Piercing Light ready for the Constructs, and spend Special Rations if you run low. You assign Zonai devices in the Special Actions menu and use them by holding R and pressing the face button you gave them. The Time Bomb you find later is especially useful against big enemies.
Entering the Depths
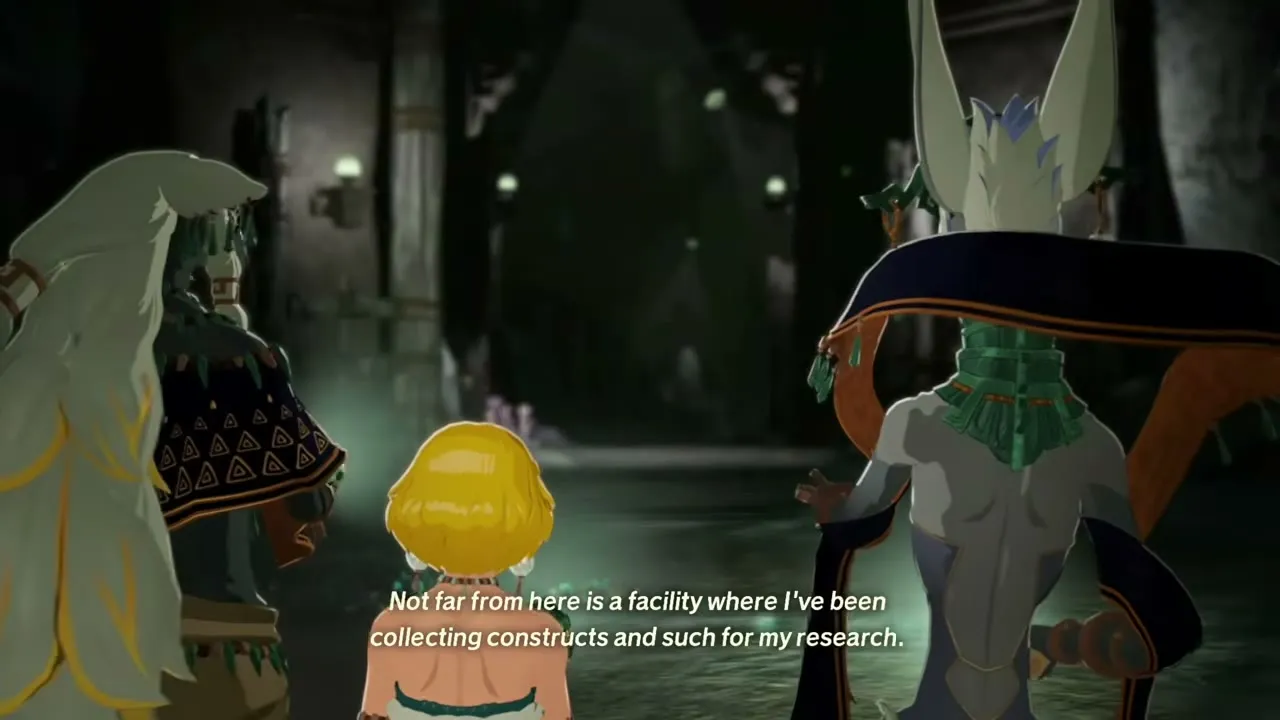
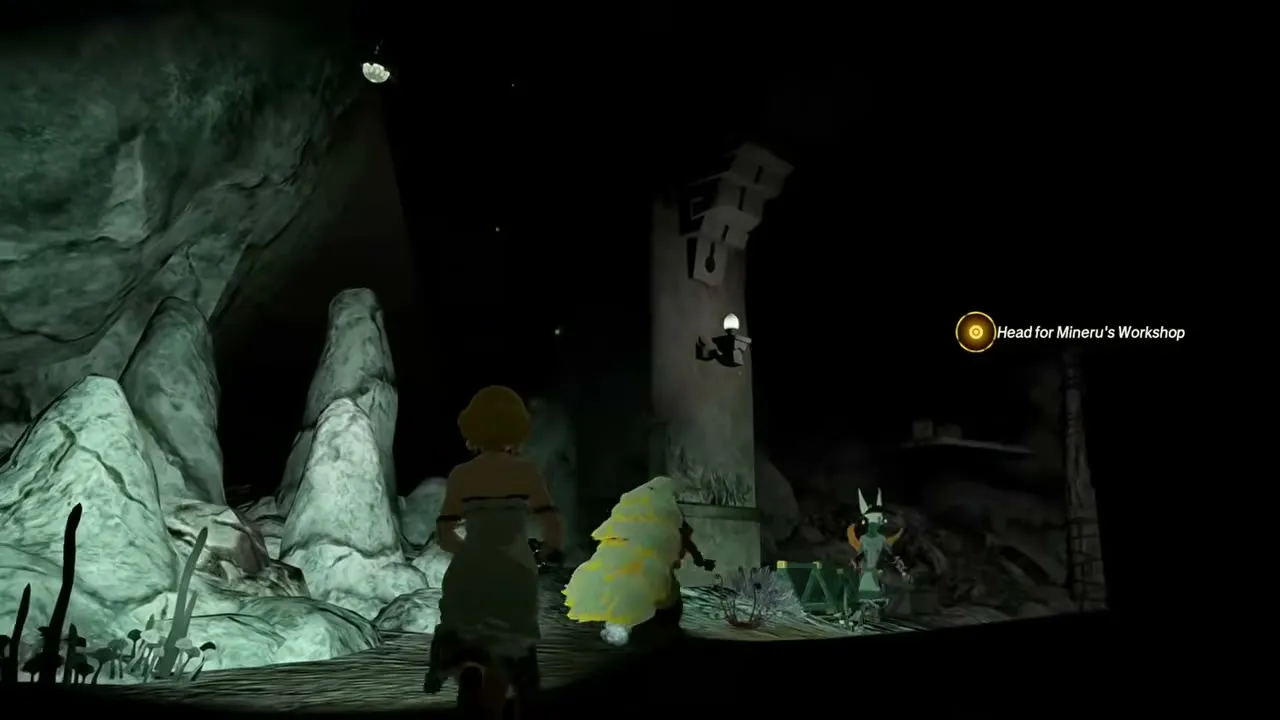
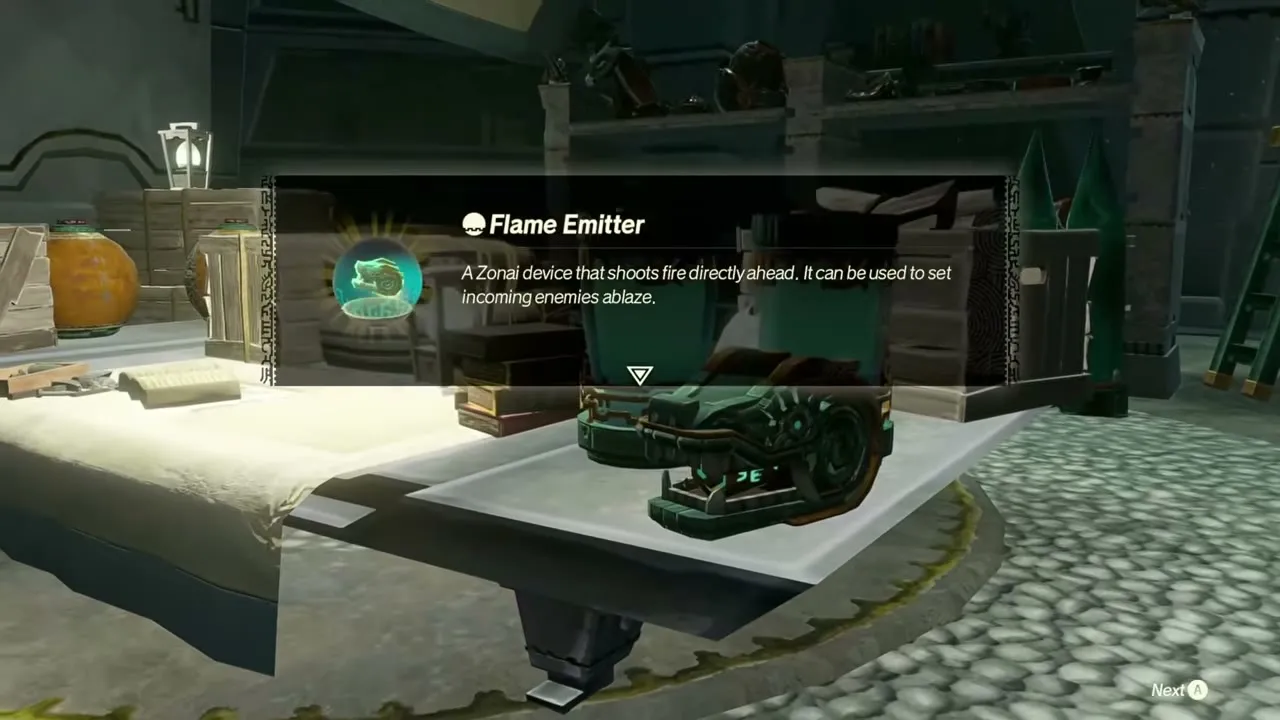
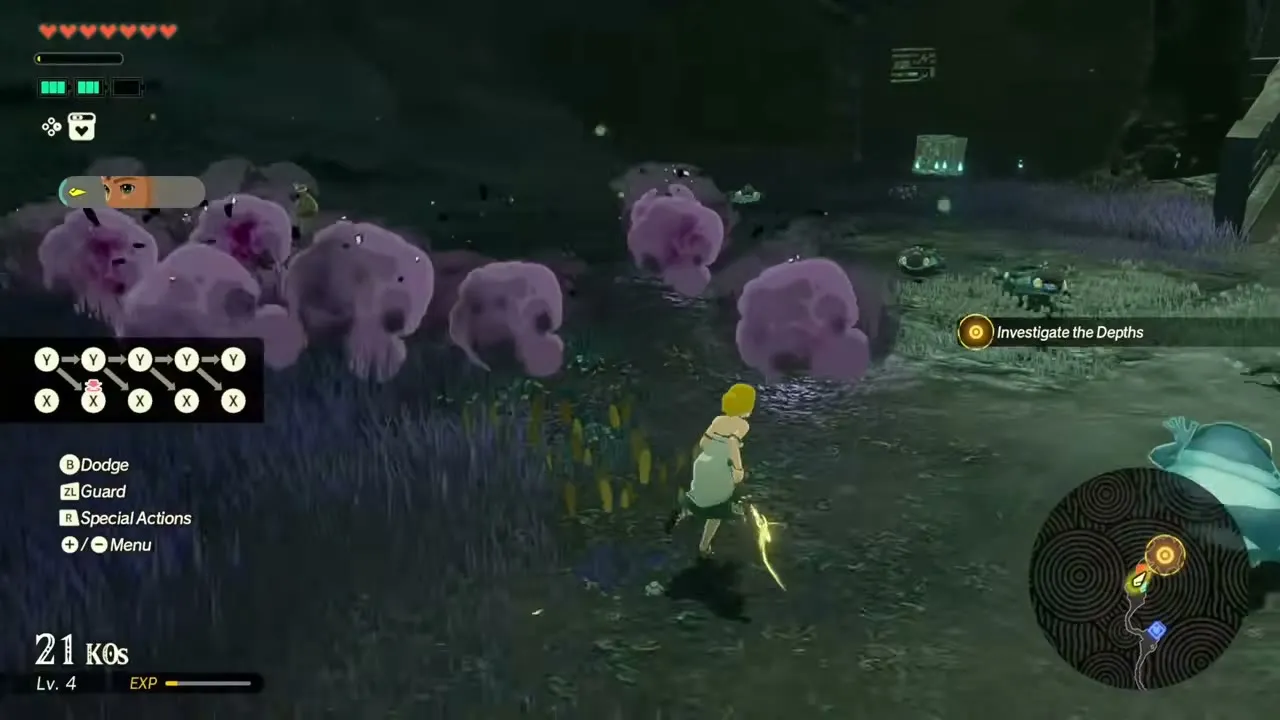
The party descends by hot-air balloon and starts at Tobio’s Hollow. Follow Mineru and Rauru to Mineru’s workshop; a Construct there gives you the Flame Emitter and some Batteries. Walk on and try the Flame Emitter on the Little Froxes that block the road to the ruins.
Captain Constructs
Captain Construct I
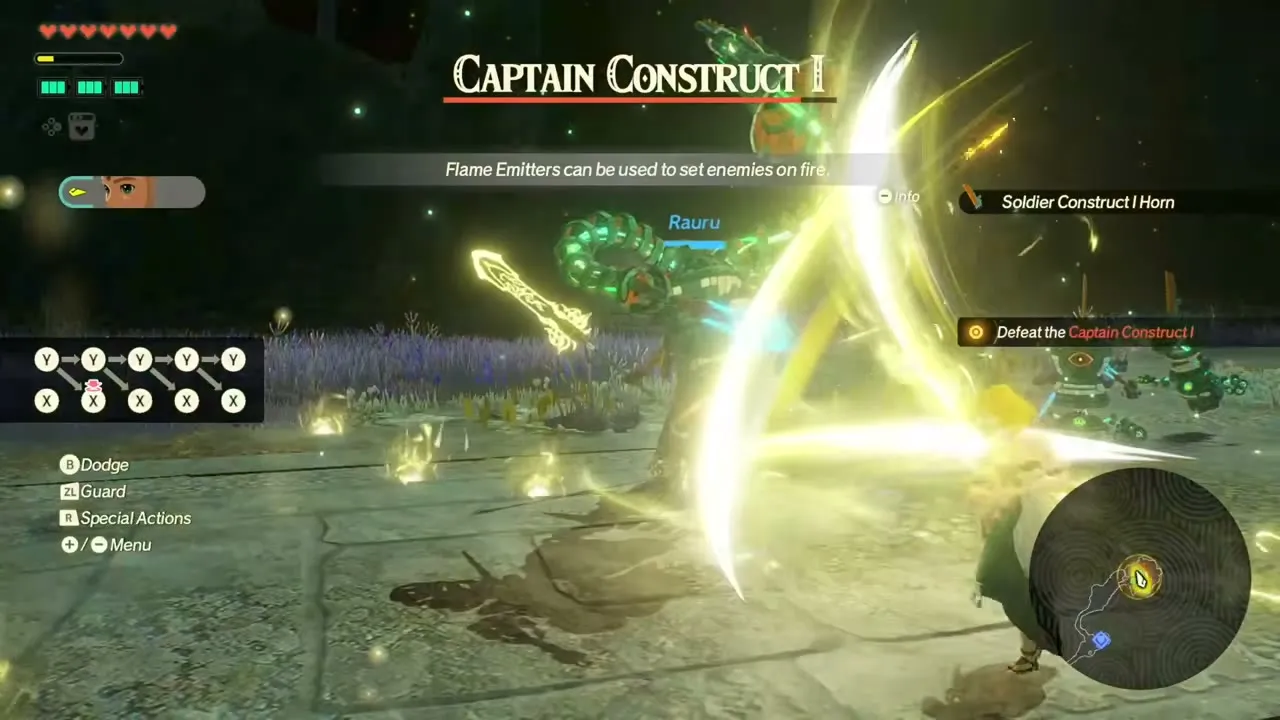
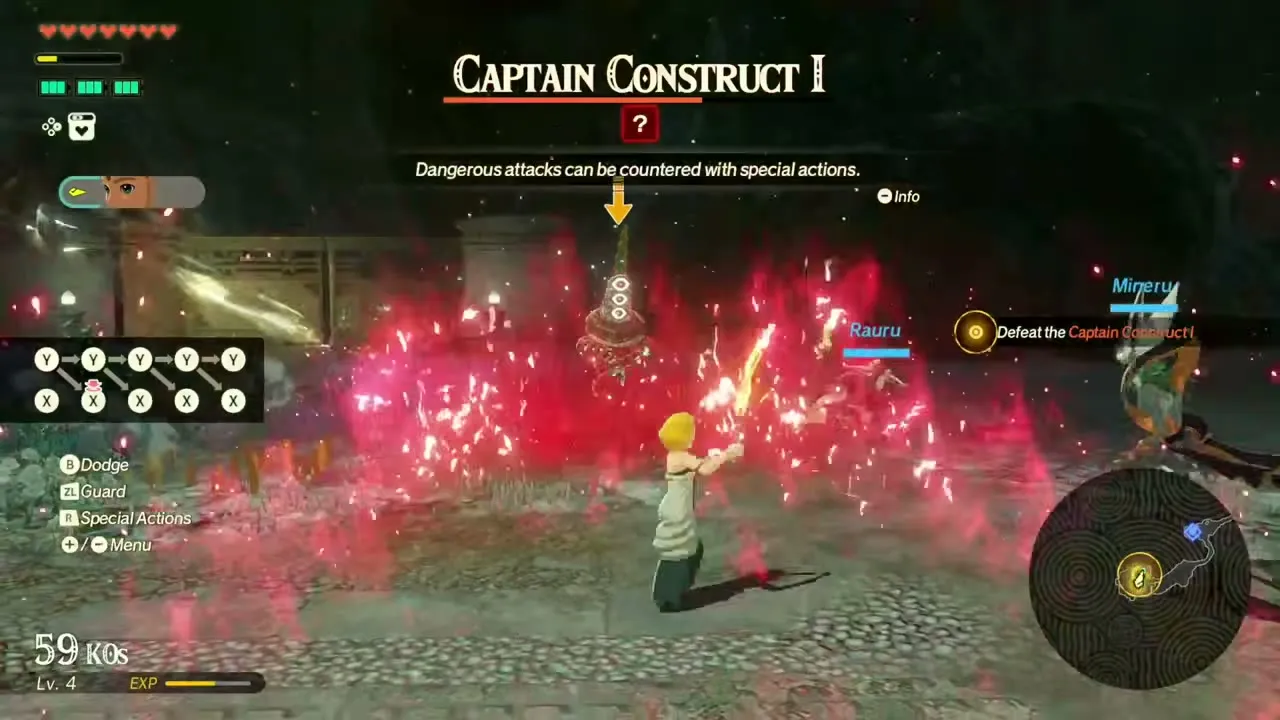
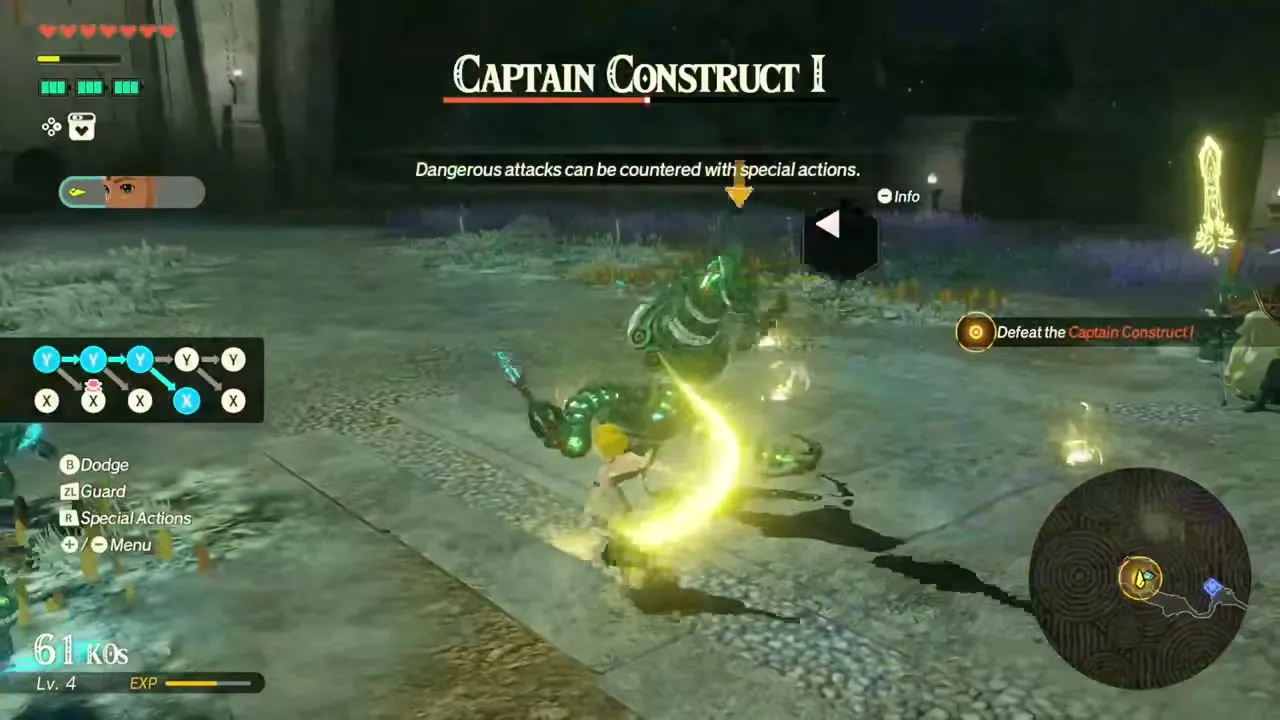
Climb the platform in front of the ruins and defeat Captain Construct I. It uses charge attacks, so counter them with Piercing Light. Rauru and Mineru fight beside Zelda, and the on-screen tips remind you that Flame Emitters set enemies on fire and that Dangerous Attacks can be countered with special actions.
Switch to Mineru
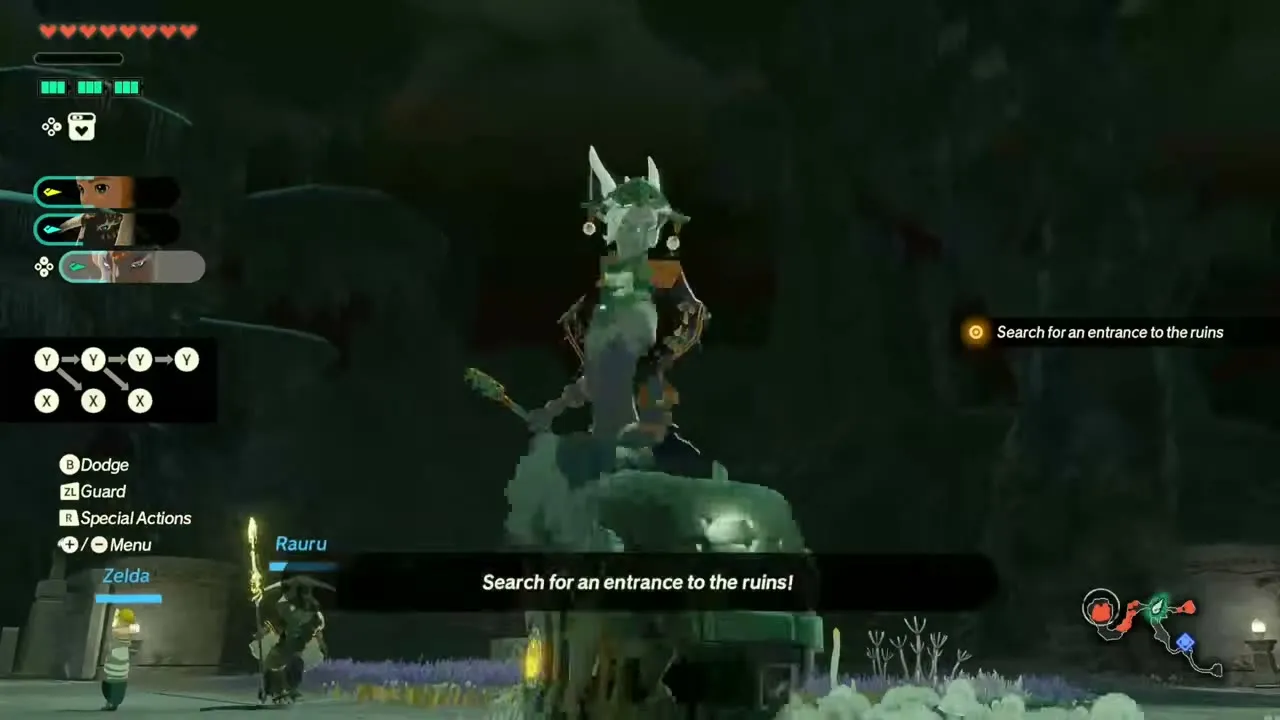
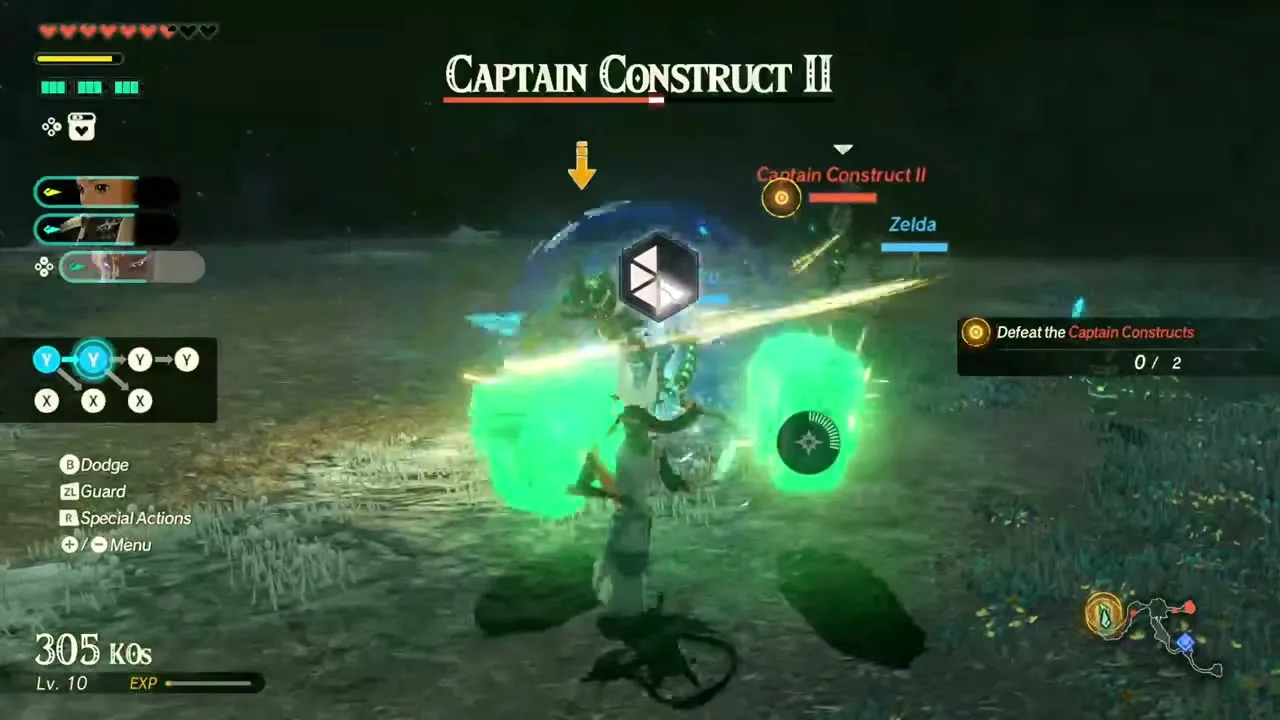
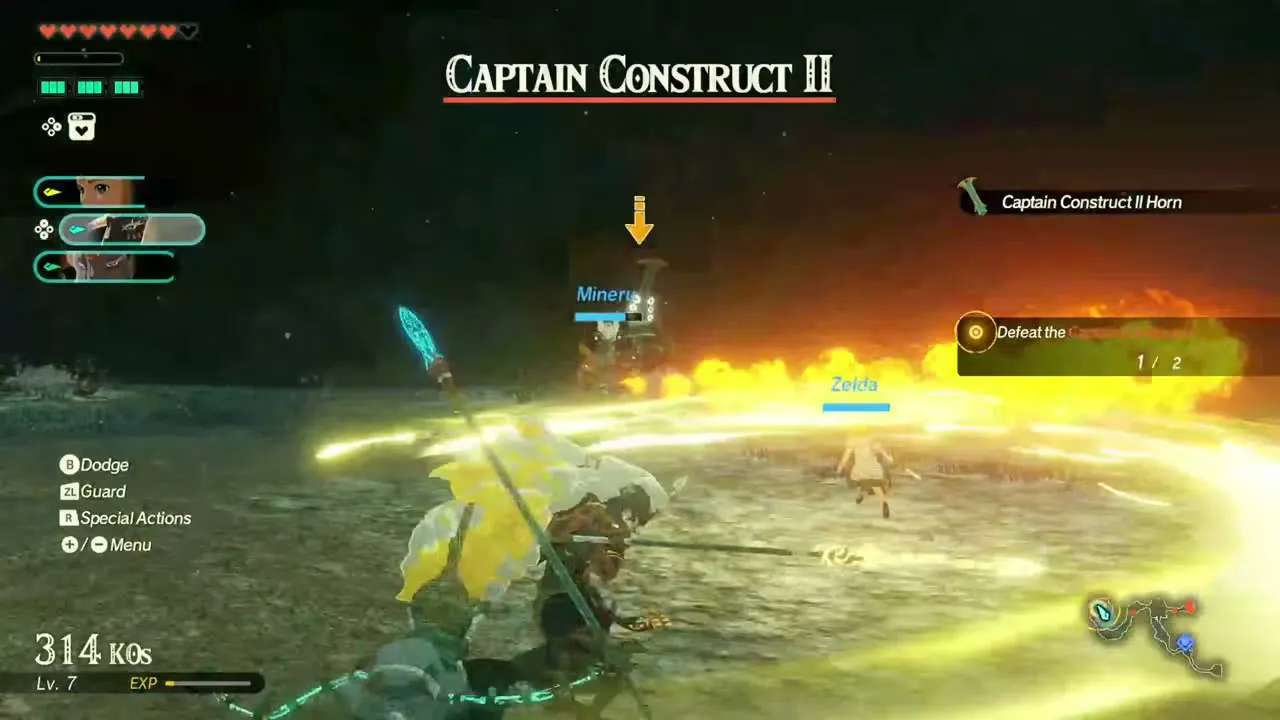
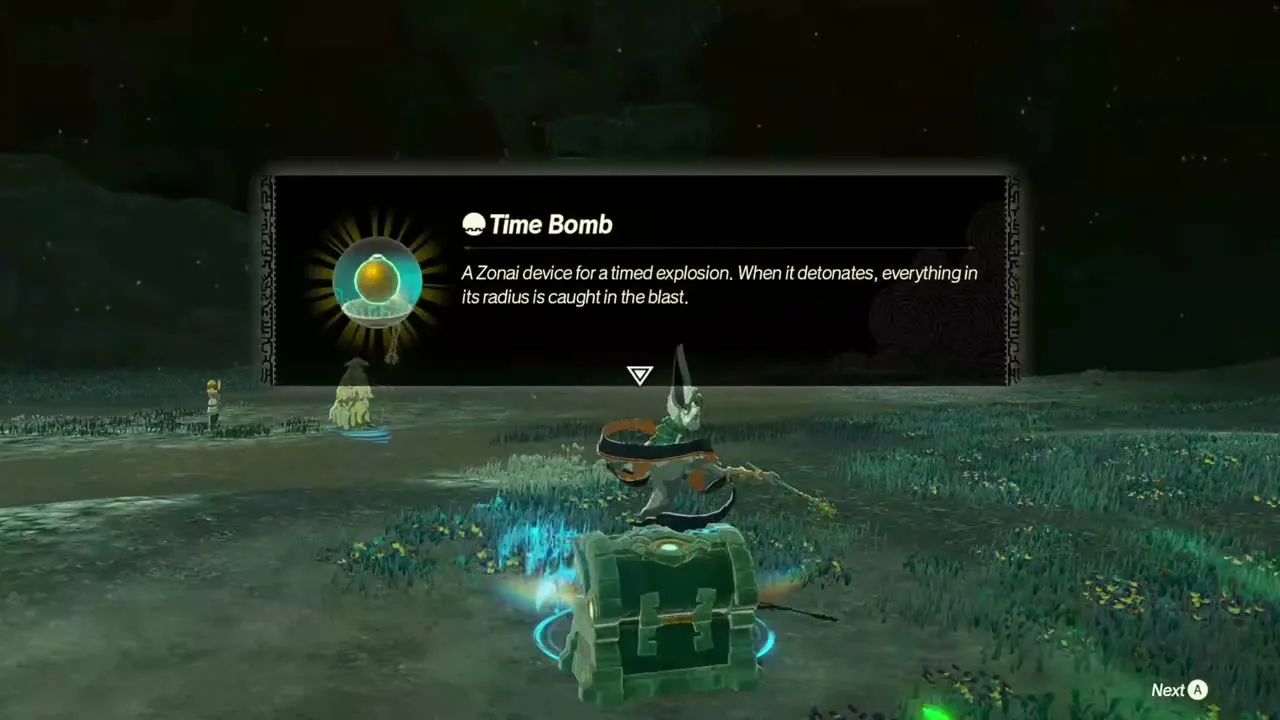
The ruins door will not open from the outside, so Mineru becomes playable, riding a wheeled Zonai vehicle, and you search the area for another entrance. Mineru’s attacks suit single powerful foes, so let Rauru handle the crowd of Little Froxes and Evermeans. At the far end, two Captain Construct IIs lead a swarm of Soldier Constructs; defeat them. A stone chest holding the Time Bomb then appears, so open it; a tip explains how to throw Time Bombs.
Frox boss fight
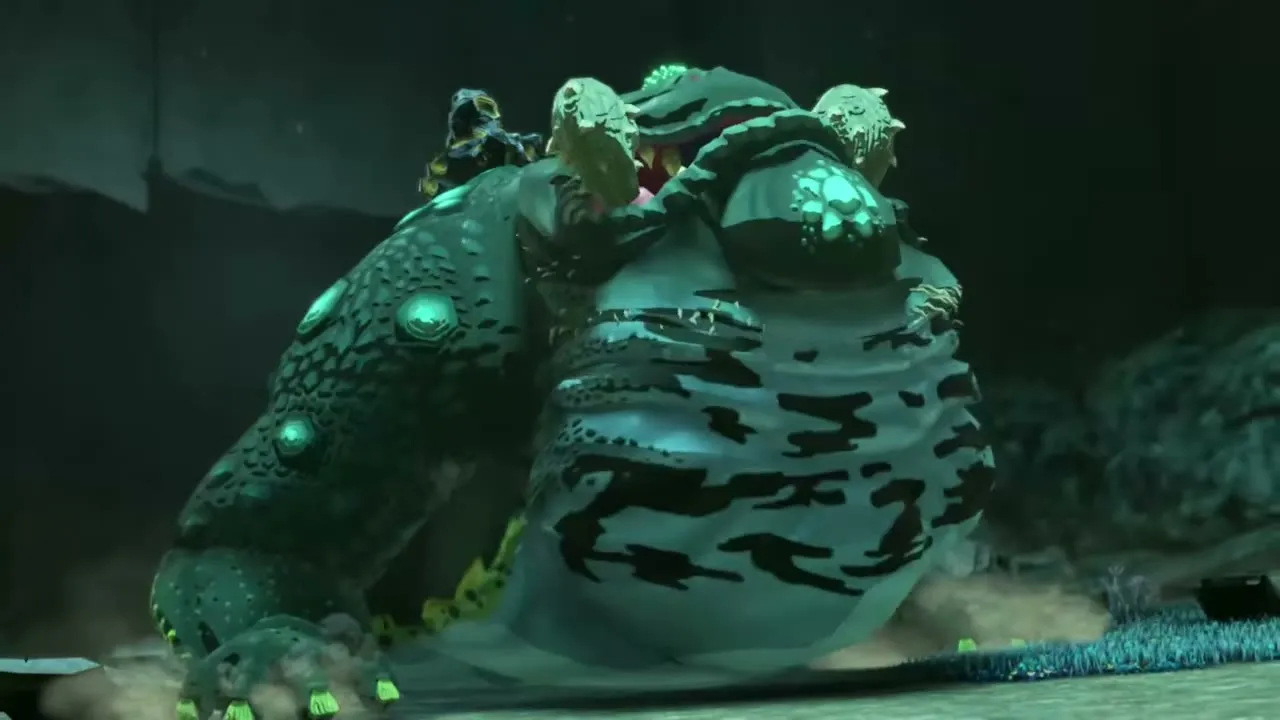
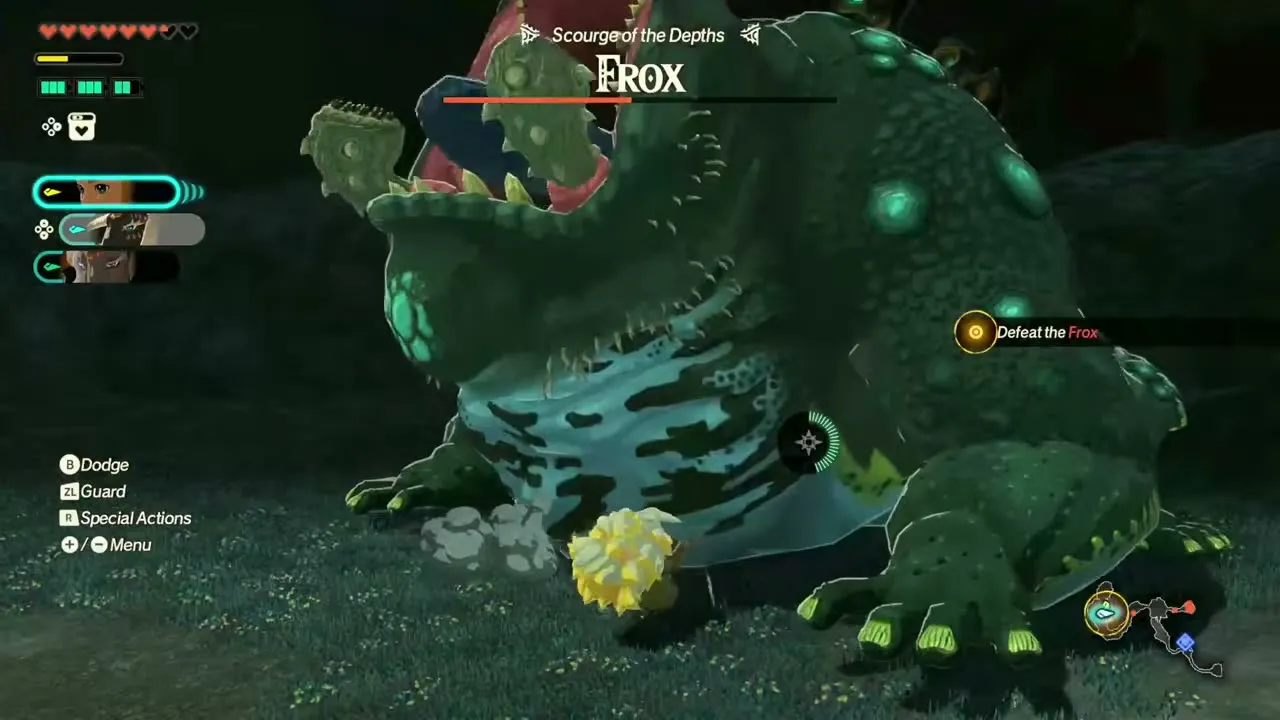
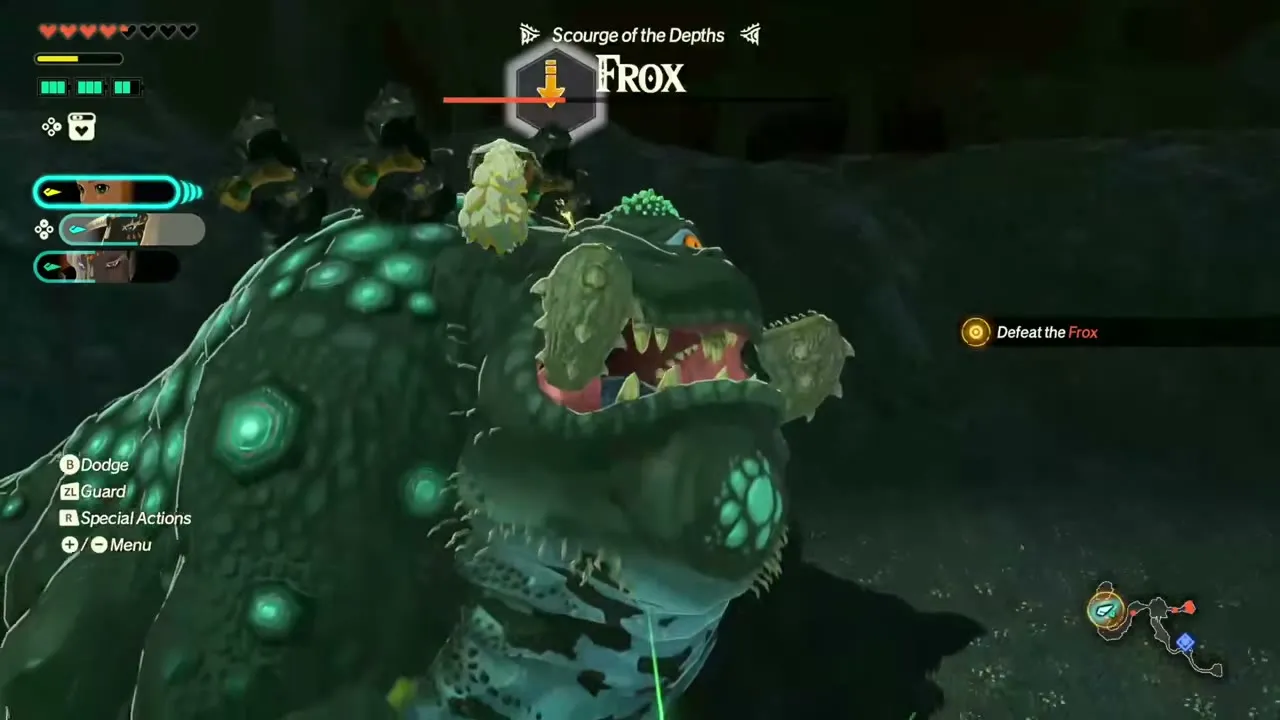
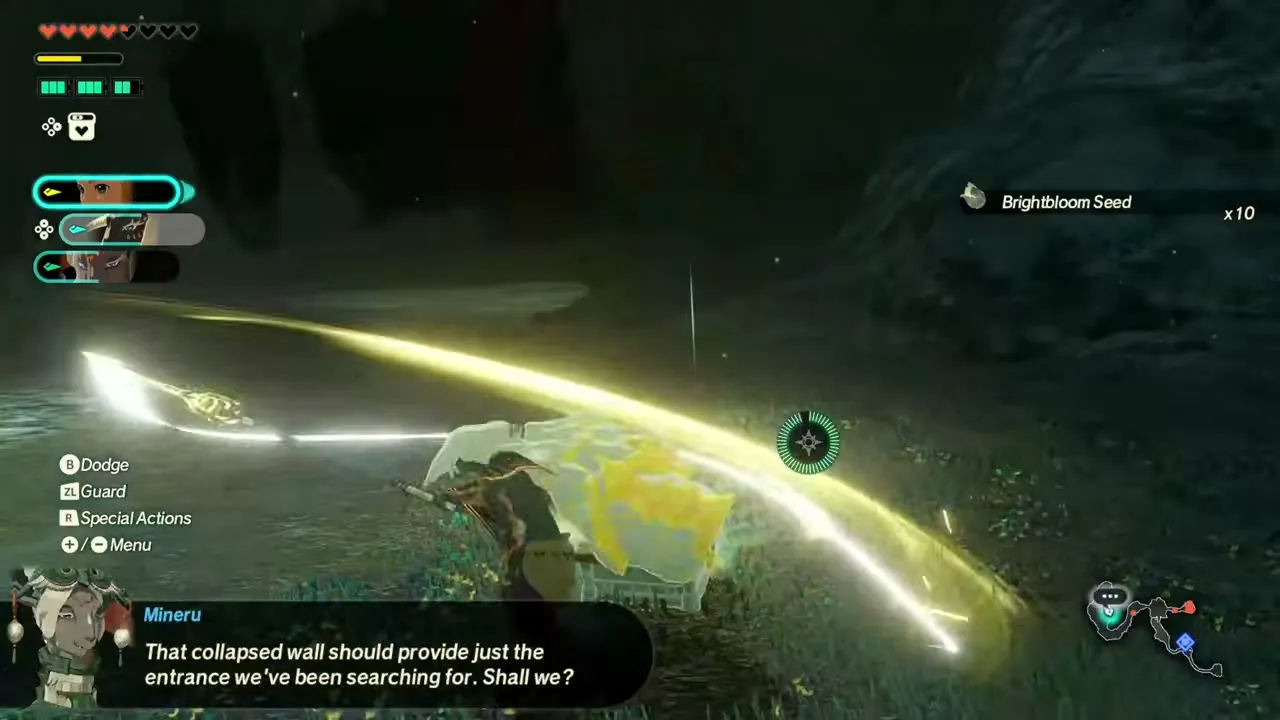
A Frox smashes through the wall. When it begins to inhale, throw a Time Bomb into its mouth to deal solid damage and expose its weak point. Counter a Dangerous Attack to hop on its back and hit the ore deposits there. It drops Zonaite, Frox Fangs and Brightbloom Seeds, and the collapsed wall it leaves behind opens the way to the sacred power inside the ruins.
Stone Talus fight
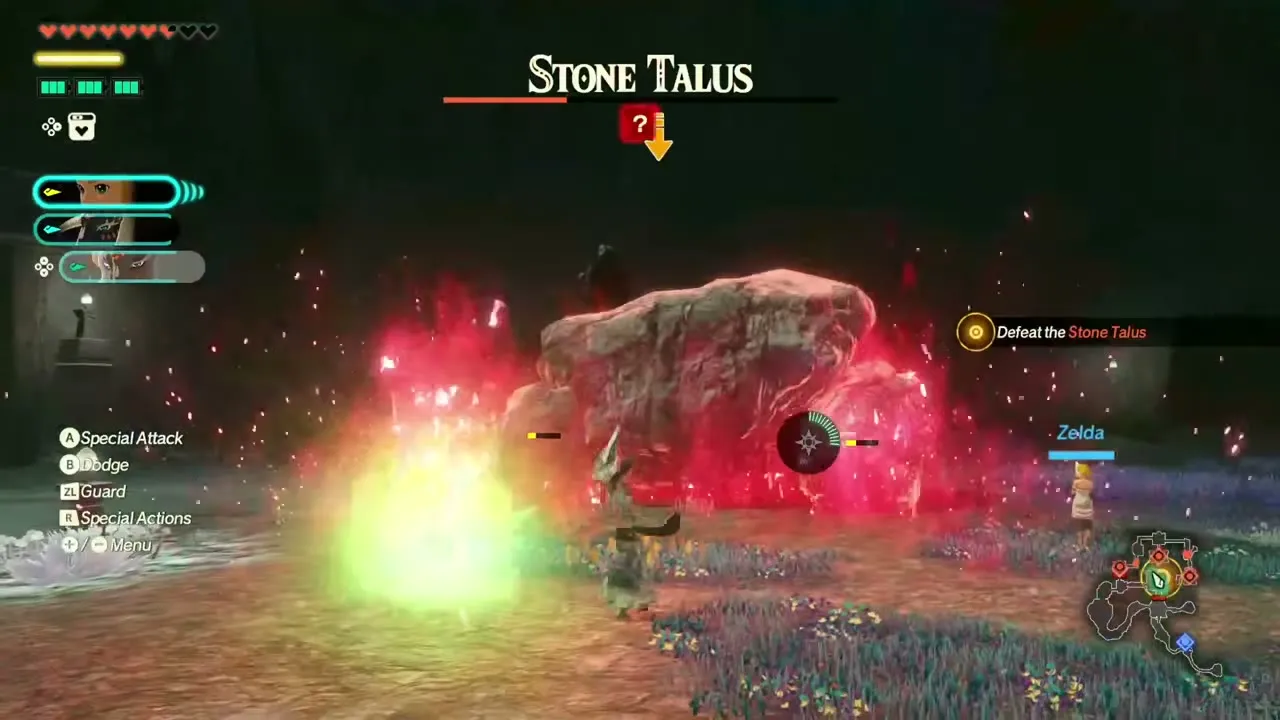
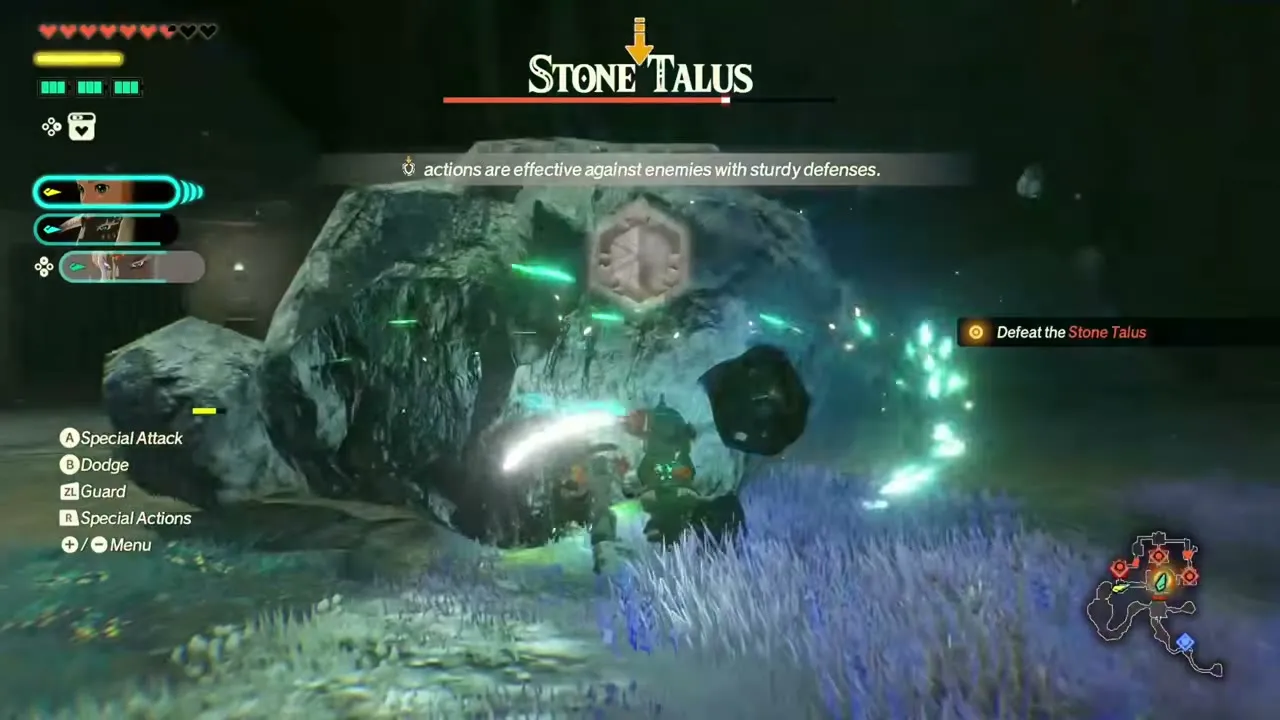
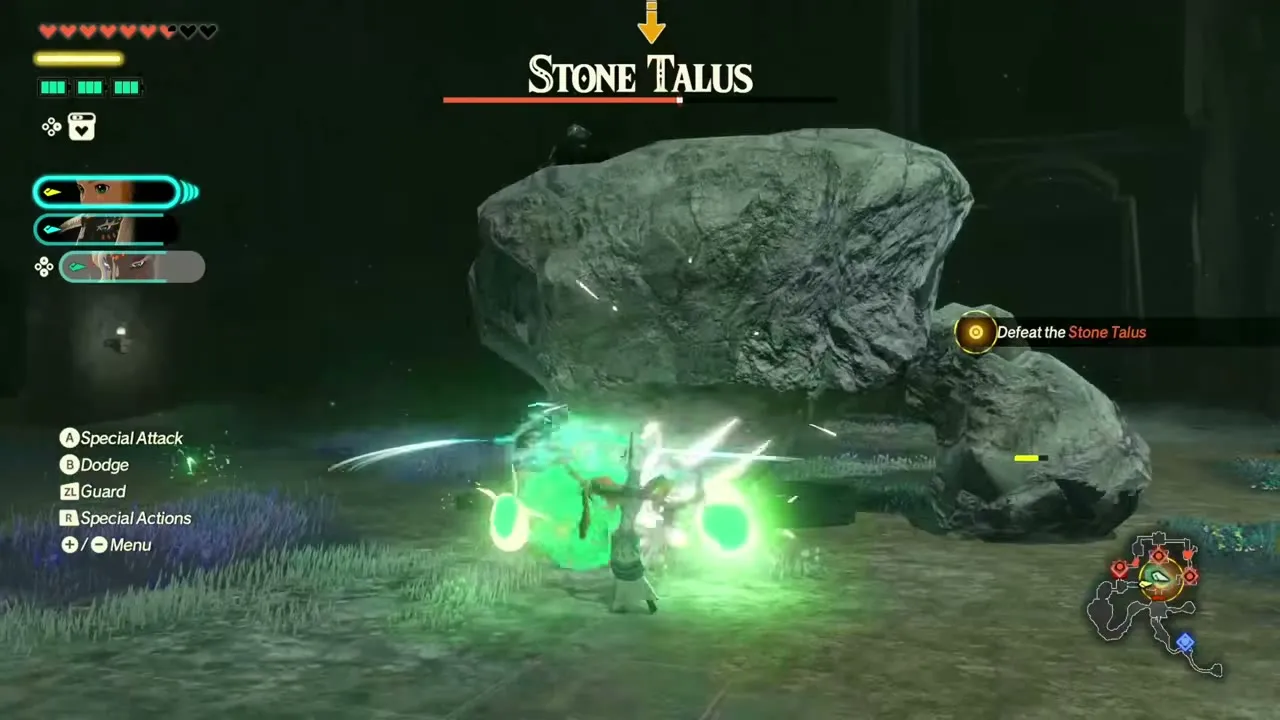
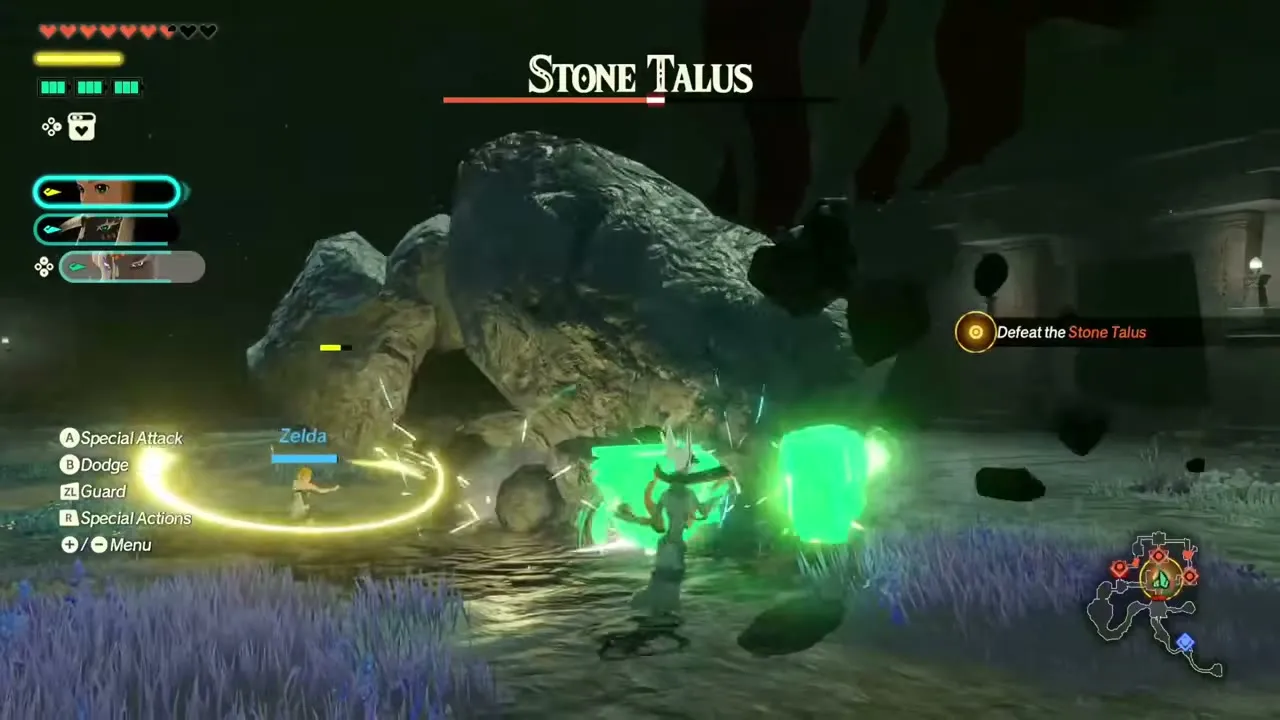
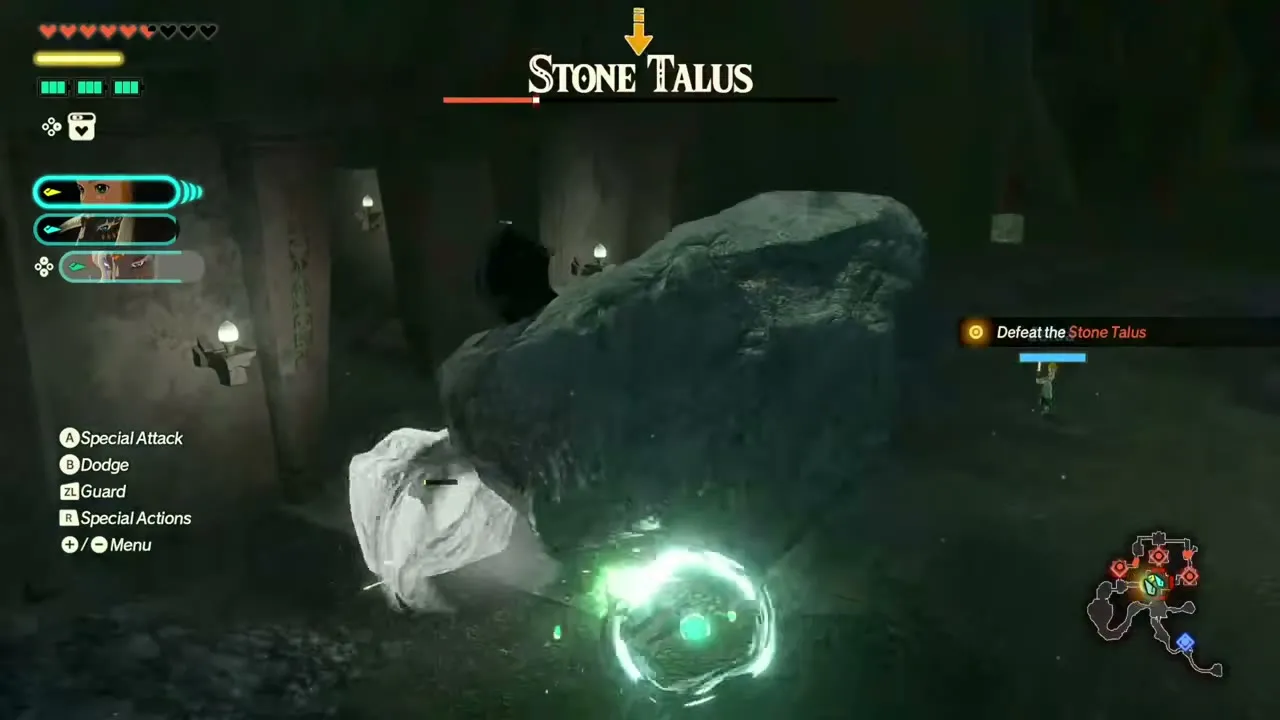
Go through the hole the Frox left and head toward the northwest corner; this reveals the rest of the map. In the central room a Stone Talus wakes. Its gauge is hard to empty, so give Time Bombs to all three characters, break its defenses with them, then finish with a Weak-Point Smash. Defeating it opens the northern passage to the Site of Sacred Power.
Sites of Sacred Power and the emblems
A Captain Construct III guards the first site, which behaves like an outpost. Defeat the guards in the next room, then resonate with the centre of the platform to light the first emblem. While you are inside, the Unique Skills of Zelda and Rauru recharge faster.
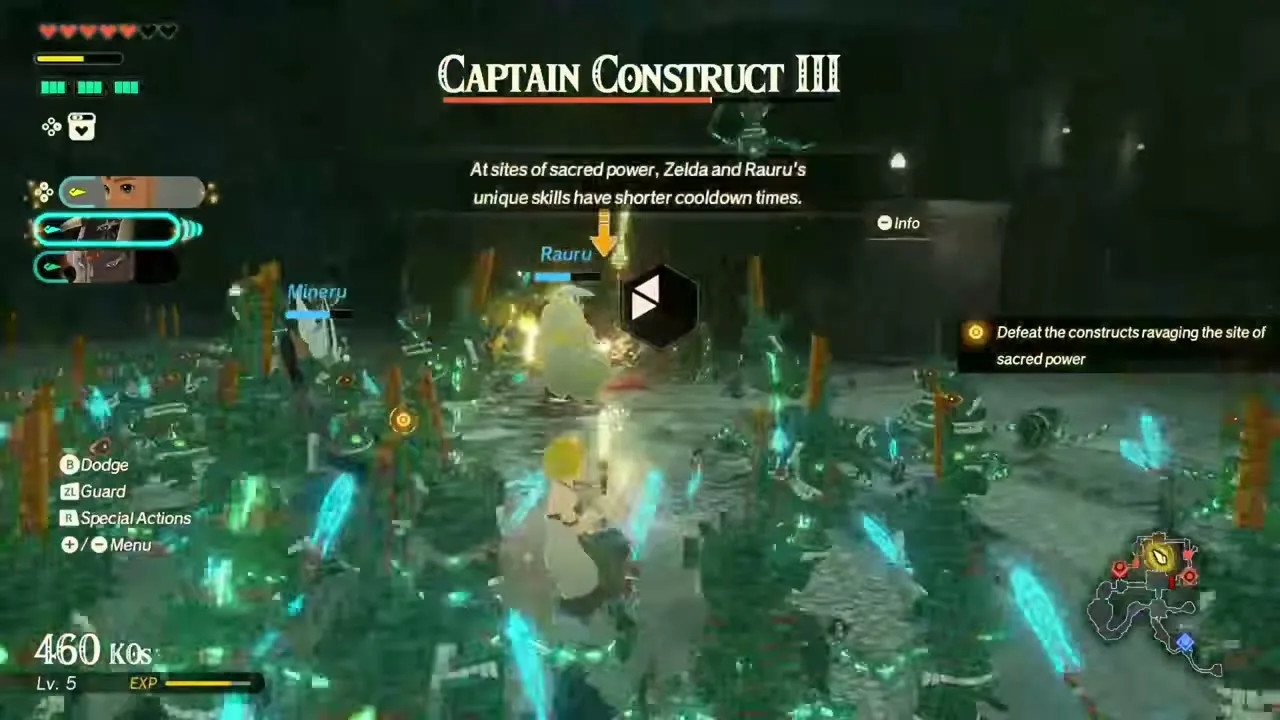
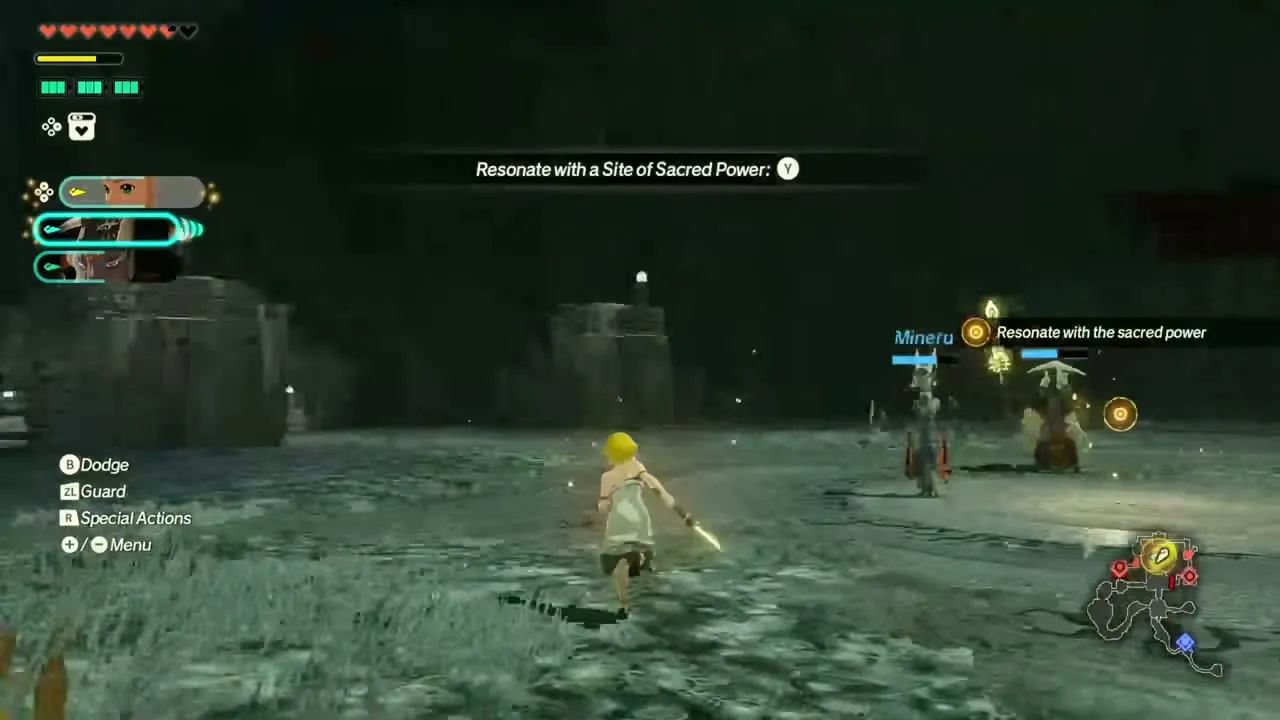
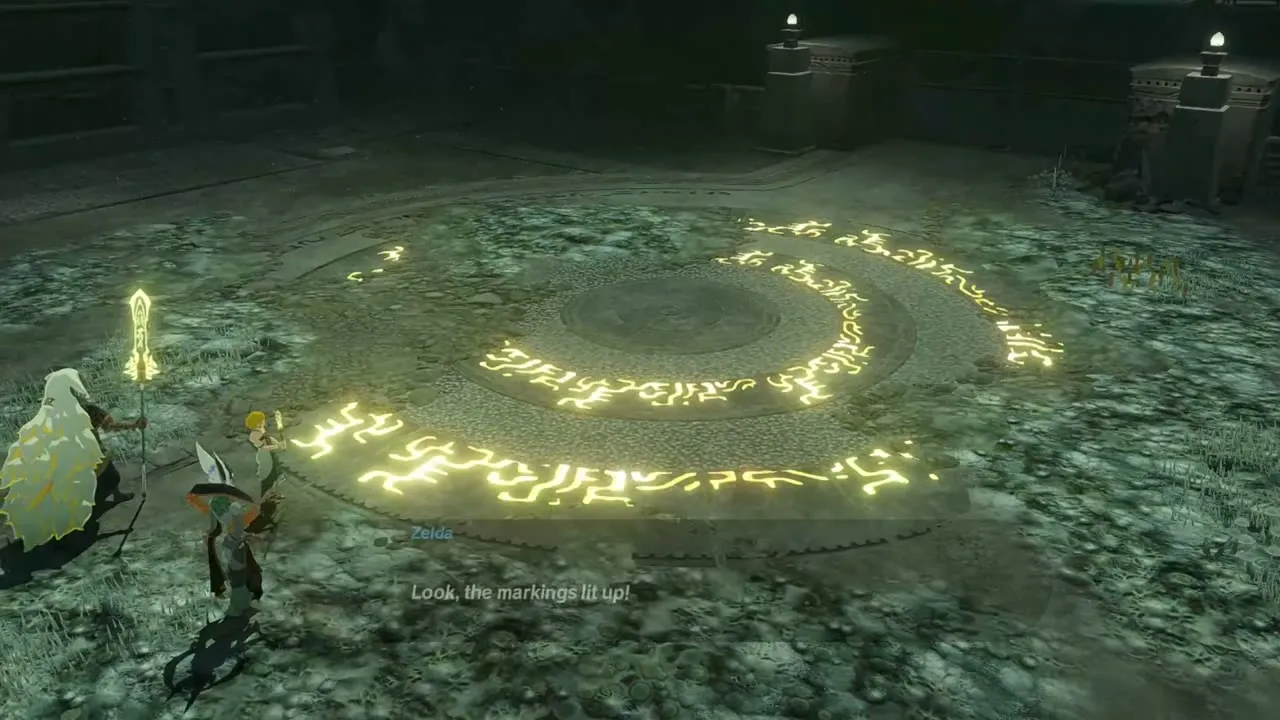
Two more emblems wait on opposite sides of the ruins. To save time, open the Allies menu, order your companions to walk to those points and switch to them when they arrive. Allies ignore enemies on the way and will not be attacked until you take control. Clear each guard and resonate with the emblems to unlock the door.
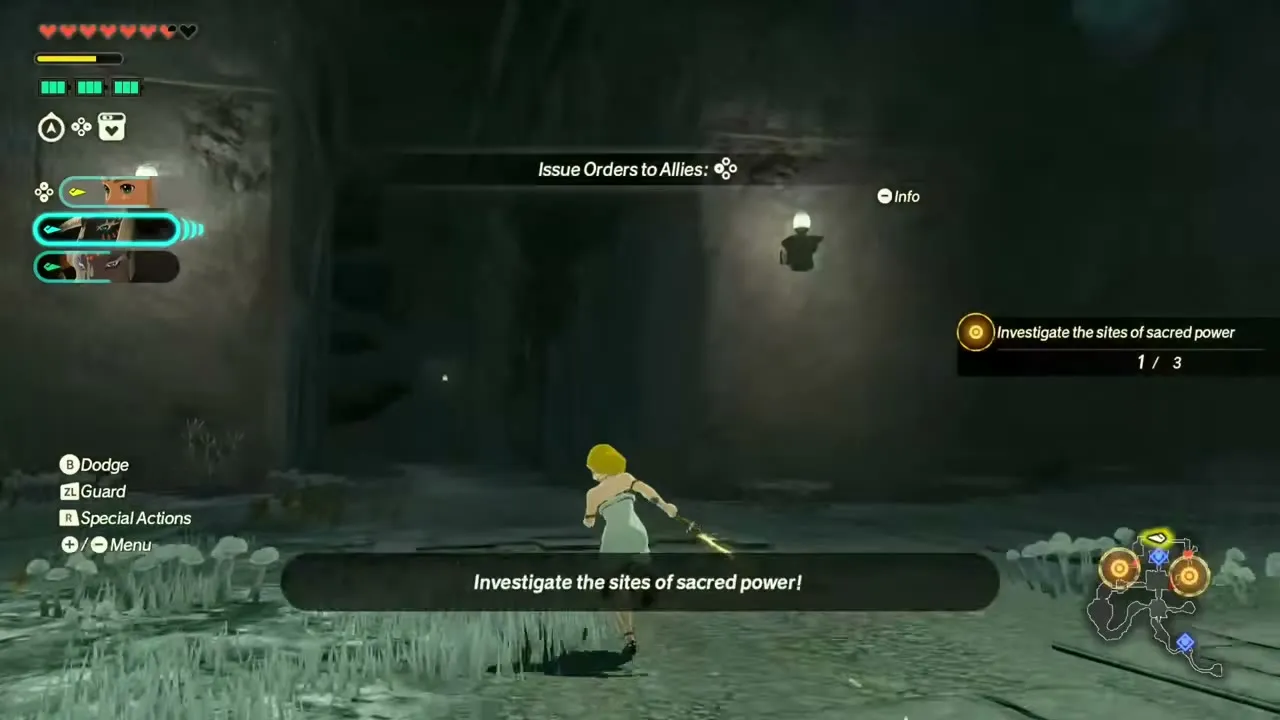
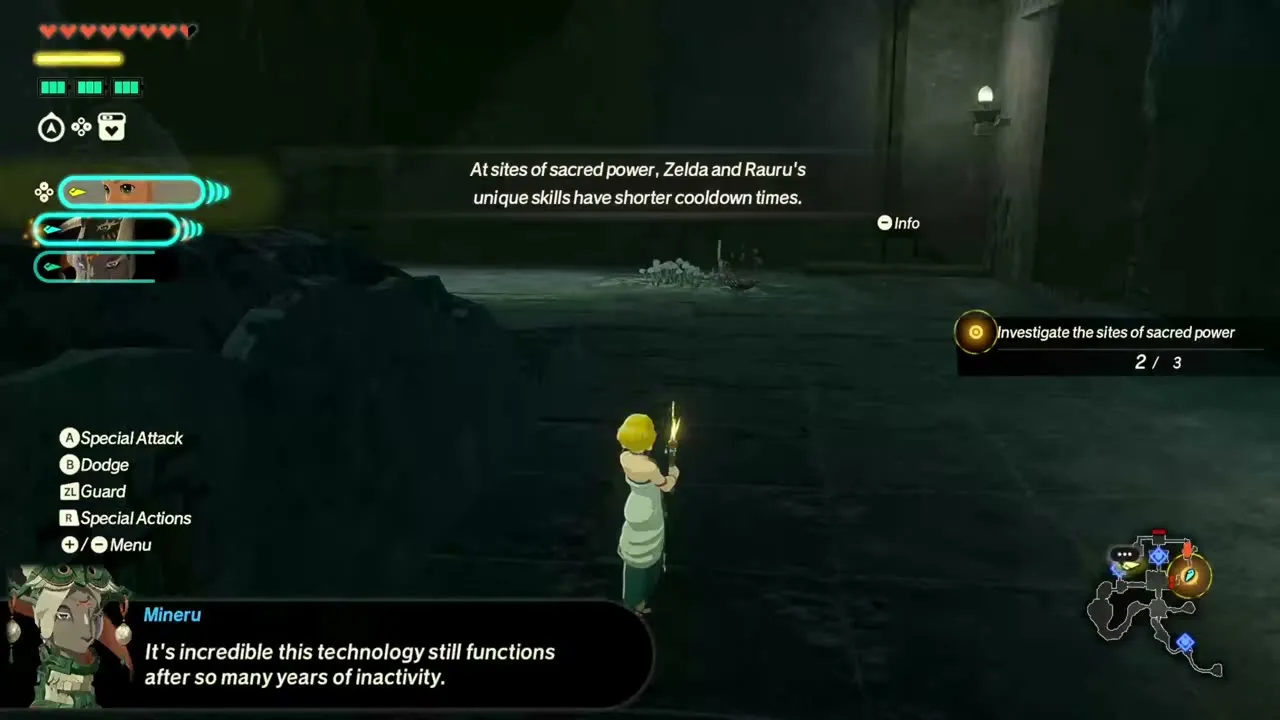
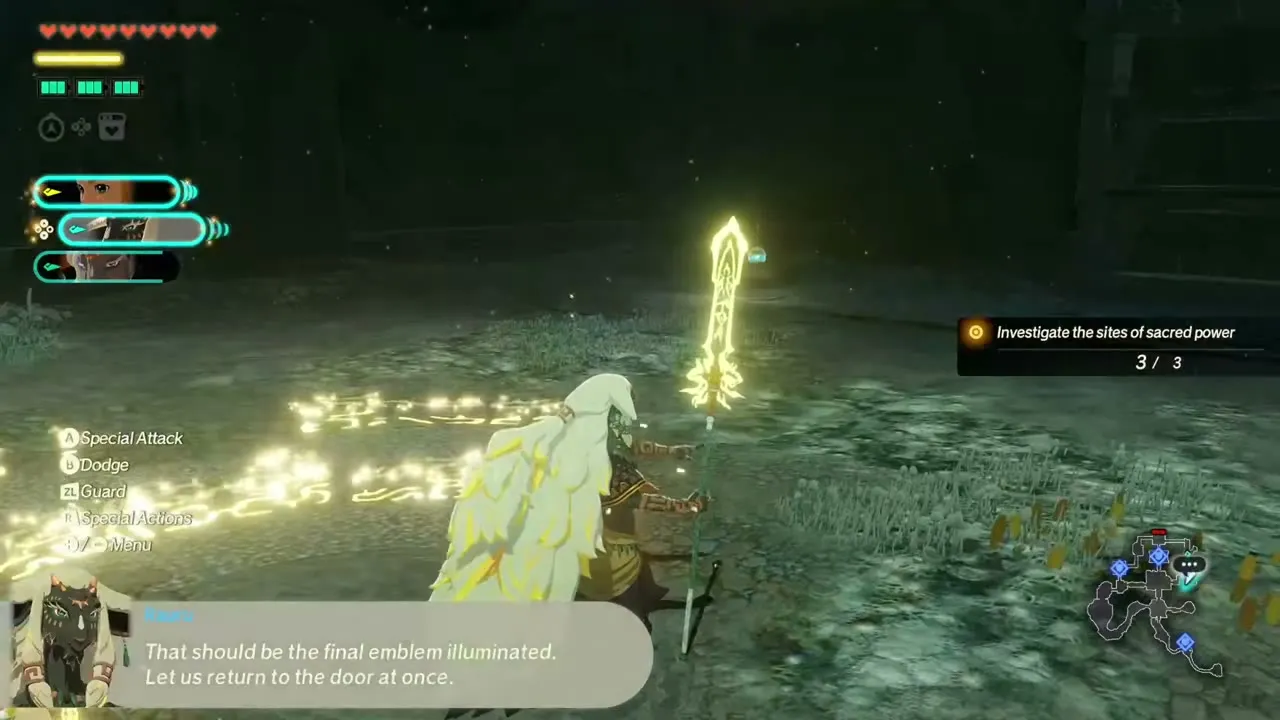
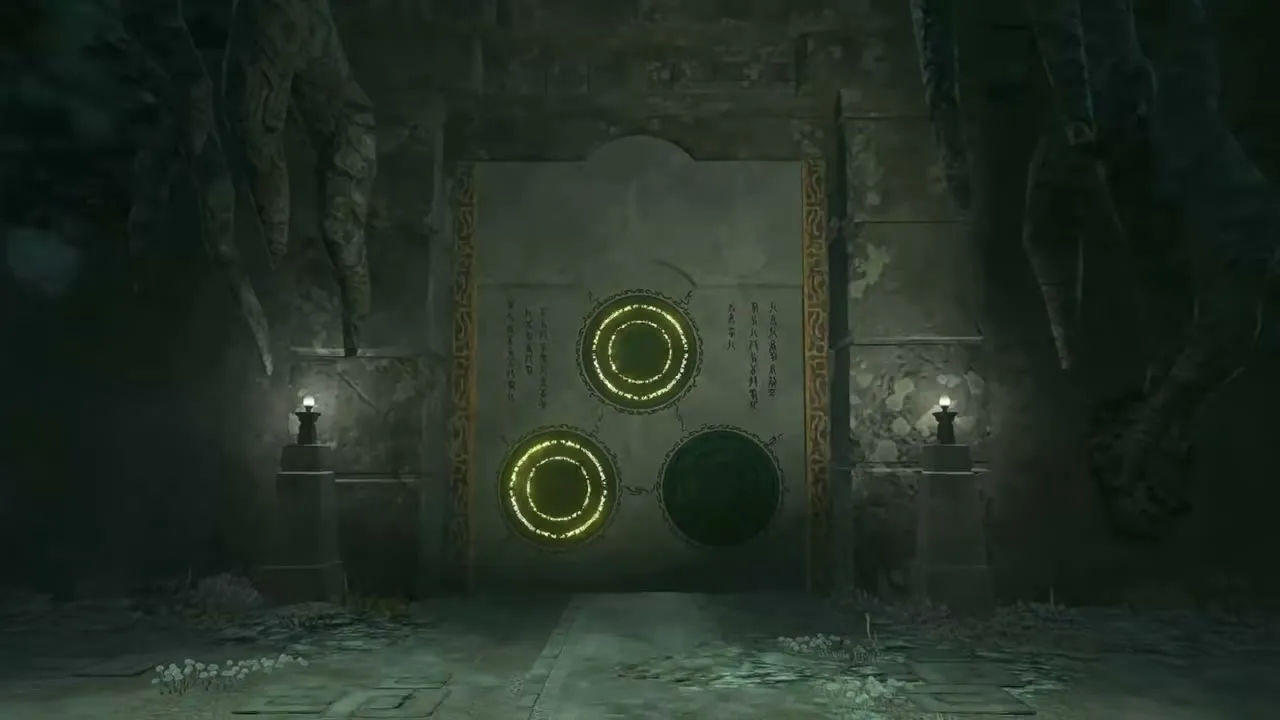
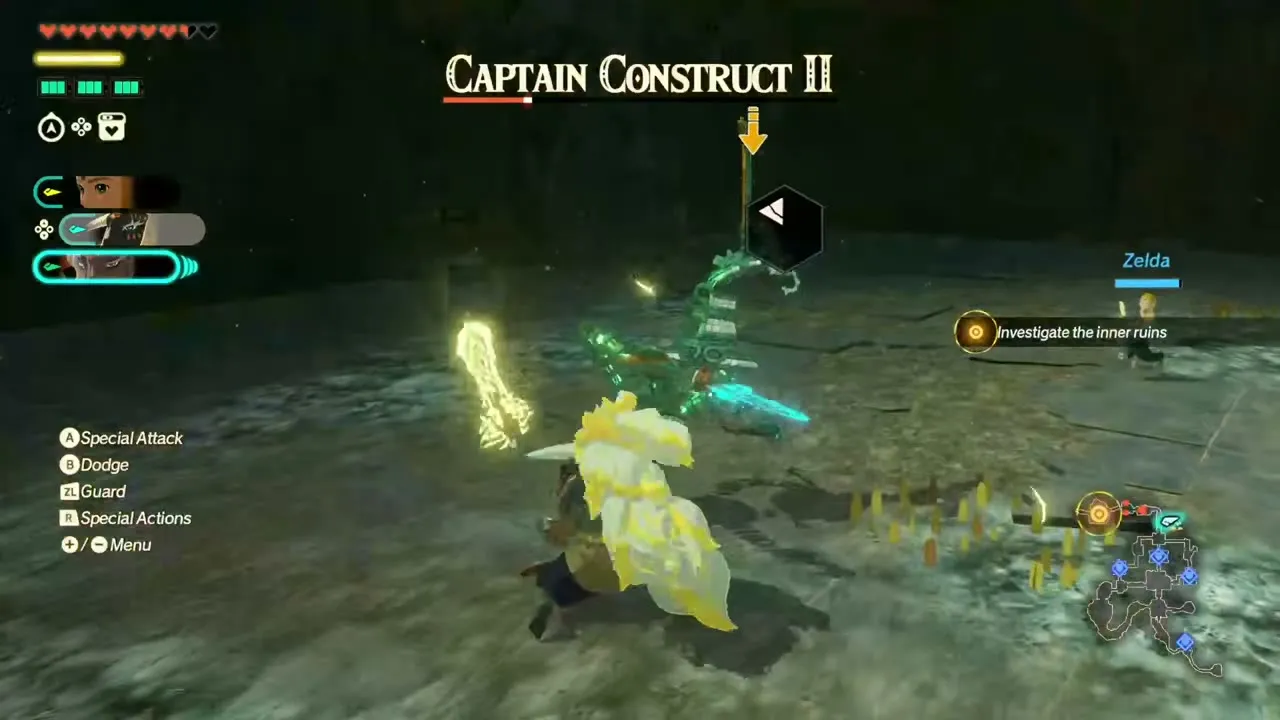
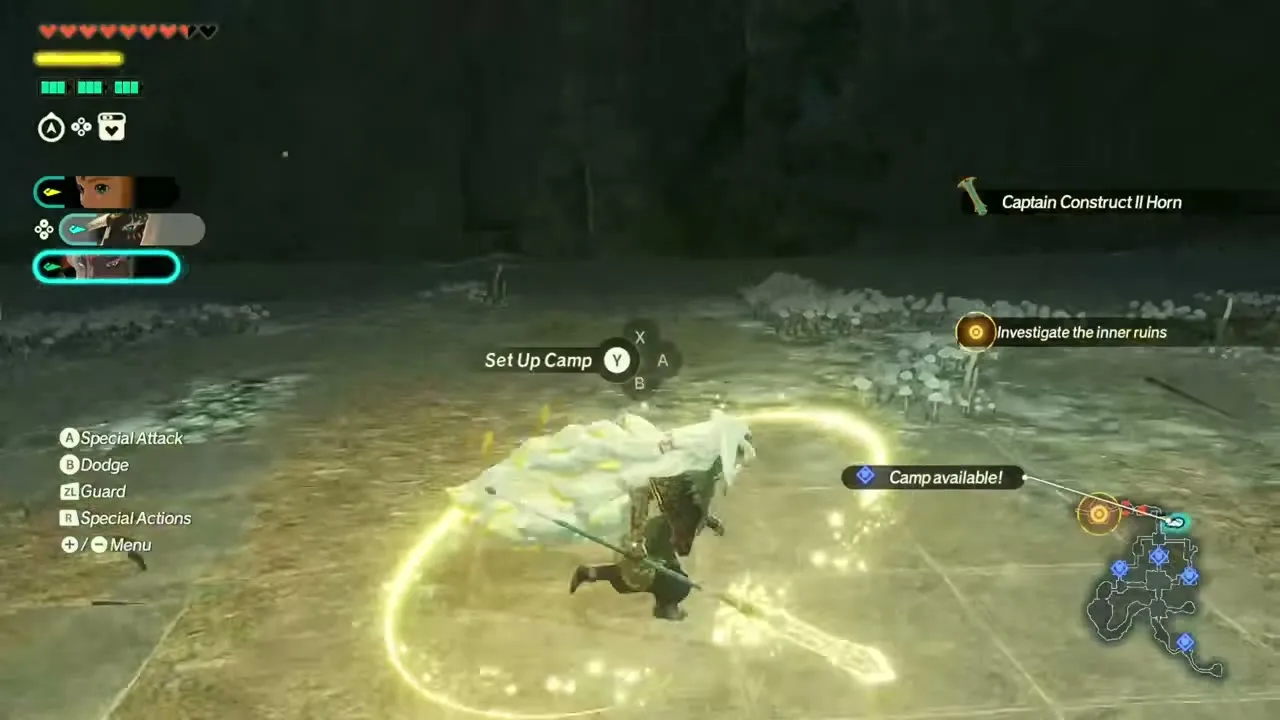
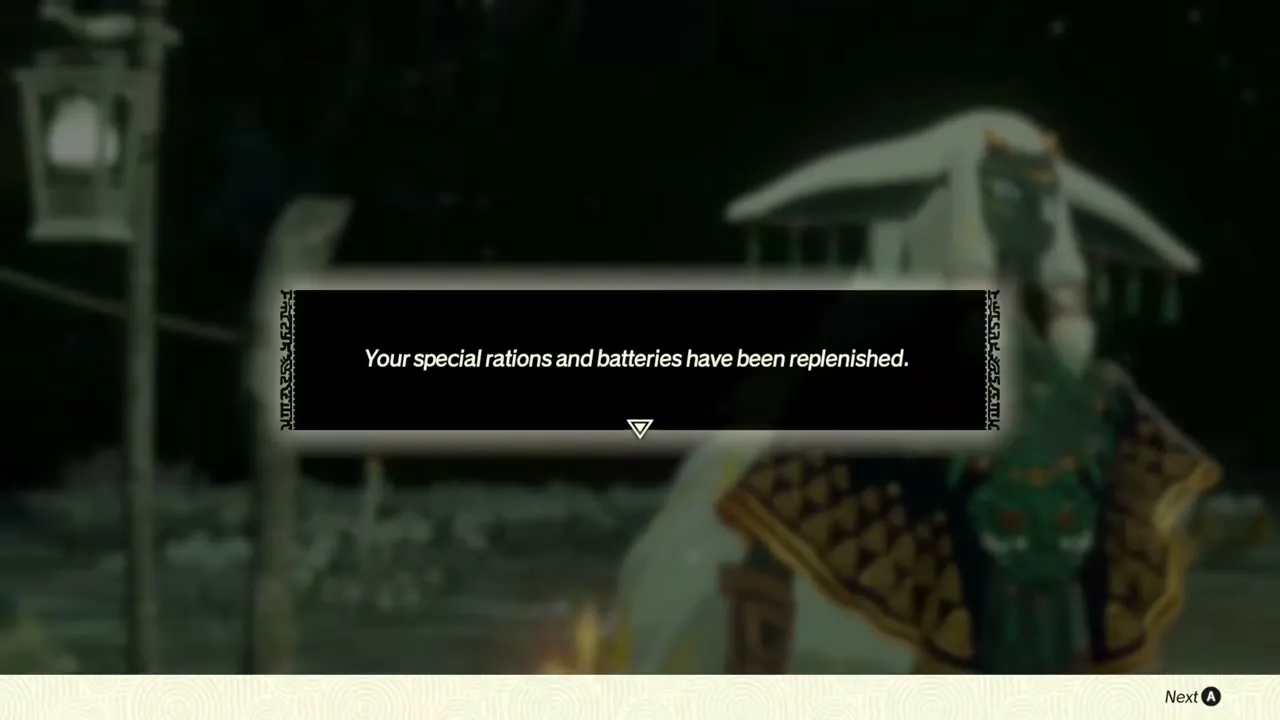
Beyond the door, a Captain Construct II and a crowd of Soldier Constructs hold a small outpost. Defeat them and set up a camp, where entering replenishes your special rations and batteries before the boss.
Flux Construct I boss fight
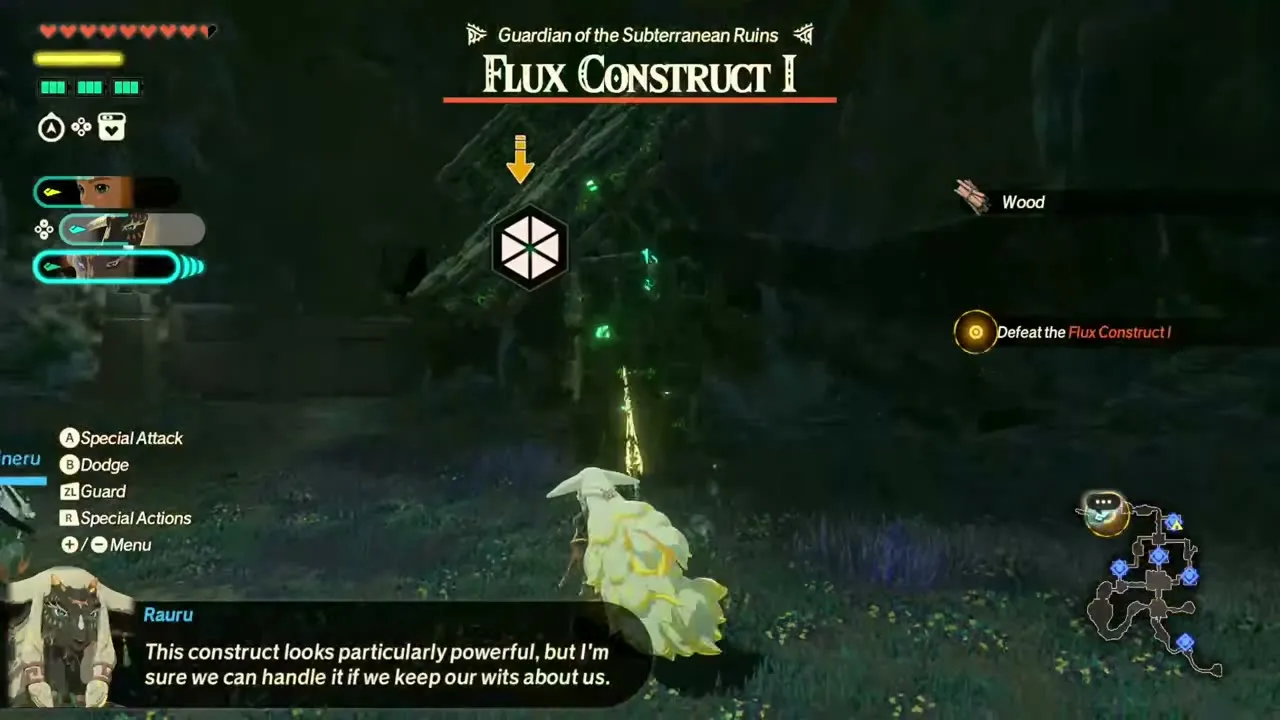
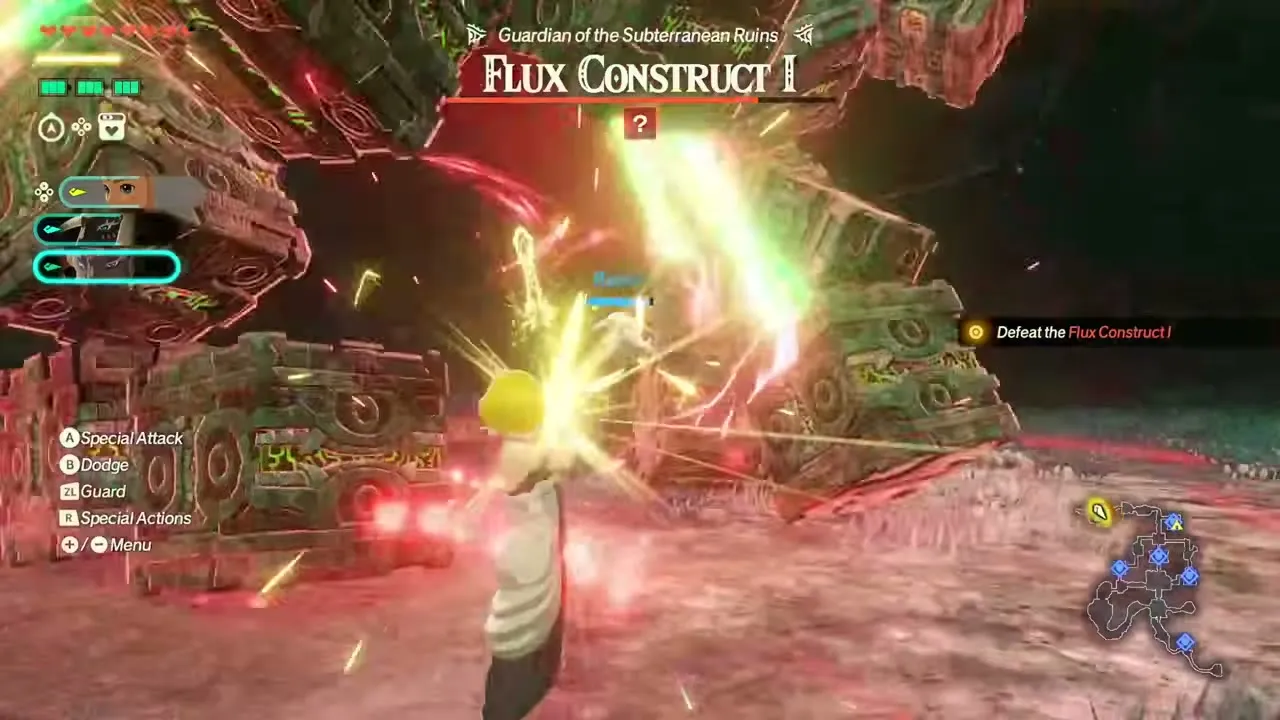
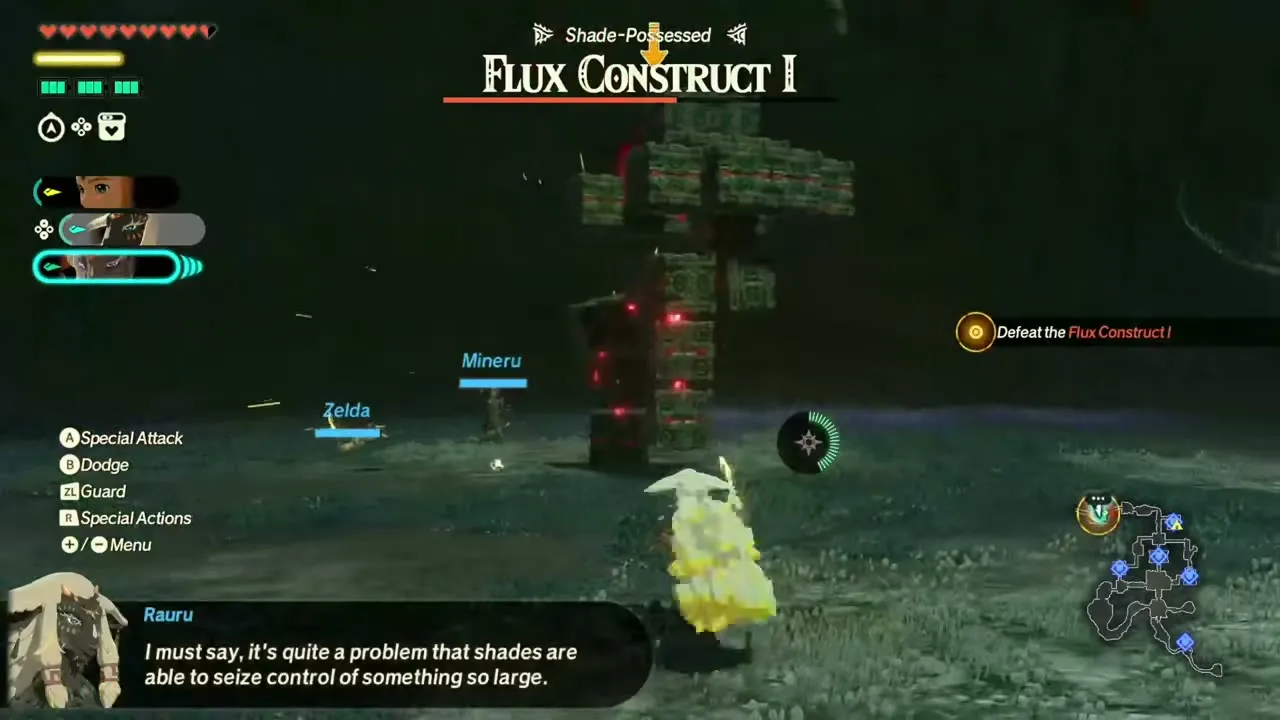
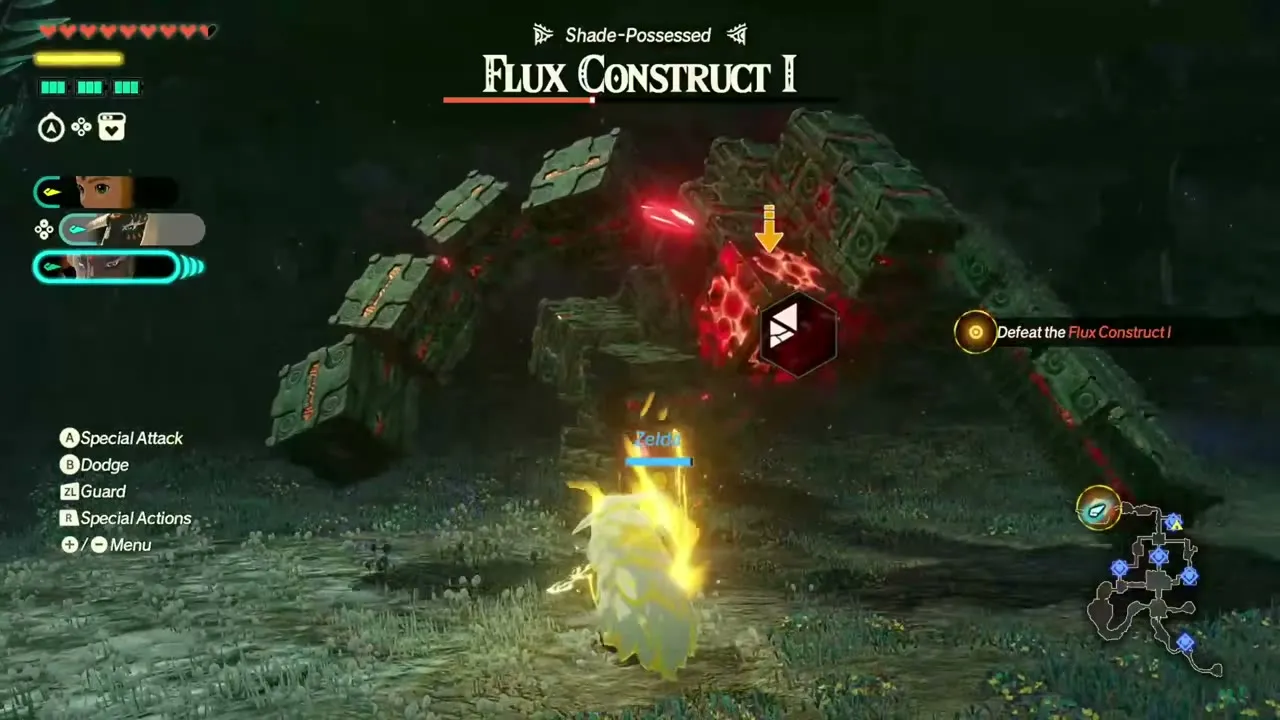
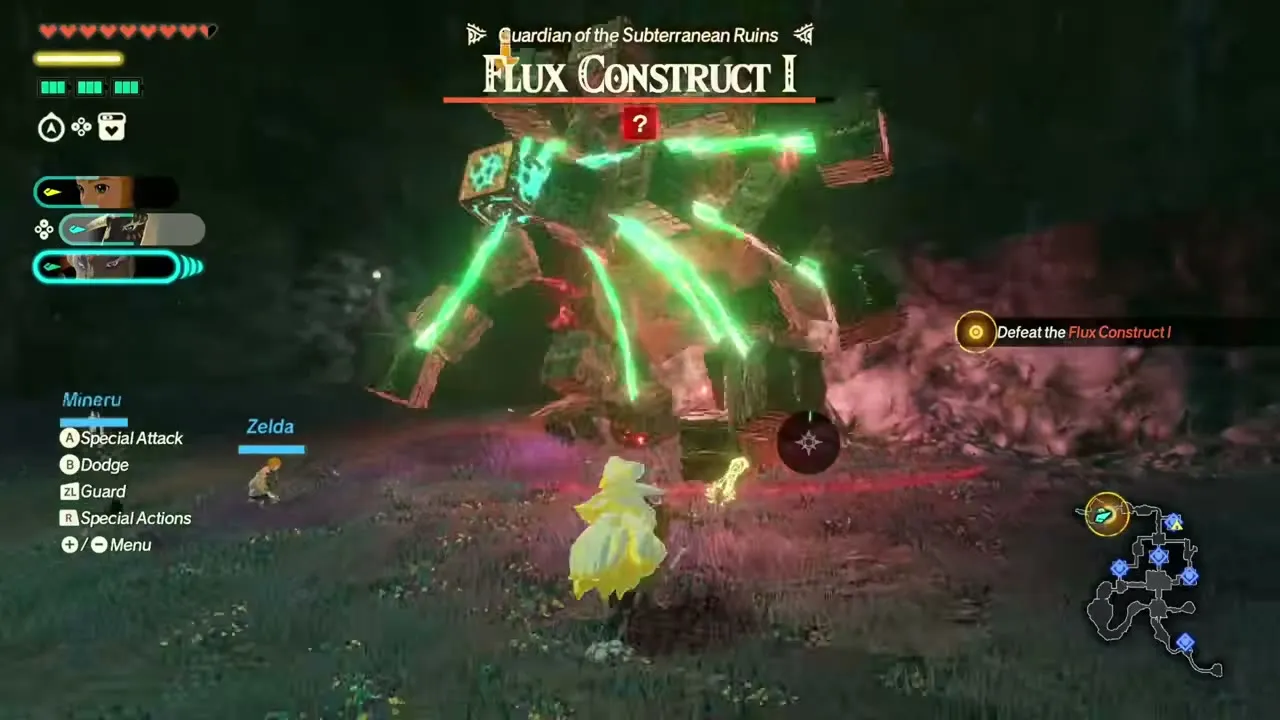
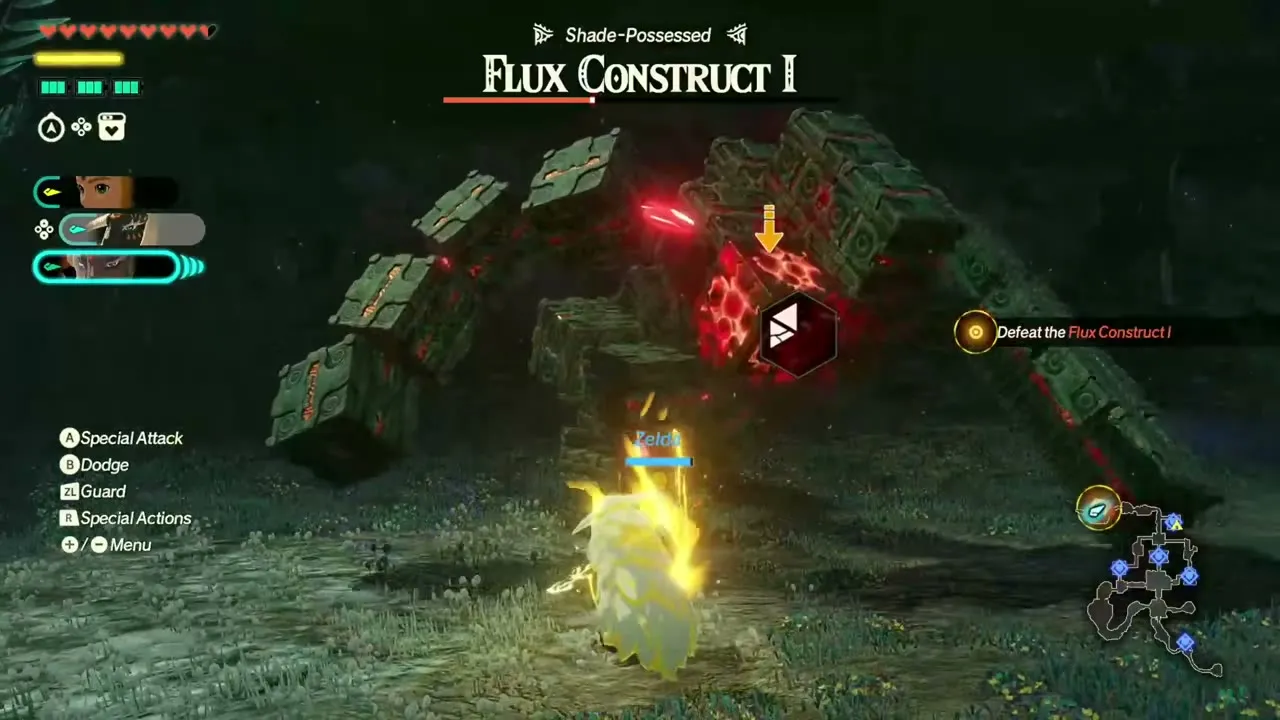
Regroup at the opened door and follow the path to Flux Construct I. In phase one, counter its Dangerous Attack with an air attack while it is in the air. In phase two it lands and rolls; hit it with a charge attack as it rolls toward you. Early on, it is the Guardian of the Subterranean Ruins; partway through, shades take it over and it is fought as a Shade-Possessed Flux Construct I. Defeating it ends the battle.
Korok Seeds
There are no Korok Seeds in this battle.
Treasure chests
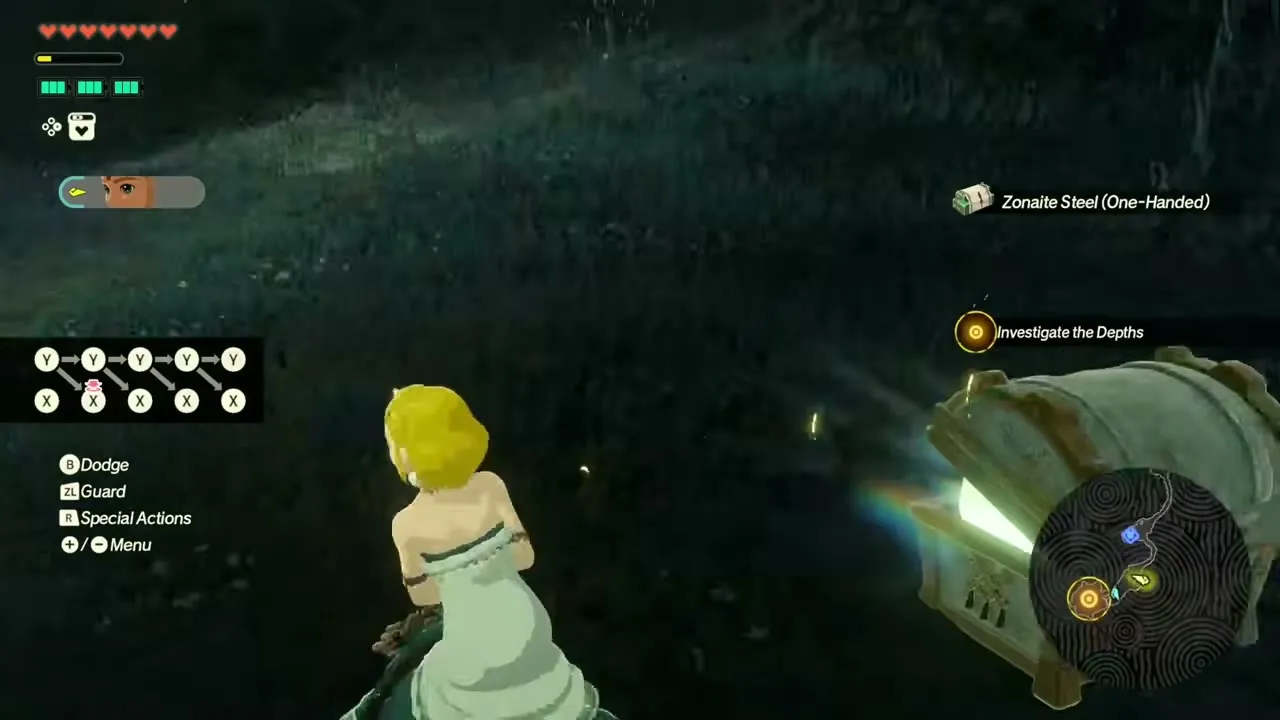
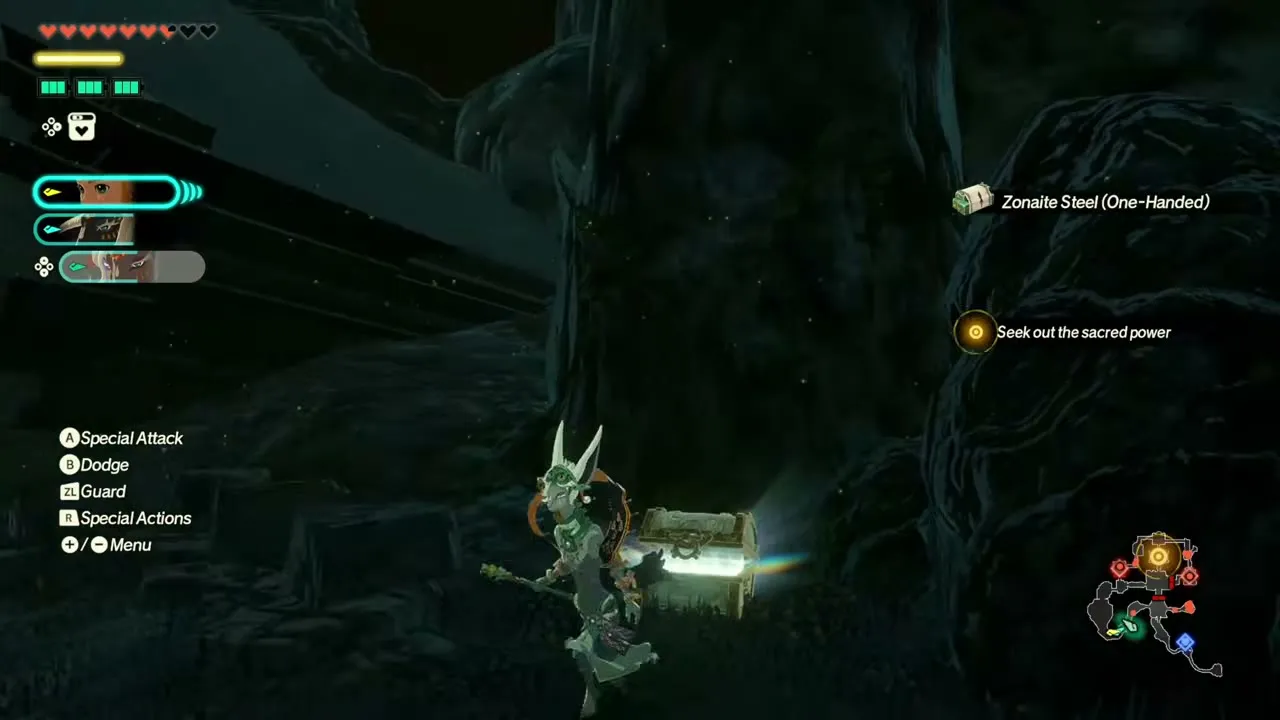
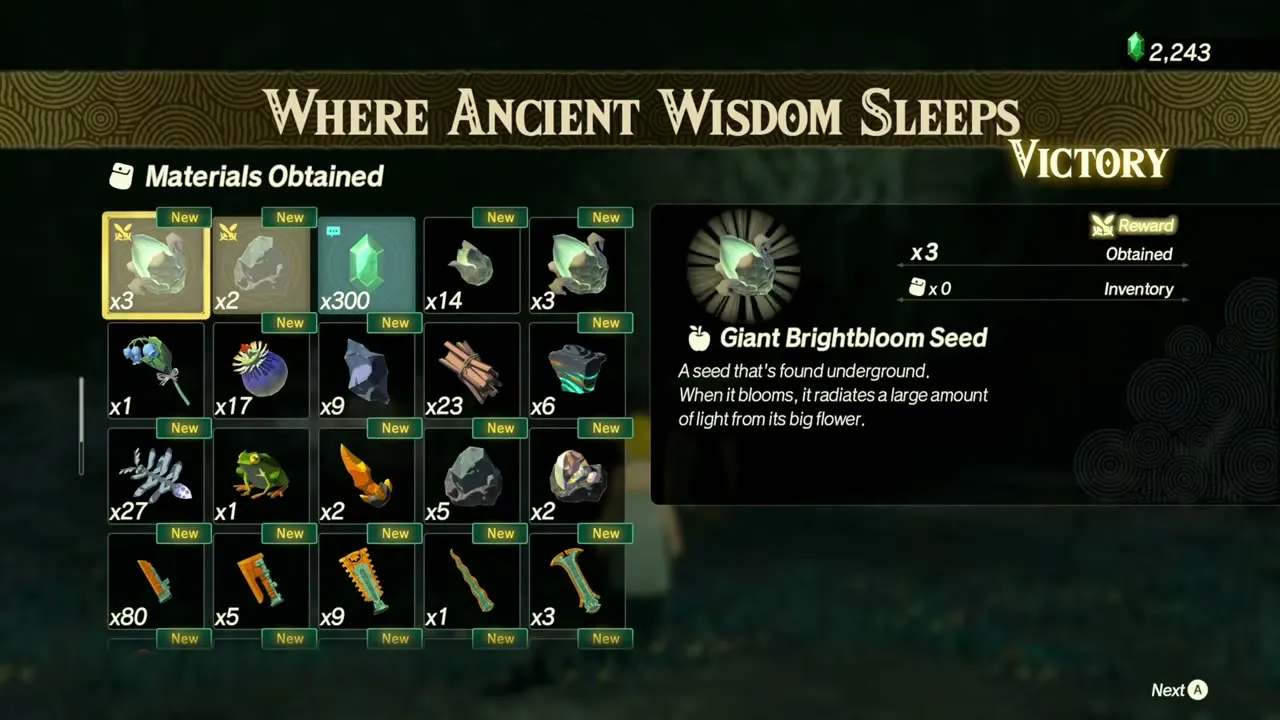
Five chests are on the map. Zonaite Steel (One-Handed) sits in the Depths west of the allied outpost where you first receive Zonai devices; Zelda can open it as soon as you reach the road. A second Zonaite Steel (One-Handed) waits beside a tree on the ground Mineru crosses while hunting for another way into the ruins. Bomb Flower x17 is in the clearing that follows, Rupees x300 lie near a corner that leads to a passage, and Luminous Stone x5 is in the northern area. The Time Bomb stone chest is separate from these.
Rewards and what unlocks next
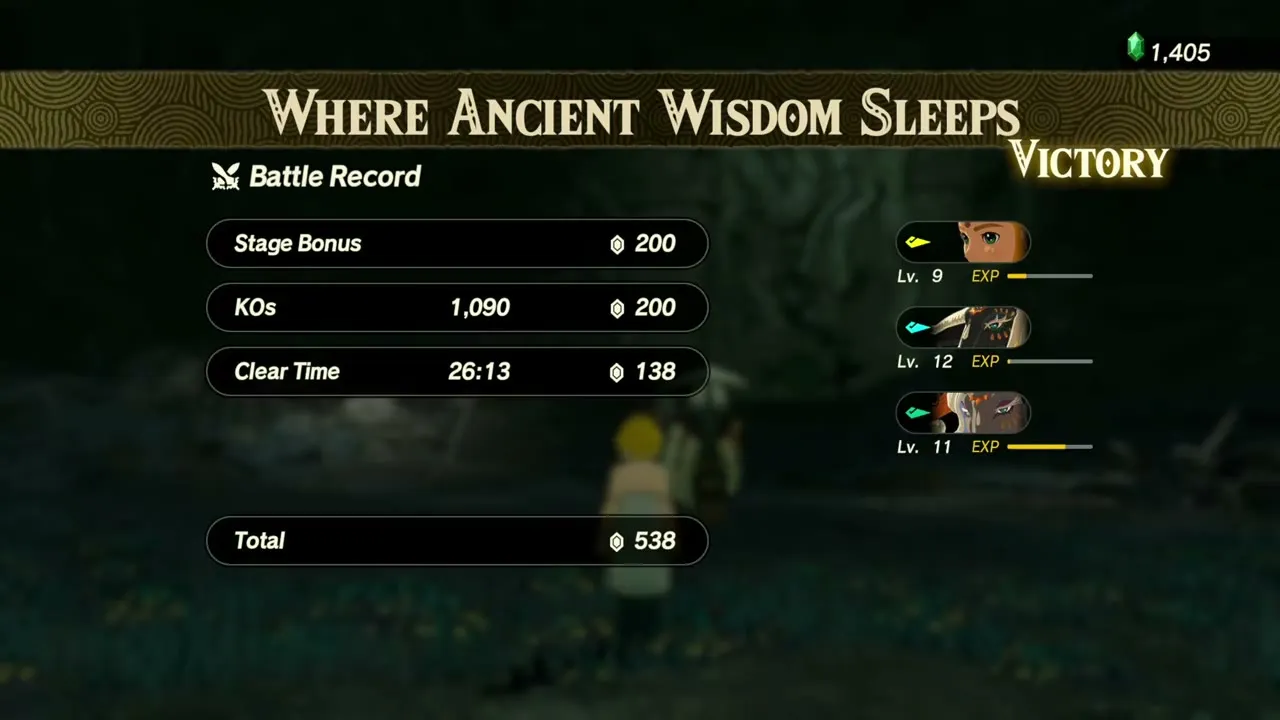
First clear gives Giant Brightbloom Seed, Luminous Stone, Wood, Brightbloom Seed, Flint and Deep Firefly. You also gain Mineru as a warrior and keep the Flame Emitter and Time Bomb. See Zonai Devices for how to use them.
| Collectible | Type | Where |
|---|---|---|
 Zonaite Steel (One-Handed) x1 | Chest | West of the allied outpost |
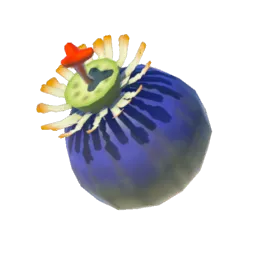 Bomb Flower x17 | Chest | Clearing after Mineru’s search |
| Zonaite Steel (One-Handed) x1 | Chest | Beside a tree on Mineru’s route |
 Rupees x300 | Chest | Near a corner leading to a passage |
 Luminous Stone x5 | Chest | Northern area |
| Time Bomb | Stone chest | Appears after the Captain Constructs II |
 Zonaite, 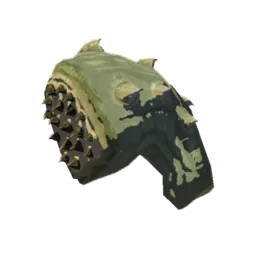 Frox Fang x2, 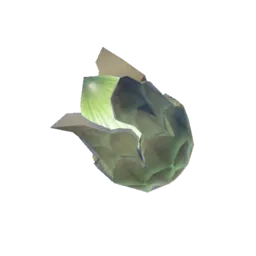 Brightbloom Seed x10 | Drop | Dropped by the Frox |
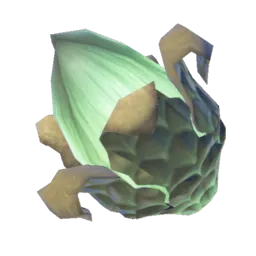 Giant Brightbloom Seed, Luminous Stone, Wood, Brightbloom Seed, 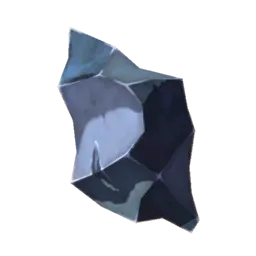 Flint, Deep Firefly | First-clear reward | Battle completion |
Next is Raging Sands, the first battle of Chapter 2.