





















The Legend of Zelda 100% Completion Walkthrough14 chapters
- The GatheringGet the Wooden Sword, buy bombs, take your first Heart Container, collect early rupees and buy the Blue Candle.
- Money Caves, the Red Potion and the Blue RingMoney cave payouts, the Blue Candle, a Heart Container gift, the Magical Shield for 90, Red Potion for 68.
- Level 1 The EagleKeys, Bow, Boomerang, Dungeon Map, Compass, the Aquamentus boss, and the Heart Container.
- Level 2 The MoonReach the entrance, get the Magical Boomerang and Map, then beat Dodongo for a Heart Container and a Triforce piece.
- Level 3 The ManjiTake its keys, the Raft, Compass and Map, then defeat Manhandla for a Heart Container and the third Triforce piece.
- Level 4 The SnakeLevel 4 The Snake walkthrough with the lake route, keys and dark rooms, Stepladder.
- The Magical Sword and the Medicine ShopThe graveyard cave with the Magical Sword, the three-staircase warp cave.
- Level 5 The LizardReach the statue cave on the Lost Hills, collect small keys, and buy the 100-rupee bomb upgrade that raises bomb.
- Level 6 The DragonKeys, the Magical Rod, Gleeok mini-boss and Gohma boss tactics for its Heart Container and sixth Triforce piece.
- The Potion Shop and the Ring Shop AgainBuy the Red Potion and the Monster Bait between Level 6 and Level 7 in The Legend of Zelda NES.
- Level 7 The DemonRecorder entrance, bomb upgrade, Monster Bait, Red Candle, Map, Compass, Aquamentus and Triforce piece 7.
- Level 8 The LionBurn the entrance bush, get the Book of Magic and Magical Key, then beat four-headed Gleeok for its Heart Container.
- Level 9 Death MountainReach Spectacle Rock, clear the skull-shaped dungeon, and get its Map, Compass, Red Ring and Silver Arrows.
- The EndingBeat Ganon in his dark room with a Silver Arrow after the sword hits, take the Triforce of Power.
| Covers | the overworld from the Level 2 exit to the Level 3 gate, and Level 3 (The Manji) in the First Quest, up to the stair back out |
|---|---|
| Dungeon | Level 3, The Manji: five small keys for four locked doors, the Raft, Compass, Map, boss Manhandla |
| Rewards | Raft, Compass, Map, 1 Heart Container (from Manhandla), Triforce piece 3 |
This chapter starts where Level 2 ends, on the open overworld, and takes you to the gate of Level 3, The Manji. In the dungeon you collect its keys, the Raft that lets you cross water on the overworld, the Compass and the Map. Then you defeat Manhandla for a Heart Container and the third Triforce piece. The route is short once you know which doors to open and which rooms to skip.
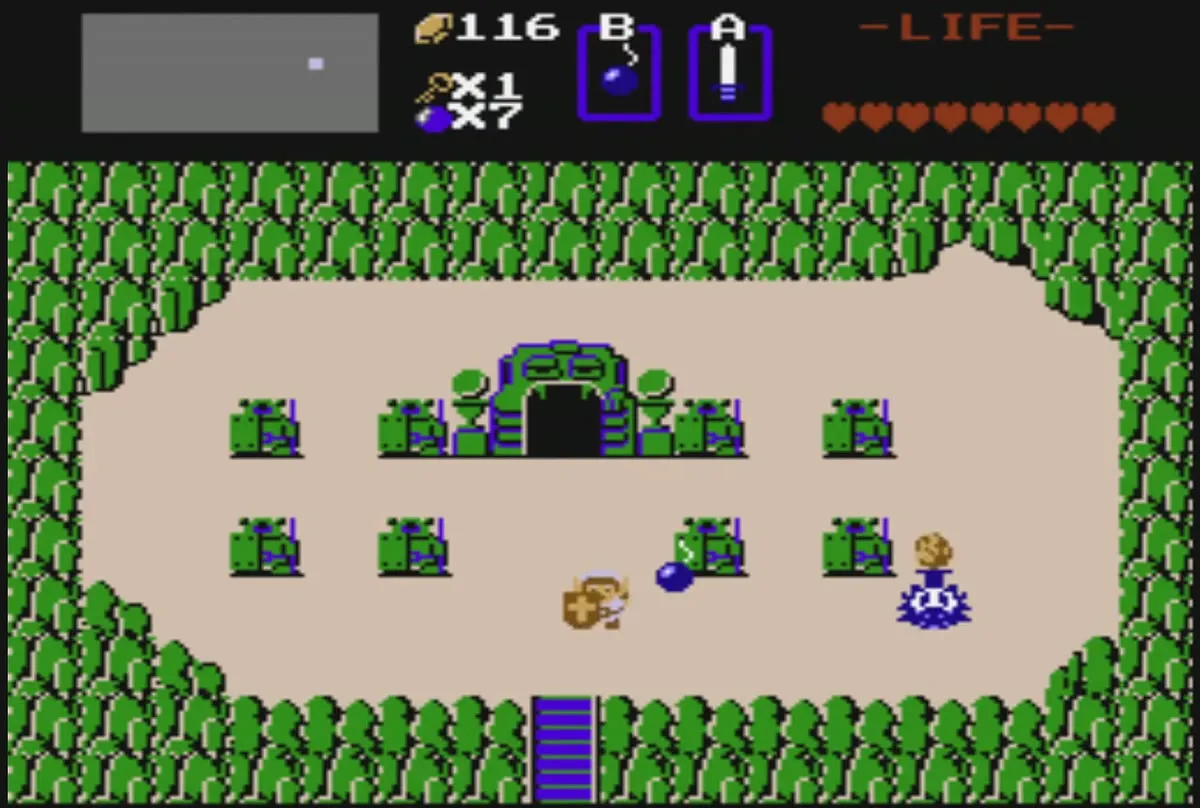
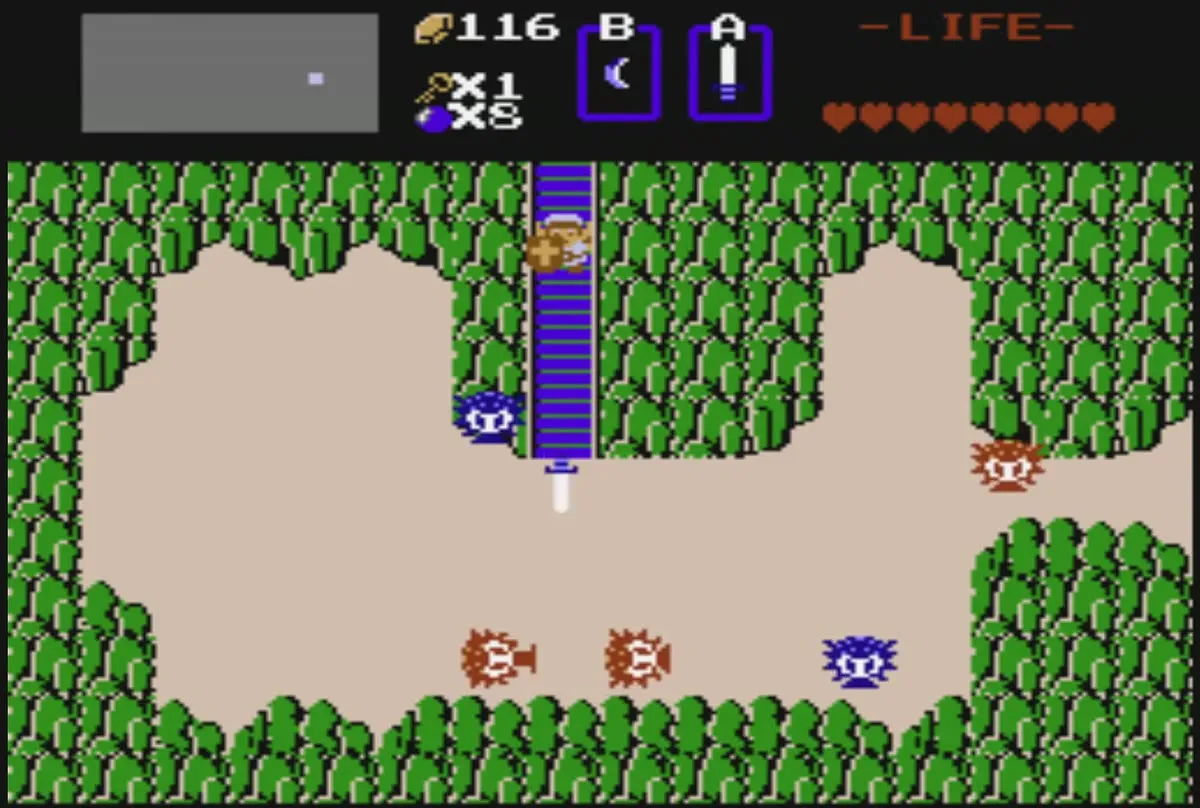
Table of Contents
Overworld: from Level 2 to the Manji gate
Leave Level 2 and cross the bush fields
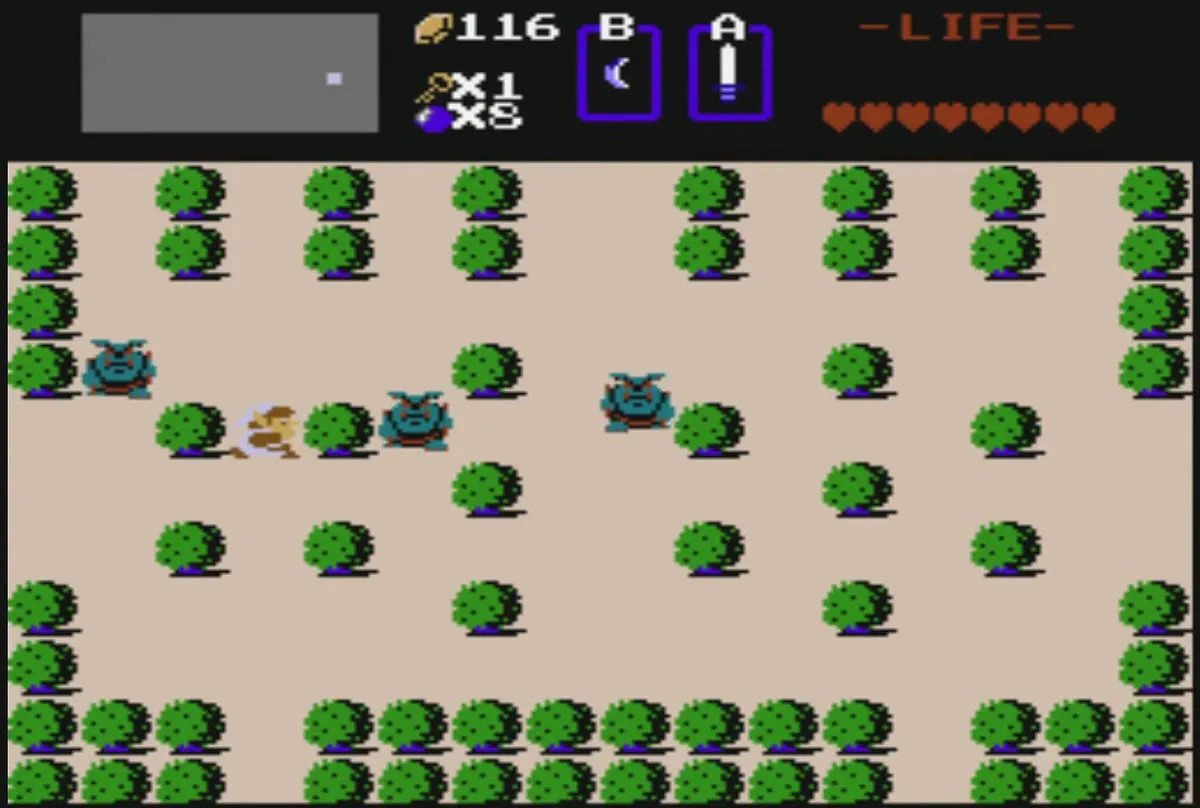
Once you step out of the Level 2 exit, take the long stair at the edge of the screen and come out in bush fields with sand paths. Walk through them and fight the enemies that come at you, but do not stop to clear every screen. Level 3 is at E8, on the bottom row, so work your way south and west to row 8 and then west past the start screen at H8. On the way you can bomb the north wall at H7 for 30 rupees, burn the tree at G6 for 10 rupees and burn the tree at G5 to reach the 90-rupee Magical Shield shop. Keep moving toward the wide sand field that has brown boulders along its edges.

Find the stone gate
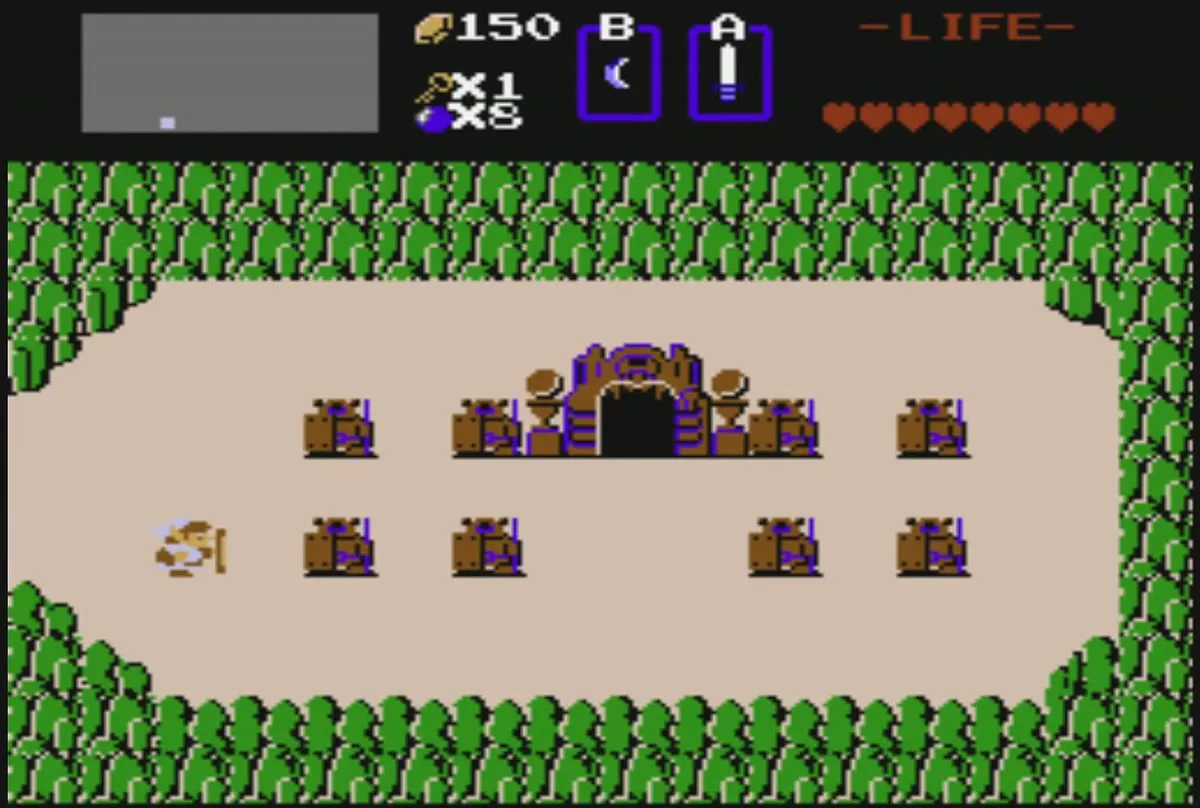
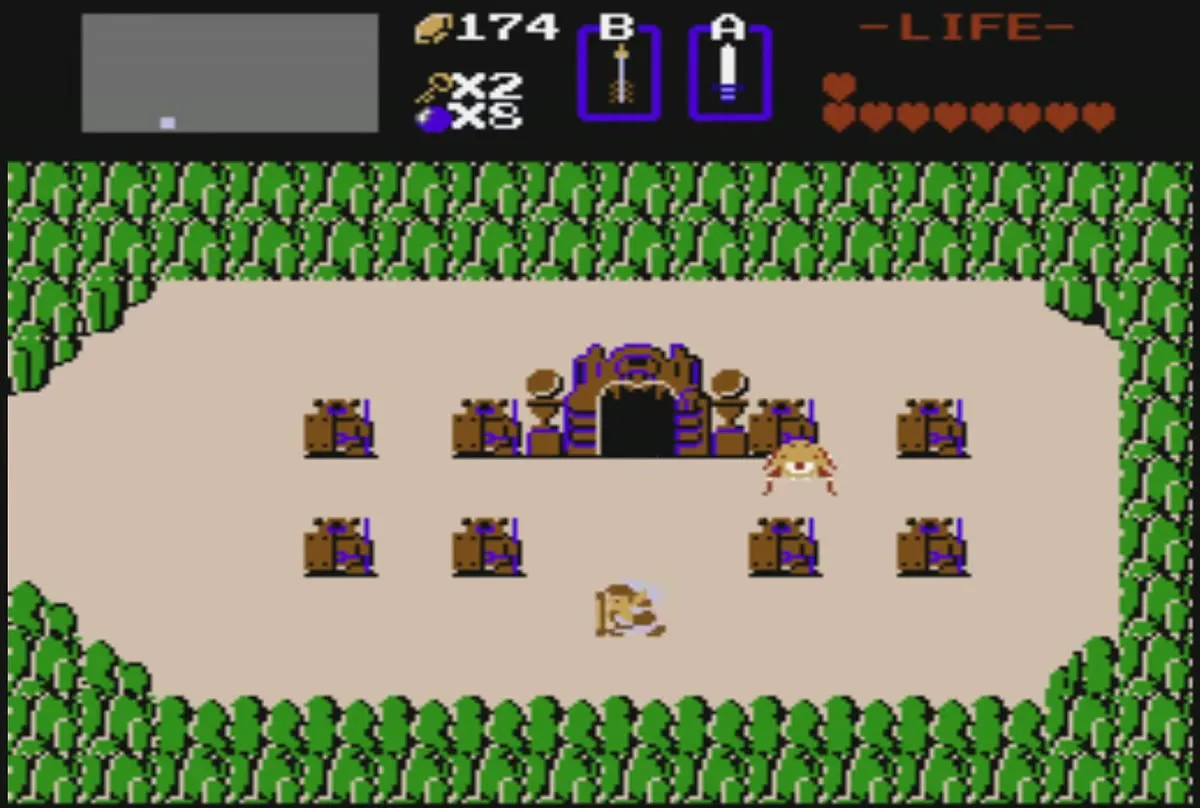
The entrance to Level 3 is a dark stone stair in a shrub clearing at the top of the sand field, framed by a purple gate. It sits at E8, three screens west of the place where you began the game. Step onto the stair, and the dungeon floors turn green, which tells you that you have entered Level 3.
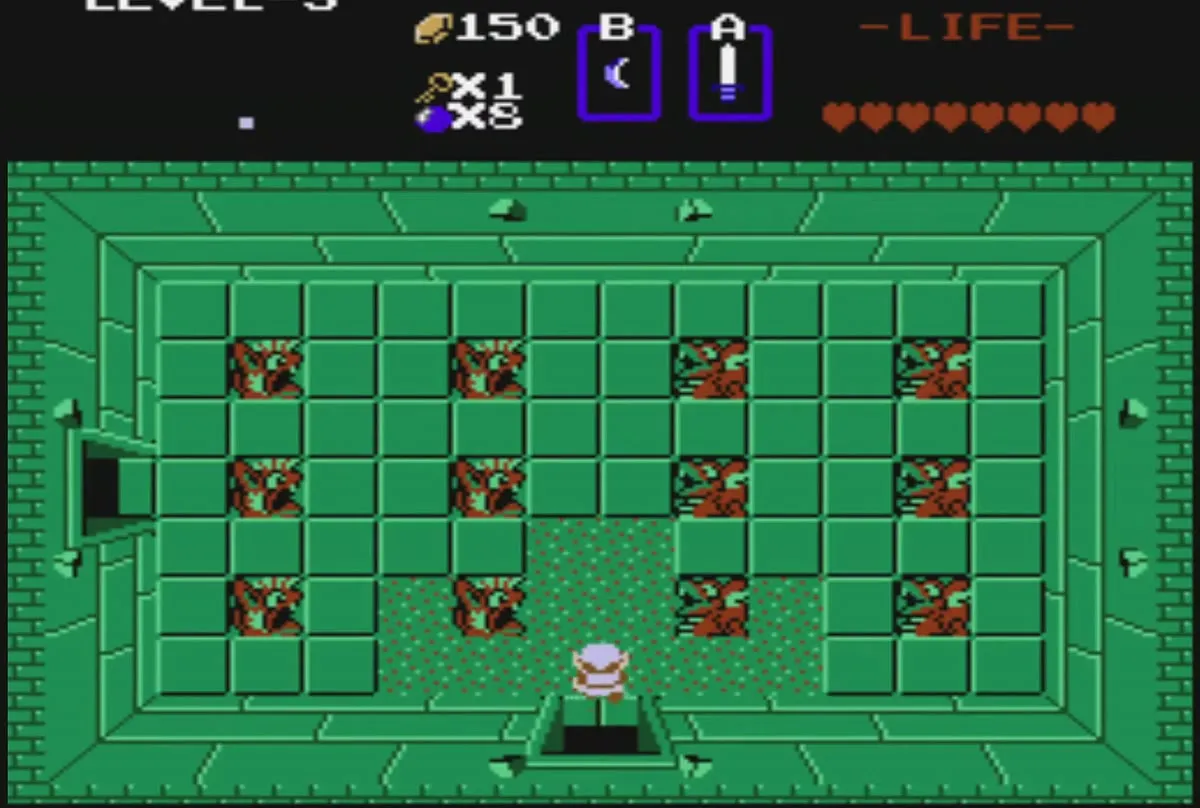
Level 3: The Manji dungeon
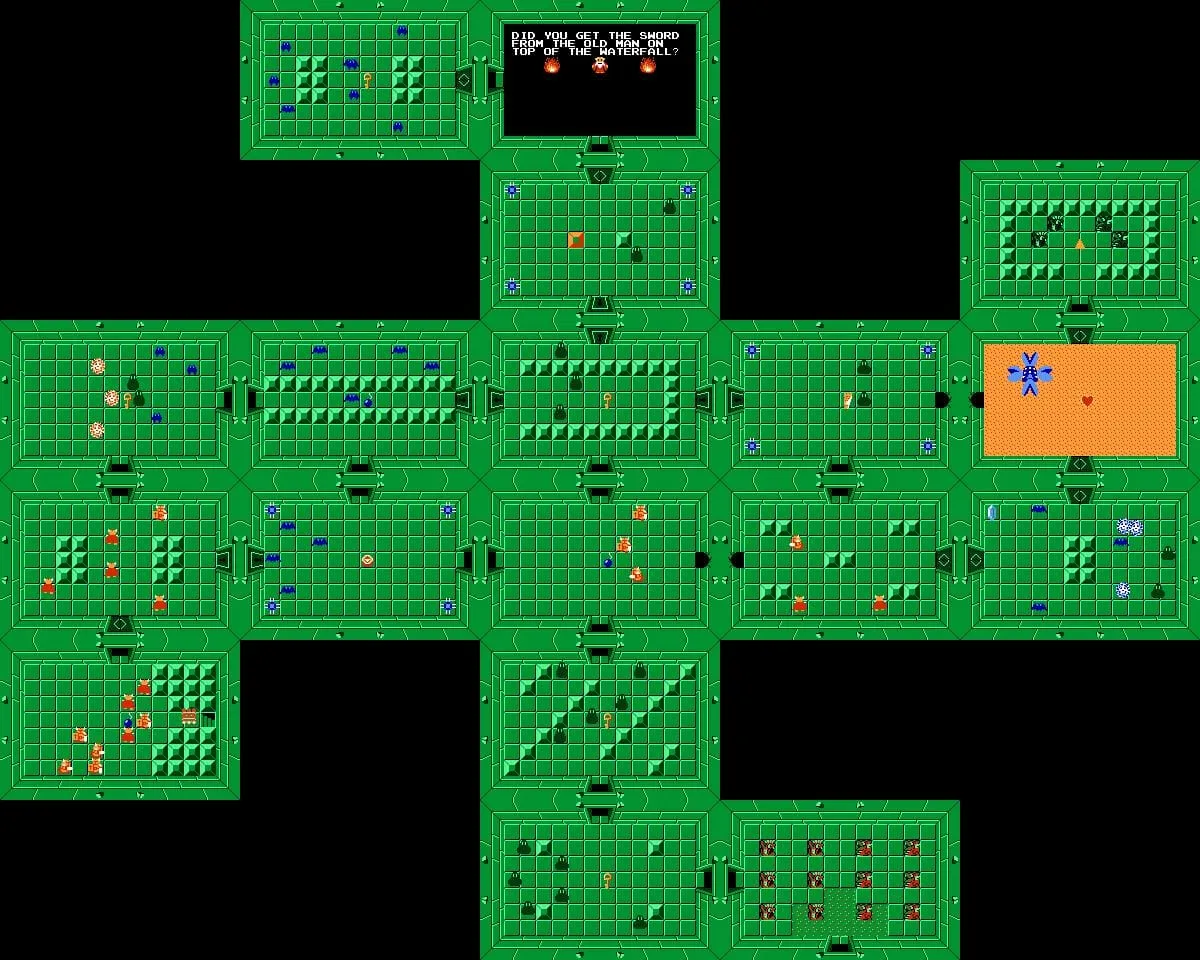
Entrance room and its first keys
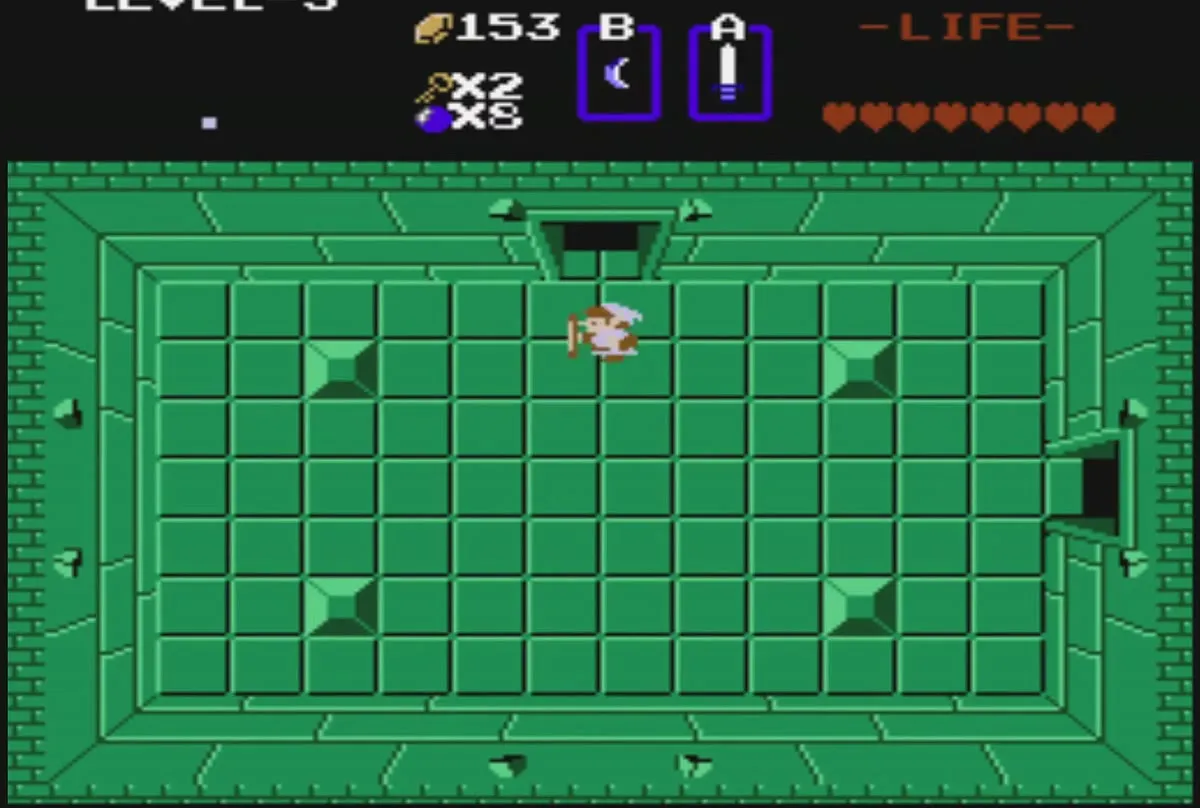
From the entrance room, go left and clear it of enemies, then pick up the small key it holds. Go into the room above it and clear that one as well to collect a second key. Keys are easy to lose against the green tiles, so look for the small gold shape on the floor. Watch the key counter on your HUD as it climbs with each key, because every locked door you open uses one.
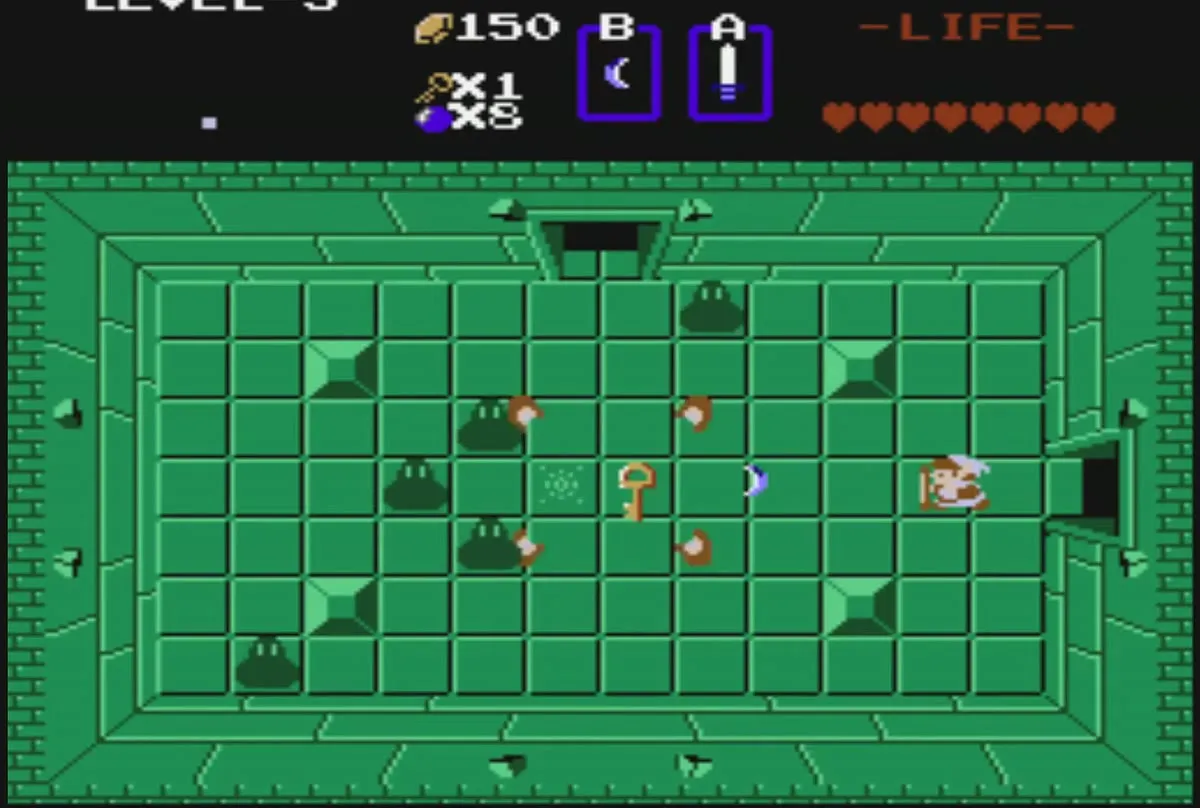
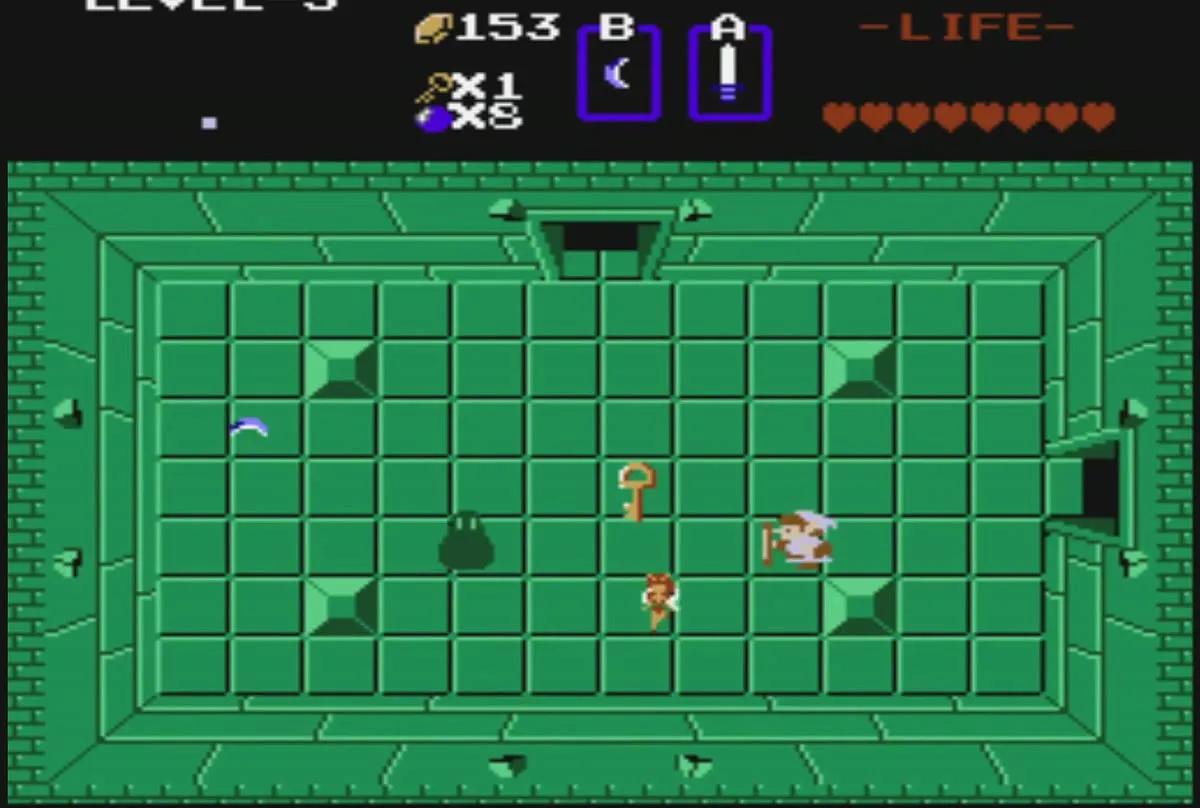
Darknut room and the bomb shortcut
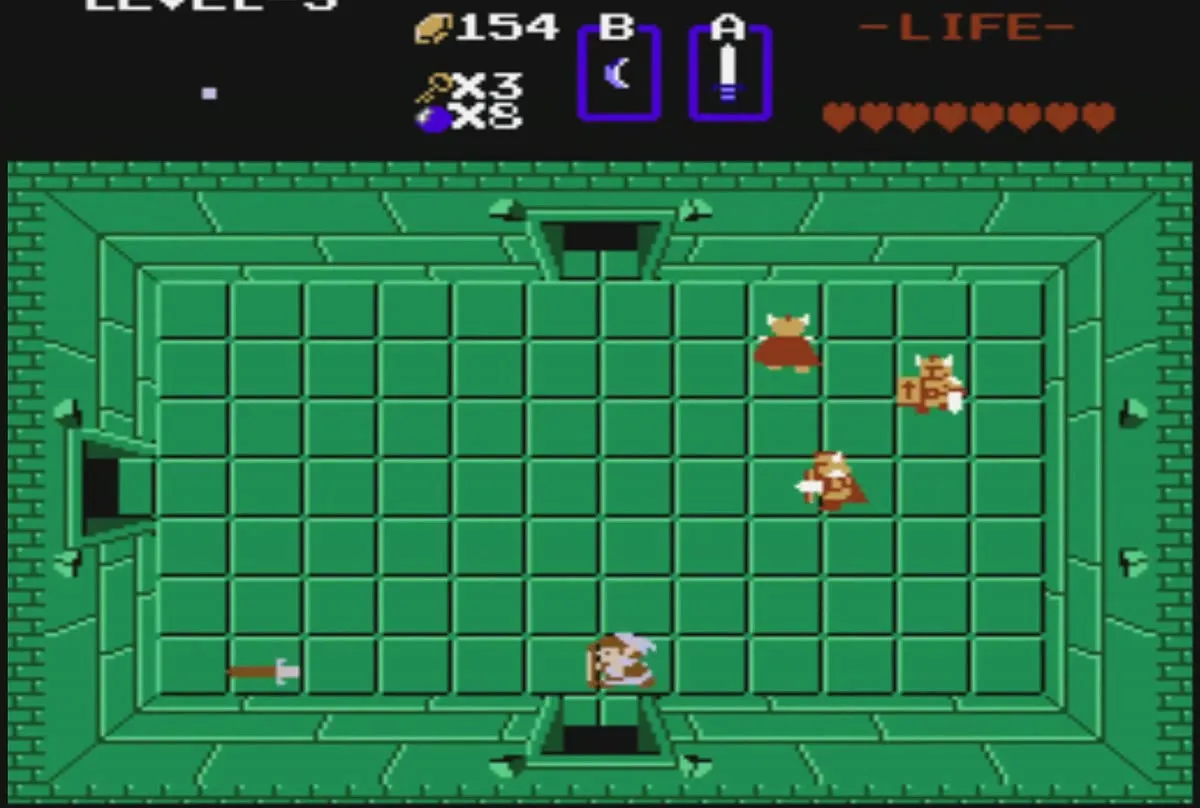
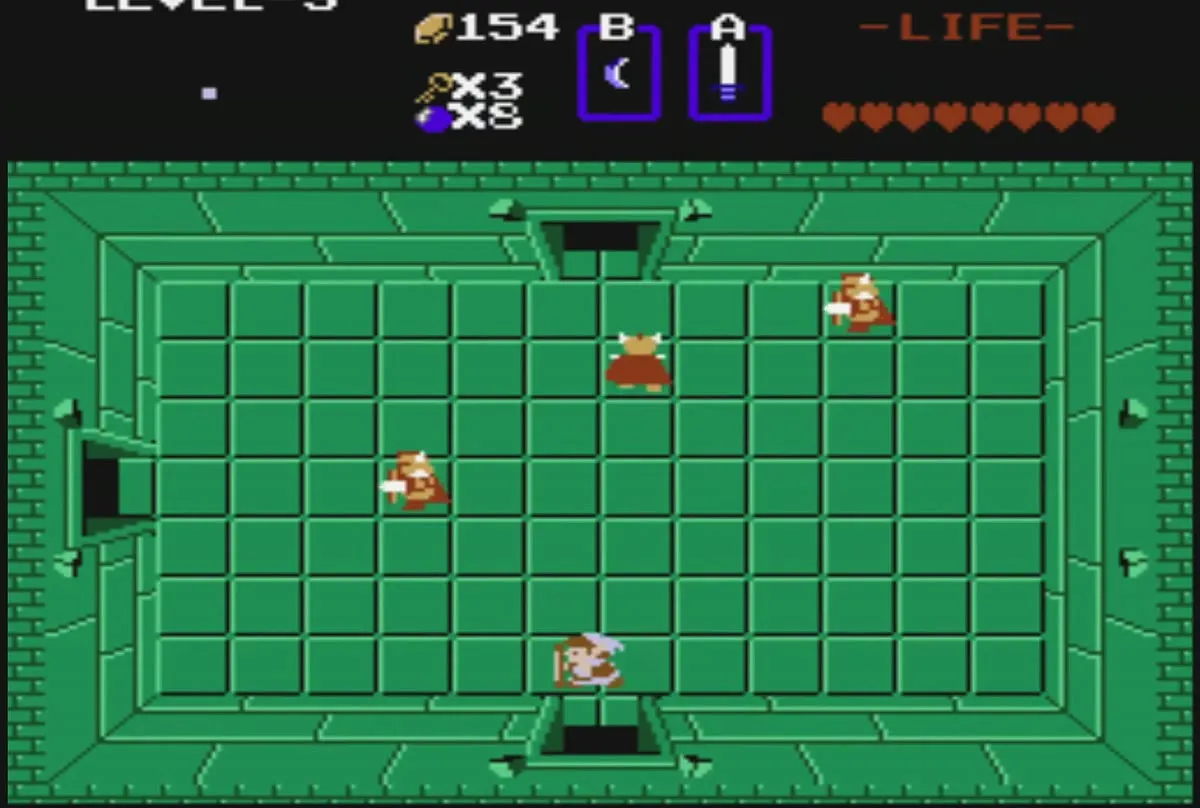
The room above is patrolled by Darknuts, armored knights that are hard to hit from the front. Strike them from the side or from behind, or use bombs. Defeating them rewards you with a few bombs, so this is a good place to top up. The right wall of this room can be bombed open into a hidden passage that is a significant shortcut toward the end of the dungeon.
Compass room
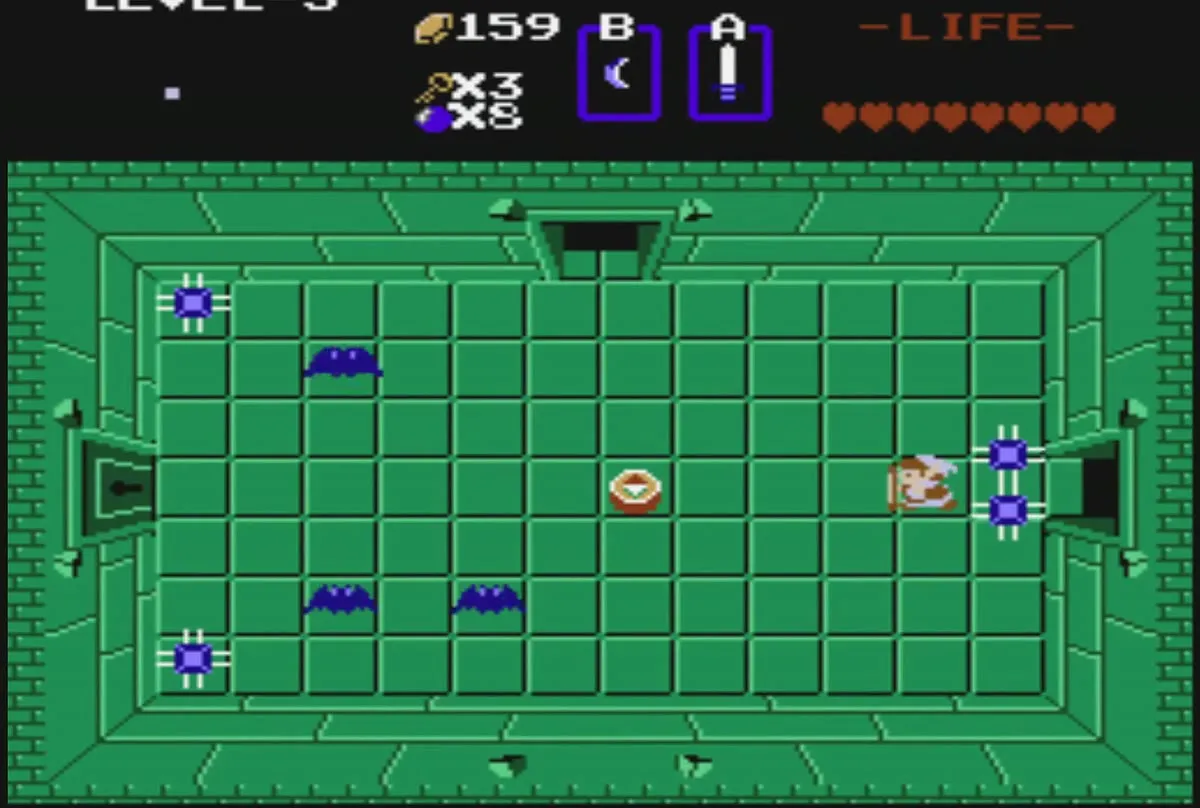
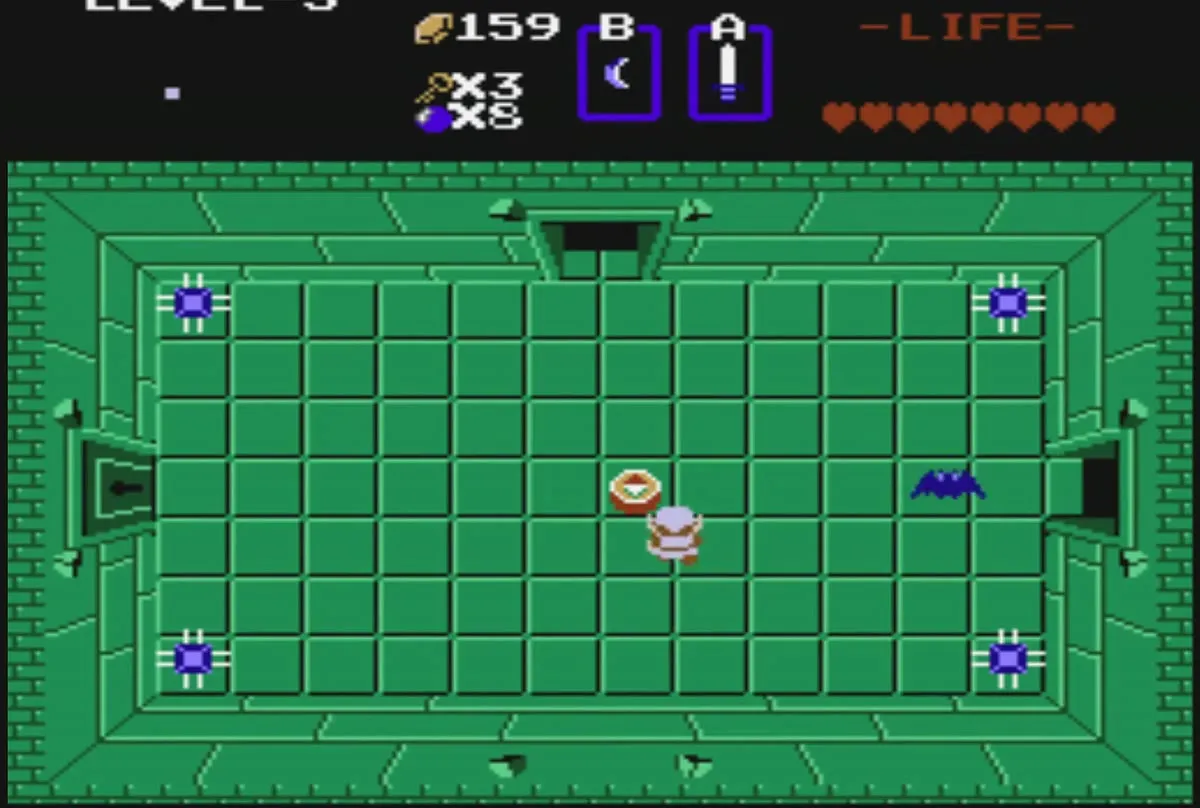
Head left to the room that holds the Compass and take it. Keese bats fly in this room, and a blade trap sits in each corner and darts at you when you line up with it. You can defeat the Keese or simply avoid them, since they do not block the way forward. Use a key on any locked door you need to reach the next part of the dungeon.
The Raft in the underground passage
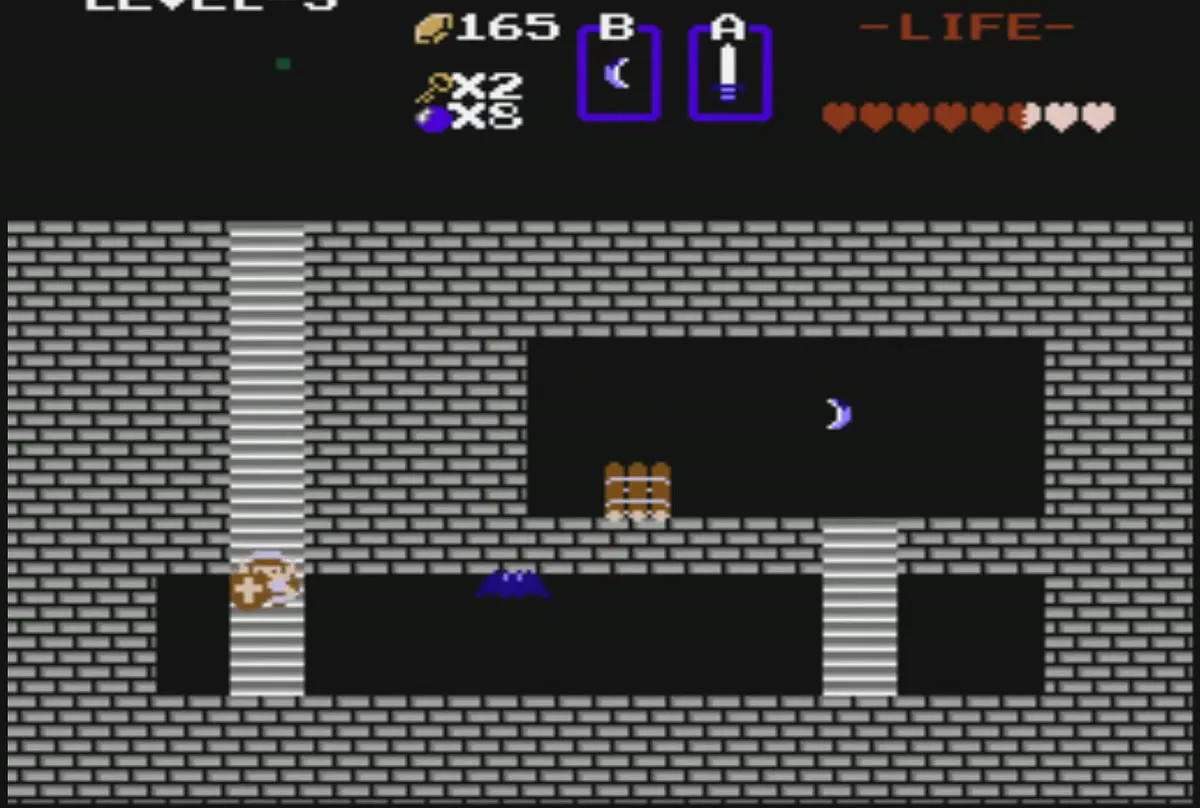
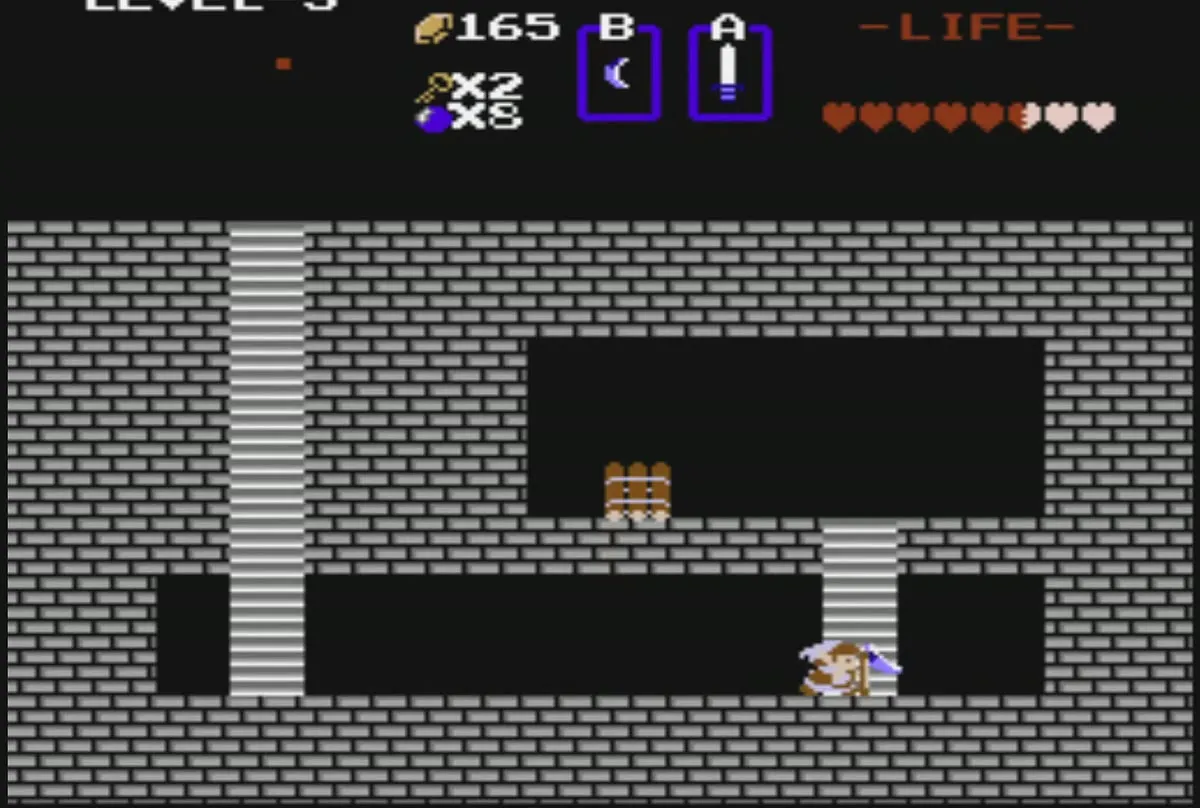
From the Compass area, enter the room on the left and then the room below it to find a staircase going down. The stairs lead to an underground passage with grey walls, ladder-like columns and a few Keese. Climb over the obstacles, defeat the Keese, and collect the Raft from its ledge. Return up the stairs once you have it, because the rest of the dungeon lies above.
Four-door room and the optional north path
From the stairs, go up one room, then two rooms to the right and up one more, to reach a room with four doors. The north path from here is optional. Push the left block to open the north door, and an old man there gives you a hint about the White Sword. The room beside him holds a key if you want it.
Map room and the way to the boss
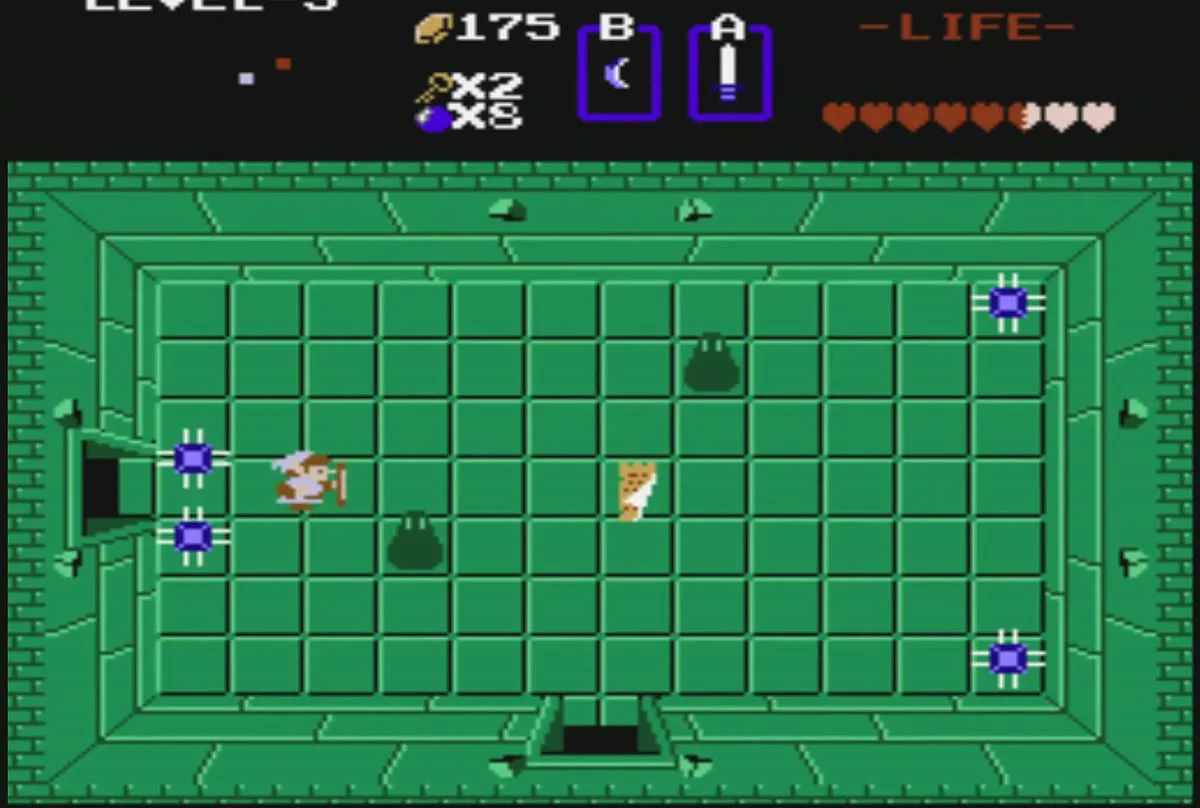
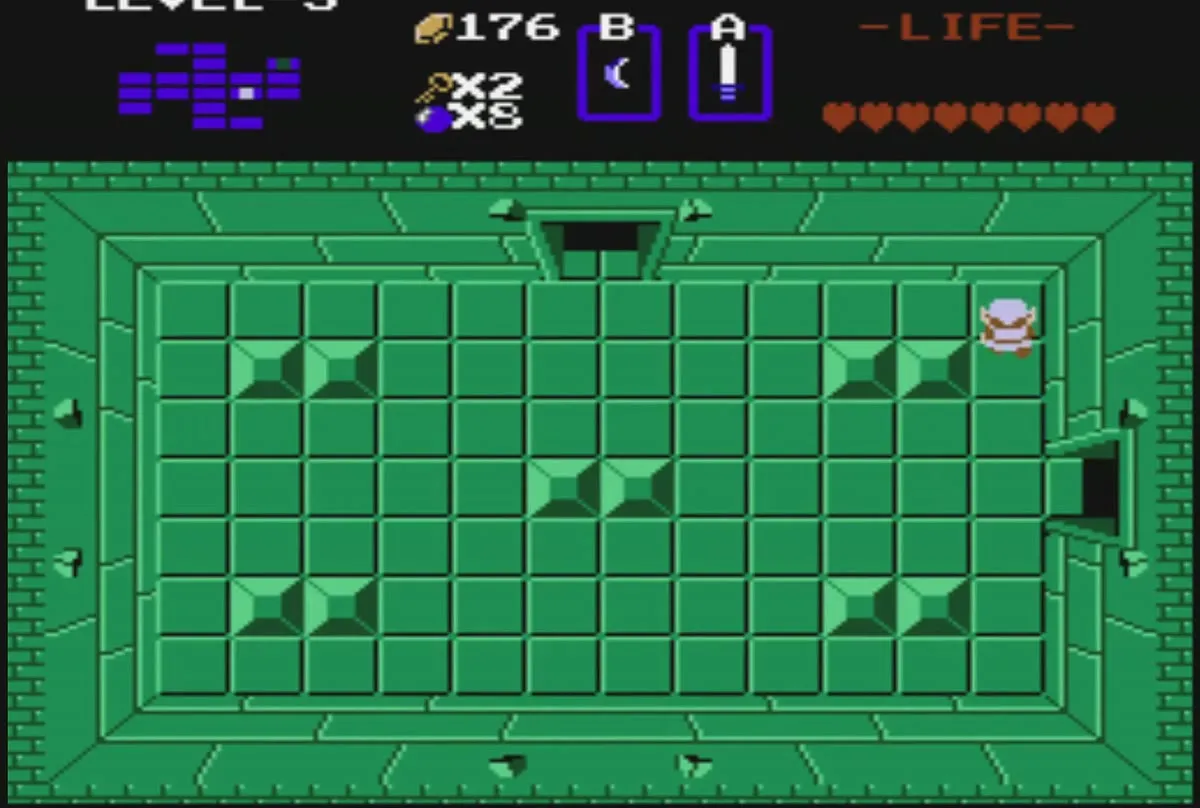
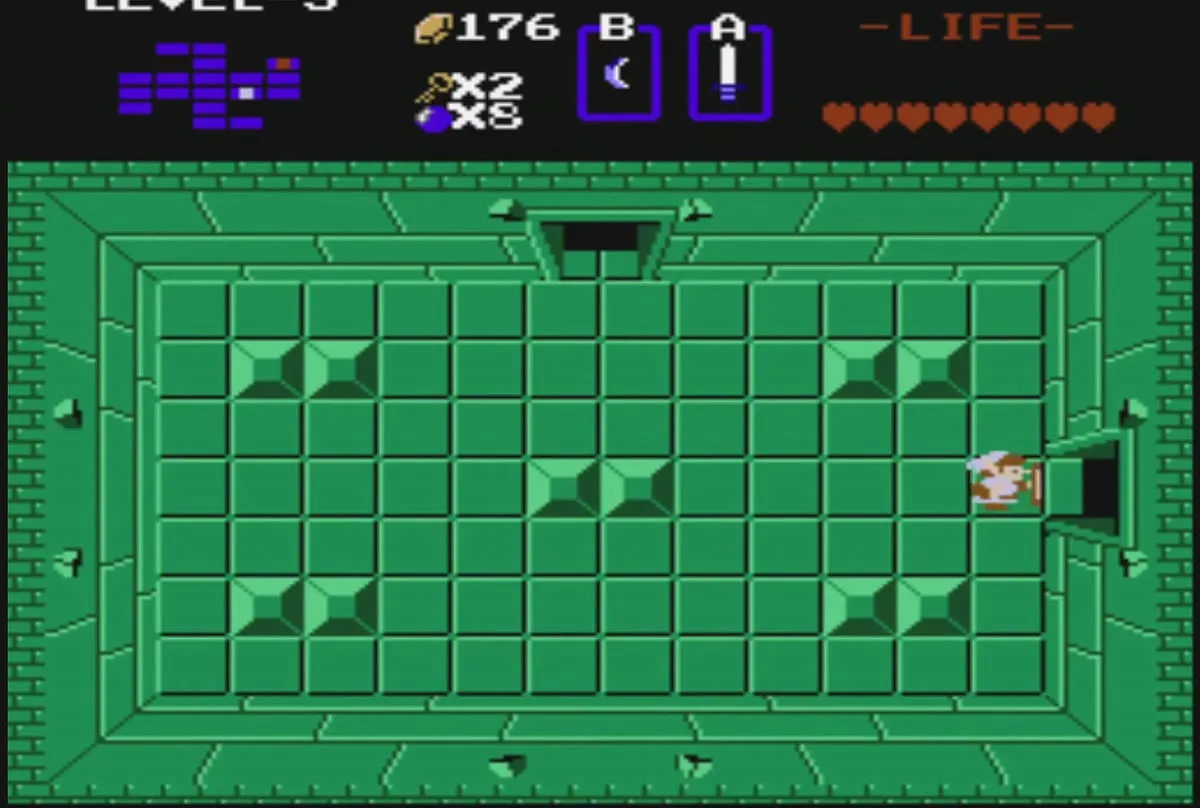
From the four-door room, head right into the room that holds the Map and take it. Its right wall can be bombed open to make a shortcut straight to the boss. If you prefer the normal path, go down into the room below, clear the Darknuts, head right, defeat the Keese and Zols, and open the door above.
The room before the boss
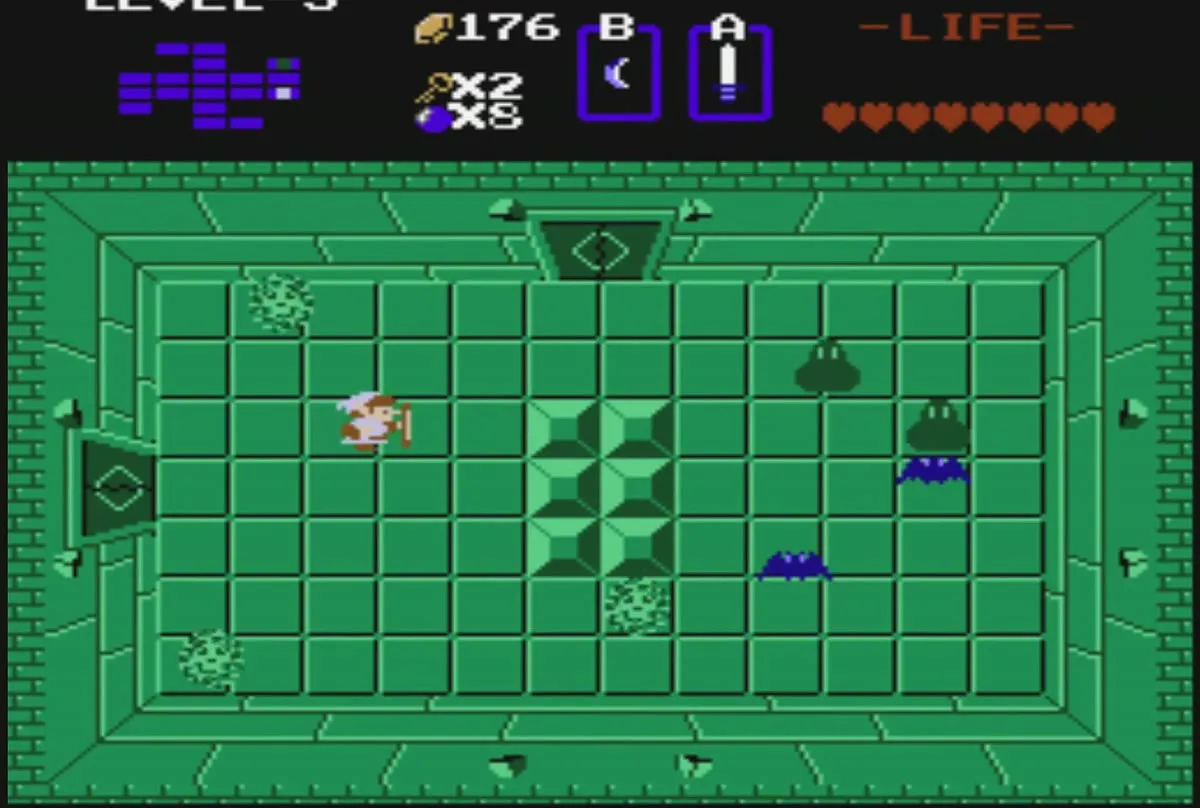
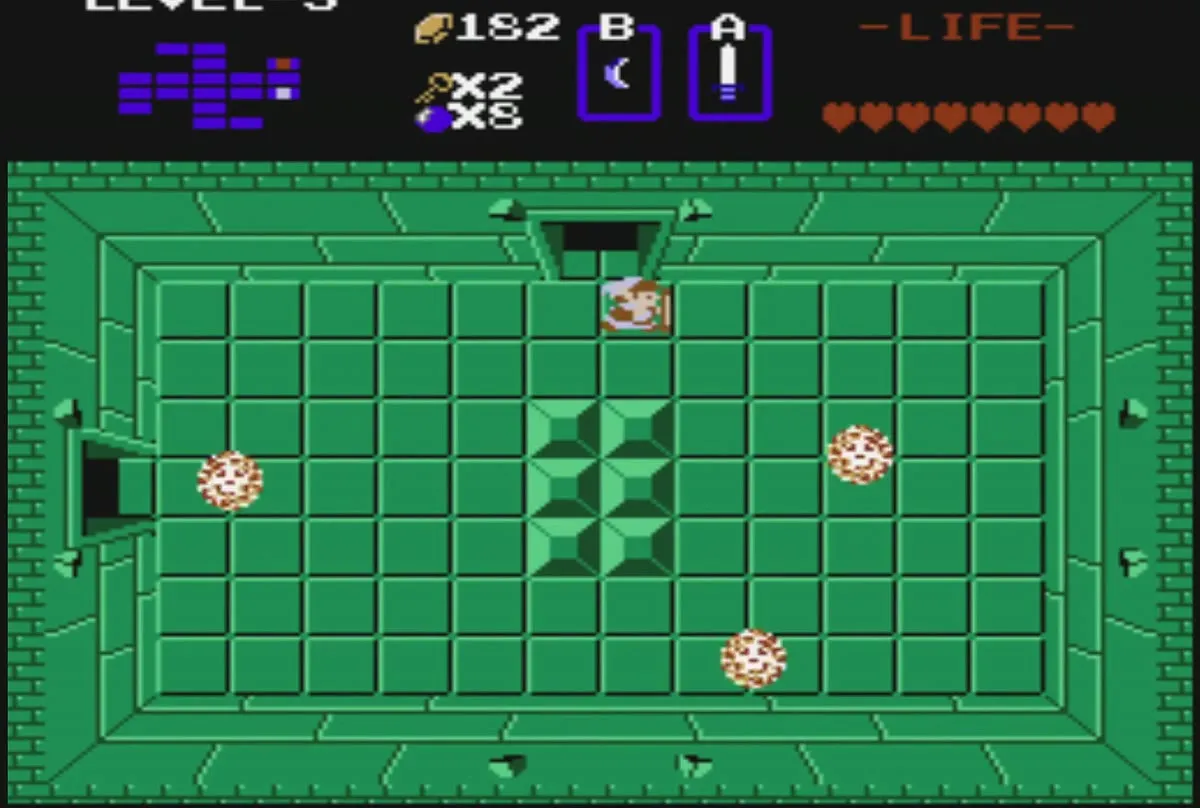
The last room before the boss holds Bubbles, floating skulls that drain the power from your sword if they touch you. Avoid them while you defeat the Keese and Zols. Then head up one screen to enter the boss room.



Boss: Manhandla in The Manji
Fight Manhandla with bombs
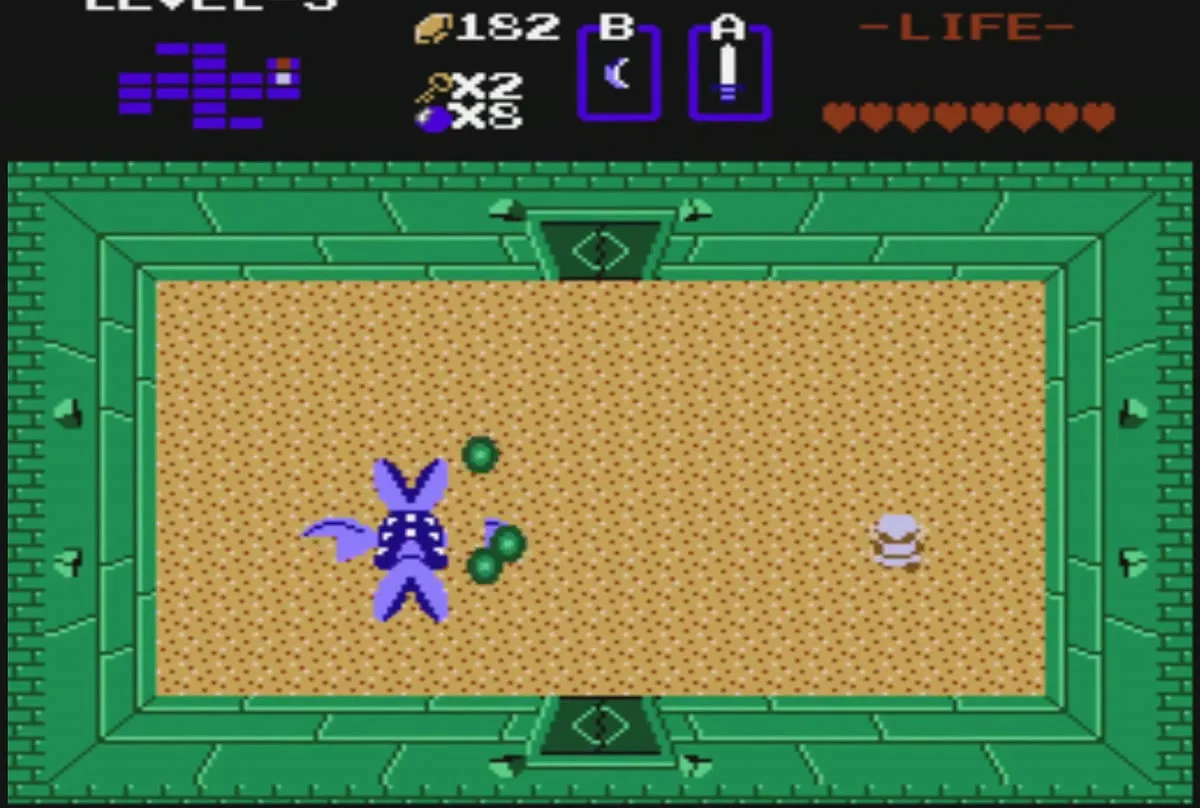
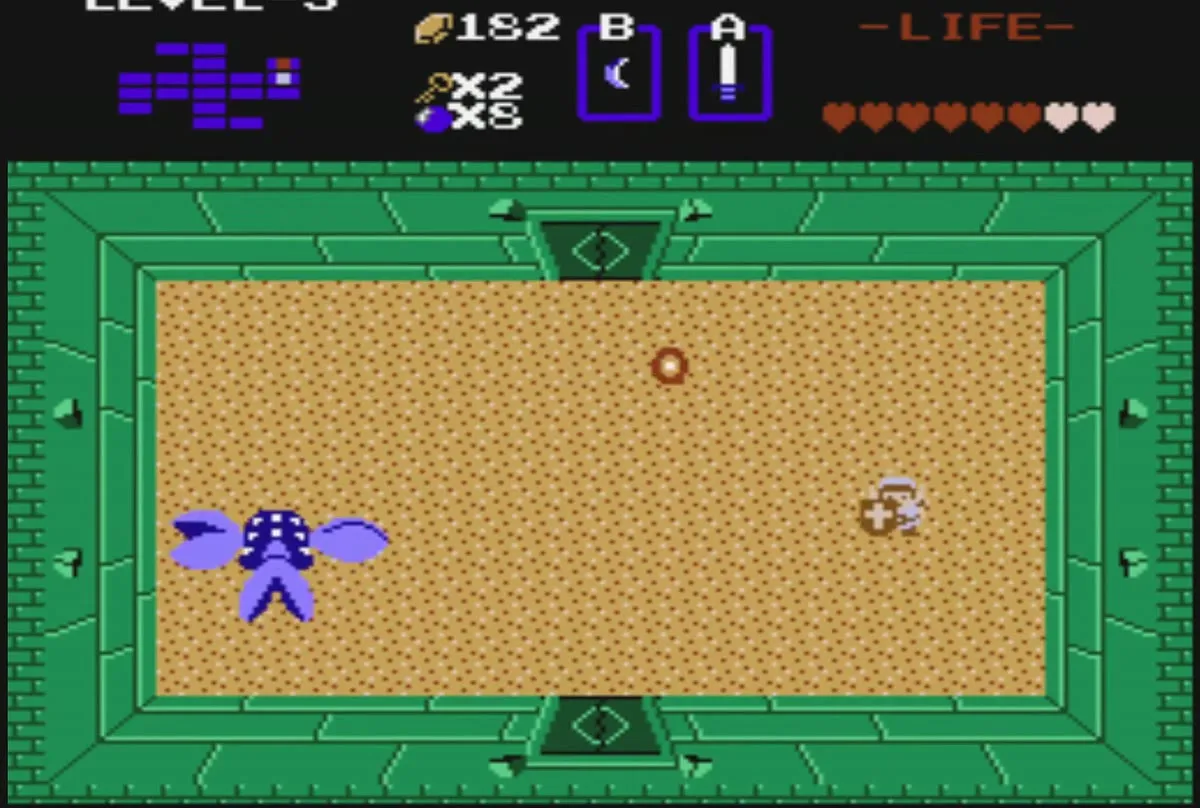
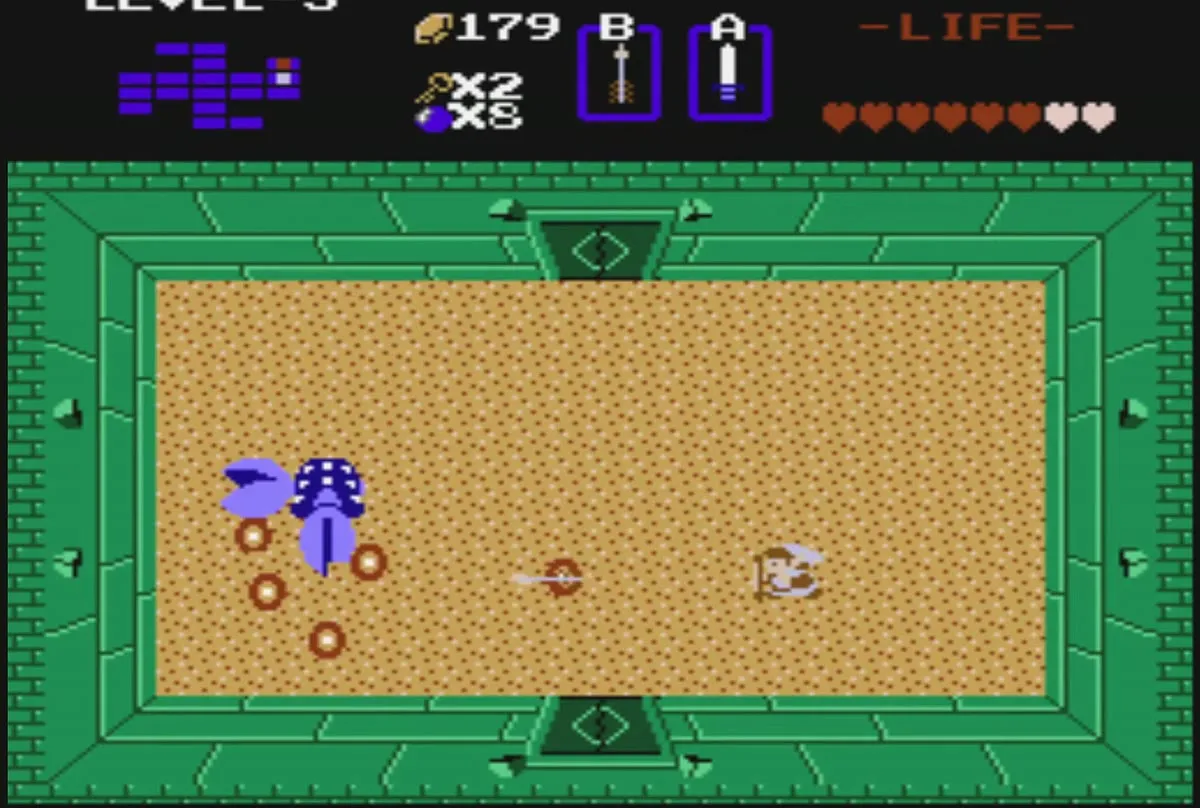
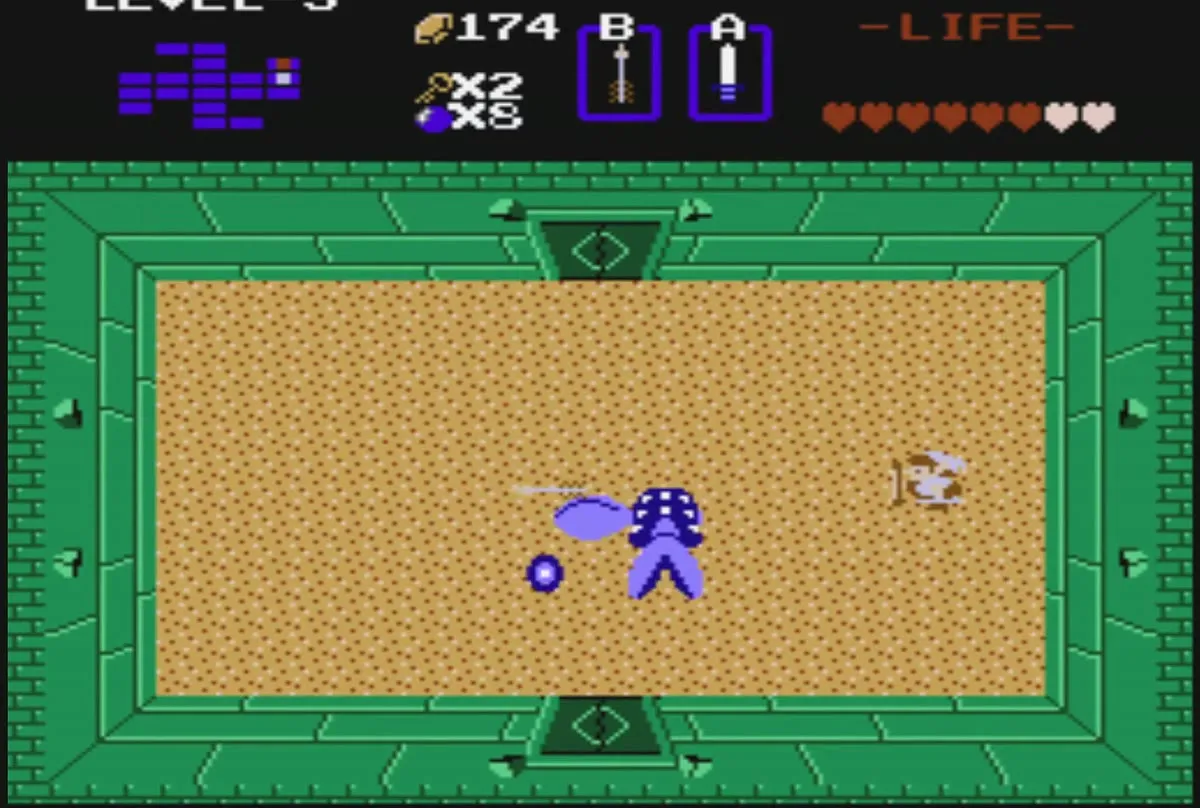
Manhandla is a large spinning plant with four heads, or hands, that spit fireballs. Each head has to be destroyed, and each one you remove makes the boss move faster. The sword works, but bombs are the most effective choice. A bomb placed well can destroy all four heads at once, and a poorly placed one will at least remove some. Manhandla moves unpredictably, so wait for an opening, drop the bomb, and keep dodging the fireballs.
Collect the Heart Container and the Triforce piece
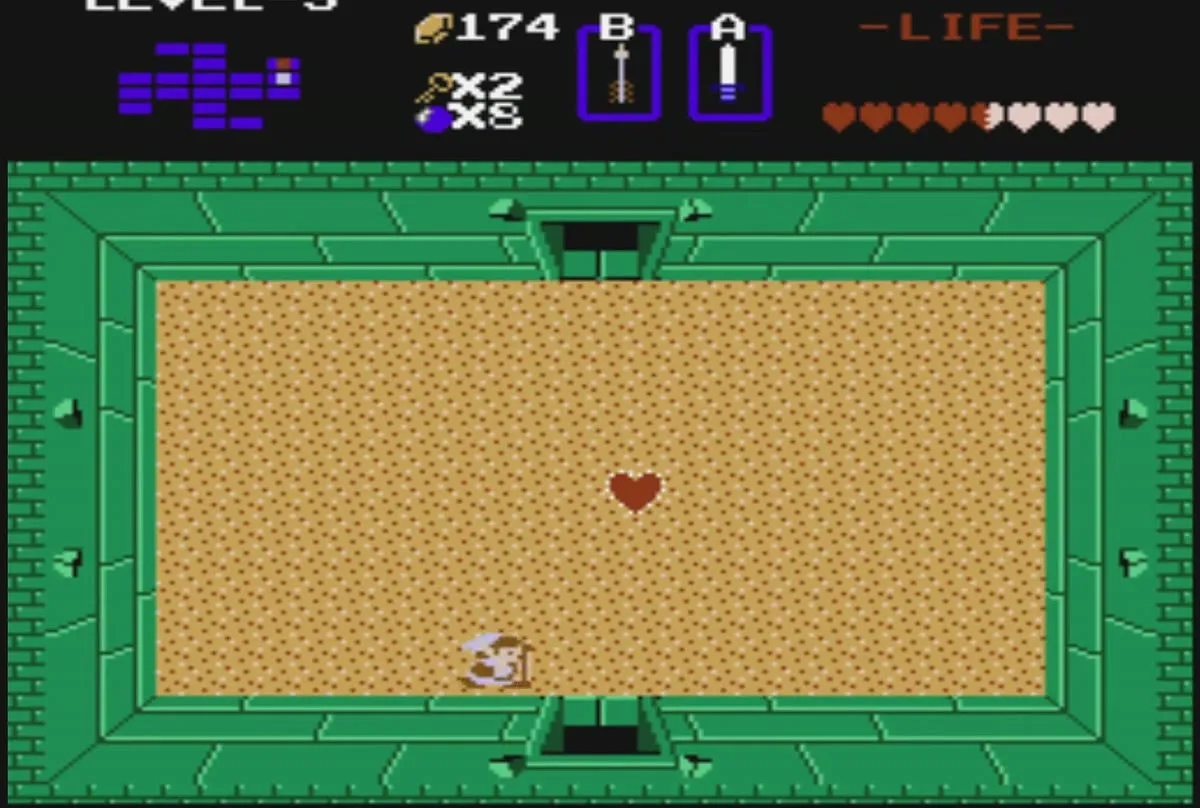
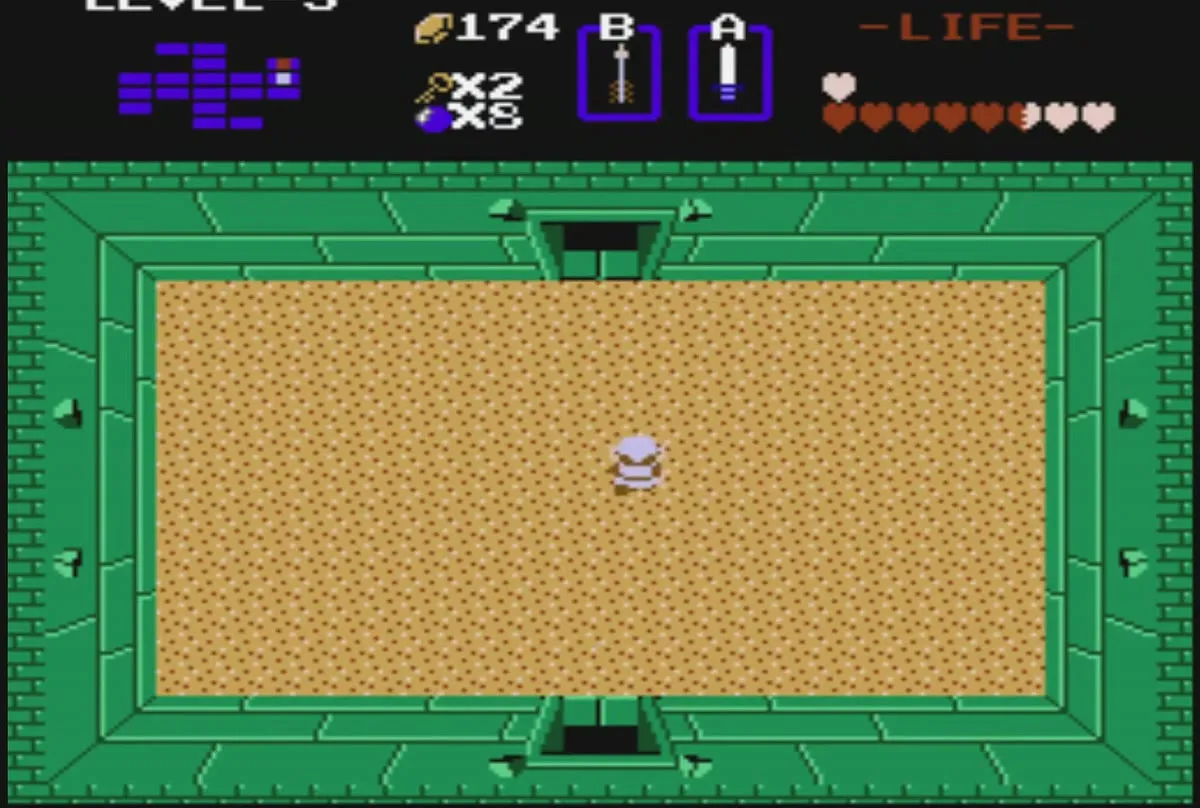
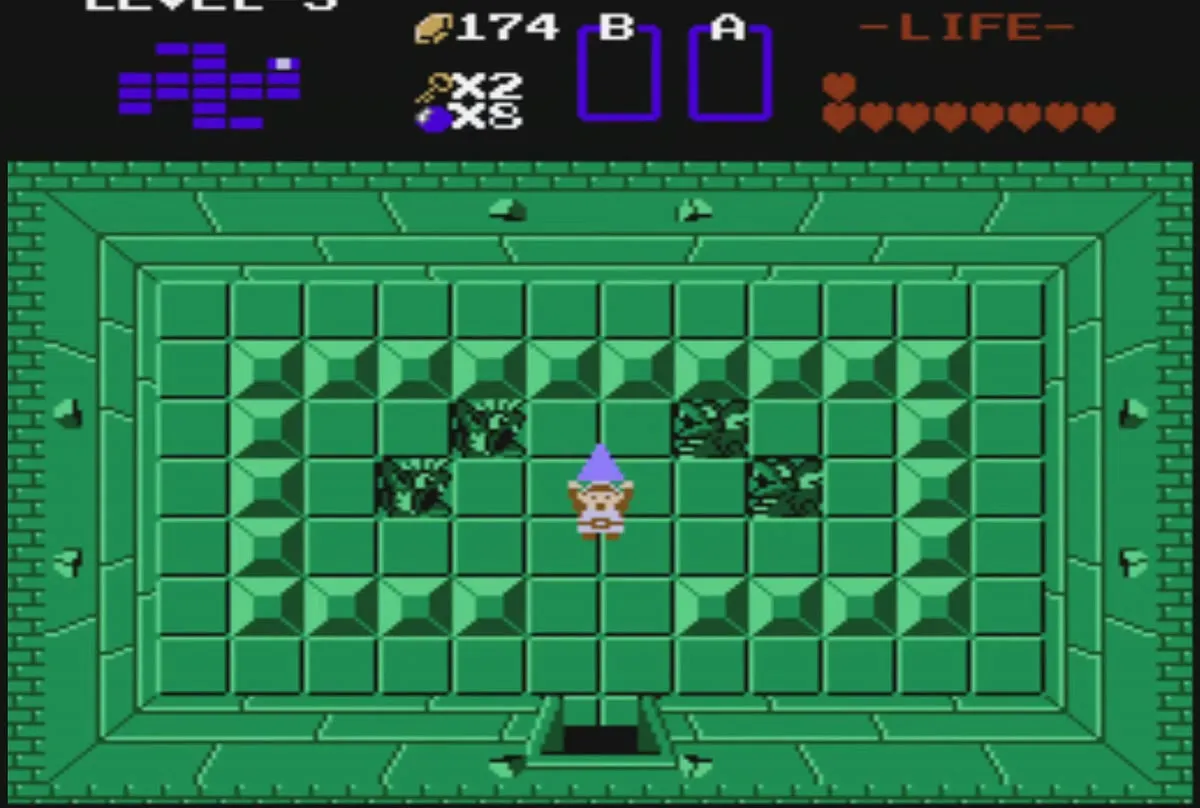
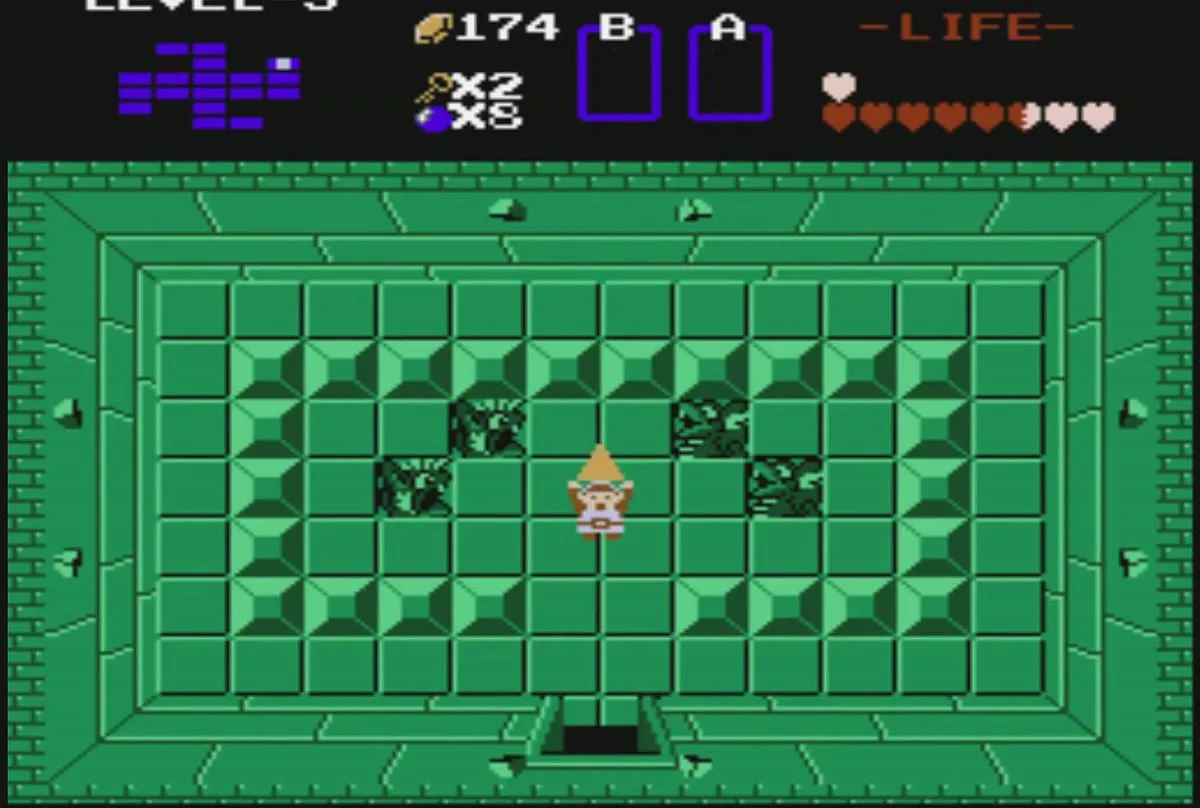
Defeating Manhandla leaves a Heart Container, which raises your maximum hearts by one, from eight to nine. Collect it, then leave by the top door into the room above the boss room and take the third Piece of Triforce there. With this piece, Level 3 is complete.
Leave Level 3 and check your items
Take the stair back out
Taking the Triforce piece carries you straight out of the dungeon. You appear on the overworld at the same stone gate you came in by, in the sand field with brown boulders.

Check the item screen
Press the Start button to open the item screen, where the Raft now appears among your items. The Triforce screen shows the pieces you have collected so far. Use this screen to confirm that you have the Raft before you go to the lake crossings, since the Raft is needed there.
Chapter checklist
| Type | Name | Where |
|---|---|---|
| Key | Small keys (five in the dungeon) | Entrance room, the room above it, and the rooms past the Darknuts and Zols |
| Item | Bombs (from Darknuts) | Darknut room above the entrance |
| Item | Compass | Room to the left of the entrance route |
| Item | Raft | Underground passage down the stairs from the Compass area |
| Item | Map | Room to the right of the four-door room |
| Heart Container | 1 | Boss Manhandla |
| Triforce | Piece 3 | Room above the boss room, after Manhandla is defeated |
