Spirit Tracks 100% Completion Walkthrough18 chapters
- Aboda Village and Hyrule CastleThe first train ride, the Royal Engineer ceremony, Zelda’s escape, the Spirit Flute, sword and path to the Tower.
- Tower of SpiritsMeet Anjean, collect the three Tears of Light, use Phantom Zelda and claim the Forest Rail Map.
- Forest RealmReach Whittleton, solve the Lost Woods rail maze, learn the Song of Awakening and play the Gage duet.
- Forest TempleSong of Healing, Whirlwind, Mothula, Boss Key, Stagnox boss fight, Heart Container and Force Gem.
- Tower of SpiritsTears of Light, lava Phantoms, Zora Warrior, the Snow Rail Map, plus the Cannon and Rabbit Net.
- Snow RealmAnouki Village pairings, the Rocktite tunnel, Steem’s duet, the Heart Container shop and Ferrus’s blizzard map.
- Snow TempleGet the Boomerang, solve the bell puzzles, take the Boss Key from the Wolfos and beat Fraaz for a Heart Container.
- Tower of SpiritsDark floor 8, Torch Phantoms, Tears of Light, the Z door, Mighty Zora Warrior and Ocean Rail Map.
- Ocean RealmFix the Trading Post bridge, find the Regal Ring, learn the Song of Birds and free Carben at the Ocean Sanctuary.
- Ocean TempleReach the sunken temple, win the Whip, beat Phytops and claim the Heart Container and blue Force Gem.
- Tower of SpiritsBeat Warp Phantoms and Phantom Eyes, collect three Tears of Light and claim the Fire Rail Map.
- Fire RealmReach Goron Village, ferry Noko for Mega Ice, cool the lava, solve the Fire Sanctuary statues and play Embrose’s duet.
- Fire TempleSnurglar keys, Heatoise and the Bow, mine carts, Boss Key, Cragma, Heart Container and the Goron Quiver.
- Tower of SpiritsClimb Tower of Spirits floors 18-23, solve the Wrecker Phantom puzzles, take the Boss Key and beat Byrne with Zelda.
- Sand RealmMalgyorgs, desert rabbits, the Sand Sanctuary bomb puzzle, the Rael duet and the three trials to the Sand Temple.
- Sand TempleStalfos keys, Sand Wand, the Boss Key, the Skeldritch boss fight, the Heart Container, Bow of Light and Lokomo Sword.
- Tower of Spirits Floors 24-30 and the Compass of LightLight Arrows at the altar, every Phantom puzzle, the floor 26 gauntlet and the Compass of Light.
- Dark Realm, Demon Train and MalladusDestroy six Armored Trains, beat the Demon Train, free Zelda from Cole and defeat Malladus with the Lokomo Sword.
| Covers | Return trip from the Ocean Realm, Tower of Spirits floors 13 to 17 and the cutscene at the top |
|---|---|
| You need | Boomerang, Whip, Whirlwind, Bombs and Link’s sword; the Ocean Temple cleared so the tracks back to the Tower are open |
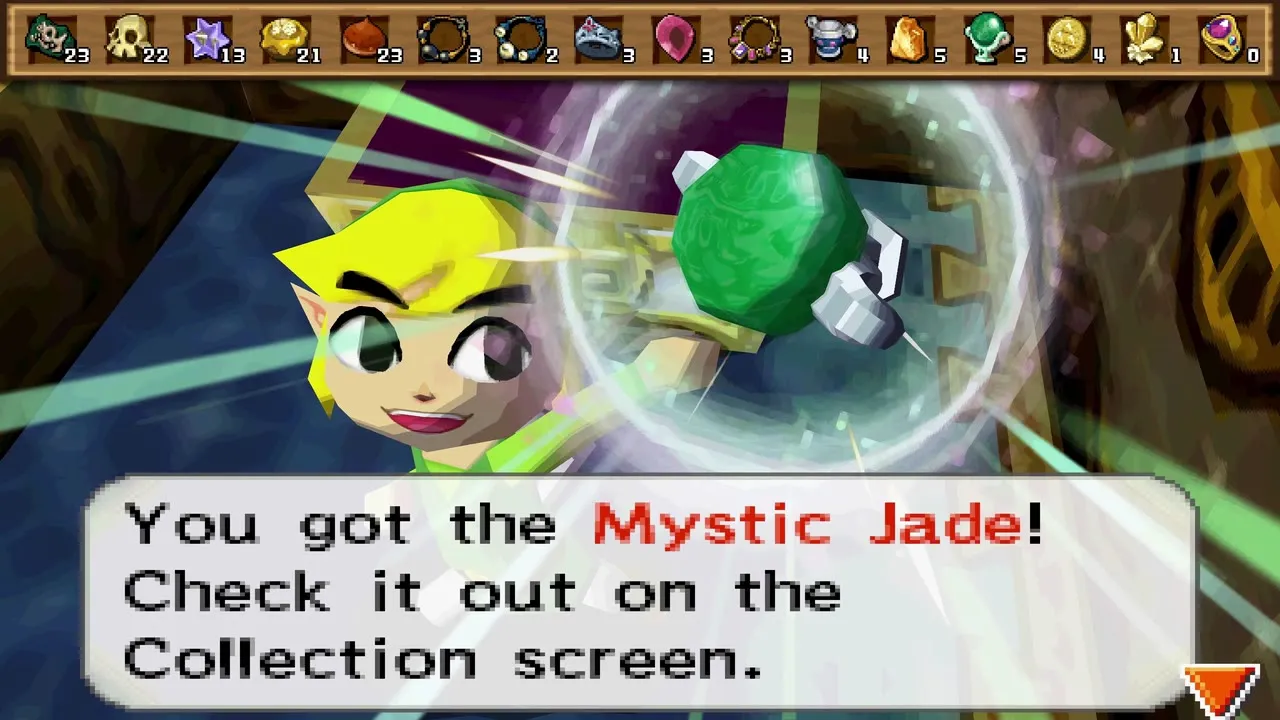
| Rewards |  Fire Rail Map,  3 Tears of Light (sword fully charged),  small keys, random treasure chests (such as  an Ancient Gold Piece or  Mystic Jade), the way to the Fire Realm |
This is the fourth climb of the Tower of Spirits. Five floors of Phantom Eyes, Warp Phantoms and Zelda-and-Link teamwork puzzles lead to the Fire Rail Map, which brings back the tracks to the Fire Realm. Collect the three Tears of Light on floors 13 and 14, pick up the small keys along the way, and finish on floor 17.
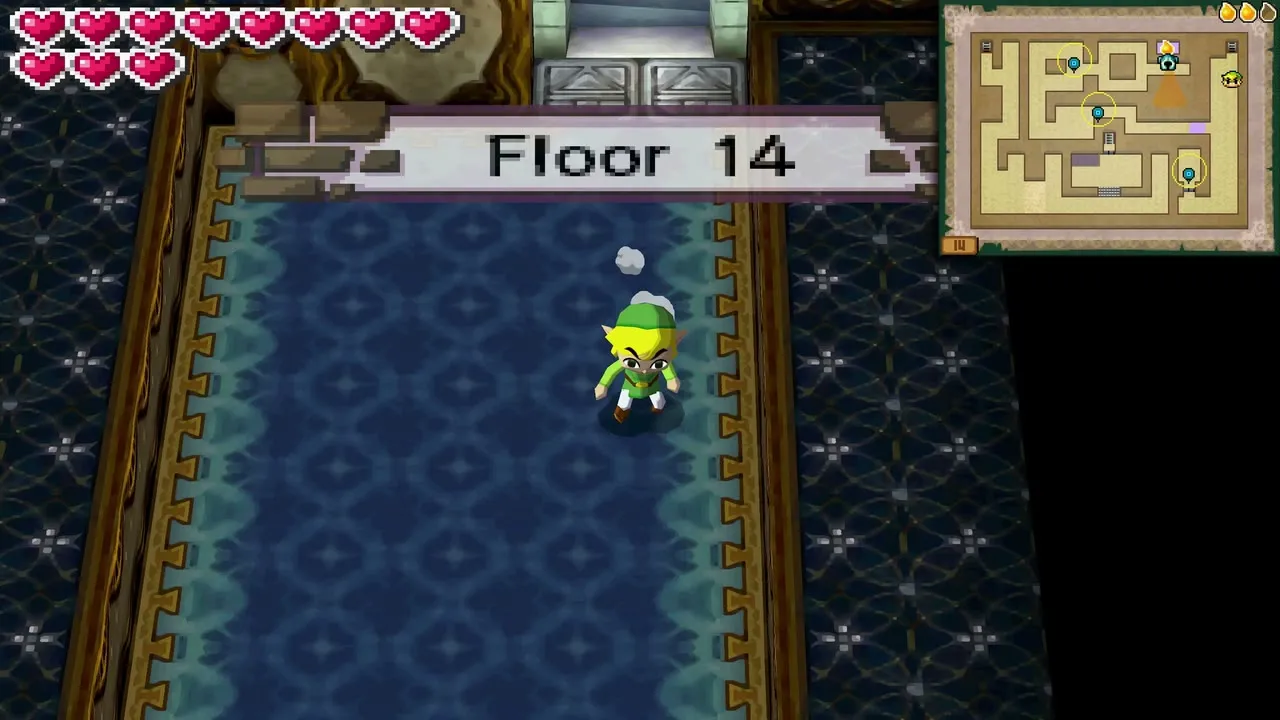
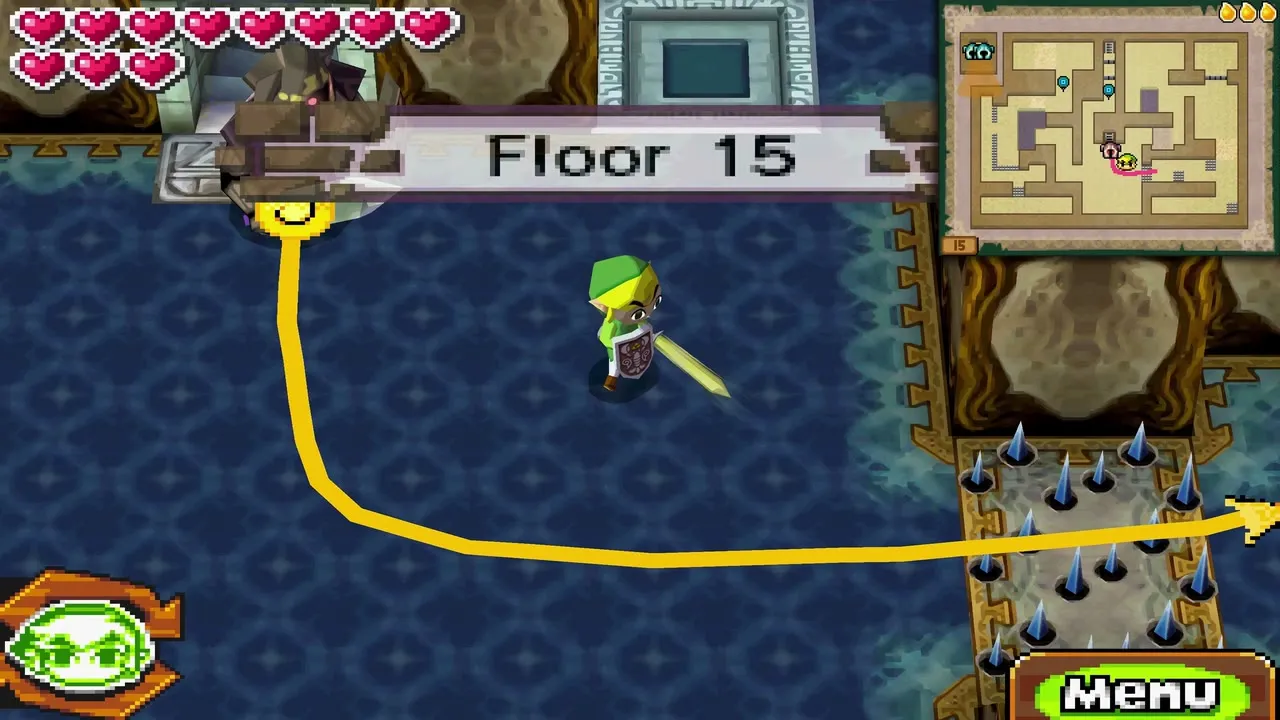
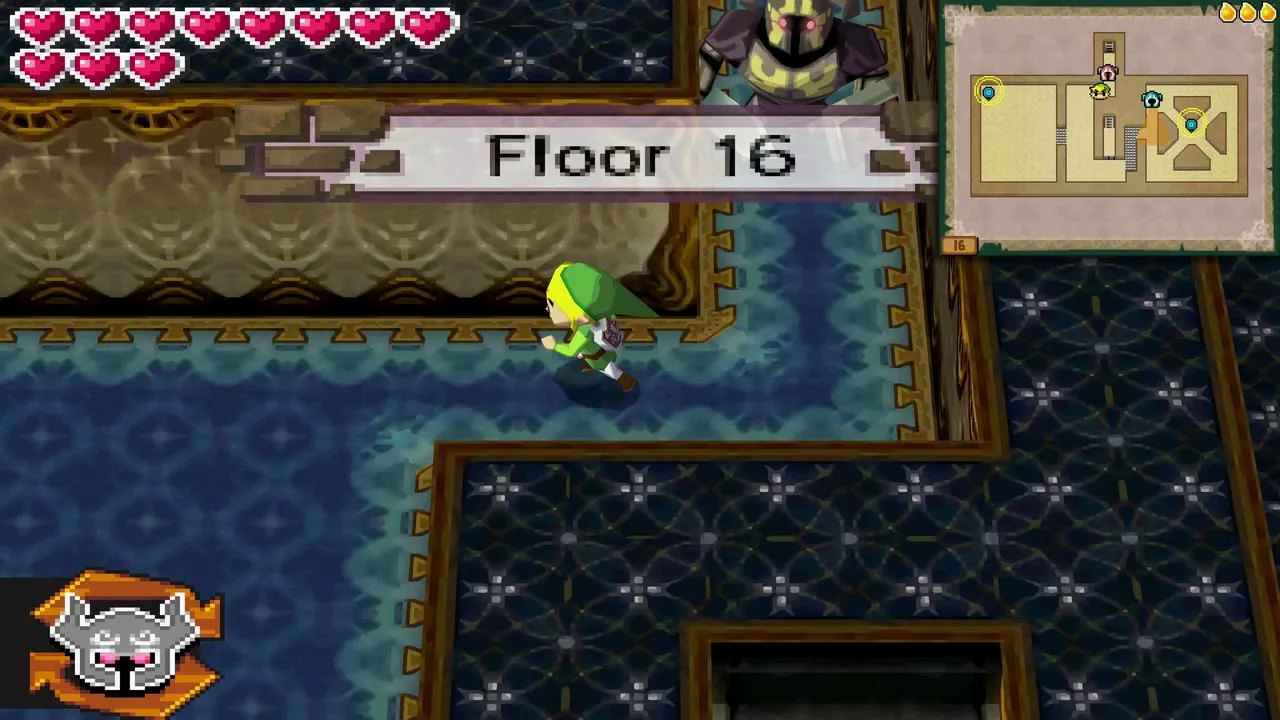
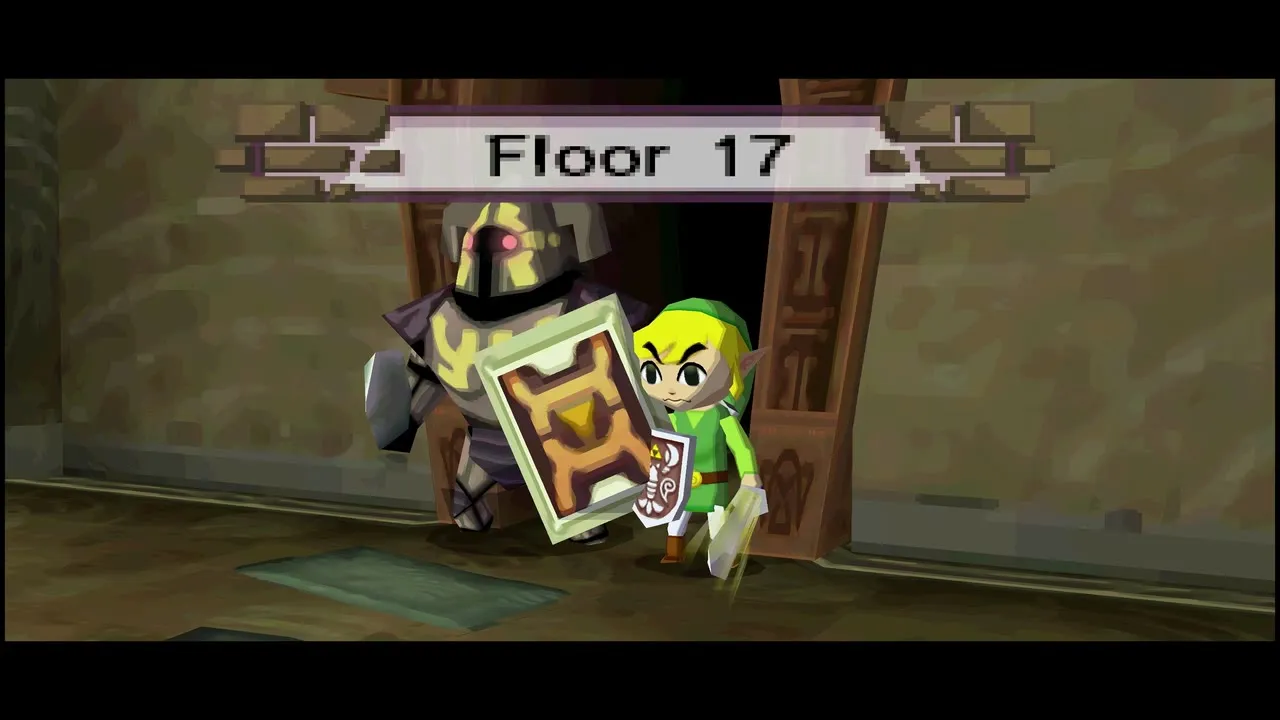
Table of Contents
Getting back to the Tower of Spirits
Ride home from the Ocean Realm
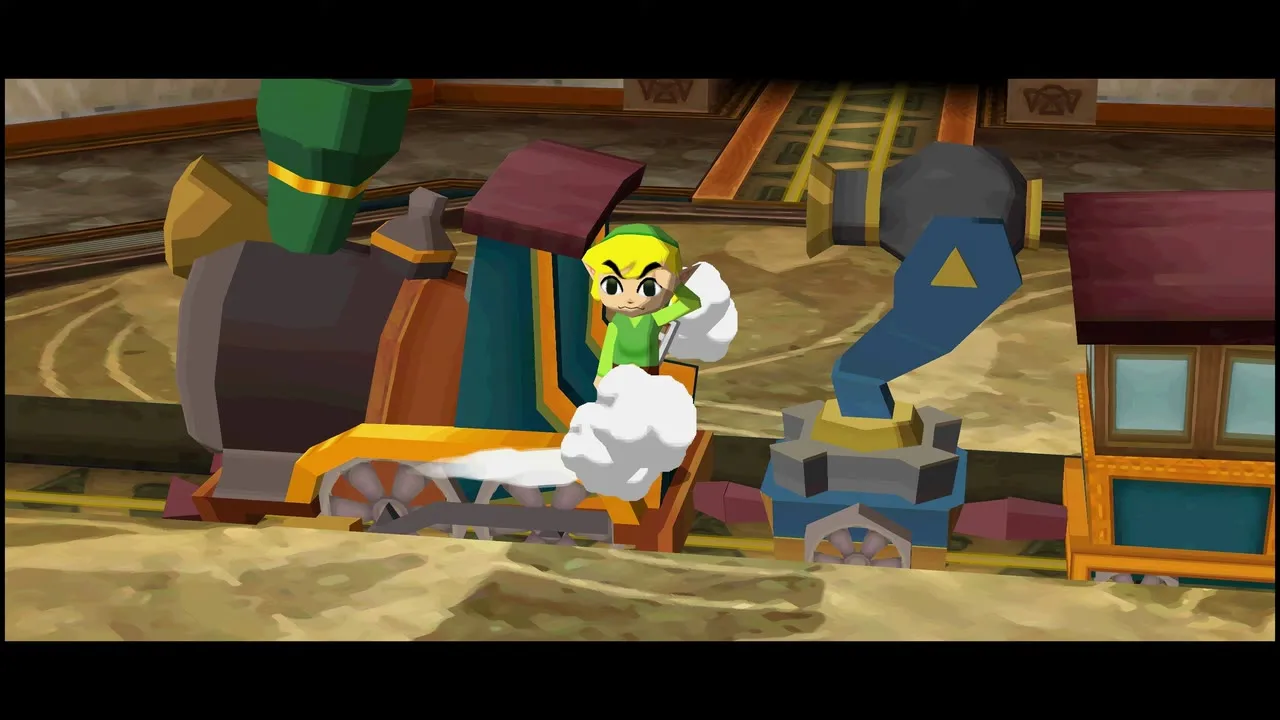
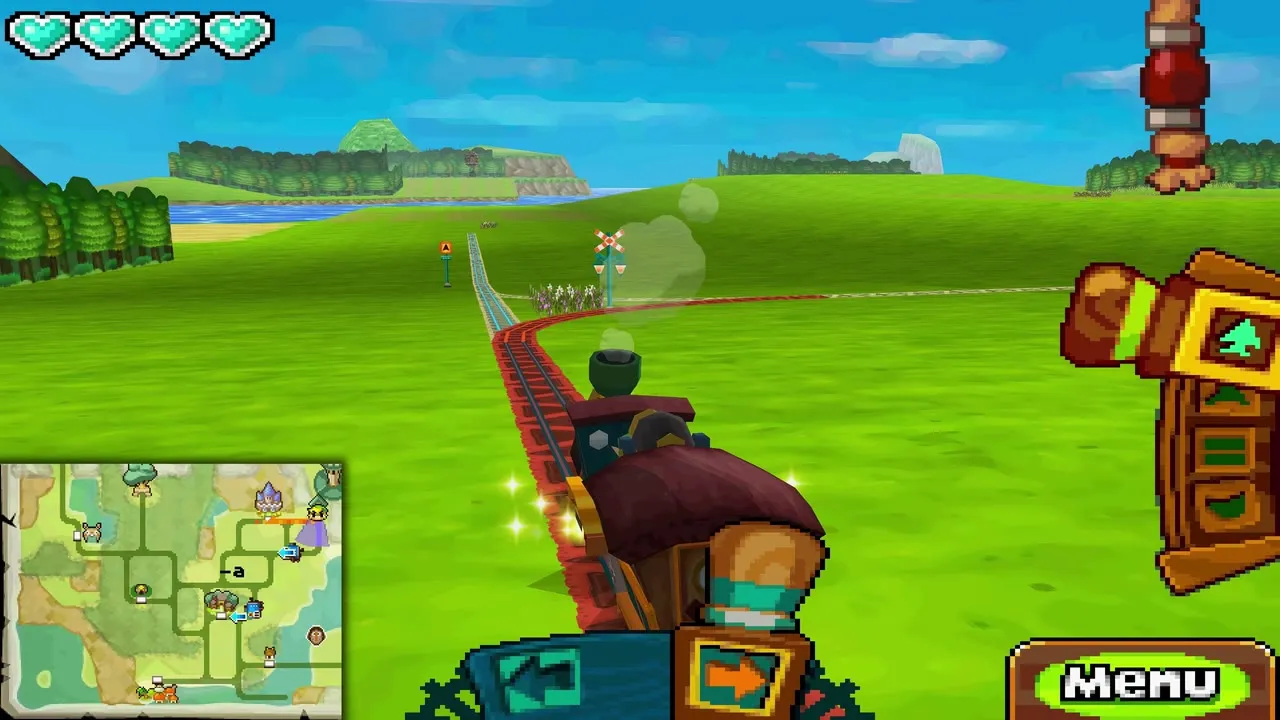
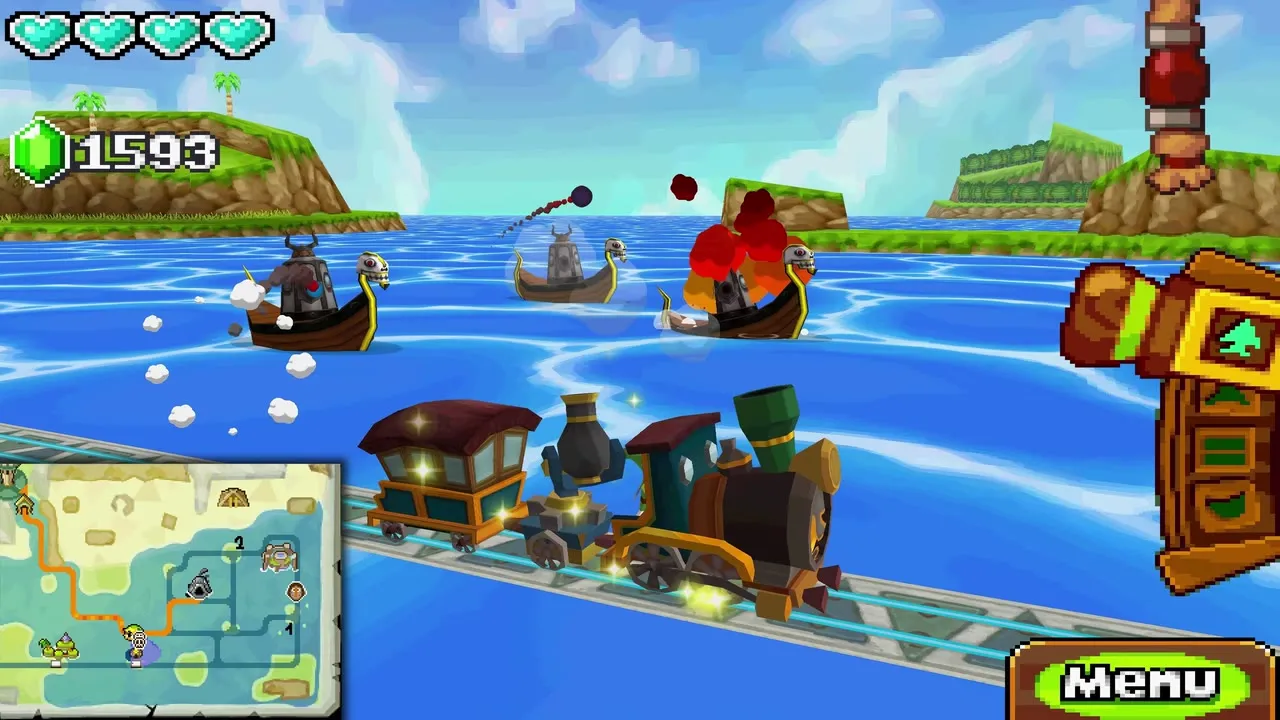
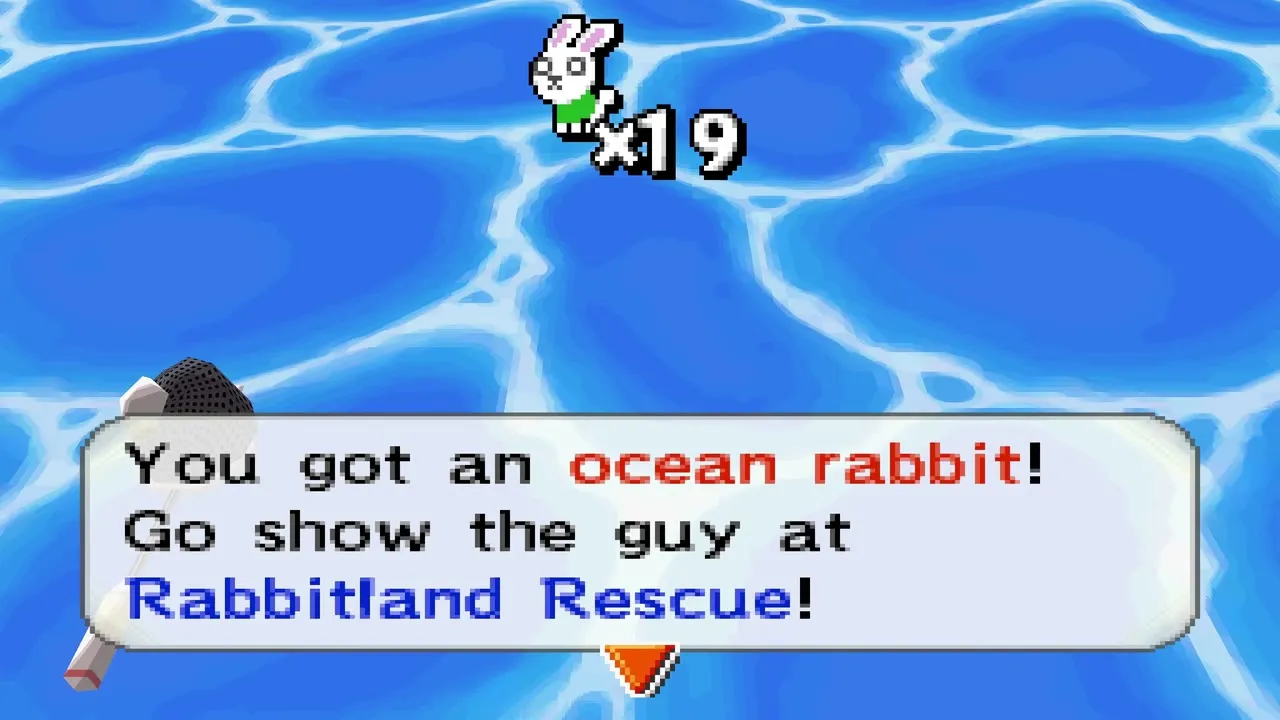
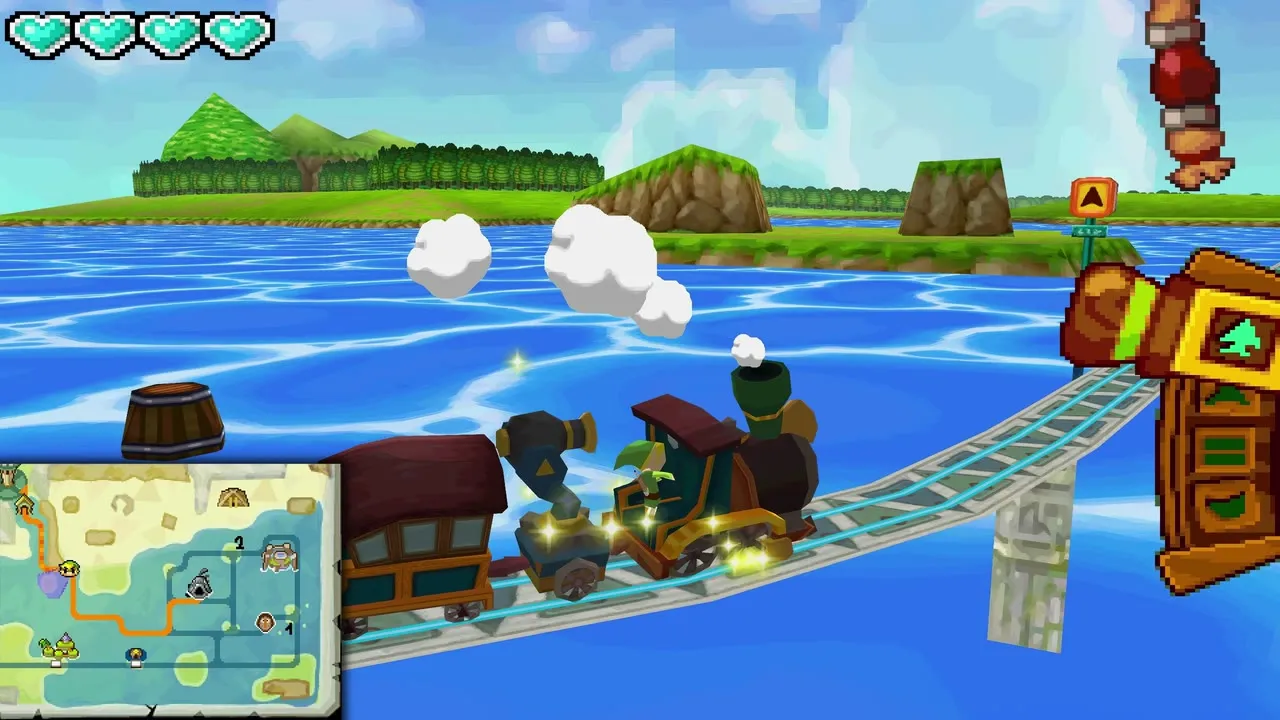
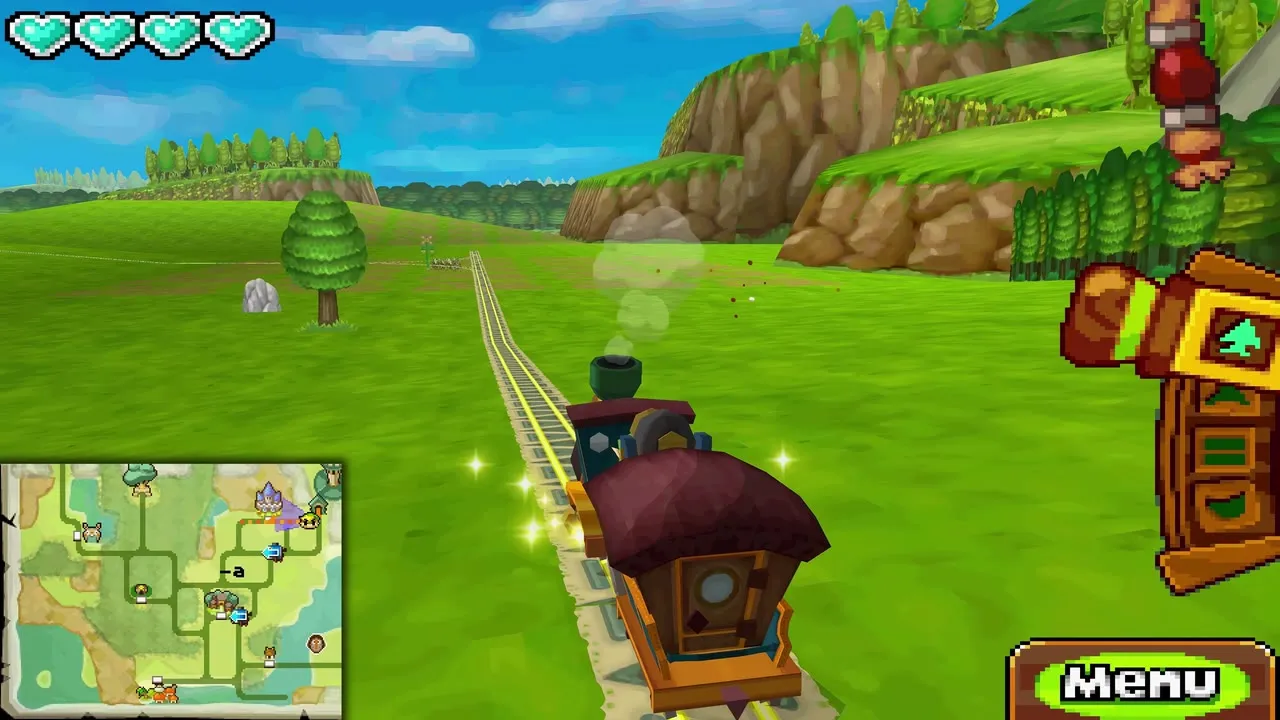
Drive from the Ocean Temple back to the Tower of Spirits station along the freshly restored tracks. Pirate ships may attack on the way; a couple of cannon hits sink each one, so keep firing. You can also bring a net on this trip: Ocean rabbits are floating near the track and every one you catch can be turned in later at Rabbitland Rescue, as listed on the rabbit locations page.
Talk to Anjean
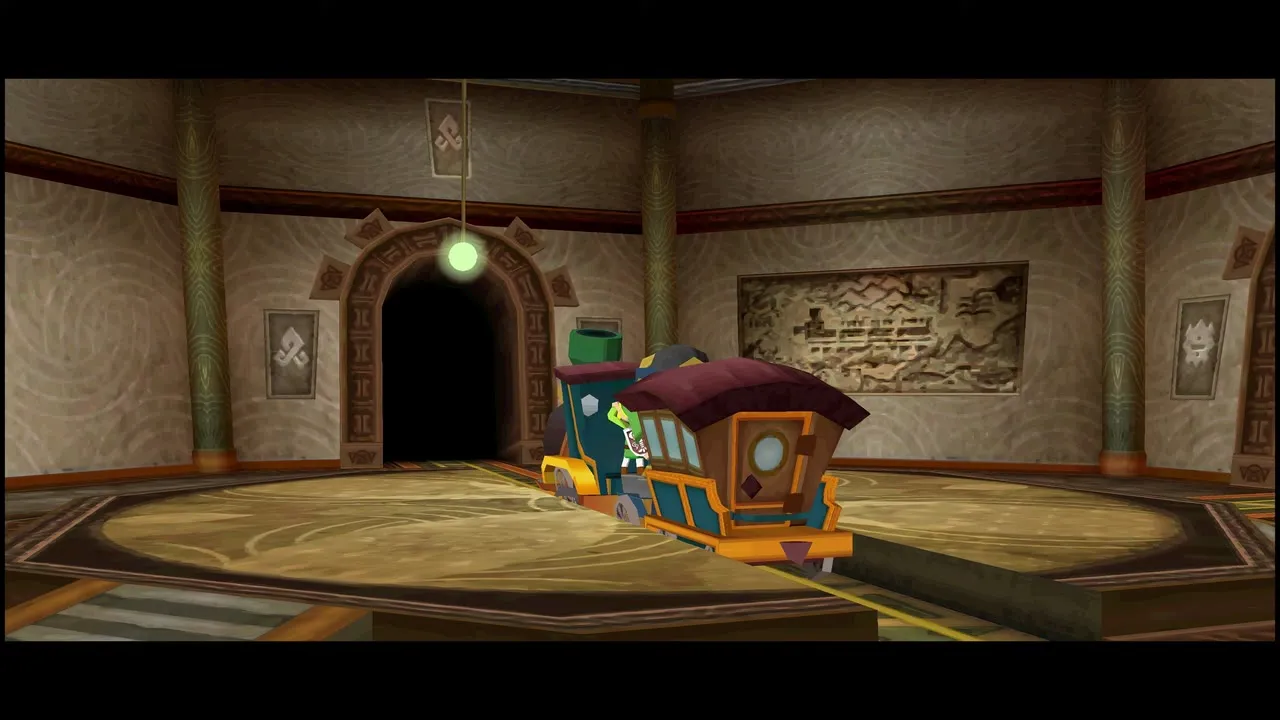
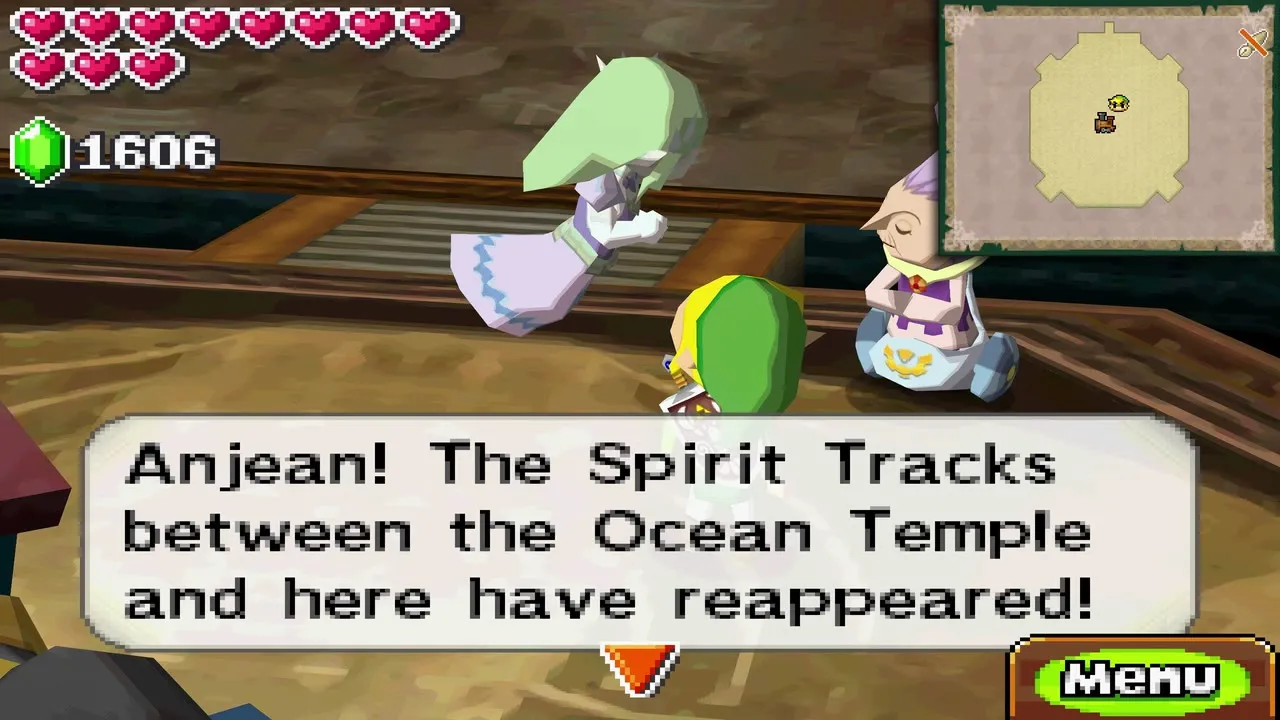
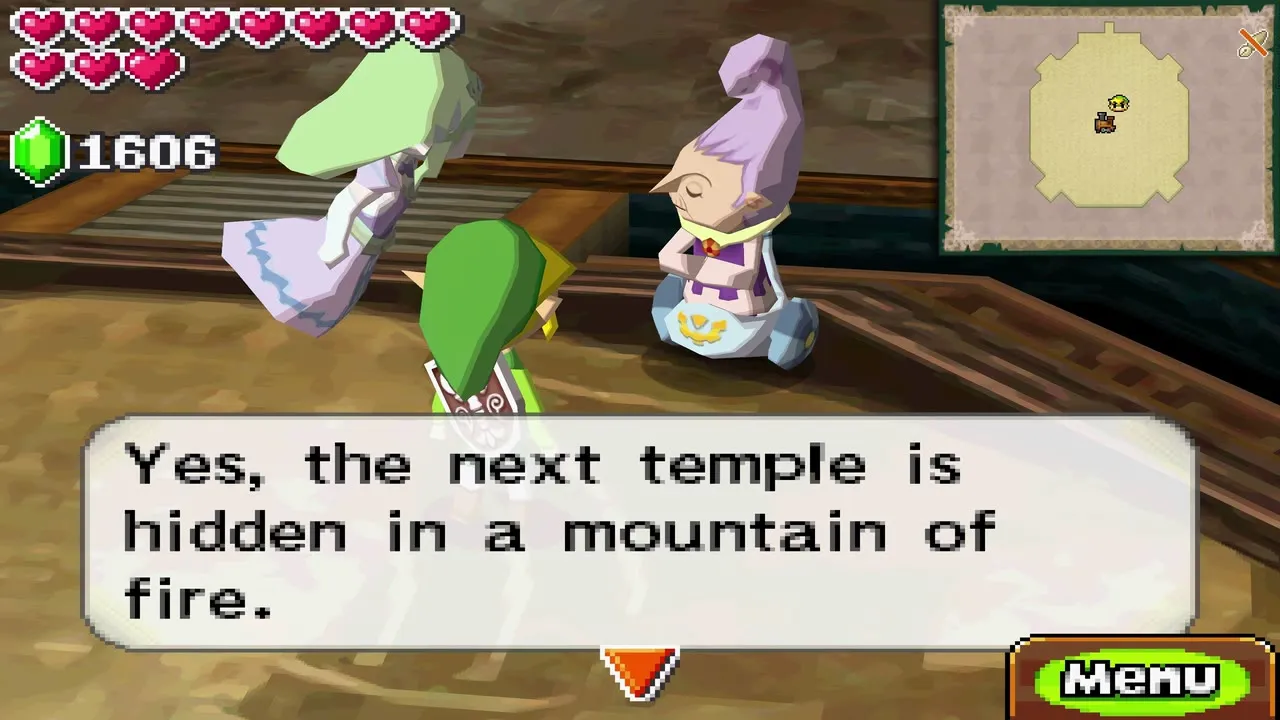
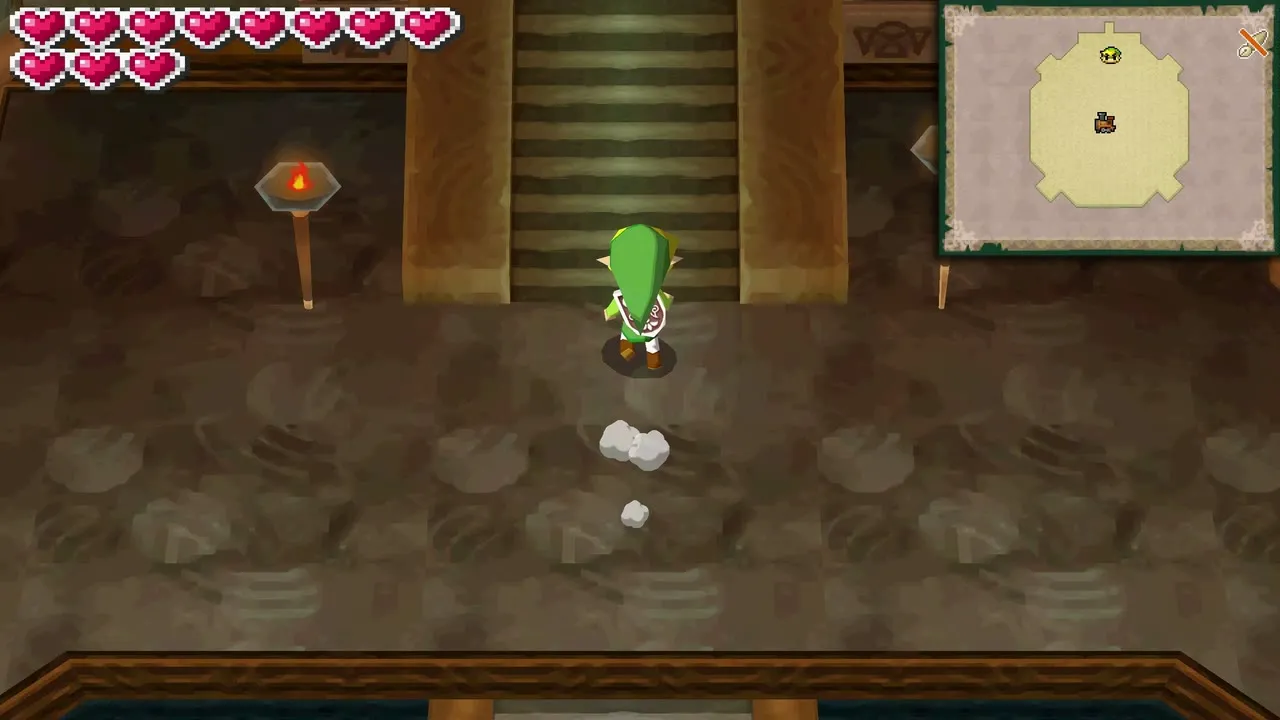
Step off the train and speak with Anjean at the station. She points you to the next Rail Map, the one for the Fire Realm. Walk through the gate and climb the stairs to floor 13.
Floor 13: Phantom Eyes, Warp Phantoms and two Tears of Light
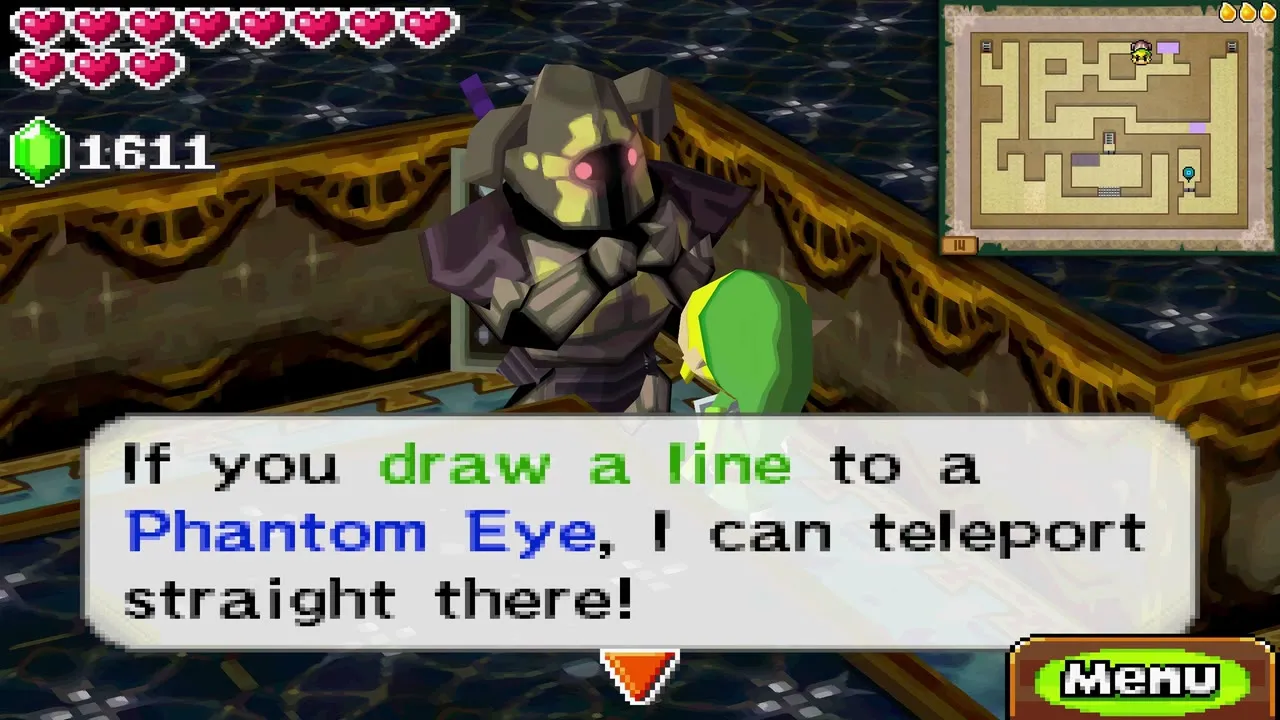
How Warp Phantoms and Phantom Eyes work
This floor introduces two new enemies. A Phantom Eye is a floating eyeball that watches an area; if it sees you it calls a Warp Phantom, which teleports beside the Eye and attacks. Strike an Eye with the Boomerang to stun it, then finish it with your sword. Eyes can come back after a while, so clear one only when you must. Keep out of an Eye’s line of sight, and do not swing on the Whip in front of one.
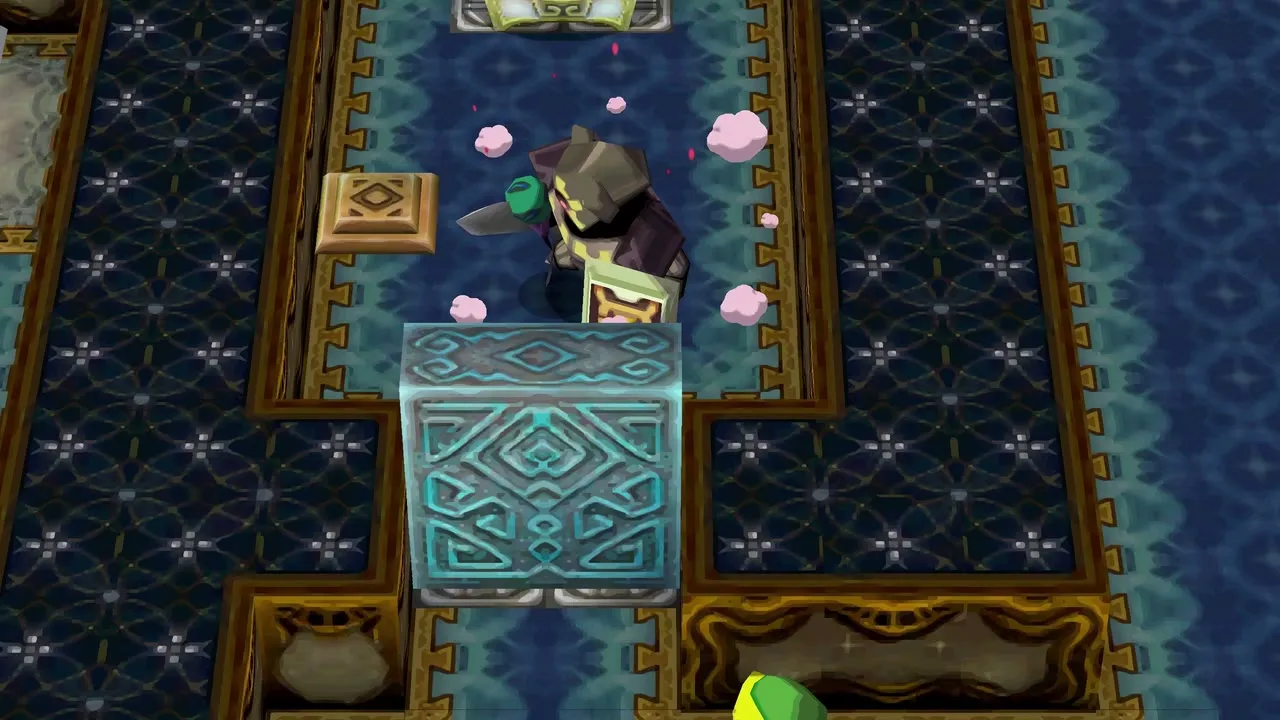
First Tear of Light
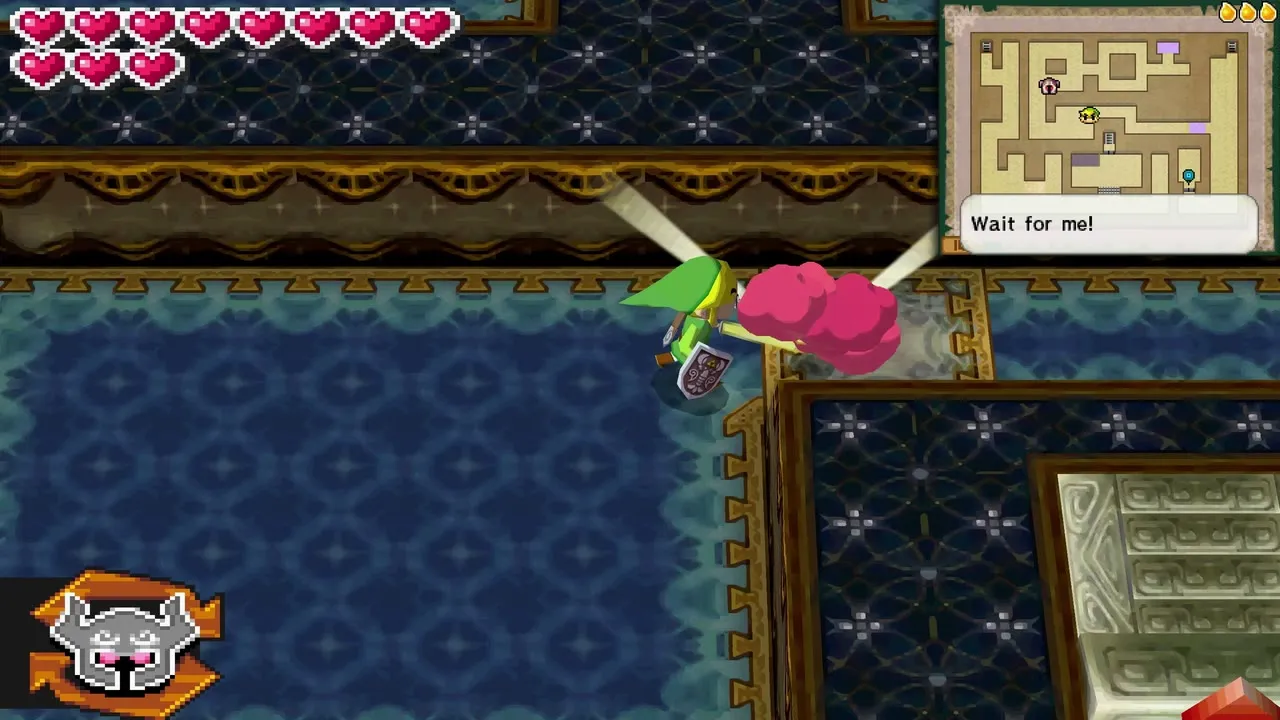
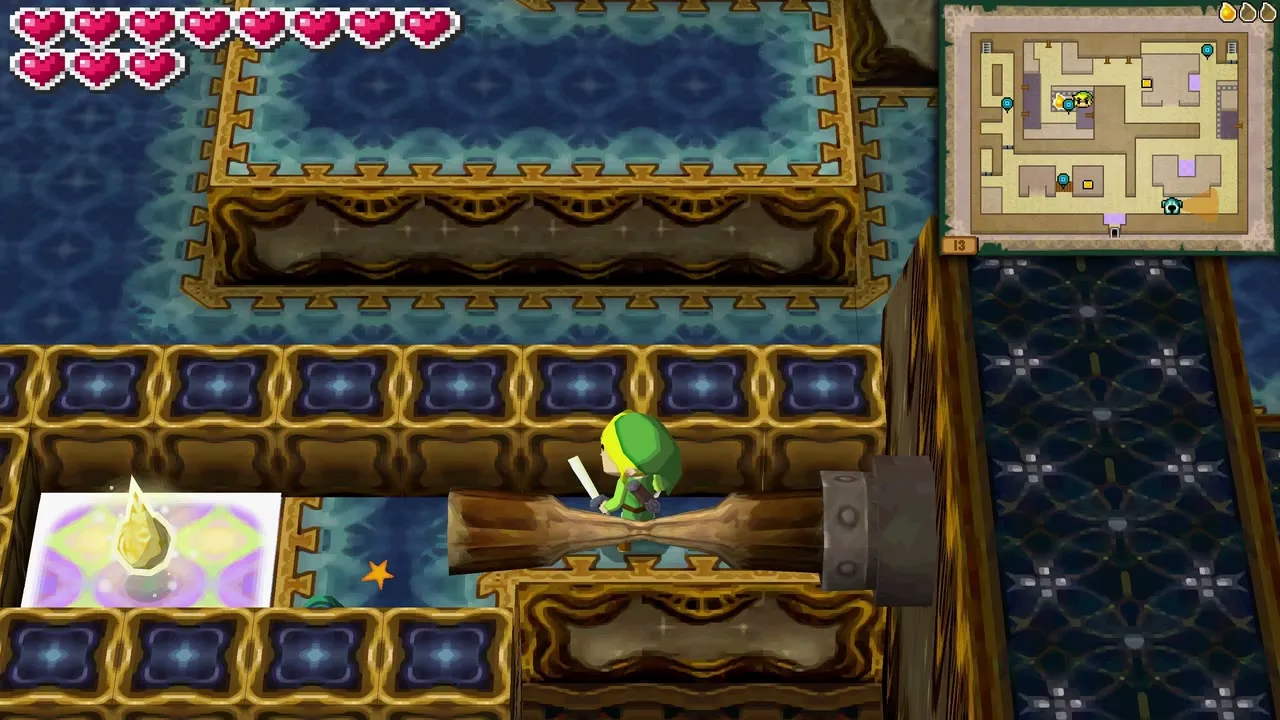
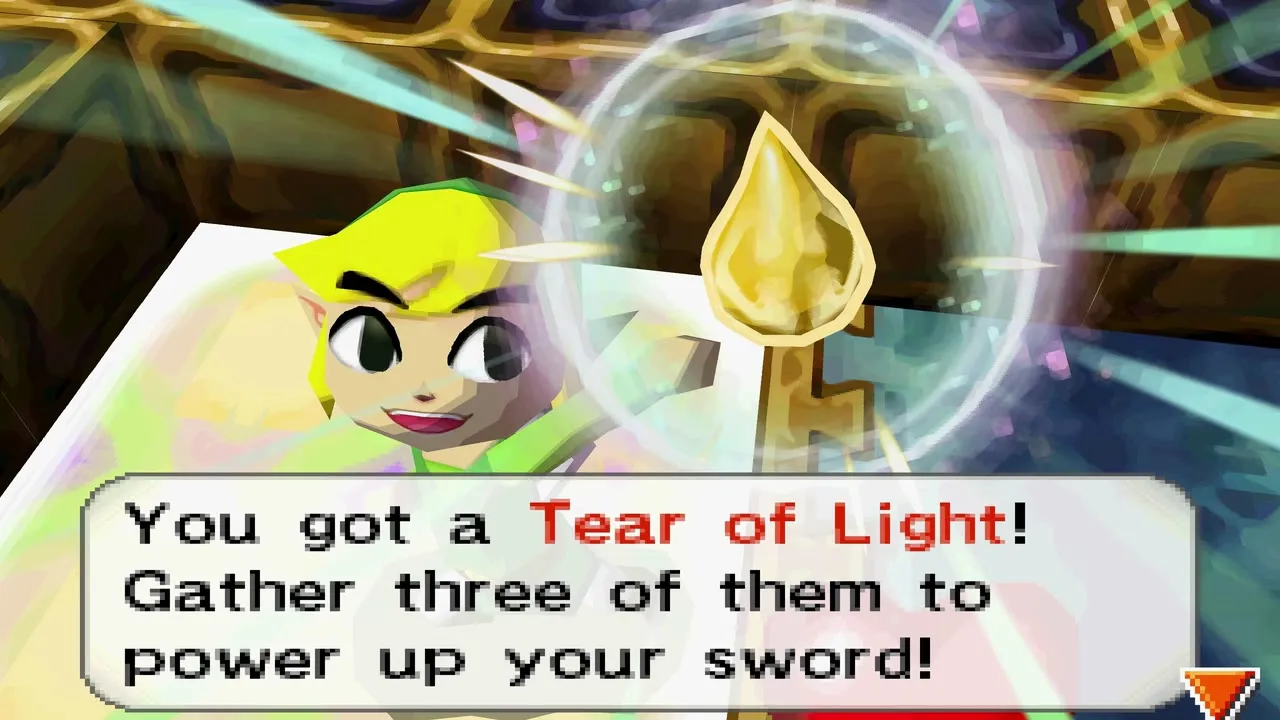
Head for the enclave on the right, where a Phantom Eye watches over the first Tear. Stun the Eye with the Boomerang and pick up the Tear of Light.
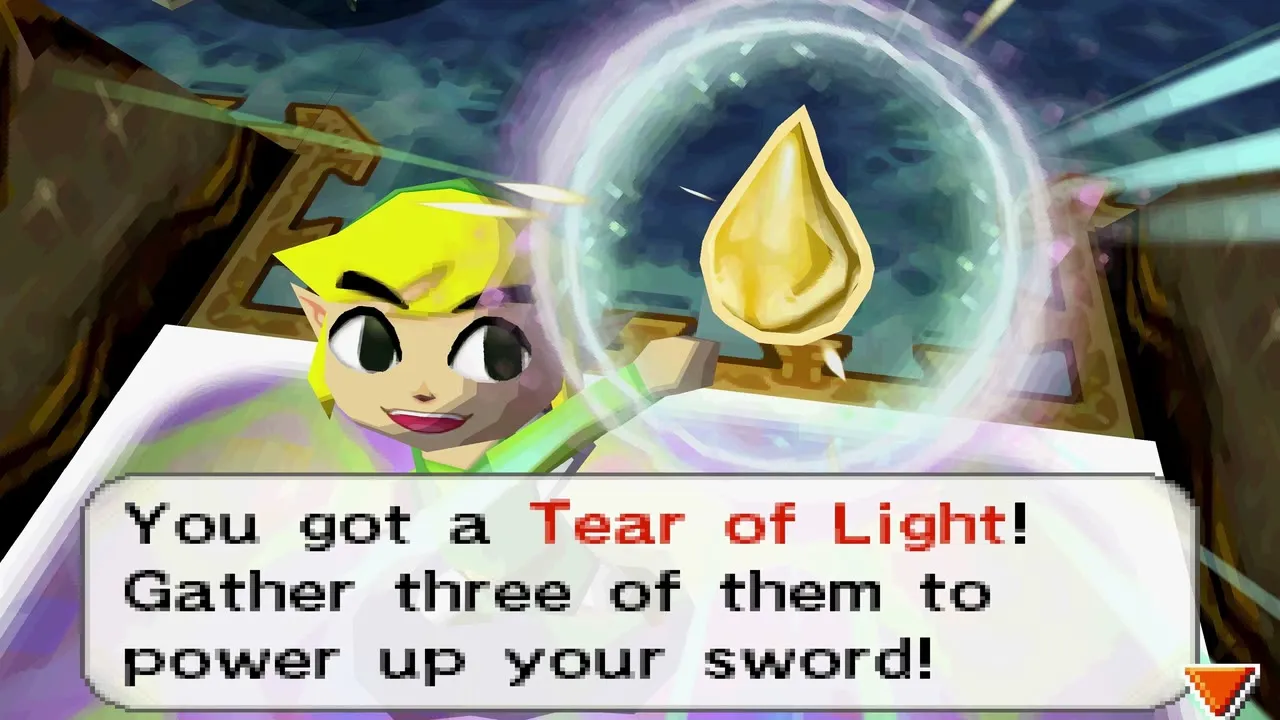
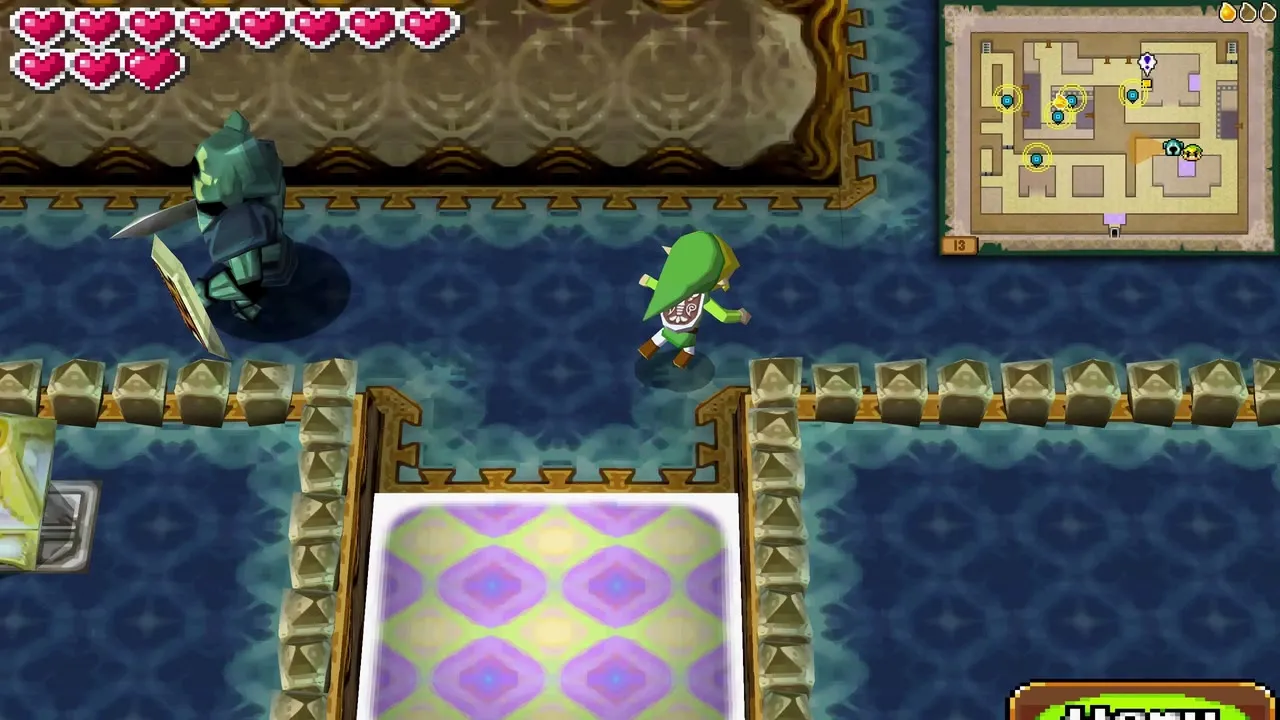
Second Tear of Light
The second Tear is on the western side of the floor. Whip across two gaps and then a large chasm to reach it, checking before each swing that no Phantom Eye is facing you.
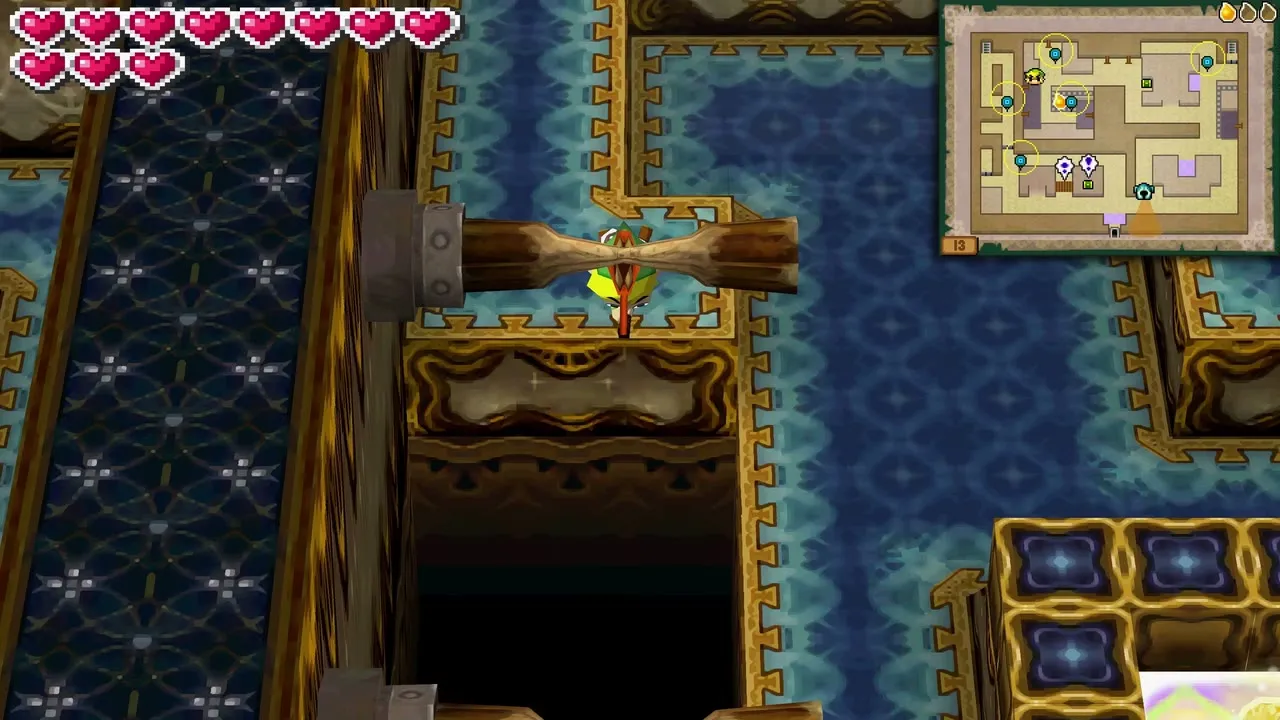
Torch chest and the stairwell key
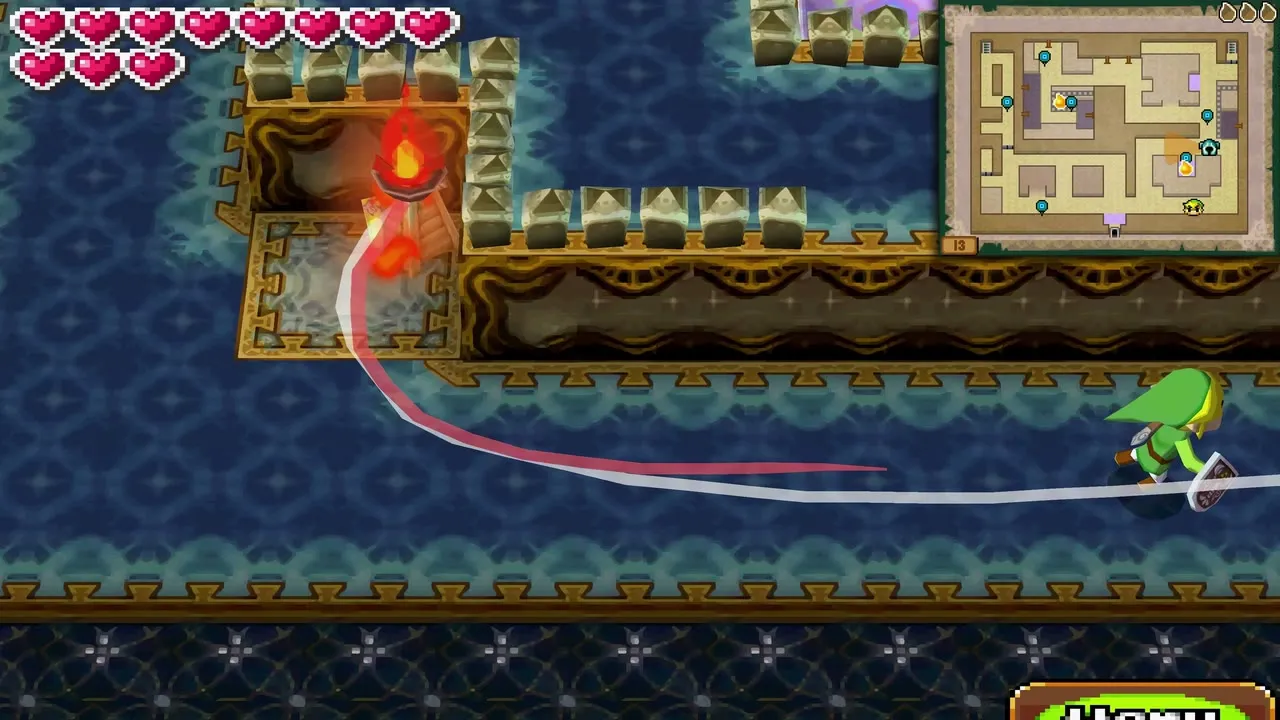
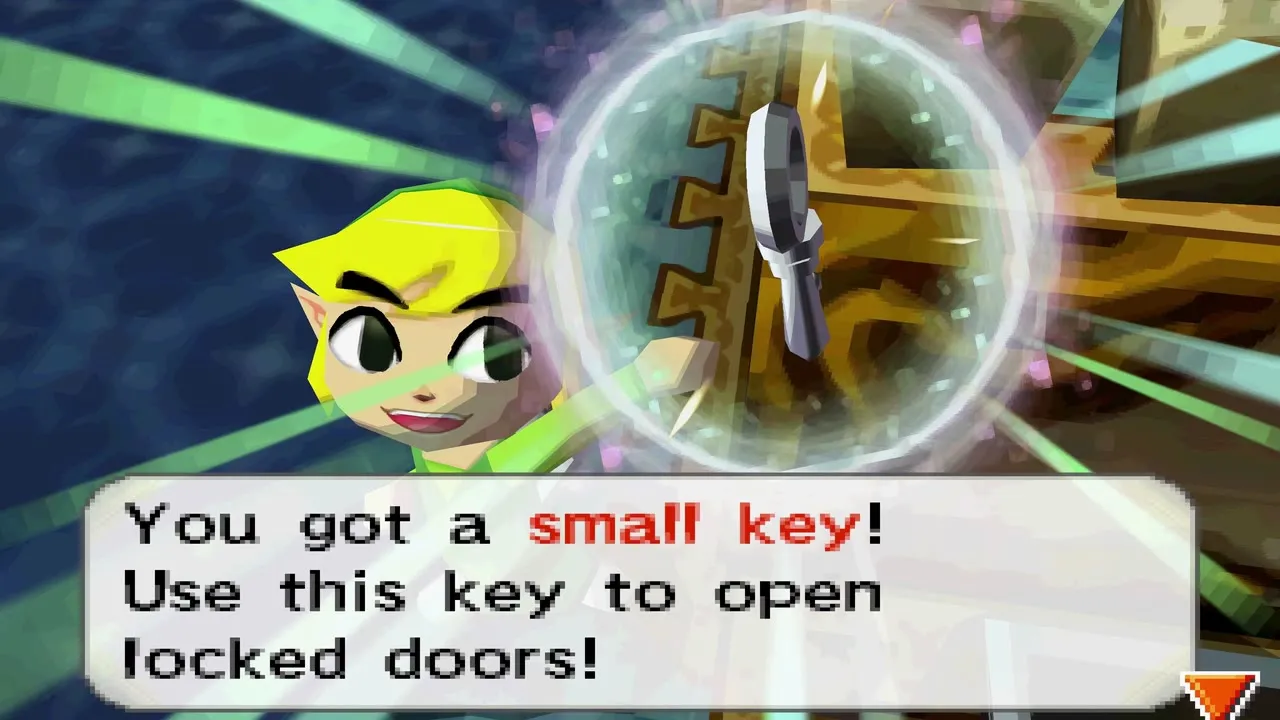
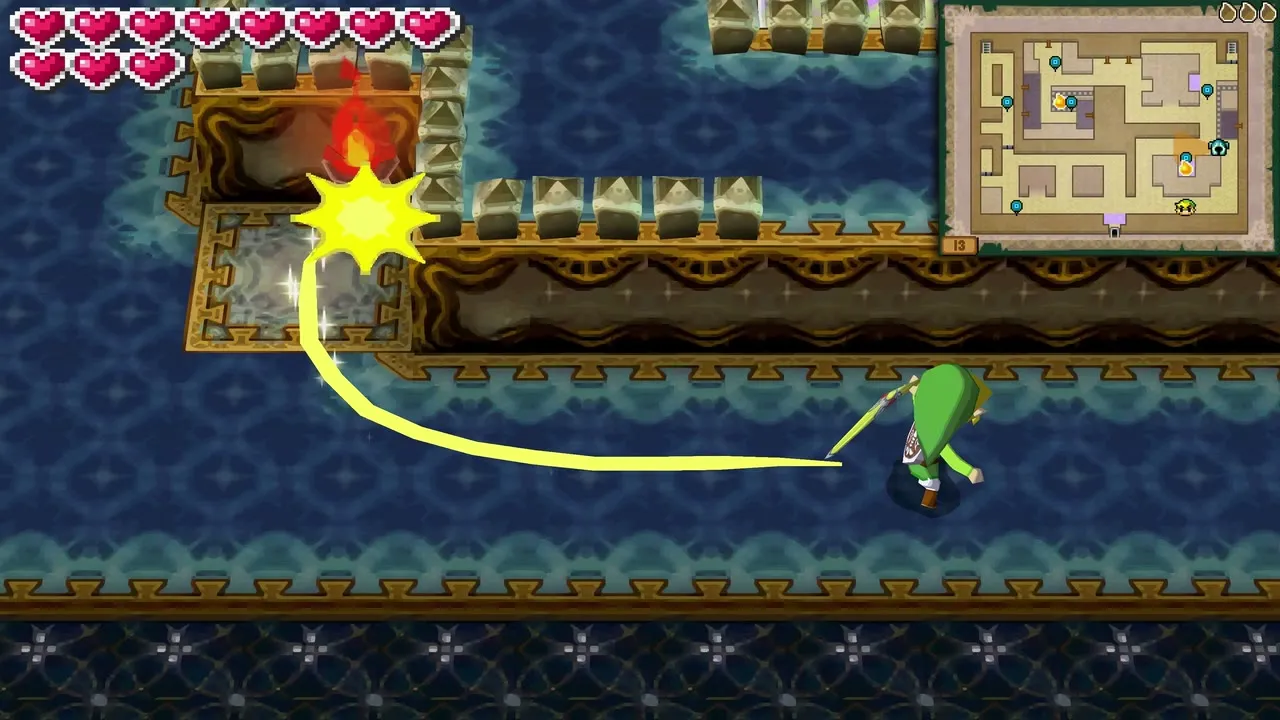
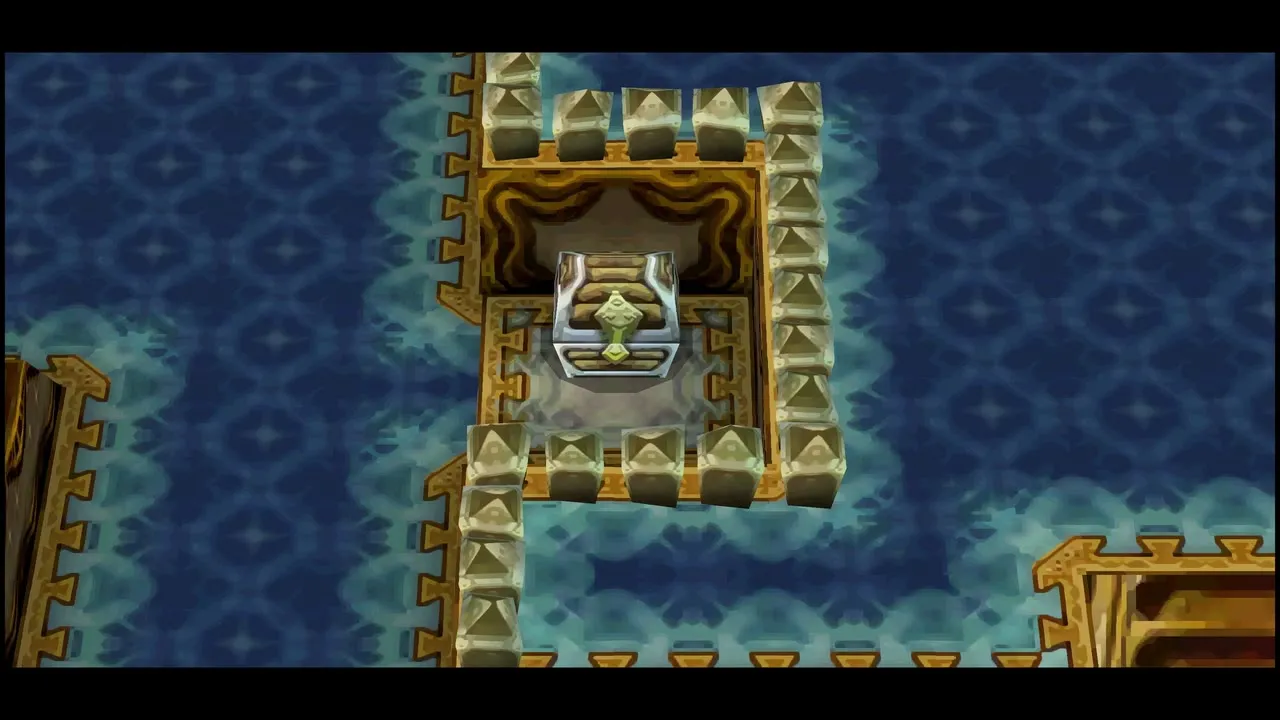
Stand between the lit torch and the unlit one and throw the Boomerang through the flame to light the second torch. A chest opens with a small key. Carry it to the locked stairwell door and touch the door to open it. The key is used up, so save it for this door and do not spend it elsewhere.
Crystal switch and fish heads
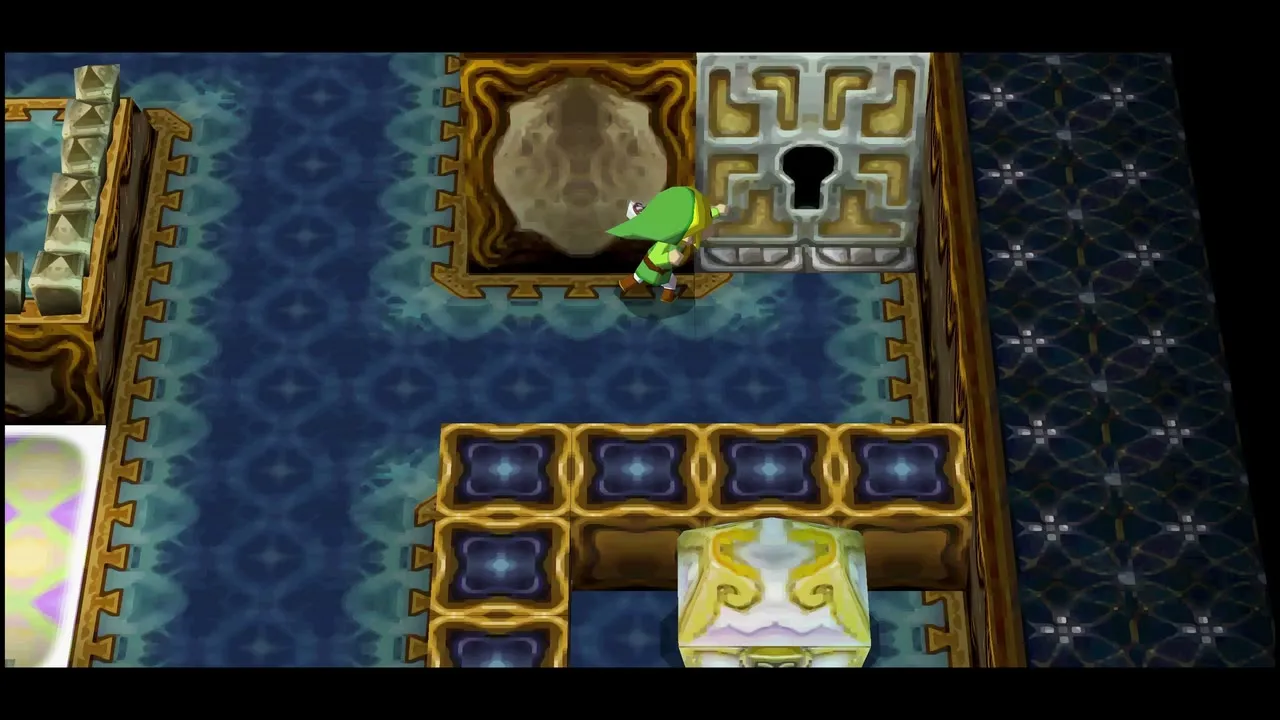
A crystal switch in a side enclave raises a bridge in the southwest corner; hit it with the Boomerang. Near the carved fish heads, pull the sword out of the middle head with the Whip and throw it into the right-hand head, which opens a chest. Never aim at the left head, because that one calls an extra Warp Phantom. Treasure chests on this floor hold random items such as an Ancient Gold Piece, a valuable treasure that can be sold or used in train car recipes.
Floor 14: possessing a Warp Phantom and the final Tear
Third Tear of Light and the restored sword
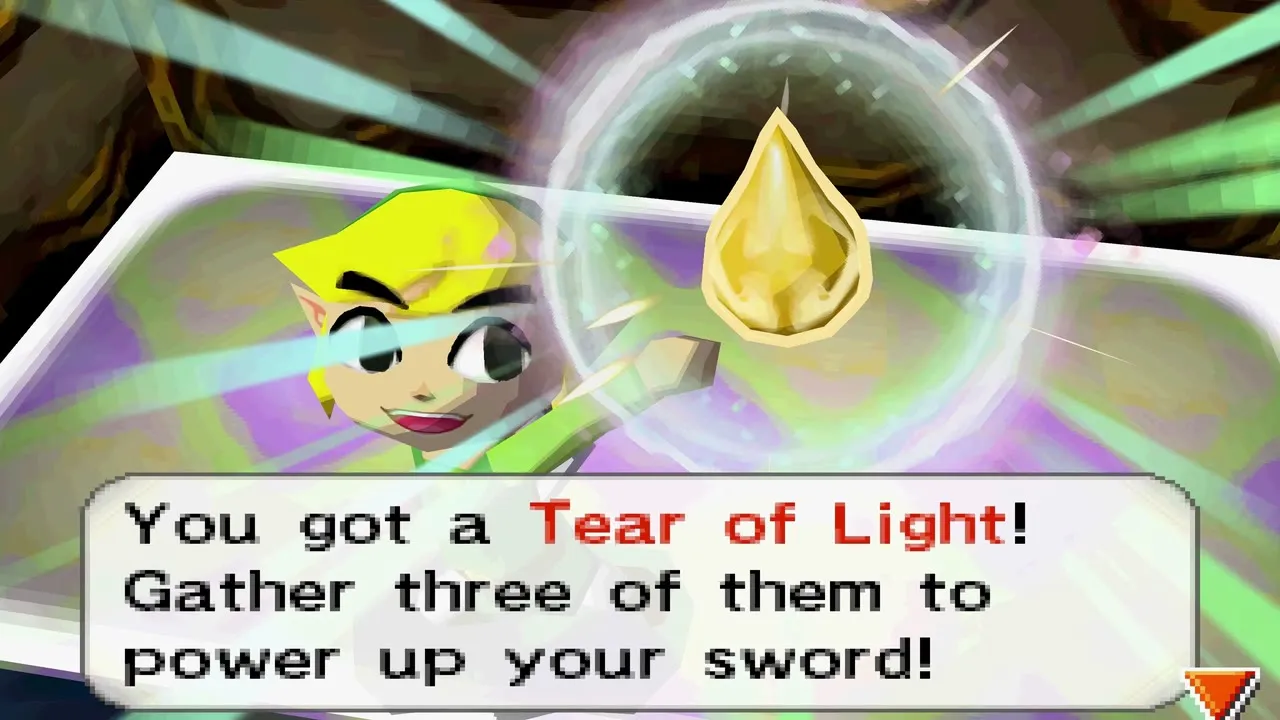
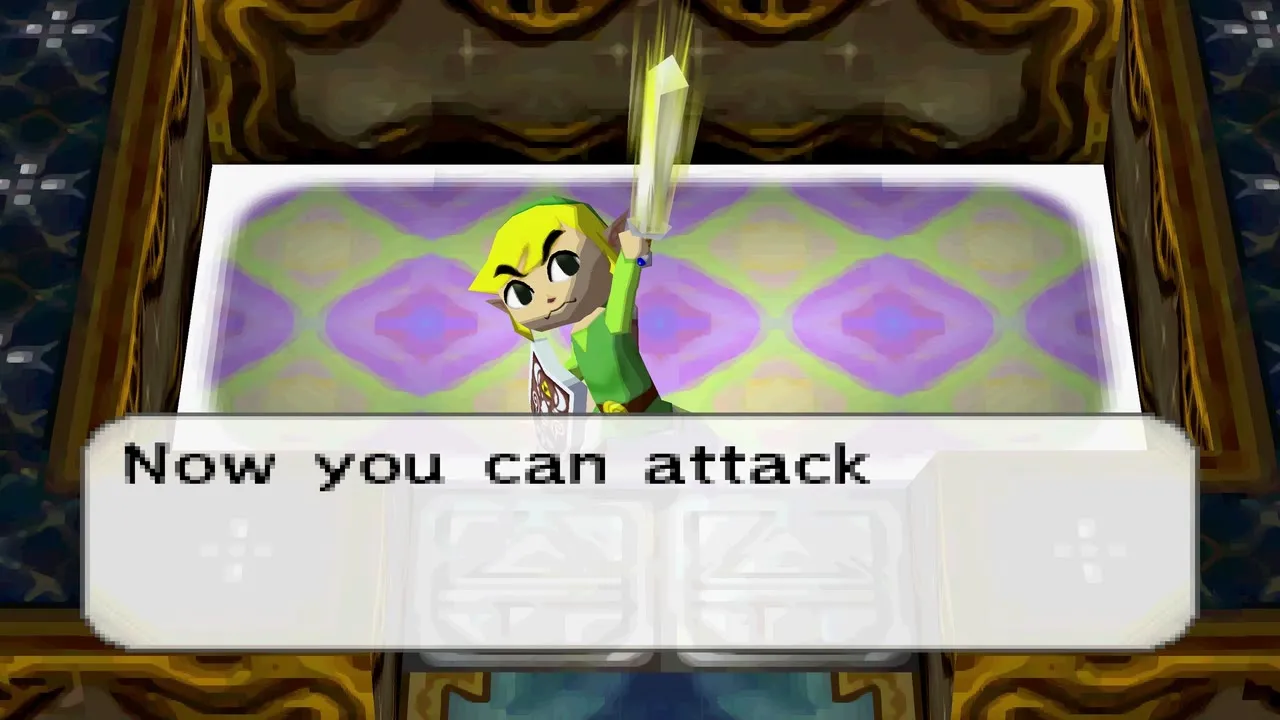
On floor 14 a Warp Phantom guards the last Tear of Light. Lure it into a chase around the circular path, then slip in and take the Tear. With all three Tears collected, your sword is fully charged, and a charged sword lets you possess Phantoms, which is the key to the next trick.
Hand Phantom duty to Zelda
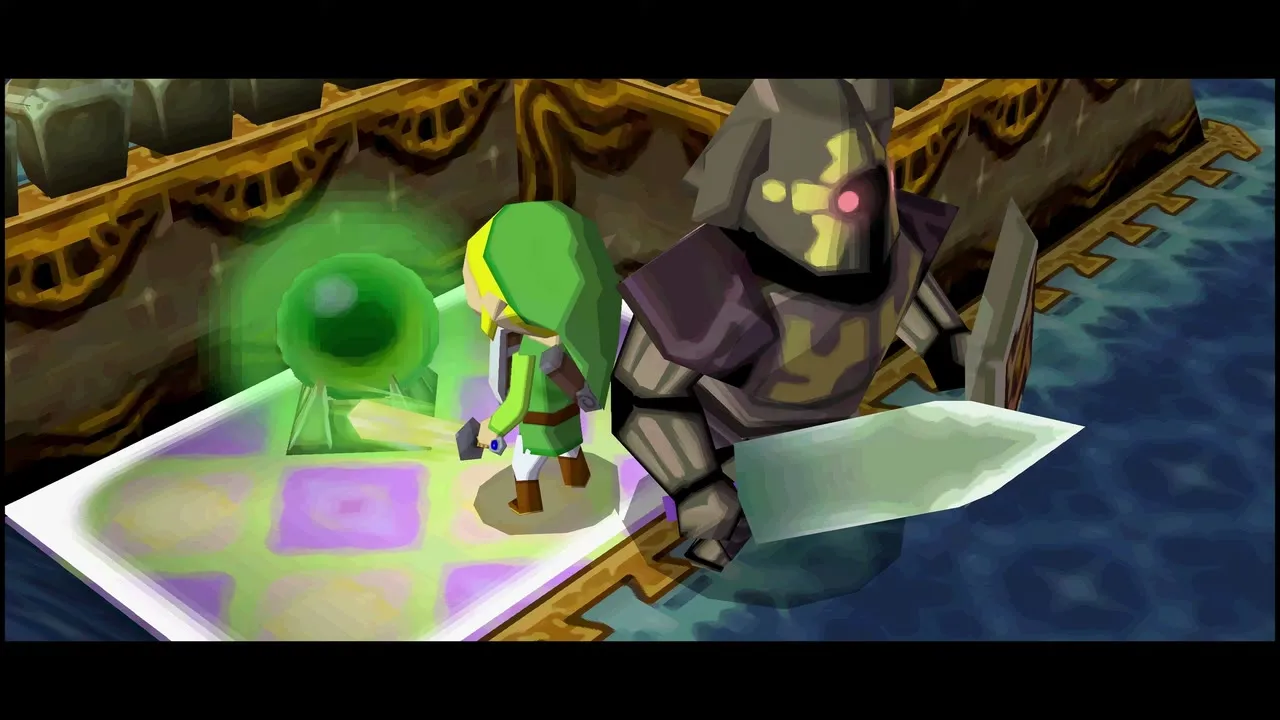
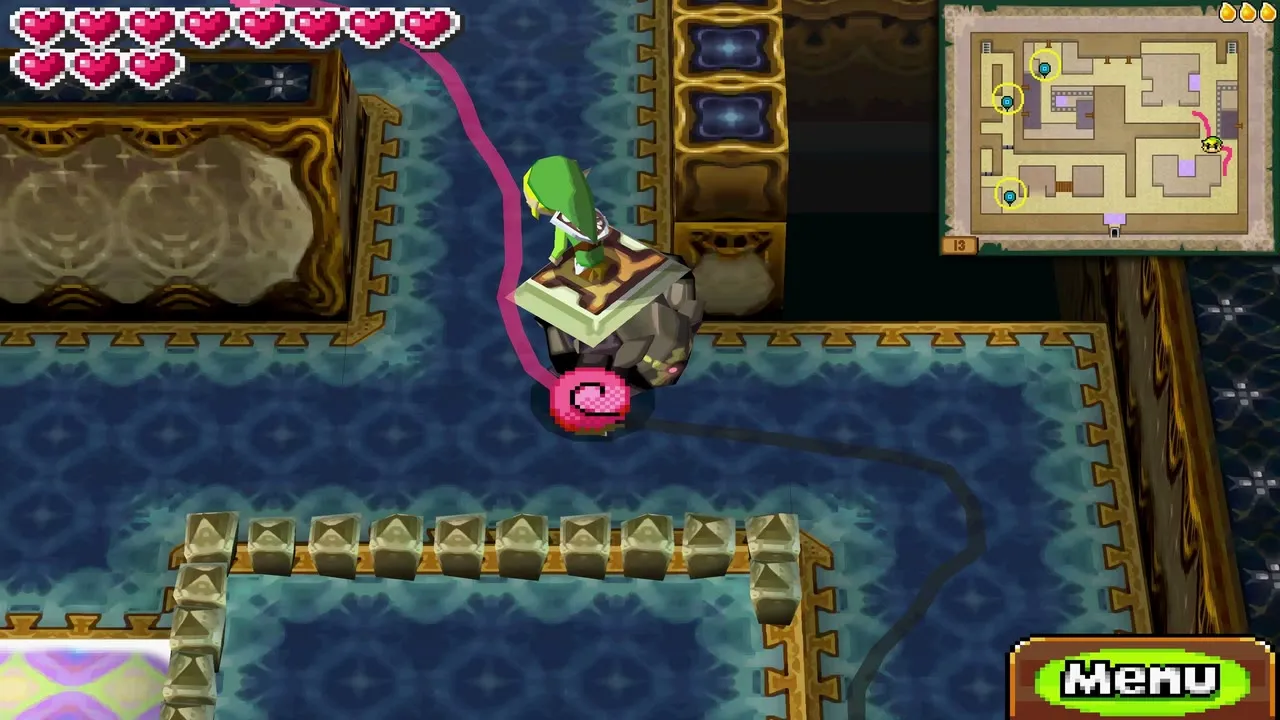
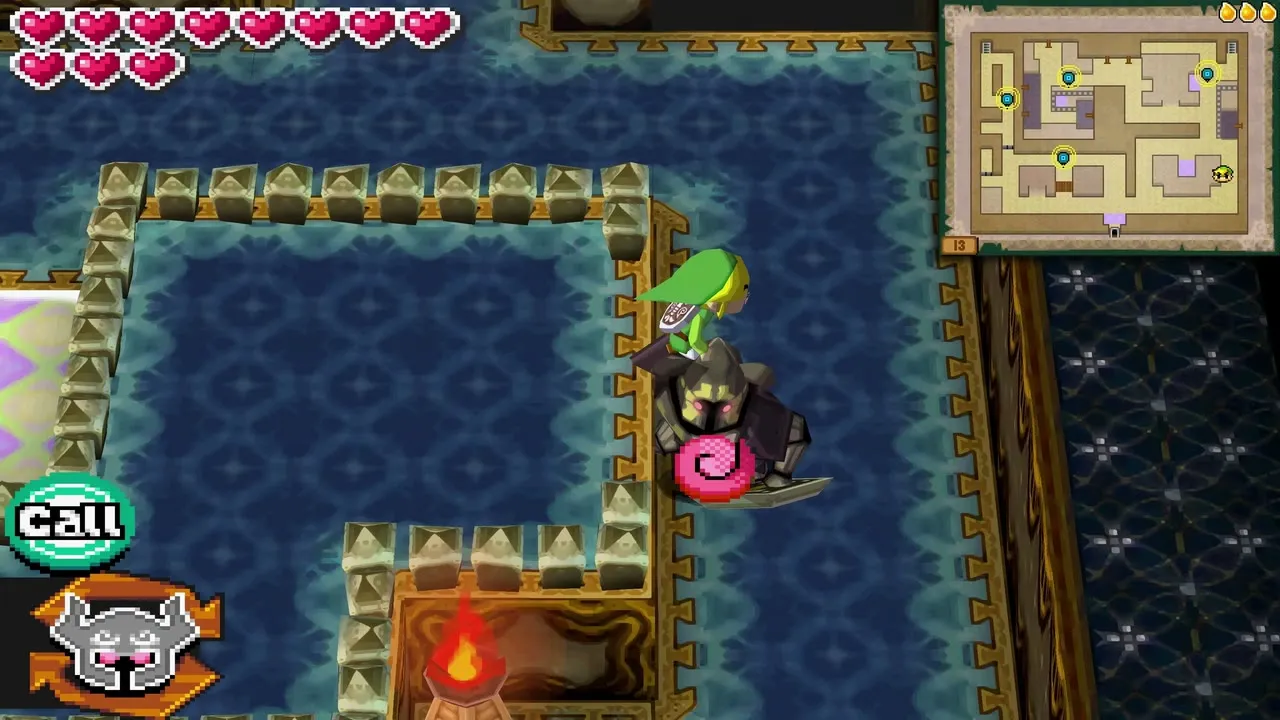
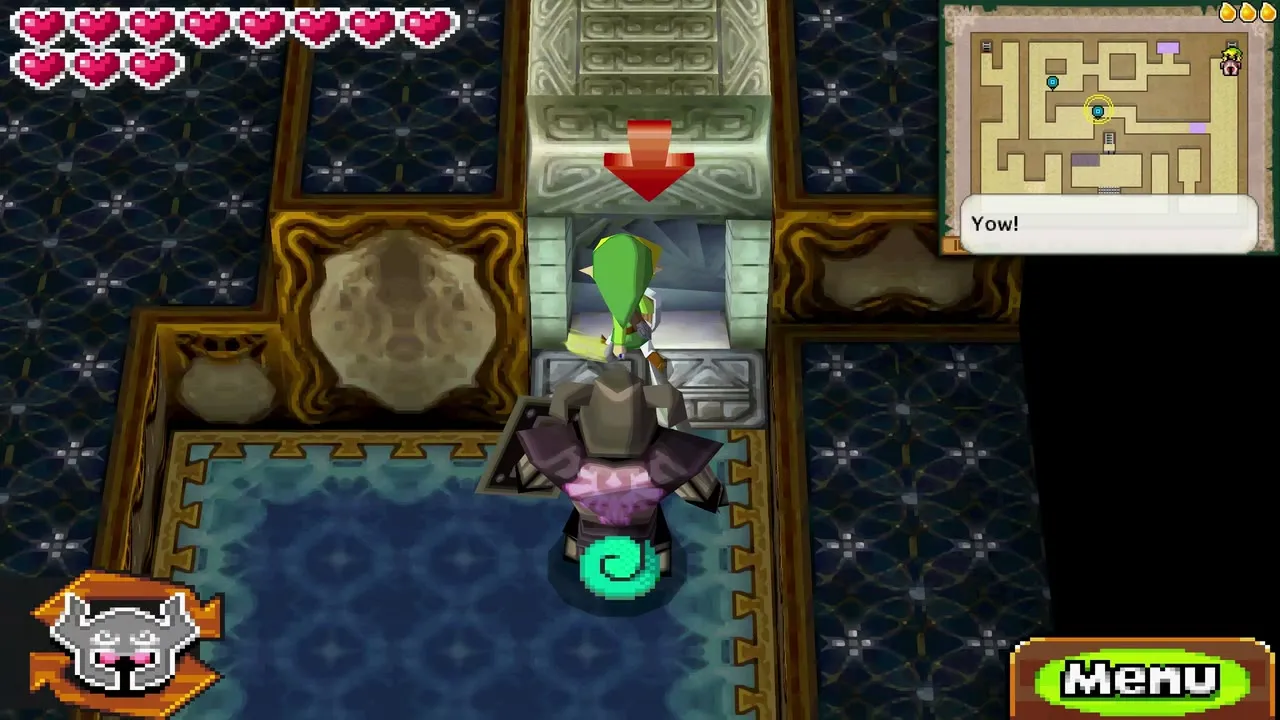
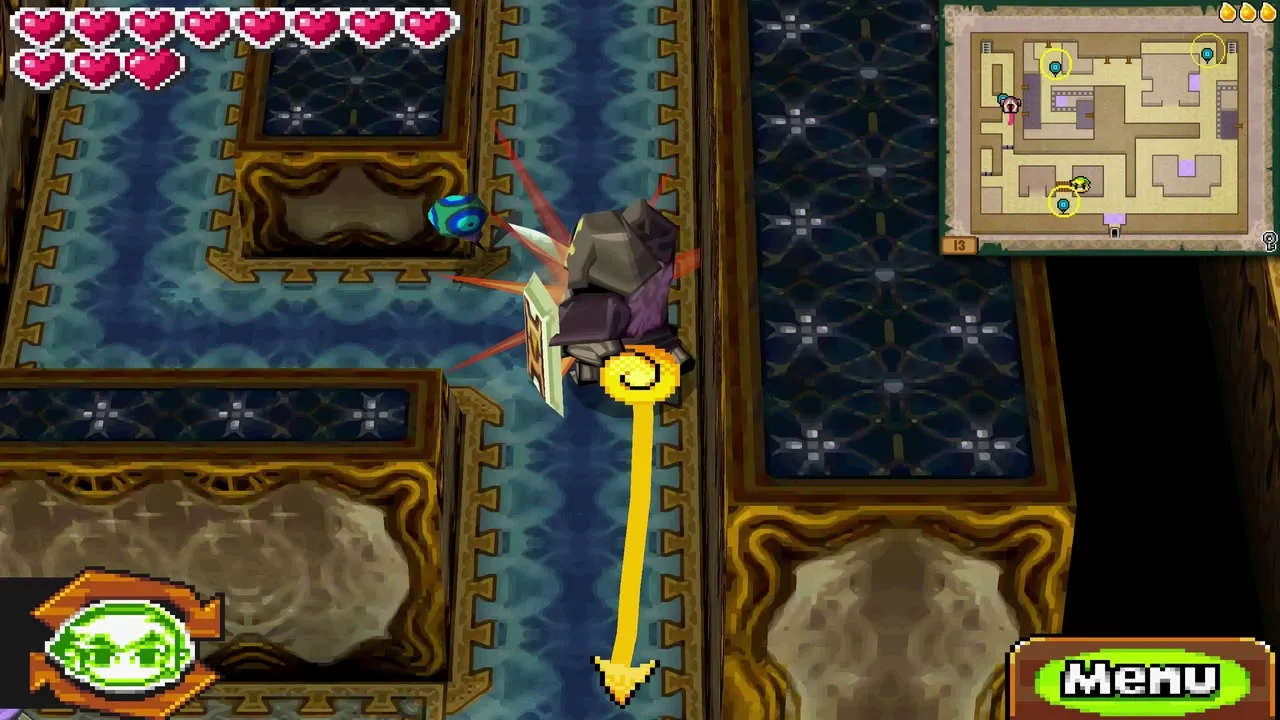
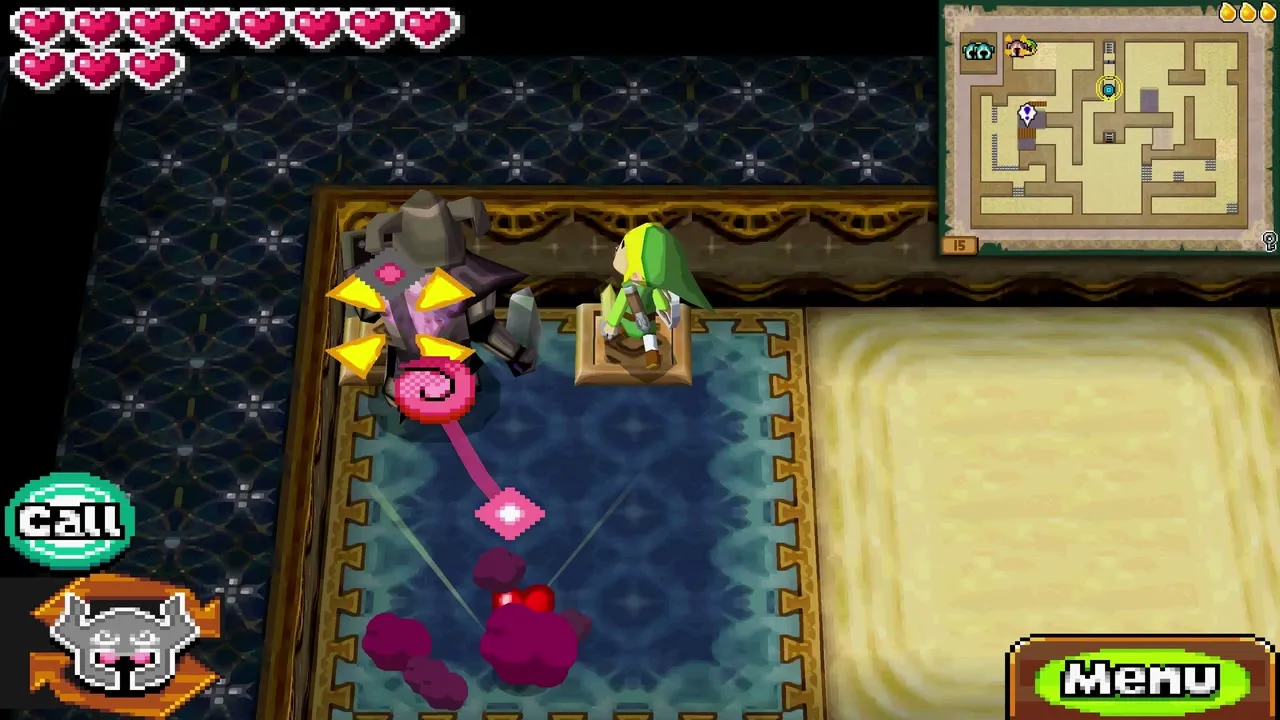
Sneak up behind a Warp Phantom that has just returned to its spot and strike its back to knock the spirit of Zelda into it. Tap the Phantom icon to switch between Link and Zelda, then draw paths on the touch screen for whichever one you control. Zelda can use the Phantom Eye as a teleport point: tap an Eye and she warps there at once. Use this to reach rooms Link cannot enter, to step on floor switches in sealed rooms, and to press paired crystal switches at the same time so a wall drops.
Rooms and chests
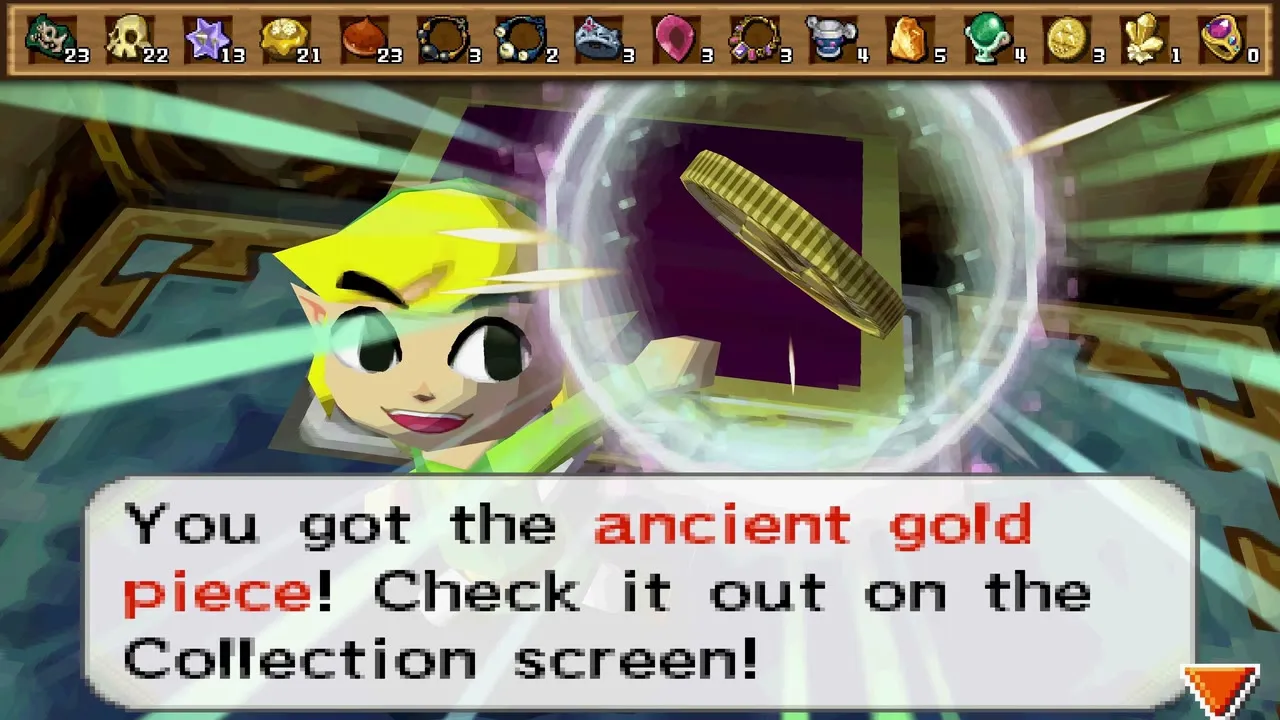
Send Zelda to the Phantom Eye in the bottom-right room and have her stand on the floor switch there. A door opens onto a chest with a random treasure, such as an Ancient Gold Piece or a Mystic Jade (each worth 500 Rupees at a shop). Zelda can also kill the Metal Chuchus, which shock Link when his sword touches them, so call her to the front whenever one blocks a corridor.
Sand pits, spikes and the fish heads
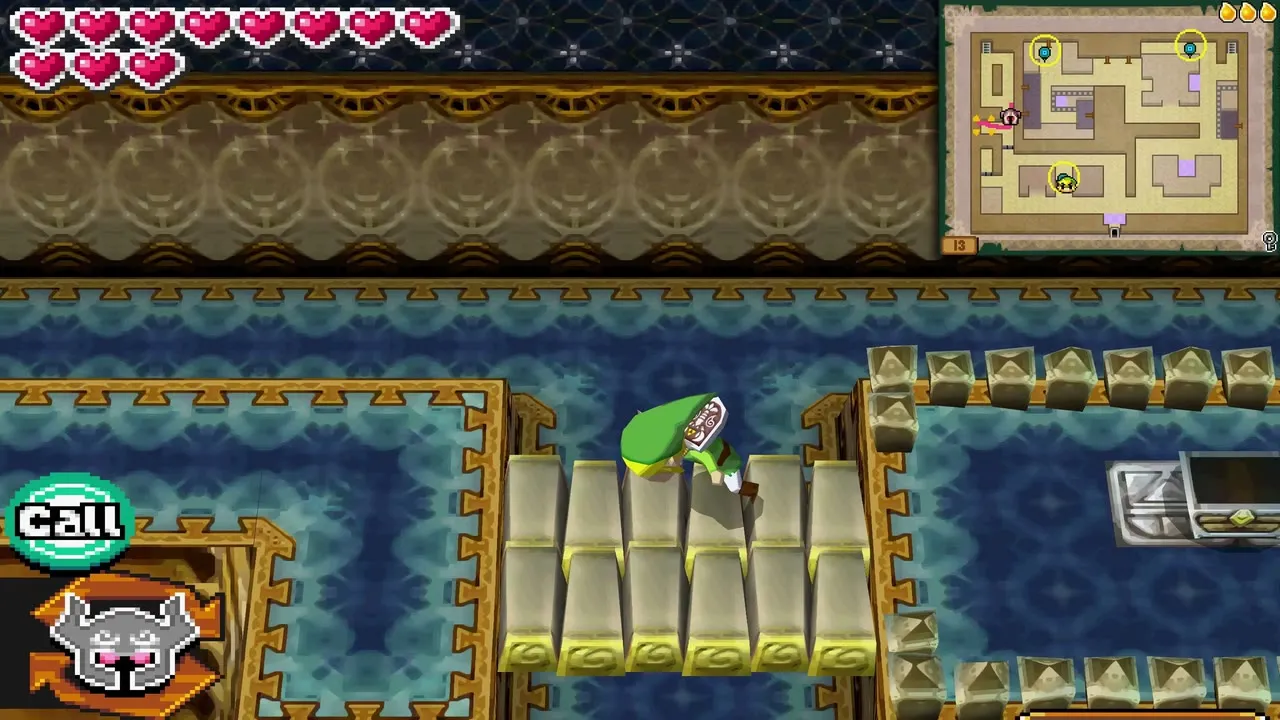
Zelda sinks into sand, so raise the bridge by standing Link on the floor switches before she crosses. The pink circular tiles let the two of you swap places, which is how you get into the spiked room. Then move the sword between the two fish heads on the left wall with the Whip. This drops the wall that leads to floor 15.
Floor 15: swapping places and the Zora Warrior
Swap tiles and floor switches
Three kinds of tile let Link and Zelda exchange positions: pink circles, blue squares and yellow triangles. Push the movable block onto one of the two floor switches and use the tiles to get the other character onto the second. Take care to note which tile type you are standing on before you swap, since each one sends you to a different place.
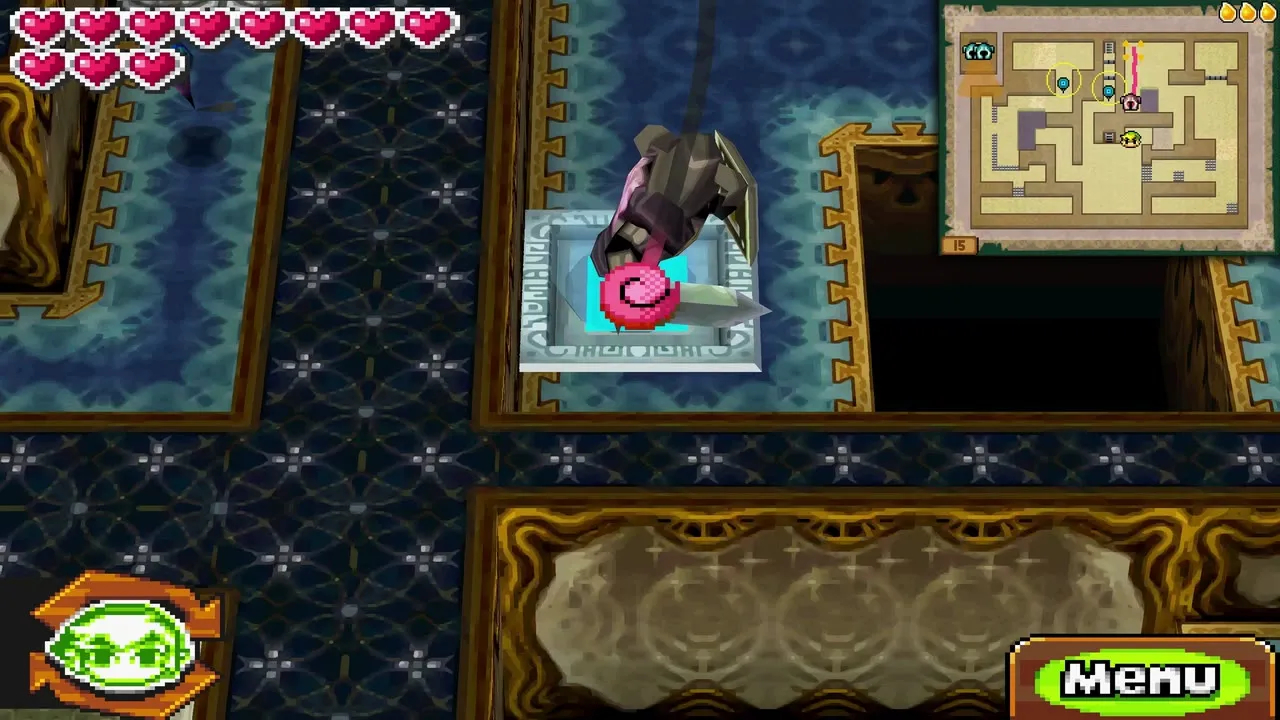
Zora Warrior
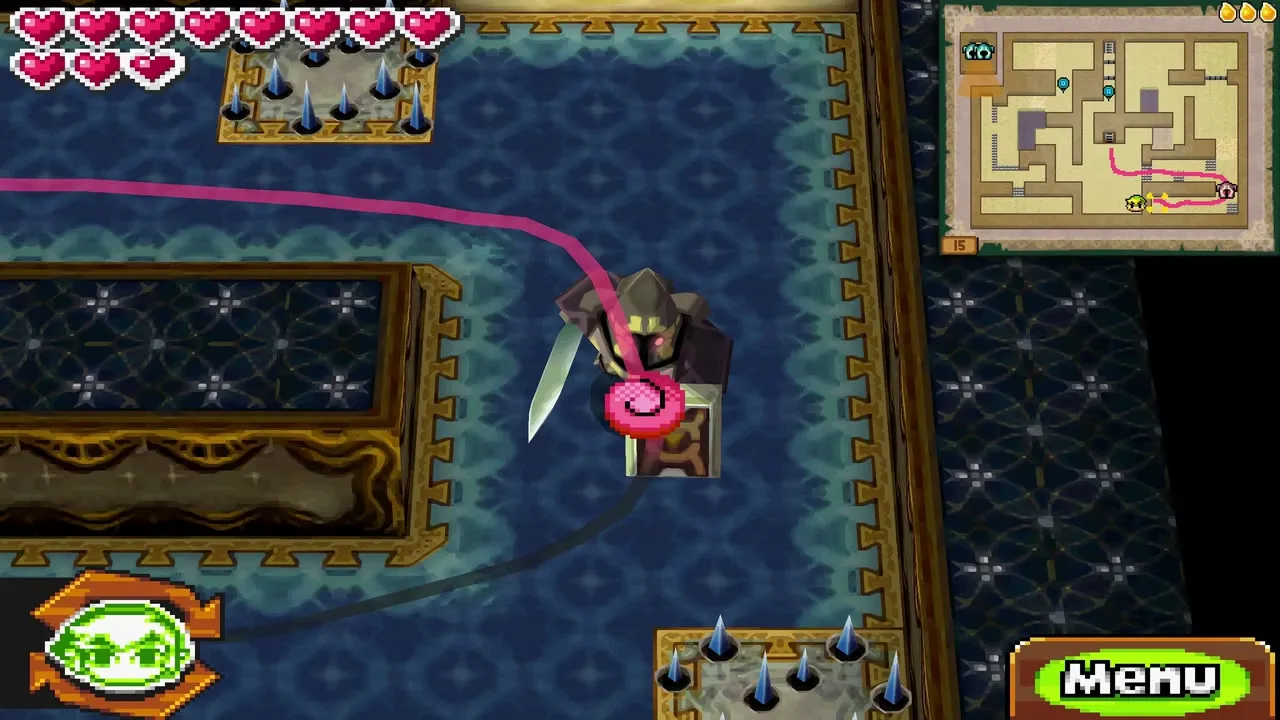
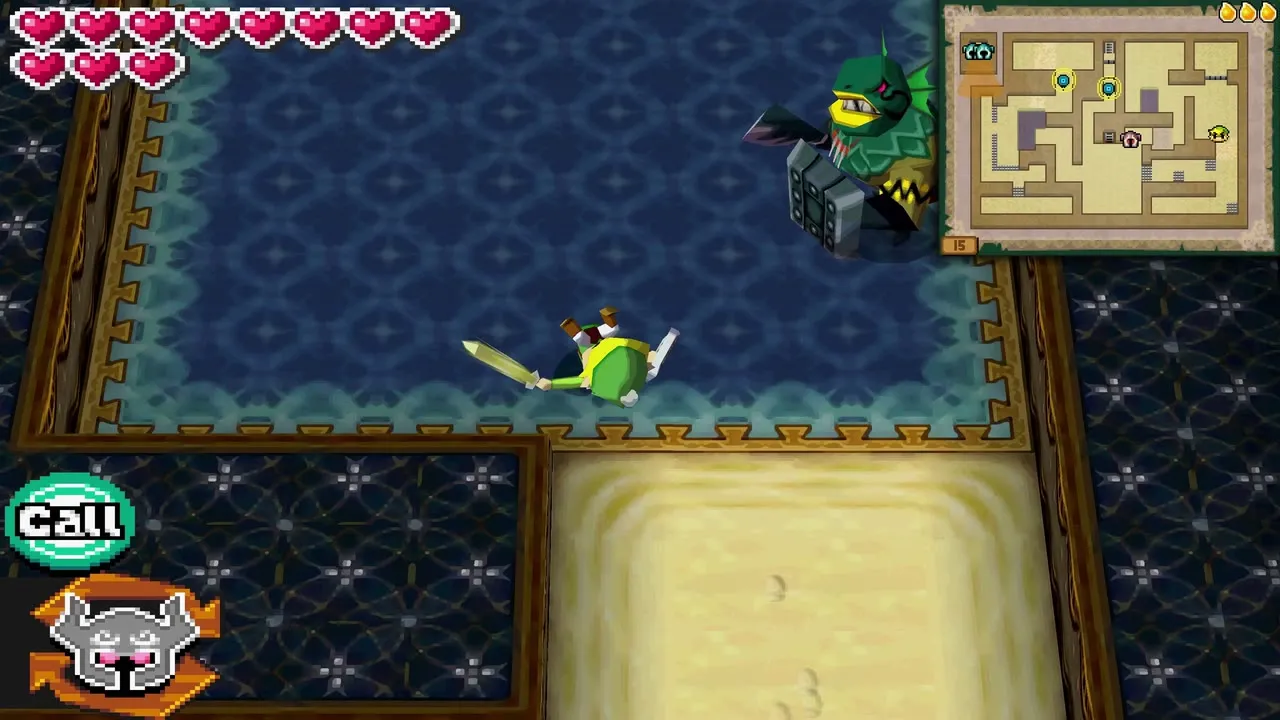
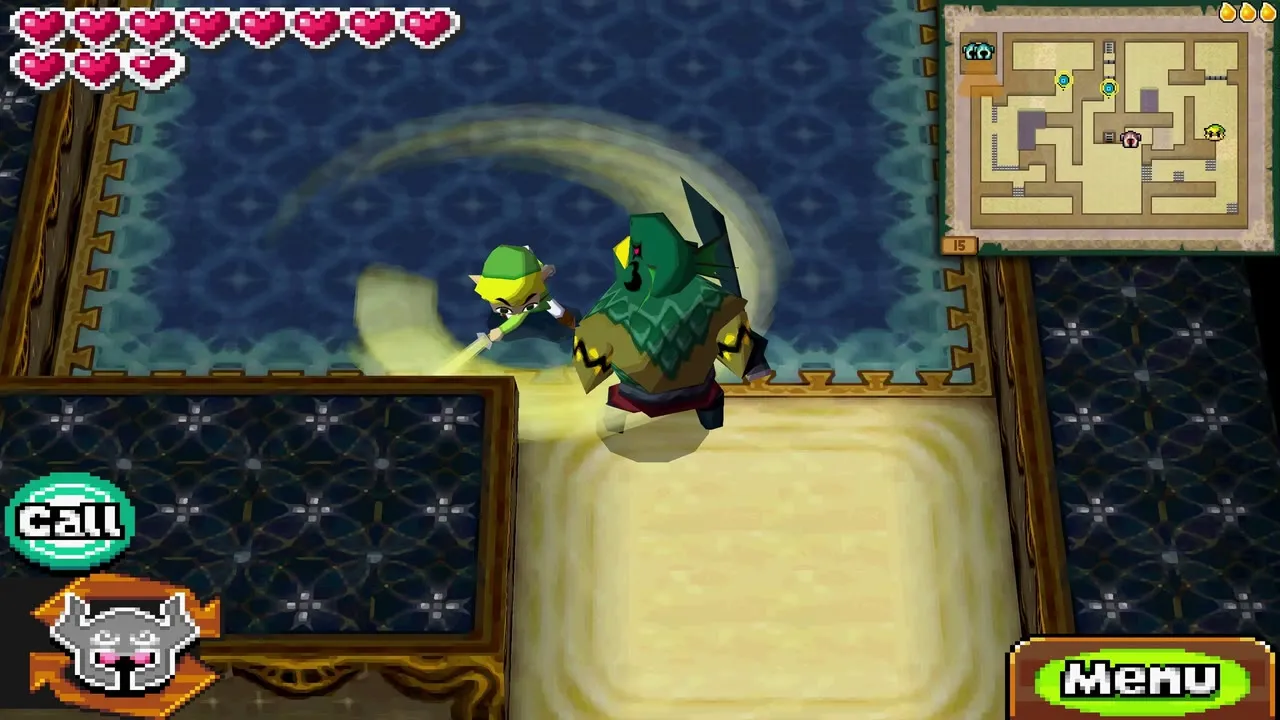
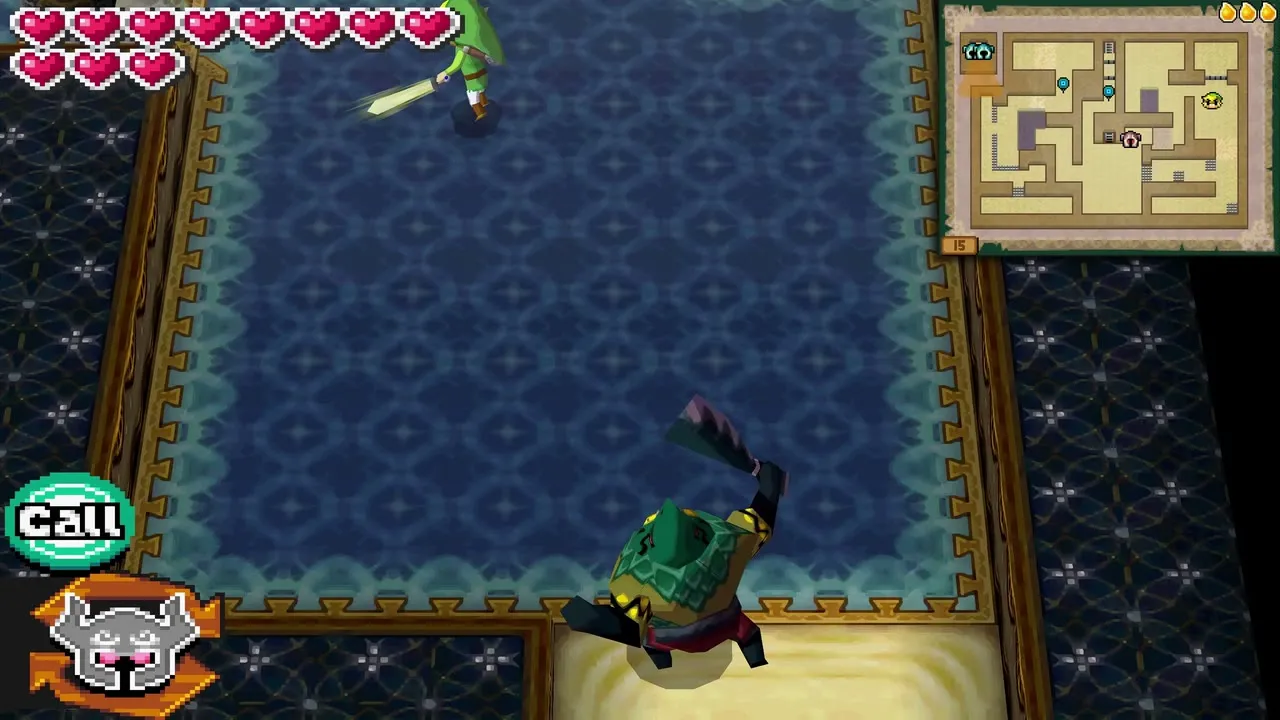
A Zora Warrior guards a stretch of the floor and Link must face it alone. Pull its shield away with the Whip, then slash it before it recovers.
Boulders, sand pits and the key
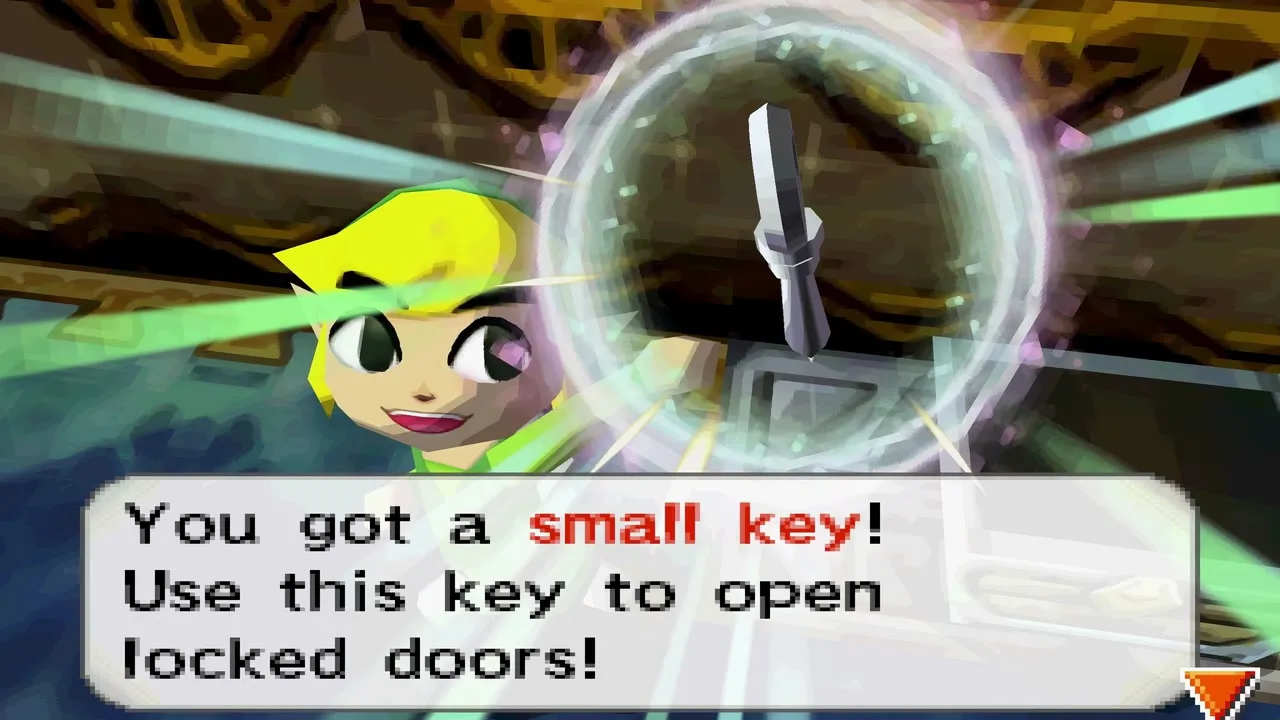
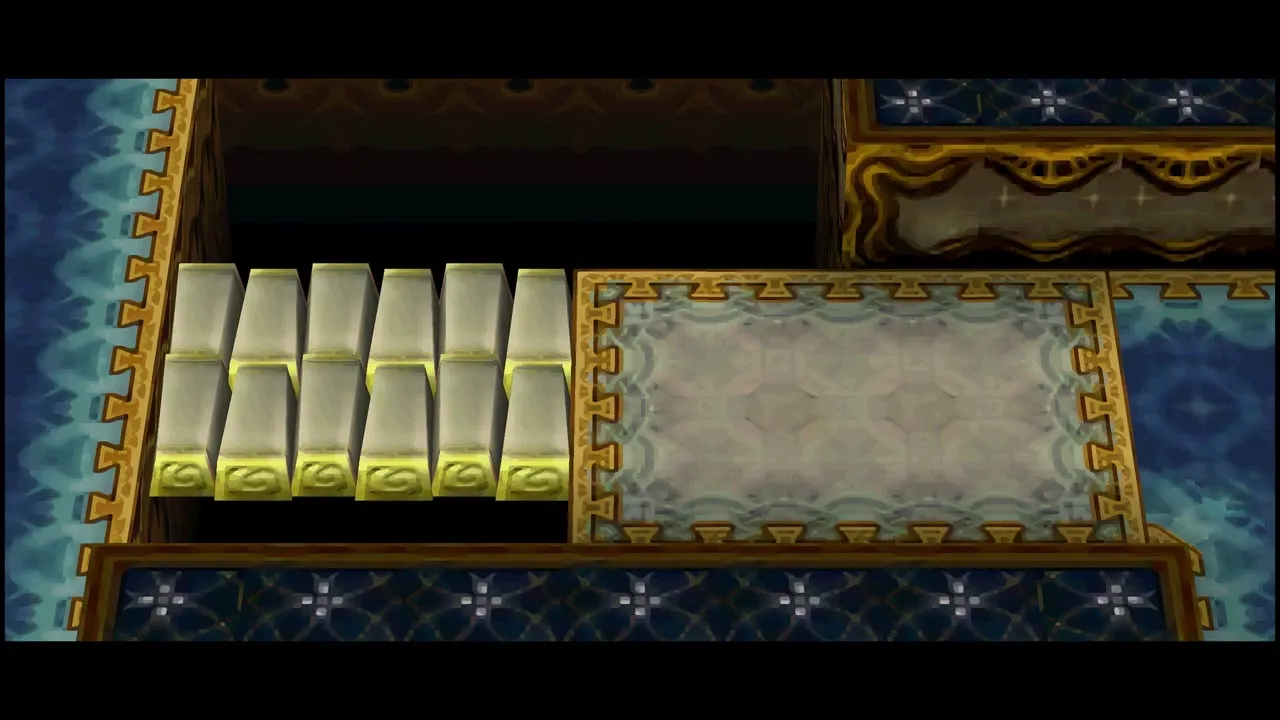
Zelda can stop rolling boulders by standing in front of them, giving Link time to reach the switches that form a bridge. Hit a crystal switch with the Boomerang to raise a bridge over a sand pit. Stun a Phantom Eye with the Boomerang, then blow it across the sand with the Whirlwind and teleport Zelda to it. For the stairwell key, have Zelda help push open the large white door and take the small key from the chest behind it. Use the key on the door to floor 16.
Floor 16: the symbol puzzle
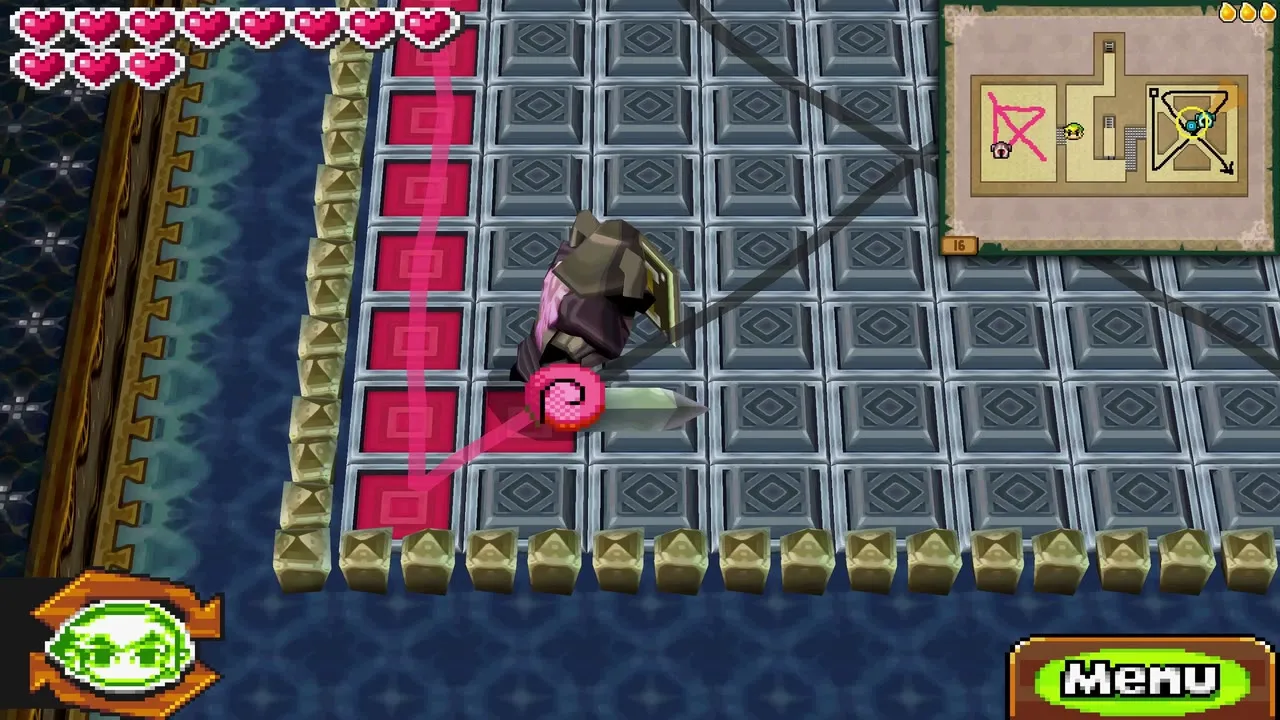
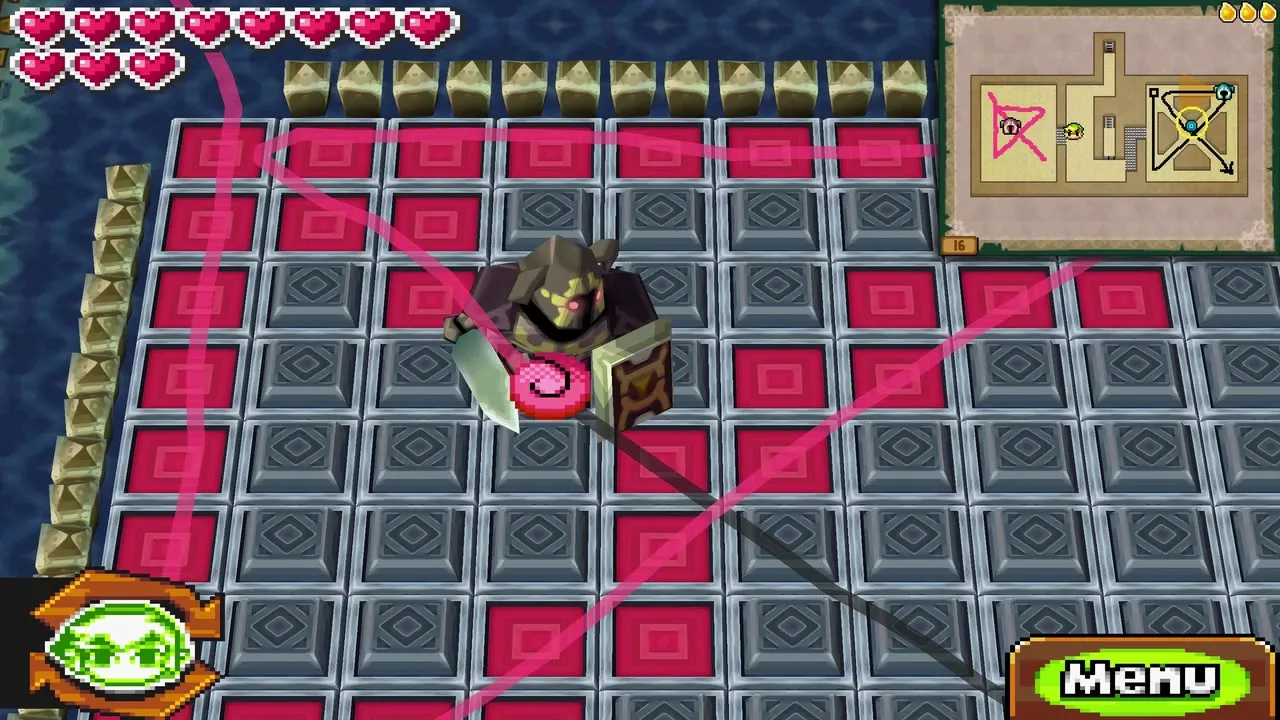
Draw the path on the tile grid
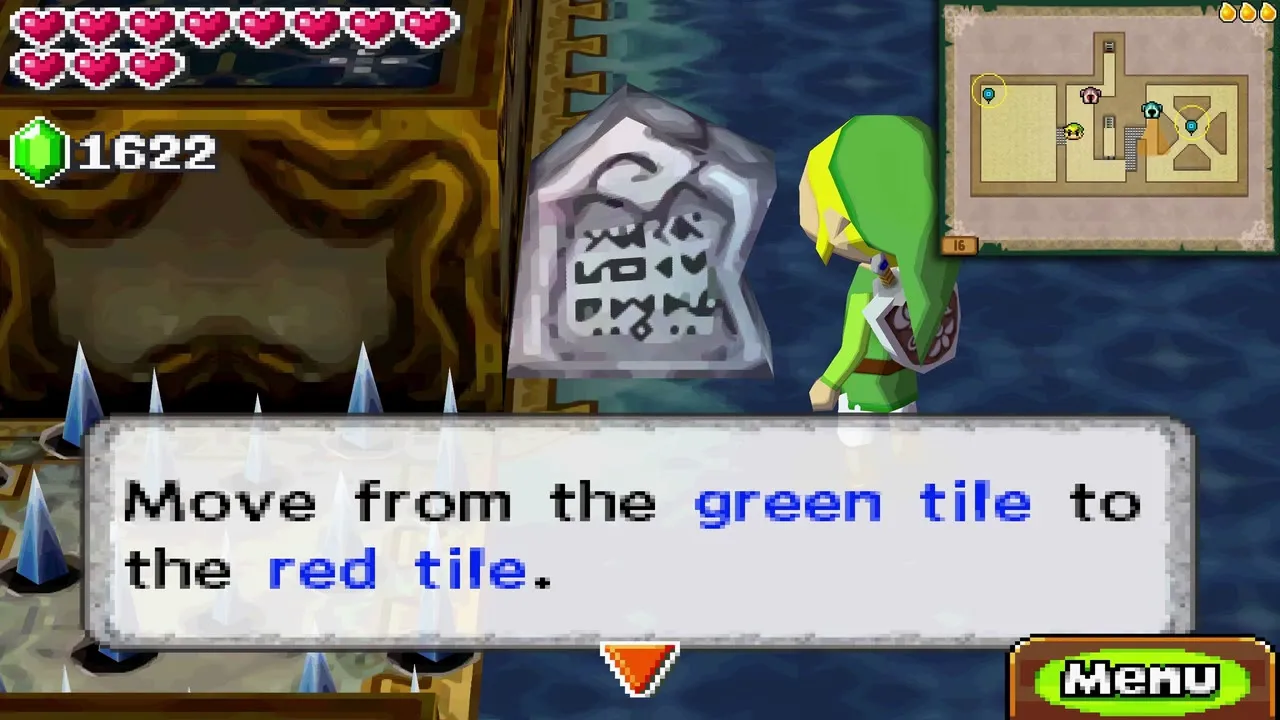
A stone tablet reads “Move from the green tile to the red tile.” The floor is a grid, and the route between the two coloured tiles forms a symbol that opens the central door. Warp Zelda to the Phantom Eye by the grid, start on the green tile and walk her across the grid until the tiles she crosses form the shape and you finish on the red one. The route runs south along the left edge, diagonally northeast, west along the top and diagonally southeast to the red tile, and it must never touch the bottom or right edges of the grid. When the shape is right the wall to floor 17 drops.
Floor 17: the Fire Rail Map
Claim the map
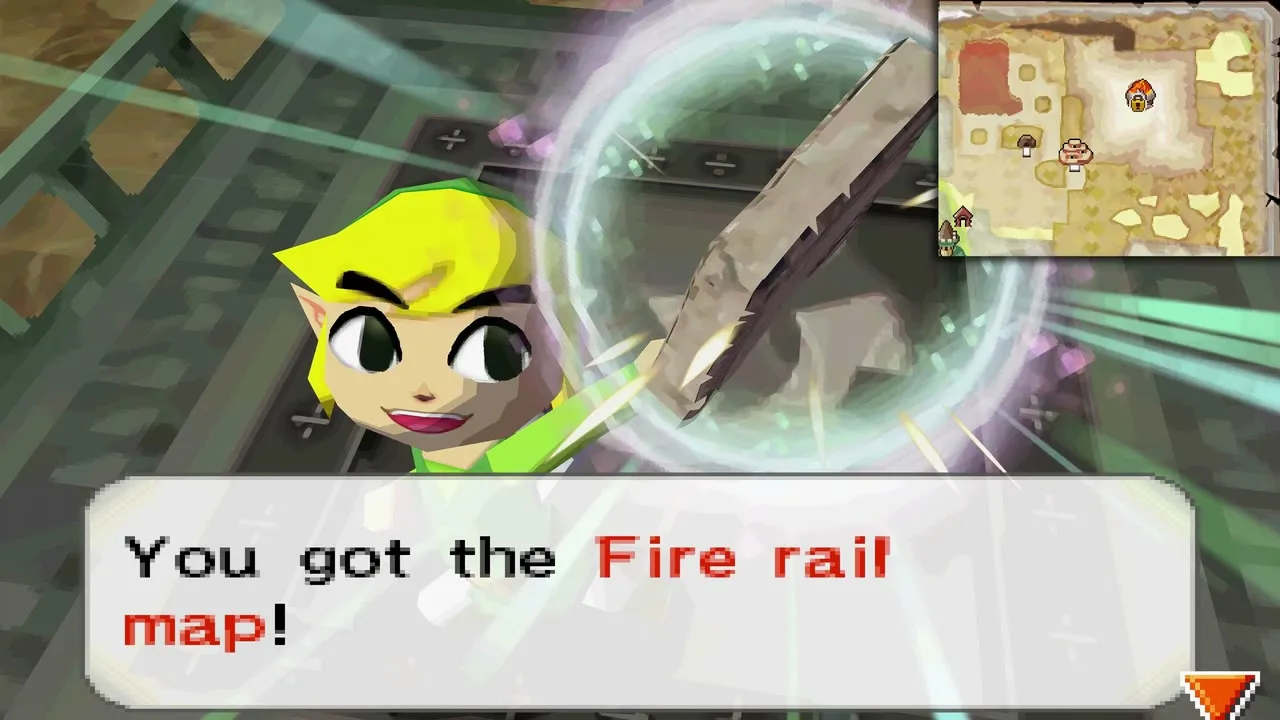
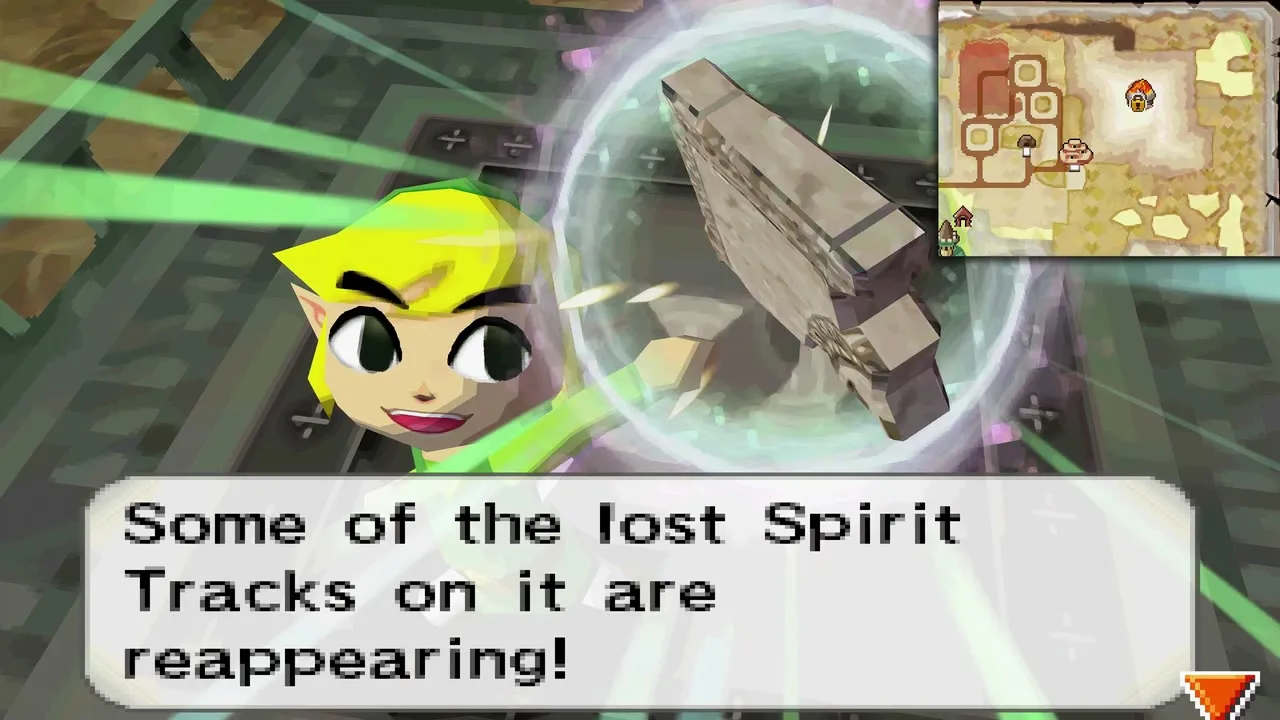
The last floor is a short walk. Cross the room to the chest in the centre and open it to receive the Fire Rail Map. Some of the lost Spirit Tracks on the map reappear at once, and you can now see where the Fire Realm lies.
What happens at the top
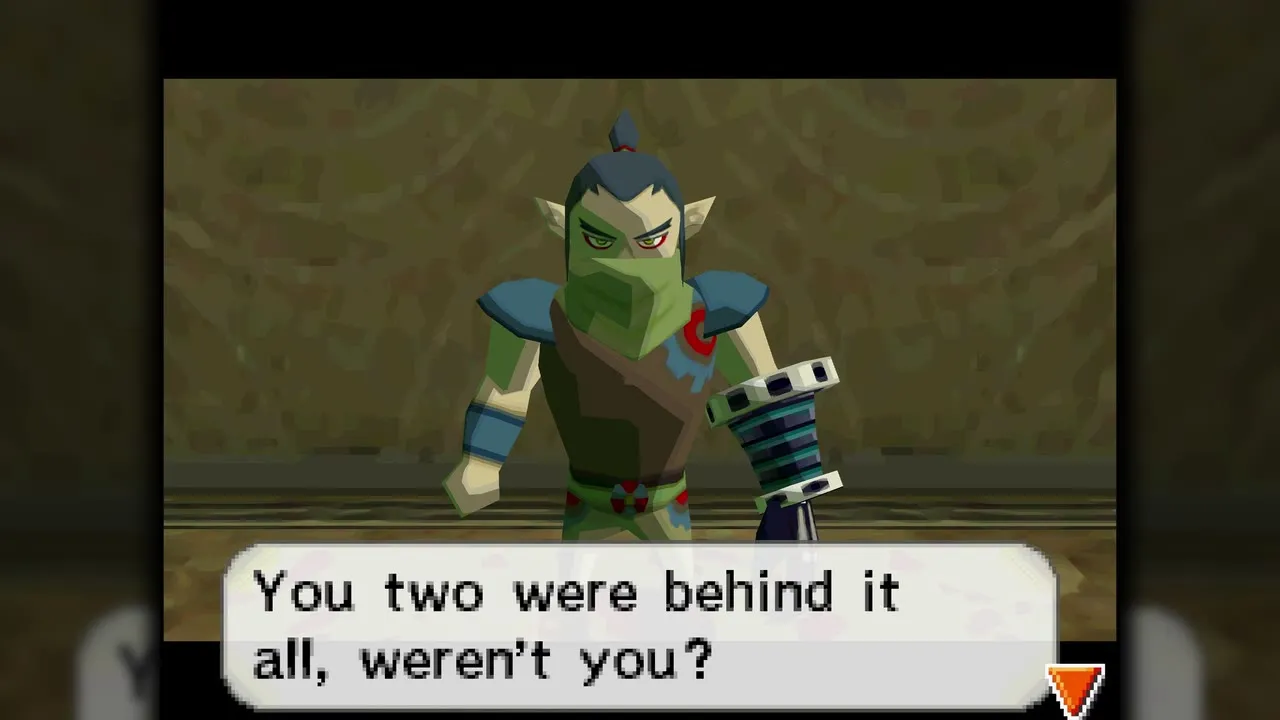
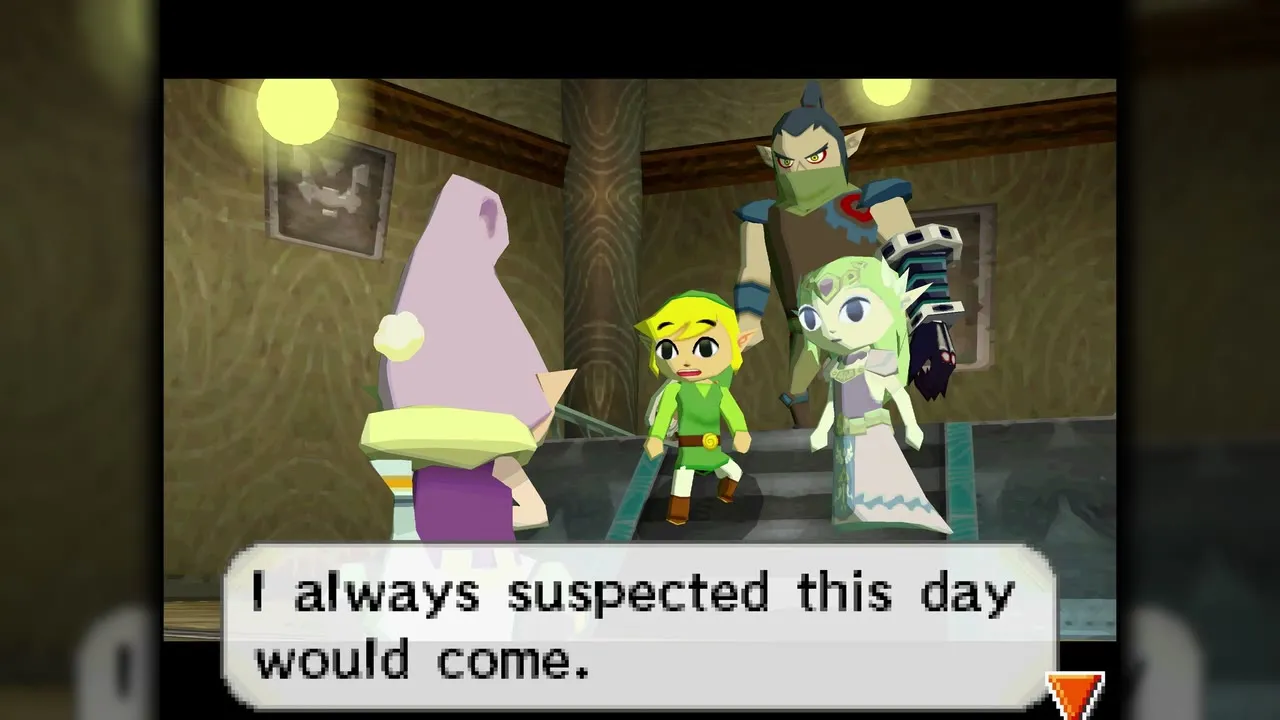
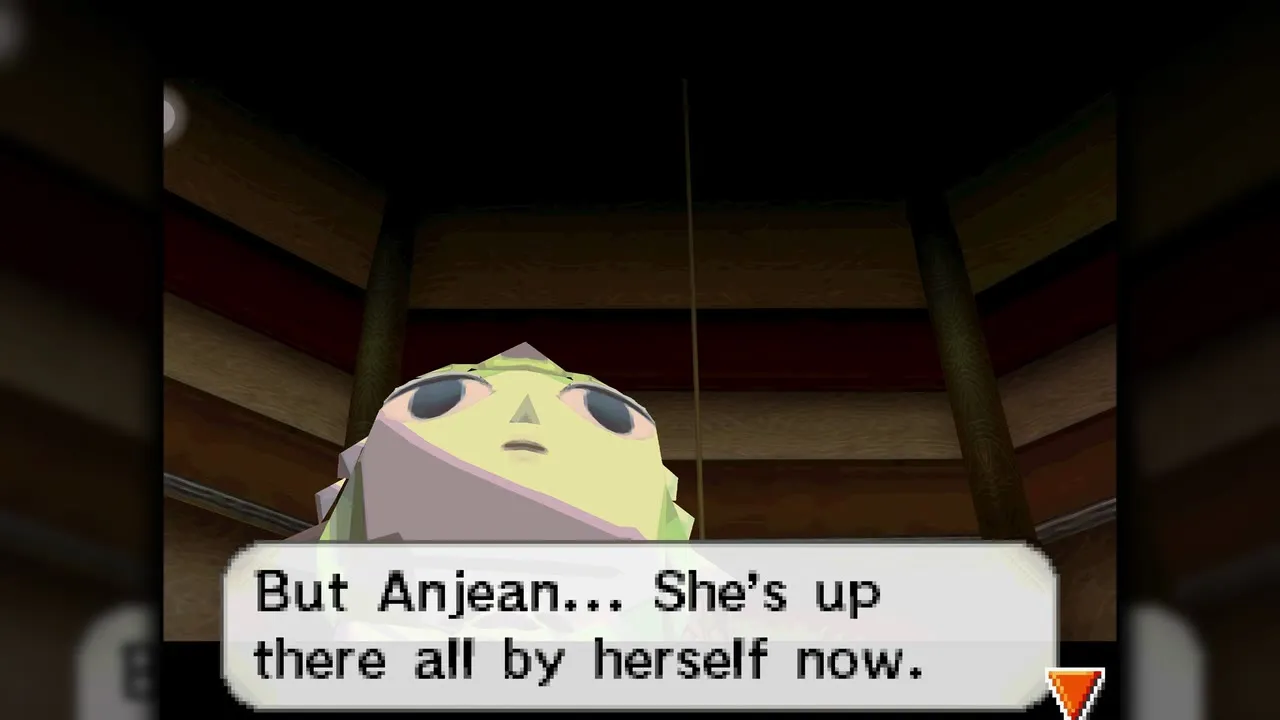
As soon as you hold the map, Byrne appears and confronts the two of you. Anjean steps in and stops him, and she sends you away in a burst of blue light so you can carry on to the Fire Realm.
New tracks and the road to the Fire Realm
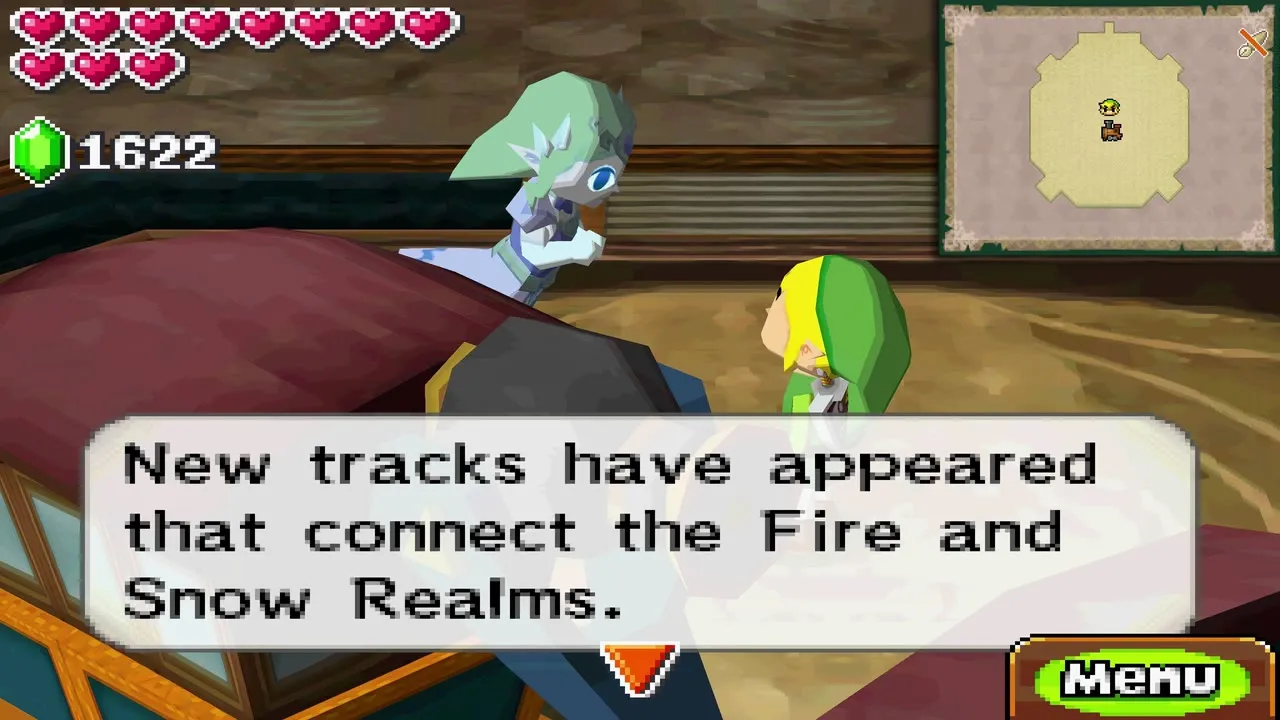
Back on the train, the Fire Realm is now on your map. Head for the Snow Realm, where the line toward the Fire Realm begins. See the enemies page for the Phantom types you have met so far.
Chapter checklist
| Collectible | Type | Where |
|---|---|---|
| Tear of Light (1 of 3) | Tear of Light | Floor 13, open area on the right, stun the Phantom Eye |
| Tear of Light (2 of 3) | Tear of Light | Floor 13, reached by whipping across the gaps |
| Tear of Light (3 of 3) | Tear of Light | Floor 14, after leading the Warp Phantom away from the wall |
| Small key | Key | Floor 13, chest revealed by lighting the torch with the Boomerang (another chest on this floor holds a second key) |
| Small key | Key | Floor 15, chest behind the large white door |
| Ancient Gold Piece | Treasure | Floor 14, bottom-right room chest (random treasure, so yours may differ) |
| Mystic Jade | Treasure | Floor 14 chests (random treasure, so yours may differ) |
| Fire Rail Map | Item | Floor 17, centre chest |
 Ocean rabbits | Rabbit | Along the Ocean tracks on the way back |
With the Fire Rail Map in hand, continue to the Fire Realm walkthrough.