
























Spirit Tracks 100% Completion Walkthrough18 chapters
- Aboda Village and Hyrule CastleThe first train ride, the Royal Engineer ceremony, Zelda’s escape, the Spirit Flute, sword and path to the Tower.
- Tower of SpiritsMeet Anjean, collect the three Tears of Light, use Phantom Zelda and claim the Forest Rail Map.
- Forest RealmReach Whittleton, solve the Lost Woods rail maze, learn the Song of Awakening and play the Gage duet.
- Forest TempleSong of Healing, Whirlwind, Mothula, Boss Key, Stagnox boss fight, Heart Container and Force Gem.
- Tower of SpiritsTears of Light, lava Phantoms, Zora Warrior, the Snow Rail Map, plus the Cannon and Rabbit Net.
- Snow RealmAnouki Village pairings, the Rocktite tunnel, Steem’s duet, the Heart Container shop and Ferrus’s blizzard map.
- Snow TempleGet the Boomerang, solve the bell puzzles, take the Boss Key from the Wolfos and beat Fraaz for a Heart Container.
- Tower of SpiritsDark floor 8, Torch Phantoms, Tears of Light, the Z door, Mighty Zora Warrior and Ocean Rail Map.
- Ocean RealmFix the Trading Post bridge, find the Regal Ring, learn the Song of Birds and free Carben at the Ocean Sanctuary.
- Ocean TempleReach the sunken temple, win the Whip, beat Phytops and claim the Heart Container and blue Force Gem.
- Tower of SpiritsBeat Warp Phantoms and Phantom Eyes, collect three Tears of Light and claim the Fire Rail Map.
- Fire RealmReach Goron Village, ferry Noko for Mega Ice, cool the lava, solve the Fire Sanctuary statues and play Embrose’s duet.
- Fire TempleSnurglar keys, Heatoise and the Bow, mine carts, Boss Key, Cragma, Heart Container and the Goron Quiver.
- Tower of SpiritsClimb Tower of Spirits floors 18-23, solve the Wrecker Phantom puzzles, take the Boss Key and beat Byrne with Zelda.
- Sand RealmMalgyorgs, desert rabbits, the Sand Sanctuary bomb puzzle, the Rael duet and the three trials to the Sand Temple.
- Sand TempleStalfos keys, Sand Wand, the Boss Key, the Skeldritch boss fight, the Heart Container, Bow of Light and Lokomo Sword.
- Tower of Spirits Floors 24-30 and the Compass of LightLight Arrows at the altar, every Phantom puzzle, the floor 26 gauntlet and the Compass of Light.
- Dark Realm, Demon Train and MalladusDestroy six Armored Trains, beat the Demon Train, free Zelda from Cole and defeat Malladus with the Lokomo Sword.
| Covers | Sand Temple (three floors and two basement levels), the Skeldritch boss fight, and the train scene with Anjean afterwards |
|---|---|
| You need | The three trials of the Sand Realm cleared, the Rael duet played so the tracks reach the temple, and the Bow and Arrows |
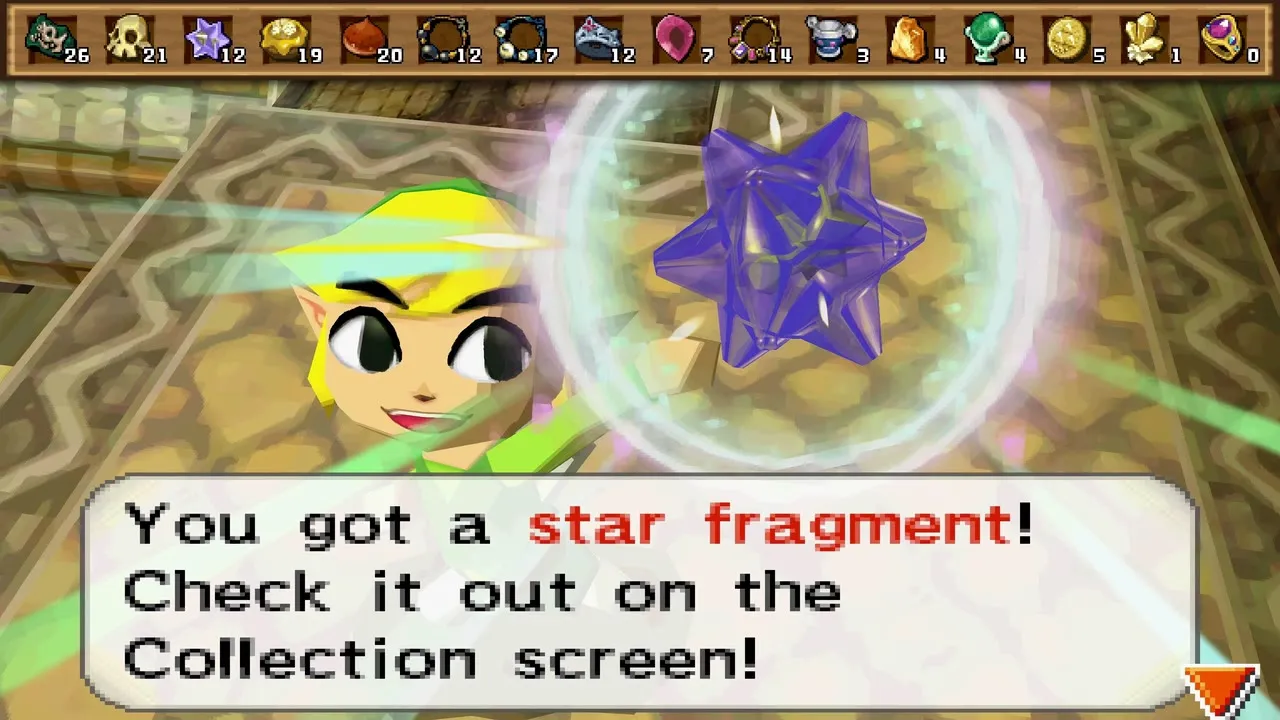
| Rewards |  Sand Wand,  Heart Container,  Bow of Light, 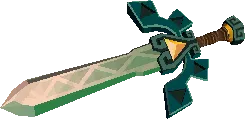 Lokomo Sword, the Sand Temple stamp, and a handful of random treasures from the chests, such as  Star Fragments,  Dragon Scales, a  Mystic Jade or a  Stalfos Skull |
The Sand Temple is the fifth and last of the dungeons that guard the Spirit Tracks, and it plays differently from the other four. Its main item, the Sand Wand, lets you raise sand into walls, steps and bridges. You collect a small key from a Stalfos fight, take the Sand Wand from three Stalfos Warriors, find a second key that is buried in sand, carry the Boss Key up from the basement, and beat the sand demon Skeldritch for a Heart Container and the Bow of Light. Anjean then gives you the Lokomo Sword in the Spirit Train.
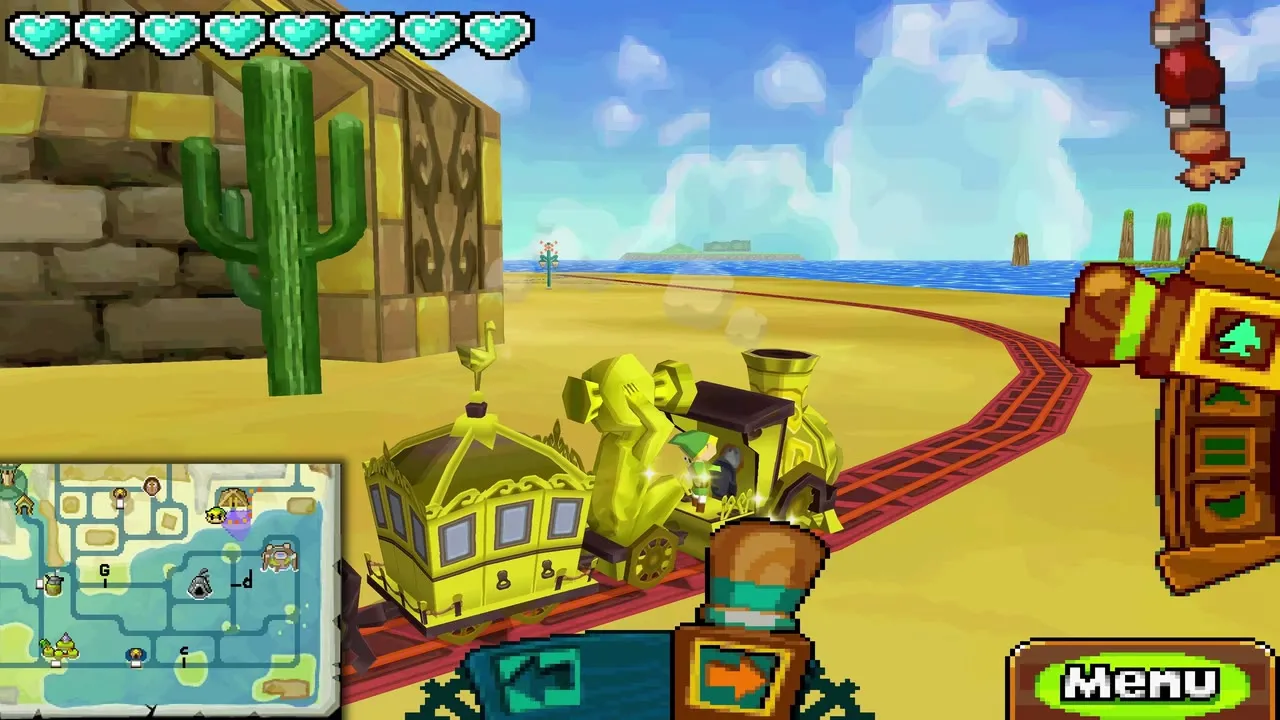
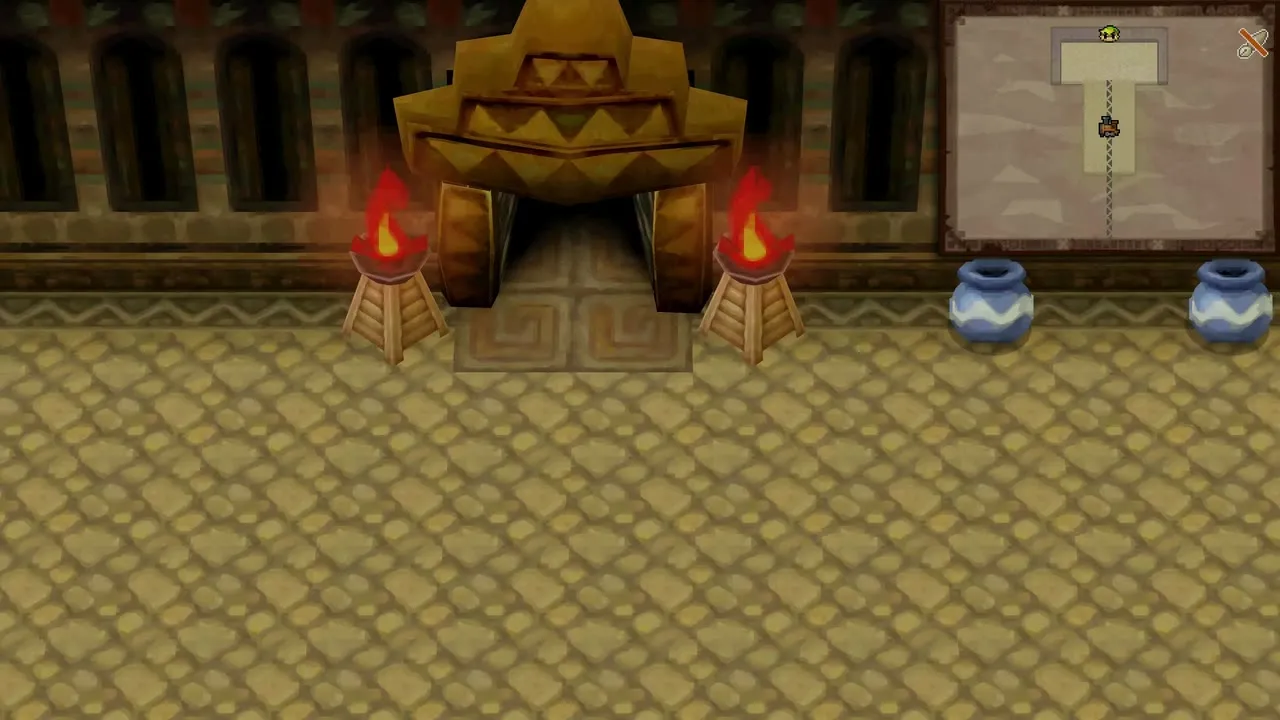
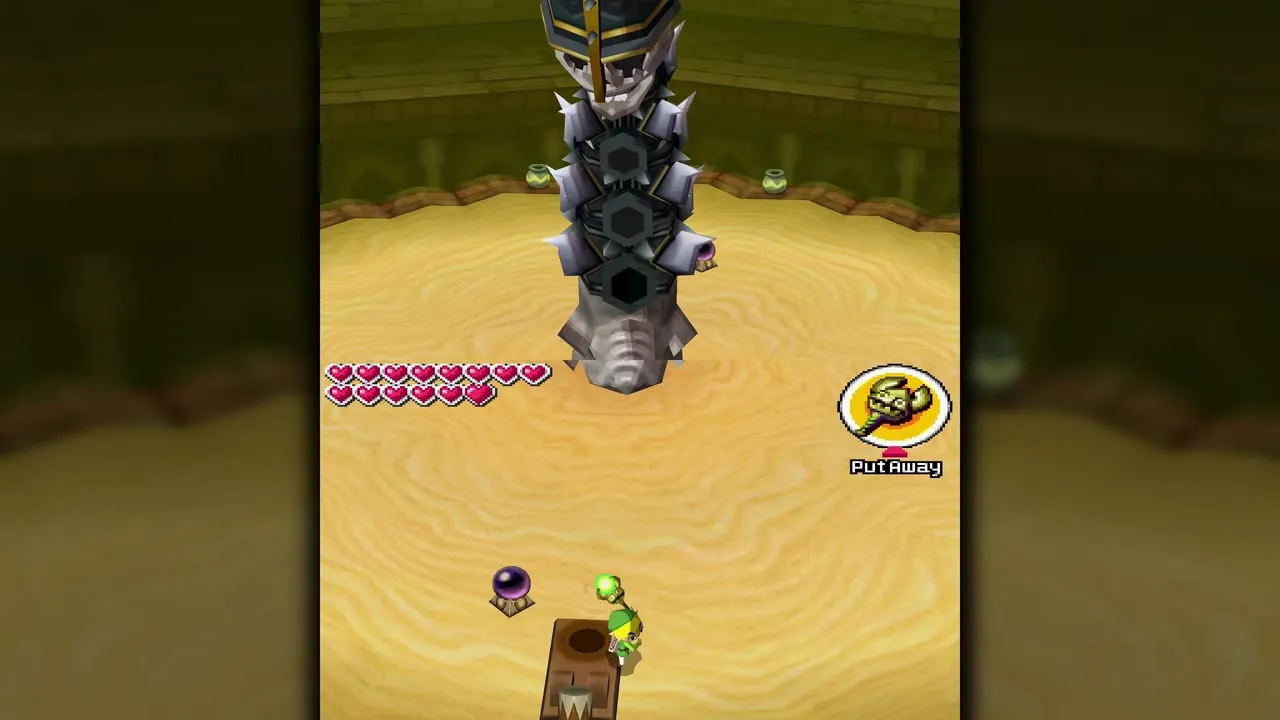
Table of Contents
Reaching the Sand Temple
The turret gate and the station
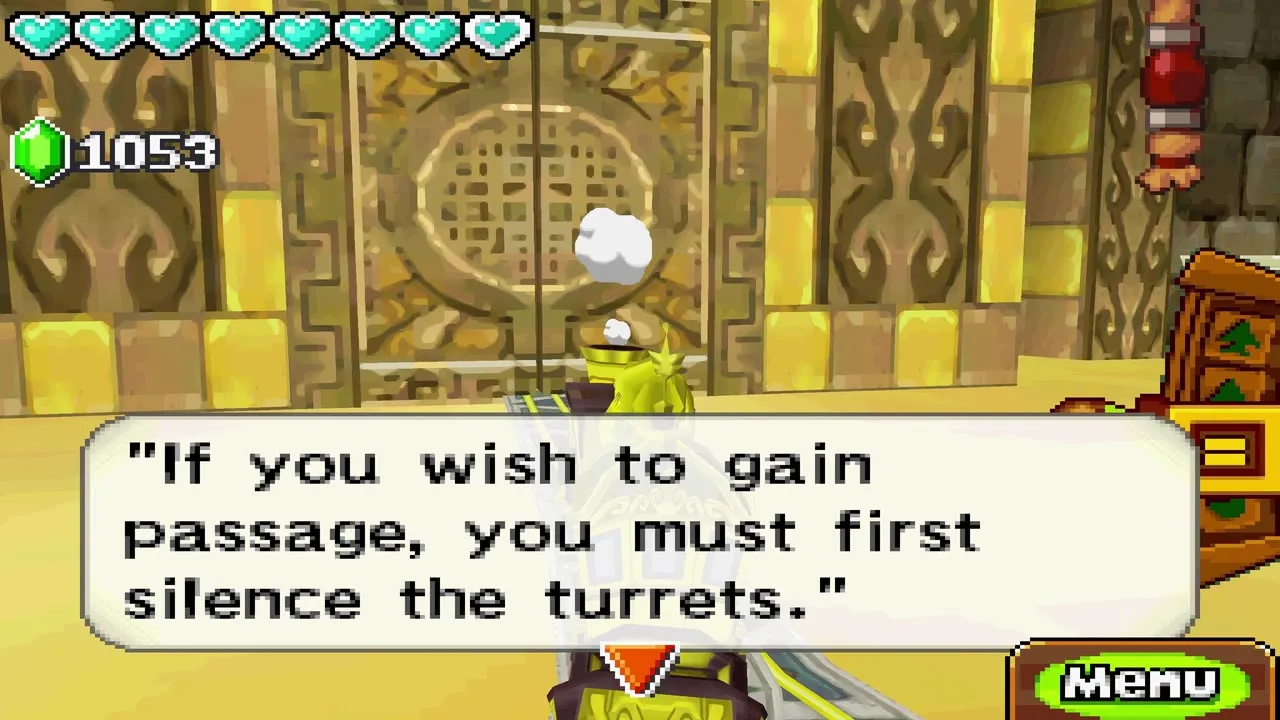
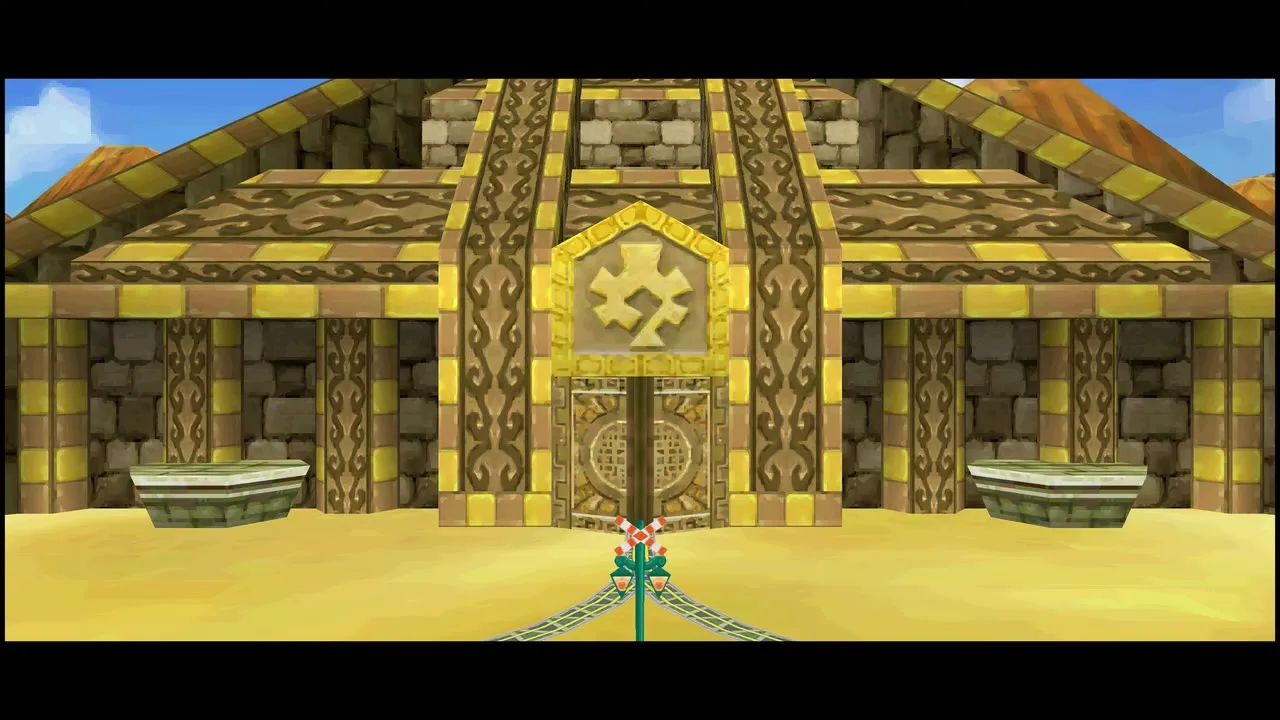
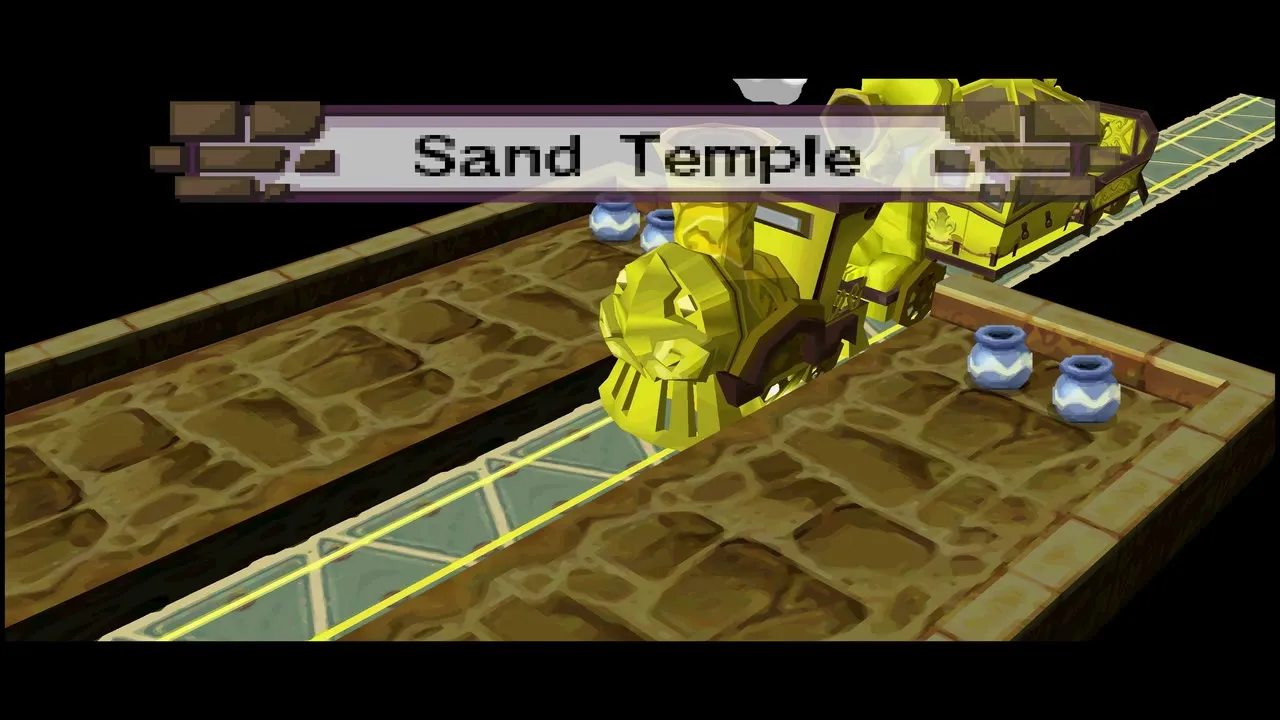
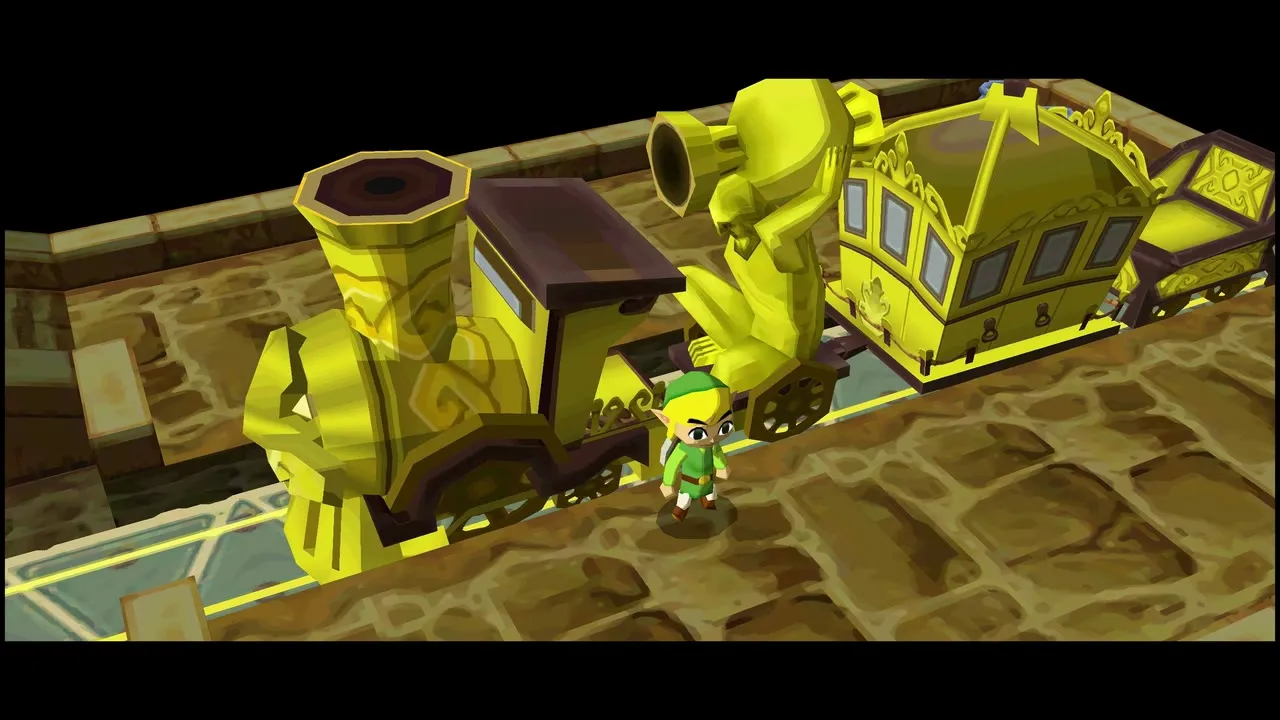
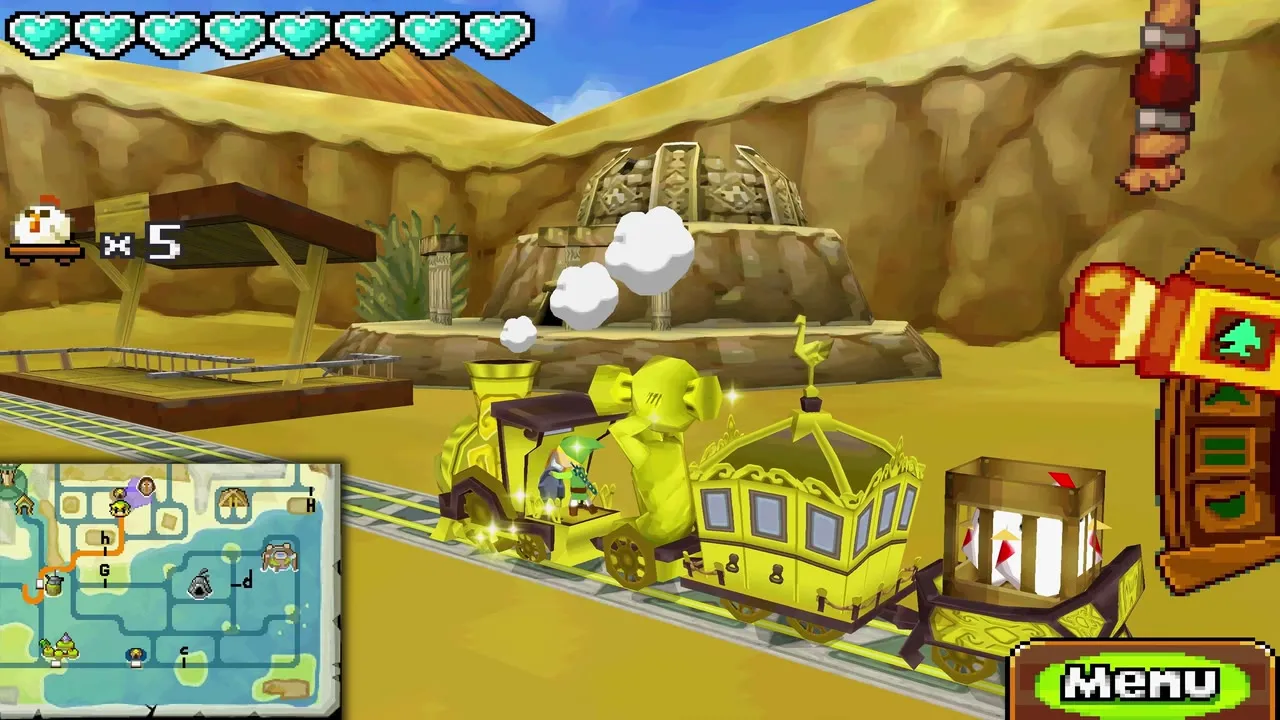
The last of the three trials is the sealed gate at the end of the track, where a sign tells you the way in opens only once the turrets are silenced. When they are, the train rolls through the golden gate and stops at the Sand Temple station. Save from the menu if you like, then step down, walk up to the door and go inside.
Sand Temple first floor: the Stalfos key
How to get the first small key
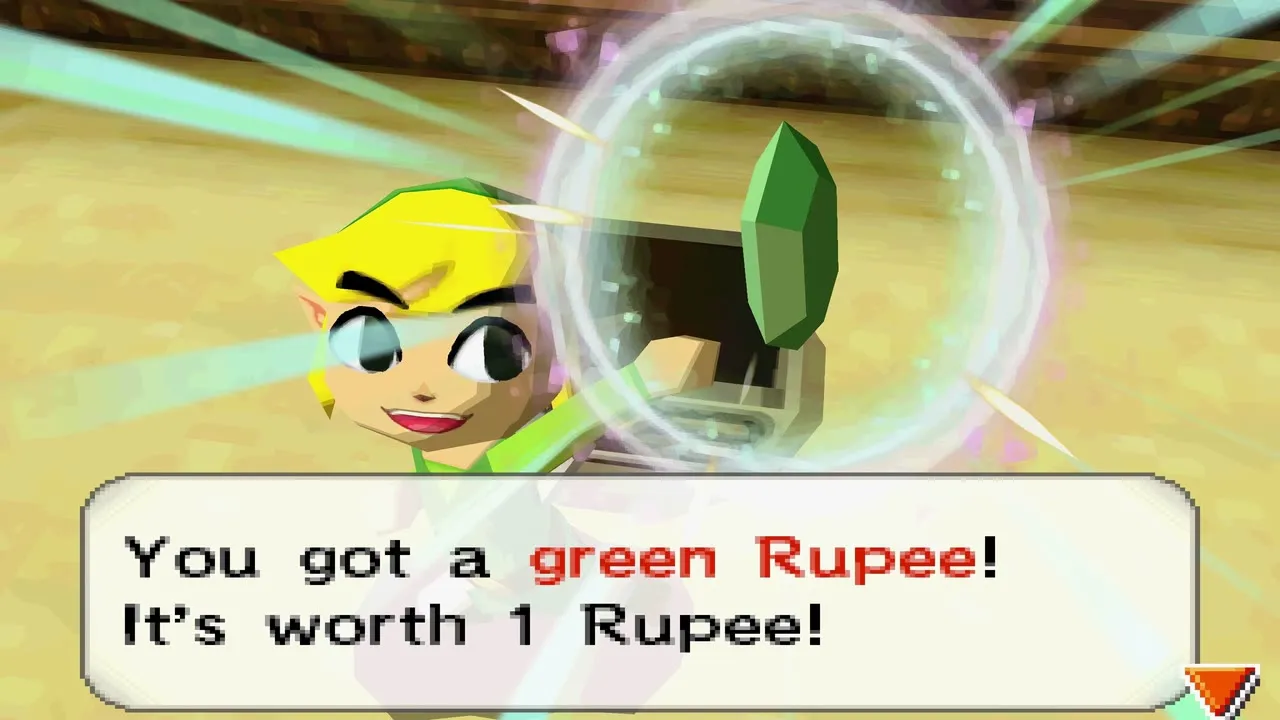
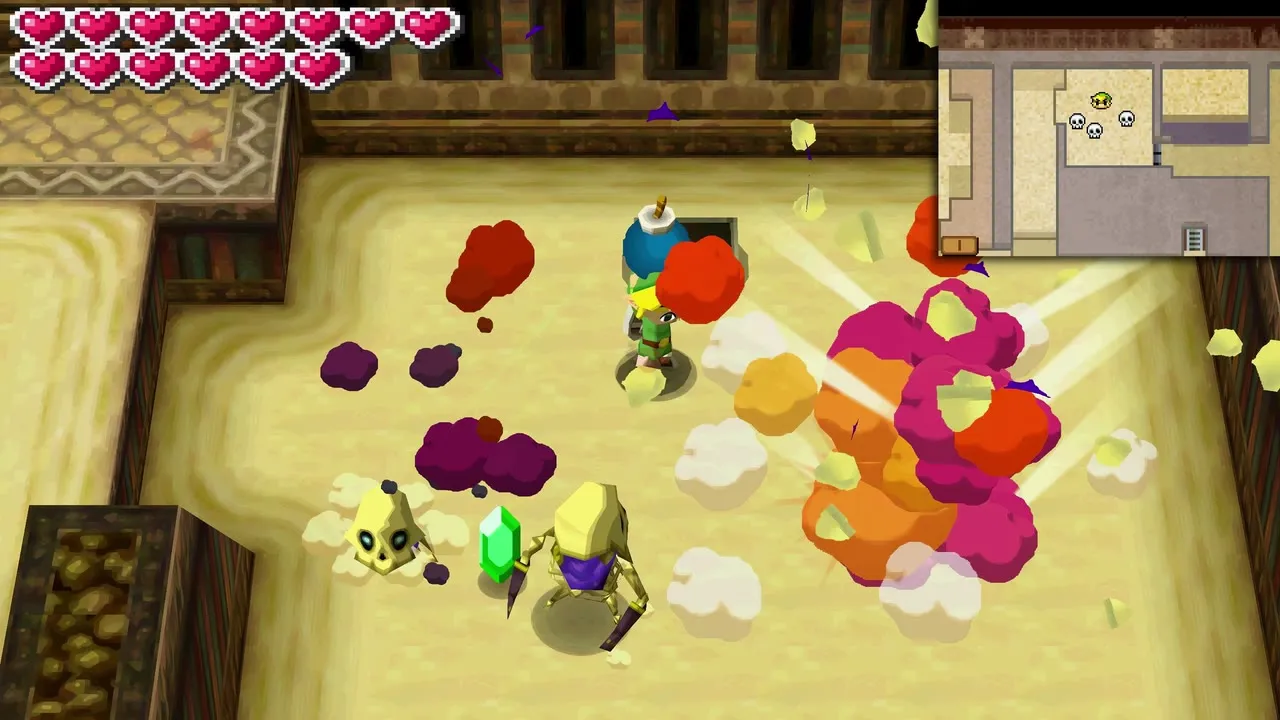
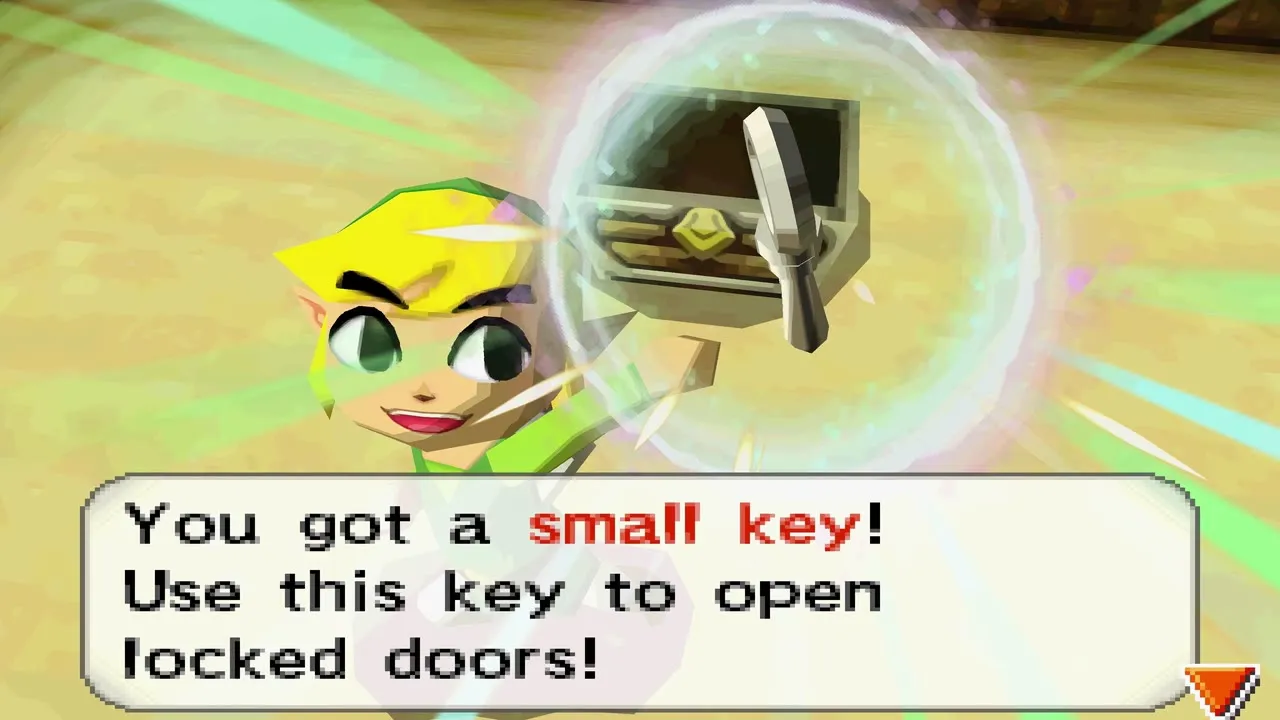
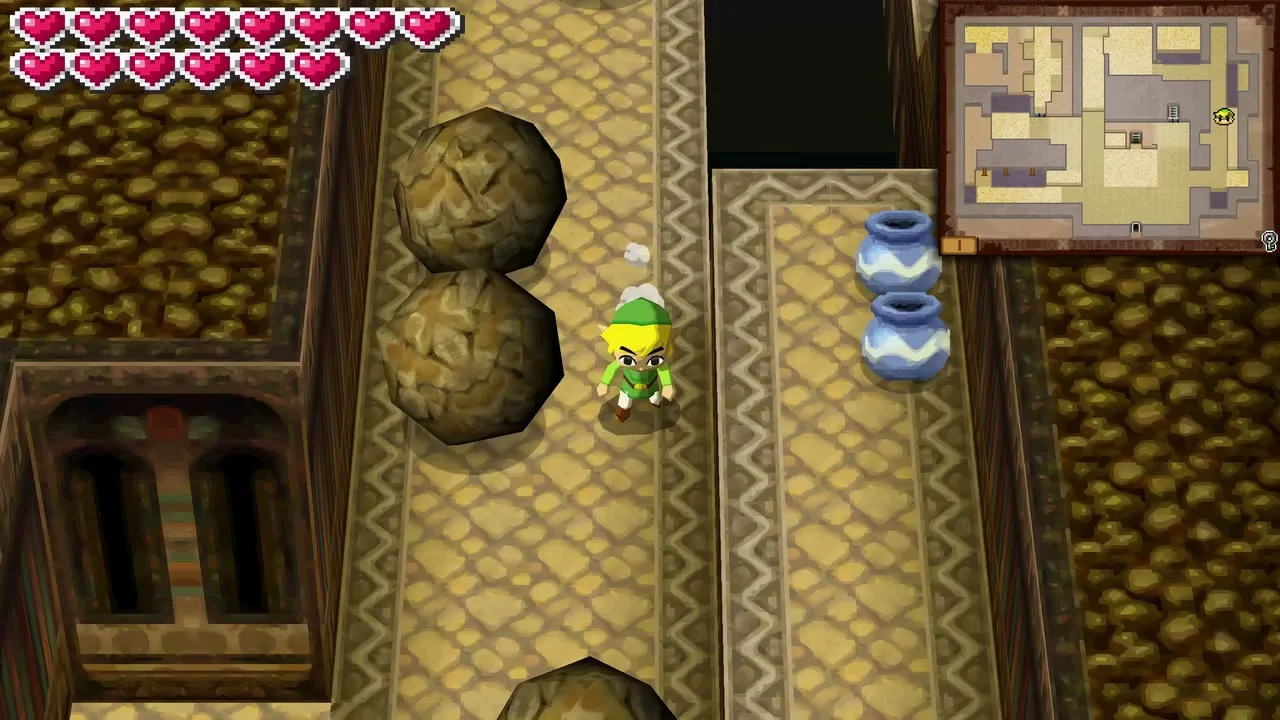
Head right up the hall of rolling boulders, weaving between them, and cross the blue tiles. An eye switch sits on the far side of the boulder lane: time an arrow between the boulders to hit it and a door on the left opens. A chest inside holds only a green rupee, but opening it releases a trio of Stalfos. They come back together if you leave them, so hit each one in turn without pausing; when all are down, a chest drops a small key. Take it back down the boulder hall to the locked door beside the north stairs and go up.
How to get the Sand Wand
Floor 2: the spiked bridge and the sand monsters
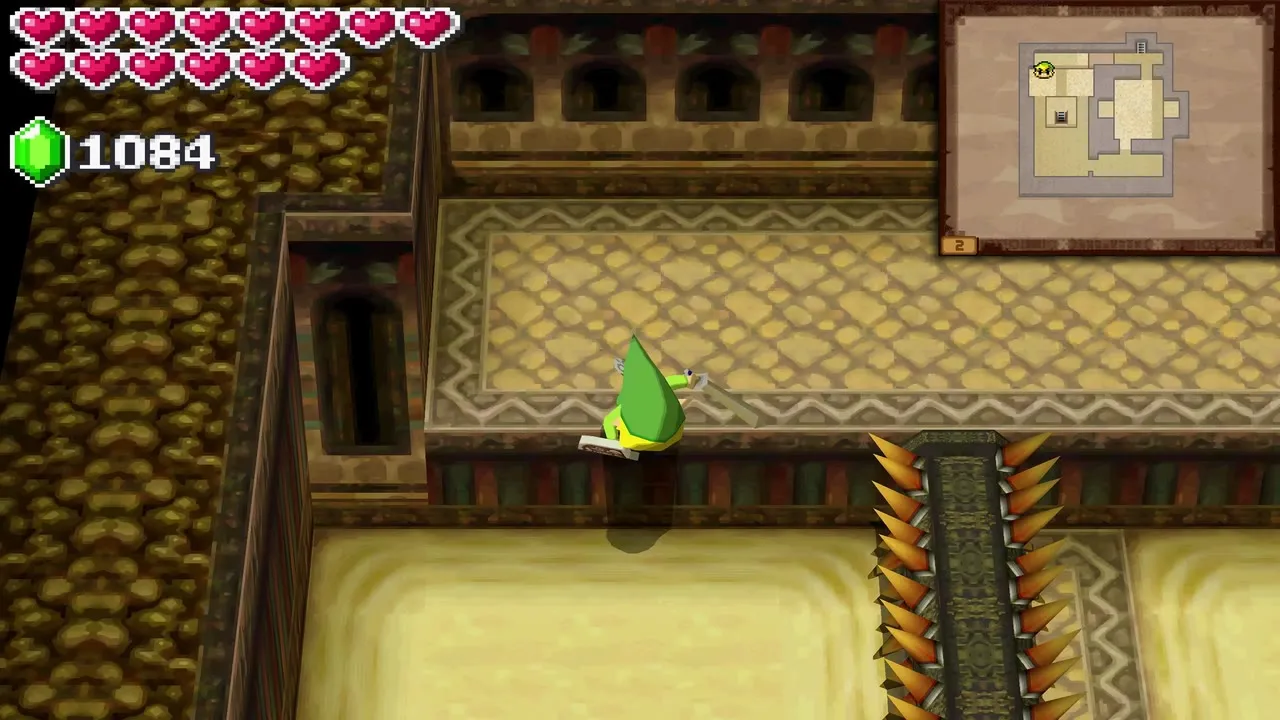
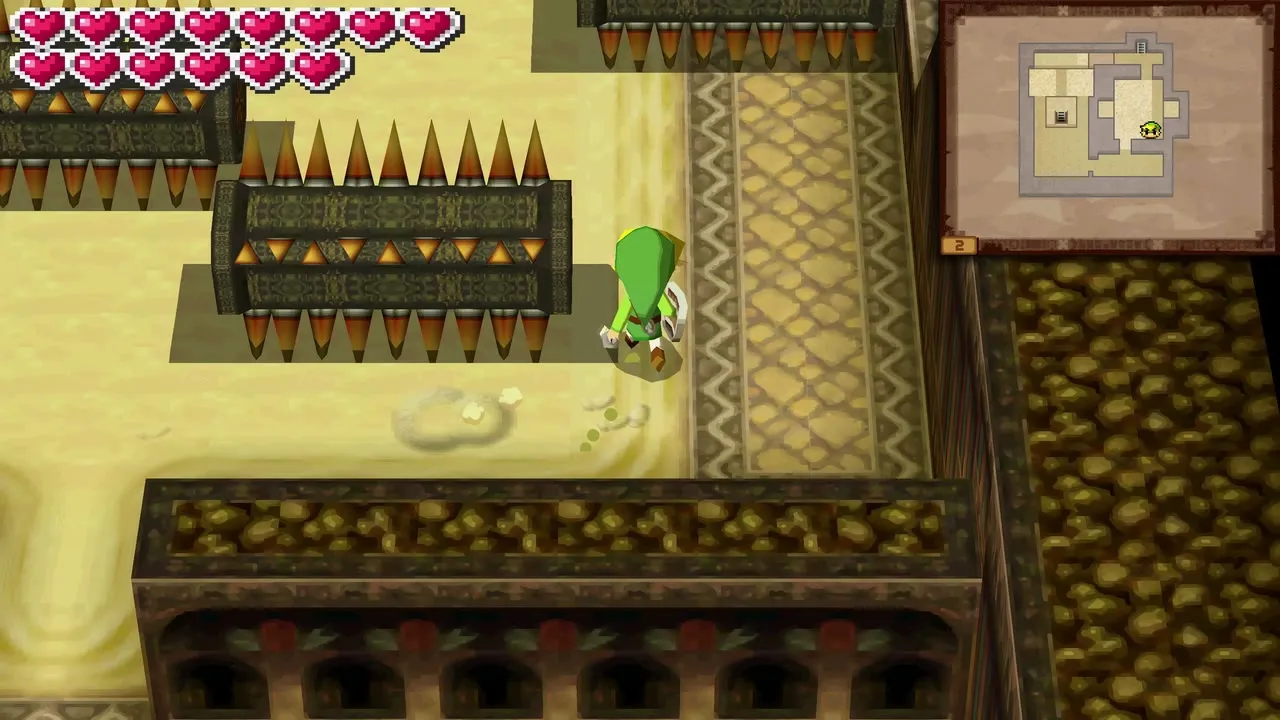
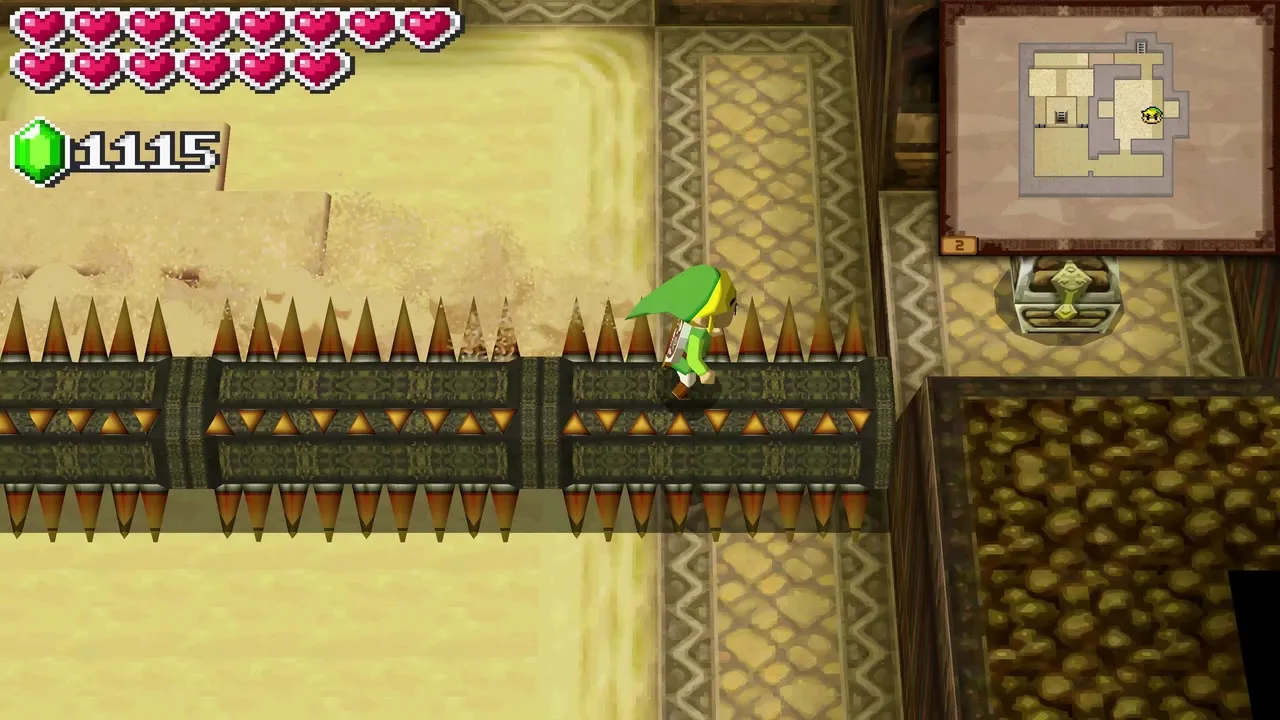
On the second floor, cross the spiked walkway to the north and drop off its right side. The lumpy sand creatures here are Gerune, and your sword does nothing to them yet, so go around them. Head east, then north past the rolling spike traps, and climb the stairs to the third floor.
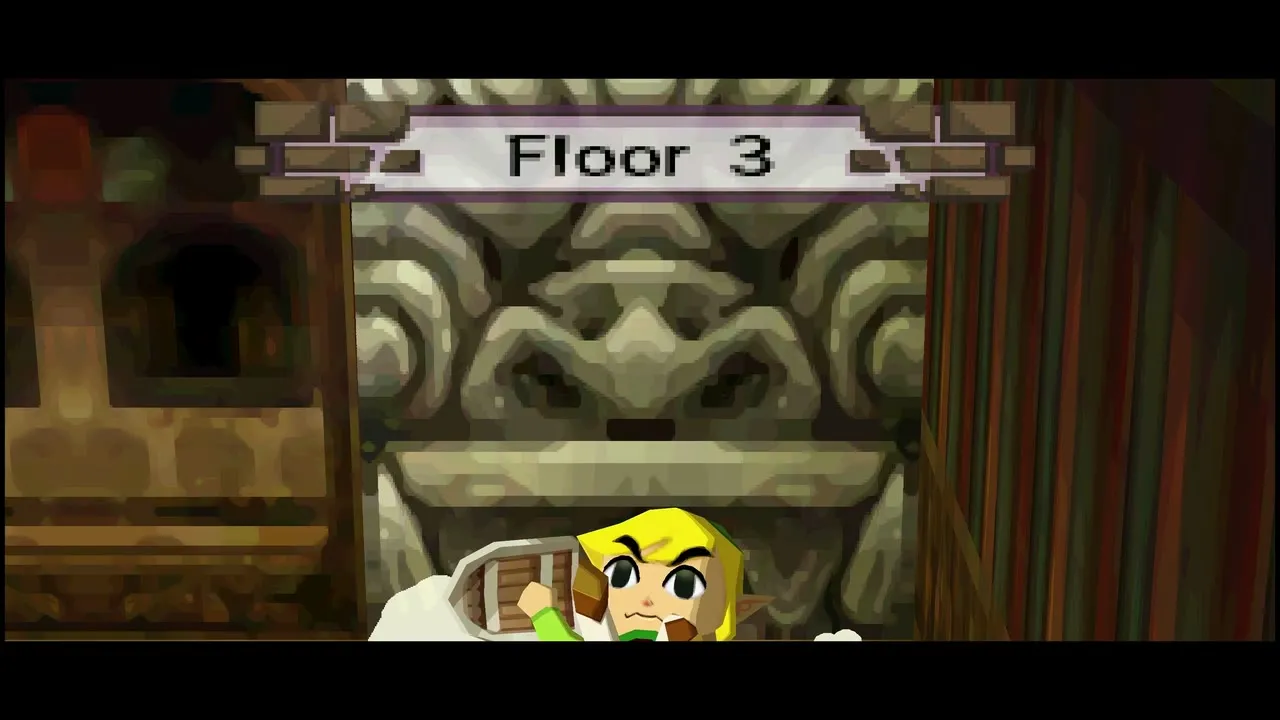
Floor 3: three Stalfos Warriors
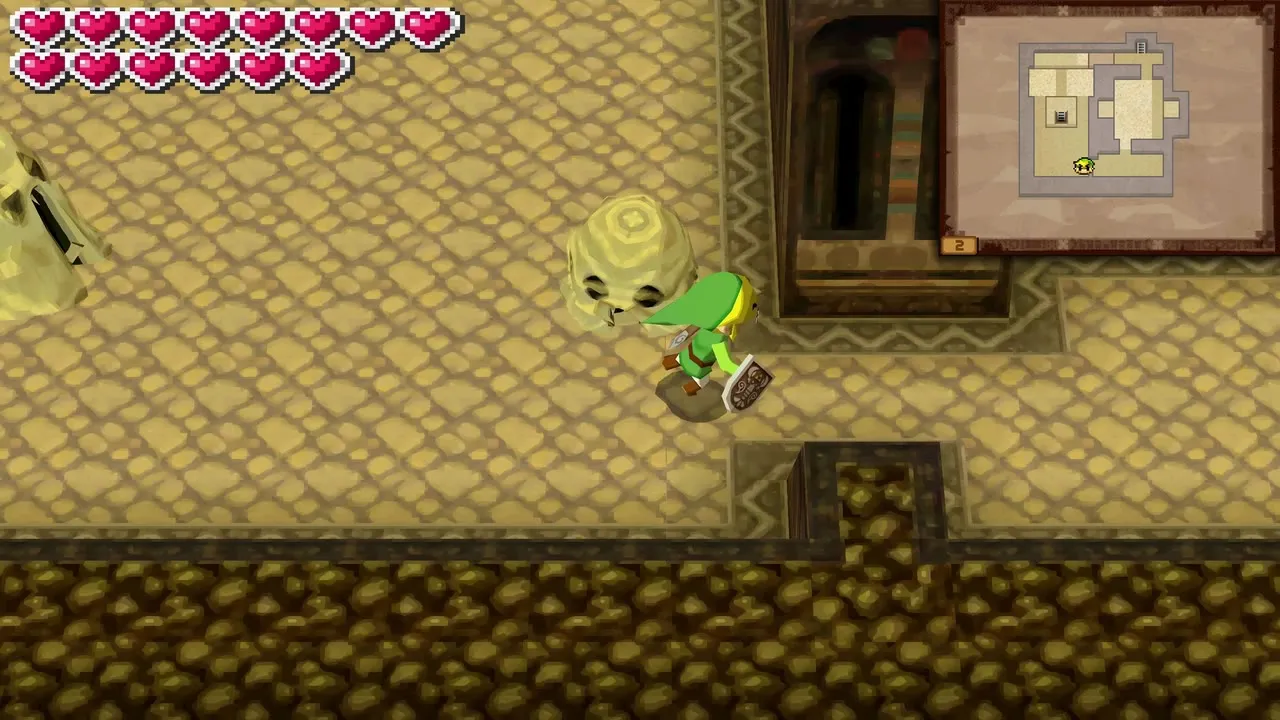
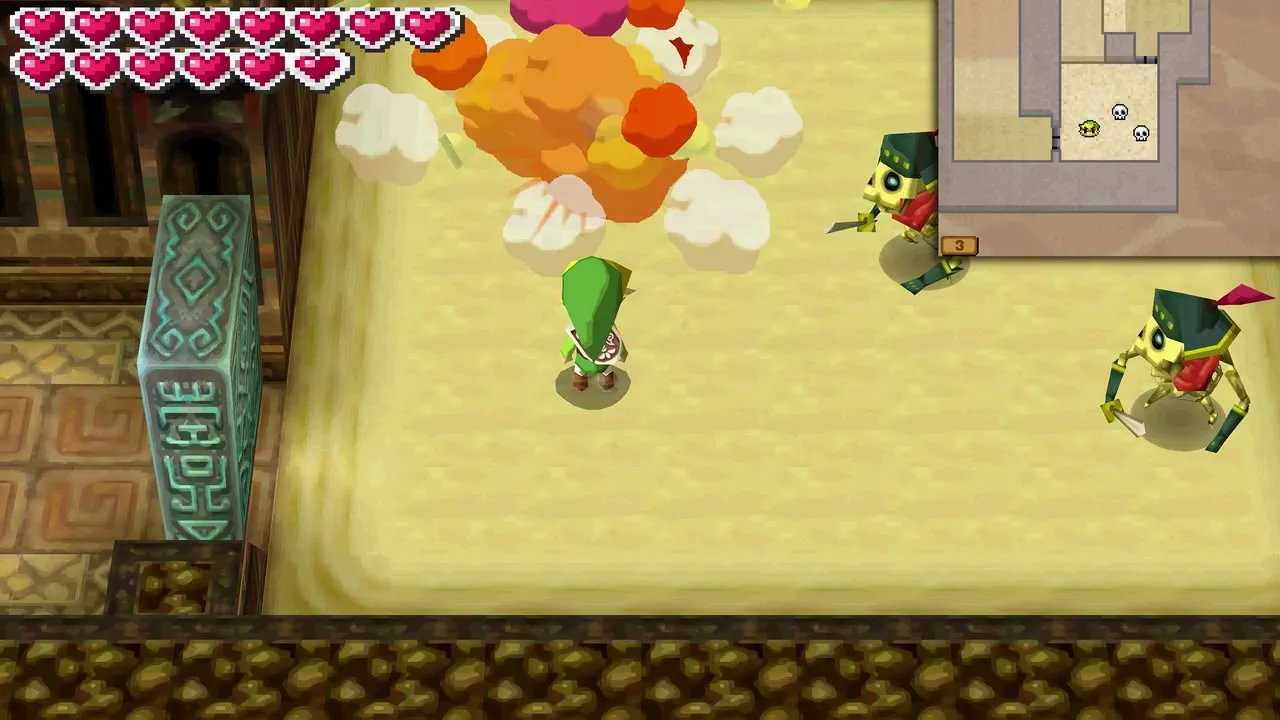
Three Stalfos Warriors guard the chest that holds the Sand Wand. Take them one at a time with side attacks and your shield up between swings, then open the chest. Tap any patch of sand on the touch screen to raise it into a wall. You can also raise yourself on a pillar of sand, which is how you climb onto the ledge to the left of the door and head back down.
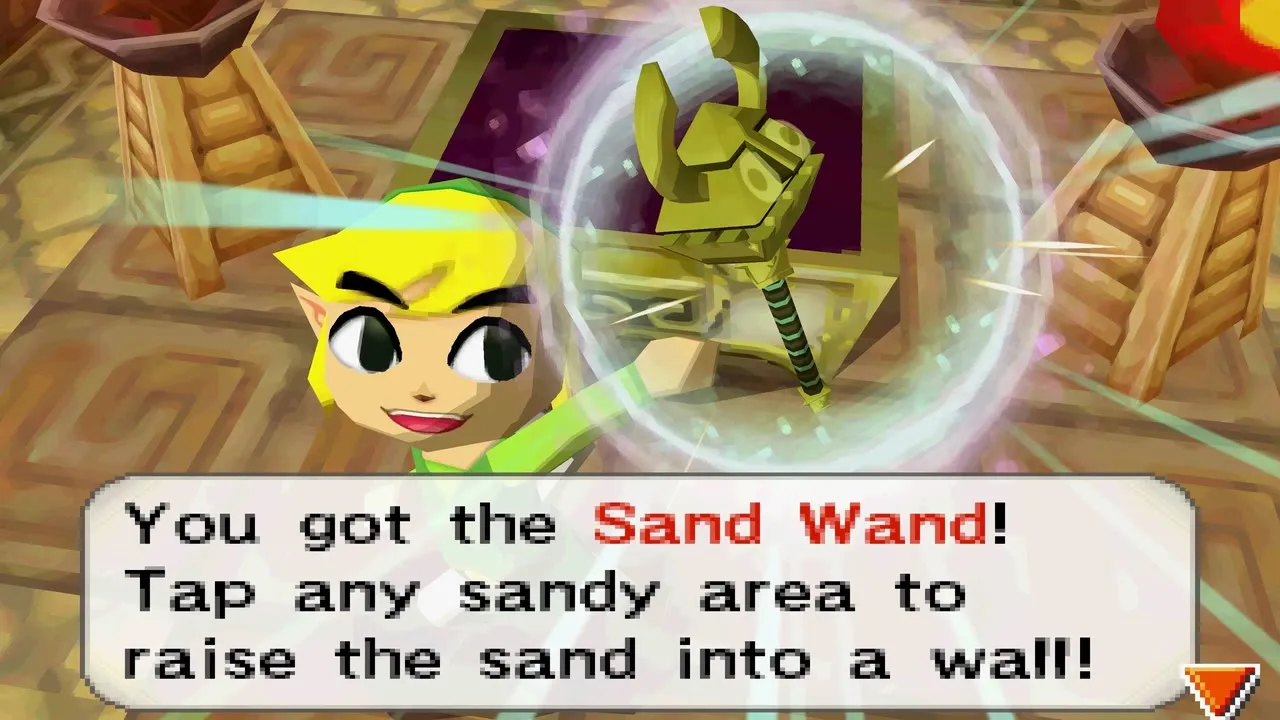
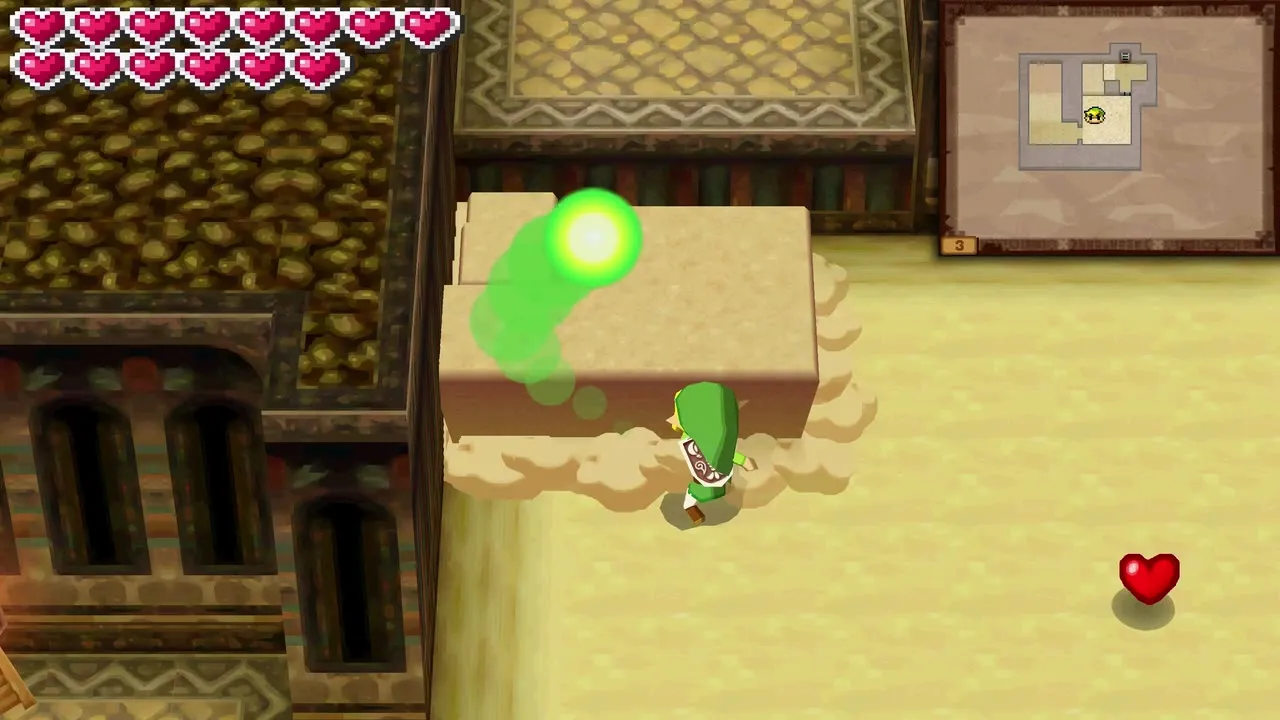
What the Sand Wand does
You will use the wand in three ways for the rest of the temple. A wall of sand stops a rolling spike trap or a boulder in its tracks, turning it into a bridge or a block you can push. Raising sand under a Gerune hardens it, which stuns it so that you can hit or throw it until it crumbles. And sand lets you step up to ledges and onto high switches.
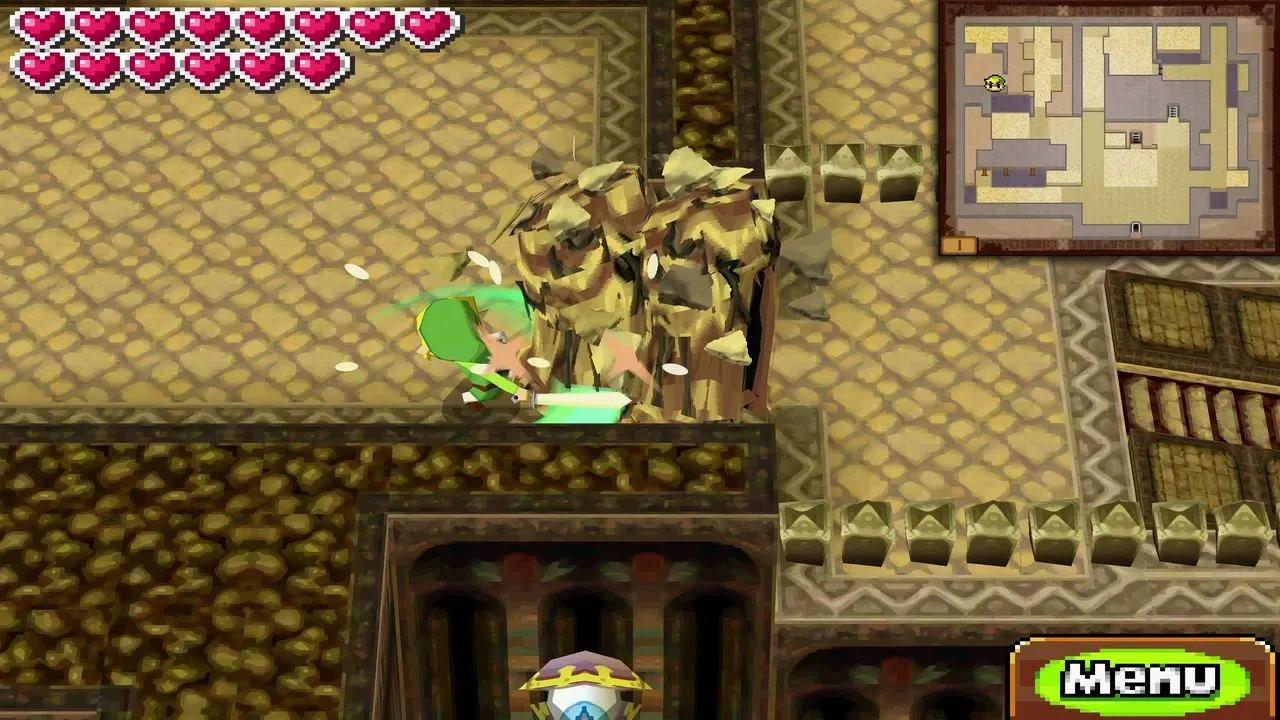
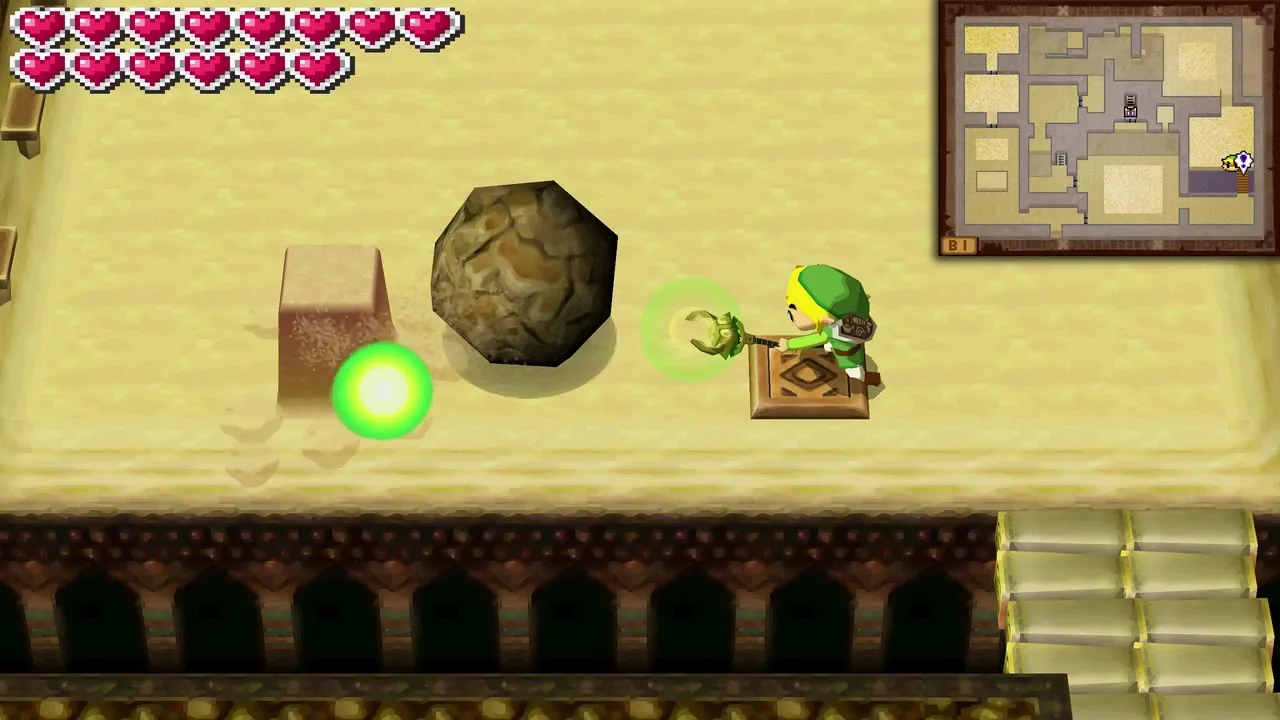
Sand Temple floors 2 and 1 with the wand
Floor 2: Mystic Jade and a red rupee
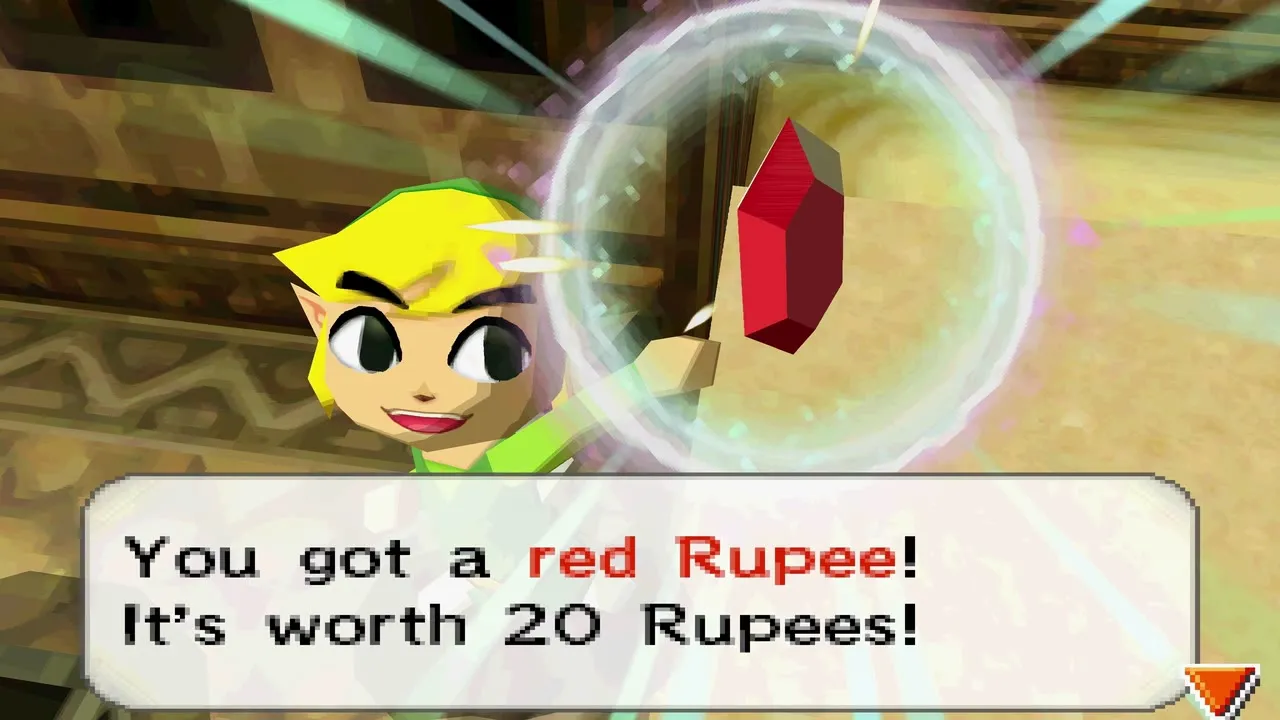
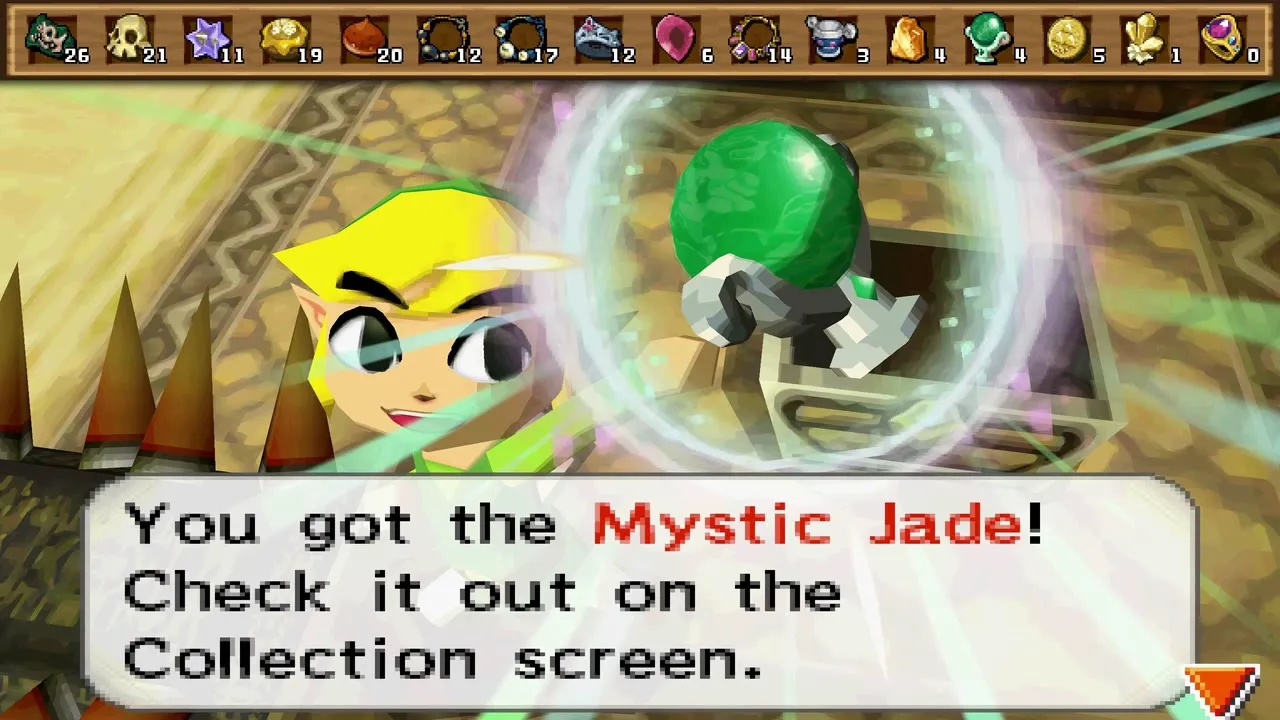
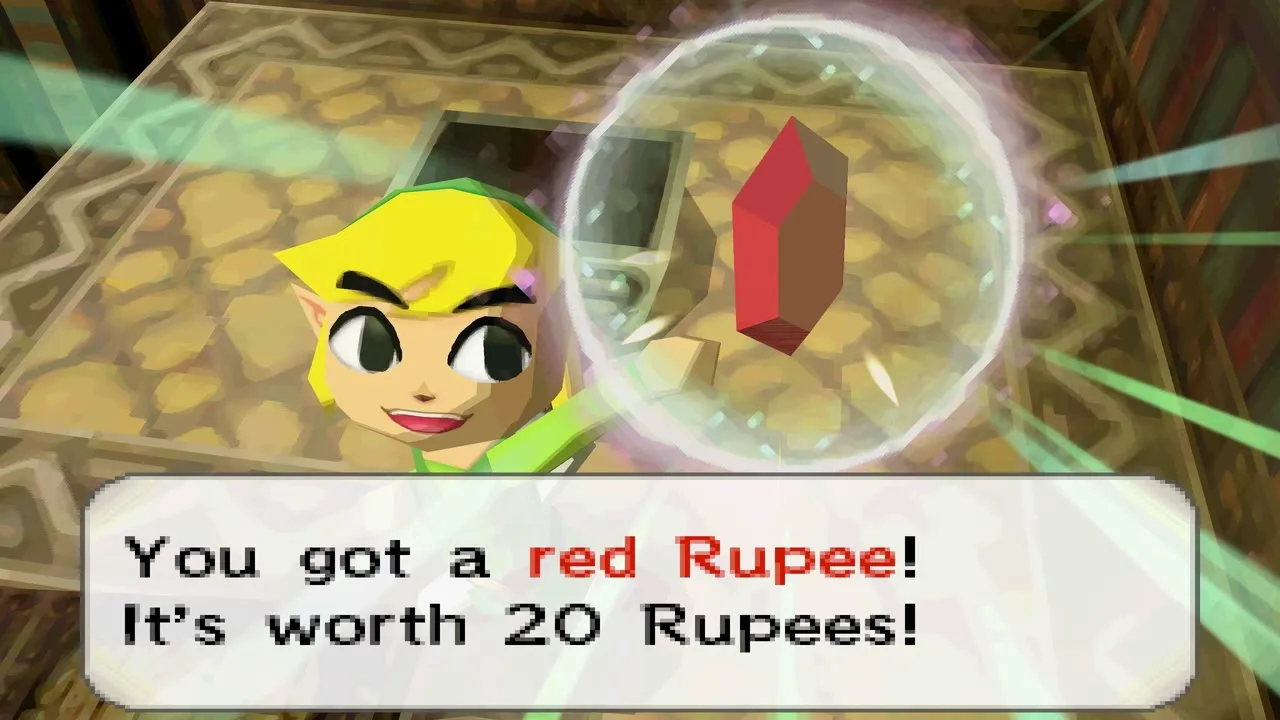
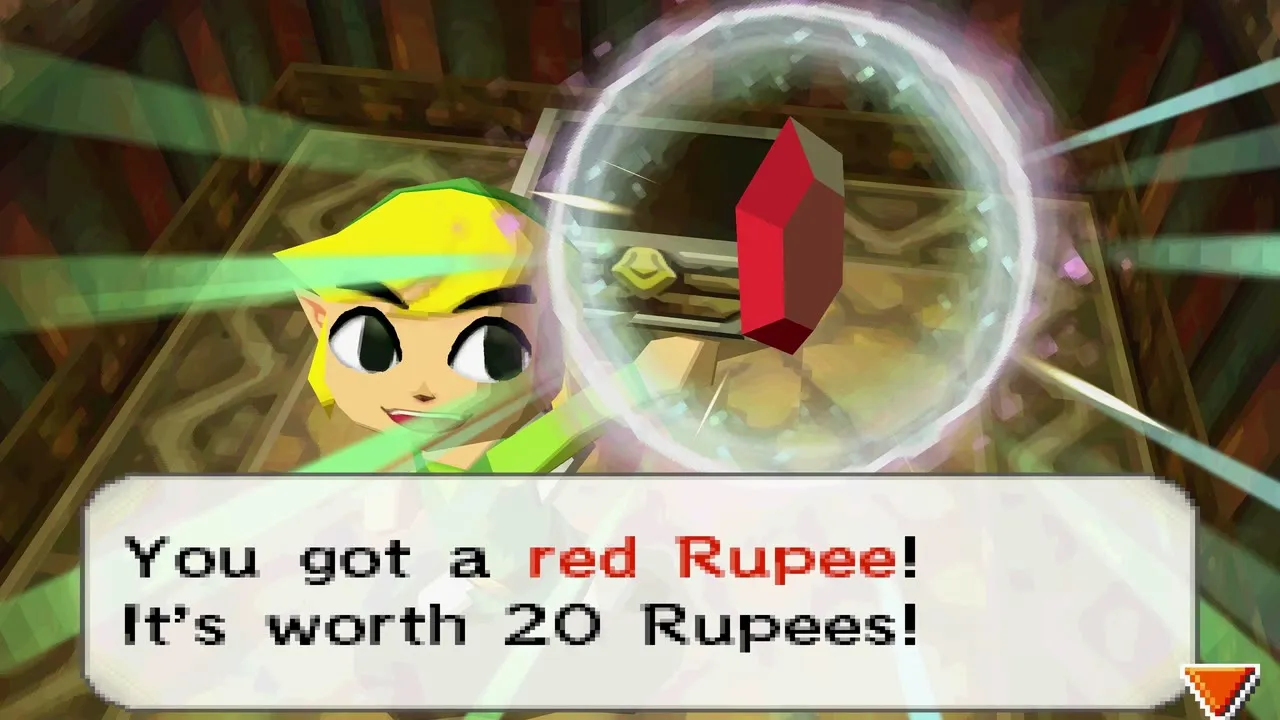
Walk back down to the second floor and use the wand on the rolling spike traps. Stop one in the middle of its run and it becomes a bridge: cross it to the ledge on the left for a red rupee worth 20, then hold the rightmost trap still and step over it to a chest on the right side. That chest holds a random treasure, such as a Mystic Jade (500 rupees). Harden the Gerune in the lower-left corner and smash them for the last bit of space, then raise yourself to the upper ledge and take the stairs back to the first floor.
Floor 1: Dragon Scale and Star Fragment
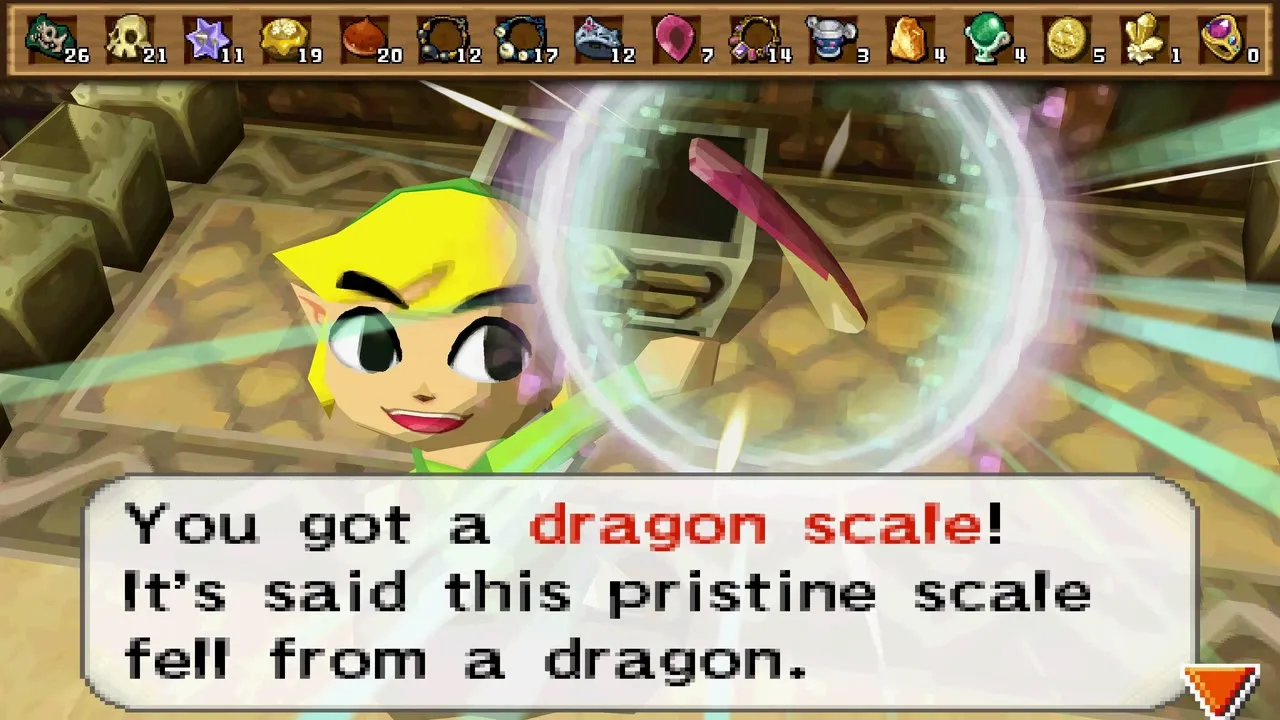
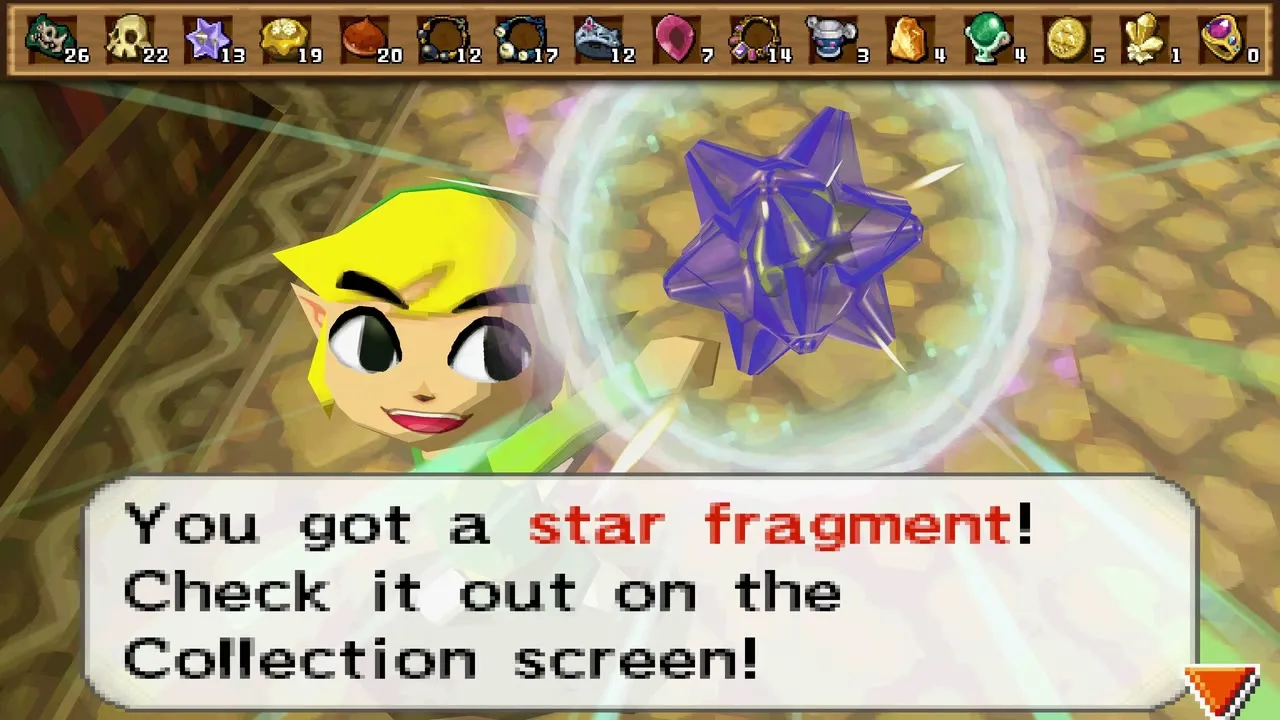
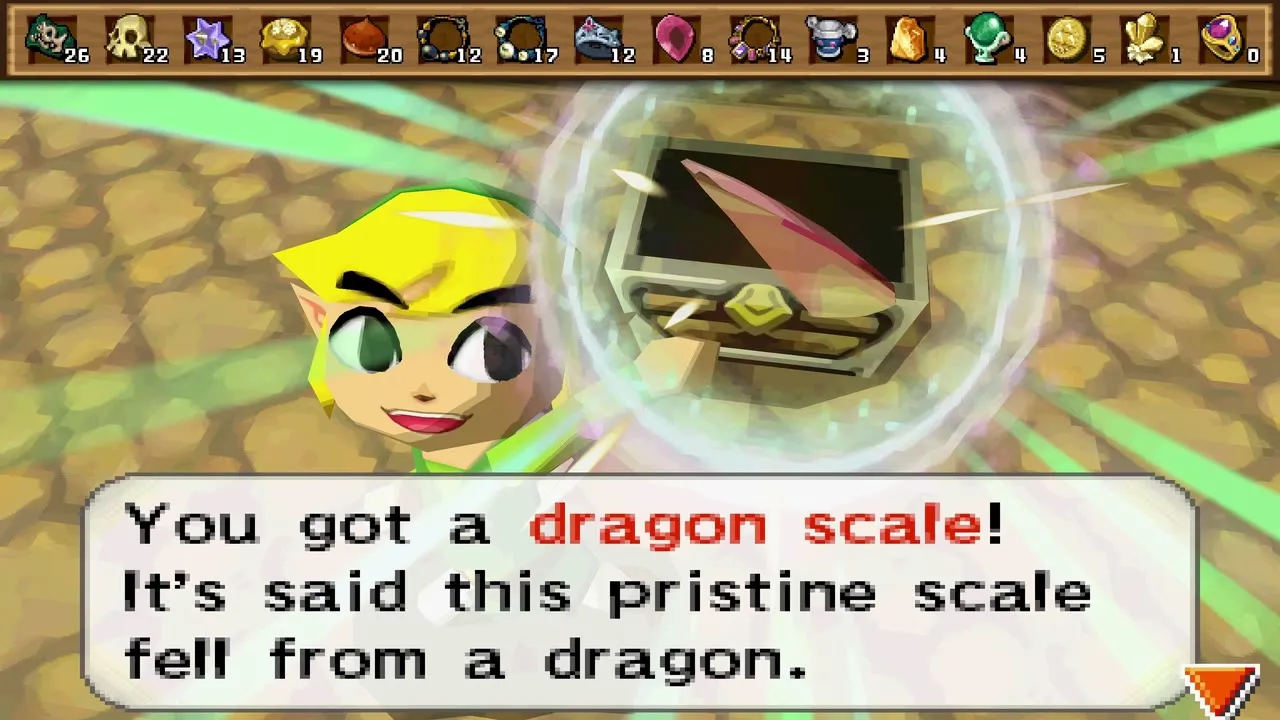
Back on the first floor the wand opens up the rooms you walked past. Raise a pillar of sand to reach the treasure chest in the middle room, left of the stairs that a stone slab is blocking, and open it for a random treasure, such as a Dragon Scale. Slide the boulders off the eye switch at the top of that room, hit the switch, then harden and crush the Gerune that appear to uncover a chest with another 20 rupees. Farther along, another chest in the central pillar room holds another random treasure, such as a Star Fragment. Push the rolling objects off the ledges in the lower left, whip across to the right and climb the stairs.

The buried small key
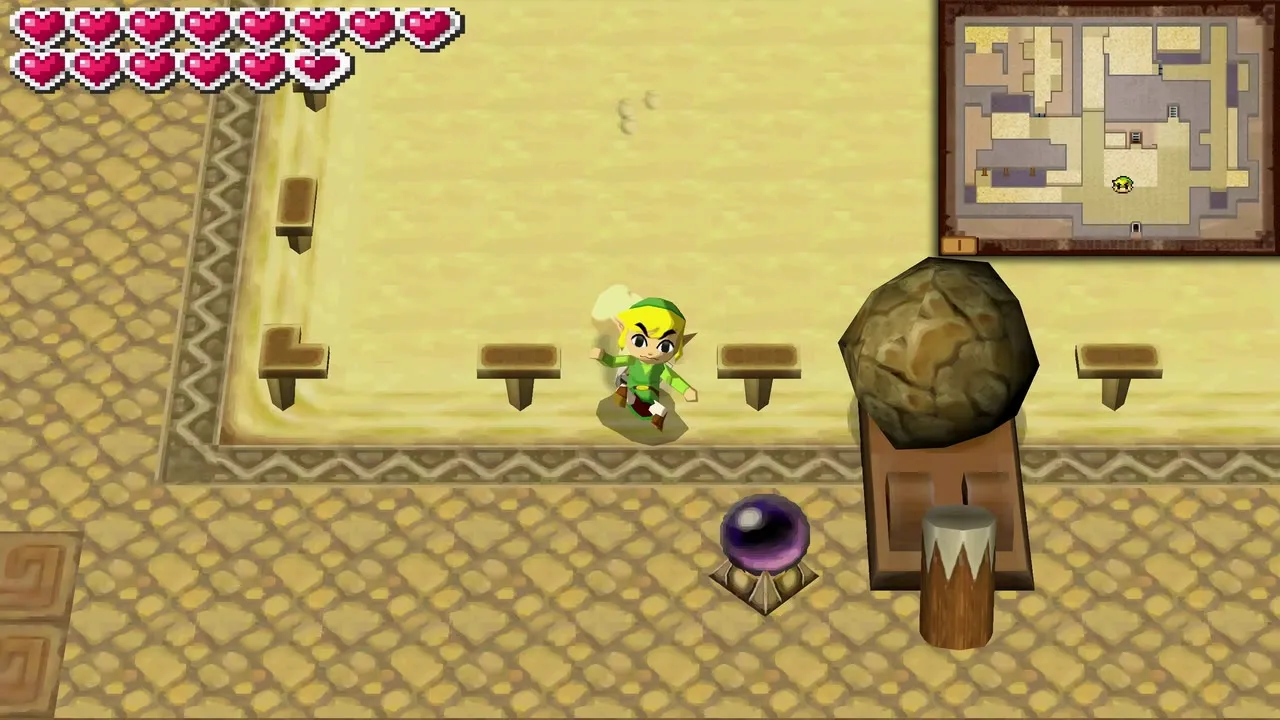
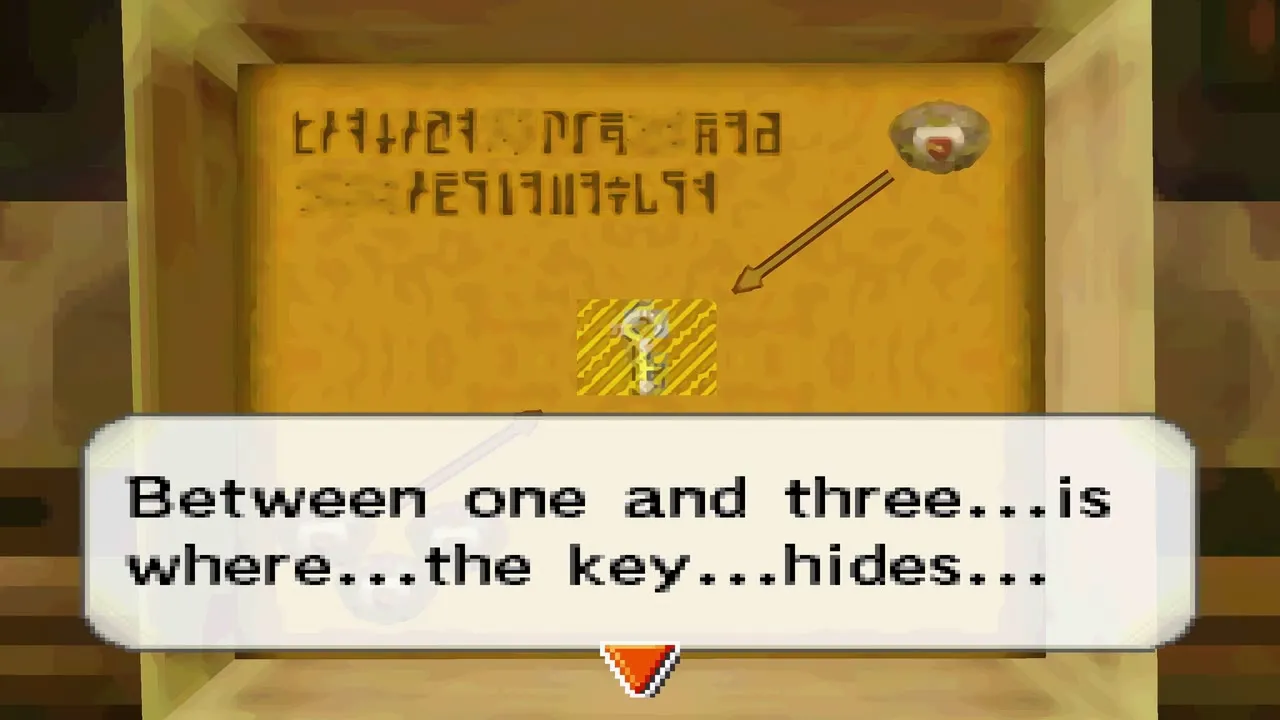
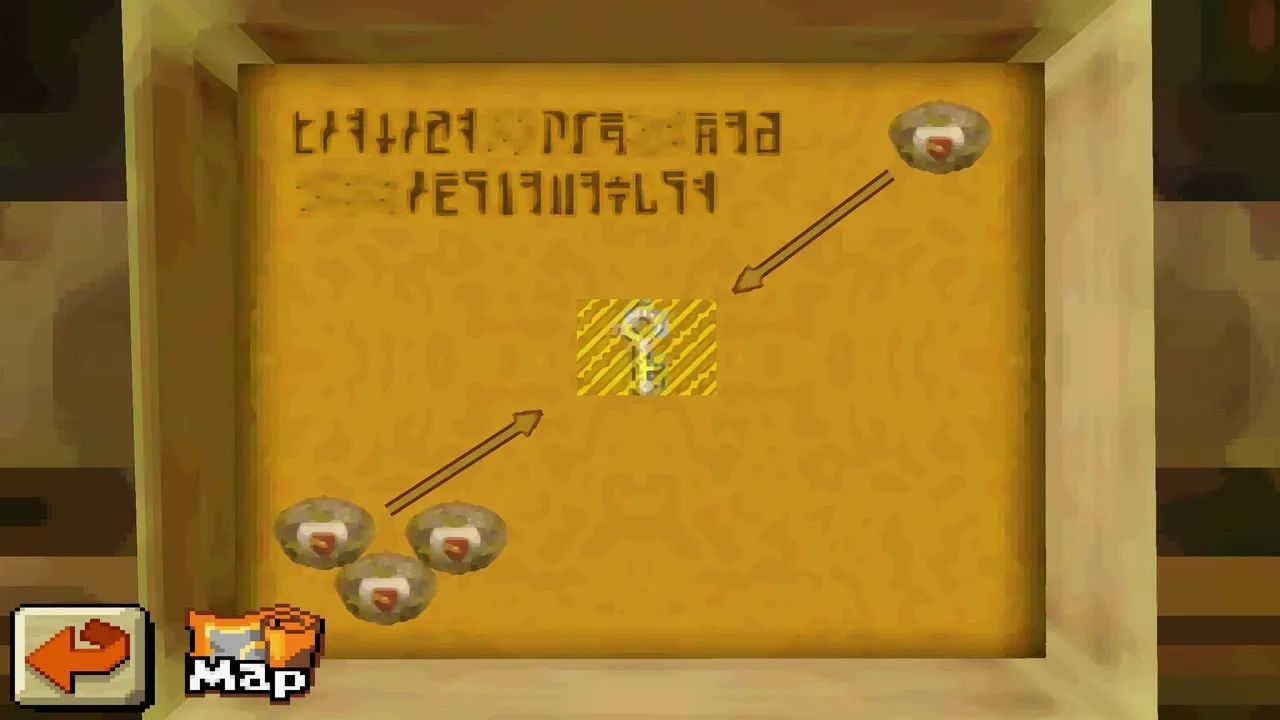
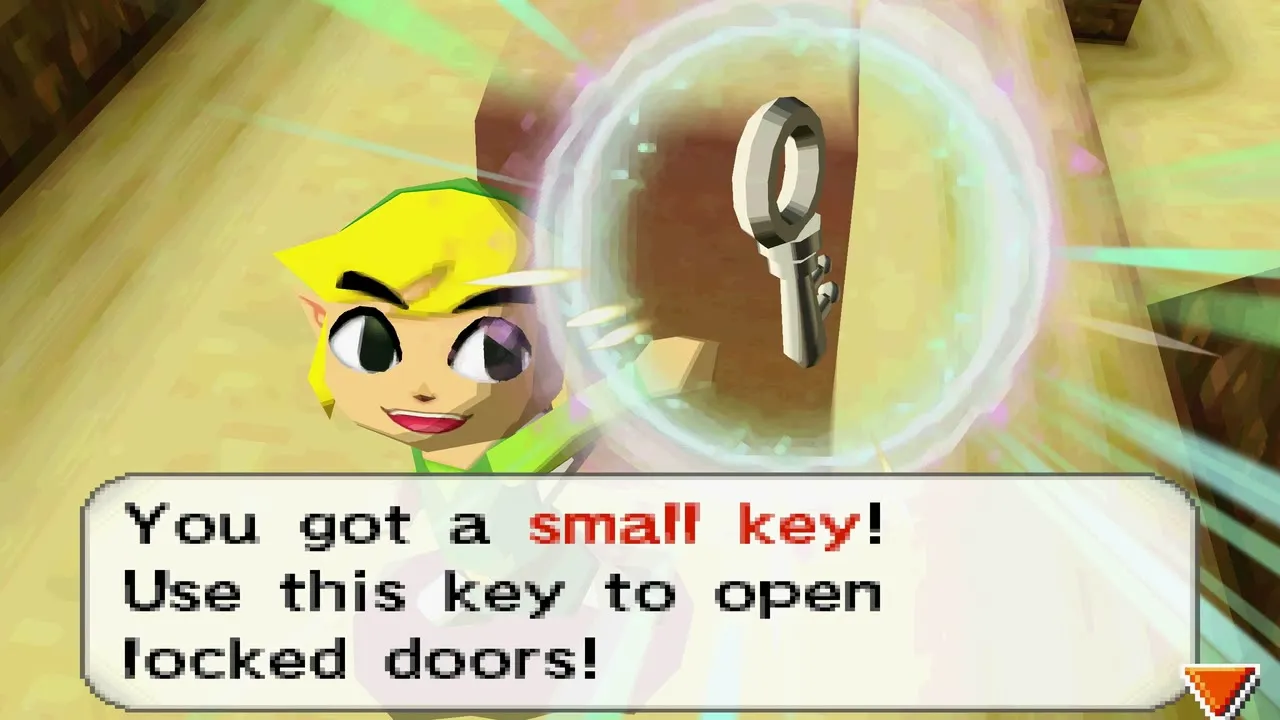
A stone plaque in the long room reads that the key hides between one and three. The picture on its right shows three eyes on one side and a single eye on the other, with the key on a line between them. The sand hallway in the upper middle of the floor is where that line runs: get up onto the left ledge by timing the boulders, then raise and lower sand along the hallway, a little above its midpoint, until the second small key pops out. Take it down to the basement.
Sand Temple basement 1: stamp and Boss Key
Crossing the quicksand and the stamp station
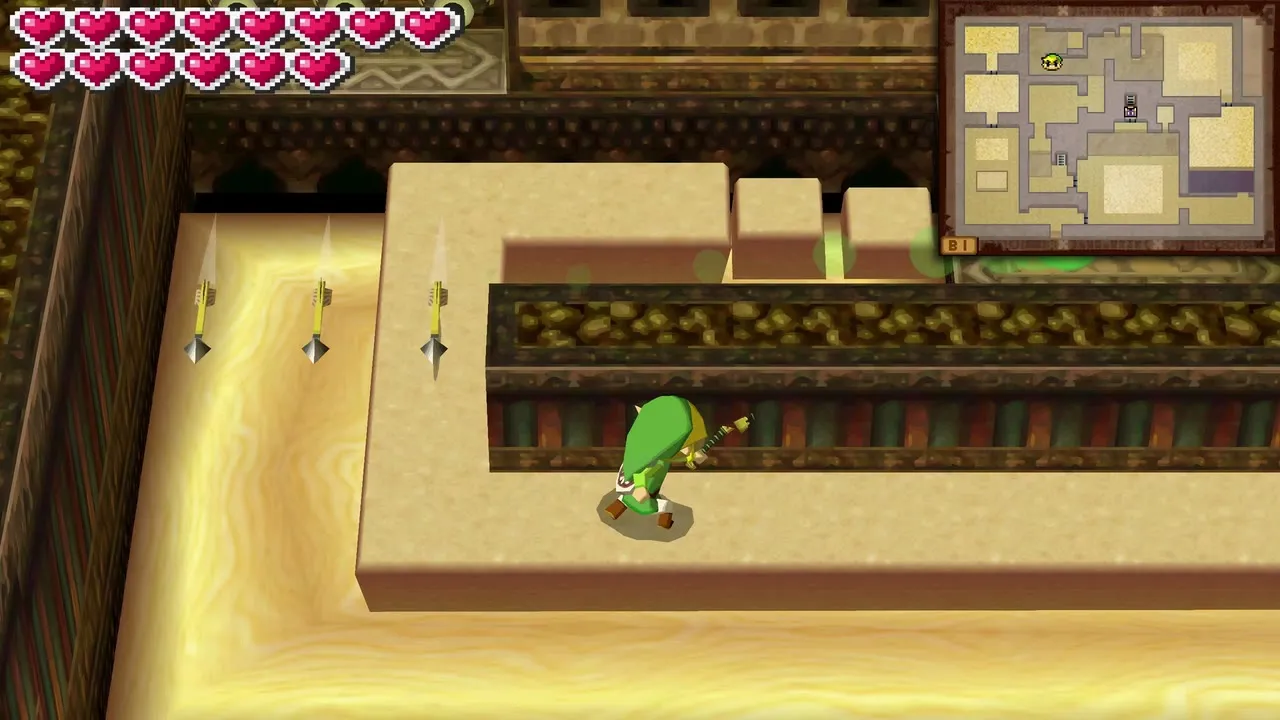
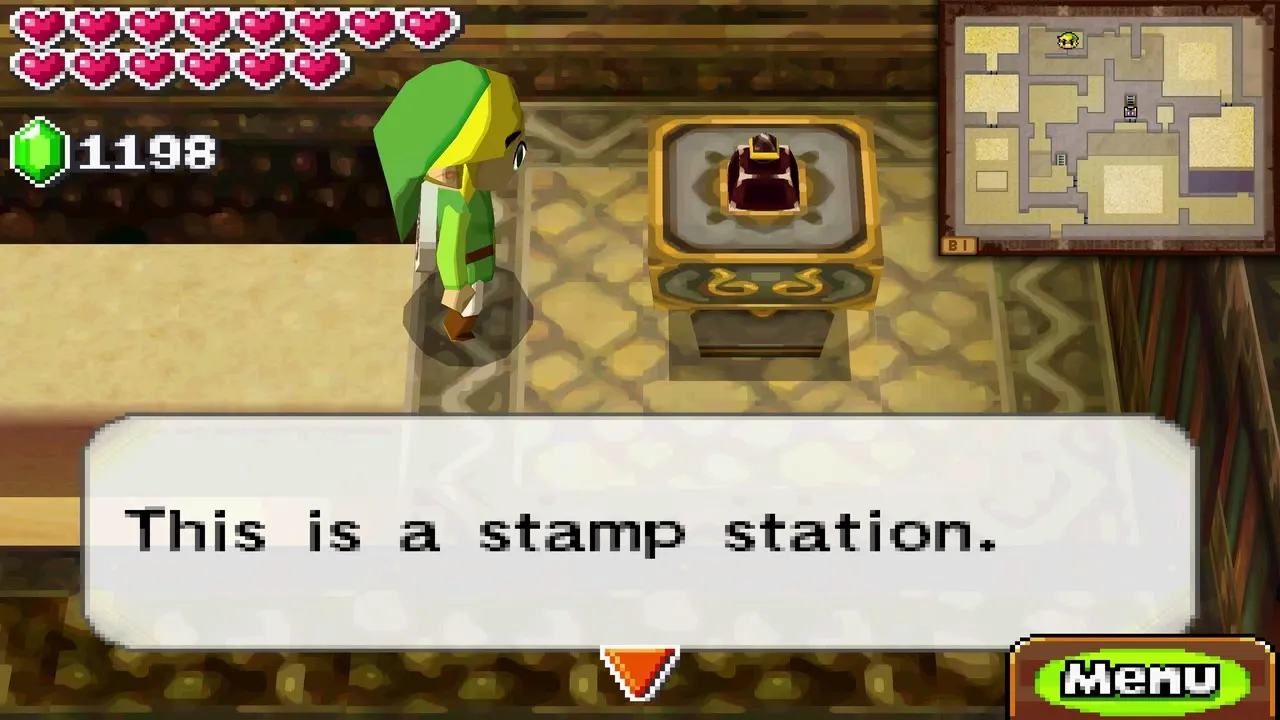
Use the stairs in the middle room (after rolling the big boulder onto the wooden hammer plate and hitting the crystal switch to break the cracked wall). On the basement level, lay a path of sand across the quicksand and open the locked door with your key. Harden two Gerune and push them onto the two floor switches to open the right-hand door. The temple’s stamp station is on the left side: cross the quicksand with sand, hold your shield up against the arrows from the wall shooters, and stamp your Stamp Book. Then run back past the arrow shooters to the ledge in the upper right.
Crystal blocks and rolling boulders
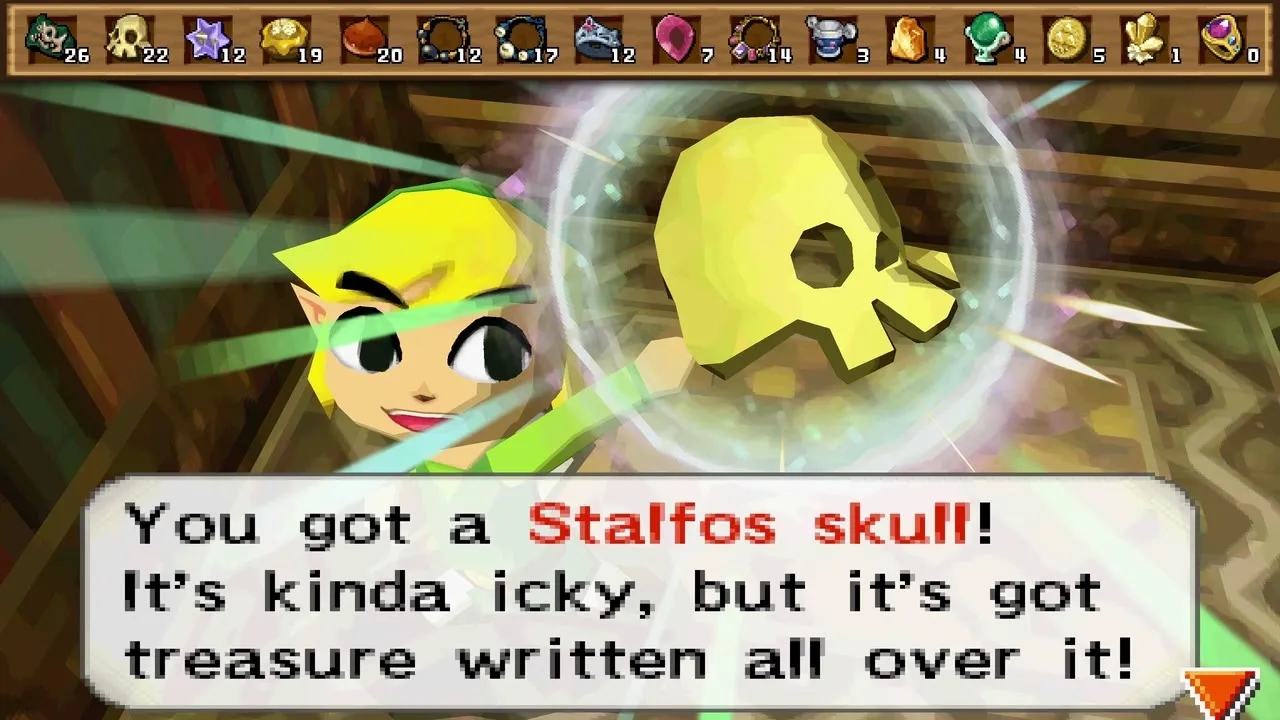
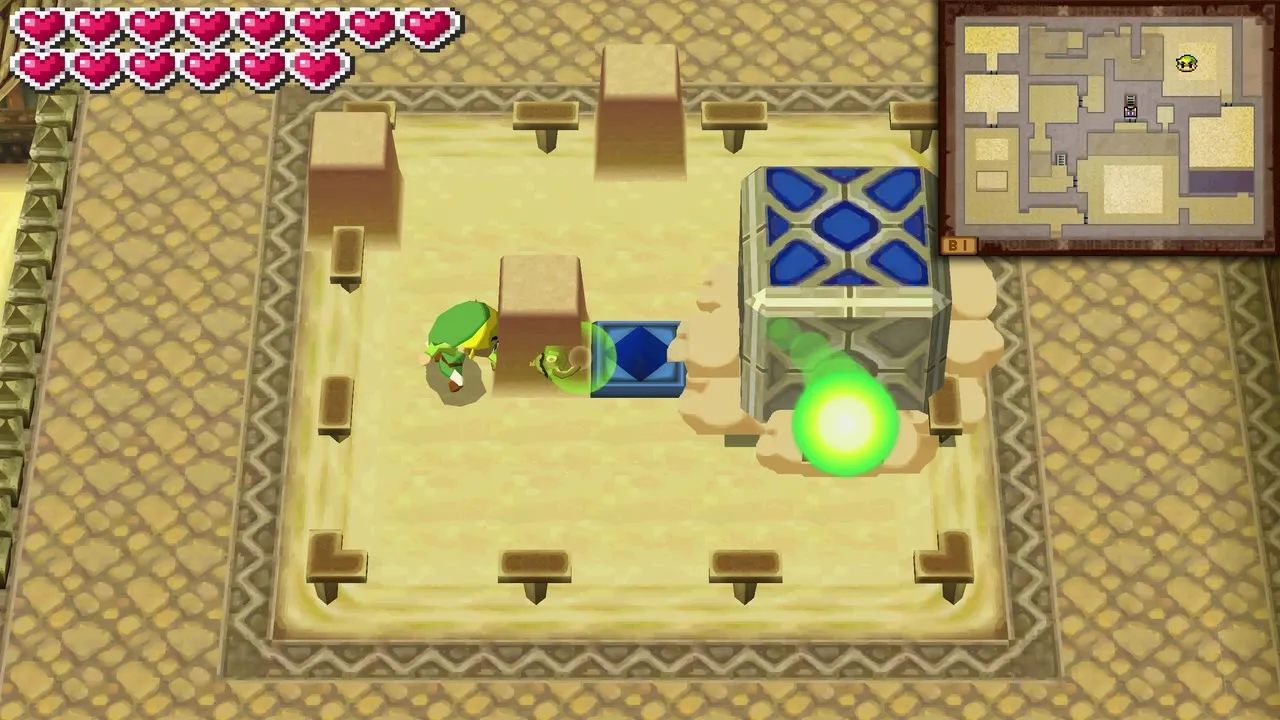
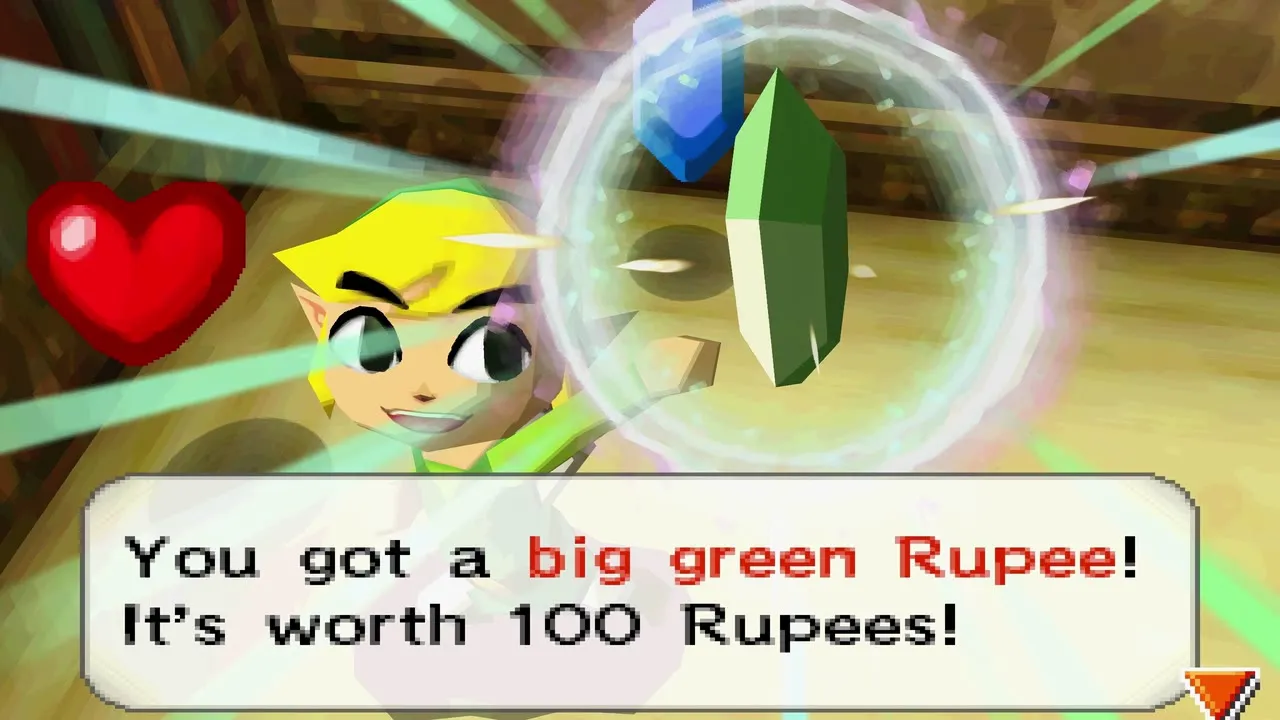
The basement is a string of block puzzles. Roll the blue-crystal block right, down, right, up, left and down so that it drops into the blue hole and the door opens. Further on, stop a boulder with sand, roll it onto the hammer plate, stand on the switch to raise a bridge, and shoot the crystal switch with an arrow to crack the next slab. Chests here hold random treasures, such as a Stalfos Skull, along with a red rupee and a big green rupee worth 100. Stalfos appear in a few rooms; kill them quickly so that a hidden chest appears.

How to find the Boss Key
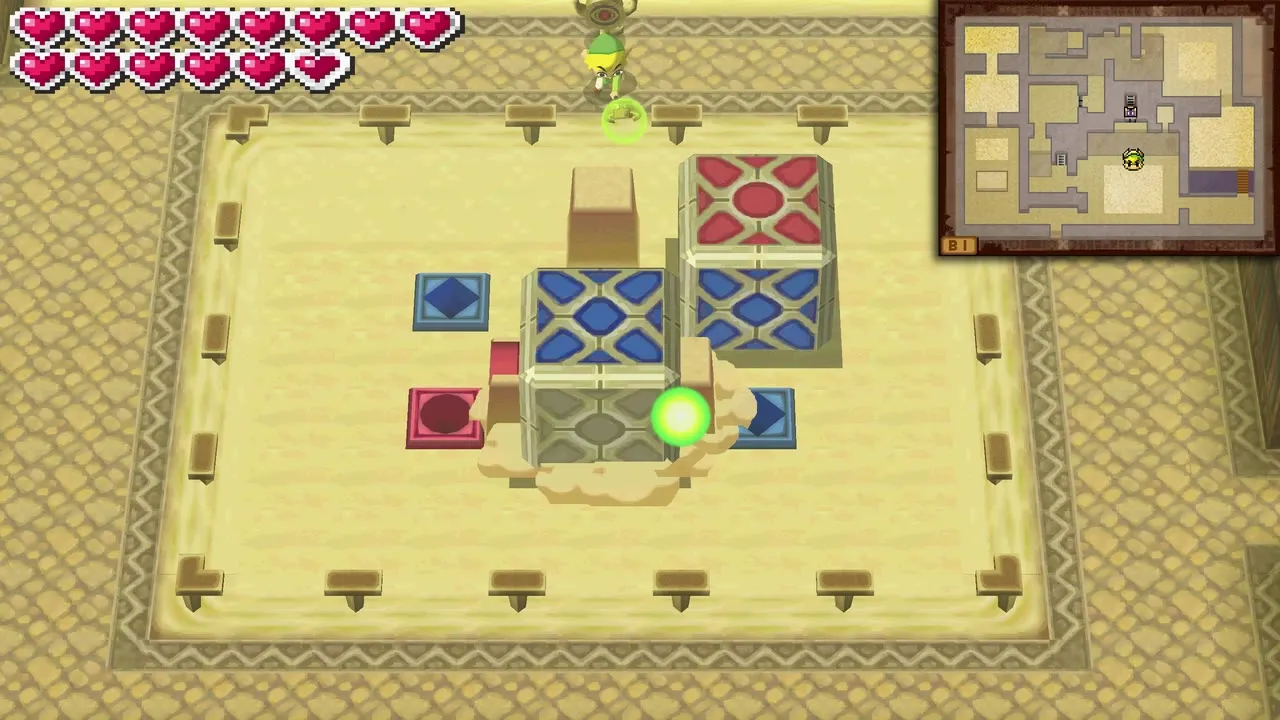
Take the bottom-left door, hide in the gap while the rolling spike trap passes, and defeat the Stalfos to reveal a chest. Hold the lower trap in place with sand, ride it up with a pillar of sand, step on the switch and go through the next door. Raise and smash the Gerune, then go through the upper door and raise the sand to find hidden rupees. The Boss Key lies in the upper-right area. Carry it back to the central area, set it down, and place both red crystal blocks in their slots: send the rightmost block down, left, up twice and right, then the leftmost block left, up, right, down, right, down and left. Build a sand bridge, carry the Boss Key to the large lock and take the stairs to Basement 2.

Skeldritch boss fight
Entering the arena
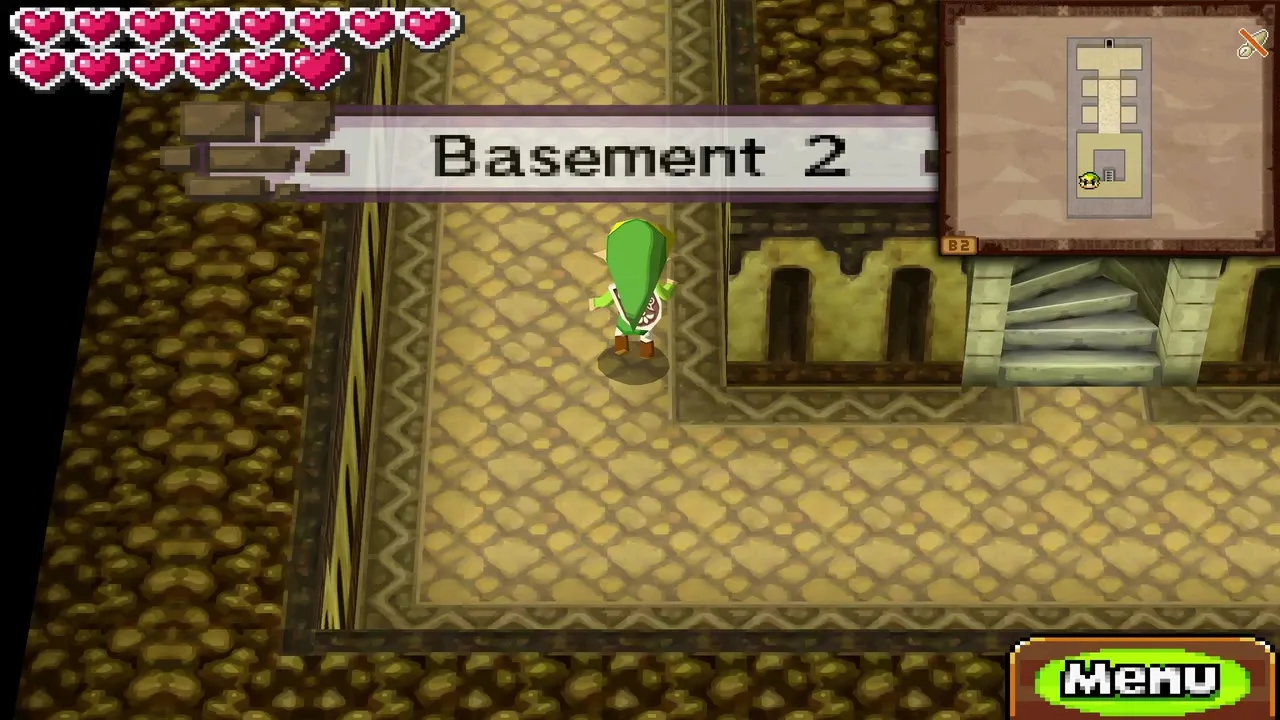
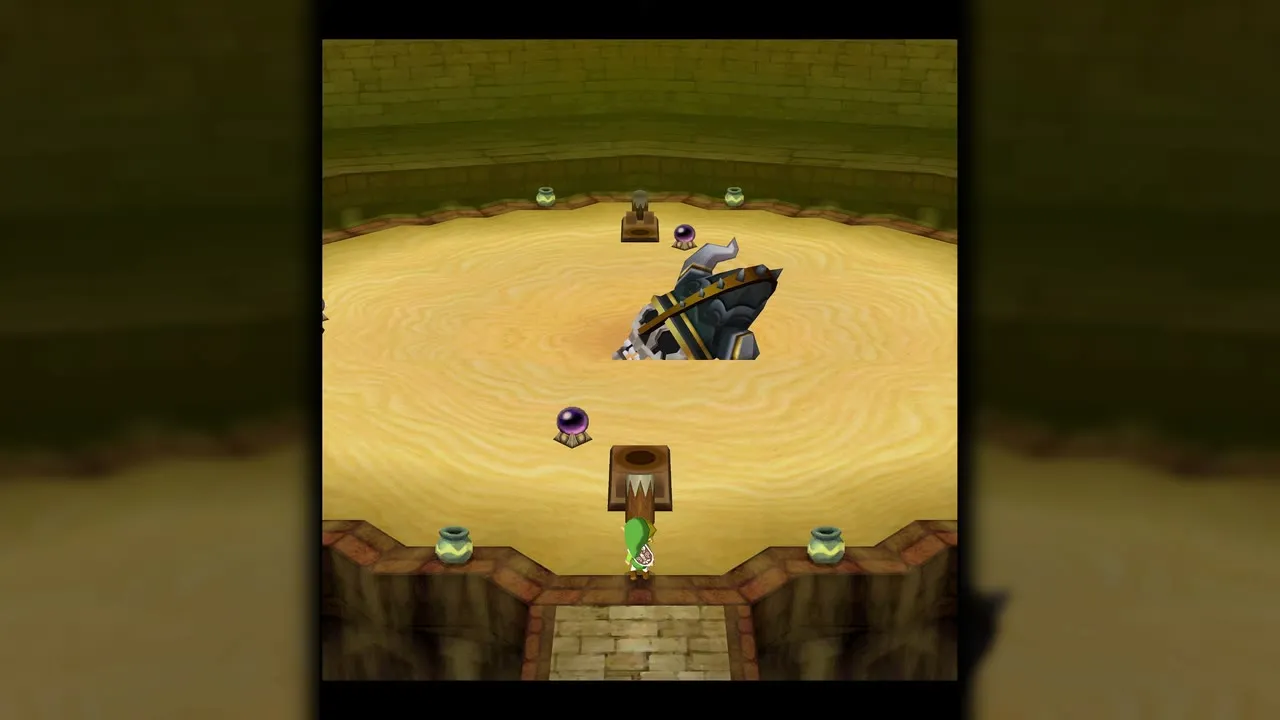
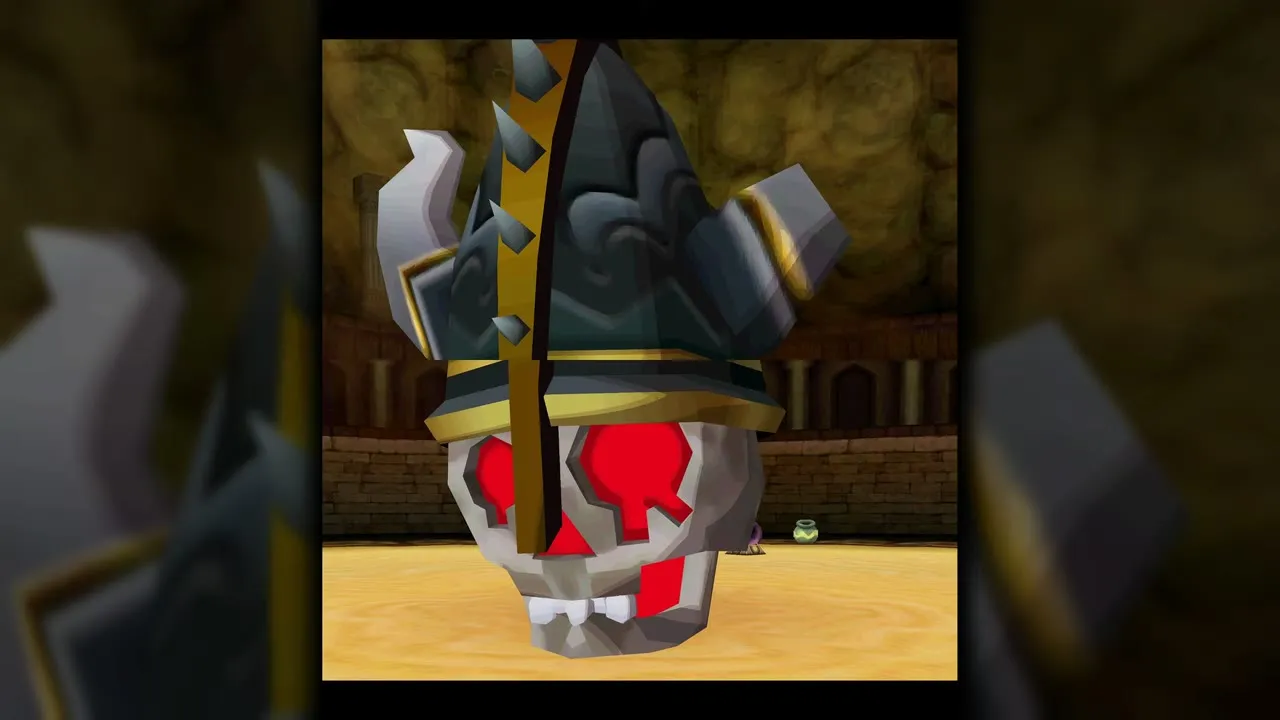
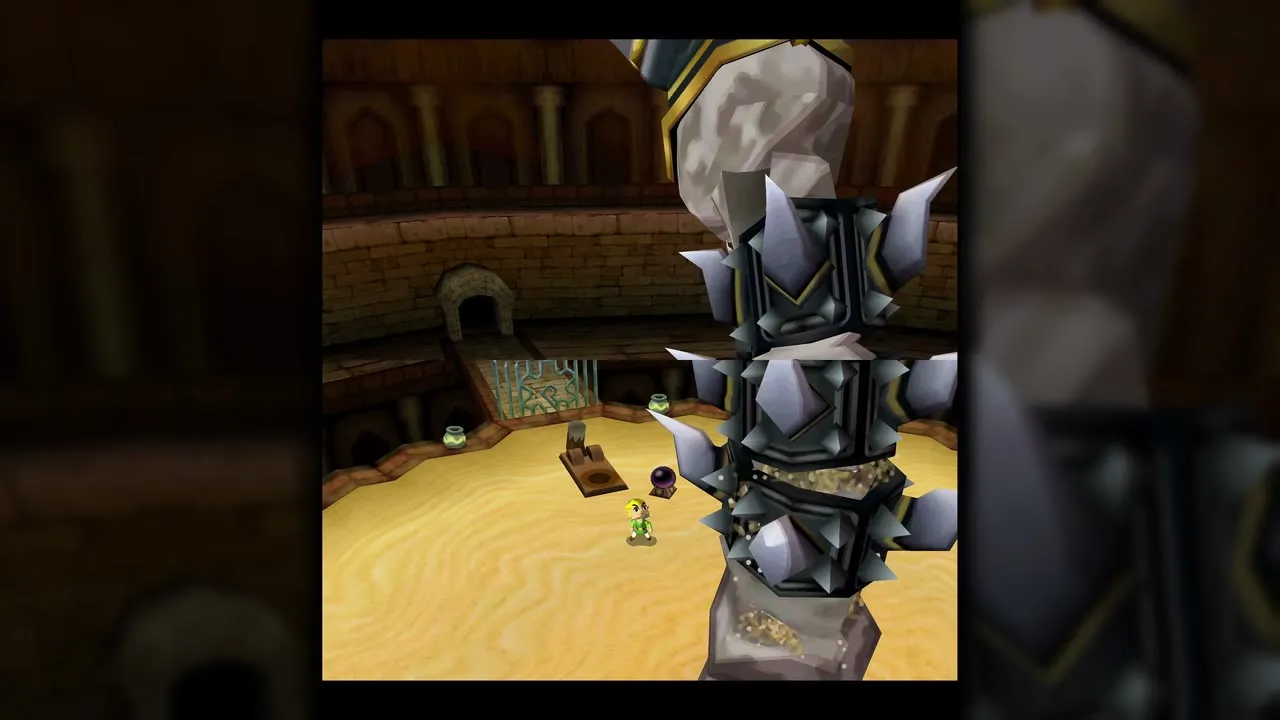
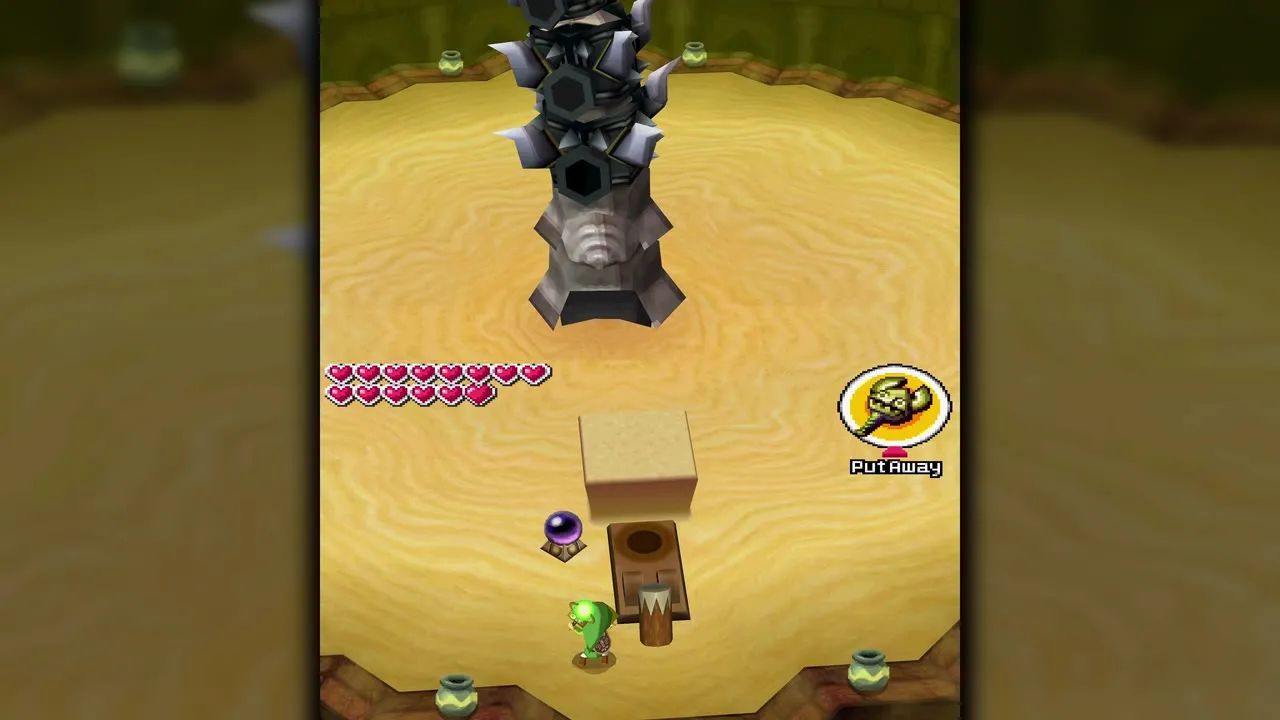
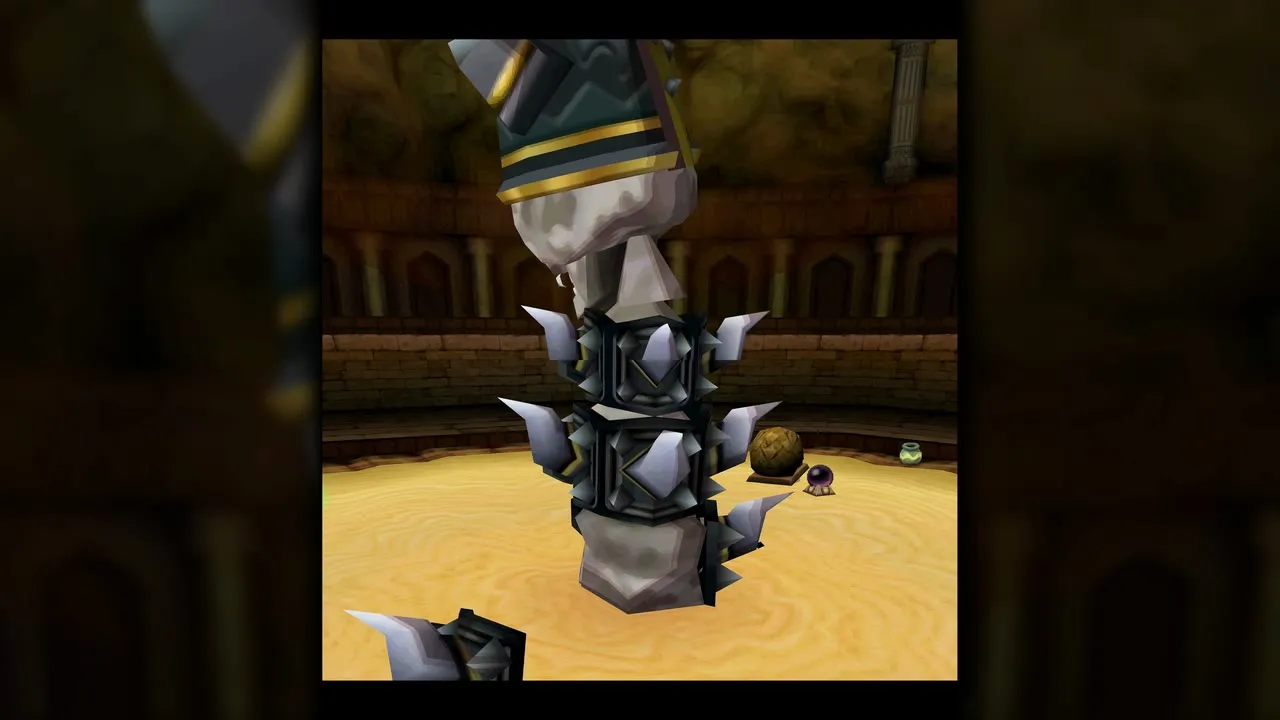
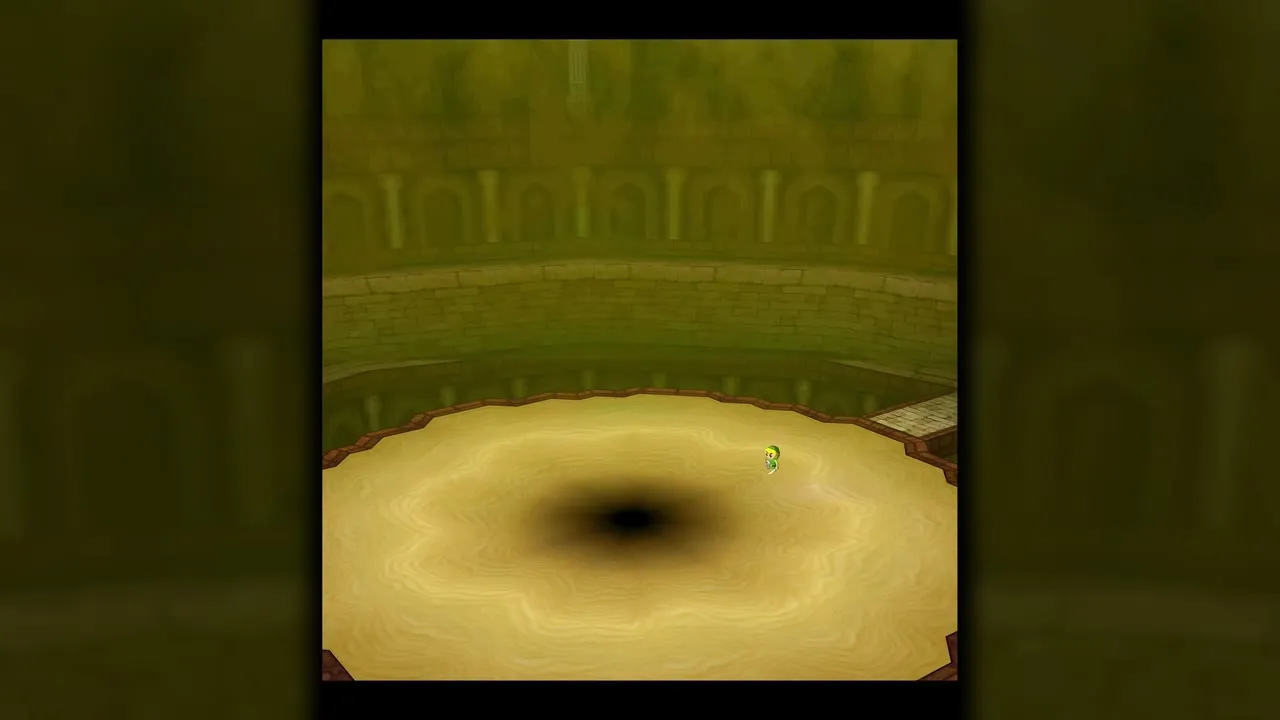
A title card announces Basement 2, and a short walk leads to a sand arena where a tall column of spikes and a helmeted skull lies in the sand. Skeldritch rises, fires boulders out of its spine and strikes at you with a laser from its mouth whenever you stand in front of it. Four wooden catapults and a shock switch stand around the arena.
Phase one: the spine
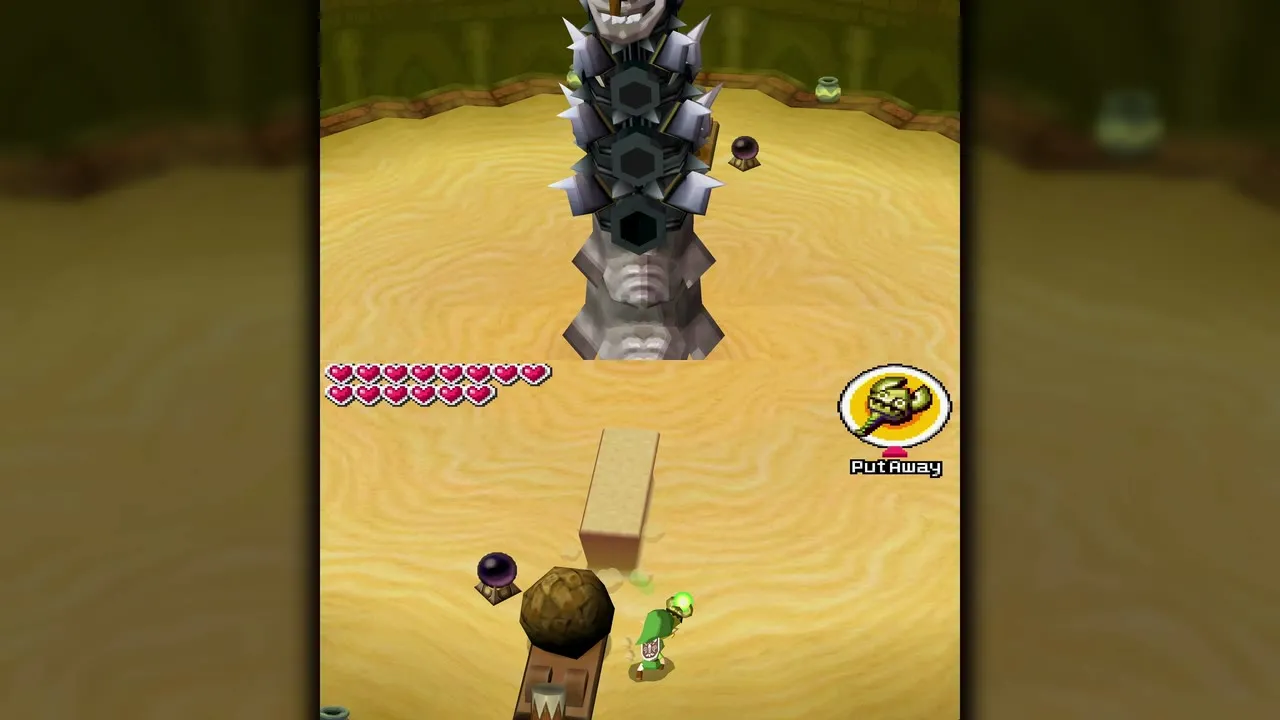
Raise a wall of sand between you and the boulders so that they roll off to the side, then use the wand to push a boulder into one of the catapults. Hit the shock switch to send the boulder back into Skeldritch and knock out one of its vertebrae. Repeat for each segment. The last three segments are armored, so after loading a boulder you must run around the arena to turn Skeldritch toward the right catapult and shoot the shock switch with an arrow instead.
Phase two: the skull
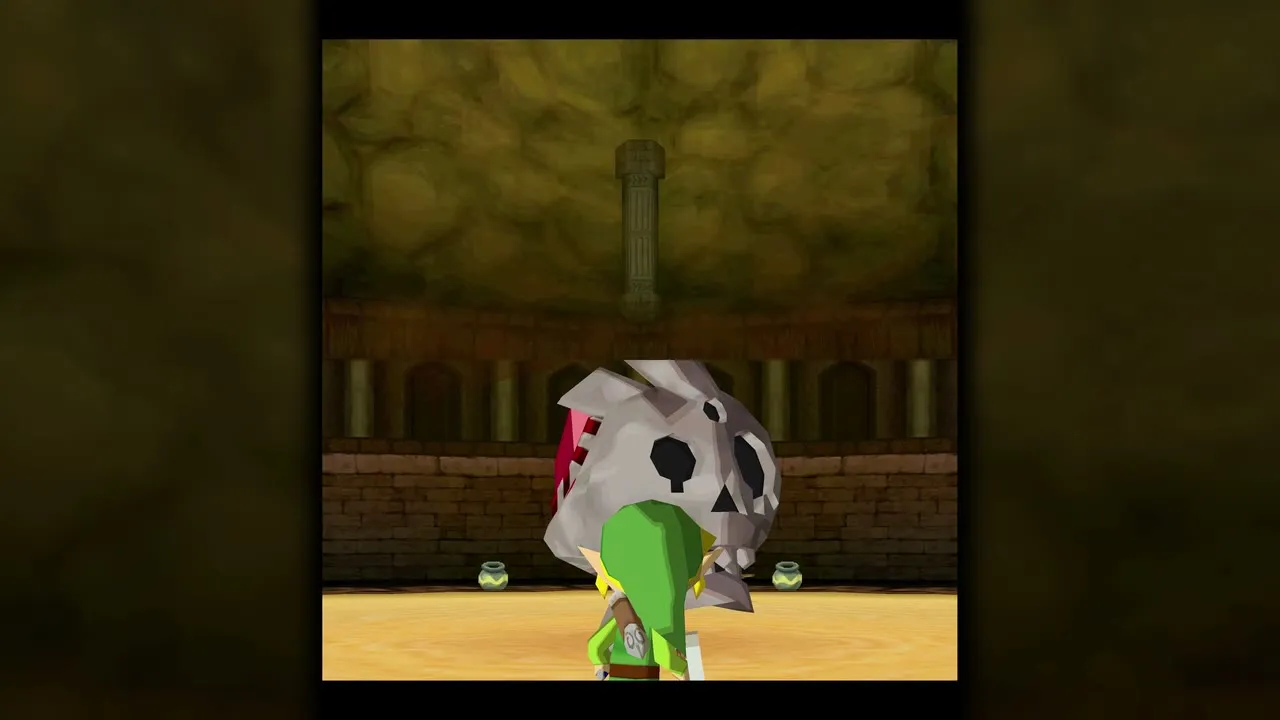
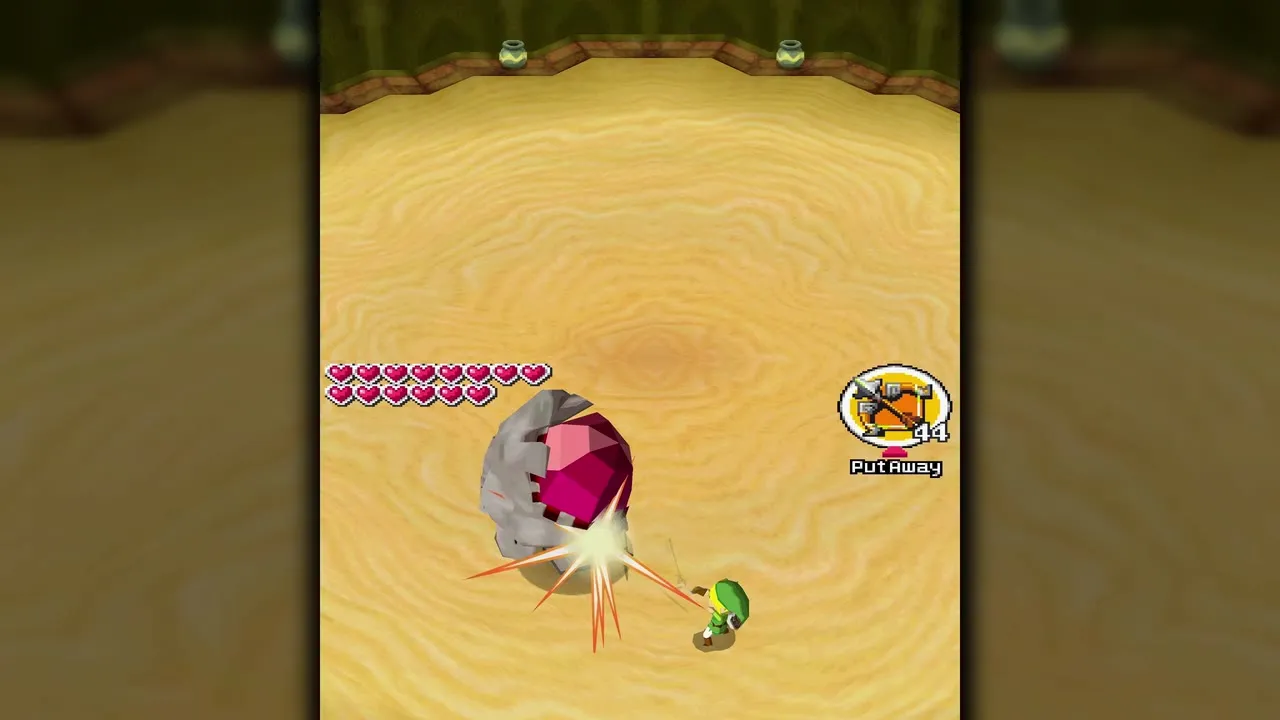
With the spine gone, the skull hops around the arena trying to crush you. The red gem on the back of its head is the weak point. Raise sand around it so that it has to break free and turns away, or stand behind it, lift yourself with the wand and slash the gem. A few hits from above finish it, and the sand then drains away from the room.
Heart Container and the Bow of Light
Heart Container
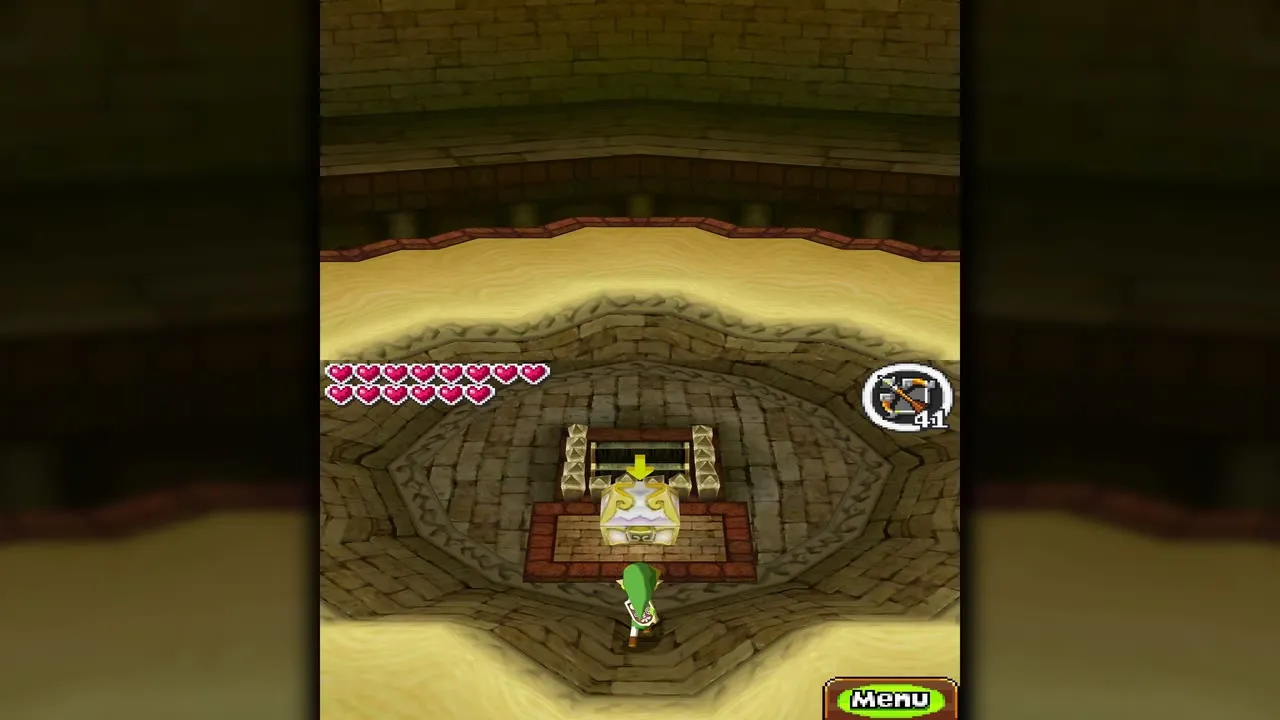
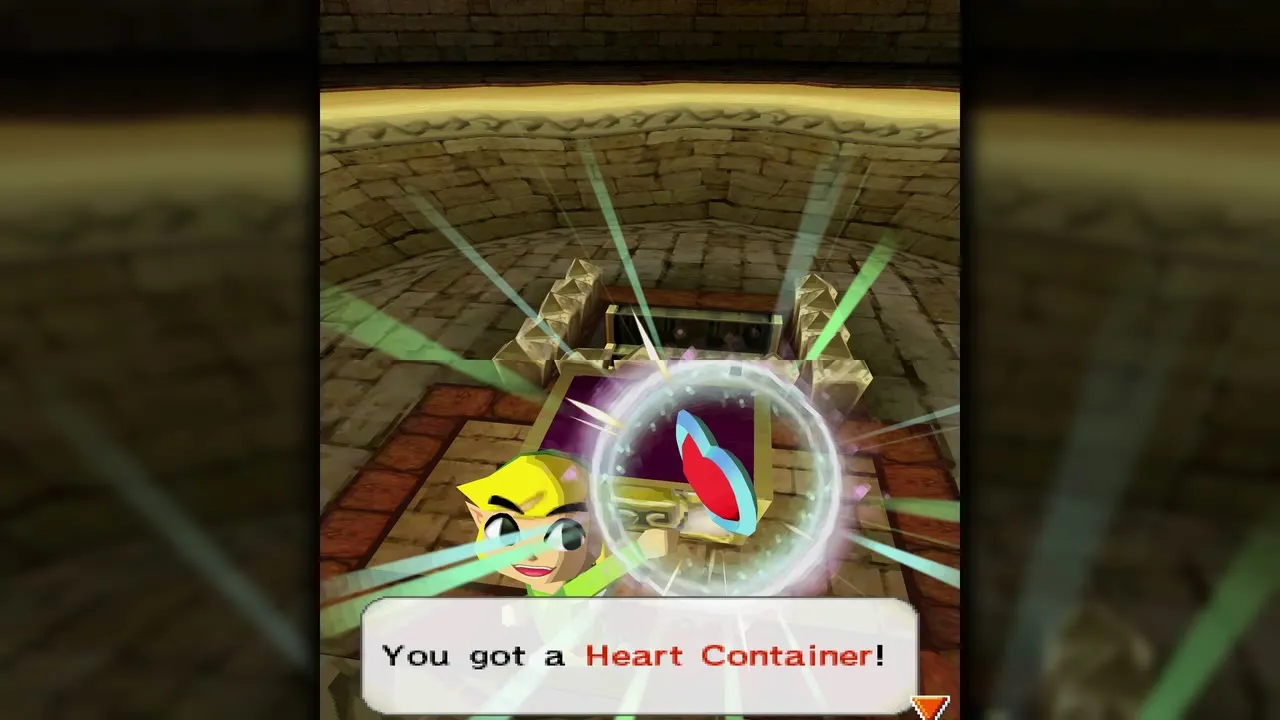
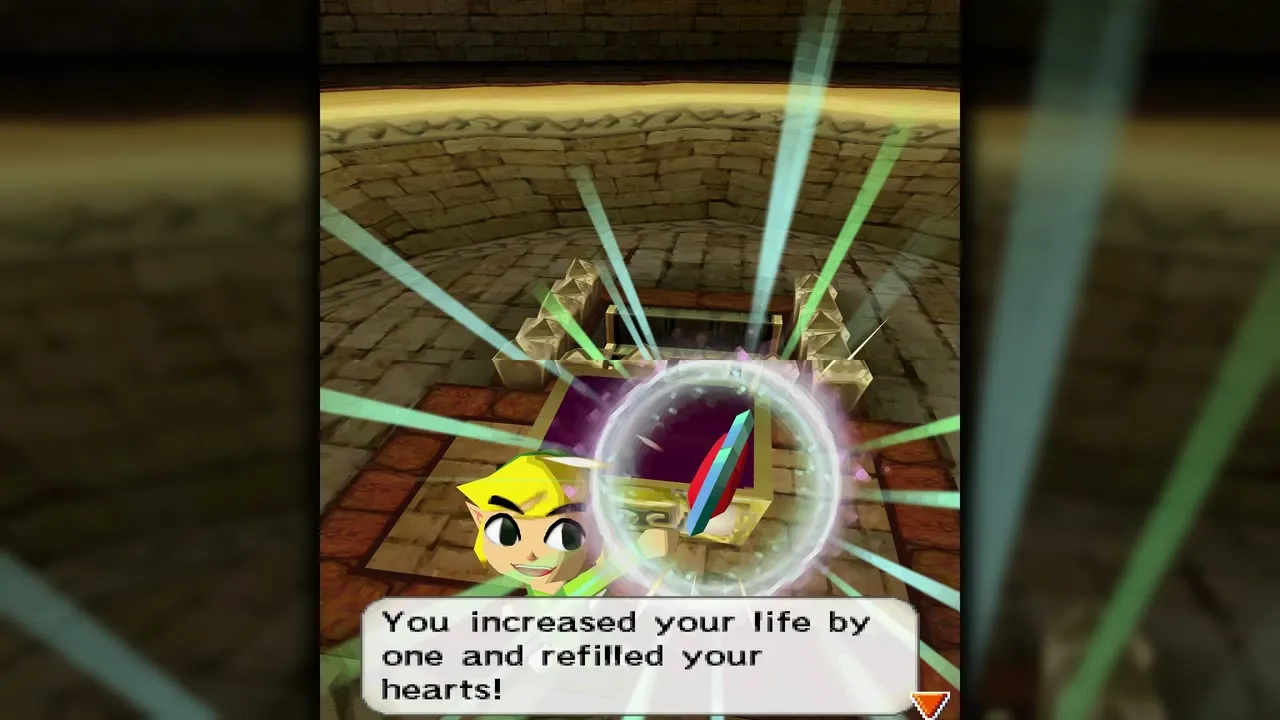
When the sand has drained, a chest sits where the skull fell. Open it for your Heart Container, which adds one heart and refills your life. If you want a pause, a blue light on the way out returns you to the temple entrance.
How to get the Bow of Light
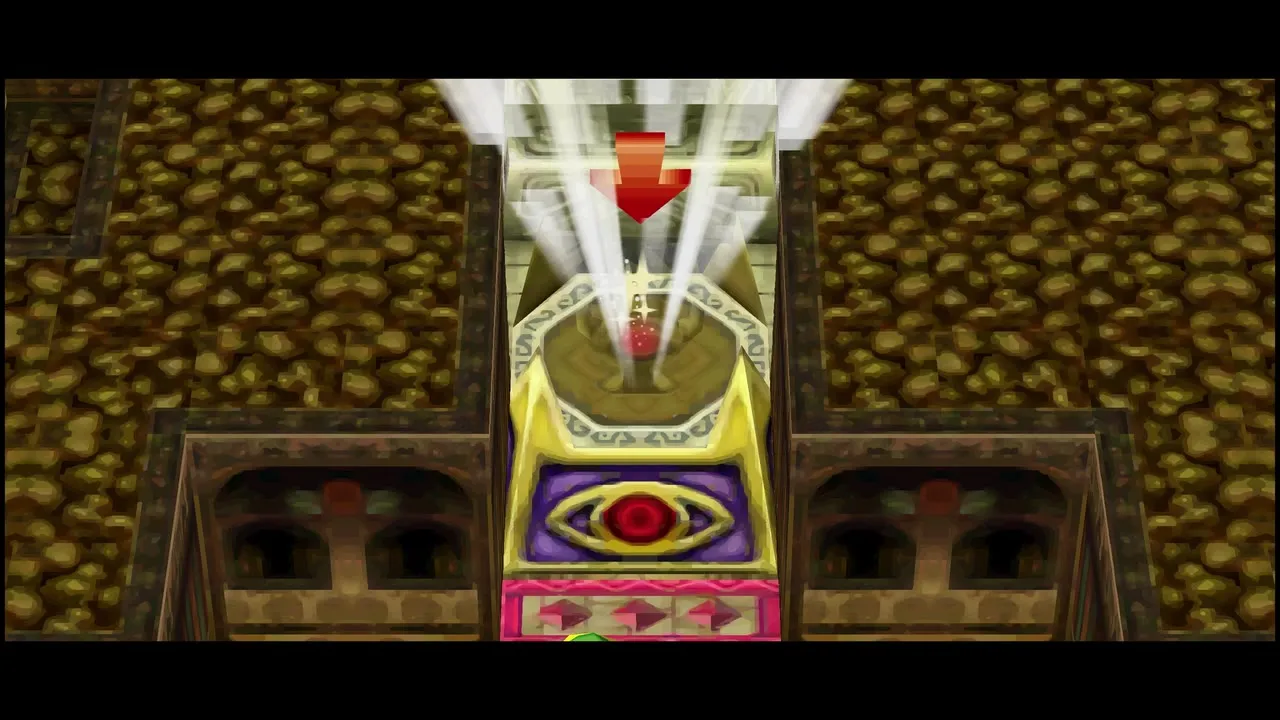
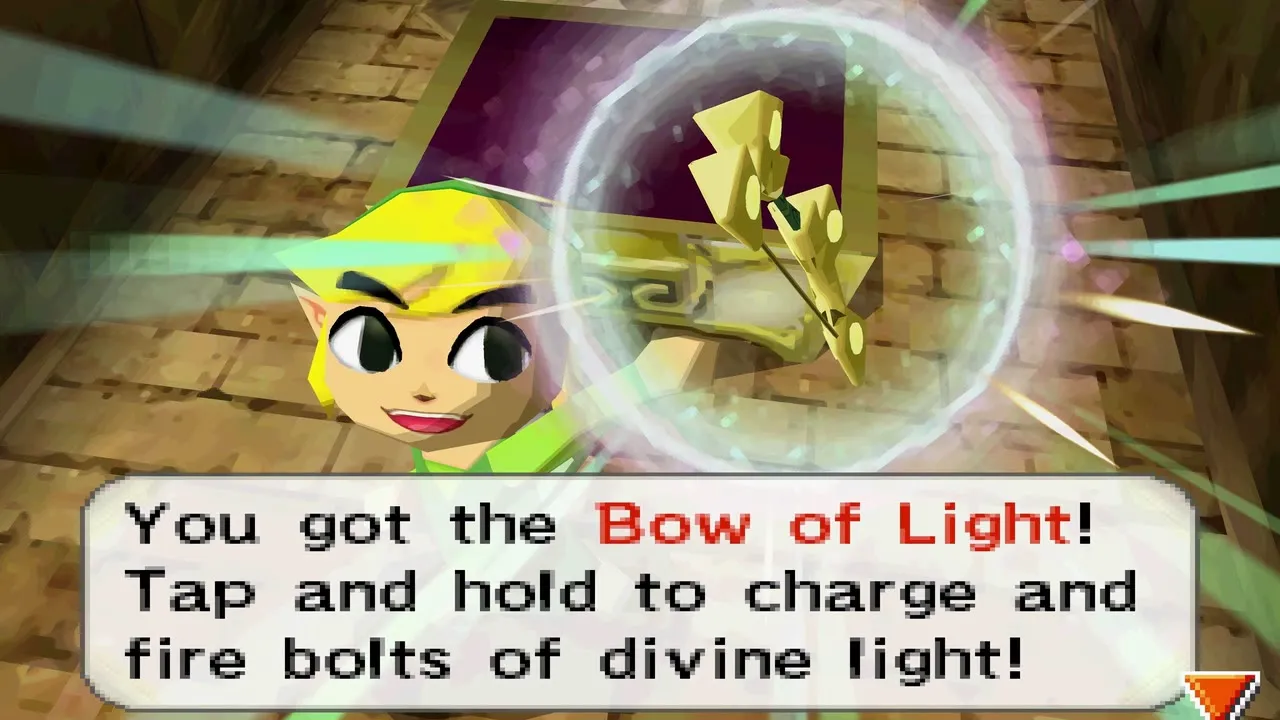
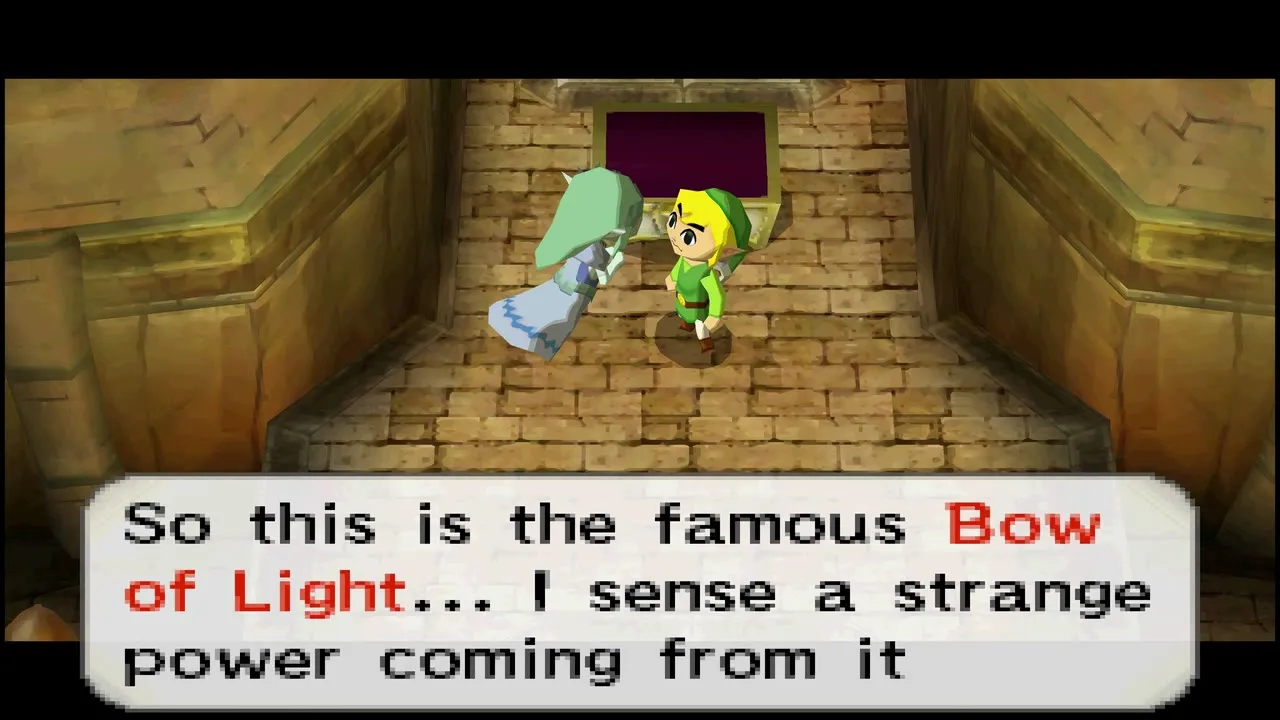
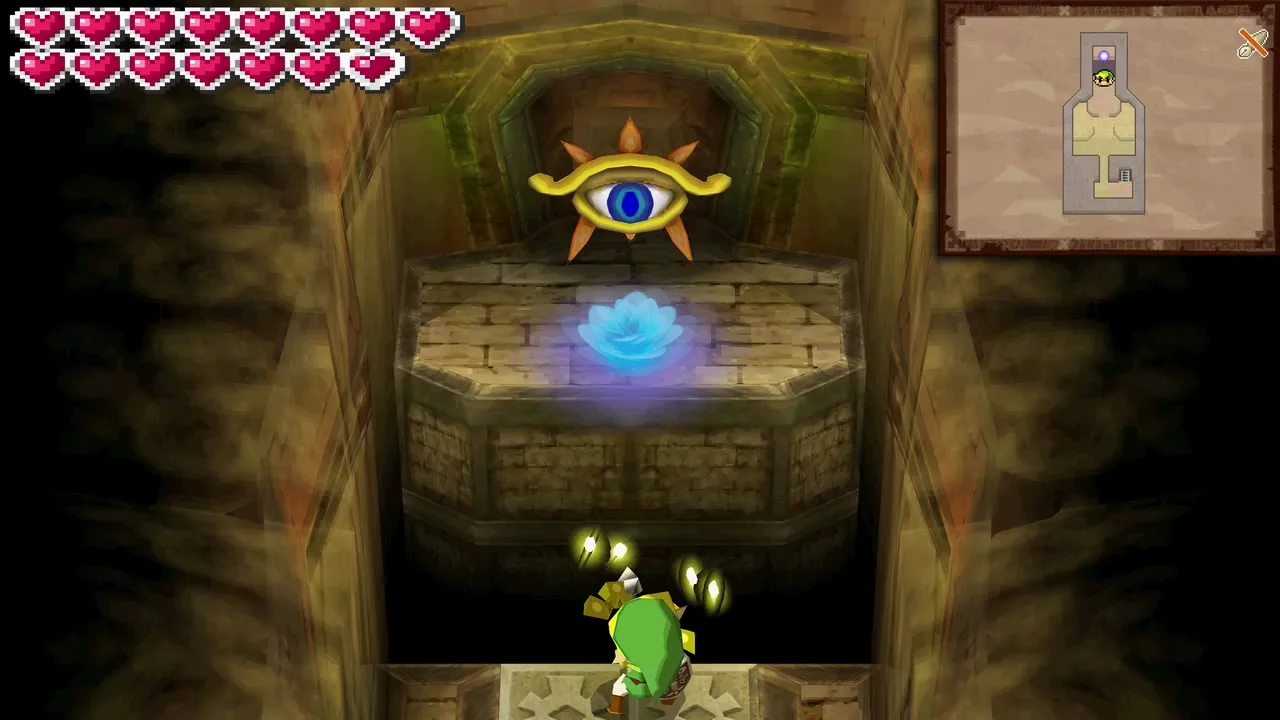
The stairs behind the chest lead to a small room with a single pedestal under a glowing eye. Take the Bow of Light from it. Tap and hold to charge it, and it fires bolts of divine light; those bolts are what you need for the upper levels of the Tower of Spirits. Zelda senses a strange power in it and wants to tell Anjean. Walk out of the temple, step into the blue light, and walk back to the train.
Lokomo Sword from Anjean
The scene in the Spirit Train
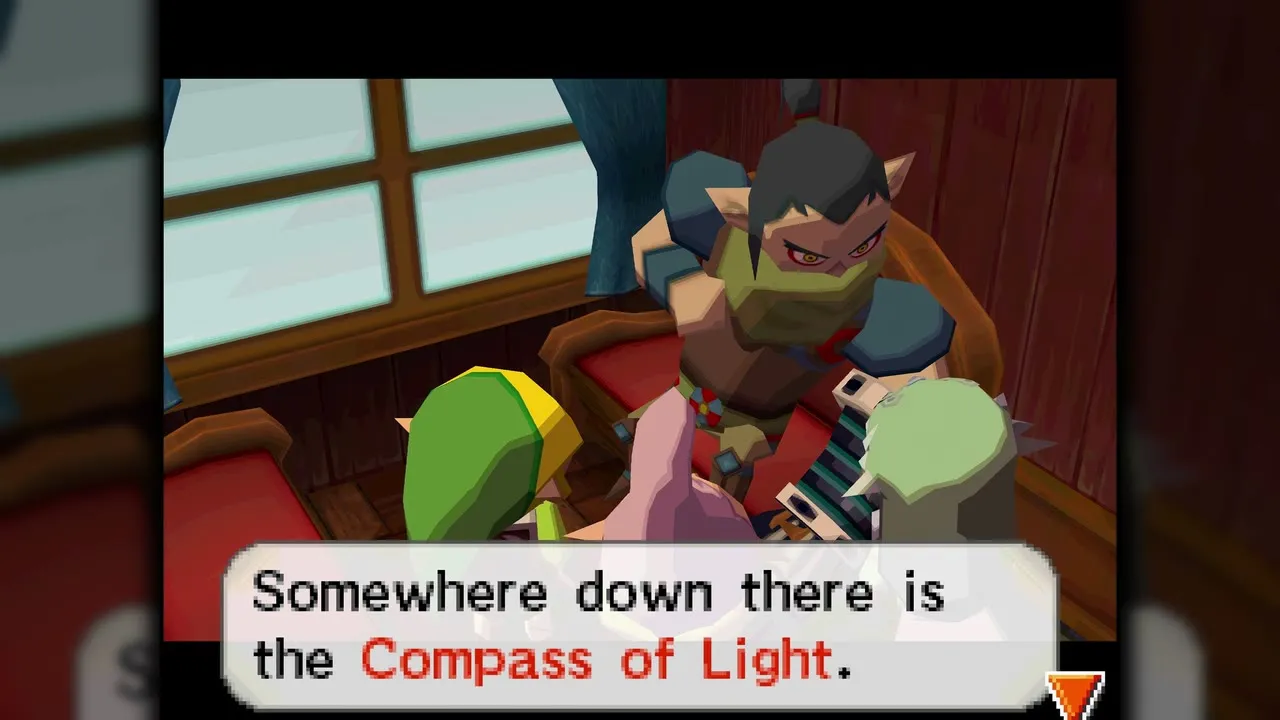
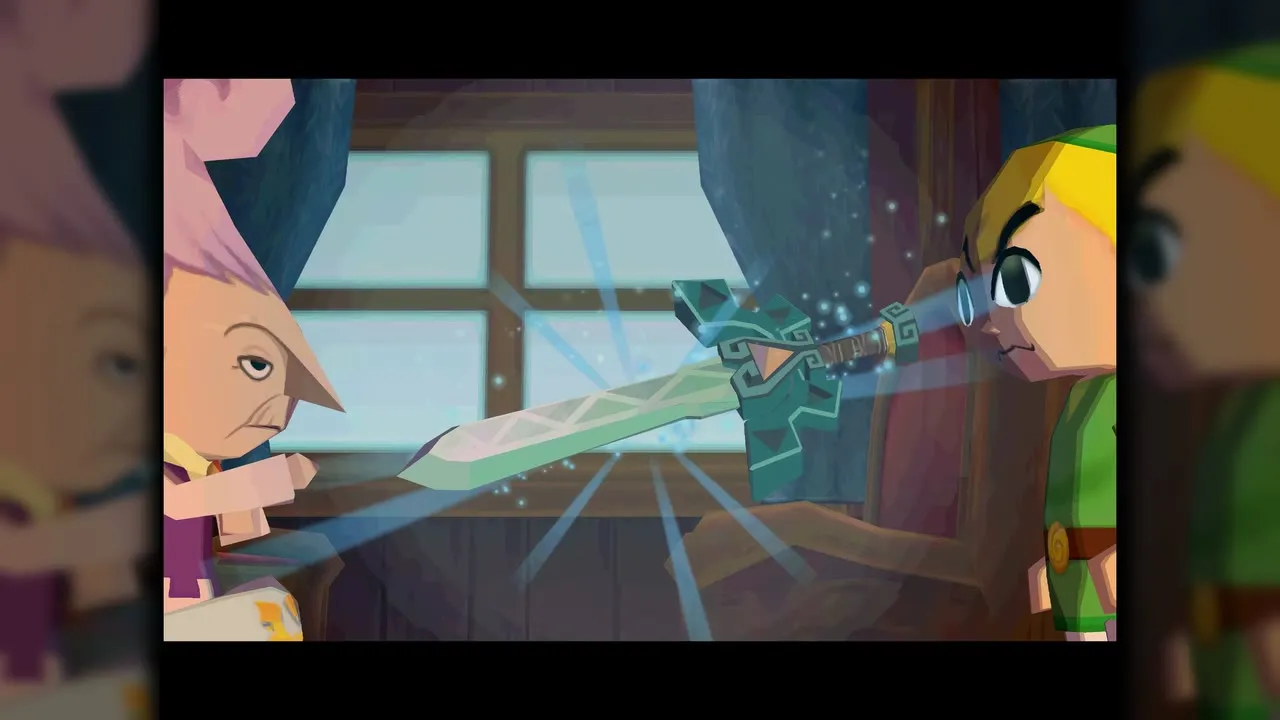
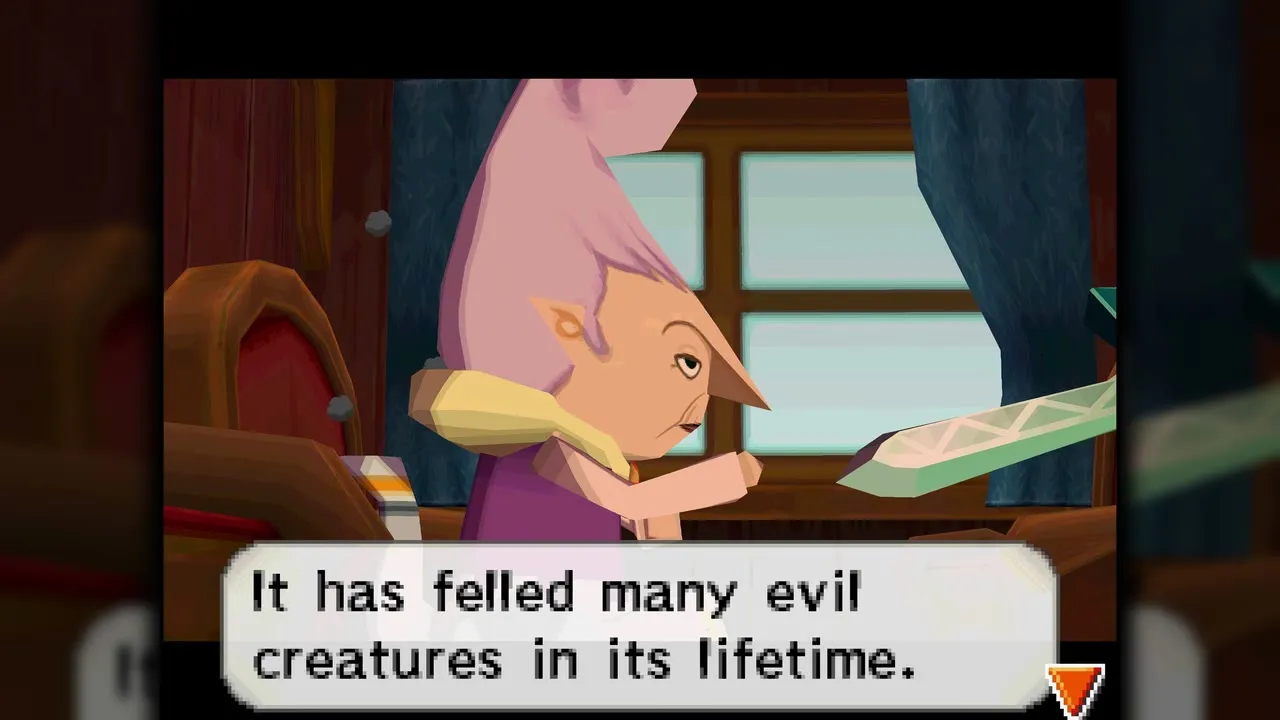
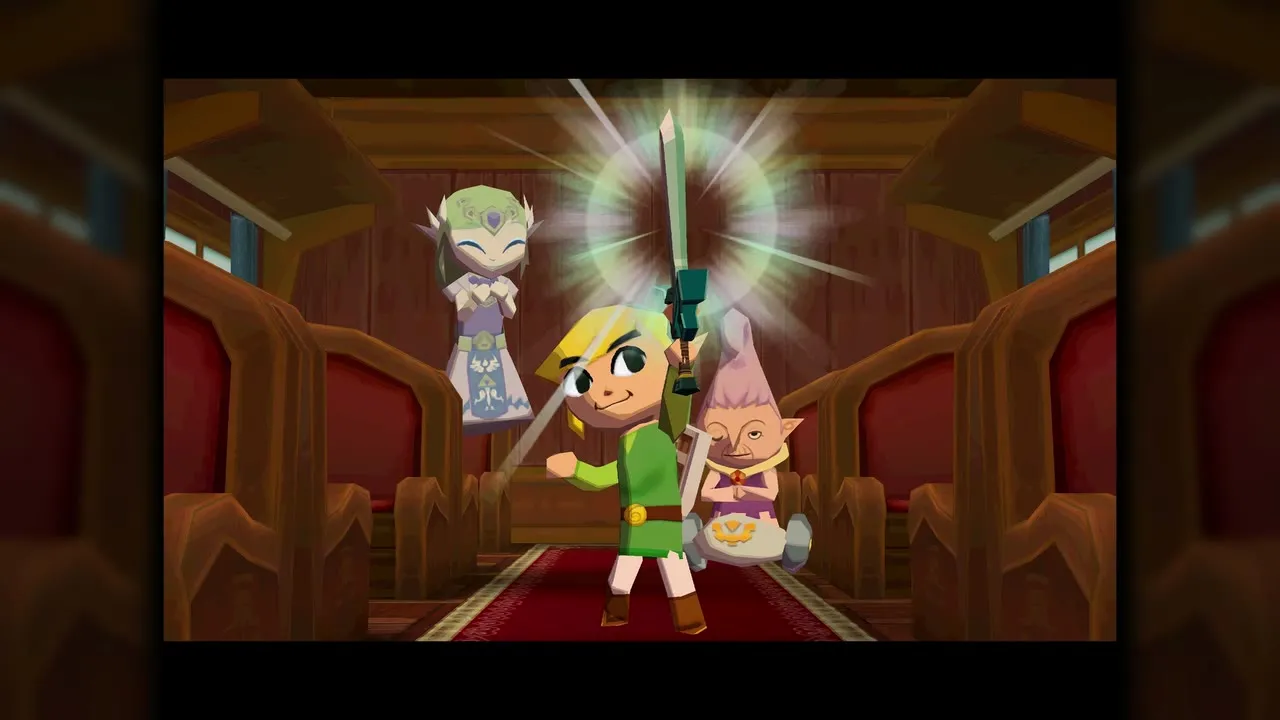
Anjean is waiting in the train. You learn that the Demon Train is hidden, that the way to it is a section of track beneath the altar at the top of the Tower of Spirits, and that you must get the Compass of Light first. She then gives you the Lokomo Sword. Until now only spirits have held it, and it carries sacred energy, which is why Phantoms stop when you strike them with it, and you will not need Tears of Light for them any more. Choose “Let’s do it!” when Zelda asks whether to leave.
What the Sand Temple opens
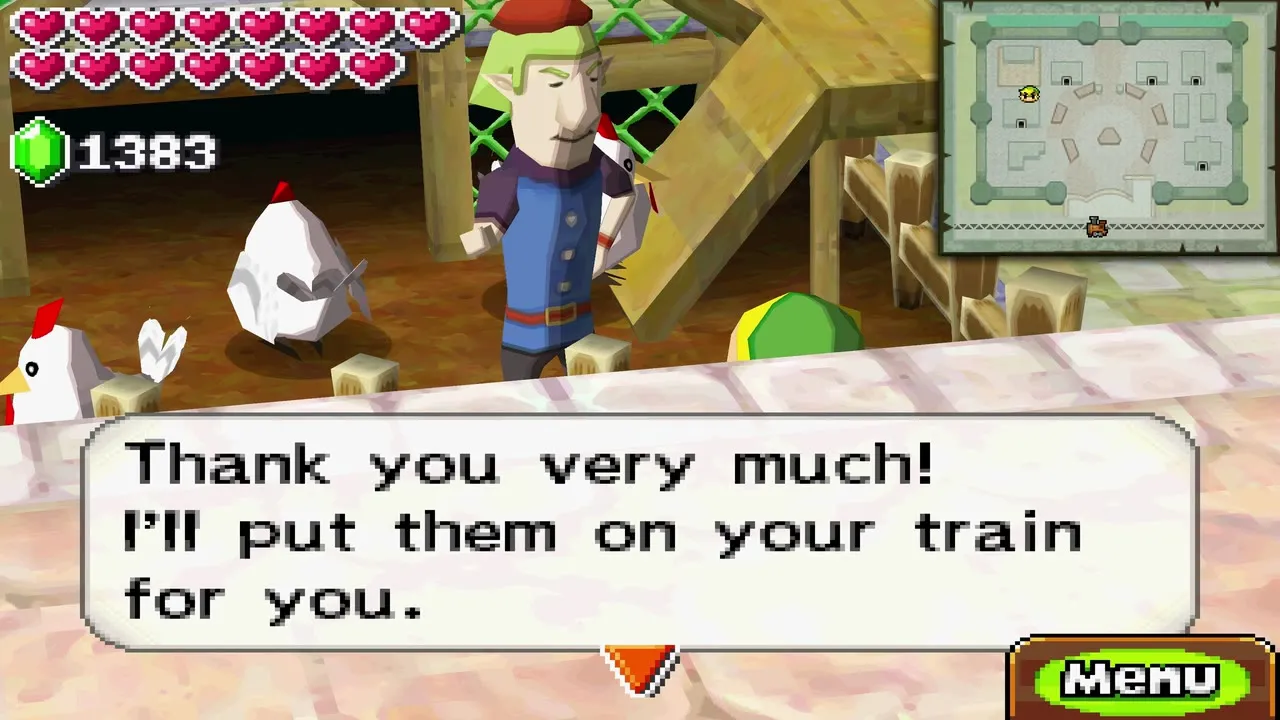
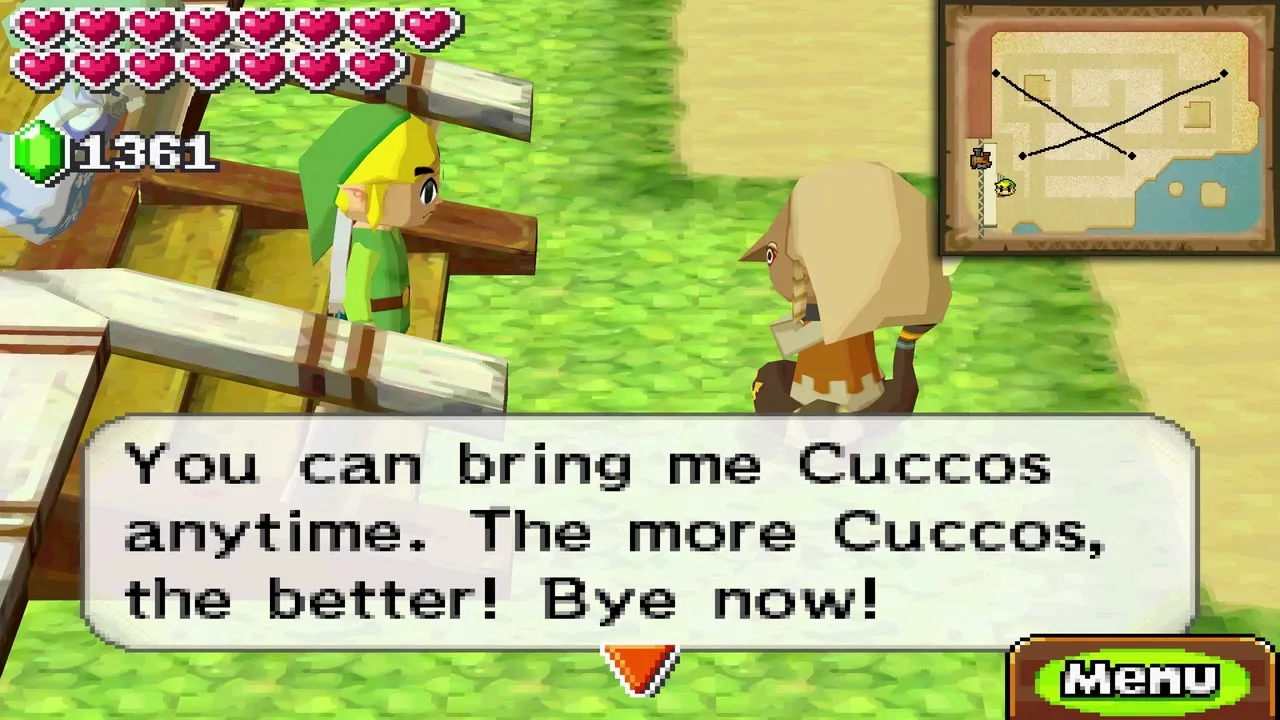
The Sand Wand now opens several side tasks. The temple stamp station and the Ends of the Earth Station need it, and the Rael cargo job, which sends you to bring Cuccos from Castle Town to the Sand Sanctuary, is gated by it. Joynas at Take ‘Em All On in Castle Town offers level three with the Dark Link fight now that you have beaten the fifth boss. Desert rabbits in the Sand Realm are covered by the previous chapter’s route.
Chapter checklist
| Collectible | Type | Where |
|---|---|---|
| Sand Wand | Item | Third floor, chest guarded by three Stalfos Warriors |
| Small key | Key | First floor, chest after the Stalfos fight |
| Small key (second) | Key | First floor, buried in the sand hallway between the eyes |
| Boss Key | Key | Basement 1, upper-right area |
| Random treasure (such as a Mystic Jade) | Treasure | Second floor, chest on the right beside the spike trap |
| Random treasures (such as Dragon Scales, Star Fragments, a Stalfos Skull) | Treasure | First floor and Basement 1 chests |
| Sand Temple stamp | Stamp | Basement 1, west side behind the quicksand and arrow shooters |
| Heart Container | Heart Container | Basement 2, chest after Skeldritch |
| Bow of Light | Item | Basement 2, pedestal below the boss arena |
| Lokomo Sword | Item | Given by Anjean in the Spirit Train |
Next, ride the Spirit Train back toward the Tower of Spirits and fire the Bow of Light at the altar in Floors 24-30 and the Compass of Light.
