







Tri Force Heroes 100% Completion Walkthrough8 chapters
- Hytopia and the WoodlandsMeet King Tuft, then clear Deku Forest, Buzz Blob Cave, Moblin Base and Forest Temple.
- RiversideSecret Fortress, Abyss of Agony, Cove of Transition and the Water Temple, with Water Rod and Gripshot puzzles.
- VolcanoBlazing Trail, Hinox Mine, Den of Flames and Fire Temple, with every stage, the Hinox Brothers and Moldorm.
- Ice CavernFrozen Plateau, Snowball Ravine, Silver Shrine and the Ice Temple, with the Freezlord and Blizzagia fights.
- FortressSealed Gateway, Bomb Storage, Training Ground and The Lady’s Lair, with every puzzle, chest and boss.
- The DunesInfinity Dunes, Stone Corridors, Gibdo Mausoleum and Desert Temple, with Vulture Vizier and Stalchampion tips.
- The RuinsIllusory Mansion, Palace Noir, Lone Labyrinth and Grim Temple, with Grim Repoe and Prismantus.
- Sky RealmFloating Garden, Deception Castle, Dragon Citadel and Sky Temple, with Gigaleon, Lady Maud and the ending.
| Levels | Infinity Dunes, Stone Corridors, Gibdo Mausoleum, Desert Temple |
|---|---|
| Items used | Gust Jar, Water Rod, Boomerang, Gripshot, Fire Gloves, Magic Hammer |
| Boss | Vulture Vizier (mini-boss, Stone Corridors) and Stalchampion (boss, Desert Temple) |
| Unlocks | Sky Realm, once The Ruins are cleared too;  Robowear,  Showstopper,  Spin Attack Attire and  Sword Master Suit, once the Grim Temple is also done |
The Dunes is the desert Area: sand, tombs and a lot of tilting stone. Nothing new is handed out here, so every Level borrows tools you already know, from the Water Rod and Gust Jar to the Gripshot, Fire Gloves and Magic Hammer. The big danger is quicksand, which swallows any Link who stands still on it for too long. Clearing the Desert Temple and beating Stalchampion finishes the Area, and together with The Ruins it opens the Sky Realm.
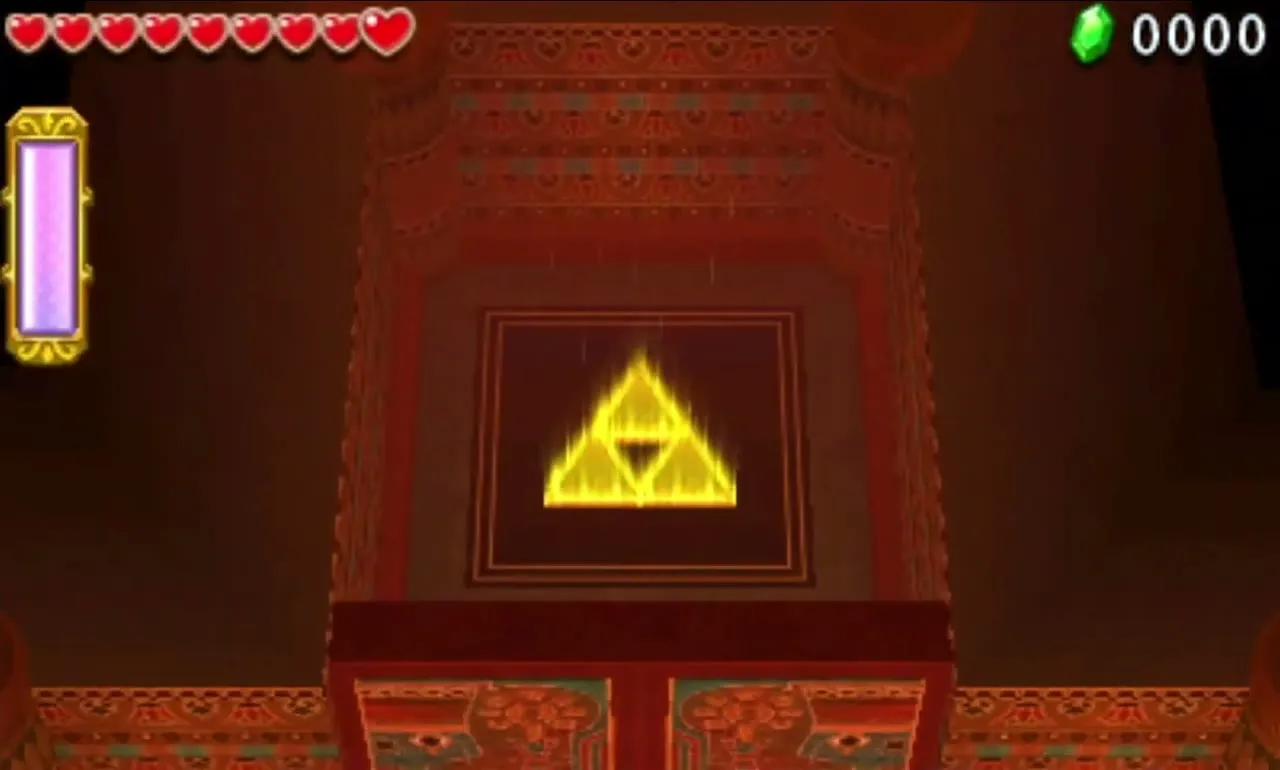
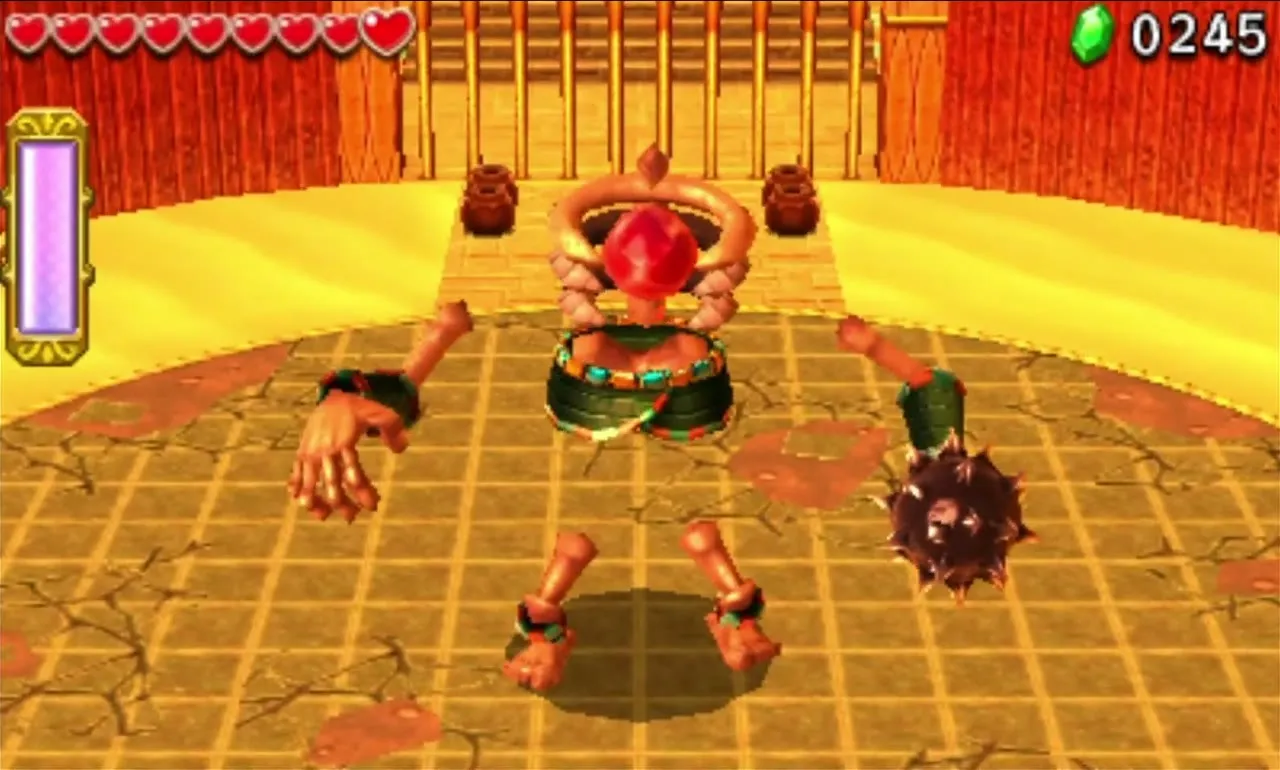
Table of Contents
Infinity Dunes
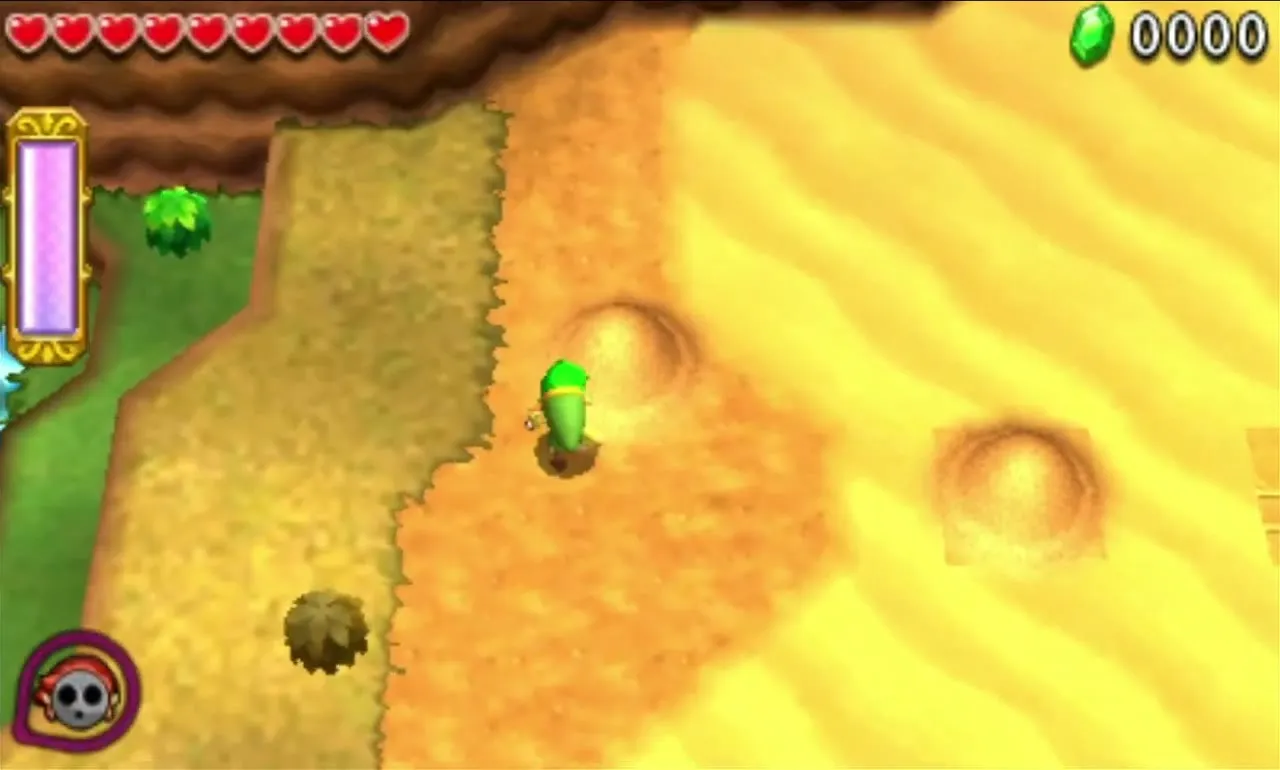
Infinity Dunes hands out two Gust Jars and a Water Rod. Most of the Level is quicksand, so hop between the tiled paths and the stone ledges and never idle on loose sand. The Dunewalker Duds, an outfit sold at Madame Couture’s once The Lady’s Lair is cleared, lets Link walk across quicksand without sinking, if you want an easier time.

Infinity Dunes Stage 1
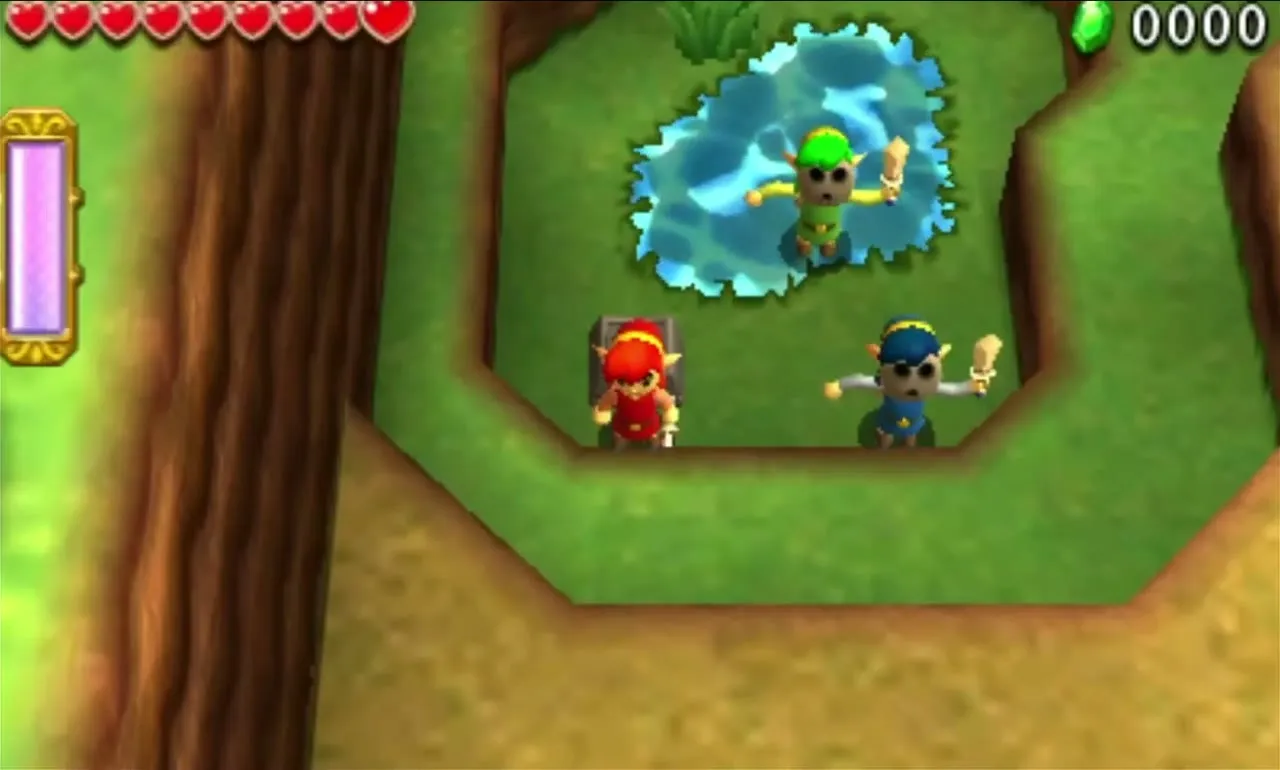
Start at the oasis and pick up the items: one Link takes the Water Rod and the other two take a Gust Jar each (in single player, switch Doppels to whichever tool a job needs). Clear the Sand Mounds on the way with the Water Rod or a blast of air, since some hide Rupees and Hearts. Stay on the tiled paths, and cut down the Leevers that burst out of the sand.
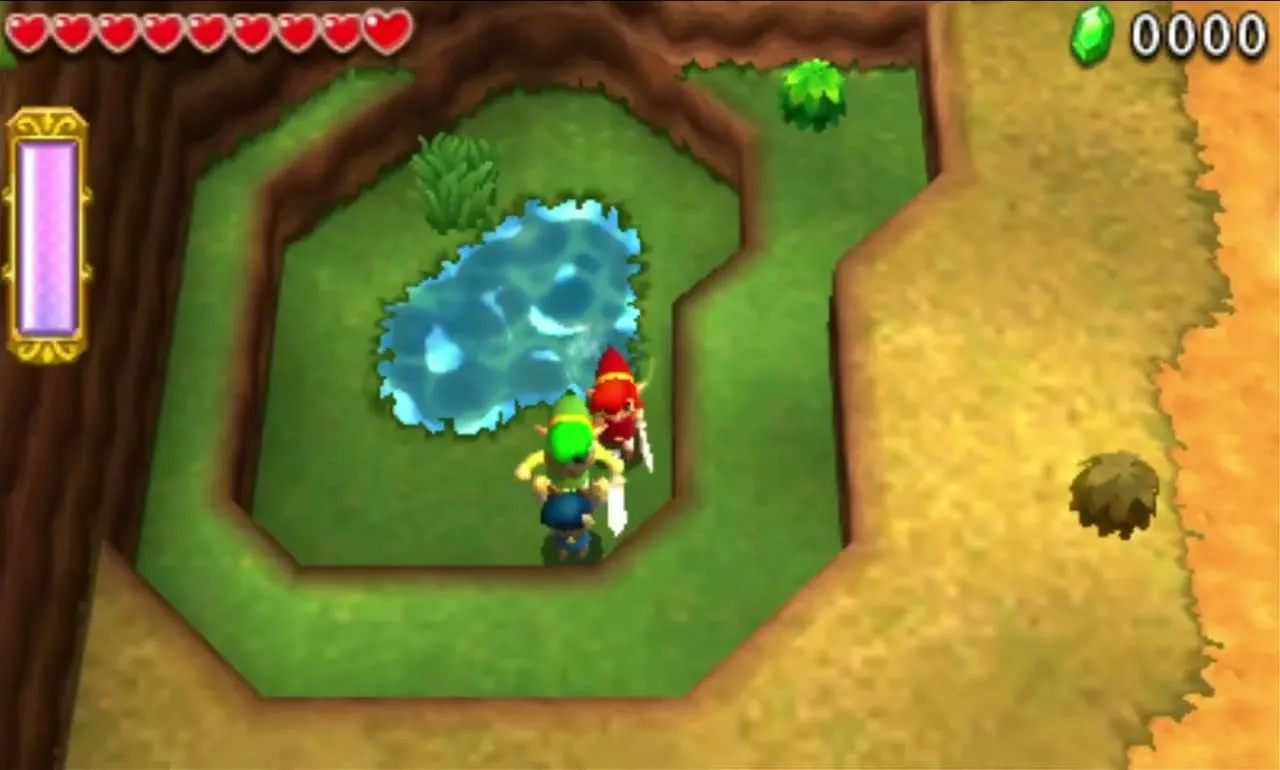
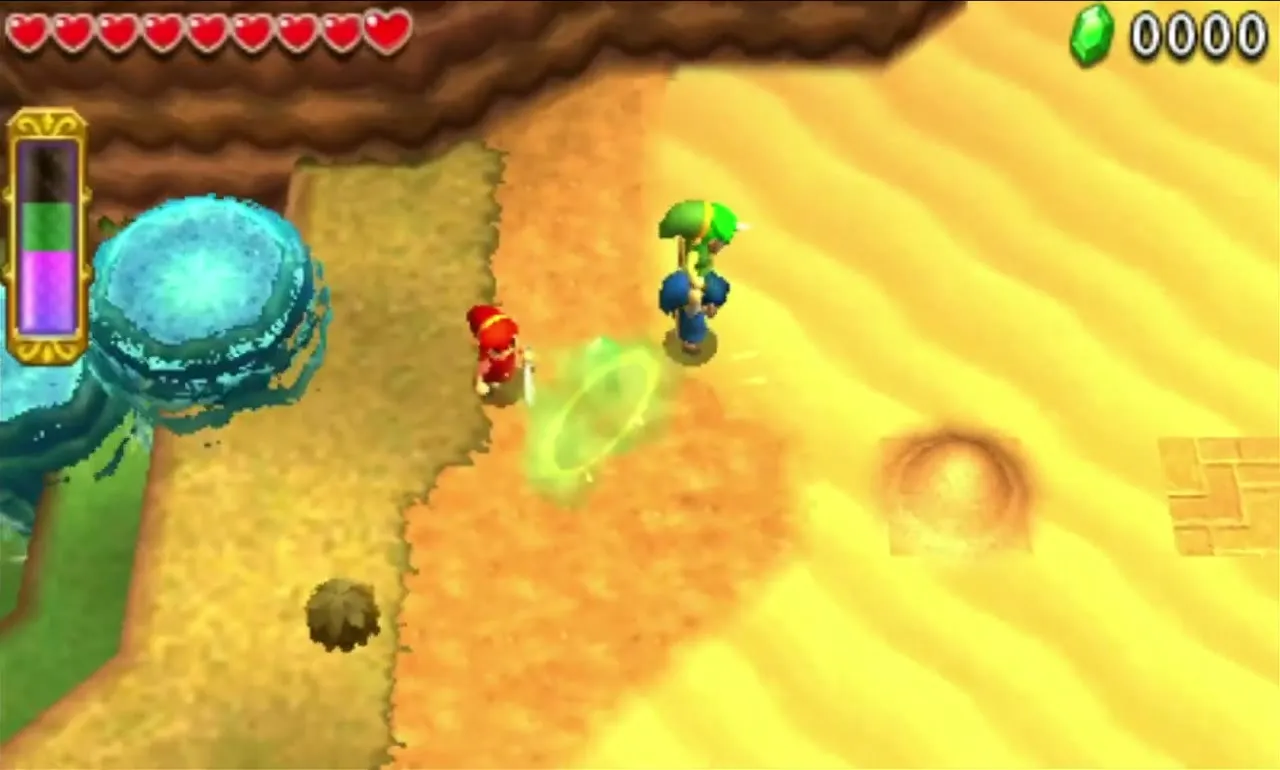
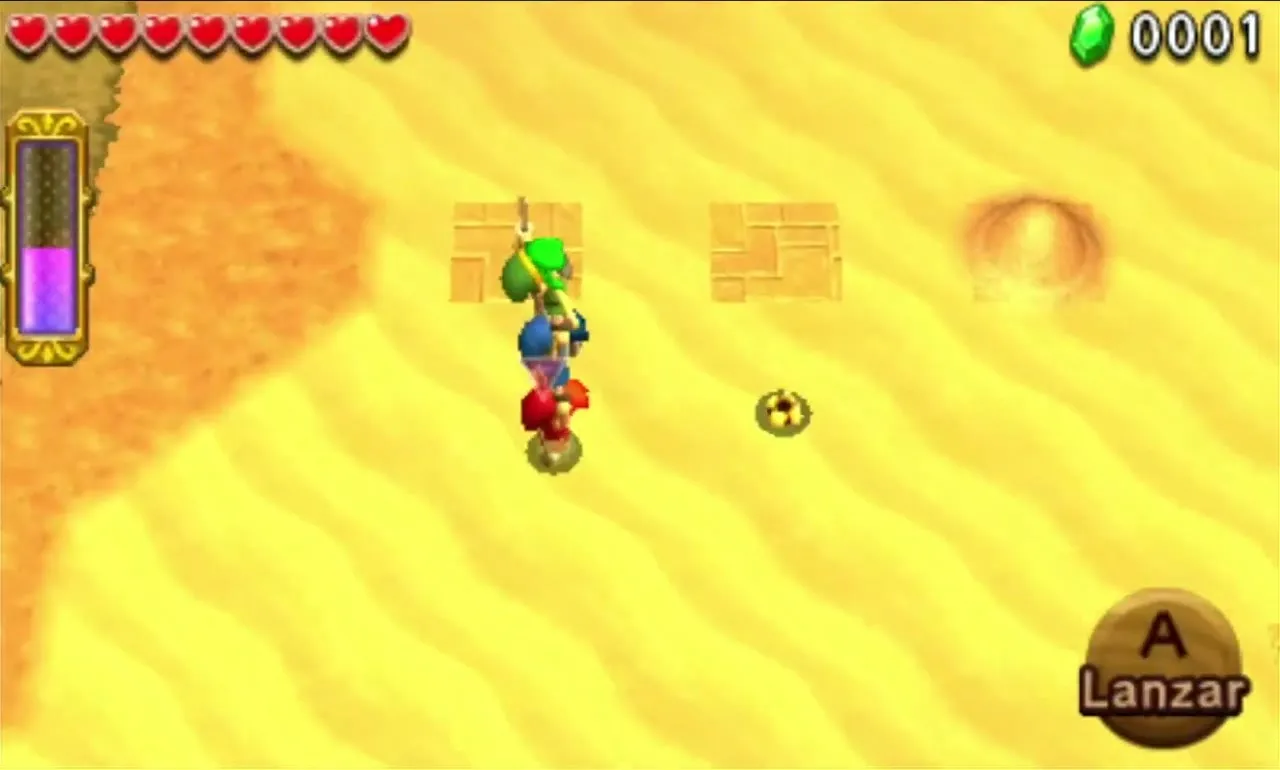
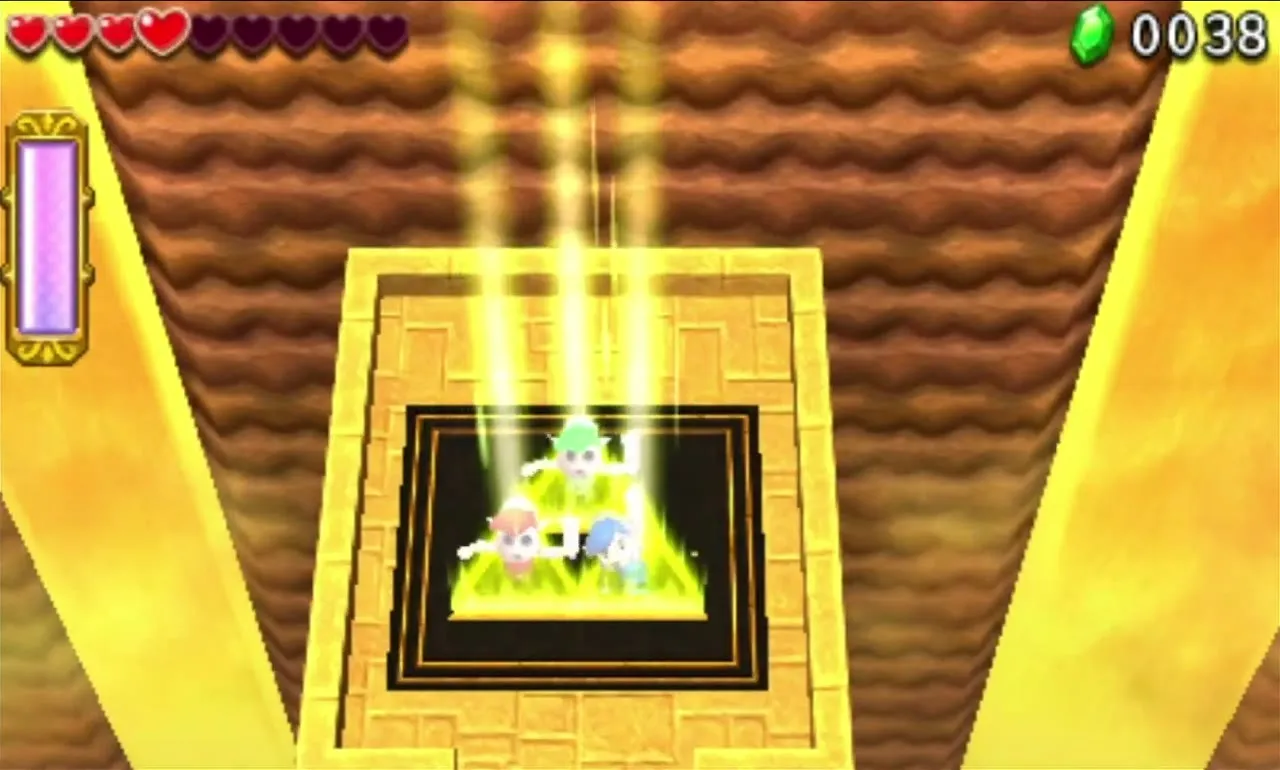
A fast river of sand blocks the north route. Cross it by blowing a teammate over with the Gust Jar, or have the Water Rod Link raise water pillars to make a bridge. The Sandfish beyond it respawn forever, so do not waste time on them. At the far end, step on all three Floor Switches, two of them buried under Sand Mounds and one on a raised ledge. A bridge forms to the cliff and the Triforce Gateway.


Infinity Dunes Stage 2
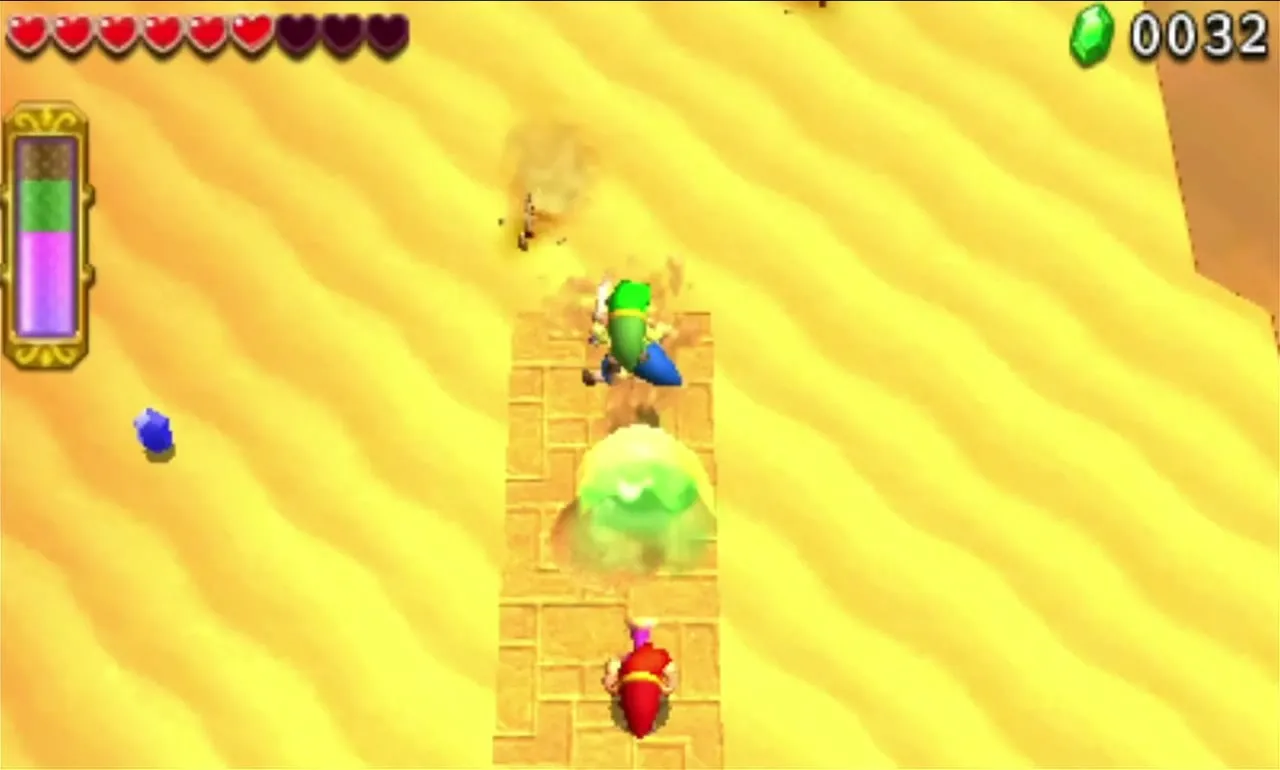
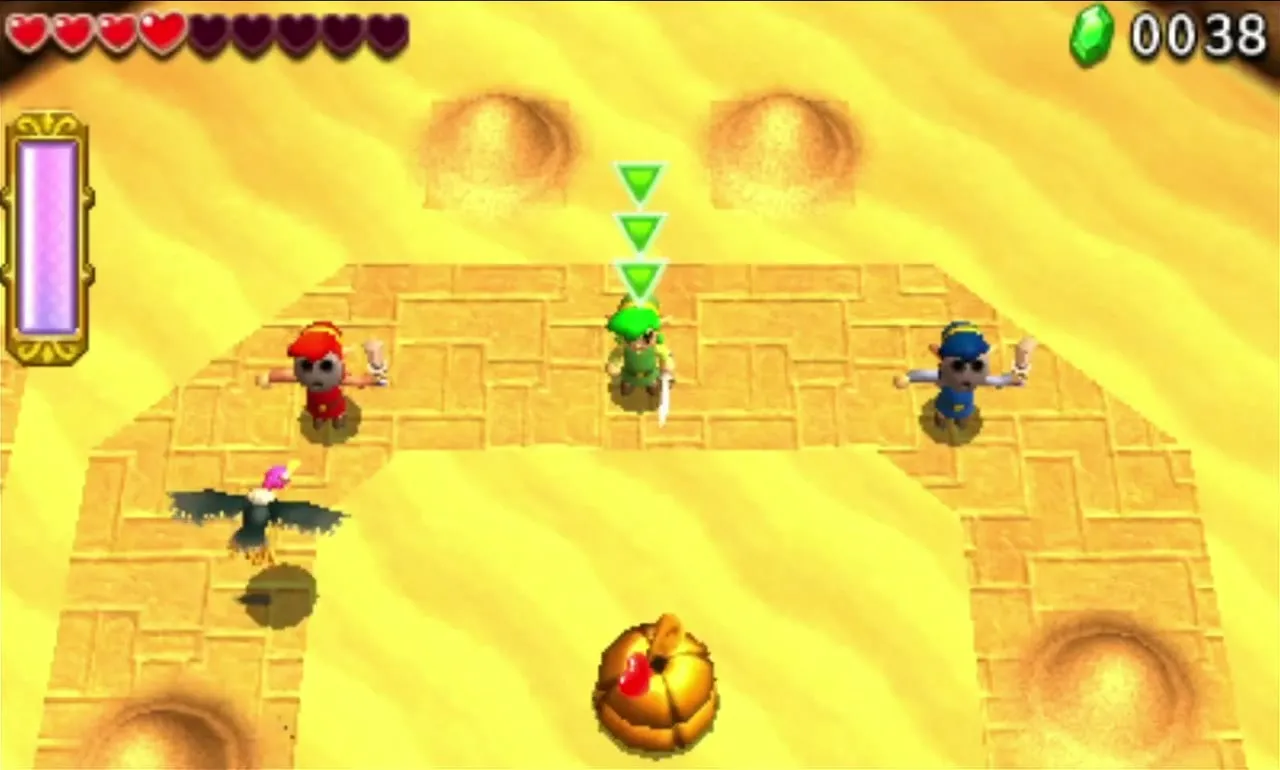
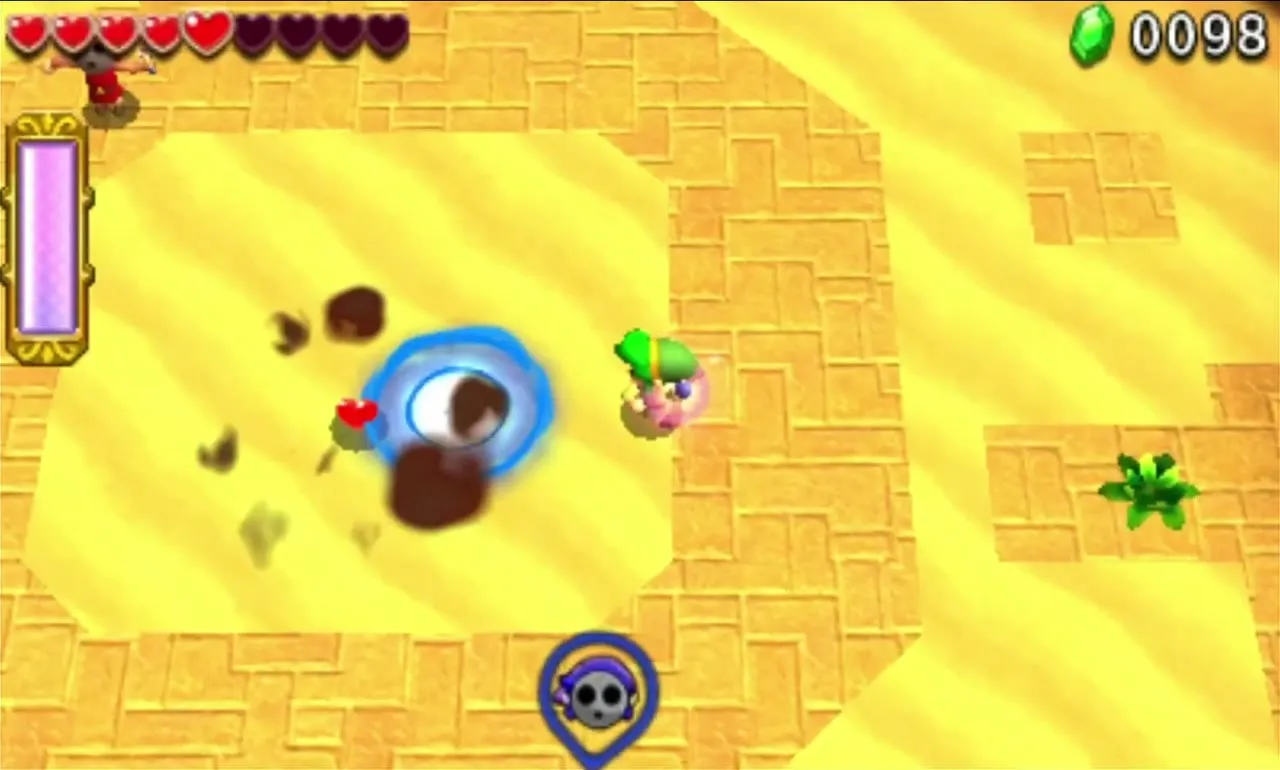
You drop into a sand pit crowded with Vultures, Leevers and Life Likes, and one Life Like poses as a heart, so avoid grabbing every heart in sight. Use the Water Rod on the Beanstalks along the left and right walls to grow Bomb Flowers, and hurl those at the Life Likes. Dig up Sand Mounds for hearts and Red Rupees. Once all enemies fall, the doors to the Gateway open wide.

Infinity Dunes Stage 3
The Gateway sits inside a cliff tomb whose two sets of doors slam shut as you approach. Water the Beanstalk to the west so it grows into a Magic Plant and carries you up to the next ledge, where a Squiddy, some Leevers and a Red Rupee wait. Water the second Beanstalk up there to ride higher. Each of the two door sets is held shut by a Shock Switch.
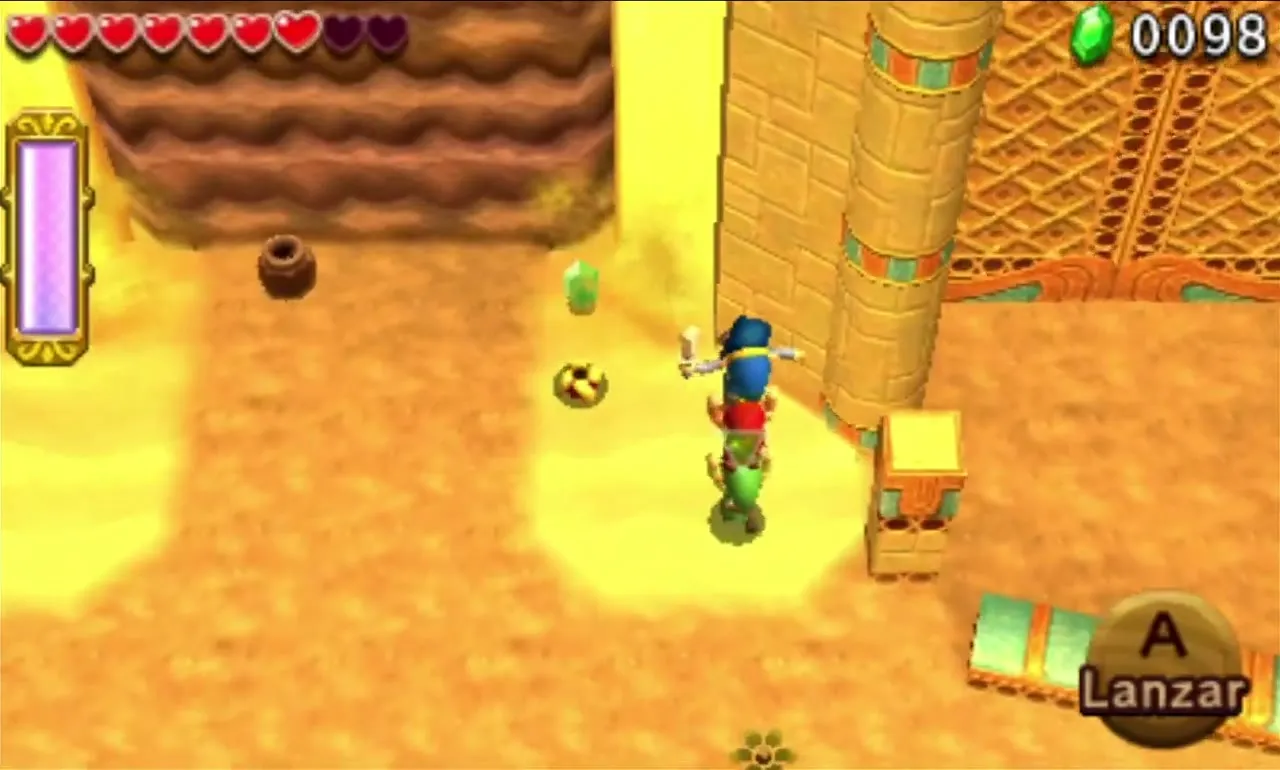
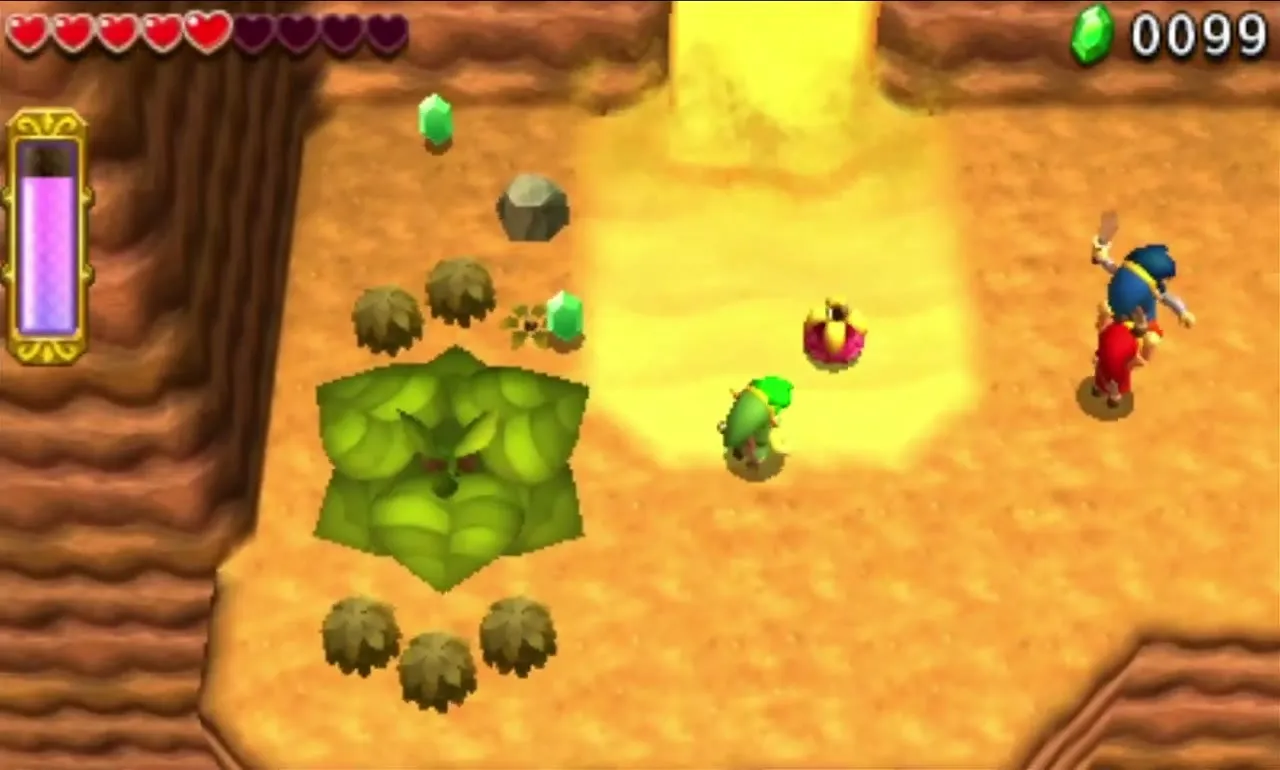
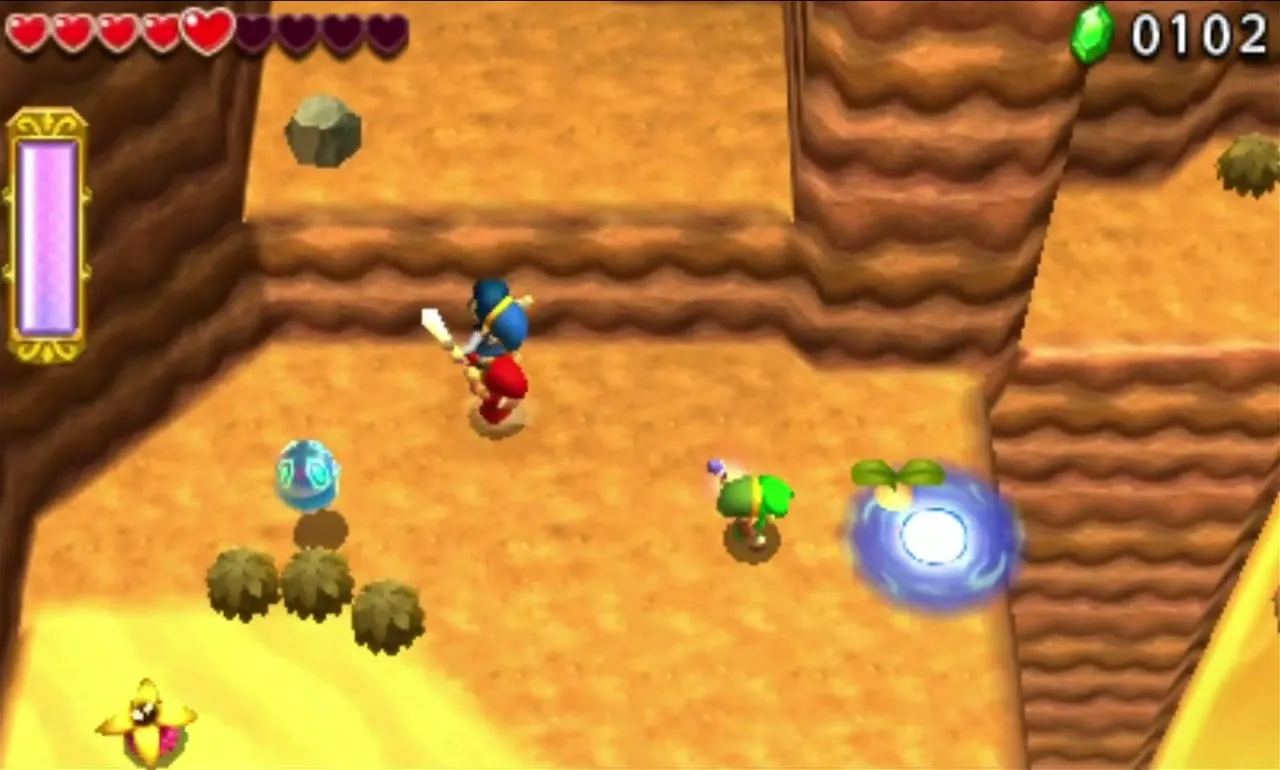
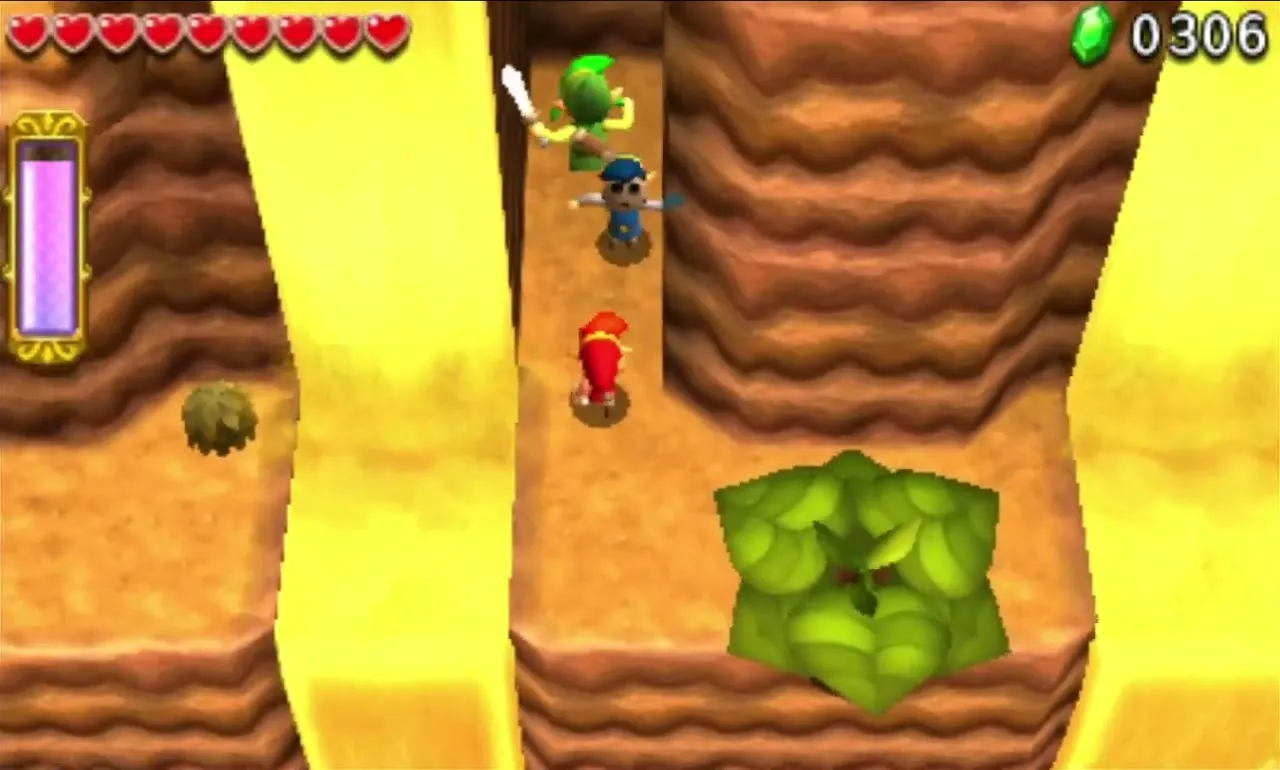
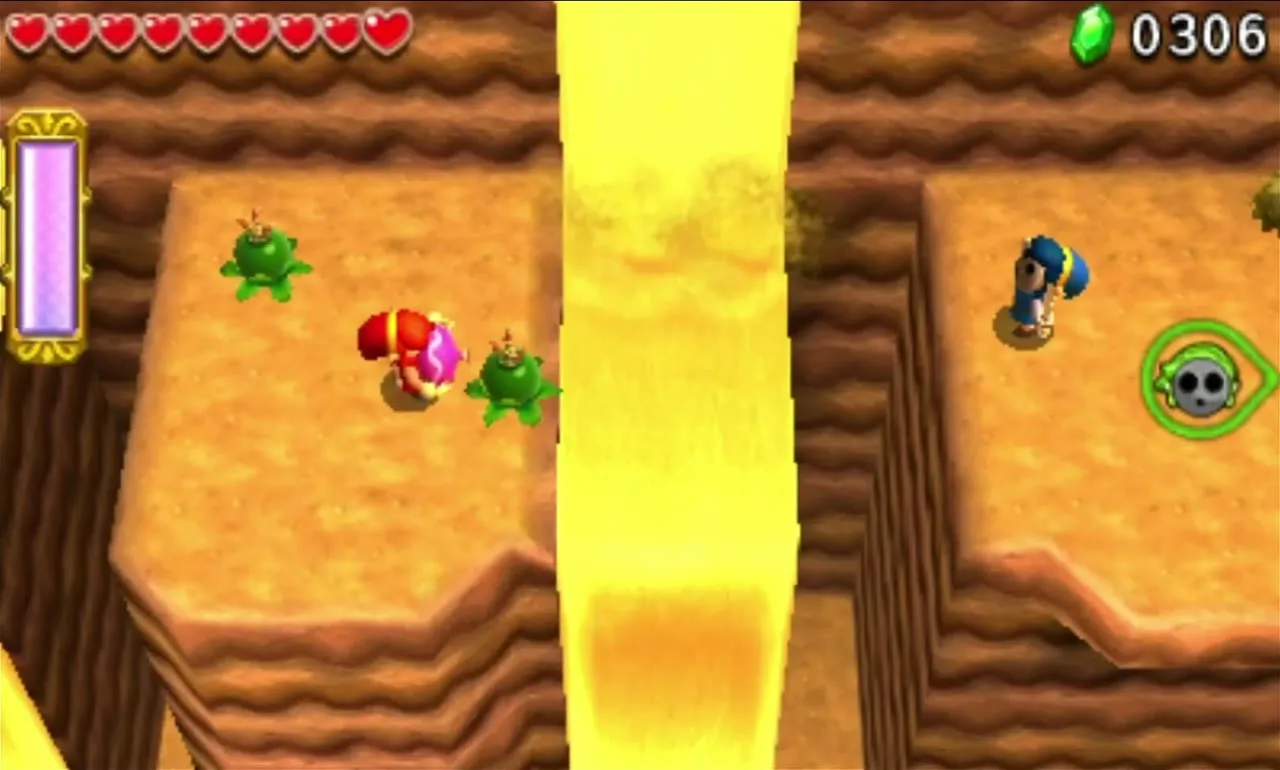
The first Shock Switch closes its flaps whenever you walk up to it, so it needs a ranged hit. Cross to the second ledge, where Beanstalks grow Bomb Flowers, and blast one back across the gap with a Gust Jar for the Link on the first ledge to throw. The second switch is high on a wall behind a sand river: raise a water pillar beside it, stack a Totem on top and fire the Gust Jar from the peak.

Infinity Dunes Stage 4
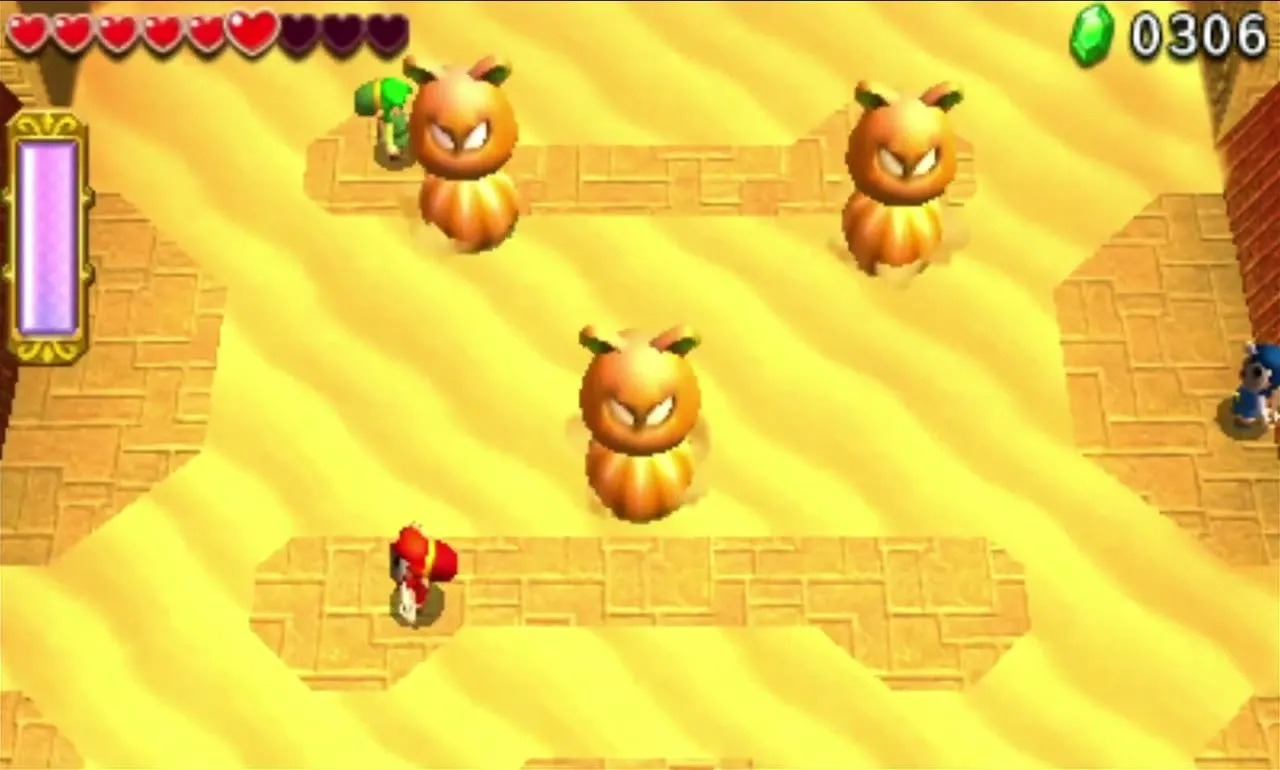
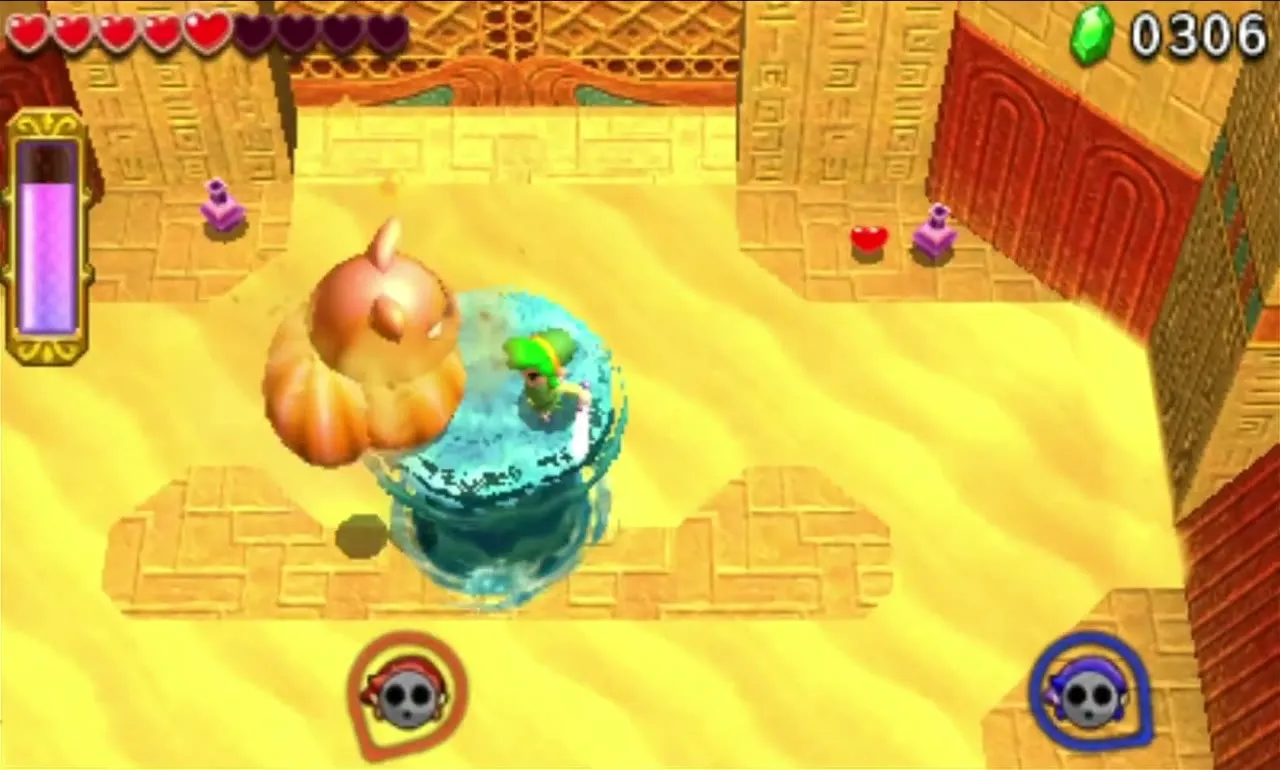
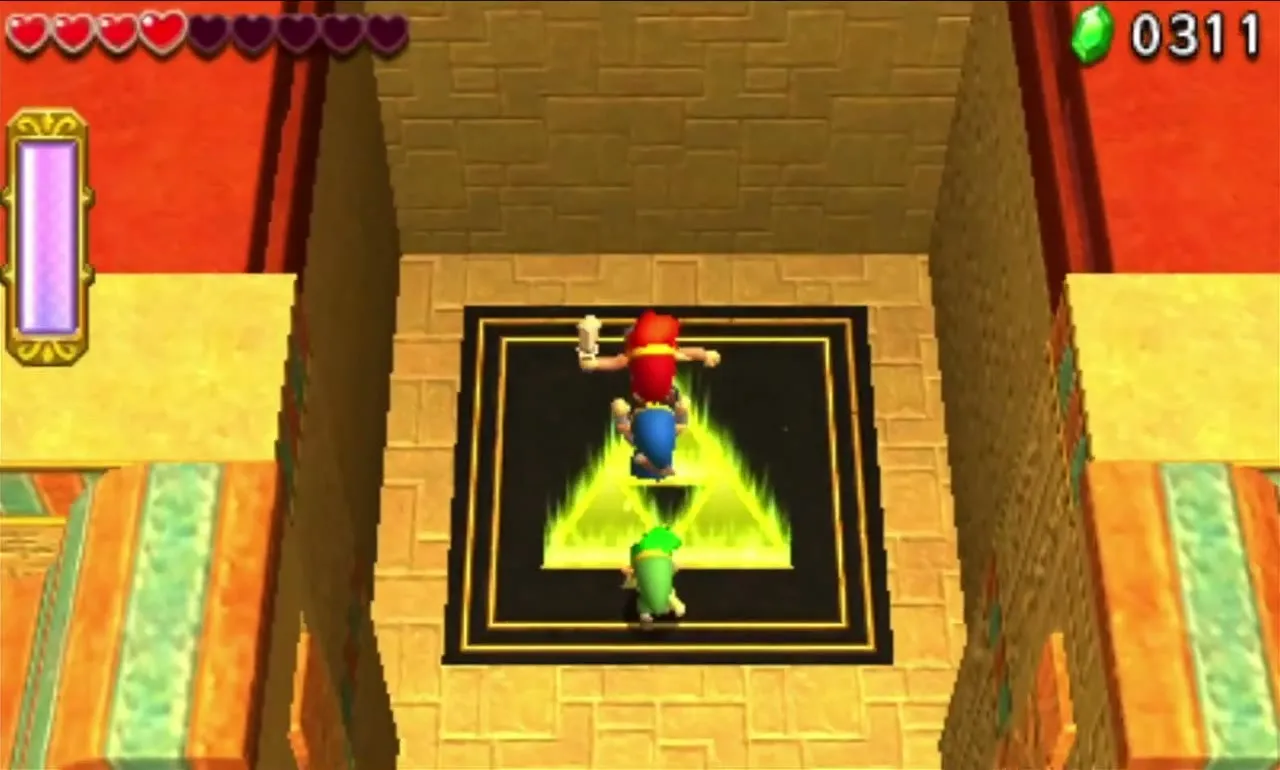
You drop into a walled pit of sand with a ring of solid tiles to stand on. A Hokkubokku rises almost at once. Strike its head from a full Totem, or let the Water Rod Link lift a pillar to reach it; hitting its body only sends segments bouncing around the room. Three more follow the first, and beating all four opens the final Gateway.

Infinity Dunes treasure chests
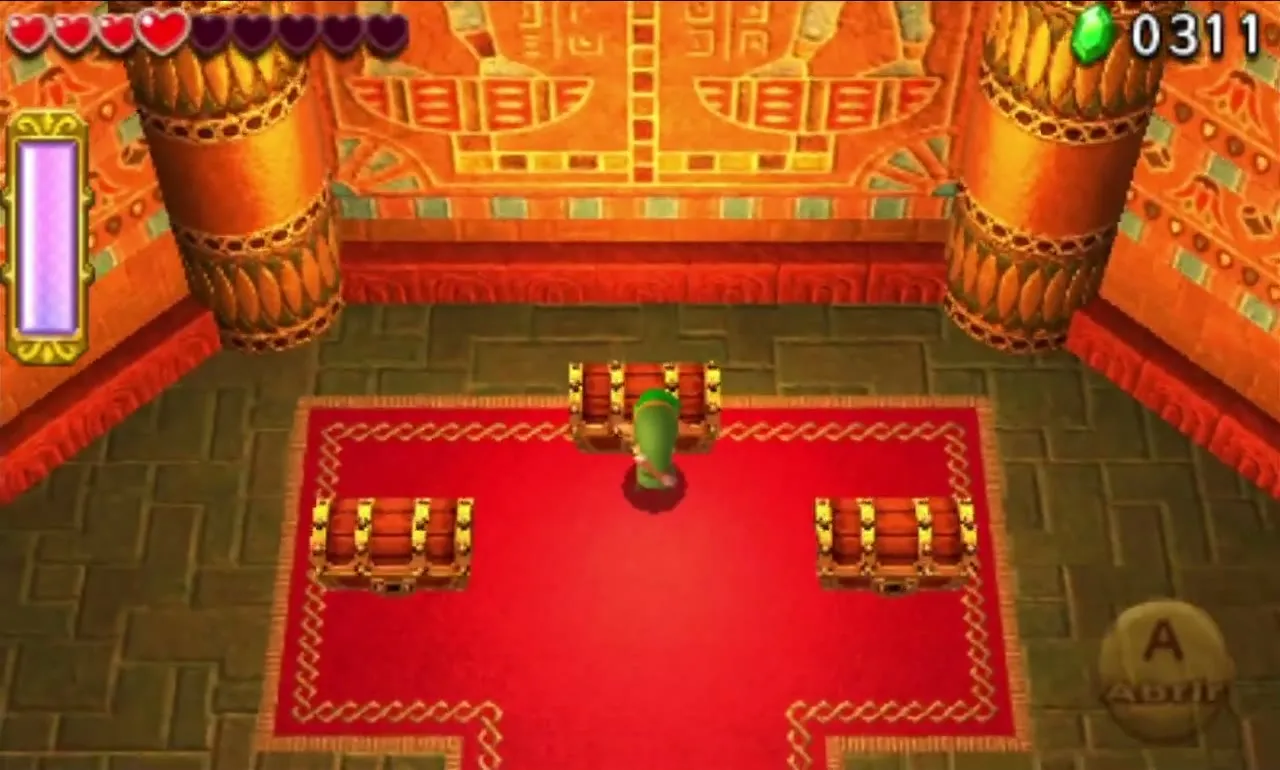
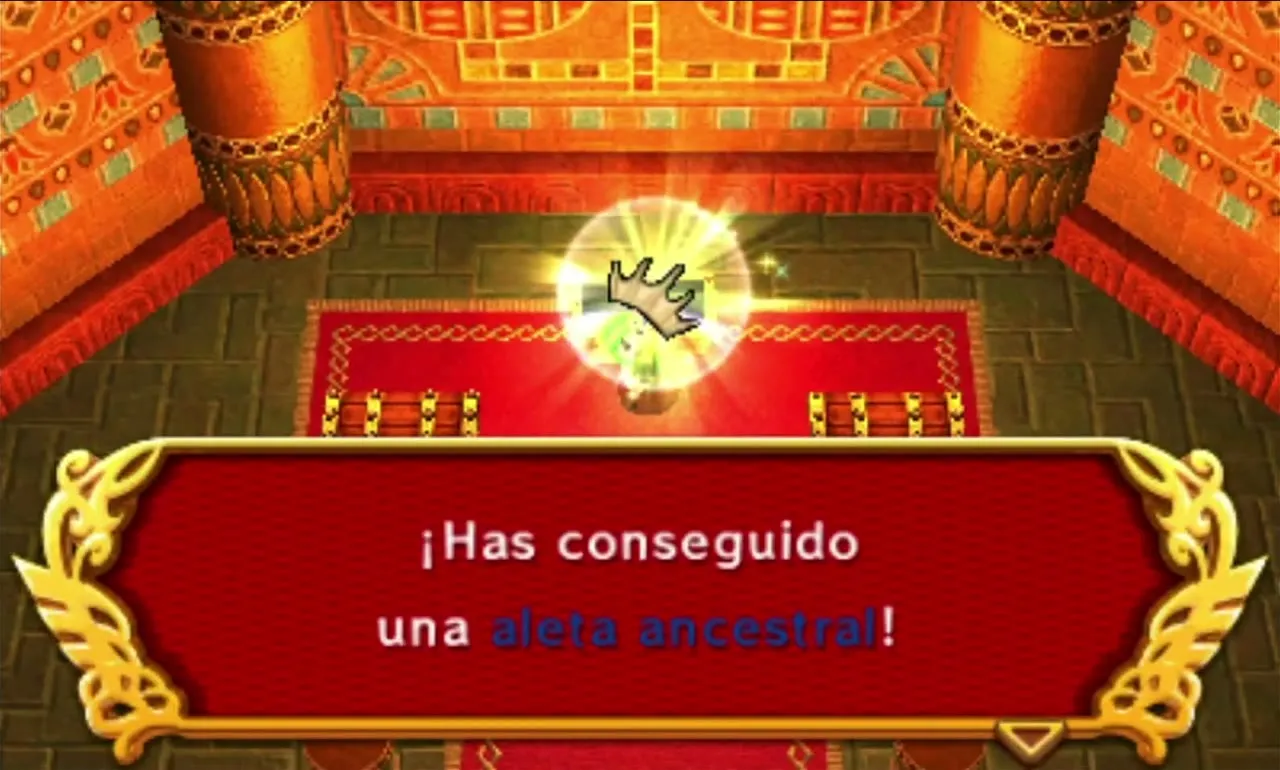
Each Link opens one of three chests at the end. Two hold the common prize, 1 Palm Cone each, and the third holds an Ancient Fin, the better one. Palm Cone and Ancient Fin are Bronze Materials that outfits such as the Dunewalker Duds ask for.
After you beat Stalchampion, Infinity Dunes opens three Drablands Challenges: “Adventure in the dark!”, “Guard the orb!” and “Fewer Heart Containers!”. Find them in Drablands Challenges.
Stone Corridors
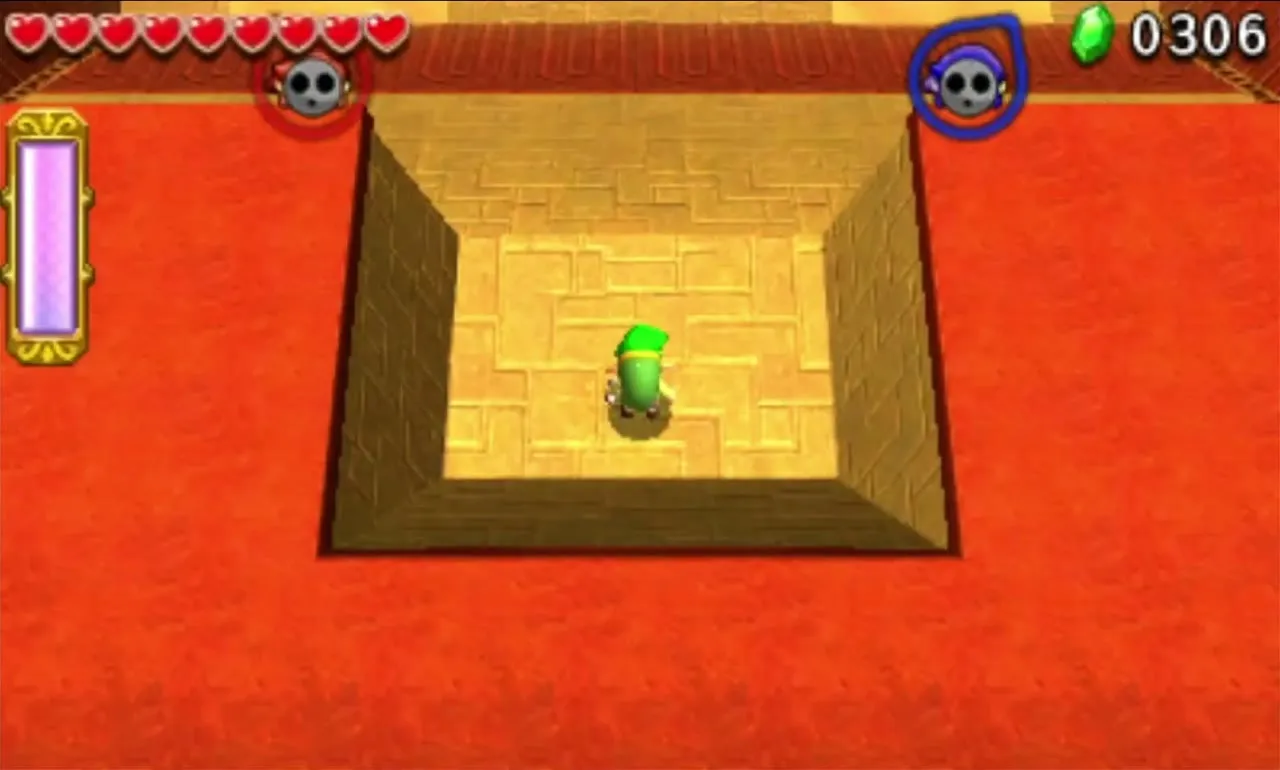
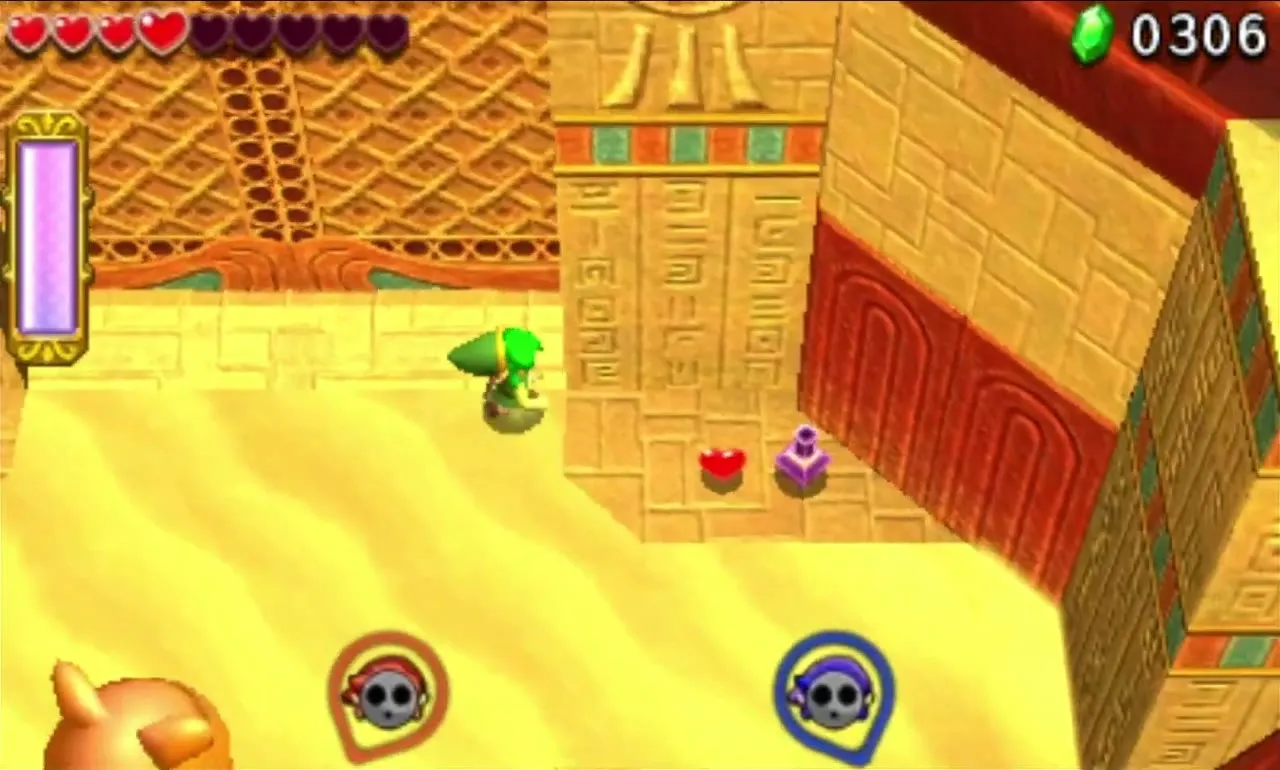
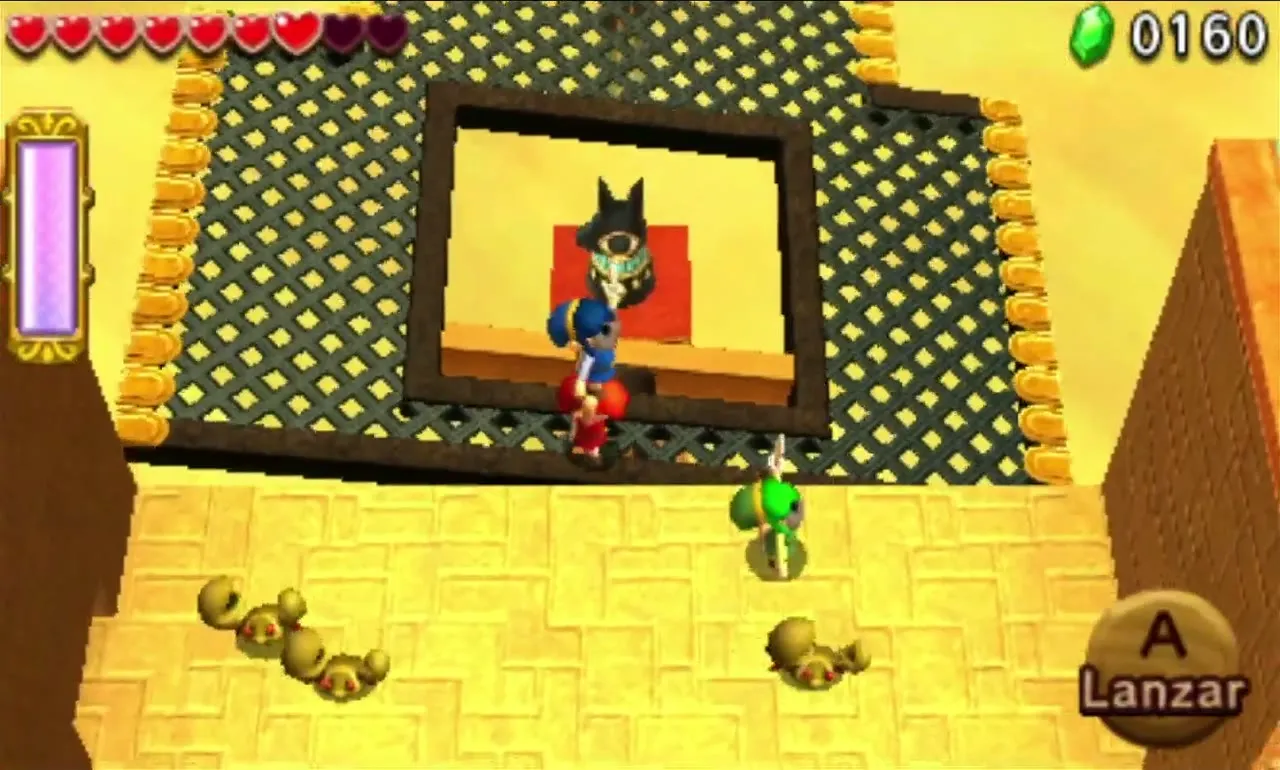
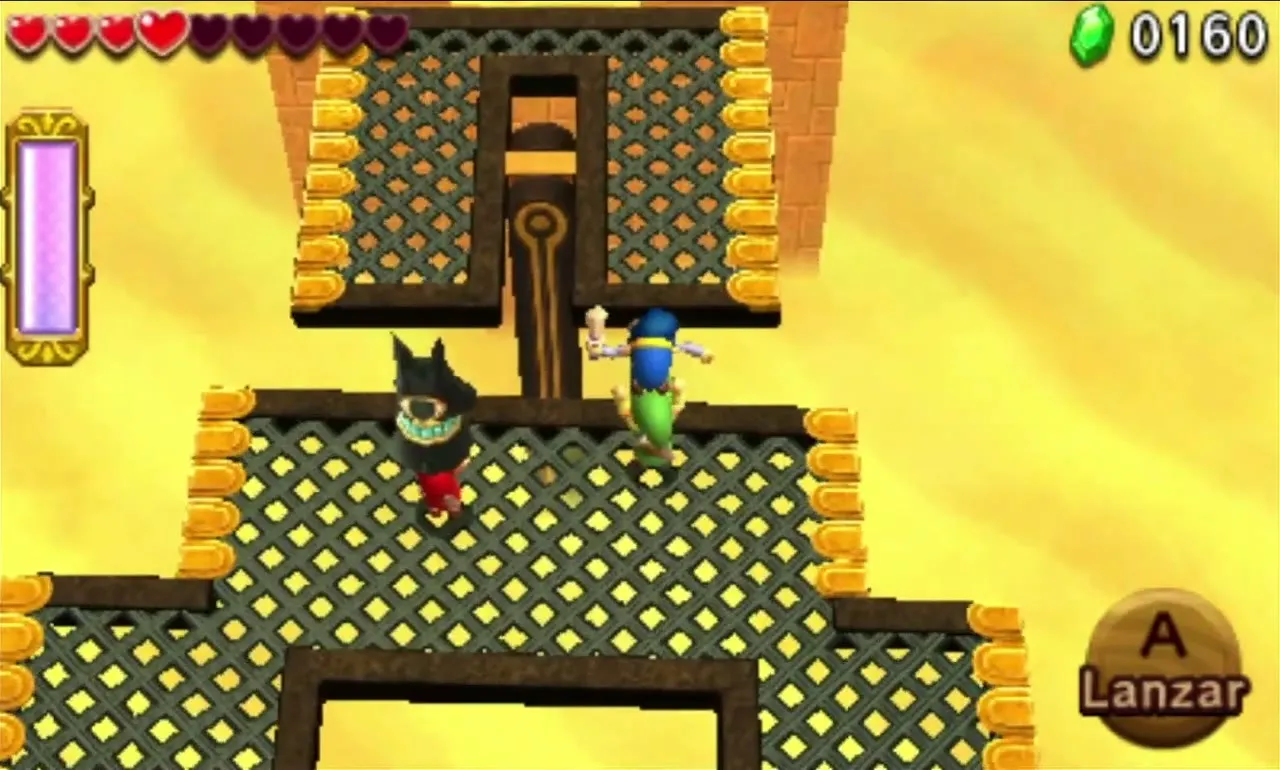
Stone Corridors is a desert fortress built over a sea of sand. It gives out a Boomerang, a Gripshot and a Gust Jar, one each. The Level runs on Anubis Statues that must be carried to a pedestal acting as a Floor Switch, and on grated platforms that tilt with your weight. If you lose a Statue it returns to a set spot nearby, so a slip costs only time.
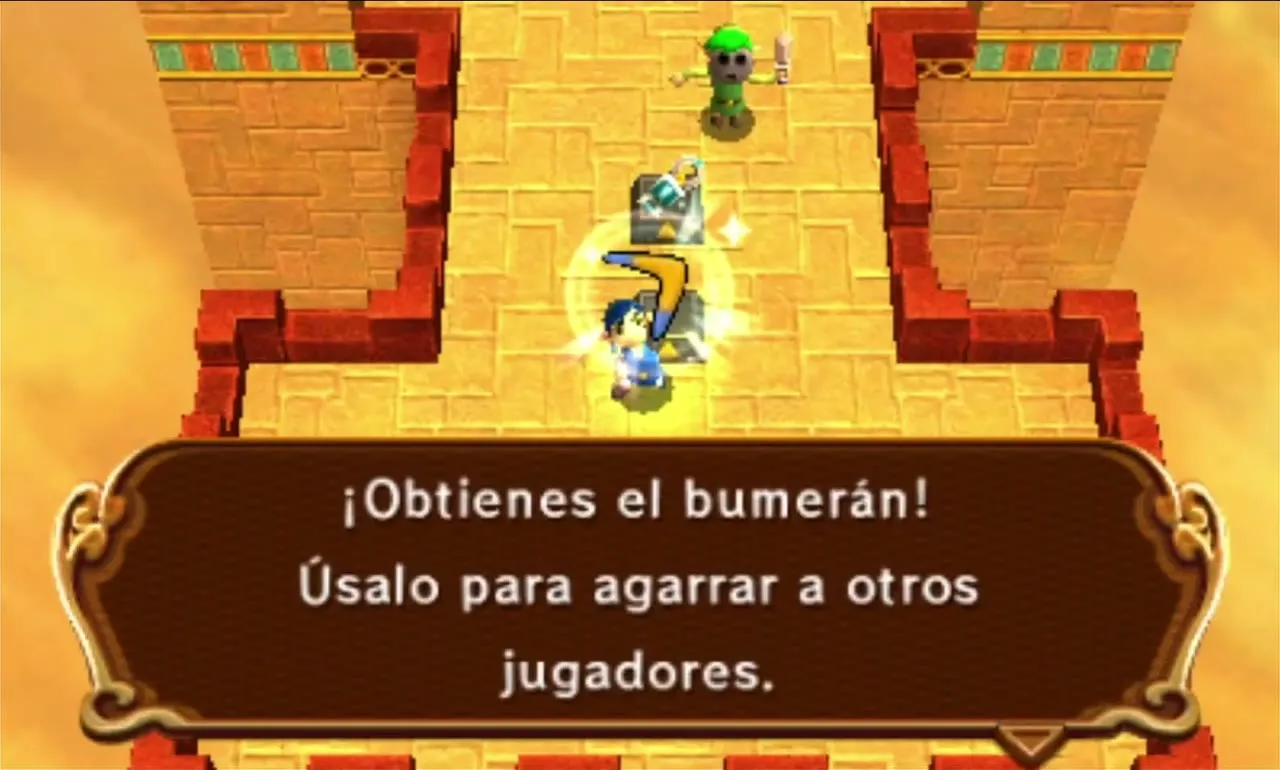
Stone Corridors Stage 1
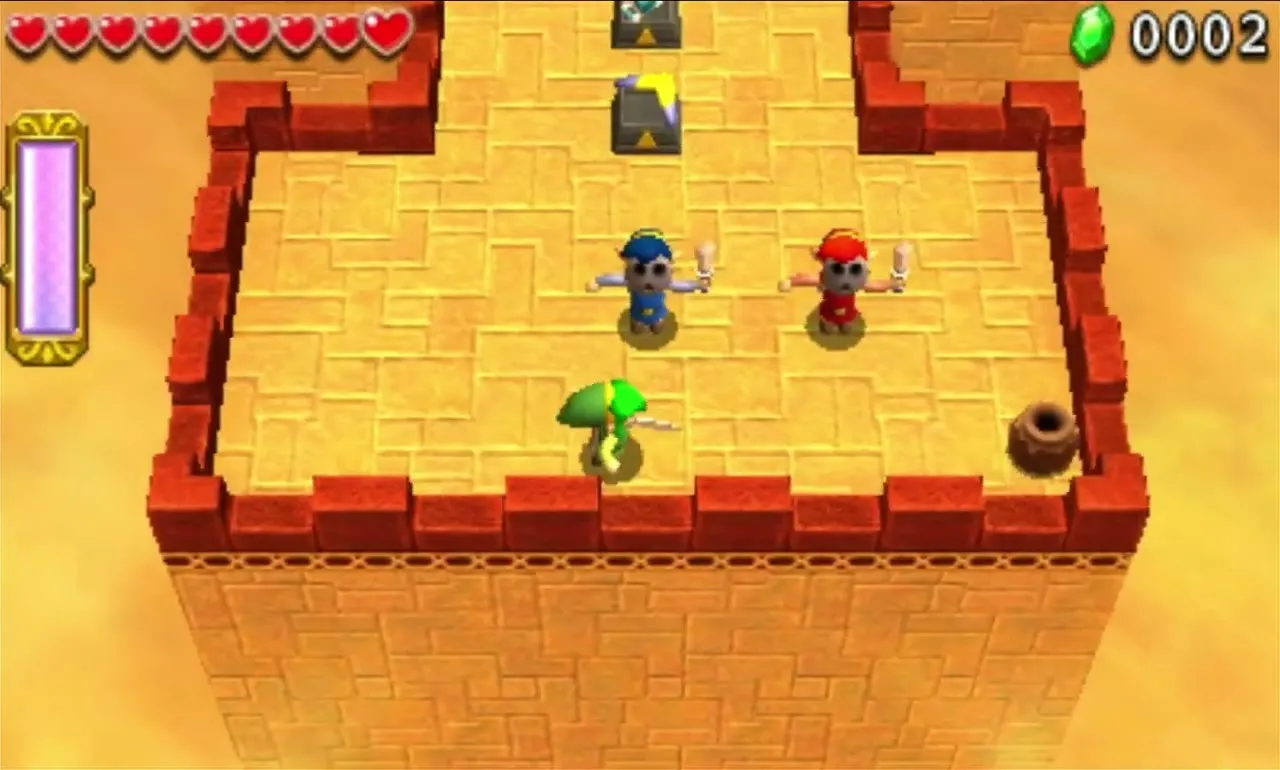
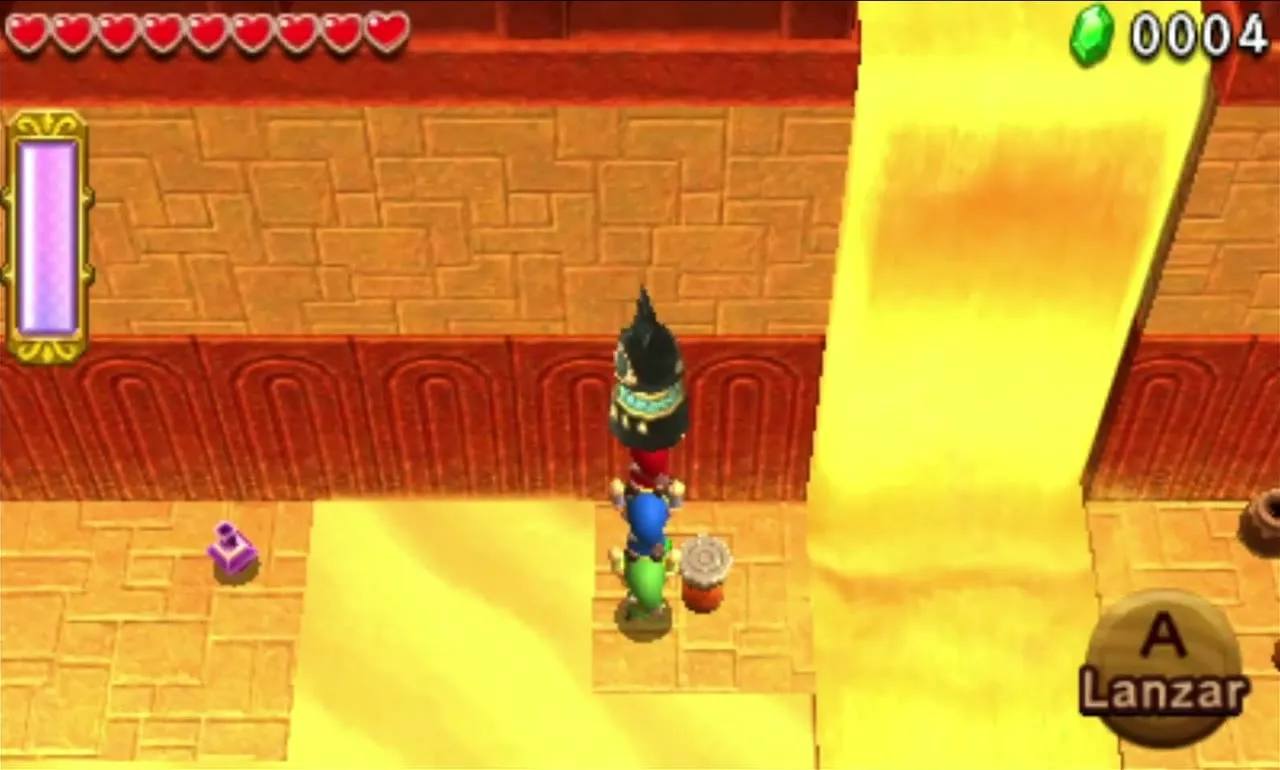
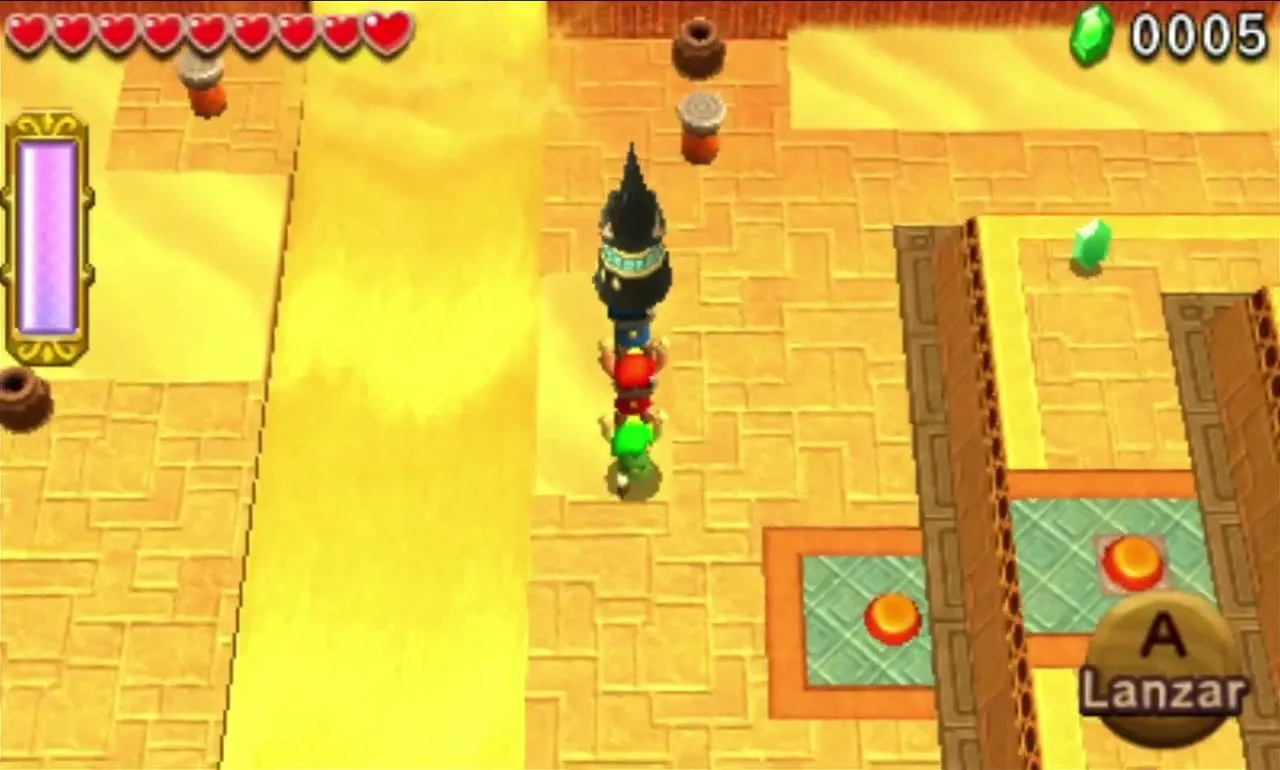
Take the three items from the pedestals, then blow the tall Sand Mound in front of you away with the Gust Jar to uncover an Anubis Statue. Carry it to the pedestal and drop it in. That counts as one Floor Switch, so stand on the other three to extend a bridge over the sand.
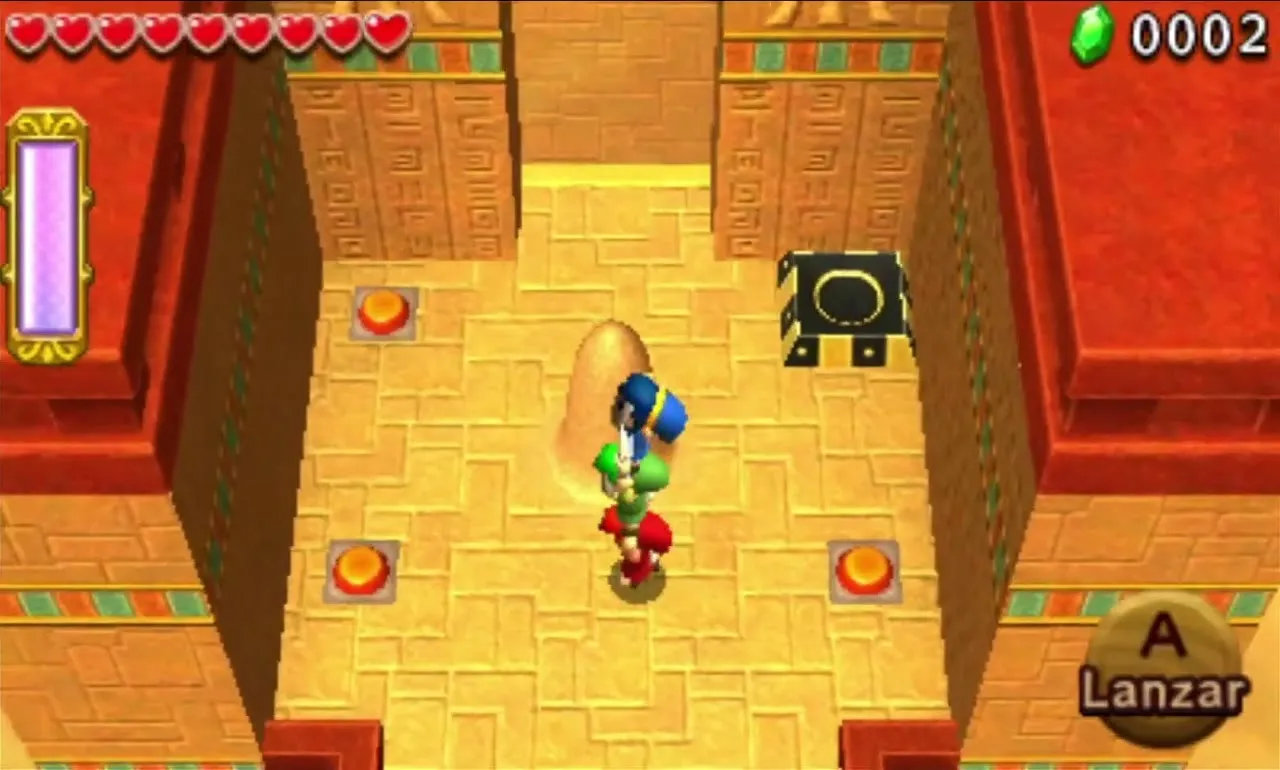
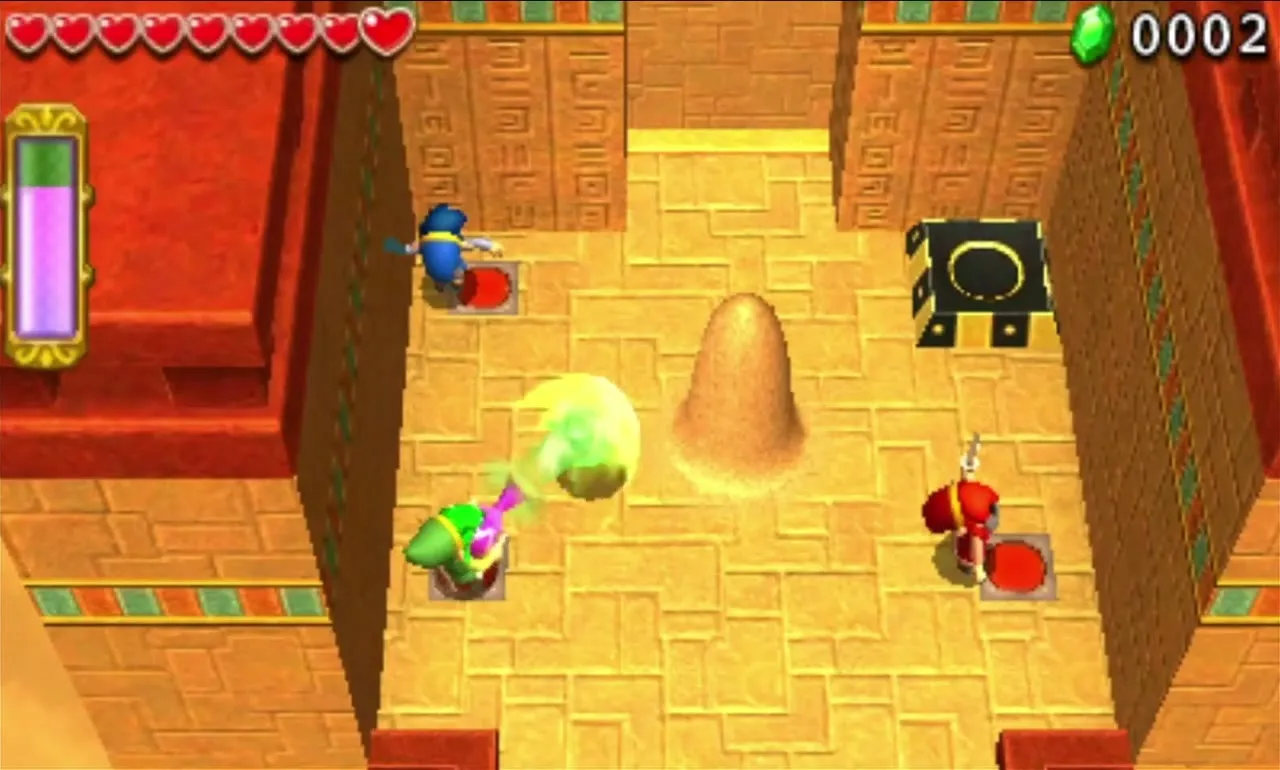
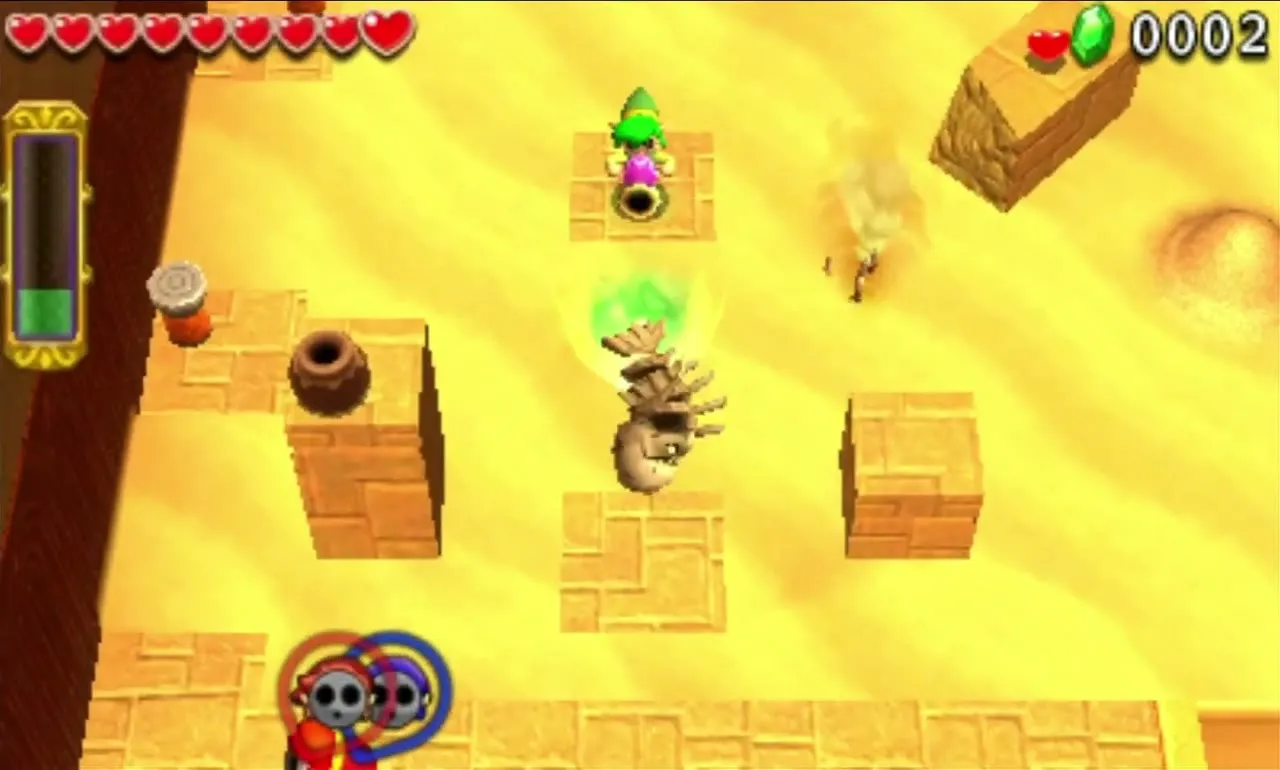
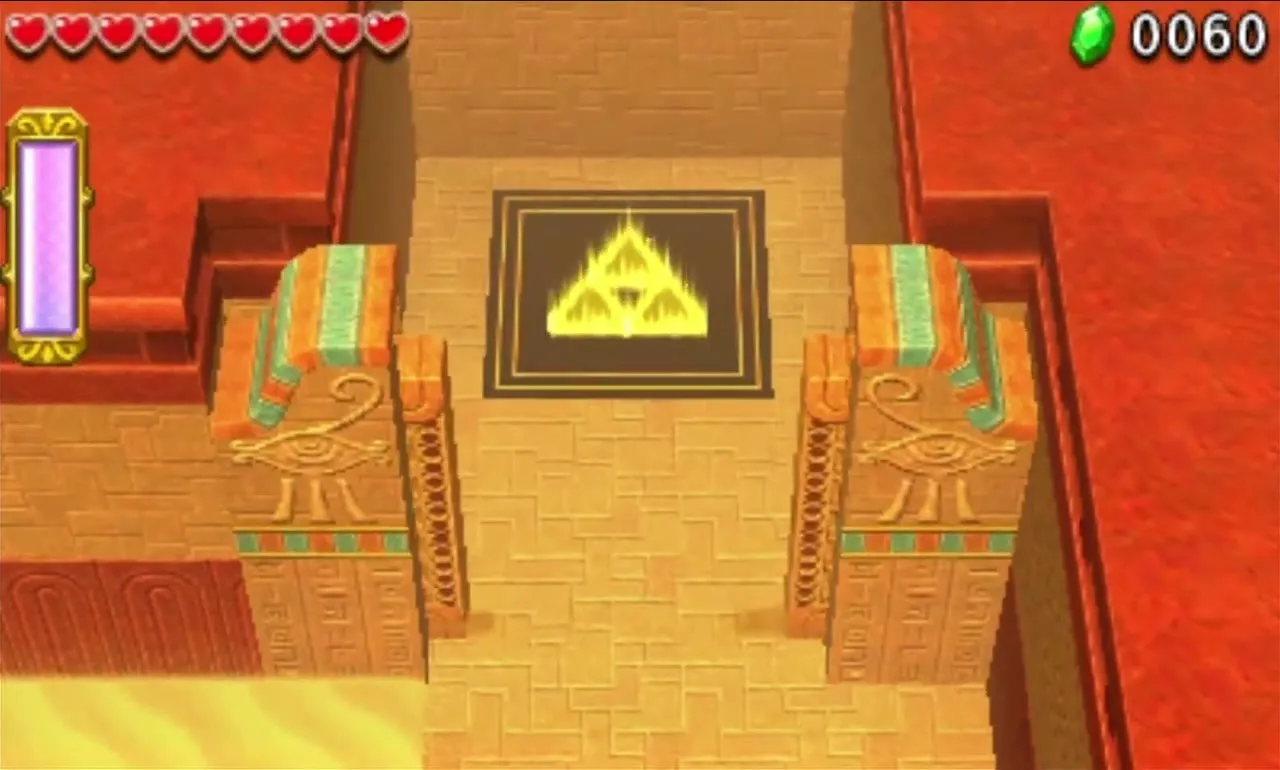
Beyond is a quicksand field with Sandfish between the ruins. Uncover a second Statue in the north-west and haul it to the pyramid on the east side. A sand river cuts the route: blow the Statue and a Link across with the Gust Jar, bring the third Link over with the Boomerang, or fire the Gripshot at a Stake, a Link or the Statue. Throw each other up the steps onto the switches, then drop the Statue in the top pedestal to open the Gateway.
Stone Corridors Stage 2
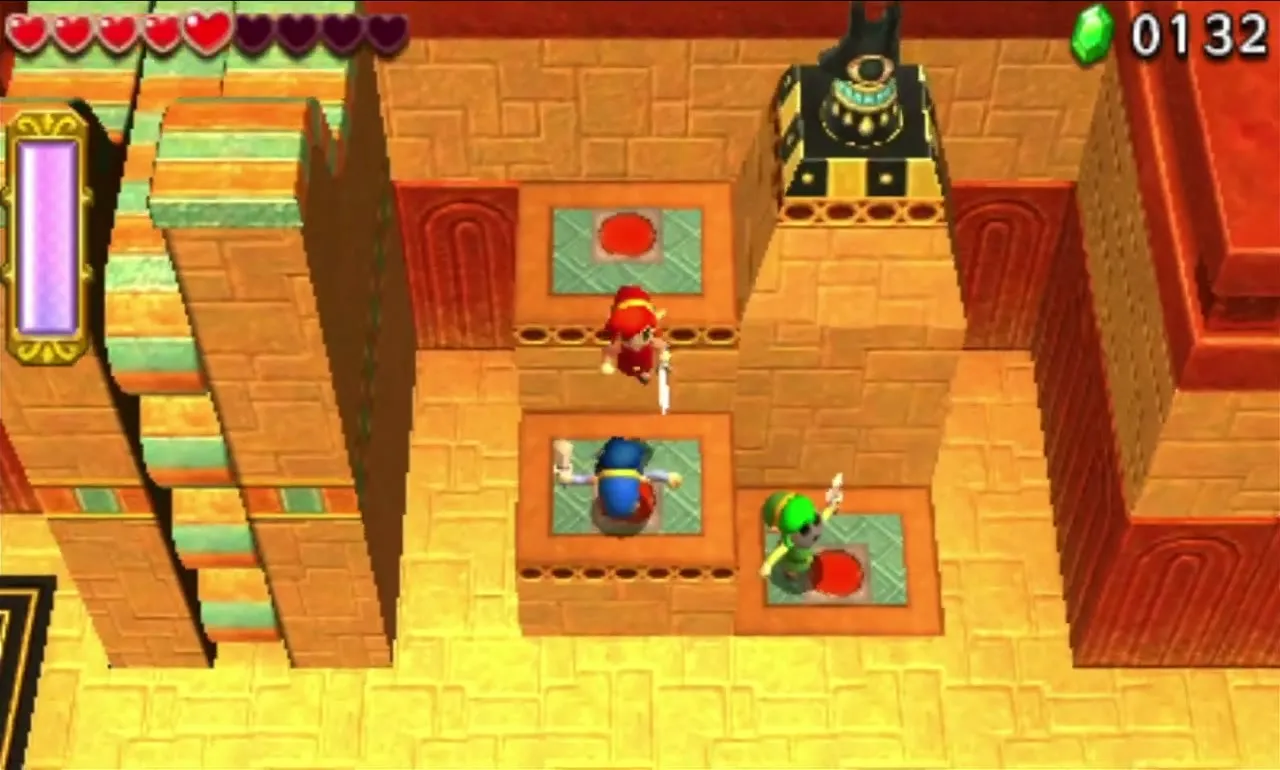
A grated wall with a panel blocks the start. Build a Totem and fire the Gripshot at the panel from the top to flip over to the far side. Use the Gripshot on the nearby Anubis Statue or Stake to hop a small gap, then press the Floor Switch to raise a staircase and regroup. That also wakes an Arrow Trap down the east path.


Let the Statue shield you. Set it down ahead of you to stop the arrows, then push it forward with the Gust Jar rather than carrying it. Repeat this for the Spiked Roller south of the trap and the bigger roller in the west. Tall Sand Mounds fenced in together conceal a Skullrope, a heart, a Red Rupee and a Purple Rupee. At the end, throw each other onto the switch ledges and place the Statue on its pedestal.

Stone Corridors Stage 3
The start ledge faces a grate that tips under your weight. Grab the Red Rupee on the pillar with the Gripshot rather than walking over, so the platform stays level. On the next ledge, take the Statue across two tilting grates, balancing with a teammate on the opposite side so neither the Statue nor a Link slides into the sand.
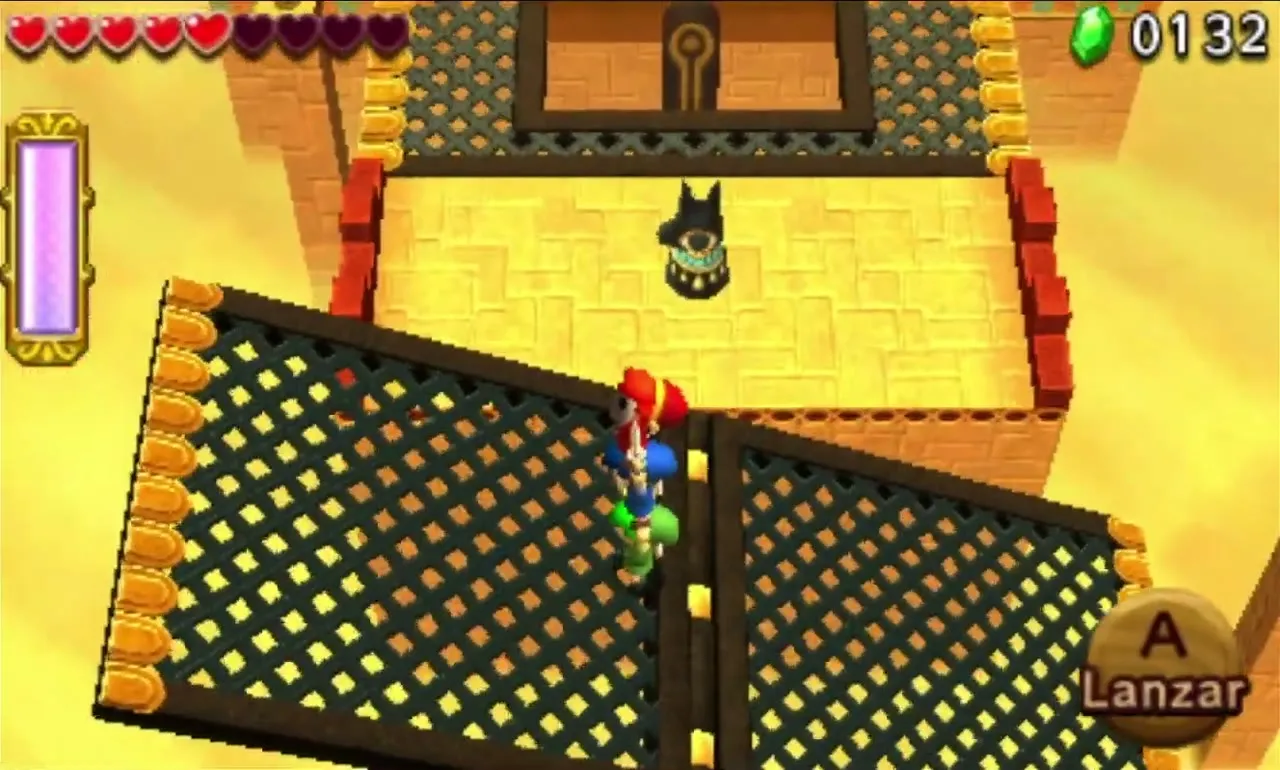
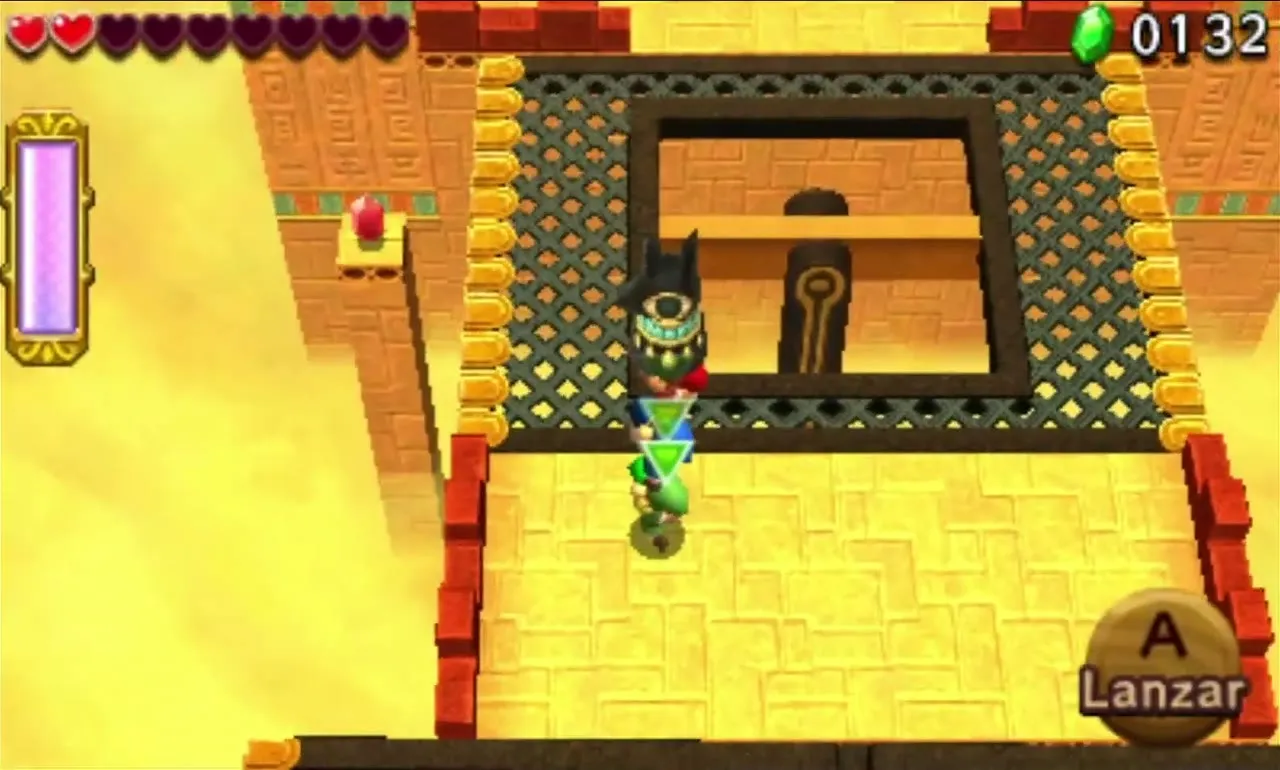
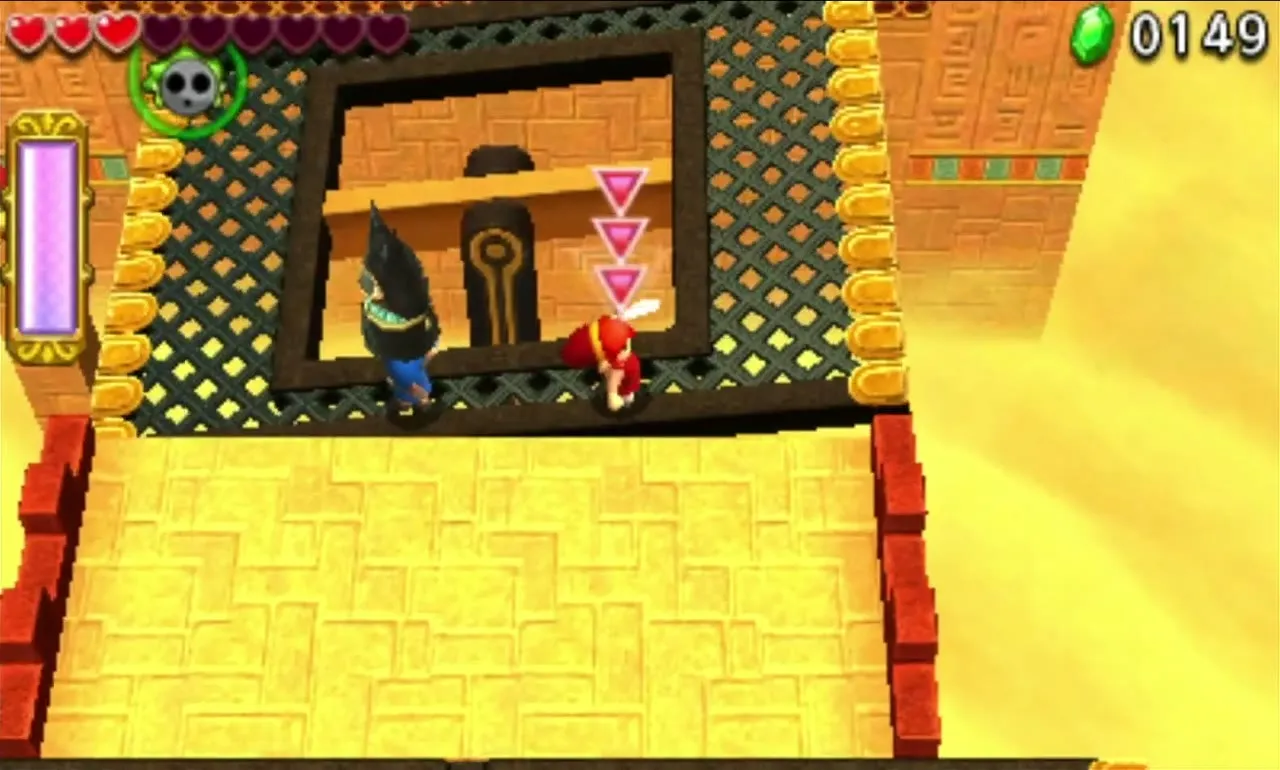
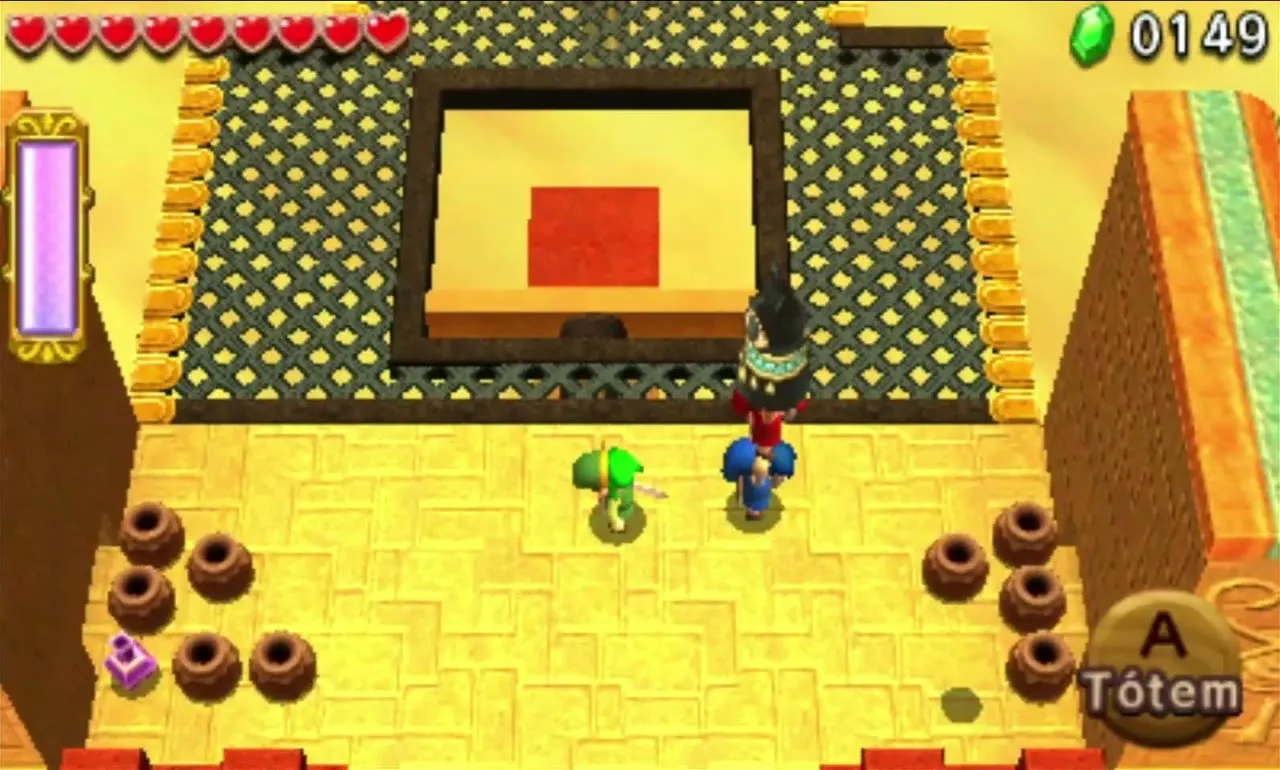
Later, two Karat Crabs guard a ledge lined with heart jars, and smashing the jars lets more crabs out of the walls. Throw the Statue to the red column in the middle of the next grate, then onward across the gap. On the last grate, the pedestal stands on the west side. Use your own weight as a counterweight and throw the Statue in to open the way to the Gateway.
Stone Corridors Stage 4
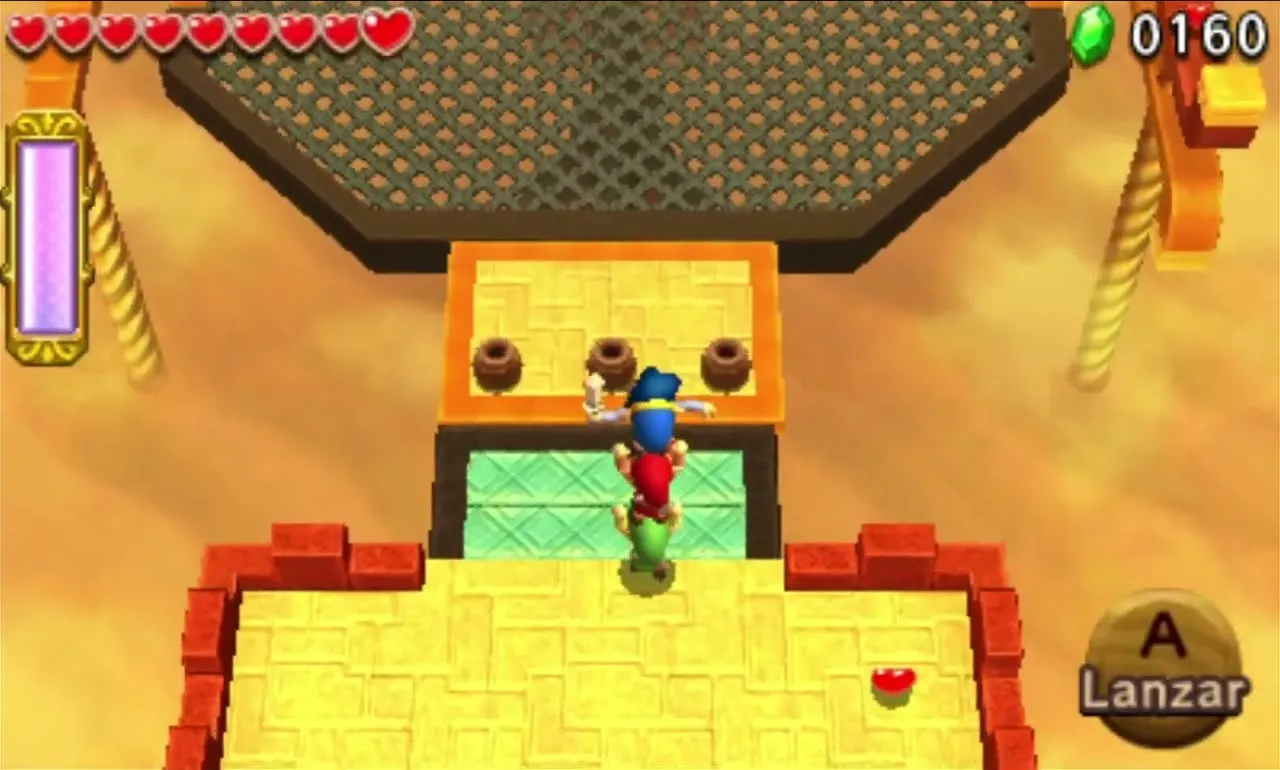
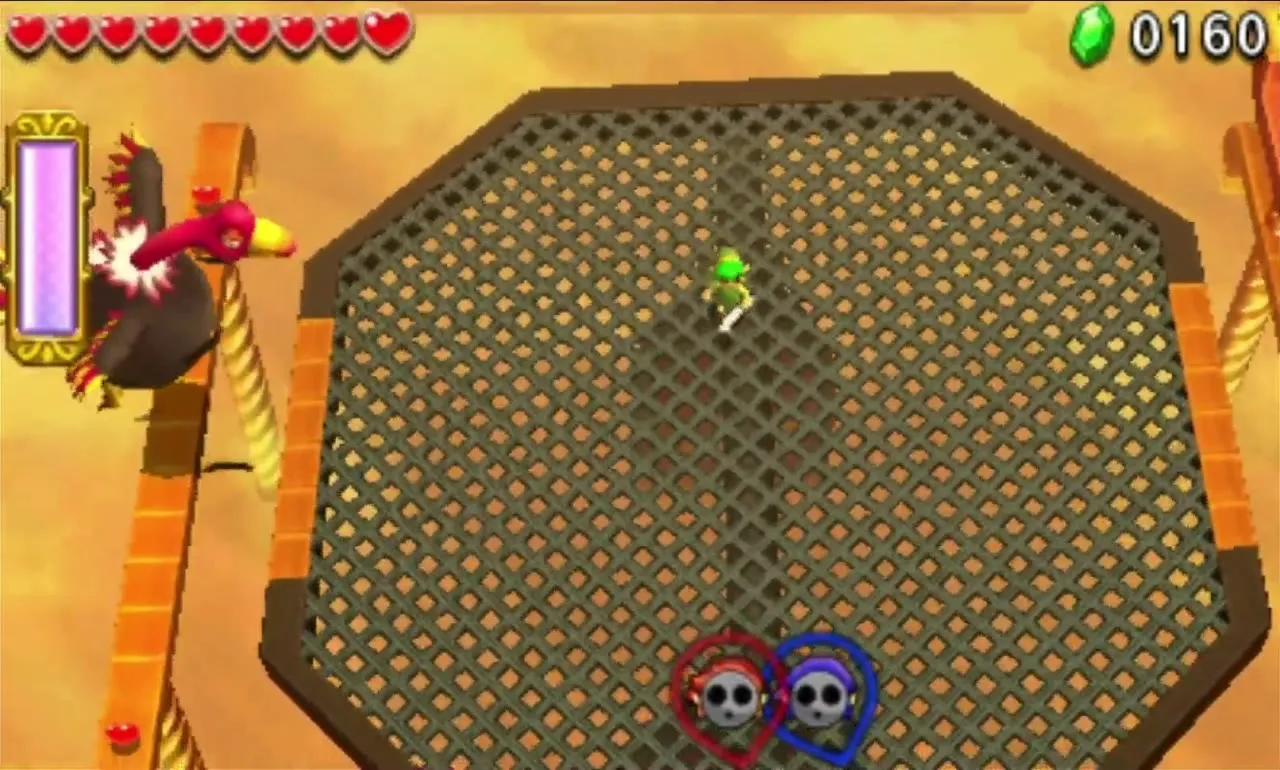
You begin on a high ledge with jars of hearts, so smash them before you jump. Drop down onto the huge tilting grate to start the fight. Three more jars stand on a small ledge at the south end, which is out of the boss’s reach and a good place to recover.
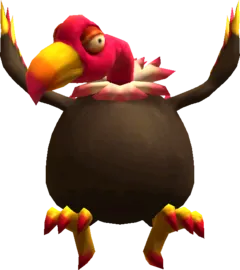
Vulture Vizier mini-boss fight
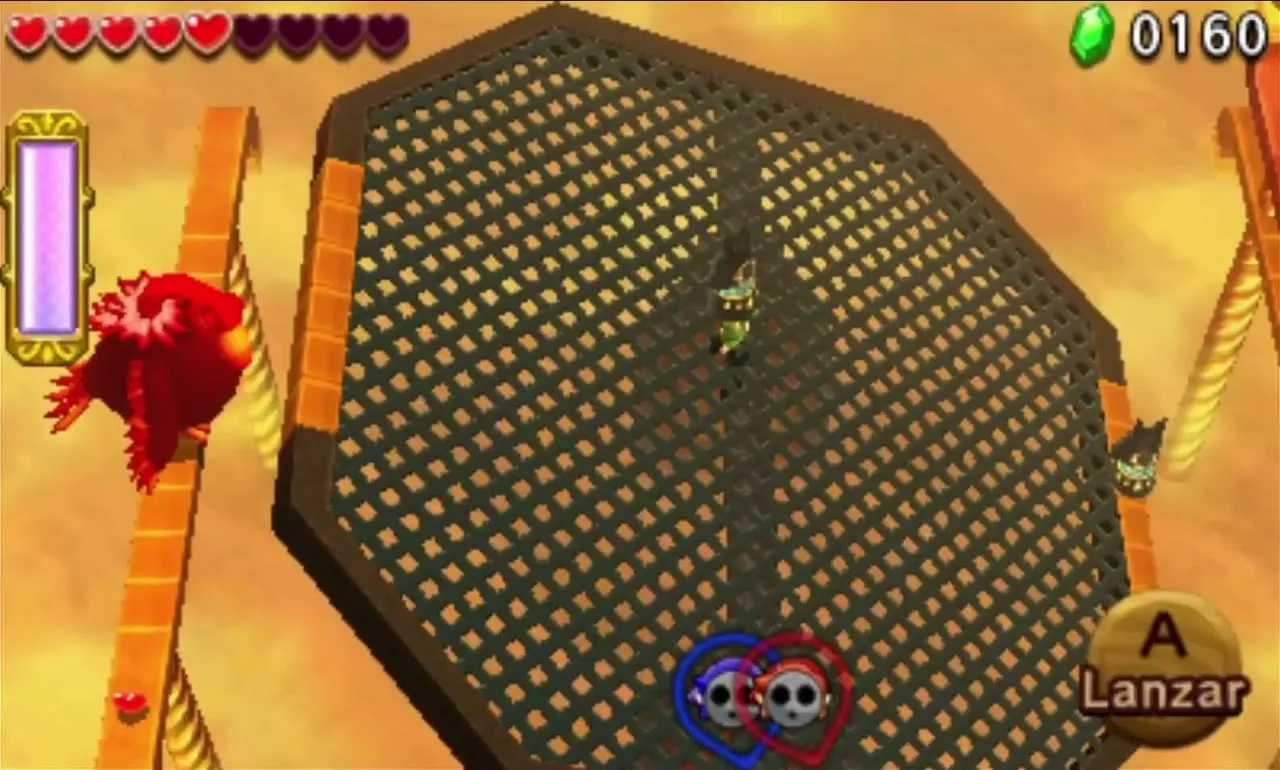
Vulture Vizier perches on the railings and breathes streams of fire across the platform. Walk everyone to one side so the grate tilts and brings you up to its height, then stun it with the Gripshot, the Boomerang or the Gust Jar and cut it with the Sword. It will peck back at you, which shakes the platform, so keep your footing.
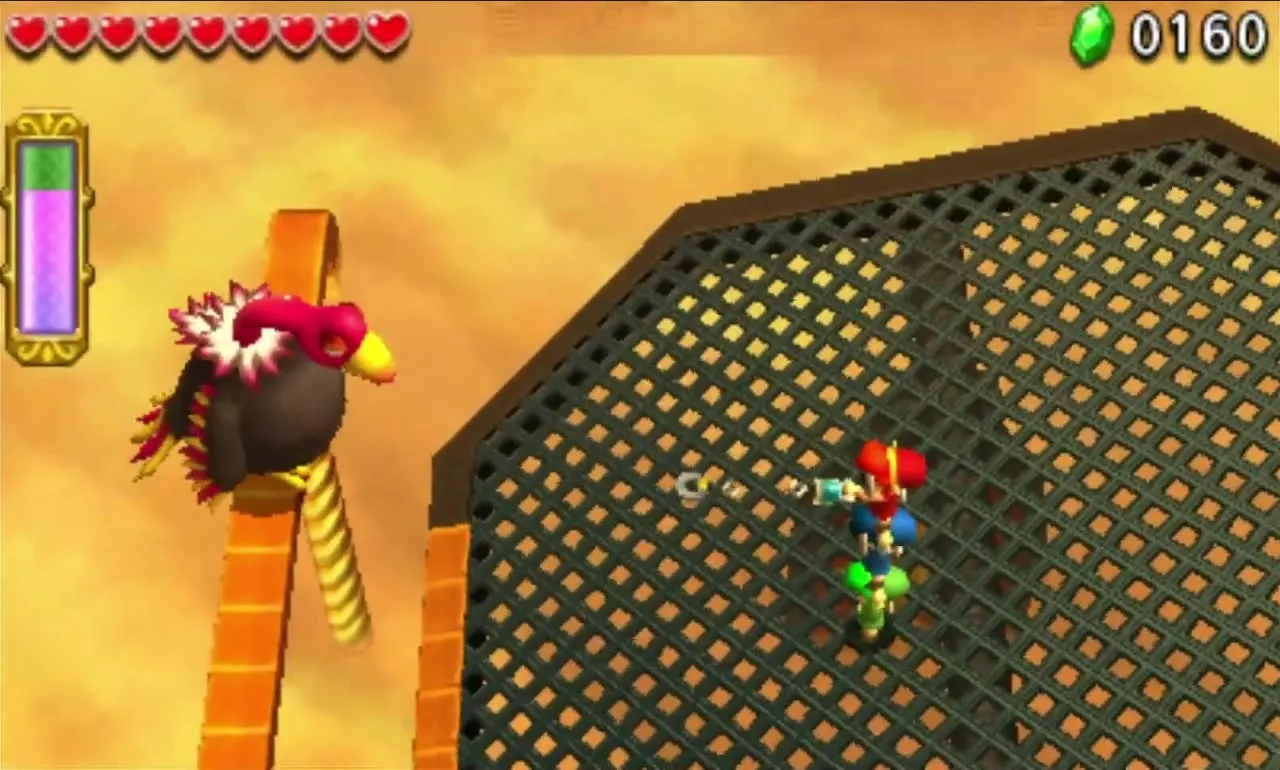
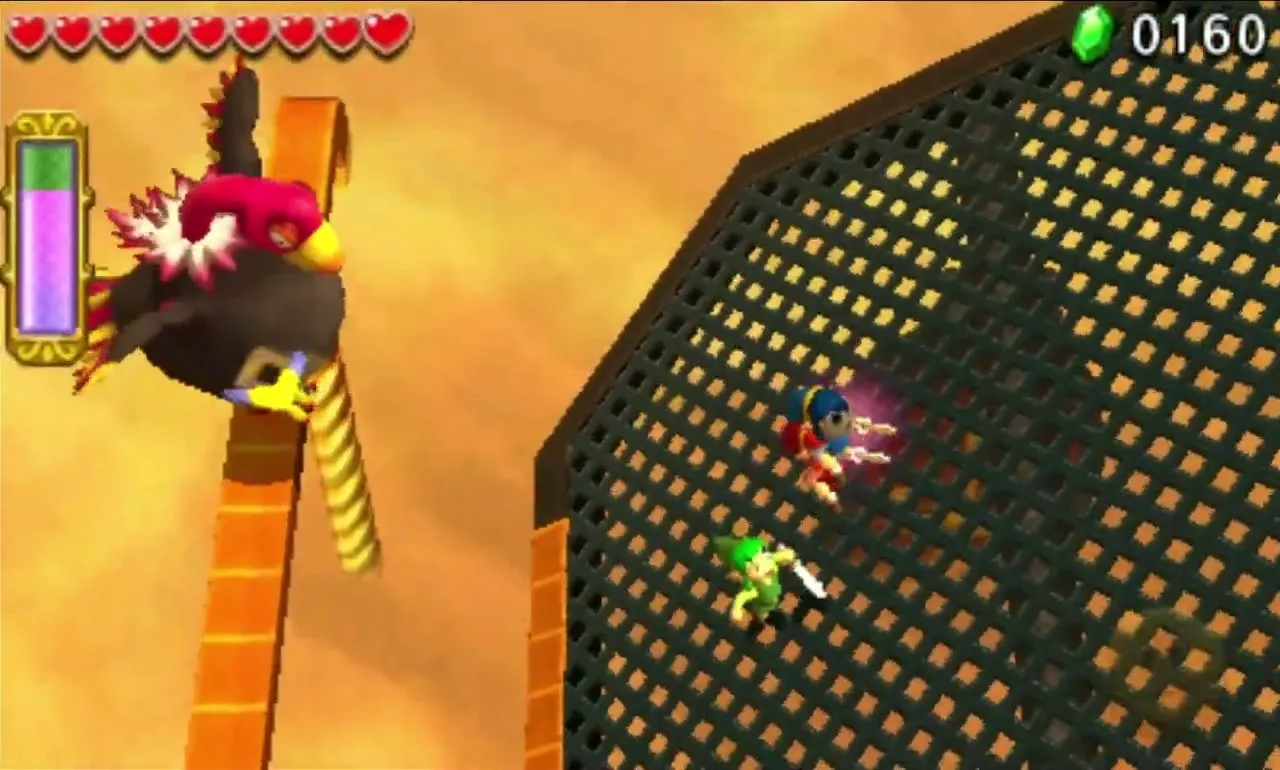
After a few hits it drops into the sand and returns with a stone statue, which it lets fall on one side of the grate to tip it. Move off that side. Heart jars fall too. The bird perches again for a moment between trips, and that is your window to hit it.
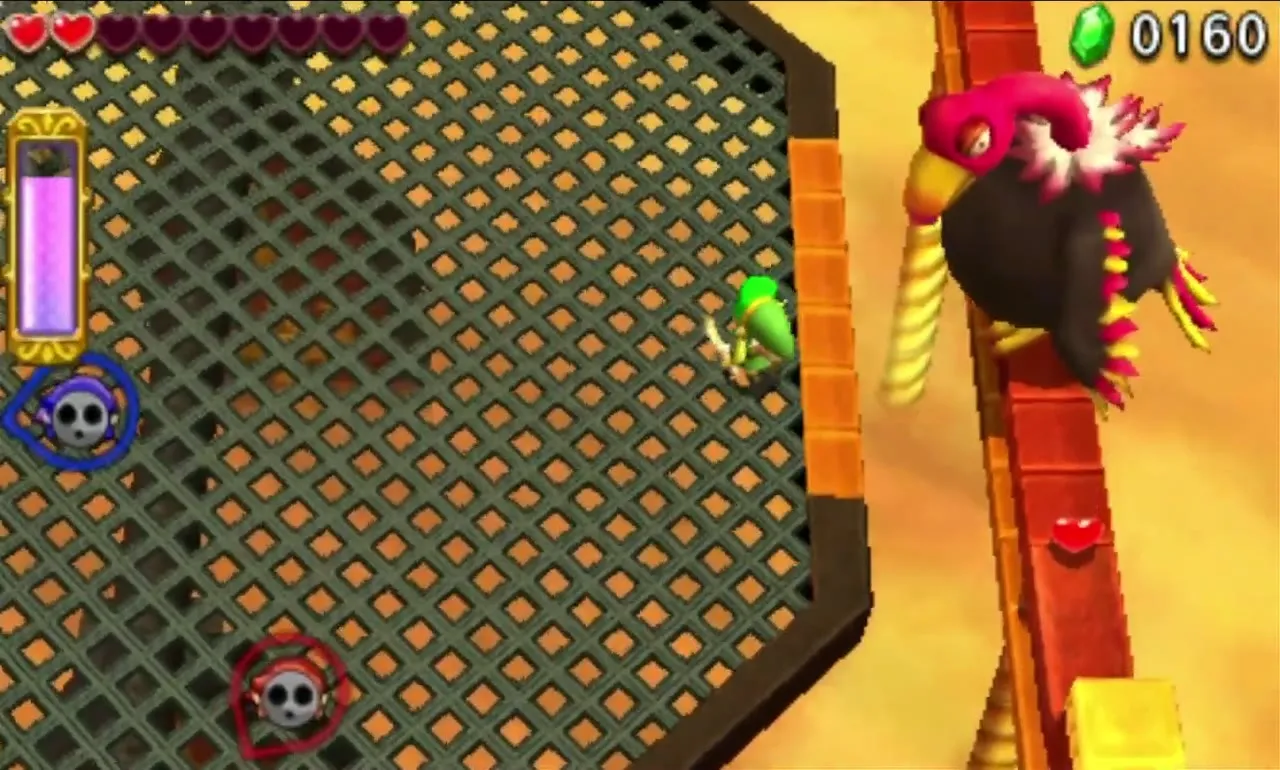
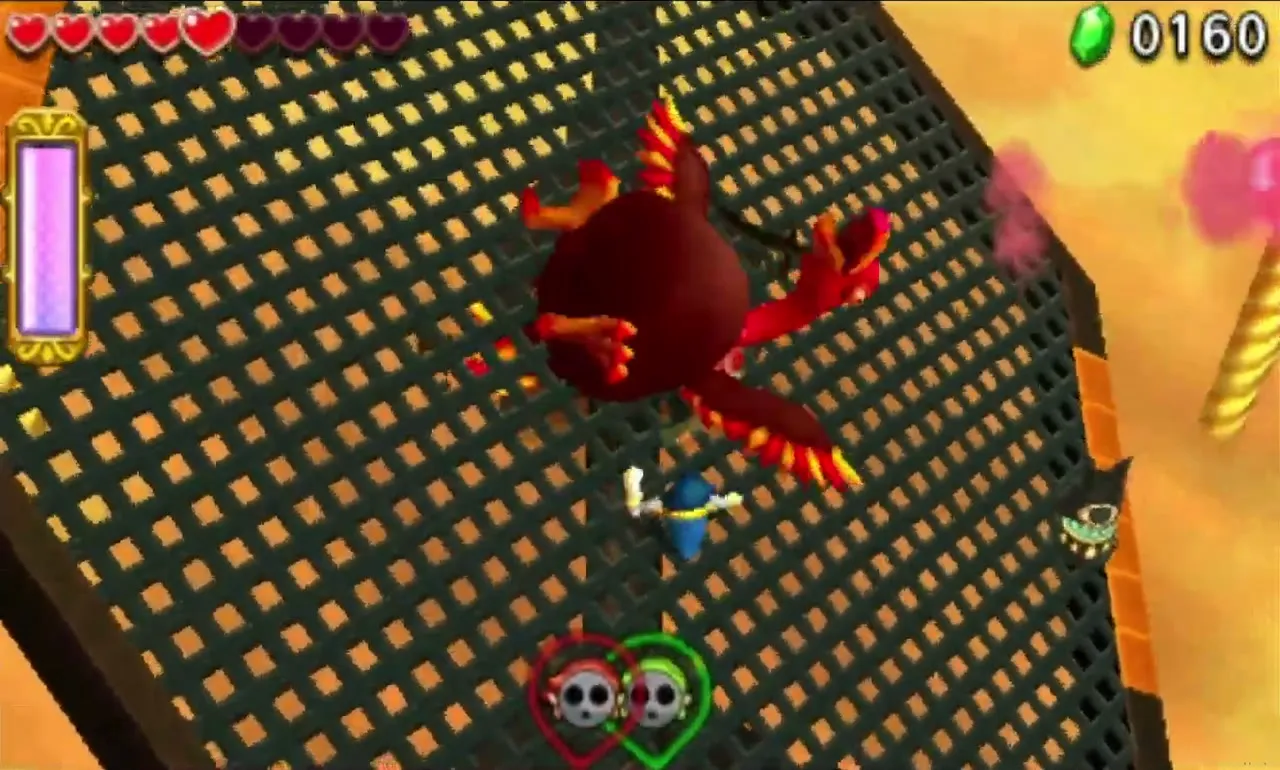
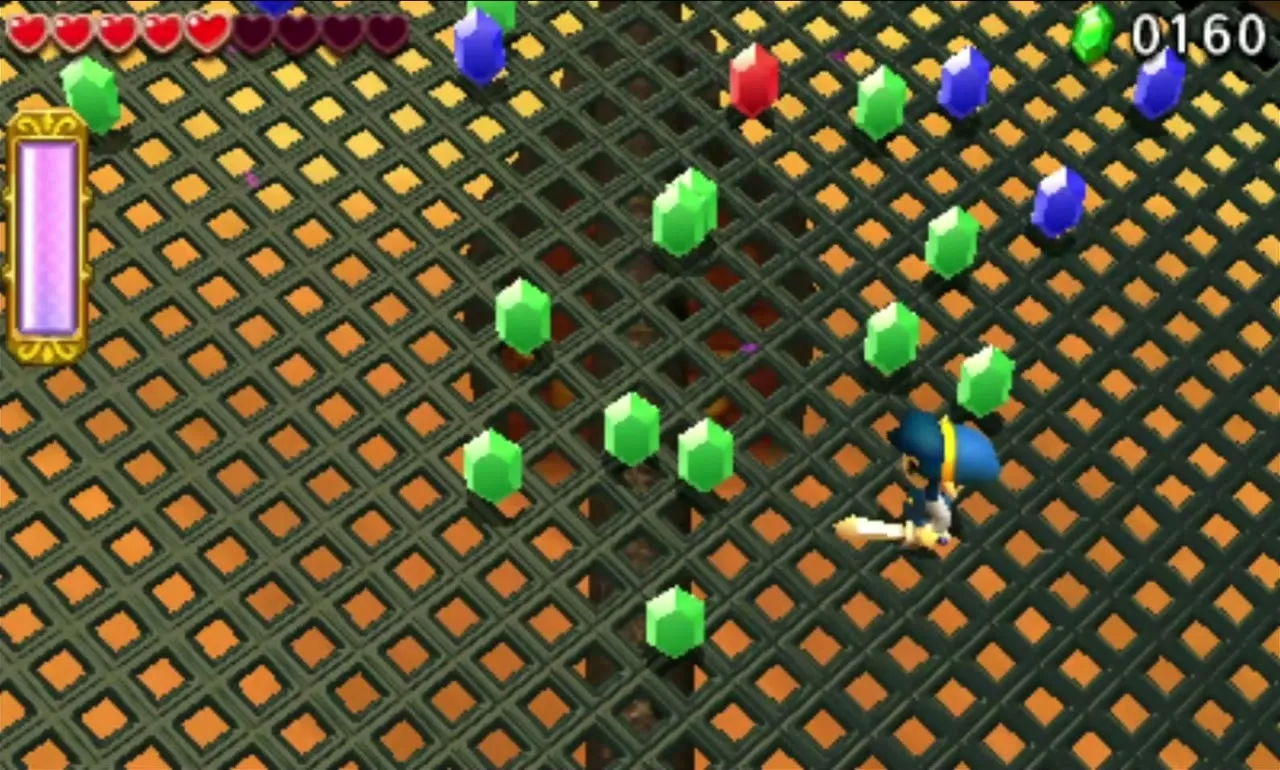
In its last phase the bird crashes down in the middle of the grate and blasts flames while the platform rocks. Run in and strike it quickly with the Sword. Once it is defeated, platforms rise to the north and a sphinx pulls back its head to show the last Triforce Gateway.


Stone Corridors treasure chests
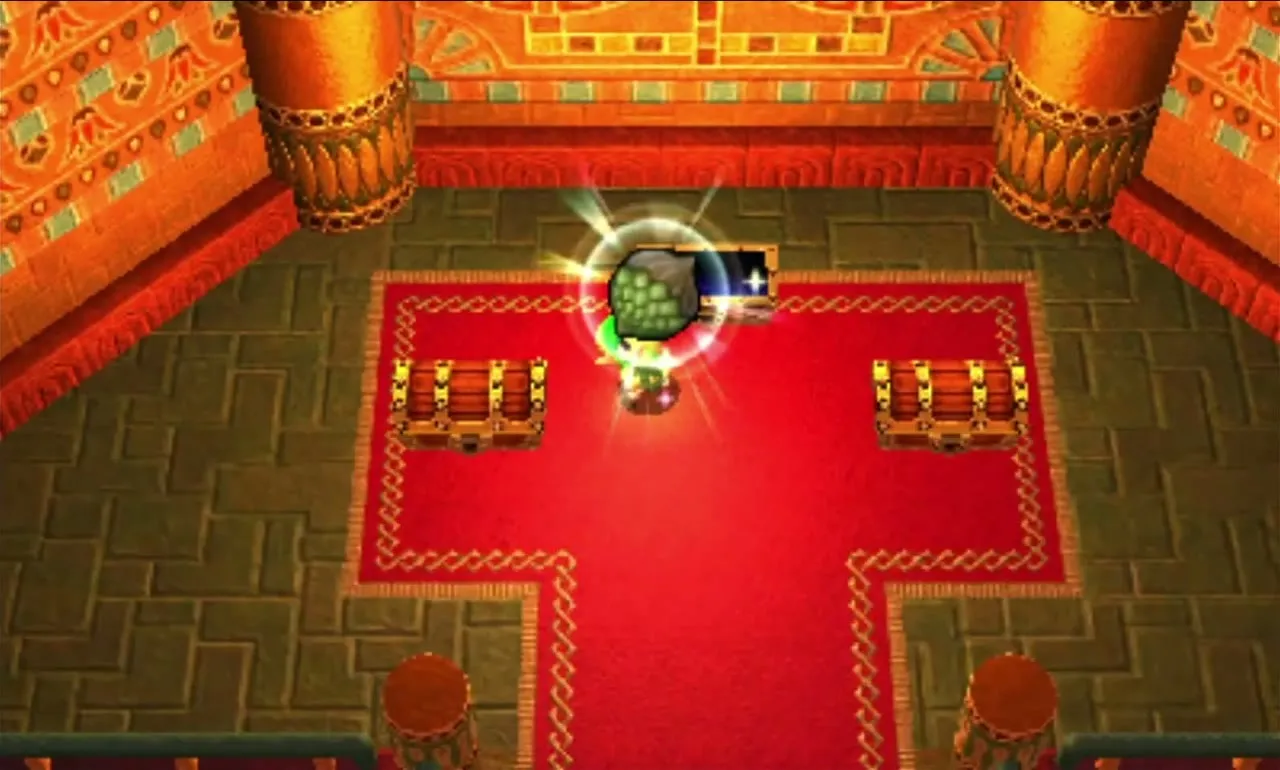
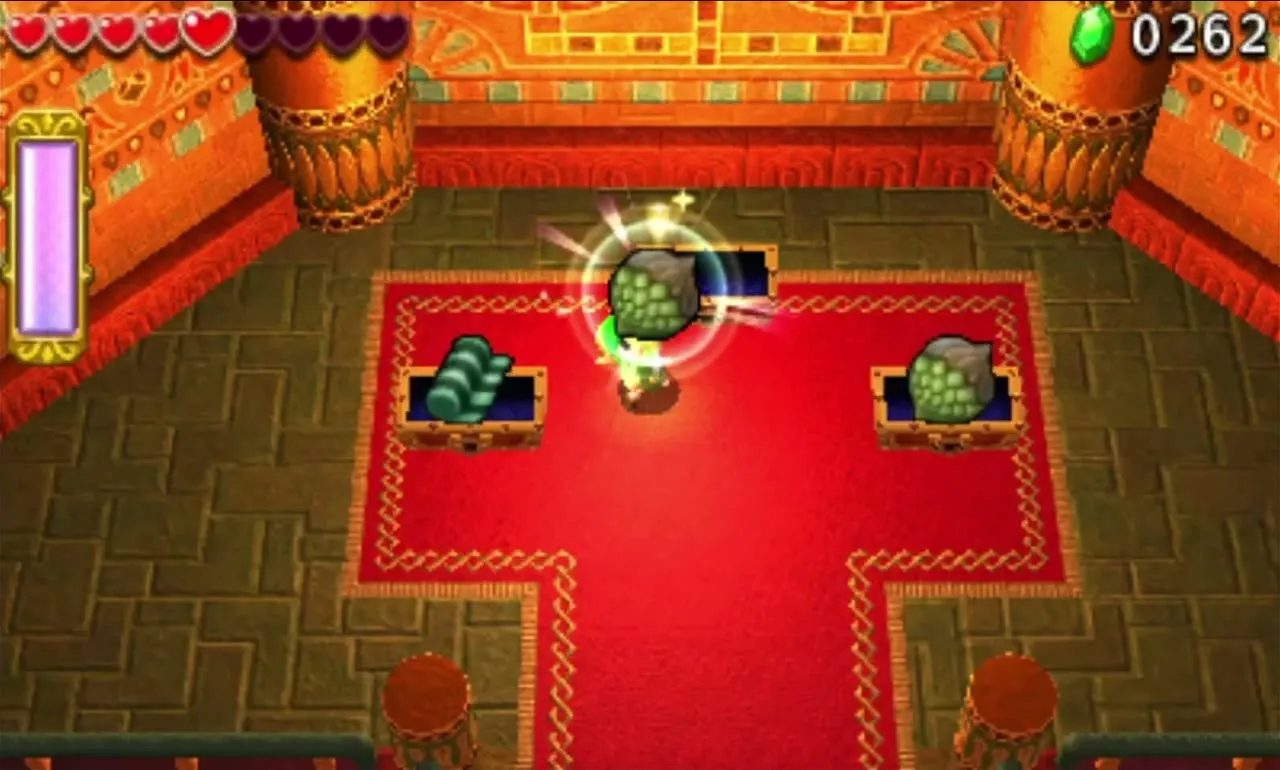
The end room holds three chests. Two contain 1 Palm Cone each, and the third holds a Vintage Linen. Vintage Linen goes into outfits such as the Gust Garb, so keep it.
After the Area boss, the challenges here are “Clear within the time limit!”, “Evade the Wallmaster!” and “Don’t fall at all!”. You can read about them in Drablands Challenges.

Gibdo Mausoleum
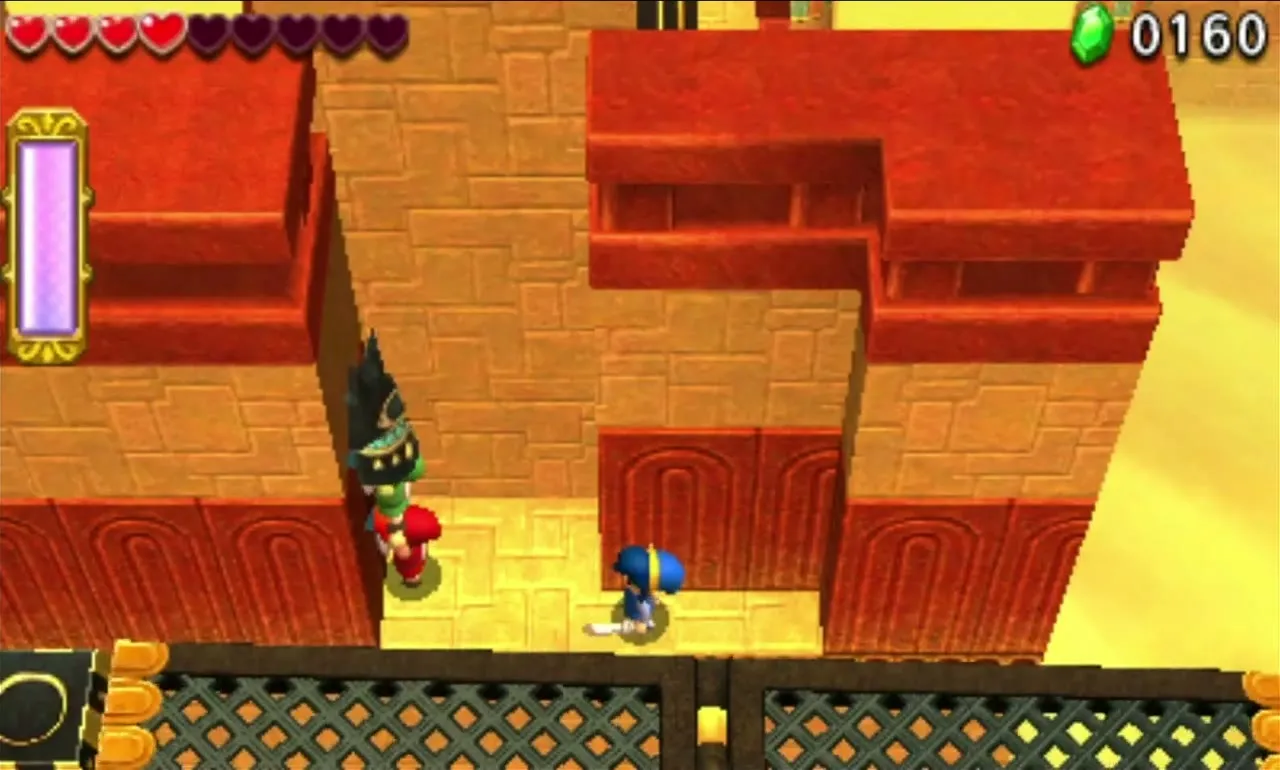
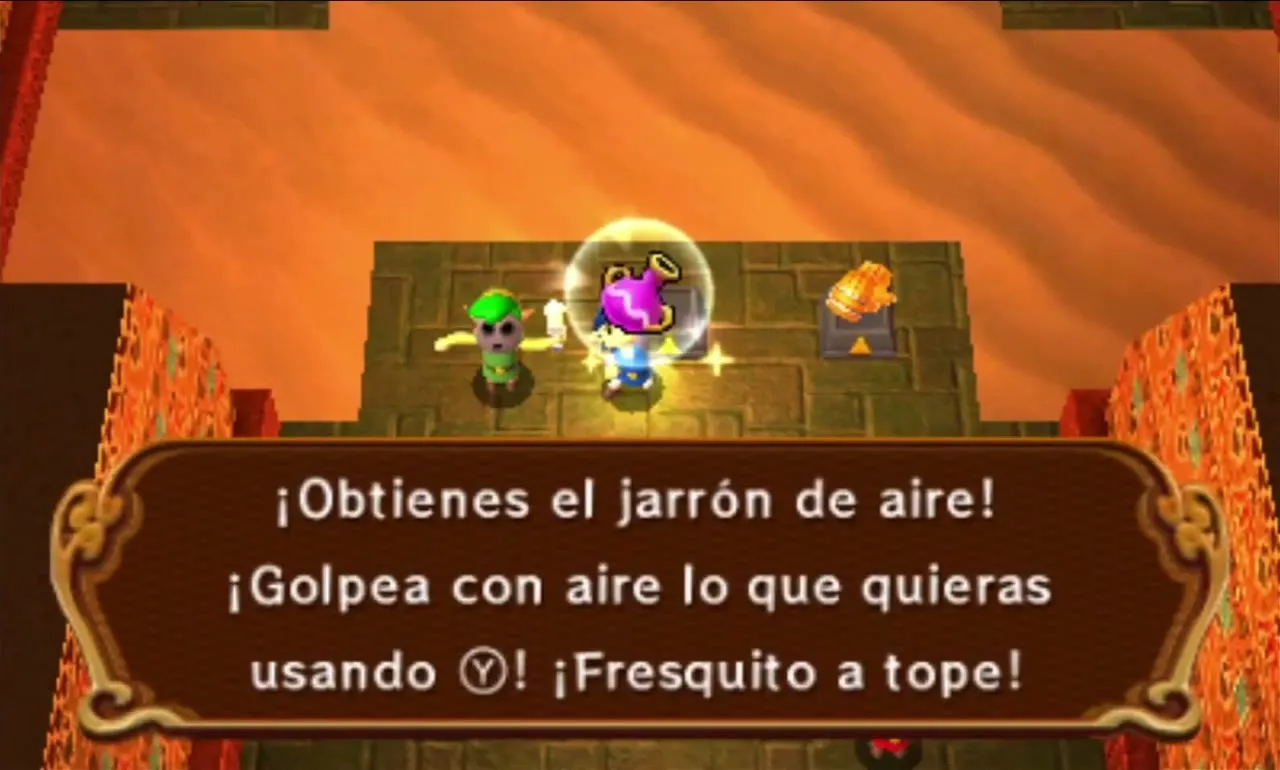
Gibdo Mausoleum is a tomb of quicksand and bottomless pits. It supplies a Gripshot, a Gust Jar and Fire Gloves, one each. The Fire Gloves matter most in Stage 3, and the Gust Jar is vital in Stage 1. Quicksand is as deadly here as in the first Level, so the Dunewalker Duds help again.
Gibdo Mausoleum Stage 1
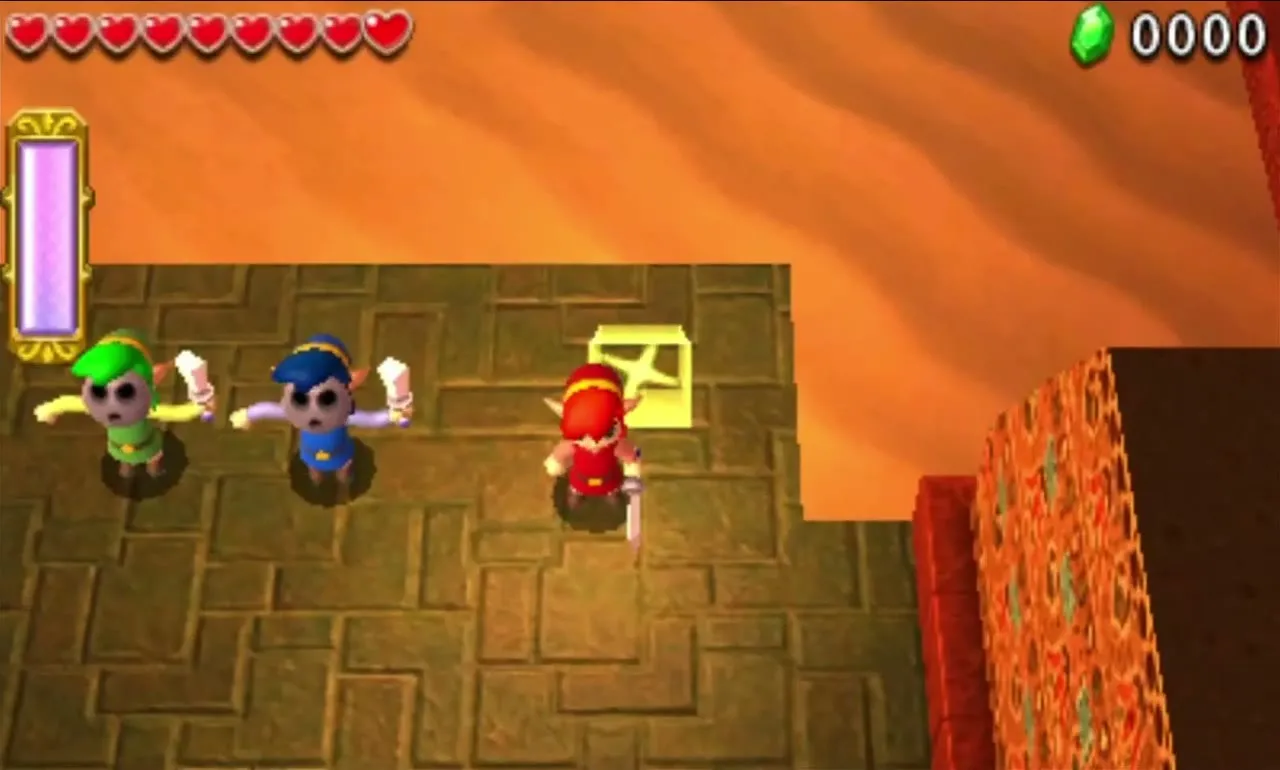
Take the three items, then watch a Key fall from the ceiling into a quicksand room divided by fences, with solid strips along the sides. A Sand Mound dashes off with it: a Karat Crab hiding underneath. Blow the mound with the Gust Jar to expose the crab, or toss the Bomb Flowers provided at either side. Crabs retreat under the sand if you approach while covered.
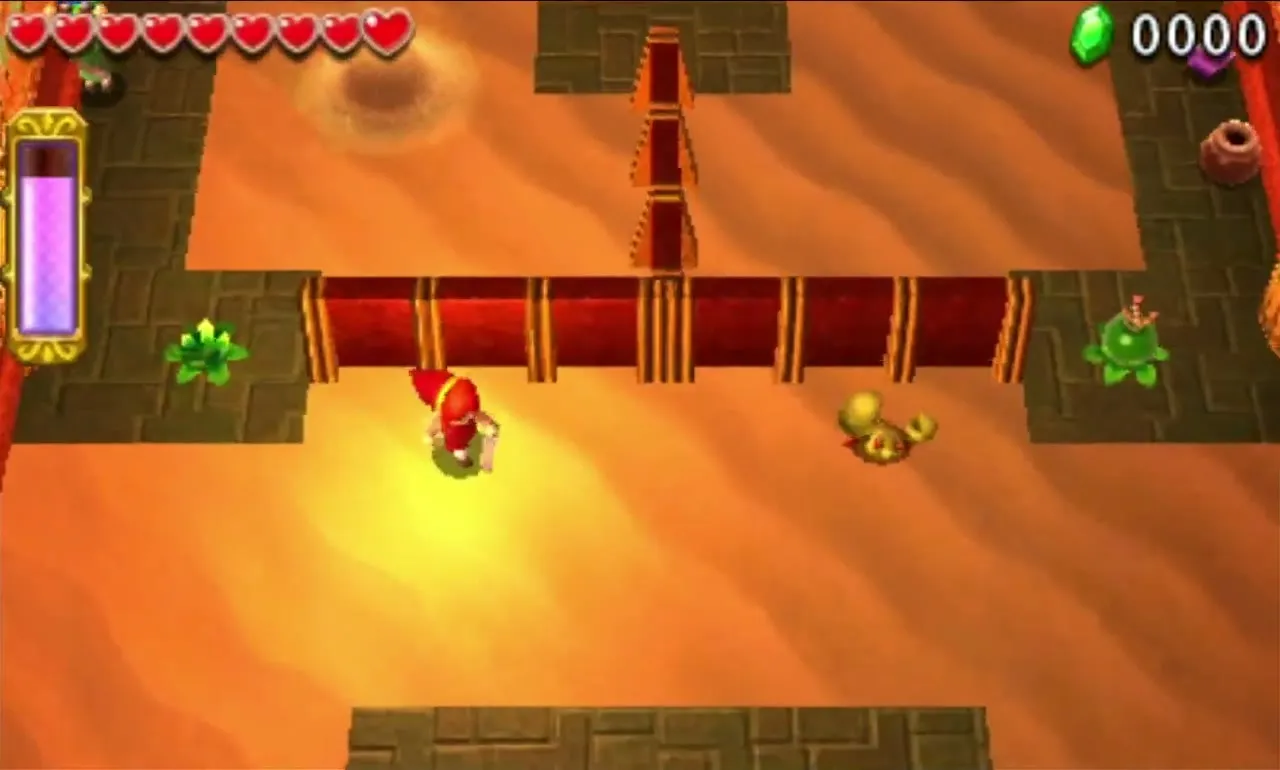

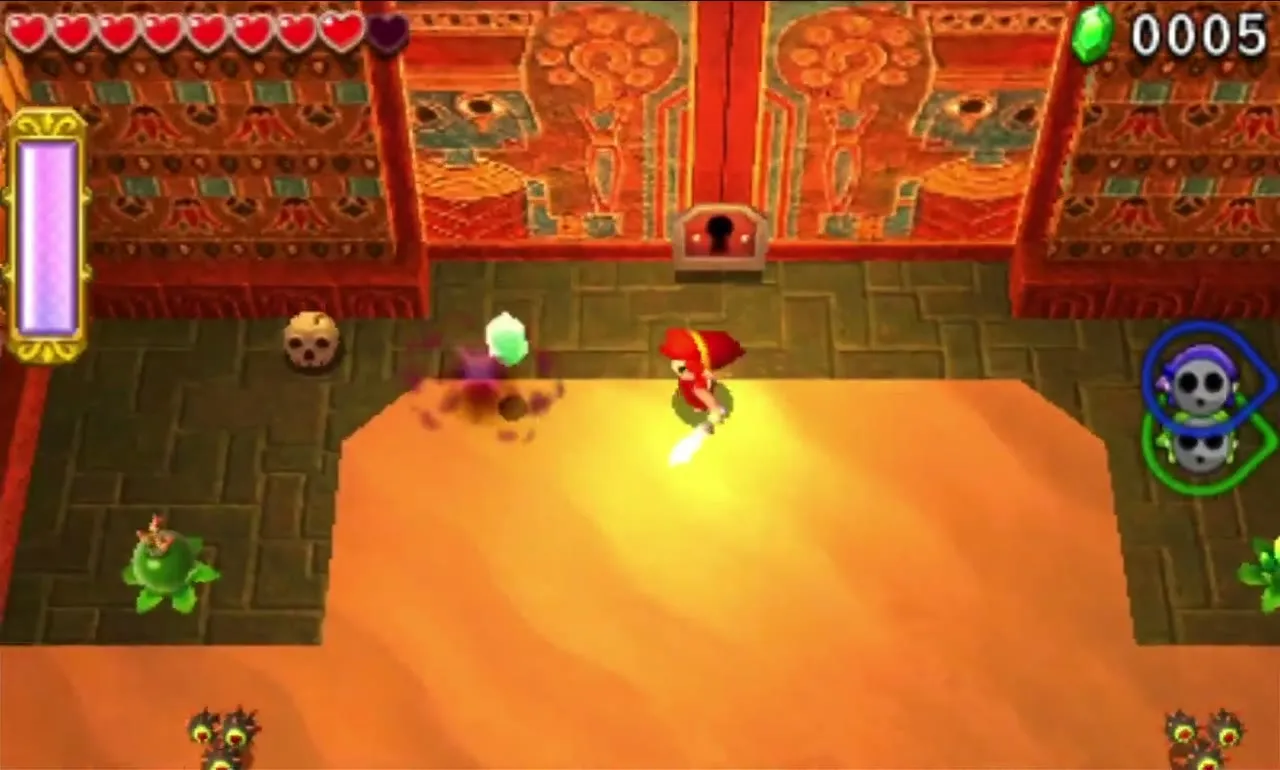
Stay clear of the Morths at the north end, which latch onto a Link. Defeat the crab holding the Key and grab it before another crab claims it, then carry it to the door. Karat Crabs cannot enter solid floor, so once you reach a stone strip the Key is safe. Open the door and move on to the Gateway.


Gibdo Mausoleum Stage 2
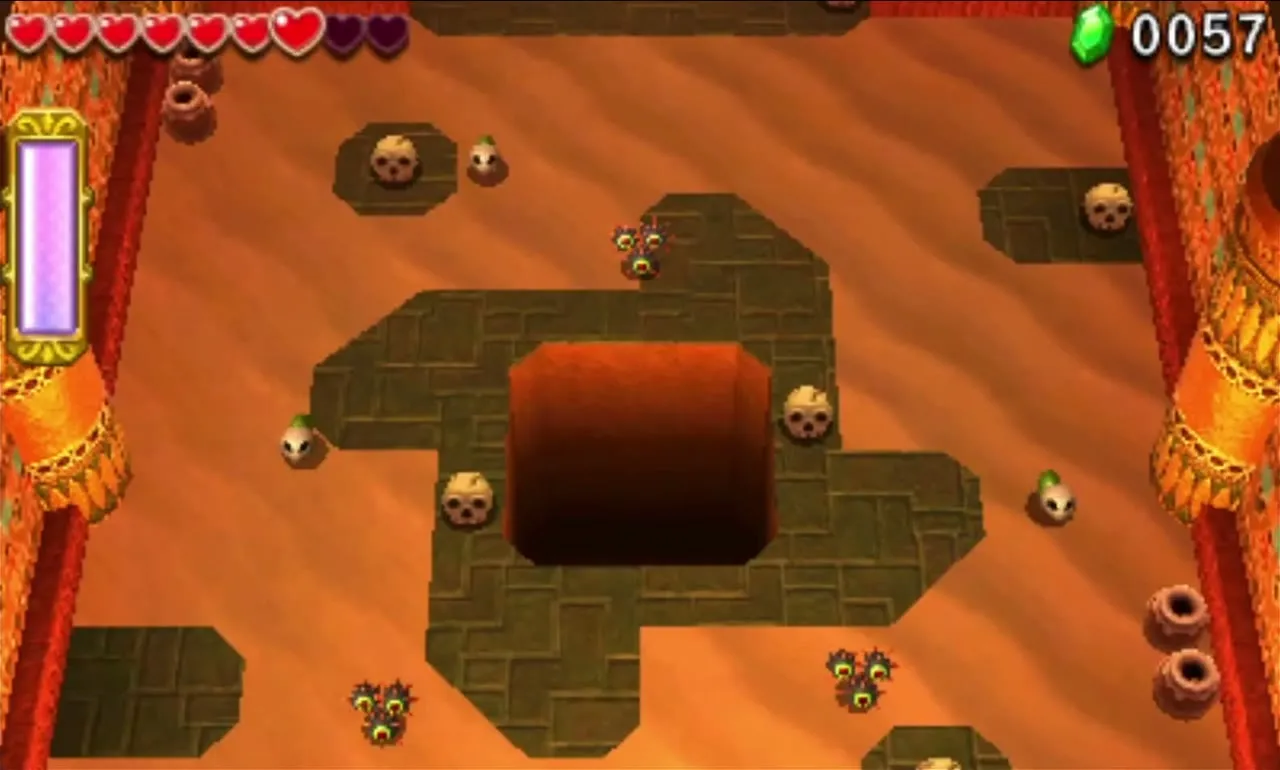
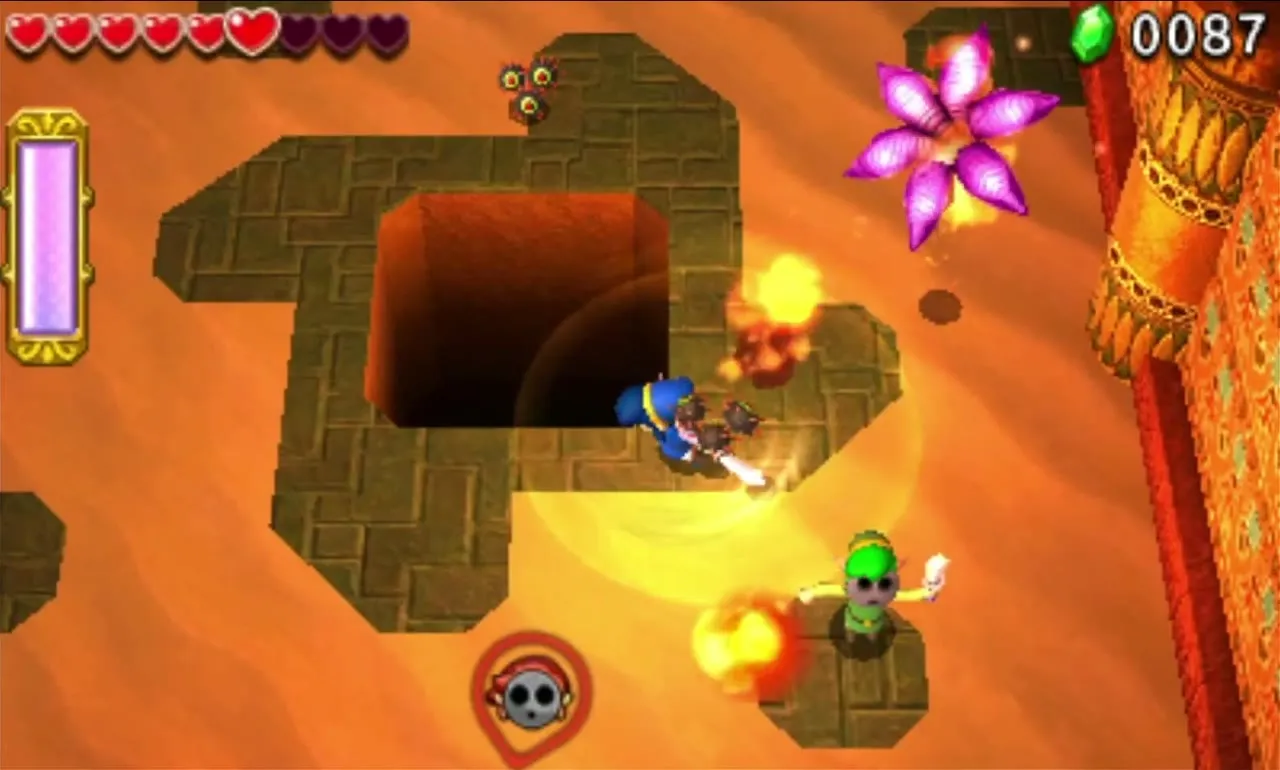
This small room has quicksand, Morths and a pit in the middle. Skullropes appear the moment you step in, then Stalfos and a Fire Keeleon, followed by more Skullropes and another Fire Keeleon. The Morths keep respawning until the last foe falls, so have a teammate strike each one off and finish the fight quickly. The door opens when all enemies are defeated.

Gibdo Mausoleum Stage 3
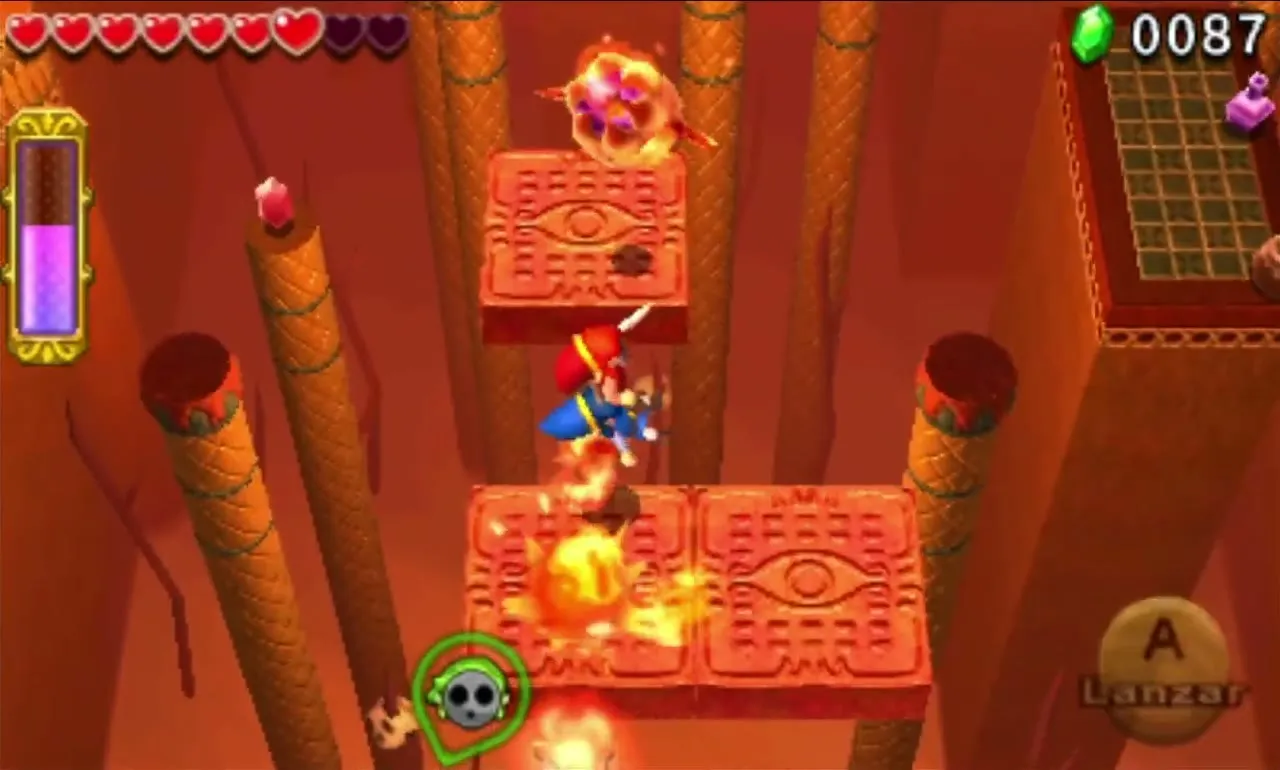
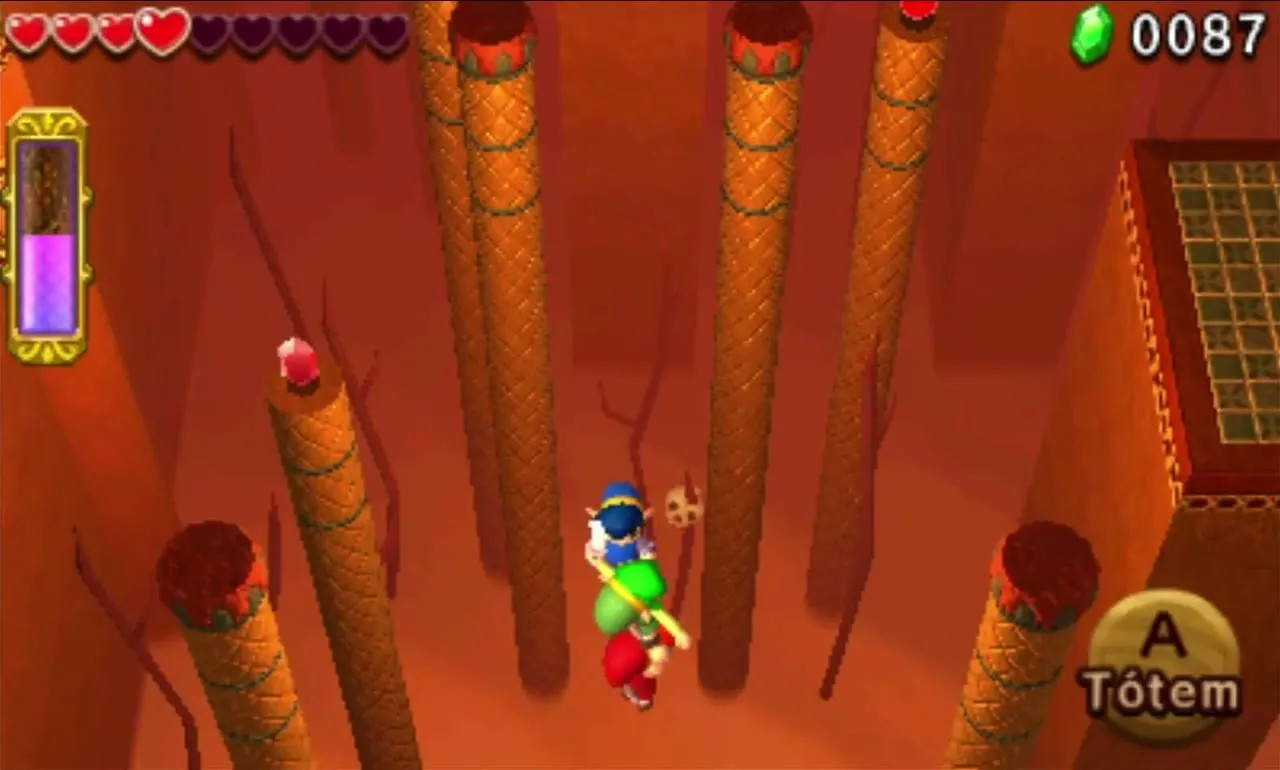
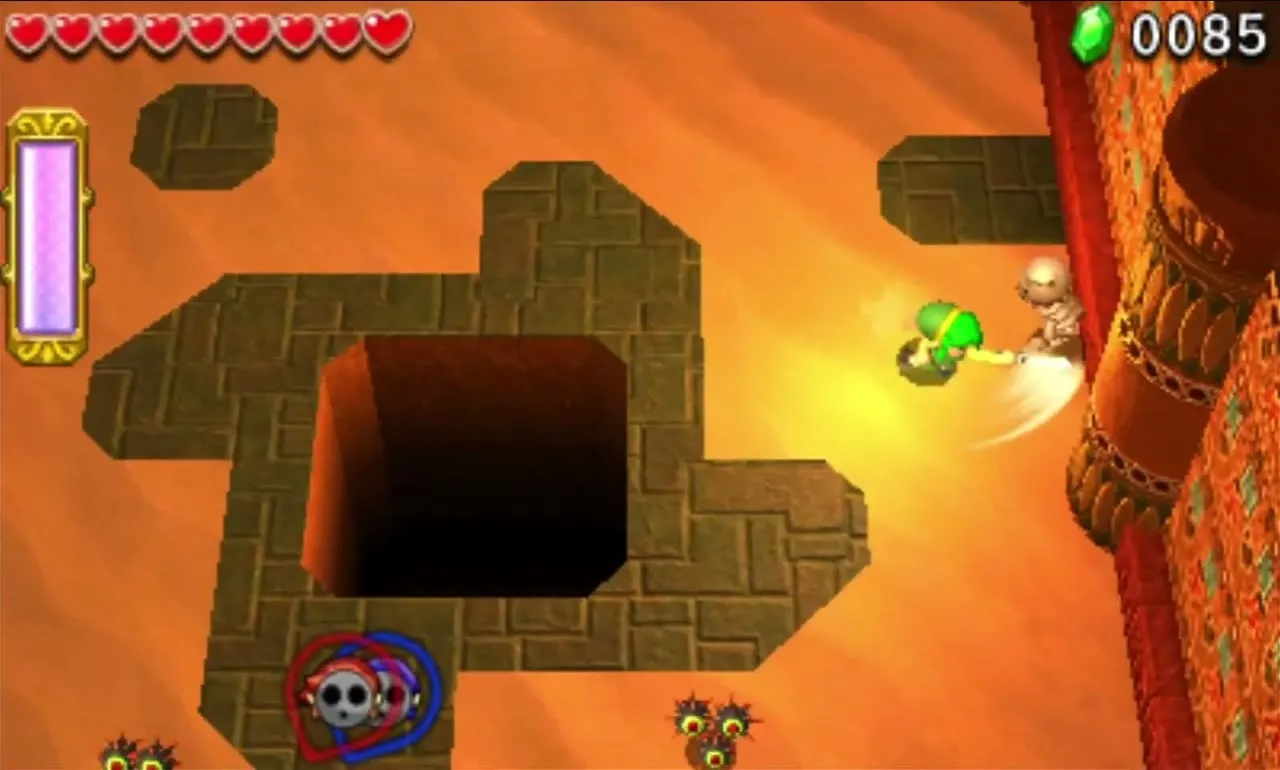
You overlook a vast chasm. The red platforms you spot vanish as you enter: they are invisible and heat-sensitive. Whoever holds the Fire Gloves must throw a fireball ahead, and wherever it lands the floor glows for a moment. Fire a fireball, move the team onto the revealed tiles, and repeat.
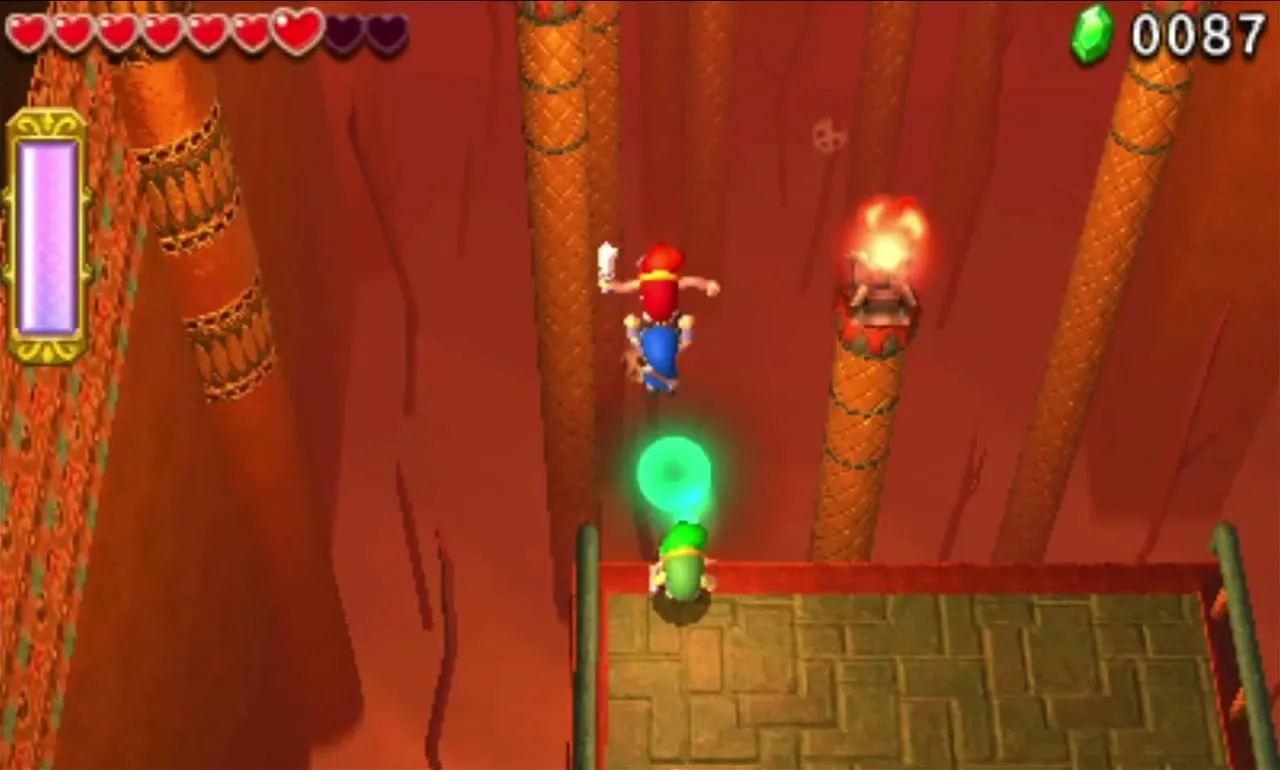
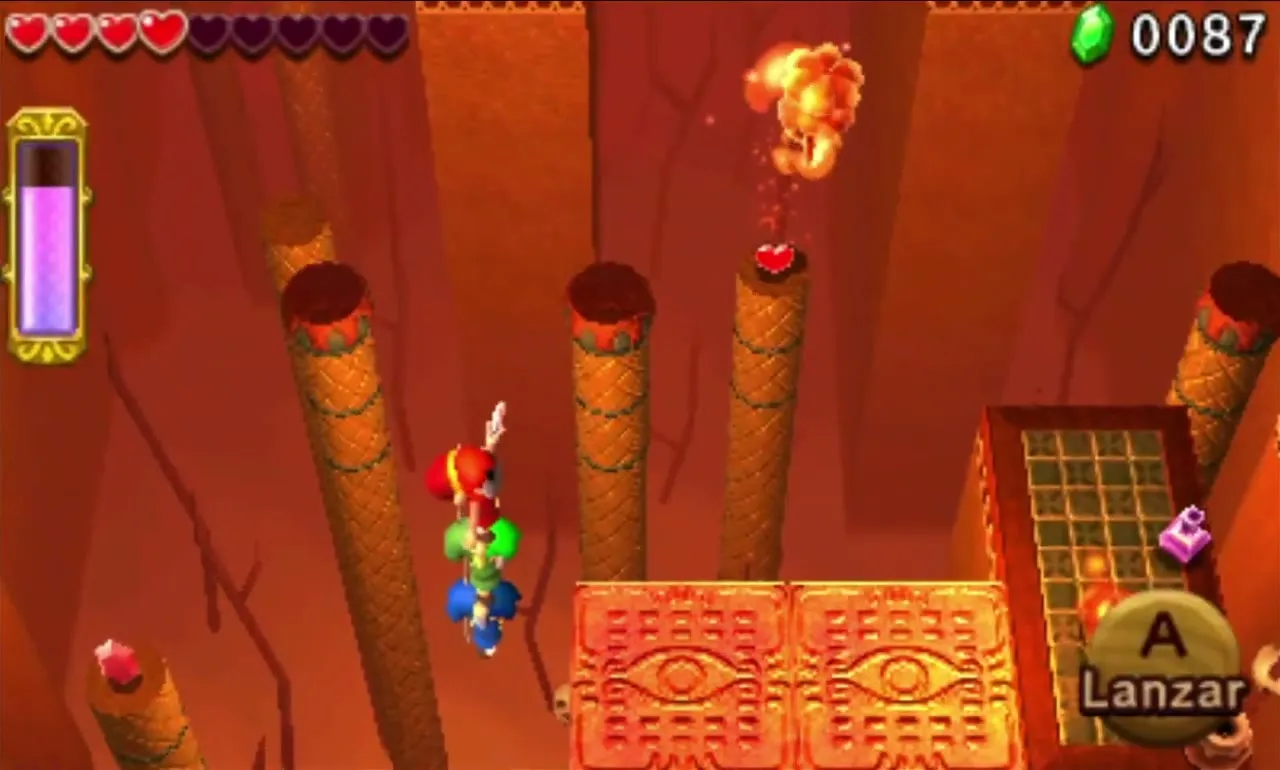
Fire Keeleons patrol the route. Stack a Totem of two so they can be struck, leaving the Fire Gloves Link free to keep lighting the way. Use the Gripshot for the Red Rupees and the Purple Rupee on the pillars. A moving platform leads to more hidden tiles northwest and the Gateway. The northeast branch ends at a Squiddy instead.
Gibdo Mausoleum Stage 4
You drop onto a platform with five dormant Gibdos. Three standing in tomb doorways wake up first, and the other two come alive as those fall. Fight them as a group and keep moving so they cannot corner a single Link. After the fifth is down, the Gateway appears.

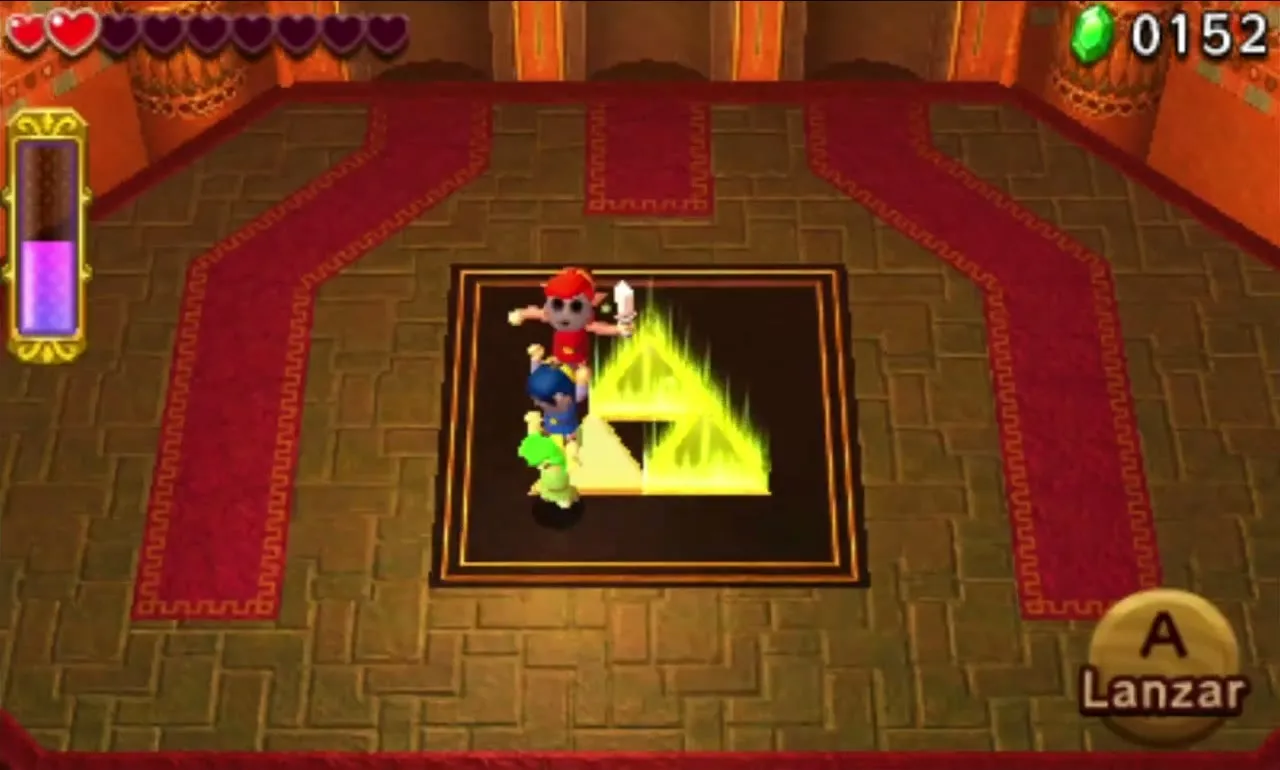

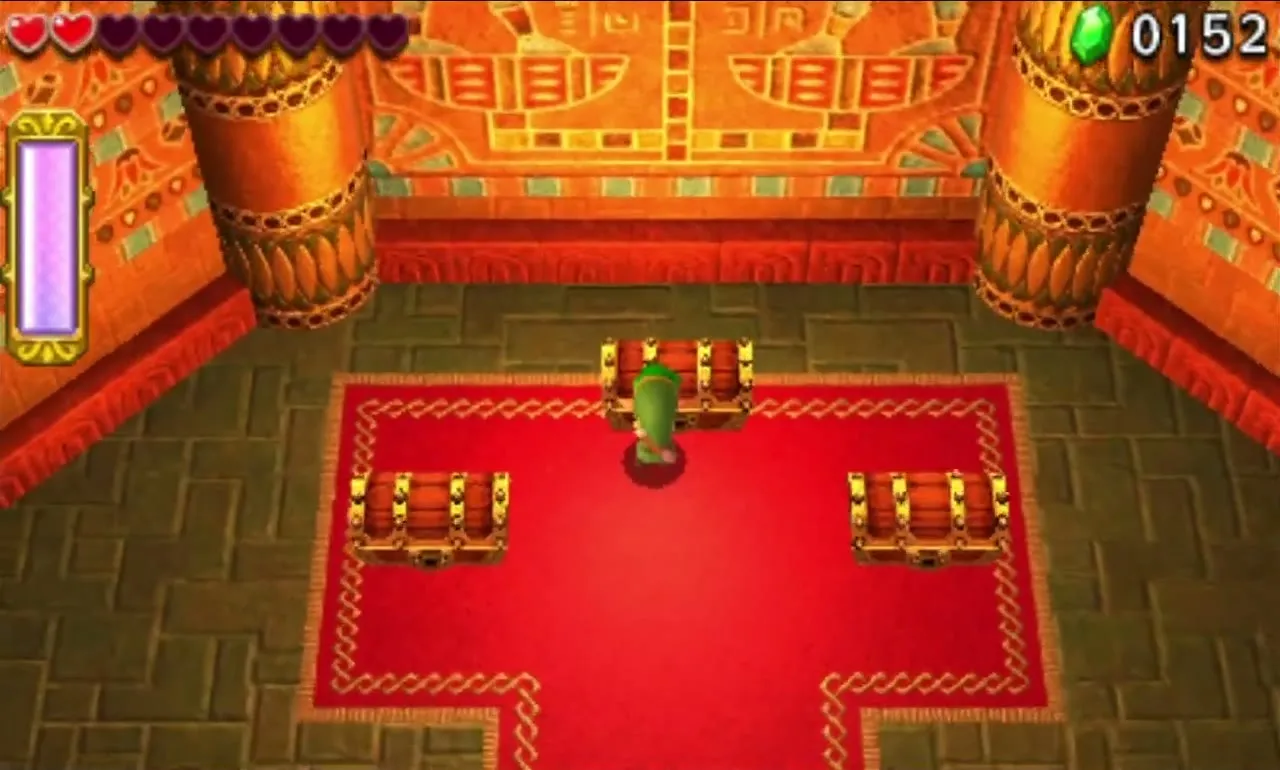
Gibdo Mausoleum treasure chests
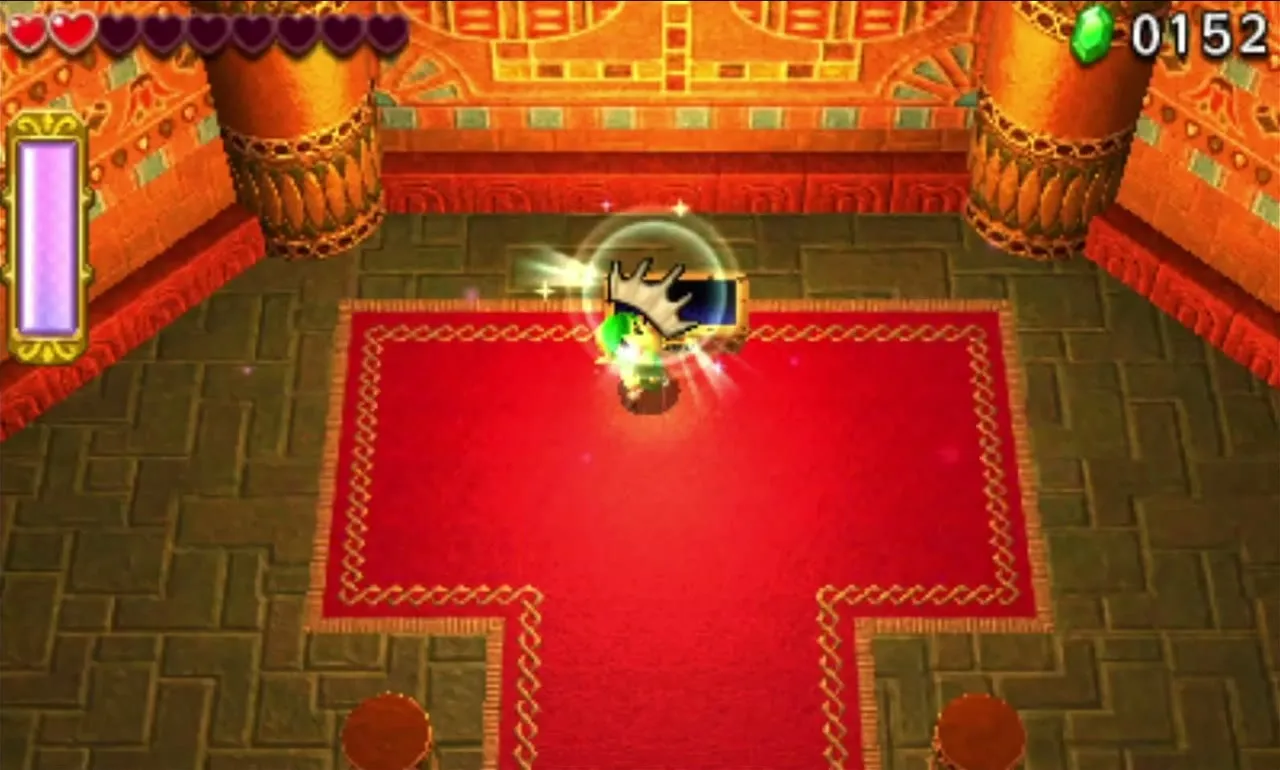
The two common chests hold 1 Ancient Fin each, and the rare one holds a Gibdo Bandage. Gibdo Bandage is a Silver Material that the Gust Garb needs.
This Level offers “Clear within the time limit!”, “Only Bombs—no swords!” and “Avoid falling and quicksand!”. Check Drablands Challenges for more.
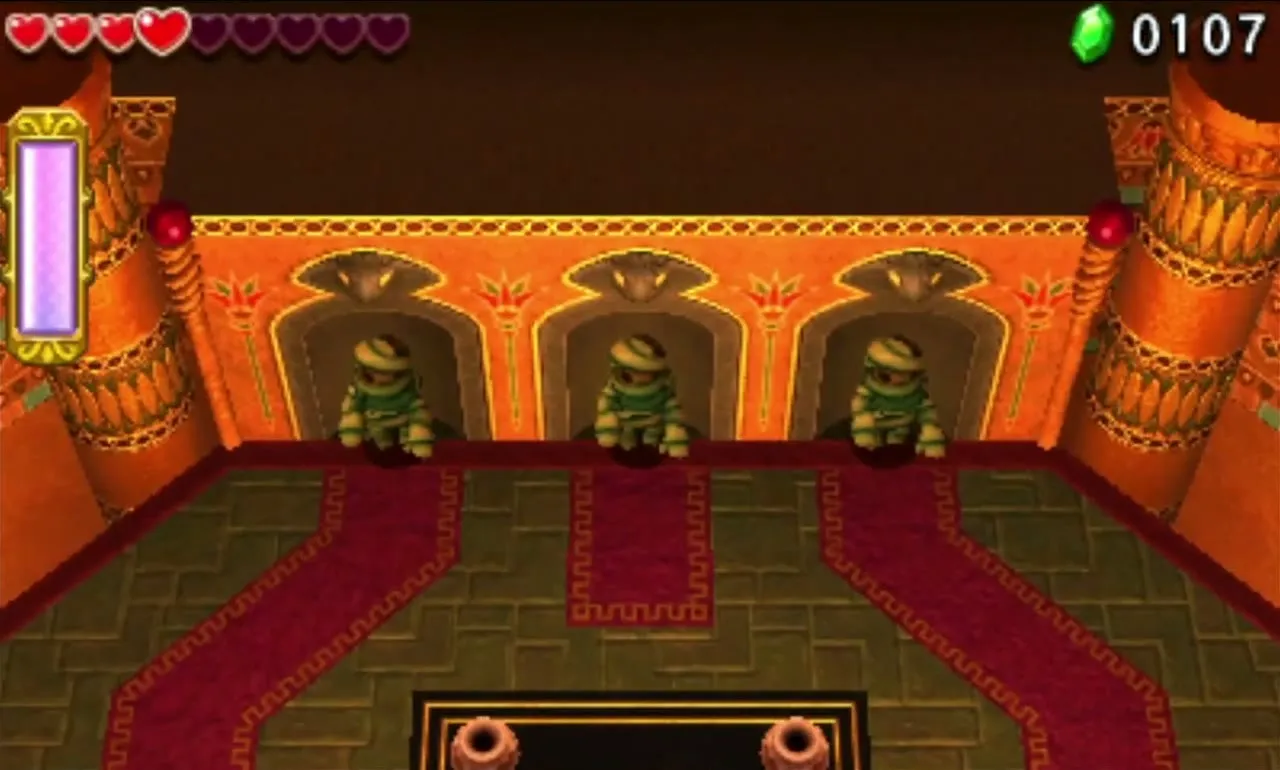
Desert Temple
The Desert Temple hands out a Boomerang and two Magic Hammers. It has almost no sand until the boss arena, and the puzzles are all about pounding Stakes, Switch Moles and tipping boards. Stalchampion waits at the end, and its core can only be damaged with the Magic Hammer.
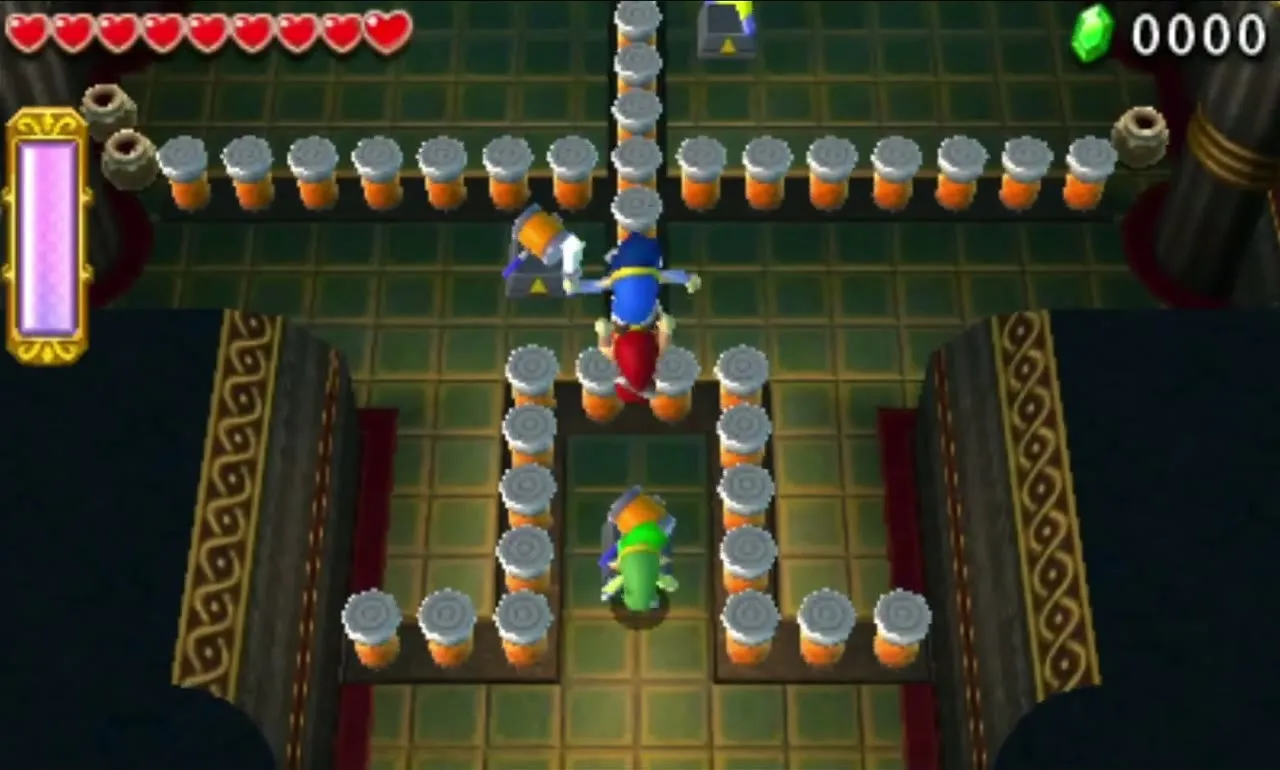

Desert Temple Stage 1
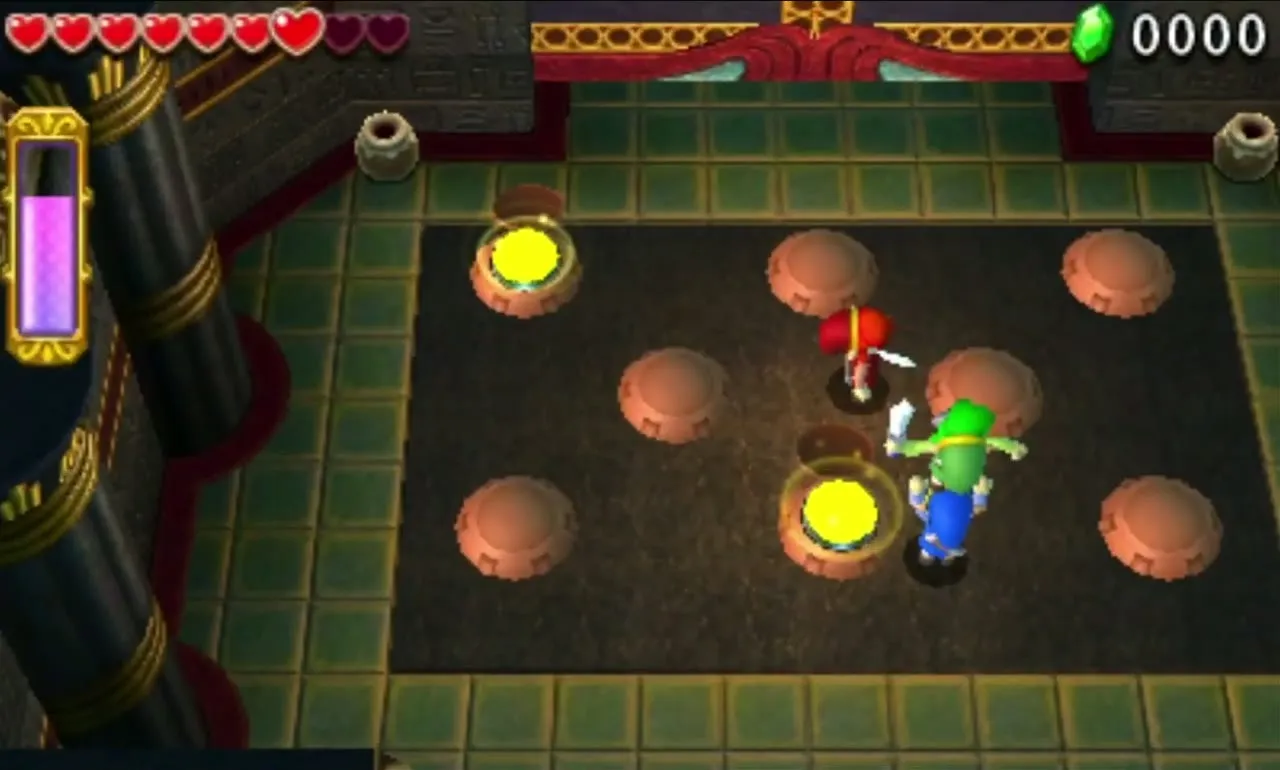
A row of Stakes blocks the entrance. A Magic Hammer lies near the start for pounding the row of Stakes, and a second Hammer and the Boomerang lie beyond them. Hammer the Stakes down, then all three Links must stand on the Big Switch at the end of the room to open the big doors.

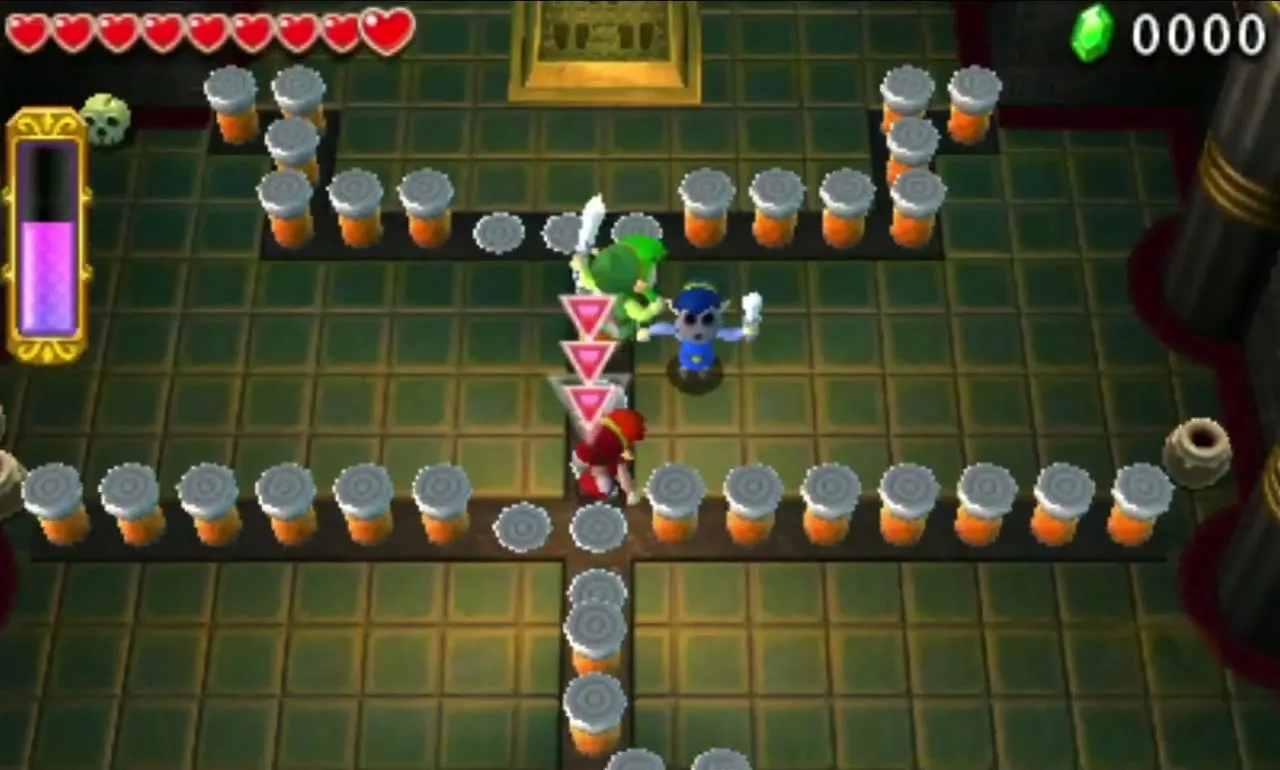
Next, a Switch Mole pops out of one of three holes at random. Hit it with a Hammer before it ducks away, and stun it with the Boomerang first if it is too quick. The following room has three Moles in eight holes. Pound all three to open the Gateway.
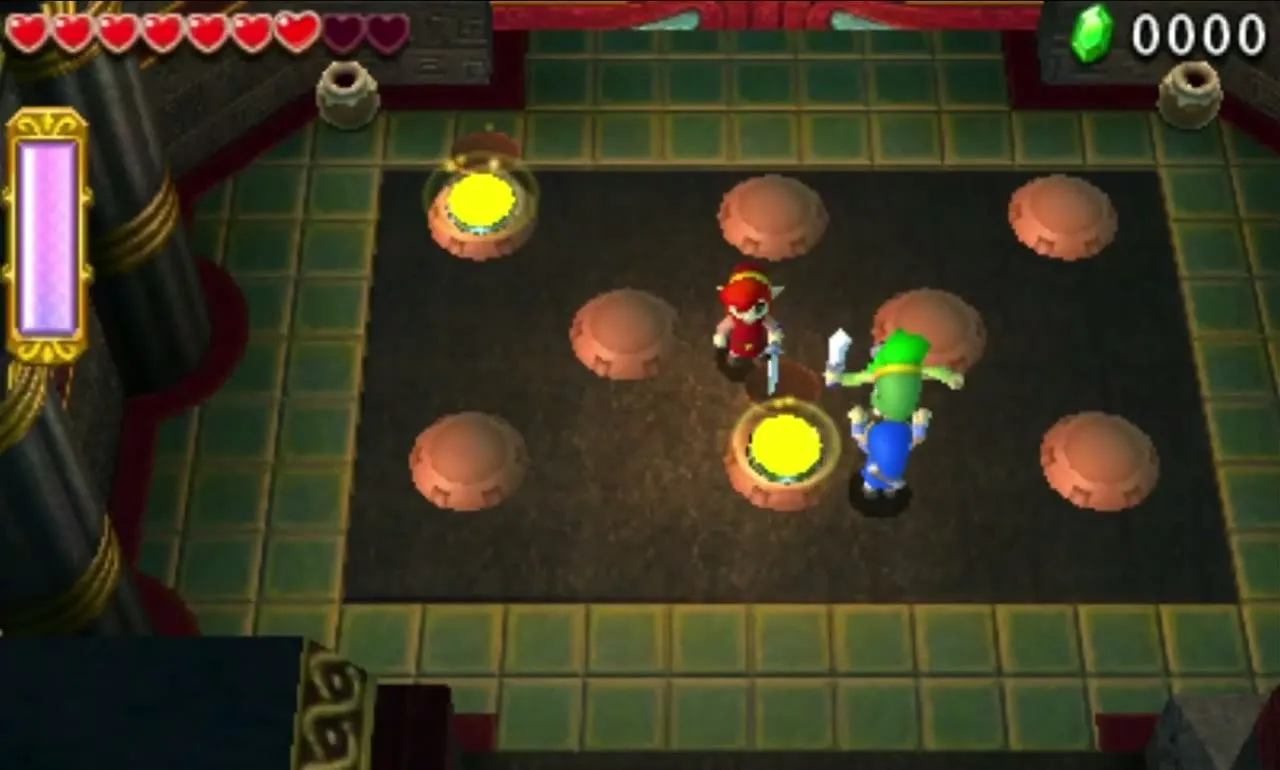
Desert Temple Stage 2
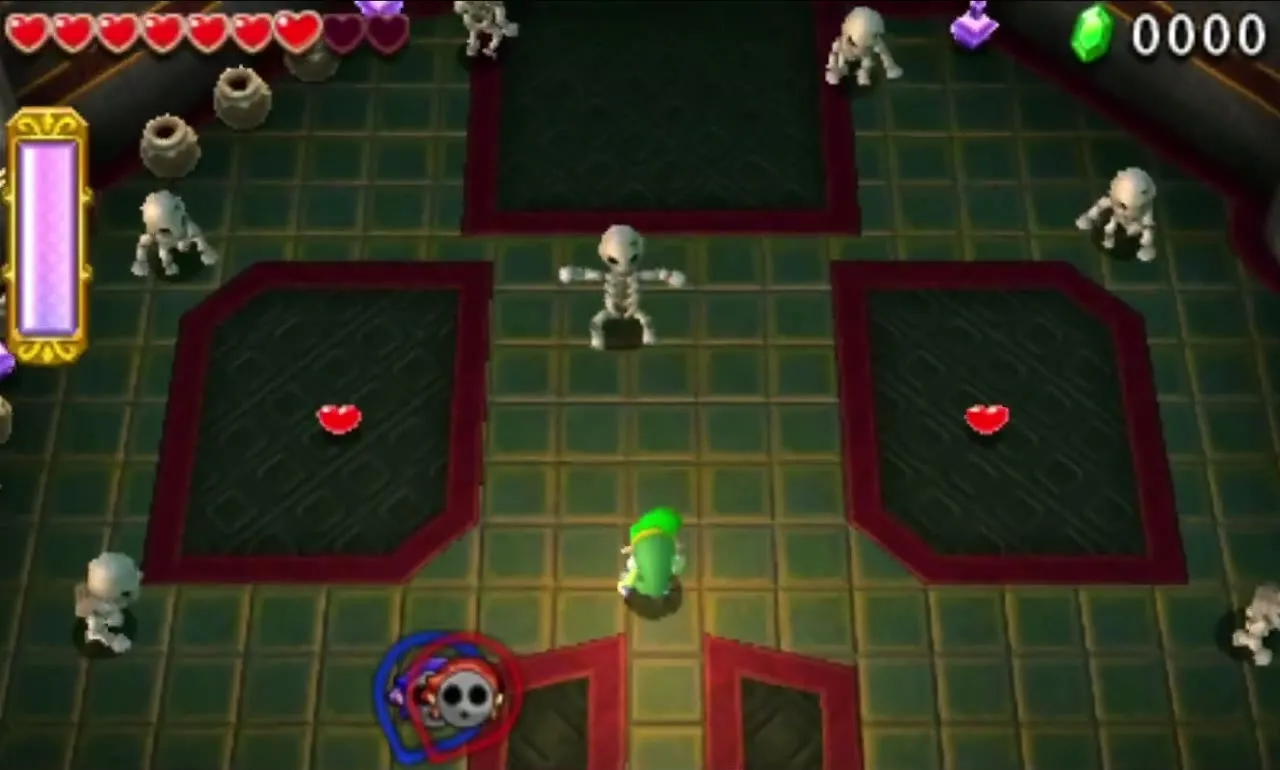
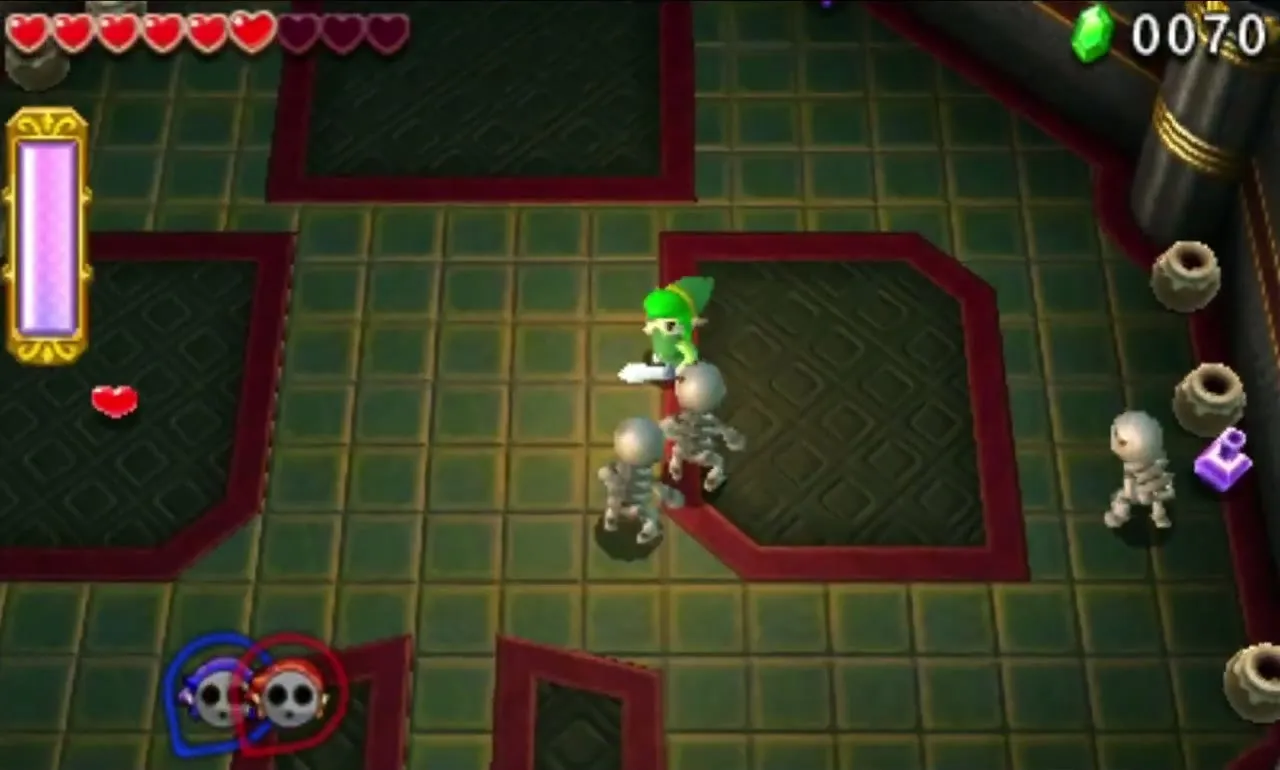
The floor of the first chamber is shaped like a skull. Slide down the slope that forms its mouth, and groups of Stalfos spring up as you land. Hearts lie in the eye sockets and Energy Potions line the walls. Fight with the Sword and throw teammates at the enemies, and defeat every Stalfos to reveal the Gateway.

Desert Temple Stage 3
You reach a teeterboard that you tilt with the Magic Hammer: strike the right end to point it down, the left to raise it. Point it down and hit the Shock Switch below with the Boomerang, so floating platforms drop into place as a bridge. Then tilt the board up and cross.
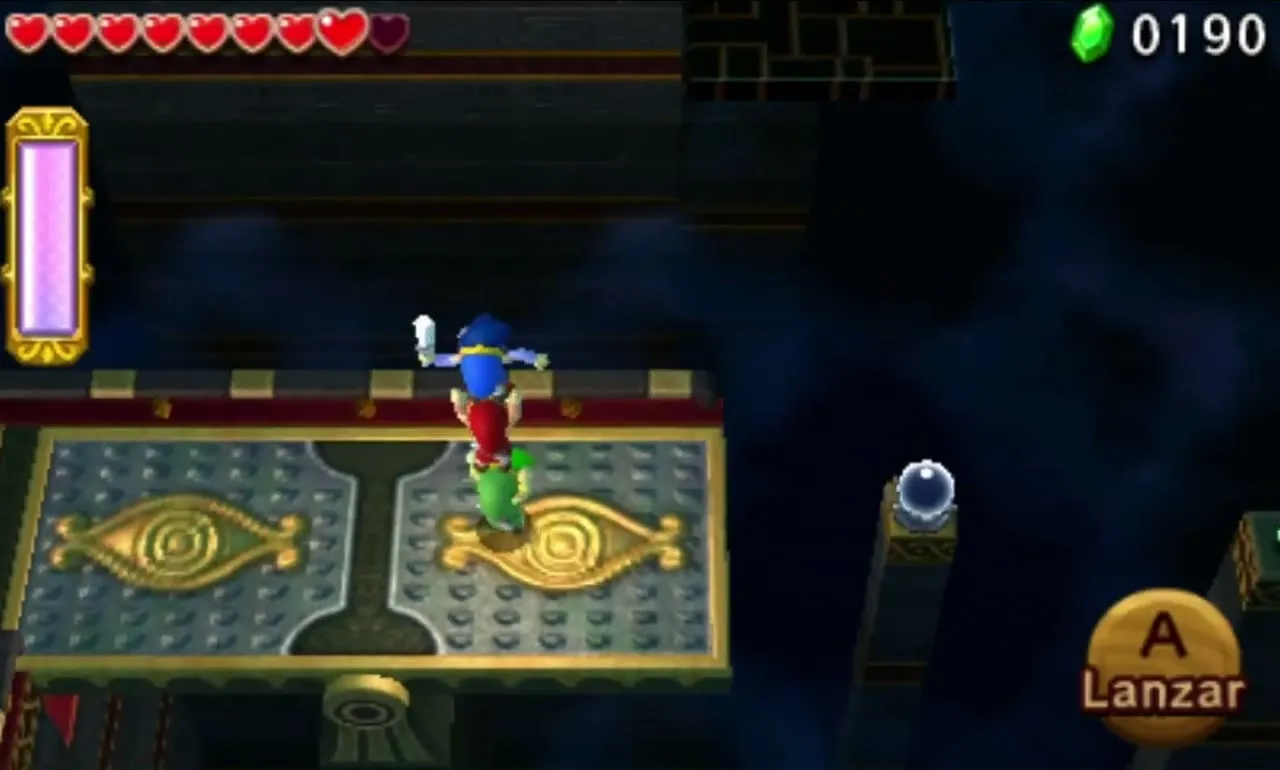
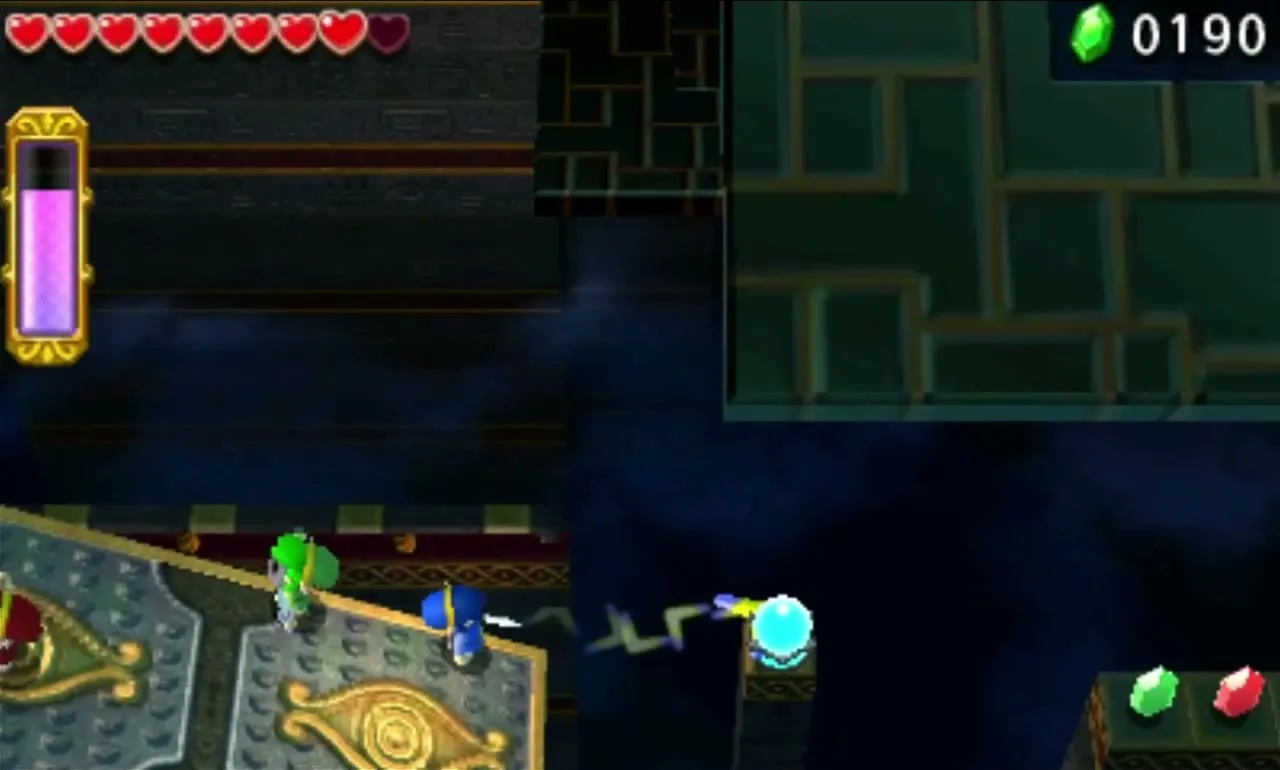

The next ledge has a Big Switch and two Fire Keese. The switch starts a moving platform over a pit, but swinging Guruguru Bars sweep it, so time your crossing. A second teeterboard follows with three timed Shock Switches: pound the board to reach each one before they switch off.
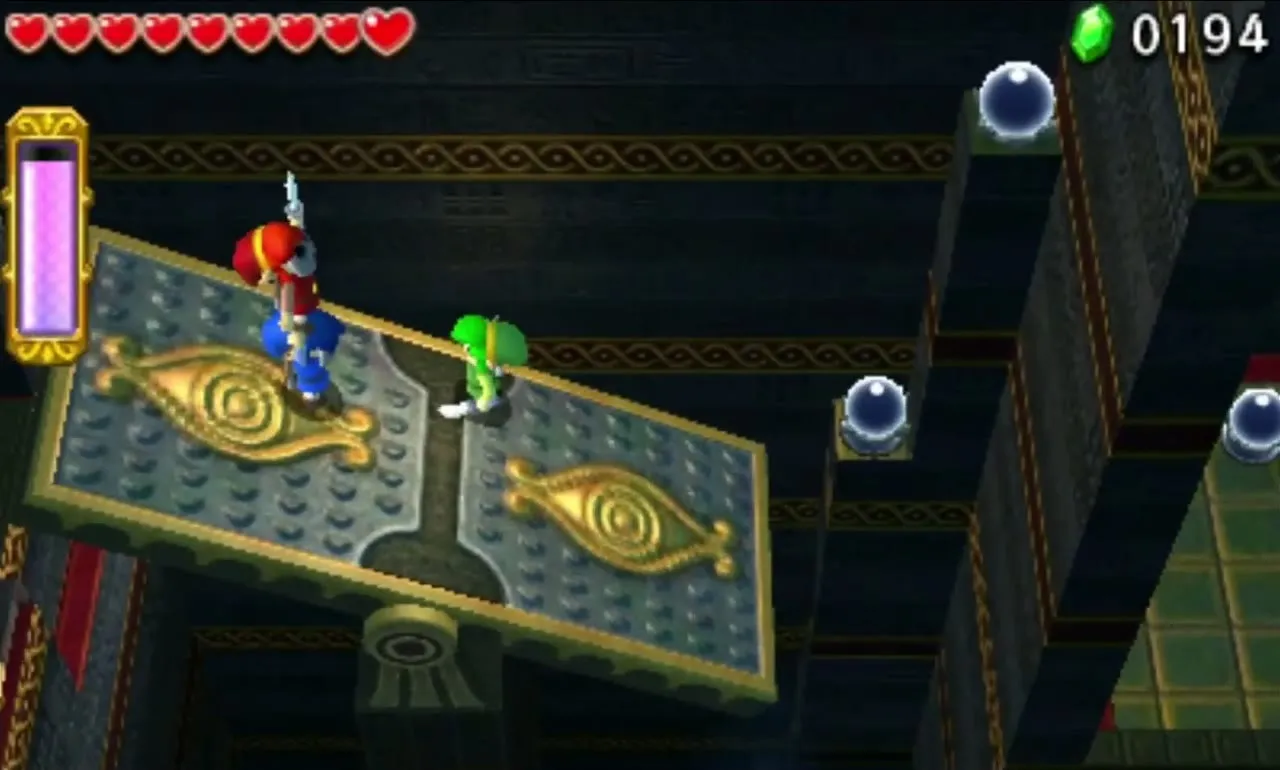
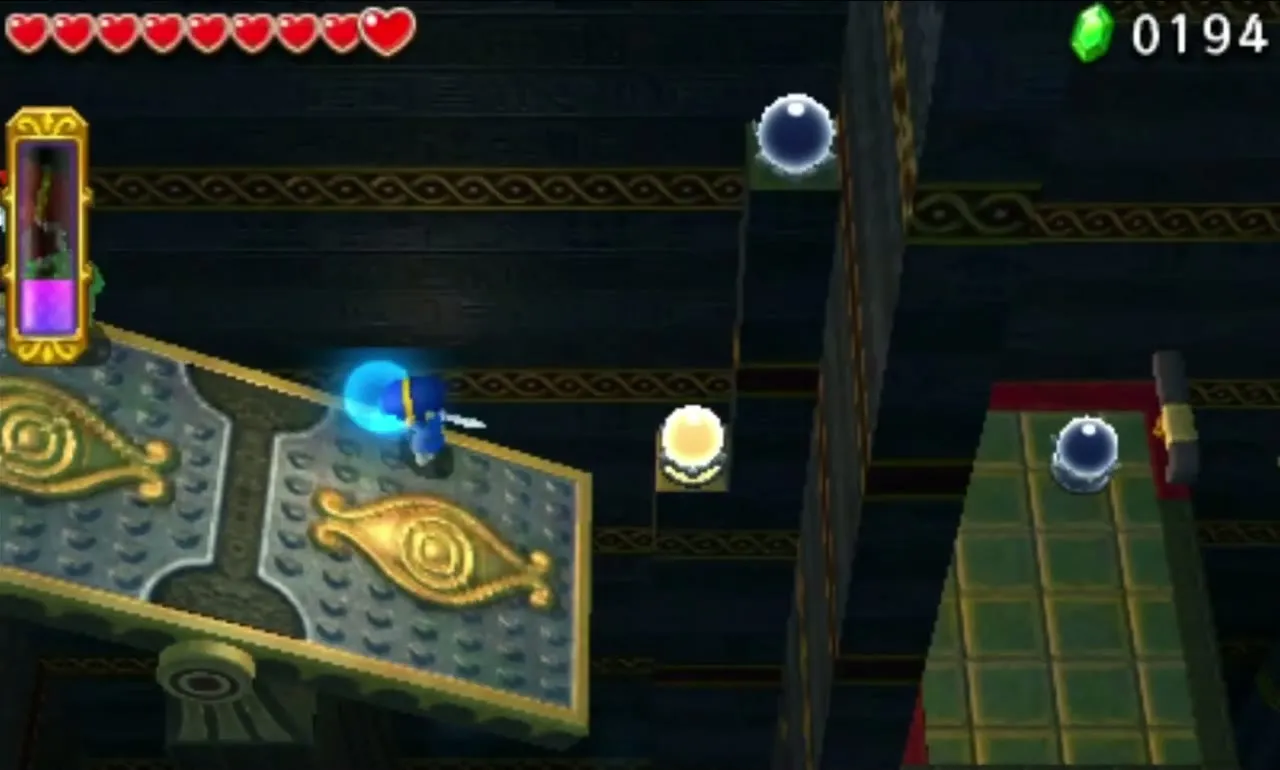
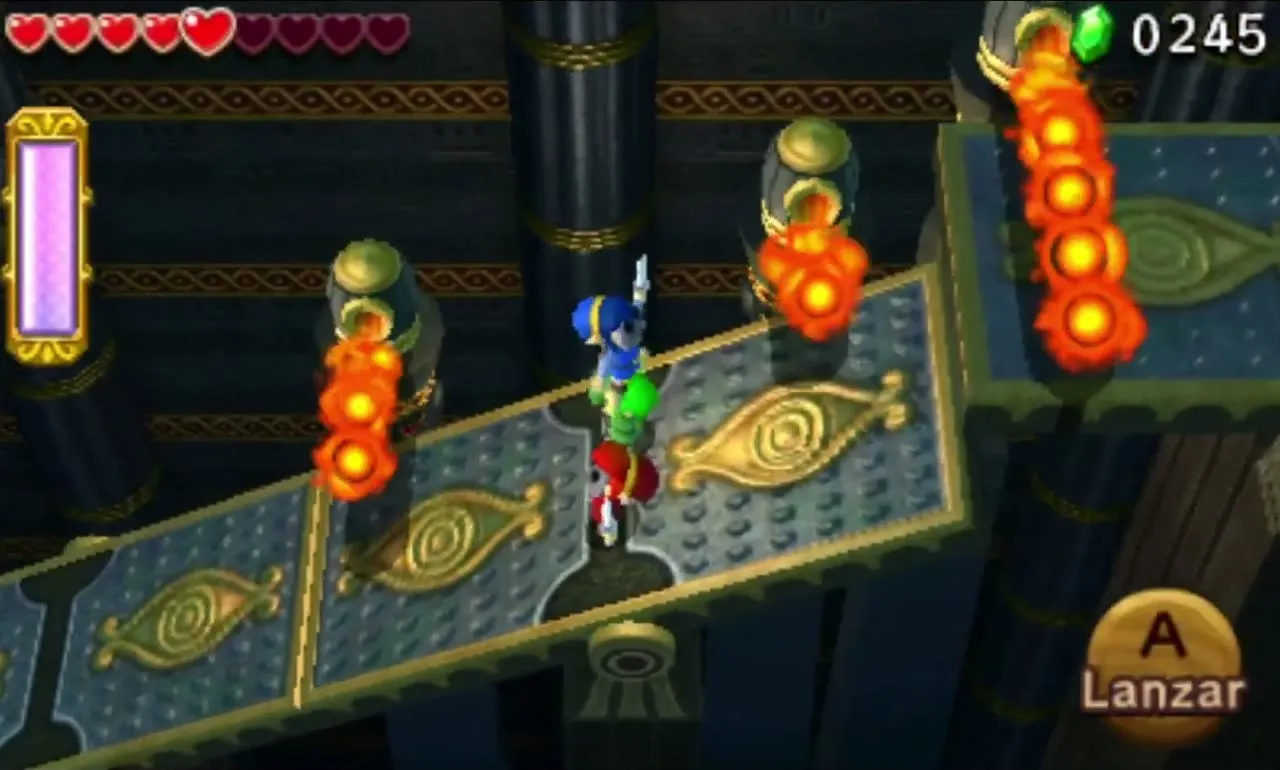
Finally, three tilted teeterboards climb to the Gateway. Hit a nearby Shock Switch to flatten them, then pound each board upward in turn to form a slope, ducking the fire bars that extend and retract. The Gateway waits at the very top.
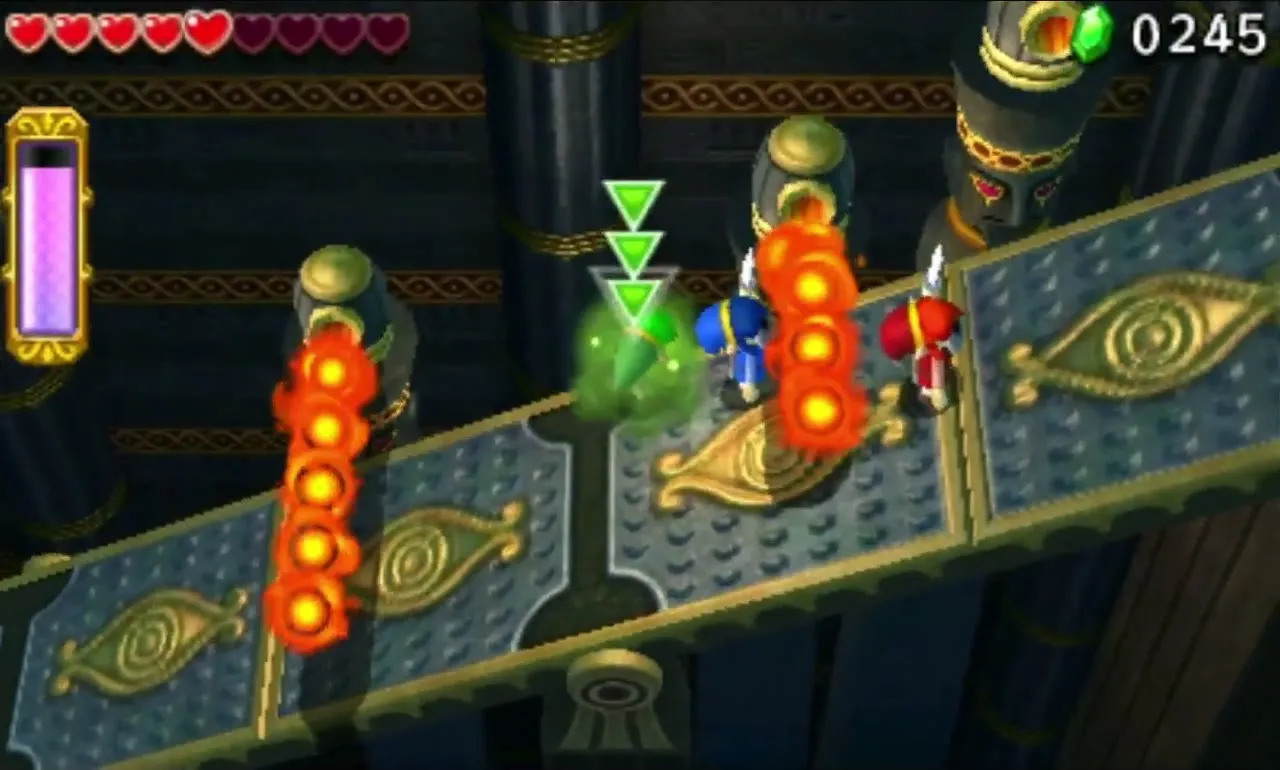
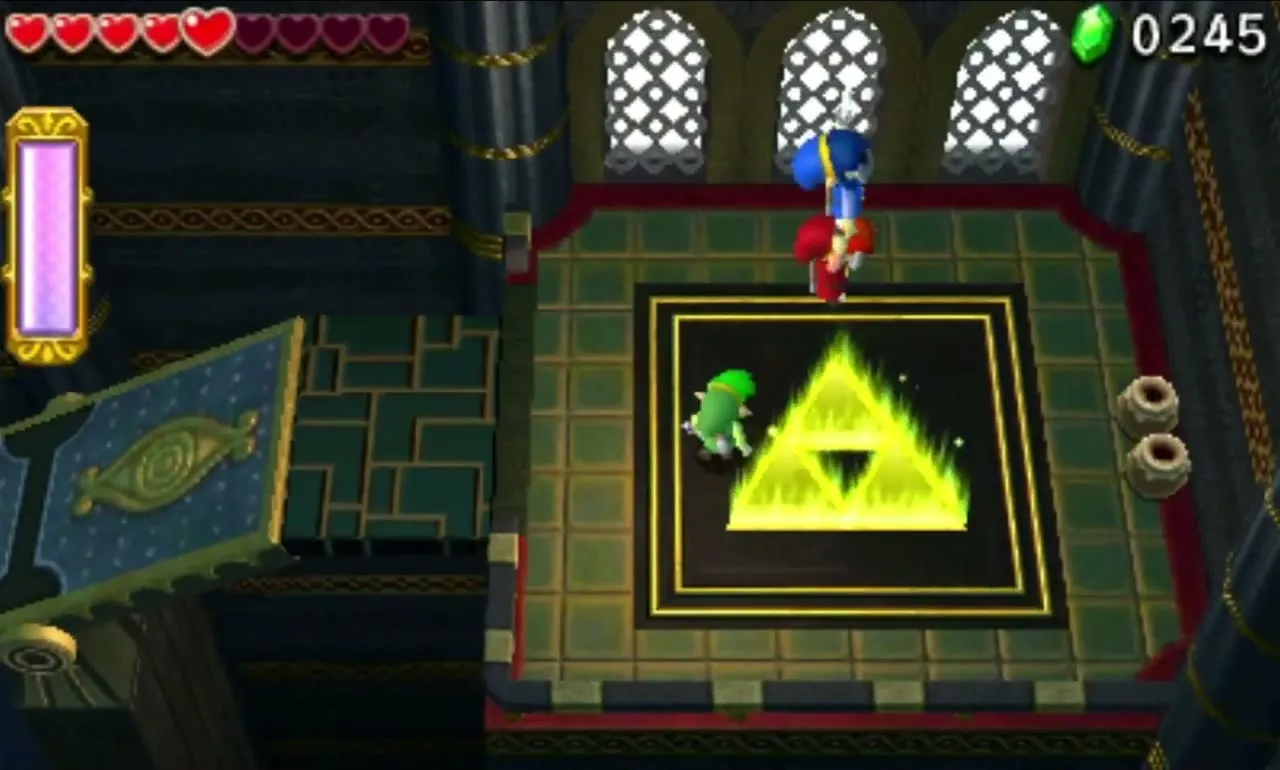
Desert Temple Stage 4
The entrance leads into a sandy stadium. Once you walk in, the gate locks behind you. Jars and grass around the rim hide hearts and Energy Potions, so cut them when you need to recover.
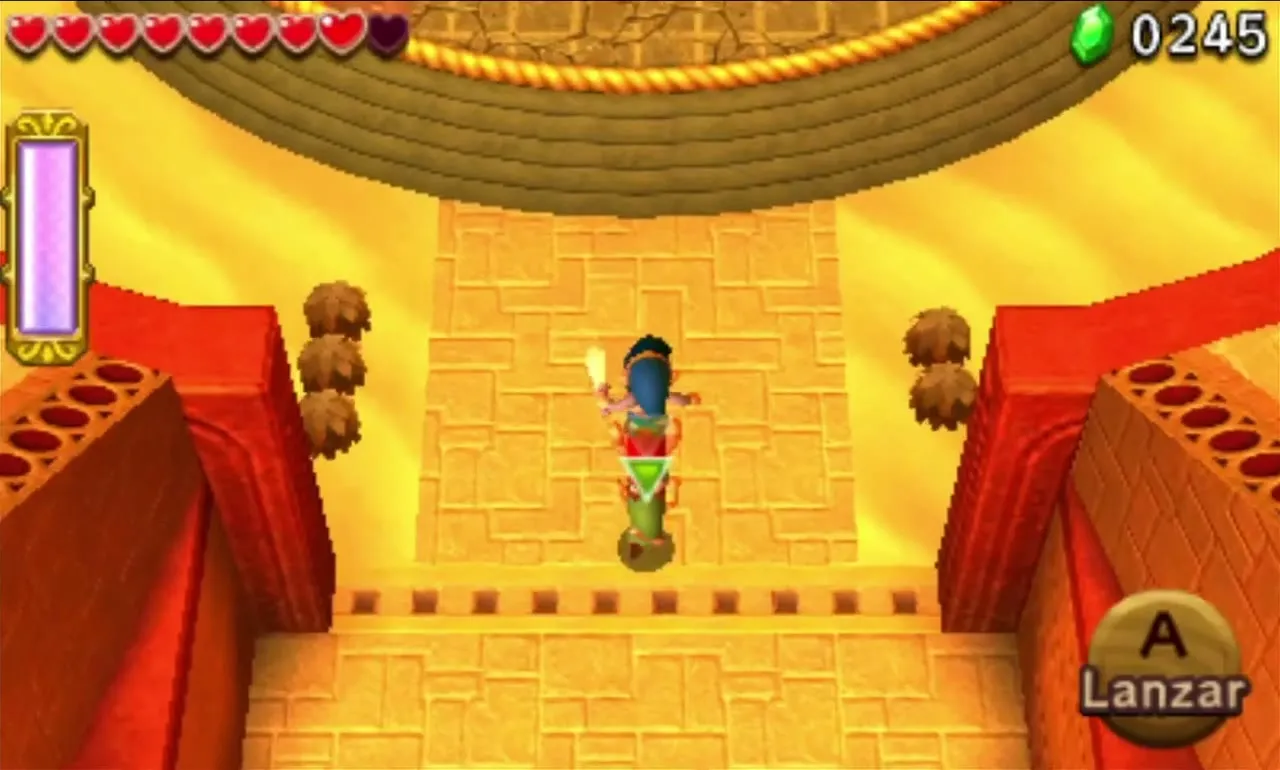

Stalchampion boss fight
Stalchampion carries a large mace. Its core cannot be hit directly. First, hit its back with the Sword or the Boomerang to stun it as it hops on one foot, then strike it again so it collapses into pieces. The exposed red core takes damage from the Magic Hammer. When the mace rolls toward you, let one Link lead it away.
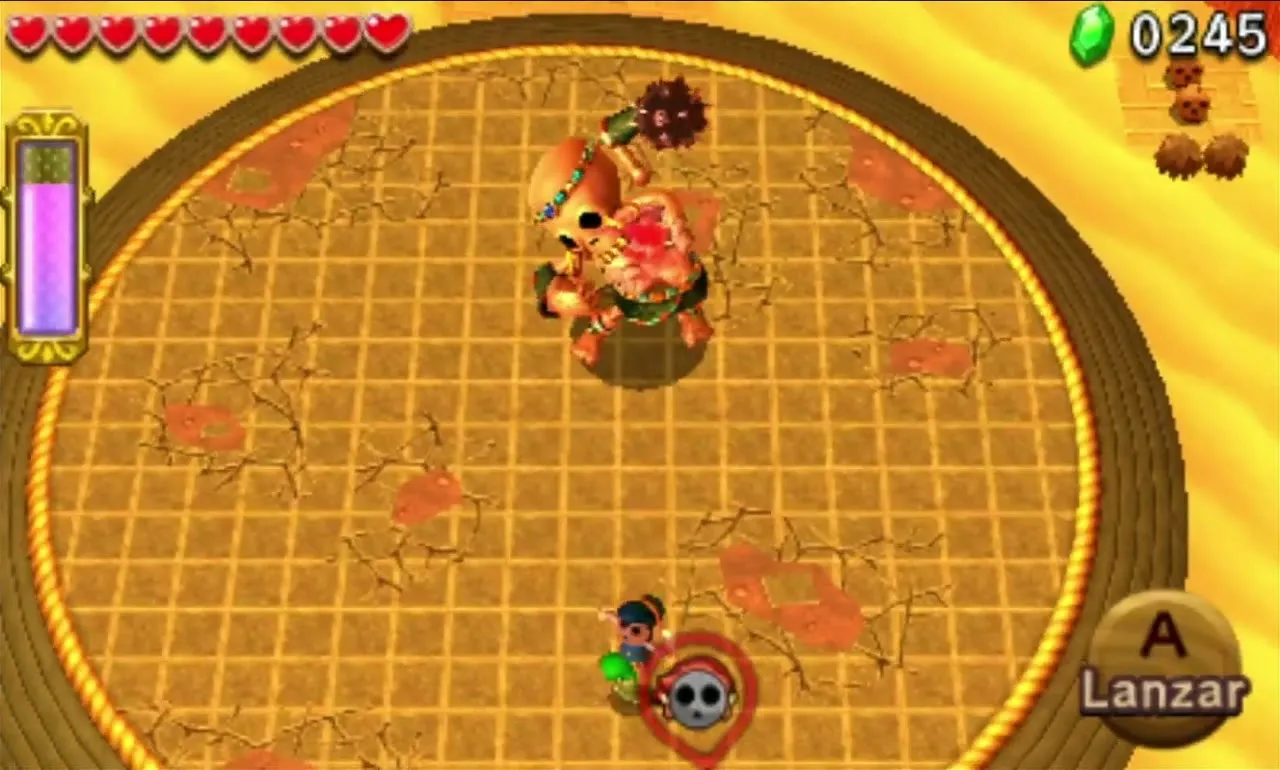
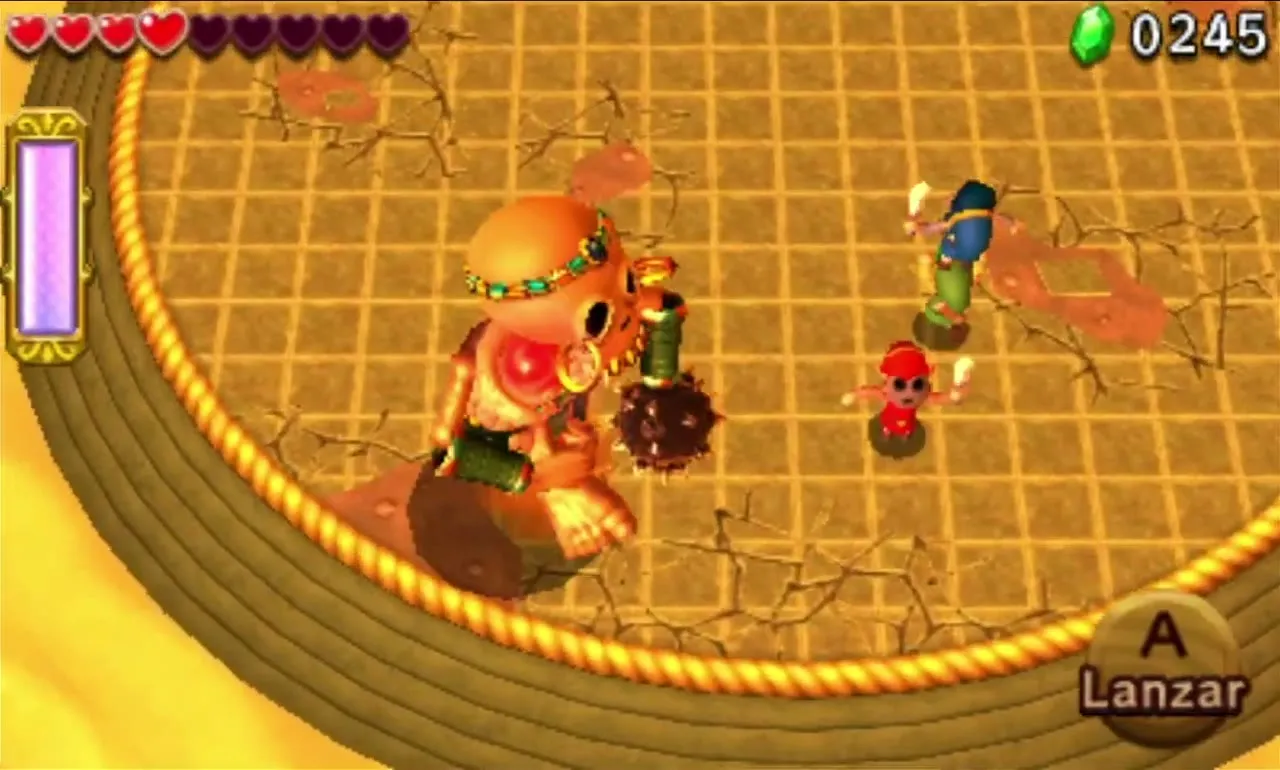
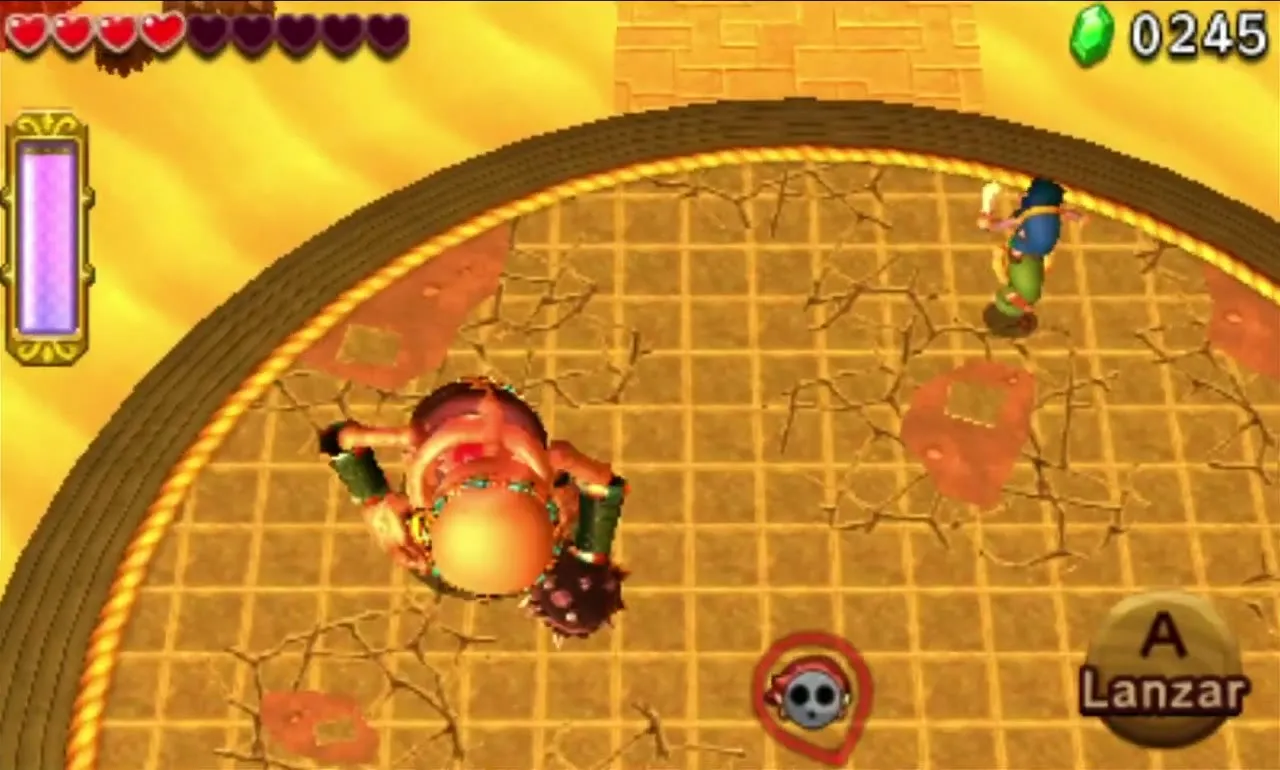
As it weakens, Stalchampion throws a rib like a boomerang and swings the mace harder. Keep using the same stun, collapse and Hammer routine, and keep the team spread out.
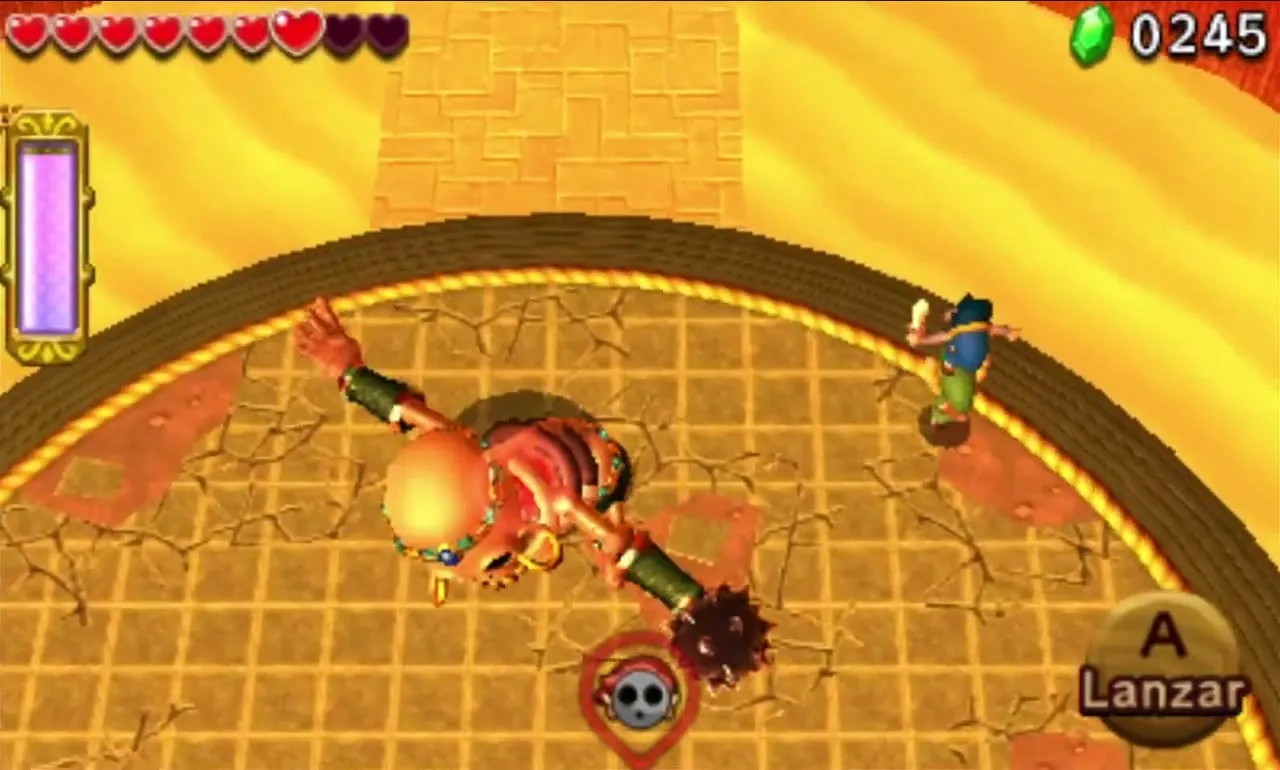
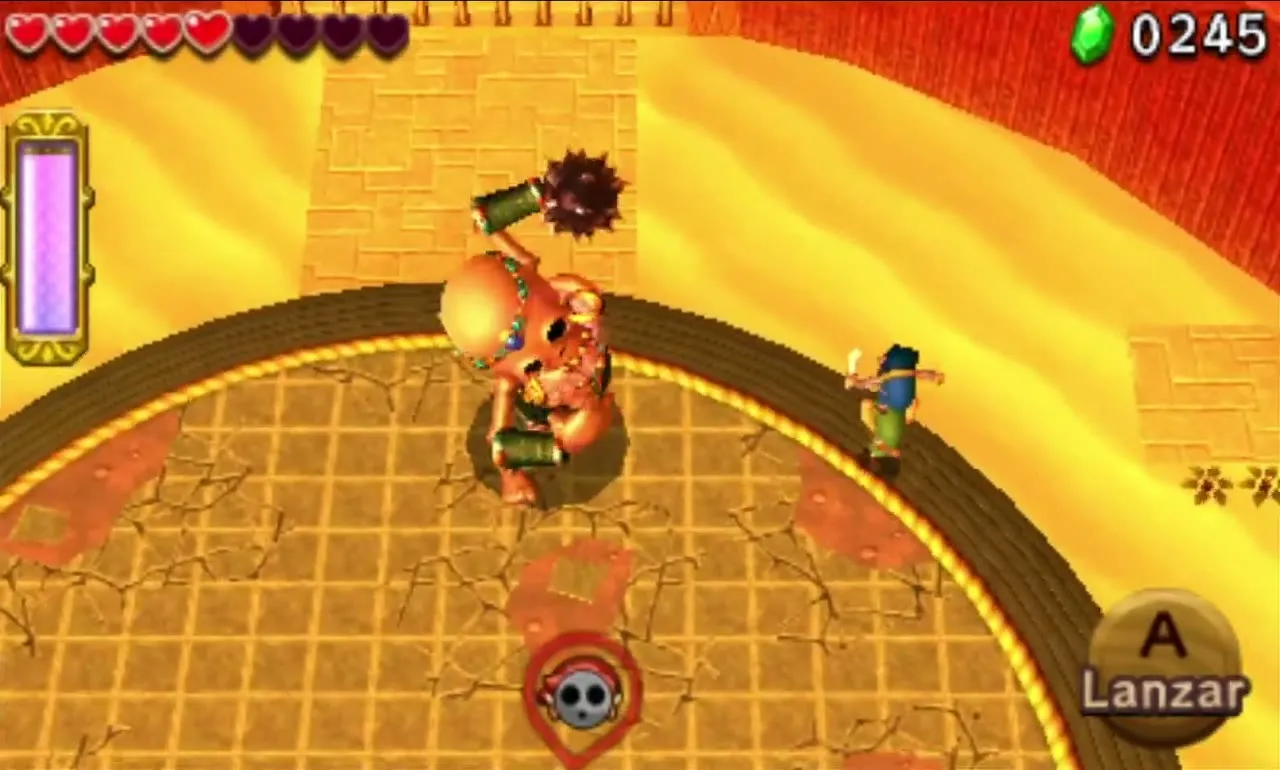
When it is badly hurt it becomes enraged, and the shock waves from its landings cover the whole stone platform. Step off the edge just before it lands to avoid them.

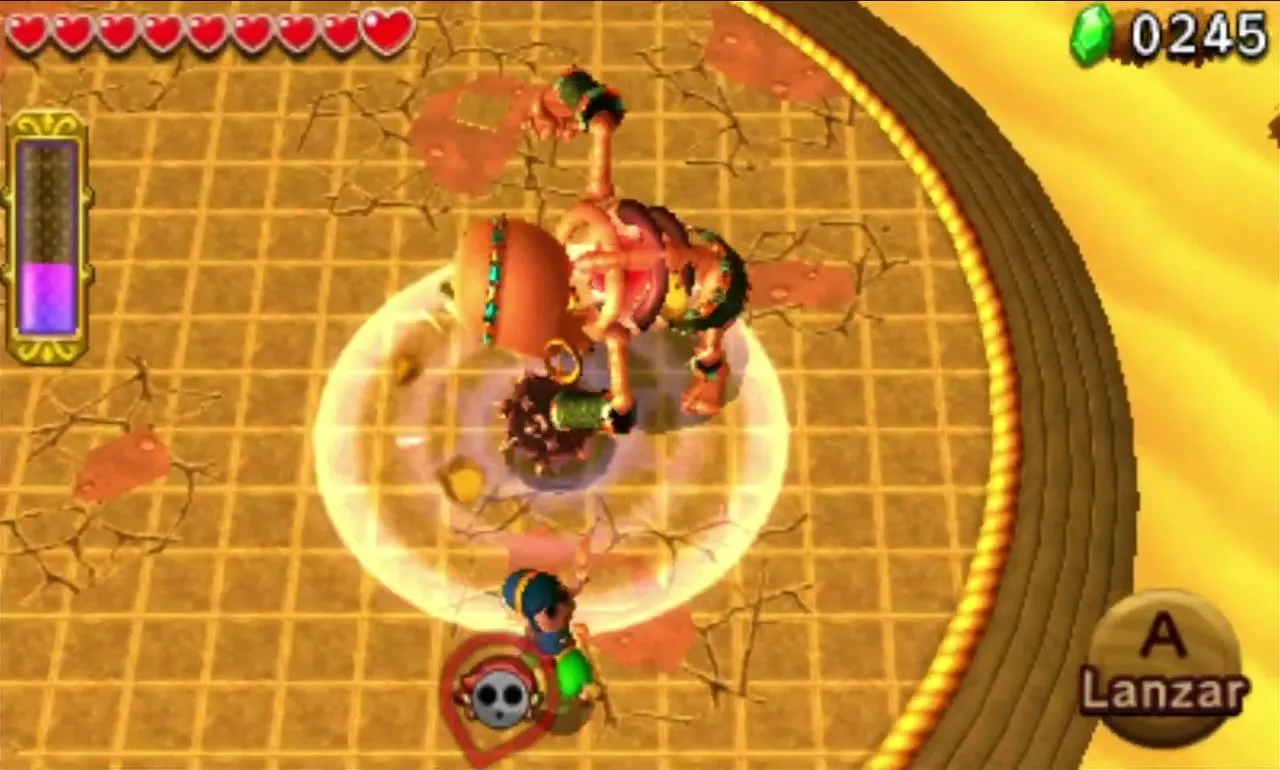
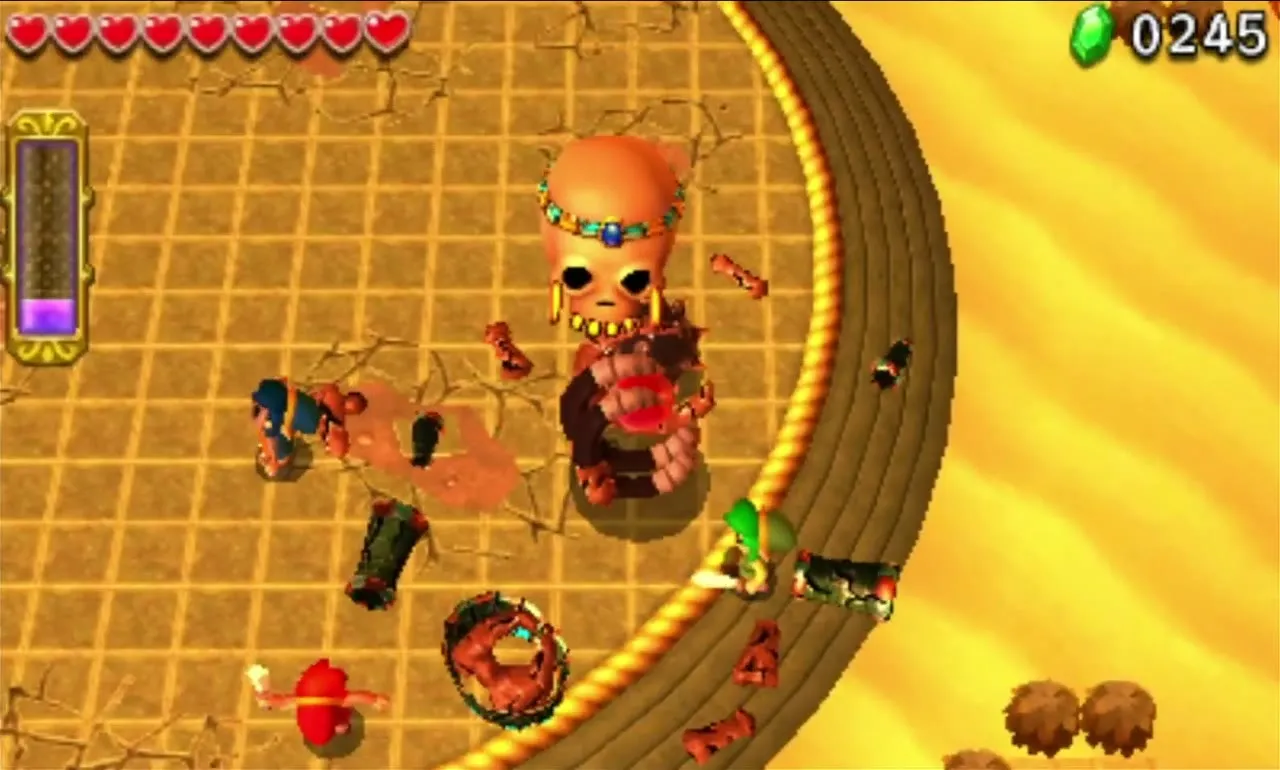
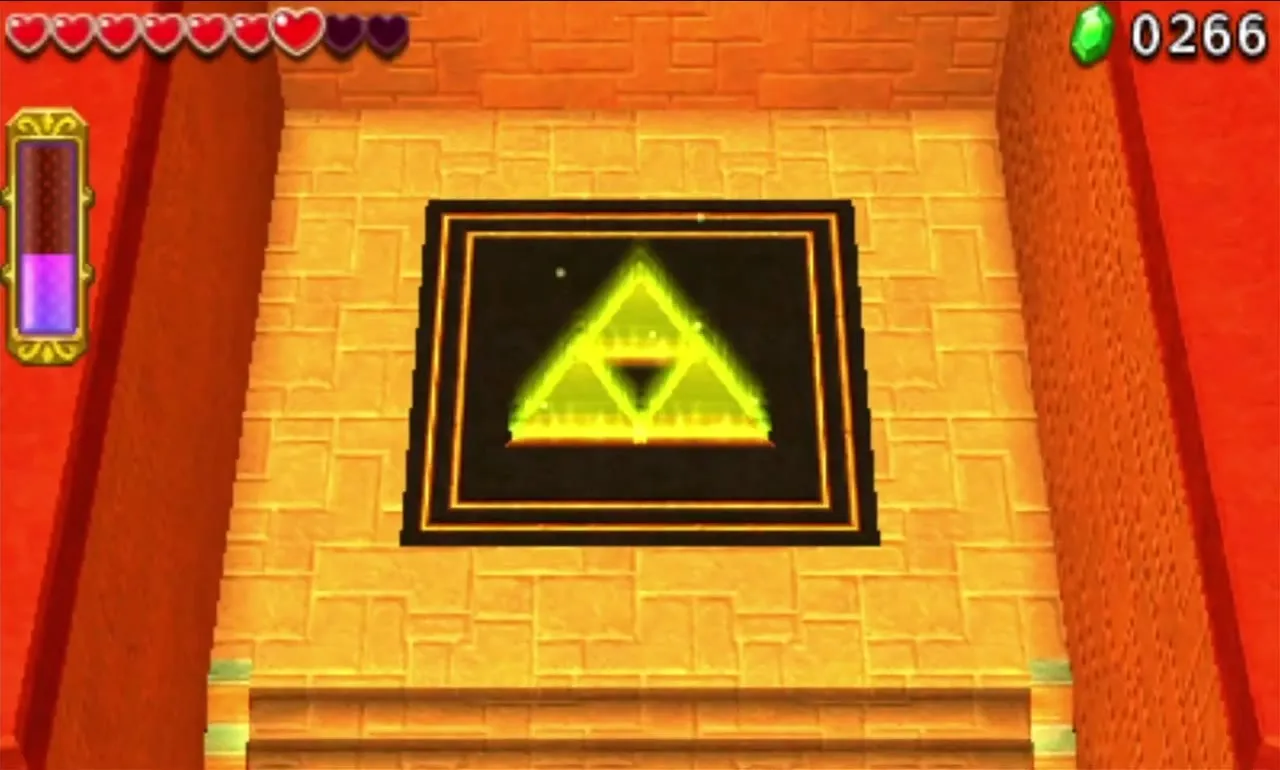
In the last phase it leaves its body behind and attacks as a flying skull that dives after you. The mace keeps rolling too. One Link lures the skull away while another stuns it with the Boomerang from range, then everyone strikes. A few more hits finish it, and the Gateway appears.

Desert Temple treasure chests
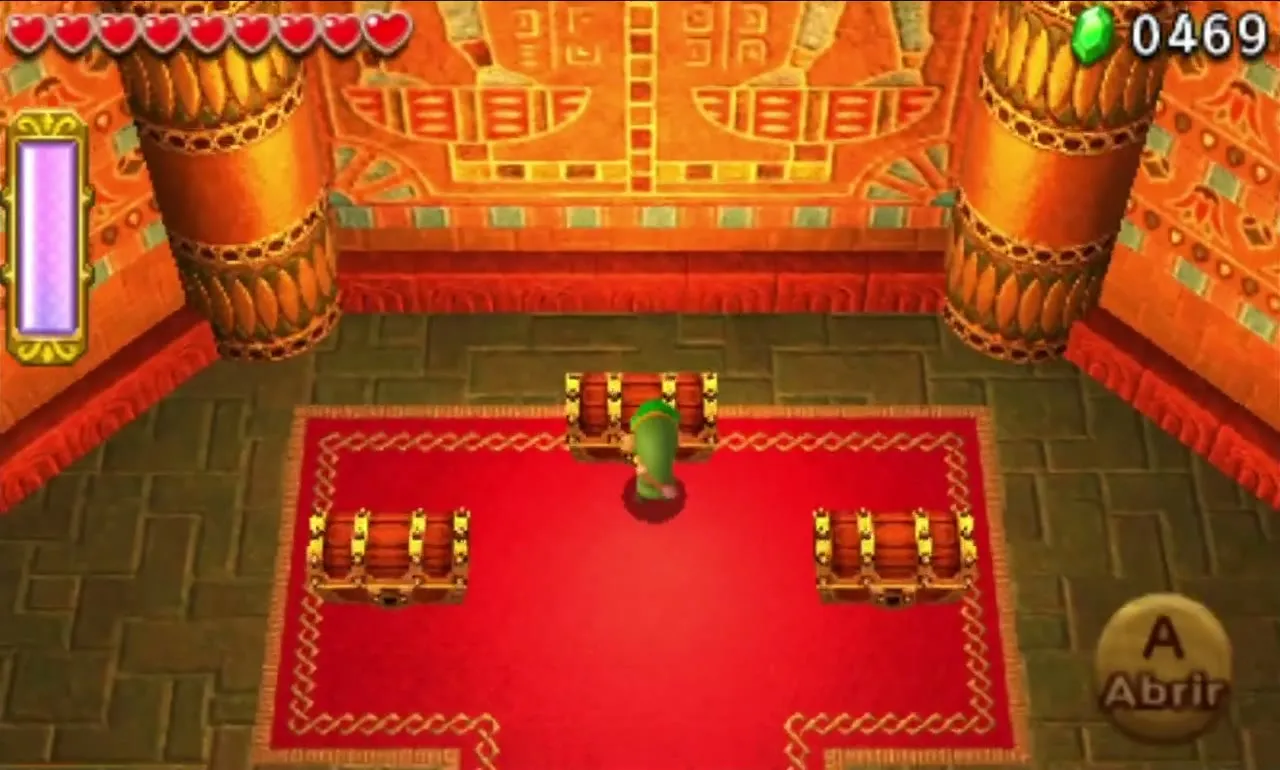
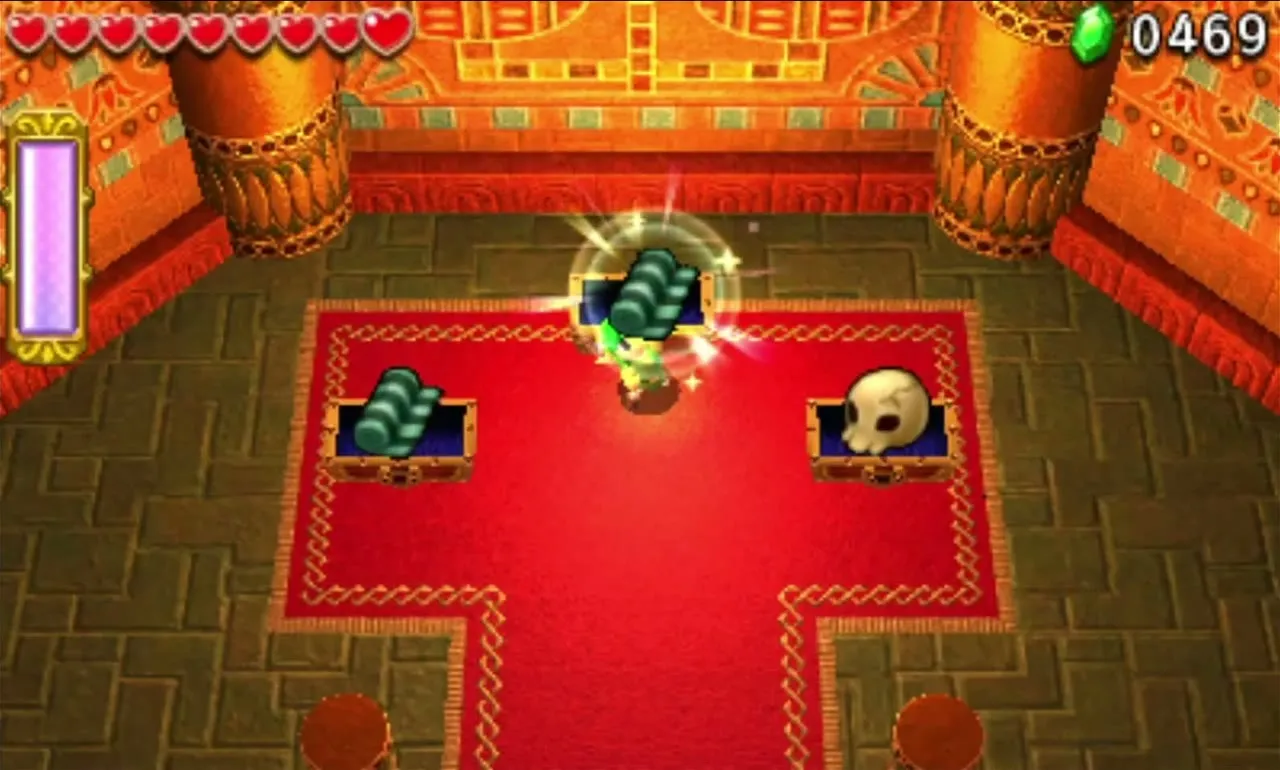
The end room has three chests. Two hold 1 Vintage Linen each and the third holds a Stal Skull, a Silver Material used in the Dunewalker Duds.
The Desert Temple’s Drablands Challenges are “Fewer Heart Containers!”, “Don’t pop any balloons!” and “Clear within the time limit!”; see Drablands Challenges. When all twelve challenges in The Dunes are cleared, King Tuft hands over the Golden Insect, a gold Material.

Area checklist
| Level | Items | Boss or mini-boss | Materials |
|---|---|---|---|
| Infinity Dunes |  Gust Jar x2,  Water Rod | None |  Palm Cone, Ancient Fin |
| Stone Corridors |  Boomerang,  Gripshot, Gust Jar | Vulture Vizier (mini-boss) | Palm Cone, Vintage Linen |
| Gibdo Mausoleum |  Fire Gloves, Gripshot, Gust Jar | None | Ancient Fin, Gibdo Bandage |
| Desert Temple | Boomerang,  Magic Hammer x2 | Stalchampion (boss) | Vintage Linen, Stal Skull |
With the Desert Temple done, head back to the castle and choose The Ruins next, if you have not already. The Ruins starts with the Illusory Mansion in the Ruins walkthrough, and clearing both Areas opens the Sky Realm.