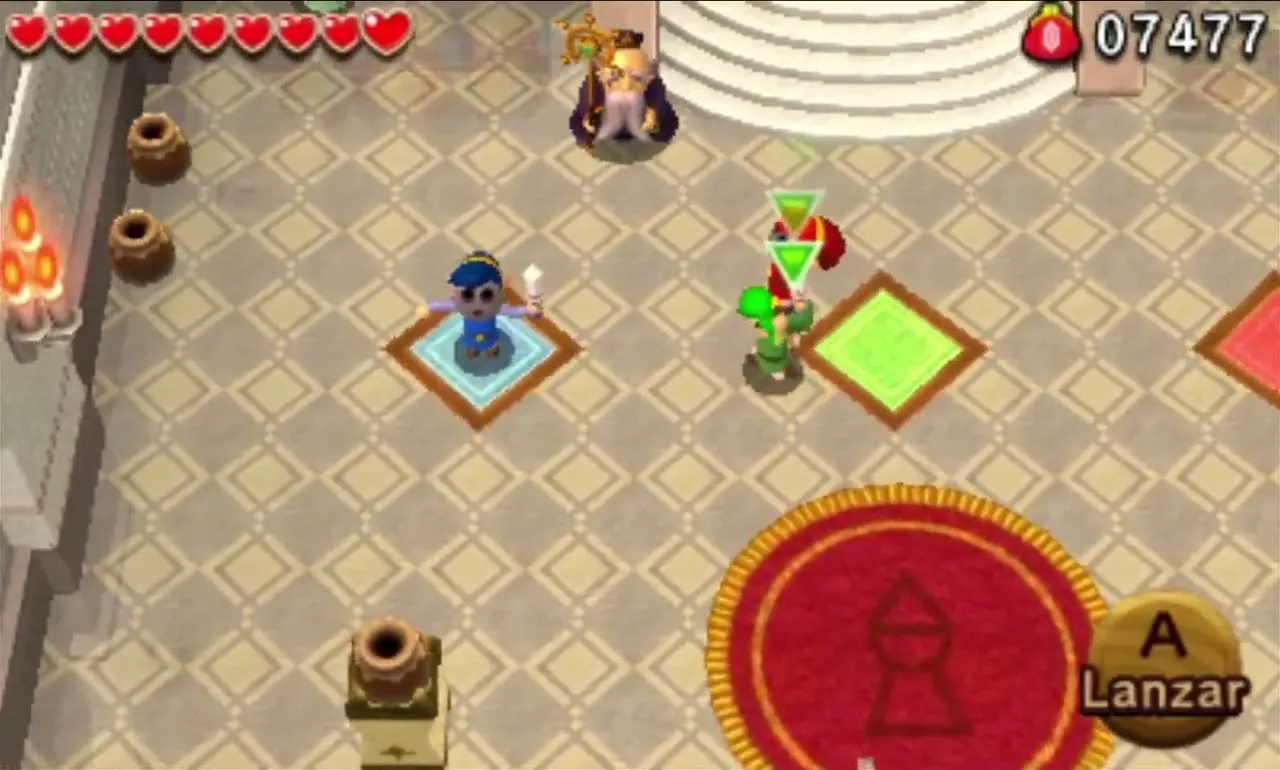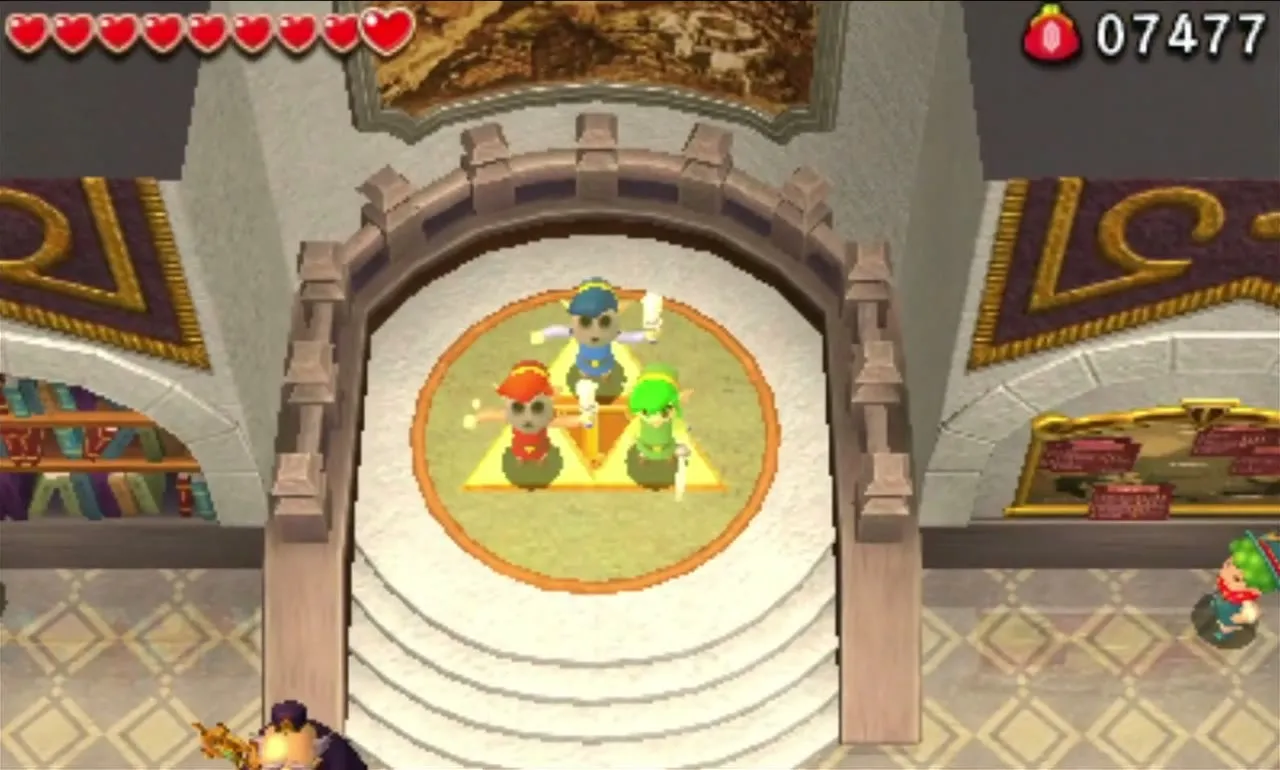








Tri Force Heroes 100% Completion Walkthrough8 chapters
- Hytopia and the WoodlandsMeet King Tuft, then clear Deku Forest, Buzz Blob Cave, Moblin Base and Forest Temple.
- RiversideSecret Fortress, Abyss of Agony, Cove of Transition and the Water Temple, with Water Rod and Gripshot puzzles.
- VolcanoBlazing Trail, Hinox Mine, Den of Flames and Fire Temple, with every stage, the Hinox Brothers and Moldorm.
- Ice CavernFrozen Plateau, Snowball Ravine, Silver Shrine and the Ice Temple, with the Freezlord and Blizzagia fights.
- FortressSealed Gateway, Bomb Storage, Training Ground and The Lady’s Lair, with every puzzle, chest and boss.
- The DunesInfinity Dunes, Stone Corridors, Gibdo Mausoleum and Desert Temple, with Vulture Vizier and Stalchampion tips.
- The RuinsIllusory Mansion, Palace Noir, Lone Labyrinth and Grim Temple, with Grim Repoe and Prismantus.
- Sky RealmFloating Garden, Deception Castle, Dragon Citadel and Sky Temple, with Gigaleon, Lady Maud and the ending.
| Levels | Illusory Mansion, Palace Noir, Lone Labyrinth, Grim Temple |
|---|---|
| Items used | Boomerang, Bow, Fire Gloves, Gust Jar, Gripshot |
| Boss | Grim Repoe (mini-boss, Palace Noir); Prismantus (boss, Grim Temple) |
| Unlocks | Sky Realm (together with The Dunes);  Robowear,  Showstopper,  Spin Attack Attire and  Sword Master Suit once the Desert Temple and Grim Temple are both cleared |
The Ruins is the seventh Area, a haunted palace full of ghosts and the undead where a wrong step usually means a long fall. Platforms in your Link’s colour carry you, grey ones fade away beneath your feet, and the dark hides pits. No new item appears here: you get the Boomerang, Bow, Fire Gloves, Gust Jar and Gripshot again. Beat Prismantus in the Grim Temple and, with The Dunes also cleared, the way to the Sky Realm opens.
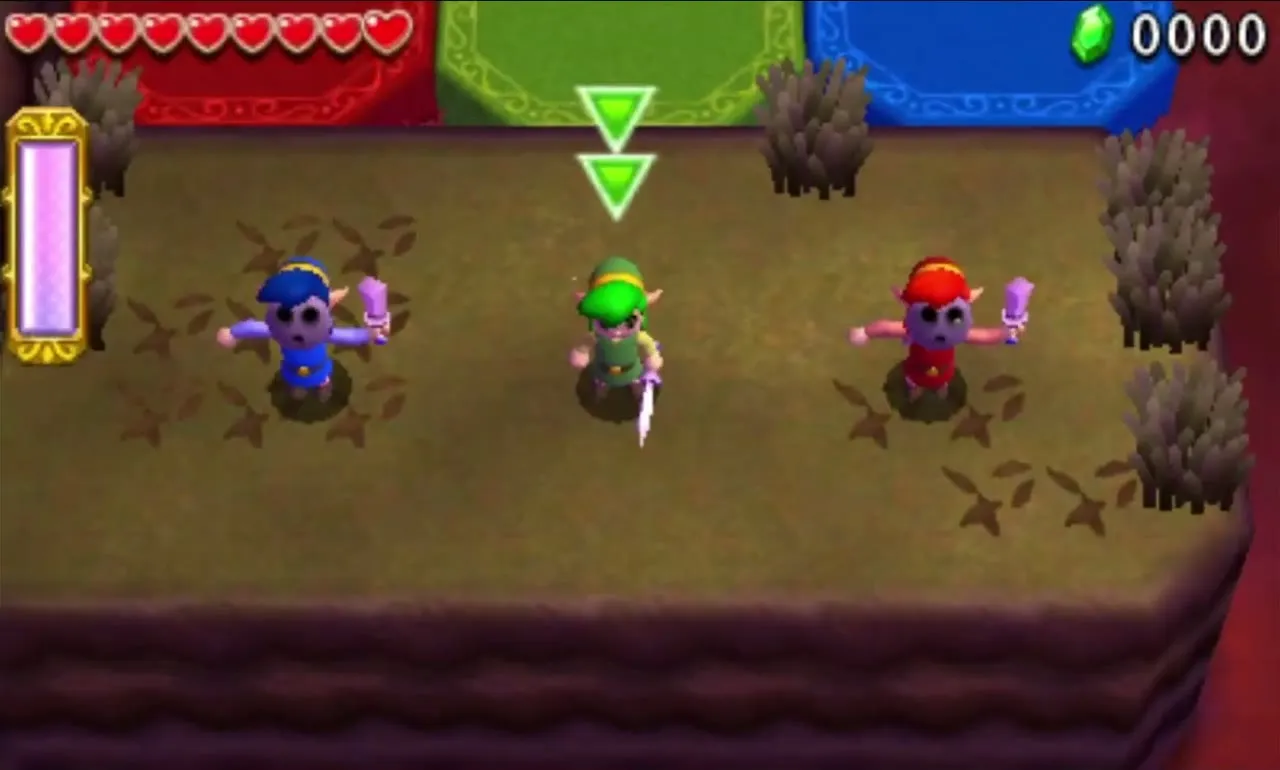
Table of Contents
Illusory Mansion
Each of the three Links gets a Boomerang in this garden of floating coloured platforms. Only the Link whose tunic matches a platform can stand on it; anyone else drops through. The matching Link can lift the others and carry them across as a Totem, and the Boomerang pulls a stranded partner over to you. Watch your footing, because the pits are bottomless.
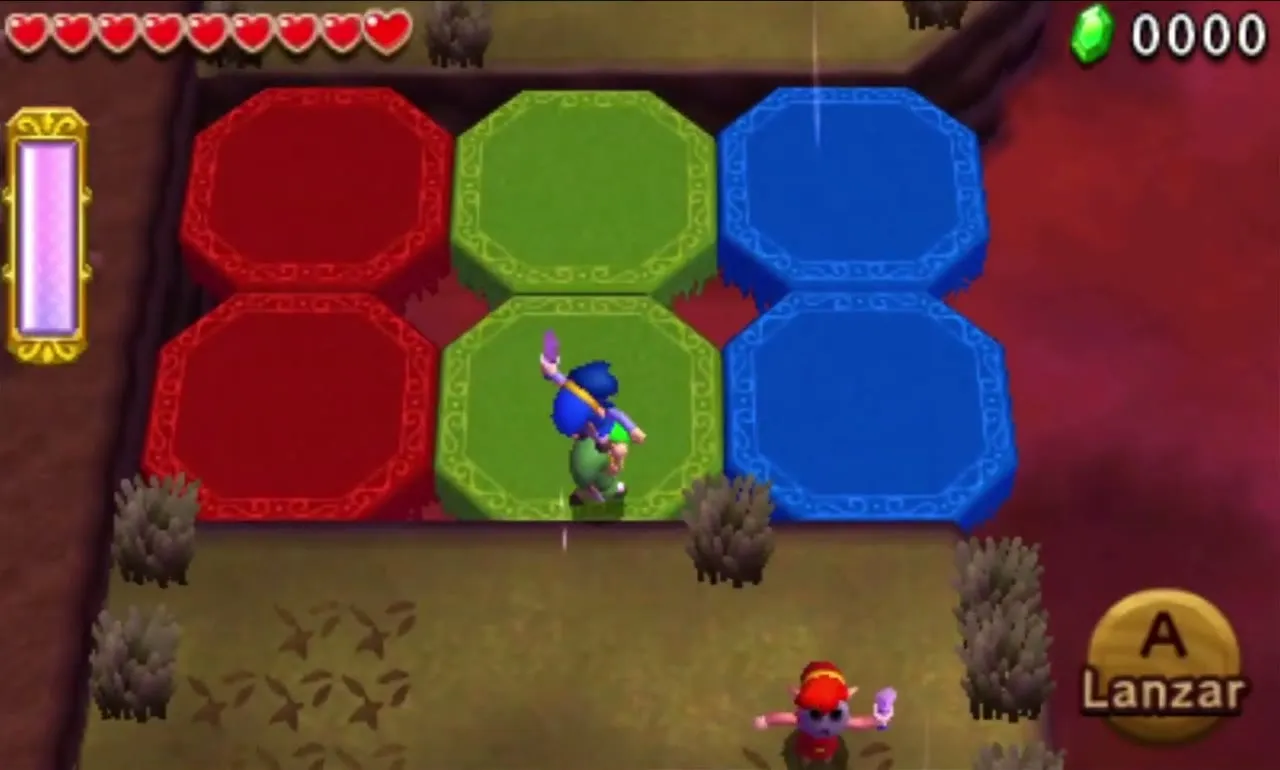

Illusory Mansion Stage 1
Cross the first three sets of coloured platforms, each Link using the ones in its own colour and the matching Link carrying the rest. On the next ledge, pick up the three Boomerangs, one for each Link, and deal with the two White Poes that float around it. In single-player each Doppel holds one as well, so switch to whichever Link has the colour you need.


A bridge of green platforms leads to a blue one, with a gap beyond it. Have the blue Link lift the red Link, then the green Link takes up the pair and walks the green platforms to the blue one. Throw the stack to the blue platform, then the blue Link throws the red Link across the gap. The red Link pulls the others over with the Boomerang.
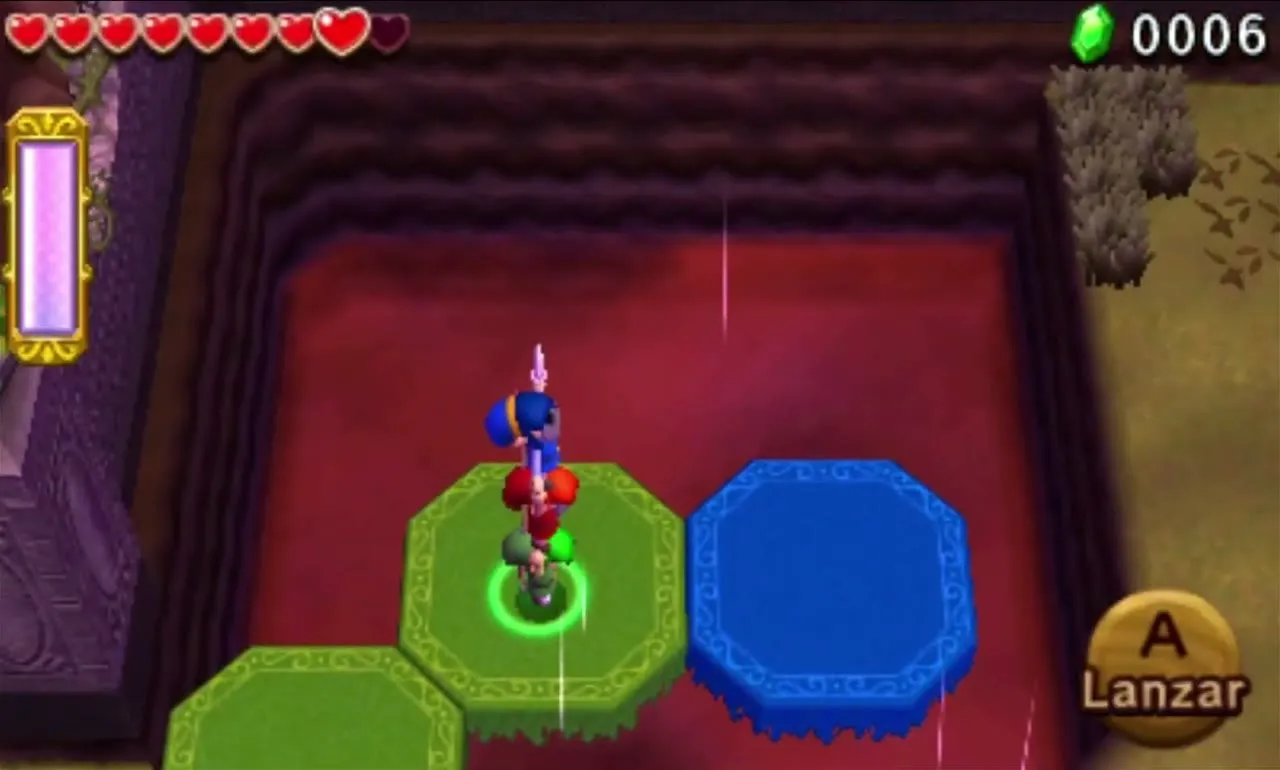

The Triforce Gateway is behind a locked gate, and its Small Key lies in a chest atop a small tower in the south. Blue and red platforms lead to the stairs: the blue Link throws the red Link across, and the red Link opens the chest, then drops the key or tosses it to the blue Link. Pull the red Link back with a Boomerang, unlock the gate and walk into the Gateway.
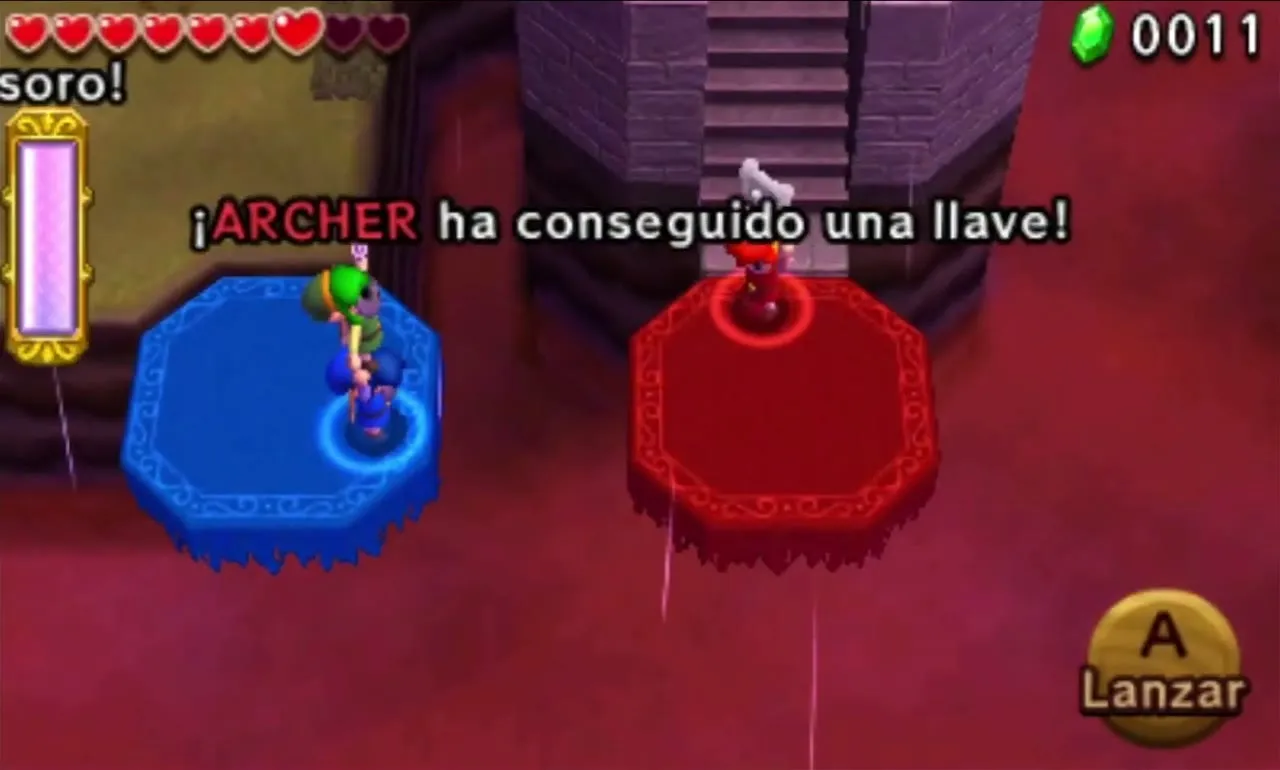

Illusory Mansion Stage 2
In the hedge garden three unlit Braziers spawn a red, a green and a blue Poe. Each can be hurt only by the Link of its own colour, and beating all three lights the Braziers and drops the Small Key for the next gate. As you approach that gate two White Poes ambush you beside a Squiddy, so keep the three Links together.
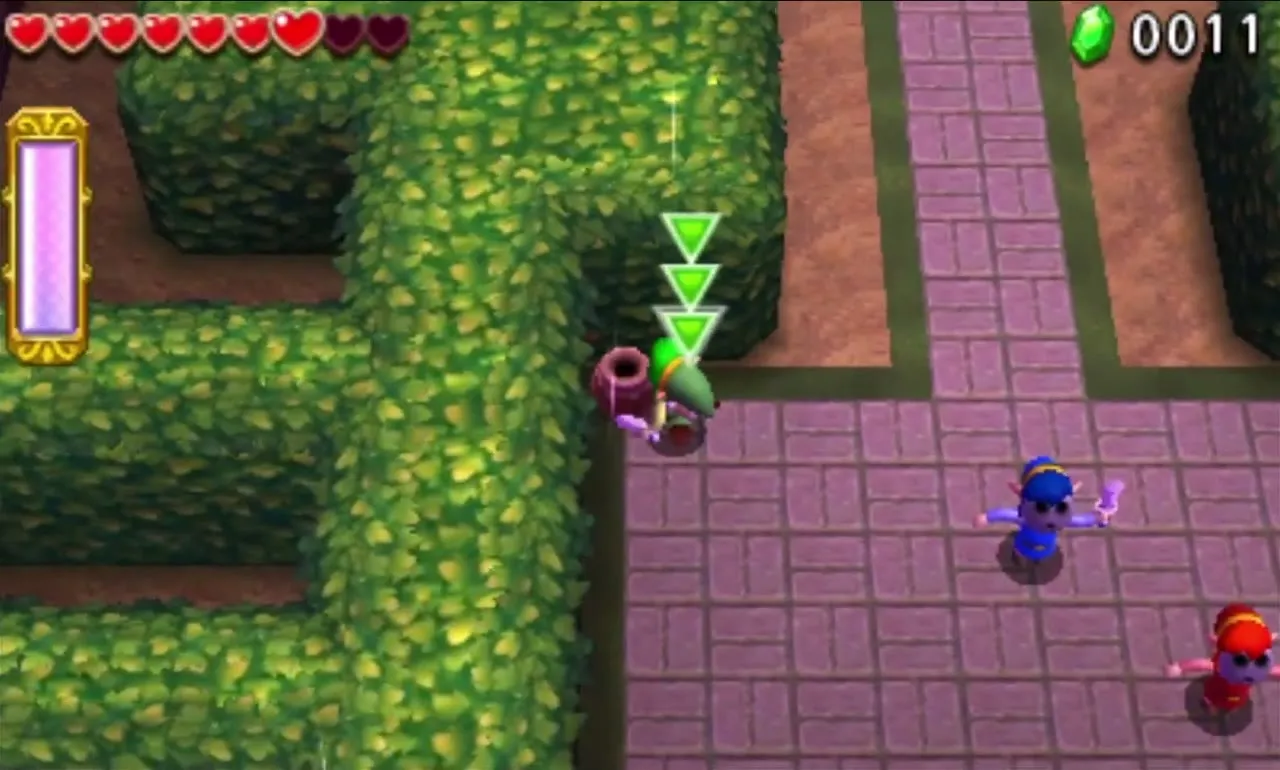

Through the gate is a plaza of stone podiums, and six more coloured Poes arrive, two of each colour. They hover out of reach at different heights, so stack Totems of two and three until the matching Link can strike each one. Once all six are gone, the Triforce Gateway appears.

Before leaving, look at the east side of the plaza for a Floor Switch hidden in tall grass. Pressing it lowers a gate and shows a chest holding a Silver Rupee. It is worth the short detour, then head for the Gateway.

Illusory Mansion Stage 3
The Level begins in a fenced yard beside an enormous pit. A Bomb Flower grows on a pillar close to the blue platform; pull it in with a Boomerang and throw it at the Cracked Block to the west. That uncovers a Big Switch, which all three Links must press together to raise coloured platforms over the pit and summon more Chasupas.

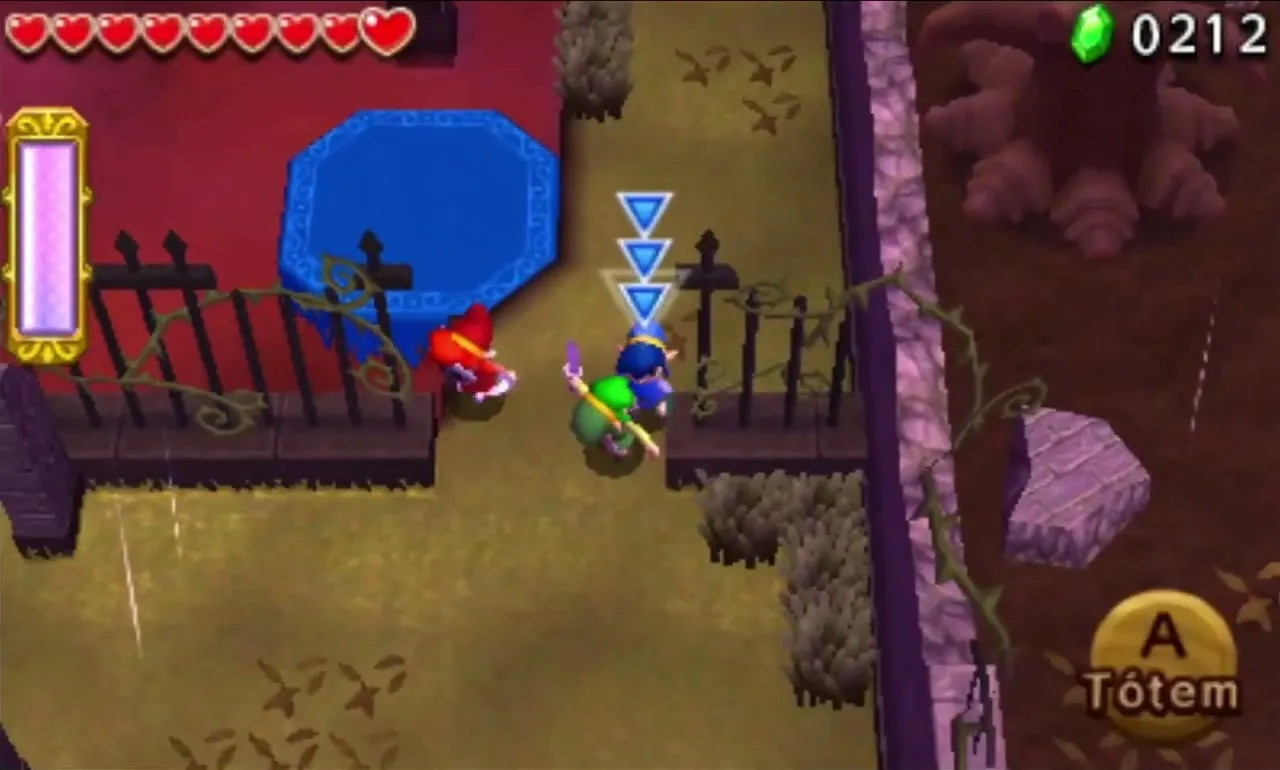
Throw the Links onto platforms of their own colour and use the Boomerang to haul each other across. Two more Cracked Blocks wait on the far side, so have the red Link carry a Bomb Flower over from its platform and toss it to a partner on the ledge, who throws it at the blocks.
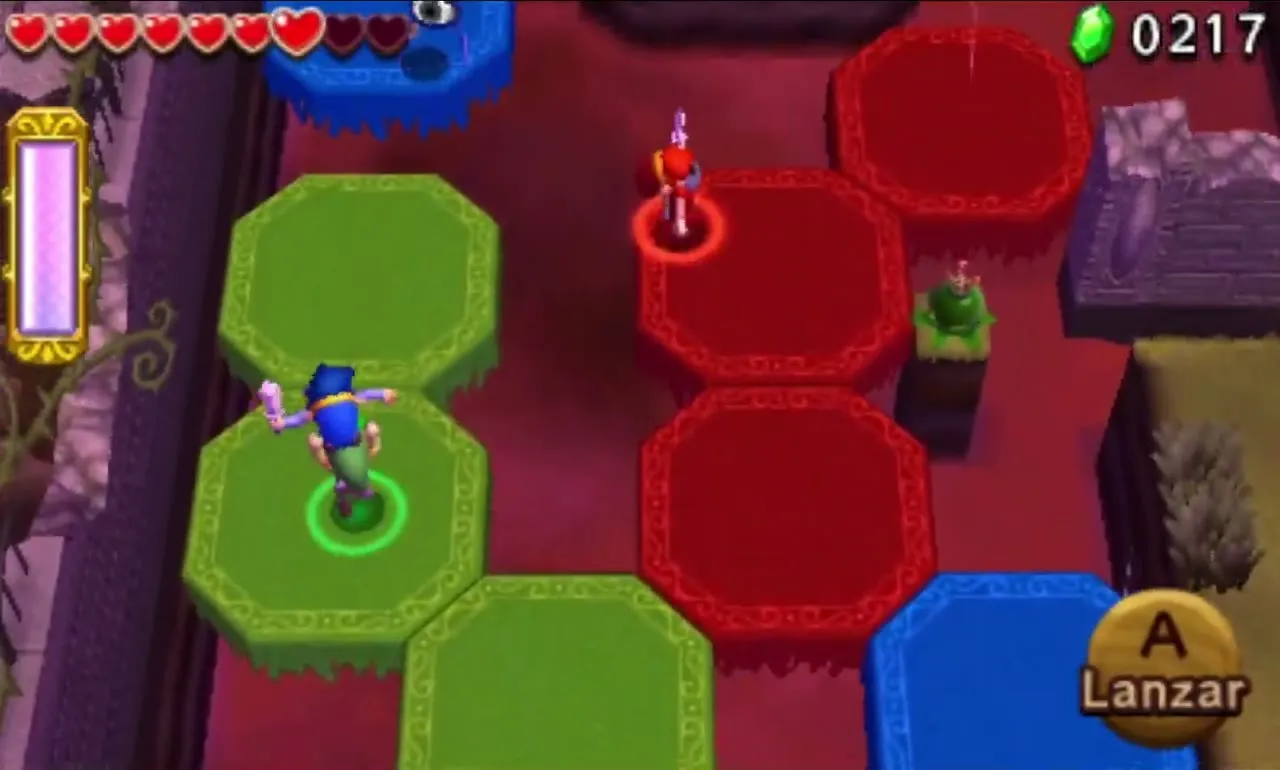
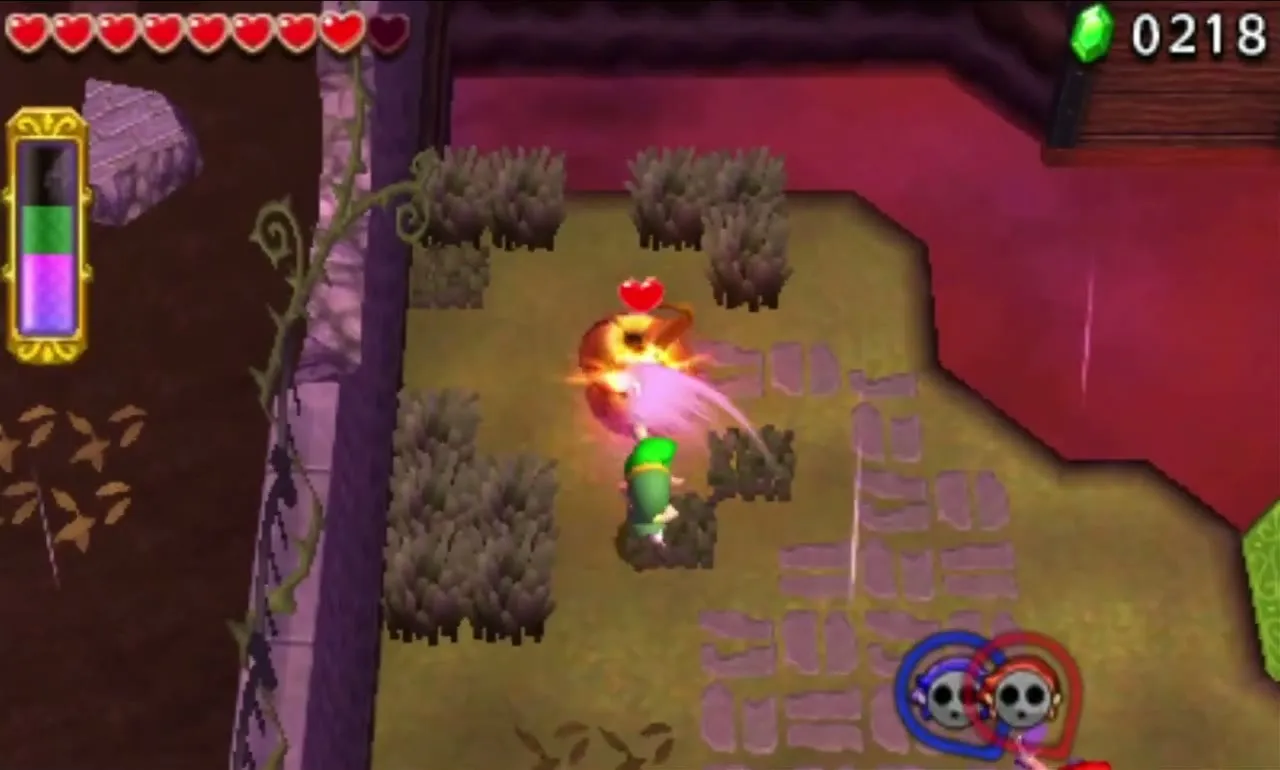
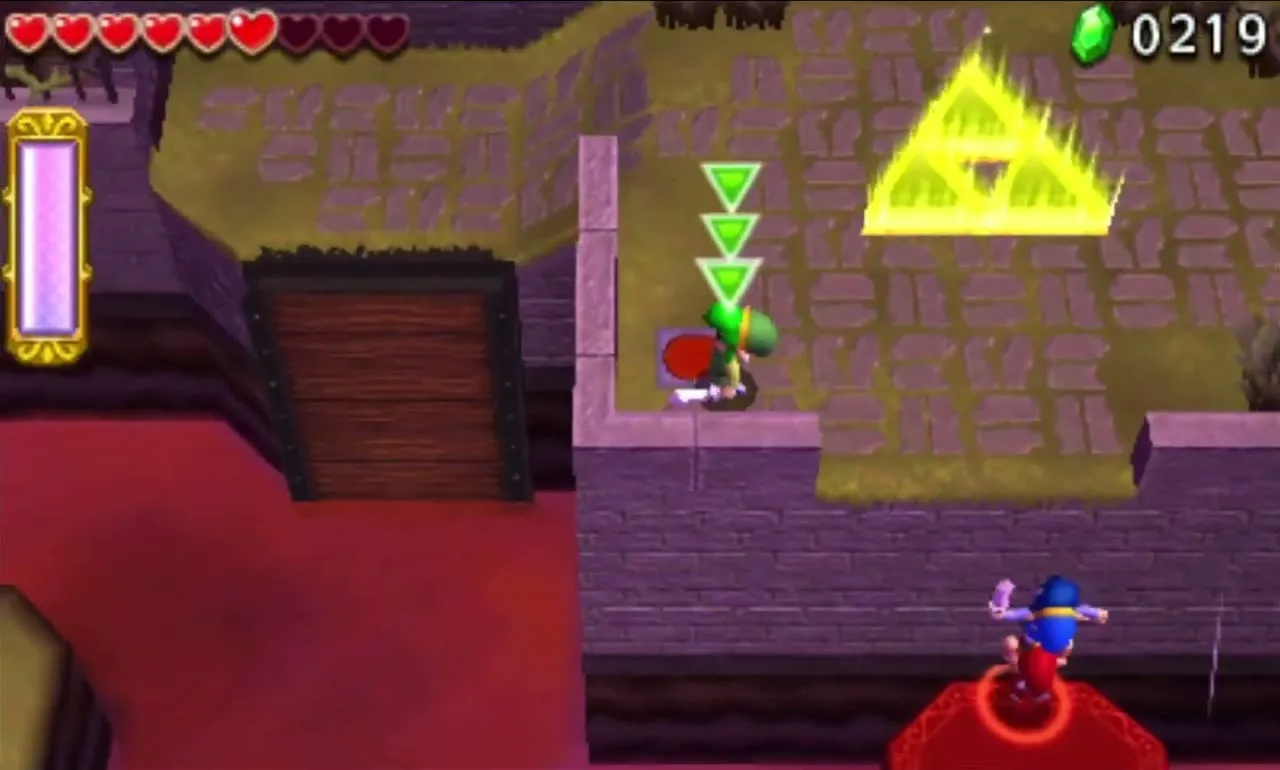
Two White Poes guard the next area, and a Life Like hides among the grass disguised as a Heart, so do not grab every heart you see. The blue and red platforms over this pit keep moving. The Triforce Gateway sits on a high ledge that needs a Totem of three. Stand the green Link on the blue Link near the edge of the blue platform, let the red platform swing close, and have the red Link lift them both. Throw the top Link up to press the Floor Switch there, which lowers a drawbridge for the others.

Illusory Mansion Stage 4
More moving platforms cross another pit, and you cross it the same way, throwing each other and pulling with Boomerangs. When you near the stairs to the north, five Poes pop up, three of them coloured. Beat them all, and a chest appears holding three Hearts.
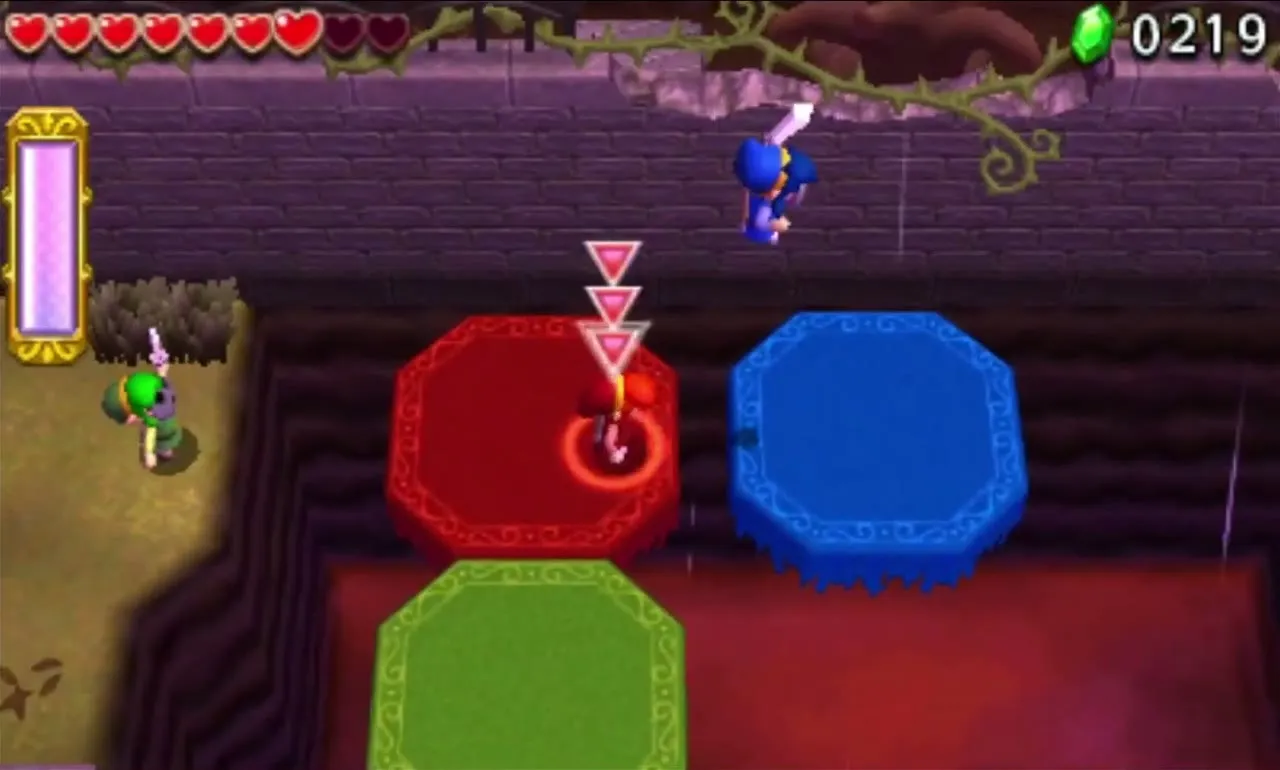

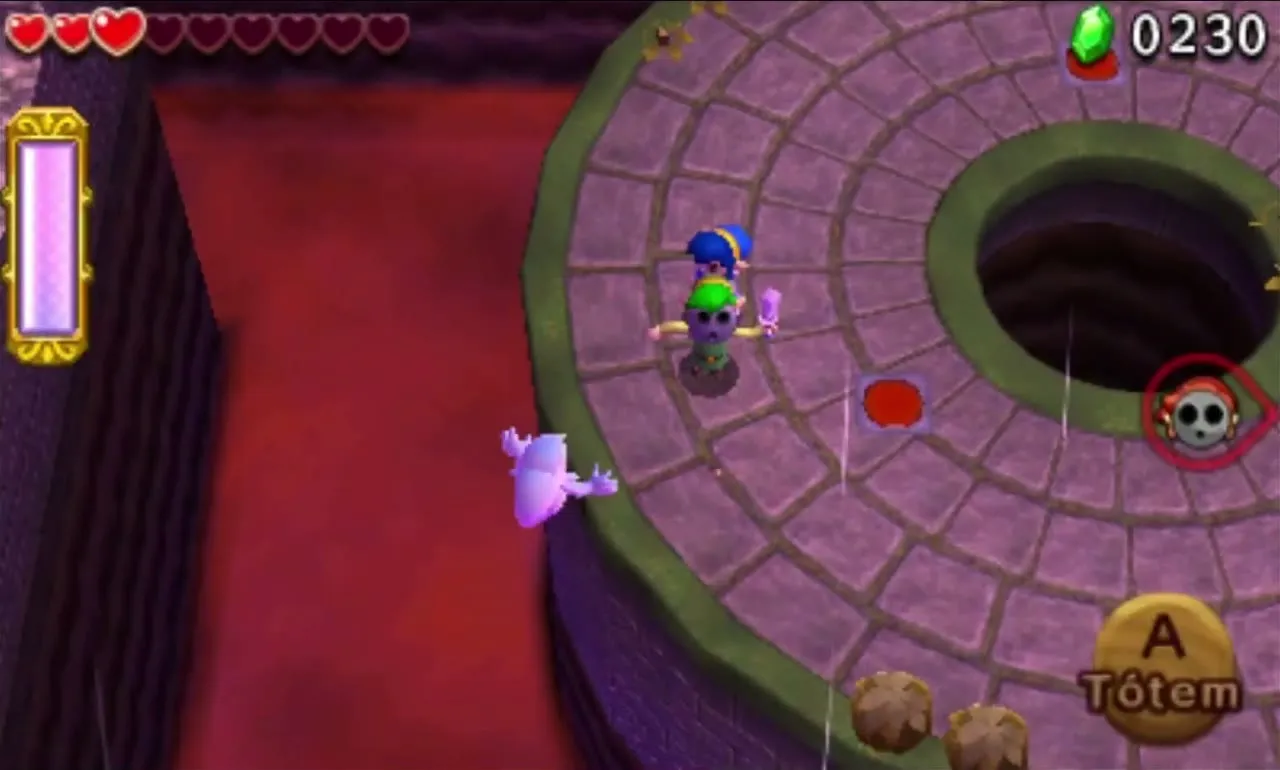
Climb the stairs and drop onto the round platform with a pit in the middle. Three Floor Switches here must be pressed, which retracts the ledge you came from and calls in a group of Prankster Poes. They creep up, grab a Link and try to throw him off the edge, so stay close together and help each other when one is picked up. Defeat them all and a bridge leads to the Triforce Gateway.


Illusory Mansion treasure chests
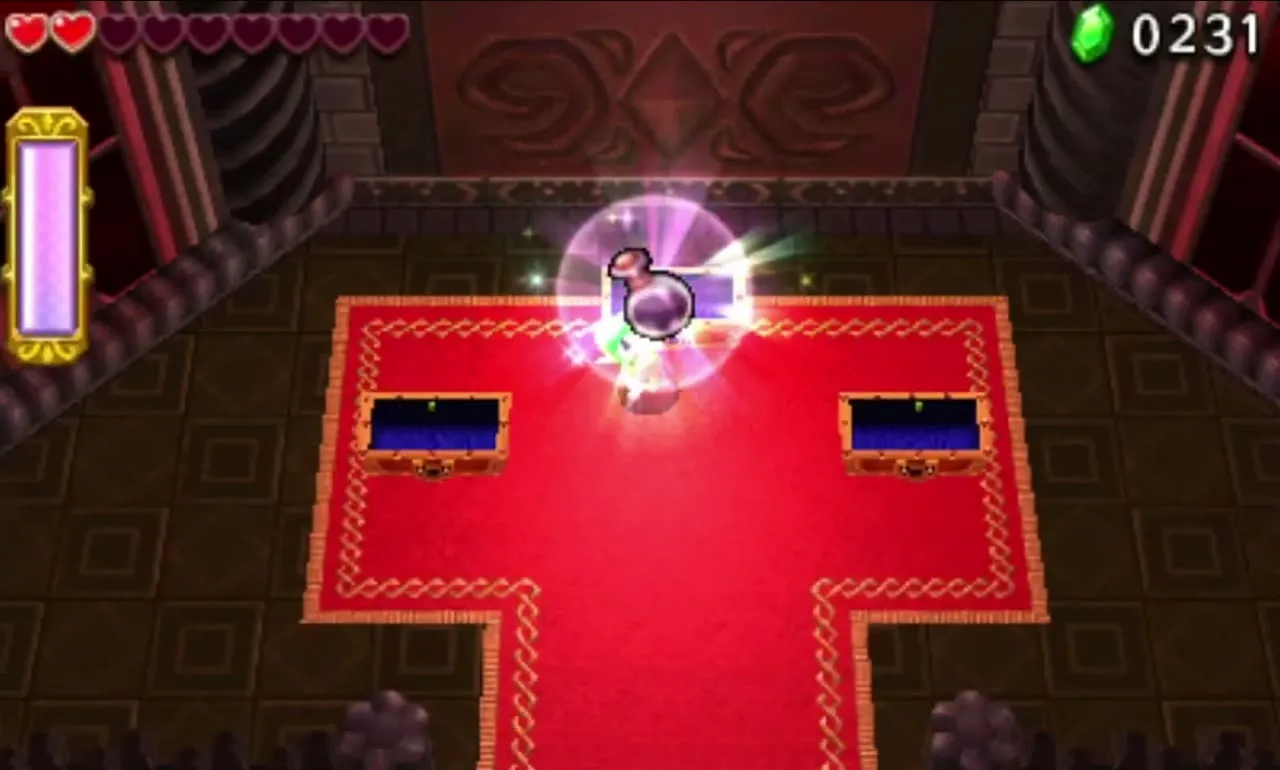
After the Gateway, each Link opens one of three chests. Without a challenge, two hold Carrumpkin and the third holds Mystery Extract. The materials are used for outfits, and the materials page lists every drop.
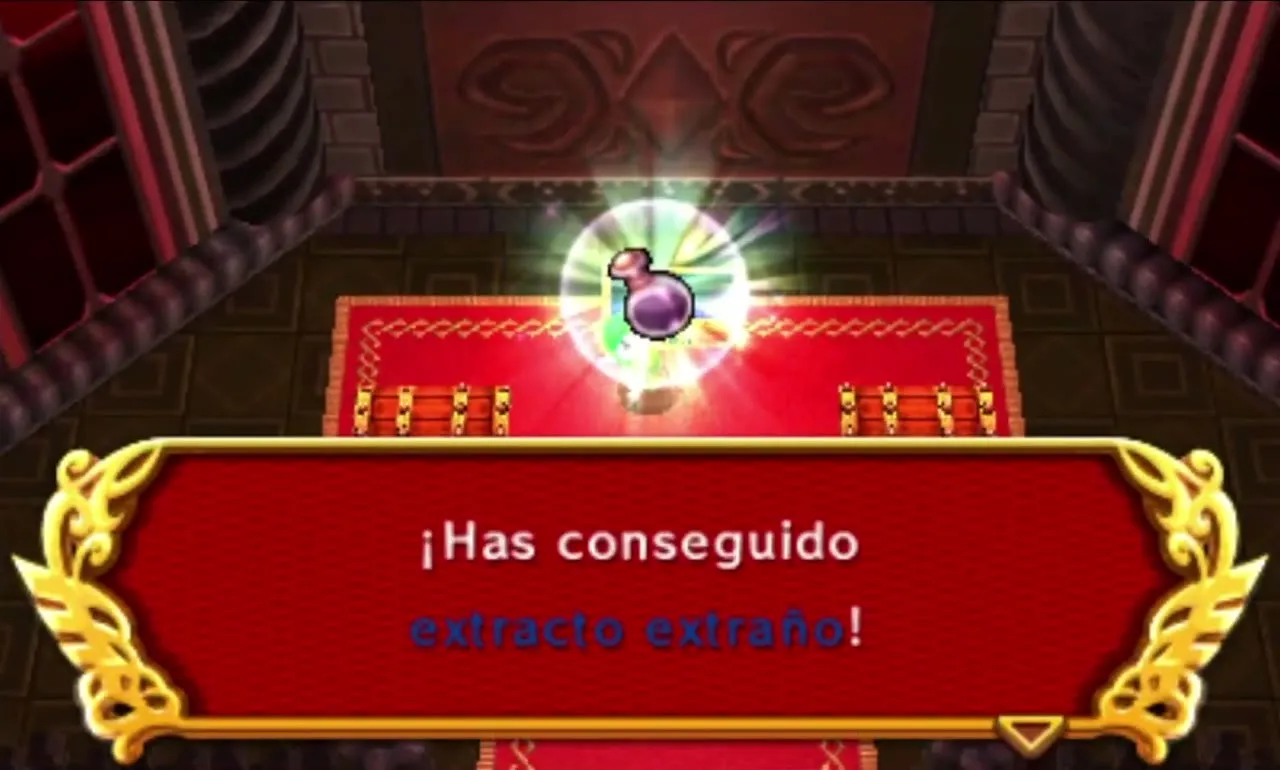
After you beat Prismantus, Illusory Mansion can be replayed with three Drablands Challenges: “Fewer Heart Containers!”, “Don’t fall at all!” and “Clear within the time limit!”. Each pays better materials in the end chests; see the Drablands Challenges page.
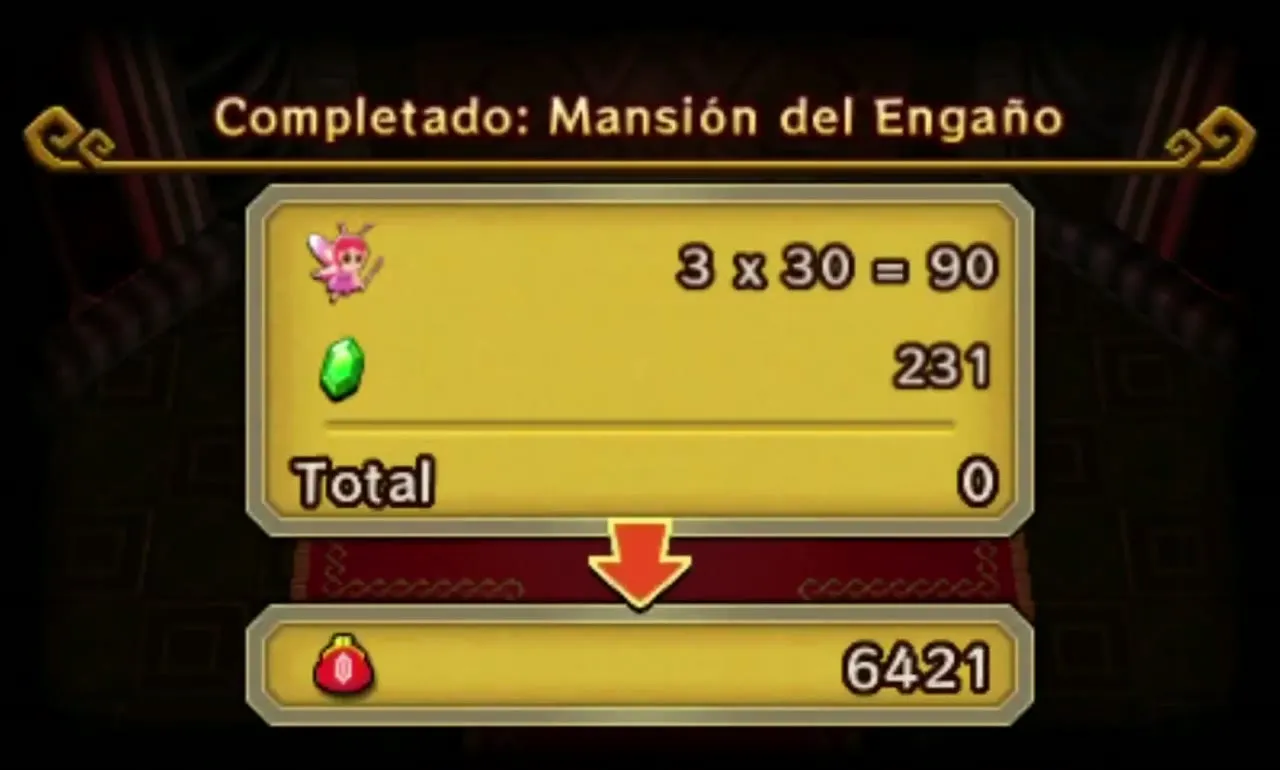
Palace Noir
This dark mansion hands out the Bow, the Fire Gloves and the Gust Jar, one each. Most rooms are almost black and lit only by a few Braziers, so keep your Links within sight of the flames. The Light Armor outfit, which lights the area around Link, helps here. It ends with the mini-boss Grim Repoe.
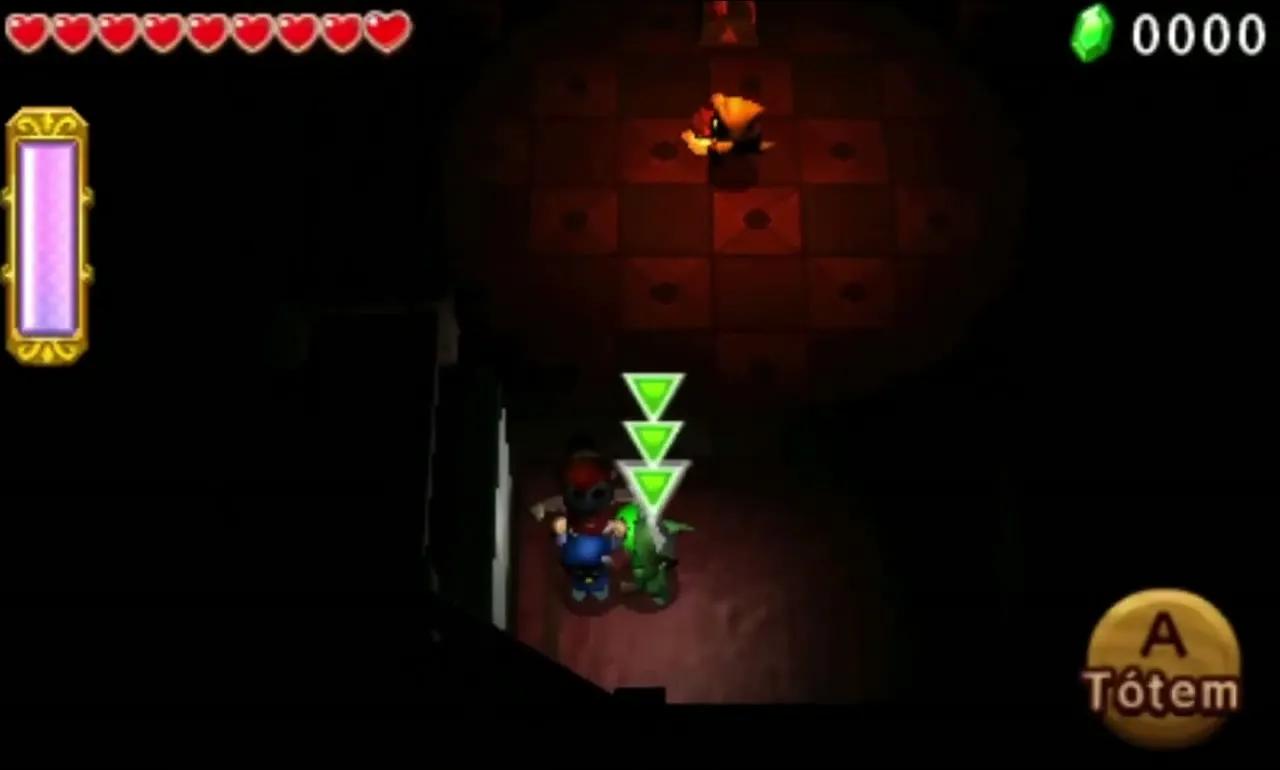

Palace Noir Stage 1
A dark foyer greets you, with a Lantern Poe drifting around that you cannot yet harm. Pick up the Bow in the north, the Fire Gloves in the east corner and the Gust Jar in the west corner. Taking them makes the Triforce Gateway appear, but its doors remain closed until every Brazier in the room is lit and the Lantern Poe is beaten.
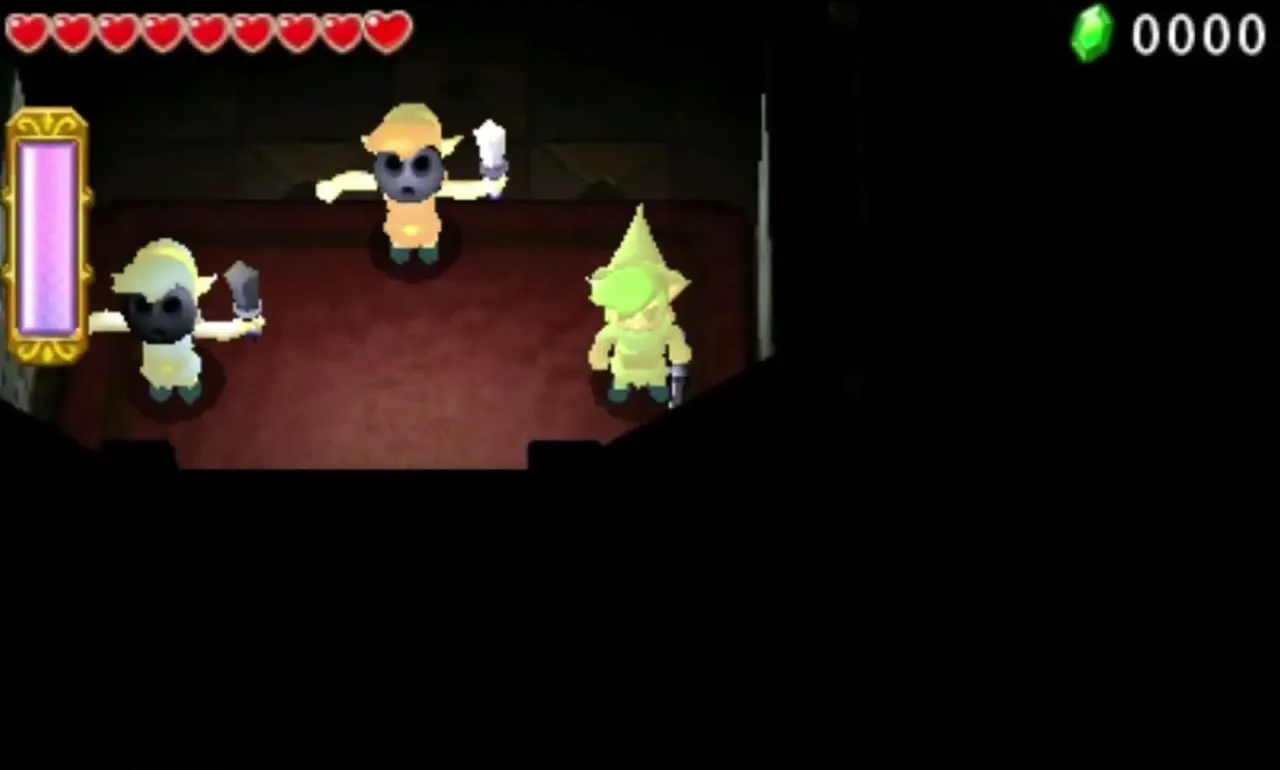

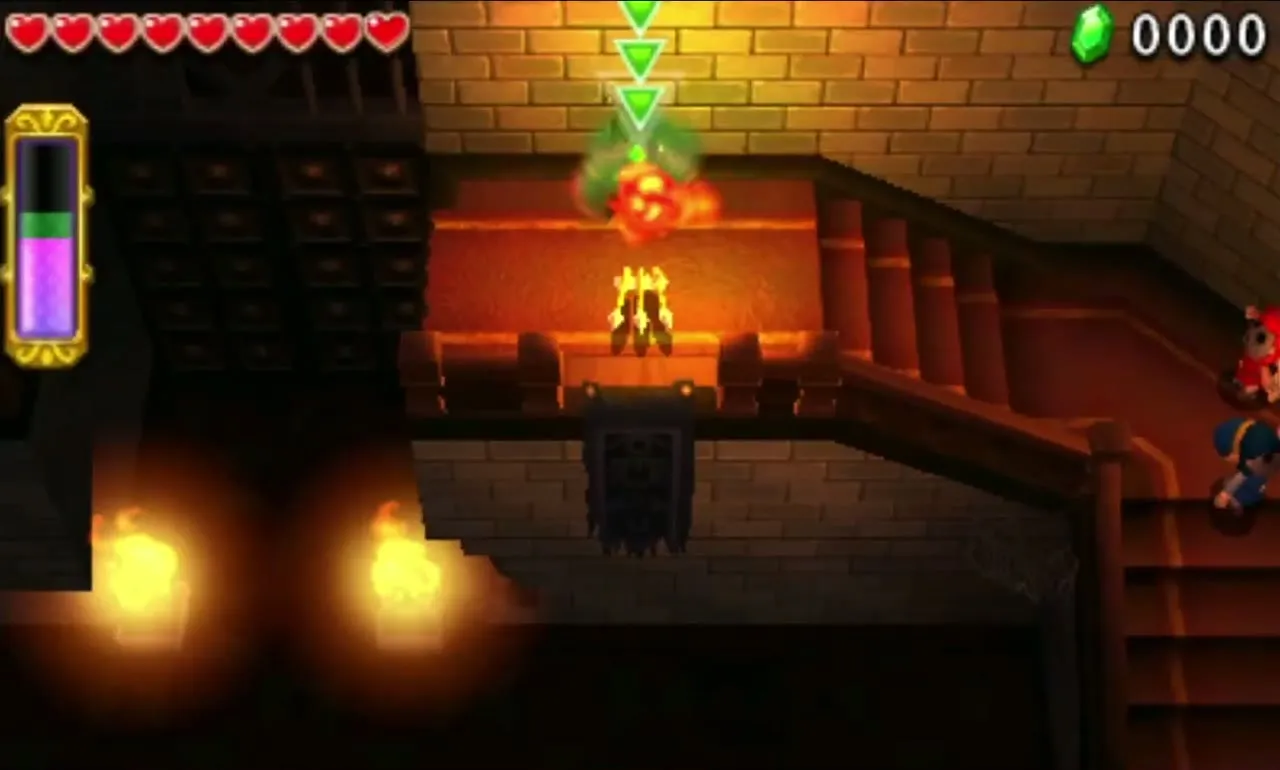
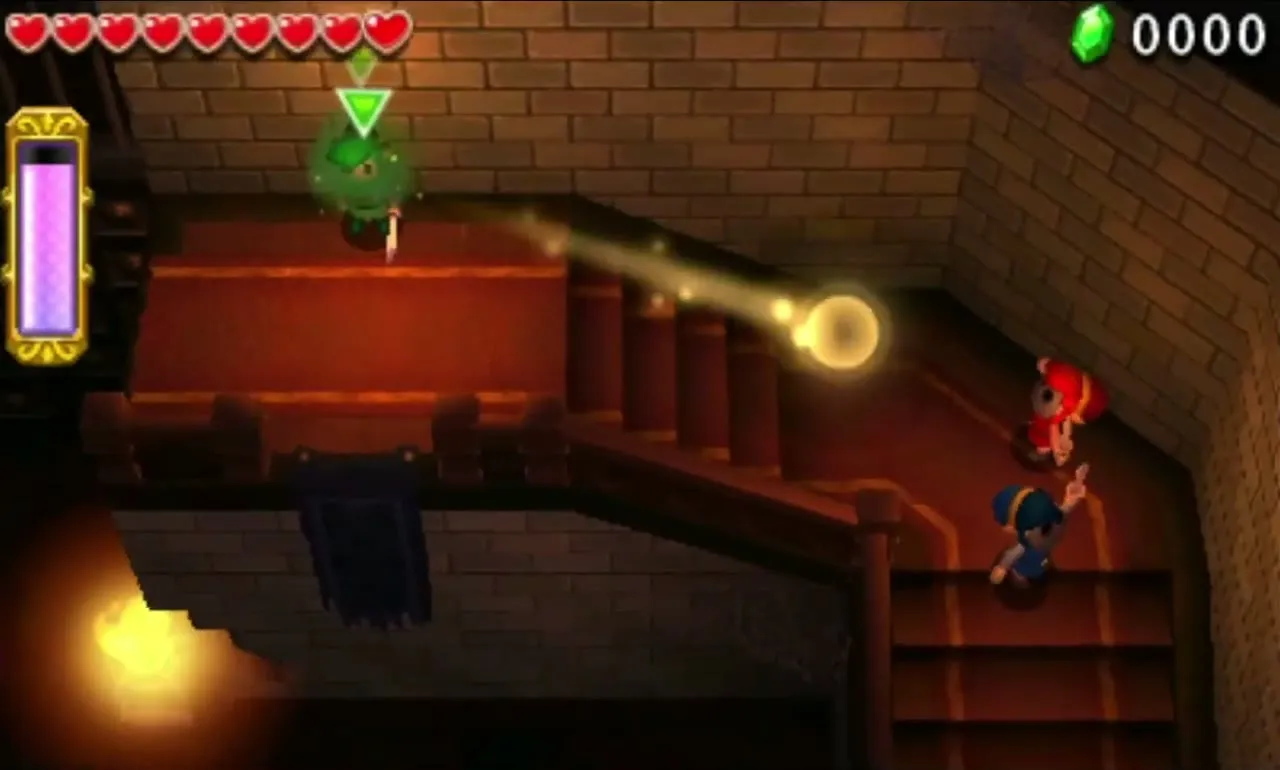
Use the Fire Gloves to light the two Braziers next to the door. Two others sit on high pillars, reached through the east stairs. For the eastern one, create a fireball with the Fire Gloves and have another Link fire an arrow through it. Playing solo, roll the fireball up the stairs and swap to the Doppel holding the Bow as it goes by.

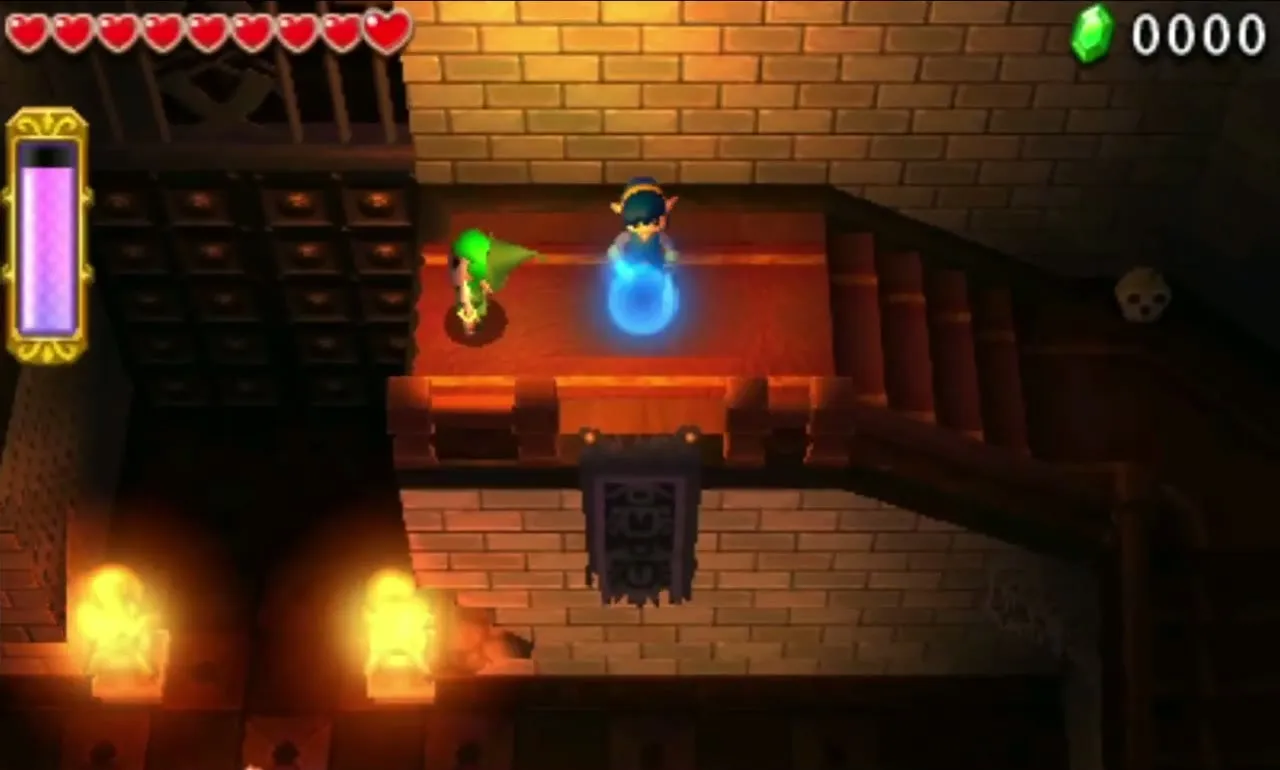
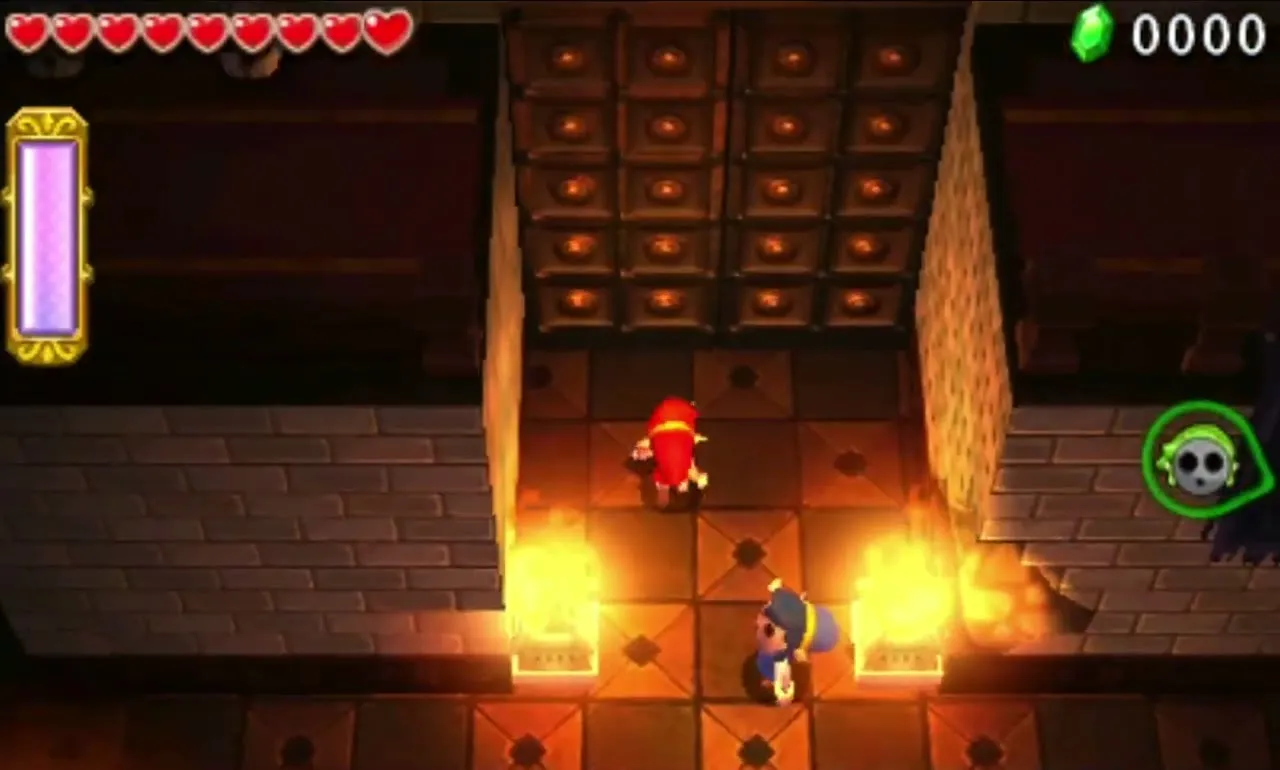
For the west side, use the Gust Jar to blow the others across the gap above the doors, then throw one over the smaller gap. Light the two Braziers on the ground there and shoot an arrow through the second one to light the Brazier on the west pillar. When every flame burns, the Lantern Poe is destroyed and the doors open.

Palace Noir Stage 2
Narrow walkways cross a bottomless pit here, patrolled by Dark Ghinis, Rats and Ropes. Step on the Big Switch right ahead to drop a Small Key onto the unreachable platform in the middle, where a Flame Wall surrounds it. Take a moving platform that passes beside the key, make a Totem of two, and blow the key onto the platform on the other side with the Gust Jar. If it falls, it respawns in the flames.
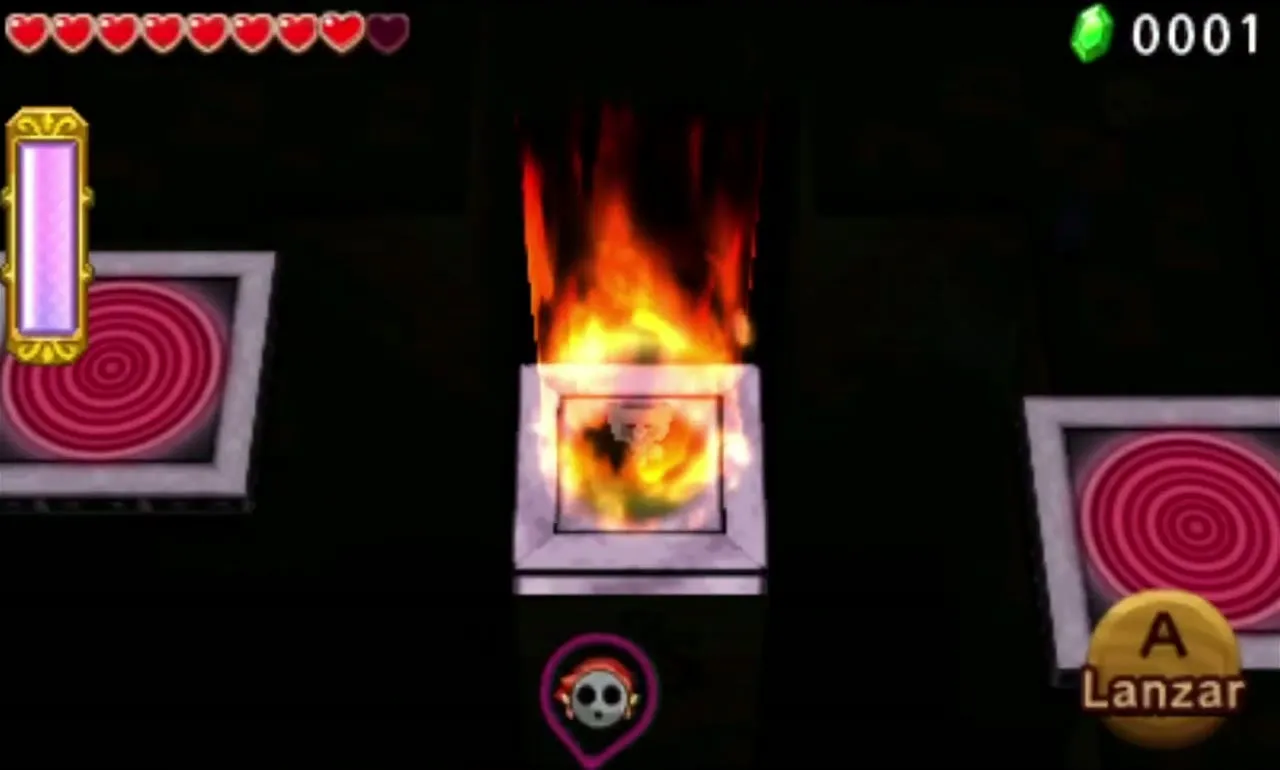

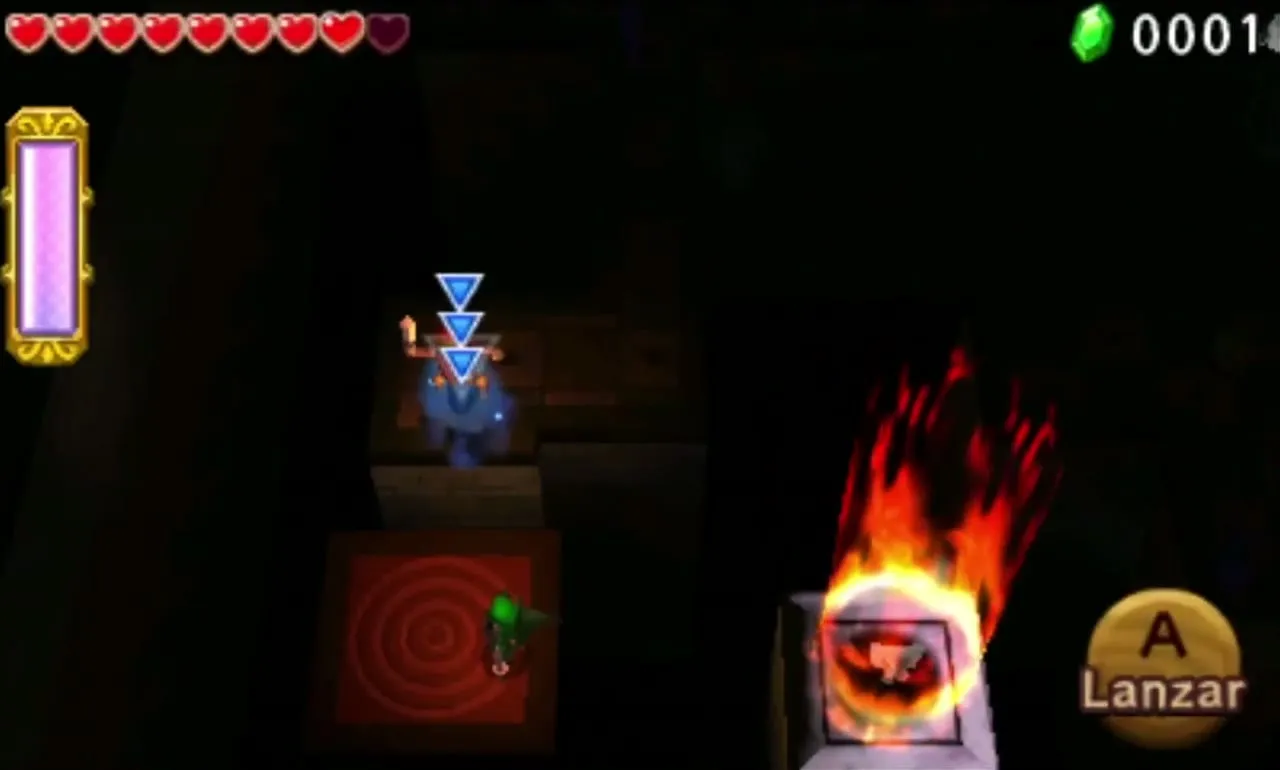
Carry the key north along even thinner paths. To the east a red platform sits idle with a wide gap beyond it, so blow one Link across with the Gust Jar and let him press the Floor Switch to start the platform for the others. The locked door is on that side. A chest holding a Silver Rupee waits on the west side of the Gateway, down the stairs.


Palace Noir Stage 3
The Links enter a maze of bookshelves with small pits and a few lit Braziers. Jars with Hearts are scattered along the halls. Key Bandit Poes race through the maze, and three of them carry the Small Keys you need for the doors at the north end. They run away, but a sword hit will take one down once a Link catches up.
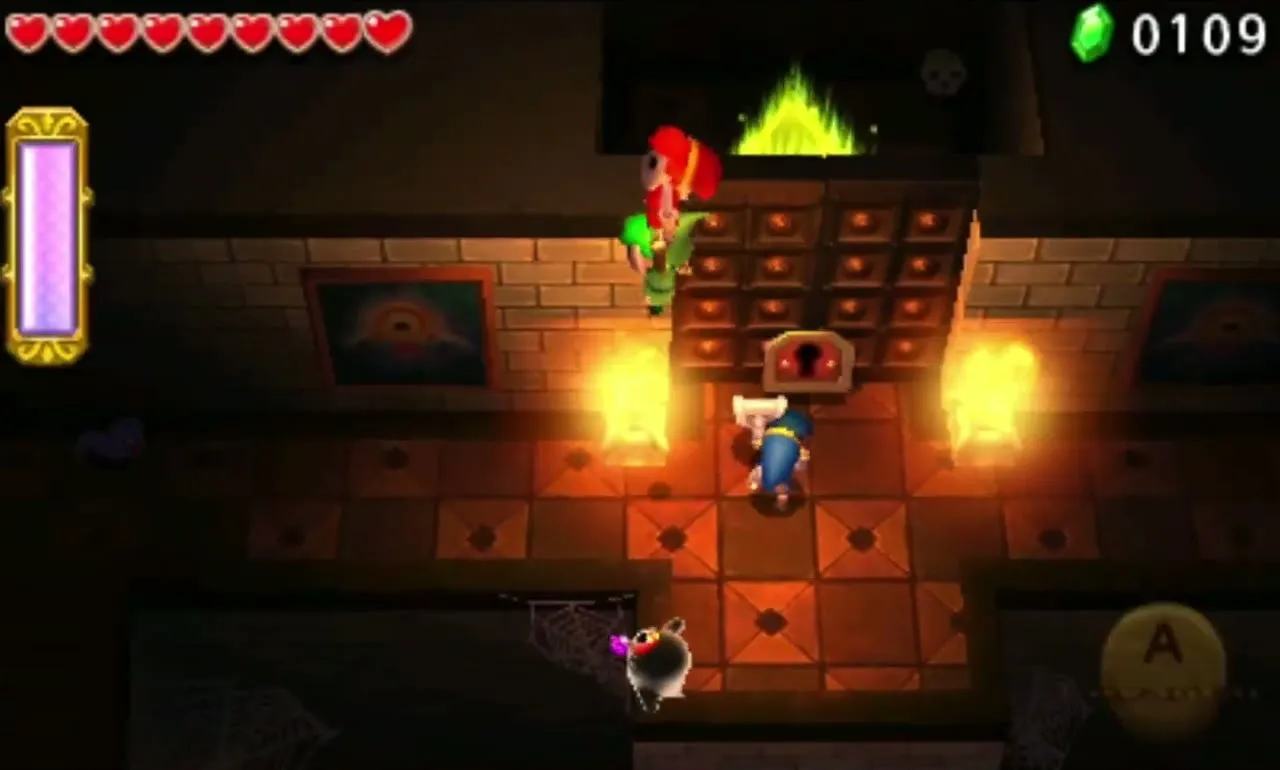
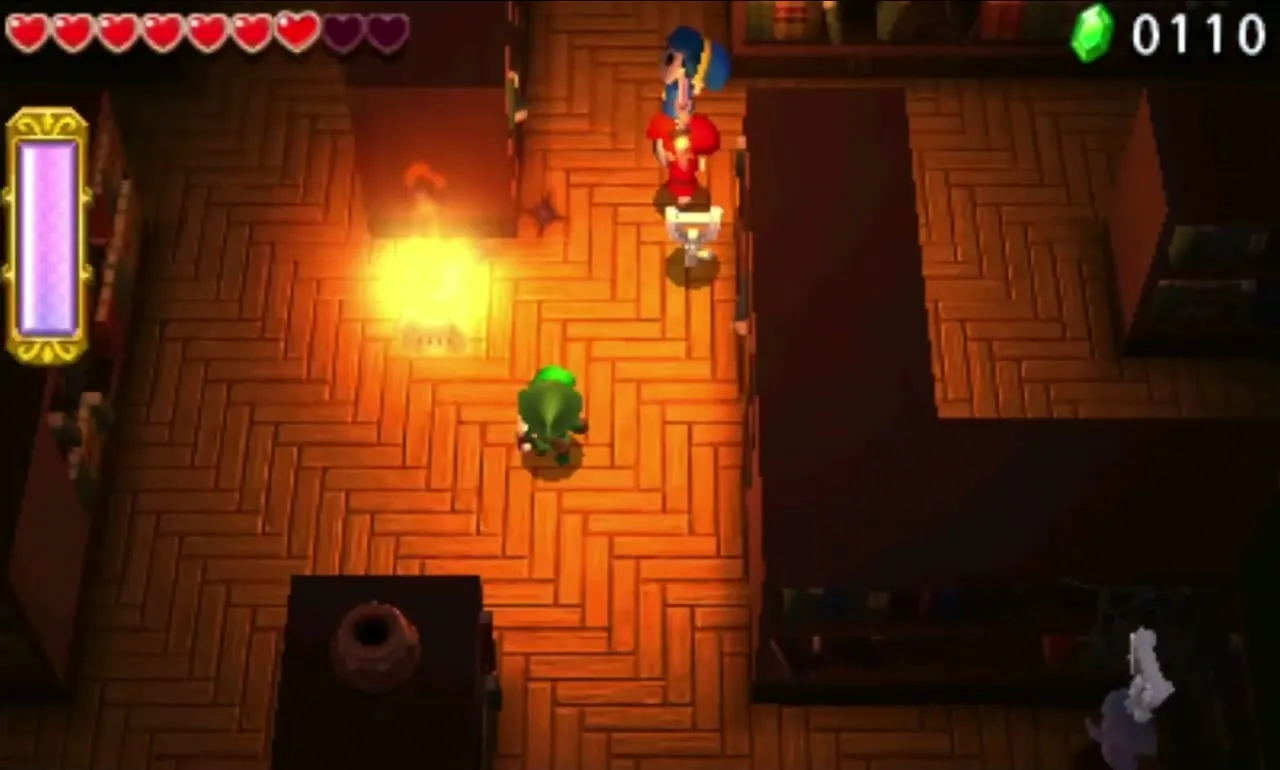

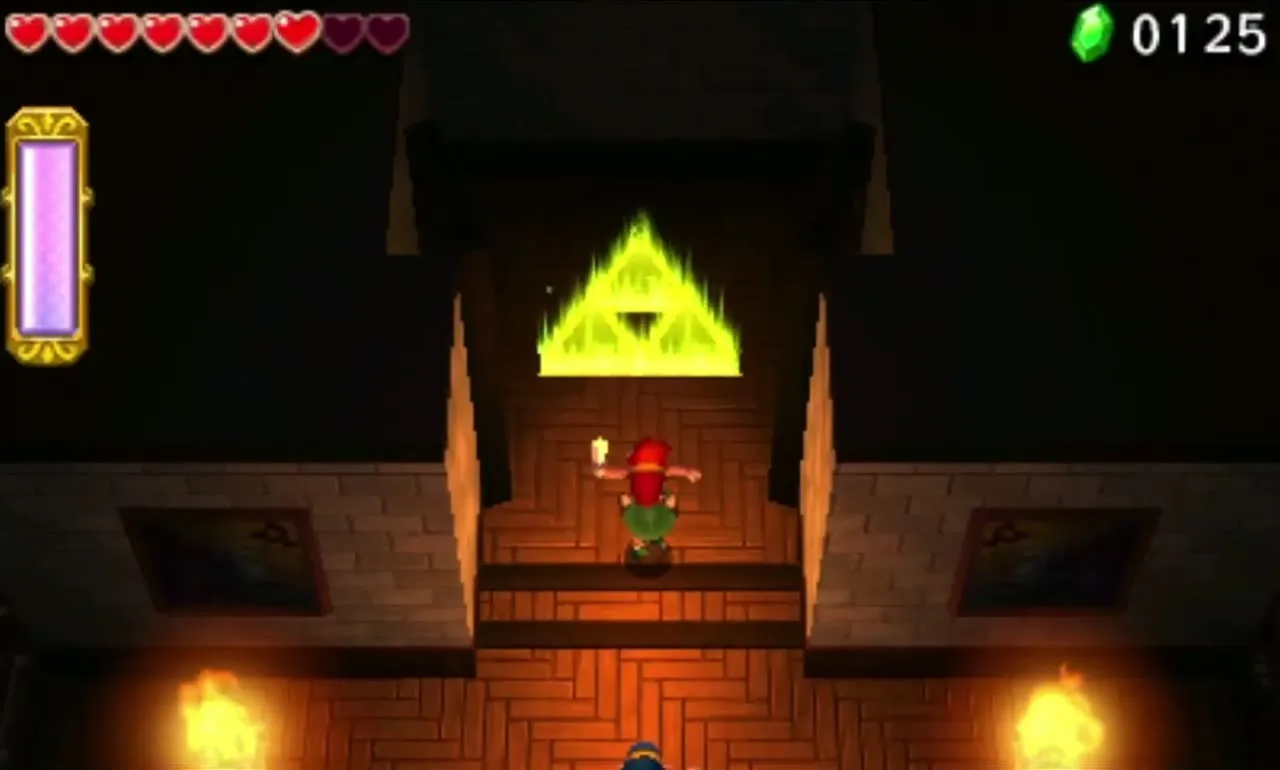
More Key Bandit Poes spawn and try to steal the key back, even passing through the shelves, so keep a second Link next to the one who carries it. Each key opens one door and reveals the next, and the last lock is high enough to need a Totem. When all doors are open the Poes stop chasing, a Squiddy appears, and the Triforce Gateway is open.
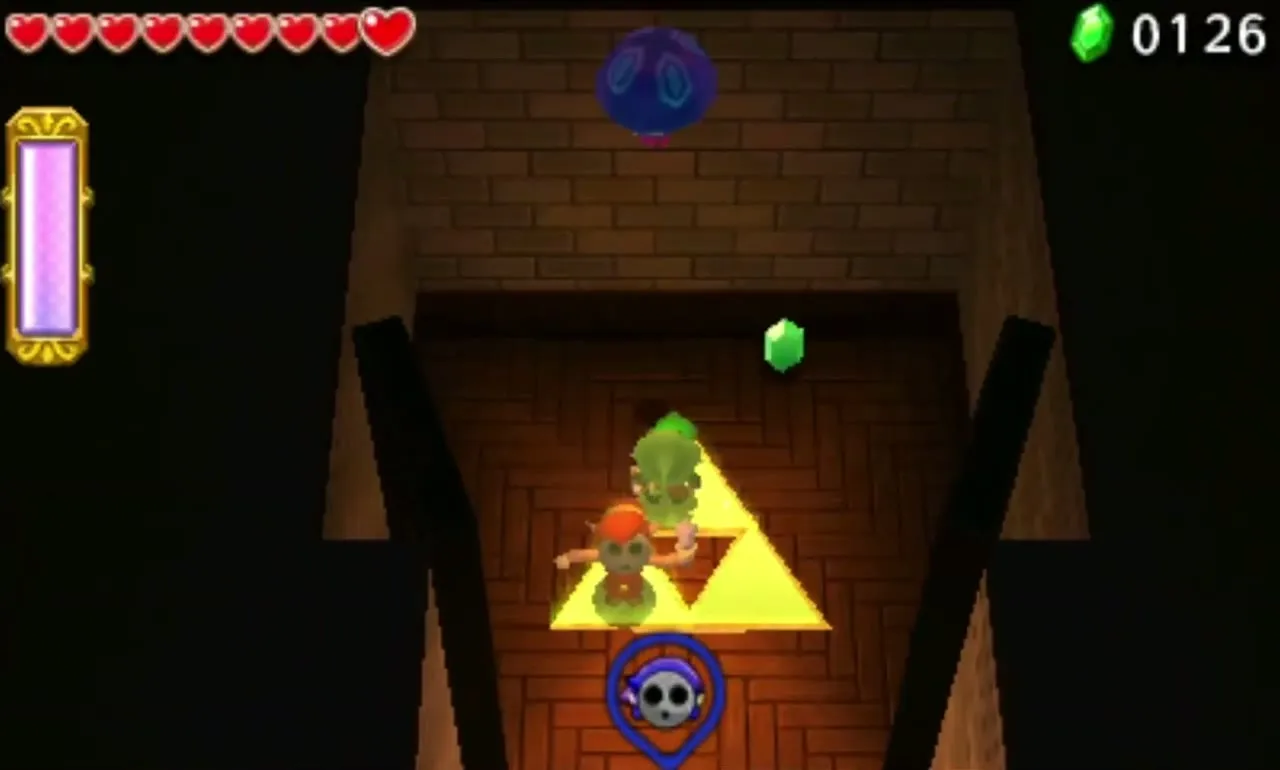
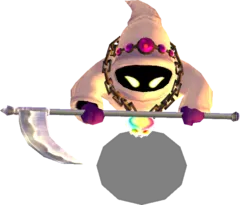
Grim Repoe boss fight
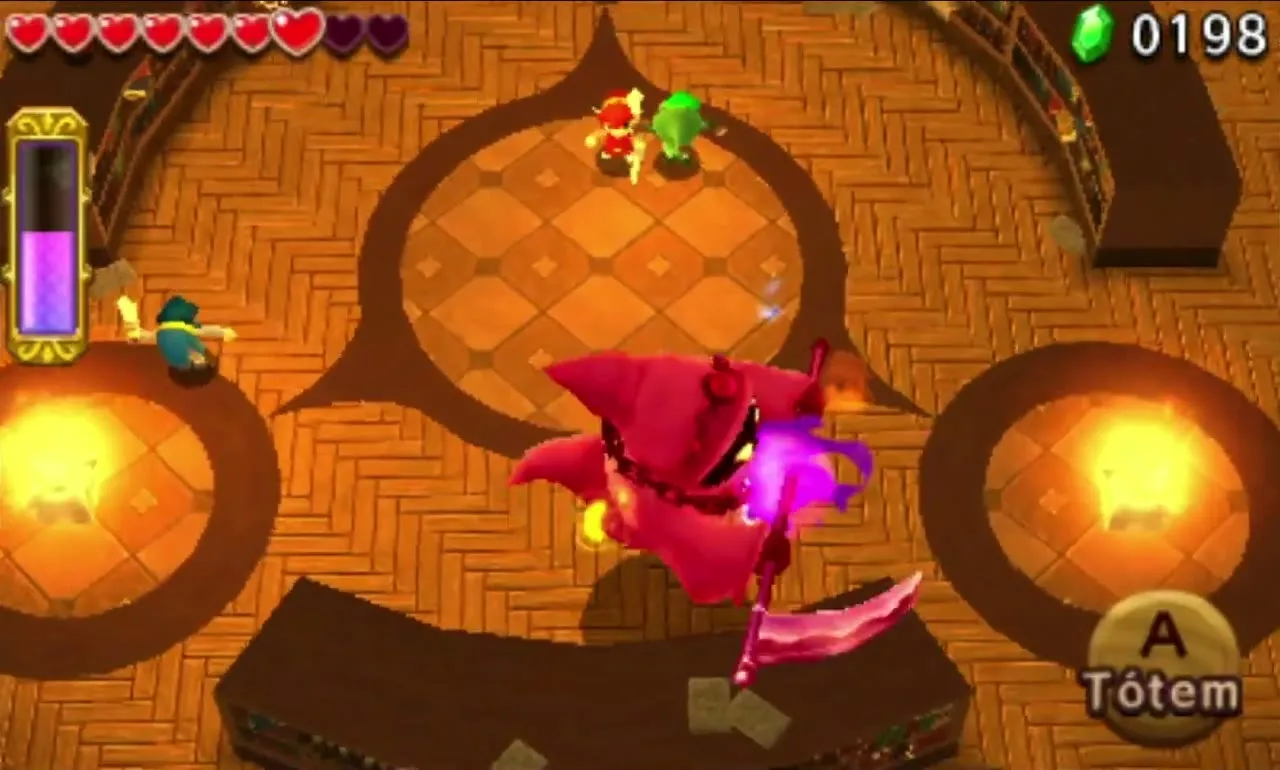
The fight takes place in a round library with three big Braziers. A green, a blue and a red Poe appear and run away from you, able to pass through the bookshelves. Corner each one with several Links so the Link of the matching colour can hit it, and dash attacks help to catch them.
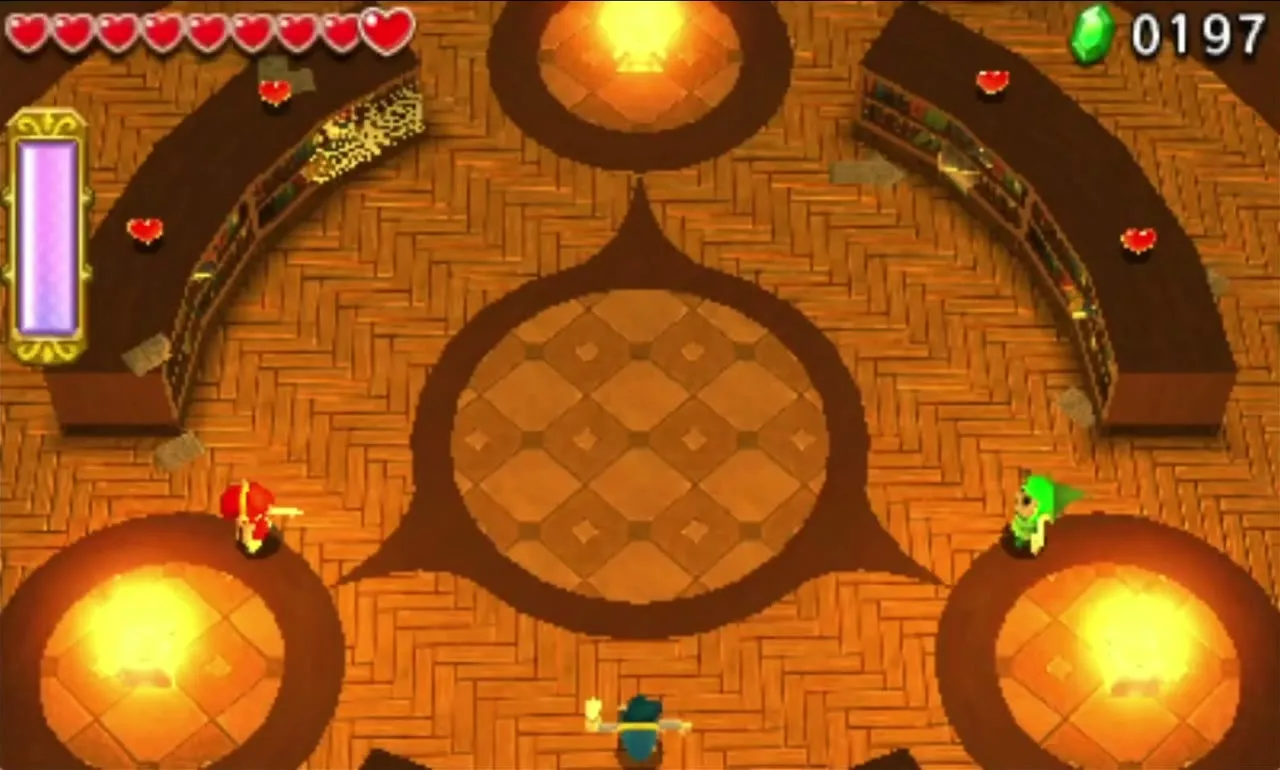

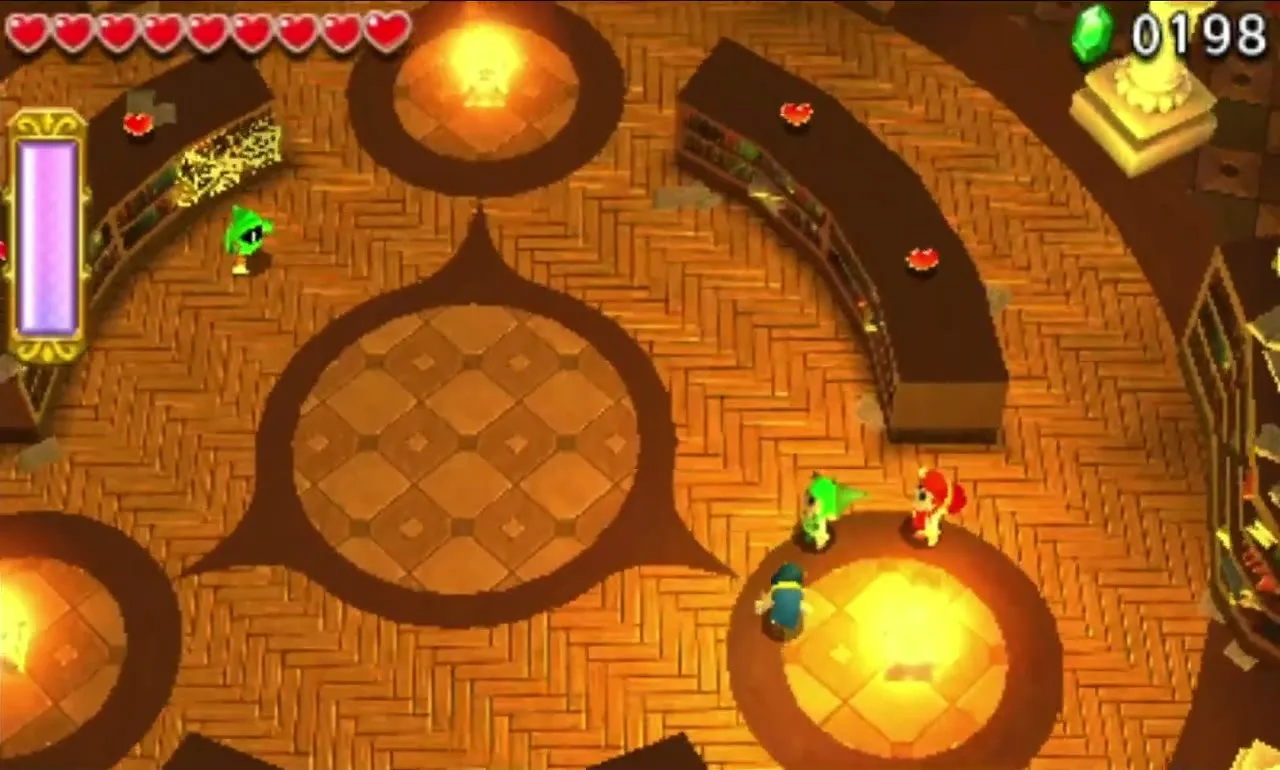
When all three are down Grim Repoe appears, takes their souls into a glowing pendant and blows out the Braziers. It spins around the dark room with its scythe and snuffs out the flames you relight. Use the Fire Gloves to relight the Braziers and the Bow to shoot arrows from a lit flame to an unlit one.
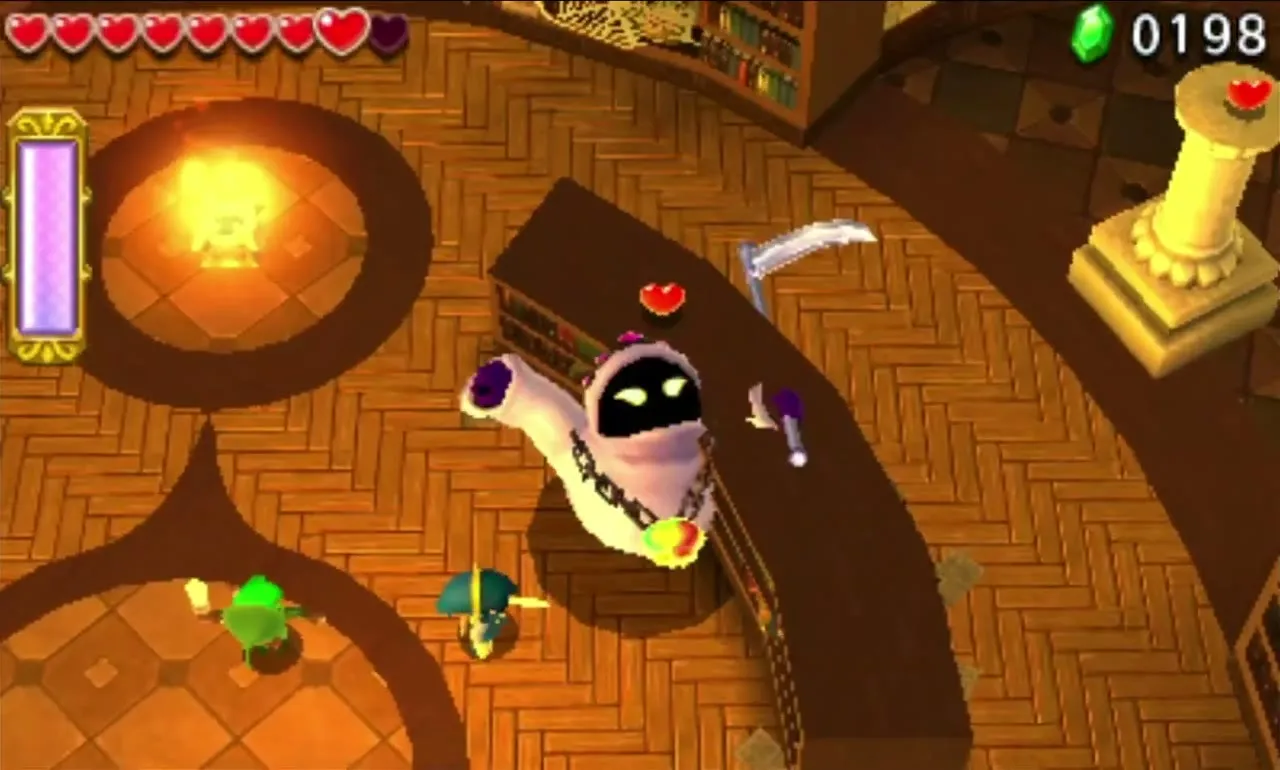
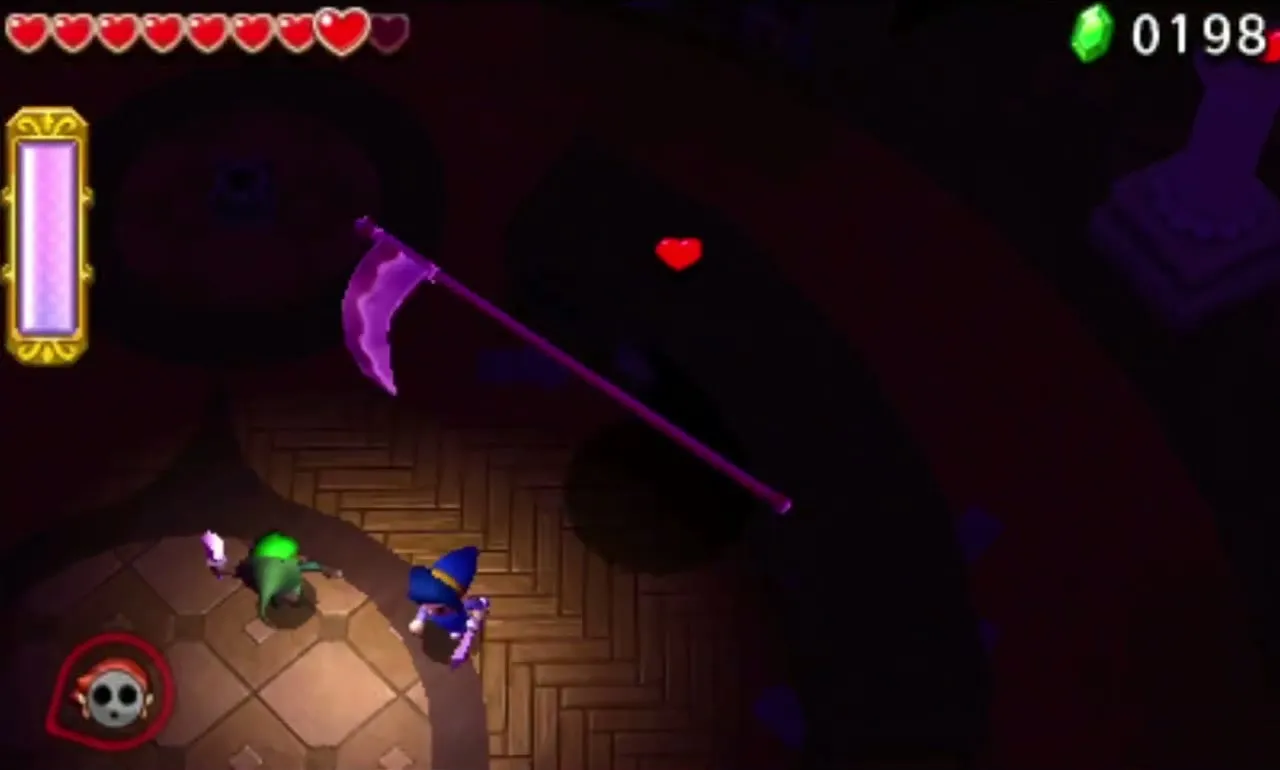
Once the light is back, Grim Repoe floats slowly round the room and now and then charges with its scythe. Hit it with the Gust Jar to stun it, then strike its pendant. Since it floats high, build a Totem of two before using the Jar. It repeats the cycle, blowing out the flames again, and falls after several more rounds.


Palace Noir treasure chests
The Triforce Gateway leads to the three chests. Without a challenge, two hold Carrumpkin and the other Spider Silk Lace. Keep the materials for later outfit crafting.


Afterwards Palace Noir can be replayed with “Pop all balloons!”, “Halved attack and defense!” and “Transport the orb quickly!”. Check the Drablands Challenges page for rules and rewards.

Lone Labyrinth
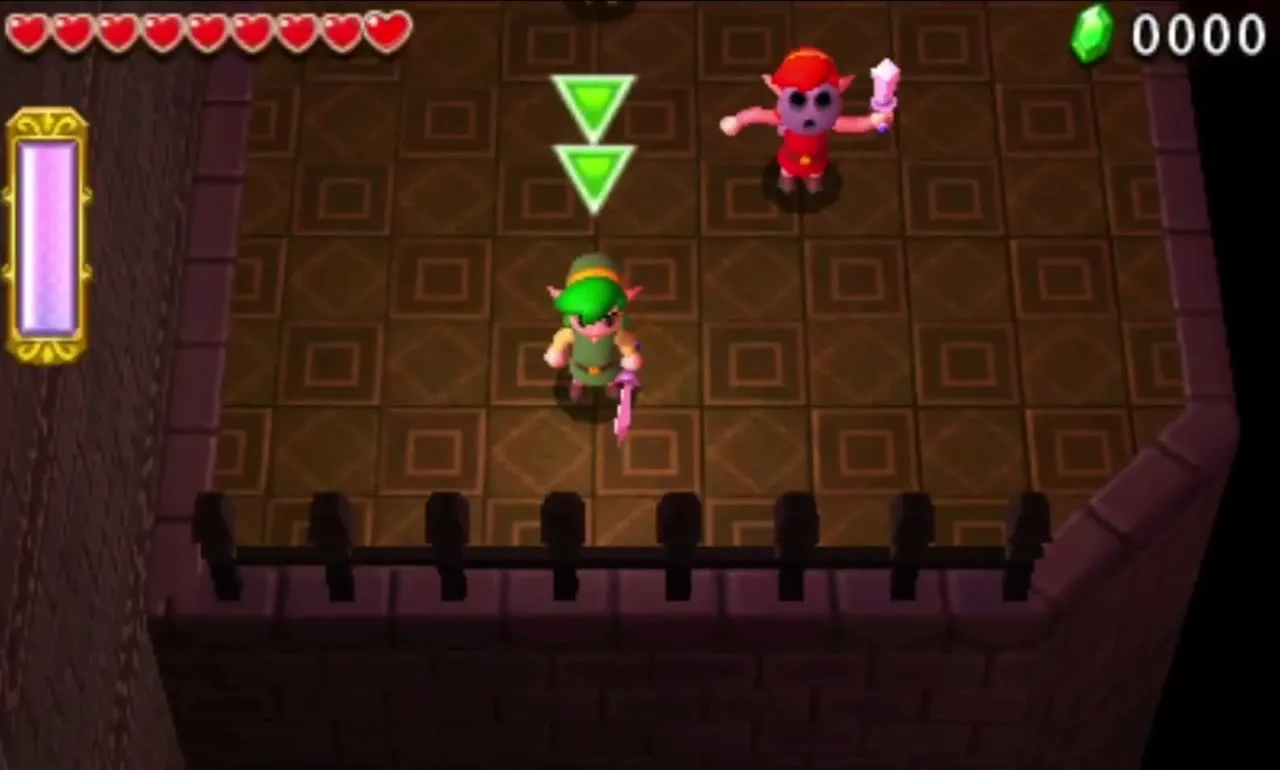
The third Level is a crypt that gives out the Fire Gloves, the Gripshot and the Gust Jar. Grey platforms appear and vanish along a fixed route, and you have to follow them quickly or fall. Most of the puzzles are timed, so decide who does what before you start moving. There is no boss at the end, only a wave of ReDeads.
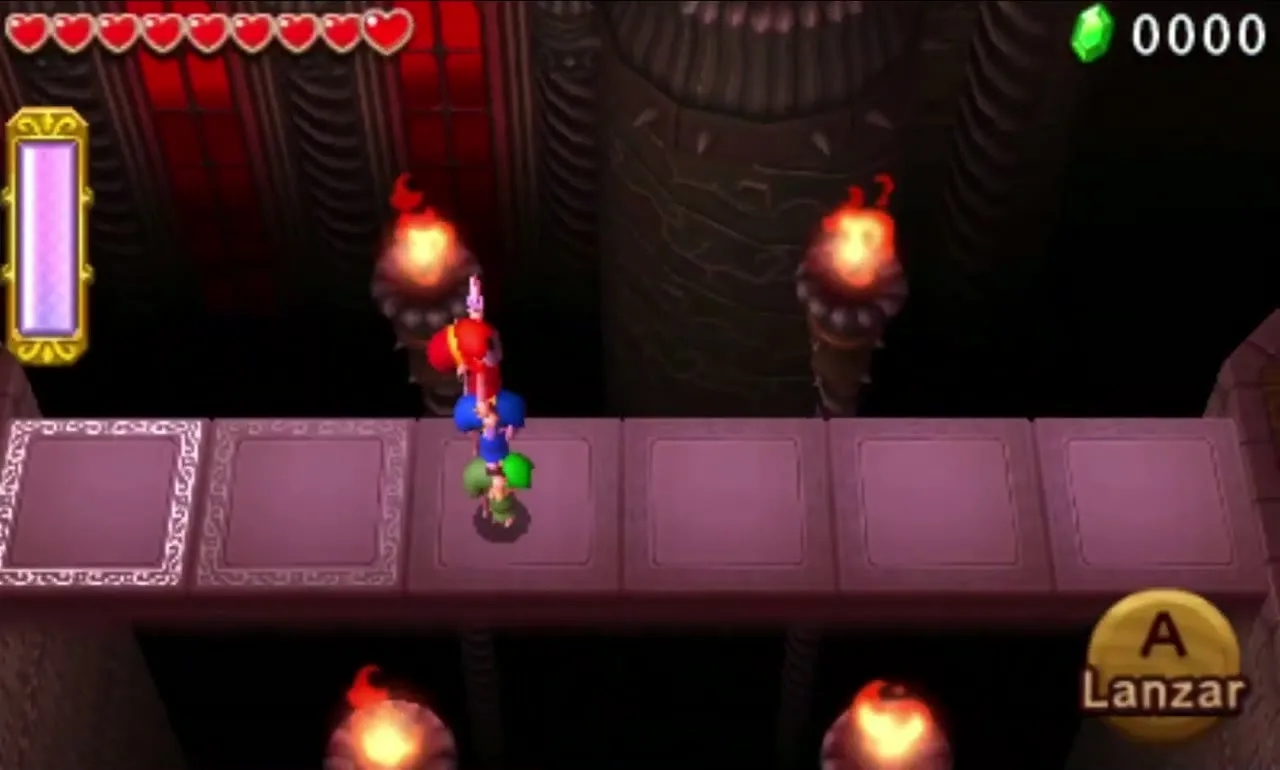
Lone Labyrinth Stage 1
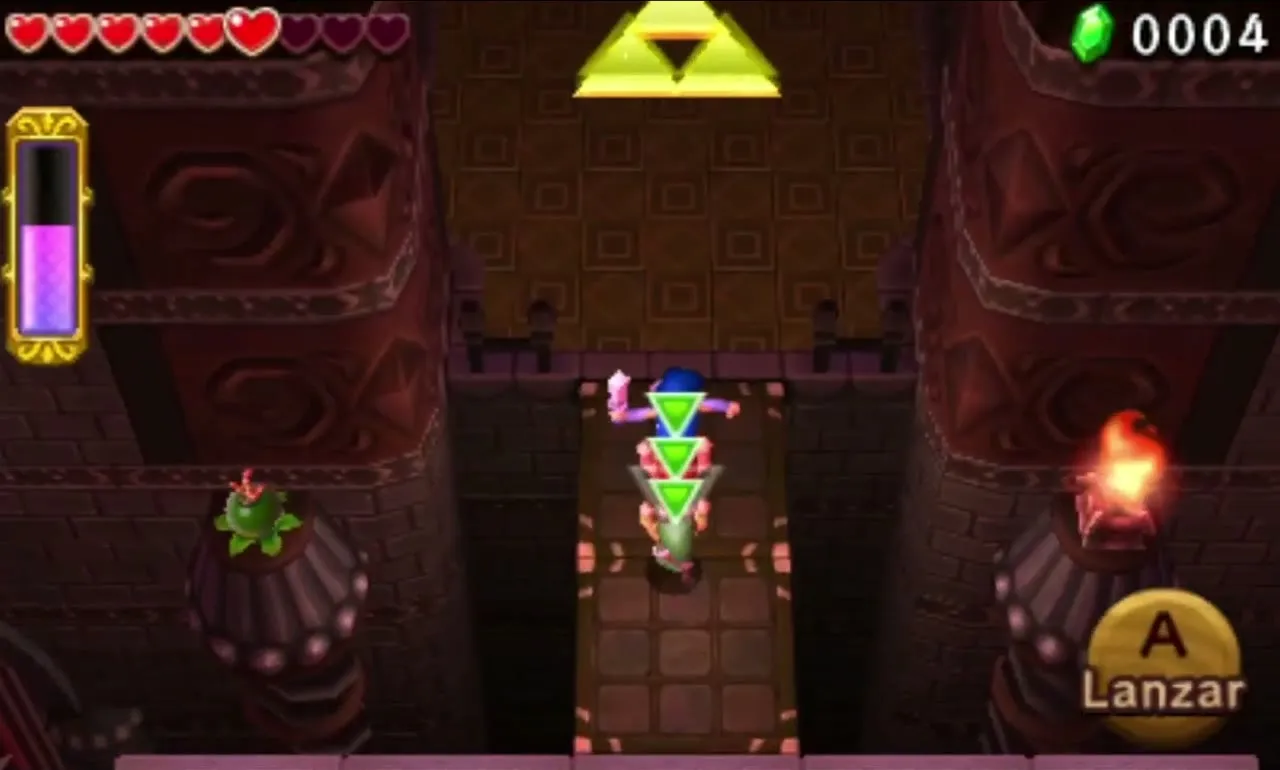
Strike the Shock Switch beside the start to create a bridge of vanishing platforms across the pit, and follow it at once. The next ledge holds the Gust Jar, the Gripshot and the Fire Gloves. A Squiddy, three jars and some skulls are hidden on a ledge to the right, which you can reach by throwing one Link over to it.
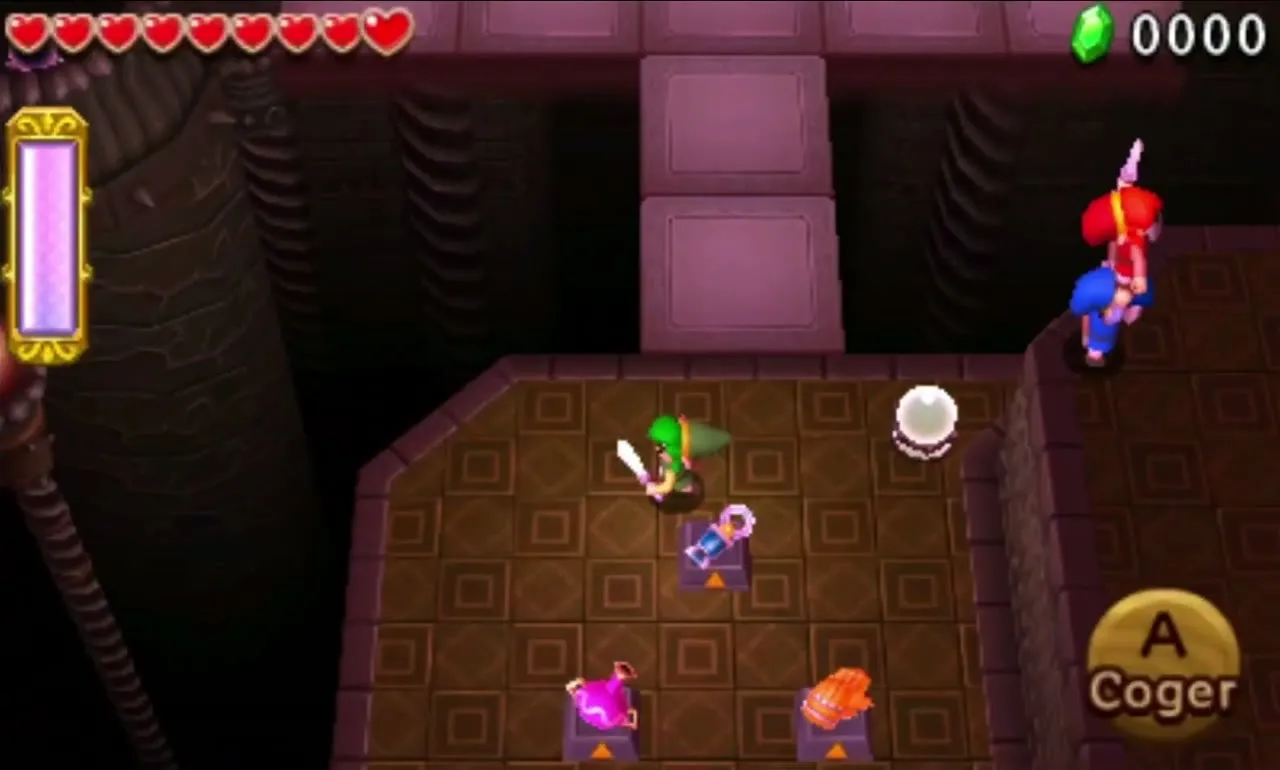

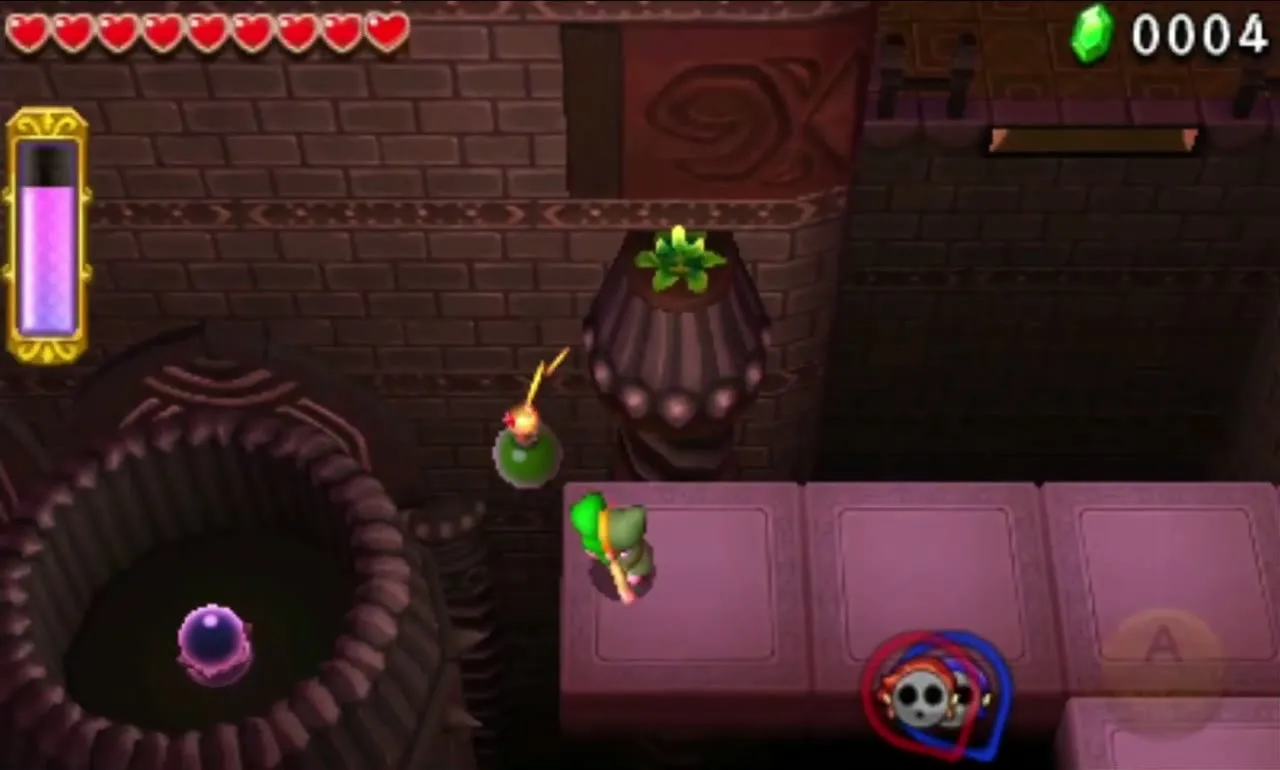
Strike the Shock Switch on the item ledge once more, and two platforms slide out from the left and right and meet, then head for the ledge ahead. To the right you find a Shock Switch and a Brazier that is not lit; to the left, a Shock Switch inside a cage and a Bomb Flower. Before the platforms start to vanish, you get 15 seconds to light the Brazier and hit both switches. Complete all three and the bridge to the Triforce Gateway appears.
Lone Labyrinth Stage 2
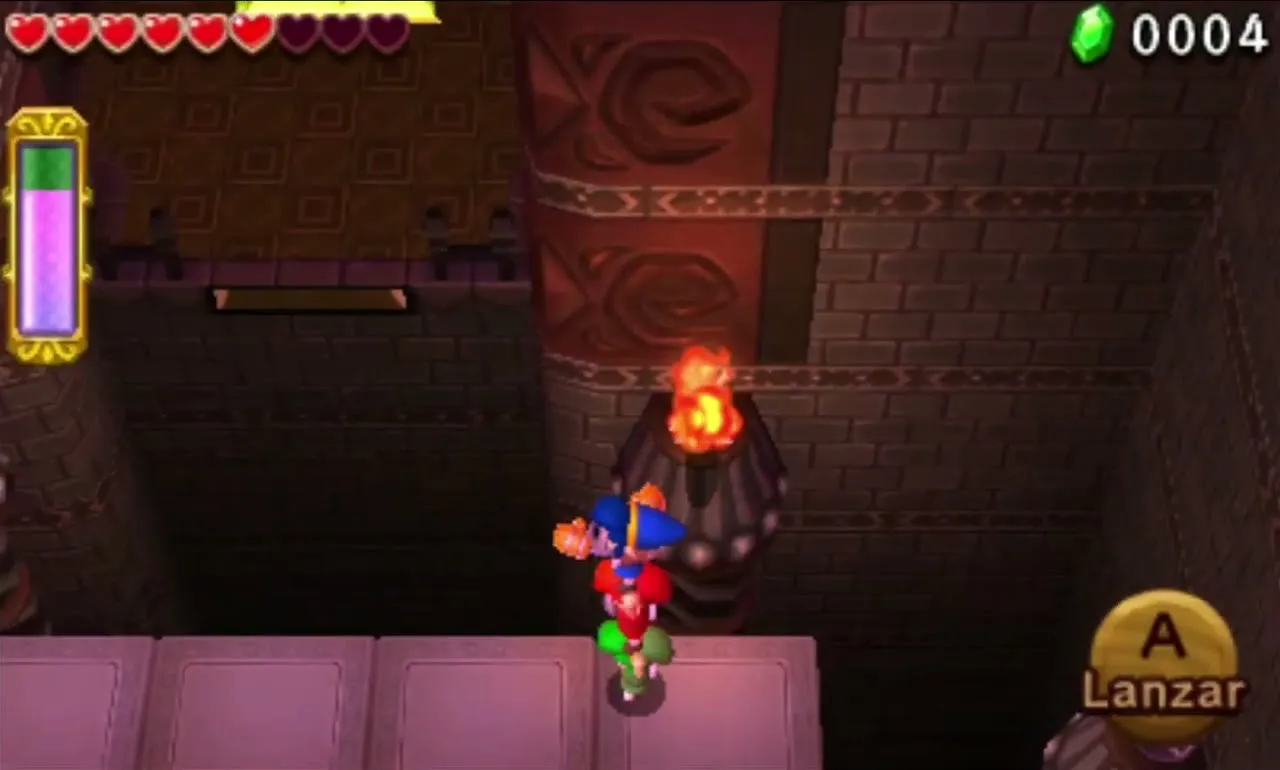
An unlit Brazier at the start, circled by Chasupas, is the key. Light it with the Fire Gloves and vanishing platforms run north to a ledge with a chest holding a Red Rupee. A second unlit Brazier sits there too, and lighting it makes another chest appear across a gap to the west.

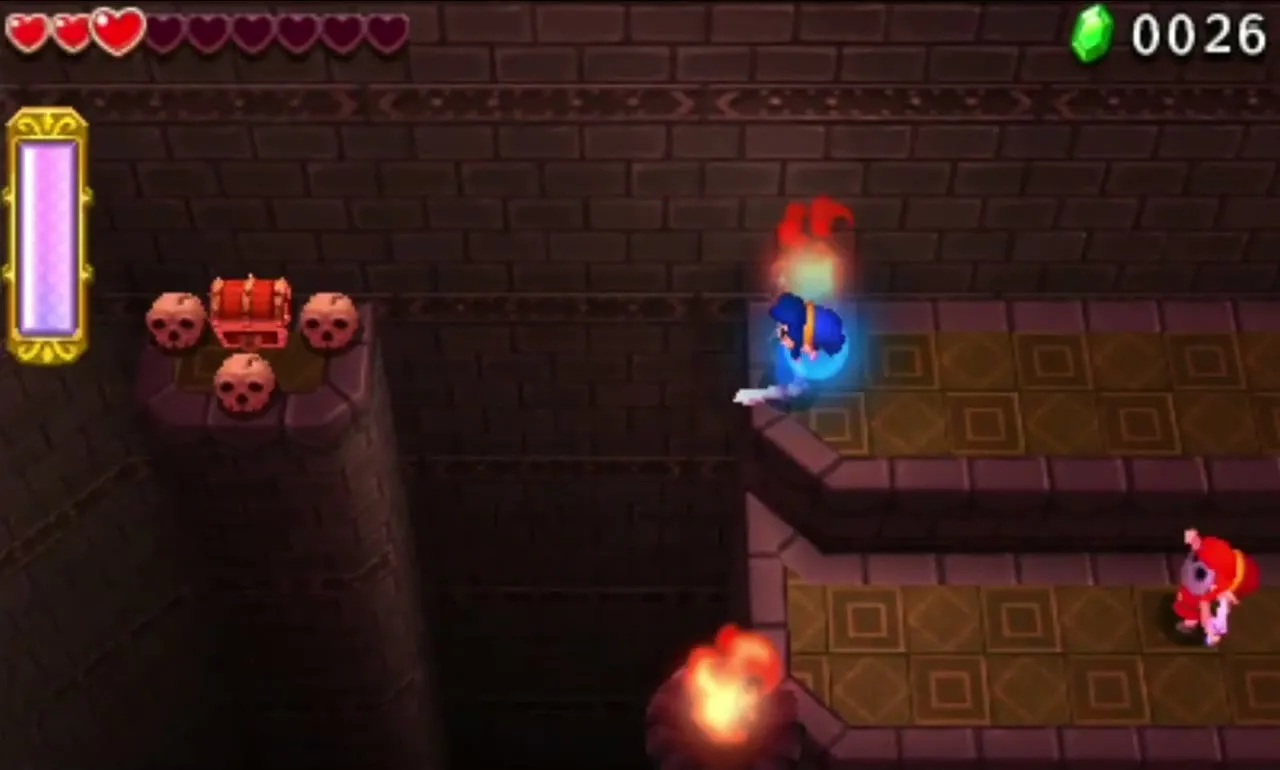
Use the Gust Jar to blow one Link over the gap to the chest, which has a Purple Rupee. Opening it makes platforms that return him. Meanwhile the others ride platforms eastward until they reach a ledge with a Big Switch. All three Links must press it to summon three White Poes.
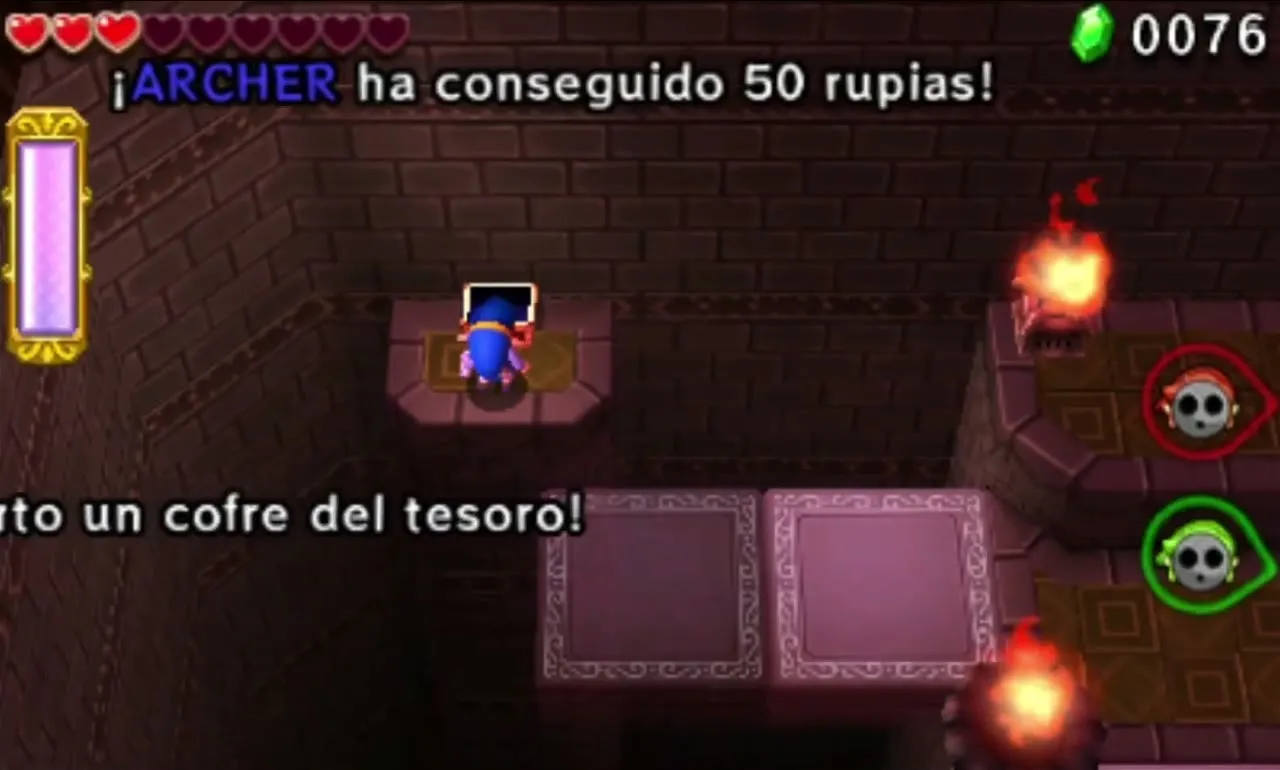
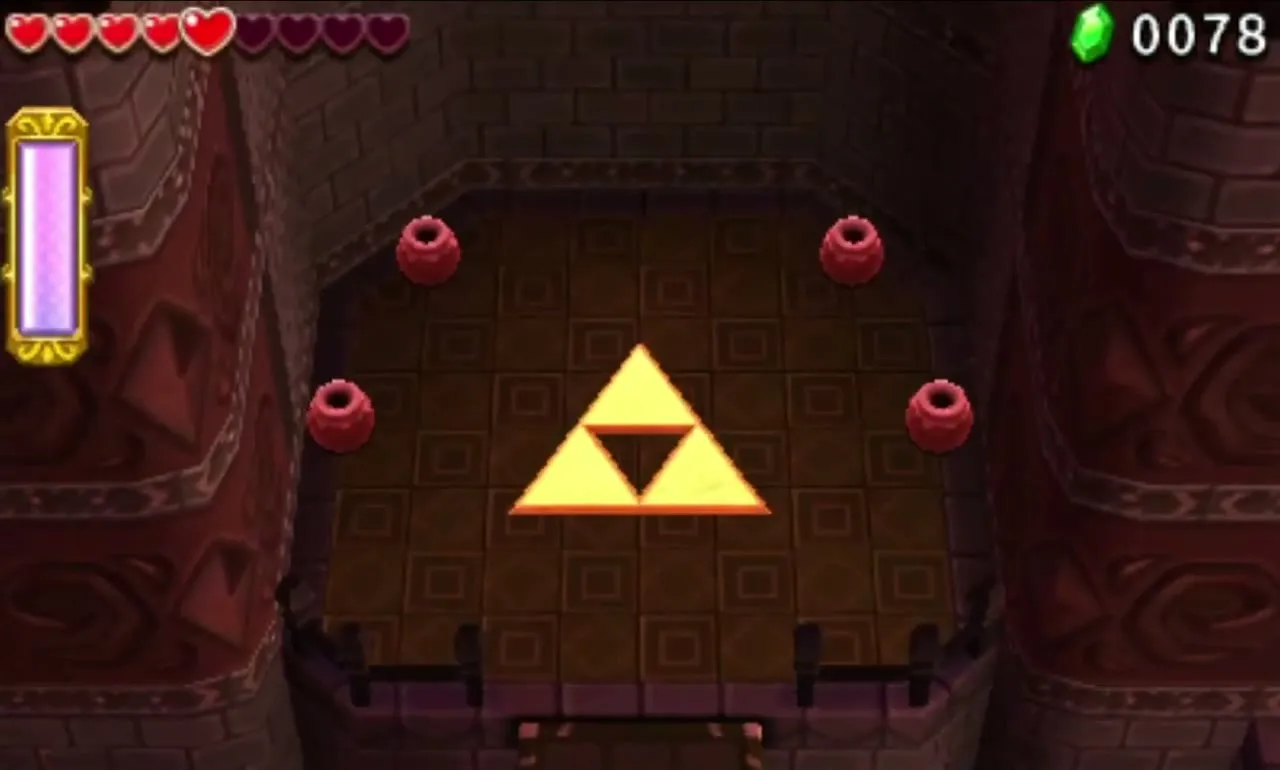
Defeat the White Poes and vanishing platforms loop eastward around an arena containing three coloured Poes and two Chasupas, and they also reach a distant ledge with Hearts and jars. Clear the enemies and a bridge to the Triforce Gateway appears while the vanishing platforms become solid.

Lone Labyrinth Stage 3
Platforms slide left and right below the starting ledge and lead to a column where an unlit Brazier waits across a gap. Light it to start another trail of platforms heading south, past two Light Ghinis, to a square platform with a gap before the next ledge. Throw the Links across, and let the last one hook onto a partner with the Gripshot.
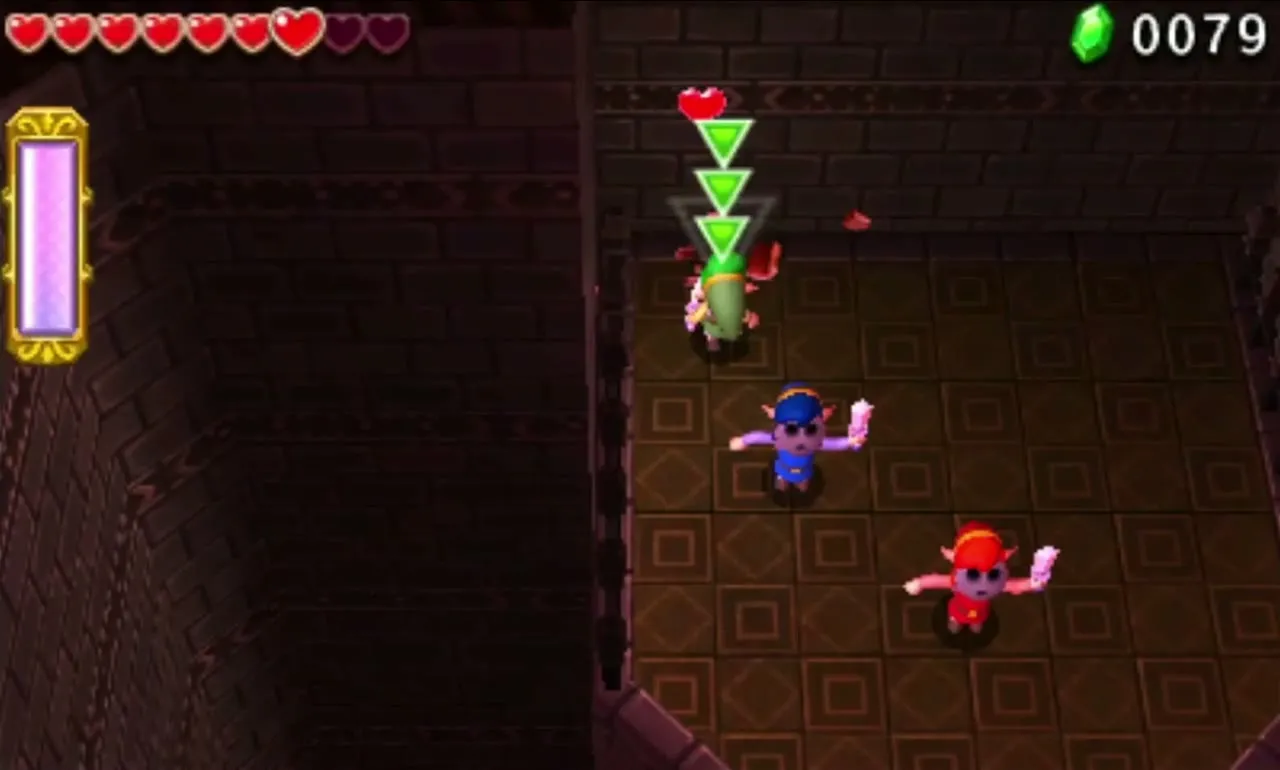
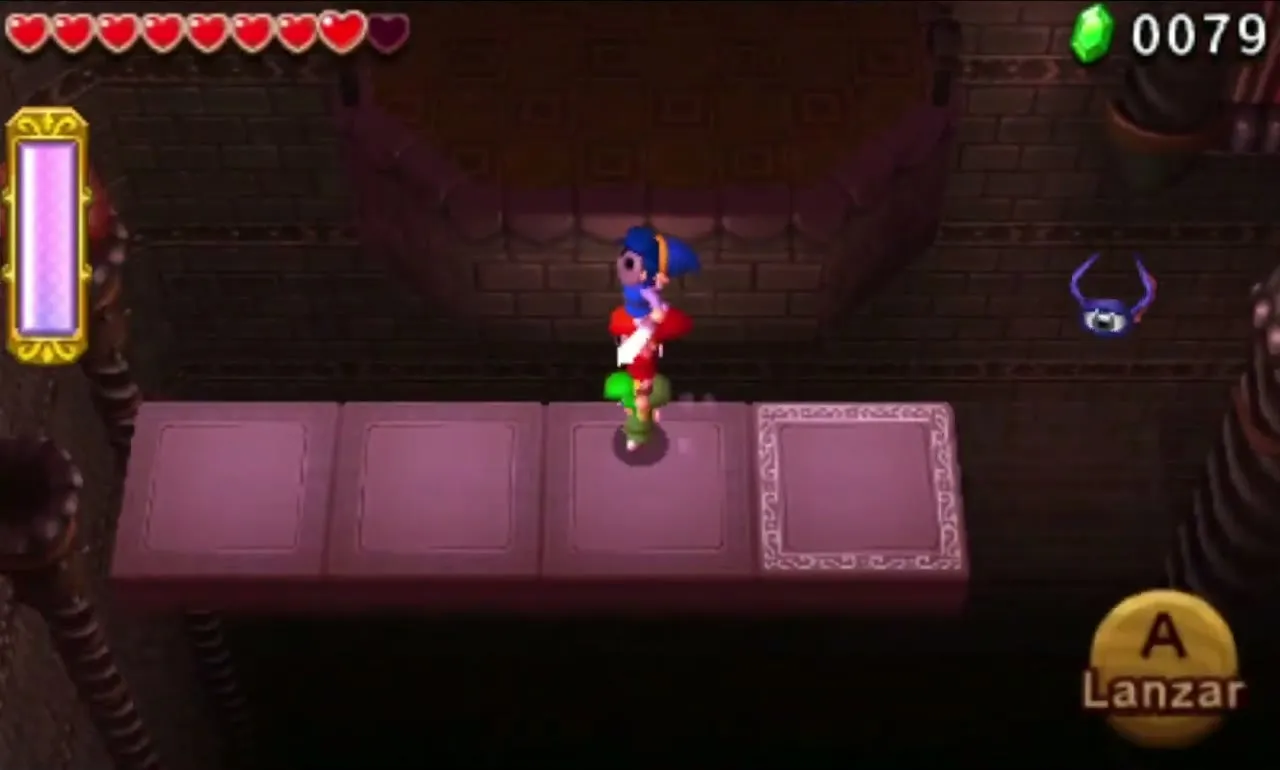
Form a Totem on the far ledge to light a raised Brazier, which opens platforms to the north. The floor slides forward to close the gap behind you, so move at once and throw each other to a ledge with two Hearts. The Gripshot Link must go last by hooking a cage. A line of floating rupees shows where the Gust Jar can blow the others to the right-hand ledge.


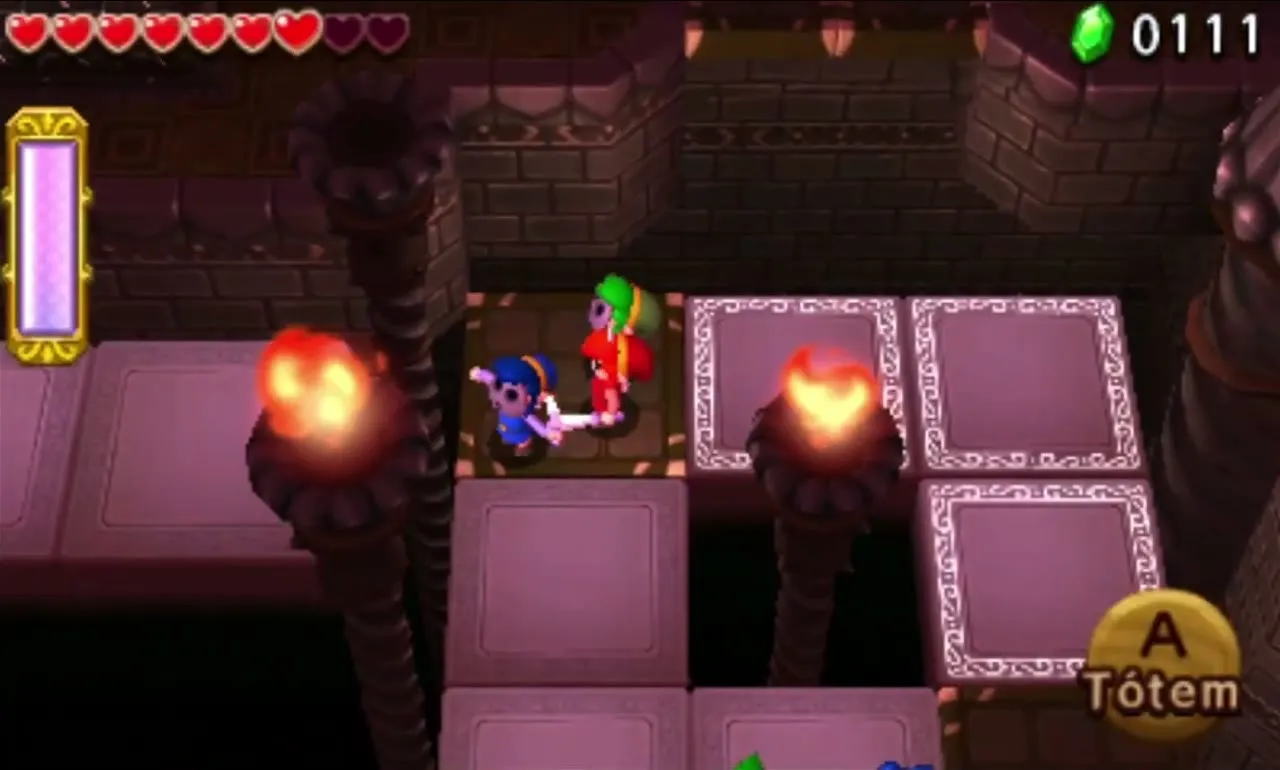
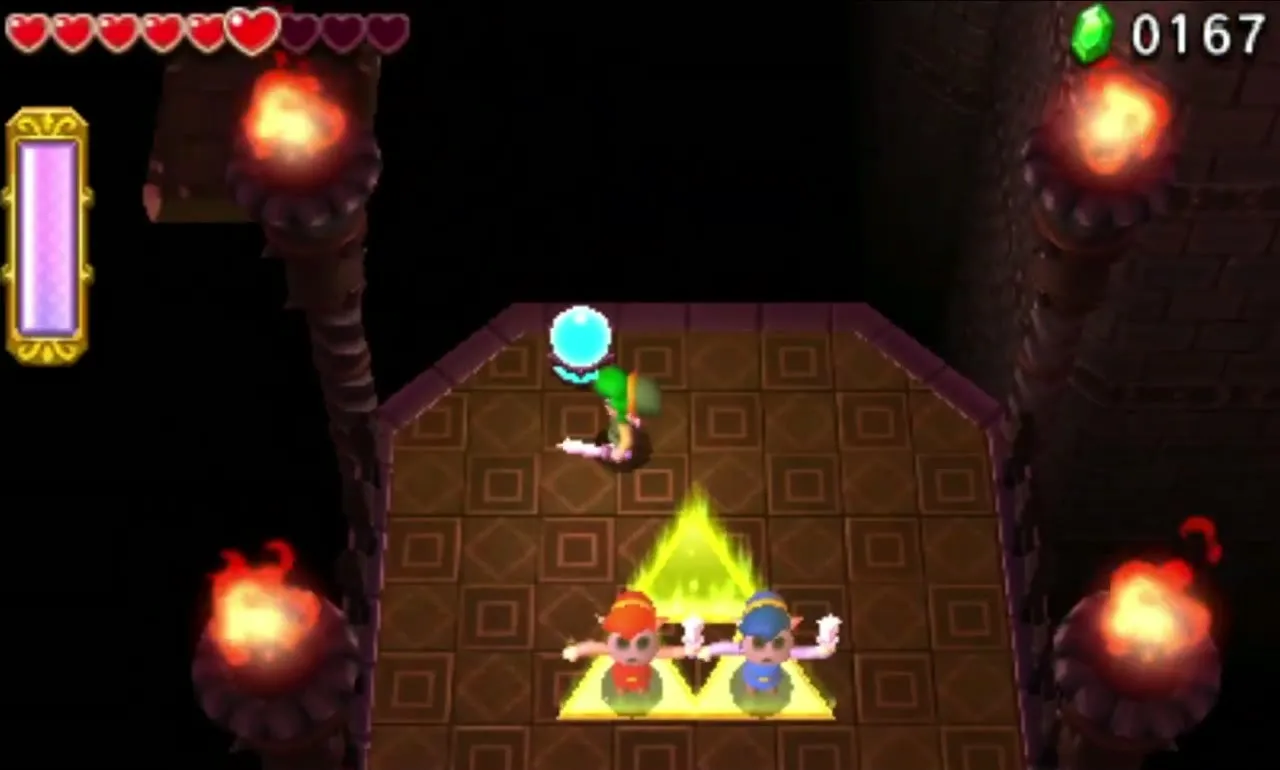
Make a Totem once more to light the last raised Brazier. A loop of platforms then forms toward the south, and three coloured Poes attack you there. Beside them a ledge has jars and a chest with a Purple Rupee. After the Poes fall, platforms run south and stop in mid-air, letting you drop to the Triforce Gateway. If you must return upward, a nearby Shock Switch raises a platform.

Lone Labyrinth Stage 4
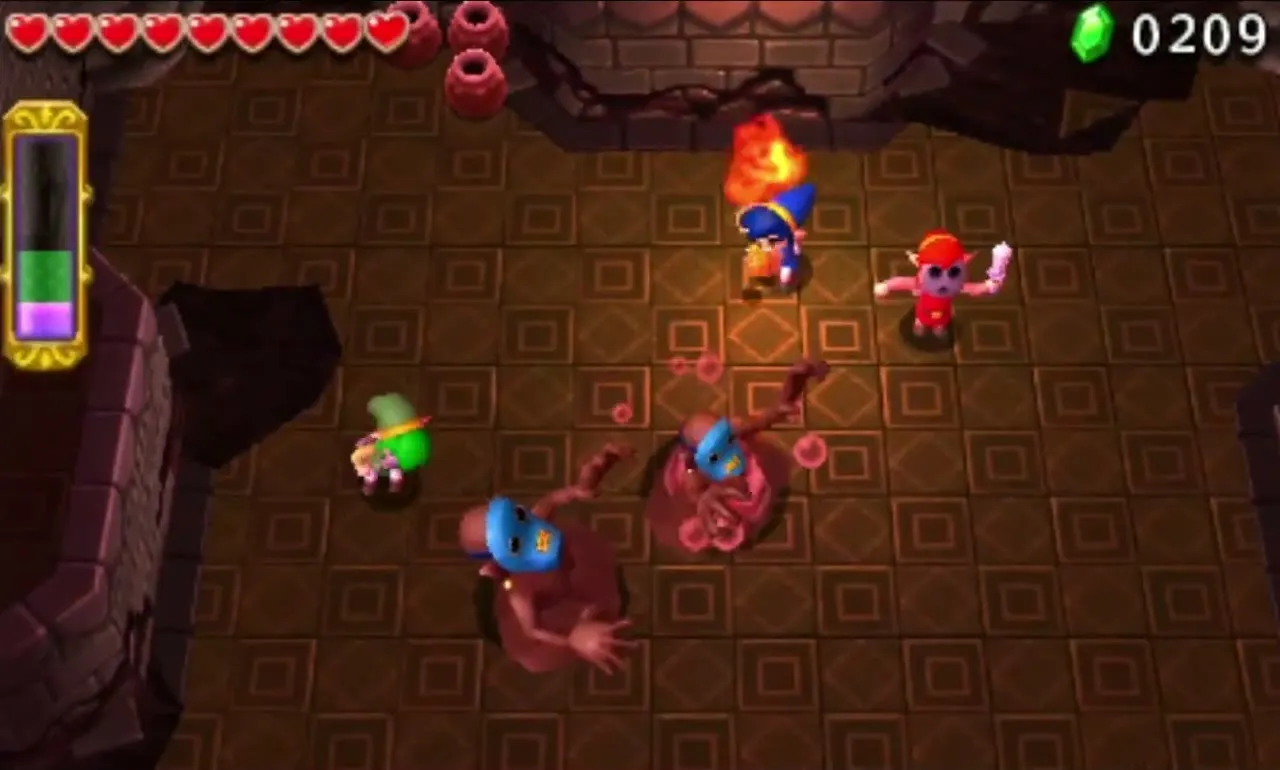
You drop into a pit and a ReDead appears at once. Small ledges at the sides carry Hearts and Blue Rupees, with Energy Potions and jars beside them, so refill before the fight. A ReDead can freeze a Link and drain his hearts, so stay out of its reach and help anyone caught.
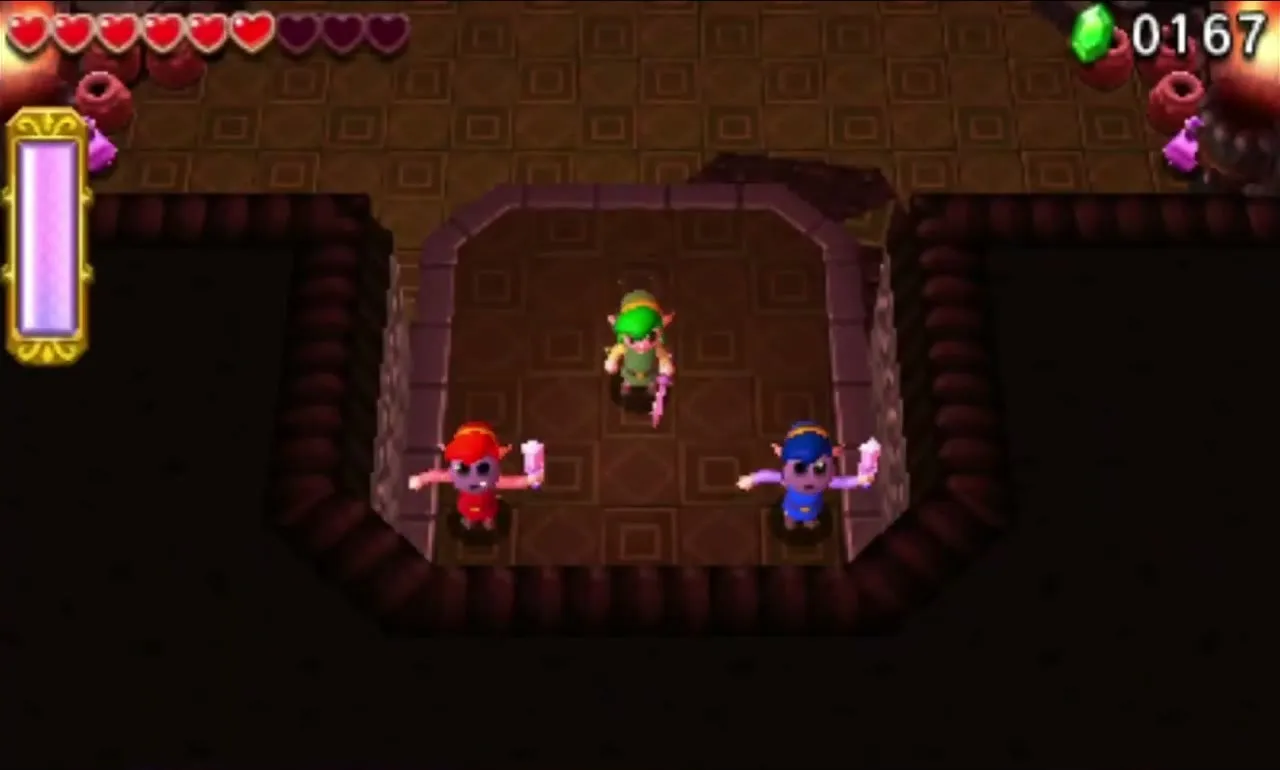

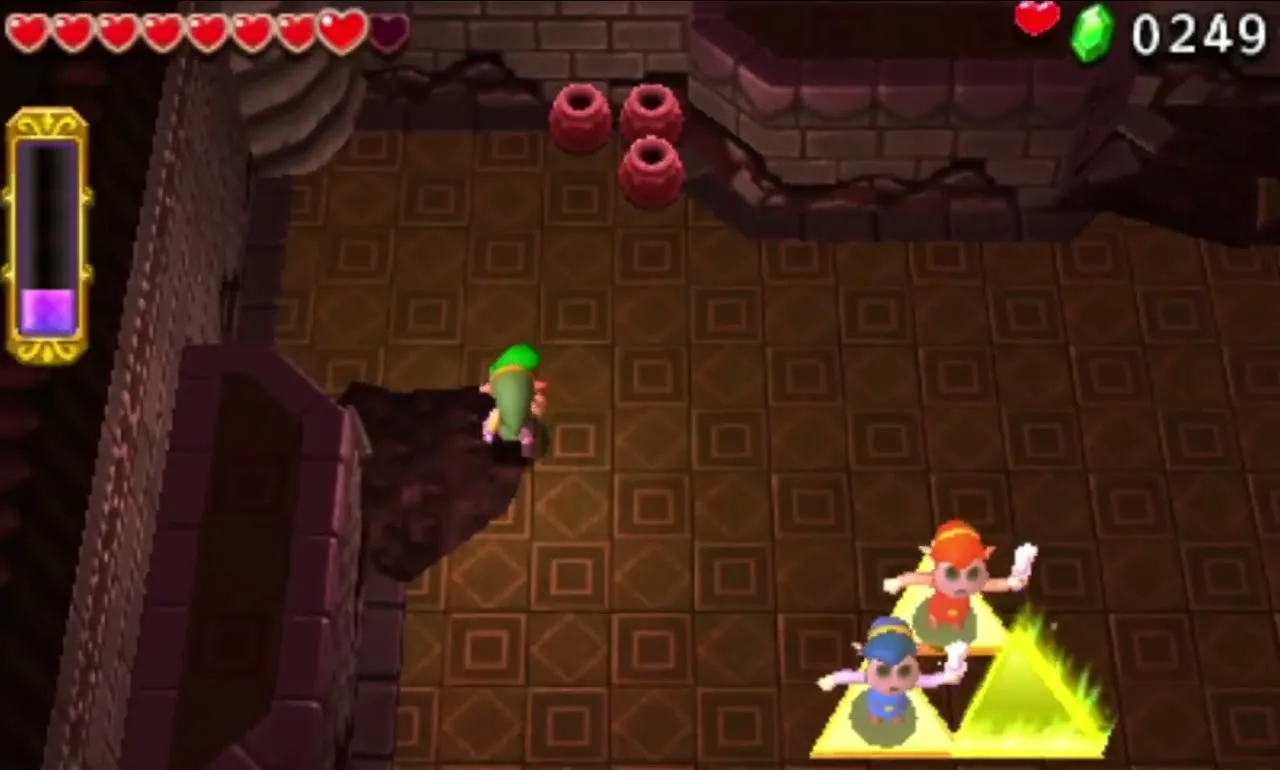
Defeat the first ReDead and four more appear. Beat all five and the Triforce Gateway shows up. There is no boss, so this is the end of the Level.

Lone Labyrinth treasure chests
Without a challenge, the three end chests hold two Mystery Extract and one Poe Soul, a silver material that the lower Levels of the Area only give with a challenge.
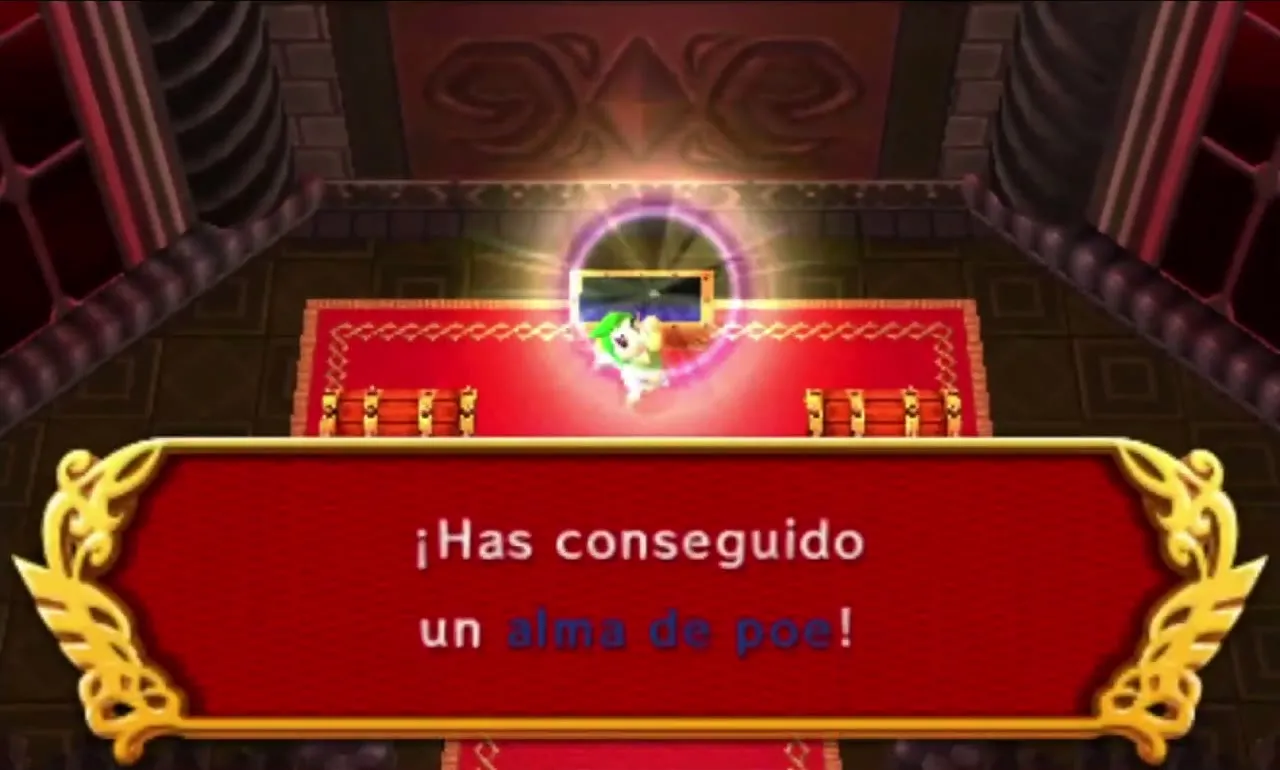
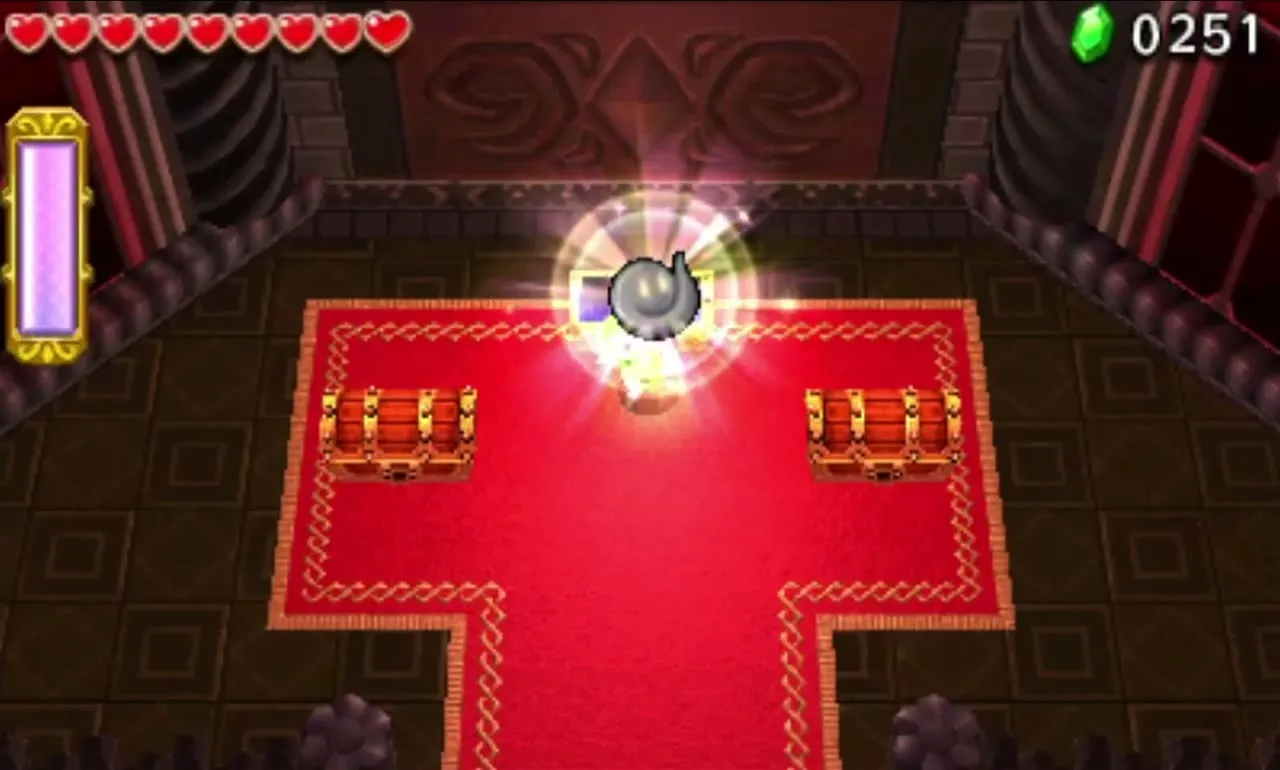
Replay it with “Don’t drop the pot!”, “Guard the orb!” and “Adventure in the dark!”. In the last two, three extra Hearts appear next to the second Brazier in Stage 2. The Drablands Challenges page covers all of them.

Grim Temple
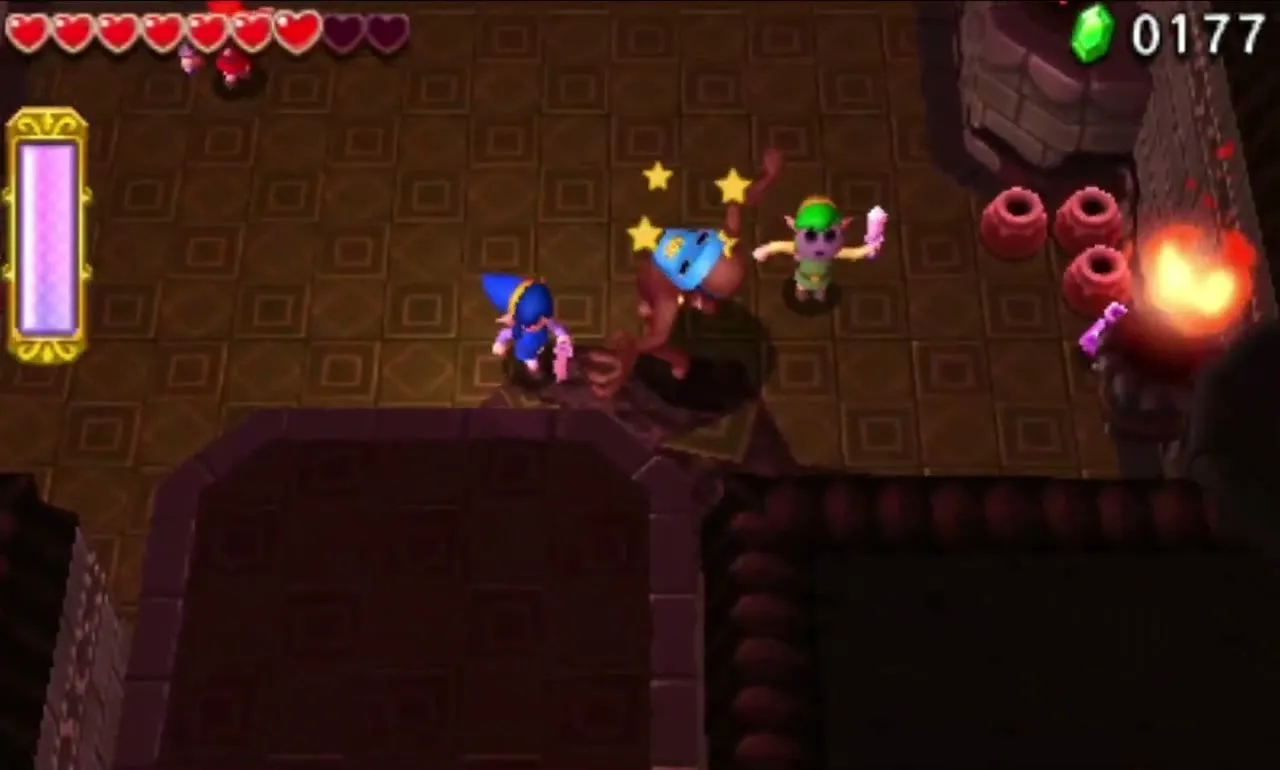
The last Level of the Area uses both kinds of platform from the earlier Levels: coloured ones that drop the wrong Link and grey ones that fade. You receive the Boomerang, Gripshot and Fire Gloves, and the Tingle Tights, whose balloons soften falls into the many pits, help here. The Fierce Deity Armor, a Den of Trials reward, also stops enemies knocking you back, if you already own it. Prismantus is the boss.
Grim Temple Stage 1
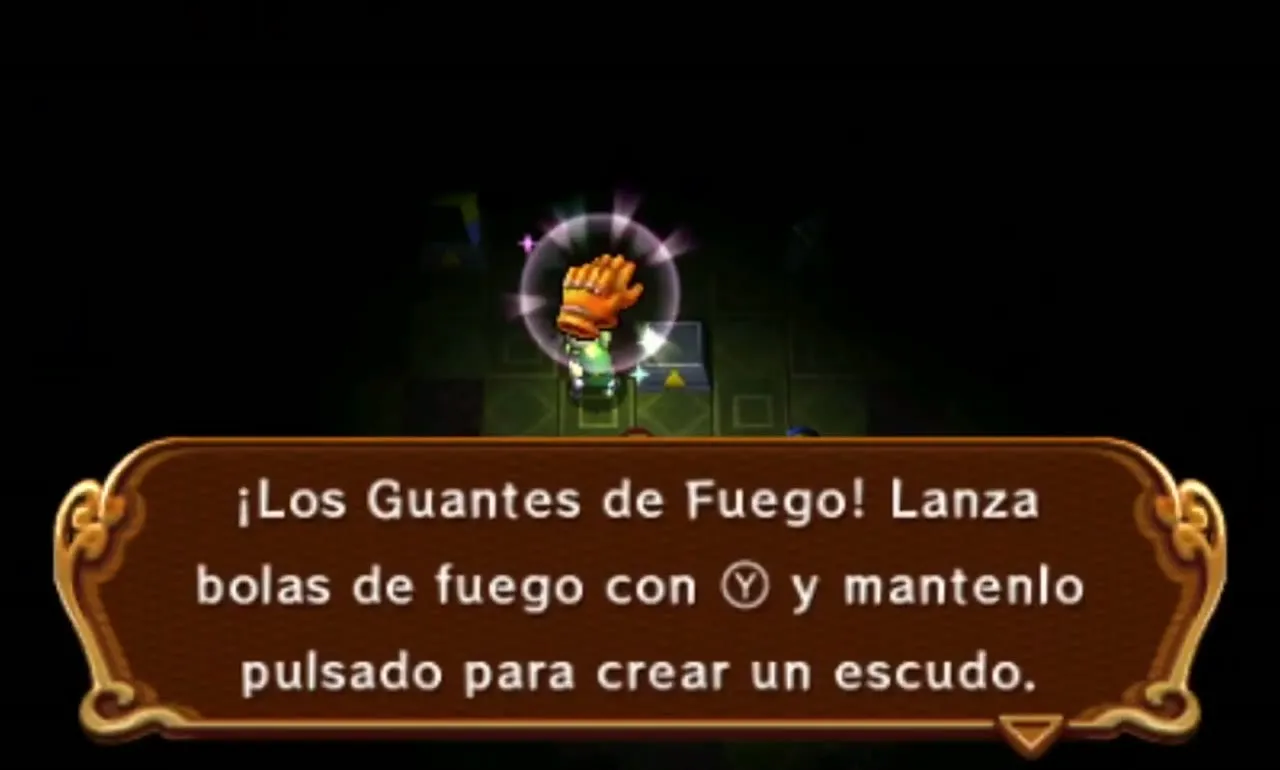
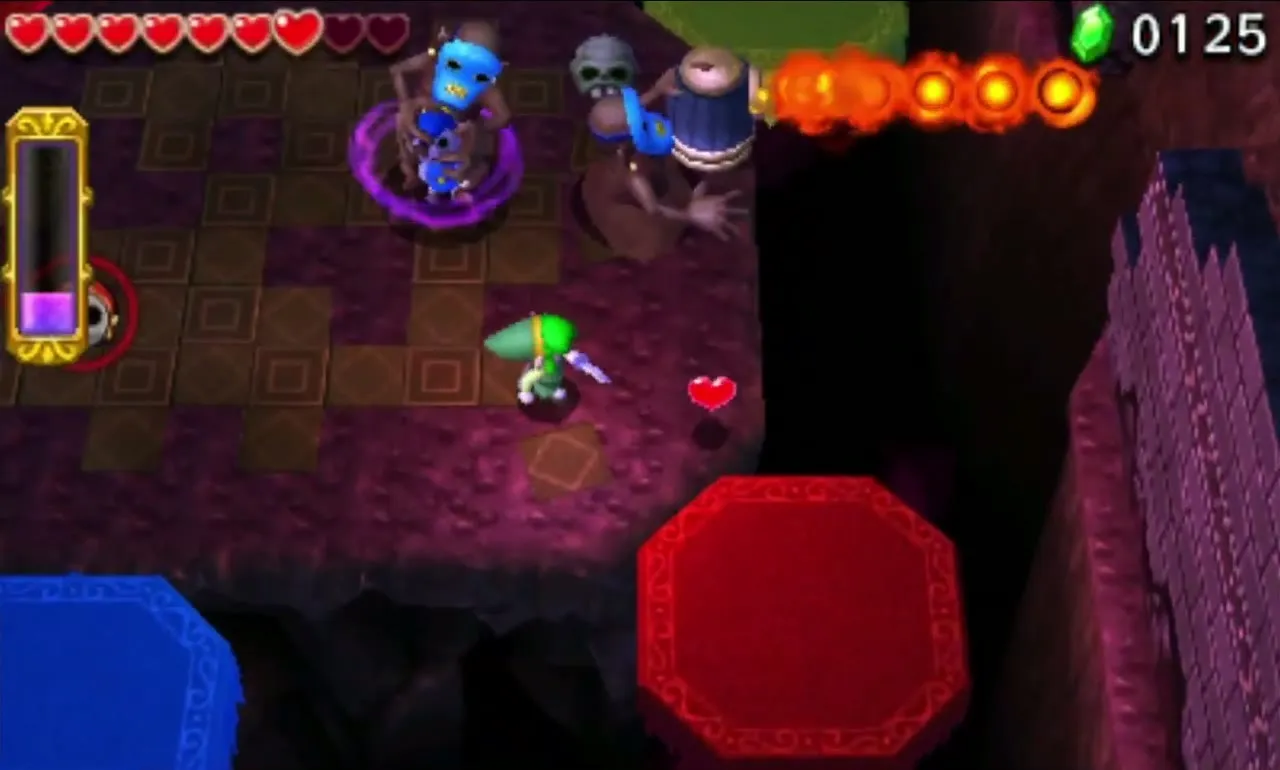
The Links start in a pitch dark chamber. Collect the Boomerang, the Gripshot and the Fire Gloves ahead of you. As soon as you take them, Rats and Red Stalfos appear in the dark. Light the central Brazier with the Fire Gloves to see a bit better.


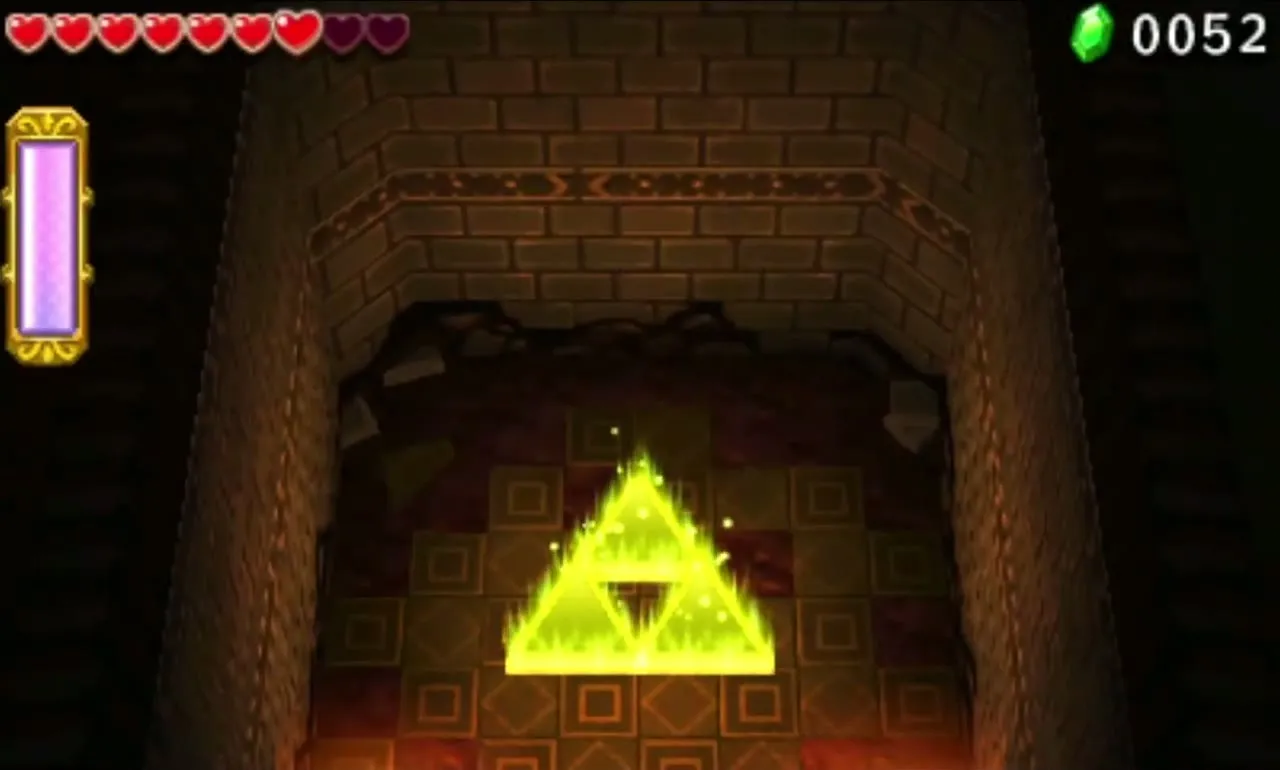
Concealed pits curve across the floor, so avoid following enemies too far. When the last enemy falls, the Triforce Gateway swings its doors open, and Braziers on the north wall ignite to point out its location.

Grim Temple Stage 2
Each Link begins on a separate ledge over a pit, with vanishing platforms between them. A red, a green and a blue Poe fly nearby, and each Link must defeat his own colour. White Poes then take their place at a higher level, so form a Totem to hit them. After they are gone, a solid bridge leads to a Shock Switch.
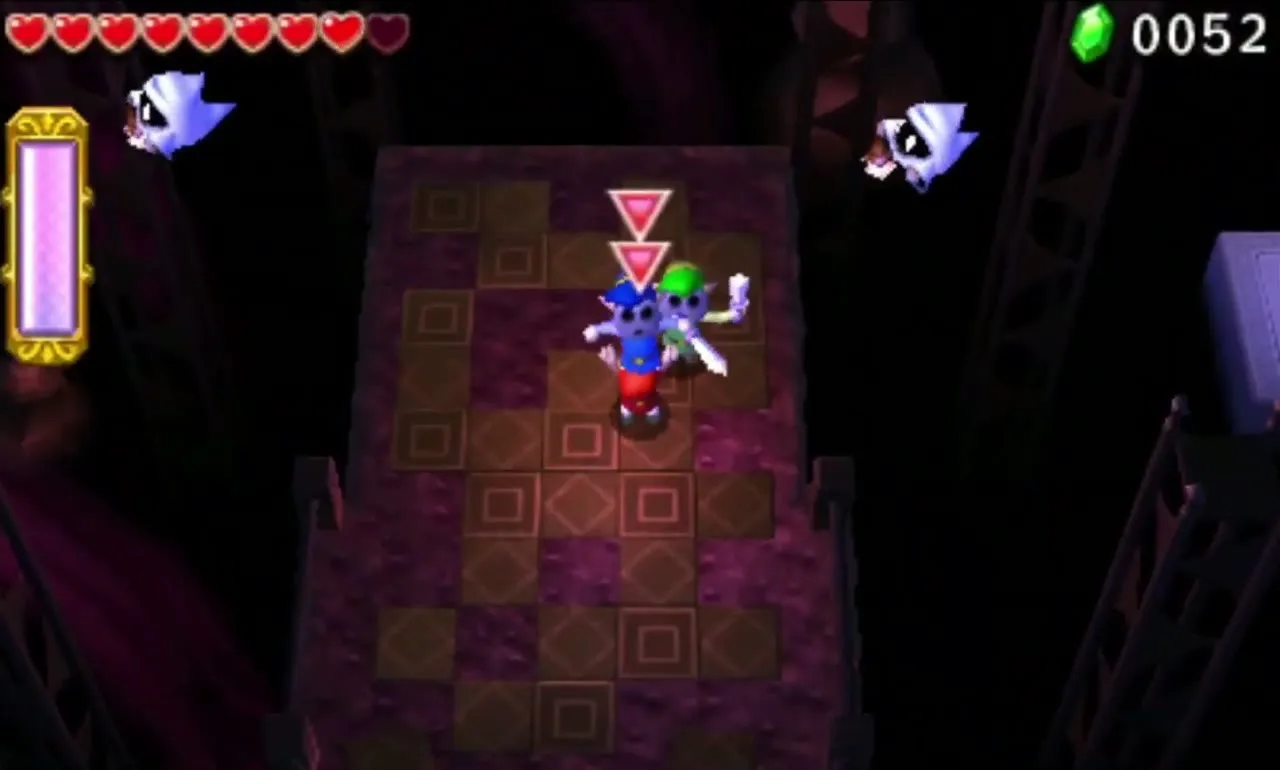
Hit the switch and a bridge extends to a ledge with five Gibdos and a wide gap. When the whole party has crossed, one Gibdo wakes. Defeat it and vanishing tiles span the gap as the other four wake up. Unwrapping them releases Red Stalfos, and once all are beaten the bridge to the Triforce Gateway appears.
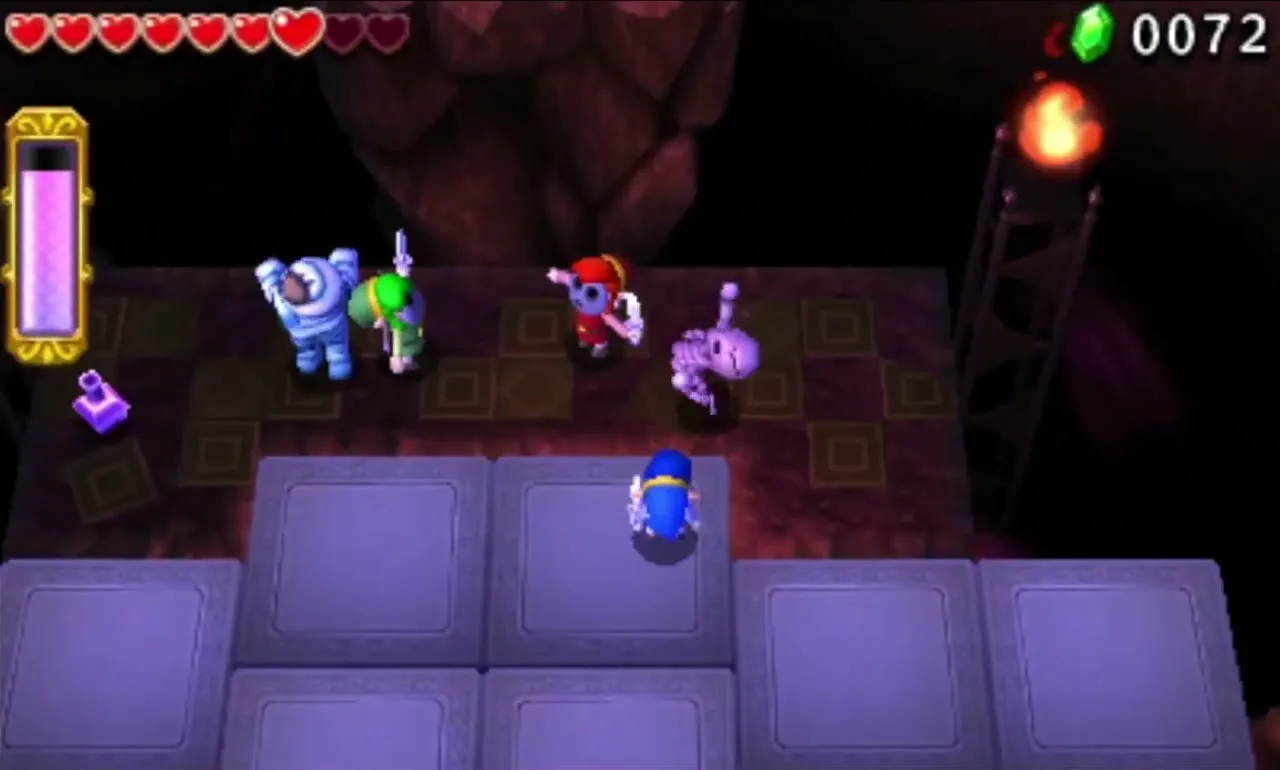

Grim Temple Stage 3
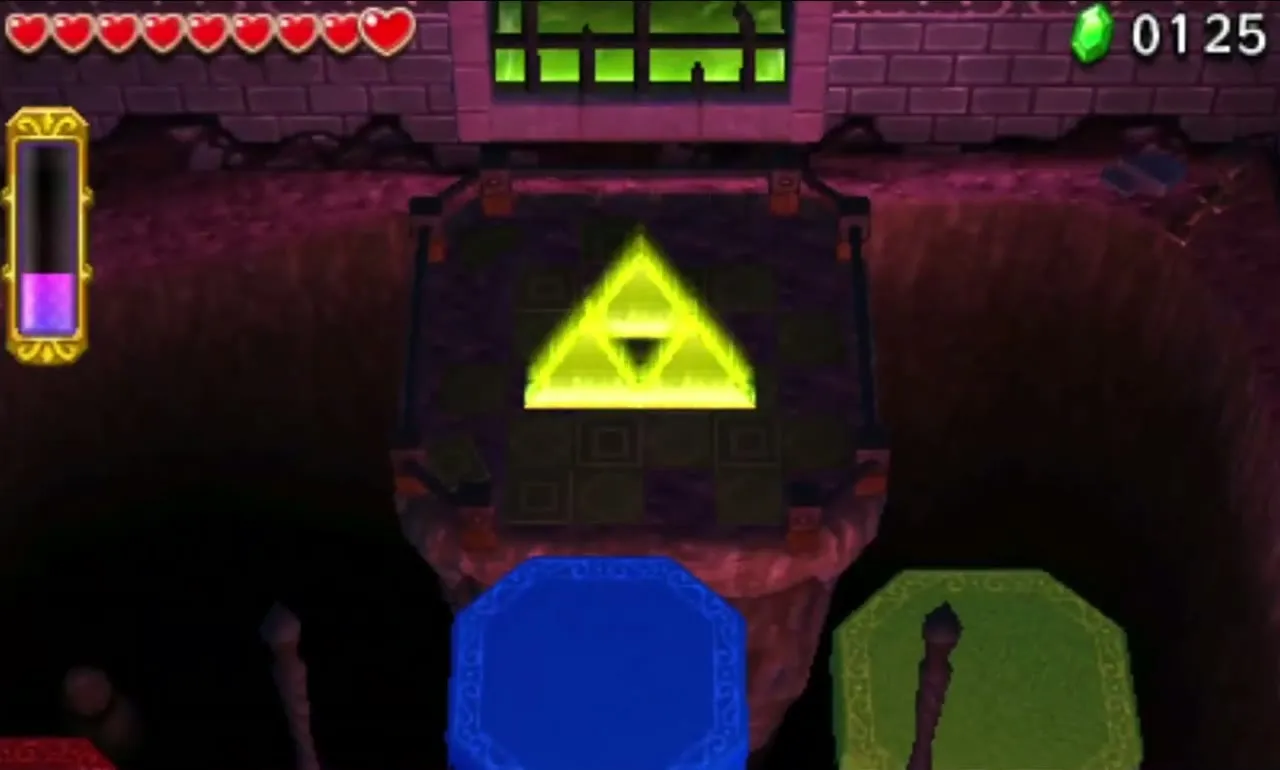
Coloured platforms with a small gap lead to a larger area. Throw the Links across, using the Boomerang or Gripshot to haul each other over. When all three are there, two Prankster Poes and a Chasupa attack. After they fall, a Squiddy shows up and two ReDeads appear on a far ledge to the east while coloured platforms rise to link the ledges.
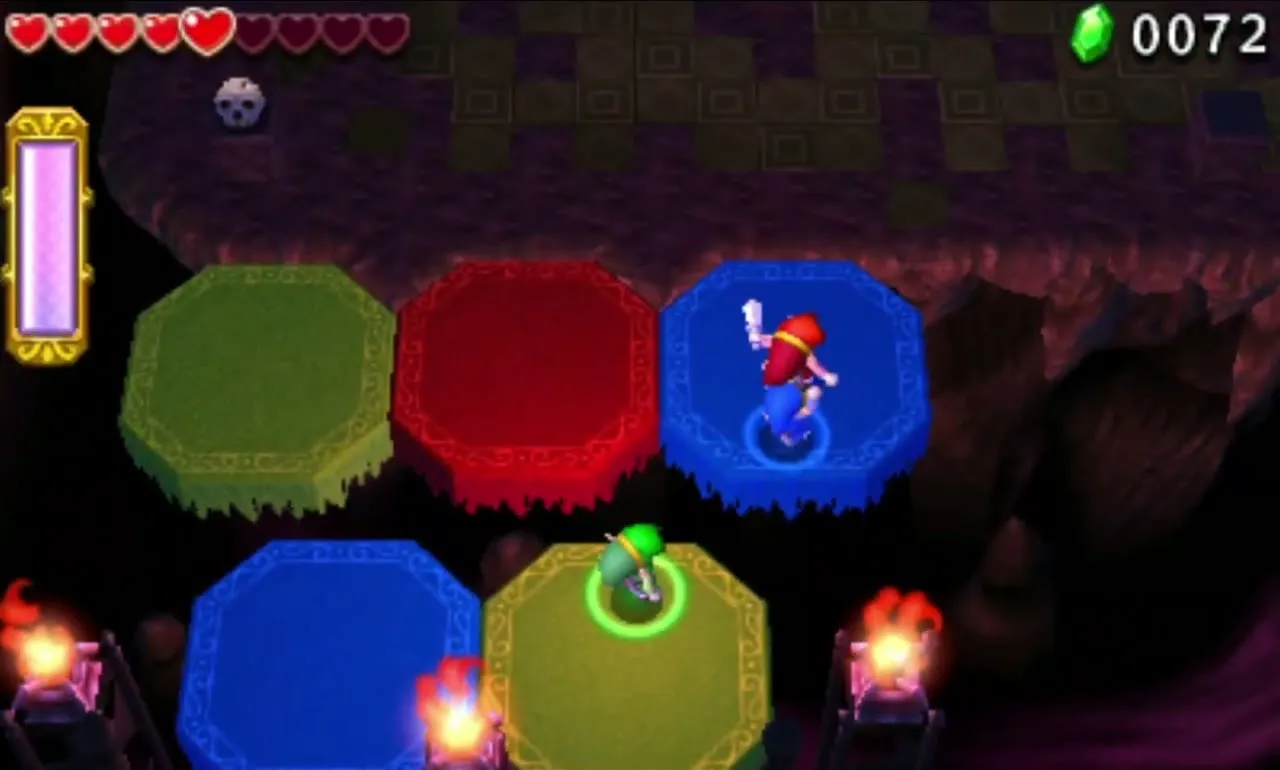
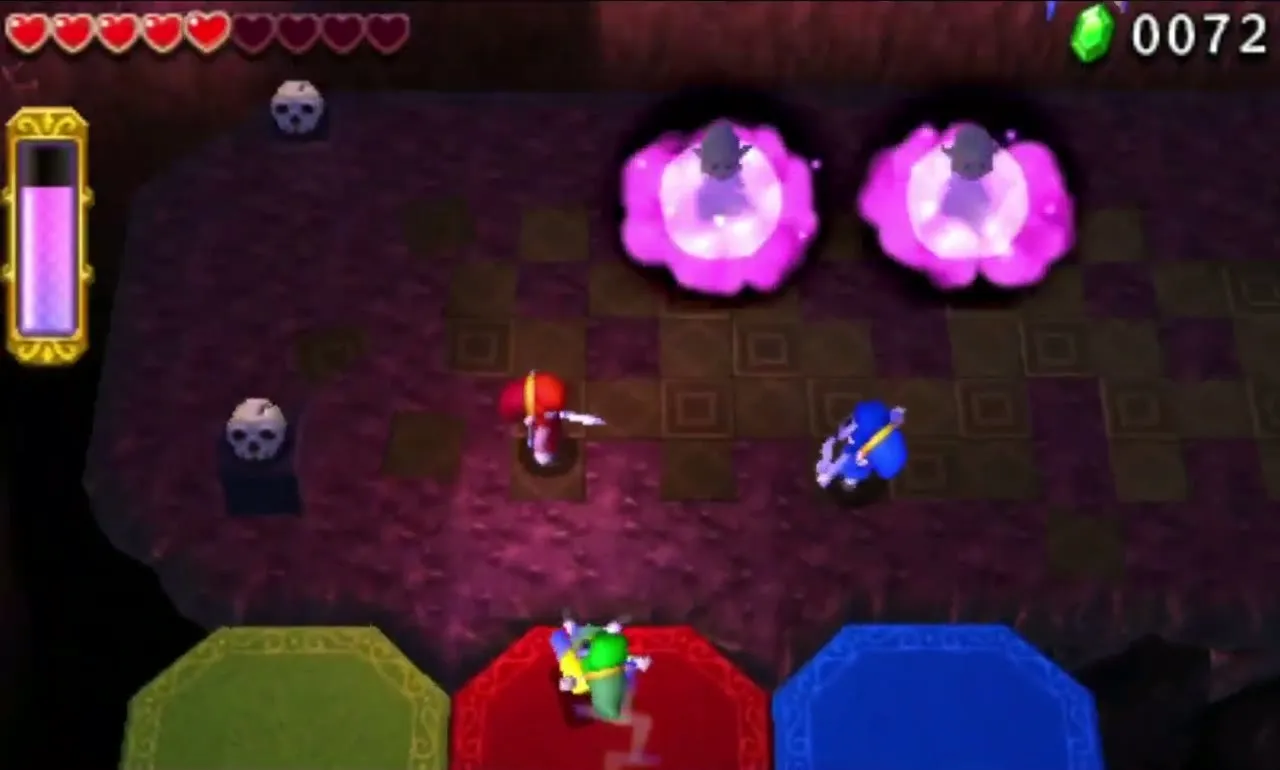
The first two rows are fixed, the next row slides north and south, and the last ones circle the ReDeads’ ledge. A Guruguru Bar on that ledge spits flames to the right, so hop off the circling platforms on time. Keep all Links together, since ReDeads paralyse and drain hearts. Beat them and use the circling platforms to reach the Gateway.

Prismantus boss fight
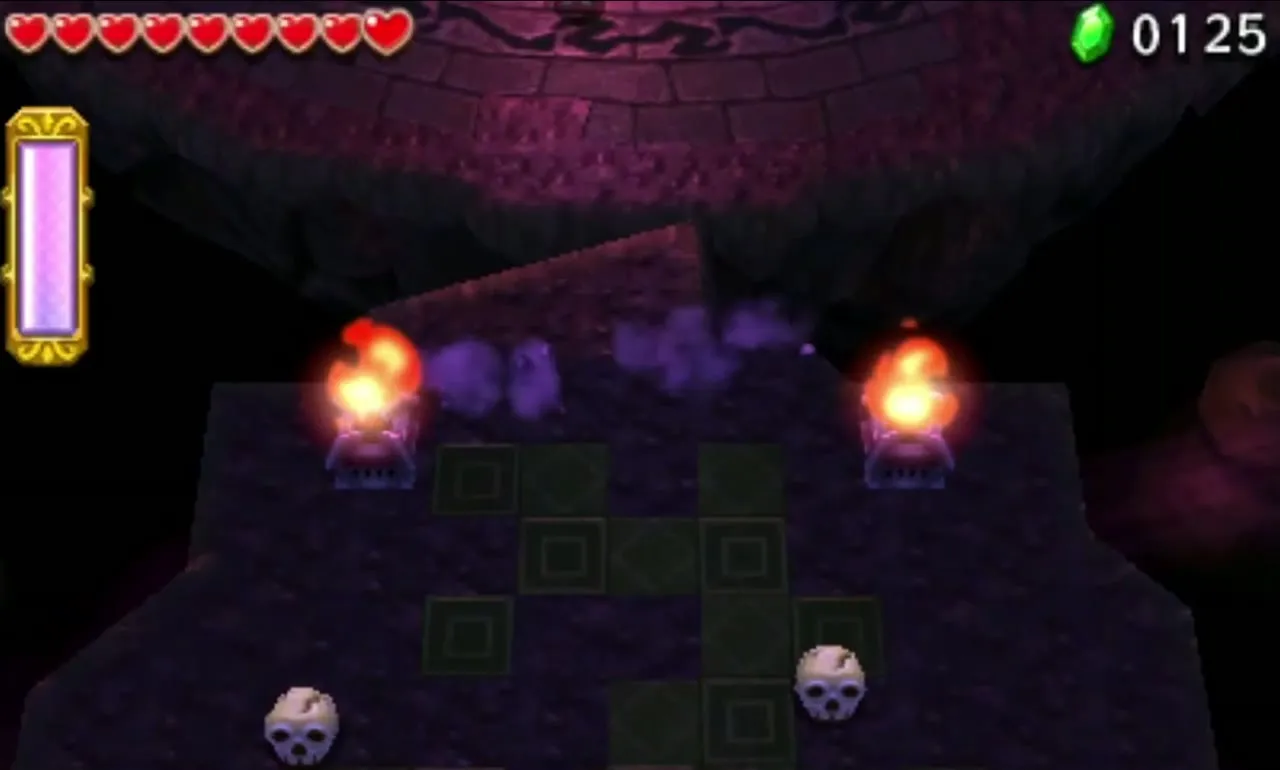
Stage 4 begins on a ledge with skulls and grass that you can cut for Hearts. When you step into the large round arena the ledge behind breaks away and Prismantus appears: three arms with a coloured bulb at each tip and an eye in the middle. It spins in place, then dashes at you at speed, so dodge sideways.
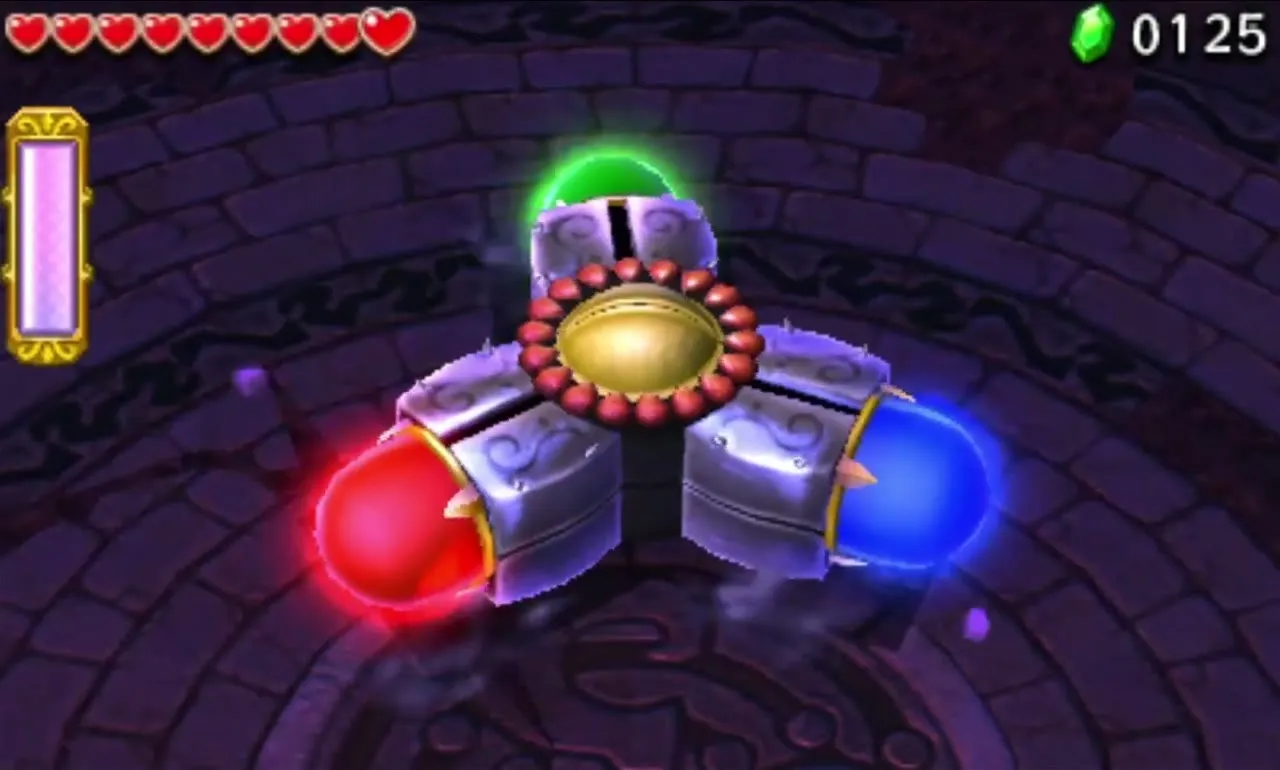
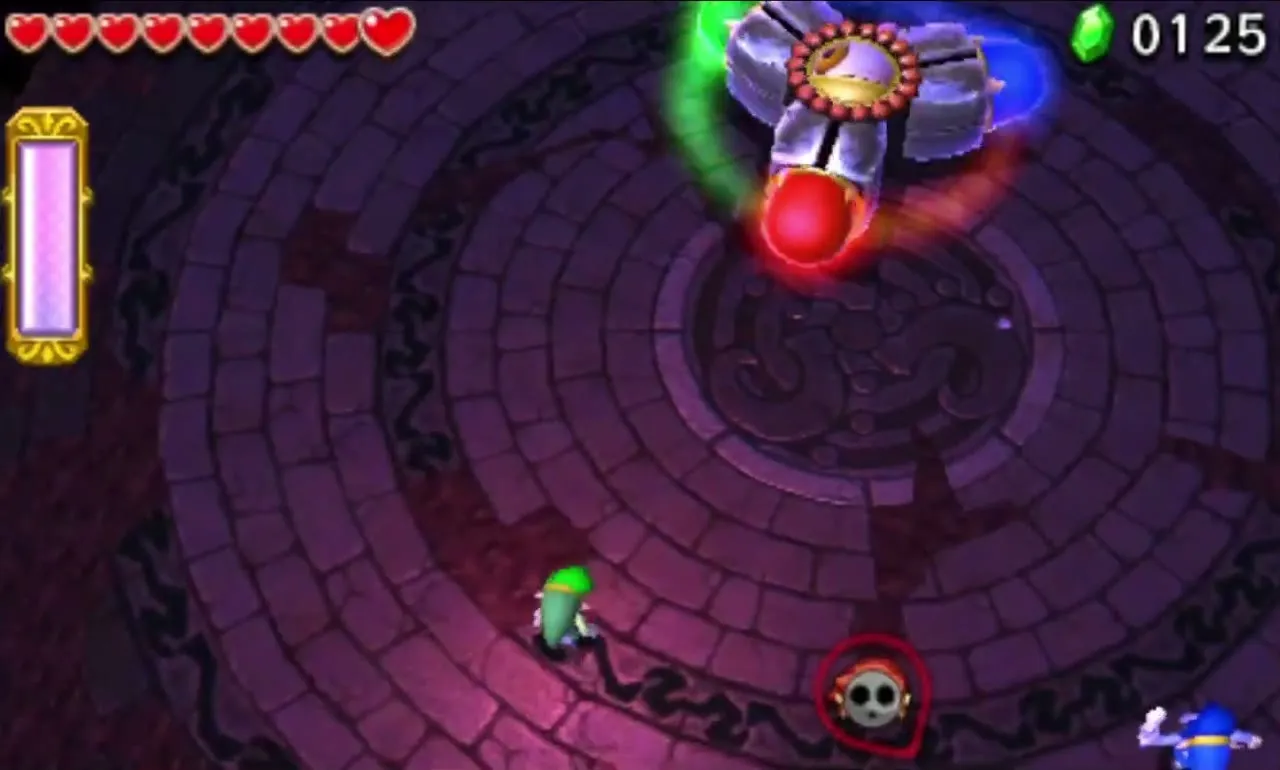
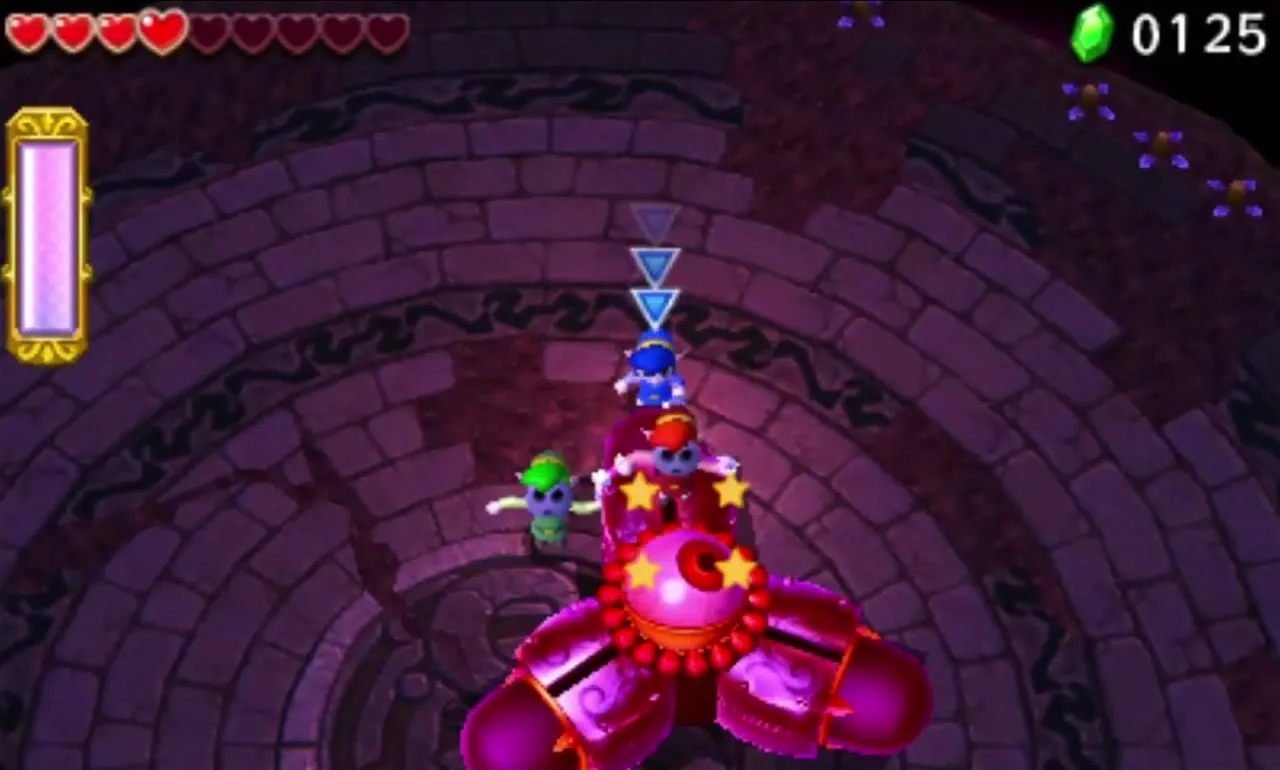
Time sword attacks at the bulbs while it spins slowly after a dash. A bulb can be hurt only by the Link of its colour and goes dark after two hits. When all three are off, Prismantus is stunned and its eye is exposed. Form a Totem of two and strike the eye, or throw the top Link onto an arm to hit from above.
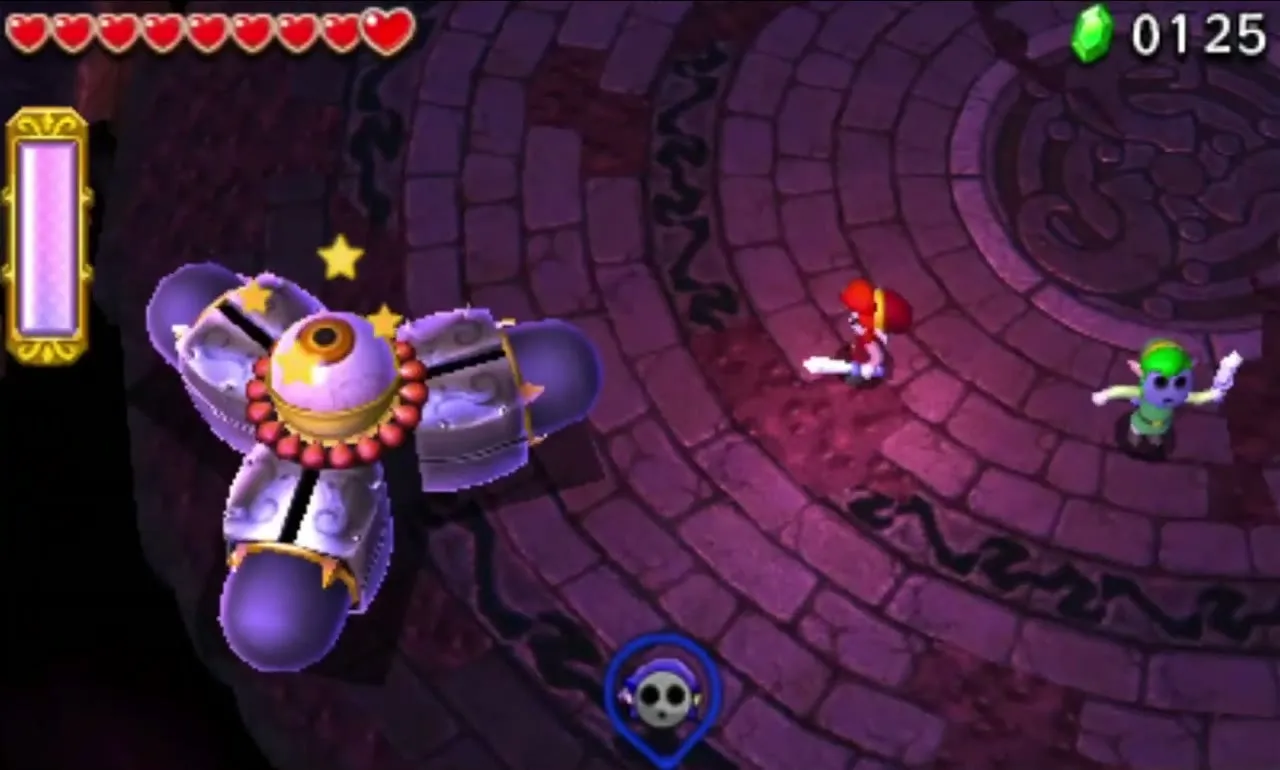
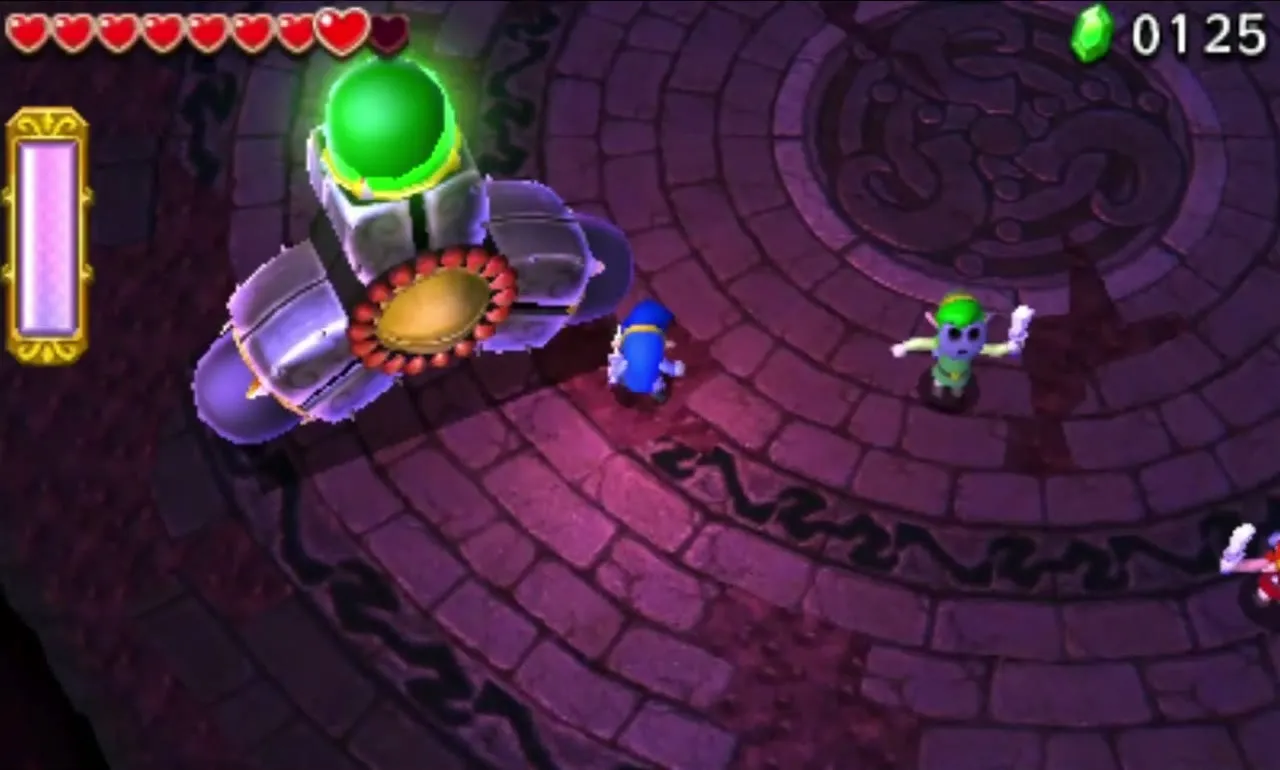
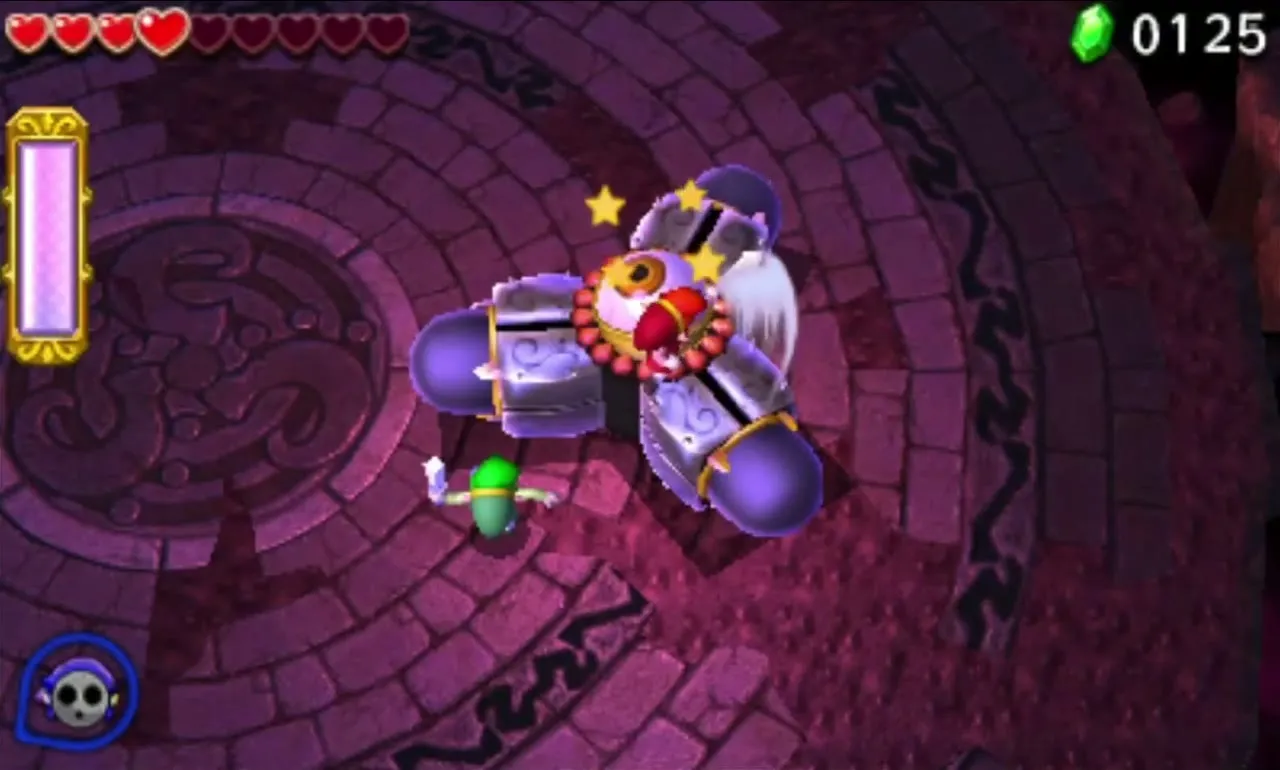
In phase two the bulbs relight and Prismantus tips onto its side, rolling around on two bulbs and sometimes toward the nearest Link. When it pauses, strike the bulbs; one is often raised, so use a Totem of three. Shutting off all three exposes the eye again.
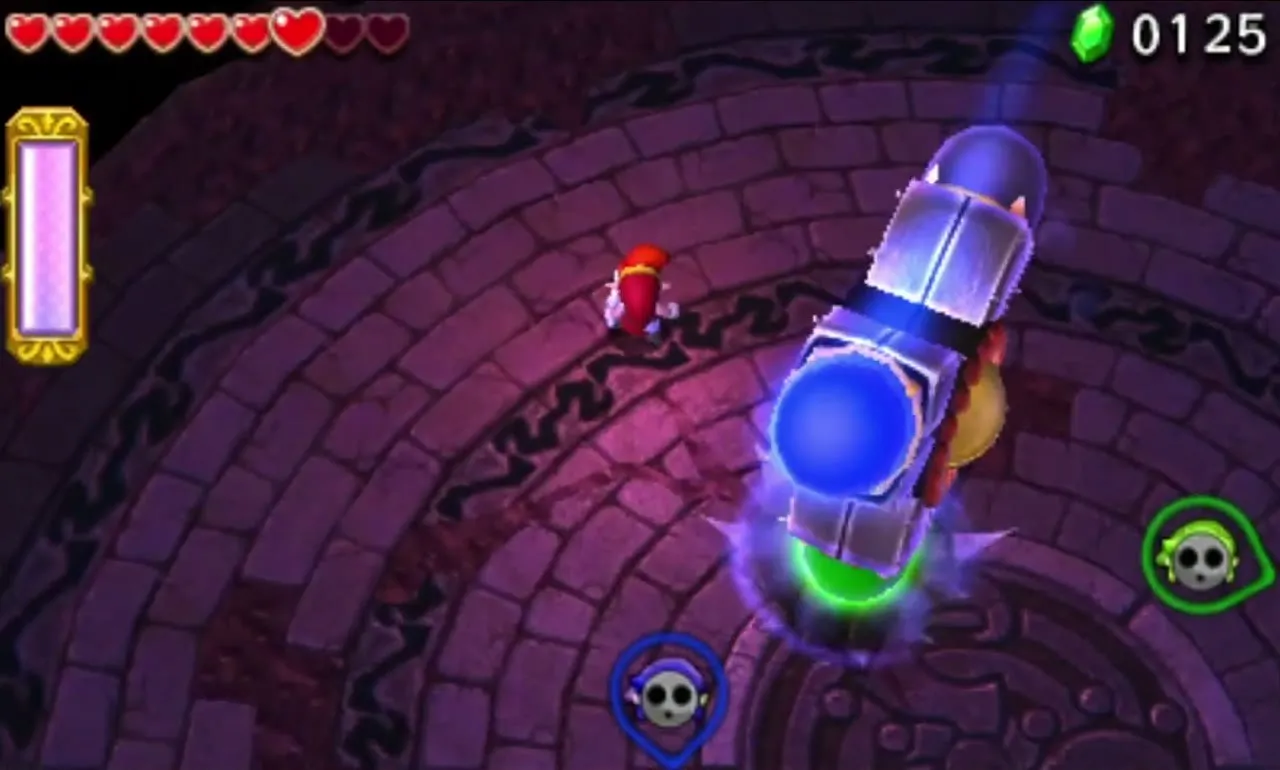
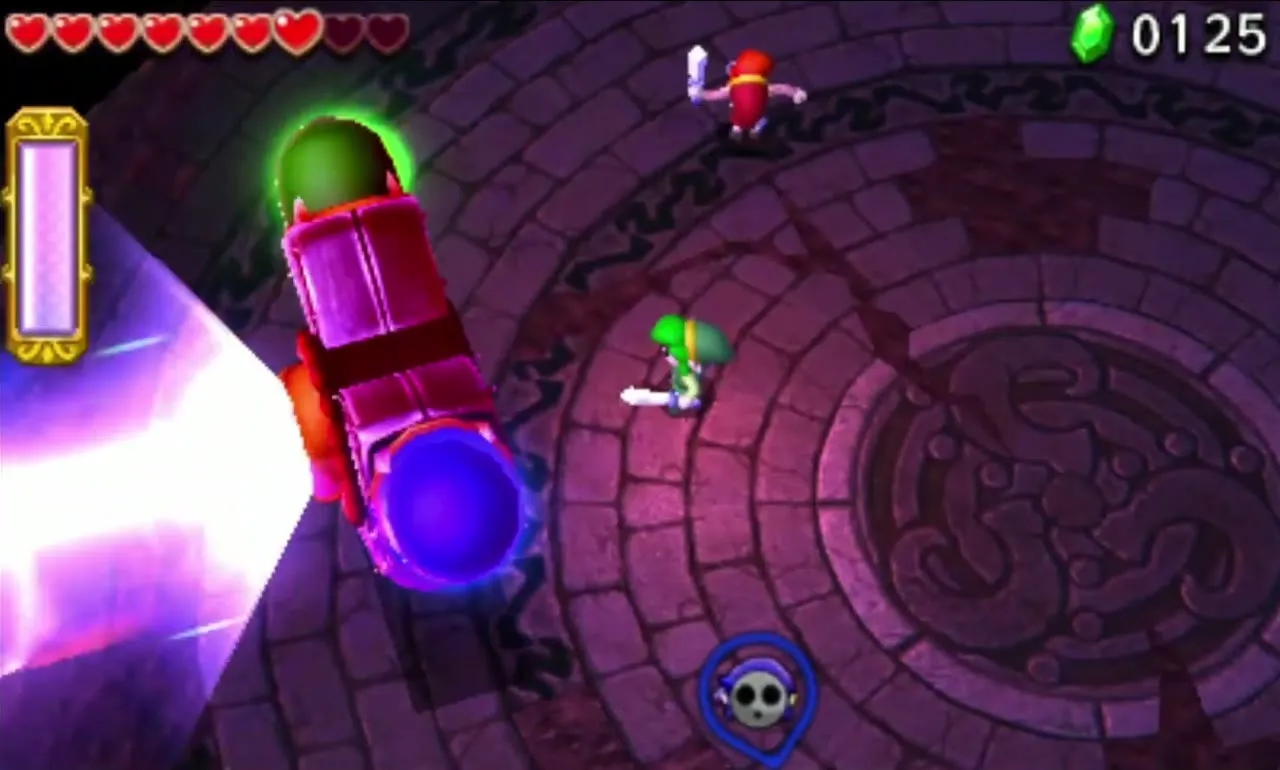
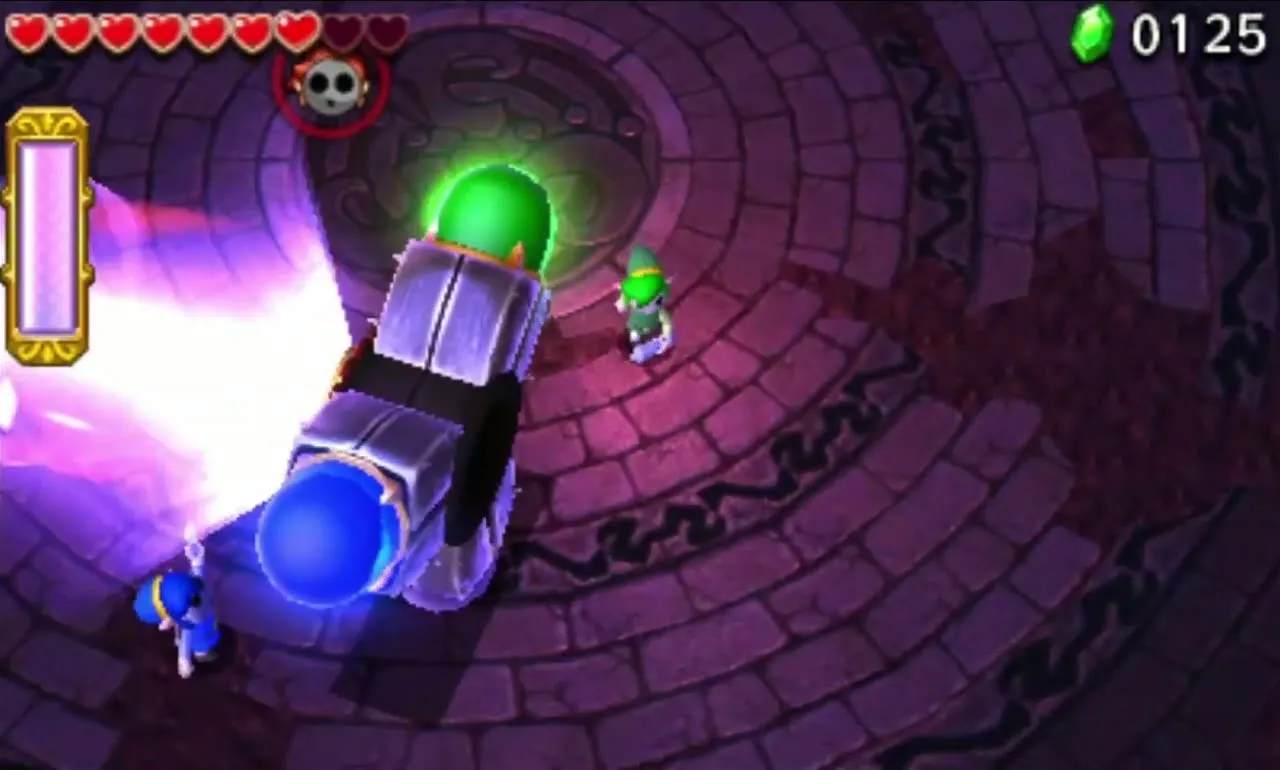
In phase three it stands on one bulb and fires a long beam across the arena while spinning, then rolls at you again, faster than before. Stun it by hitting the bulbs, often from a Totem of three, then hit the eye until it falls. A long stairway to the Triforce Gateway appears.
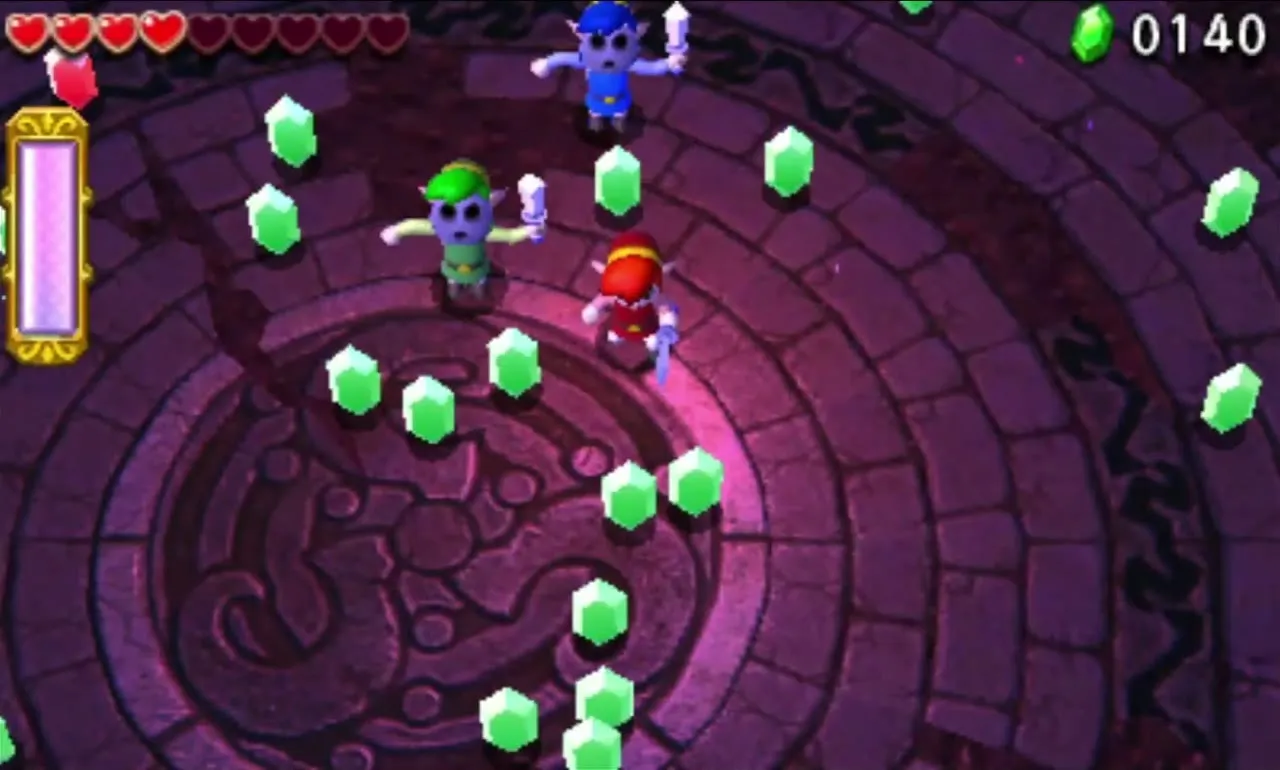


Grim Temple treasure chests
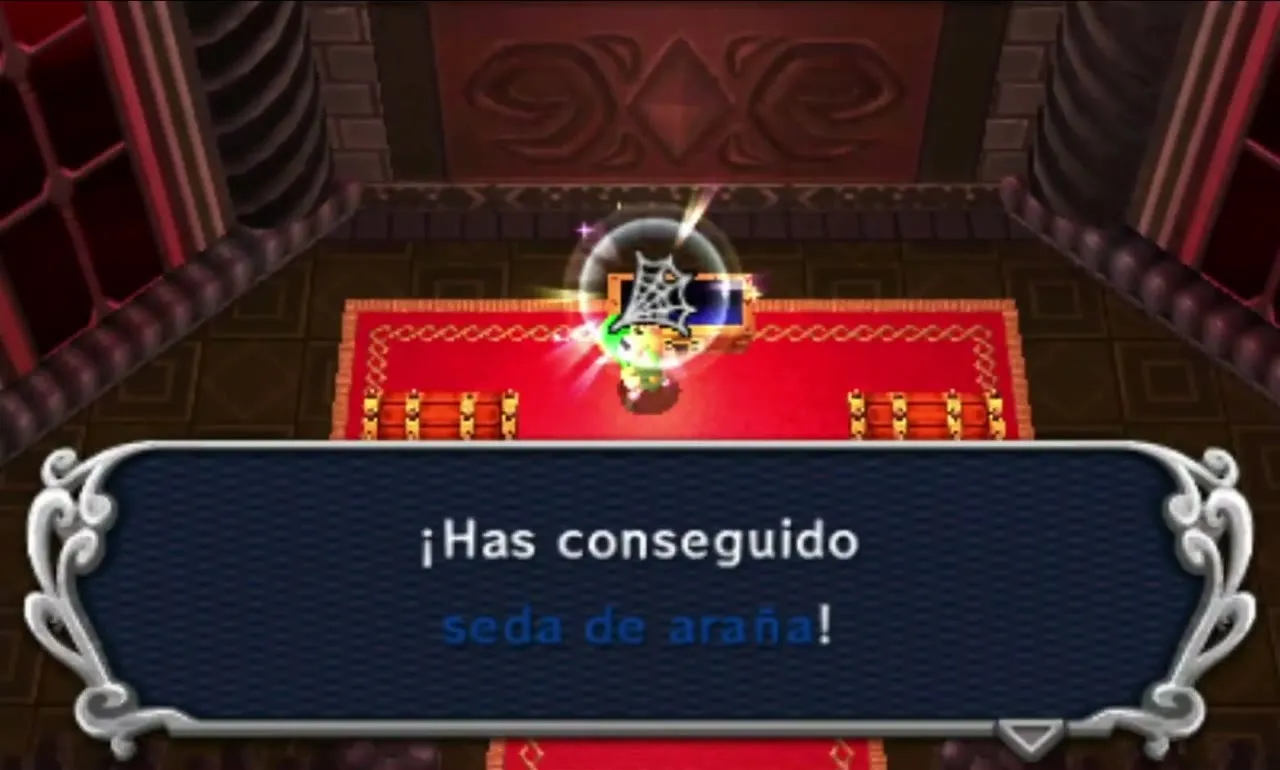
Each Link opens one of three chests, two with Spider Silk Lace and one with Twisted Twig when no challenge is active. Madame Couture then puts the Robowear, Showstopper, Spin Attack Attire and Sword Master Suit on sale, provided the Desert Temple is also cleared. See outfits.

You can replay the Grim Temple with “Fewer Heart Containers!”, “Don’t fall at all!” and “Clear within the time limit!”. See the Drablands Challenges page for what they pay.
Area checklist
| Level | Items | Boss or mini-boss | Materials |
|---|---|---|---|
| Illusory Mansion |  Boomerang (3) | None |  Carrumpkin, Mystery Extract |
| Palace Noir |  Bow,  Fire Gloves,  Gust Jar | Grim Repoe (mini-boss) | Carrumpkin, Spider Silk Lace |
| Lone Labyrinth | Fire Gloves,  Gripshot, Gust Jar | None | Mystery Extract, Poe Soul |
| Grim Temple | Boomerang, Fire Gloves, Gripshot | Prismantus (boss) | Spider Silk Lace, Twisted Twig |
With The Dunes and The Ruins both cleared, the last Area opens. Continue with the Sky Realm Walkthrough.