
























Spirit Tracks 100% Completion Walkthrough18 chapters
- Aboda Village and Hyrule CastleThe first train ride, the Royal Engineer ceremony, Zelda’s escape, the Spirit Flute, sword and path to the Tower.
- Tower of SpiritsMeet Anjean, collect the three Tears of Light, use Phantom Zelda and claim the Forest Rail Map.
- Forest RealmReach Whittleton, solve the Lost Woods rail maze, learn the Song of Awakening and play the Gage duet.
- Forest TempleSong of Healing, Whirlwind, Mothula, Boss Key, Stagnox boss fight, Heart Container and Force Gem.
- Tower of SpiritsTears of Light, lava Phantoms, Zora Warrior, the Snow Rail Map, plus the Cannon and Rabbit Net.
- Snow RealmAnouki Village pairings, the Rocktite tunnel, Steem’s duet, the Heart Container shop and Ferrus’s blizzard map.
- Snow TempleGet the Boomerang, solve the bell puzzles, take the Boss Key from the Wolfos and beat Fraaz for a Heart Container.
- Tower of SpiritsDark floor 8, Torch Phantoms, Tears of Light, the Z door, Mighty Zora Warrior and Ocean Rail Map.
- Ocean RealmFix the Trading Post bridge, find the Regal Ring, learn the Song of Birds and free Carben at the Ocean Sanctuary.
- Ocean TempleReach the sunken temple, win the Whip, beat Phytops and claim the Heart Container and blue Force Gem.
- Tower of SpiritsBeat Warp Phantoms and Phantom Eyes, collect three Tears of Light and claim the Fire Rail Map.
- Fire RealmReach Goron Village, ferry Noko for Mega Ice, cool the lava, solve the Fire Sanctuary statues and play Embrose’s duet.
- Fire TempleSnurglar keys, Heatoise and the Bow, mine carts, Boss Key, Cragma, Heart Container and the Goron Quiver.
- Tower of SpiritsClimb Tower of Spirits floors 18-23, solve the Wrecker Phantom puzzles, take the Boss Key and beat Byrne with Zelda.
- Sand RealmMalgyorgs, desert rabbits, the Sand Sanctuary bomb puzzle, the Rael duet and the three trials to the Sand Temple.
- Sand TempleStalfos keys, Sand Wand, the Boss Key, the Skeldritch boss fight, the Heart Container, Bow of Light and Lokomo Sword.
- Tower of Spirits Floors 24-30 and the Compass of LightLight Arrows at the altar, every Phantom puzzle, the floor 26 gauntlet and the Compass of Light.
- Dark Realm, Demon Train and MalladusDestroy six Armored Trains, beat the Demon Train, free Zelda from Cole and defeat Malladus with the Lokomo Sword.
| Covers | The Snow Temple in the north-west corner of the Snow Realm: the blizzard drive to its gate, the water rooms, the ice-and-fire bell puzzles, the Boss Key and the boss Fraaz |
|---|---|
| You need | The Whirlwind from the Forest Temple, the Snow tracks restored by the Steem duet, and Ferrus’s map of the safe route through the blizzard |
| Rewards | 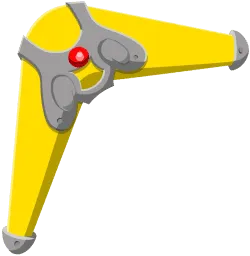 Boomerang,  1 small key,  Boss Key,  Heart Container,  Snow Force Gem and Snow Seal,  1 stamp station, a chest of 20 rupees, and the restored tracks to the Tower of Spirits |
The Snow Temple is the second temple of the game and the place where you earn the Boomerang, an item that flies along any path you draw on the touch screen. You cross flooded rooms with the Whirlwind, then use the Boomerang to carry fire and ice between torches, ring bells in the right order, take the Boss Key from a pack of Wolfos and finish Fraaz, a creature of fire and ice. Defeat it and the Snow tracks to the Tower of Spirits open again.
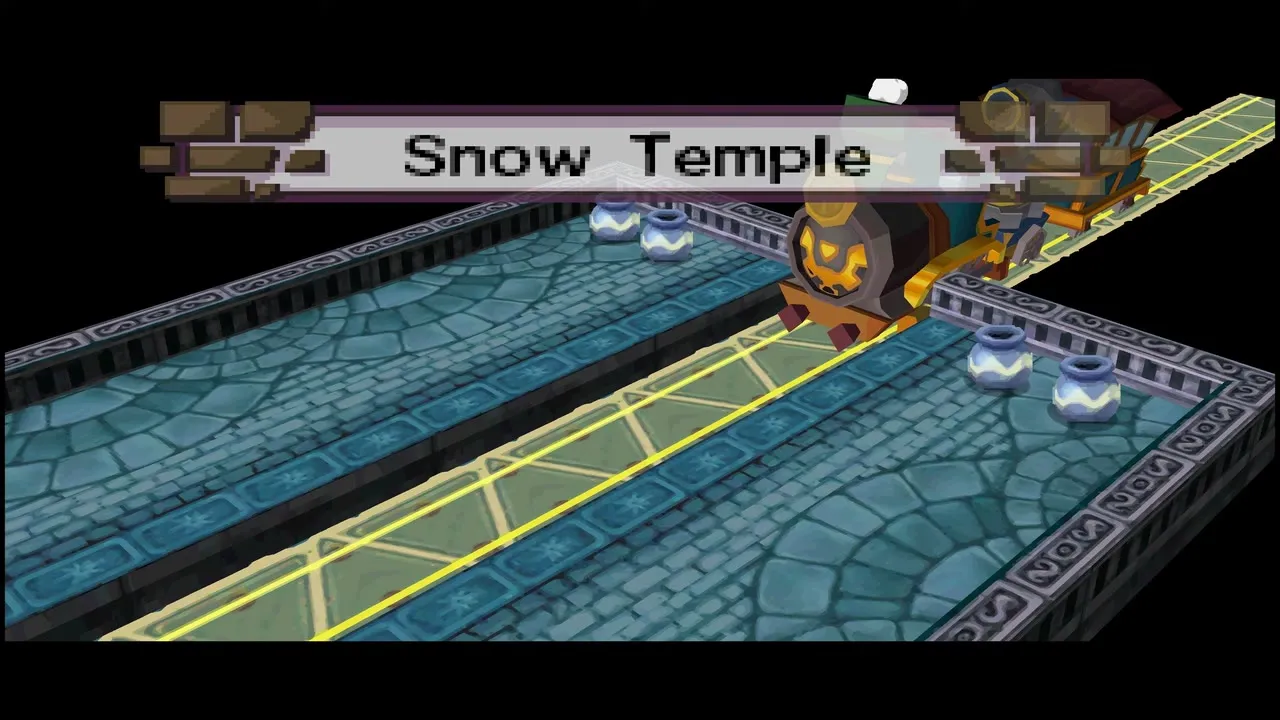
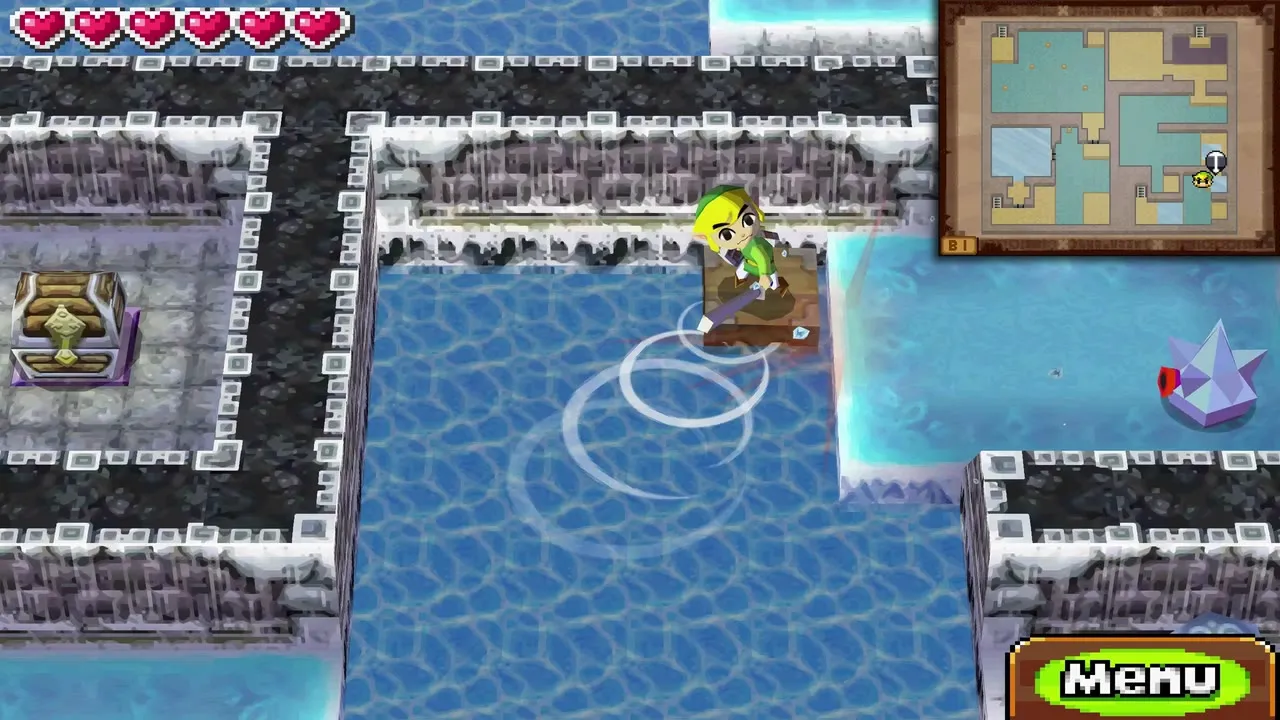
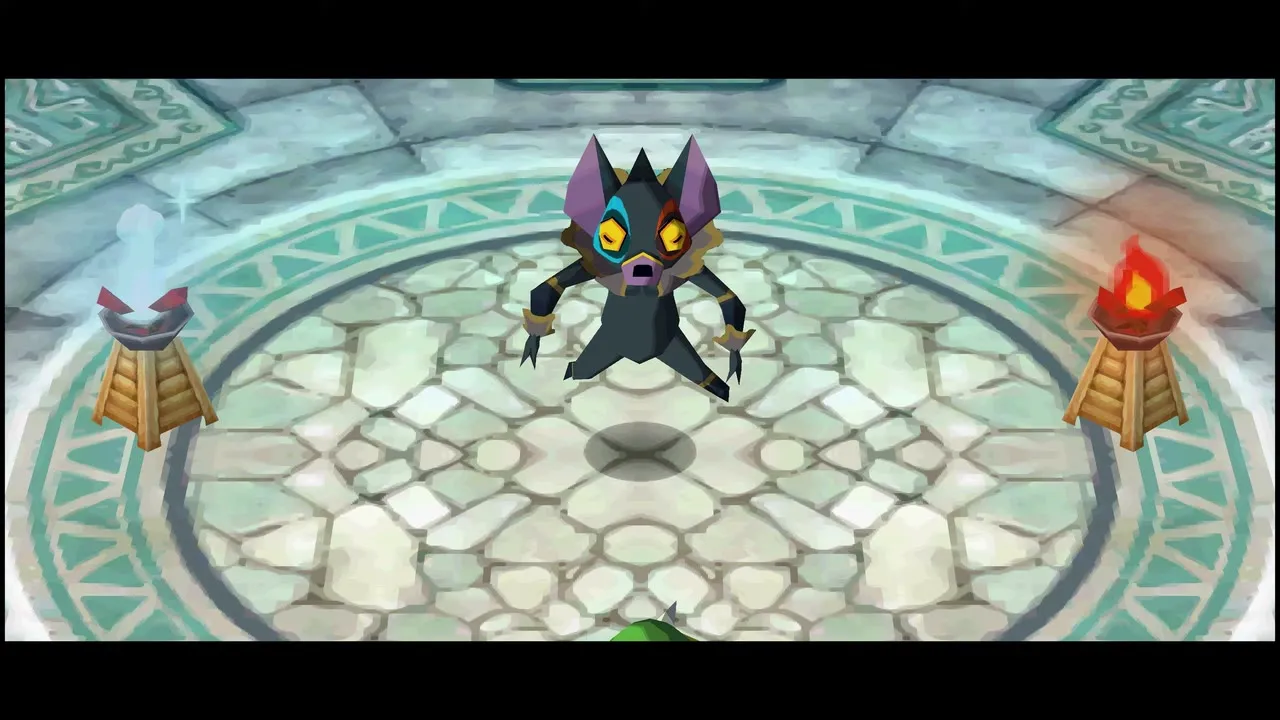
Table of Contents
Driving through the blizzard to the Snow Temple

Follow Ferrus’s route
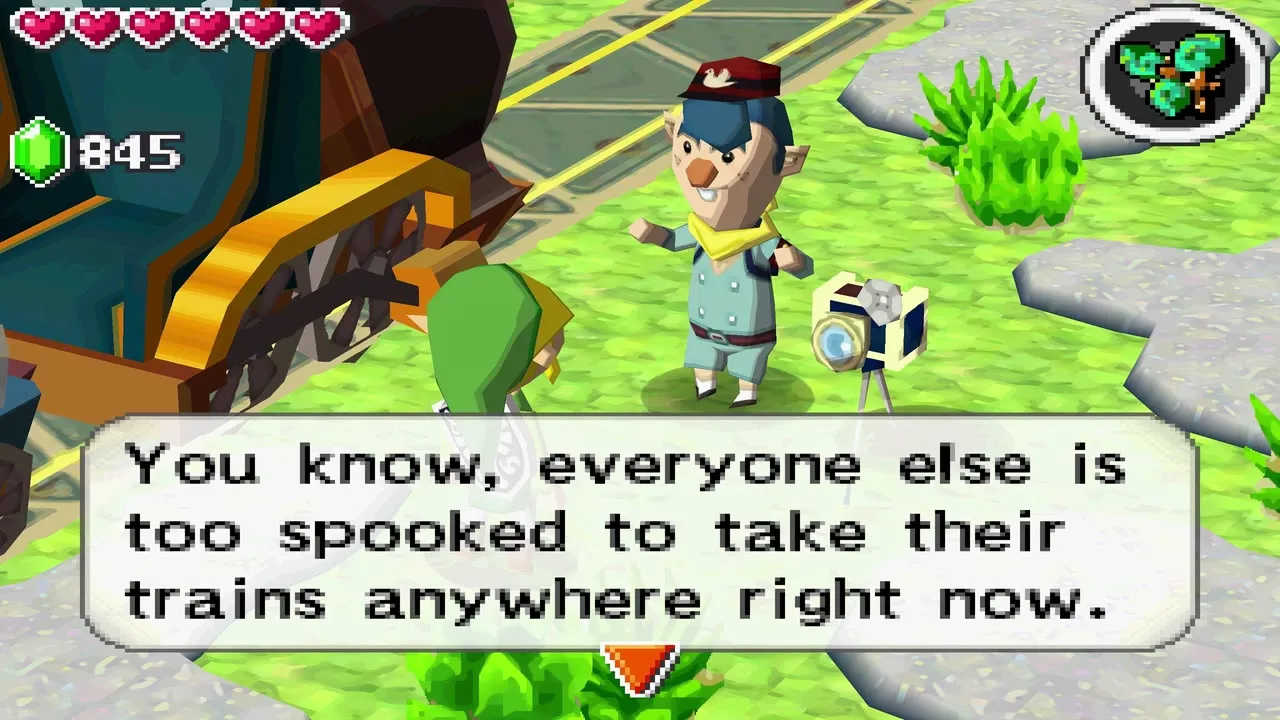
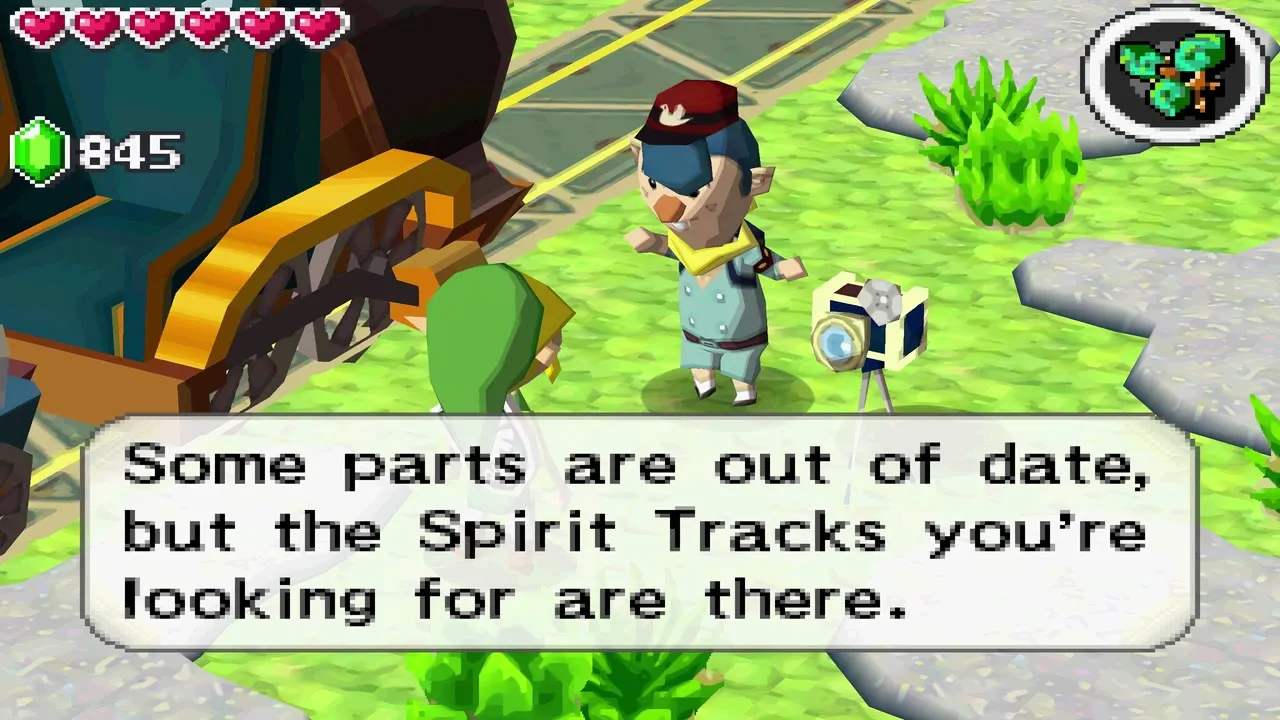
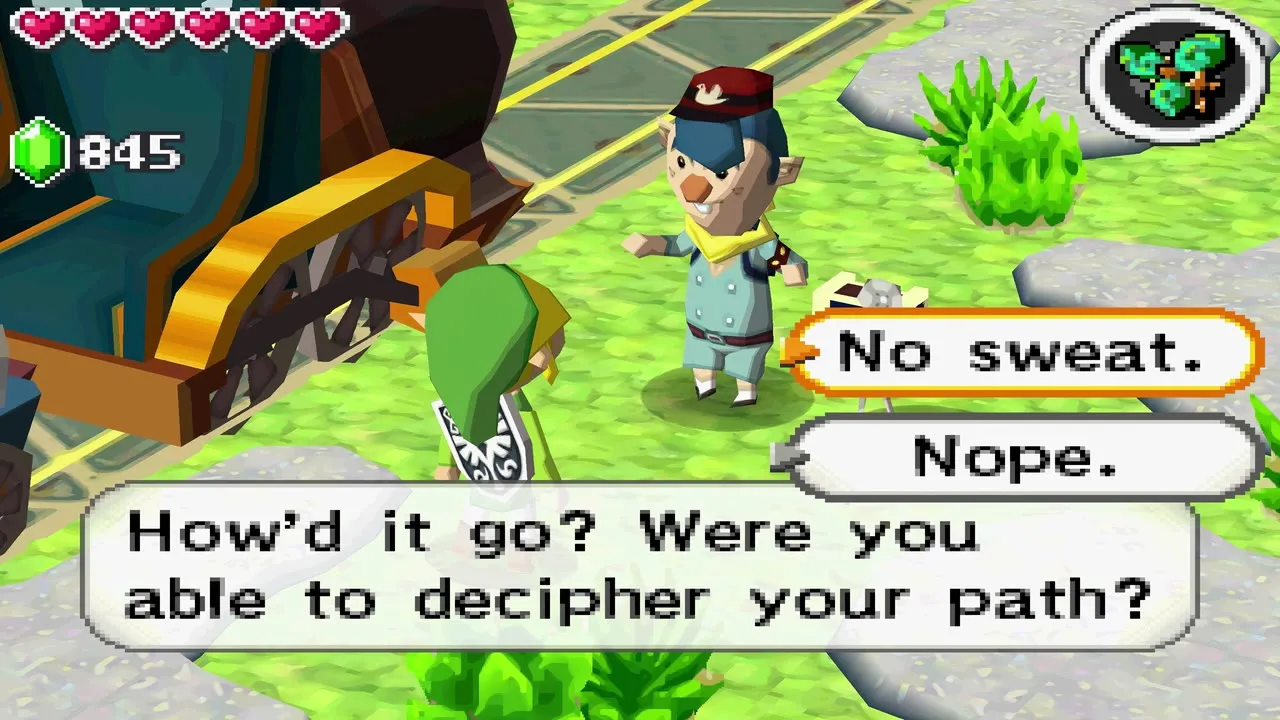
Once the Snow tracks are restored, drive to the photographer Ferrus at his station. He knows the one line of track that gets through the storm. Let him explain, then copy the route onto your own rail map by drawing along the line he shows you. The lead-up, including Anouki Village and the Snow Sanctuary, is in the Snow Realm chapter.
Drive the marked line
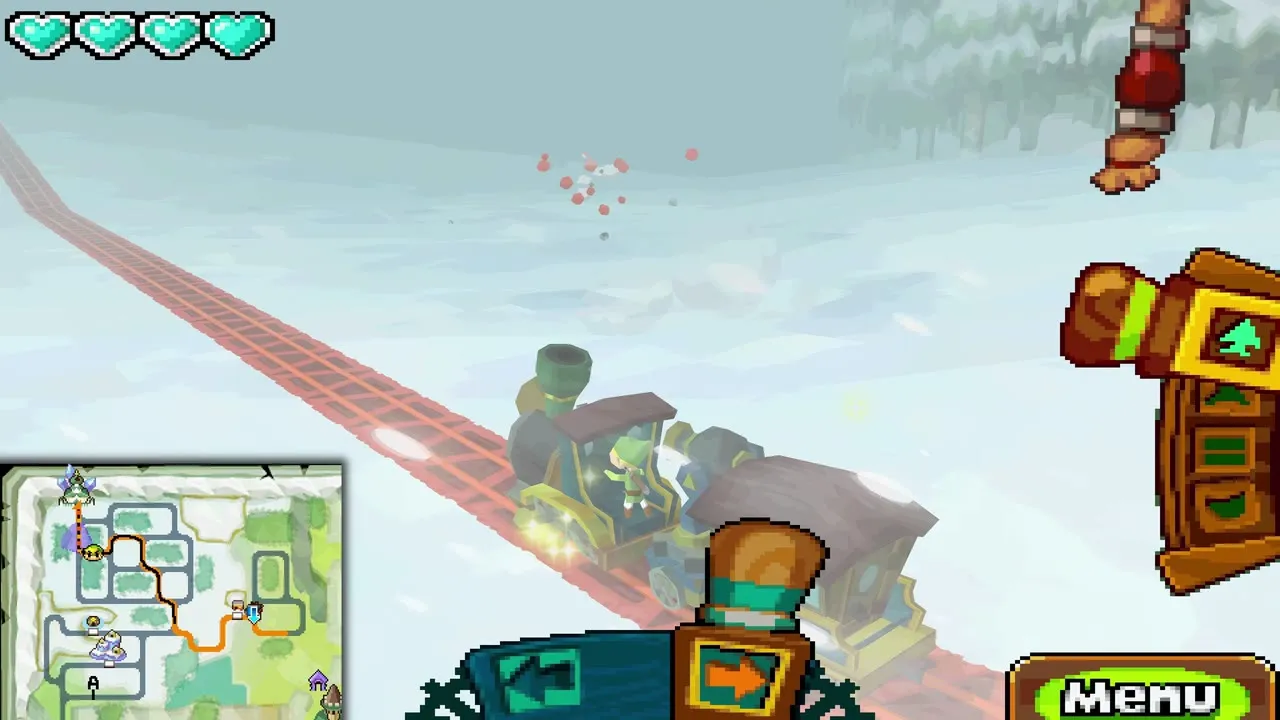
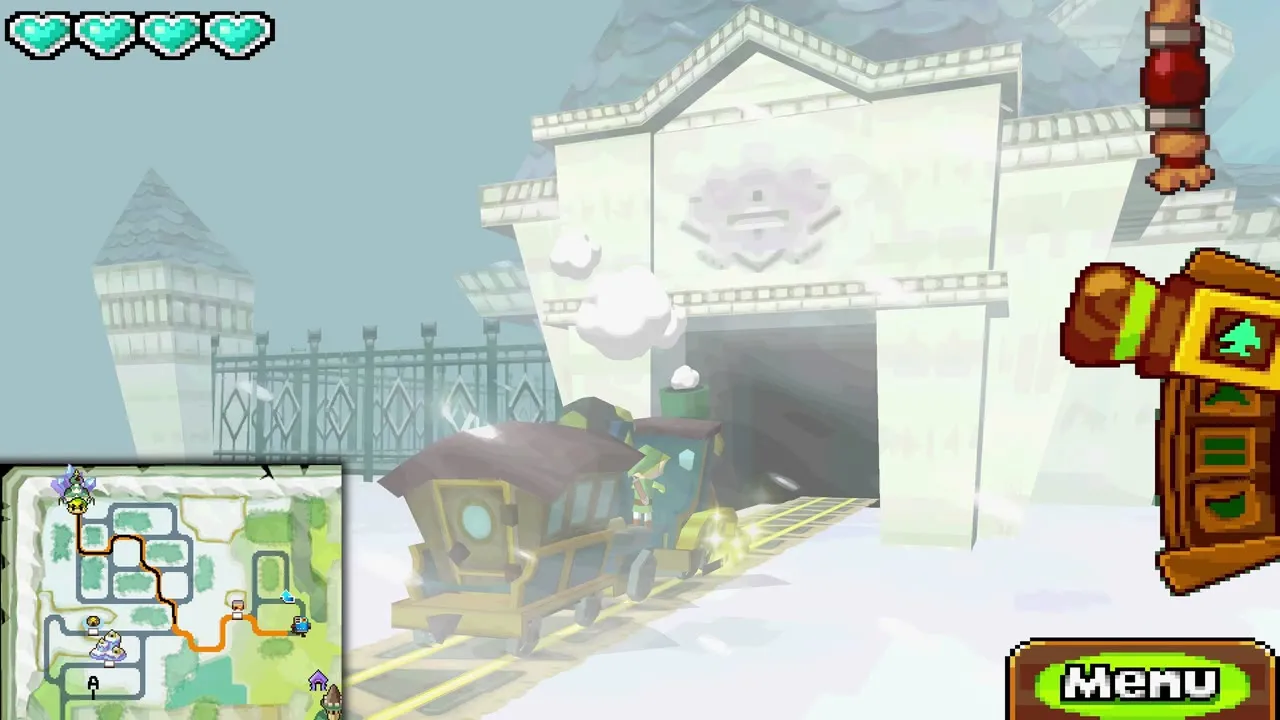
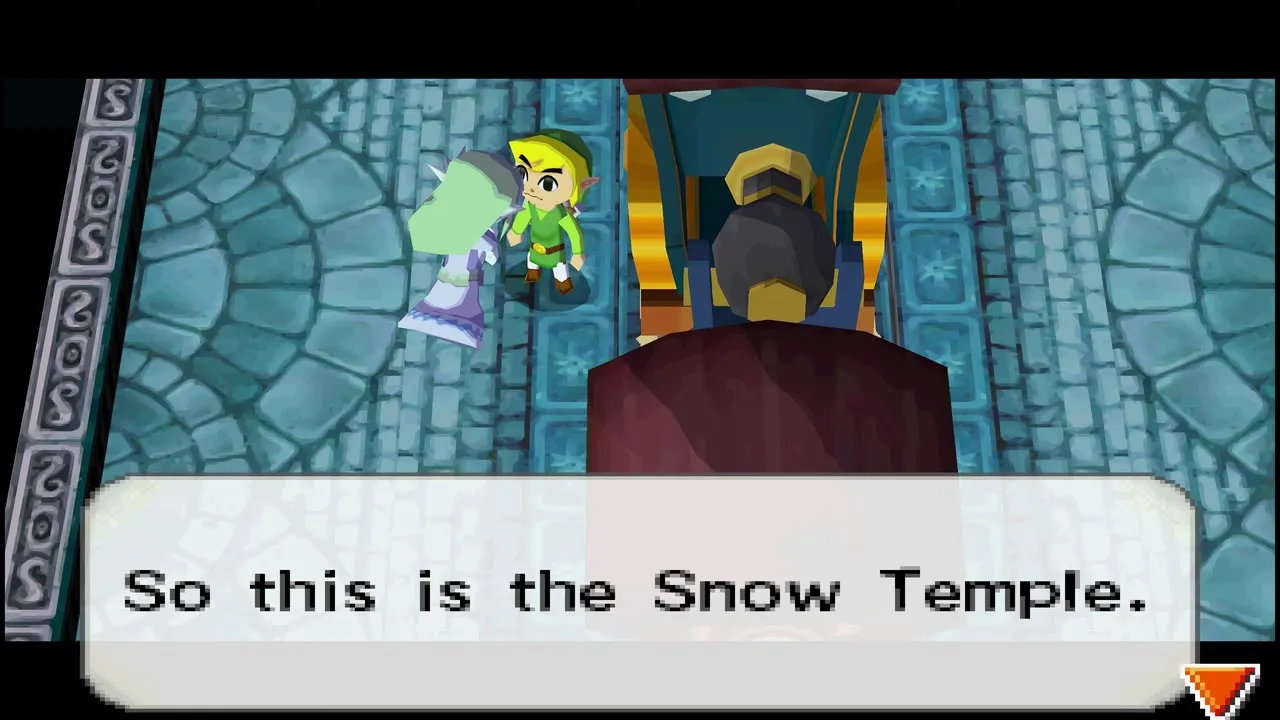
Set out along the route you drew. Snow and fog close in, so keep to the planned line and stay on the rails you drew. At the end of the line the train rolls through the temple gate and onto the entrance platform, with Zelda’s spirit beside you.
Snow Temple entrance and first rooms
Clear the entrance hall
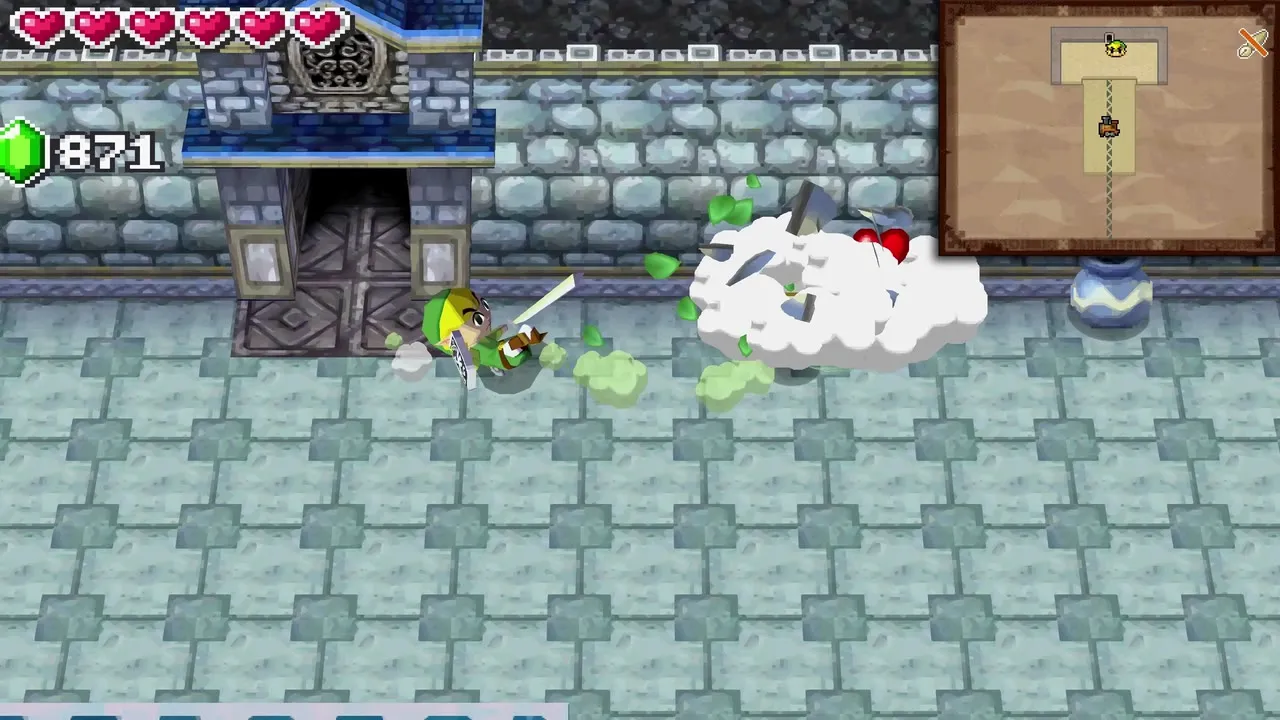
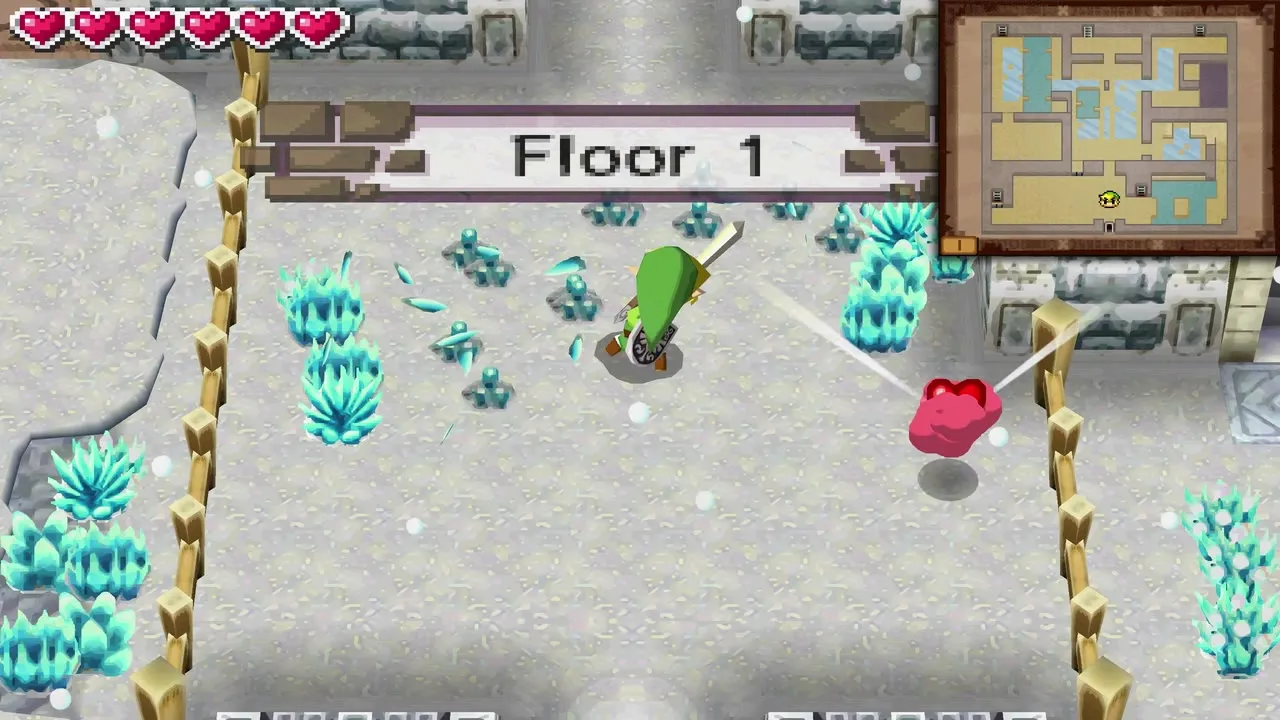
Step off the train into the ice-blue entrance hall. Keese swoop in, so slash them down, then cut through the ice crystals blocking the way and take the door straight ahead.
Drop the first bell and open the door
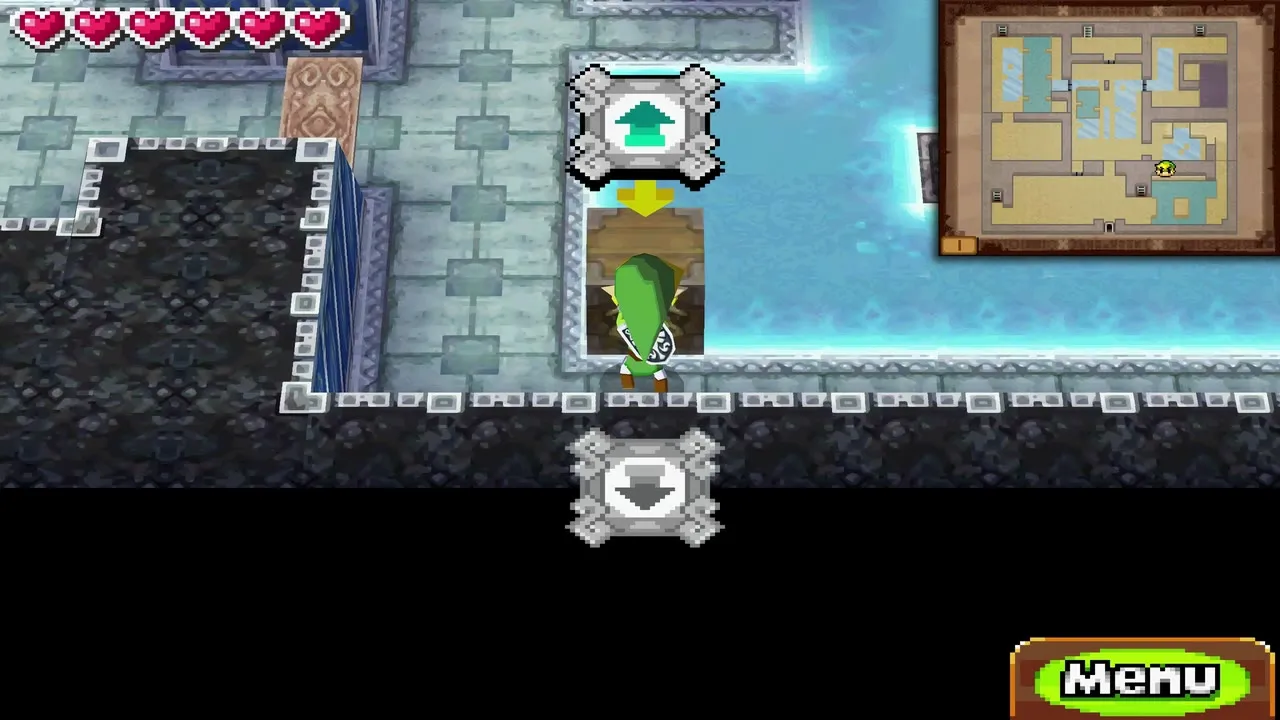
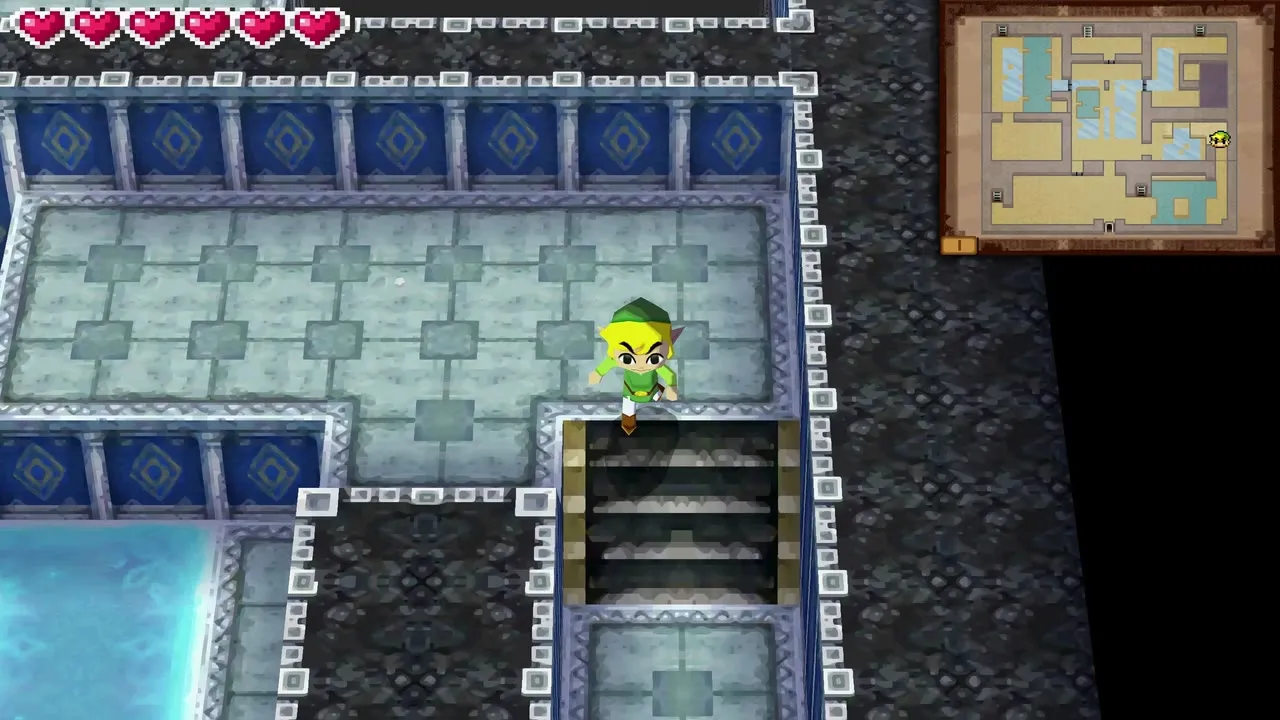
The next room shows a large bell. Push it forward so it drops into a hole in the floor, then slash it twice and a door opens to the south-east. Beyond it is a block puzzle: push the block down, left, up, right and up so it lands in place and becomes a bridge. Climb the short stairs, hop across the gaps and head through the door.
Cross the flooded rooms with the Whirlwind
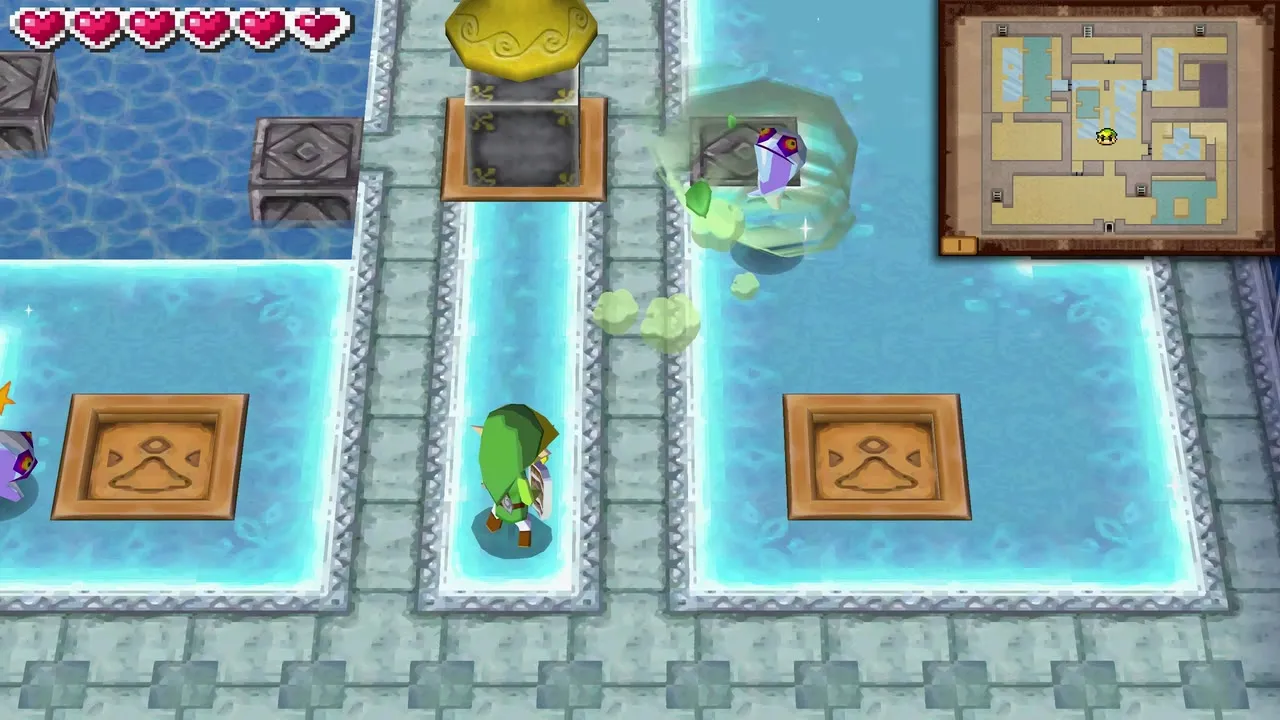
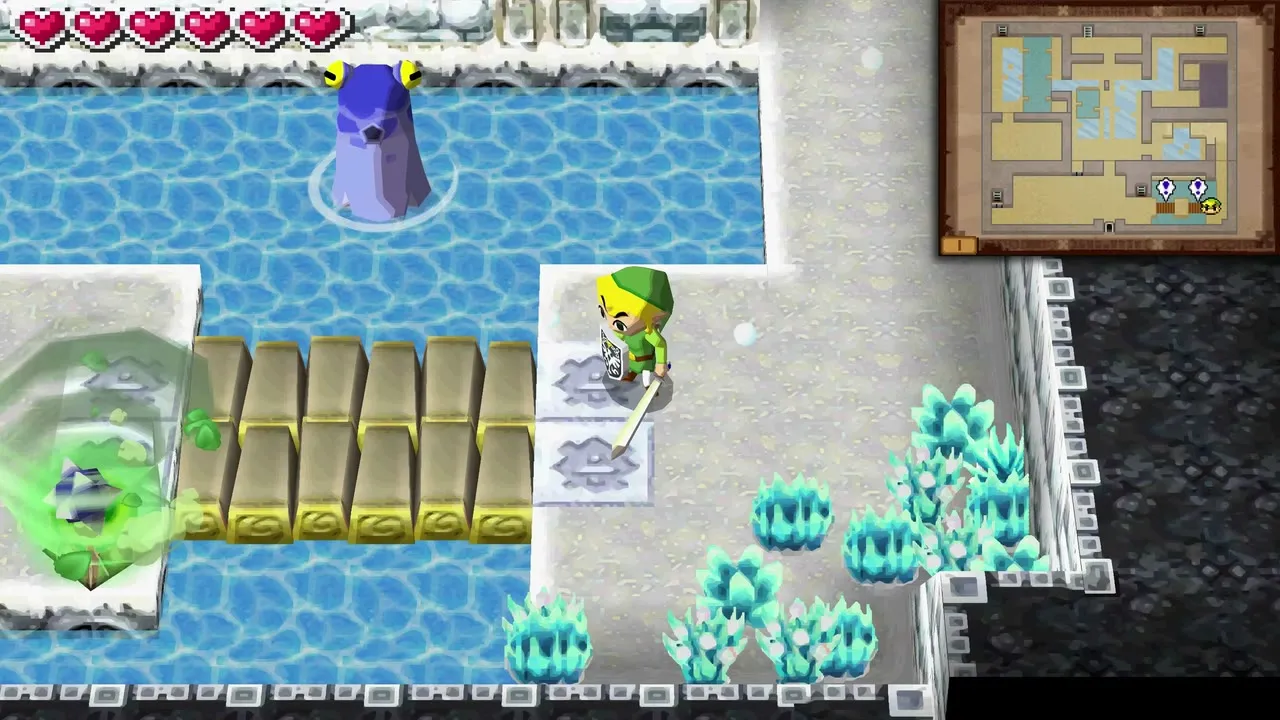
In the next flooded room a blue Octive in the pool spits rocks at you. Aim the Whirlwind so that one of its rocks is blown back into the switch, which raises two bridges. Cross them and take the stairs down.
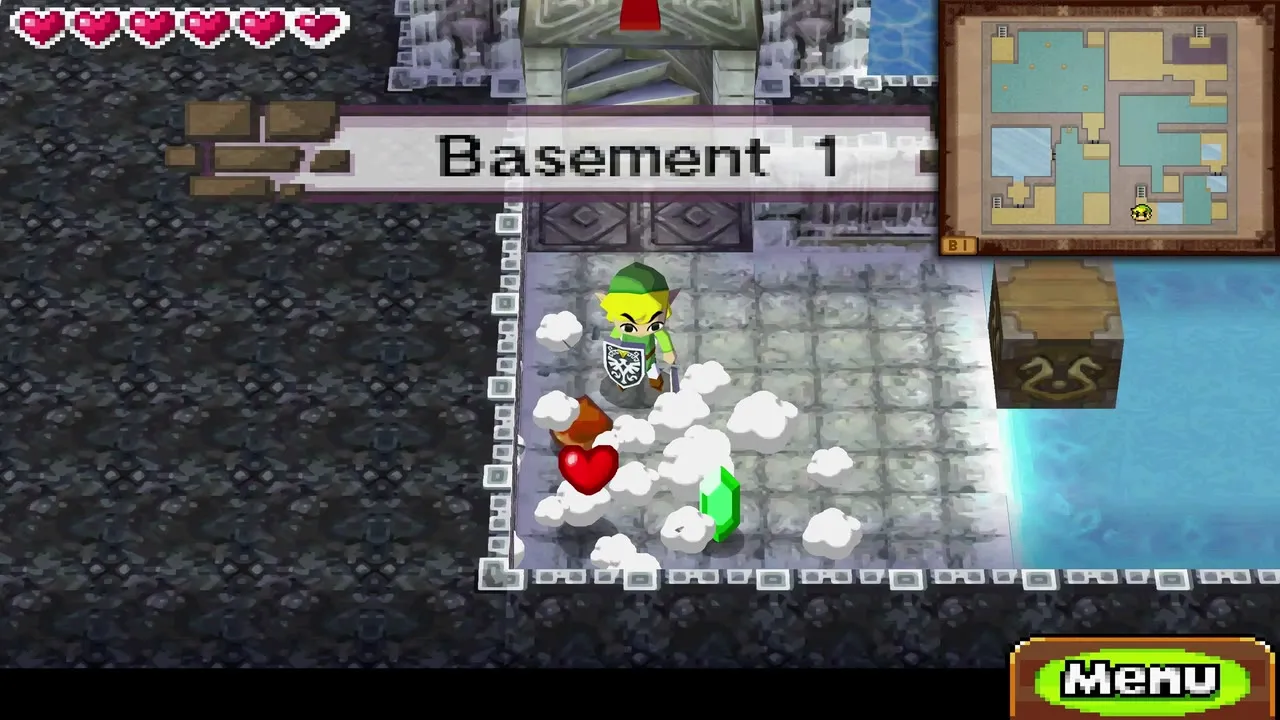
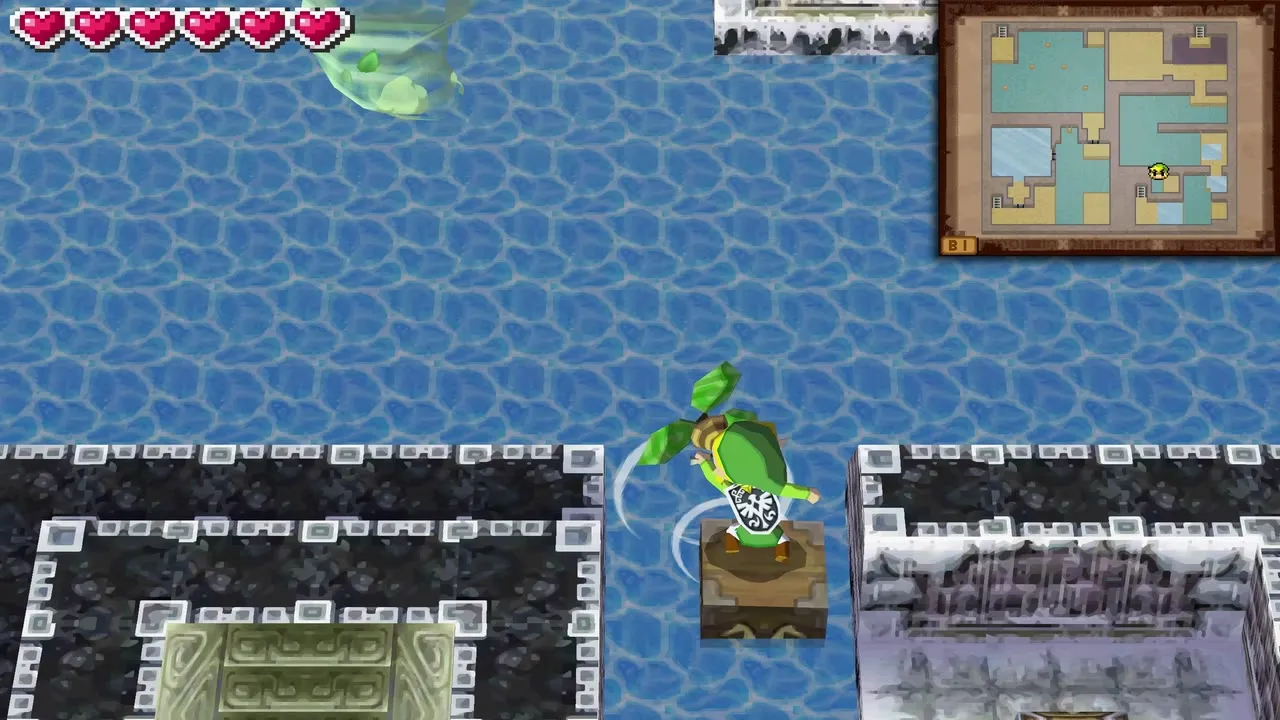
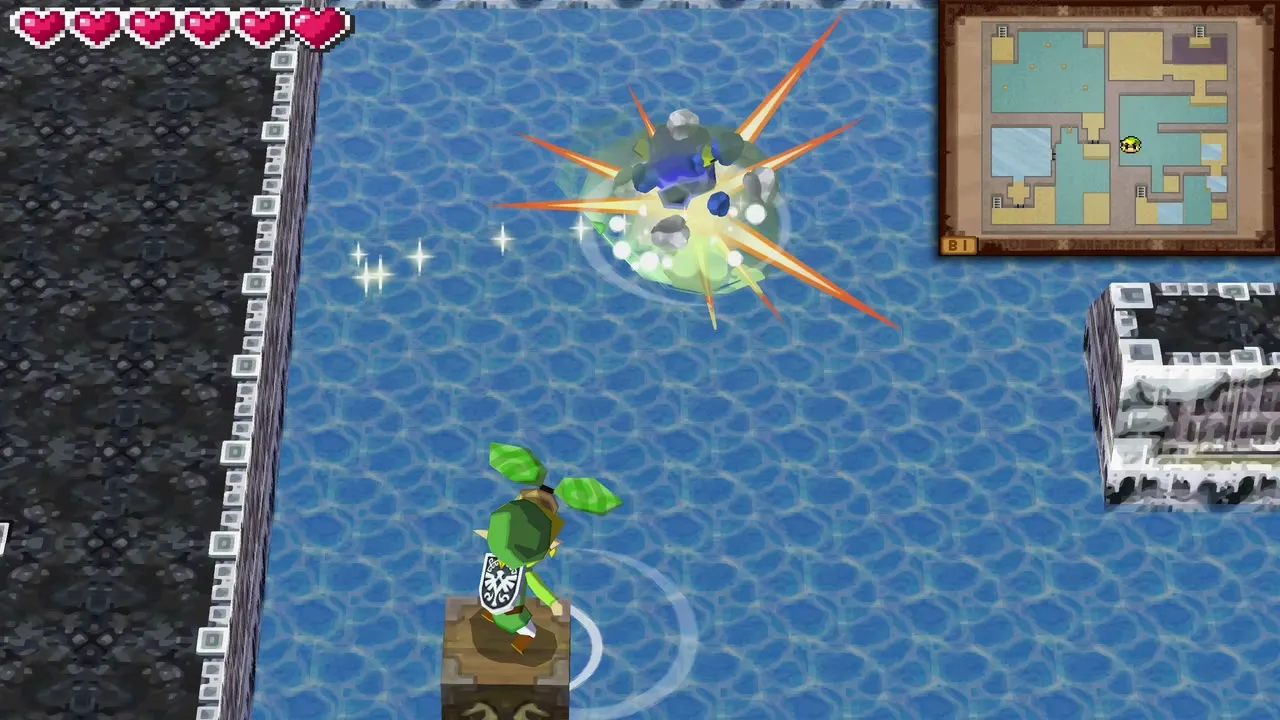
Push the block to the right so it falls into the water, then stand on it and blow into the microphone at the fan on the far wall to open a blue door. The block now drifts like a raft: steer it with your breath across the water, step off onto the ice on the far side and push the next block into the water in the same way. Octives and small Freezards guard the pools, so blow their rocks back at them. Ride the block north, then blow it south and west until you can hop off onto the western bank.
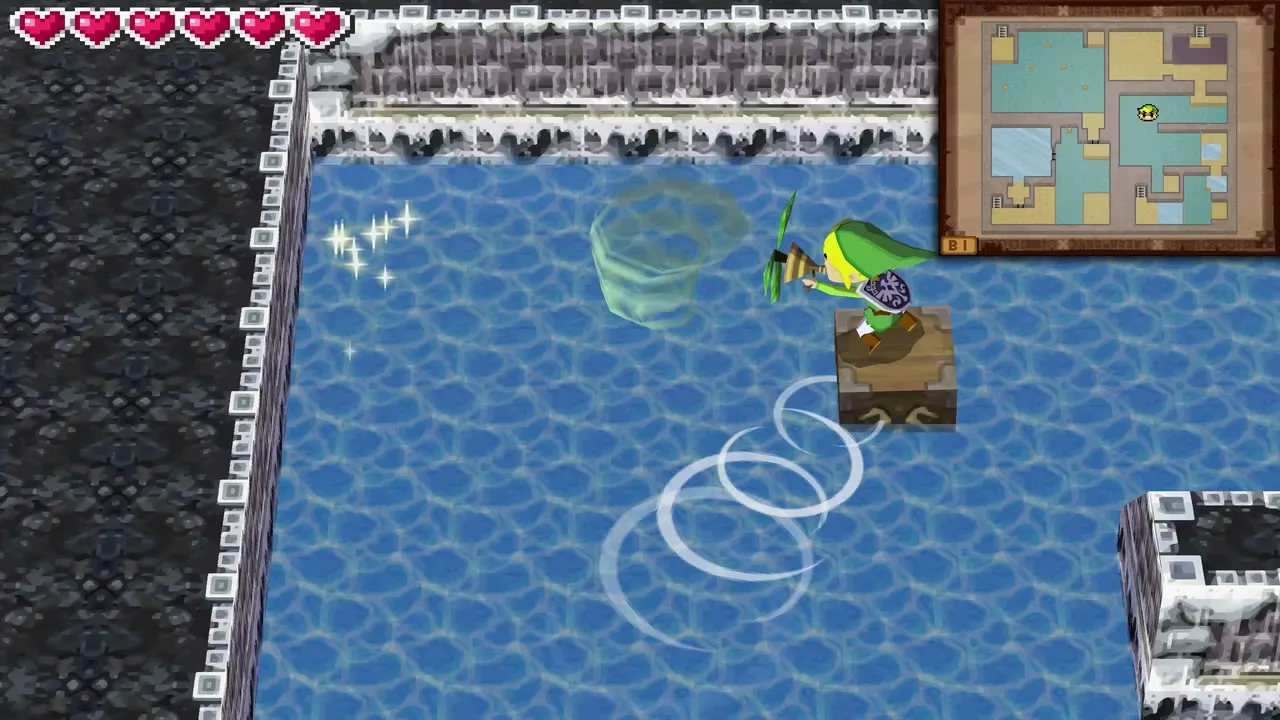
How to get the Boomerang in the Snow Temple
Stun the three Keese
On the western bank three Ice Keese circle the room. Blow at them with the Whirlwind to stun them, then slash each one while it is down. Once all are gone, a large chest rises into the room.
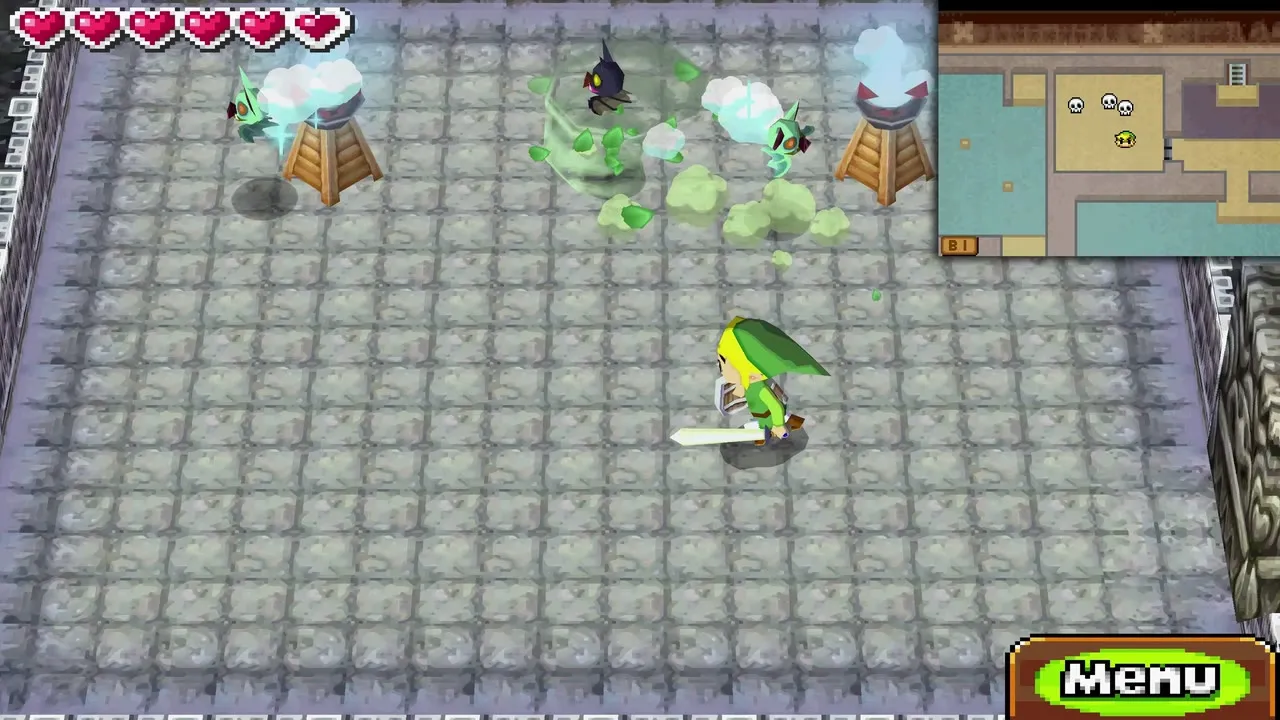
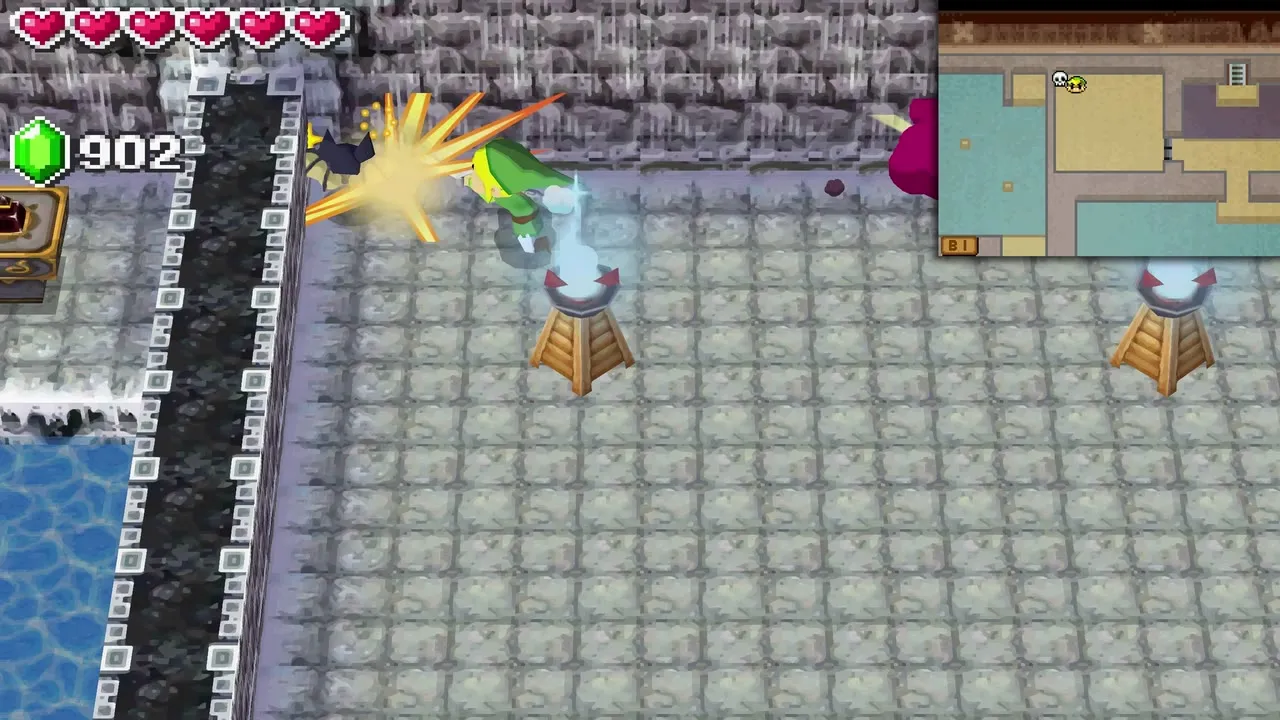
Open the chest for the Boomerang
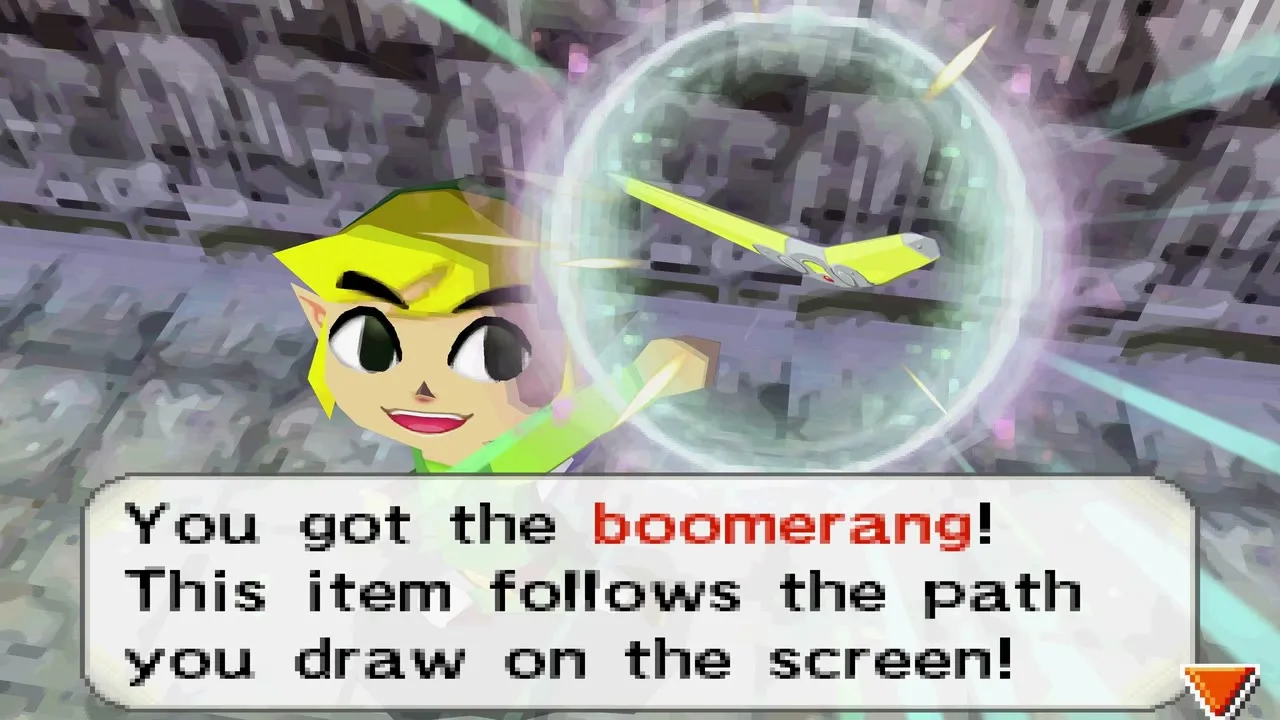
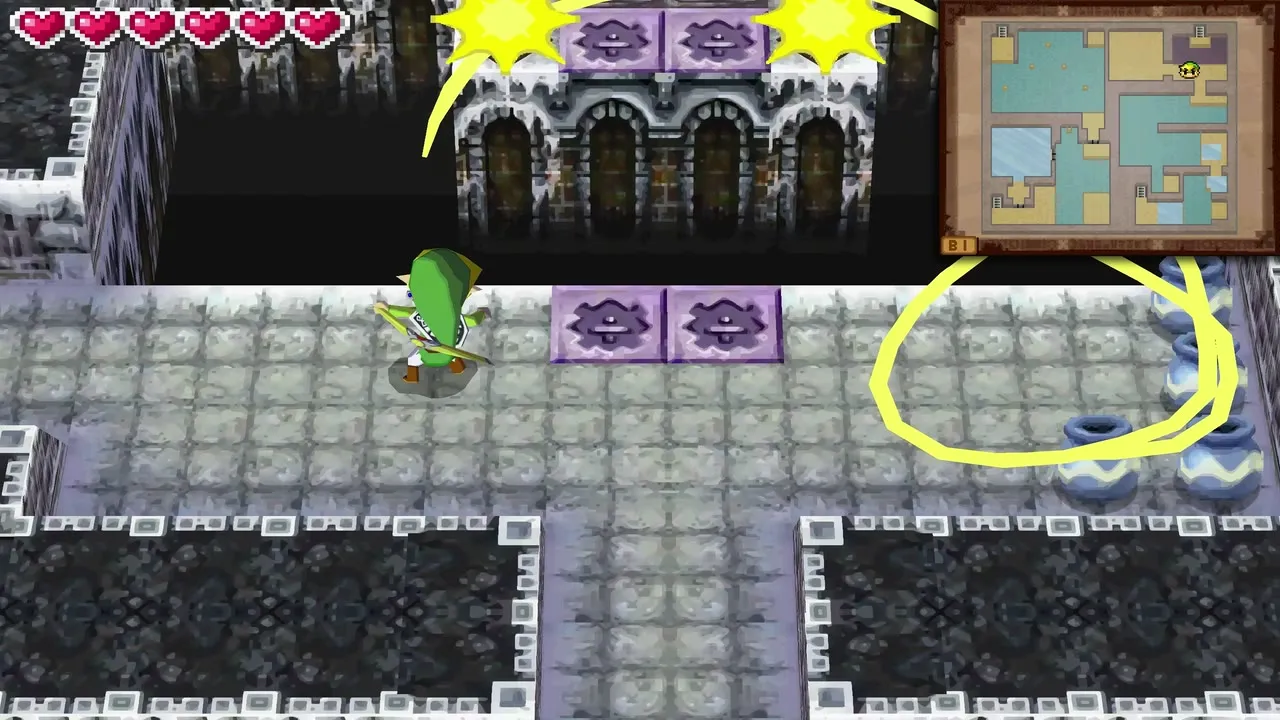
Open the chest to take the Boomerang. Equip it from the menu, then draw a line on the touch screen to send it along that path. You can curve it around corners, through several targets in one throw and back to your hand. It hits switches, stuns enemies and picks up fire and ice from torches, which is how the rest of the temple works.
Hit the two switches across the gap
Walk east to the edge of a gap where two switches sit on the far side. Draw a Boomerang path through both and a bridge appears. Cross it and climb the stairs.
Snow Temple bell puzzle solutions
Read the bell order in the front hall
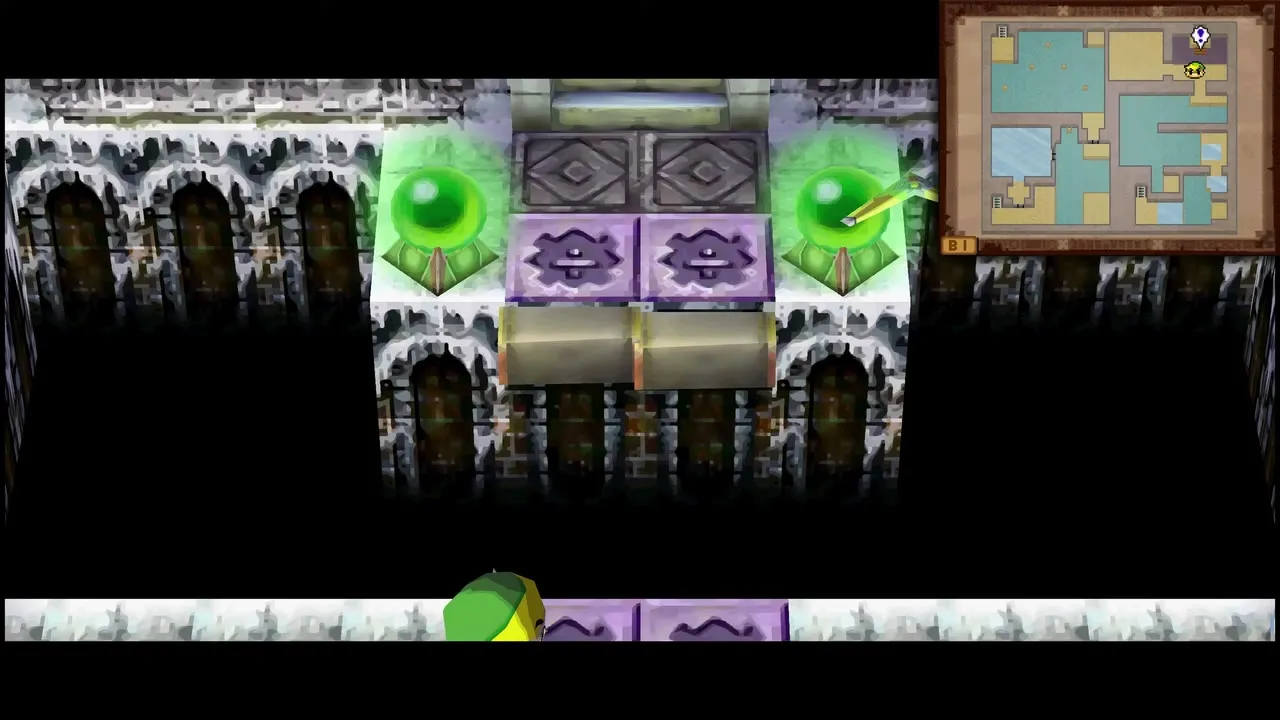
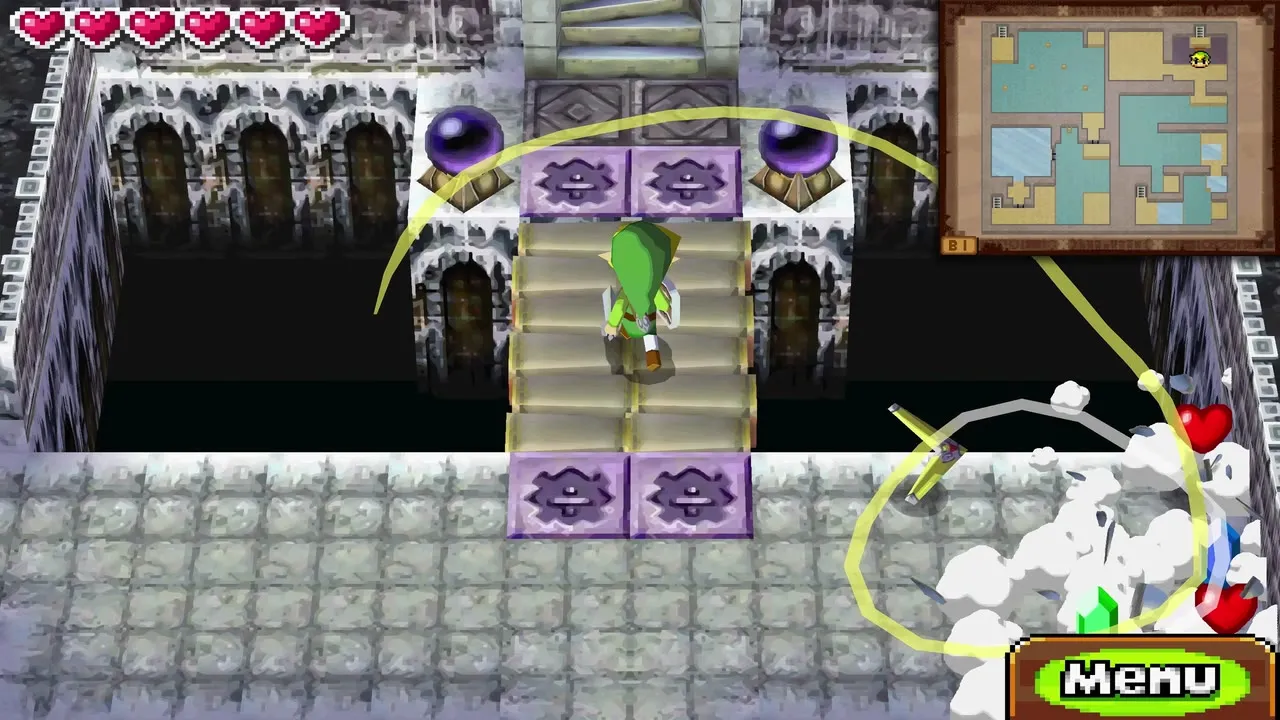
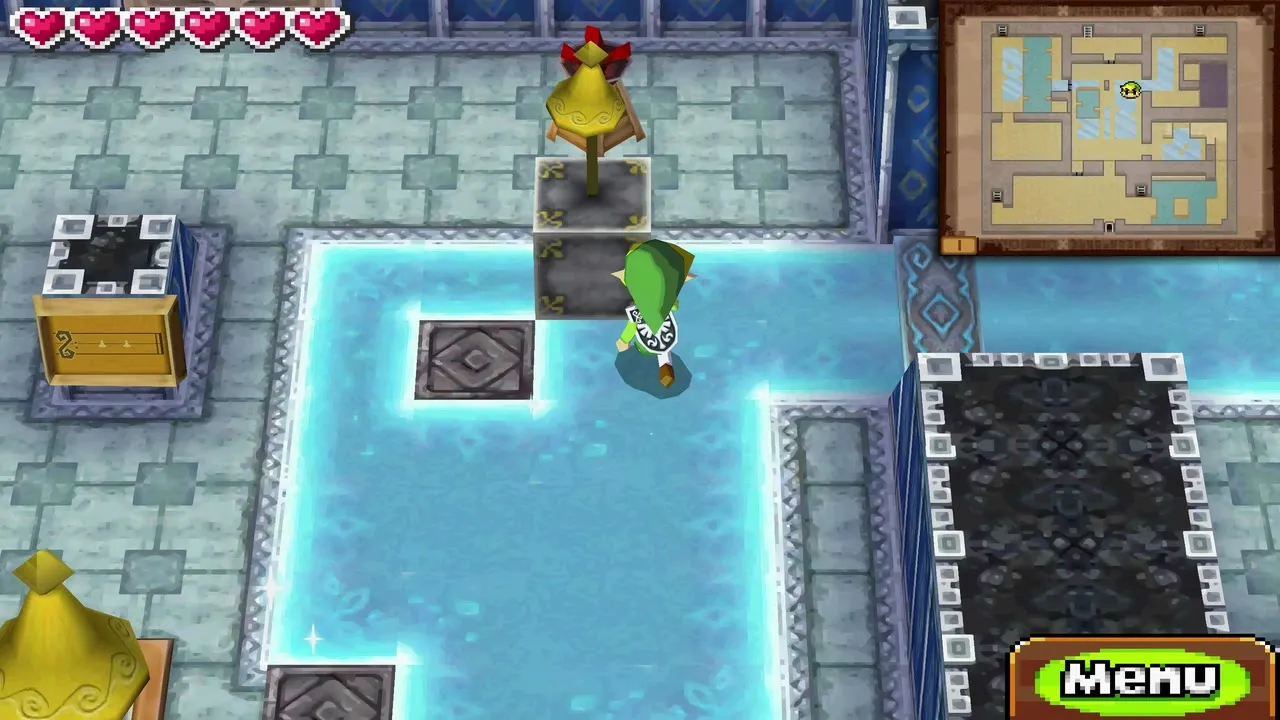
The temple’s central trick is a set of bells that must be struck with the Boomerang in a set order. On the wall to the left a carving shows the order for the first set: largest bell, smallest, smallest, largest. Below it stands a loose bell. Push it down and then left, then go right to find a switch behind a wall. Draw a Boomerang path round the wall to tag the switch and open a blue door.

Push the bell into its slot
Push the bell through the blue door, then guide it across the floor and drop it into its slot. When it falls in, strike the bells with the Boomerang in the order you read: largest, smallest, smallest, largest. A door opens.
Light the torches in the right order
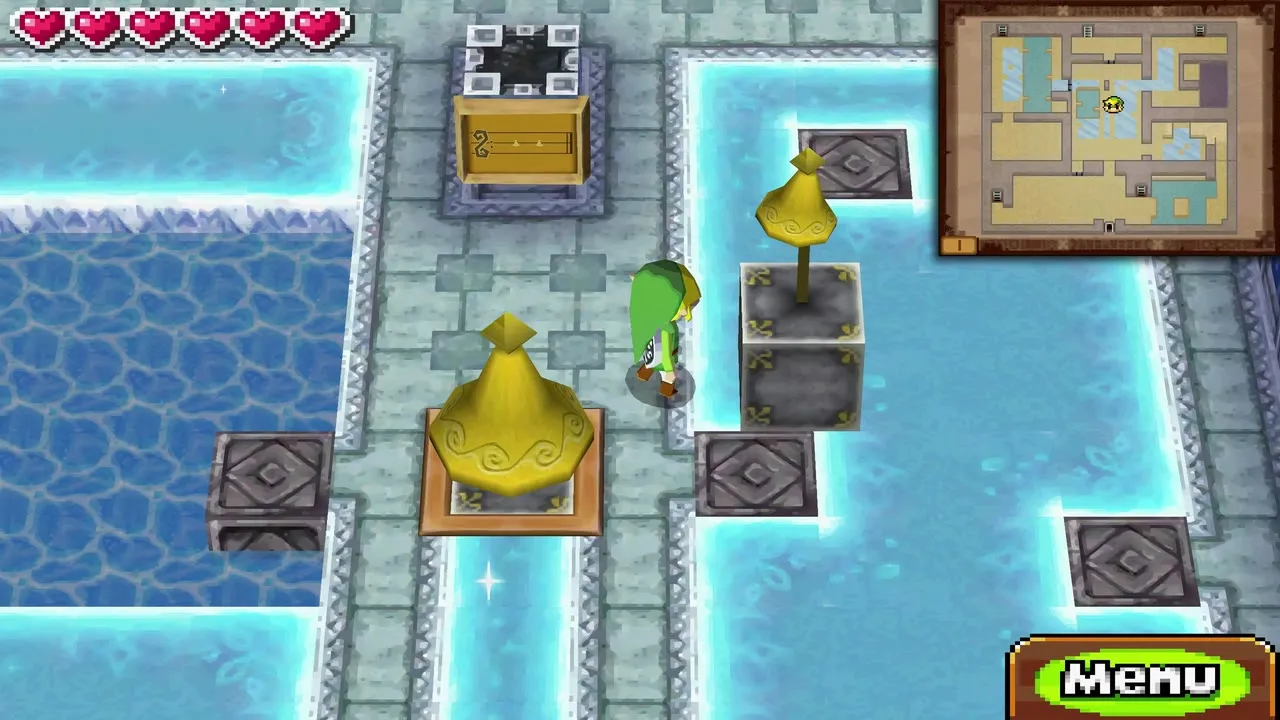
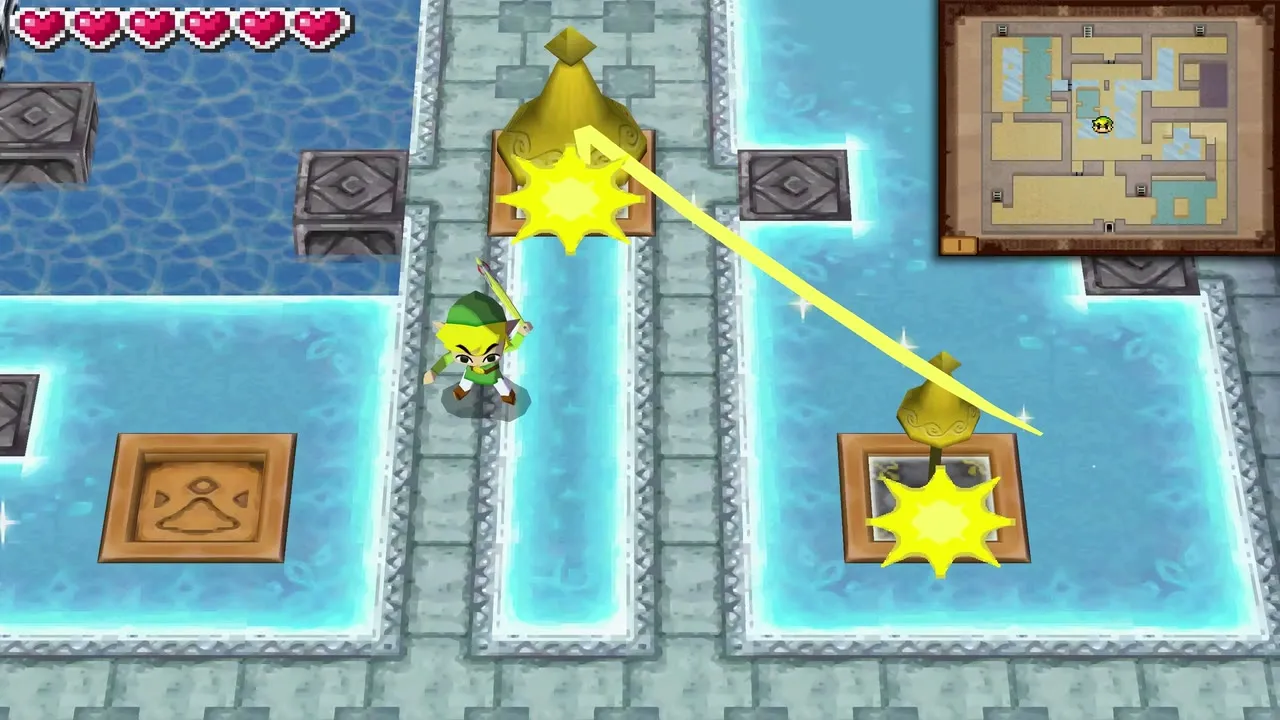
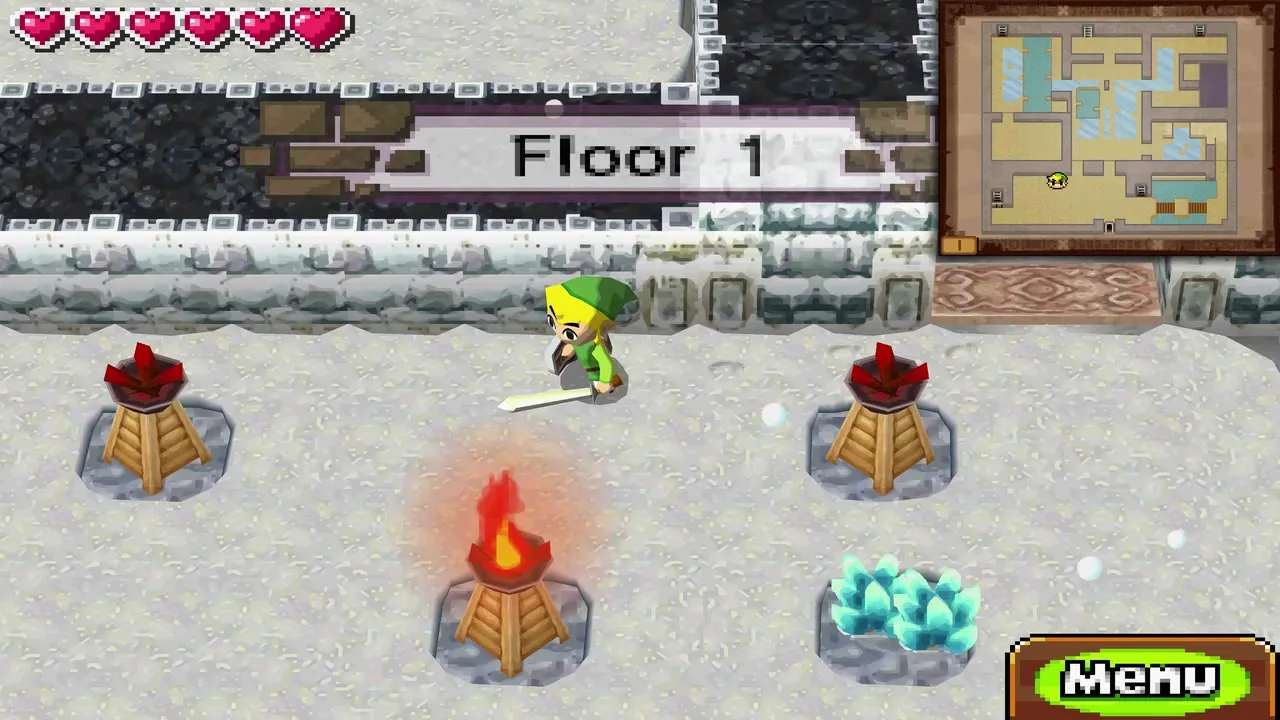
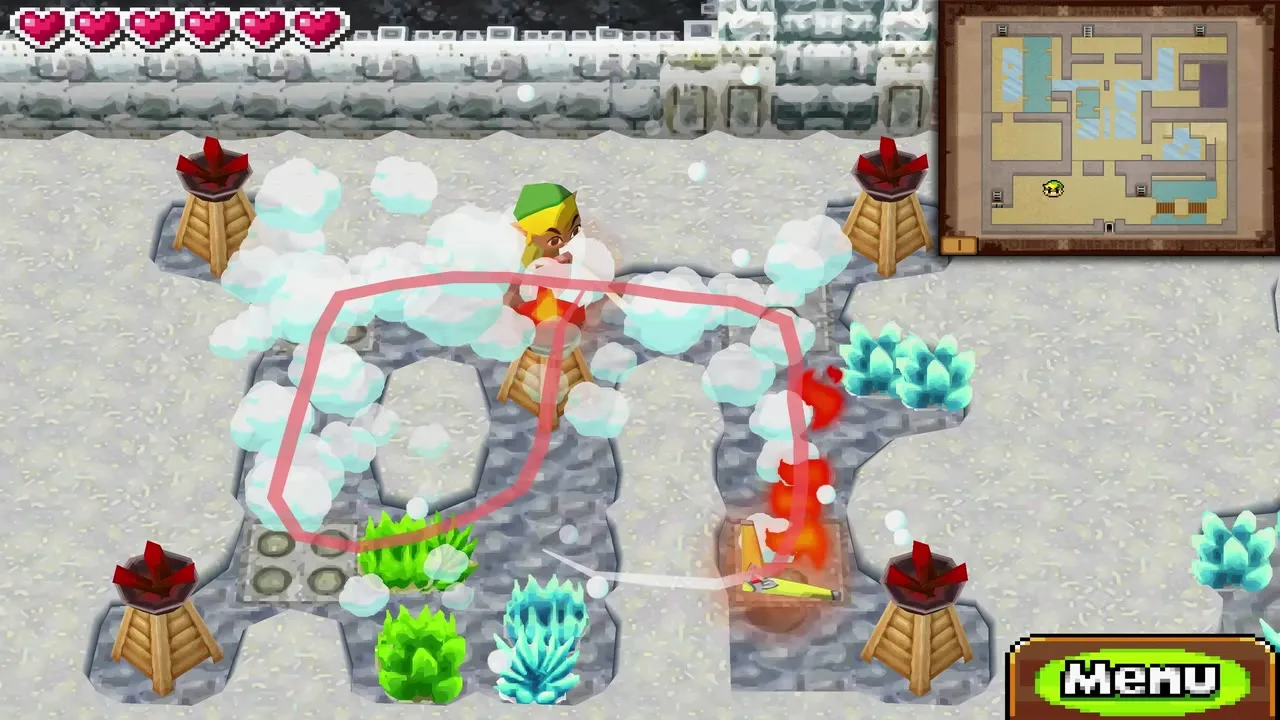
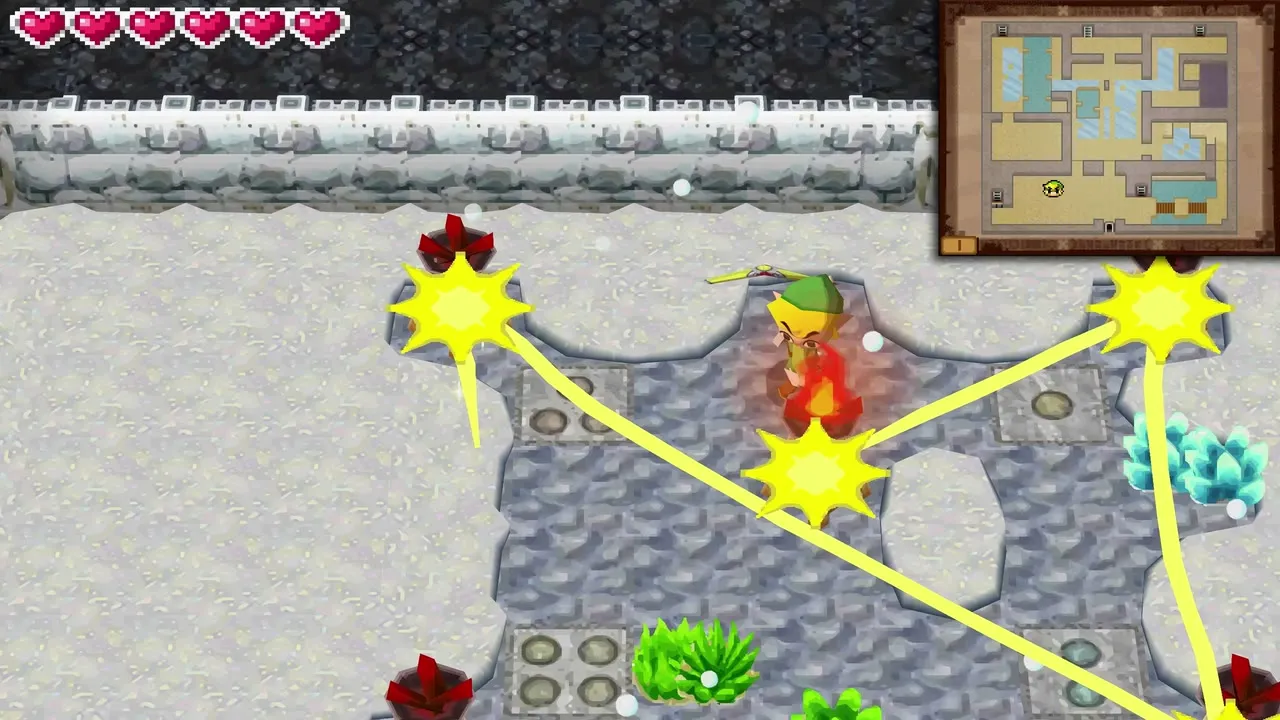
The next room has one lit torch and several unlit ones buried under snow. Throw the Boomerang through the lit torch, then loop it around the others to melt the snow, which reveals the order in which to light them. Light them in that order and a door opens. Go down the stairs beyond it.
Freeze a path to the small key
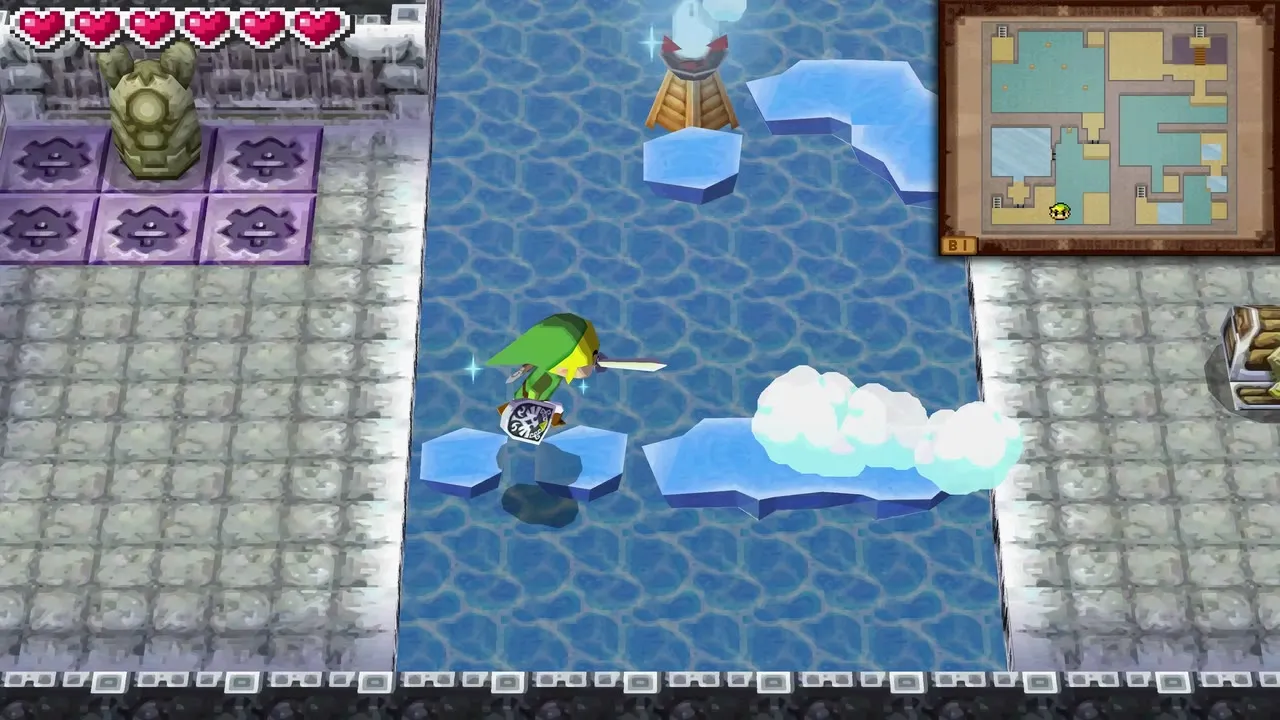
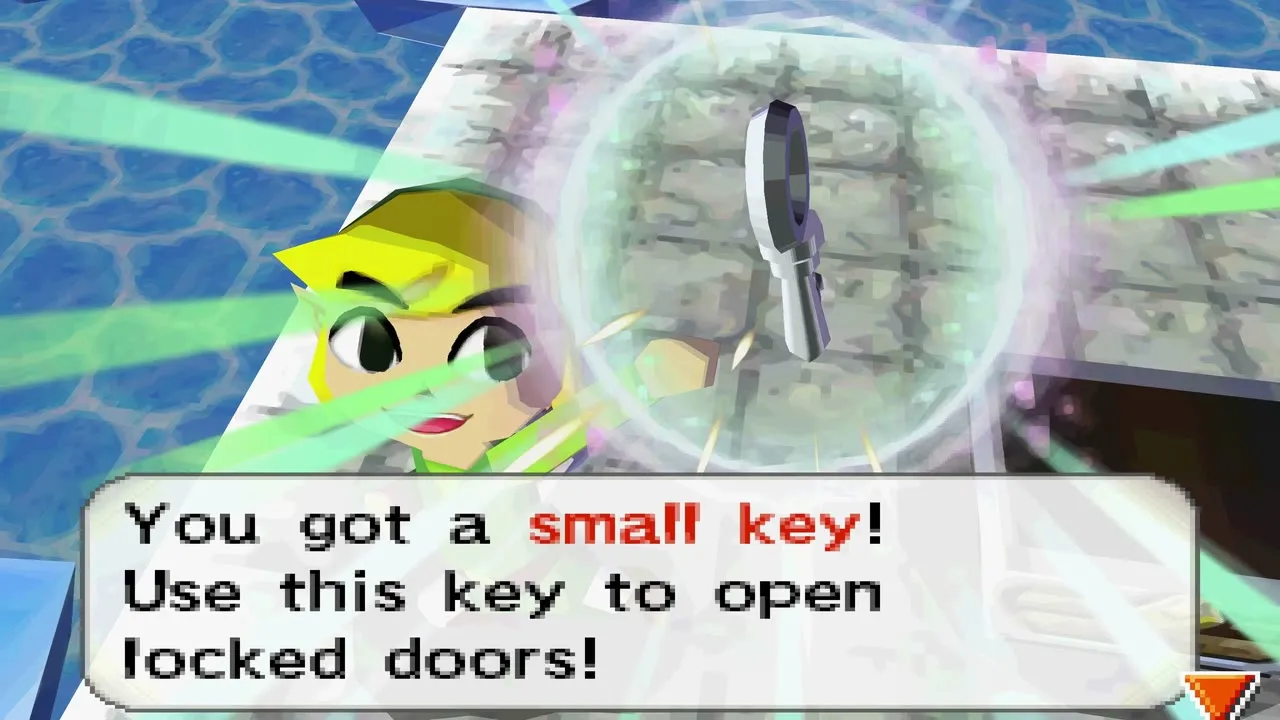
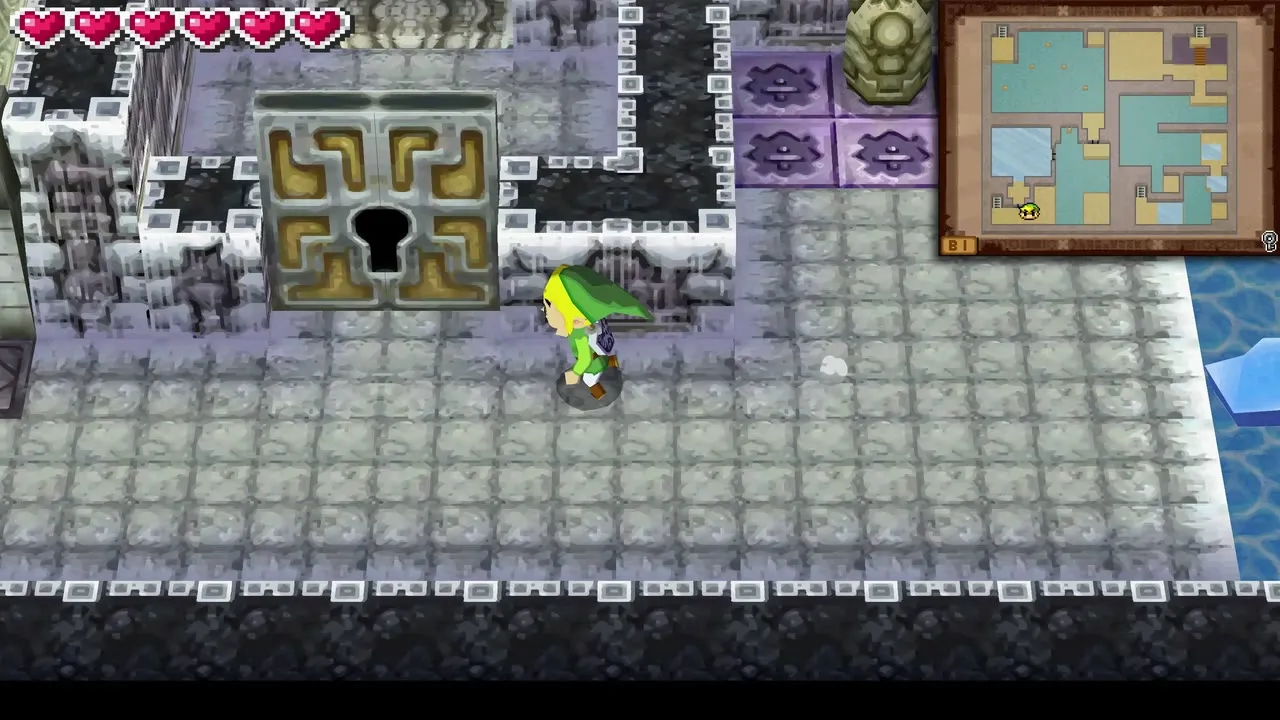
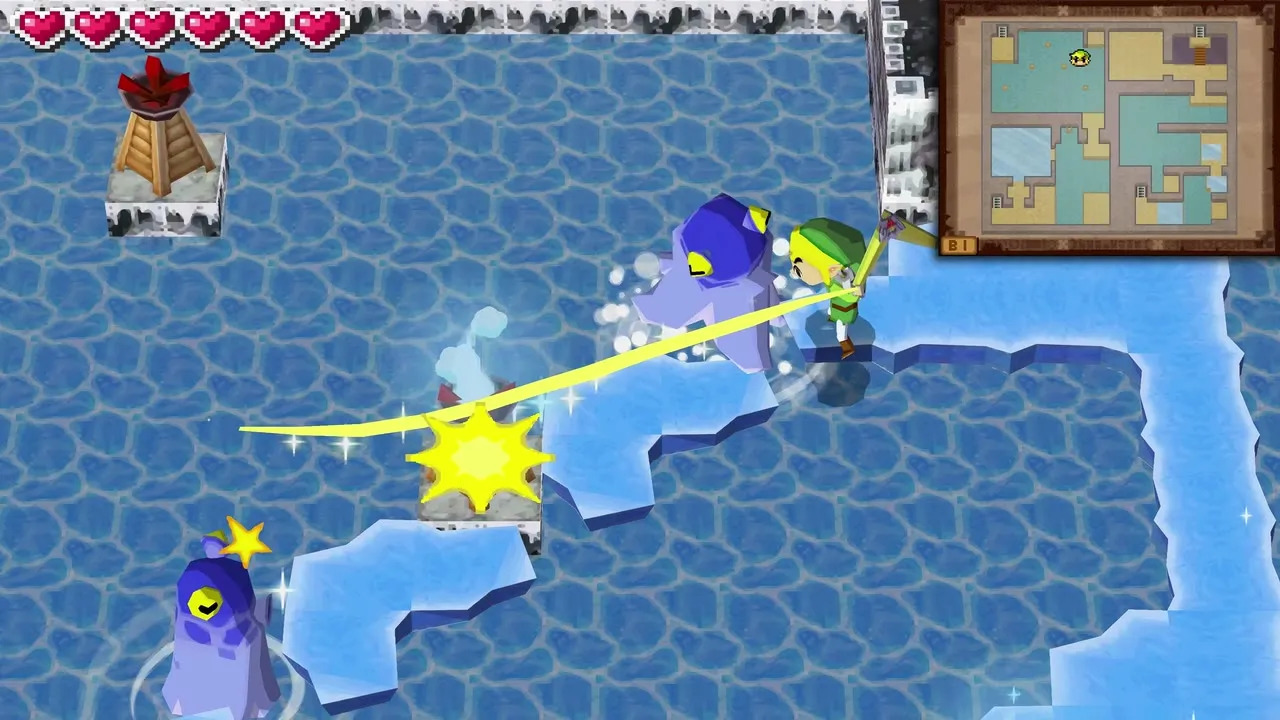
A cold blue flame burns beside the water. Send the Boomerang through that ice flame and across the water so it freezes a bridge, then cross at once because the ice melts. Open the small chest on the far bank for the temple’s small key, and use it on the locked door you passed on the way.
Melt the Freezards and the frozen fan
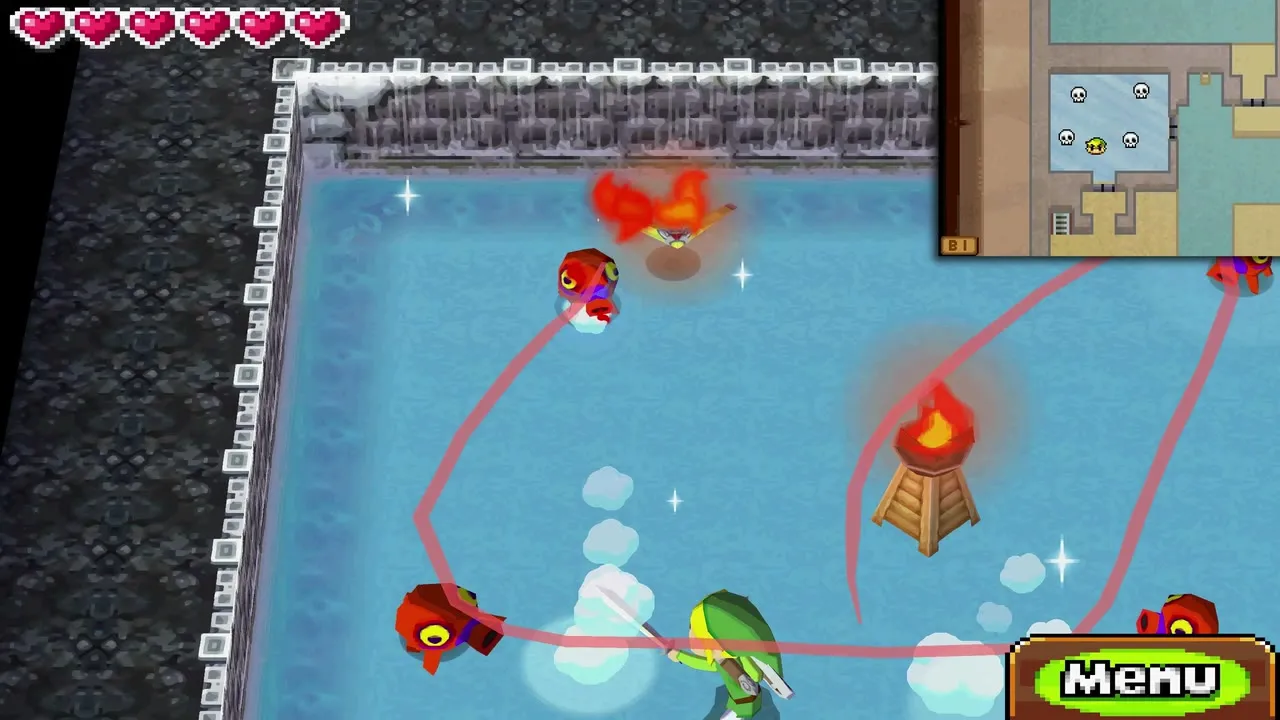
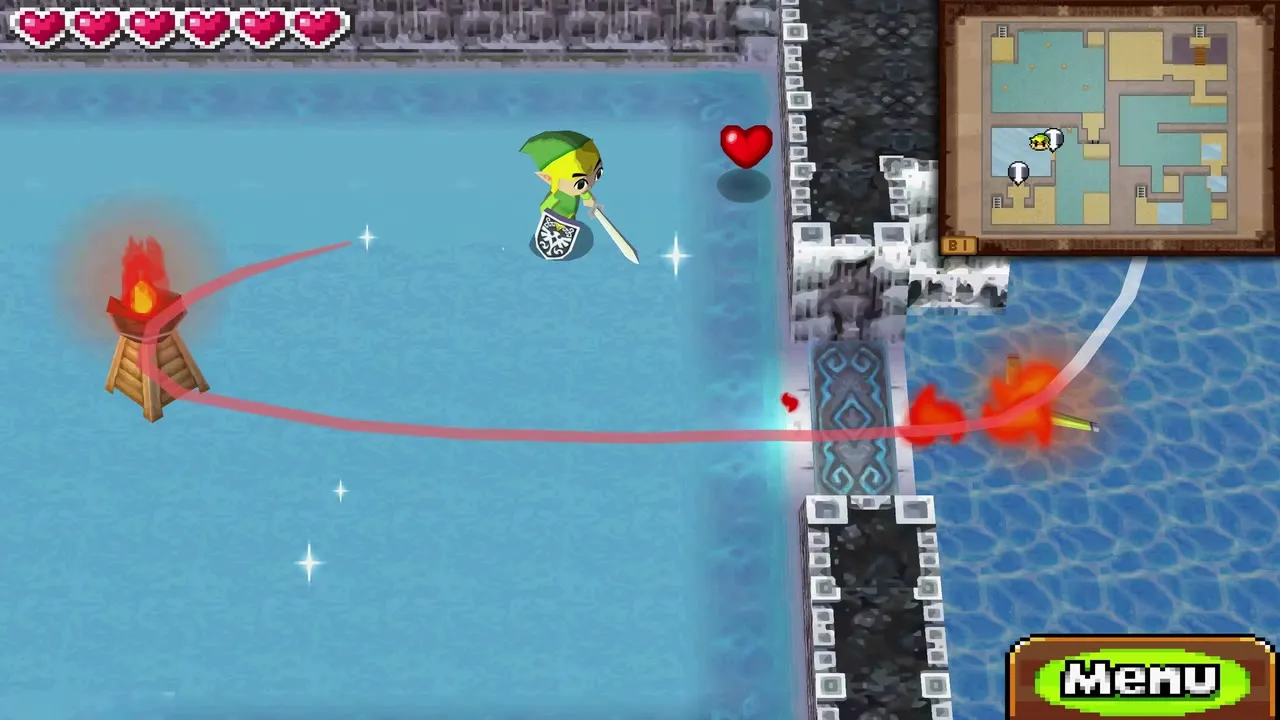
Through the locked door, icy enemies attack. Send the Boomerang through a flame first and then through the enemy: the heat strips its ice and leaves it open to your sword. Take the blue door that opens next and you will see a frozen fan. Melt it with a fire-charged Boomerang, blow at it with the Whirlwind, then switch back to the Boomerang and send it through an ice flame to the unlit torches beyond. Freeze each torch in turn and you build a path across the lake to the next stairs.
Uncover the second bell sequence
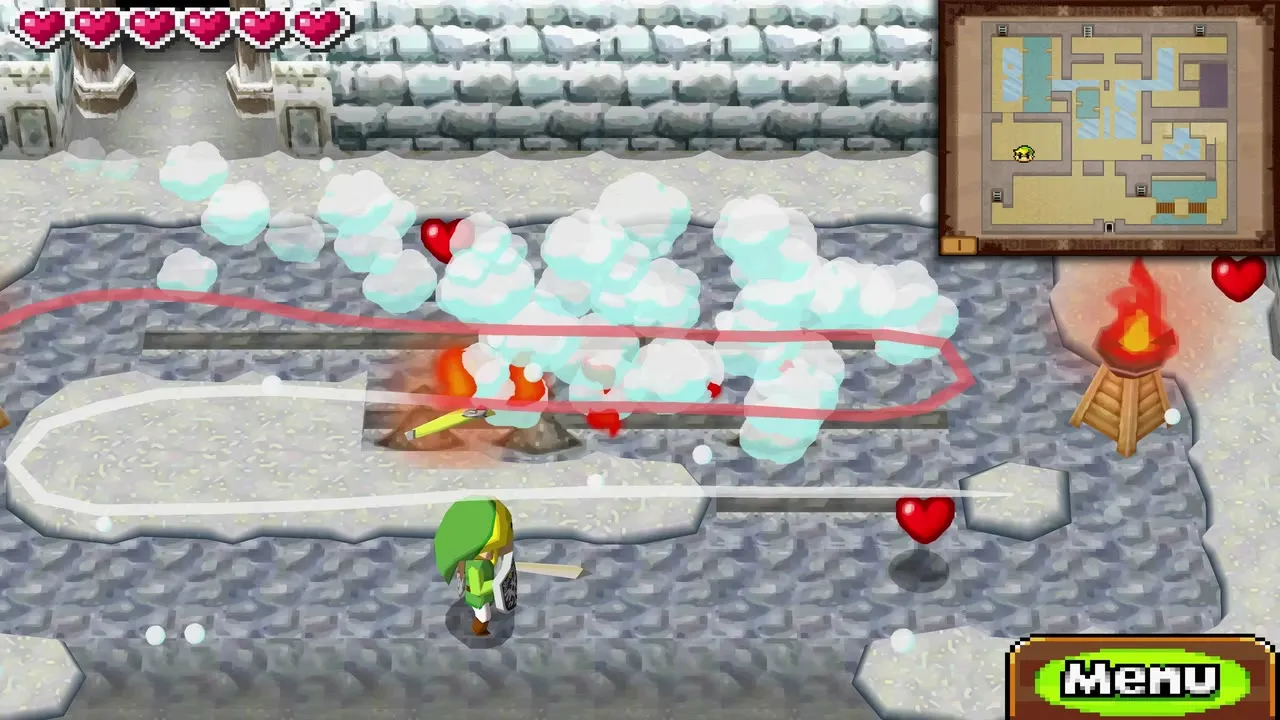
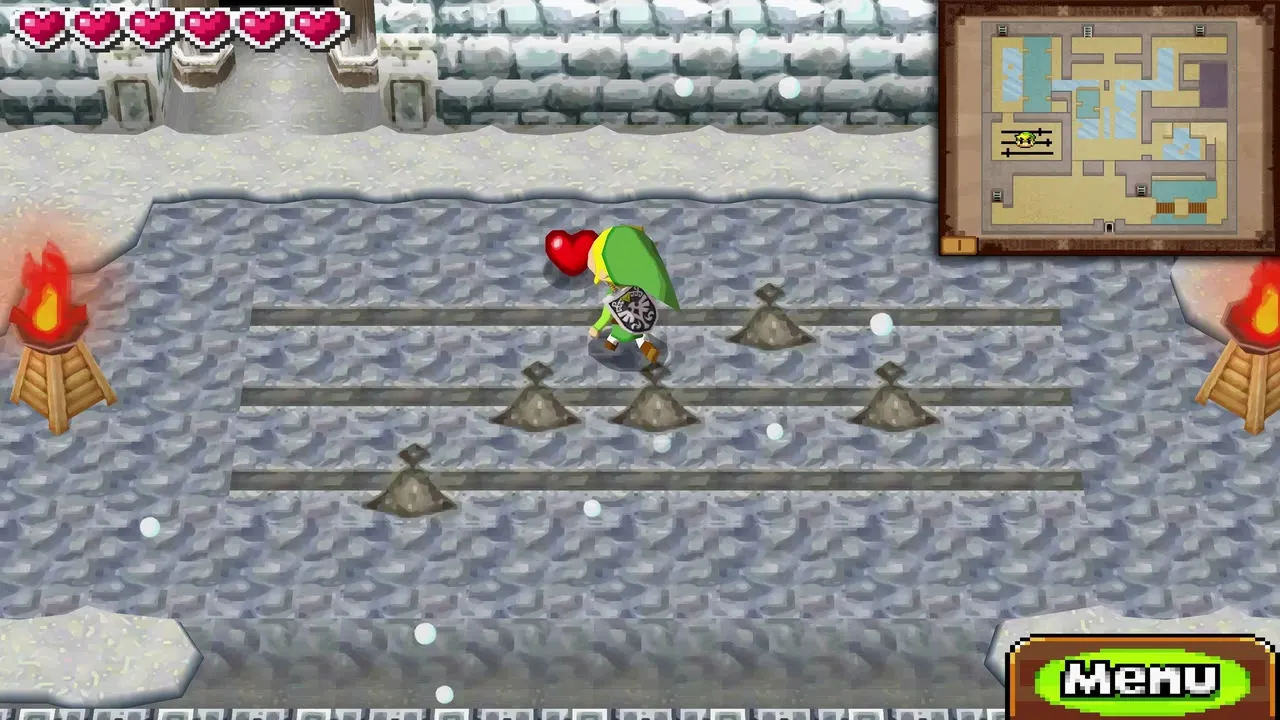
At the top is another bell. Leave it for now and go through the south door into a room covered in snow. Melt as much of the snow as you can with fire from the Boomerang to uncover the order for this set: largest, medium, medium, smallest, medium.
Freeze your way to the second slot
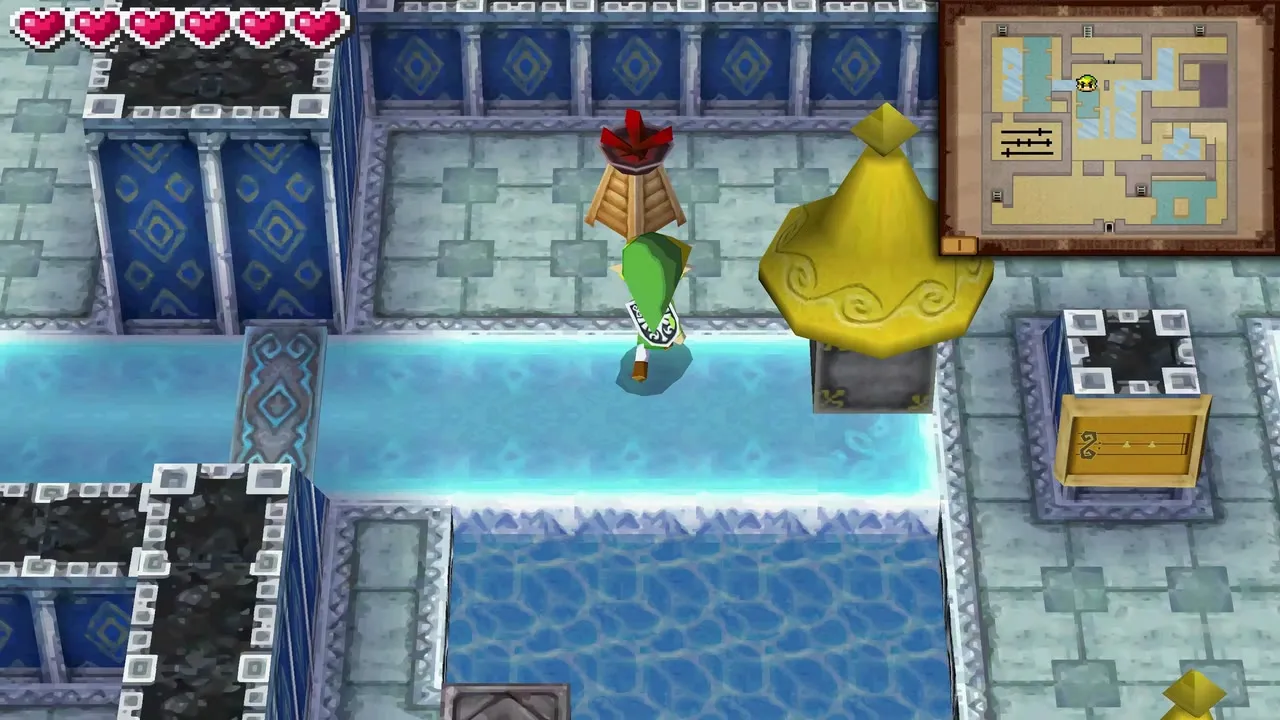
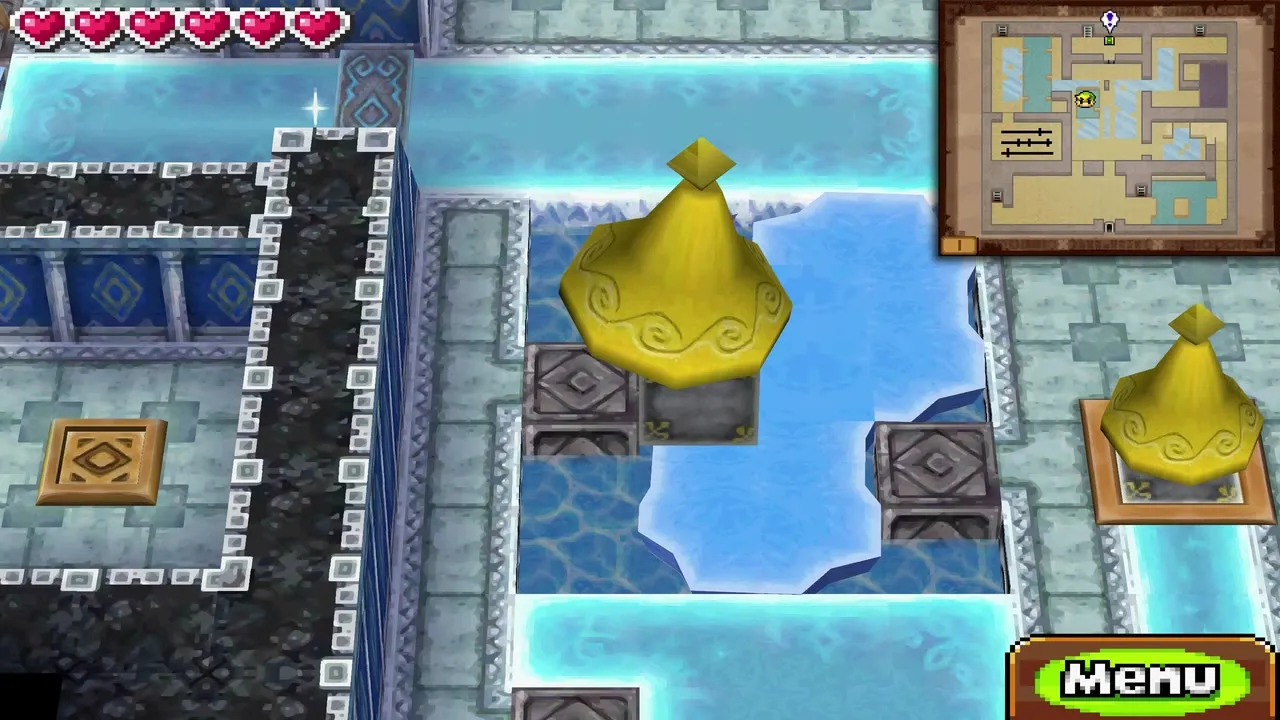
Go back out and push the second bell along its channel until it drops into the water. Freeze the water with the ice flames near the far door, push the bell on, and freeze a path to a floor switch. Standing on the switch opens a door. Return to the bell, freeze the unlit torches here to make a chest appear on the far side of the door, then freeze the water to the left. Finish by pushing the bell down, left, down, left, up and right until it falls into its slot.
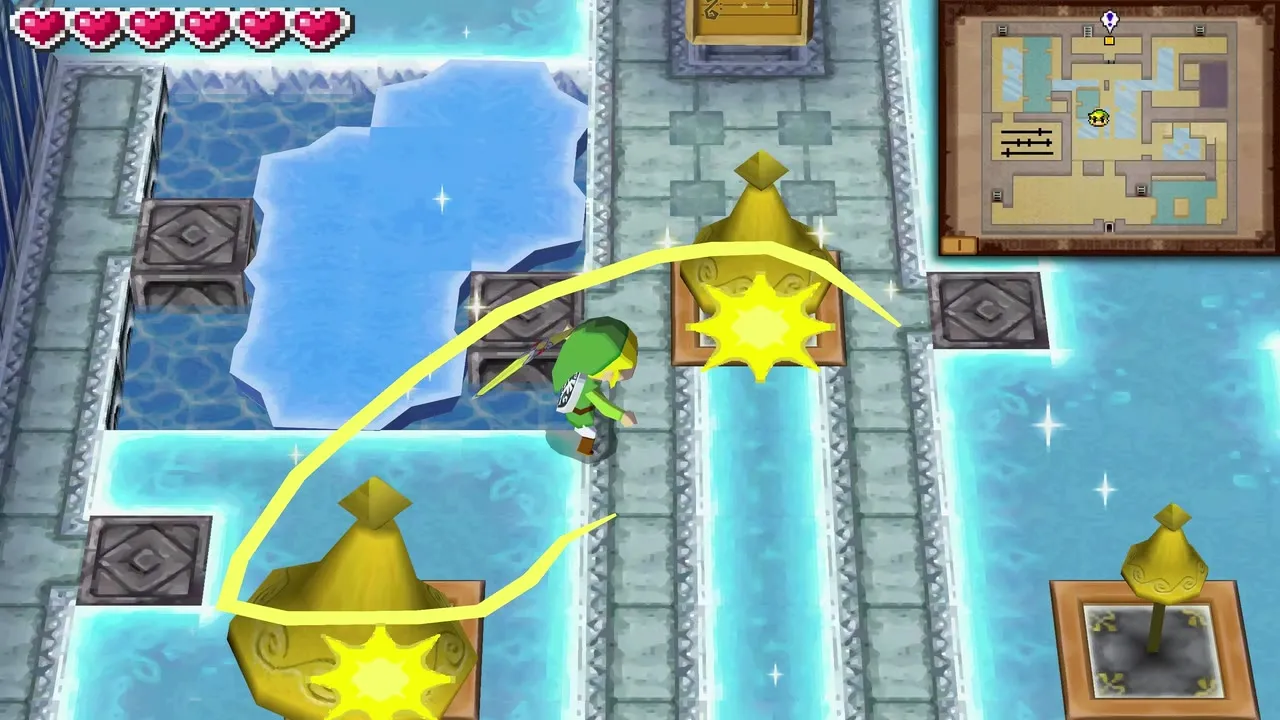
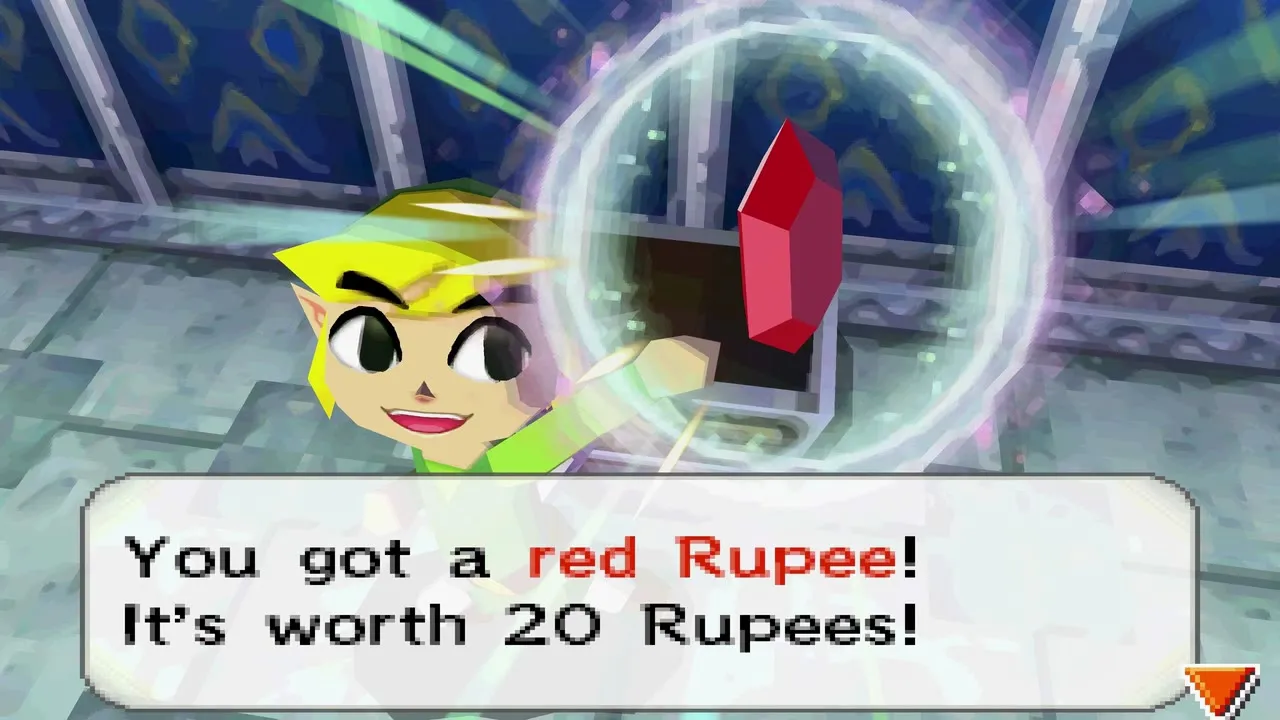
Strike the bells with the Boomerang in the order you uncovered. The door to the north opens. Go through it, open the chest for 20 rupees and take the stairs up.
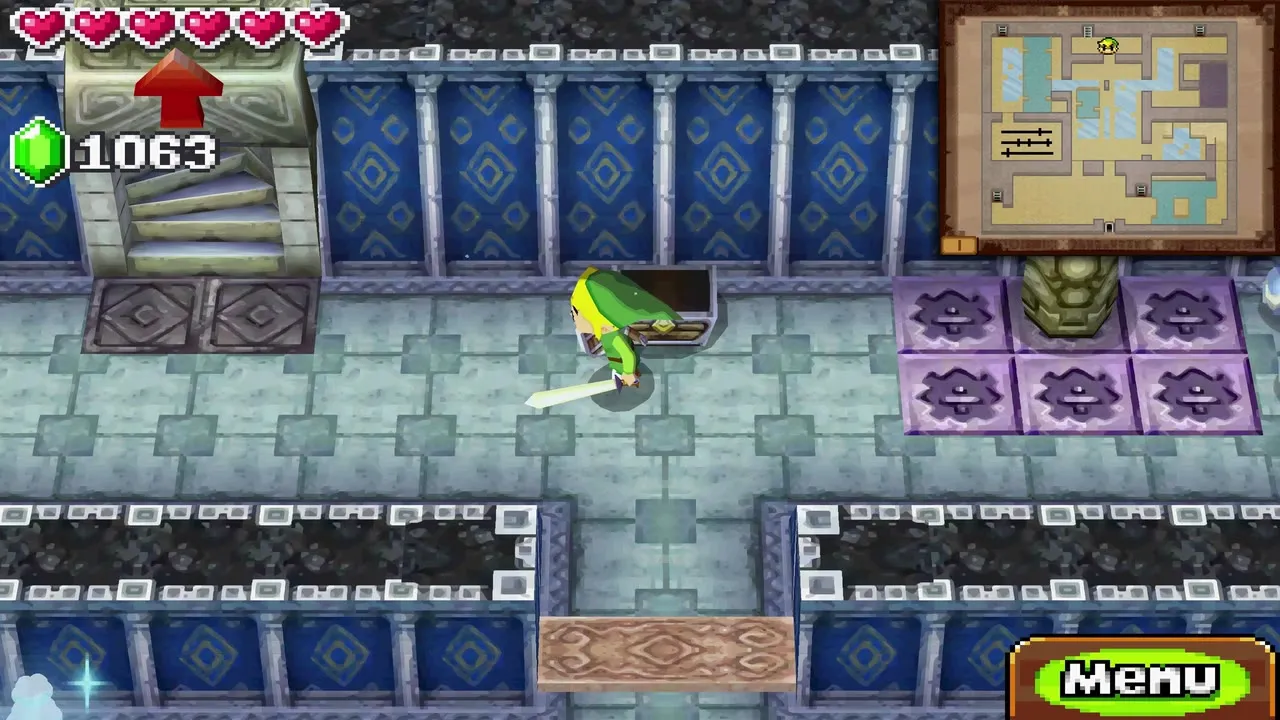
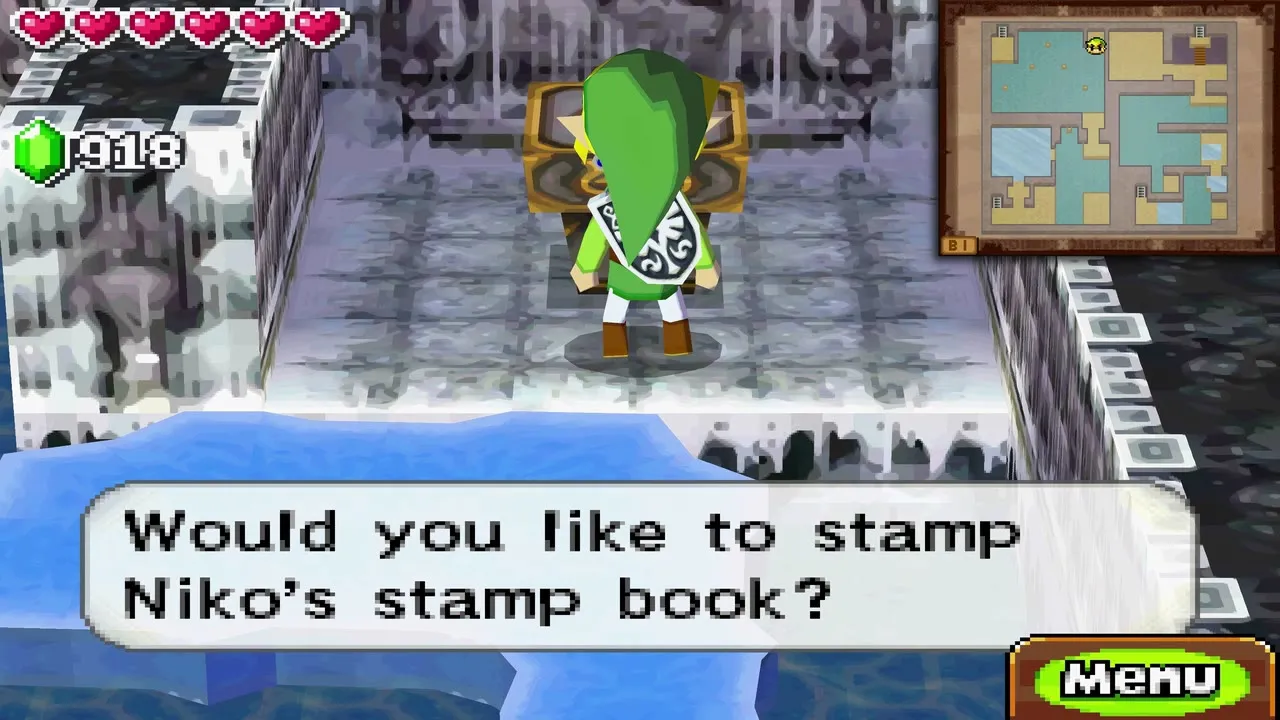
Where the Snow Temple stamp station is
The Snow Temple stamp station sits on the north-east side of the first basement floor. The Boomerang is what makes it reachable: use an ice flame to freeze a path across the water, walk out and stamp Niko’s book. See the stamp station list for the other stations.
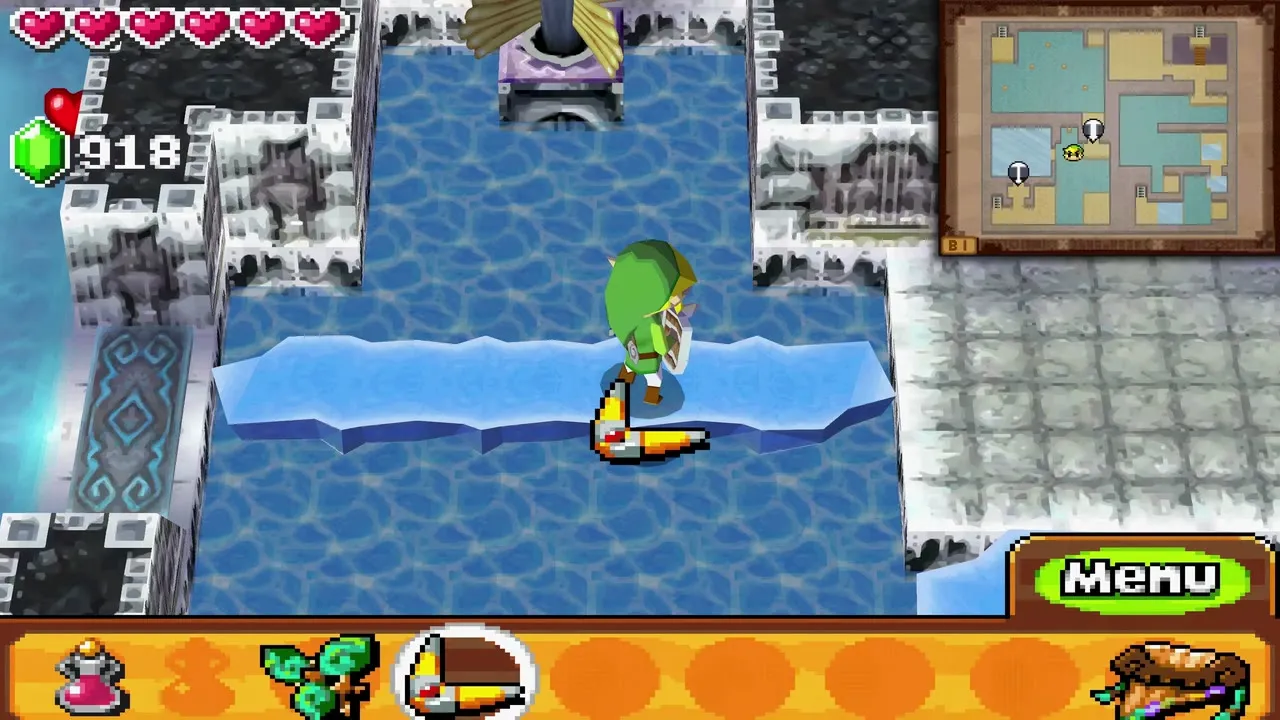
Snow Temple Boss Key and the Wolfos
Copy the torch order from the wall
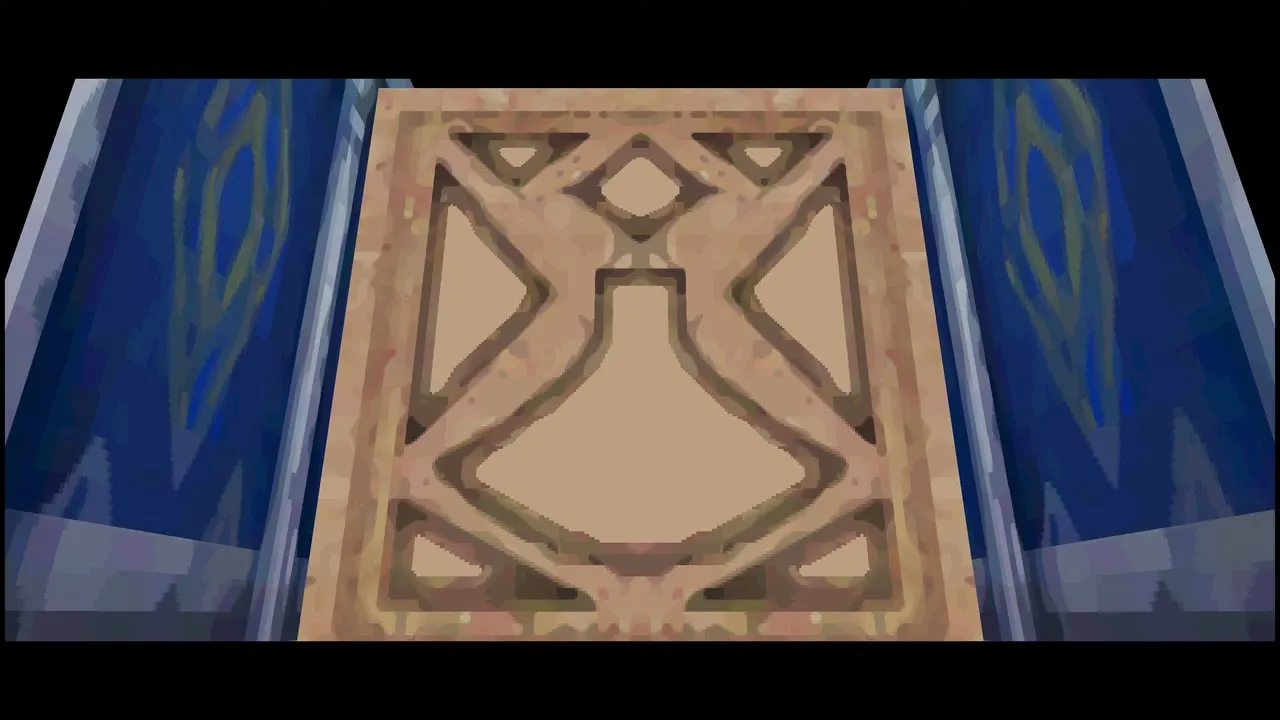
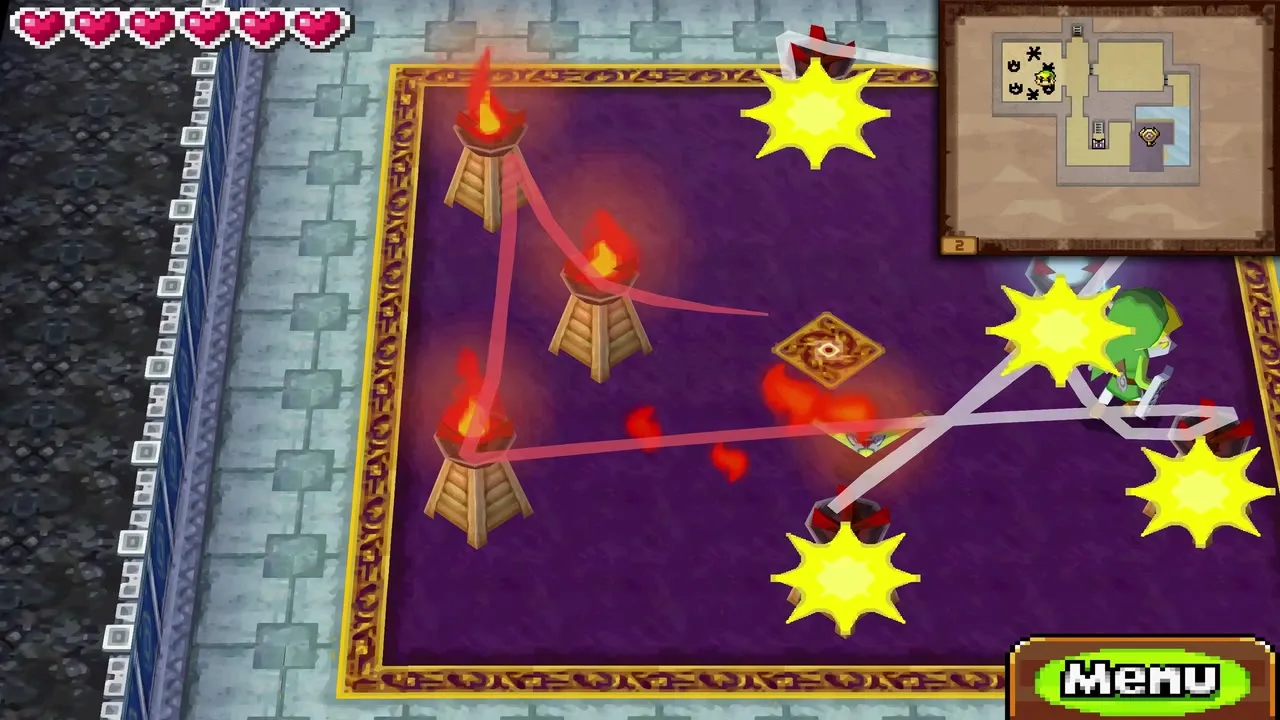
On the upper level, walk south, east and north to find a picture on the wall. Record it on the pale square at the top left of your map, then go to that room. Send the Boomerang through the fire torch first, then through the three torches marked top left, bottom left and bottom right. Continue through the ice flame and then through top middle, bottom middle and top right.
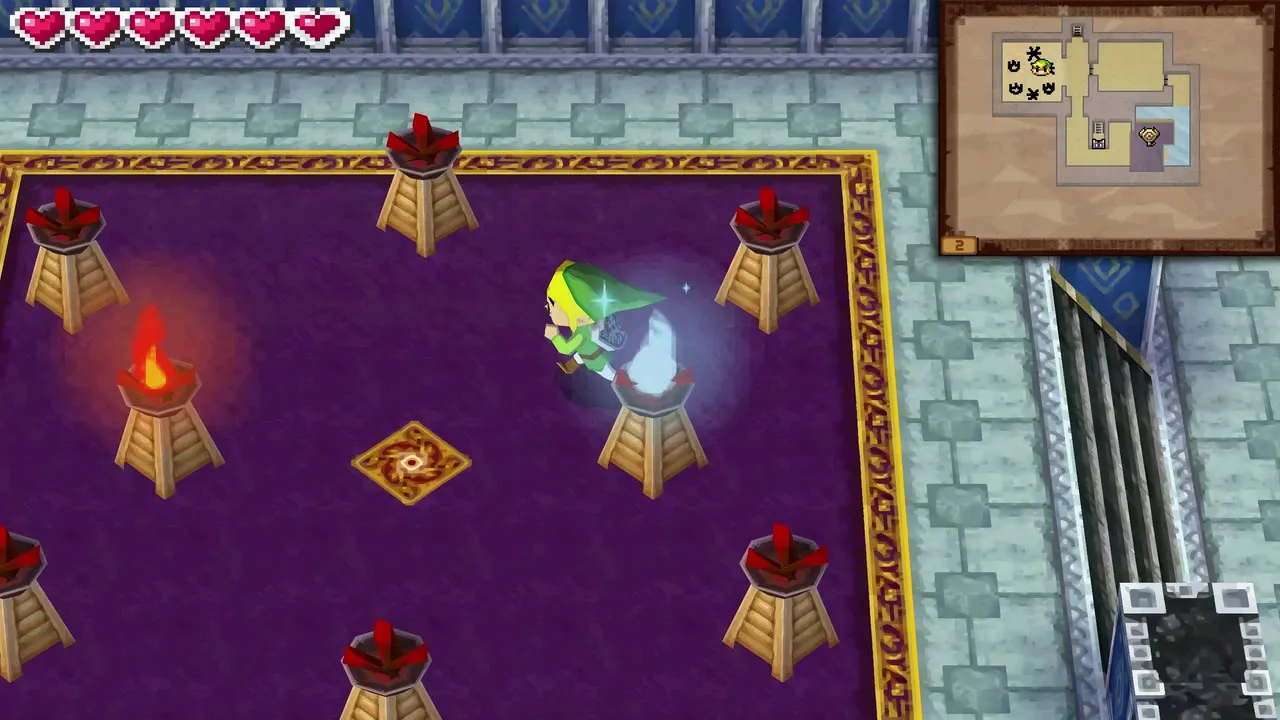
Fight the White Wolfos
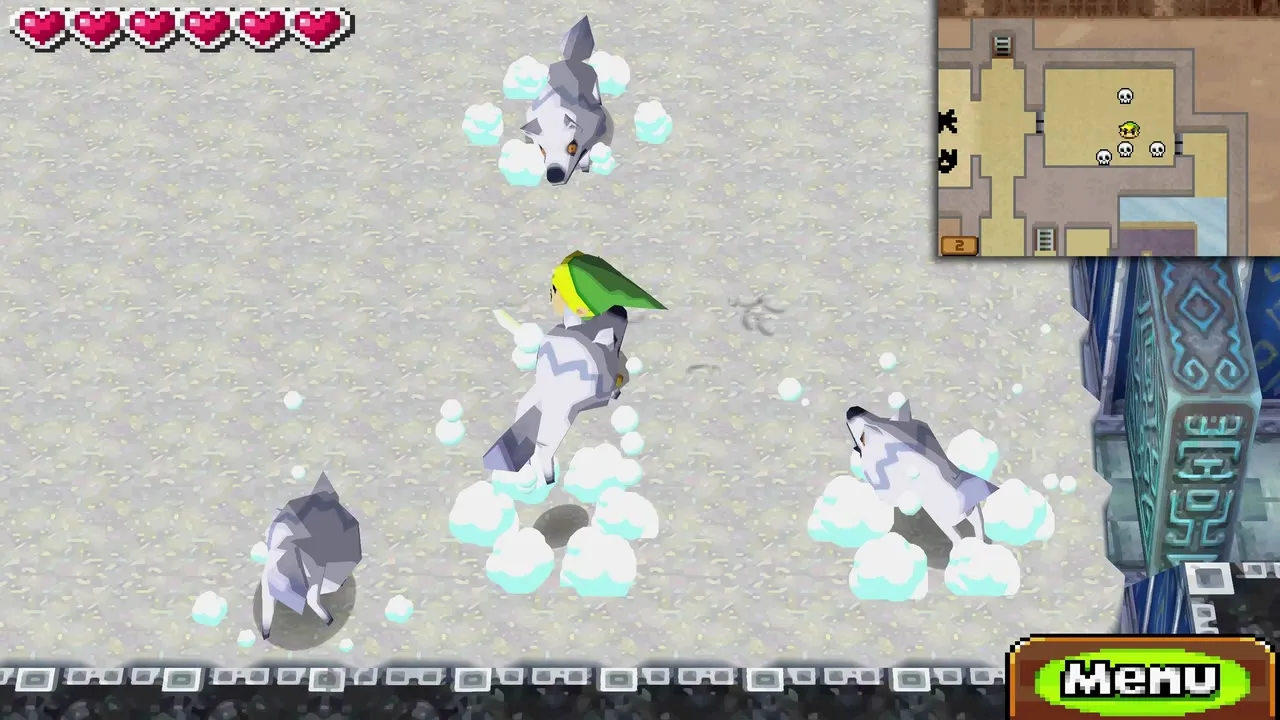
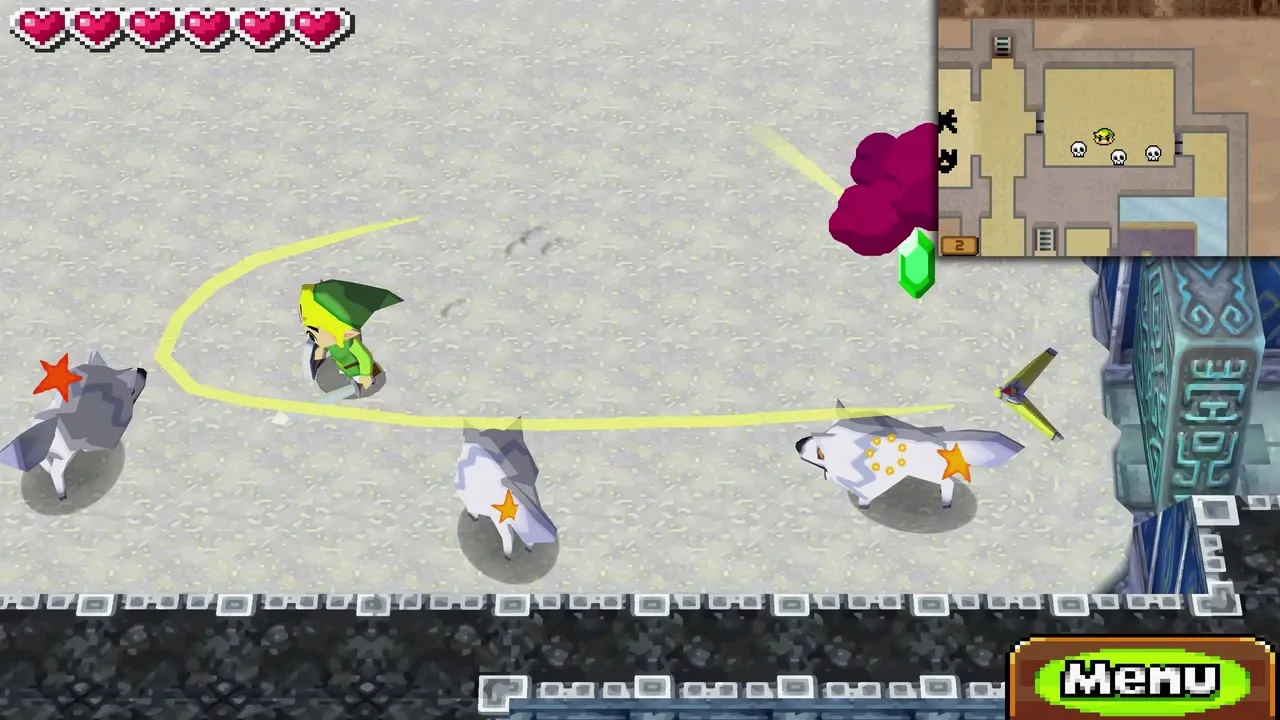
Head straight east and a pack of four White Wolfos charges in. Stun each one with the Boomerang, then strike it with your sword while it is dazed. Keep moving so that two of them cannot corner you. When the last falls, the blue door beyond opens.
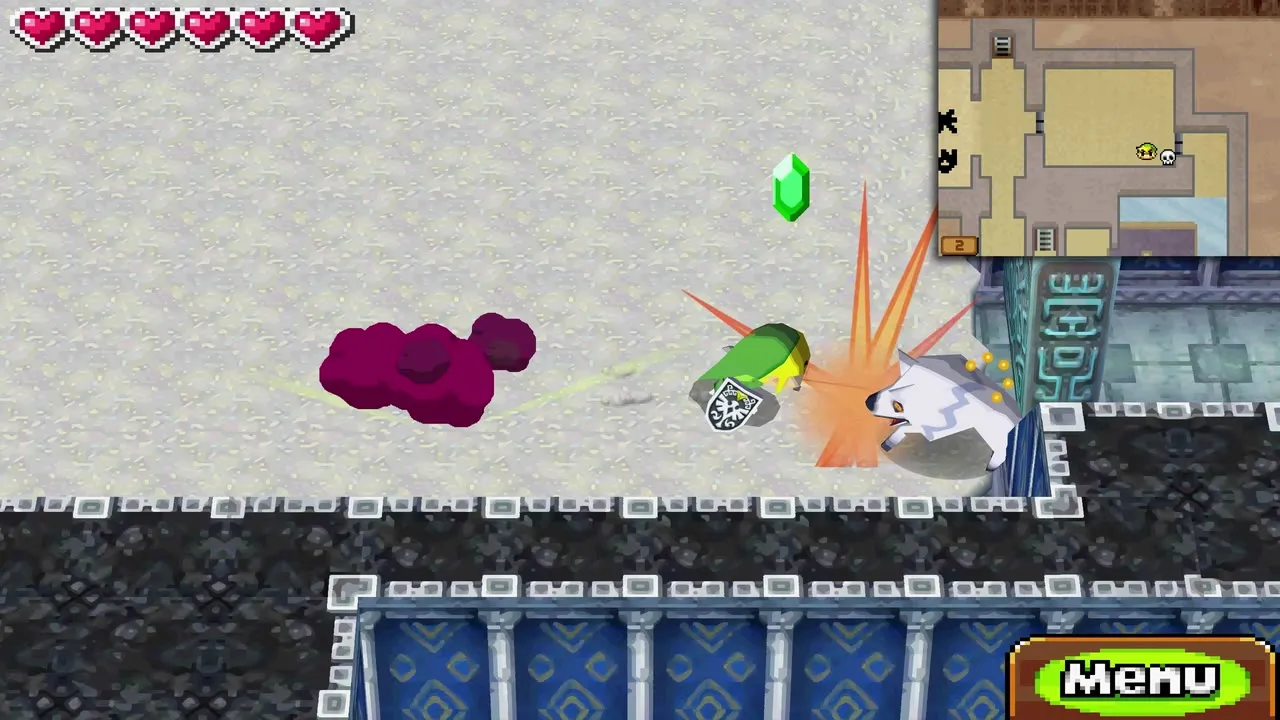
Whirlwind the Boss Key across the gap
Go through the blue door and step onto the floor switch to the south, which creates a bridge. The Boss Key rests on the far side of an abyss, so use the Whirlwind to blow it across to you. Pick it up, carry it to the boss door and throw it into the lock. Climb the stairs behind the door.
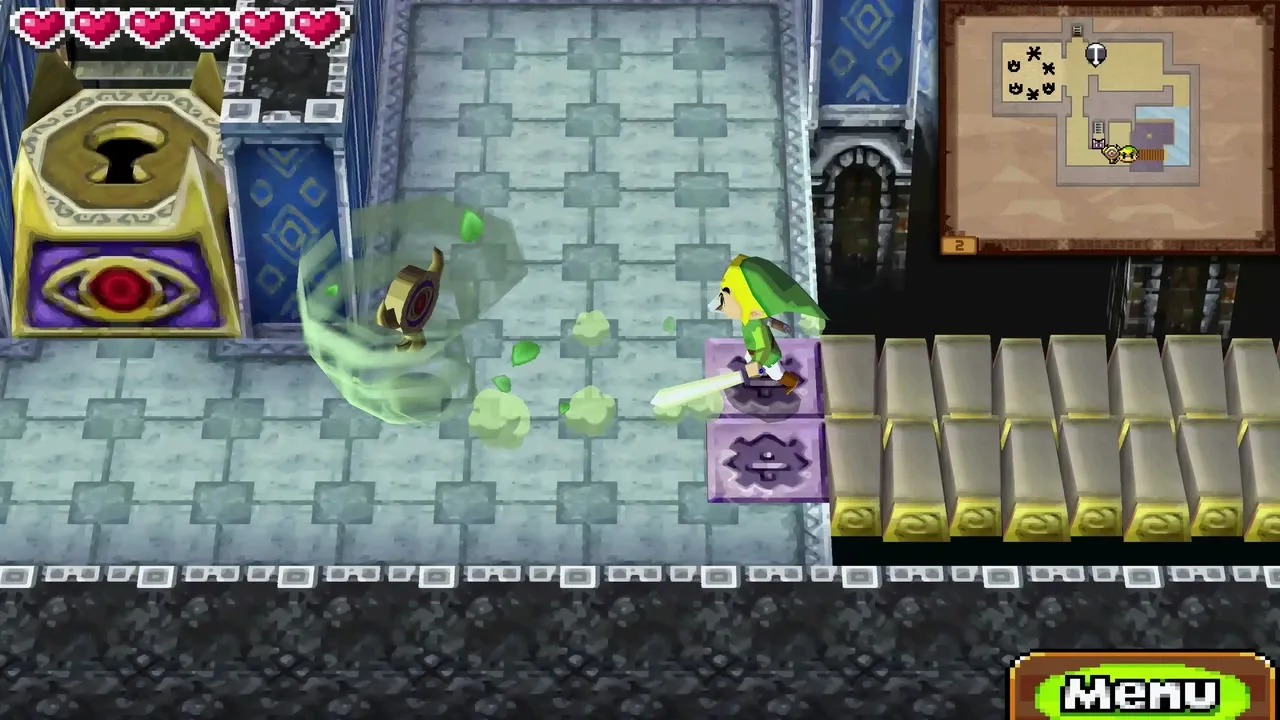
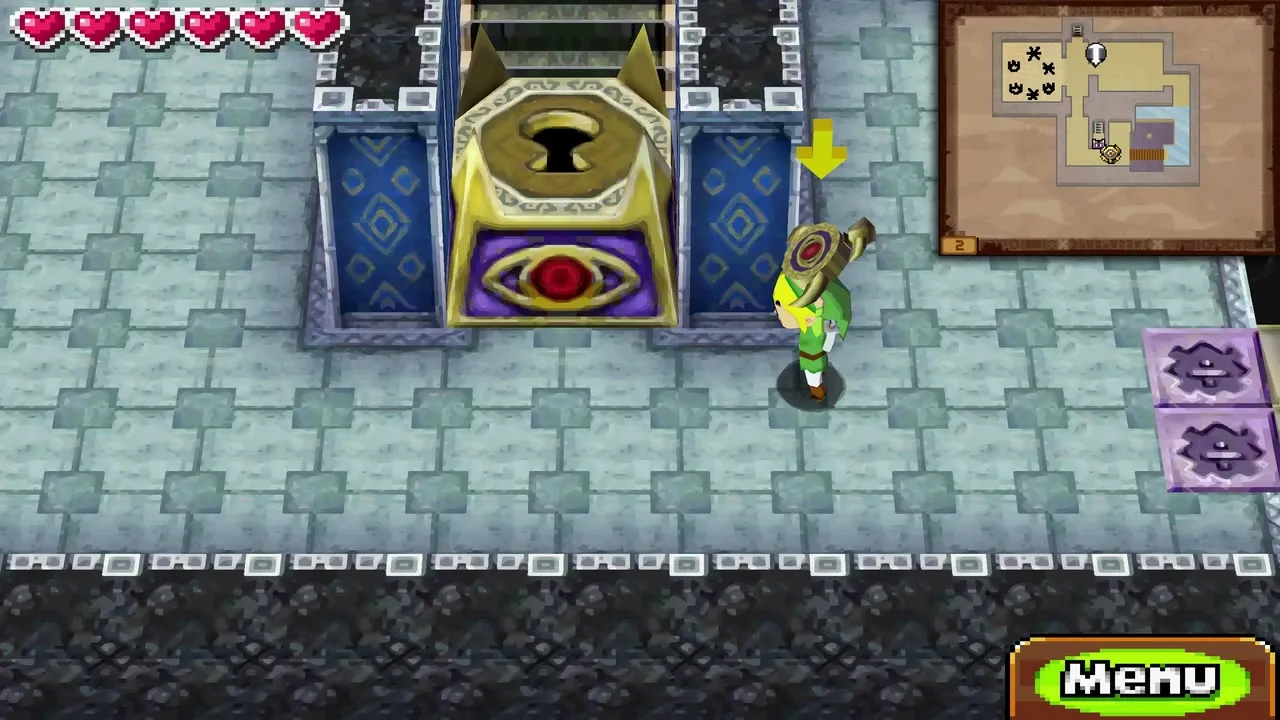
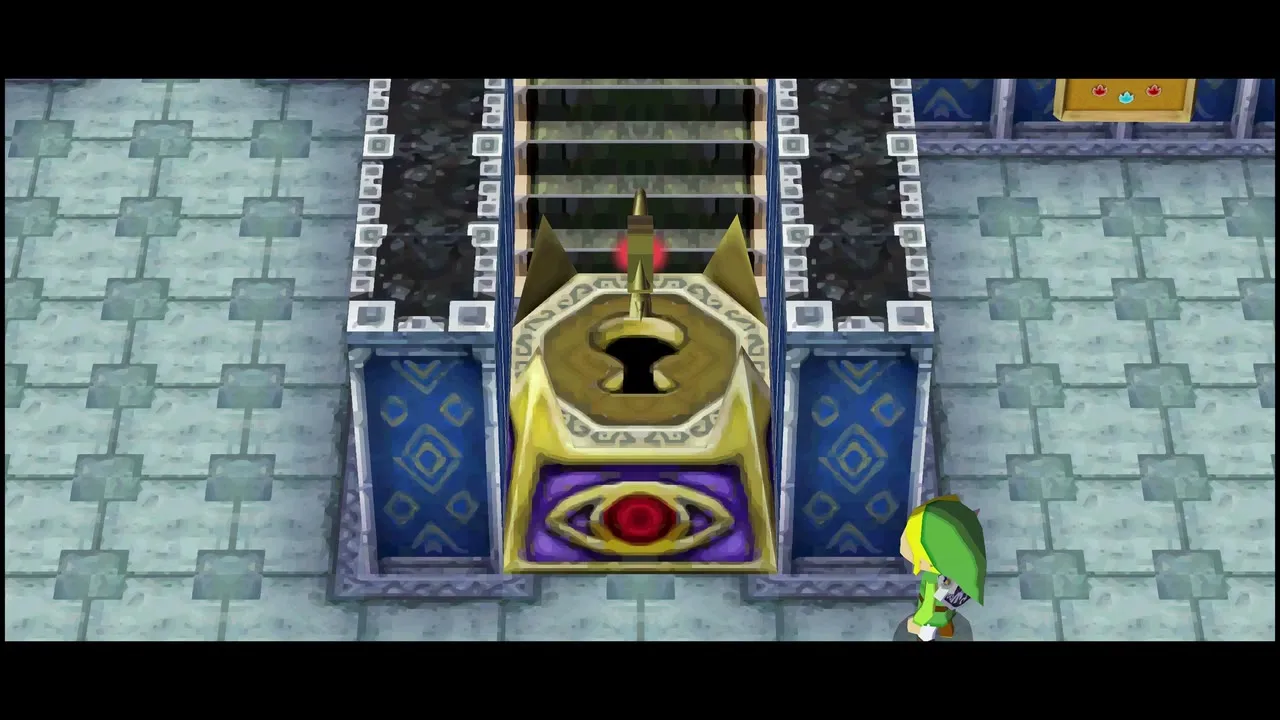
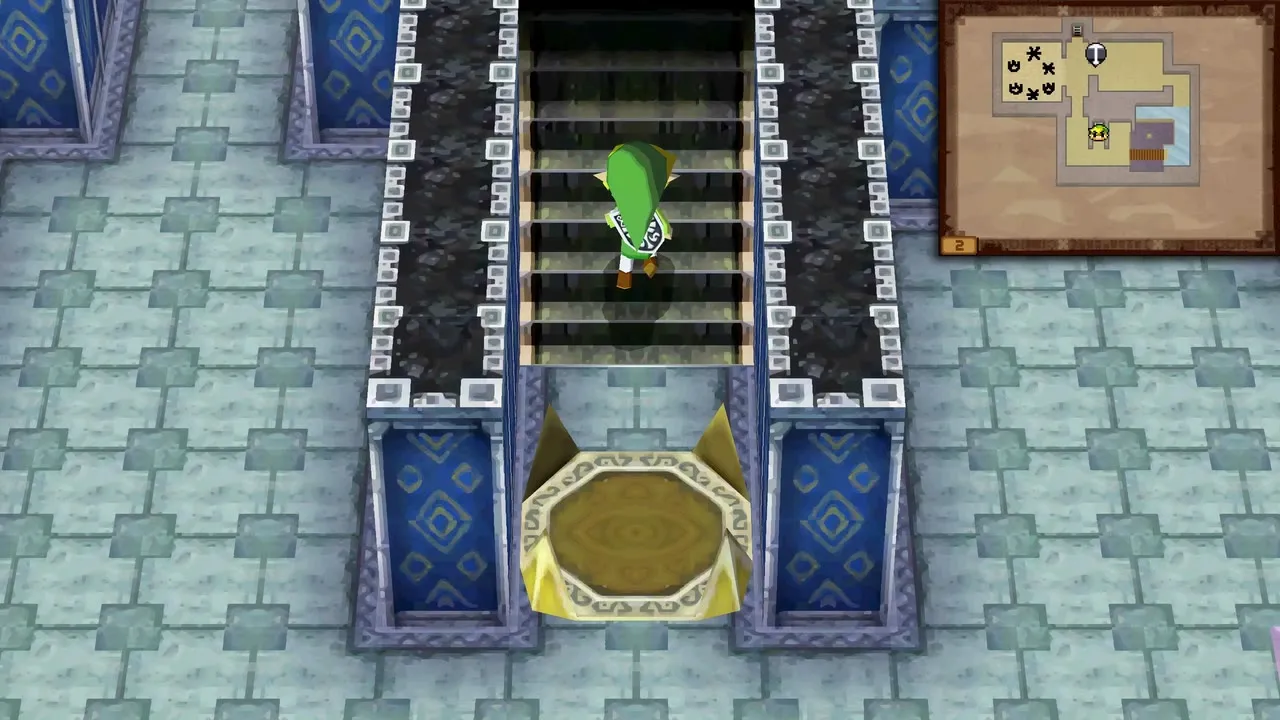
Save before the boss room
At the top, read the sign, then open the menu and save your game before taking the last stairs up to meet the boss.
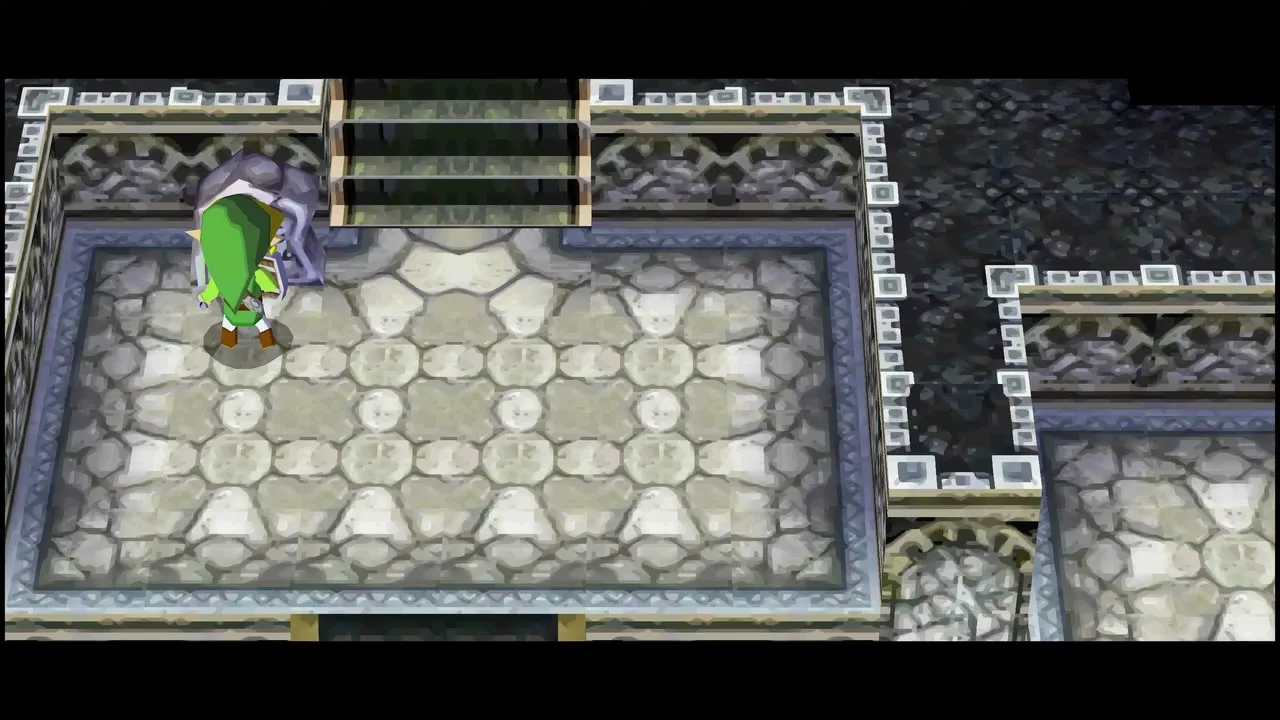
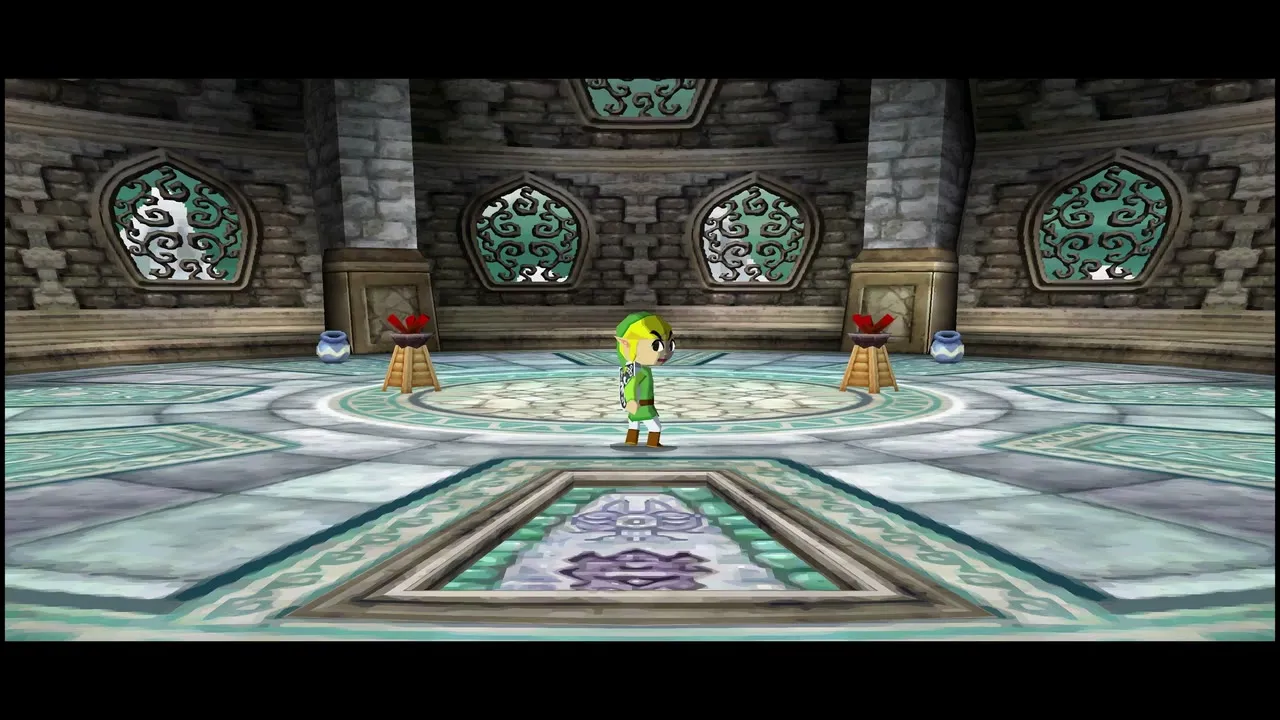

Fraaz boss fight
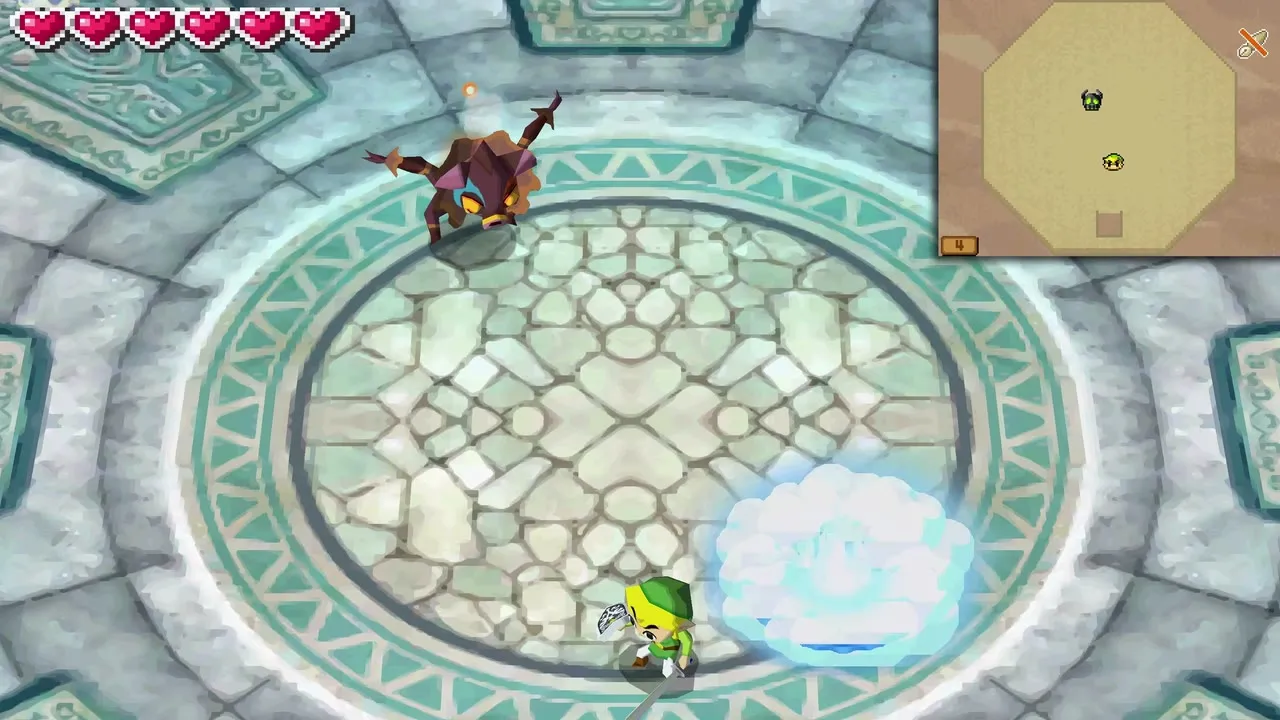
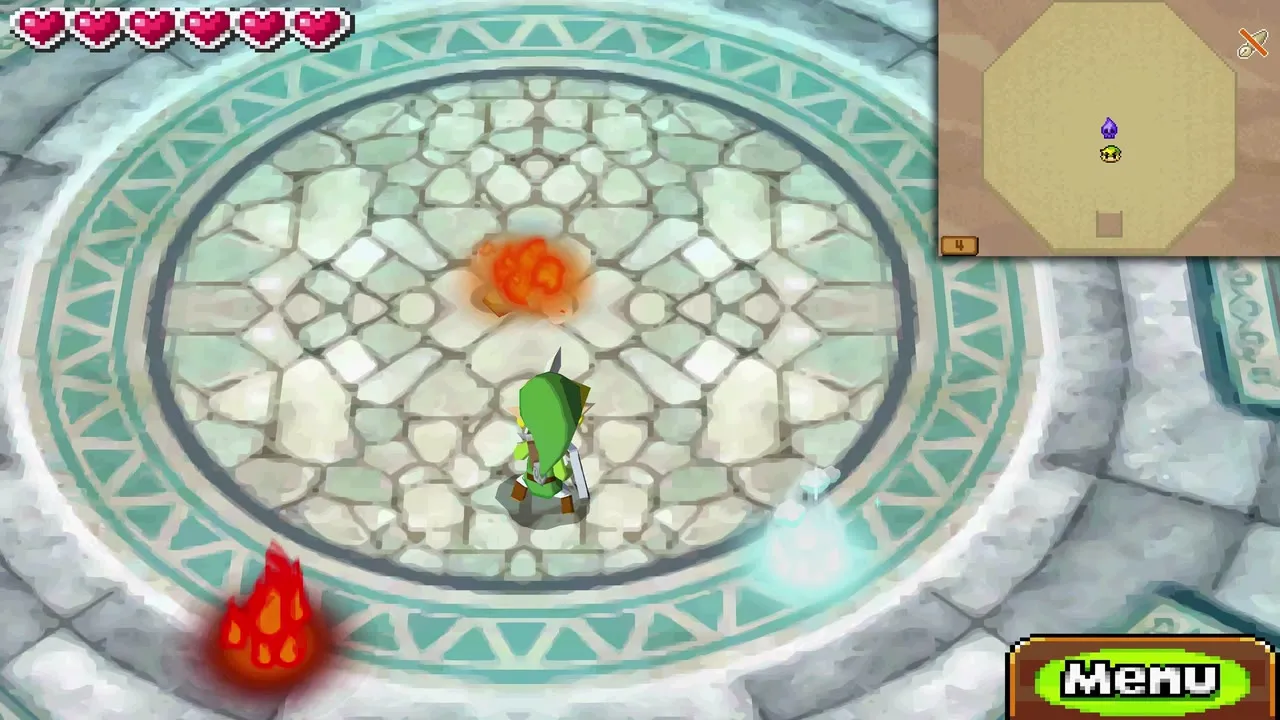
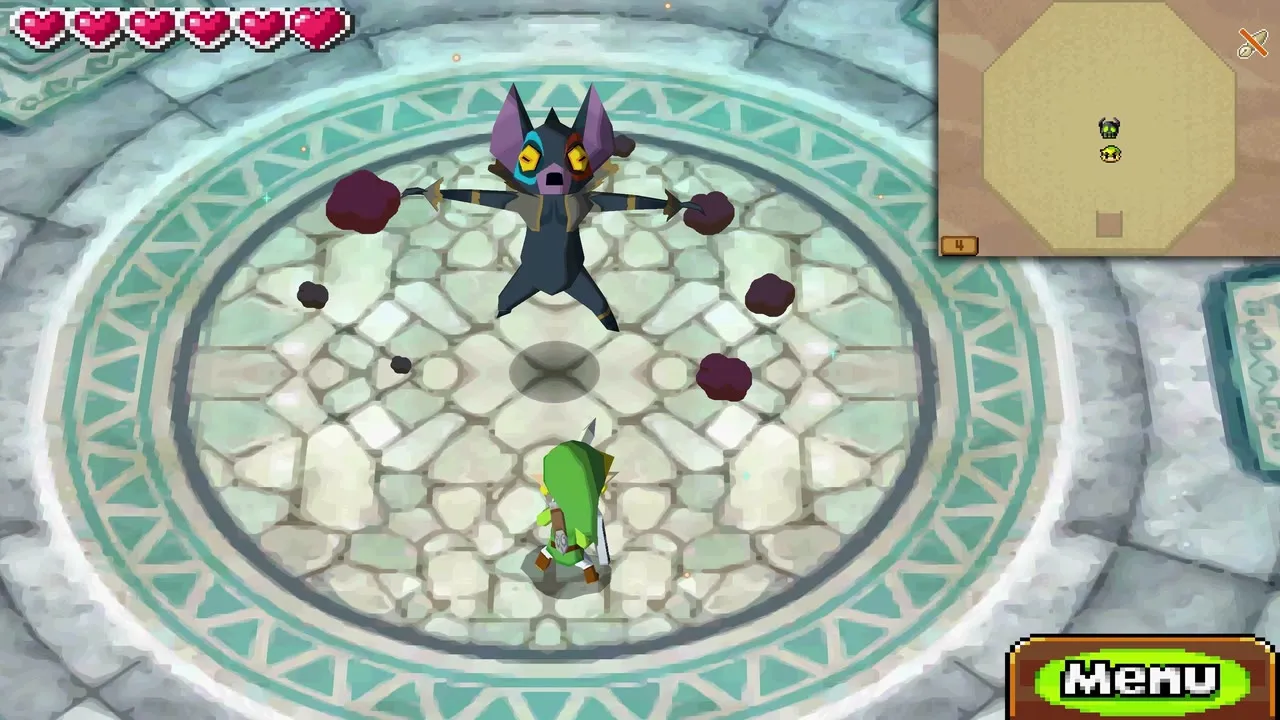
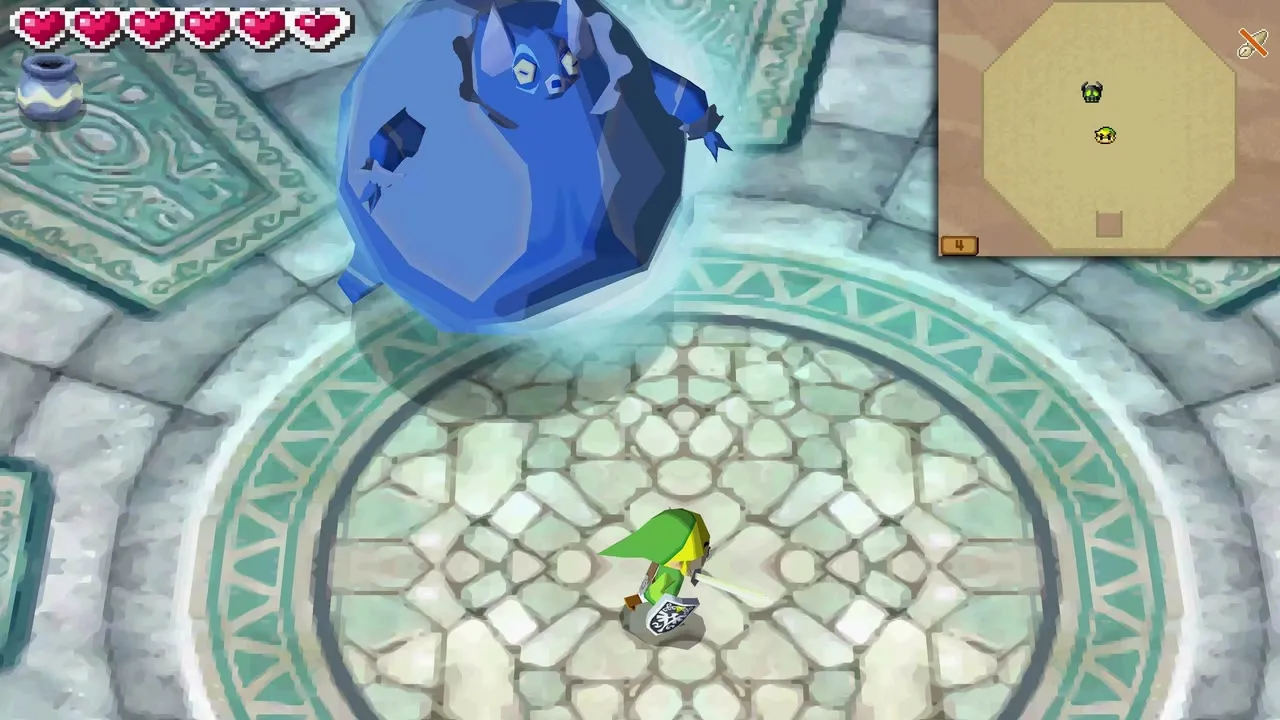
Phase 1: fire and ice Fraaz
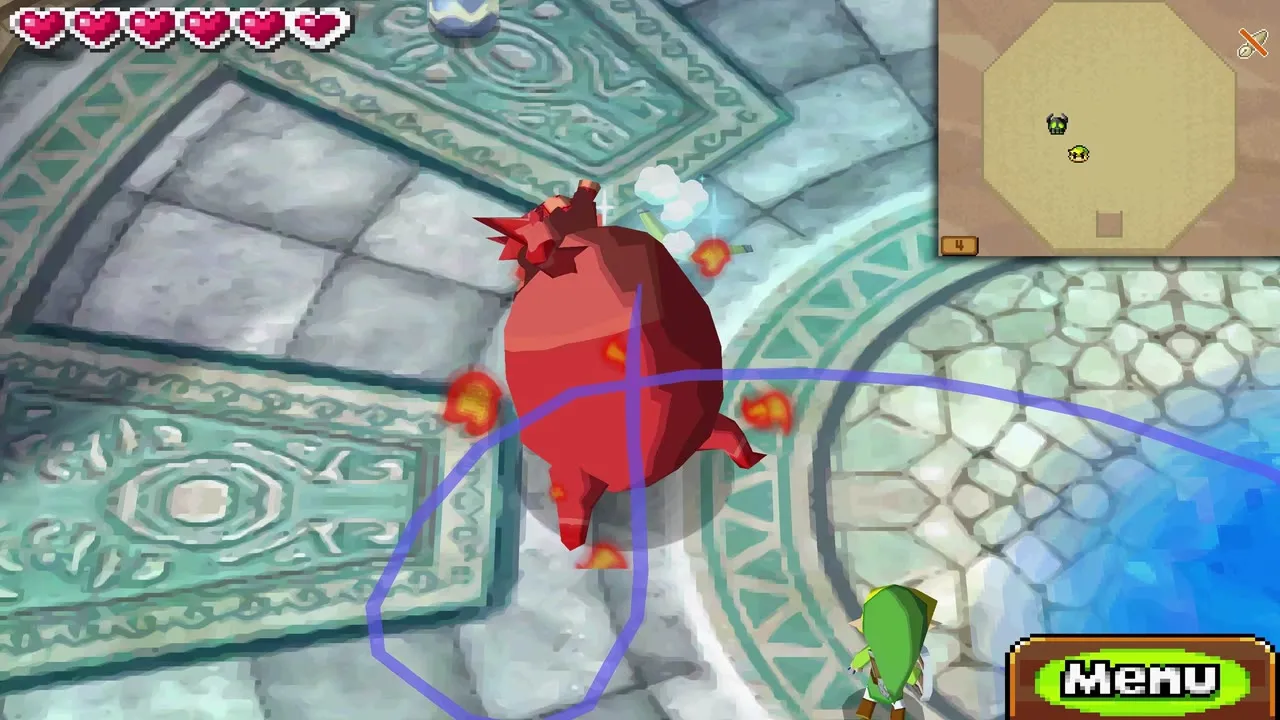
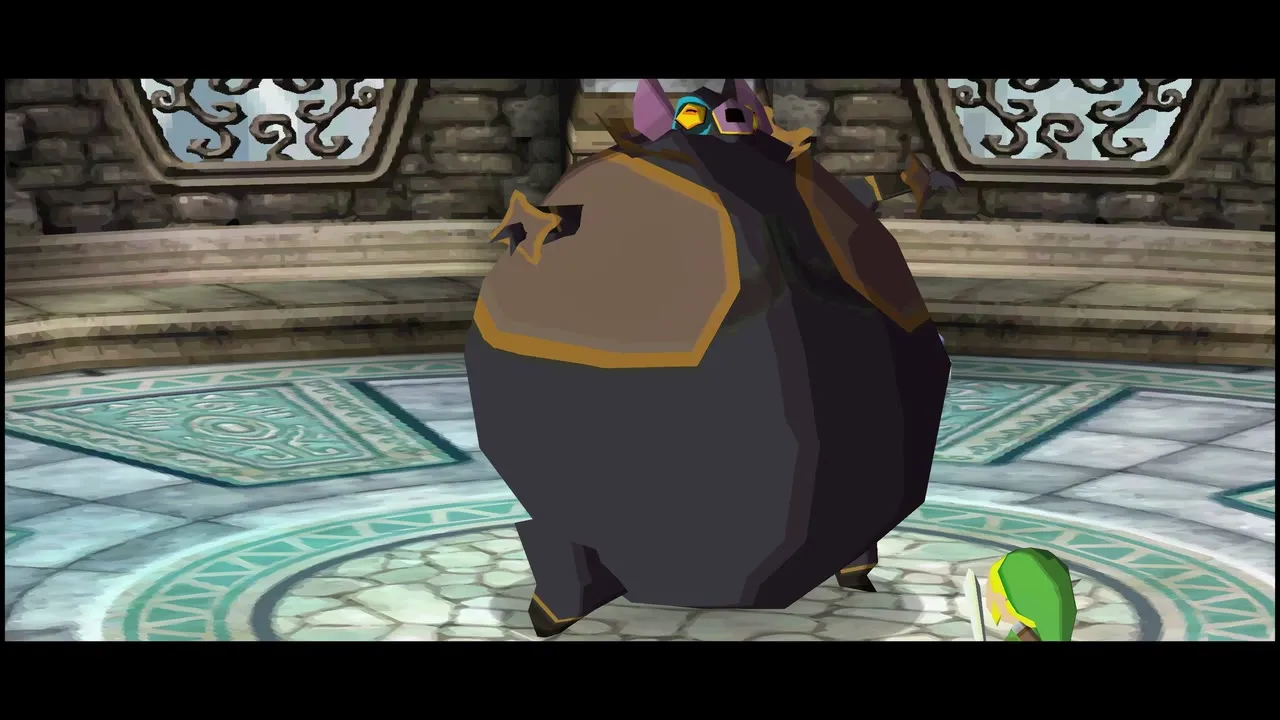
Two torches burn in the arena, one fire and one ice. A bubble drifts out of each and they merge into Fraaz, who inflates and glows orange or blue. Fire-coloured Fraaz is stopped by ice and ice-coloured Fraaz by fire. Draw the Boomerang through the torch of the opposite element, then into Fraaz. Each hit deflates him, and when he is flat you can run in and slash him until he swats you away. Repeat until he splits.
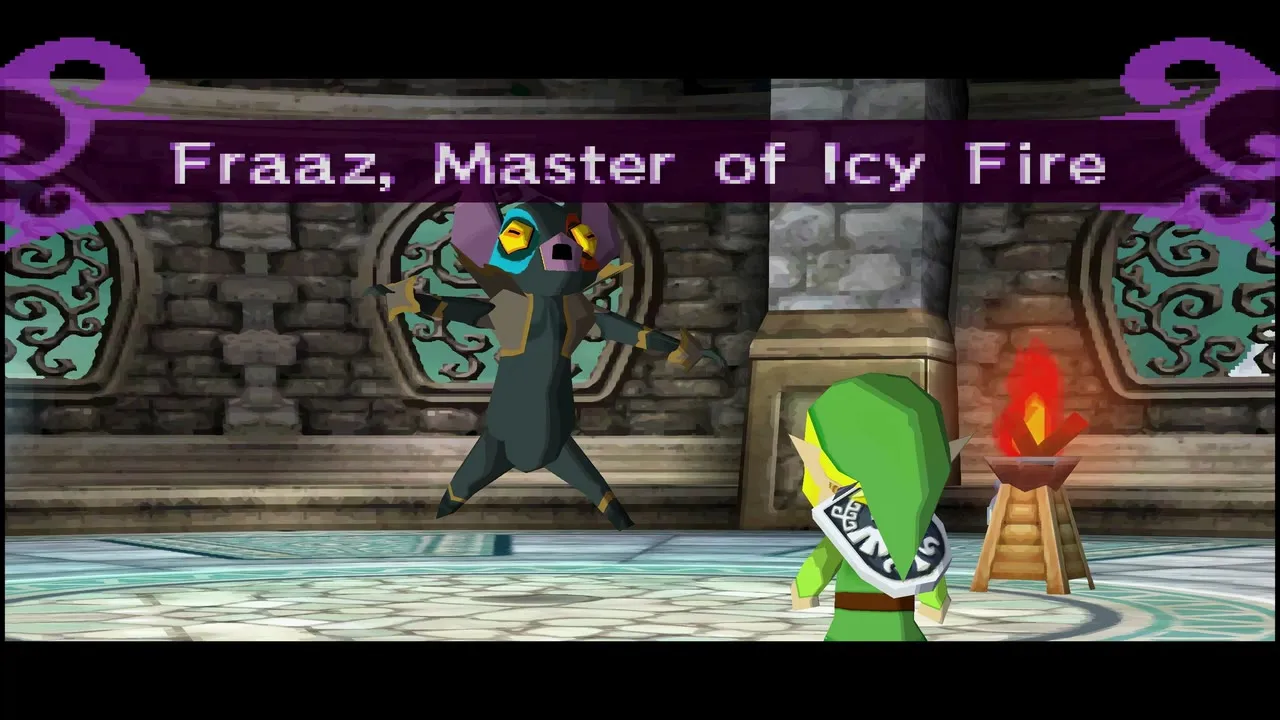
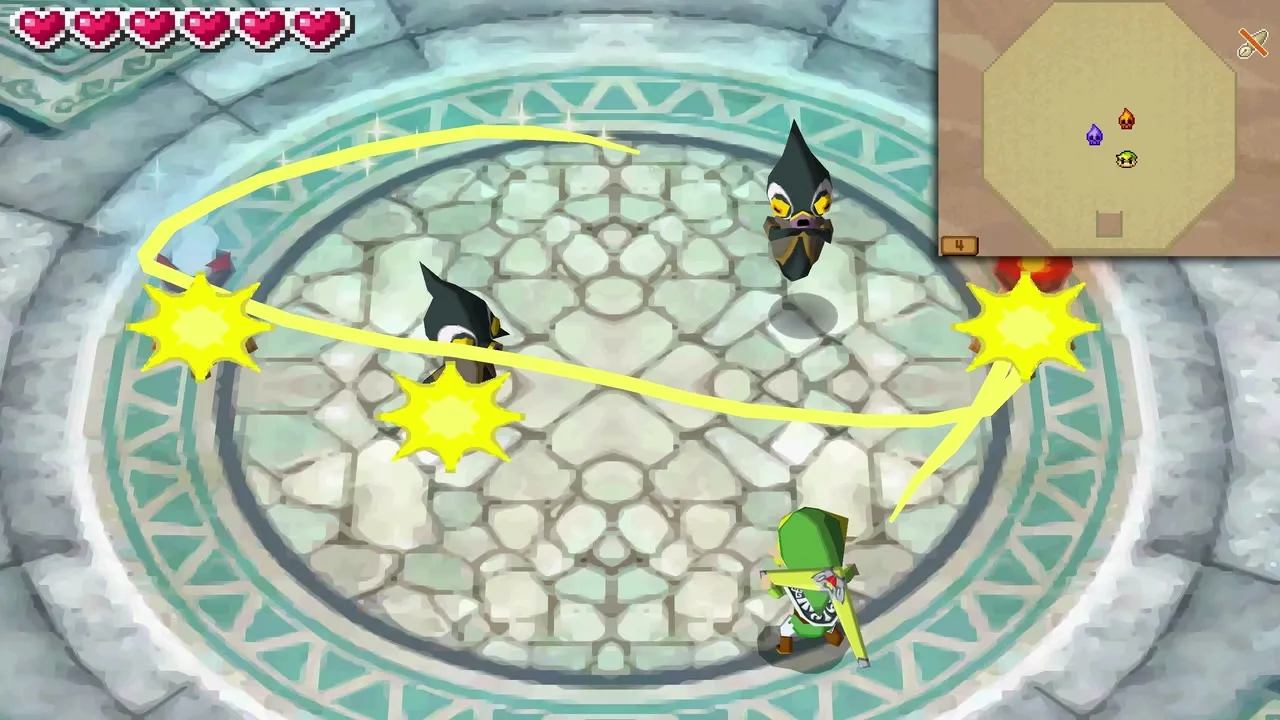
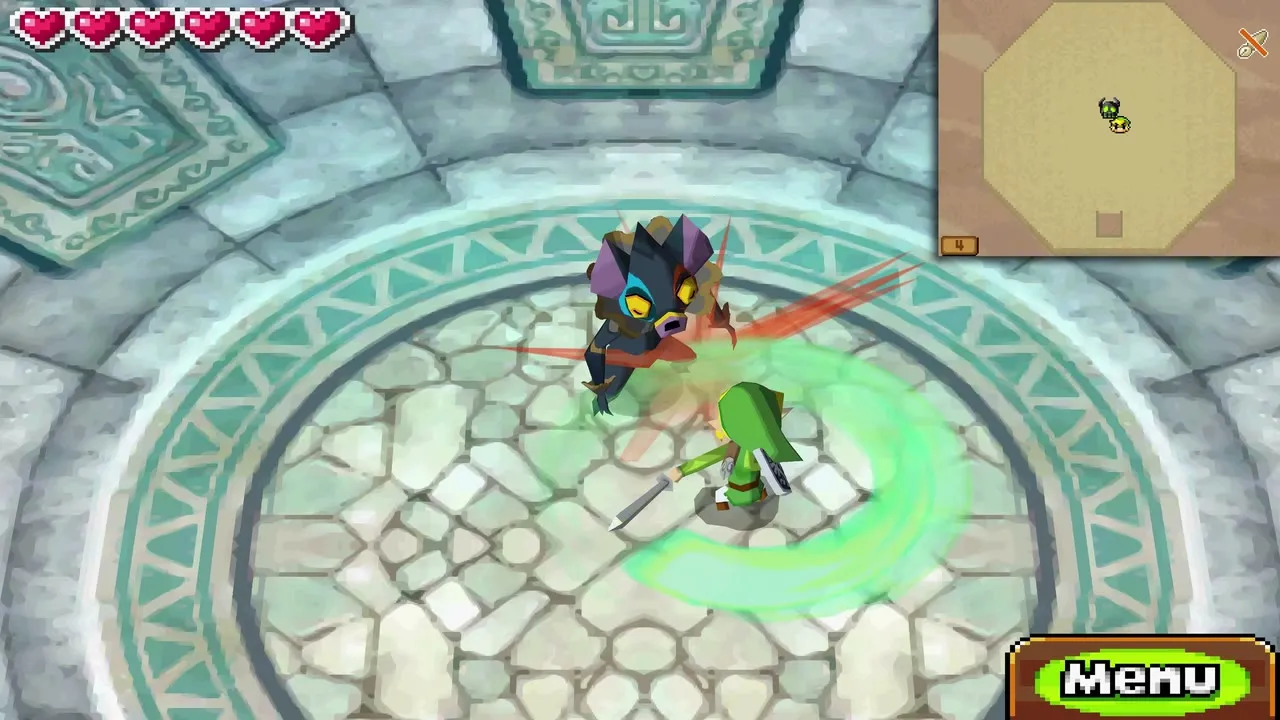
Phase 2: two small Fraaz
Fraaz divides into two smaller creatures, one of fire and one of ice. The top screen shows which is which. Hit the fire one with ice and the ice one with fire. Stun both quickly or the first will recover. They merge back into the full boss, whom you can slash again.
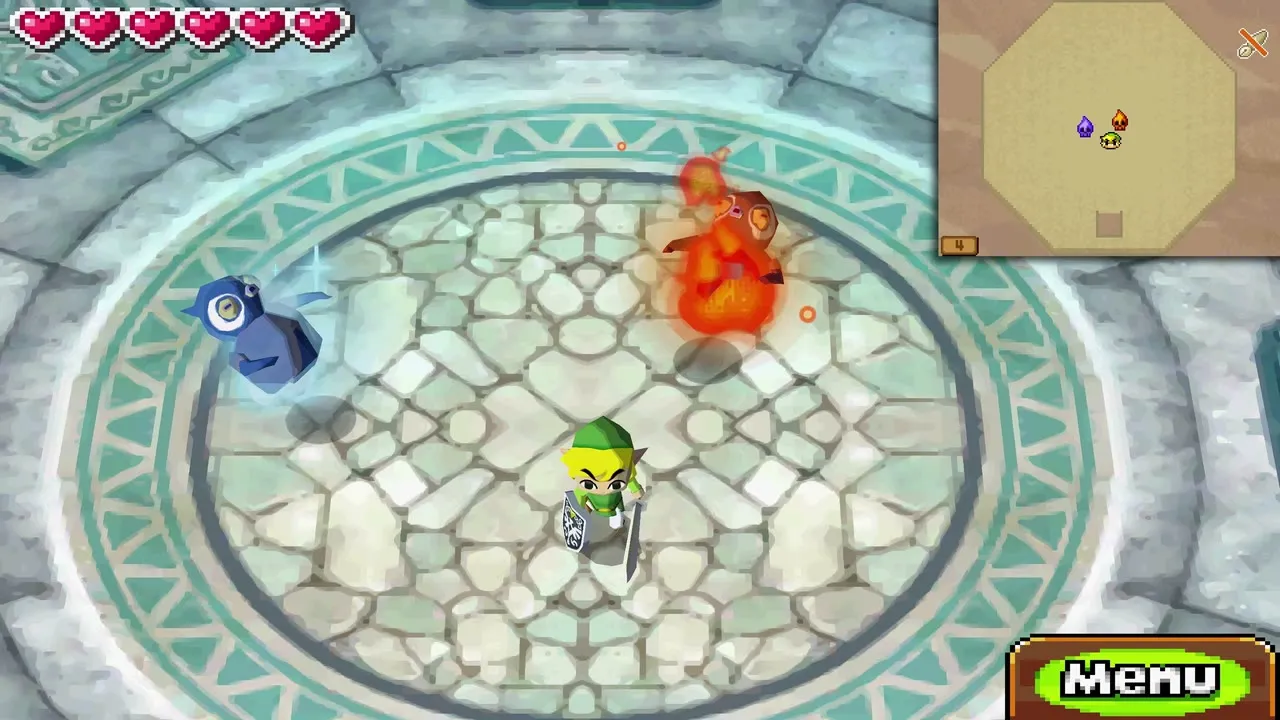
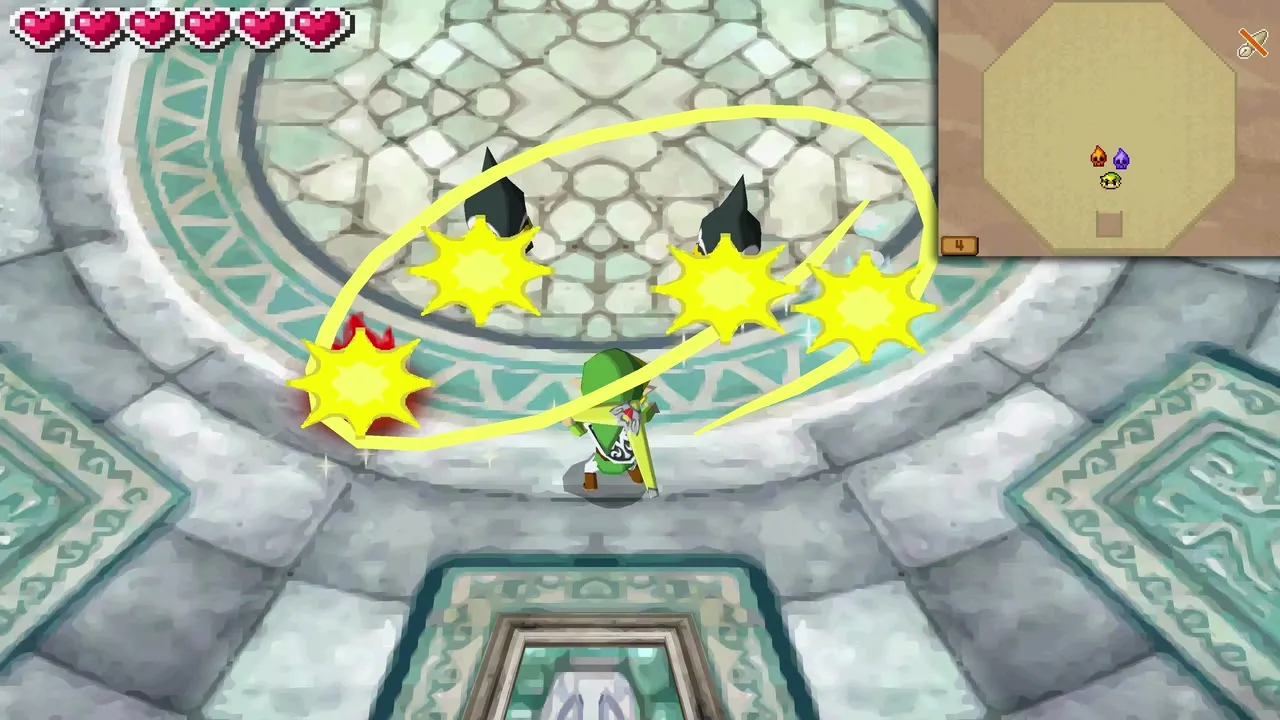
Phase 3: the torches are destroyed
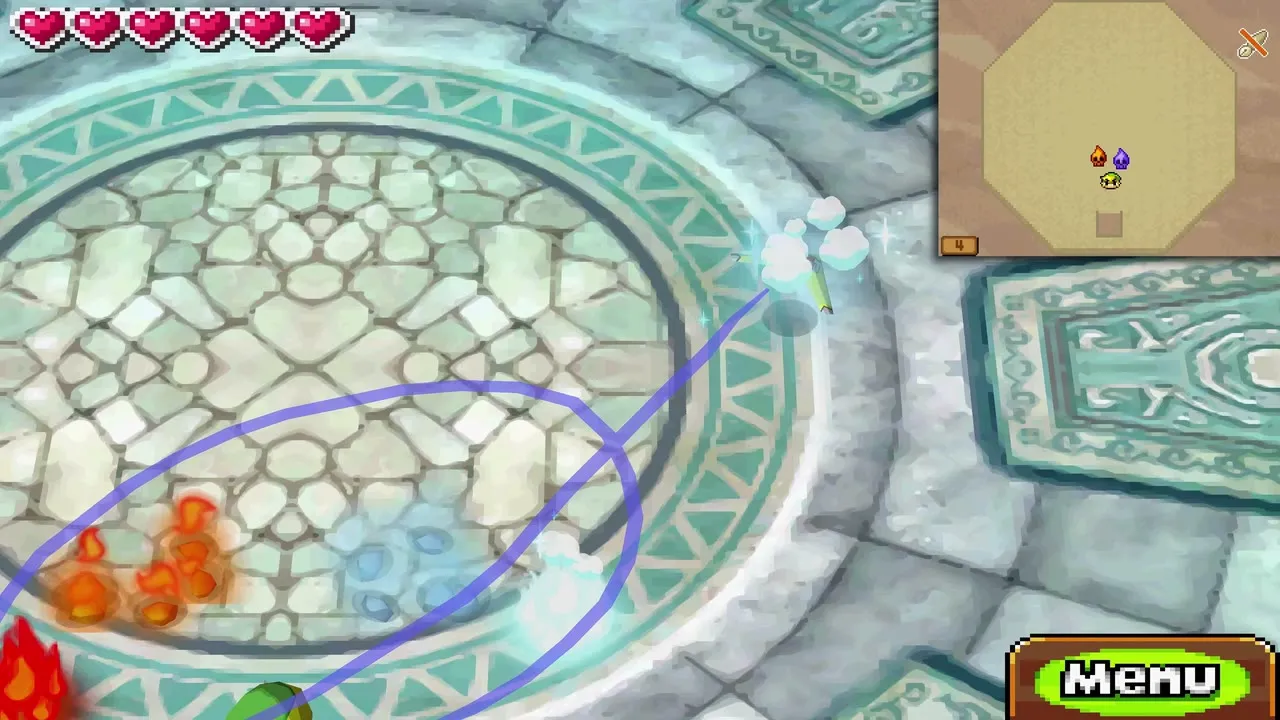
Fraaz now destroys both torches, so you must borrow the element from his own attacks instead. Throw the Boomerang through the flames or ice his attacks leave on the floor so it picks up that element, then into Fraaz to deflate him, and slash him while he is stunned.
Phase 4: the second split and the last stand
He splits a second time, now without torches. Use the leftover flames and ice to hit each small Fraaz with its opposite element, quickly, before one revives the other. In the last stretch he fires blasts of fire across the room, so dodge them and use the flames they leave behind. Land the final blow and Fraaz bursts into the Snow Force Gem.
Heart Container and the restored tracks
Place the Snow Force Gem
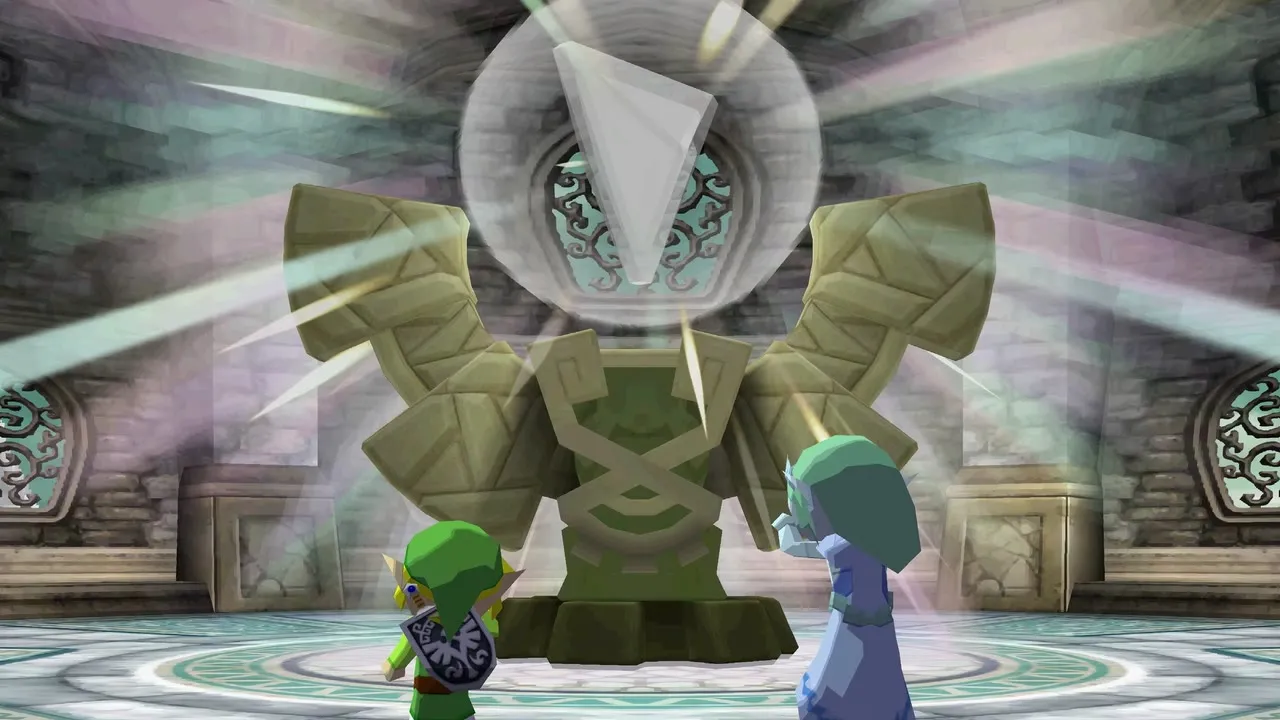
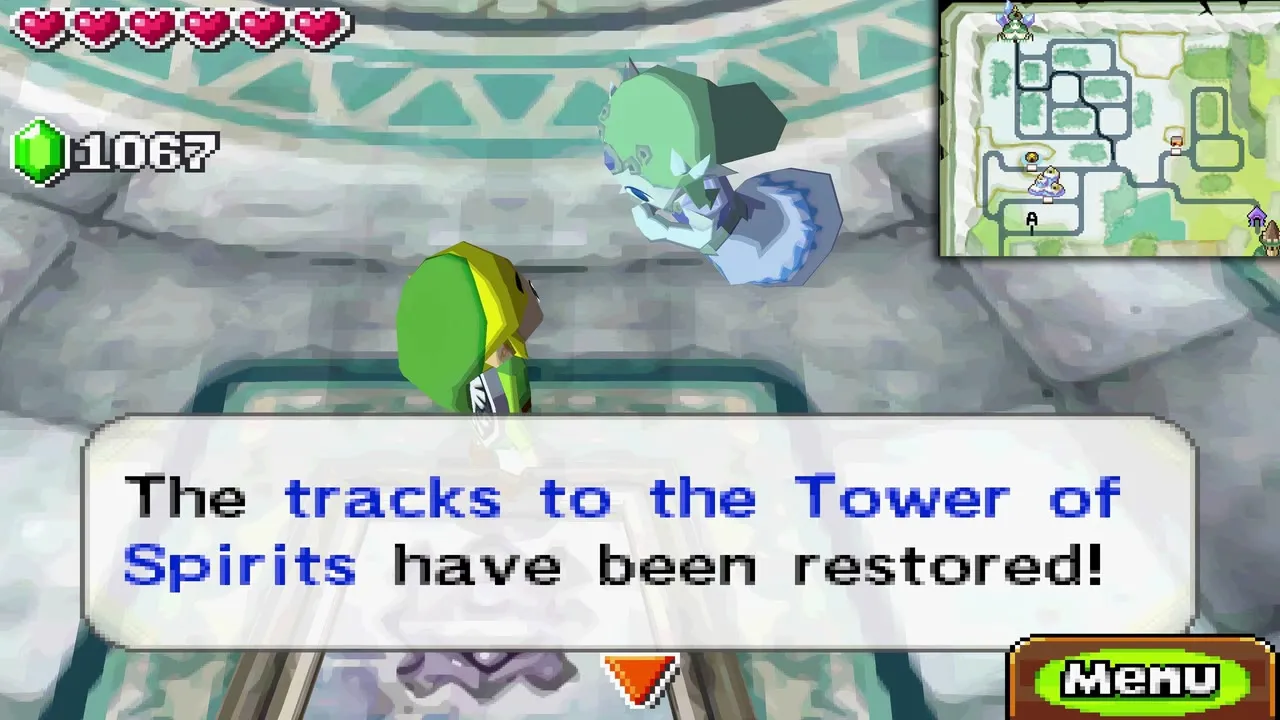
The gem settles on a pedestal and starts to glow, and its energy runs along the Snow tracks to the Tower of Spirits. The Snow rail map glows and Zelda confirms that the tracks to the tower have been restored.
Take the Snow Temple Heart Container
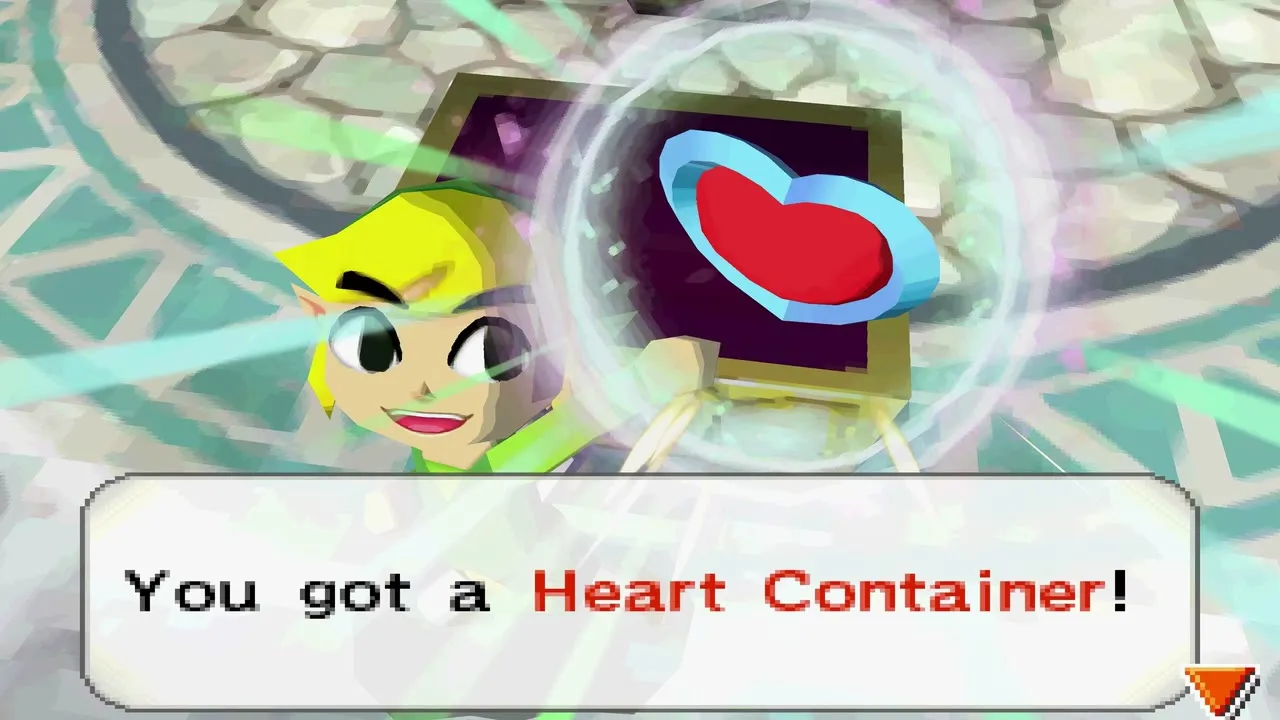
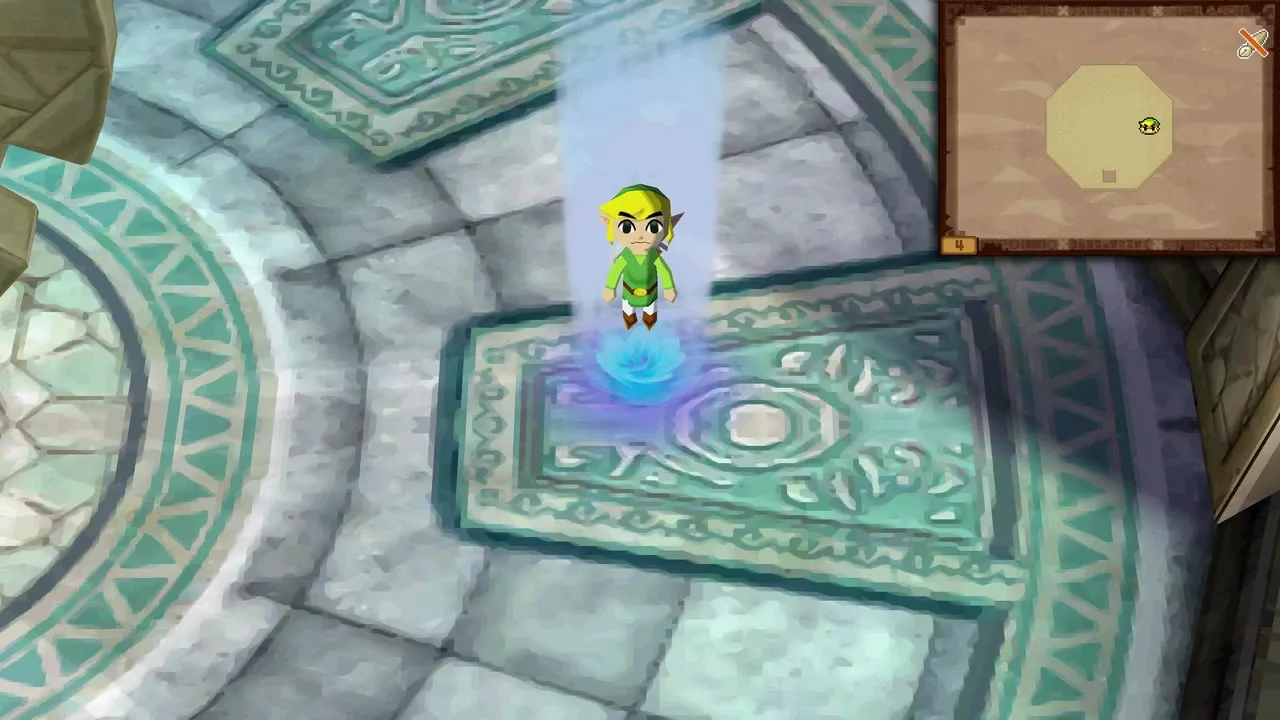
A large chest appears in the boss chamber. Open it for the Heart Container, which adds a heart to your life bar and refills all your hearts. Step onto the blue portal to return to the Spirit Train.
What opens afterwards
With the temple cleared, Beedle sends word that opens his Air Shop, and Russell sends a letter inviting you to sword training at Hyrule Castle, which later earns another Heart Container. Visit them whenever you pass that way, then return to Anjean at the Tower of Spirits to climb on.
Chapter checklist
| Collectible | Type | Where |
|---|---|---|
| Boomerang | Item | Chest after stunning the three Ice Keese on the western bank |
| Small key | Key | Small chest across the ice bridge below the torch room |
| 20-rupee chest | Chest | Chest beyond the north door of the second bell room |
| Snow Temple stamp | Stamp station | North-east of the first basement floor, over an ice bridge |
| Boss Key | Key | Across the abyss after the White Wolfos room |
| Heart Container | Heart Container | Chest in the boss chamber after Fraaz |
| Snow Force Gem | Boss reward | Left by Fraaz on its pedestal |
With the Snow tracks restored, head back to the Tower of Spirits for the next climb in Tower of Spirits: Floors 8-12 and the Ocean Rail Map.
