Spirit Tracks 100% Completion Walkthrough18 chapters
- Aboda Village and Hyrule CastleThe first train ride, the Royal Engineer ceremony, Zelda’s escape, the Spirit Flute, sword and path to the Tower.
- Tower of SpiritsMeet Anjean, collect the three Tears of Light, use Phantom Zelda and claim the Forest Rail Map.
- Forest RealmReach Whittleton, solve the Lost Woods rail maze, learn the Song of Awakening and play the Gage duet.
- Forest TempleSong of Healing, Whirlwind, Mothula, Boss Key, Stagnox boss fight, Heart Container and Force Gem.
- Tower of SpiritsTears of Light, lava Phantoms, Zora Warrior, the Snow Rail Map, plus the Cannon and Rabbit Net.
- Snow RealmAnouki Village pairings, the Rocktite tunnel, Steem’s duet, the Heart Container shop and Ferrus’s blizzard map.
- Snow TempleGet the Boomerang, solve the bell puzzles, take the Boss Key from the Wolfos and beat Fraaz for a Heart Container.
- Tower of SpiritsDark floor 8, Torch Phantoms, Tears of Light, the Z door, Mighty Zora Warrior and Ocean Rail Map.
- Ocean RealmFix the Trading Post bridge, find the Regal Ring, learn the Song of Birds and free Carben at the Ocean Sanctuary.
- Ocean TempleReach the sunken temple, win the Whip, beat Phytops and claim the Heart Container and blue Force Gem.
- Tower of SpiritsBeat Warp Phantoms and Phantom Eyes, collect three Tears of Light and claim the Fire Rail Map.
- Fire RealmReach Goron Village, ferry Noko for Mega Ice, cool the lava, solve the Fire Sanctuary statues and play Embrose’s duet.
- Fire TempleSnurglar keys, Heatoise and the Bow, mine carts, Boss Key, Cragma, Heart Container and the Goron Quiver.
- Tower of SpiritsClimb Tower of Spirits floors 18-23, solve the Wrecker Phantom puzzles, take the Boss Key and beat Byrne with Zelda.
- Sand RealmMalgyorgs, desert rabbits, the Sand Sanctuary bomb puzzle, the Rael duet and the three trials to the Sand Temple.
- Sand TempleStalfos keys, Sand Wand, the Boss Key, the Skeldritch boss fight, the Heart Container, Bow of Light and Lokomo Sword.
- Tower of Spirits Floors 24-30 and the Compass of LightLight Arrows at the altar, every Phantom puzzle, the floor 26 gauntlet and the Compass of Light.
- Dark Realm, Demon Train and MalladusDestroy six Armored Trains, beat the Demon Train, free Zelda from Cole and defeat Malladus with the Lokomo Sword.
| Covers | The undersea approach in the Ocean Realm, the seven floors of the Ocean Temple and the Phytops boss fight |
|---|---|
| You need | Boomerang, Bombs, the restored Ocean Realm tracks, the Carben duet and Carben’s letter; a few potions are wise |
| Rewards |  Whip,  Boss Key,  2 small keys,  Heart Container (1),  blue Force Gem (boss gem, restores the tracks to the Tower of Spirits), random treasure from several chests,  1 stamp station |
The Ocean Temple is the third dungeon of Spirit Tracks. You ride the Spirit Train under the sea, work your way up a dry, trap-filled temple of seven floors, take the Whip from a Snapper, carry the Boss Key past four Key Masters and finish by beating the thorny Phytops at the top. Winning gives you a Heart Container and the blue Force Gem, and it reopens the tracks to the Tower of Spirits.
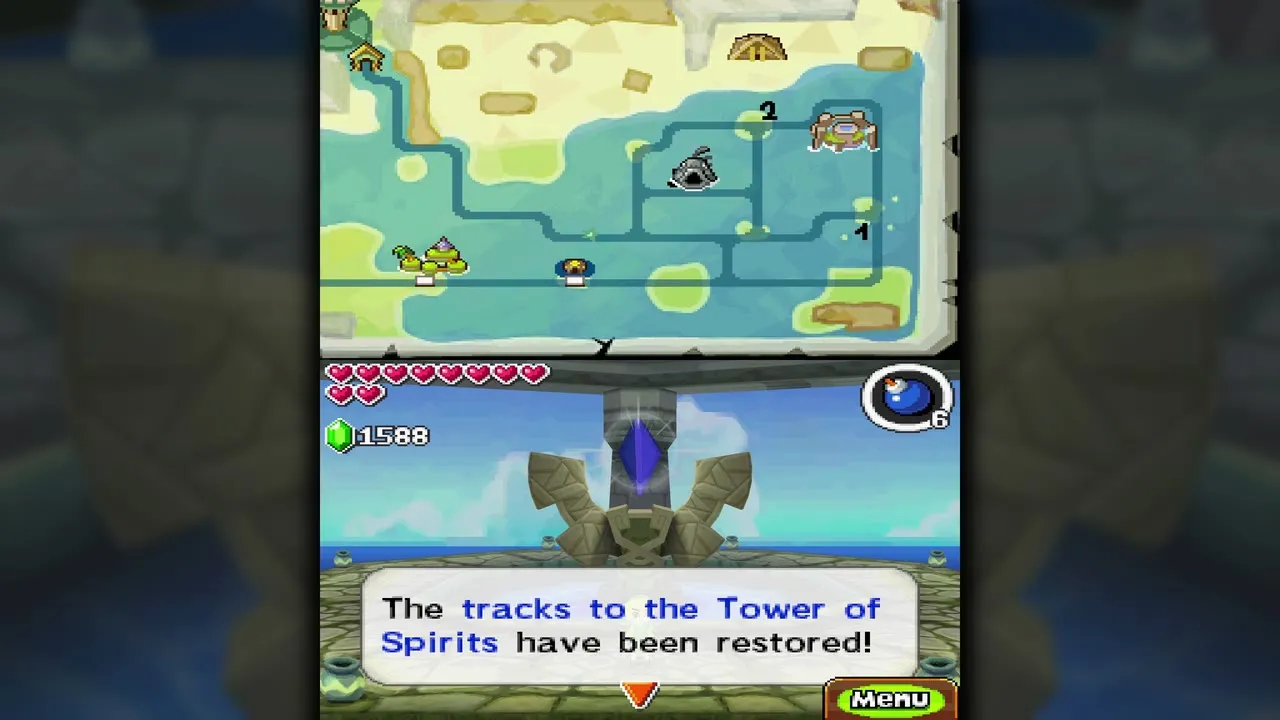
Table of Contents
How to reach the Ocean Temple
Whistle at the three fish statues
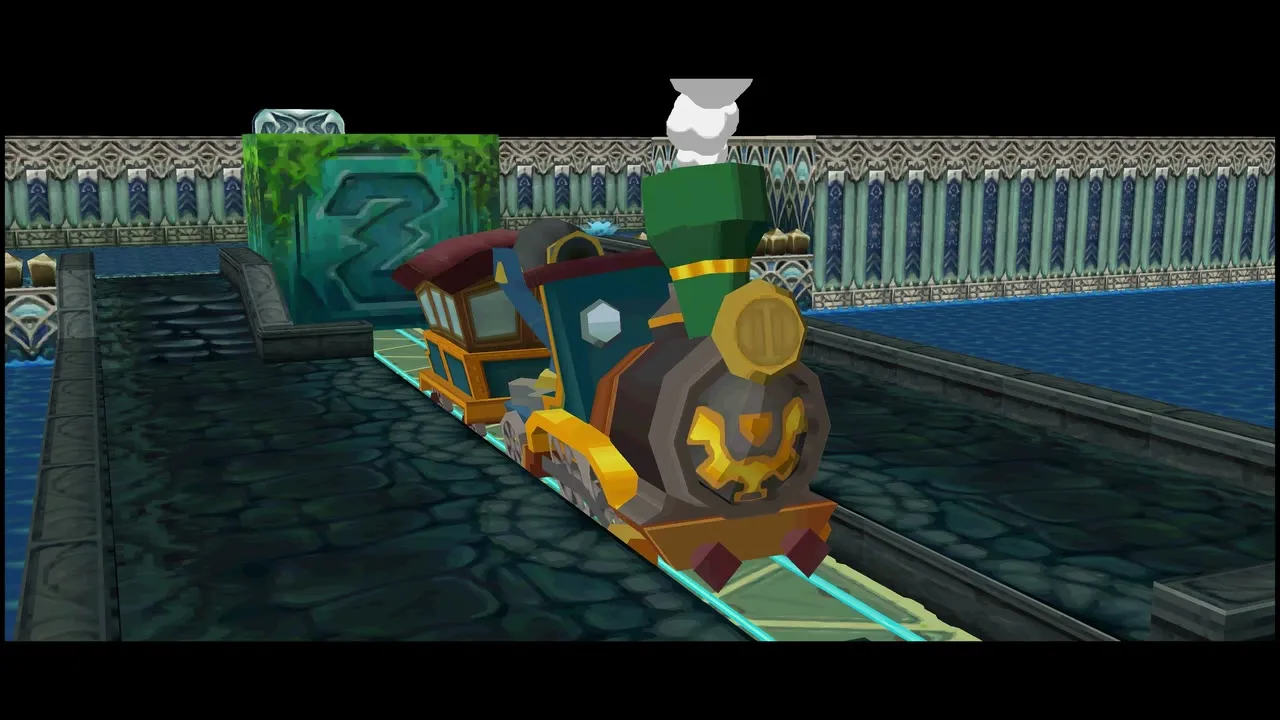
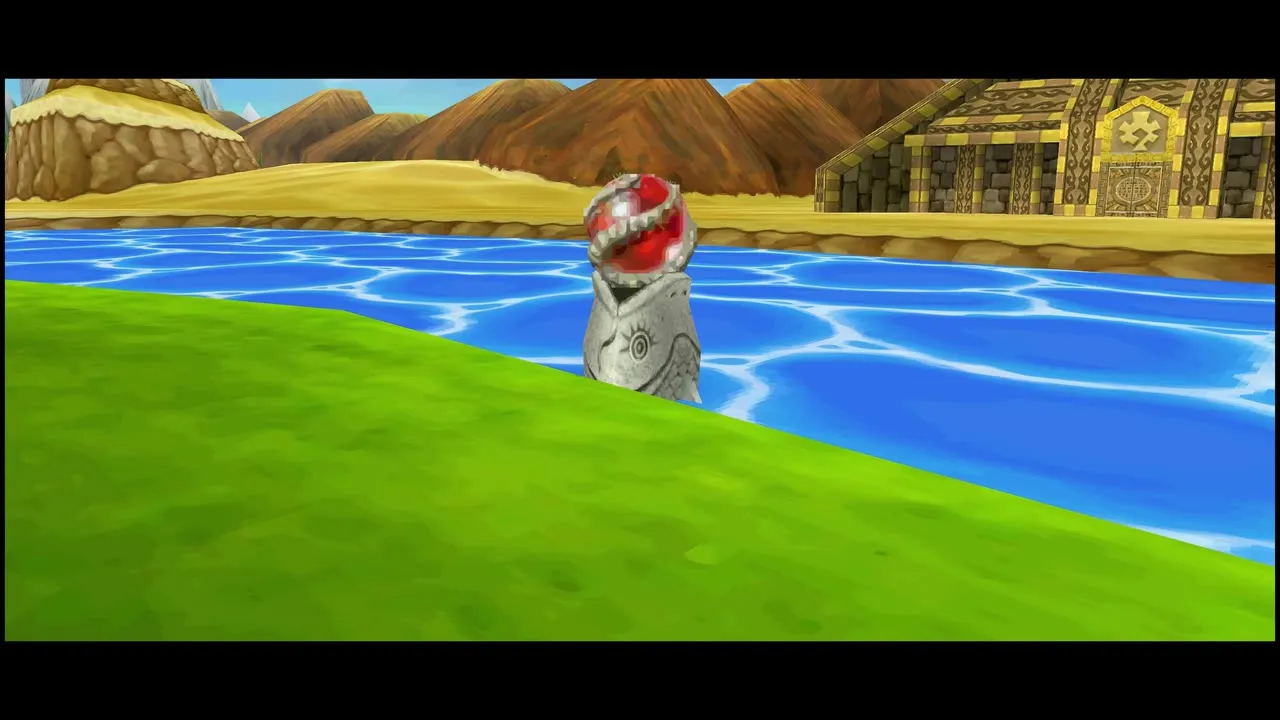
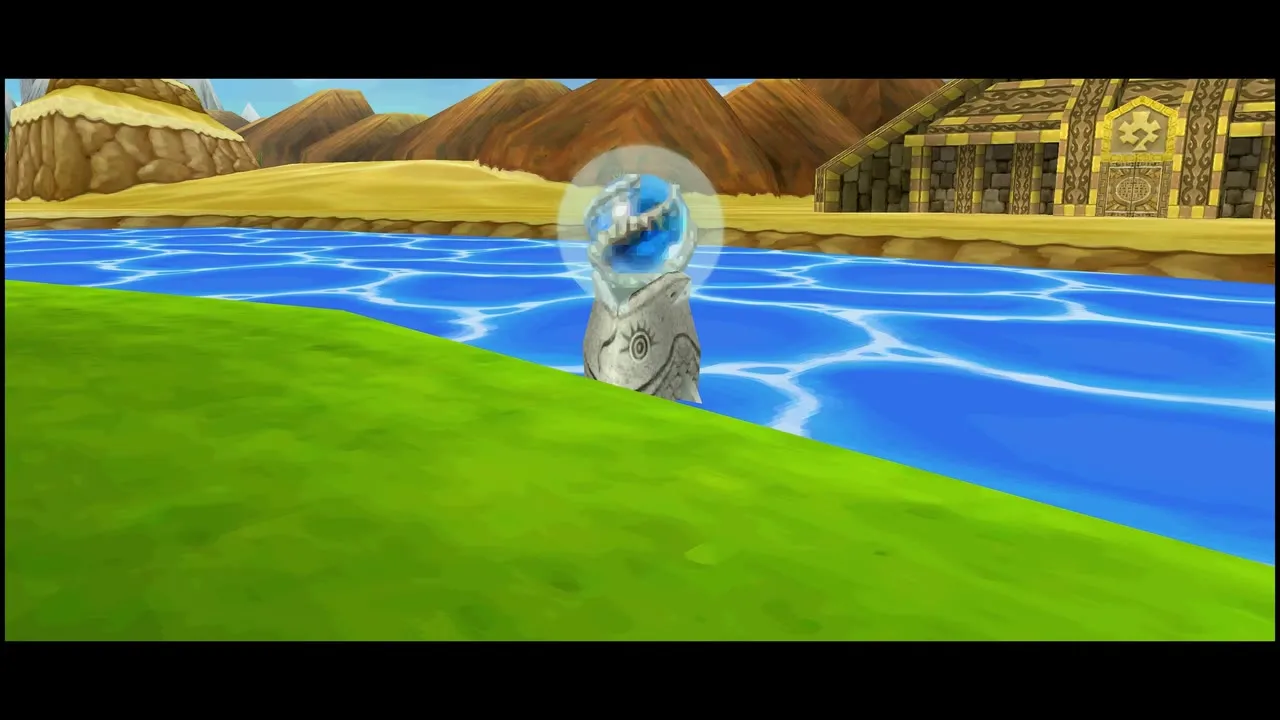
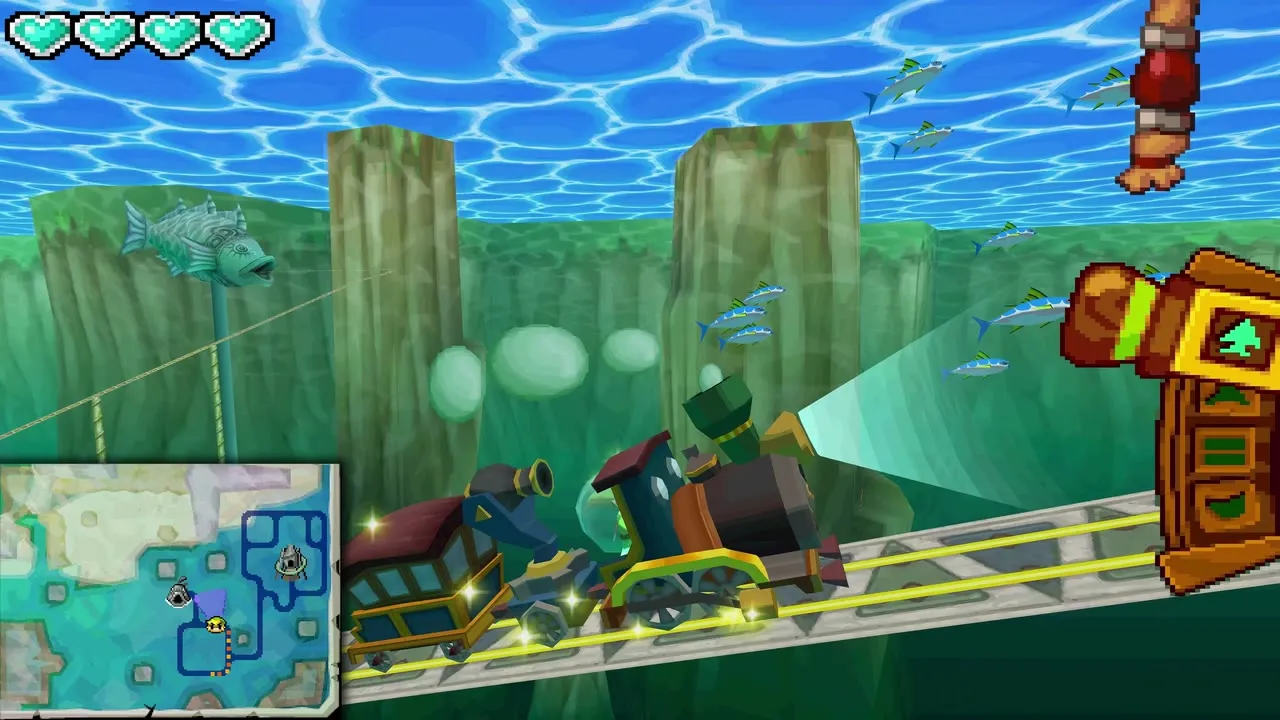
Carben’s letter, which you receive at the Ocean Sanctuary (see the Ocean Realm chapter), tells you which spots to visit and in what order. Drive to each red-orbed statue and blow the train whistle beside it until its orb turns blue. Once all three have been woken, the mouth of the fish-shaped gateway lets your train dive to the sea floor.
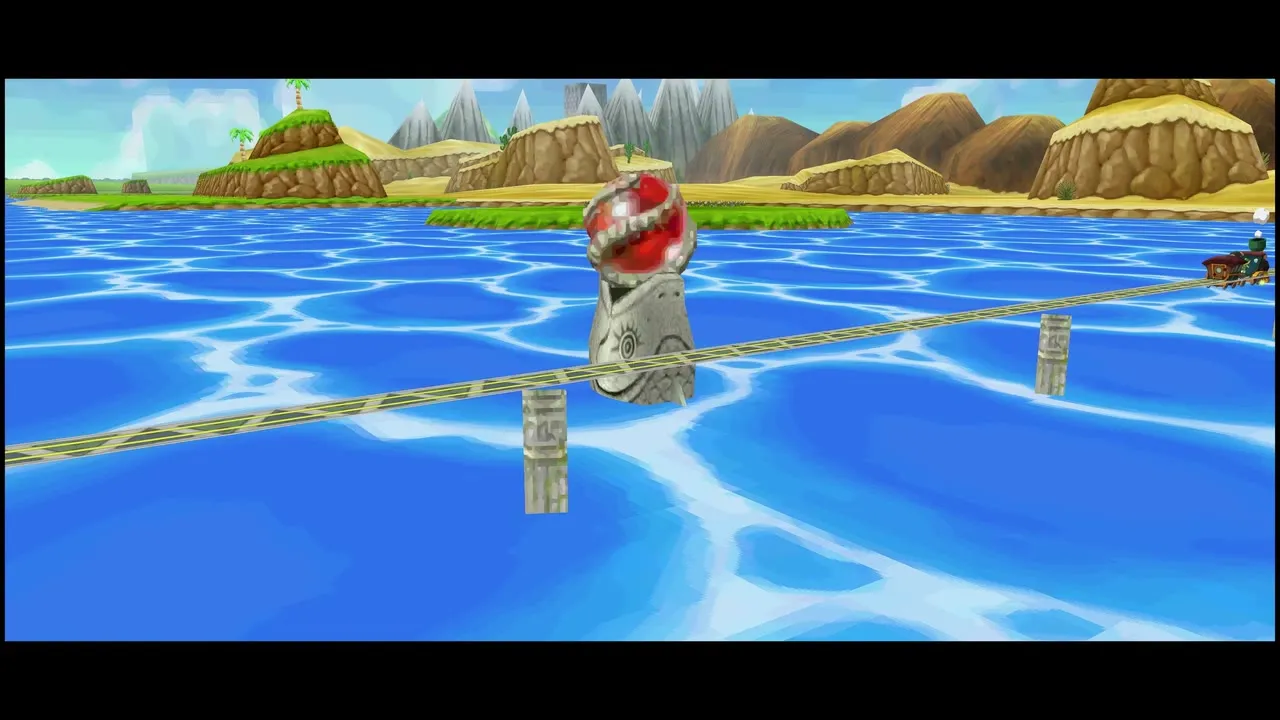
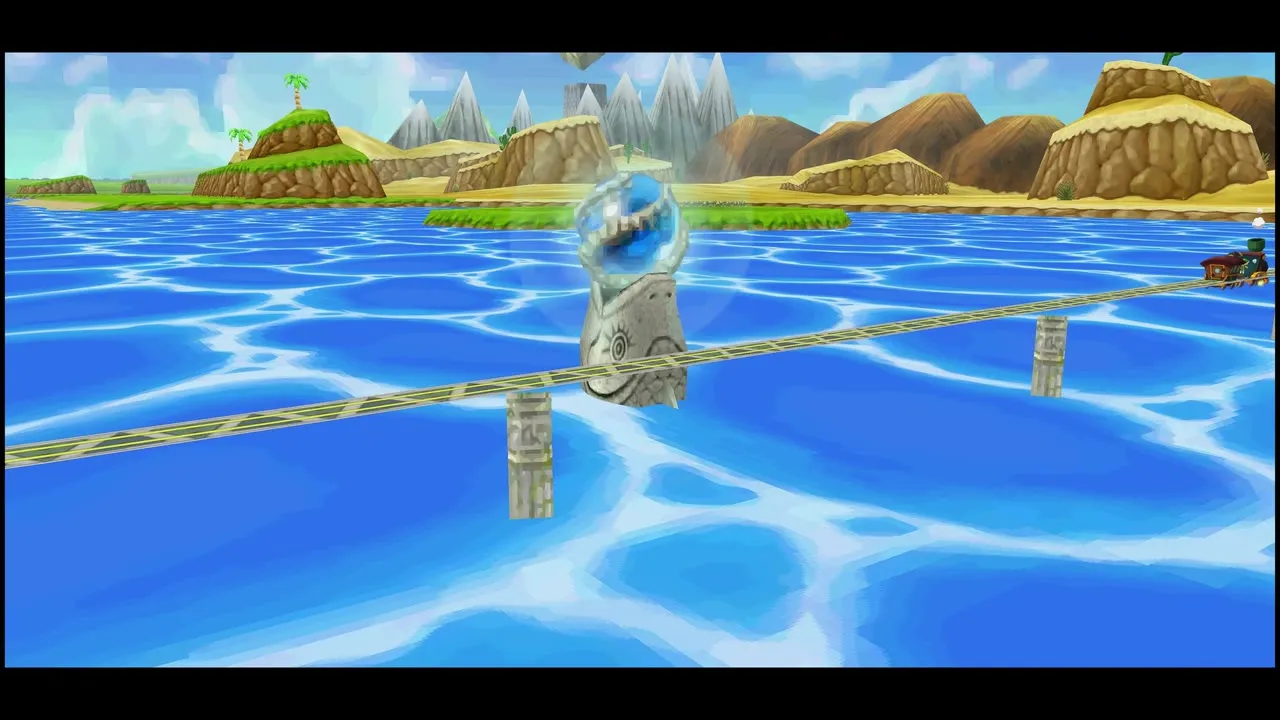
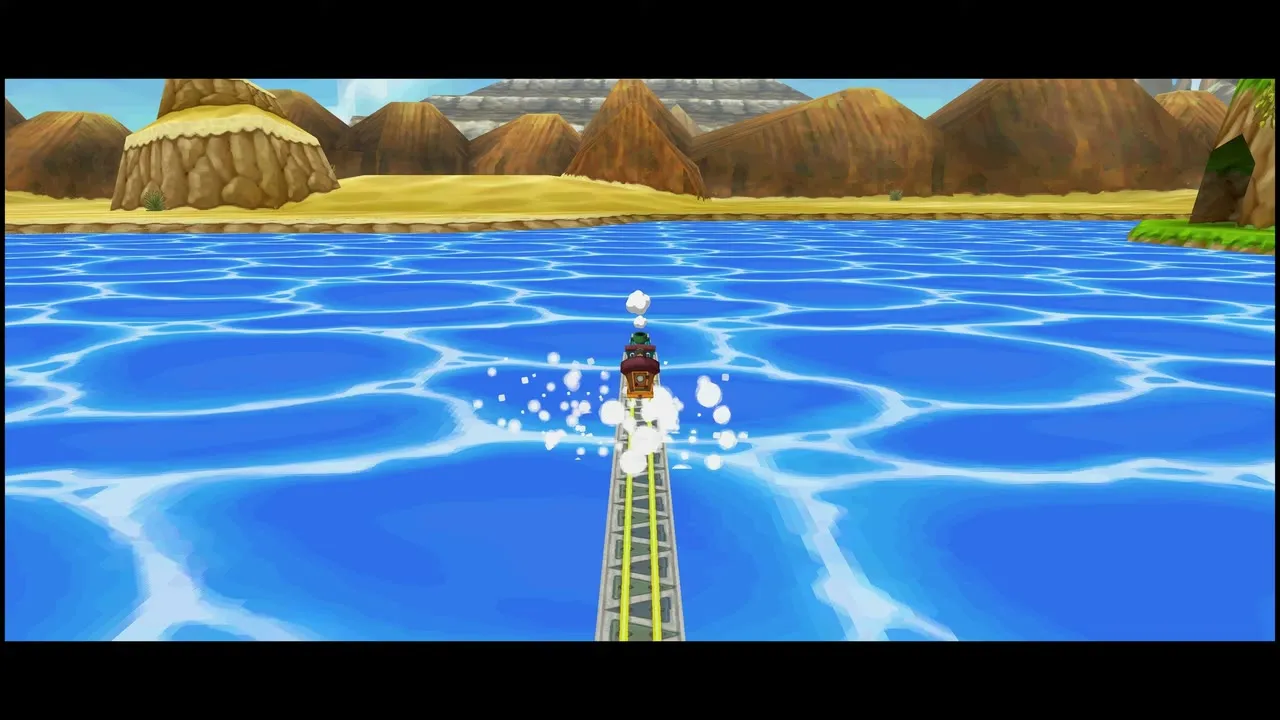
Undersea tracks, Octoroks and the Armored Train
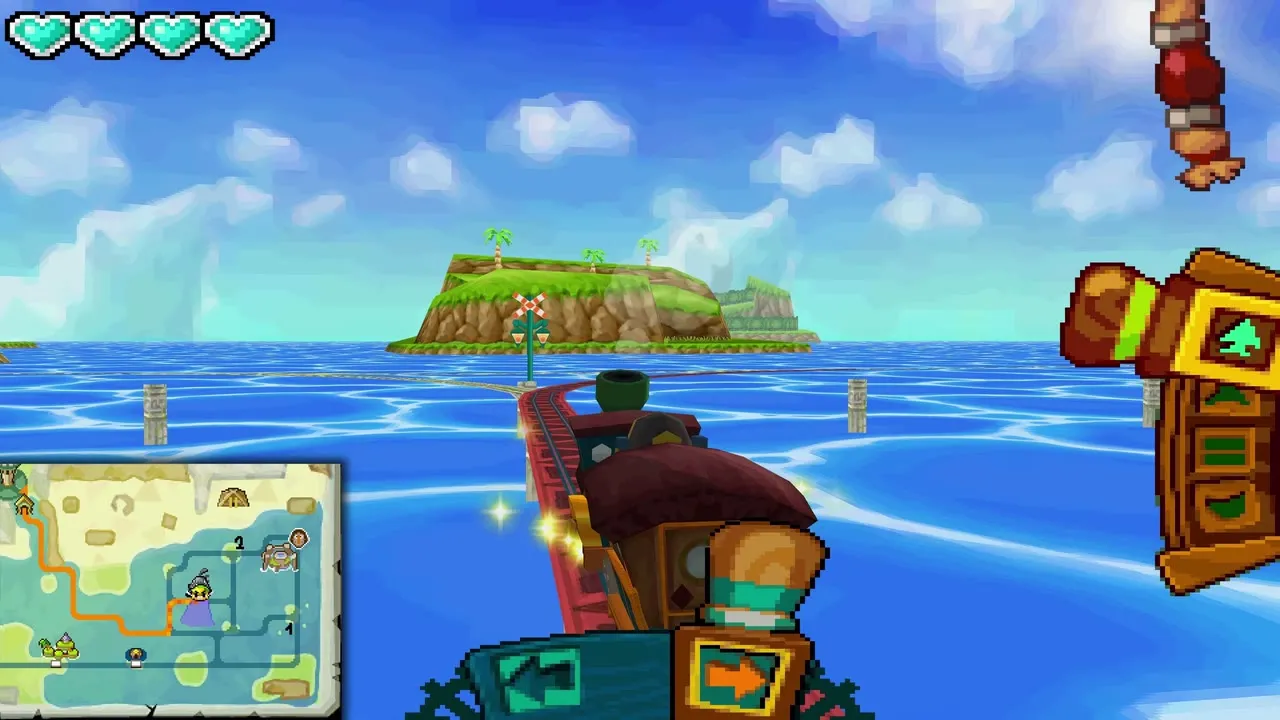
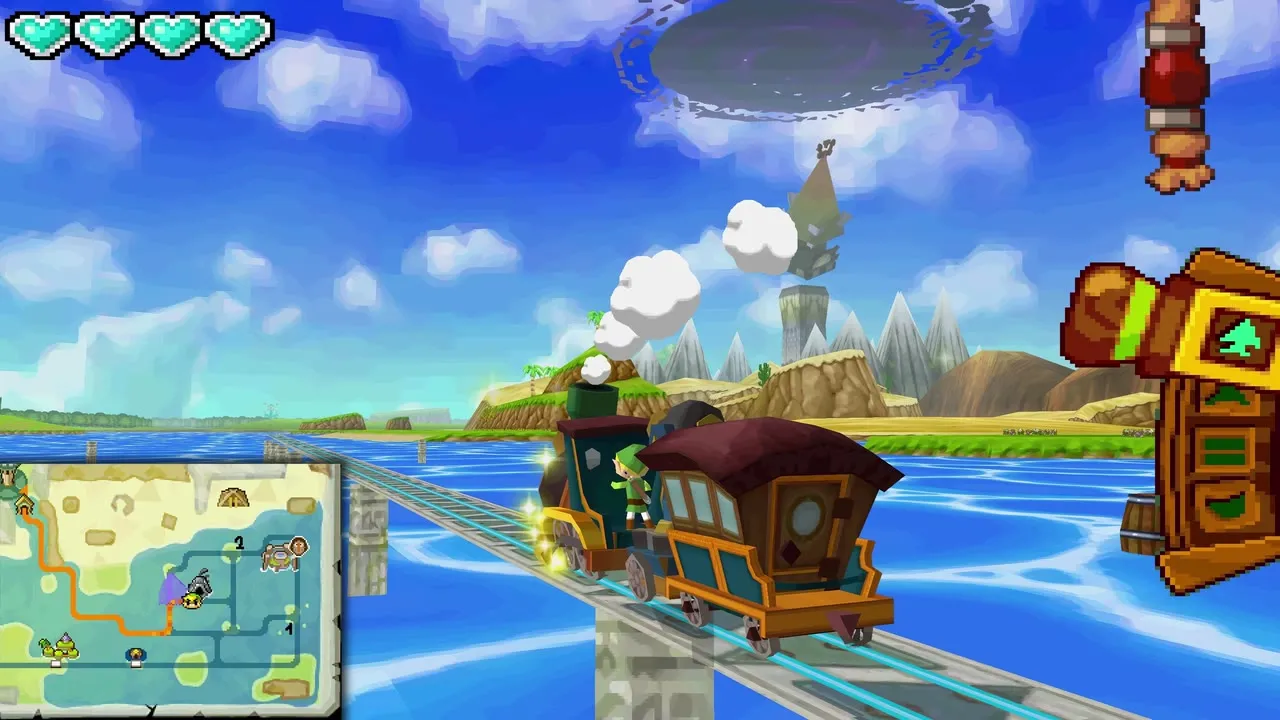
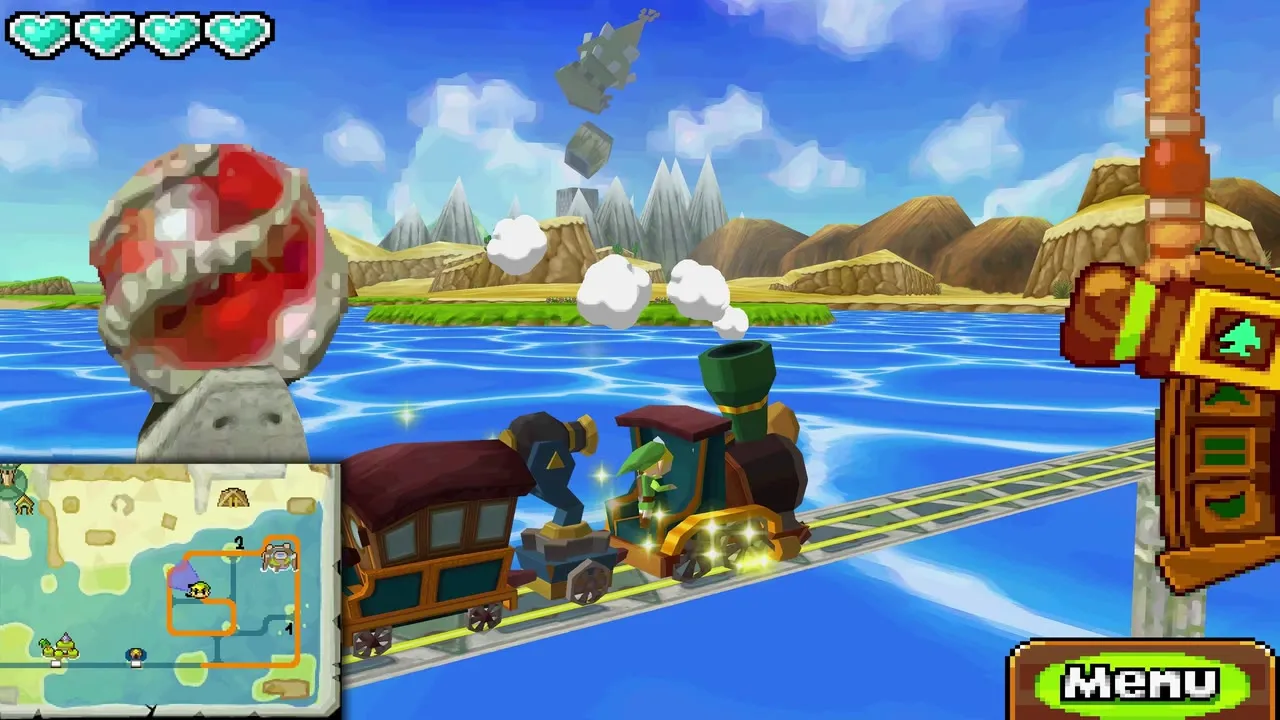
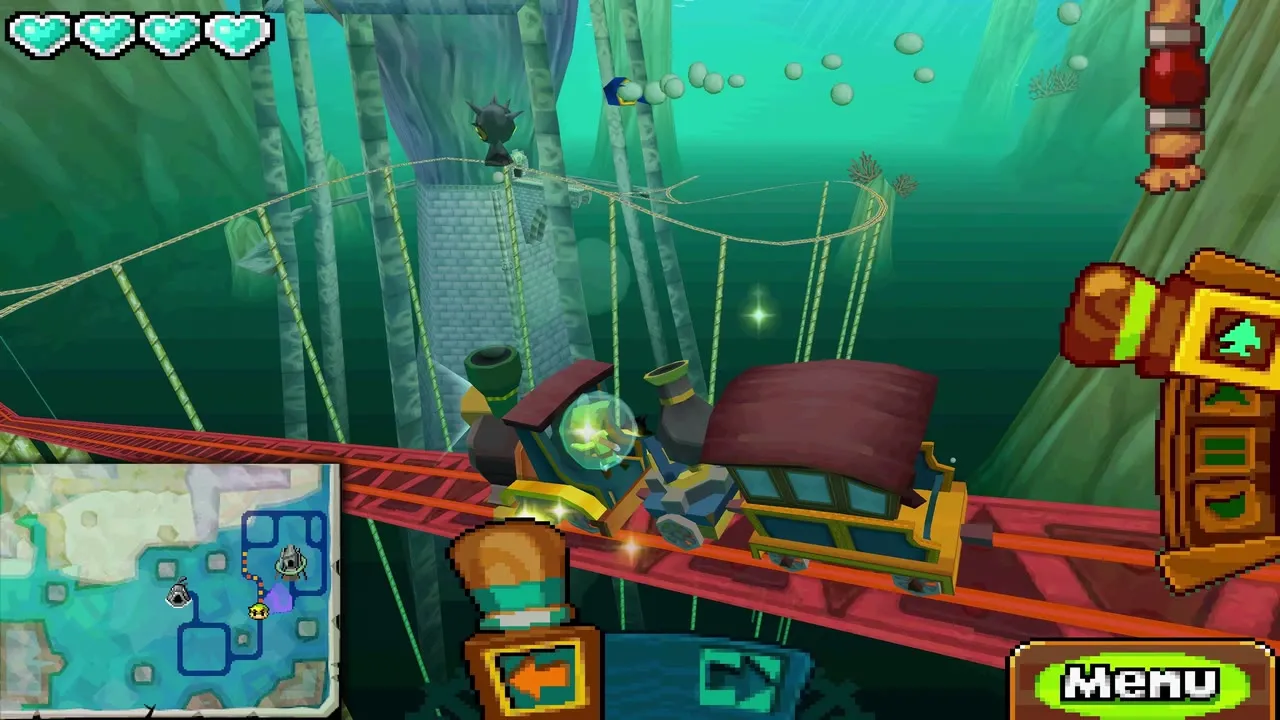
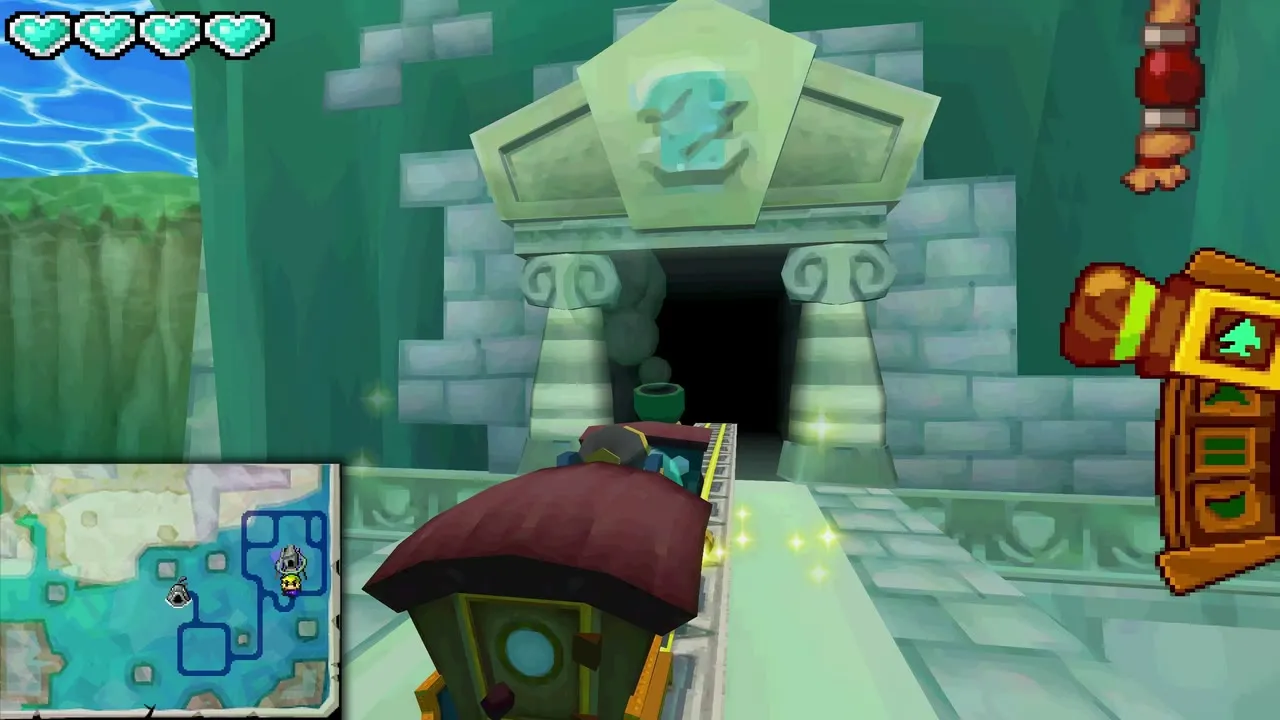
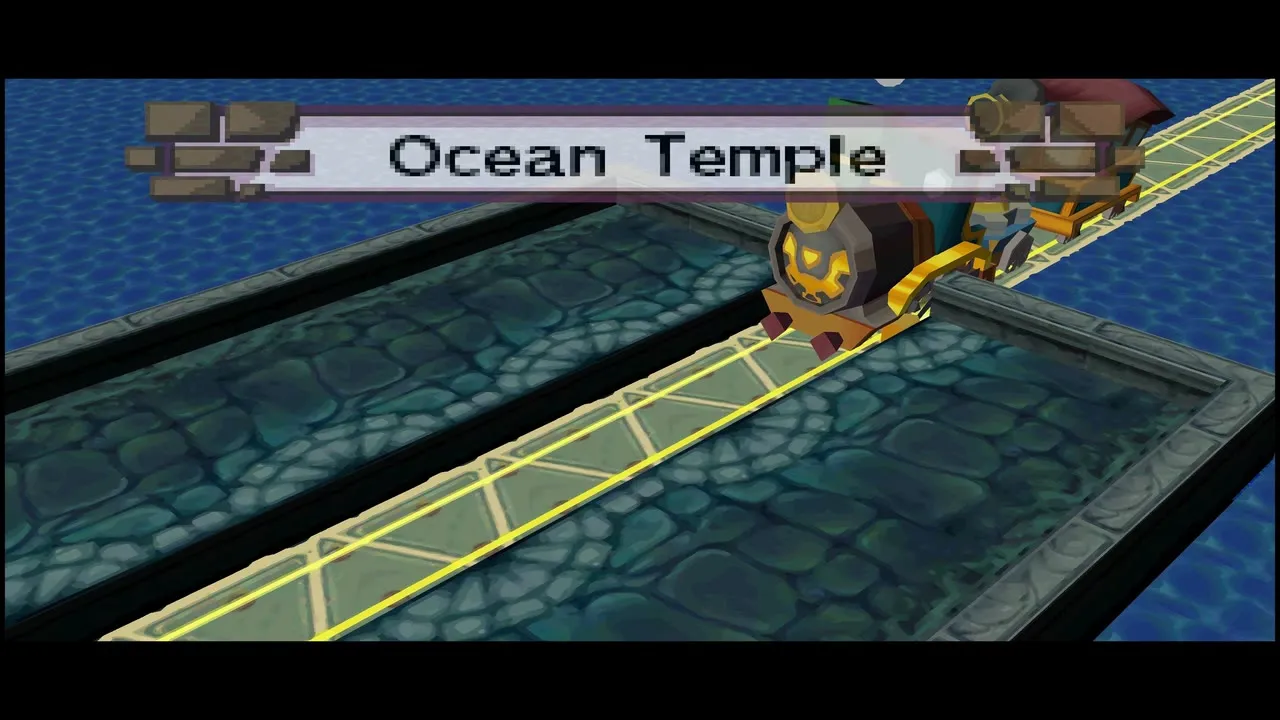
Keep the cannon busy on the way: Octoroks lurk along the underwater line, so shoot them before they reach you. An Armored Train and a Dark Train chase you on the approach to the temple, so shoot them with the cannon whenever they get close. Use the track switches to stay clear of them and carry on to the station at the temple.
Ocean Temple first floors: arrows, switches and boulders
Entrance corridor
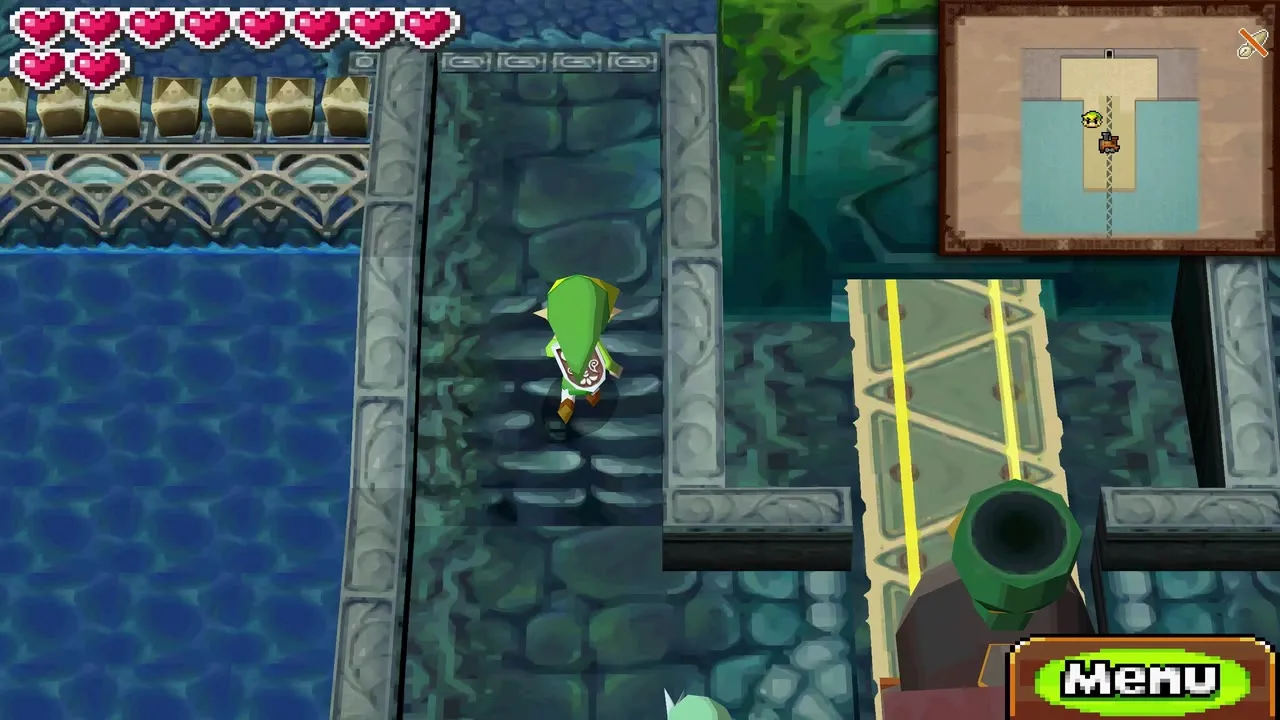
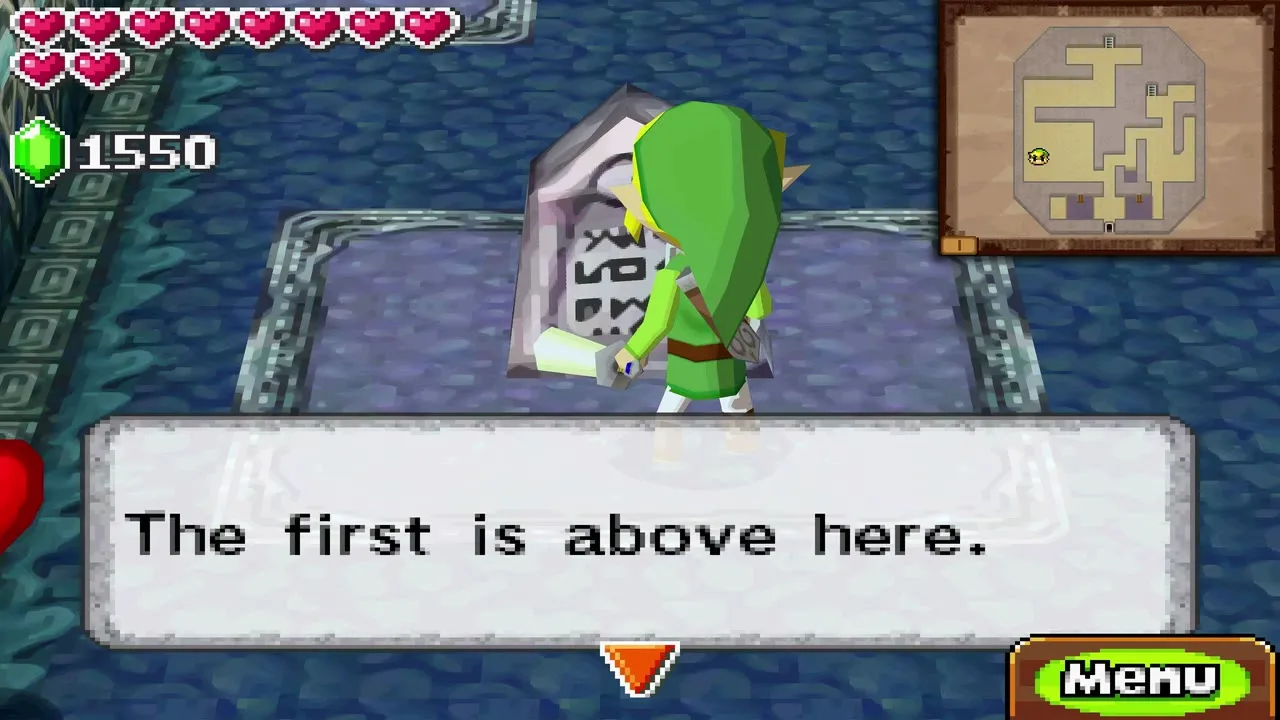
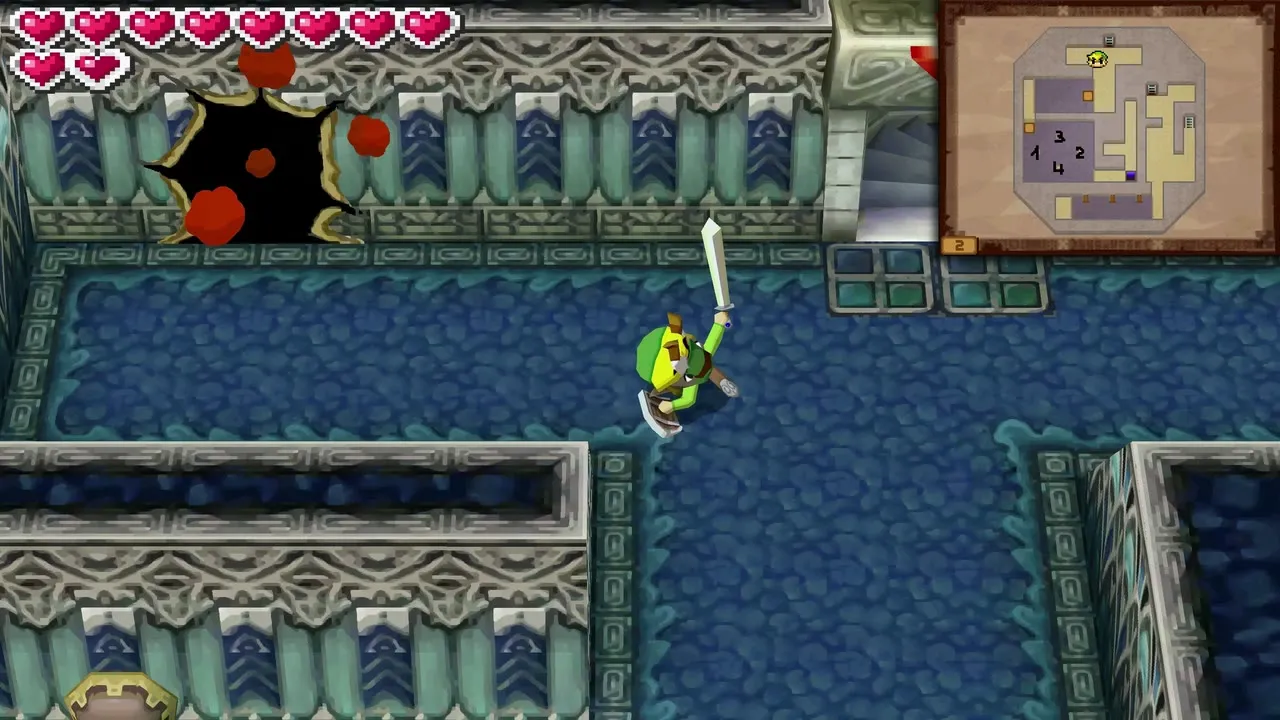
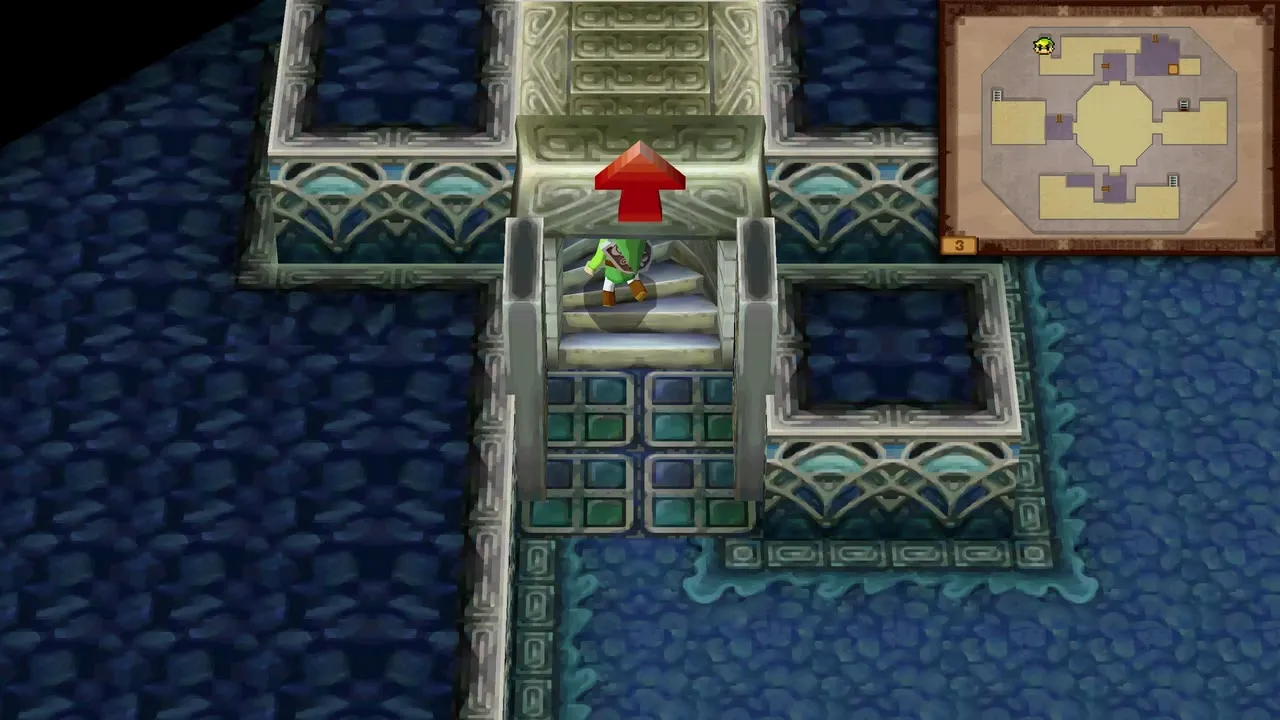
Leave the station, head up and to the left, and read the signs along the way. Walk past the wall arrow shooters, keeping your shield up, and climb the stairs.
Floating block and boomerang switches
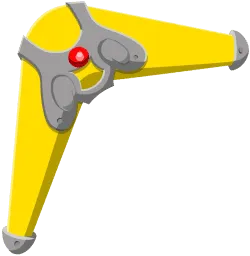
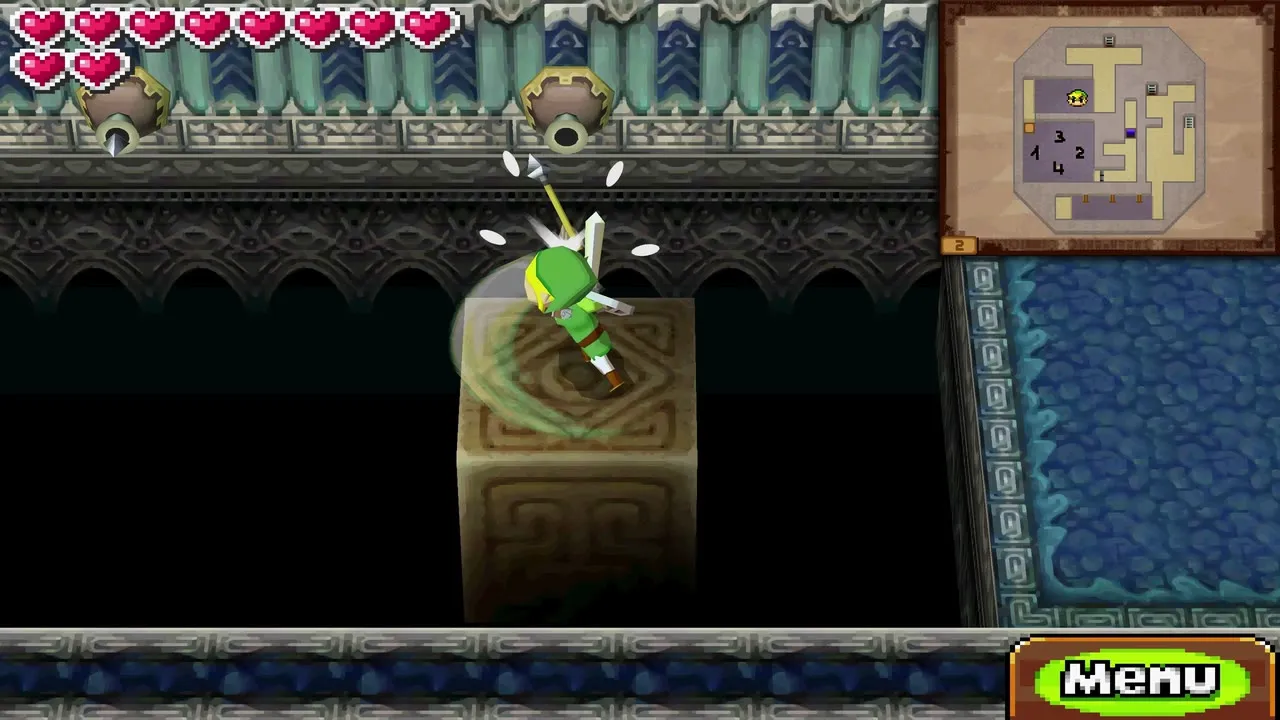
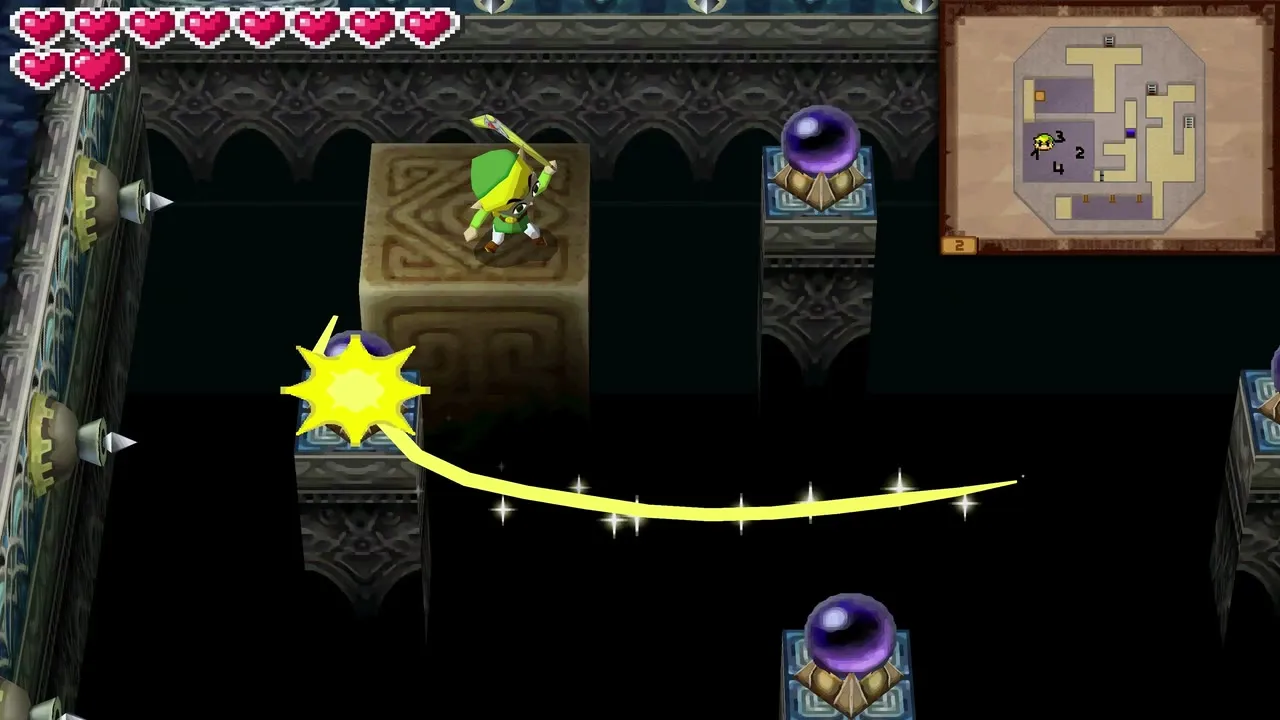
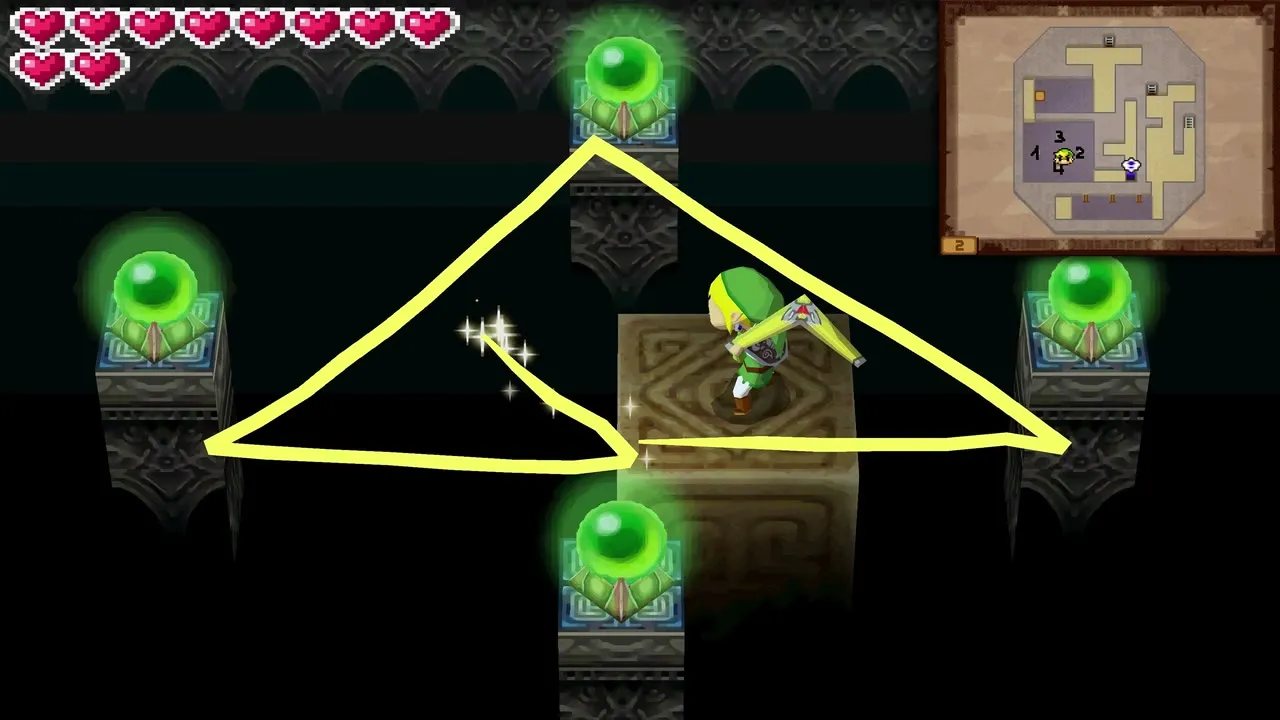
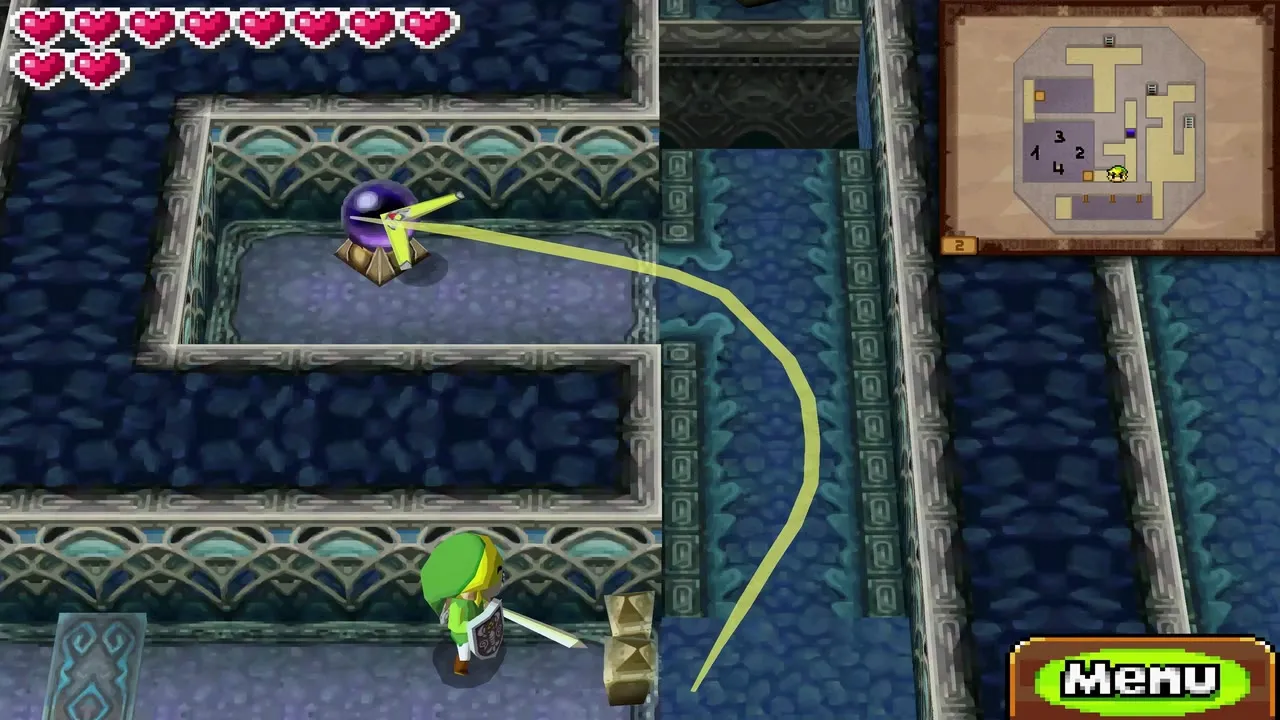
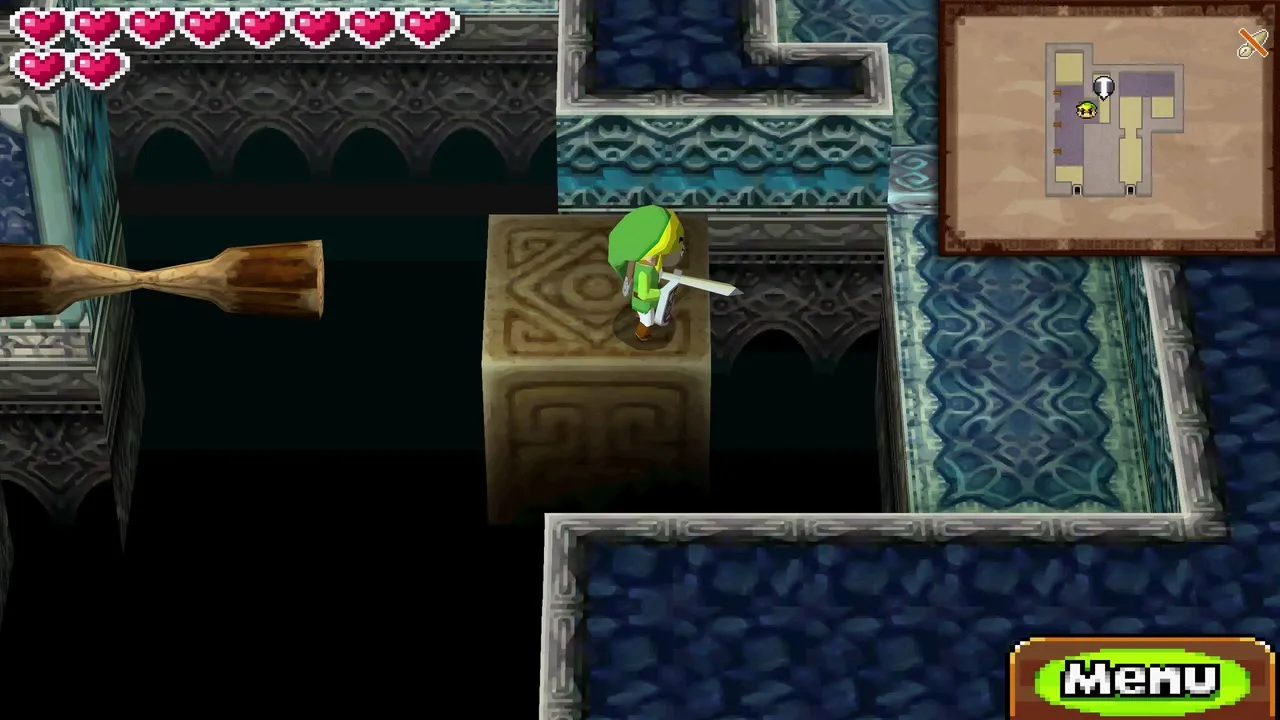
Step onto the large floating block while facing up, so your shield catches the arrows. In the room of switches, draw the Boomerang’s path through them in the right order; the arrow shooters only fire if you hit them in the wrong sequence. The three green orbs in the dark room work the same way, so loop the Boomerang through them in one drawn line. Do not walk up to the crystal switch by the fence: stand back near the small fence and throw the Boomerang at it instead.
Crystal switch, boulders and Chuchus
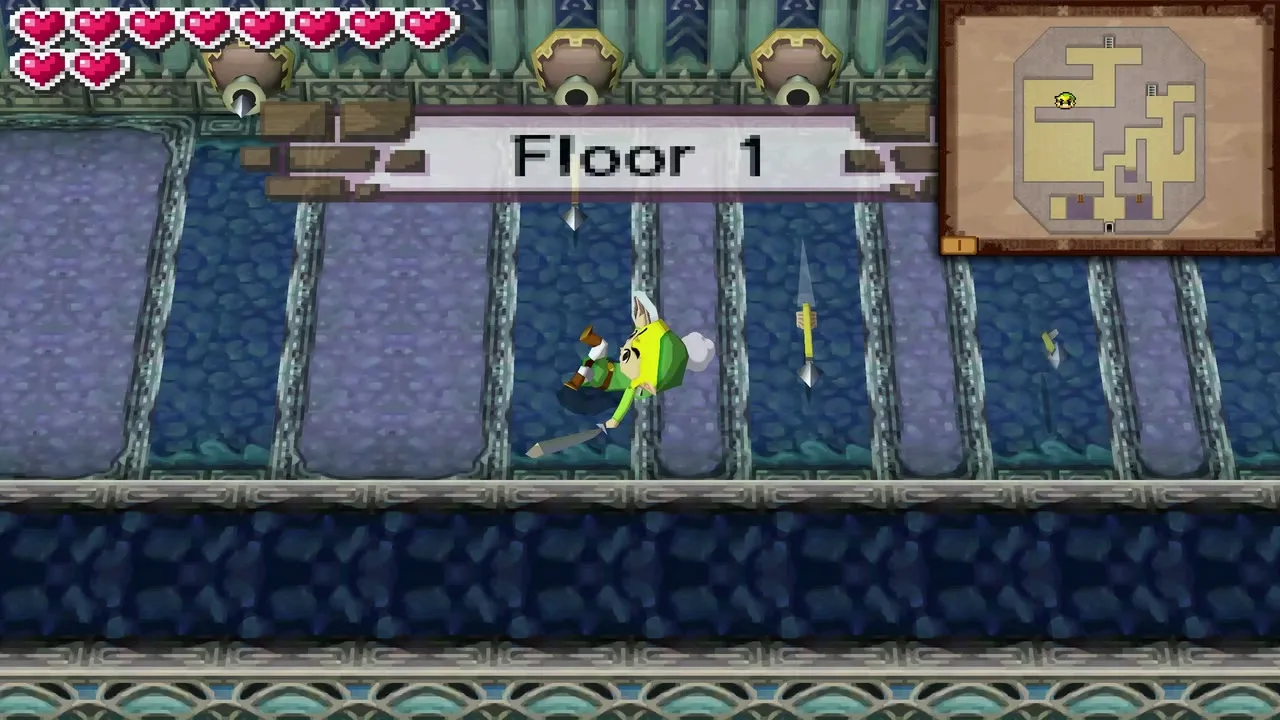
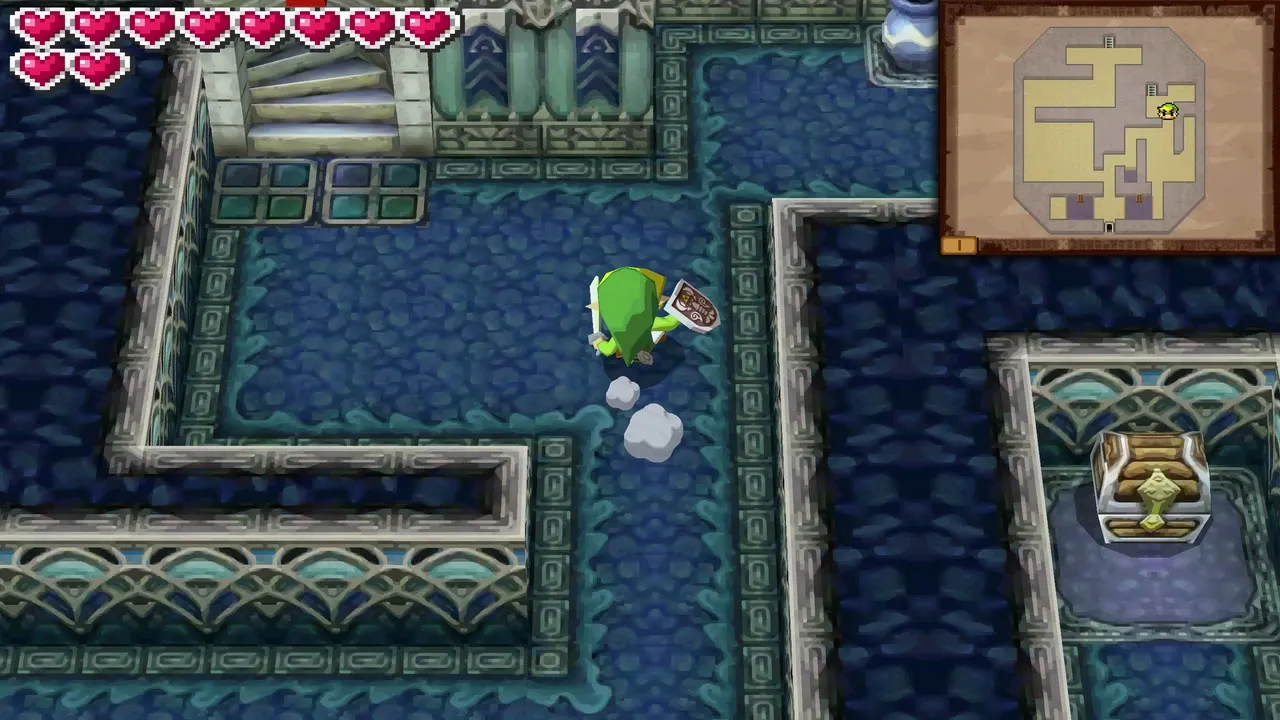
Hitting that crystal opens a trap door on the right, closes the upper one and changes where the boulders fall. Go back downstairs and cross the central room, where the boulders now drop straight into the hole instead of onto you. Climb the north stairs, pass the yellow Chuchus and take the stairs on the right. Chests on these floors hold random treasure, so what you find may differ from another save.
Snapper mini-boss and the Whip
How to beat the Snapper
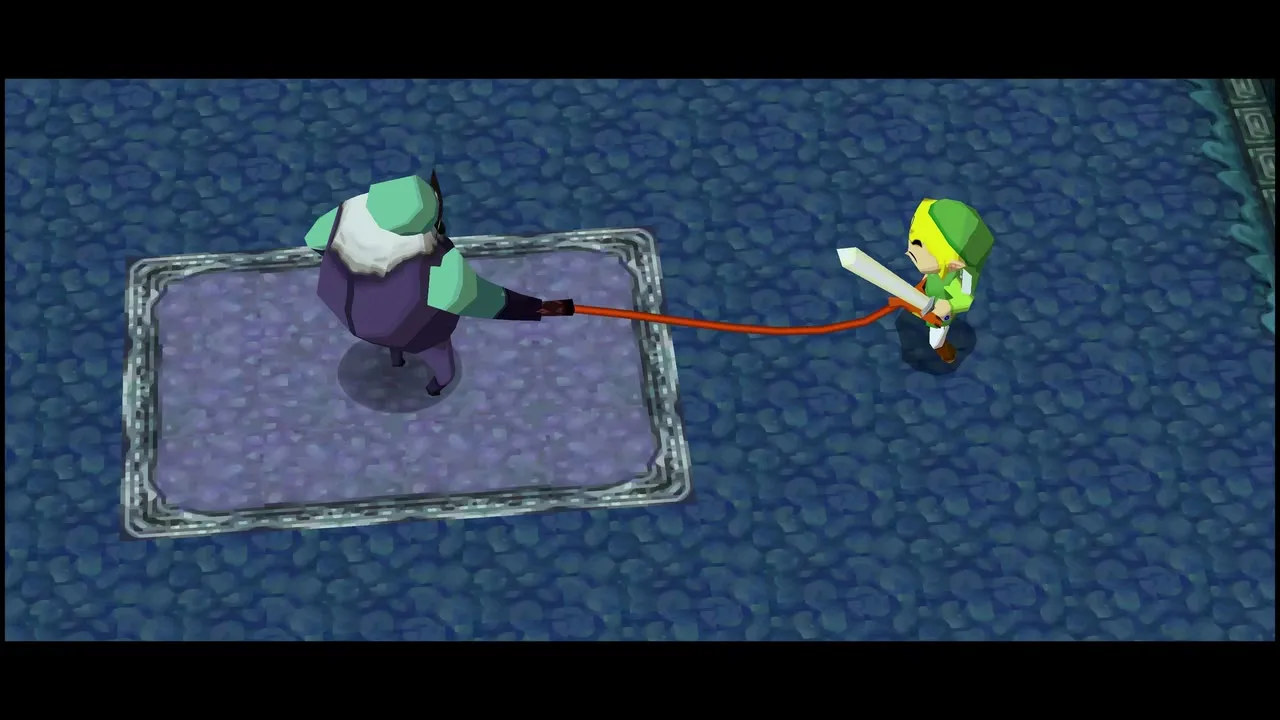
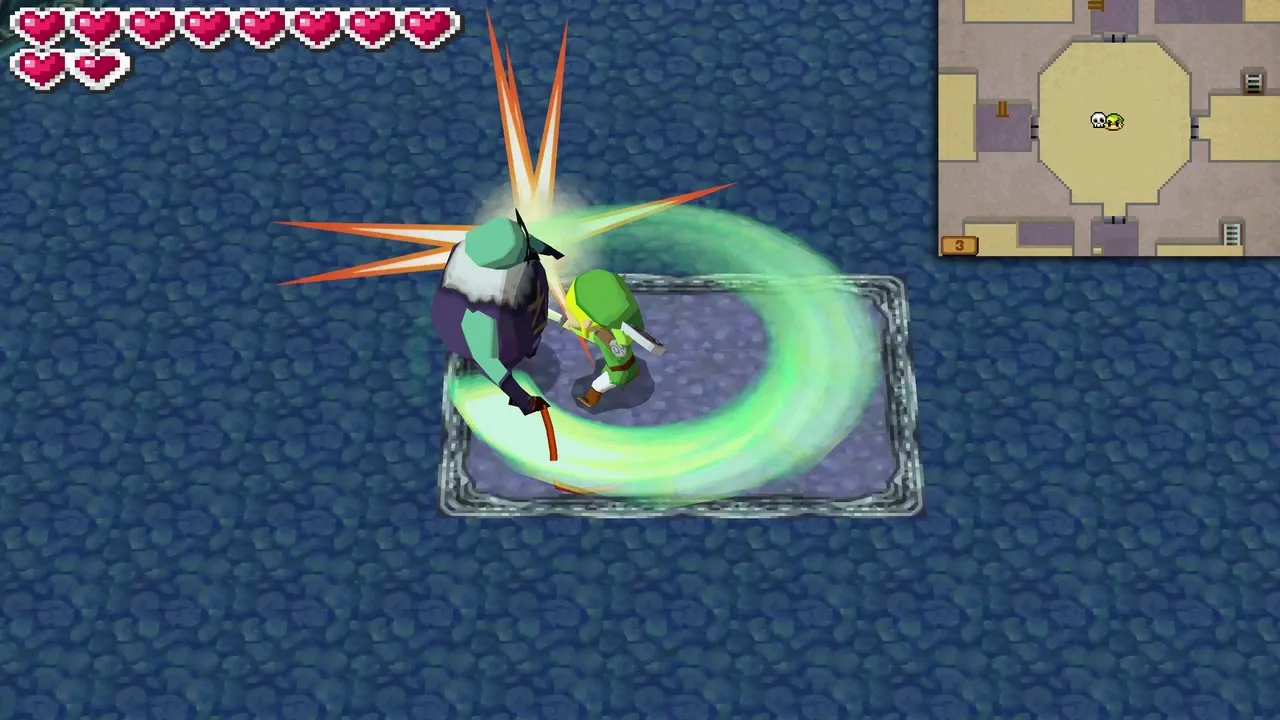
On the third floor, go left to find the Snapper, a mini-boss that lashes out with its own whip and drags you toward it. Let it pull you in, slash it with your sword, then step back and repeat; repeat until it falls.
Get the Whip
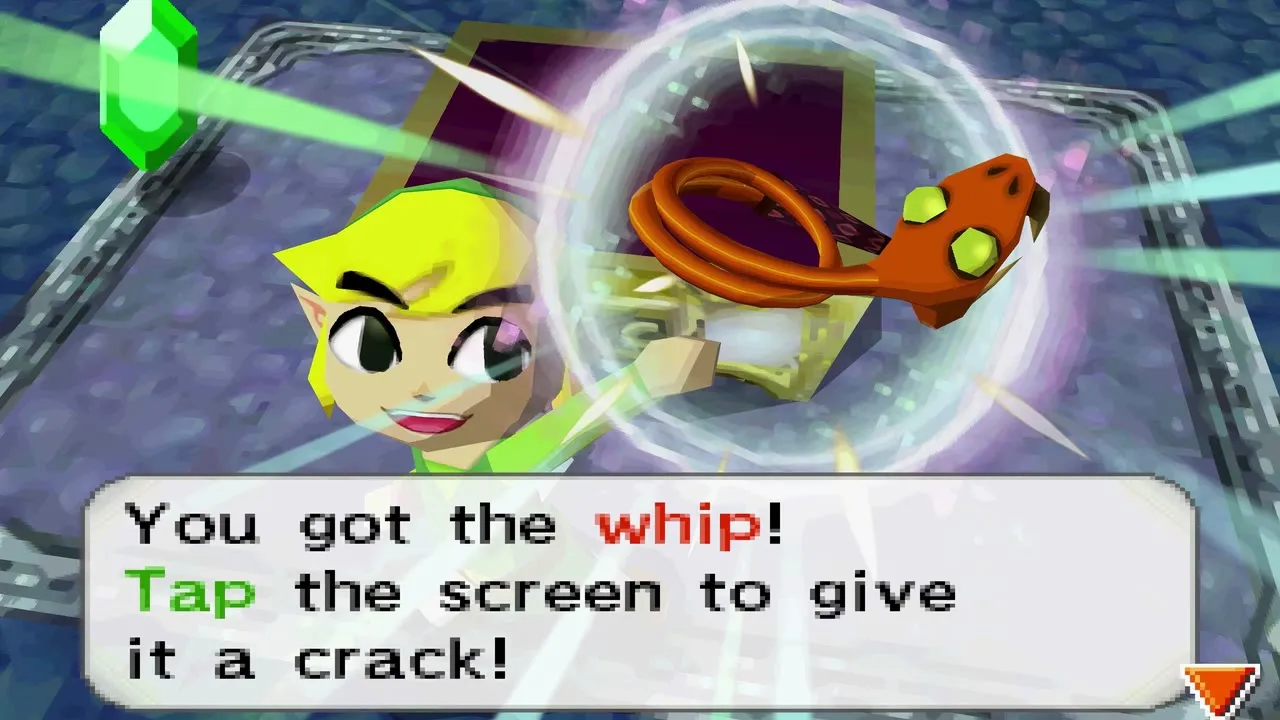
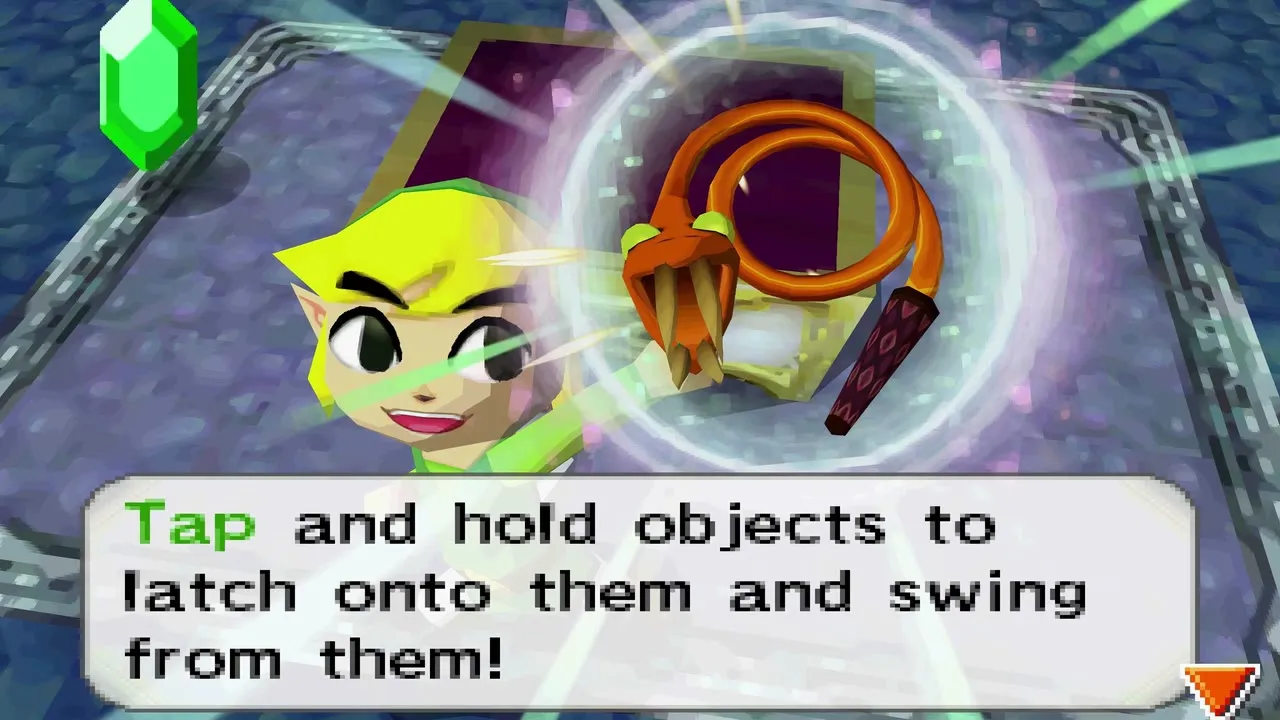
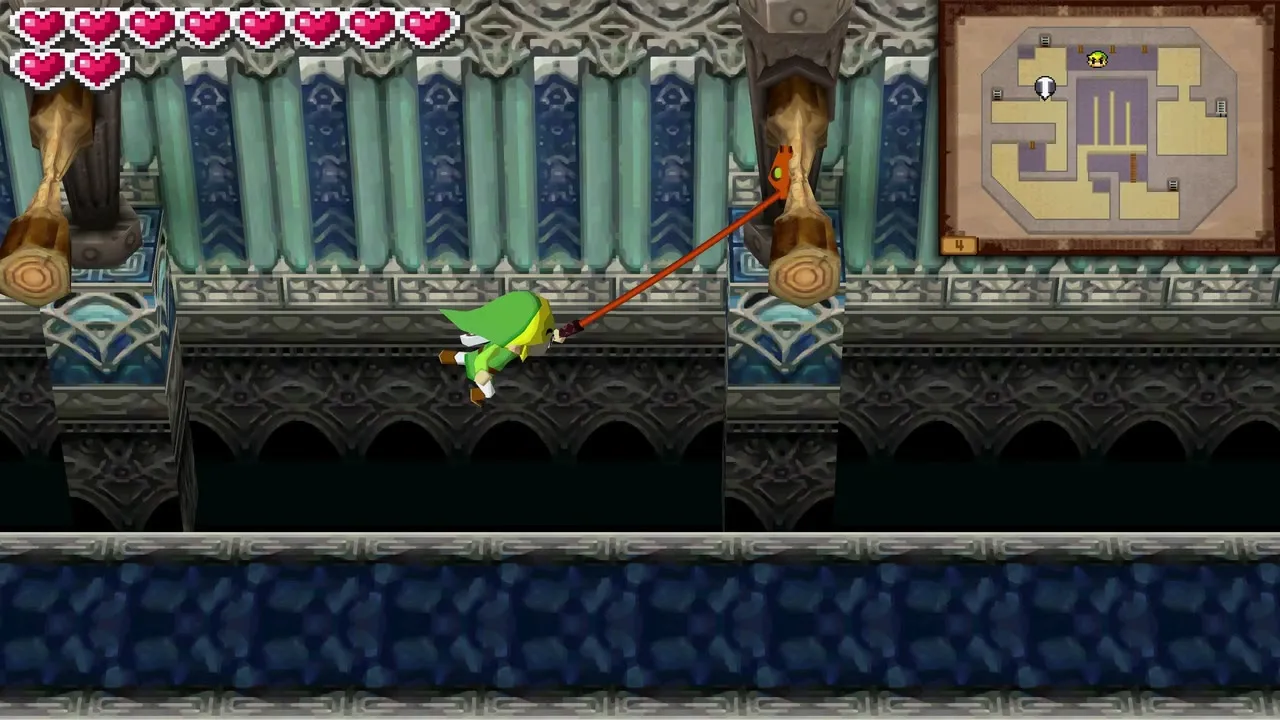
Defeating the Snapper gives you the Whip, the dungeon item. Tap and hold a post, vine or flying propeller to latch on and swing or hitch a ride, and use it on face-shaped wall switches and on enemies. You need it for the rest of the temple, and later for the Whip Race and several stamp stations (see Items and Equipment).
Ocean Temple whip puzzles and small keys
Poles, vines and treasure chests
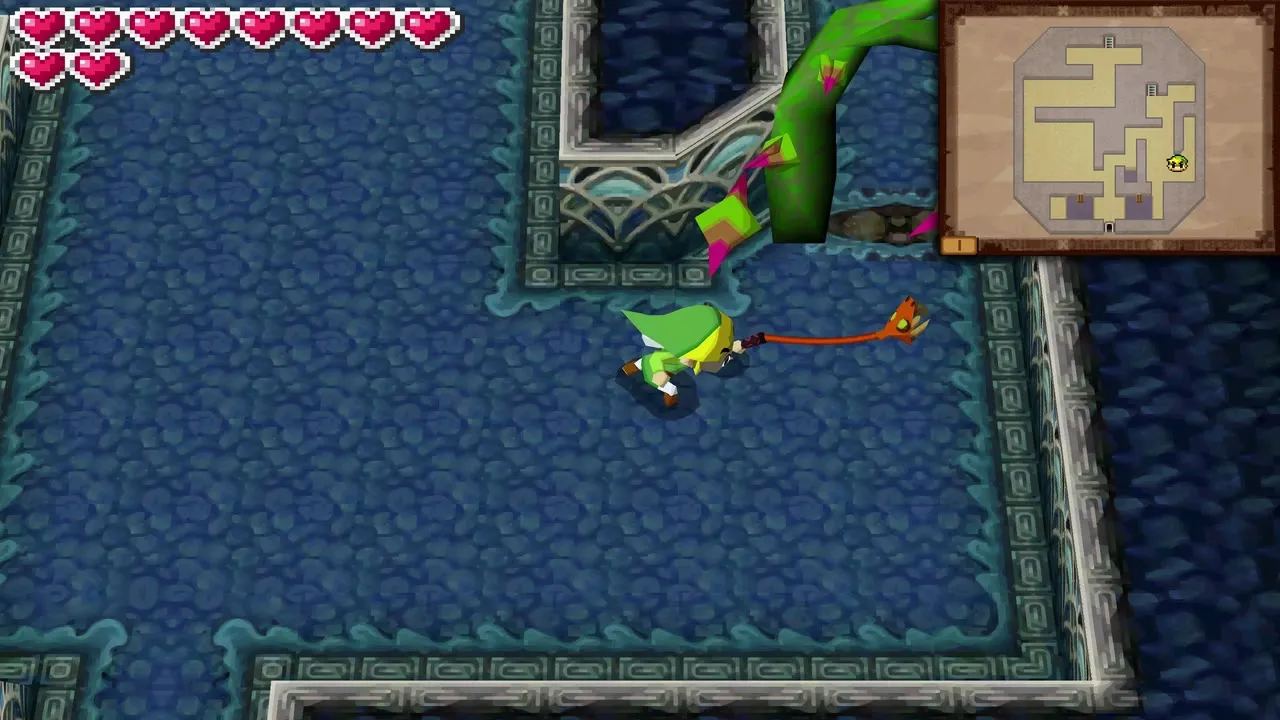
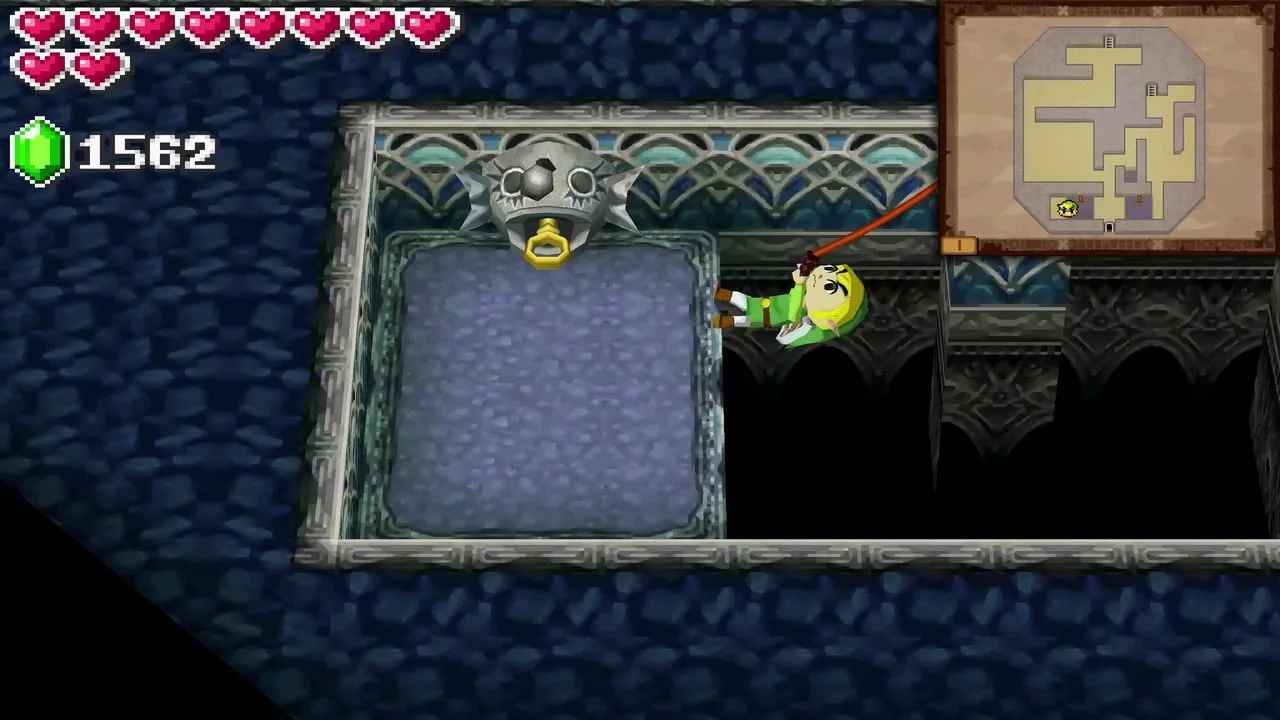
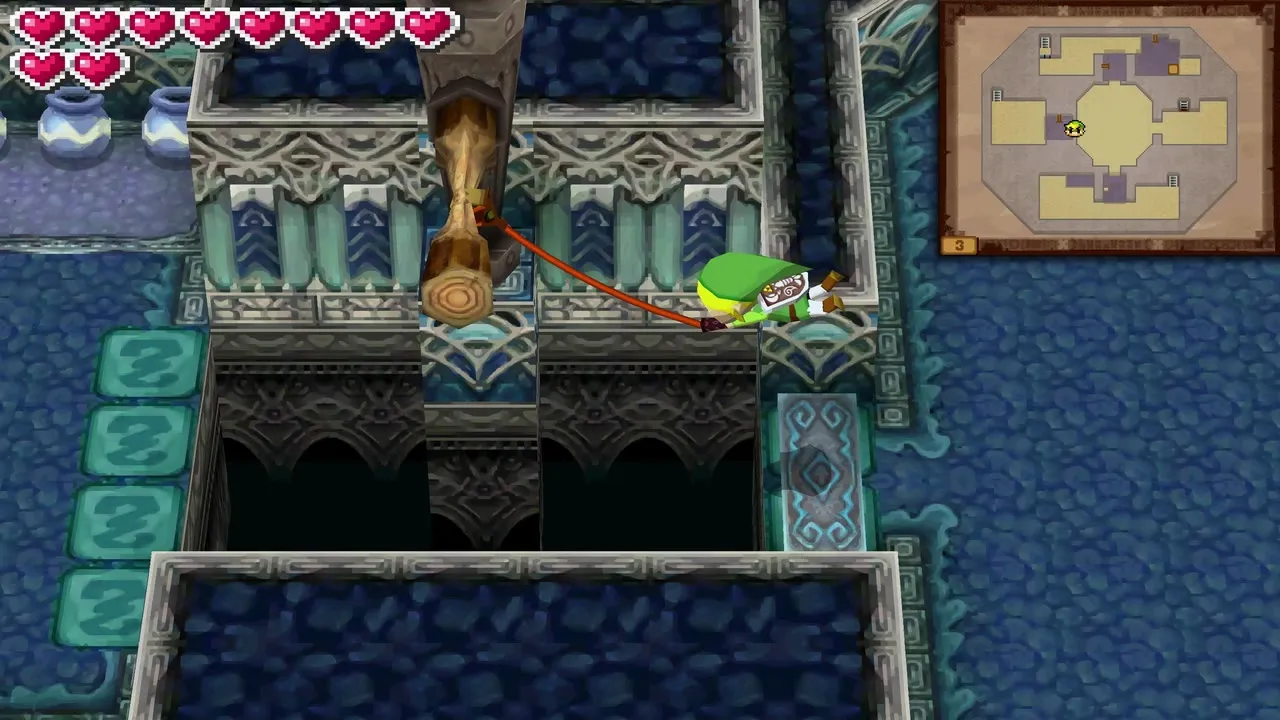
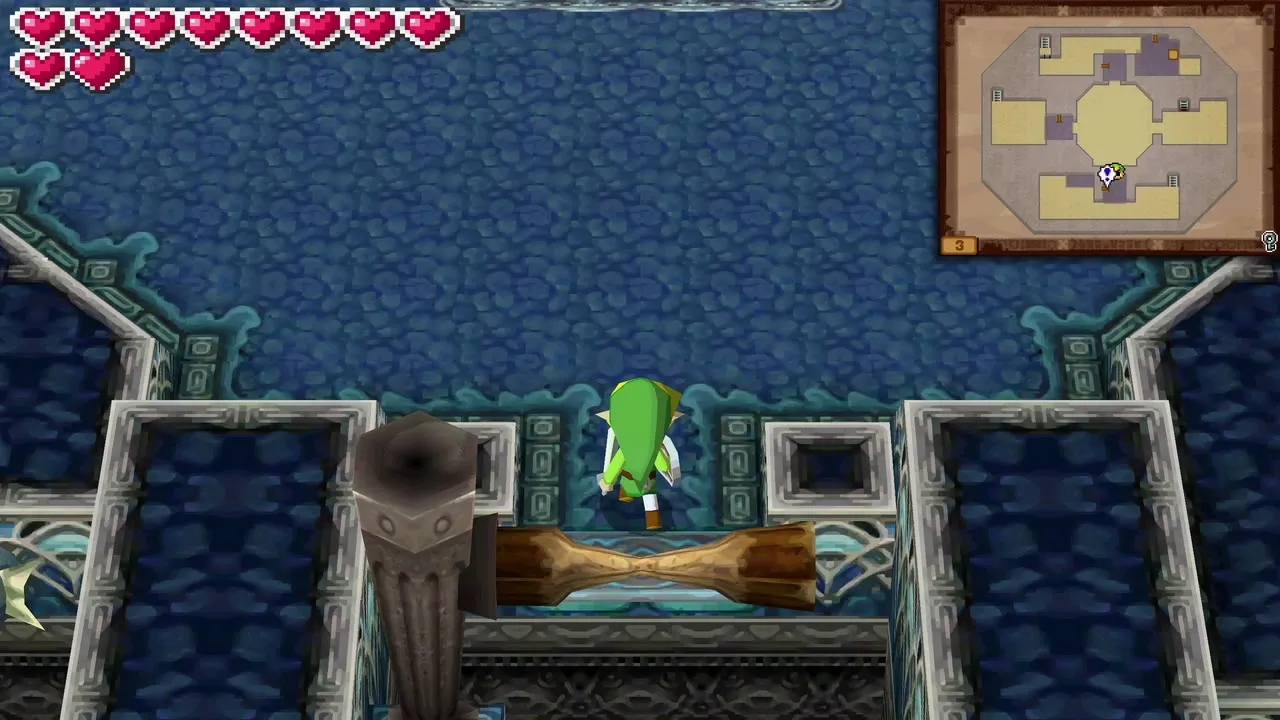
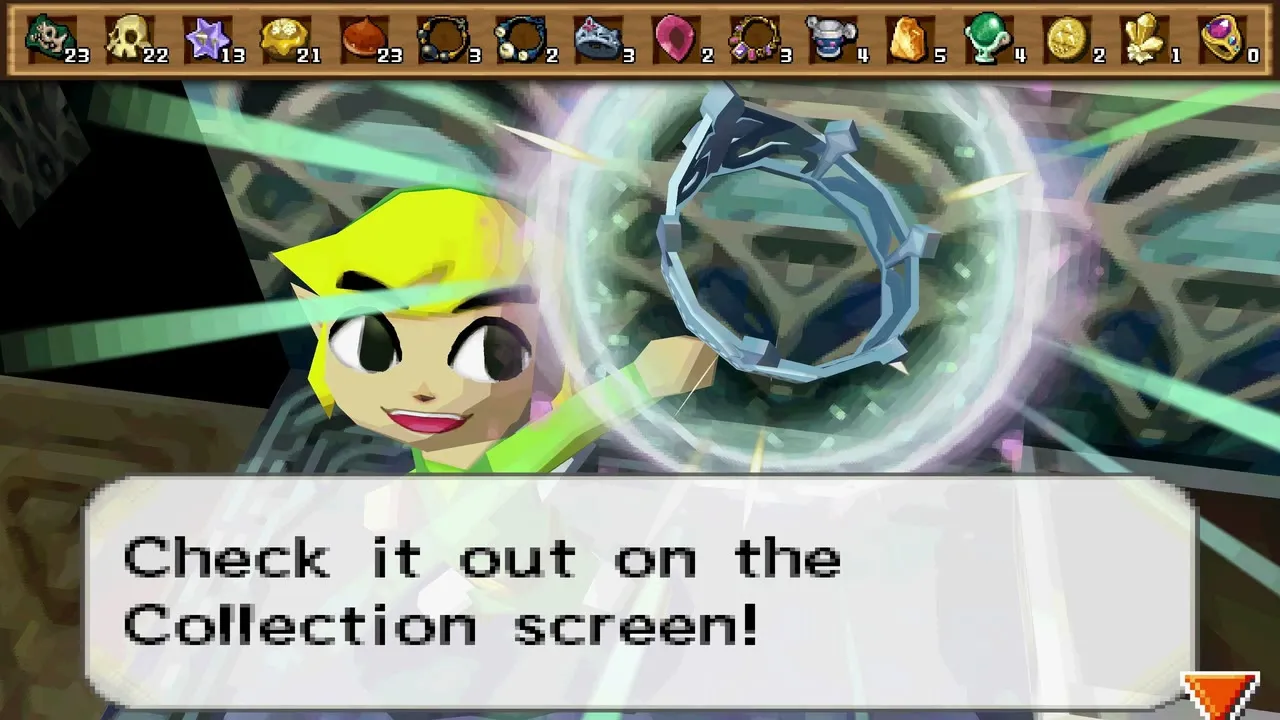
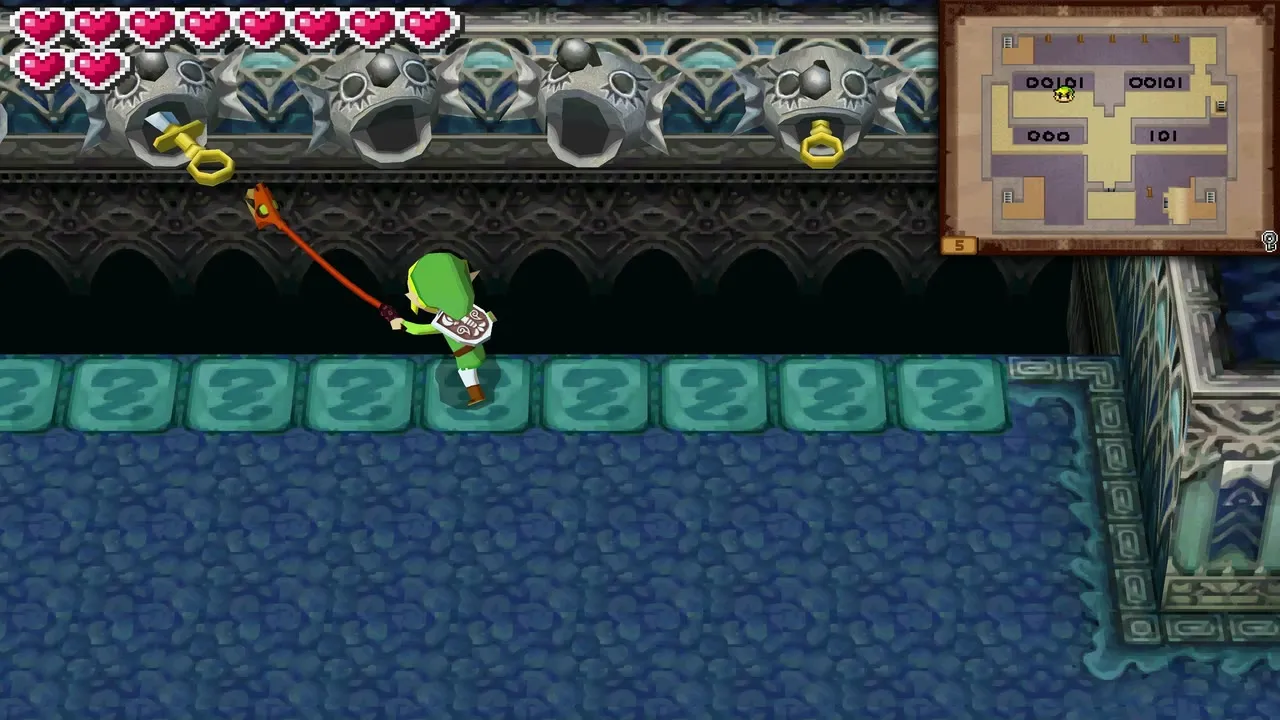
The next floors are a run of gaps crossed by whipping from pole to pole. Swing across the poles on the lower level to reach a chest, then whip the vines on the right for another. Cross the bottom poles to a face switch on the wall and whip it to make a chest appear in the north of the room. These chests give random treasure, which you can sell or turn into train car parts.
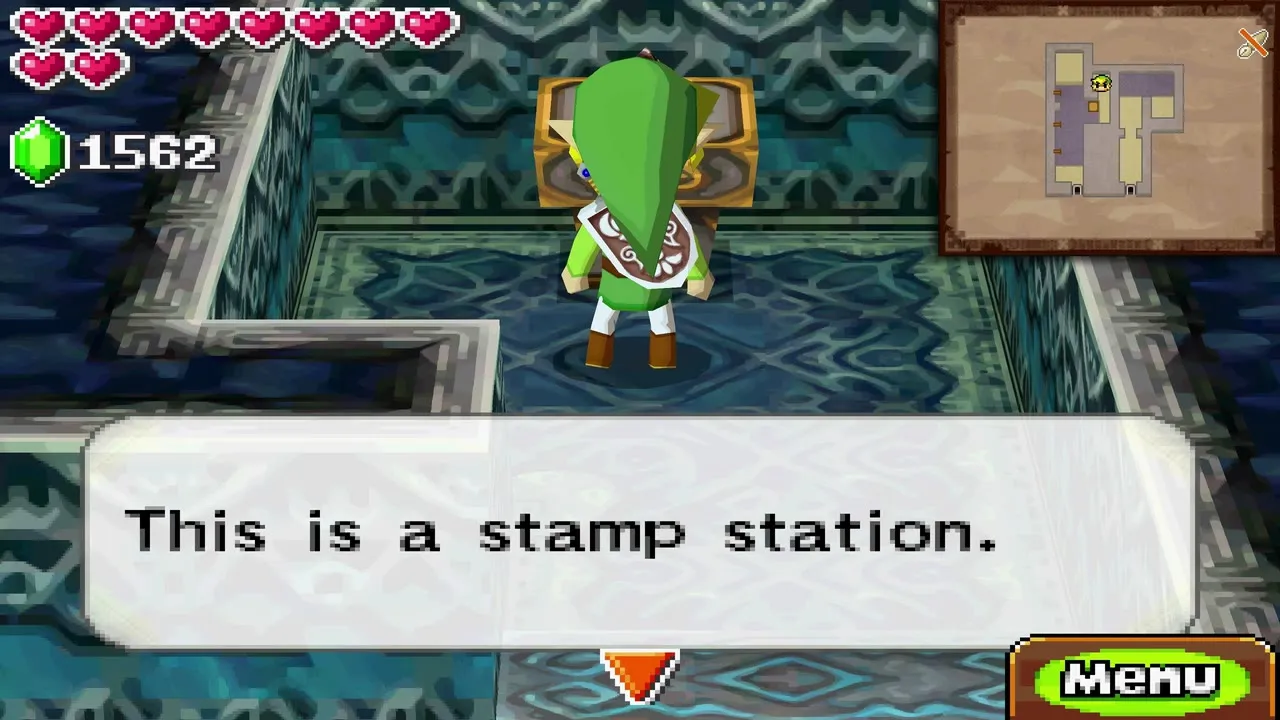
Ocean Temple stamp station
This stamp station is the hardest one to reach in the temples. On the second floor, blow open a cracked wall in the north with Bombs to find a hidden room. Hit the switch on the eastern side of that room with the Boomerang, then use the Whip to reach the stamp spot on the western side. Stamp your book there (see Stamp Station Locations).
Handle room and the wall-switch bridge
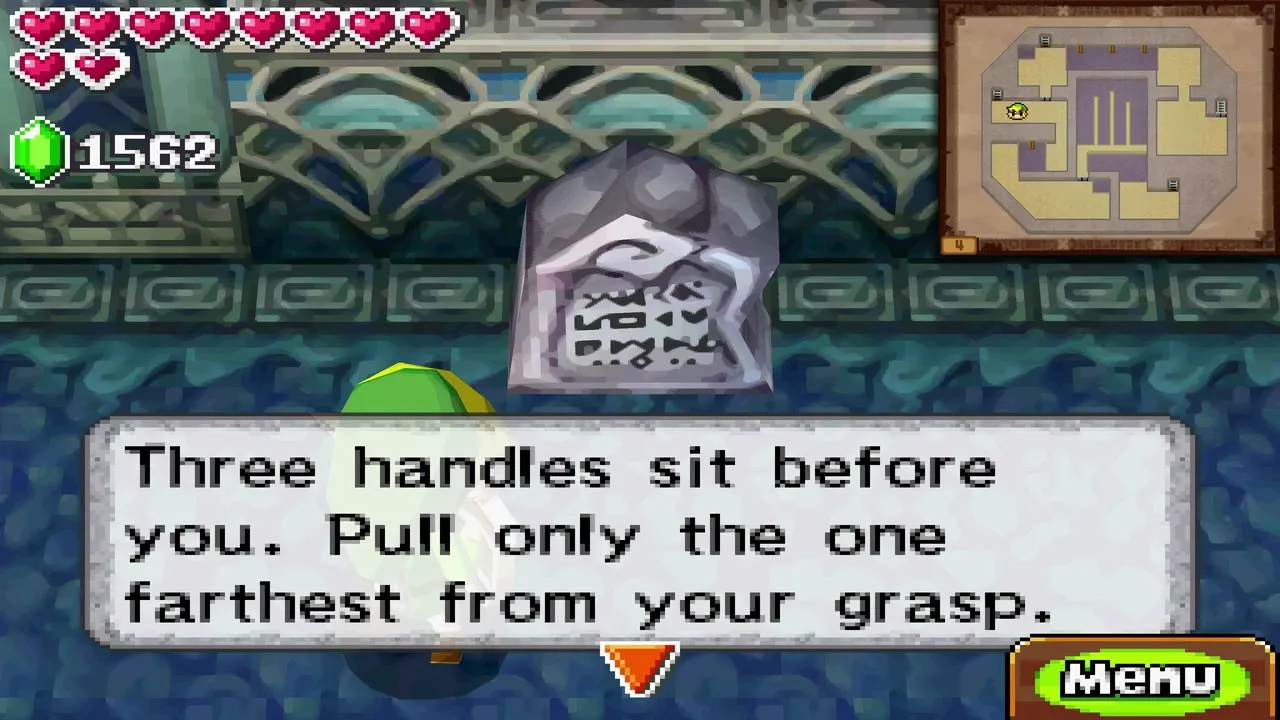
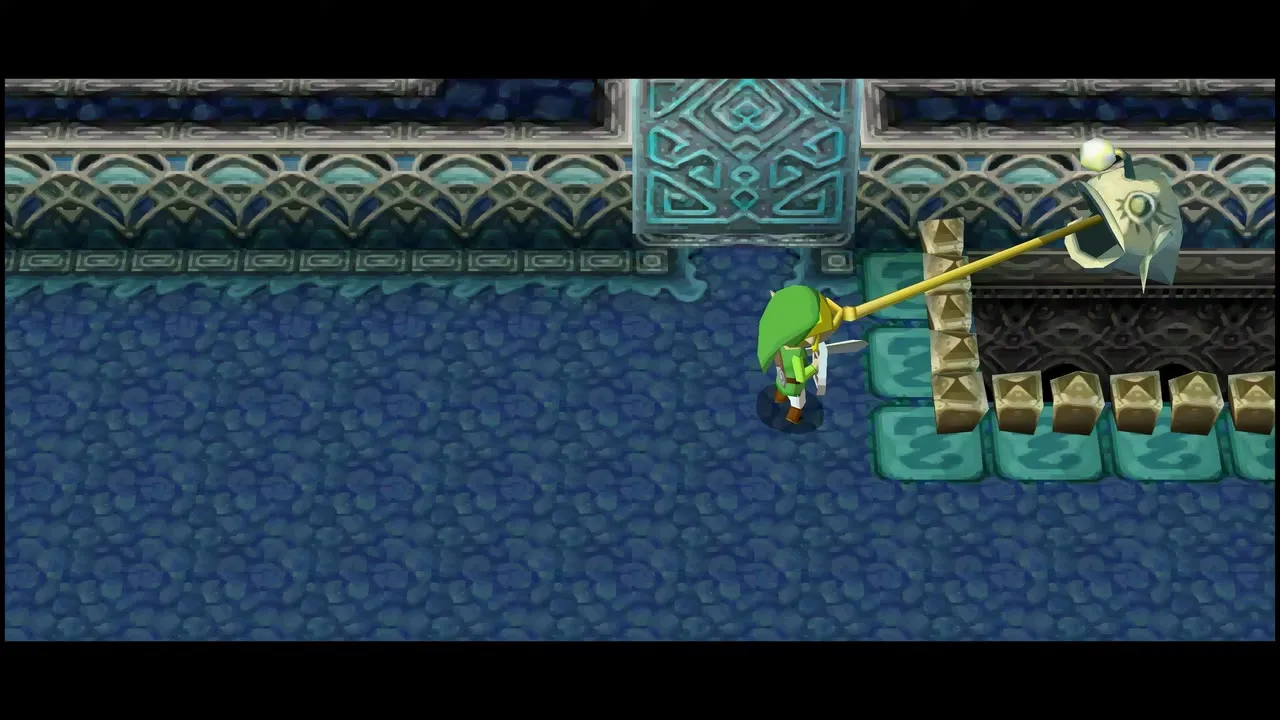
A sign tells you to pull only the handle farthest from you; do that, then drop down, whip across and pass the Chuchus. Whip the switch next to the door to open it. On the narrow path to the right, whip the wall switch to raise a bridge, then take the stairs down.
First small key
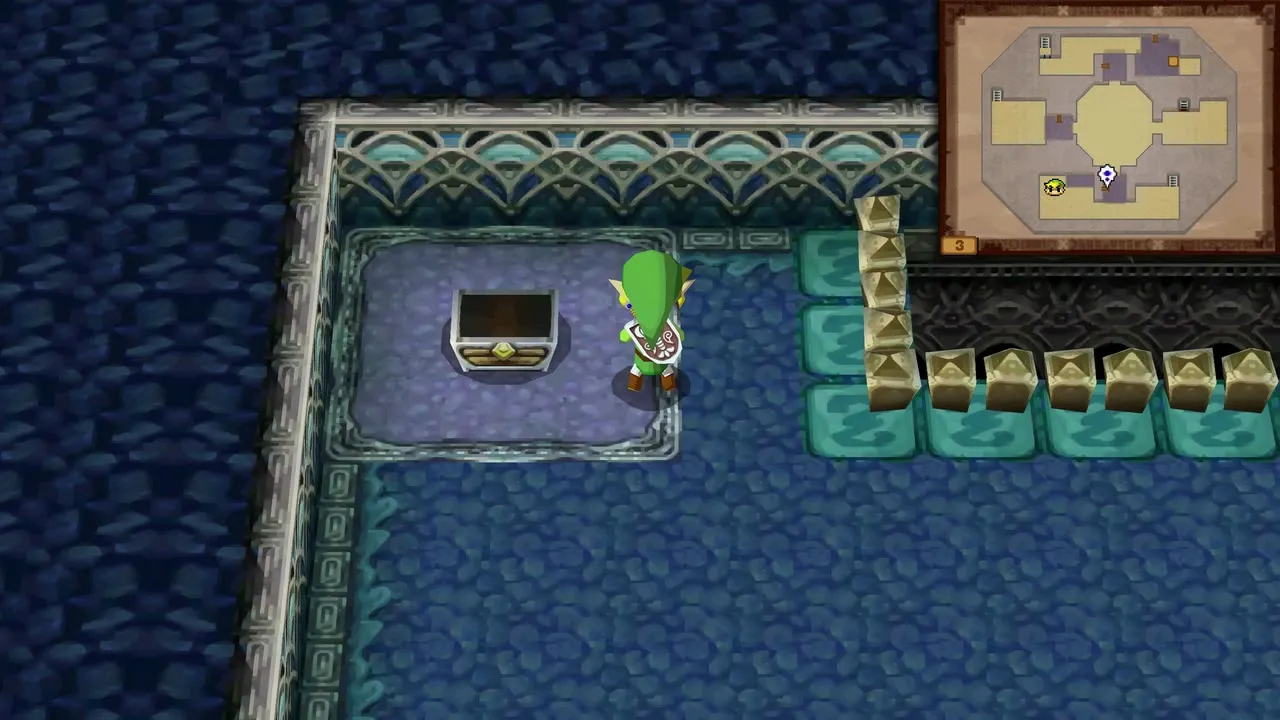
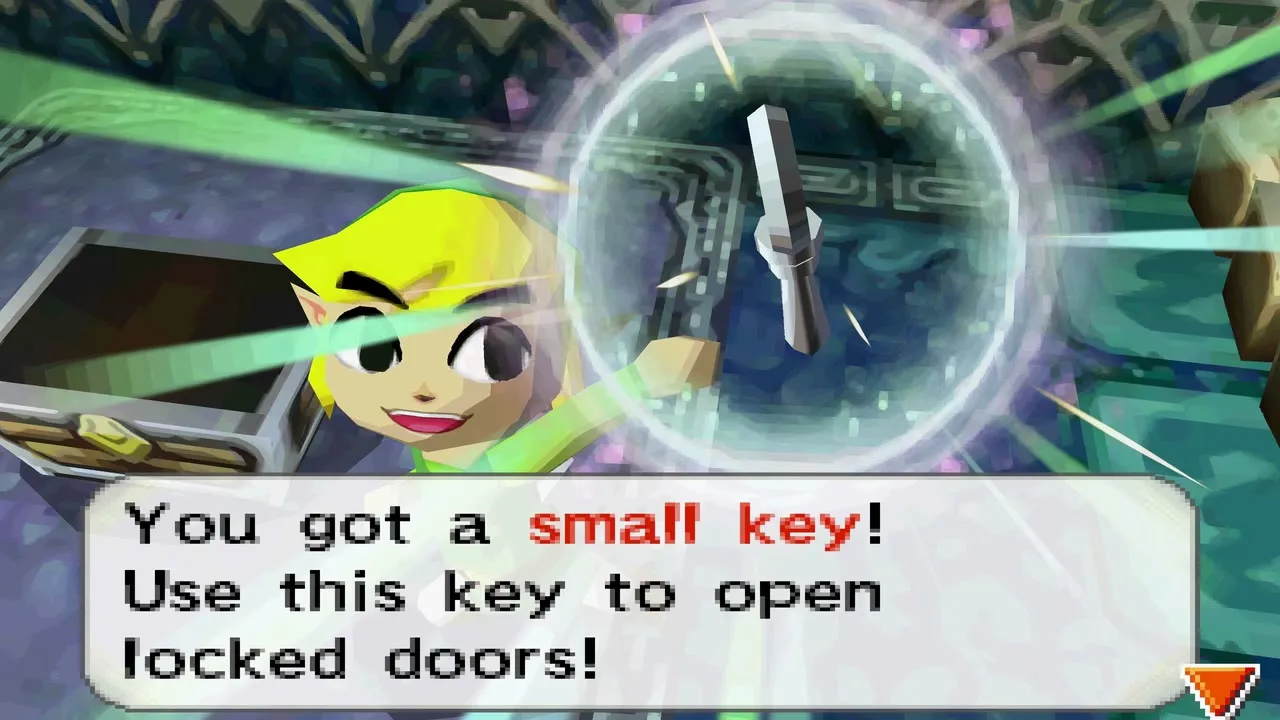
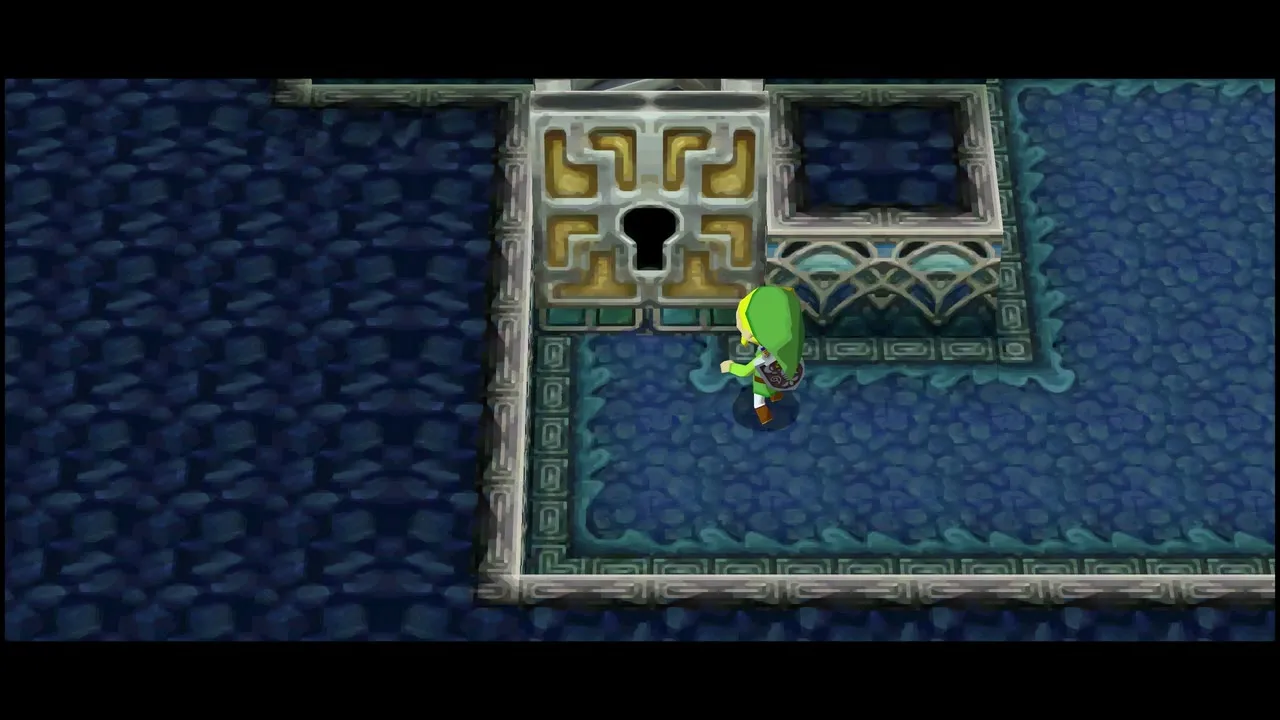
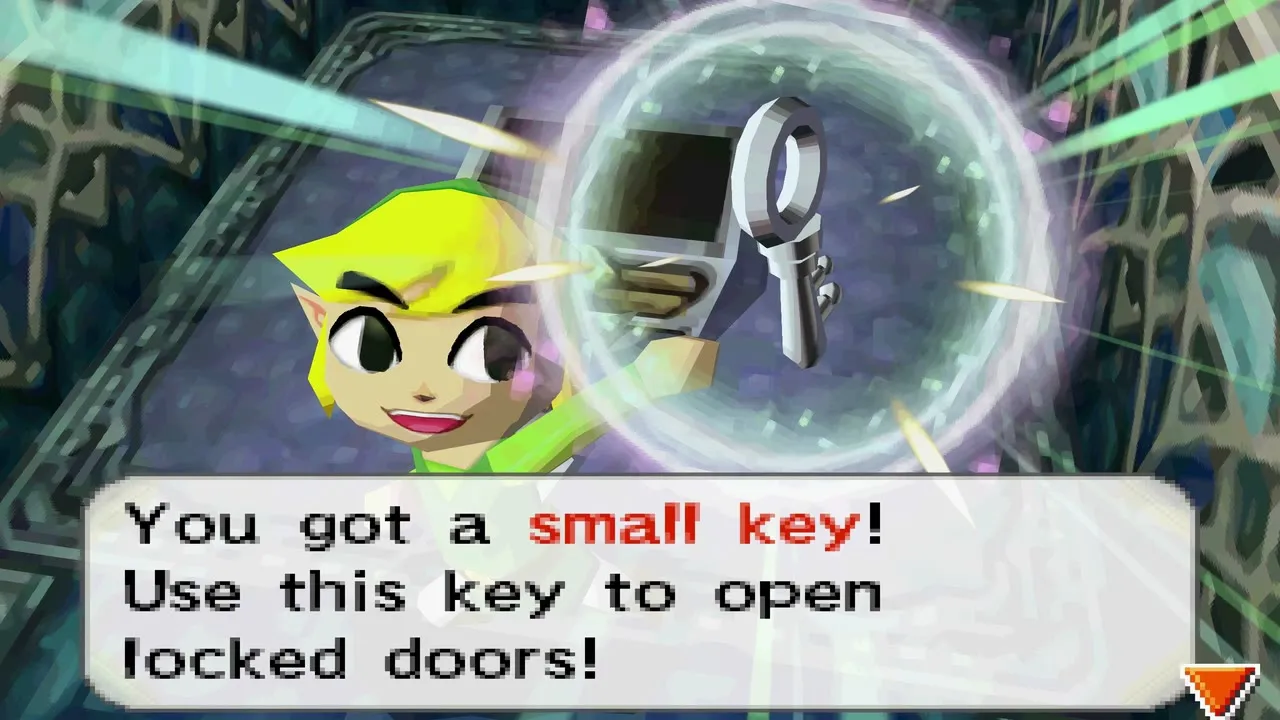
Two face switches sit on the left. Whip the left one and tap the right one to slide a stone sword out of place, and a chest appears holding the first small key. A new pole now lets you whip across. In the north area, whip over to the pole on the right when the floating block lines up under it; a chest there holds random treasure. Return left, unlock the door with the small key and go upstairs.
Red Chuchus and the second pair of Snappers
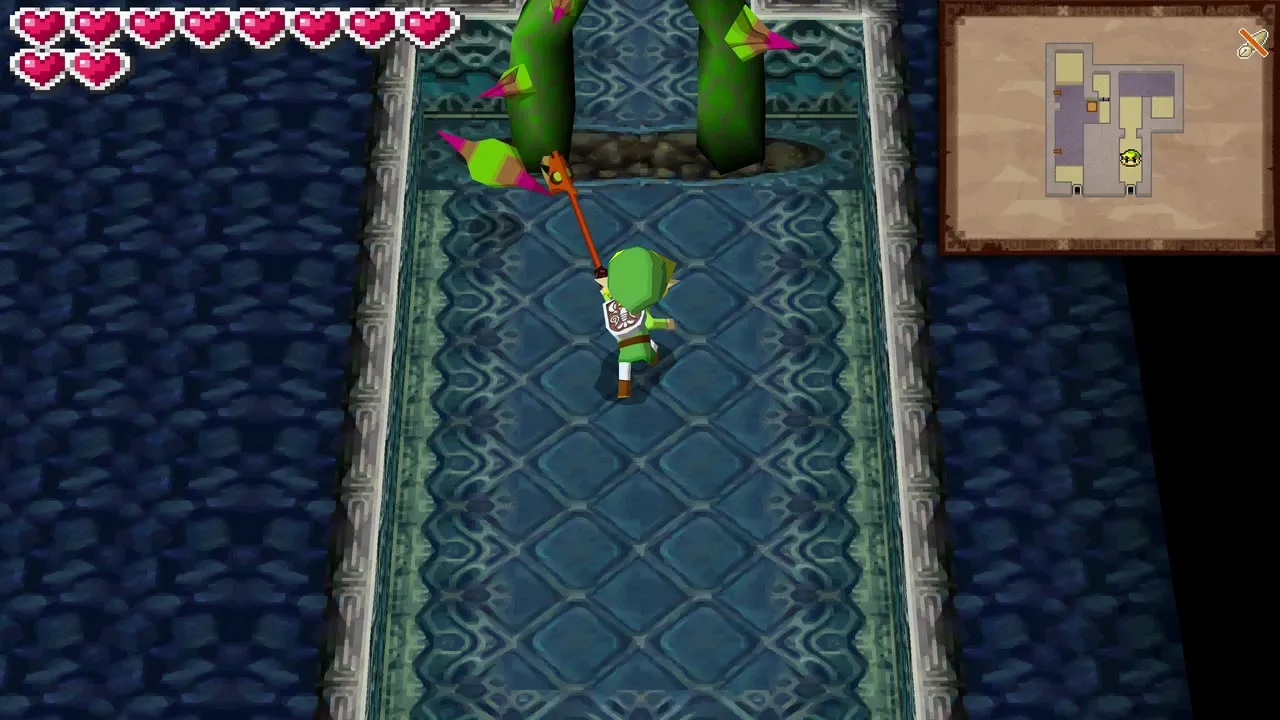
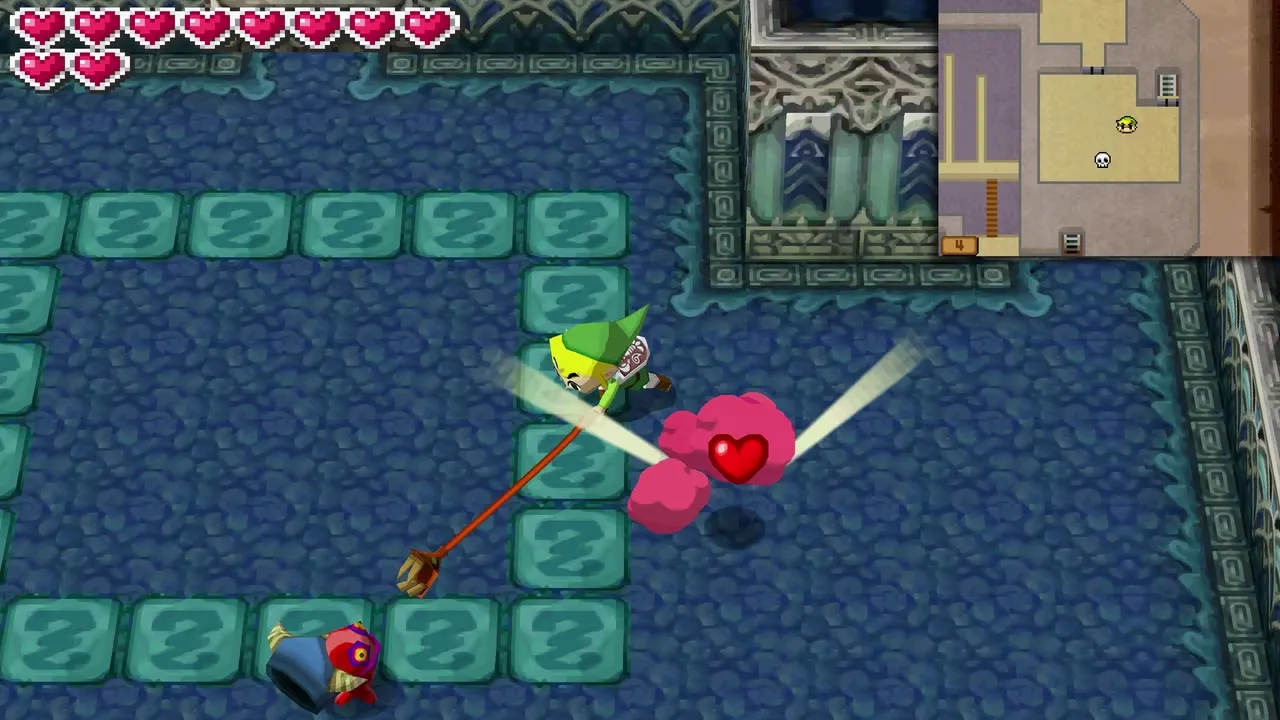
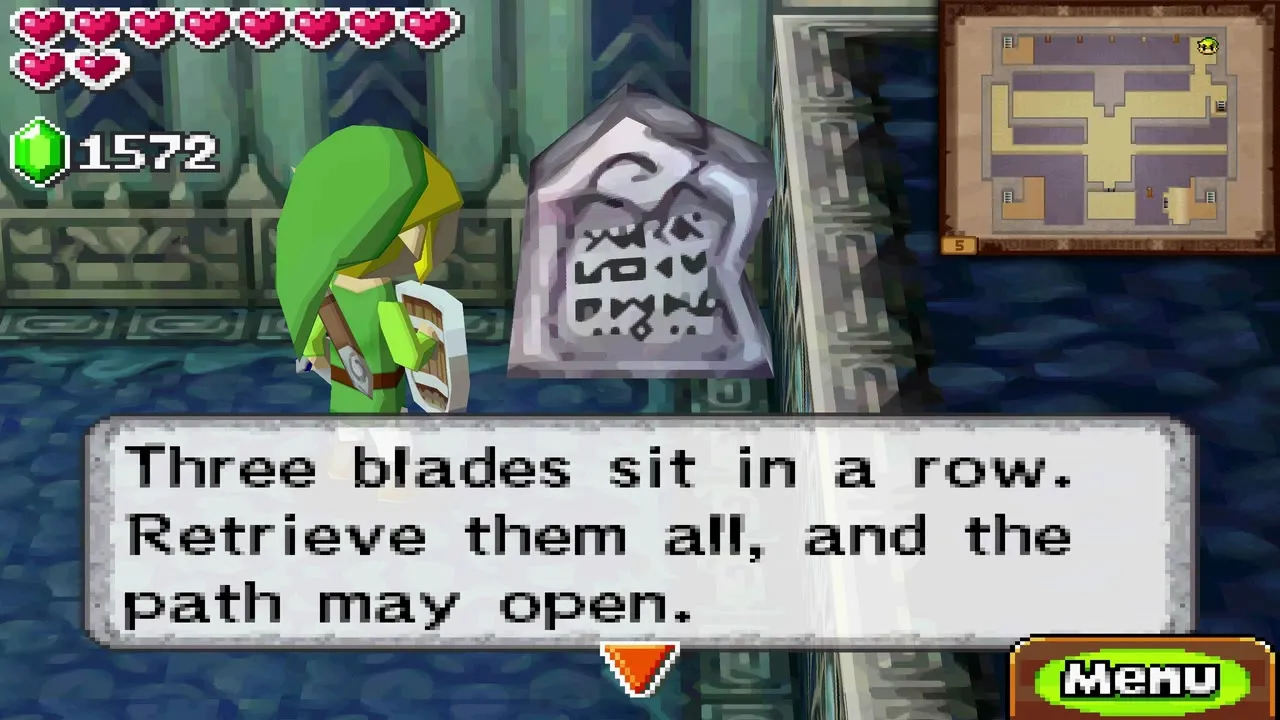
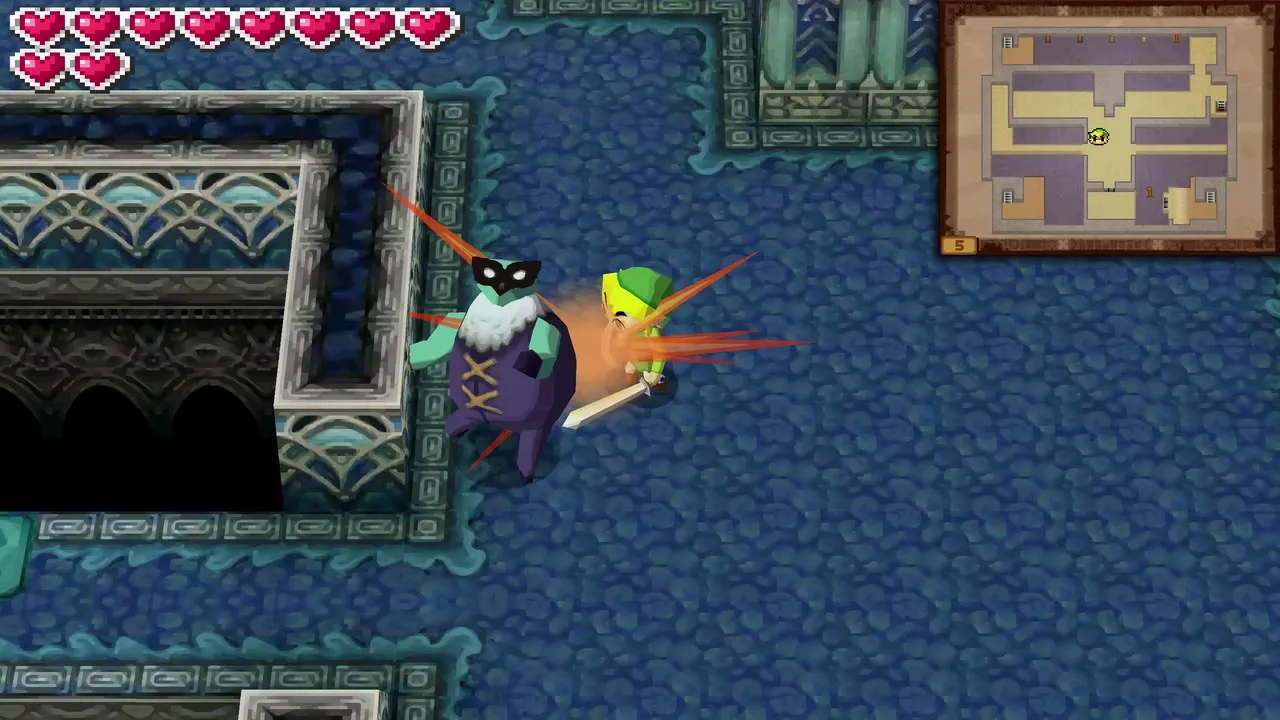
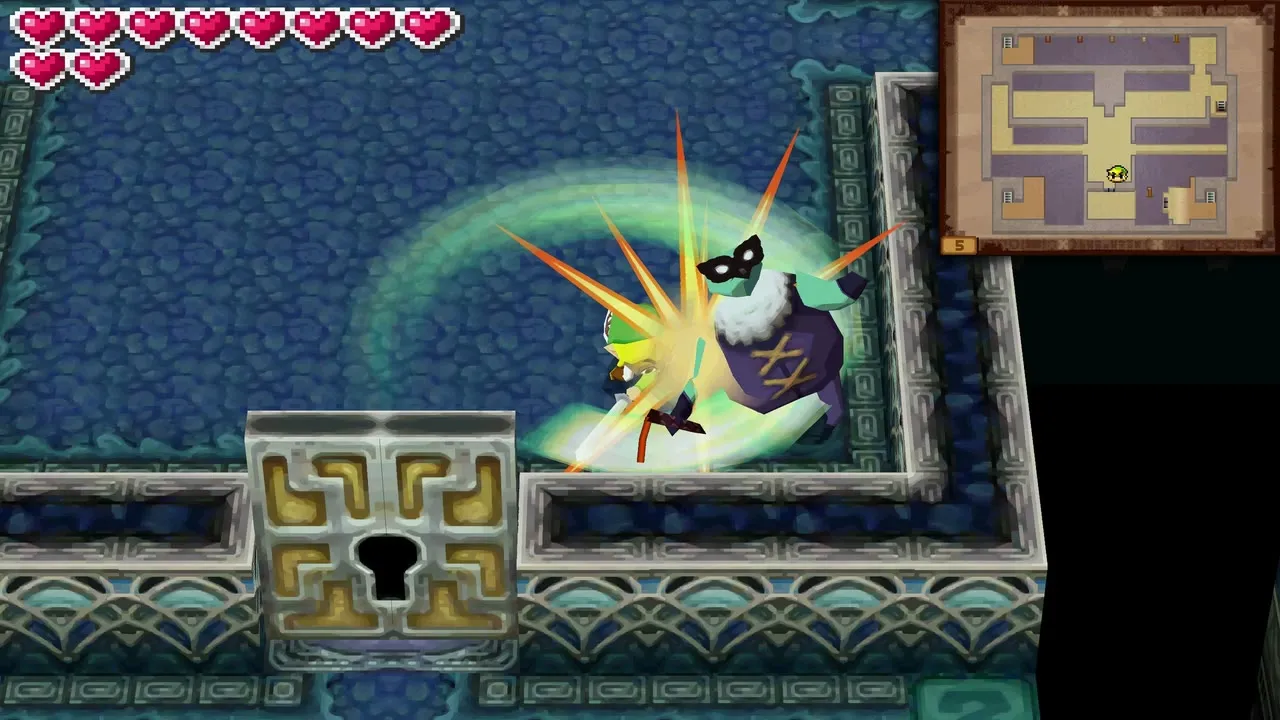
Whip the left switch to open a shortcut door, then whip across the poles on the right and go down. Armored red Chuchus wait here: pull their armor off with the Whip, then finish them with your sword. Upstairs, strip the spikes from the vines and read the sign about removing the three swords in a row. Two Snappers appear; stun each with the Whip and slash it while it is dazed.
Propeller rides and the second small key
On the left side, whip the propeller and keep the stylus held on the screen so you do not fall; it lifts you to an upper ledge. In the small room there, whip the face switch to pull out a sword, use it on the Chuchus and a new pole appears on the right. Go back down and ride the propeller again to return to the main area.
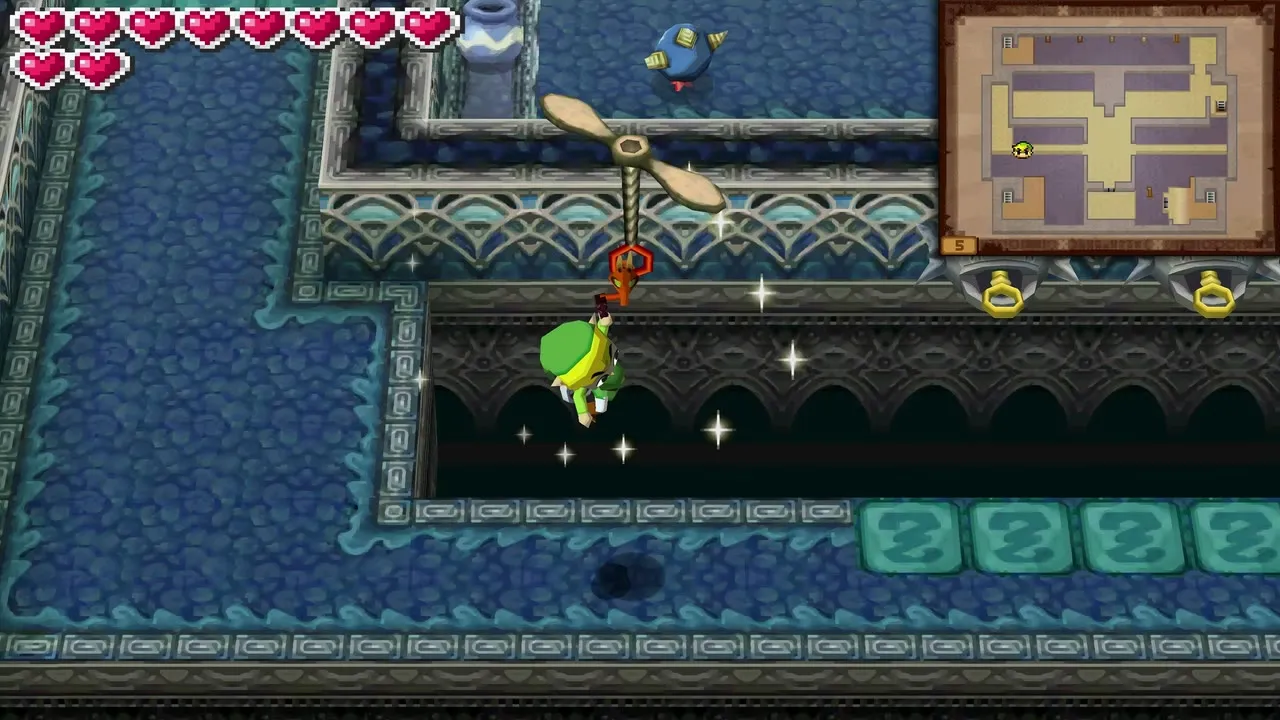
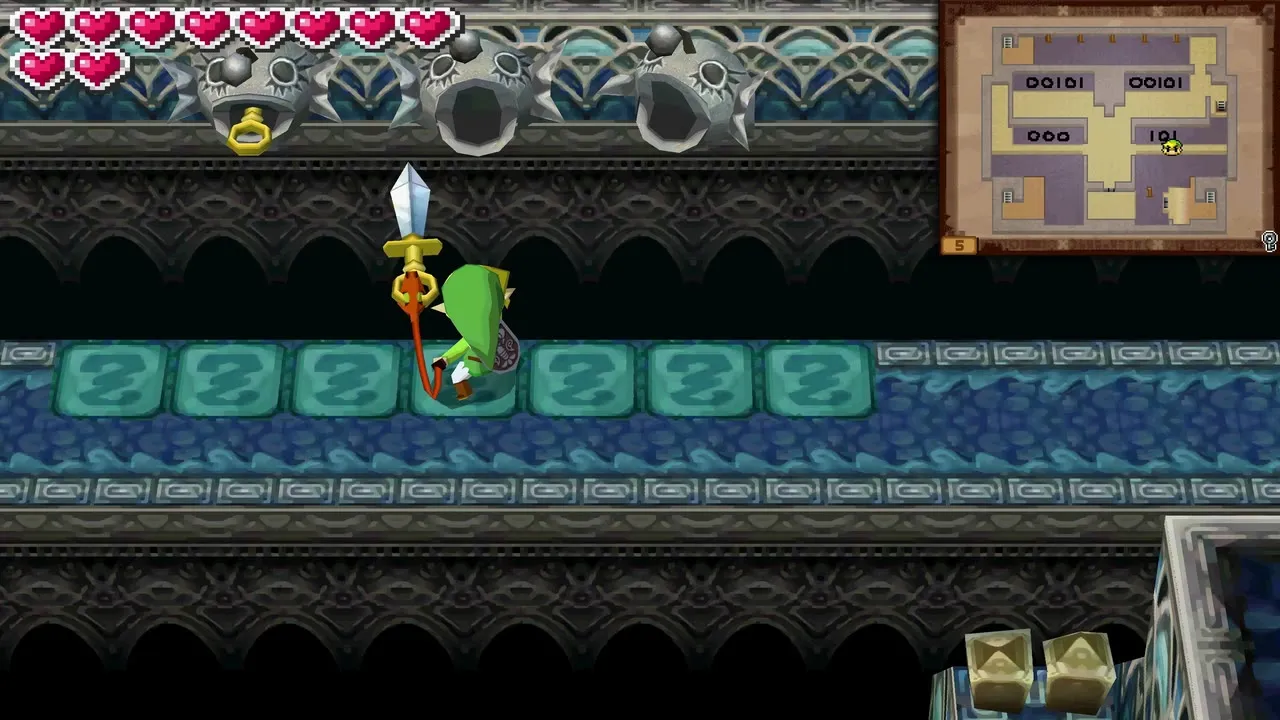
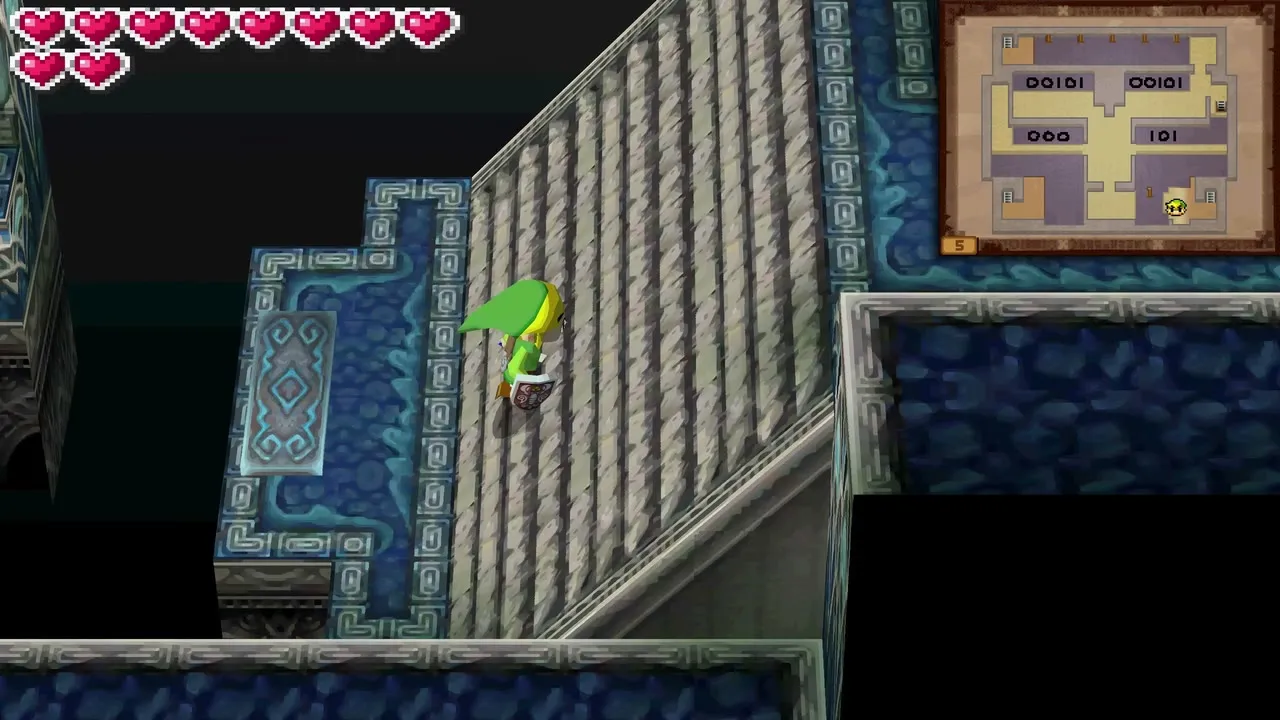
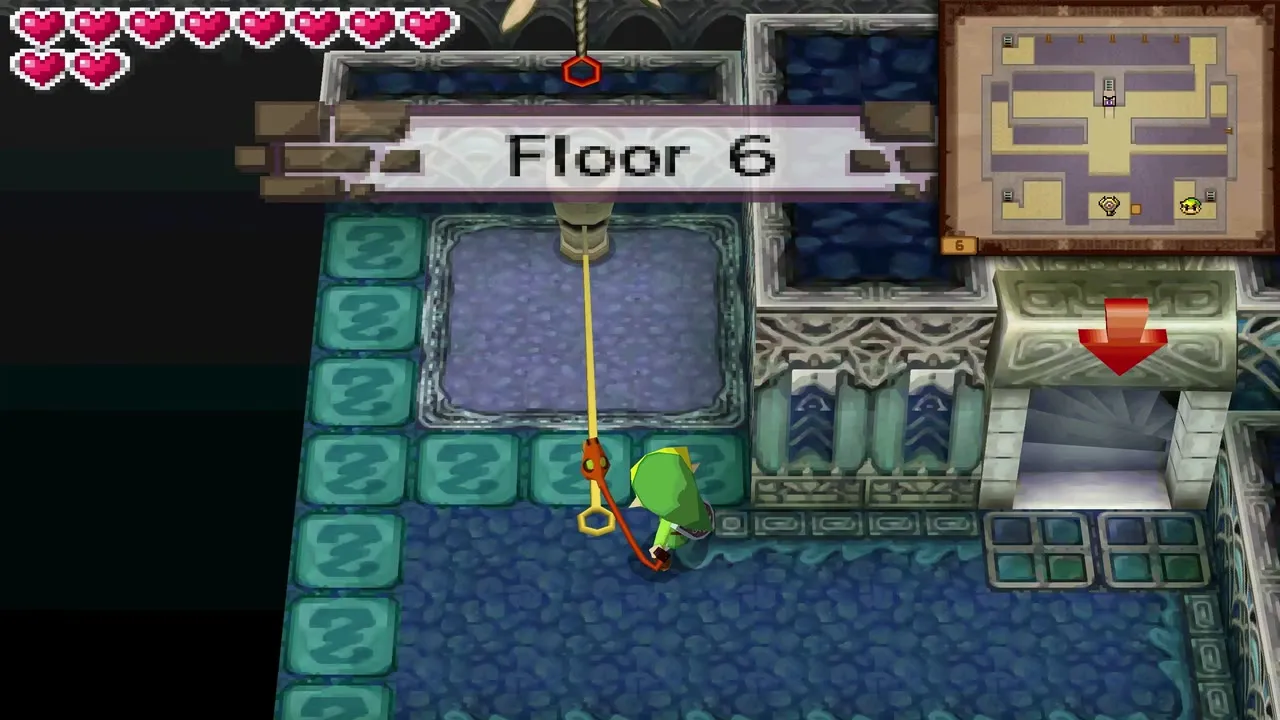
Pull the swords out of the three statues in the left-middle room, then whip across the upper area. In the room above, the rightmost pole needs you to let go and tap it again as you fall until you latch on. A sign tells you to remember where the swords sit, because a similar room on a higher floor needs them arranged the same way. The right side of the floor-six room holds the second small key; if you have not yet used the propeller on the left, do that first to reach it.
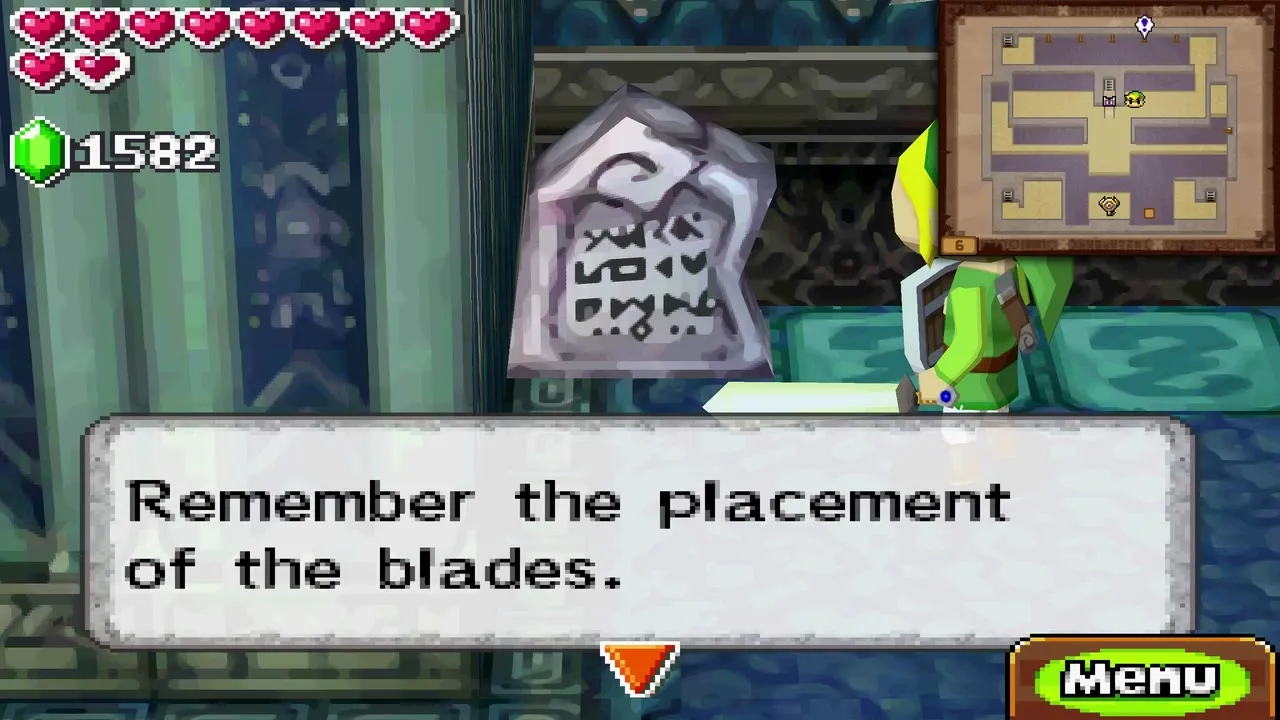
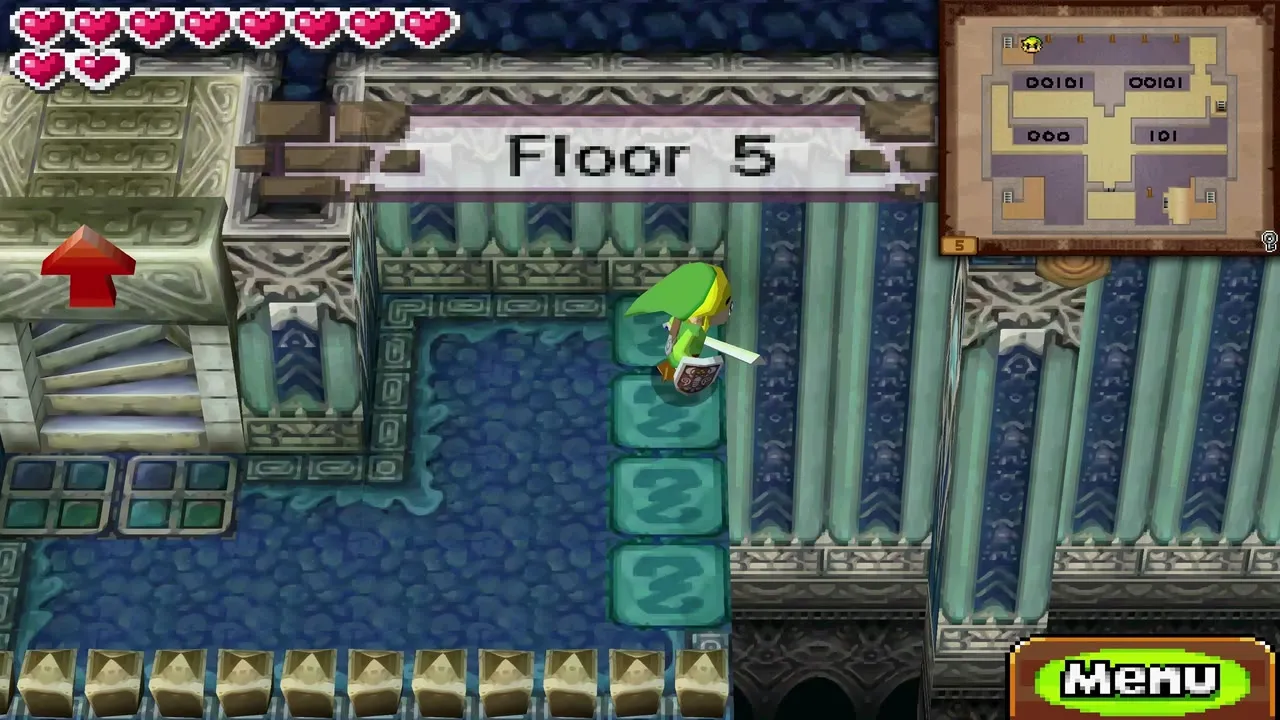
Back on floor five, set the stone swords to match the pattern you noted, which opens the door at the bottom right. Use the second small key on the locked door at the bottom of the room, whip across and climb.
Boss Key and the Key Masters
How to get the Boss Key
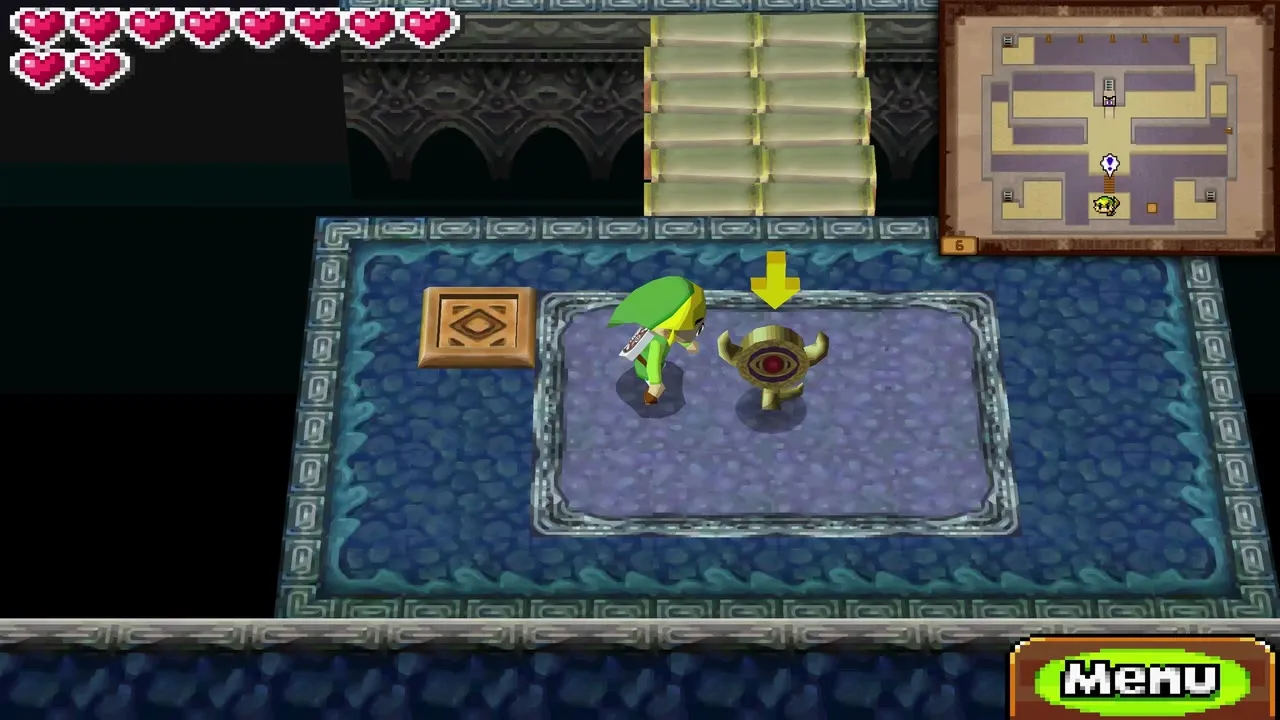
Ride a propeller to land on the floating block and hit the switch beside the Boss Key, then take the key. Cross the bridge ahead carefully, because the guards come for you as soon as you carry it.
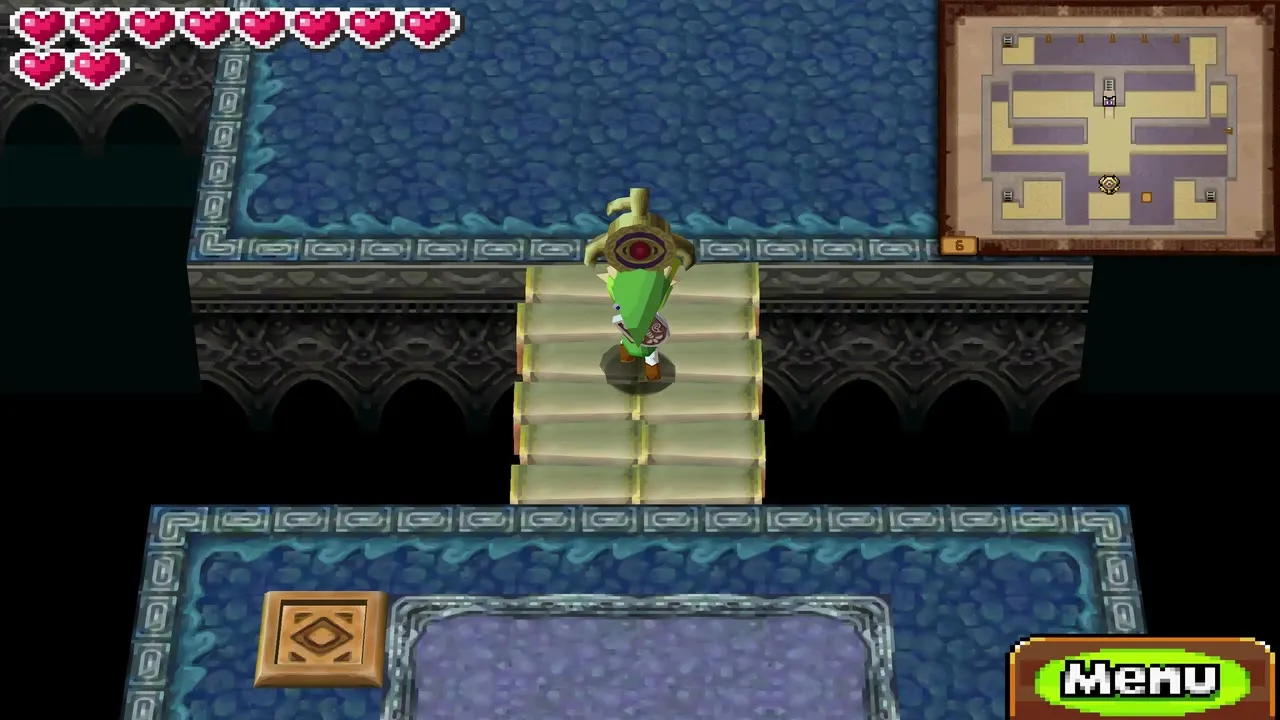
Key Master fight
Four Key Masters, purple hands that rise from the floor, appear as you walk with the Boss Key. Set the key down, defeat the Key Masters with your sword, then pick the key up again and run for the big lock.
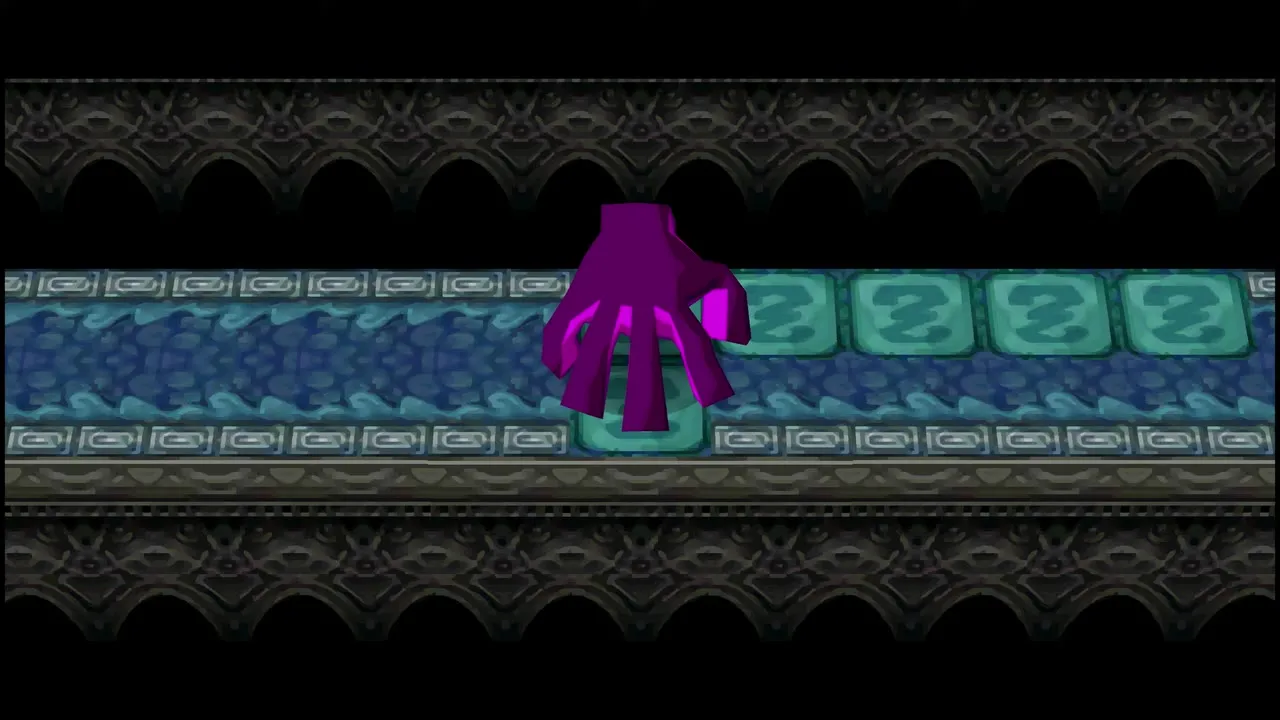
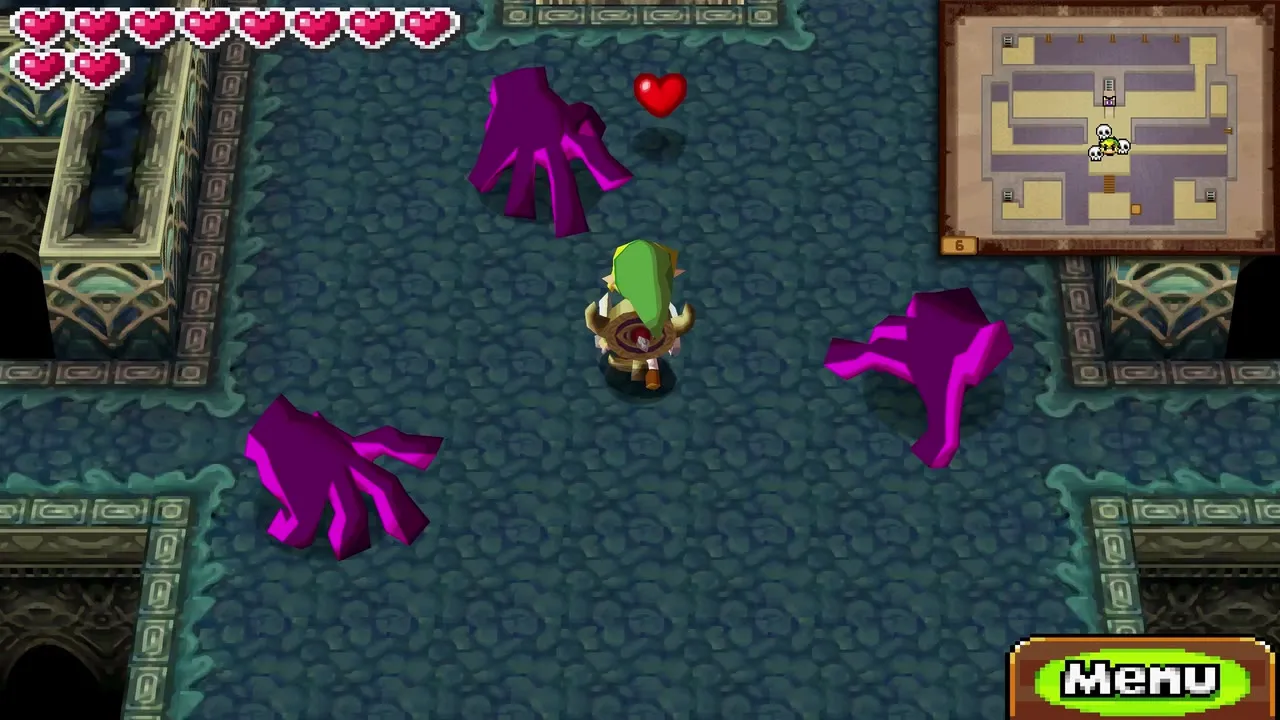
Open the boss door
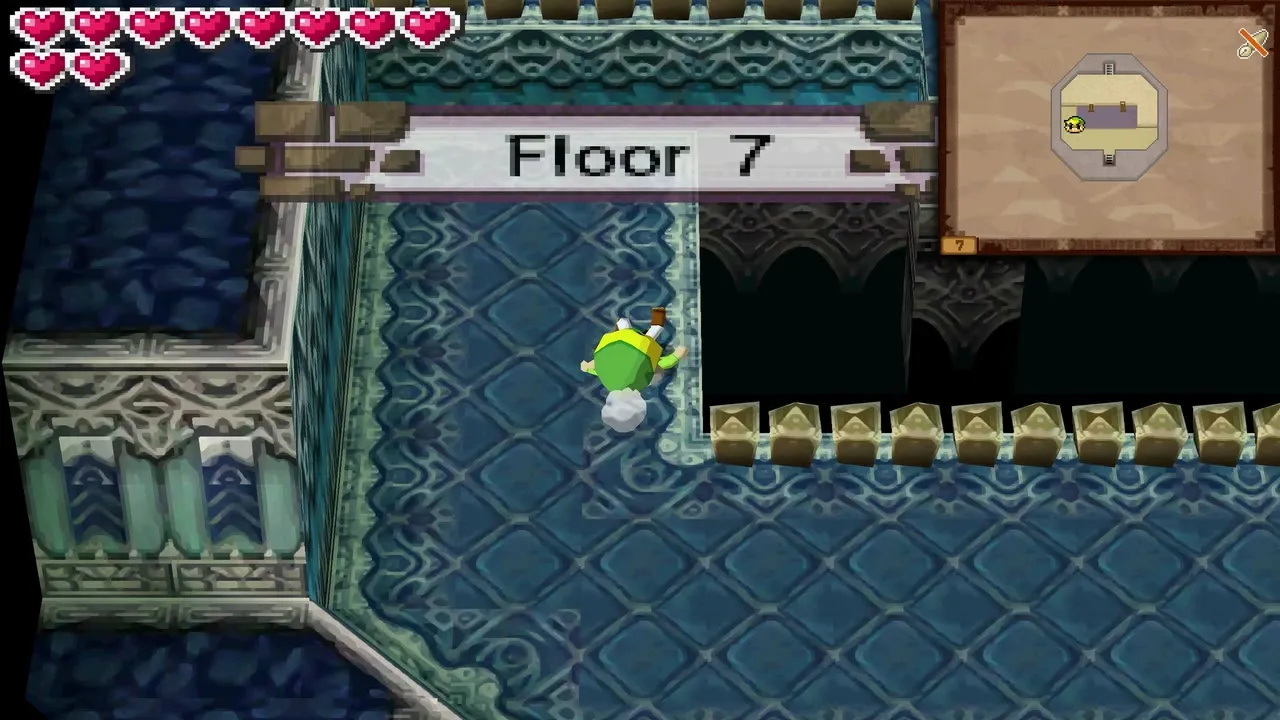
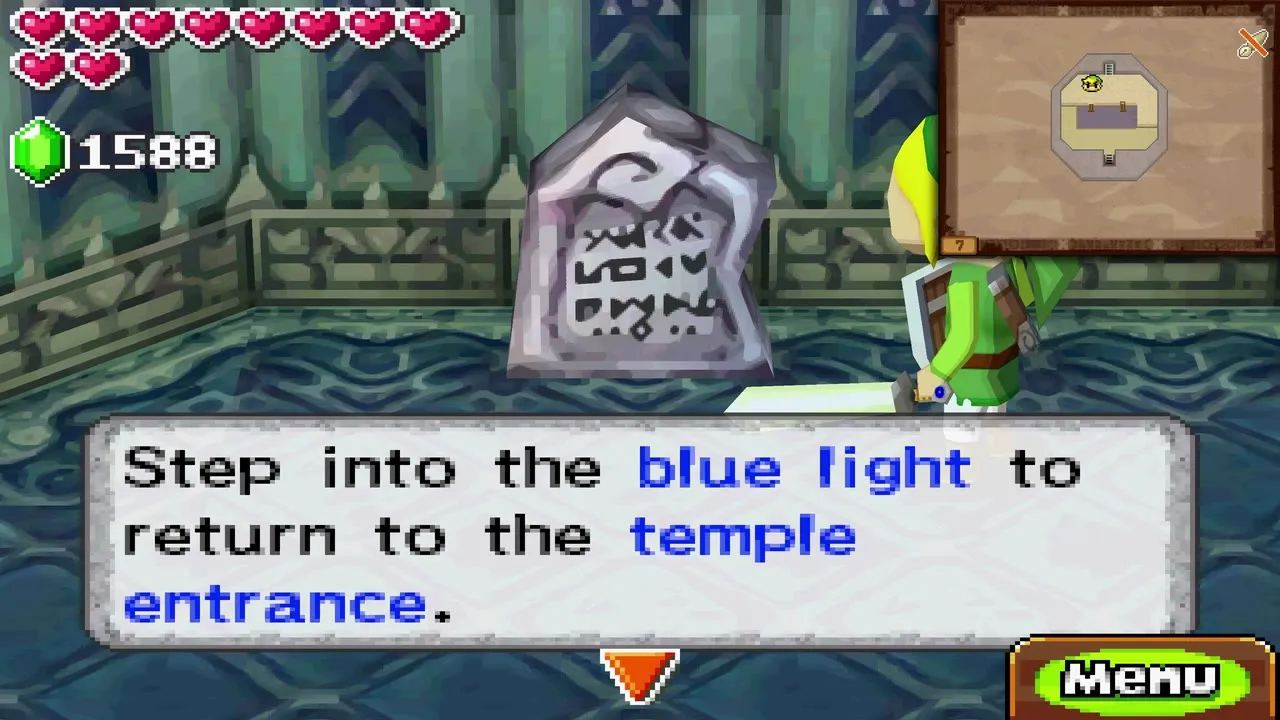
Fit the Boss Key into the large lock and the Key Masters vanish. Go up the stairs to the top floor, where a blue light returns you to the temple entrance if you need to restock. The pillar to Phytops starts just beyond.
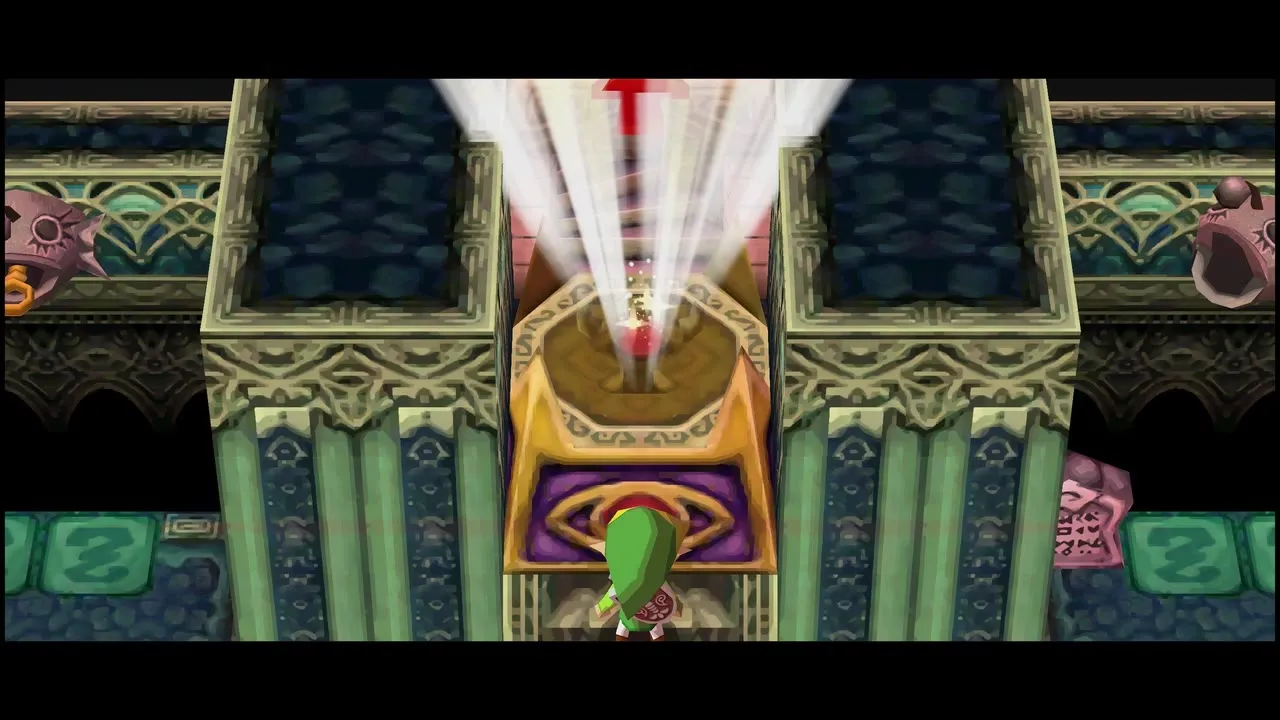

Phytops boss fight
Climb the pillar
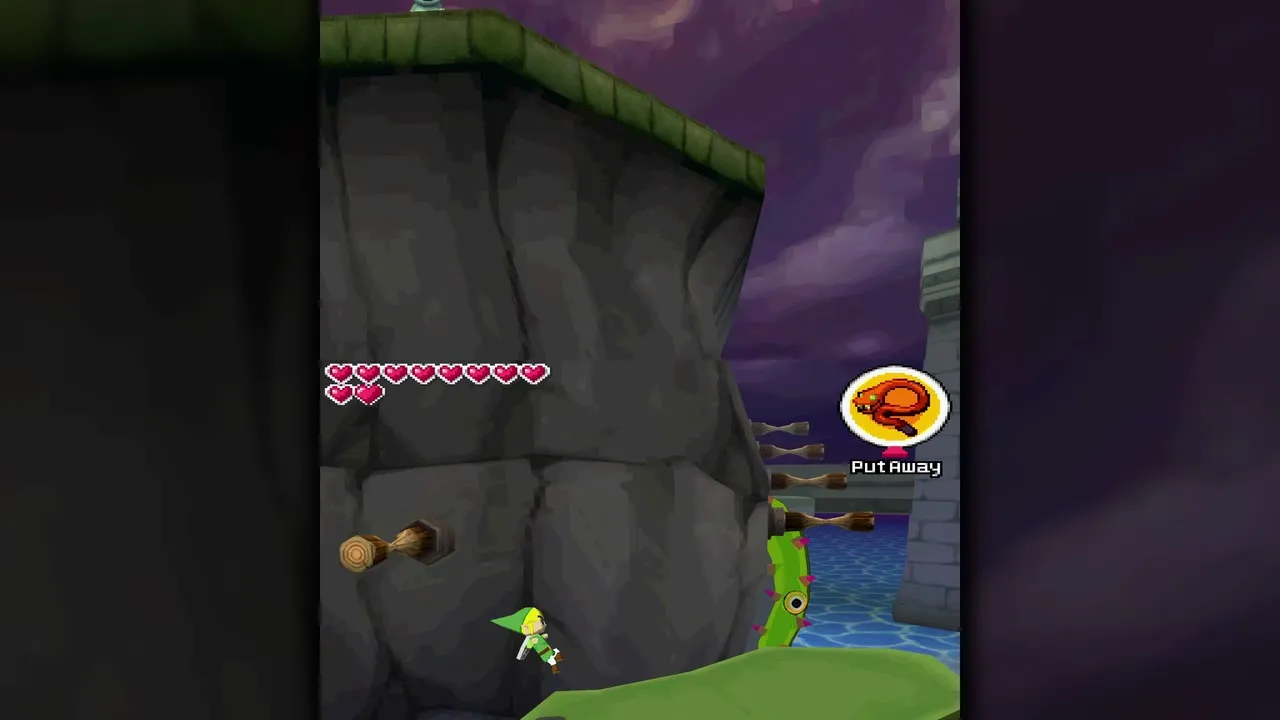
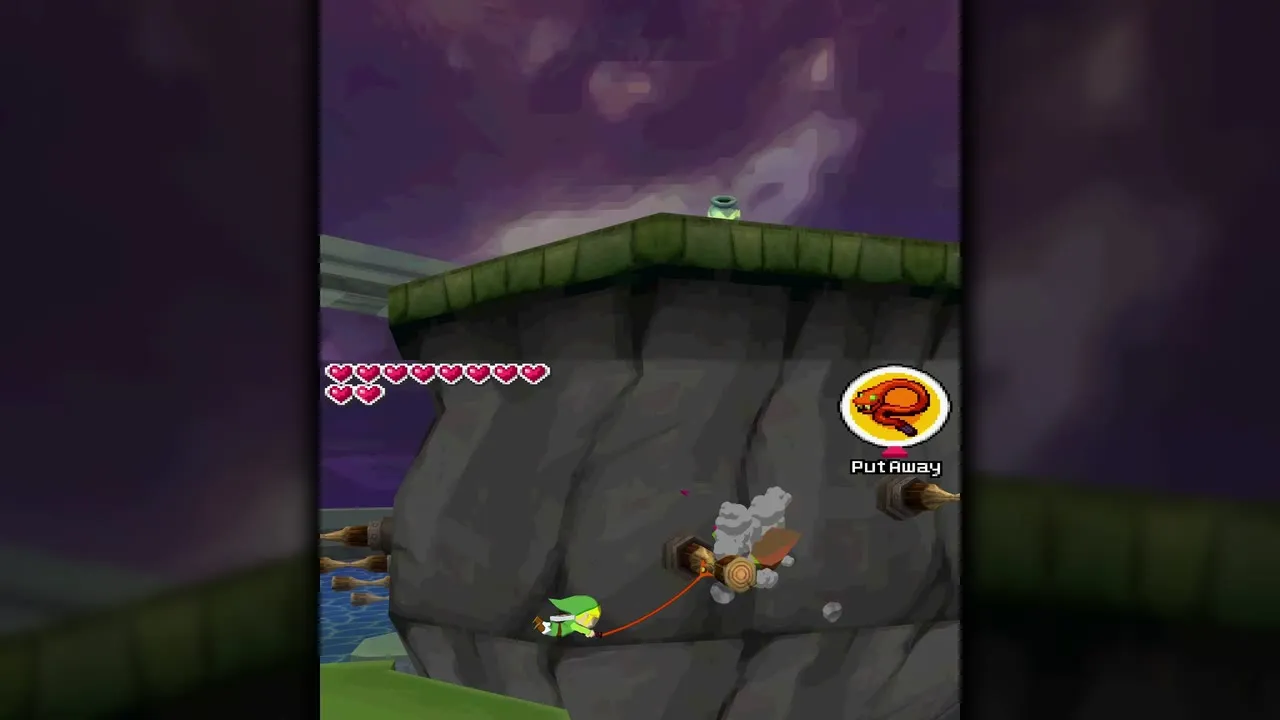
Phytops lives in a pool atop a tall stone pillar. Climb the arena while its vines and toxic spit threaten you; a thorn whipped off a vine and thrown back at it keeps it in check. Whip a propeller at the top to be carried to the pool.
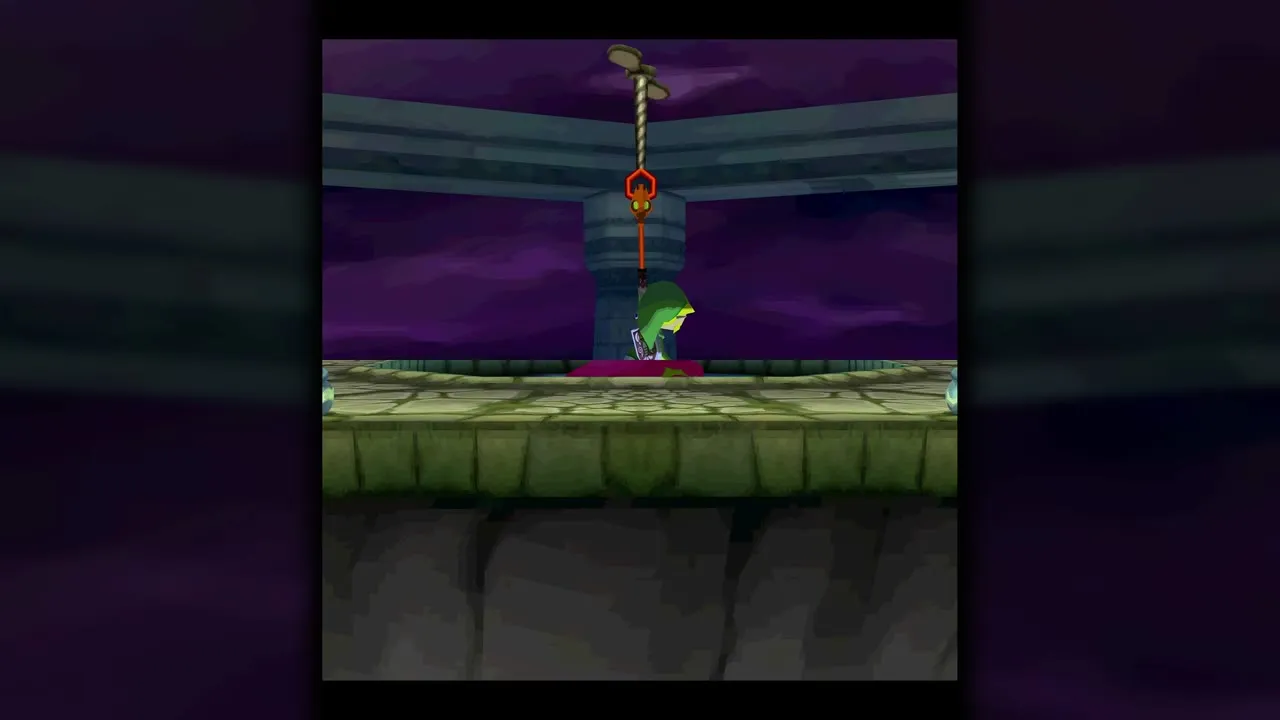
Expose the eye
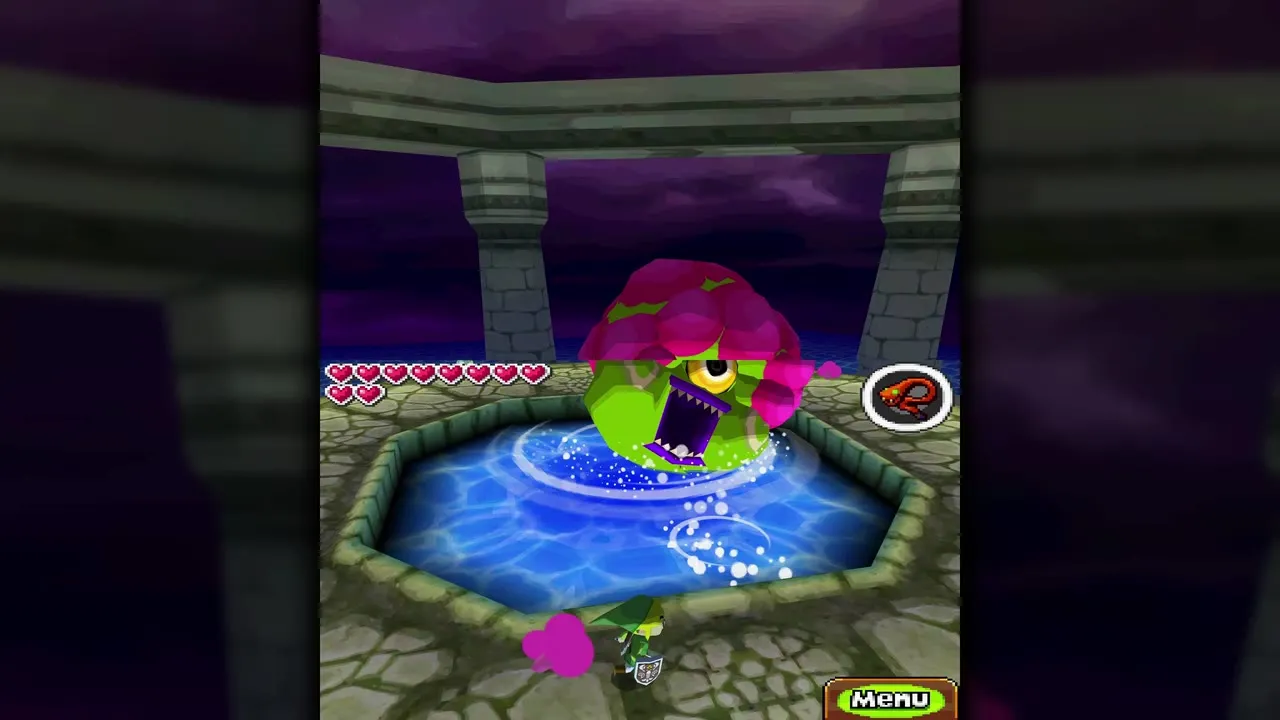
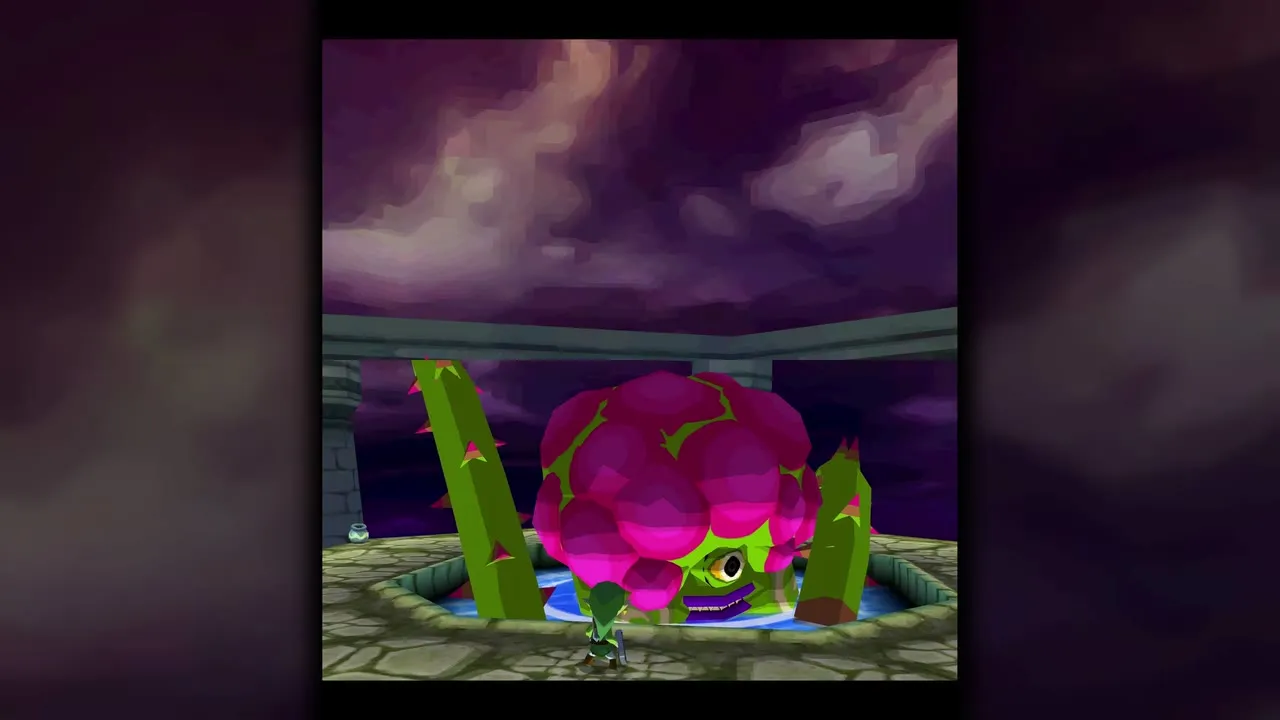
Pink growths cover Phytops’s single eye. While the tentacles are around you, whip a thorn from a tentacle and throw it at its head to clear part of the covering. Repeat until the eye shows, then throw one more thorn into the eye. Phytops lowers its head to the edge of the pool, and you can run up and slash the eye until it recovers.
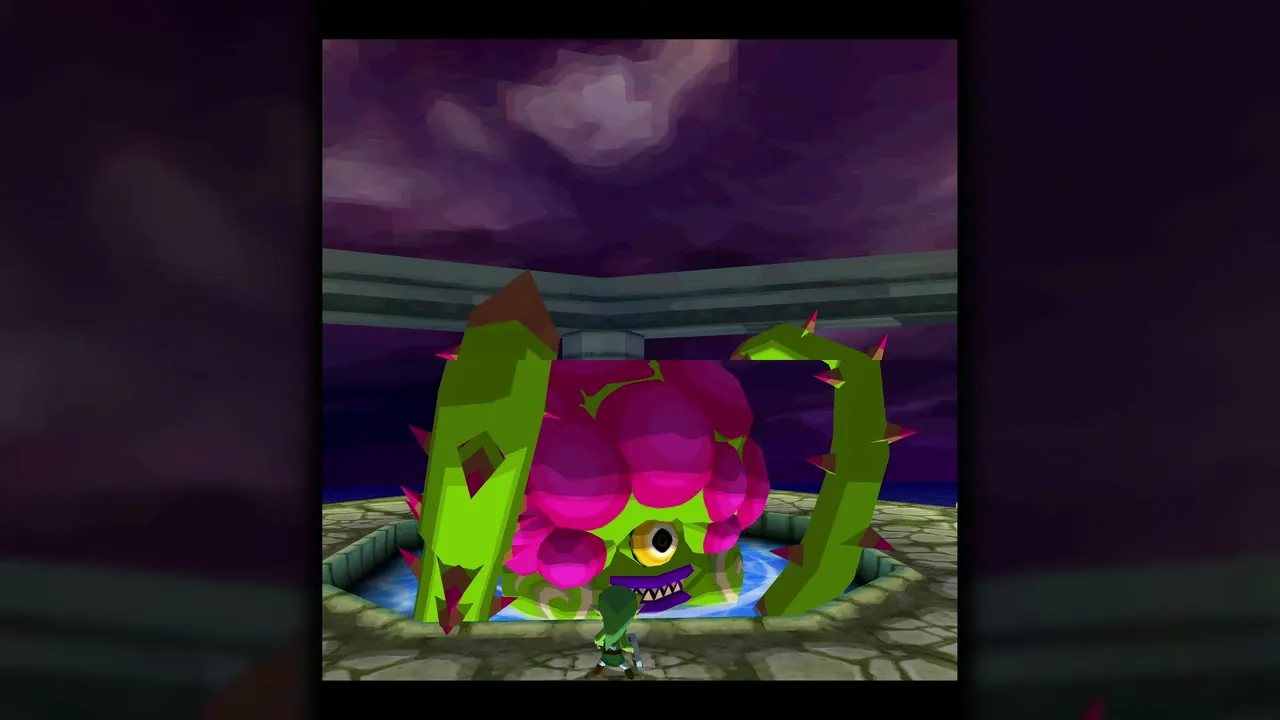
Phytops later phases
At first two vines hem you into a small space while it spits toxin from its head. After you land a hit it retreats and comes back with four vines that slam down at you. Dodge the slams, then repeat the thorn routine and slash the eye again.
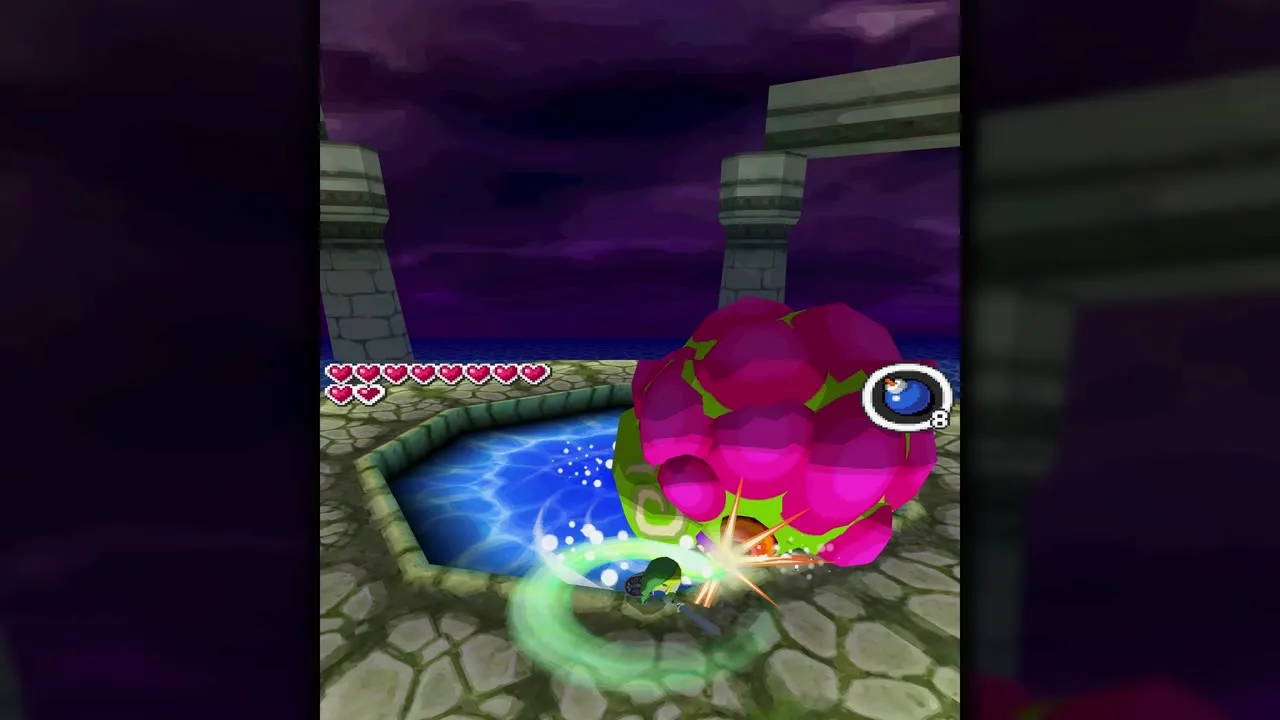
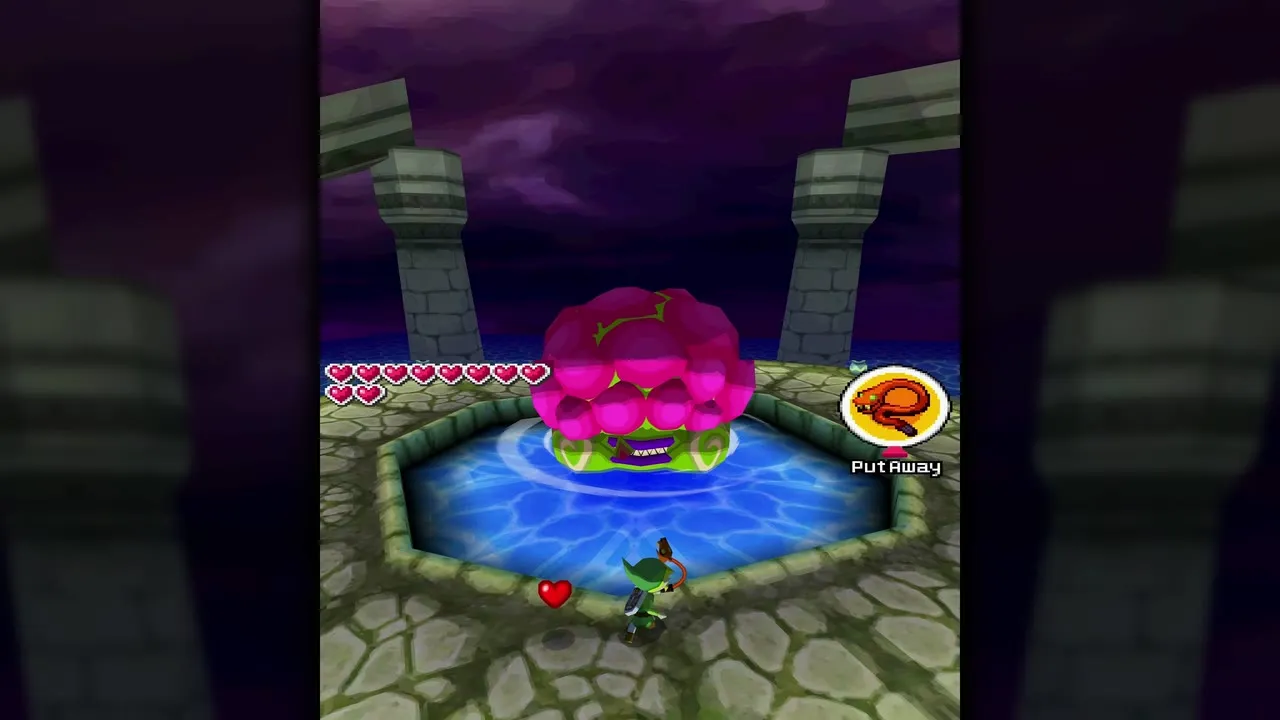
Expect several rounds of thorn, eye and sword before Phytops finally collapses. For the general pattern of all five dungeon bosses, see the Boss Guide.
Rewards and what opens next
Heart Container and blue Force Gem
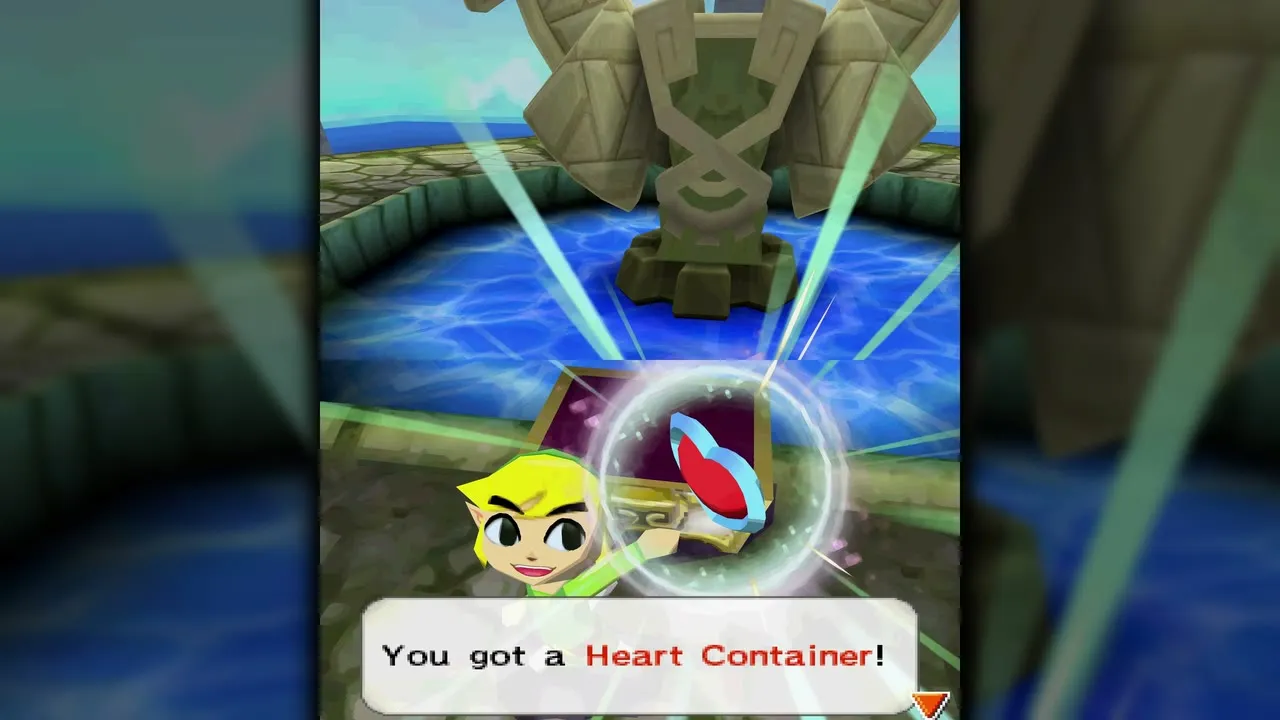
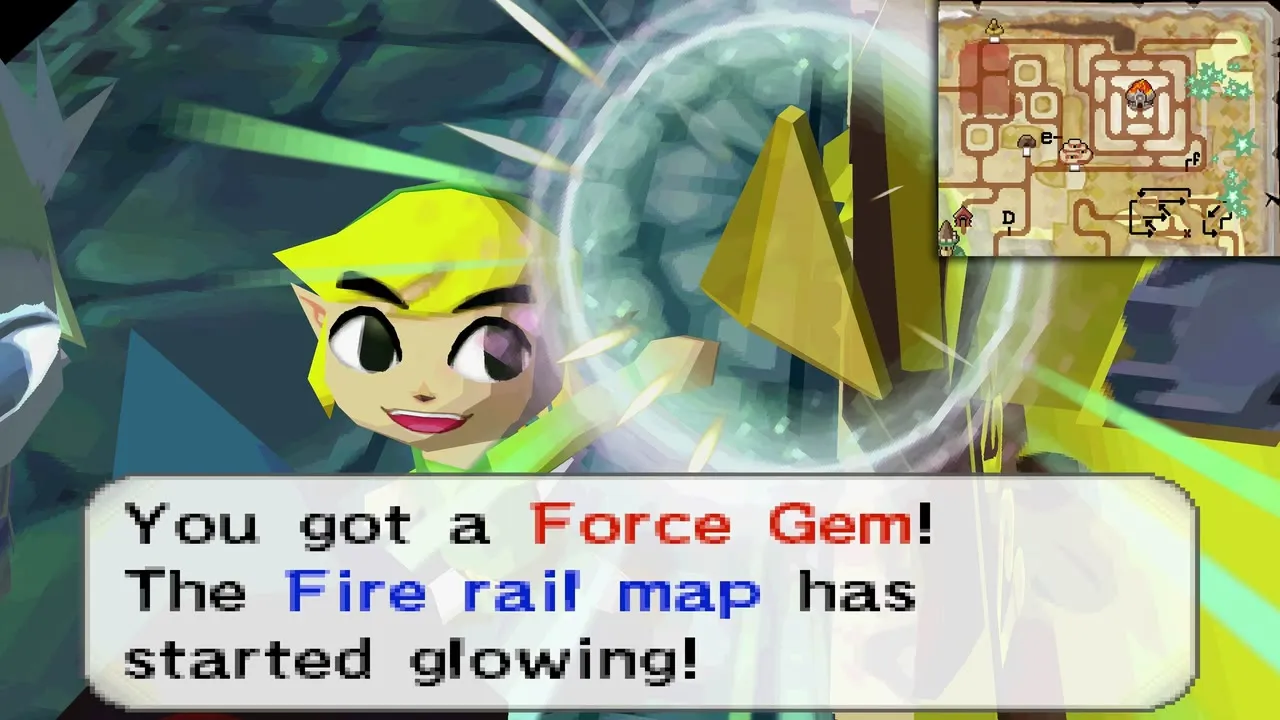
When Phytops falls, you collect the blue Force Gem and the tracks from the Ocean Realm back to the Tower of Spirits are restored. A chest holds the Heart Container (see Heart Containers), which adds one heart and refills your life.
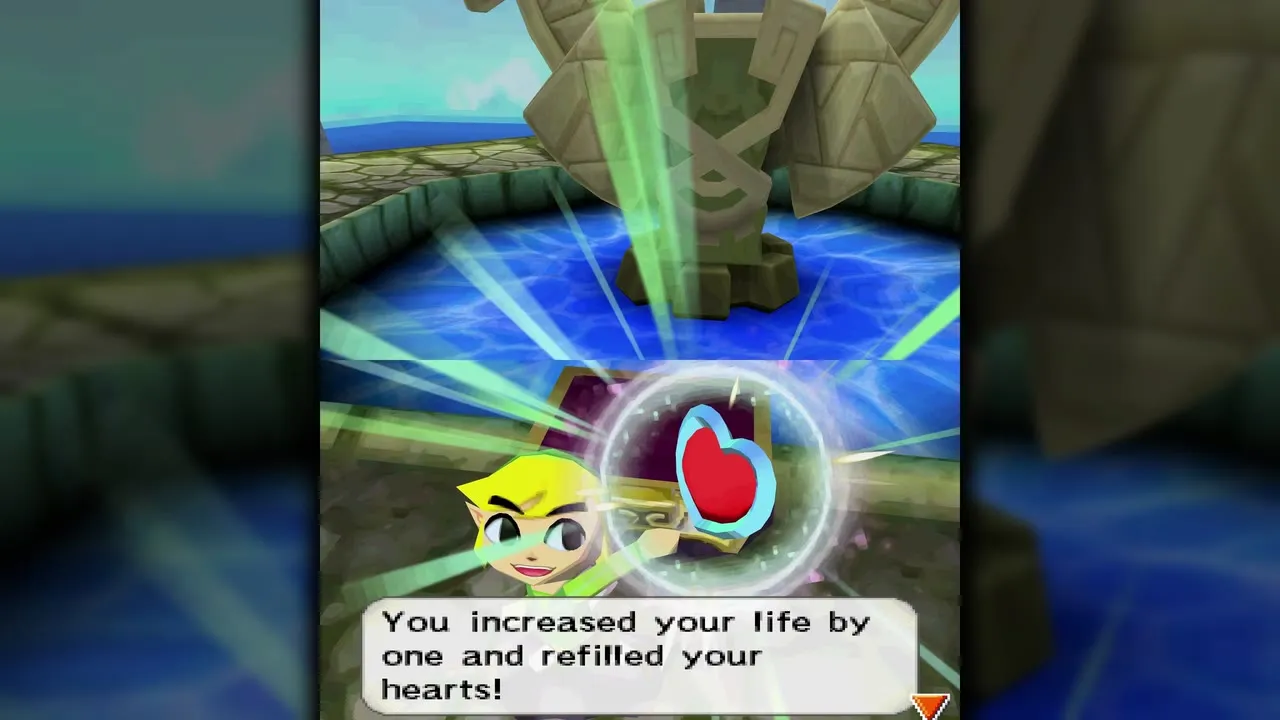
Leaving the temple
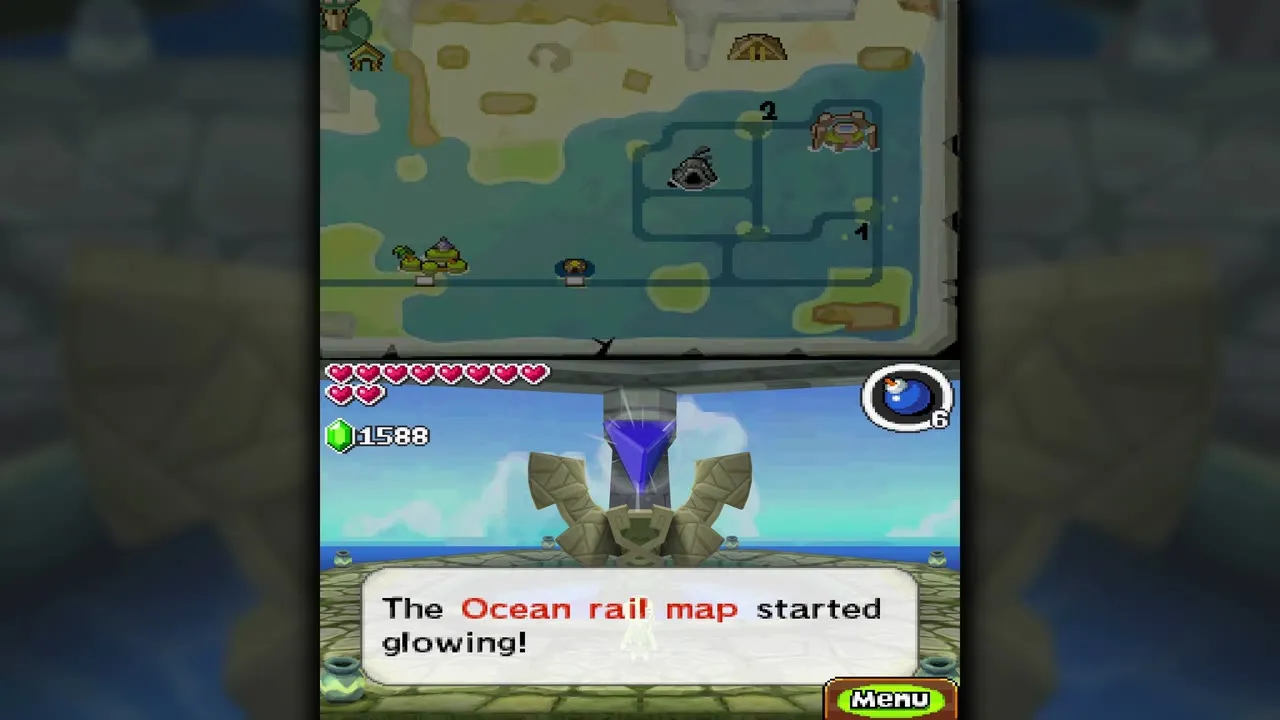
Head back to the Tower of Spirits: use the blue light to leave the temple, then draw a path to the tower on your map. Pirate ships may chase you on the way; a couple of cannon hits sink each one.
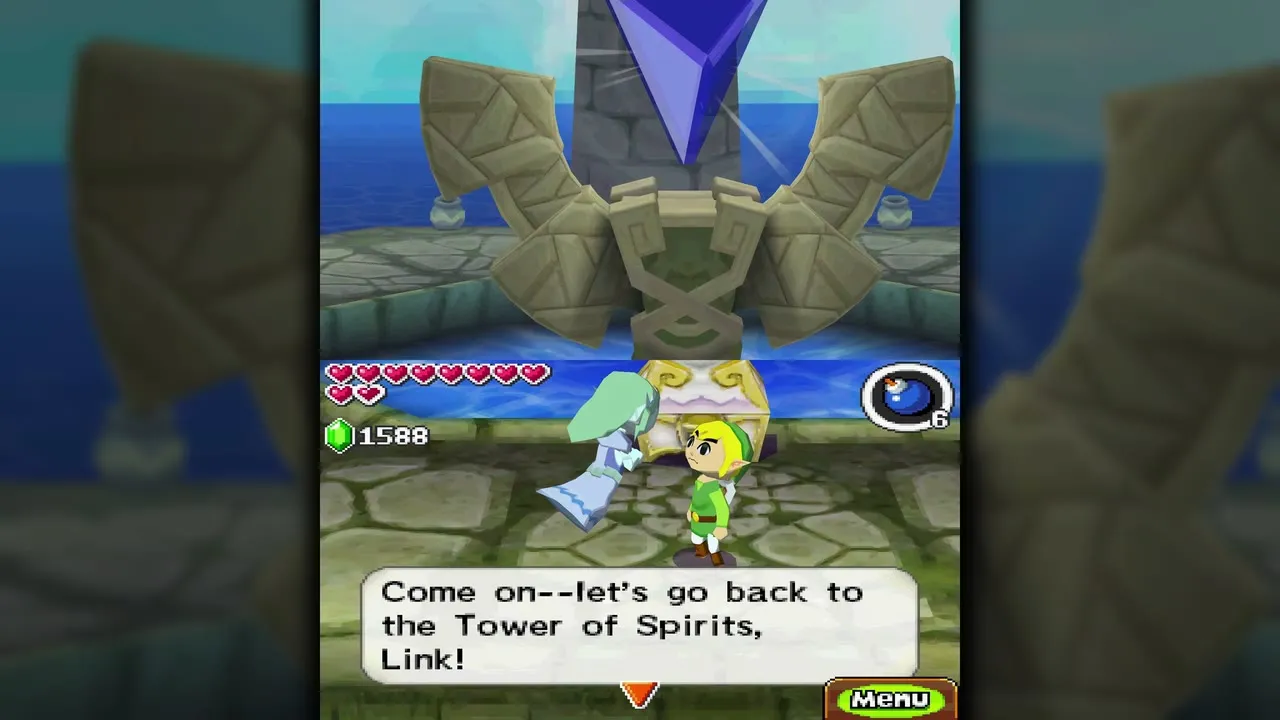
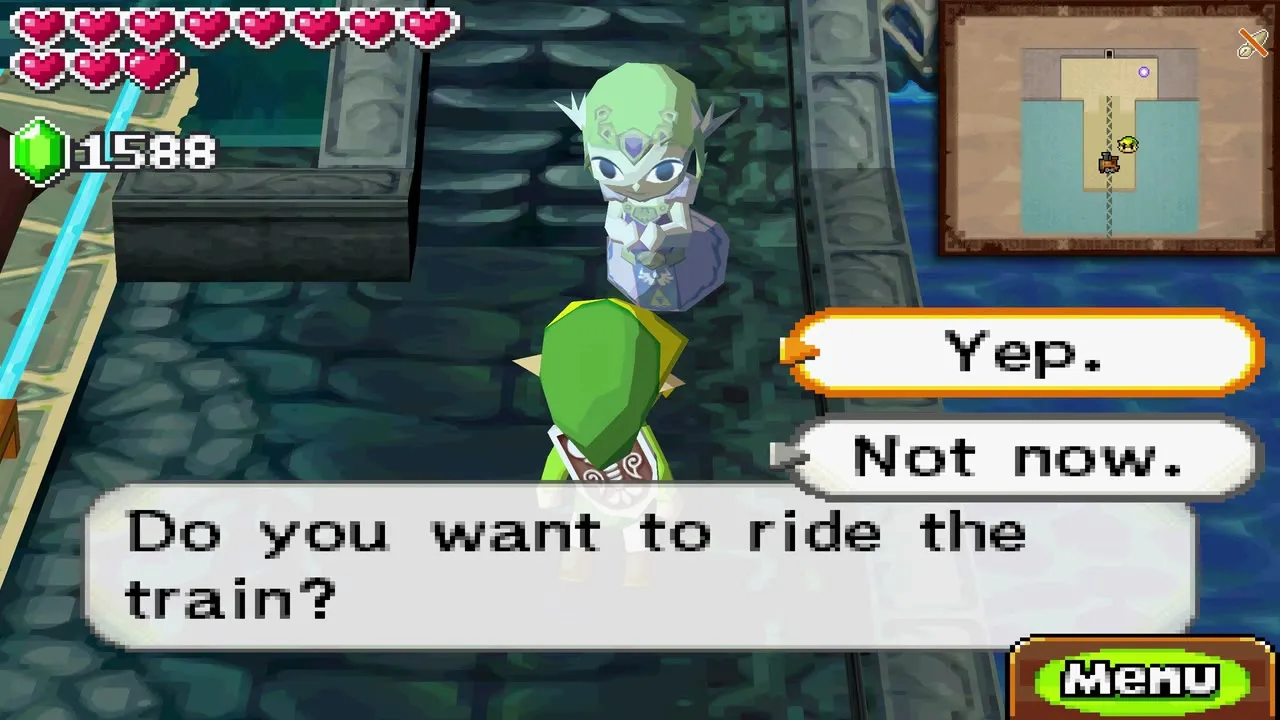
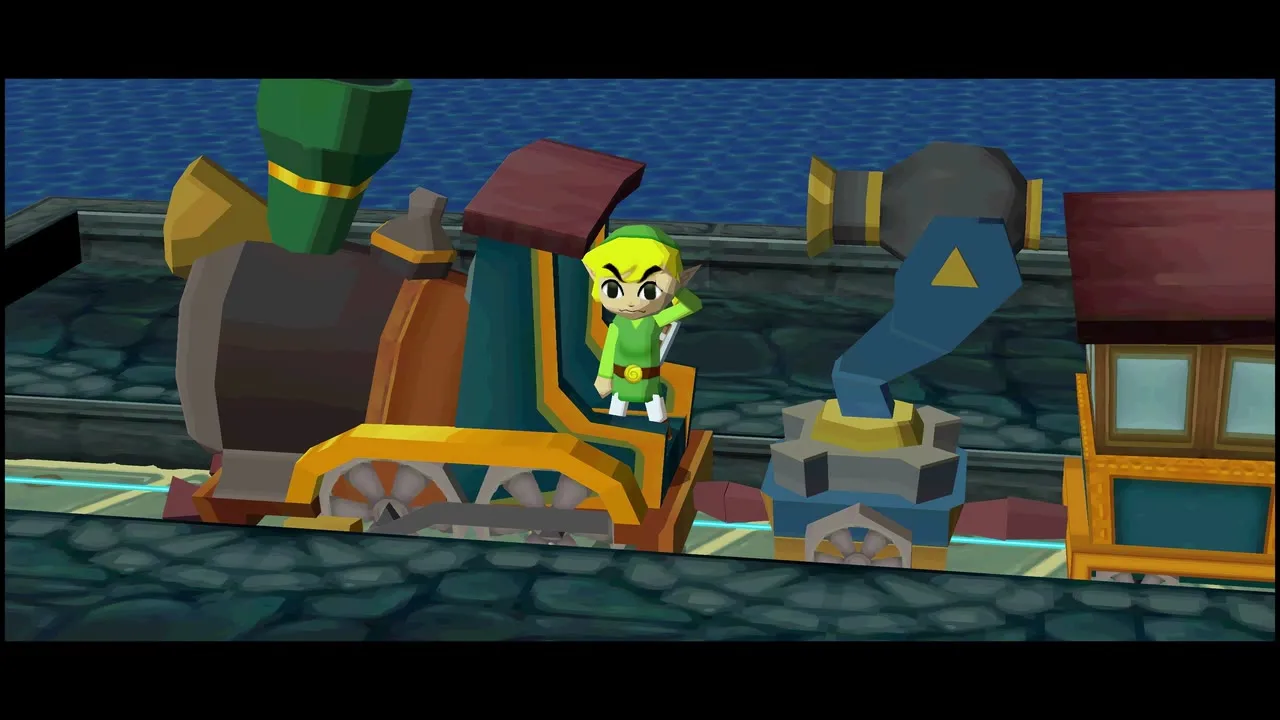
What the Ocean Temple opens up
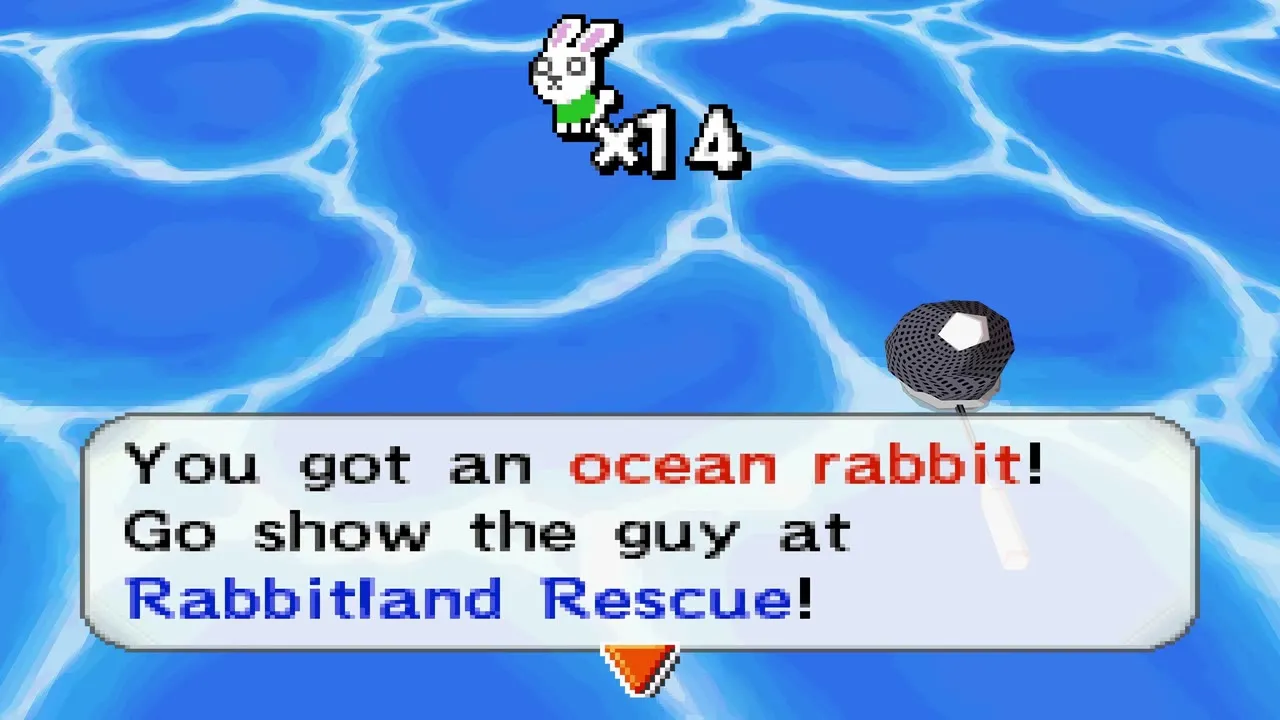
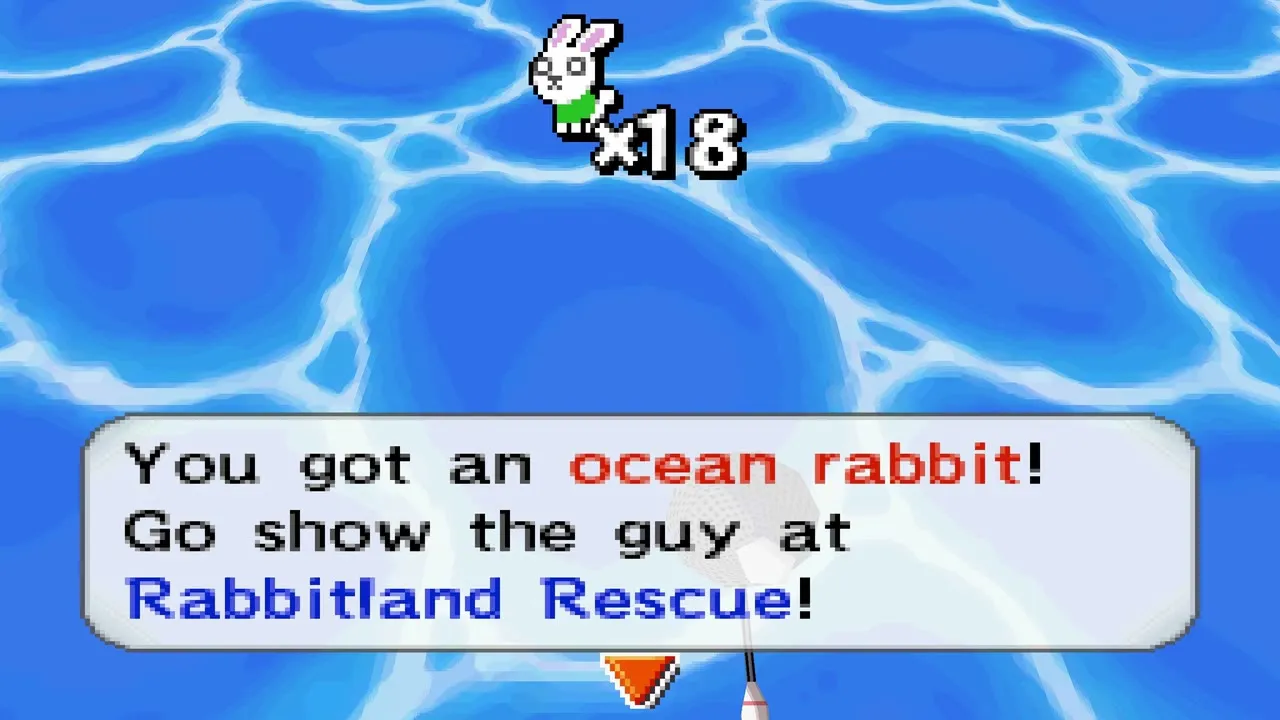
With the Whip in hand, the Whip Race at Whittleton becomes available, with a bigger bomb bag and a Heart Container as prizes. Take ‘Em All On! level 2 in Castle Town also opens, and several Force Gem quests become possible (see Force Gems and Mini-Games). Ocean rabbits can be netted from the train on the sea rails once you have the Rabbit Net (see Rabbit Locations).
Ferrus returns here much later: once the Sand Temple is cleared and you have entered the Tower again, you can carry him from the Fire Realm to the Ocean Temple, and the Force Gem he gives you opens the Dark Ore Mine.
Chapter checklist
| Collectible | Type | Where |
|---|---|---|
| Whip | Item | Dropped by the first Snapper mini-boss |
| Small key (first) | Key | Chest after moving a sword between the two face switches |
| Small key (second) | Key | Right side of floor 6 |
| Boss Key | Key | Floating block switch; carry it past four Key Masters |
| Stamp station | Stamp | Hidden room north of floor 2; needs Bombs, Boomerang and Whip |
| Random treasure chests | Treasure | Pole, vine and face-switch rooms throughout the temple |
| Heart Container | Heart Container | Chest after Phytops |
| Blue Force Gem | Force Gem | Boss reward; restores the tracks to the Tower of Spirits |
Next, ride the restored tracks to the Tower of Spirits for the Floors 13-17 and Fire Rail Map chapter.