
























Zelda II 100% Completion Walkthrough15 chapters
- Starting the AdventureSave, North Castle, first Life level, Shield in Rauru, the Parapa Desert Heart Container and the way to Parapa Palace.
- Palace 1Enter the first palace, collect its four keys and the Candle, defeat Horsehead and place the first crystal.
- Ruto, the Trophy and the Jump SpellThe first Magic Container, the Trophy from the Tantari Desert cave, Jump in Ruto Town, then the caves.
- Saria and the Life SpellFind the Mirror in Saria, learn Life, follow the river guard, and walk on toward Death Mountain in Zelda II.
- Death Mountain and the HammerEnter the caves, take the Hammer from the lava room, and collect the Magic Container and Link Doll on the way to Mido.
- Mido Town, the Water of Life and the Fairy SpellLearn Downward Thrust in the church, get the Water of Life from Moruge Swamp and unlock the Fairy spell.
- Palace 2Reach the palace from the swamp, get the Handy Glove, beat Helmethead and place the second crystal in route order.
- Palace 3Reach it from King’s Tomb, use Fairy, get the Raft, find the P-Bags and keys, beat Rebonack and place the third crystal.
- Nabooru and the Fire SpellReach Nabooru from the eastern desert, learn Fire in the town basement, find the 500 P-Bag and reach Magic level 6.
- Darunia, the Kidnapped Child and the Reflect SpellLearn Upward Thrust, rescue the kidnapped child on Maze Island and get Reflect.
- Palace 4Enter with Reflect, find the keys and P-Bags, beat Carock by reflecting his waves, and place the fourth crystal.
- Palace 5The fake wall, the Flute behind Iron Knuckles, keys, Attack level 7 and the Gooma boss in this green-brick palace.
- New Kasuto, Old Kasuto and the Thunder SpellThe Magic Container, Spell and Magical Key in the hidden town, Attack 8, Thunder.
- Palace 6Reach the palace with the Flute, climb the red-brick floors, defeat Barba, and place the crystal at the statue.
- Final PalaceCross the Valley of Death, beat Thunderbird and Dark Link, and claim the Triforce of Courage for the ending.
| Covers | the approach to Parapa Palace, its three underground floors and the first crystal statue |
|---|---|
| Palace | Parapa Palace (Palace 1): no item or spell needed to enter; the Candle inside; boss Horsehead; the first crystal goes into the statue after the boss |
| Rewards | first crystal, Candle, four keys, a P-Bag, a red jar, a lone fairy, five experience levels (Magic 2 and 3, Attack 2, Life 3 and 4); no Heart Containers or Magic Containers |
Parapa Palace is the first palace in the game, and you can enter it as soon as you reach the coast. Ride its elevators through three underground floors to collect four keys and the Candle, gain several experience levels, then defeat Horsehead and place the first crystal in its statue.
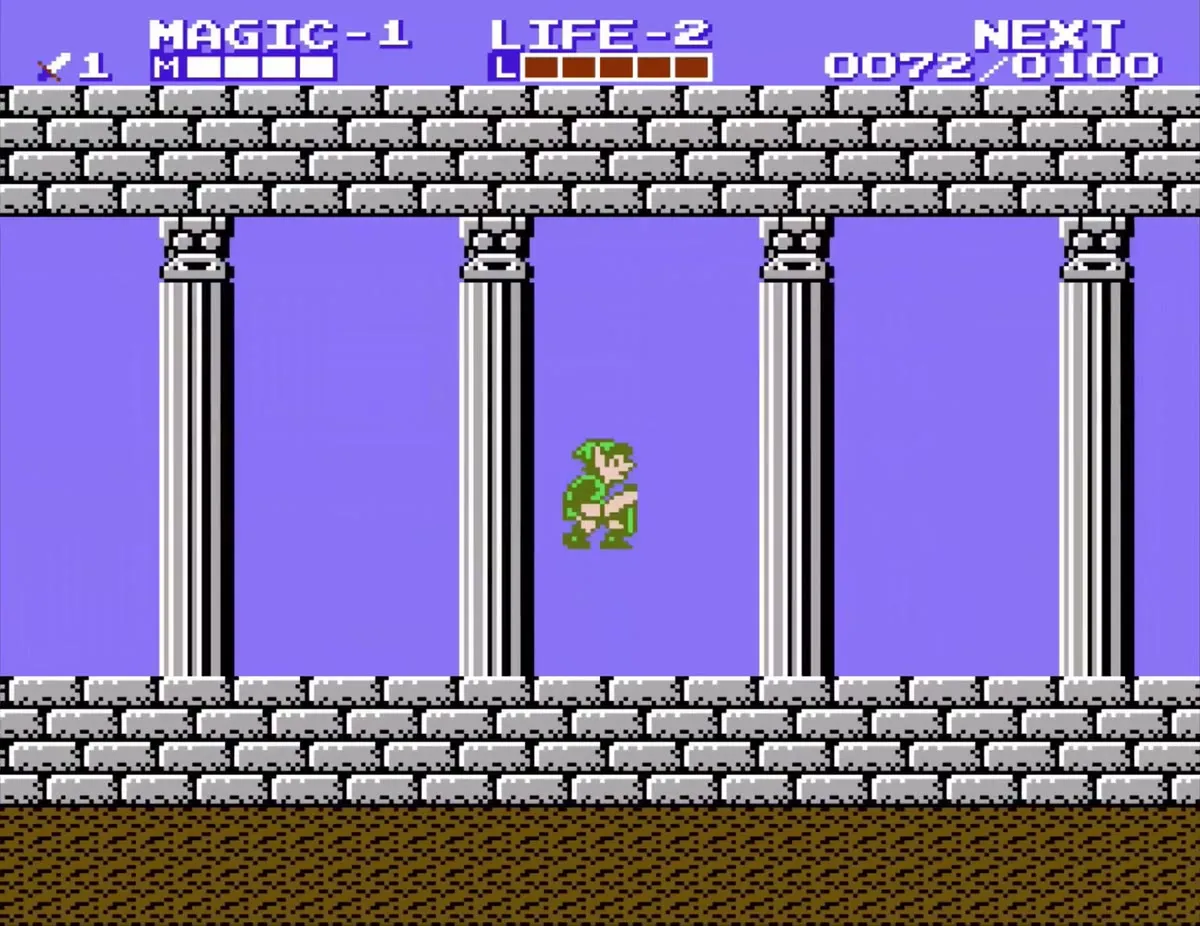
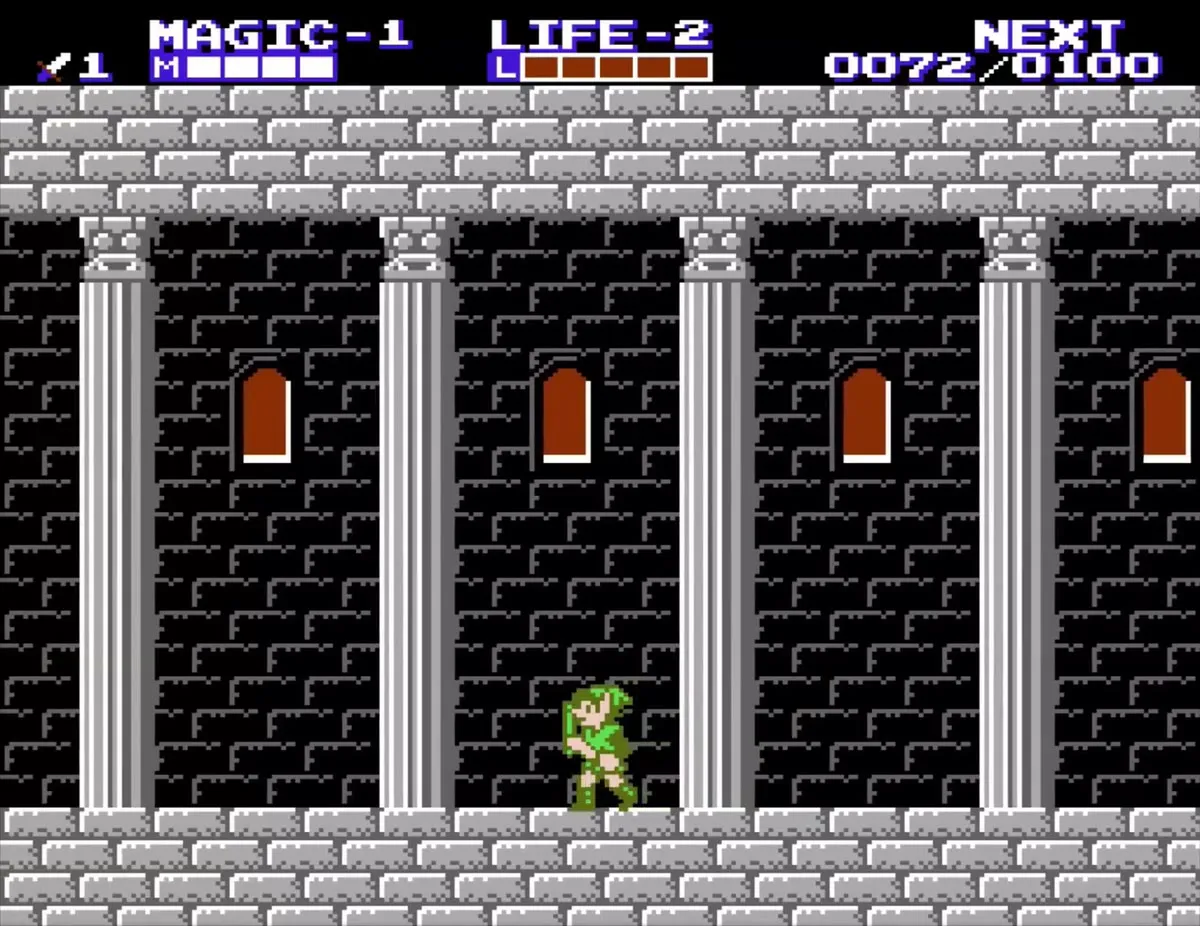
Table of Contents
Reaching Parapa Palace
Enter from the coast
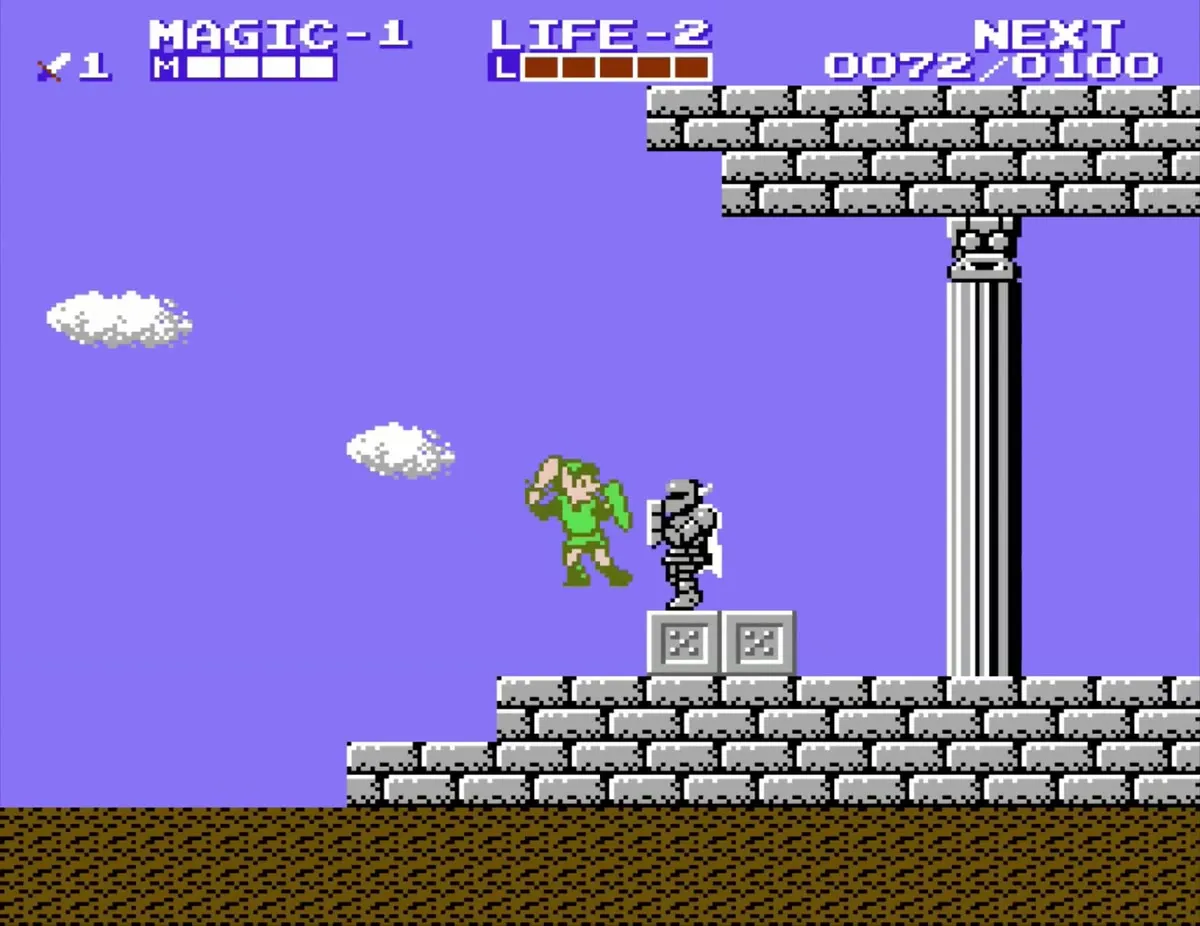
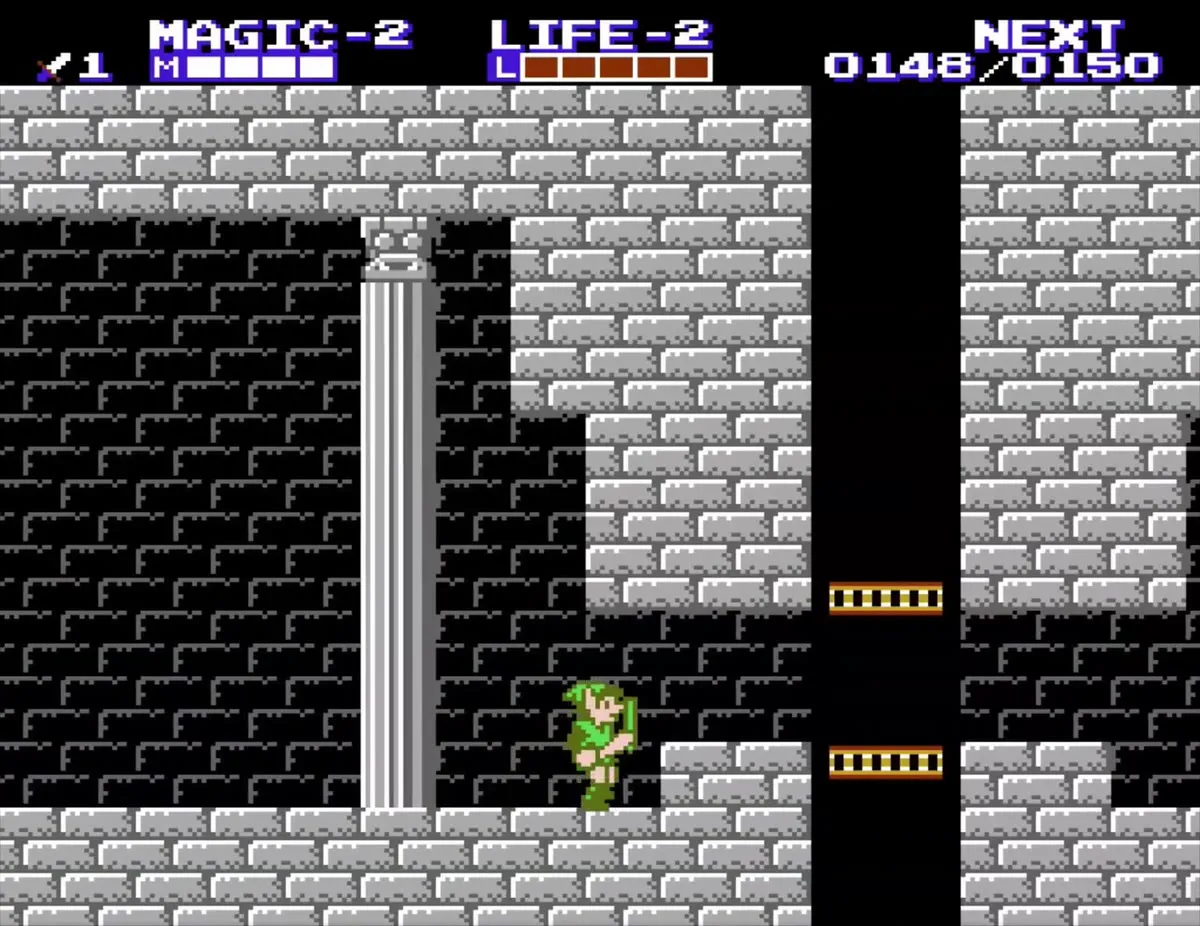
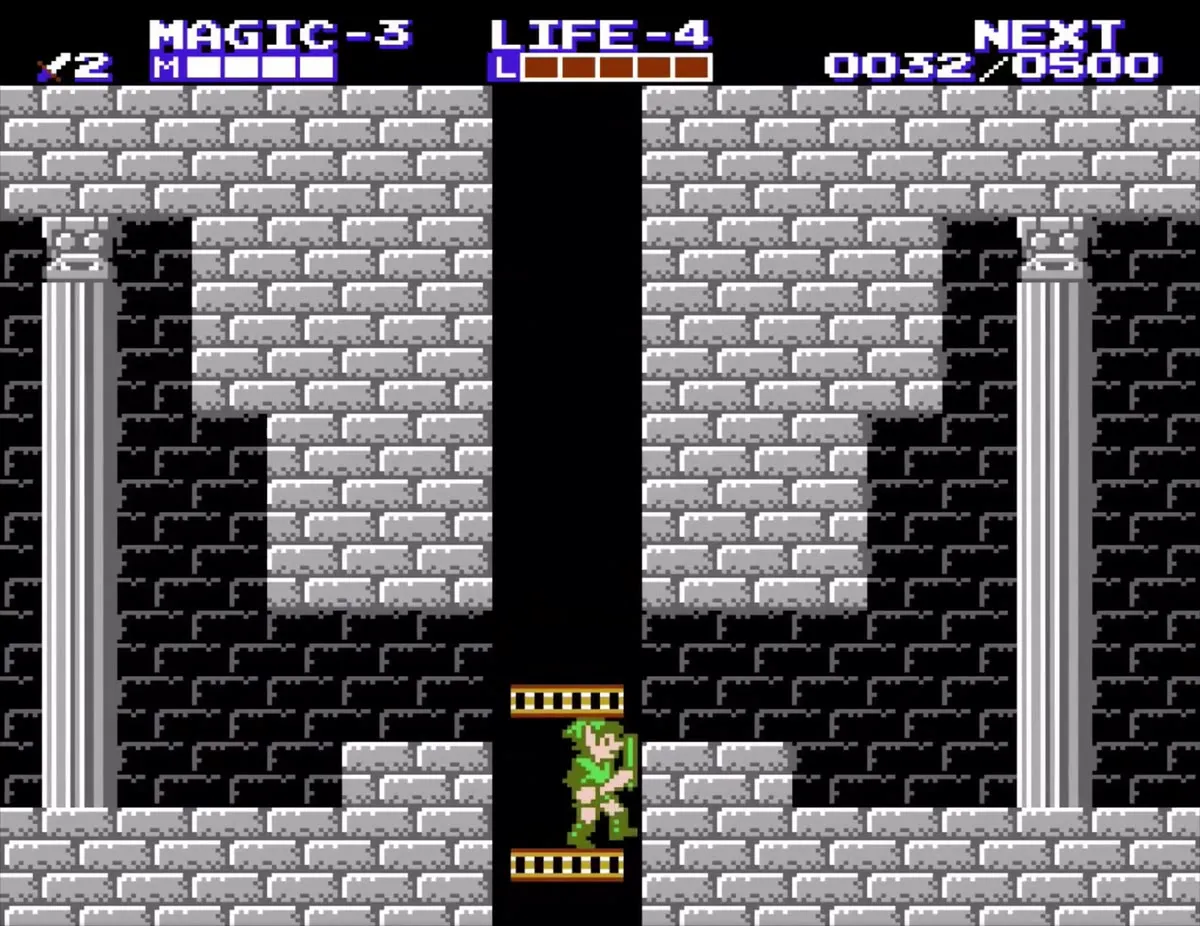
Head northeast along the coast from Parapa Desert until you reach the palace. A grey statue with a tall pillar marks the entrance, and a yellow elevator waits to the right once you step inside. Walk onto the elevator and press down to start your descent; no item or spell is needed to get in.
Palace 1: Parapa Palace
Floors, elevators and enemies
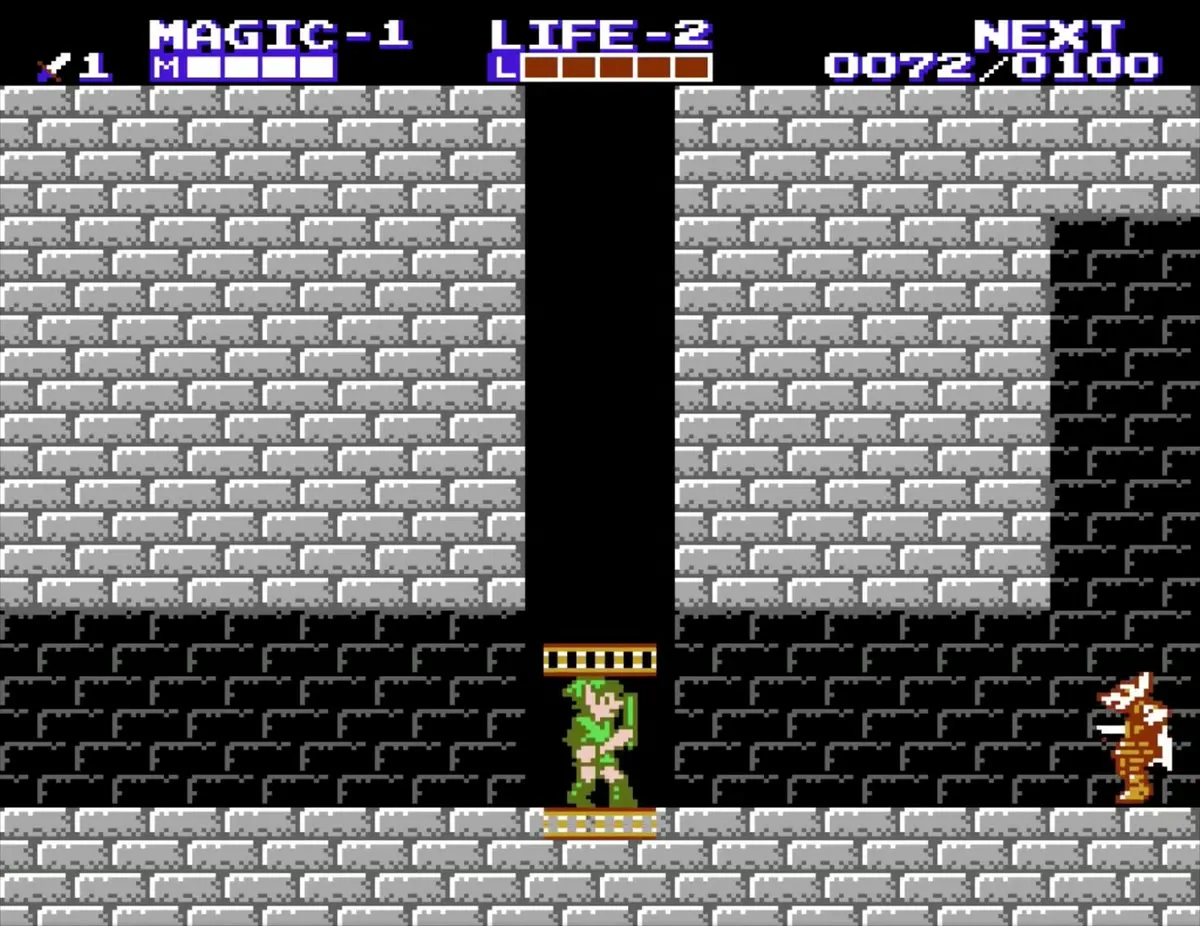
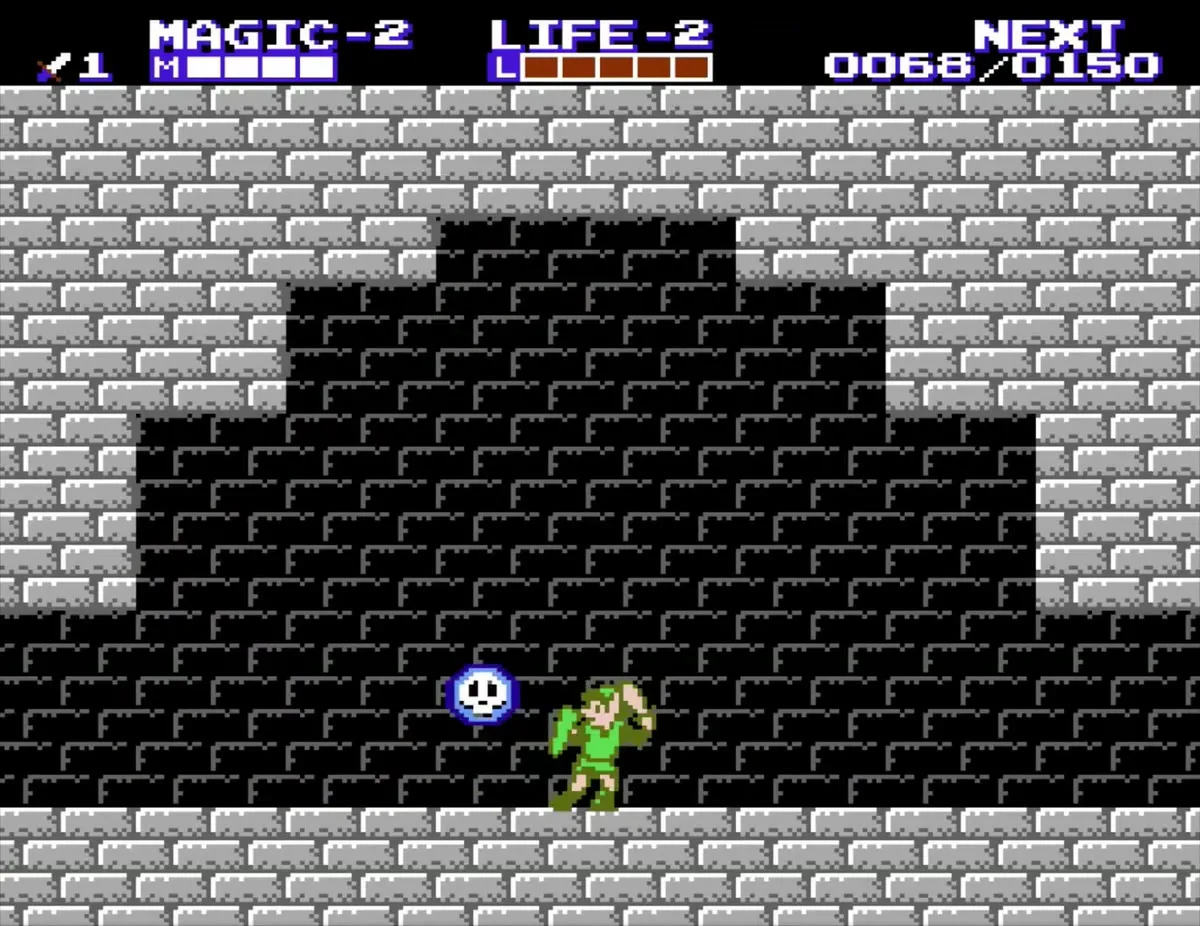
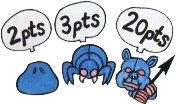
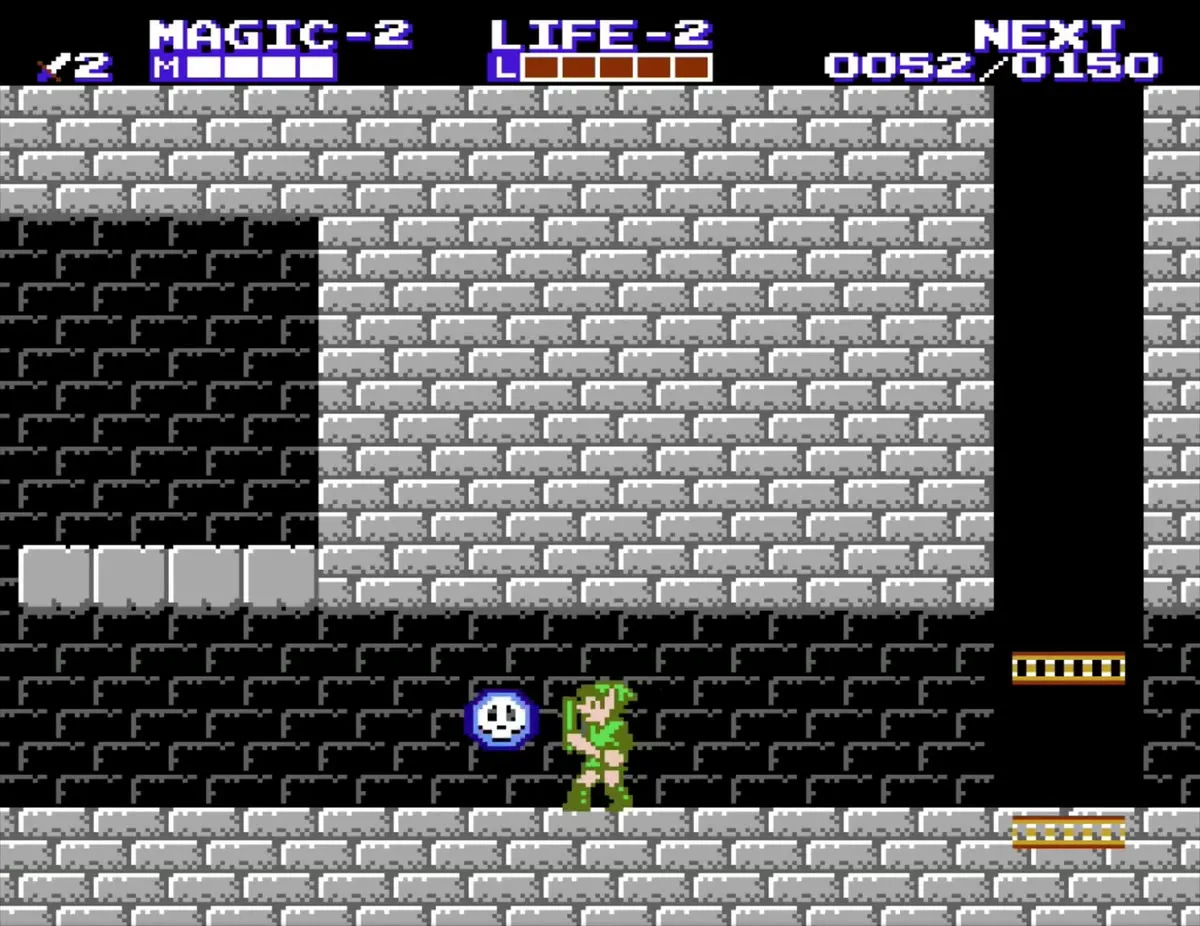
Parapa Palace is one of the smallest palaces, and its floors connect through elevators, which are yellow plates that carry Link up and down a shaft. Kobolds, Bots, Stalfos, Gumas (the mace throwers) and Bubbles are the most common enemies, and three orange Iron Knuckles guard the lower floors. Bubbles steal experience and magic when they touch you, so keep your distance or stun them briefly with your sword. A lone fairy also waits in one of the rooms; it refills your life once, and returns only if you leave the palace and walk back in.

Take the first key
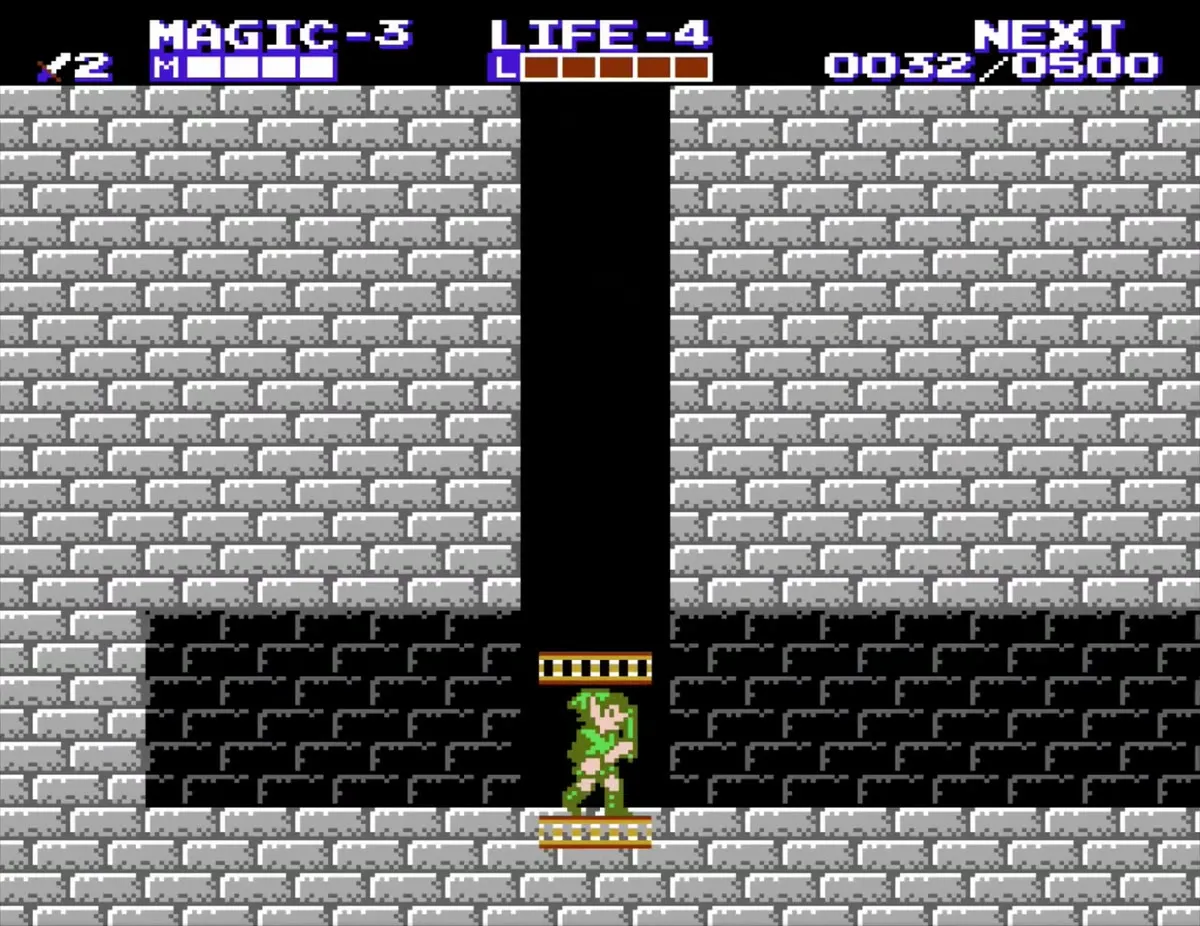
Ride the elevator down from the entrance and walk left on the lower floor. The first key is past the first Red Stalfos you meet, so defeat it and pick up the key.

Open the locked doors
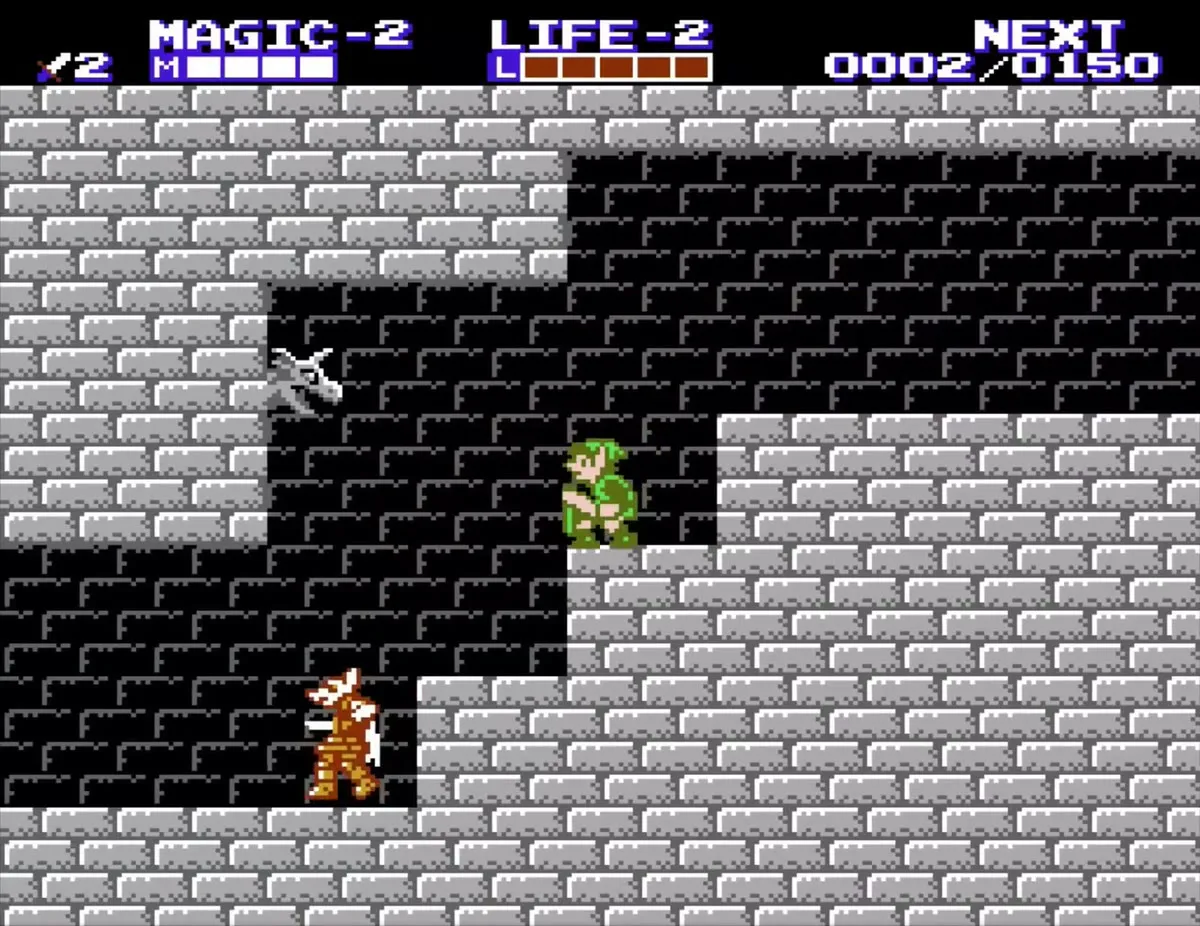
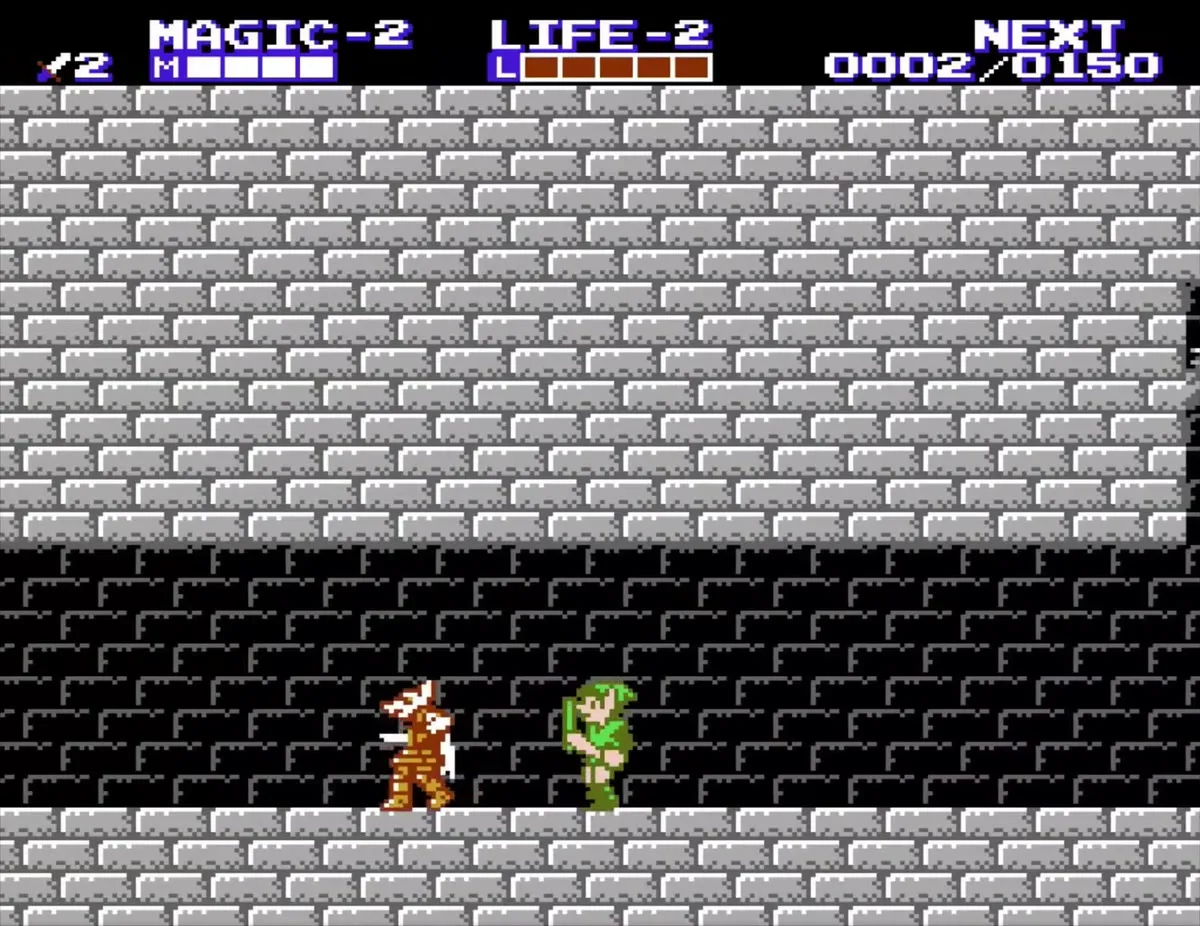
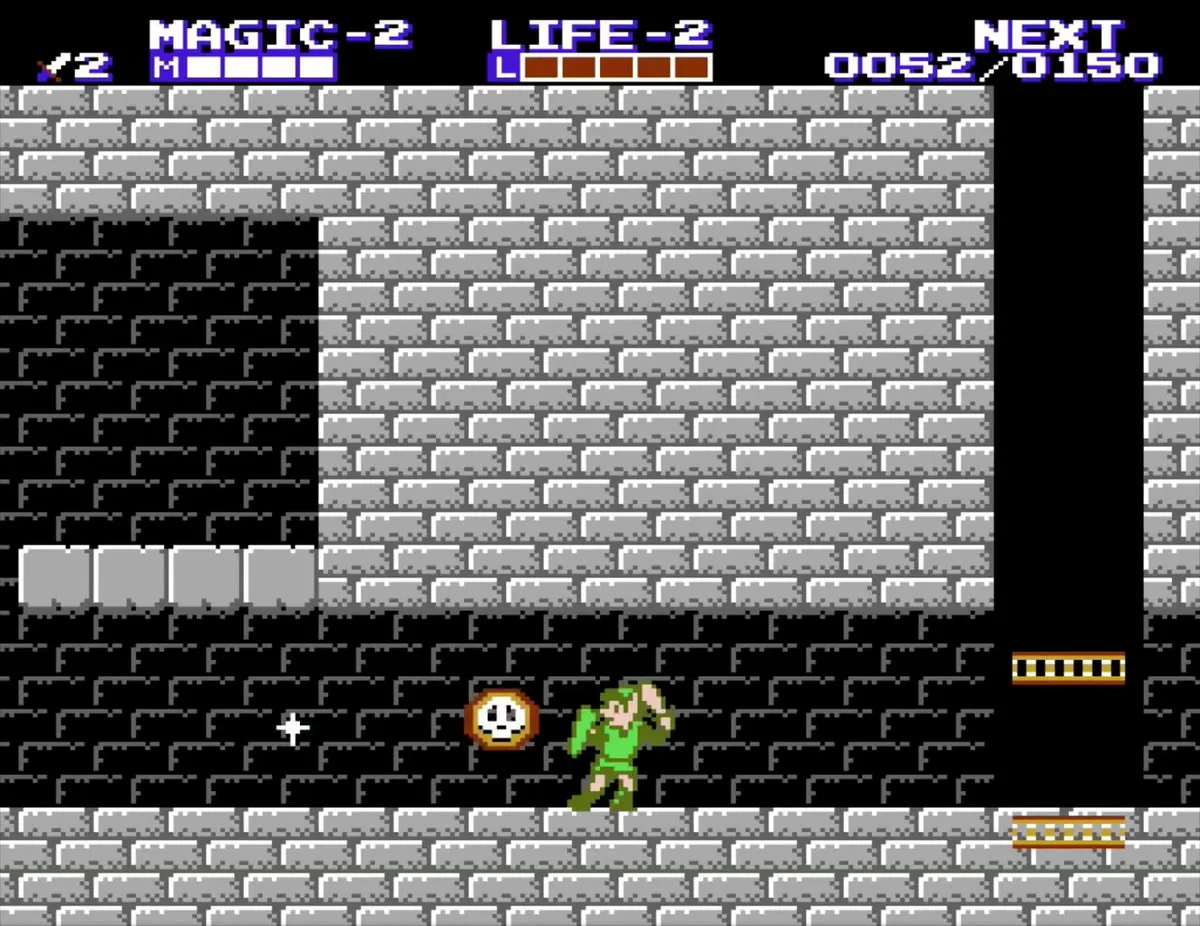
Walk right, open the first locked door, and ride the elevator up. The second key waits at the far end of that room. Continue right until a Guma, the monster that tosses maces, bounces into view. Wait for a gap in its throws, slip in close and stab it; the third key lies behind it. Hit the statue behind the key to find out whether it holds a red jar.
Cross the bubble room and the P-Bag bridge
Ride the elevator down one floor and head left past the room full of Bubbles. A P-Bag sits on a crumbling bridge beyond that room, so dash across and grab it, or return for it later. A second Guma and an orange Iron Knuckle share the room that holds the Candle; pass the maces when the gap between throws is wide enough.

Defeat the Iron Knuckle and take the Candle
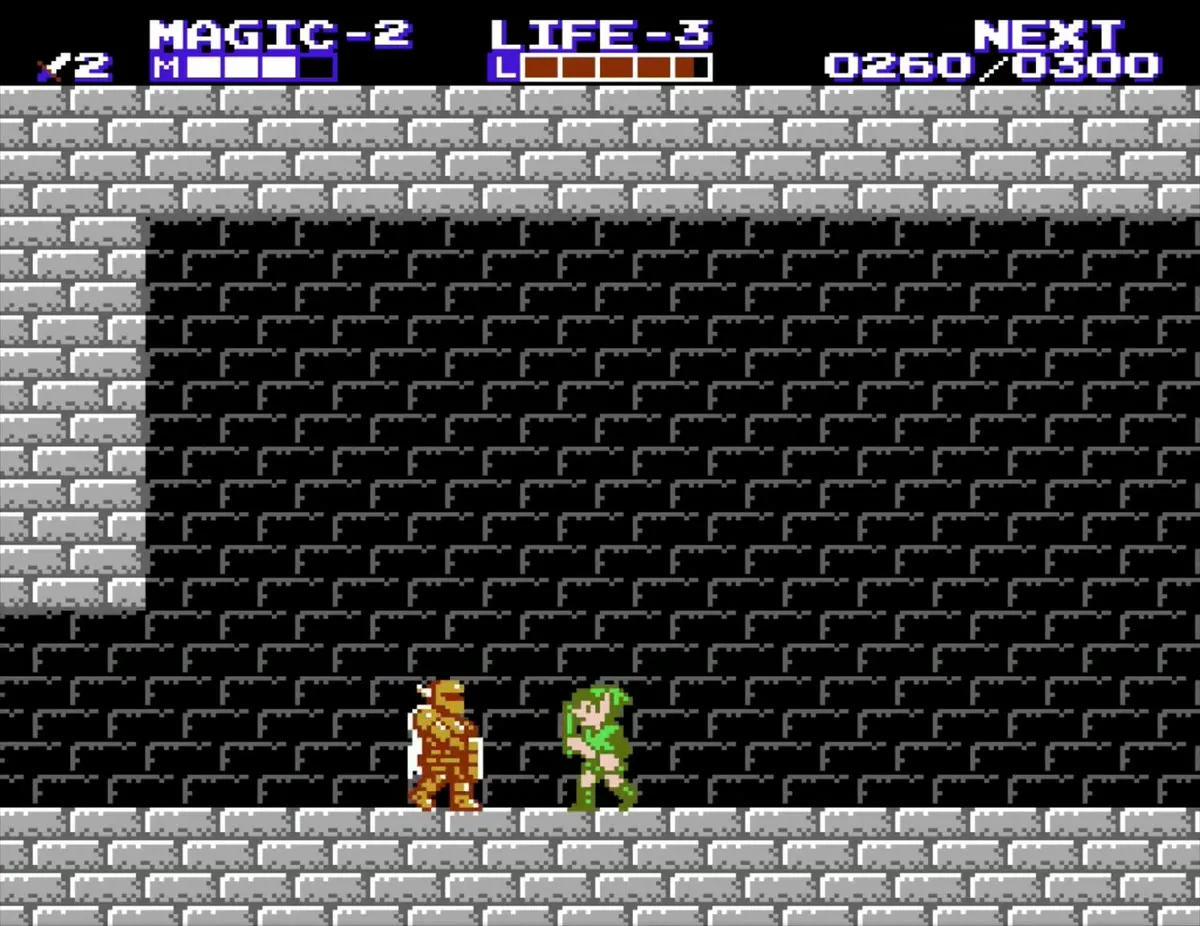
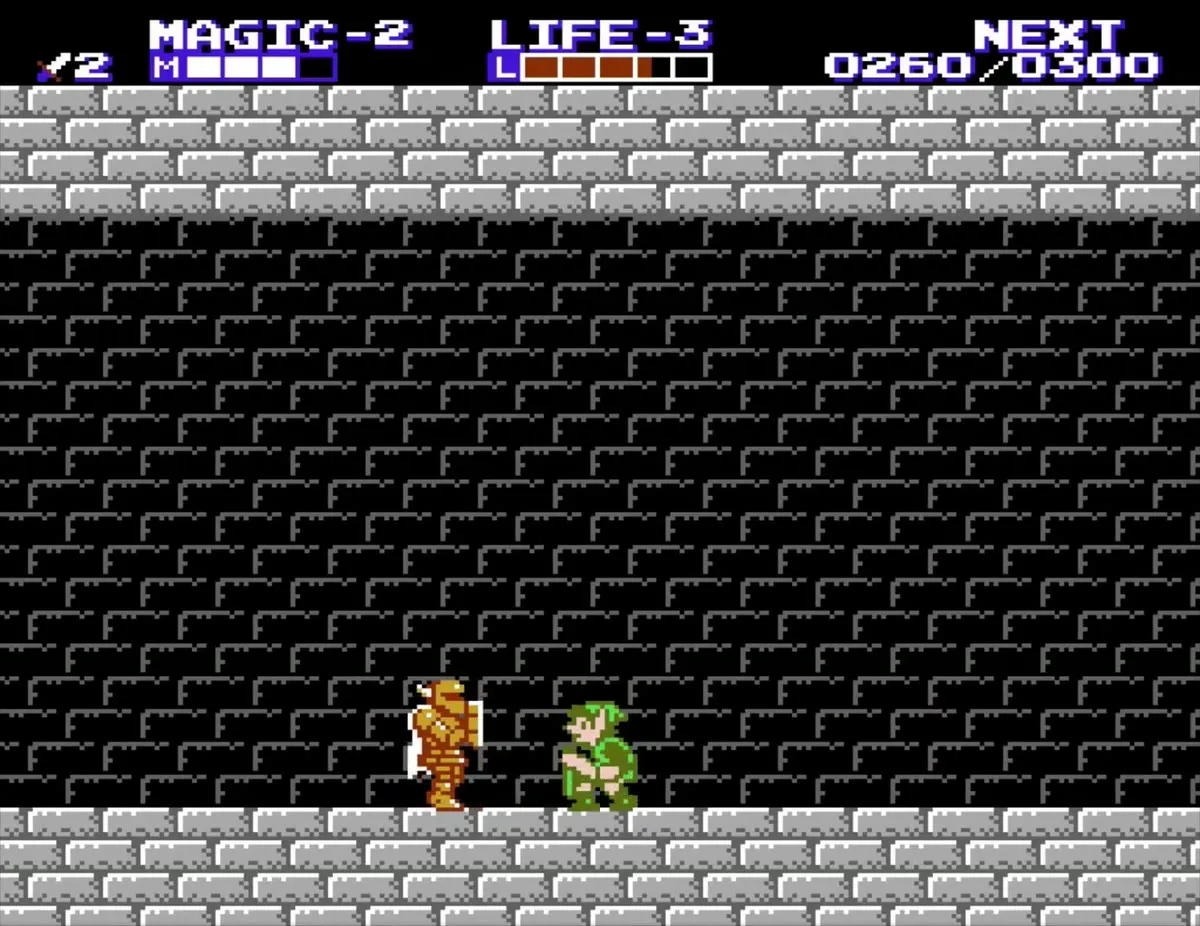
The Candle sits on a green platform in the western section of the palace, behind the first orange Iron Knuckle you meet, which stands by the locked door in the second Guma’s room. An Iron Knuckle moves its shield up and down, and its sword rises behind its head before a high or low swing, so watch the sword and crouch or stand to match it. Jump-strike, then back away and repeat until it falls. The Candle lights up dark caves, which you will need later.
Experience levels in the palace
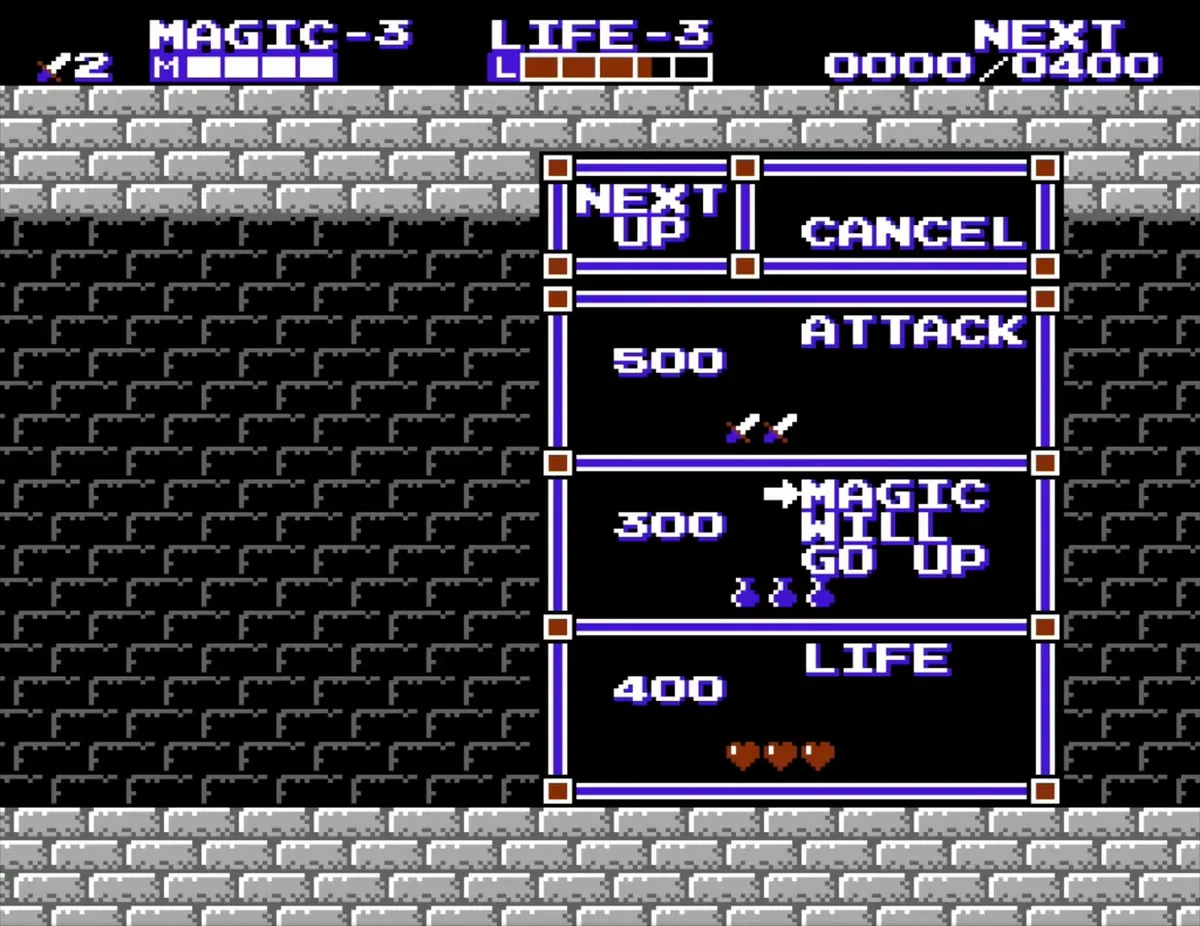
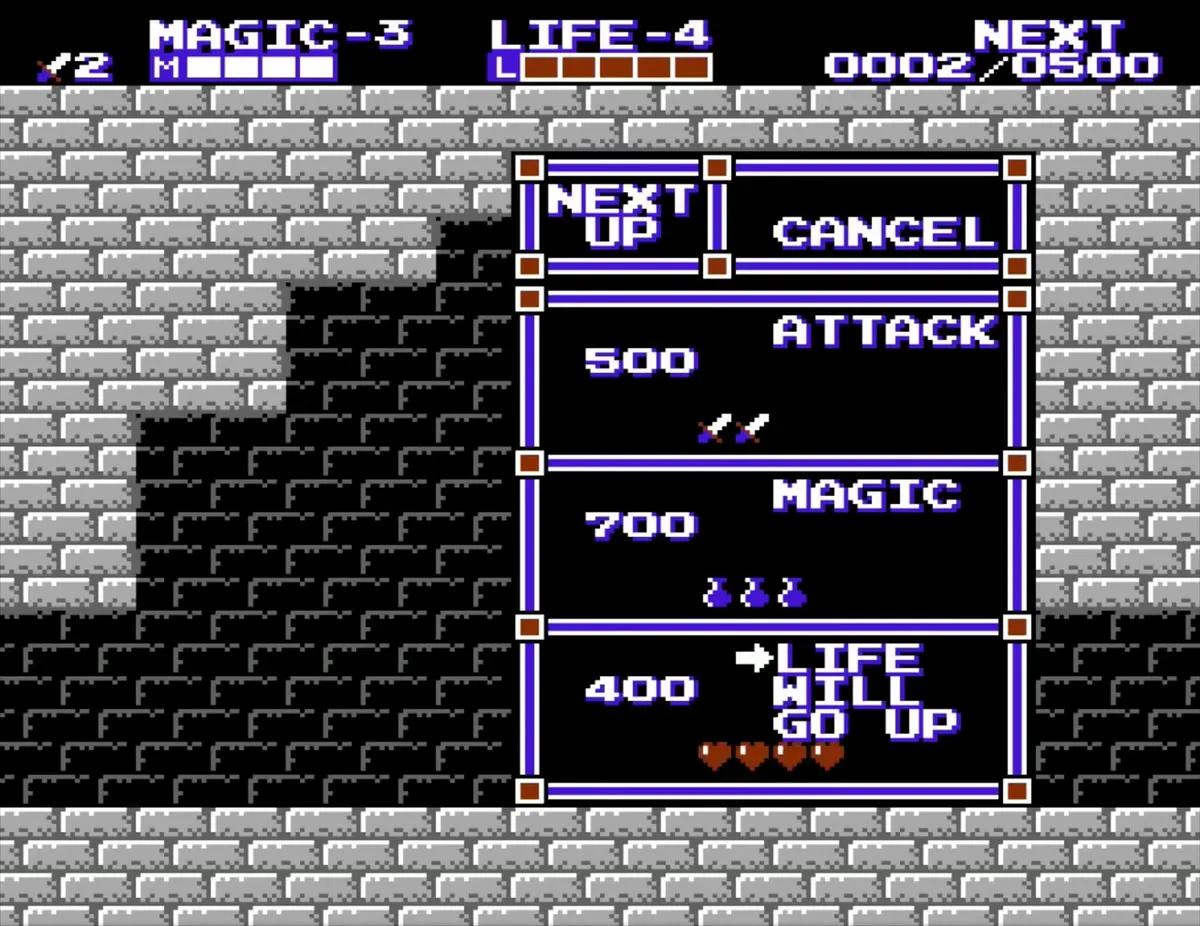
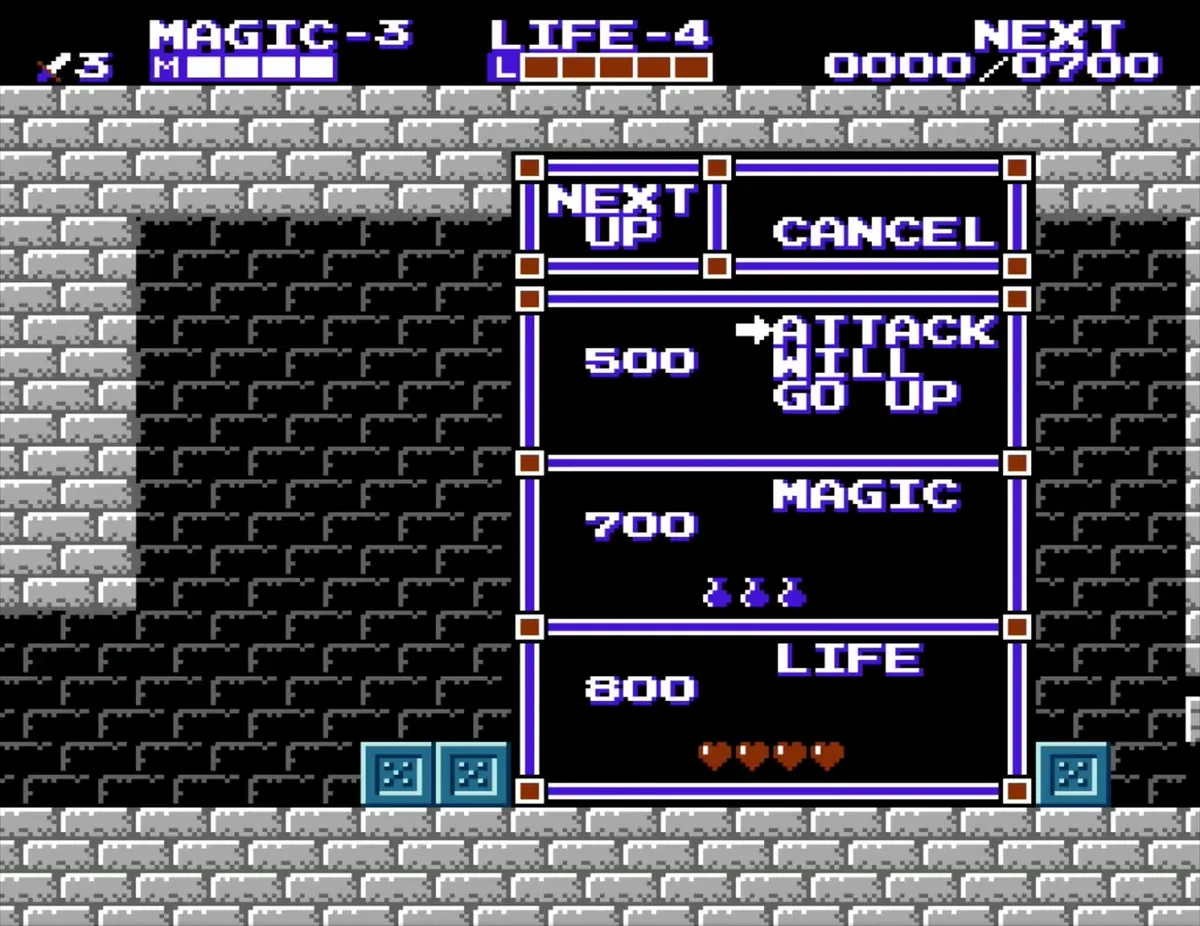
Enemies return each time you walk back into the palace, and early upgrades are cheap, so some players clear it twice before placing the crystal for extra level-ups. Five experience levels come from enemies in this palace: Magic 2 early on, Attack 2 later, then Life 3, Magic 3 and Life 4 further in. Each level-up opens a menu where you choose Attack, Magic or Life, so pick the stat you need most. Life 4 comes just before the teal-brick hall.
Reach the lower floor and Horsehead
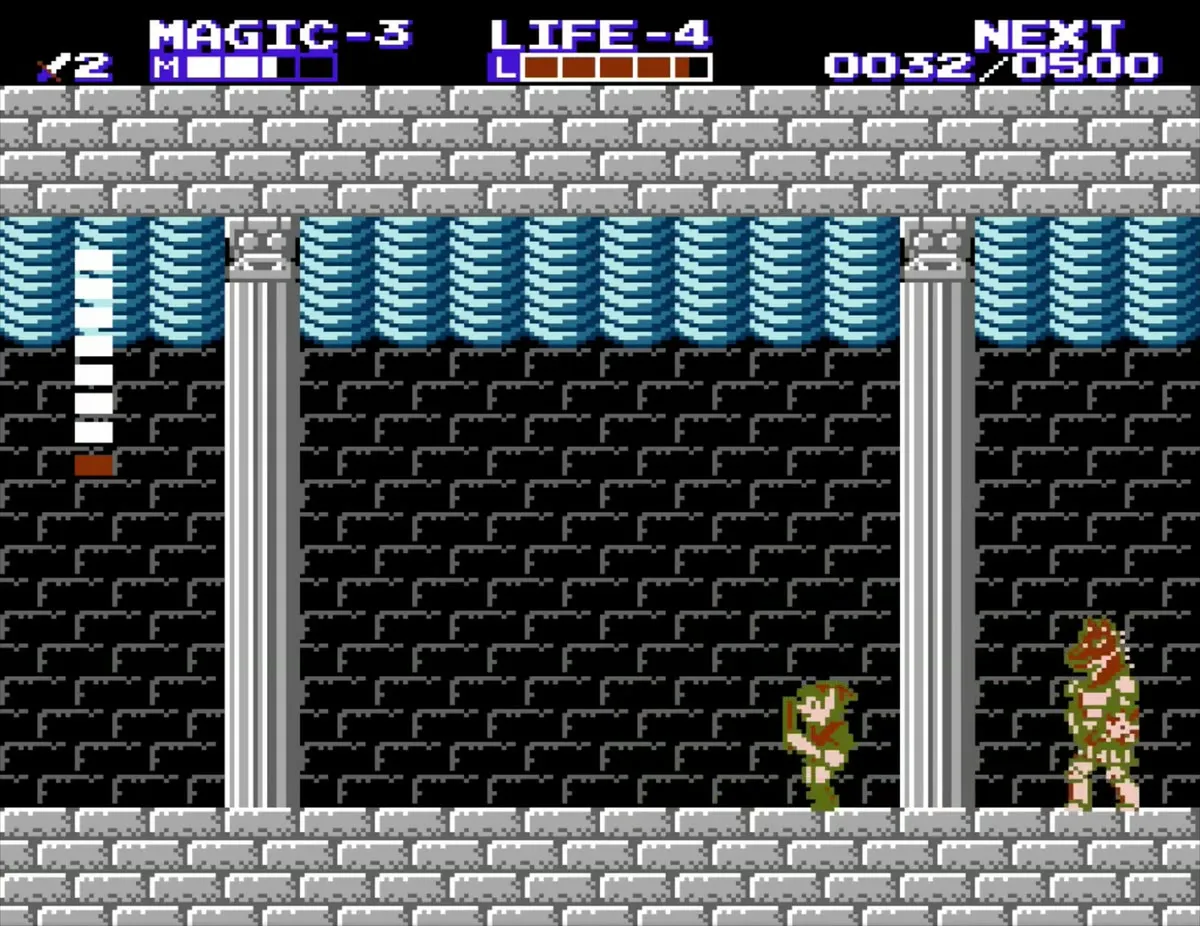
Head back to the lower floor and clear the way toward Horsehead by defeating the second Iron Knuckle, a pair of Red Stalfos, a third Guma and the third Iron Knuckle. The teal-brick hall with columns holds orange armored knights with spears, so move carefully there.
Horsehead boss strategy
Defeat Horsehead
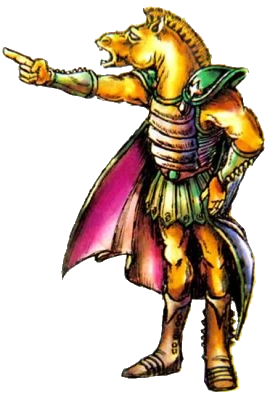
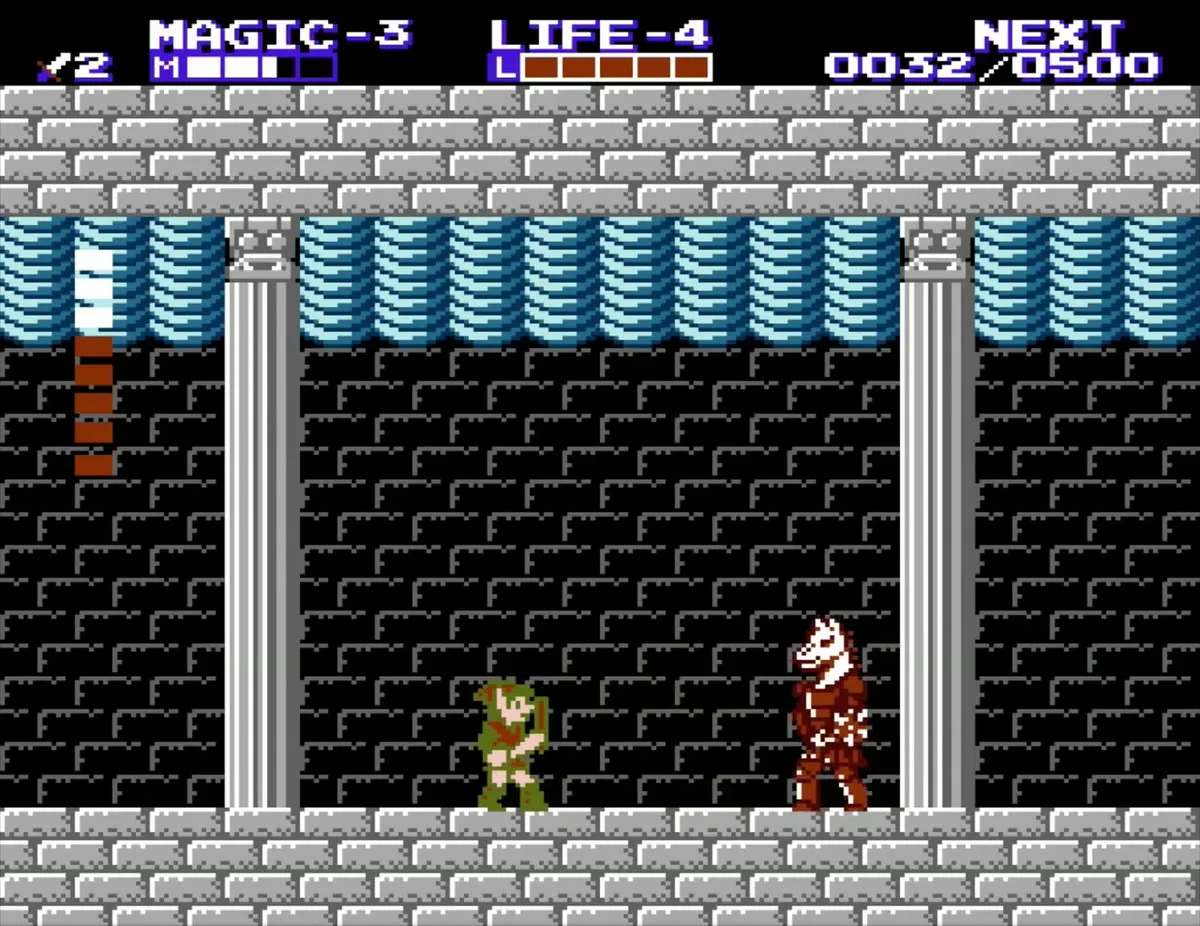
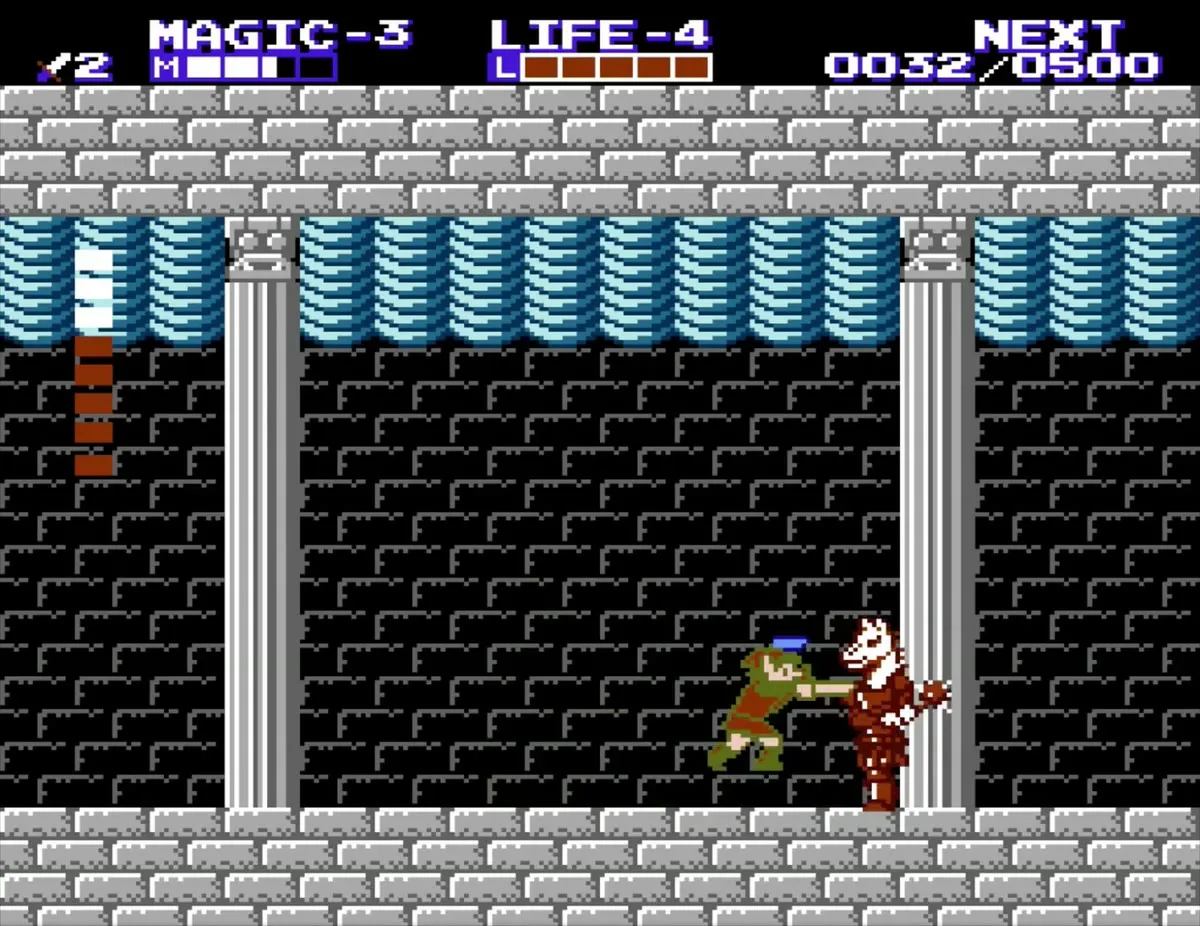
Horsehead guards the easternmost room of the lowest floor. Cast Shield before the fight, because its mace swings hit hard. Its body is armored, so jump and strike the top of its head, then back away before its next swing.
Placing the first crystal
Take the crystal and fill the statue
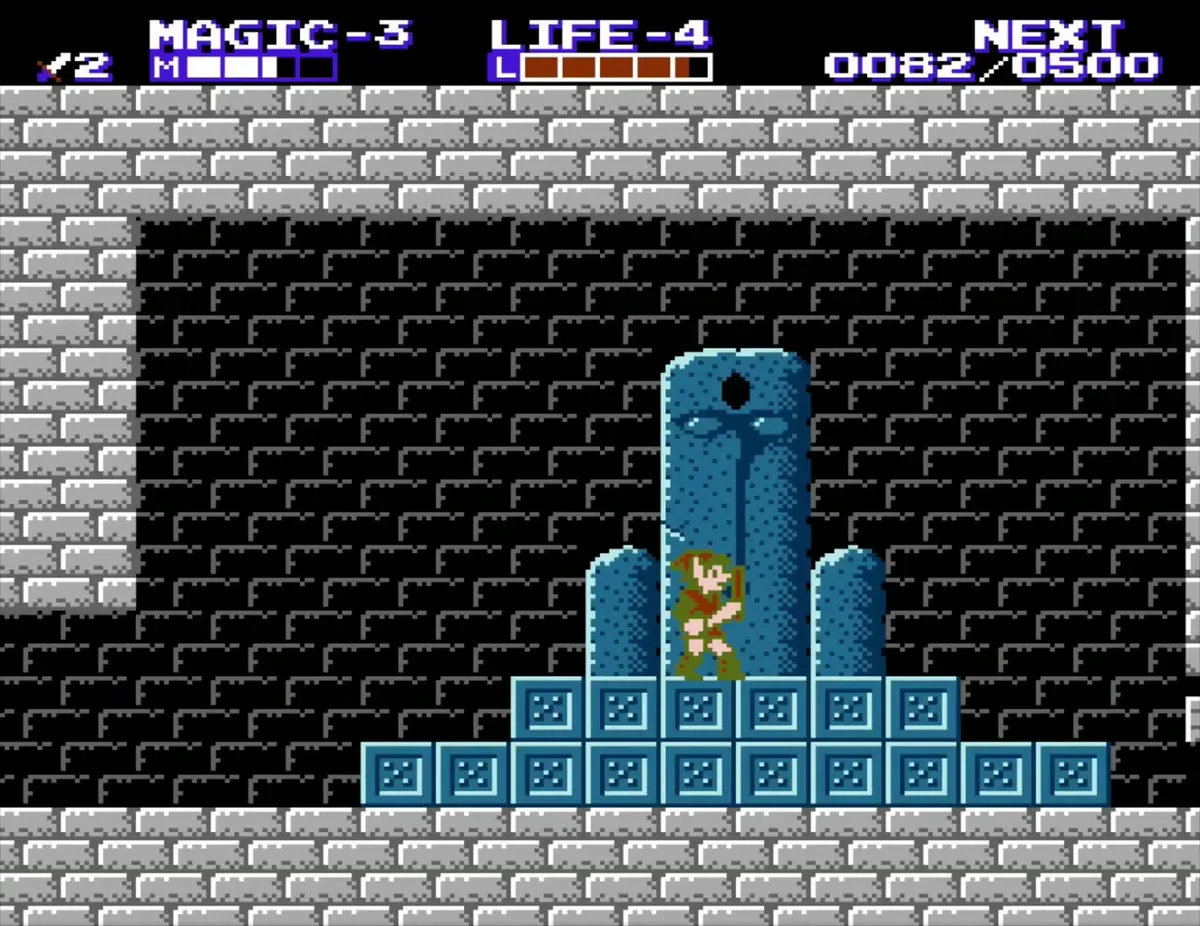
After Horsehead falls, a key drops from the ceiling. Catch it, unlock the door to the right, and walk up to the statue. Set the first crystal into the statue on the blue stone pedestal, and your experience rises to its current cap, which gives you an instant level-up.
Chapter checklist
| Type | Name | Where |
|---|---|---|
 Crystal | First crystal | Blue stone pedestal, through the door to the right of the Horsehead room, after the boss |
| Item | Candle | Green platform in the western section, behind the first orange Iron Knuckle |
| Keys | Four keys | First: lower floor, left, past the first Red Stalfos. Second: far end of the room above the elevator. Third: behind the first Guma. Fourth: dropped by Horsehead |
 Fairy | Lone fairy | Room past the second elevator; refills life once per visit |
| P-Bag | P-Bag (50 EXP) | Crumbling bridge past the Bubble room |
| Red jar | Red jar | Statue behind the key in the first Guma’s room; hit it to reveal the jar |
| Experience | Magic 2, Attack 2, Life 3, Magic 3, Life 4 | Earned from enemies across the palace |
