
























Spirit Tracks 100% Completion Walkthrough18 chapters
- Aboda Village and Hyrule CastleThe first train ride, the Royal Engineer ceremony, Zelda’s escape, the Spirit Flute, sword and path to the Tower.
- Tower of SpiritsMeet Anjean, collect the three Tears of Light, use Phantom Zelda and claim the Forest Rail Map.
- Forest RealmReach Whittleton, solve the Lost Woods rail maze, learn the Song of Awakening and play the Gage duet.
- Forest TempleSong of Healing, Whirlwind, Mothula, Boss Key, Stagnox boss fight, Heart Container and Force Gem.
- Tower of SpiritsTears of Light, lava Phantoms, Zora Warrior, the Snow Rail Map, plus the Cannon and Rabbit Net.
- Snow RealmAnouki Village pairings, the Rocktite tunnel, Steem’s duet, the Heart Container shop and Ferrus’s blizzard map.
- Snow TempleGet the Boomerang, solve the bell puzzles, take the Boss Key from the Wolfos and beat Fraaz for a Heart Container.
- Tower of SpiritsDark floor 8, Torch Phantoms, Tears of Light, the Z door, Mighty Zora Warrior and Ocean Rail Map.
- Ocean RealmFix the Trading Post bridge, find the Regal Ring, learn the Song of Birds and free Carben at the Ocean Sanctuary.
- Ocean TempleReach the sunken temple, win the Whip, beat Phytops and claim the Heart Container and blue Force Gem.
- Tower of SpiritsBeat Warp Phantoms and Phantom Eyes, collect three Tears of Light and claim the Fire Rail Map.
- Fire RealmReach Goron Village, ferry Noko for Mega Ice, cool the lava, solve the Fire Sanctuary statues and play Embrose’s duet.
- Fire TempleSnurglar keys, Heatoise and the Bow, mine carts, Boss Key, Cragma, Heart Container and the Goron Quiver.
- Tower of SpiritsClimb Tower of Spirits floors 18-23, solve the Wrecker Phantom puzzles, take the Boss Key and beat Byrne with Zelda.
- Sand RealmMalgyorgs, desert rabbits, the Sand Sanctuary bomb puzzle, the Rael duet and the three trials to the Sand Temple.
- Sand TempleStalfos keys, Sand Wand, the Boss Key, the Skeldritch boss fight, the Heart Container, Bow of Light and Lokomo Sword.
- Tower of Spirits Floors 24-30 and the Compass of LightLight Arrows at the altar, every Phantom puzzle, the floor 26 gauntlet and the Compass of Light.
- Dark Realm, Demon Train and MalladusDestroy six Armored Trains, beat the Demon Train, free Zelda from Cole and defeat Malladus with the Lokomo Sword.
| Covers | The portal island in the south-west, the Dark Realm and its six Armored Trains, the Demon Train, Cole and possessed Zelda, the Demon King Malladus and the ending |
|---|---|
| You need | The Compass of Light tracks (finished Tower of Spirits), Bow of Light, Lokomo Sword, Boomerang, Whip, Bow and the Spirit Flute; potions and a strong train are advised |
| Rewards |  8 Tears of Light to use in the Dark Realm, the final duet with Zelda, the defeat of Malladus and the ending; no Heart Containers, stamps, rabbits or Force Gems are found here |
This is the last chapter of Spirit Tracks. You ride the new tracks from the Forest Realm into the Dark Realm, use Tears of Light to wreck six Armored Trains, win a three-stage chase against the Demon Train, steer Phantom Zelda up the train to pull Malladus out of her, then beat the Demon King in his arena with the Lokomo Sword, the Spirit Flute and the Bow of Light.
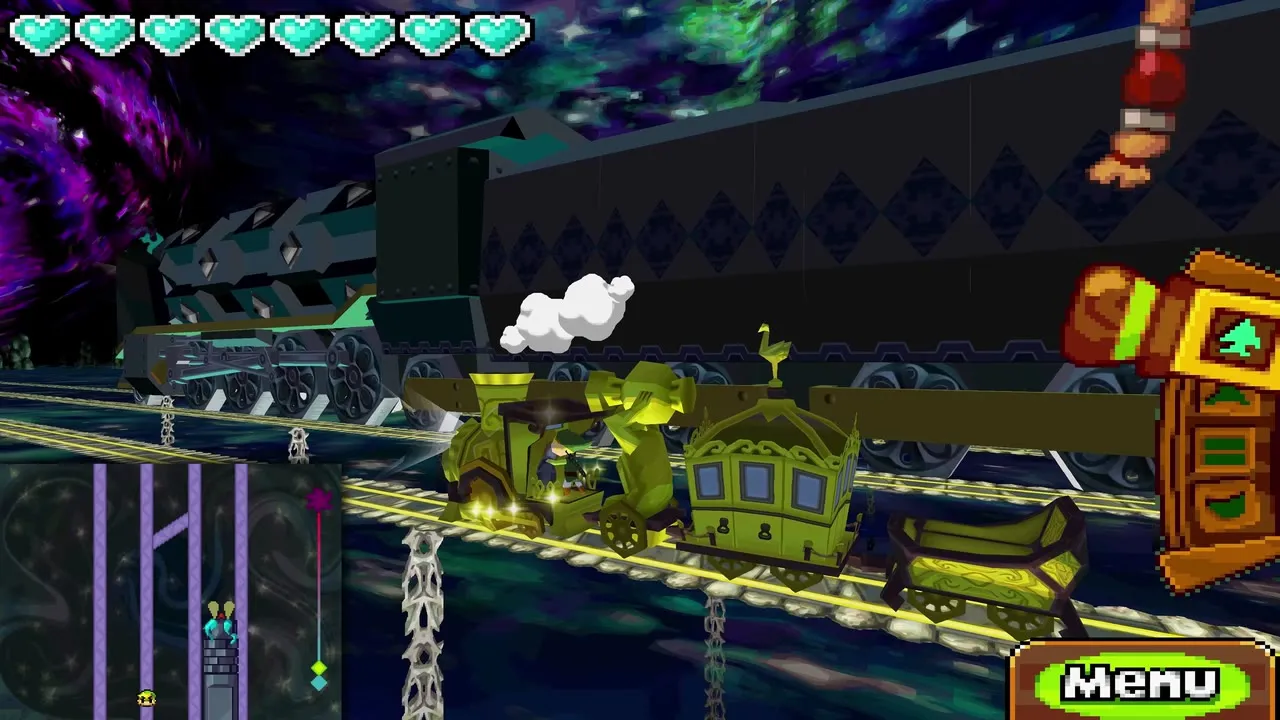
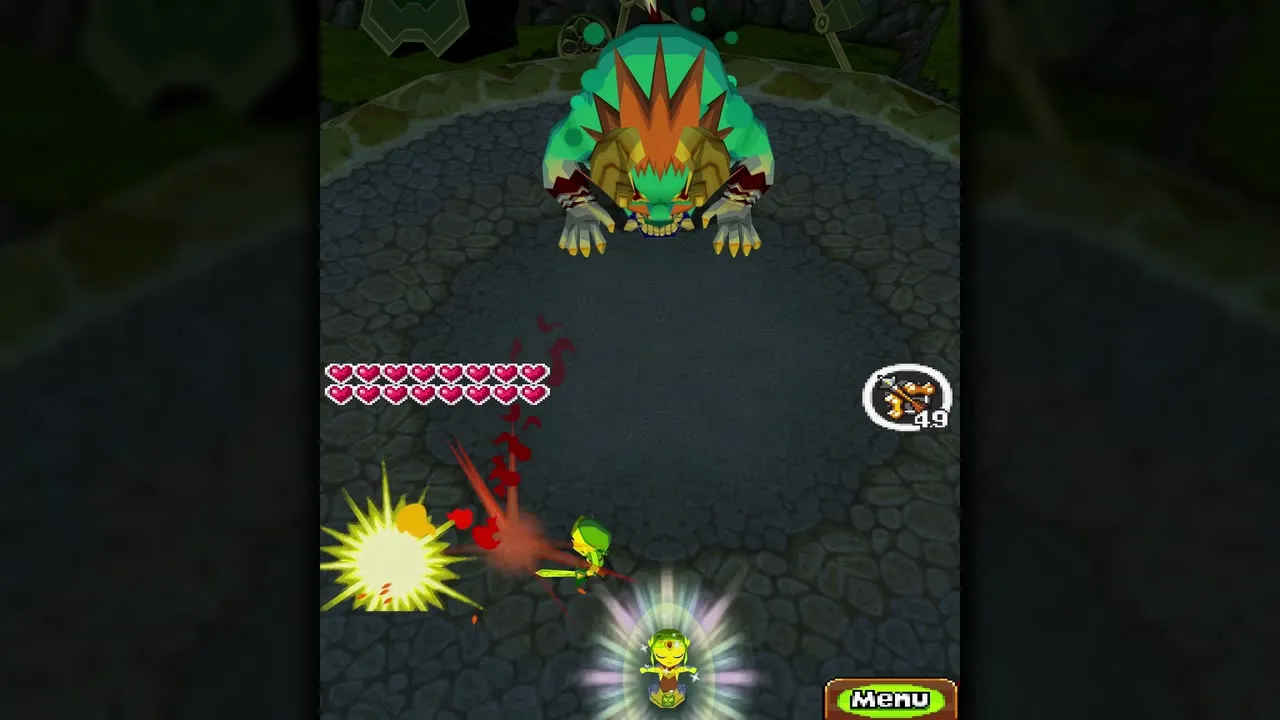
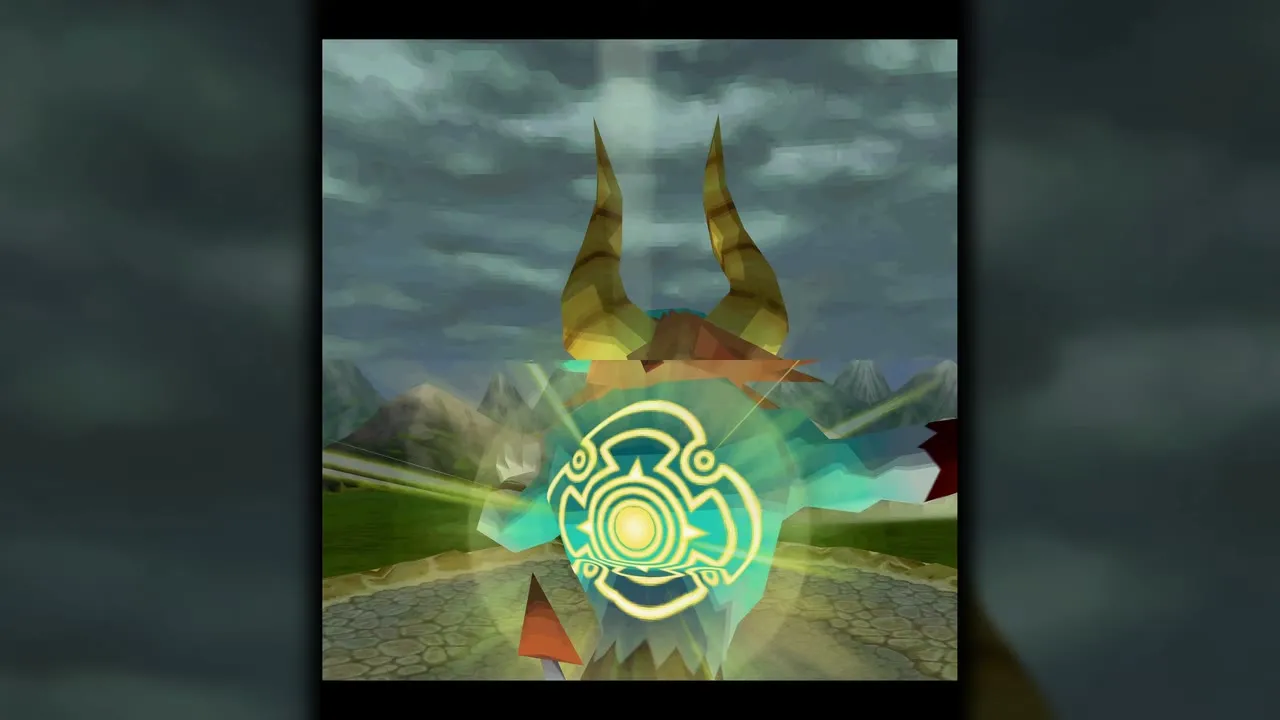
Table of Contents
Preparing for the final journey
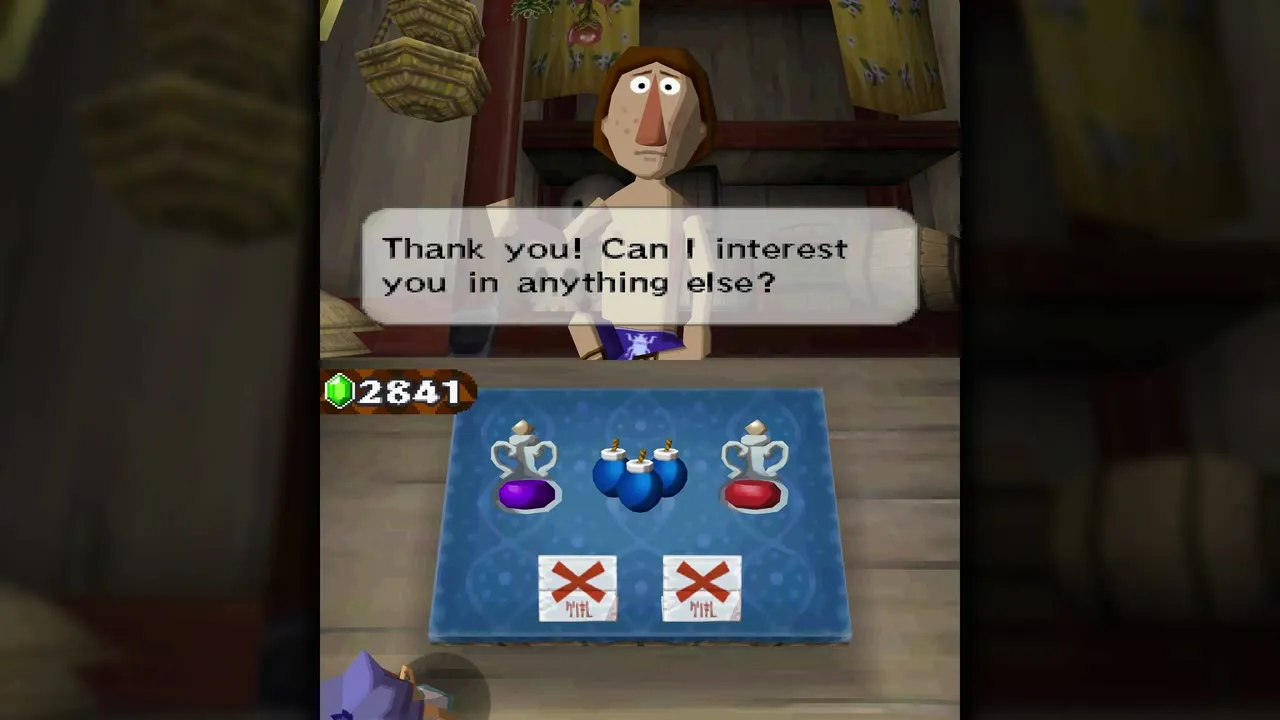
Stock up on potions and hearts
Nothing forces you to leave the moment the Compass of Light shows the new tracks, and it is worth tidying up first. Everything from here to the credits is one straight run, and the Demon King fights are long, so go shopping before you commit. Buy potions: Red heals six hearts, Purple eight and Yellow refills the whole bar, and Beedle’s Air Shop sells Red and Purple. Finish any rabbits, stamps, Force Gems and treasures you still want too, because nothing in this chapter adds to the checklist and the rest of the game can be finished afterwards.
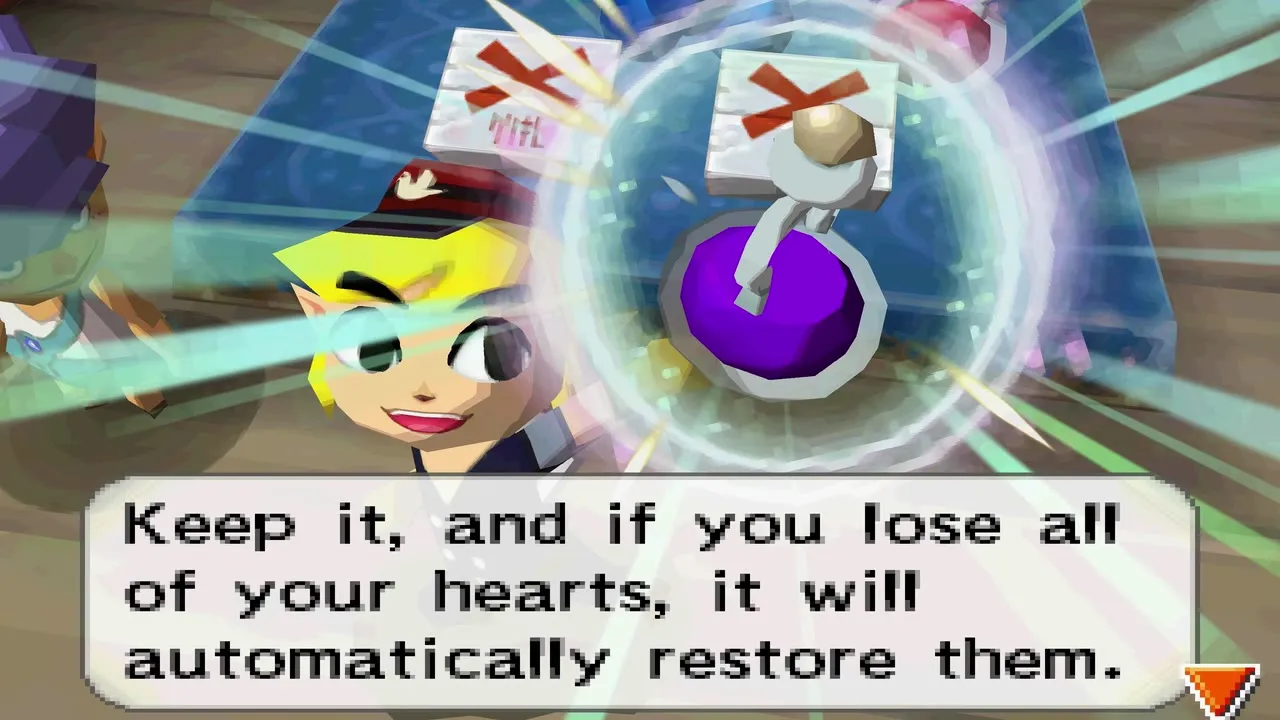
Build the Golden Train (optional)
The strongest train in the game is a full Golden set: the Golden Engine, Brawny Cannon, Royal Passenger Car and Golden Freight Car. It has eight hearts instead of the six of most sets, which makes the Armored Train and Demon Train sections more forgiving. The pieces are paid for with the rarest treasures, including the Alchemy Stone and the Regal Ring, so this takes real farming. Trade for the cars at Linebeck’s trading post, then refit the train at Alfonzo’s house in Aboda Village; the price lists are on the train cars page and the treasure sources on the treasures page. You can finish the game without the set.
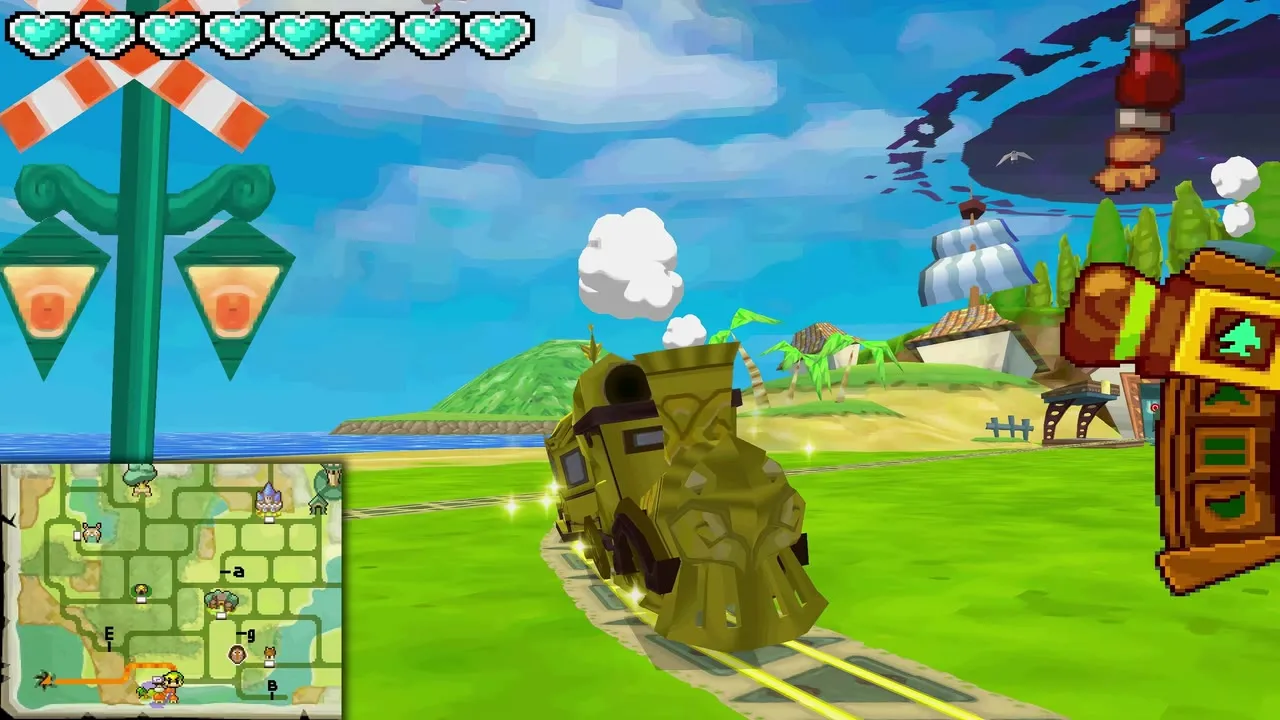
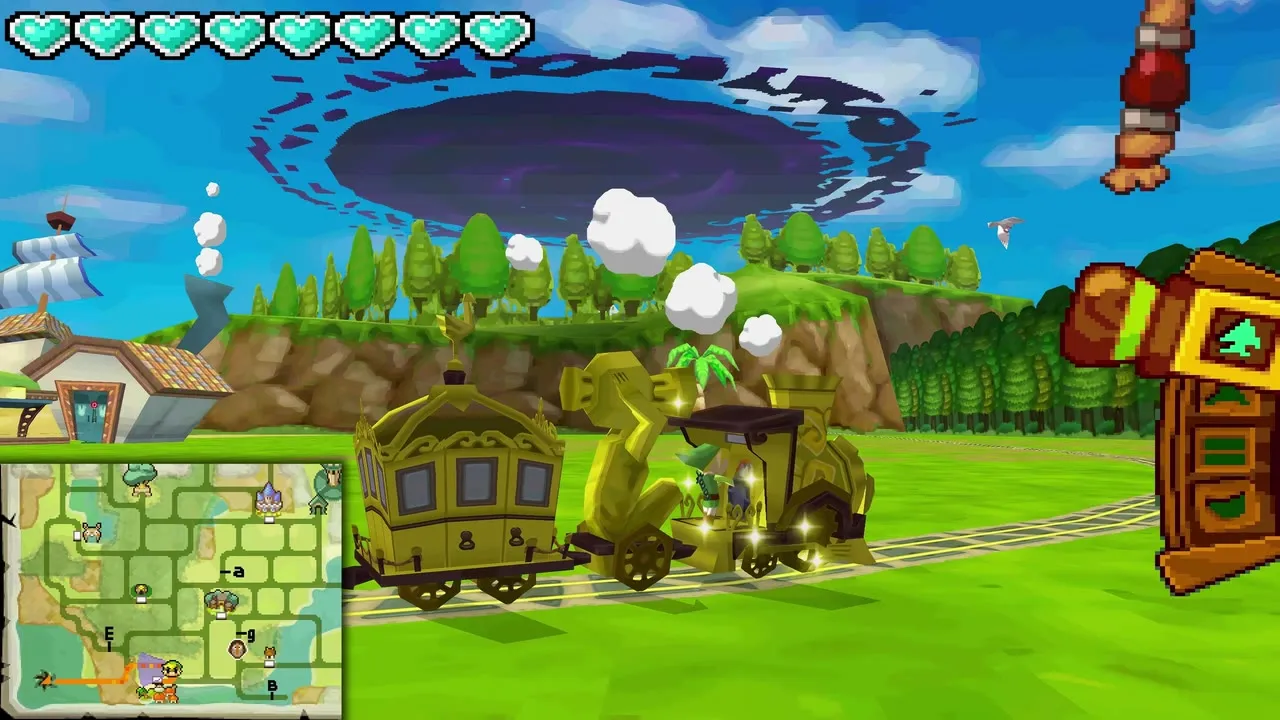
How to reach the Dark Realm
Ride to the portal island
Board your train and head into the Forest Realm. The new tracks leave the realm near its south-west corner, pass Aboda Village and then run through a tunnel and a dark cave, with a few small Rocktites along the way that you can shoot or ignore. Save at a station before you set off, because a long stretch of fighting and story lies ahead.
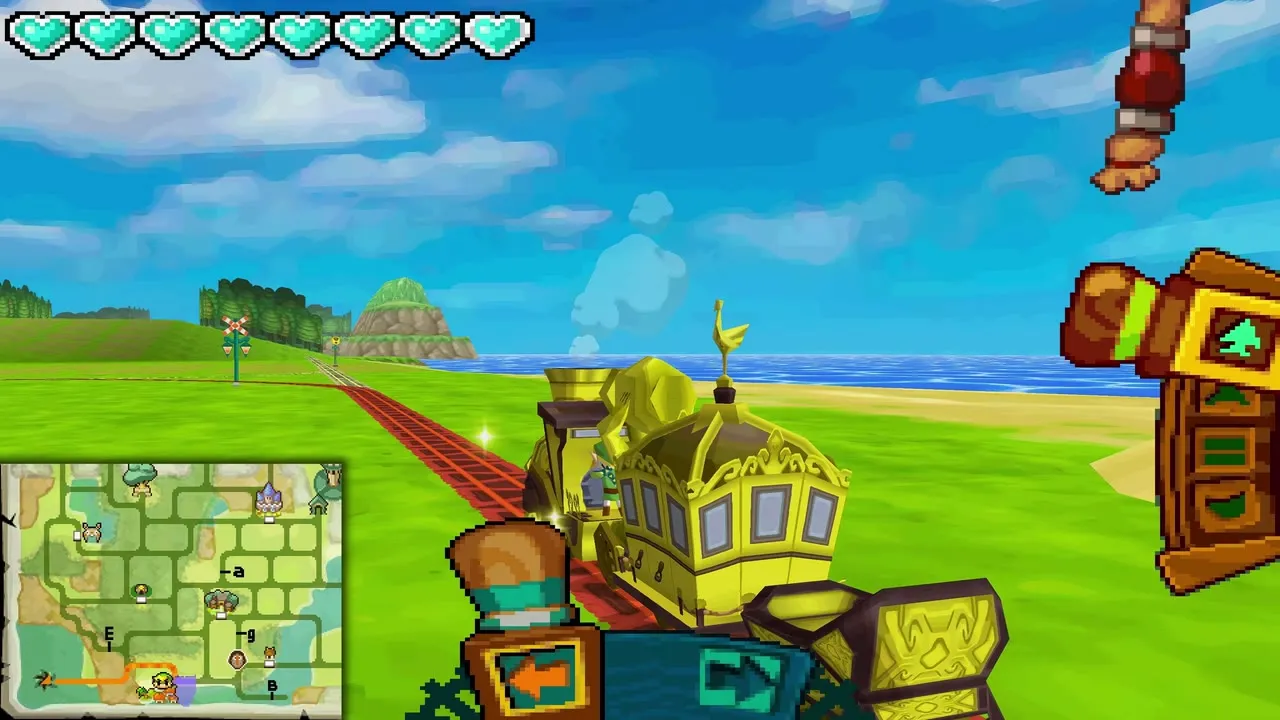
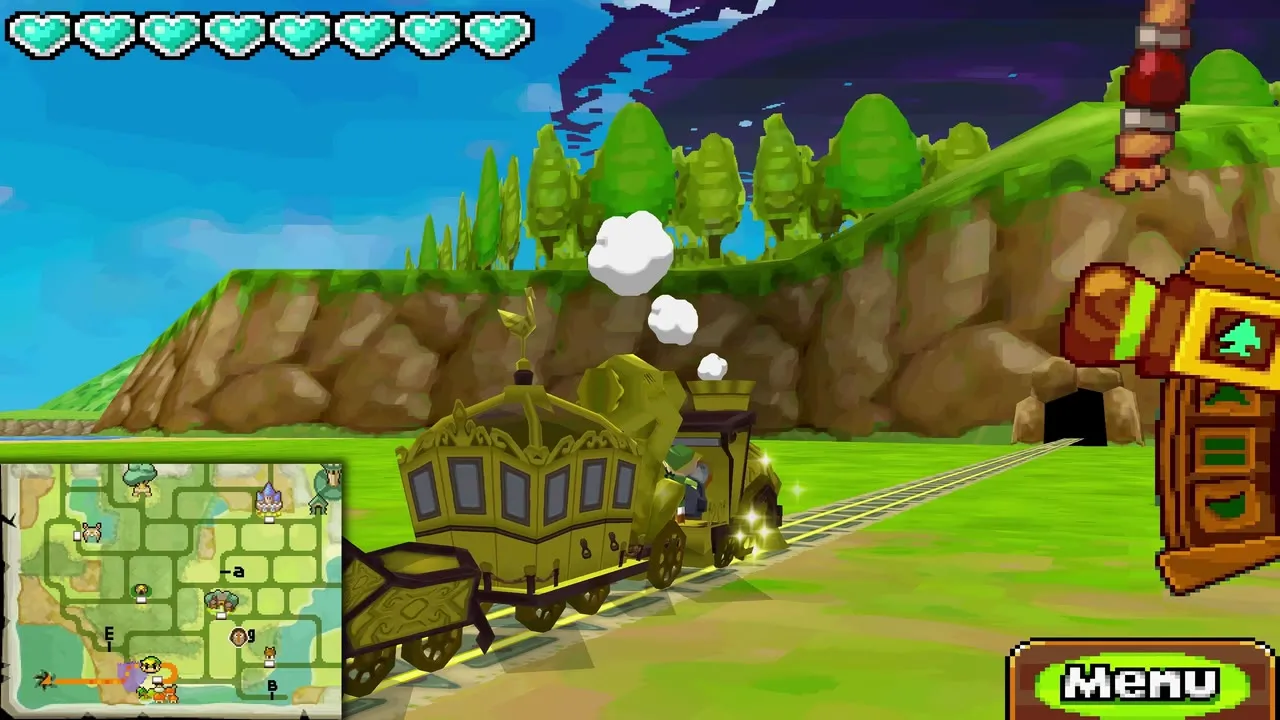
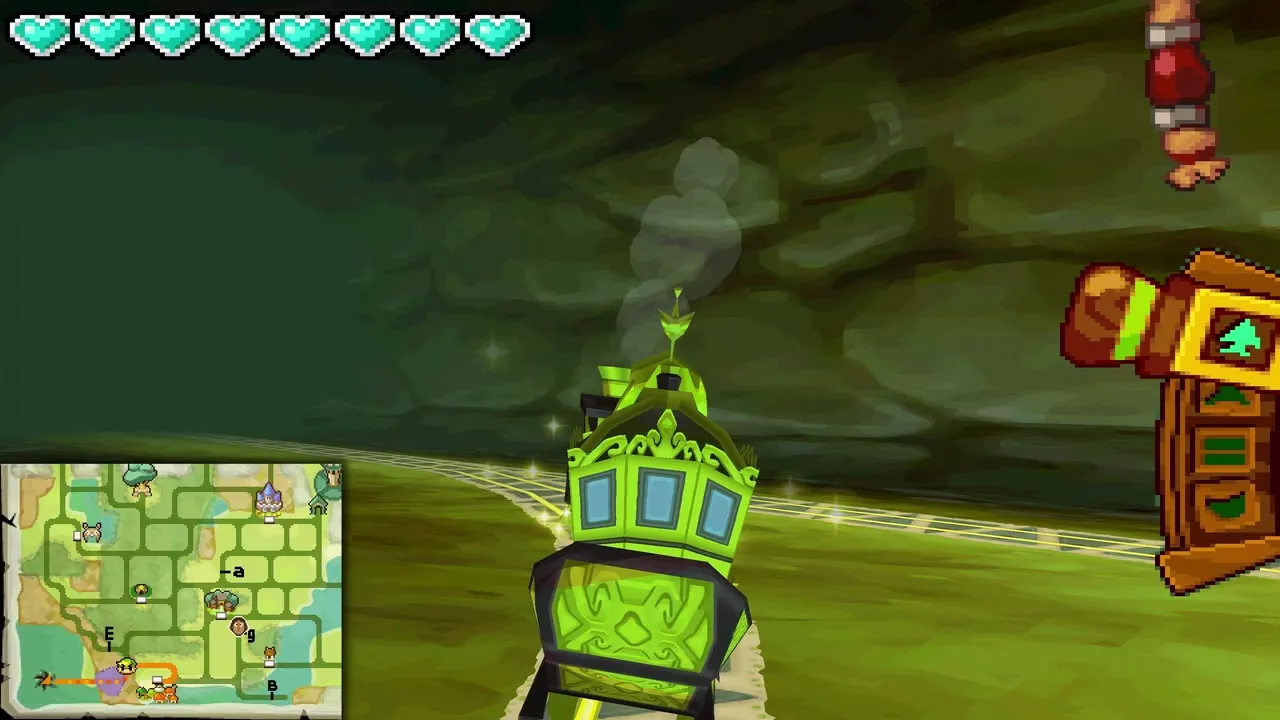
At the end of the line the rails reach a gate with a glowing green portal. Anjean tells you to gather your courage, and your train rolls into the portal and the screen goes dark.
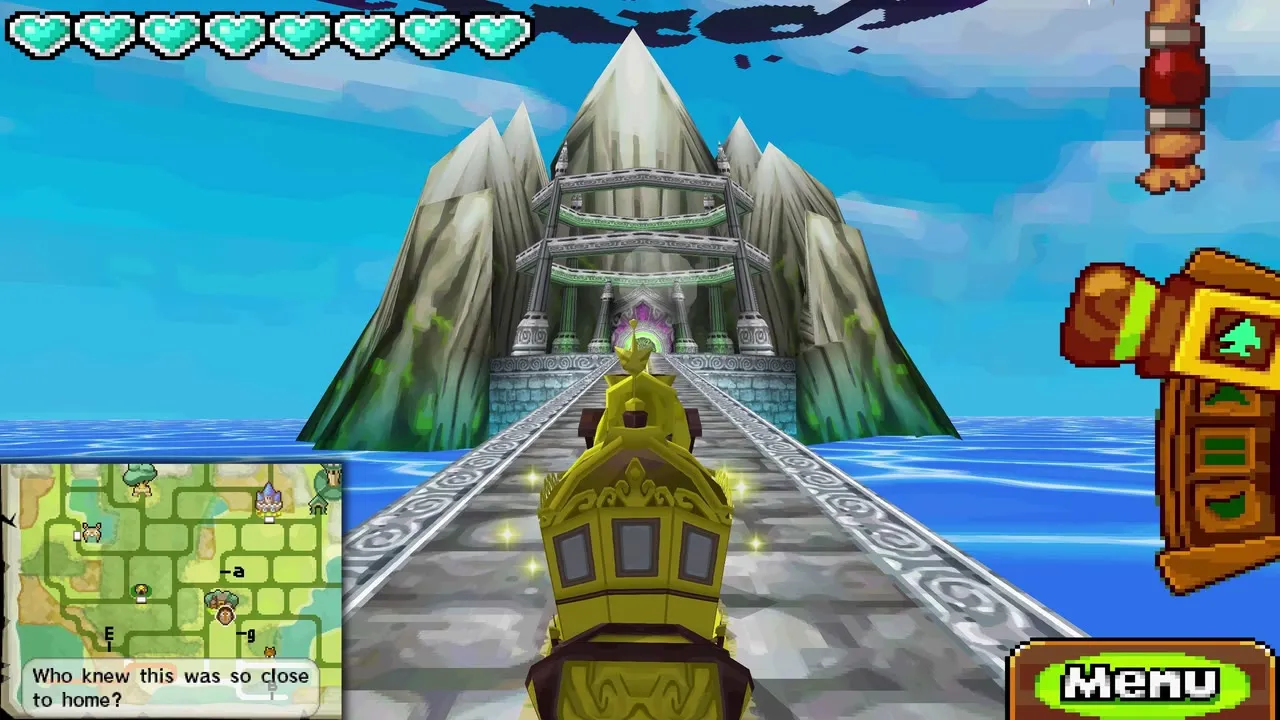
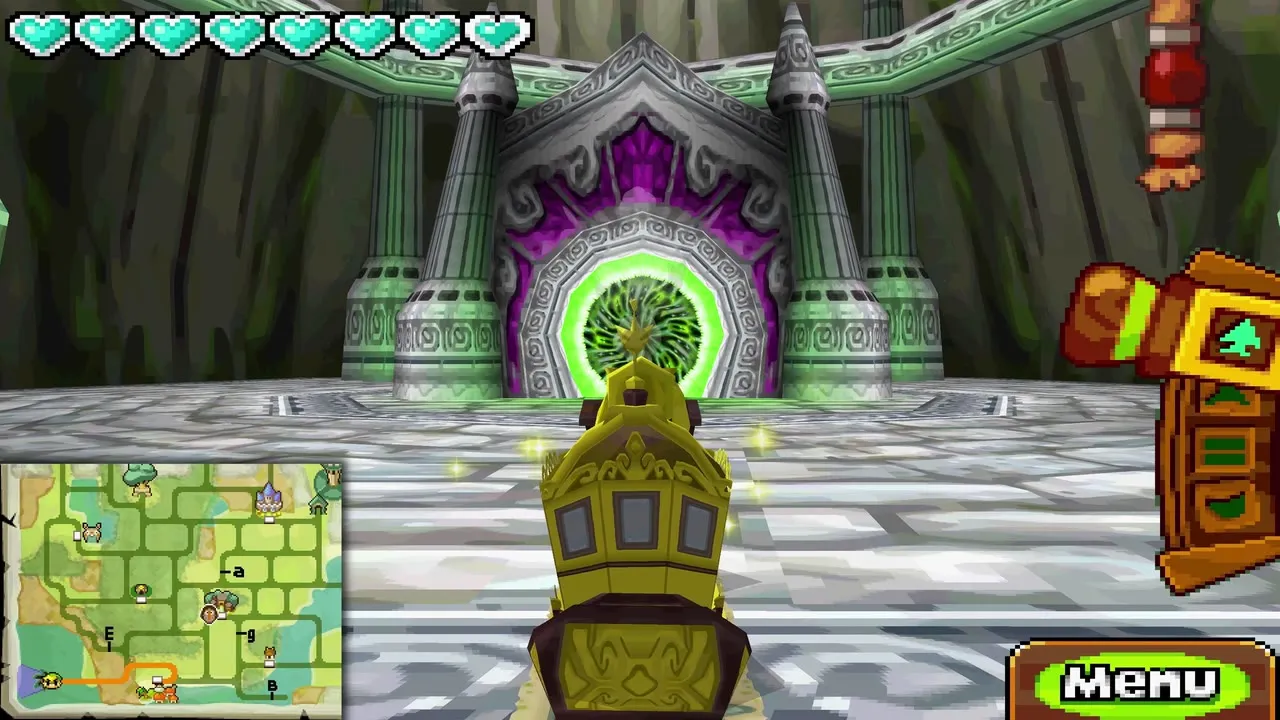
Dark Realm Armored Trains and Tears of Light
How the Dark Realm works
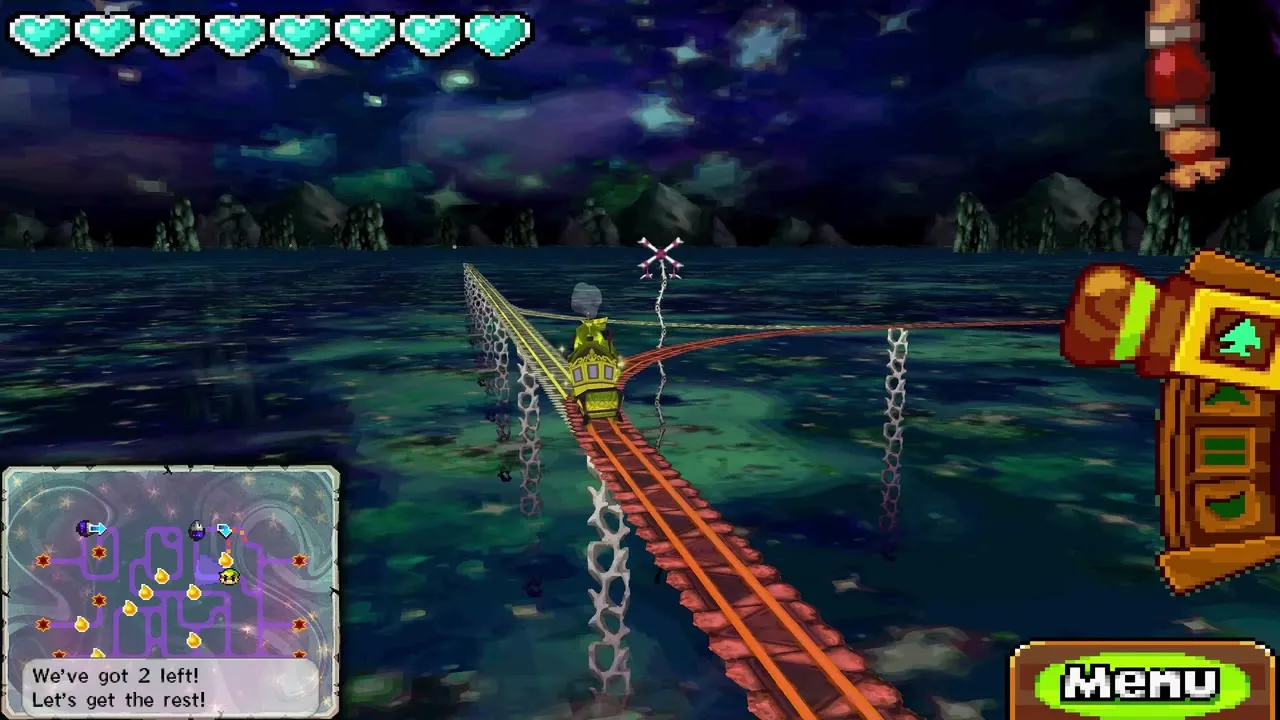
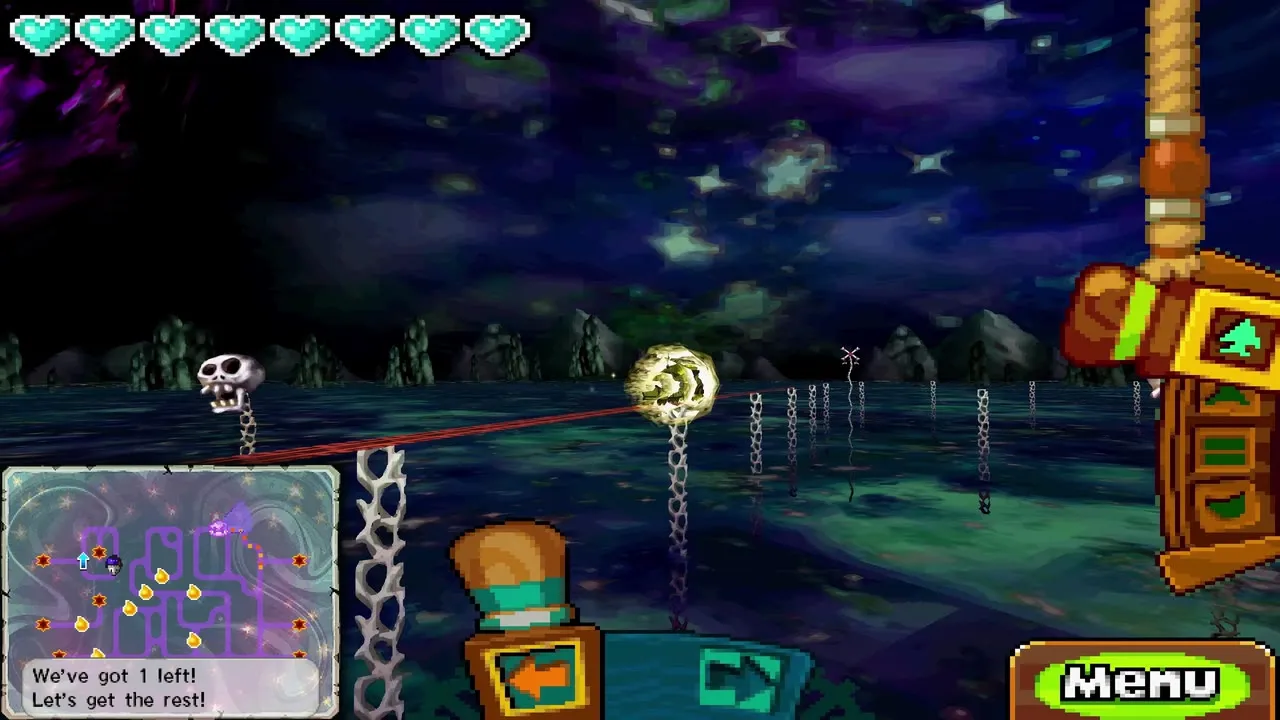
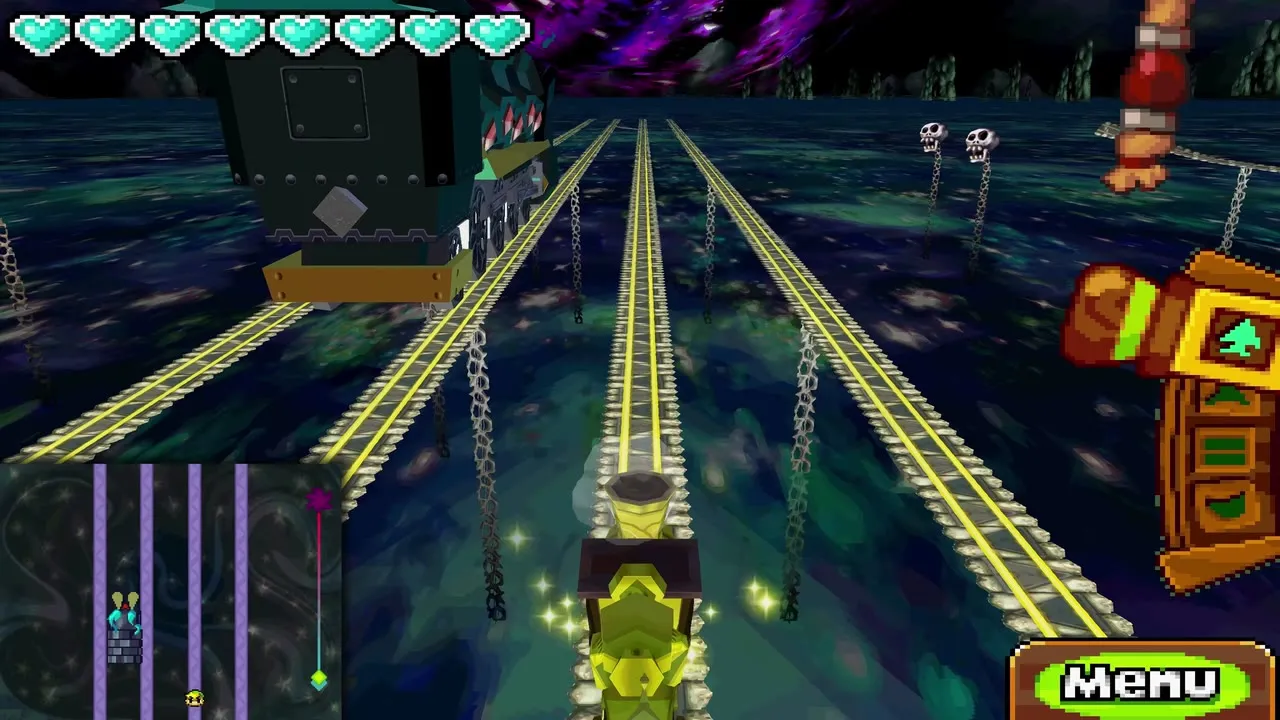
The Dark Realm is a small arena criss-crossed with tracks, skull-topped posts and chains. Six Armored Trains patrol it, the toughest Dark Trains in the game, and a head-on hit from one of them is disastrous, so do not try to fight them with the cannon. Instead you use the eight Tears of Light scattered along the rails. Roll over one and the Spirit Train becomes invincible for a short time: it glows, runs very fast and smashes any Armored Train it touches.
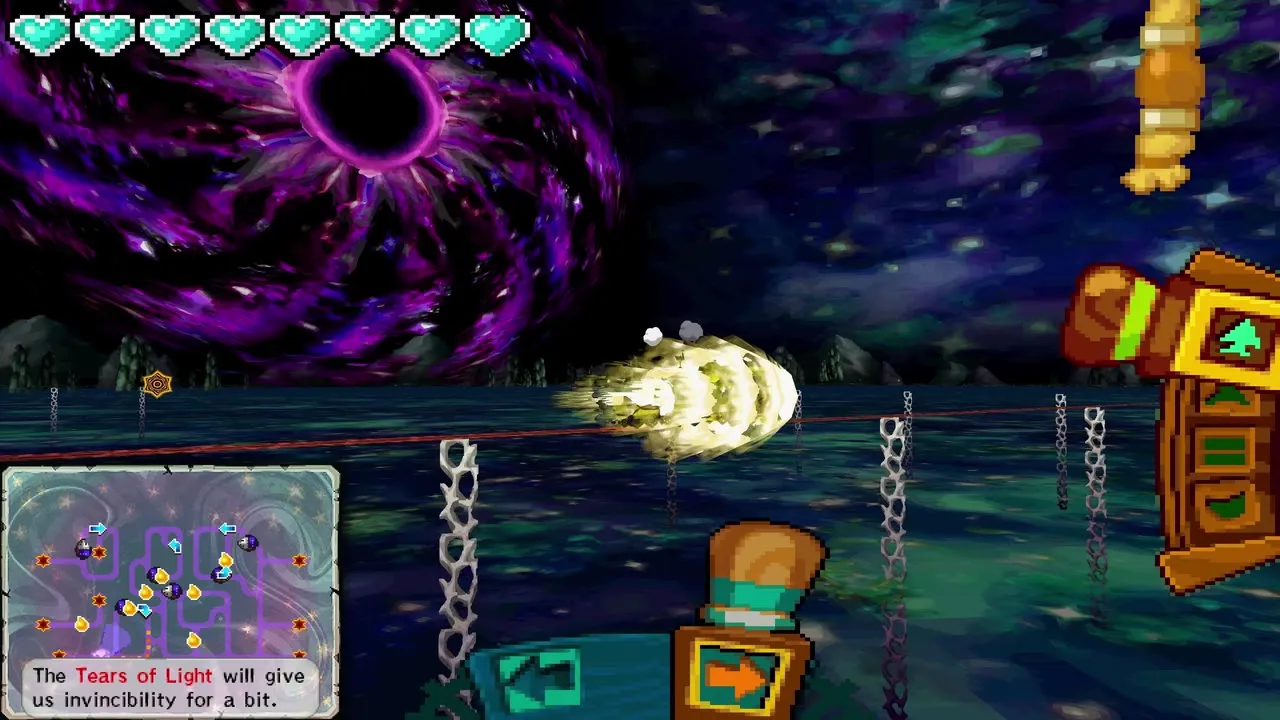
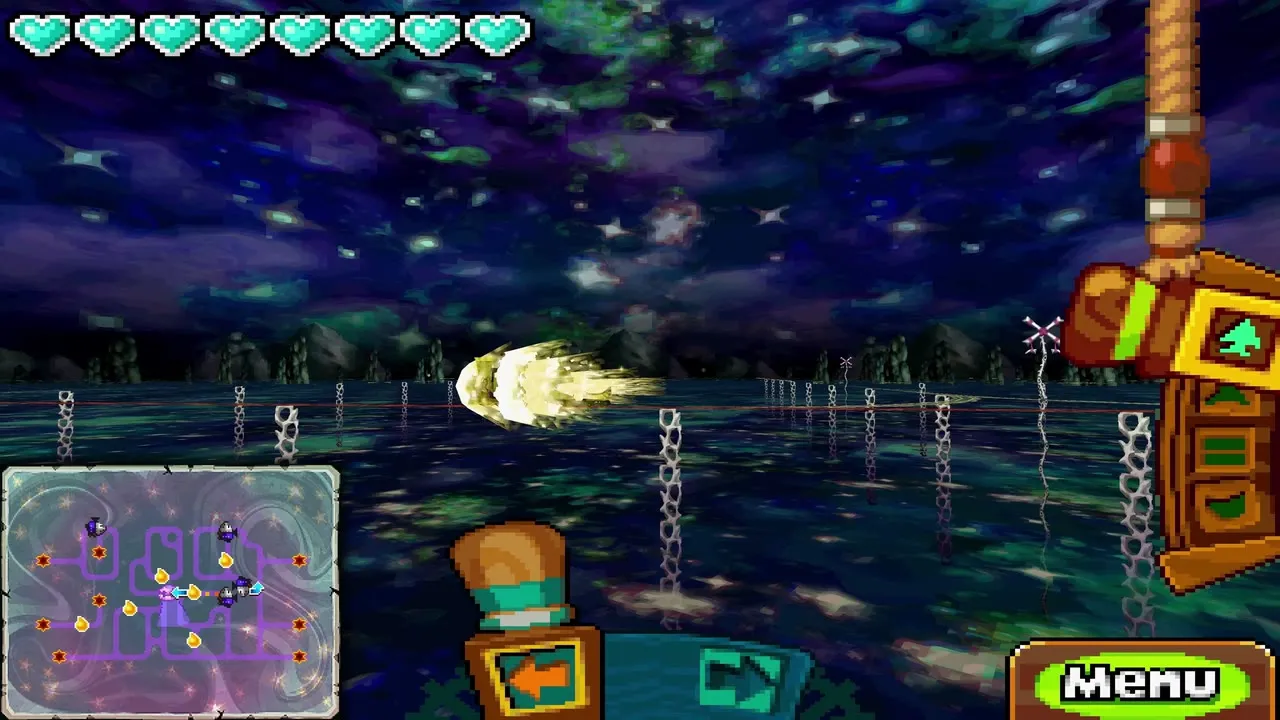
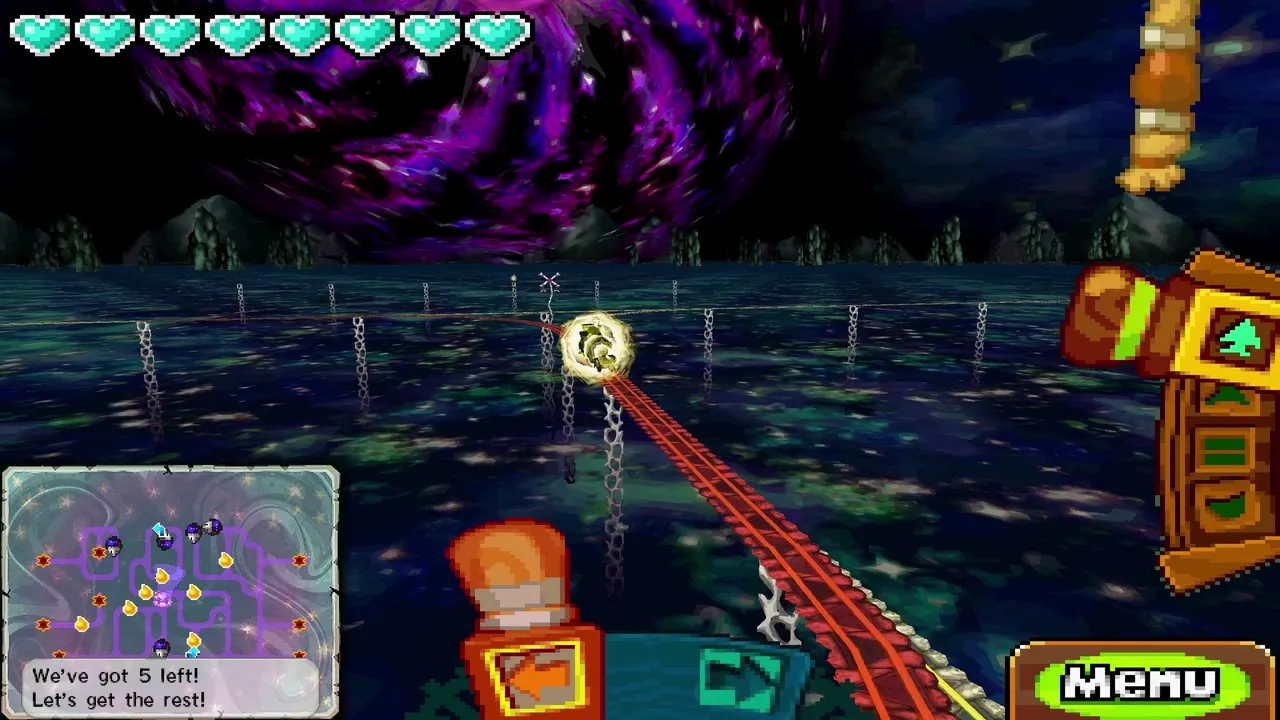
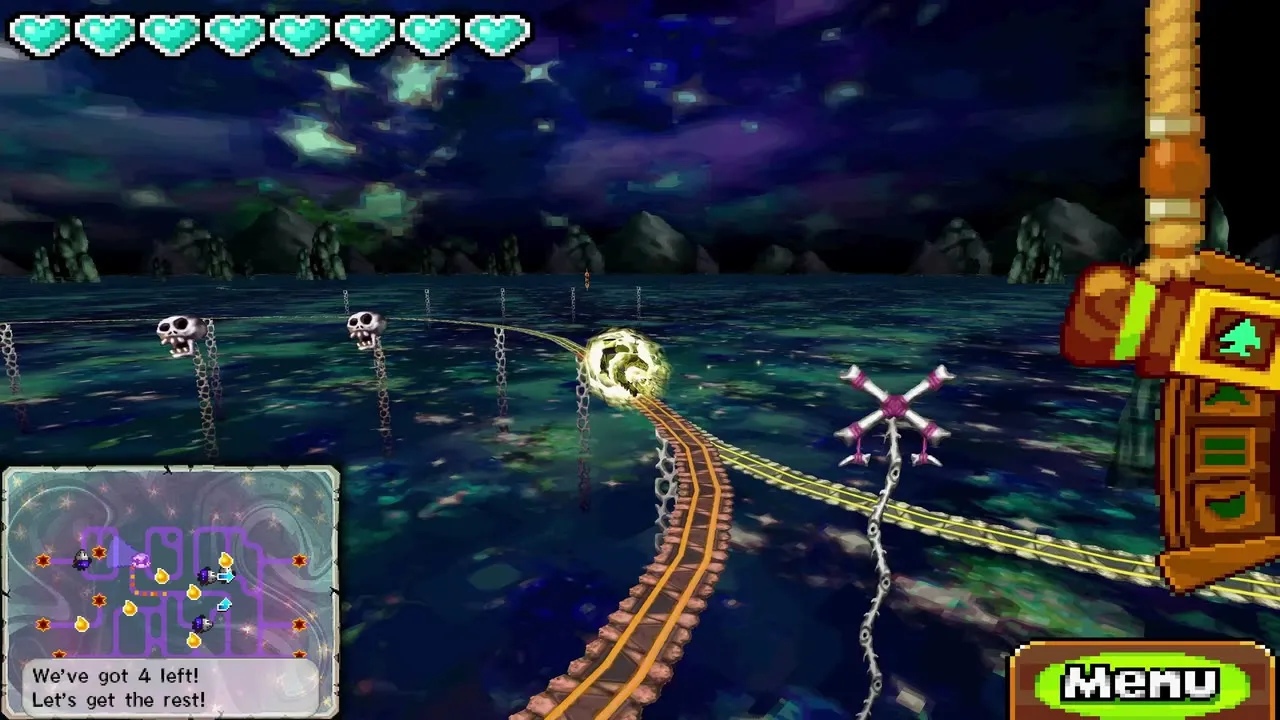
Keep blowing the whistle into the microphone while energized, because the whistle keeps your speed up and lets the glow carry you further. Tears of Light come back after a while, so a miss is never final. The map on the lower screen shows your train and the enemy trains, and the game tells you how many are left each time one goes down.
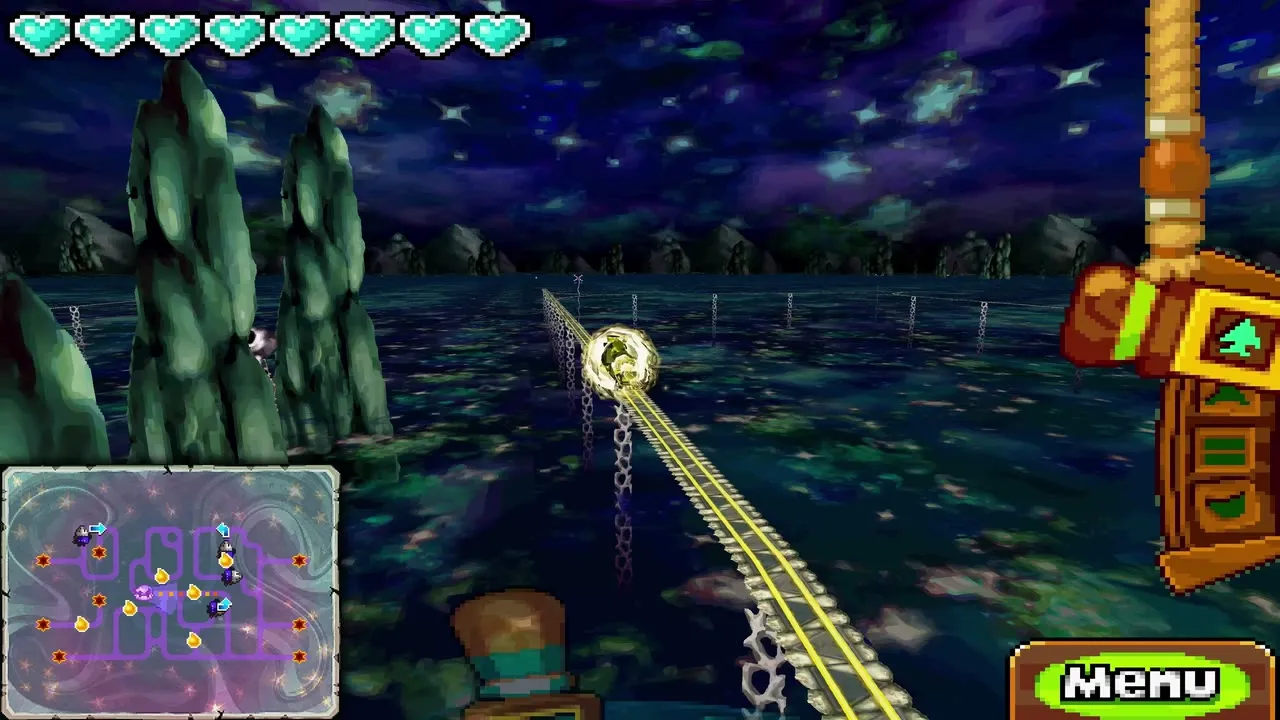
Order for destroying all six trains
Orange hexagonal portals on the left and right edges of the arena link to the portal directly opposite, so leaving one side brings you out on the other. Two more portals near the left edge connect only to each other, and you need them to reach one train in that corner. Switch tracks at junctions with the left and right buttons on the touch screen, and use the brake if a train is about to meet you head on while you are not energized.
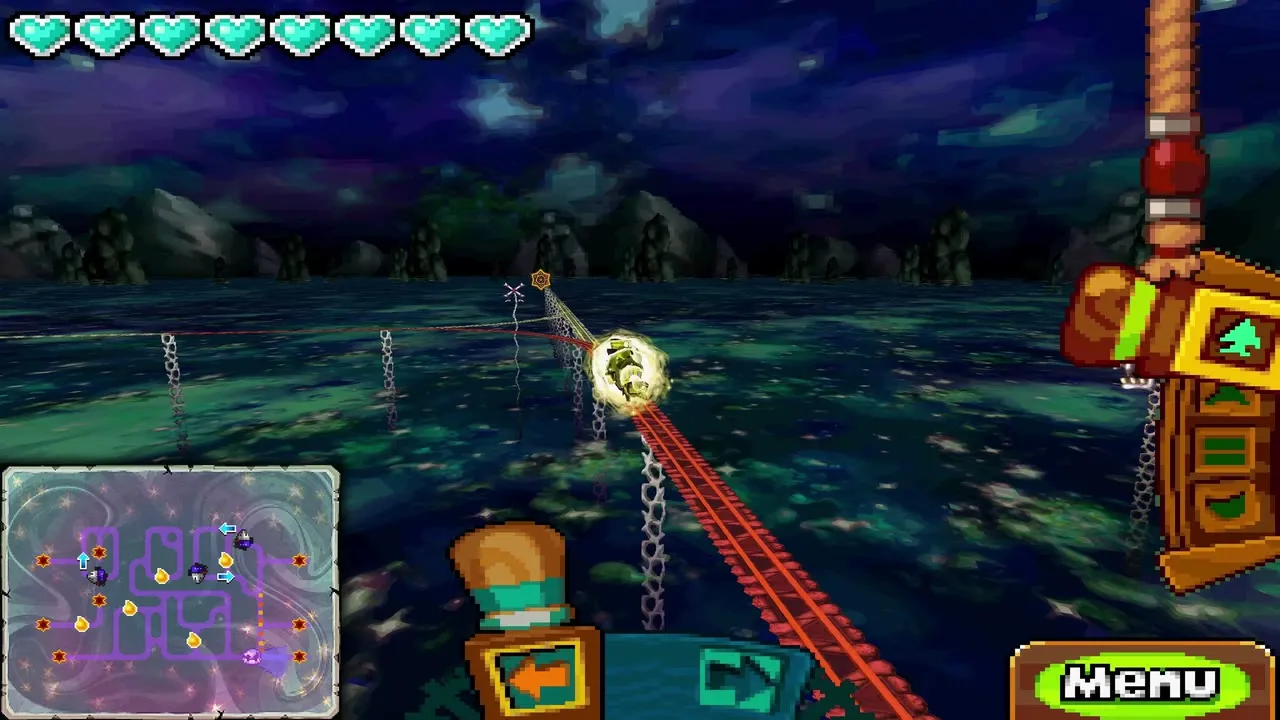
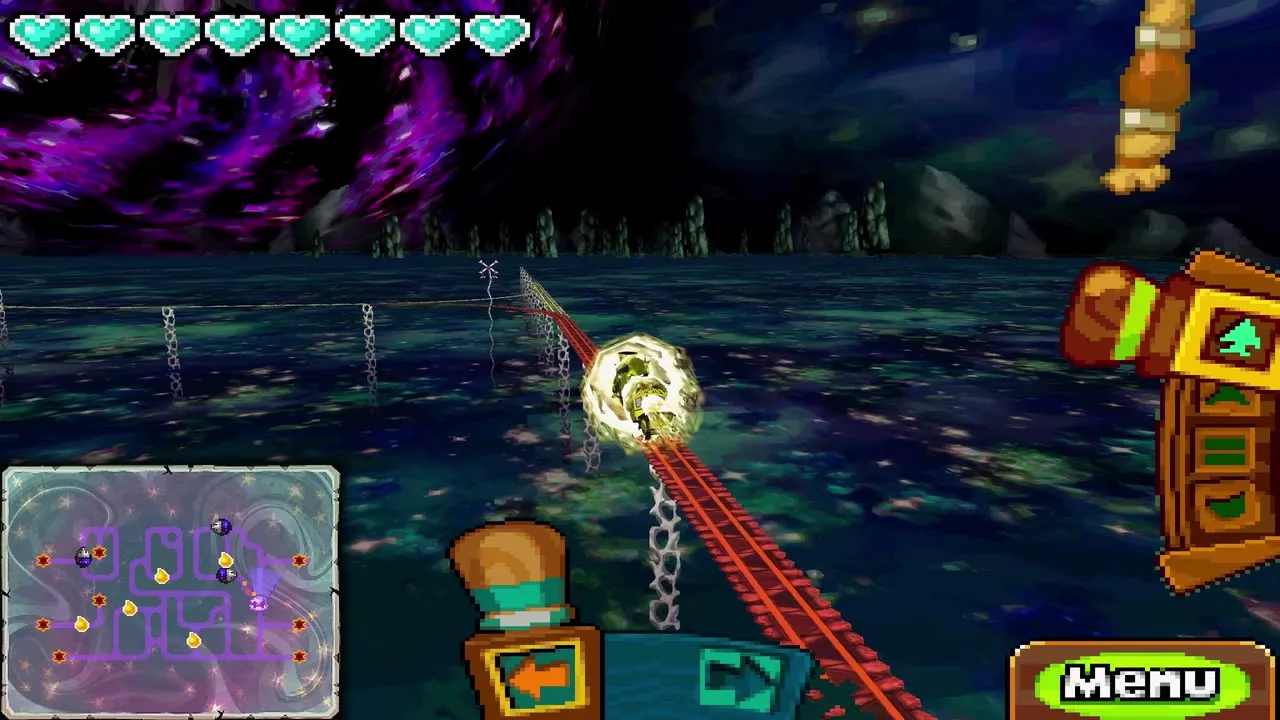
Start with the nearest easy train to learn the speed. Next take the lone train in the upper middle of the map, then go back to the bottom for the train that circles there. Use the portal on the centre right to reach the upper-left train; a Tear of Light on its track gives you the glow you need. After that, keep the whistle going all the way and pass through the top-right portal with enough energy left to wreck at least one of the two trains up there. Grab the Tear of Light in the upper-right corner to energize again and destroy the last one.
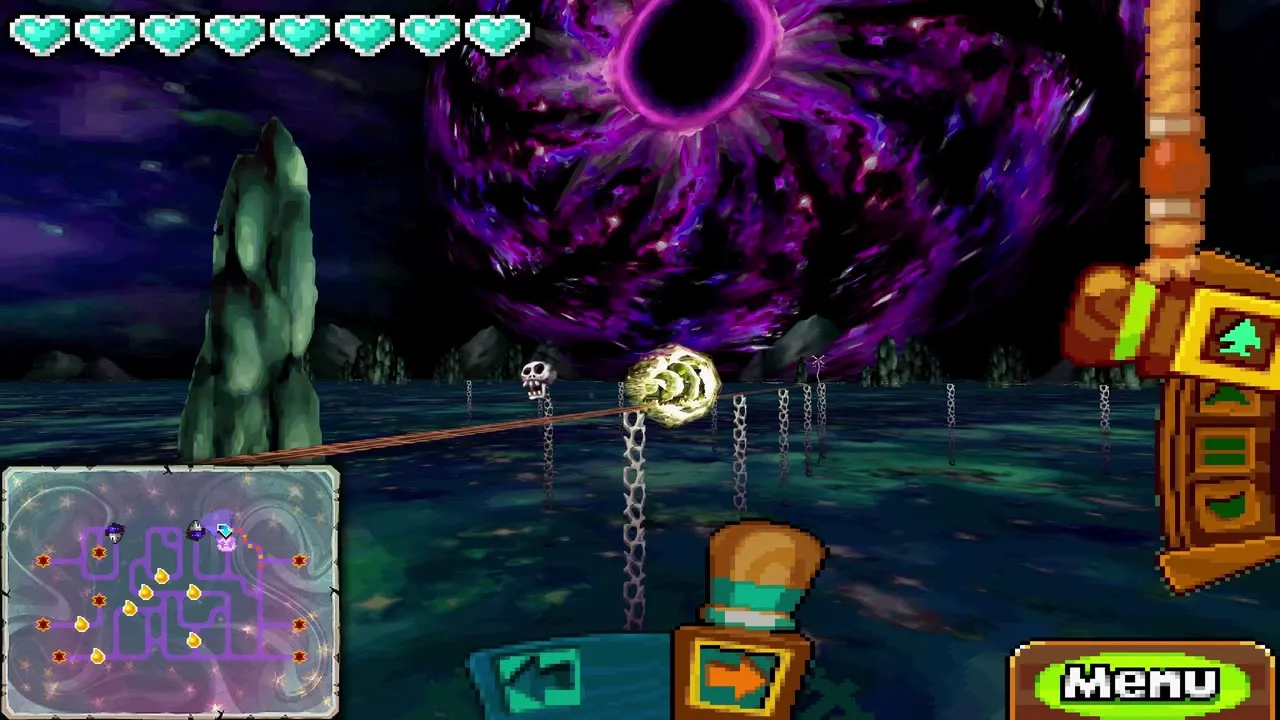
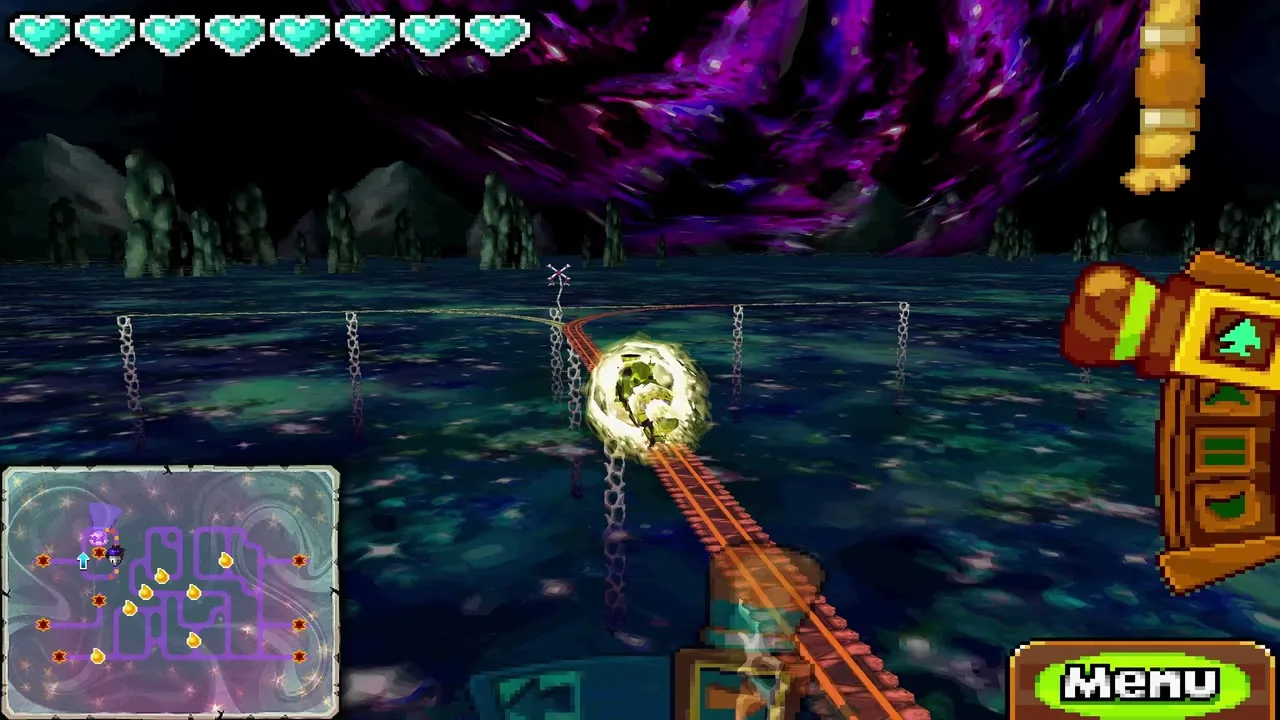
If an Armored Train catches you without the glow you lose the run, so ride cautiously between Tears and only speed up when you can see the next one ahead. When the last train falls, the way to Cole opens.

Demon Train boss fight
Chase down the Demon Train
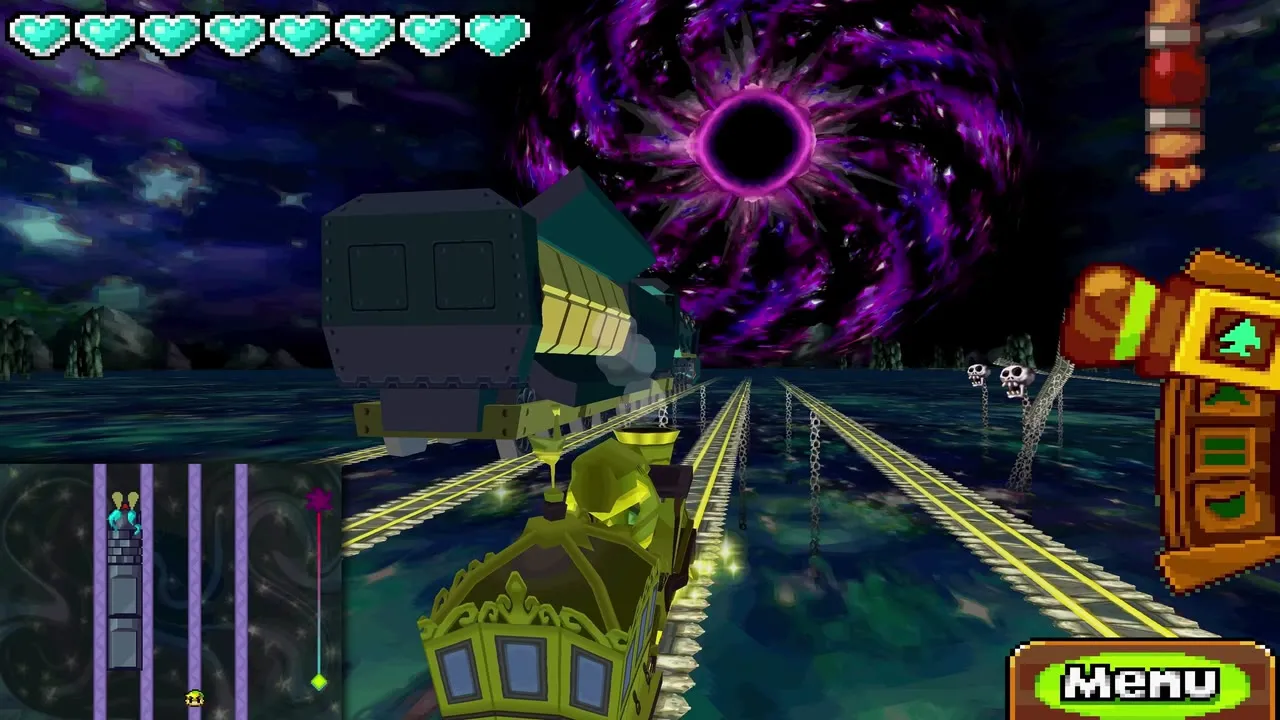
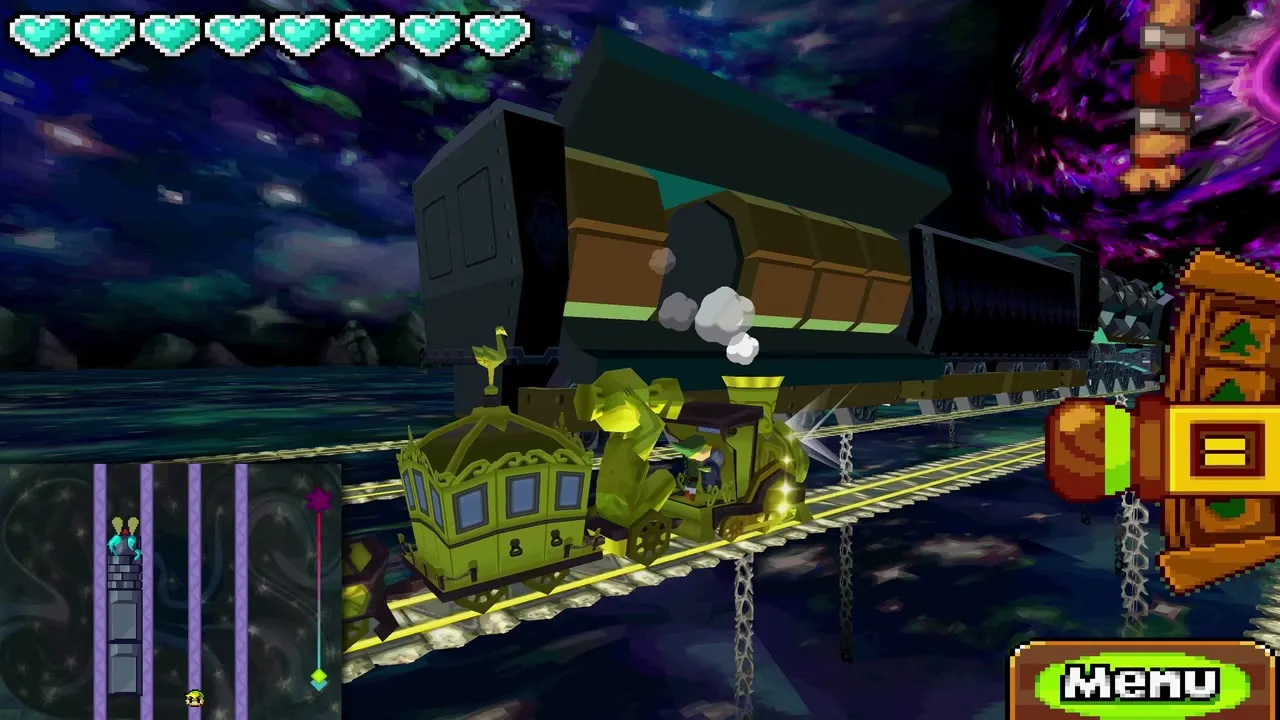
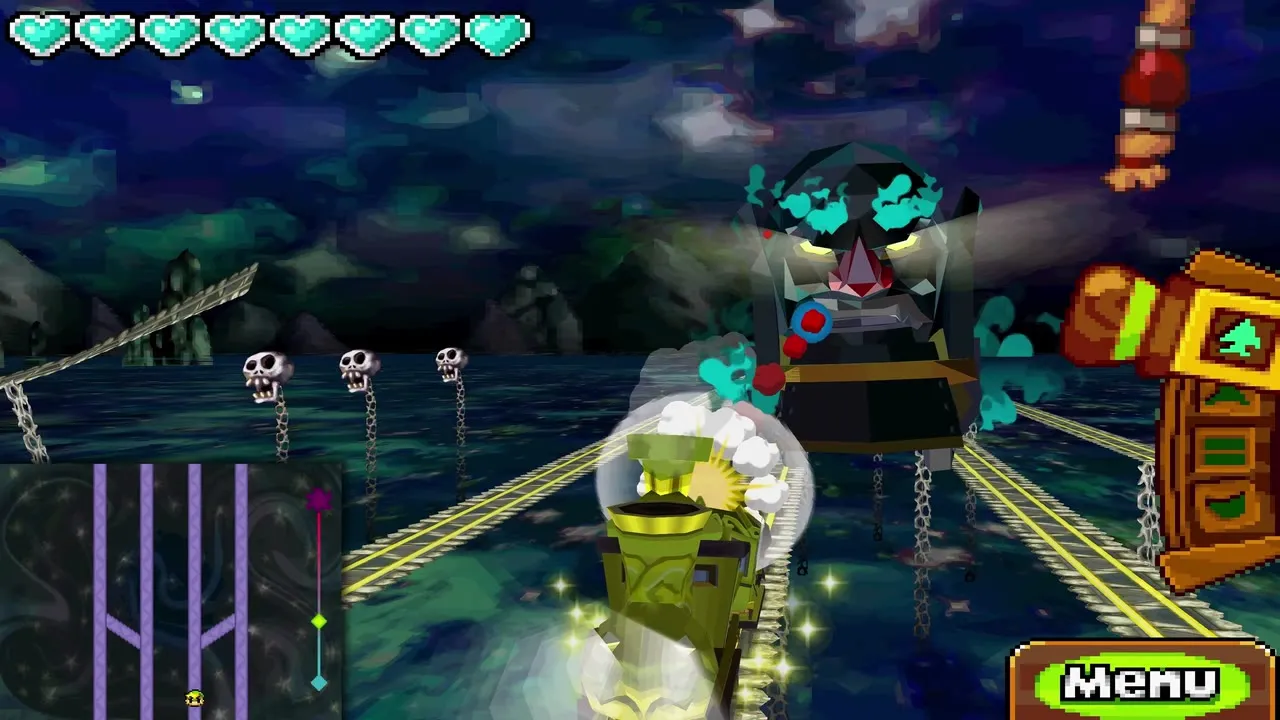
New tracks open beyond the arena, and the crew tells you Cole is somewhere up ahead in the dark. Ride on and a green portal appears behind you, with the Demon Train rushing out of it. A progress bar on the top screen shows how far along the track you are and a small map shows where the Demon Train is. The fight has three phases and all of them must be finished before the track runs out, so you win by cannon fire and by dodging.
Phase one: explosive barrels
The rear car of the Demon Train has five compartments, each holding a barrel that it throws back at you. Shoot each barrel with the cannon before it reaches you; any barrel you miss hits your train. After the first hit the Demon Train changes track, so brake to avoid running into it, and use the connecting track to swap sides when you need to line up a shot. Destroy all five compartments and the car breaks away. The Demon Train escapes through another portal and your train follows automatically.
Phase two: laser guns
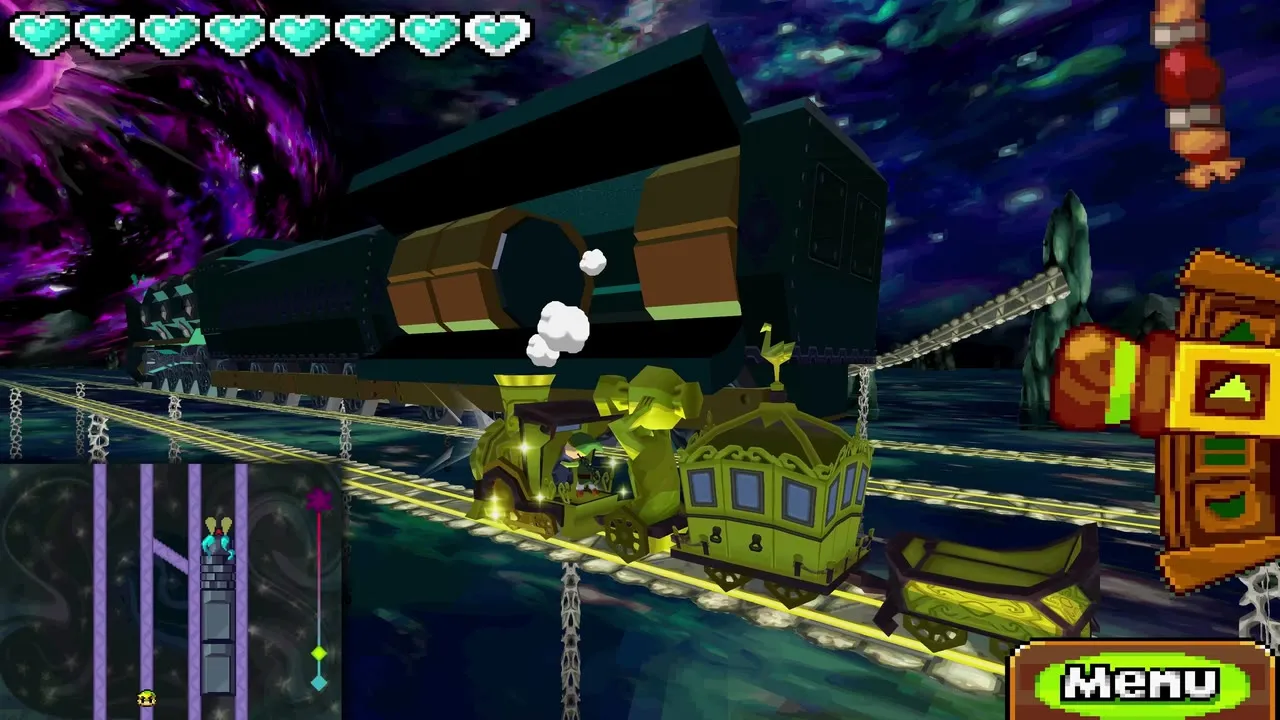
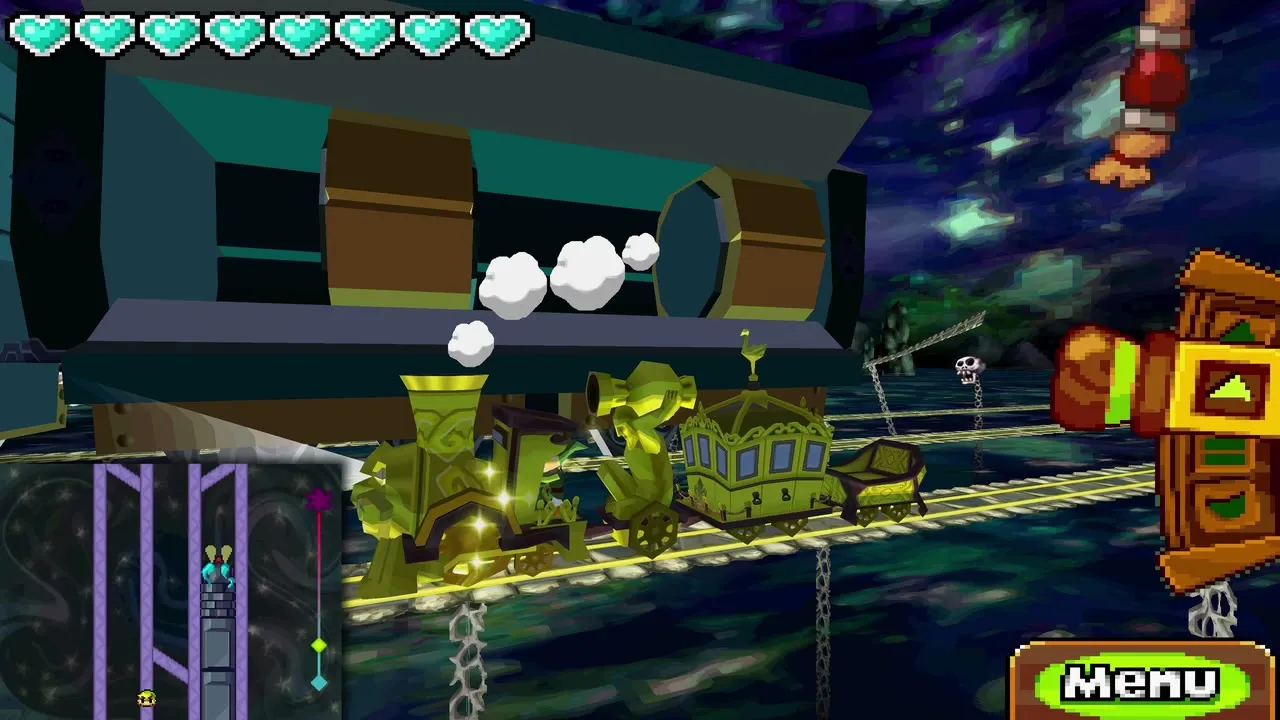
Now the rear car carries four laser guns that fire along the track, so keep your distance from the beams. Each gun takes two cannon hits. Use the diagonal tracks to move to the other lane whenever the Demon Train shifts, and keep shooting. After the fourth gun goes down the car explodes and the Demon Train escapes again.
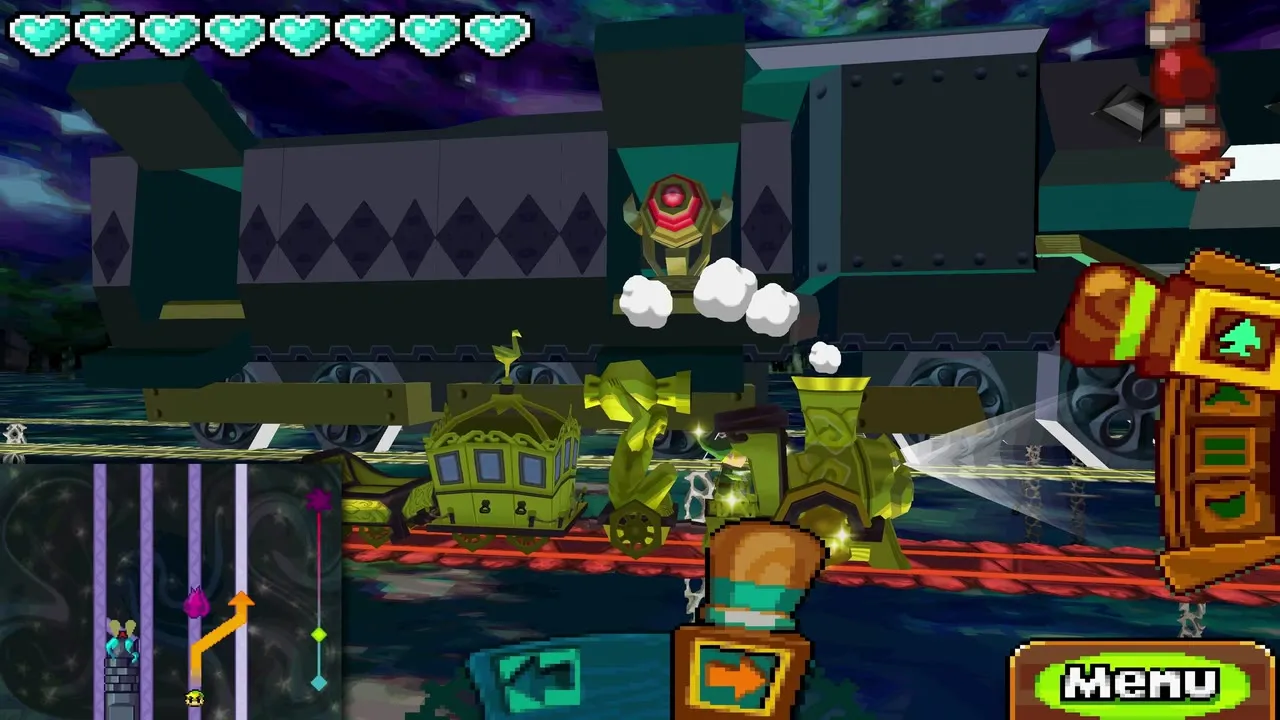
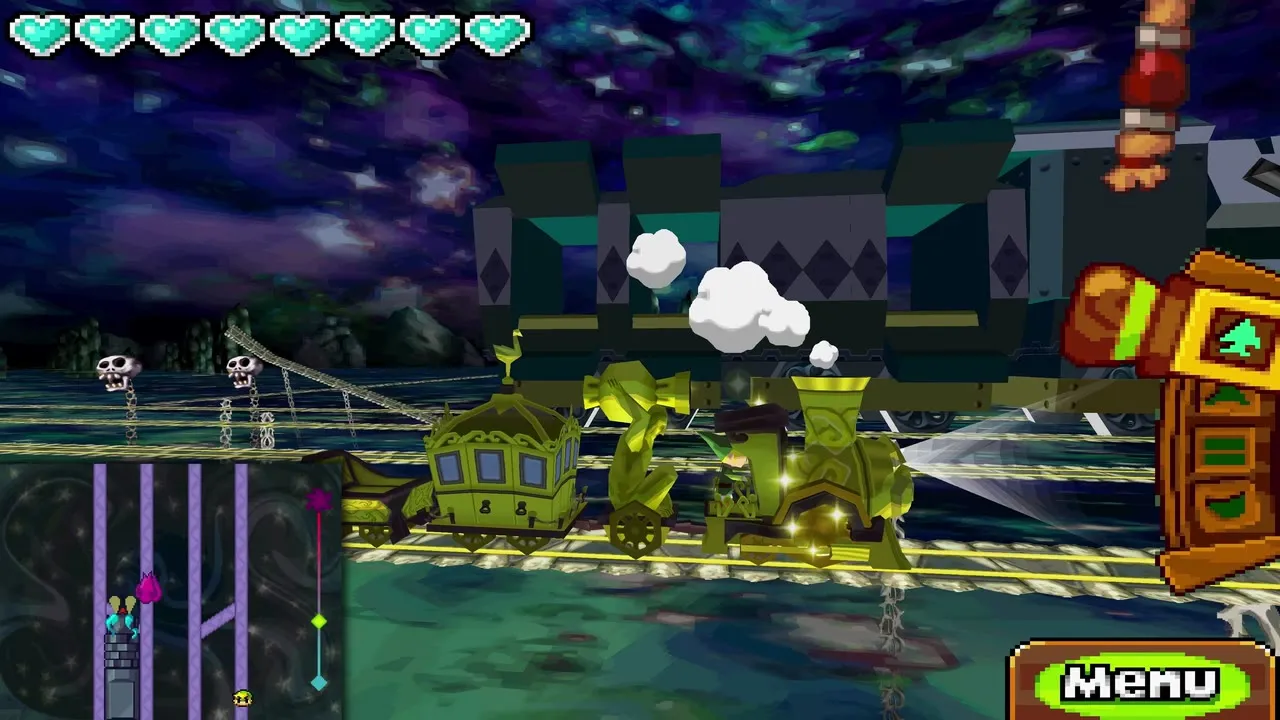
Phase three: gears and its face
The front car is covered with five turning gears with red lights. Speed past them at full speed and shoot each light until it turns blue. When all five are blue the car blows up and falls behind you.
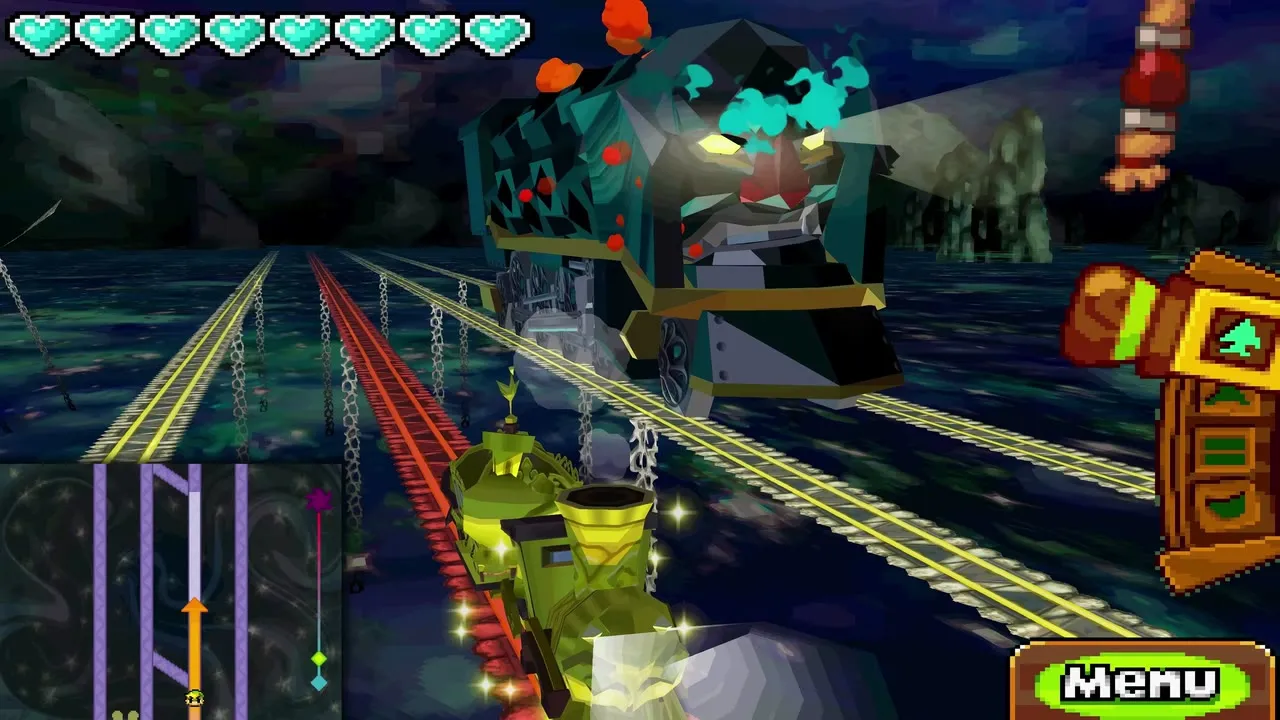
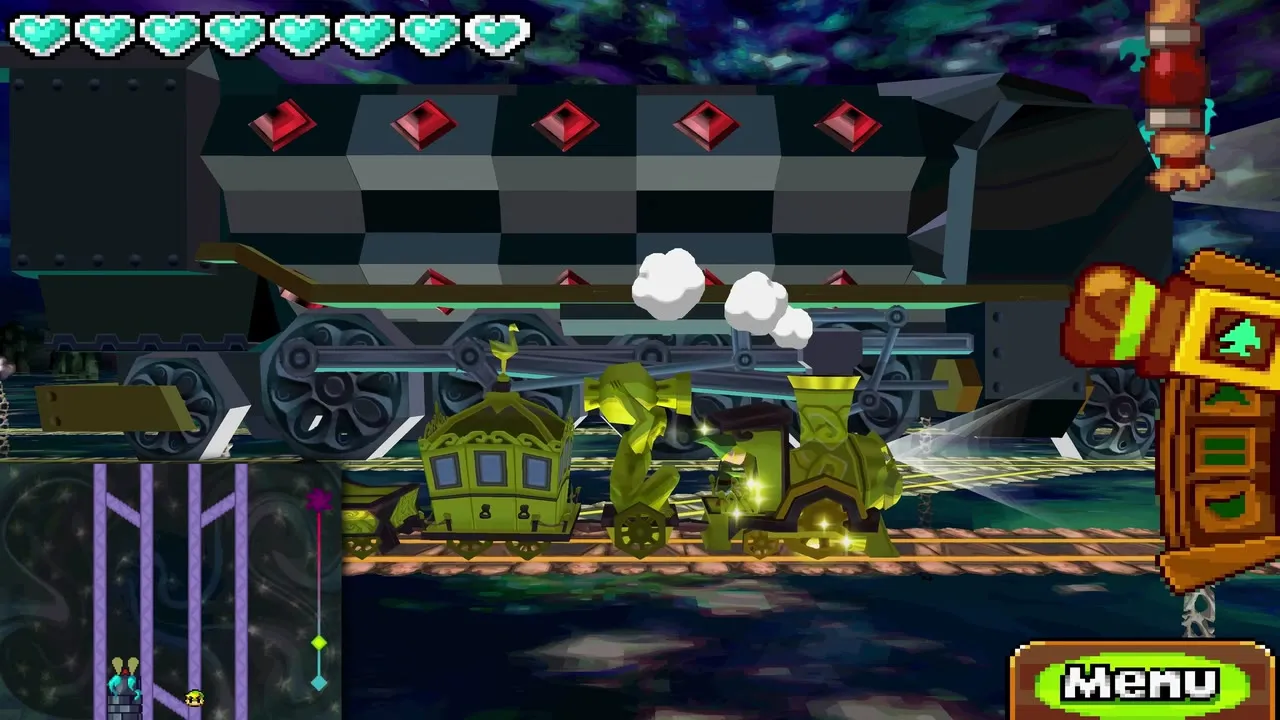
Next turn around and fire into the Demon Train’s face. It can slide to another track as it passes, so follow it with the cannon. Expect one more round of shooting the lights, then the Demon Train starts ramming you from behind. Keep moving at top speed and hammer the face until the last car explodes. The game then asks you to save, and it is safe to do so: this is not a point of no return, and reloading the save skips the first two stages of the chase.
Cole and Phantom Zelda on the Demon Train
The cutscene before the fight
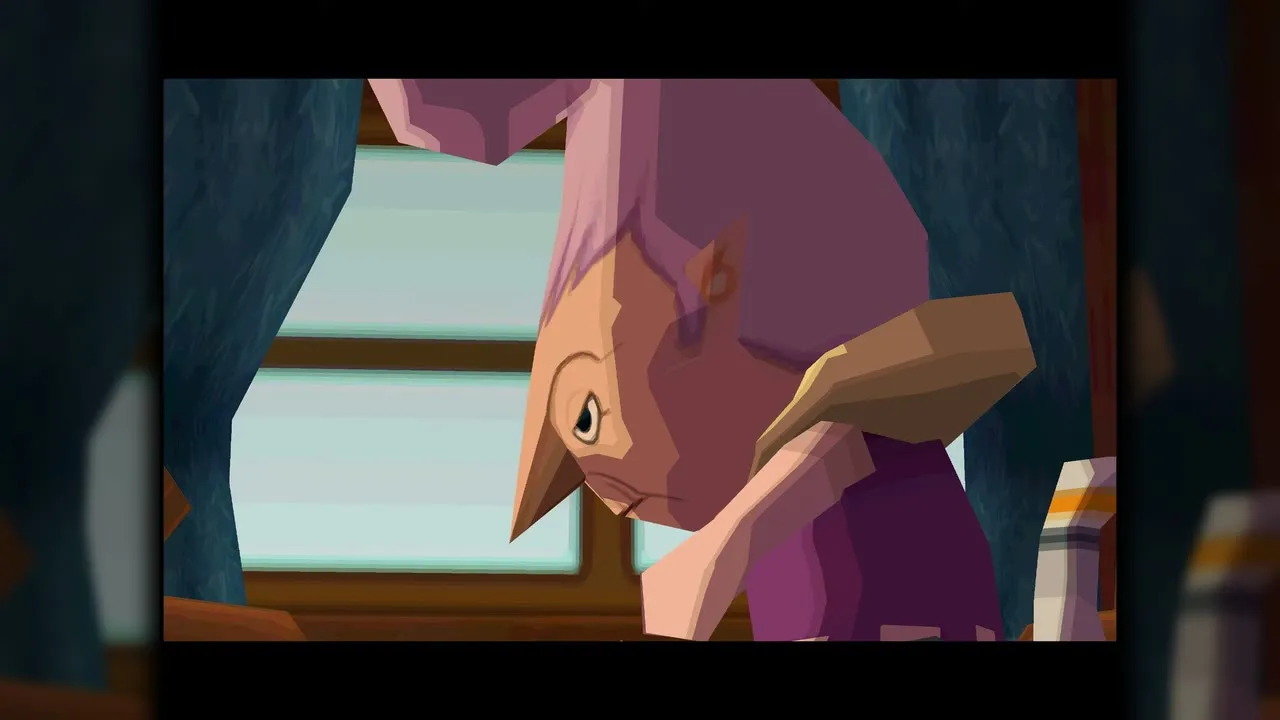
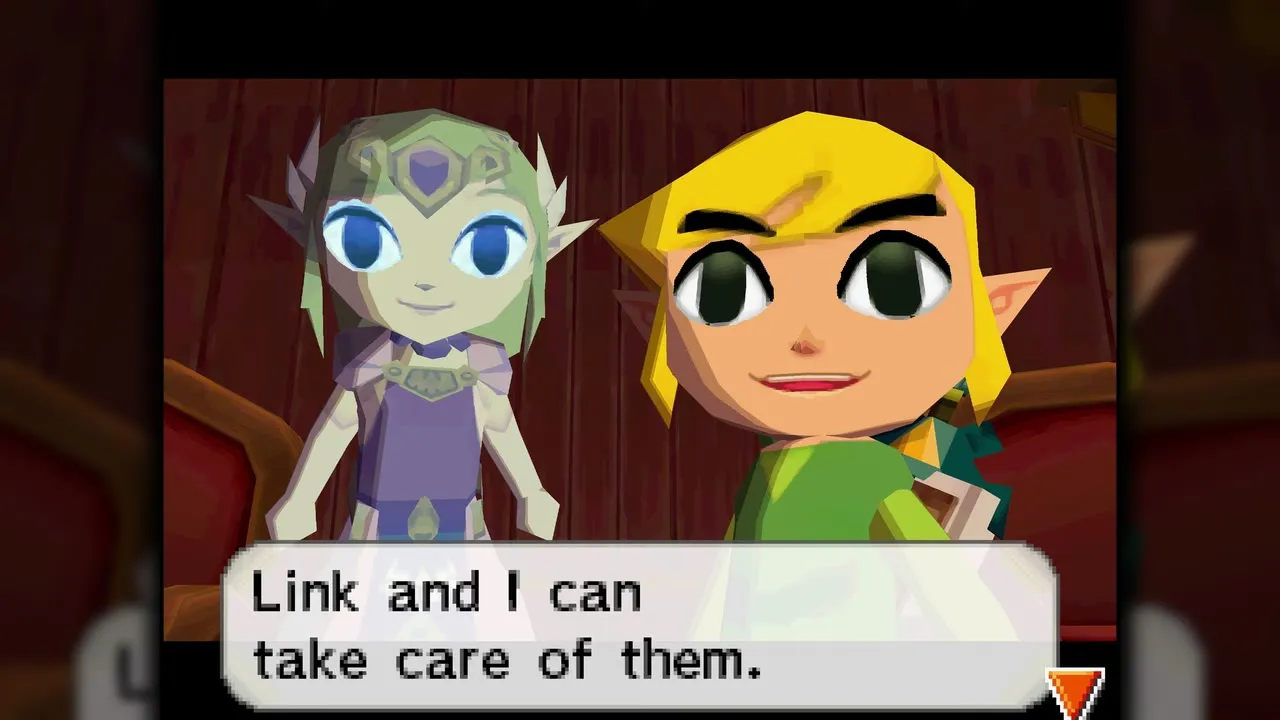
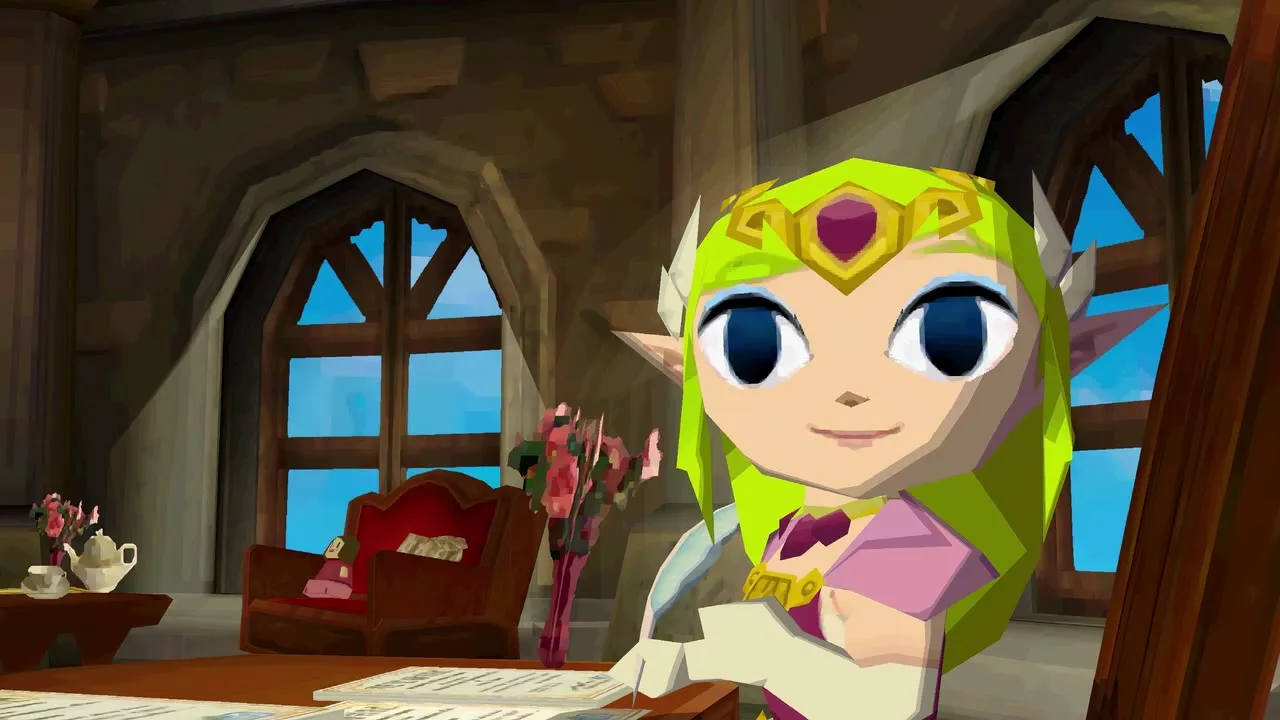
Your companions talk in the carriage. Anjean says it is too dangerous for the two of you alone, and Byrne insists on coming too. Zelda cannot fight in her current form, so Anjean creates an empty Phantom body for her spirit to inhabit. Her real body stays under Malladus’s control as you climb the Demon Train together.
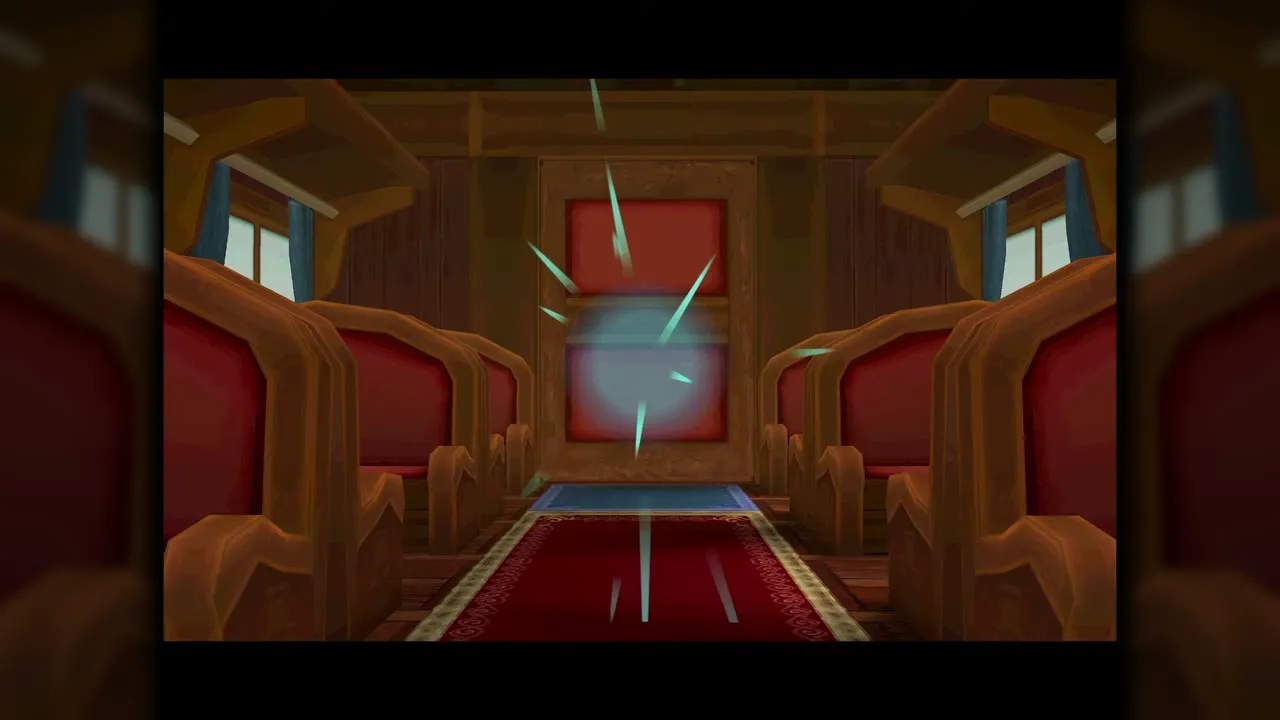
Guide Phantom Zelda to the front
Here you control Zelda as you did in the Tower of Spirits: draw a path for her to follow along the roof of the train toward Malladus at the front, and use Link and his items to clear the way. Malladus fires red lasers down the train; stand in front of Zelda and she blocks them. Cole bounces around and sends electric mice that attach strings to Zelda’s armor, after which she turns on you and walks backward. Mice also make her stop moving while they are alive.
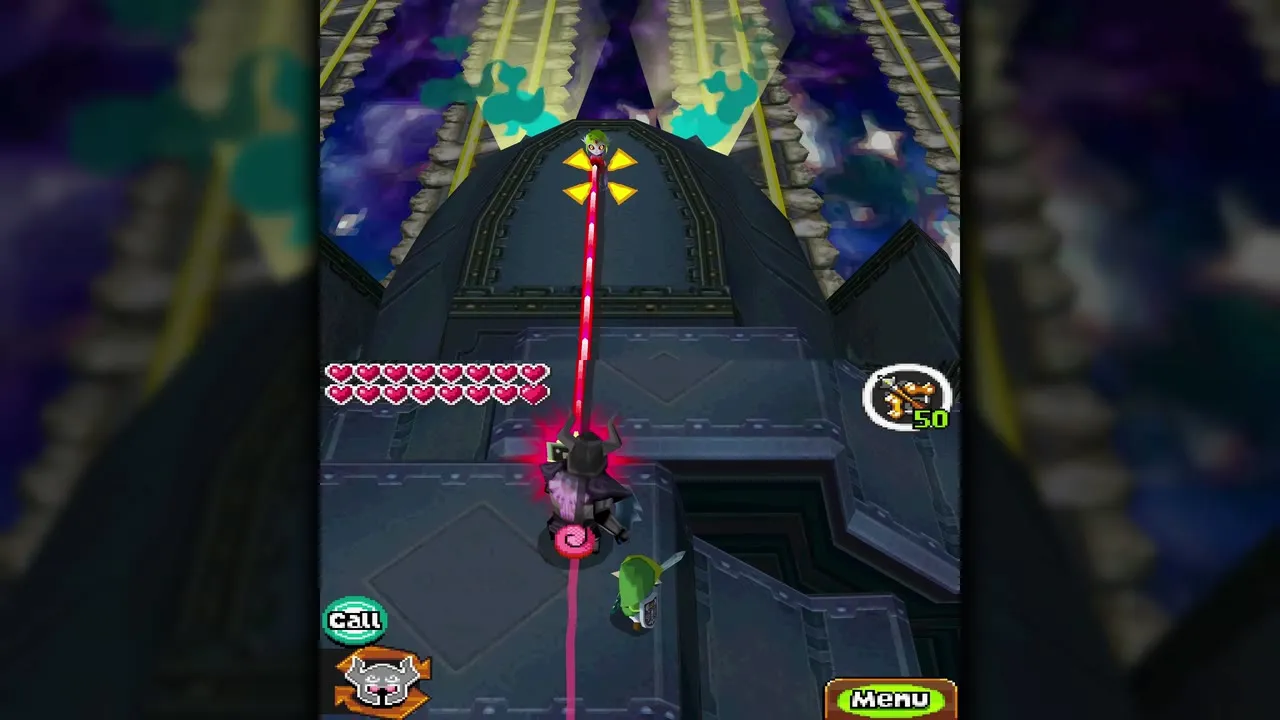
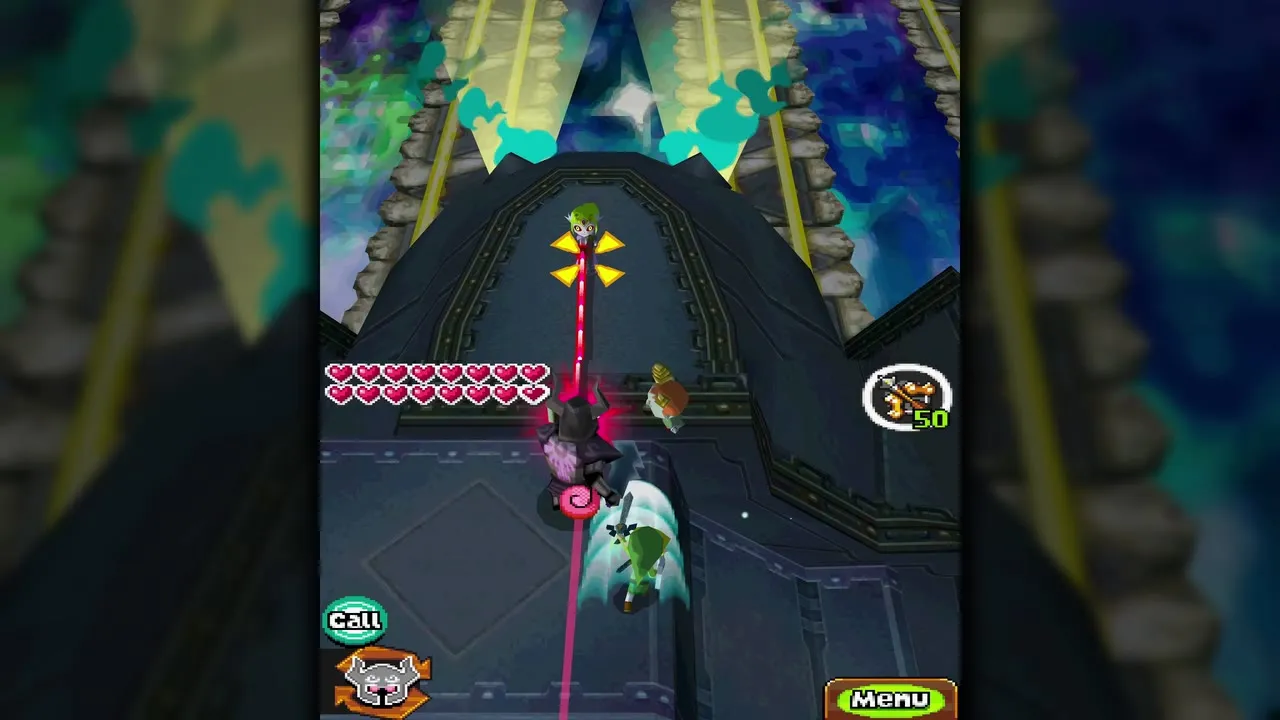
To free Zelda from the strings, hit Cole. The Boomerang is the easiest way because it reaches him from a distance. The Whip, Bow and sword can also work but are slower. Mice come in lines of four or in circling rings: the Whip clears them well, and the spin attack handles the rings. Killing mice drops arrows and hearts, and you should save the arrows for Malladus. Halfway up, lasers and mice come more often, so kill every mouse and shelter behind Zelda.
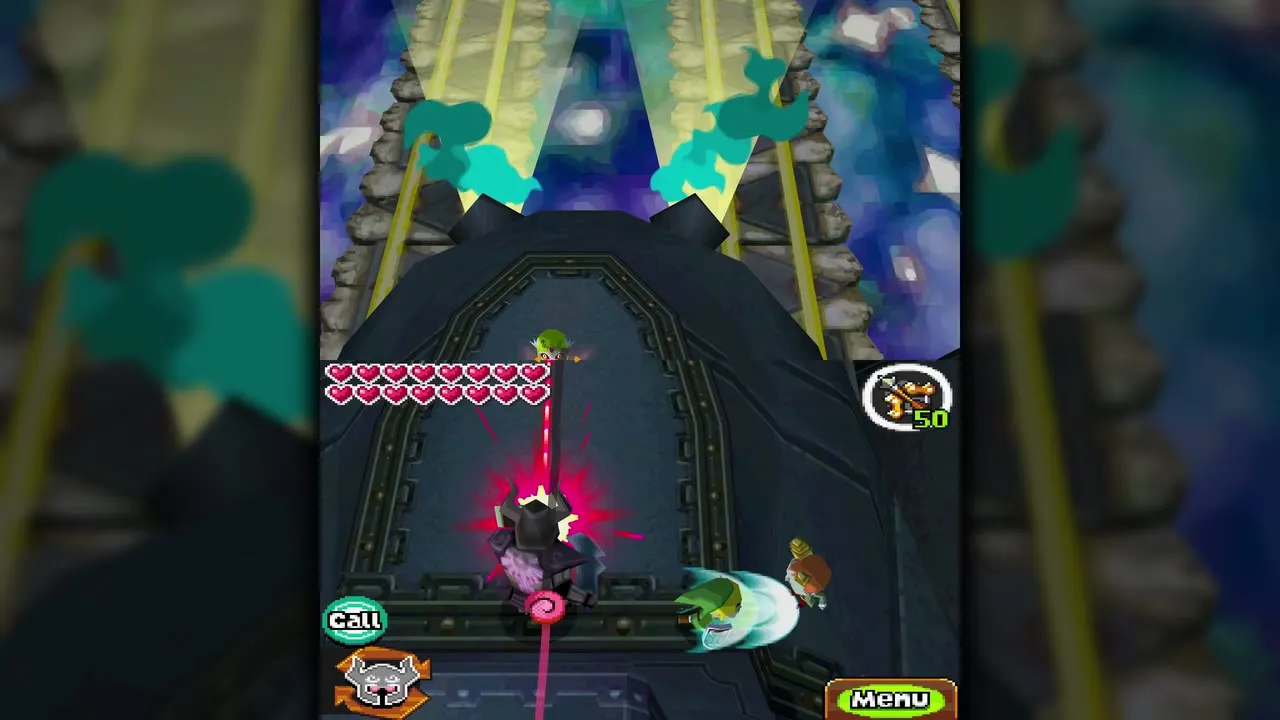
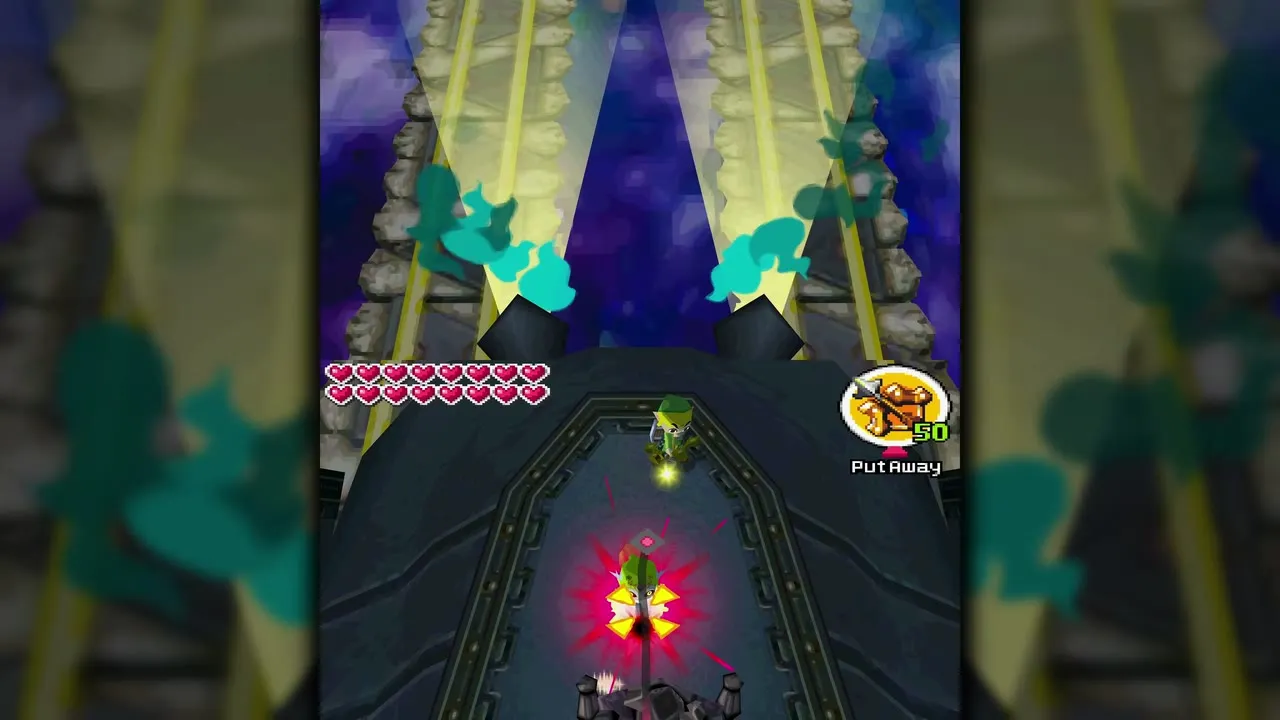
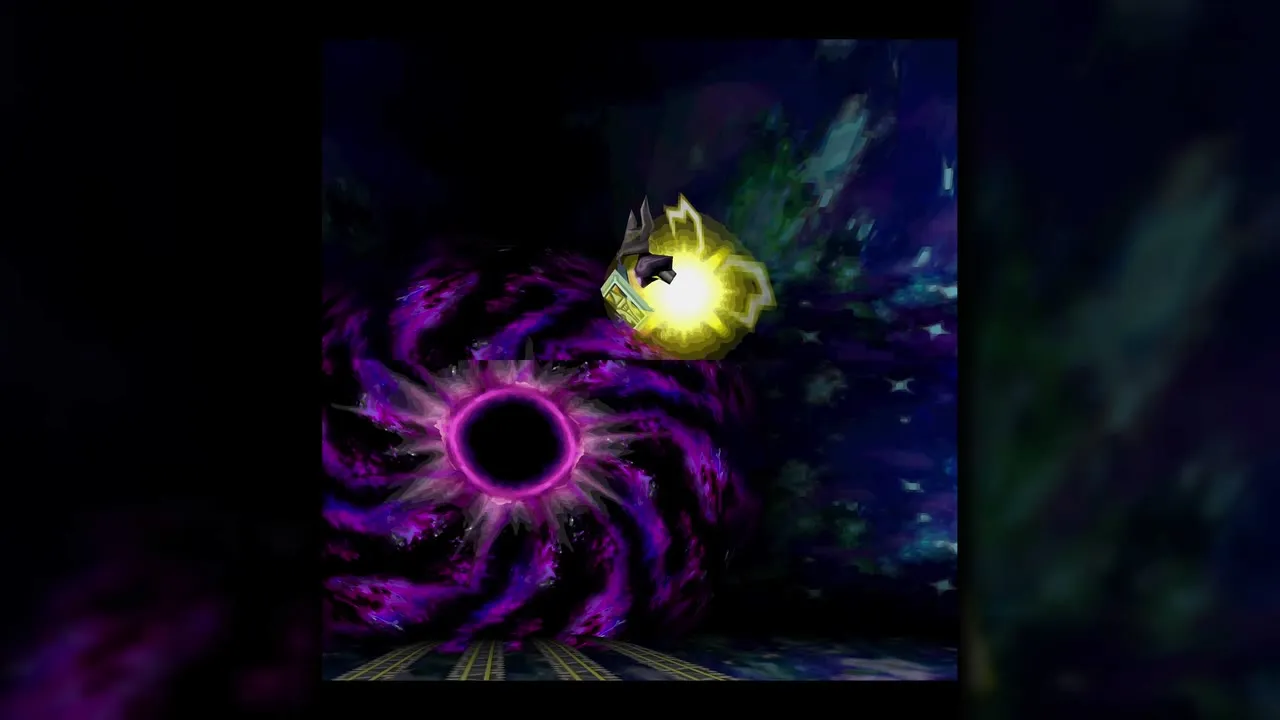
At the top, target Malladus with Zelda and she floats up holding him while Cole panics beside you. Quickly shoot Malladus with a Light Arrow. Zelda spins, her armor can block the shot and she drifts across the top screen, so aim carefully. A miss lets him escape and sets you back. A hit electrocutes Malladus with holy light and drives him out of her body as a spirit. Cole runs, the Demon Train explodes and everyone drops to the ground.

Malladus boss fight
The arena cutscene
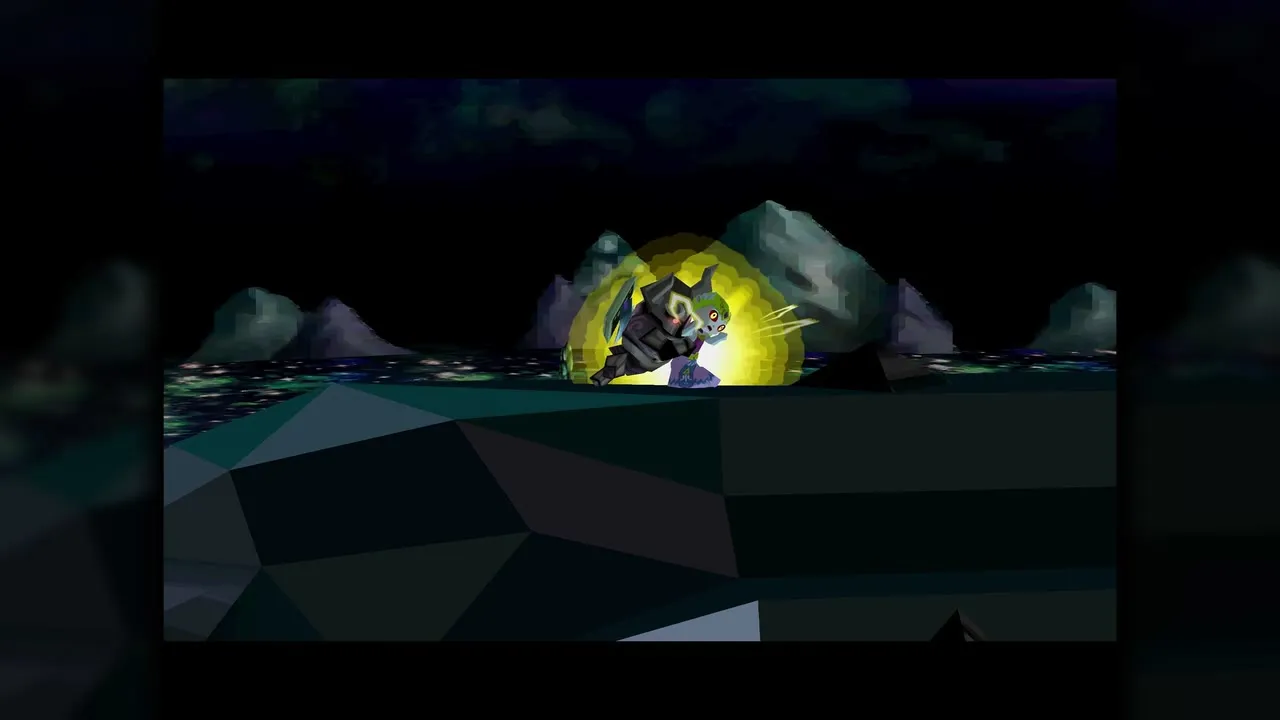
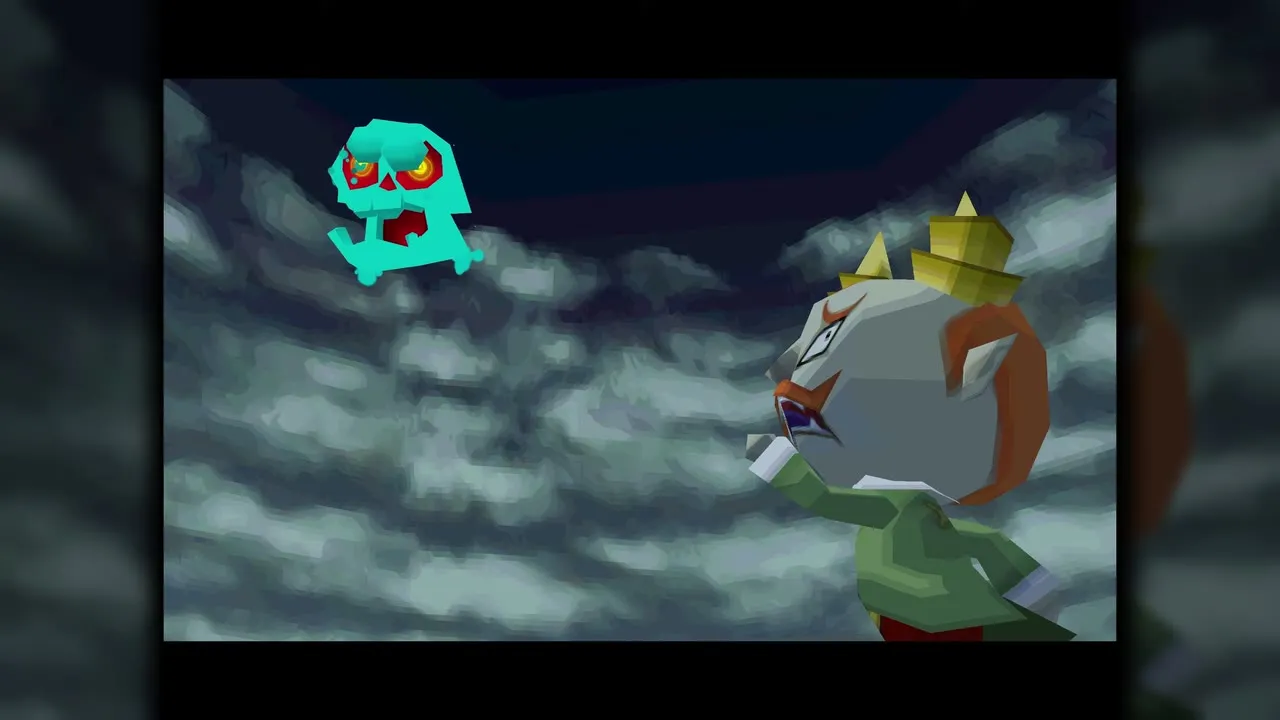
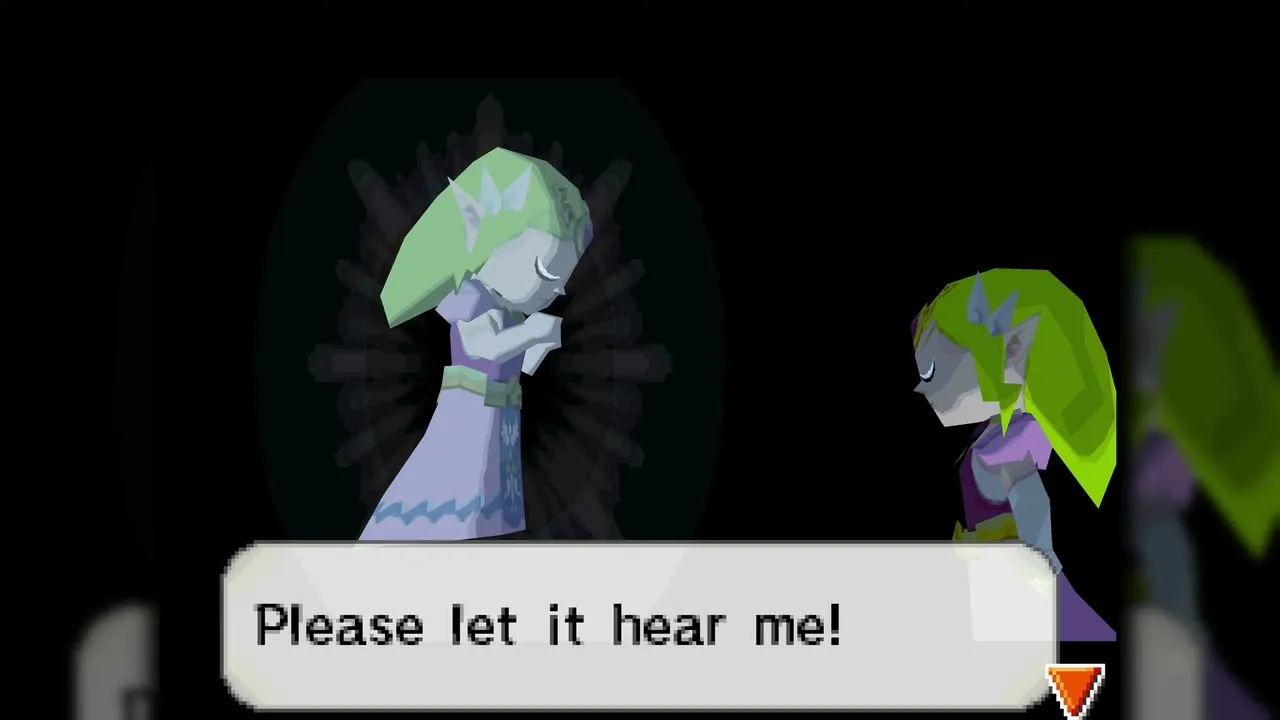
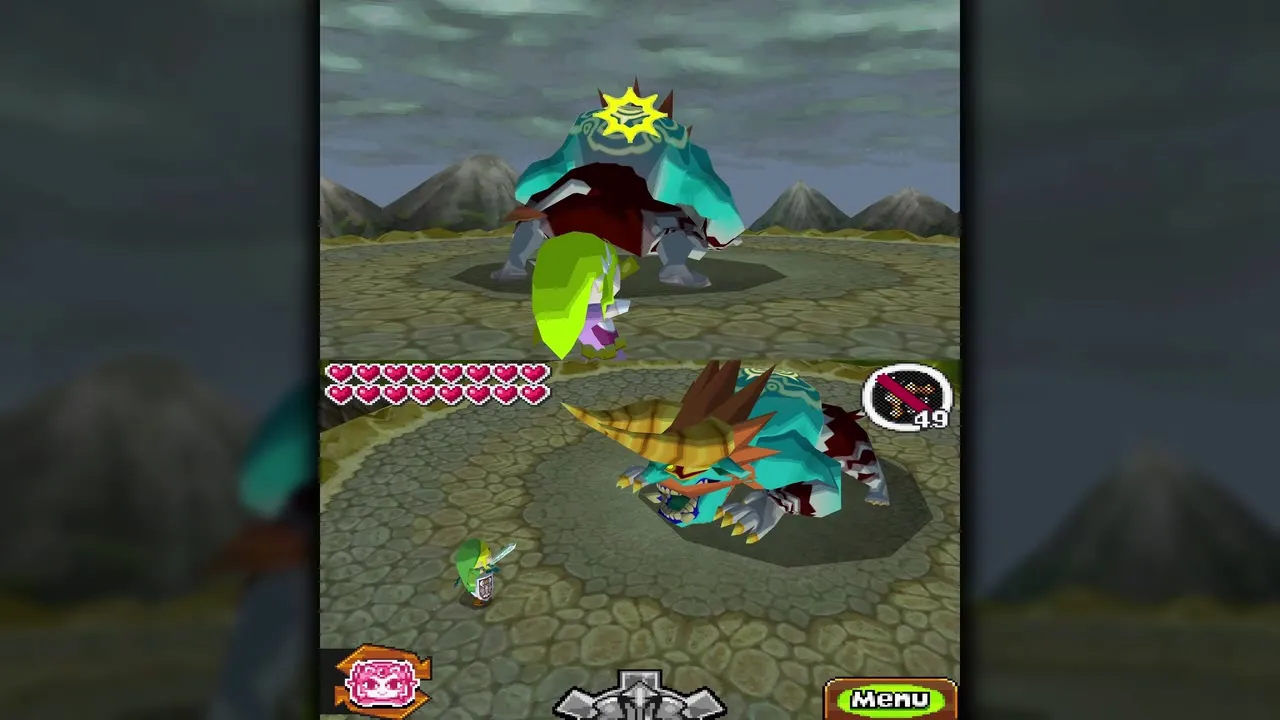
You wake in a round arena to Zelda calling your name. Malladus, now a floating blue skull, tries to return to her body, and Byrne blocks him with a force field. Zelda awakens her spiritual power and takes her own body back. Malladus overpowers Byrne and then takes Cole’s body, becoming a huge beast. Cole’s body rejects the spirit, and the fight begins.
Phase one: protect Zelda and play the Lokomo song
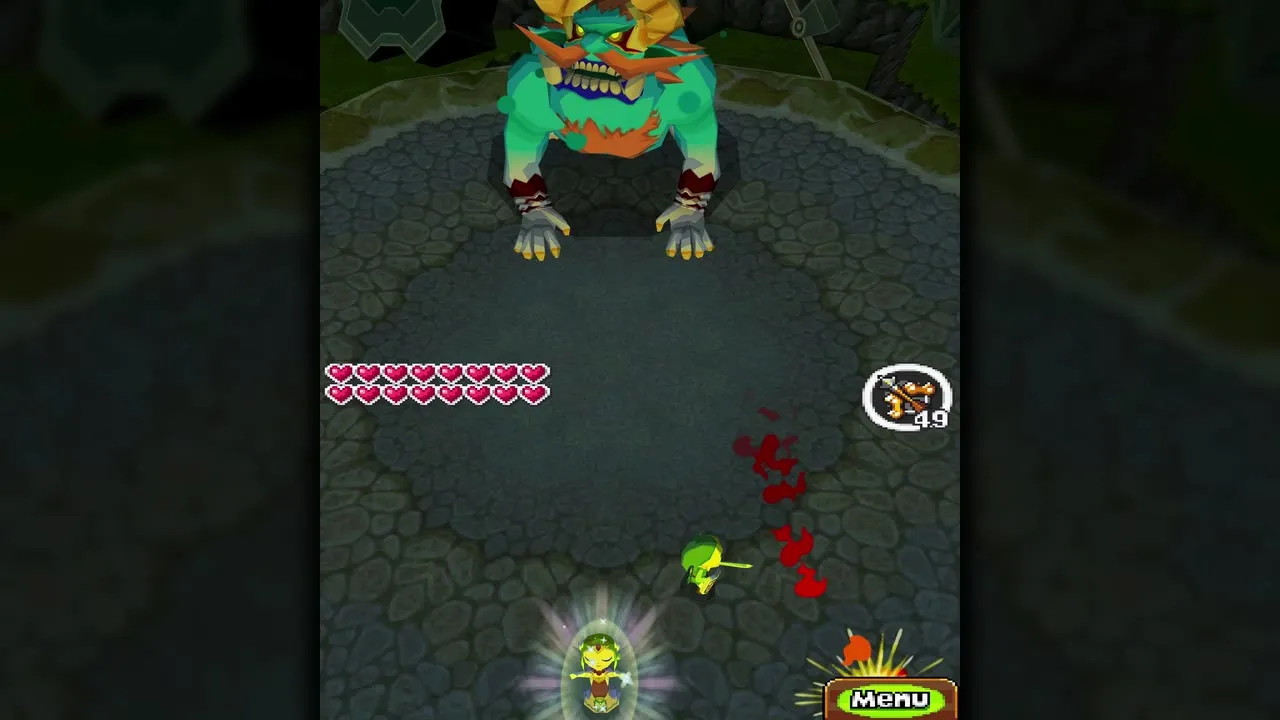
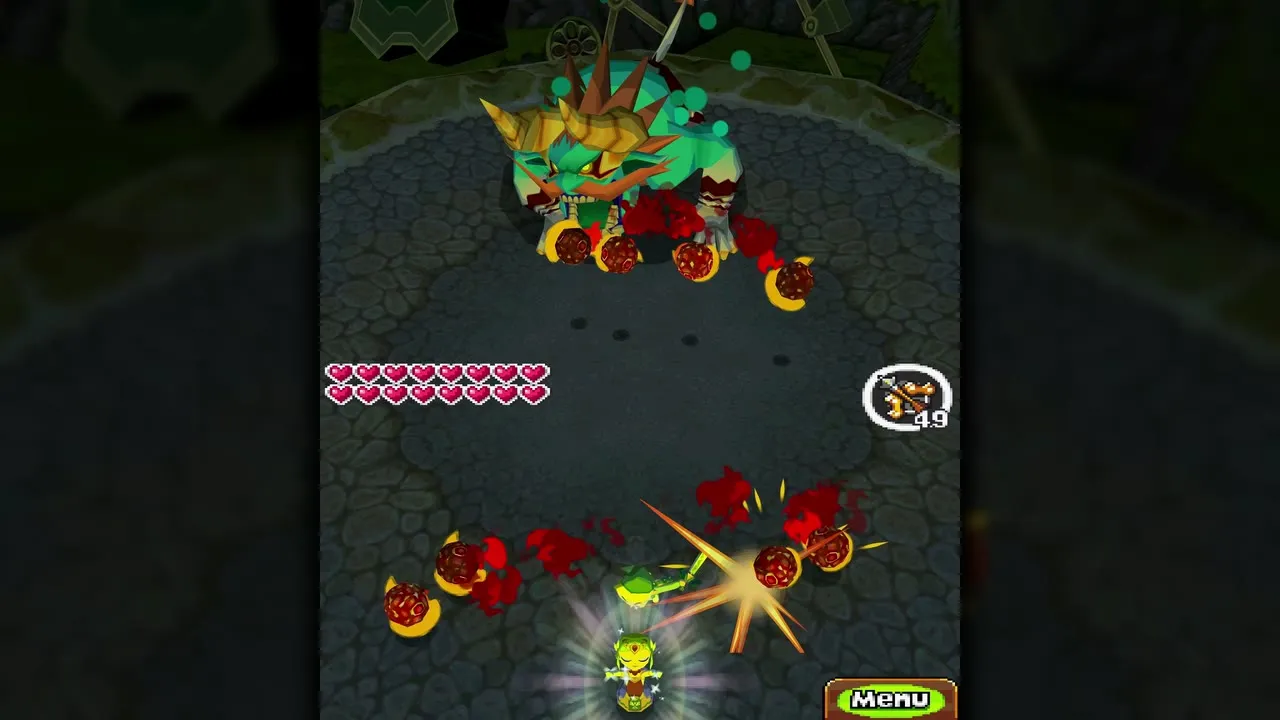
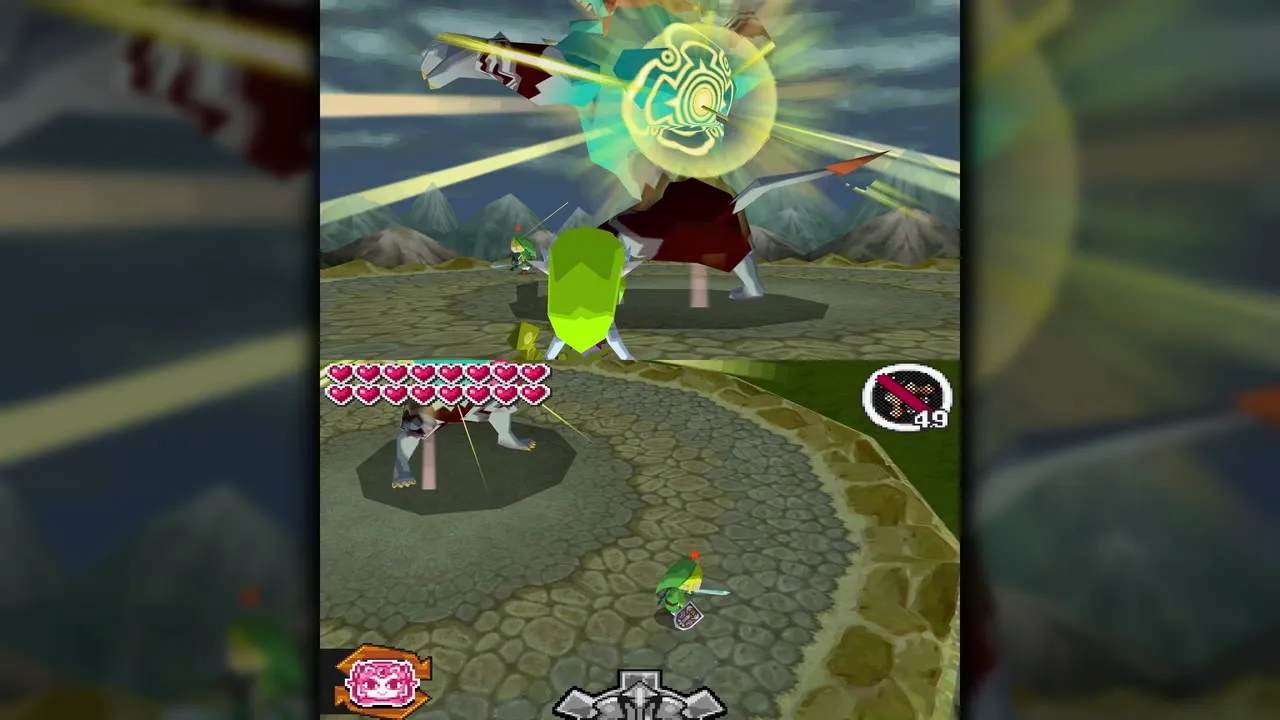
Zelda gathers her sacred power while Malladus hurls fireballs at her. Tap each fireball with the Lokomo Sword to destroy it; a swipe is not needed. If one reaches Zelda the phase restarts. Expect straight lines of fireballs, two arcing in from the left and right (turn around and tap both), three straight ones after Malladus leaps to the left, four in a wide arc, and random mixes. When four arrive together, stand close to Zelda and use the spin attack.
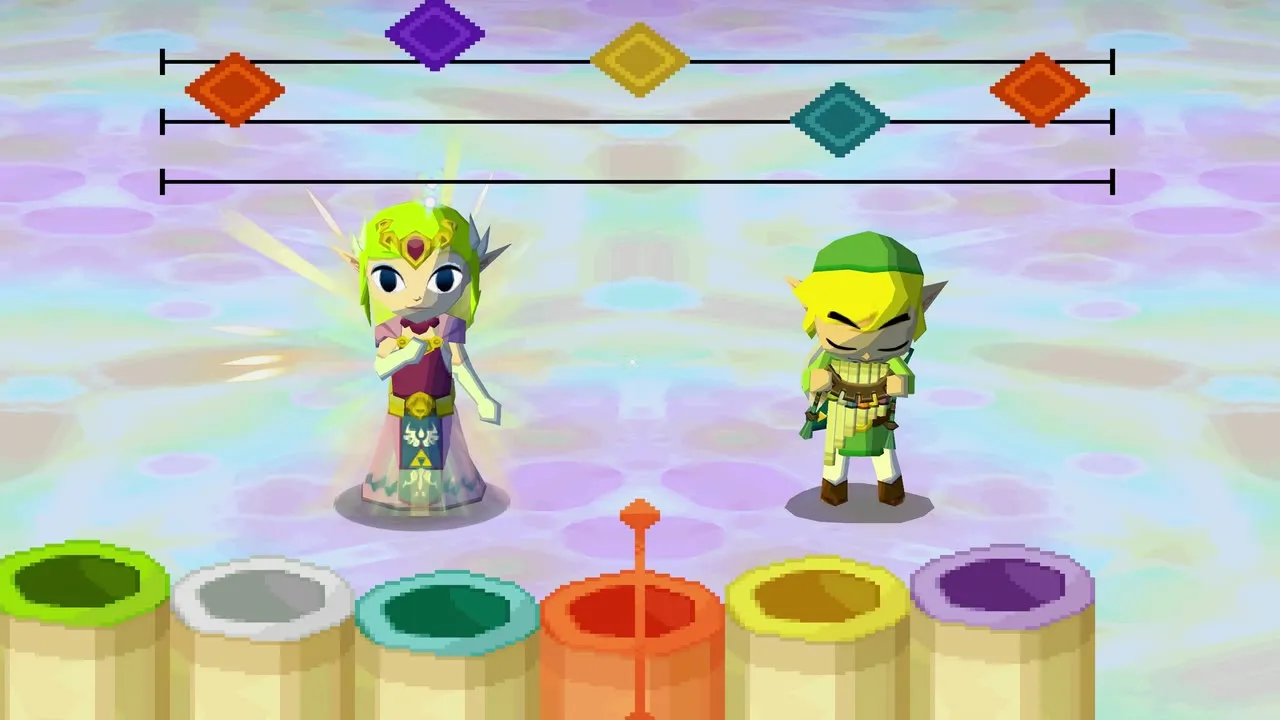
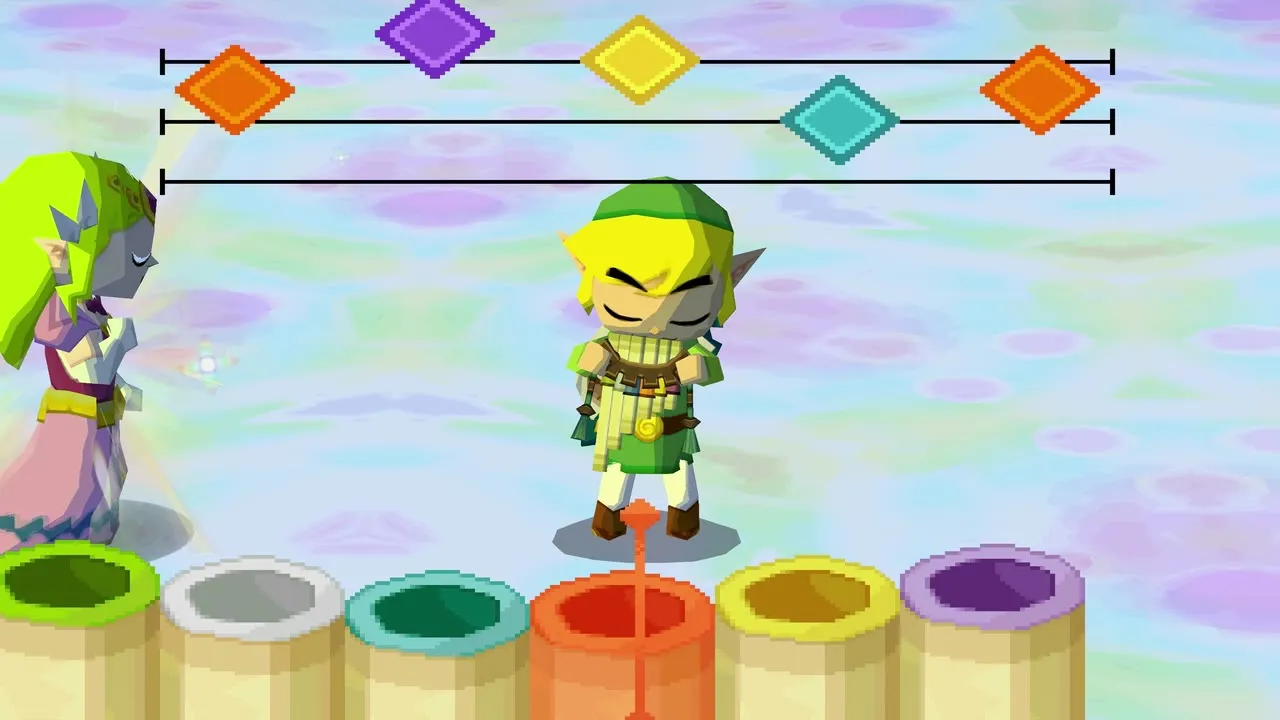
When Zelda glows gold she asks you to combine your power with the Spirit Flute. Play the five-note Lokomo song with her: orange, purple, yellow, blue, orange. Most notes are two apart, so move steadily, and you can retry if you slip. Success opens a weak spot on Malladus’s back. See the flute songs page for the other duets.
Phase two: Light Arrows and the horns
Now you distract Malladus while Zelda shoots his weak spot with the Bow of Light. Slash him to turn him away from Zelda. Her view on the top screen shows a target mark when the weak spot is in range, and tapping the Bow of Light icon at the bottom of the touch screen fires. Her arrows are unlimited. A few arrows knock him down.
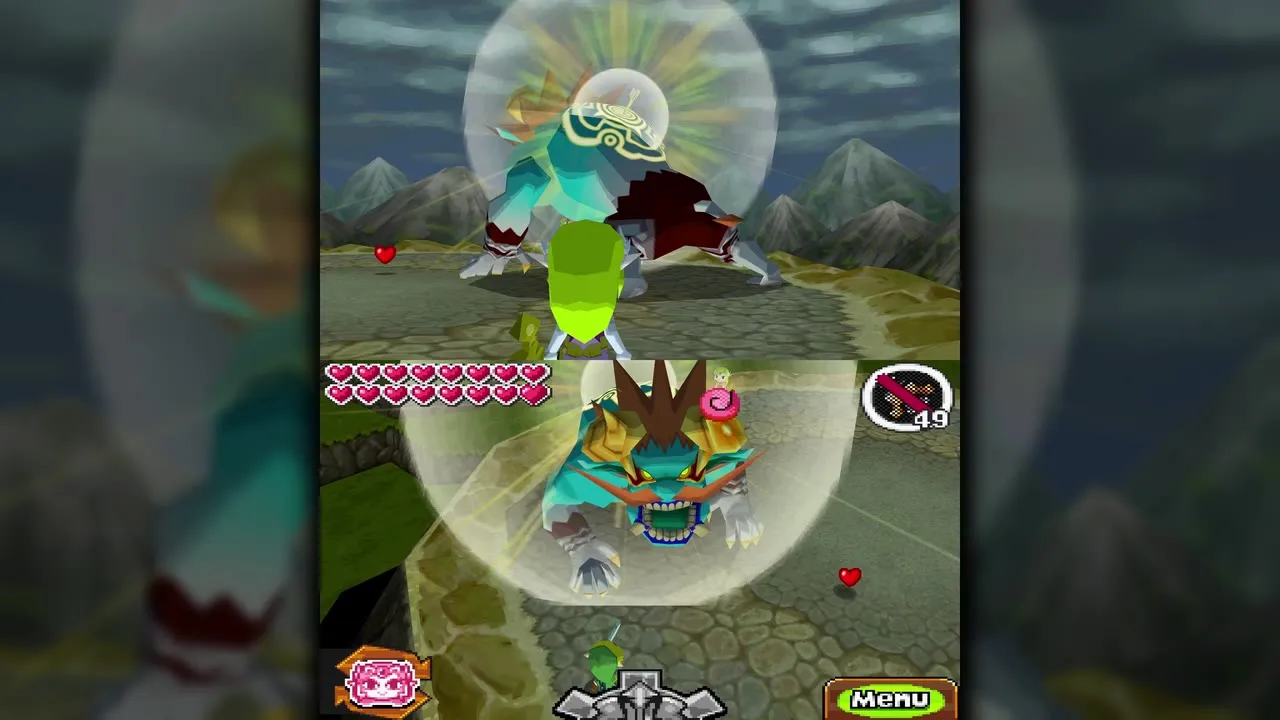
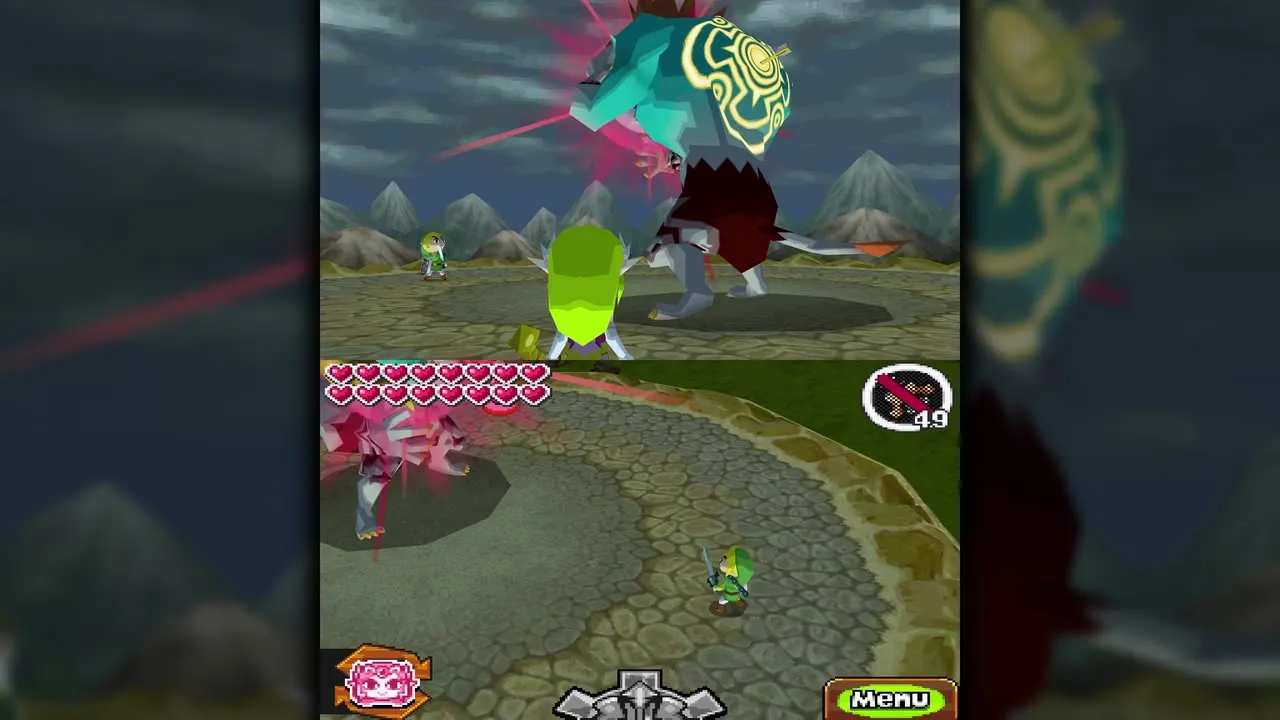
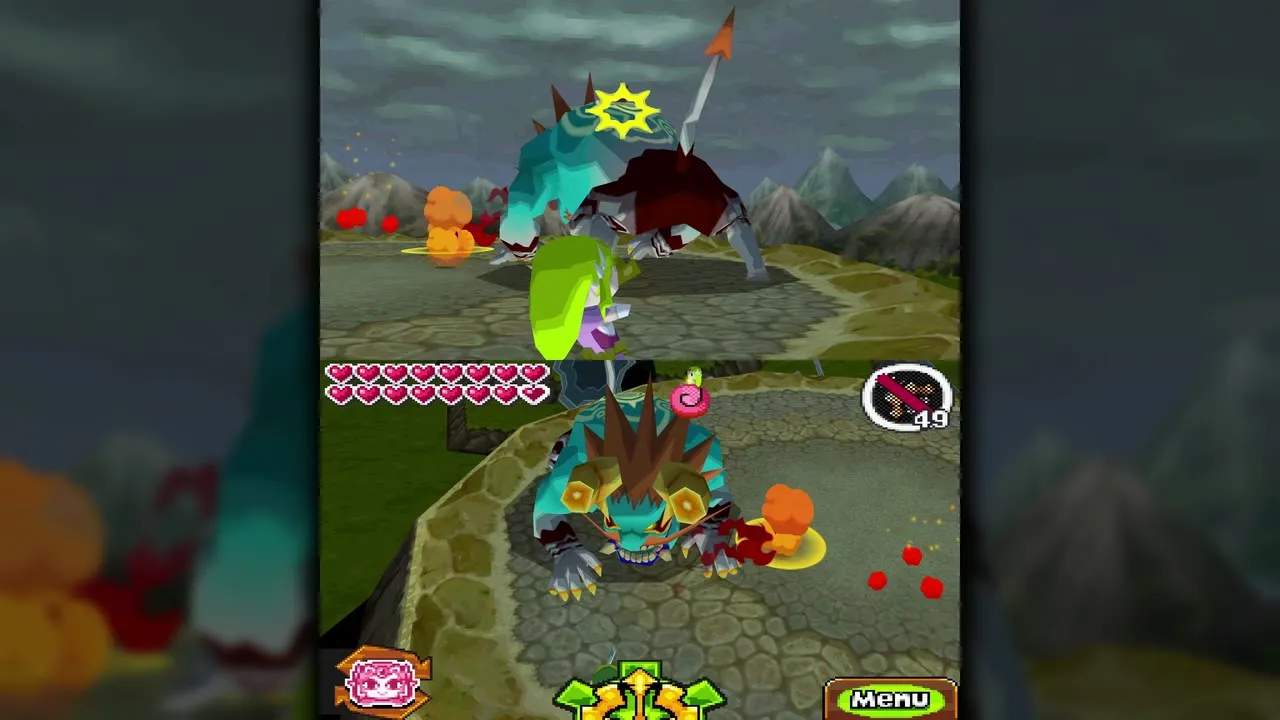
While he is down, slash his head until one horn breaks. He then rises, leaps and throws boulders, harder to hit than before, and may ram Zelda and knock her out for a few seconds. More arrows topple him again, and after you slash off the second horn he gets up for the final round.
Final round and the Lokomo Sword finish
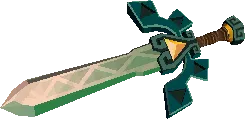
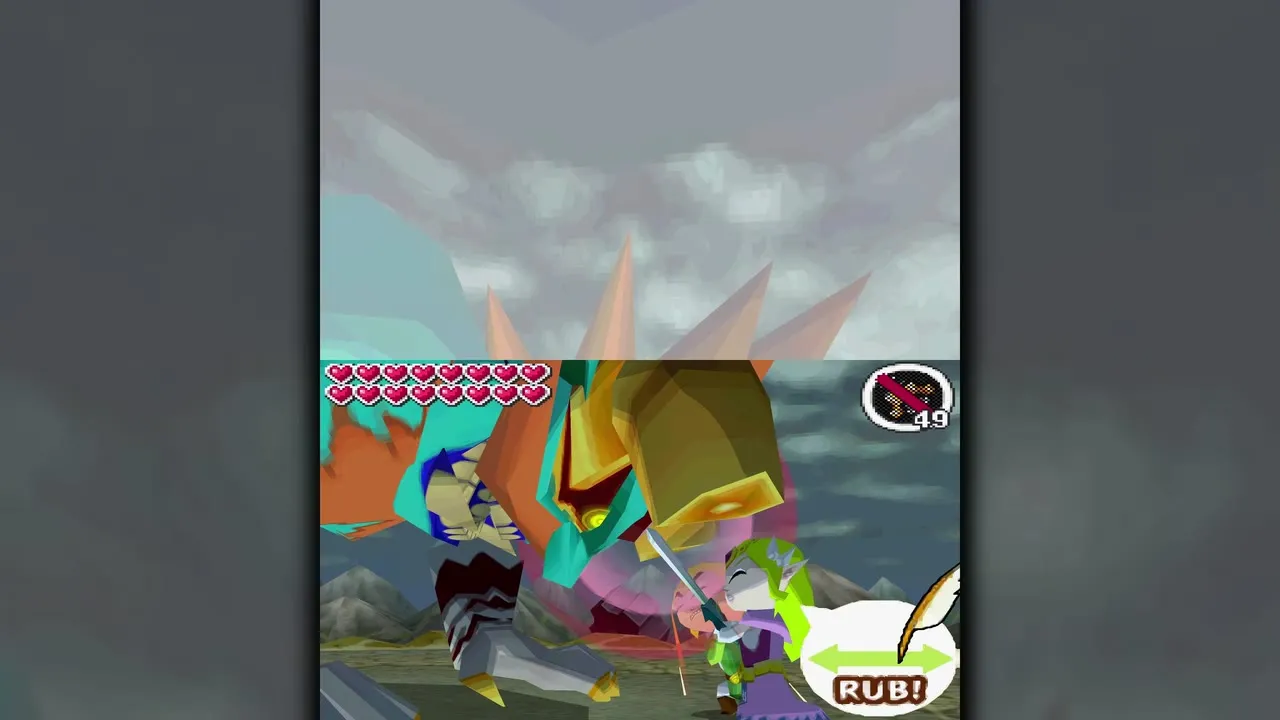
Malladus now attacks with rapid boulders, leaps and spins, and he targets Zelda. One Light Arrow from her is enough to topple him. Run to his head and slash it to start a stalemate, then rub the touch screen rapidly to drive the Lokomo Sword into the jewel on his forehead. Zelda helps you push. When you no longer need to rub, the blade is fully in; the crystal shatters and Malladus is destroyed in a flash of light.
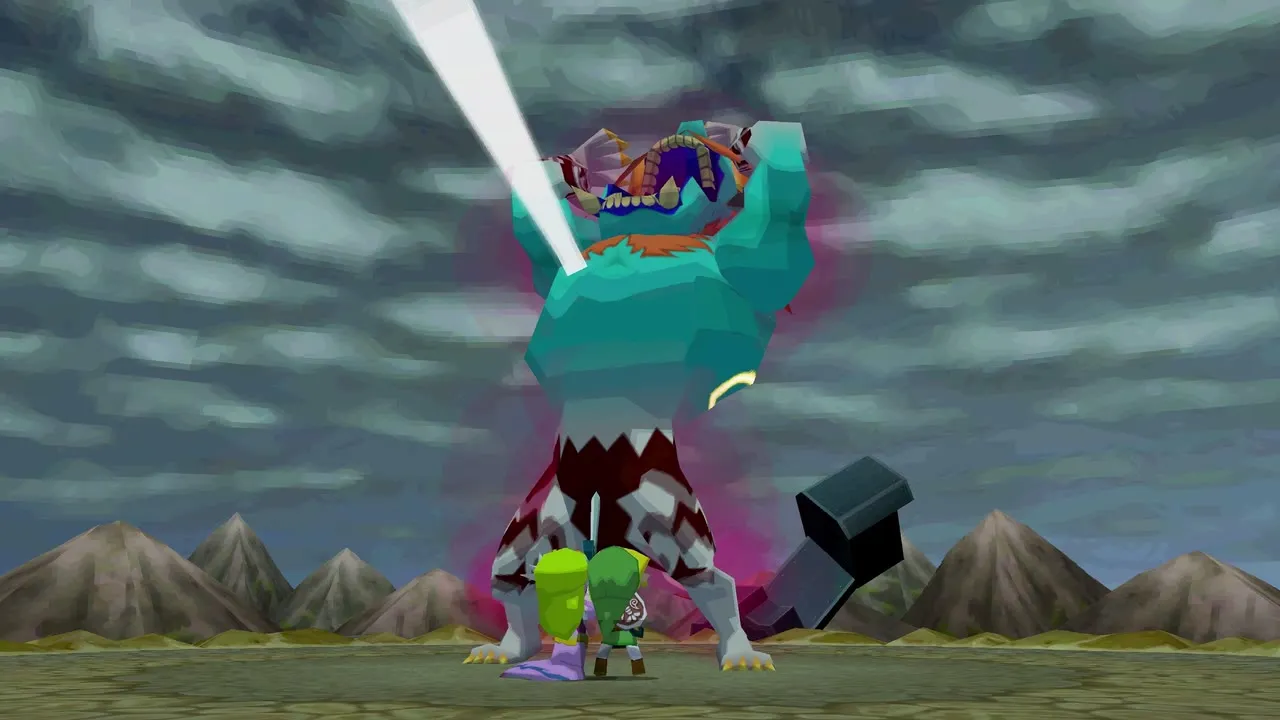
Ending
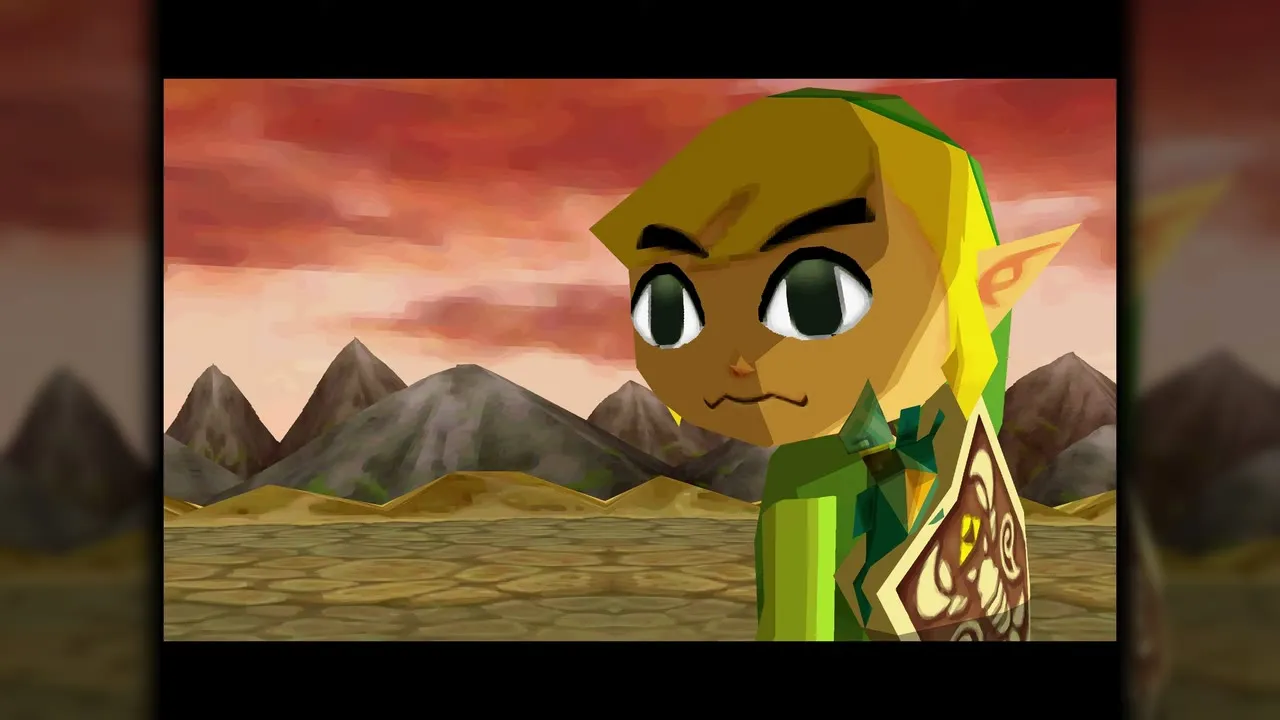
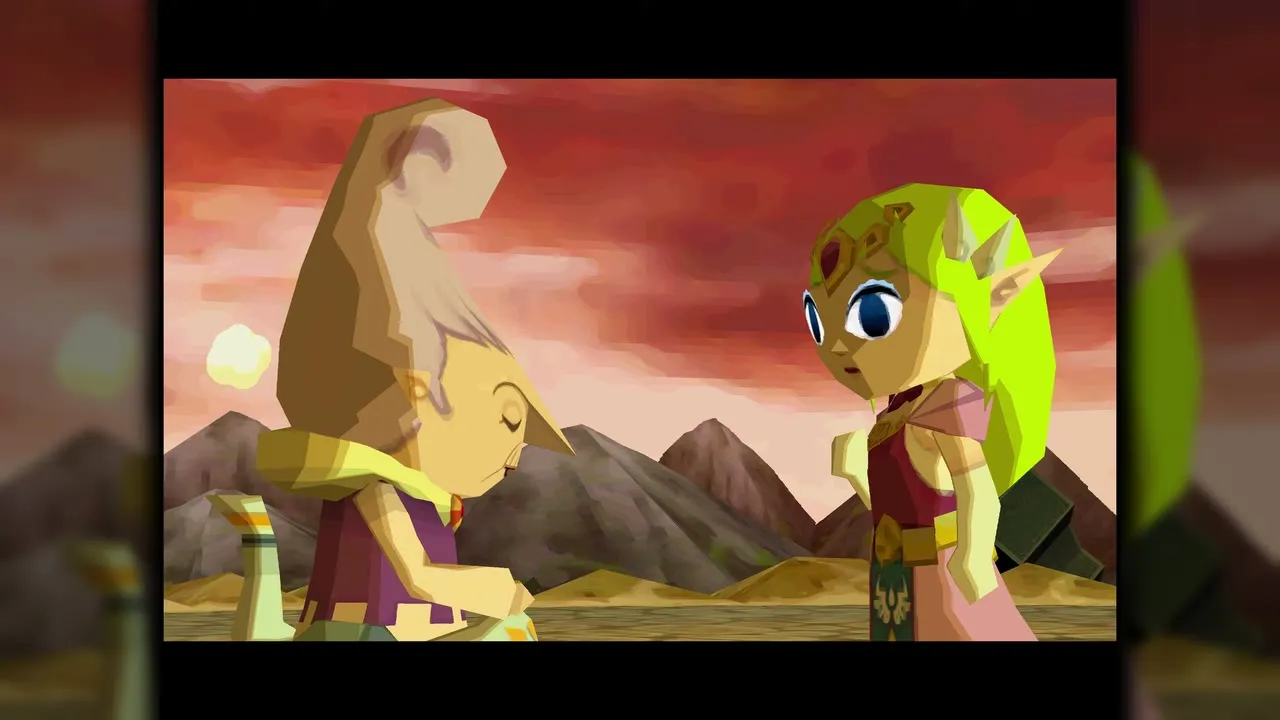
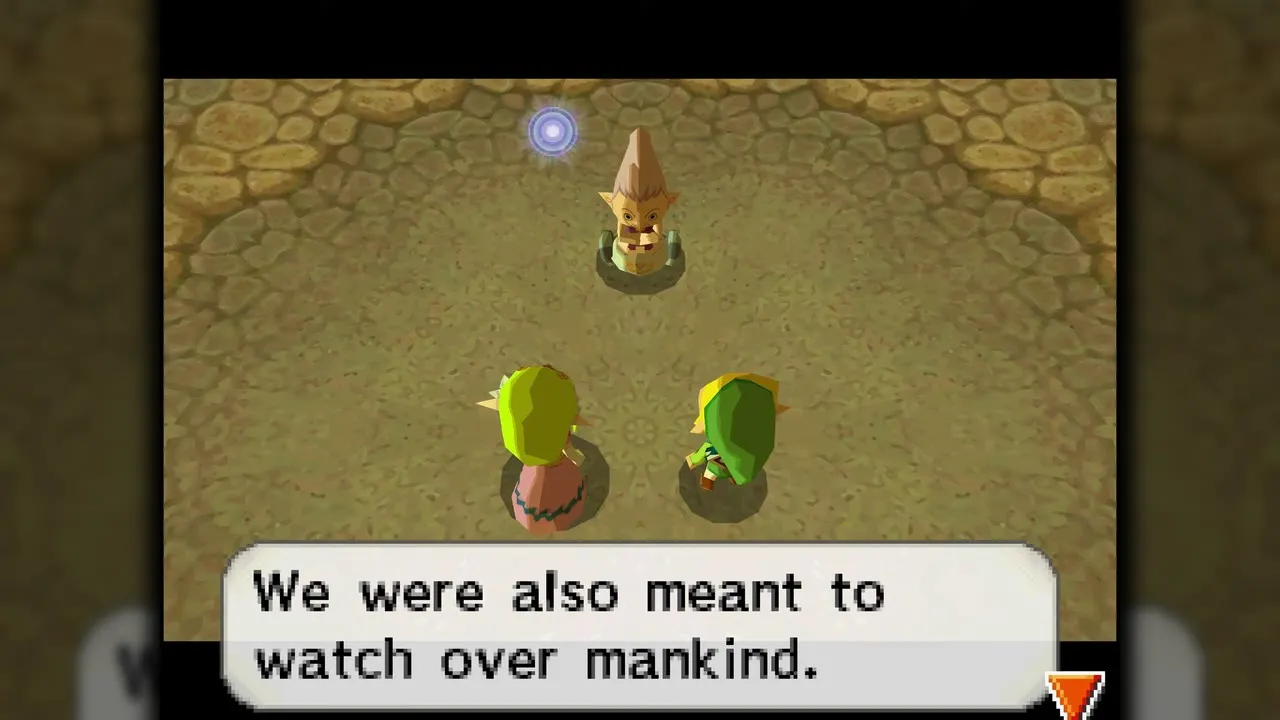
The ending cutscene is long and worth watching without interruption: the farewells are played out and the credits roll. A short scene of Link and Zelda follows after the credits. Anything left undone in New Hyrule can still be finished afterwards, and the 100% completion checklist shows what remains.
Chapter checklist
| Collectible | Type | Where |
|---|---|---|
| Eight Tears of Light | Dark Realm pickups | Along the Dark Realm rails; they respawn |
| Six Armored Trains | Enemies | Dark Realm arena |
 Golden Train set | Train parts (optional) | Traded for at Linebeck’s trading post; fitted at Alfonzo’s house in Aboda Village |
 Red,  Purple and  Yellow Potions | Healing | Shops such as Beedle’s Air Shop (Red, Purple) |
| Demon Train | Boss | End of the Dark Realm tracks |
| Lokomo song duet with Zelda | Song | Malladus fight, phase one |
| Malladus | Final boss | Arena after the Demon Train |
That completes the main story of Spirit Tracks; use the 100% completion checklist for any hearts, stamps, rabbits and Force Gems still outstanding.
