| Dungeons | 8 main dungeons plus Hyrule Castle |
|---|---|
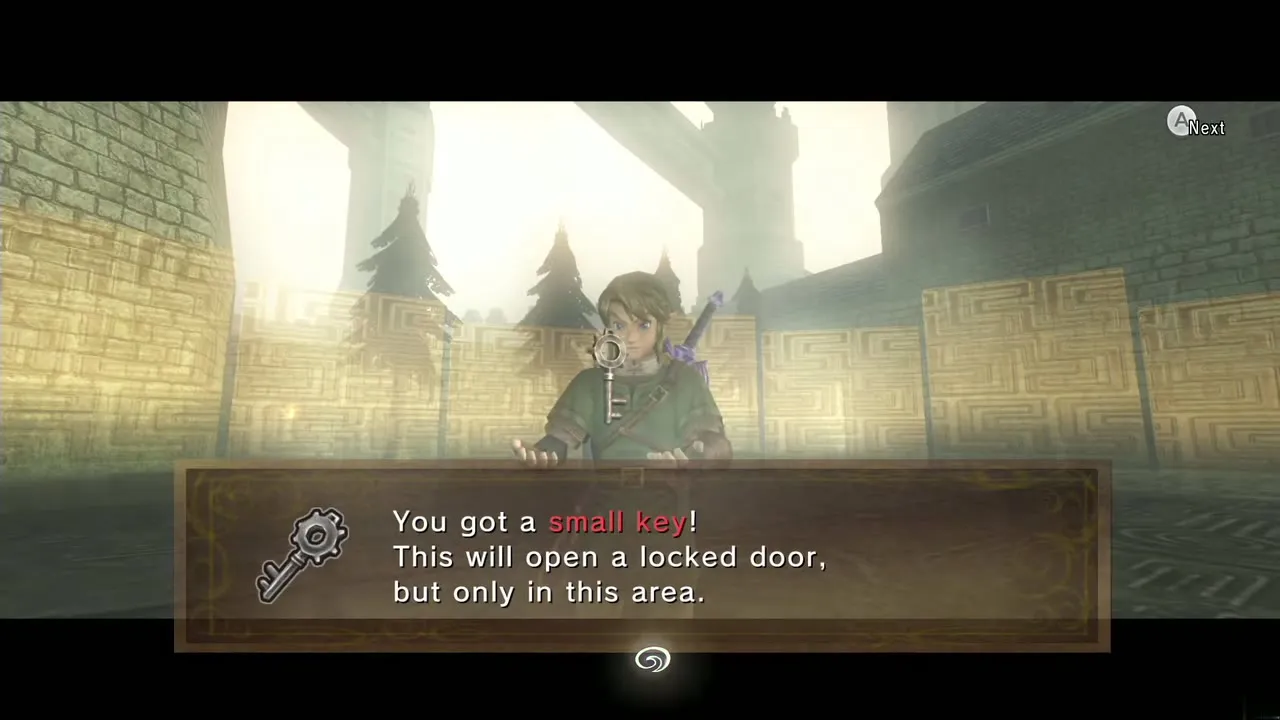
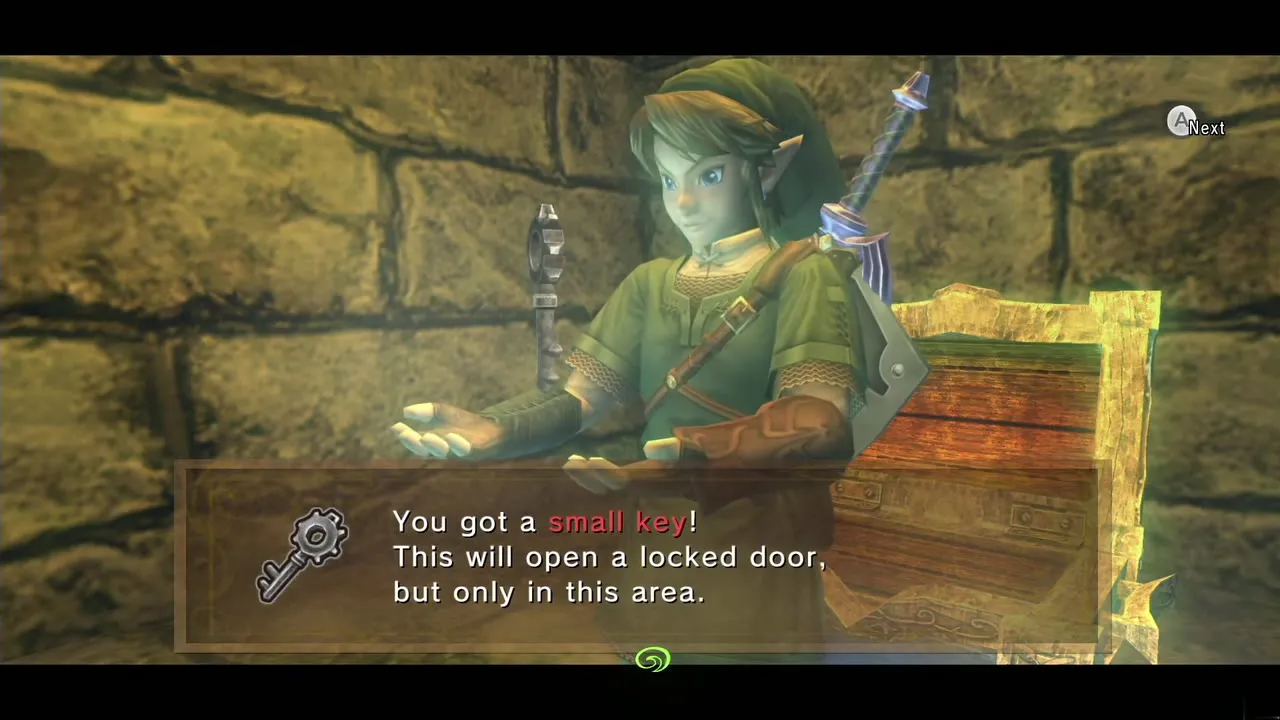
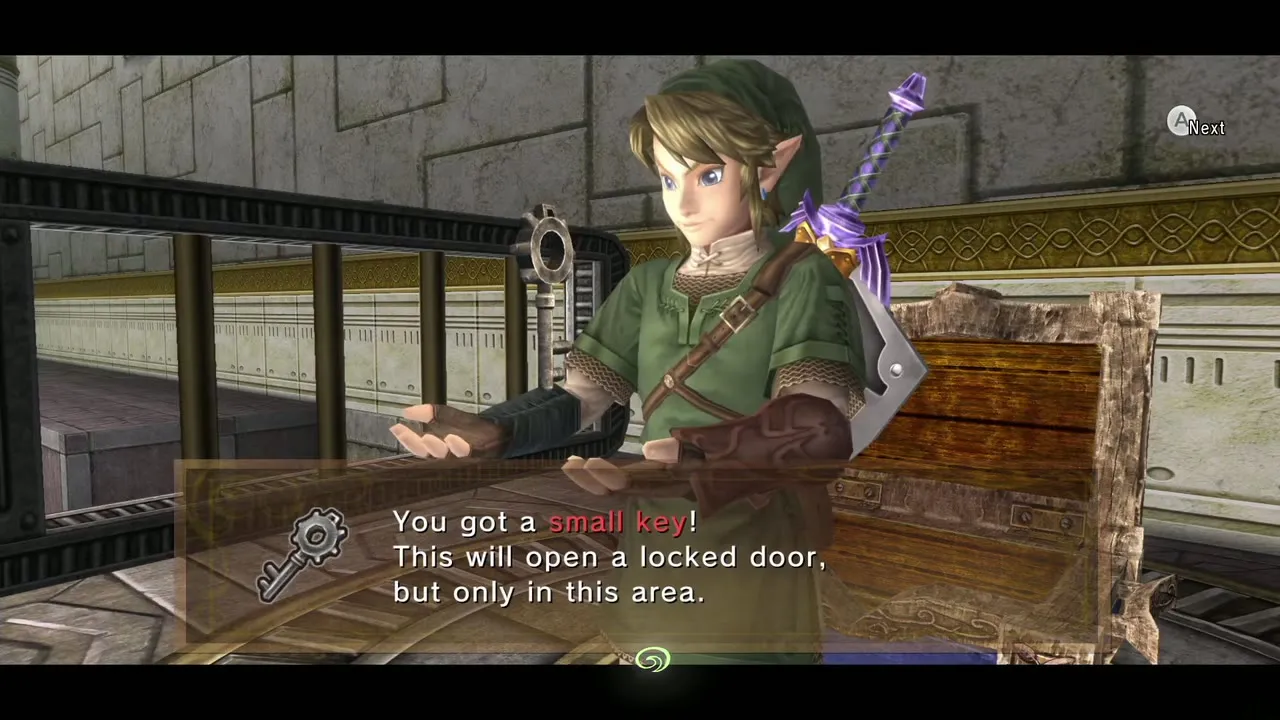
| Small Keys | 33 in total: 4, 3, 3, 5, 4, 3, 1, 7 and 3 in dungeon order |
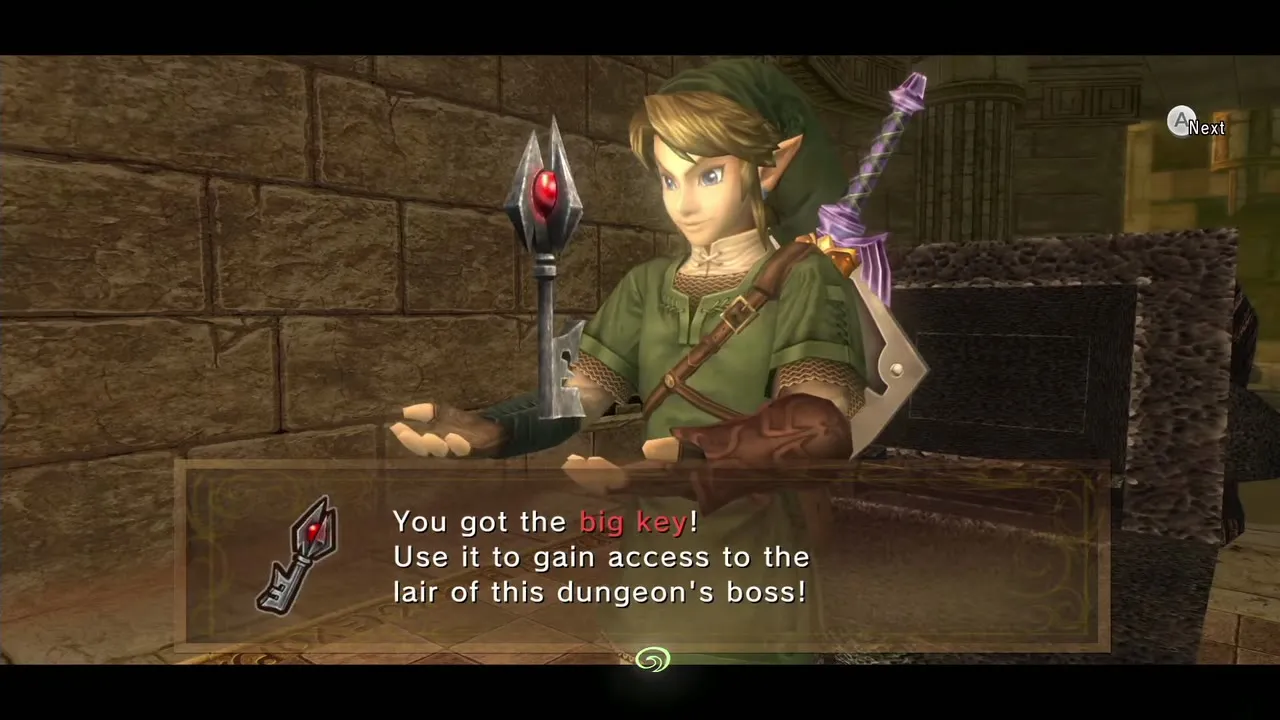
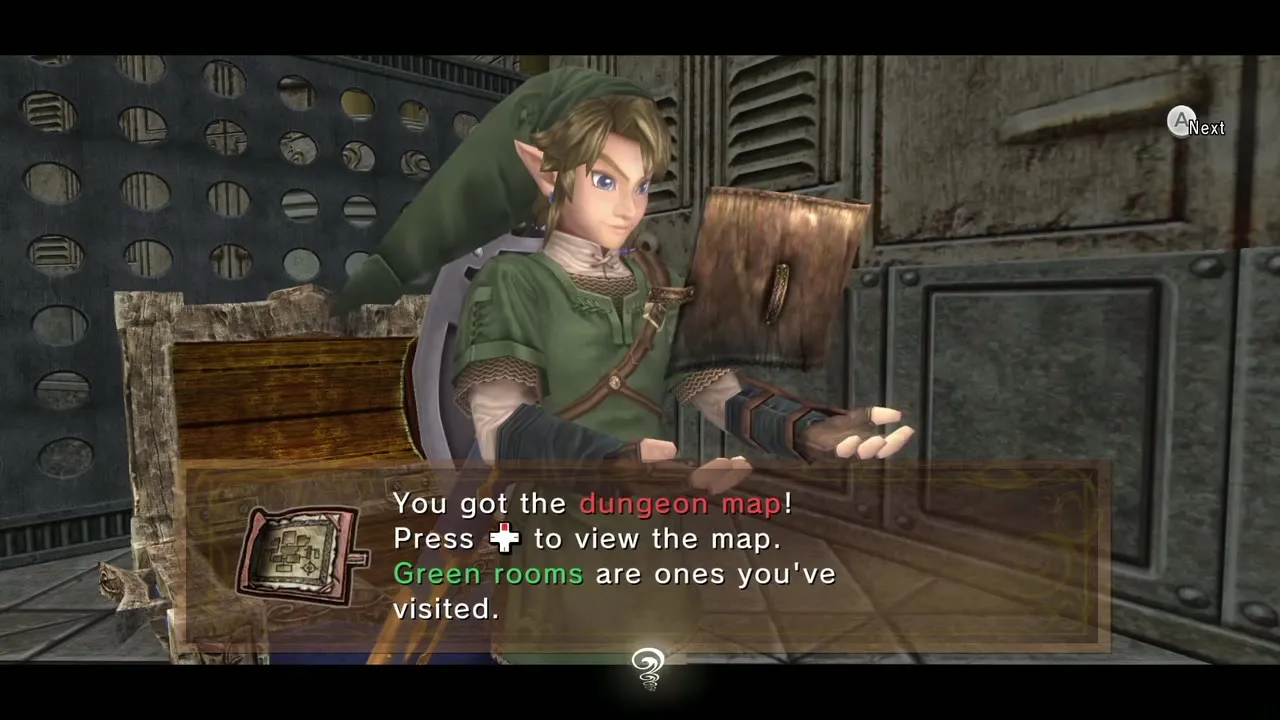
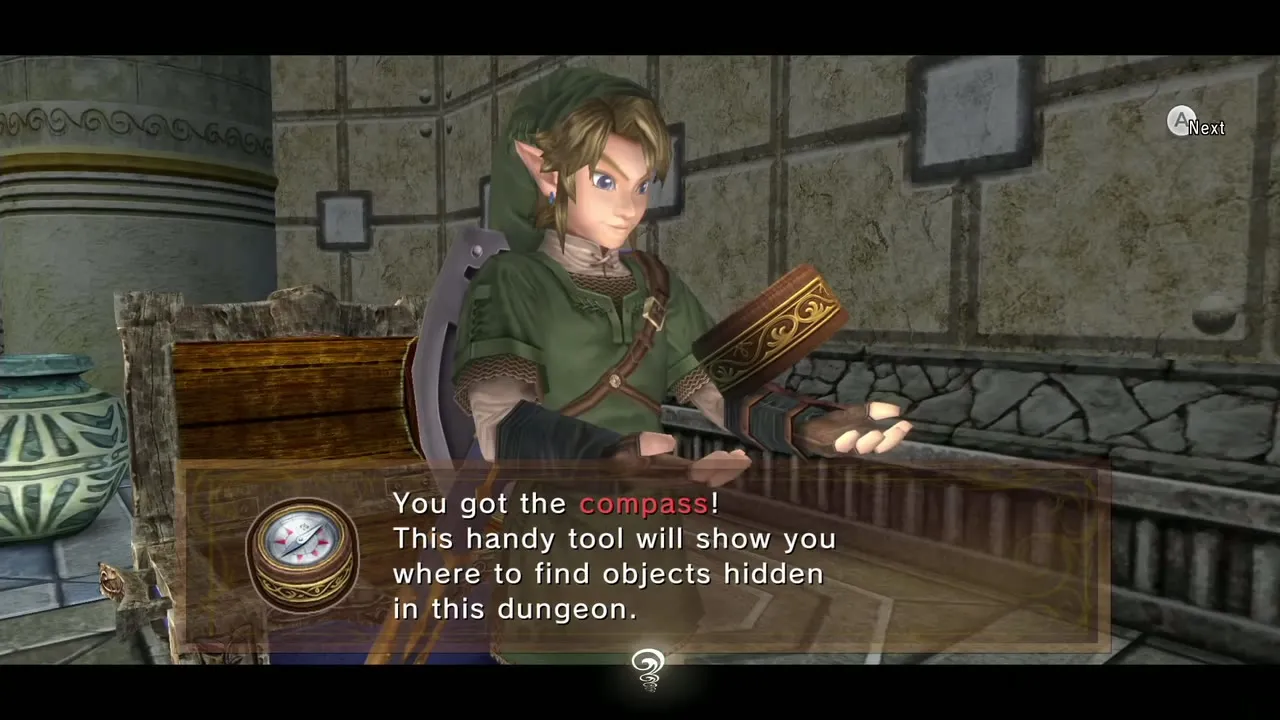
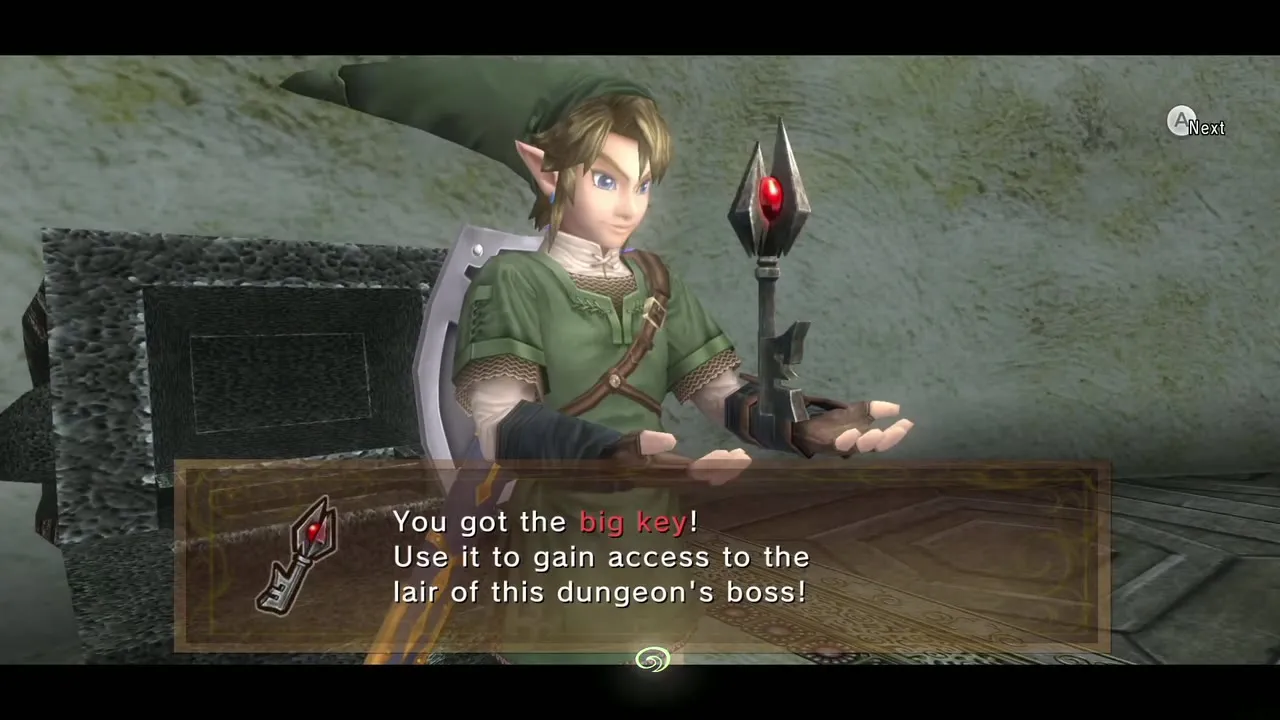
| Every dungeon holds | A Dungeon Map, a Compass and a Big Key, with two twists: the Goron Mines Big Key is rebuilt from three Key Shards, and the Snowpeak Ruins Big Key is the Bedroom Key |
| Dungeon items | One in each of the first seven dungeons; none in the Palace of Twilight or Hyrule Castle |
Every Twilight Princess dungeon has the same four fixtures: a Dungeon Map, a Compass that marks the chests, a Big Key that opens the boss door and a set of Small Keys for locked doors. The table lists what each dungeon holds. The Snowpeak Ruins is the one dungeon where the map is not in a chest, because Yeta gives it to you. The locations below follow the chapters of this guide.
Table of Contents
Quick reference
| # | Dungeon | Small Keys | Big Key | Dungeon item | Boss | Reward |
|---|---|---|---|---|---|---|
| 1 | Forest Temple | 4 | 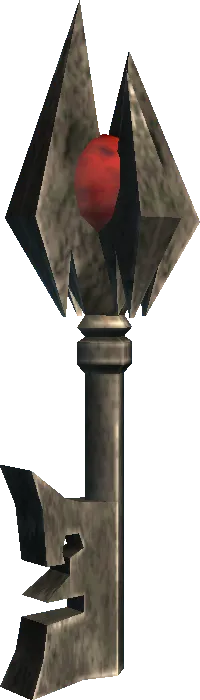 Big Key |  Gale Boomerang (after Ook) | 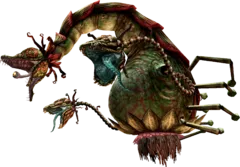 Diababa | Heart Container, Fused Shadow |
| 2 | Goron Mines | 3 | Big Key, rebuilt from three Key Shards |  Hero’s Bow (after Dangoro) | 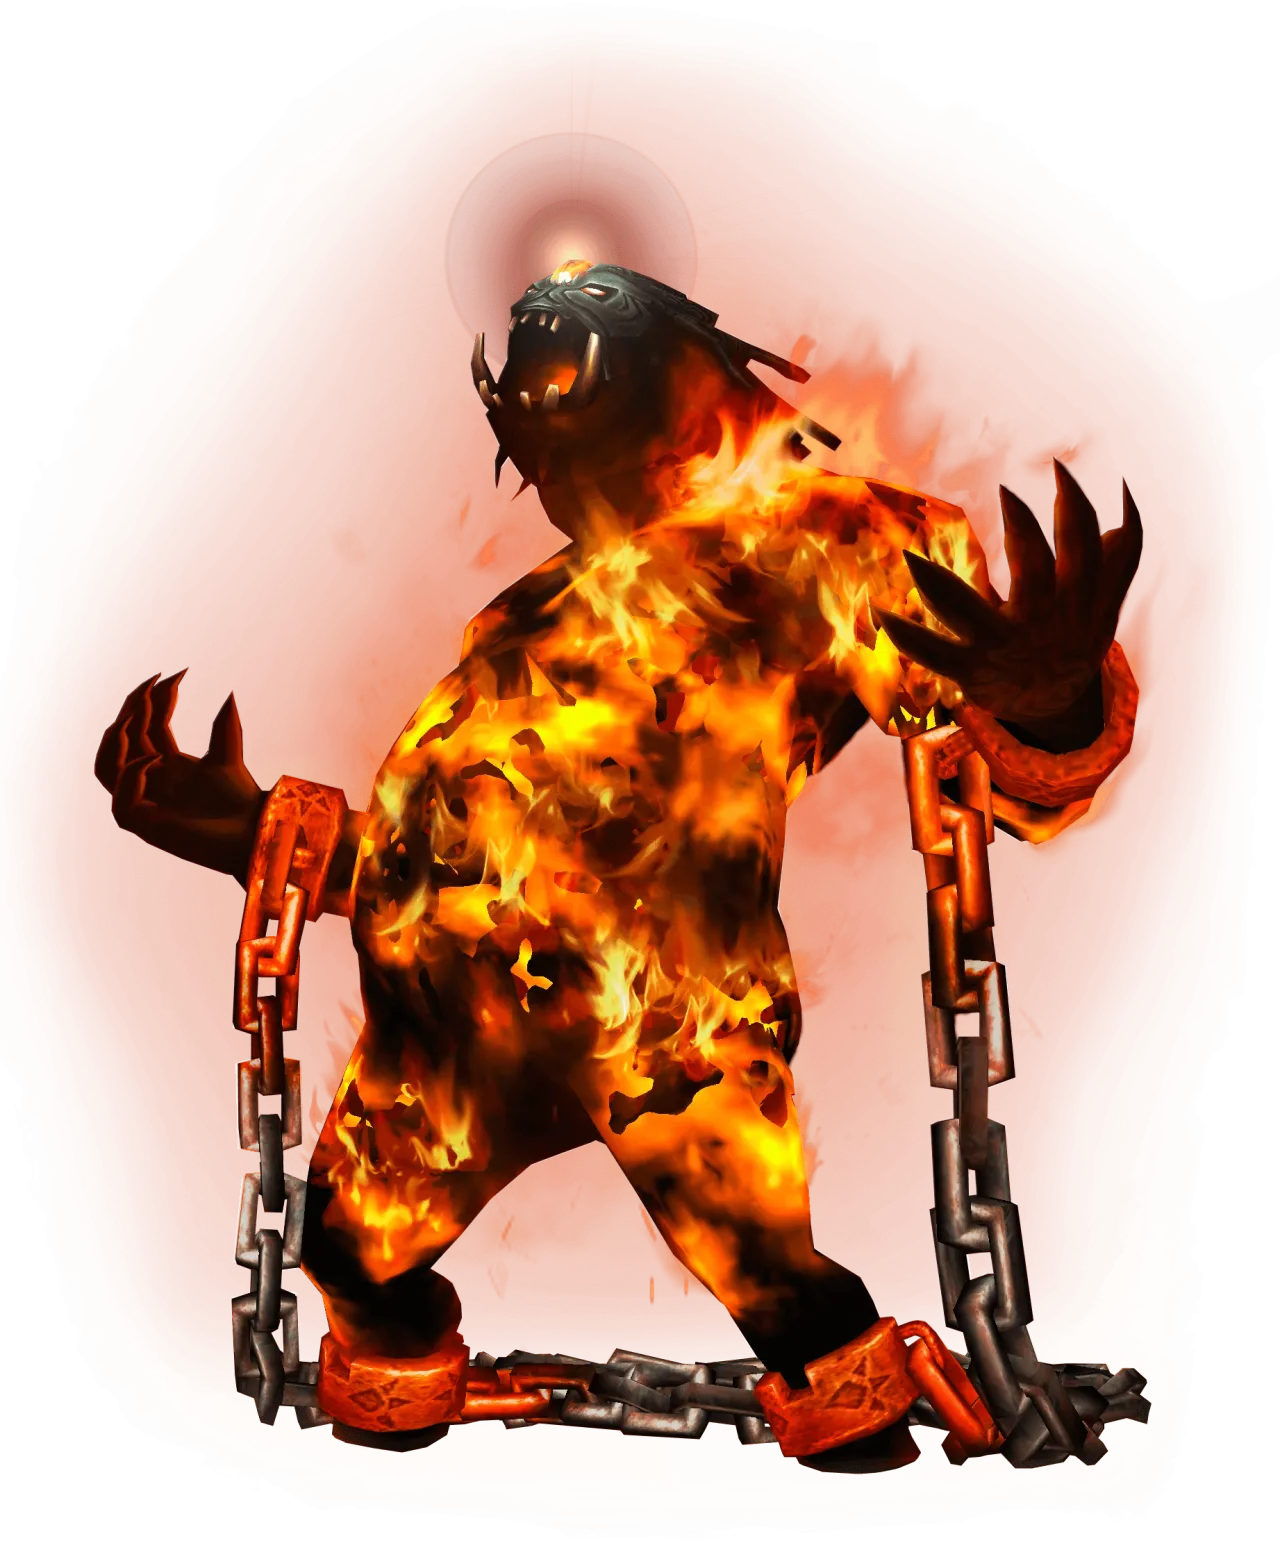 Fyrus | Heart Container, Fused Shadow |
| 3 | Lakebed Temple | 3 | Big Key |  Clawshot (after Deku Toad) | 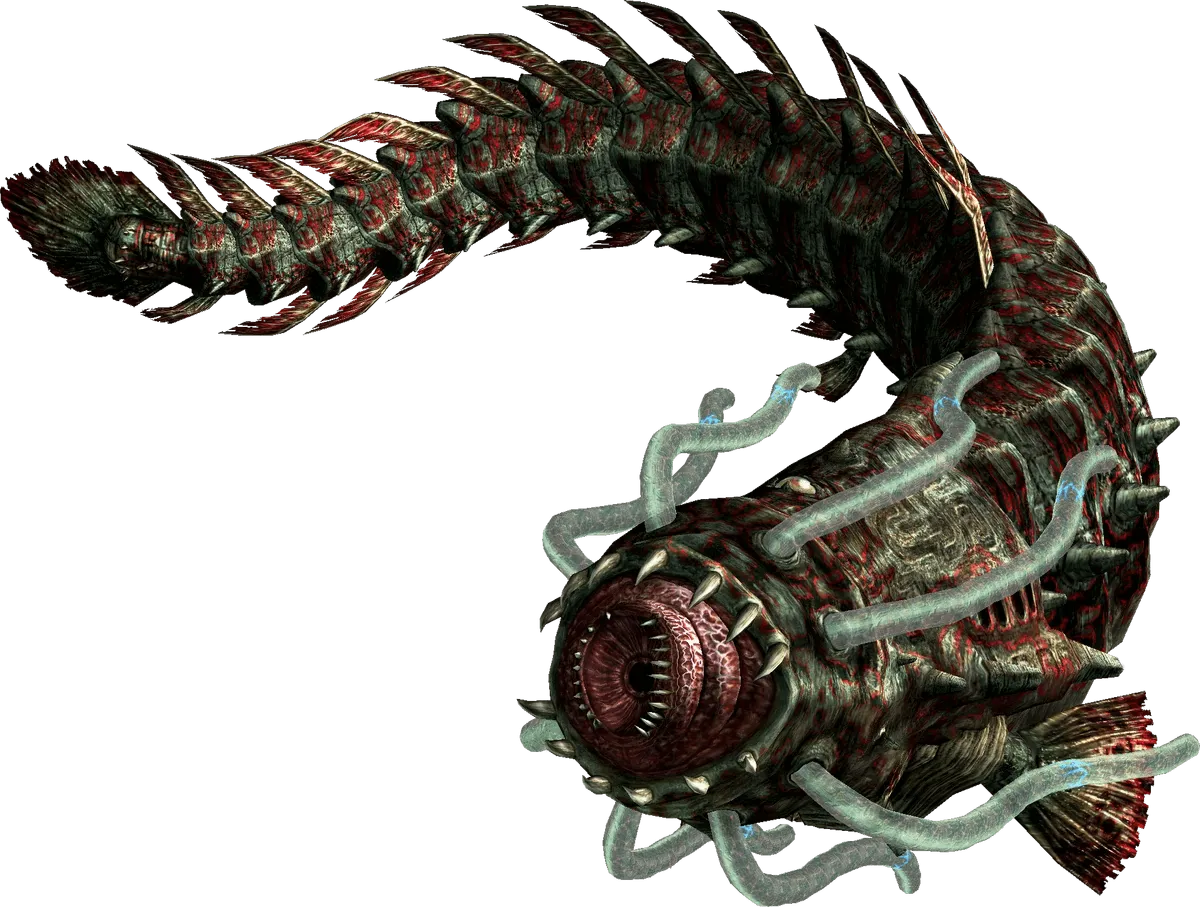 Morpheel | Heart Container, Fused Shadow |
| 4 | Arbiter’s Grounds | 5 | Big Key |  Spinner (after Death Sword) | 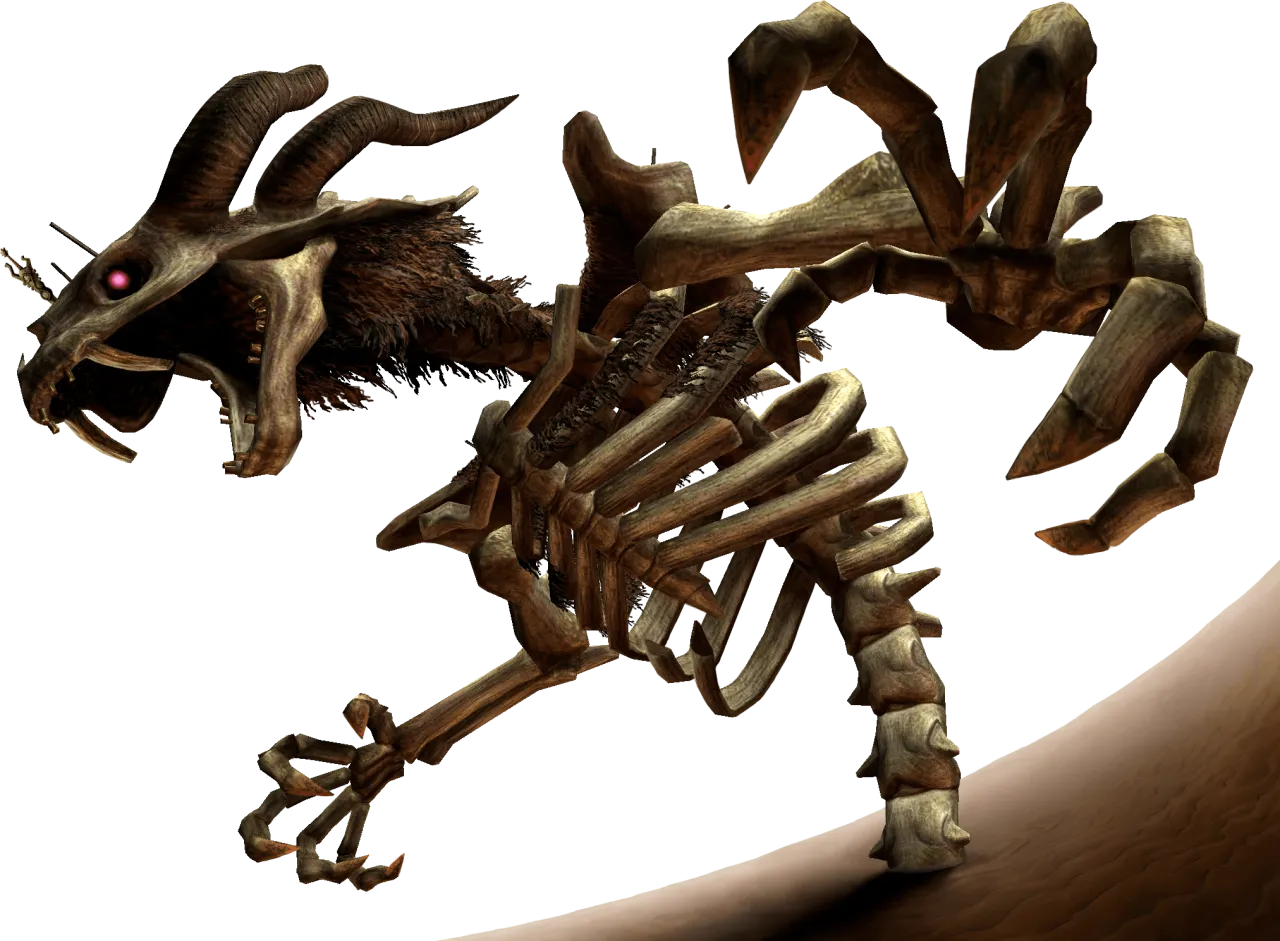 Stallord |  Heart Container (no Mirror Shard) |
| 5 | Snowpeak Ruins | 4 |  Bedroom Key (acts as the Big Key) | 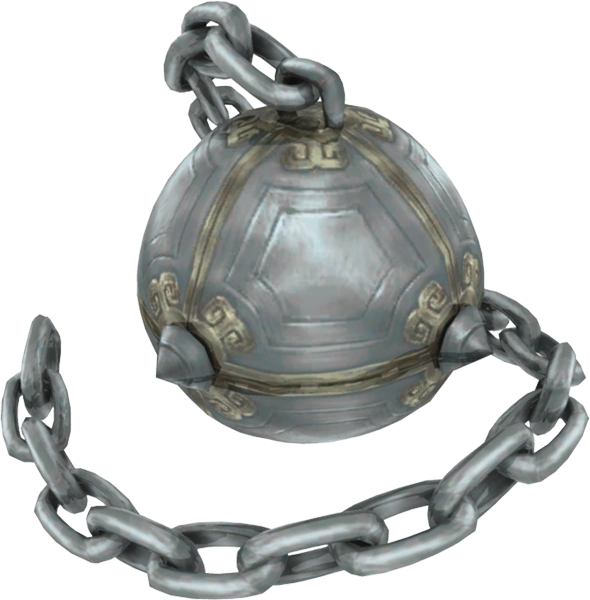 Ball and Chain (after Darkhammer) | 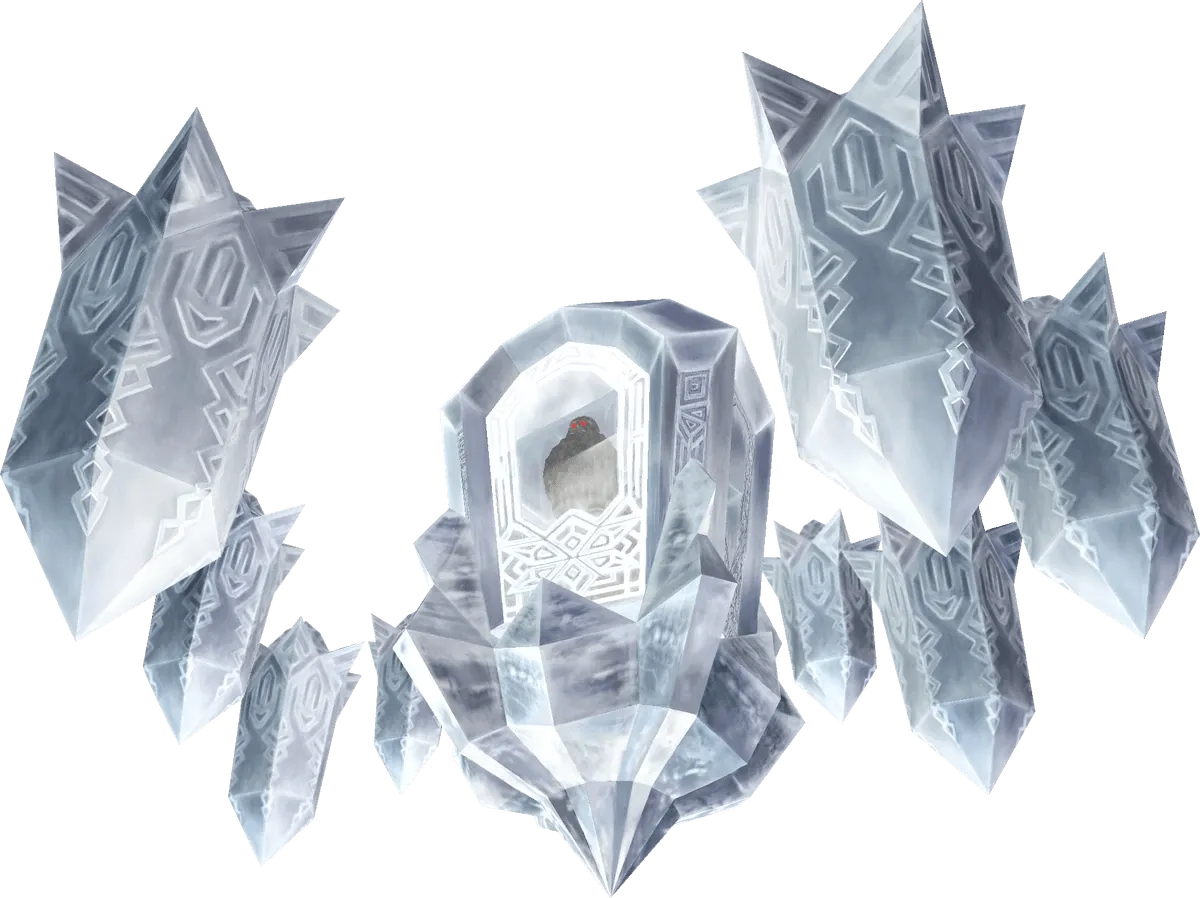 Blizzeta | Heart Container, Mirror Shard |
| 6 | Temple of Time | 3 | Big Key |  Dominion Rod (after the Darknut) | 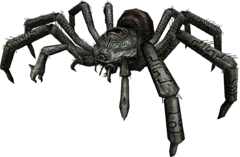 Armogohma | Heart Container, Mirror Shard |
| 7 | City in the Sky | 1 | Big Key |  Double Clawshots (after Aeralfos) | 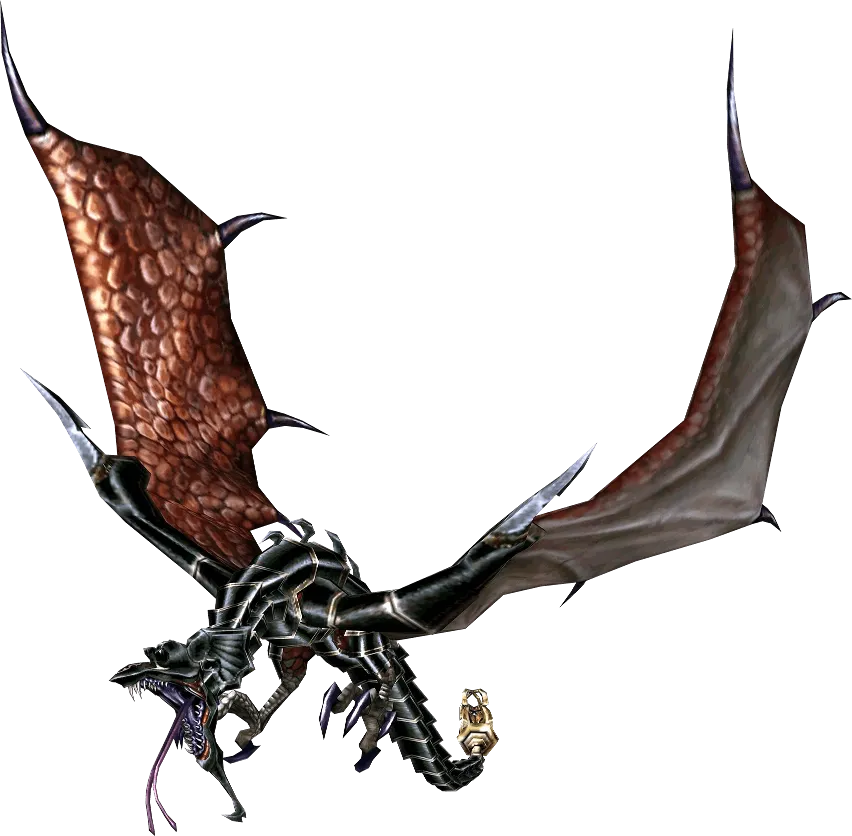 Argorok | Heart Container, Mirror Shard |
| 8 | Palace of Twilight | 7 | Big Key | None (the Sols power the Master Sword) |  Zant | Heart Container |
| 9 | Hyrule Castle | 3 | Big Key | None | 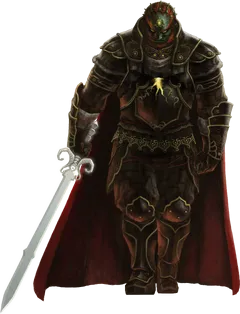 Ganondorf | Ends the game |
What the items do

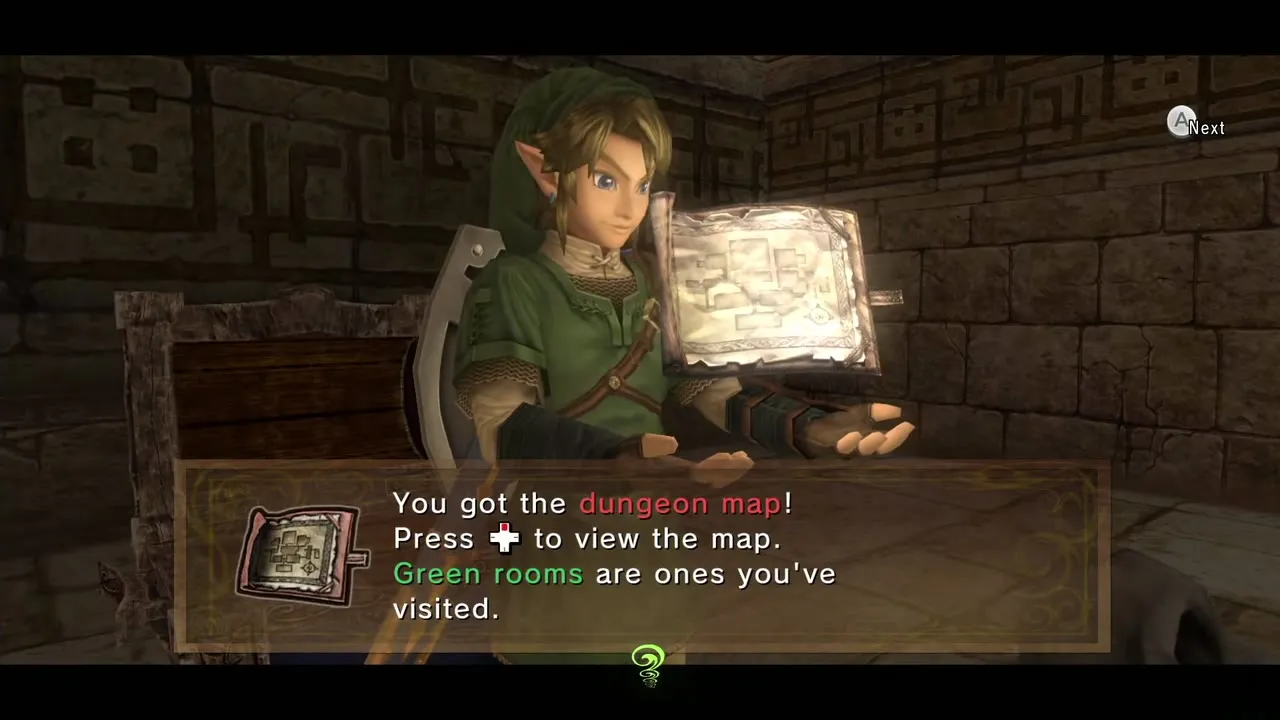
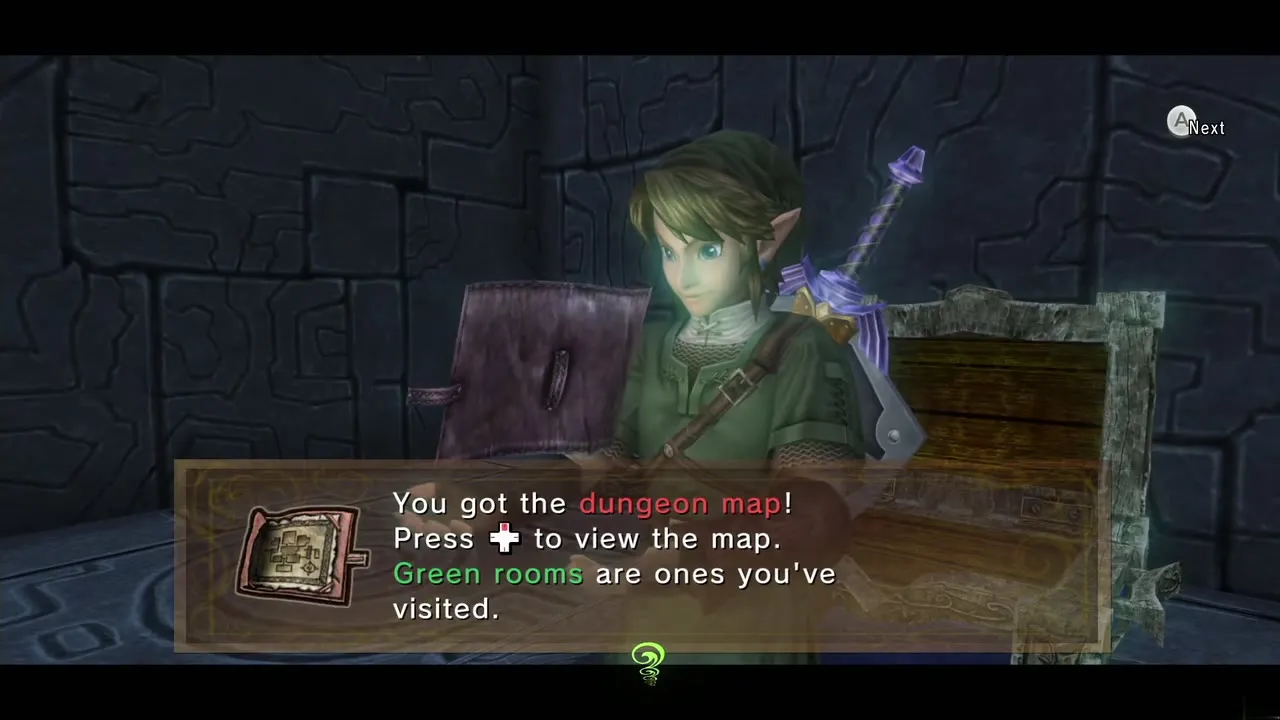
Dungeon Map
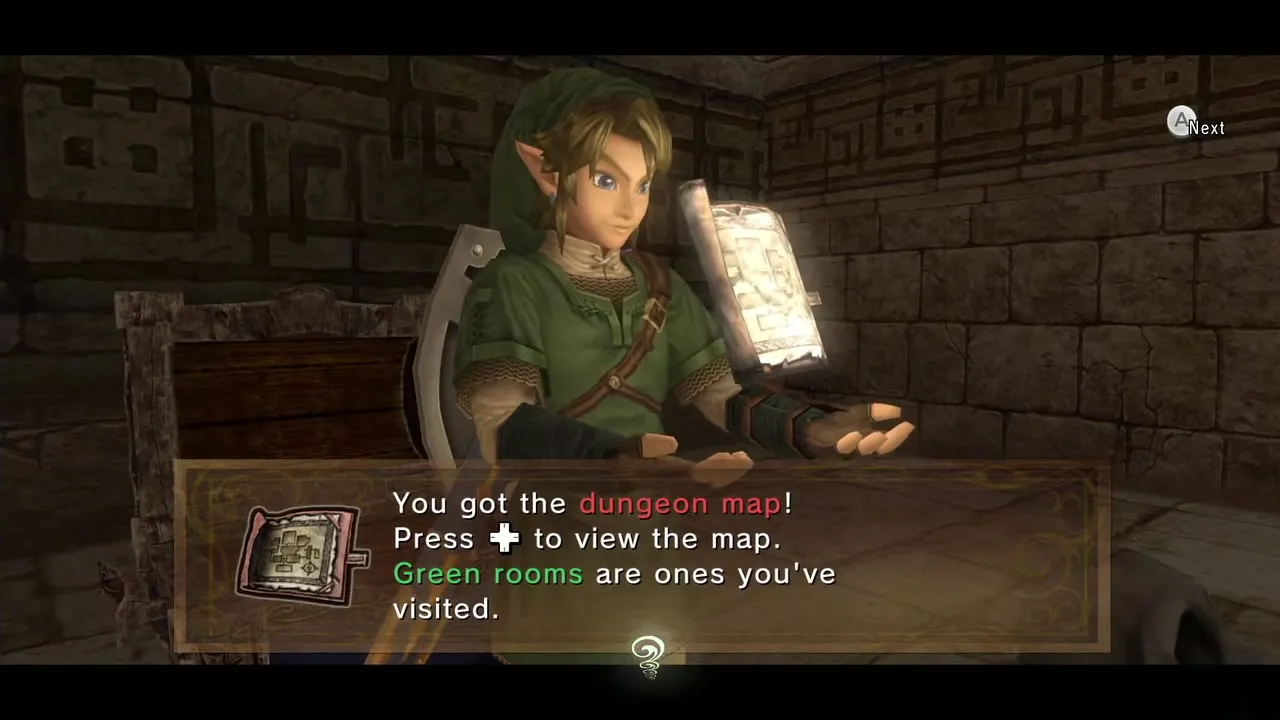
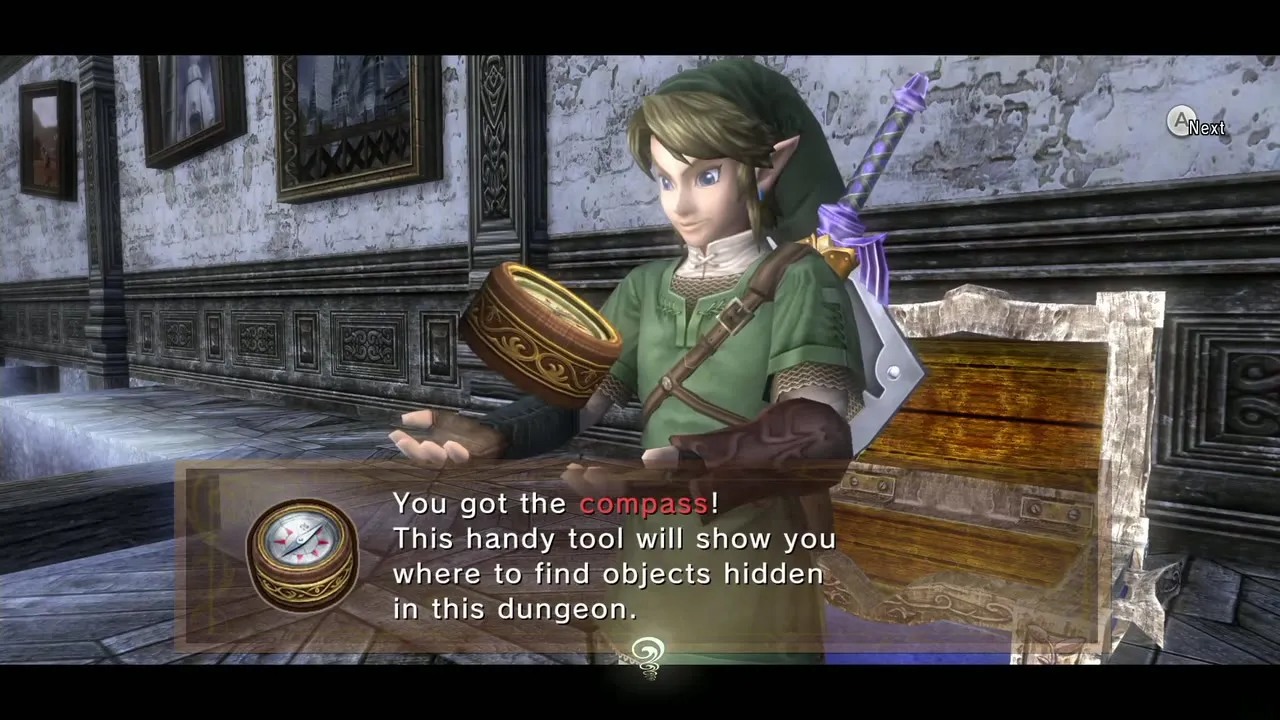
Shows the dungeon layout and the room you are in on the Gamepad and pause menu. In the Snowpeak Ruins Yeta gives you the map, and the boss room only appears on it once Yeta has entered her bedroom.


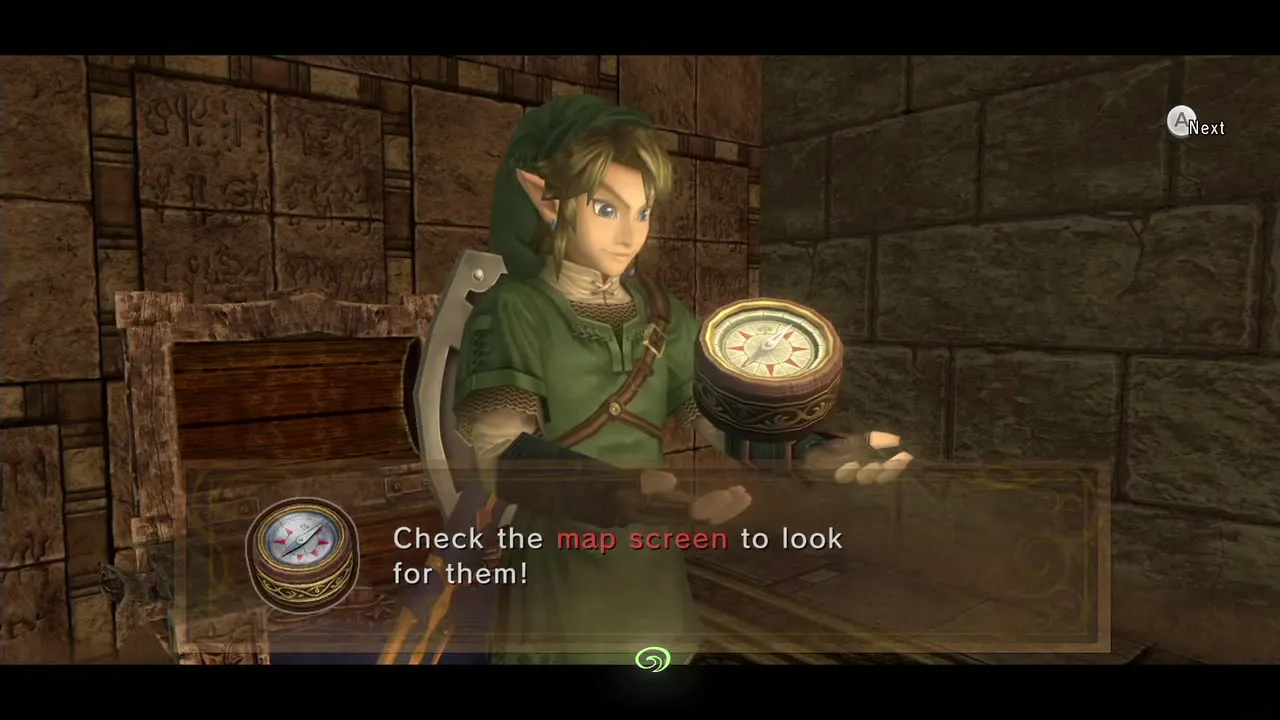
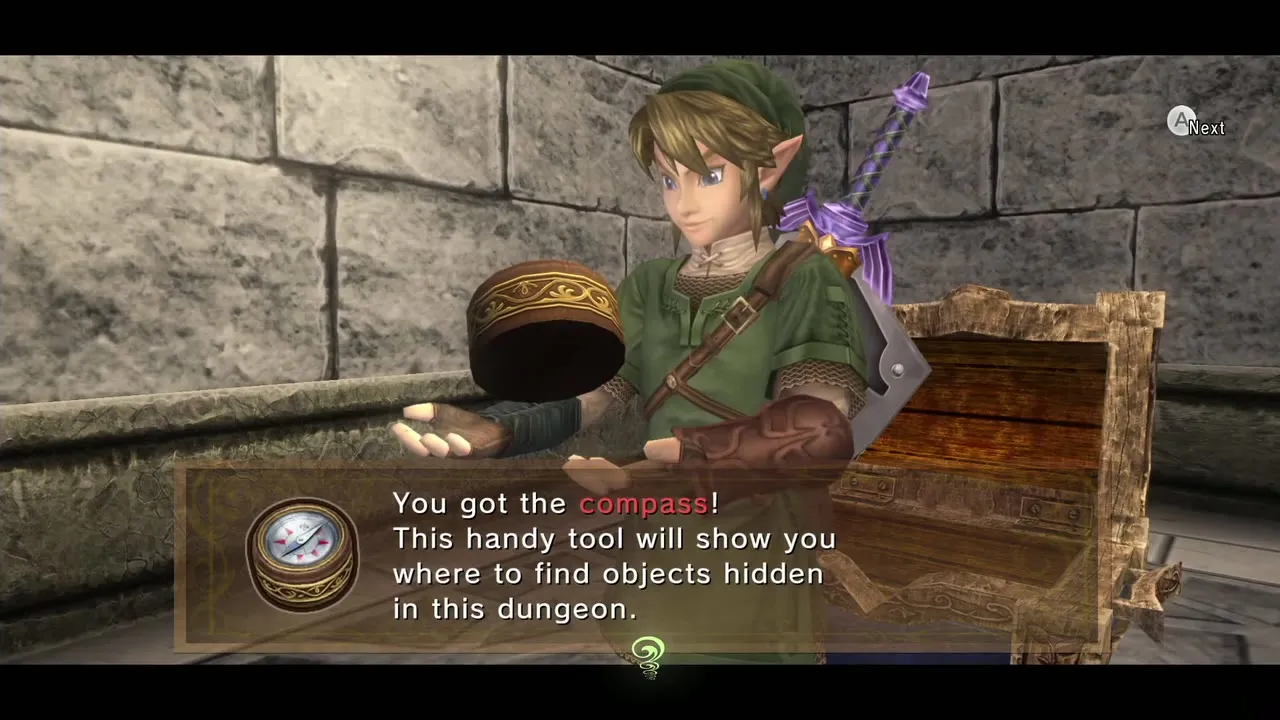
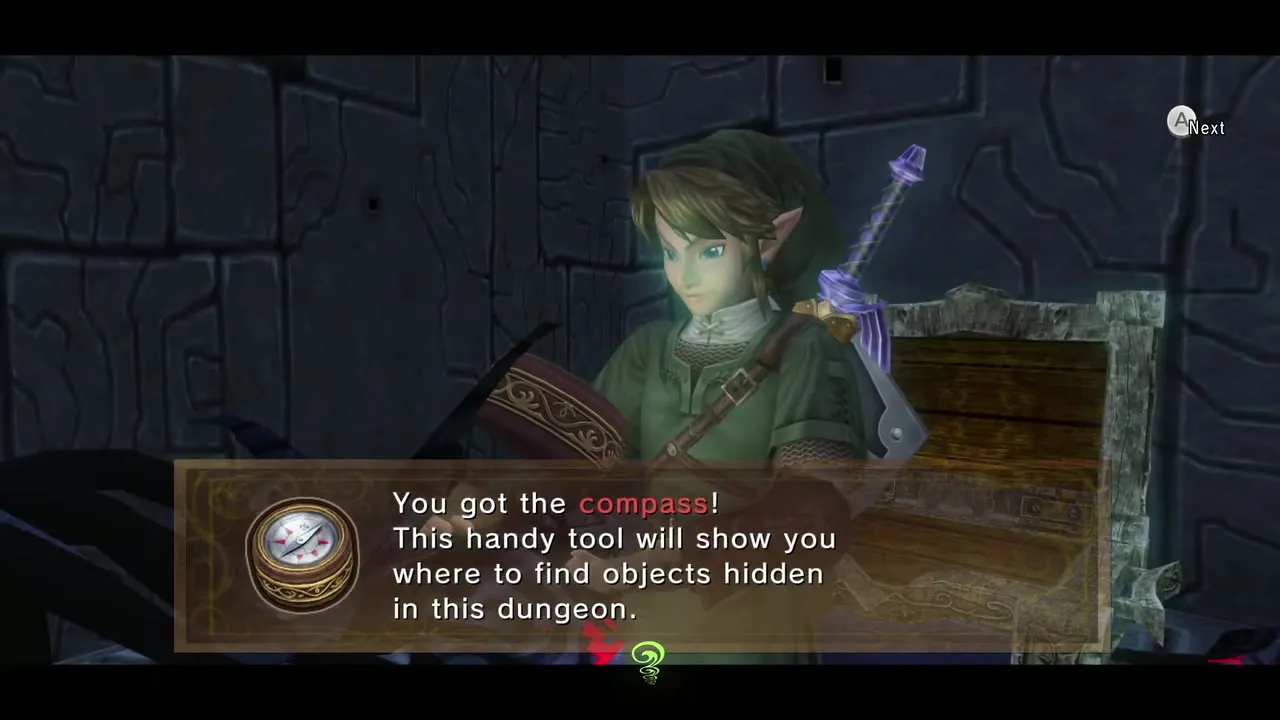
Compass
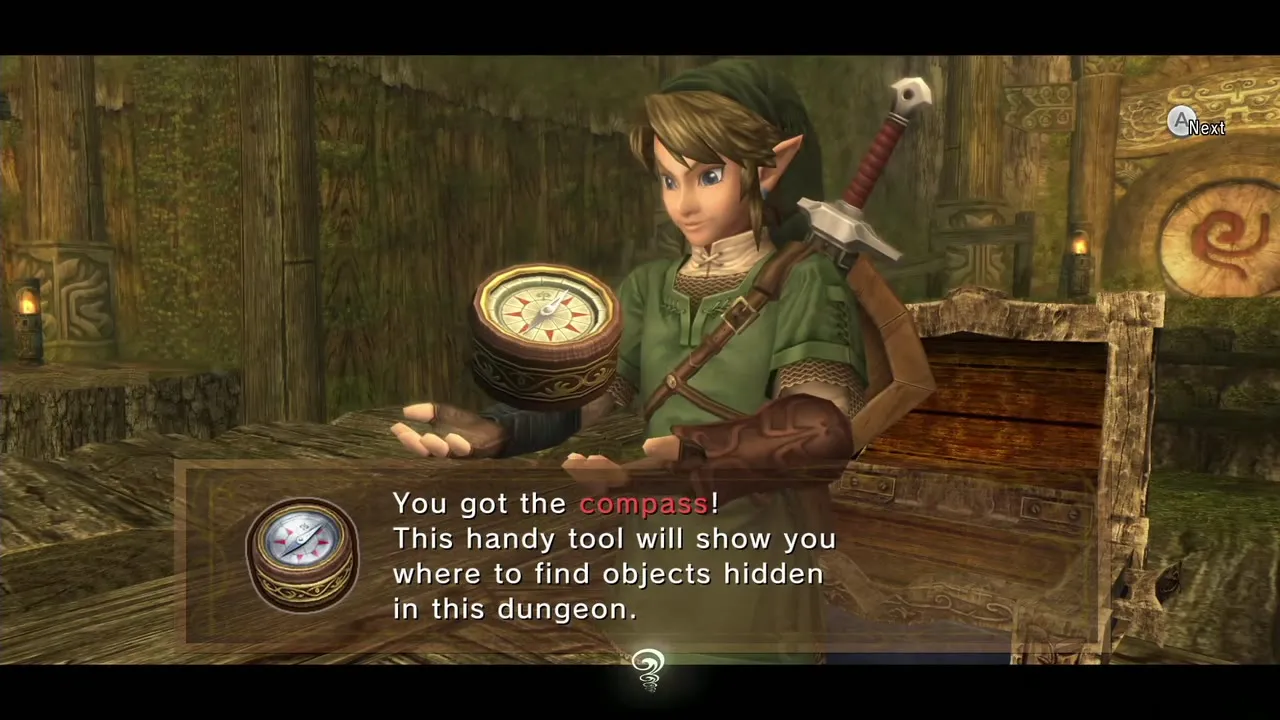
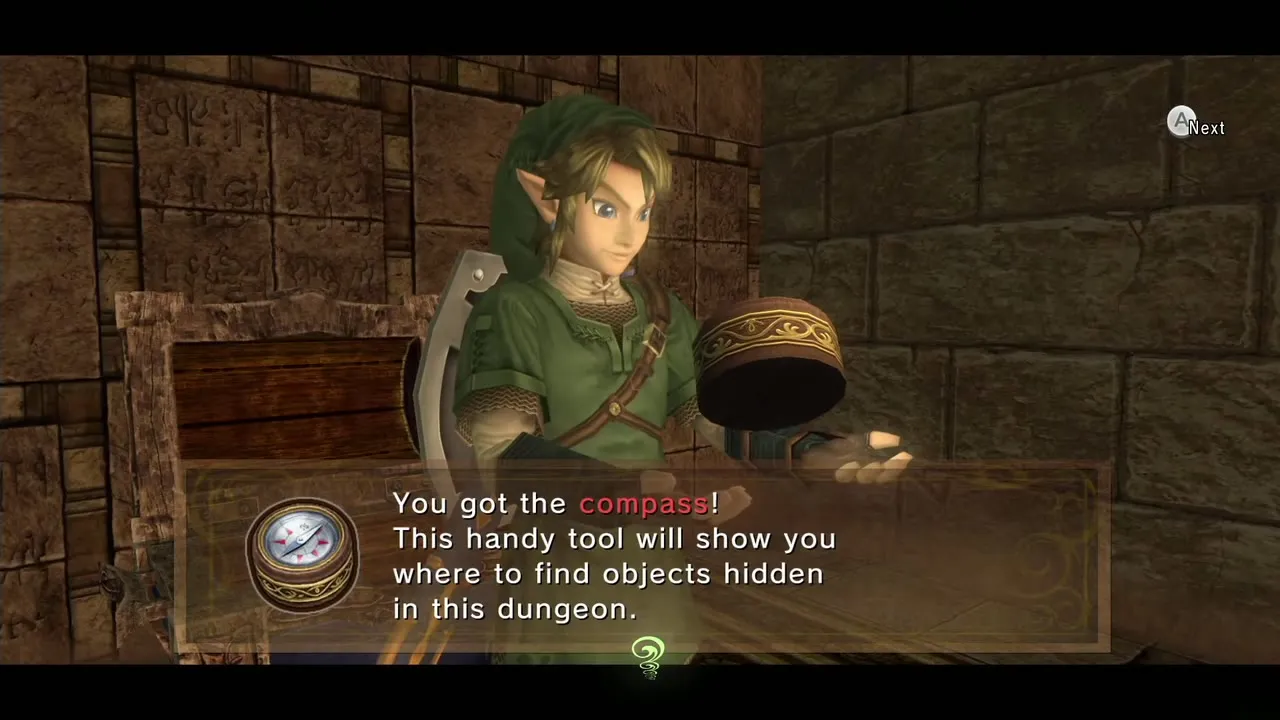
Marks the unopened chests on the map, so you can tell how much of a dungeon is left to search, and in some dungeons the remaining monkeys, Poes or similar goals. It also marks buried chests, which you dig up as Wolf Link.

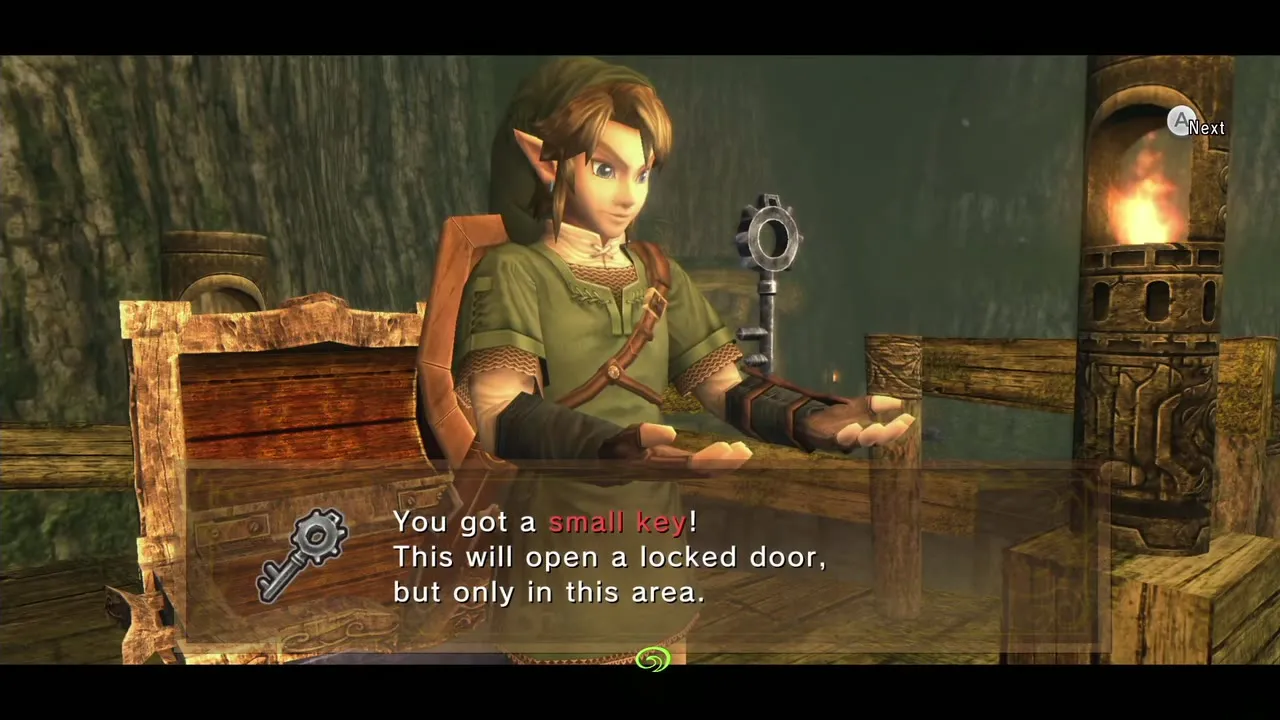
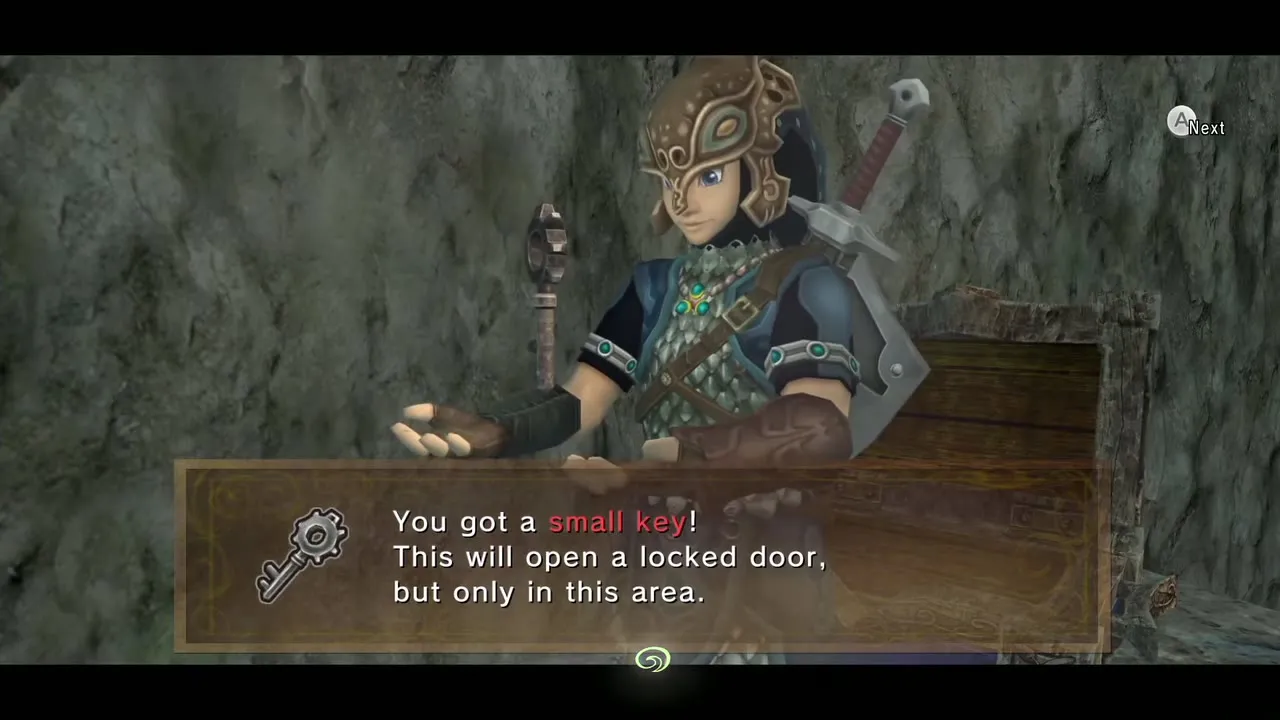
Small Key
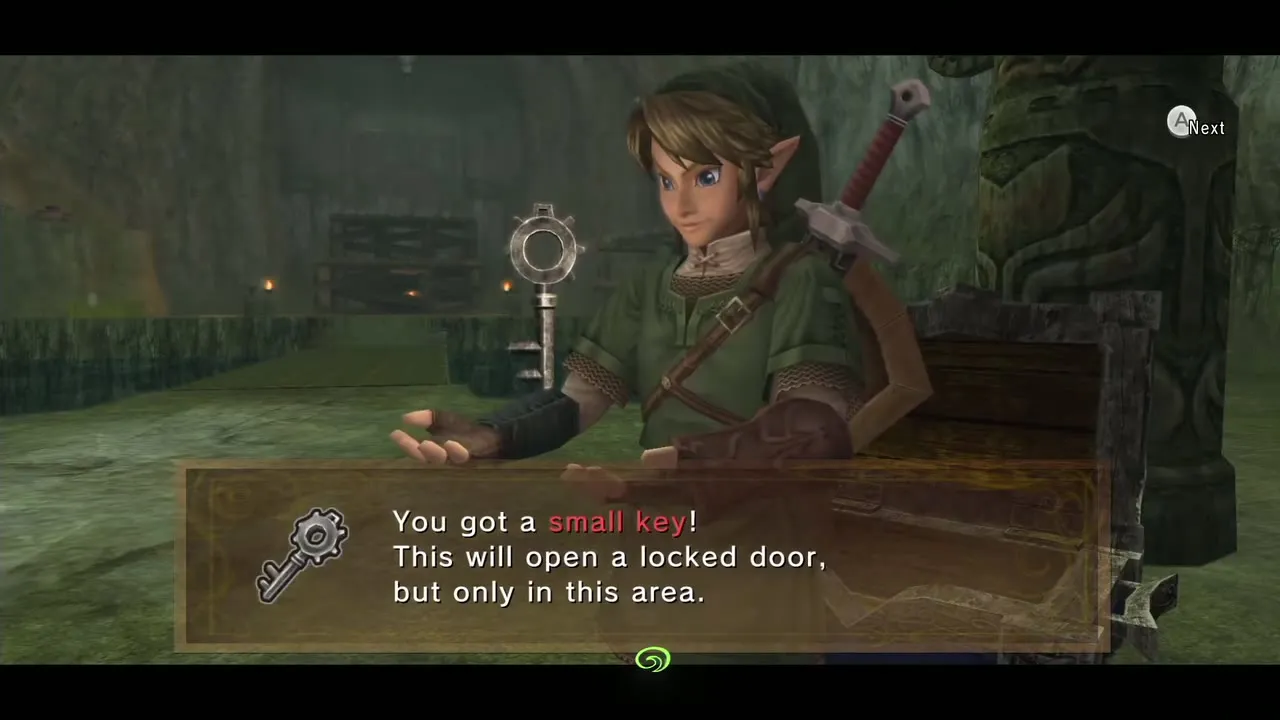
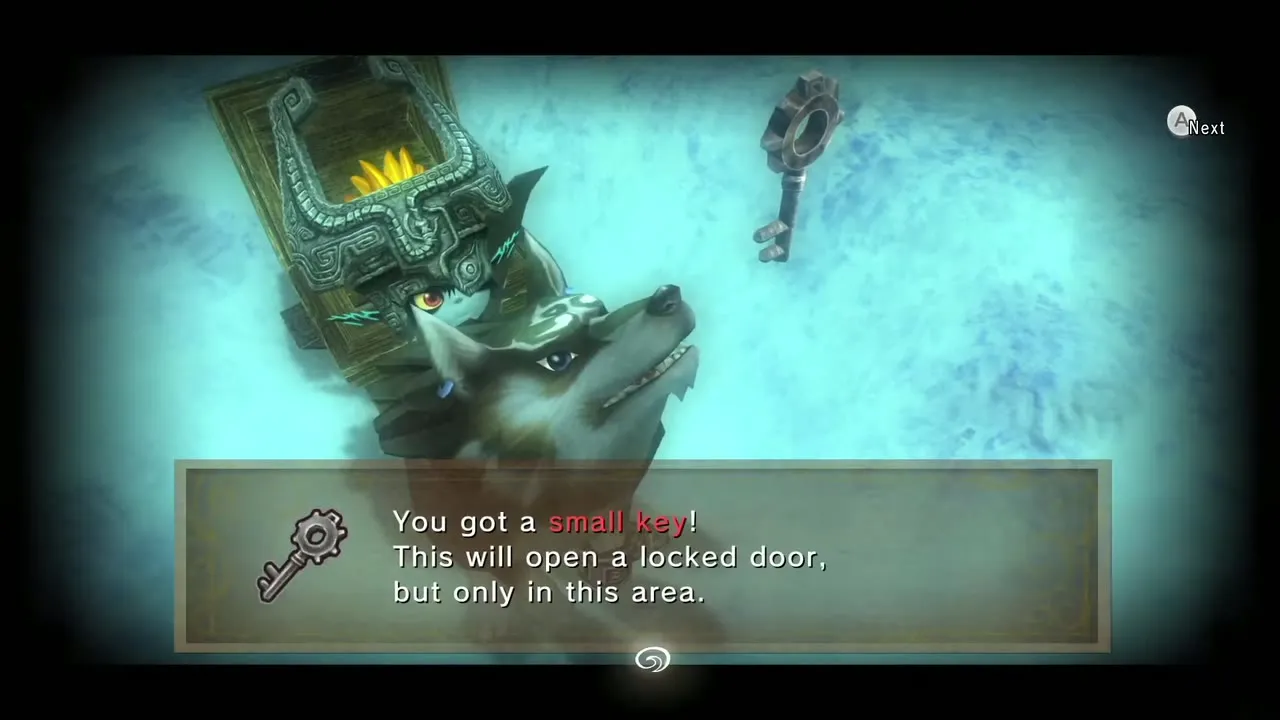
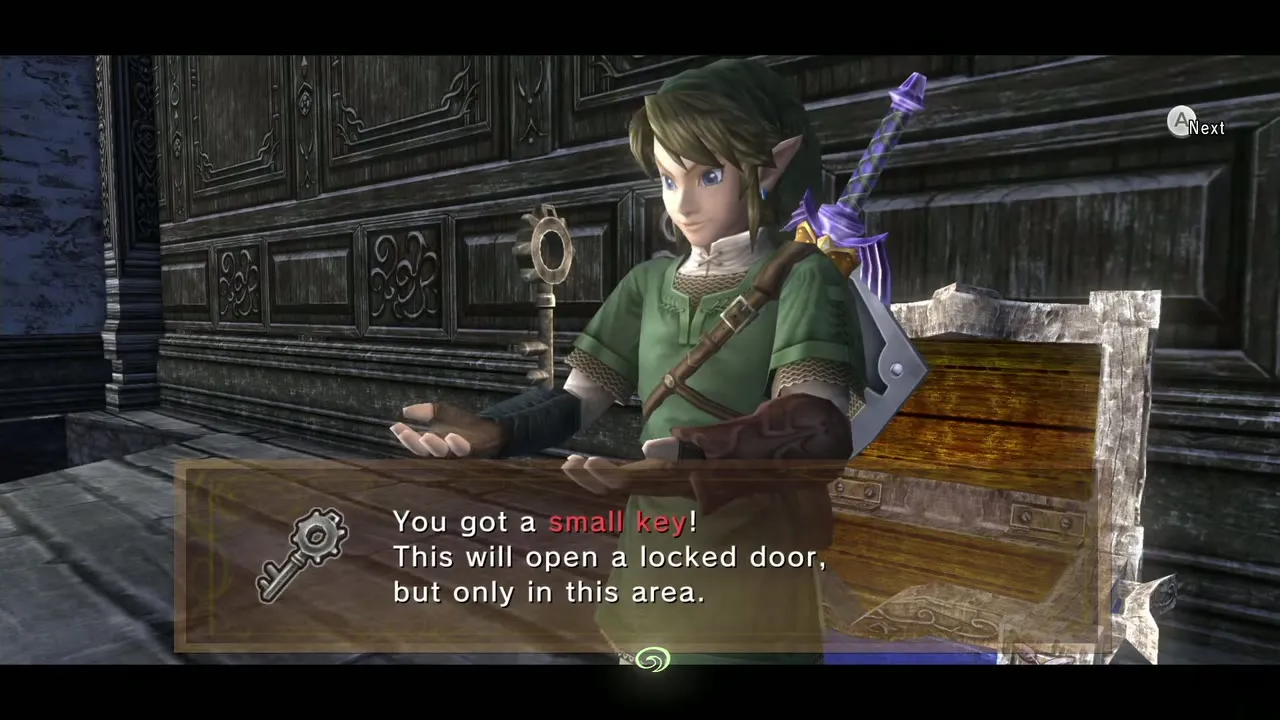
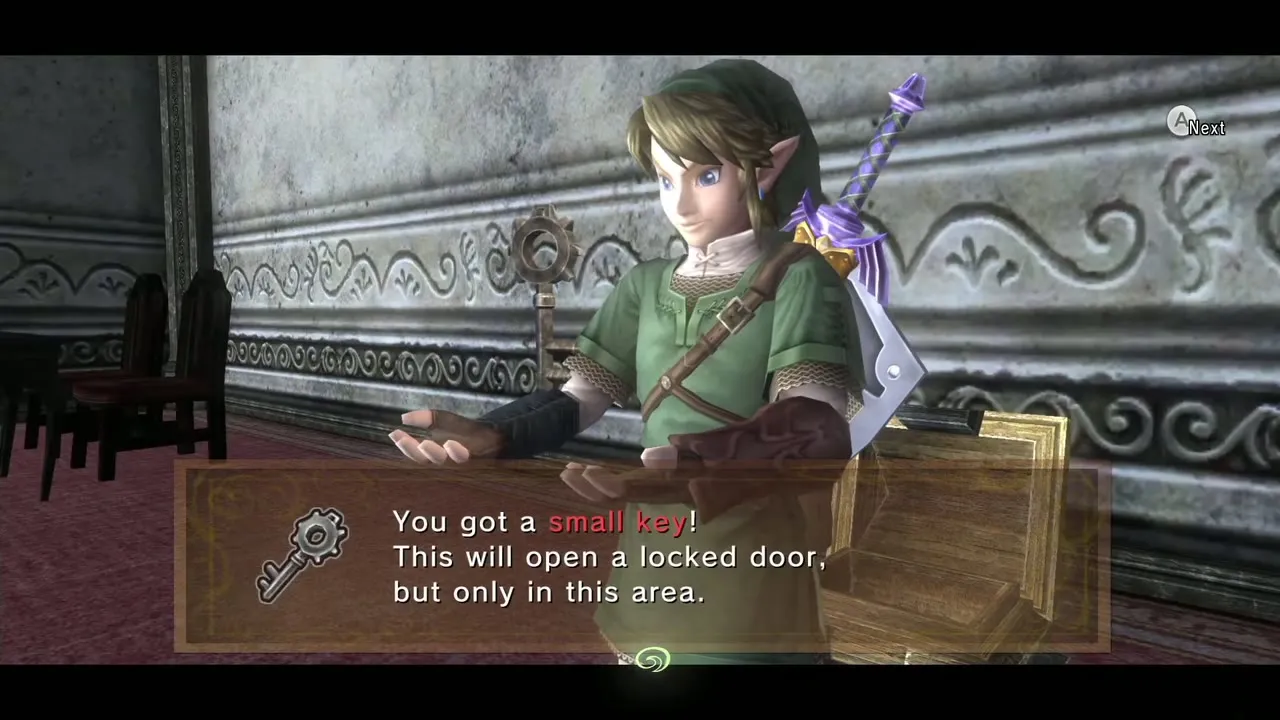
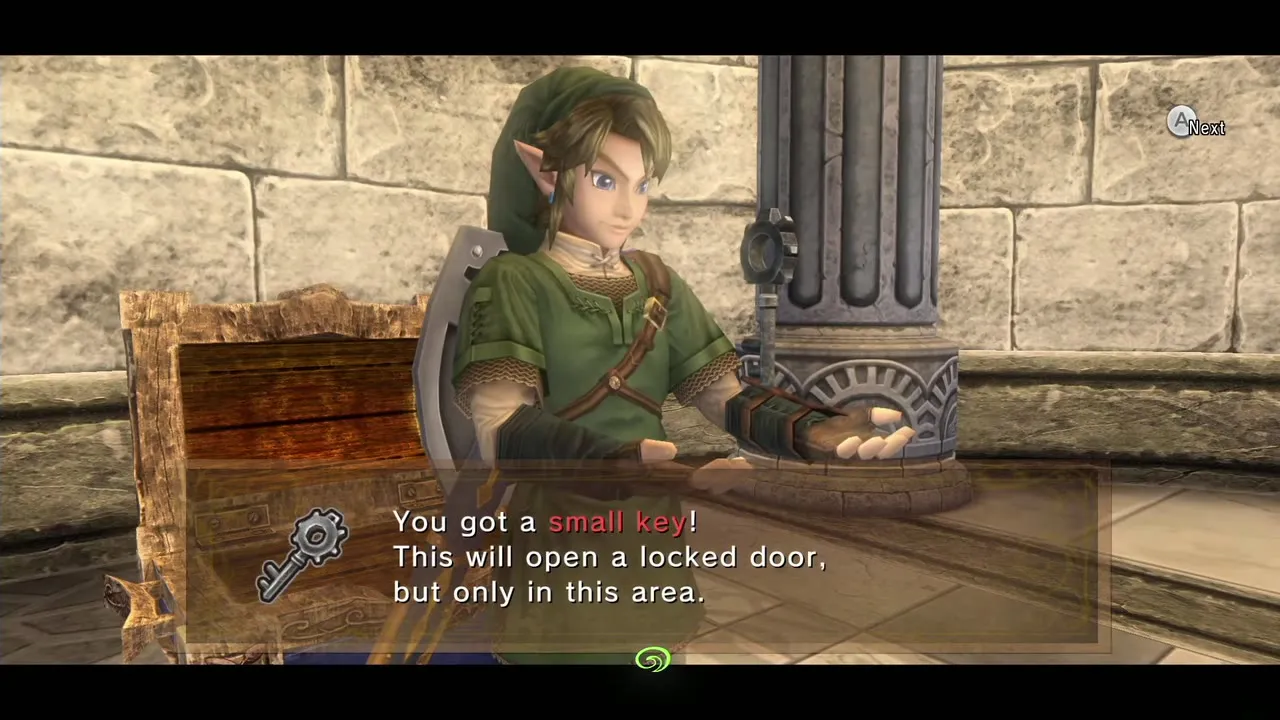
Opens one locked door and is used up when you open it. A door stays open once unlocked.
Big Key
Opens the door to the boss. It sits in a large chest in most dungeons; the Goron Mines Big Key is assembled from three Key Shards and the Snowpeak Ruins Big Key is the Bedroom Key.

Dungeon by dungeon
Forest Temple
Forest Temple holds 4 Small Keys, a Dungeon Map, a Compass and the Big Key. The dungeon item is the Gale Boomerang (after Ook). The boss is Diababa, who drops a Heart Container and a Fused Shadow. Route: Forest Temple chapter.
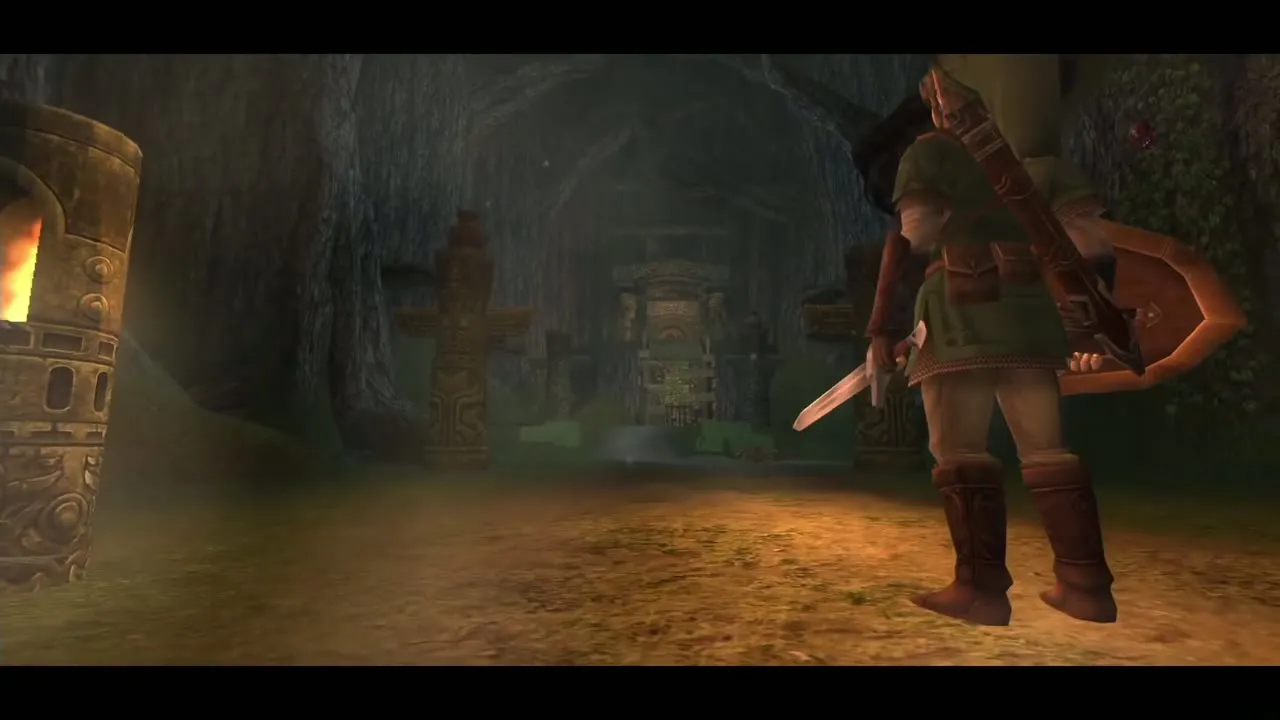

Dungeon Map: Chest beyond the torch staircase in the first hub, reached by following the monkey and lighting four torches. Compass: Chest hanging in a web in the hub; cut the web with the Gale Boomerang. Big Key: Gated chest in the water room, opened by hitting the four fan spinners in the order of the Z drawn on the floor.

Small Keys: Small Key 1 is in a chest beyond the wind-turned bridge outside. Small Key 2 falls out of a chest on a pillar in the third monkey’s room. Small Key 3 is in the room where a Big Baba guards the fourth monkey: beat it, bomb the growth it leaves and take the key. Small Key 4 is in a chest in the monkey hub, after you bomb a Deku Like. Eight monkeys are caged here; freeing all of them builds the swing to the boss room.


Goron Mines
Goron Mines holds 3 Small Keys, a Dungeon Map, a Compass and the Big Key, rebuilt from three Key Shards. The dungeon item is the Hero’s Bow (after Dangoro). The boss is Fyrus, who drops a Heart Container and a Fused Shadow. Route: Goron Mines chapter.
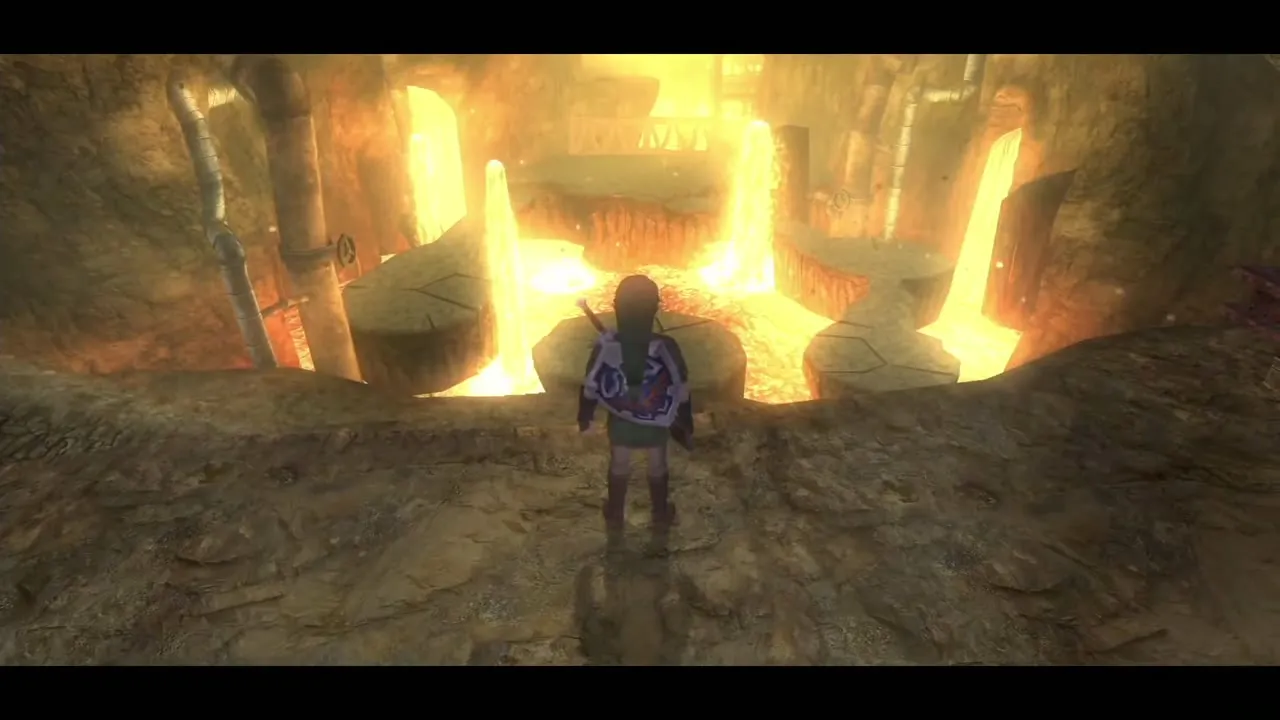
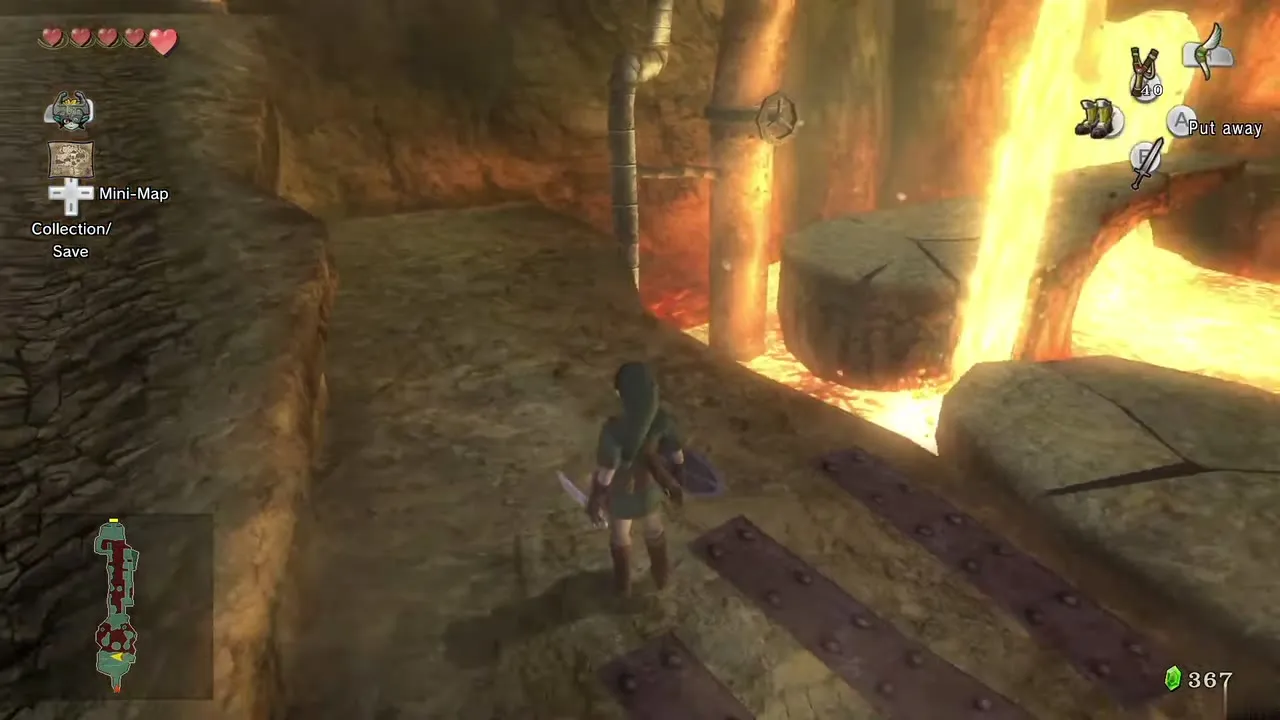
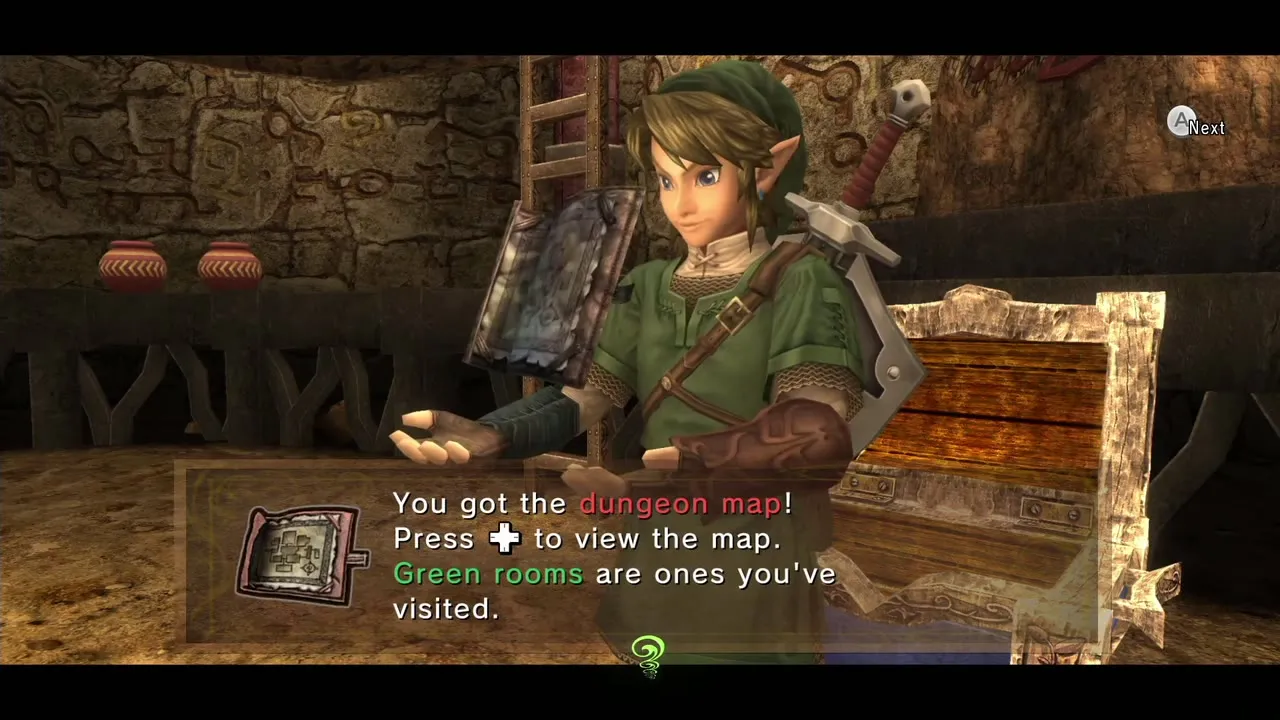
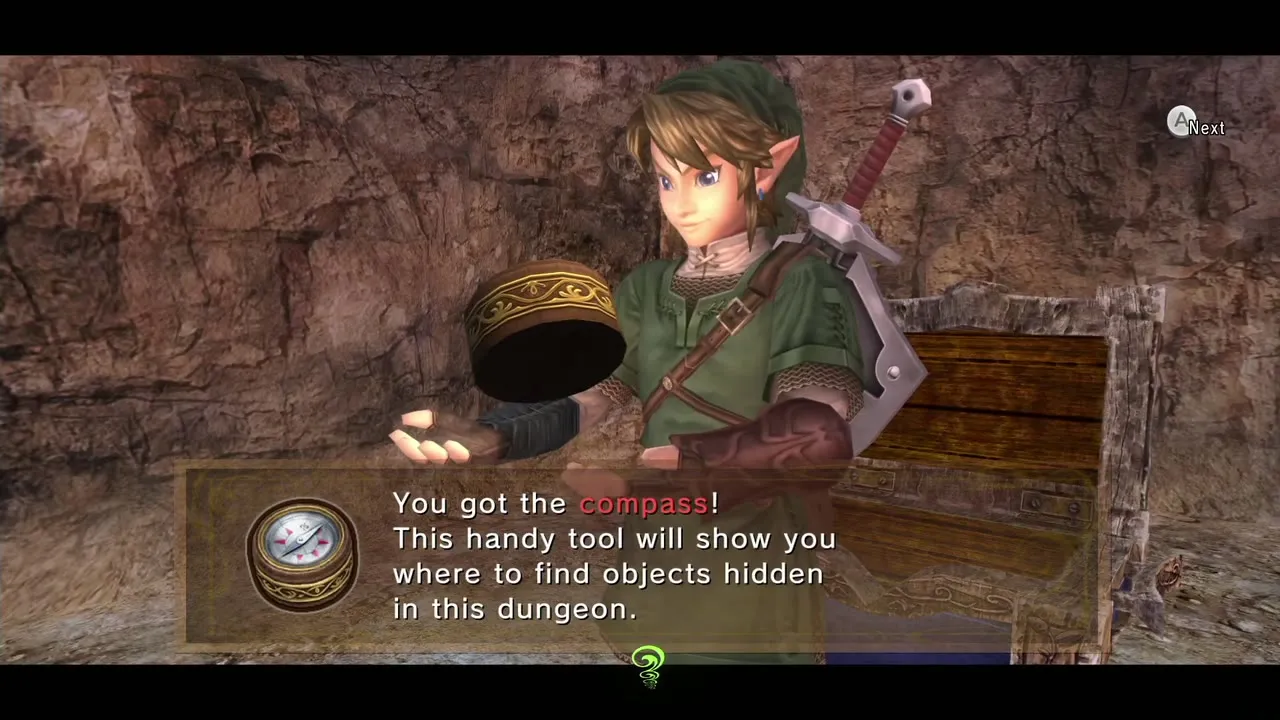
Dungeon Map: Chest in Gor Amoto’s room. Compass: Large chest behind the west Beamos, in the Beamos room. Big Key: Gor Amoto, Gor Ebizo and Gor Liggs each hand over a Key Shard; Gor Liggs’s completes the Big Key.
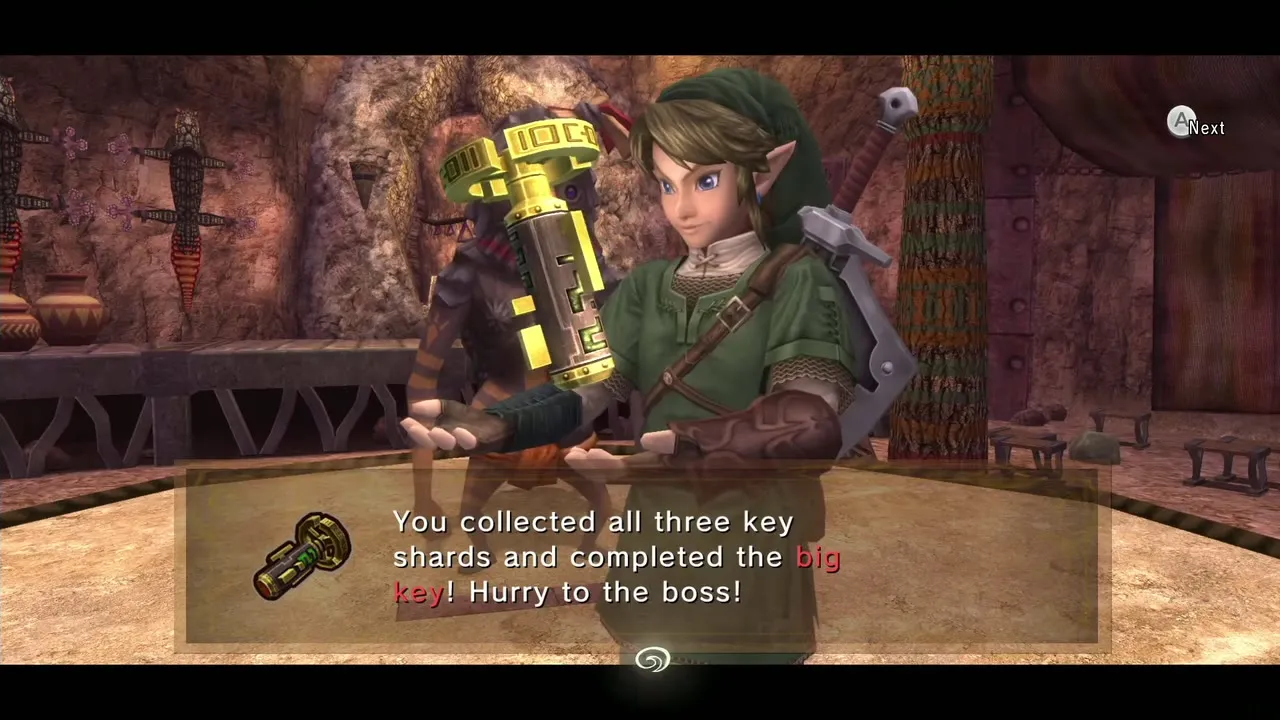
Small Keys: Small Key 1 is in a chest down the right-hand path of the central chamber. Small Key 2 is in an underwater chest in the Tektite pool. Small Key 3 is in a chest in the open courtyard. The Big Key is not found in a chest here; the Goron elders hold its pieces.

Lakebed Temple
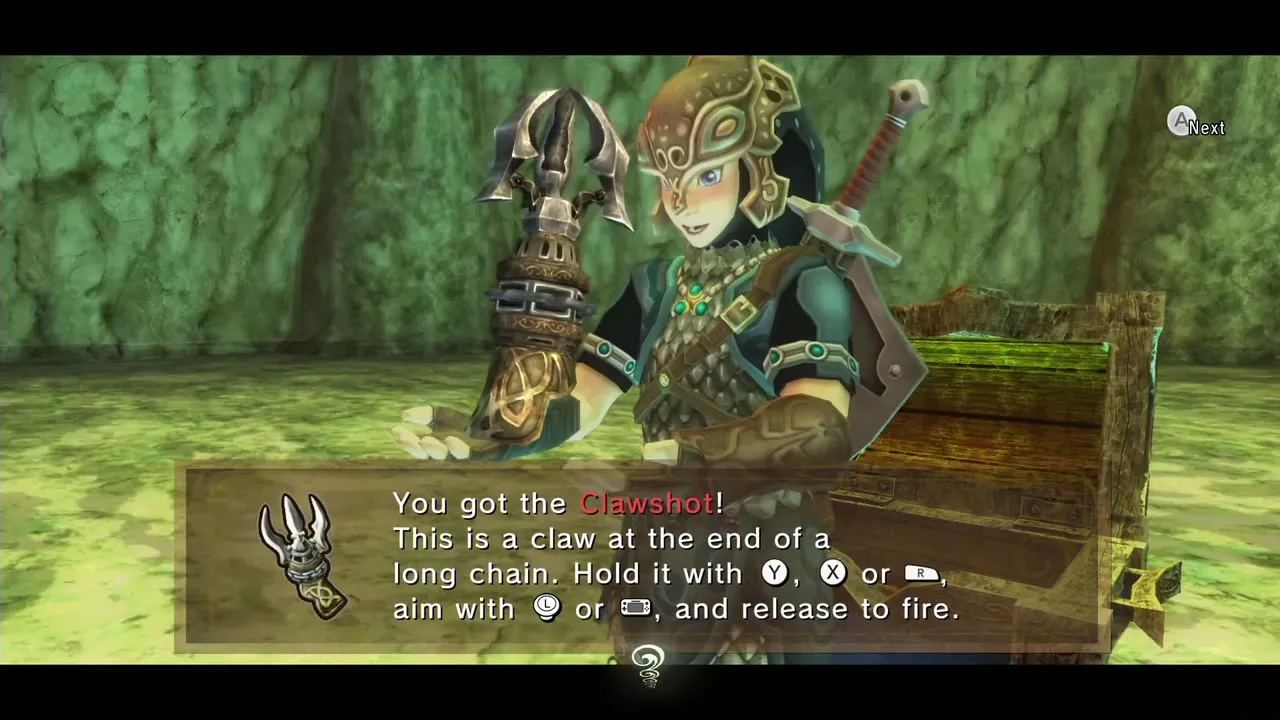
Lakebed Temple holds 3 Small Keys, a Dungeon Map, a Compass and the Big Key. The dungeon item is the Clawshot (after Deku Toad). The boss is Morpheel, who drops a Heart Container and a Fused Shadow. Route: Lakebed Temple chapter.
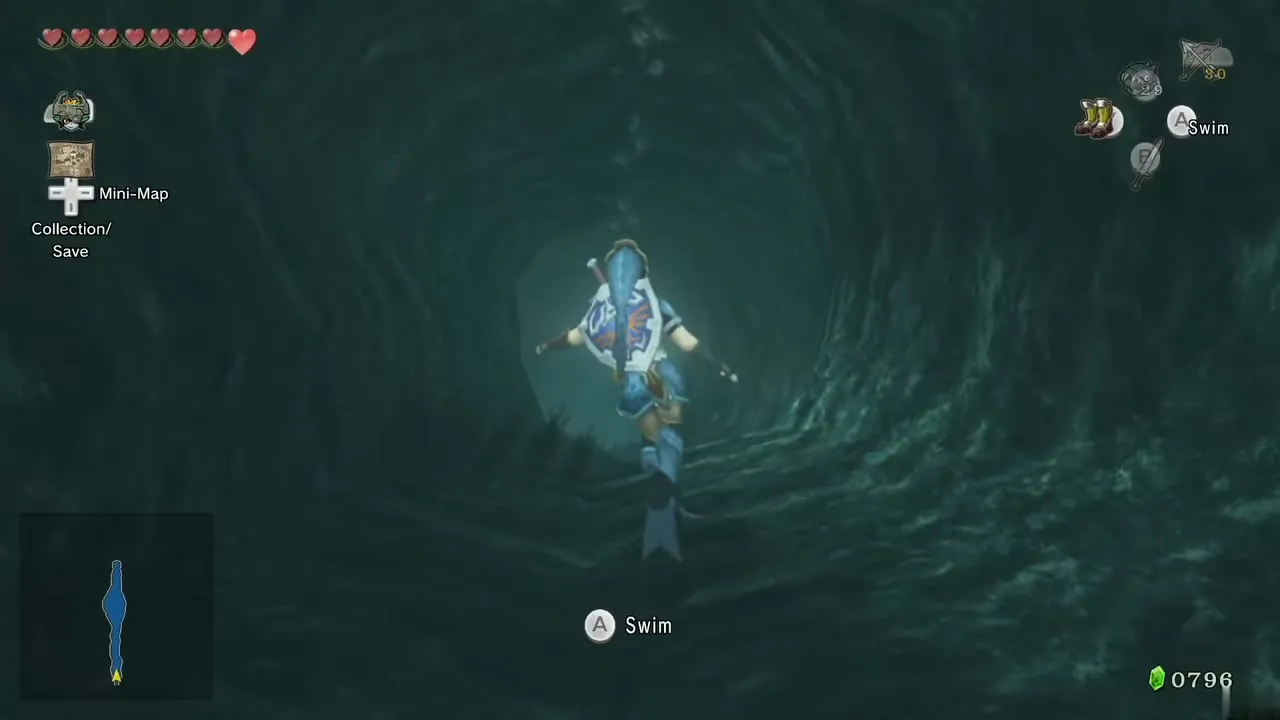

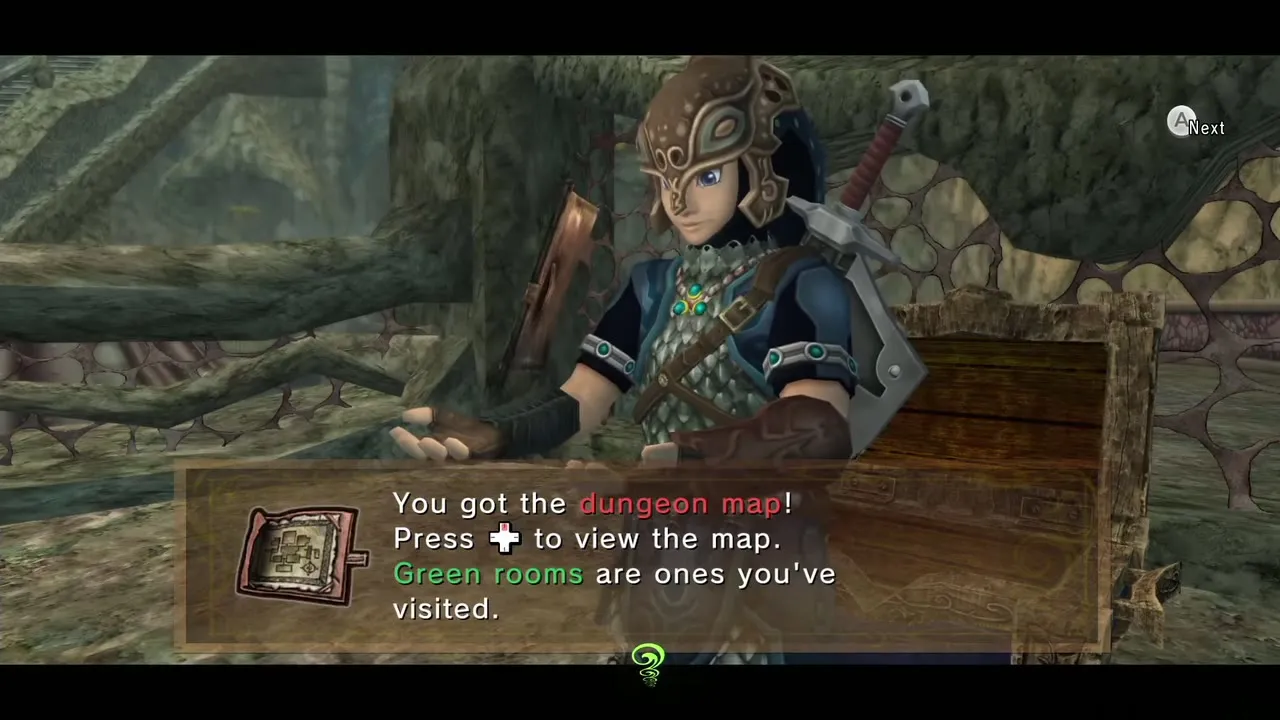
Dungeon Map: Chest in the main hall after you rotate the staircase. Compass: Chest at the top of the west tower’s spiral ramp, past a Clawshot target. Big Key: Chest below the ceiling-target hole in the south room past the water maze.
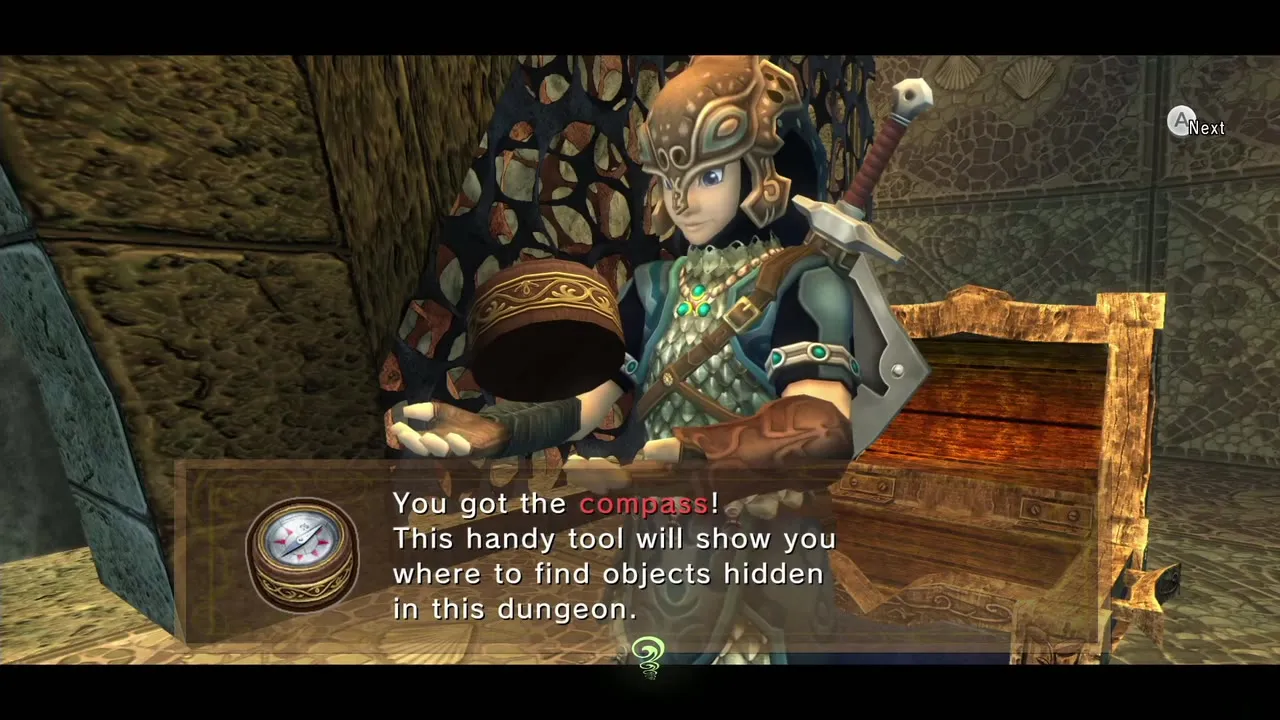

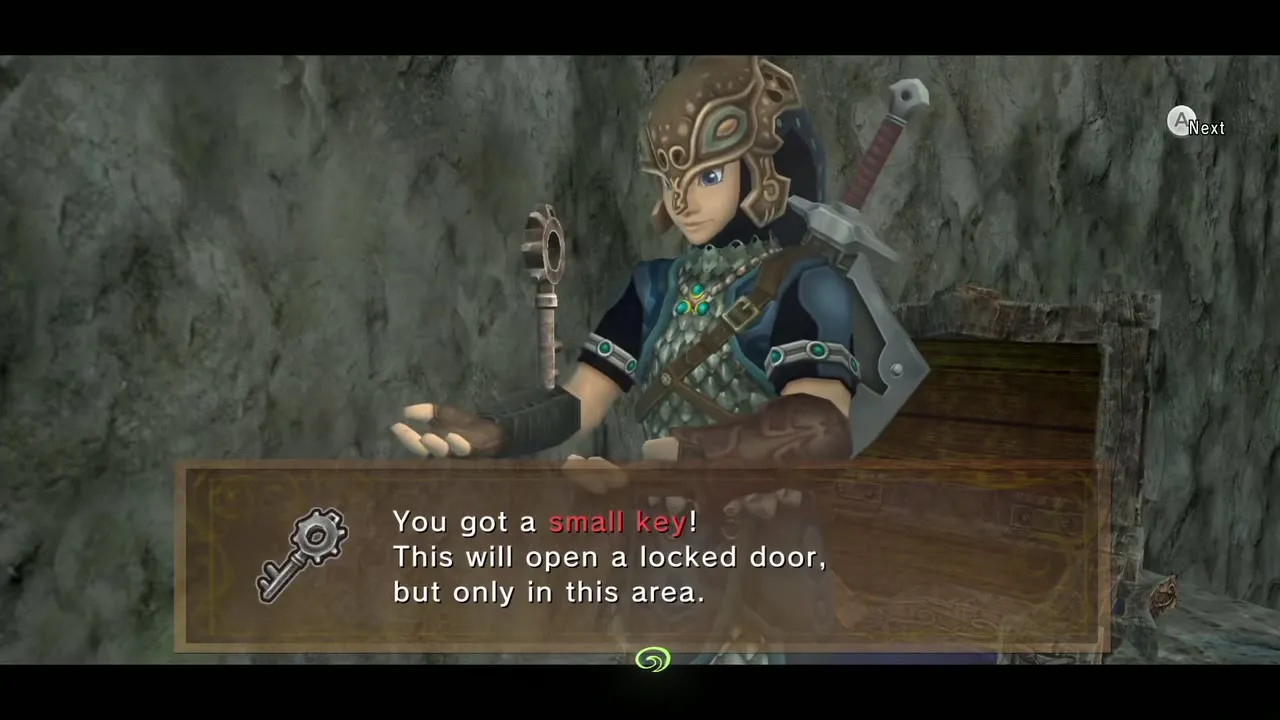
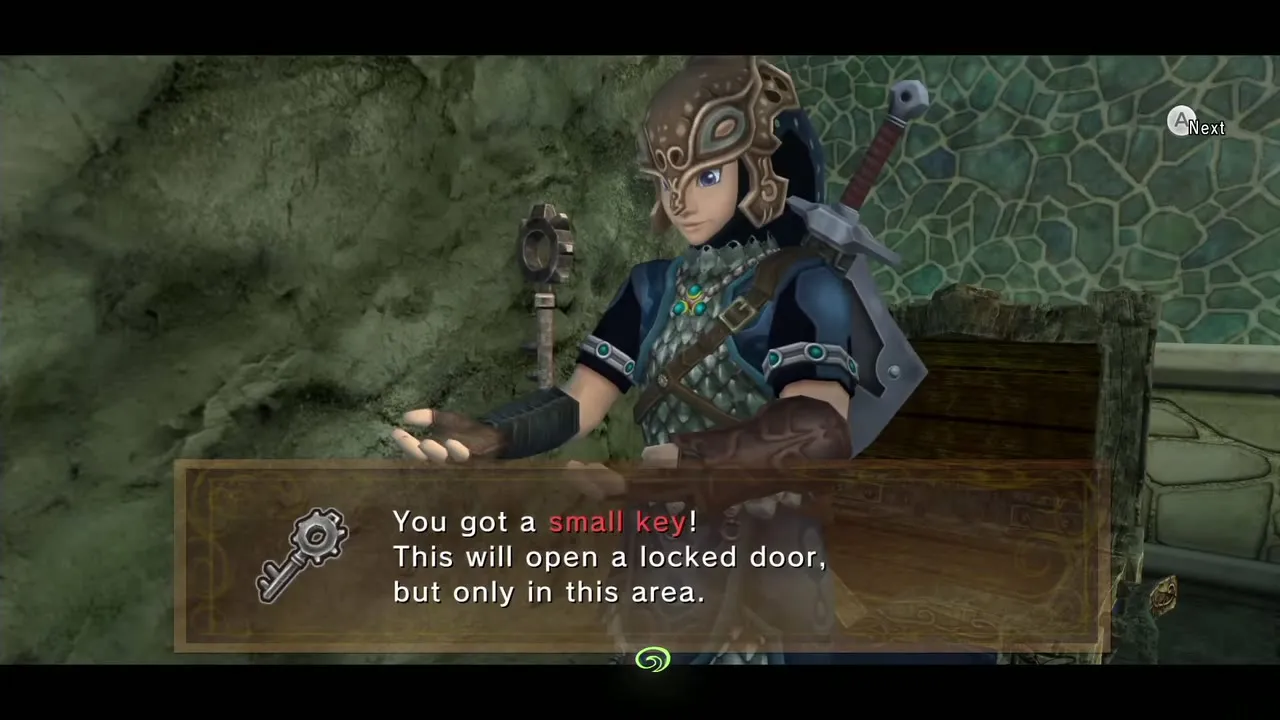
Small Keys: Small Key 1 is on the north-east platform of the second stalactite room. Small Key 2 is in a chest in the south-east room off the platform room. Small Key 3 is in a chest past the north door of the gear room. The Clawshot you win from the Deku Toad is needed for the Compass and the Big Key.

Arbiter’s Grounds
Arbiter’s Grounds holds 5 Small Keys, a Dungeon Map, a Compass and the Big Key. The dungeon item is the Spinner (after Death Sword). The boss is Stallord, who drops a Heart Container (no Mirror Shard). Route: Arbiter’s Grounds chapter.
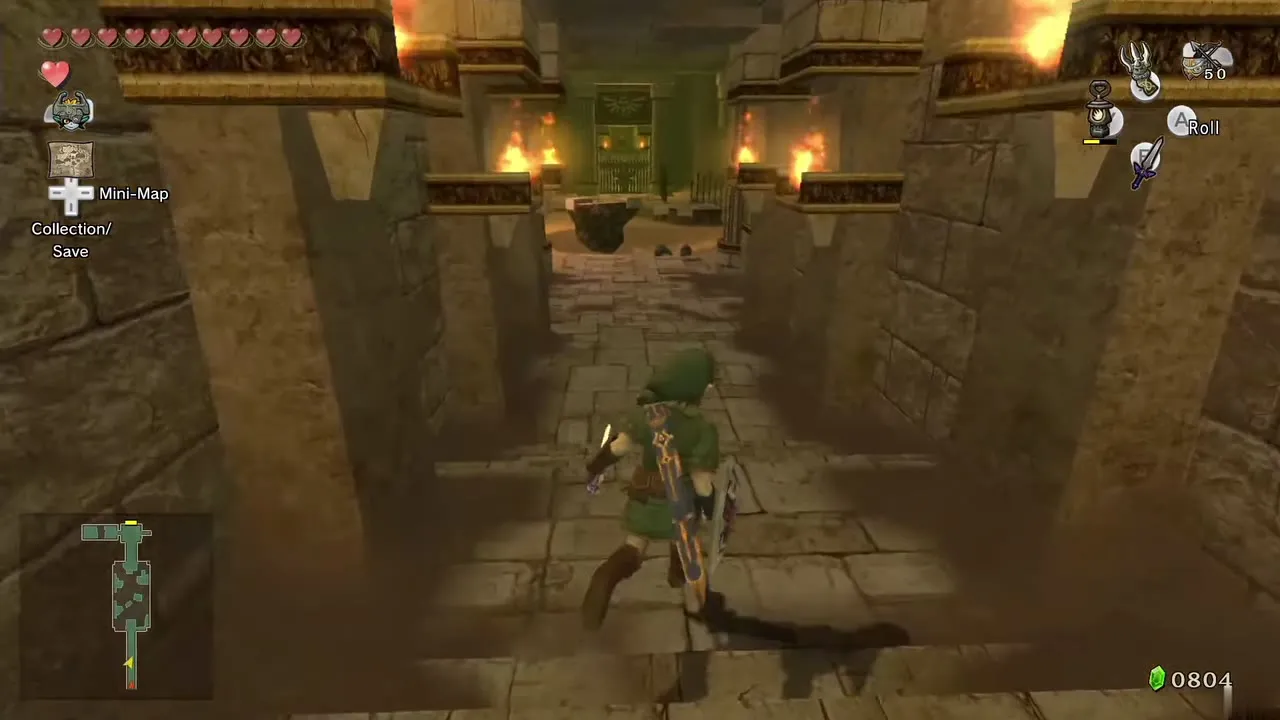
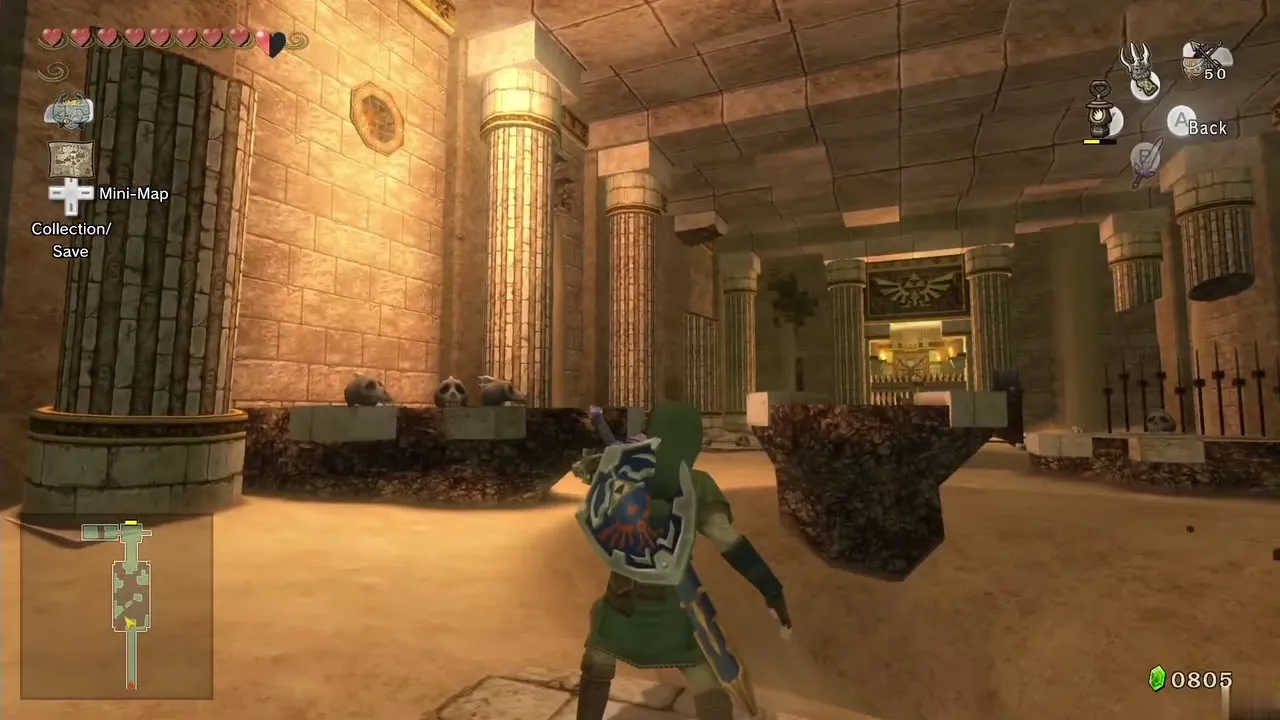
Dungeon Map: Chest on the north-west platforms of the central chamber, past some Bubbles. Compass: Chest in the chandelier room, south end, behind a locked door. Big Key: Large chest in the room beyond the paired rails, reached with the Spinner.
Small Keys: The first key is in a chest at the end of the west corridor, behind boards. Others are in a small chest behind the Map chest, in a chest behind a ReDead Knight, in a chest after a drop, and the fifth in a chest reached by pushing a block clockwise. Four Poes must be hunted in the first half to relight the torches that open the north door.


Snowpeak Ruins
Snowpeak Ruins holds 4 Small Keys, a Dungeon Map, a Compass and the Bedroom Key (acts as the Big Key). The dungeon item is the Ball and Chain (after Darkhammer). The boss is Blizzeta, who drops a Heart Container and a Mirror Shard. Route: Snowpeak Ruins chapter.
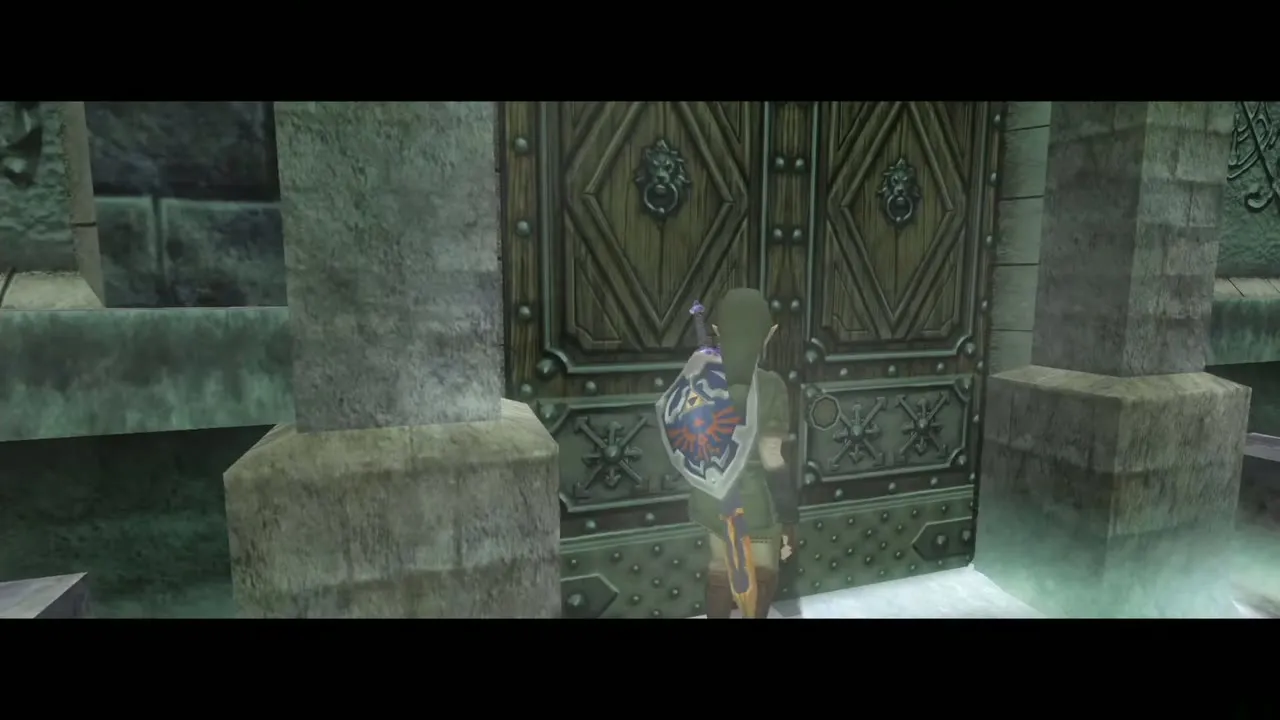

Dungeon Map: Given to you by Yeta in the first room; this is the only dungeon where the map is not in a chest. Compass: Chest in the south-east corner of the slick-platform room in the north-west wing. Bedroom Key: The Bedroom Key sits in a large chest in the west Chilfos room and opens the bedroom door.
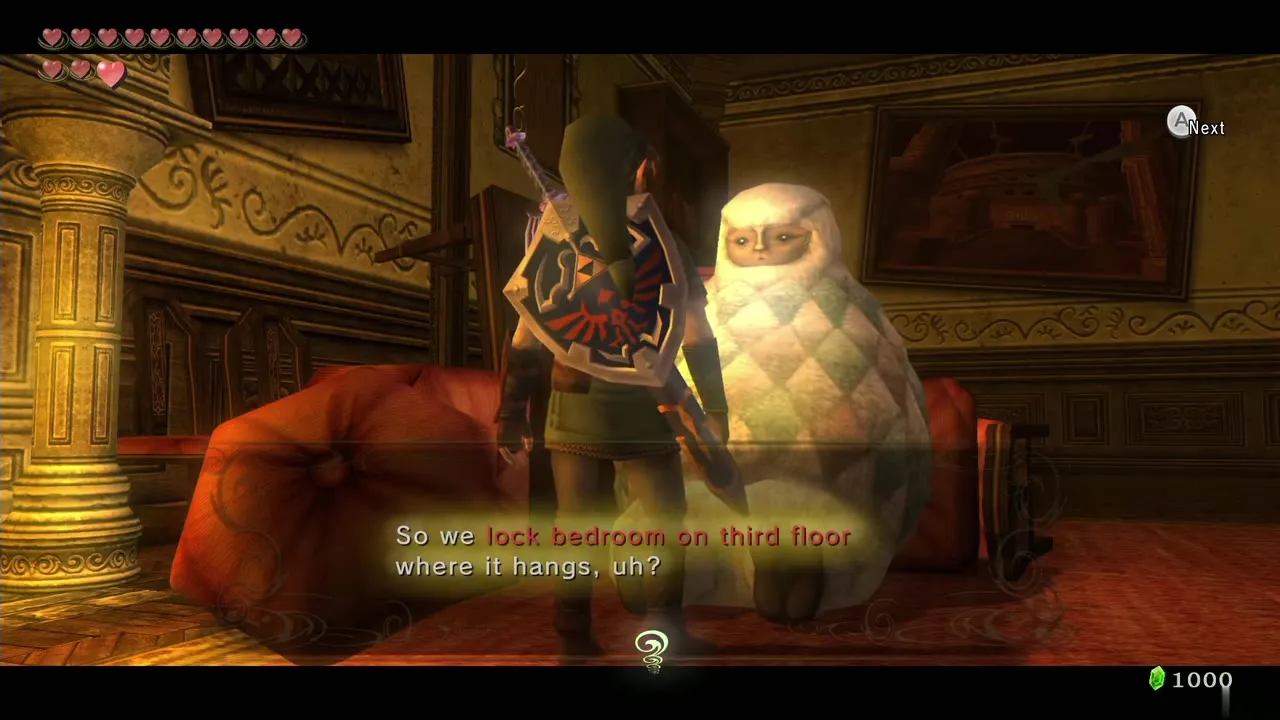

Small Keys: Two Small Keys are buried in the courtyard snow (dig as Wolf Link after clearing the White Wolfos). One is in a chest after the chandelier, one in a chest on an upper platform. Yeta marks the Bedroom Key on your map, but her memory is poor and the guesses send you to the Ordon Pumpkin and the Ordon Goat Cheese first.

Temple of Time
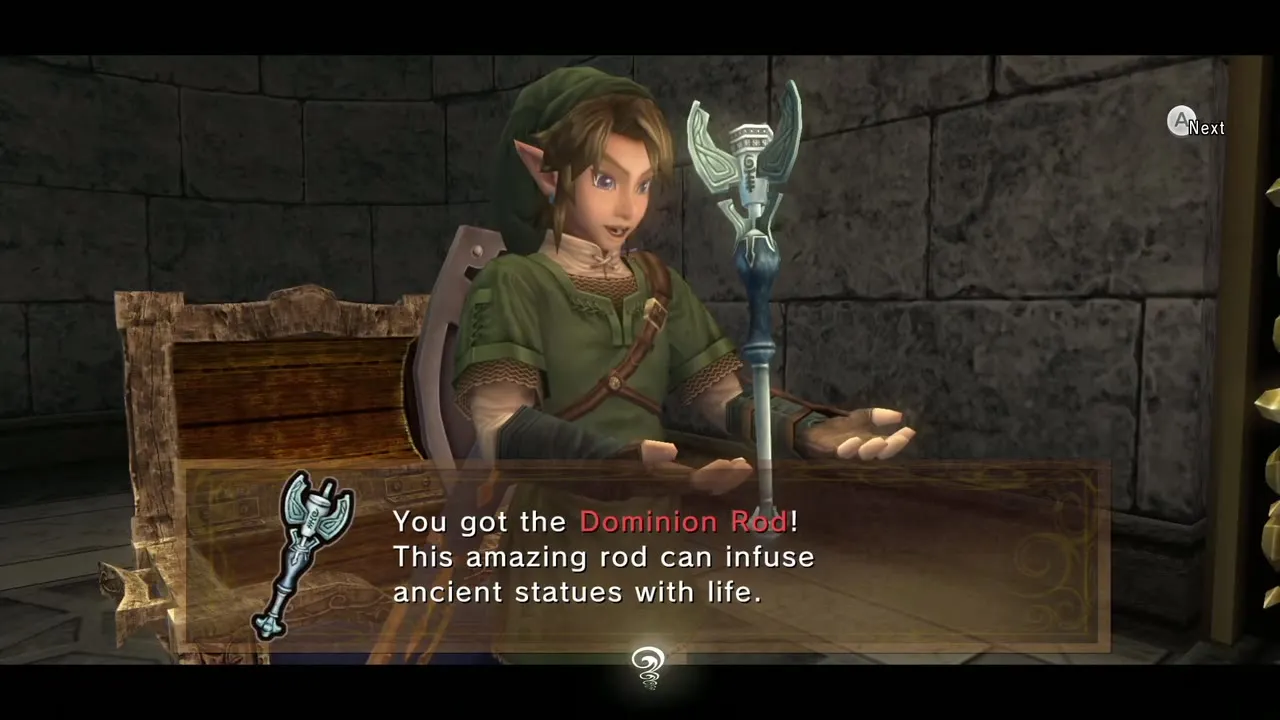
Temple of Time holds 3 Small Keys, a Dungeon Map, a Compass and the Big Key. The dungeon item is the Dominion Rod (after the Darknut). The boss is Armogohma, who drops a Heart Container and a Mirror Shard. Route: Temple of Time chapter.
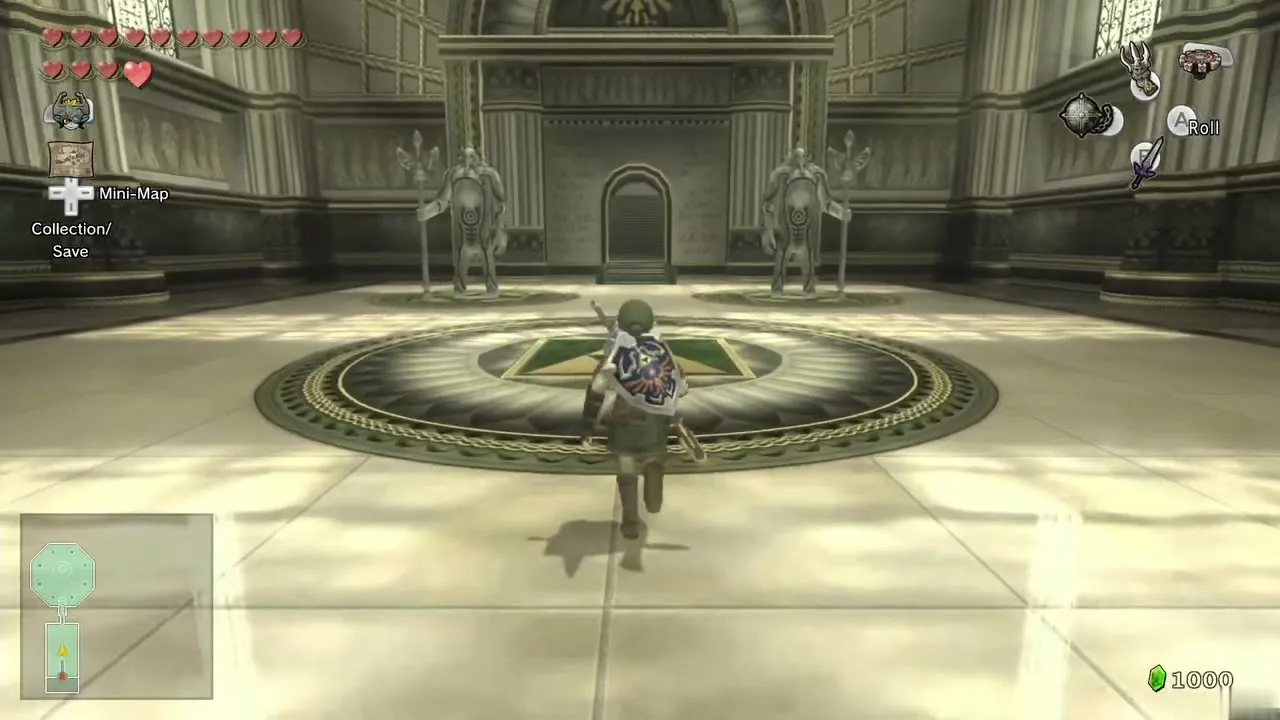
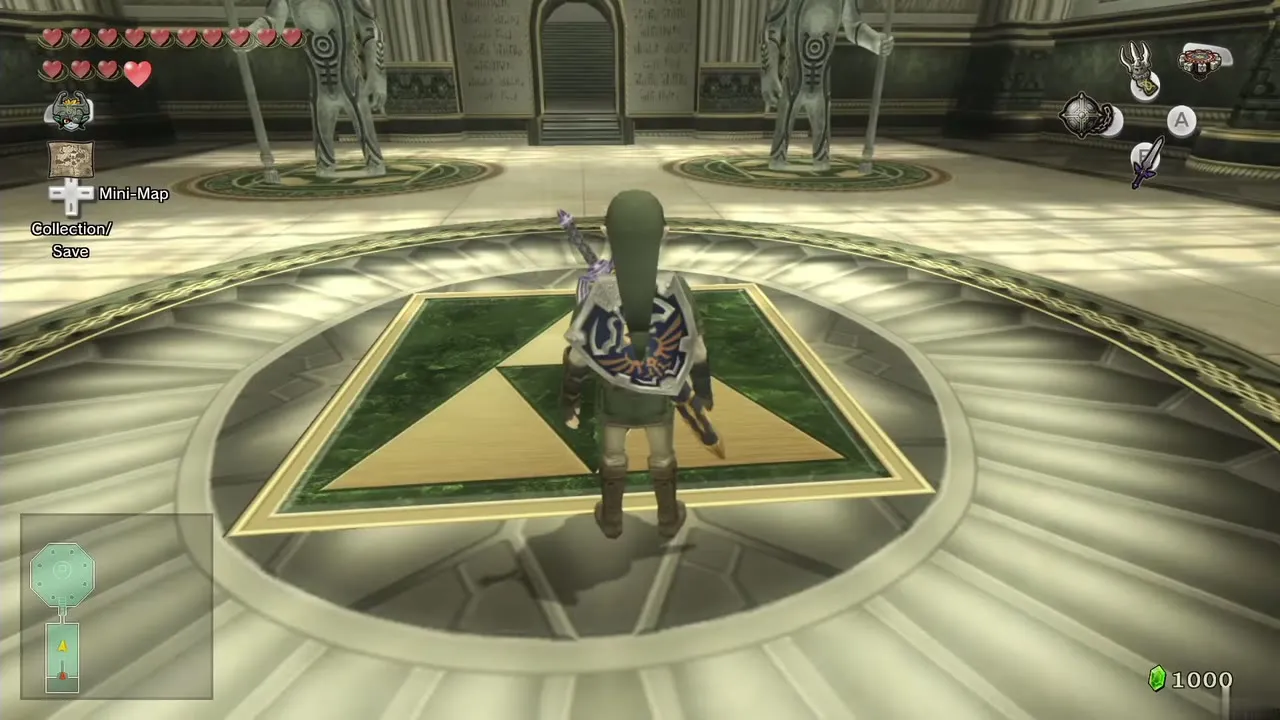
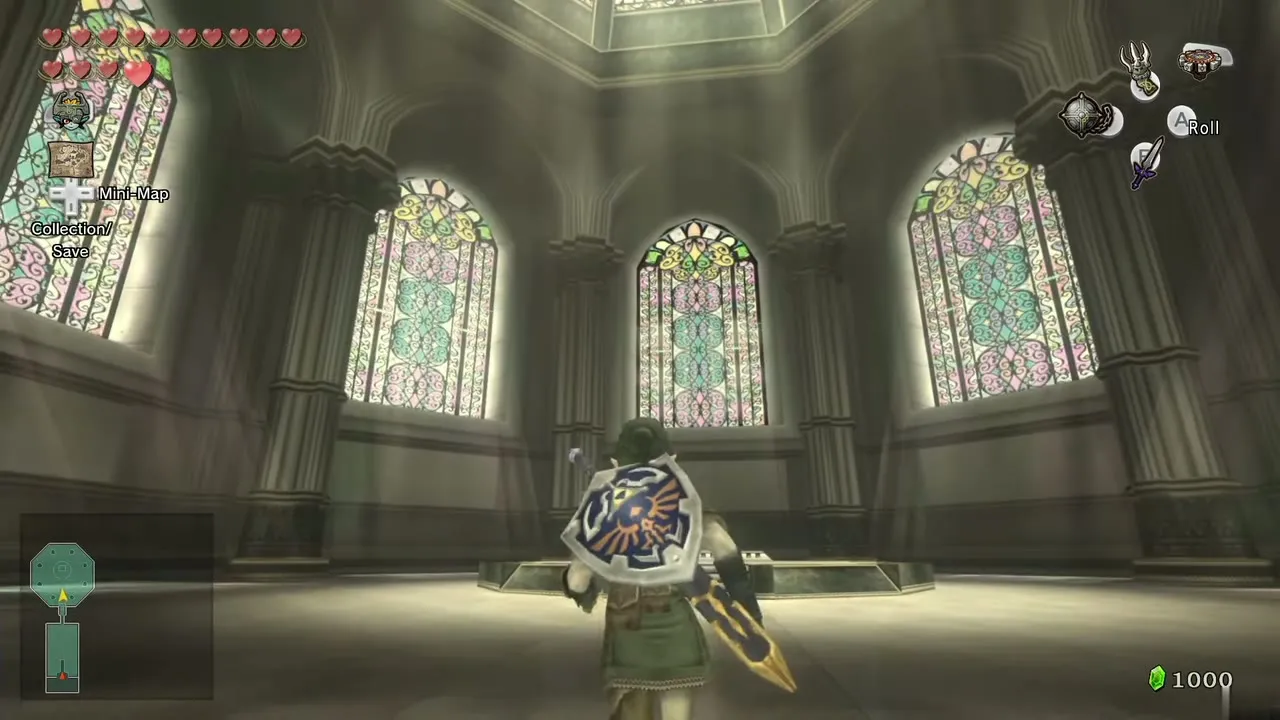
Dungeon Map: Chest in the south-west corner of the Lizalfos and Armos room. Compass: Chest on the west side of the crystal-switch room. Big Key: Chest in the Helmasaur room, opened by a gate below.


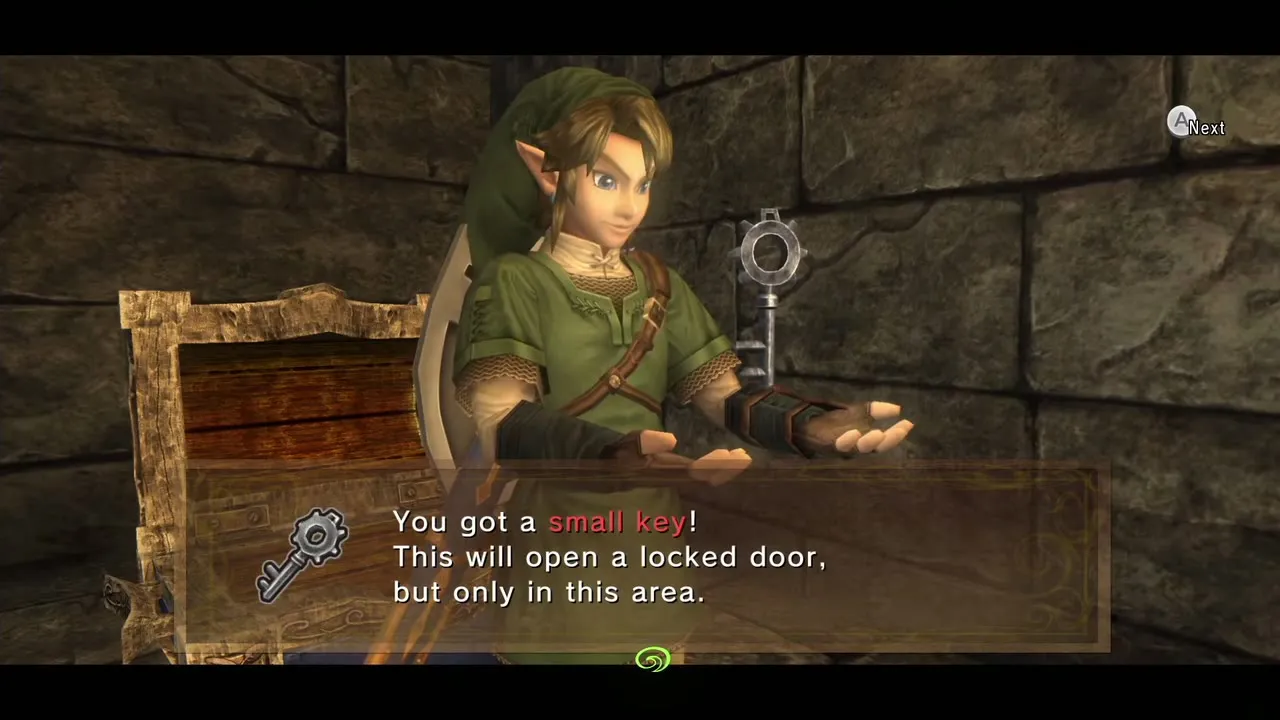
Small Keys: Small Key 1 appears when you light the two torches at the east steps of the entrance room. Small Key 2 is in a chest after two Armos, south of the round room. Small Key 3 is in a chest past the pendulum blade. The Dominion Rod gives you the Statue controls needed in the second half.

City in the Sky
City in the Sky holds 1 Small Key, a Dungeon Map, a Compass and the Big Key. The dungeon item is the Double Clawshots (after Aeralfos). The boss is Argorok, who drops a Heart Container and a Mirror Shard. Route: City in the Sky chapter.
Dungeon Map: Chest in the room east of the wind-turbine hall. Compass: Chest at the end of the east target chain. Big Key: Chest in the fan room beyond the tightropes.
Small Keys: The only Small Key is in a chest on the west side of the room beyond the first bridge. The Oocca shop near the entrance sells supplies before you start.
Palace of Twilight
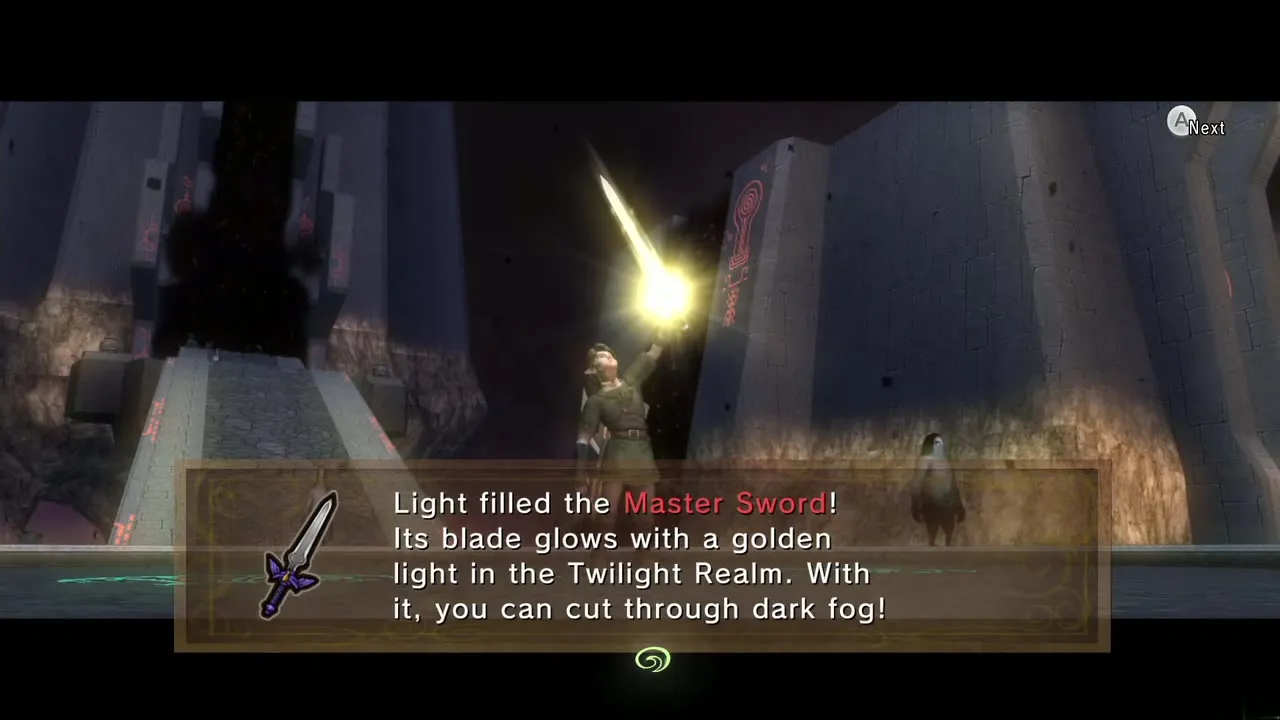
Palace of Twilight holds 7 Small Keys, a Dungeon Map, a Compass and the Big Key. There is no dungeon item (the Sols power the Master Sword). The boss is Zant, who drops a Heart Container. Route: Palace of Twilight chapter.
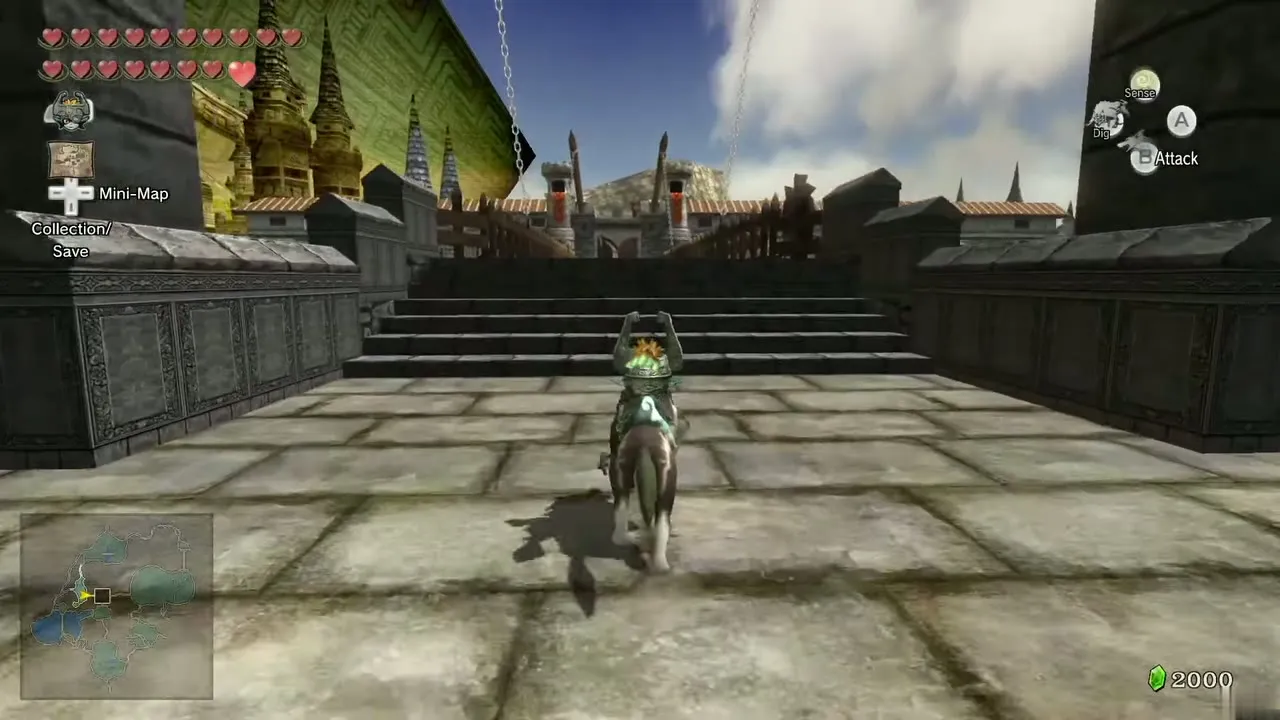

Dungeon Map: Bottom-left chest of the upper level in the east fog room. Compass: South-east chest of the west fog room, after the Zant Mask. Big Key: Chest at the top of the central balcony, reached by climbing the targets.
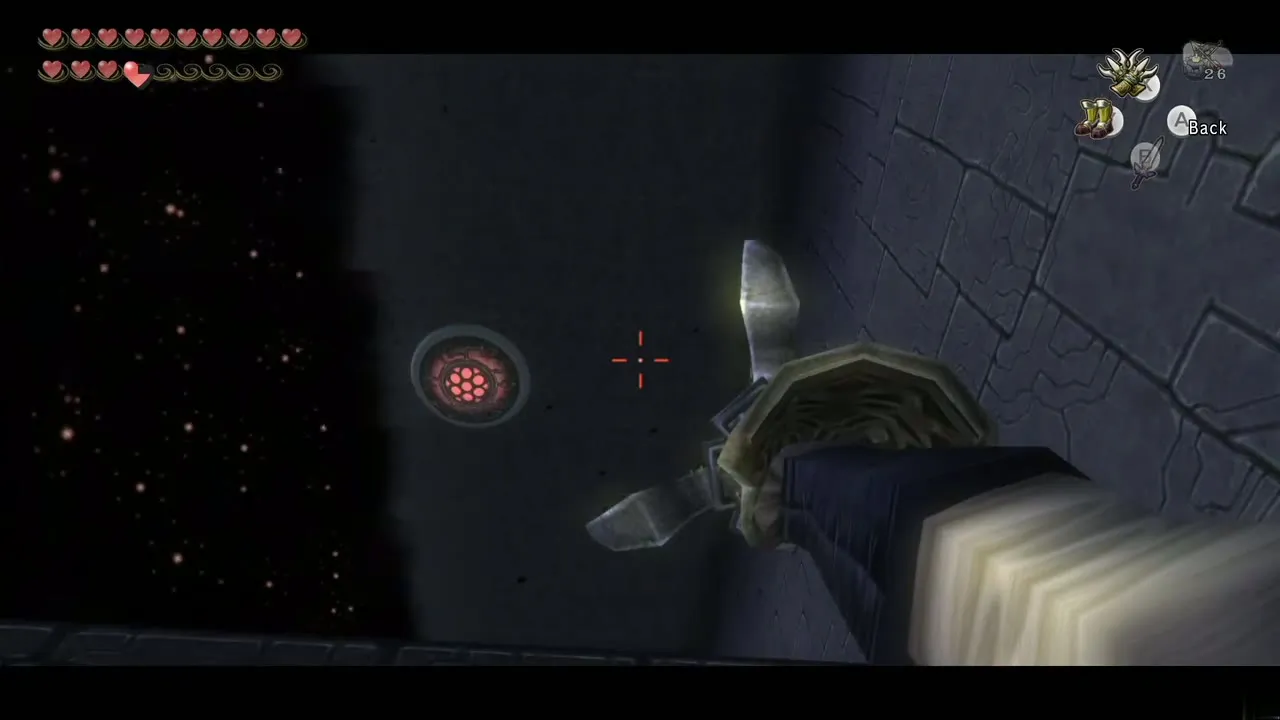
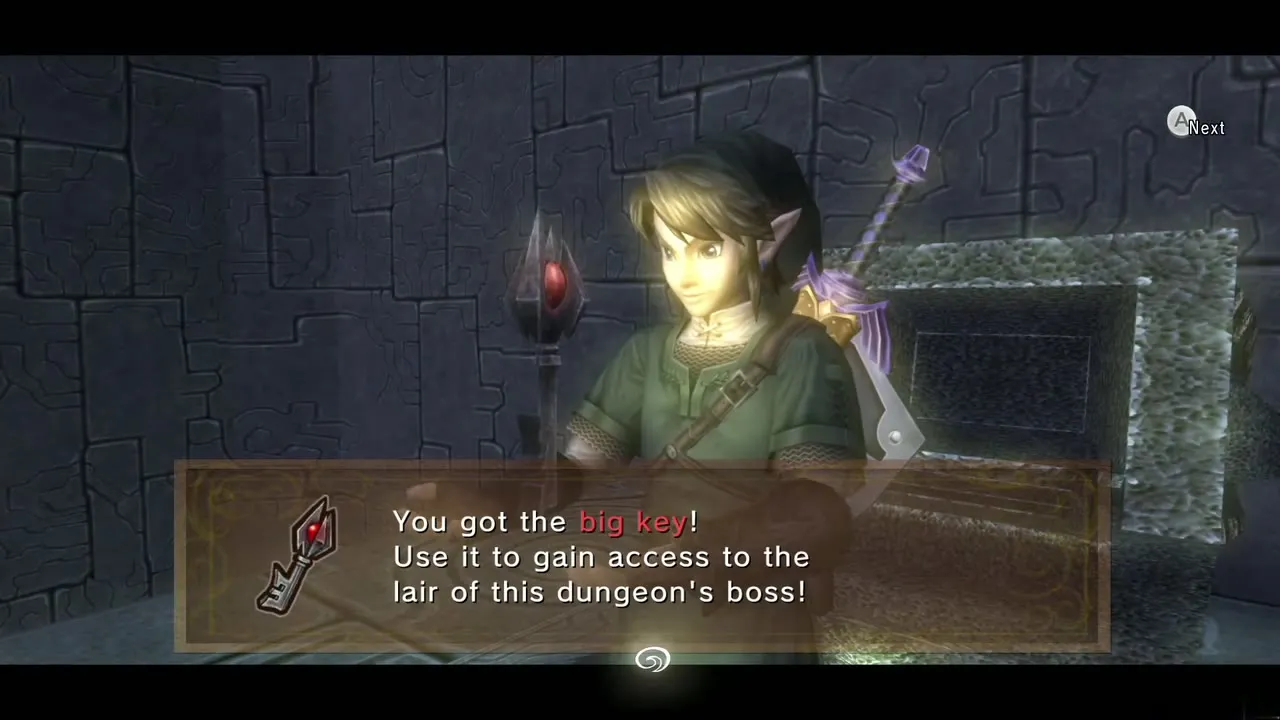
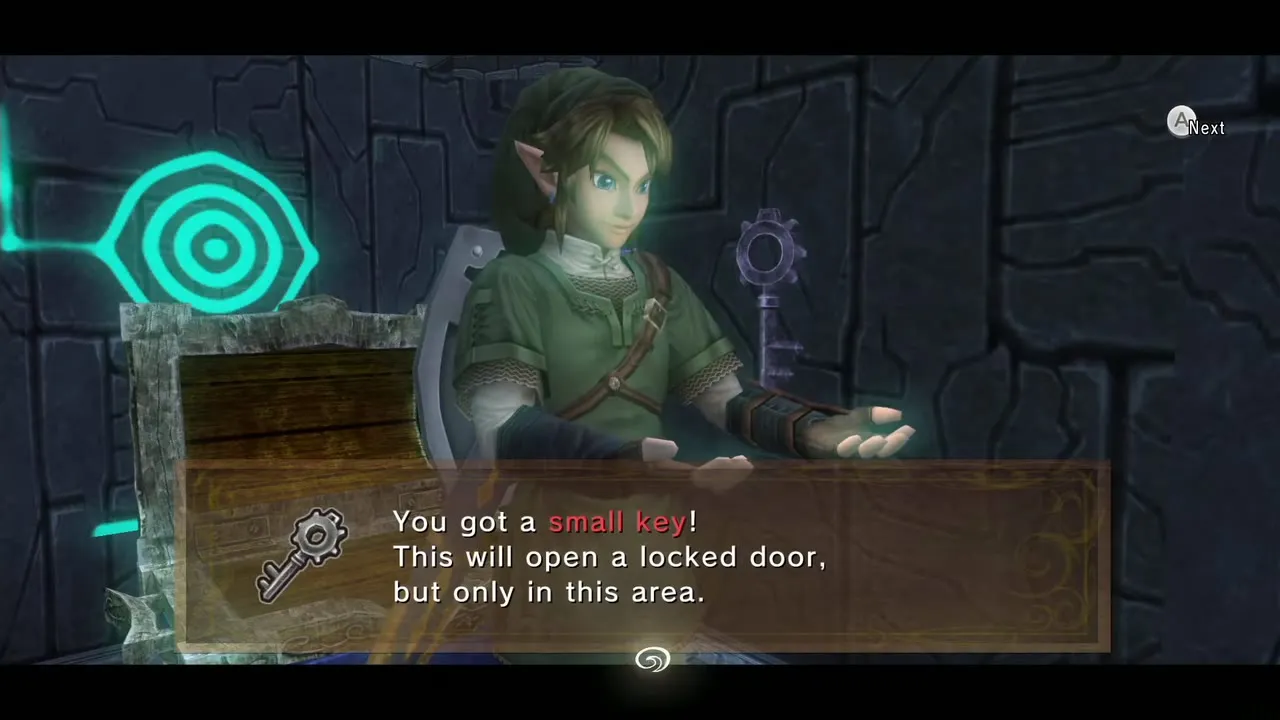
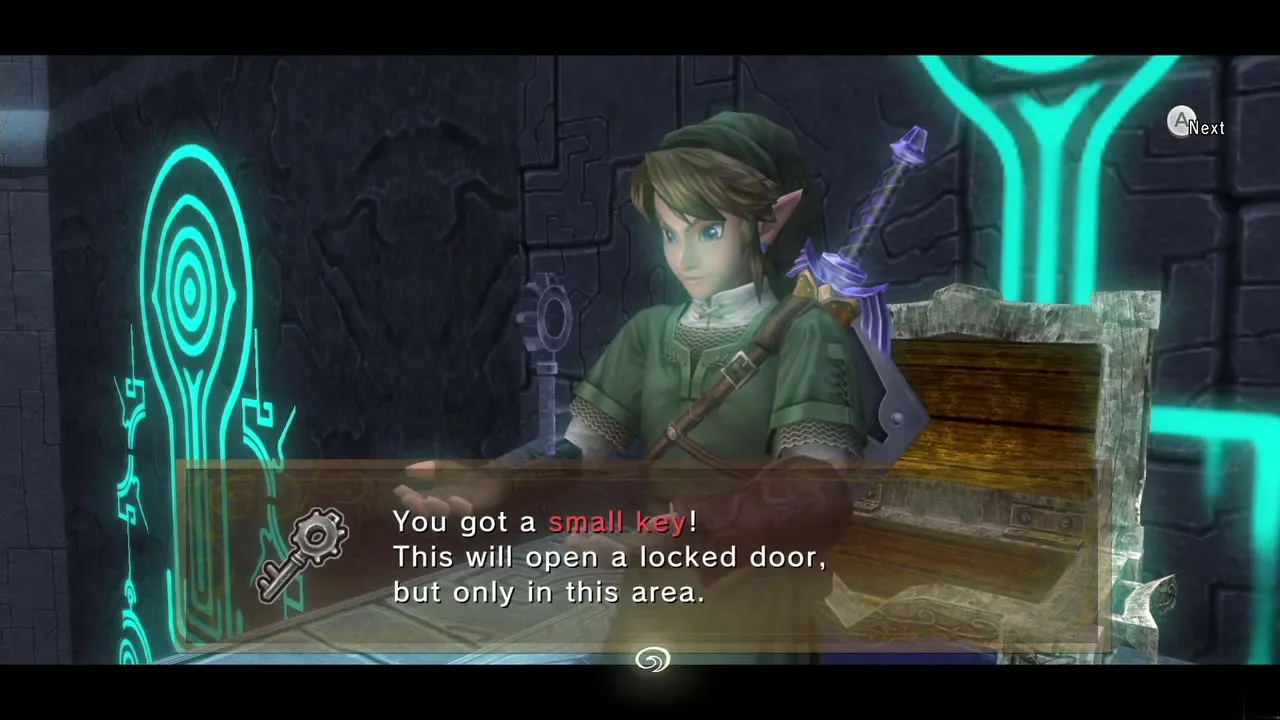
Small Keys: Small Keys 1 to 5 are spread over the two fog rooms and the chest rooms off them; most appear after you clear every enemy in a room. Small Key 6 is at the north end of a room and opens the locked door in the north-east; Small Key 7 appears in a chest on the route to the boss door. There is no new item here; the two Sols you carry out of the wings power the Master Sword for Zant.
Hyrule Castle
Hyrule Castle holds 3 Small Keys, a Dungeon Map, a Compass and the Big Key. There is no dungeon item. The boss is Ganondorf, and beating him ends the game. Route: Hyrule Castle chapter.

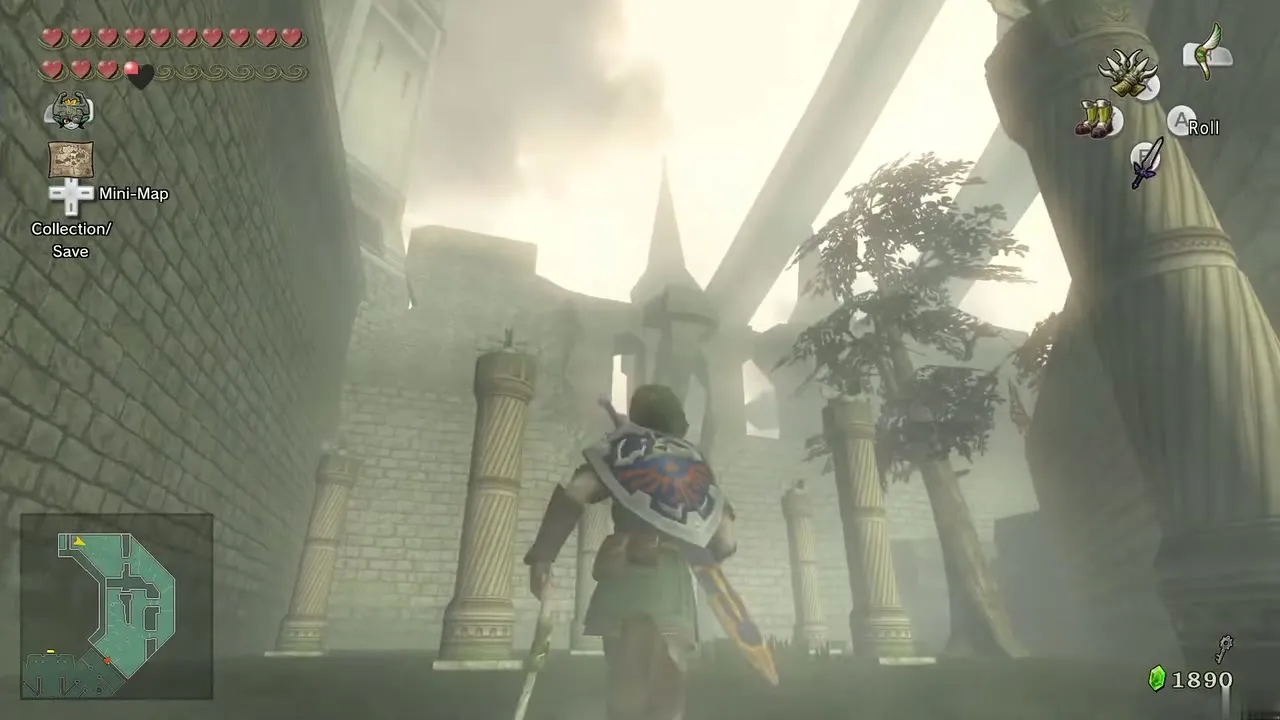
Dungeon Map: Chest in the east garden behind the boomerang gate. Compass: Balcony chest in the entrance hall, reached by riding the chandelier with the Clawshot. Big Key: Outer balcony chest, after the Resistance arrives.


Small Keys: Small Key 1 is handed over by King Bulblin in the courtyard and opens the front doors. Small Key 2 is in a chest after the owl-statue puzzle in the graveyard and opens the supply room. Small Key 3 is in a chest after the Aeralfos on the outer balcony and opens the tower door. The whole dungeon needs most of your items, so check the chapter before you go in.