
























Twilight Princess 100% Completion Walkthrough23 chapters
- Hyrule Castle and the Ganondorf BattleEvery key and chest, then how to beat Puppet Zelda, Dark Beast Ganon, the horse chase and the final duel.
- Snowpeak Ruins (Dungeon 5)Every key, chest, Heart Piece and Poe Soul, the Ball and Chain, Darkhammer and the Blizzeta boss fight.
- Temple of Time (Dungeon 6)All keys and chests, the Dominion Rod, statue puzzles, Big Key, two Heart Pieces and Armogohma.
- City in the Sky (Dungeon 7)Every chest, Heart Piece and Poe, the Double Clawshots, Aeralfos, the Big Key and how to beat Argorok.
- Ordon VillageGoat herding, fishing rod, Sera’s bottle, slingshot, Wooden Sword, Faron Woods cave Heart Piece, Lantern.
- Enter the Twilight RealmEscape the cell as Wolf Link, meet Midna and Zelda, get the Ordon Sword and Shield, meet Ordona.
- Faron WoodsAll 12 Tears of Light, Faron Spring, Coro’s key and lantern oil bottle, and the Golden Wolf’s Ending Blow.
- Forest Temple (Dungeon 1)All 8 monkeys, 4 small keys, Map, Compass, Big Key, 2 Heart Pieces, Ook, Gale Boomerang and Diababa.
- Hyrule Field, Kakariko Gorge and Twilight Kakariko12 Tears of Light, Epona, Pill Bugs, Heart Pieces.
- Iron Boots, King Bulblin and Death MountainIron Boots from Mayor Bo, the King Bulblin bridge fight, Golden Bugs and Gor Coron’s sumo match.
- Goron Mines (Dungeon 2)Every chest, both Heart Pieces, the Hero’s Bow, three Key Shards, Dangoro and Fyrus boss tactics.
- Lanayru Province, Castle Town and Zora’s DomainKakariko extras, Bridge of Eldin bugs, Castle Town, Lake Hylia, thawing Zora’s Domain and all 12 Tears of Light.
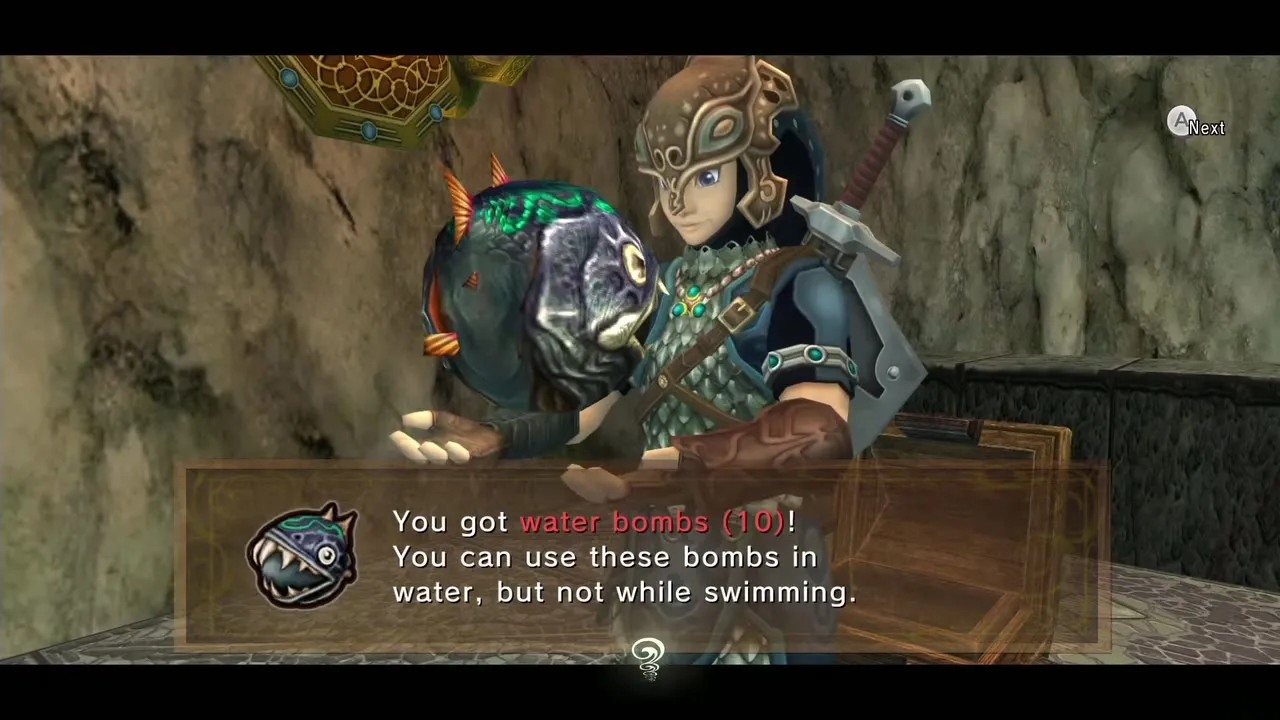
- Telma Escort, Castle Town and Lake Hylia Side QuestsTelma escort, Zora Armor, Water Bombs, 9 Golden Bugs, Agitha, Charlo, fishing, Rapid Ride and the Lakebed entrance.
- Lakebed Temple (Dungeon 3)Small keys, map, compass, Big Key, two Heart Pieces, Clawshot, Deku Toad and Morpheel boss tactics.
- Midna, Zelda and the Master SwordTelma’s Bar to Zelda, the Sacred Grove, Skull Kid, the guardian puzzle, plus its Heart Piece, Poe and Golden Bug.
- Poe Soul Collection, Malo Mart and Heart PiecesThe first 29 Poe Souls, Jovani’s rewards, Malo Mart donations and Magic Armor, Miiverse stamps and five Heart Pieces.
- Gerudo Desert and the Bulblin CampOasis Flight, eight Poe Souls, both Dayflies, Mortal Draw, Bulblin Camp and King Bulblin.
- Arbiter’s Grounds (Dungeon 4)Four Poe Souls, Dungeon Map, Compass, Spinner, Big Key, two Heart Pieces and the Stallord boss fight.
- Mirror Chamber, Reekfish and Snowpeak MountainMirror Chamber, Spinner Heart Pieces, Reekfish bait, Jump Strike, Poe Souls and the climb to Yeto.
- Heart Pieces Hunt and Return to the Sacred GroveTwo Heart Pieces, Rusl, the Skull Kid rematch, the last Golden Bug and the Temple of Time door.
- Ilia’s Memory, Hidden Village and the SkyIlia’s memory, 20 Bulblins, 20 cats, six Sky characters, Great Spin and the Sky Cannon repair.
- Palace of Twilight (Dungeon 8)Both Sols, all seven small keys, map, compass, Big Key, 2 Heart Pieces and how to beat Zant.
- Cave of OrdealsAll 50 floors, the 3 Poe Souls, every Great Fairy, buried items, the Tears and Jovani.
| Covers | Lakebed Temple from the Lake Hylia entrance to Morpheel |
|---|---|
| Dungeon | Lakebed Temple (Dungeon 3): bring the Zora Armor, Iron Boots, Water Bombs and Bomb Arrows; mini-boss Deku Toad, boss Morpheel |
| Rewards | Clawshot, Dungeon Map, Compass, Big Key, 3 Small Keys, 2 Heart Pieces, Heart Container, third Fused Shadow |
The Lakebed Temple is a water dungeon built around one big hall whose staircase and water levels change as you pull handles and open water gates. You find the Clawshot after a Deku Toad fight, use it to reach the Compass, a Heart Piece and the Big Key, then drop into Morpheel’s pit. Wear the Zora Armor throughout so you never run out of air. Keep Water Bombs and Bomb Arrows ready, and carry the Iron Boots. Plan on a lot of bomb use: nearly every chest here refills bombs or arrows. The dungeon holds three Small Keys, the Dungeon Map, the Compass, the Big Key, two Pieces of Heart and a handful of Rupee and stamp chests. Reach it through the Water Bomb geyser described in Lake Hylia side quests. The Hero’s Bow must be in your inventory for Bomb Arrows.
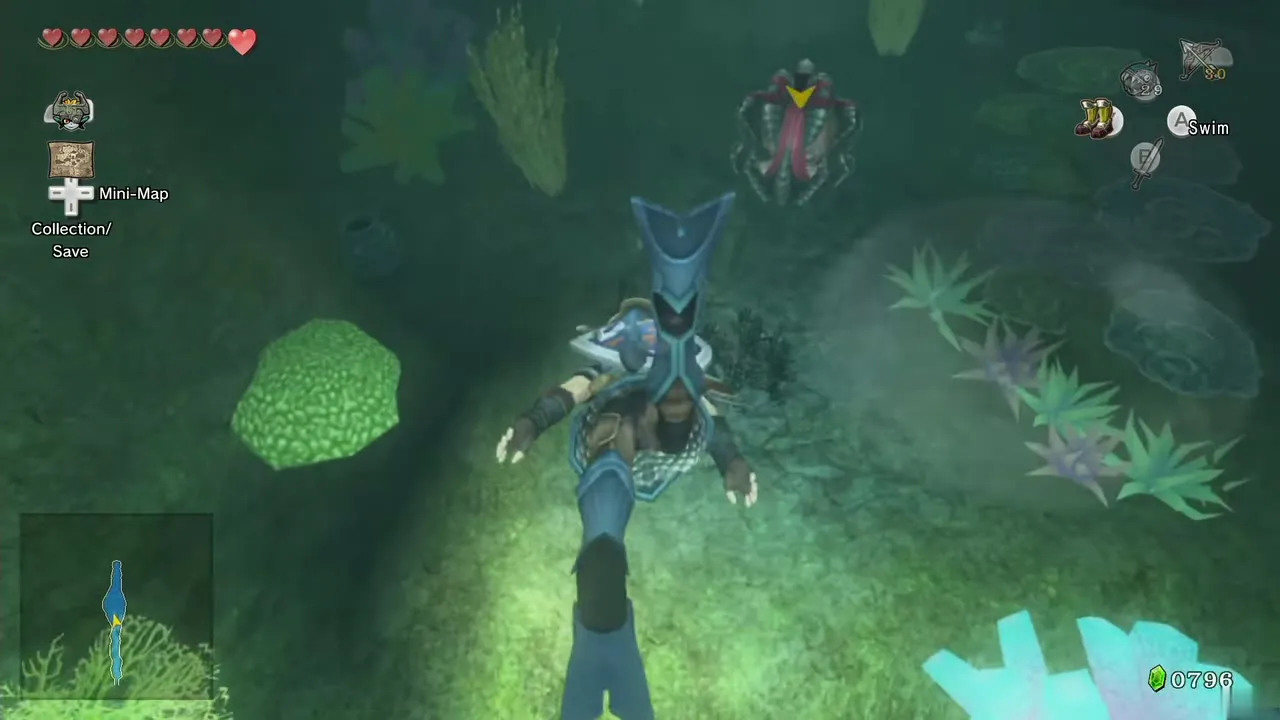
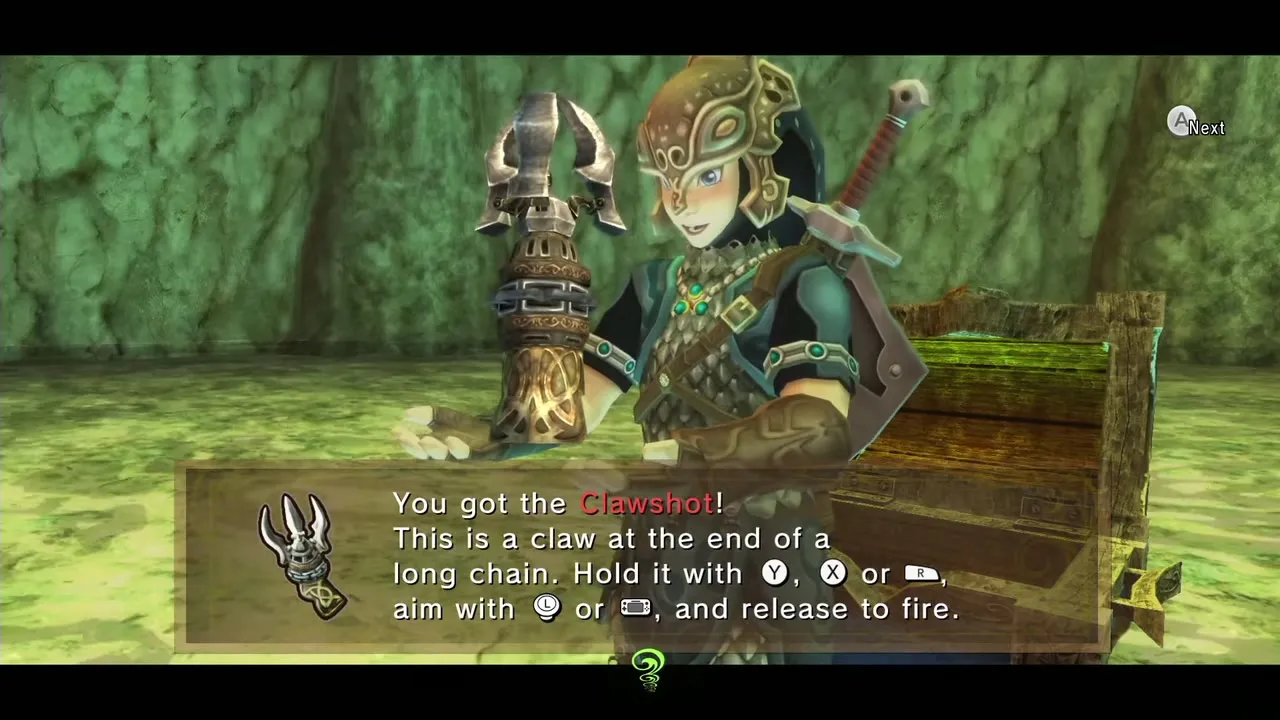
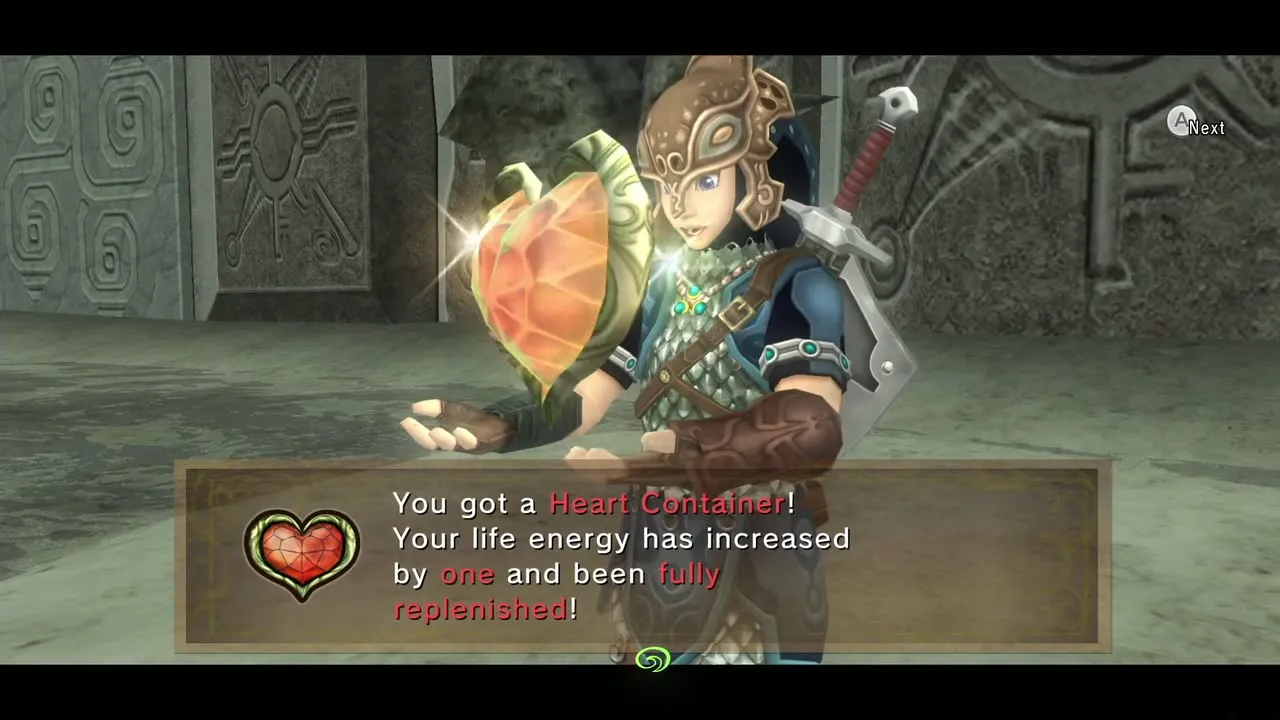
Table of Contents
Entrance hall and the first stalactite rooms
Entrance chambers
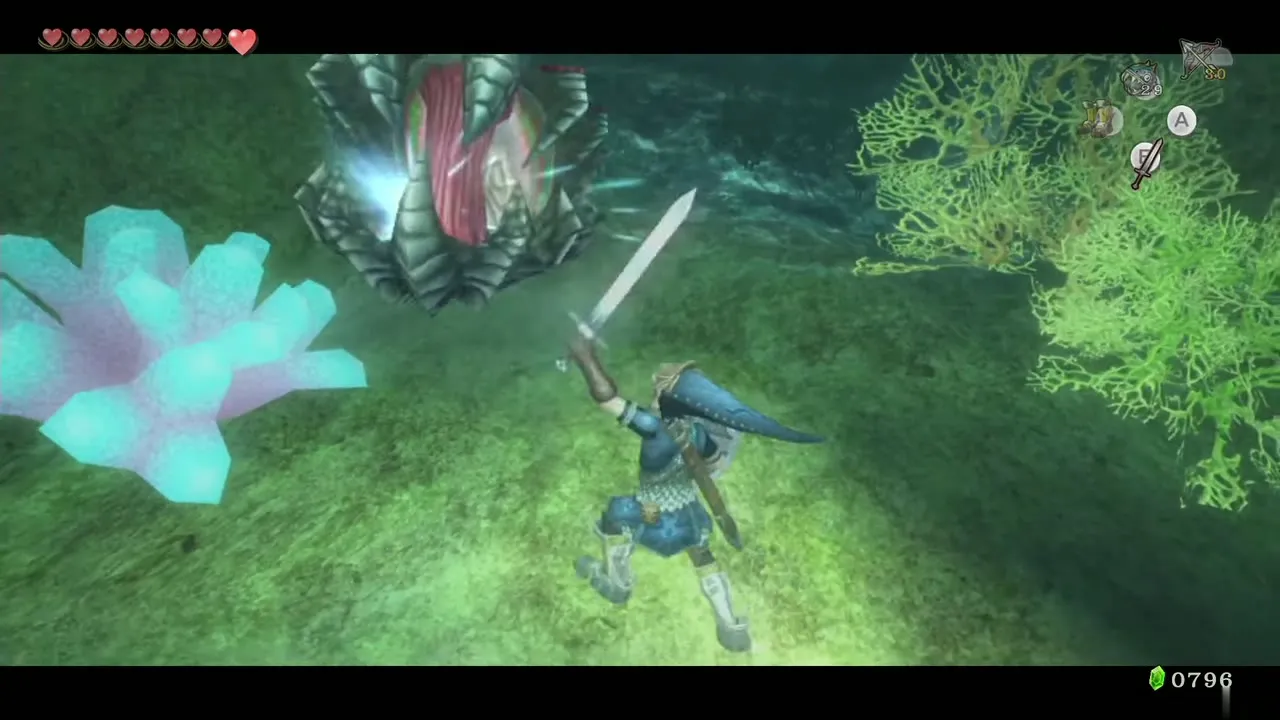
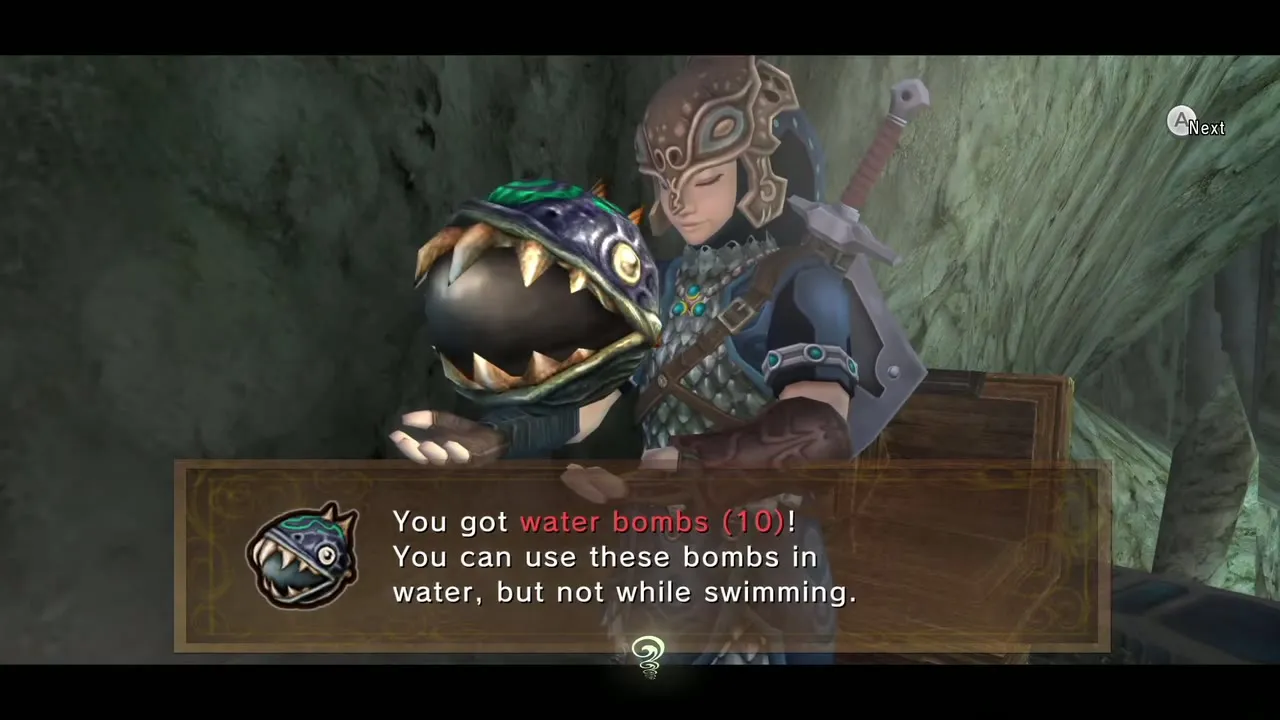
Swim north from the entrance. Shell Blades (clams) sit near the bottom and Baris (electric jellyfish) float in the water; swim around them. Chu Chus drop from the ceiling here, and a defeated Red Chu leaves Red Chu Jelly, which works as a red potion. If you carry any empty bottle, fill one now. A pair of chests hold arrows and Water Bombs; open both.
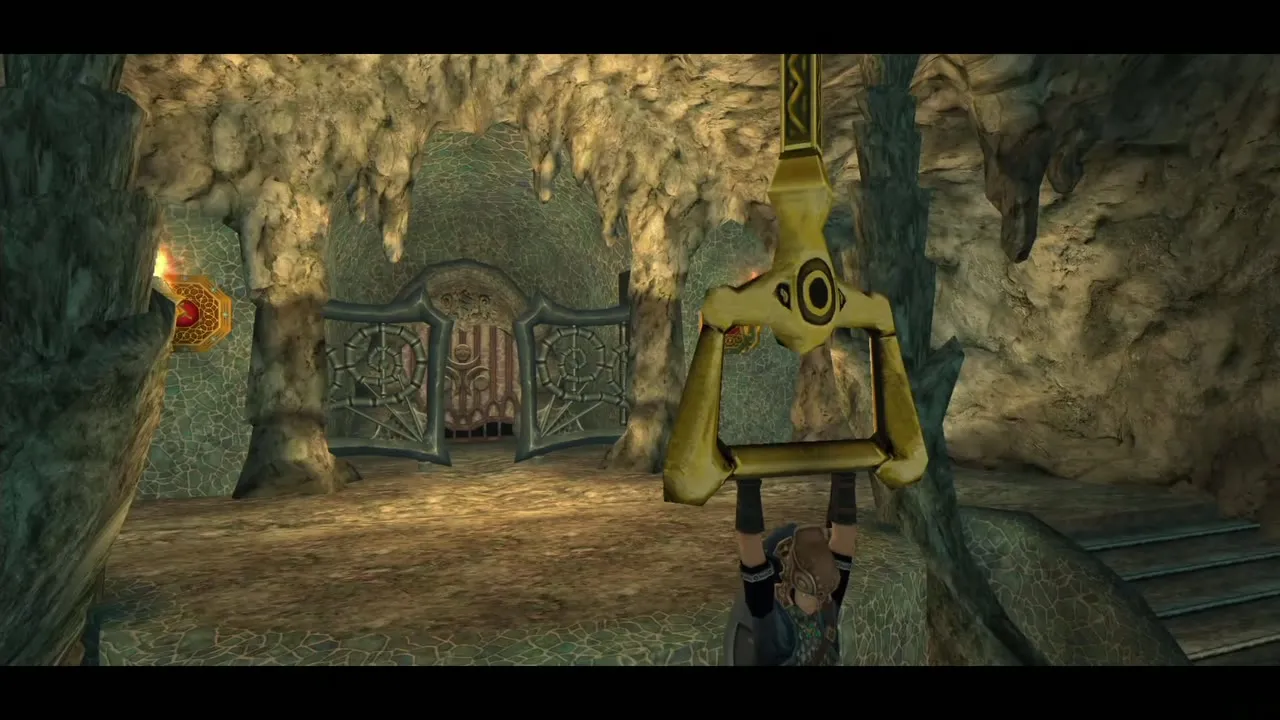
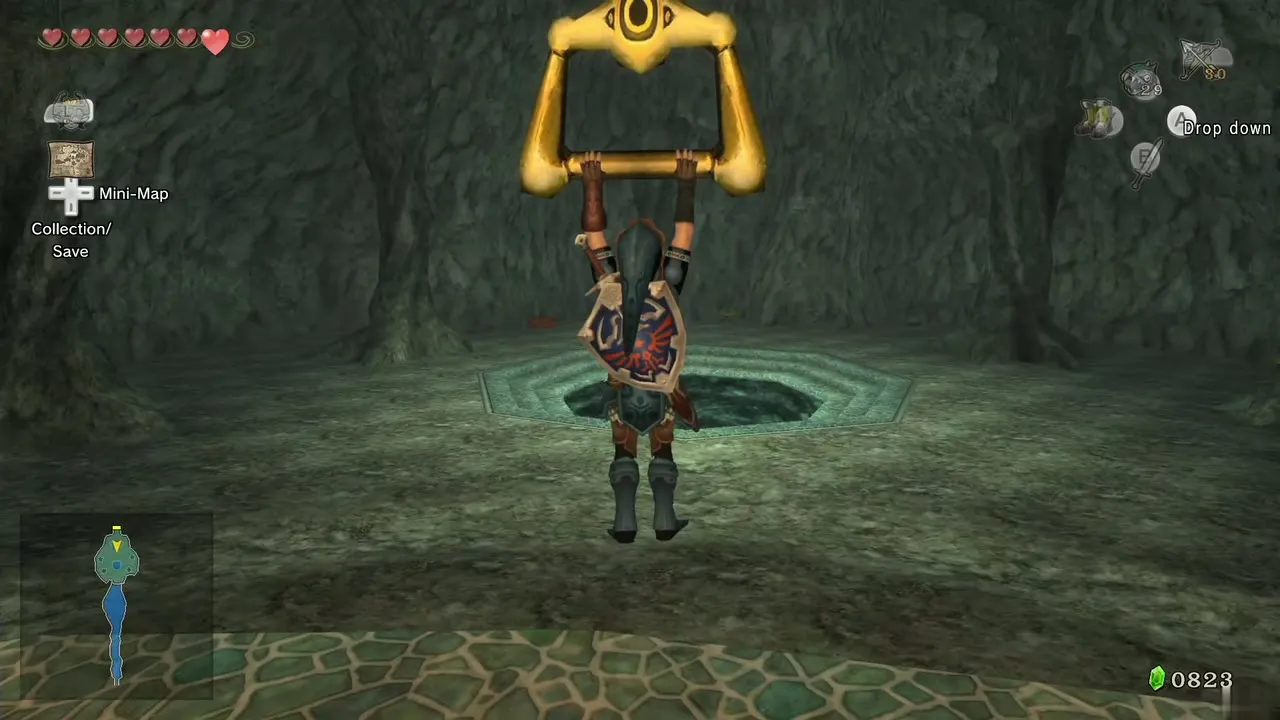
Run to the north end of the room, jump off the ledge and grab the handle that hangs from the ceiling to open the gate in front of the door. Just beyond the gate waits a rare Blue Chu; kill it and scoop its Blue Chu Jelly into an empty bottle, which acts as a Blue Potion and refills every heart. Go through the door.
Stalactite room and the first Helmasaur
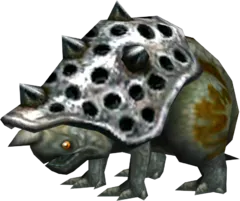
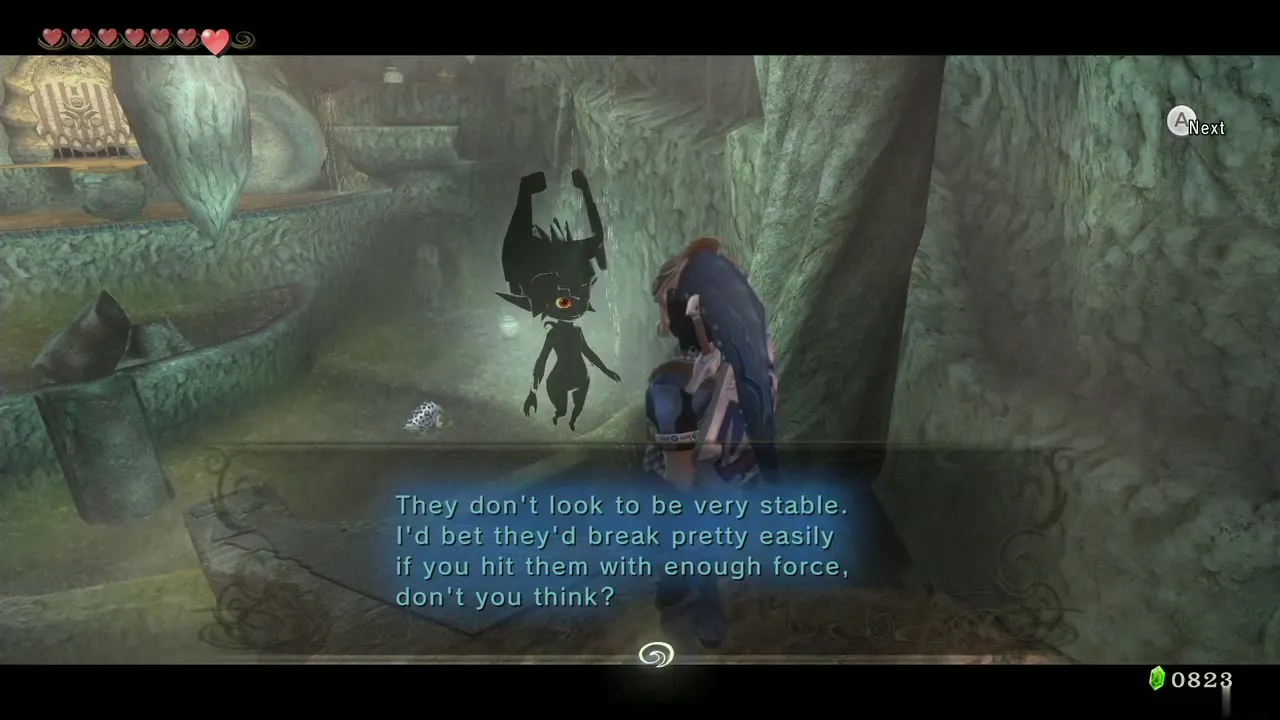
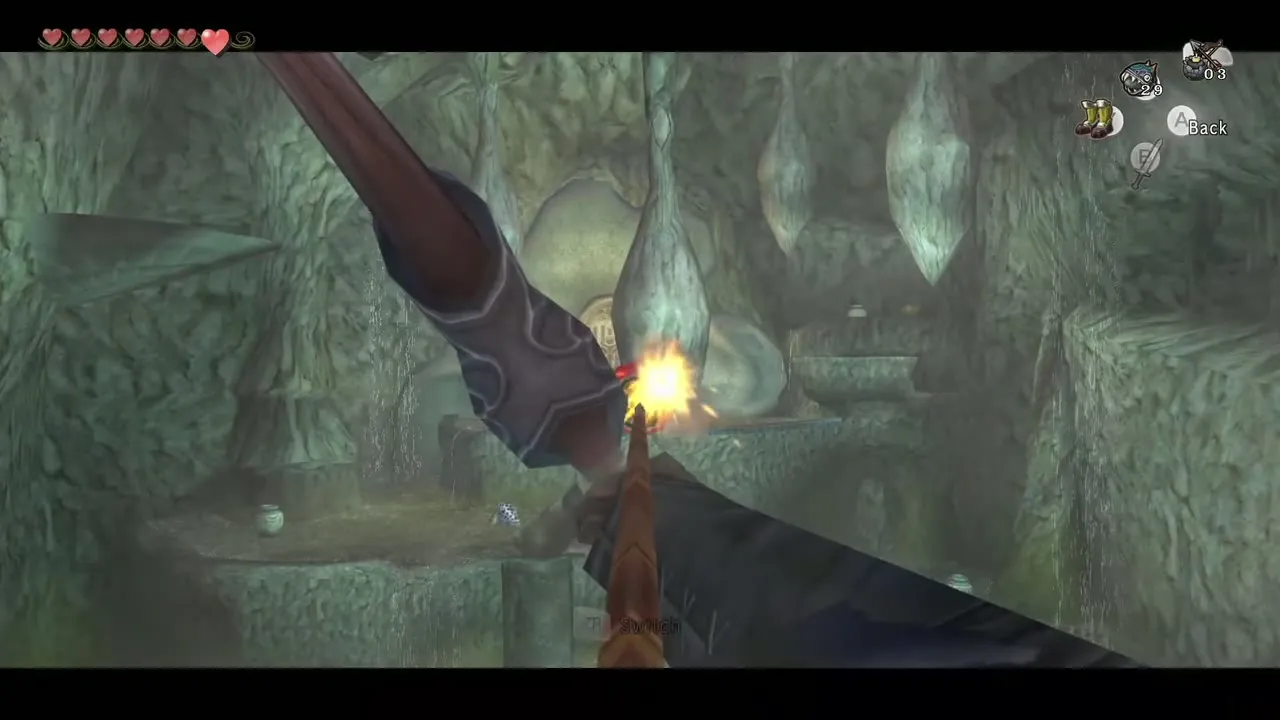
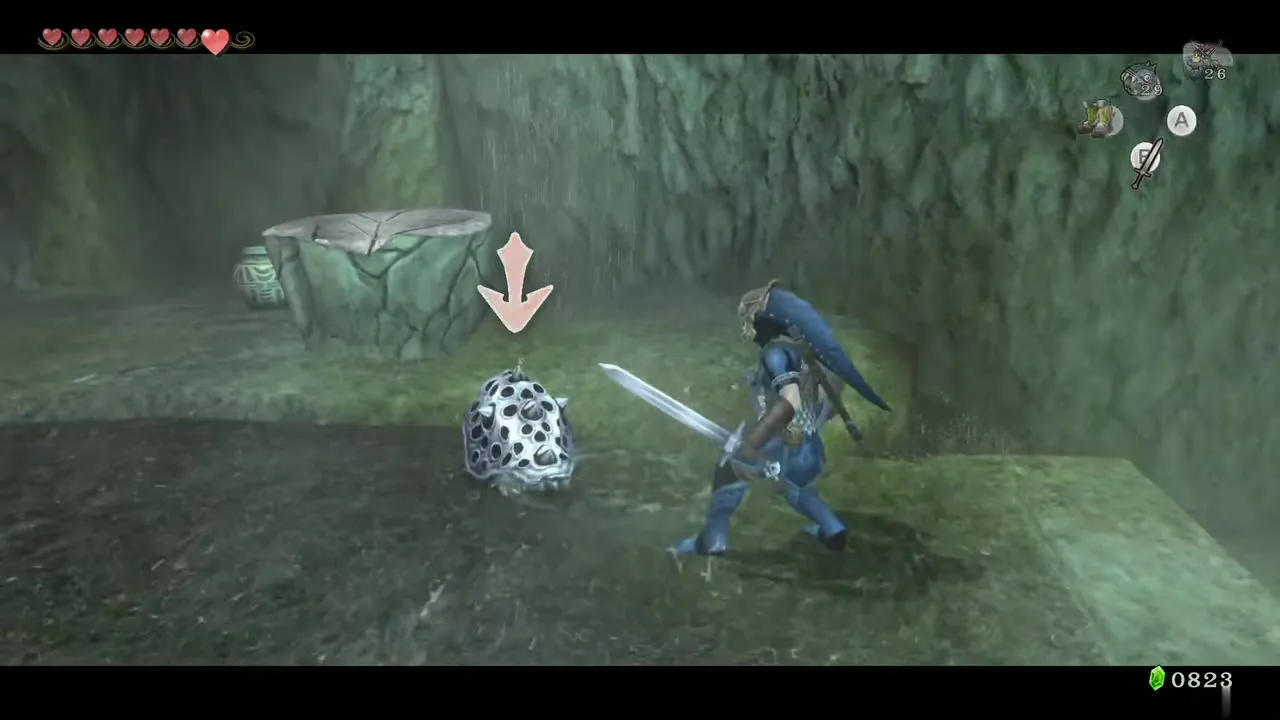
Stalactites hang from the ceiling here. Equip Bomb Arrows and shoot every one so they fall and become small platforms. Regular bombs make better Bomb Arrows than Water Bombs, so save the Water Bombs for jobs only they can do. Go down the ramp, hop onto the stalactite on the right, and climb the platforms up to meet a Helmasaur. Its shield cannot be removed yet, so hit its unprotected back. Keep climbing; a chest on the platforms near the door holds more Water Bombs. Leave through the door.
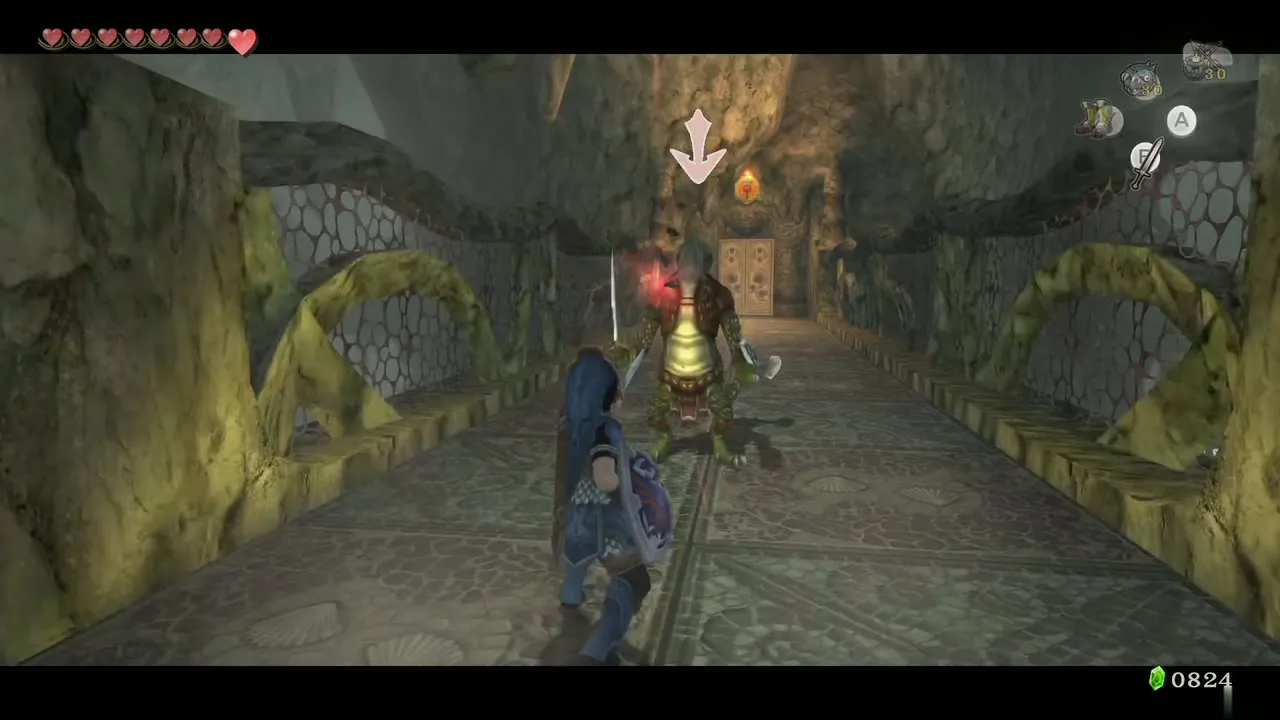
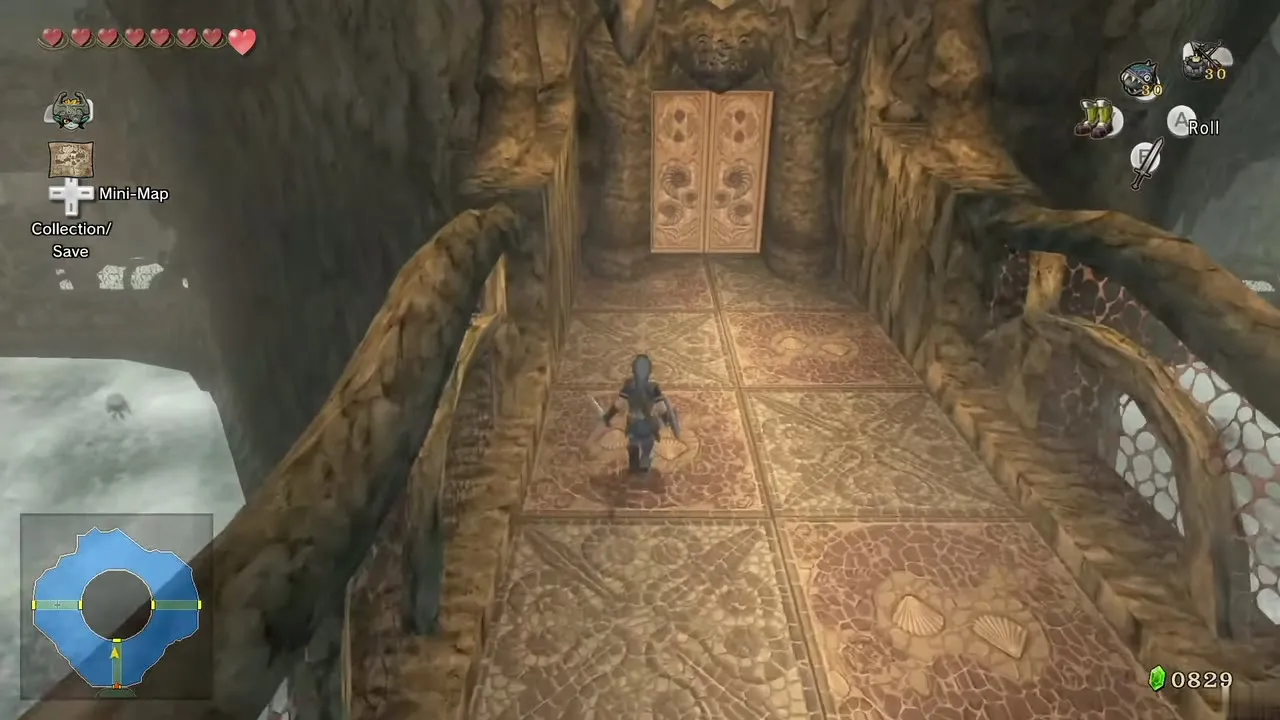
A Lizalfos waits on the bridge of the next room. Ordinary sword work defeats it. Take the door at the north end to reach the main hall.
The main hall: Ooccoo and the Dungeon Map
Spin the staircase
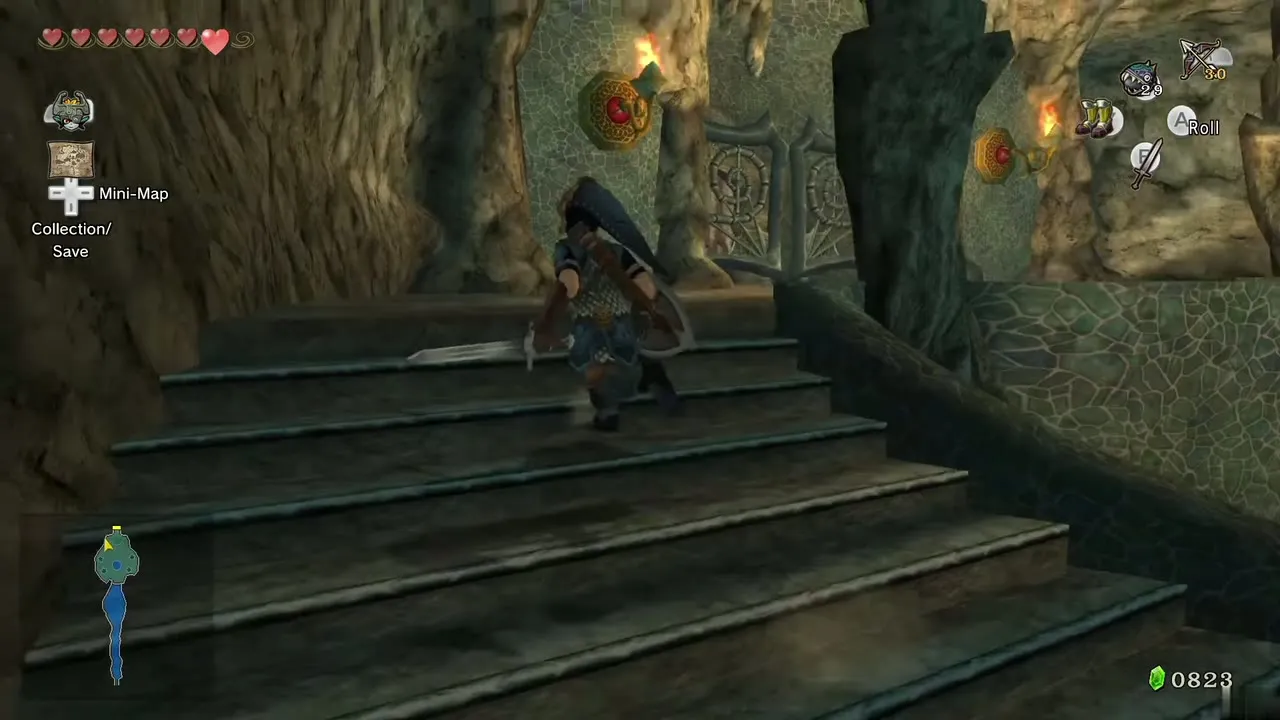
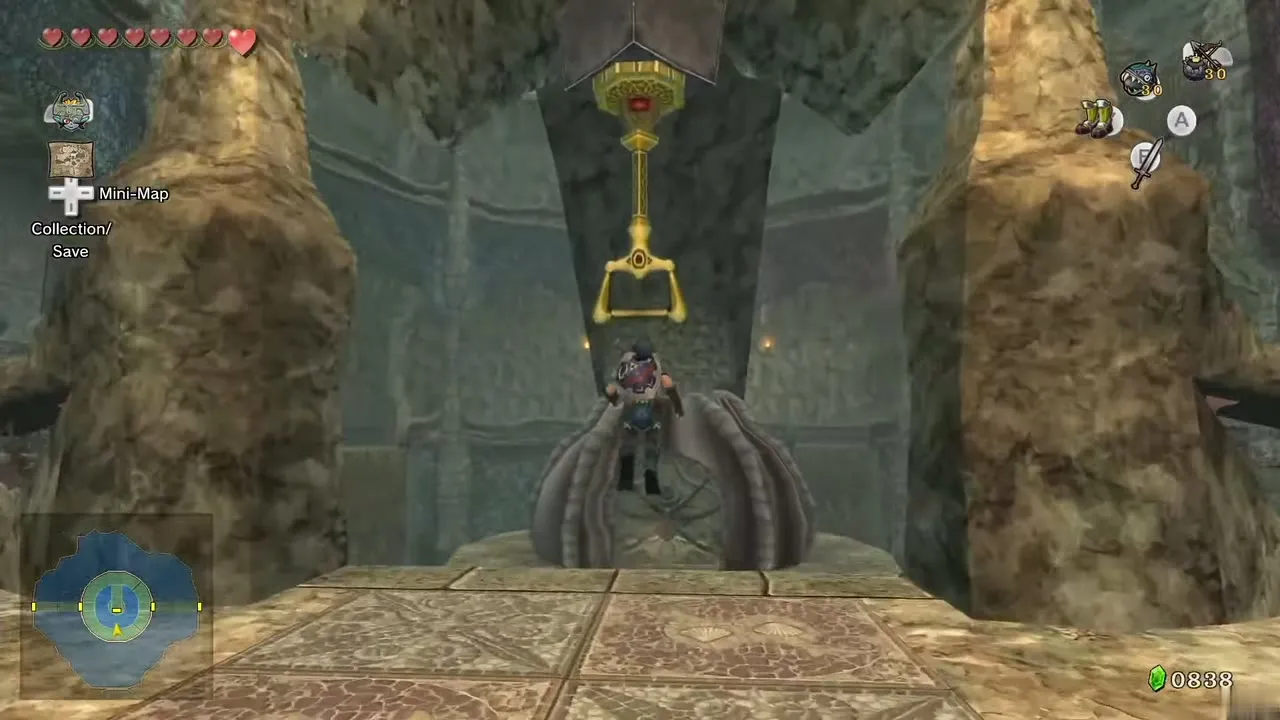
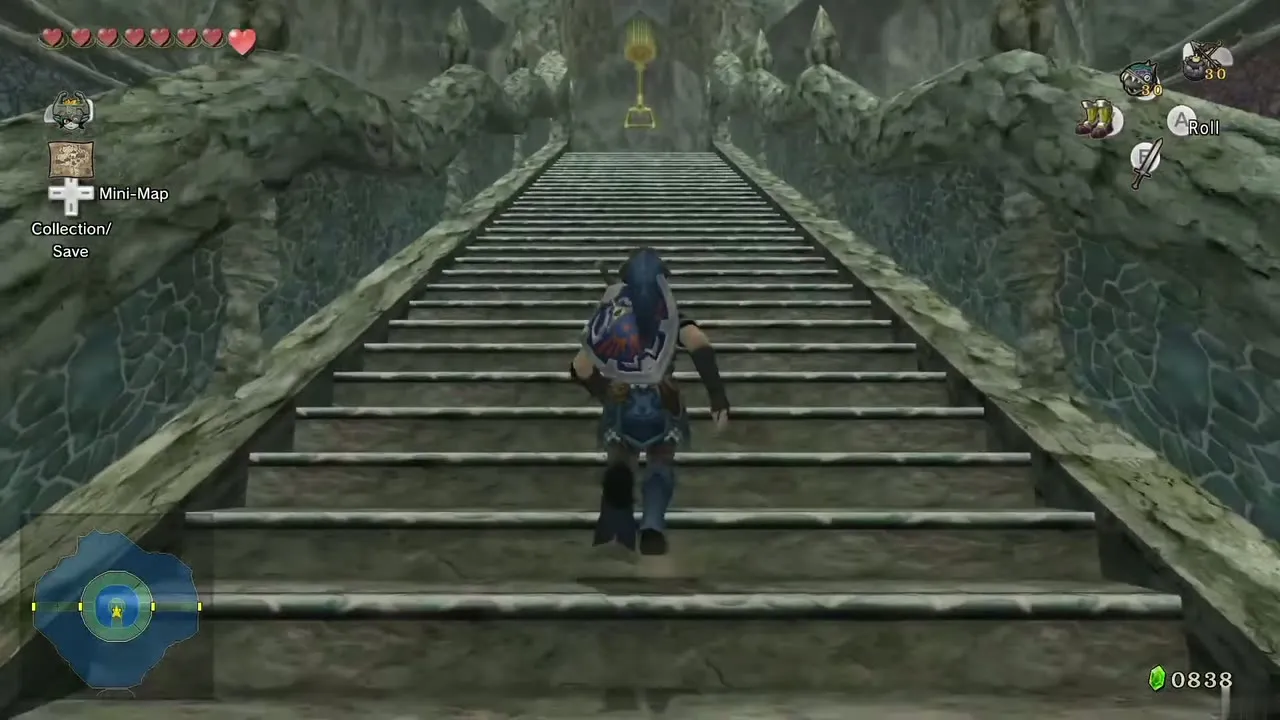
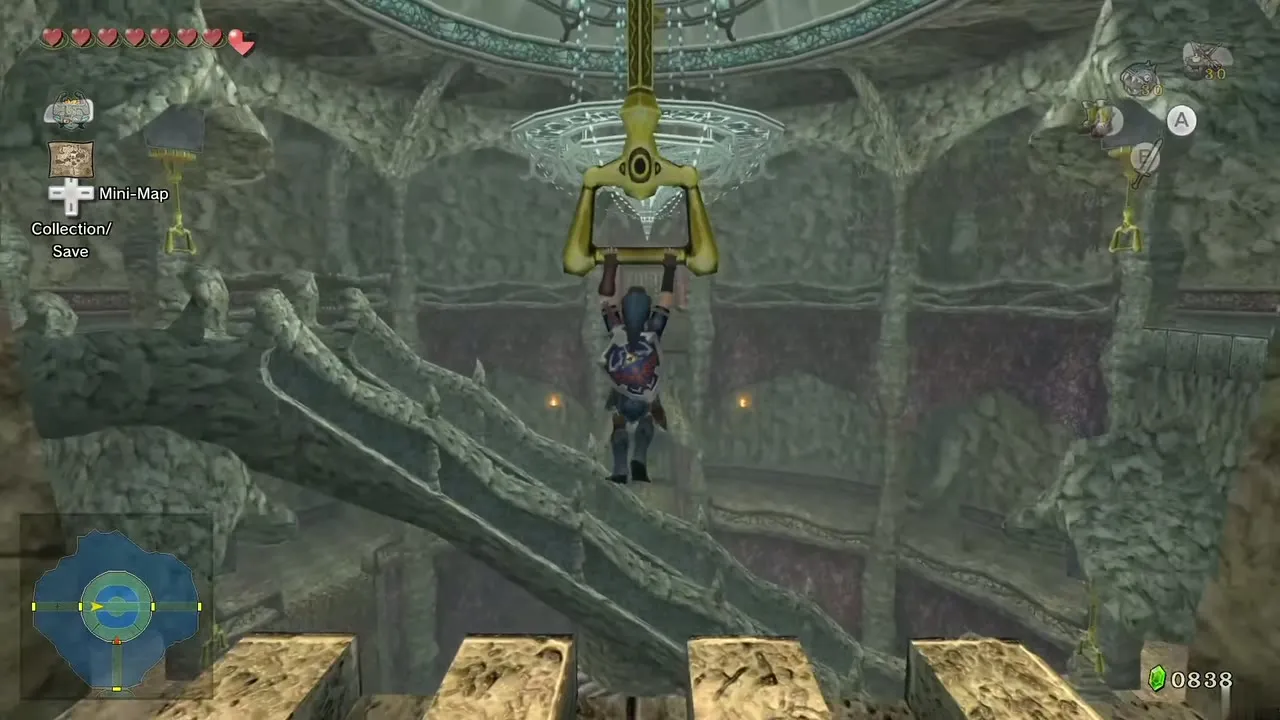
This hall is the hub for the dungeon, so remember its layout. Descend the long stairs, then run around the room to the left to the south end, where a chest holds arrows. Look at the middle of the room from there and jump to the ceiling handle: the huge staircase swings its bottom toward you if you are on the lower floor and its top toward you if you are upstairs. Any similar handle in this hall does the same. Climb the stairs to the upper floor.
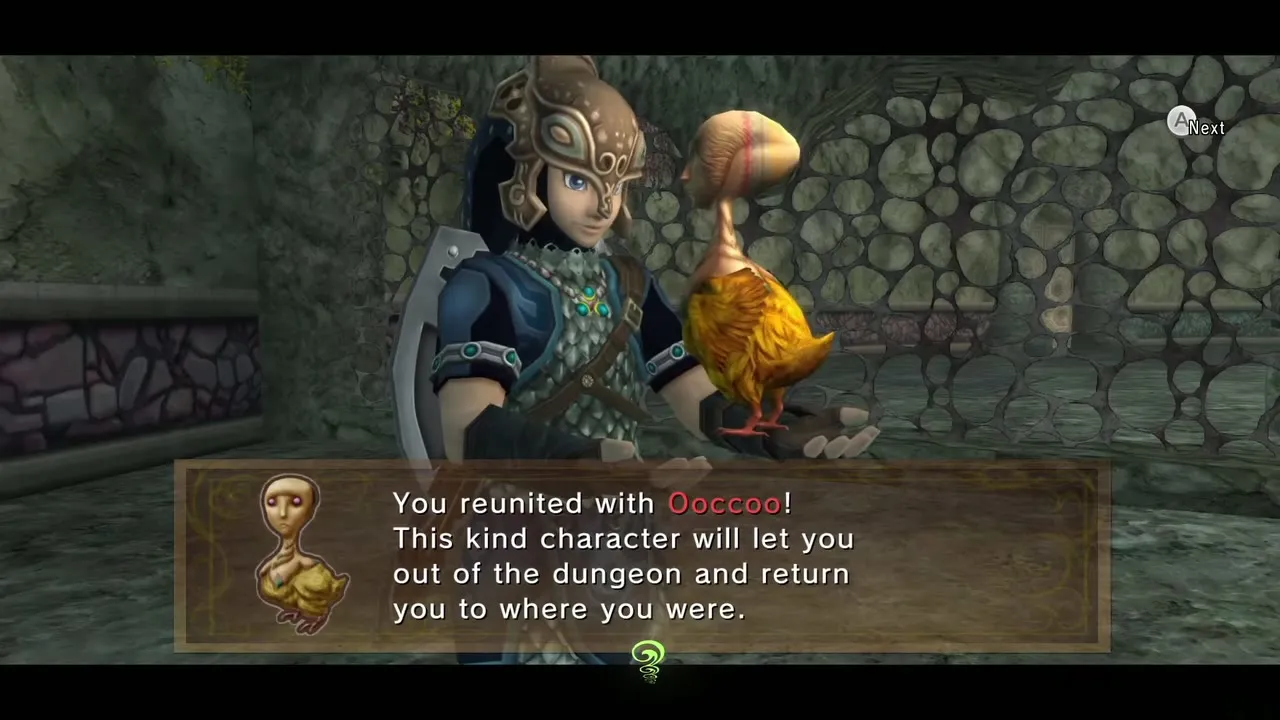
Ooccoo
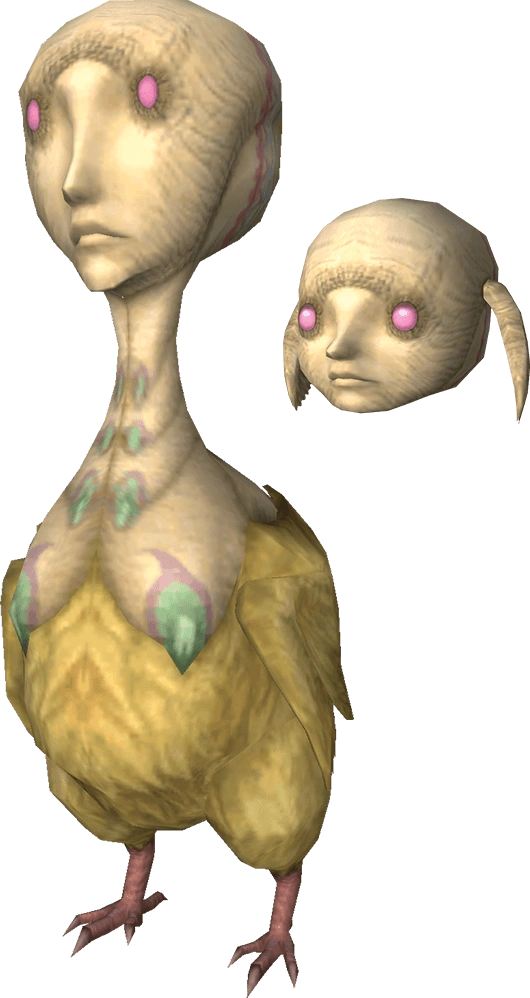
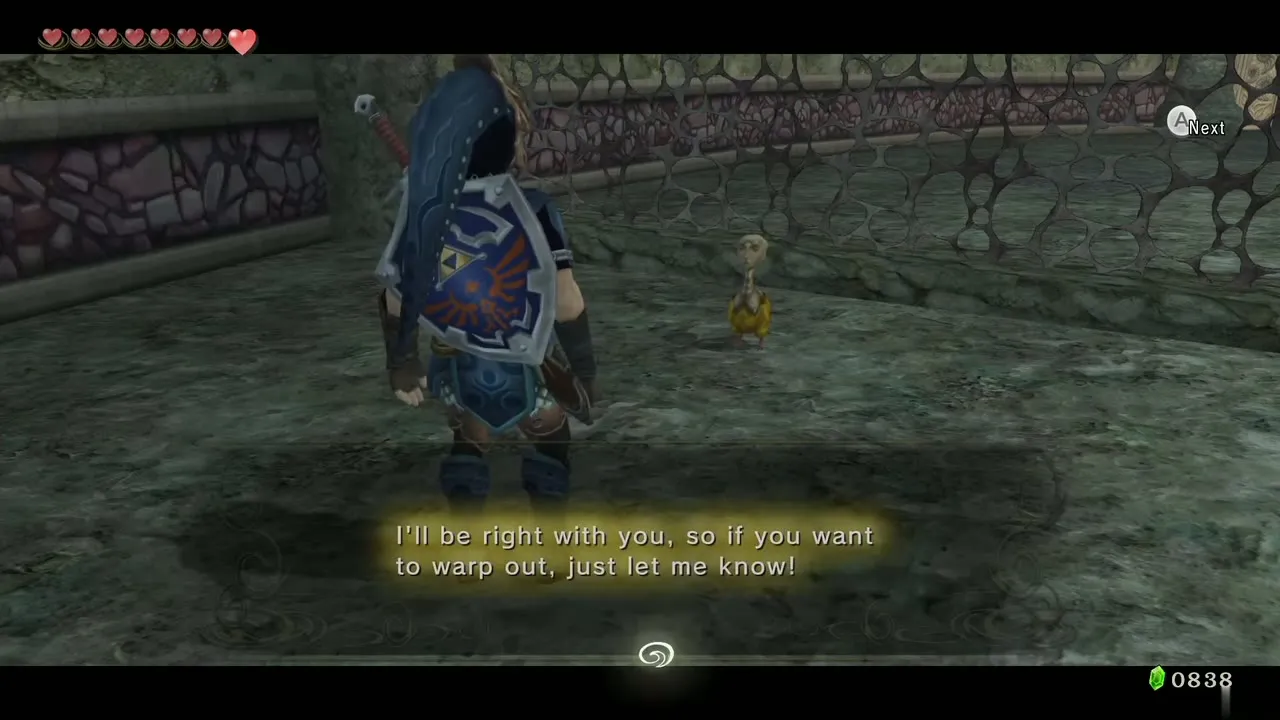
Run east along the upper level. The door at the east end is locked, but the path beside it leads to a jar with Ooccoo inside. She can warp you out of the dungeon and back.

Dungeon Map
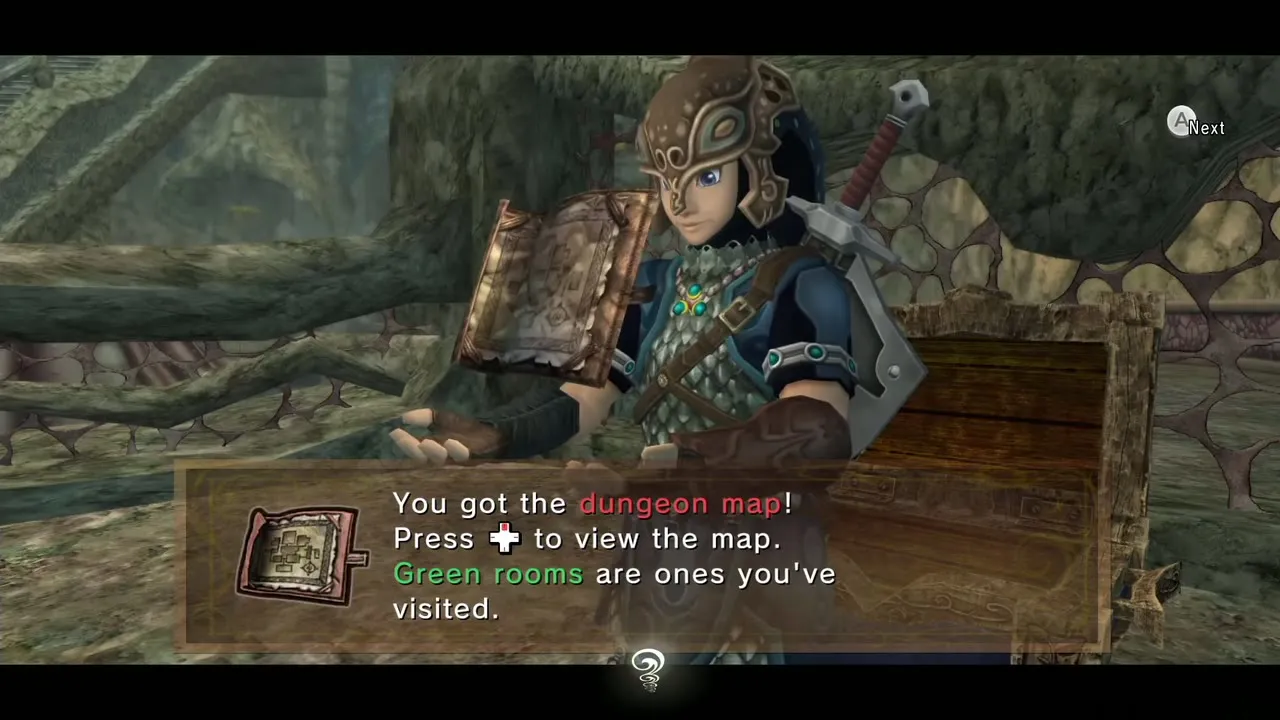
Go to the west side of the upper floor, face the middle of the room and jump to the next handle to turn the staircase. Climb down and turn left to the chest holding the Dungeon Map. Then take the lower door at the east end. Check the Dungeon Maps, Compasses and Keys page for the list across the whole game.
East wing: first Small Key and the water gates
Second stalactite room: Small Key 1
Cross the bridge, avoiding the Helmasaur, and enter the next room. Two more stalactites hang here; bring them down with Bomb Arrows. Run down the ramp on the north side to the lower level.
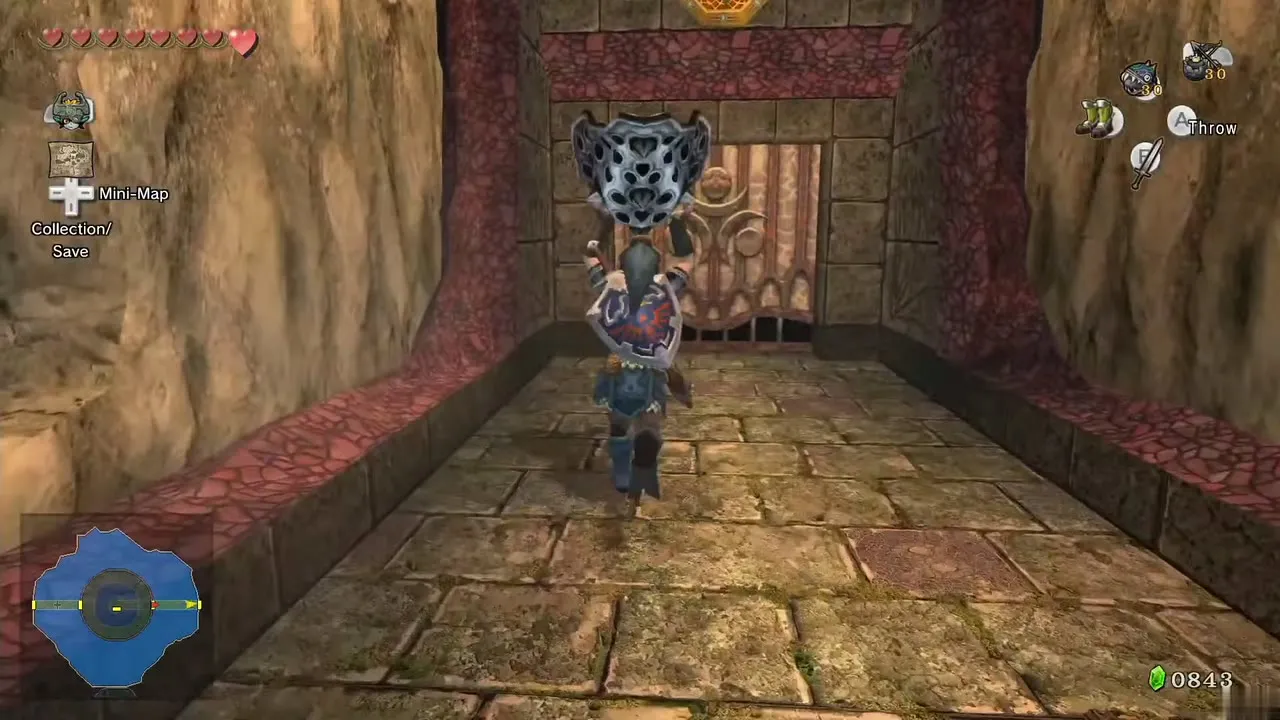
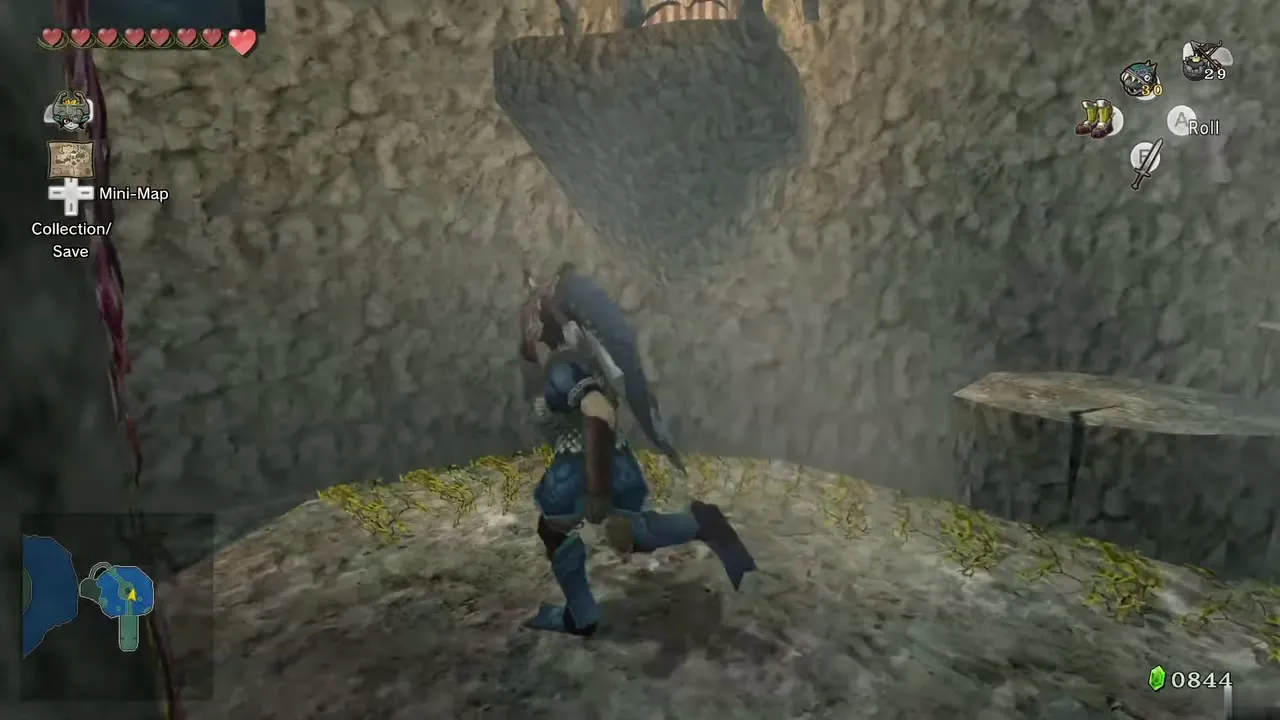
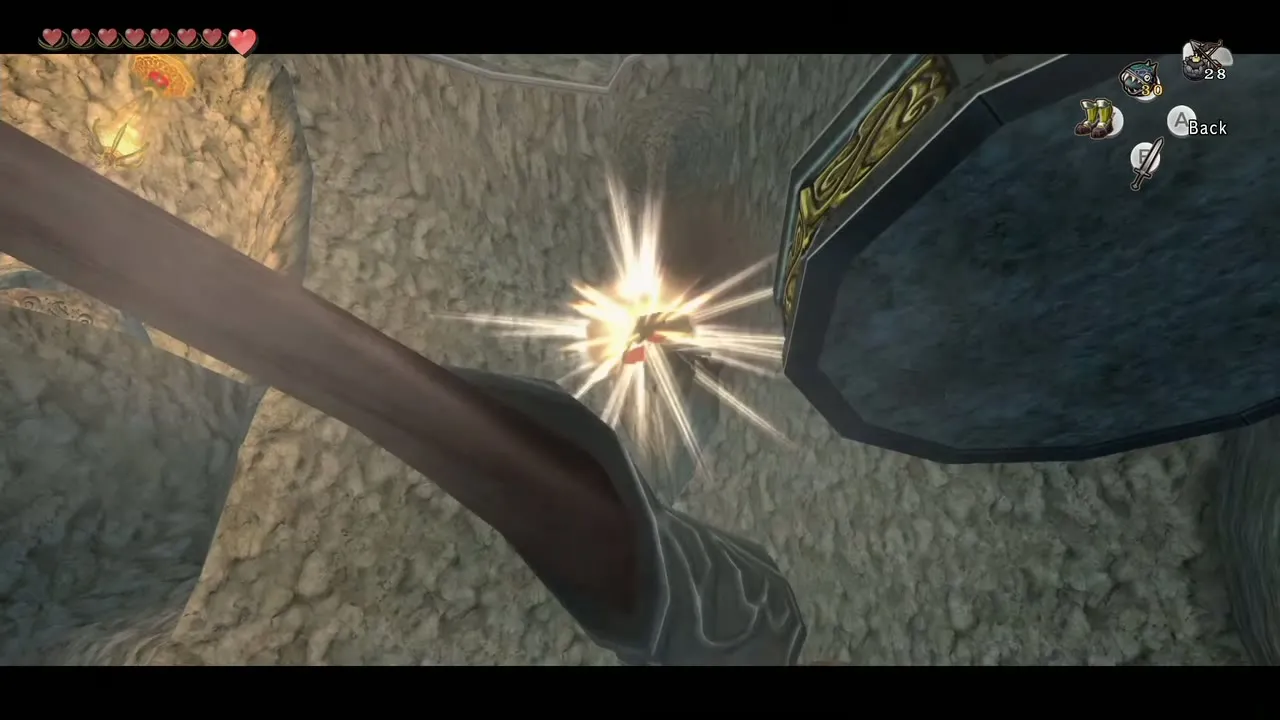
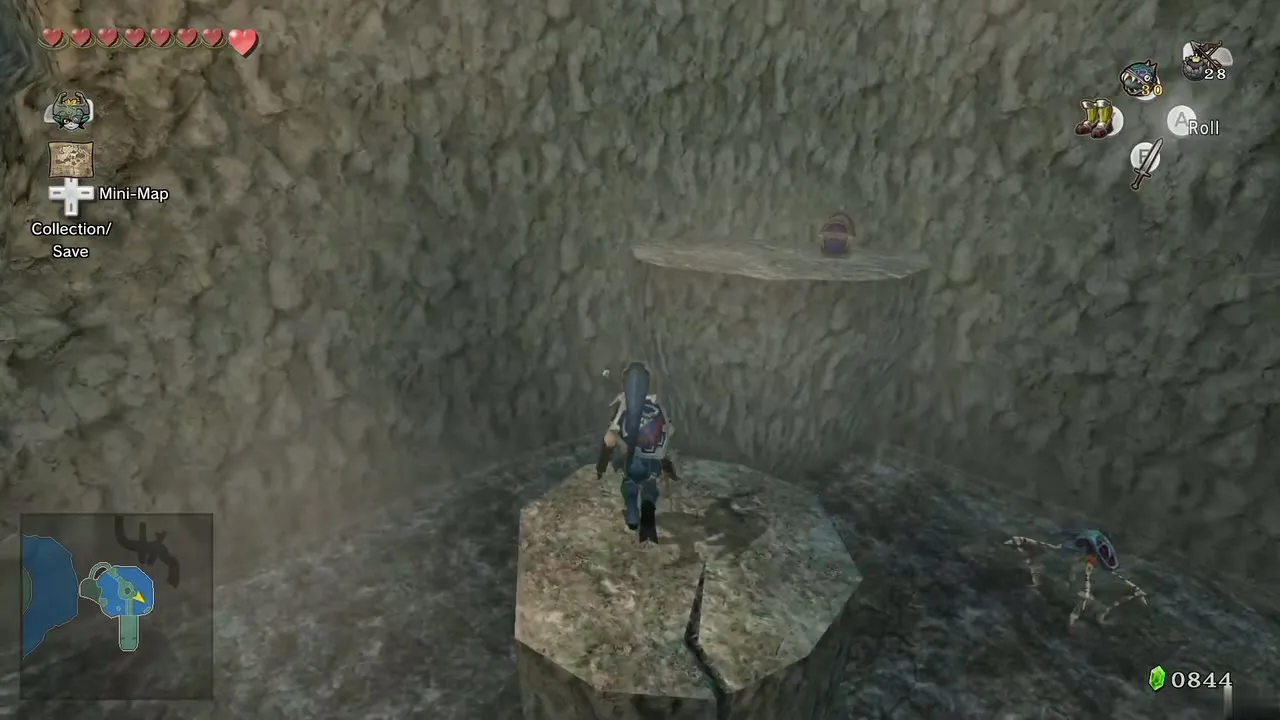
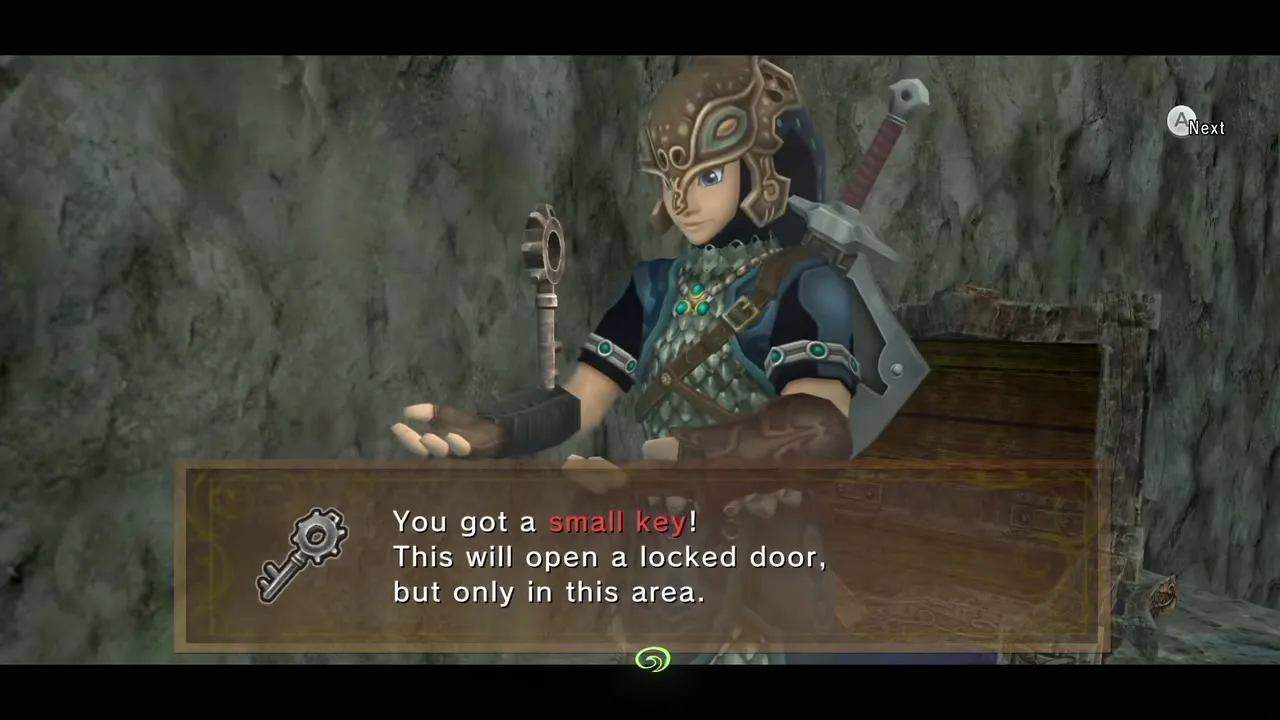
Climb the vines on the center pillar to another platform, then jump to the platform in the northeast. A geyser below sometimes lifts a fallen stalactite: hop on when it peaks and jump across. Open the chest for Small Key 1, return to the first side of the room, climb the vines, and go back west through the door and across the bridge to the main hall. The room has more to do later, once you own the Clawshot.
Locked door and the vine room
You do not need to turn the staircase. Climb up, run around the upper floor to the east end and use Small Key 1 on the locked door. Beat the Helmasaur and go through the next door.
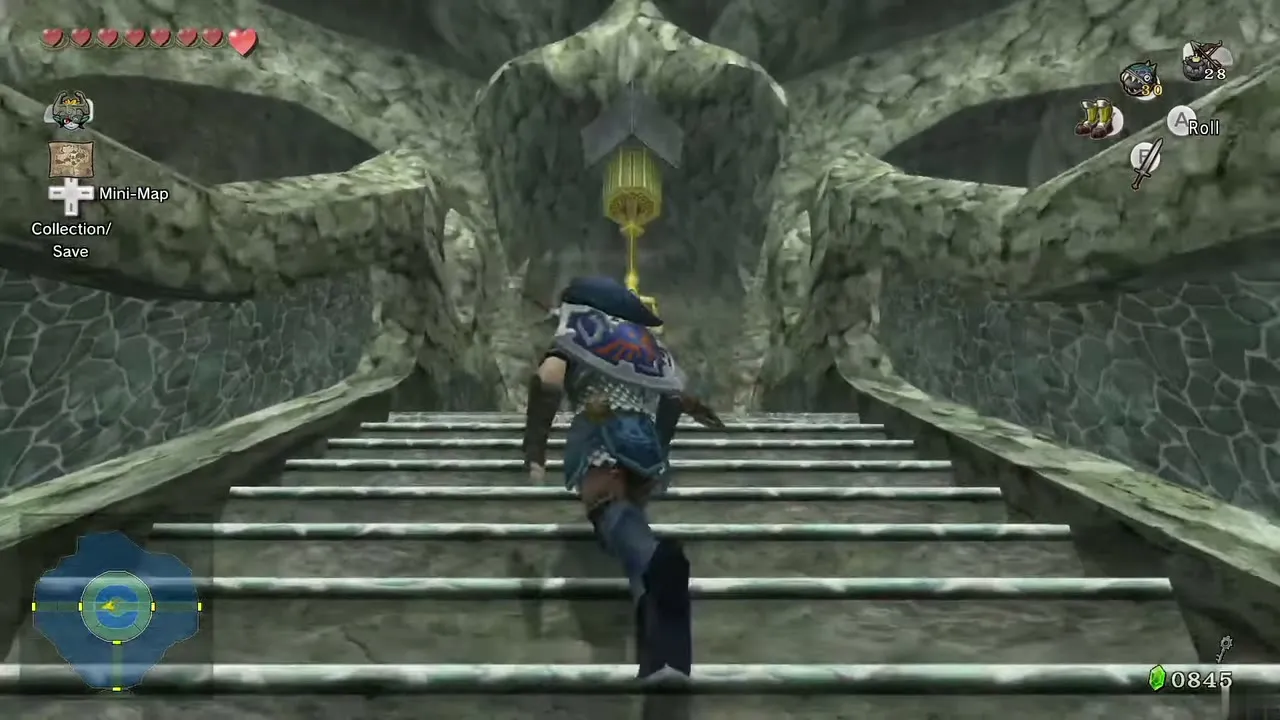
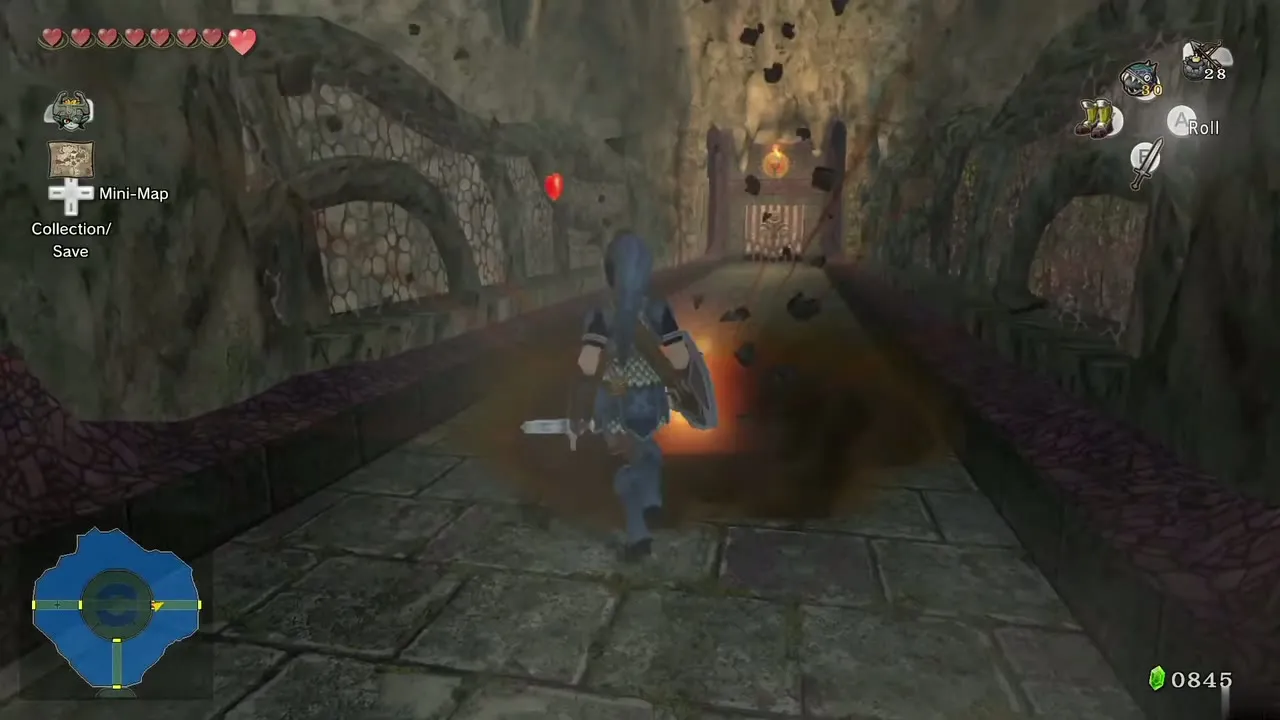
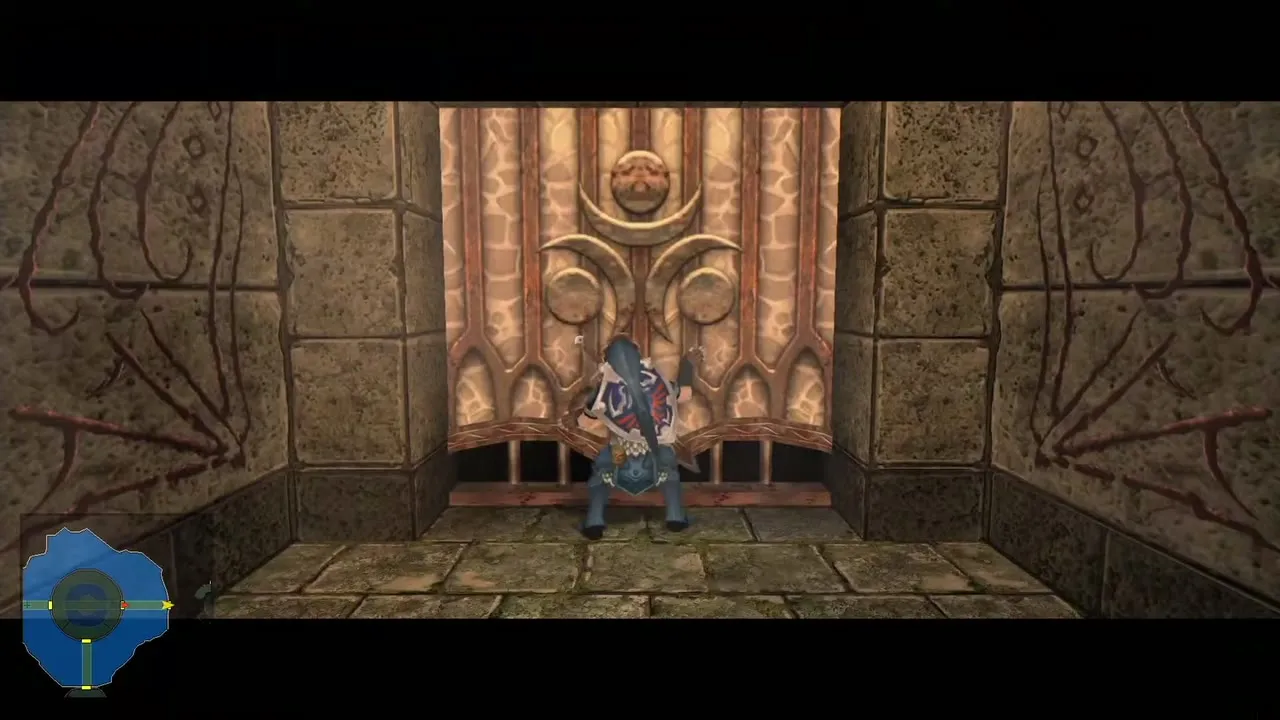
Turn right for a chest with Water Bombs, then take the other path to two more stalactites; shoot them with Bomb Arrows. Climb the vines to the higher ledge and jump to the handle you see; it opens the gate nearby. Bomb the boulder beyond with a bomb or a Bomb Arrow.
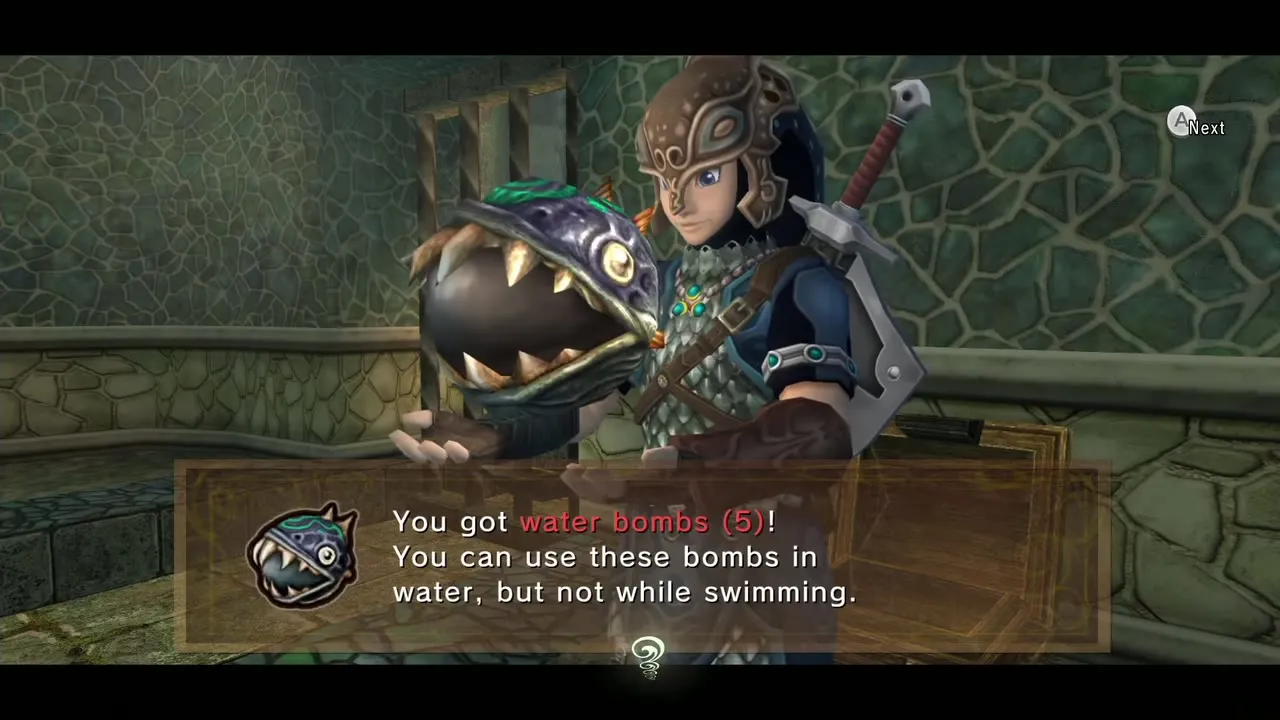
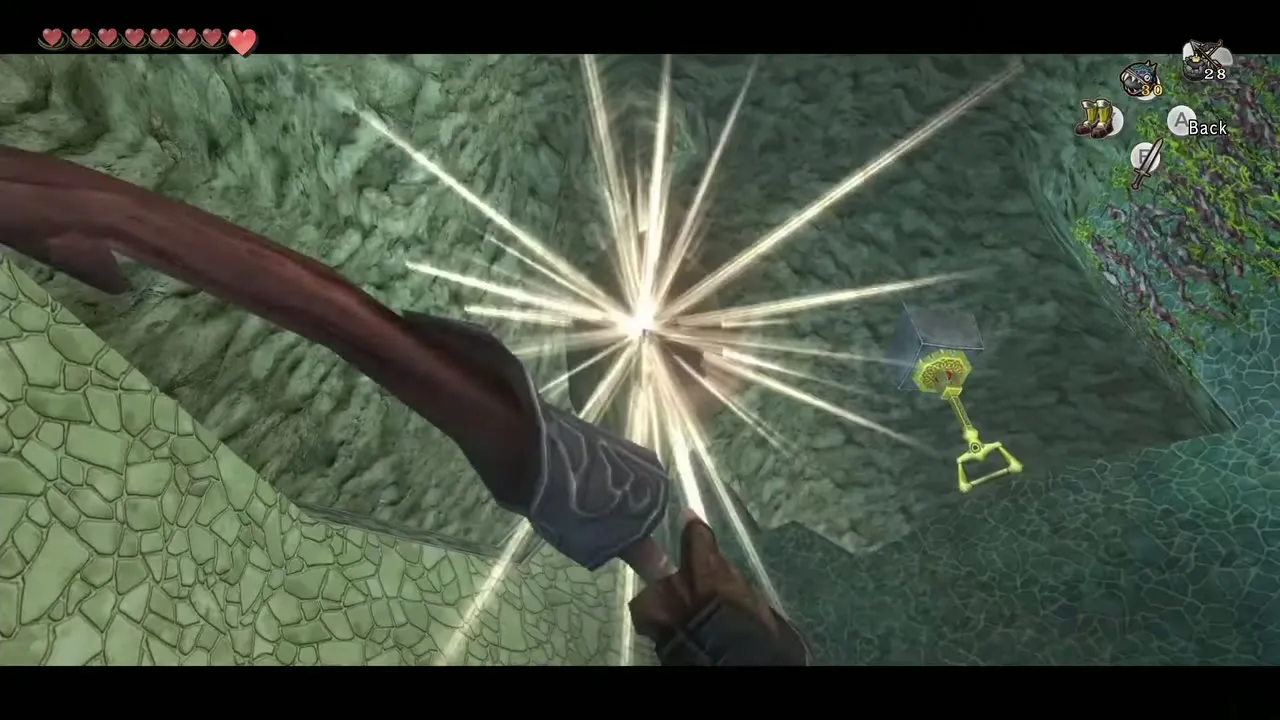
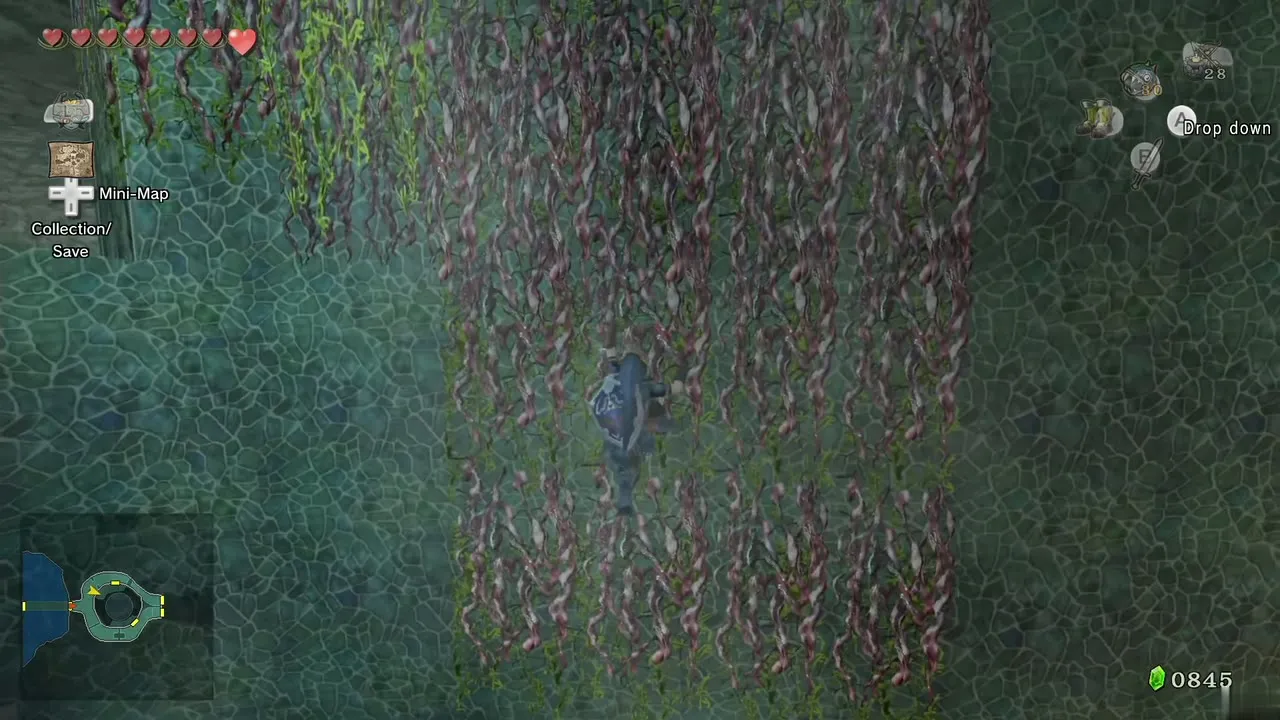
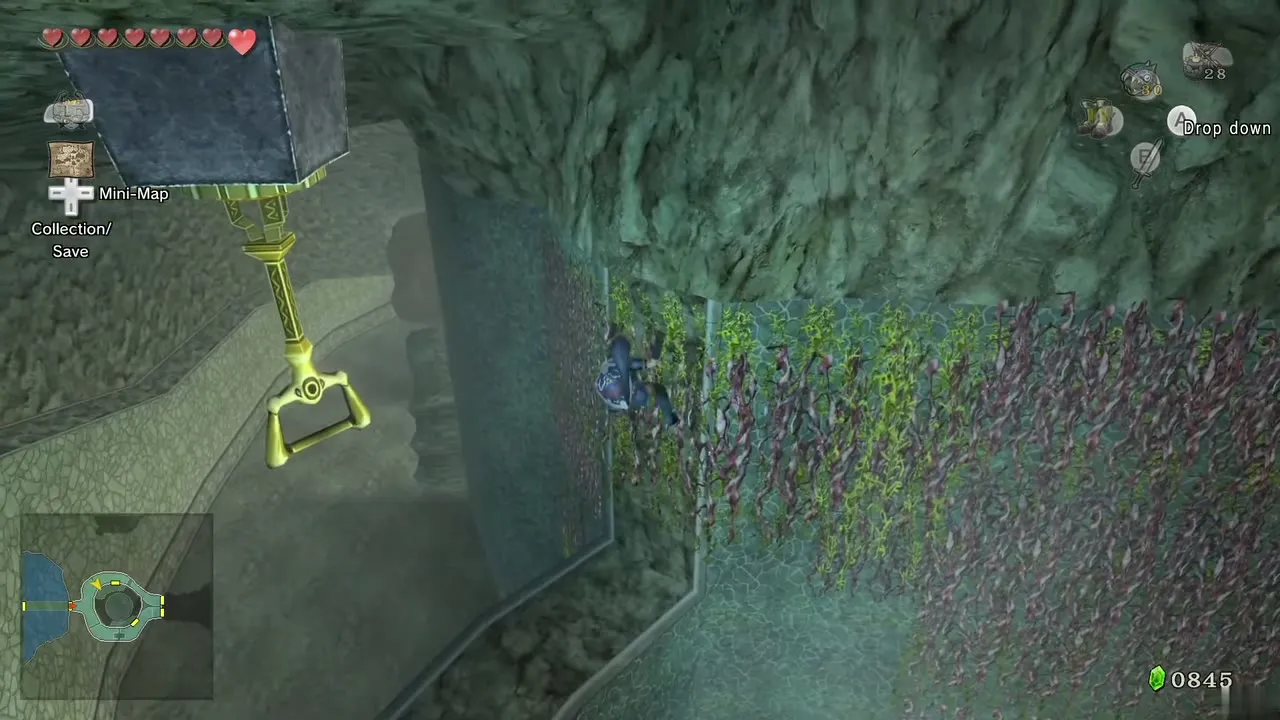
Before going on, turn south through the nearby door into a room of platforms: jump across, defeat the Lizalfos and leave by the south-east door. Defeat the enemies there and open the chest for Small Key 2.
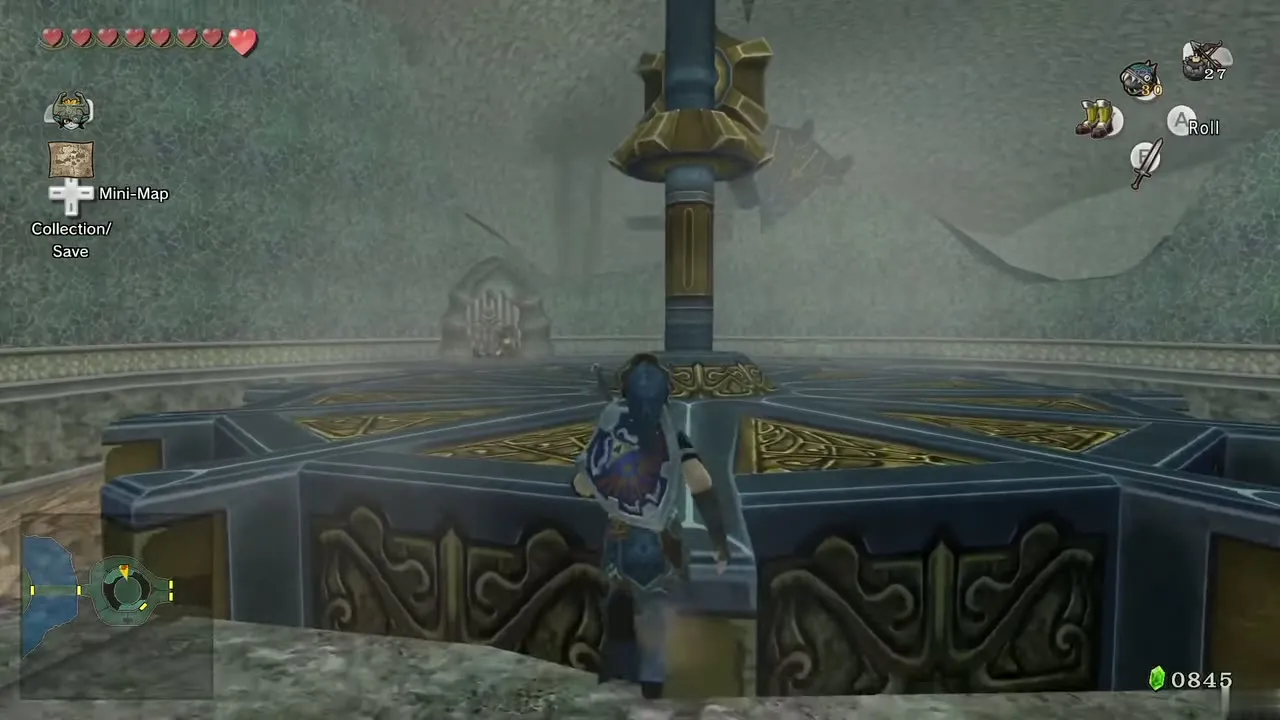
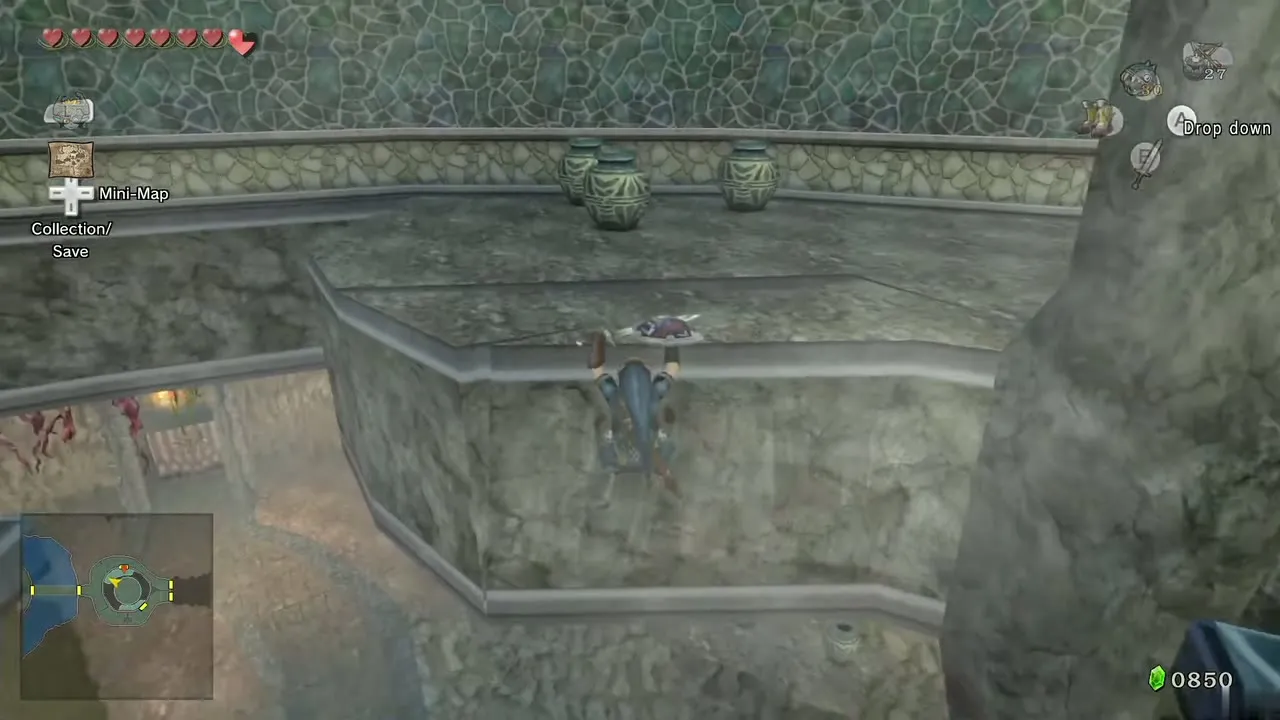
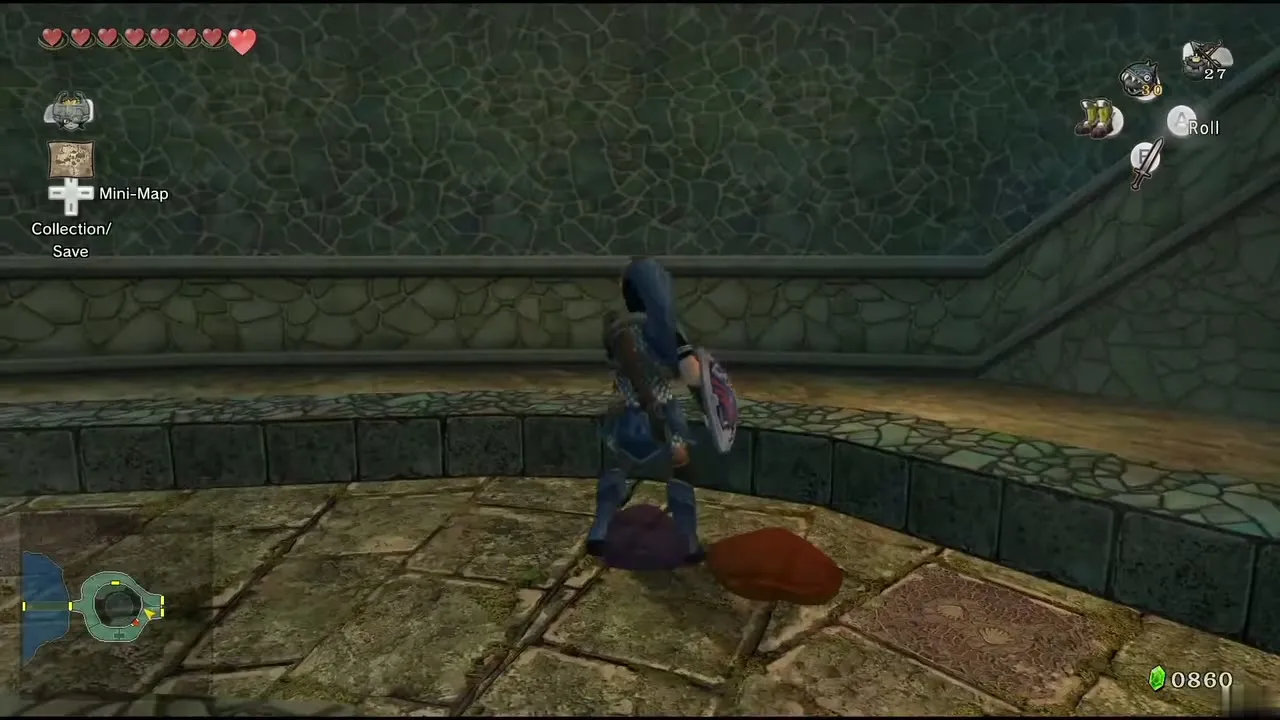
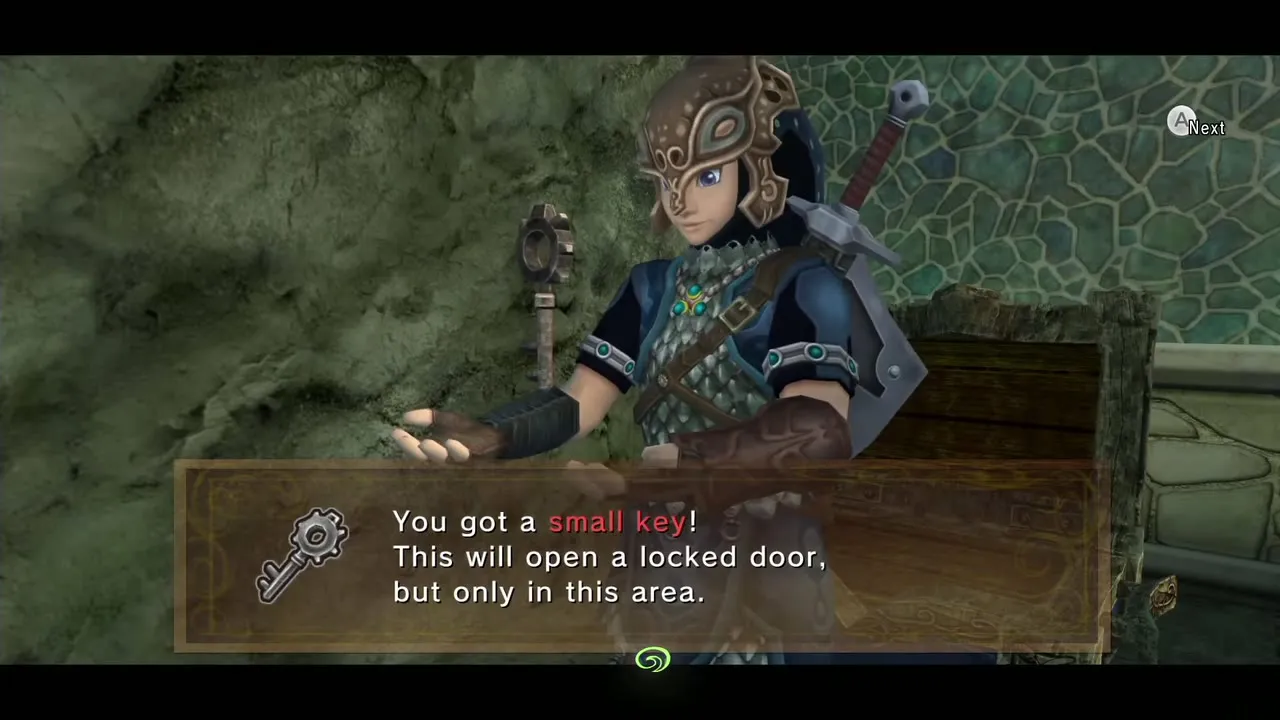
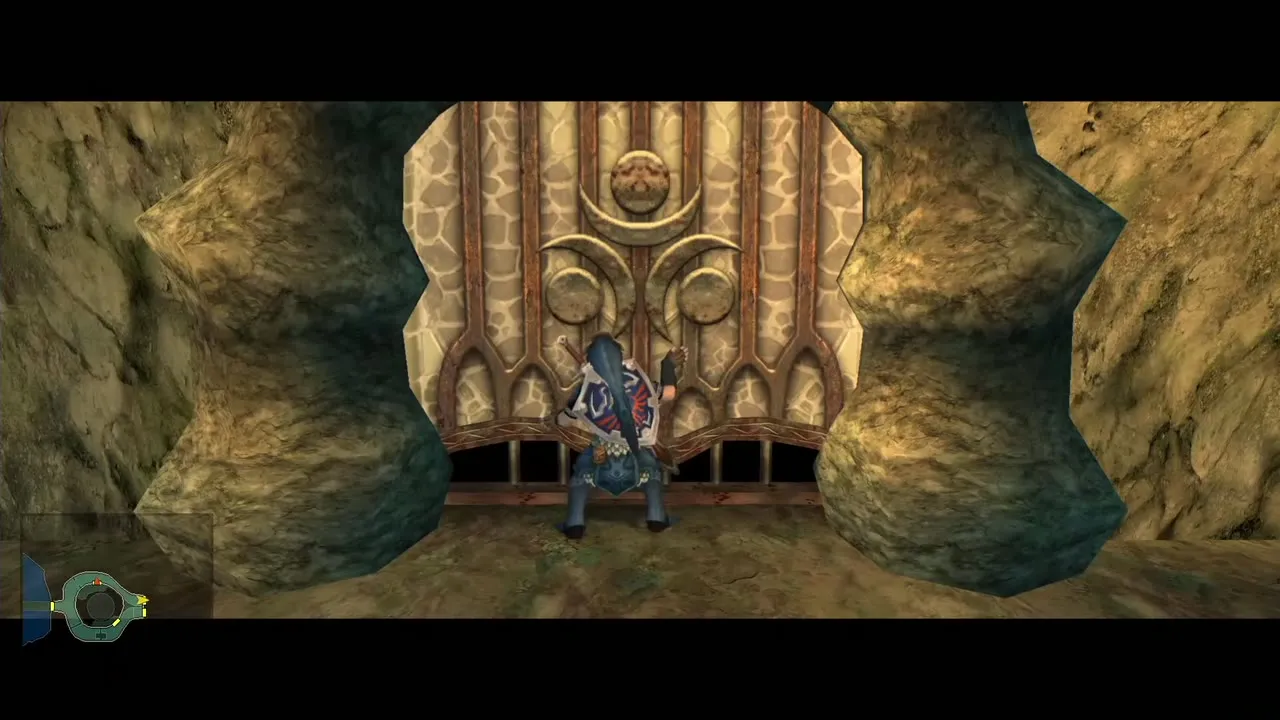
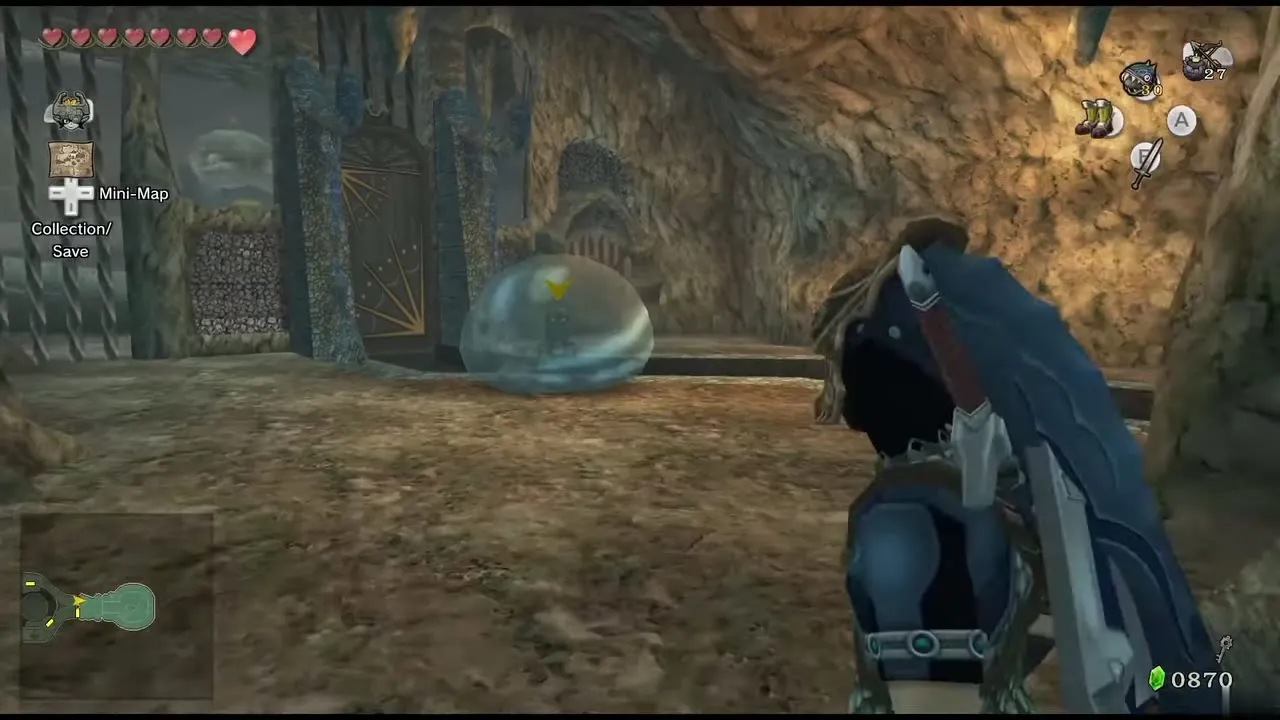
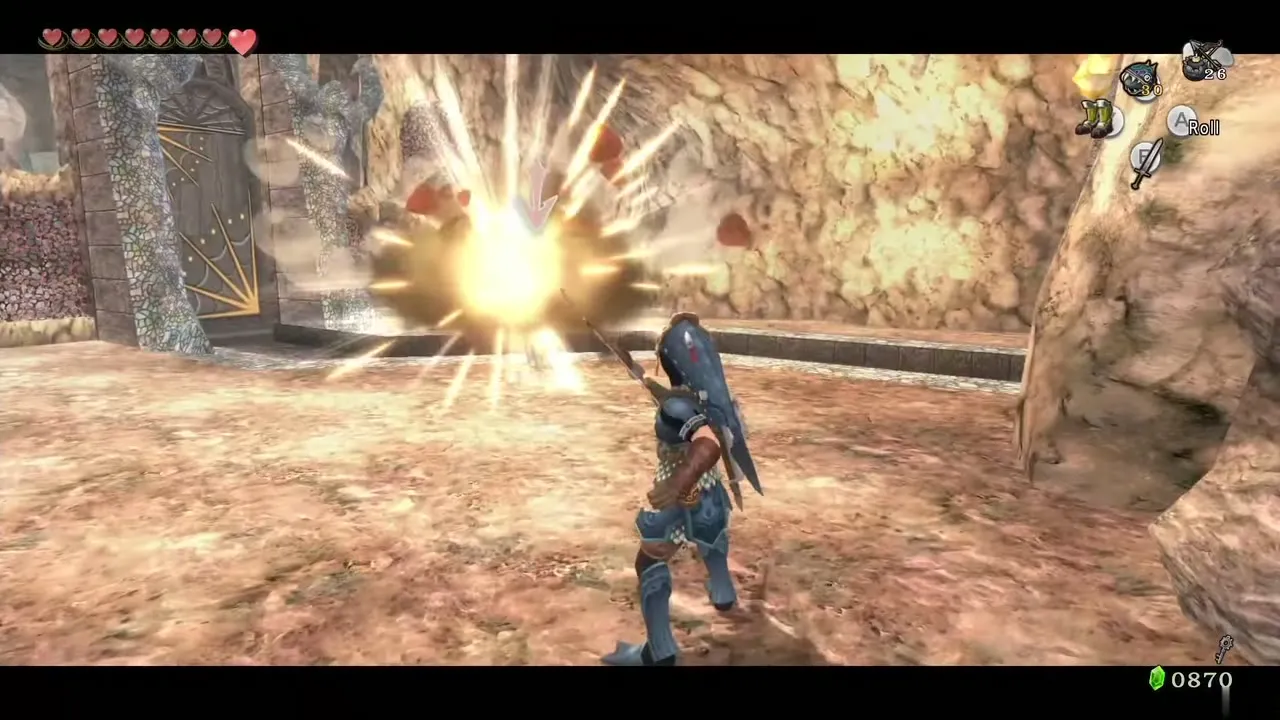
Return to the previous room and go east through the opening you blasted. In the next room a Chu Worm hides in its bubble and cannot be hit by the sword: pop the bubble with a Bomb Arrow, then slash it. Use Small Key 2 on the locked door here.
First water gate
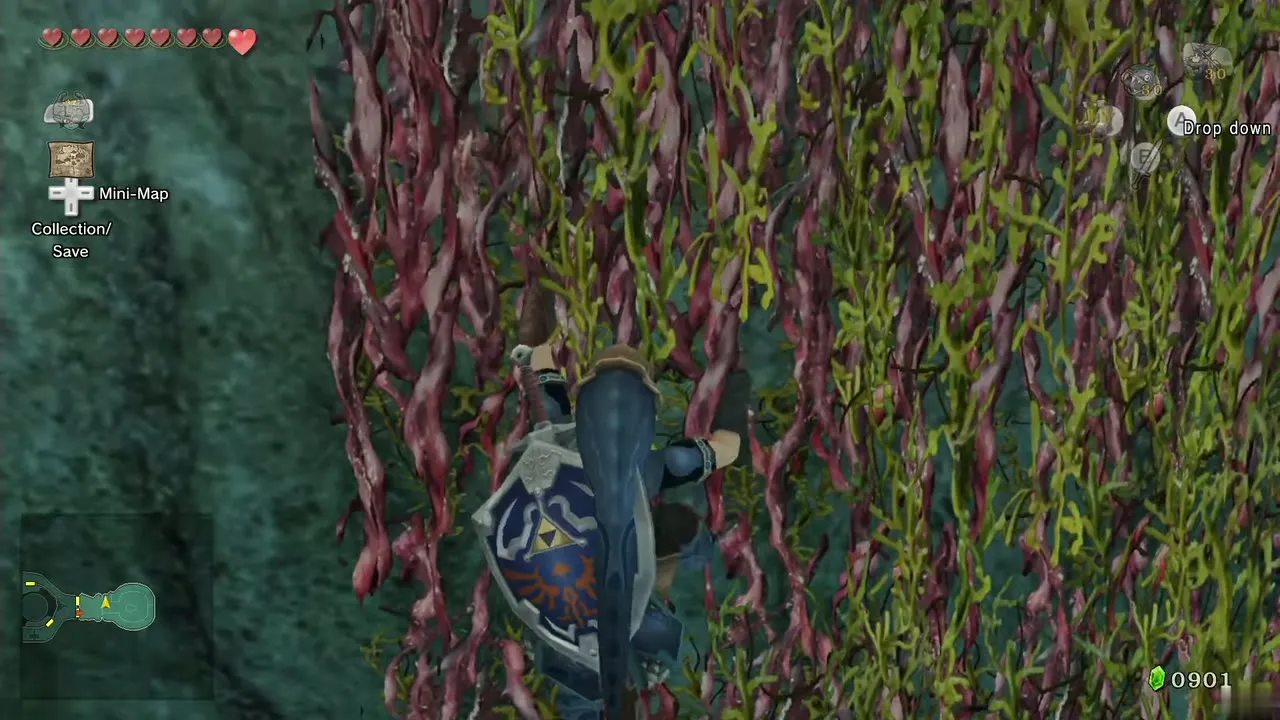
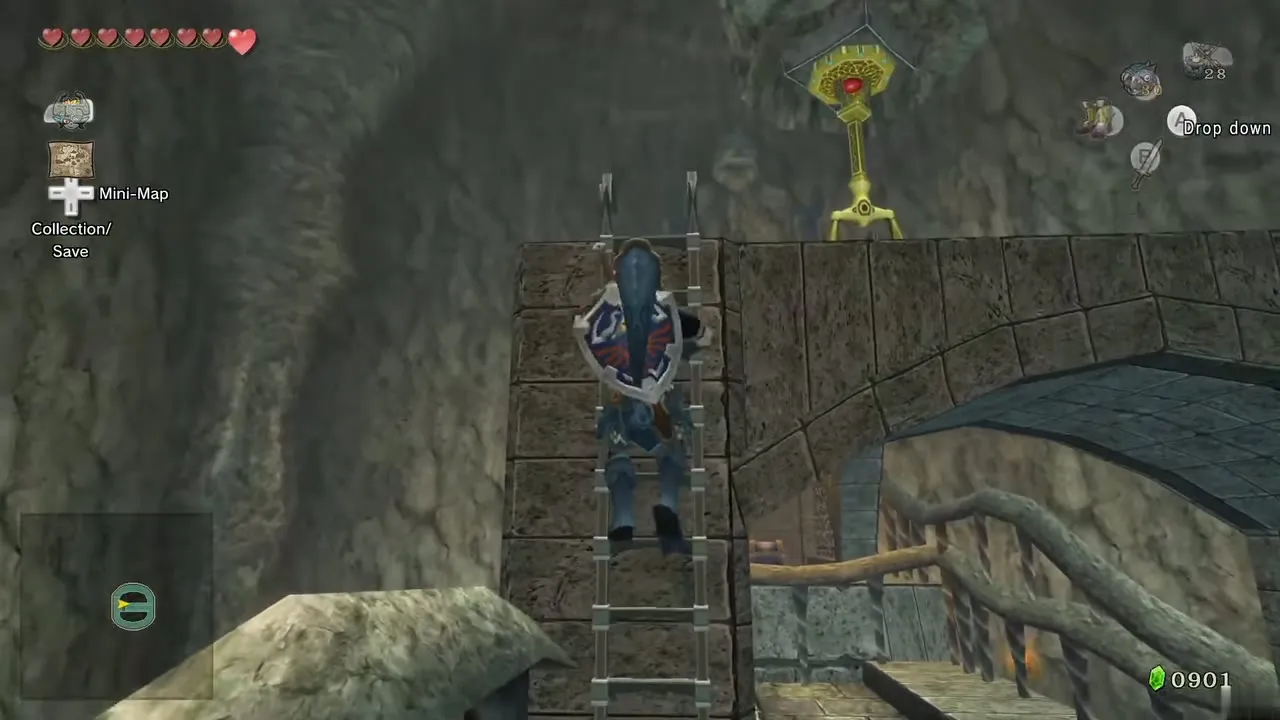
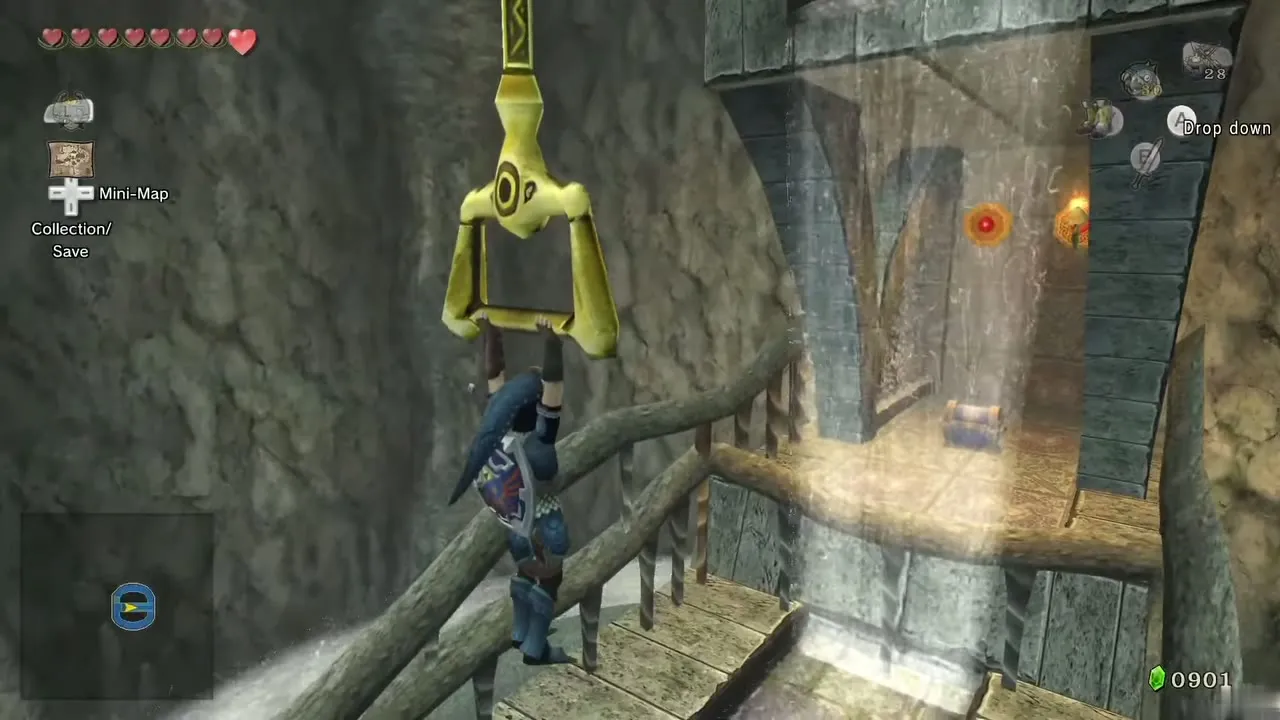
Inside, turn left, jump to the vines and climb to the circular ramp. Fight the Tektite on the way up. At the top a chest holds more Water Bombs; a larger chest ahead is out of reach for now (see the optional stamp below). Climb one of the ladders on the west side of the arch and jump to the handle to open the east floodgate. Water now pours down the ramp.
Second water gate
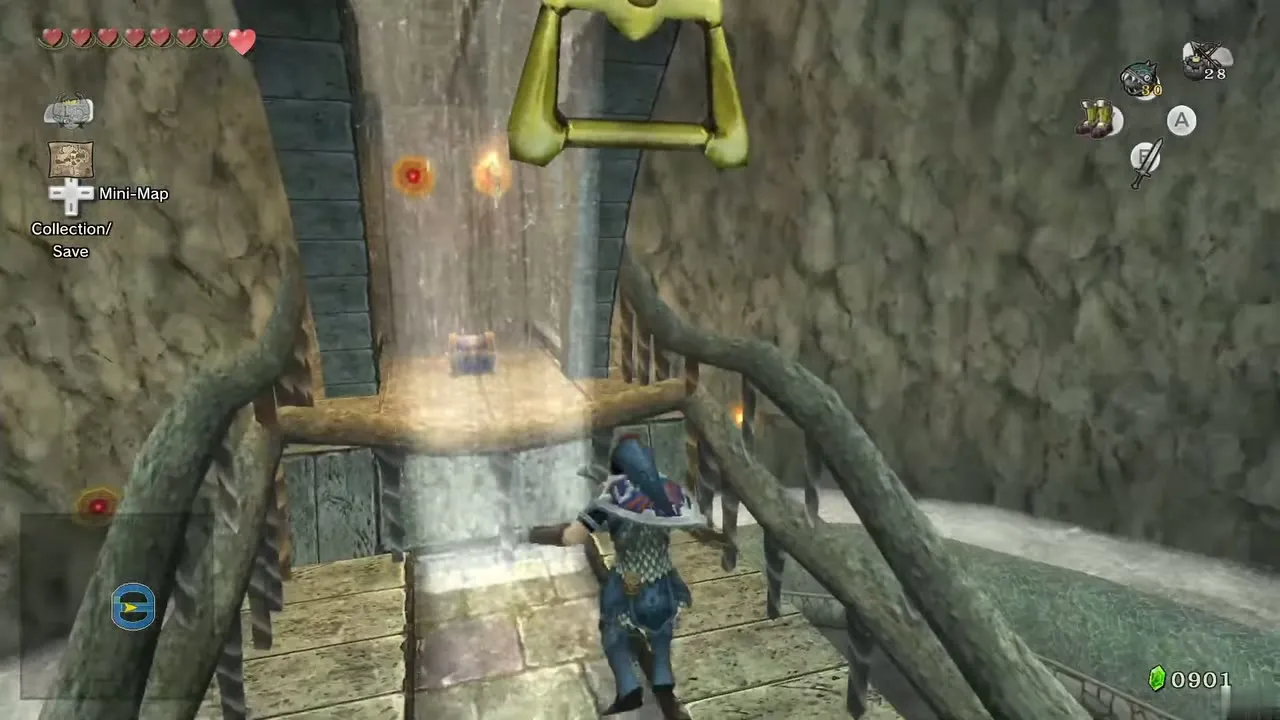
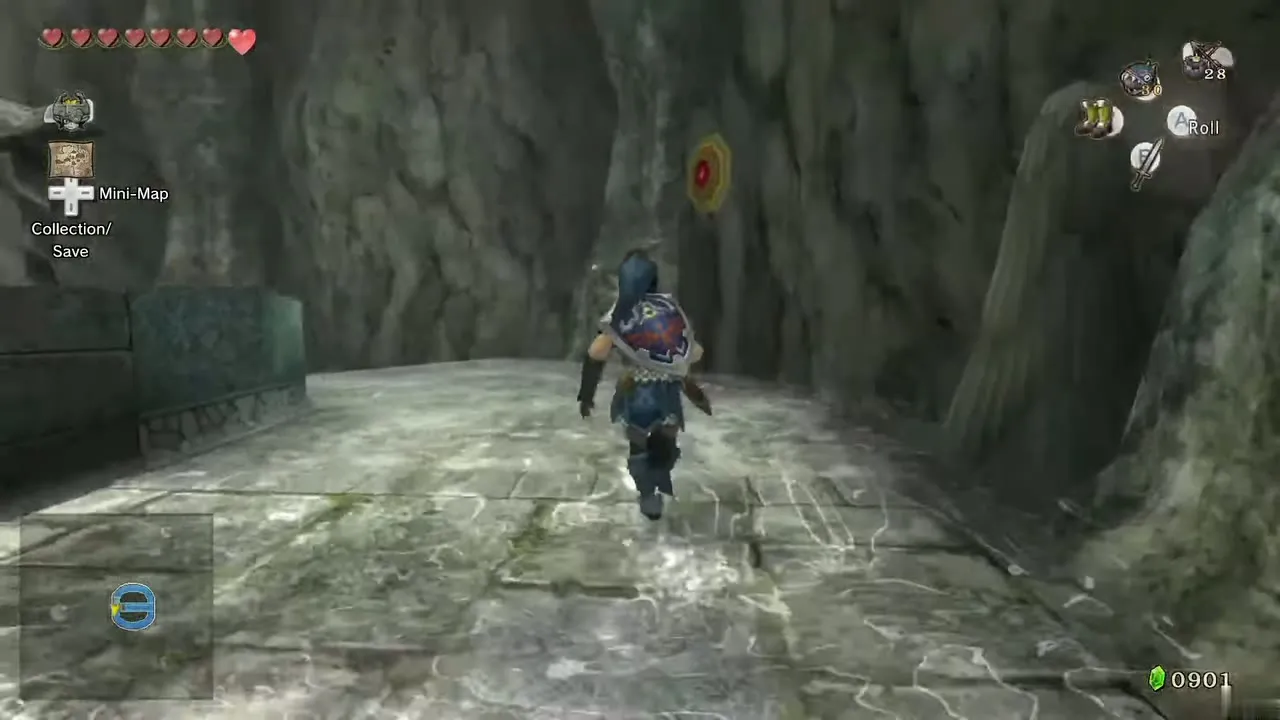
Walk back down; the current turns the ramp into a slide. The room below is now flooded and the middle platform is reachable. Jump to the hanging handle from the platform to open a second gate, sending water further through the dungeon. The water flows out through the left door to a waterwheel, where a Fairy and another Blue Chu can be found if you want them. To continue, take the right door, follow the path and go back west over the bridge to the main hall. The flooding raises the water level in the hall.
Deku Toad mini-boss and the Clawshot
Spinning platforms and Small Key 3
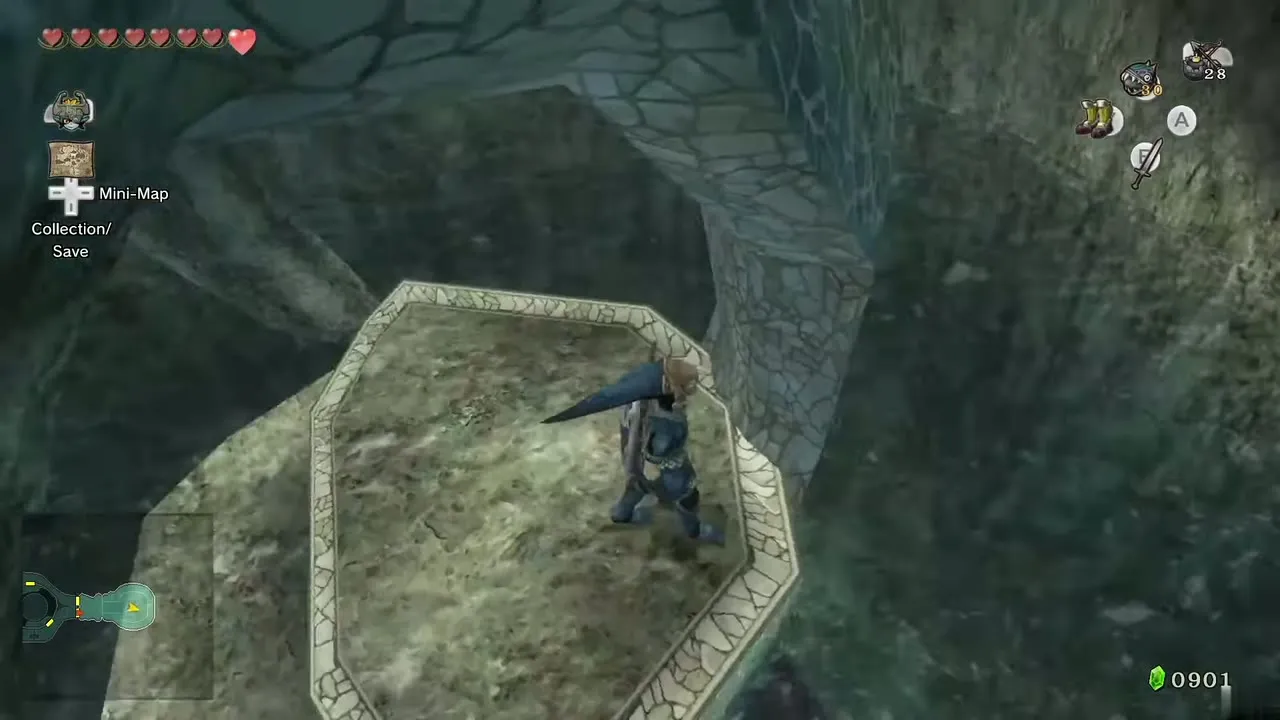
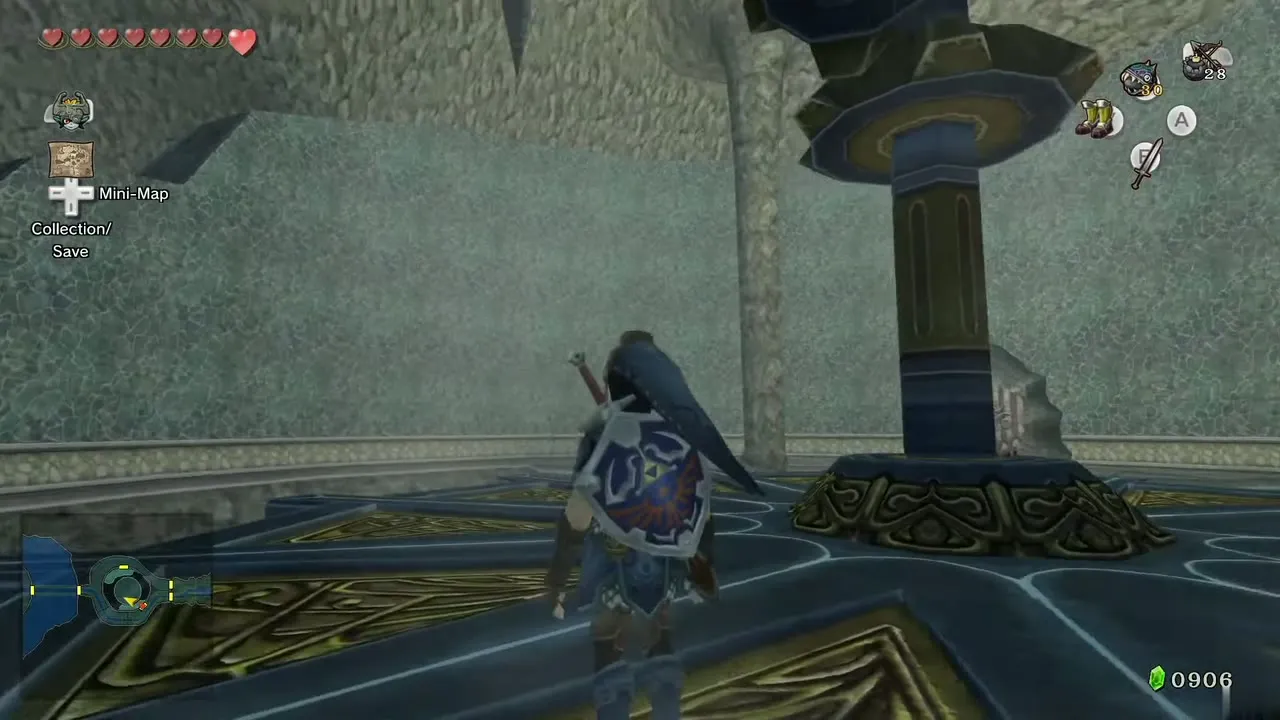
The central platform now spins. Return to the east corridor on the hall’s lower floor (drop off the ledge by the entrance rather than turning the staircase) and cross the bridge. The water now flows and the gears turn. Jump to the first moving platform and let it carry you to the door at the north end.
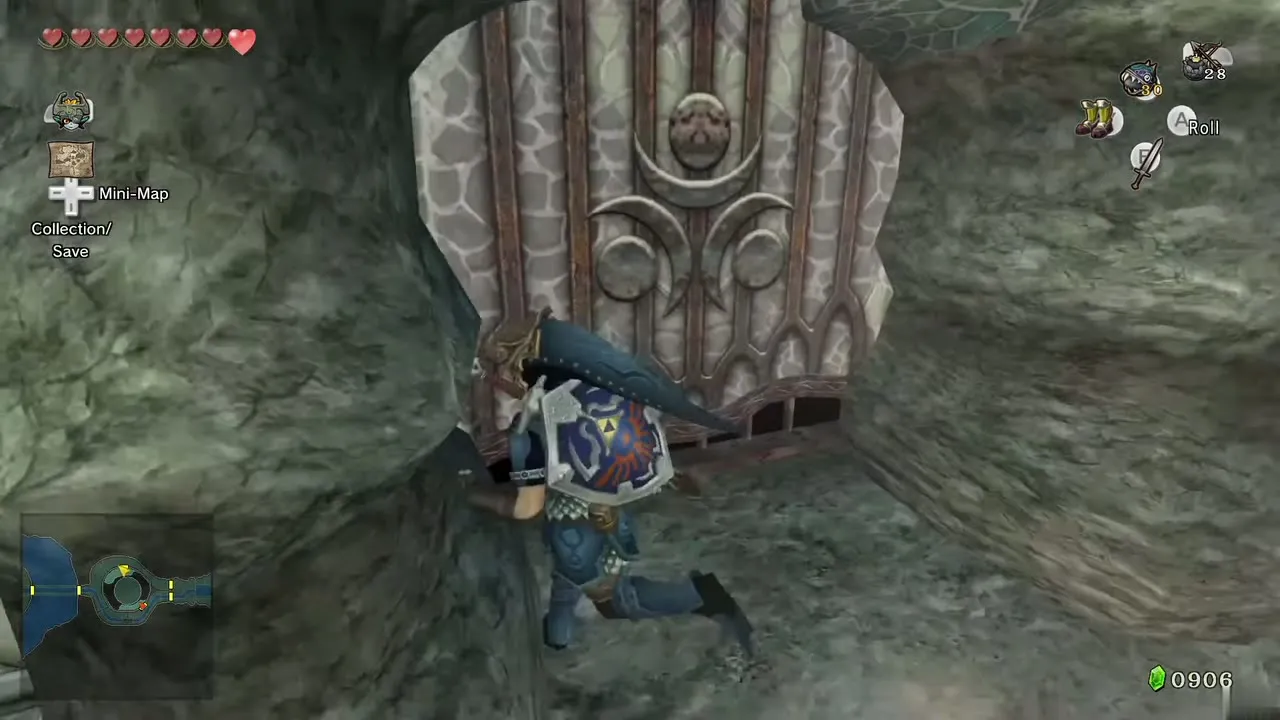
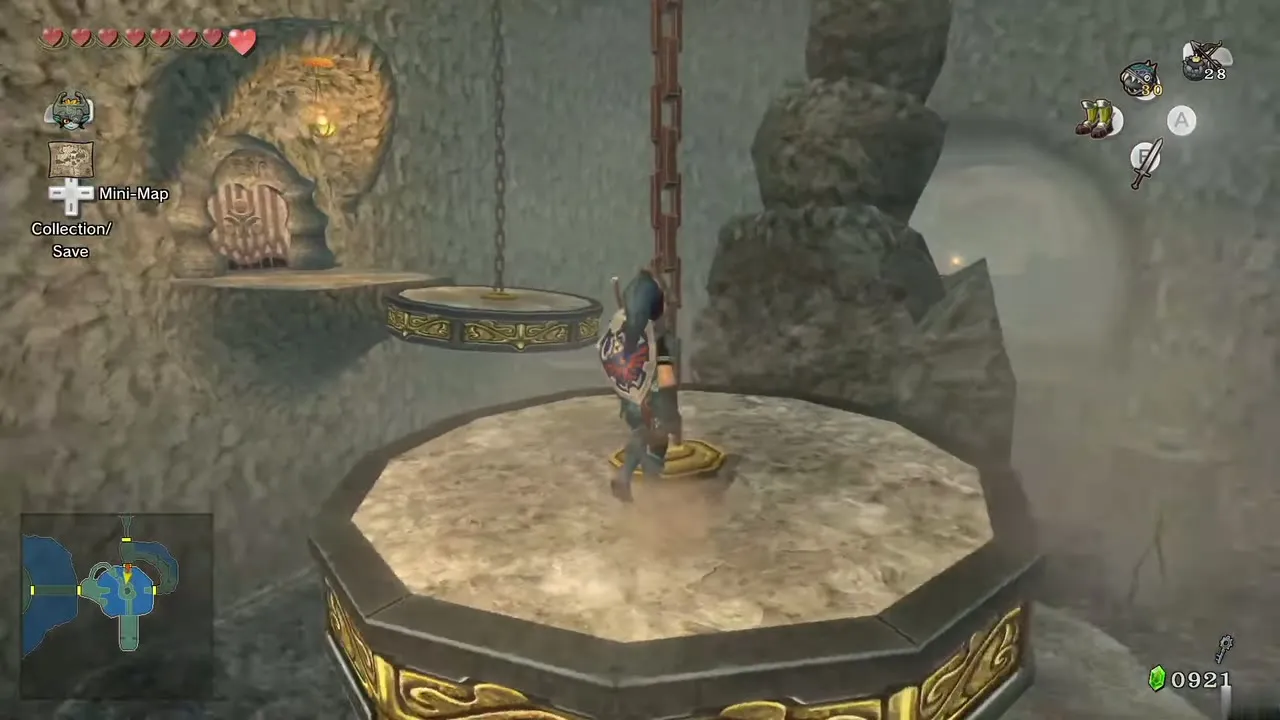
Around the corner a chest holds Small Key 3. A second door in this room leads to a blockade you cannot pass yet. Go back to the room with the platforms, ride a platform to the east door and unlock it with Small Key 3.
Iron Boots corridor
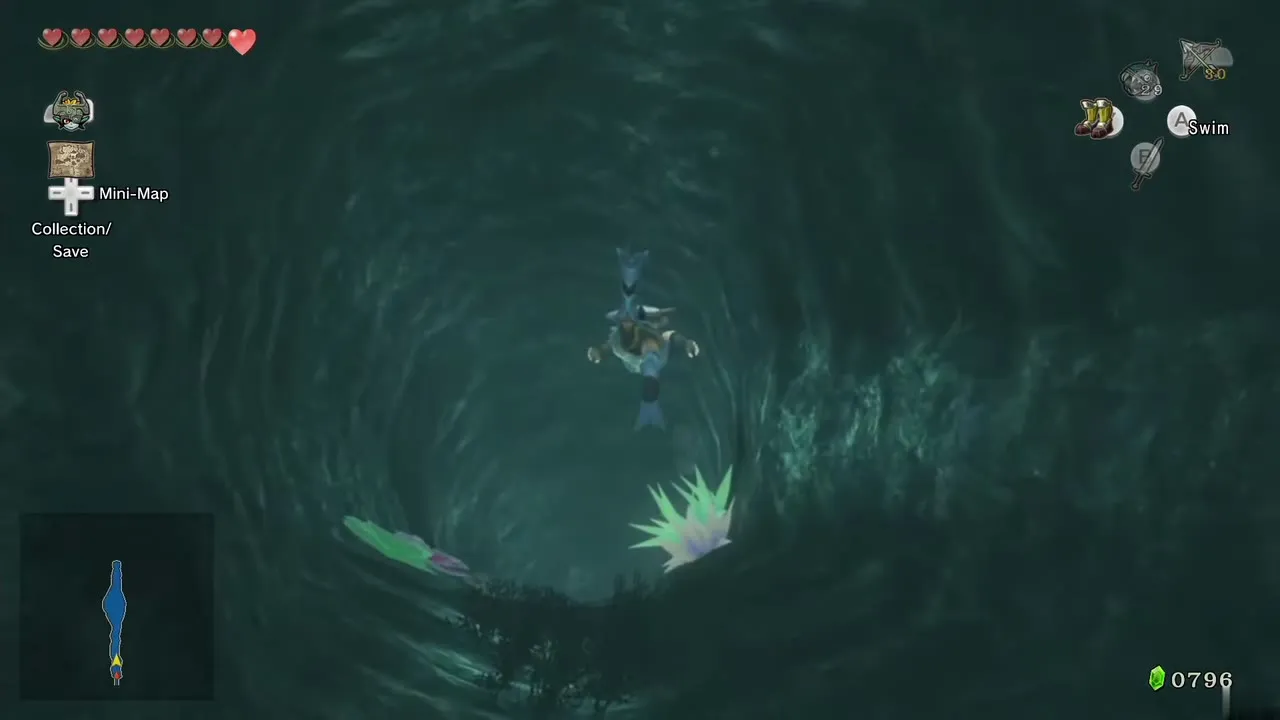
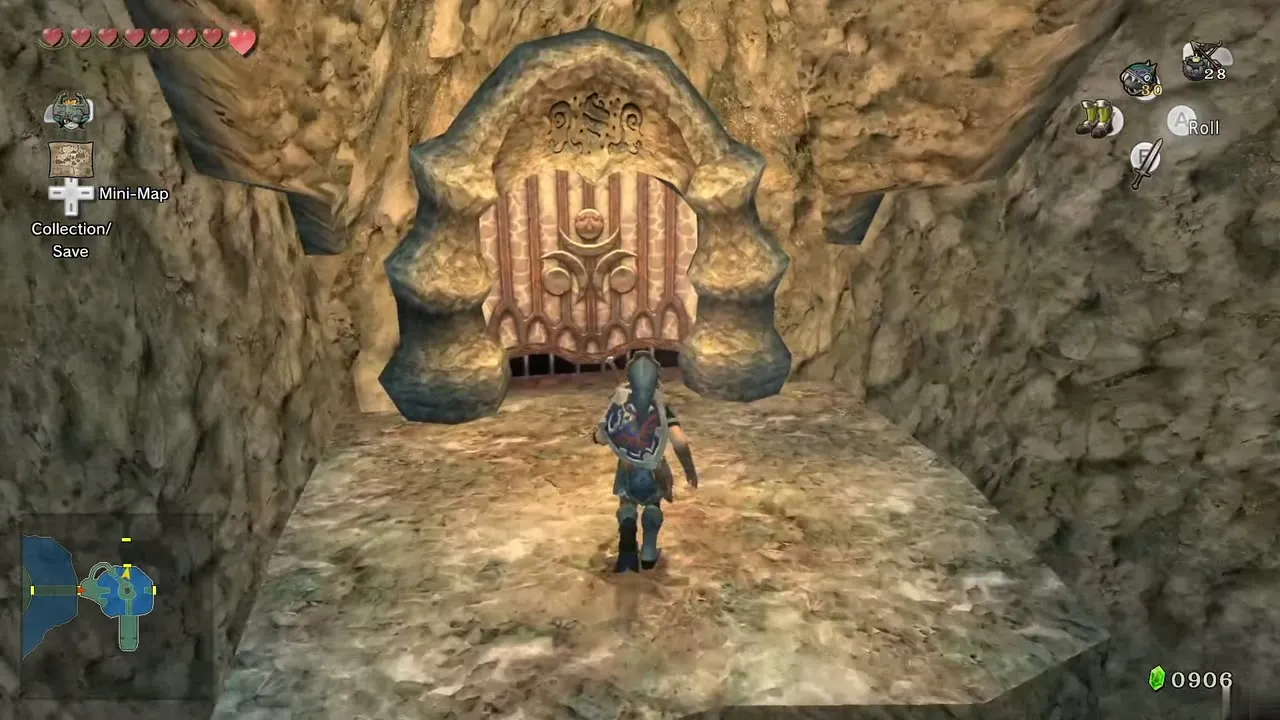
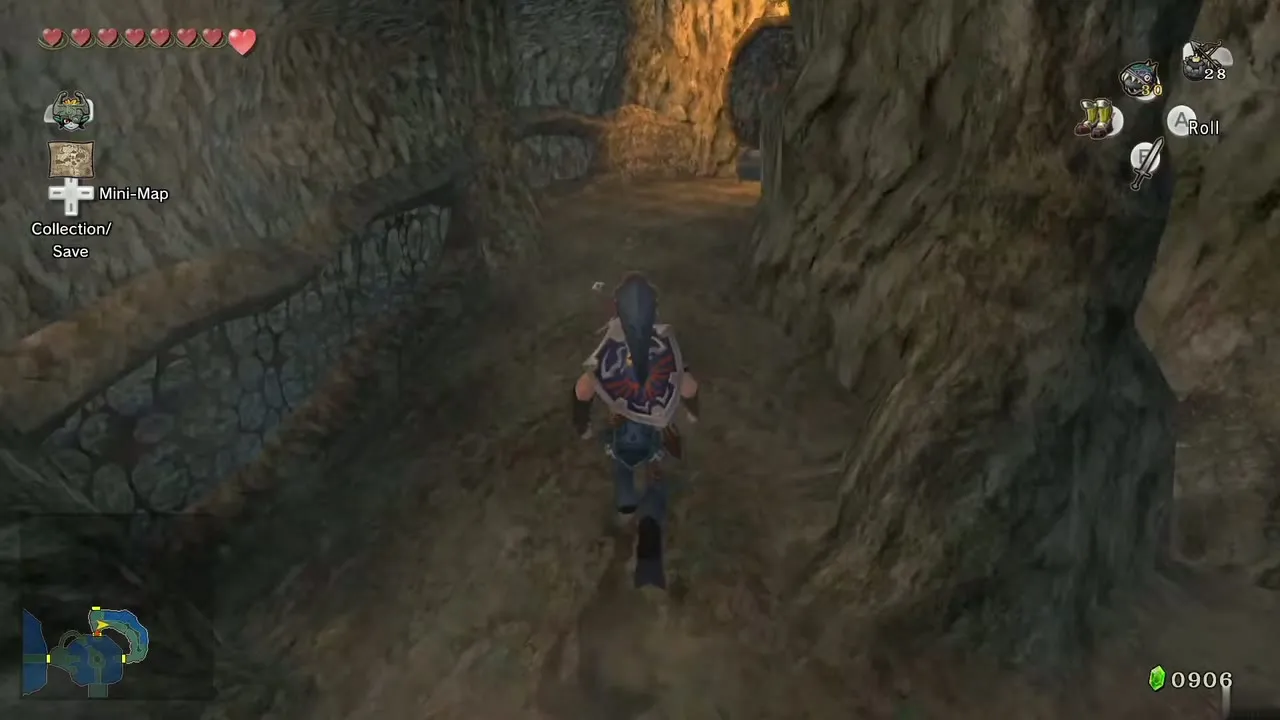
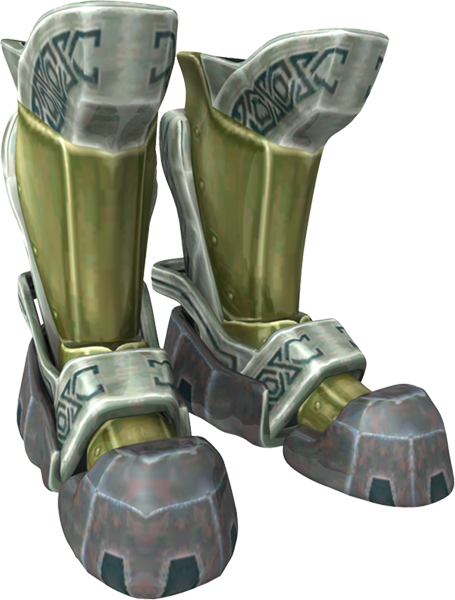
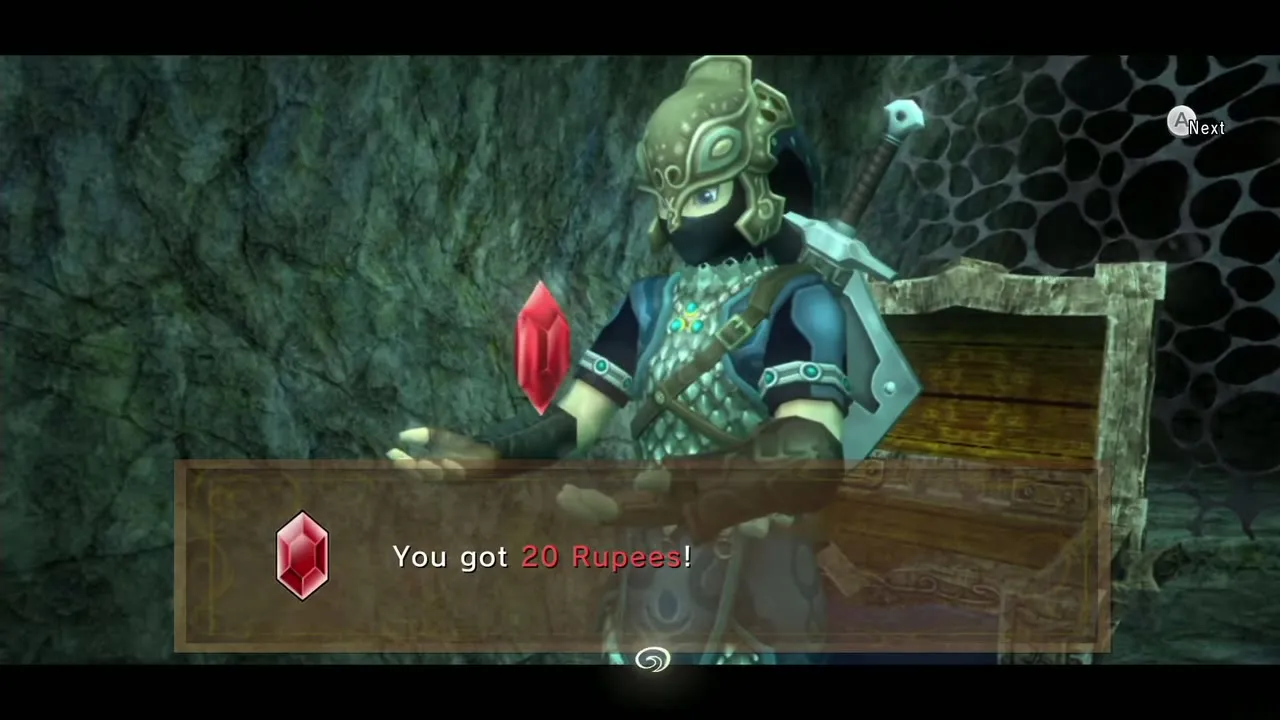
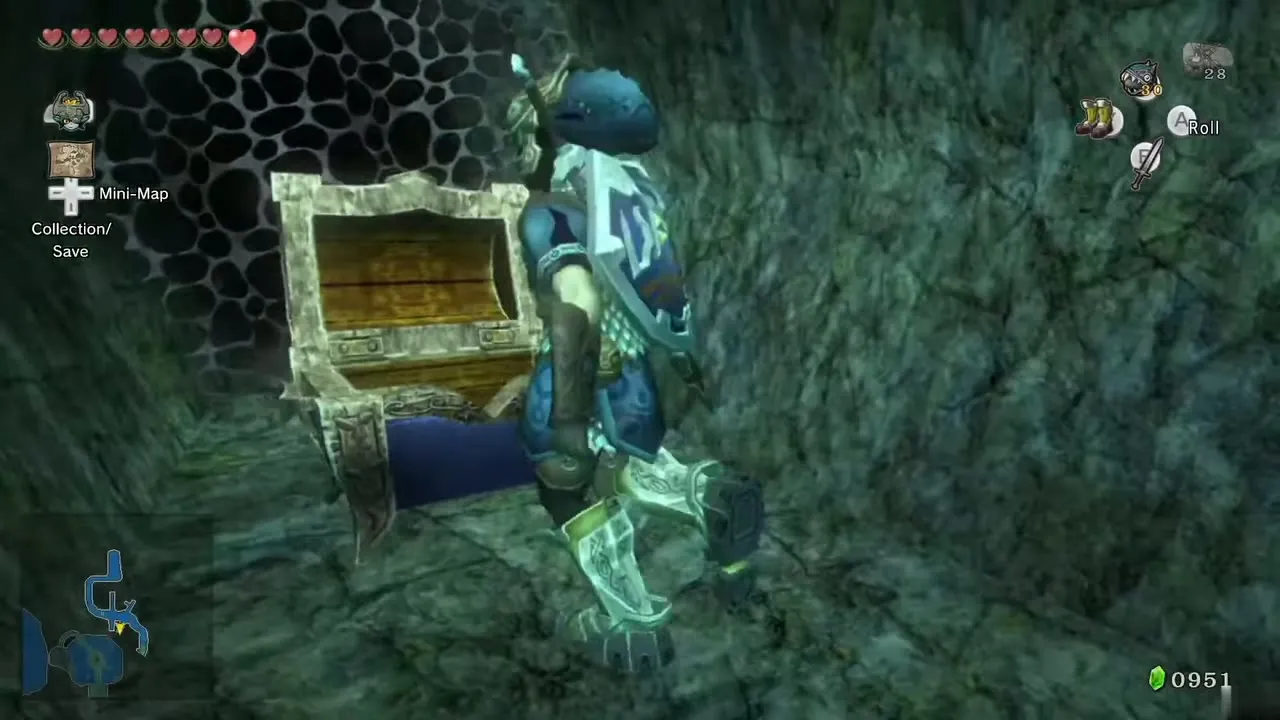
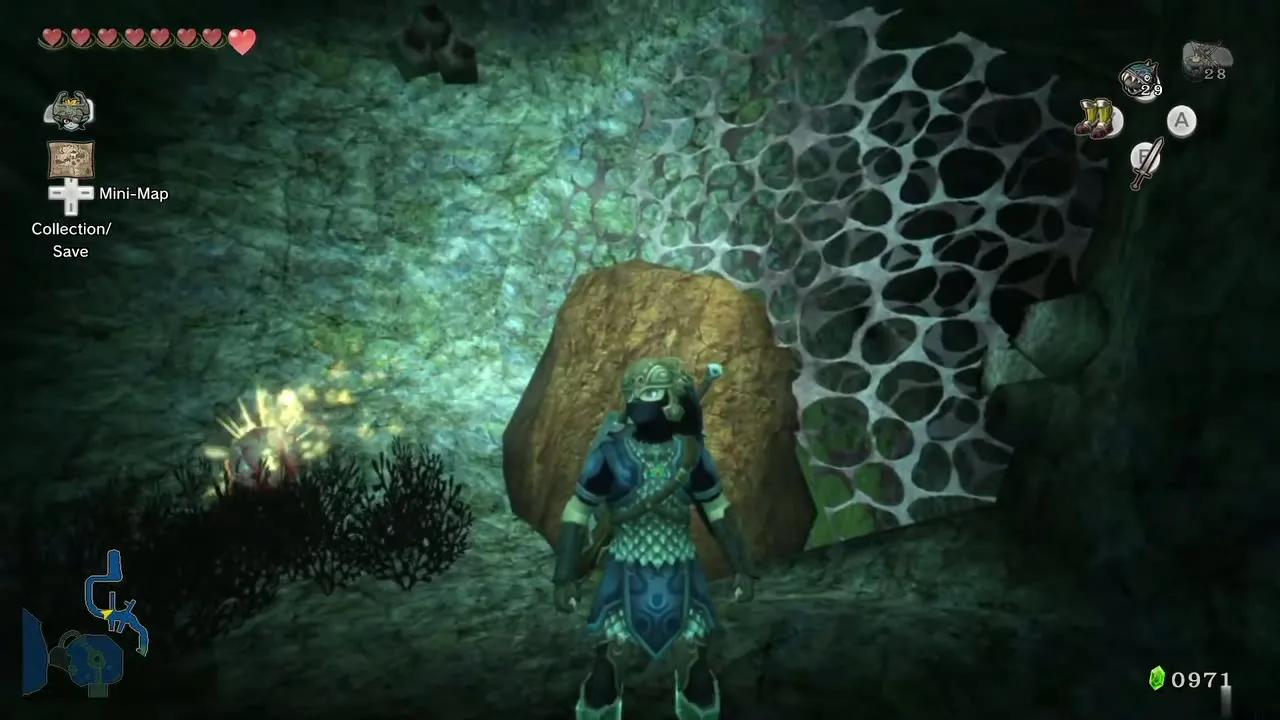
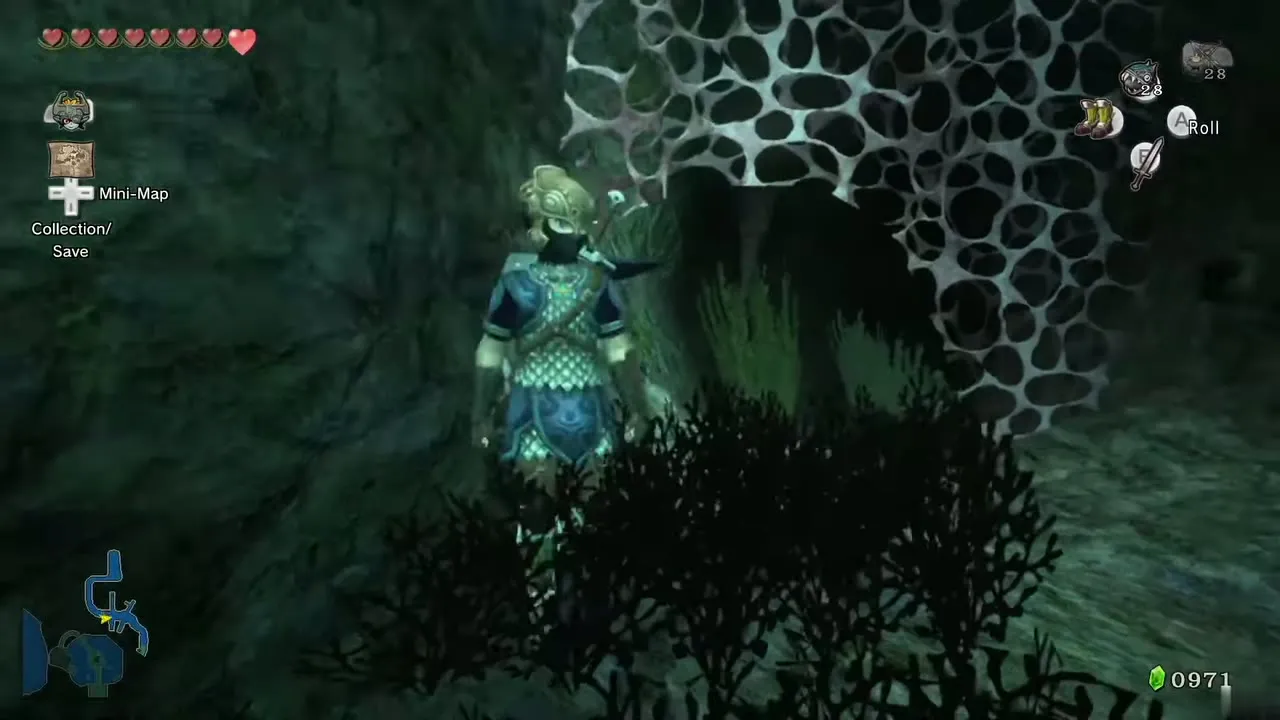
Dive into the water and swim along the passage. Currents shoot from the side; with the Iron Boots on, walk against the current for a chest of Water Bombs and with it for a chest holding a Red Rupee (20). A boulder lies on the floor ahead: blow it up with a Water Bomb. Swim on to the surface.
Deku Toad
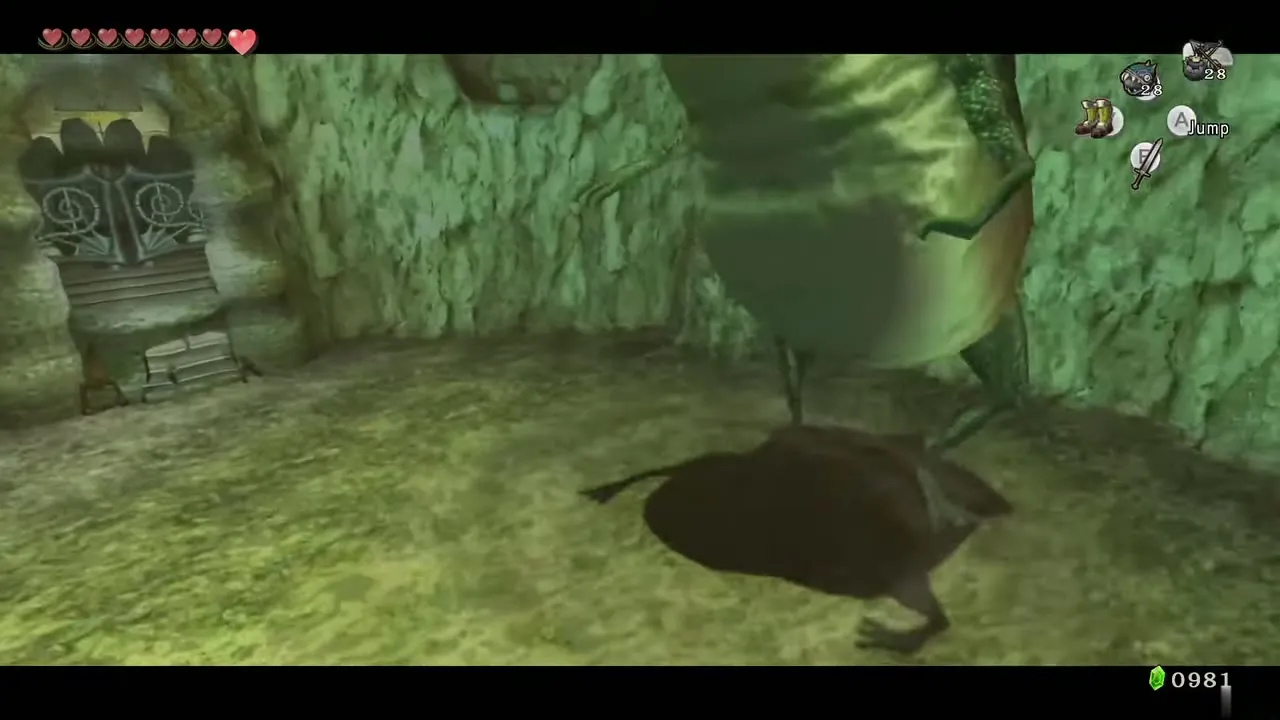
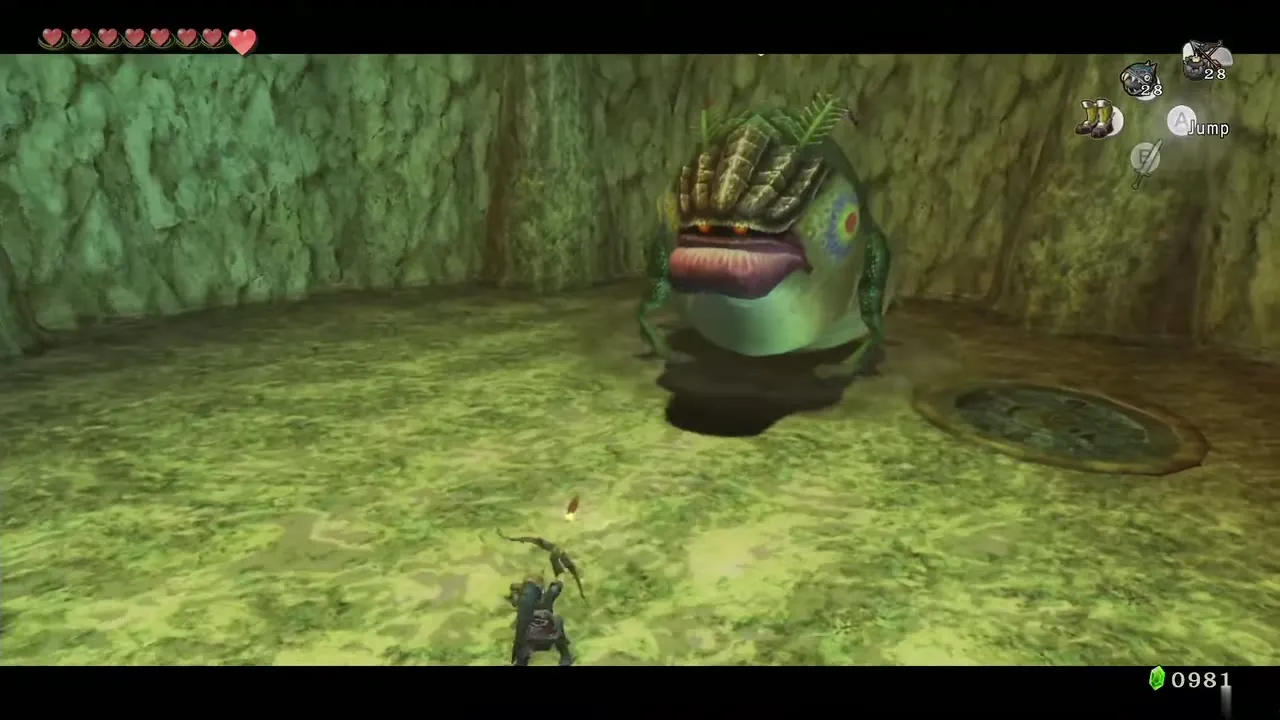
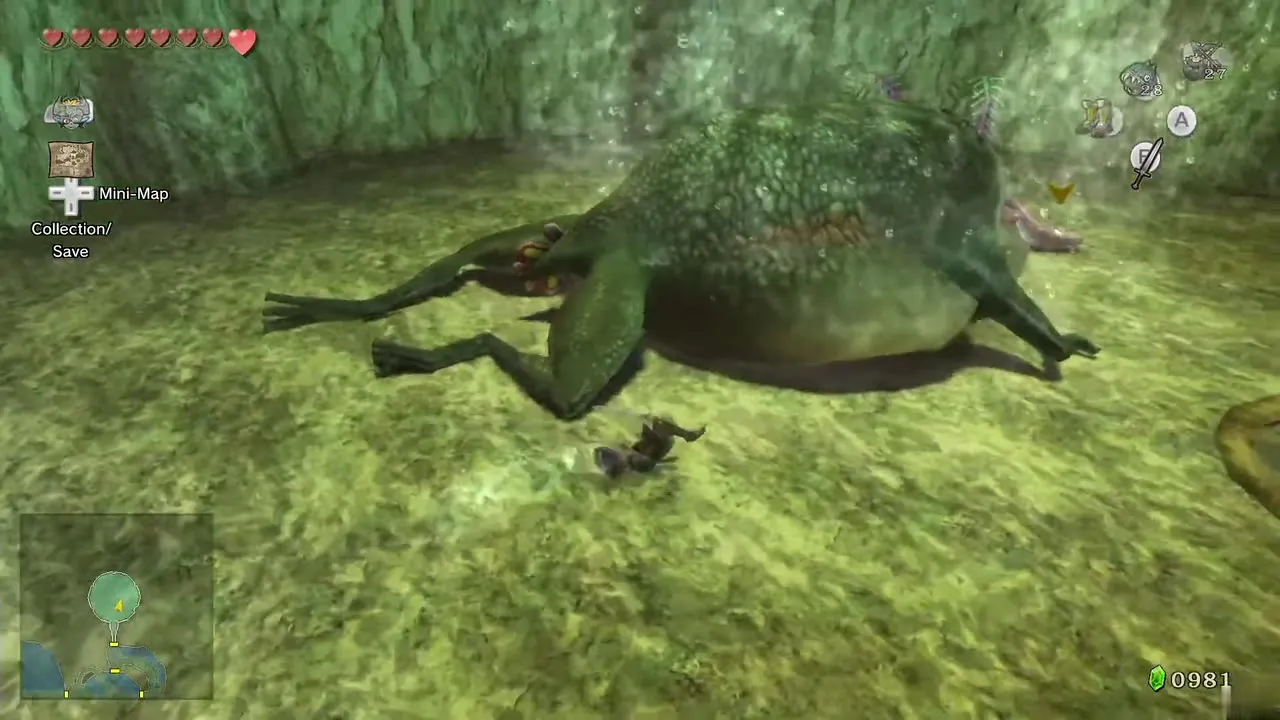
The entrance closes behind you and small Toados drop from the ceiling; defeat them with the sword, then switch to first-person view and look up. The Deku Toad drops from the ceiling. It spawns more Toados, so clear them with sword swings or a spin attack. When it jumps up for a belly flop you can see its shadow falling: step out of the way. It lands stunned with its tongue out, so run over and slash the tongue until it recovers.
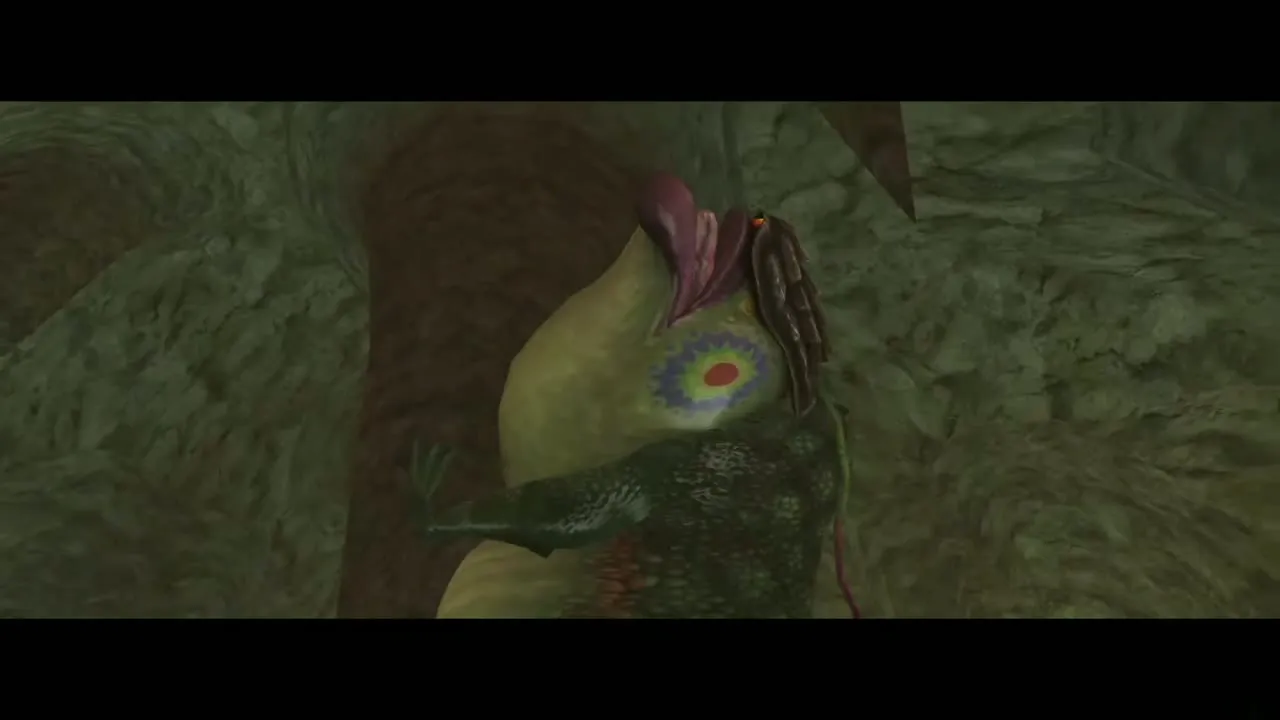
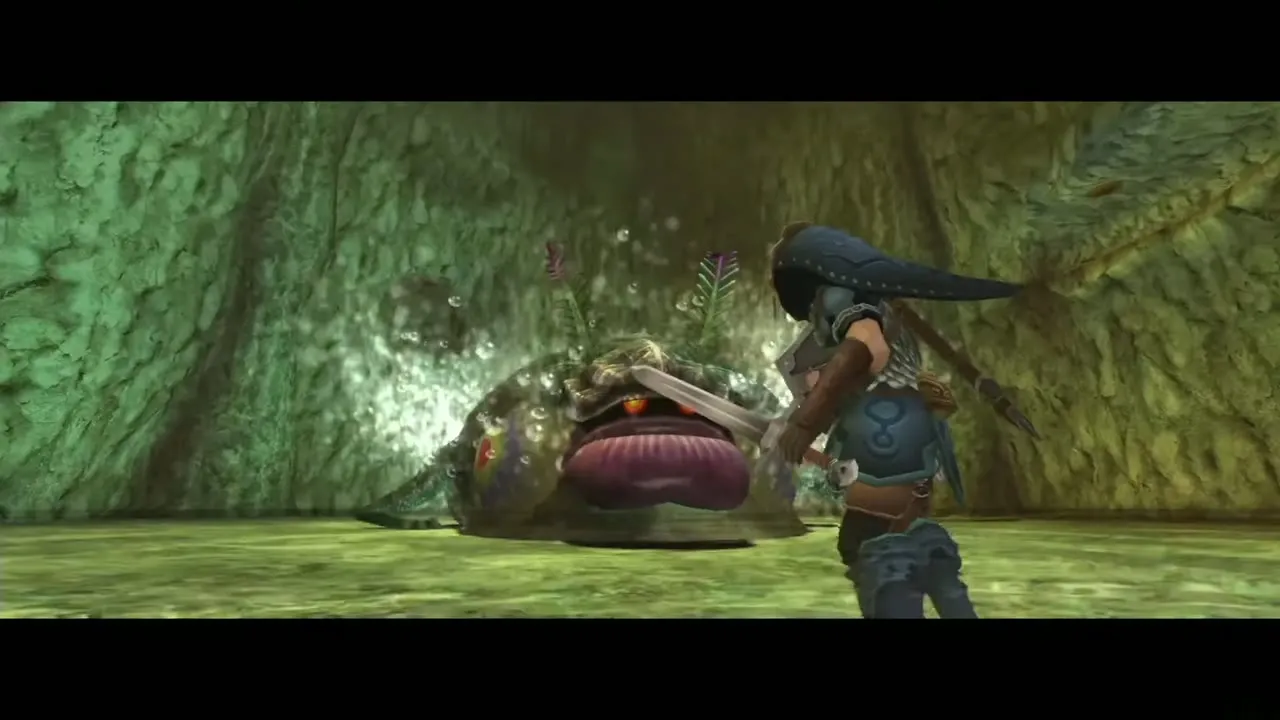
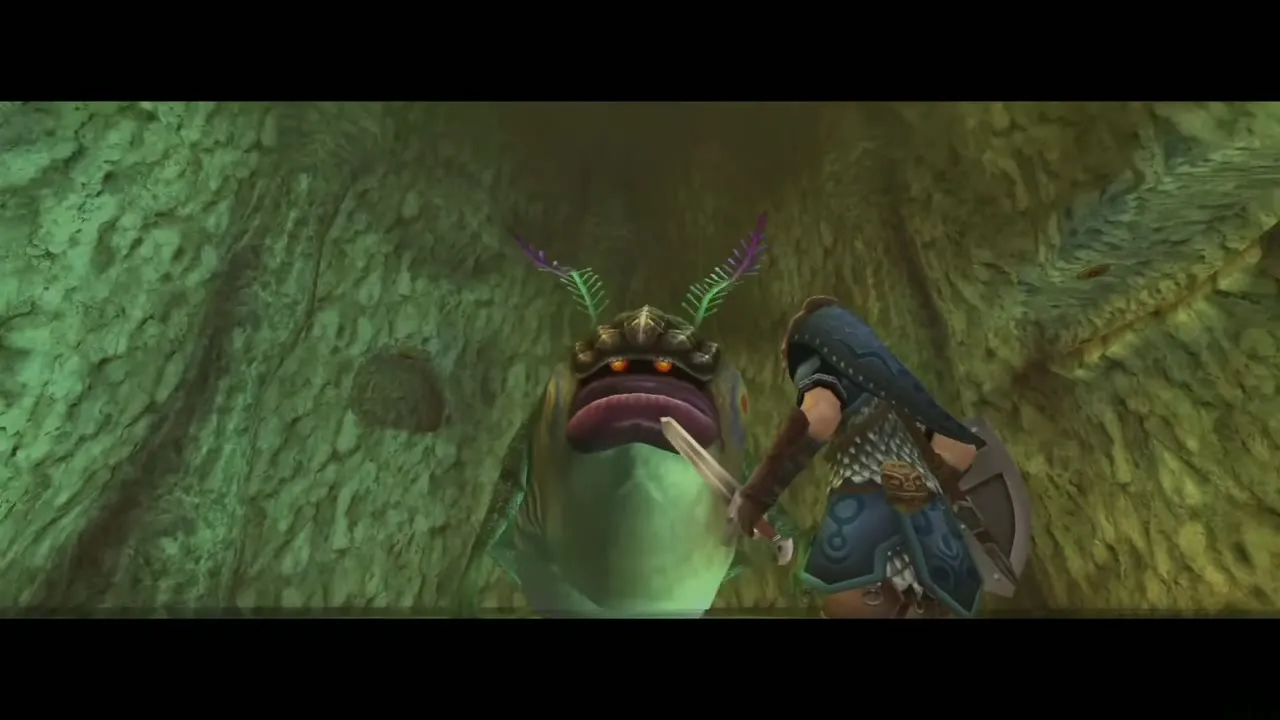
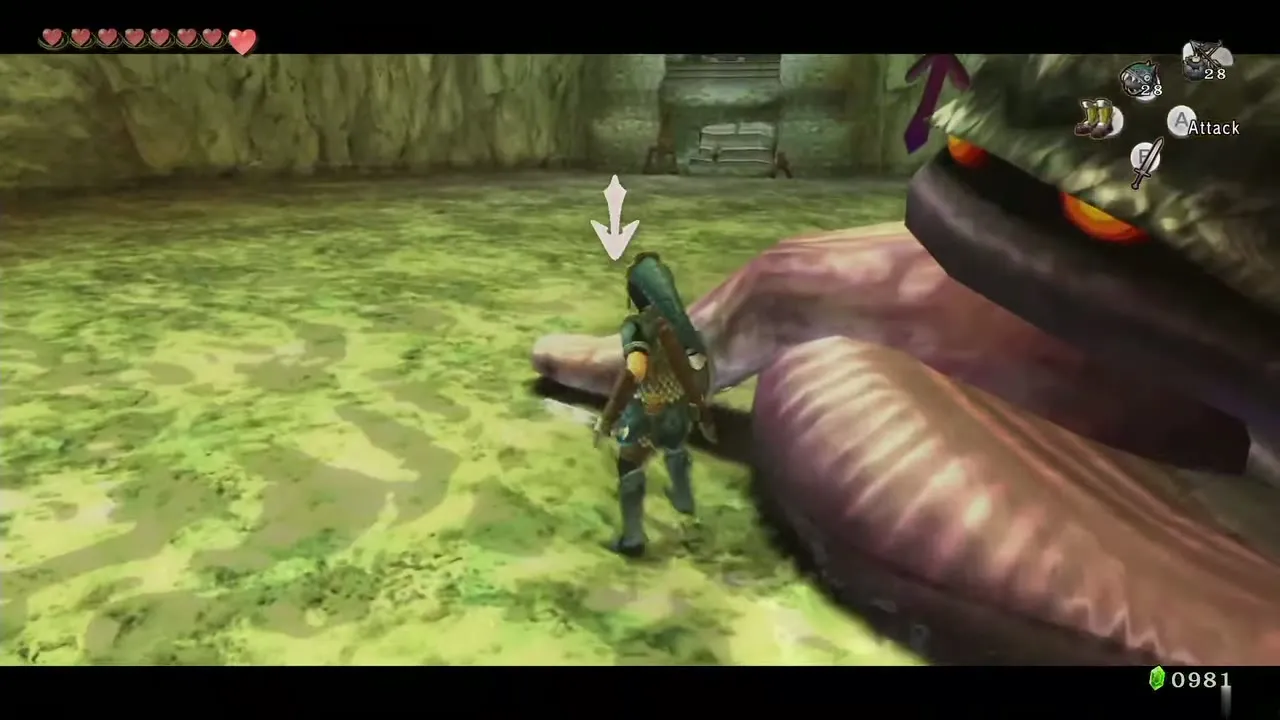
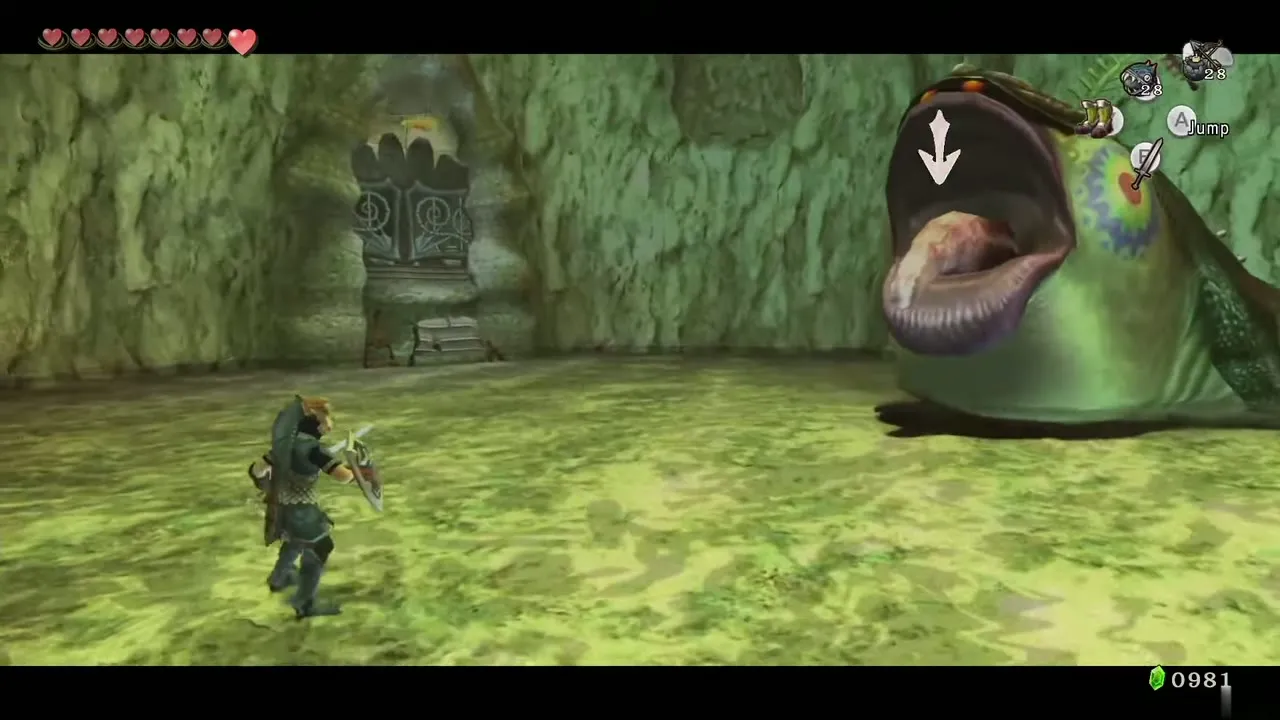
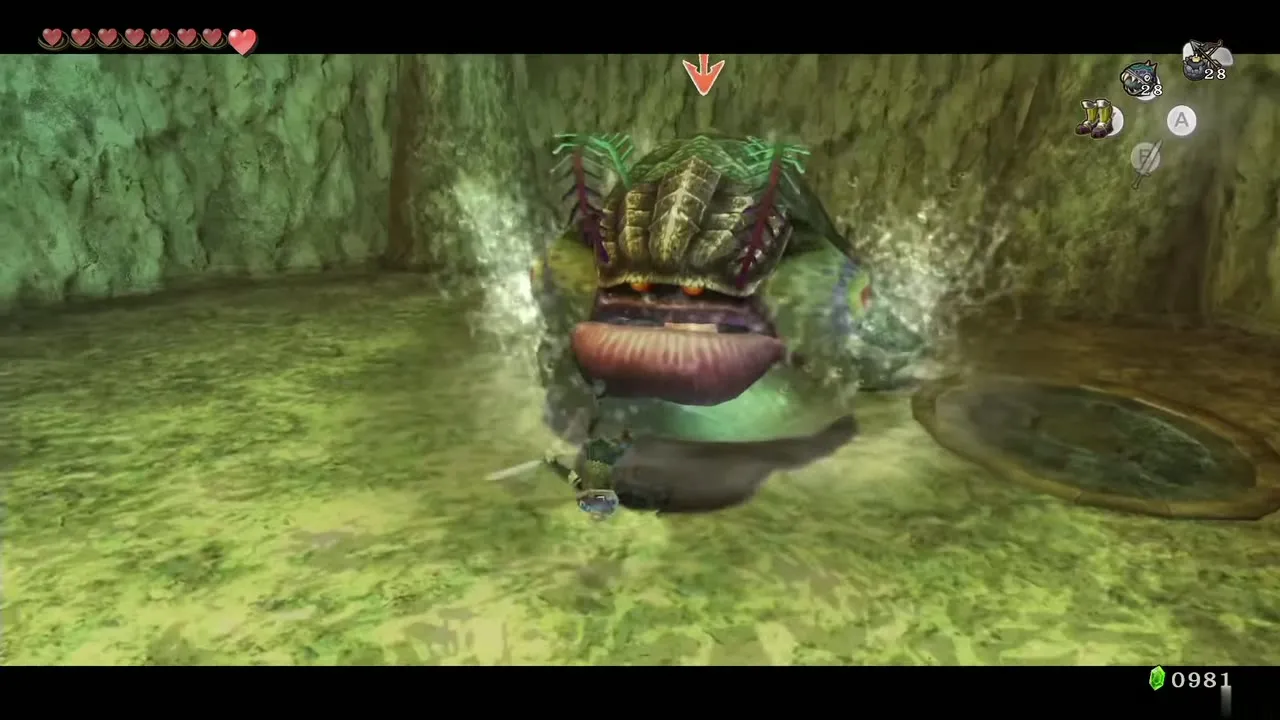
When it recovers it sticks its tongue out at you. Equip Bomb Arrows and fire one into its mouth (a thrown bomb also works); it swallows it and crashes down again. Hit the tongue again. Repeat the sequence, clearing newly spawned Toados each time, until it is defeated.
Clawshot
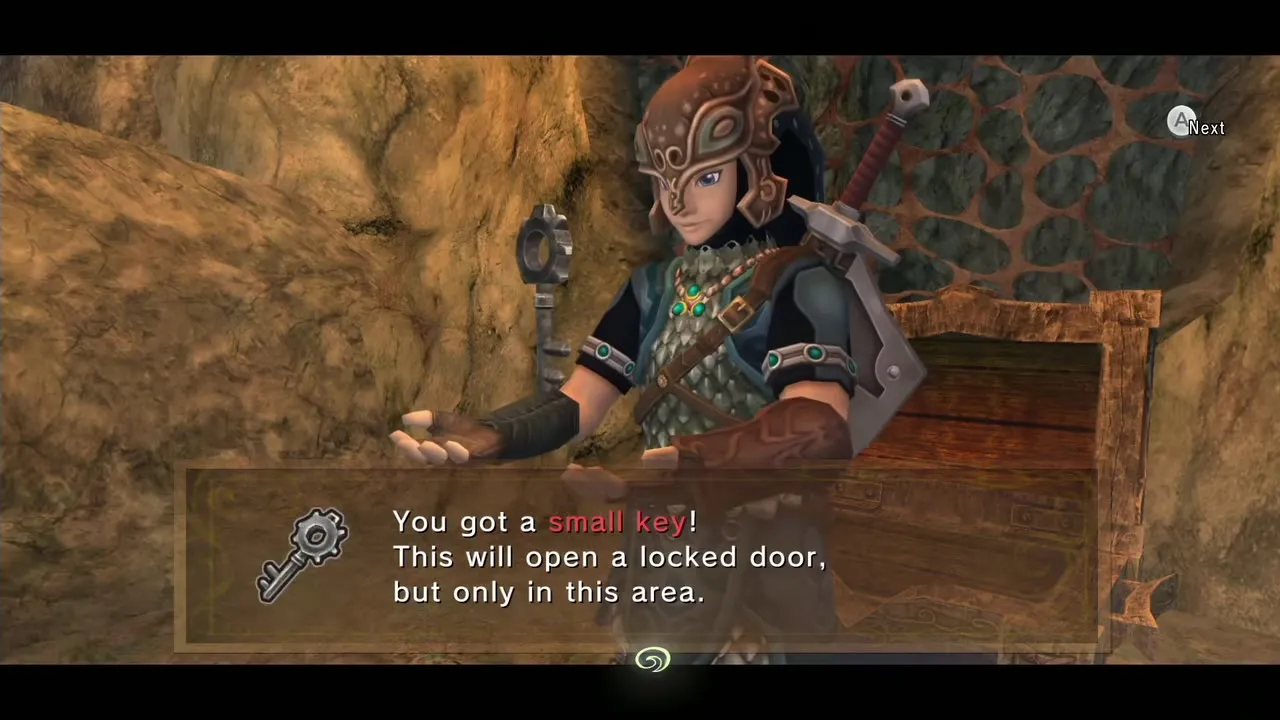
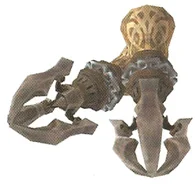
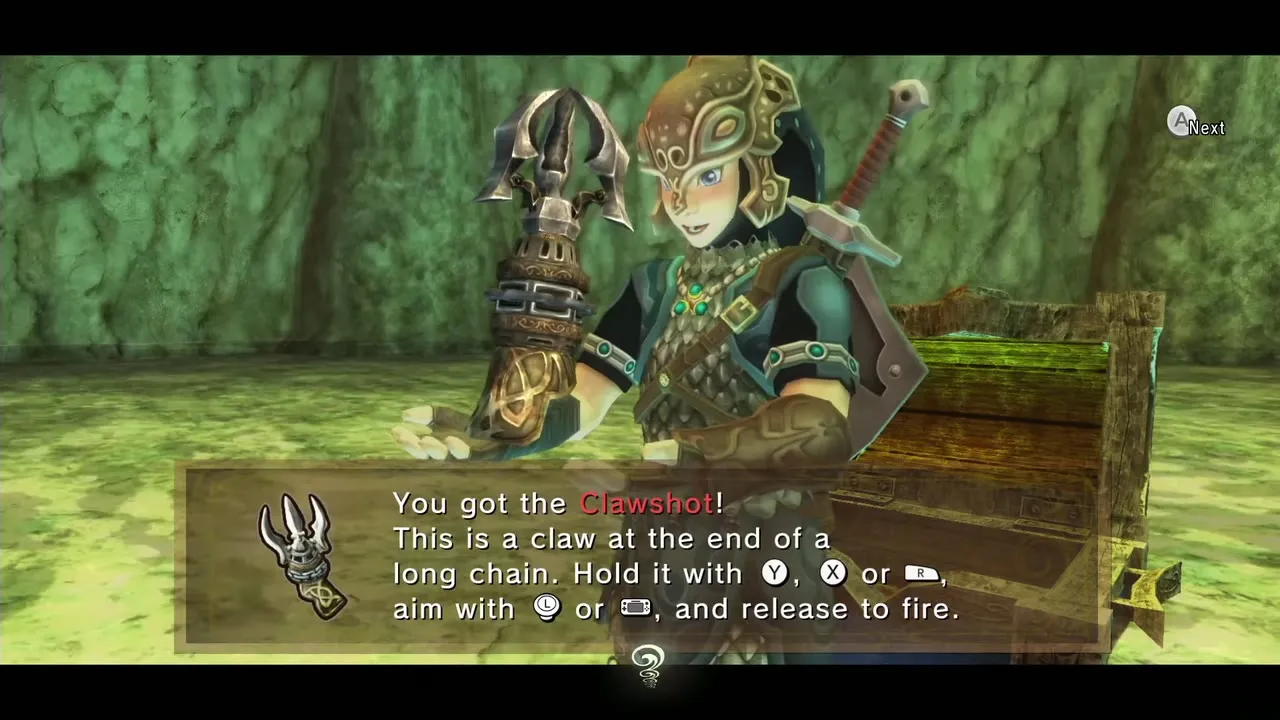
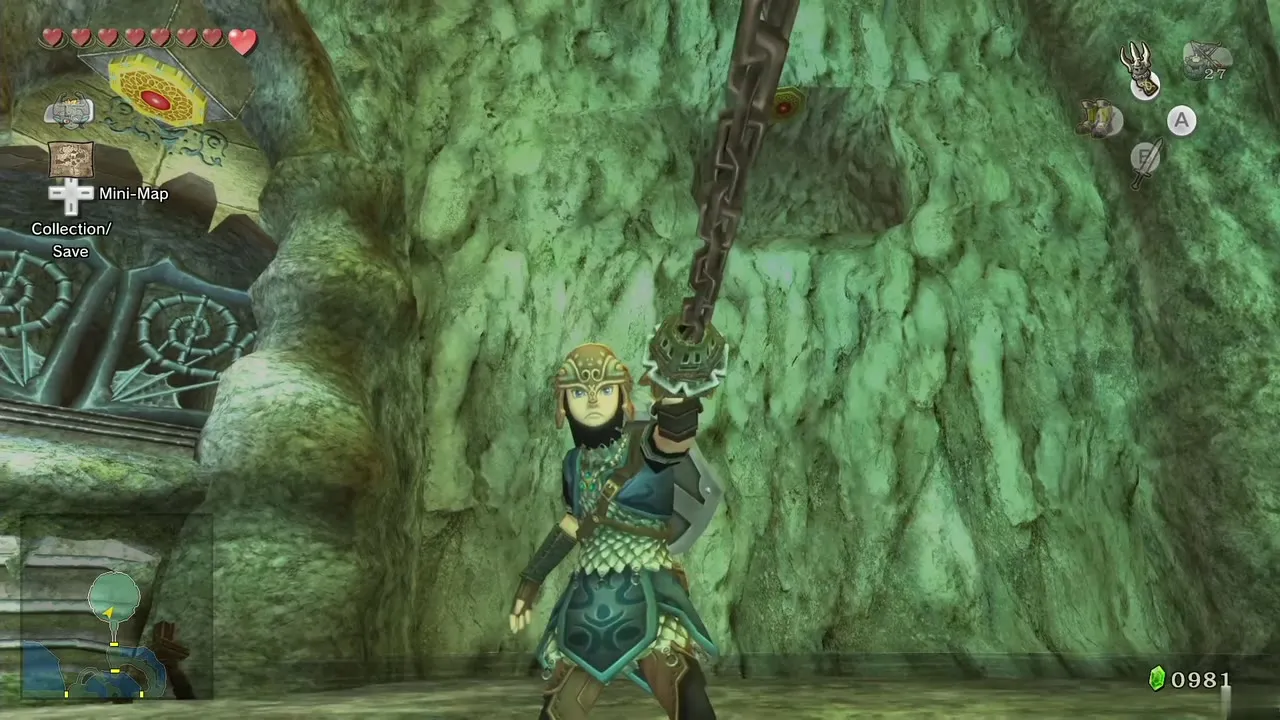
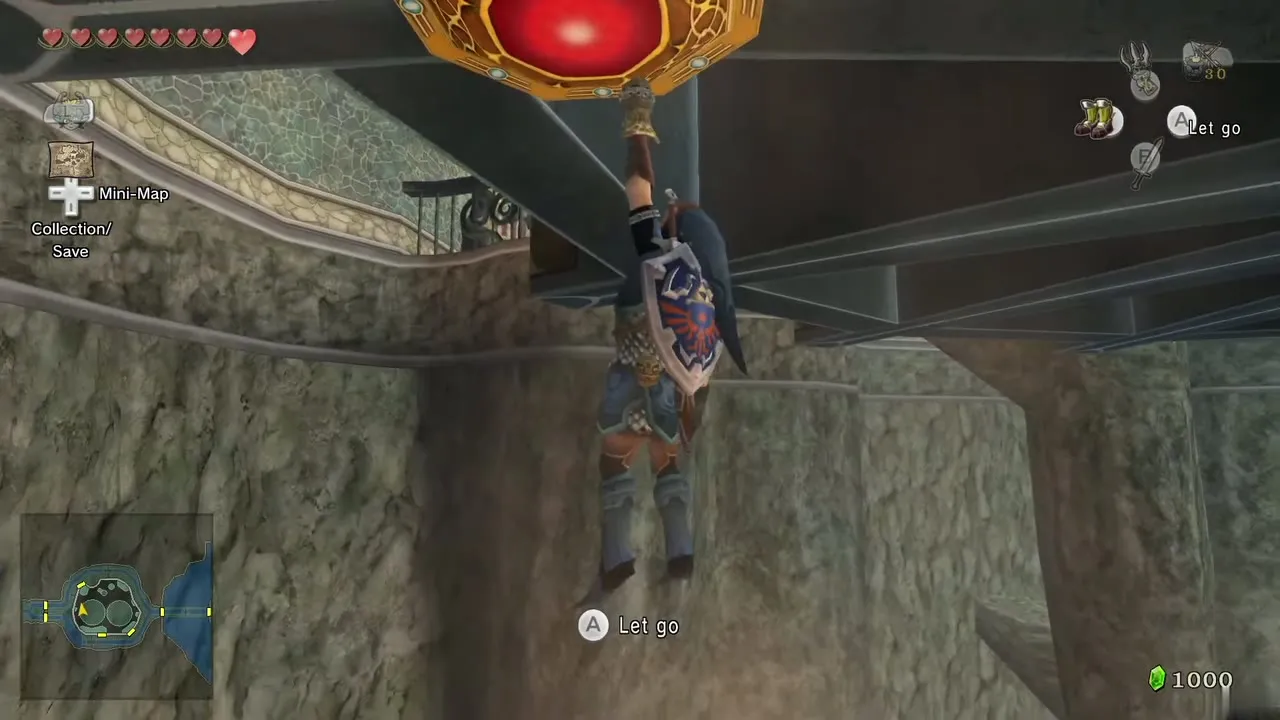
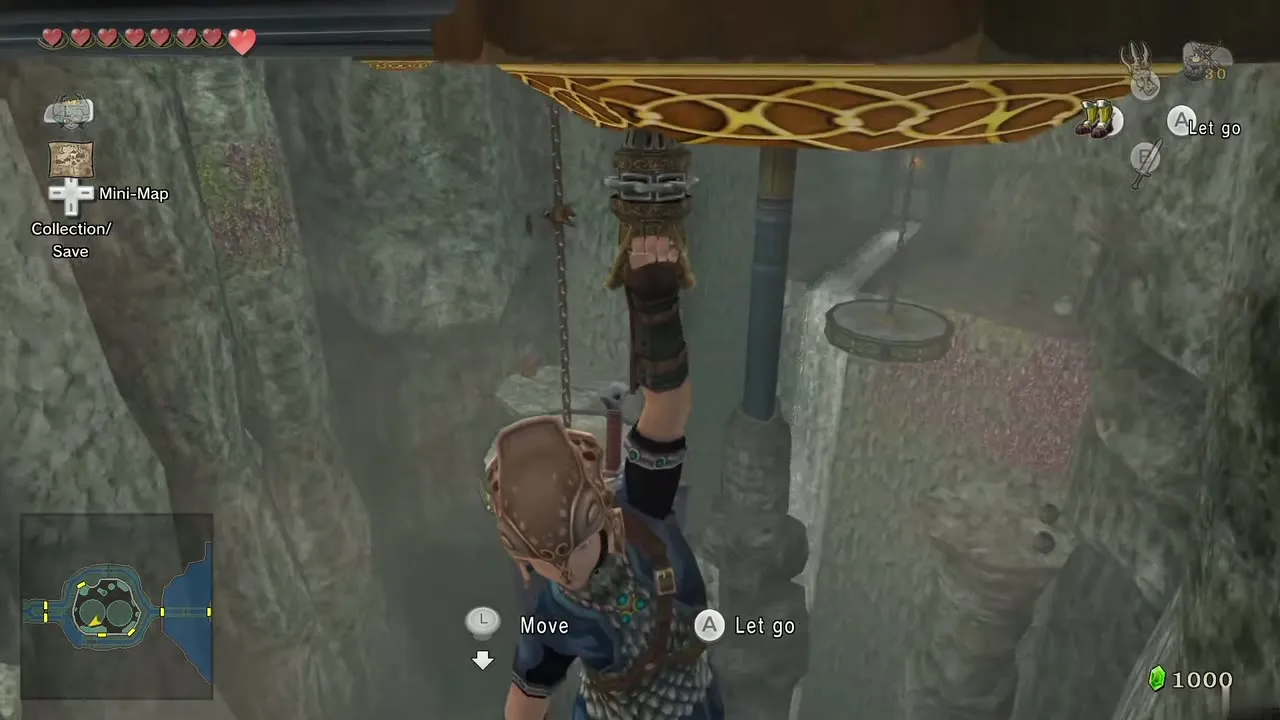
Open the chest that appears for the Clawshot. It works like a Hookshot: it grapples targets, enemies and objects and pulls small items to you, and in this version you can hang from a target and lower yourself on the chain. Walk to the south end of the room and hook the target on the ceiling, which opens the gate. Go through the door and straight ahead to the platform room.
Using the Clawshot: Heart Piece and Compass
Back to the main hall
In the next room, Clawshot a Helmasaur’s shell, pull it off, and throw it or hit it with the sword; this is now the fastest kill. Leave through the south door, hook the target on the left wall to reach a higher ledge, hook the target on the ceiling near the door, cross the bridge and return to the main hall.

Chandelier Heart Piece #27
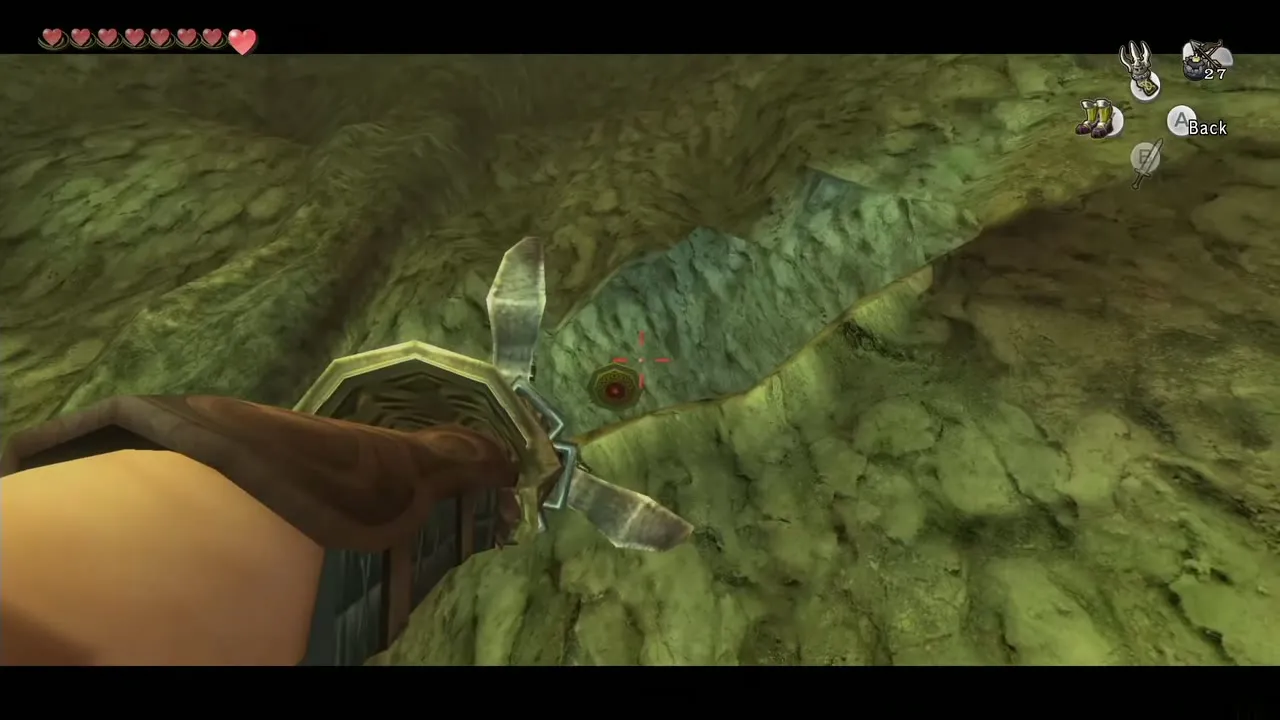
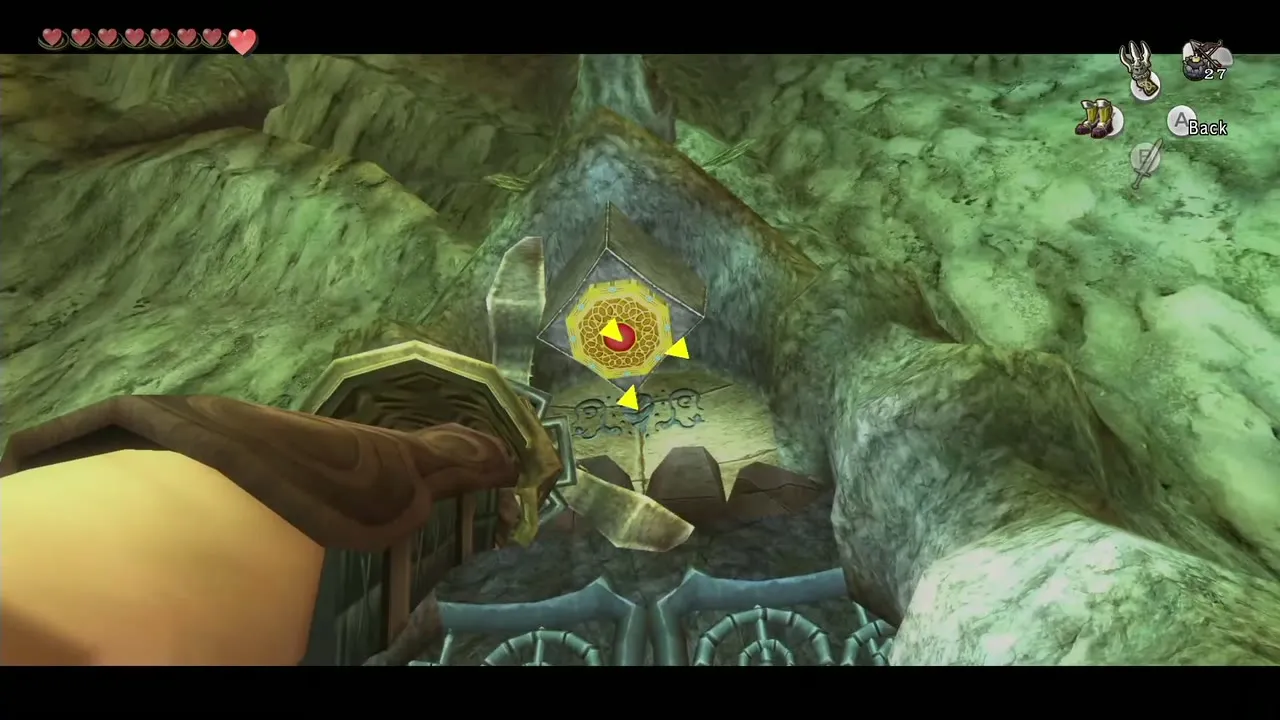
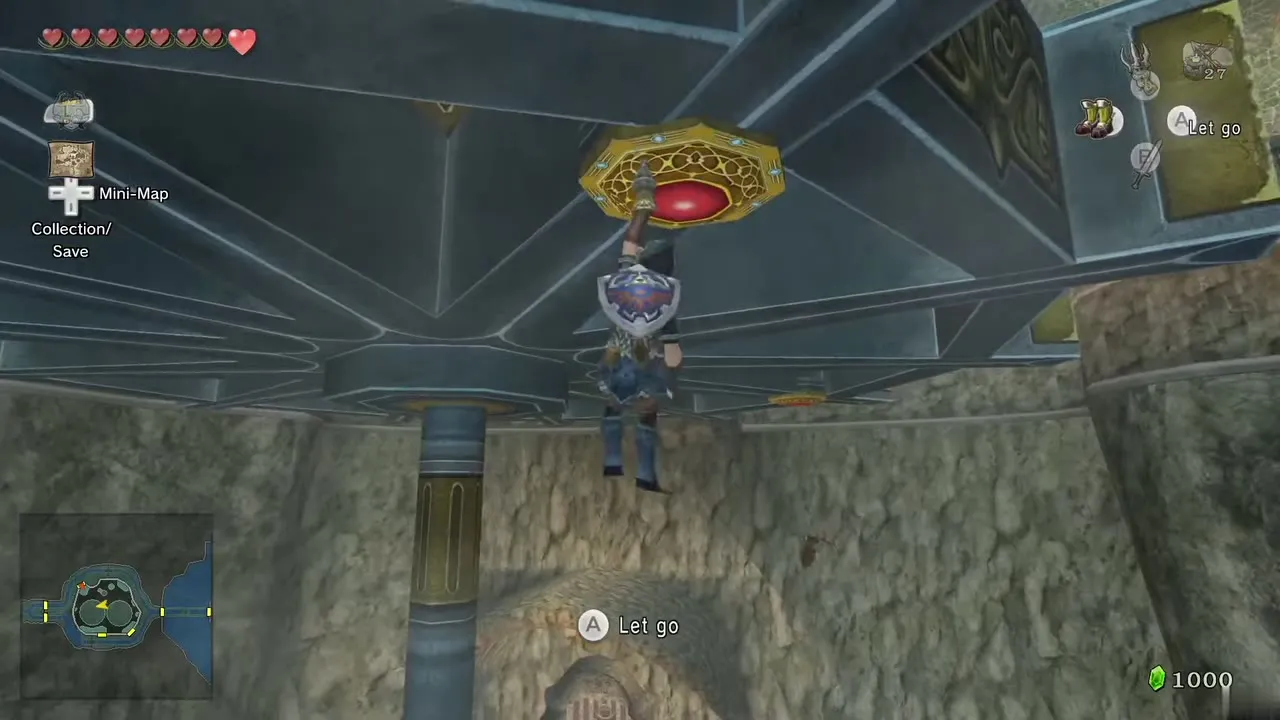
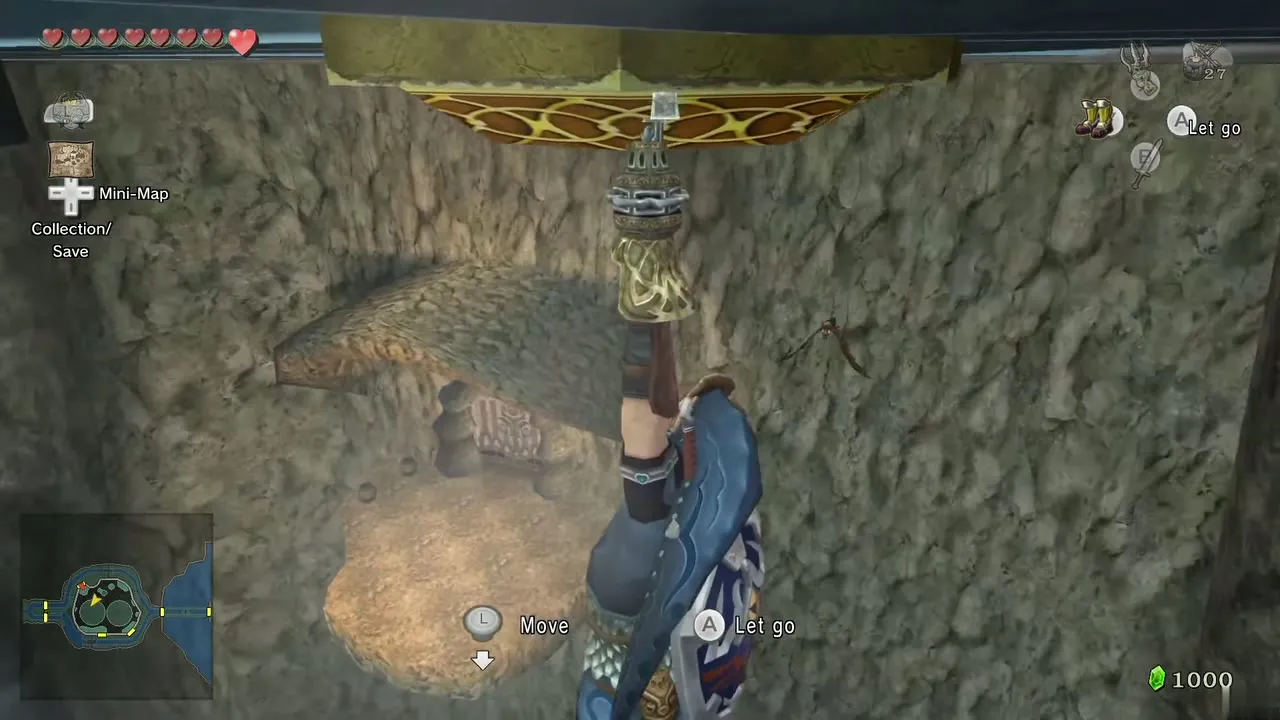
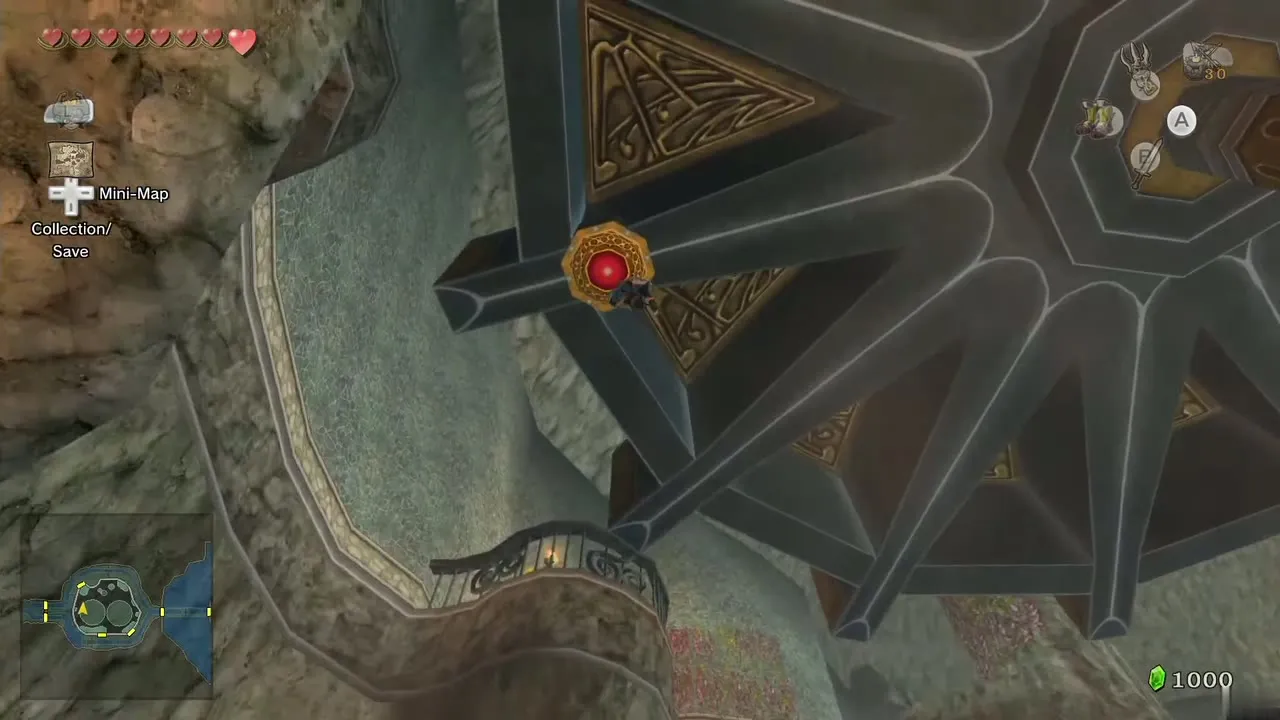
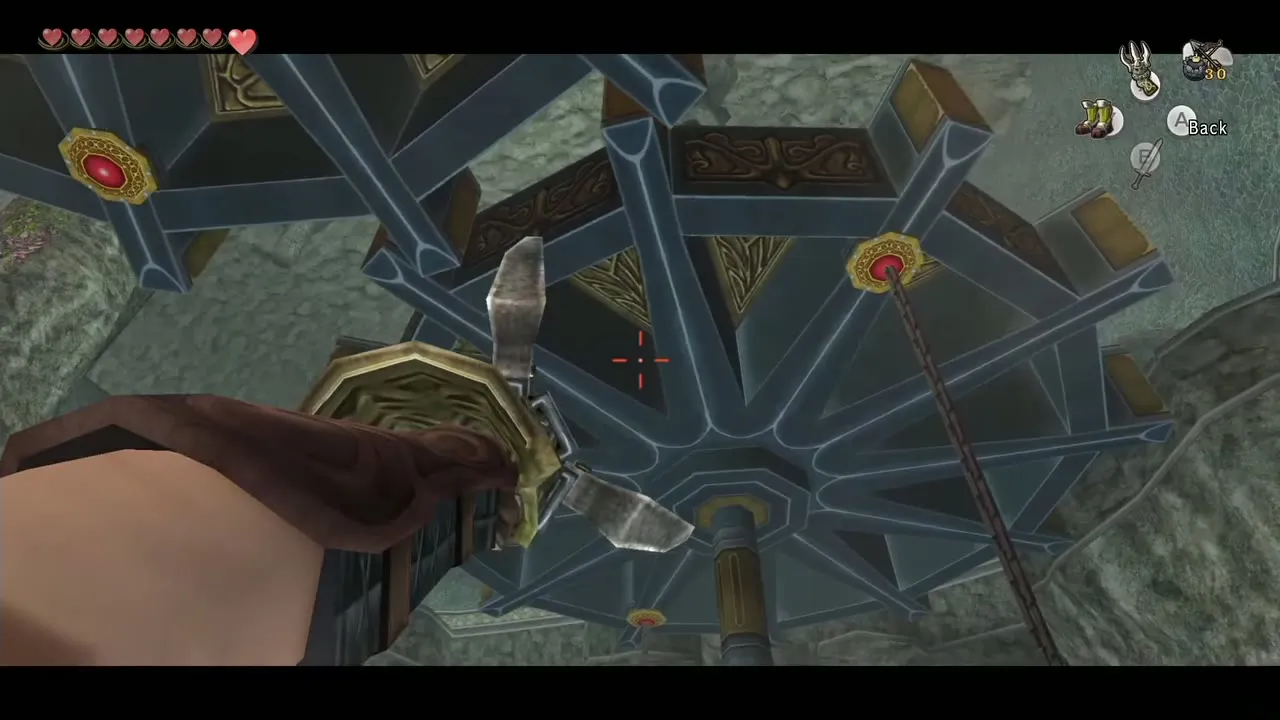
The water level is higher. Climb the stairs and look up at the big chandelier. Four red targets sit above it; hook any one, then release to land on the chandelier. Open the chest in the center for Piece of Heart #27. Return to the stairs.
Flow the water west
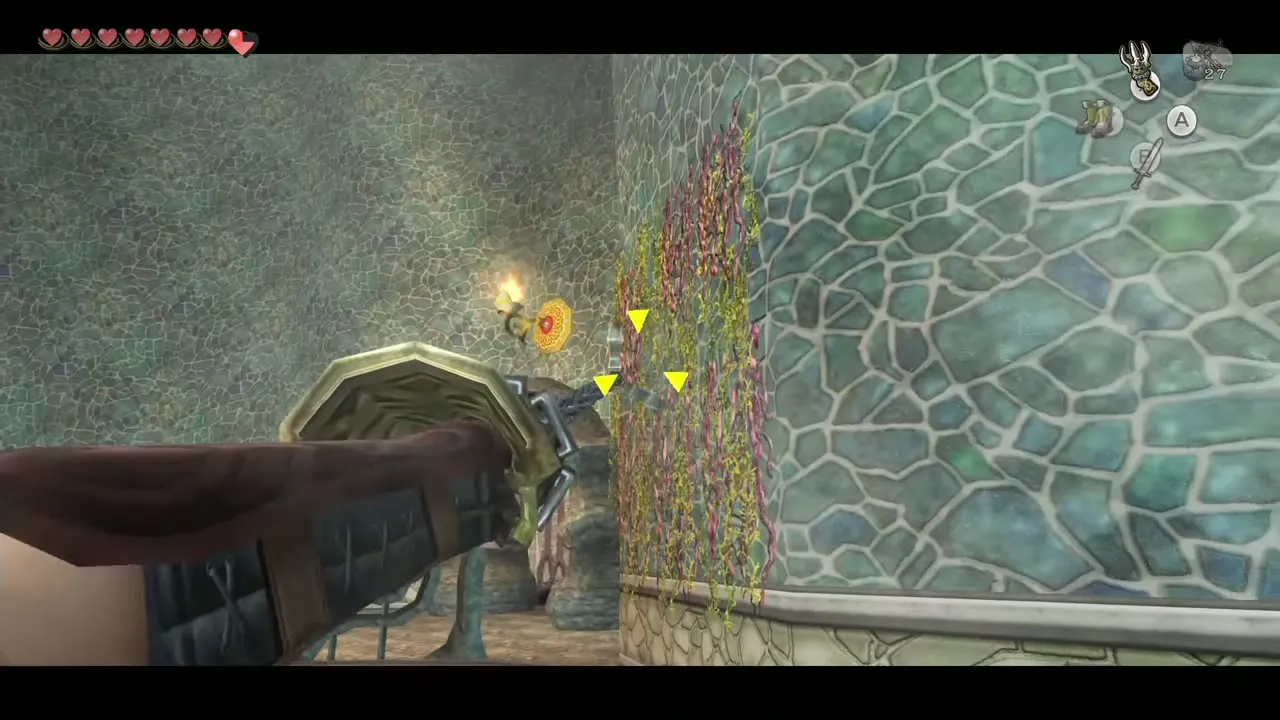
Drop to the lower floor and Clawshot the vines on the north wall to cross the barrier. At the west end there is no handle, but there is a target: hook it and the staircase turns, sending the water down the steps and through the lower west door. Follow the water through, and with the big waterwheel now moving, cross the bridge to the next room.
Hanging platforms and the vine climb
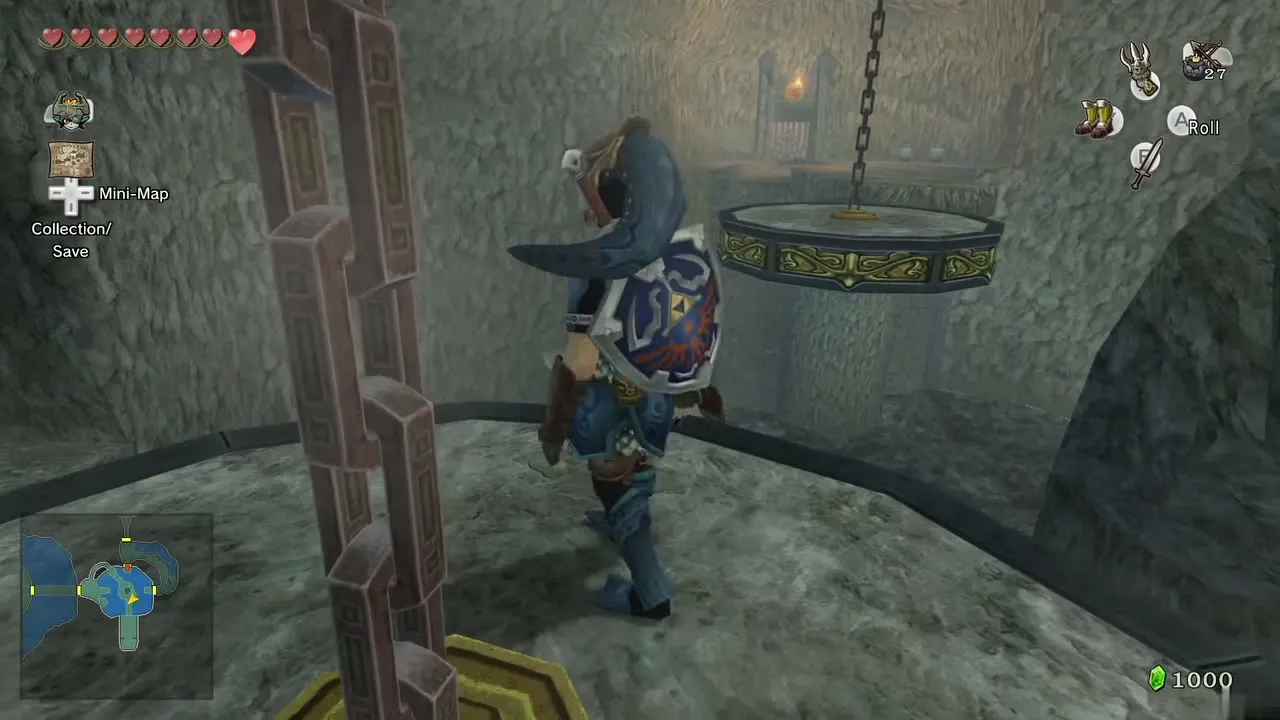
Two platforms hang from the ceiling, like the spinning ones on the other side. Jump to the stationary platform; a chest with Water Bombs sits on the platform to the right under a target. Hook the target, lower yourself and open it.
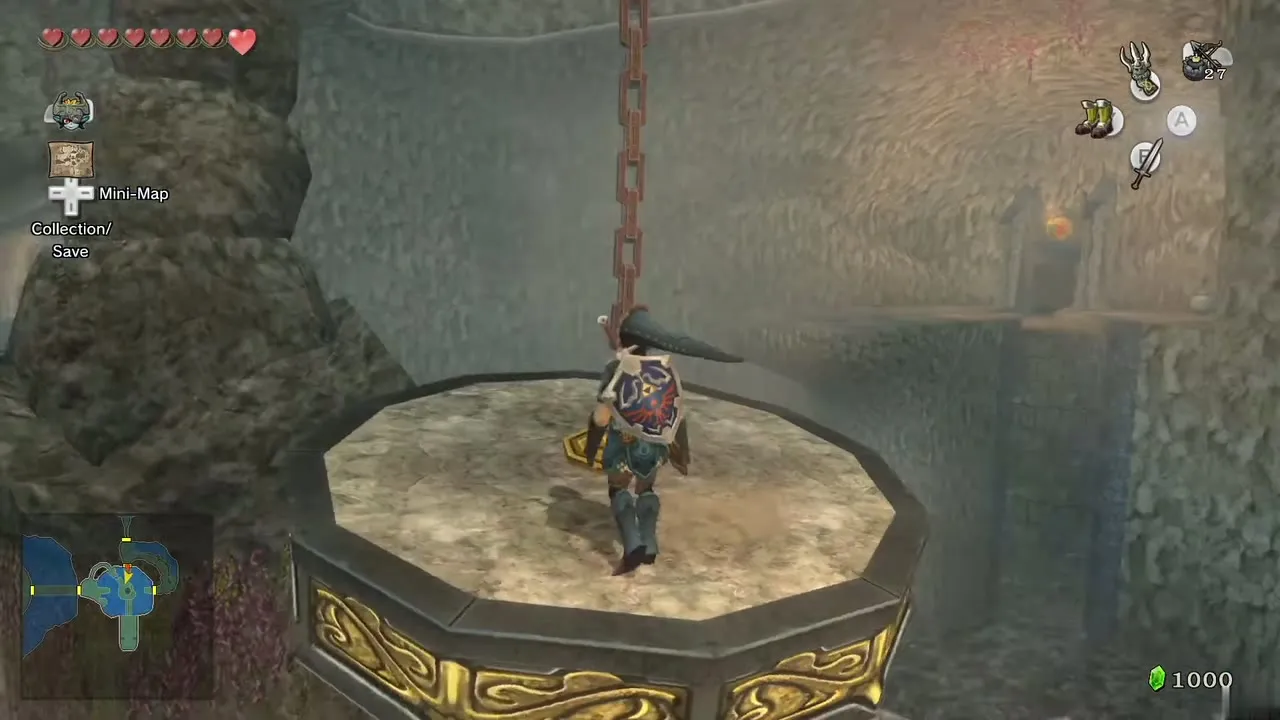
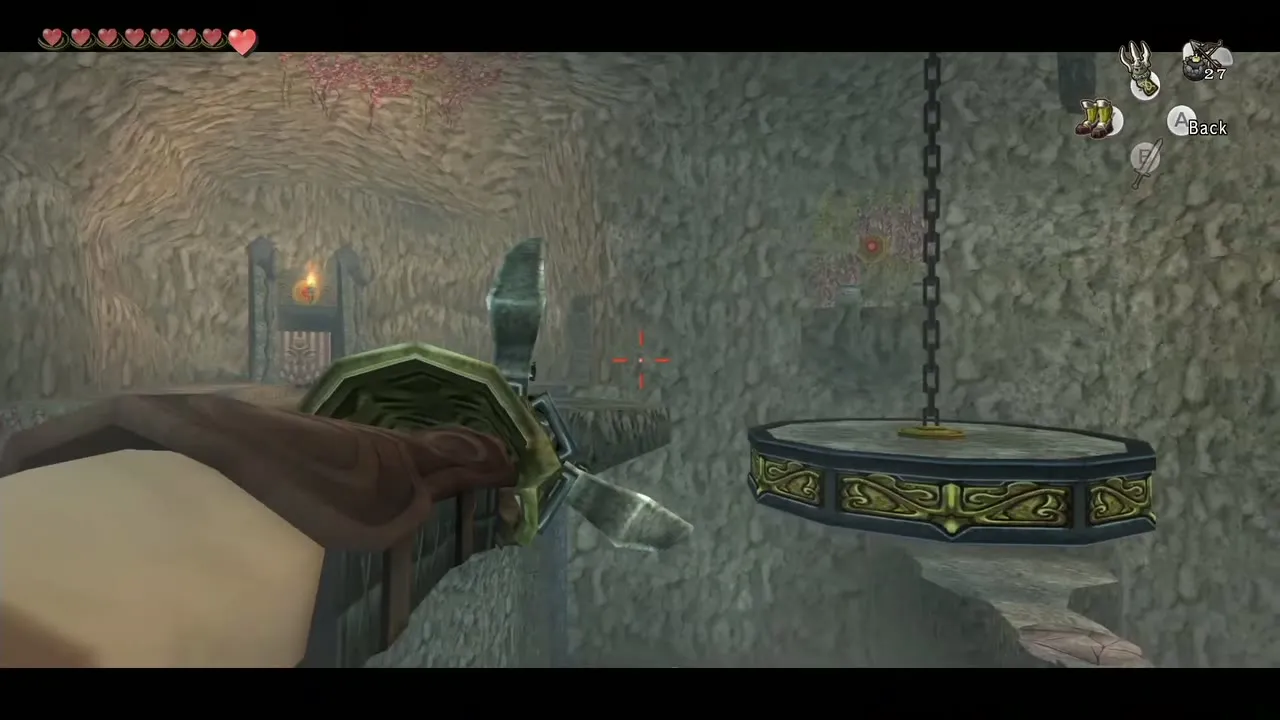
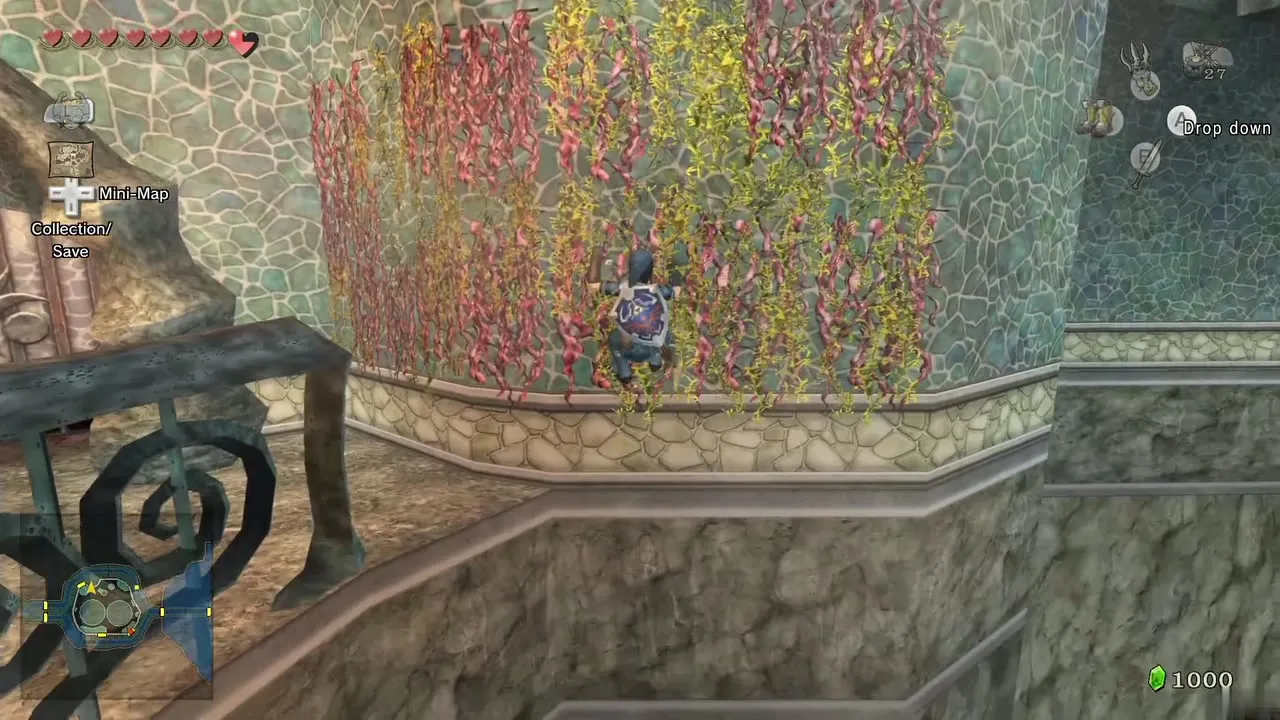
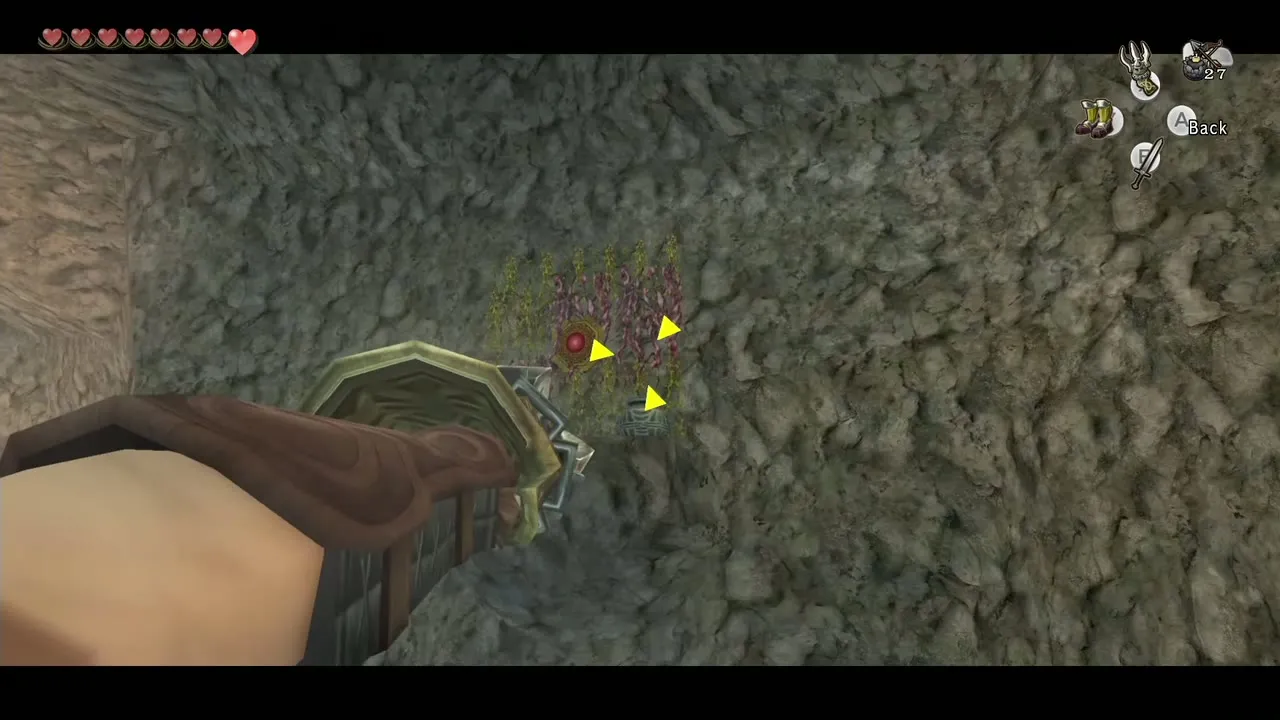
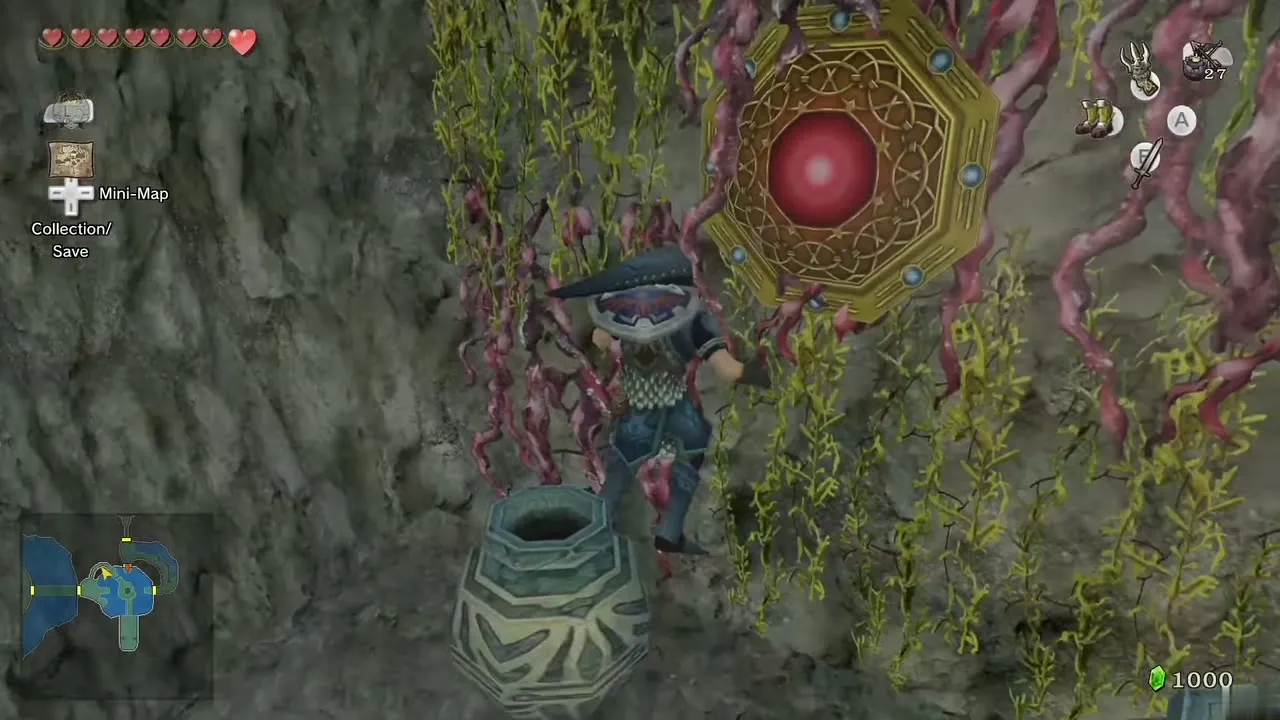
Hook the vines on the pillar at the north end, move to the safe platform, hook the vines on the pillar to the west, then the vines on the north-west wall, and go through the door.
Stalactite geyser
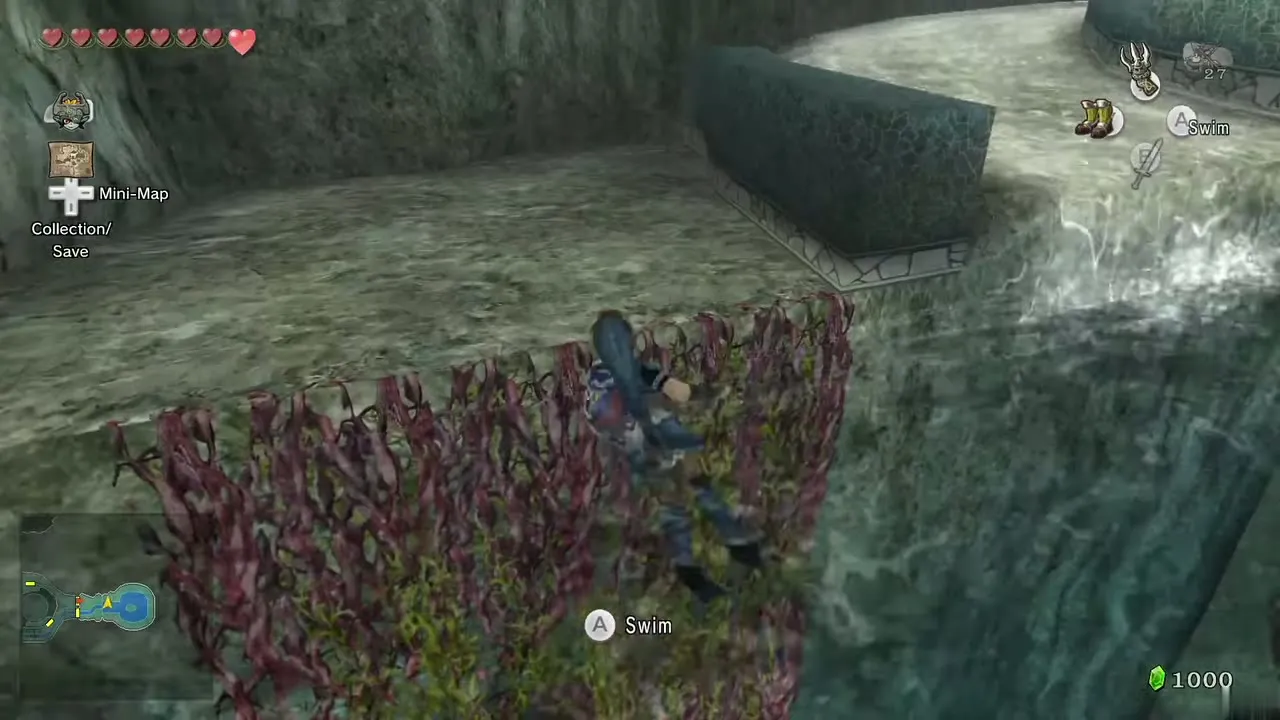
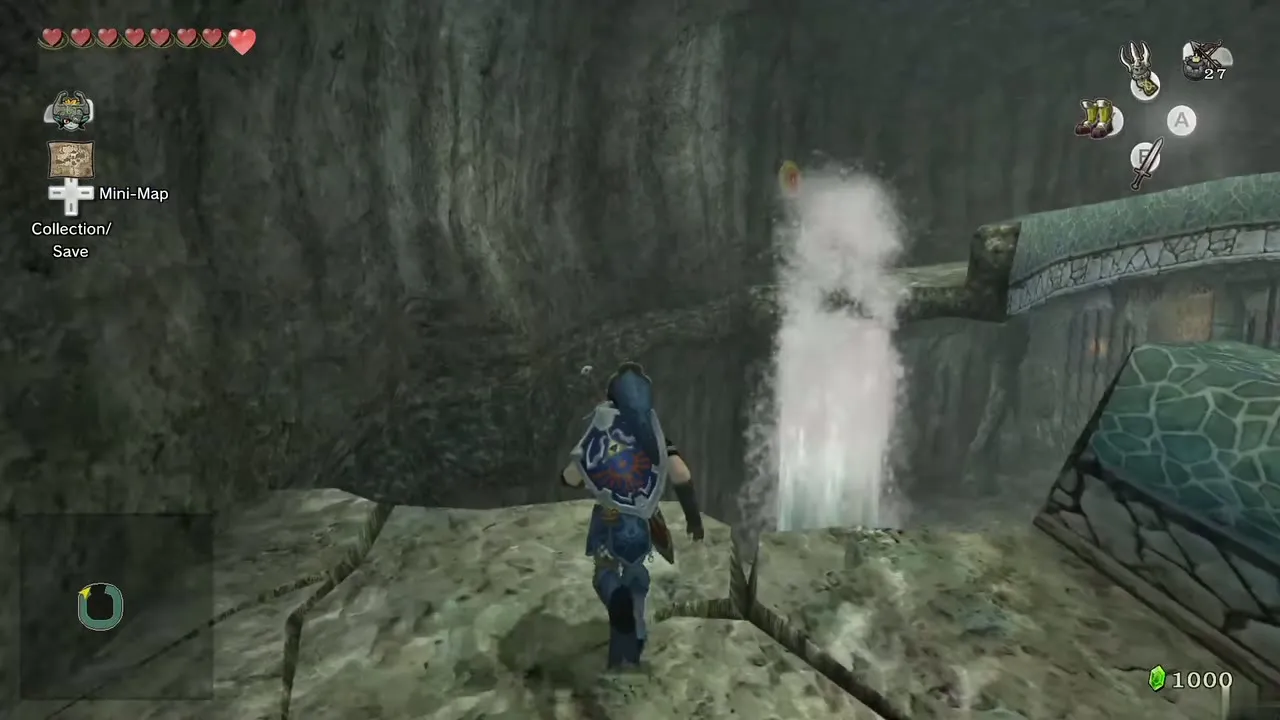
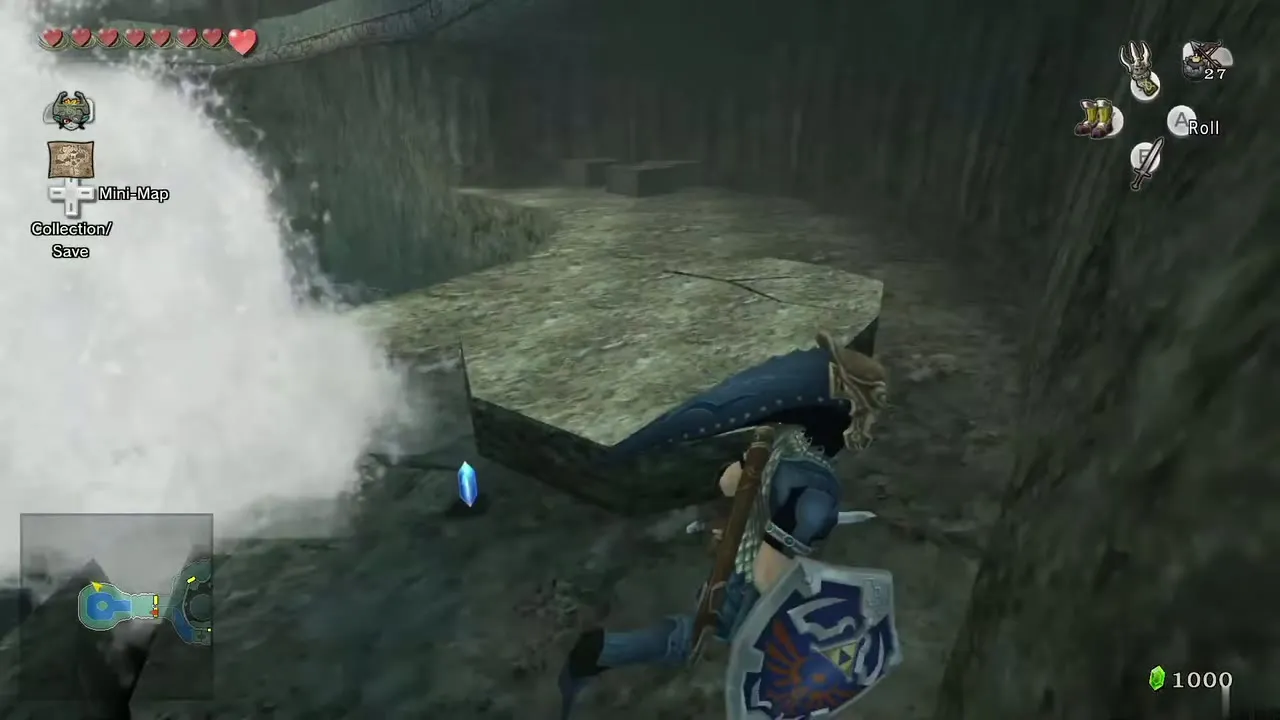
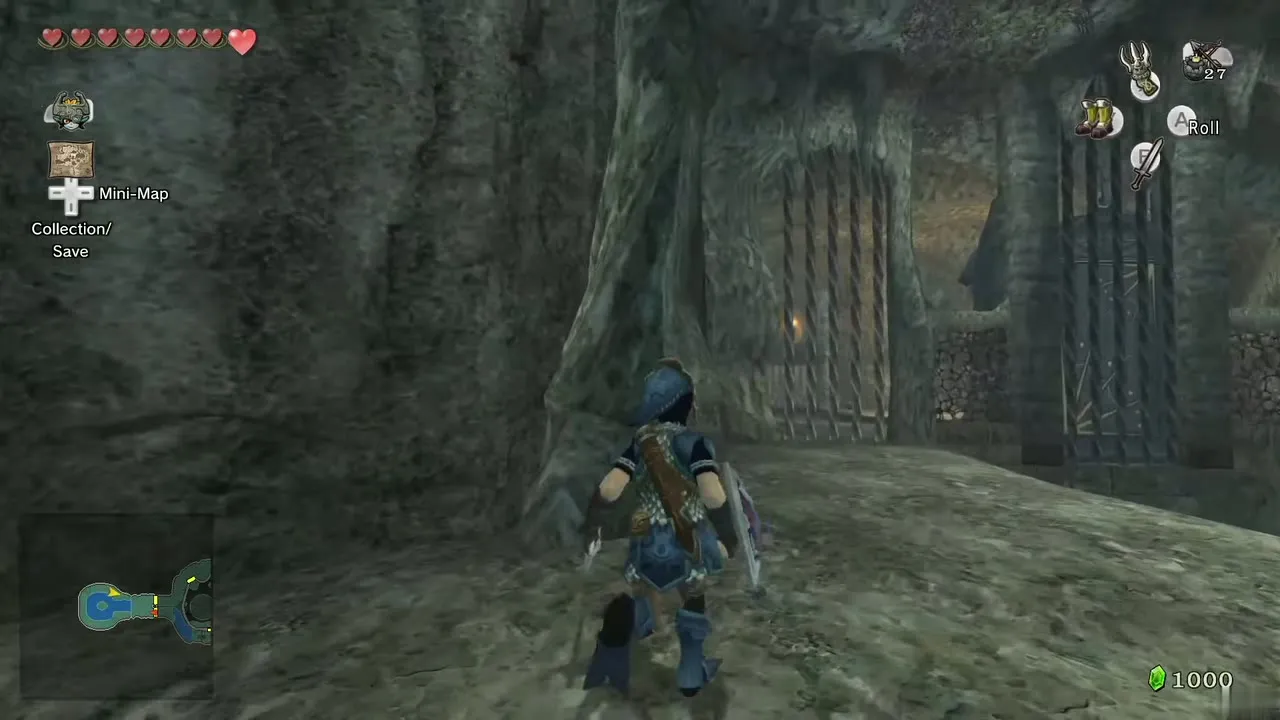
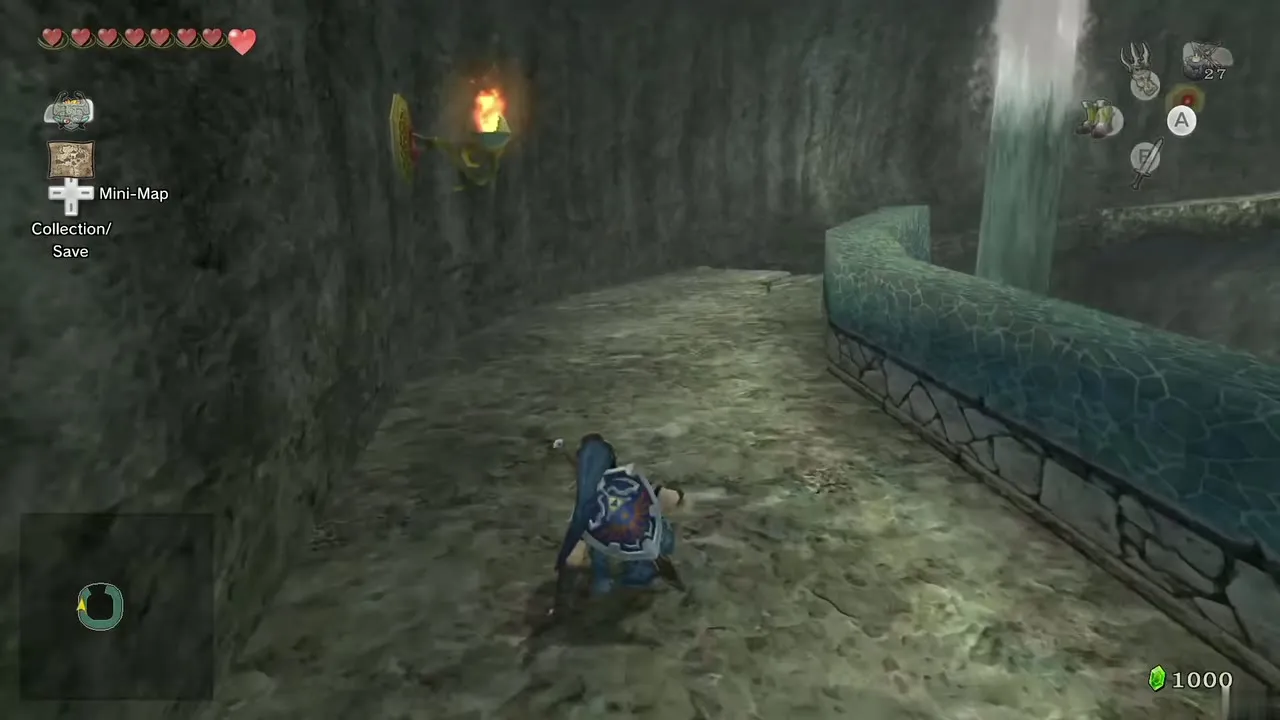
Shoot the stalactite above a water geyser so it drops onto the geyser. Climb on the platform when it settles and the geyser lifts you; jump to the ledge and then west. The door in the west wall is on a high ledge: hook the target above it.
Compass
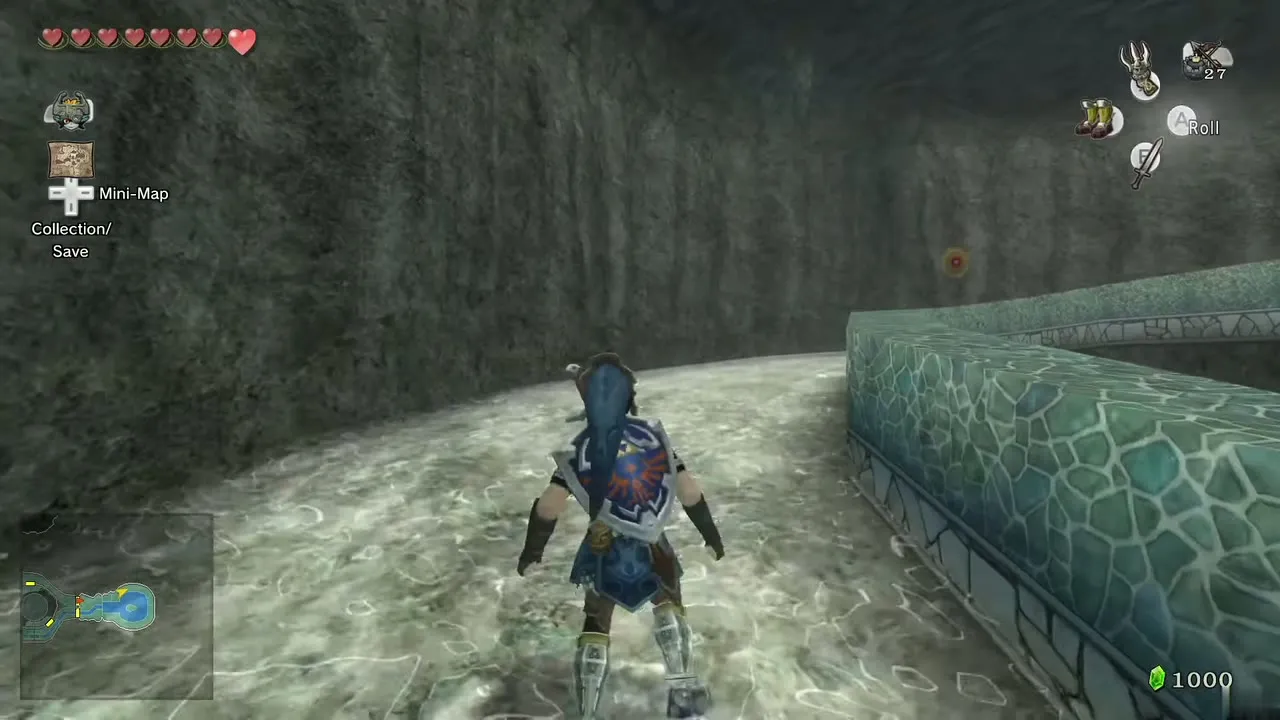
A Chu Worm waits in the next room; pull it out of its bubble with the Clawshot and slash it. Hook the vines on the ceiling at the north end, drop, then swim to the south end and climb the vines. A spiral ramp winds up the room like the one in the east wing, with gaps in the floor: hook the targets across each gap and climb the long ramp, wearing the Iron Boots where the current pushes you down.
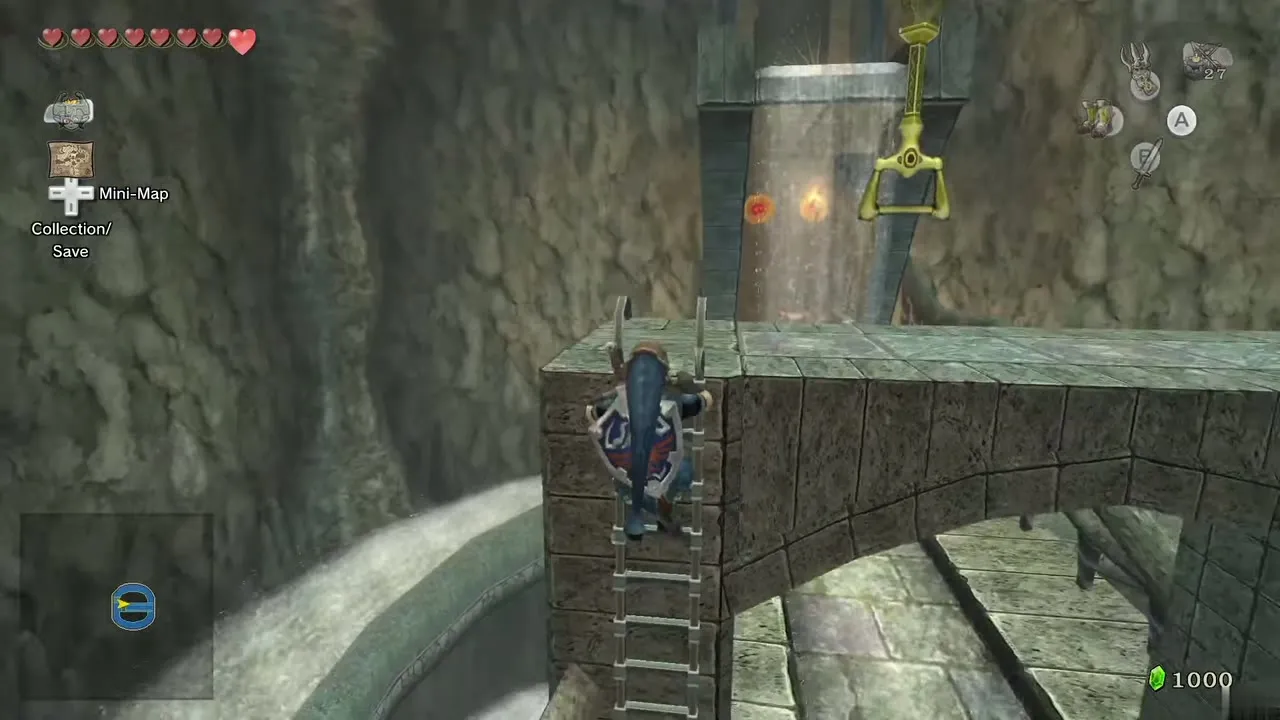
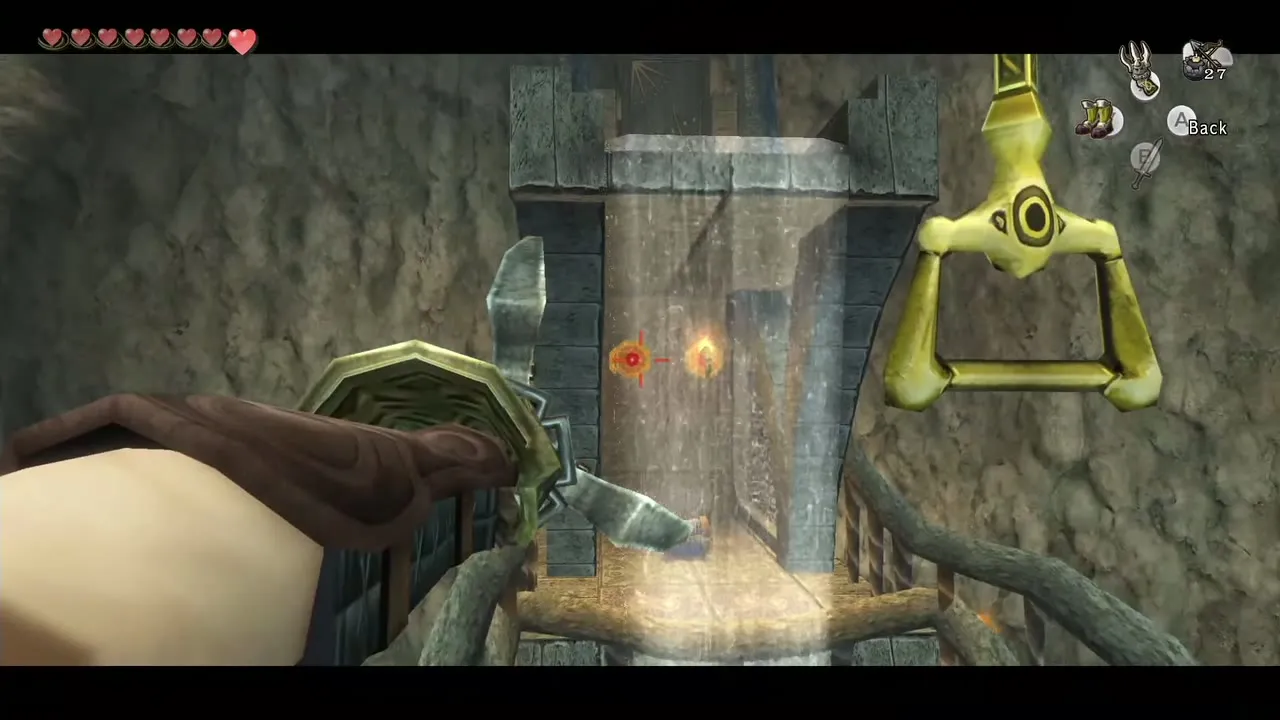
At the top, open the first chest for more Water Bombs. A second chest sits ahead; hook the target for it (careful positioning is needed to clear the corner) and open it for the Compass. Jump to the handle to open the west floodgate and slide down the ramp. Swim to the middle platform and pull the handle there for another gate. Surface at the east end, hook the vines on the ceiling to cross the barrier and take the south door.
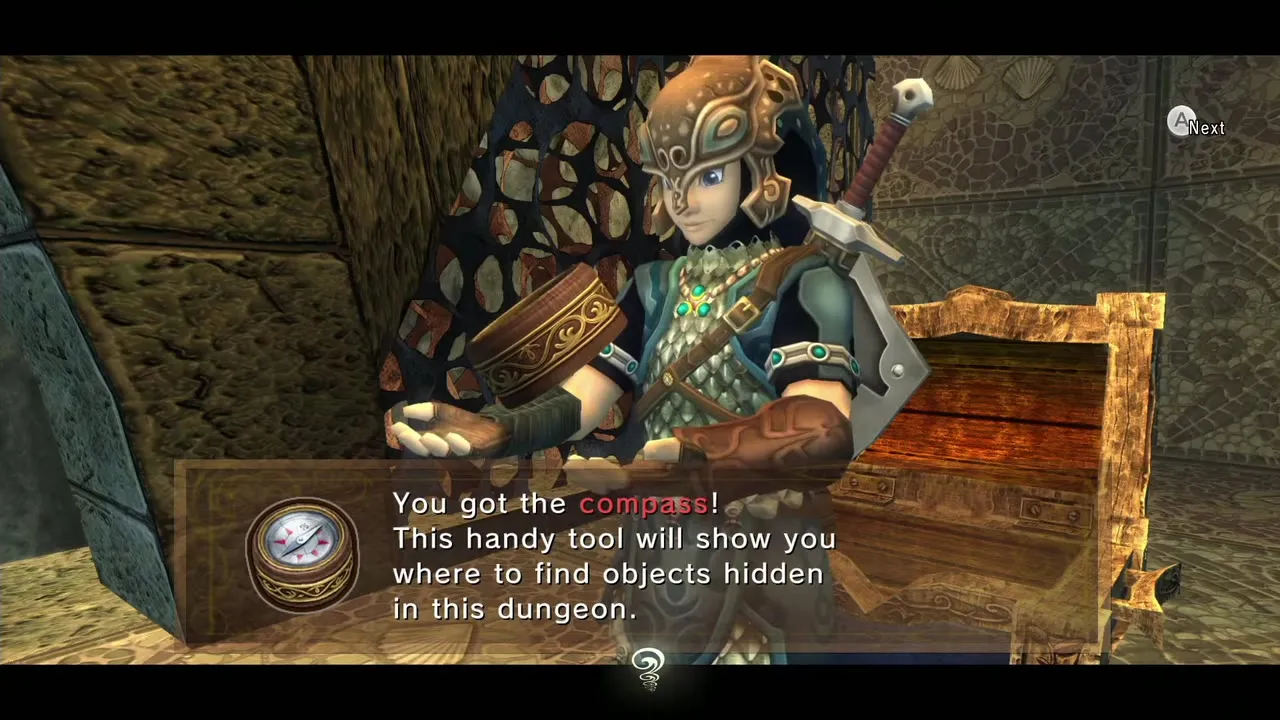
Getting the Big Key
Waterwheel and geared rooms
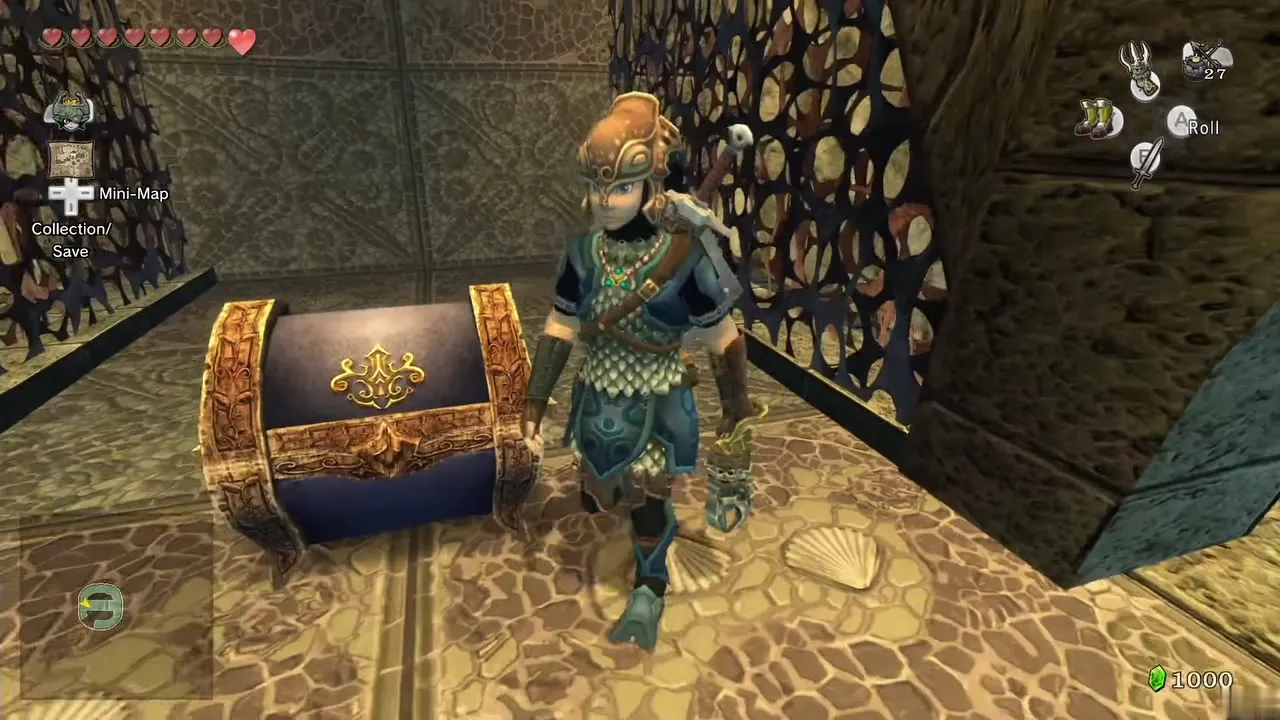
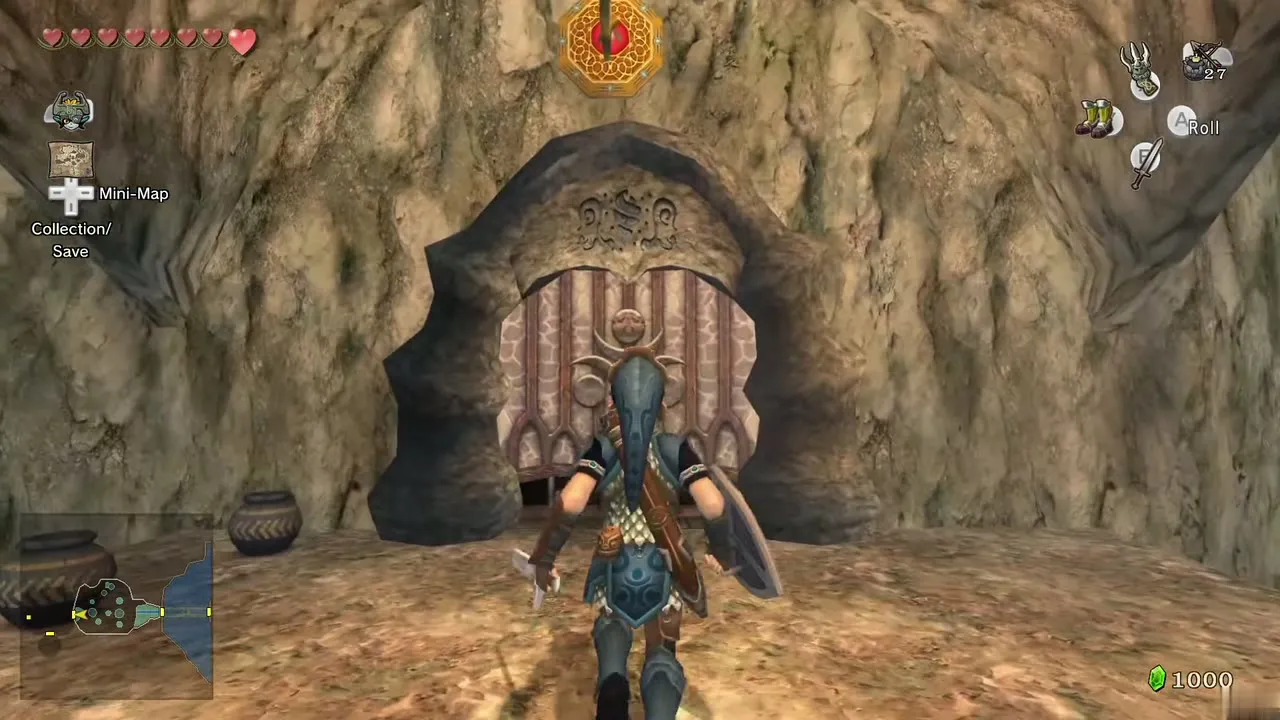
Follow the water south to a small pond and sink in the Iron Boots: an underwater chest holds a Red Rupee. Resurface, head east under the waterwheel, open the door and enter the big inner room with the hanging platforms. Jump to the south-east corner and leave through the door to the outer corridor; a small chest on the right holds a Red Rupee, and a target on the far side opens a gate. Return through the door.
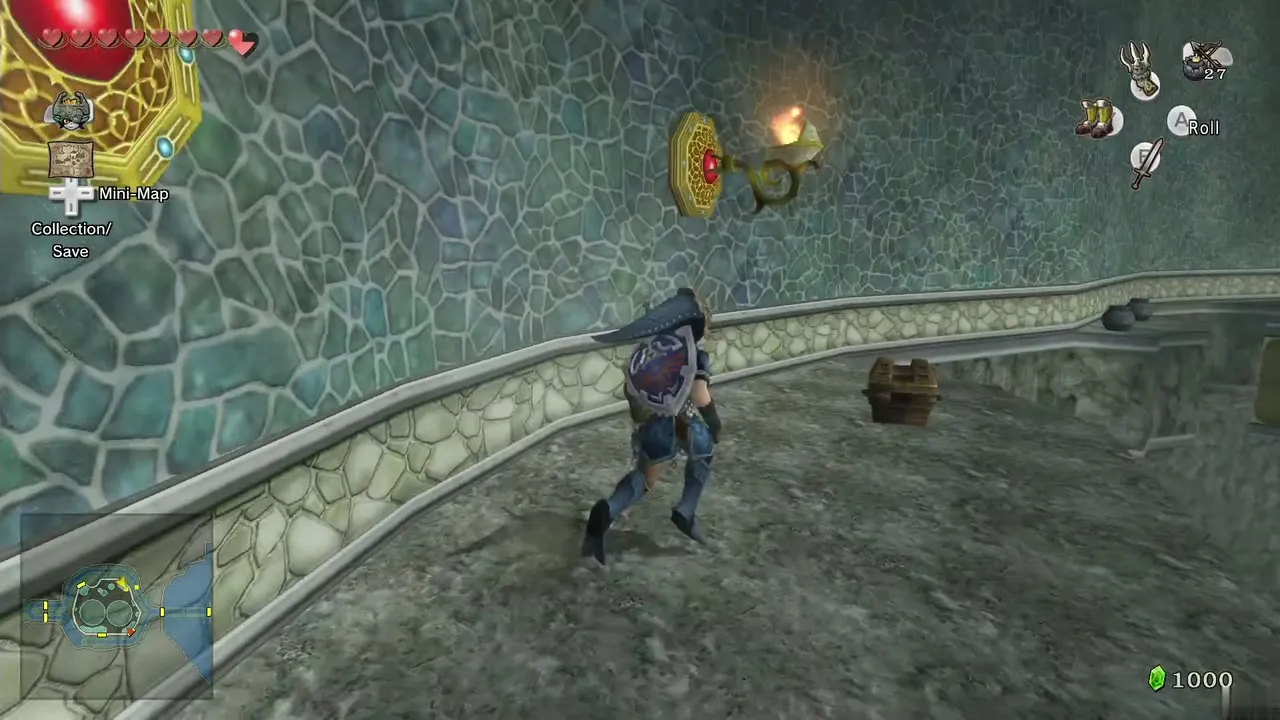
Optional: hook the north-east corner for a chest with another Red Rupee, climb the pillar vines, go to the north-west door and east past the waterwheel (now turning) for a chest of ordinary bombs. Back inside, hook the vines on the north-west pillar and then the pillar below, retracing the room in reverse. The door you need is on the west side. Looking up at the rotating gear, hook one of its targets and let it carry you to the door.
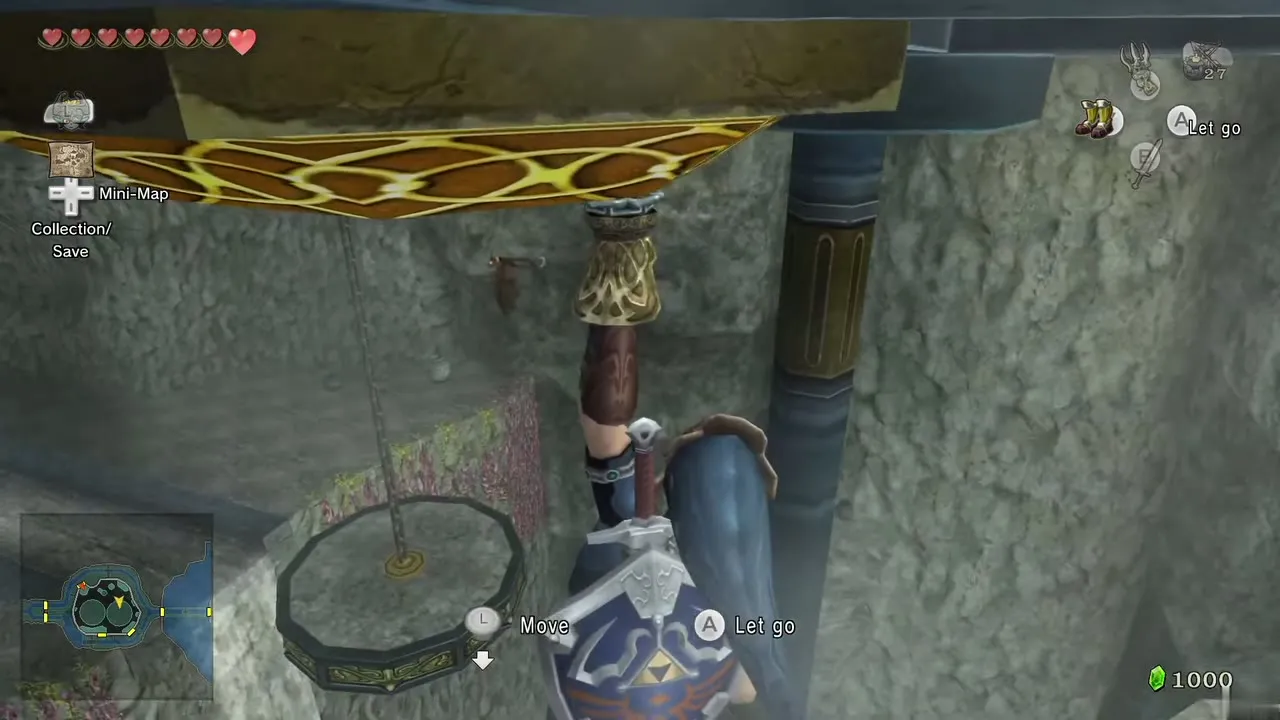
Underwater passage to the Big Key
This room is an underwater maze, so move carefully. Jump in, sink to the floor and find the opening at the north end that leads west. On the other side swim up one level and south to a boulder on your right. A water-bomb fish here turns into a lit Water Bomb when you strike it; use that, or one of your own, to break the boulder.
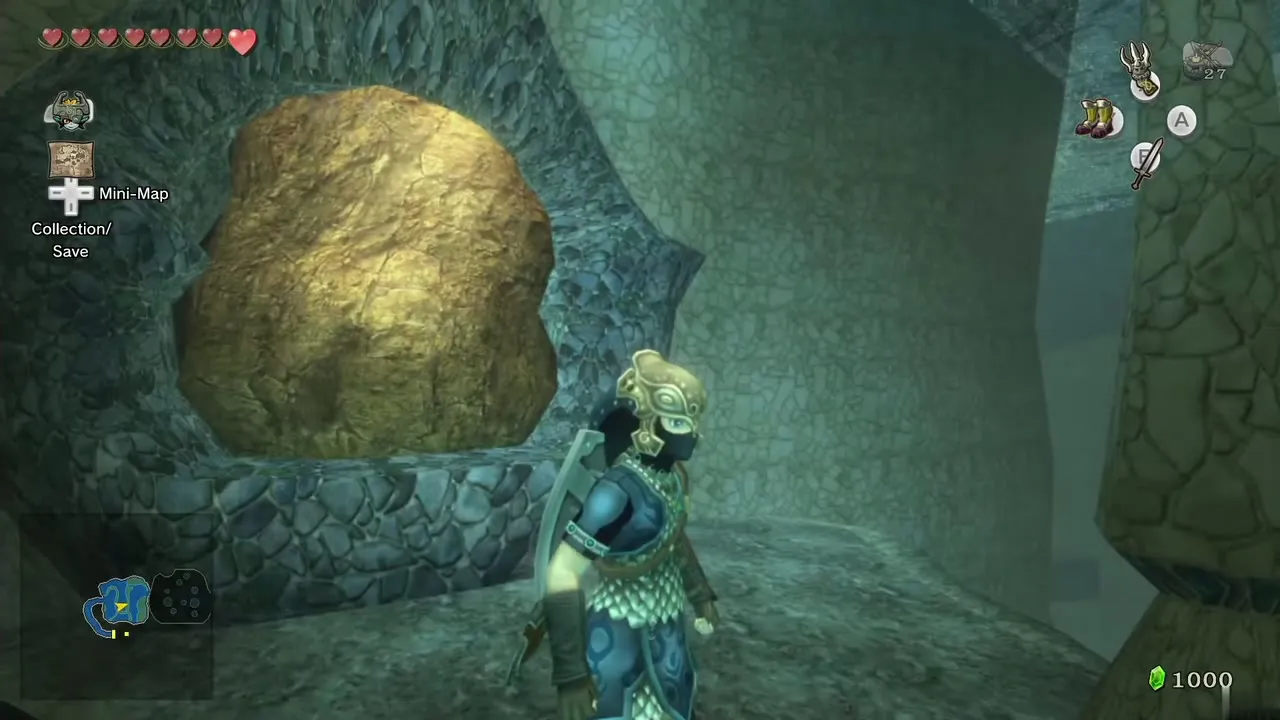
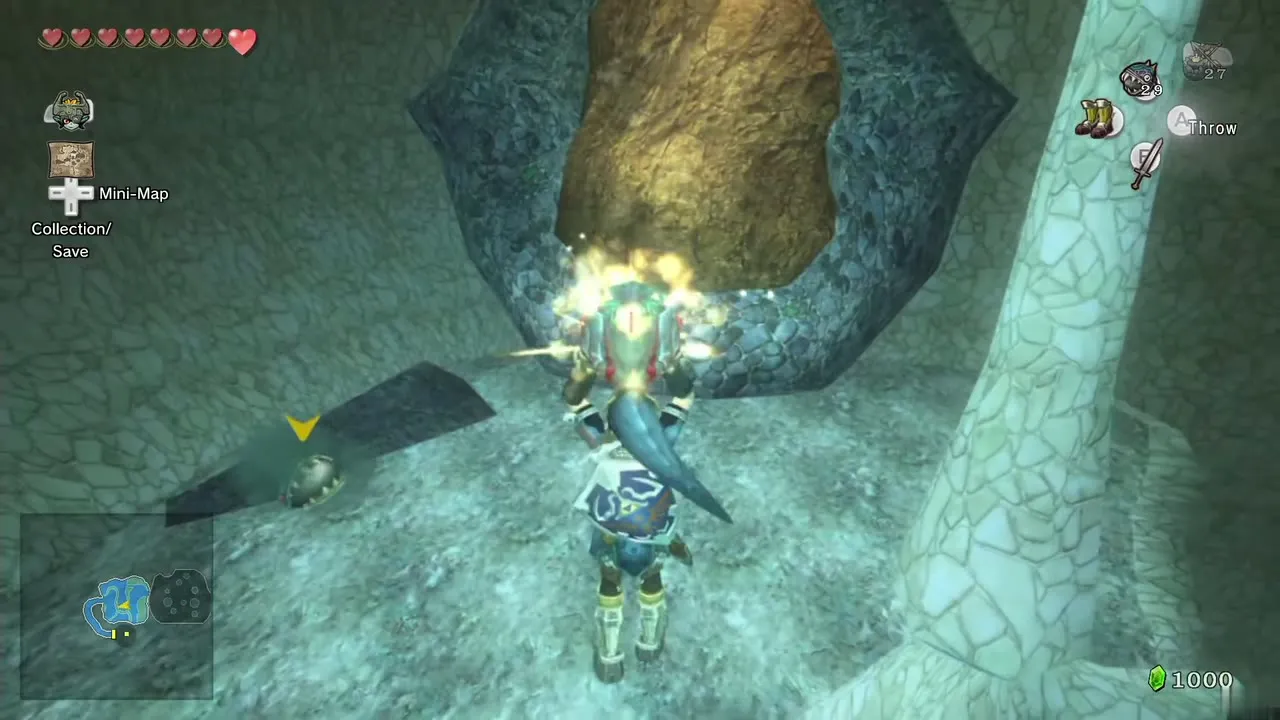
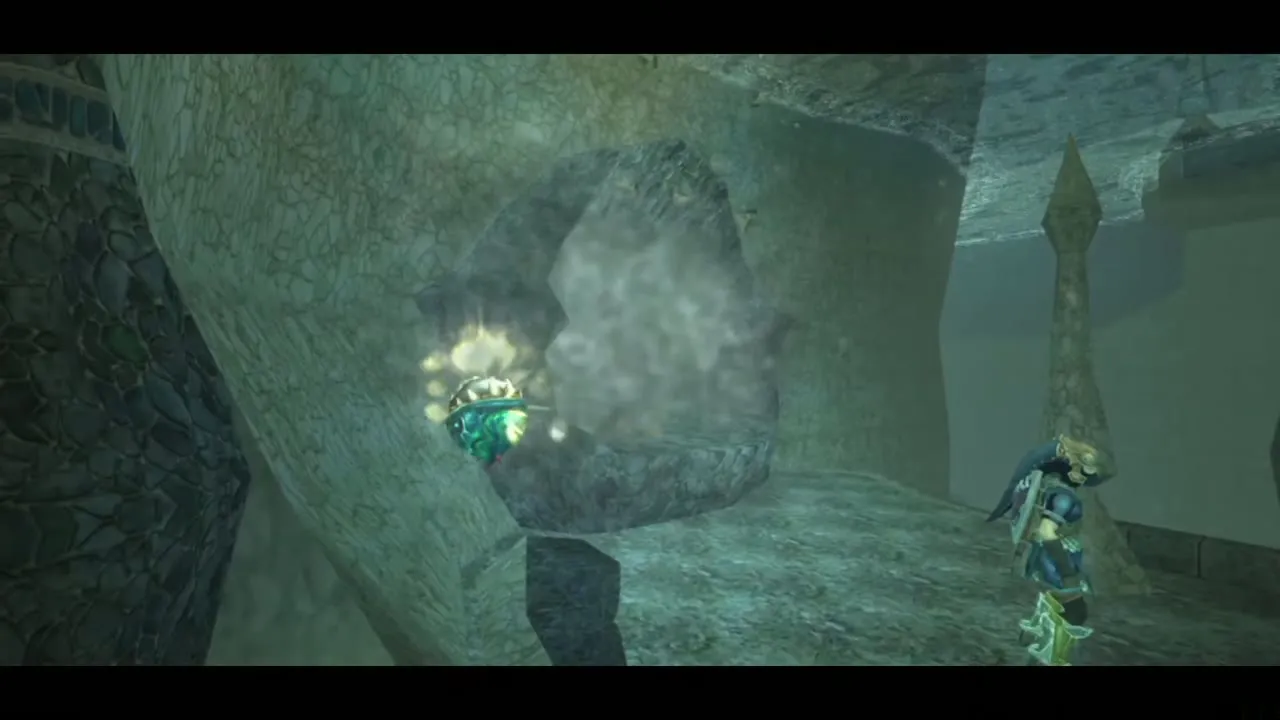
Swim through to the west side, surface and open the chest for Water Bombs. Sink again, equip the Iron Boots and walk to the south-west corner, where a second boulder needs a Water Bomb. Swim through, surface and take the south door.
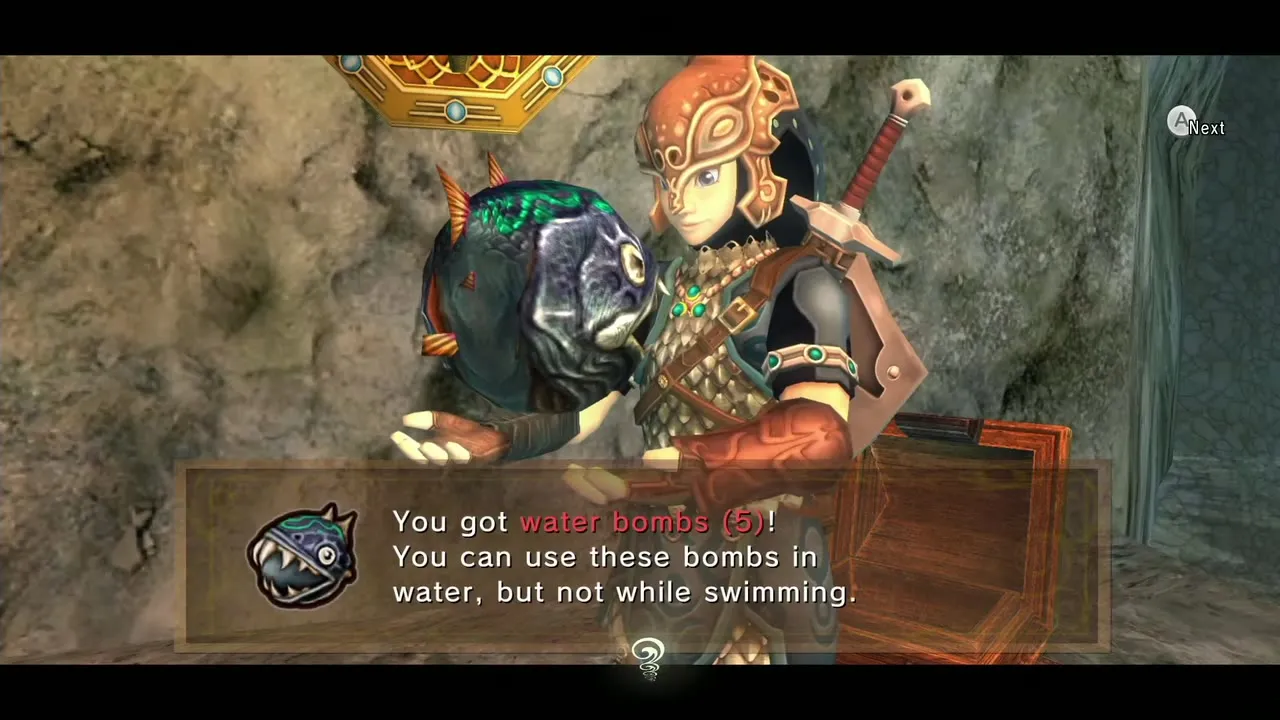
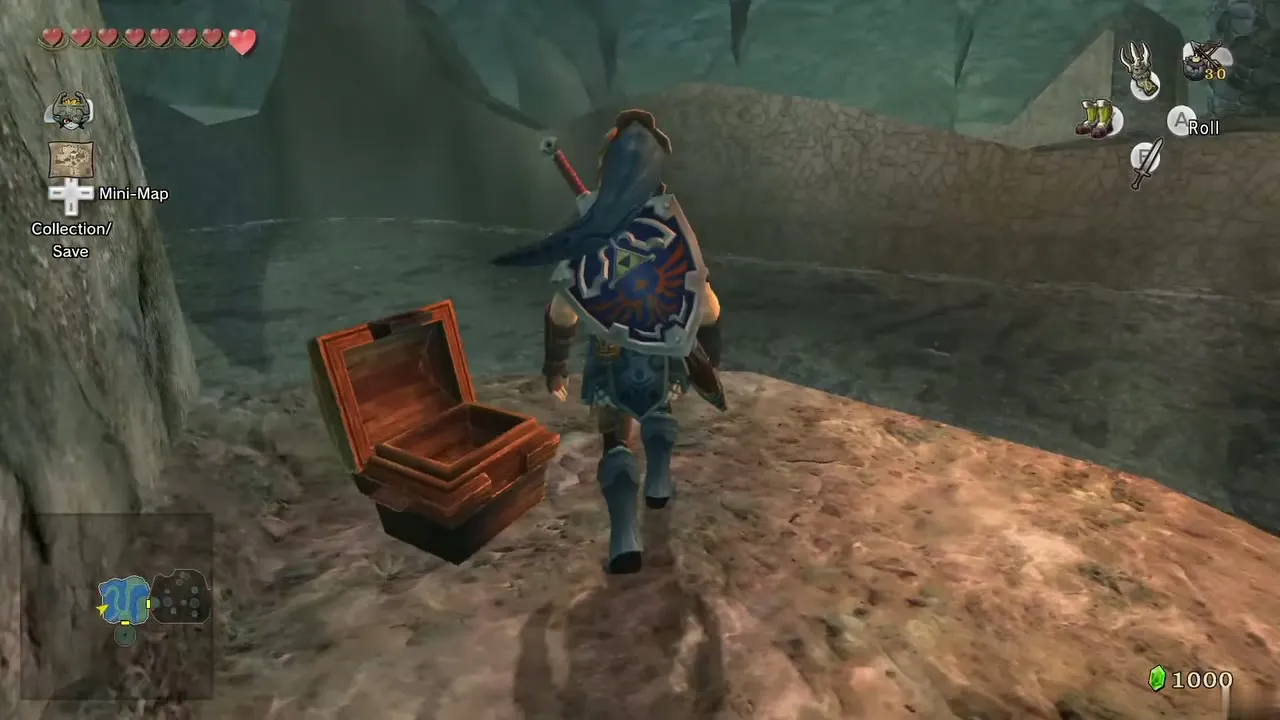
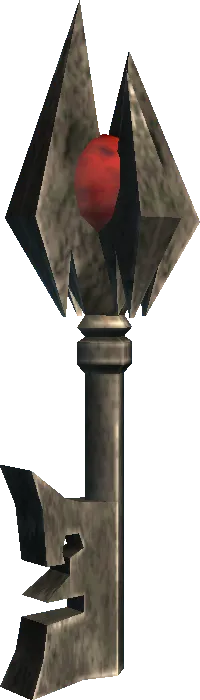
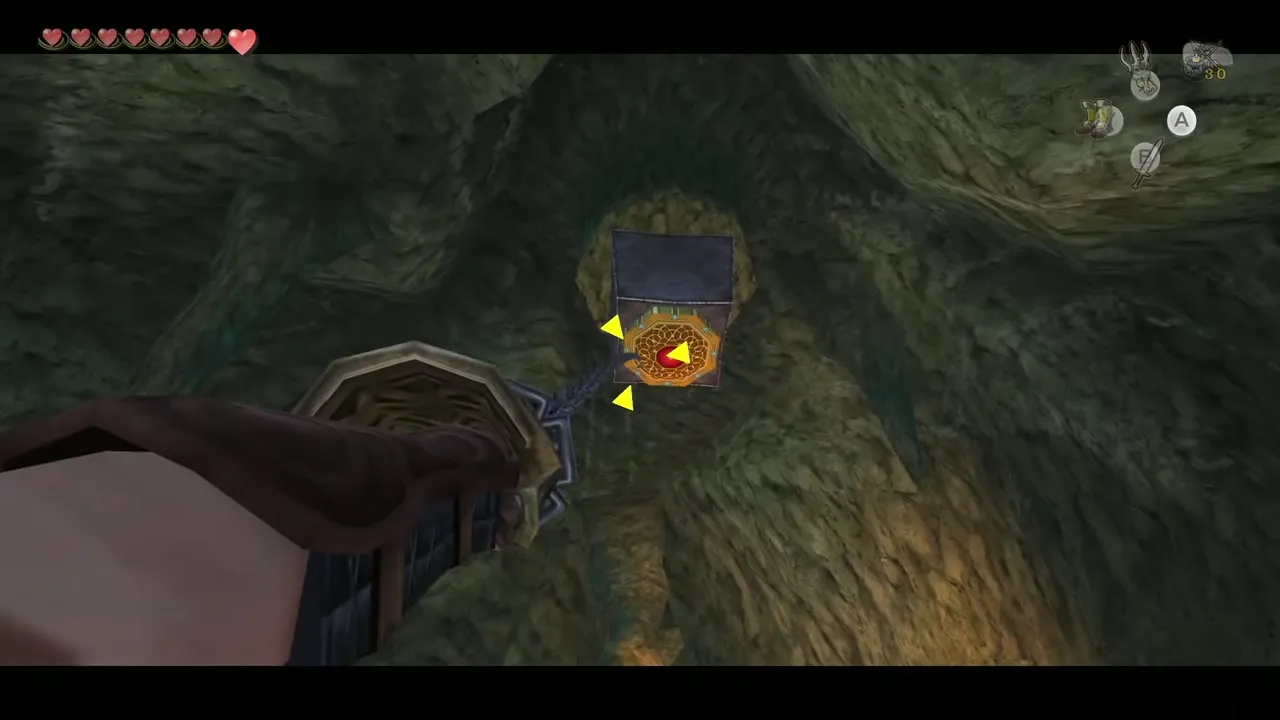
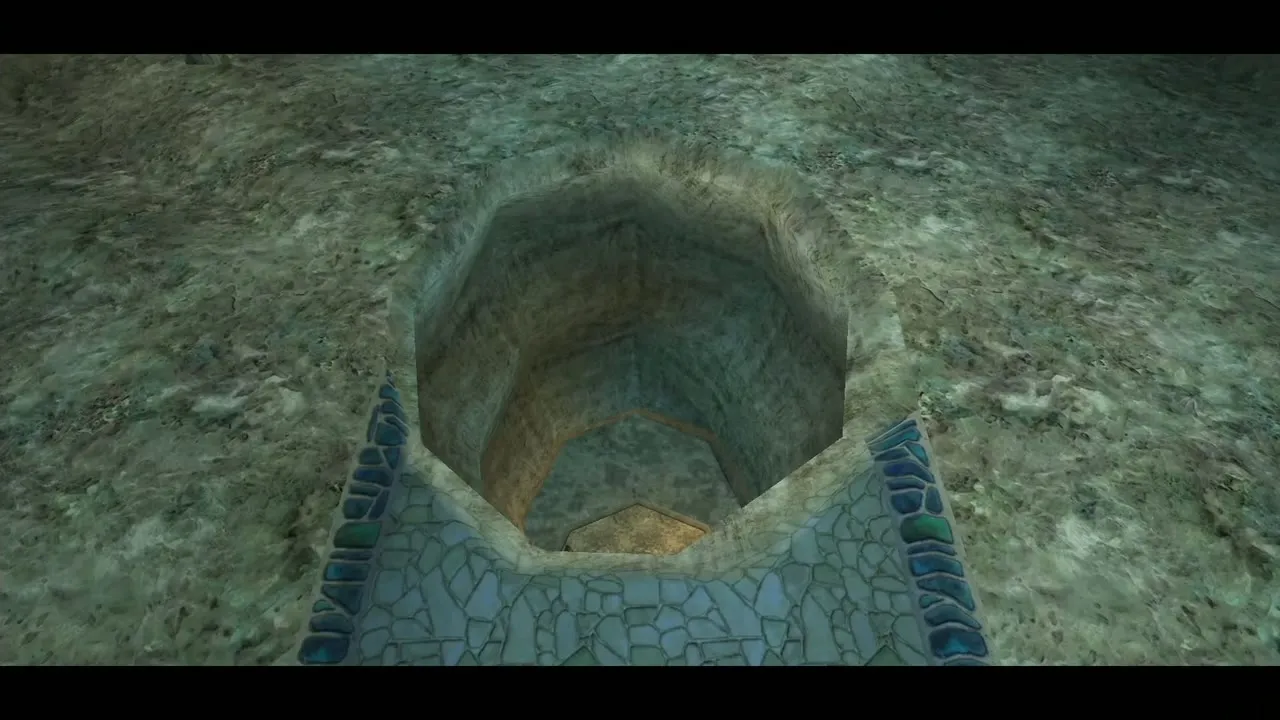
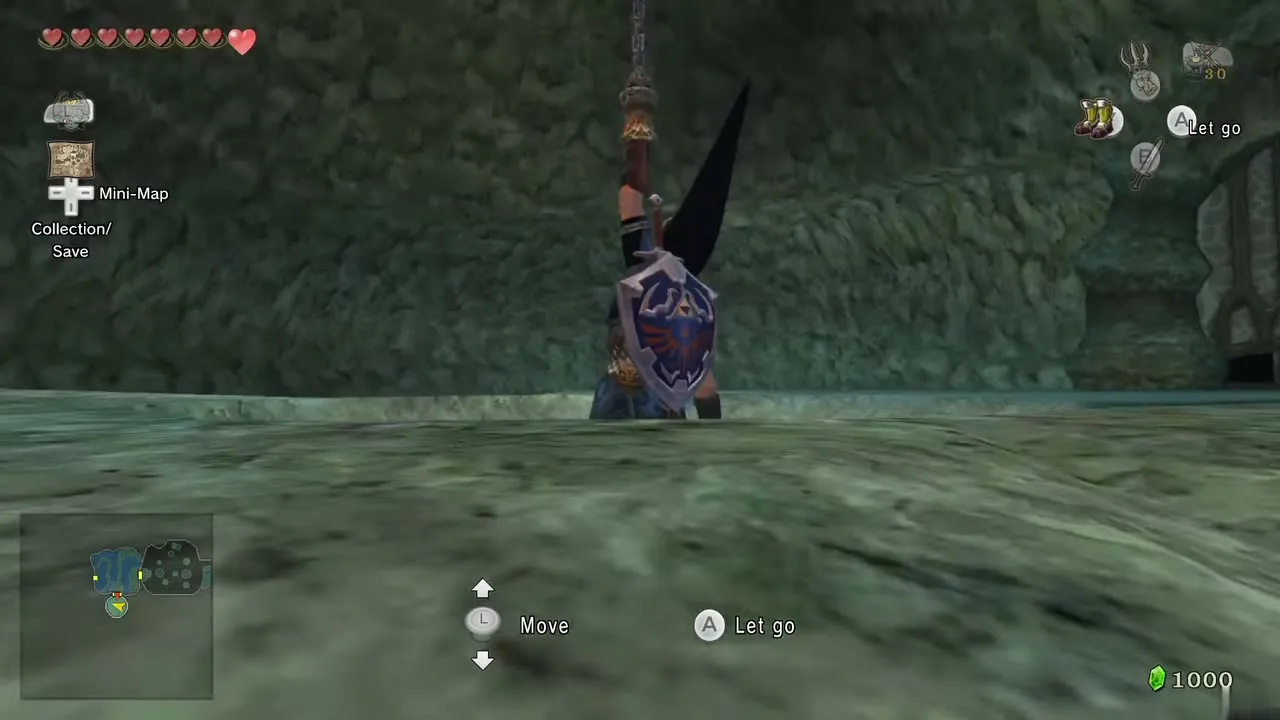
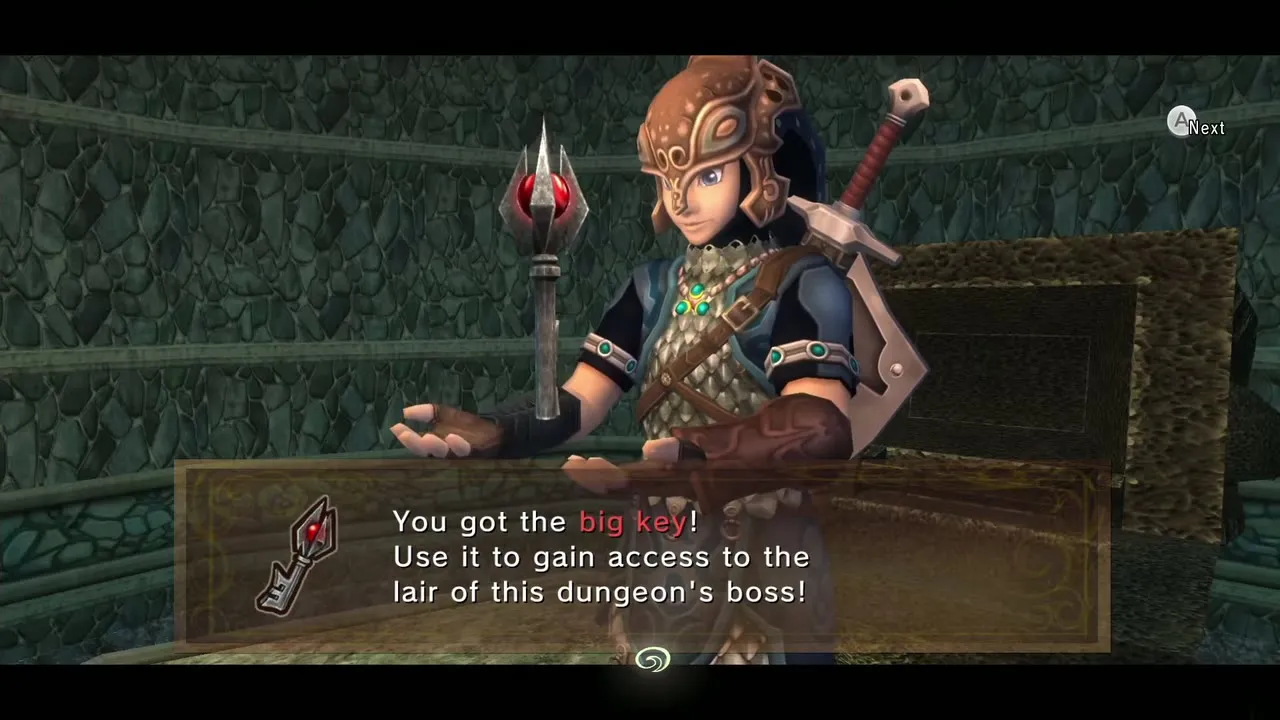
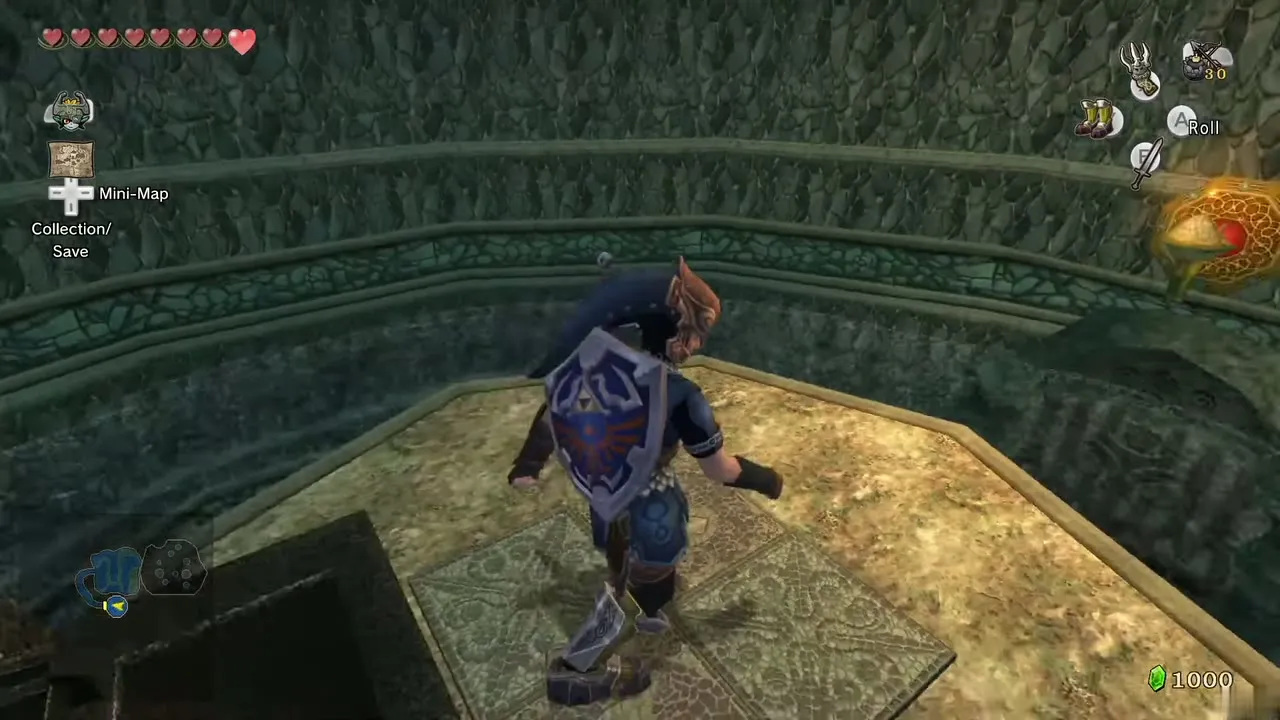
Pull out and slay the Chu Worm with the Clawshot. A target hangs on the ceiling: hook it and a hole opens in the floor. Lower yourself through the hole and stay attached. On the platform below, open the chest for the Big Key. Drop into the water and go back through the maze (straight ahead through the hole slightly up and right, north to the end, then down and east) to the door that returns you to the gear room.
Second Heart Piece and the boss door
Back to the main hall
Hook the target above, drop onto a platform to the east, hook the second rotating platform and drop onto the one that held the chest. Clawshot the vines and leave by the east door, then cross the bridge to the main hall; the water has risen again. The boss door is in the middle of the hall. Before you go, collect the last Piece of Heart and the stamps below.
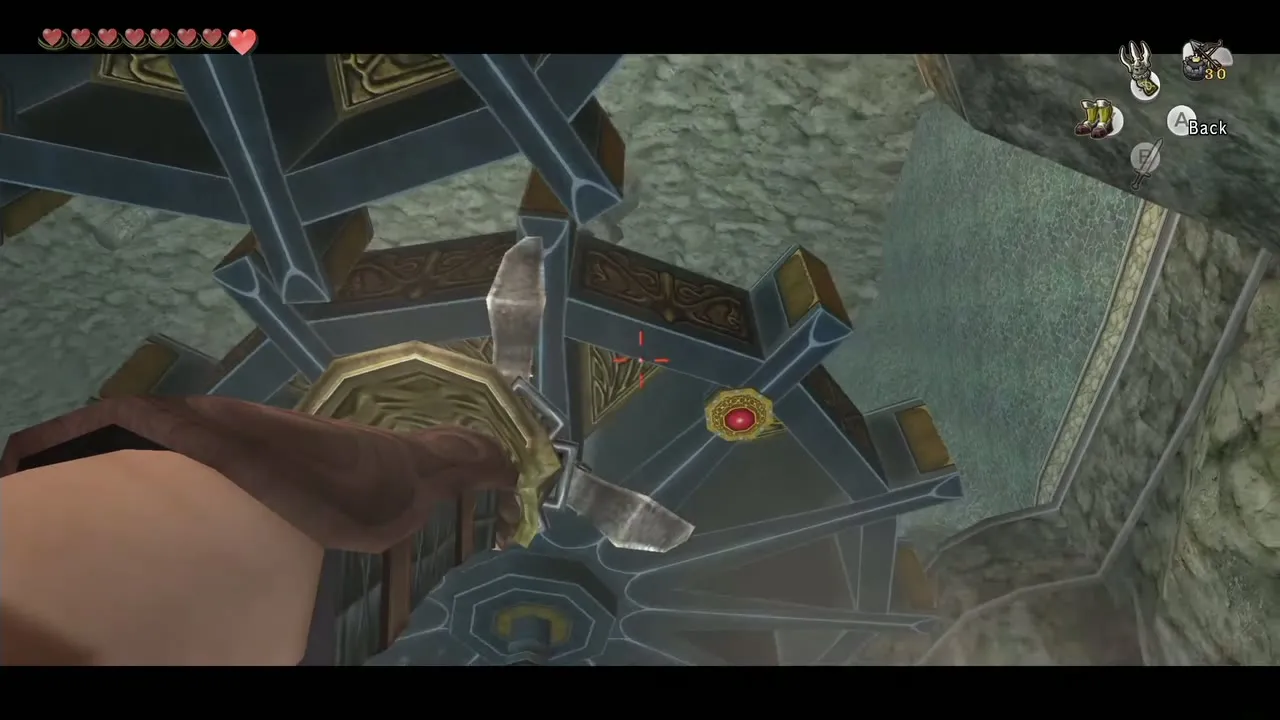
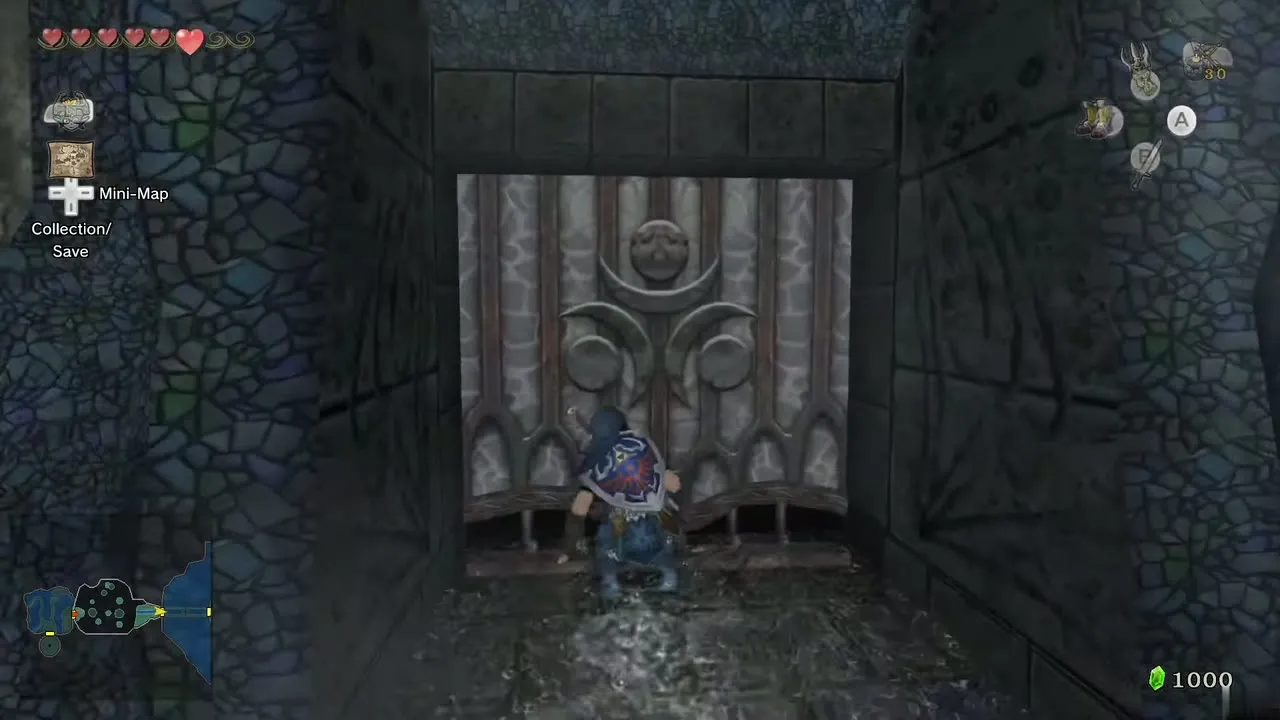
Heart Piece #28: the bridge and switch
Clawshot the vines to cross the barrier, go to the east side of the lower floor and jump to the lever. The staircase turns and water flows east to the lower level. Take the door.
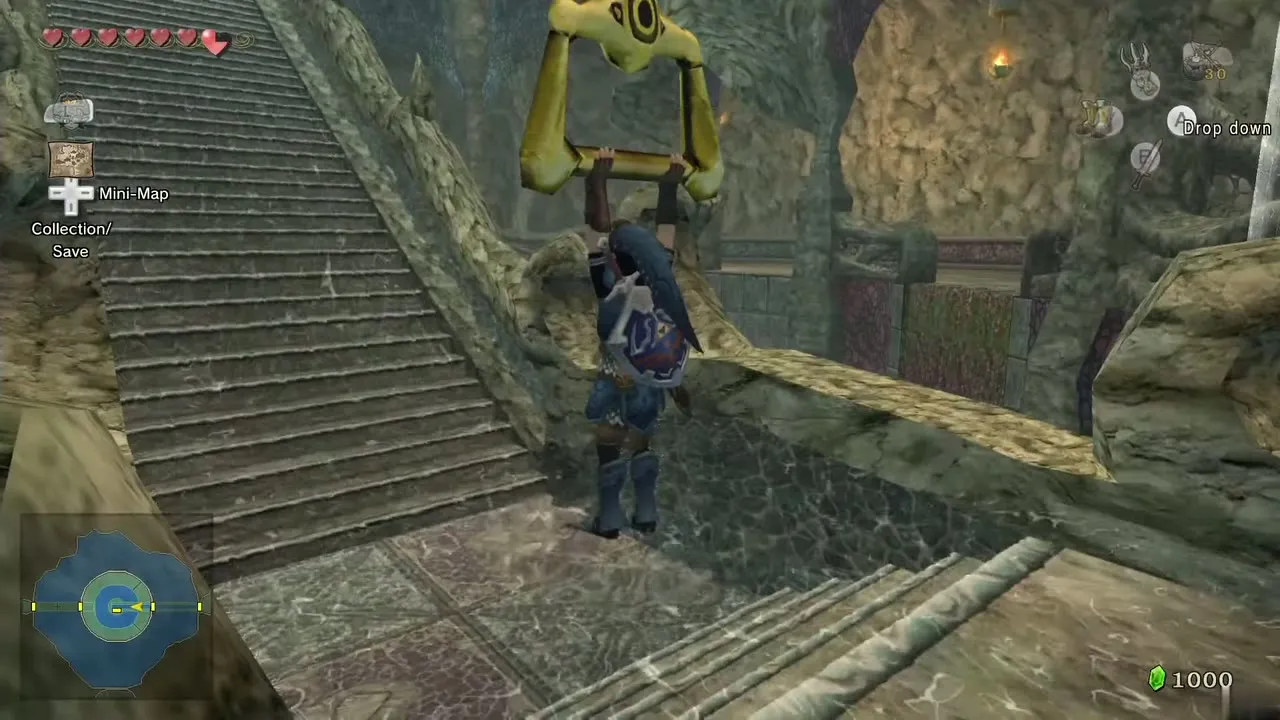
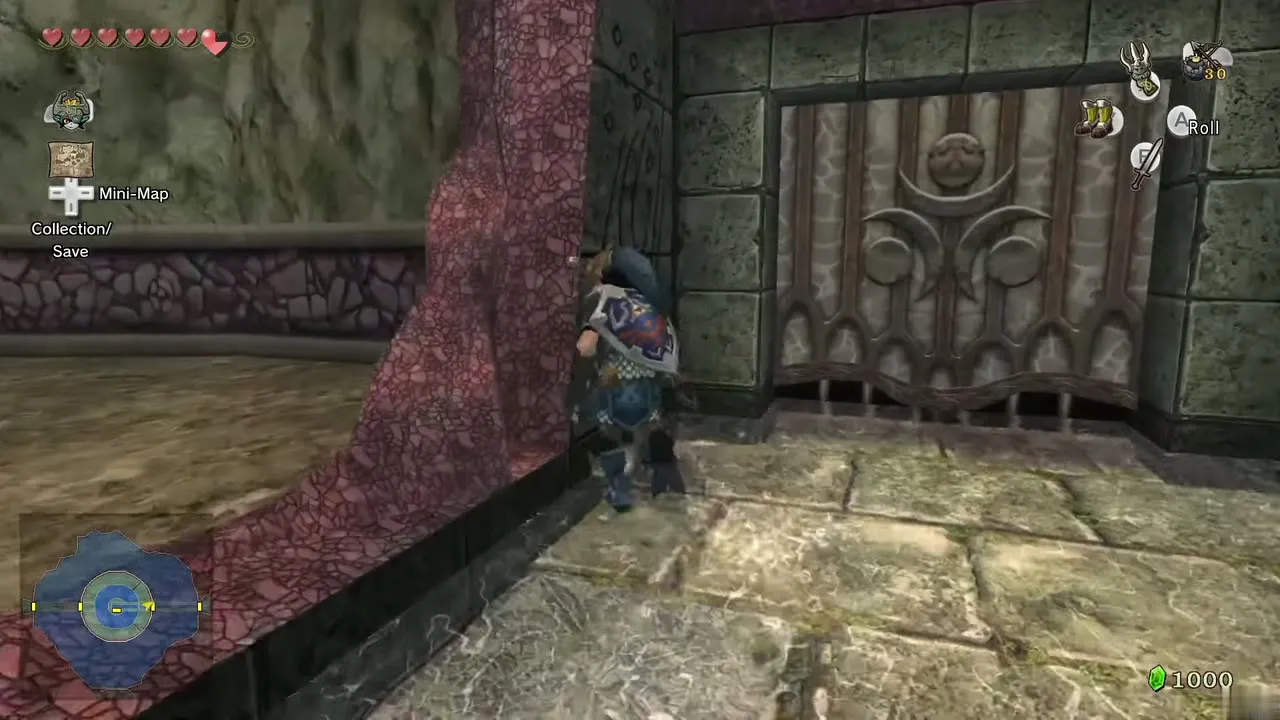
Cross the bridge and enter the door ahead. With the water high a bridge extends south: jump to the middle and cross. Defeat the Tektites on the south side, then stand on the floor switch to open the gate. While you are still on the switch, hook the target on the far wall and open the chest for Piece of Heart #28. The gate closes behind you, so hook the ceiling target to escape and go back to the Central Chamber.
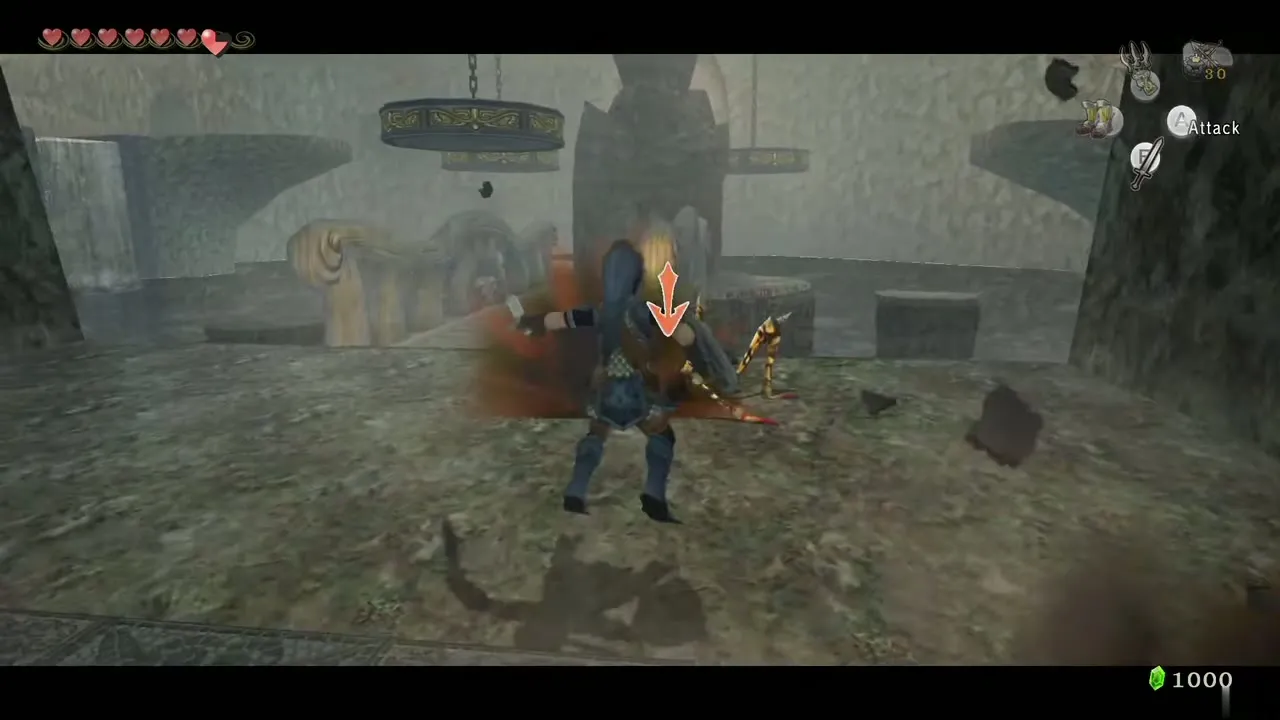
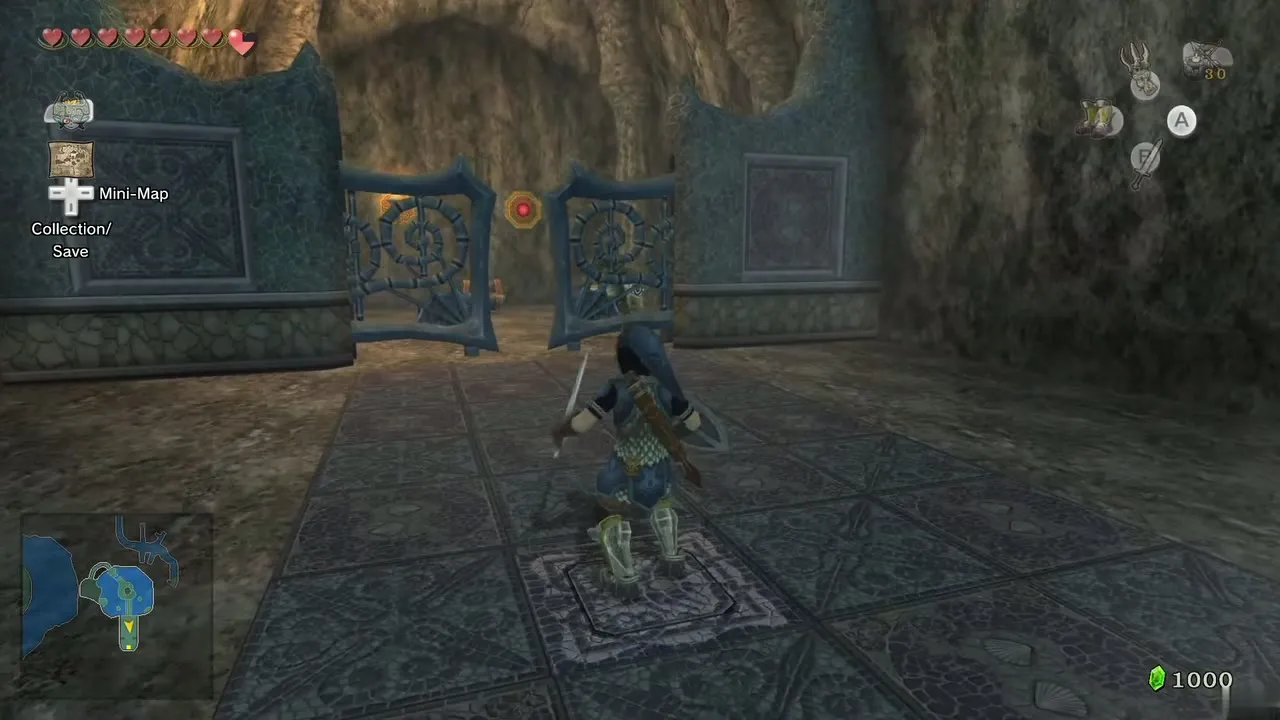
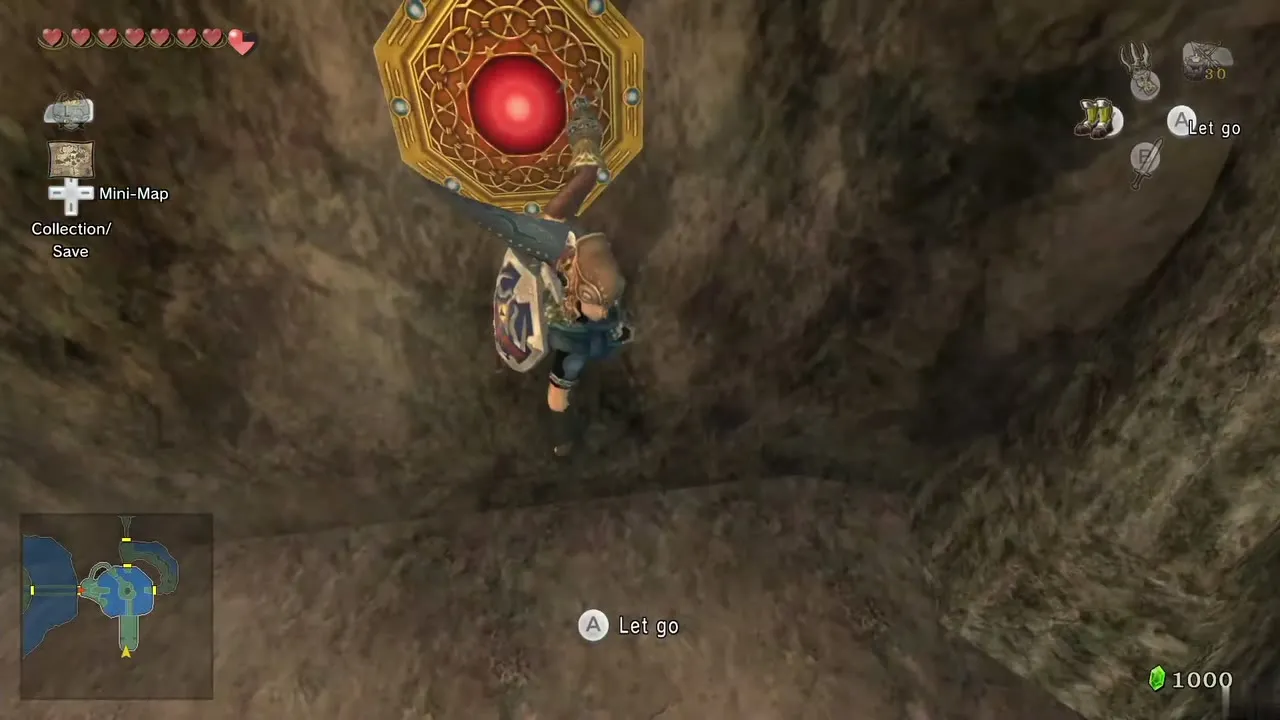
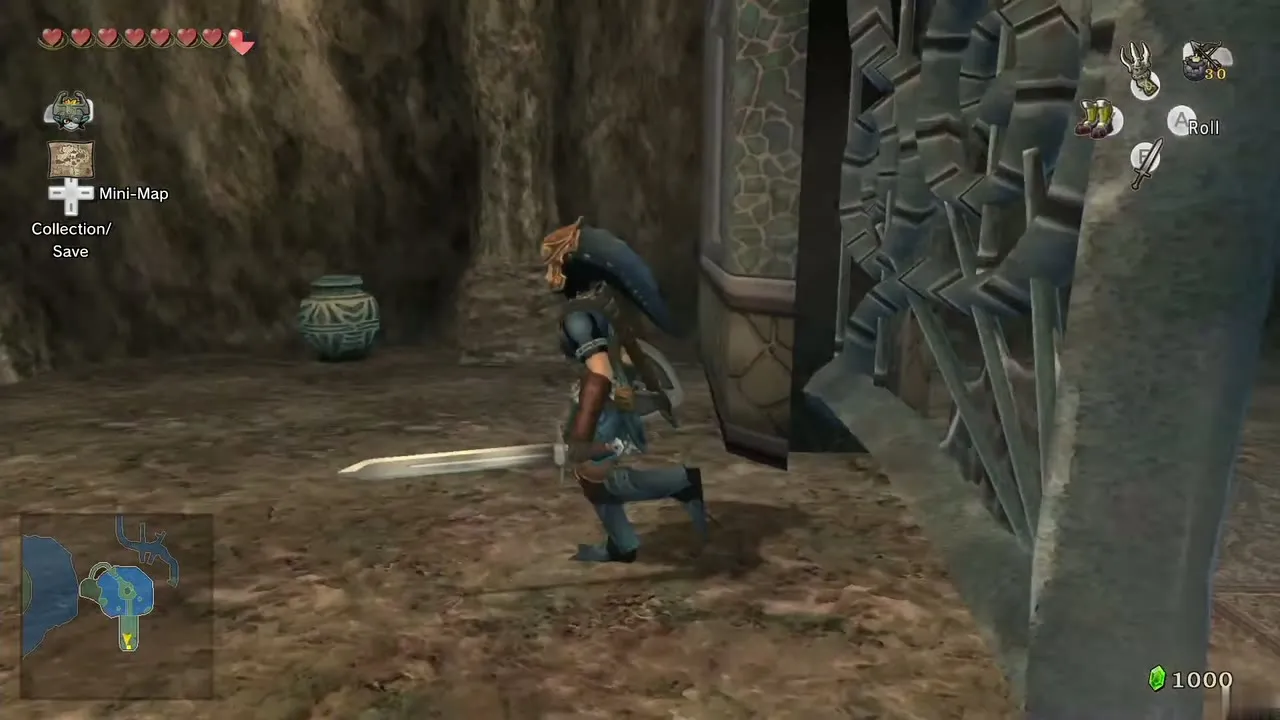
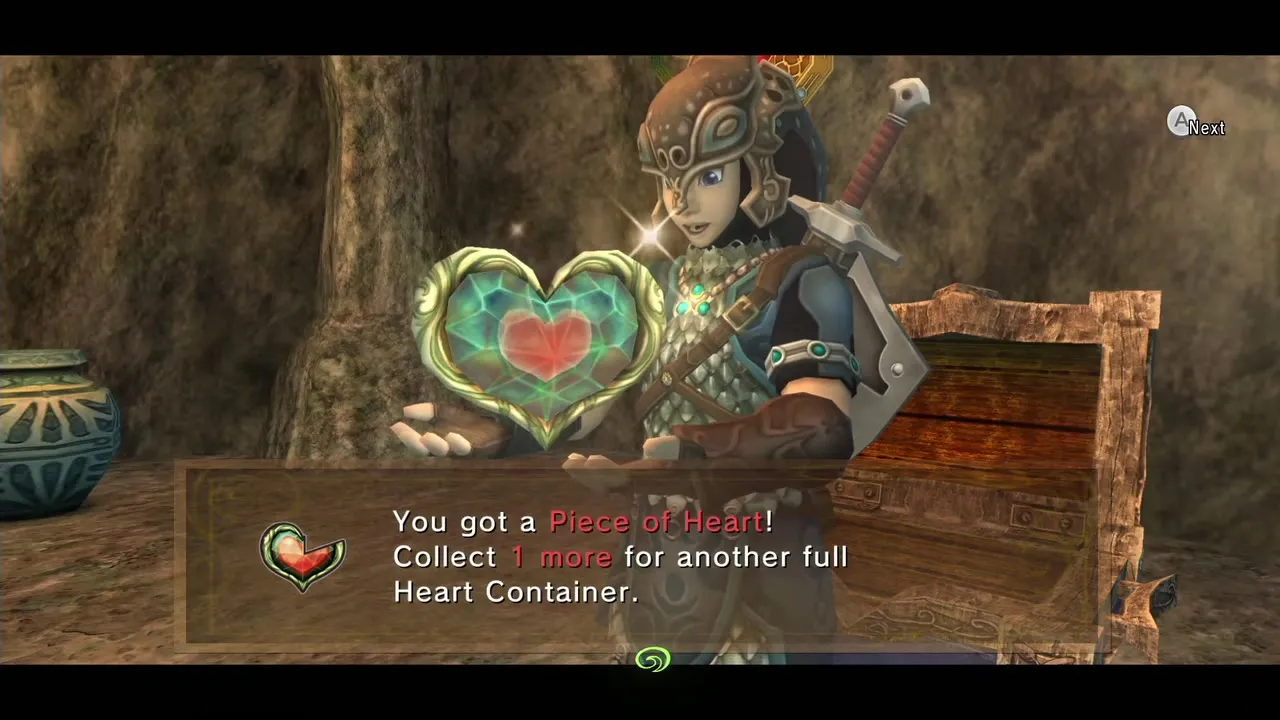
Two more chests are worth the detour while you are here. In the east wing, climb the long spiral ramp back to the top (mostly in Iron Boots against the current, with Clawshot hops where gaps appear) and use the target behind the chest that you could not reach earlier to open it for the Miiverse stamp of the Hylian letter Y. Back in the Central Chamber, drop into the water: just below the level of the locked boss door is a circular platform you can walk on in the Iron Boots, and its chest holds the stamp of the Hylian letter K. The Iron Boots matter here, so wear them.
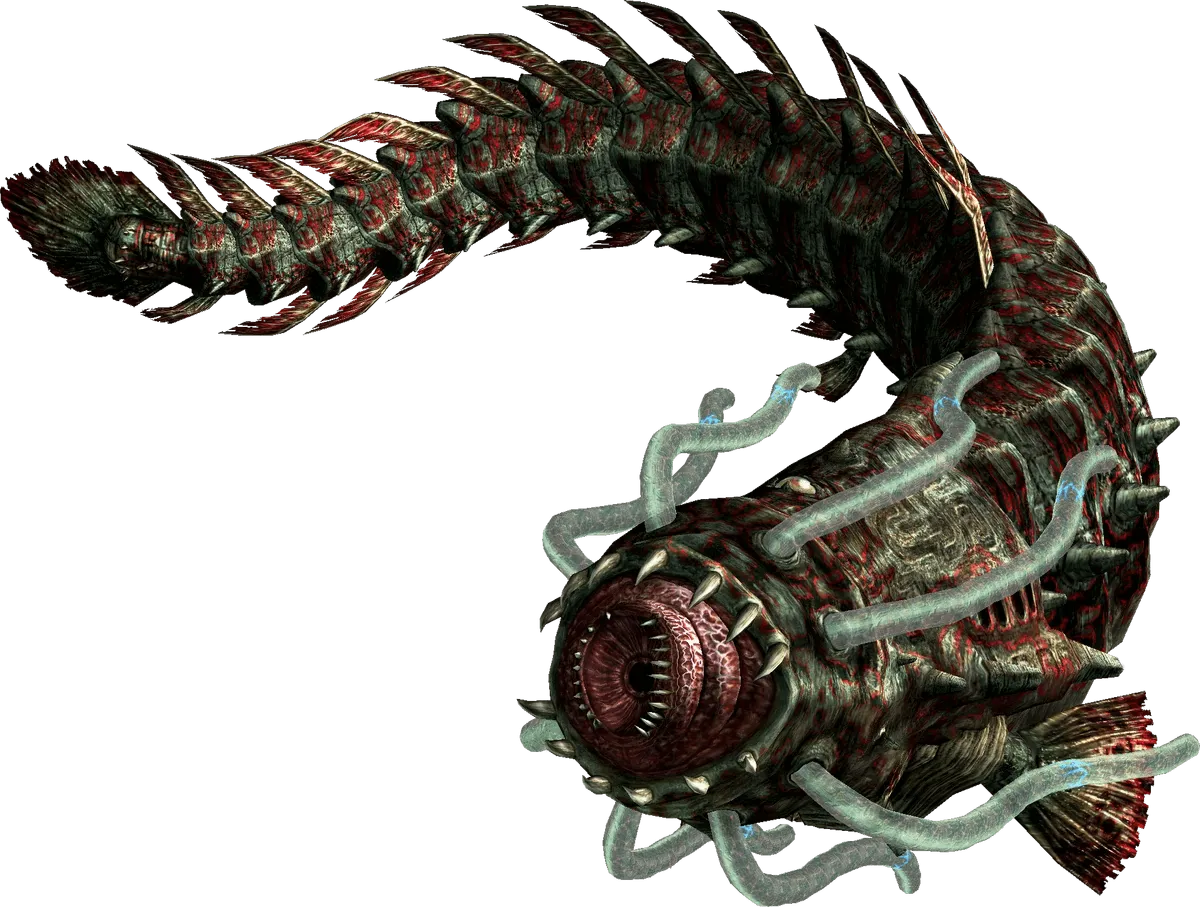
Boss: Morpheel
Boss door
Surface at the middle platform and open the locked door with the Big Key. Two large pots in the next room hold hearts and a fairy. When you are ready, drop down the hole.
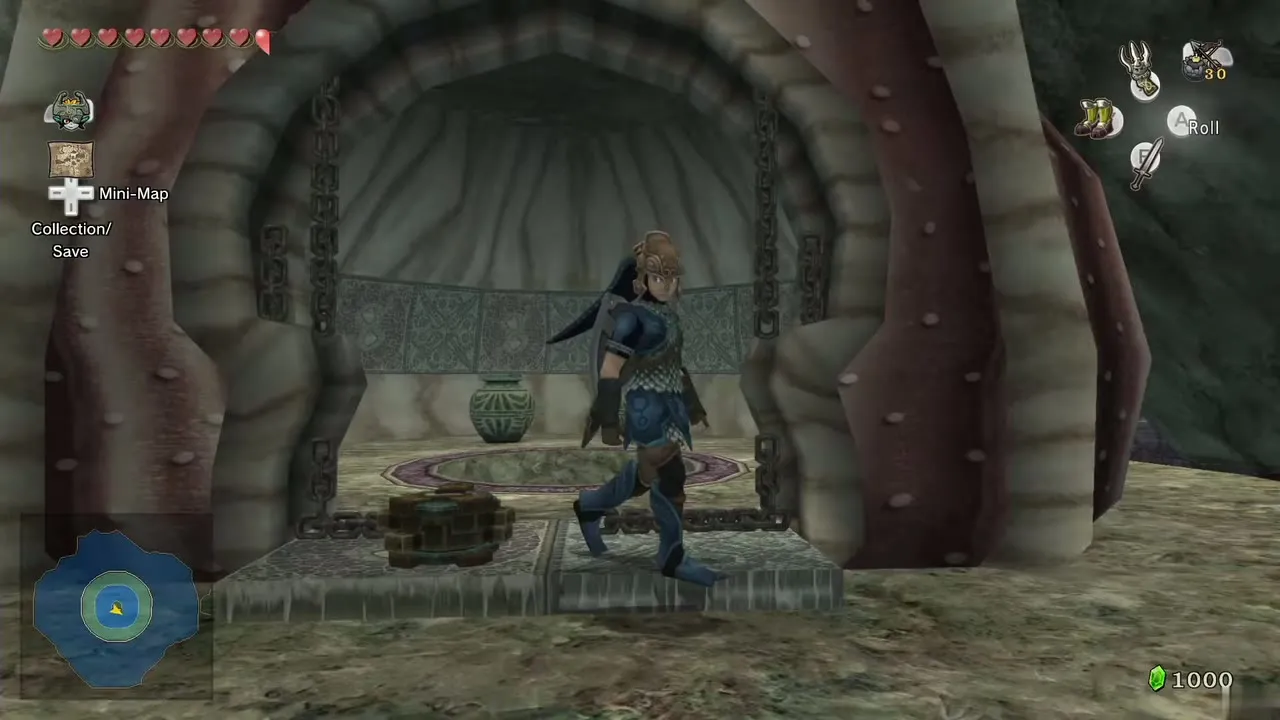
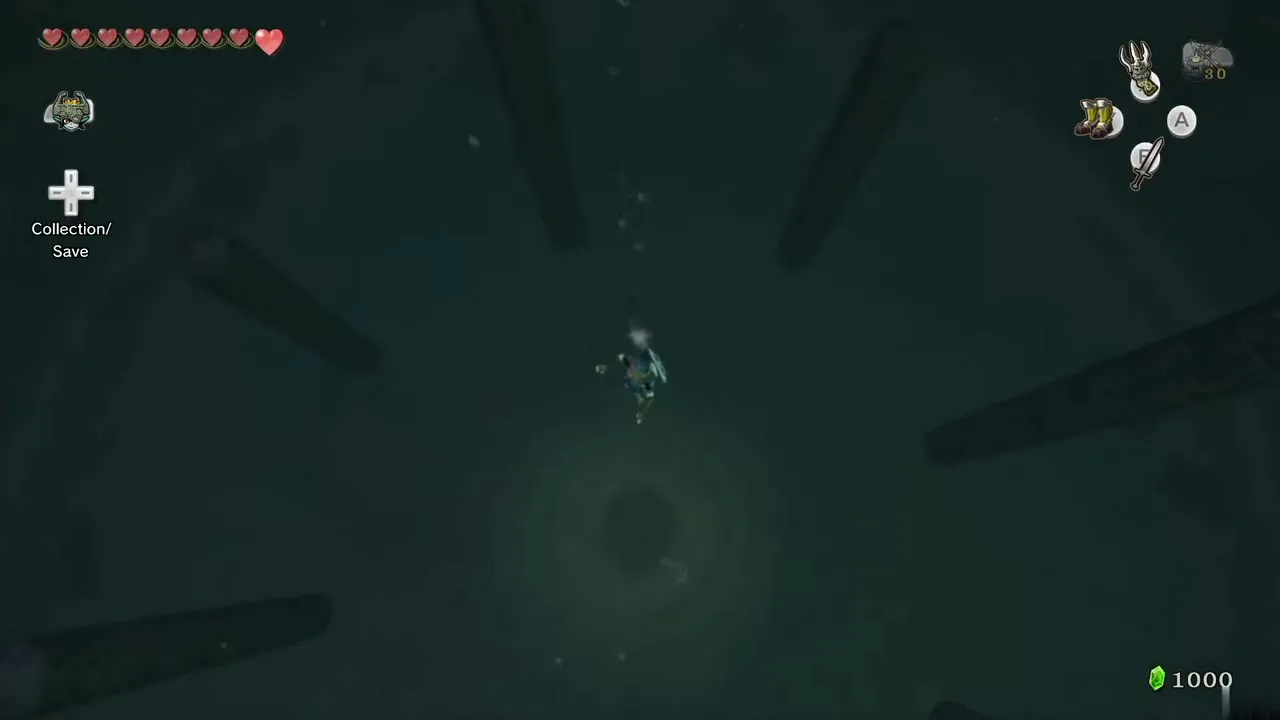
Phase one: the eye on the tentacle
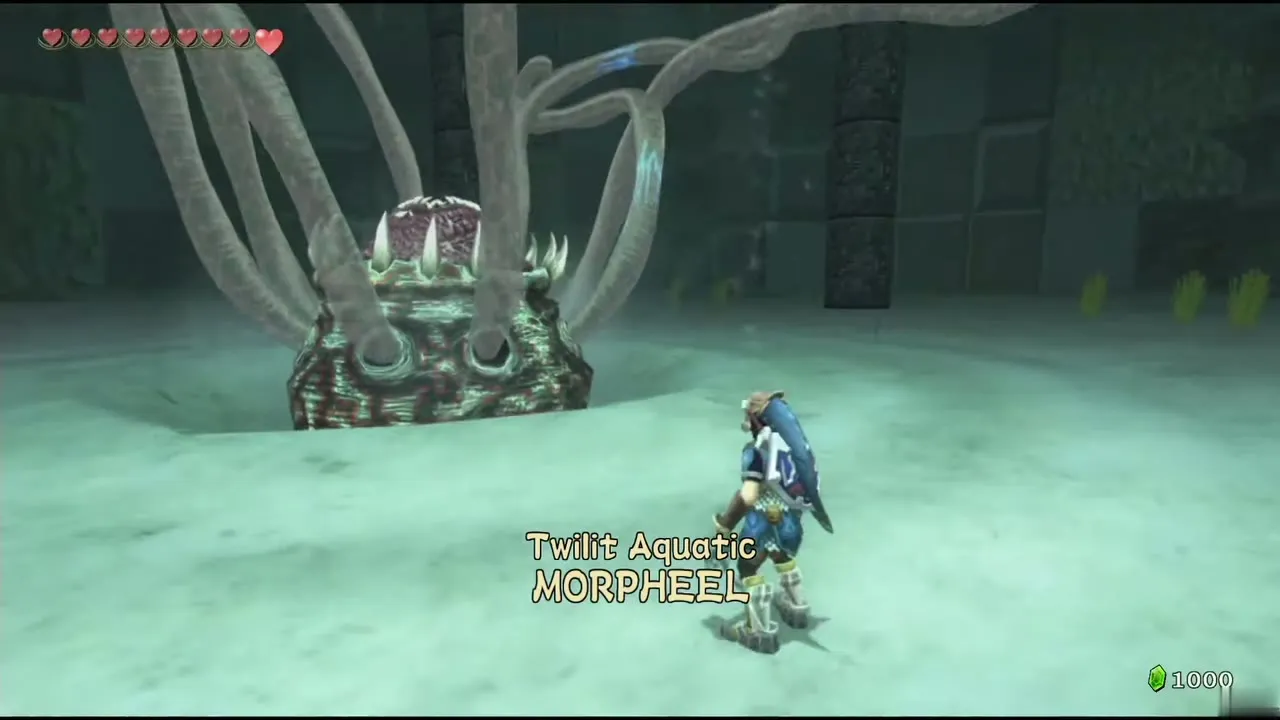
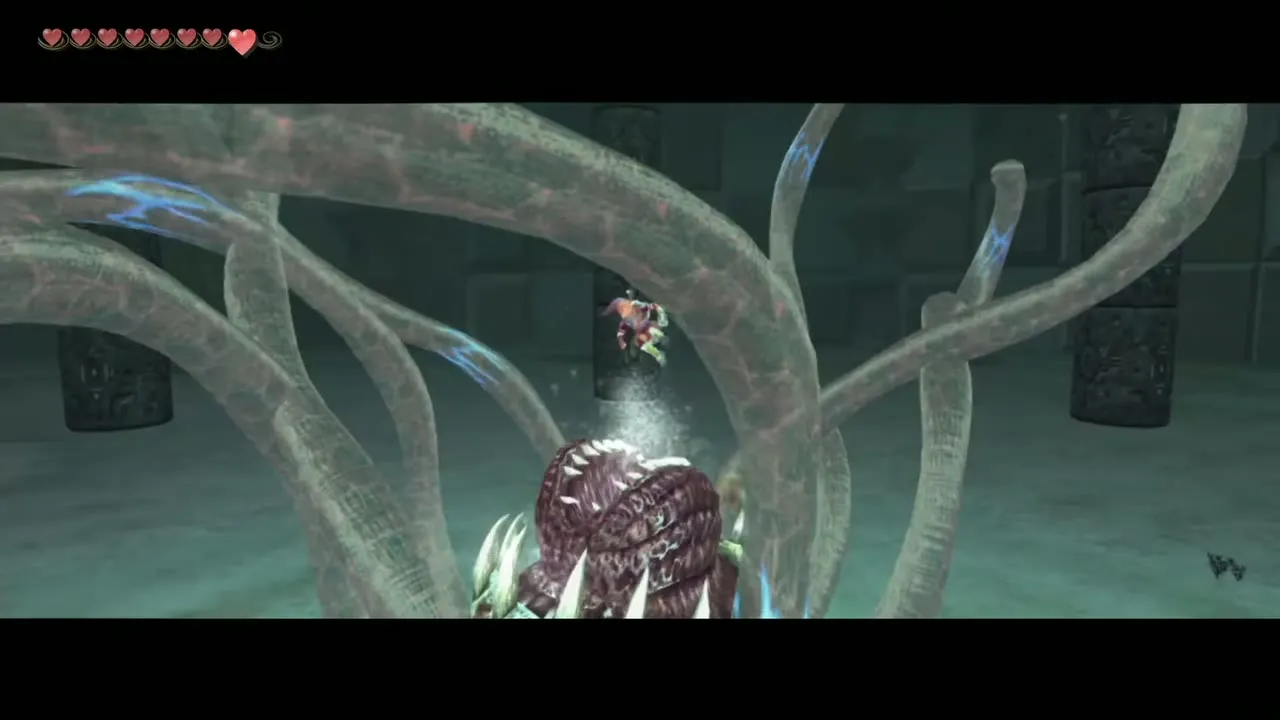
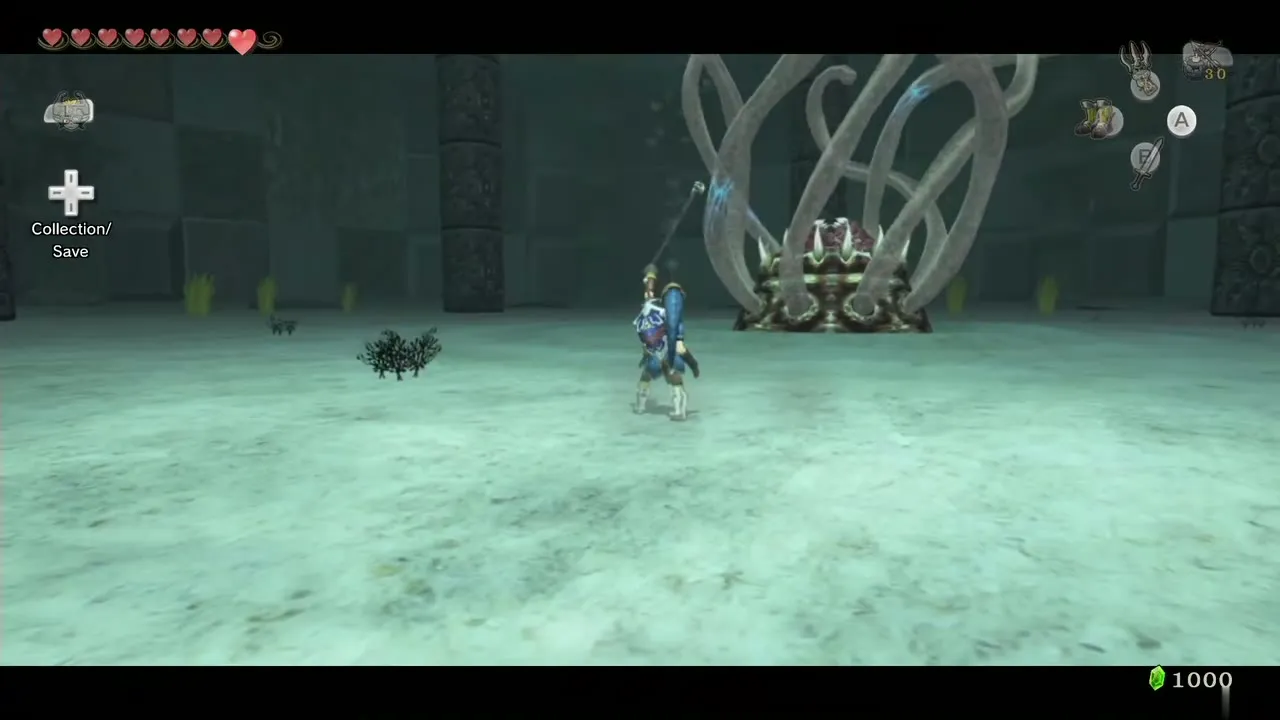
You land in a small pool. Equip the Iron Boots and sink to the floor. Morpheel’s eye appears in one of its tentacles, which wander around the sea bed. Wearing the boots, lock on to the eye and Clawshot it out of its tentacle, then slash it with the sword while it is exposed. Tentacles lash out at you; slash a tentacle as it comes and it retreats, but if one catches you, it drags you into Morpheel’s mouth for a full heart of damage. Bomb fish drift in; step away before they blow up. Repeat until the first phase ends.
Phase two: the eye on the head
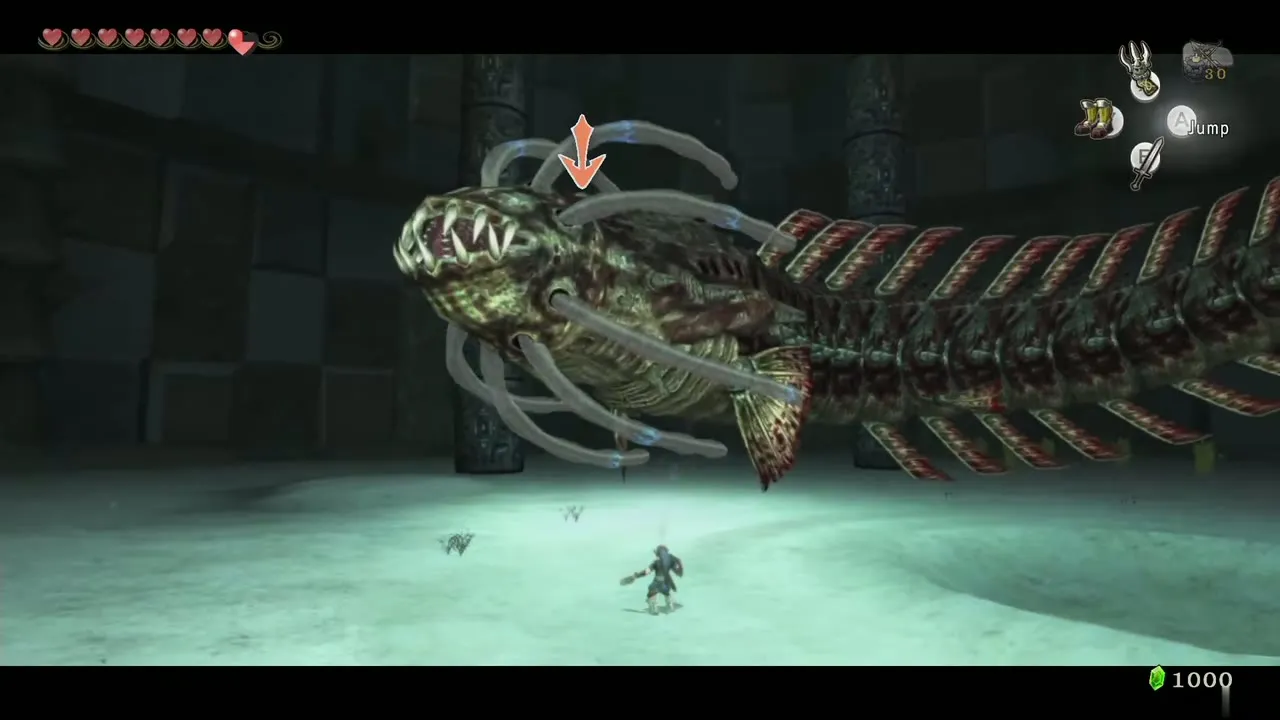
Morpheel then rises completely and swims around the room. Its eye now sits above its head. Take the boots off and swim after it, staying above and behind it, never in front of its mouth. Lock on to the eye, Clawshot to it and slash it. Keep hooking and slashing until it dies. If it turns toward you, put on the boots and sink to the floor.
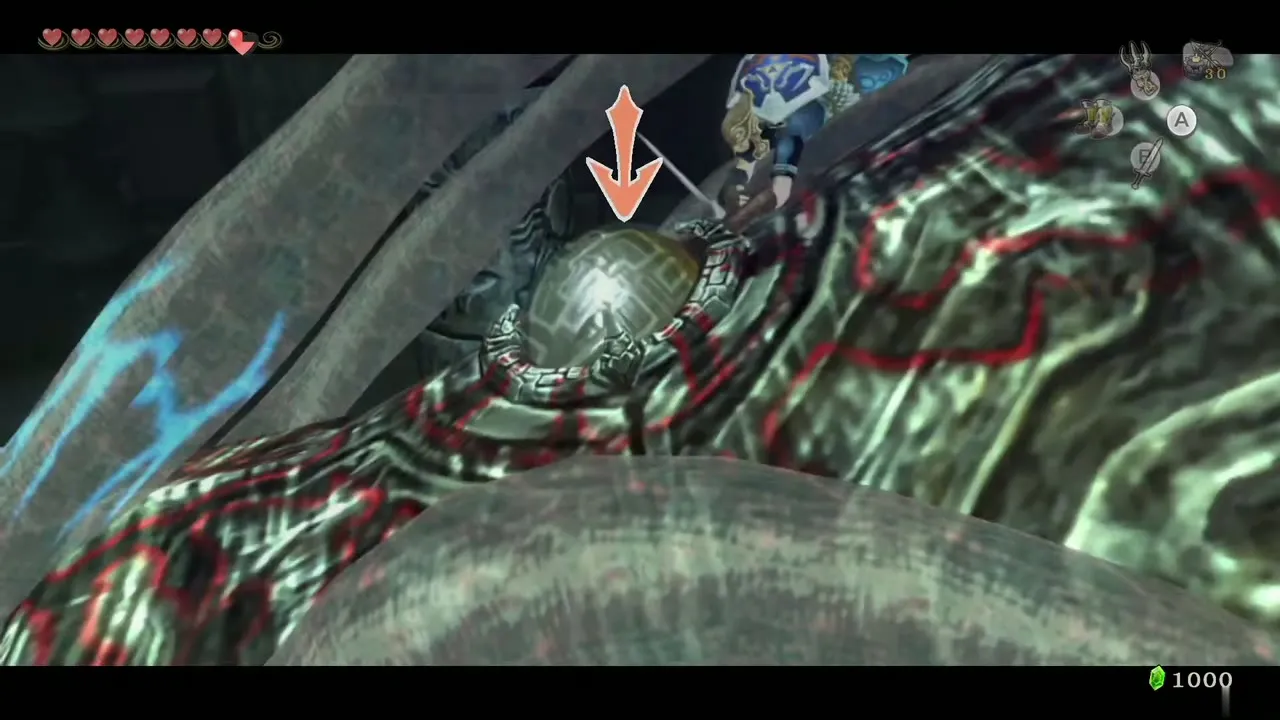
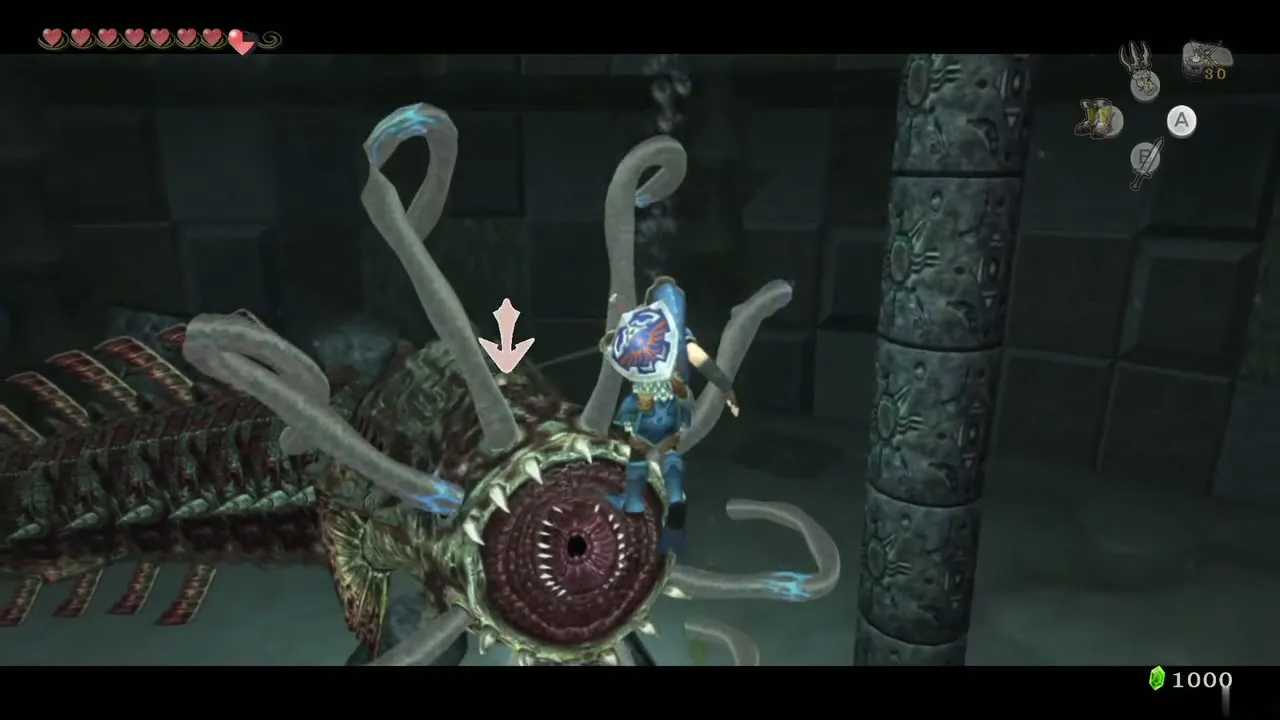
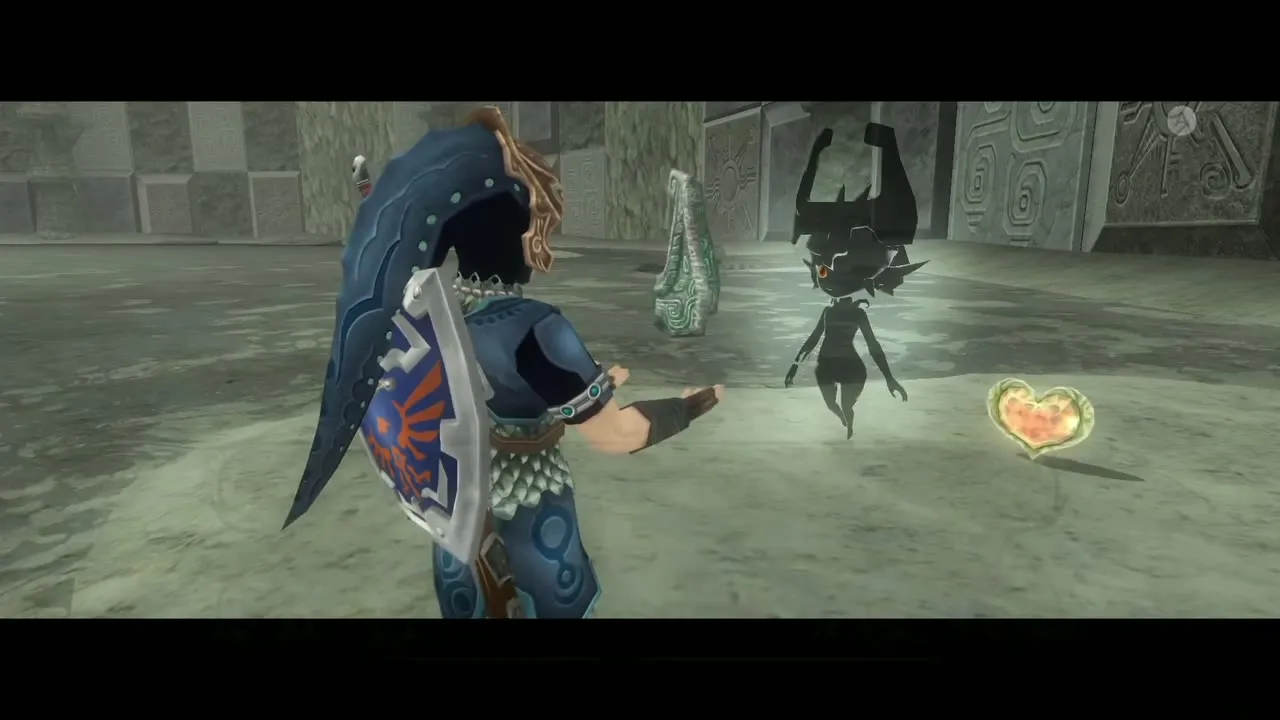
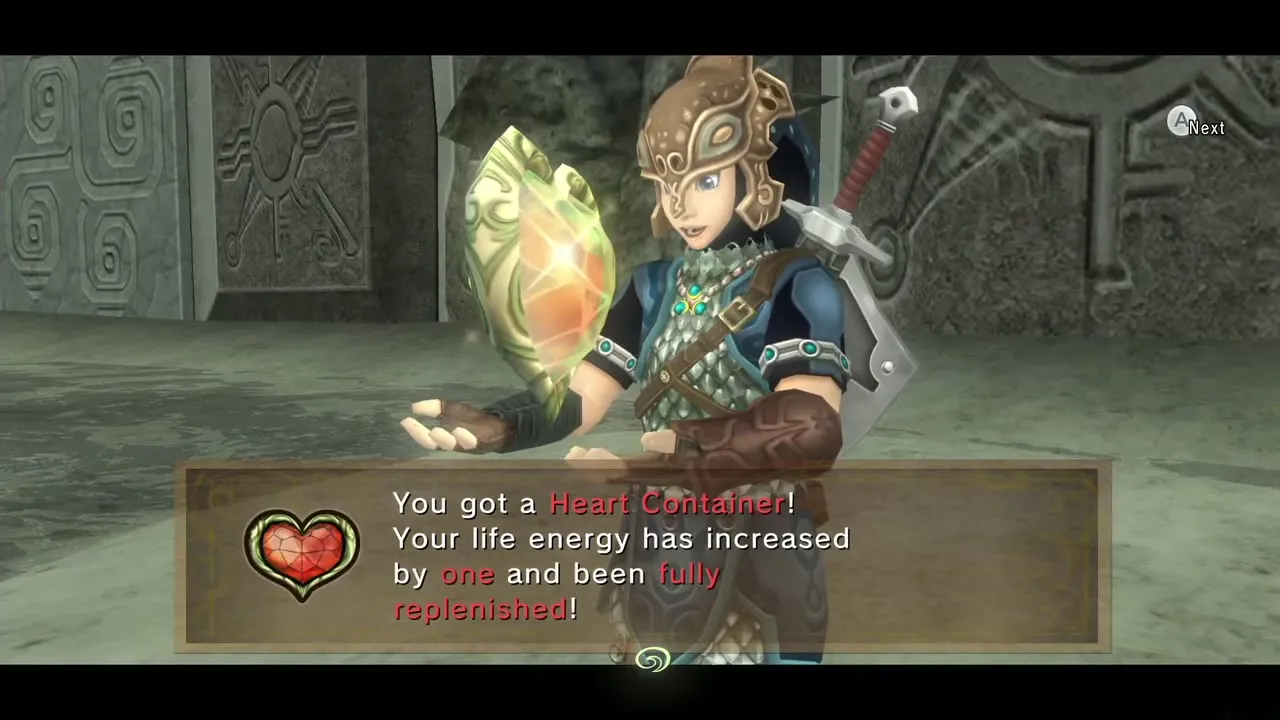
After the last hit Morpheel flutters into the wall; the hole drains the whole room and its remains form the Fused Shadow. Take the Heart Container and the third Fused Shadow, then talk to Midna to leave. Your next stop is the scene with Zelda and the Master Sword in the next chapter.
Chapter checklist
| Type | Name | Where |
|---|---|---|
| Map | Dungeon Map | Chest in the main hall after rotating the staircase |
 Ooccoo | Ooccoo | Pot at the top of the main hall |
 Small Key | Small Key 1 | Chest on the north-east platform of the second stalactite room (opens the east door of the main hall’s upper floor) |
| Small Key | Small Key 2 | Chest in the south-east room off the platform room (opens the Chu Worm room door) |
| Small Key | Small Key 3 | Chest around the corner past the north door of the gear room (opens the Iron Boots corridor) |
| Mini-boss reward |  Clawshot | Deku Toad’s chest |
| Heart Piece | #27 Chandelier | Chest on the main hall chandelier |
 Compass | Compass | Chest at the top of the west tower’s spiral ramp (Clawshot target) |
| Big Key | Big Key | Chest below the ceiling-target hole in the south room past the water maze |
| Heart Piece | #28 Bridge and switch | Chest behind the gate, east of the main hall |
| Chu Jelly | Red Chu, Blue Chu | Entrance room; Blue Chu beyond the first gate; waterwheel room |
 Rupees | Red Rupee chests x4 or more | Underwater corridor (current side), pond under the waterwheel, outer corridor, gear room corner |
| Stamps | Hylian letters Y and K | Far chest on the east spiral ramp (Clawshot); platform below the boss door in the central chamber (Iron Boots) |
| Boss reward | Heart Container and Fused Shadow | After Morpheel |
