
























Twilight Princess 100% Completion Walkthrough23 chapters
- Hyrule Castle and the Ganondorf BattleEvery key and chest, then how to beat Puppet Zelda, Dark Beast Ganon, the horse chase and the final duel.
- Snowpeak Ruins (Dungeon 5)Every key, chest, Heart Piece and Poe Soul, the Ball and Chain, Darkhammer and the Blizzeta boss fight.
- Temple of Time (Dungeon 6)All keys and chests, the Dominion Rod, statue puzzles, Big Key, two Heart Pieces and Armogohma.
- City in the Sky (Dungeon 7)Every chest, Heart Piece and Poe, the Double Clawshots, Aeralfos, the Big Key and how to beat Argorok.
- Ordon VillageGoat herding, fishing rod, Sera’s bottle, slingshot, Wooden Sword, Faron Woods cave Heart Piece, Lantern.
- Enter the Twilight RealmEscape the cell as Wolf Link, meet Midna and Zelda, get the Ordon Sword and Shield, meet Ordona.
- Faron WoodsAll 12 Tears of Light, Faron Spring, Coro’s key and lantern oil bottle, and the Golden Wolf’s Ending Blow.
- Forest Temple (Dungeon 1)All 8 monkeys, 4 small keys, Map, Compass, Big Key, 2 Heart Pieces, Ook, Gale Boomerang and Diababa.
- Hyrule Field, Kakariko Gorge and Twilight Kakariko12 Tears of Light, Epona, Pill Bugs, Heart Pieces.
- Iron Boots, King Bulblin and Death MountainIron Boots from Mayor Bo, the King Bulblin bridge fight, Golden Bugs and Gor Coron’s sumo match.
- Goron Mines (Dungeon 2)Every chest, both Heart Pieces, the Hero’s Bow, three Key Shards, Dangoro and Fyrus boss tactics.
- Lanayru Province, Castle Town and Zora’s DomainKakariko extras, Bridge of Eldin bugs, Castle Town, Lake Hylia, thawing Zora’s Domain and all 12 Tears of Light.
- Telma Escort, Castle Town and Lake Hylia Side QuestsTelma escort, Zora Armor, Water Bombs, 9 Golden Bugs, Agitha, Charlo, fishing, Rapid Ride and the Lakebed entrance.
- Lakebed Temple (Dungeon 3)Small keys, map, compass, Big Key, two Heart Pieces, Clawshot, Deku Toad and Morpheel boss tactics.
- Midna, Zelda and the Master SwordTelma’s Bar to Zelda, the Sacred Grove, Skull Kid, the guardian puzzle, plus its Heart Piece, Poe and Golden Bug.
- Poe Soul Collection, Malo Mart and Heart PiecesThe first 29 Poe Souls, Jovani’s rewards, Malo Mart donations and Magic Armor, Miiverse stamps and five Heart Pieces.
- Gerudo Desert and the Bulblin CampOasis Flight, eight Poe Souls, both Dayflies, Mortal Draw, Bulblin Camp and King Bulblin.
- Arbiter’s Grounds (Dungeon 4)Four Poe Souls, Dungeon Map, Compass, Spinner, Big Key, two Heart Pieces and the Stallord boss fight.
- Mirror Chamber, Reekfish and Snowpeak MountainMirror Chamber, Spinner Heart Pieces, Reekfish bait, Jump Strike, Poe Souls and the climb to Yeto.
- Heart Pieces Hunt and Return to the Sacred GroveTwo Heart Pieces, Rusl, the Skull Kid rematch, the last Golden Bug and the Temple of Time door.
- Ilia’s Memory, Hidden Village and the SkyIlia’s memory, 20 Bulblins, 20 cats, six Sky characters, Great Spin and the Sky Cannon repair.
- Palace of Twilight (Dungeon 8)Both Sols, all seven small keys, map, compass, Big Key, 2 Heart Pieces and how to beat Zant.
- Cave of OrdealsAll 50 floors, the 3 Poe Souls, every Great Fairy, buried items, the Tears and Jovani.
| Covers | Lanayru Spring aftermath, Castle Town (Telma’s Bar, Jovani), the waterways and Hyrule Castle rooftops, North Faron Woods, the Sacred Grove |
|---|---|
| Needs | Lakebed Temple finished, Clawshot, bombs, Lantern with oil, Gale Boomerang |
| Key items | Master Sword, Shadow Crystal (change between Link and Wolf Link at will) |
| Collectibles | 1 Heart Piece (#31), 2 Poe Souls, 1 Golden Bug (Male Snail), a Howling Stone (Helm Splitter) and its Golden Wolf marker |
After the Lakebed Temple, Zant steals the Fused Shadows, leaves Midna close to death and traps you in wolf form. You sneak through Telma’s Bar to Jovani, take the sewers to Princess Zelda, then cross Faron Woods to the Sacred Grove, chase Skull Kid, solve the guardian puzzle and pull the Master Sword. Optional items in the Grove are listed at the end.
Table of Contents
After the Lakebed Temple: Zant at Lanayru Spring
What changes
When the temple is done you are pulled back to Lanayru Spring, where Zant attacks the spirit, wrecks Midna and takes the three Fused Shadows. Lanayru drops you in North Hyrule Field. Midna is barely alive, so Link is a wolf again with no Midna jumps and no warping, even though the Twilight is gone from the area and no Tears of Light remain to restore him. Lanayru tells you to visit Princess Zelda at Hyrule Castle.
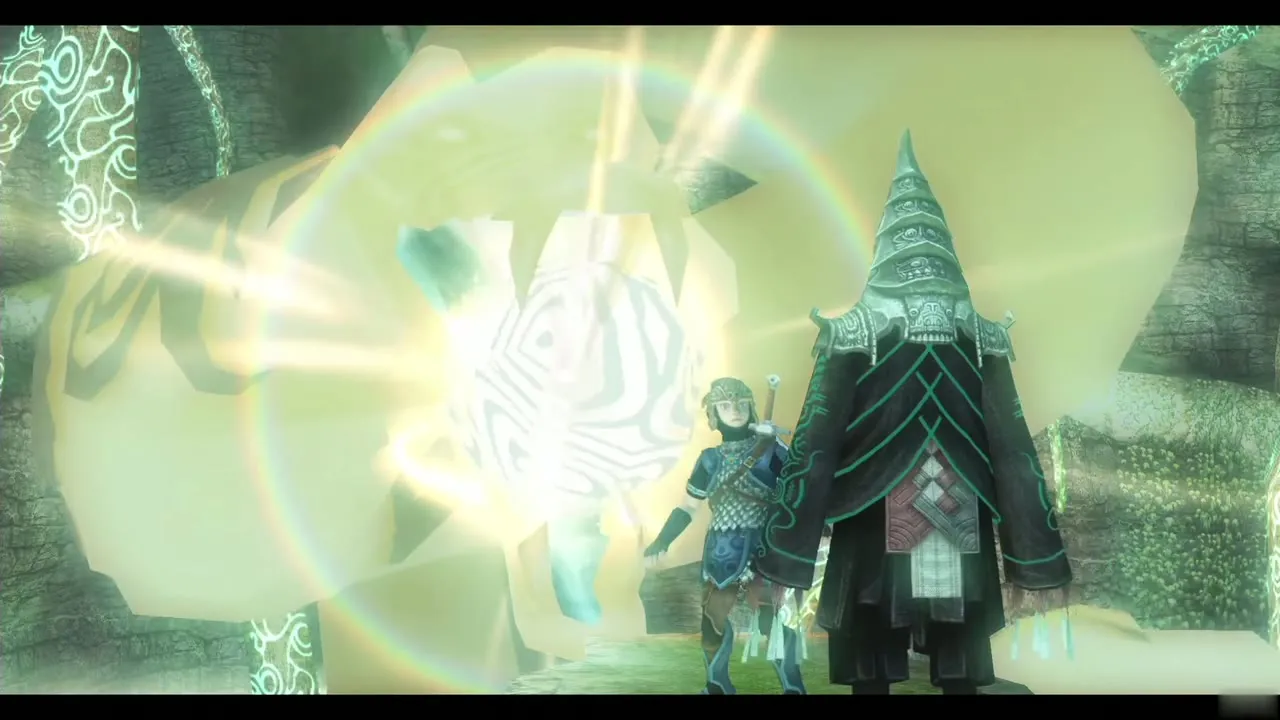
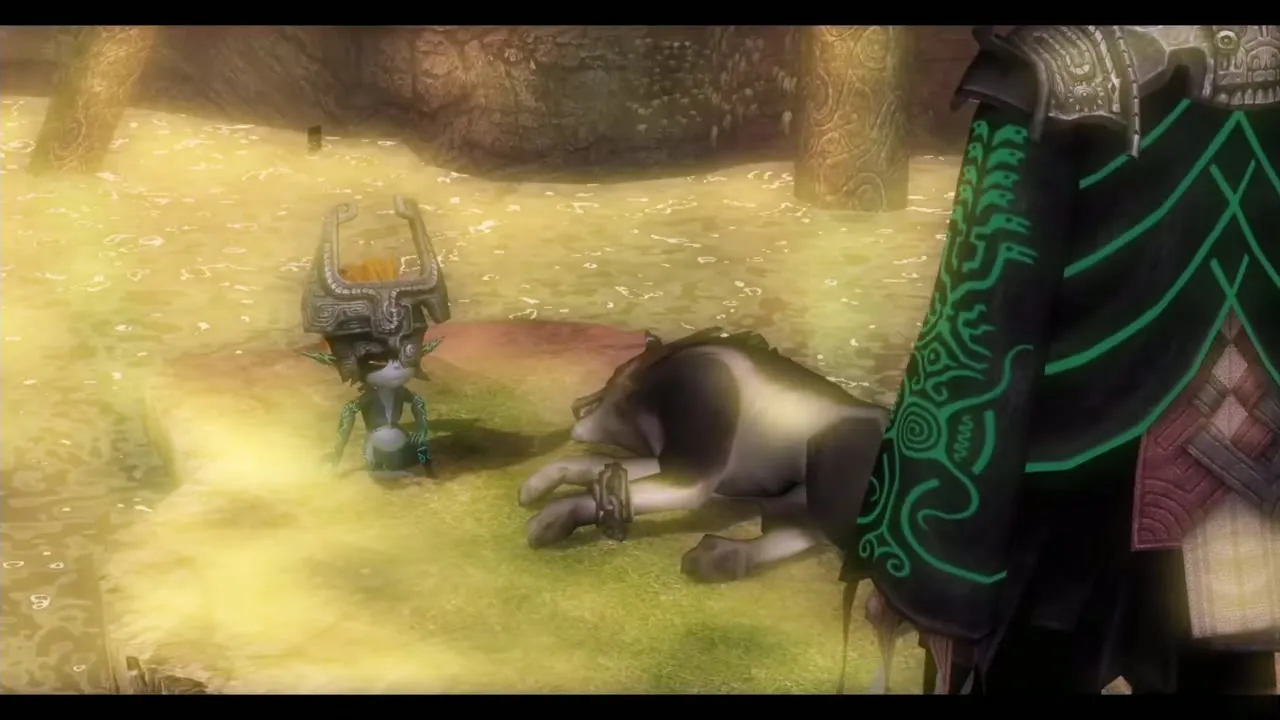
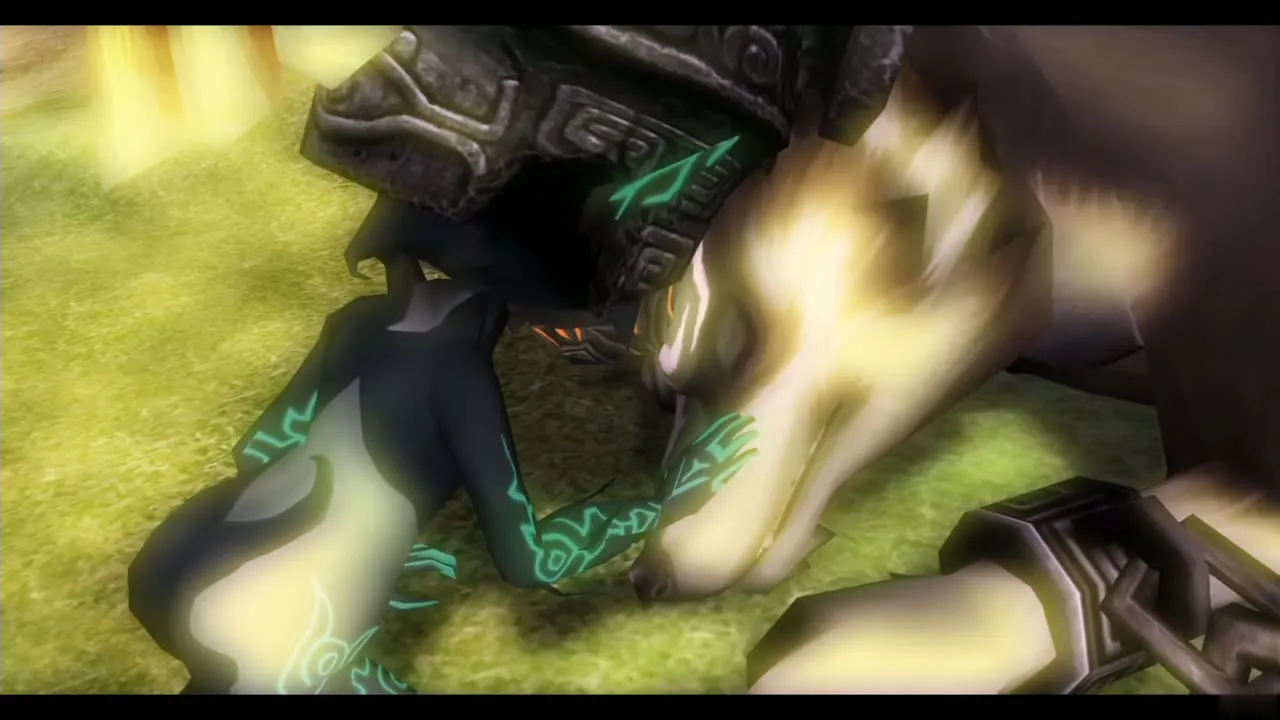
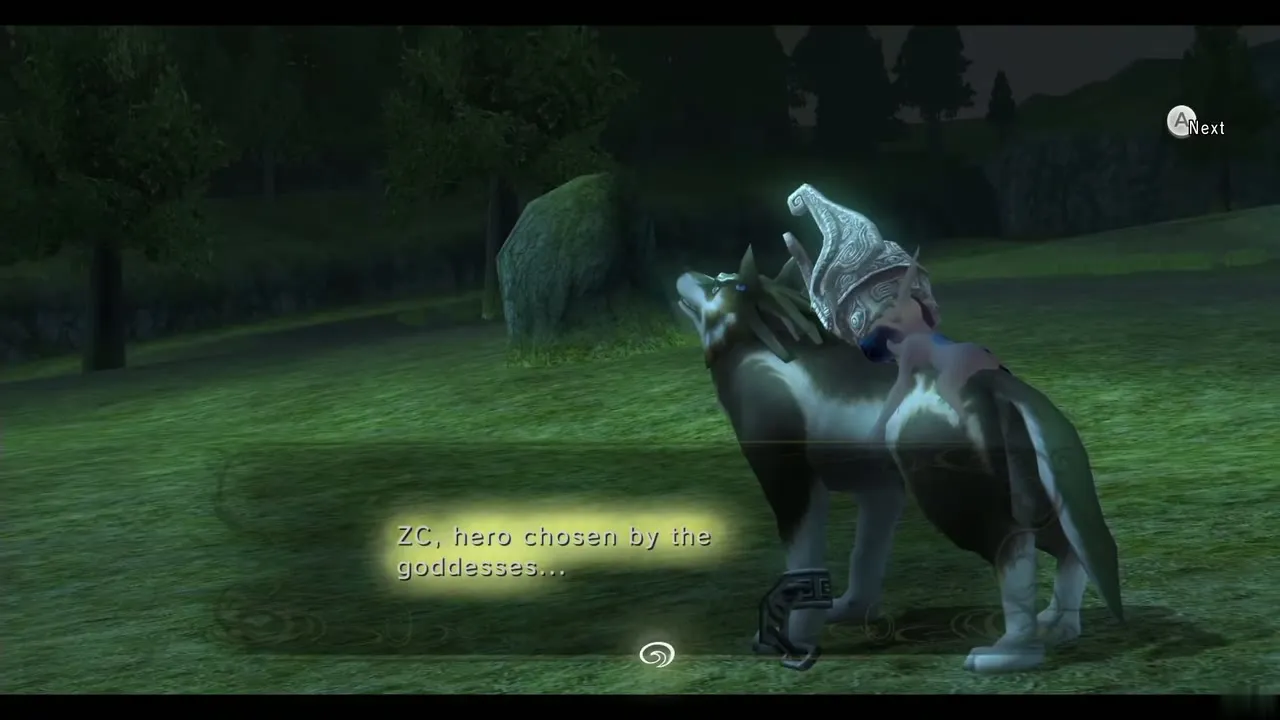
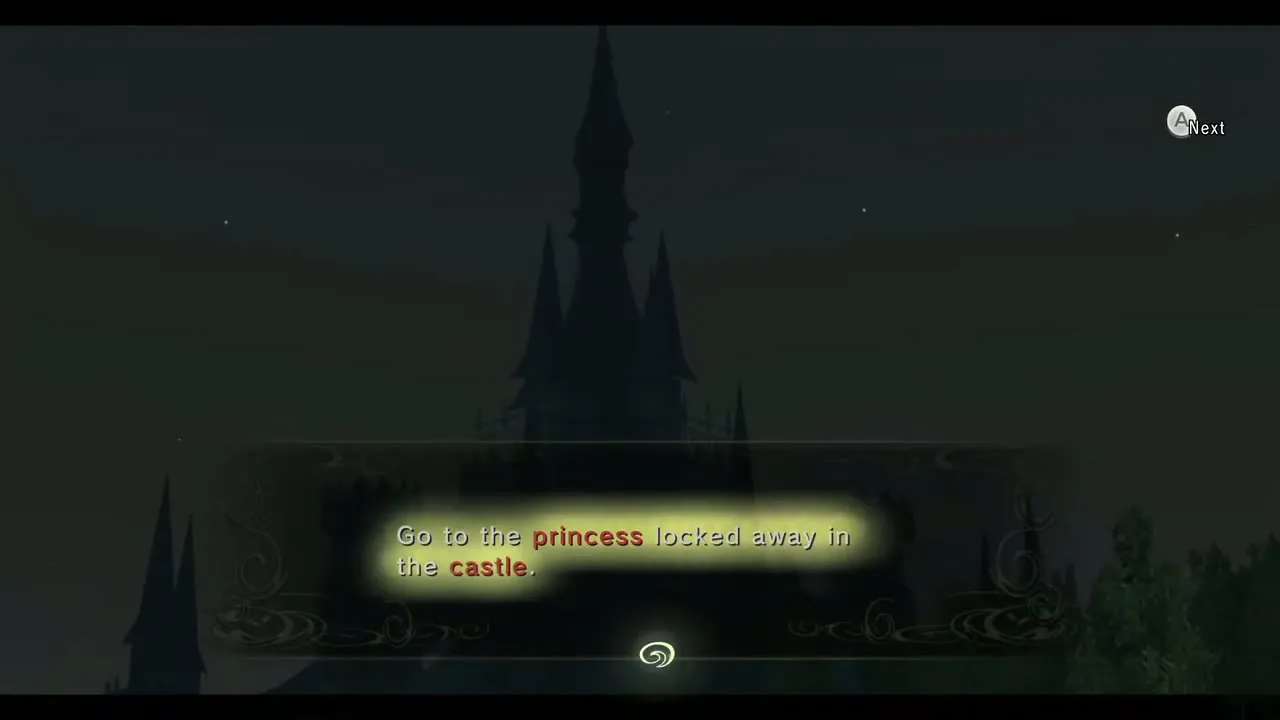
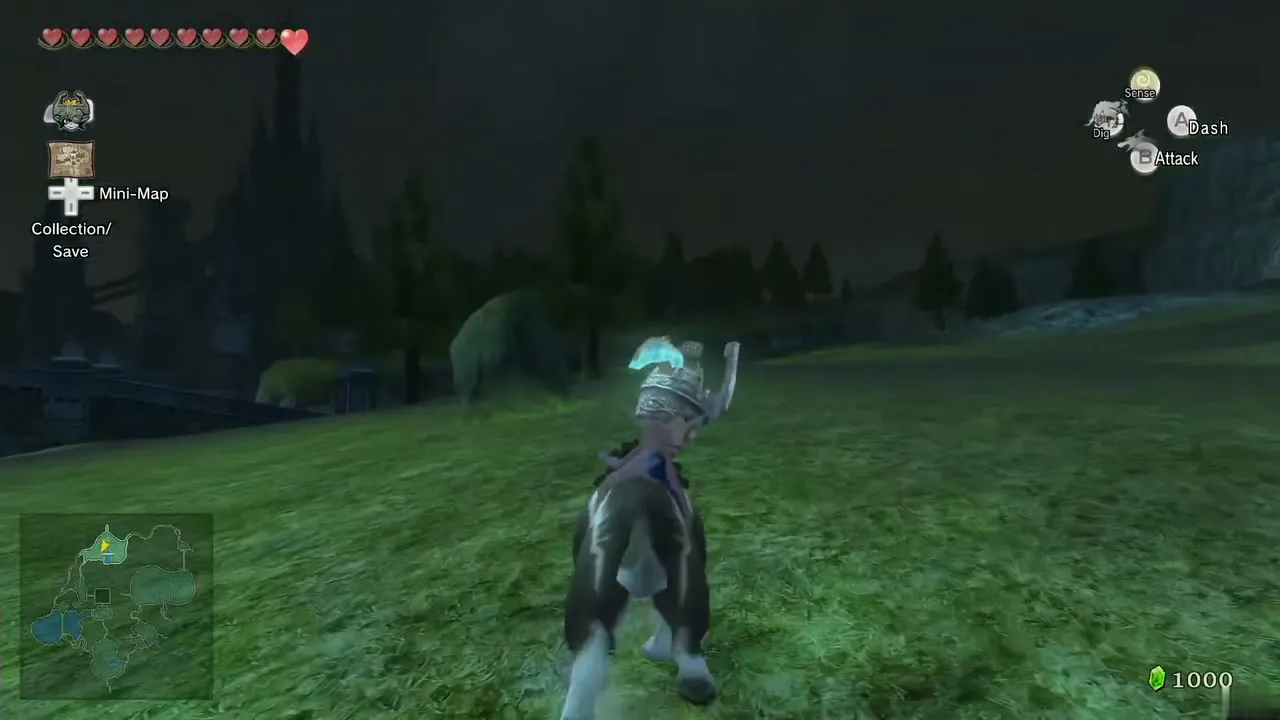
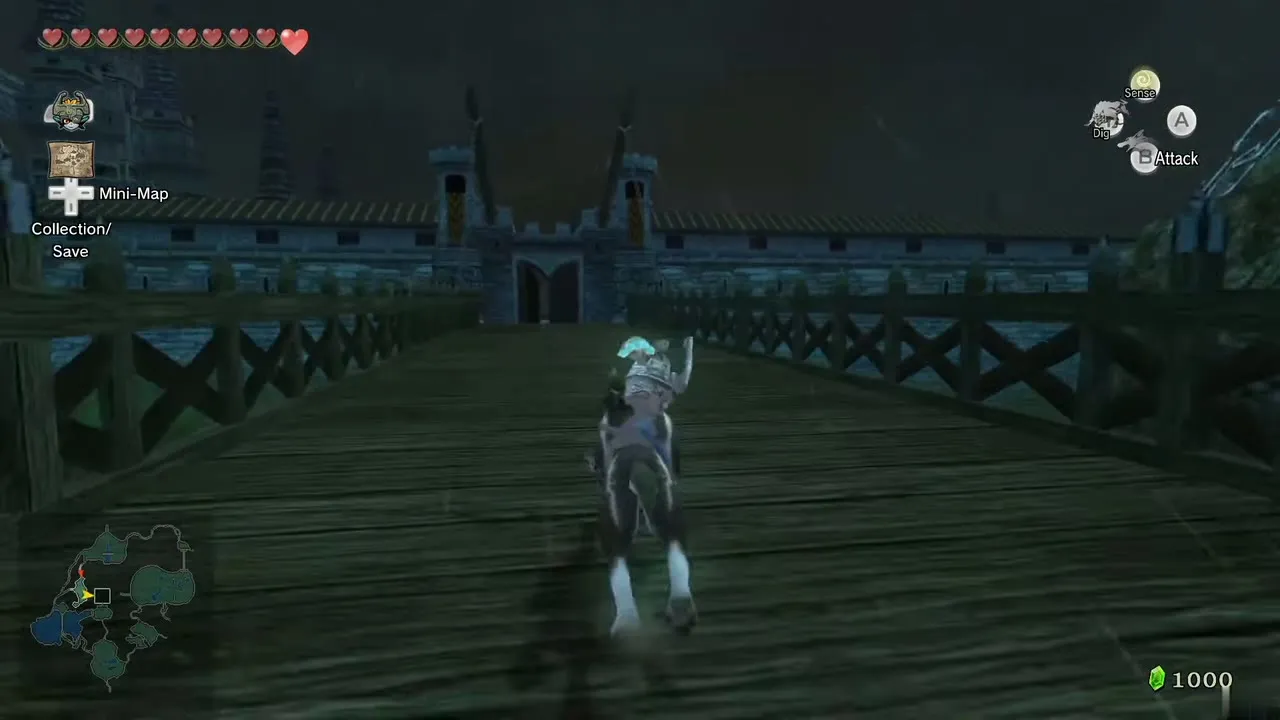
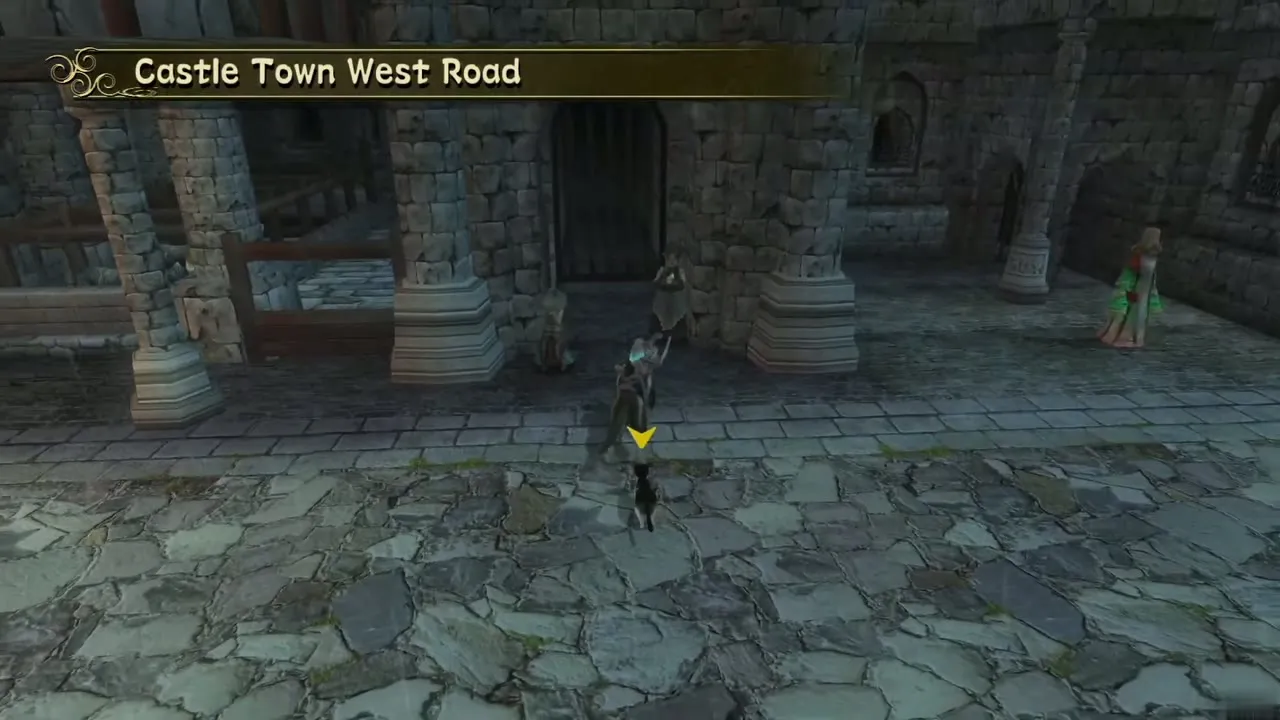
The castle is sealed by twilight, so the way in is through Castle Town. Run across Hyrule Field and the bridge into the town. Because you are a wolf, townspeople shy away from you, though you can talk to the animals.
Castle Town: Telma’s Bar, Louise and Jovani
Reach the rafters
Telma’s Bar is in the south part of town. Try the door and you are thrown out. In the alley Louise, Telma’s cat, recognizes you and points out a shortcut above. Push the crate by the alley wall against the larger crates, jump up and enter the window.
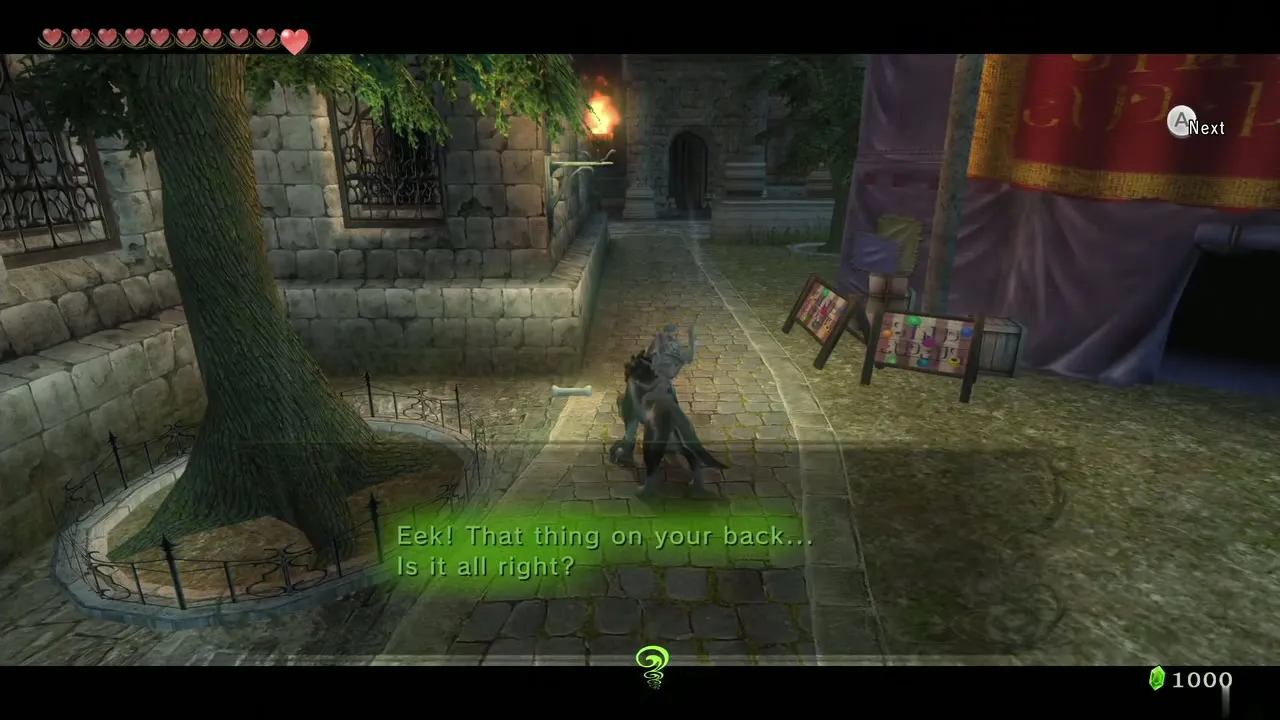
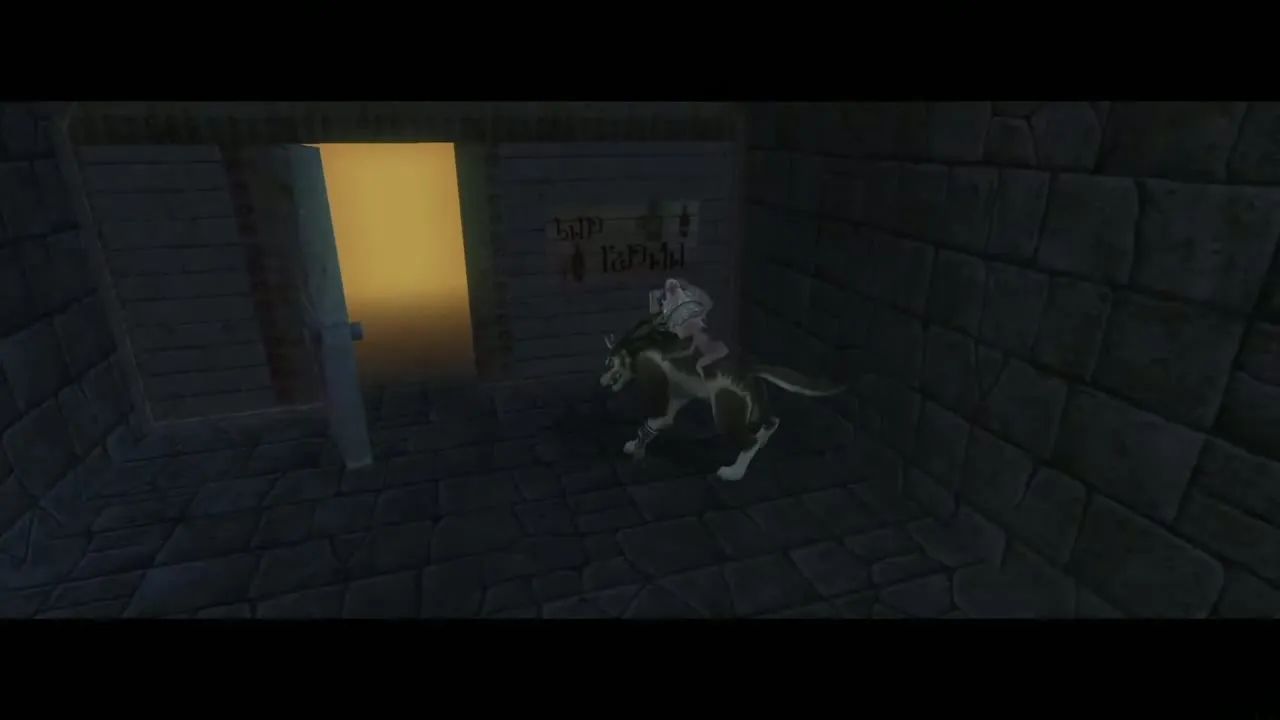
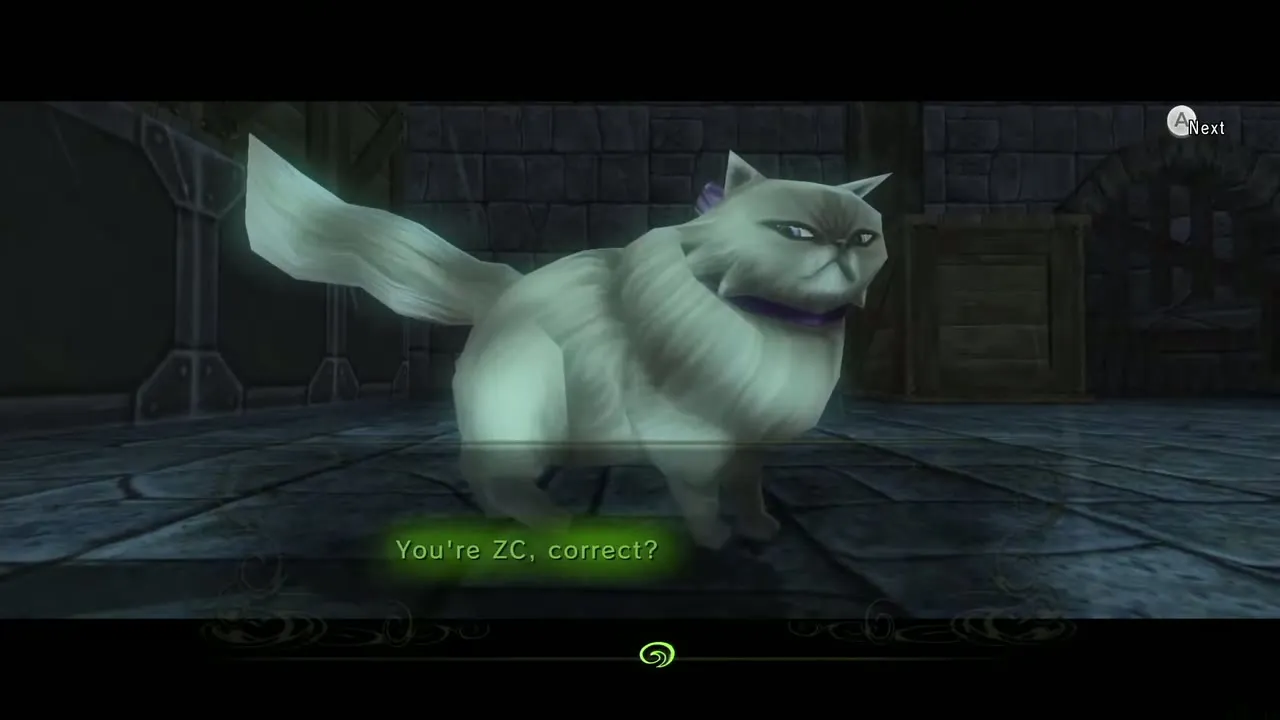
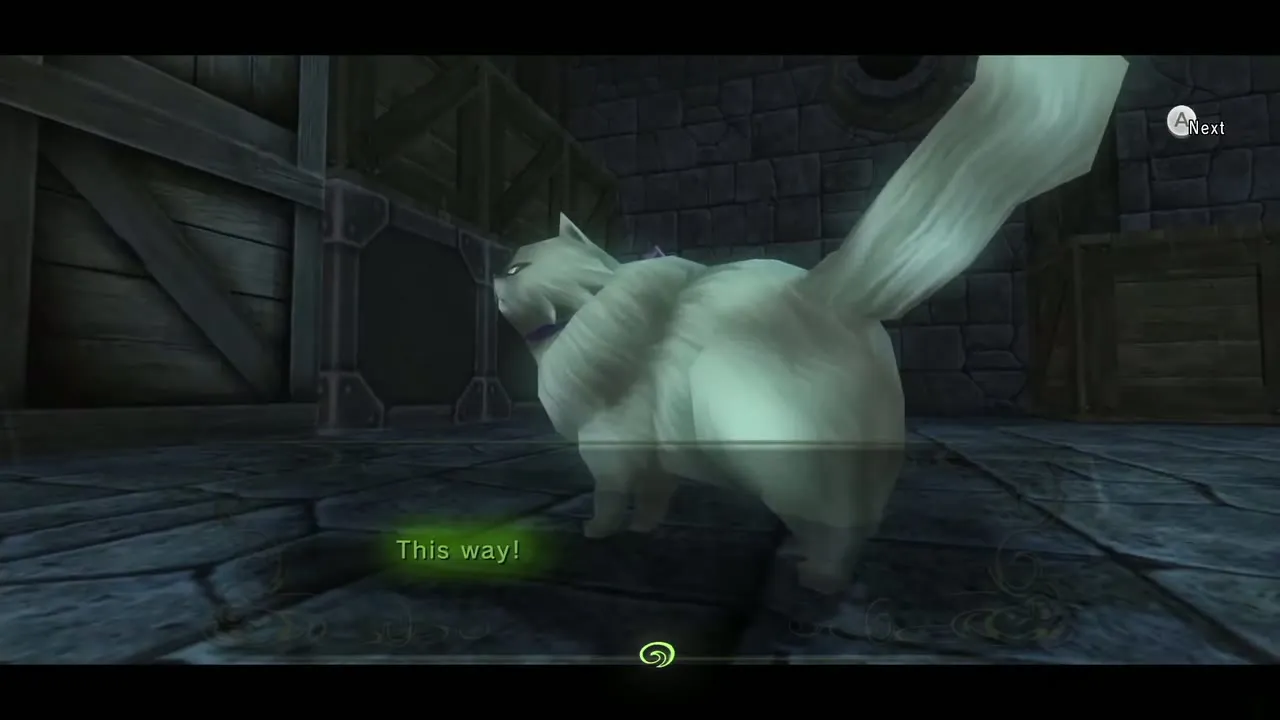
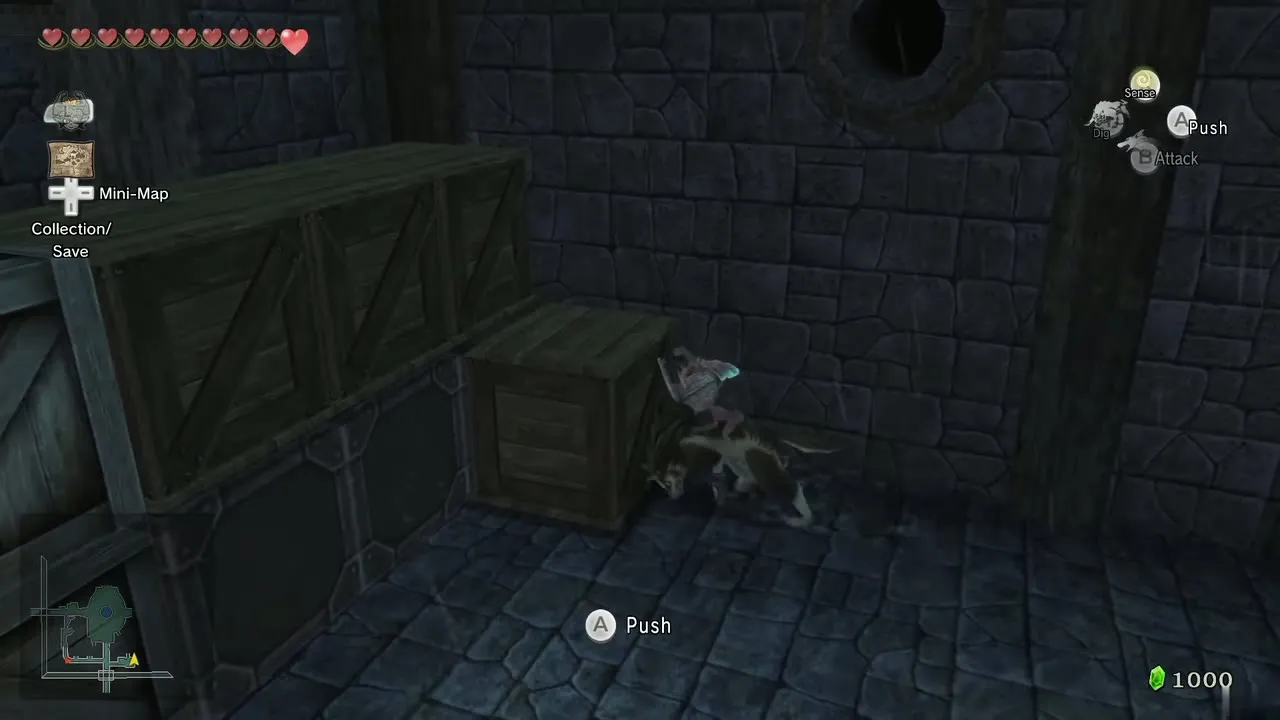
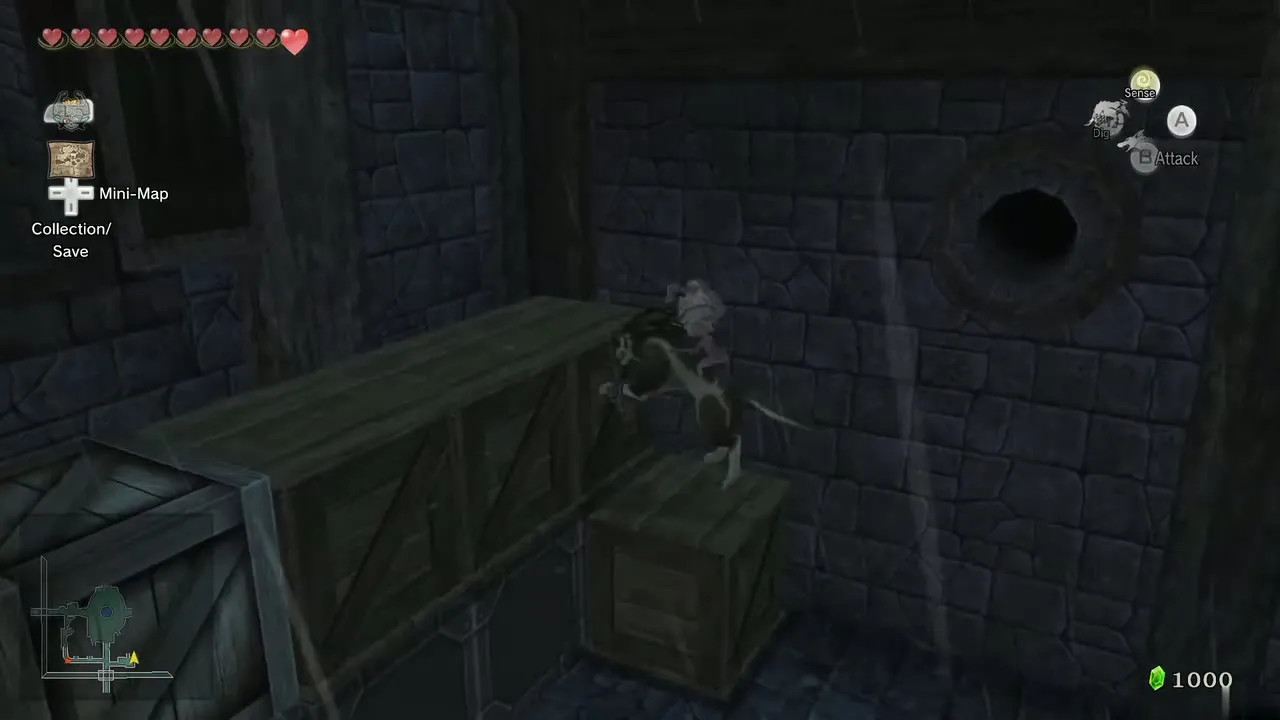
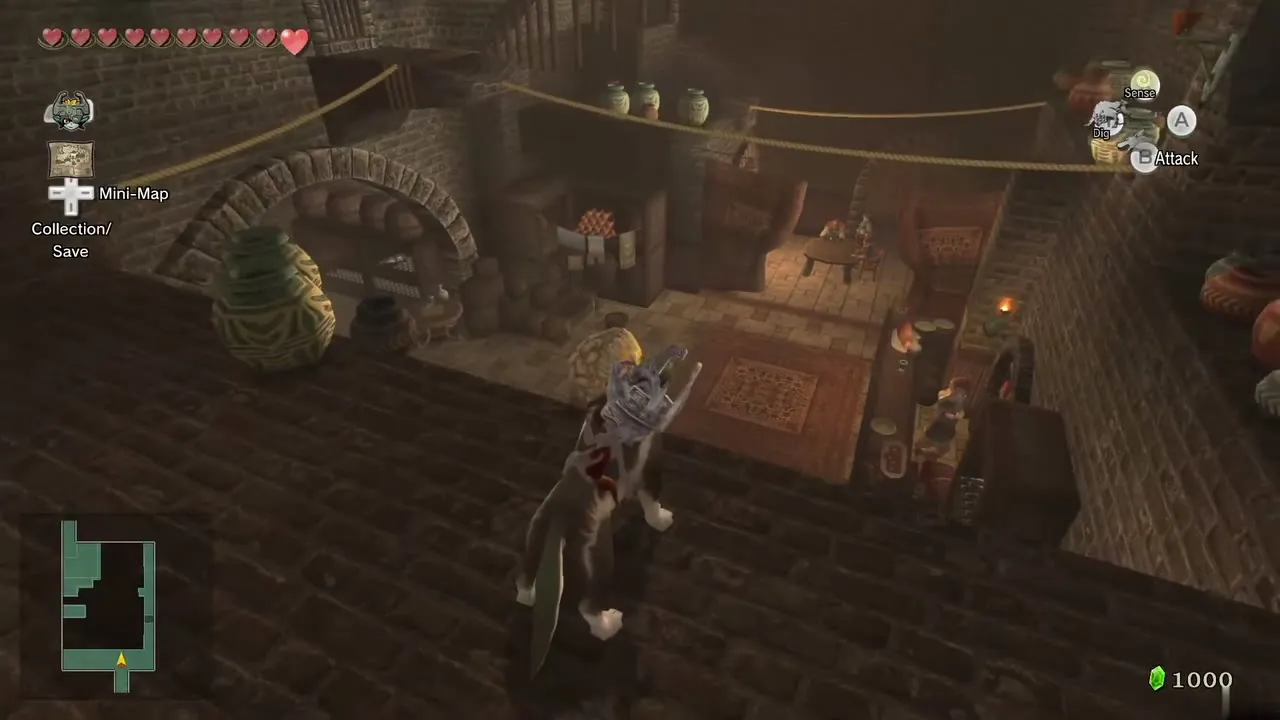
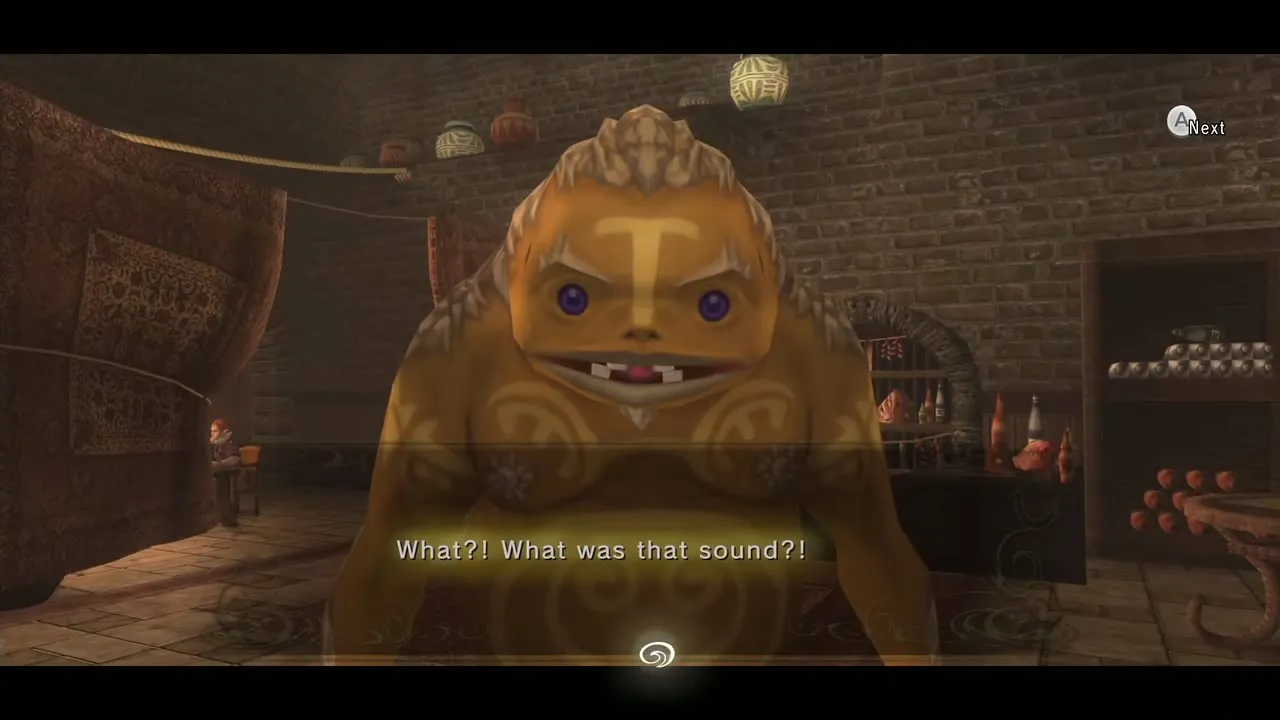
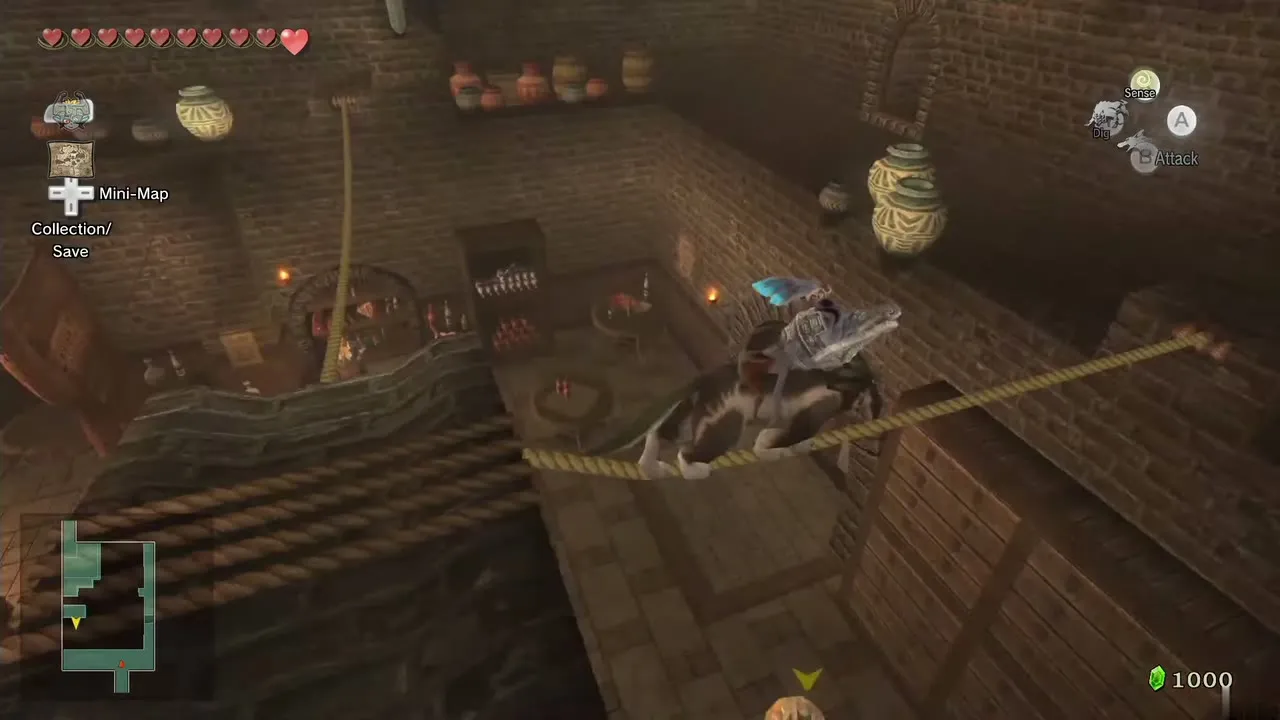
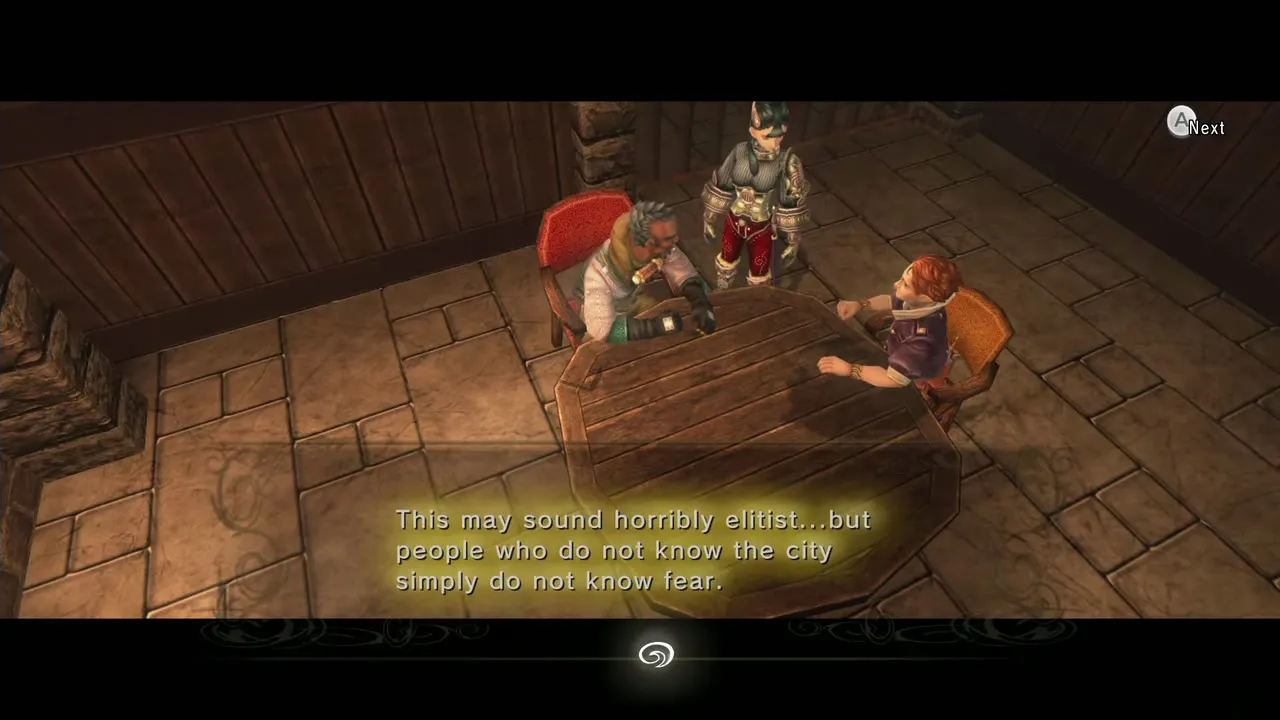
You land on the rafters. Cross the three tightropes slowly: knocking a pot over makes noise and gets you thrown out again. You can listen to the Goron, Telma and the group of three below as you go. Leave through the passage at the far end.
The first Poe Soul and Jovani
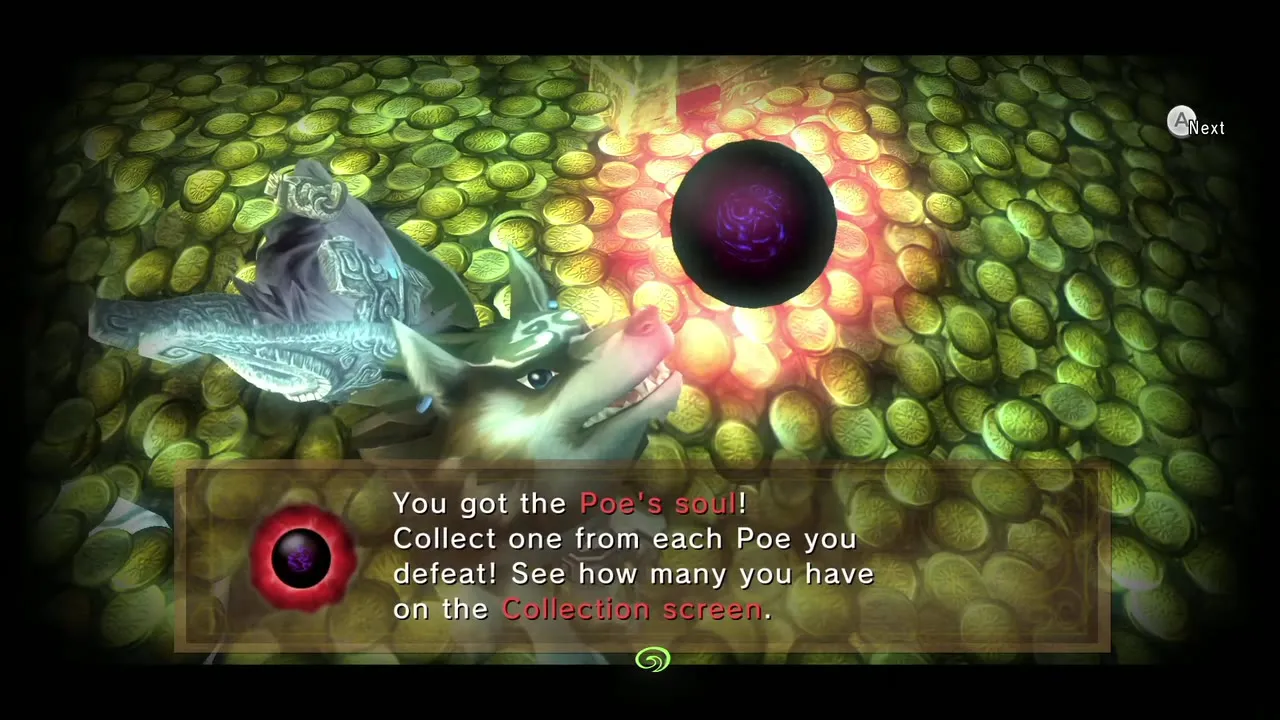
The passage drops into a room where a frozen man sits in a chair: Jovani, with his cat Gengle stuck to his head. A lantern floats in the air with no owner. Press the sense button to see the Poe, lock on, and jump at it until it falls, then finish it to take your first Poe Soul. Jovani, who is frozen in gold, asks you to bring him more souls so he can move again; the first reward comes at 20 (see Poe Souls). You can see your total in the Collection screen of the menu.
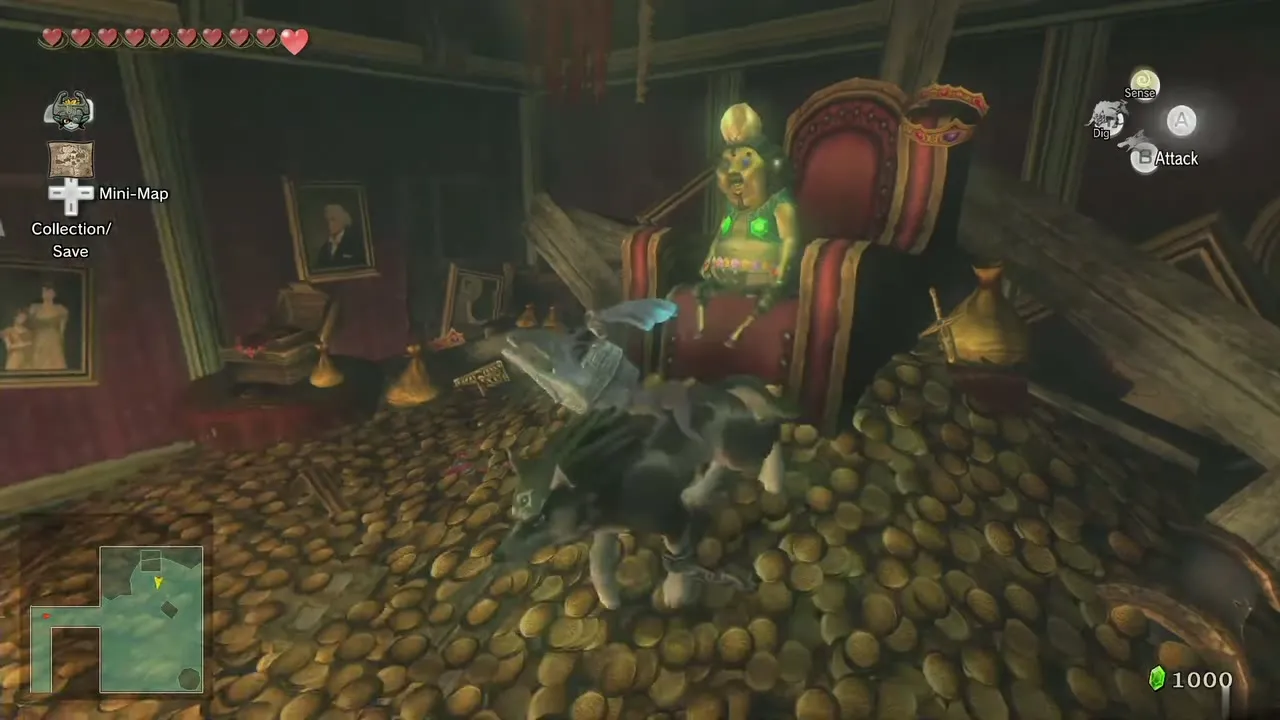
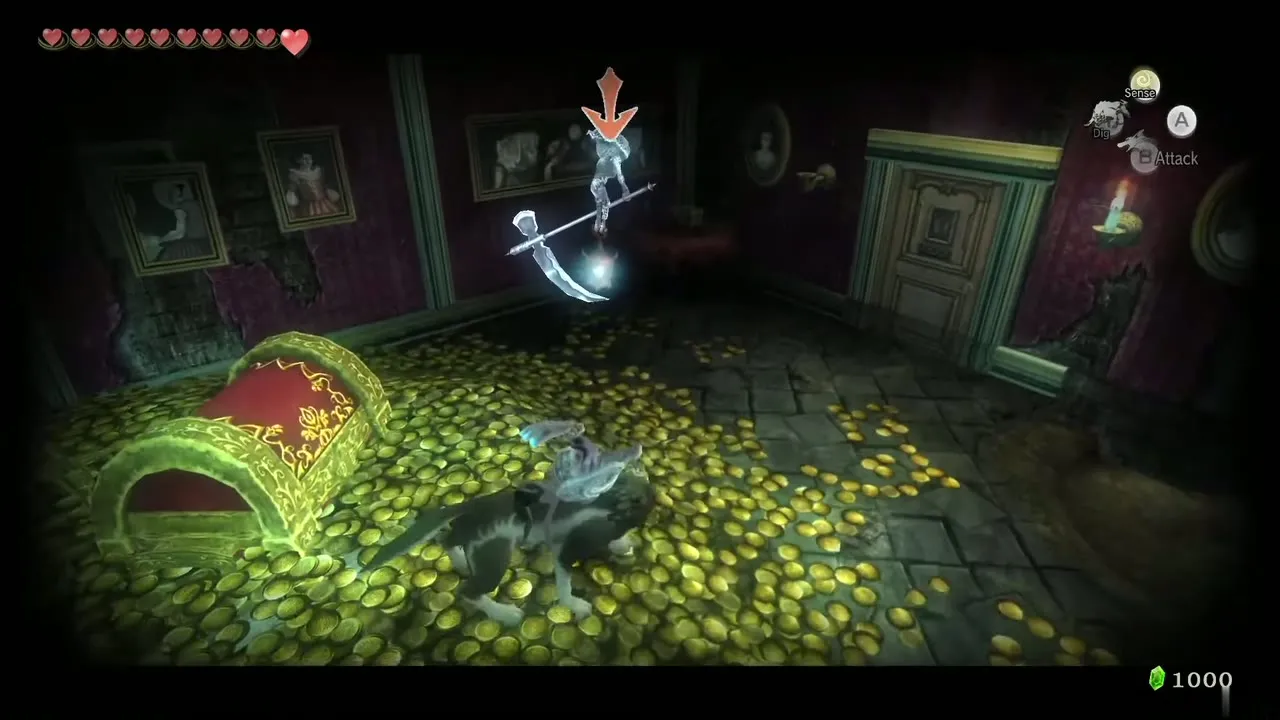
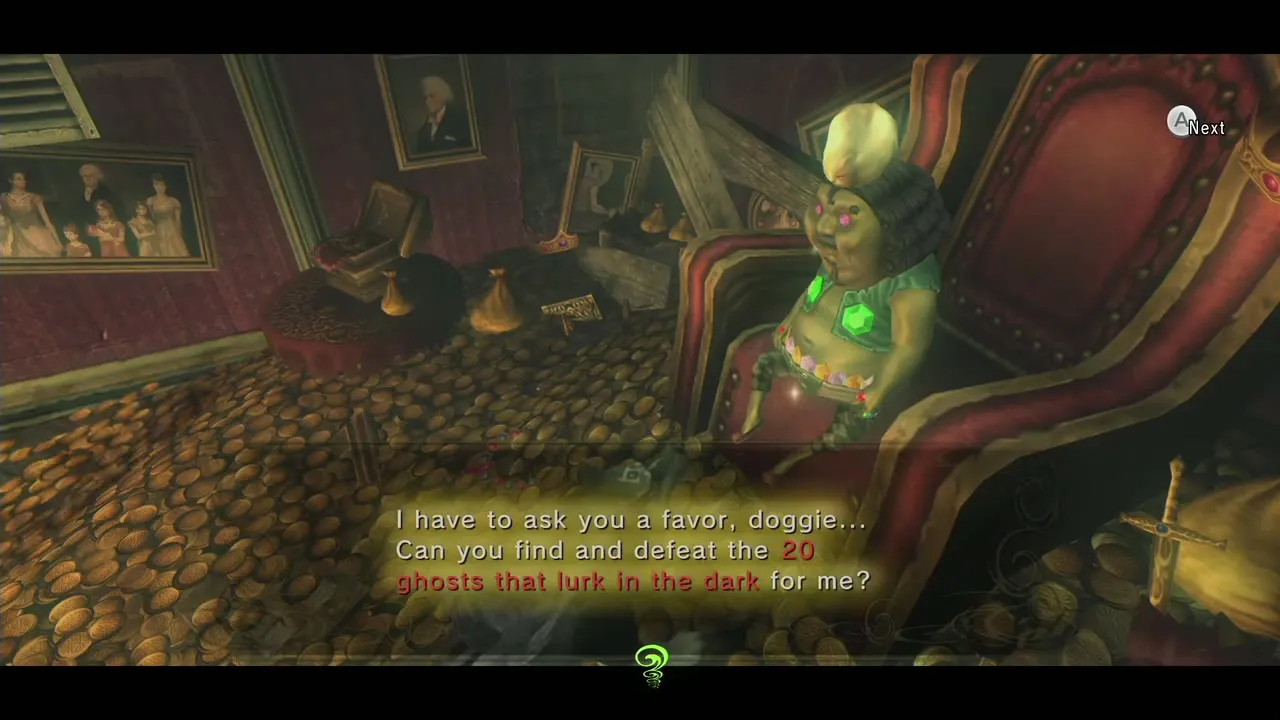
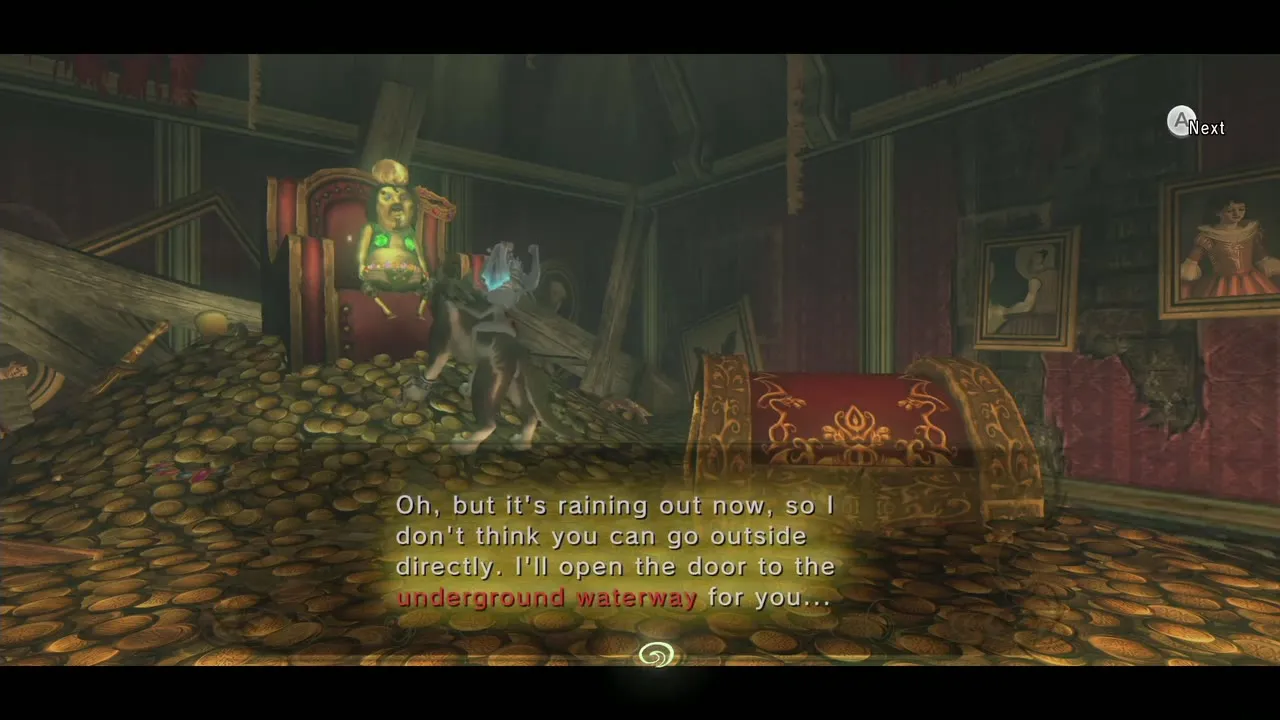
Jovani then opens the way to an underground waterway: drop into the treasure chest. The Poe hunt itself is in the next chapter.
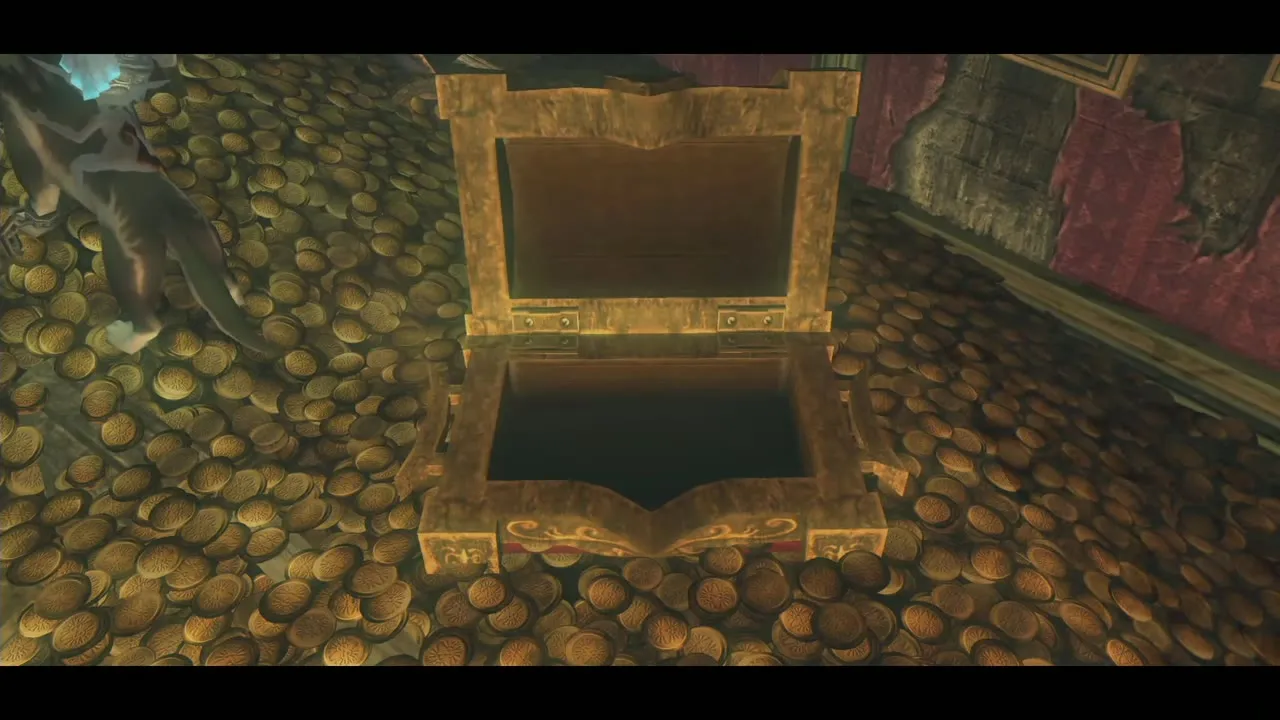
The waterways and Hyrule Castle rooftops
Underground waterway
In the first sewer room, jump at the hanging handle on the north side and pull it to open the north gate, then ride the current. Beat the Skulltulas ahead (side-step before attacking, as they block head-on hits).
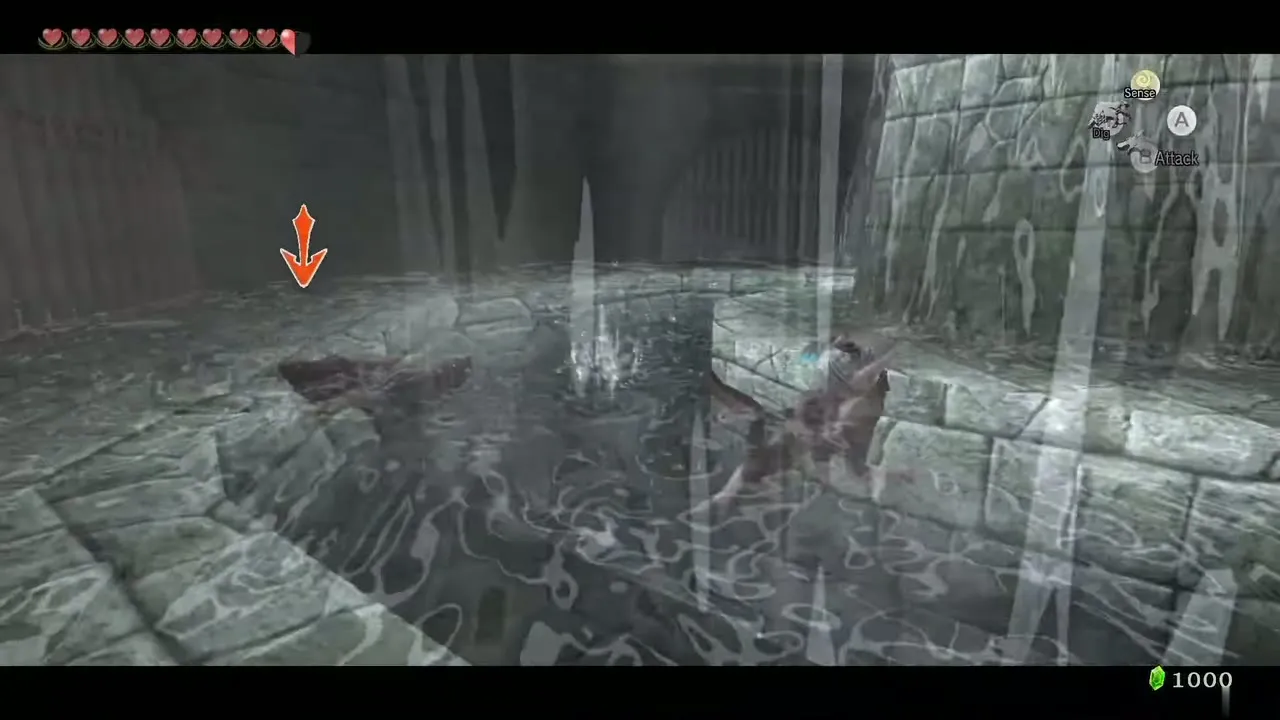
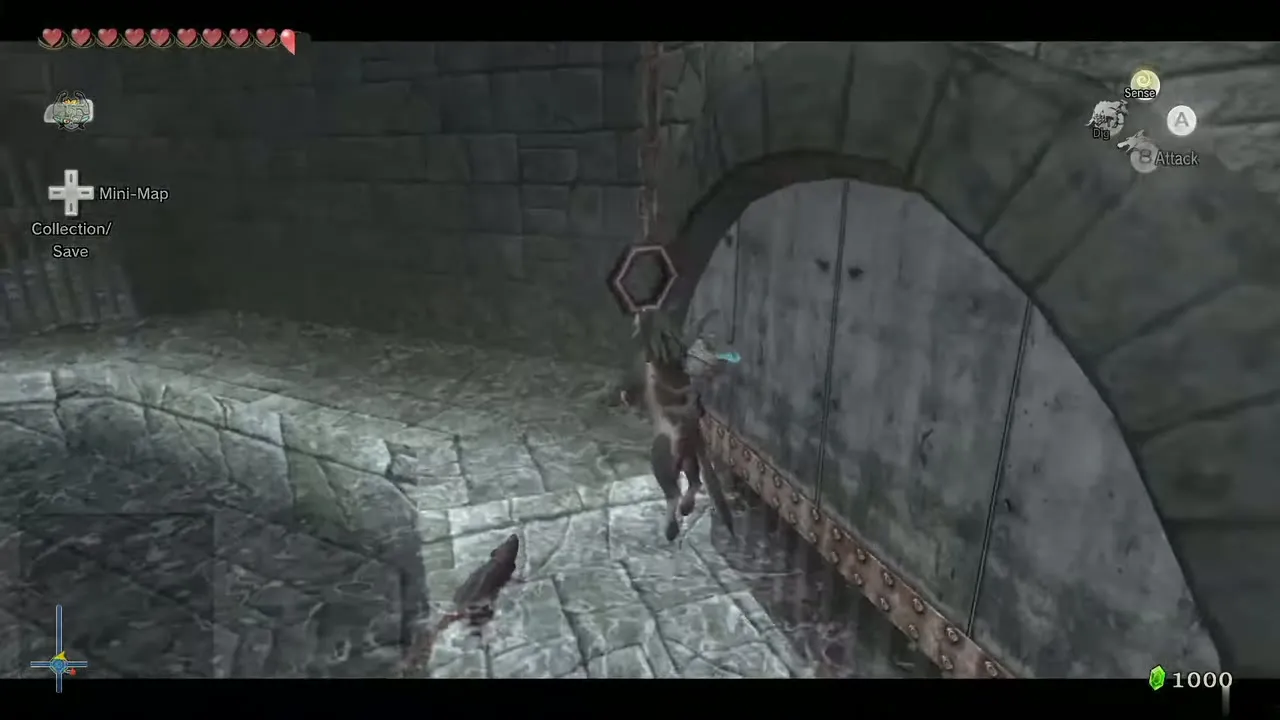
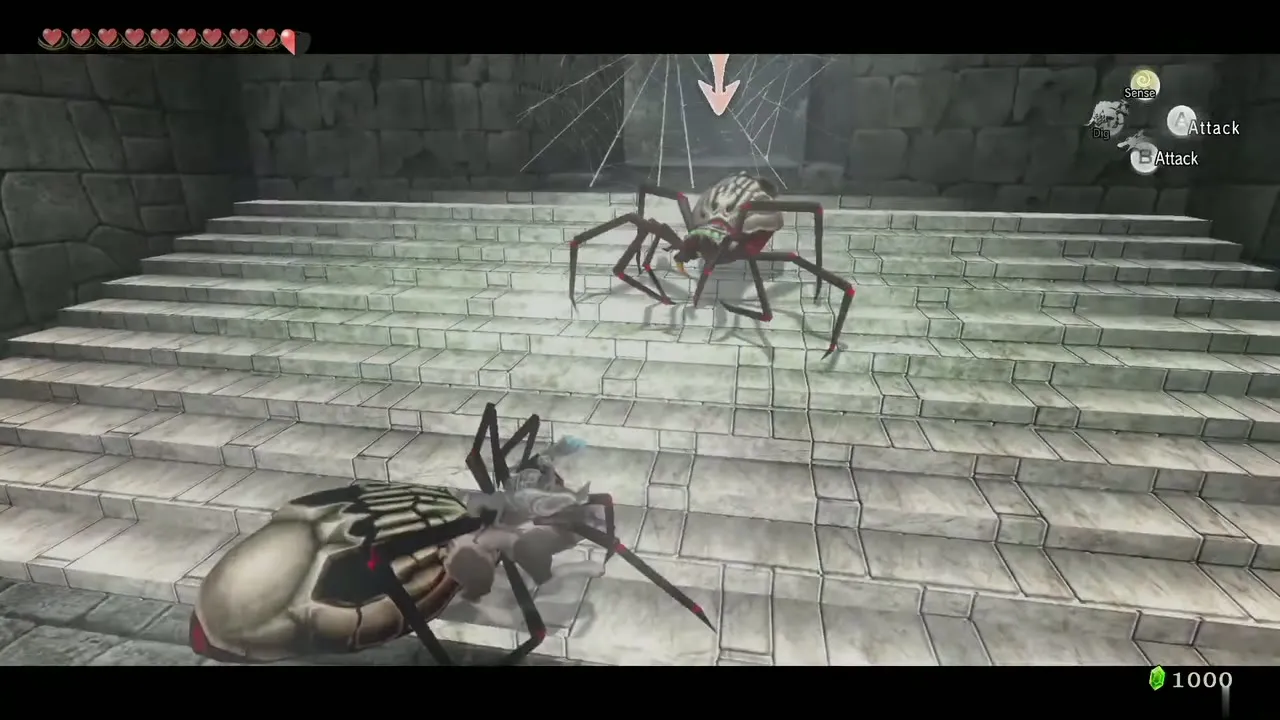
A web blocks the way and two torches burn in the room. Pick up a wooden stick, light it at a torch, dash to the web and burn it. Beat the Keese. A second web sits on a ledge on the far side, but a stick will burn out on the way, so light the three unlit torches in the room with your first stick, take a new stick, light it, climb up and burn the web.
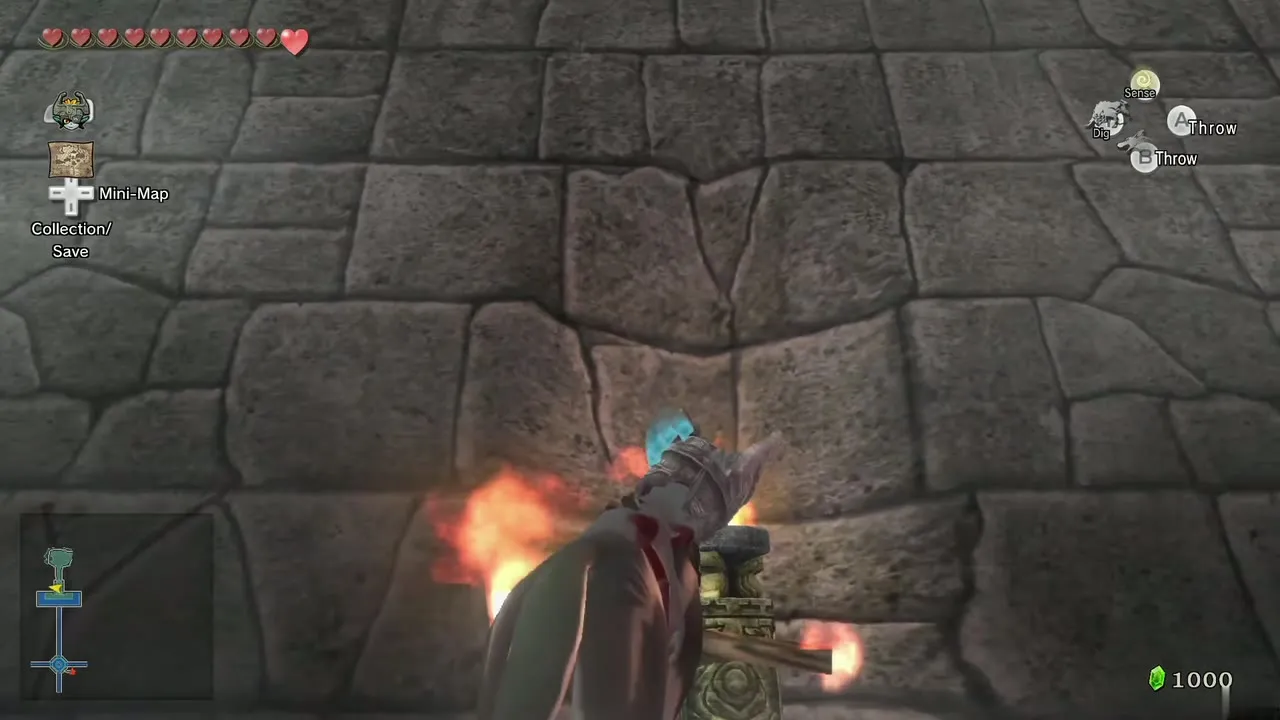
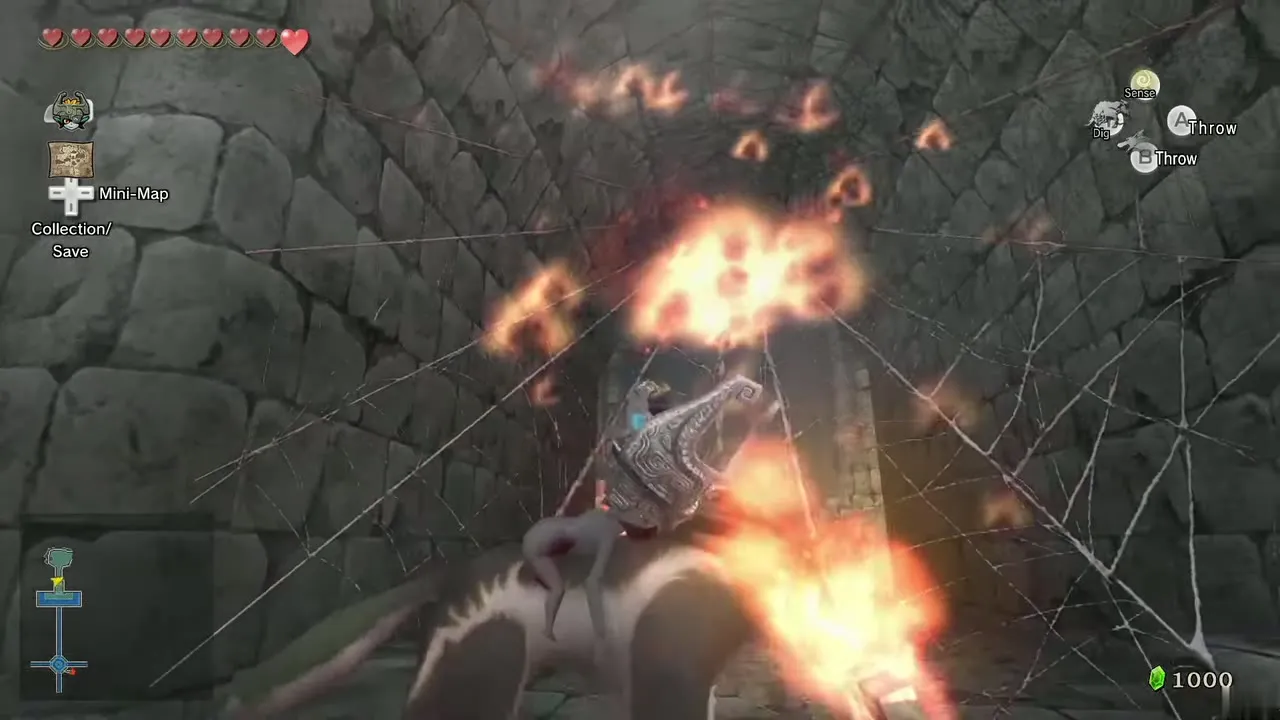
Continue past more Keese and two Bokoblins. At the east end of the final room the ground is soft: use your senses and dig. You fall into the Hyrule Castle sewers you knew from early in the game.
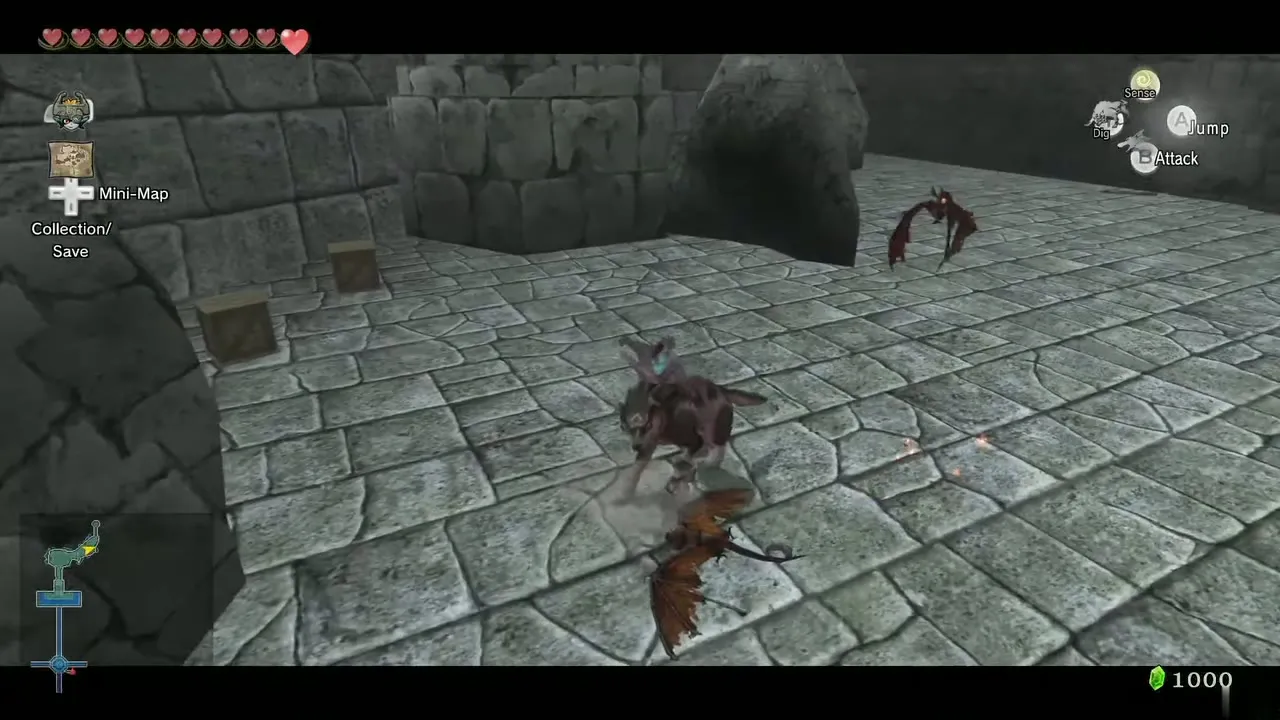
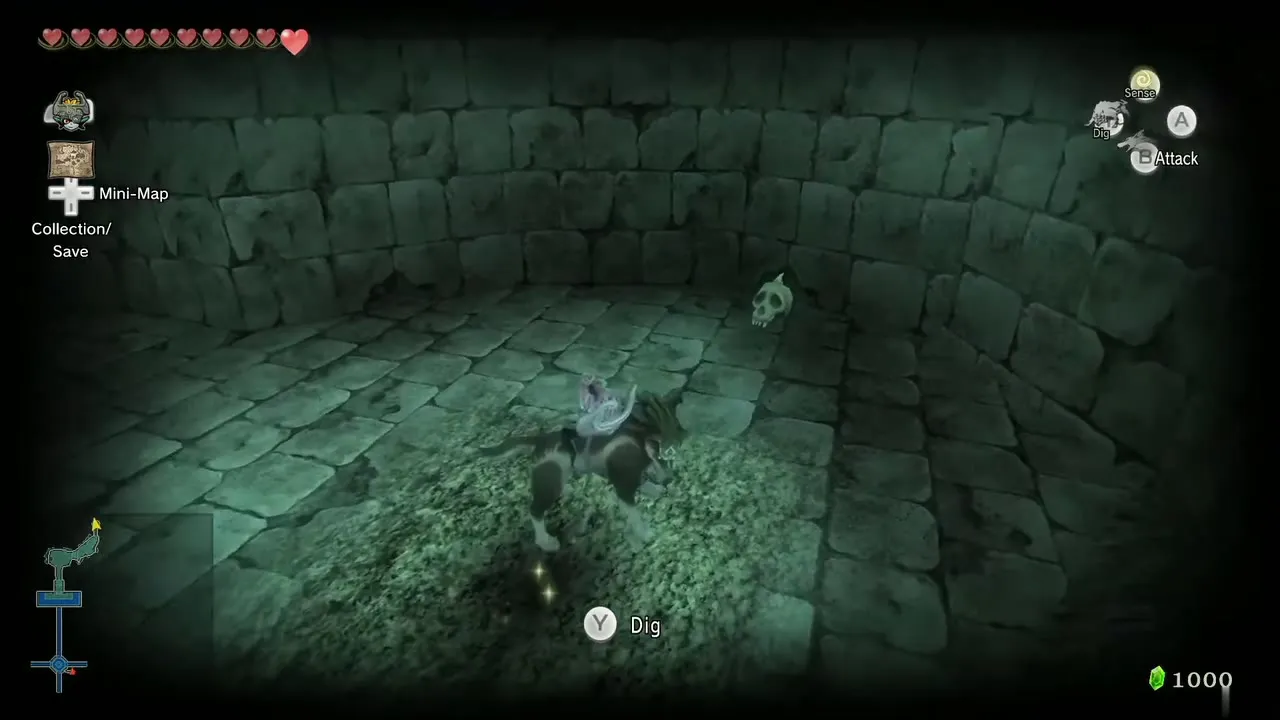
Sewers and rooftops
Travel east to the spiral staircase room. This time tightropes connect the sections, so climb them, fight the Bulblins (attack carefully so you do not jump off), and leave through the door at the top.
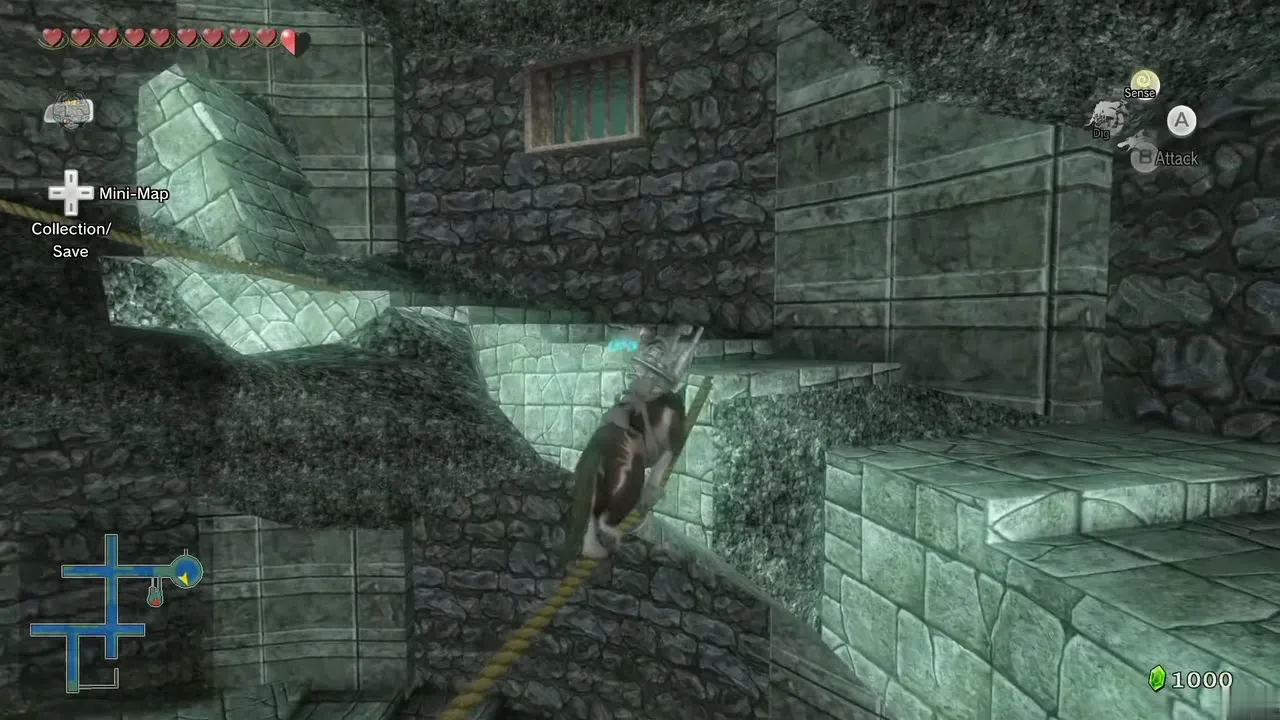
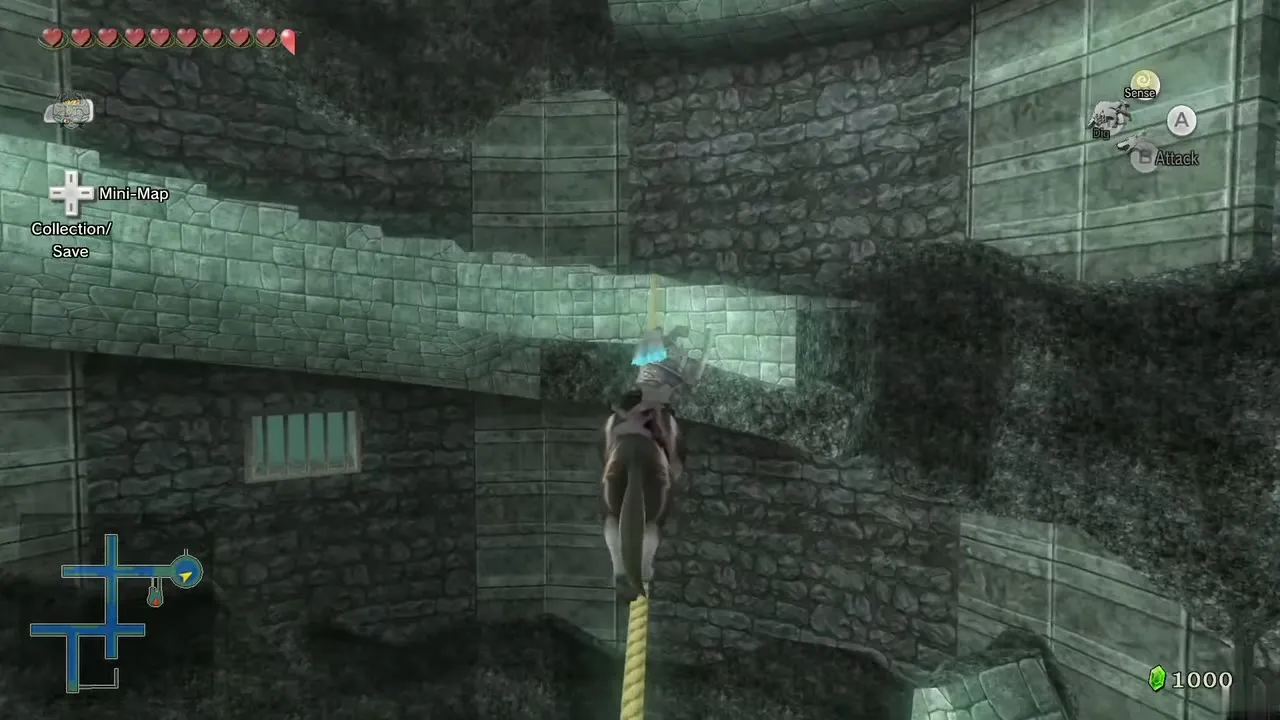
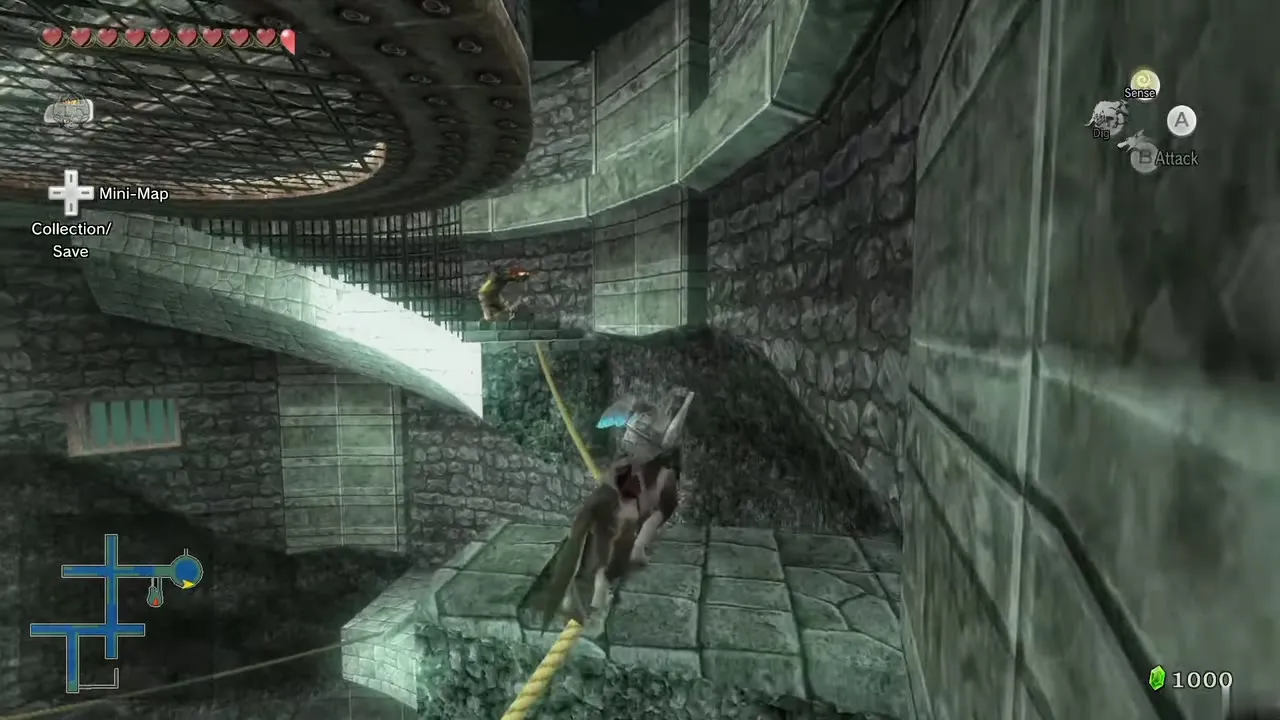
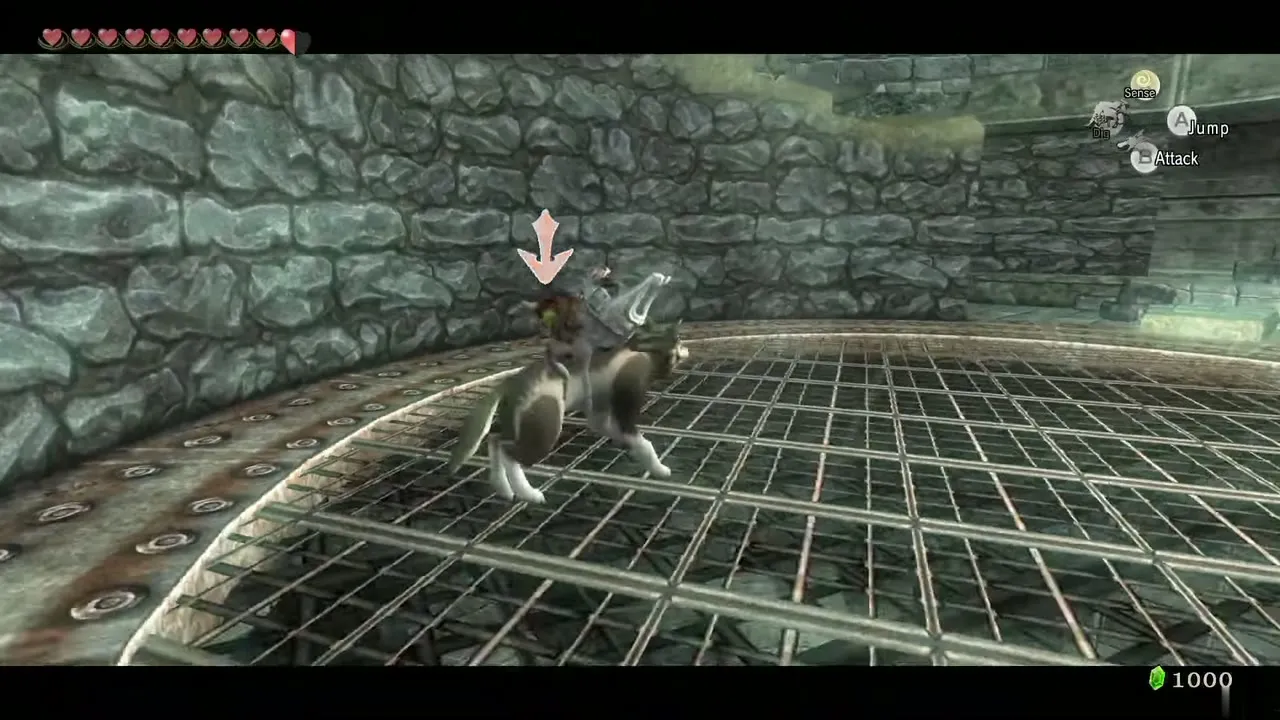
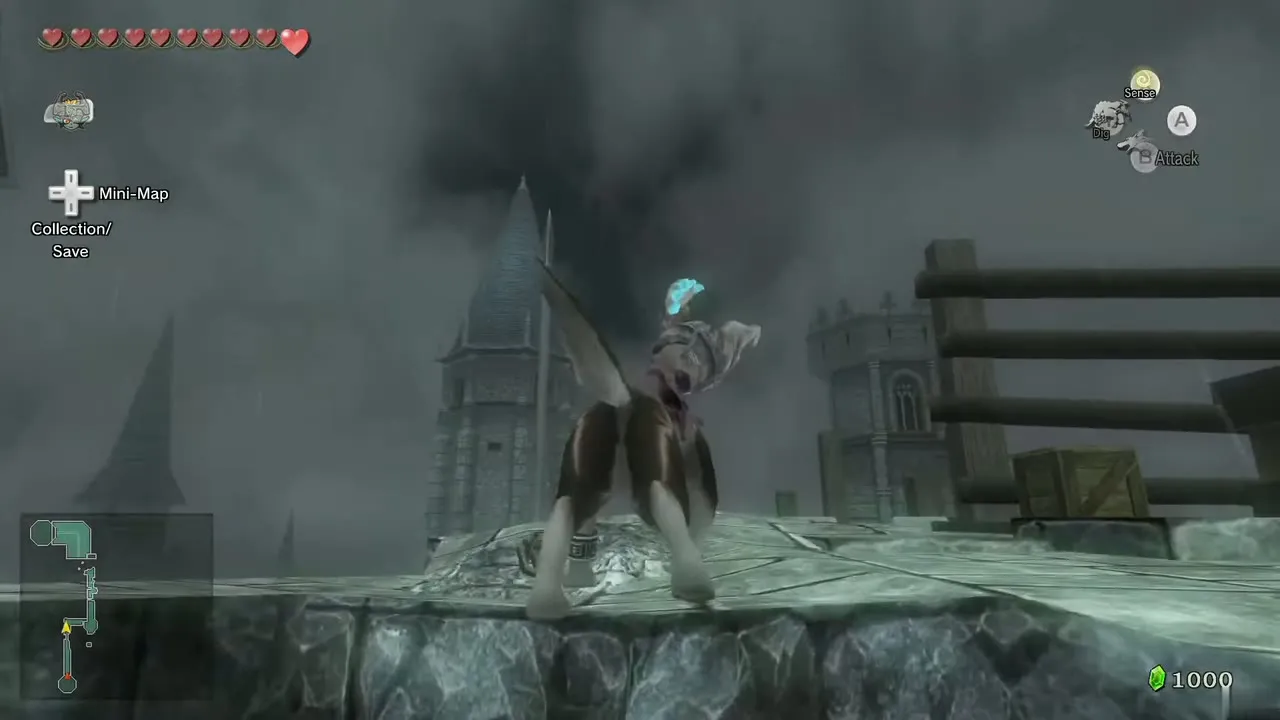
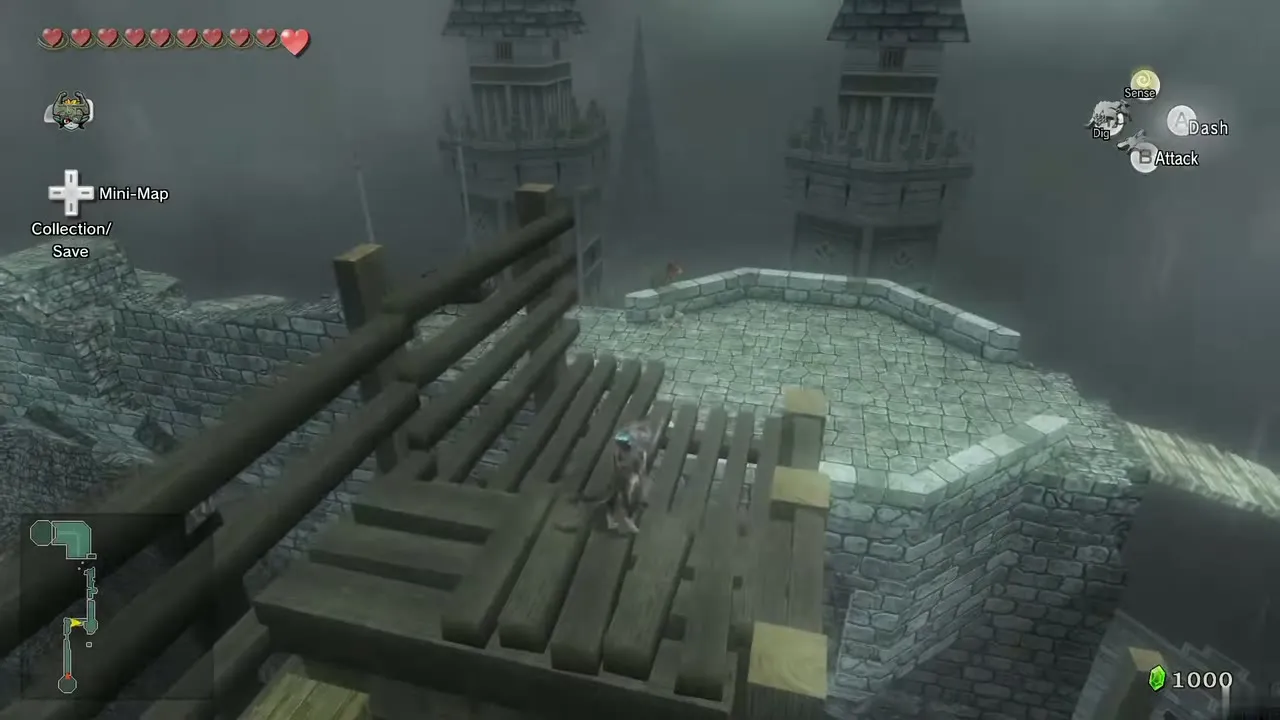
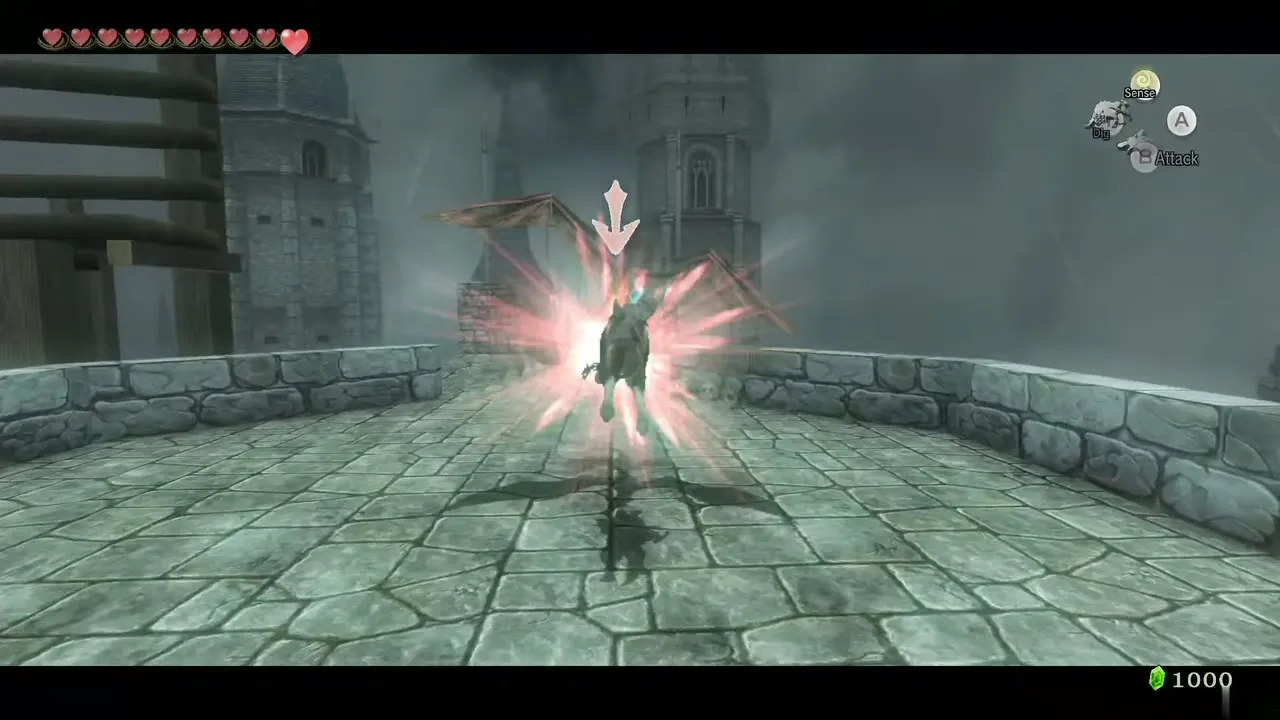
Cross the rooftops and defeat the Bulblins. Wind blows across them. The broken bridge ahead only stretches across while the wind is strong, so wait for it and then run over. Continue to the tower and climb in through its window.
Princess Zelda
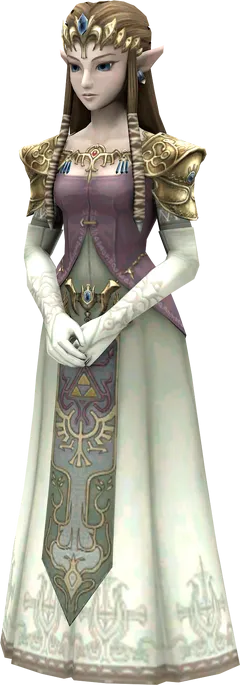
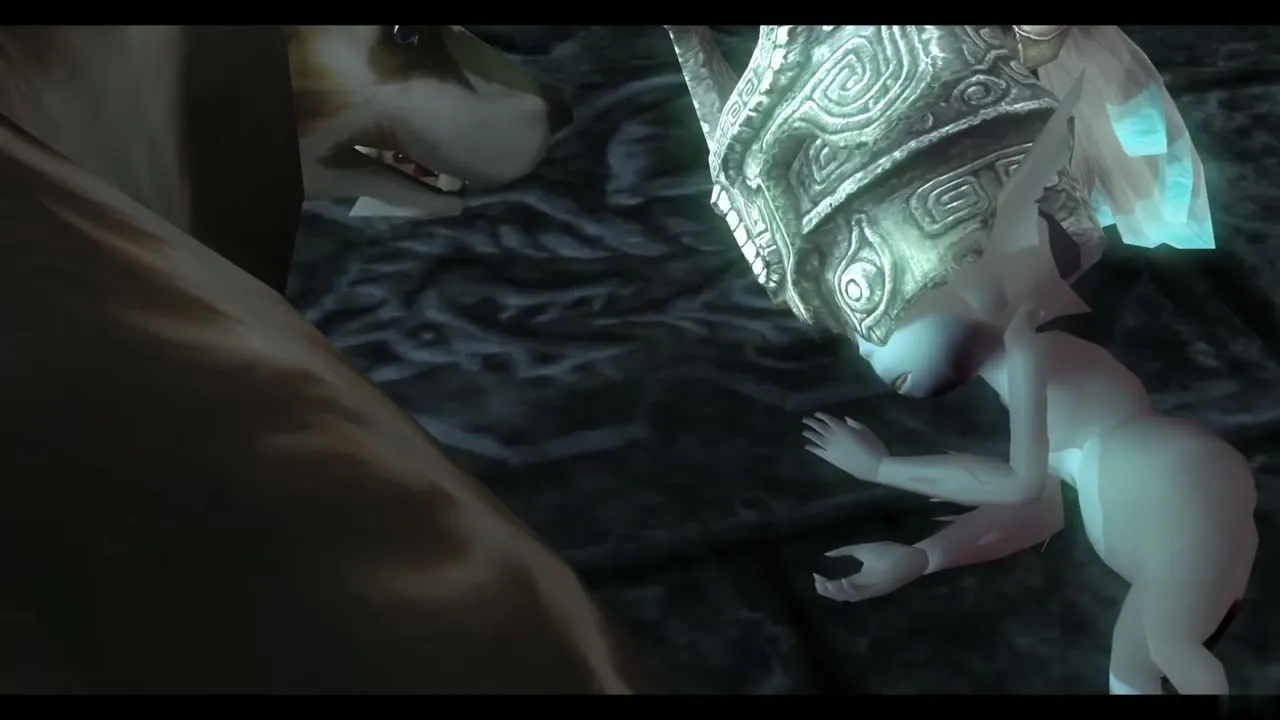
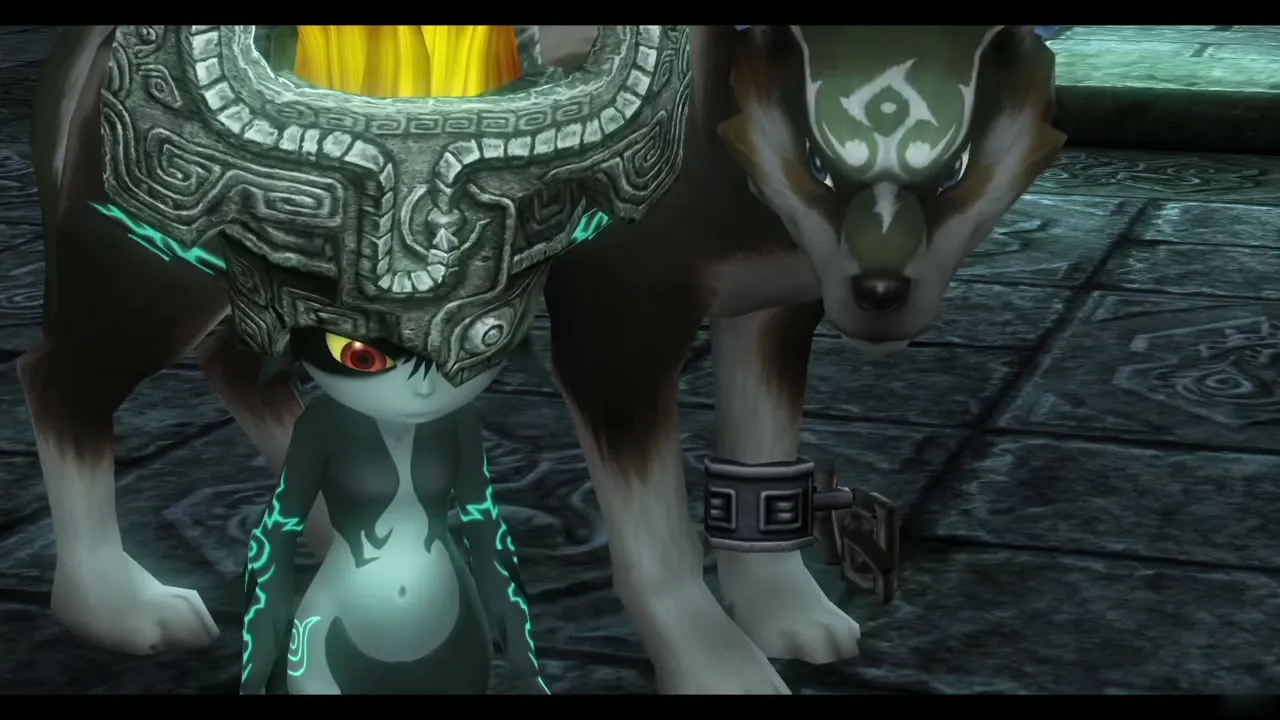
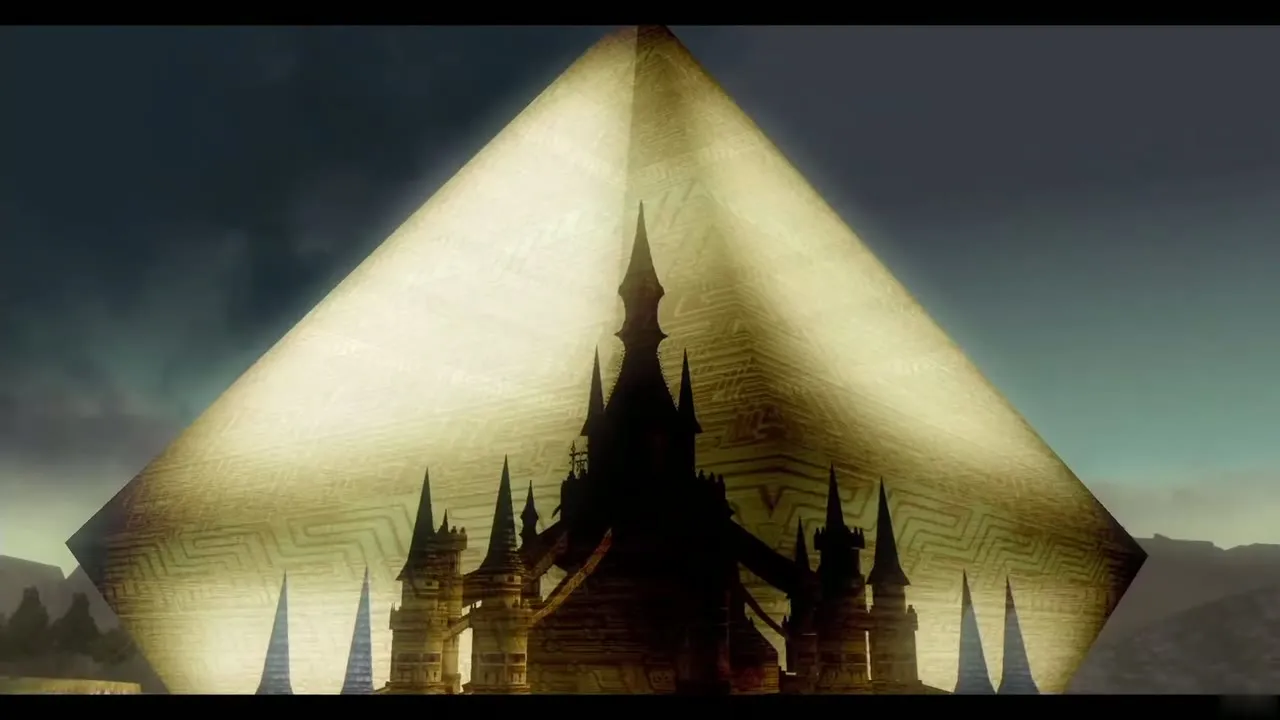
Climb the spiral steps. After a long scene Zelda sacrifices her own power to restore Midna, who is now solid in the light world instead of a shadow. Zelda tells you to find the Master Sword in the Sacred Grove, deep in Faron’s woods, and Hyrule Castle is sealed in an impenetrable prism of Twilight now that Zelda’s power no longer shields it. Midna warps you out to Hyrule Field, and her warping works again.
North Faron Woods to the Sacred Grove
Cross the gorge
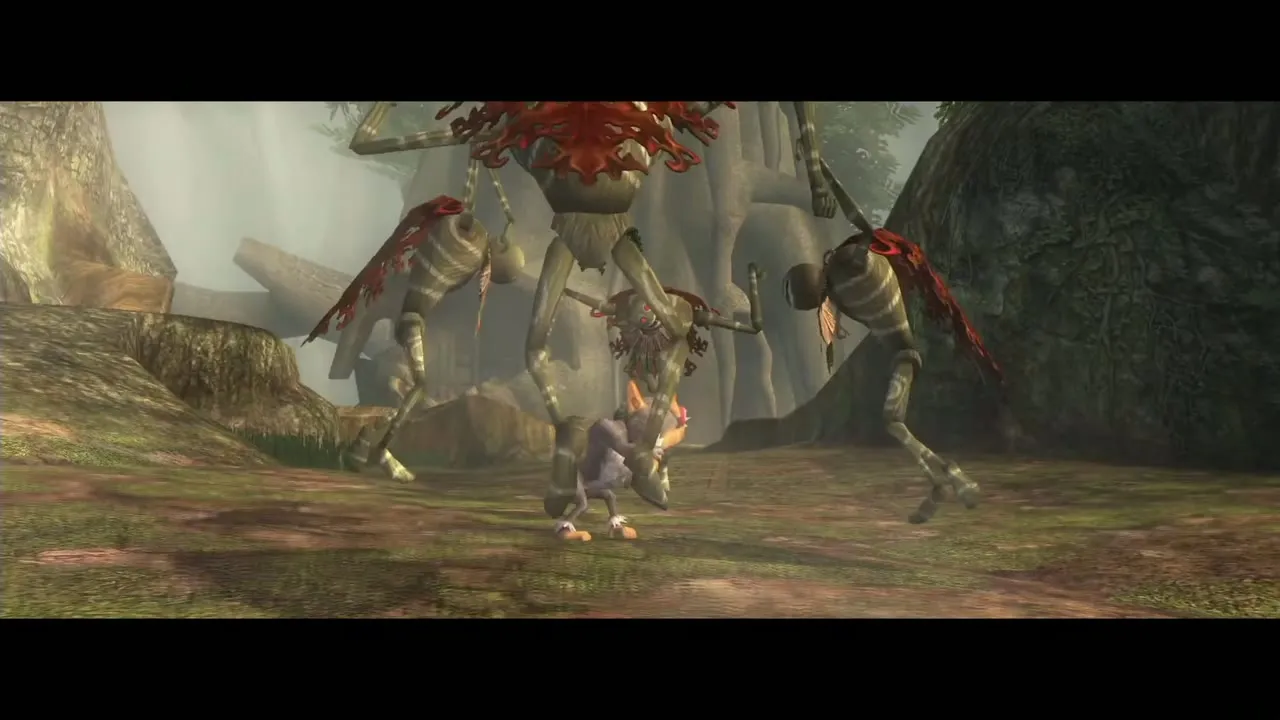
Warp to North Faron Woods and run north as if heading to the Forest Temple. The monkey is being chased by new enemies called Puppets. Beat them (a charged attack clears a group); the monkey says deeper woods lie ahead. Climb the ramp on the left and use Midna jumps to cross the ledges beyond.
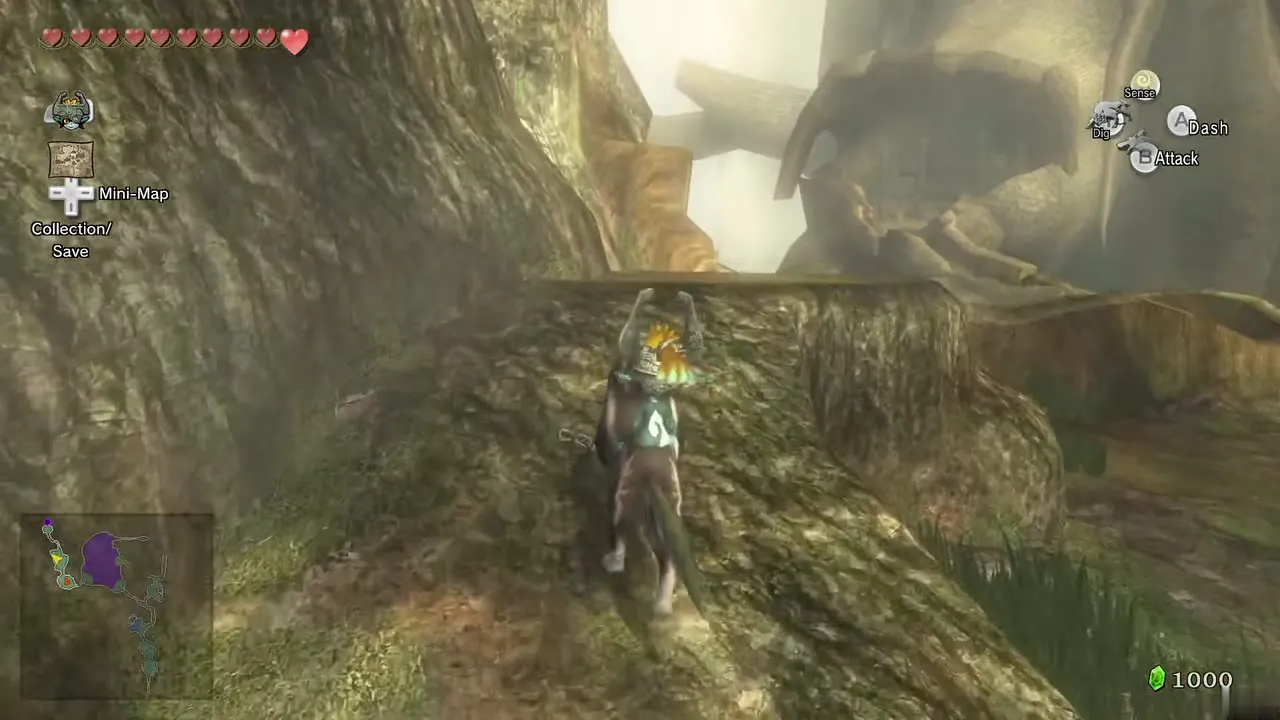
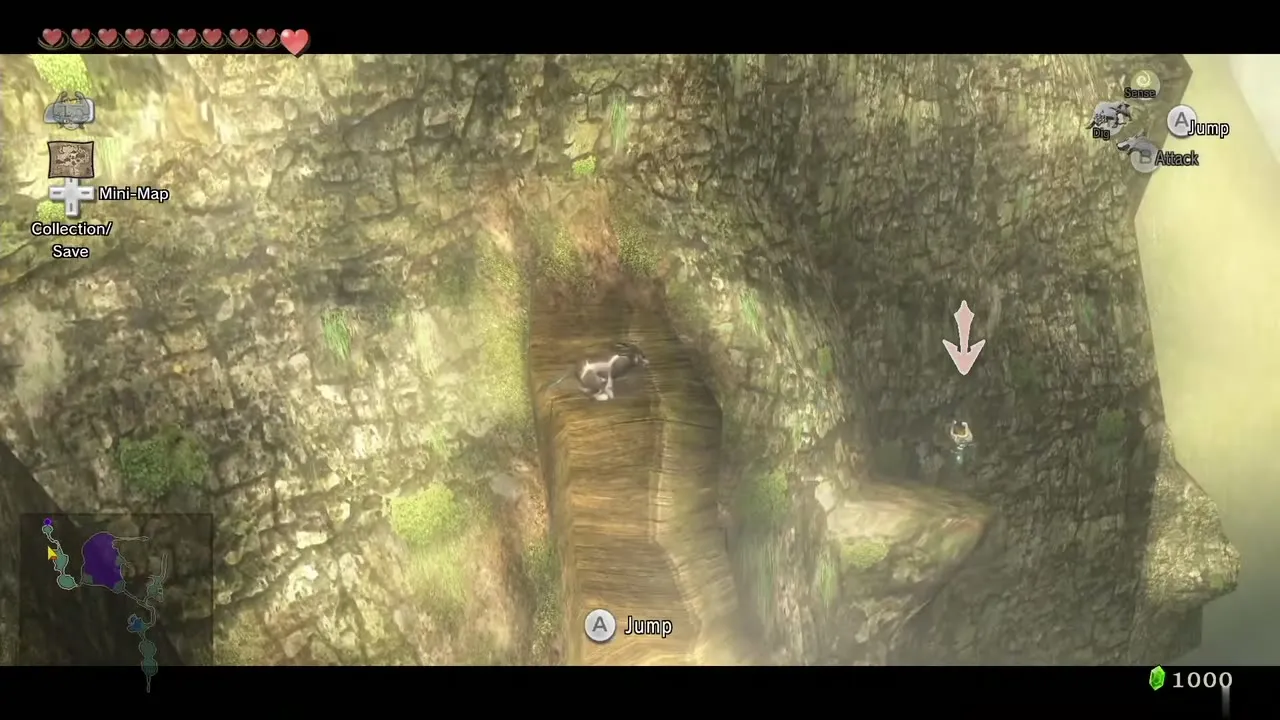
Follow the linear path to a pair of wind-turned bridges. Wait until the first lines up, cross it, and repeat for the second. Then cross two tightropes while dodging the swinging logs.
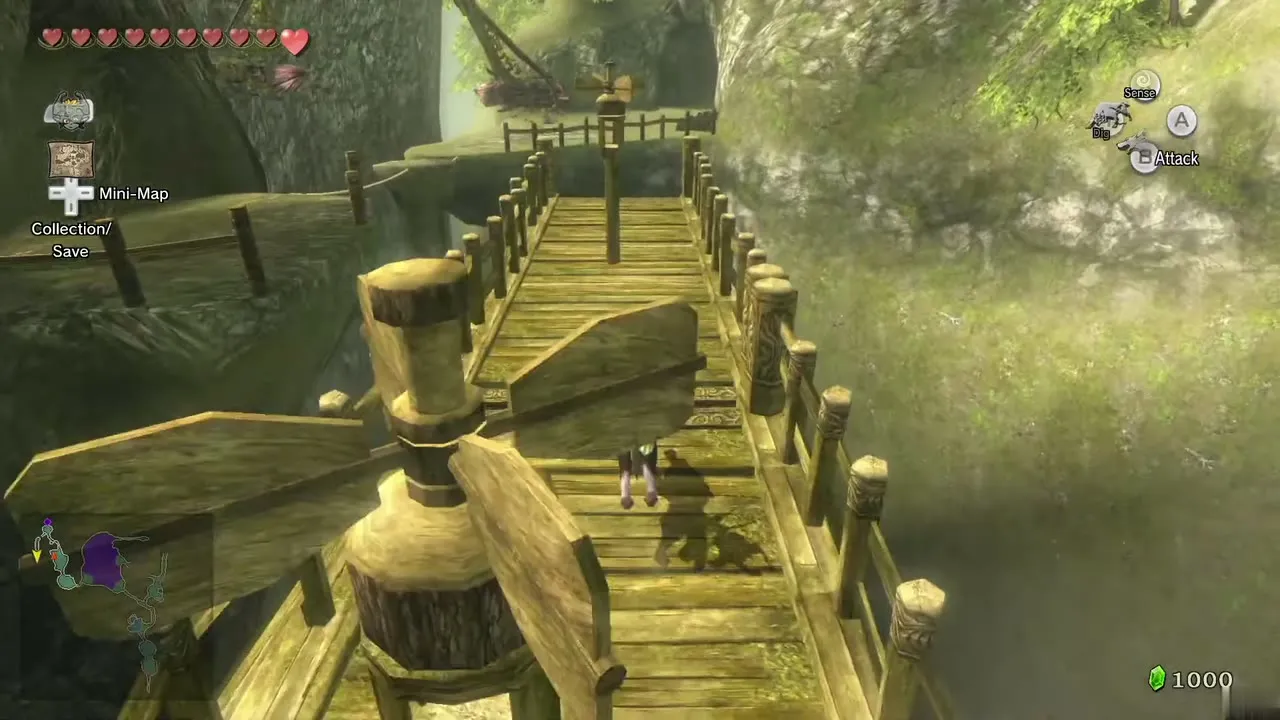
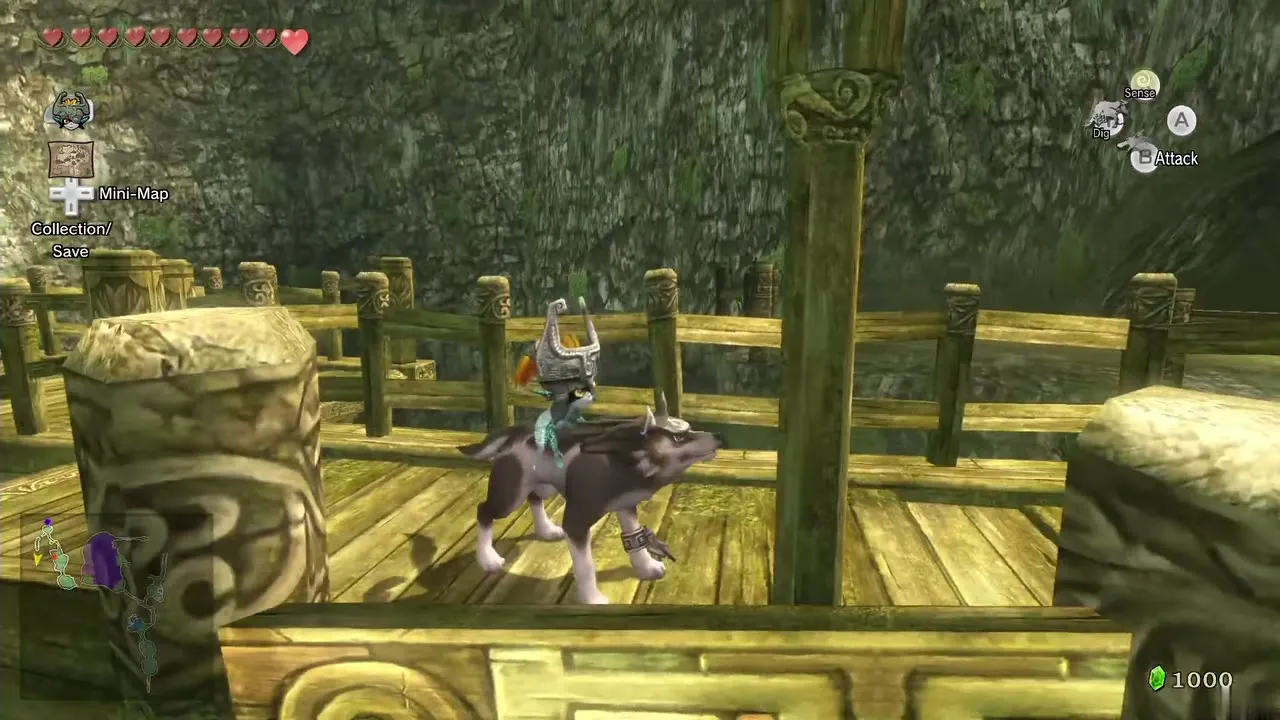
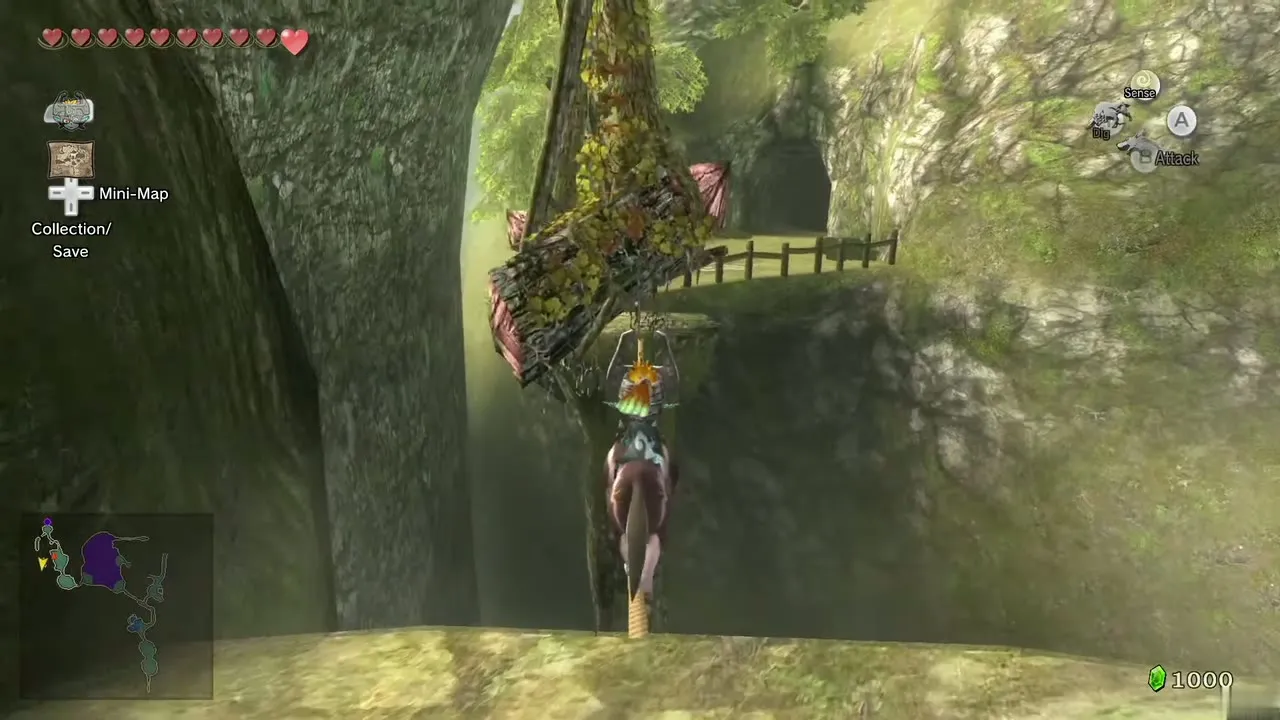
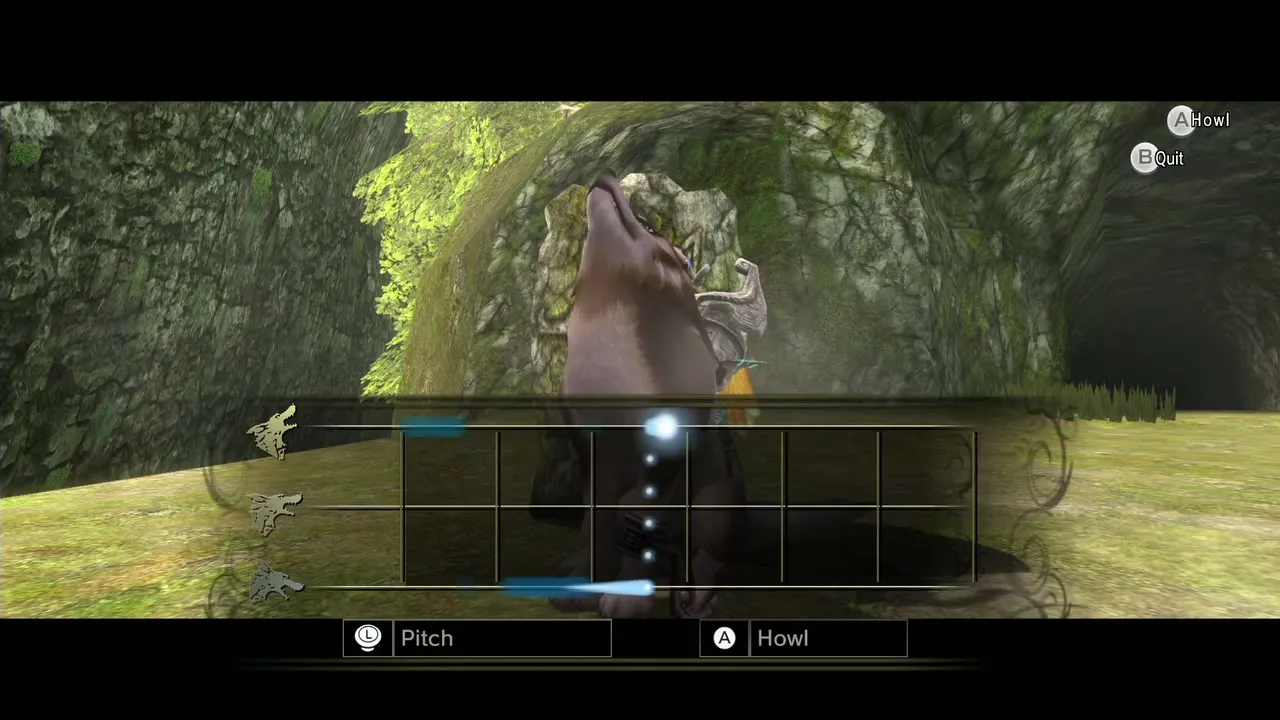
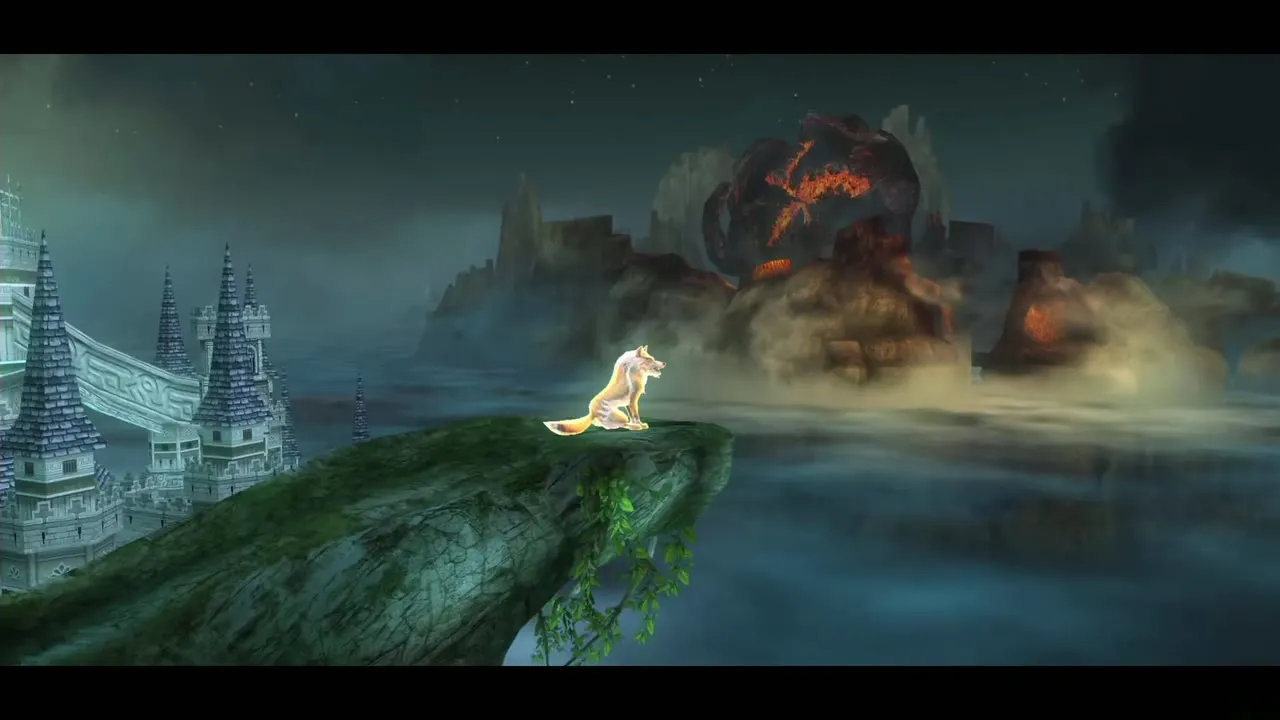
A Howling Stone stands on the other side. Listen, howl the tune back to meet the Golden Wolf in the strange realm, and howl once more to mark a Golden Wolf on your map just outside the south gate of Castle Town. He teaches the Helm Splitter once you are human again with a sword; the visit is in the next chapter and listed on Hidden Skills.
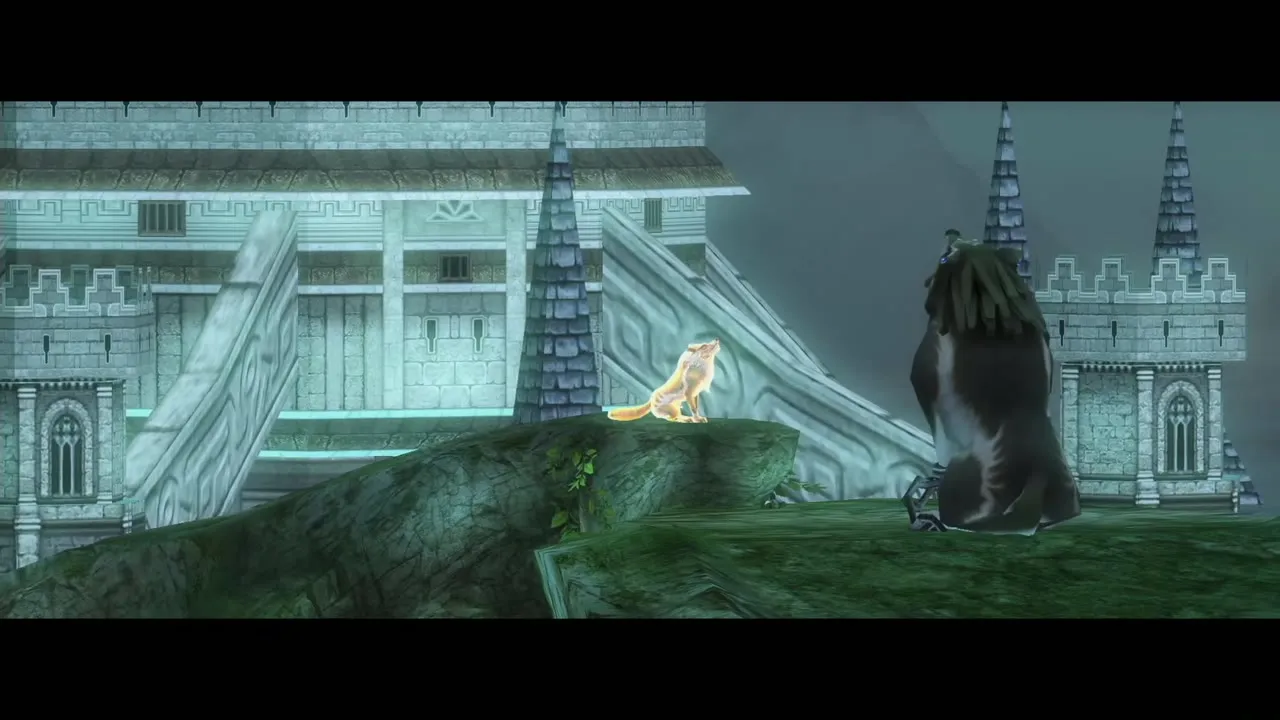
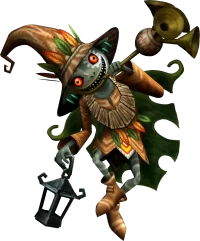
Skull Kid hide and seek
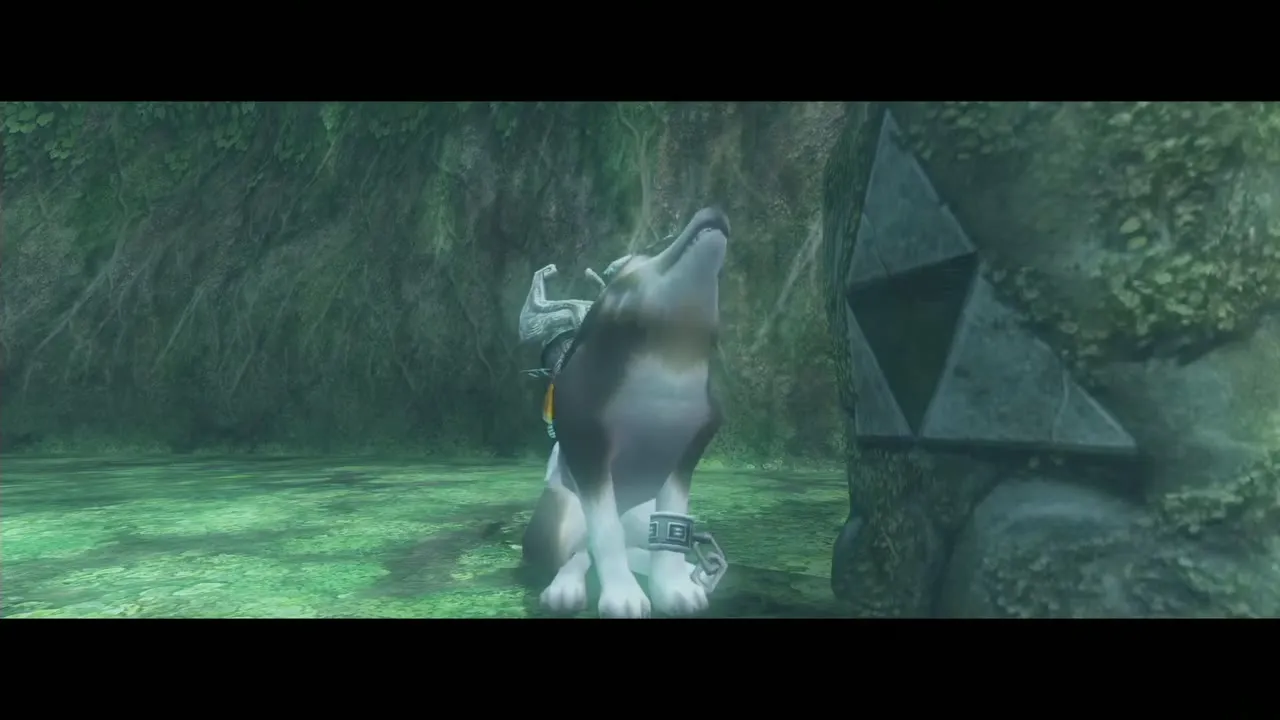
Continue into the Sacred Grove. A second stone near the entrance is not a true Howling Stone, so no Golden Wolf appears; howl its tune and Skull Kid shows up with four Puppets. More Puppets keep arriving in groups, so use charged attacks when you need a breather. Skull Kid gets louder when you are close.
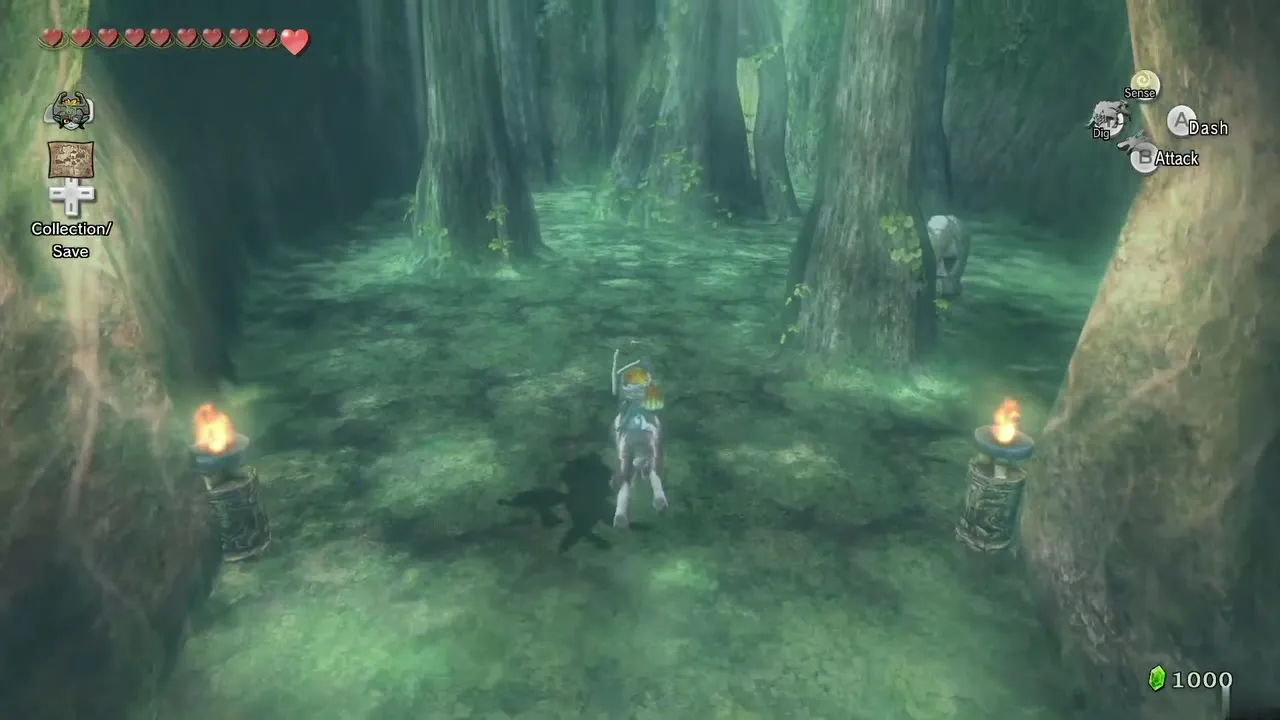
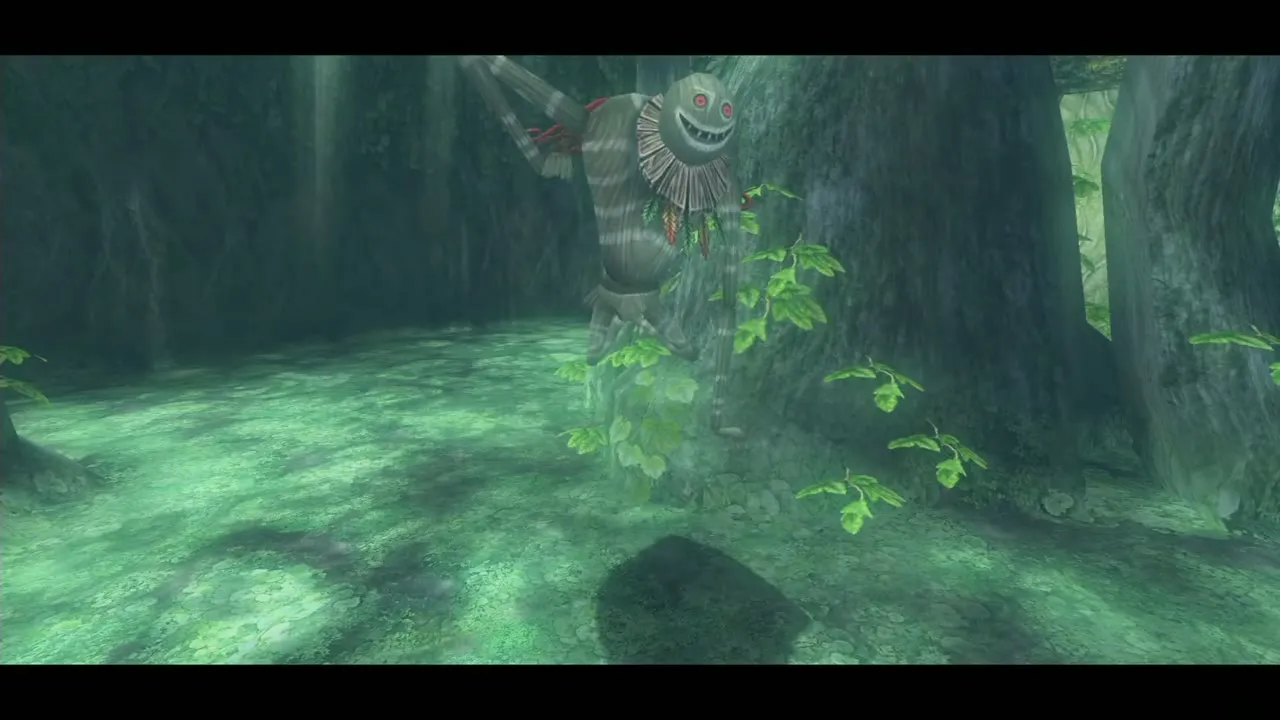
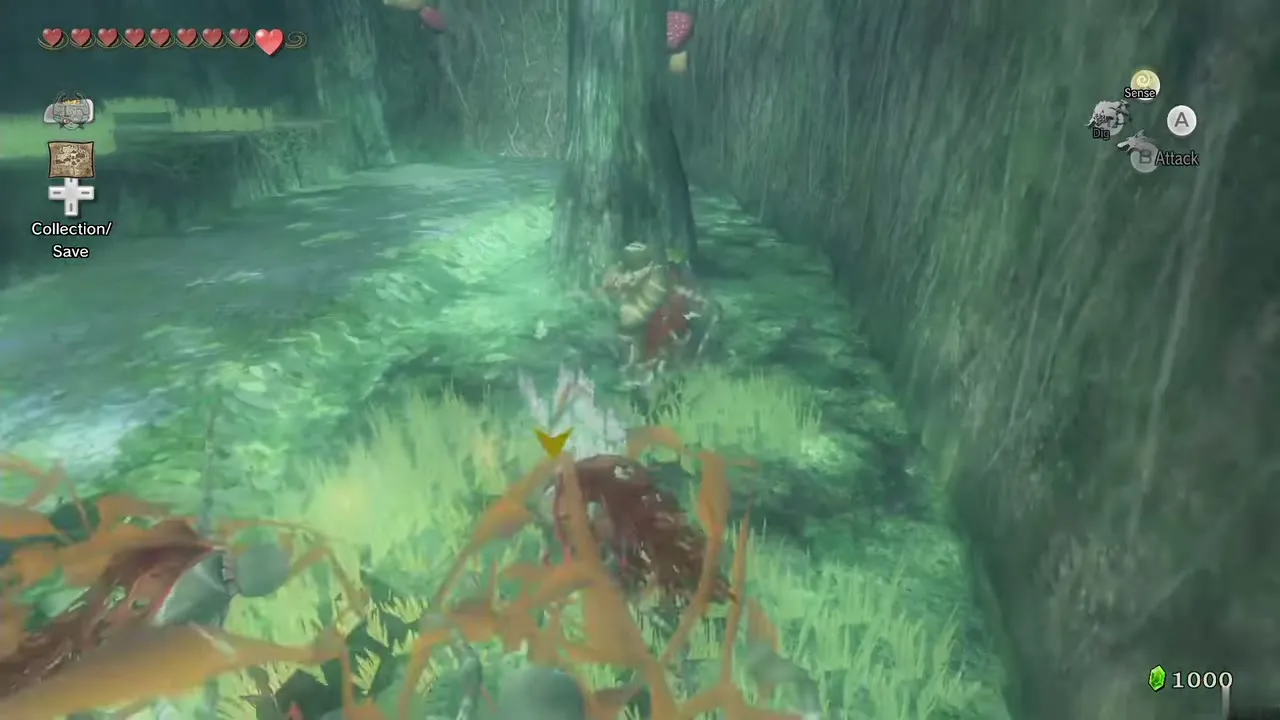
You must reach Skull Kid three times and each hit opens one path and closes another. From the start, take the tunnel and turn left; he stands on a higher ledge, so jump up and bite him. He then runs back to the first area. Take the opening between the two waterfalls, go straight, turn left through a passage to a pool, swim through the waterfall and climb up to hit him again.
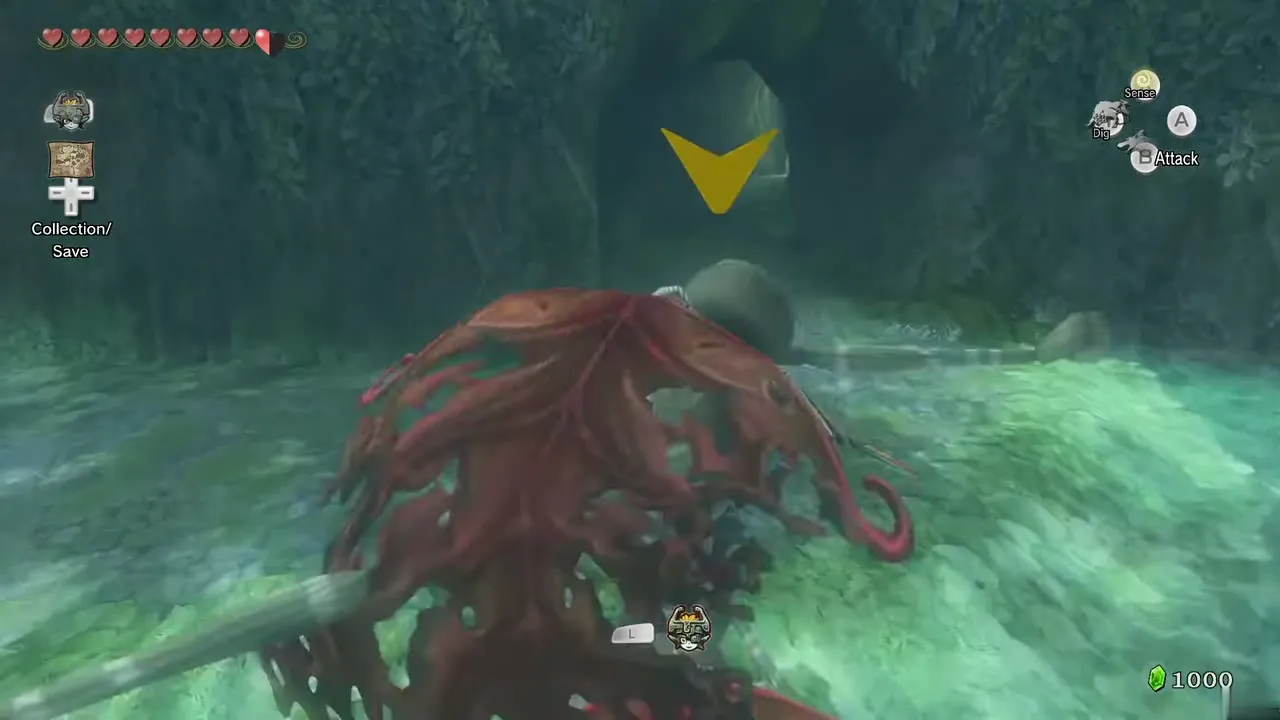
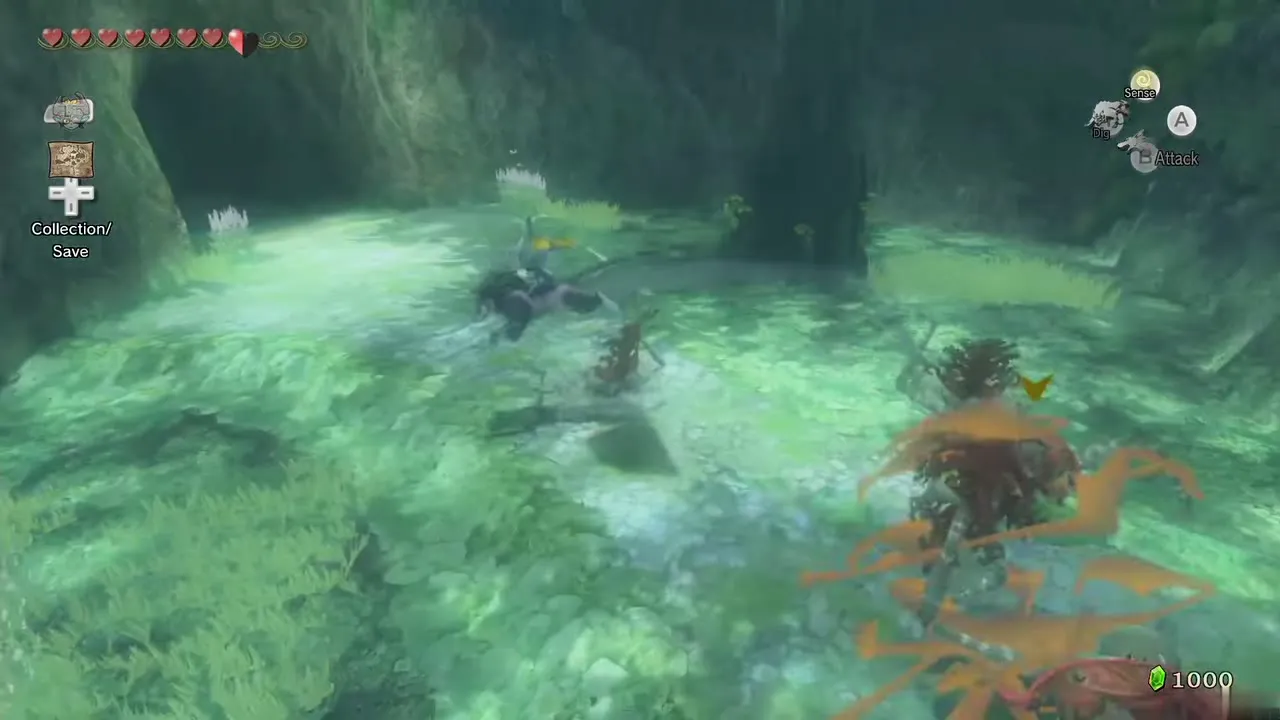
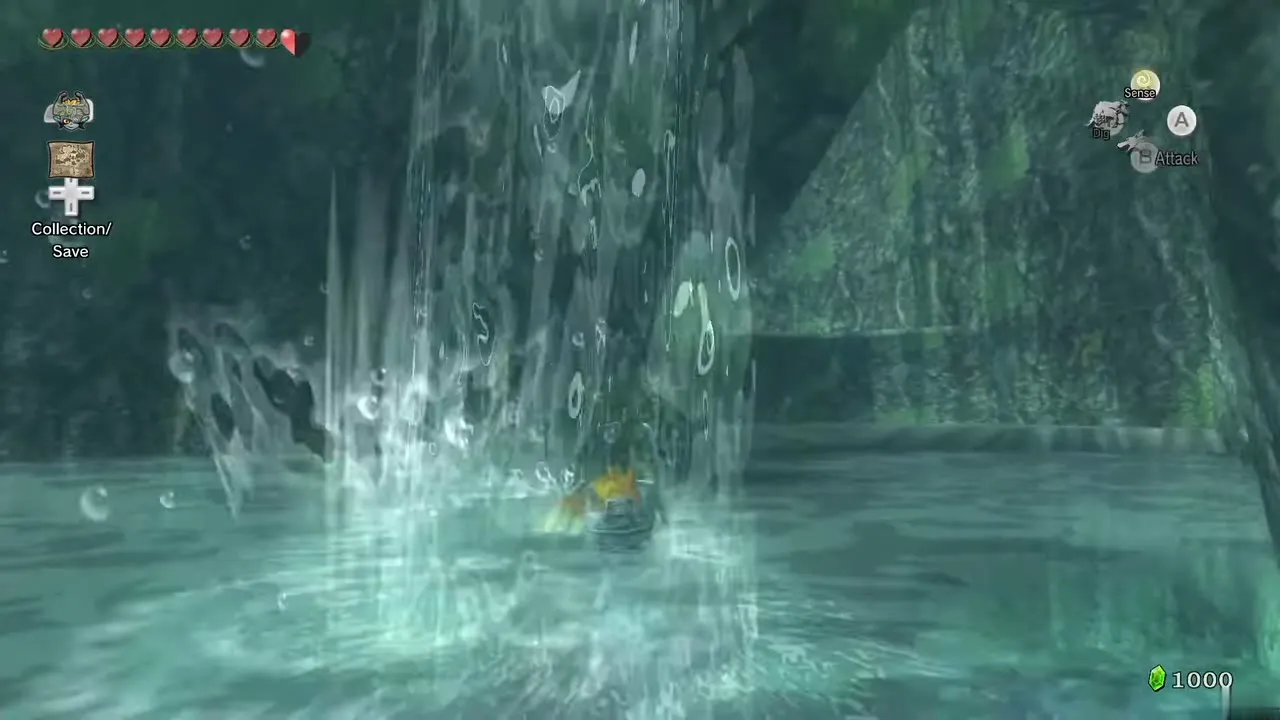
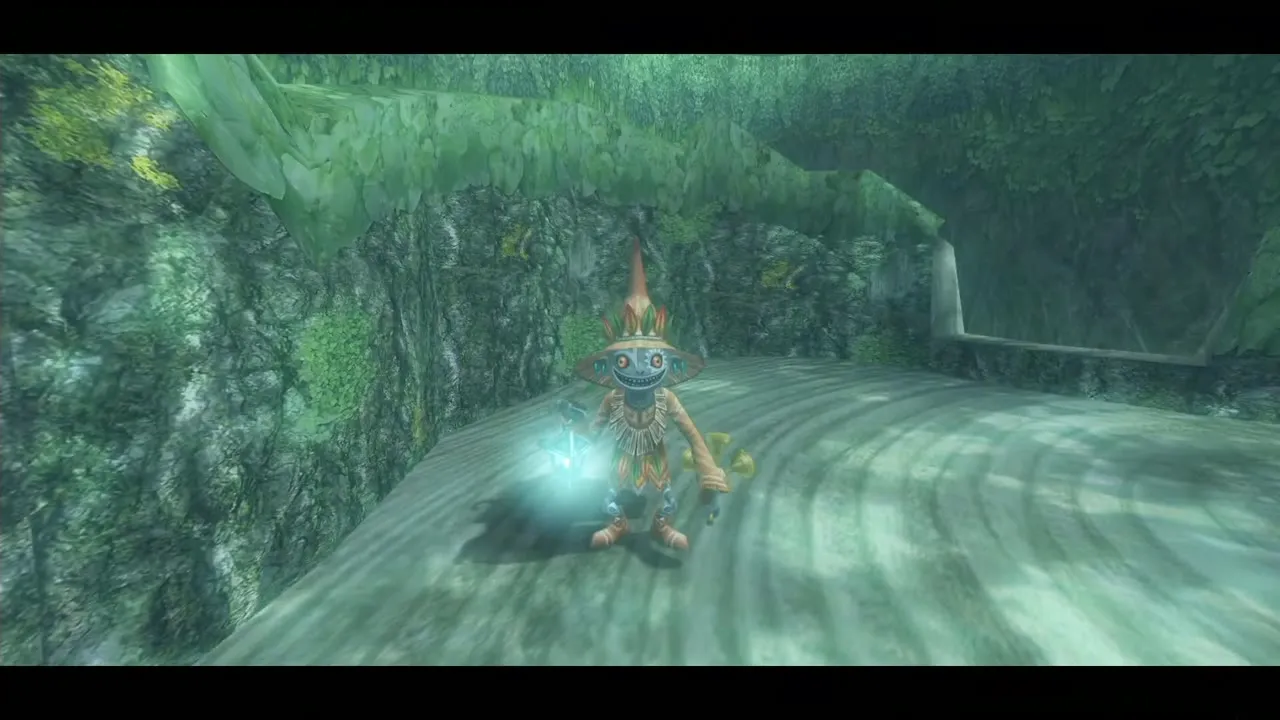
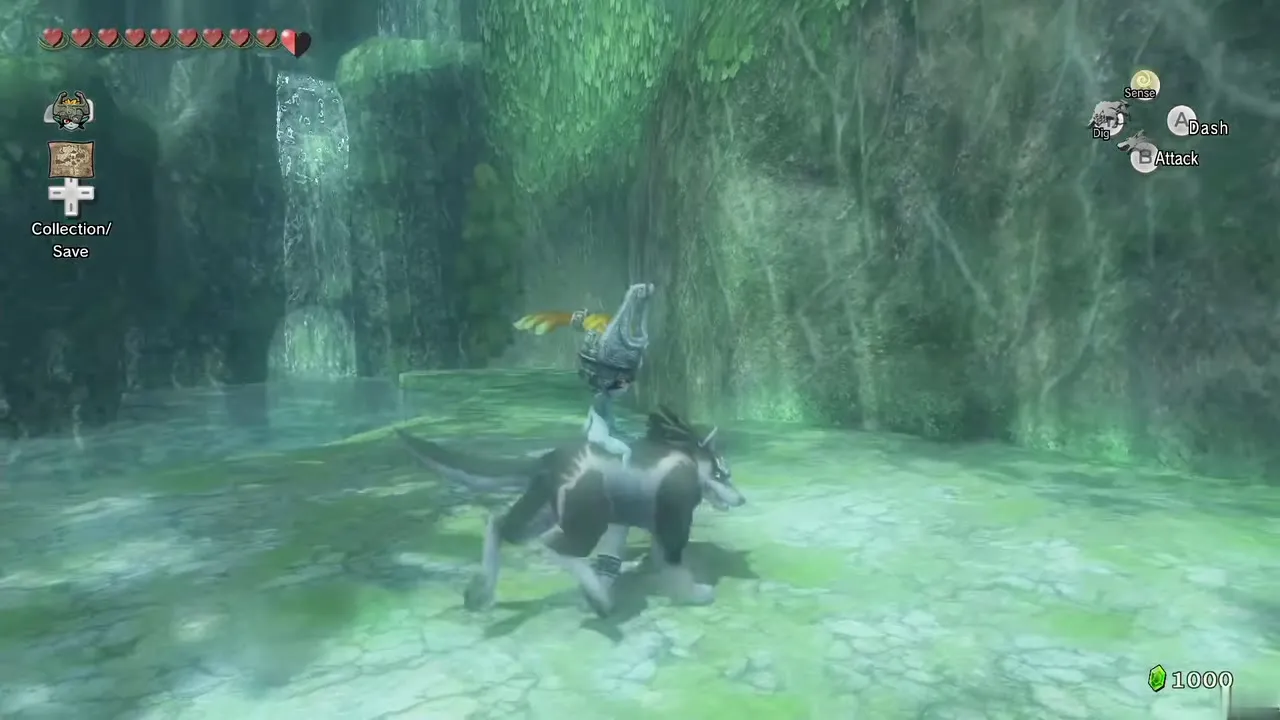
The first area now has a new opening. Go through it, climb the ledges you skipped earlier, cross the high platform and hit Skull Kid a third time to open an archway. Jump down and go through.
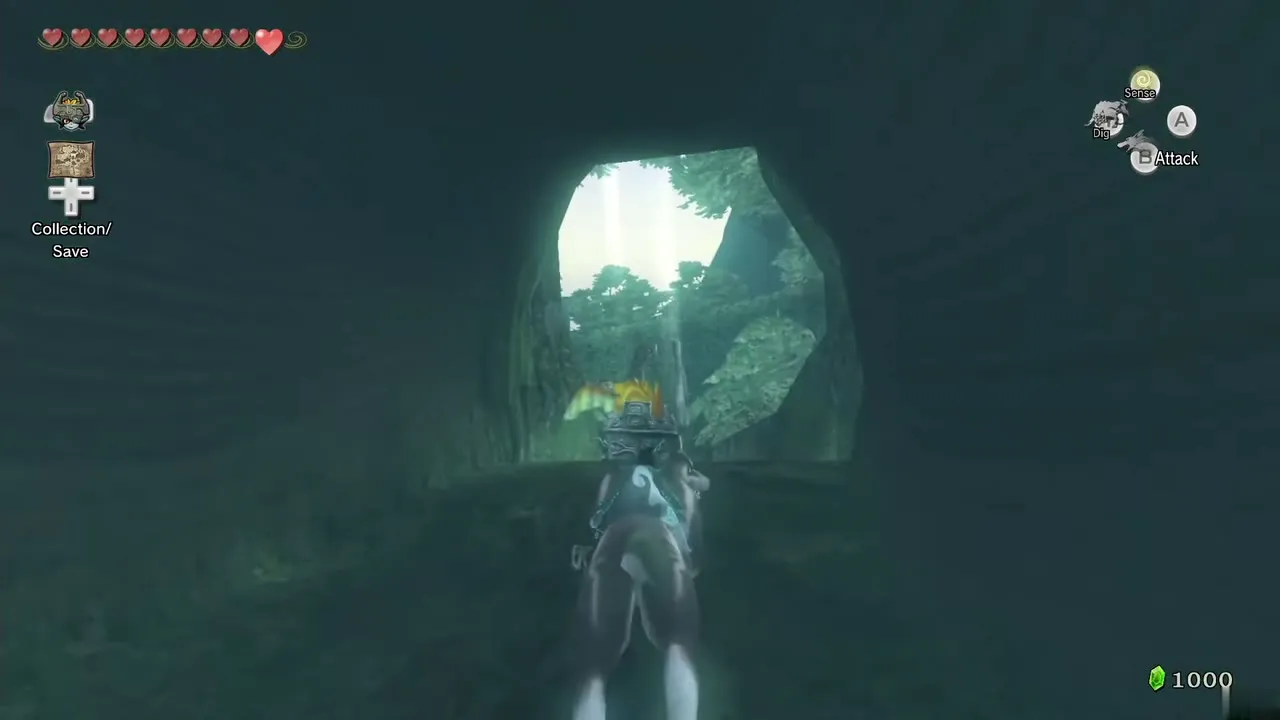
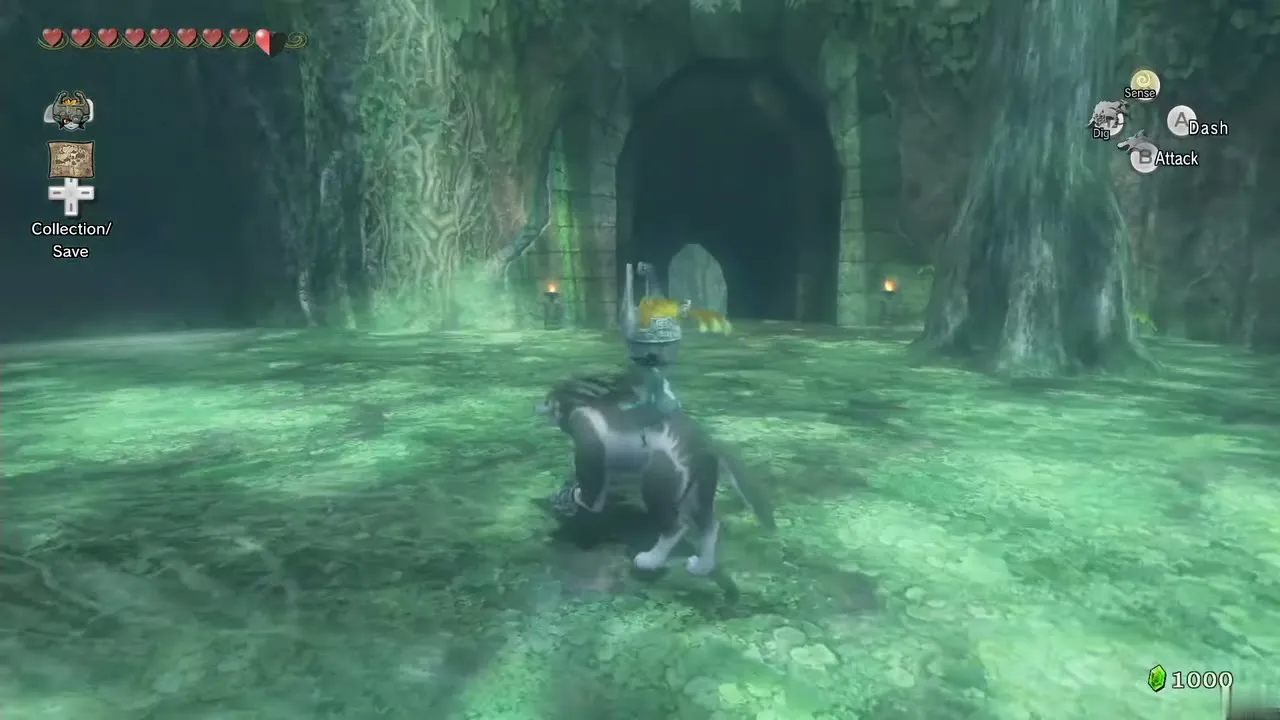
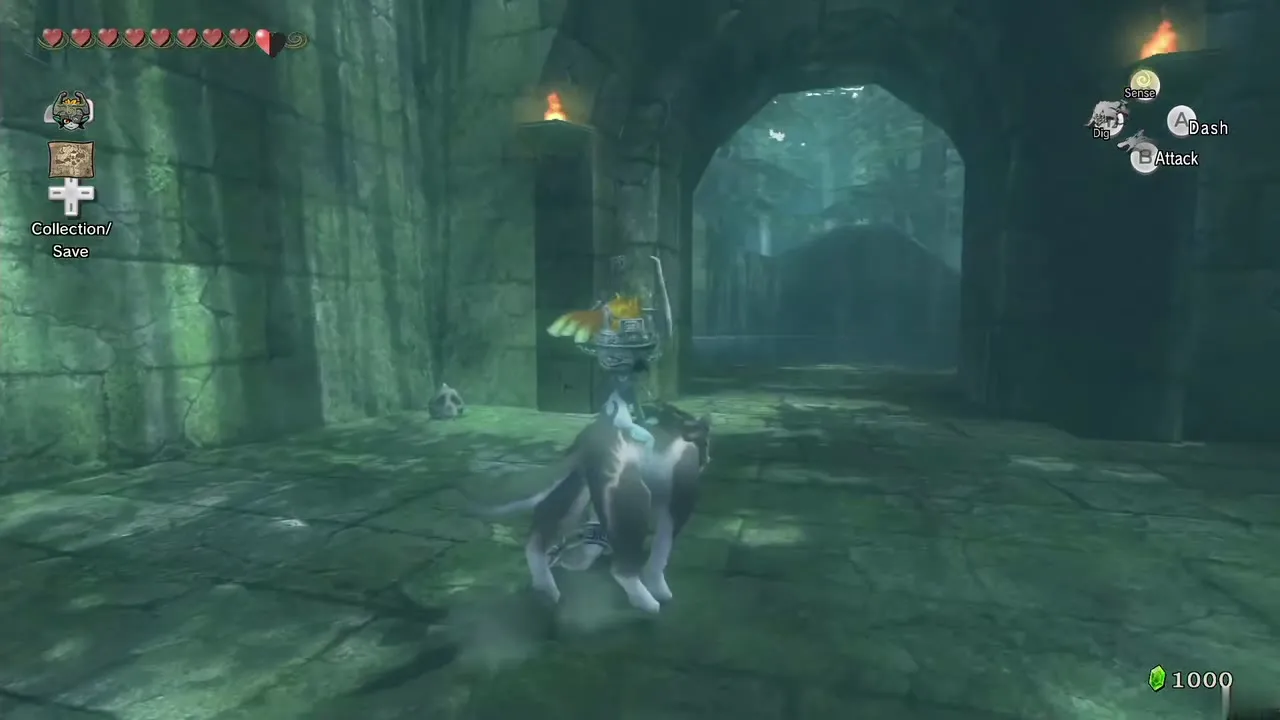
Skull Kid fight
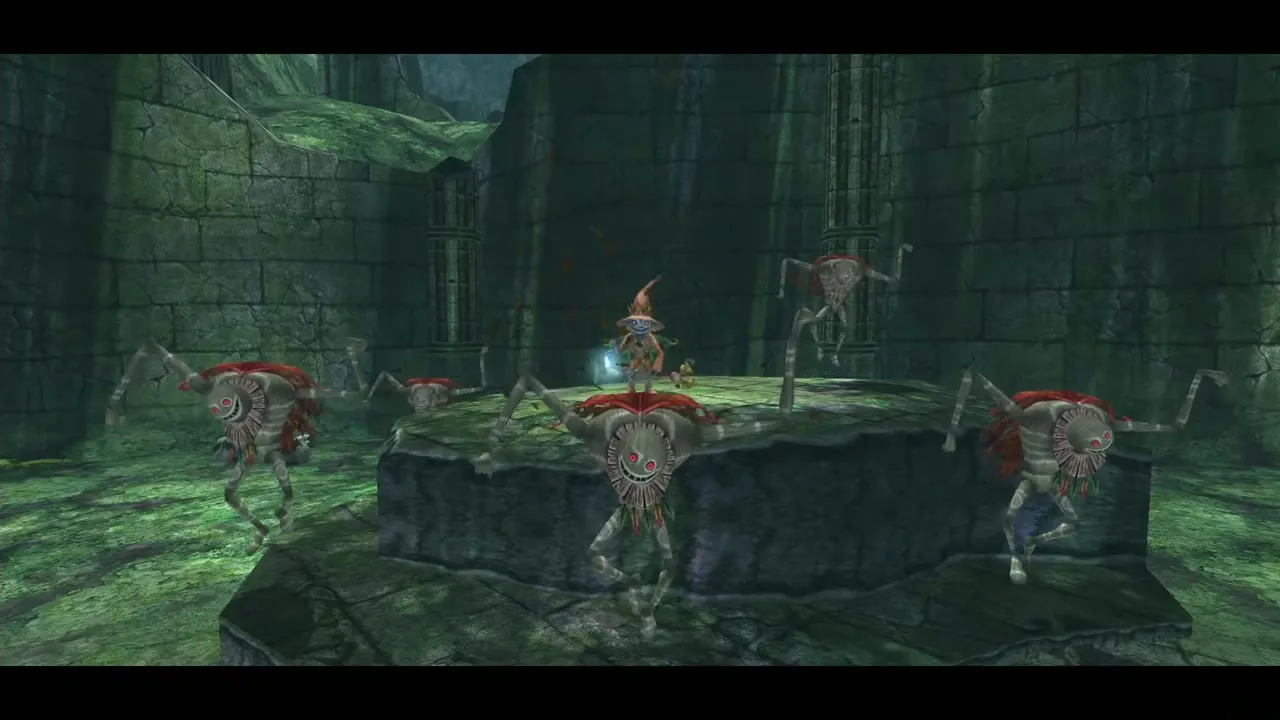
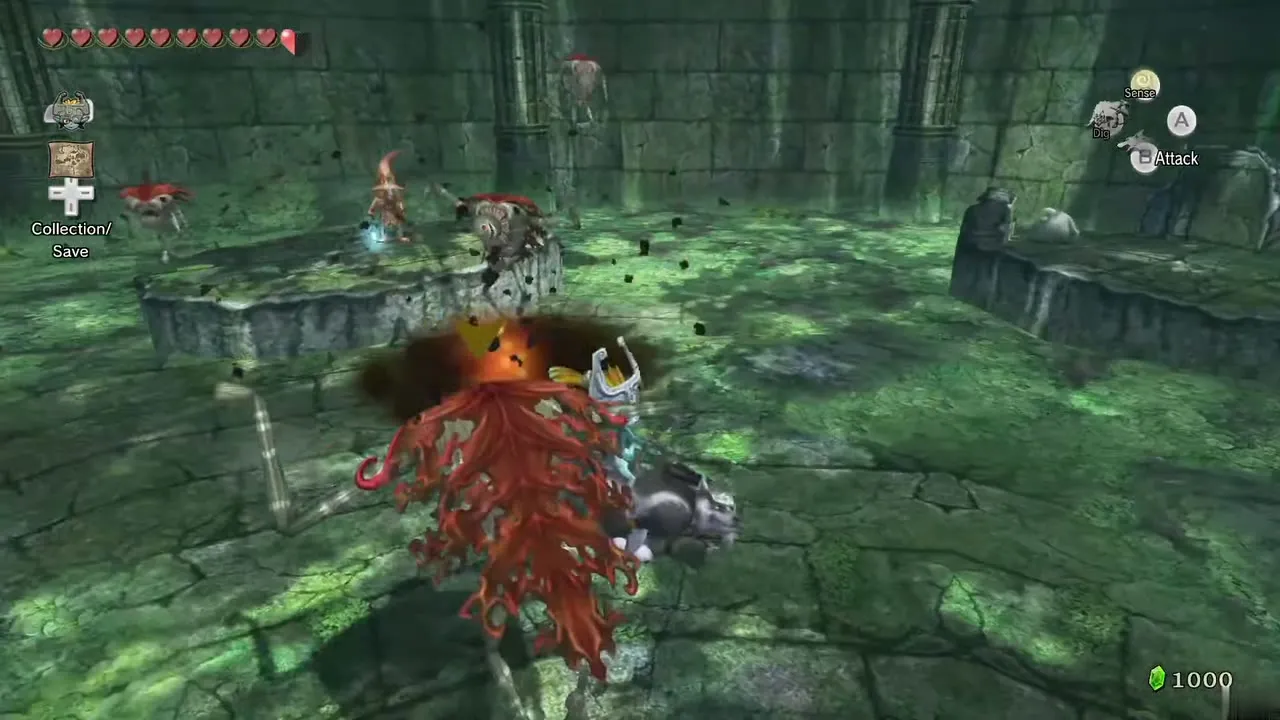
In the ruined round arena Skull Kid summons Puppets and warps when you approach. Kill some Puppets; while he calls more and plays his horn he is open, so attack him then. If all four Puppets are alive he will not summon and just warps away. The fewer Puppets remain, the faster he reacts. Hit him once and he summons up to six, then up to eight after the second hit. The third hit sends him away and opens a passage.
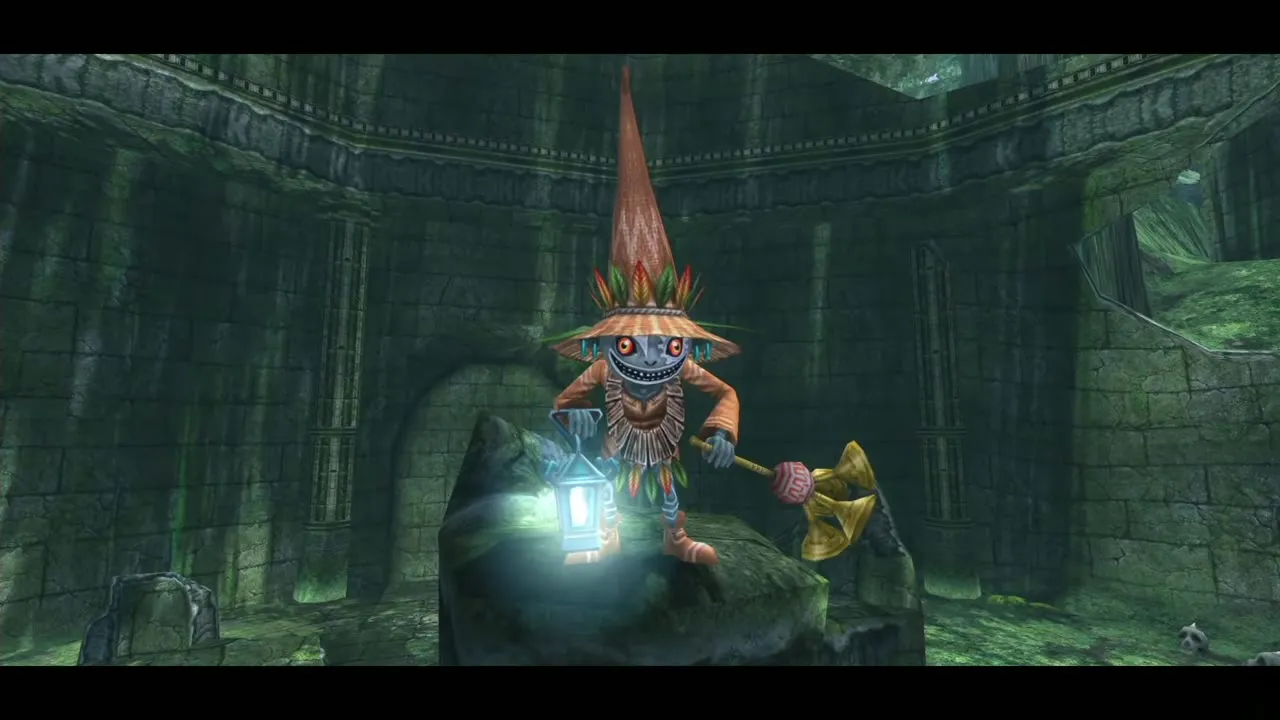
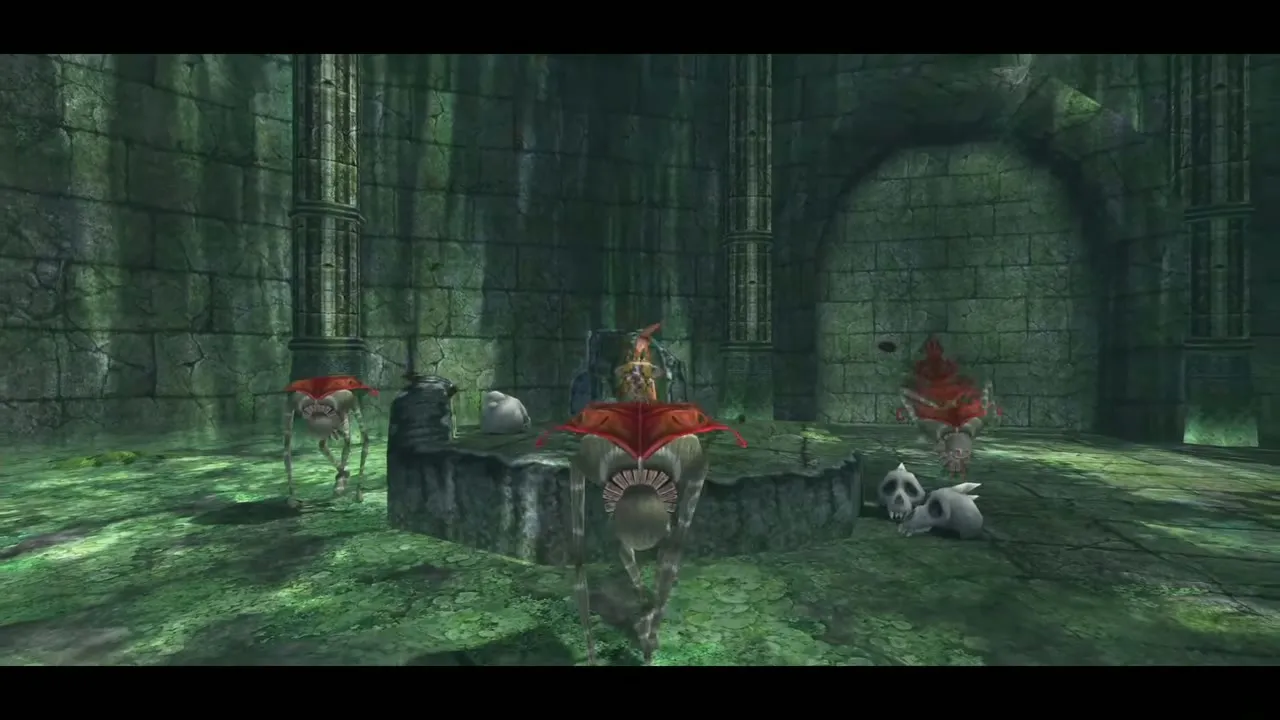
Guardian puzzle
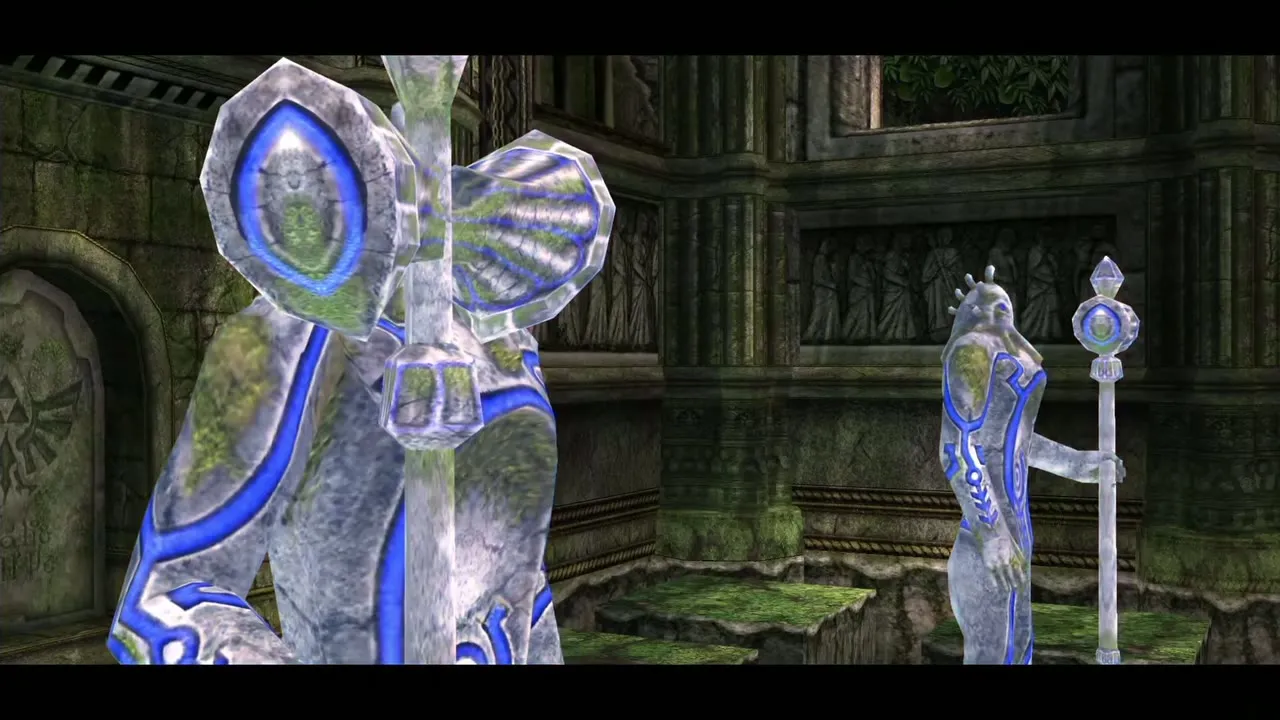
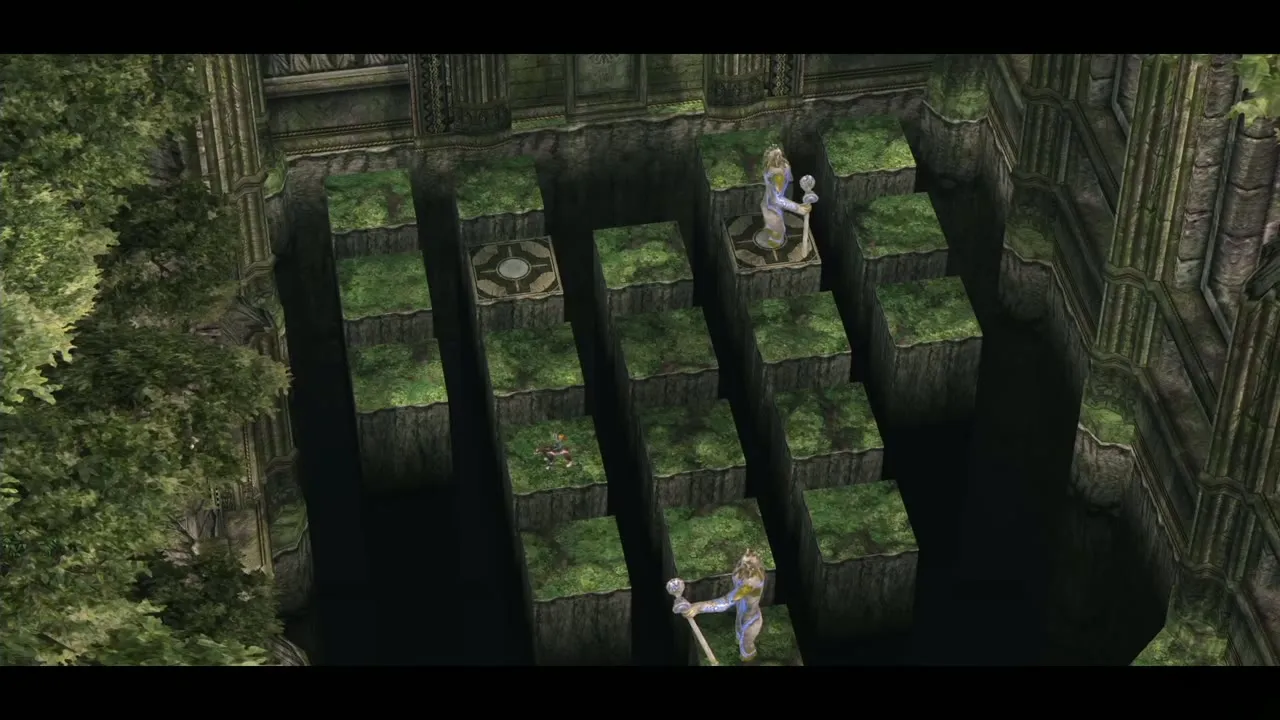
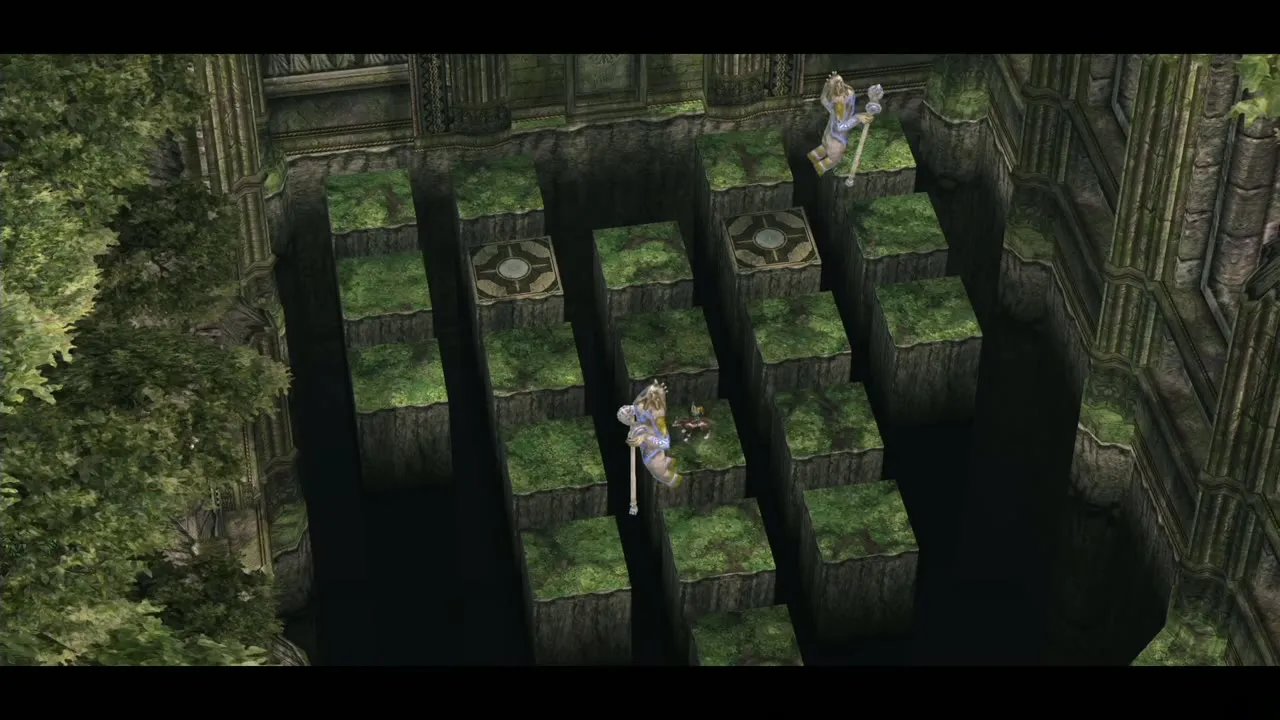
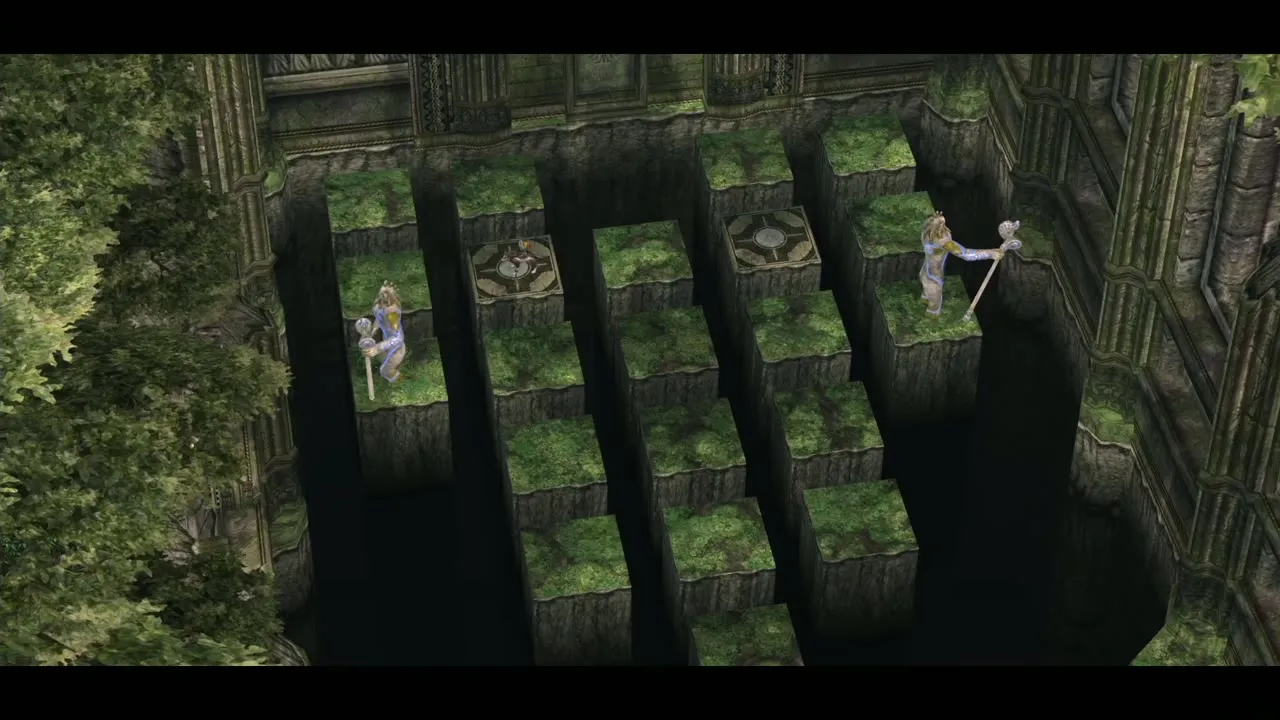
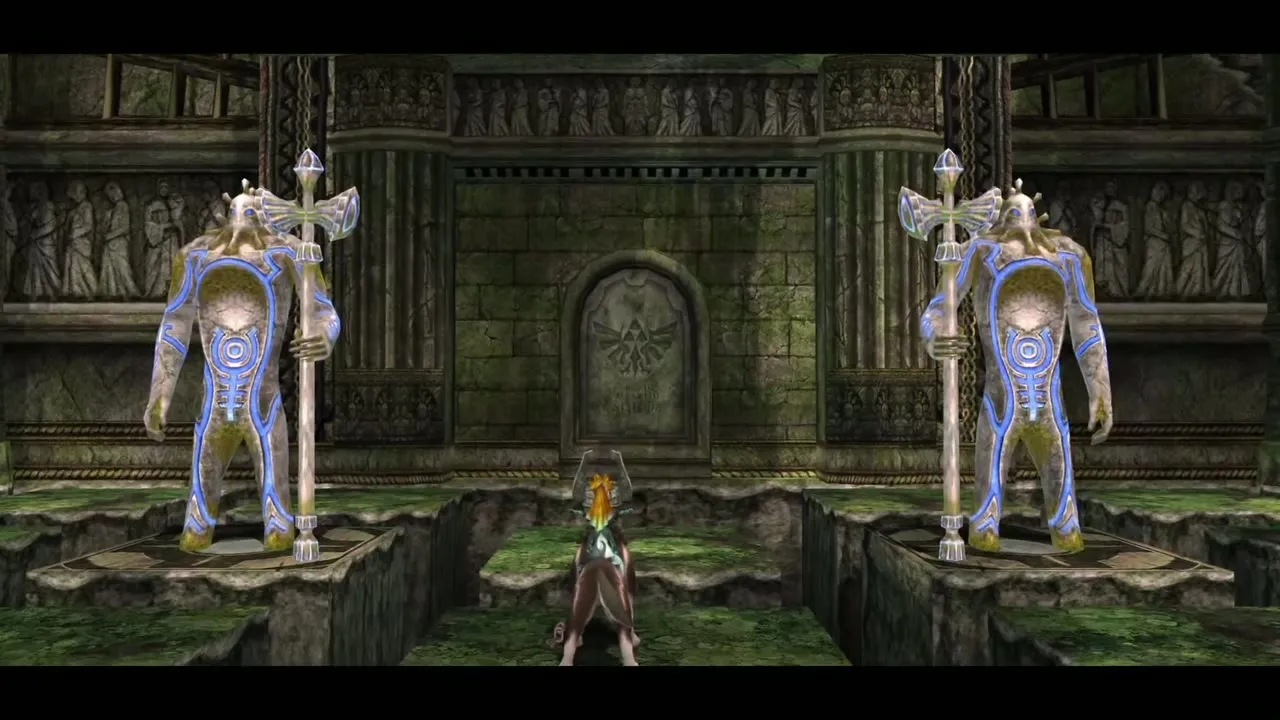
Next is a Triforce symbol on the floor between two stone guardians. Stand on it and howl the tune that appears. You are taken to a similar room where the guardians come alive and ask you to put them back where they stood. They copy each of your jumps, facing the opposite way, and you must not land on the same tile as one of them or the puzzle resets.
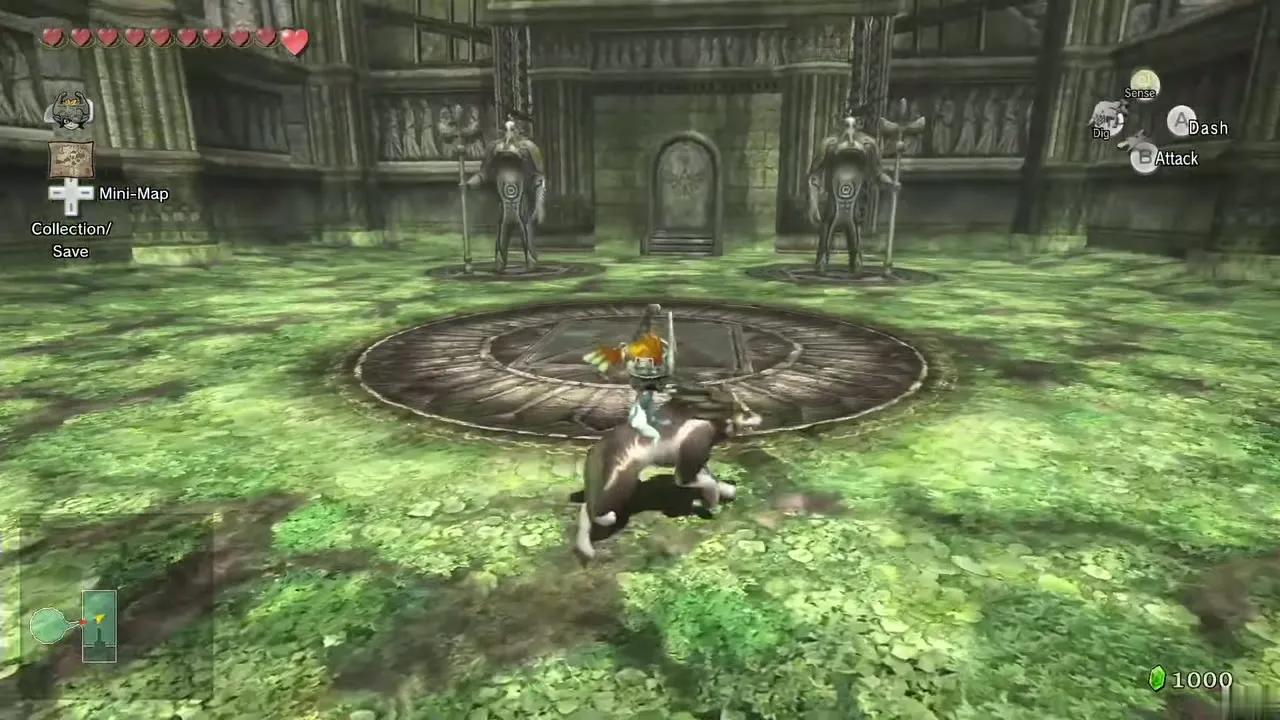
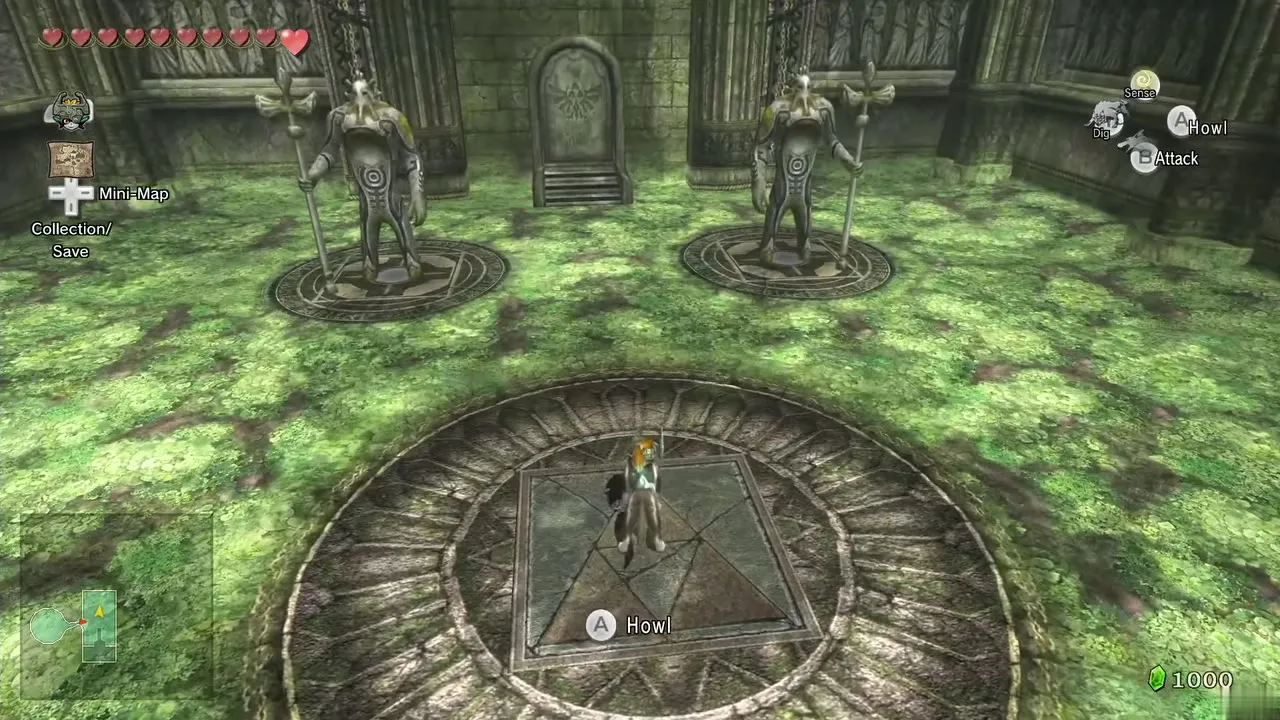
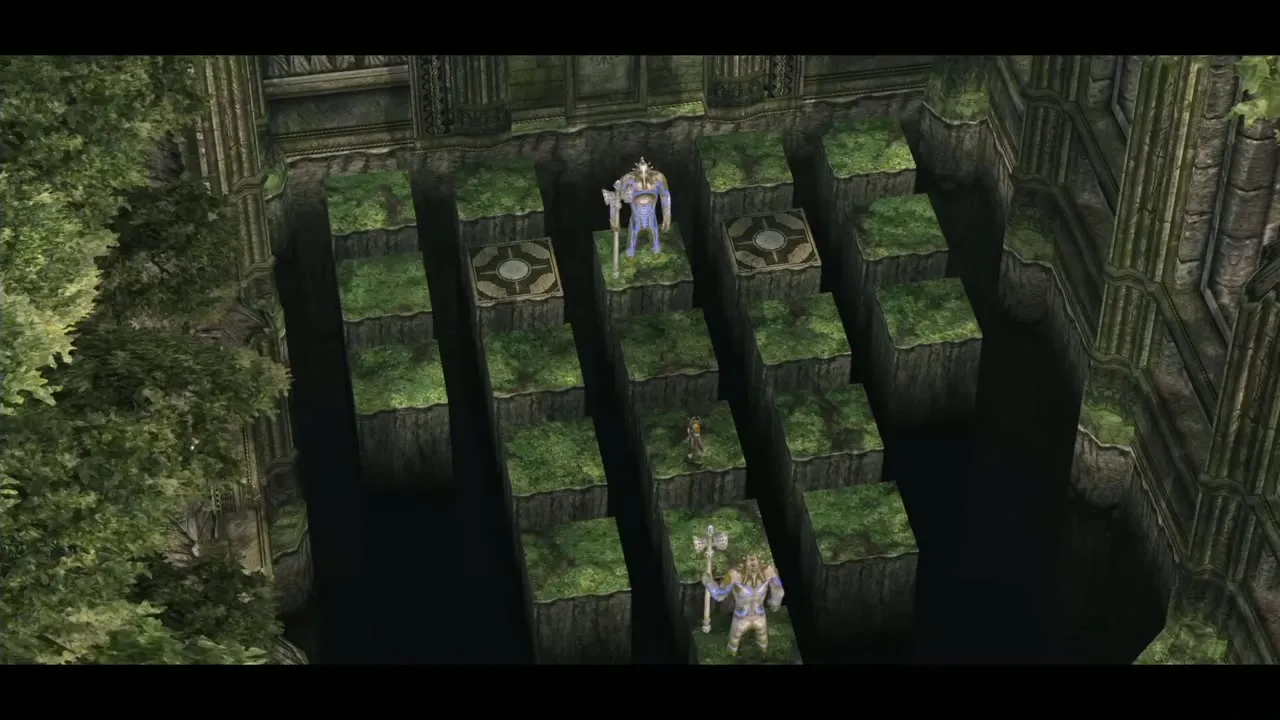
Start on the middle tile between the pedestals and jump left, down, right, right, up, left. You are back at the start with the statues beside you. Then jump up twice, left, down twice, right, up. The door opens. If your world is mirrored in Hero Mode swap left and right; the guide on the guardian puzzle page has the diagrams.
The Master Sword
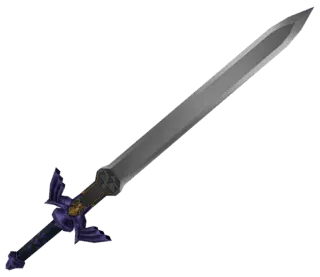
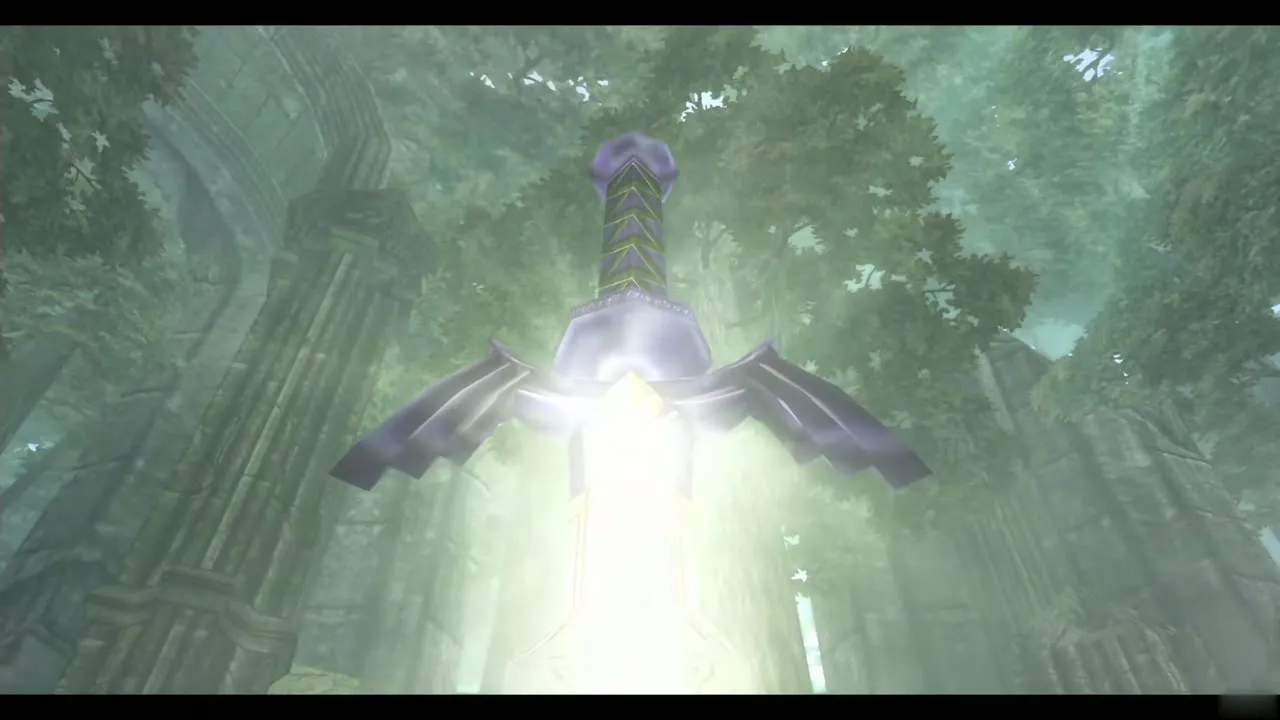
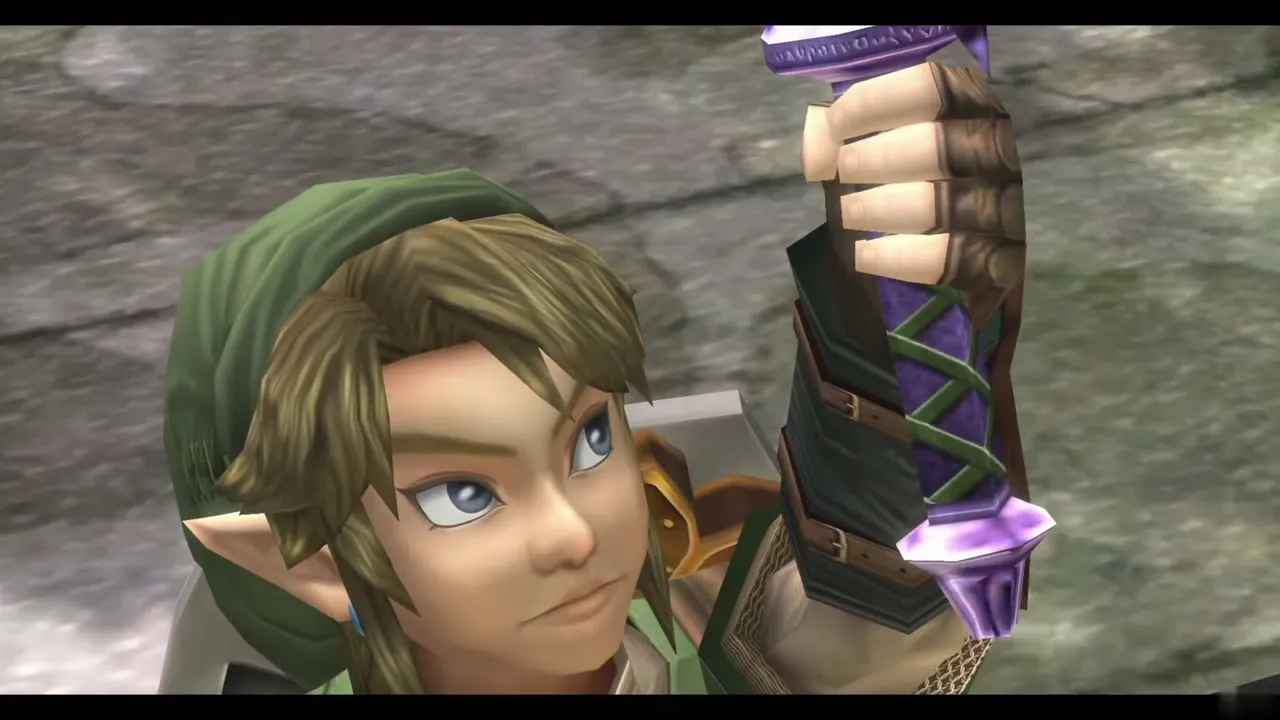
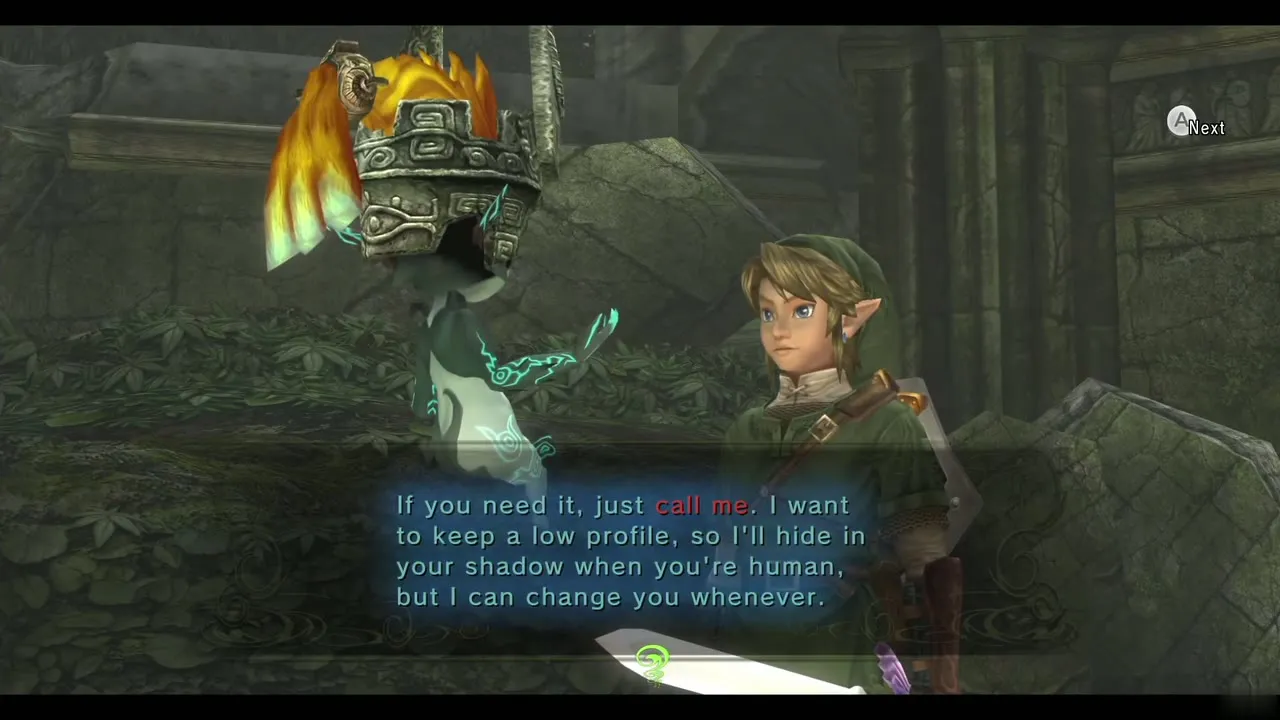
Climb the stairs to the pedestal and pull the Master Sword. It breaks the curse, you become human, and Midna takes the Shadow Crystal that Zant used. From now on you can change between Link and Wolf Link whenever you like, except when people are watching; on the Wii U GamePad tap the transform button at the top right of the inventory screen. Because you can be a wolf at any time, you can also warp almost anywhere.
Sacred Grove extras

Male Snail Golden Bug
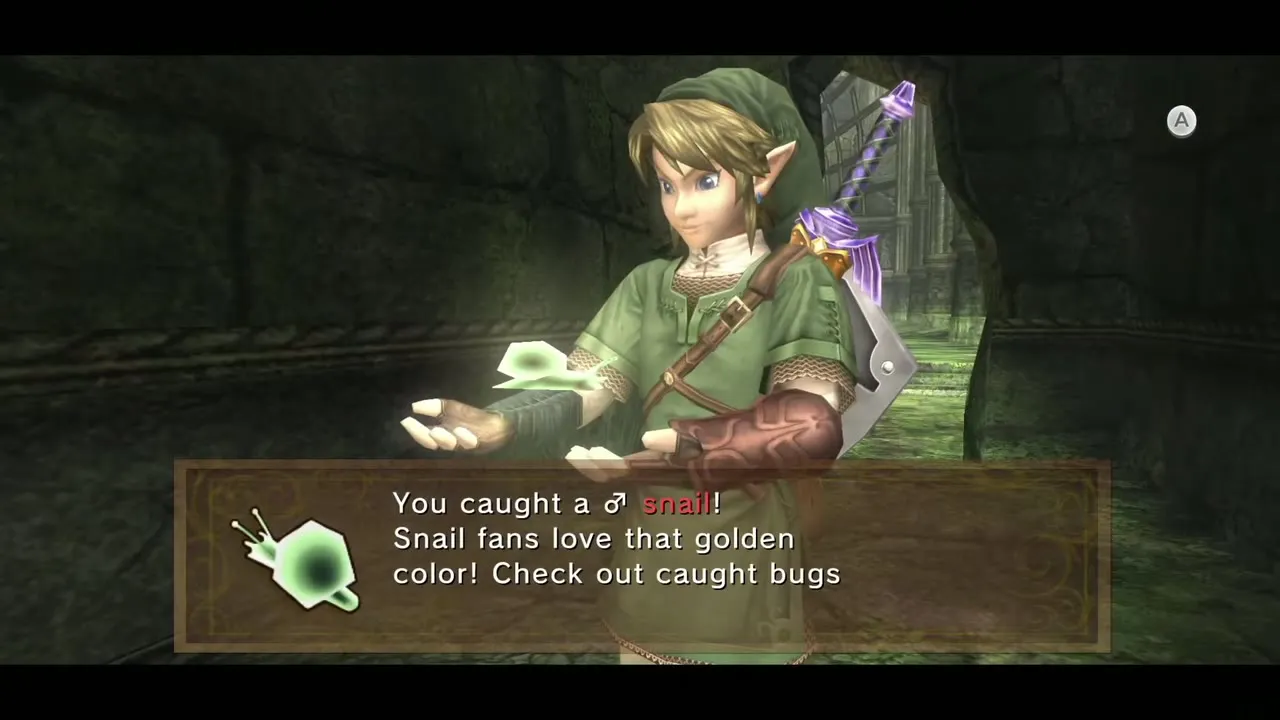
Go back to the guardian room. Of the two openings ahead, take the left, turn around and look up at the ceiling for a glint (as human Link). Pull the bug down with the Gale Boomerang to catch the Male Snail. The Female Snail is nearby but cannot be reached for a long time; it appears in the Temple of Time entrance hall. See Golden Bugs.
A Sacred Grove Poe Soul and Piece of Heart #31
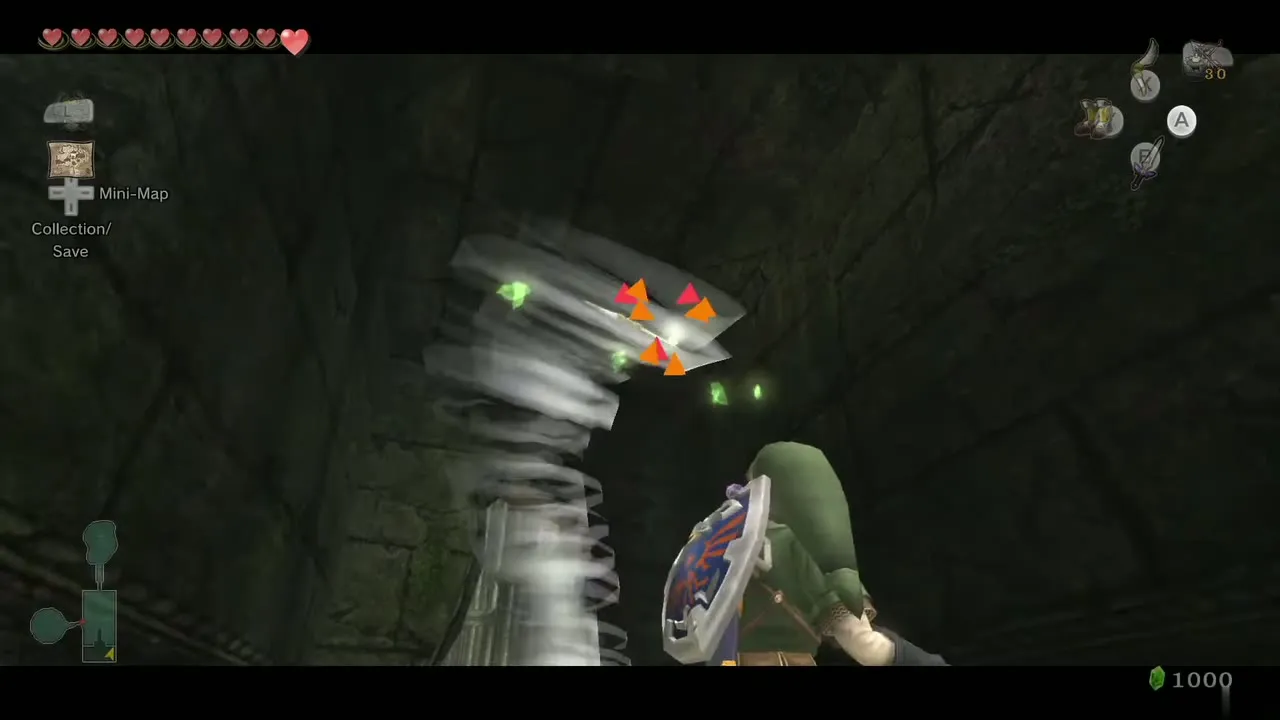
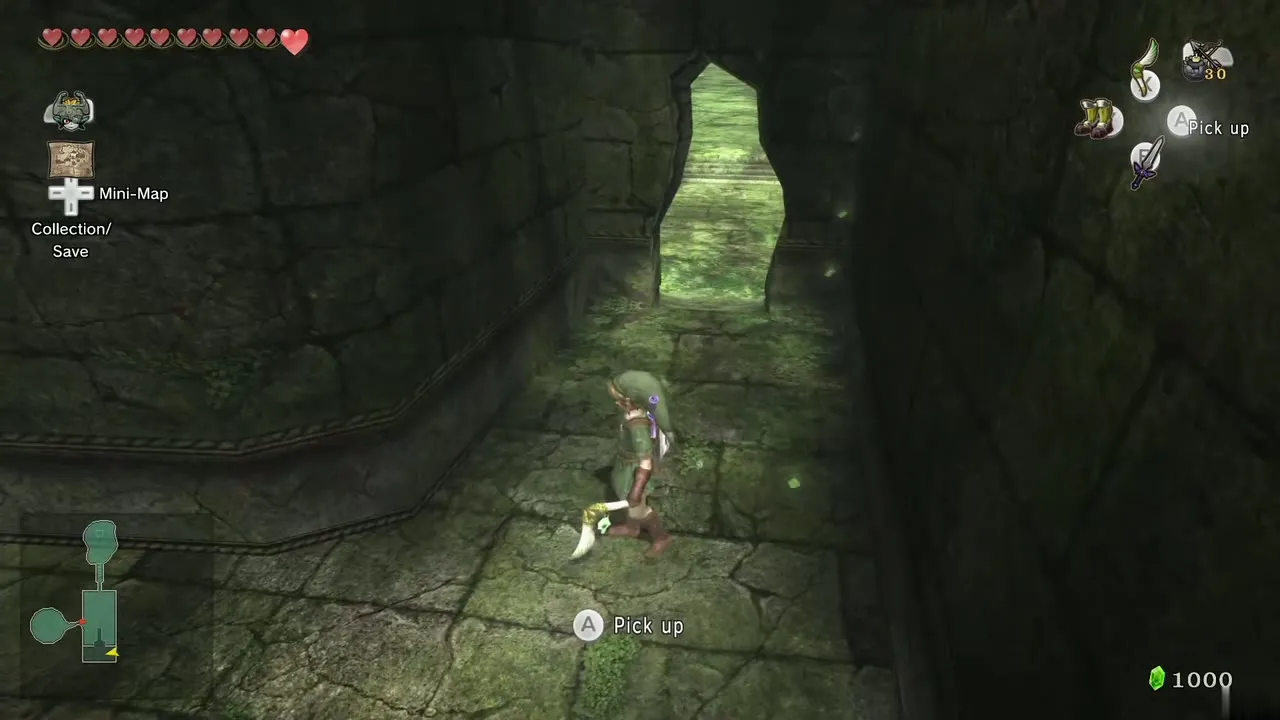
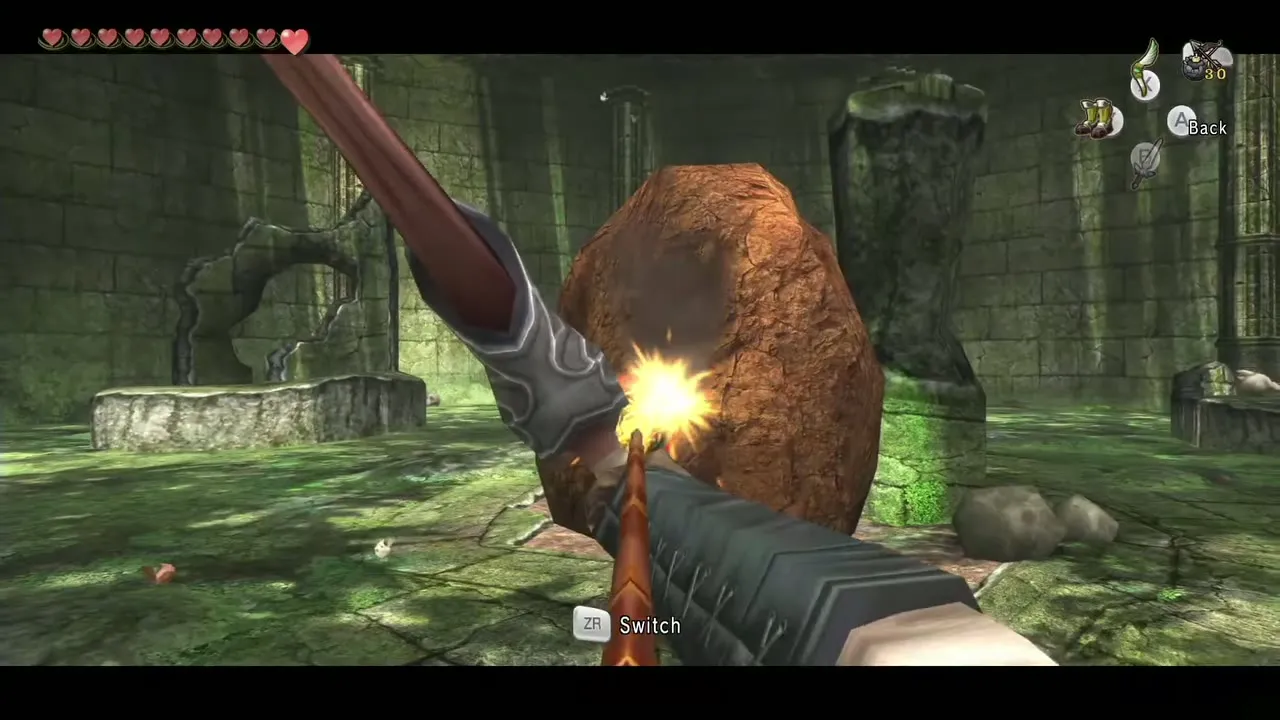
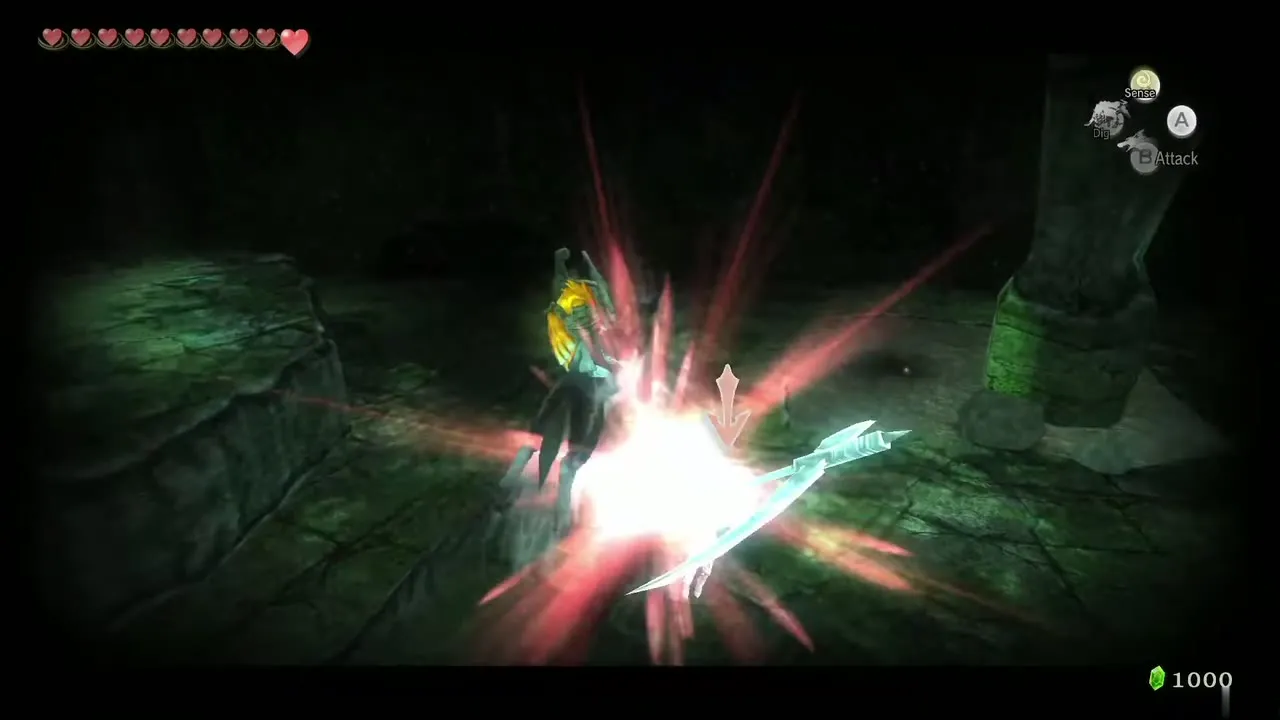
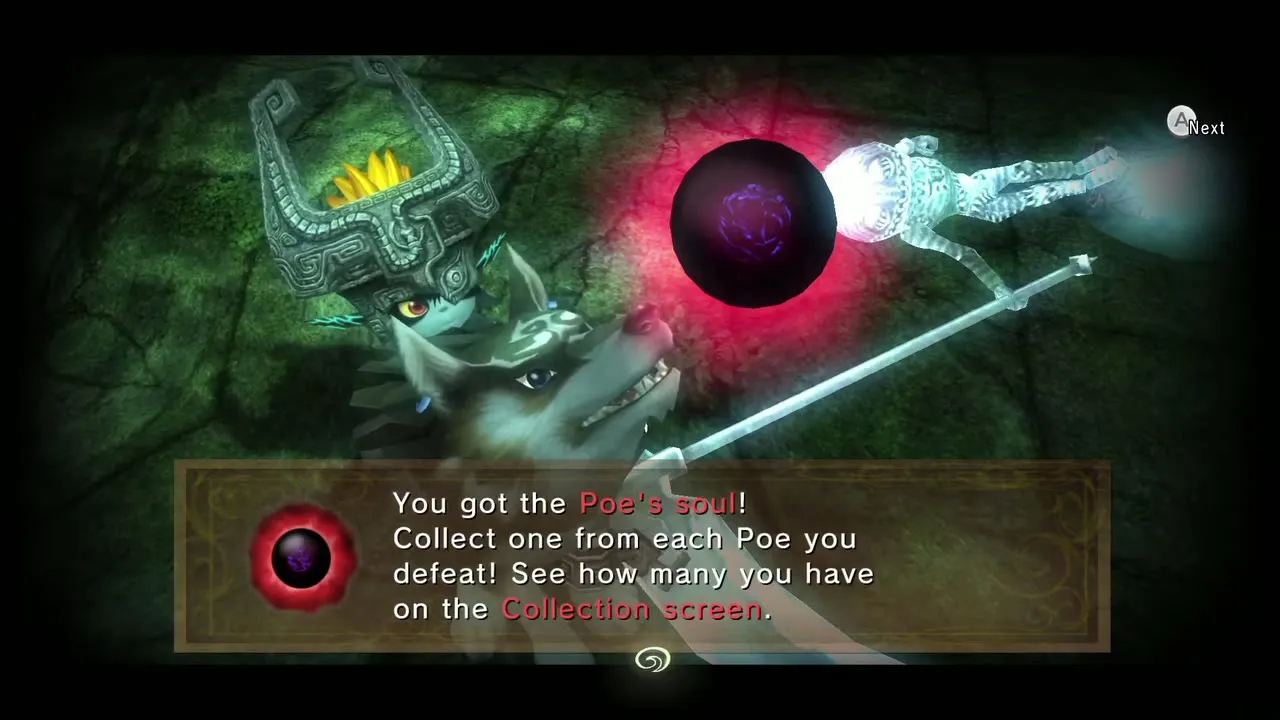
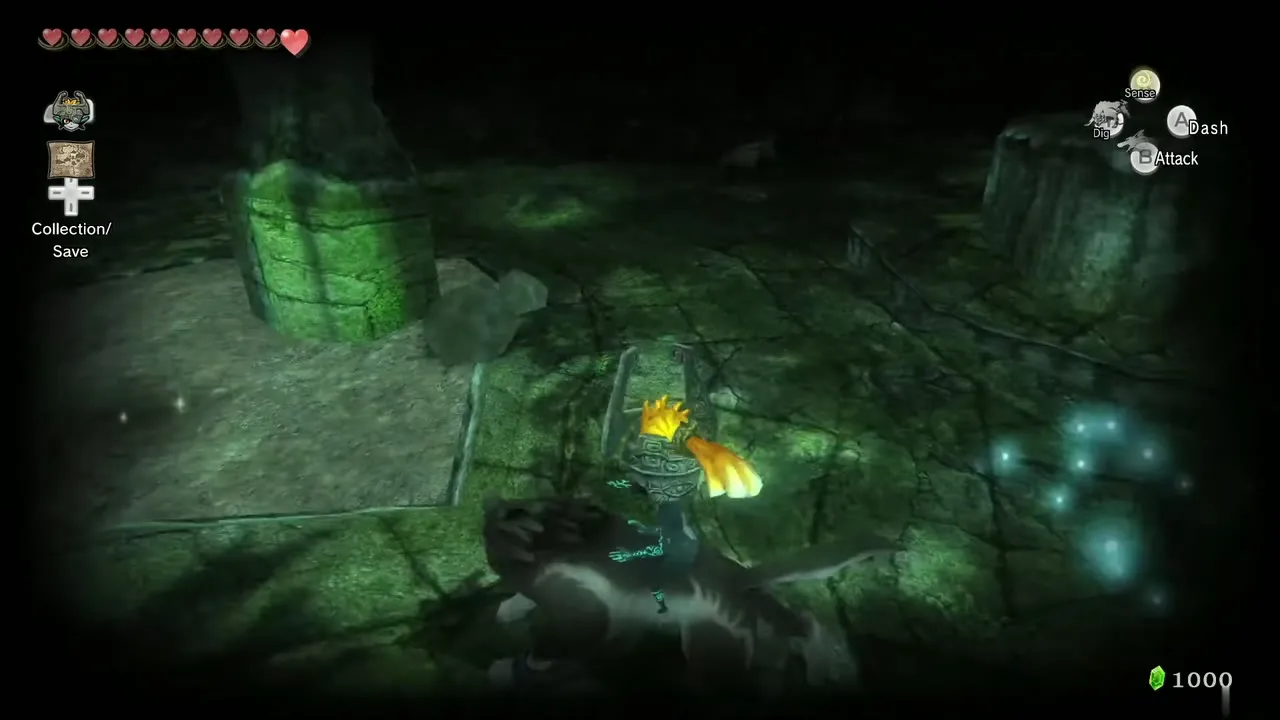
Return to the round arena where you fought Skull Kid and bomb the big boulder in the middle. A Poe appears, and unlike nearly every other outdoor Poe it can be fought in daylight. Become a wolf, use your senses and defeat it for the Poe Soul. Two more Poes live in the Grove but you cannot reach them yet.
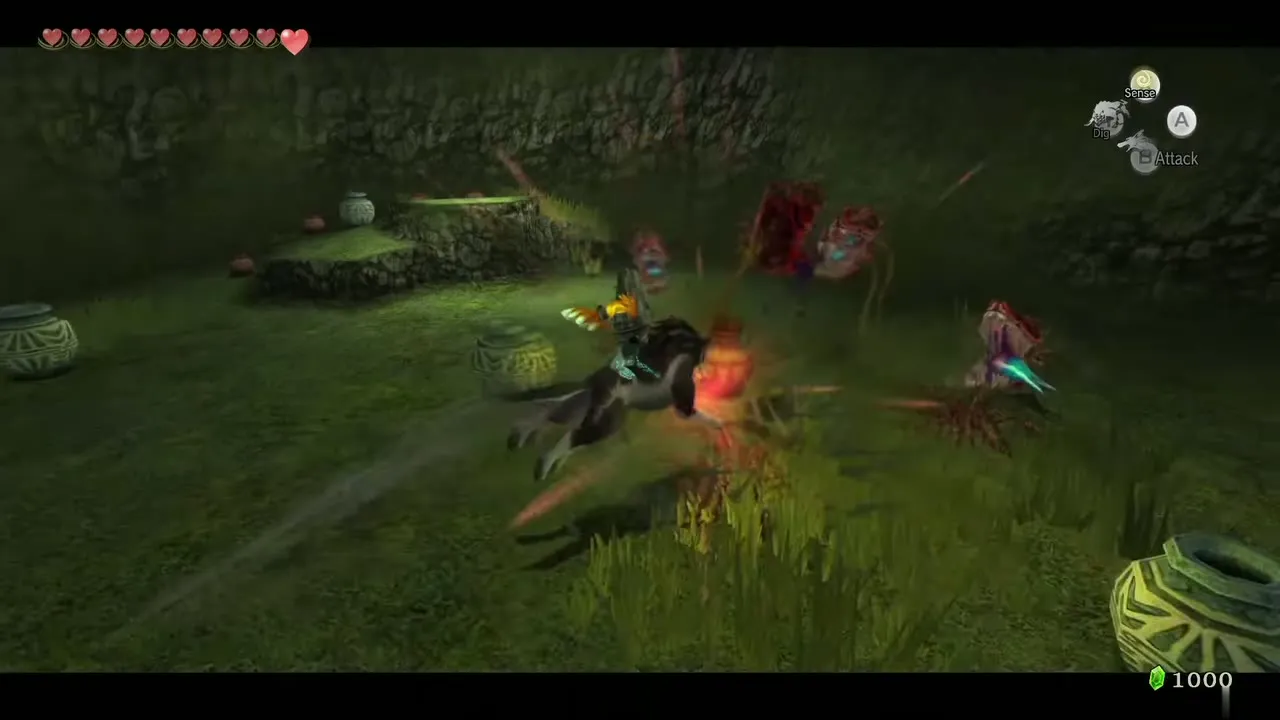
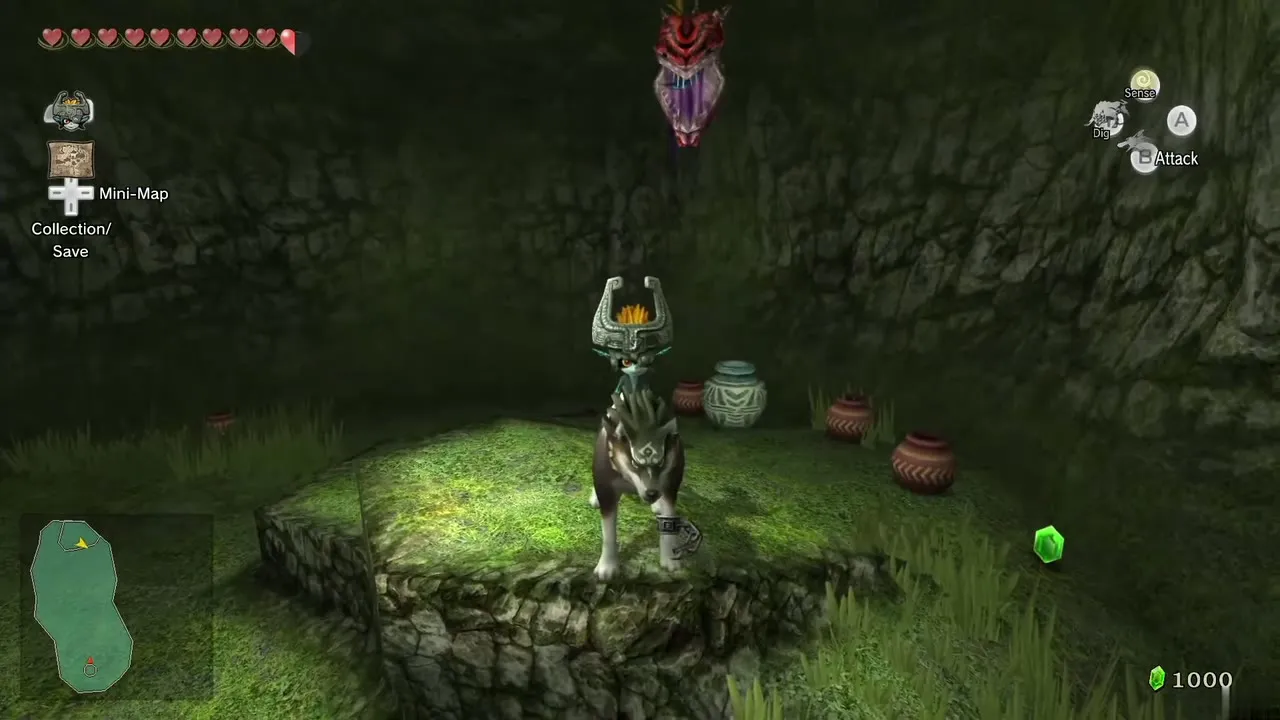
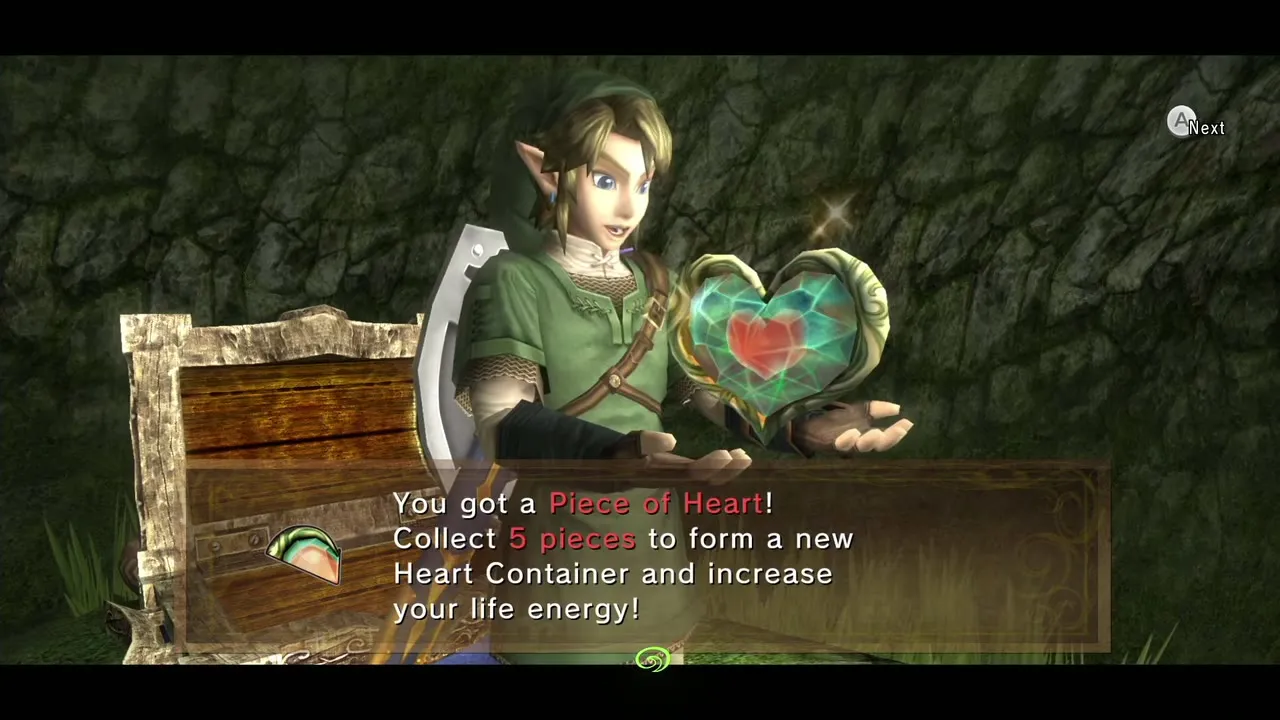
While in wolf form, dig on the soft ground where the boulder was. You enter an underground room full of Deku Babas. Beat them all, including the one hanging from the ceiling (knock it down with the Gale Boomerang). A chest appears with Piece of Heart #31.
Temple of Time door
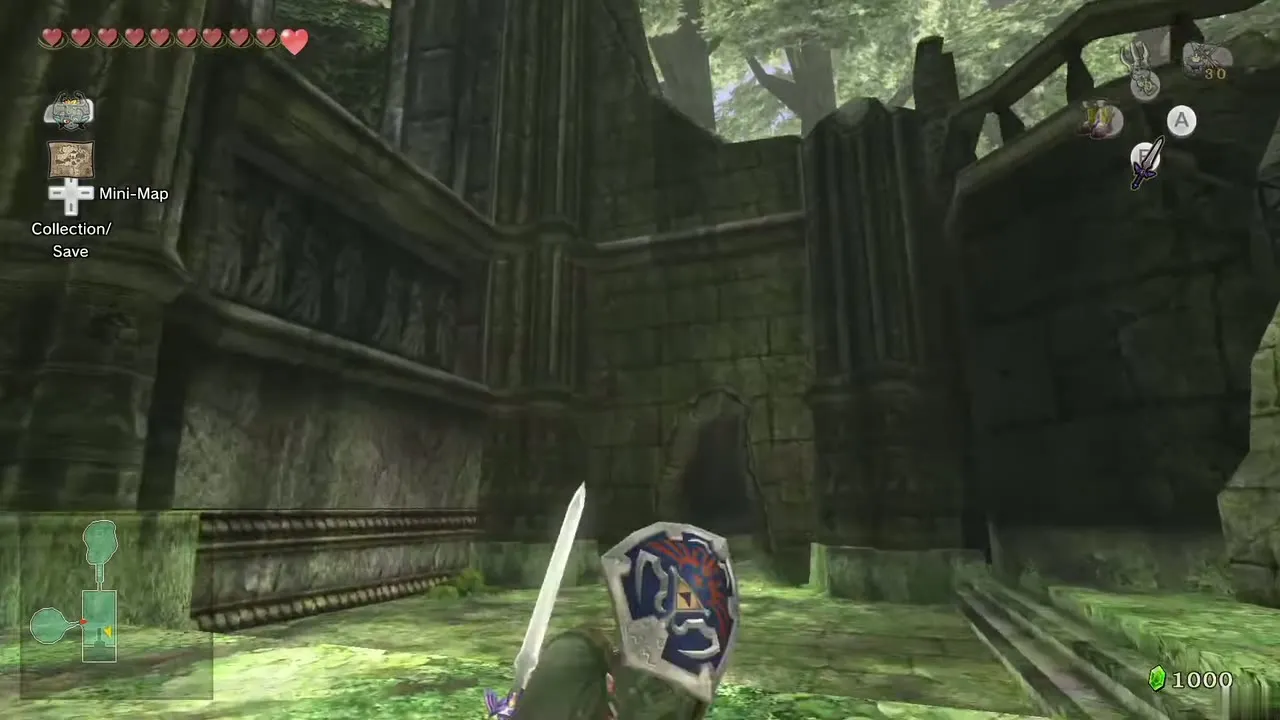
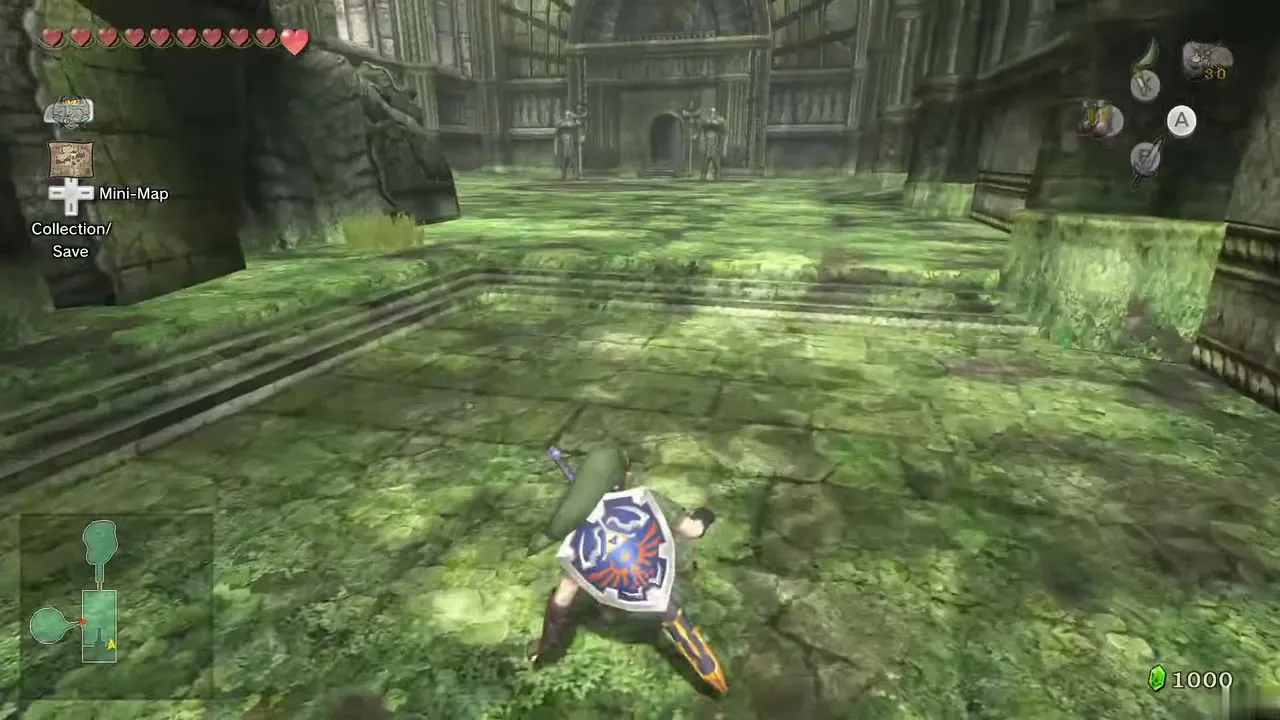
The ruins at the end of the Grove lead to the Temple of Time, but a statue blocks its door and the Master Sword is not ready for it, so leave it. You come back after Snowpeak, in the Sacred Grove return chapter.
Next
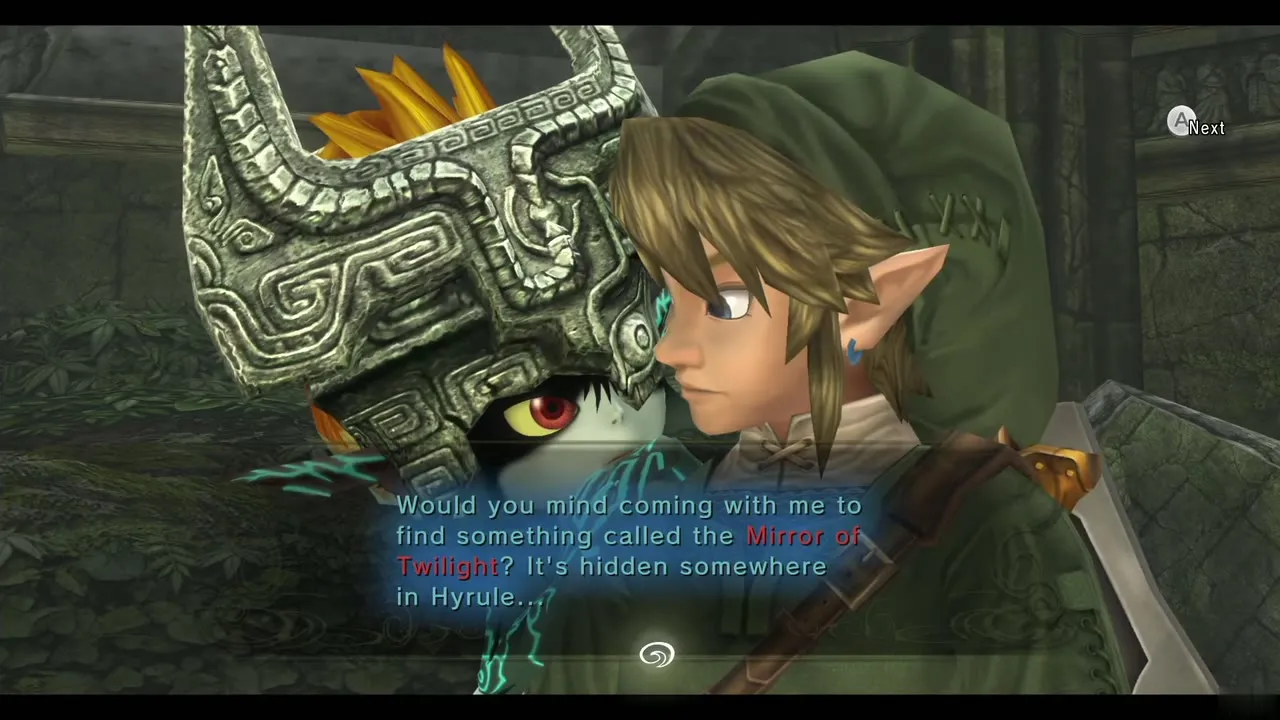
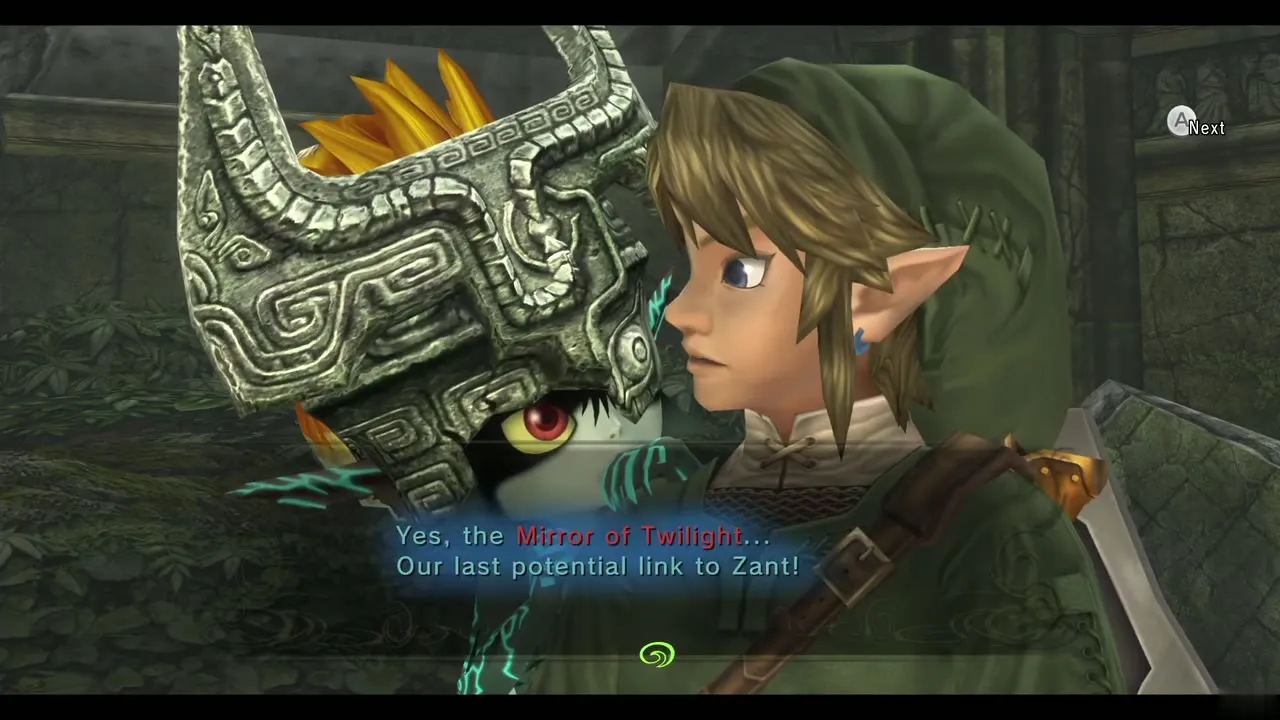
Midna wants the Mirror of Twilight, which is in the Gerudo Desert. Before heading there, spend time collecting the Poe Souls, paying for Malo Mart and gathering Heart Pieces in the Poe and Malo Mart chapter, then continue to the Gerudo Desert.
Chapter checklist
| Type | Name | Where |
|---|---|---|
| Poe Soul | Jovani’s house | First Poe, reached through the Telma’s Bar rafters |
| Poe Soul | Sacred Grove arena | Under the bombable boulder, fightable by day |
| Heart Piece #31 | Sacred Grove cave | Dig beside the boulder spot, beat all Deku Babas, open the chest |
| Golden Bug | Male Snail | Ceiling of the left opening past the guardian room |
| Key item | Master Sword and Shadow Crystal | Pedestal at the end of the Sacred Grove |
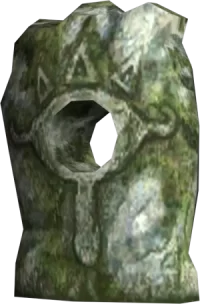 Howling Stone | North Faron Woods stone | After the tightropes; Golden Wolf marker at Castle Town south gate |
