
























Twilight Princess 100% Completion Walkthrough23 chapters
- Hyrule Castle and the Ganondorf BattleEvery key and chest, then how to beat Puppet Zelda, Dark Beast Ganon, the horse chase and the final duel.
- Snowpeak Ruins (Dungeon 5)Every key, chest, Heart Piece and Poe Soul, the Ball and Chain, Darkhammer and the Blizzeta boss fight.
- Temple of Time (Dungeon 6)All keys and chests, the Dominion Rod, statue puzzles, Big Key, two Heart Pieces and Armogohma.
- City in the Sky (Dungeon 7)Every chest, Heart Piece and Poe, the Double Clawshots, Aeralfos, the Big Key and how to beat Argorok.
- Ordon VillageGoat herding, fishing rod, Sera’s bottle, slingshot, Wooden Sword, Faron Woods cave Heart Piece, Lantern.
- Enter the Twilight RealmEscape the cell as Wolf Link, meet Midna and Zelda, get the Ordon Sword and Shield, meet Ordona.
- Faron WoodsAll 12 Tears of Light, Faron Spring, Coro’s key and lantern oil bottle, and the Golden Wolf’s Ending Blow.
- Forest Temple (Dungeon 1)All 8 monkeys, 4 small keys, Map, Compass, Big Key, 2 Heart Pieces, Ook, Gale Boomerang and Diababa.
- Hyrule Field, Kakariko Gorge and Twilight Kakariko12 Tears of Light, Epona, Pill Bugs, Heart Pieces.
- Iron Boots, King Bulblin and Death MountainIron Boots from Mayor Bo, the King Bulblin bridge fight, Golden Bugs and Gor Coron’s sumo match.
- Goron Mines (Dungeon 2)Every chest, both Heart Pieces, the Hero’s Bow, three Key Shards, Dangoro and Fyrus boss tactics.
- Lanayru Province, Castle Town and Zora’s DomainKakariko extras, Bridge of Eldin bugs, Castle Town, Lake Hylia, thawing Zora’s Domain and all 12 Tears of Light.
- Telma Escort, Castle Town and Lake Hylia Side QuestsTelma escort, Zora Armor, Water Bombs, 9 Golden Bugs, Agitha, Charlo, fishing, Rapid Ride and the Lakebed entrance.
- Lakebed Temple (Dungeon 3)Small keys, map, compass, Big Key, two Heart Pieces, Clawshot, Deku Toad and Morpheel boss tactics.
- Midna, Zelda and the Master SwordTelma’s Bar to Zelda, the Sacred Grove, Skull Kid, the guardian puzzle, plus its Heart Piece, Poe and Golden Bug.
- Poe Soul Collection, Malo Mart and Heart PiecesThe first 29 Poe Souls, Jovani’s rewards, Malo Mart donations and Magic Armor, Miiverse stamps and five Heart Pieces.
- Gerudo Desert and the Bulblin CampOasis Flight, eight Poe Souls, both Dayflies, Mortal Draw, Bulblin Camp and King Bulblin.
- Arbiter’s Grounds (Dungeon 4)Four Poe Souls, Dungeon Map, Compass, Spinner, Big Key, two Heart Pieces and the Stallord boss fight.
- Mirror Chamber, Reekfish and Snowpeak MountainMirror Chamber, Spinner Heart Pieces, Reekfish bait, Jump Strike, Poe Souls and the climb to Yeto.
- Heart Pieces Hunt and Return to the Sacred GroveTwo Heart Pieces, Rusl, the Skull Kid rematch, the last Golden Bug and the Temple of Time door.
- Ilia’s Memory, Hidden Village and the SkyIlia’s memory, 20 Bulblins, 20 cats, six Sky characters, Great Spin and the Sky Cannon repair.
- Palace of Twilight (Dungeon 8)Both Sols, all seven small keys, map, compass, Big Key, 2 Heart Pieces and how to beat Zant.
- Cave of OrdealsAll 50 floors, the 3 Poe Souls, every Great Fairy, buried items, the Tears and Jovani.
| Covers | Double Clawshots side trips (Giant Quiver, a stamp chest, the Kakariko Gorge Heart Piece), the Mirror Chamber, the Palace of Twilight and the Zant fight |
|---|---|
| Dungeon | Palace of Twilight (Dungeon 8): bring the Double Clawshots, bow, Gale Boomerang, Iron Boots, Zora Armor and Ball and Chain; boss Usurper King Zant; the Sols and the Master Sword‘s light power take the place of a new dungeon item |
| Rewards |  Giant Quiver (100 arrows), 3 Heart Pieces (#9 in Kakariko Gorge, #44 and #45 in the Palace), Dungeon Map, Compass, Big Key, 7 small keys, Heart Container, the Master Sword’s light power |
This chapter collects the rewards the Double Clawshots unlock outside a dungeon, then takes you through the Palace of Twilight and the fight with Zant. The route is: upgrade your quiver in Castle Town, take the stamp chest and the Heart Piece the new Clawshots reach, warp to the Mirror Chamber, carry the first Sol through the west wing and the second Sol through the east wing, light up the Master Sword, claim the Big Key in the central wing and finish Zant in six phases. Directions use the Normal Mode layout. Hero Mode mirrors the world, so swap left and right and east and west.
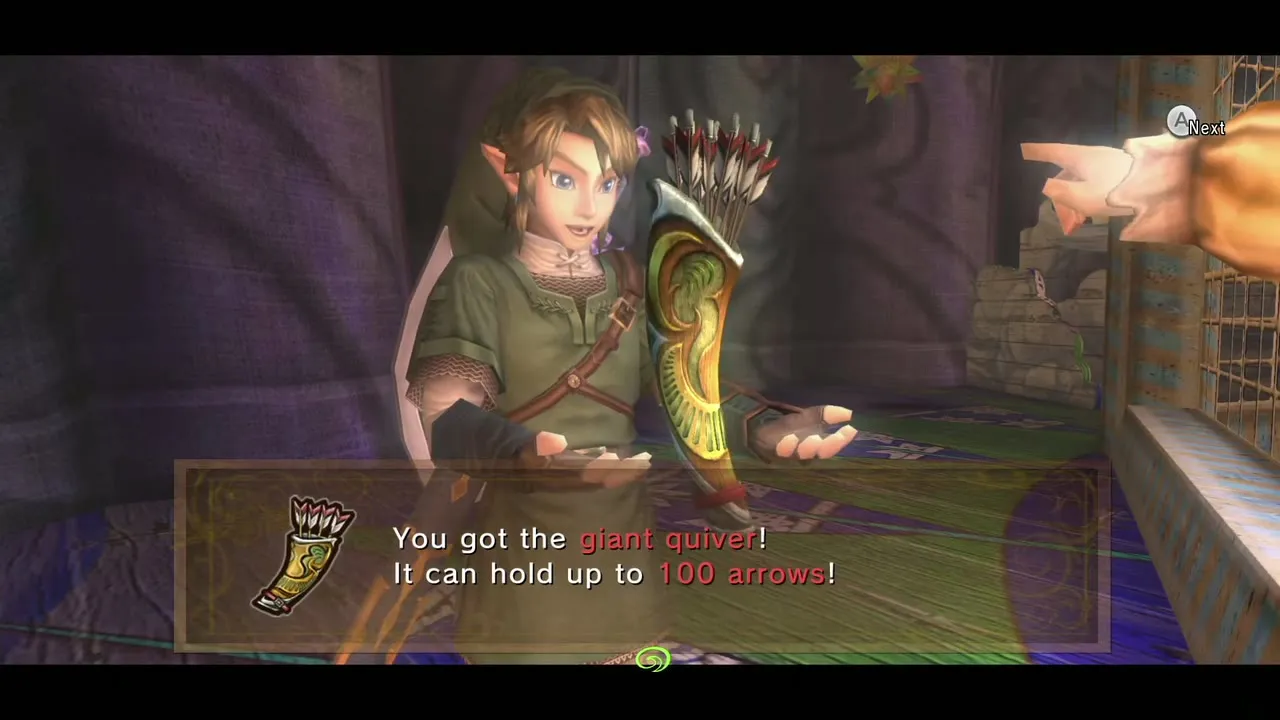
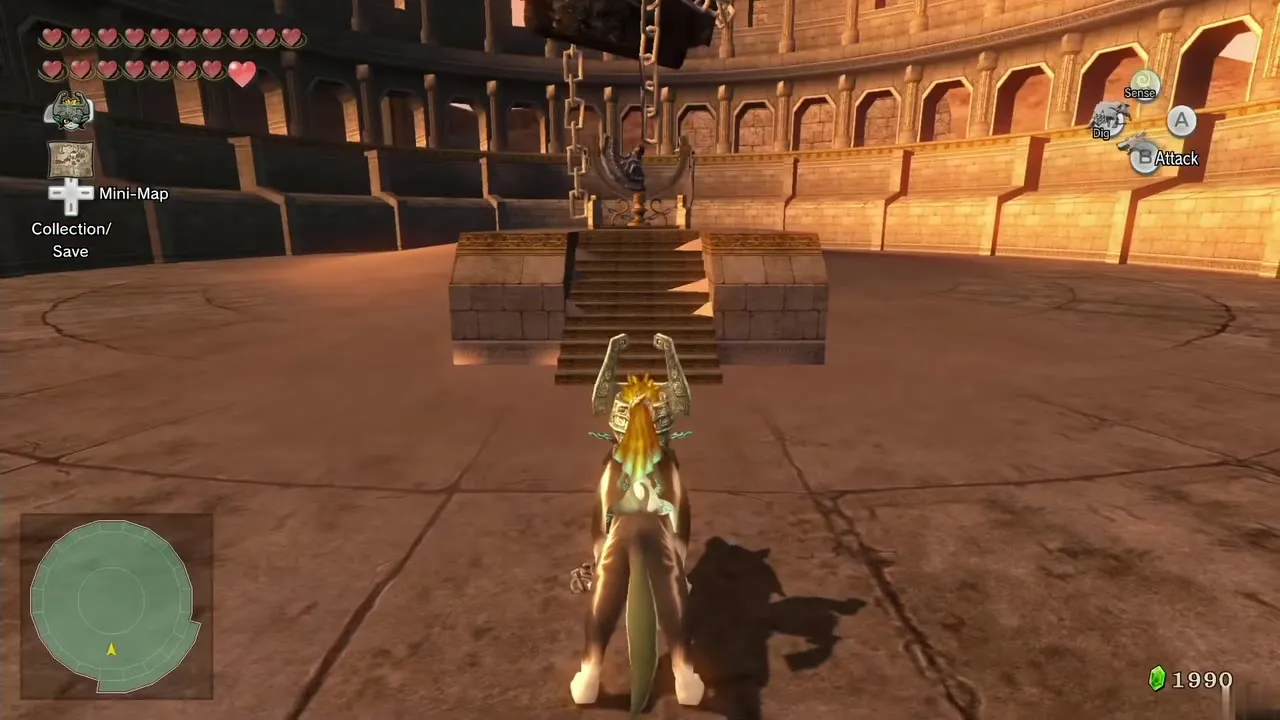
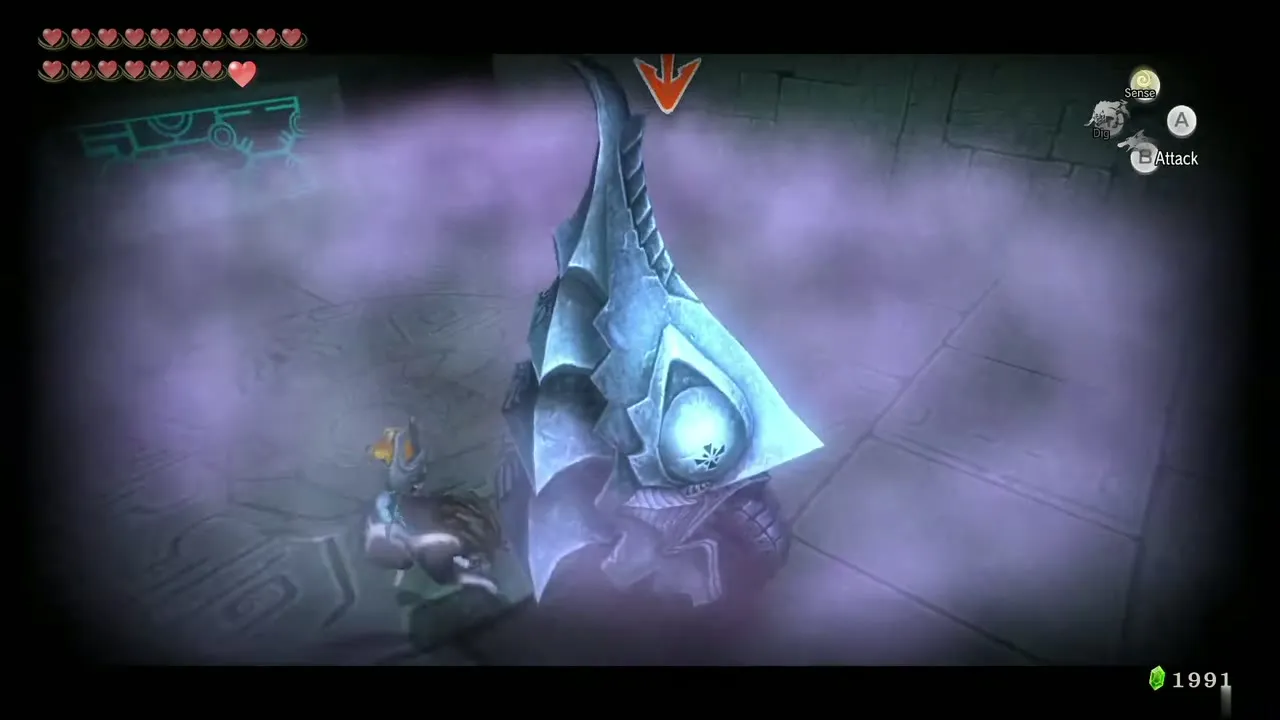
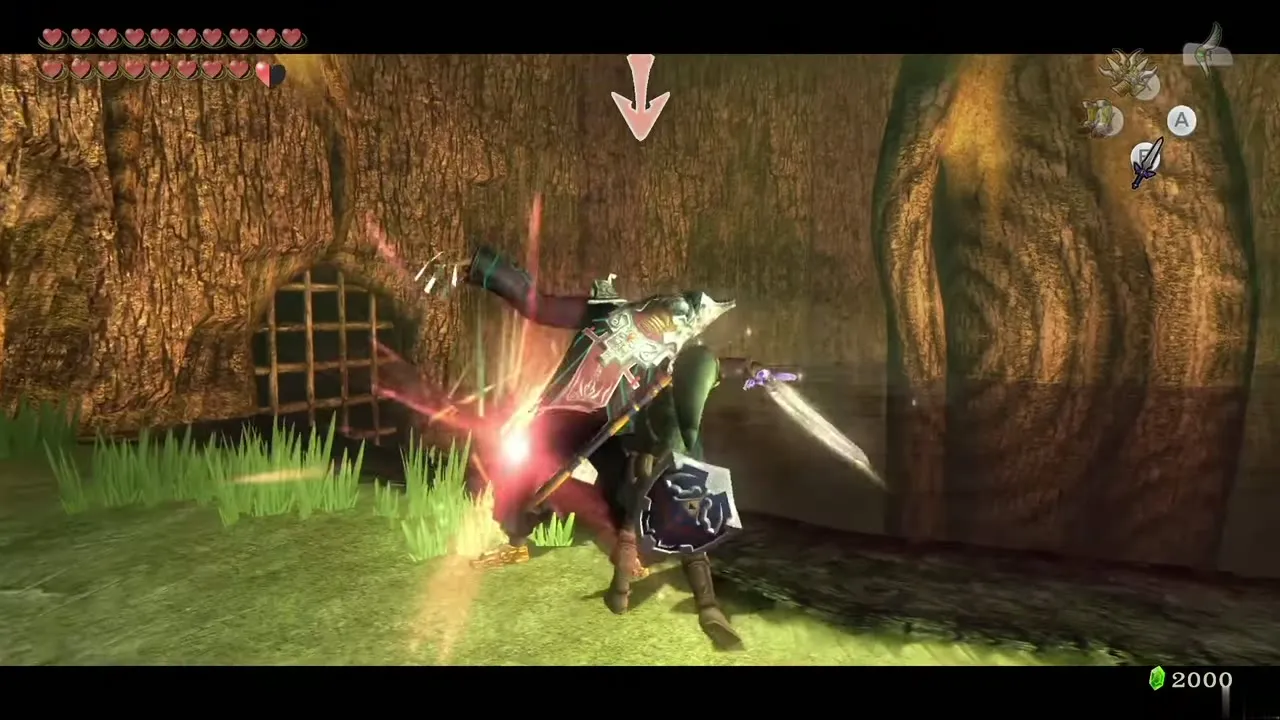
Table of Contents
Double Clawshots Goodies Before the Palace
All three rewards here are quick, and you should take them before you enter the Mirror of Twilight, because the Palace has no exit to the overworld until Zant falls.
Giant Quiver from the STAR Game
Back at Lake Hylia, climb out of the water and warp to Castle Town. At the gate the postman hands you letters, one from Purlo, who runs the STAR Game. Go down the west road to the STAR Game tent. With two Clawshots there is a second, harder game: pay the 15 Rupee entry fee and climb into the cage. Grab the stars on the lowest rails first and work upward. Collect every star within 90 seconds and Purlo hands over the Giant Quiver, which raises your arrow limit to 100. A failed attempt costs only the fee, so retry until you win. Quiver and wallet sizes are on the equipment upgrades page.
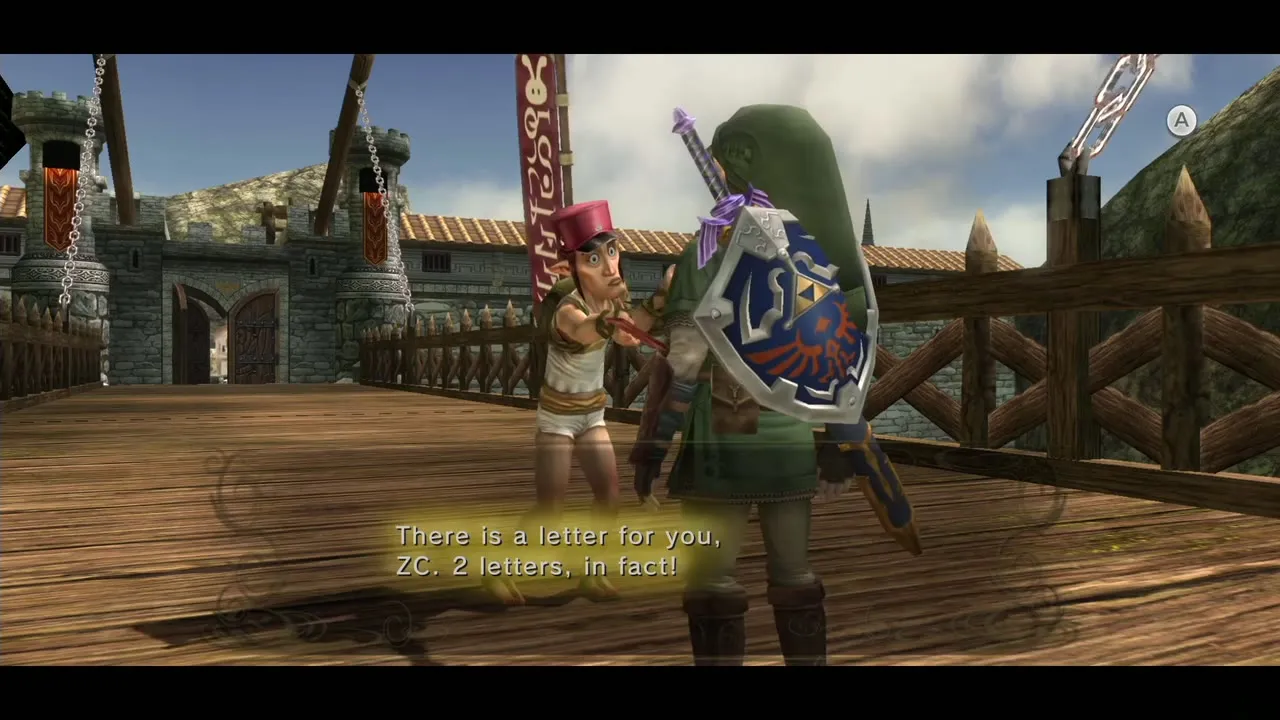
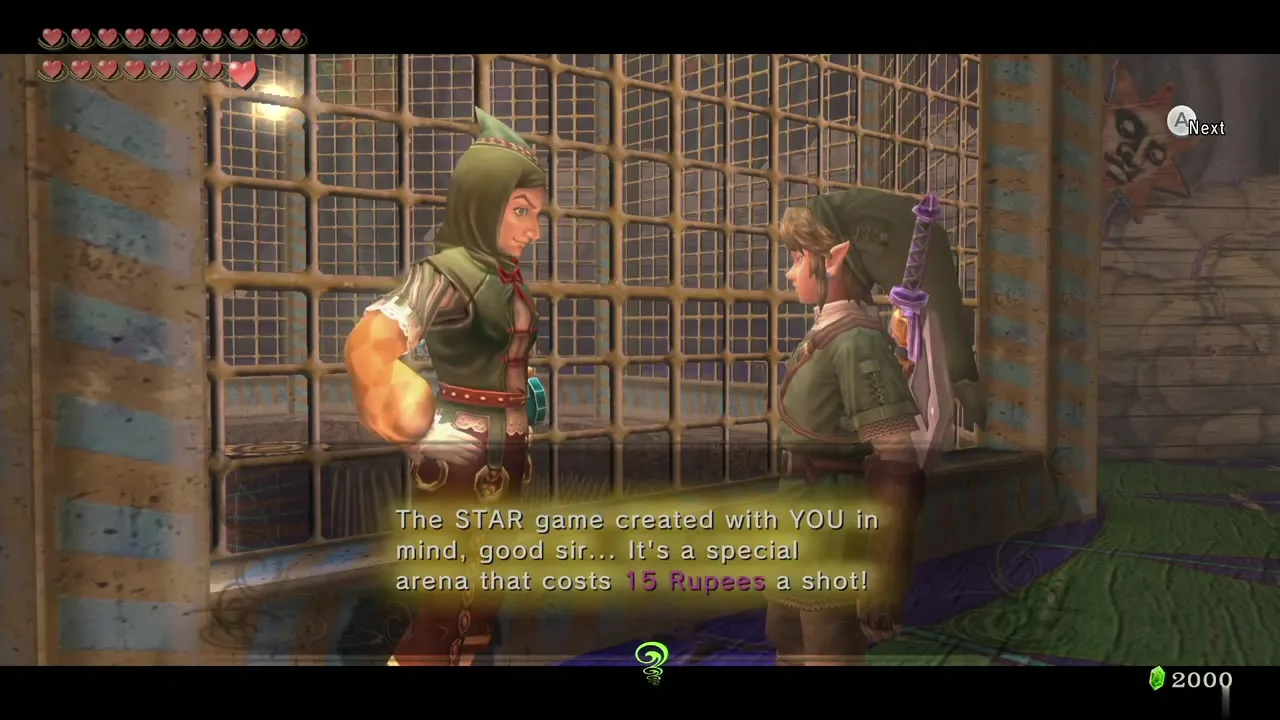
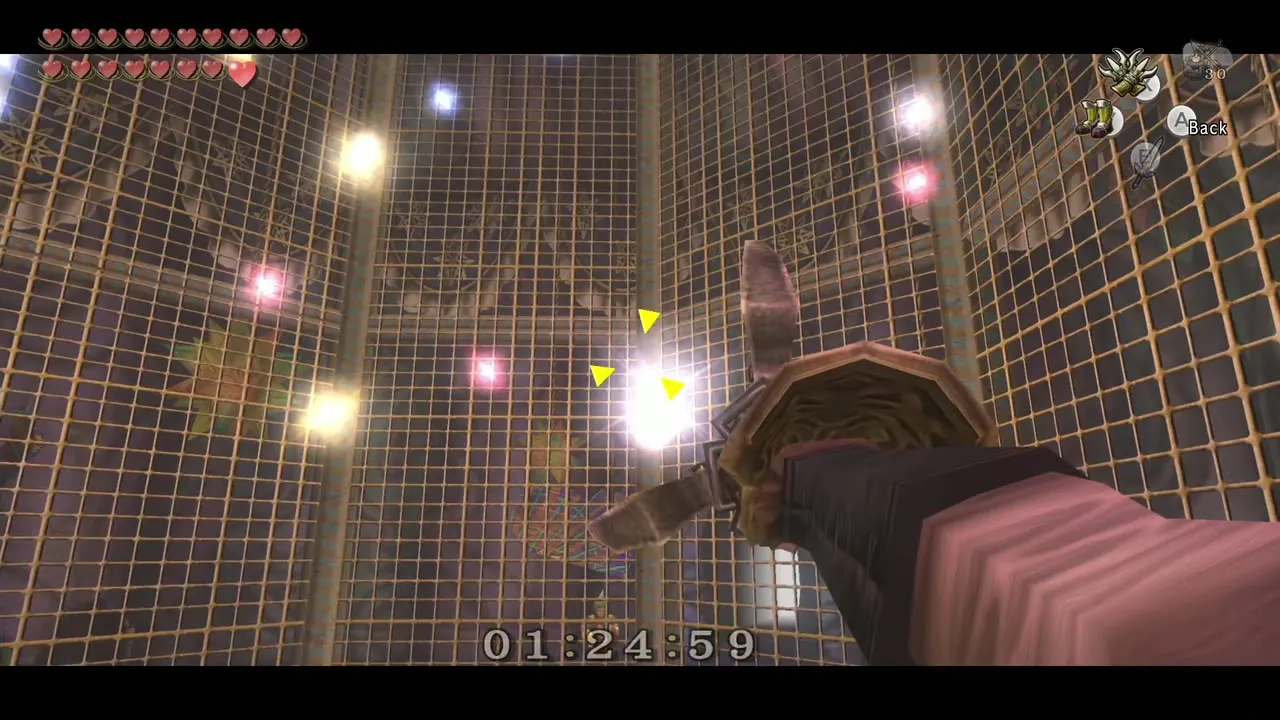
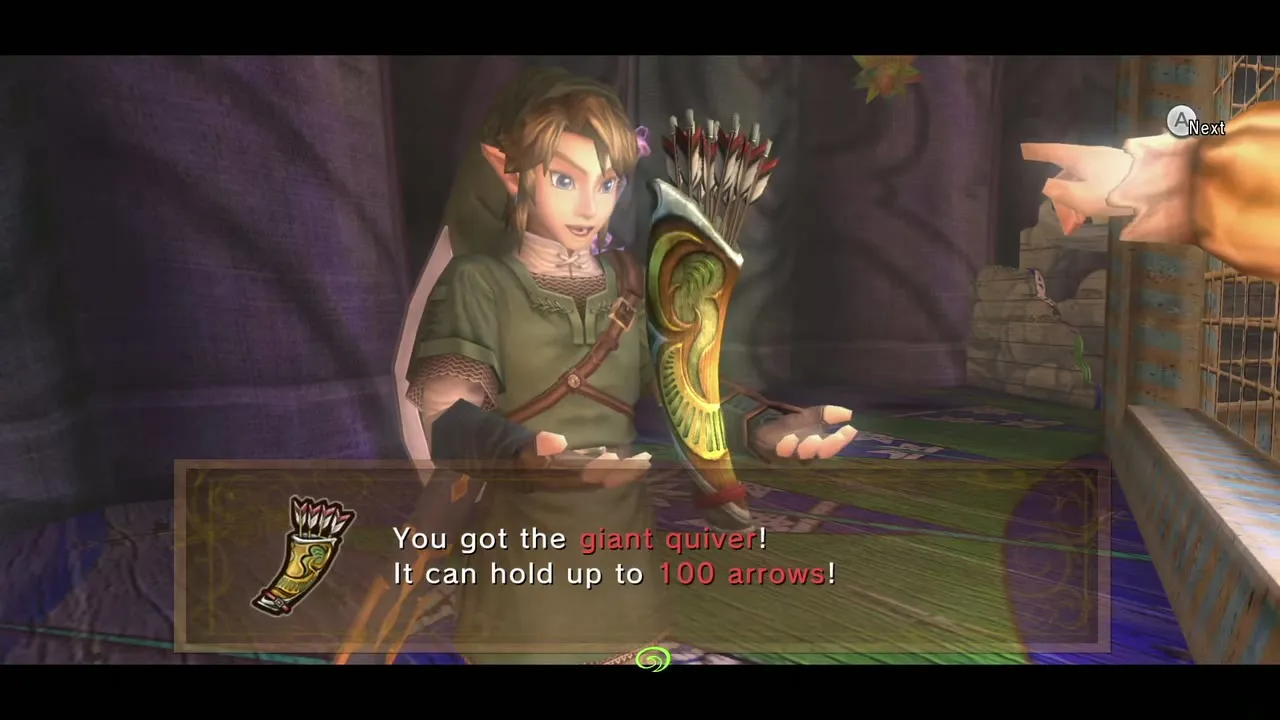
The hole south of Castle Town
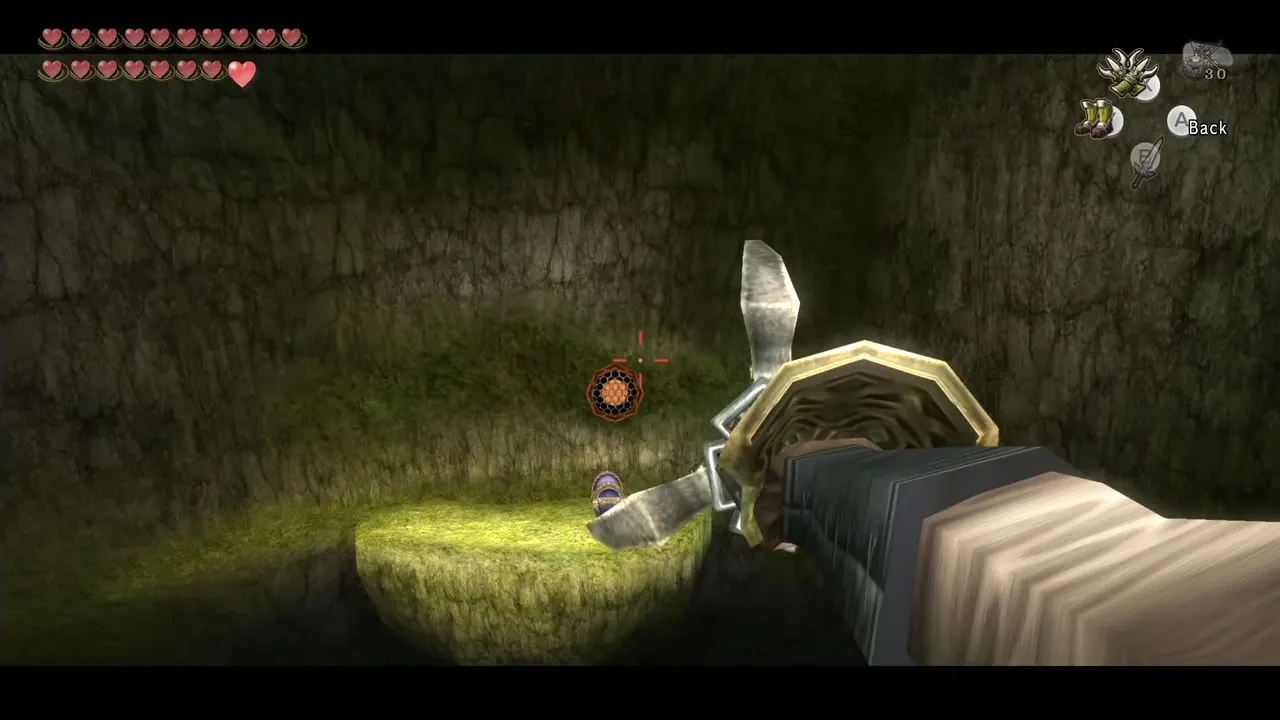
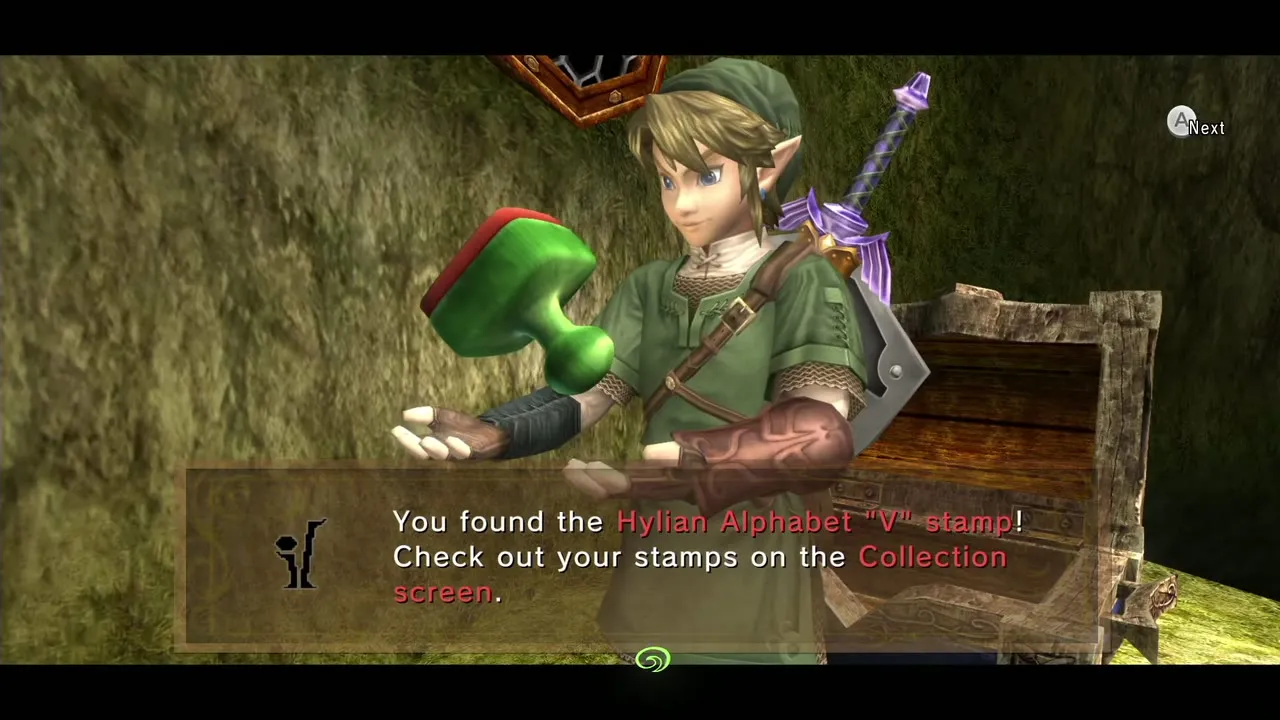
Leave Castle Town to the south, walk down all three flights of stairs and head west. The large hole in the ground there could not be crossed before. On its far west side is a Clawshot target; hook it and keep dropping down the hole from target to target until you reach a chest holding the Hylian letter V Miiverse stamp (an Orange Rupee, 100 Rupees, on the stamp list).
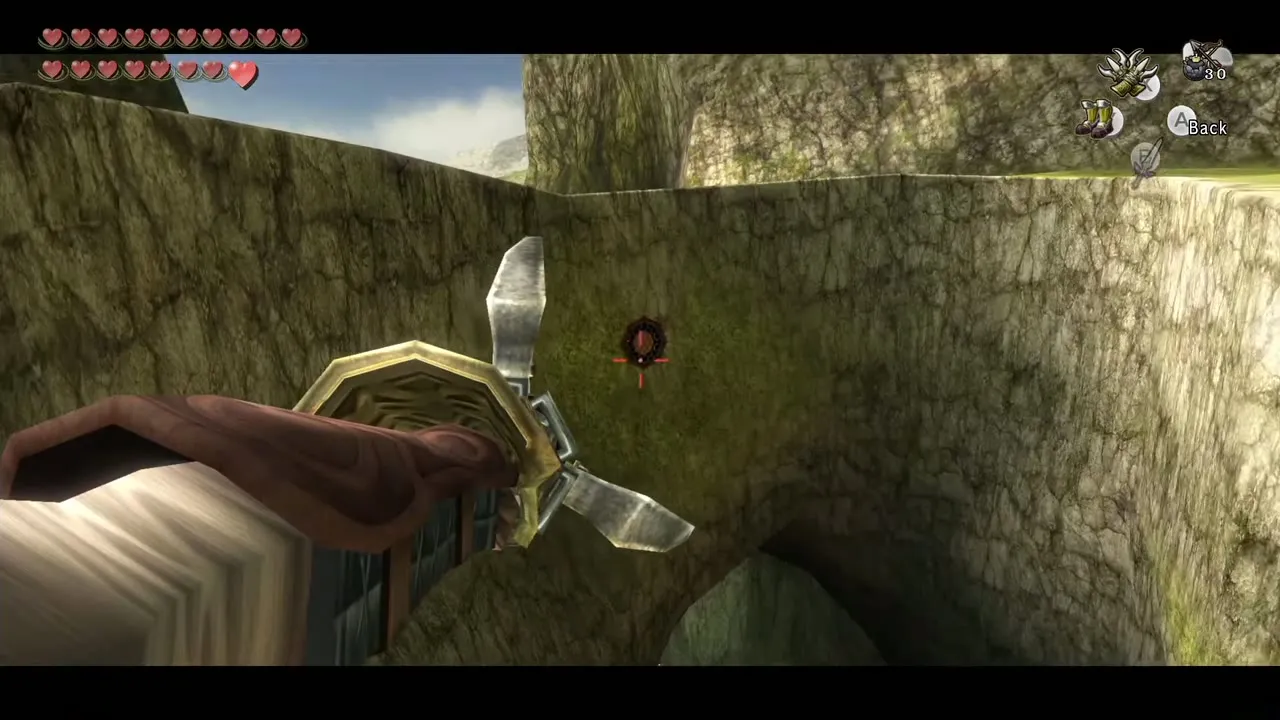
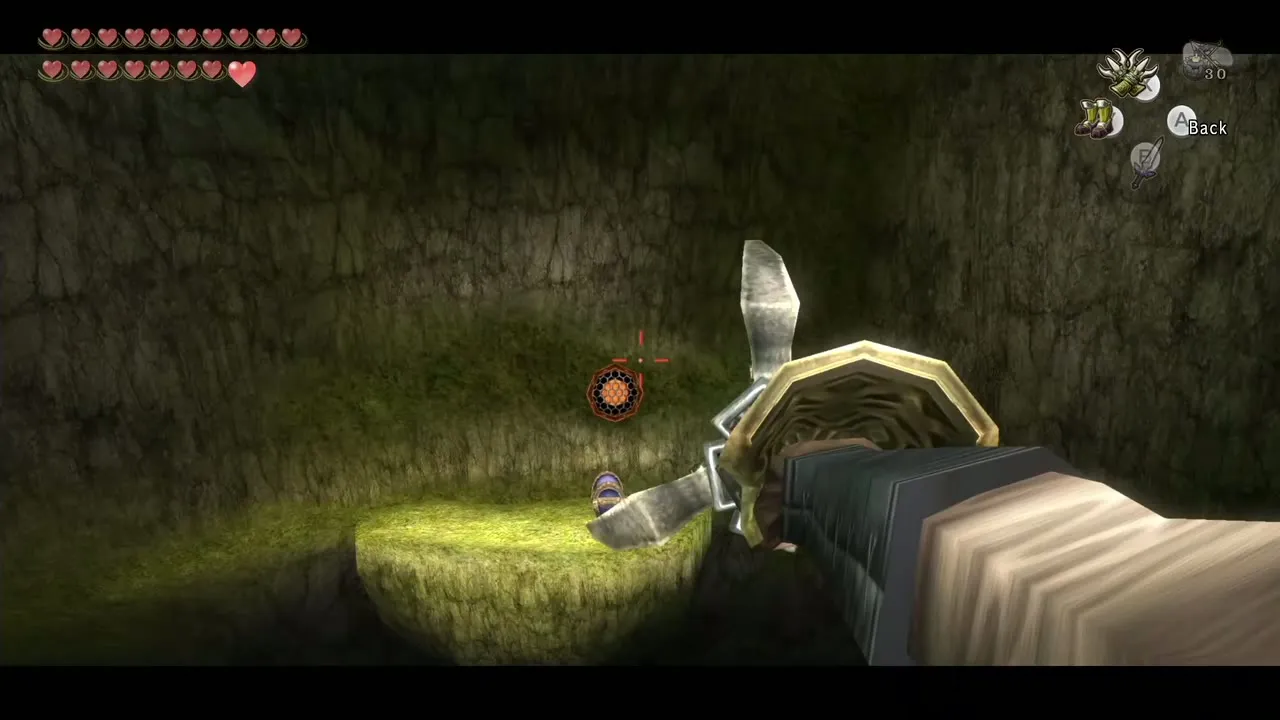
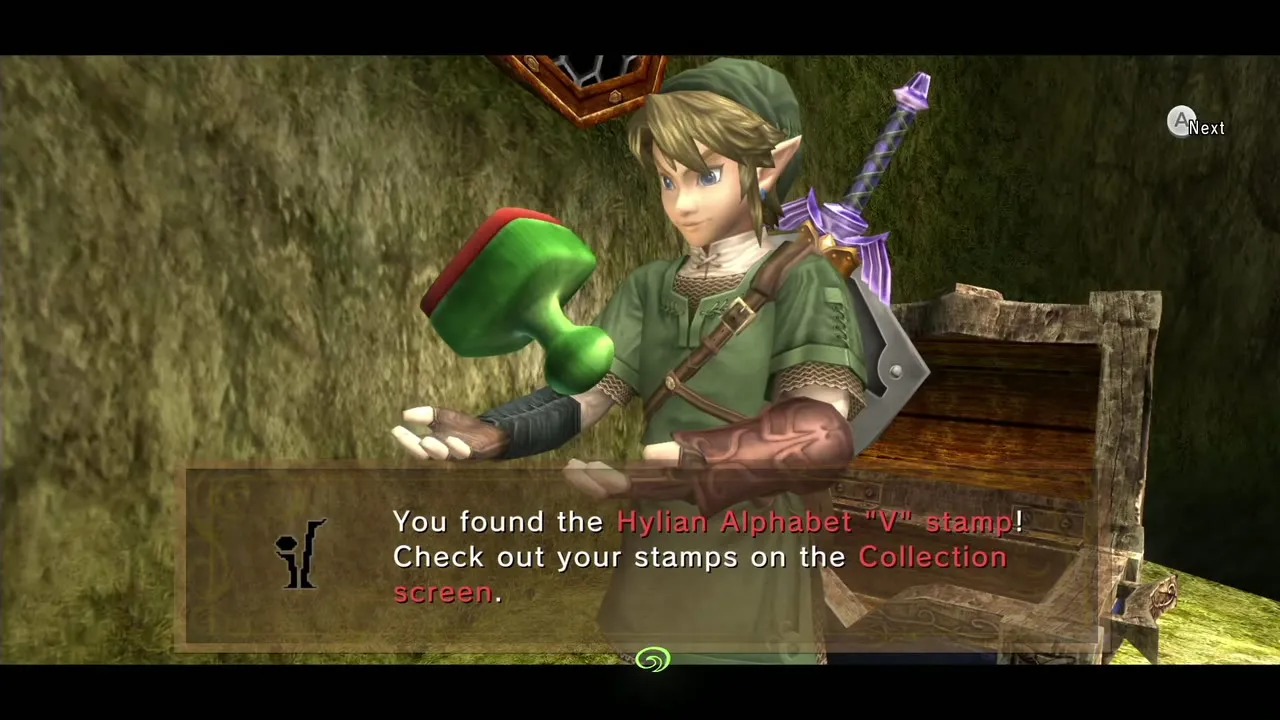
Kakariko Gorge Heart Piece (Double Clawshots)
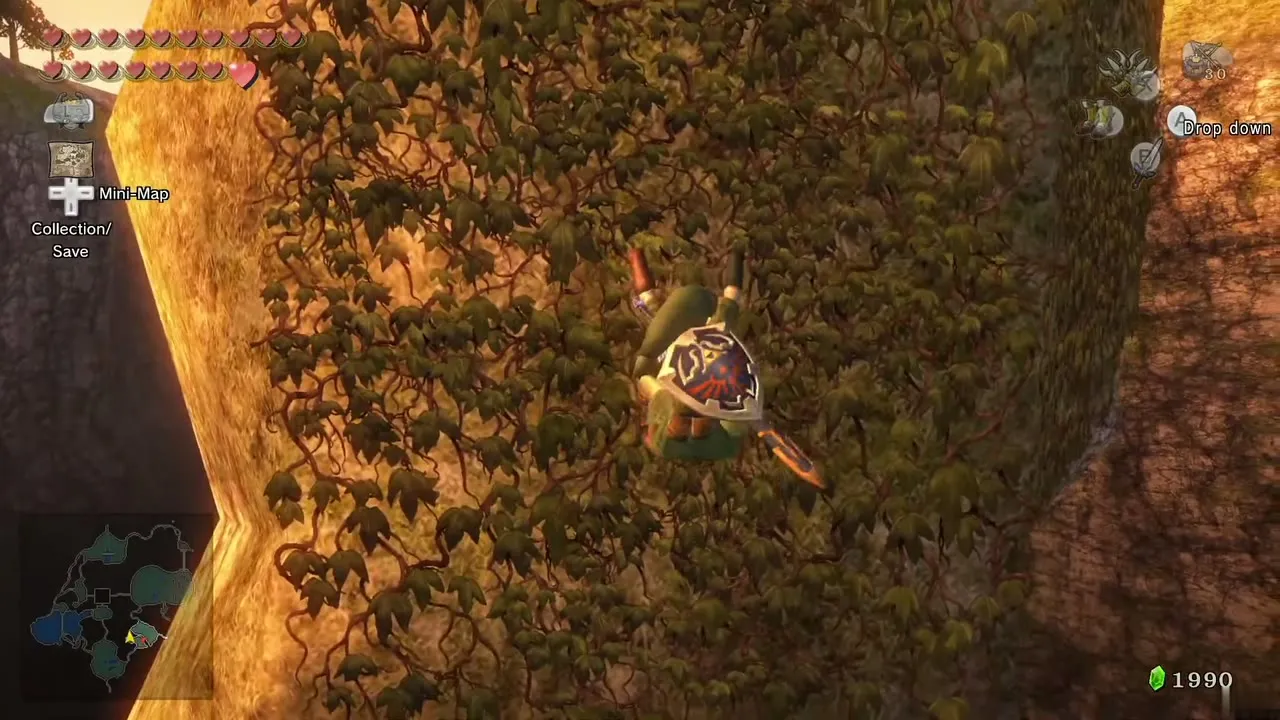
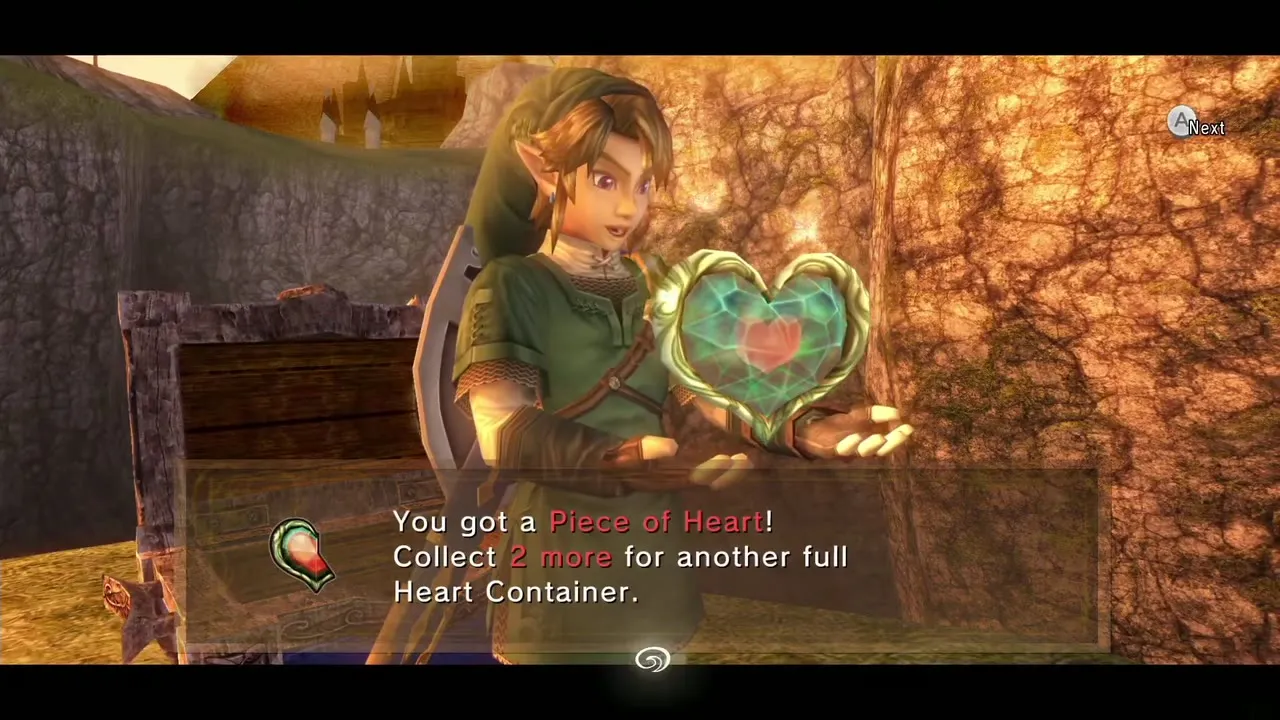
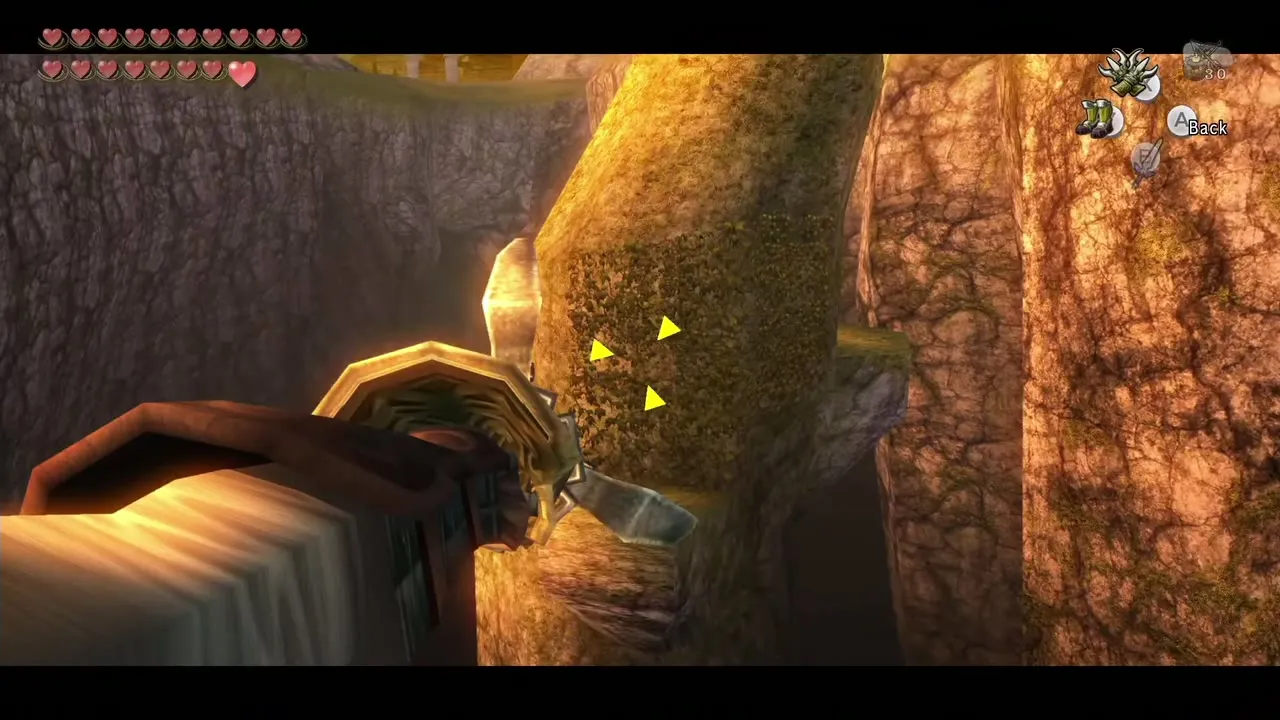
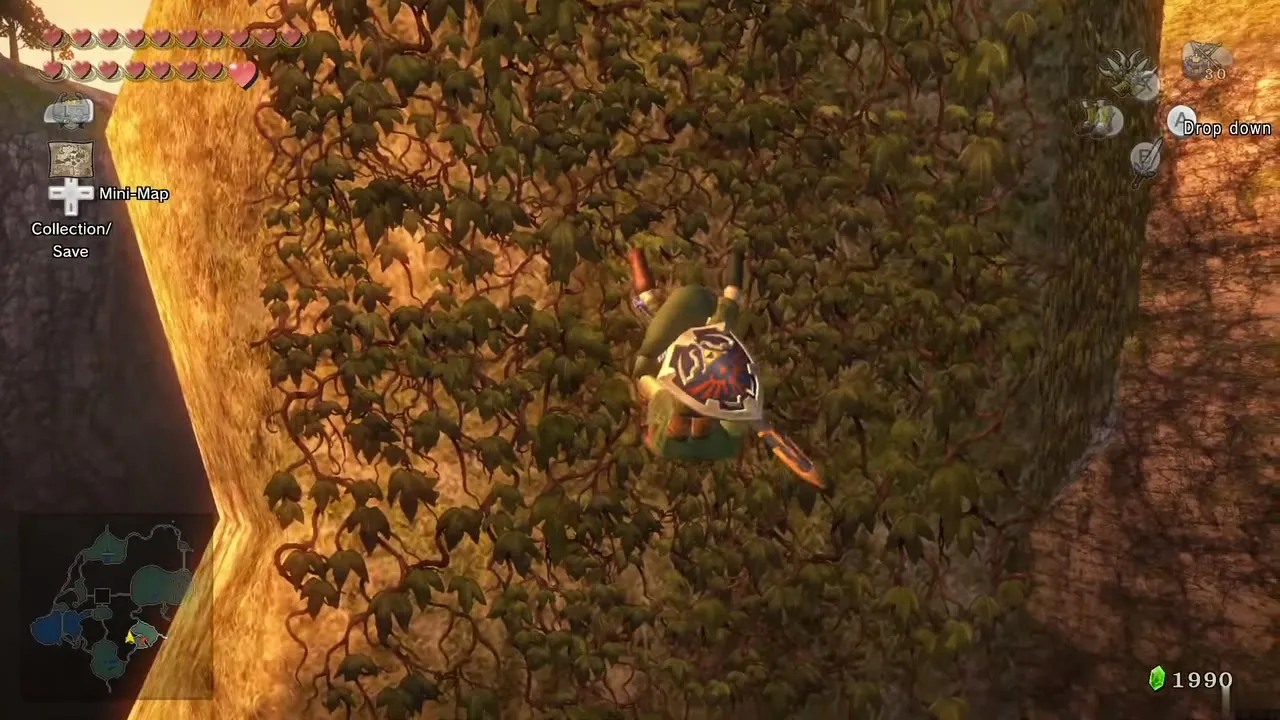
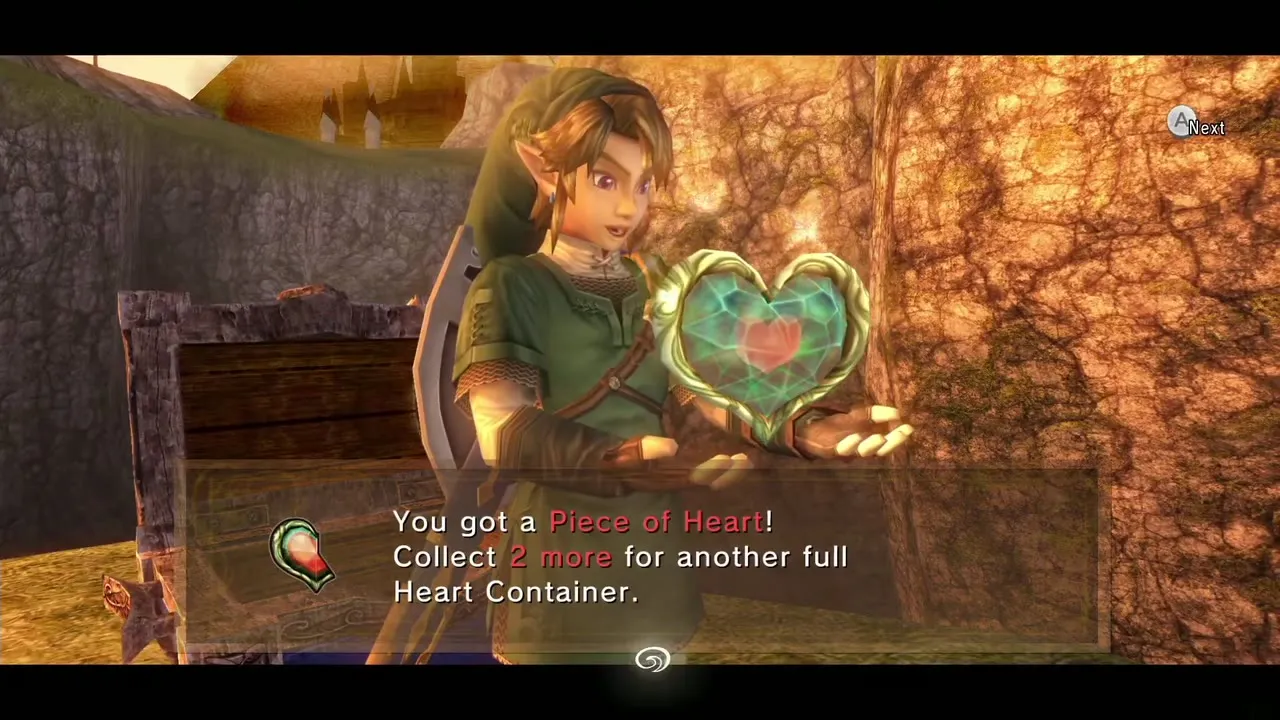
Call Midna and warp to Kakariko Gorge. Walk to the northwest part of the gorge and look at the tall rock pillars, the same formation whose summit held a Heart Piece you took with the Gale Boomerang. A Clawshot target on one pillar lets you hang on; while hanging, fire the second Clawshot at the target on the west wall, then at the ivy. Climb the ivy and walk round to the far side of the pillar to find a chest holding a Piece of Heart (#9 on the Heart Piece list).
Mirror Chamber: Entering the Twilight Realm
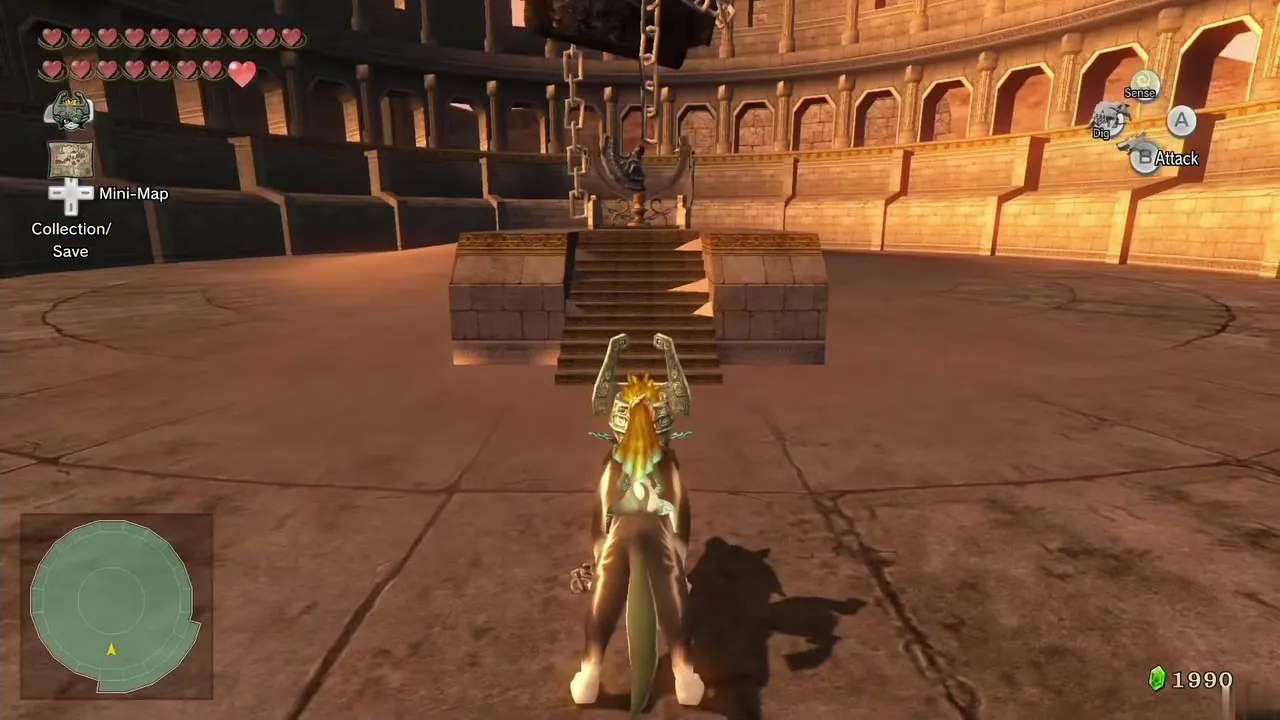
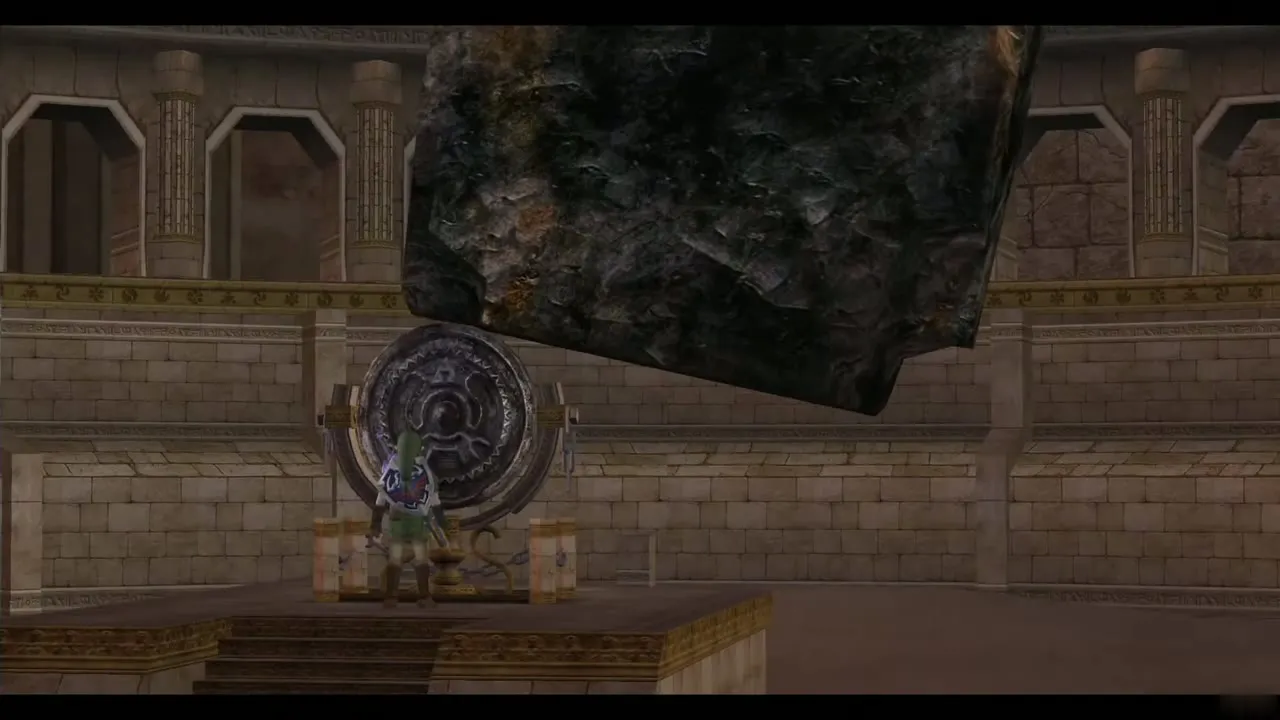
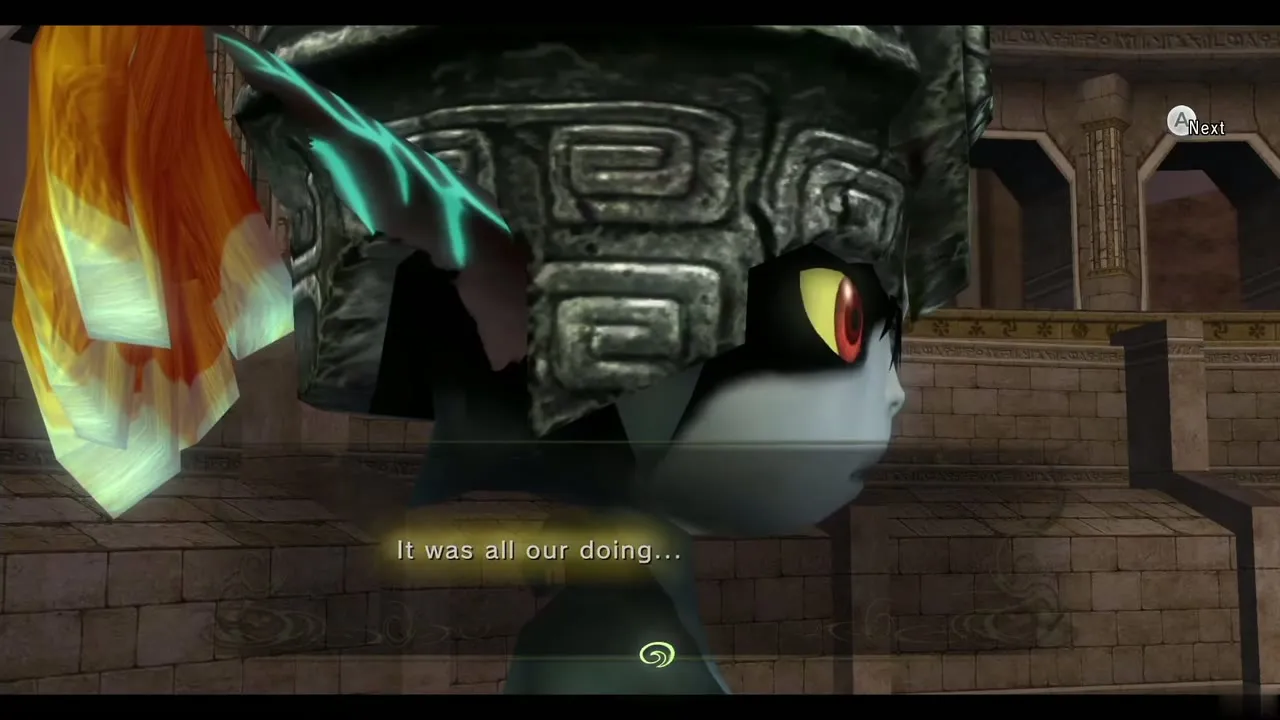
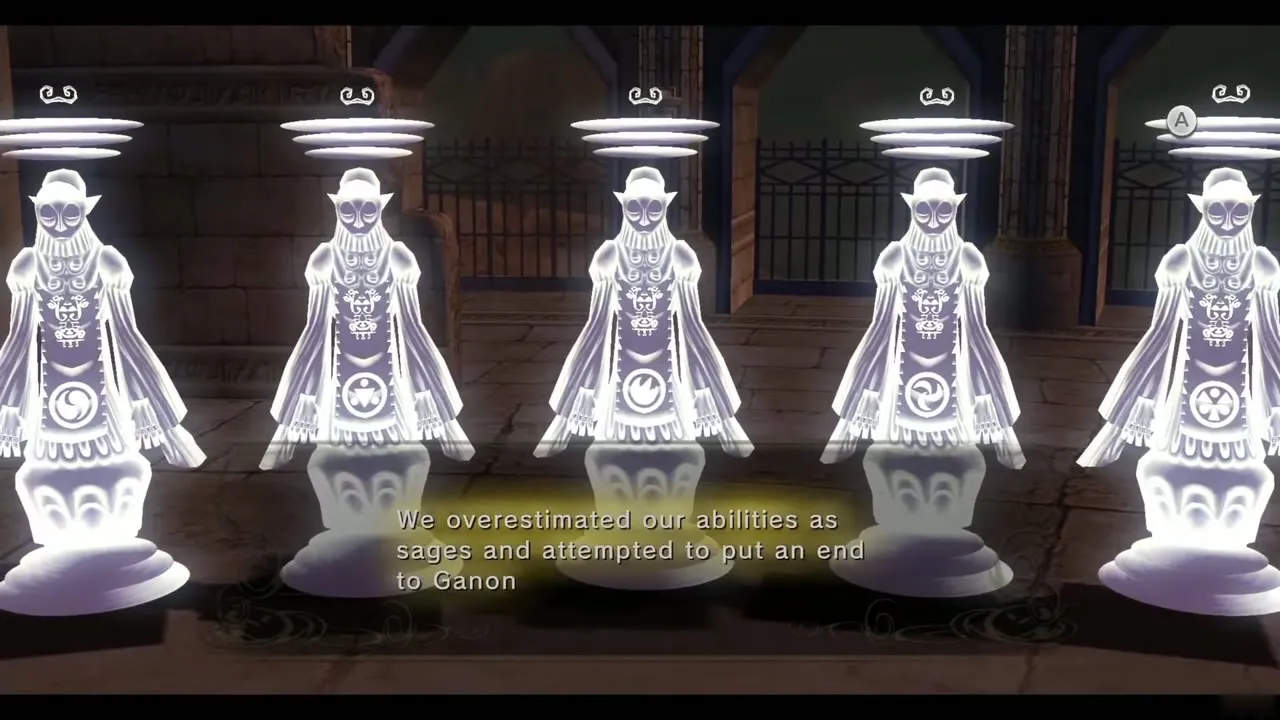
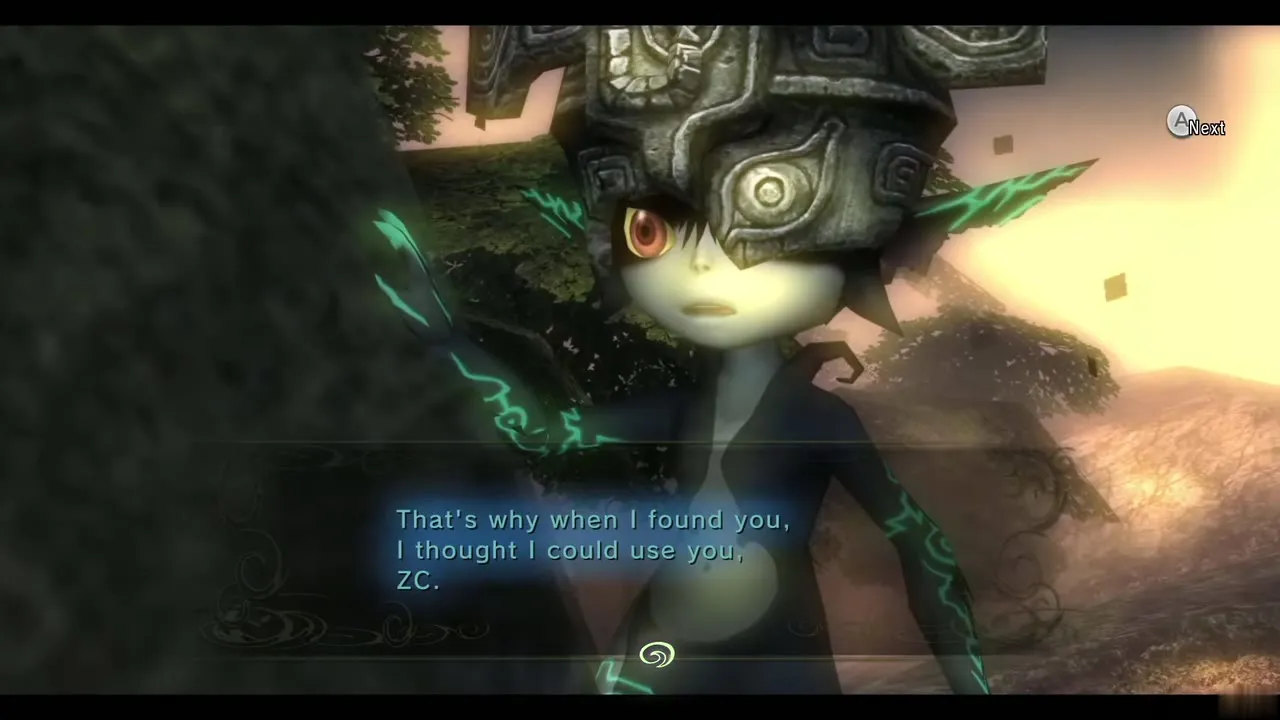
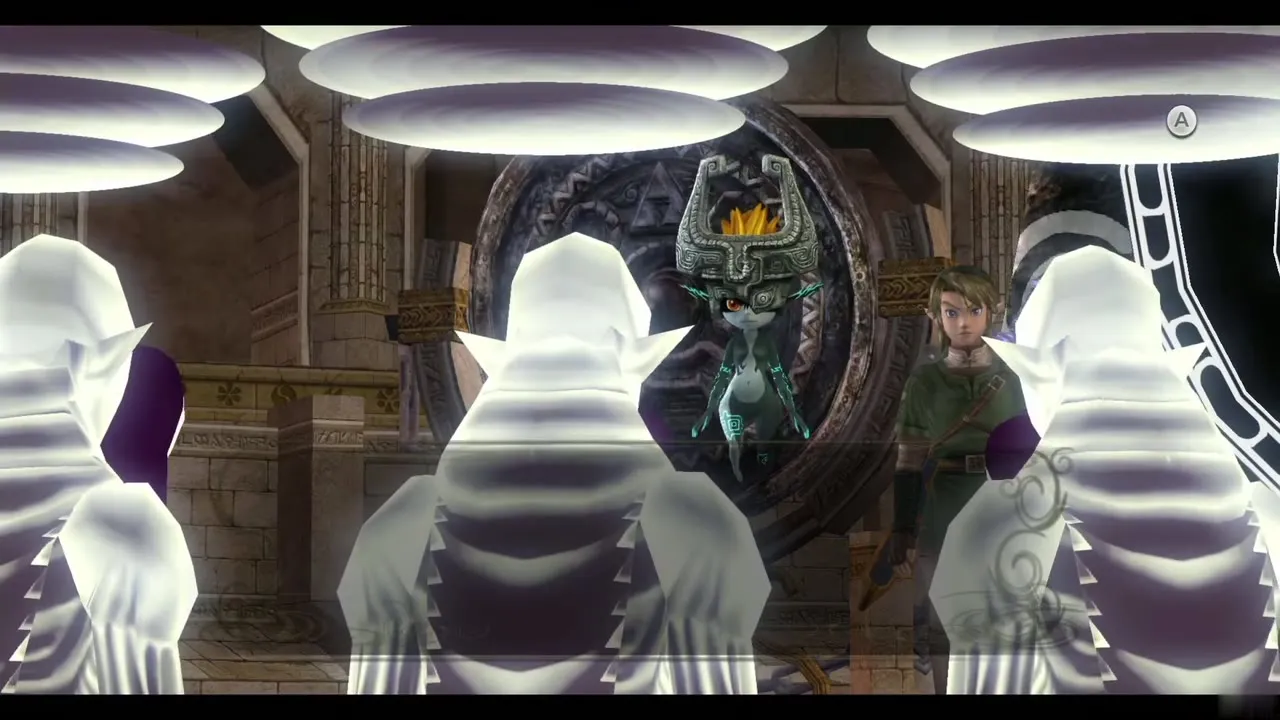
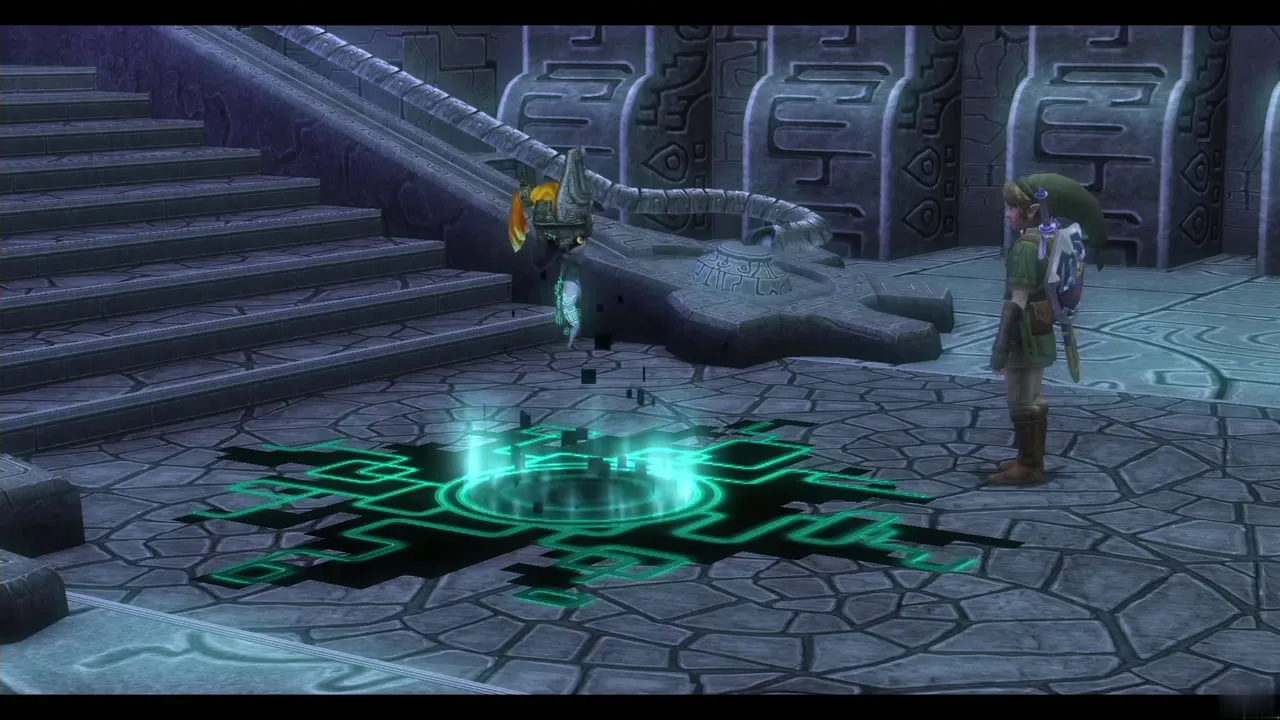
Ask Midna to warp you to the Mirror Chamber in the Gerudo Desert. Climb the short steps toward the Mirror of Twilight. The four shards come together, the chains break and the Sages appear. They ask Midna for forgiveness and call her the Twilight Princess, and Midna recounts what Zant did to her. Walk to the end of the mirror, where a staircase forms, and climb it to enter the Palace of Twilight. Midna asks to hide in your shadow a little longer, so you start alone.
Palace of Twilight: West Wing and the First Sol
Entry hall and the first Zant Mask: small key 1
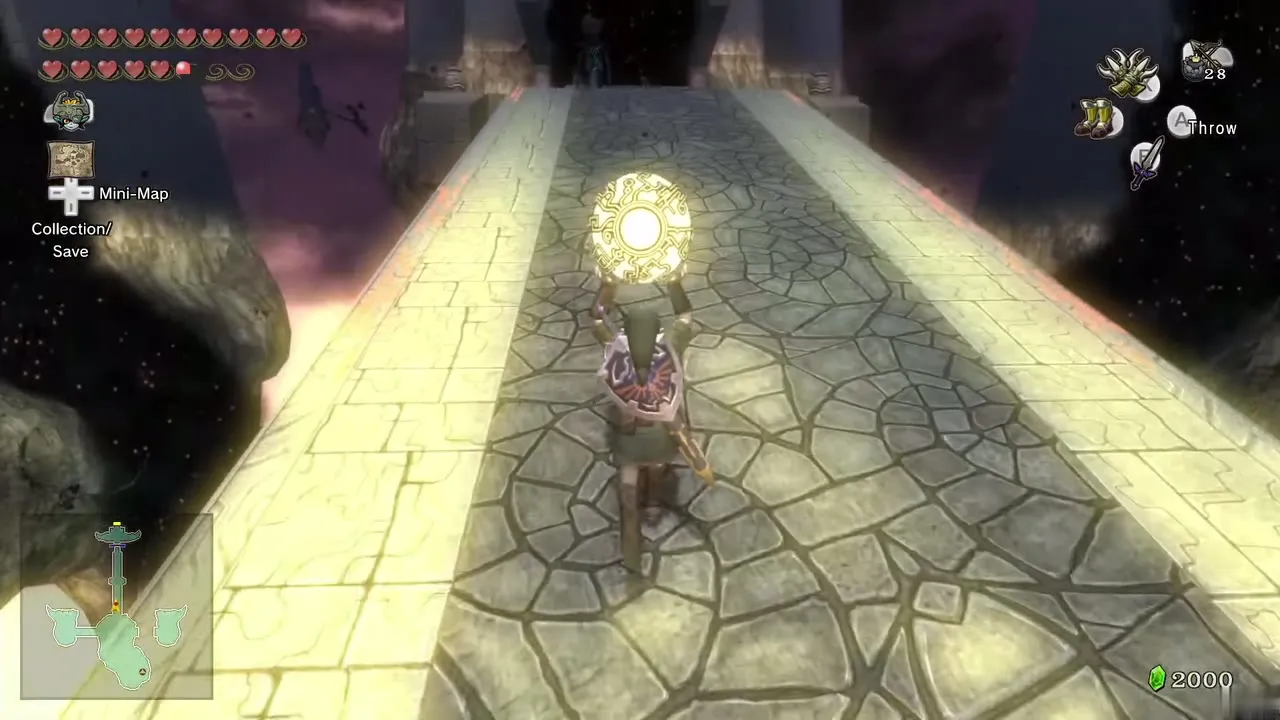
The creatures standing around with glowing marks are Twili, not enemies, and you cannot interact with them yet. Cross the bridge to the west and go through the door at the end.
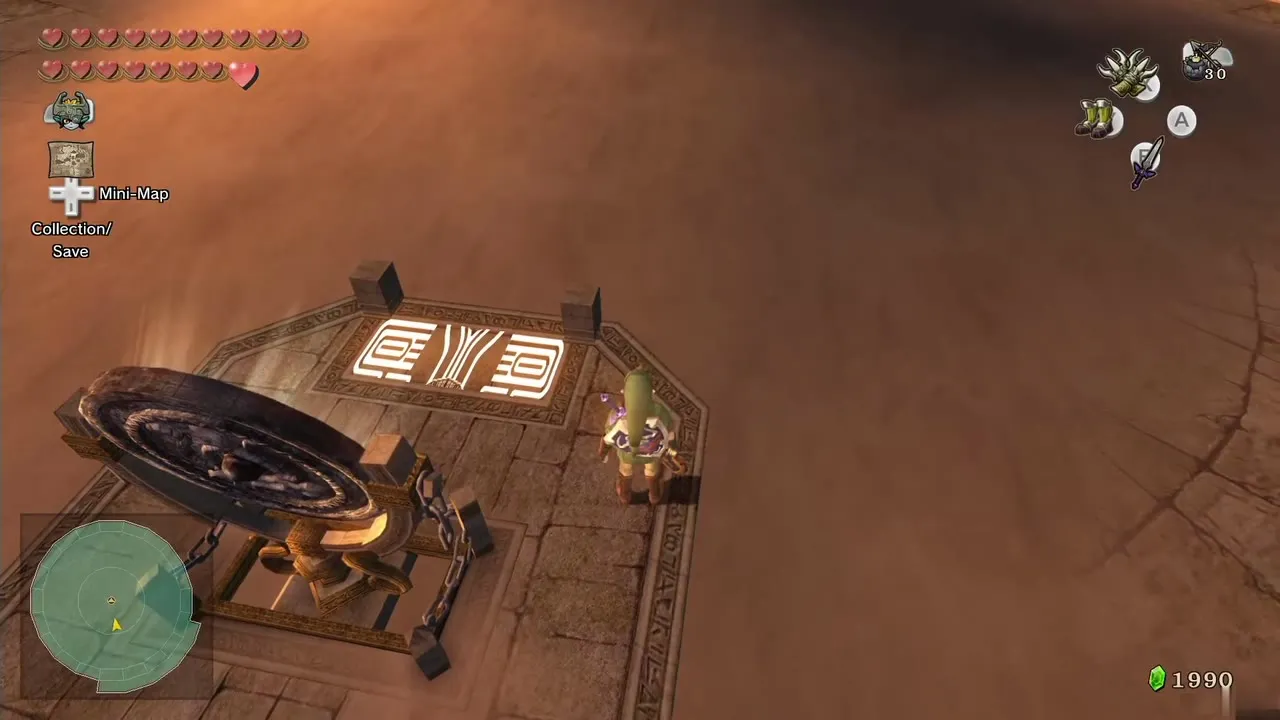
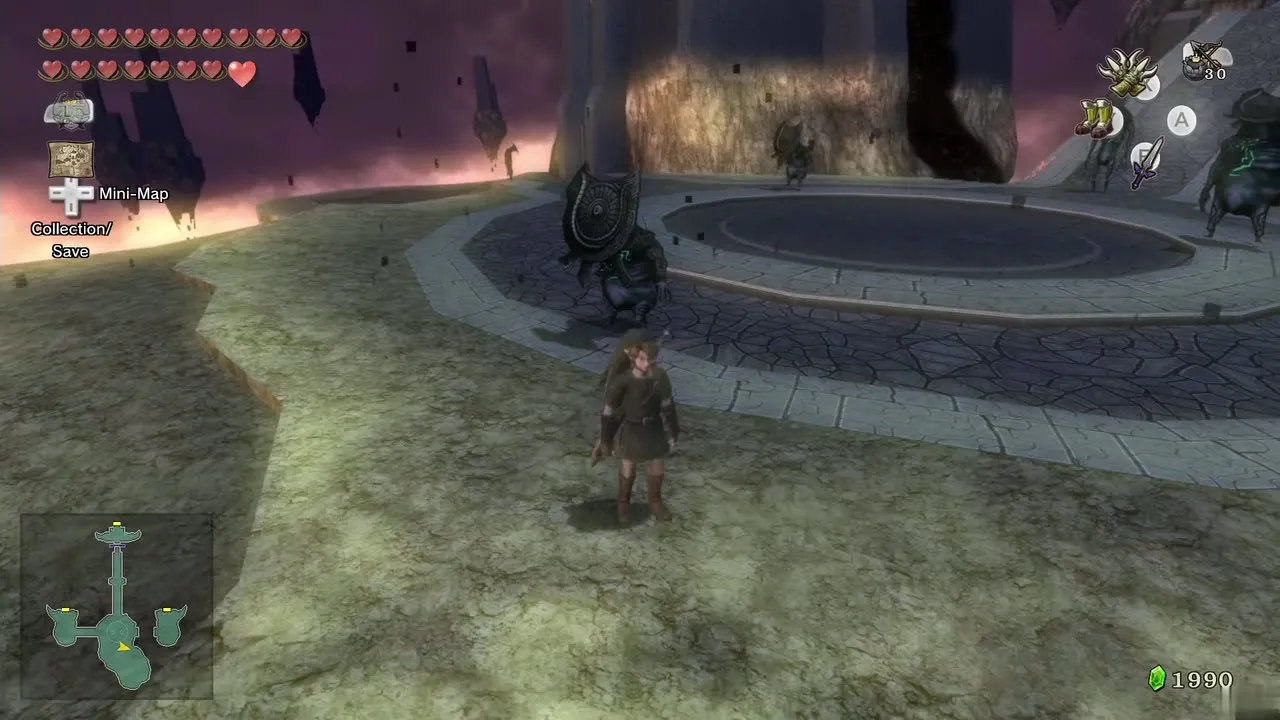
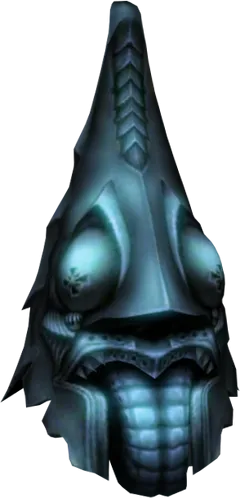
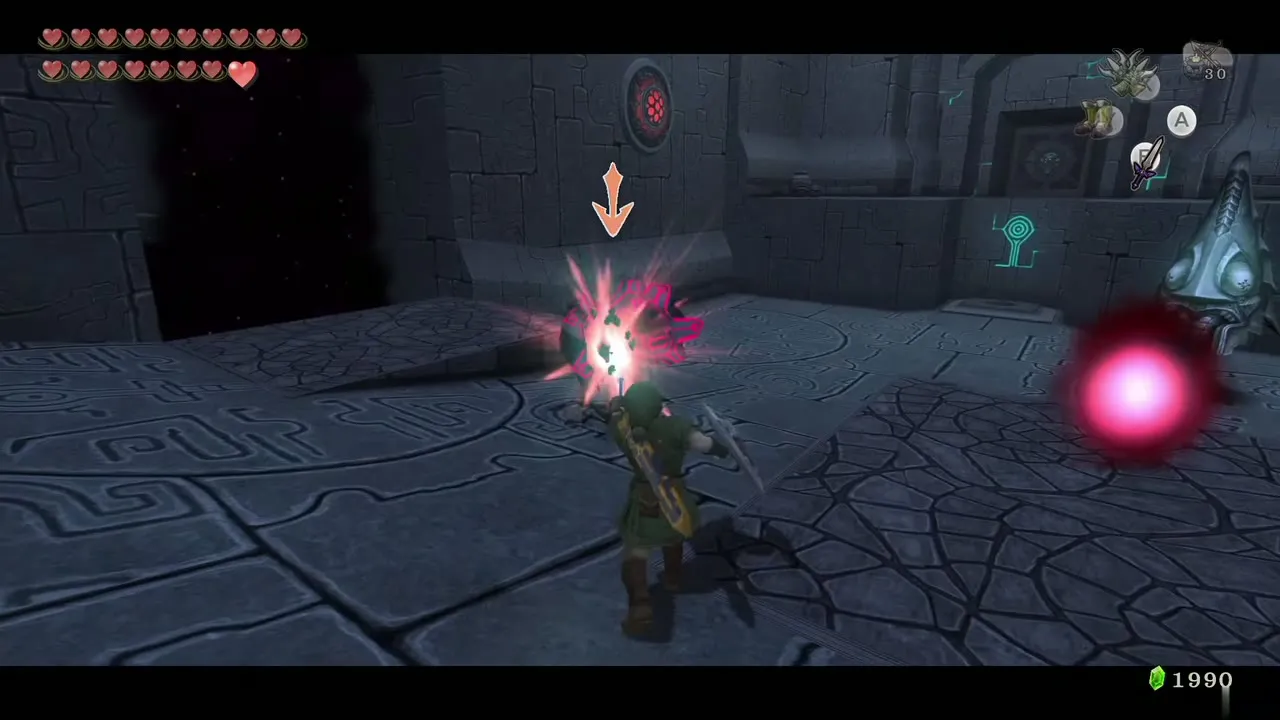
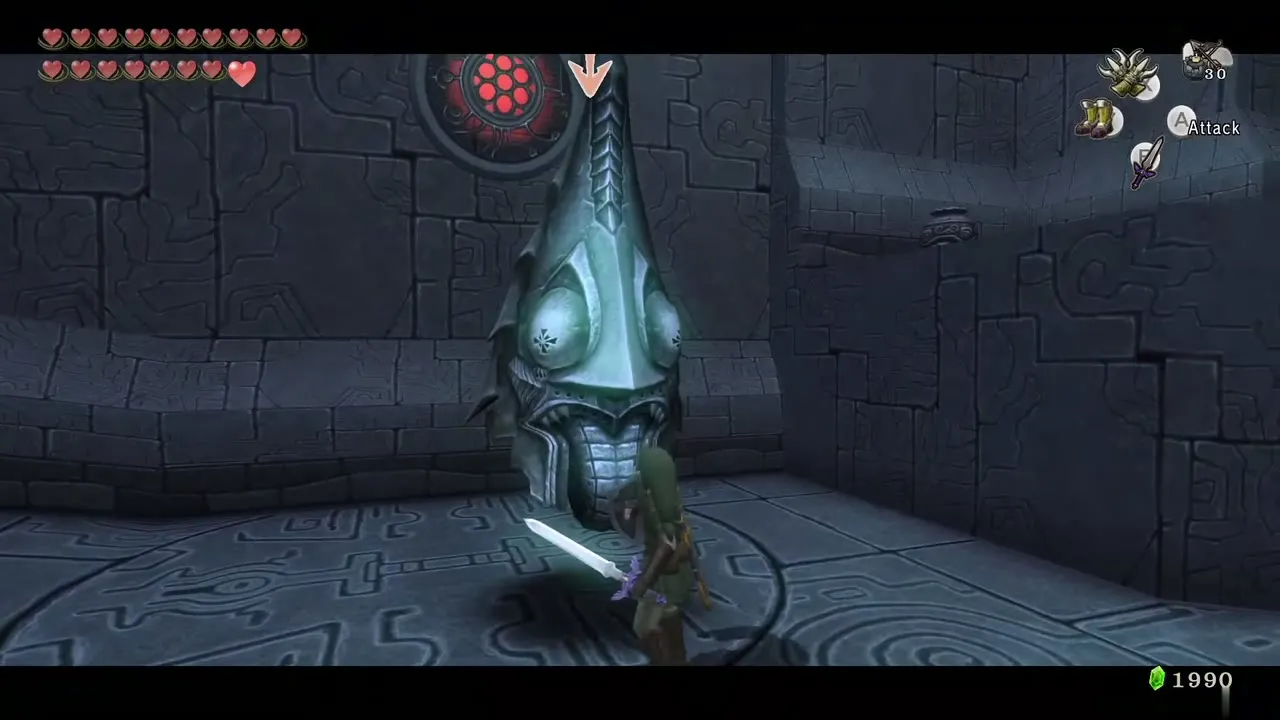
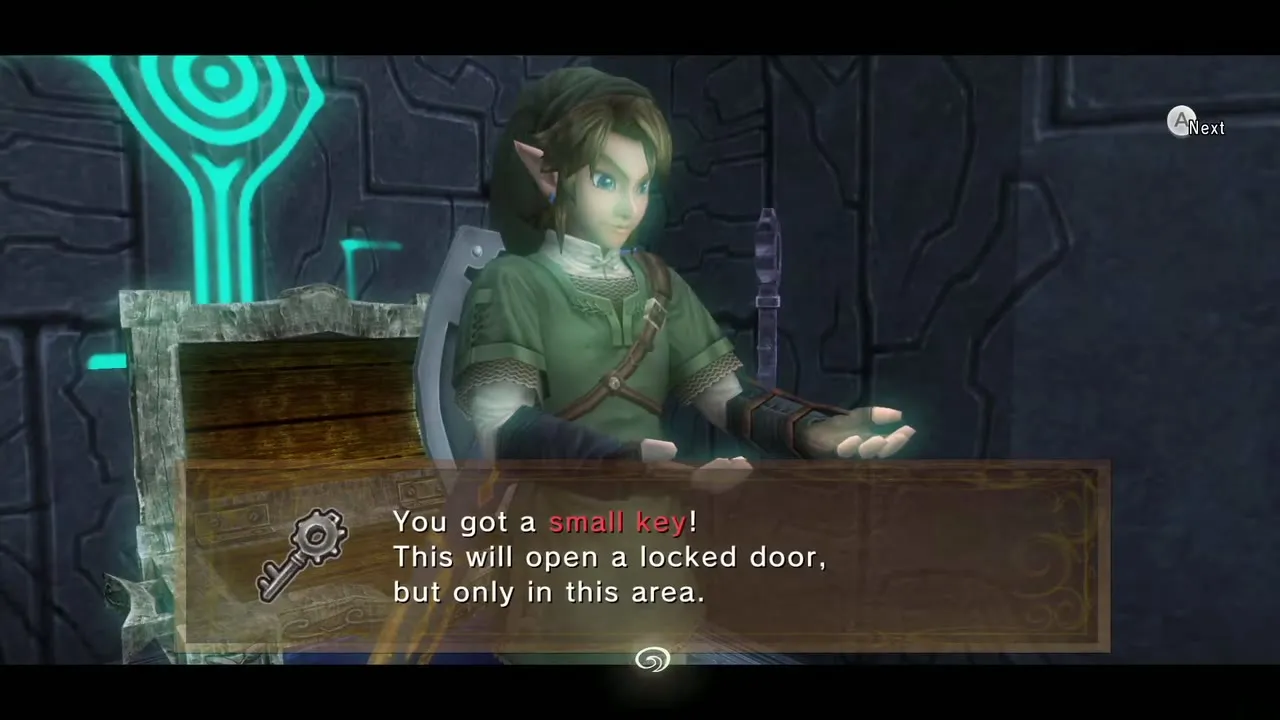
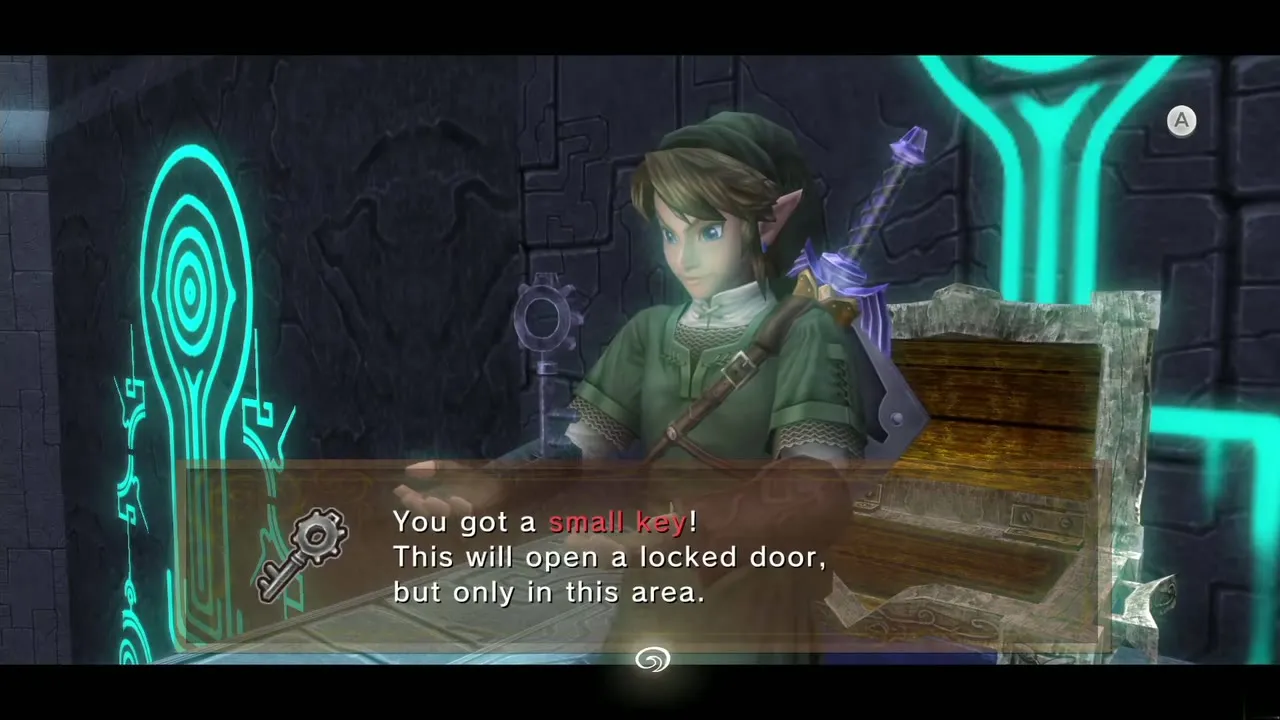
This room holds Twilit Deku Babas, Keese and a teleporting Zant Mask, an oversized copy of Zant’s helmet. Clear the Babas and Keese in the north end. The mask fires energy balls: Z-target it, raise your shield and knock a ball back with a Shield Attack to stun it, then slash it. When the room is clear a chest appears with small key 1. Clawshot a target at the north end and use the key on the locked door.

Fog room: Compass, small key 2 and a stamp chest
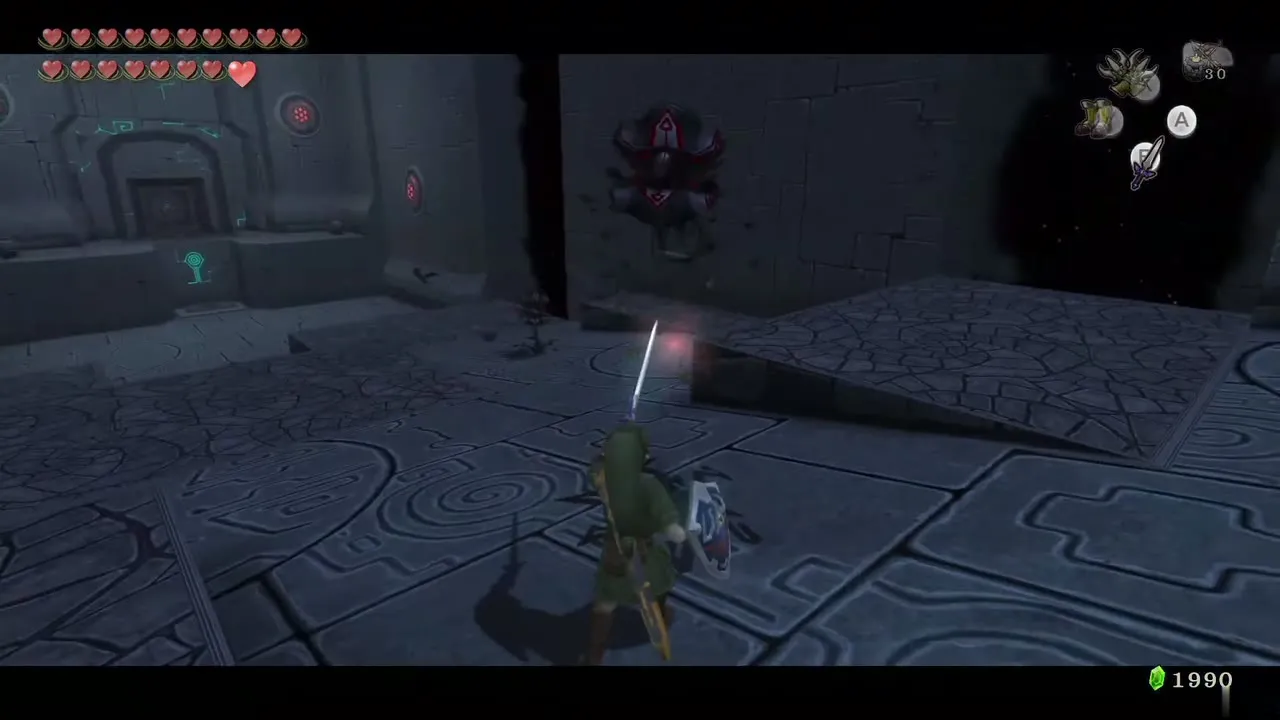
Black fog fills this room and turns you into Wolf Link the moment you walk in. Use your senses to run to the northeast part of the room, where you leave the fog and become Link again. Another Zant Mask crawls along the fog. When it fires, bat the ball back with a Shield Attack, then run into the fog as a wolf and bite it, using Midna’s charge attack for more damage. You can repeat this or stay a wolf until the mask reappears.
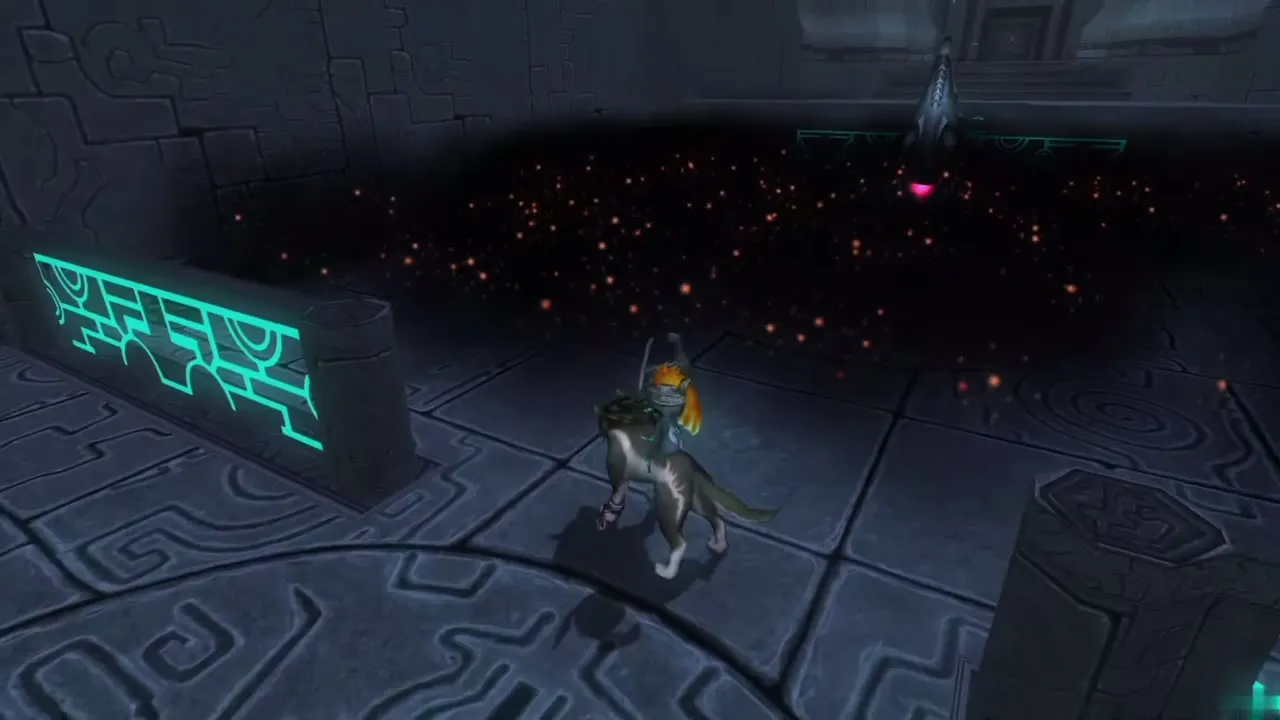
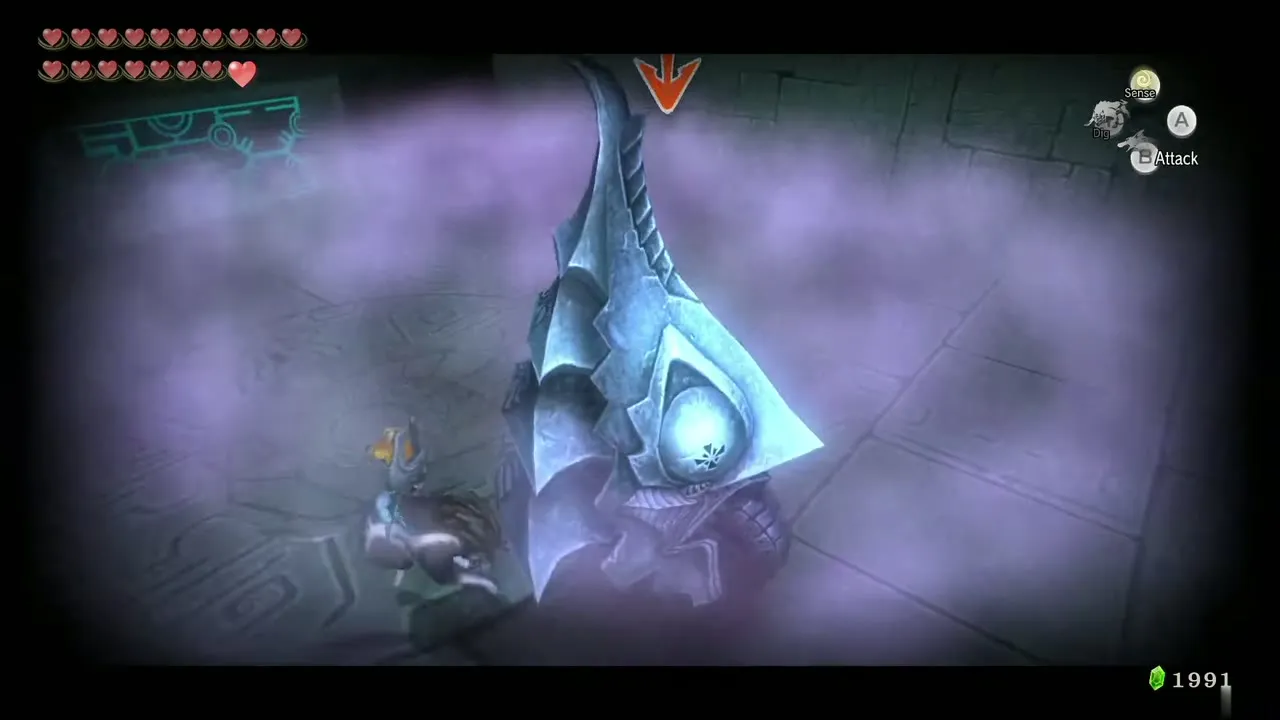
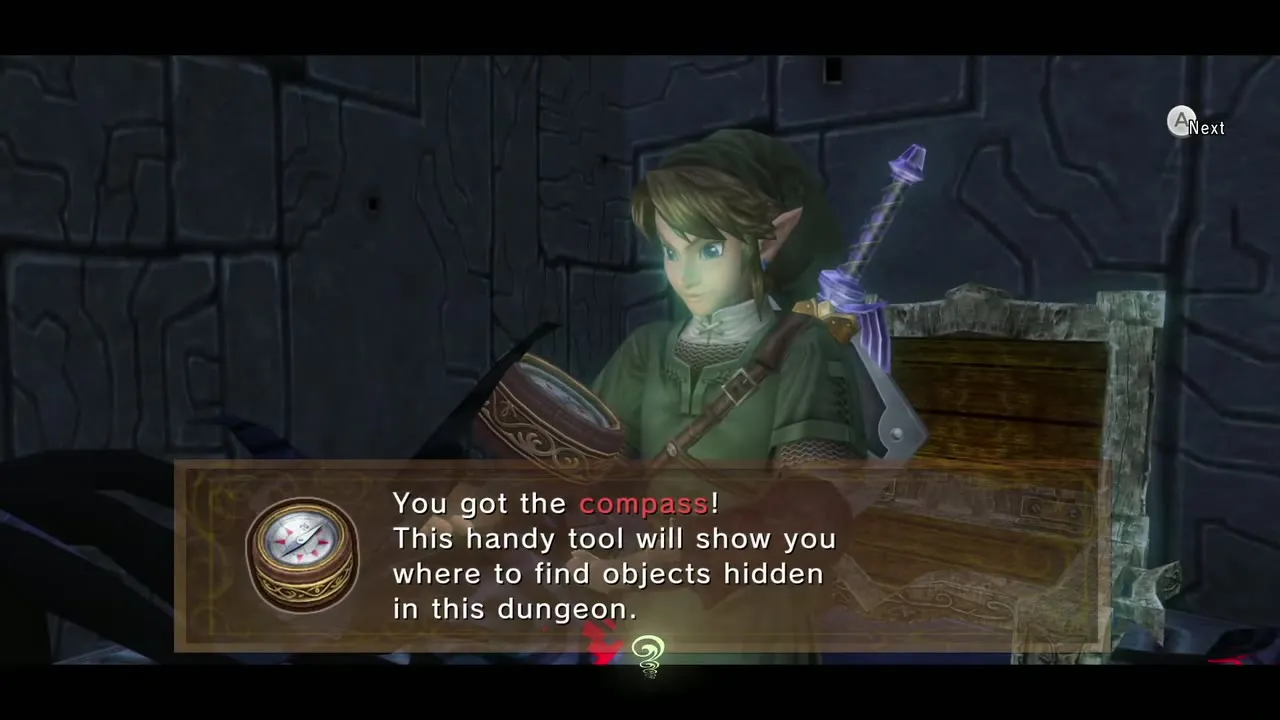
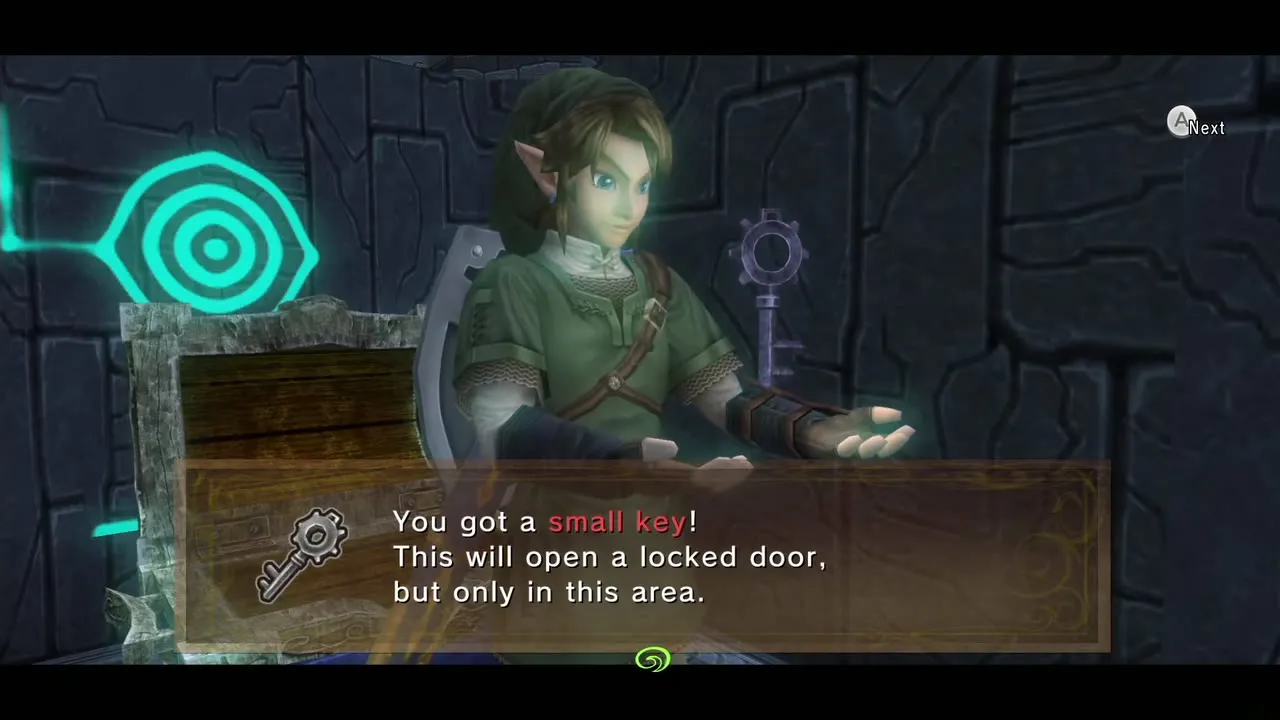
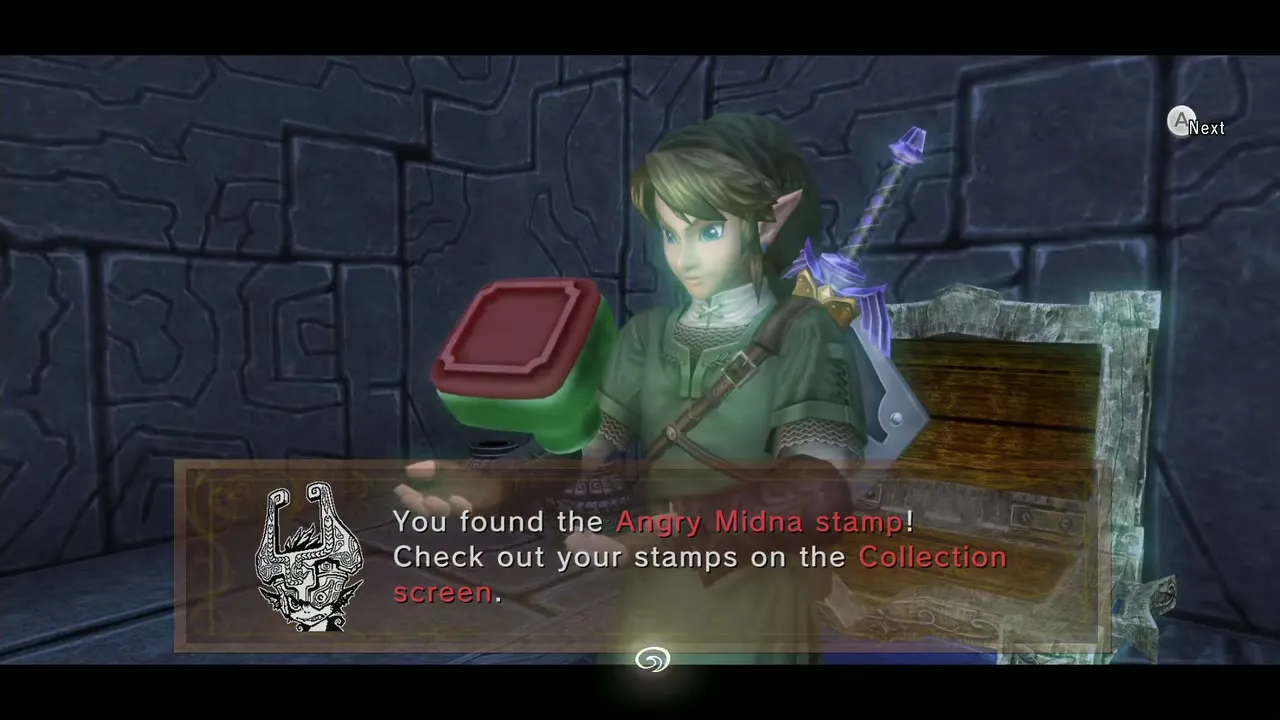
When it falls two chests appear. Run to the south end for the chest in the southeast corner, which holds the Compass, avoiding the shadow vermin. The chest at the north end holds small key 2. Back as Link, Clawshot the target on the east wall, then the ceiling target, and drop down. Run south, fight two Twilit Deku Babas and open the chest for the Angry Midna Miiverse stamp (an Orange Rupee, 100, on the stamp list). Clawshot the target on the north wall, drop and unlock the locked door at the far north.
First Phantom Zant and the first Sol
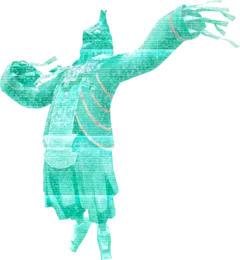
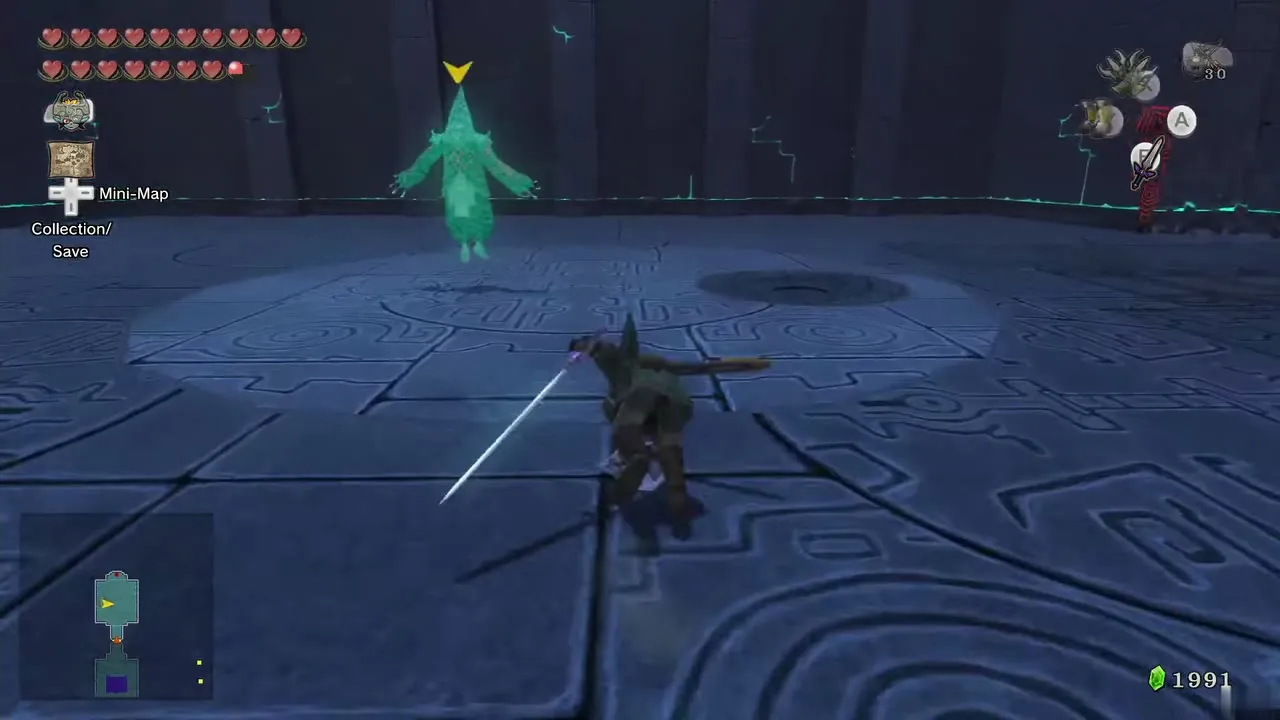
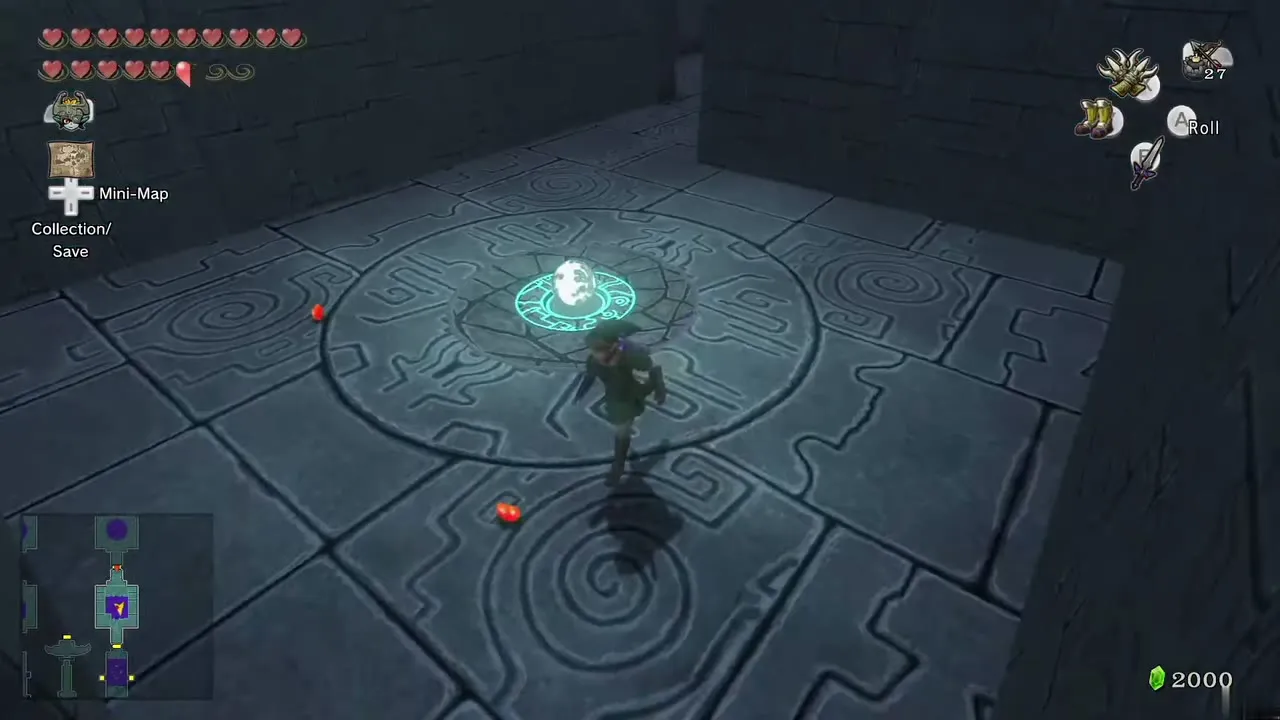
The door seals behind you. A hand clutches a glowing orb at the opposite end of the room. Run toward it and two walls of twilight rise as a Phantom Zant appears. He summons a twilight sphere that opens a portal spitting out enemies. Spin attack them all and chase the image, slashing it whenever you get close (a dash attack as a wolf works too). It later summons a second sphere that releases shadow vermin. After several hits it dissolves and black fog fills the room.
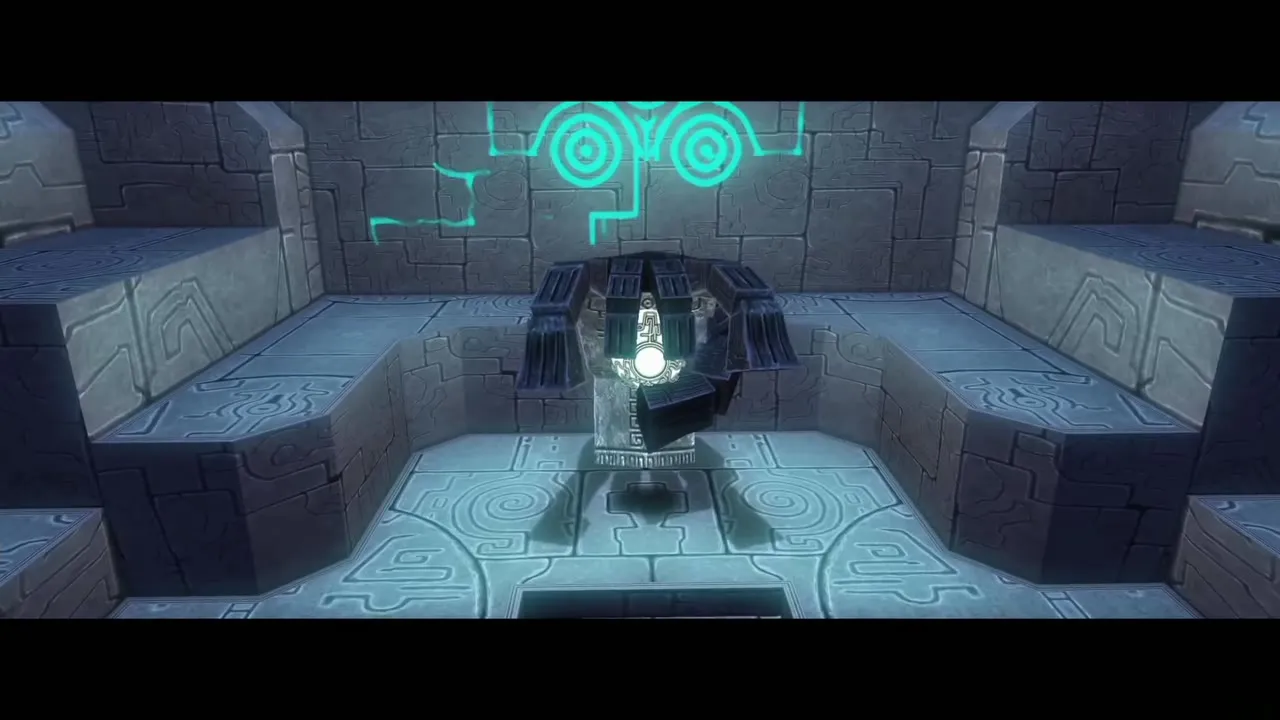
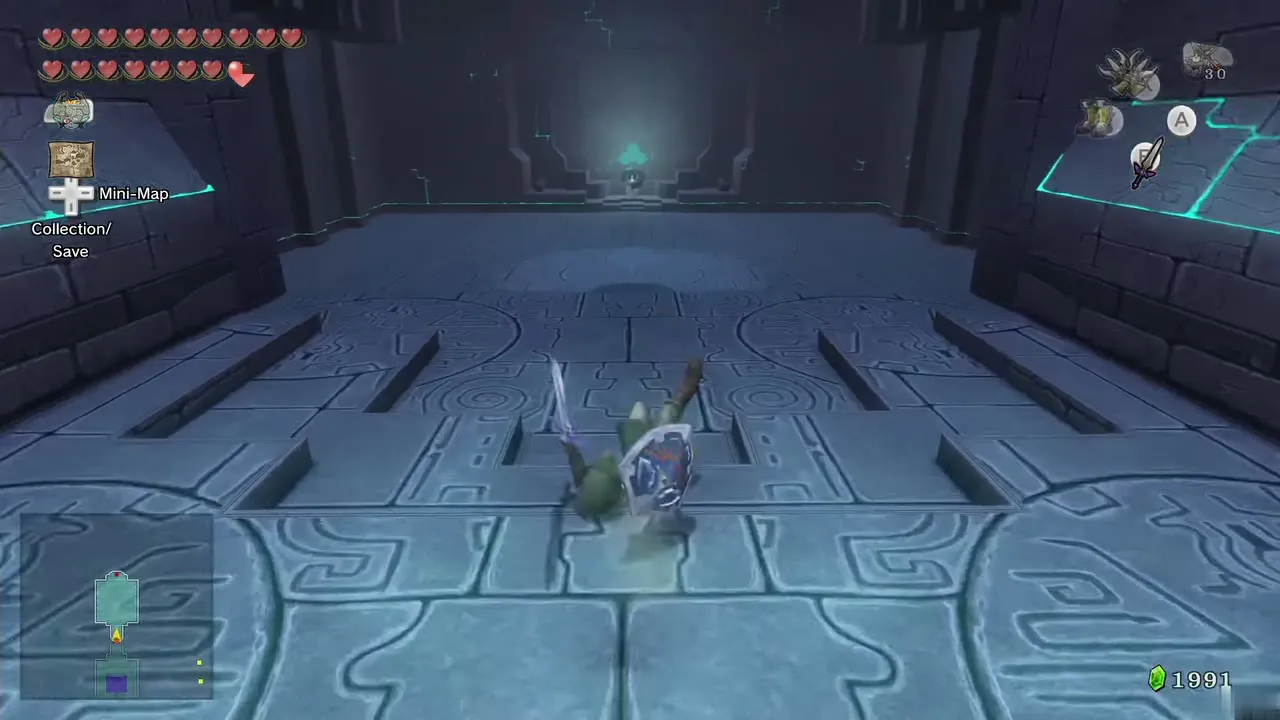
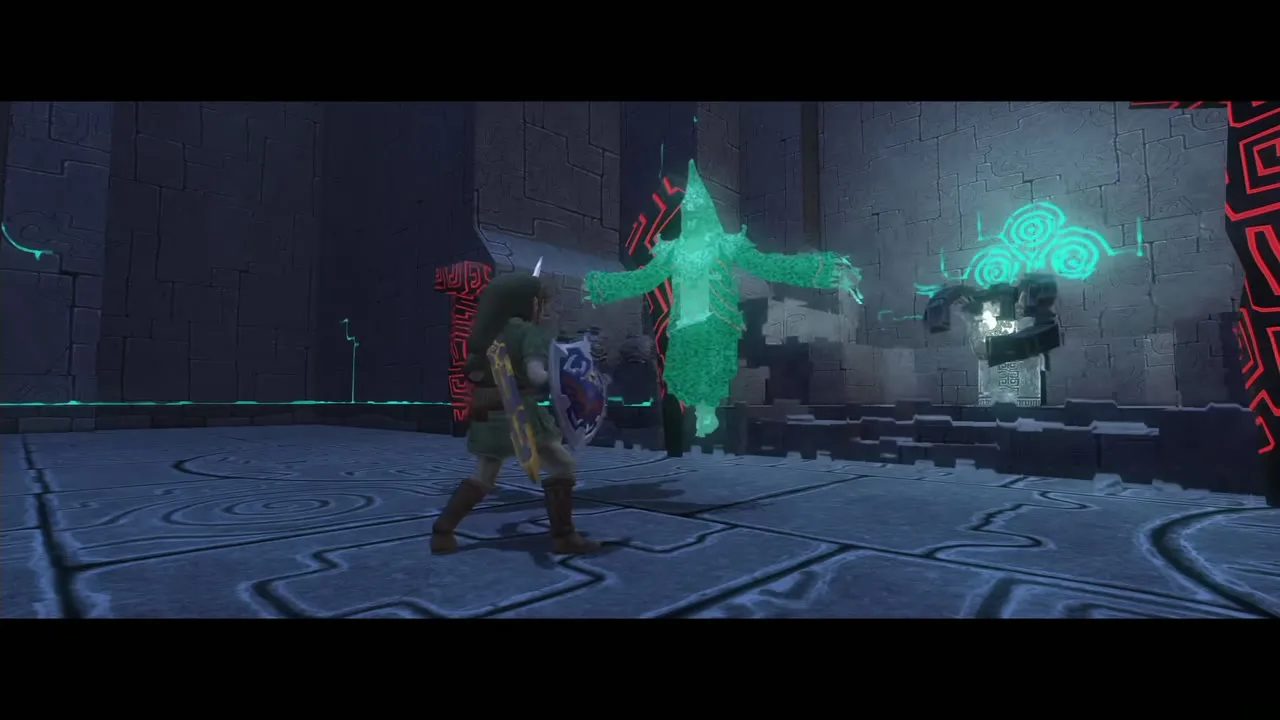
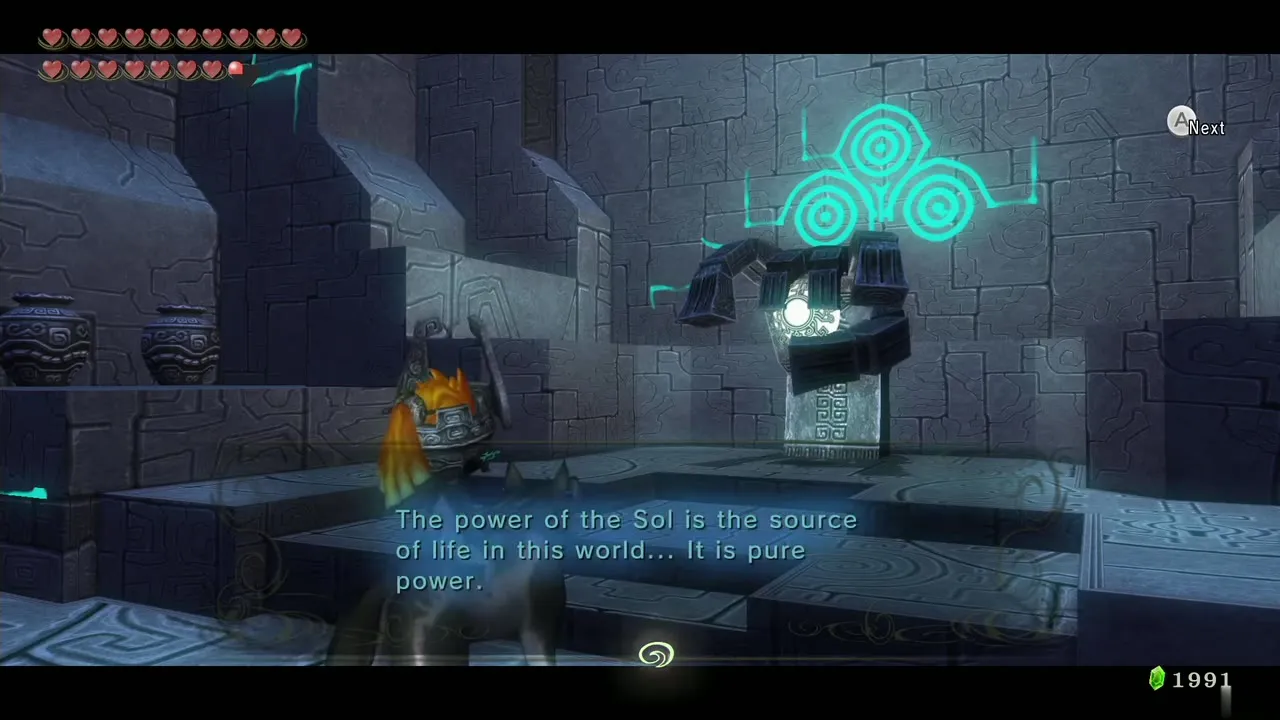
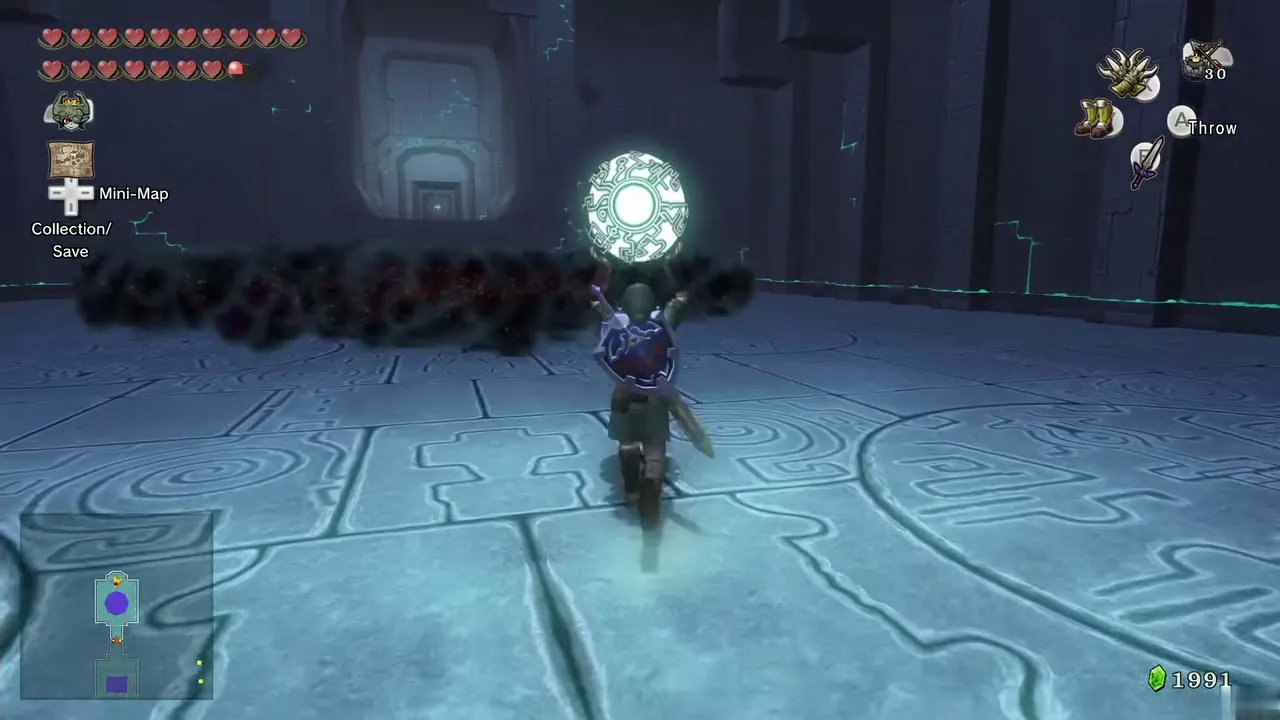
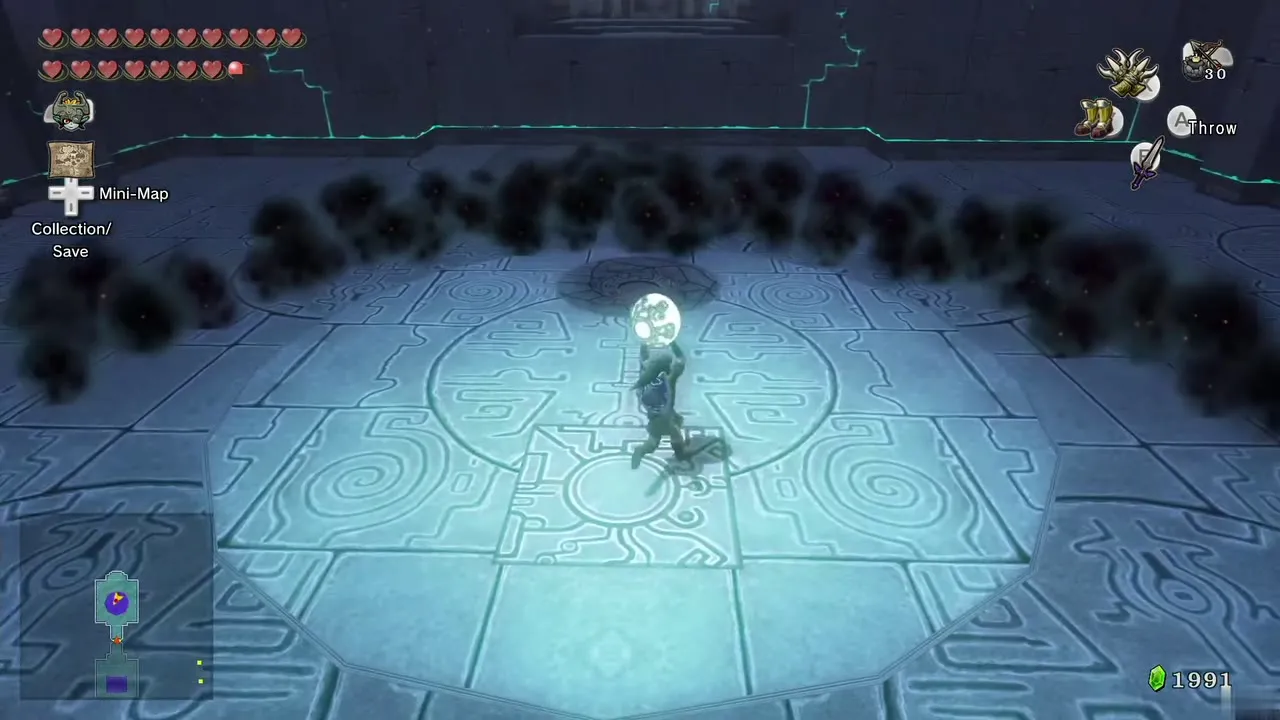
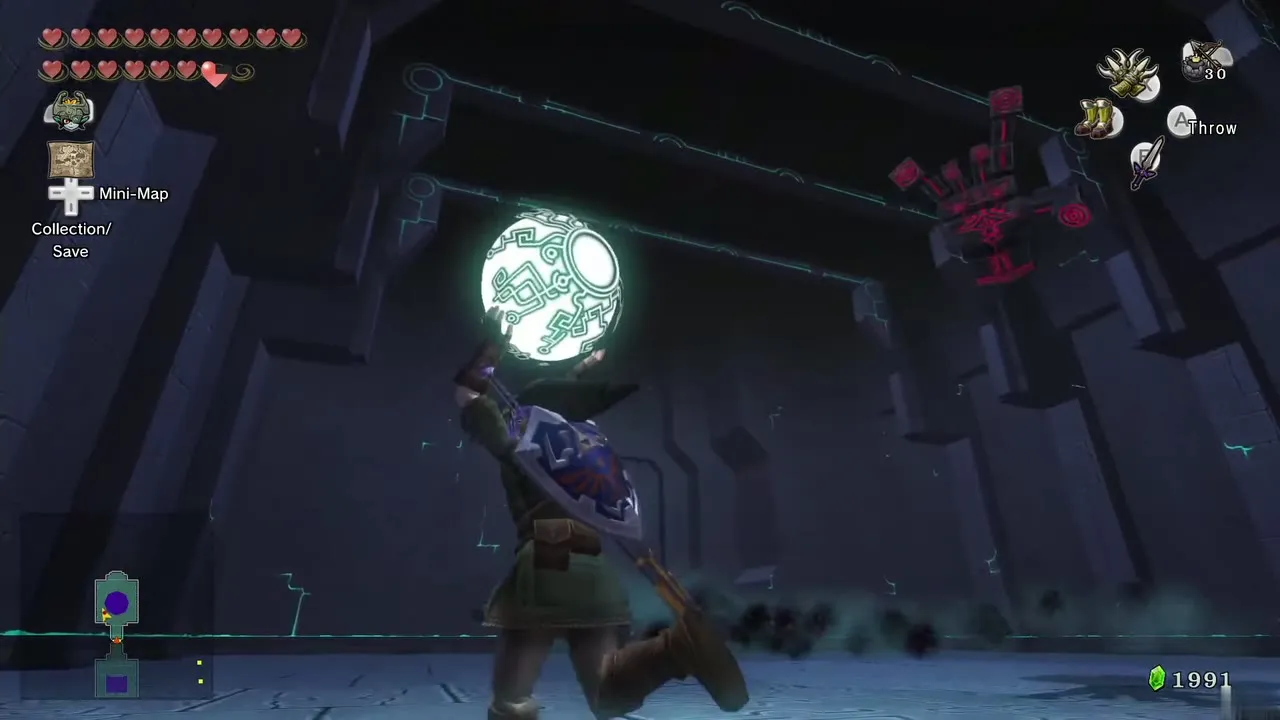
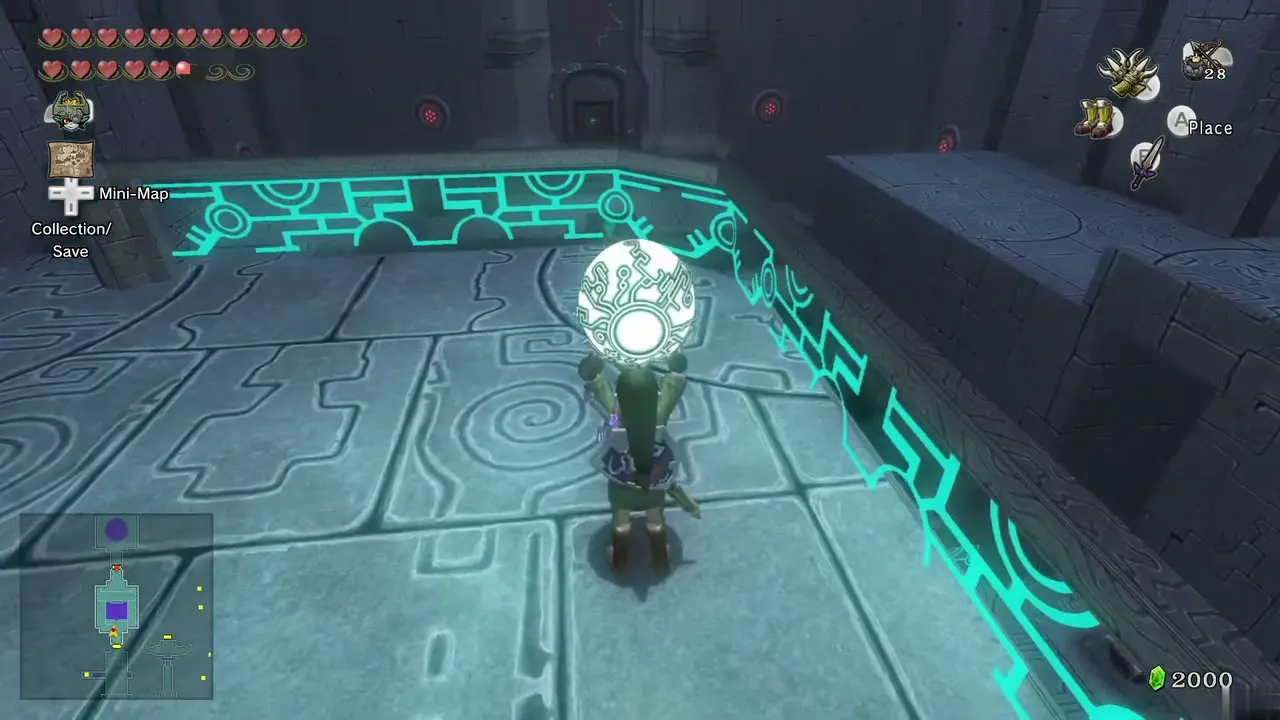
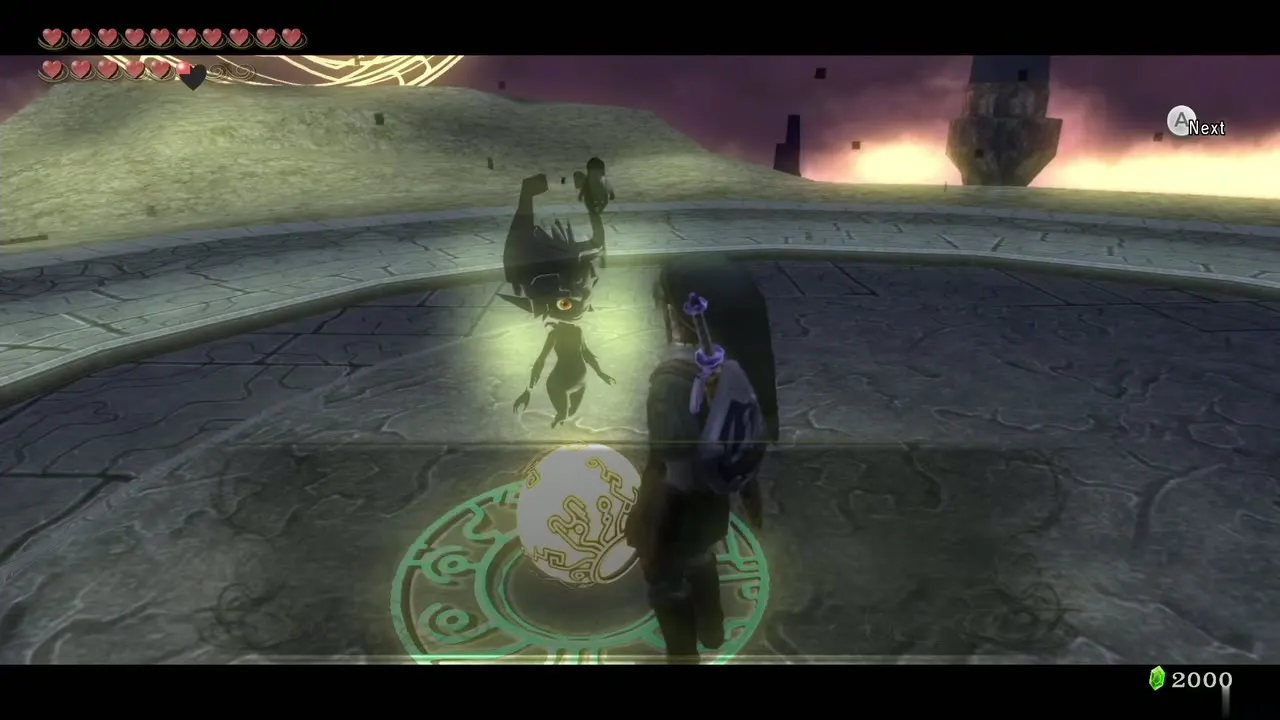
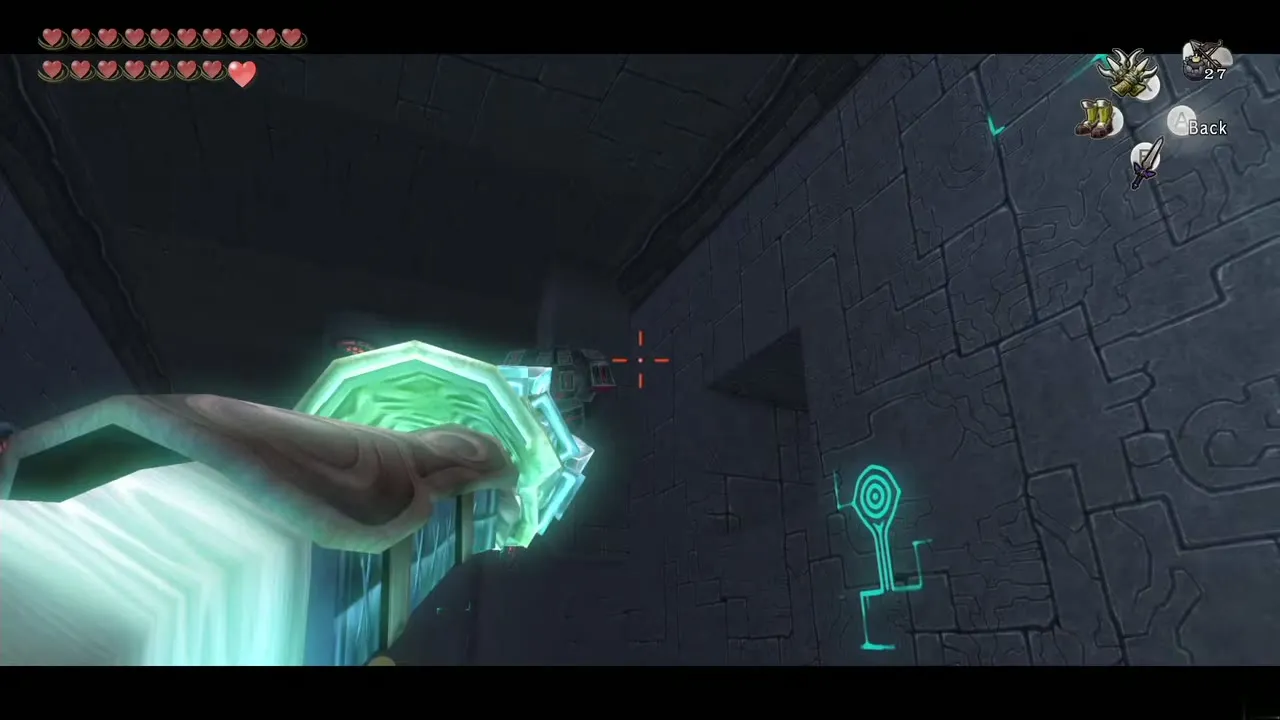
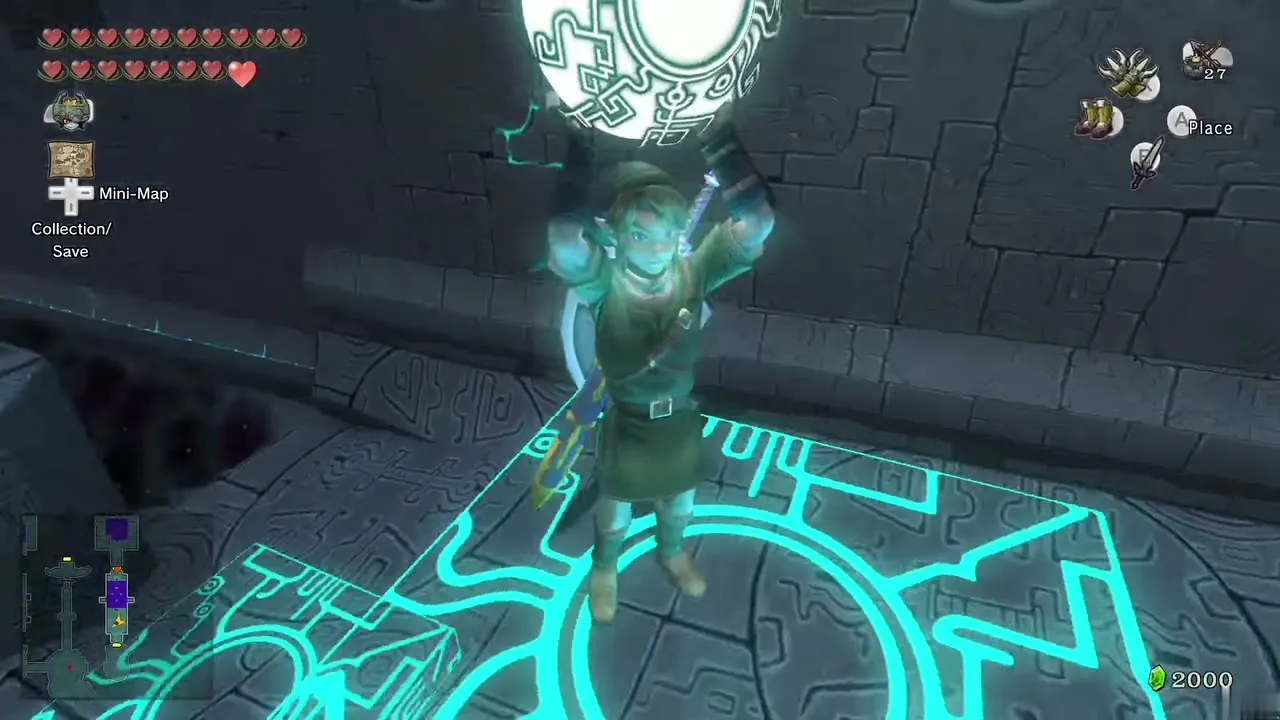
Midna explains that the orb is a Sol, the Twilight Realm’s equivalent of the sun, and asks you to carry it to the palace entrance. Slash the hand holding it, lift the Sol and walk to the center of the room; the fog disappears around it. The hand wakes: this is Zant’s Hand, a Wallmaster-like enemy that wants the Sol back. Set the Sol in the small hole in the center to raise a staircase to the south, climb it and kill the shadow vermin. Turn around: if the hand picks up the Sol, stun it with three arrows or Clawshot hits, then pull the Sol to you with the Clawshot and take the south door.

Sol staircases and the west Heart Piece
Drop down into the lower area. The hand returns, slow but persistent. Drop the Sol into the center hole to raise a large staircase, sprint to the top and pull the Sol up after you, shooting the hand with three arrows if it gets close. At the top, toss the Sol to the higher ledge to the south, climb up, carry it to the far south end of that ledge and jump down. Take the door.
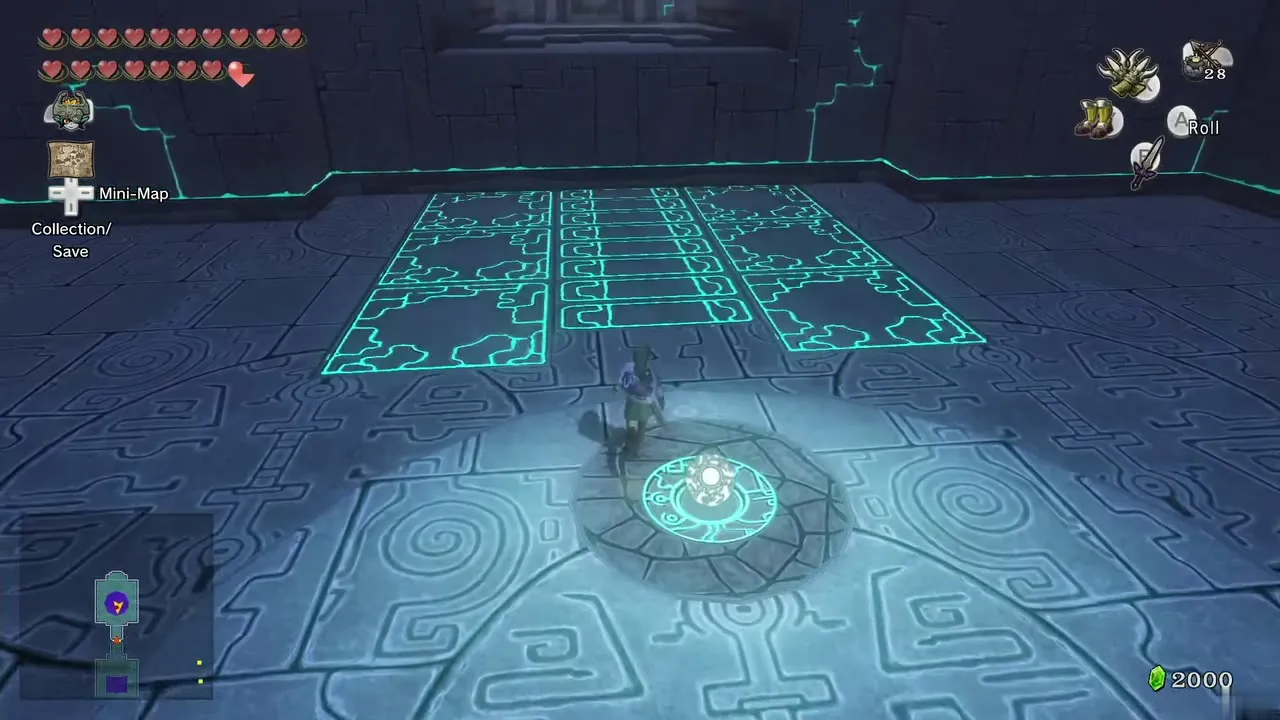
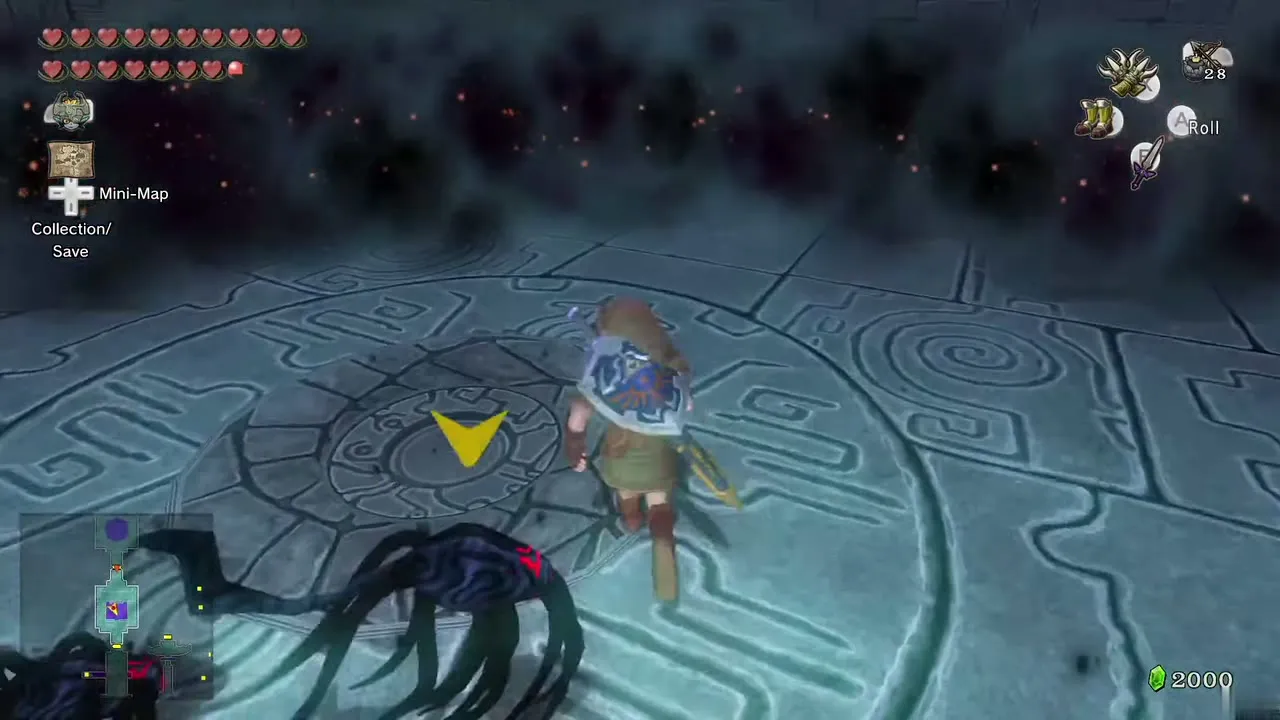
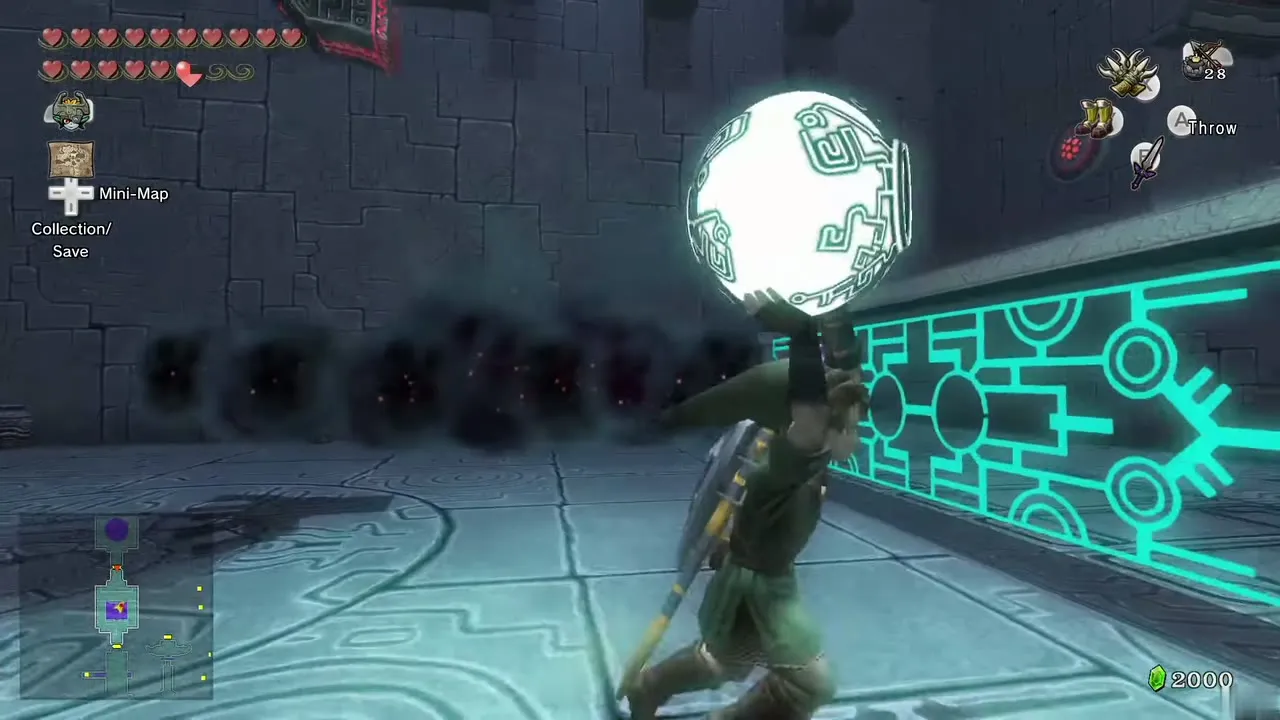
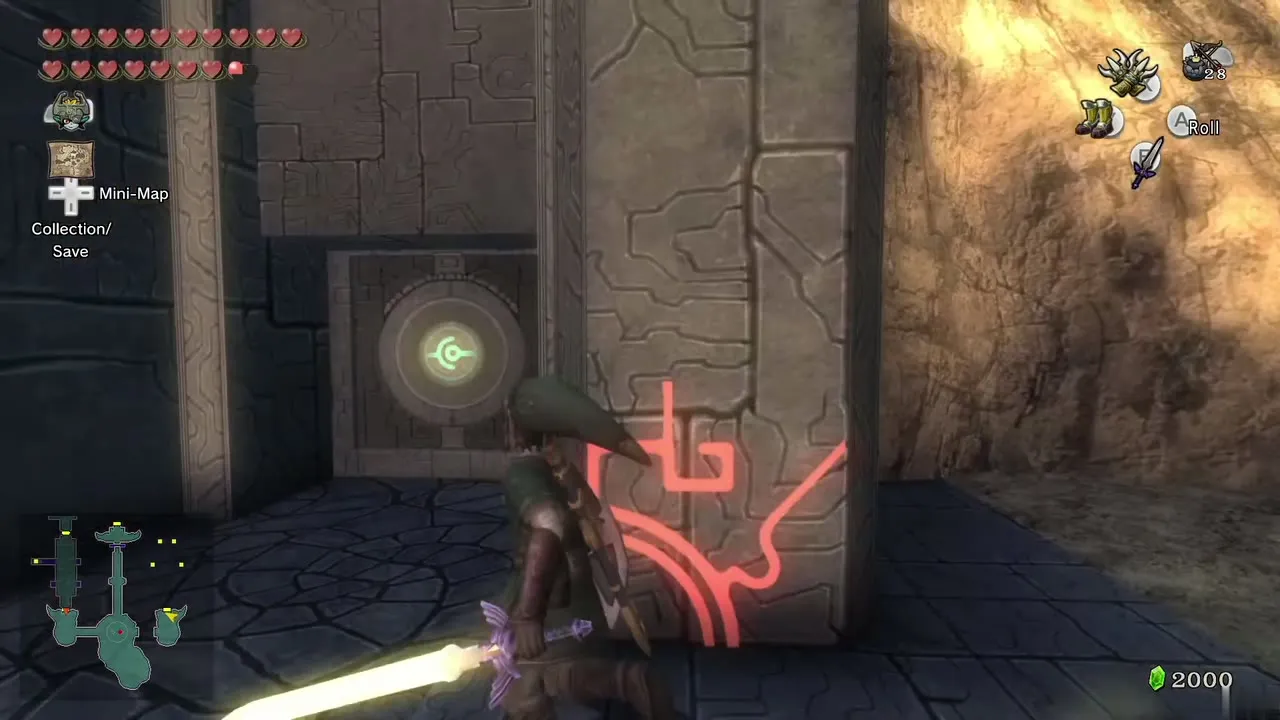
The hand follows right behind. Drop down and defeat the shadow Babas. A passage on the west side of the room is sealed by a waterfall of black fog. Hold the Sol near it and the fog vanishes. Clawshot the wall target and open the chest to claim a Piece of Heart (#44 on the Heart Piece list). Drop down, pick the Sol up again, carry it to the south end through the Keese, shadow Babas and vermin, and leave by the north door.
Central platform and Sol 1
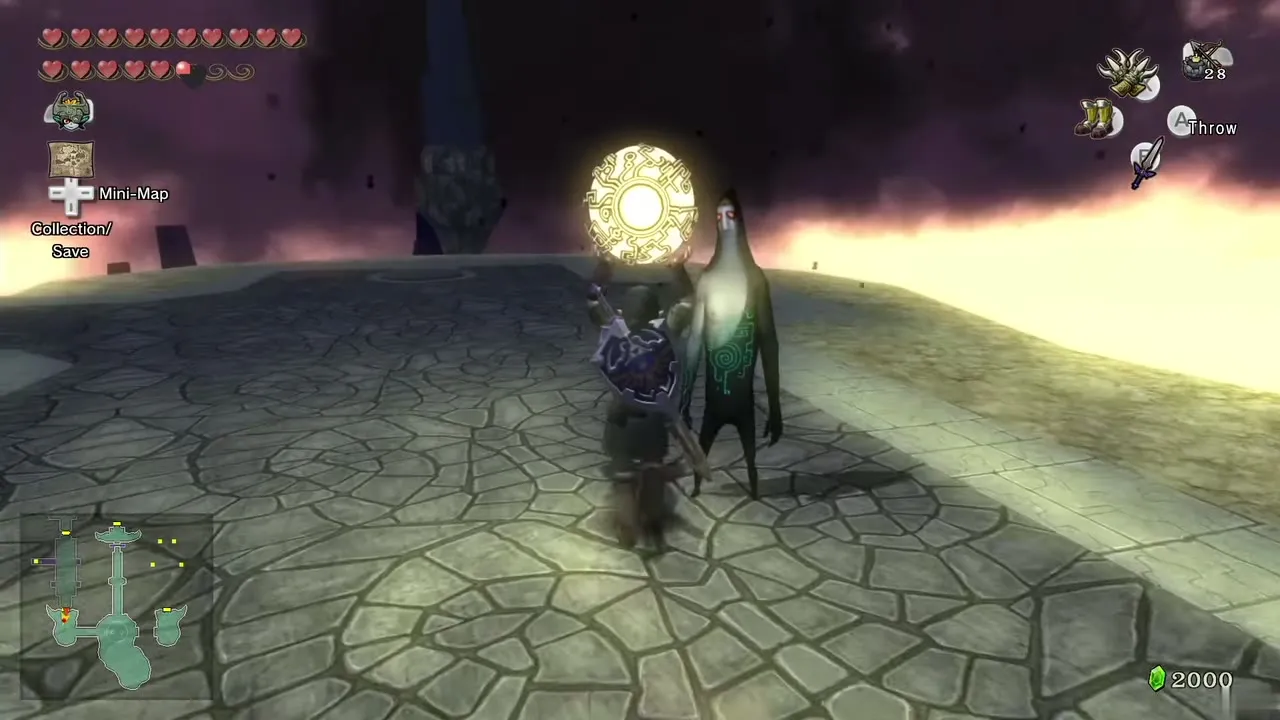
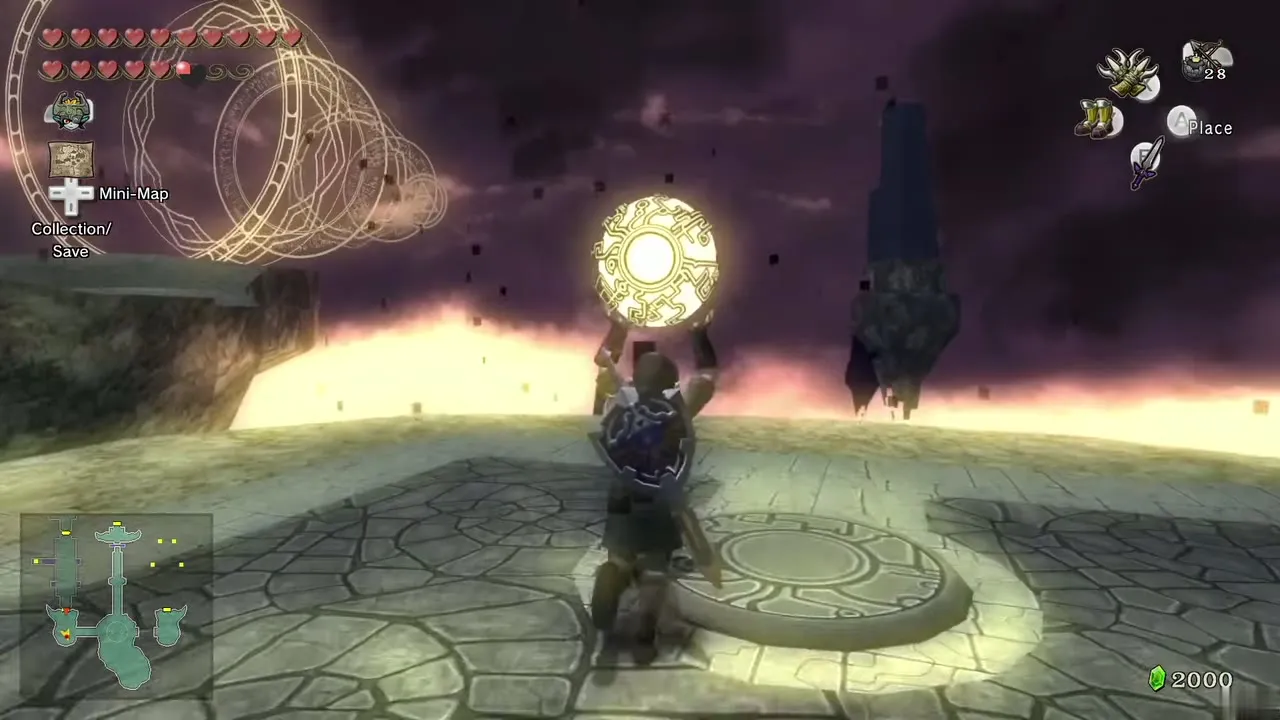
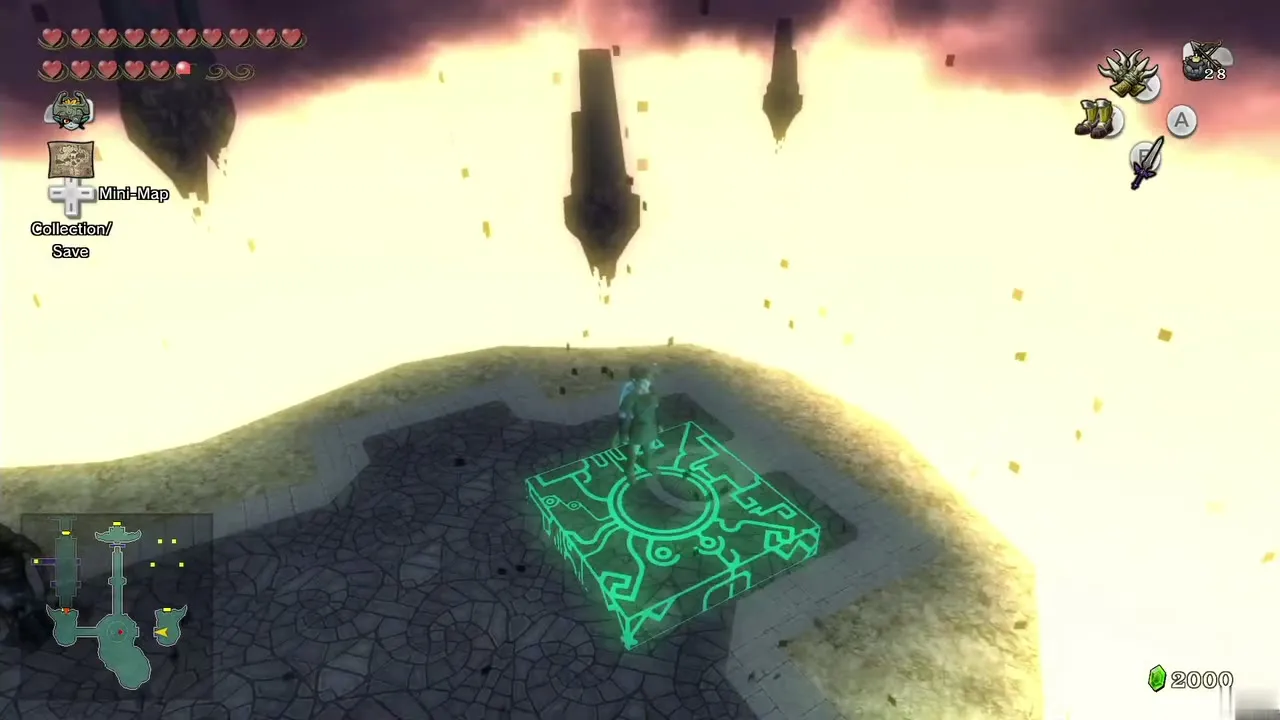
Outside, the creature in front of you changes back into a Twili as the Sol passes, so carry the Sol around and restore the others too. The round platform in the middle has two Sol slots. Place your Sol in one and a block to the east lights up, while Midna points out that a second Sol must be found. Step onto the lit block; it carries you to the east wing. Go through the door.
Palace of Twilight: East Wing and the Second Sol

Moving platforms: small key 3
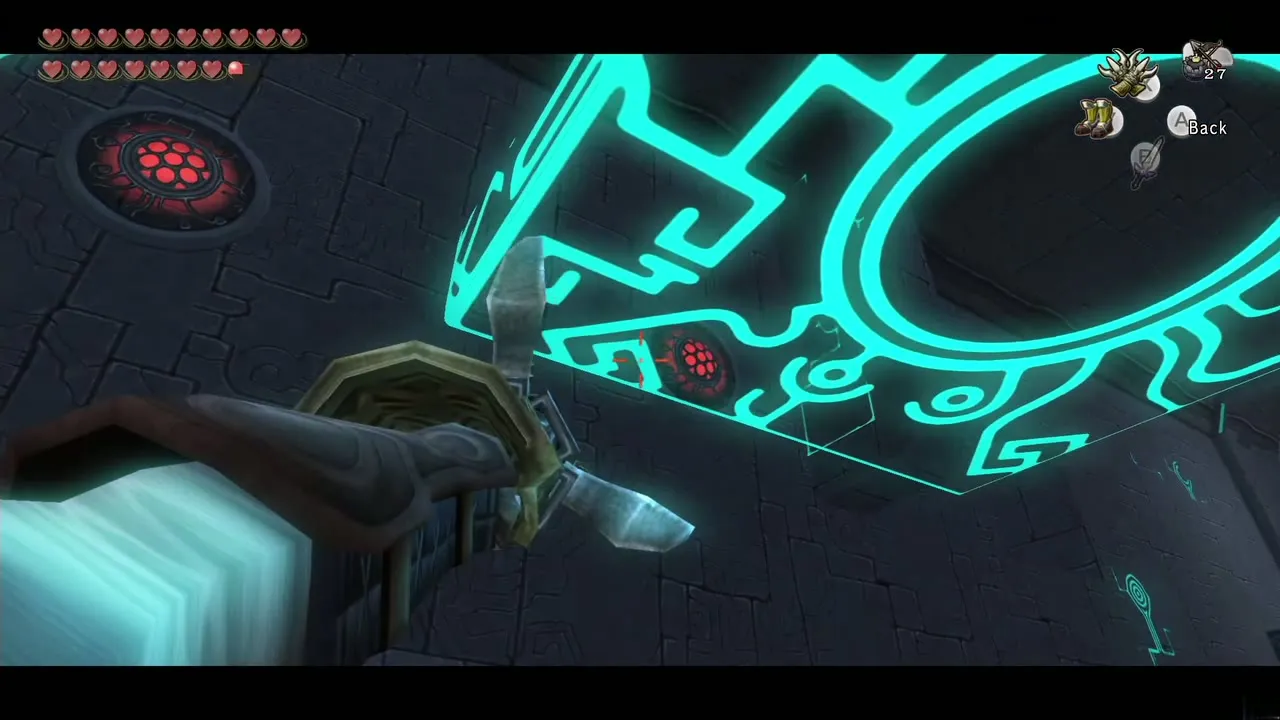
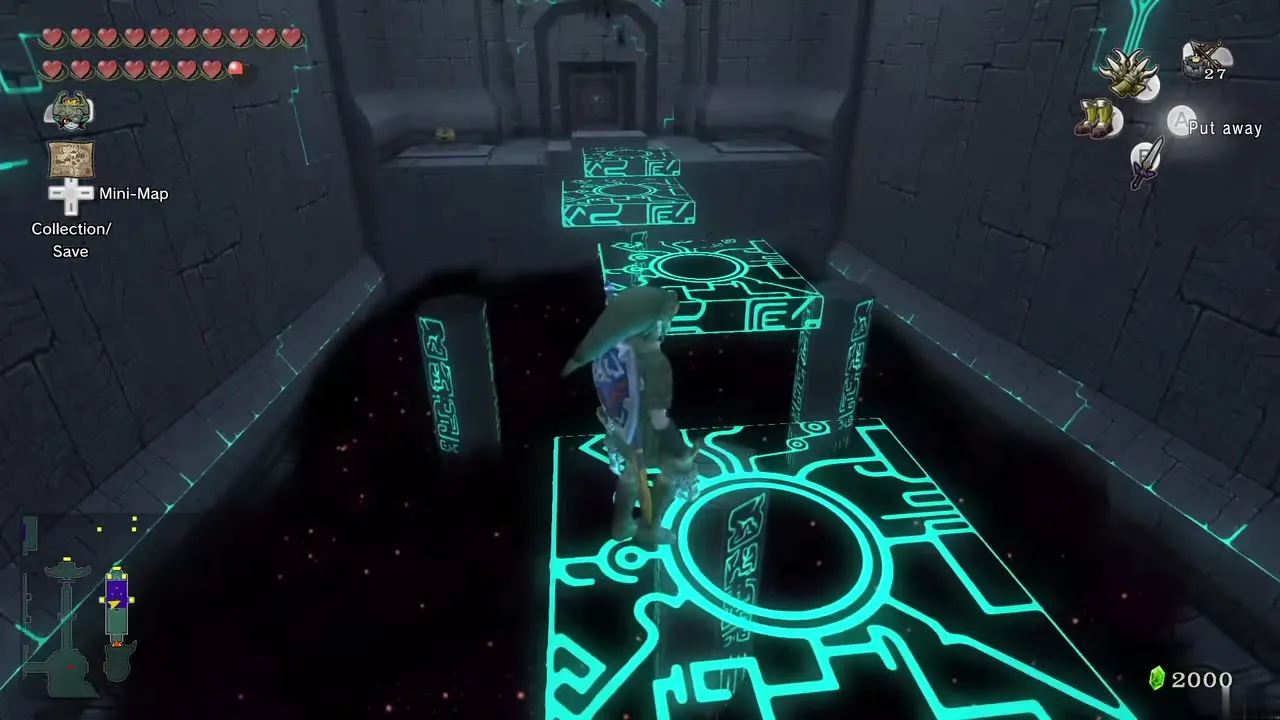
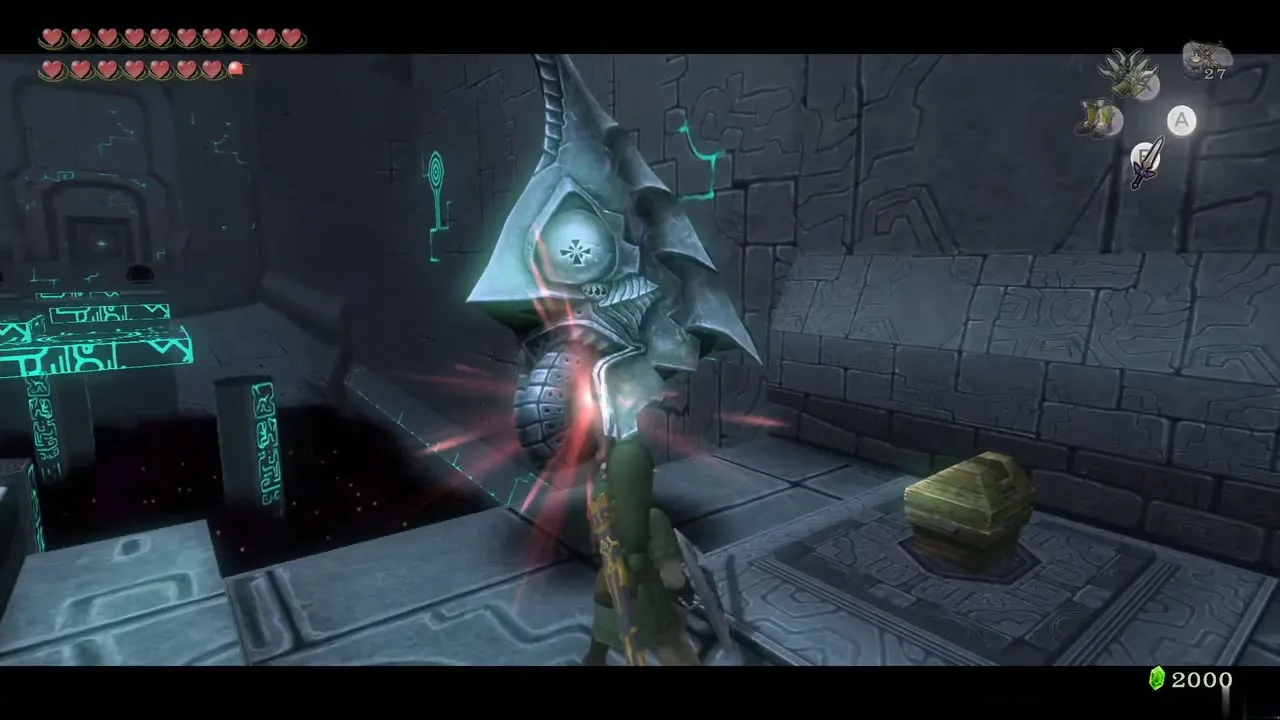
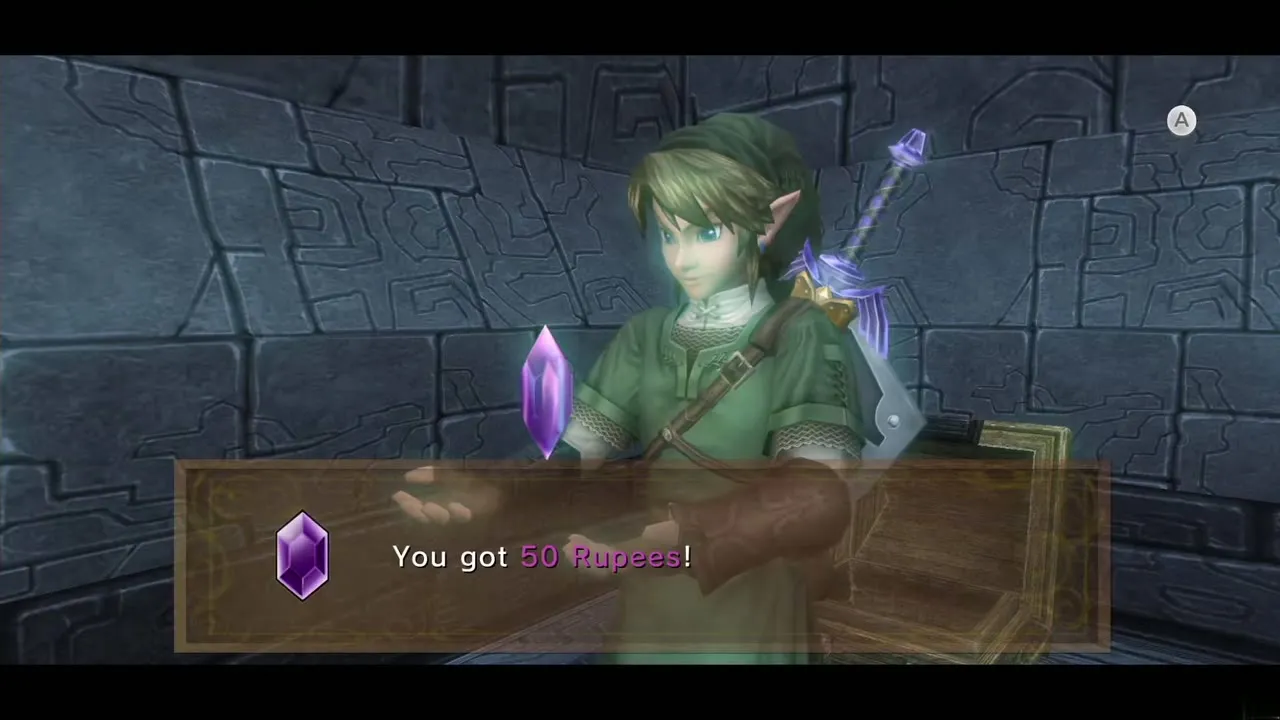
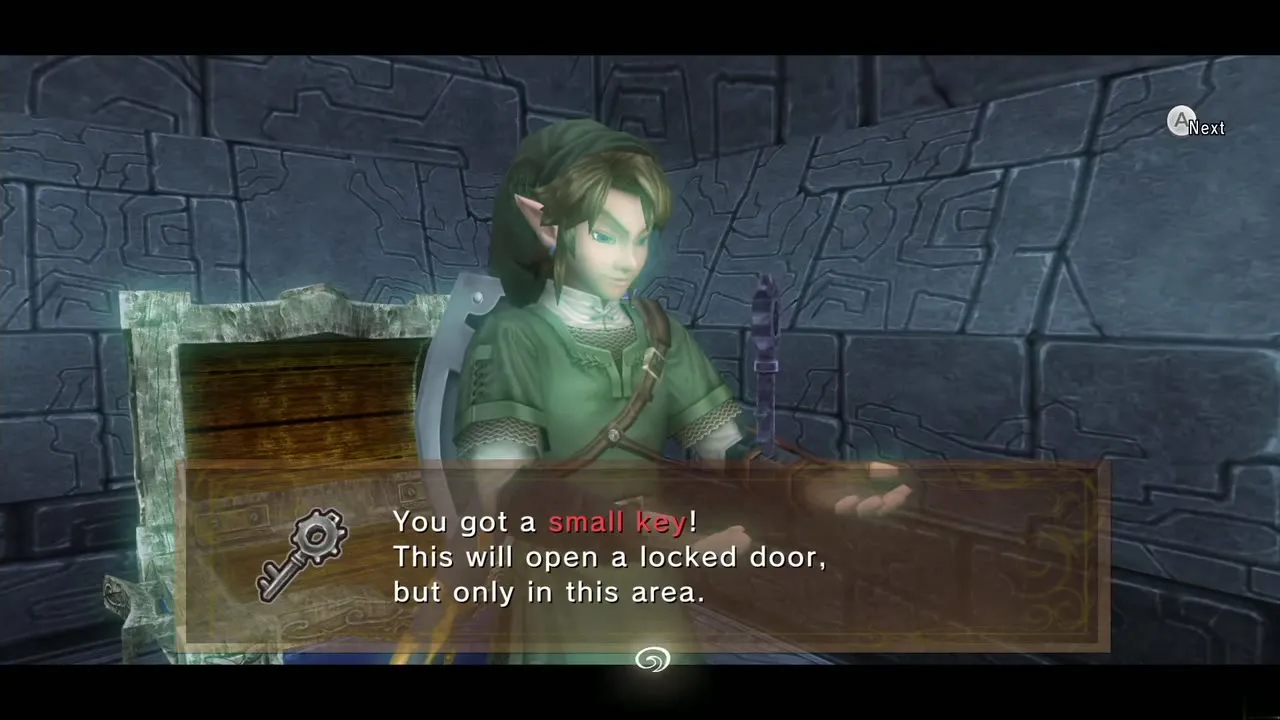
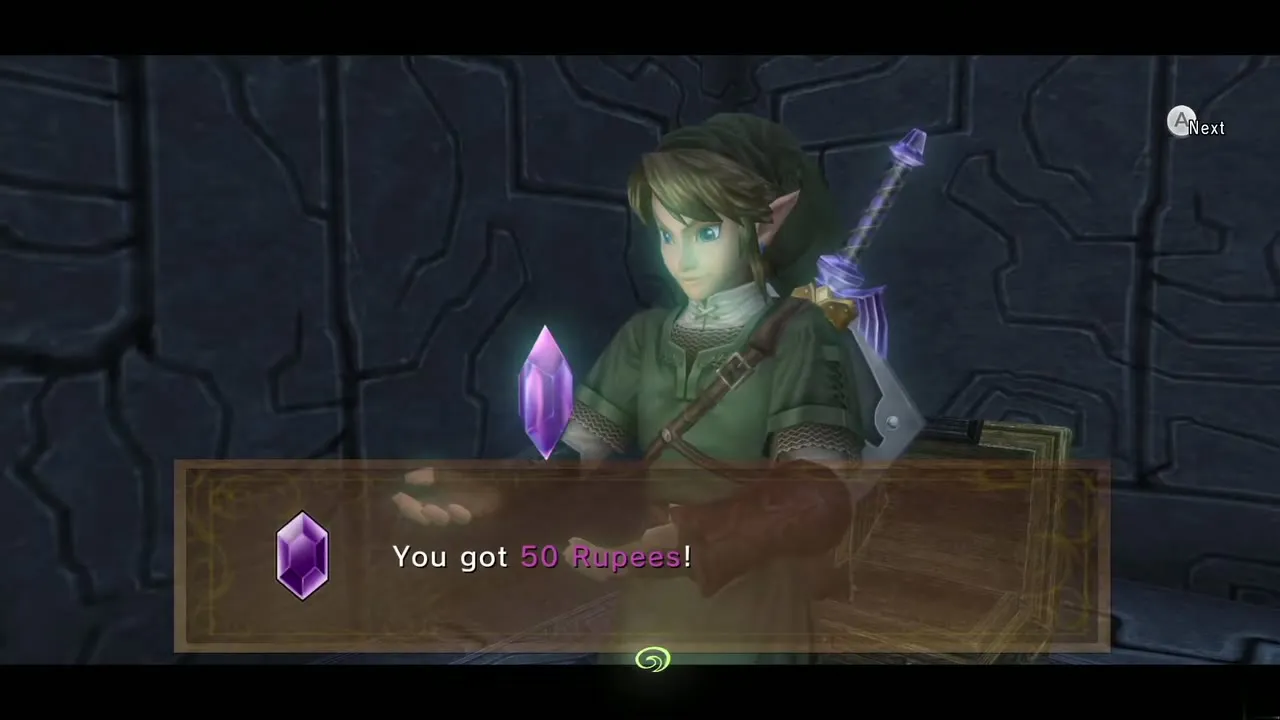
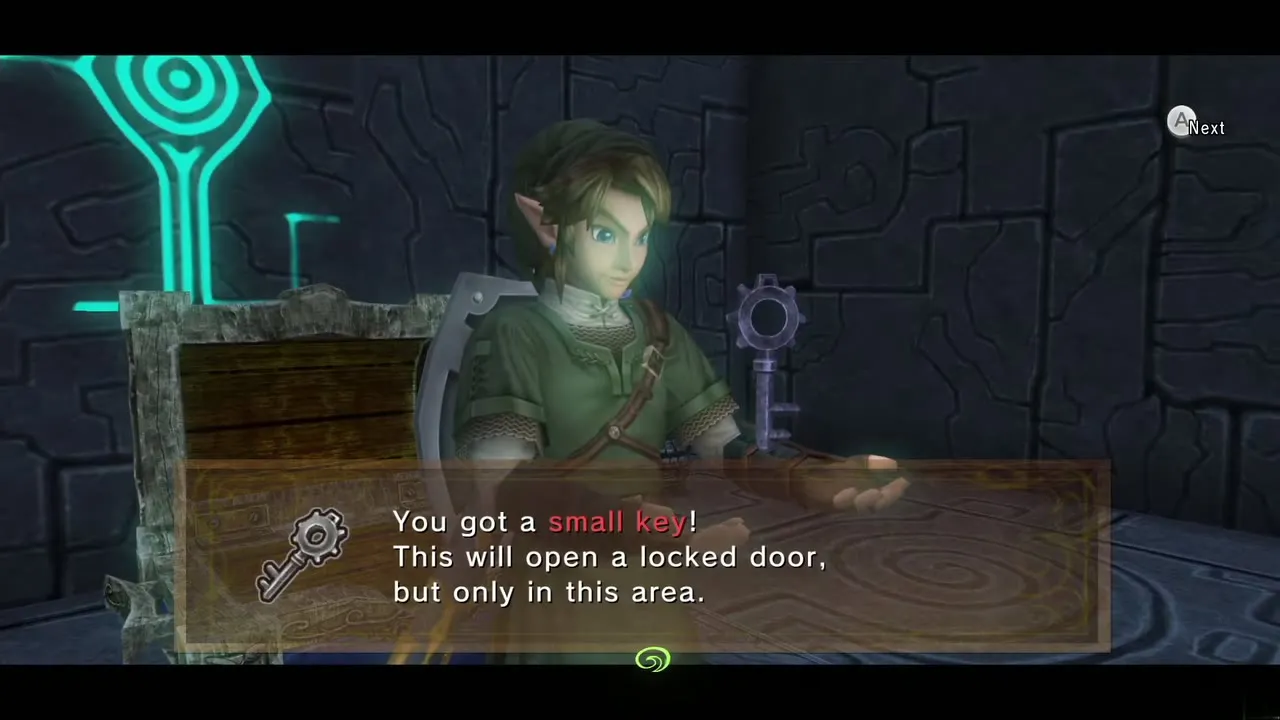
Kill the Keese, then jump to the lower level. Four Clawshot targets are fixed to the walls and one is on the ceiling. Hook a wall target, fire the second Clawshot at the ceiling target and lower yourself onto a moving platform. A Zant Mask appears at the north end and fires energy balls: knock them back to stun it. Jump across the platforms to the north side, where you can strike the mask when it appears. A chest with small key 3 appears in the northeast corner, and a small chest beside it holds a purple Rupee (50). Unlock the door and head north.
Fog room: Dungeon Map, small key 4 and a stamp chest
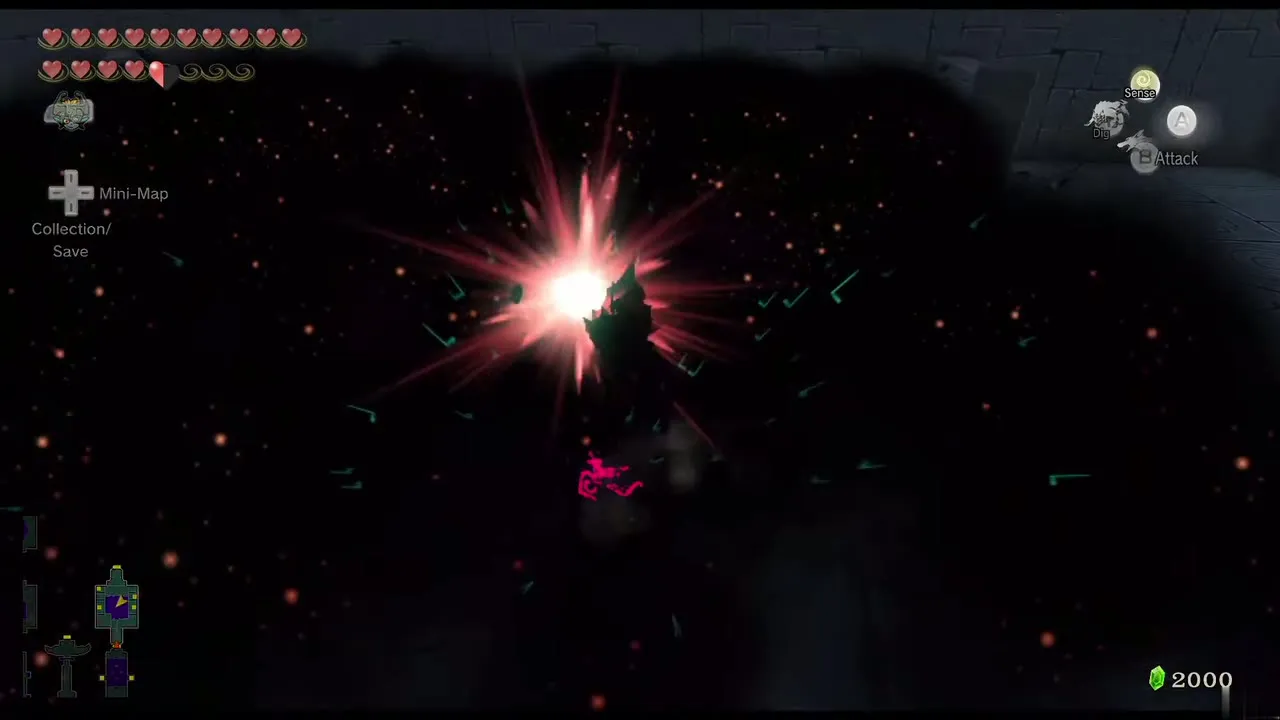
Run into the black fog. Three shadow beasts and a wall of twilight appear. Wolf Link kills them fastest. Afterward walk to the north end to meet another Zant Mask: keep attacking as the wolf or use the Shield Attack as Link. Beating it spawns three more masks inside the fog; Midna’s charged attack clears them quickest. When all three fall, a chest appears on a high ledge.
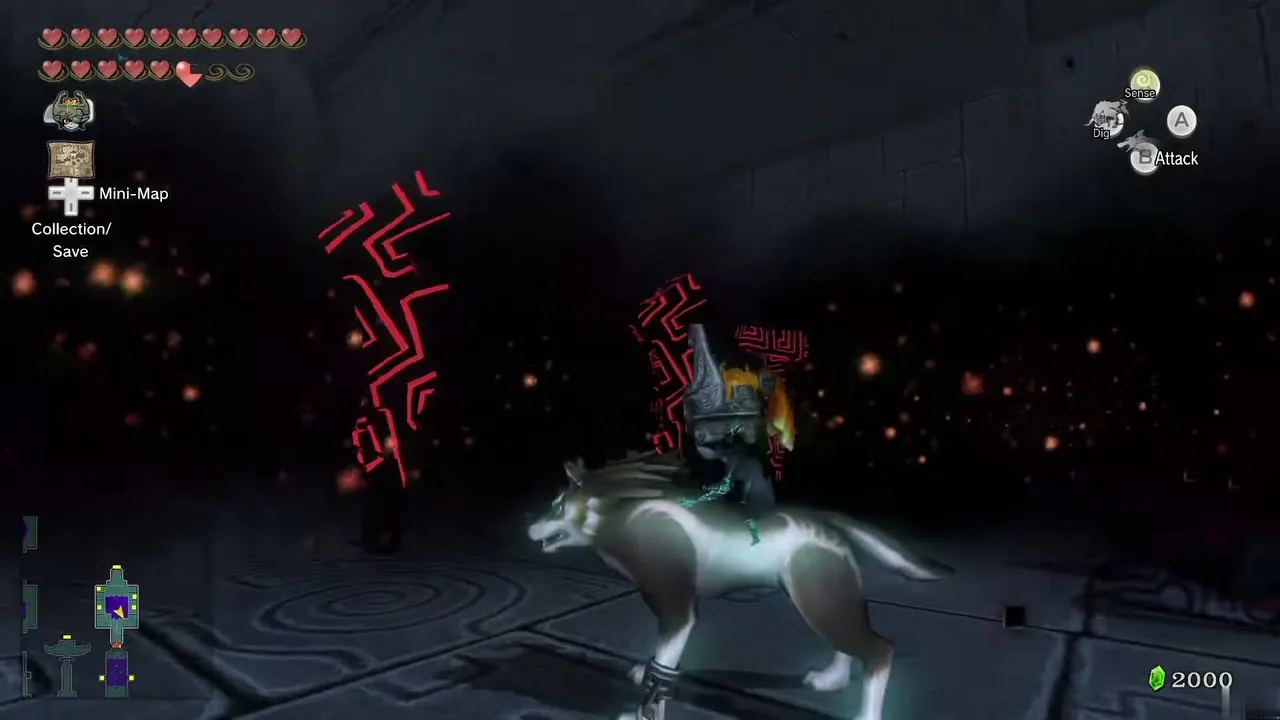
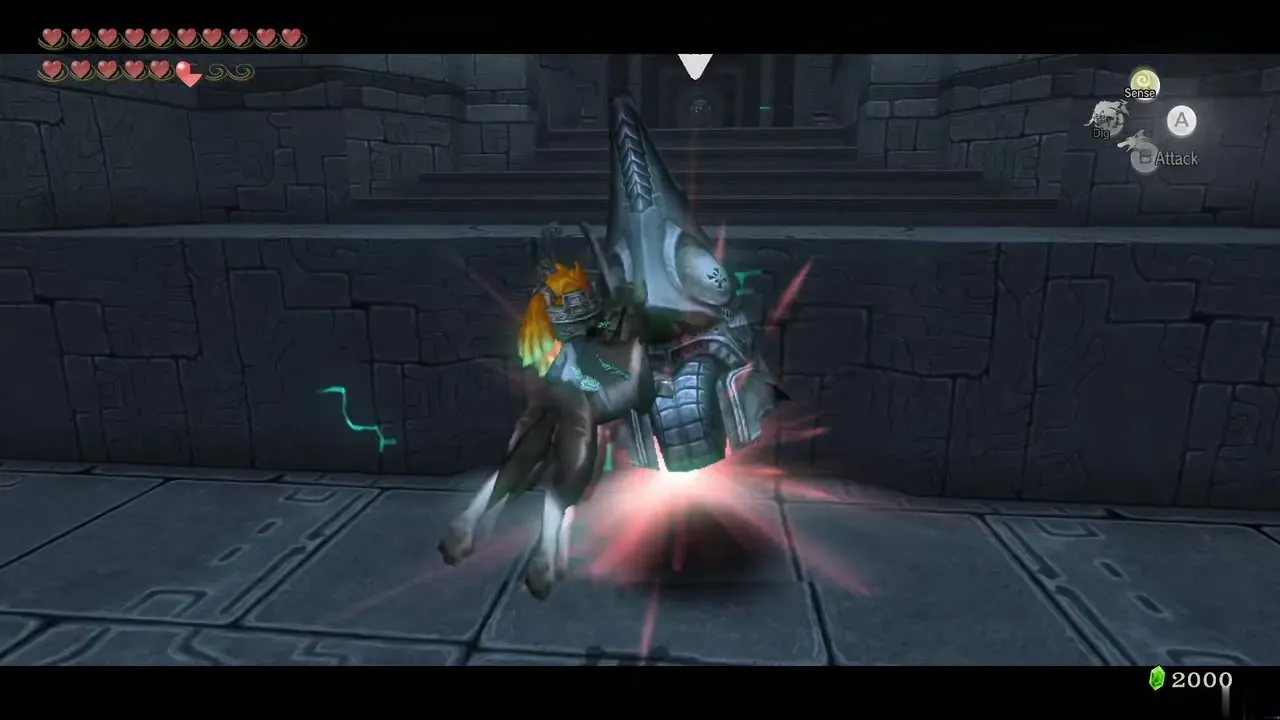
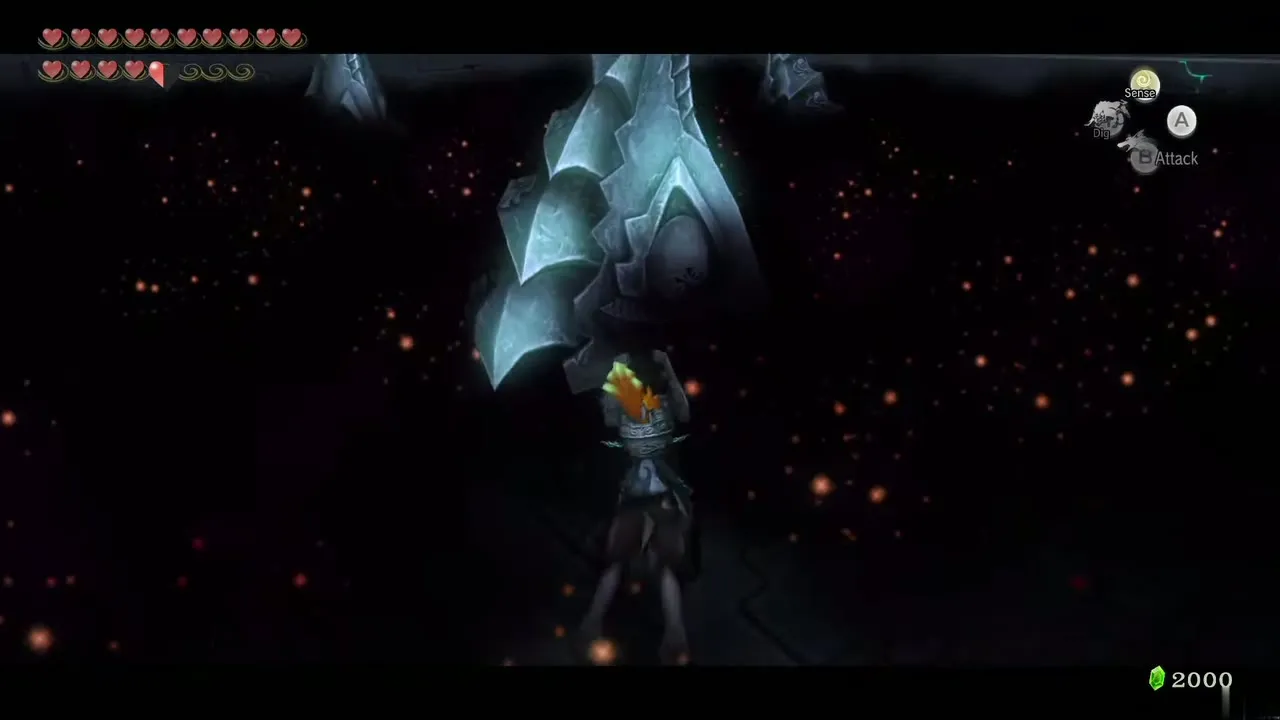
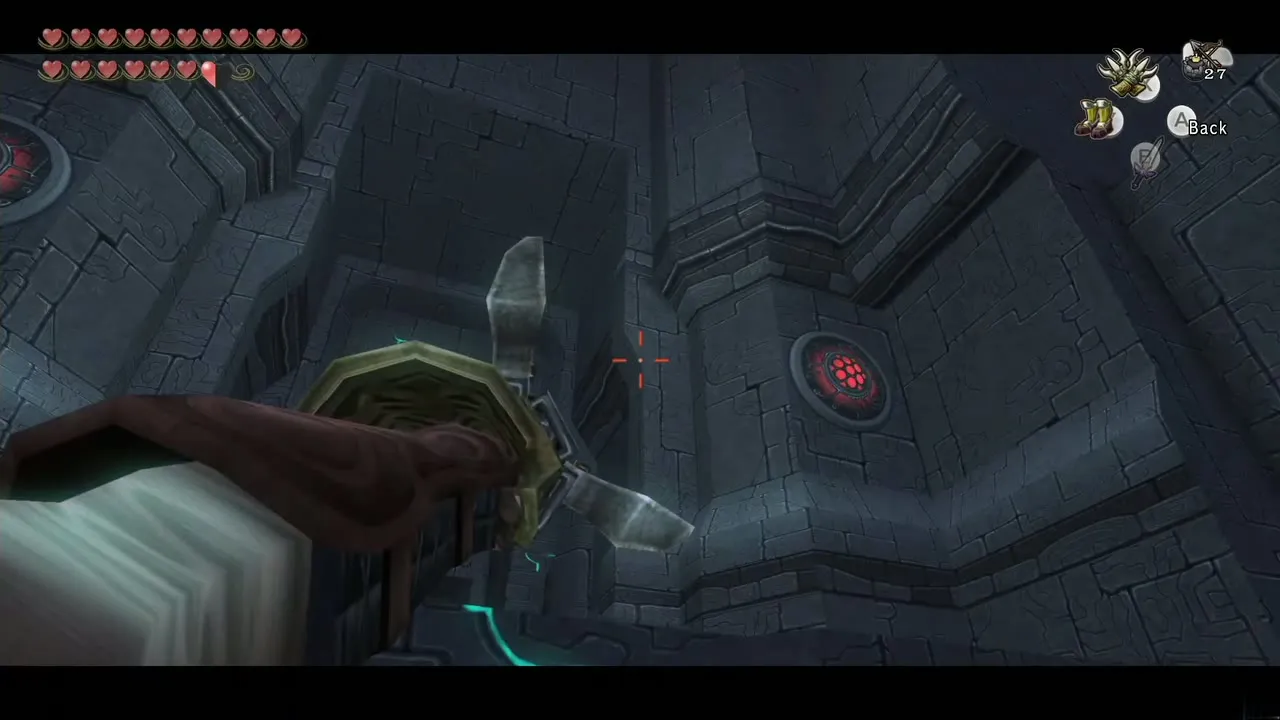
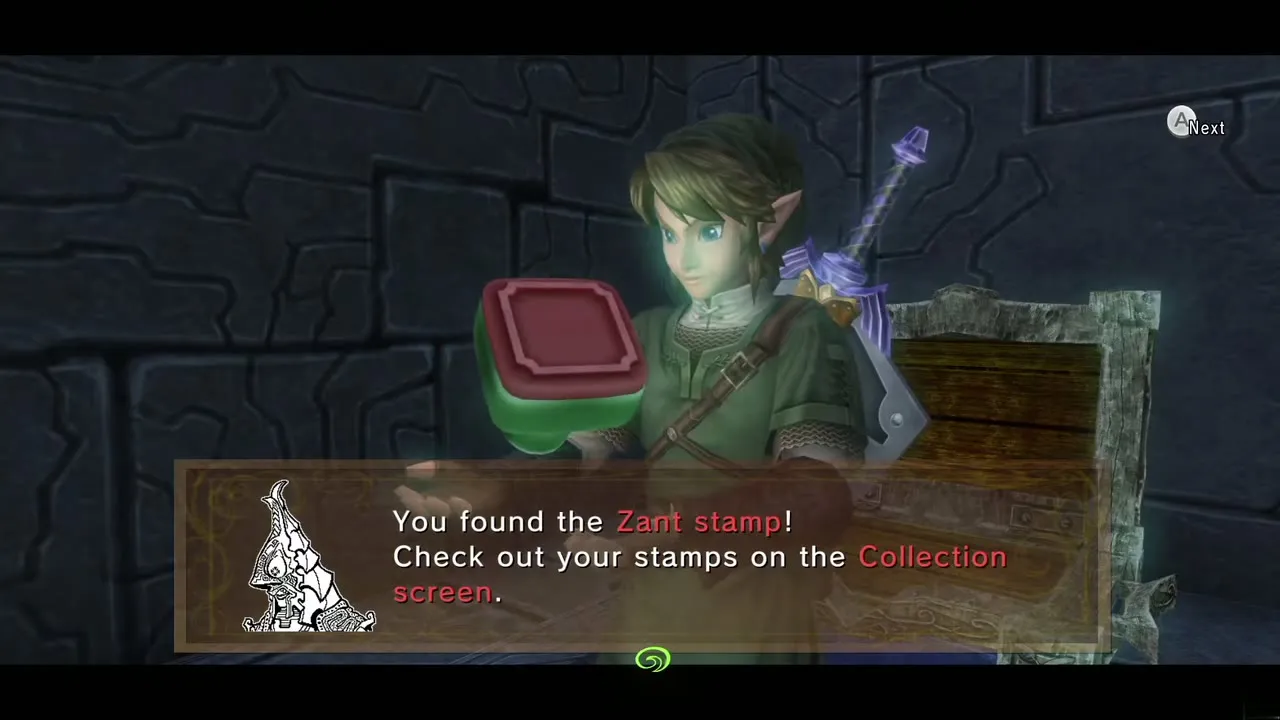
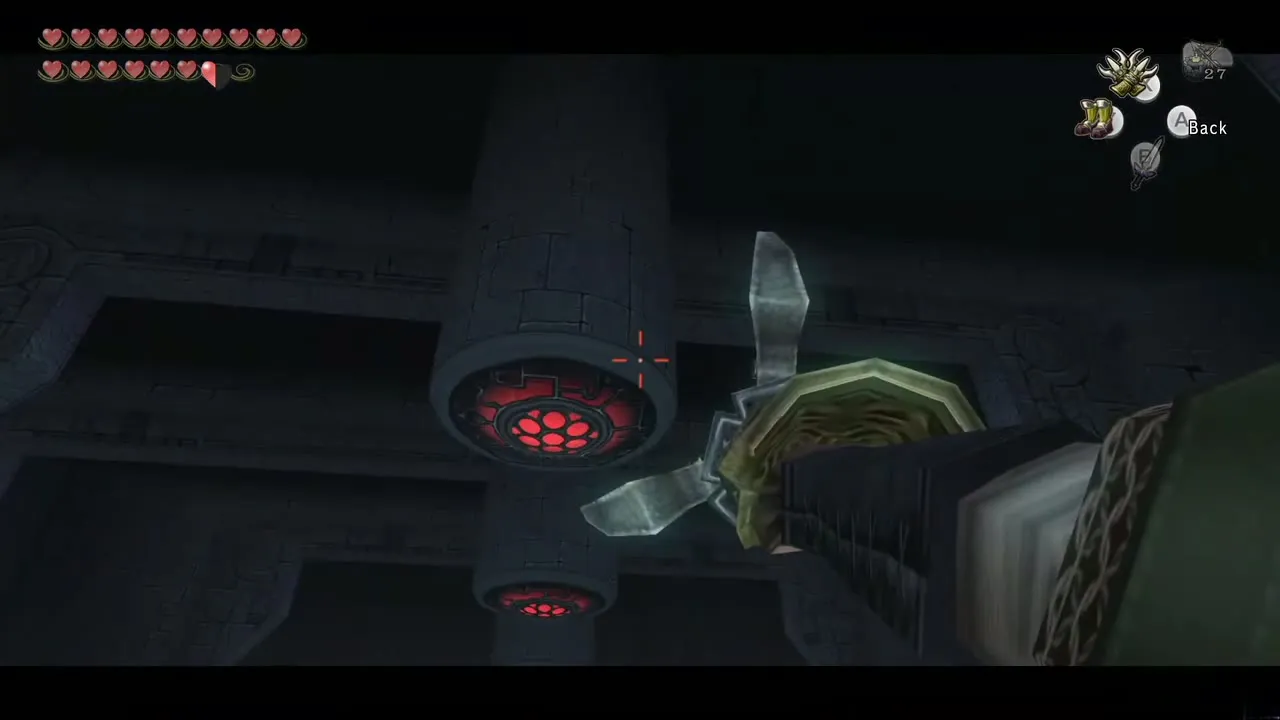
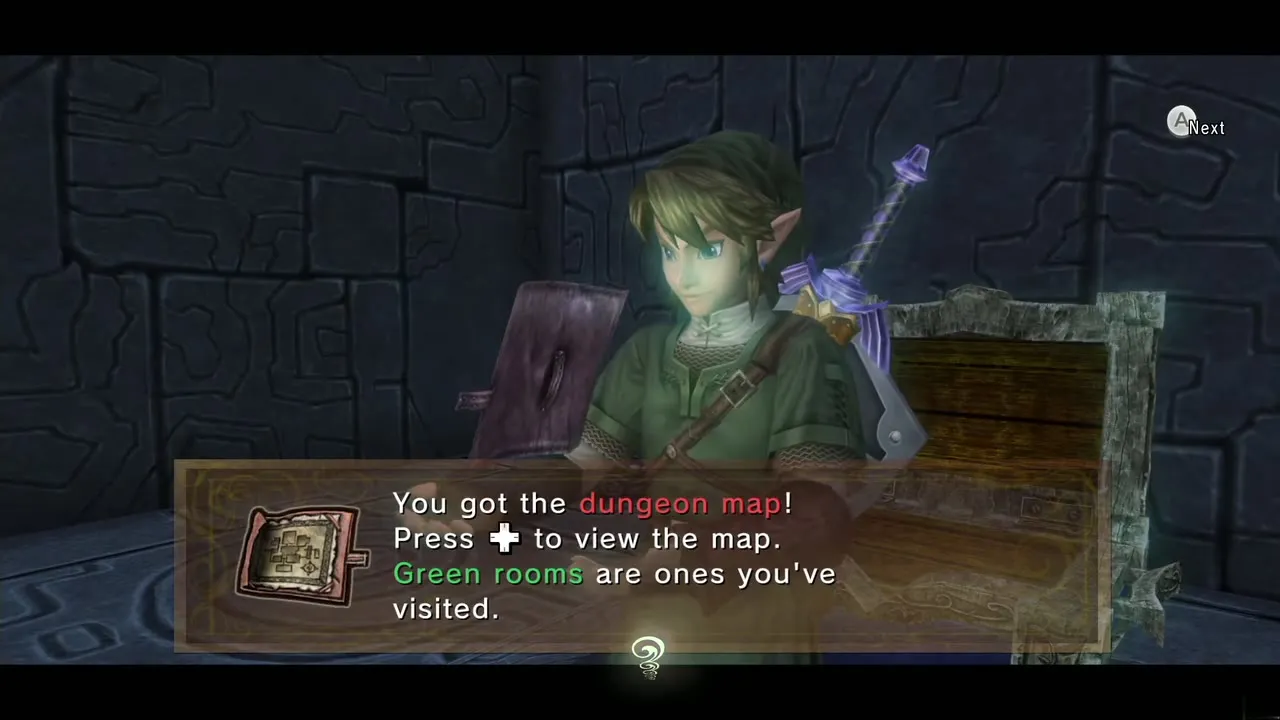
Clawshot the wall target at the north side of the fog, then the ceiling target, and use the wall targets to visit all four chests on the upper level. The top-right chest holds a purple Rupee (50), the top-left holds the Zant Miiverse stamp (a purple Rupee, 50), the bottom-right holds small key 4 and the bottom-left holds the Dungeon Map. Take the key to the locked door at the north end.
Second Phantom Zant and the second Sol
The door shuts and a second Phantom Zant arrives, opening with shadow Deku Babas. Fight it exactly as before: clear what it summons, chase it and strike. When it falls, the walls vanish and fog fills the center. Slash the Zant’s Hand at the north side to make it drop the Sol. Lift the Sol and the hand wakes. Drop the Sol into the center hole to raise a staircase, kill the shadow beast and vermin that attack, climb the steps and pull the Sol up with the Clawshot. Leave through the south door.
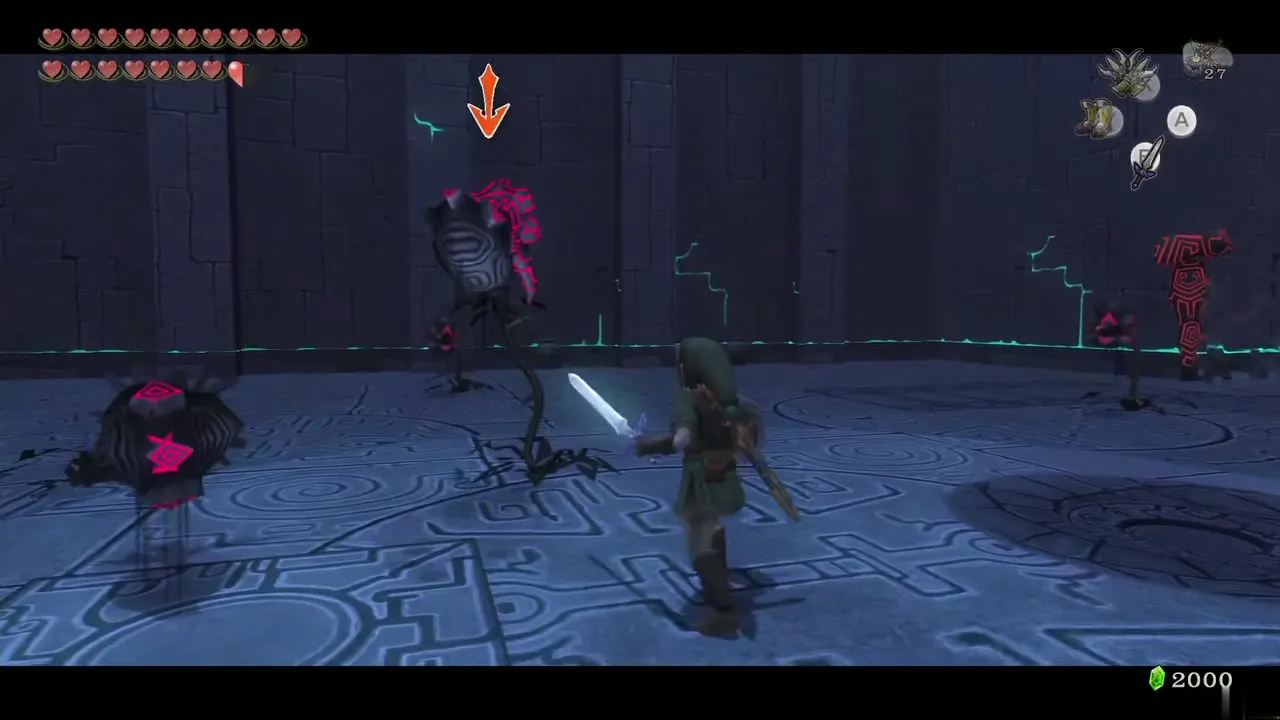
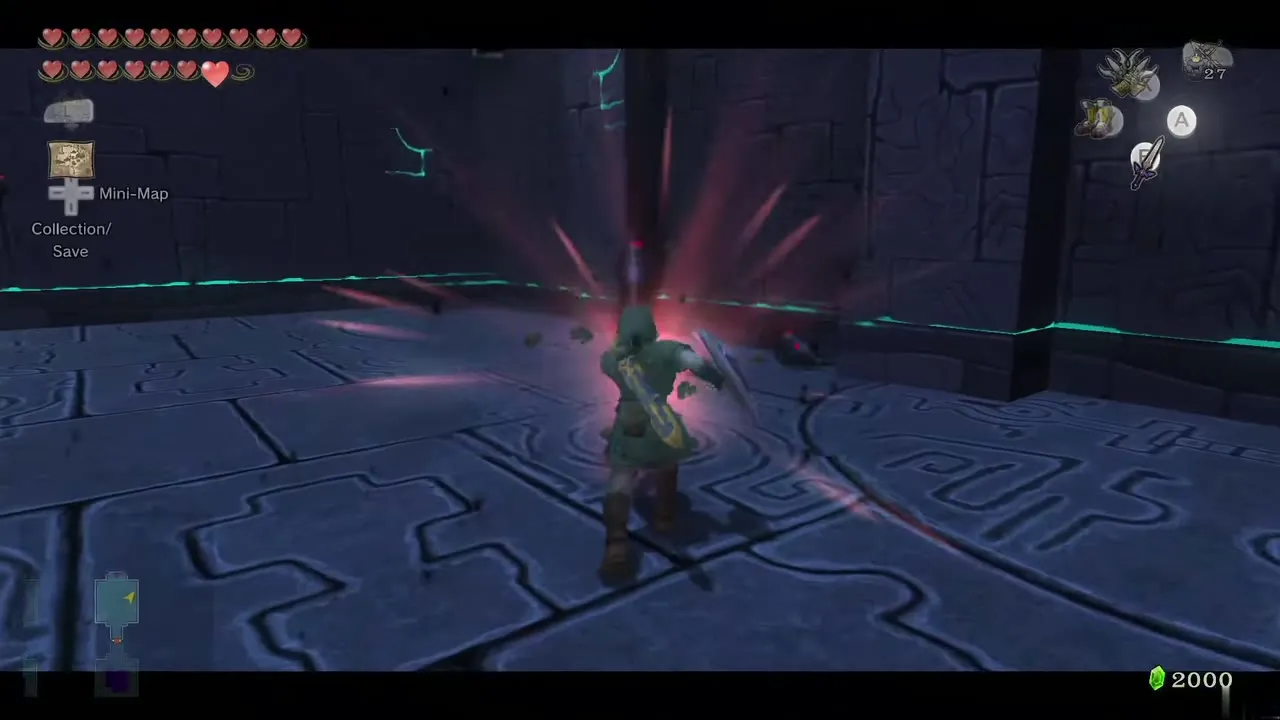
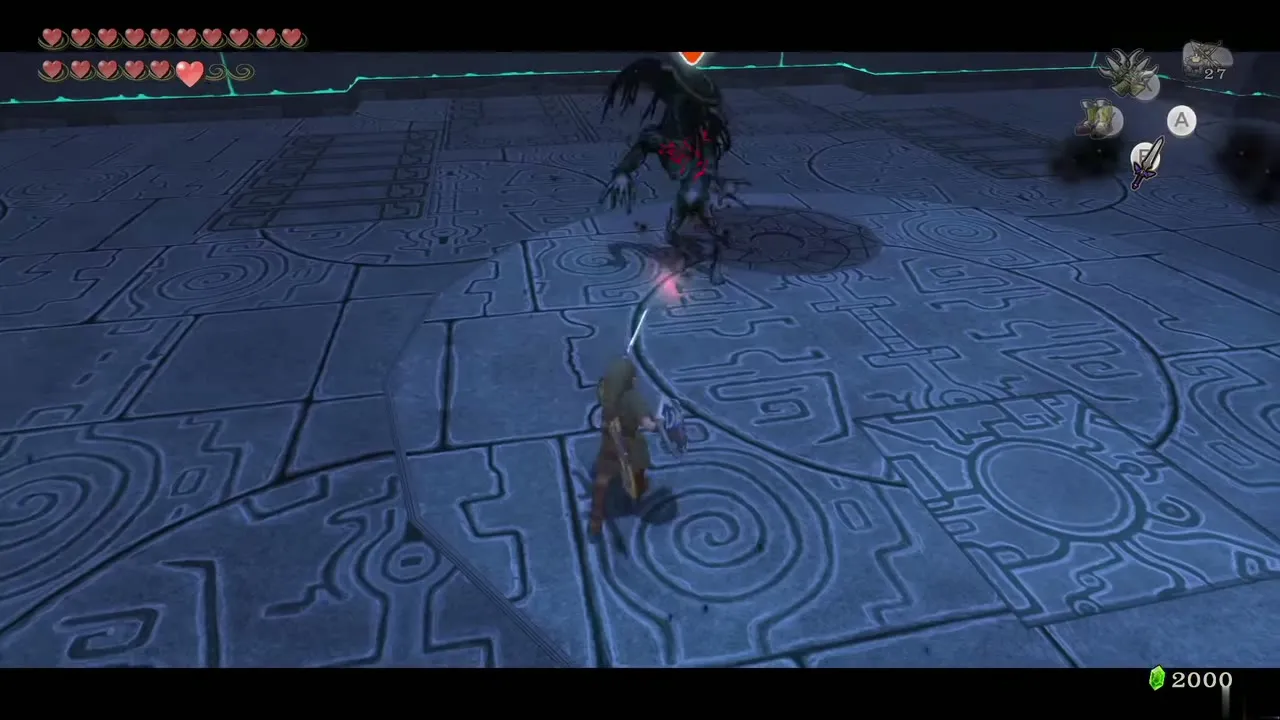
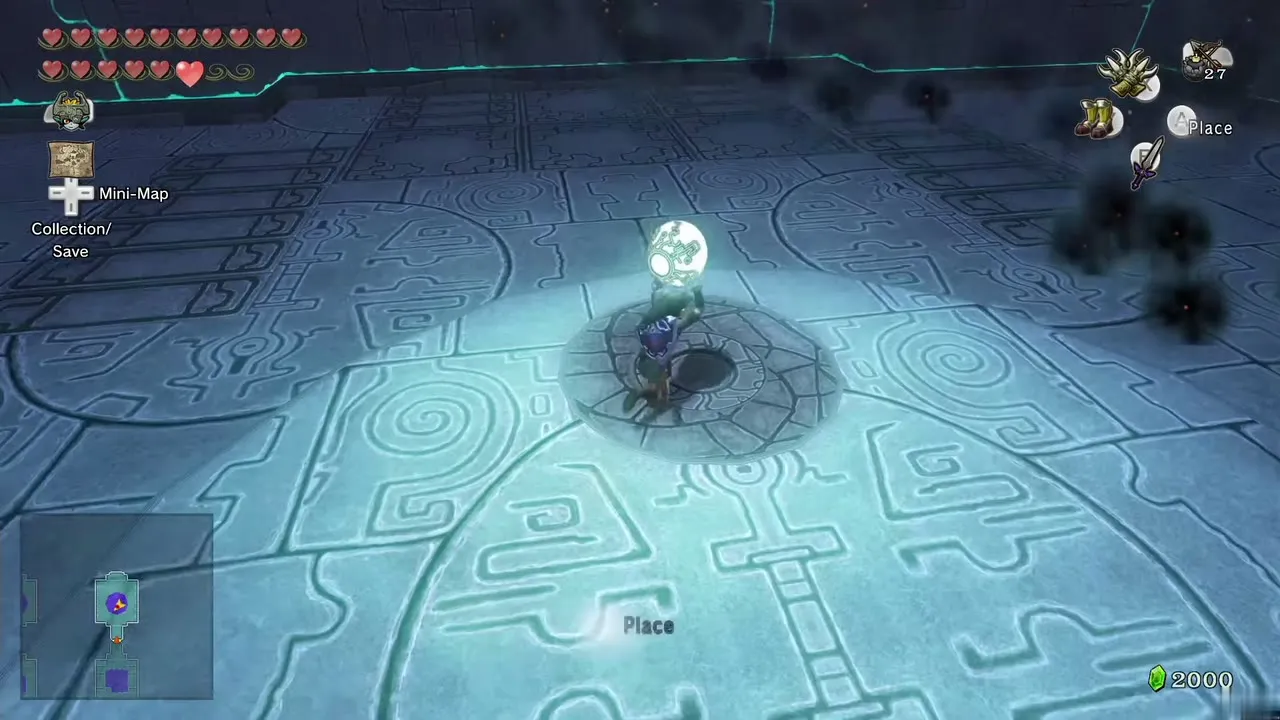
In the next room, run to the center and drop the Sol in the hole. The hand appears through the wall with a shadow beast. Kill the beast and the Keese and stun the hand with arrows. Use the Clawshot targets along the north wall, then the ceiling, then a target on the east wall, to reach the steps that appeared. Climb to the south end, pull the Sol up, drop to the area below and take the door.
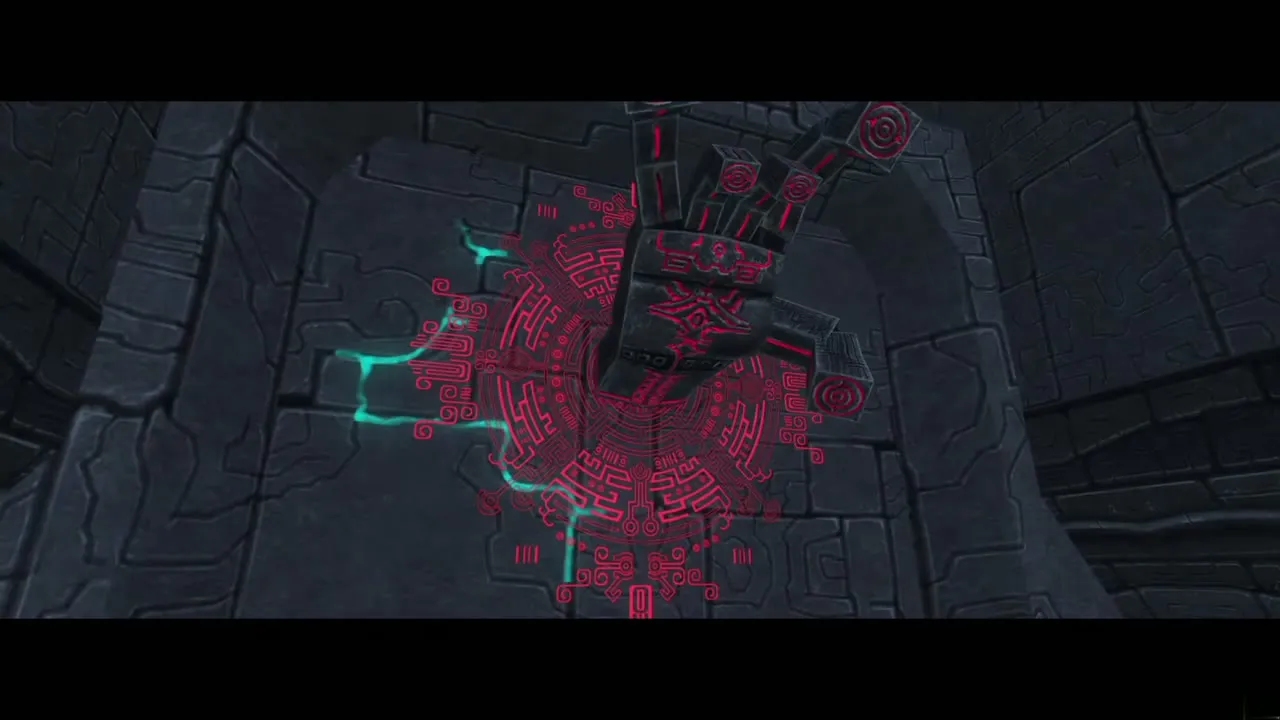
East Heart Piece and the light platforms
Run straight ahead and drop into the black fog. A crystal at the north end lights two platforms. Stand on the east platform and it lifts you to the higher area on the east side. Watch the hand behind you. Jump to the chest the platform reaches and open it for the last Piece of Heart of the game (#45).
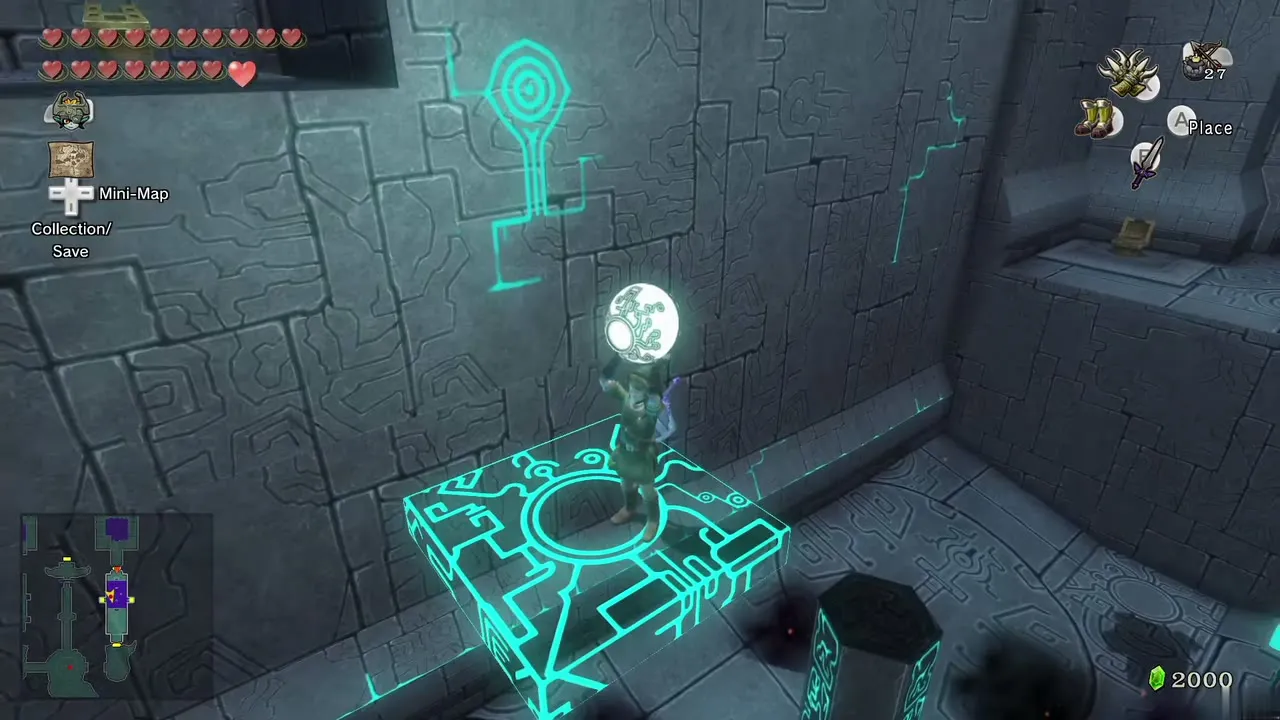
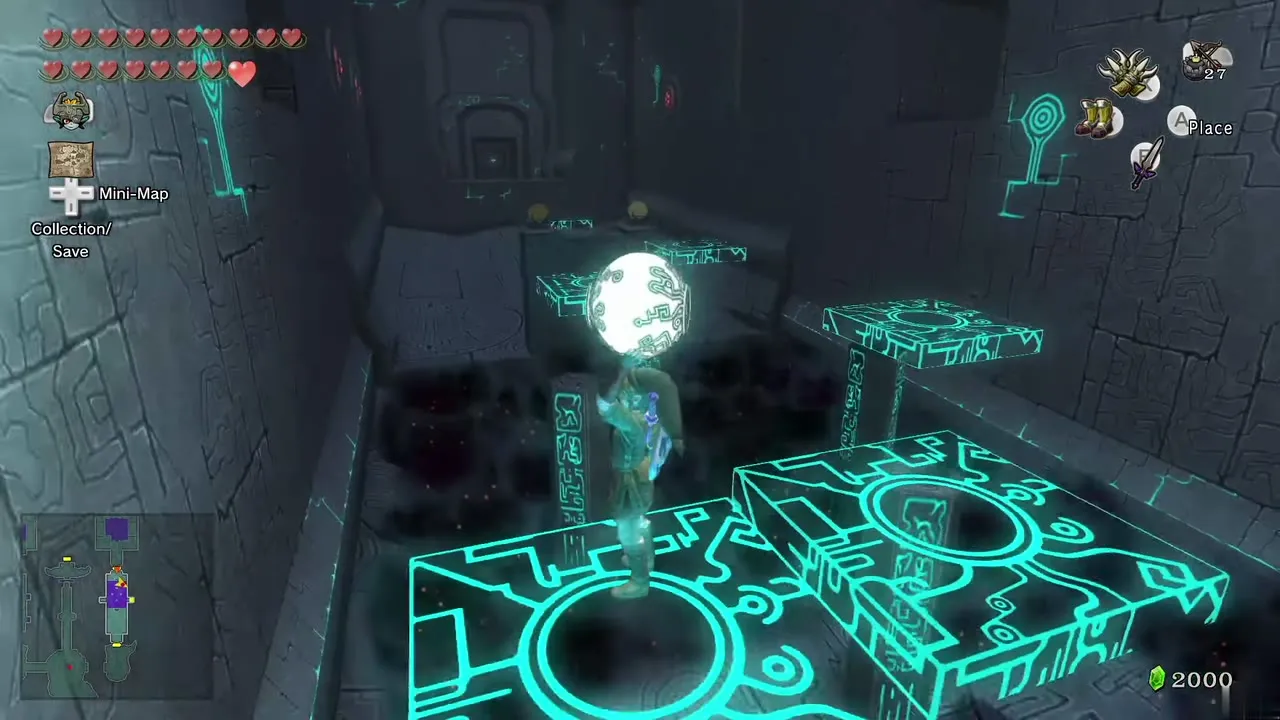
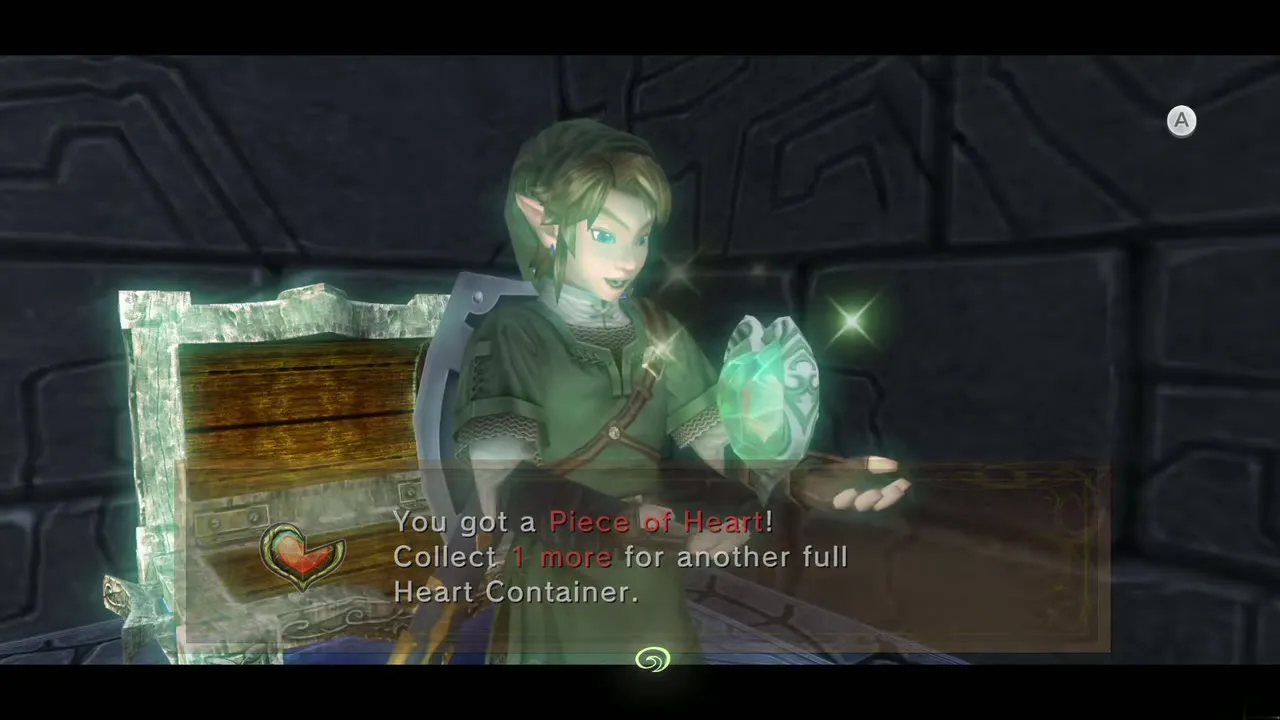
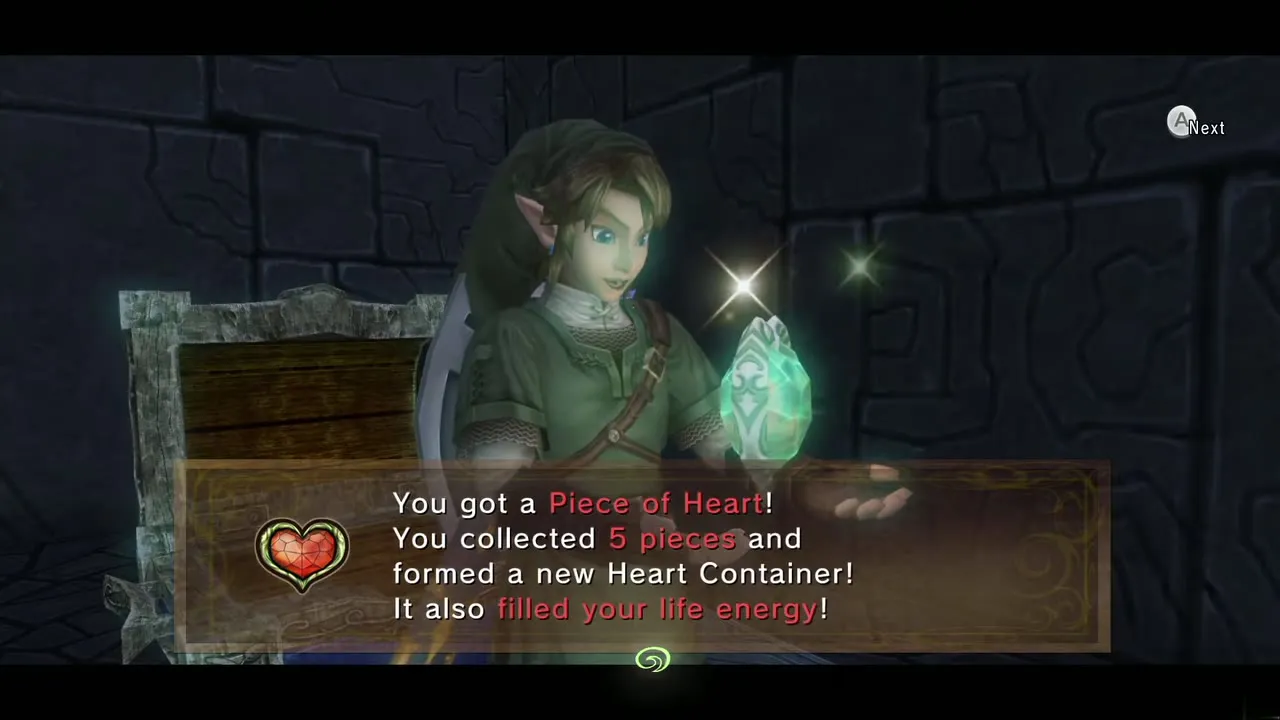
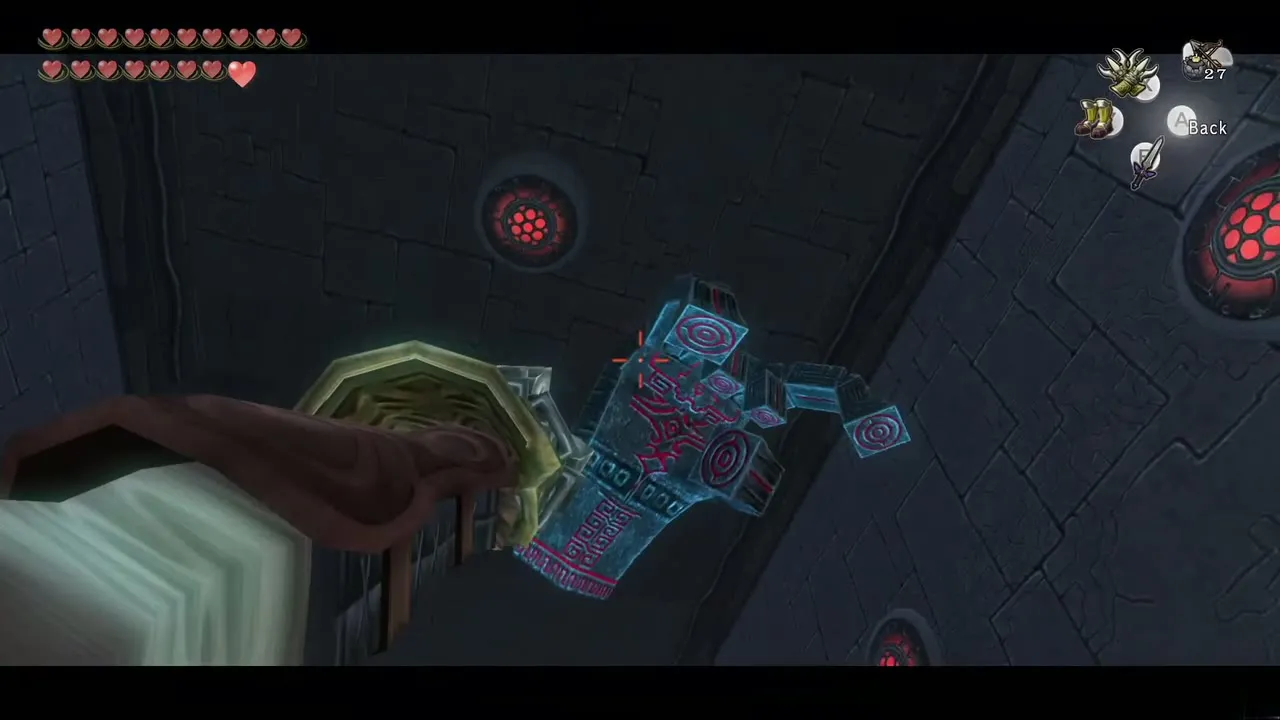
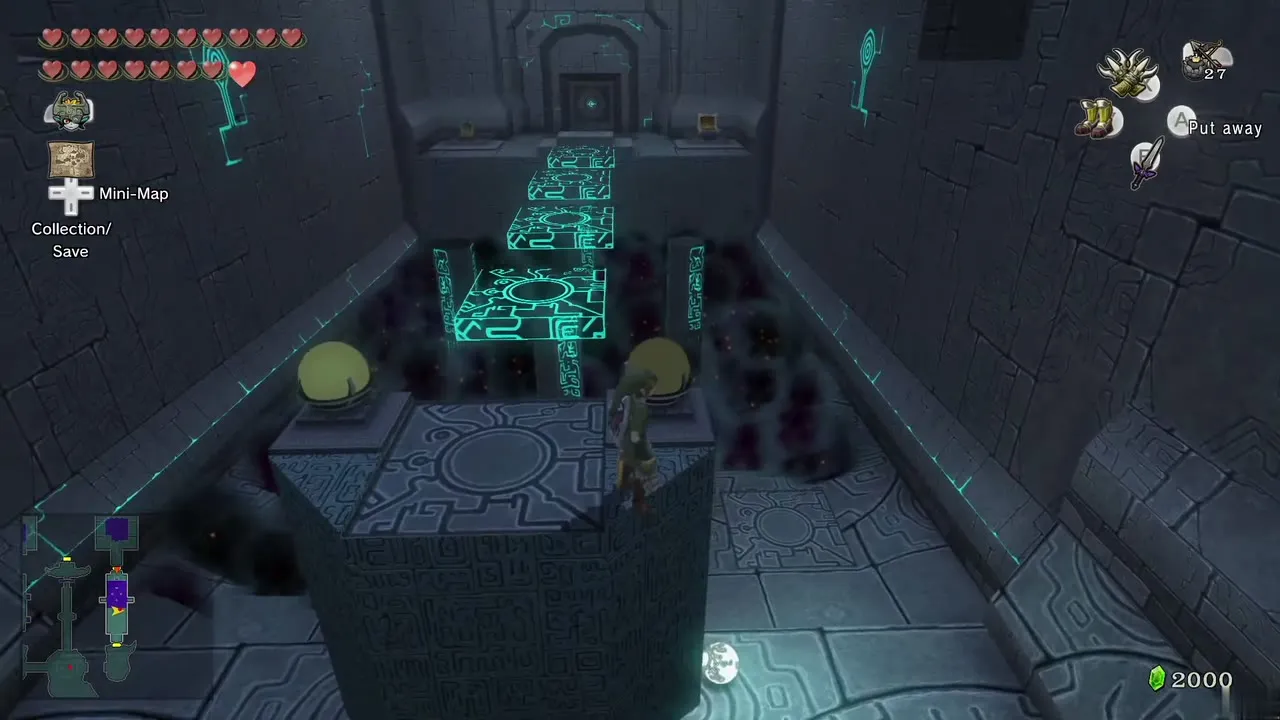
With the Sol in hand, drop back to the floor and return to the crystal. This time take the other platform to a second chest across the room, which holds an unneeded purple Rupee. Return to the crystal once more and let one platform raise you higher, then hop across the moving platforms with the Sol held overhead. You reach a platform with two crystal switches; the Sol lights both and creates another platform that carries you to the door at the south end. The Twili outside returns to normal. Step onto the square platform to ride it back to the central area.
Place Sol 2: the Master Sword lights up
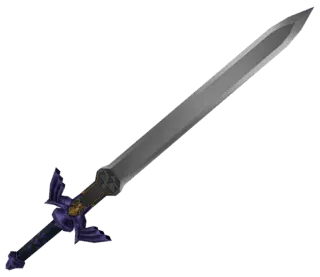
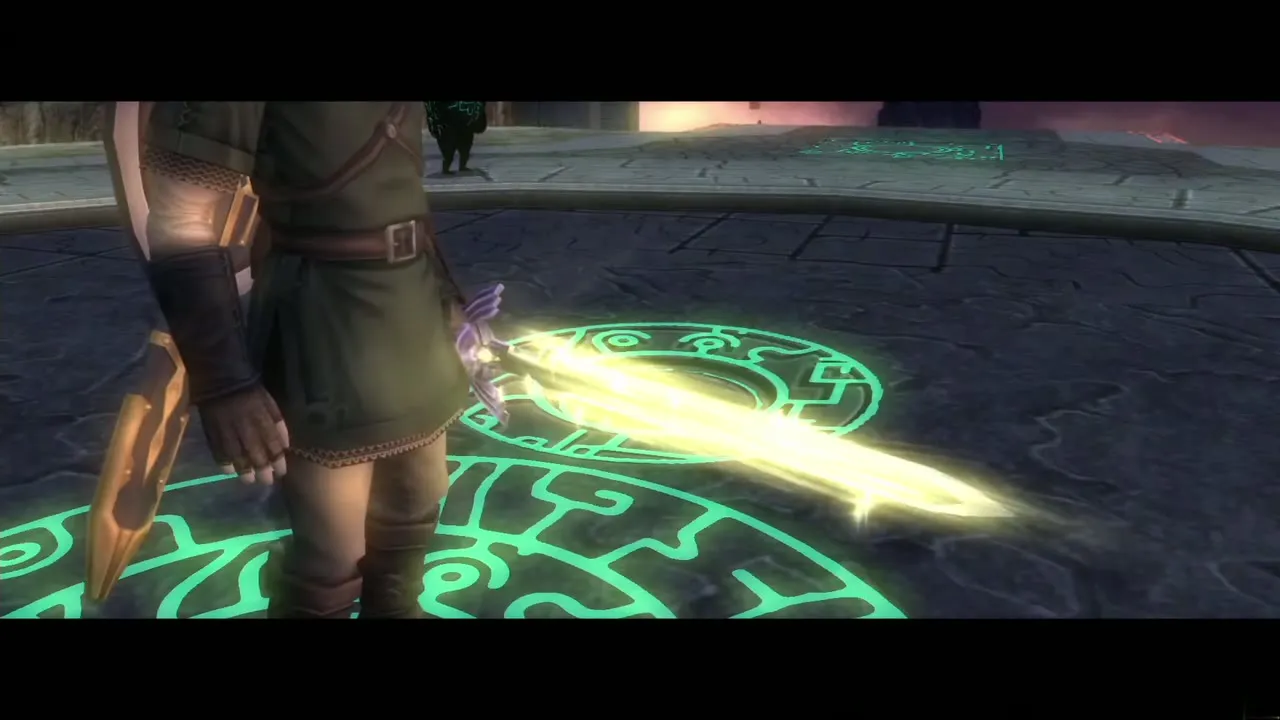
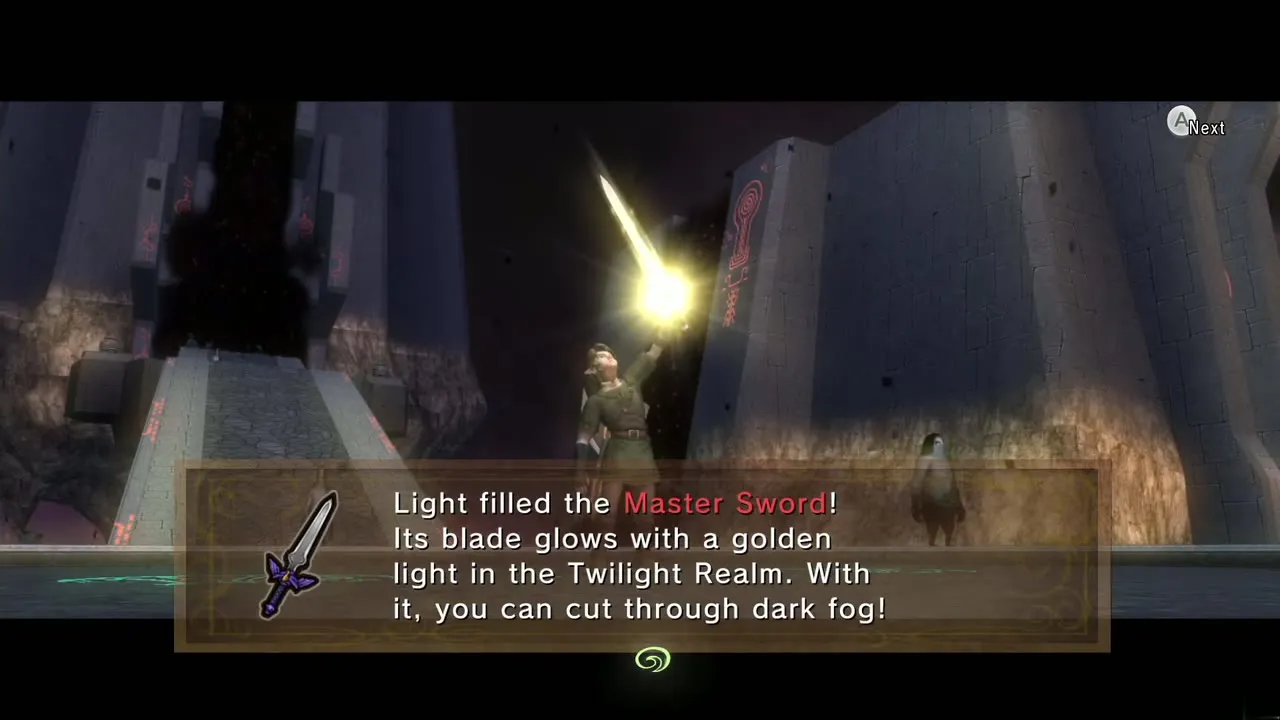
Drop the second Sol into the empty slot. Golden light fills your blade, creating the Light Sword. The Master Sword can now cut through the black fog, and a spin attack clears it briefly. Use this to push north.
Palace of Twilight: Central Wing and the Big Key
Fog fall and two unlit Sols
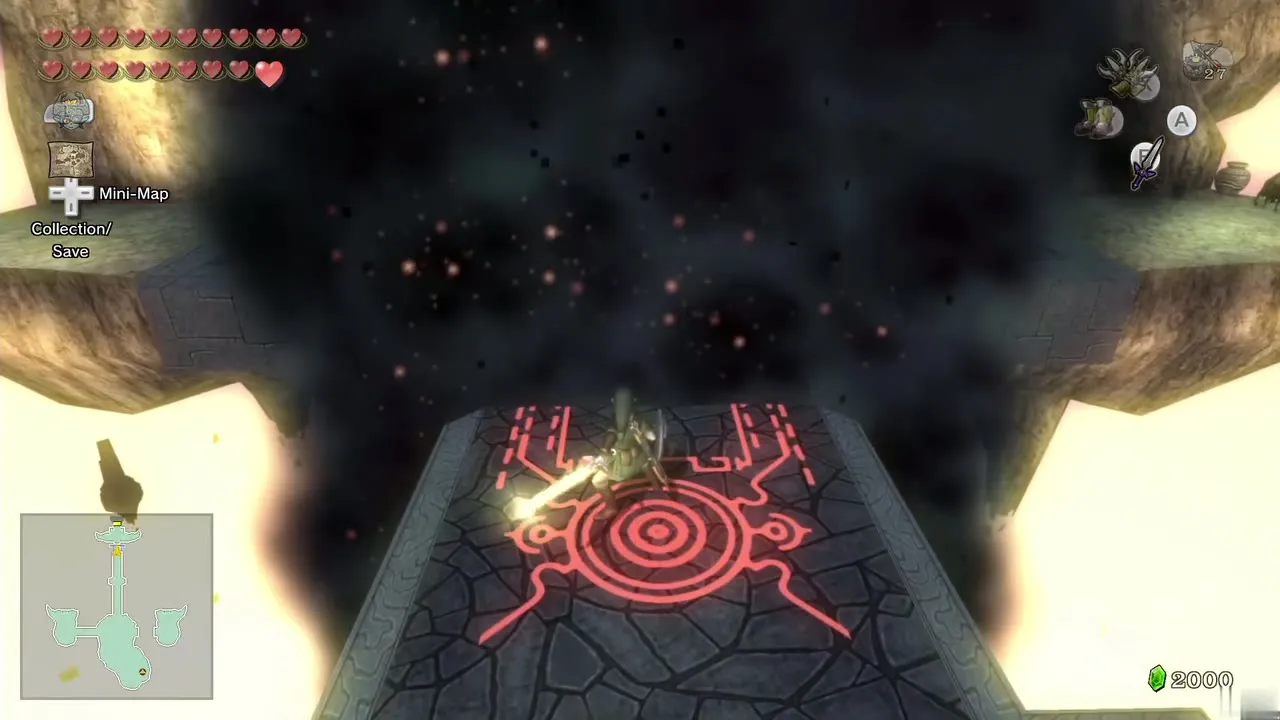
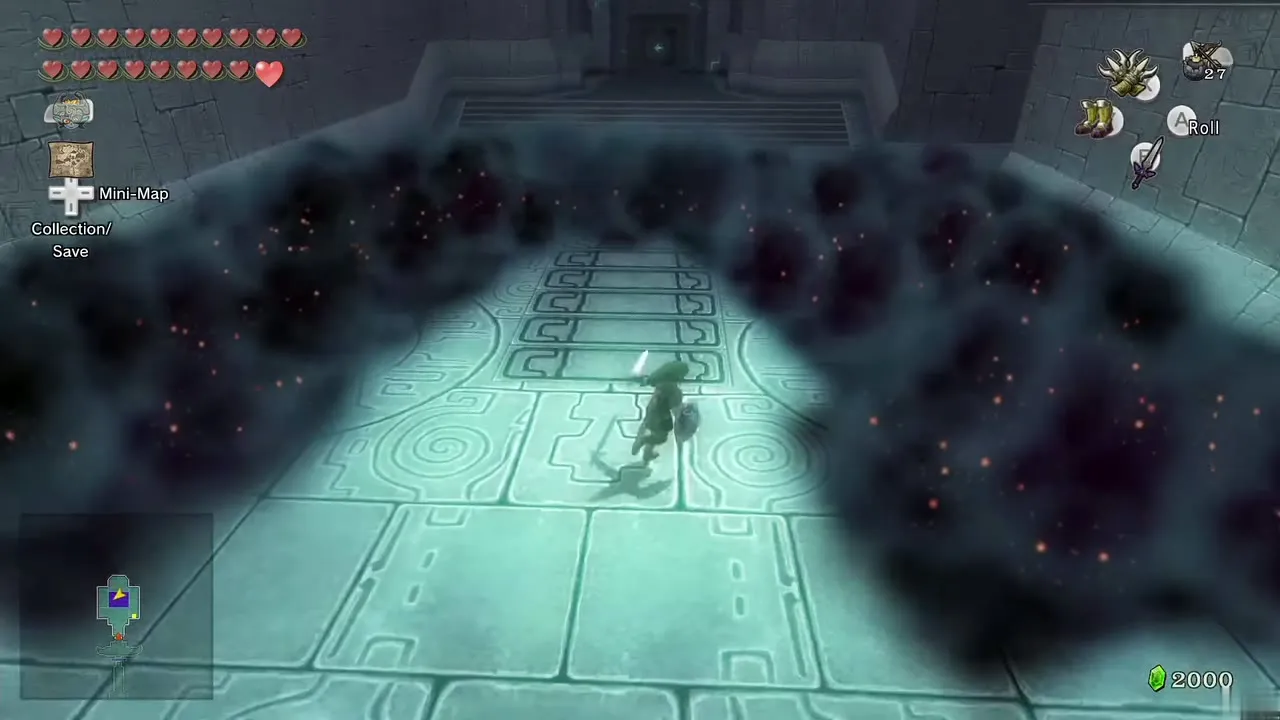
Walk north to a waterfall of black fog guarded by shadow Kargaroks. Defeat them, stand on the red mark on the ground and spin attack to clear the fog for a moment, then jump the gap and go through the door.
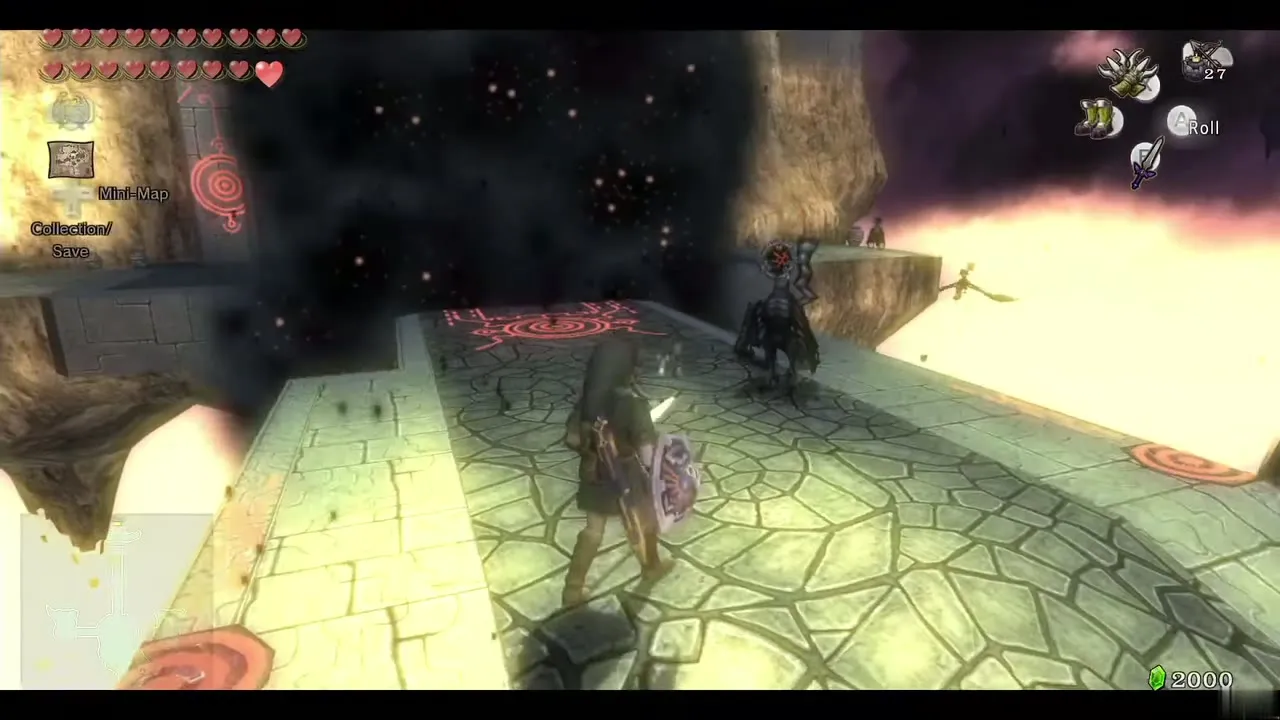
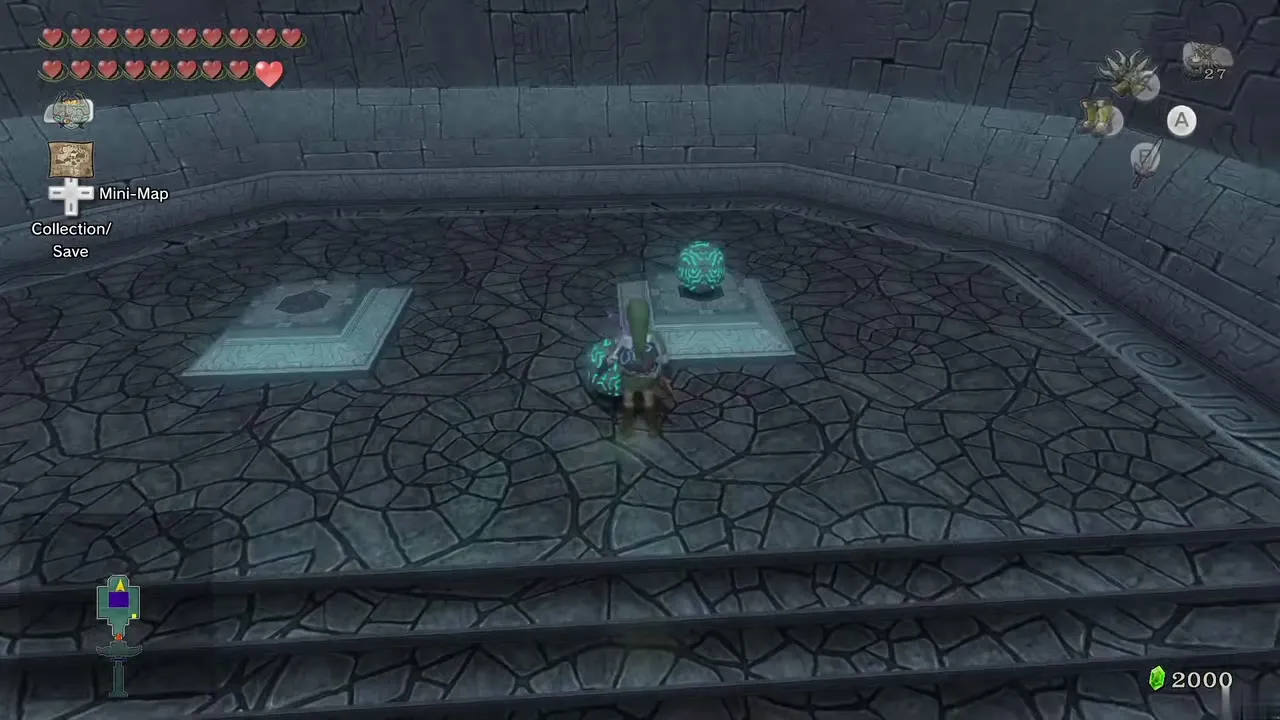
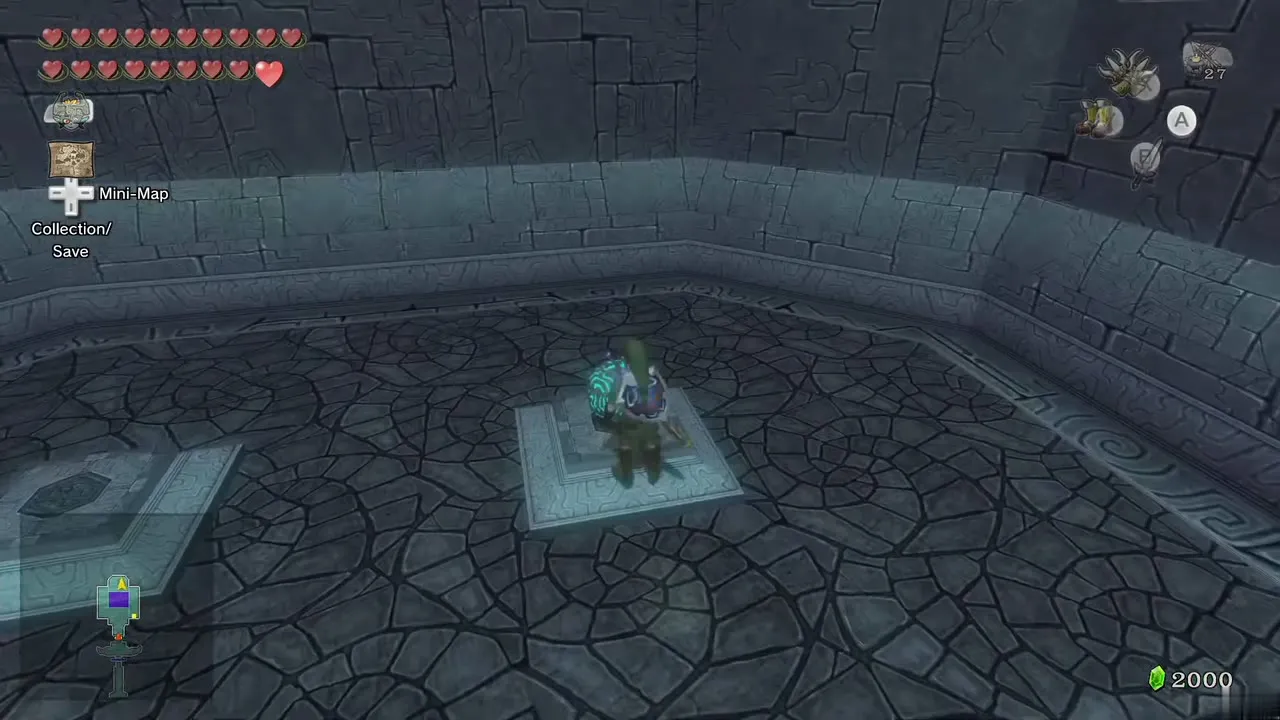
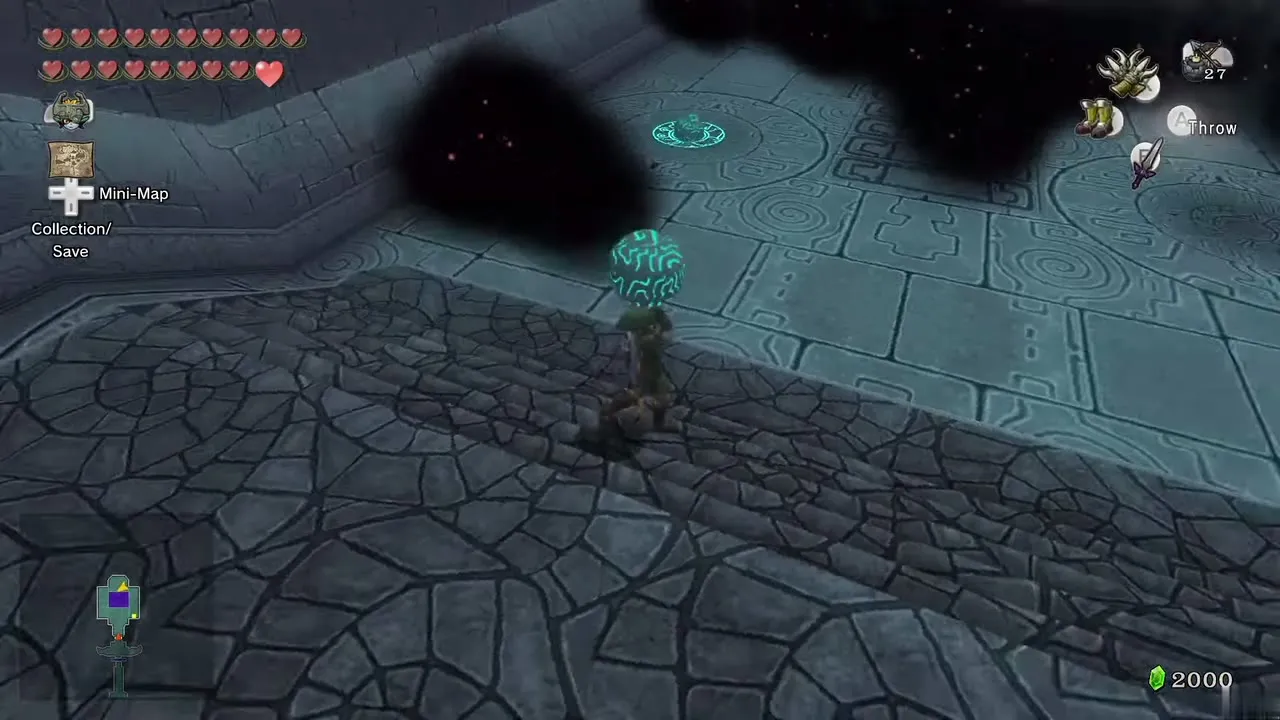
Slash through the fog as you move north, killing the shadow Keese, Babas and vermin. At the far end two unlit Sols sit beside two slots hidden in the fog. Cut through the fog to find both slots and place each Sol; a staircase rises in the center of the room.
Crystals, Zant Masks and small key 5
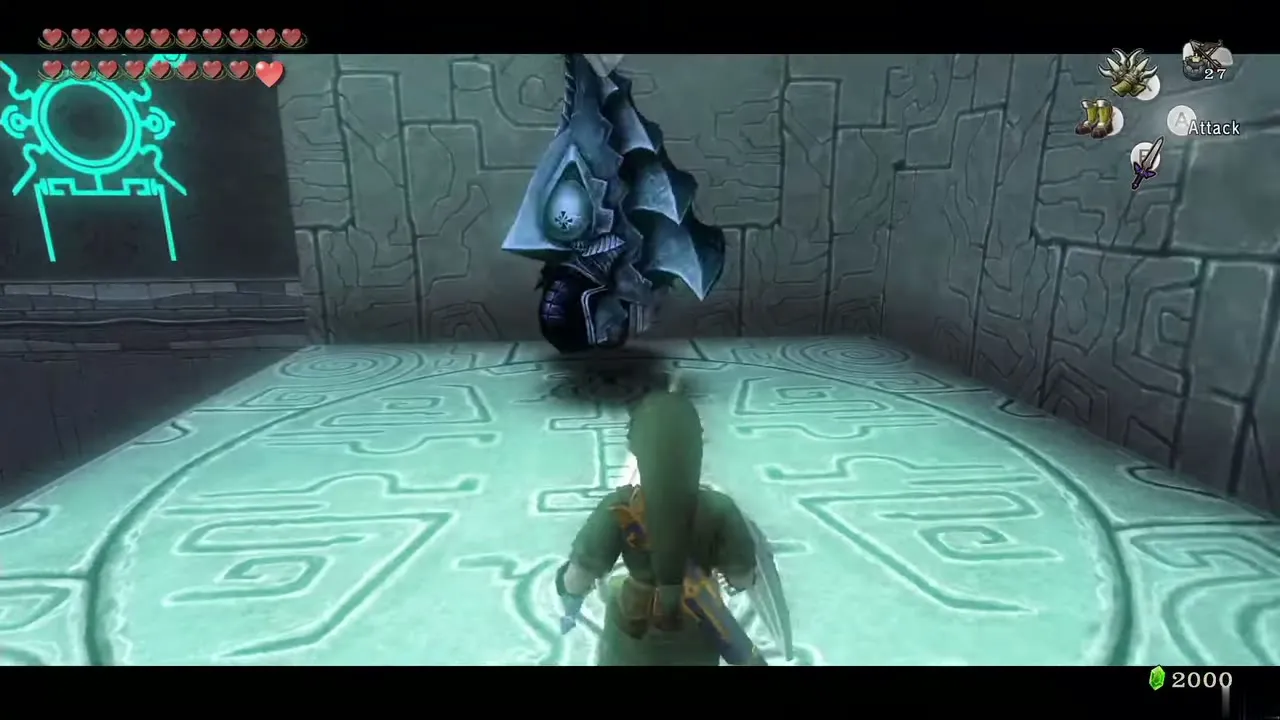
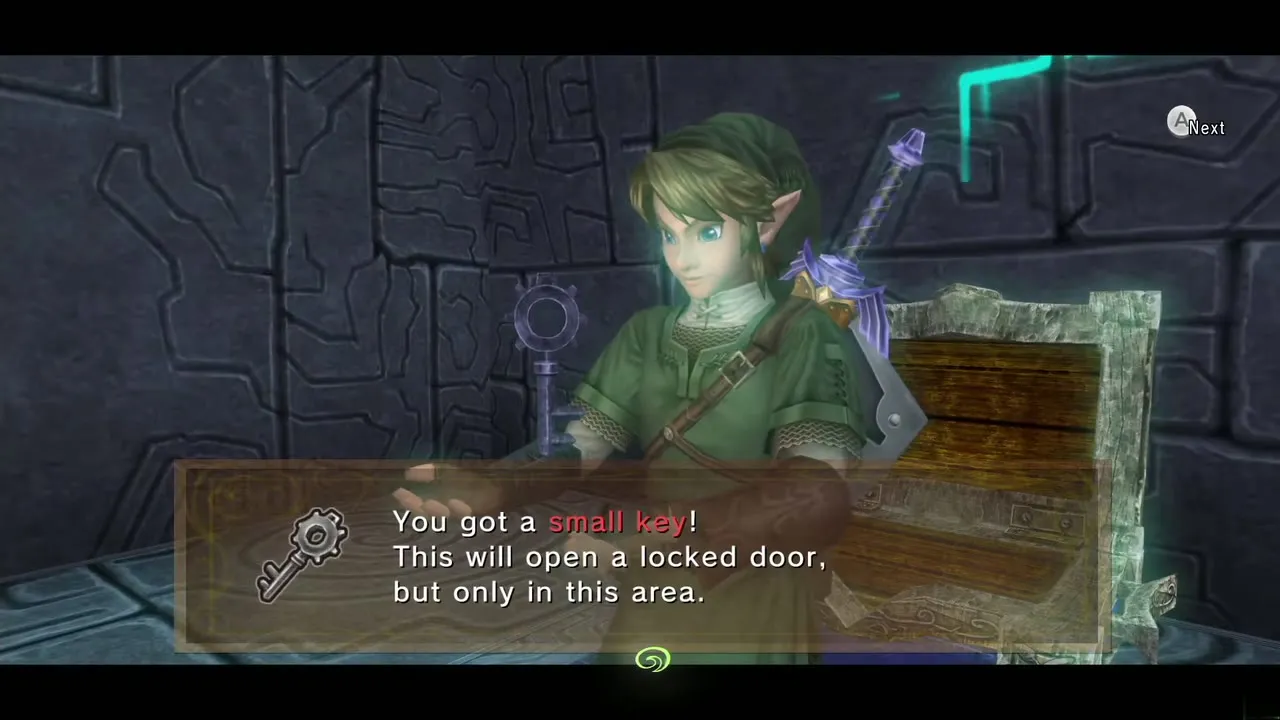
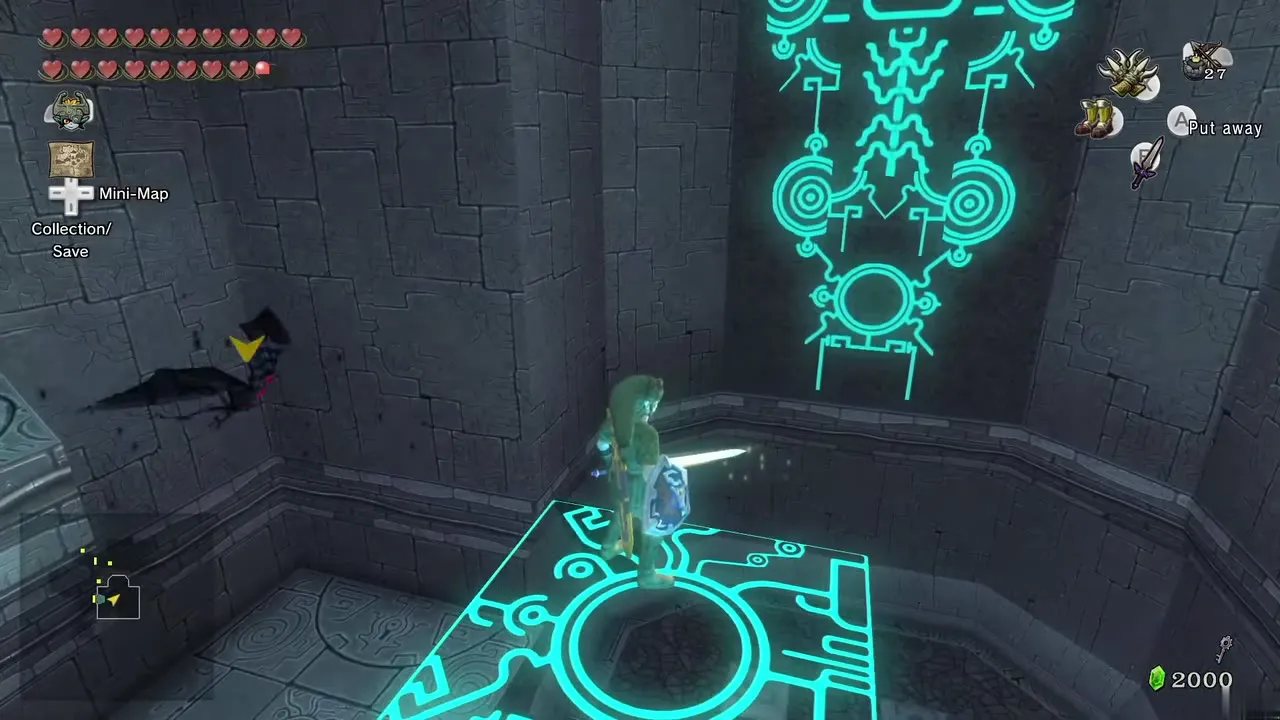
Climb the stairs and slash the unlit crystal to light a platform that takes you to the east side. Kill the shadow Baba and three more crystals appear. Walk south, where several Zant Masks emerge. With the Master Sword charged with light, a single stroke defeats each one. Clear them all and a chest holding small key 5 appears.
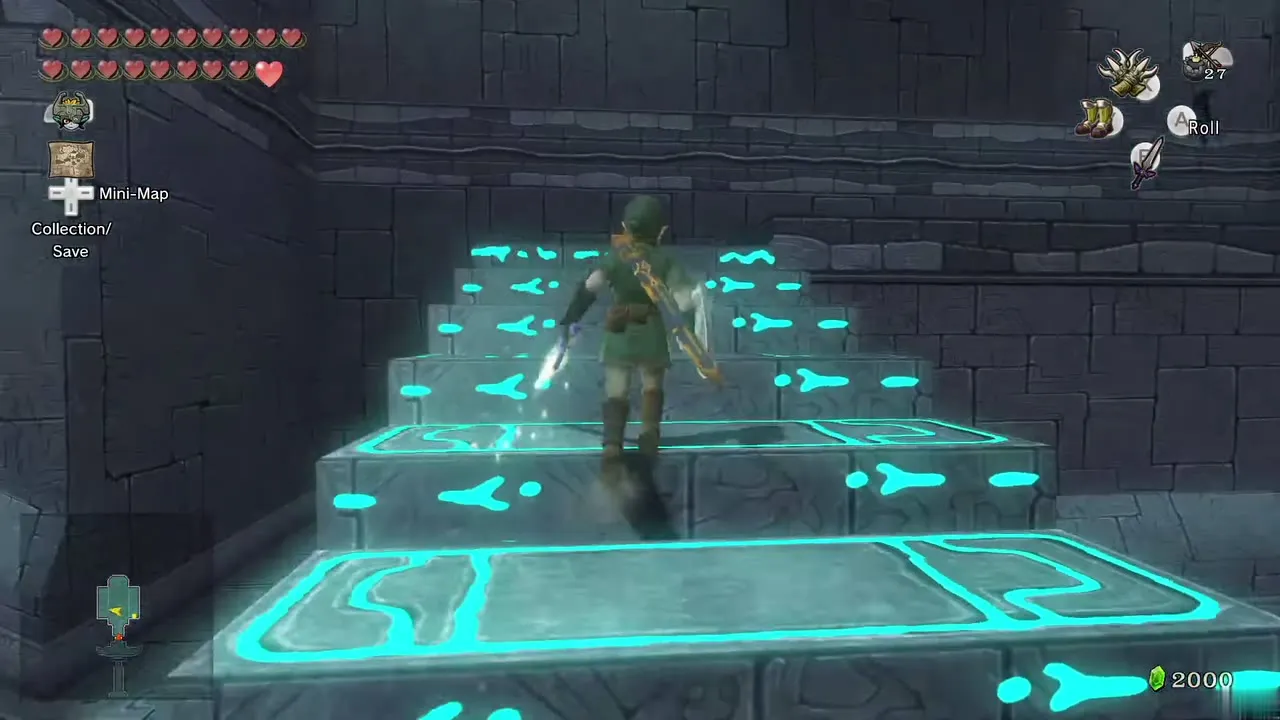
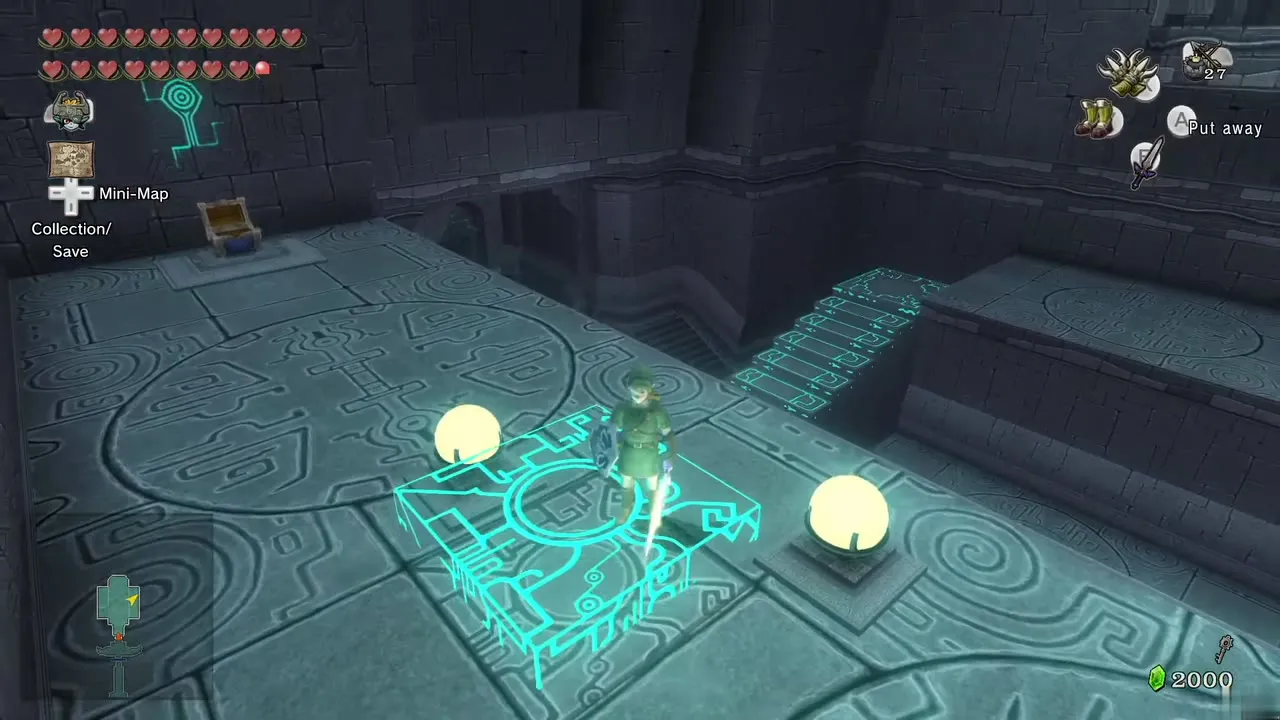
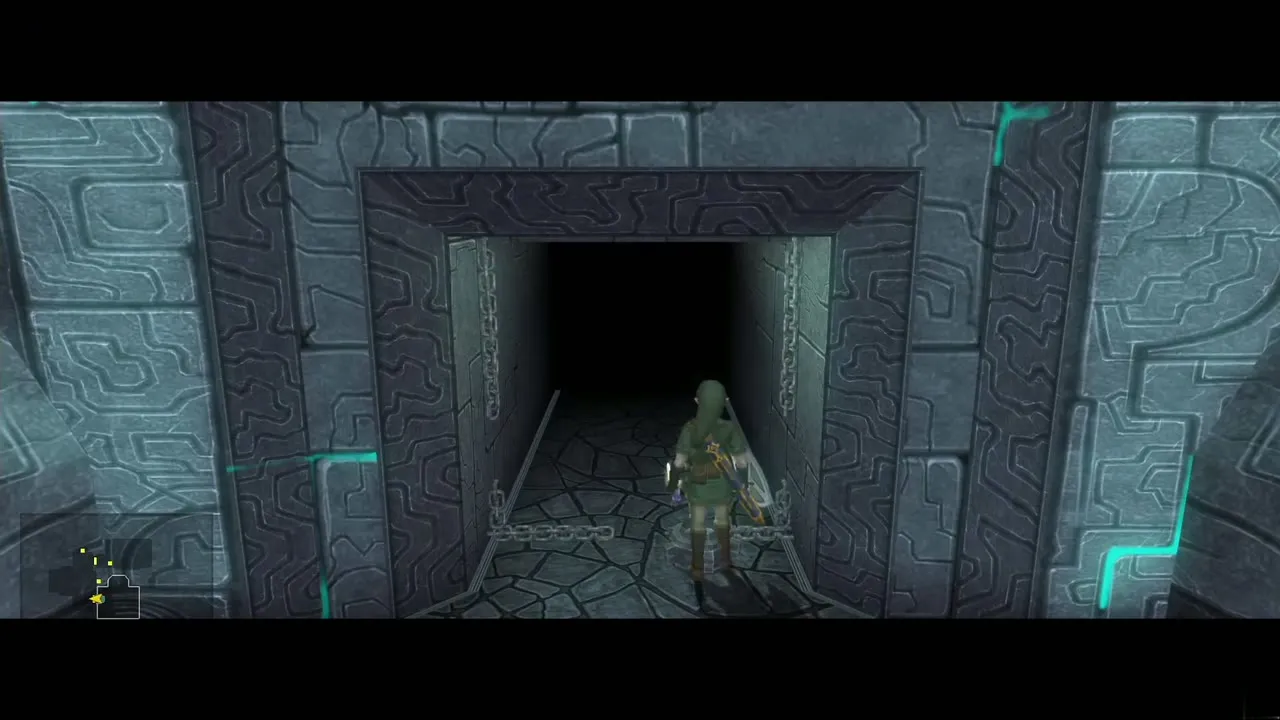
Stand at the middle of the three crystals and spin attack to light them all. A moving platform forms beneath you and carries you to the upper west side. Unlock the door there.
Balcony: small key 6 and the Big Key
On the balcony beyond, shadow beasts and many shadow Kargaroks attack. Defeat them, then spin attack to hit the two crystals and ride the platform to the south island. Kill the Zant Mask there and several more appear back on the balcony. Spin attack the two crystals again, ride back and defeat six more masks. A chest with small key 6 appears at the north end.
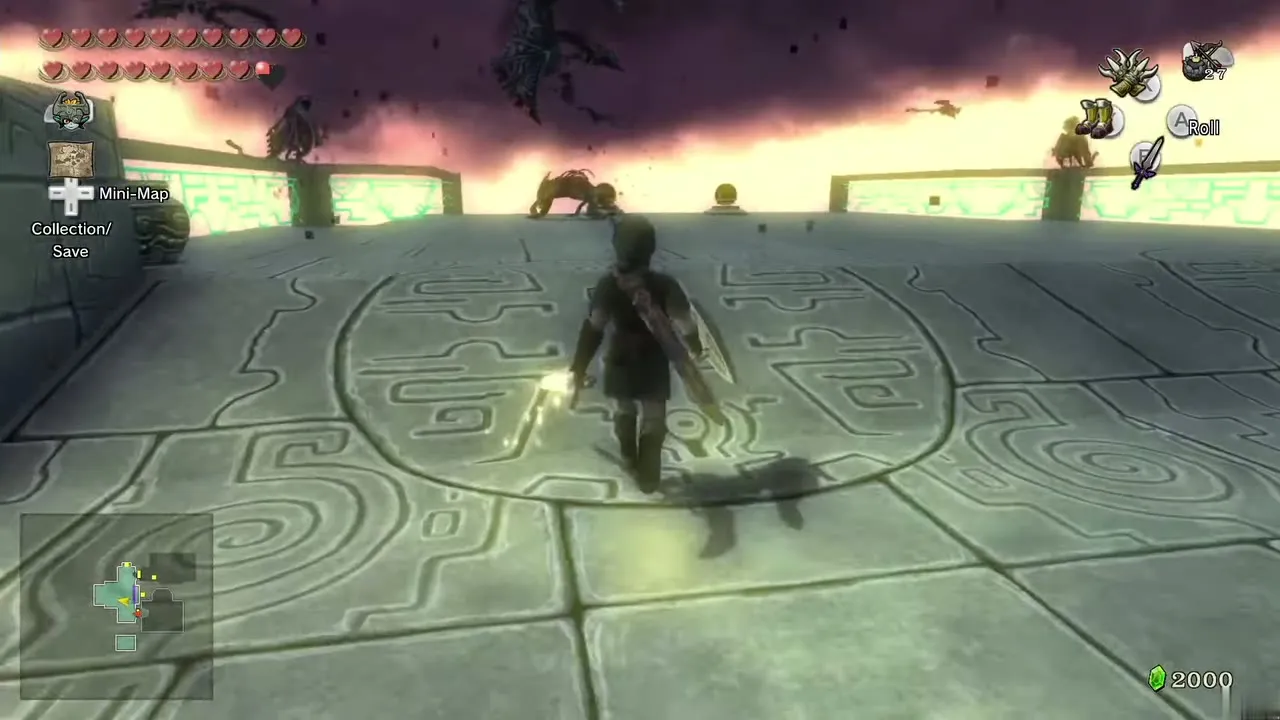
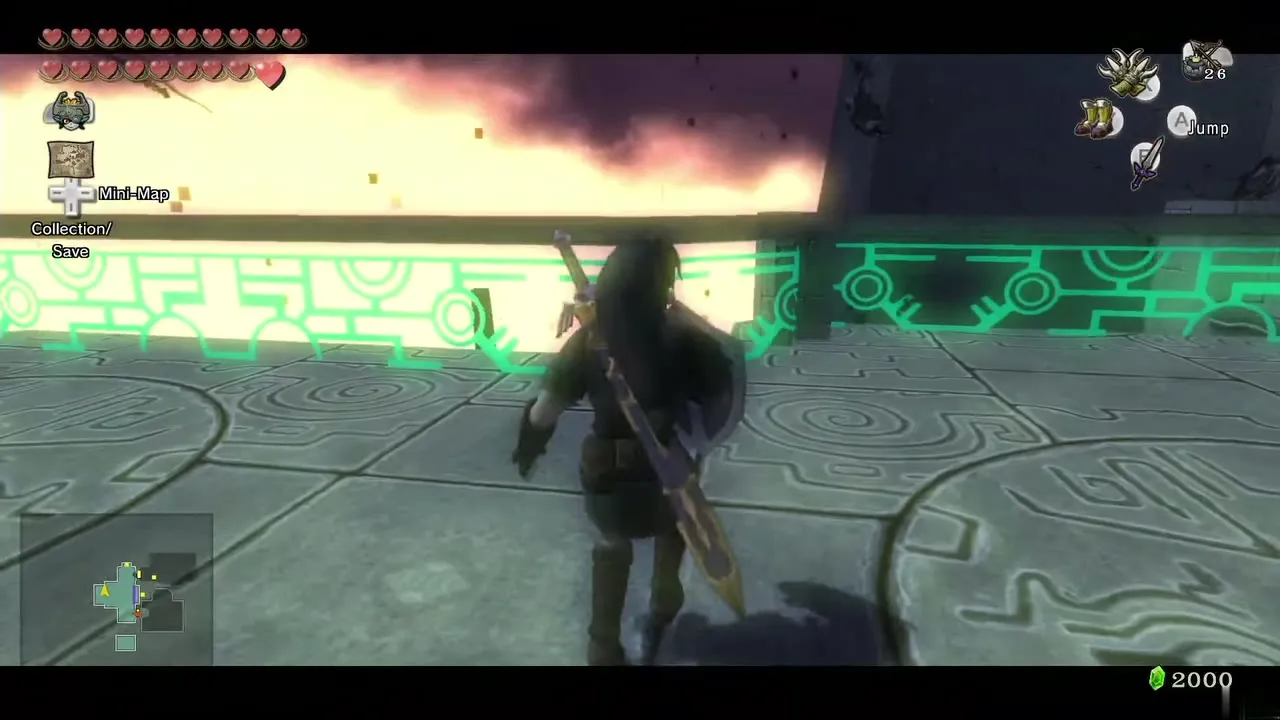
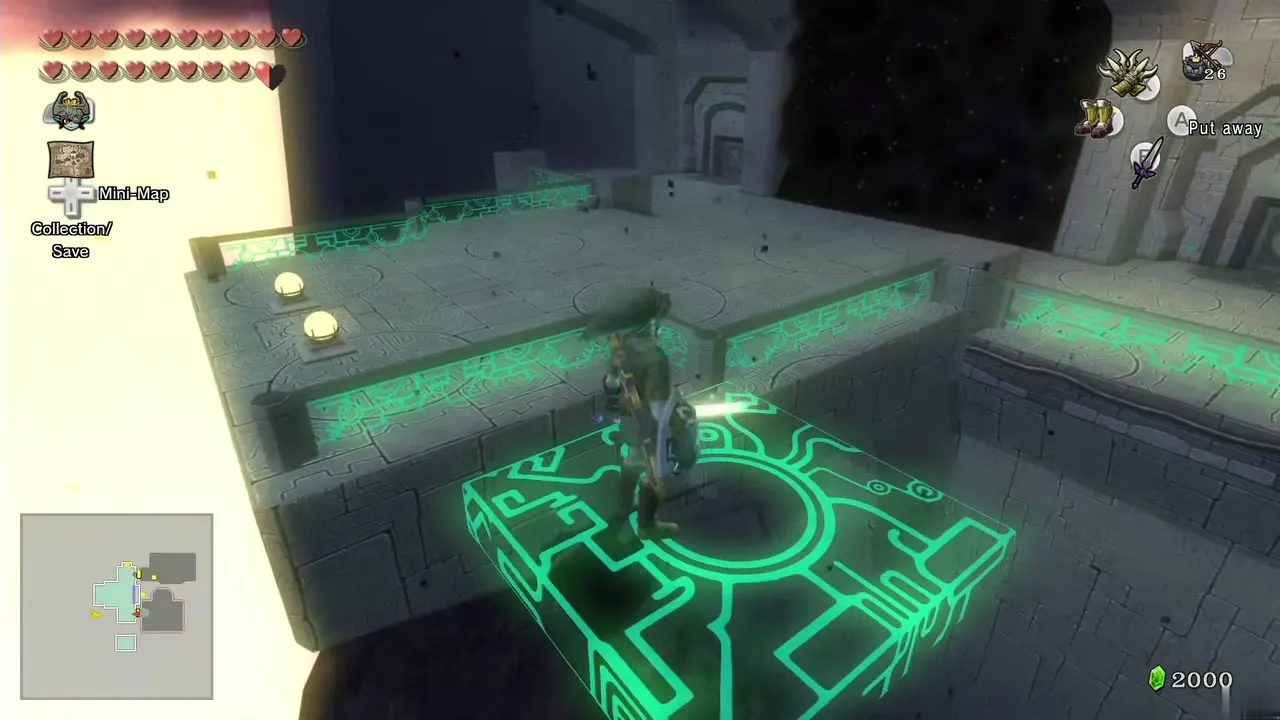
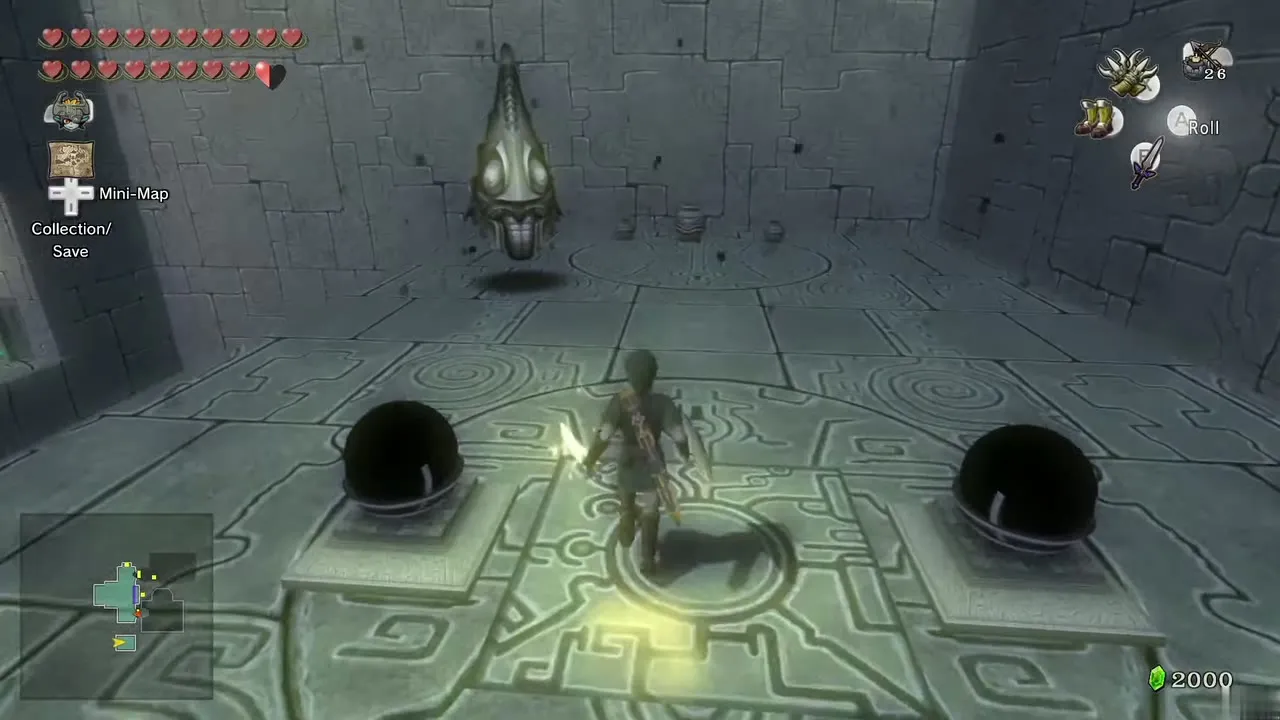
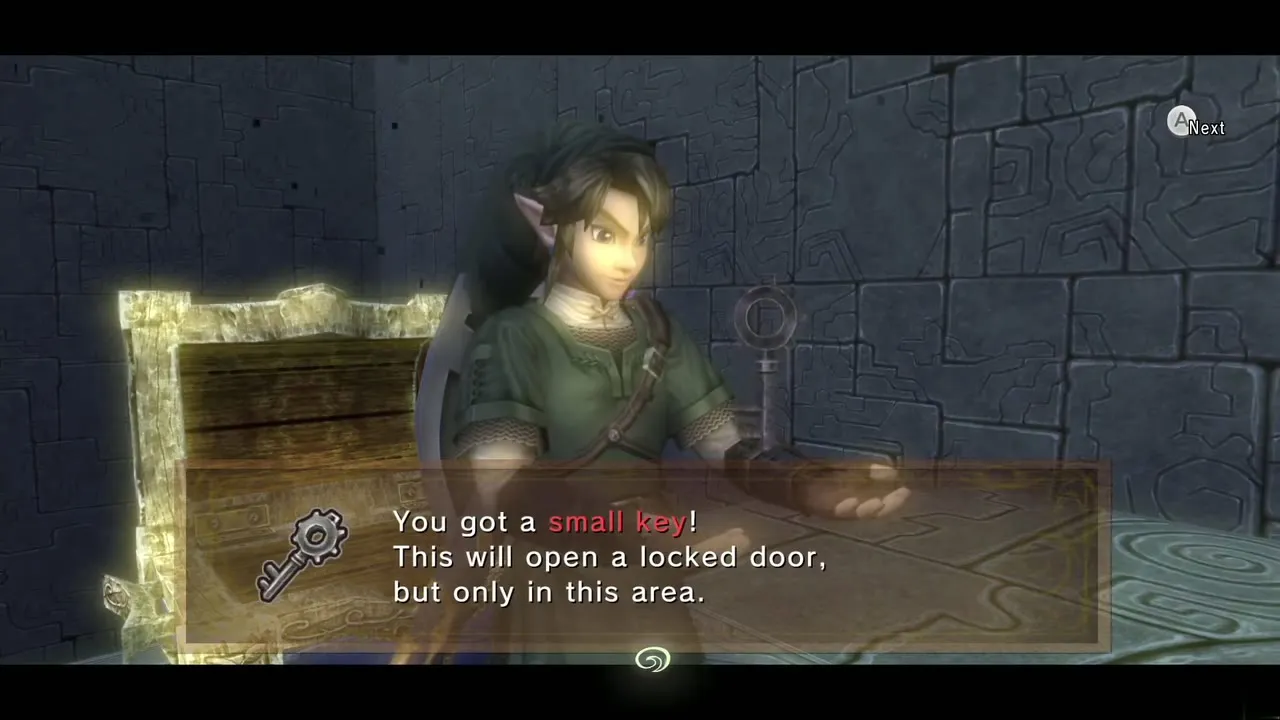
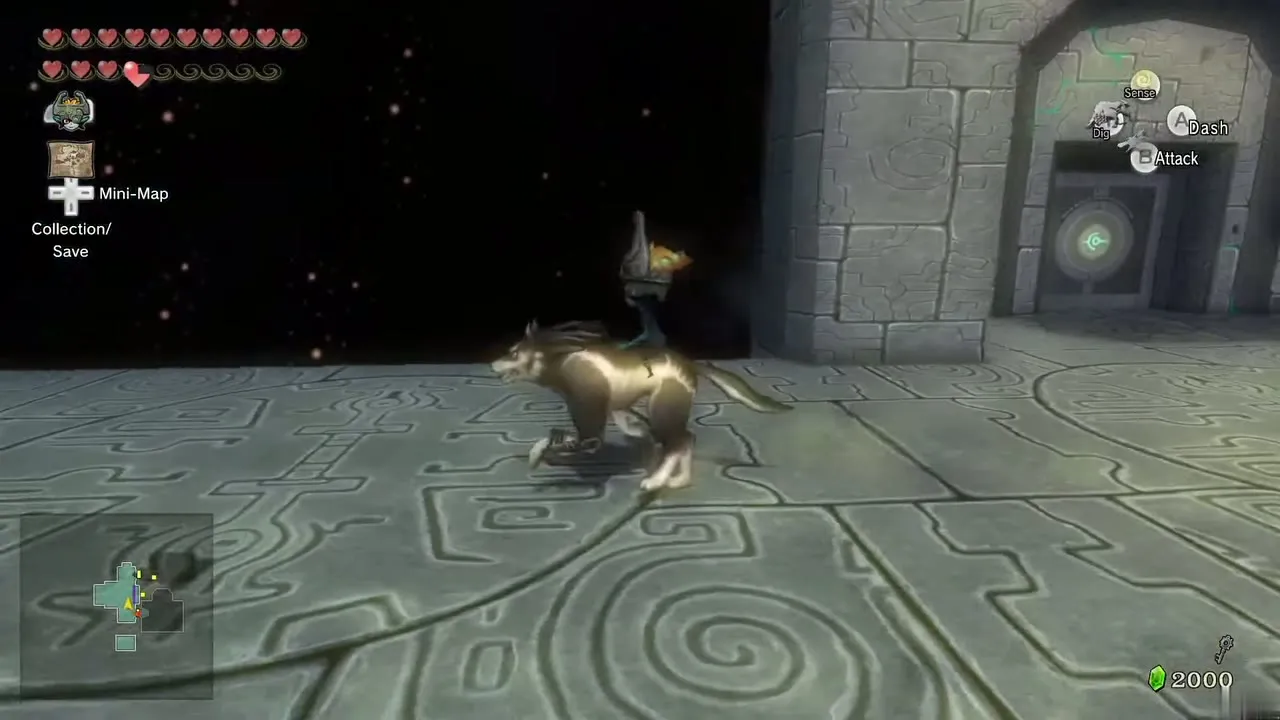
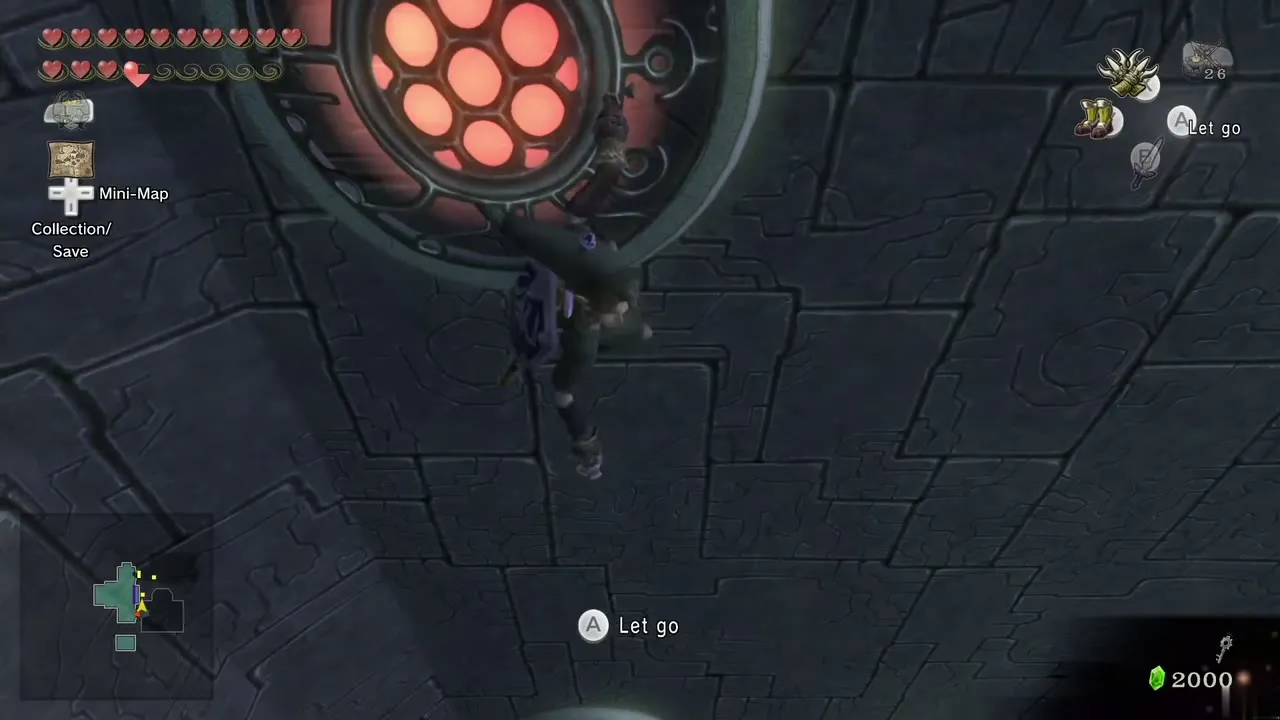
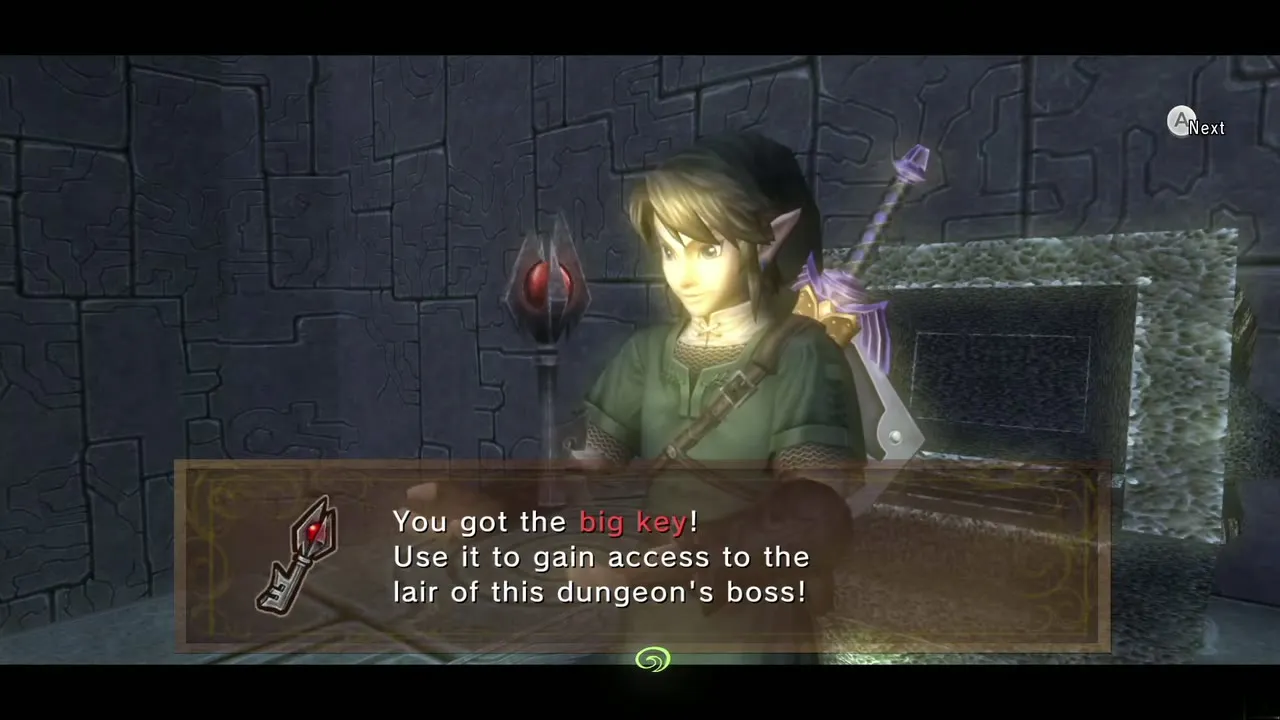
One chest remains. Spin attack to cut a way behind the black fog waterfall and kill the resting shadow Kargaroks. Clawshot the ceiling target, then use both Clawshots to climb the targets up the wall to the very top. Drop from the last ceiling target and open the chest for the Big Key. Clear the fog with a spin attack and head for the locked door in the northeast, which takes small key 6.
Crystal switch room: small key 7
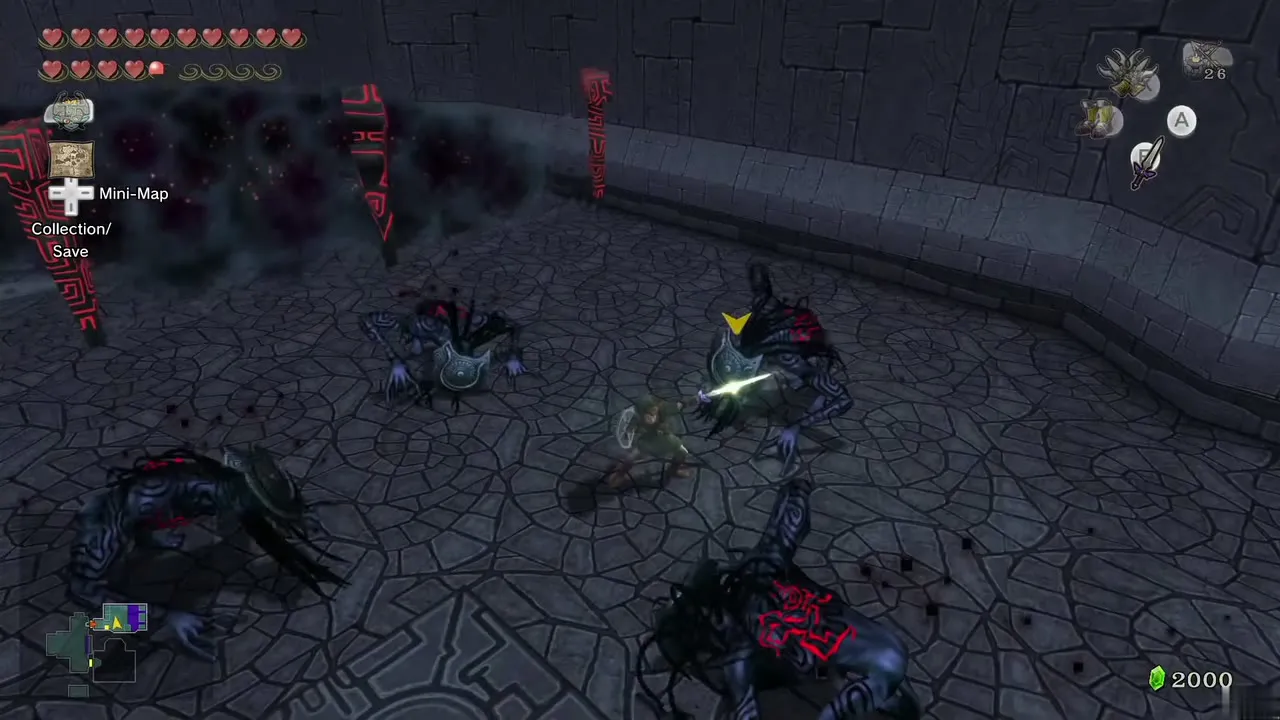
Walk in and a wall of twilight falls across the way. Kill the shadow beasts that drop in and the wall vanishes. Slash through the fog to four crystal switches. Stand in the center and spin attack to raise a moving platform that lifts you, while four more platforms appear in the four directions. Take the one to the west across the room; when two more appear, jump to the one on your right. It rises straight up to a western ledge where a Deku Baba waits.
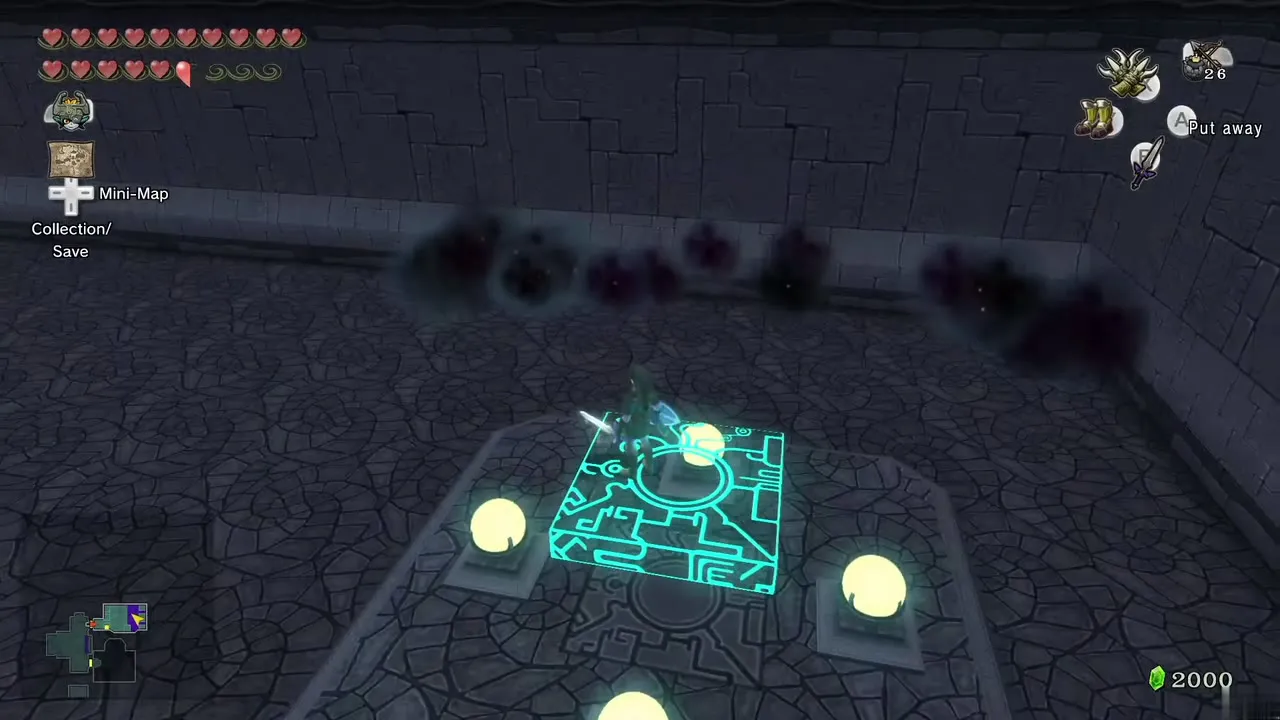
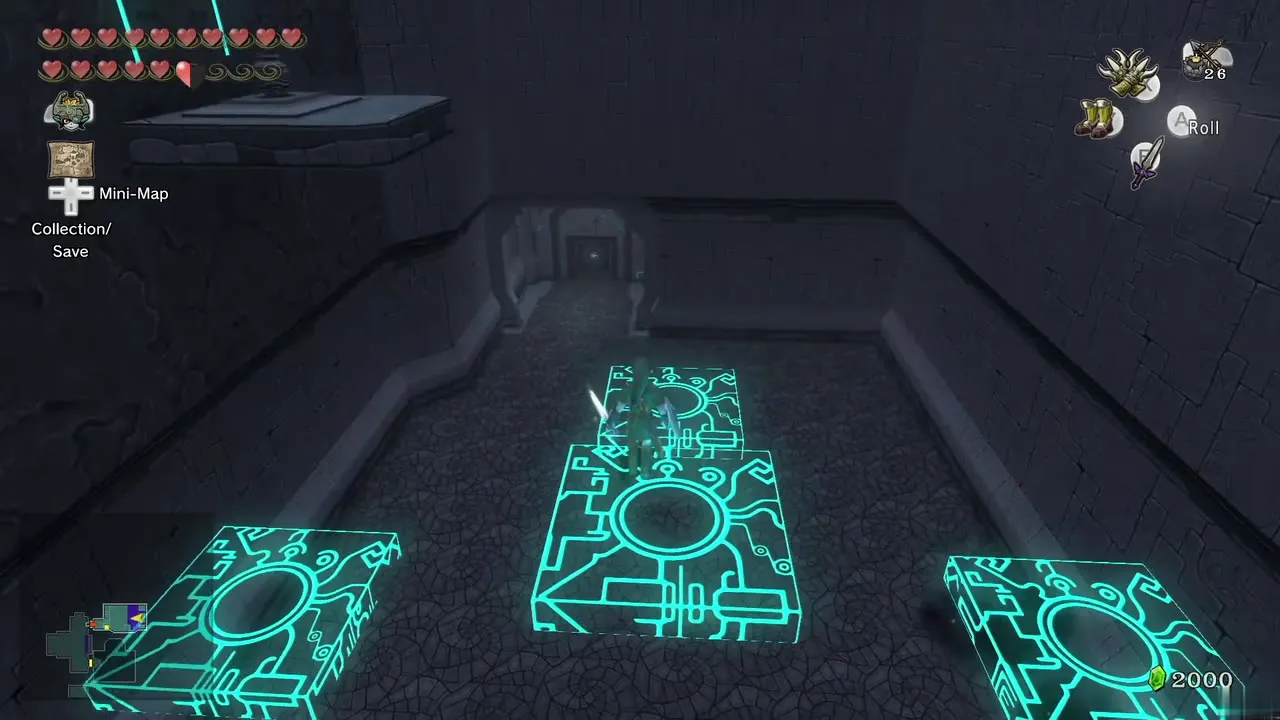
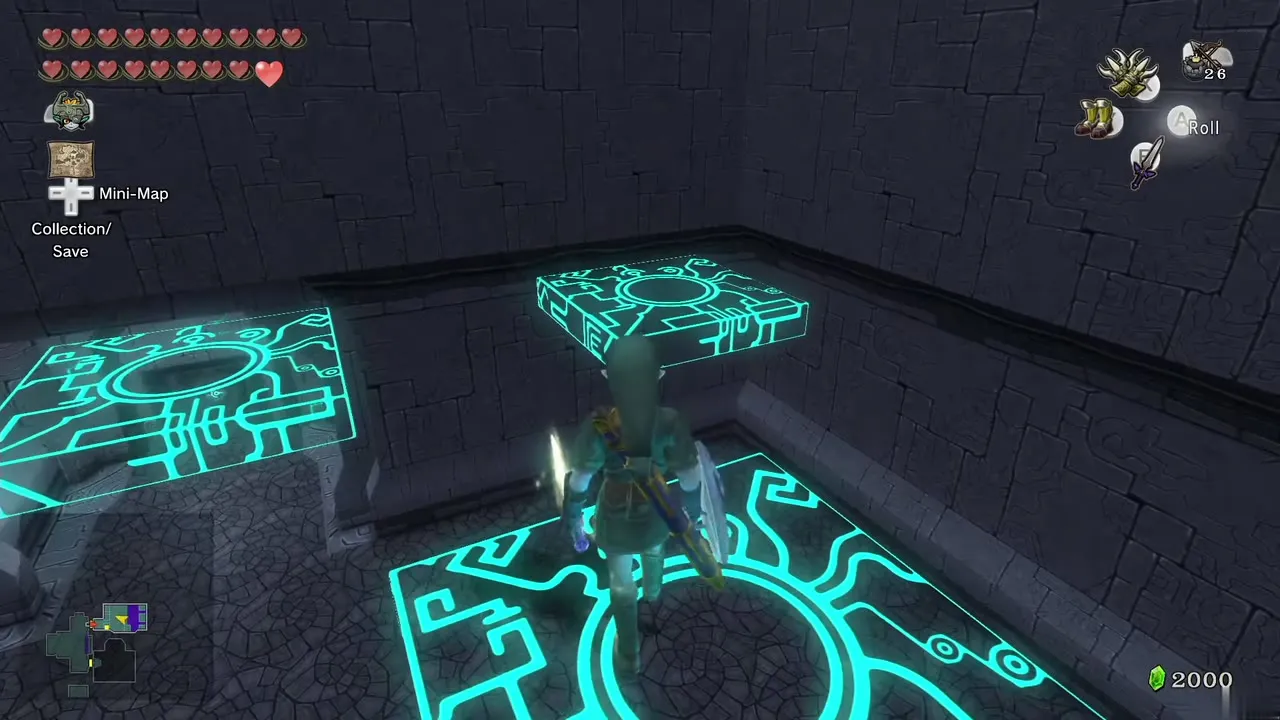
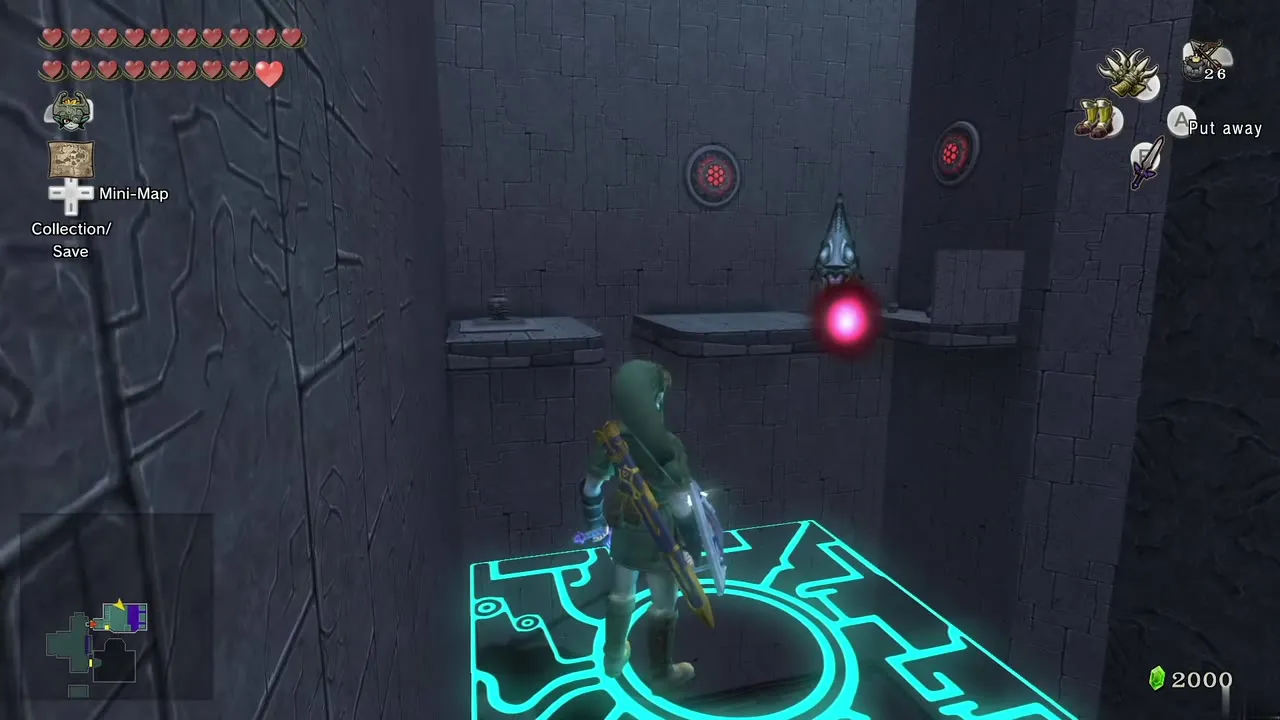
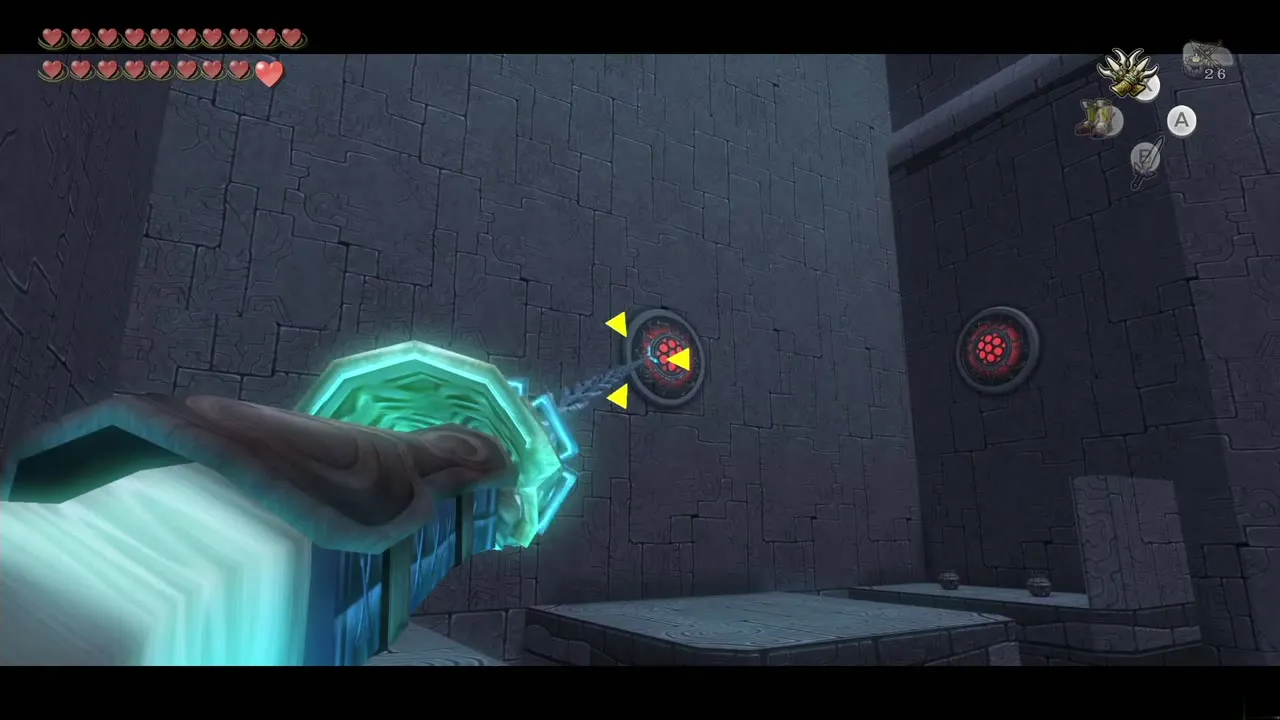
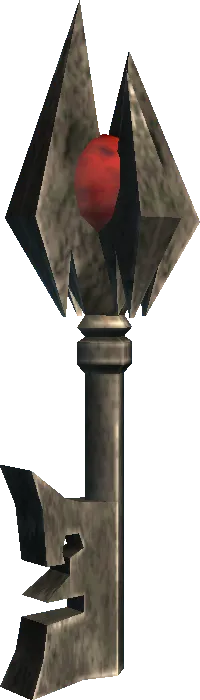
Take the platform in the northwest corner across to the east side, Clawshot a far target and defeat the Zant Mask there. Look up for a target at the base of a pillar; hook it and lower yourself onto a moving platform that returns you west. Clawshot another target and defeat a second Zant Mask. A chest appears with small key 7. A new platform rises near the center; ride it to the highest point and unlock the door.
Last twilight wall and the boss door
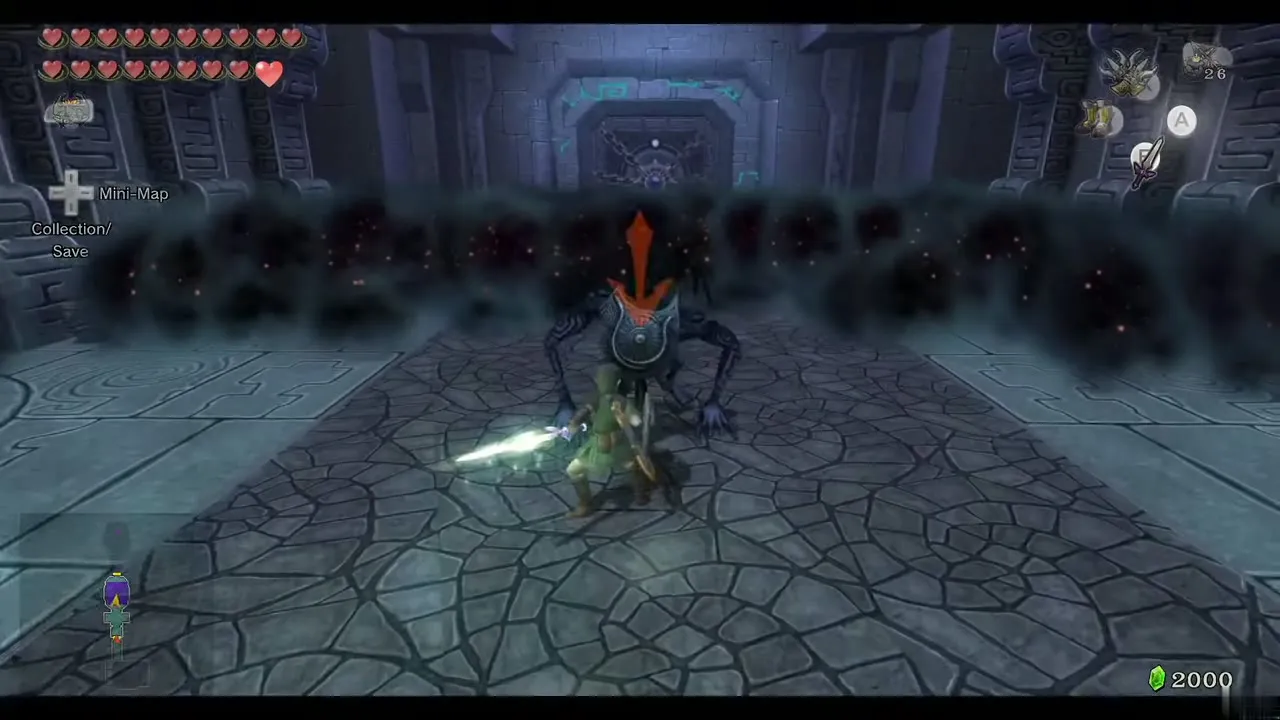
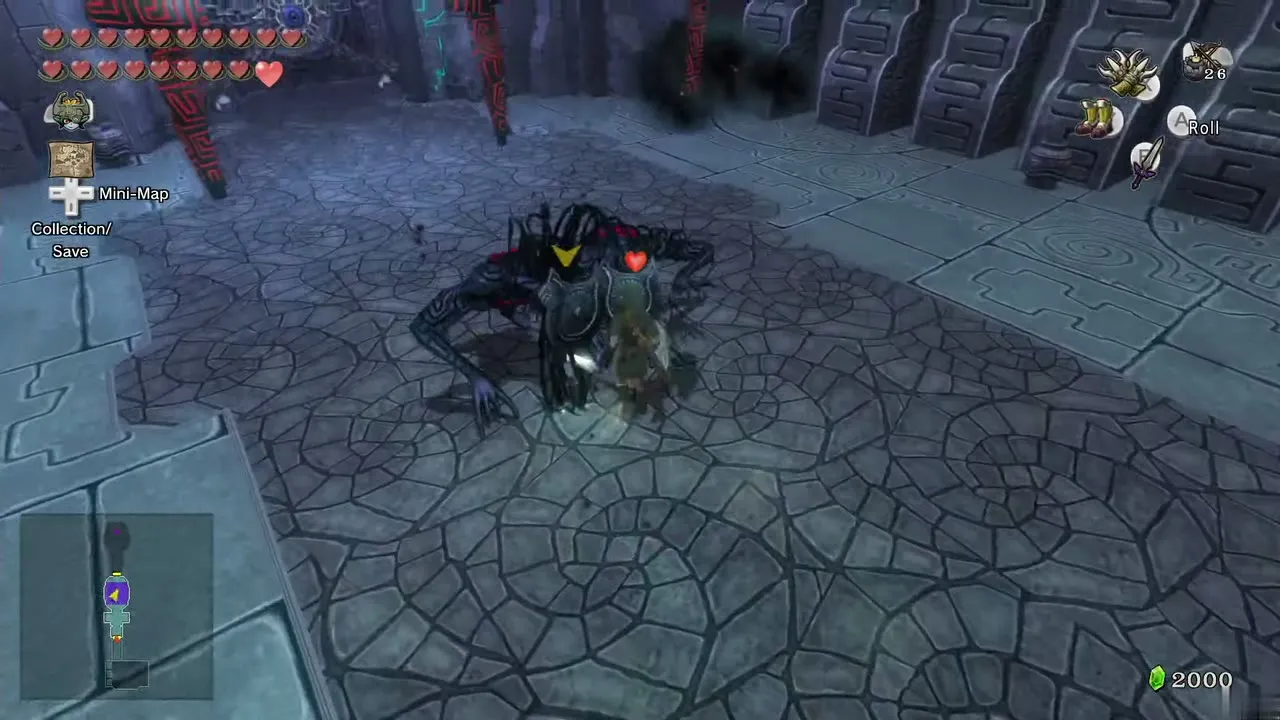
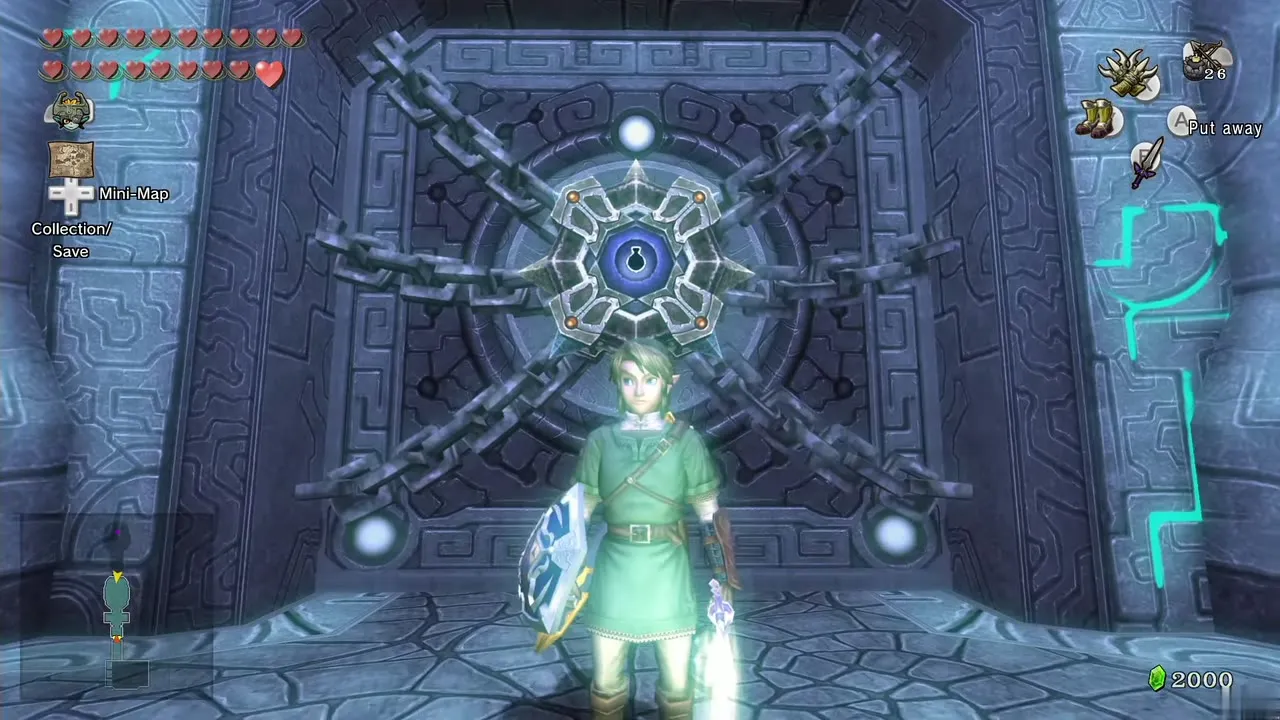
Cut through the fog and a final wall of twilight forms. Kill the swarm of shadow beasts falling from the ceiling and the wall fades. Walk to the north end and open the boss door with the Big Key. Refill hearts and ammunition first if you can, then go in to face Zant.
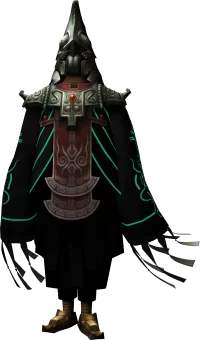
Boss: Usurper King Zant
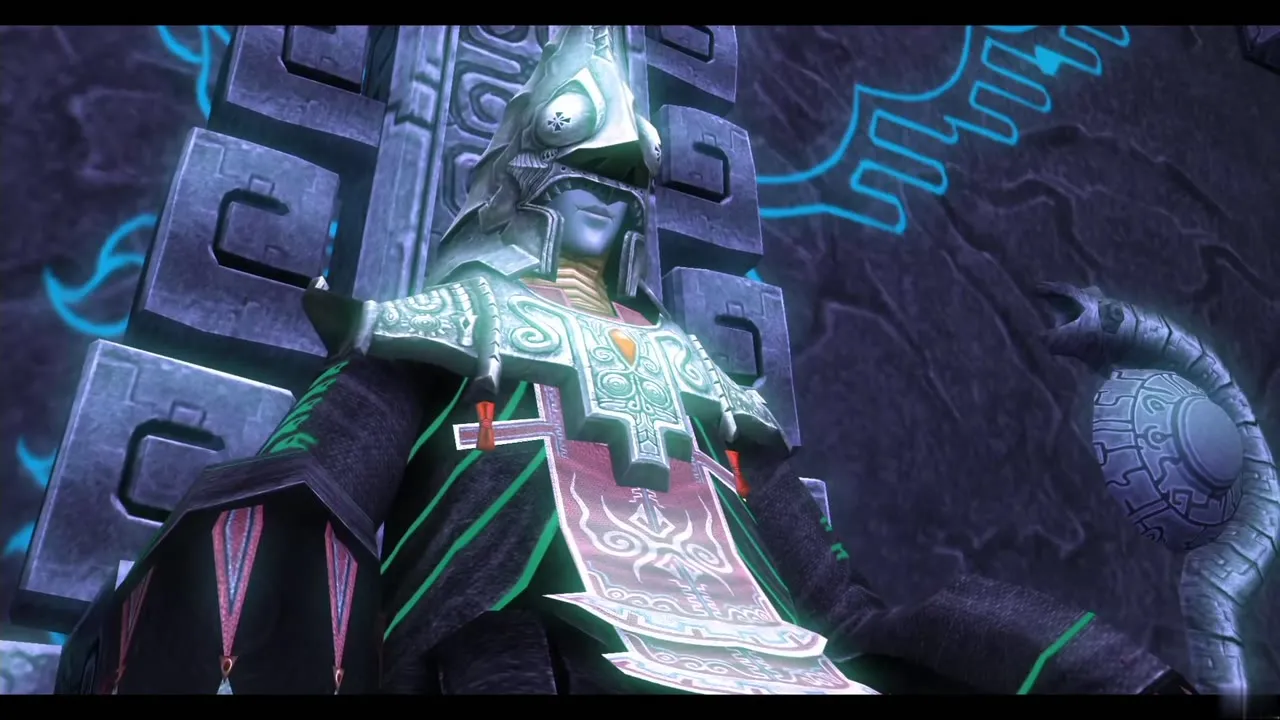
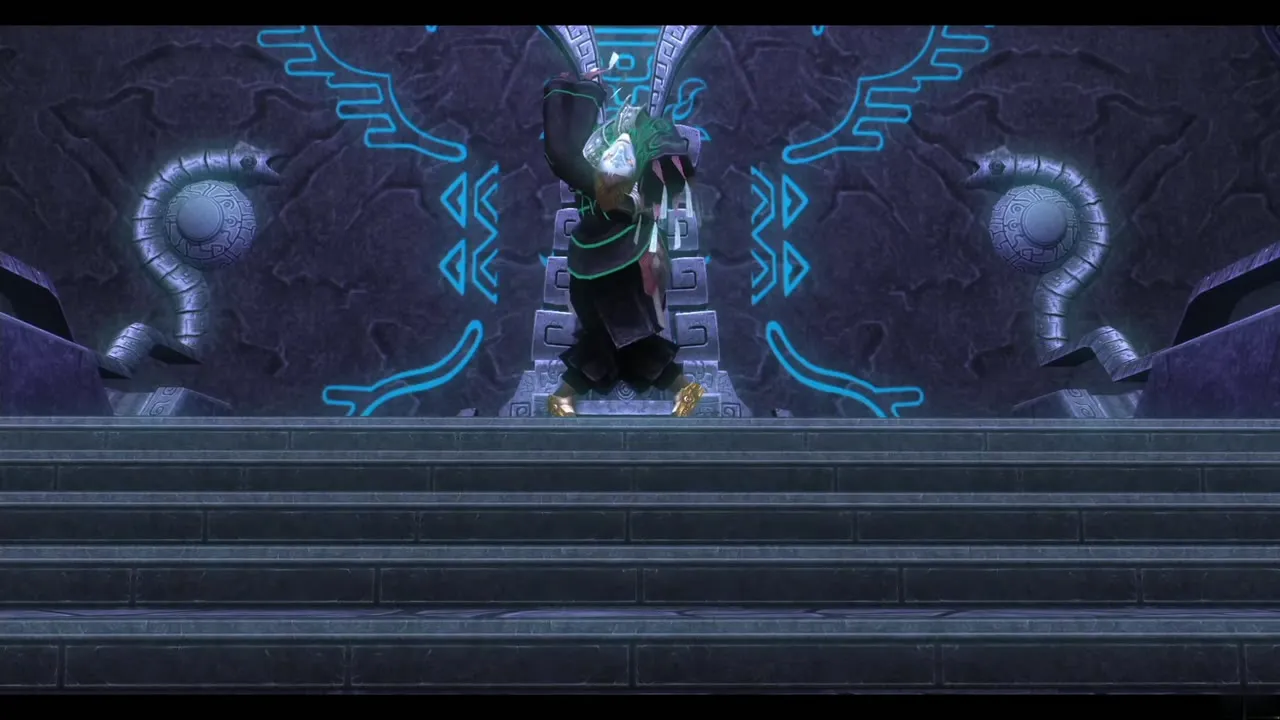
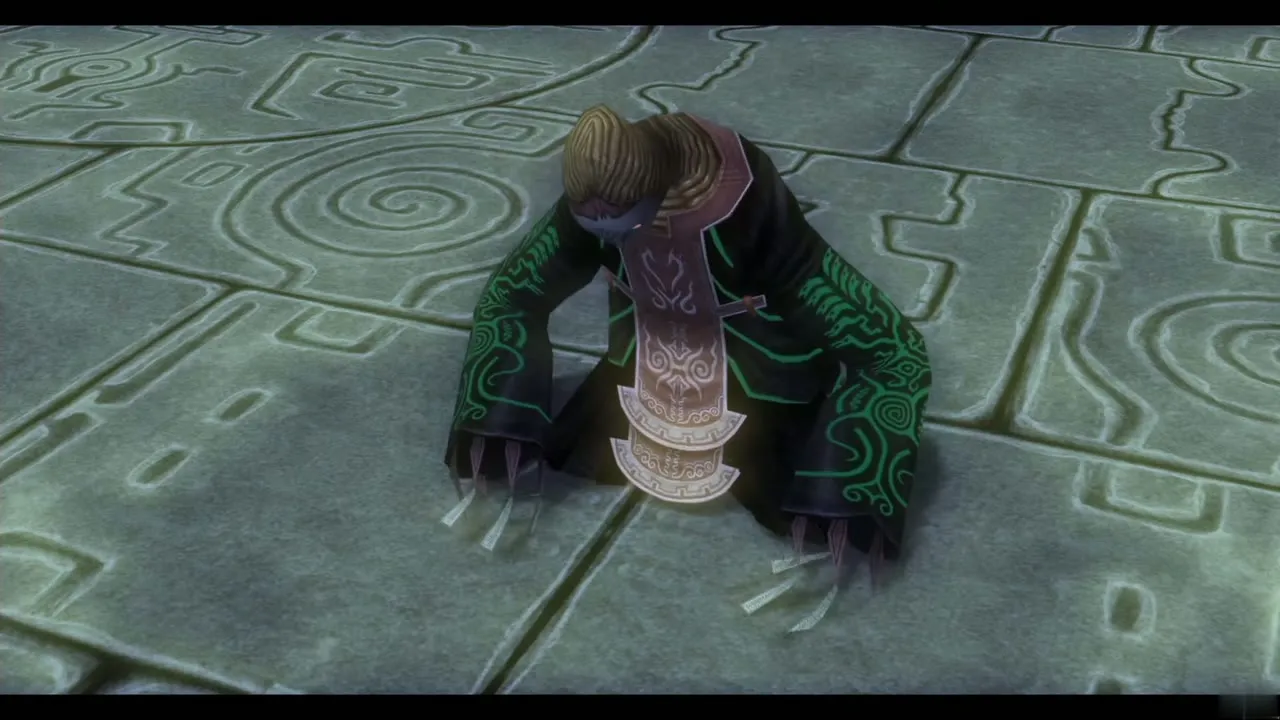
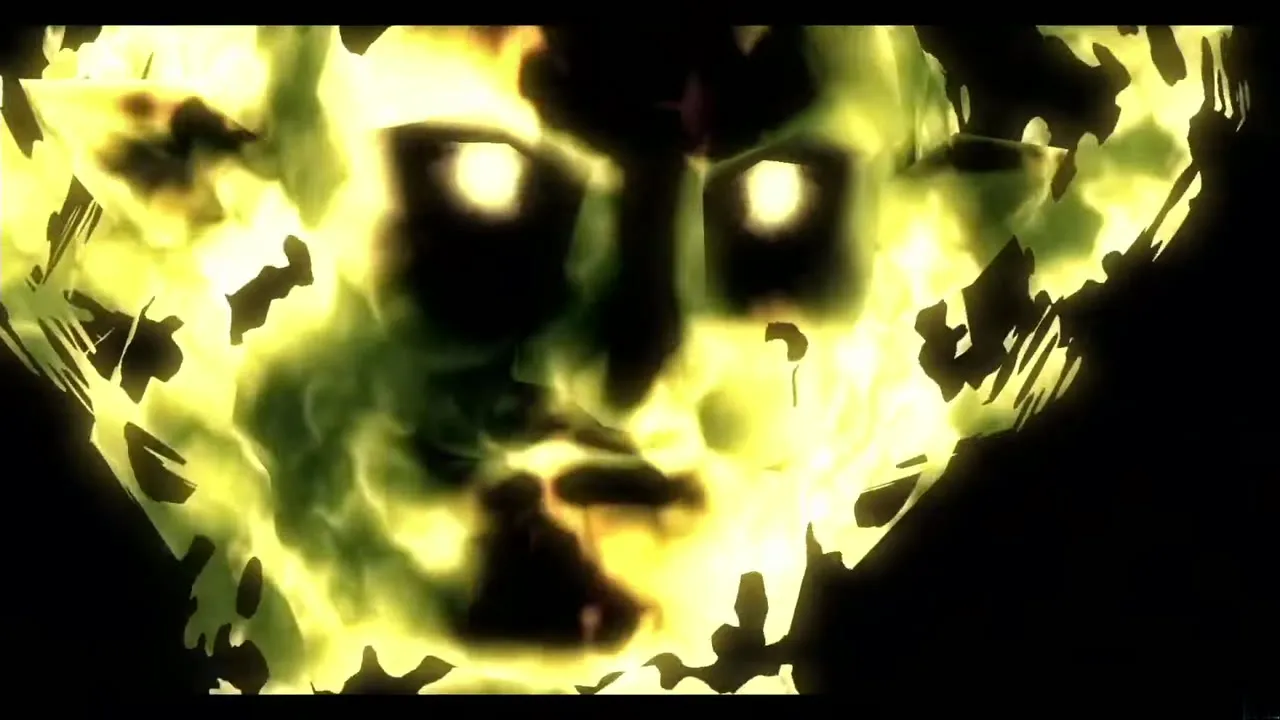
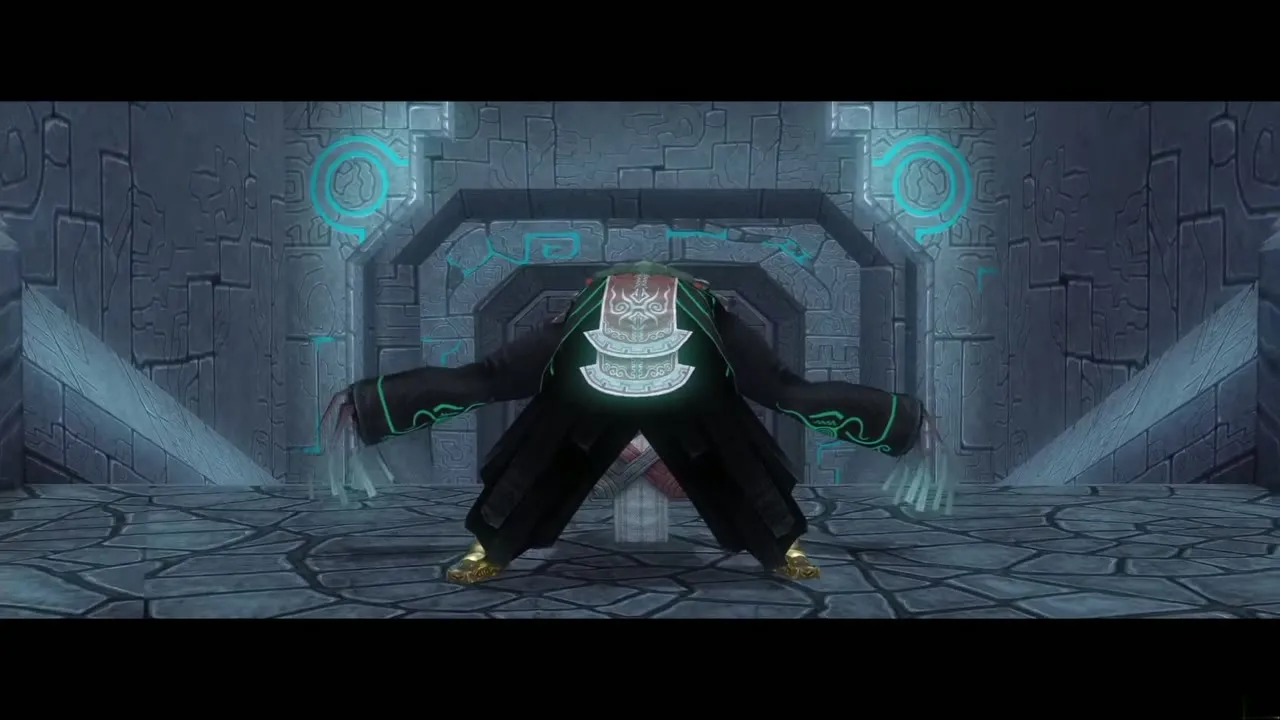
Climb the steps and watch the long scene that explains how Zant gained his power: it was Ganondorf who stored his strength within him. The fight has six phases, each set in a copy of an earlier boss arena, except the last, which takes place in Hyrule Field south of Castle Town. Each phase follows the same rhythm: he attacks, you counter, he is staggered and you get a short opening for your sword. The boss guide compares all bosses in one place.

Phase 1: Forest Temple arena (Gale Boomerang)
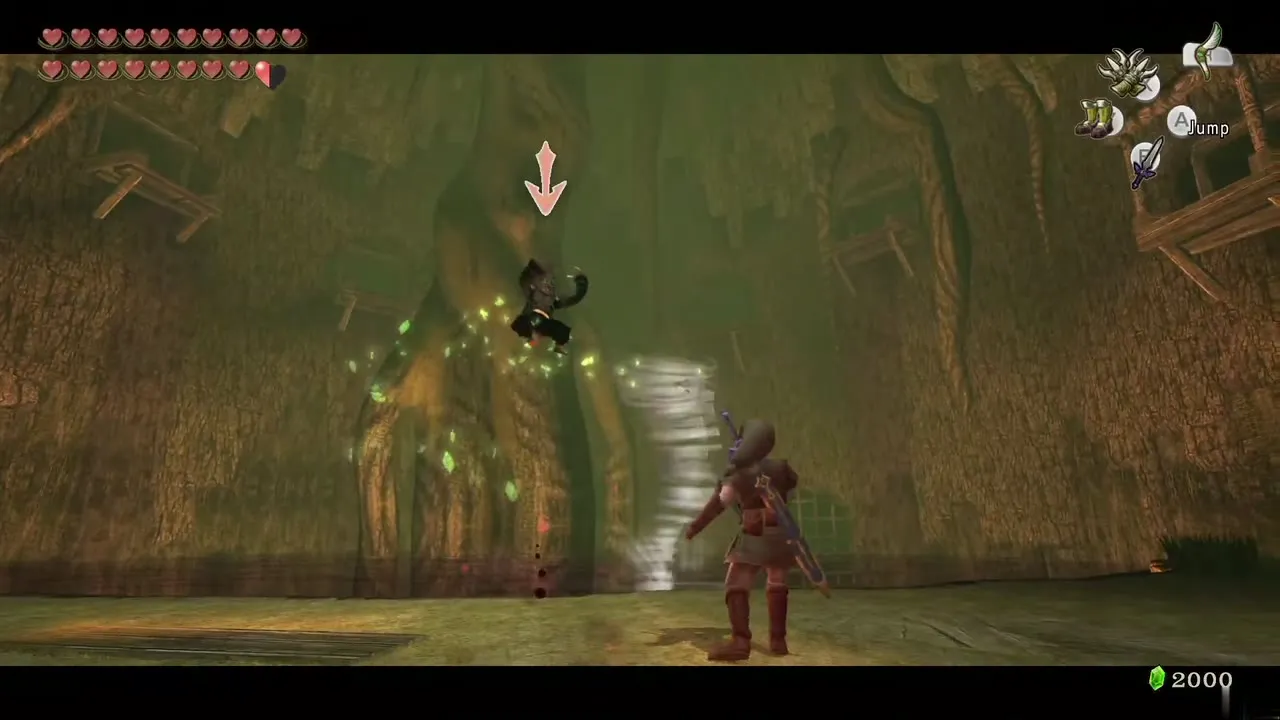
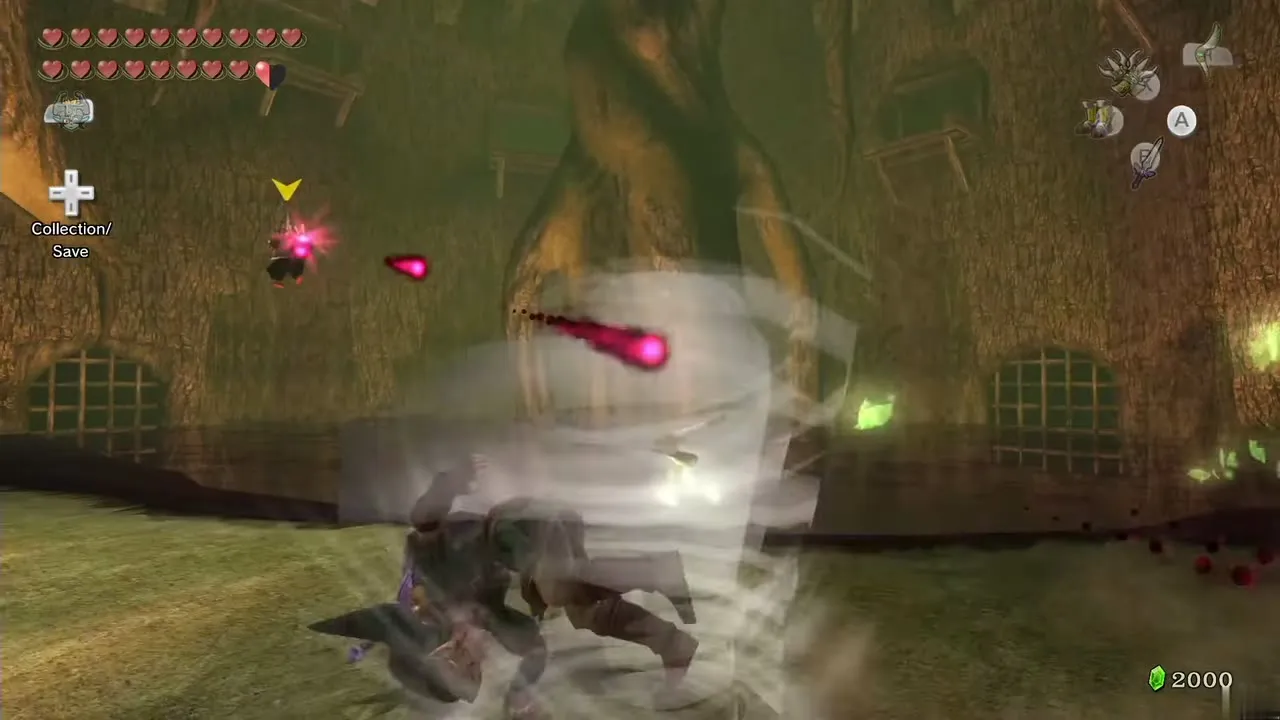
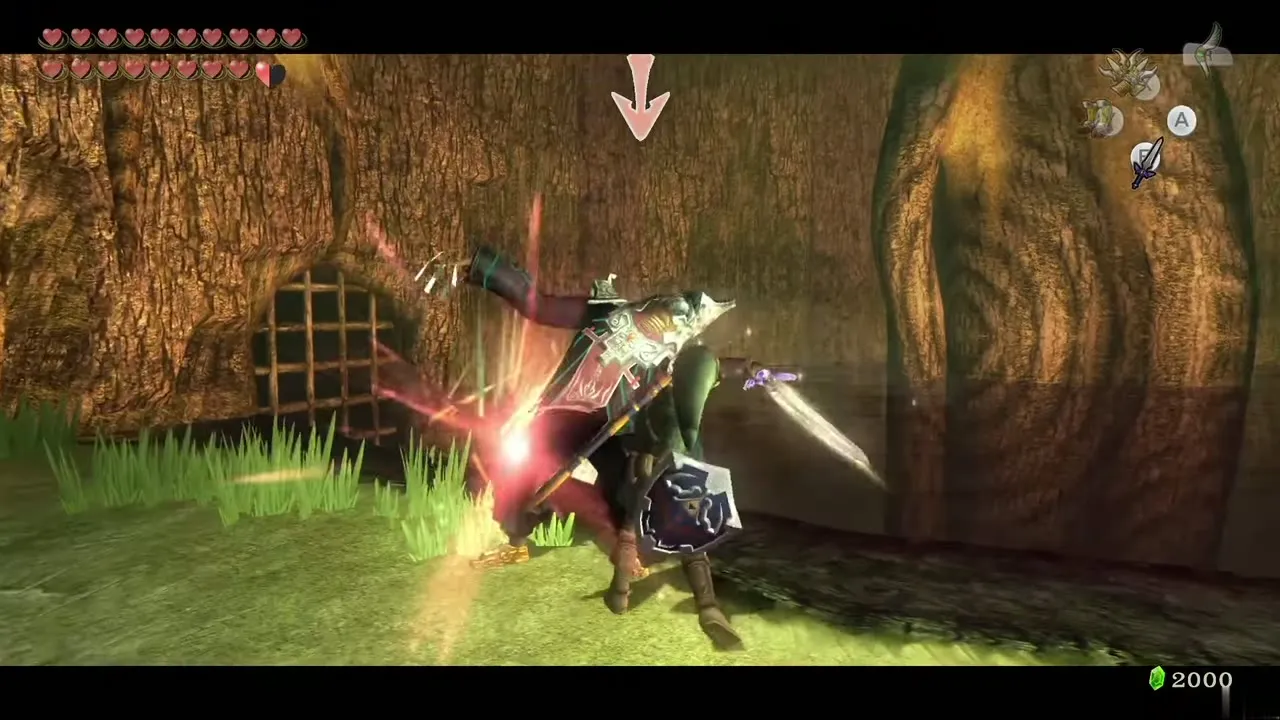
Equip the Gale Boomerang. Zant floats above the poisoned water and fires rapid energy balls, which your shield blocks. After several shots he teleports and repeats. The moment he teleports, Z-target him and throw the boomerang to knock him into the liquid below. He bounces back to land, so run in and slash him. A few more hits end the phase.
Phase 2: Goron Mines platform (Iron Boots)
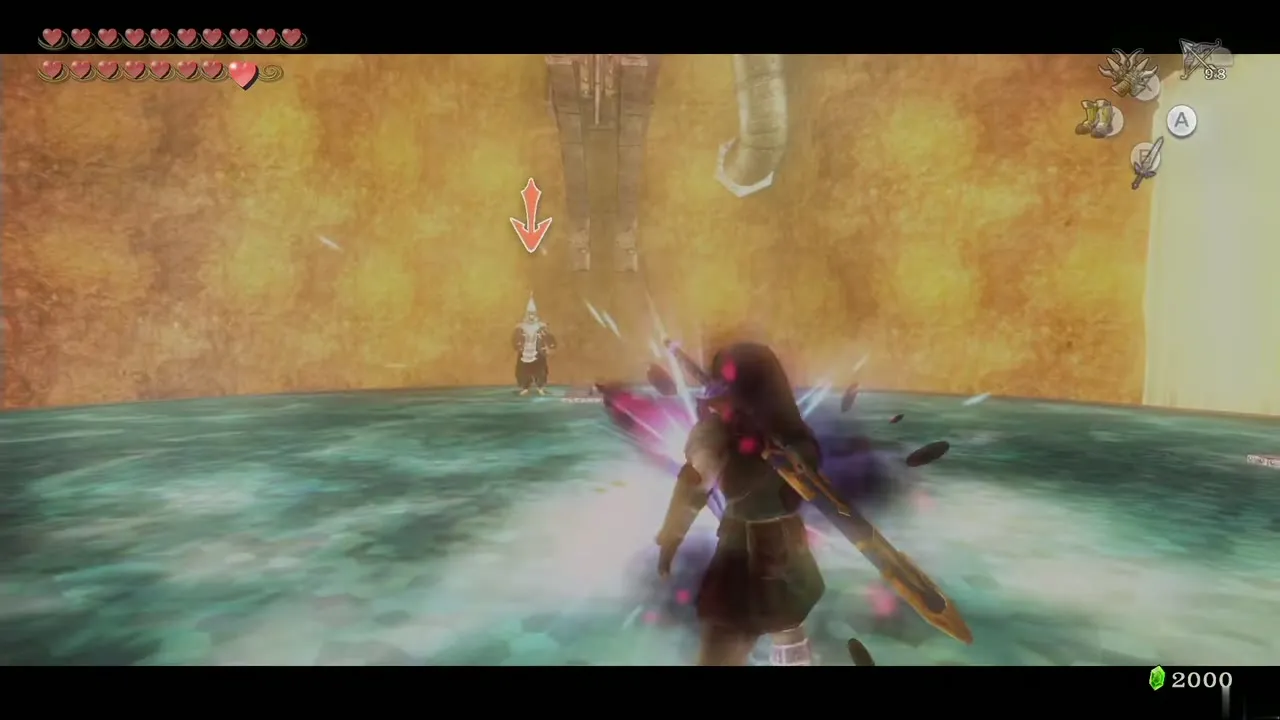
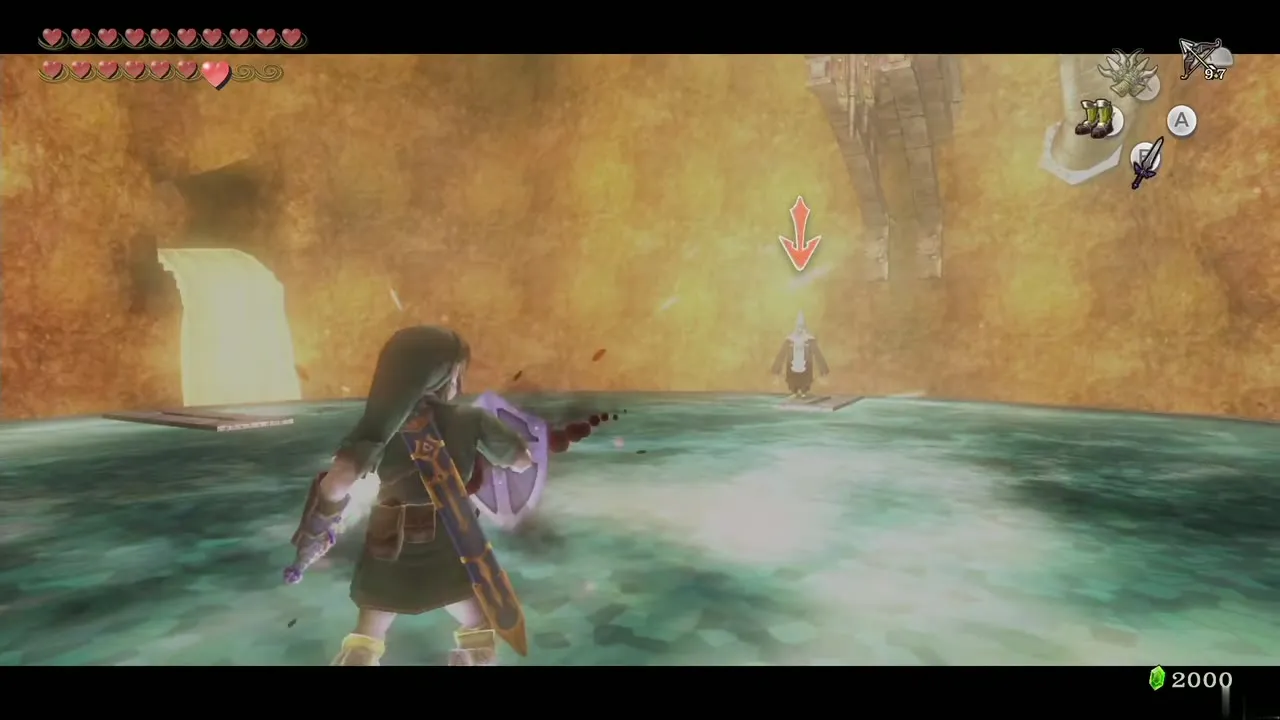
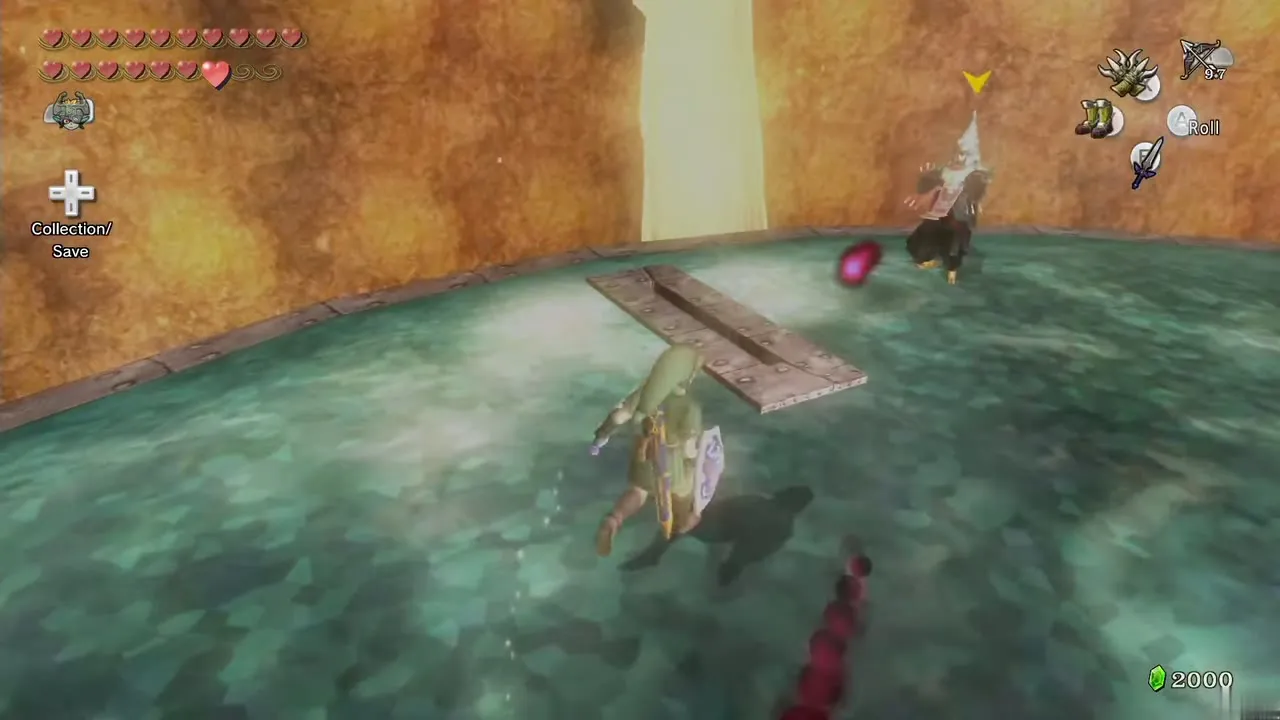
Keep the Iron Boots ready. This is the magnetic plate where you fought Dangoro. Zant jumps wildly to rock the plate and dump you in the lava, so put the boots on to stay stuck to it. After a few jumps he settles and fires his projectile; block it, take the boots off and rush him while he is out of breath. Repeat until the phase ends.
Phase 3: Lakebed Temple pool (Zora Armor, Iron Boots, Clawshot)
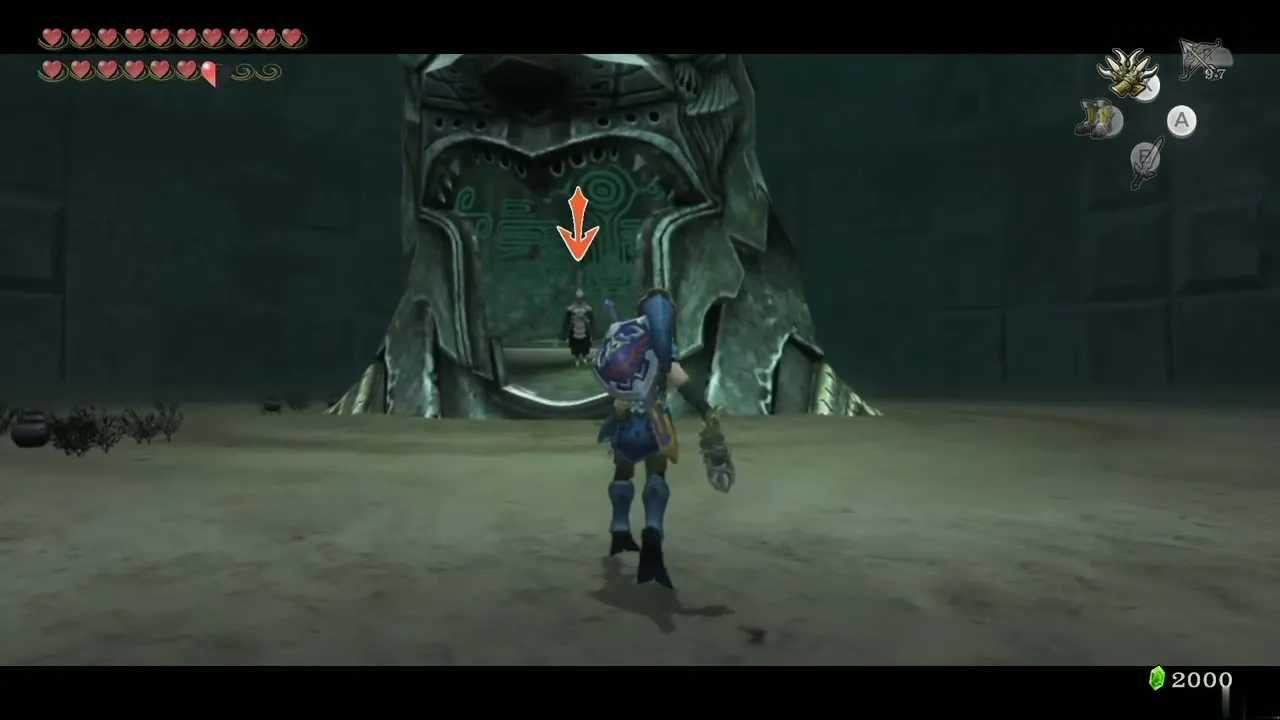
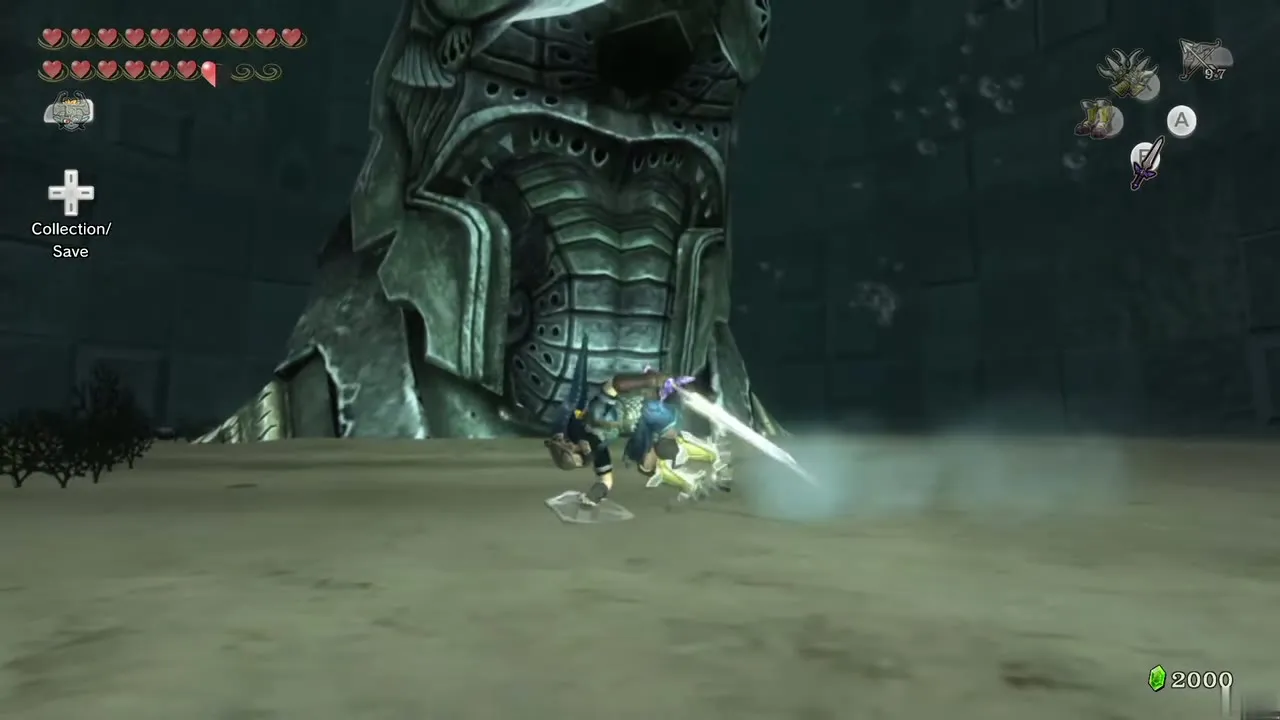
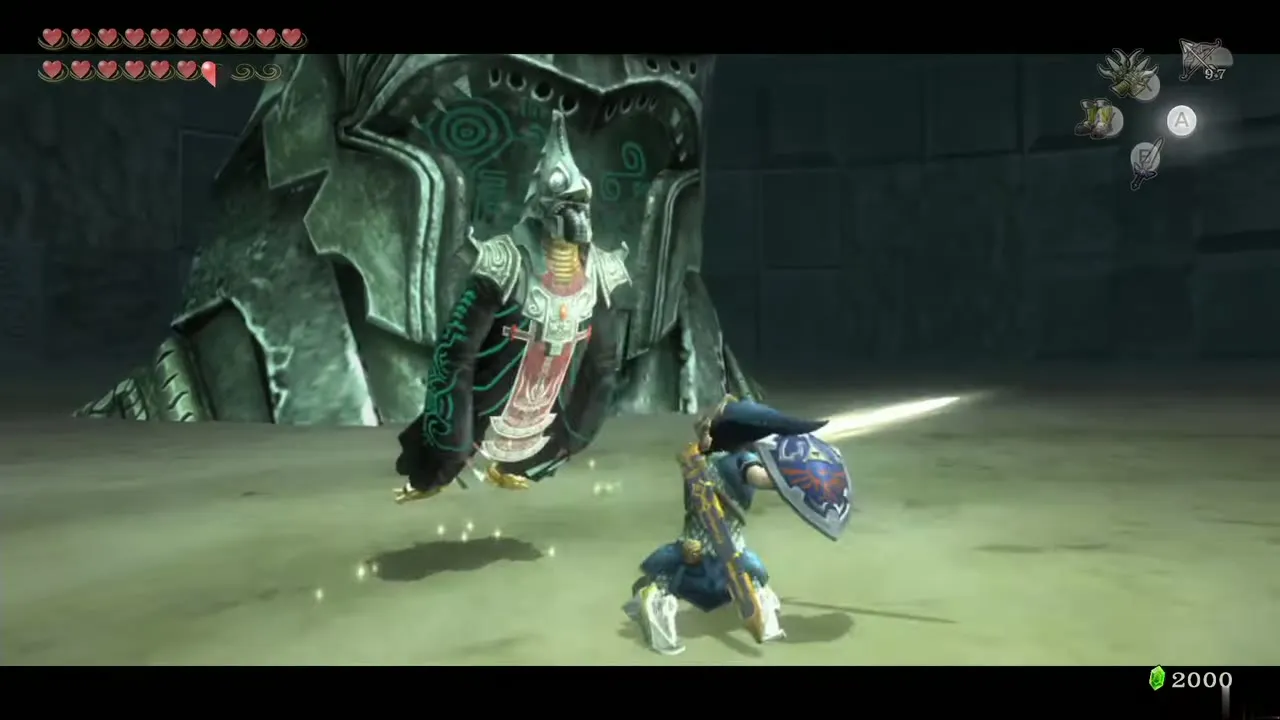
Wear the Zora Armor and the Iron Boots. A giant Zant helmet rises from the ground, its mouth opens with Zant inside, and he fires energy balls. Z-target him, block until he finishes, then pull him out of the helmet with the Clawshot and slash him. The helmet sinks and four helmets appear while the center of the floor caves in. Only one opens with Zant inside. Wait out his attack, then Clawshot him out and hit him. A few more rounds finish the phase.
Phase 4: Ook’s arena (rolling into pillars)
Take off the Zora Armor and the Iron Boots. This is the Forest Temple room where you fought Ook. Zant hops between pillars, teleporting often, and settles on one to shoot at you. Roll into the pillar he stands on twice; one roll only unsettles him. He tumbles to the ground, so slash him, and repeat until the phase ends.
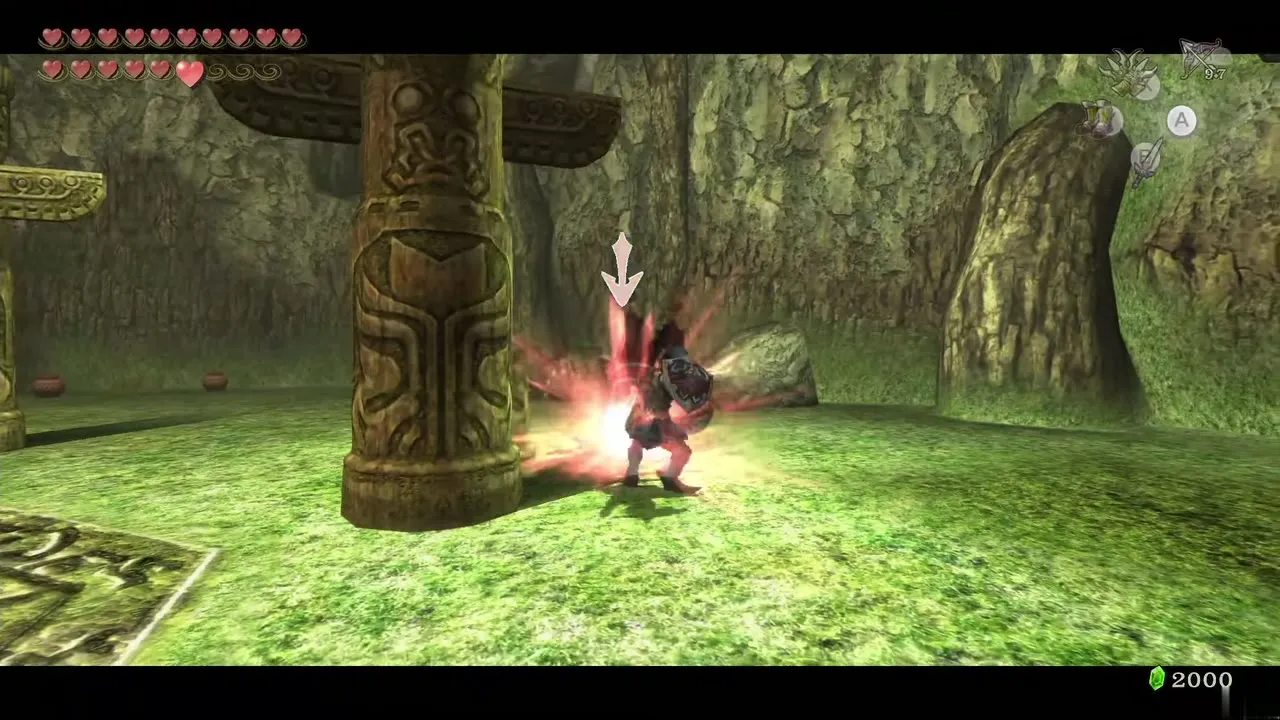
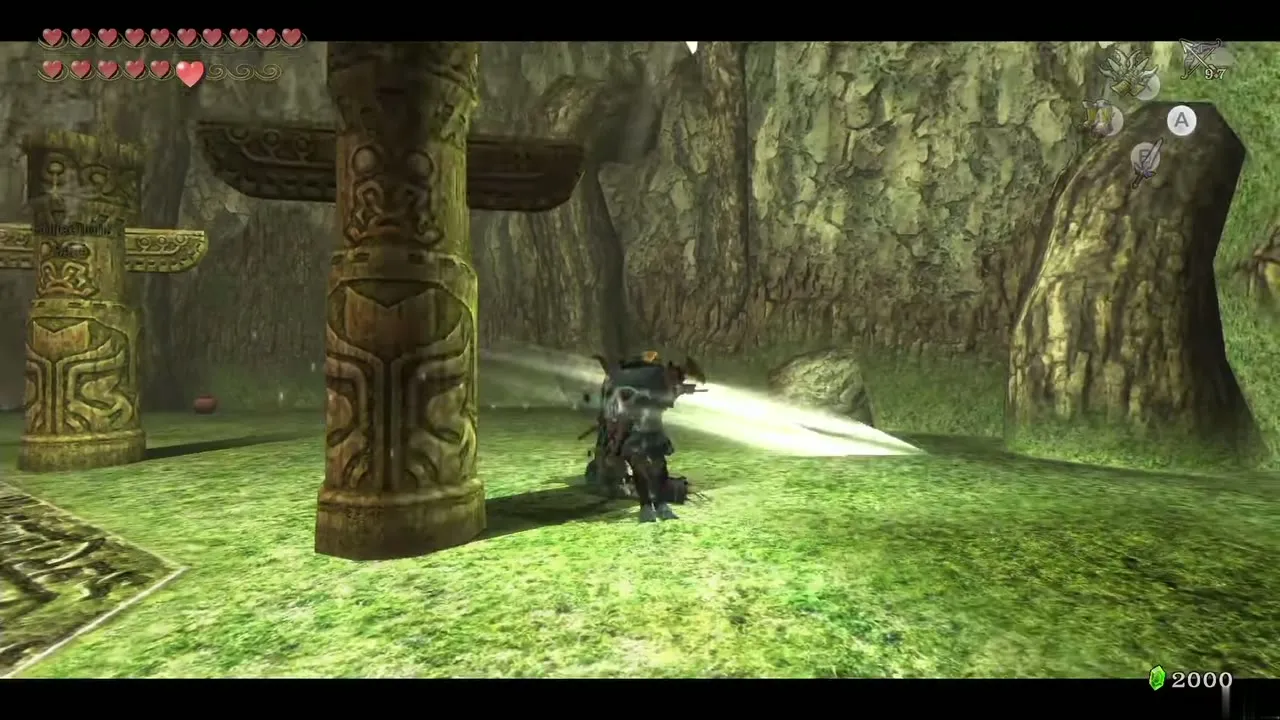
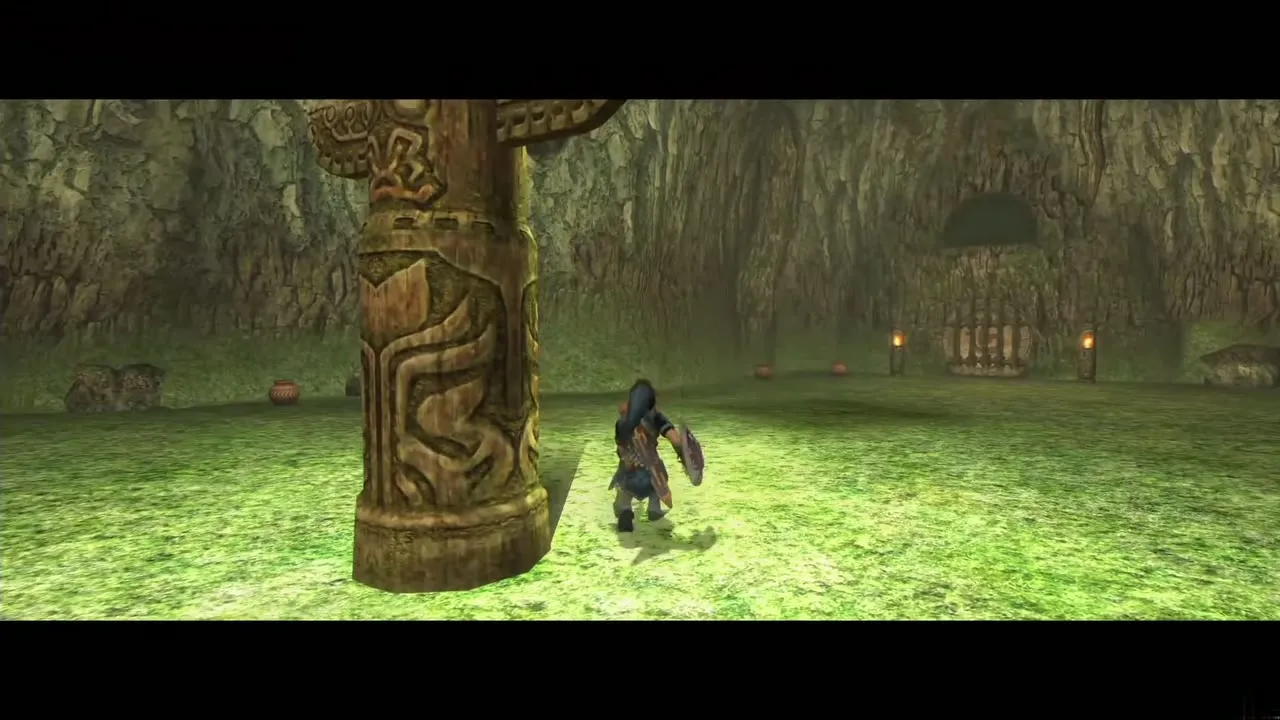
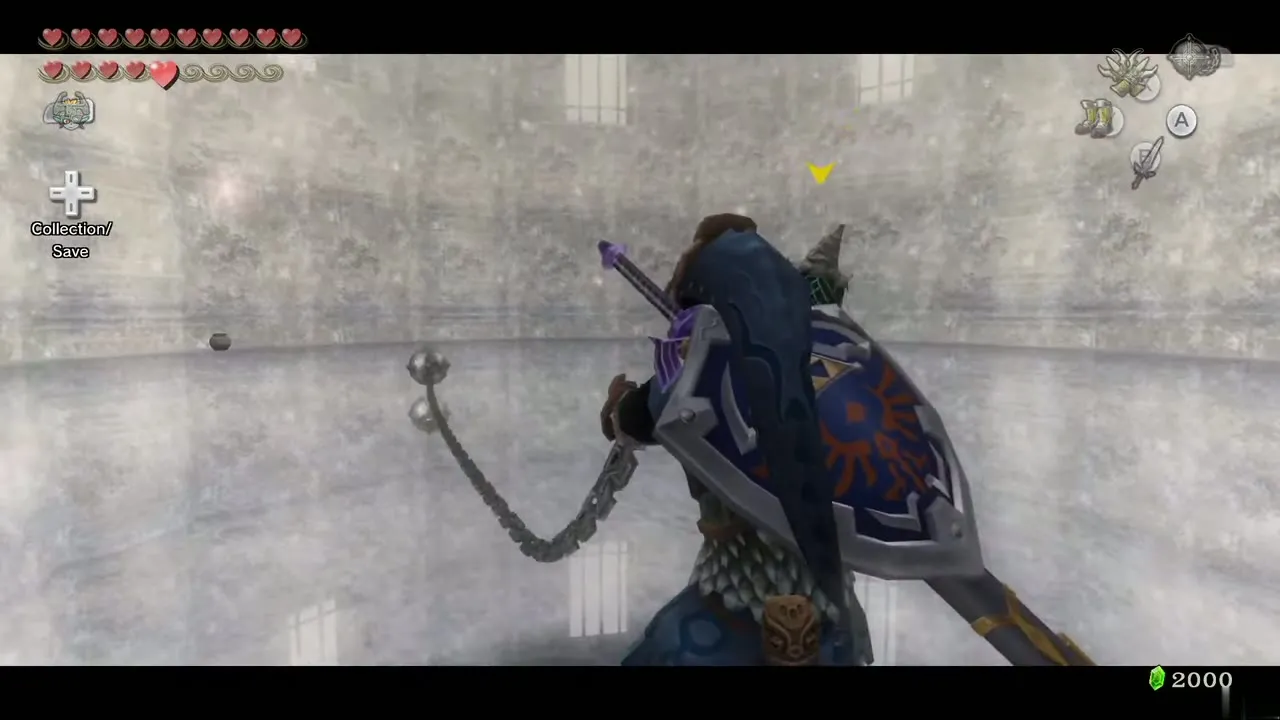
Phase 5: Snowpeak Ruins bedroom (Ball and Chain)
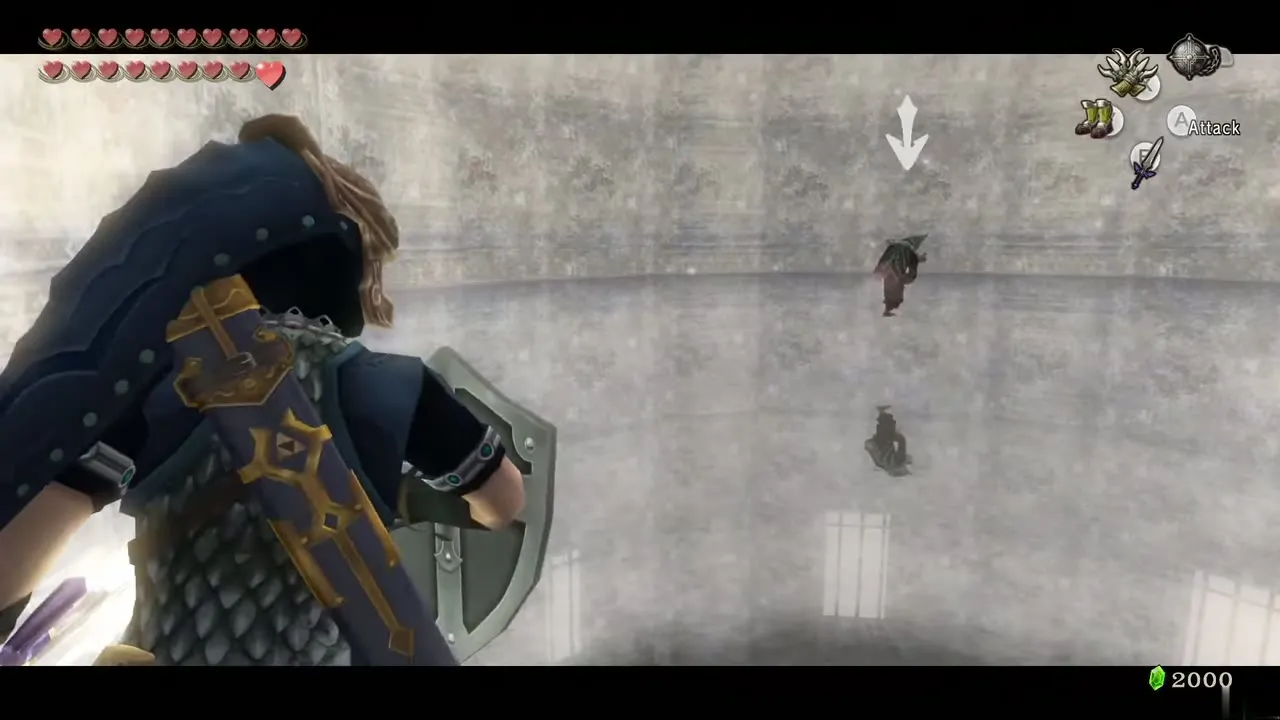
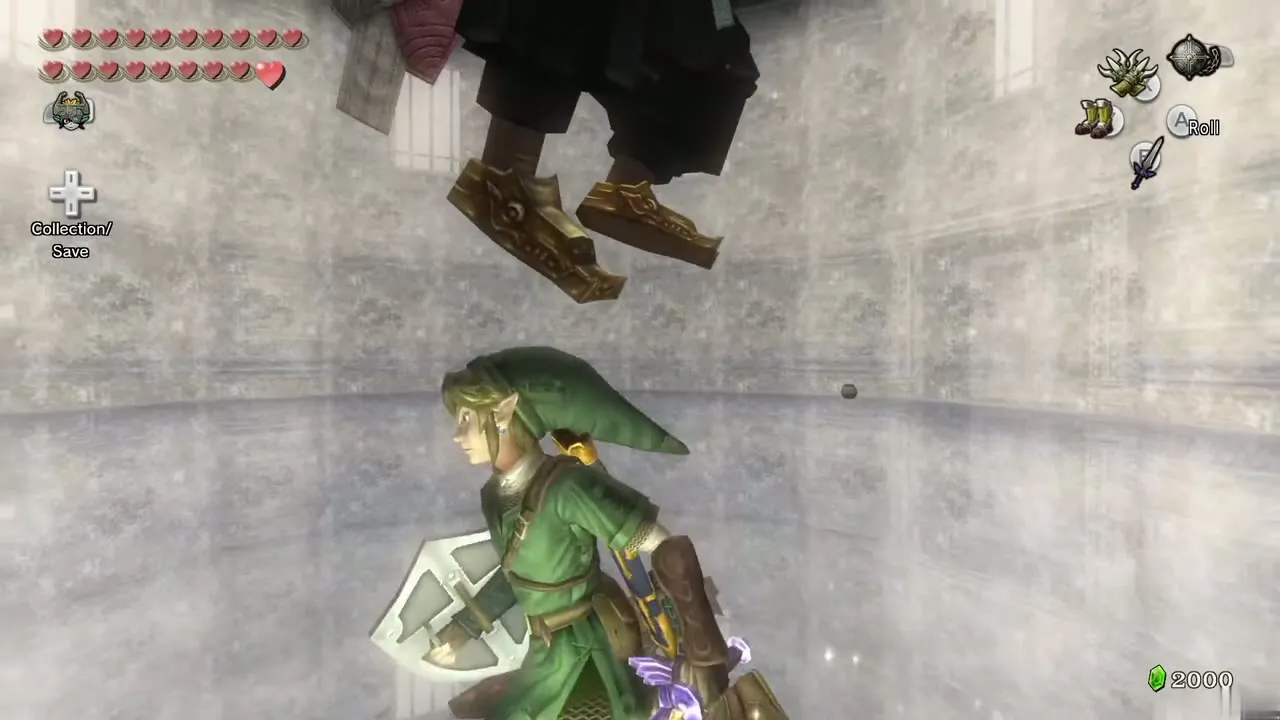
Equip the Ball and Chain. Zant grows huge and flies around the room, then stomps down. Watch his reflection on the ice and wait for him to crash. Roll clear, then swing the Ball and Chain at his foot. He shrinks to a fraction of your size, hopping in pain, so run in and slash him before he regrows. Repeat until the phase ends.
Phase 6: Hyrule Field below Castle Town (sword duel)
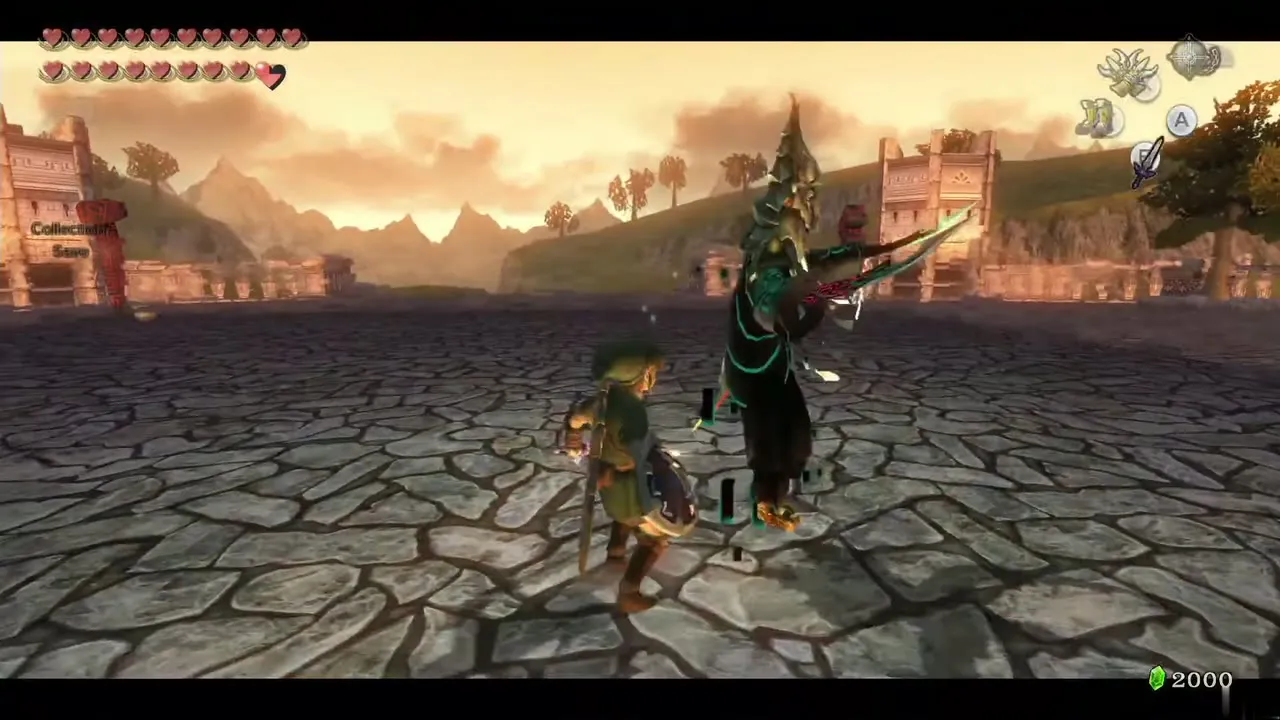
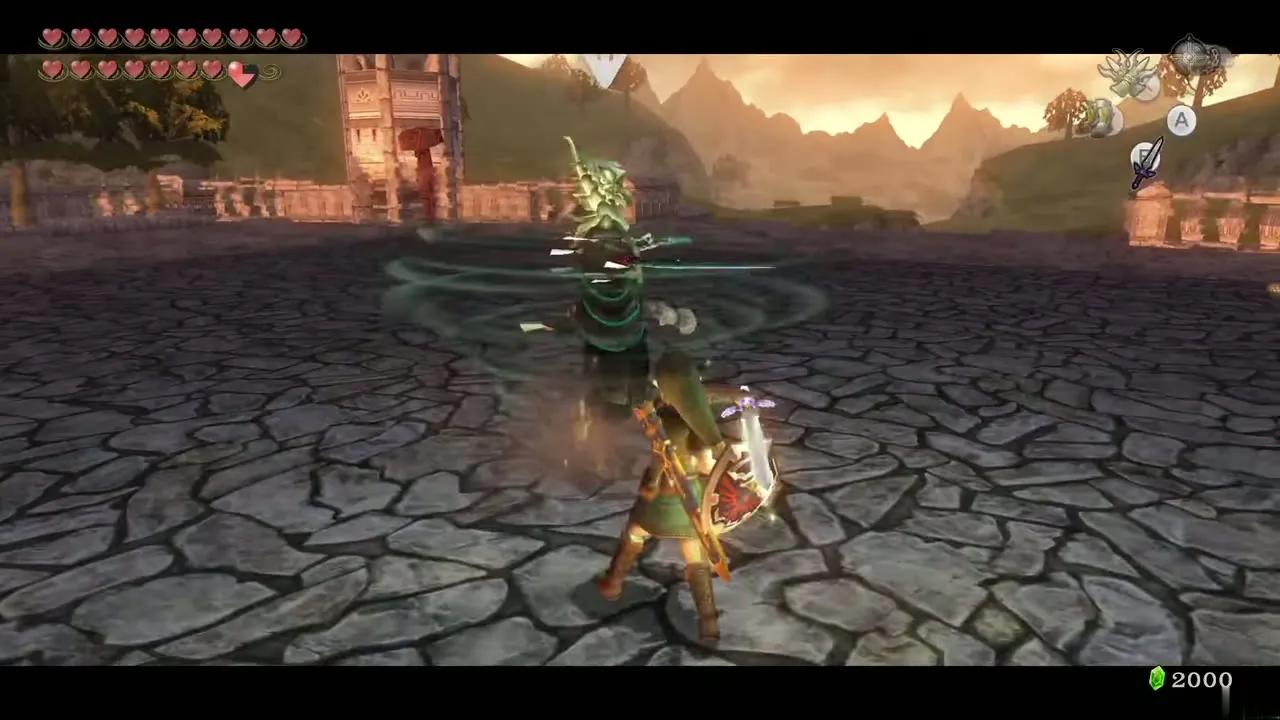
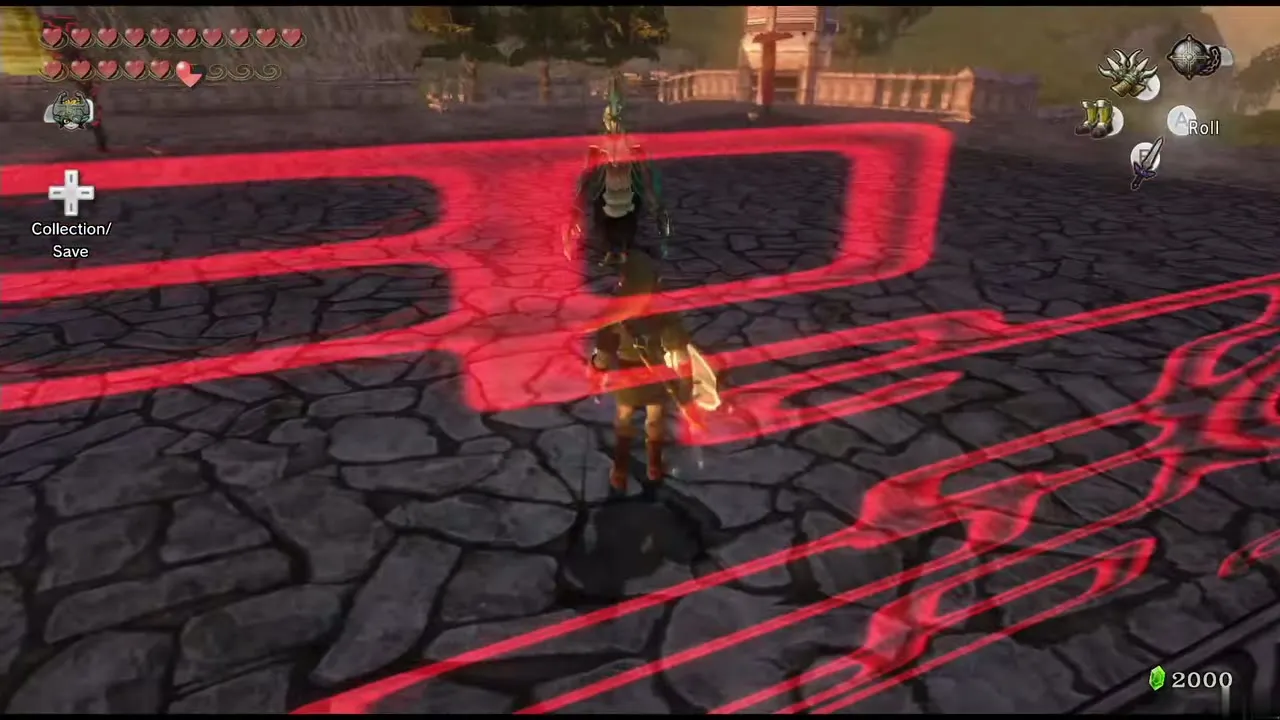
The last phase takes place on the stairs in Hyrule Field south of Castle Town, inside a wall of twilight. Zant has scimitars for hands and slashes erratically, sometimes spinning rapidly toward you. Use a Back Slice while he is only slashing. When he spins, block with your shield or sidestep, or counter with your own quick spin, then punish him as he tires. He speeds up as the fight goes on, so keep hitting him between spins and avoid the spin itself.
Heart Container and leaving the Palace
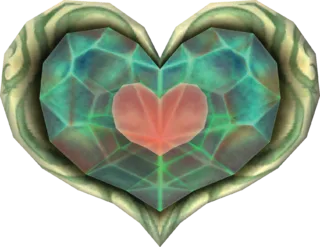
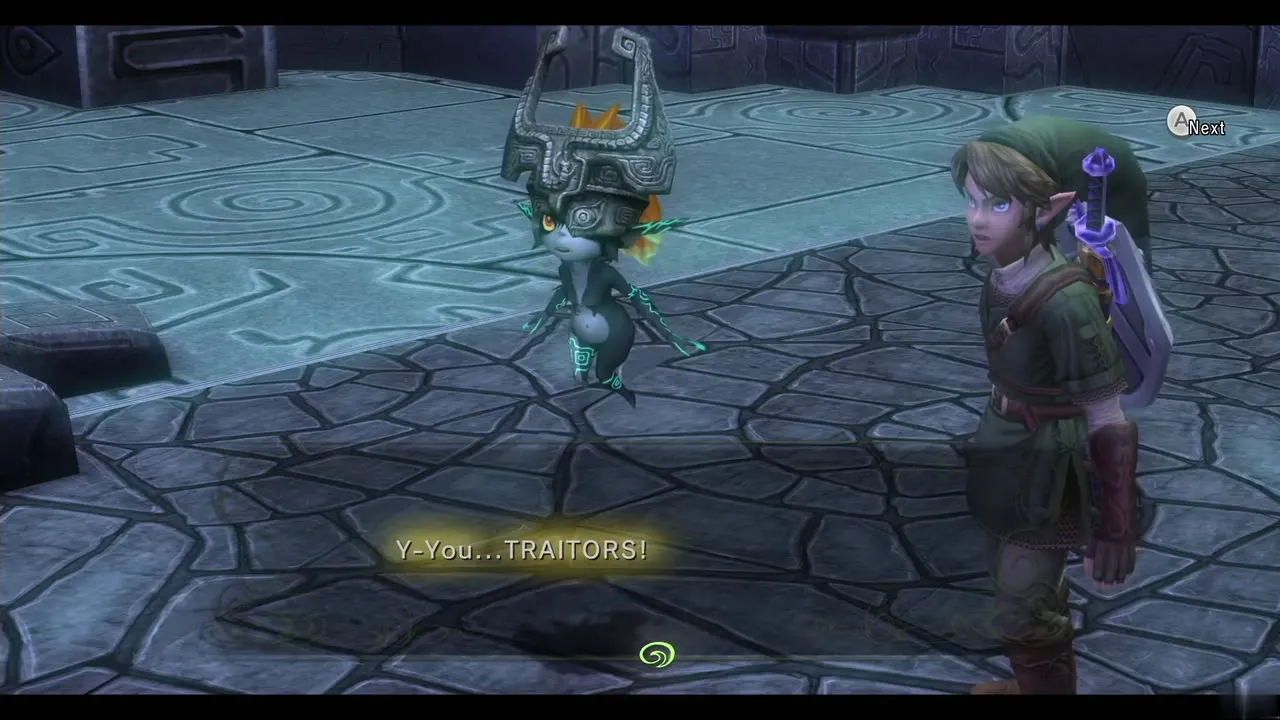
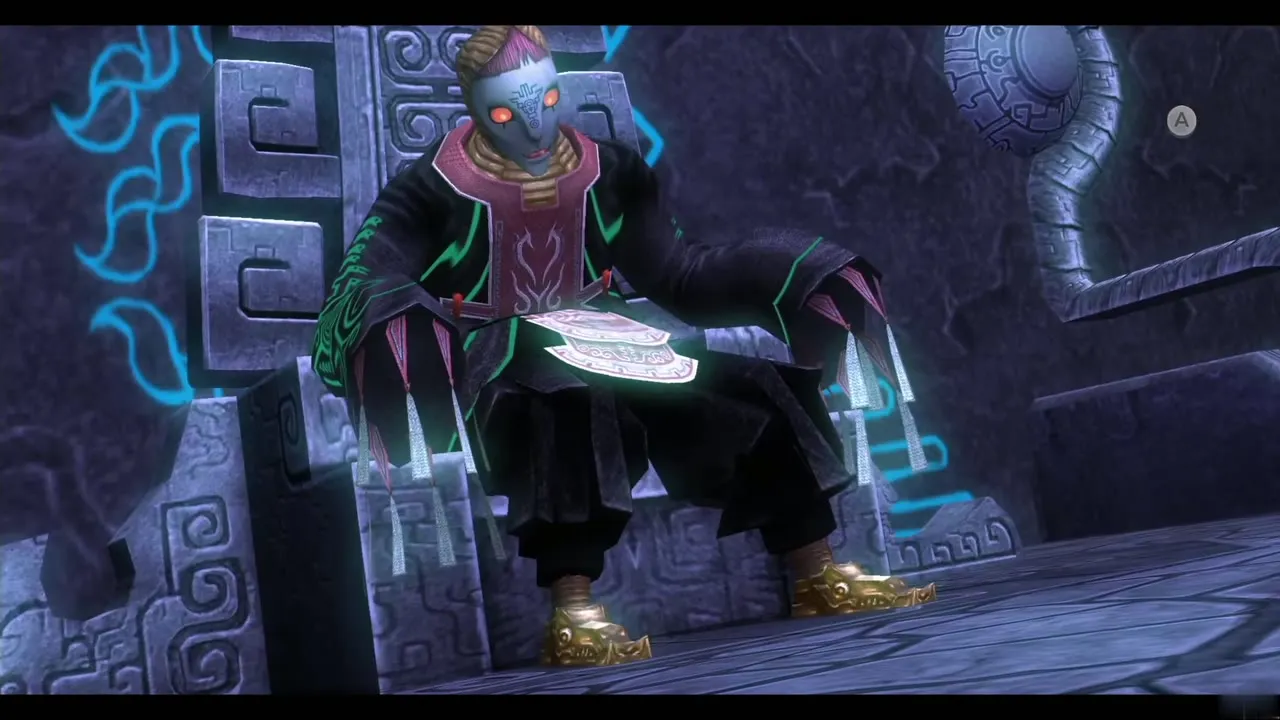
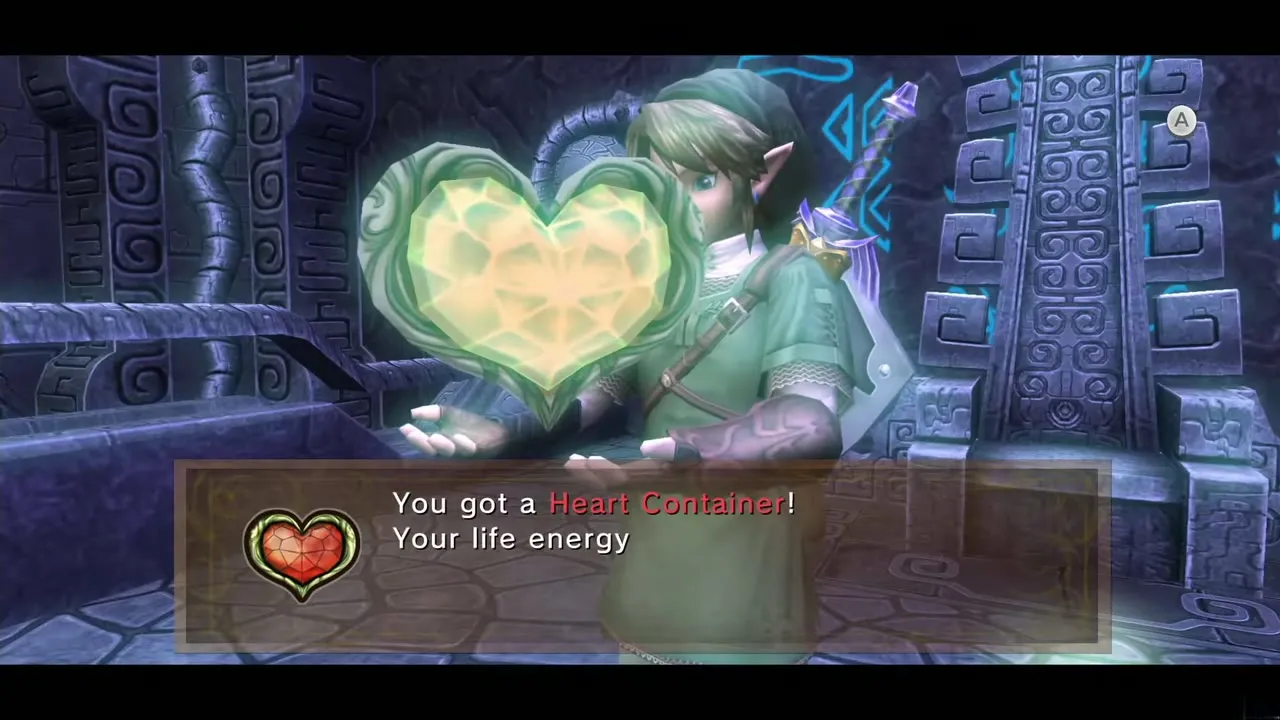
When Zant falls you return to the throne room. Midna recovers the three Fused Shadows he stole, and Zant, dying on his chair, calls you traitors and warns that his god is already reborn. Pick up the Heart Container near the chair, talk to Midna and she takes you to the palace entrance. Step onto the circle where you came in and select enter to return to the Mirror Chamber.
Chapter Checklist
| Type | Name | Where |
|---|---|---|
| Upgrade | Giant Quiver (100 arrows) | STAR Game tent, Castle Town (Double Clawshots round, 15 Rupees to play) |
| Stamp chest | Hylian letter V | Bottom of the hole south of Castle Town |
| Heart Piece | #9 Kakariko Gorge pillar | Chest on a ledge behind the rock pillar, reached with the Double Clawshots |
| Dungeon item | Compass | Southeast chest of the west fog room, after the Zant Mask |
| Dungeon item |  Dungeon Map | Bottom-left upper-level chest in the east fog room |
| Dungeon item | Big Key | Chest at the top of the central balcony, reached by climbing the targets |
| Small keys | 7 keys | West wing (2), east wing (2), central wing (3) |
| Heart Piece | #44 Palace, west wing | Wall target behind the dark waterfall |
| Heart Piece | #45 Palace, east wing | Chest the east light platform lifts you to |
| Rupees / stamps | Angry Midna stamp; Zant stamp; three purple Rupee chests | West fog room (Angry Midna); east fog room (Zant and one purple Rupee); east entry room and east light-platform room (one purple Rupee each) |
| Heart Container | Zant reward | Beside Zant’s chair after the fight |
| Ability | Master Sword light power | Placing the second Sol |
Next, tackle the optional Cave of Ordeals for the last Poe Souls and the Great Fairy‘s Tears, or go straight on to Hyrule Castle. The dungeon items page lists every map, compass and key in the game.
