
























Twilight Princess 100% Completion Walkthrough23 chapters
- Hyrule Castle and the Ganondorf BattleEvery key and chest, then how to beat Puppet Zelda, Dark Beast Ganon, the horse chase and the final duel.
- Snowpeak Ruins (Dungeon 5)Every key, chest, Heart Piece and Poe Soul, the Ball and Chain, Darkhammer and the Blizzeta boss fight.
- Temple of Time (Dungeon 6)All keys and chests, the Dominion Rod, statue puzzles, Big Key, two Heart Pieces and Armogohma.
- City in the Sky (Dungeon 7)Every chest, Heart Piece and Poe, the Double Clawshots, Aeralfos, the Big Key and how to beat Argorok.
- Ordon VillageGoat herding, fishing rod, Sera’s bottle, slingshot, Wooden Sword, Faron Woods cave Heart Piece, Lantern.
- Enter the Twilight RealmEscape the cell as Wolf Link, meet Midna and Zelda, get the Ordon Sword and Shield, meet Ordona.
- Faron WoodsAll 12 Tears of Light, Faron Spring, Coro’s key and lantern oil bottle, and the Golden Wolf’s Ending Blow.
- Forest Temple (Dungeon 1)All 8 monkeys, 4 small keys, Map, Compass, Big Key, 2 Heart Pieces, Ook, Gale Boomerang and Diababa.
- Hyrule Field, Kakariko Gorge and Twilight Kakariko12 Tears of Light, Epona, Pill Bugs, Heart Pieces.
- Iron Boots, King Bulblin and Death MountainIron Boots from Mayor Bo, the King Bulblin bridge fight, Golden Bugs and Gor Coron’s sumo match.
- Goron Mines (Dungeon 2)Every chest, both Heart Pieces, the Hero’s Bow, three Key Shards, Dangoro and Fyrus boss tactics.
- Lanayru Province, Castle Town and Zora’s DomainKakariko extras, Bridge of Eldin bugs, Castle Town, Lake Hylia, thawing Zora’s Domain and all 12 Tears of Light.
- Telma Escort, Castle Town and Lake Hylia Side QuestsTelma escort, Zora Armor, Water Bombs, 9 Golden Bugs, Agitha, Charlo, fishing, Rapid Ride and the Lakebed entrance.
- Lakebed Temple (Dungeon 3)Small keys, map, compass, Big Key, two Heart Pieces, Clawshot, Deku Toad and Morpheel boss tactics.
- Midna, Zelda and the Master SwordTelma’s Bar to Zelda, the Sacred Grove, Skull Kid, the guardian puzzle, plus its Heart Piece, Poe and Golden Bug.
- Poe Soul Collection, Malo Mart and Heart PiecesThe first 29 Poe Souls, Jovani’s rewards, Malo Mart donations and Magic Armor, Miiverse stamps and five Heart Pieces.
- Gerudo Desert and the Bulblin CampOasis Flight, eight Poe Souls, both Dayflies, Mortal Draw, Bulblin Camp and King Bulblin.
- Arbiter’s Grounds (Dungeon 4)Four Poe Souls, Dungeon Map, Compass, Spinner, Big Key, two Heart Pieces and the Stallord boss fight.
- Mirror Chamber, Reekfish and Snowpeak MountainMirror Chamber, Spinner Heart Pieces, Reekfish bait, Jump Strike, Poe Souls and the climb to Yeto.
- Heart Pieces Hunt and Return to the Sacred GroveTwo Heart Pieces, Rusl, the Skull Kid rematch, the last Golden Bug and the Temple of Time door.
- Ilia’s Memory, Hidden Village and the SkyIlia’s memory, 20 Bulblins, 20 cats, six Sky characters, Great Spin and the Sky Cannon repair.
- Palace of Twilight (Dungeon 8)Both Sols, all seven small keys, map, compass, Big Key, 2 Heart Pieces and how to beat Zant.
- Cave of OrdealsAll 50 floors, the 3 Poe Souls, every Great Fairy, buried items, the Tears and Jovani.
| Covers | Forest Temple from the web-covered entrance to Diababa; the monkey rescue, Ook, the Gale Boomerang |
|---|---|
| Dungeon | Forest Temple (Dungeon 1): dungeon item Gale Boomerang (from the mini-boss Ook); boss Twilit Parasite Diababa; Ooccoo warps. You also need the Lantern and Slingshot |
| Rewards | Gale Boomerang, Dungeon Map, Compass, Big Key, 4 small keys, 2 Heart Pieces, Heart Container, first Fused Shadow, plus Rupee chests and 2 Miiverse Stamp chests (Wii U) |
The Forest Temple is a tall tree-like dungeon built around one central hub. You free eight monkeys, win the Gale Boomerang from the baboon Ook, and use it to open the Big Key, which unlocks the boss, Diababa. Beating her earns the first Fused Shadow and a Heart Container.
The route below follows the order that opens the dungeon smoothly: Map, four monkeys, Ook and the Boomerang, then Compass, Big Key and the last four monkeys. Directions use the Normal Mode layout. Hero Mode mirrors the world, so swap left and right and east and west. For small keys, maps and compasses in every dungeon, see the dungeon maps and keys page.
Table of Contents
Entrance and the Dungeon Map
Entrance hall, caged monkey and the first Rupee chest
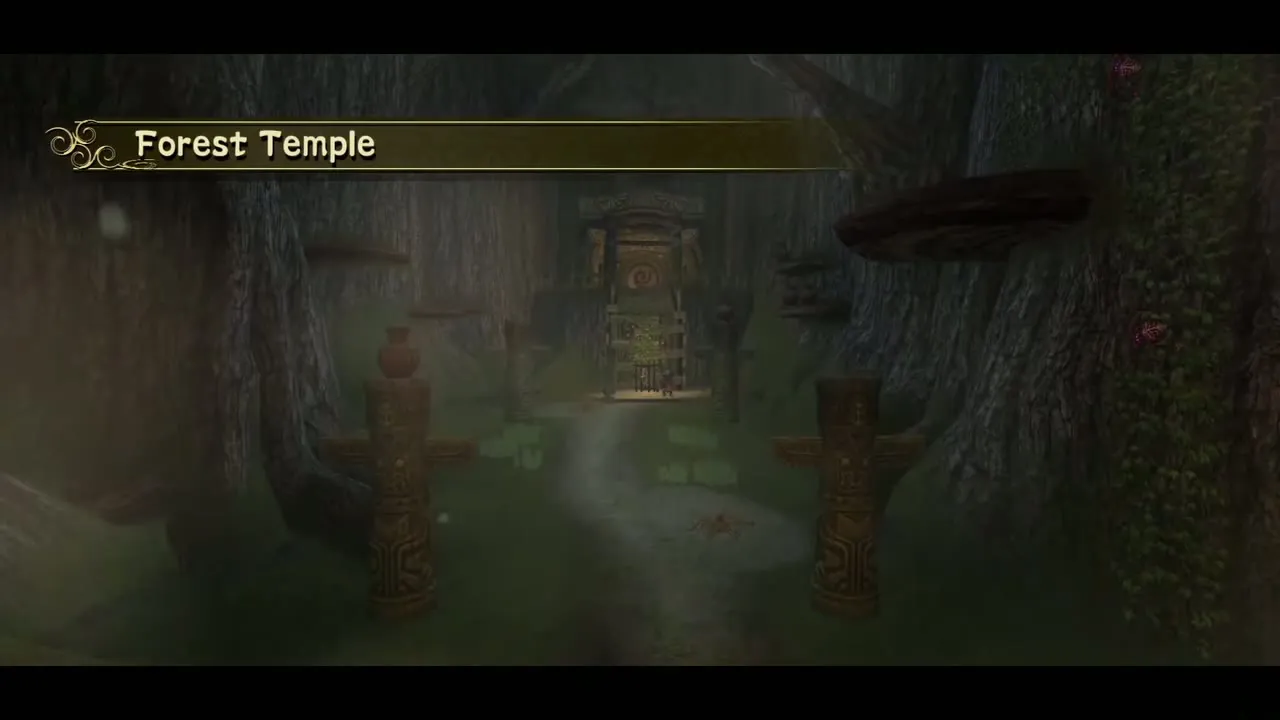
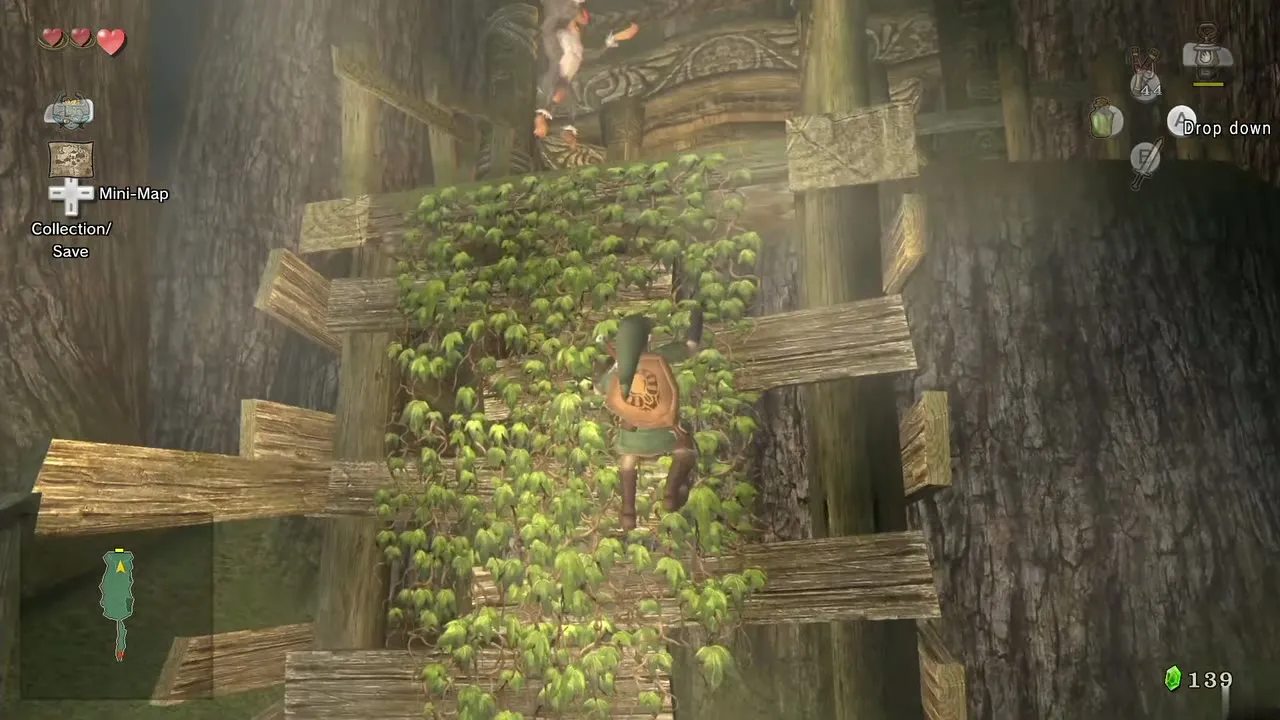
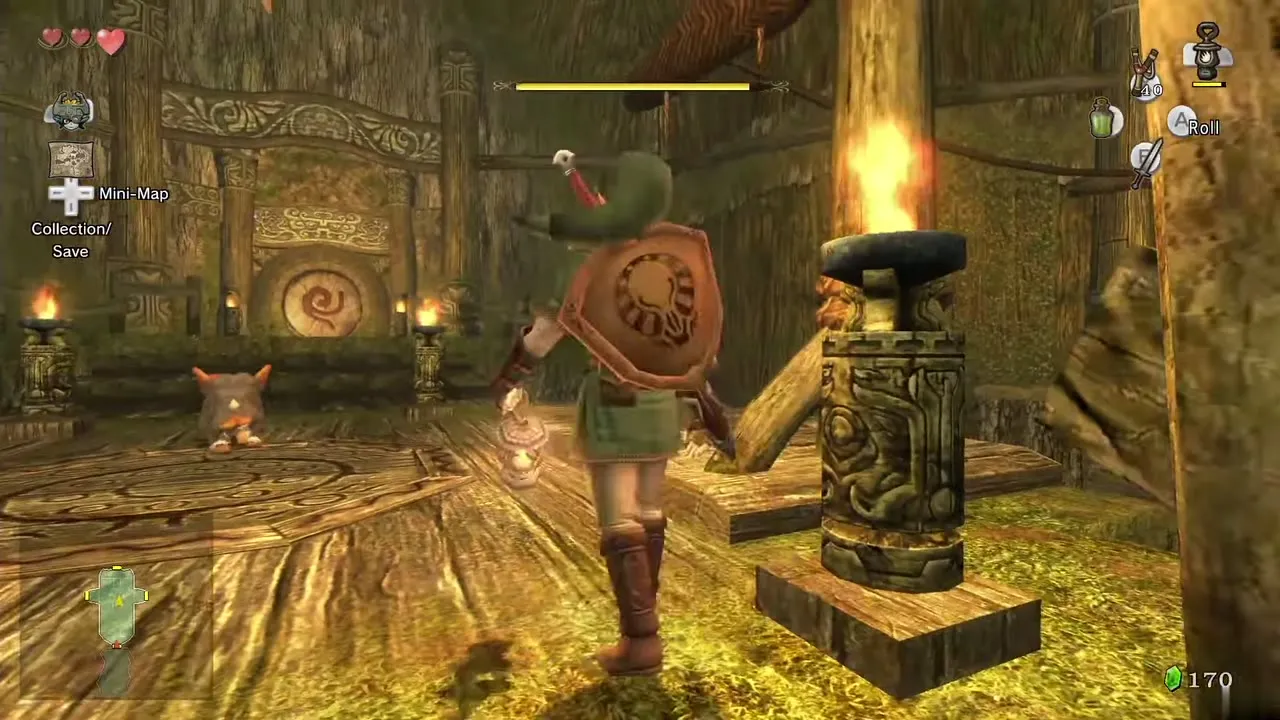
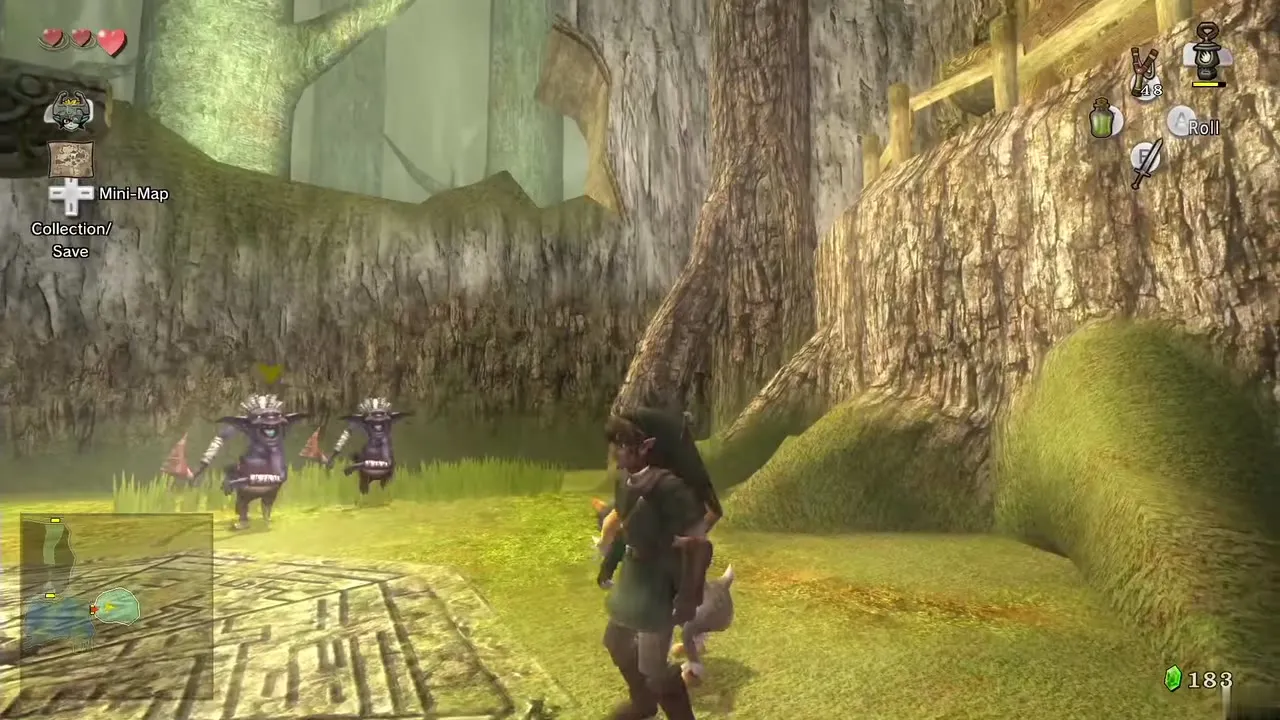
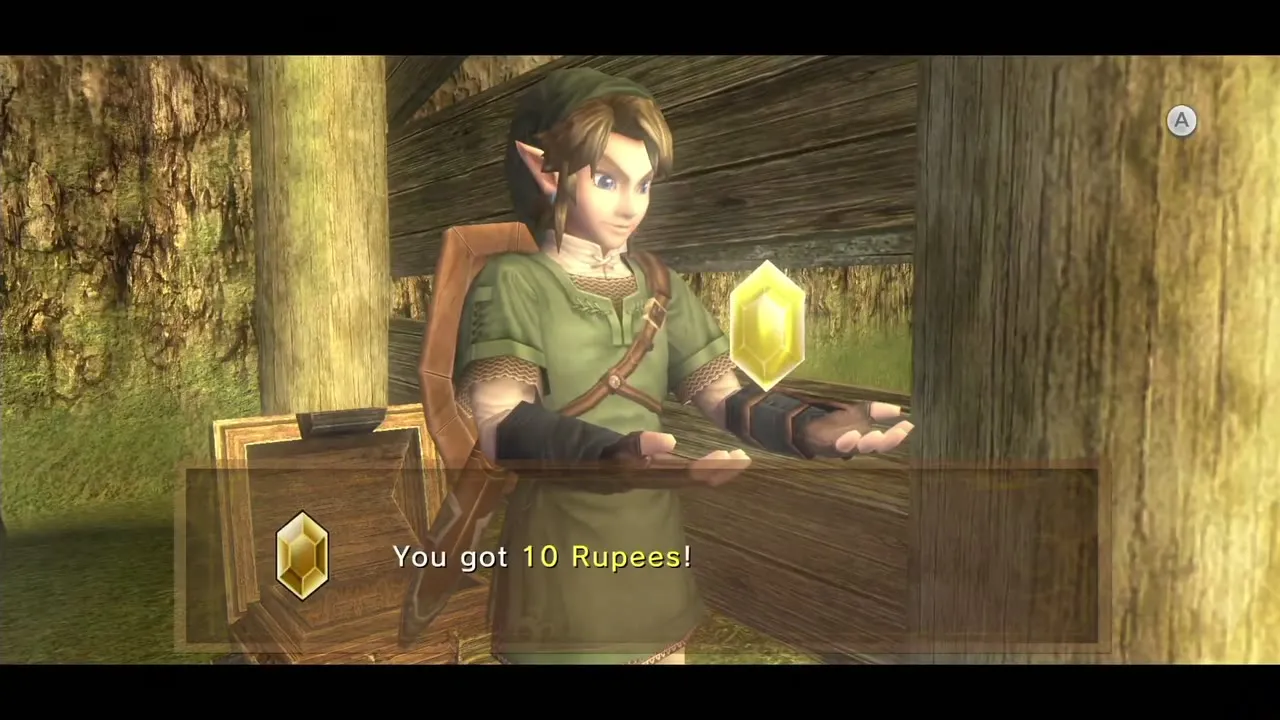
Step inside and run straight ahead to trigger a short fly-through of the temple. Fight the Deku Babas and the Bokoblin, then look to the right of the hall: two Walltulas cling to a wall of vines. Shoot them with the Slingshot and climb the vines to a ledge with a chest holding a yellow Rupee (10).
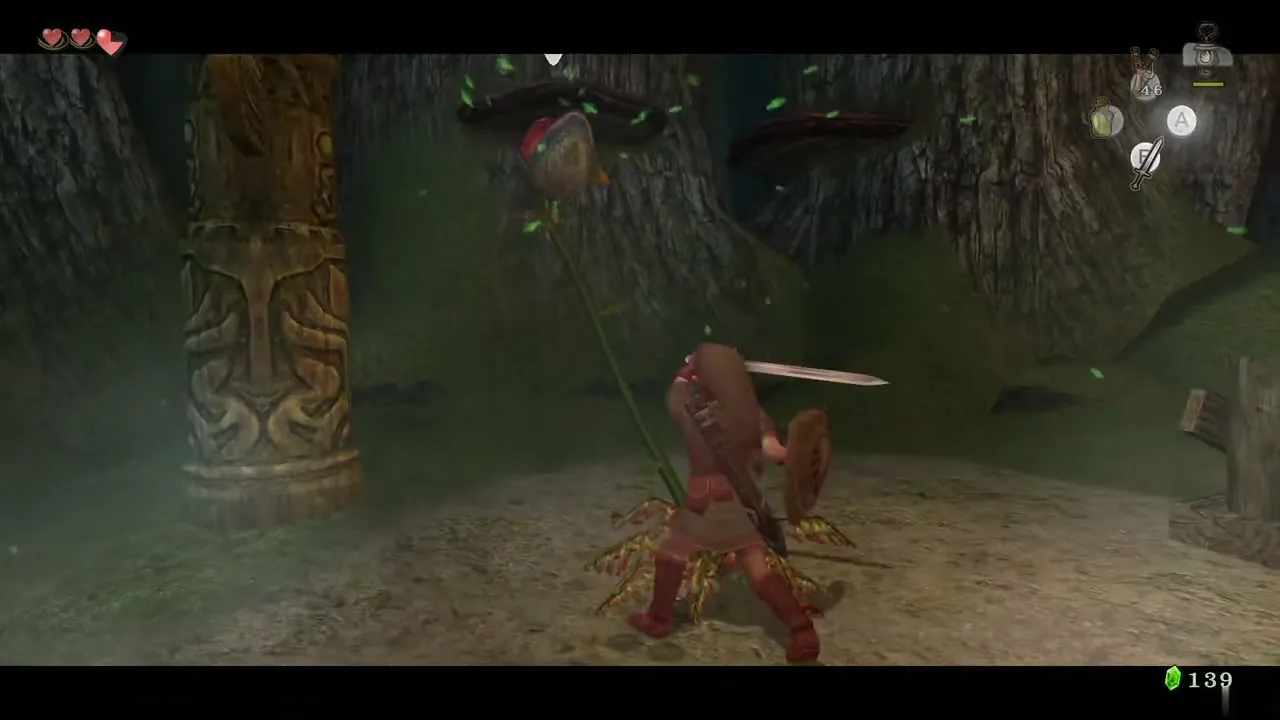
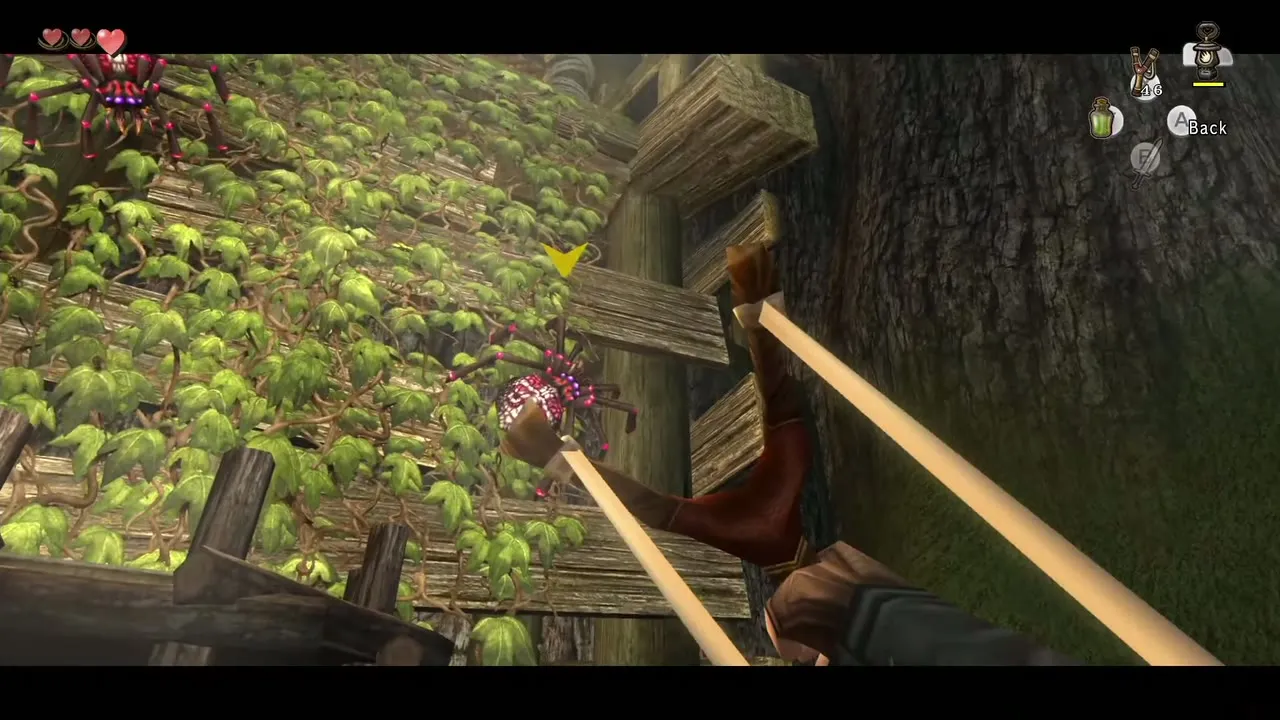
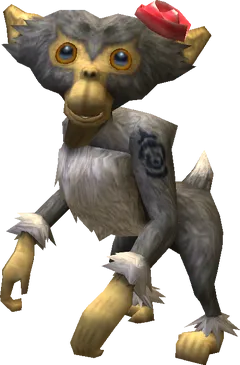
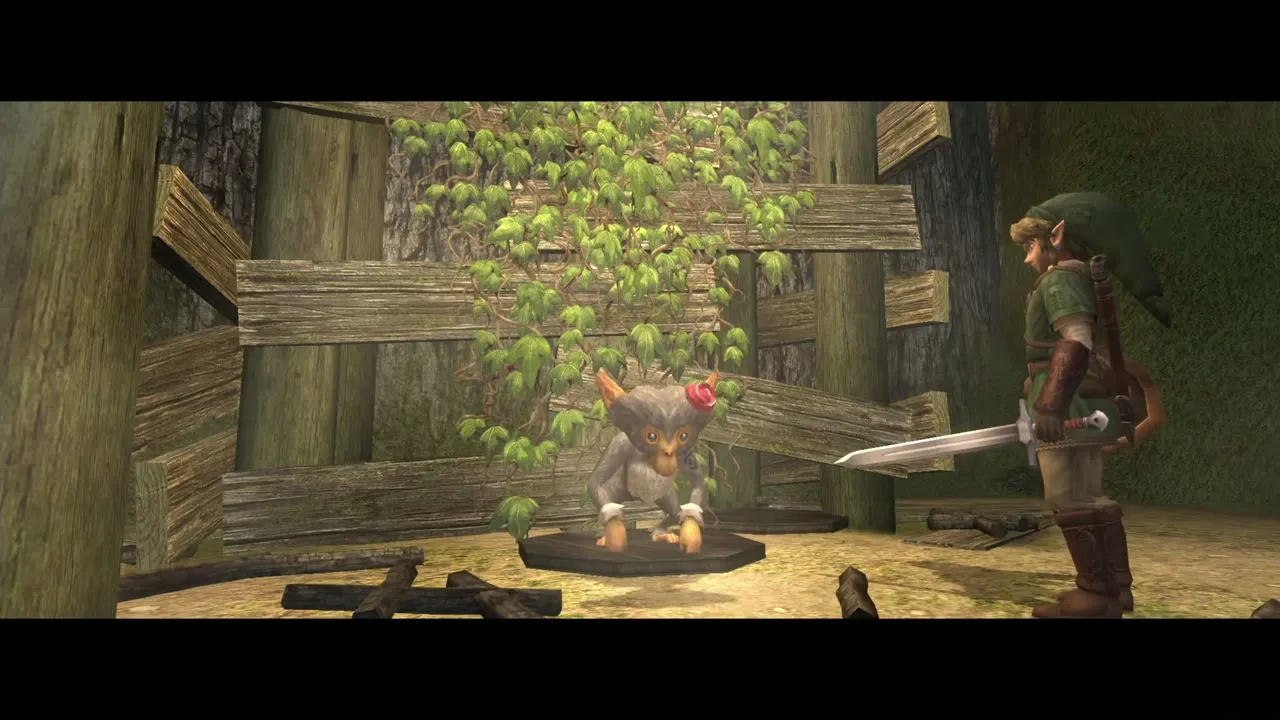
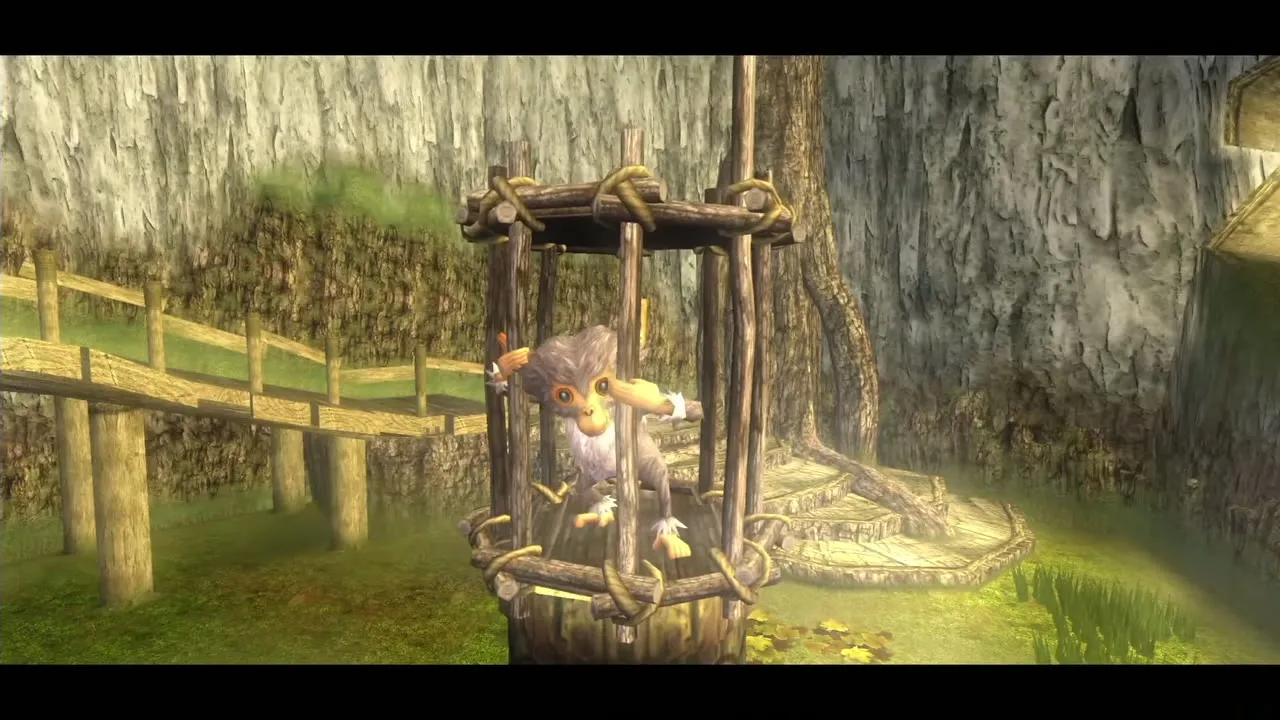
Drop back down and head to the north end of the hall. The monkey that stole your Lantern is locked in a wooden cage. Defeat the guards, then slash the cage until it breaks. She climbs the ivy and waves you after her. Shoot the Walltulas on the vines again and climb up to the door at the top; the monkey follows you from now on.
Skulltula, four torches and the Map
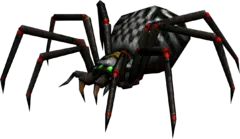
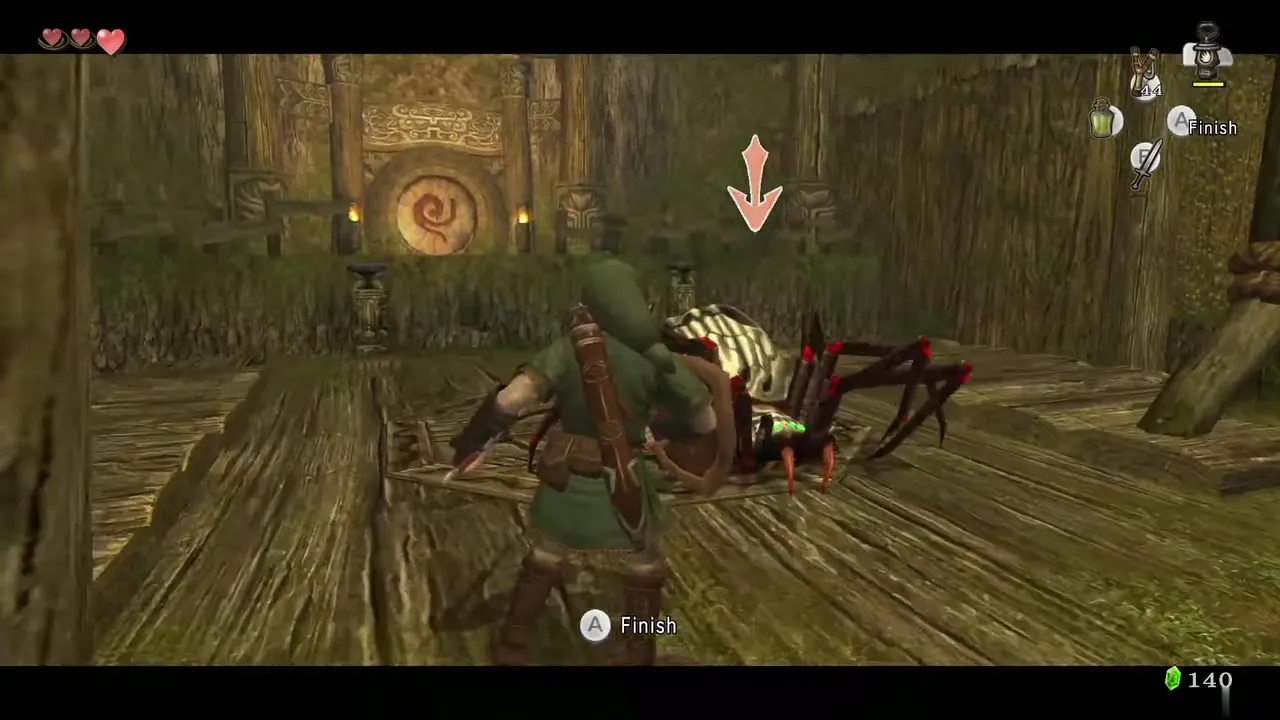
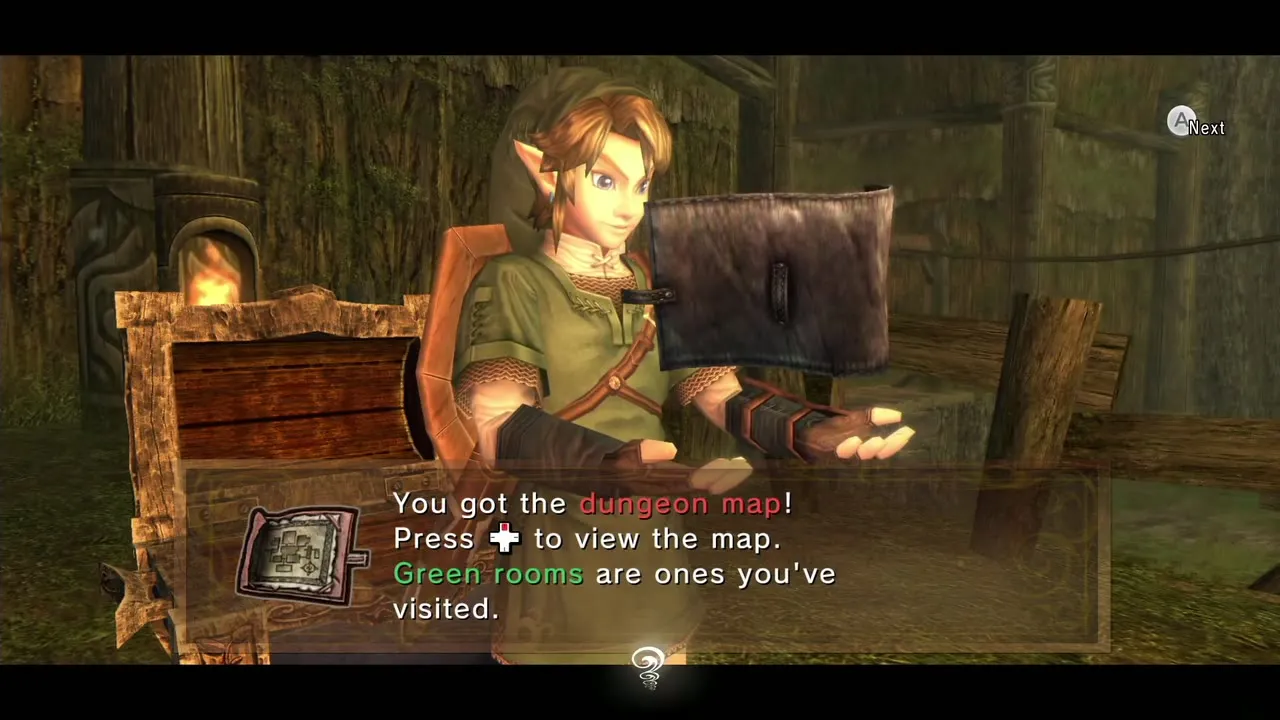
Go down the steps and up the next flight. A Skulltula patrols here; its front is armoured, so strafe and hit it from the side or the back, then finish it with an Ending Blow after you knock it down. Light all four torches on the platform with the Lantern and a staircase rises. Cross it, follow the monkey and open the chest to get the Dungeon Map.
Ook cuts the bridge
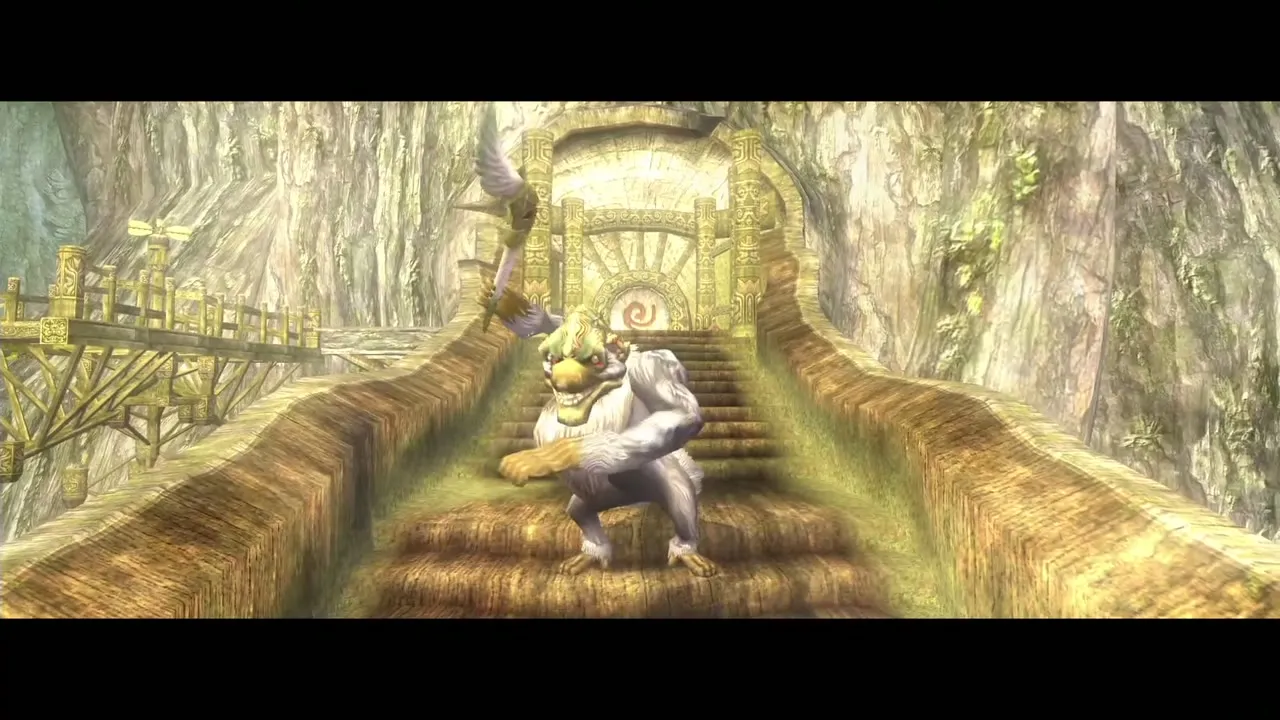
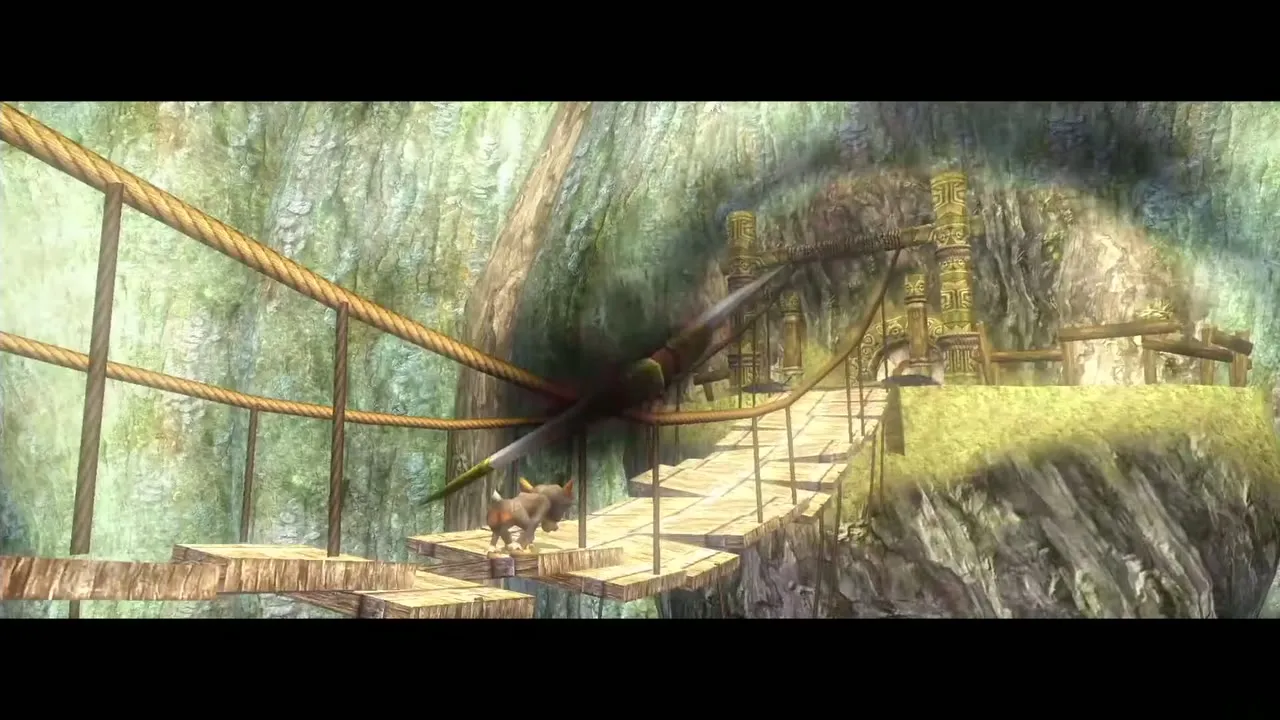
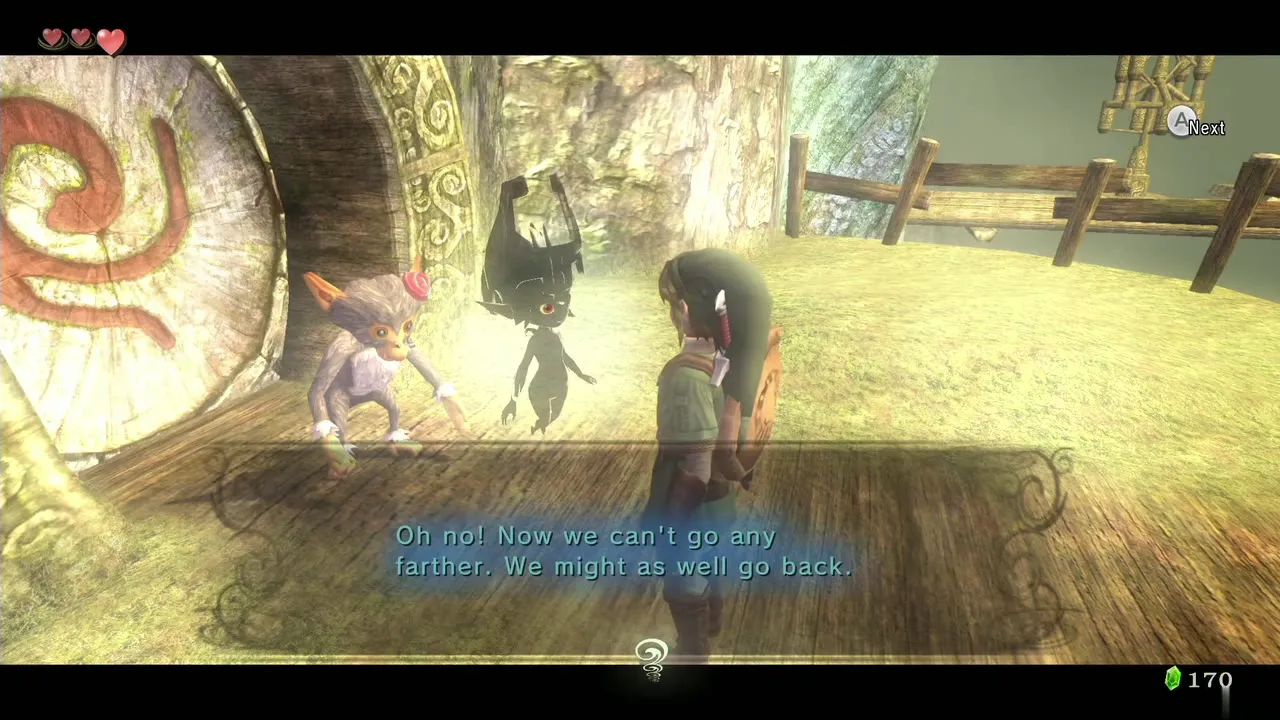
Go through the nearby door to the central courtyard. The monkey tries to cross the bridge, but the baboon Ook slices it with his giant boomerang. You cannot pass, so go back to the previous room. Ook returns as the mini-boss later.
Second monkey: Ooccoo, the small key and the collapsing bridge

Swing across and meet Ooccoo
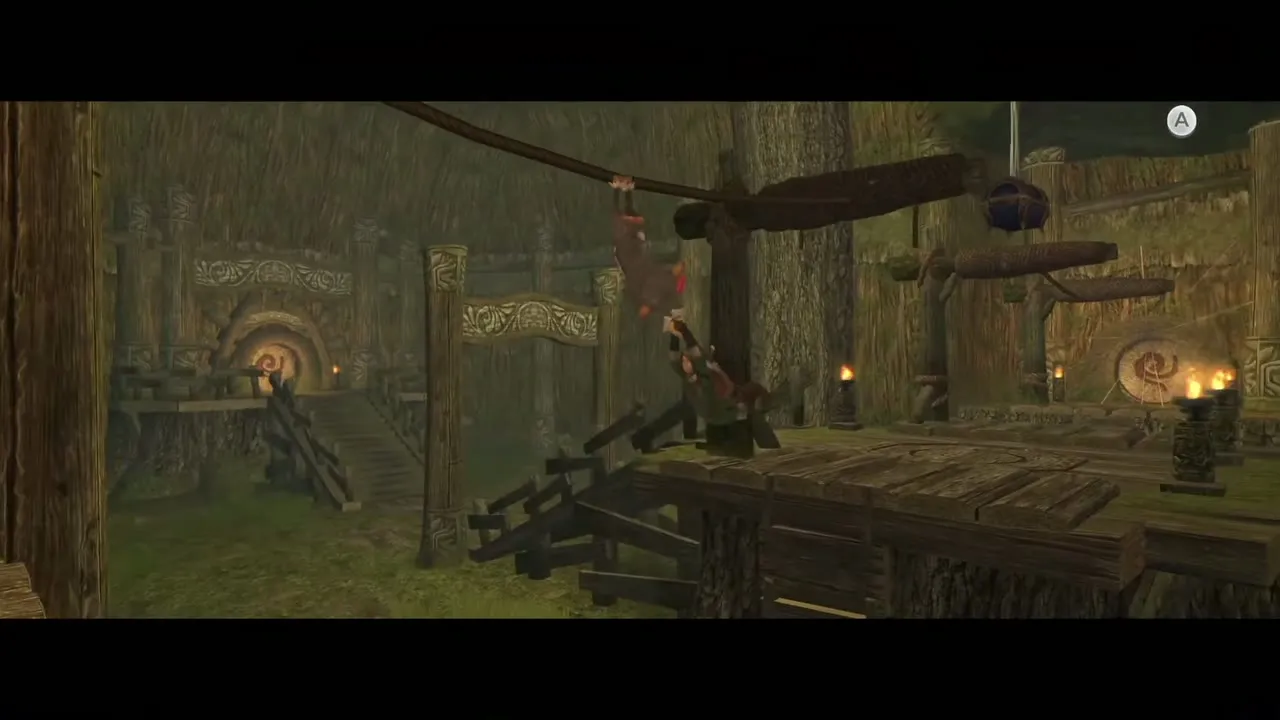
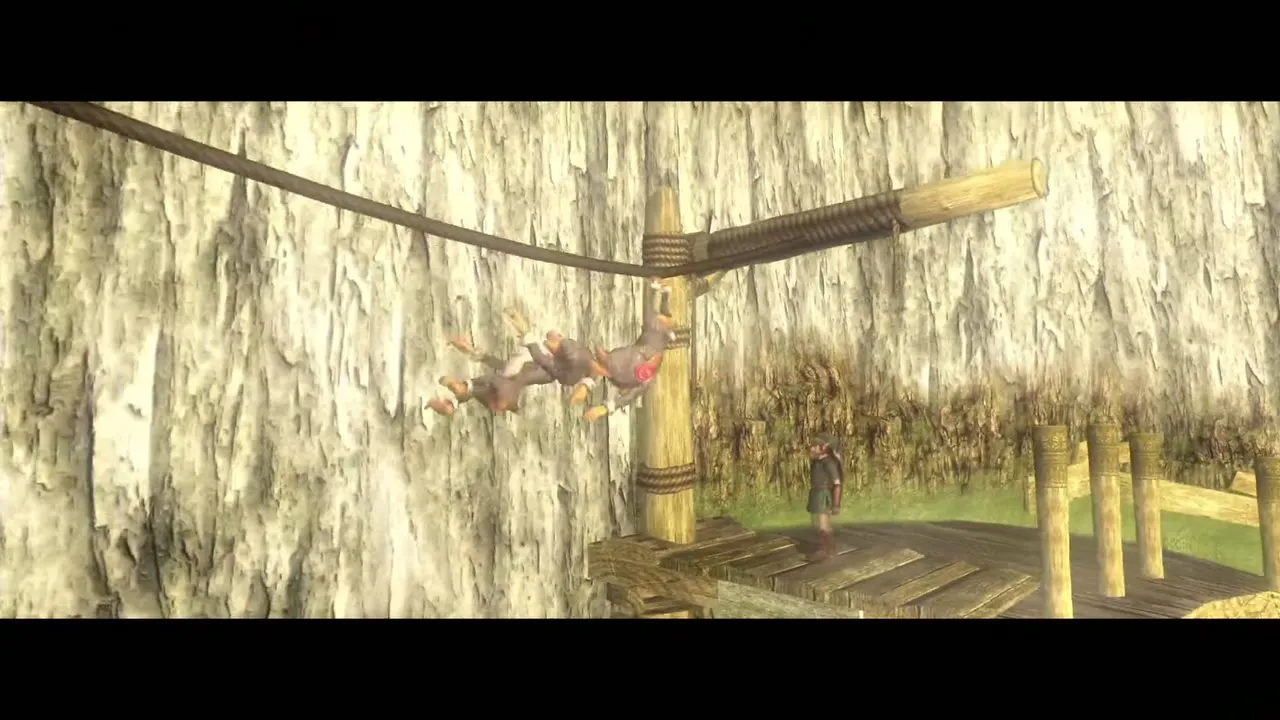
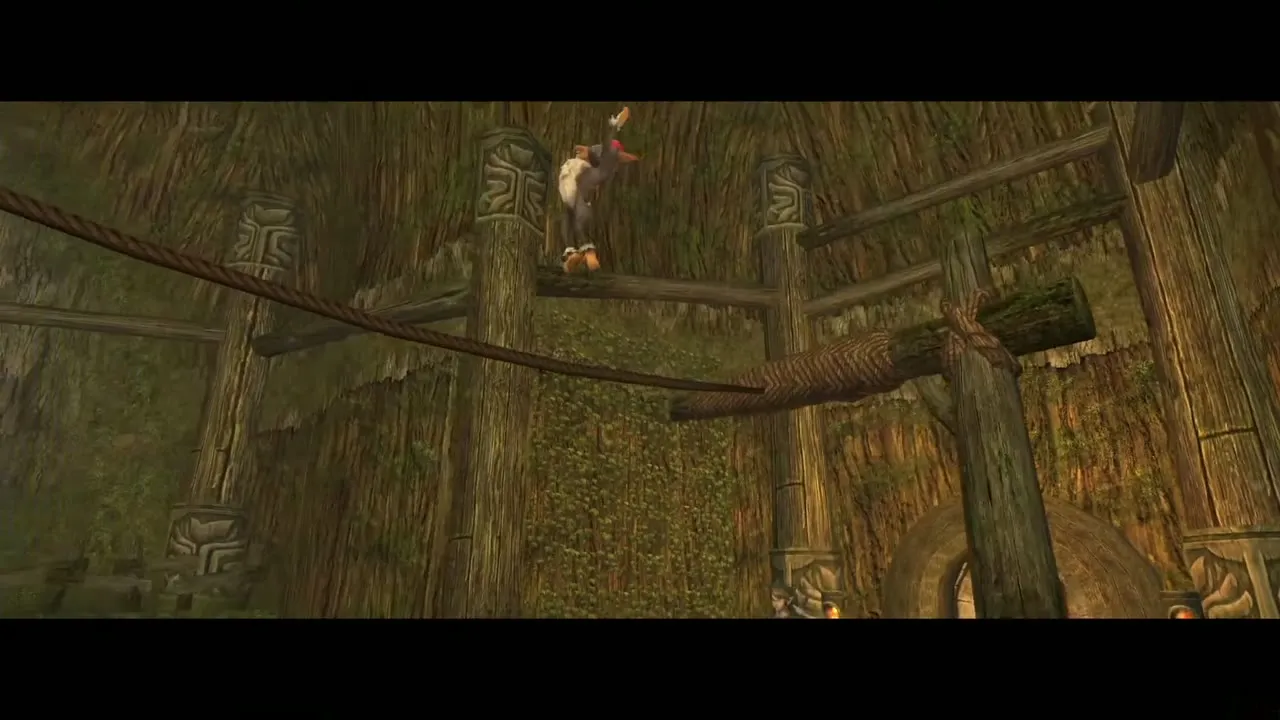
Follow the monkey to the middle of the hub room. She hangs upside down from the rope on the left. Jump to her hands and swing, then press A to let go on the far platform. Go through the door.
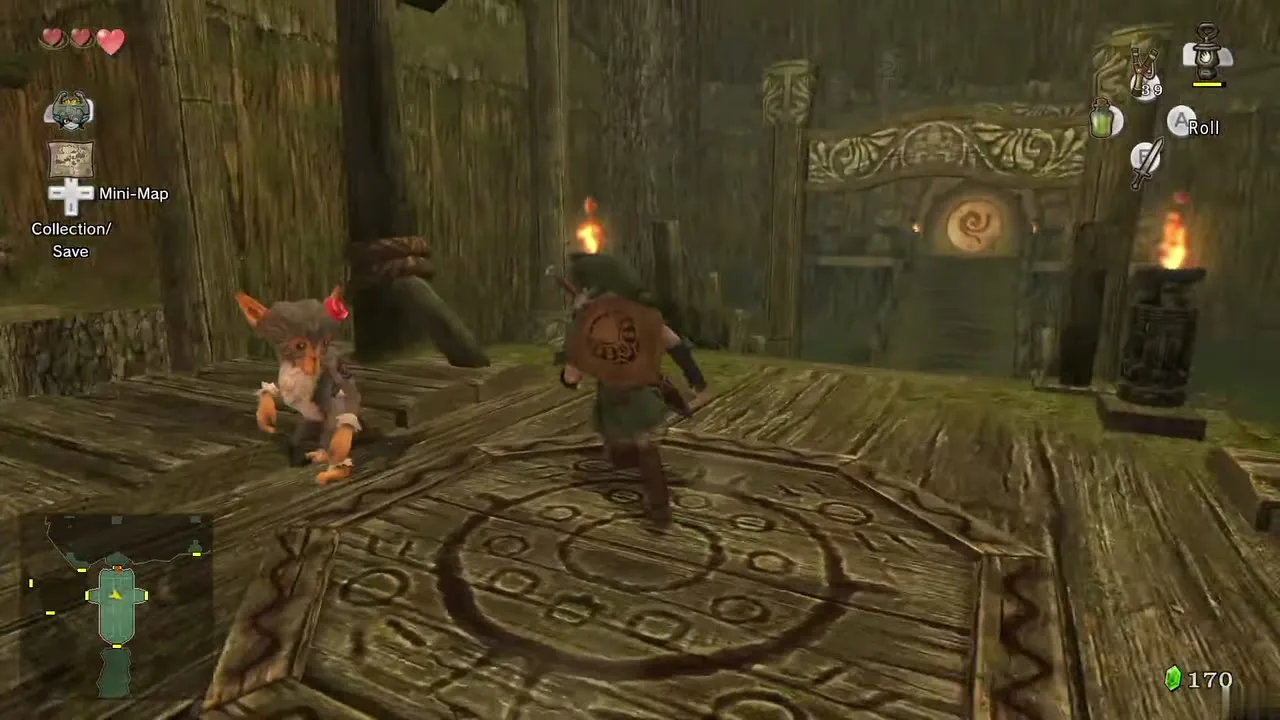
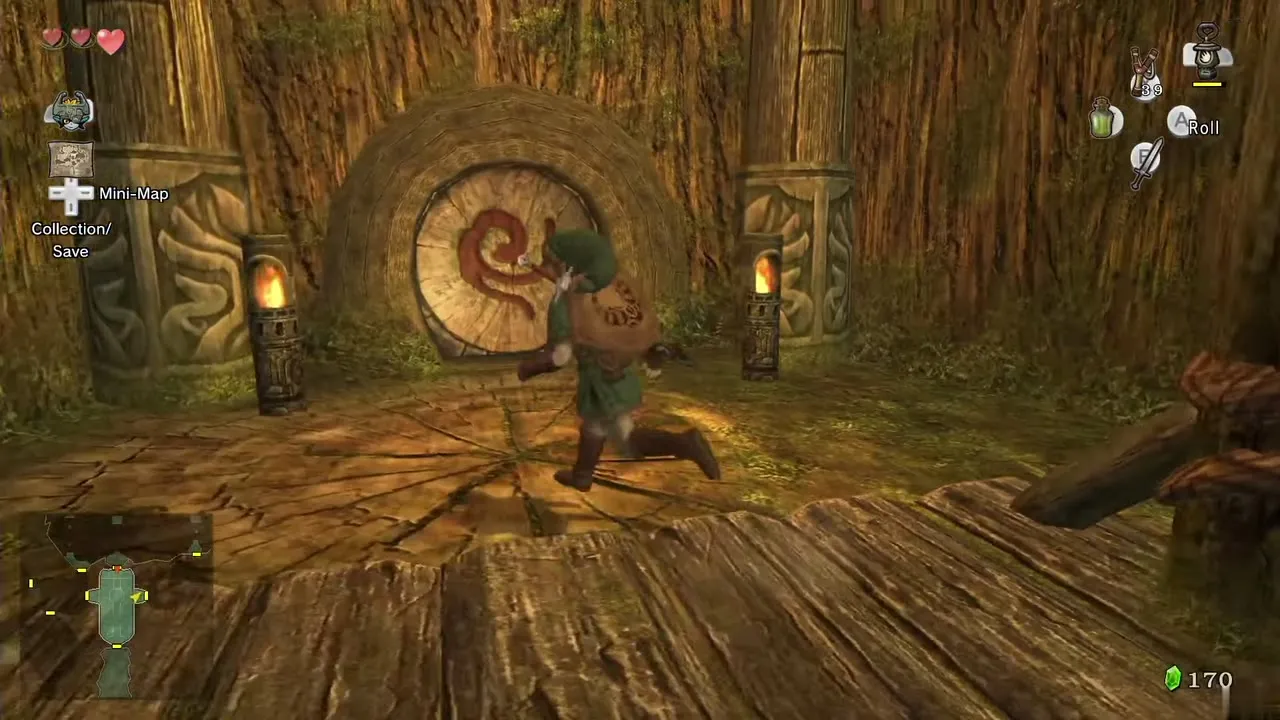
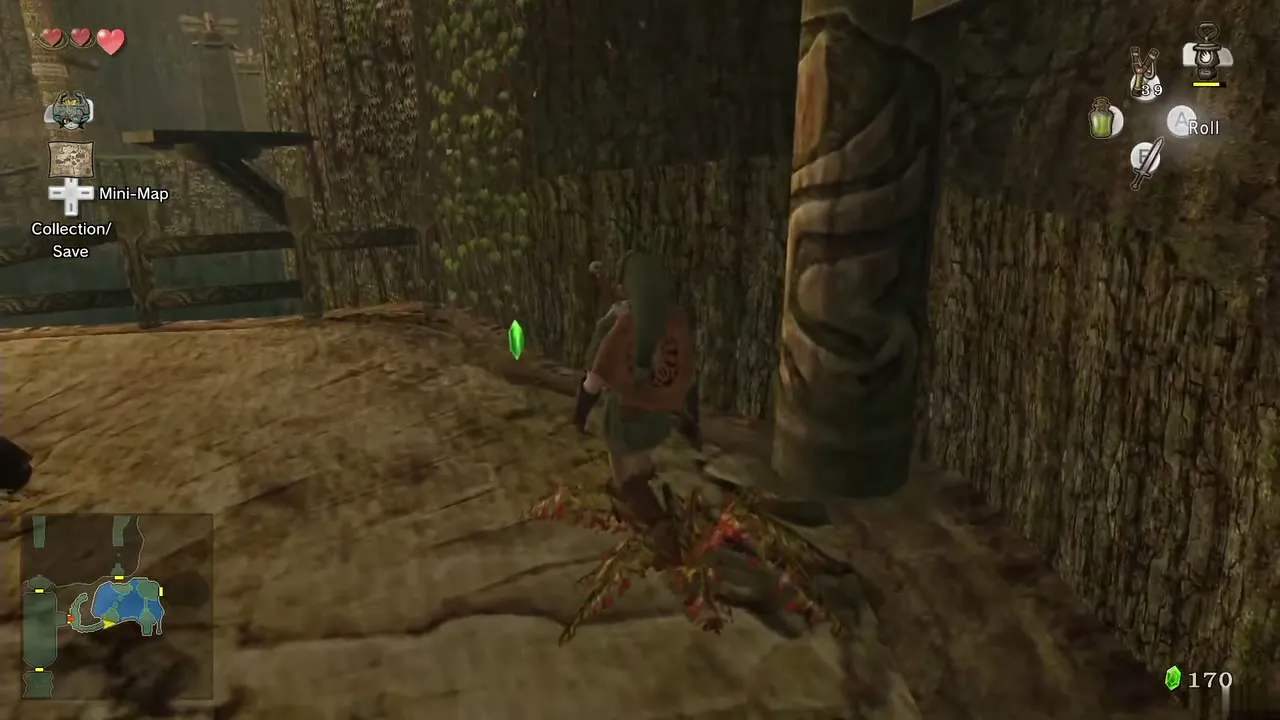
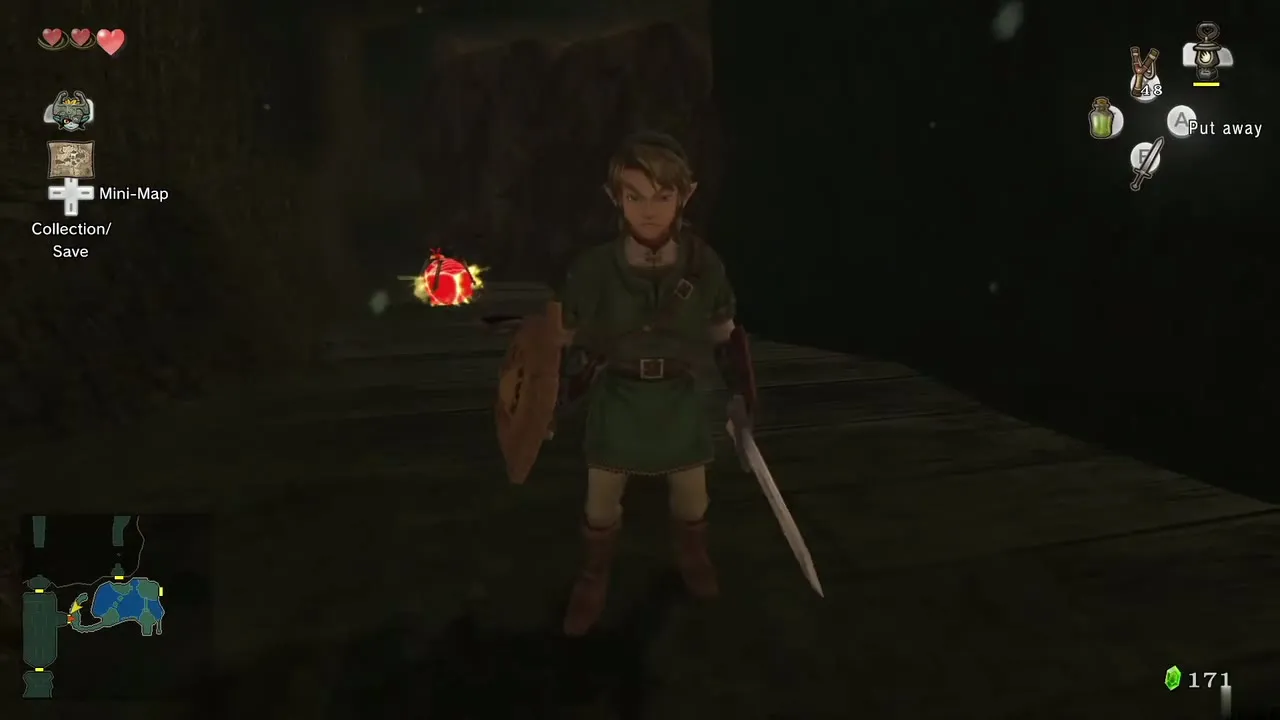
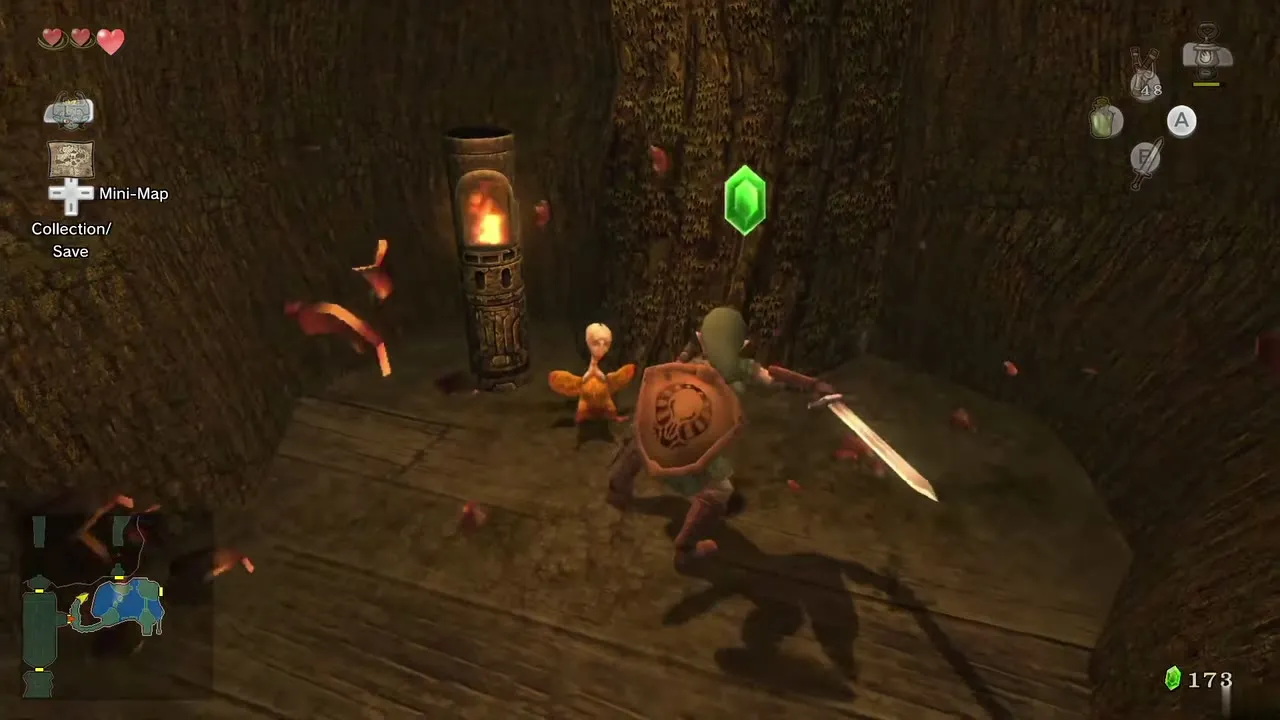
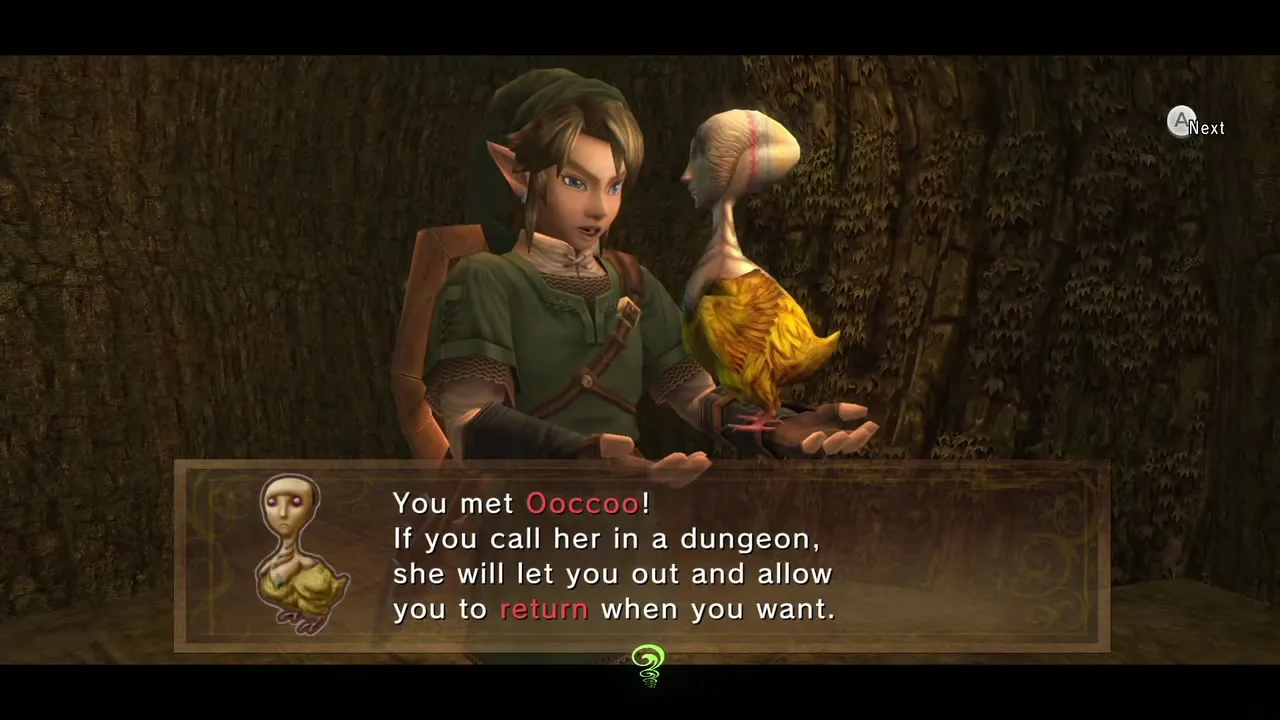
Turn left. A Bombling crawls out of the ground. Hit it once and it becomes a bomb; pick it up and throw it at the cracked boulders to open the passage. Break the pots at the end: Ooccoo is inside one. Each dungeon has her, and when you use her from the item slot she creates a warp point so that you can leave the dungeon and return to the same spot.
Water room: the Deku Baba, the Skulltula and the locked door
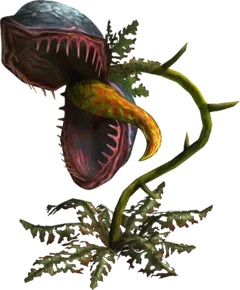
Take the other path, on the right, into a large room above deep water. Defeat the Deku Baba and cross the platforms, following the monkey. A hanging pygmy Skulltula scares her; knock it down with the Slingshot. You reach a locked door and the monkey turns back. Use the door at the north end of the room instead.
Outside: the wind-turned platform and the first small key
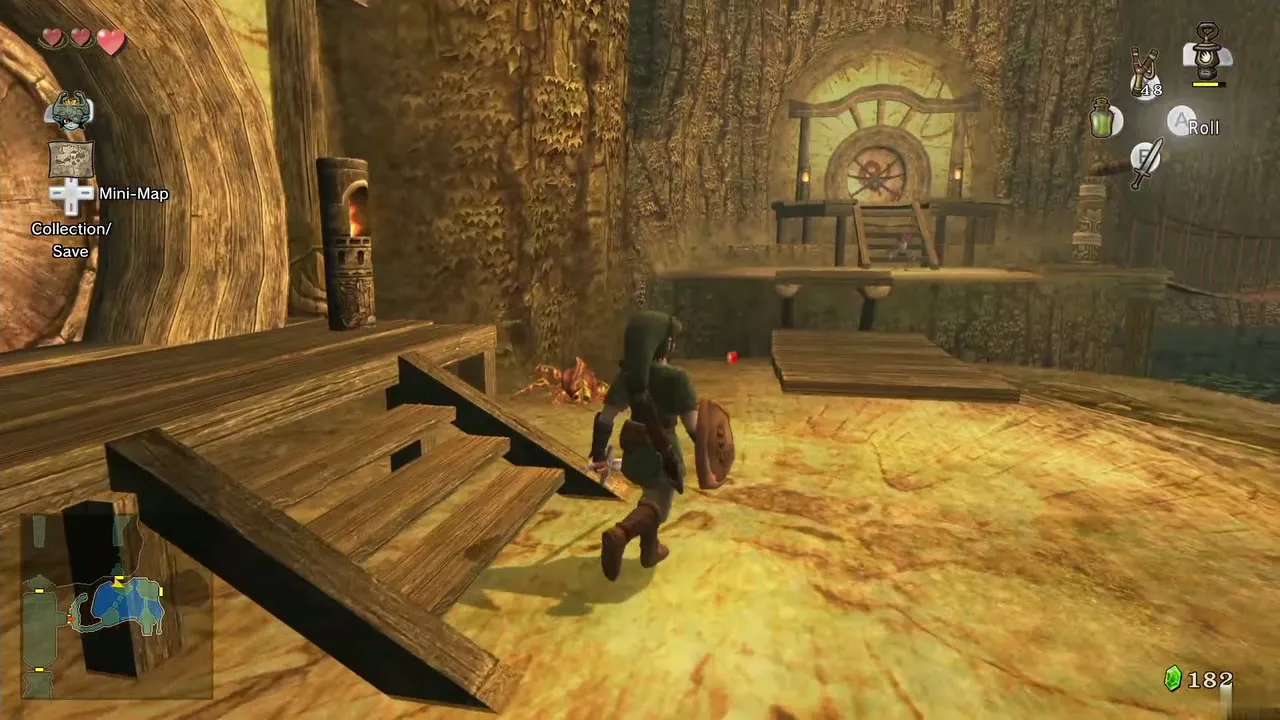
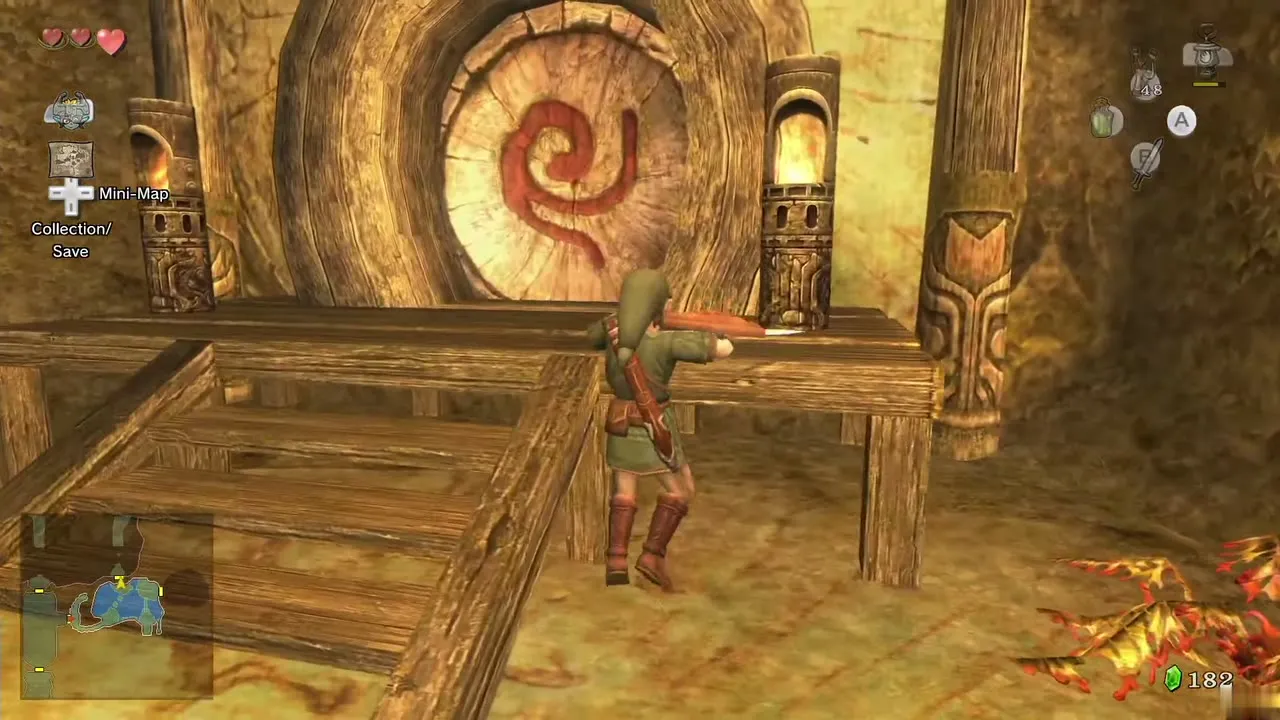
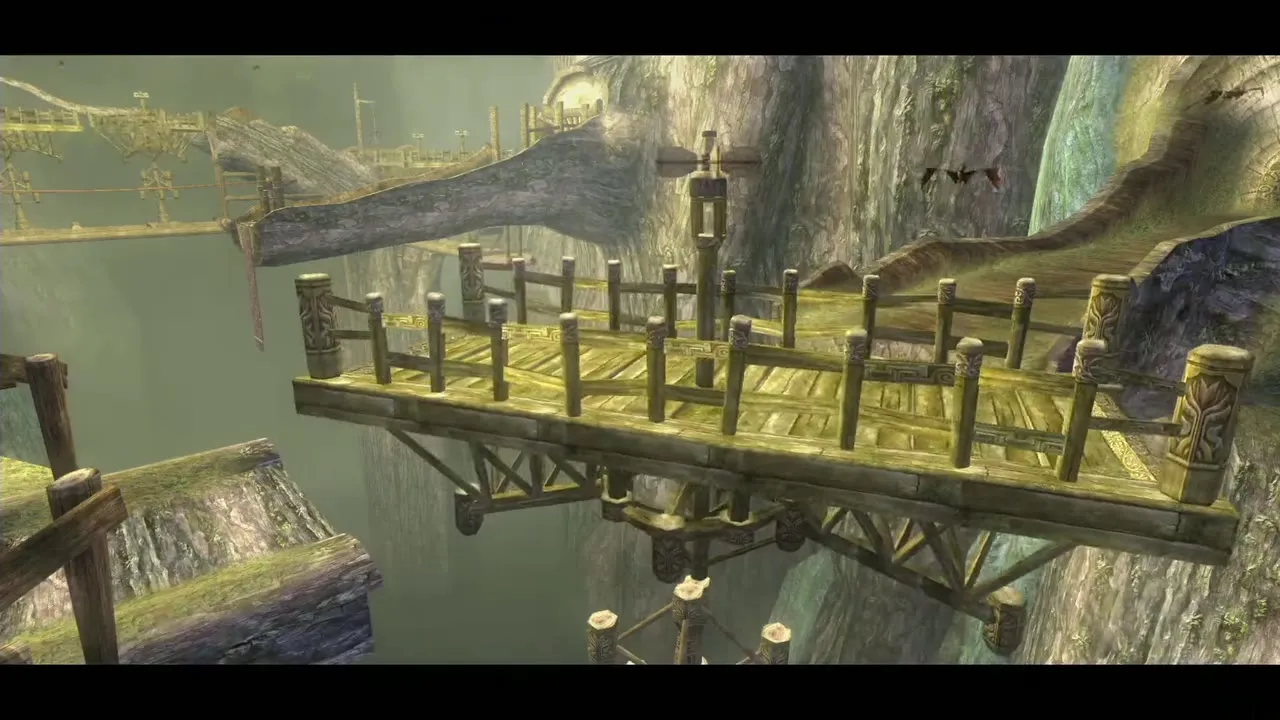
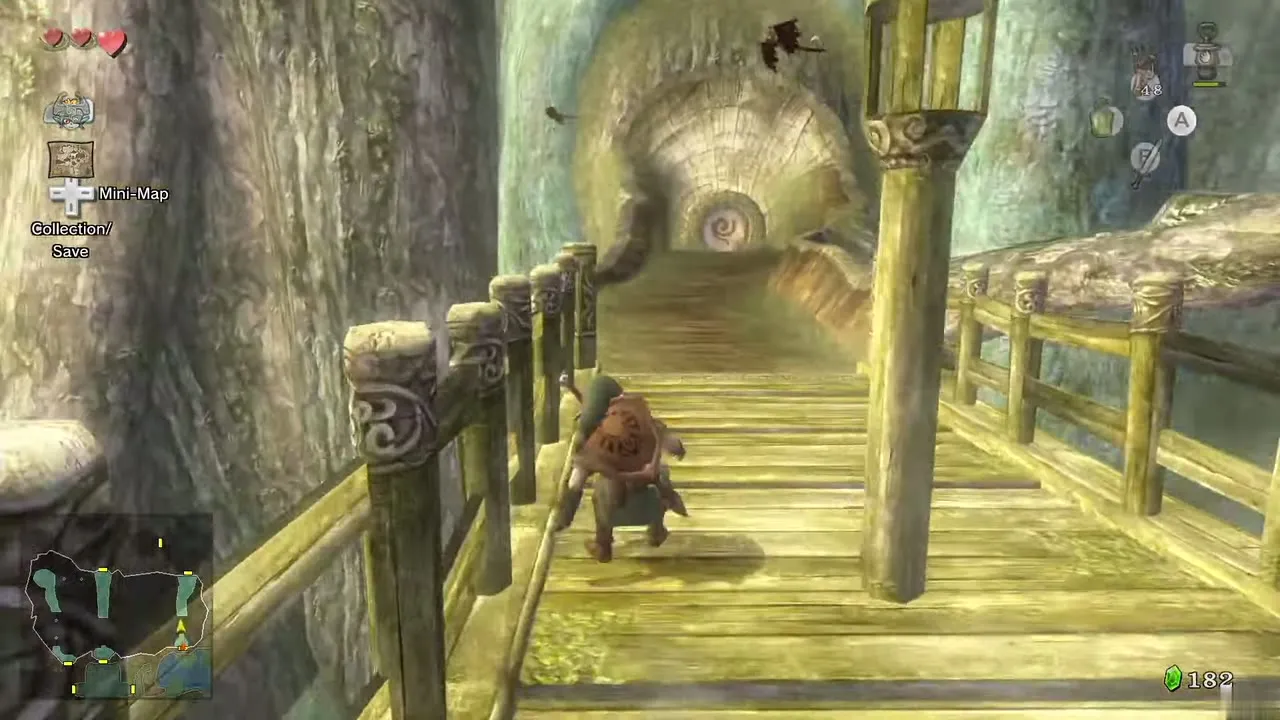
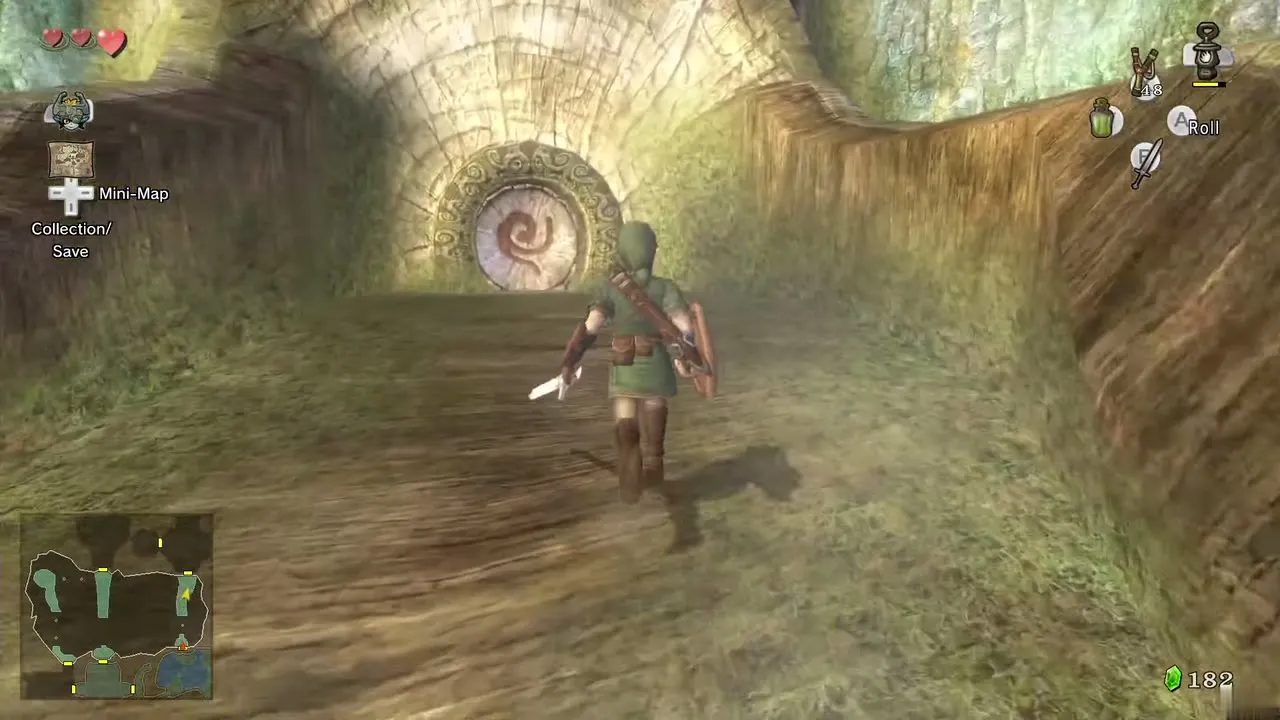
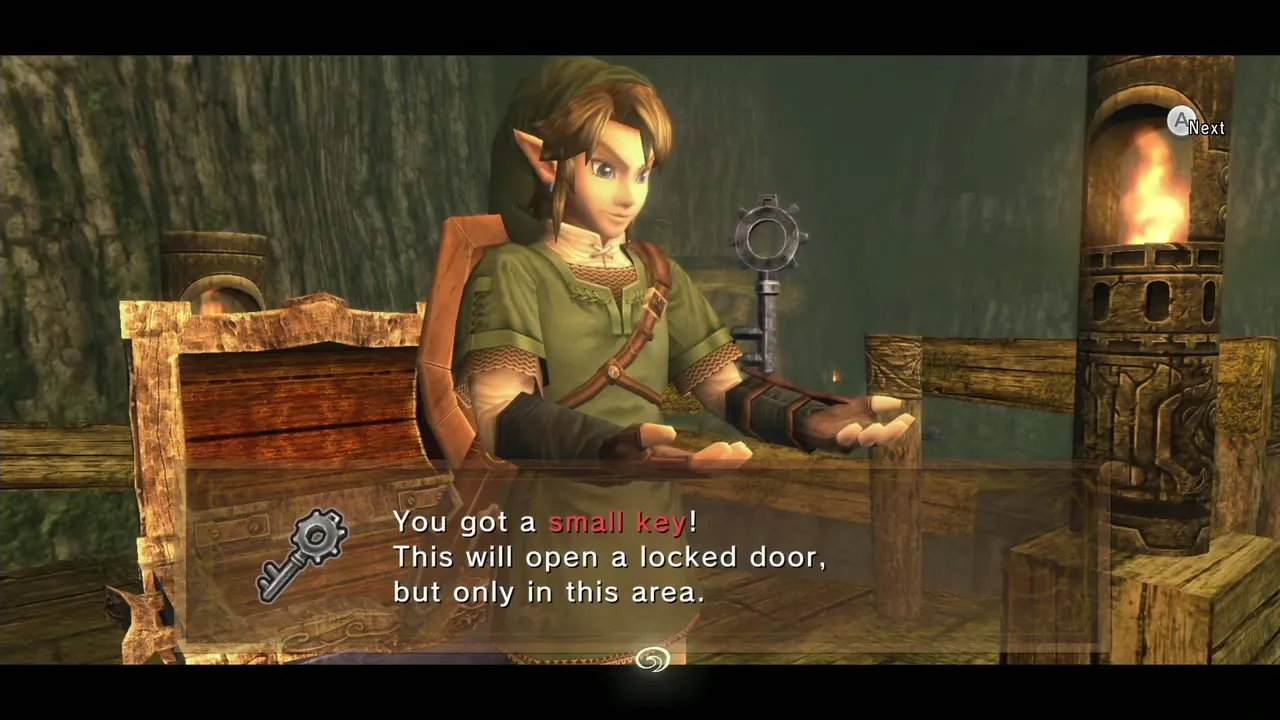
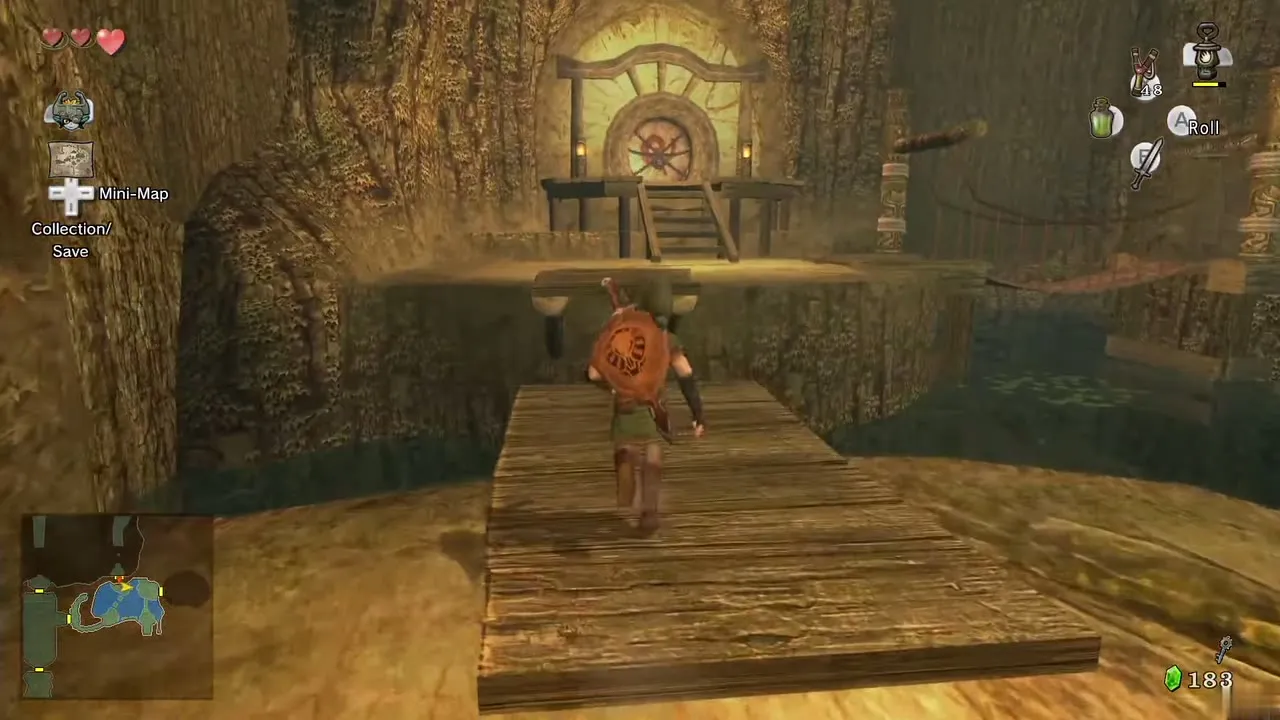
You step outside onto a large bridge that the wind slowly rotates. Wait until it faces you, run across and enter the door. Open the chest here for the first small key. Go back outside, cross again and walk to the locked door in the water room.
Second monkey: roll into the pillar
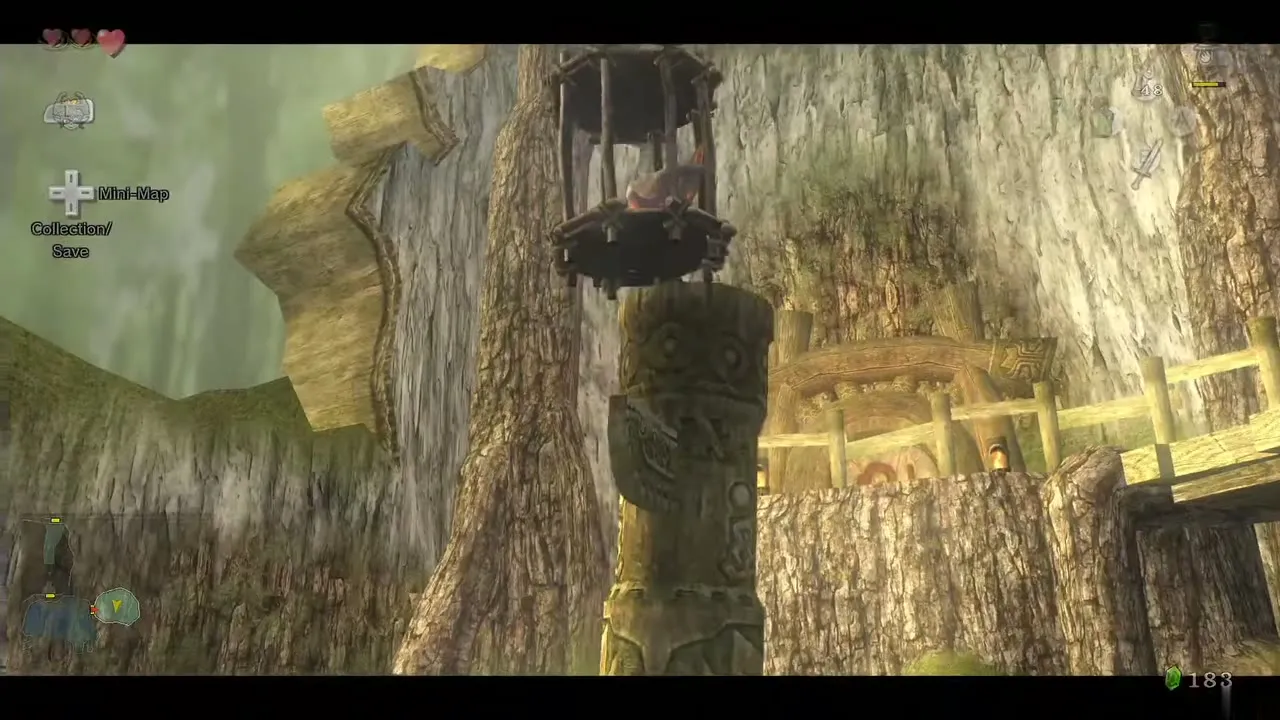
Unlock the door. The room contains a caged monkey on a pillar. Step onto the bridge and it collapses behind you. On the lower floor your monkey rams the pillar without success. Roll into the pillar three times and the cage drops, freeing monkey 2. Two Bokoblins jump down; defeat them. A small chest on the lower floor holds a yellow Rupee (10).
Climb back up. The two monkeys hang from the ropes so you can swing from one to the other over the gap. Return to the hub room.
Third and fourth monkeys, bombs and the first Heart Piece
Baba Serpents and the Deku Like in the stair room
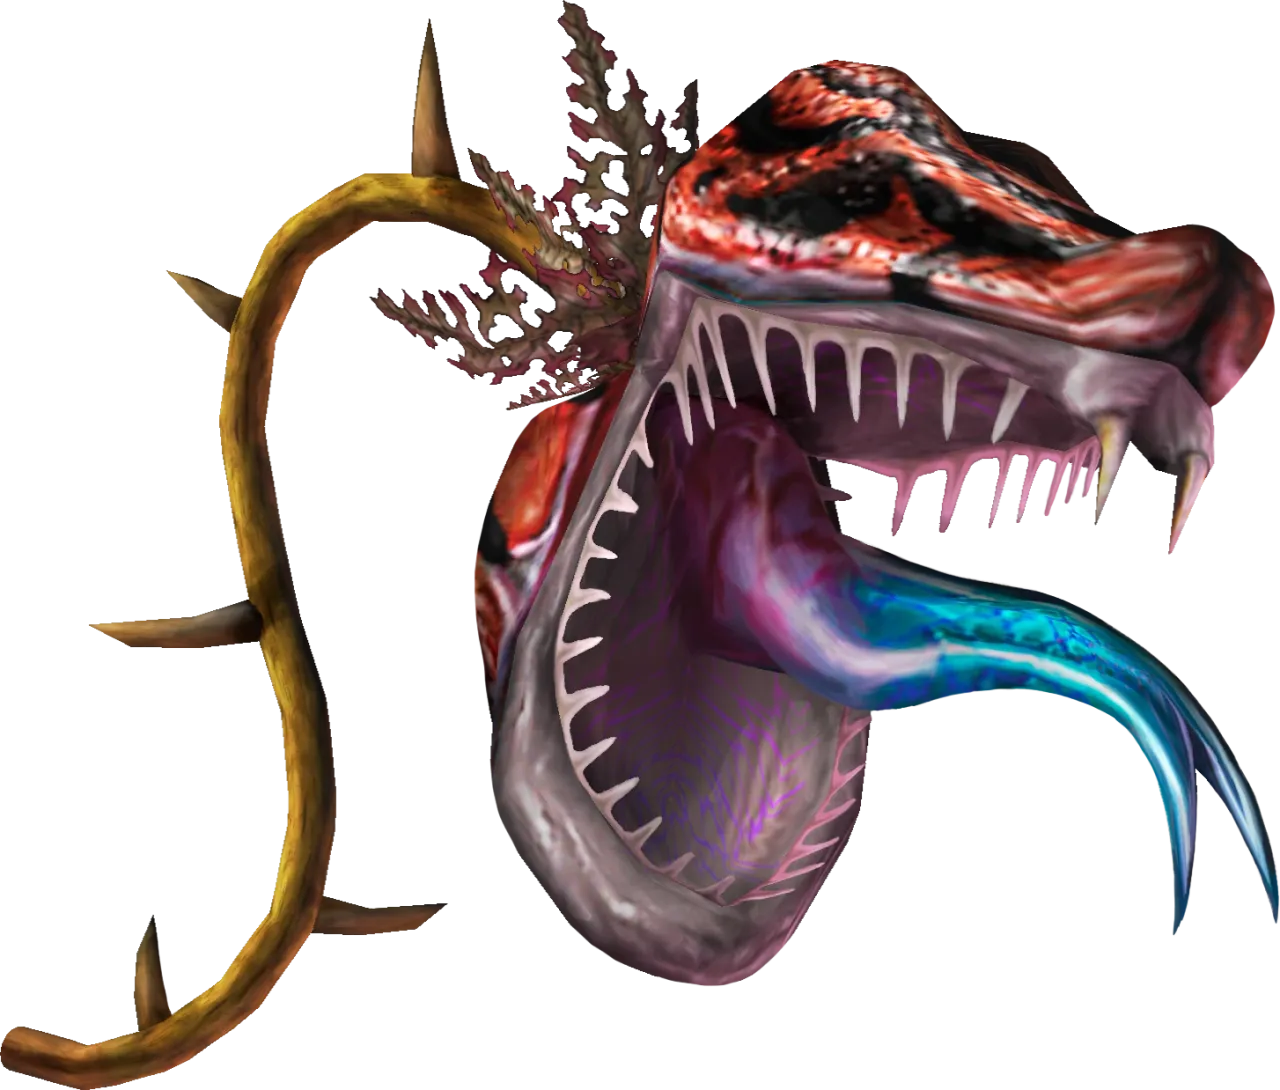
From the hub, swing to the west side, burn the web with the Lantern and go through the door. The monkeys cannot enter. Baba Serpents lurk here: when you cut one from its stem it keeps crawling, so finish the head. A Deku Like blocks a small corridor; ignore it for now.
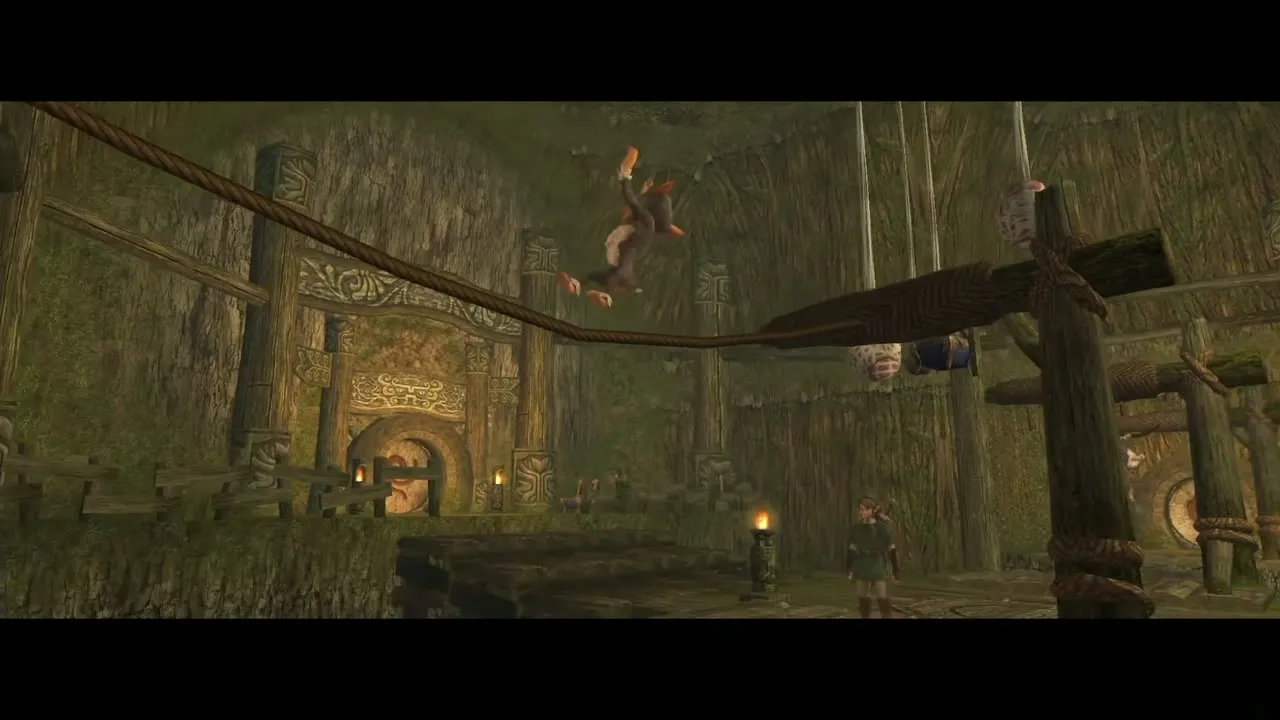
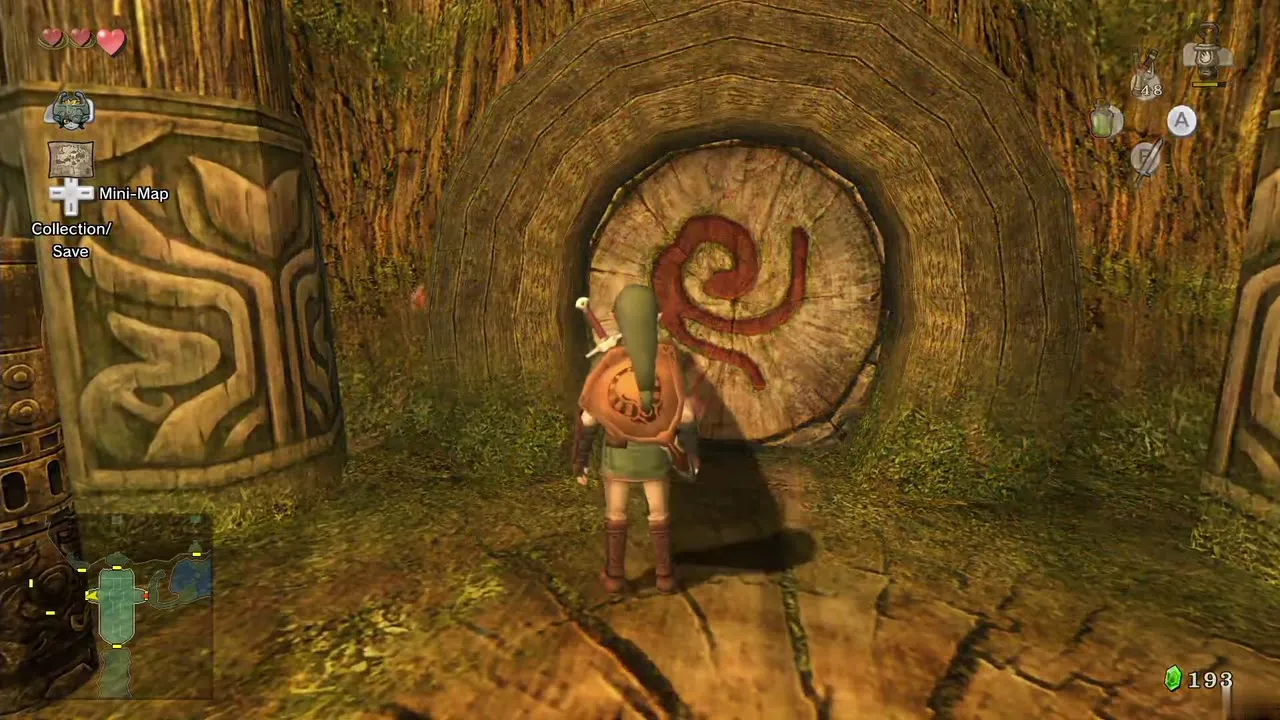
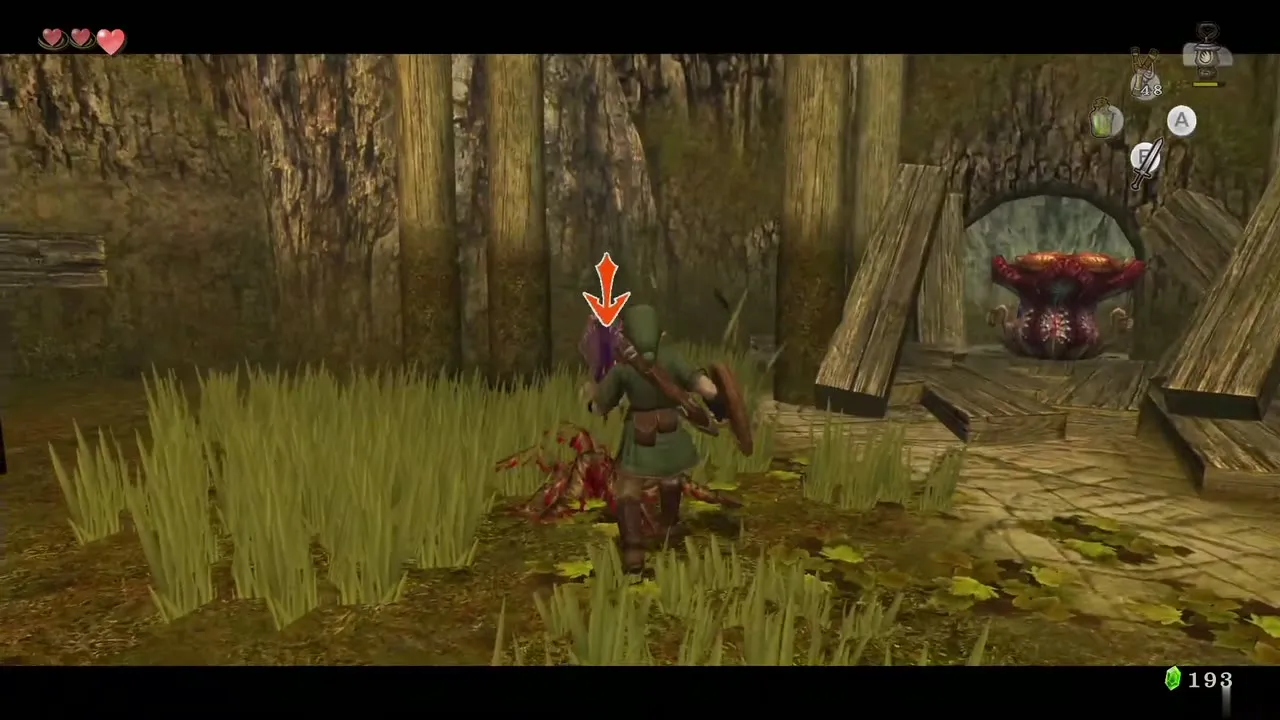
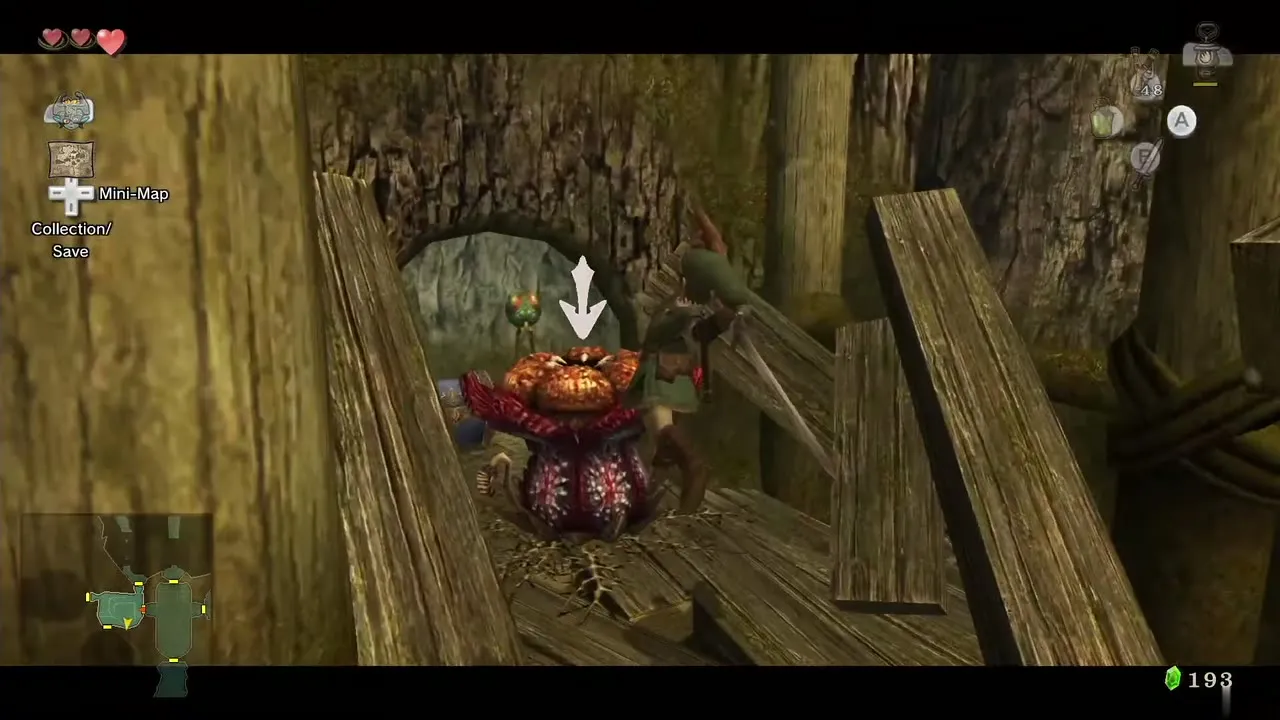
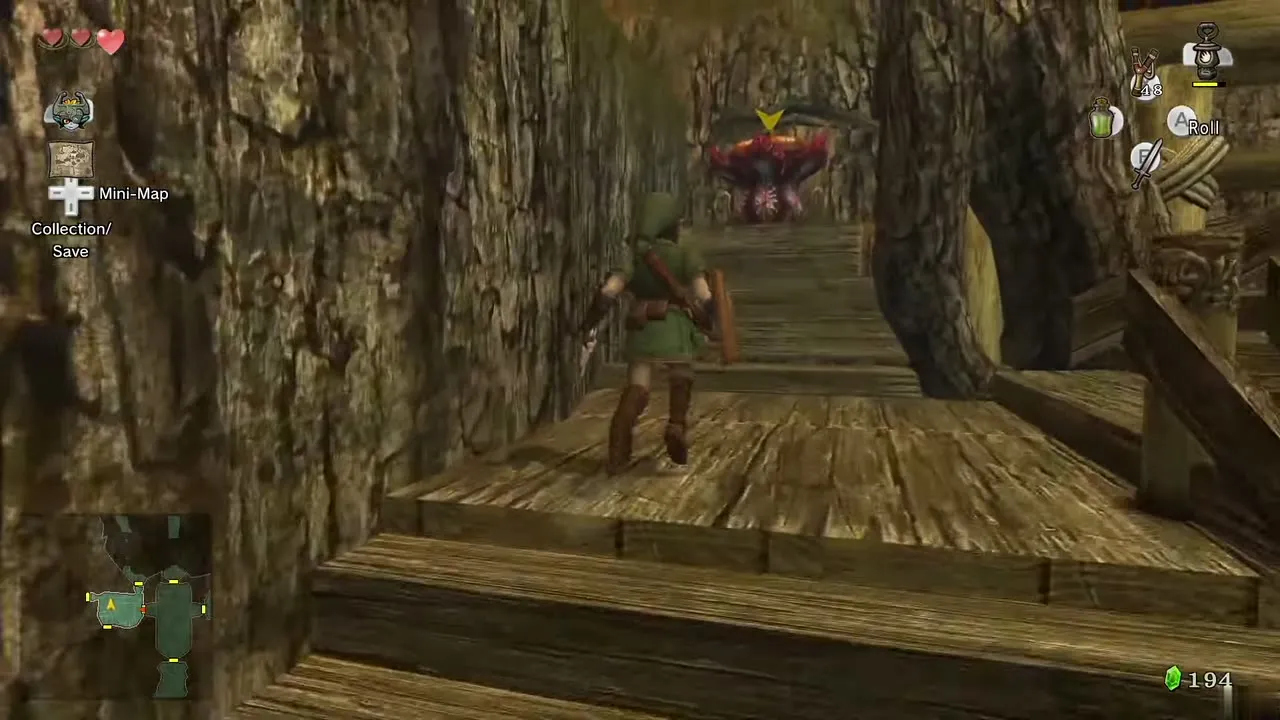
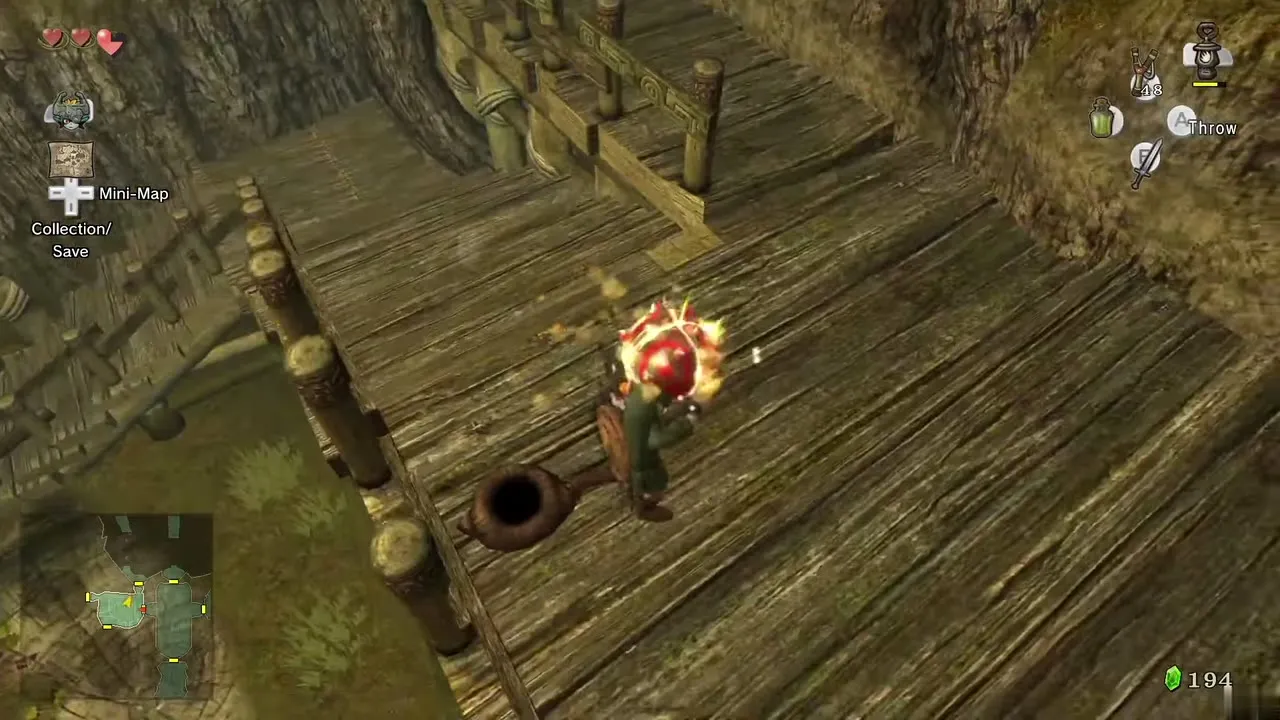
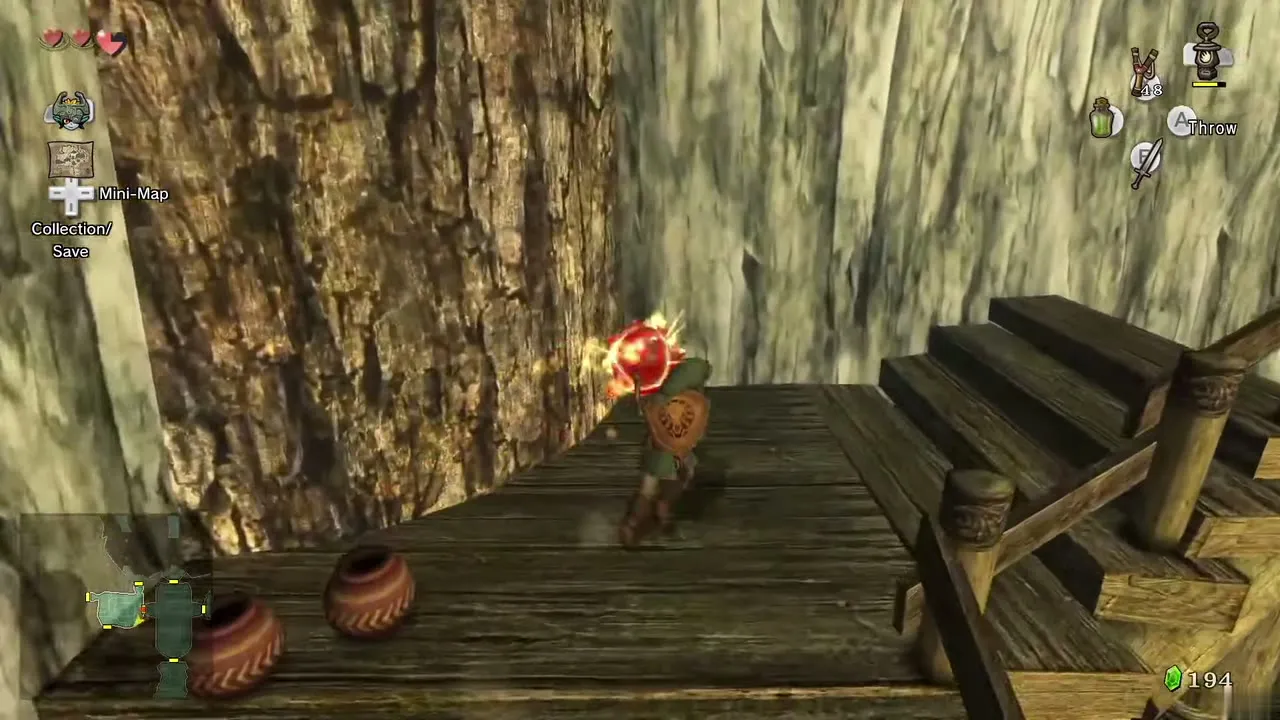
Climb the steps. Another Deku Like waits ahead; a gap lies above the second one. Hit the Bombling, pick up its bomb, turn left and throw the bomb over the gap so the Deku Like swallows it and explodes. Jump the gap. A boulder blocks the next doorway: fetch a Bombling bomb and toss it at the boulder. Go through the door behind it.
Third monkey: pillar chest, Tile Worms and torches
In the room with the caged third monkey, jump down and roll into the pillar that has a chest on top. The chest falls; open it for the second small key. Cross the bridge, but watch for Tile Worms: floor tiles that spring up and fling you if stepped on. Four torches stand on the far side and only two are lit. Light the others with the Lantern and the stairs finish rising. Climb up, defeat the Skulltula and use the small key to free monkey 3.
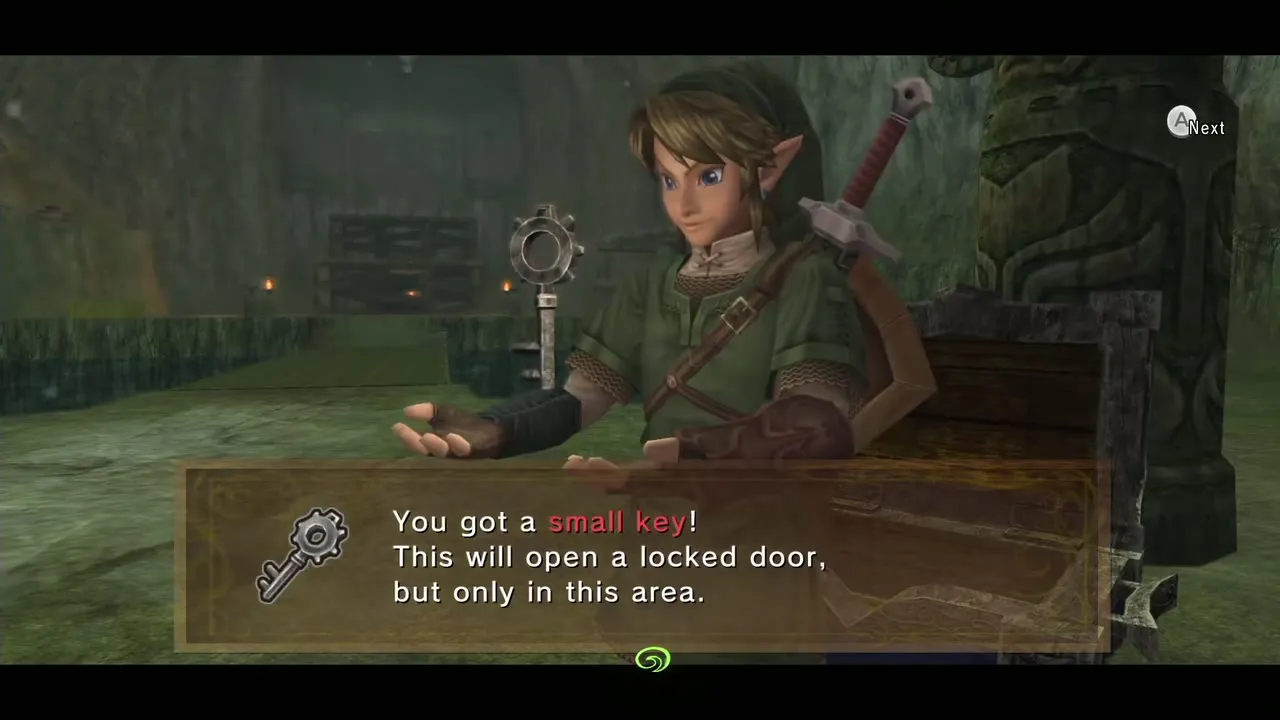
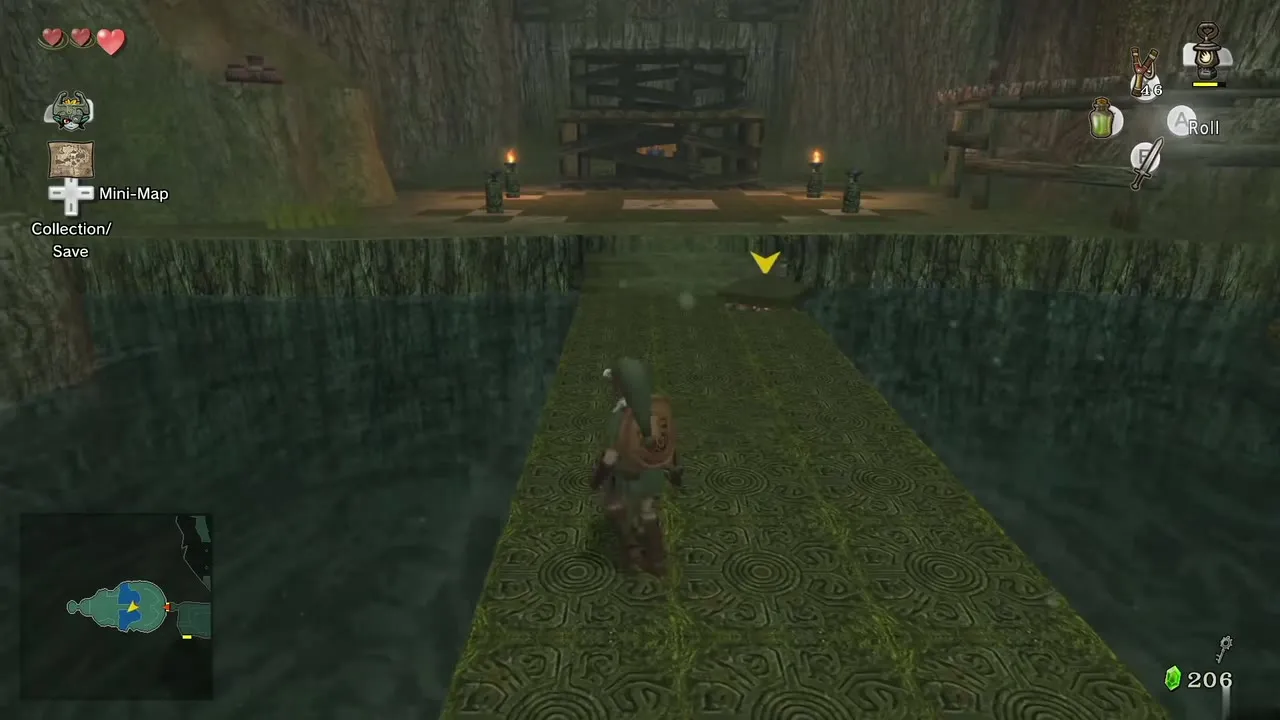
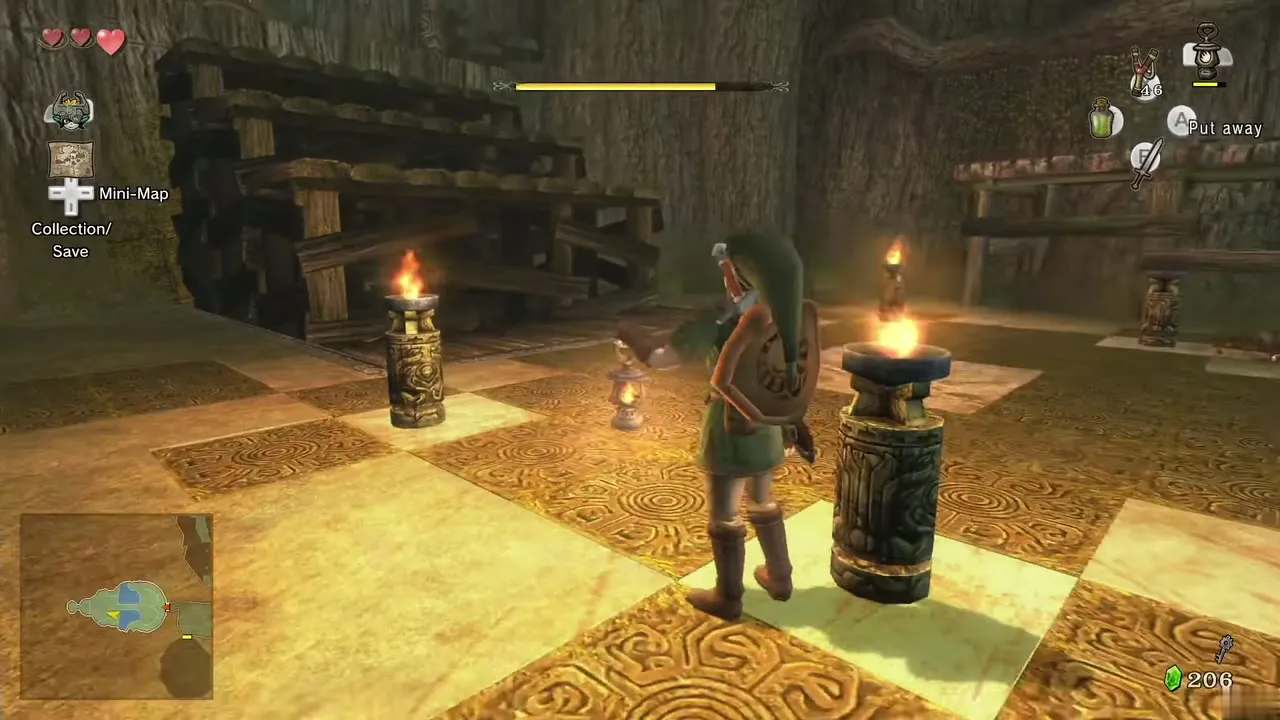
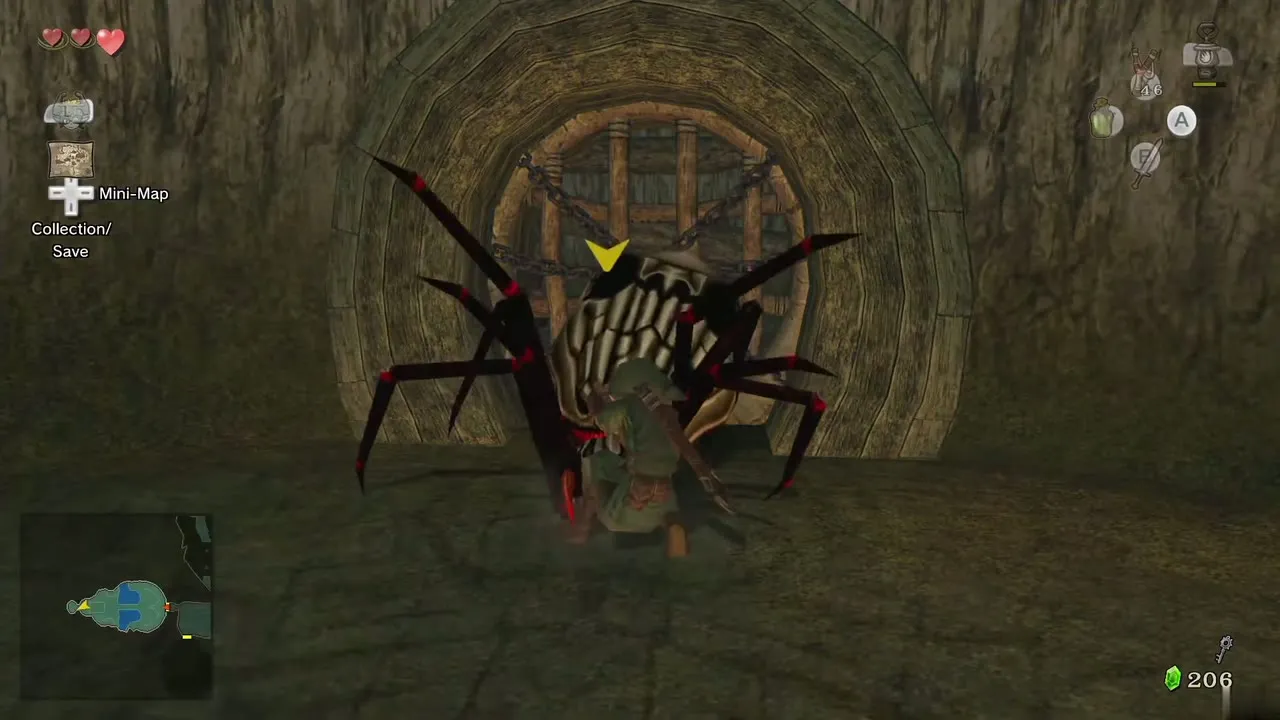
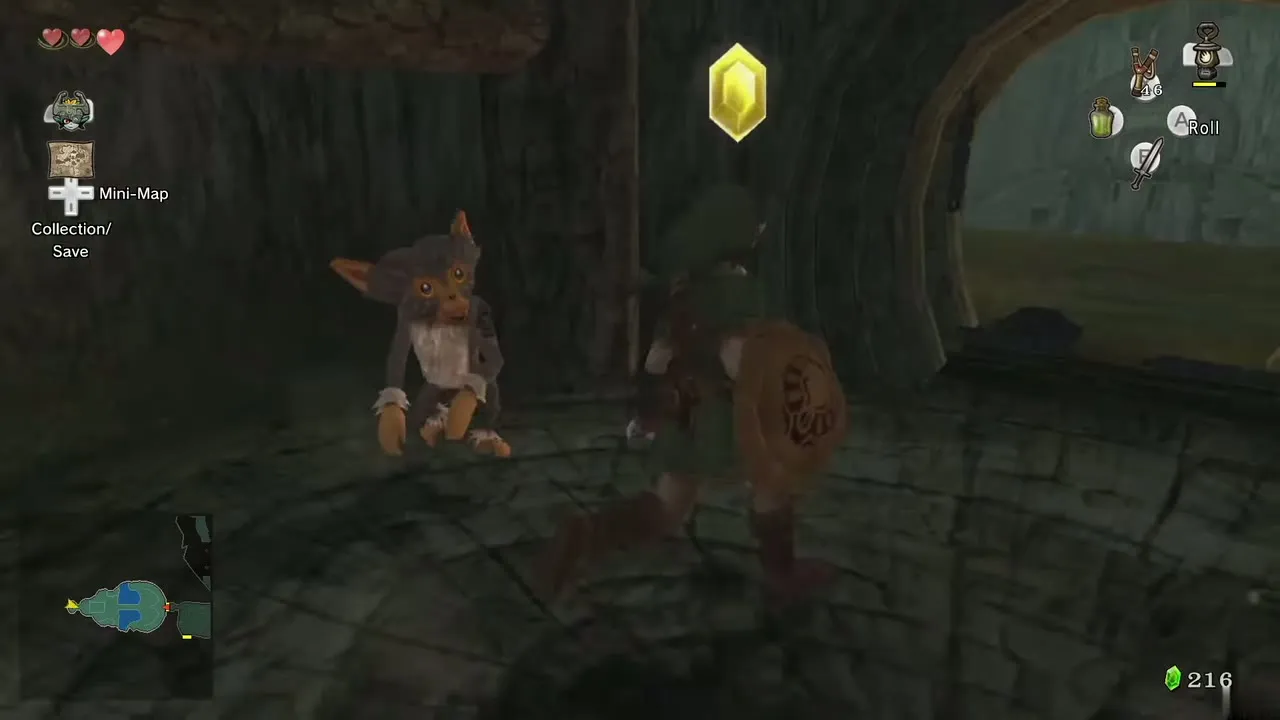
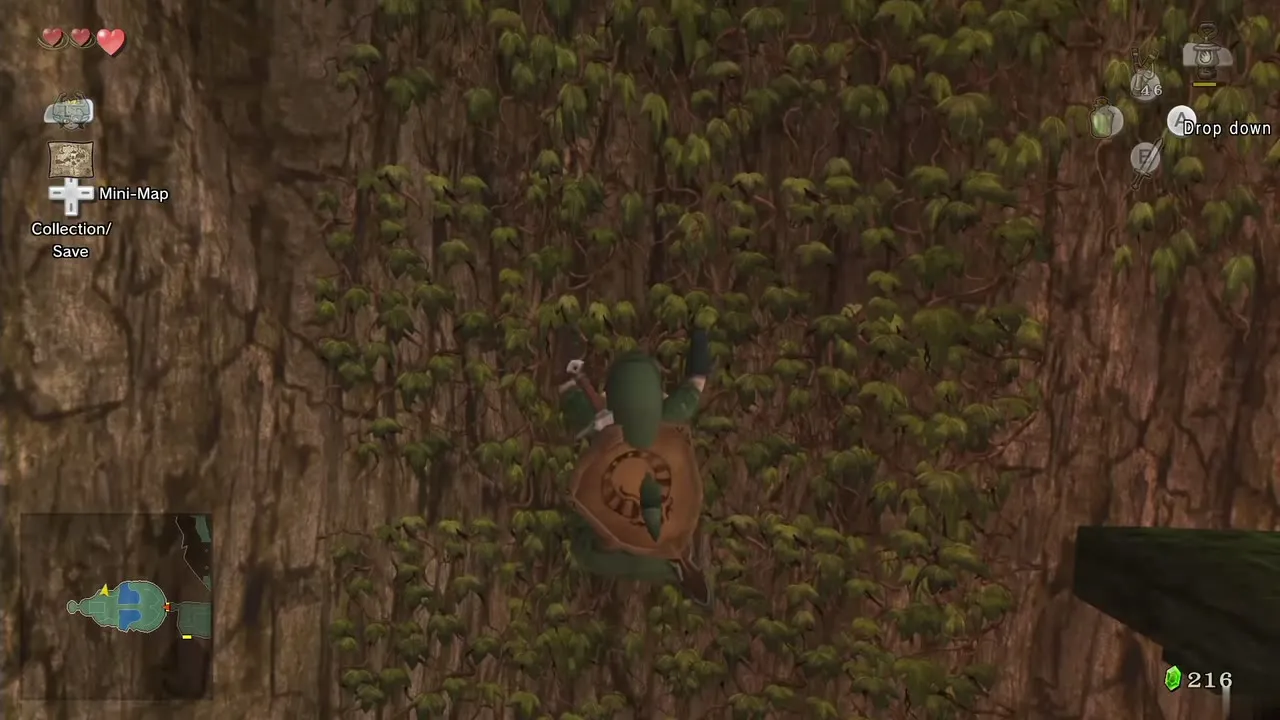
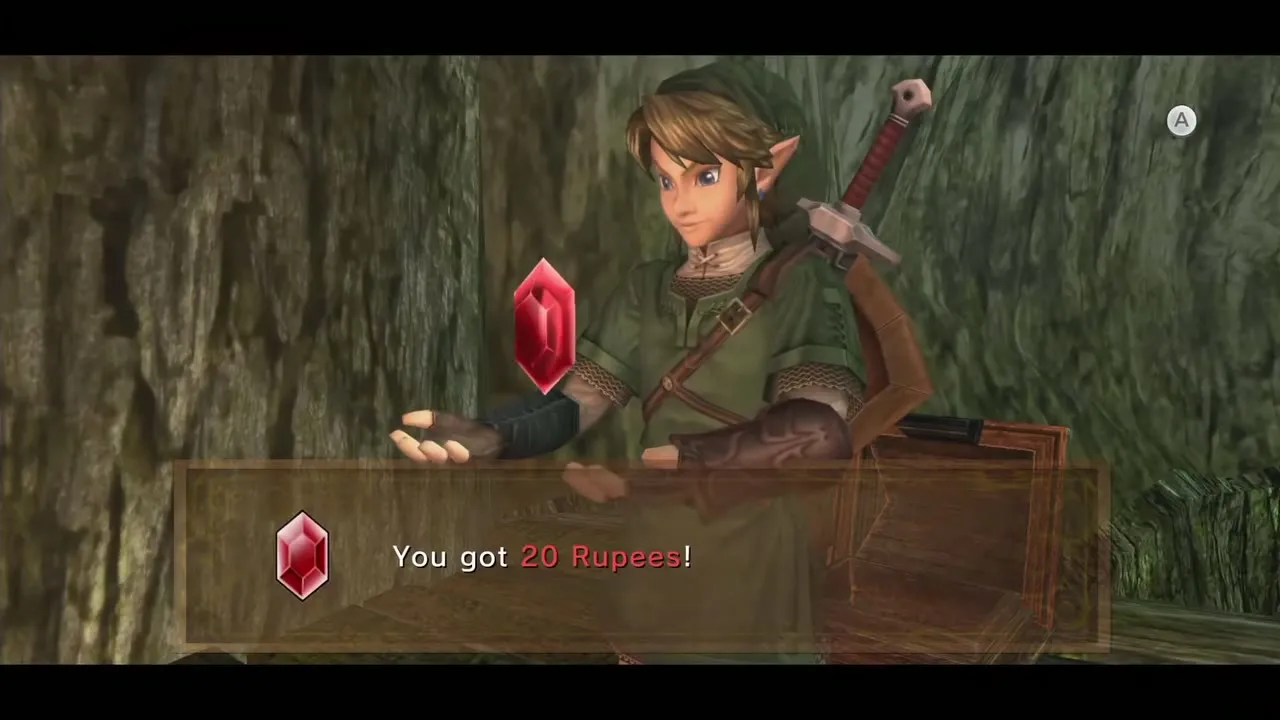
On the north side of this room, climb the vines to a chest with a red Rupee (20). A fourth chest sits under the new staircase and cannot be reached yet; you come back for it with the Boomerang.

Fourth monkey: the Big Baba
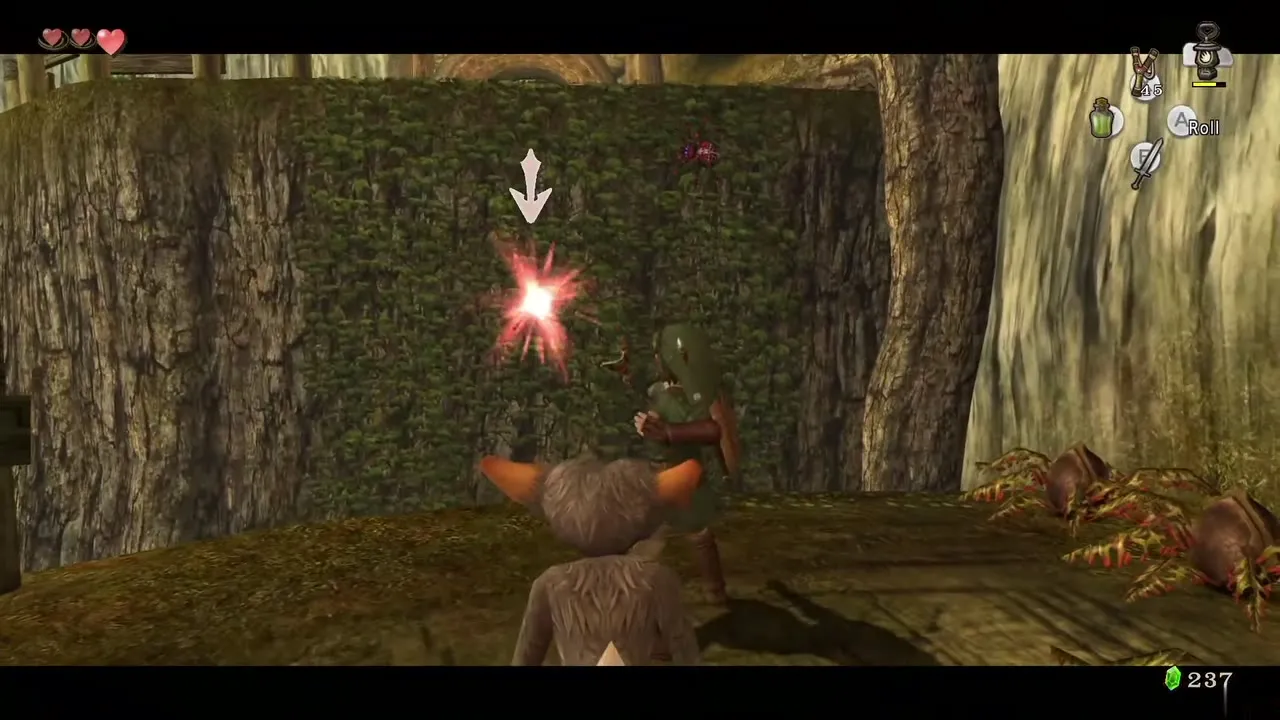
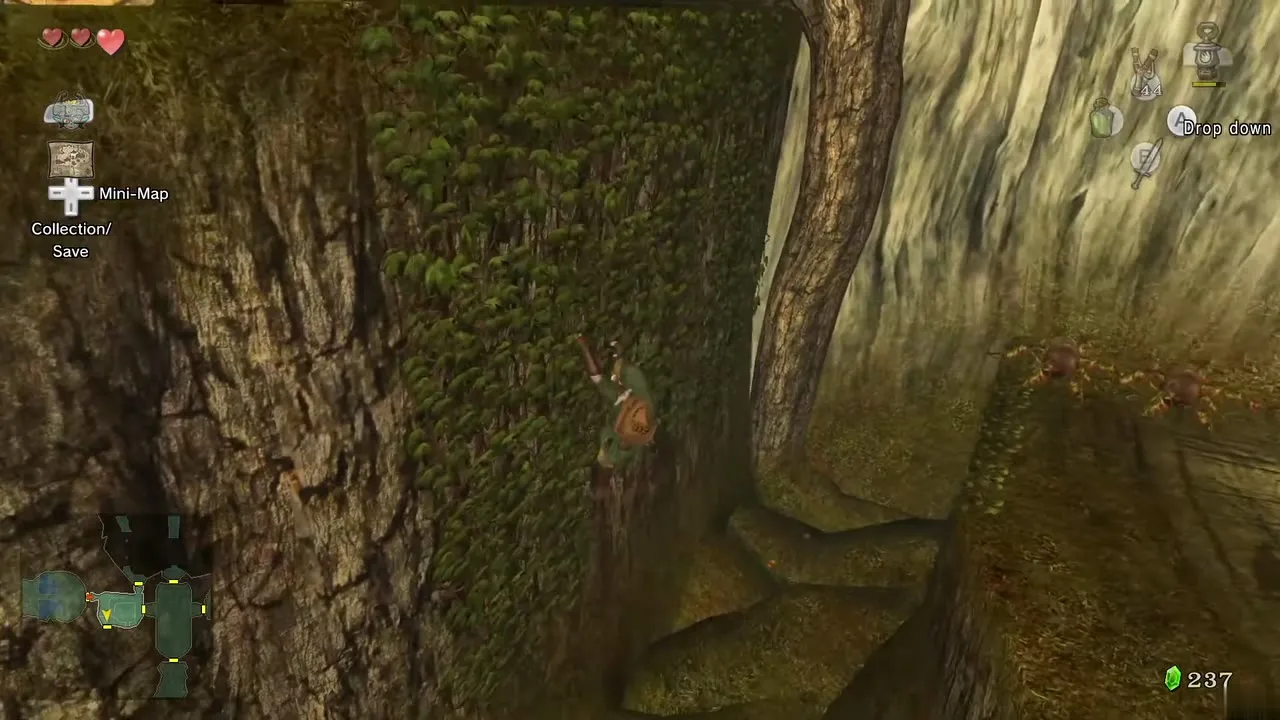
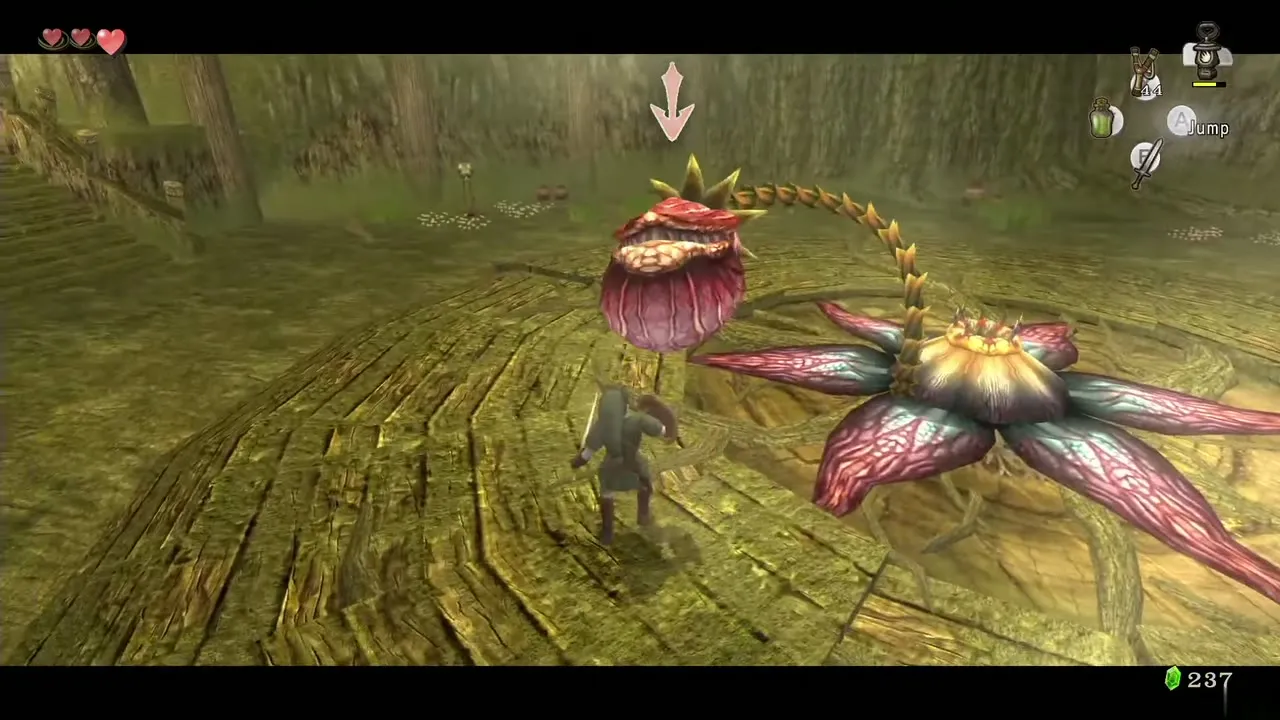
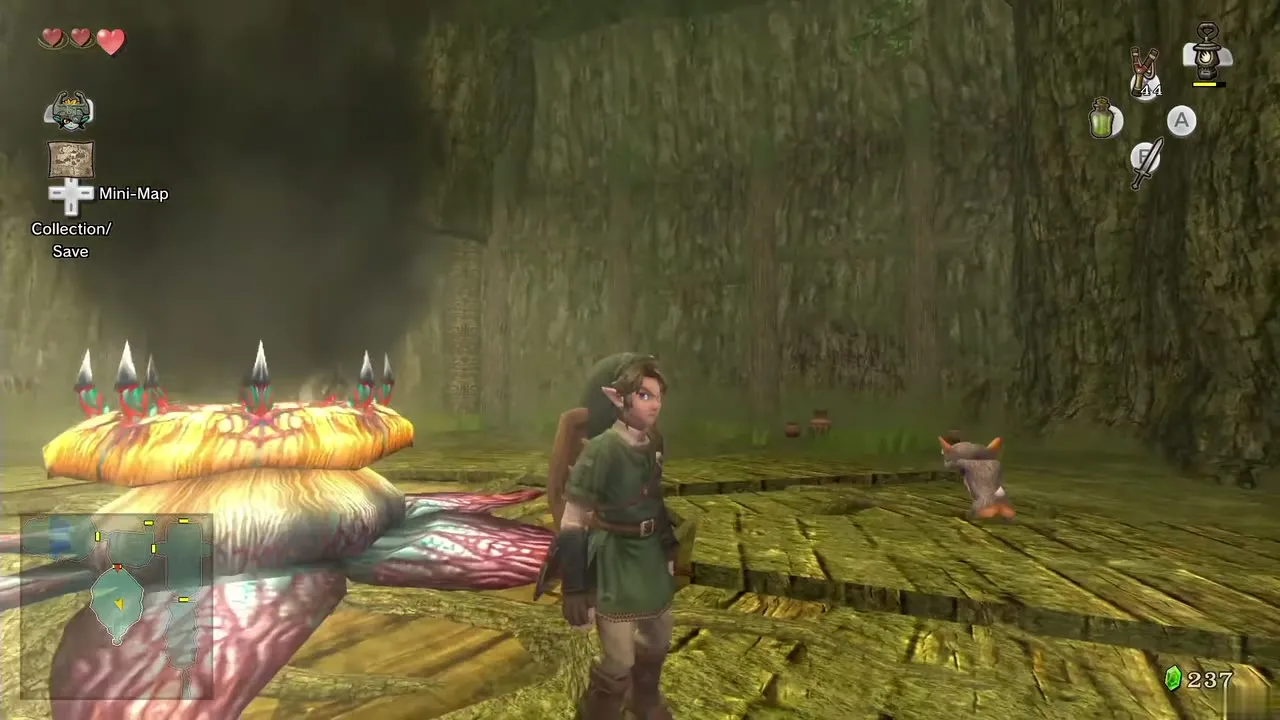
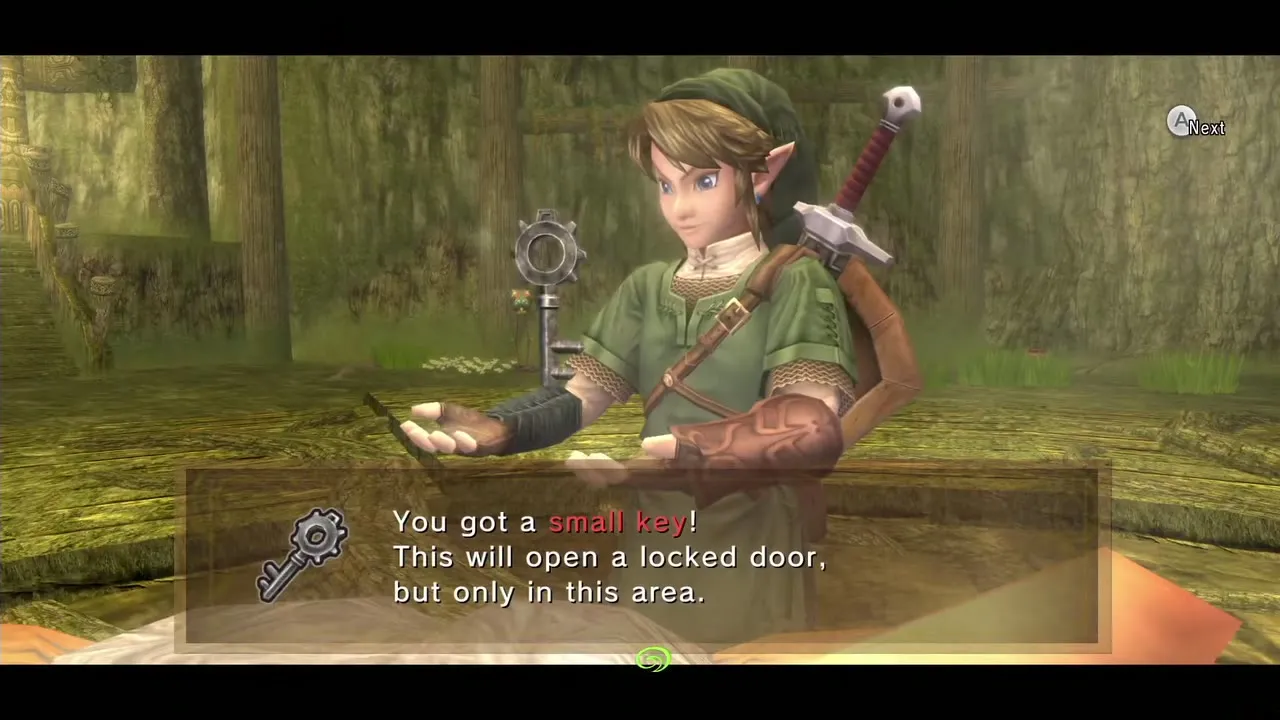
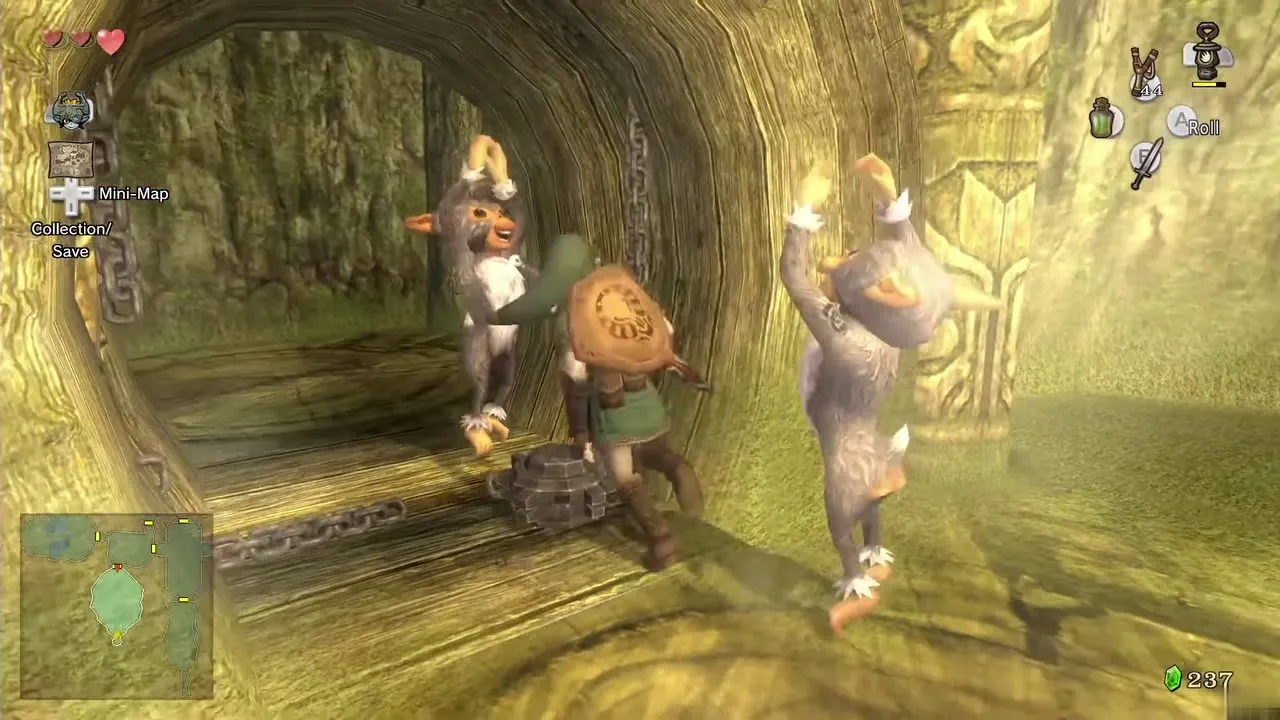
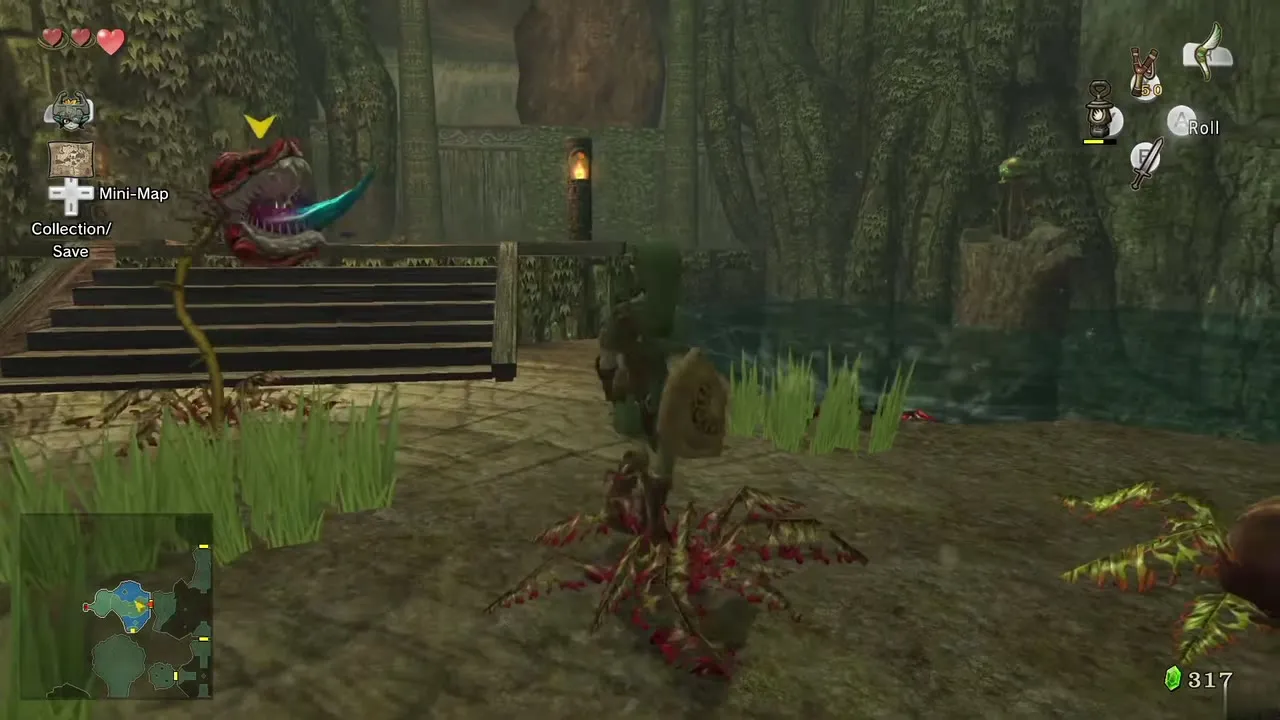
Return to the tall stair room. Turn right, shoot the Walltulas and climb the vines to the next door. Inside, a Big Baba holds the small key and guards the fourth monkey. Stay out of its reach, let it overextend, then strike its head and repeat until it falls. What remains of the plant has swallowed the key: throw a Bombling’s bomb into the growth and take the third small key. Open the cage to free monkey 4.

Heart Piece 1 of the dungeon
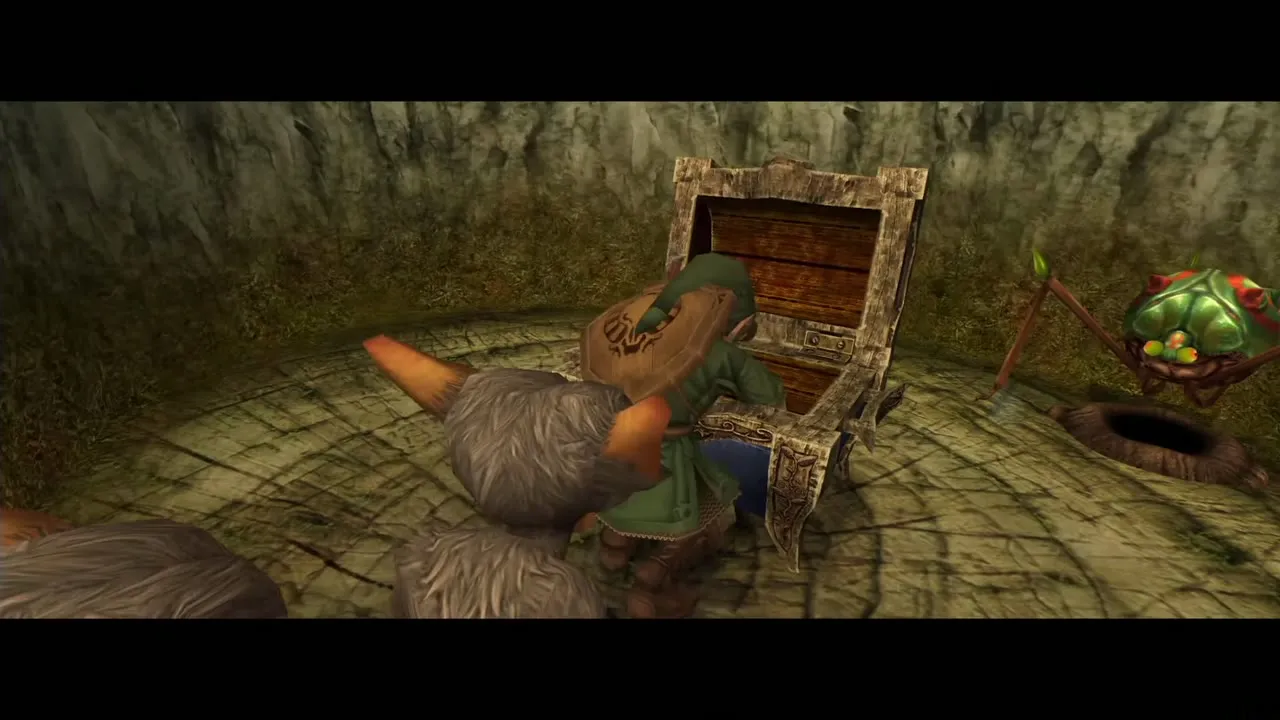
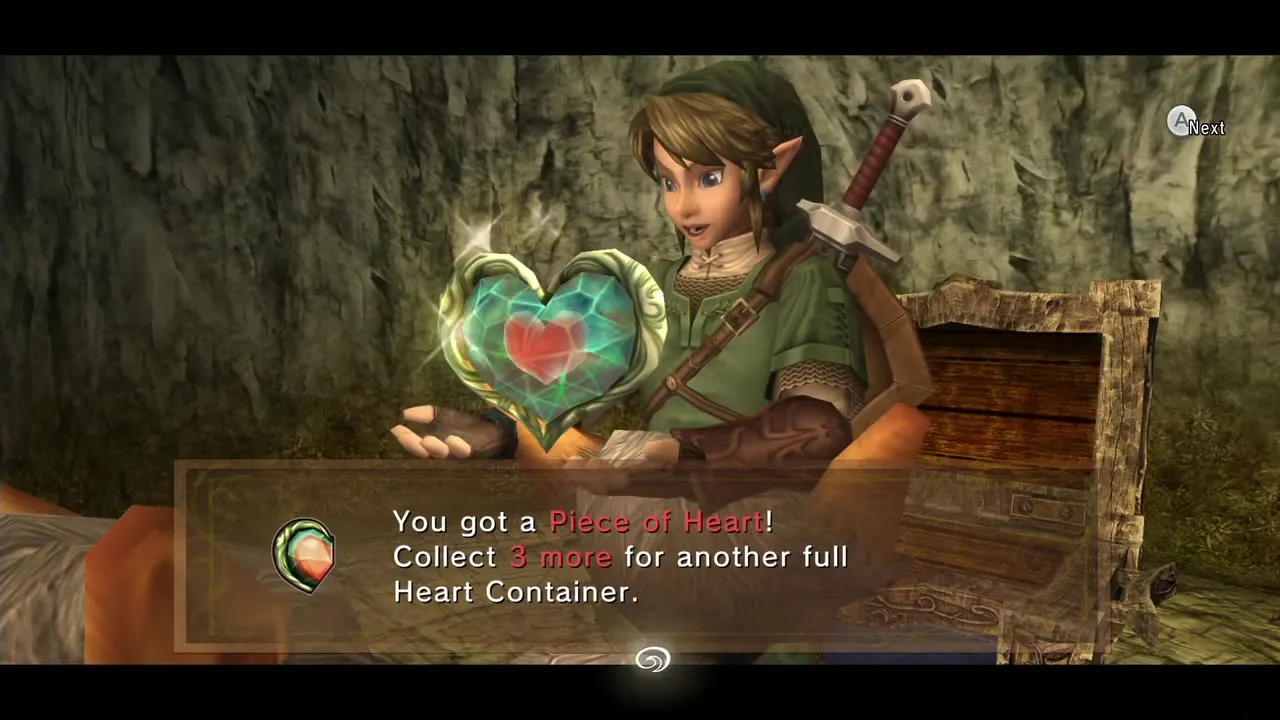
Go back to the tall stair room and look right. Climb up past another Bombling and carry a bomb to the edge of a gap above the ground floor. Drop the bomb down onto the Deku Like waiting at the bottom. Once it explodes, jump down and enter the room it was guarding to open the chest with a Piece of Heart. Return to the hub.
Mini-boss: Ook and the Gale Boomerang
Cross the gap and fight Ook
Climb the stairs in the hub, go through the north door and step outside. The four monkeys you saved form a rope across the broken bridge; swing from one to the next and enter the door on the far side.
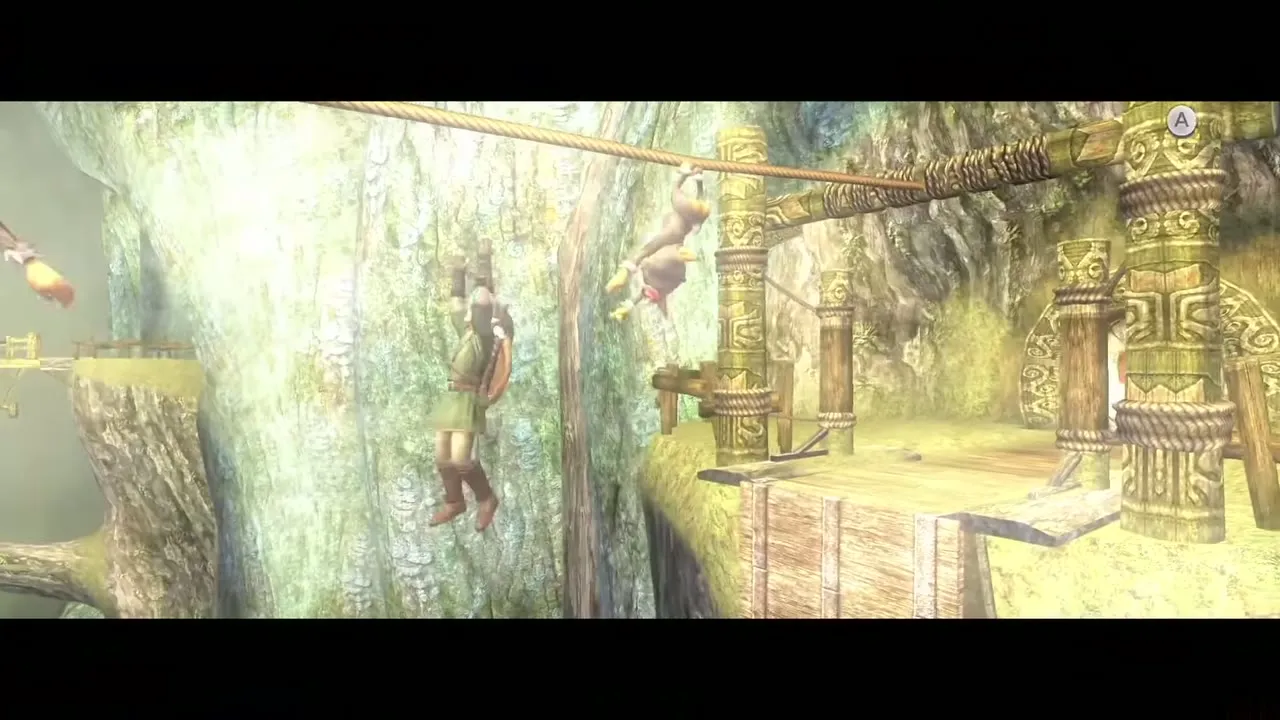
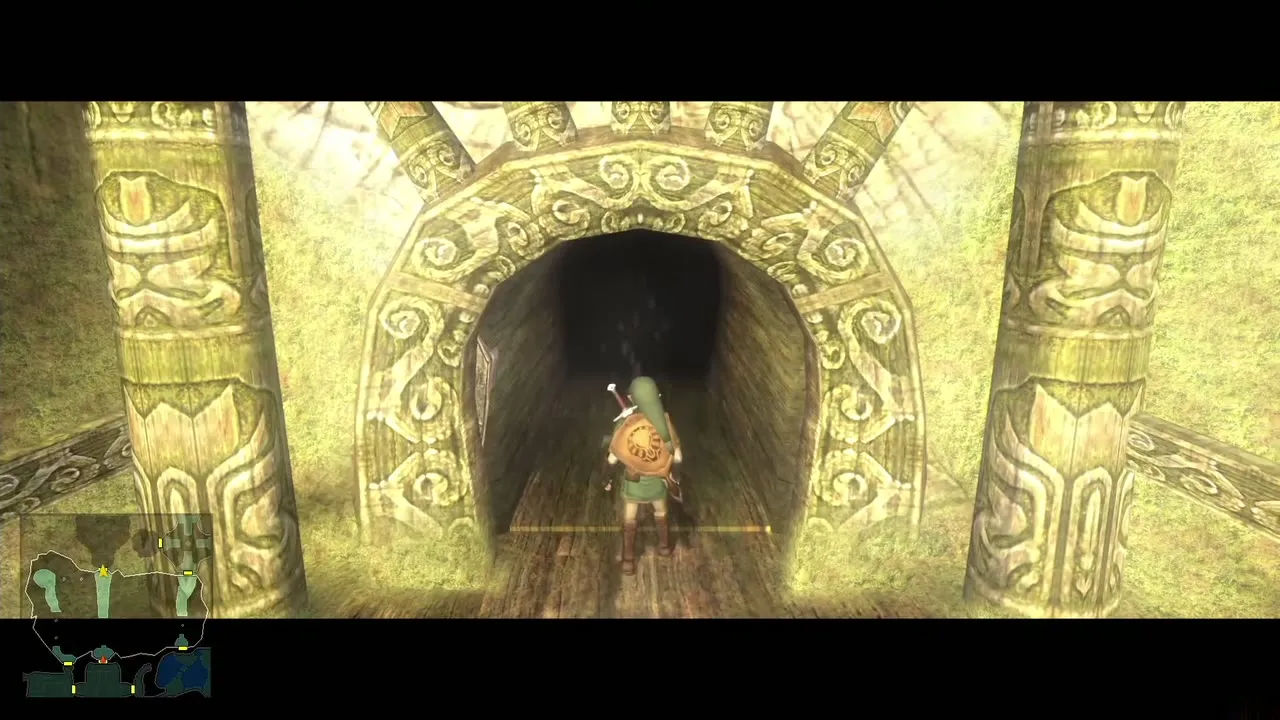
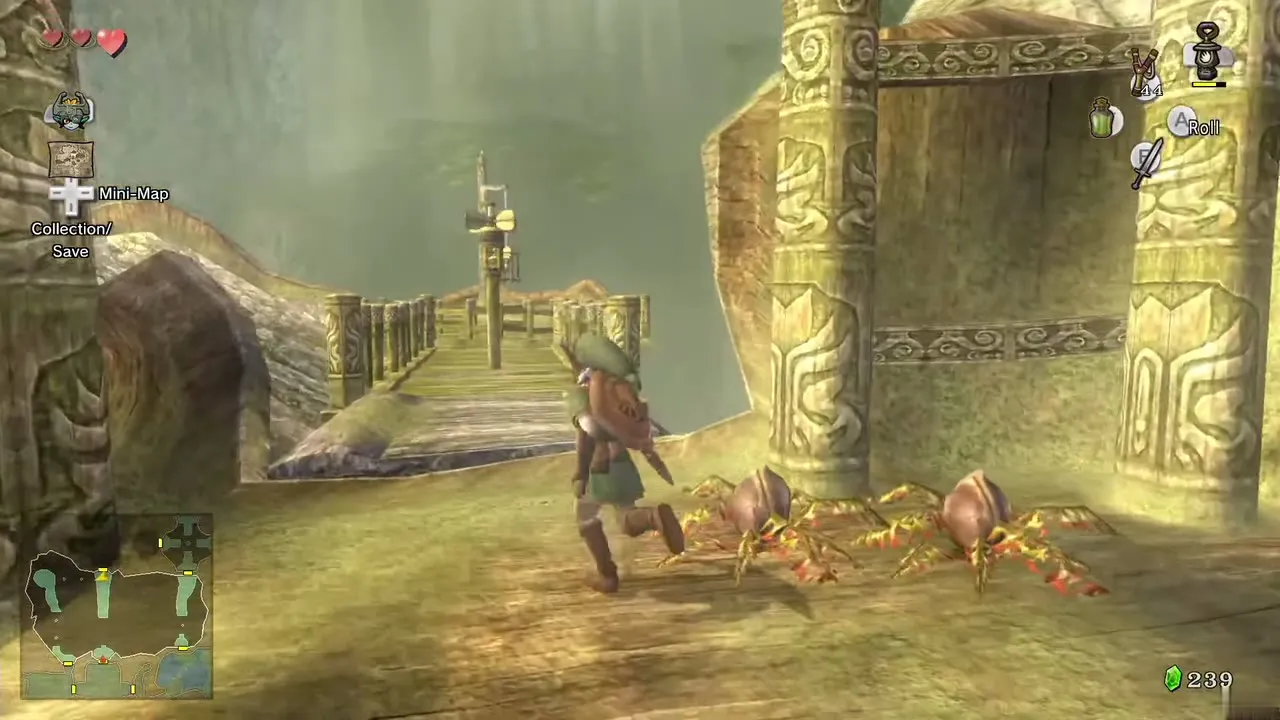
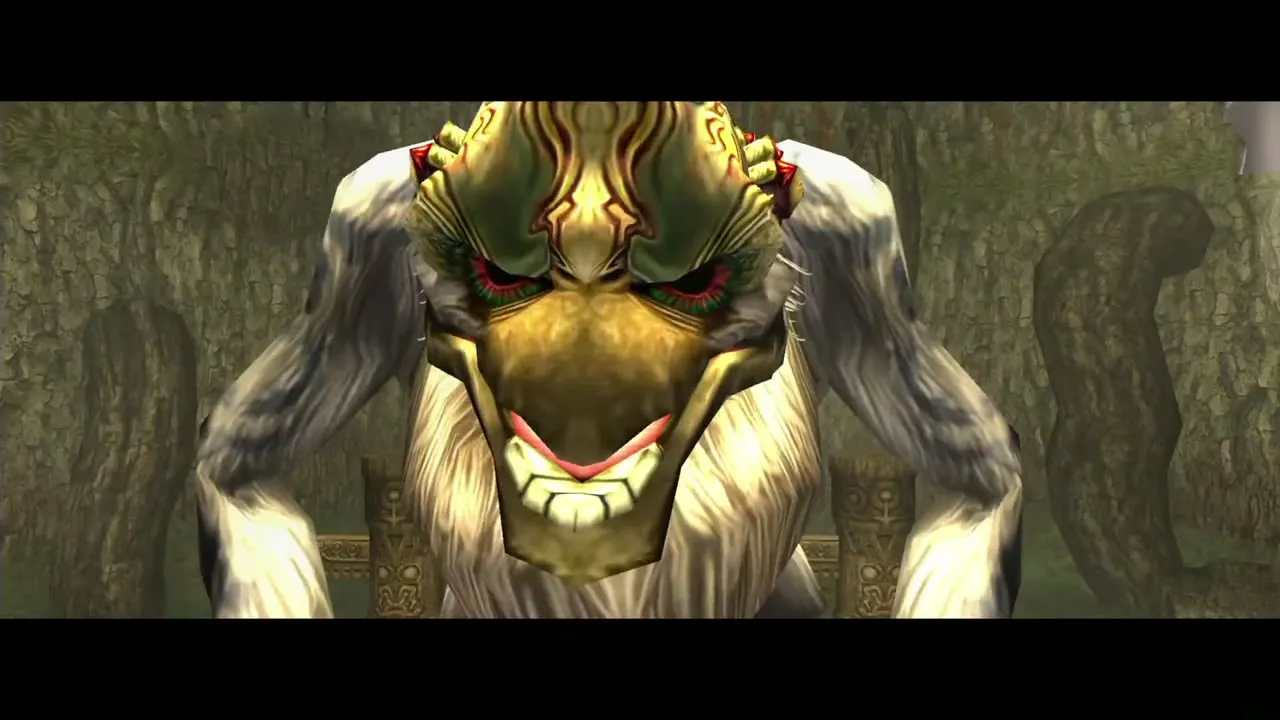
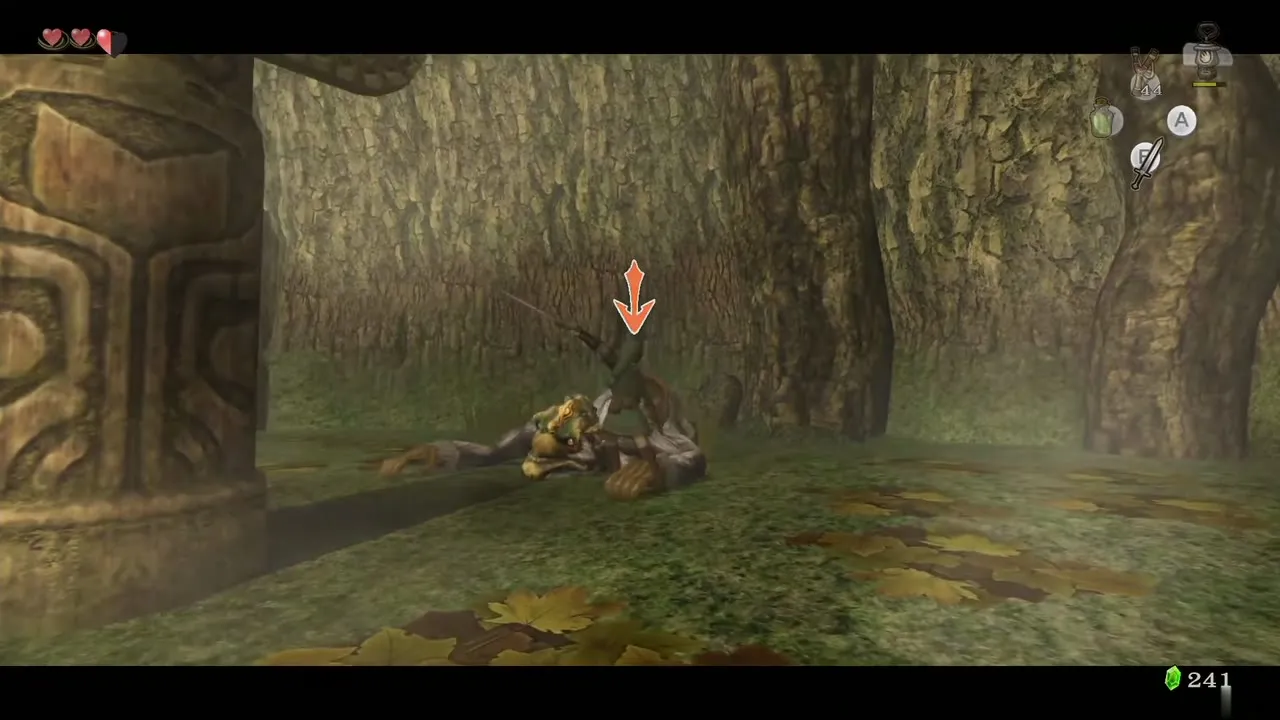
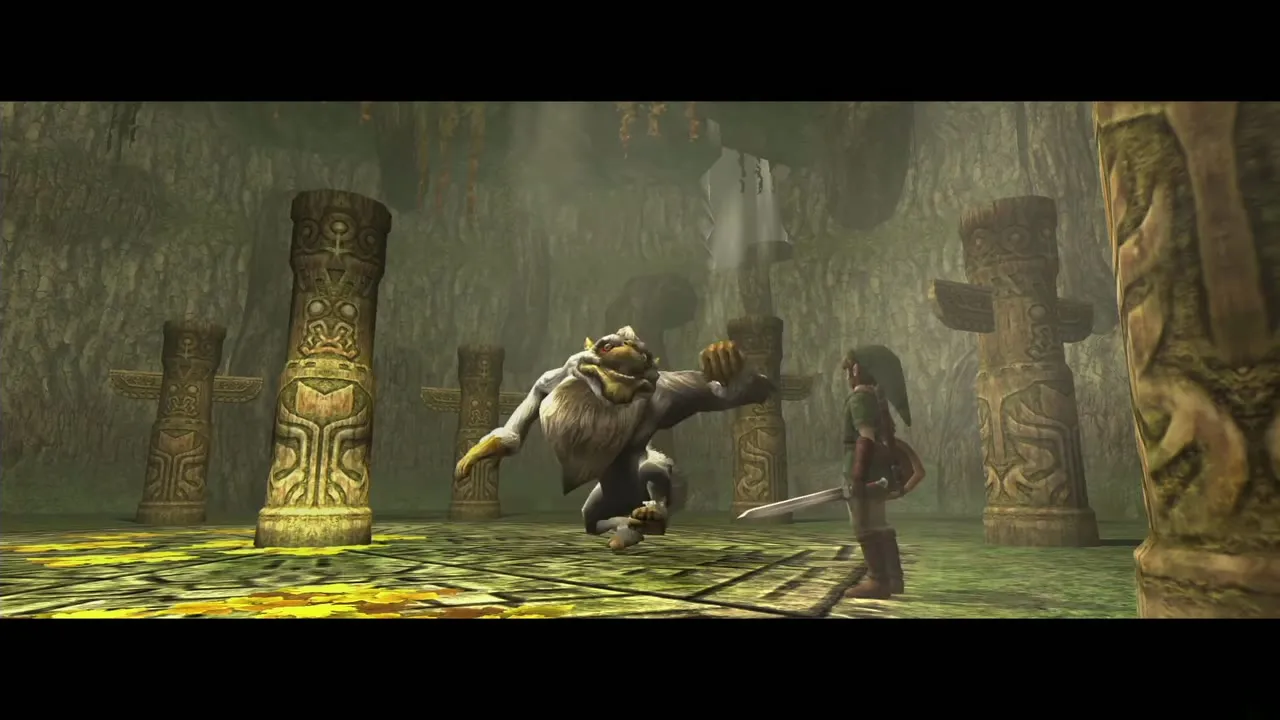
Ook arrives and sends Baba Serpents at you. Kill them first so they cannot nip at you. Ook hops between several pillars and throws his boomerang whenever he is on one. Keep your eyes on the pillar he stands on. As soon as the boomerang leaves his hand, roll into the base of his pillar. He loses his balance and his own returning boomerang knocks him to the ground. Run in and slash him until he gets up, then repeat. Later in the fight his throws travel a shorter distance, so you must roll into the pillar sooner. After the last hit the parasite on his back jumps off, Ook returns to normal and the Gale Boomerang is left on the ground.

Learn the Gale Boomerang
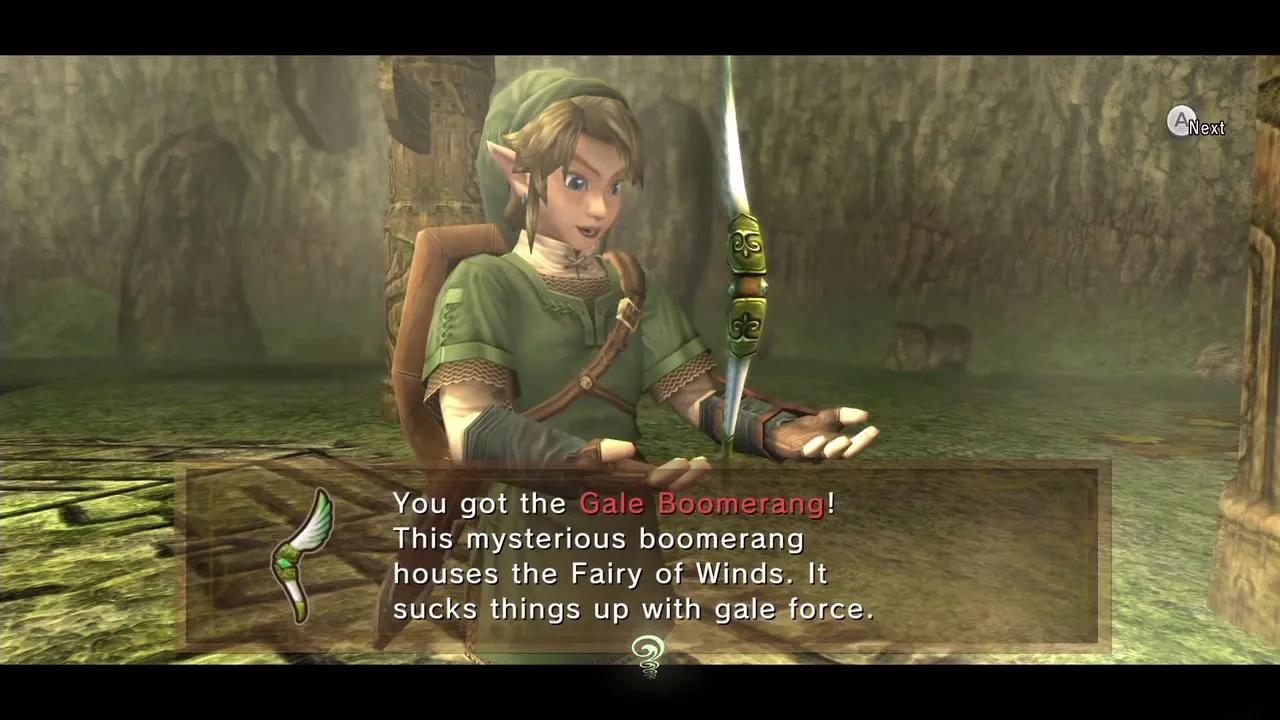
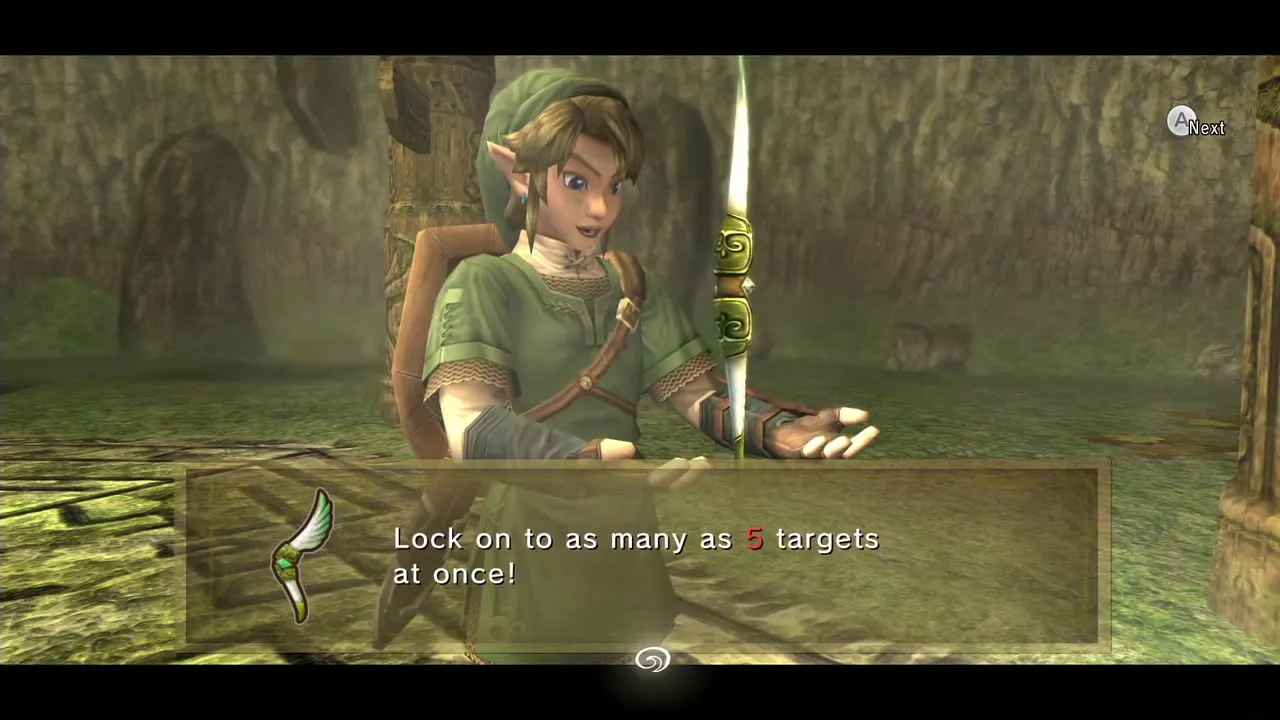
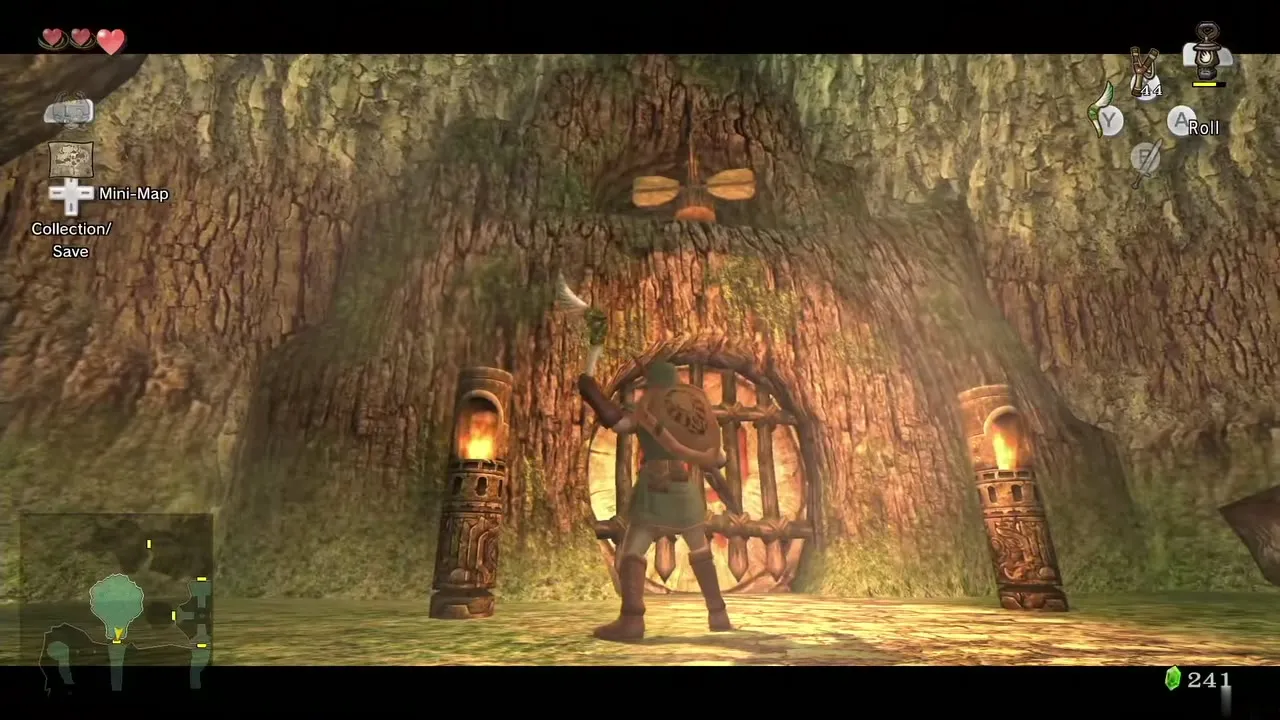
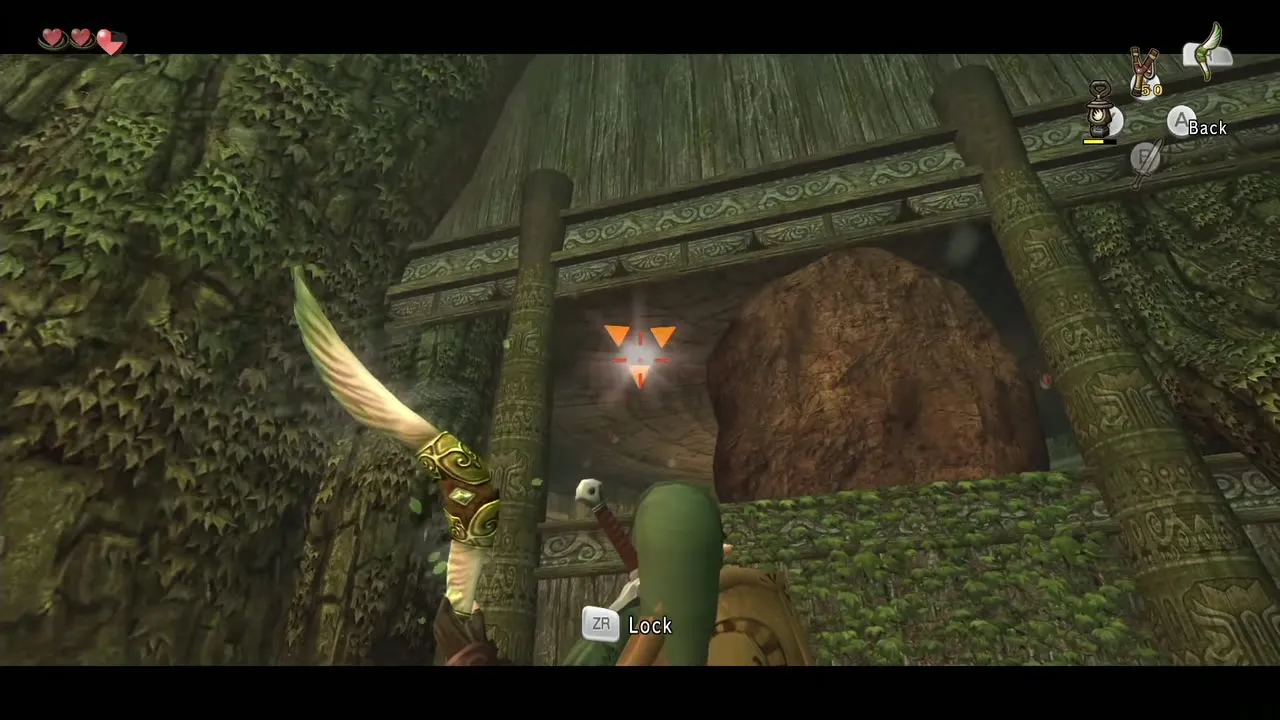
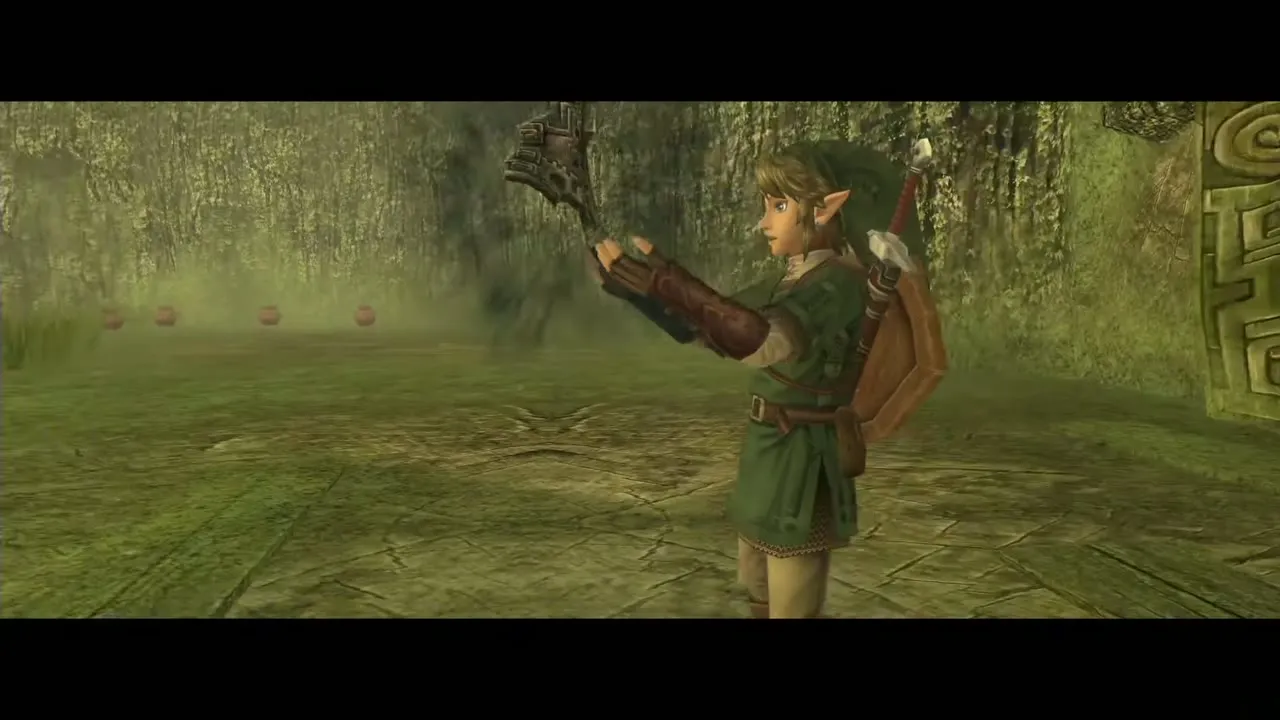
The Gale Boomerang lets you lock on to targets and spin fan-shaped panels. Lock on to a Bombling first and then to a target, and the boomerang carries the bomb there. It also cuts webs and ropes, flips Tile Worms out of the floor and stuns enemies. Hold the button and tag several targets before releasing to hit them all in one throw. Target the fan spinner above the entrance door three times to open the gate fully and leave the room.
Fifth monkey, Heart Piece 2 and the Compass
Fifth monkey: the rotating bridges
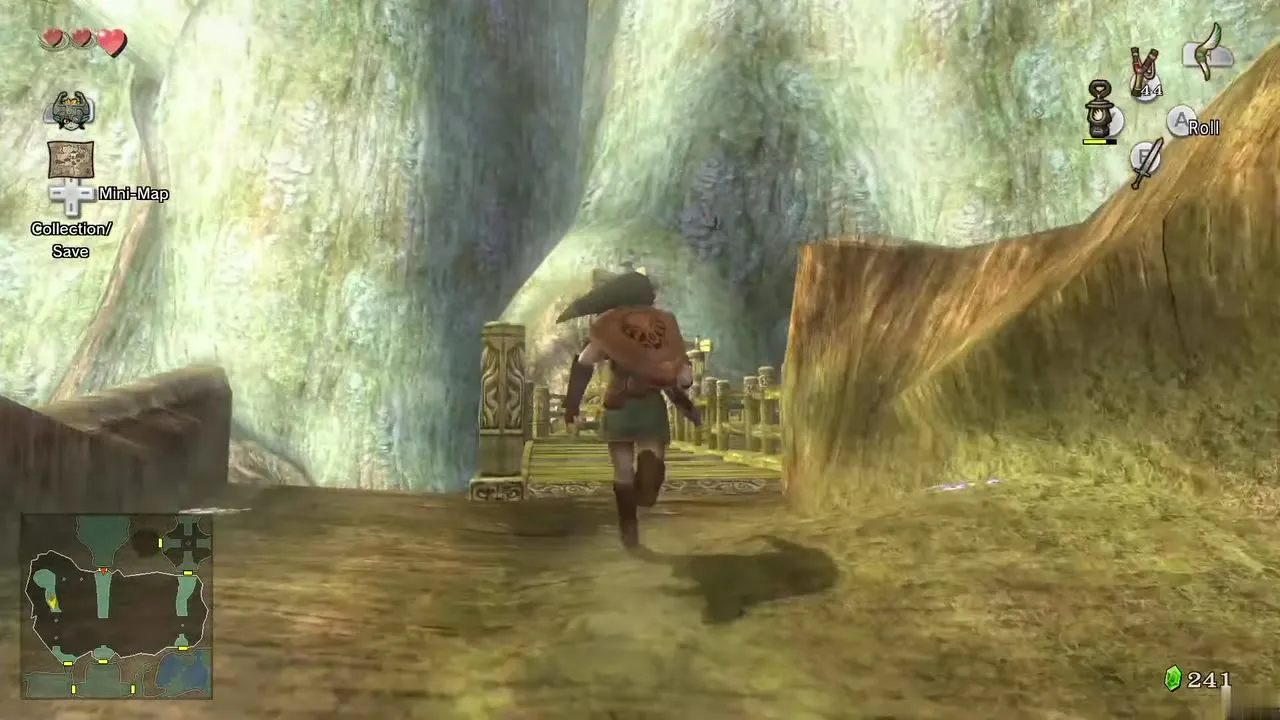
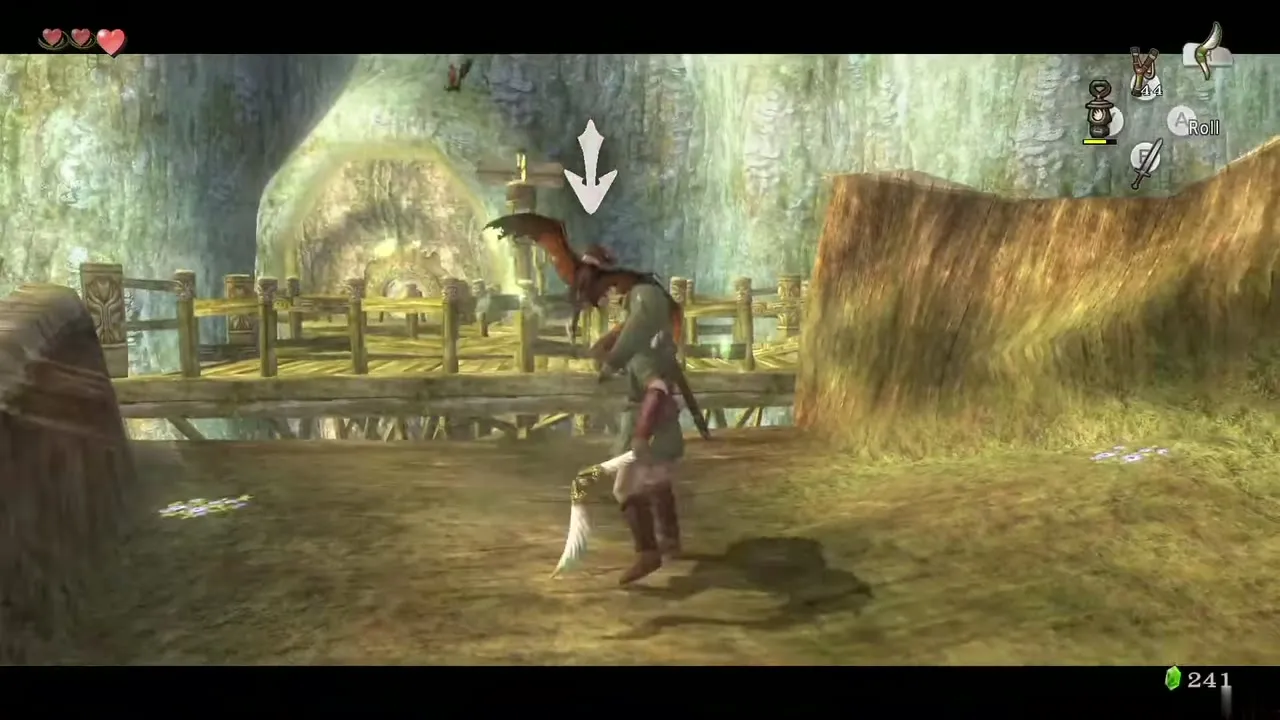
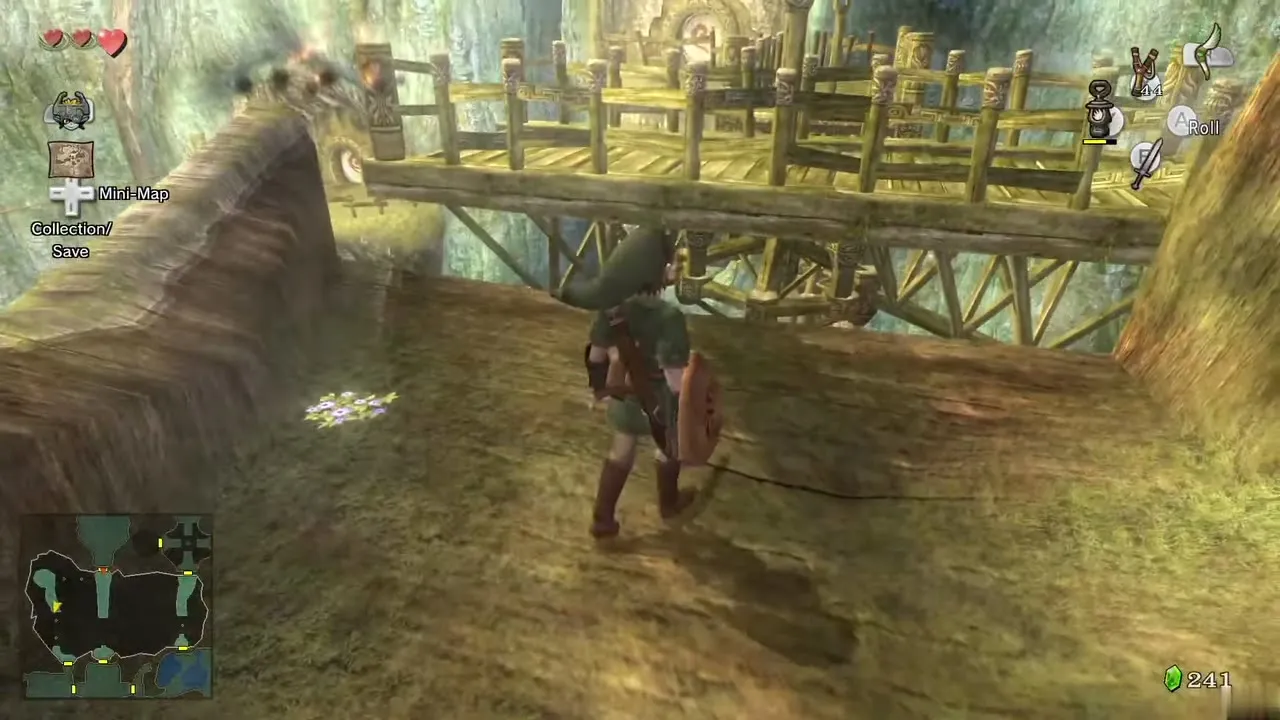
Outside, the monkeys are gone. On the left a chain of bridges hangs from spinners; throw the Boomerang at each fan spinner to turn the bridge, and cross. On the far platform a Bokoblin guards a cage. Target the web or string above the cage and the Boomerang cuts it, freeing monkey 5. Spin the bridges back and return inside to the tall stair room.
Heart Piece 2: the Tile Worm staircase
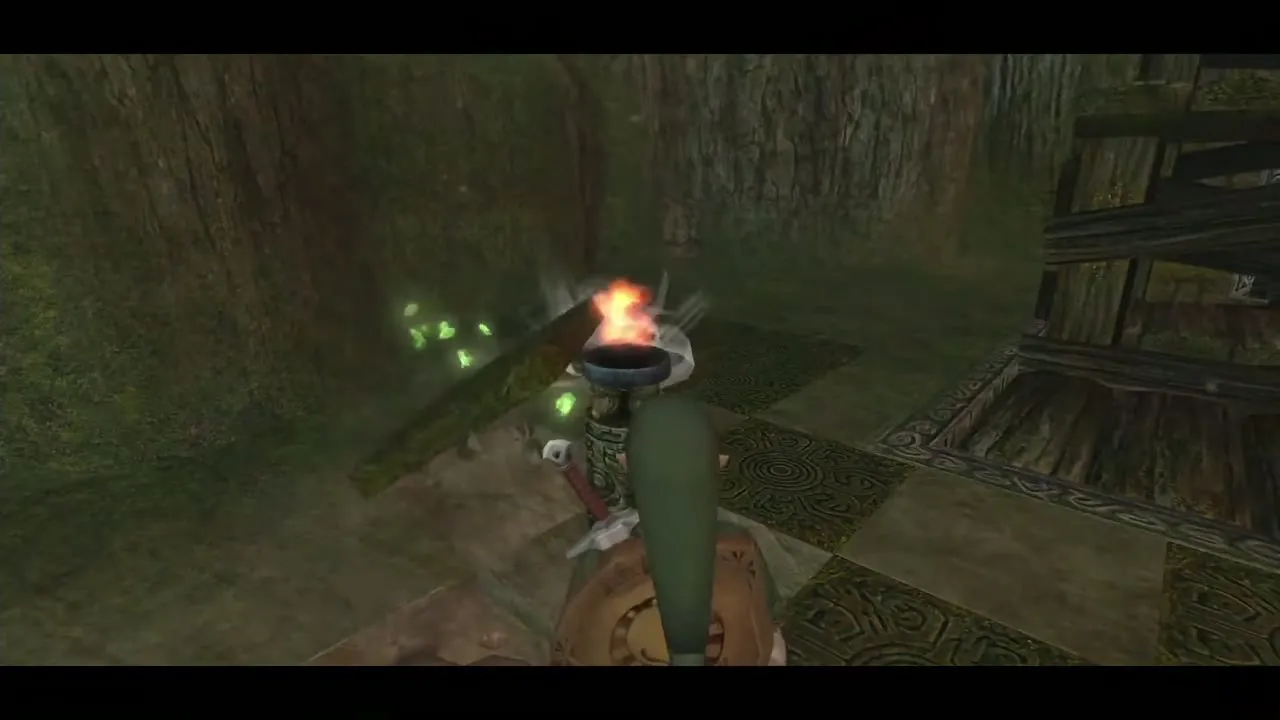
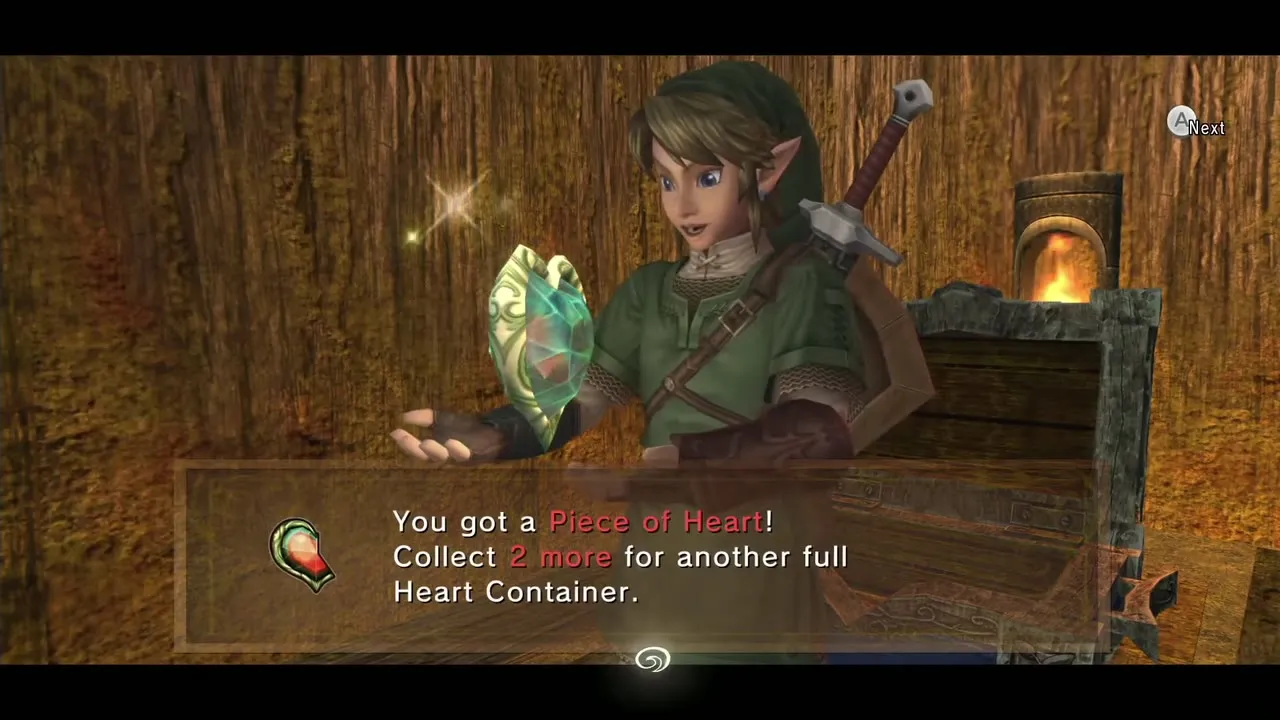
Go to the west room with the Tile Worms. Flip them with the Boomerang and kill them. Cross the bridge, then hit all four torches with the Boomerang to put them out. The staircase lowers, and the chest beneath it holds a Piece of Heart.
The Compass chest in the hub
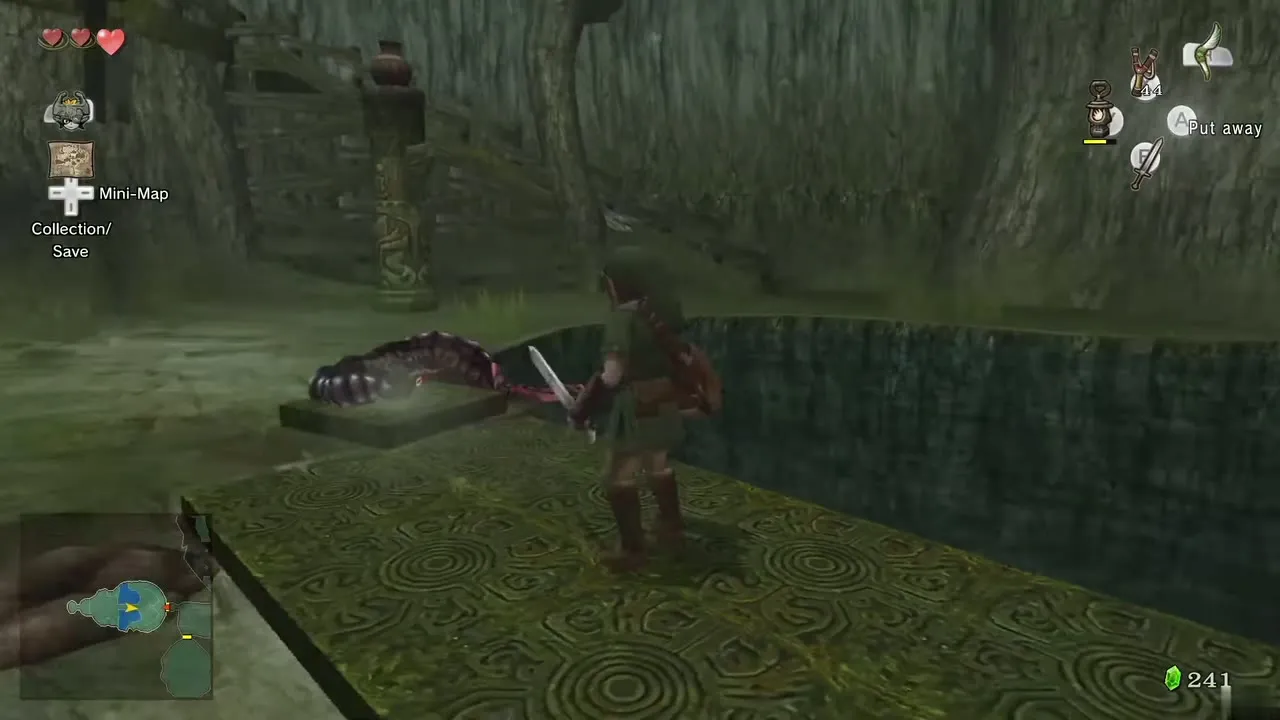
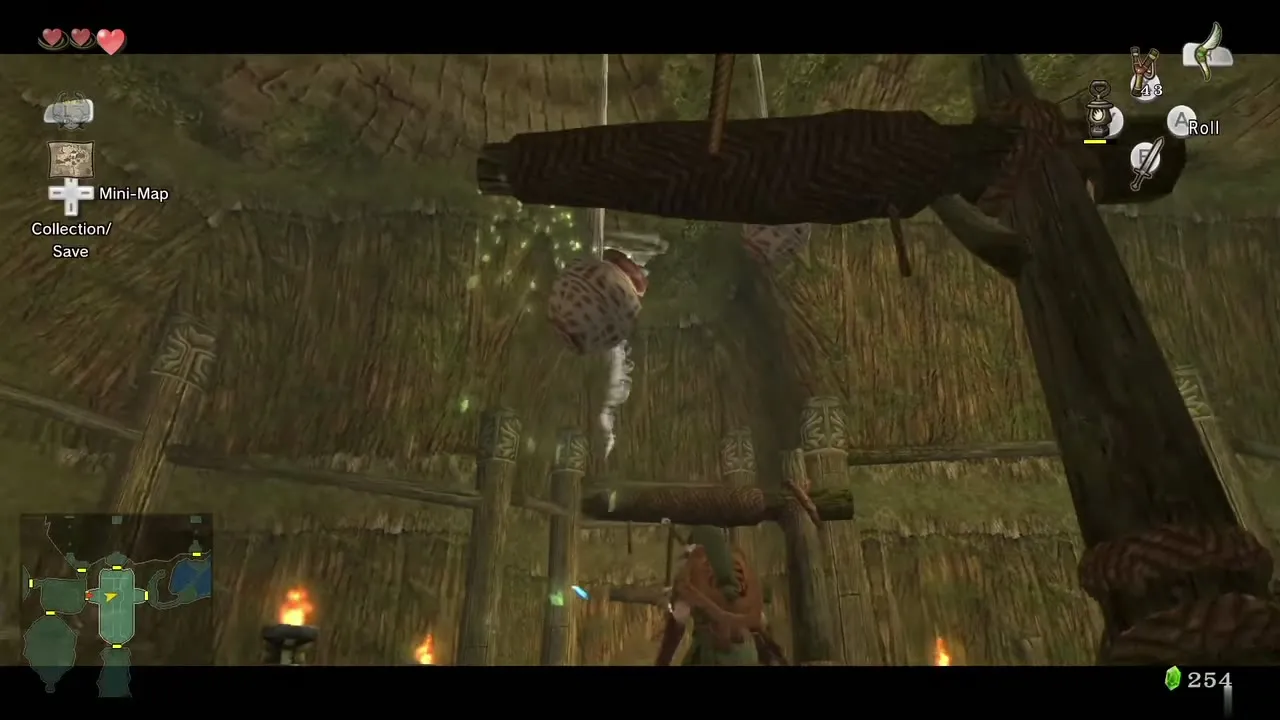
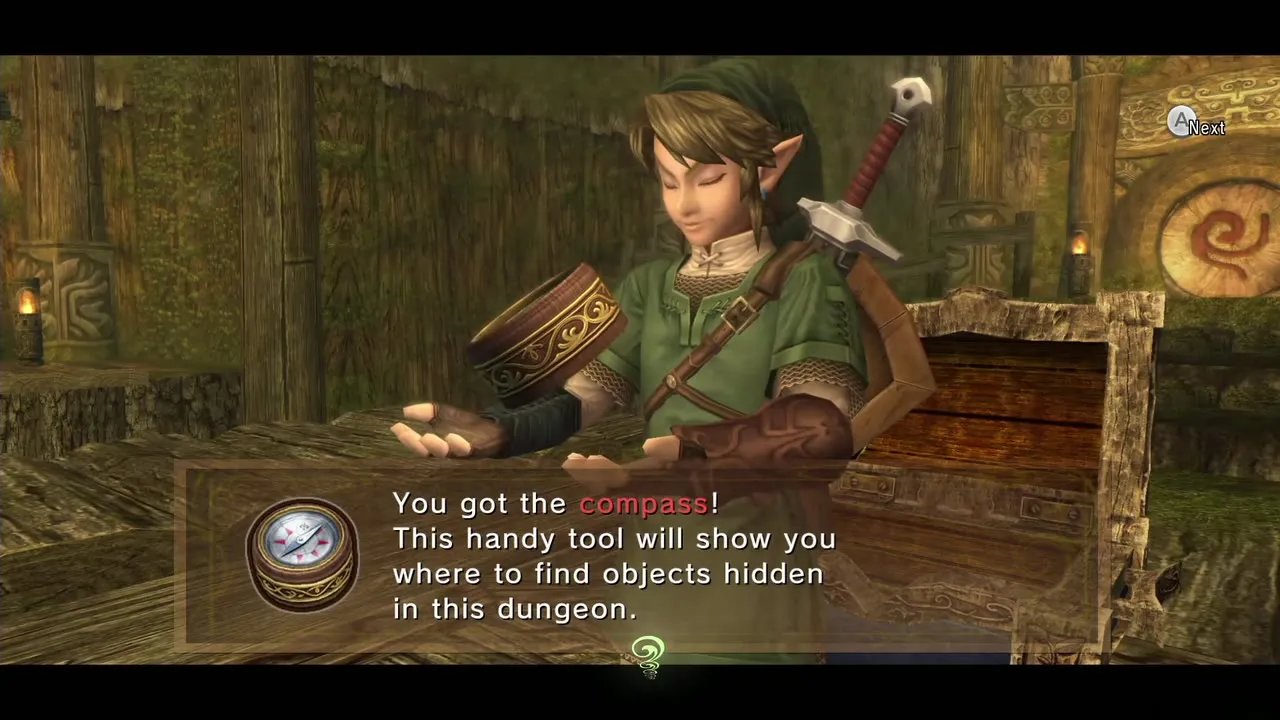
Drop to the lowest floor and take the door on the left back to the hub. The monkeys swing you to the middle. Overhead a chest hangs in a web: cut the web with the Boomerang and open the chest for the Compass, which shows the rest of the chests and the remaining monkeys on your map.
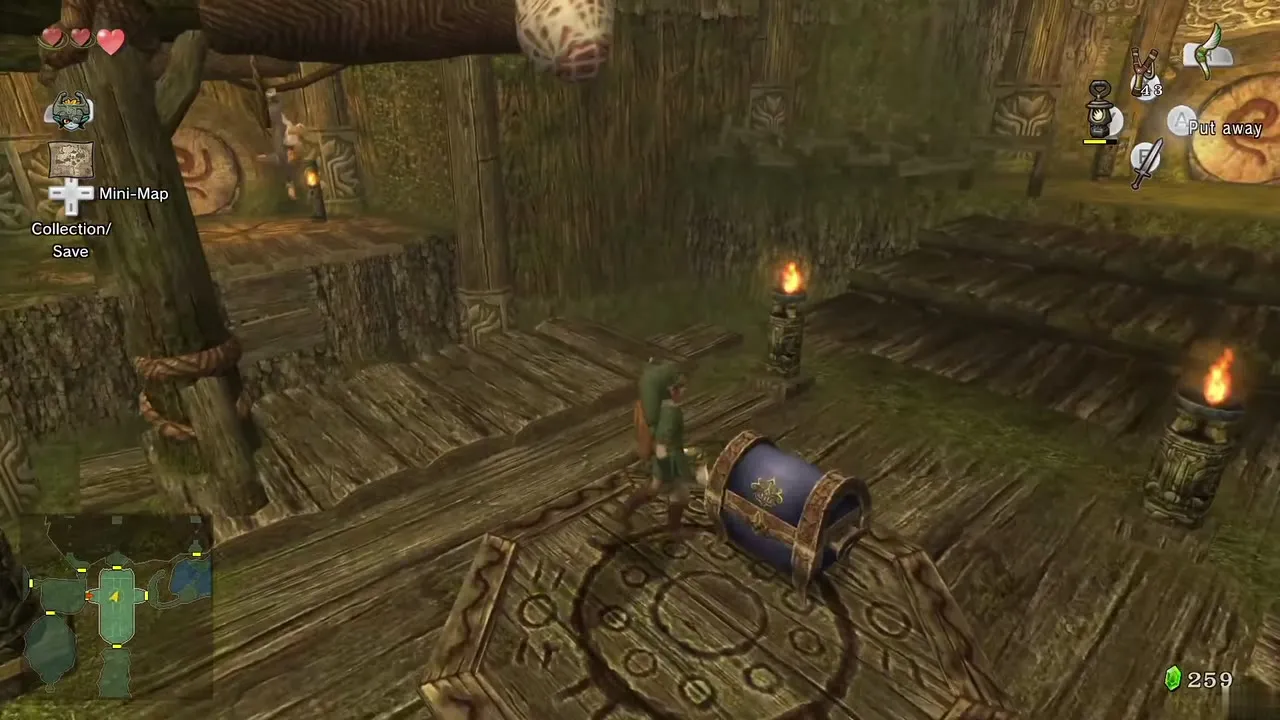
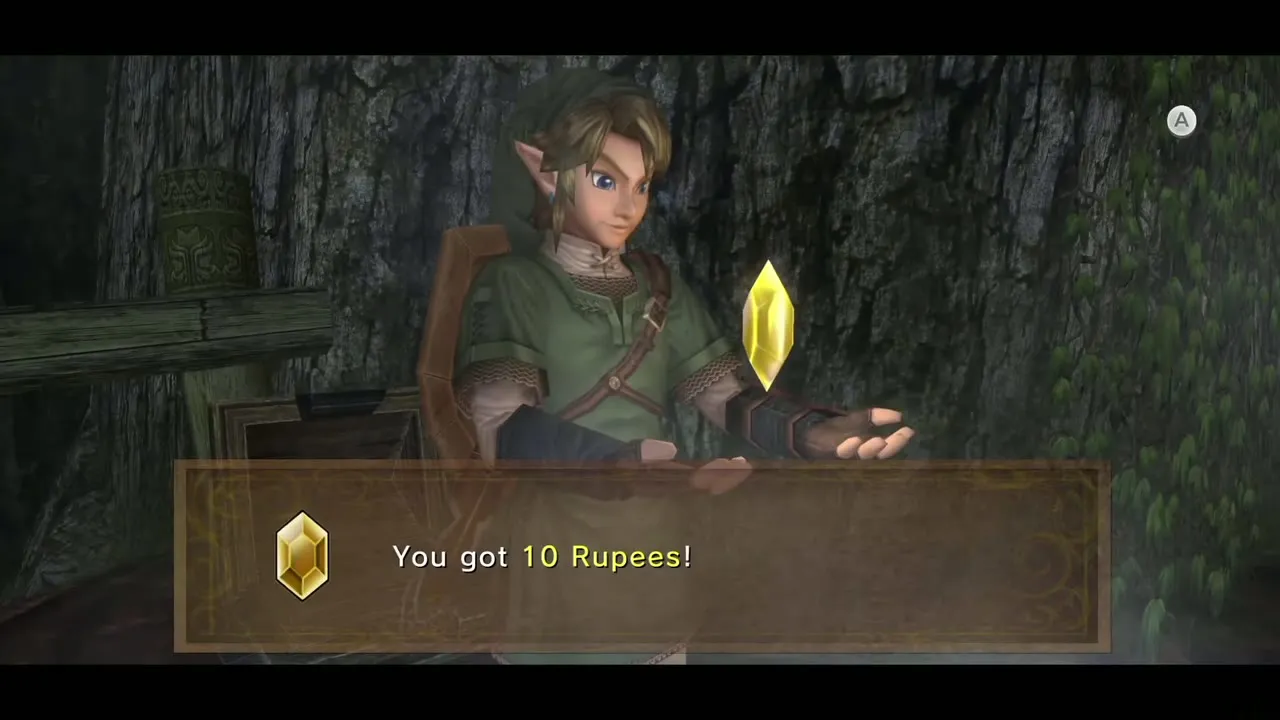
Another chest here is hidden behind a cracked wall. Put out one of the torches with the Boomerang to lower its staircase, then lock on to the nearby Bombling and then the cracked wall. The Boomerang carries the bomb to the wall and blows it open. The chest holds a red Rupee (20). Swing left and go through the door.
Big Key: the Z-shaped spinner puzzle
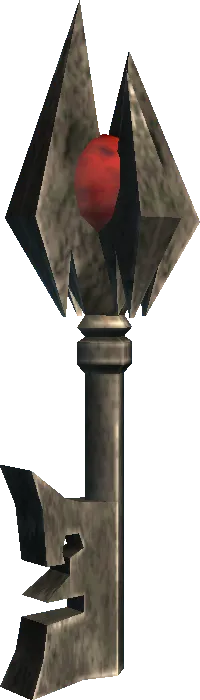
Four spinners and the Big Key
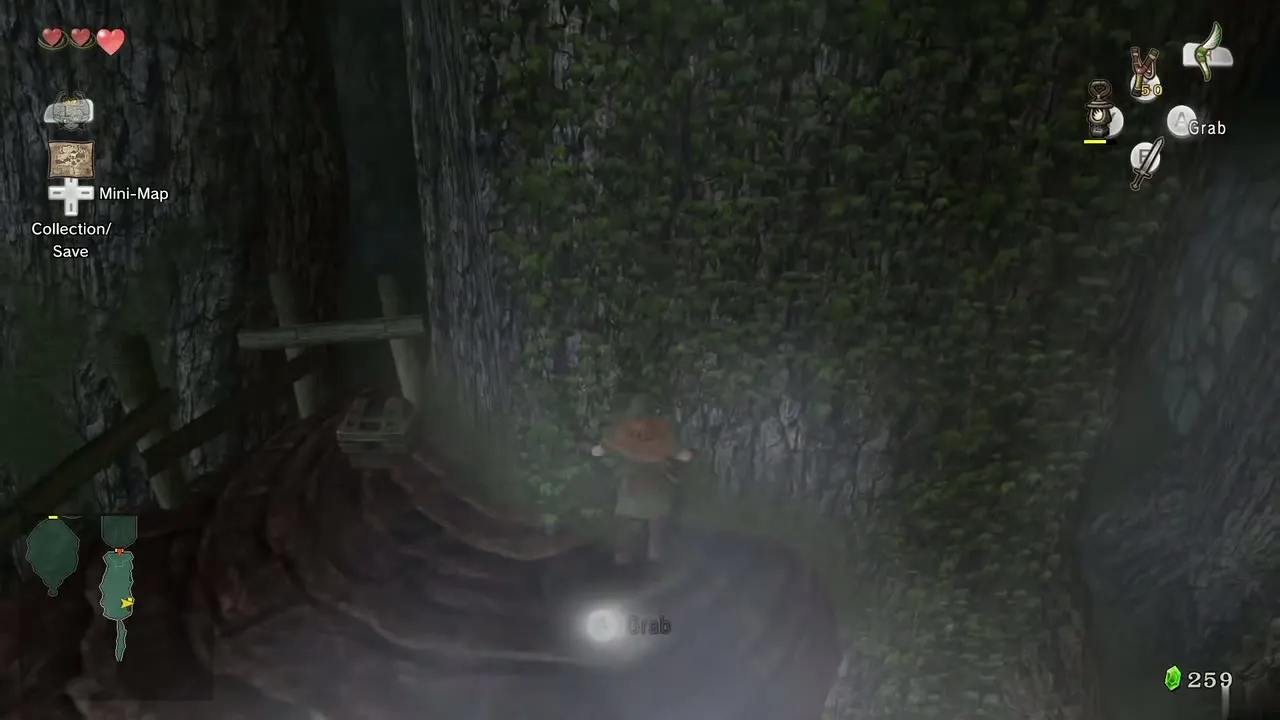
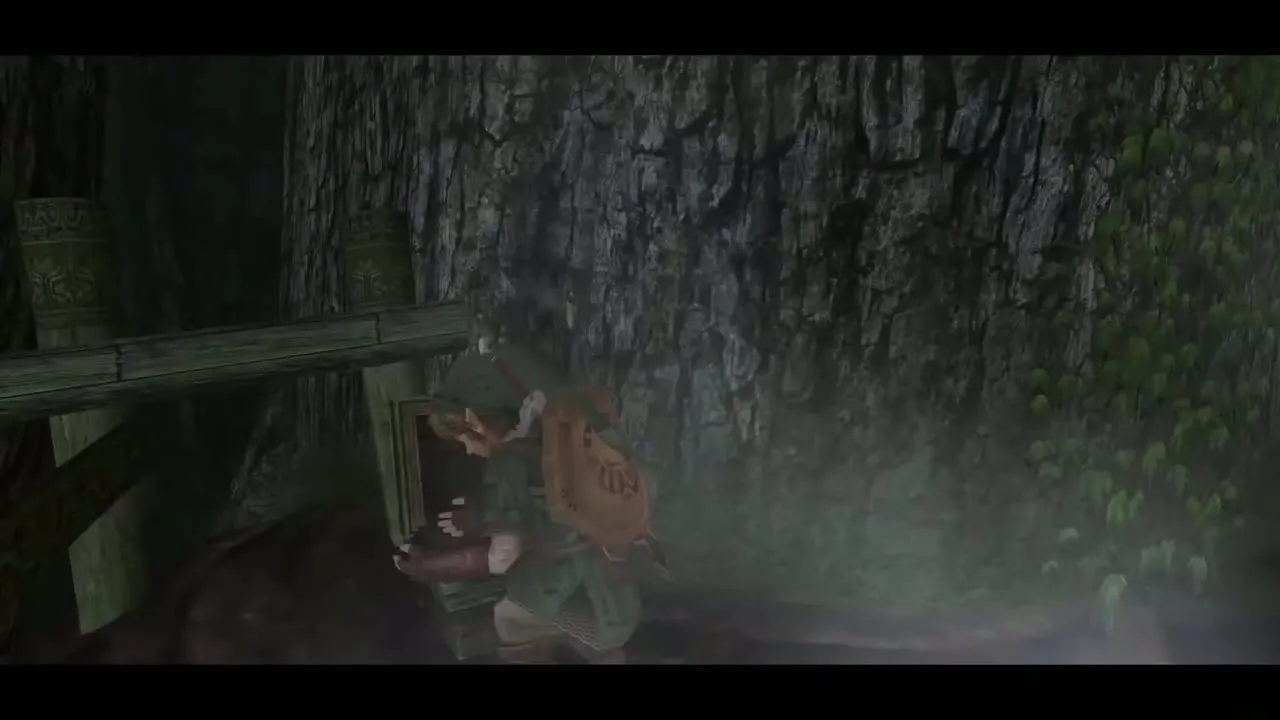
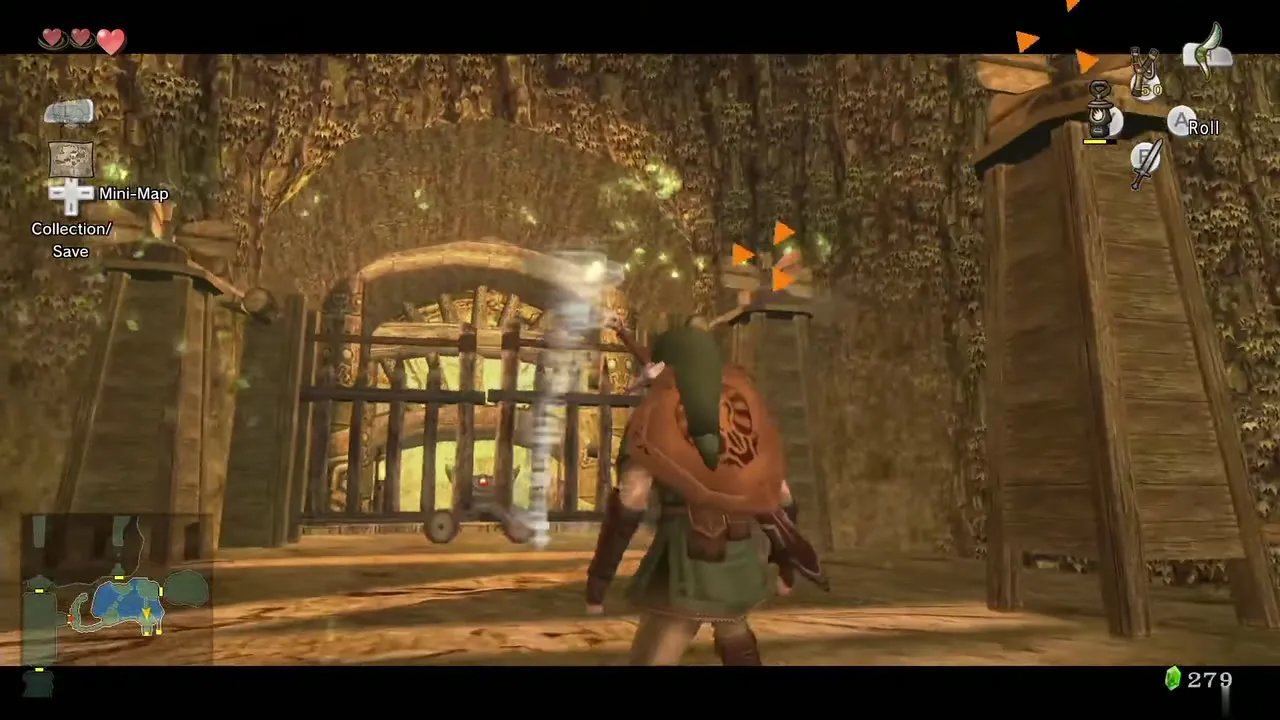
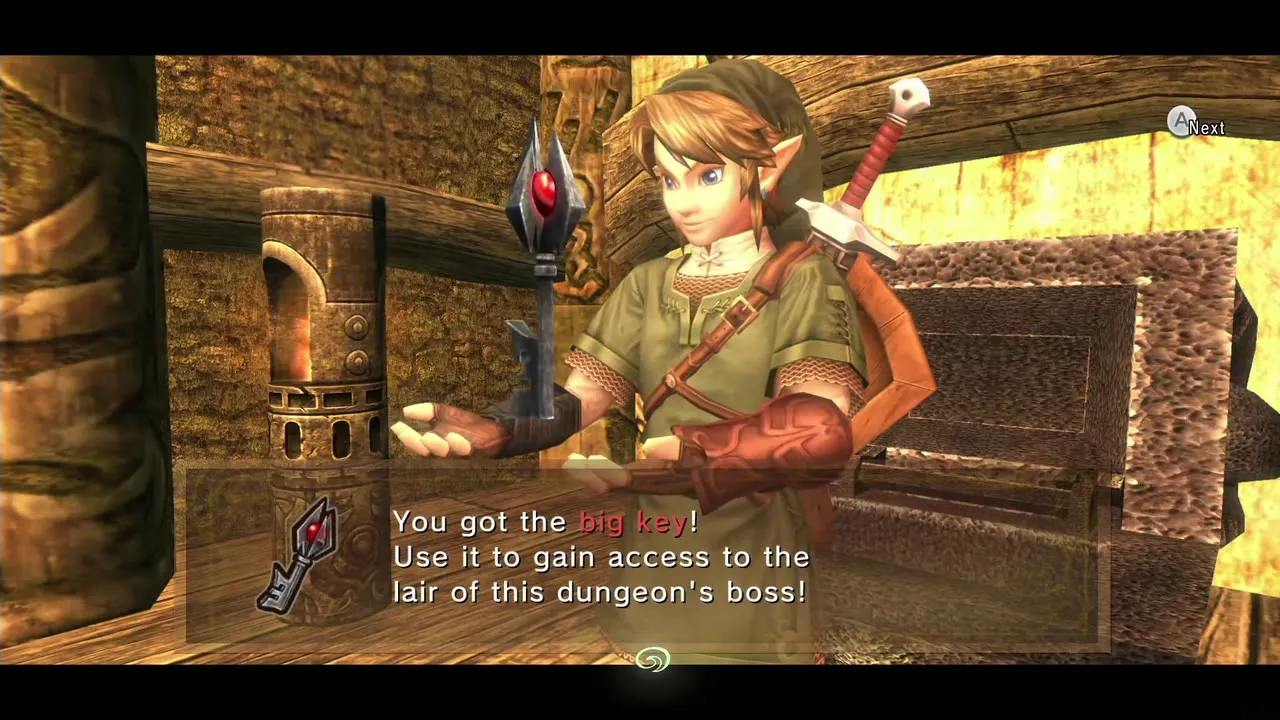
Back in the big water room, go to the south-east corner where a locked gate protects a large chest. Four fan spinners sit on pillars, and a Z is drawn on the floor. Lock on to the spinners in the order of that Z with one hold of the Boomerang button, then release to hit all four in one throw. The gate opens; take the Big Key from the chest.
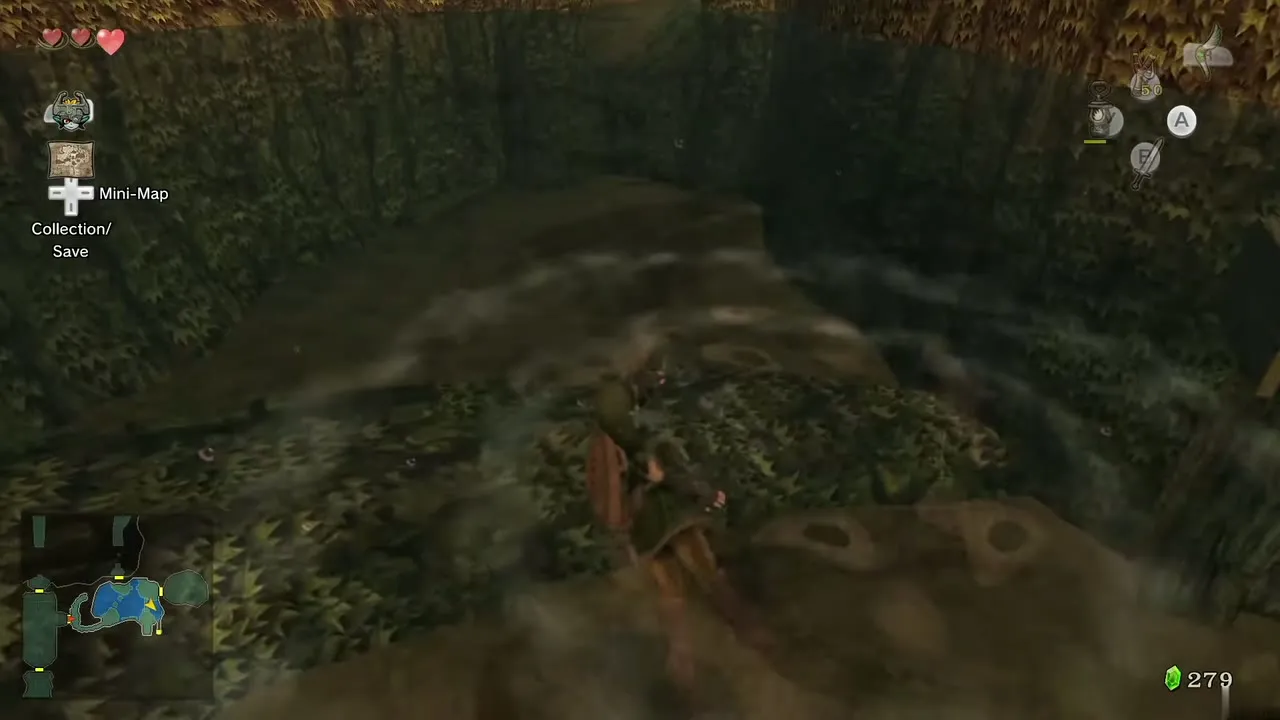
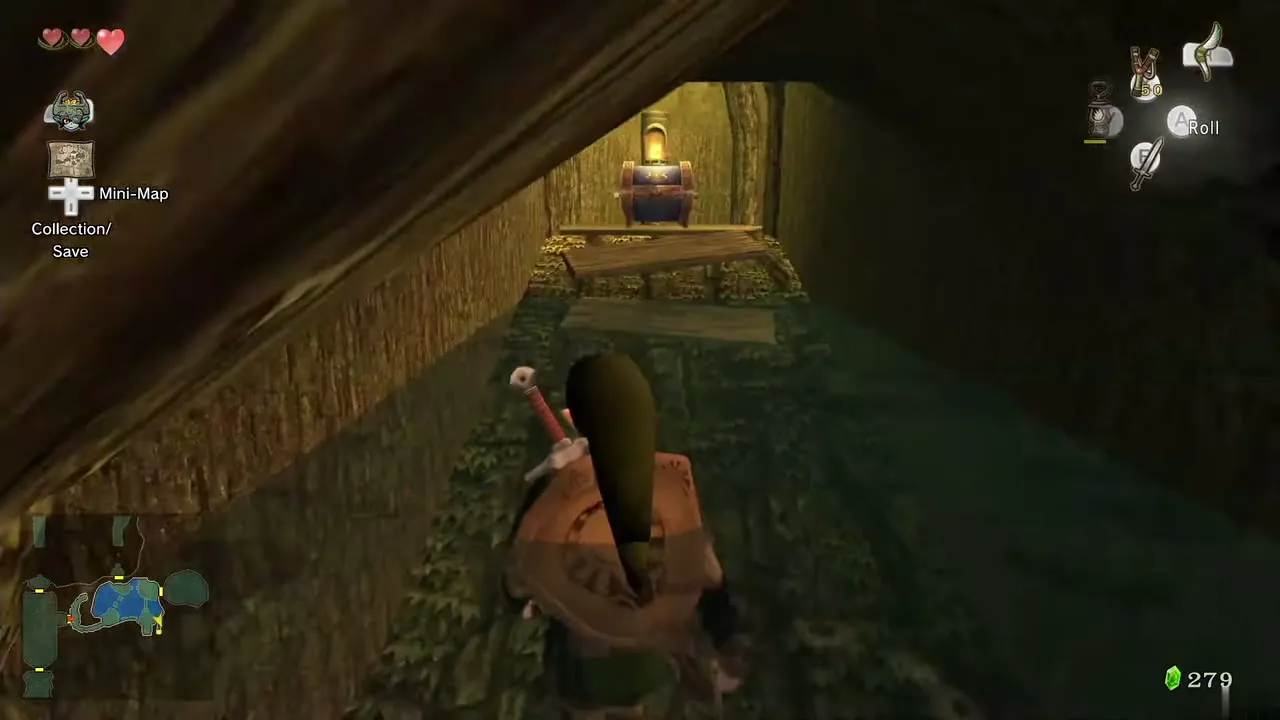
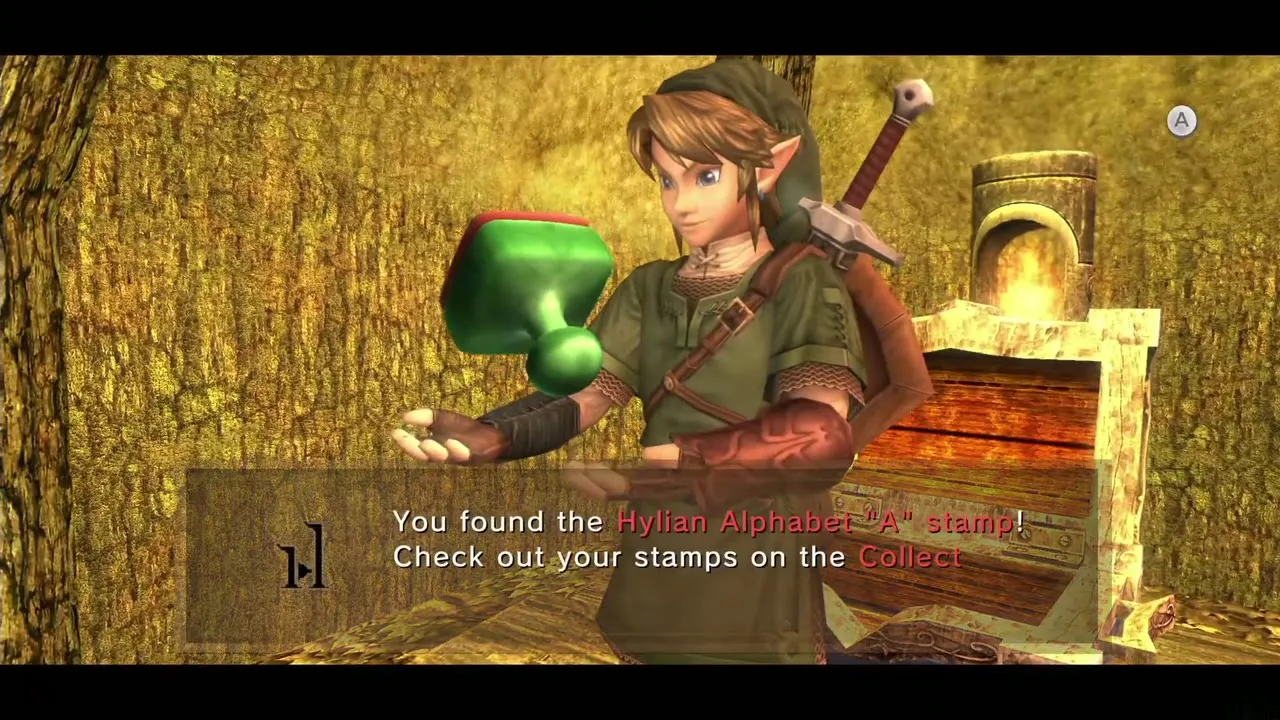
For the Wii U stamp chest, jump into the water in the south-east corner of this room and swim through the small opening in the wall to an alcove with a chest containing the Hylian letter A Miiverse Stamp. On the GameCube and Wii the same chest holds Rupees instead.
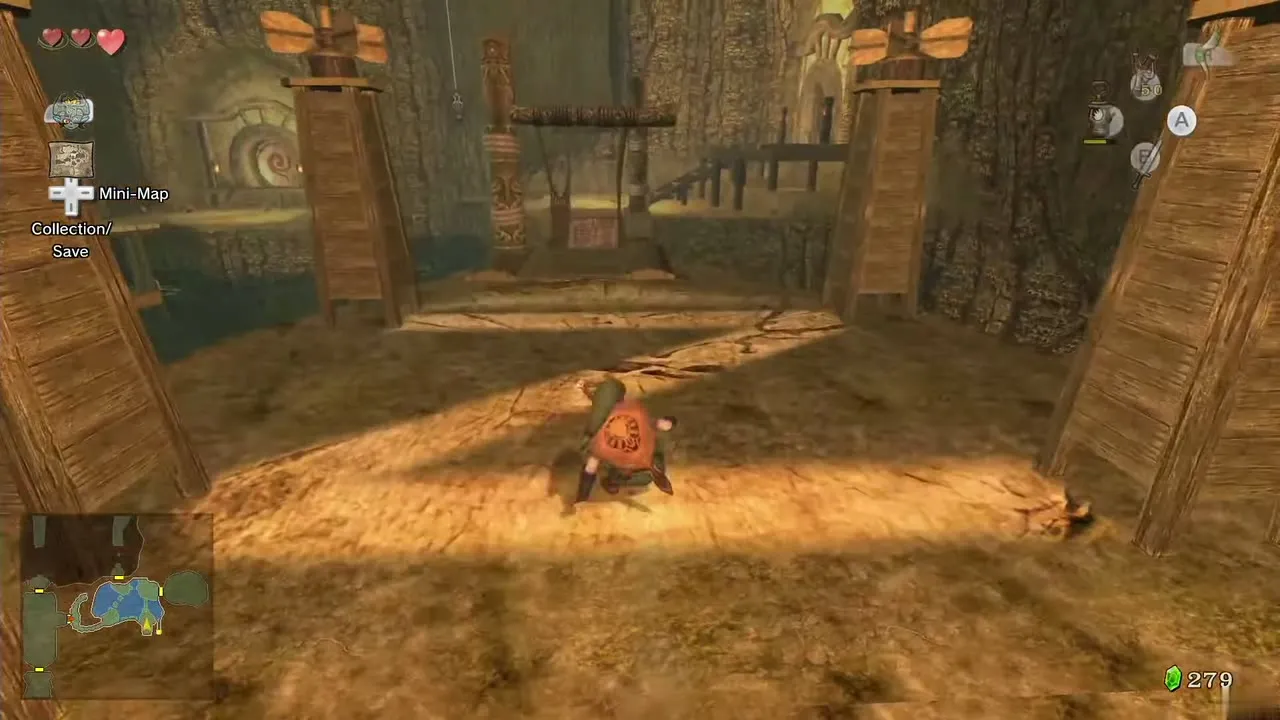
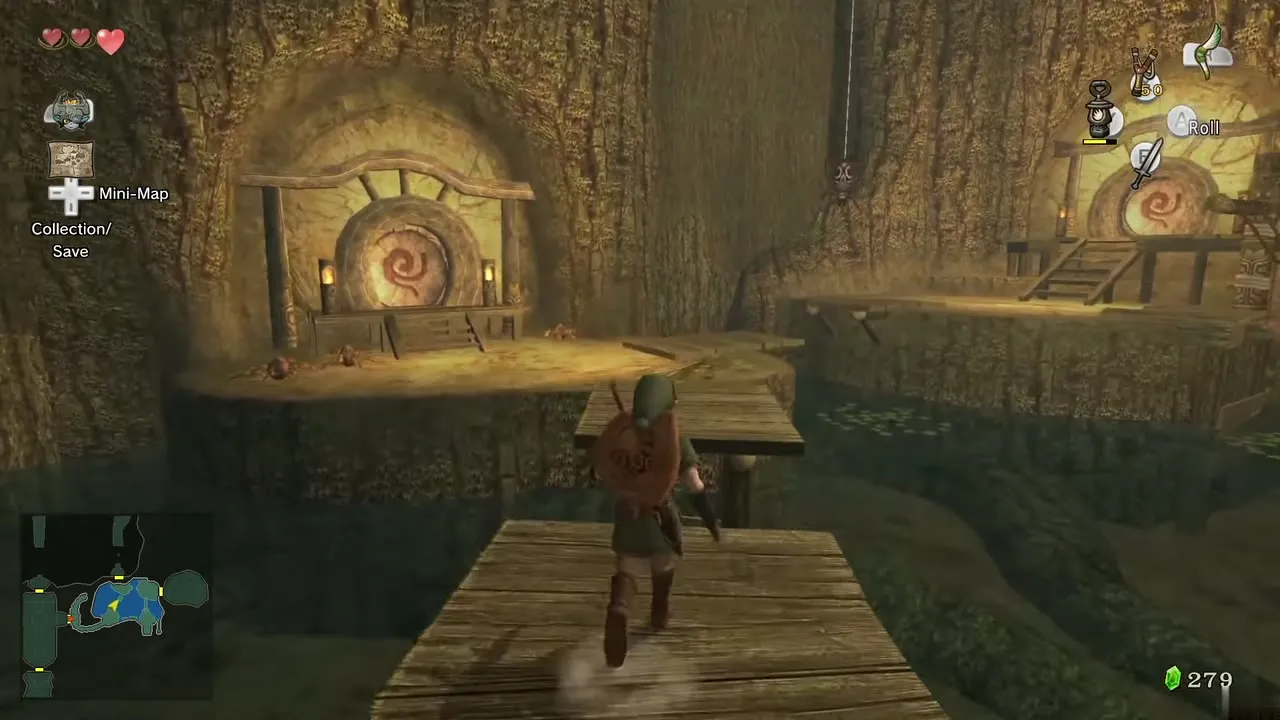
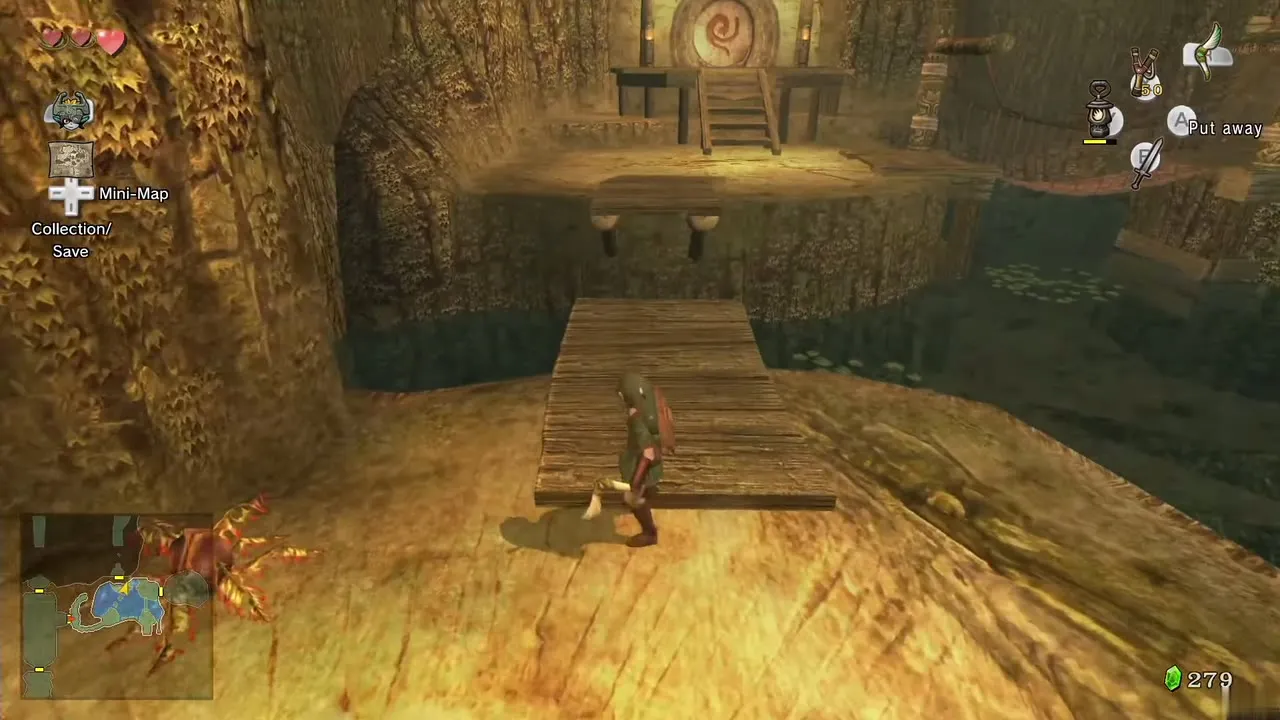
Leave through the north door with the Big Key, cross the wind bridge and enter the door on the far side.
The last three monkeys: sixth, seventh and eighth

Monkey hub, small key 4 and the sixth monkey
Spin the bridge with the Boomerang and walk to the next room, where your saved monkeys wait. Three are still missing. Turn left, spin the platforms with several throws until you reach the left side, shoot the three Walltulas on the vines and climb two sets of ivy to a door.
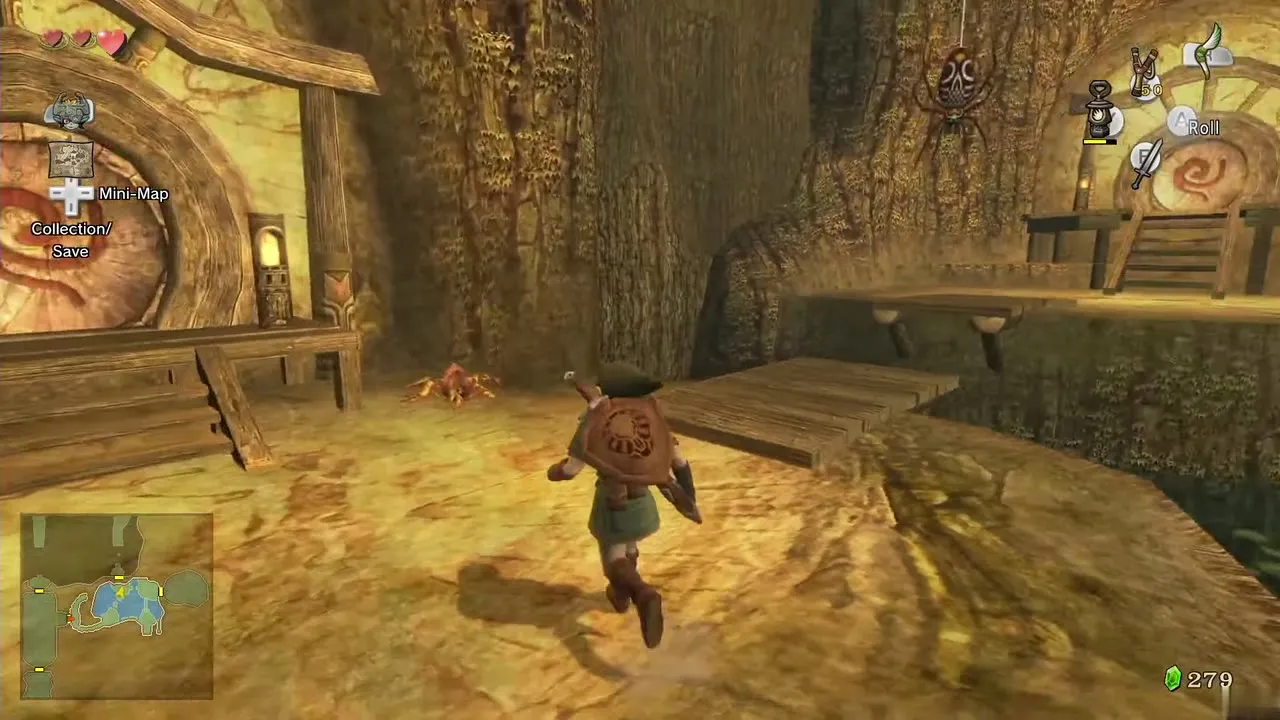
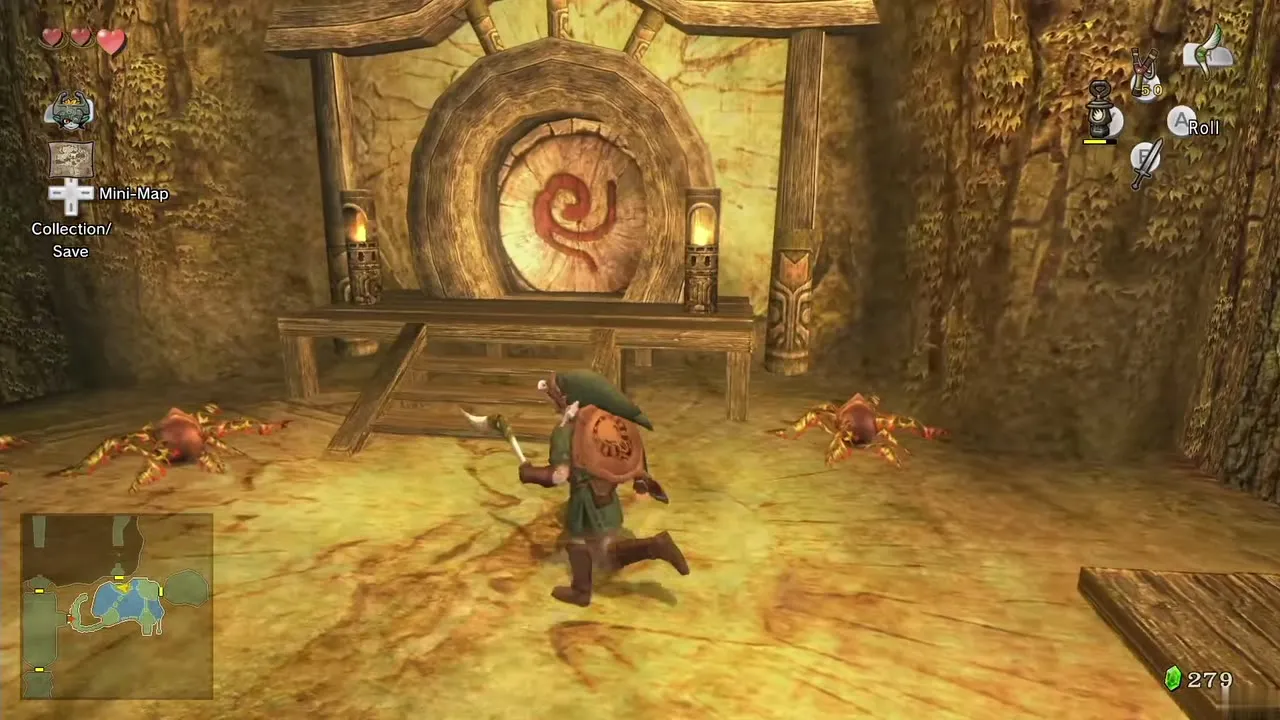
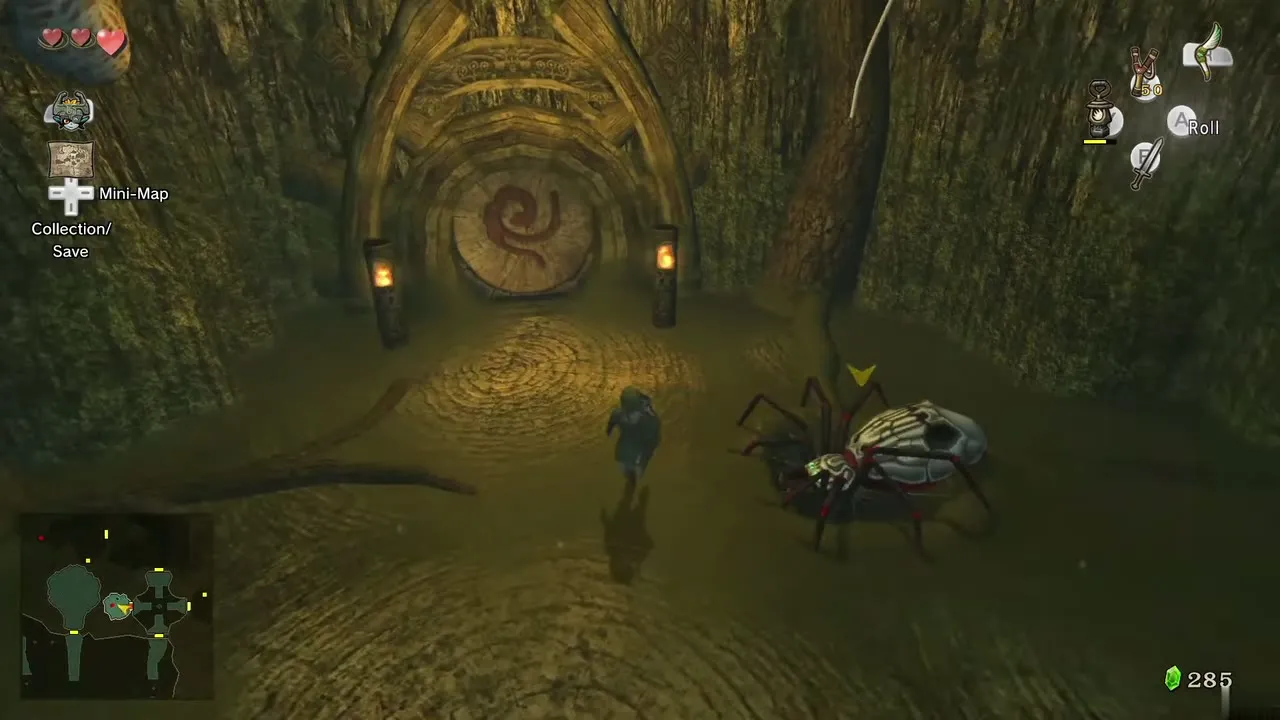
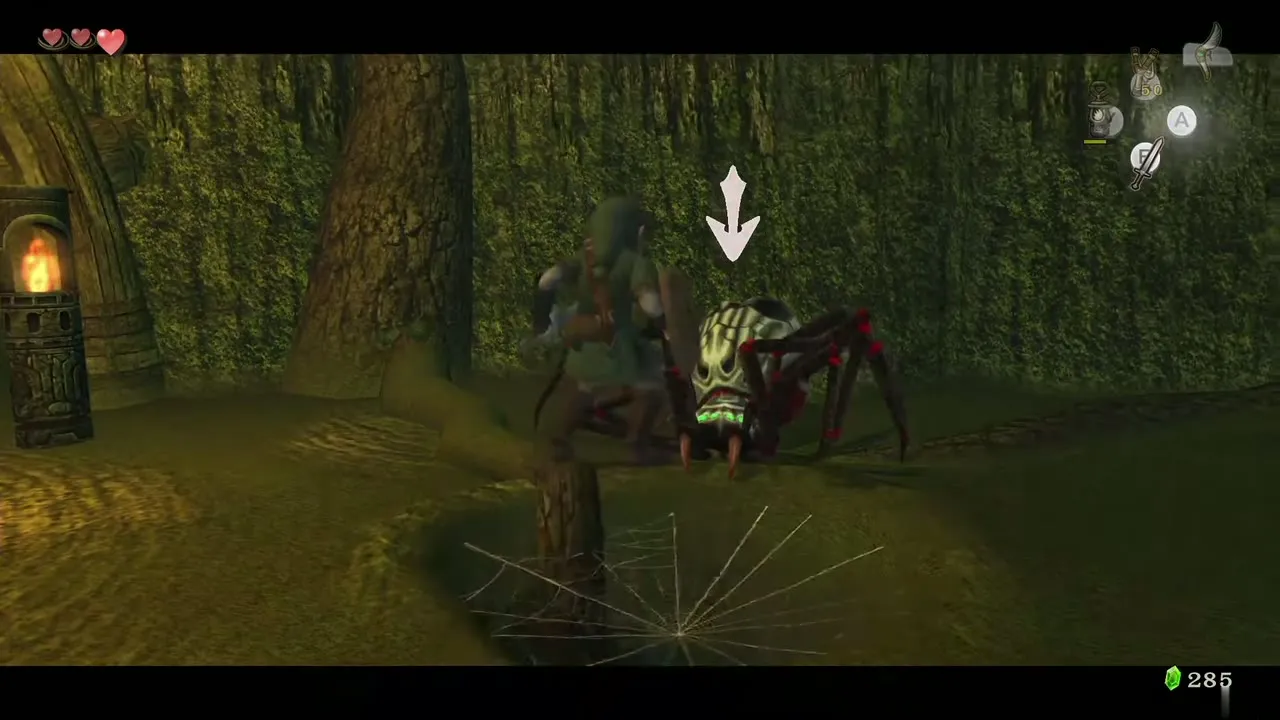
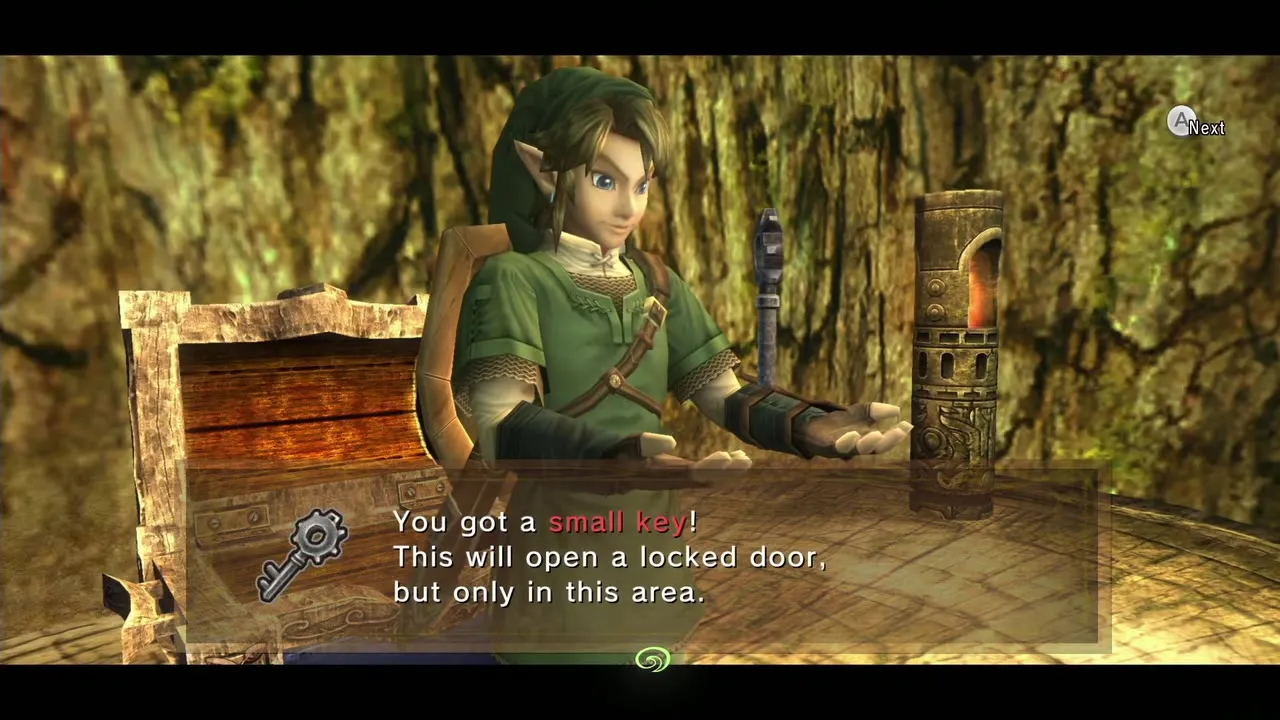
Inside is a Deku Like on one side and a Bombling on the other. Target the Bombling with the Boomerang, then the Deku Like; the bomb flies over and kills it. Jump over and open the chest for the fourth small key. Across the room a boulder blocks the vines: target the Bombling again, then the left side of the boulder, and the bomb blows it up. Climb the vines, defeat the enemies and cut down the hanging Baba Serpents with the Boomerang. Blow up the second boulder the same way and monkey 6 runs out. Return to the hub.
Seventh monkey and the second stamp chest
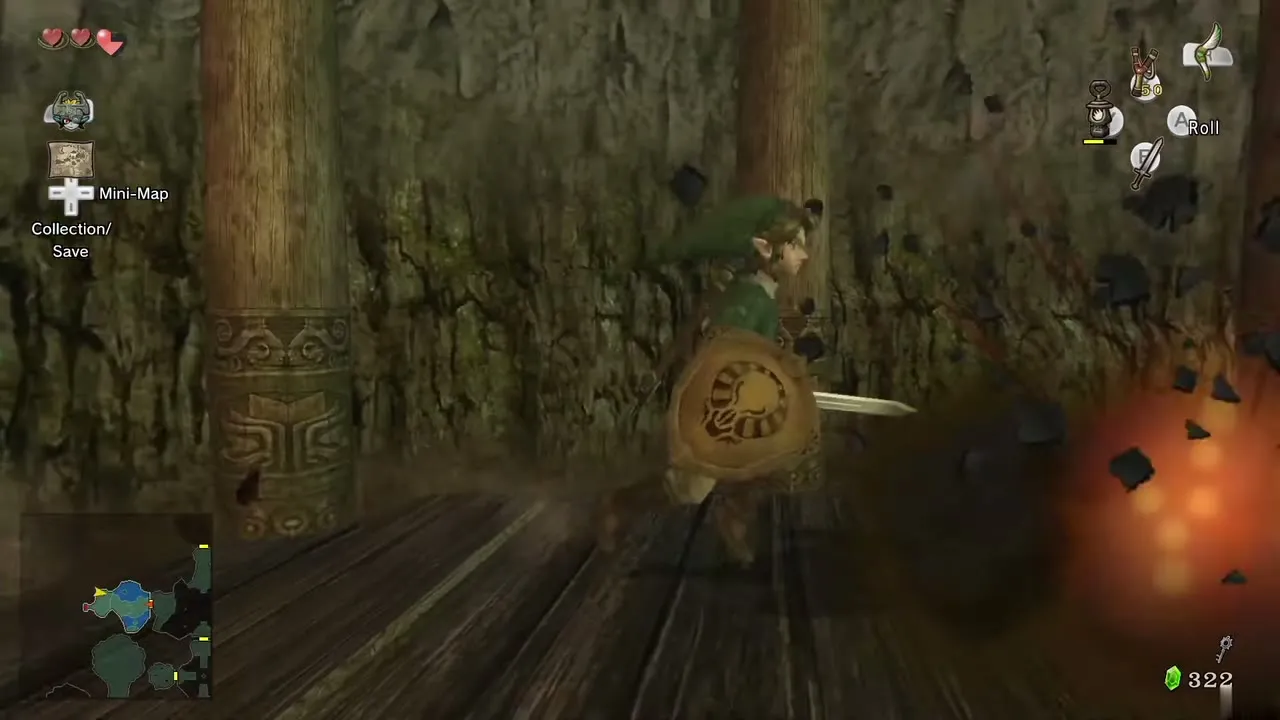
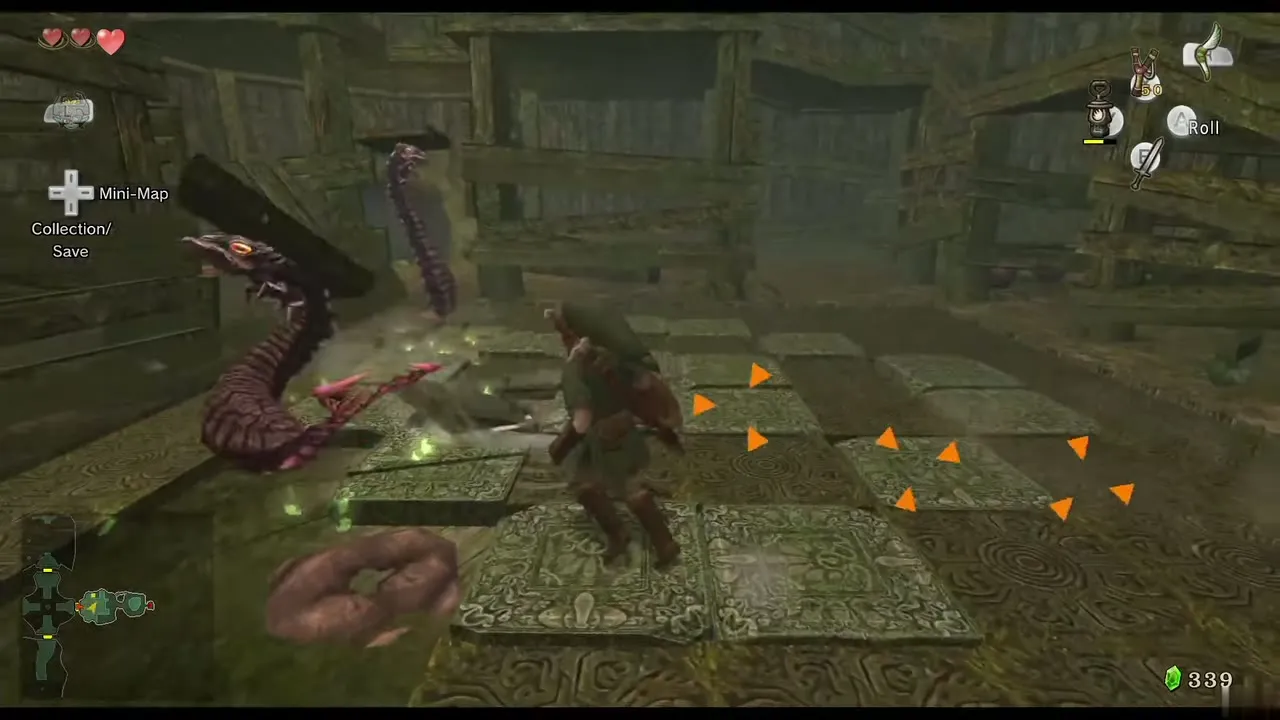
Drop down, spin the platforms and go through the south door. Step onto the middle platform, spin it so it points east and west, and use the small key on the locked door. Flip the three Tile Worms with the Boomerang and kill them. Slip through the small tunnel in the north-west corner, drop down and defeat the Skulltula and Walltulas. Climb the vines and hit both fan spinners with one throw to open the gate and free monkey 7.
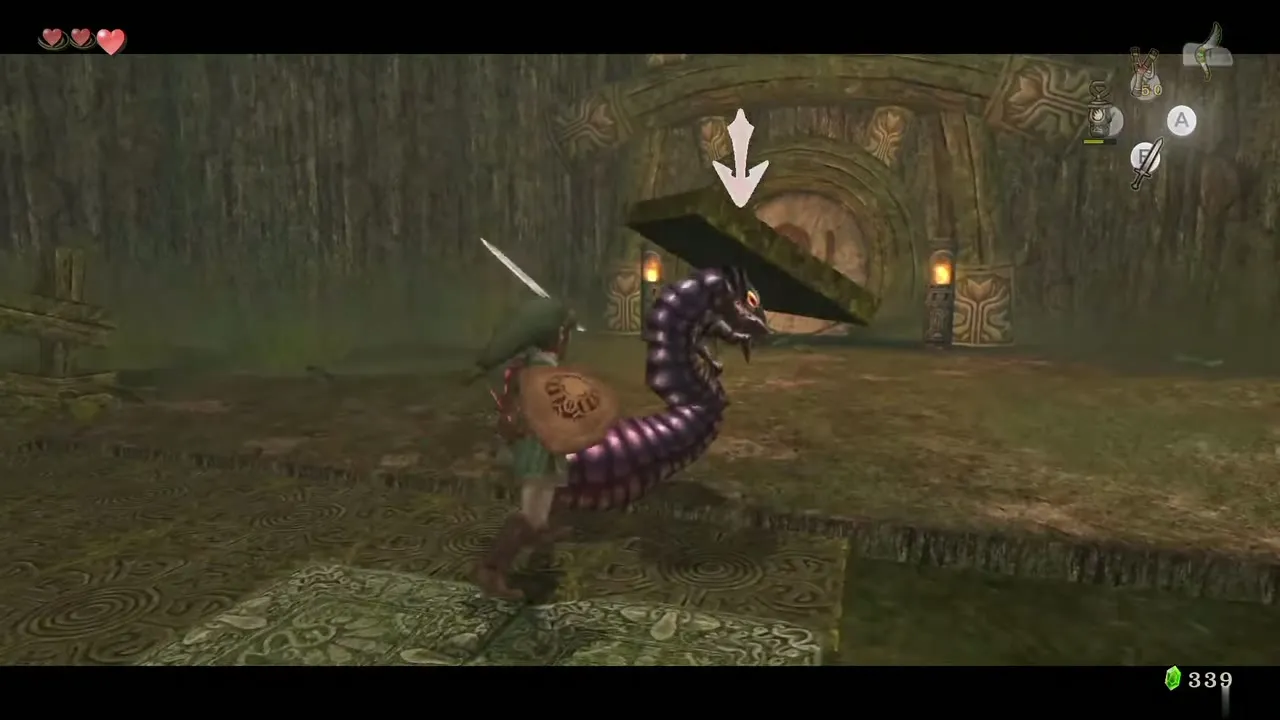
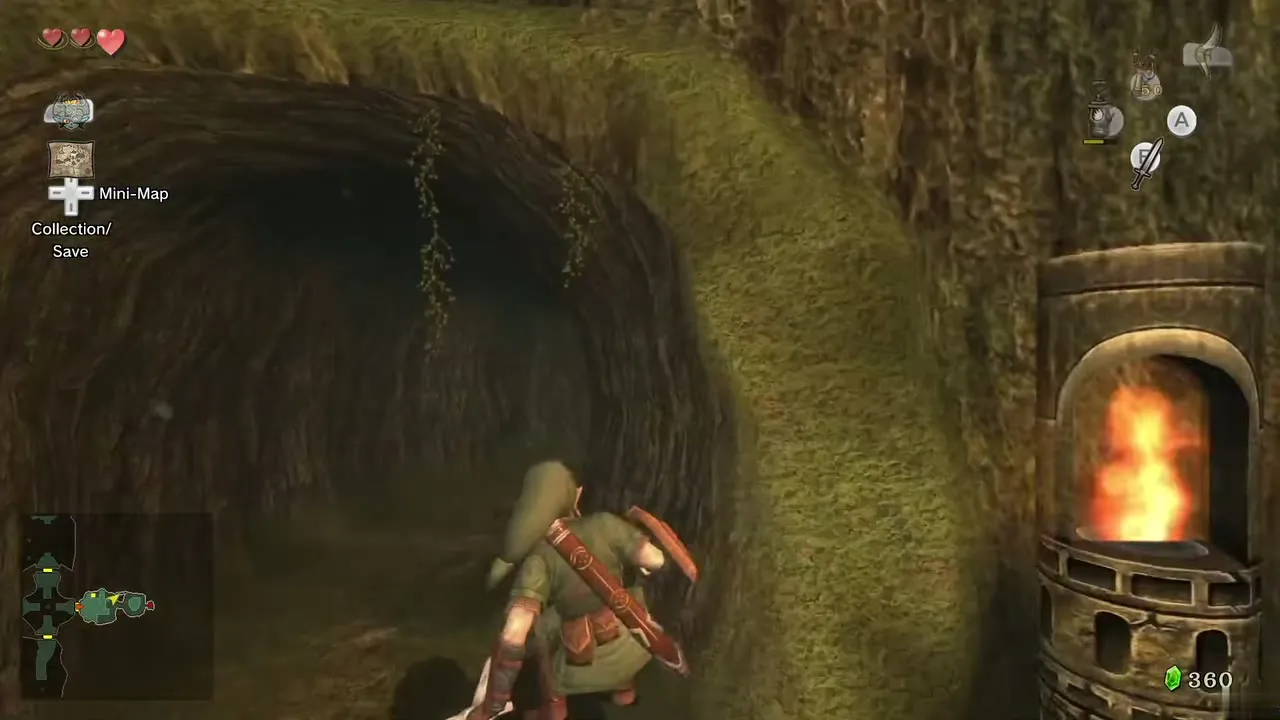
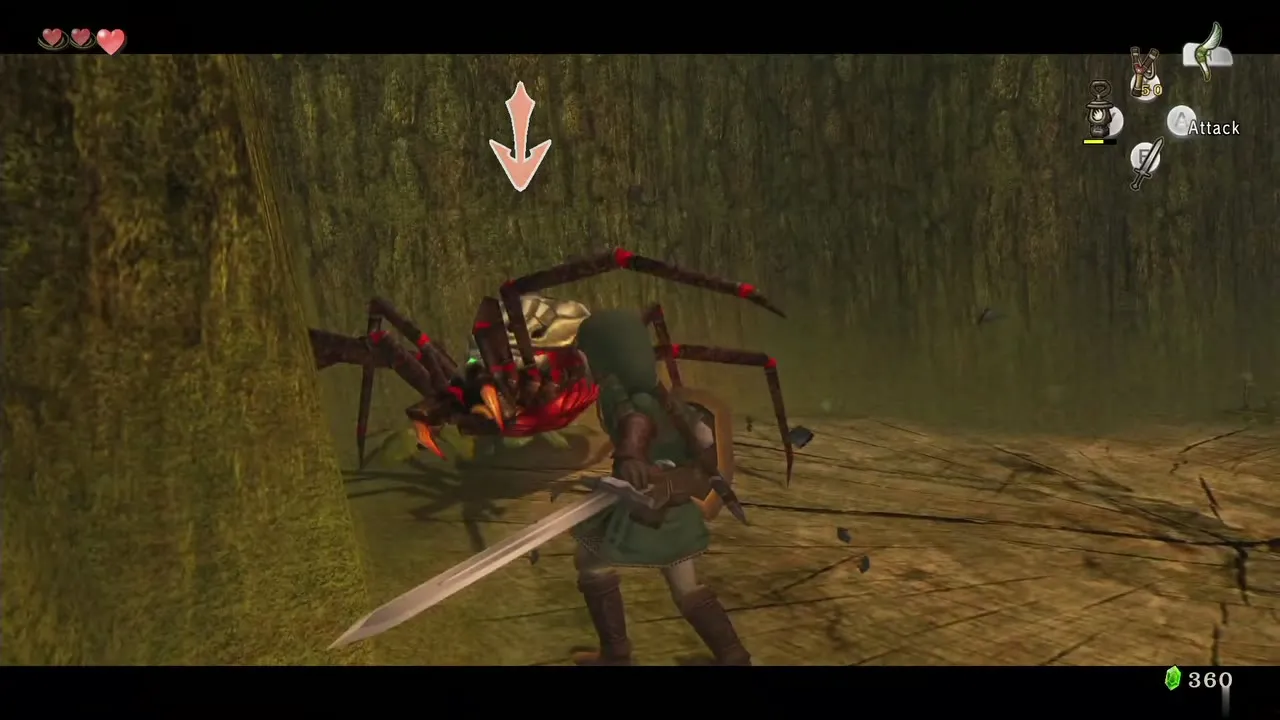
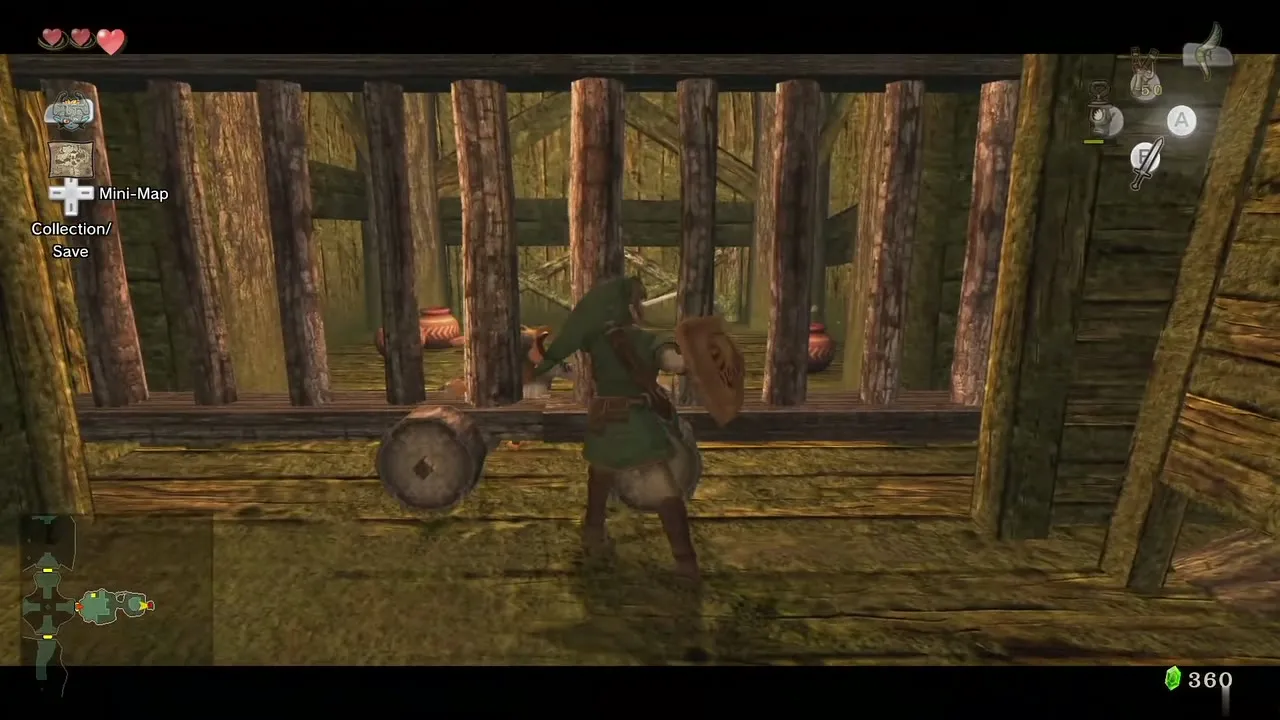
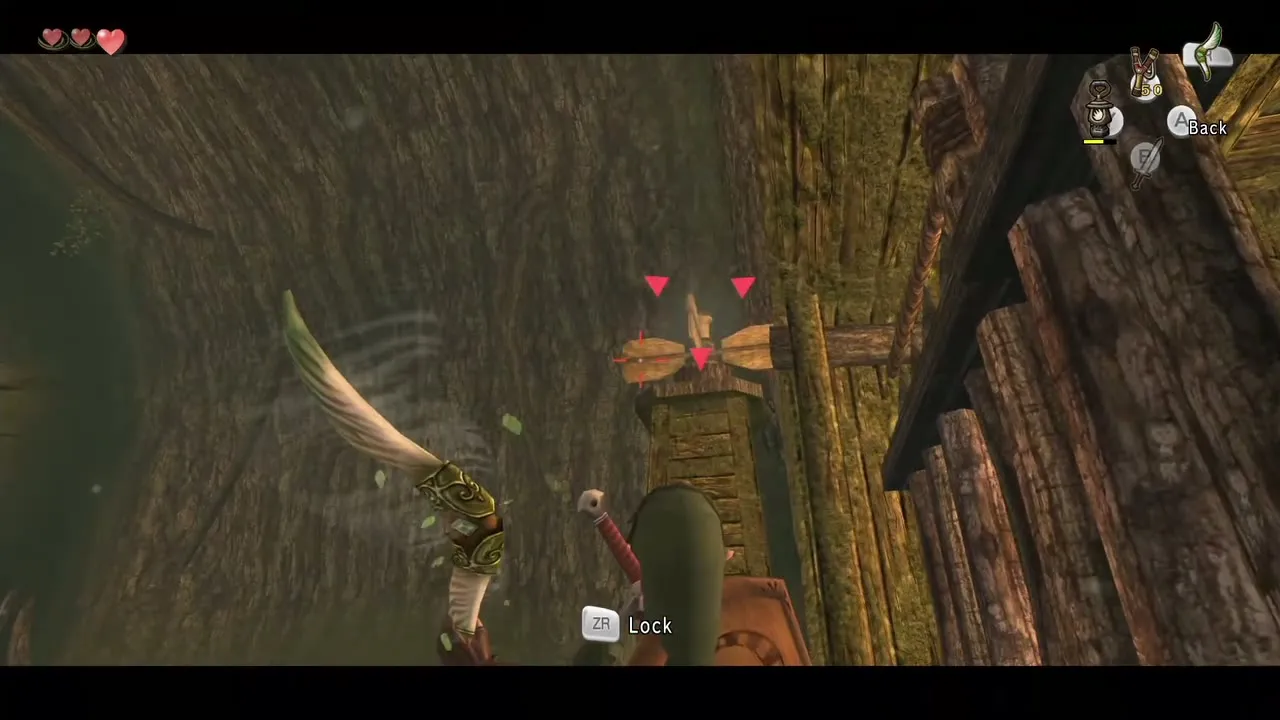
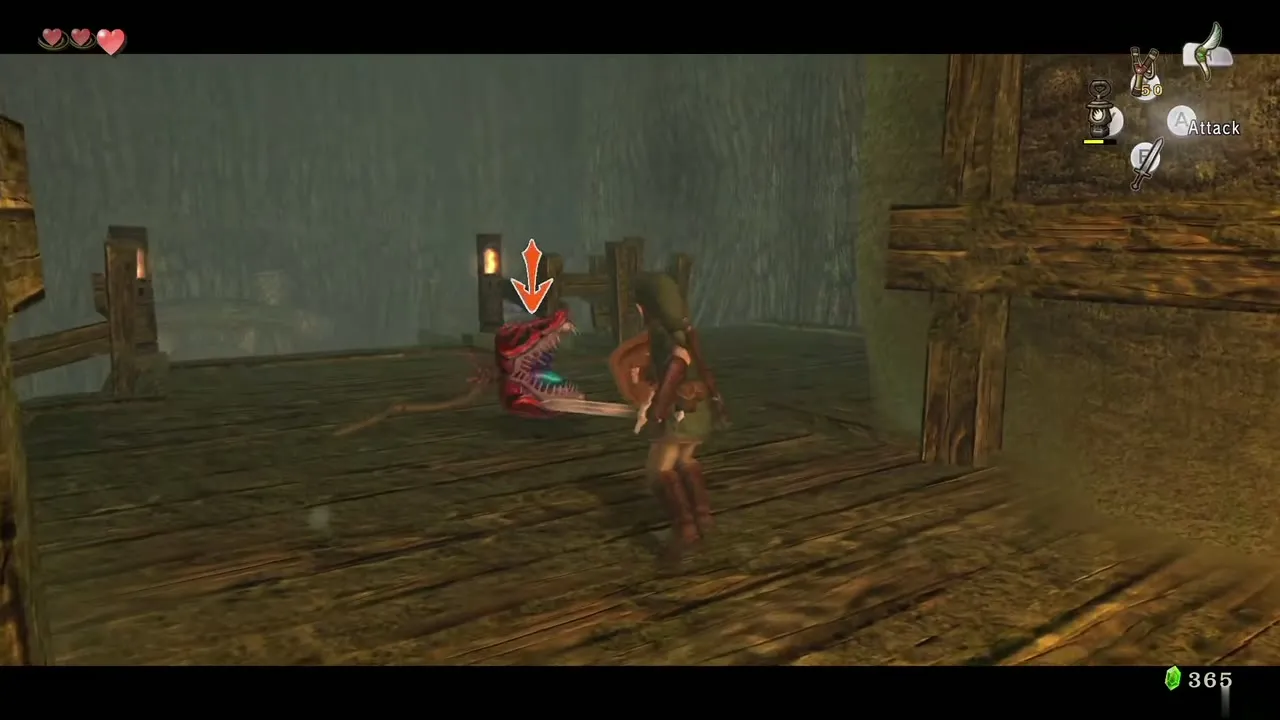
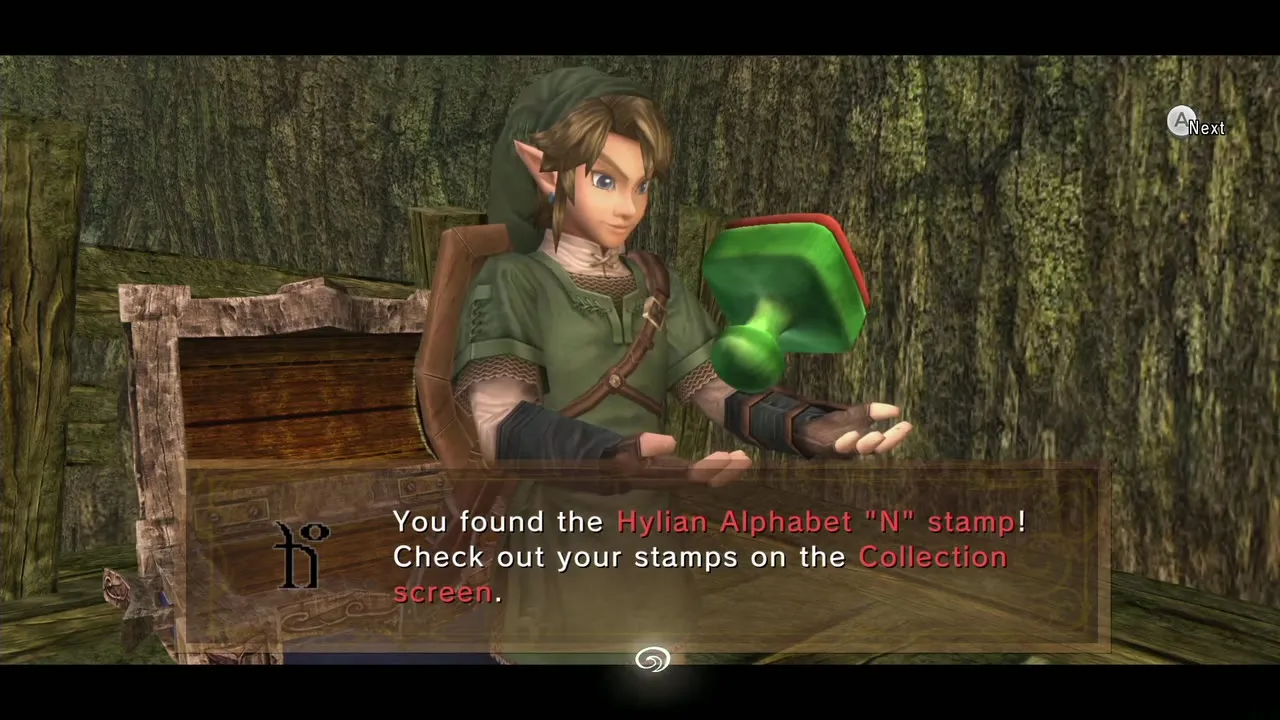
Turn around and knock down the hanging Deku Baba with the Boomerang. Walk along the path and jump the gap to a chest on the right with the Hylian letter N Miiverse Stamp (Wii U). On other versions this chest holds Rupees.
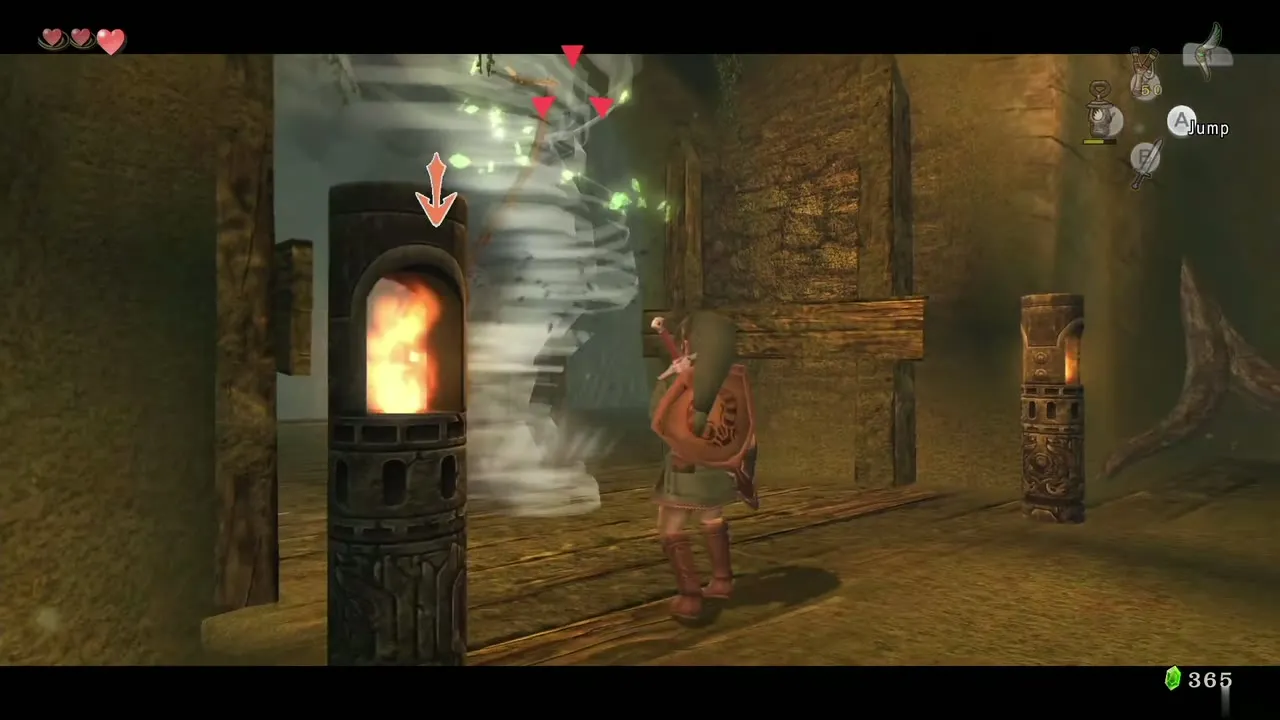
Eighth monkey
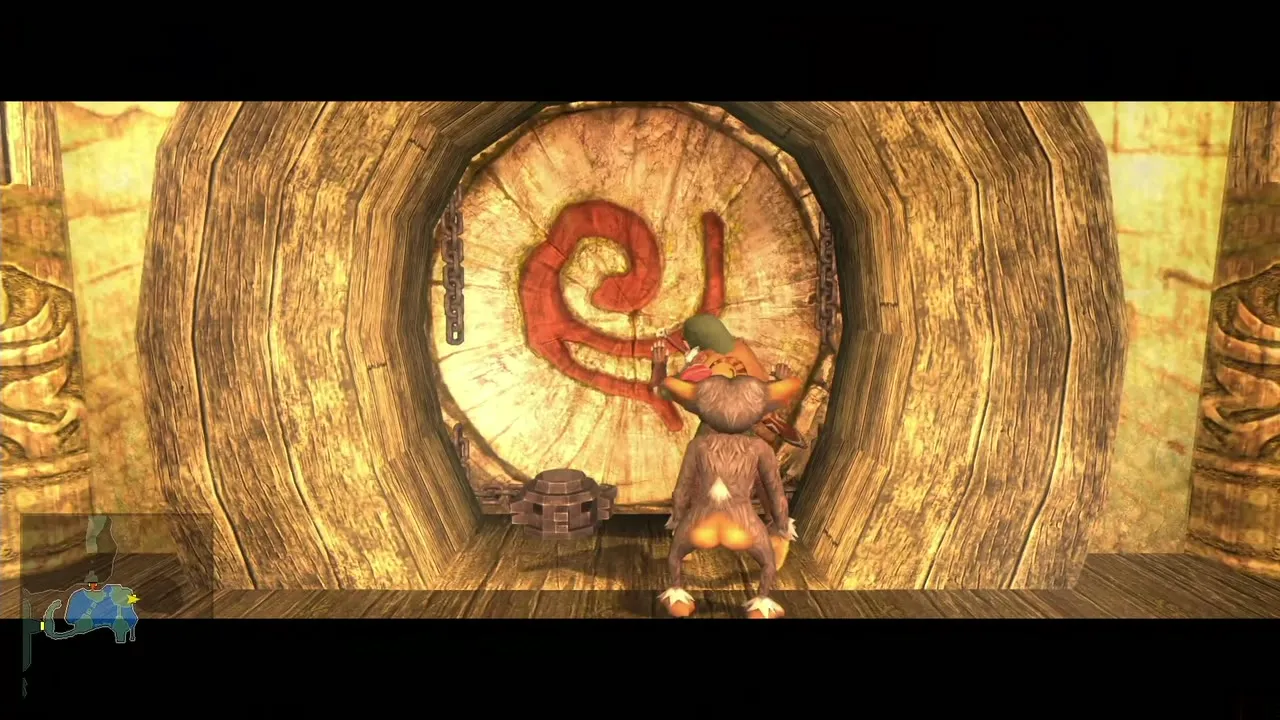
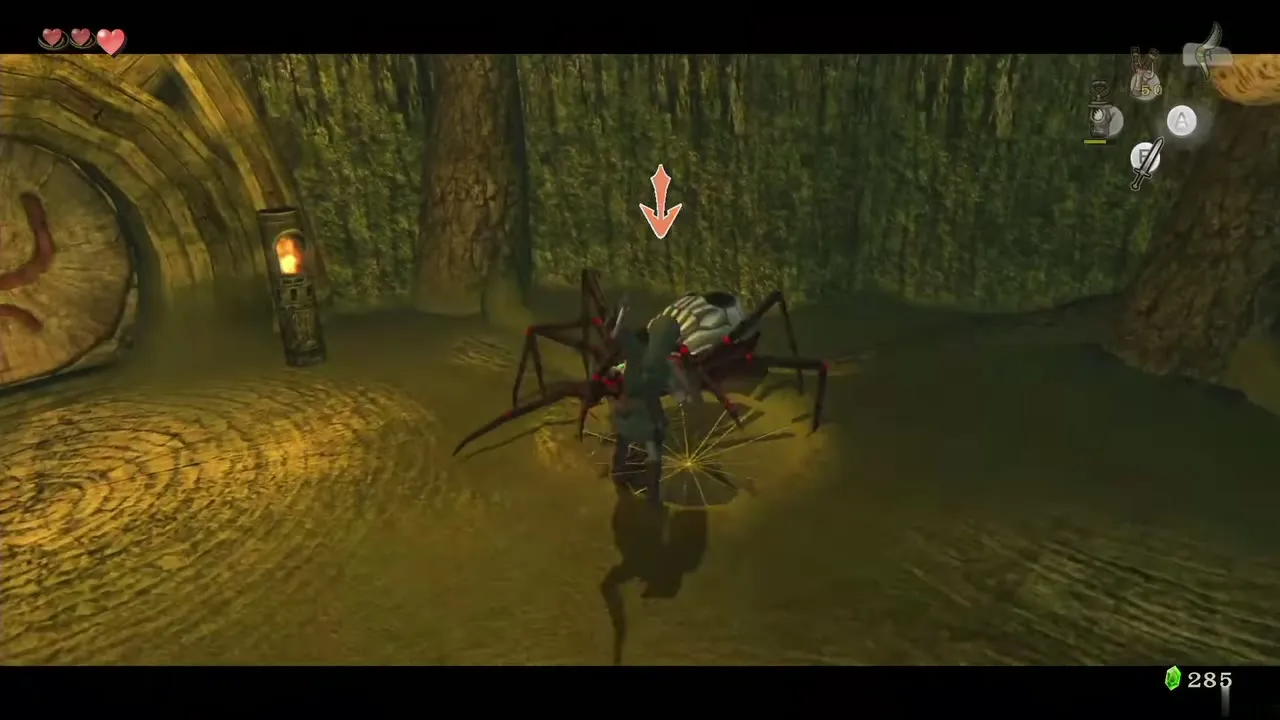
Cross the bridge and take the other door. The room has three holes in the floor, two covered with webs. Skulltulas drop from the ceiling. Choose the hole at the north end, on your right as you enter. Burn the web with the Lantern, drop through and slash the cage to free the eighth monkey.
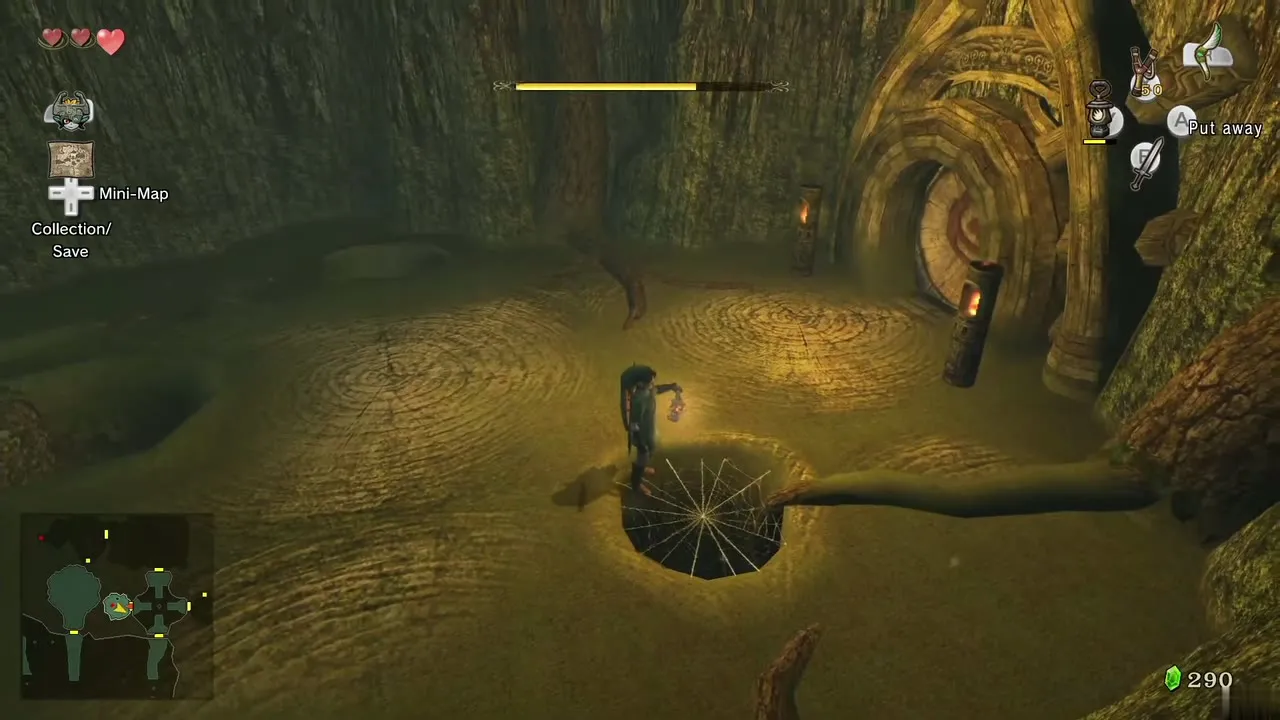
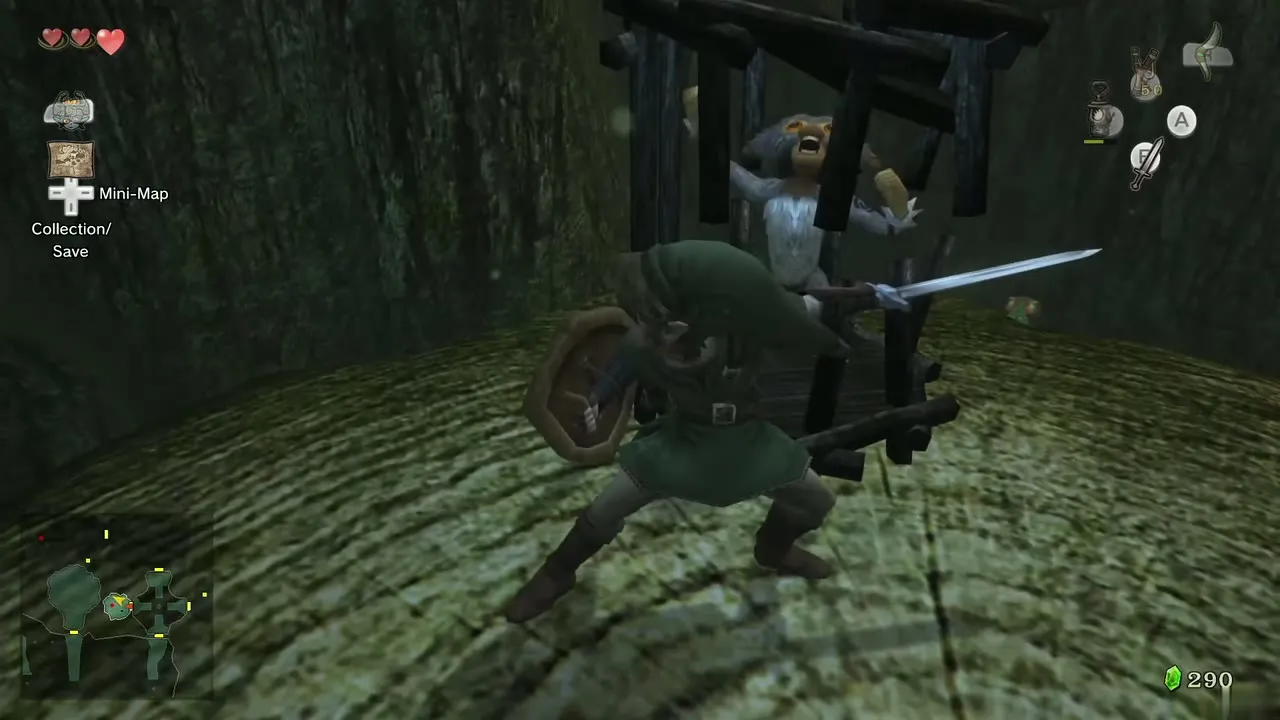
Climb the vines back up, return to the previous room, spin the platform and go north to the hub room where all the monkeys are waiting.
Boss door and preparation
Monkey swing and the boss room
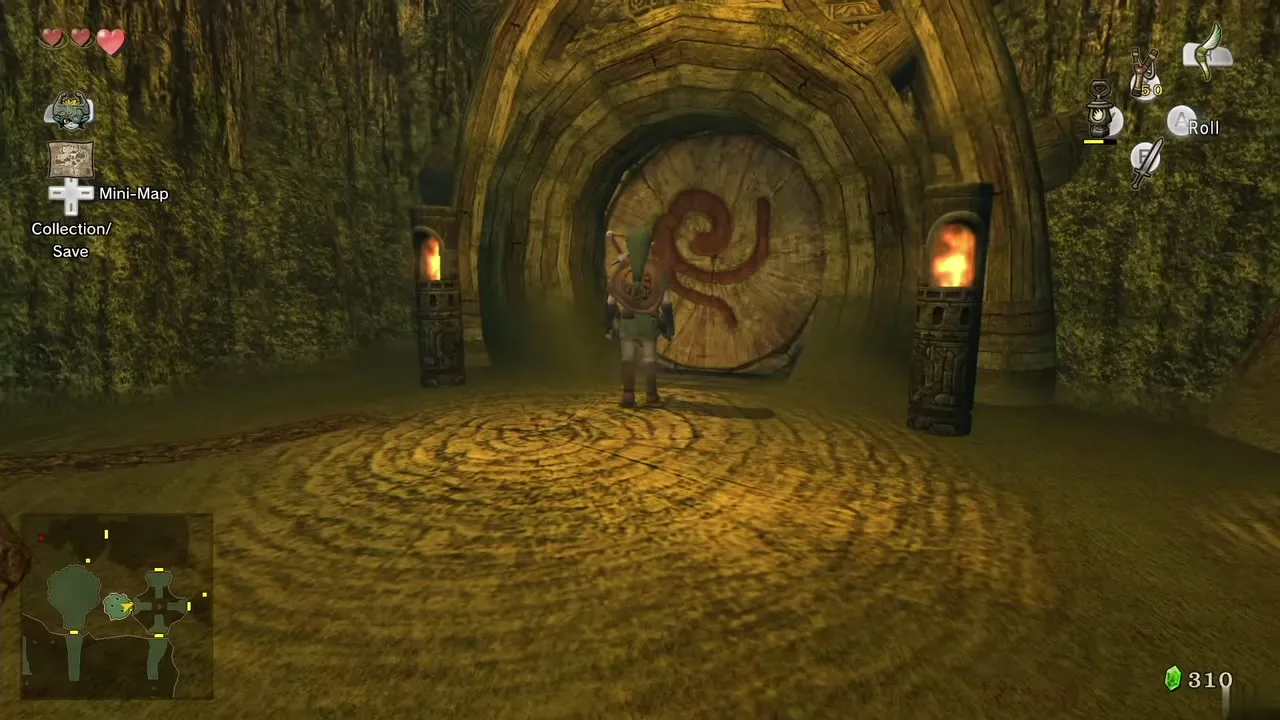
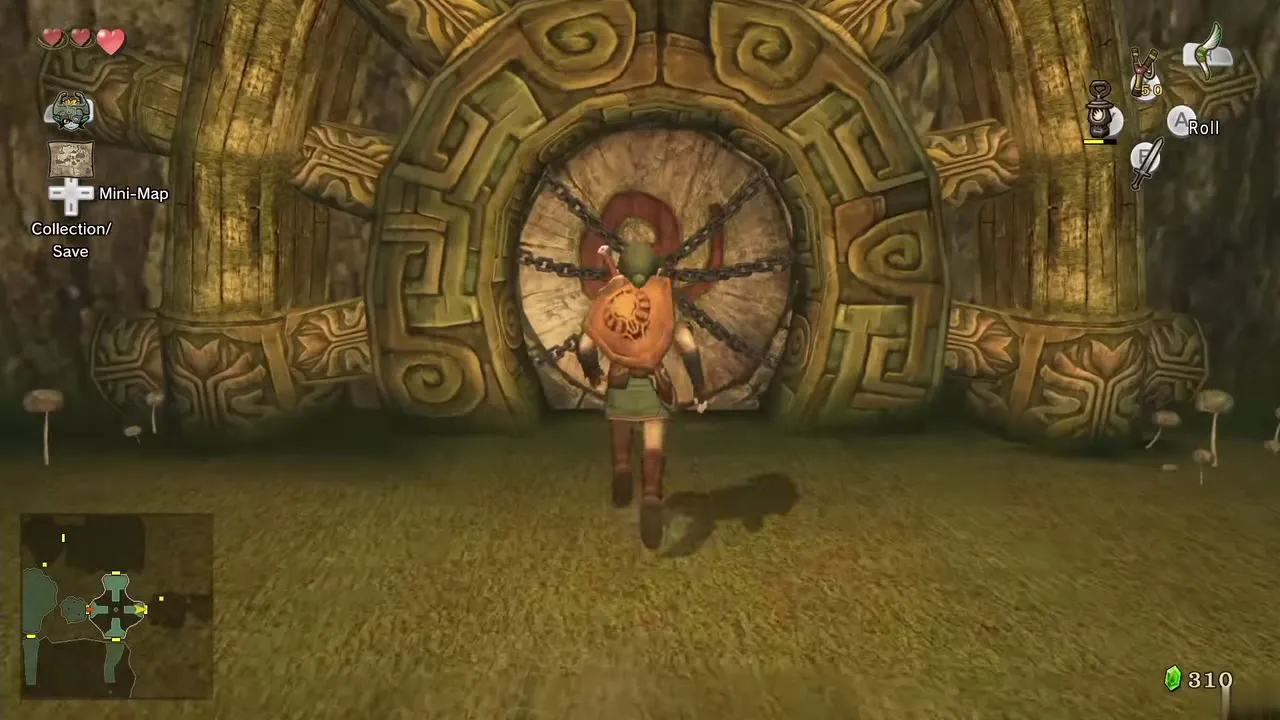
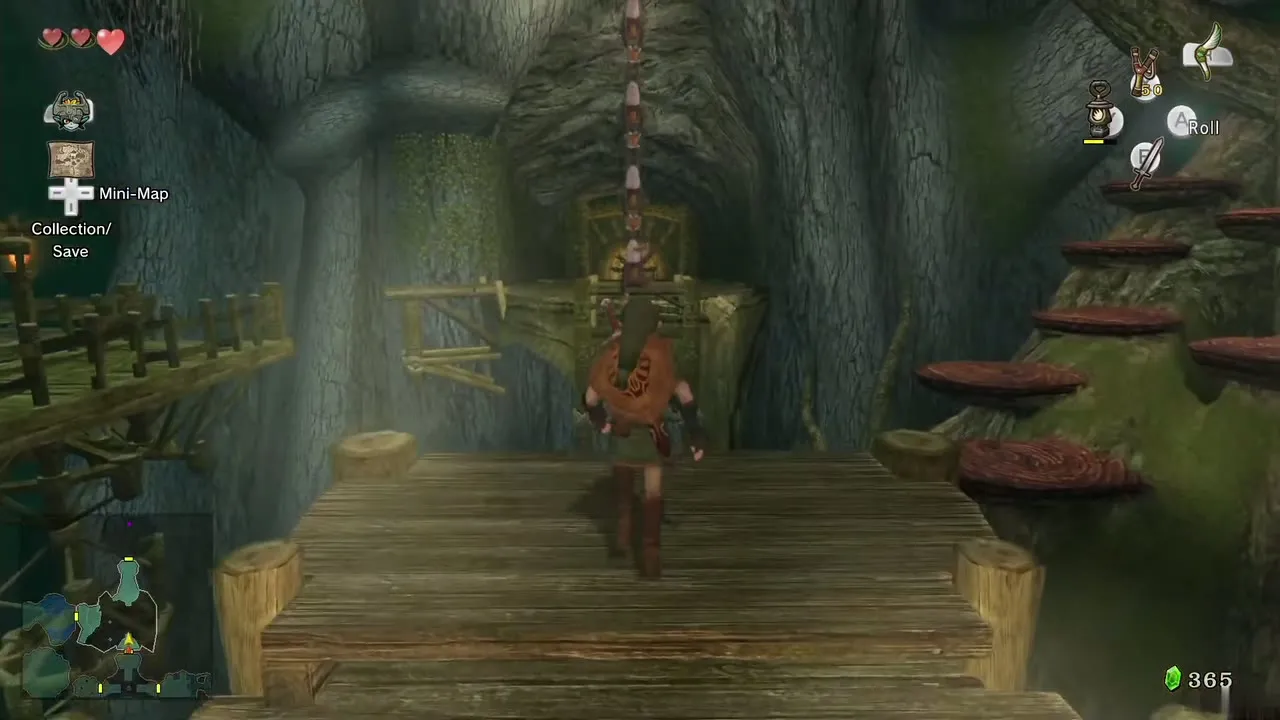
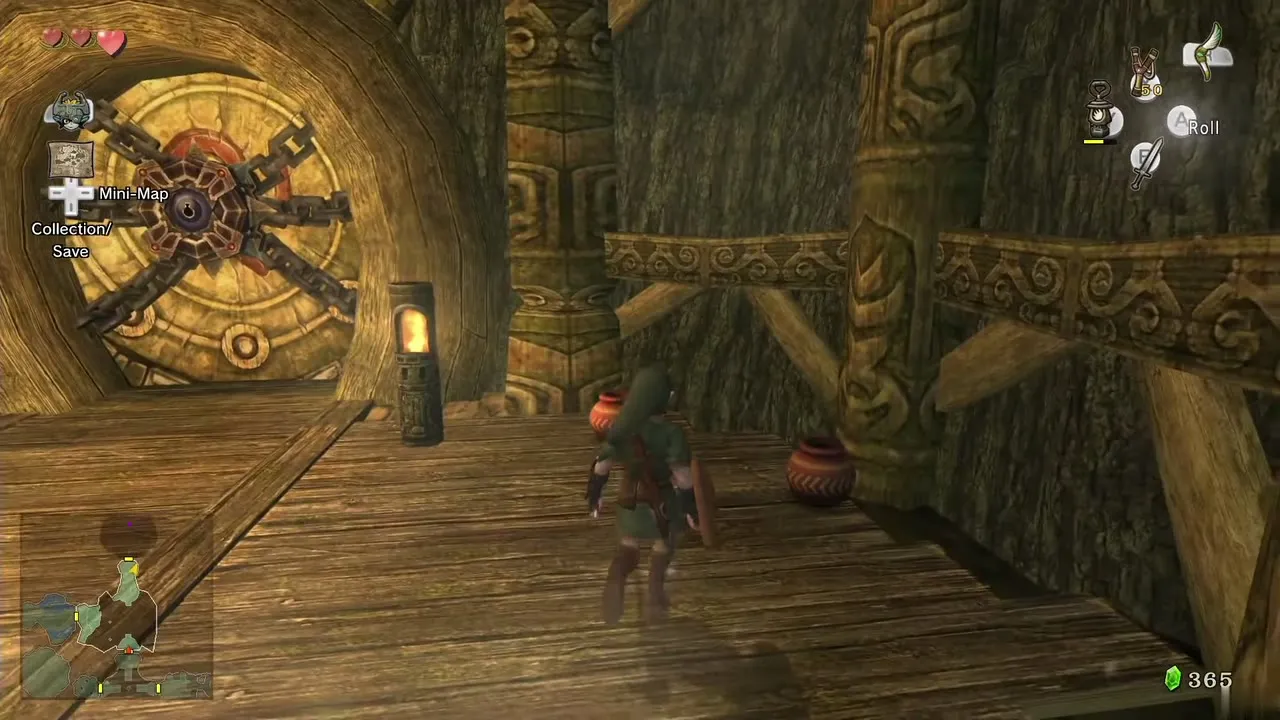
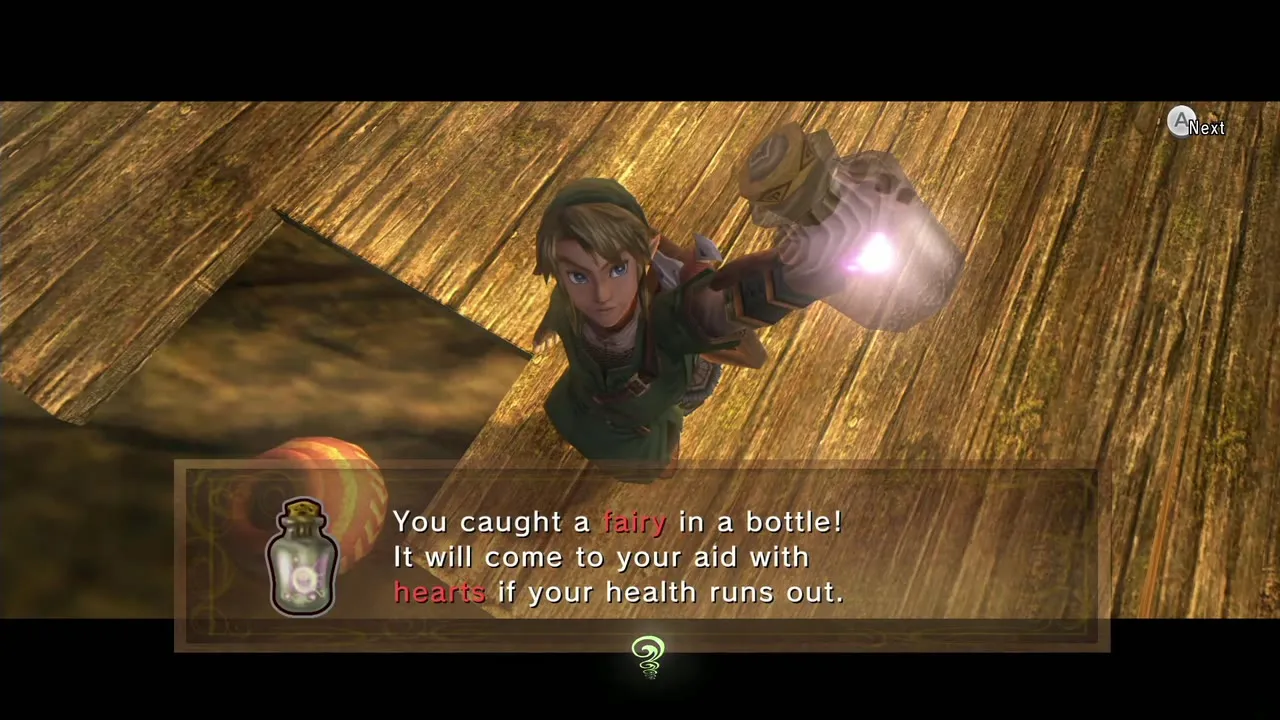
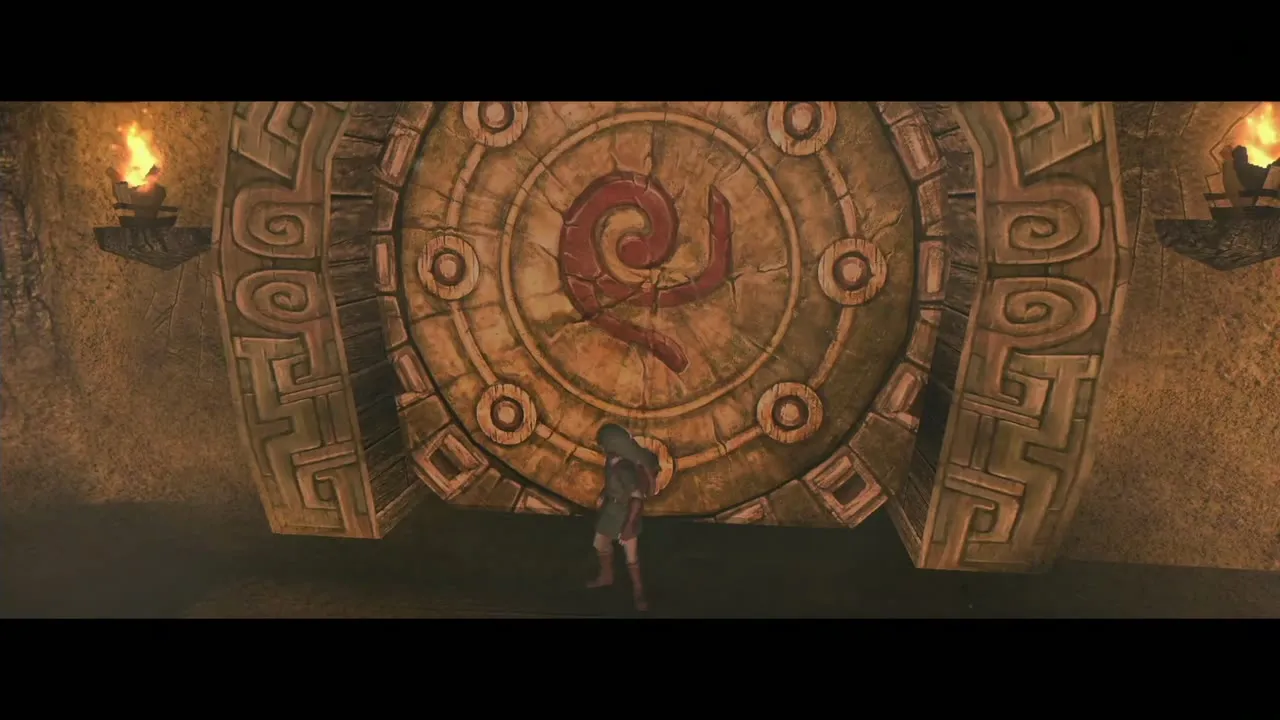
With all eight monkeys freed, they form a huge swing. Jump to the lowest monkey, swing across and release. Break the pots here for hearts; a fairy can be stored in a bottle if you have one free. Unlock the door to the north with the Big Key and enter the boss chamber.
Boss: Twilit Parasite Diababa
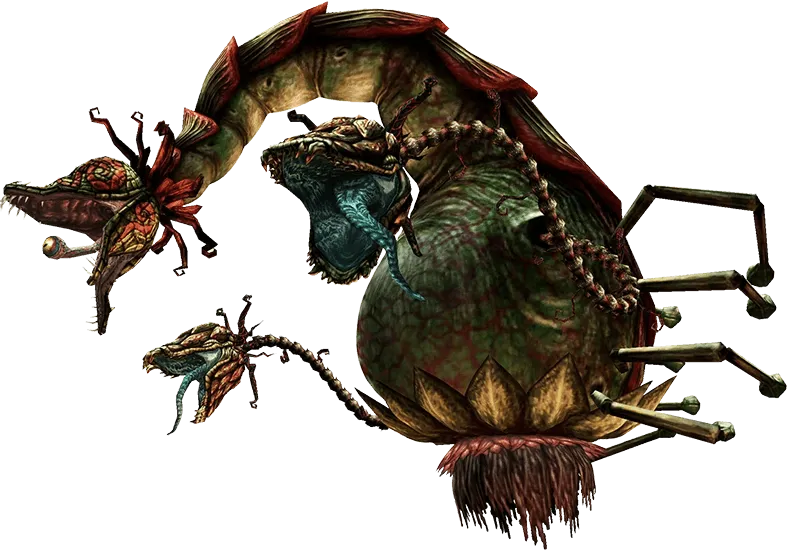
Phase 1: the two tentacle heads
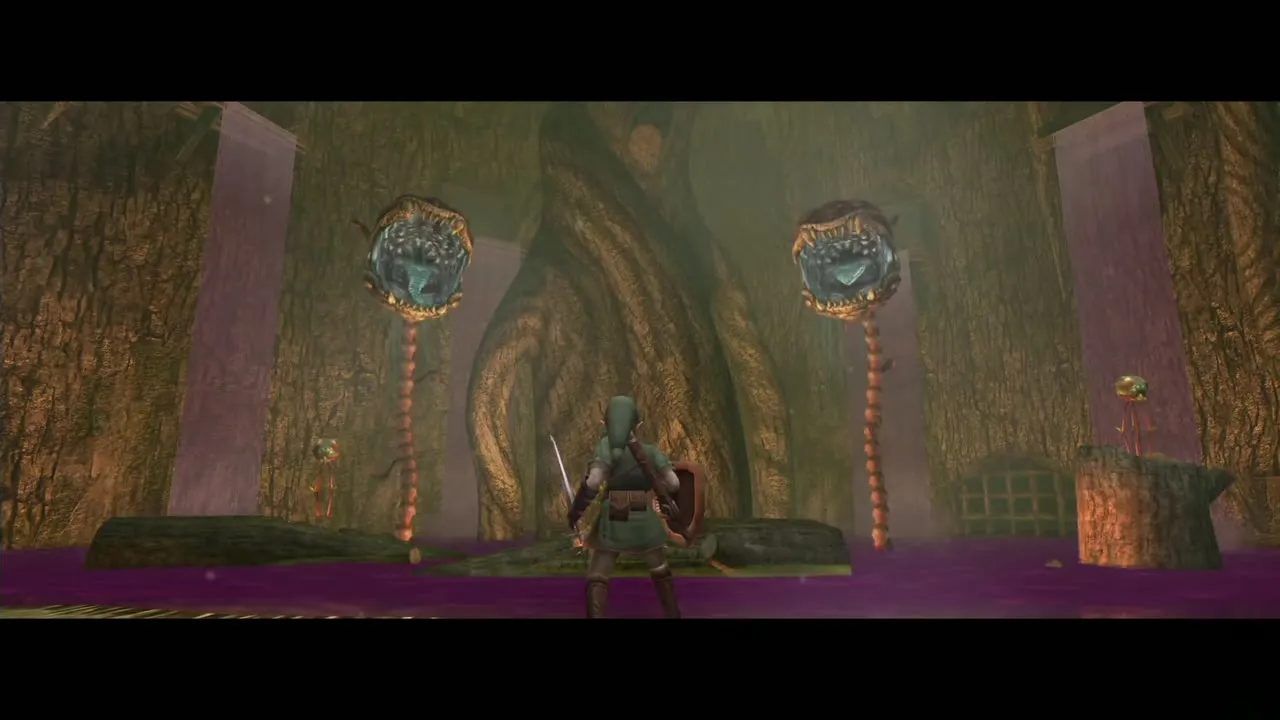
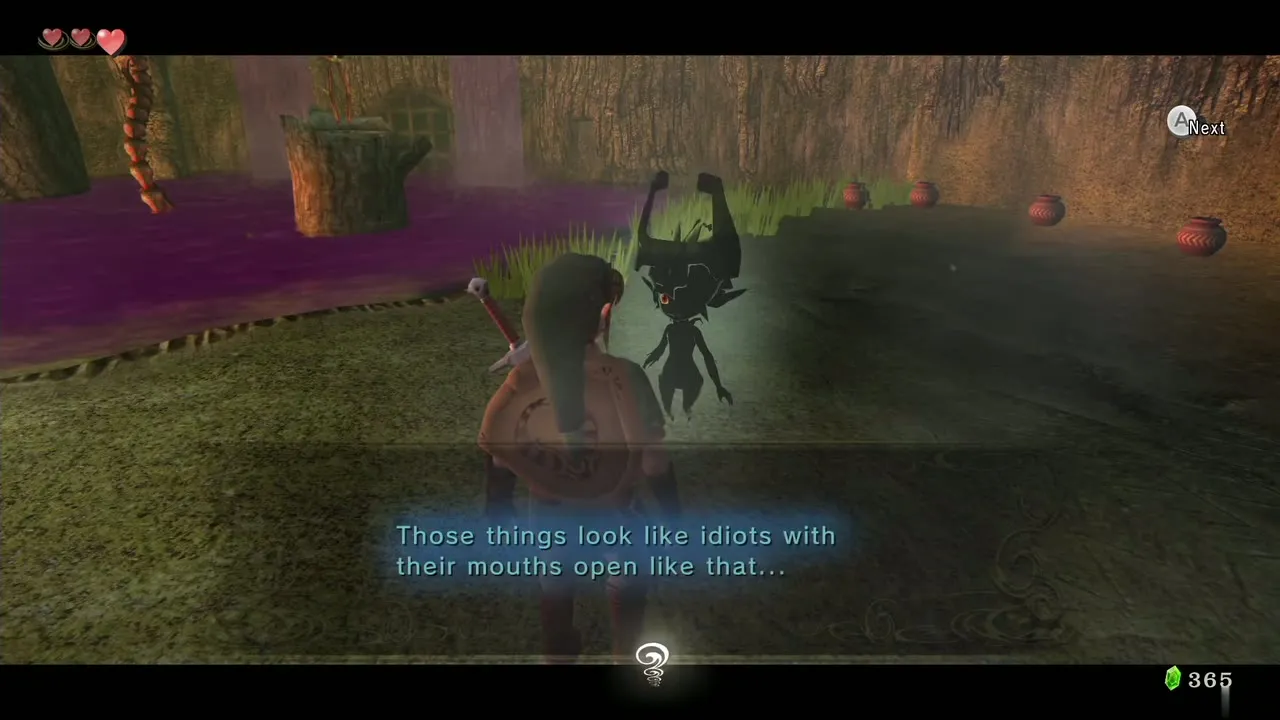
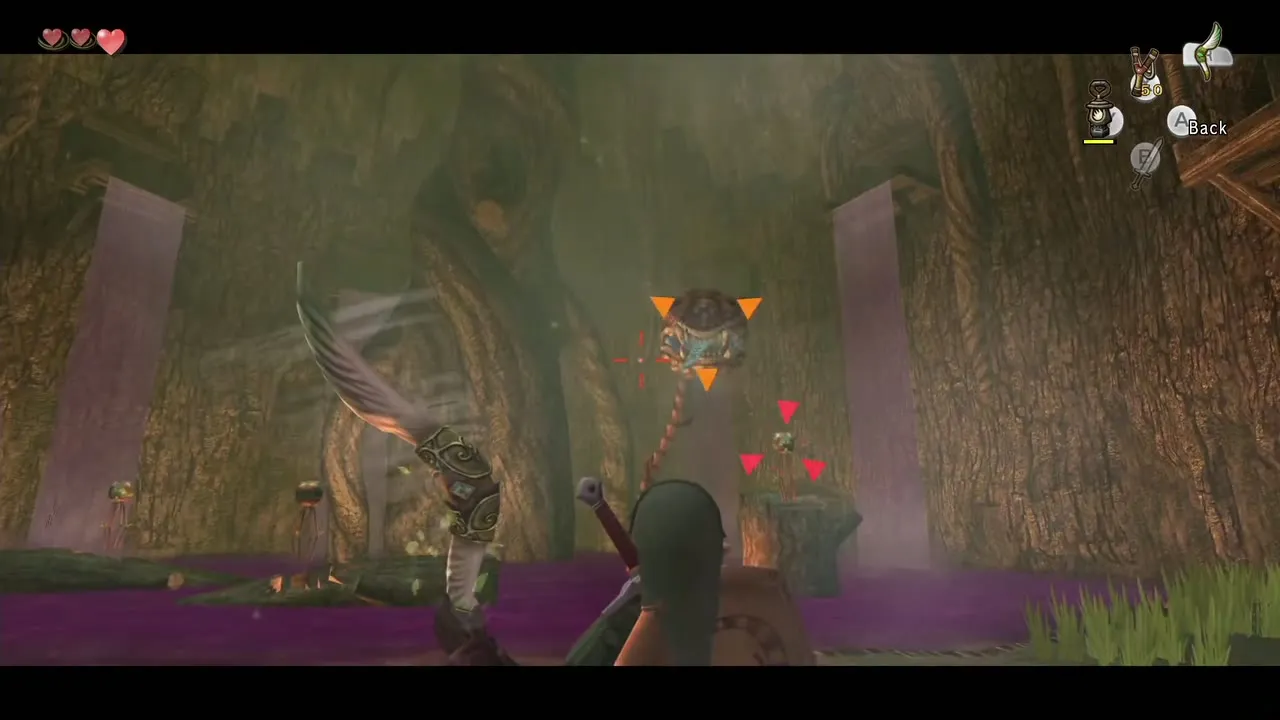
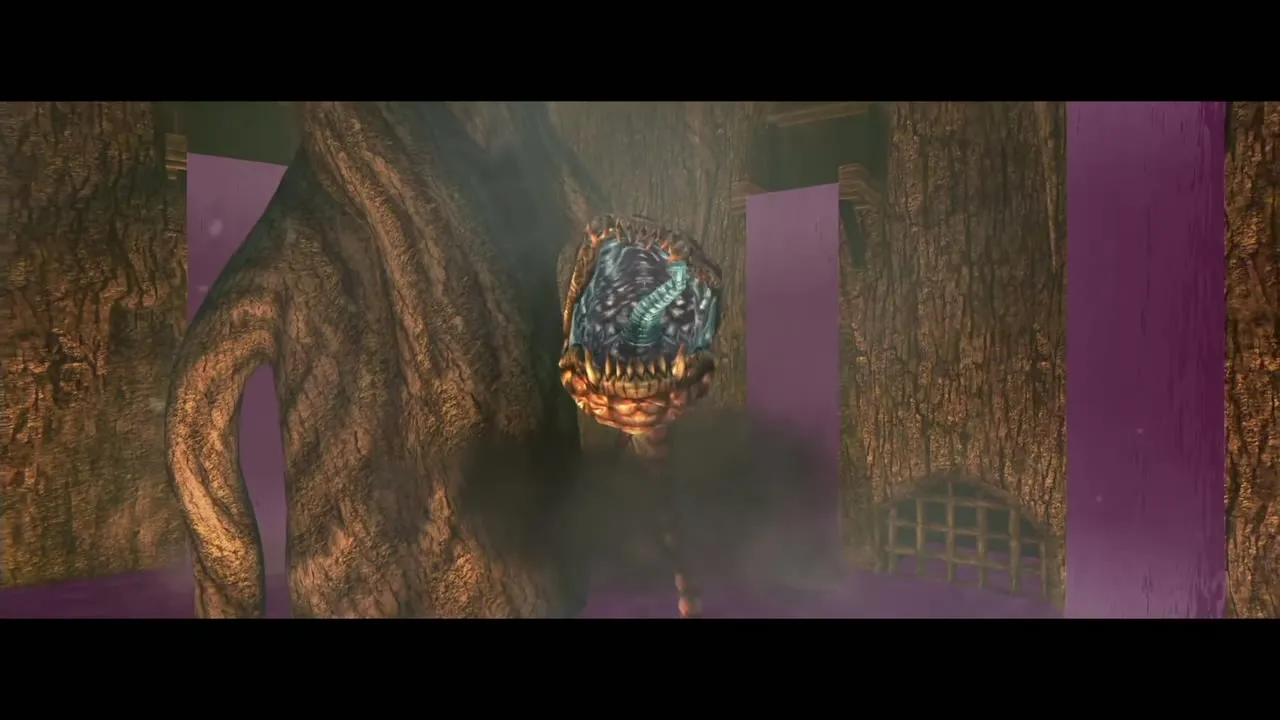
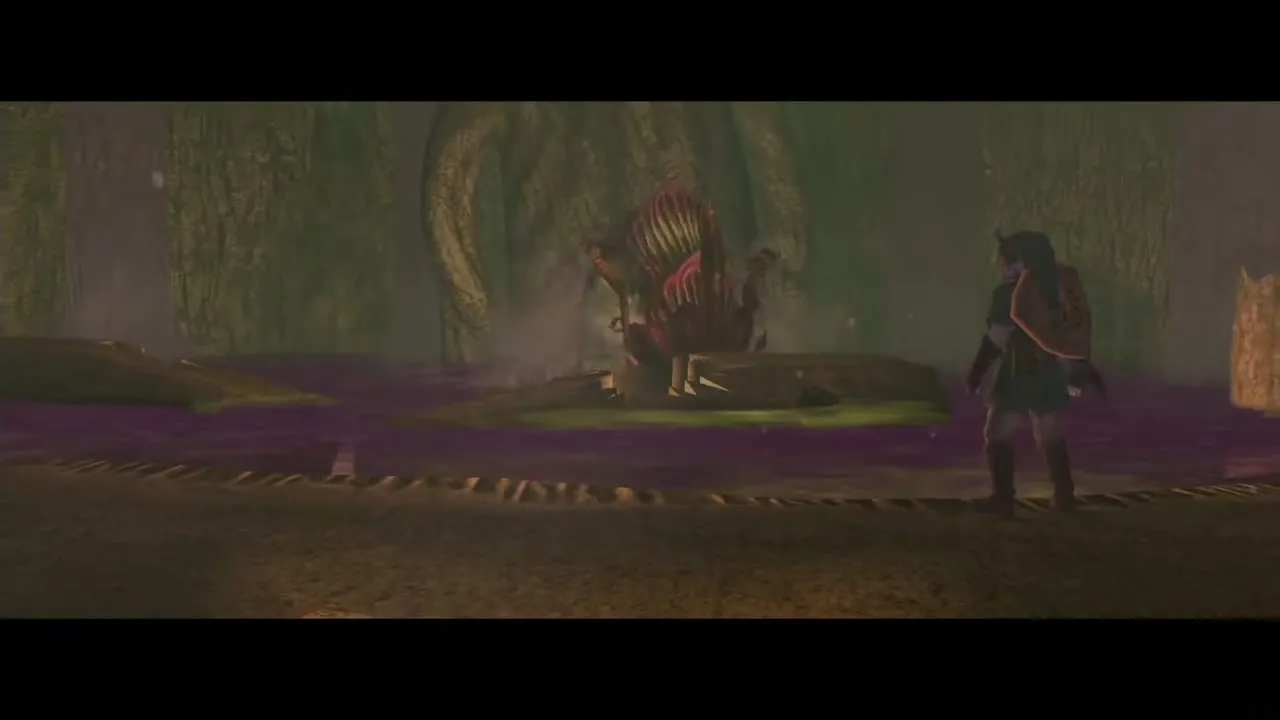
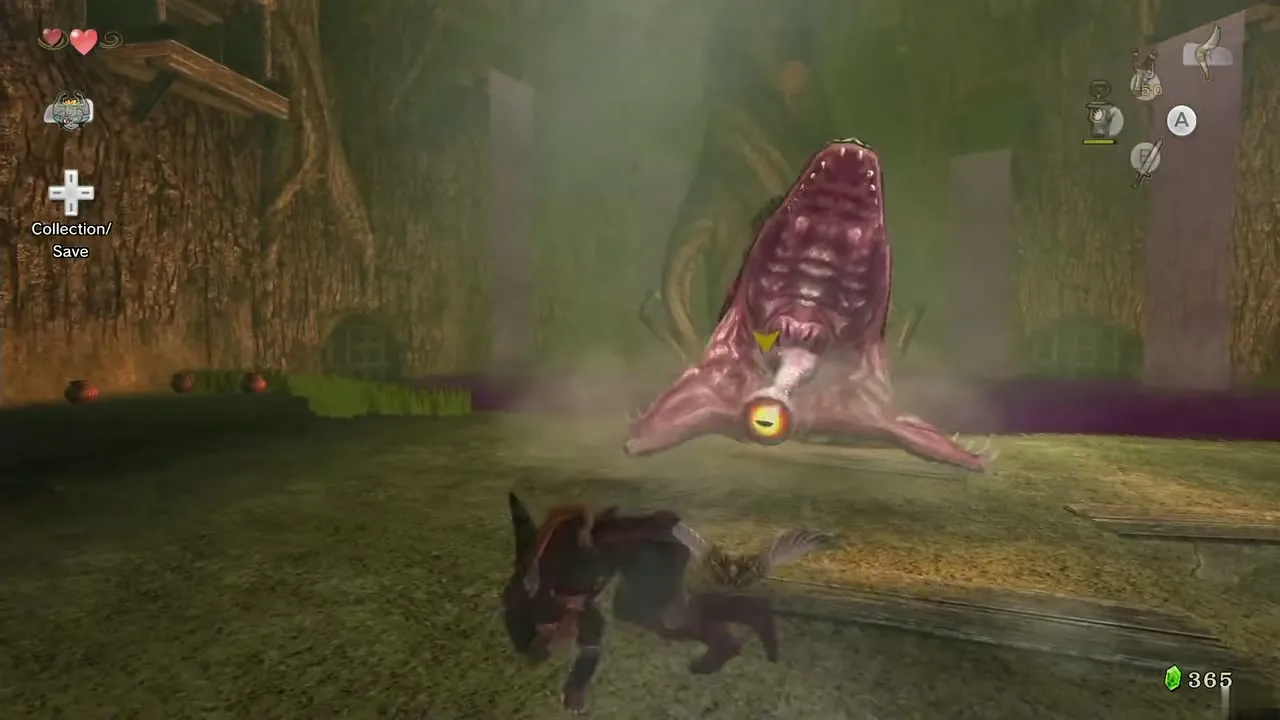
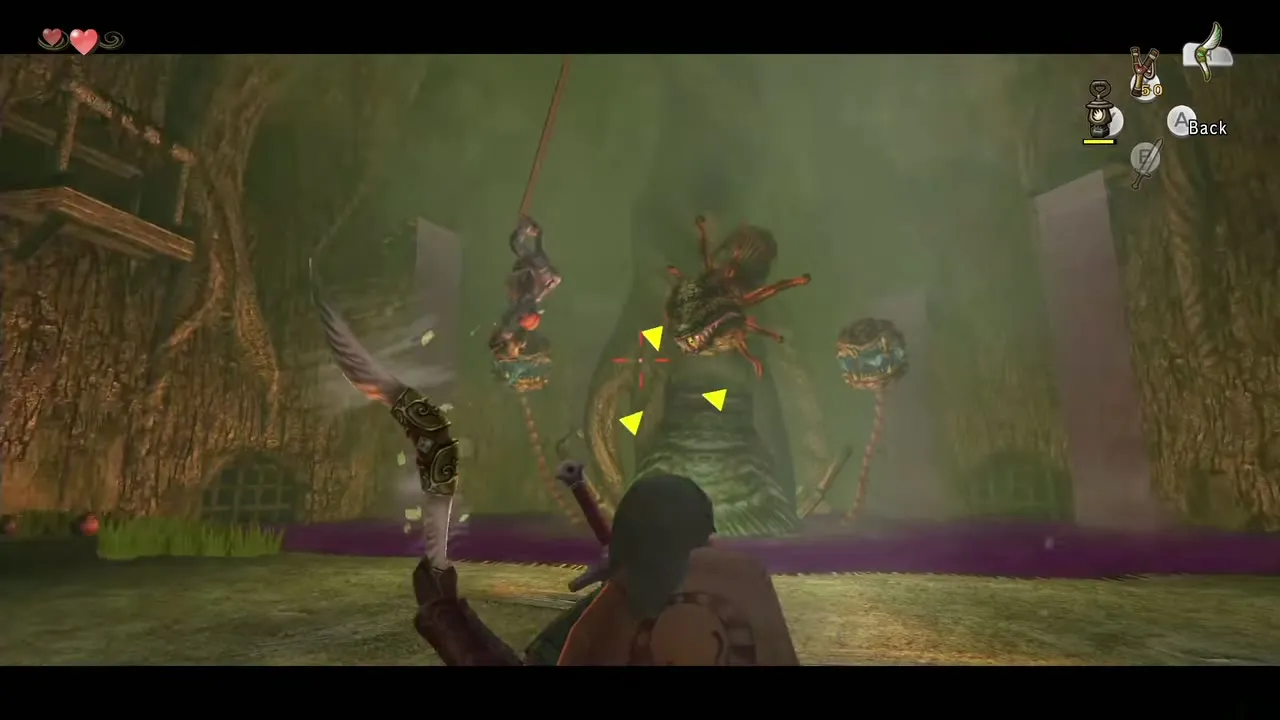
Two plant heads rise from the swamp and lunge at you. Bomblings sit around the arena. Lock on to a Bombling with the Gale Boomerang, then to one of the heads, and throw. The bomb flies into the head’s mouth, it explodes and the head collapses into the water. Do the same with the second head.
Phase 2: Ook swings in with bombs
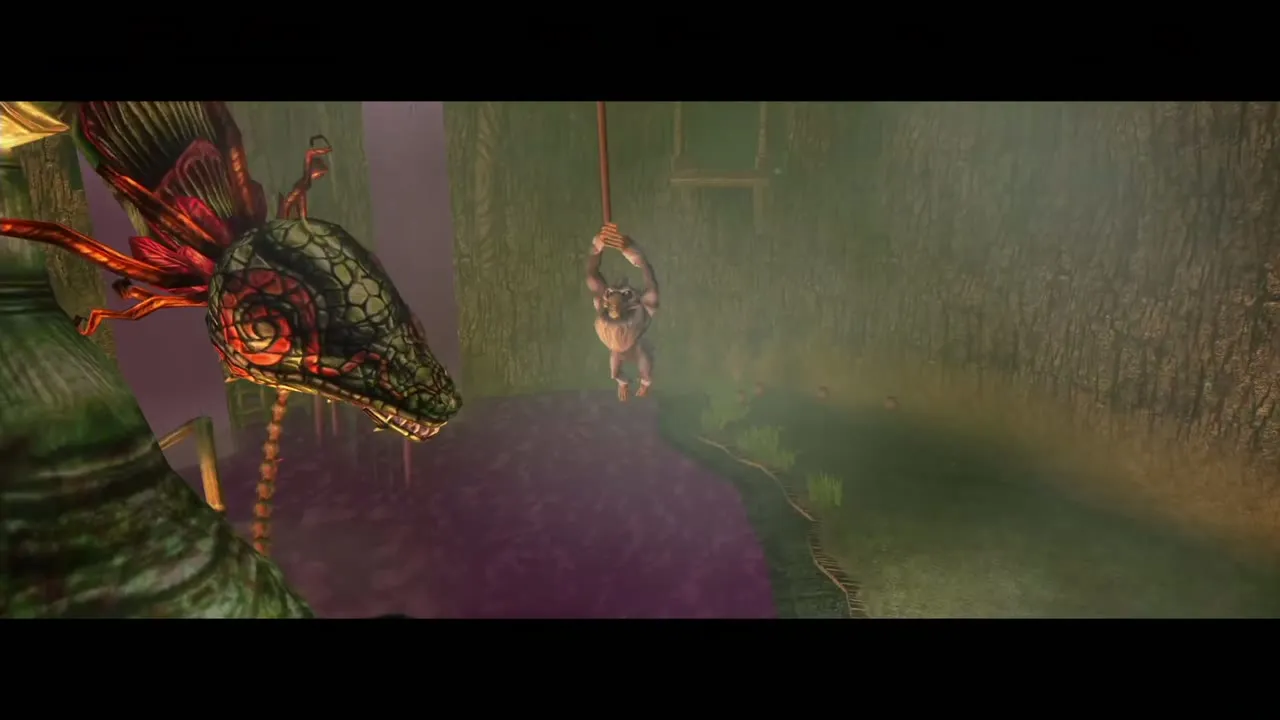
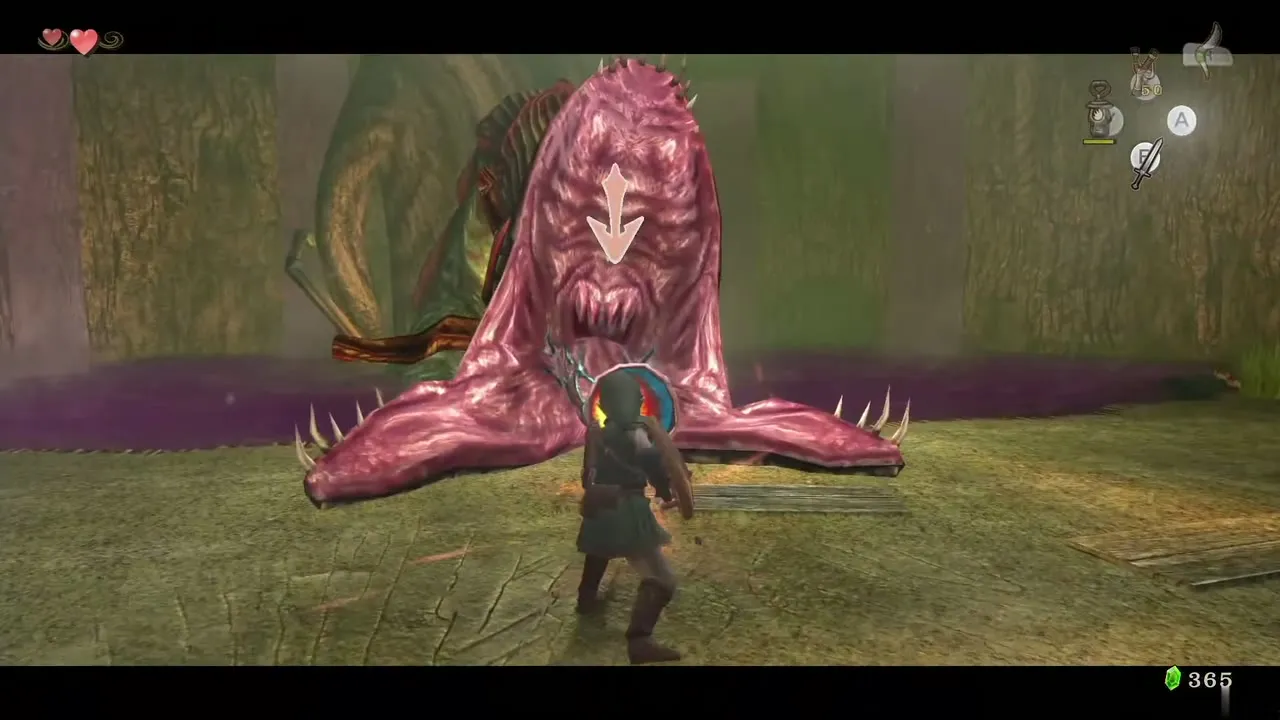
Diababa now fully surfaces with both heads restored. The Bomblings are gone, so run around and dodge lunges and the clouds of purple poison she spits. After a while Ook, now friendly, swings across the room on a rope holding a Bombling. Lock on to Ook, then one of the heads, and throw; the bomb is delivered. Do it for both heads, then lock on to Ook and then the central head. The bomb knocks Diababa to the floor.
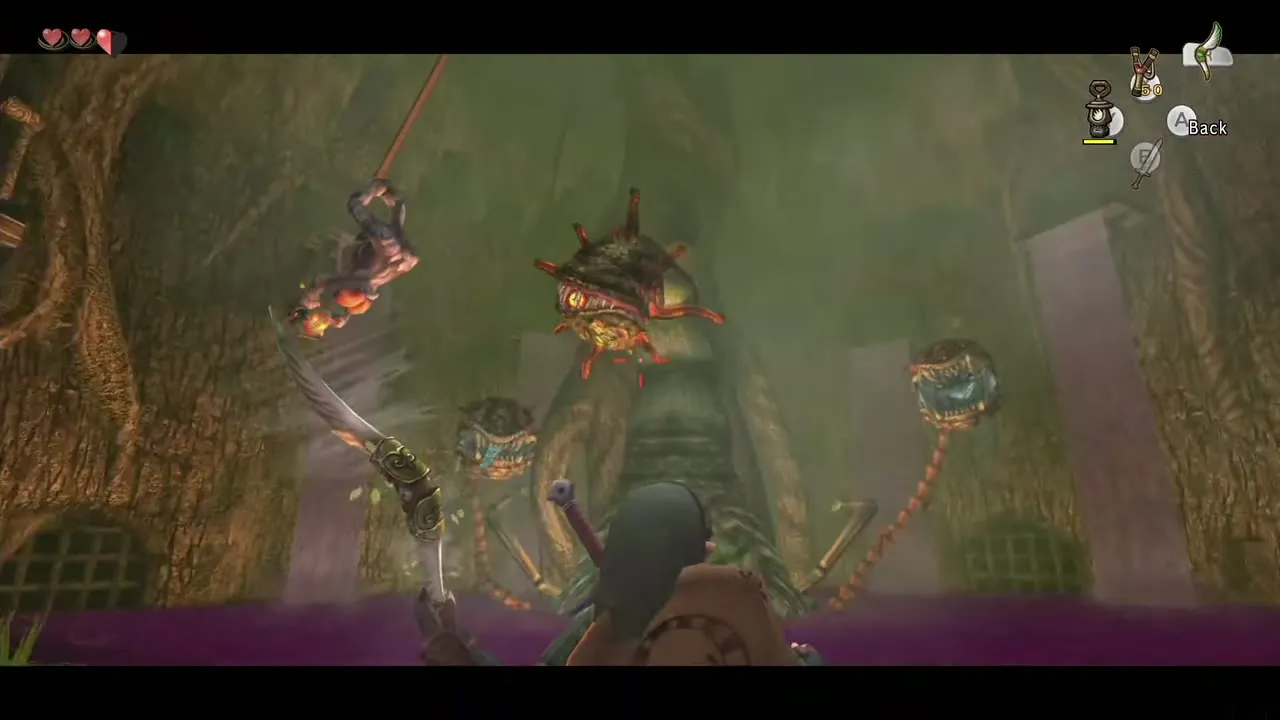
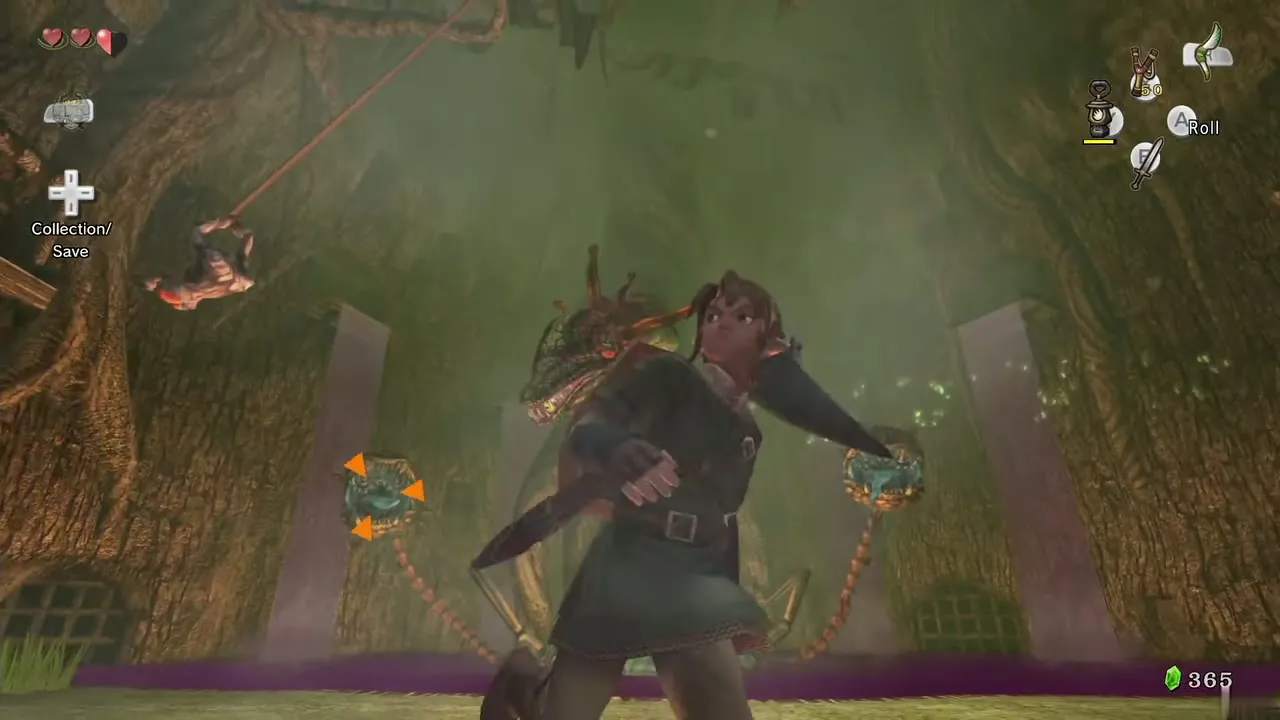
Run in and slash the eye at the end of her tongue until she recovers; an Ending Blow on the eye does extra damage. She also spews poison fumes at you while down, so step back when she swells. The heads return, so repeat the whole sequence: Ook’s bomb into each head, then one into the main head, then more sword strikes, until she falls for good.
Heart Container and Fused Shadow
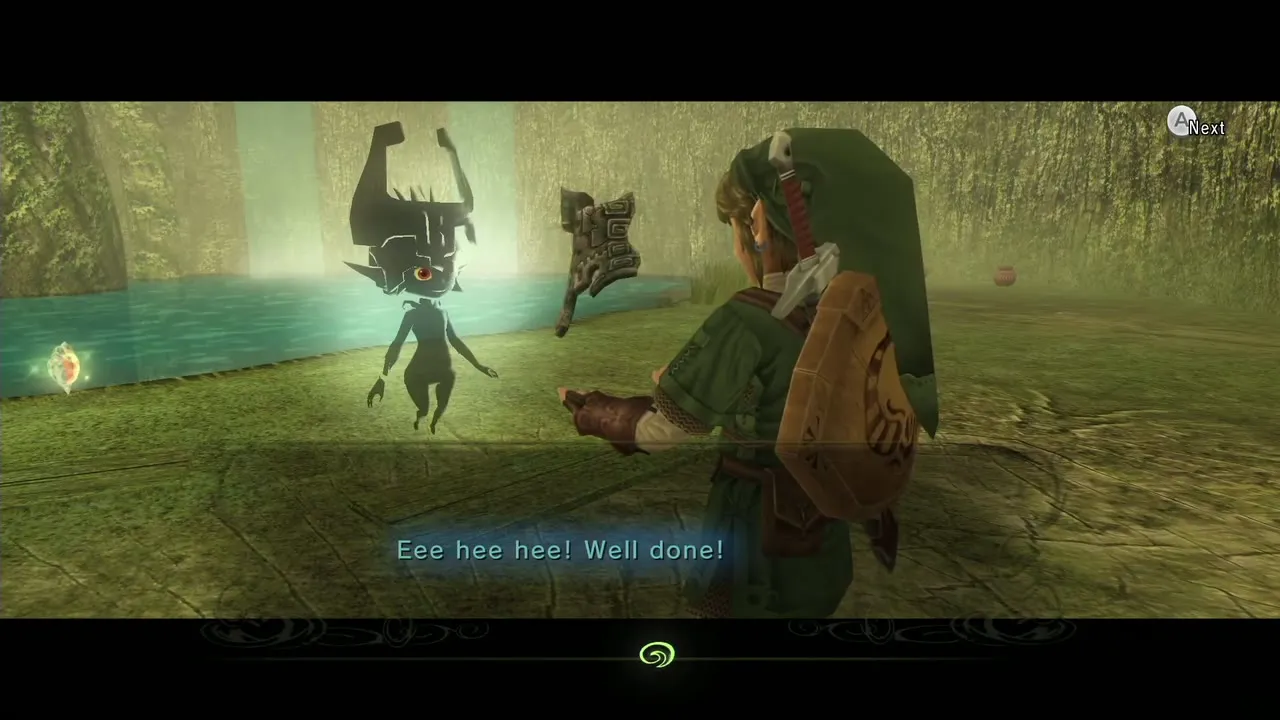
Diababa dissolves into twilight and leaves the first Fused Shadow; Midna takes it. Pick up the Heart Container she leaves behind, which raises your total hearts. Talk to Midna to leave the dungeon; you reappear outside the temple, near Trill’s shop. Your next task is the Eldin region. See the Hyrule Field and Kakariko chapter. Boss details are also on the Boss Guide.
Chapter checklist
| Type | Name | Where |
|---|---|---|
| Chest |  Yellow Rupee (10) | Entrance hall, up the vines on the right |
| Map |  Dungeon Map | Chest beyond the torch staircase in the first hub |
| Key | Small key 1 | Chest in the room beyond the wind bridge |
| Chest | Yellow Rupee (10) | Lower floor of the second monkey’s room |
| Key | Small key 2 | Pillar chest in the third monkey’s room |
| Chest |  Red Rupee (20) | Vines on the north wall of the third monkey room |
| Key | Small key 3 | Dropped by the Deku Like after the Big Baba |
| Heart Piece | Dungeon Heart Piece 1 | Room behind the Deku Like on the ground floor of the tall room, reached with a bomb dropped from above |
| Mini-boss | Ook | Room across the monkey rope; reward Gale Boomerang |
| Heart Piece | Dungeon Heart Piece 2 | Chest under the torch staircase in the Tile Worm room |
 Compass | Compass | Chest hanging in a web in the hub |
| Chest | Red Rupee (20) | Behind a cracked wall in the hub, opened with a bomb |
| Key | Big Key | Gated chest in the water room (Z puzzle) |
| Stamp | Hylian letter A | Alcove at the water-room edge (Wii U) |
| Key | Small key 4 | Chest in the Deku Like / Bombling room (sixth monkey) |
| Stamp | Hylian letter N | Chest beyond the seventh monkey’s gate (Wii U) |
| Monkeys | All 8 freed | Entrance cage, second room, third room, fourth room, bridge cage, boulder room, gate room, web hole |
| Boss | 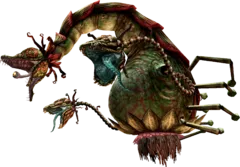 Diababa | Reward Heart Container and Fused Shadow 1 of 3 |
