
























Twilight Princess 100% Completion Walkthrough23 chapters
- Hyrule Castle and the Ganondorf BattleEvery key and chest, then how to beat Puppet Zelda, Dark Beast Ganon, the horse chase and the final duel.
- Snowpeak Ruins (Dungeon 5)Every key, chest, Heart Piece and Poe Soul, the Ball and Chain, Darkhammer and the Blizzeta boss fight.
- Temple of Time (Dungeon 6)All keys and chests, the Dominion Rod, statue puzzles, Big Key, two Heart Pieces and Armogohma.
- City in the Sky (Dungeon 7)Every chest, Heart Piece and Poe, the Double Clawshots, Aeralfos, the Big Key and how to beat Argorok.
- Ordon VillageGoat herding, fishing rod, Sera’s bottle, slingshot, Wooden Sword, Faron Woods cave Heart Piece, Lantern.
- Enter the Twilight RealmEscape the cell as Wolf Link, meet Midna and Zelda, get the Ordon Sword and Shield, meet Ordona.
- Faron WoodsAll 12 Tears of Light, Faron Spring, Coro’s key and lantern oil bottle, and the Golden Wolf’s Ending Blow.
- Forest Temple (Dungeon 1)All 8 monkeys, 4 small keys, Map, Compass, Big Key, 2 Heart Pieces, Ook, Gale Boomerang and Diababa.
- Hyrule Field, Kakariko Gorge and Twilight Kakariko12 Tears of Light, Epona, Pill Bugs, Heart Pieces.
- Iron Boots, King Bulblin and Death MountainIron Boots from Mayor Bo, the King Bulblin bridge fight, Golden Bugs and Gor Coron’s sumo match.
- Goron Mines (Dungeon 2)Every chest, both Heart Pieces, the Hero’s Bow, three Key Shards, Dangoro and Fyrus boss tactics.
- Lanayru Province, Castle Town and Zora’s DomainKakariko extras, Bridge of Eldin bugs, Castle Town, Lake Hylia, thawing Zora’s Domain and all 12 Tears of Light.
- Telma Escort, Castle Town and Lake Hylia Side QuestsTelma escort, Zora Armor, Water Bombs, 9 Golden Bugs, Agitha, Charlo, fishing, Rapid Ride and the Lakebed entrance.
- Lakebed Temple (Dungeon 3)Small keys, map, compass, Big Key, two Heart Pieces, Clawshot, Deku Toad and Morpheel boss tactics.
- Midna, Zelda and the Master SwordTelma’s Bar to Zelda, the Sacred Grove, Skull Kid, the guardian puzzle, plus its Heart Piece, Poe and Golden Bug.
- Poe Soul Collection, Malo Mart and Heart PiecesThe first 29 Poe Souls, Jovani’s rewards, Malo Mart donations and Magic Armor, Miiverse stamps and five Heart Pieces.
- Gerudo Desert and the Bulblin CampOasis Flight, eight Poe Souls, both Dayflies, Mortal Draw, Bulblin Camp and King Bulblin.
- Arbiter’s Grounds (Dungeon 4)Four Poe Souls, Dungeon Map, Compass, Spinner, Big Key, two Heart Pieces and the Stallord boss fight.
- Mirror Chamber, Reekfish and Snowpeak MountainMirror Chamber, Spinner Heart Pieces, Reekfish bait, Jump Strike, Poe Souls and the climb to Yeto.
- Heart Pieces Hunt and Return to the Sacred GroveTwo Heart Pieces, Rusl, the Skull Kid rematch, the last Golden Bug and the Temple of Time door.
- Ilia’s Memory, Hidden Village and the SkyIlia’s memory, 20 Bulblins, 20 cats, six Sky characters, Great Spin and the Sky Cannon repair.
- Palace of Twilight (Dungeon 8)Both Sols, all seven small keys, map, compass, Big Key, 2 Heart Pieces and how to beat Zant.
- Cave of OrdealsAll 50 floors, the 3 Poe Souls, every Great Fairy, buried items, the Tears and Jovani.
| Covers | The whole Arbiter’s Grounds dungeon in route order, from the entrance to the Stallord fight and the Heart Container |
|---|---|
| Dungeon | Arbiter’s Grounds (Dungeon 4): bring the Lantern, Clawshot, Hero’s Bow with bombs, and an empty bottle if you have one; boss Twilit Fossil Stallord; item Spinner |
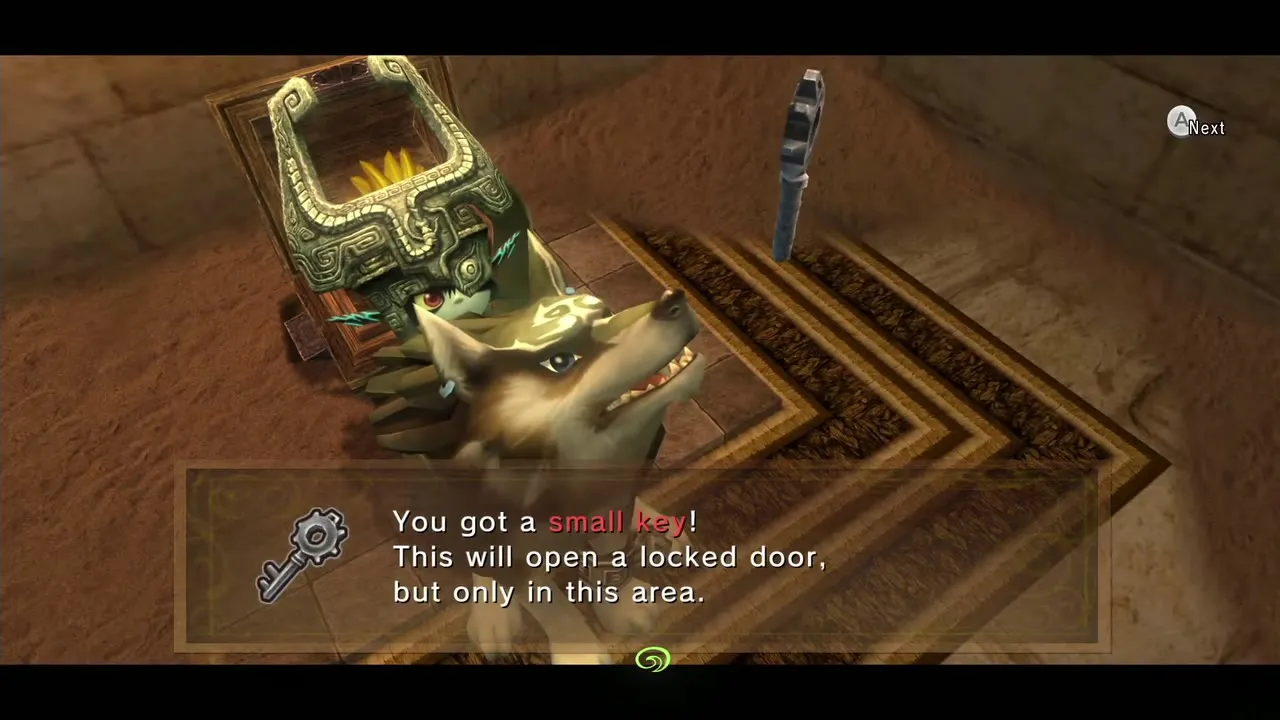
| Keys | Five small keys, the Big Key, Dungeon Map and Compass |
| Rewards | Spinner, Heart Container, four Poe Souls, two Pieces of Heart, Ooccoo, Miiverse stamps |
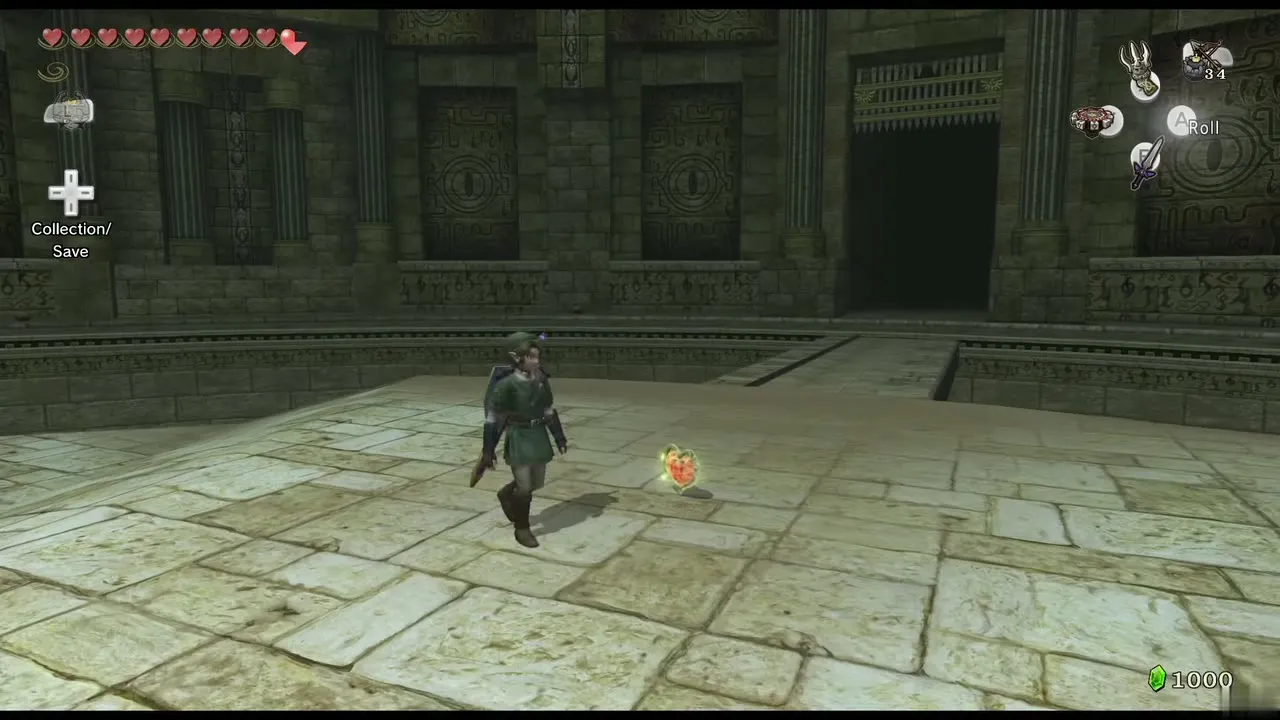
Arbiter’s Grounds is a sand-filled prison built around a central chamber. You hunt four Poes in the western and eastern wings to relight four torches, which opens the north door; the second half hides the mini-boss Death Sword, the Spinner, the Big Key and the boss Stallord. The Spinner decides everything after the first half, so practise its rail jumps early. Directions use the Normal Mode layout. Hero Mode mirrors the world, so swap left and right and east and west. The quicksand in every wing pulls you under if you stand in it, so keep moving, roll across narrow strips, and note that two chain pulls and one chandelier drop are timed.
Table of Contents
Quicksand room, Lantern chamber and the central chamber
Cross the first sand room
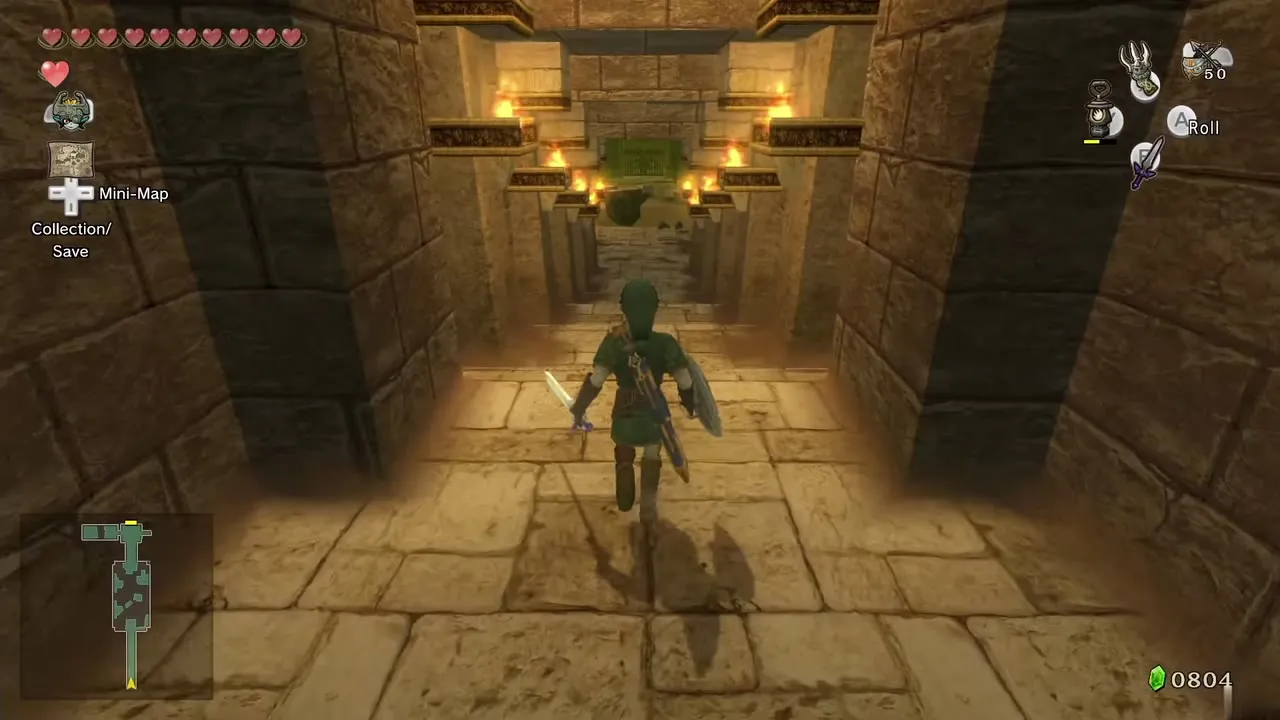
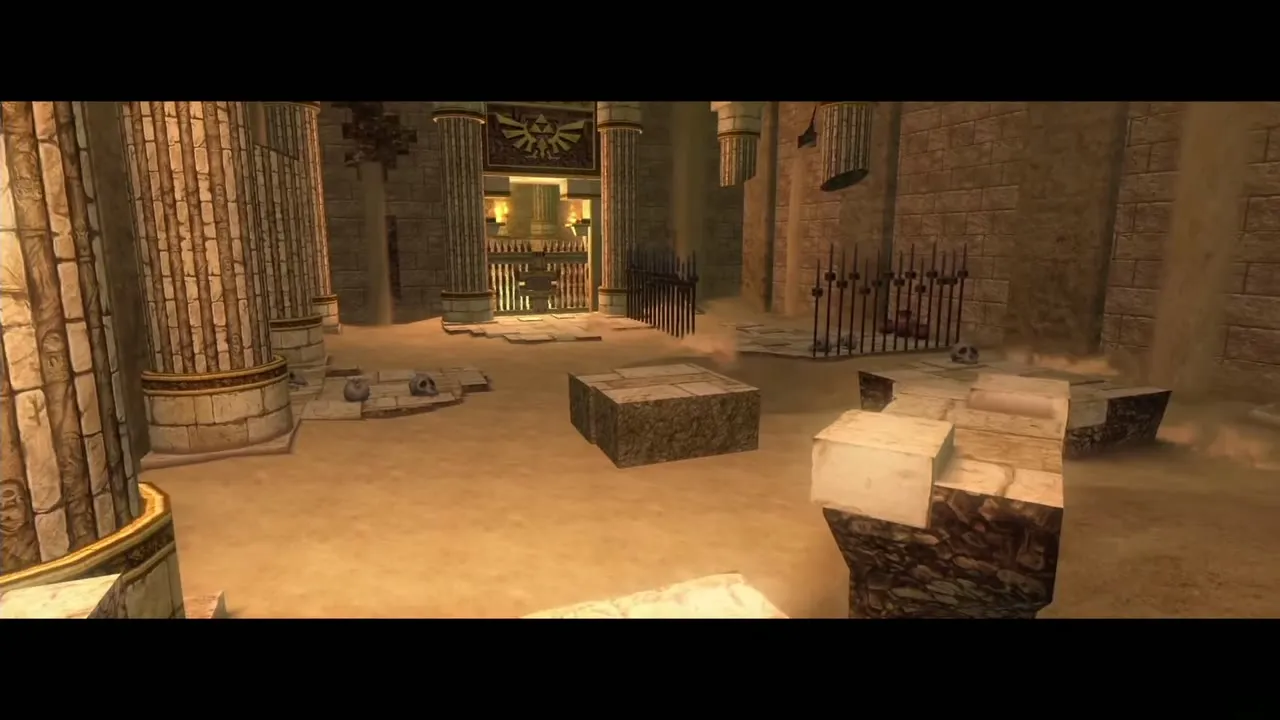
Run down the steps into the first room. The floor is quicksand: stand on it too long and you sink, so keep moving and roll across short gaps. Moldorms burst out of the sand and knock you around. Look at the wall on your left and Clawshot the round target to reach a safe platform, then hop from platform to platform and roll over the short sand stretches toward the gate at the north end.
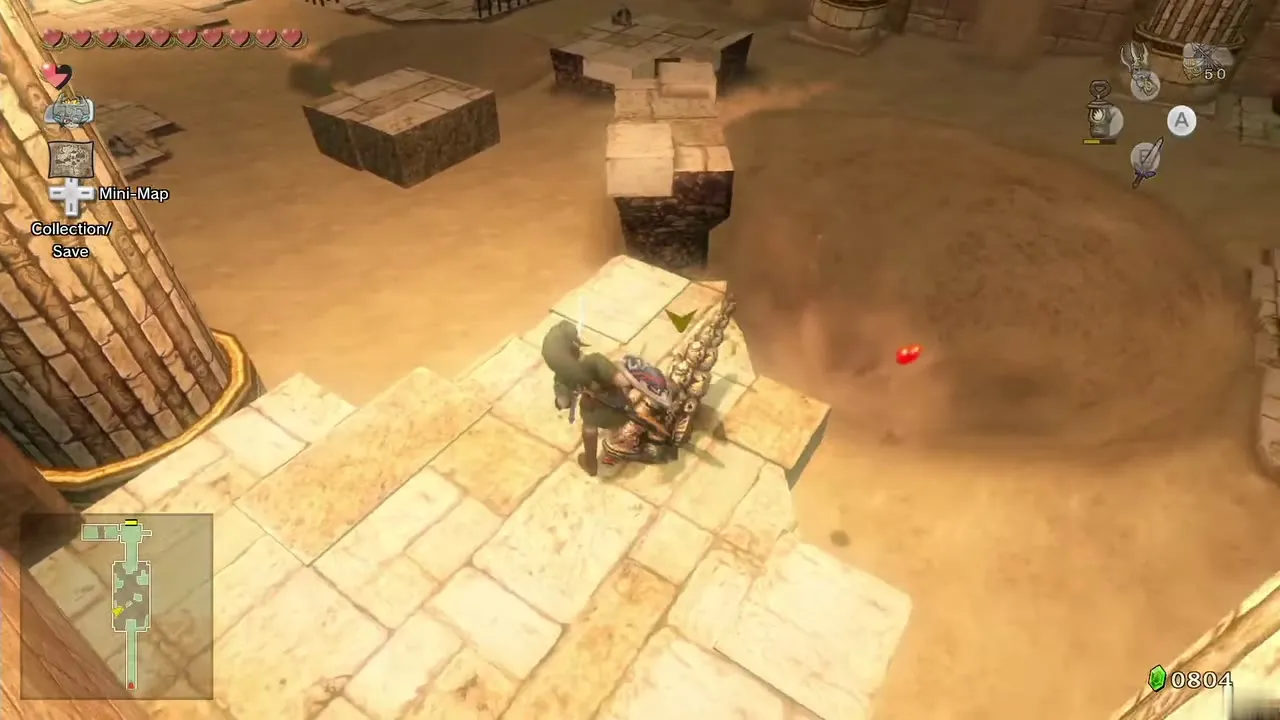
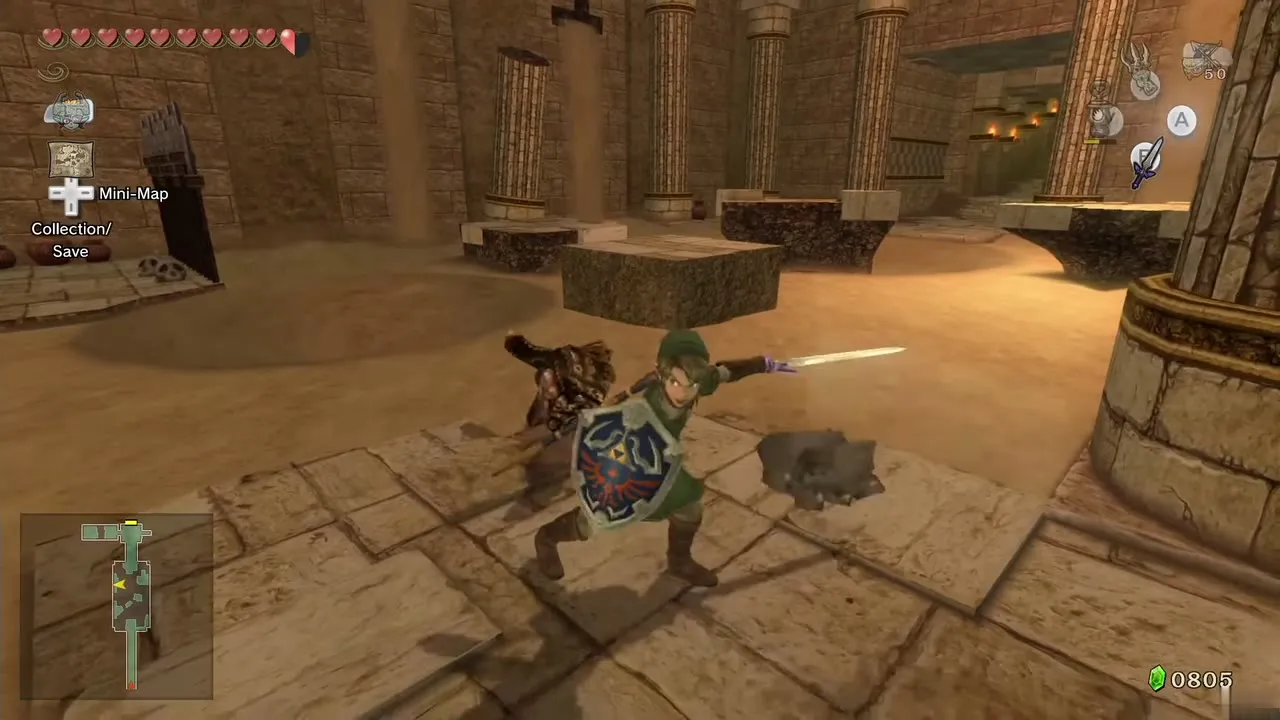
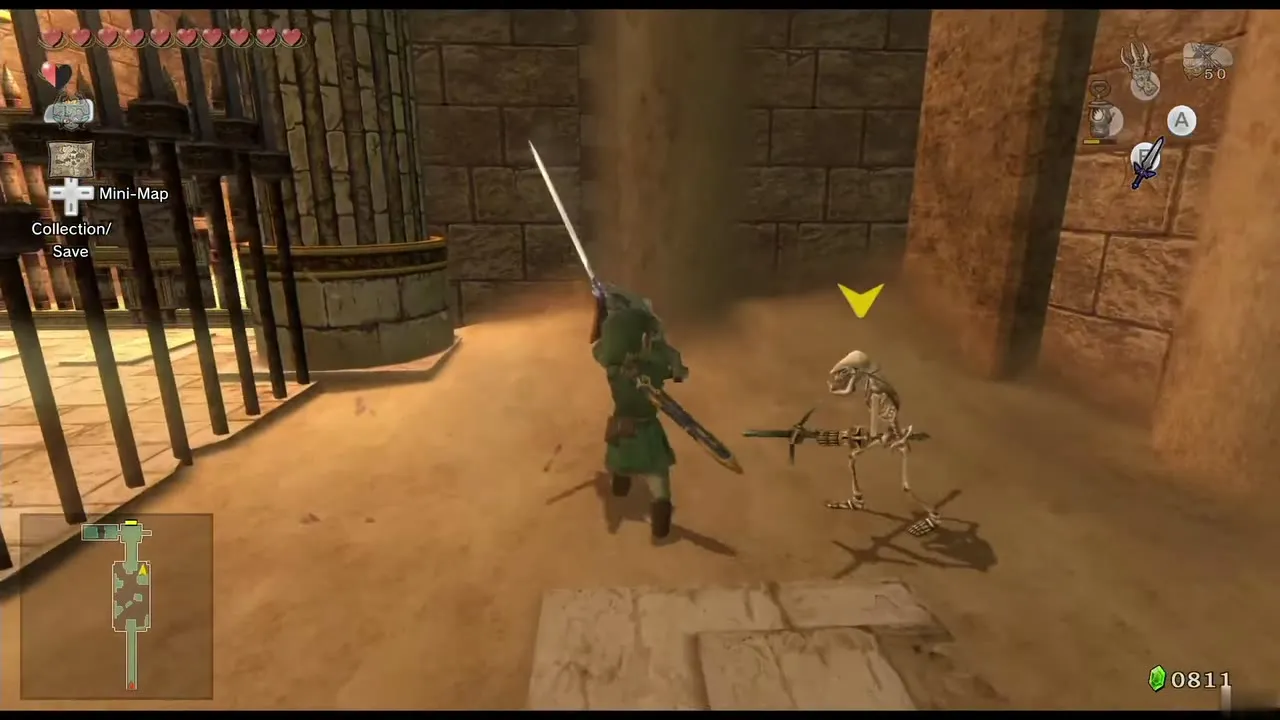
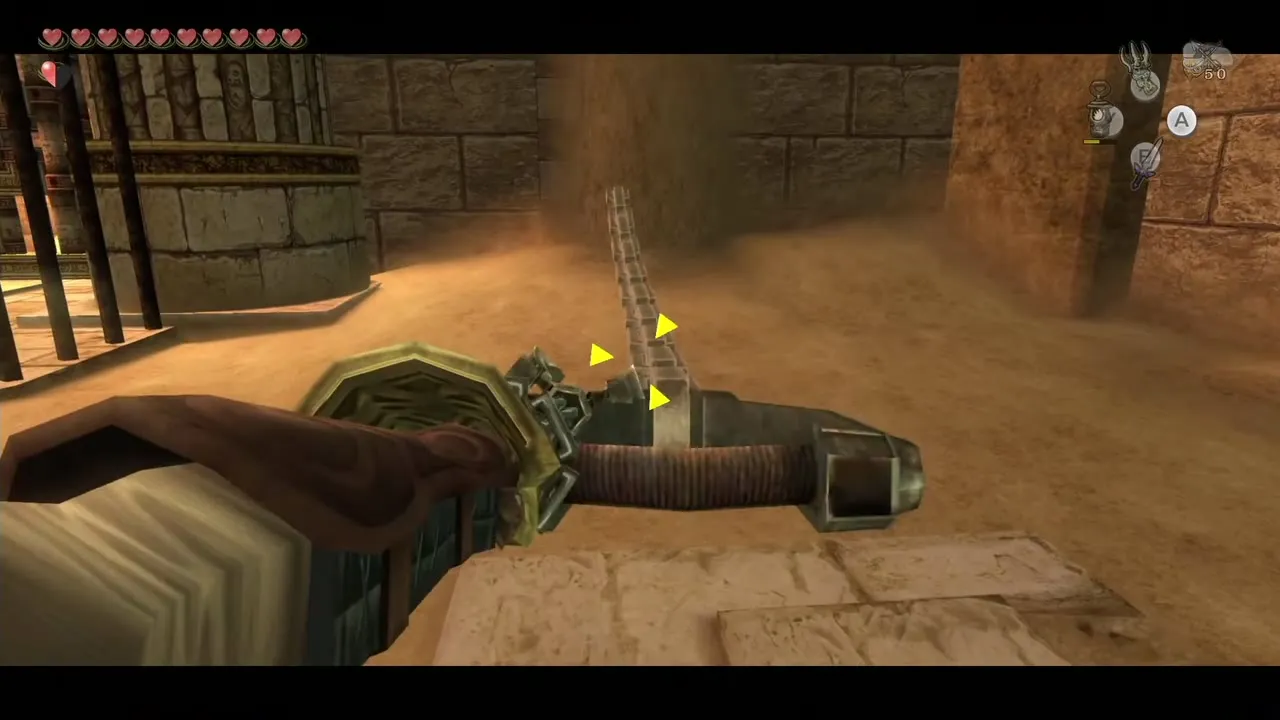
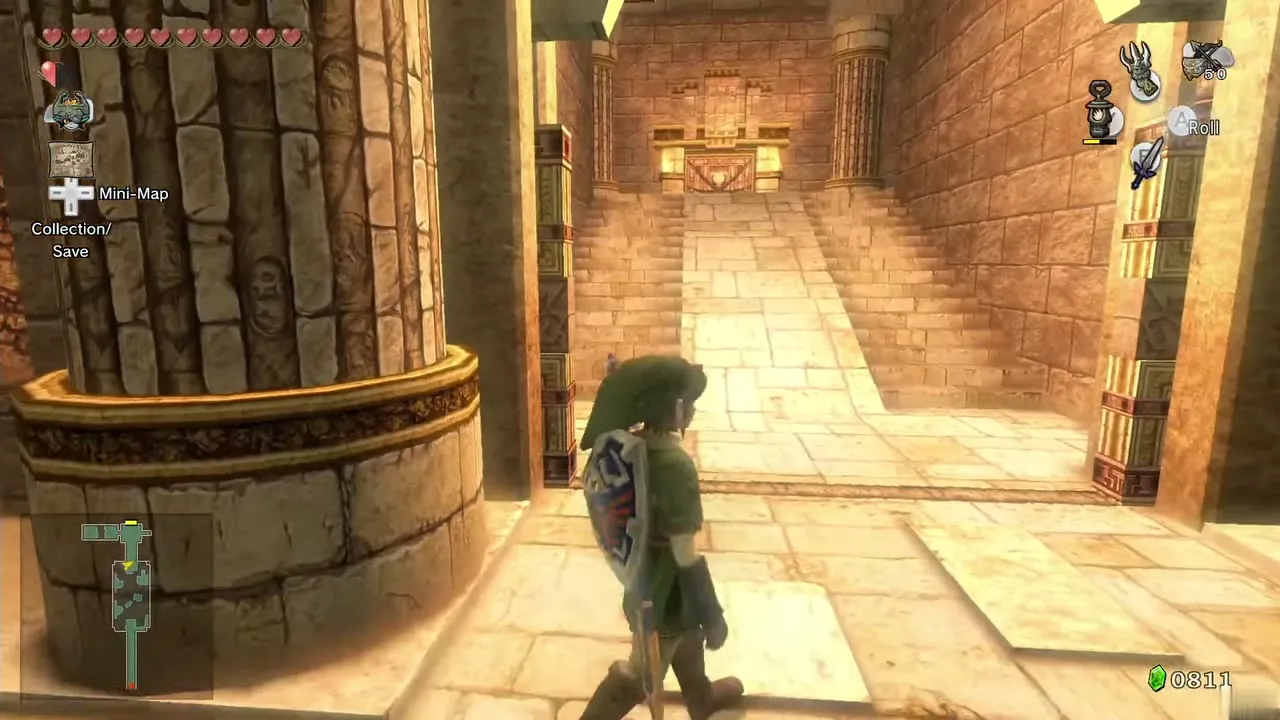
Go to the north-east corner. A small Stalkin skeleton attacks there; cut it down. A chain hangs in the corner, but grabbing it by hand drops you into the sand, so stand on firm ground, shoot the Clawshot at the chain, pull it back and the gate at the north opens. Cross and climb the steps.

Lantern oil and the first small key
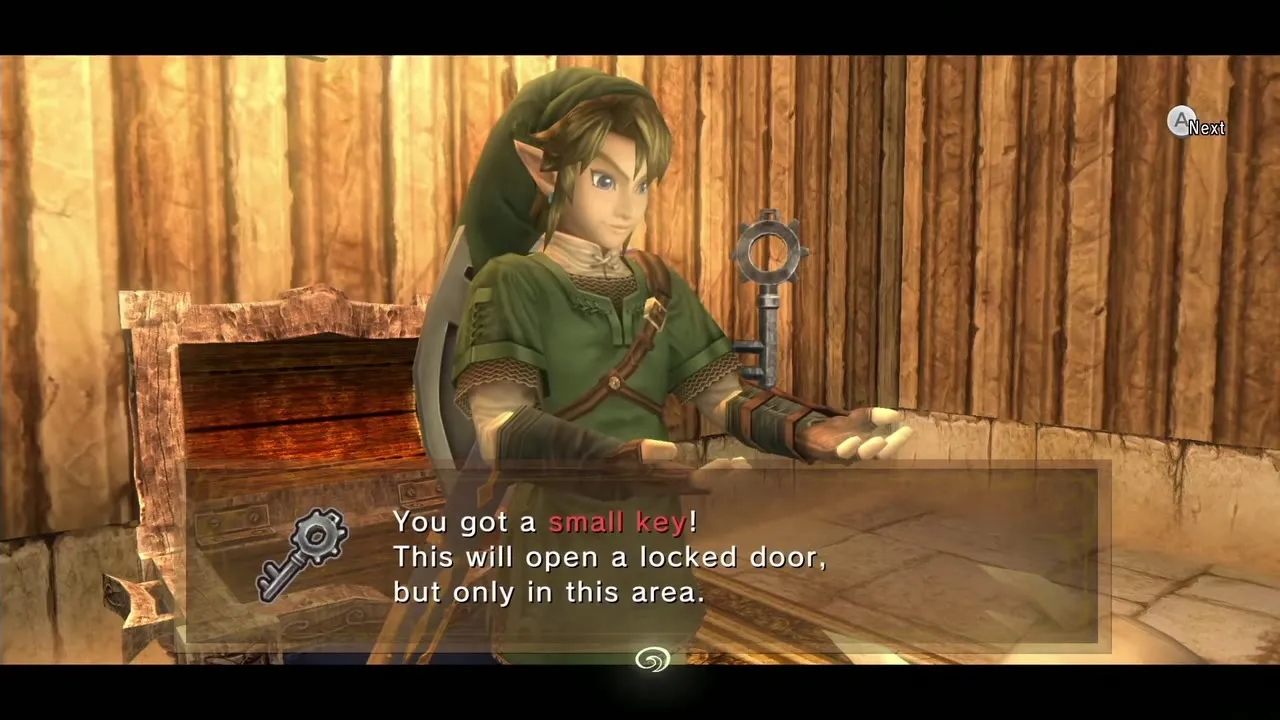
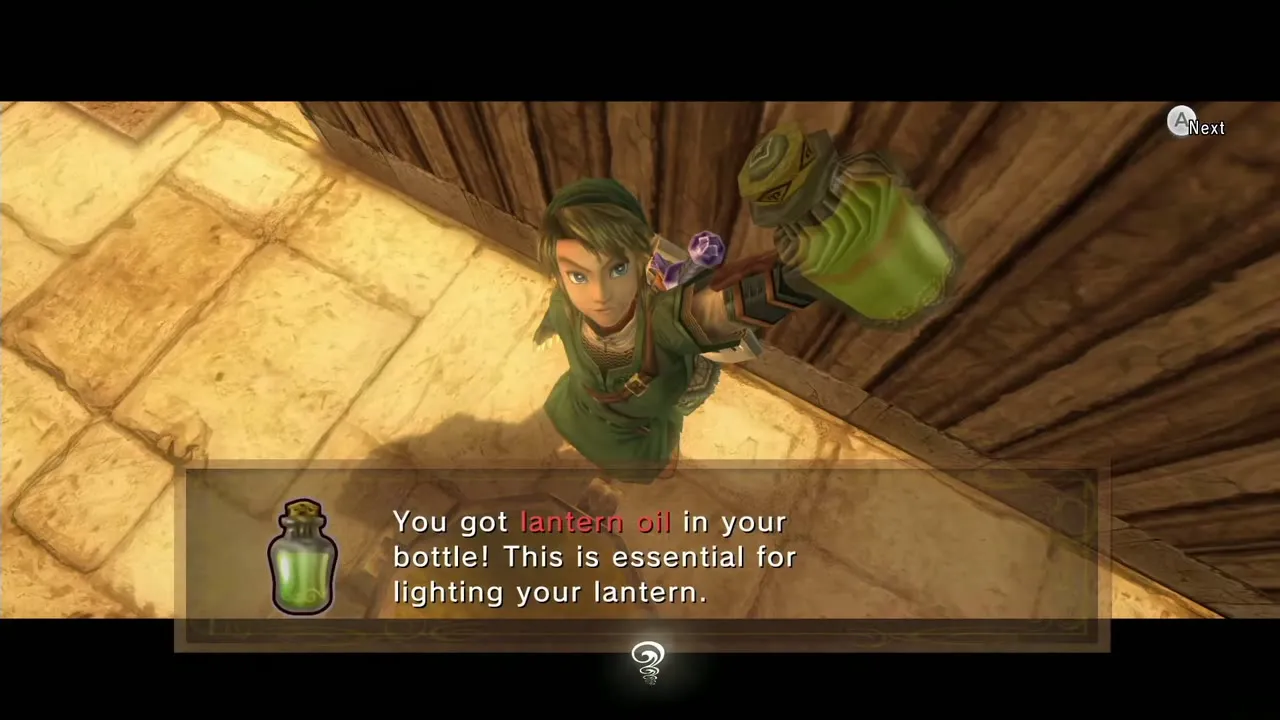
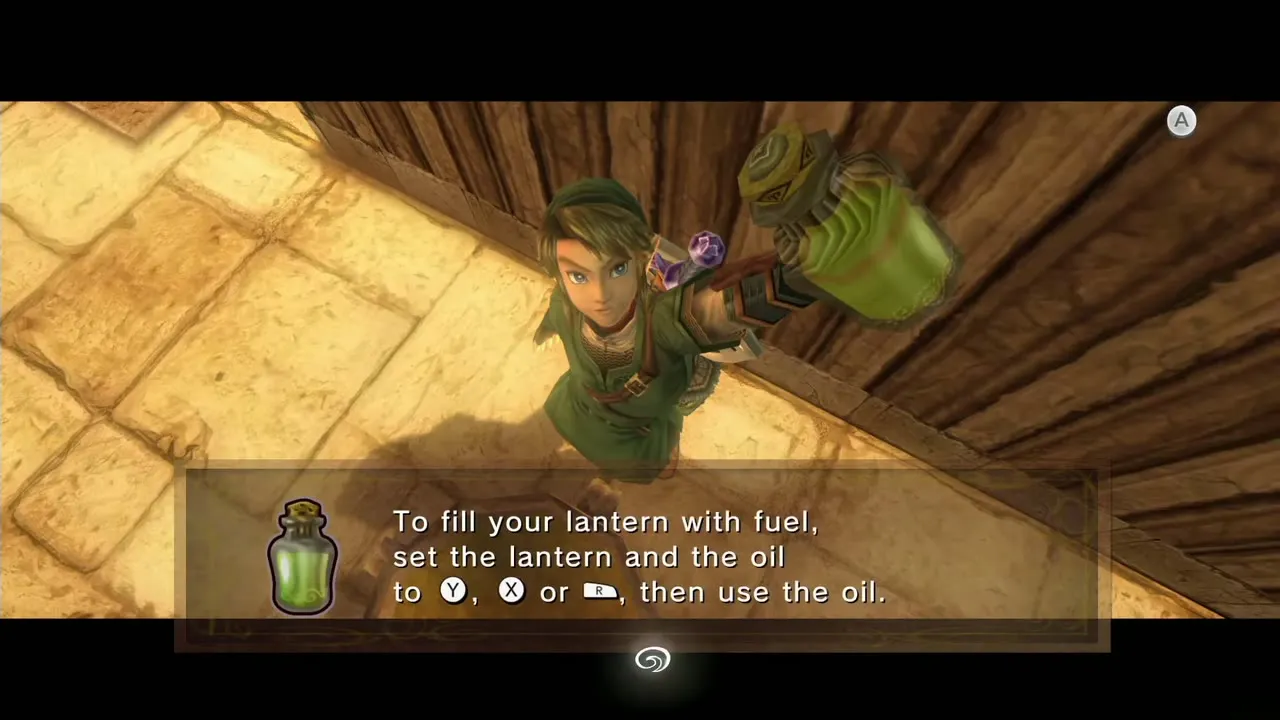
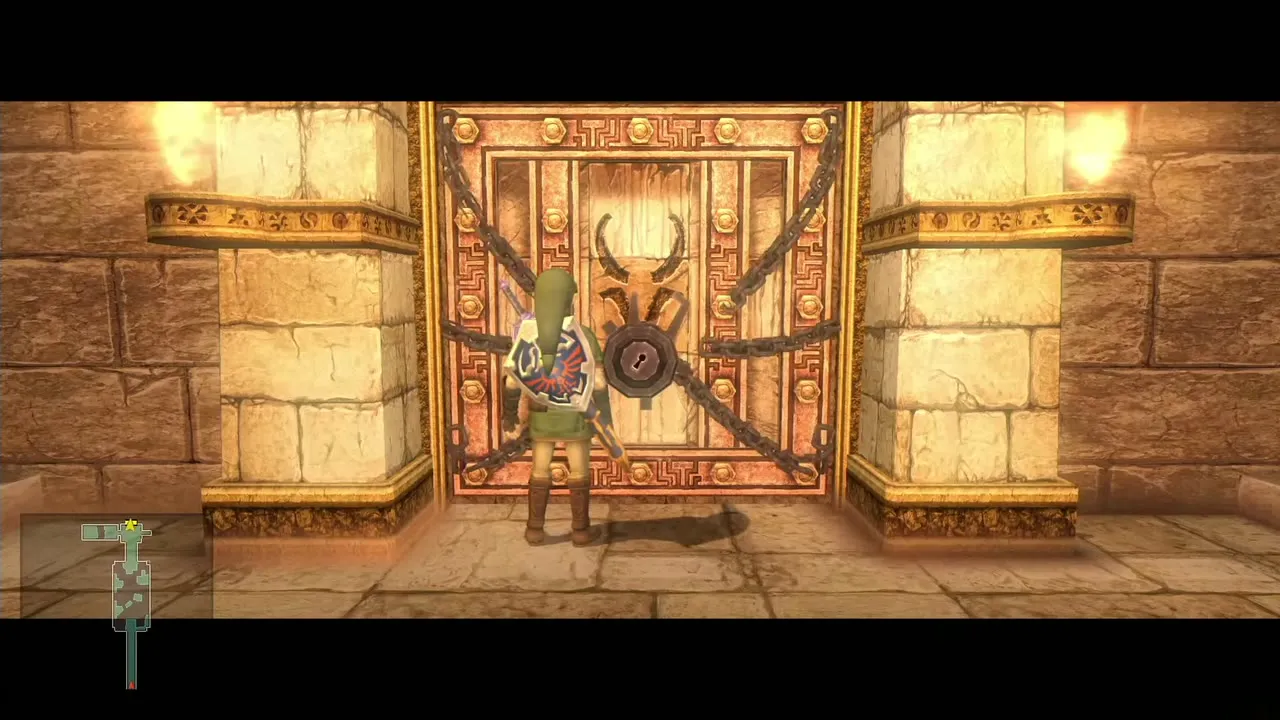
At the top, the opening on the right holds a large pot of Lantern oil. Fill the Lantern now, and an empty bottle if you carry one, because several rooms here are dark. Take the west corridor, smash the boards at the end and open the chest for the first small key. Poison Mites crawl onto Link here and slow him down; use a spin attack to shake them off and run on. Then walk to the locked door and use the key.
Light the two torches
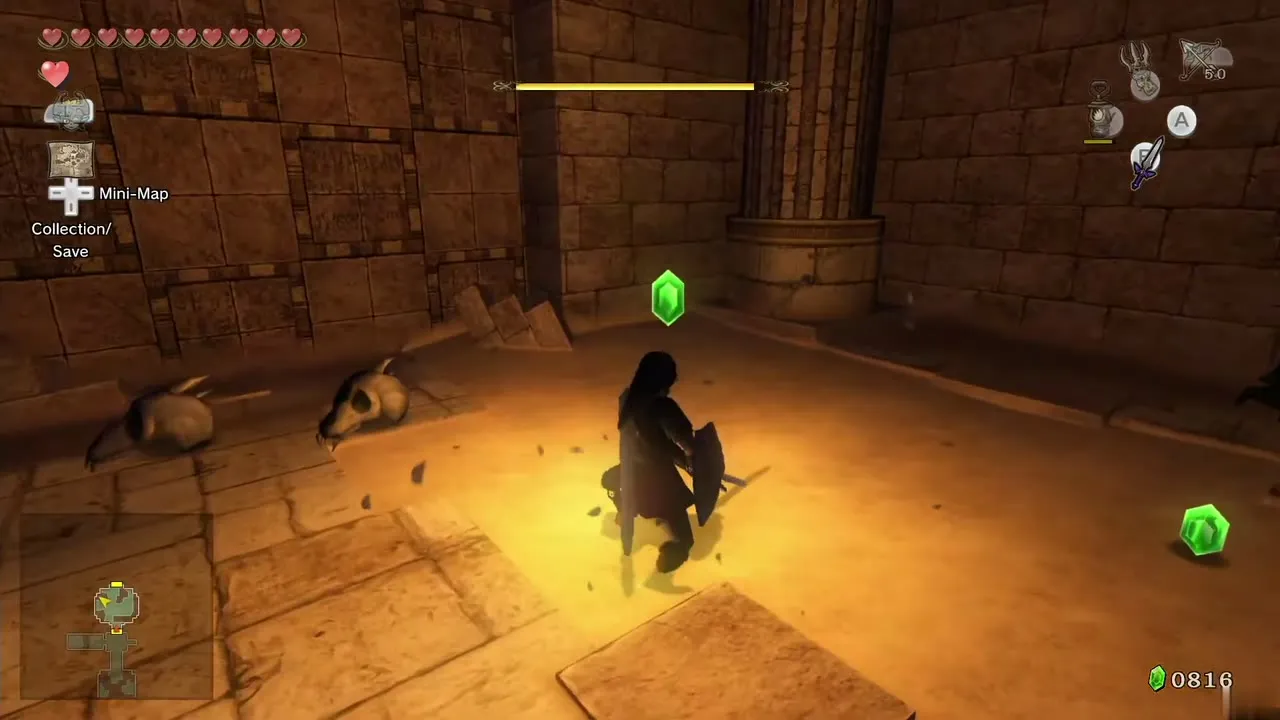
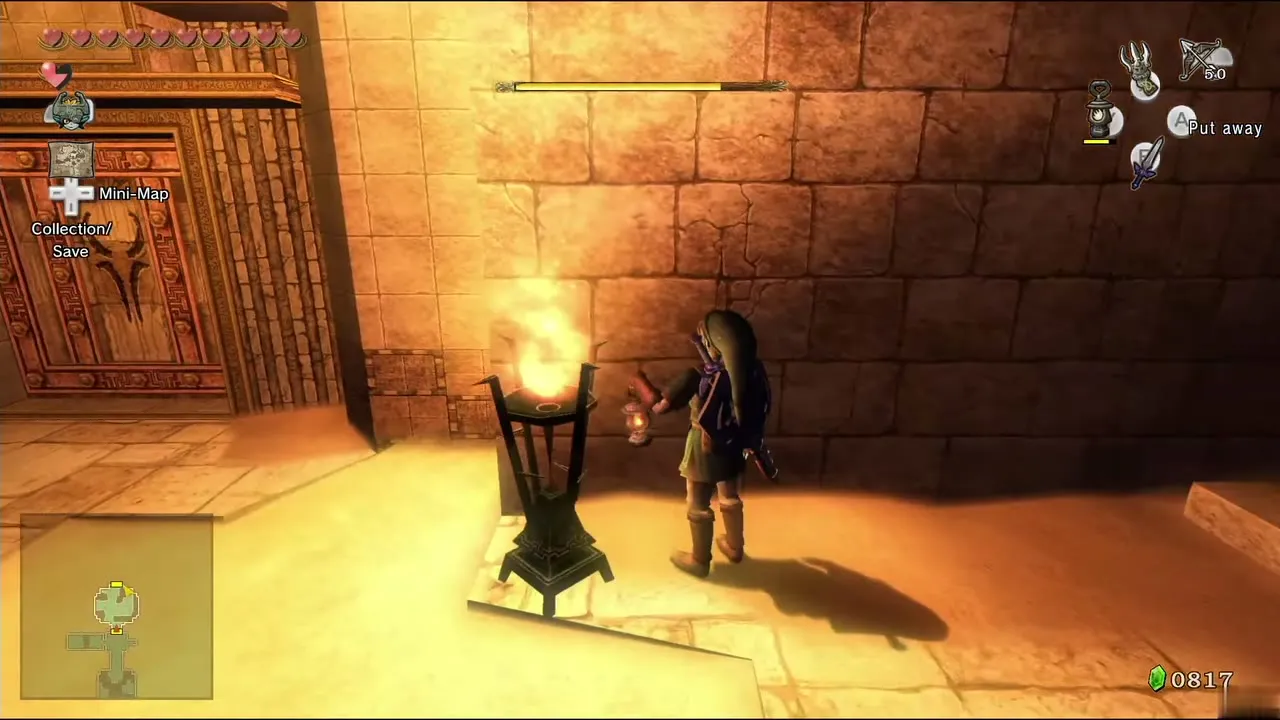
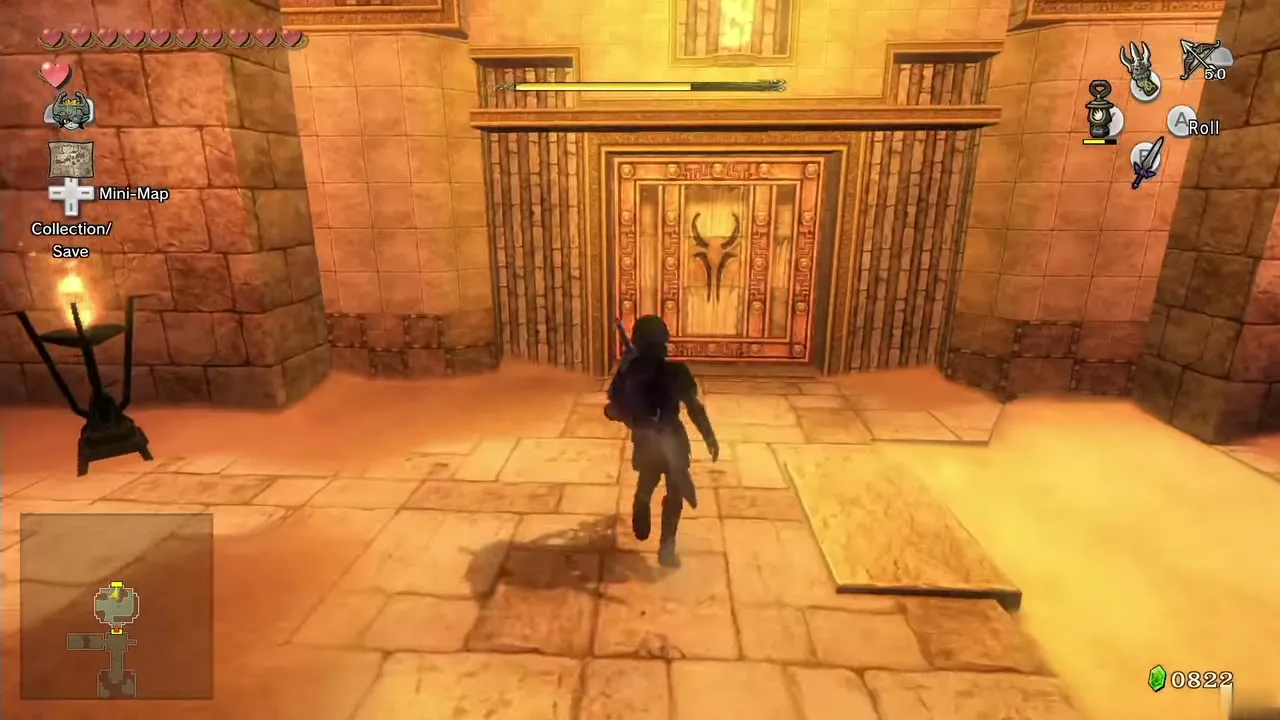
The next room is dark. Pull out the Lantern, avoid the sinking-sand holes, and cut through the Stalkins to the north end. Light the two torches by the door to open the gate, then walk through.
The first Poe, the Dungeon Map and a Piece of Heart
Four Poes steal the flames
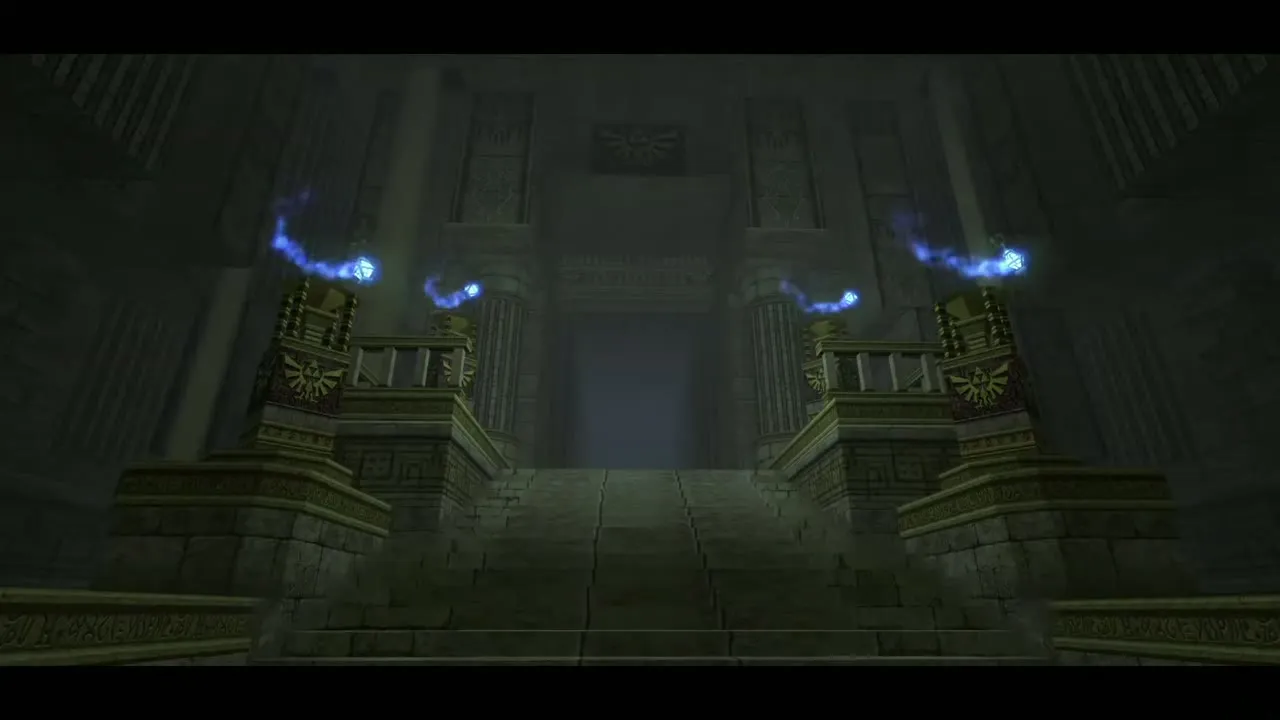
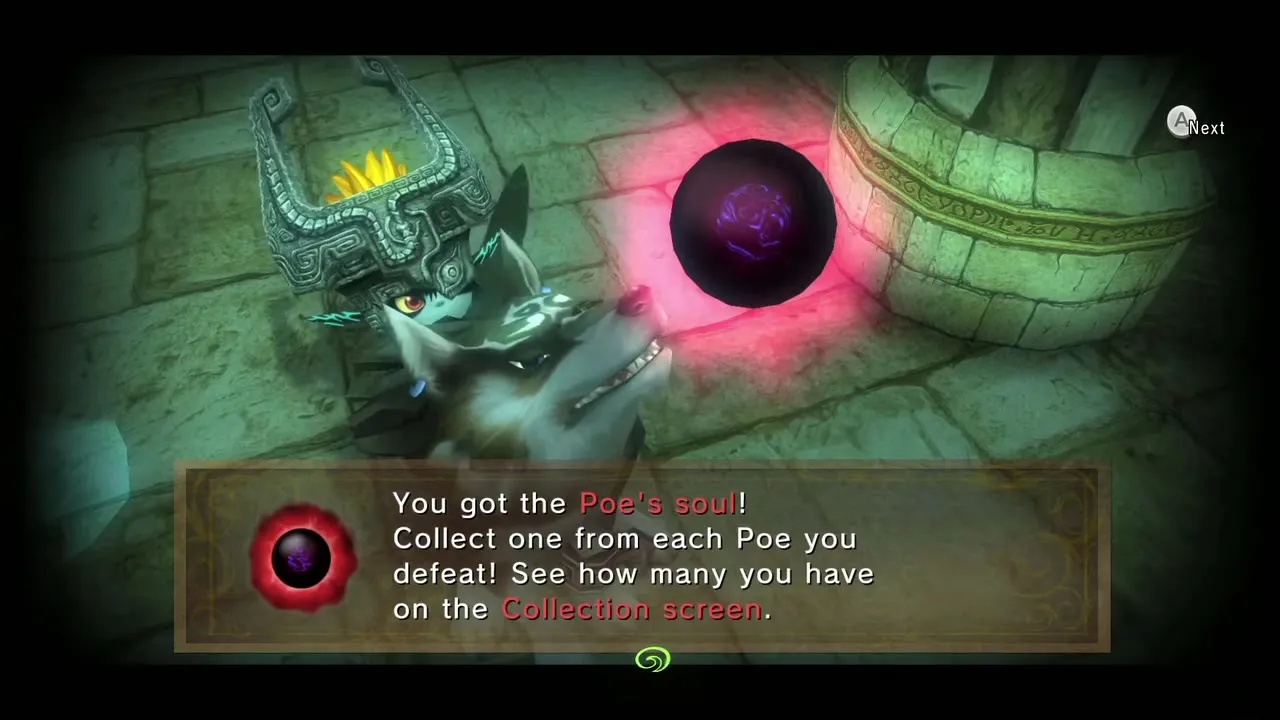
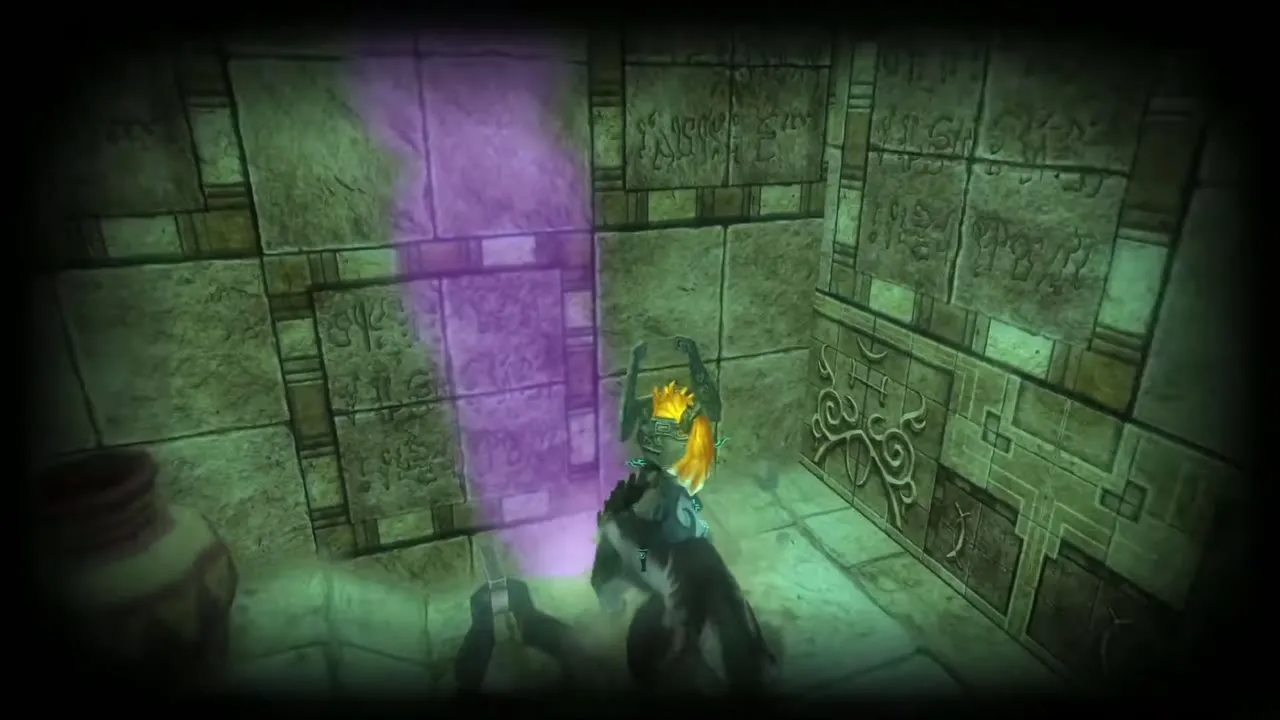
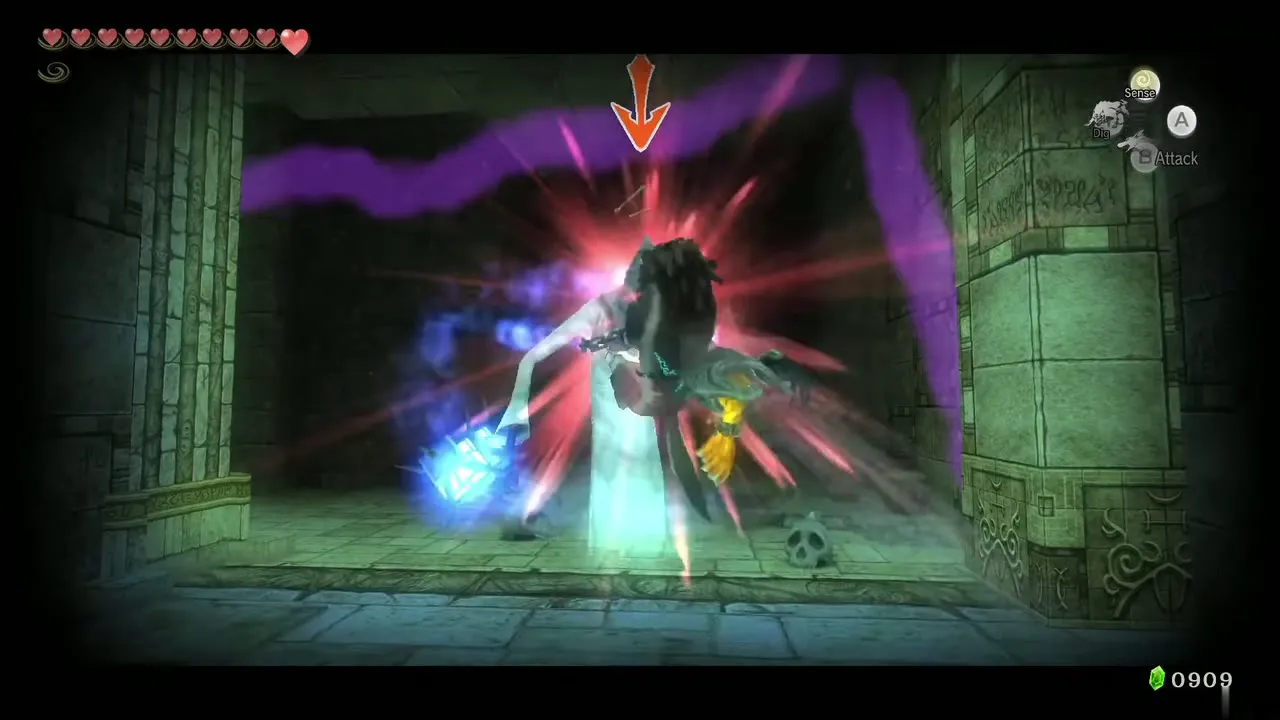
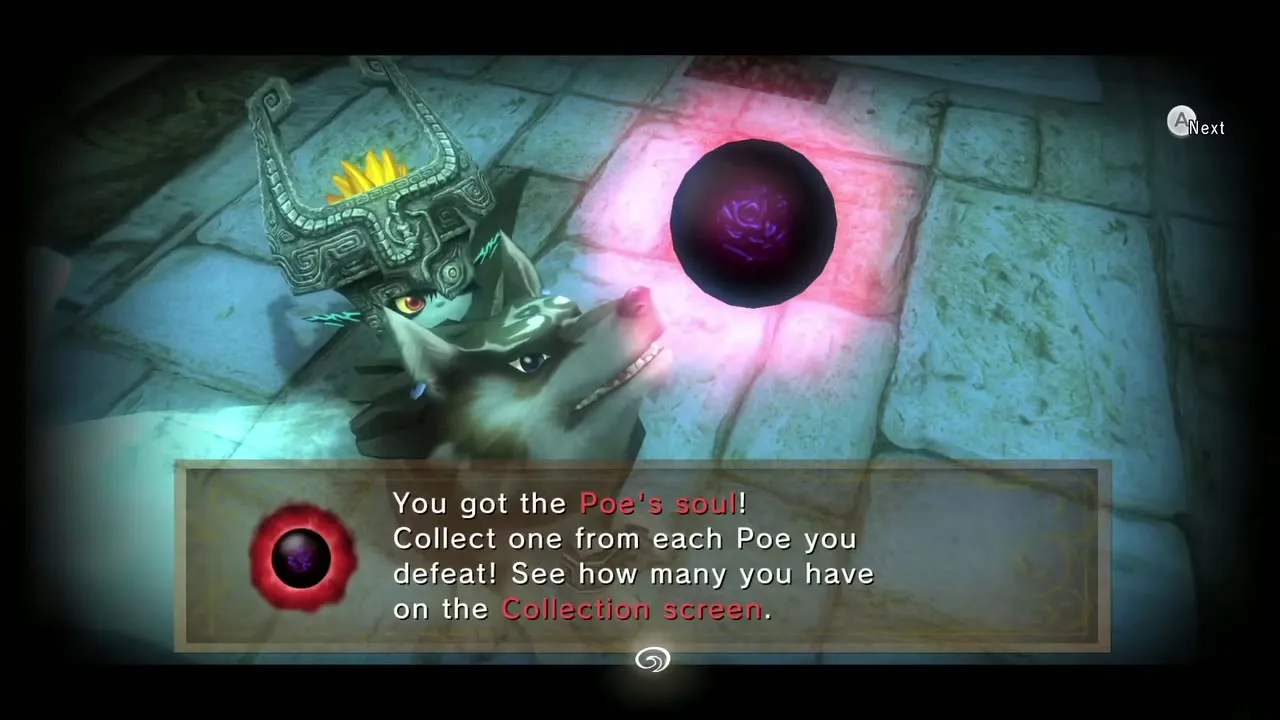
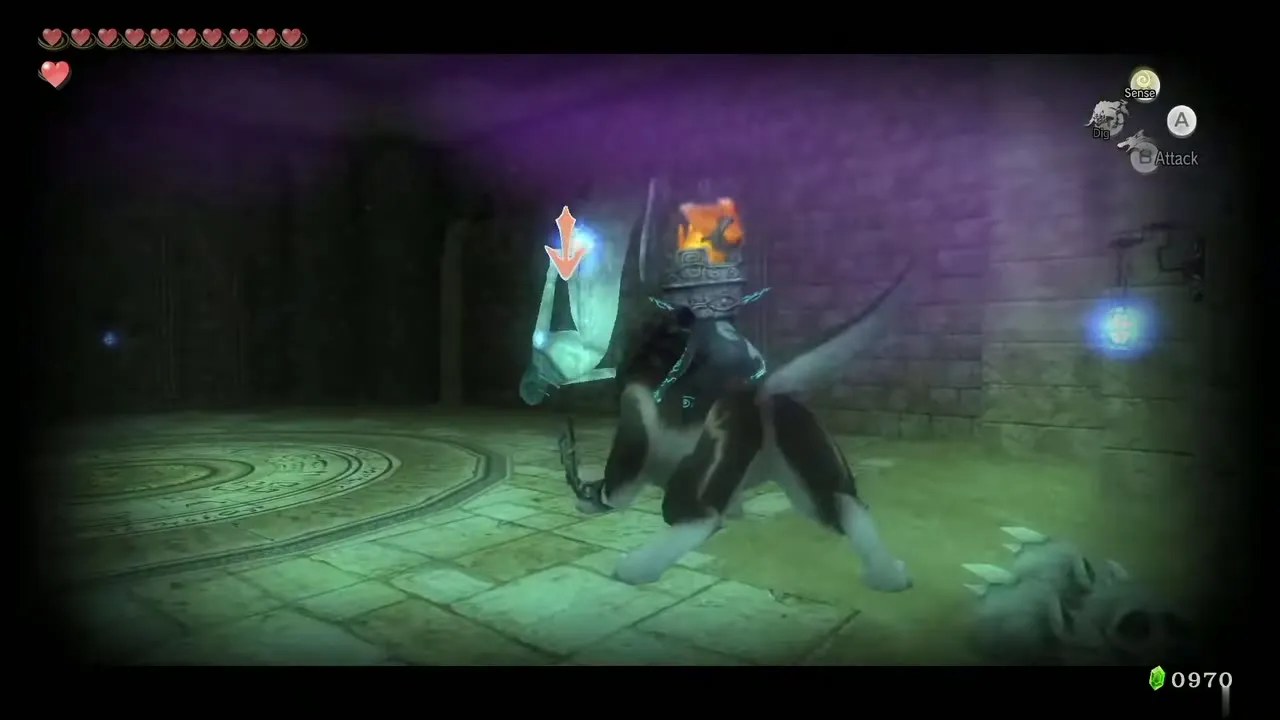
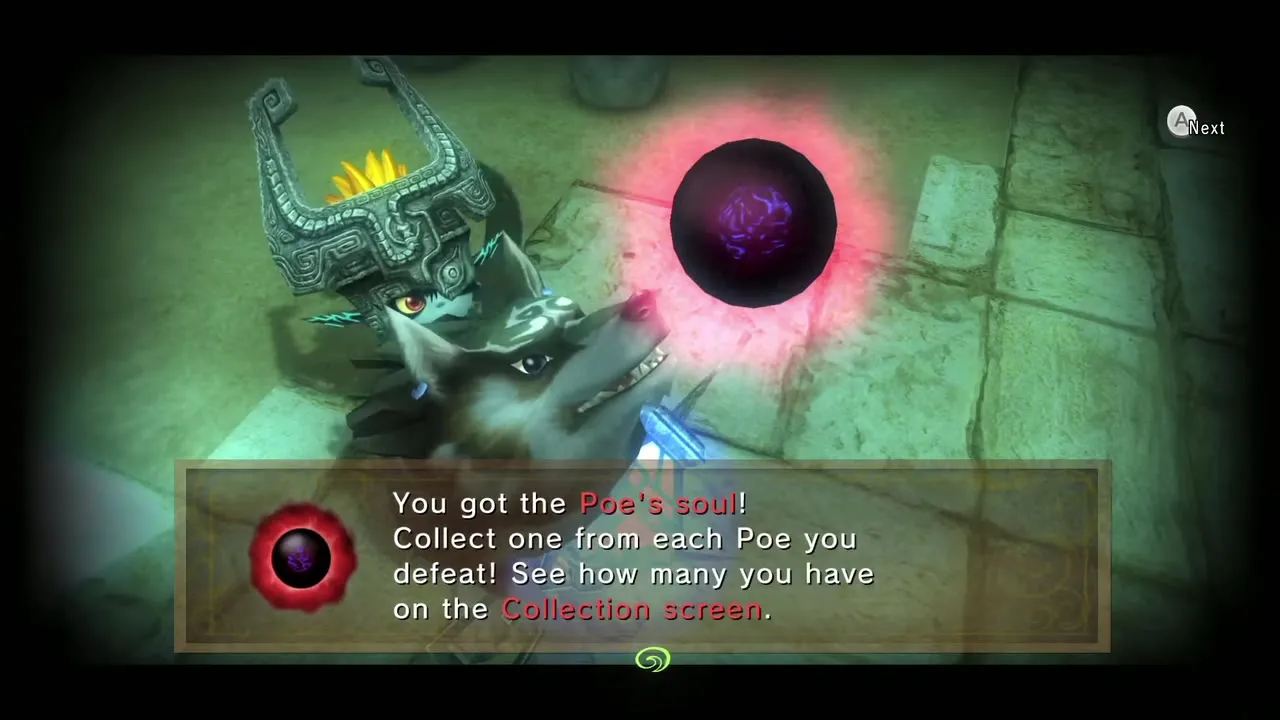
In the central chamber, four Poe Lanterns float in, snatch the four flames and seal the north door. Three Poes flee; one stays. Switch to Wolf Link, lock on and wait for it to turn purple, then pounce and press the attack button repeatedly to maul it. Hitting it while it is transparent does nothing. Defeat it for its soul; its flame relights the first torch.
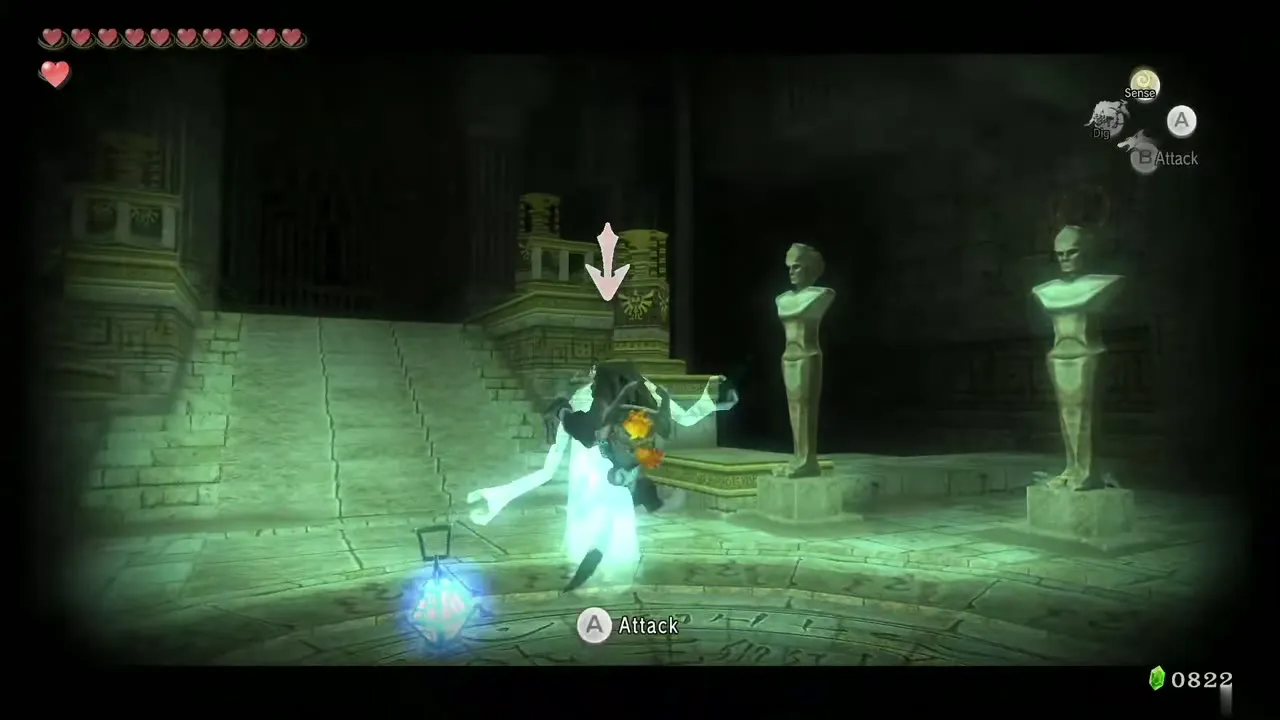
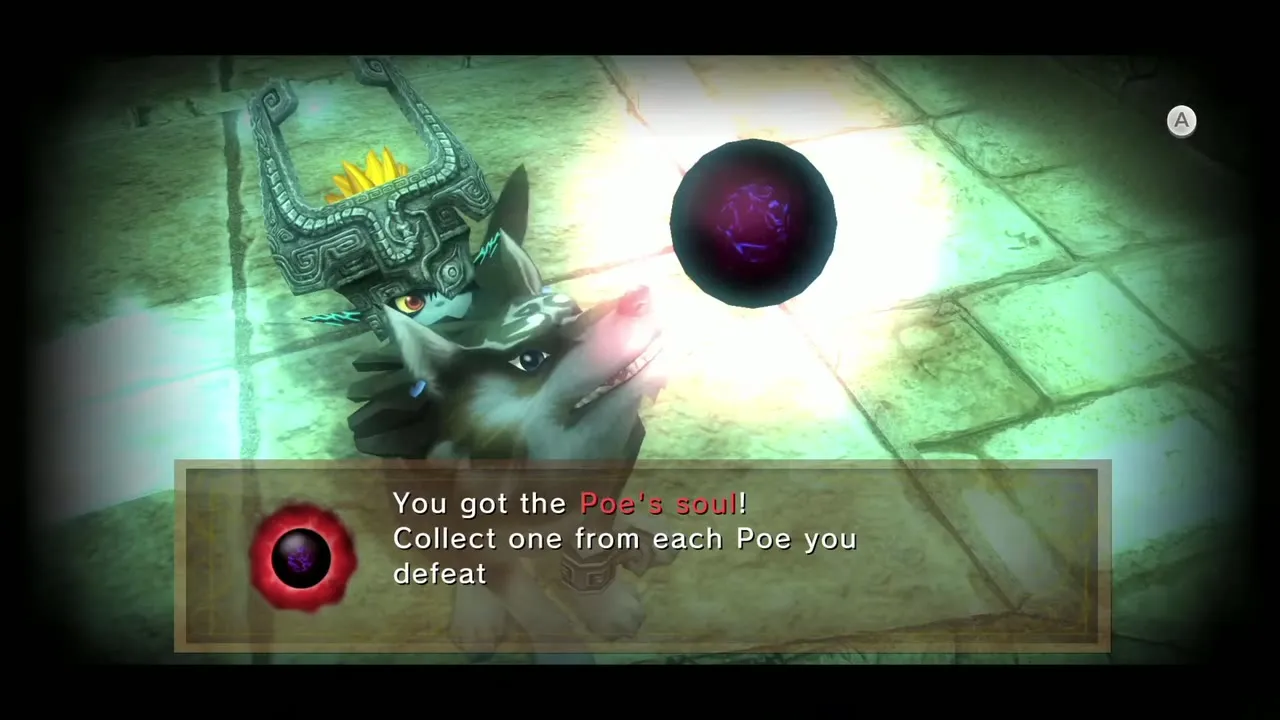
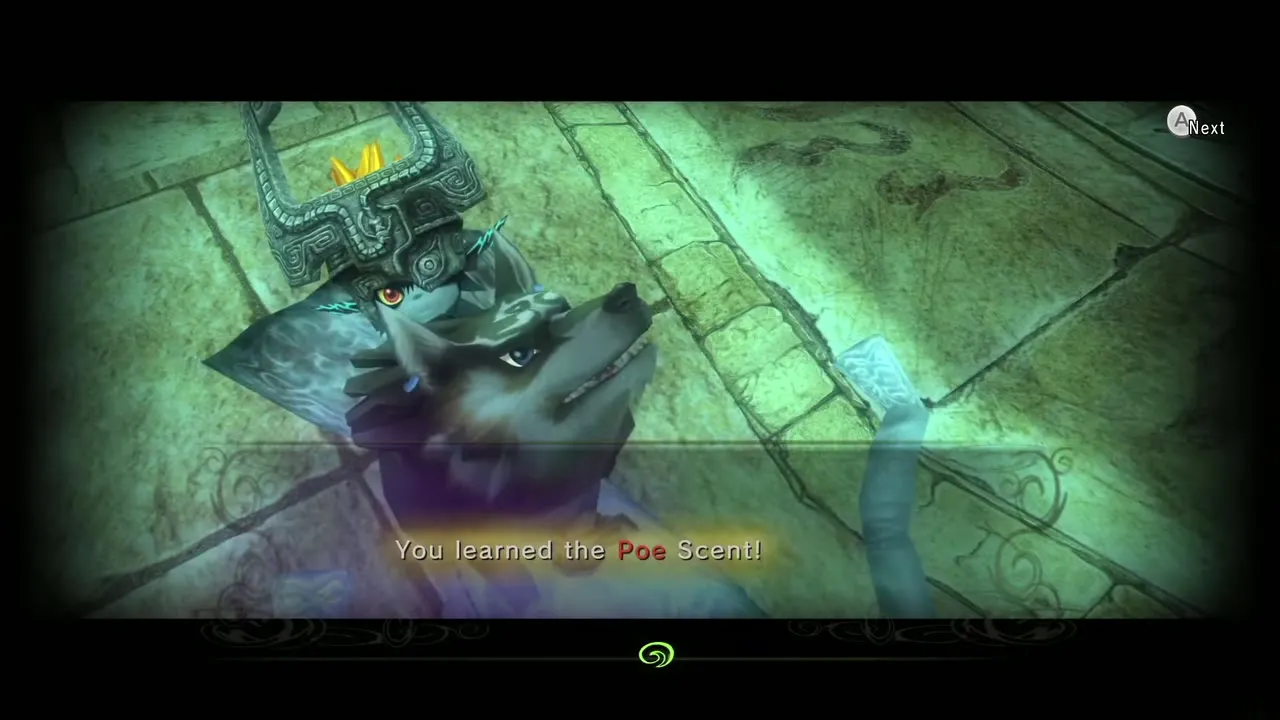
Inspect what the Poe leaves behind and Wolf Link learns the Poe Scent. From now on, Wolf Link’s senses show a trail to each Poe you have not yet killed, and the trail is what guides you through this dungeon.
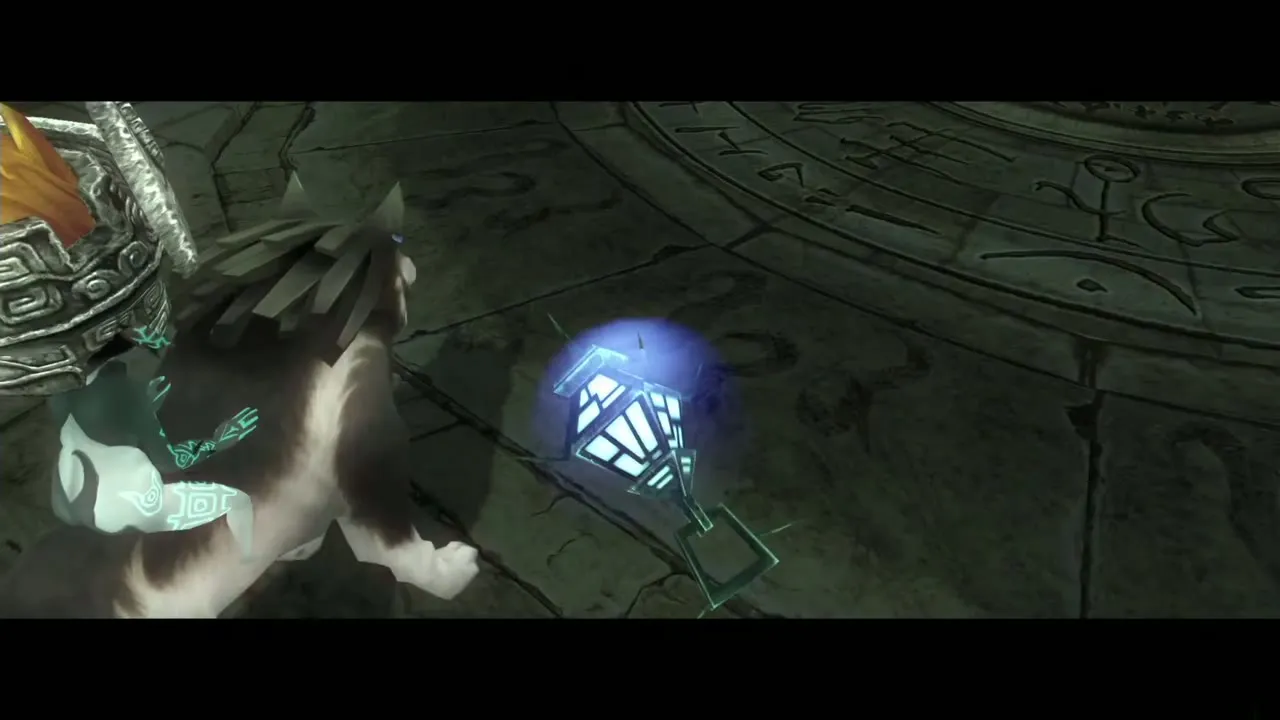

Dungeon Map and the first Piece of Heart
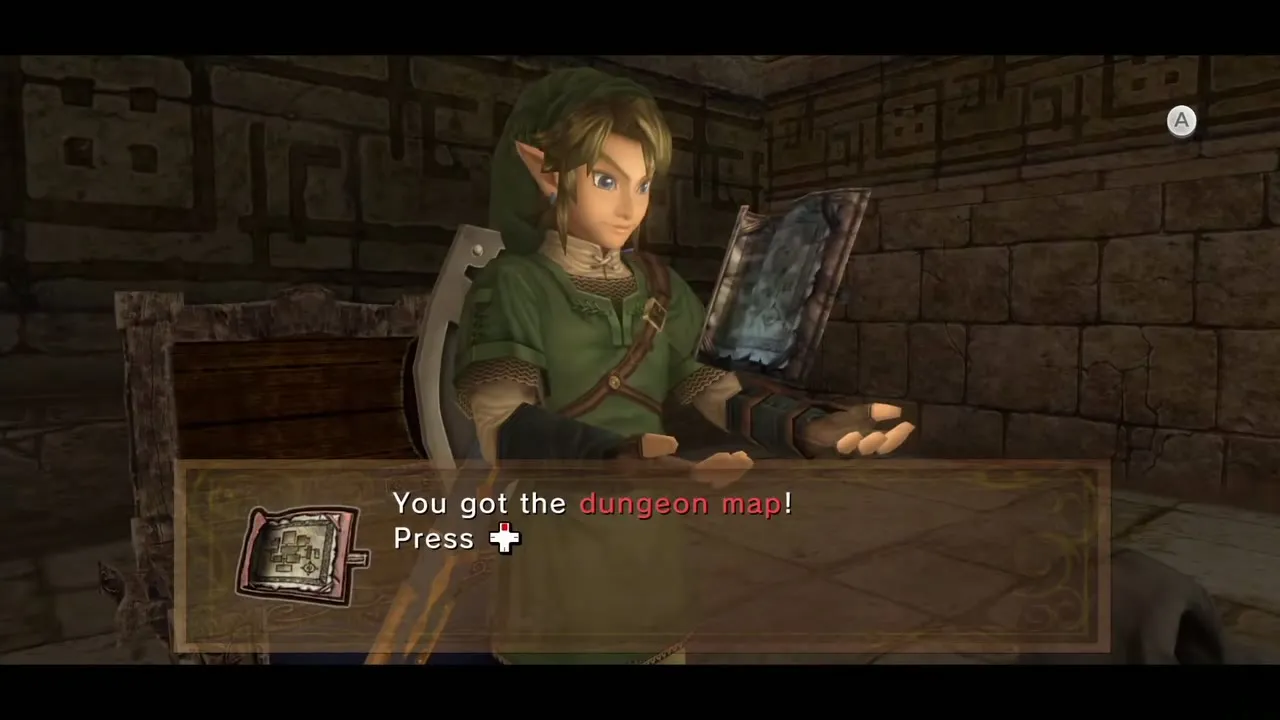
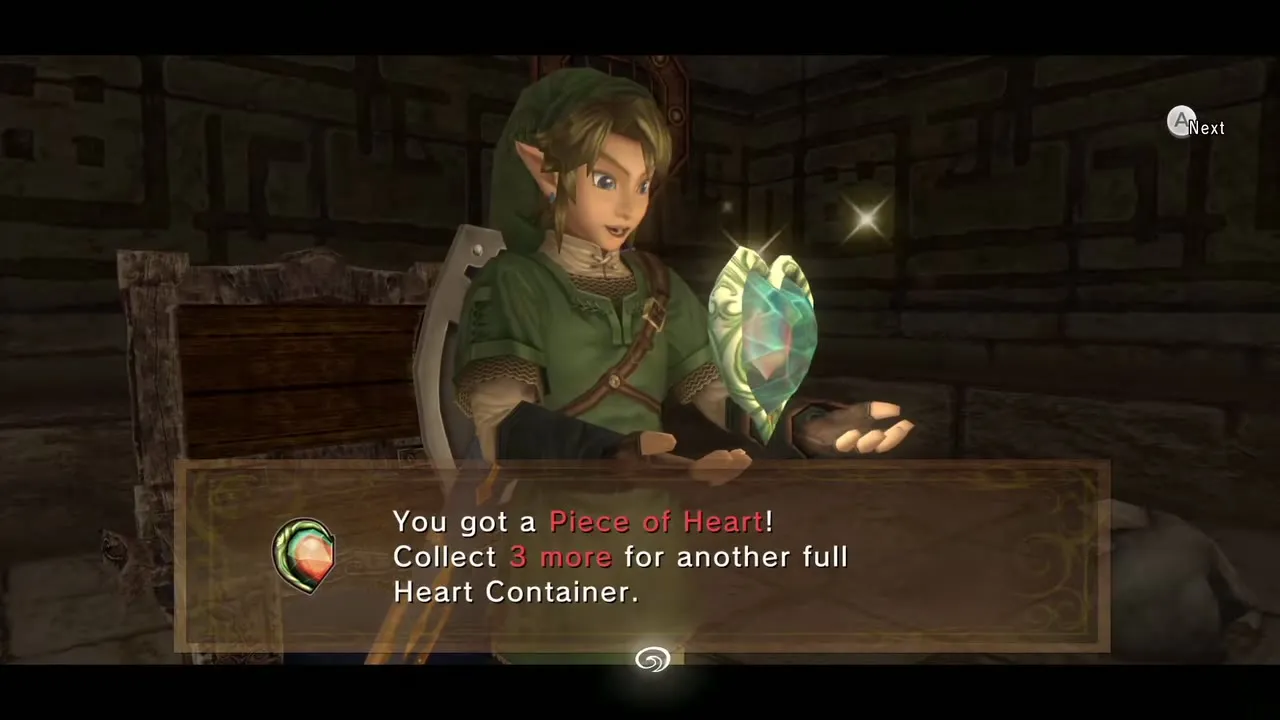
Two chests sit on this level before you head down. In the north-west, cross the platforms, defeat the Bubbles and open the chest for the Dungeon Map. In the north-east, use the Clawshot target just beyond the chest and open it for Piece of Heart #34. Clawshot back to solid ground.
The second Poe: the pillar room
Dig up the stairs
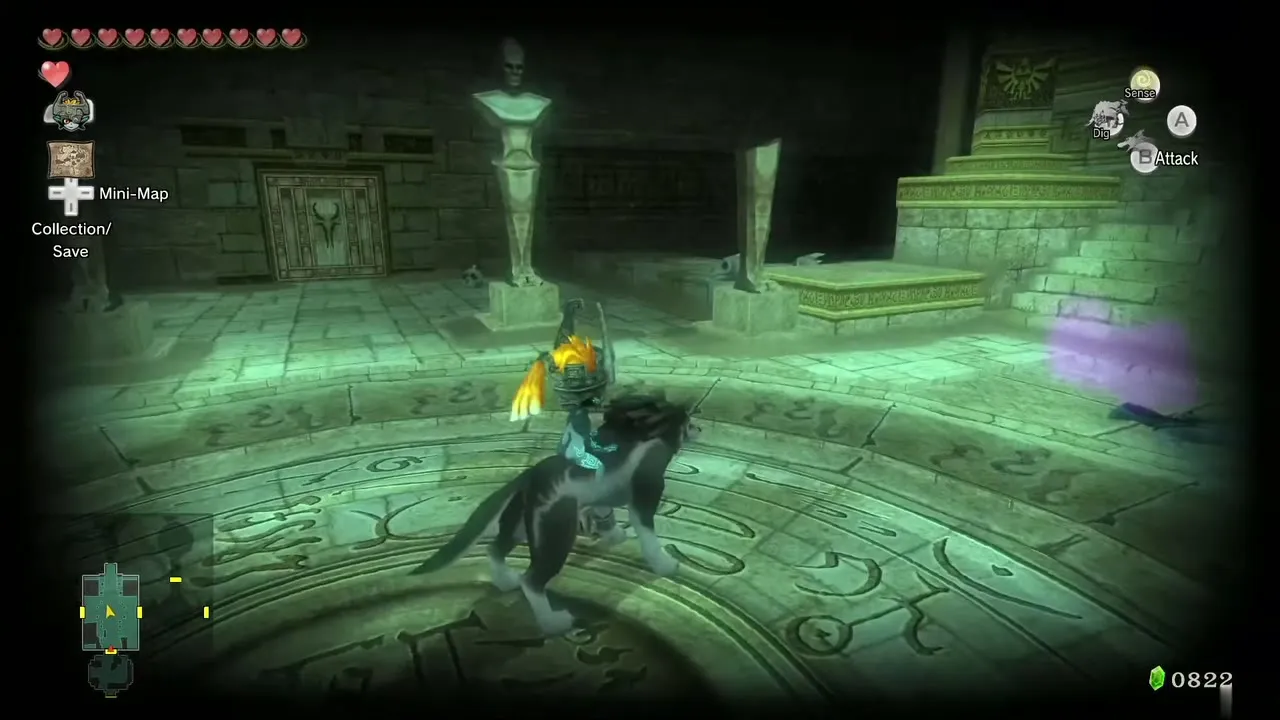
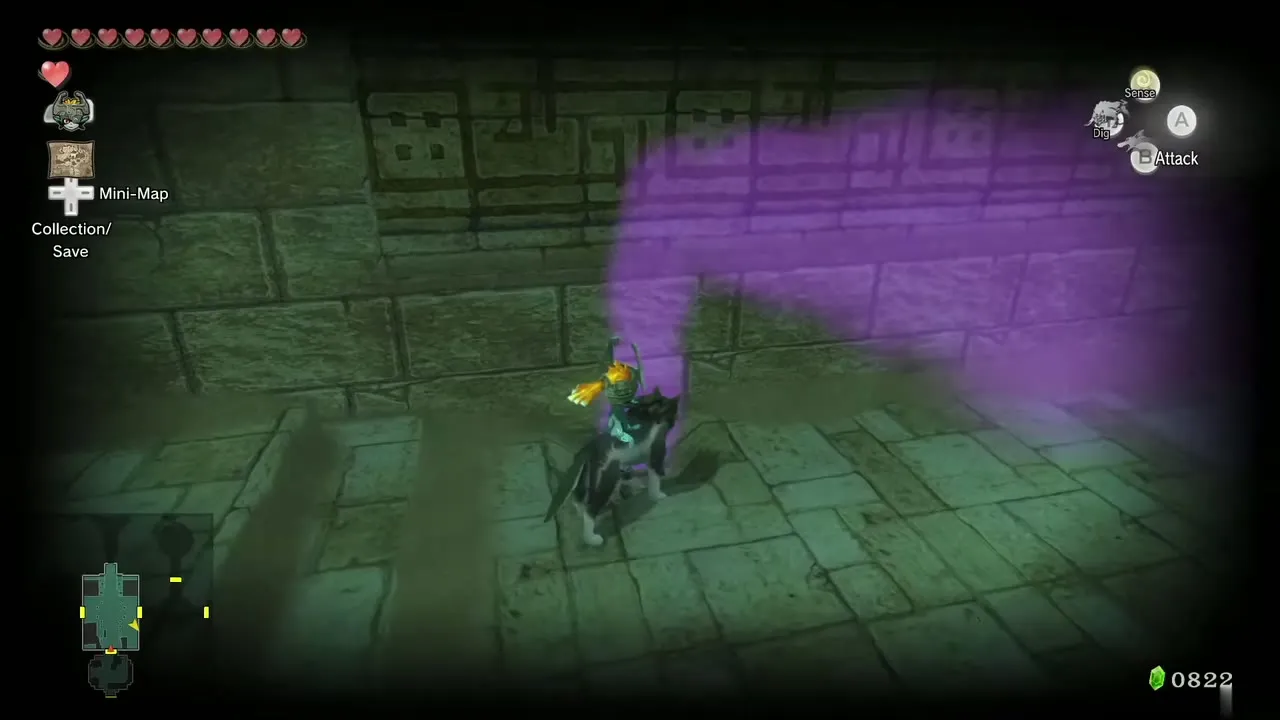
Follow the scent trails with Wolf Link’s senses. Two lead east: one goes over a door and the other to a patch of sand beside the wall. Dig there to reveal a chain, pull it back and a hidden staircase opens. Go down and through the door.
The round pillar and the ReDead Knight
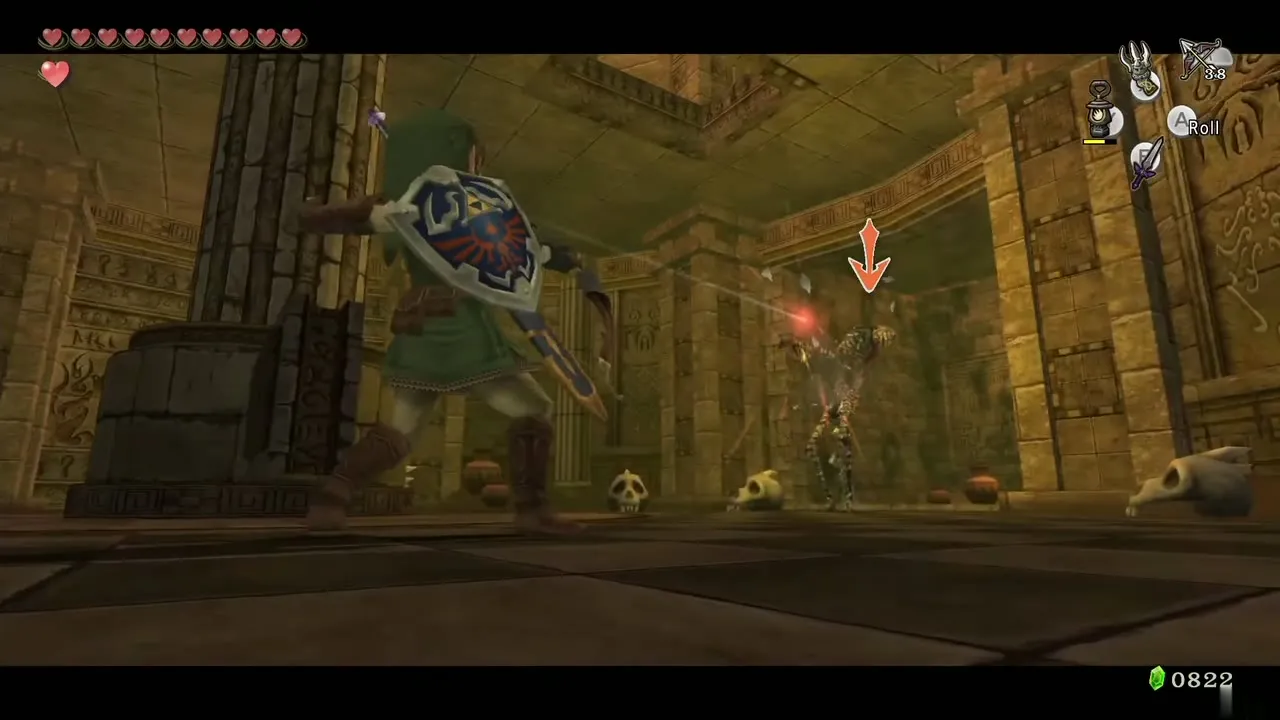
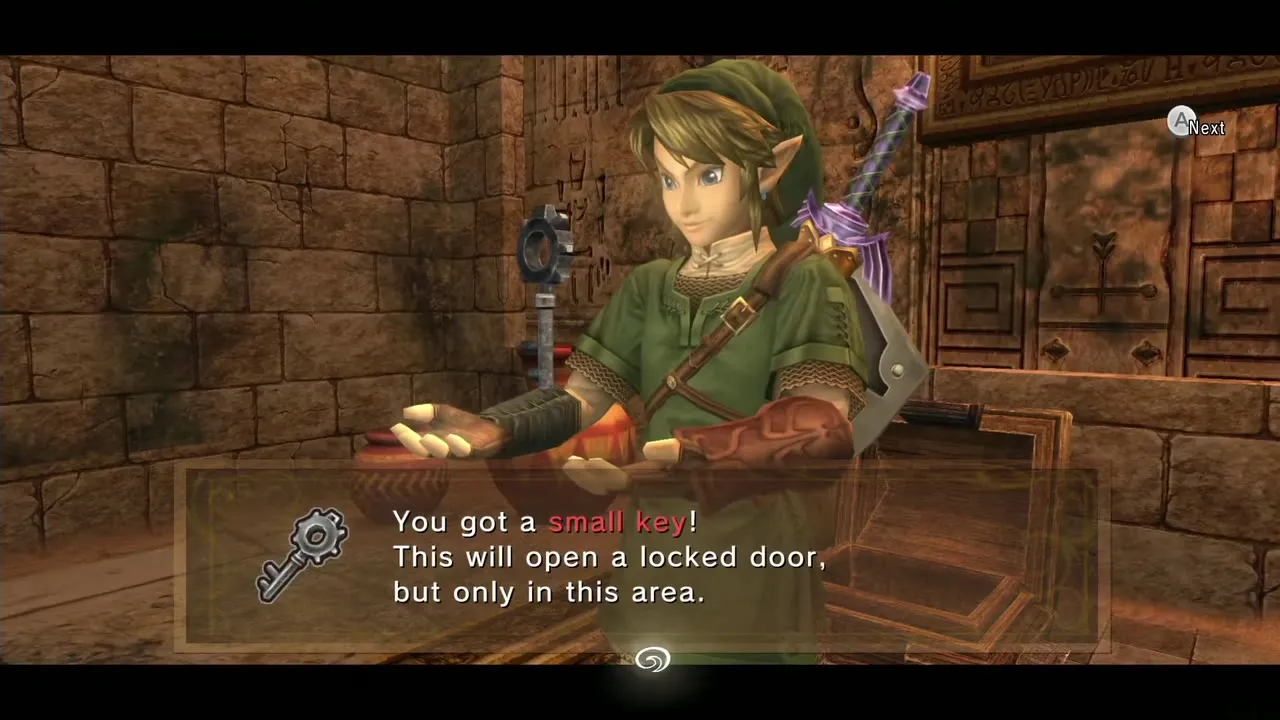
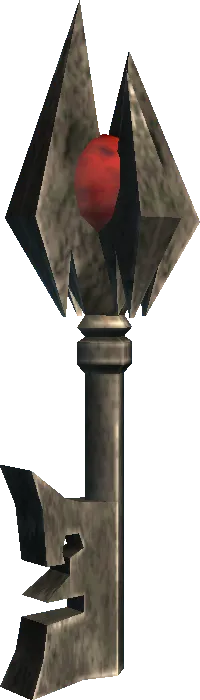
A Skull Bubble drifts here; slash it. A lever sticks out from the pillar in the middle of the room. Push or pull it counterclockwise and the room turns, opening a passage to the north. A ReDead Knight is waiting there. Do not get close: its scream freezes you. Bomb arrows work from a distance, or a Back Slice or Helm Splitter if you must close in. Open the small chest behind it for a small key (the second).
Climb to the upper level
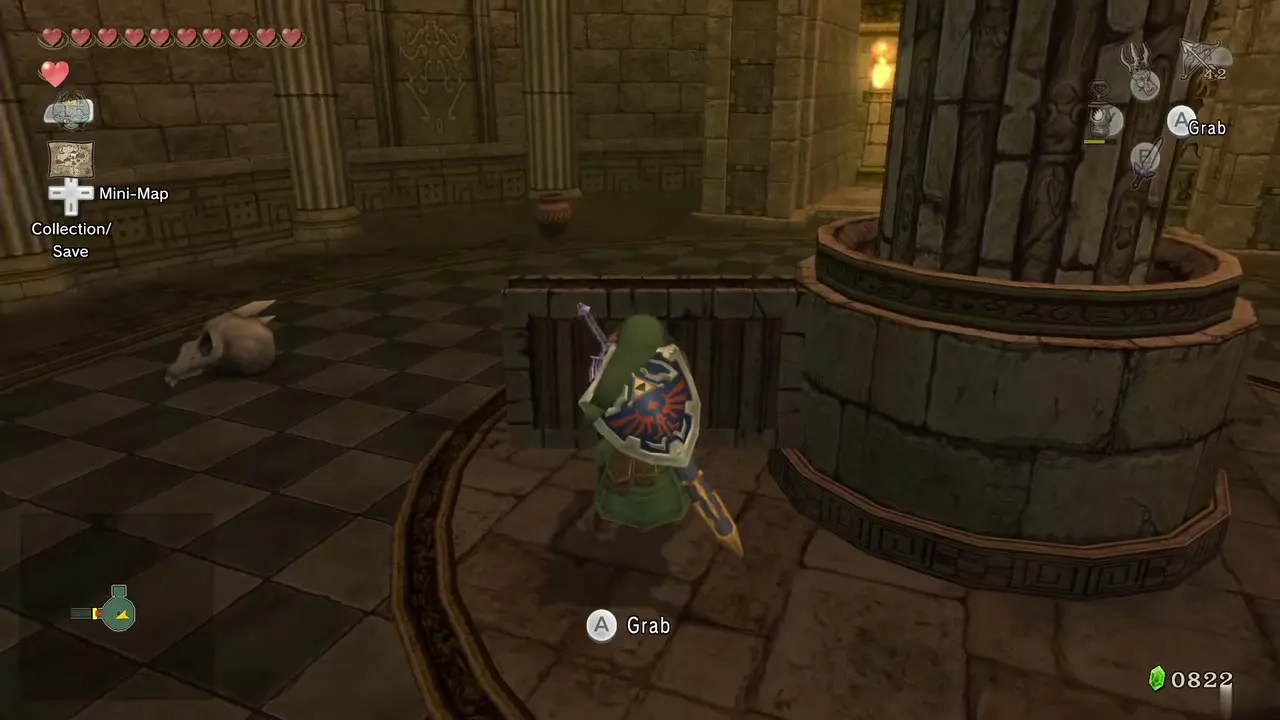
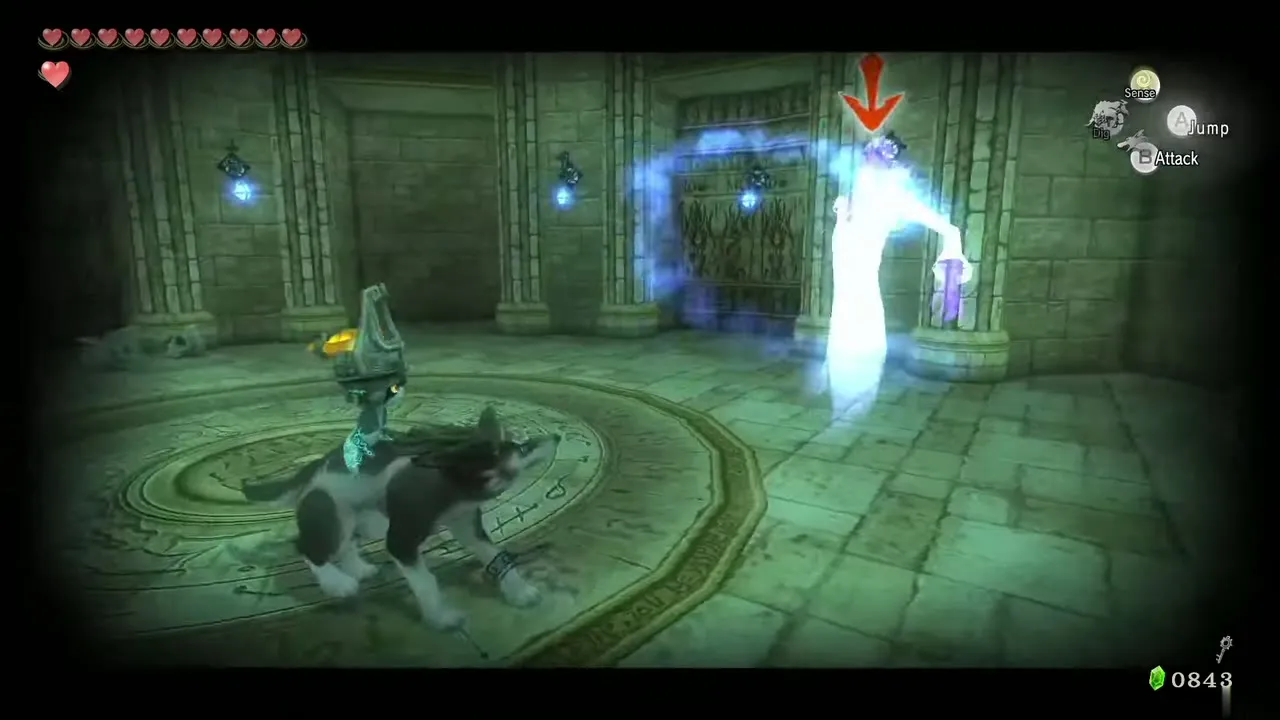
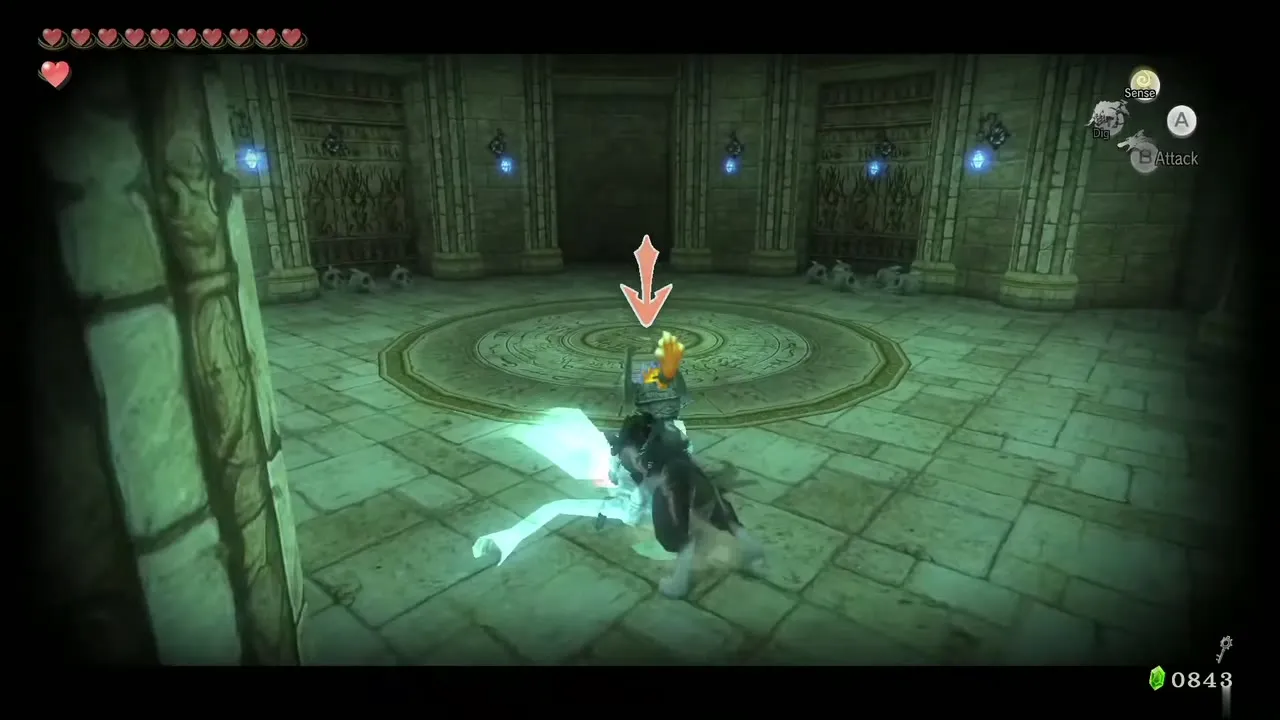
Stand in the opening and look up through the hole in the ceiling: a Clawshot target hangs there (step forward a little if you cannot see it). Pull yourself up to the second floor, then switch to Wolf Link. The scent leads through the door to the north; at the west end of the next room a Poe floats. Lock on, wait for it to flash purple, then leap and bite, and repeat until its soul is yours.
Go back, drop to the floor and turn the lever clockwise to restore the pillar. Leave through the west door and the second torch lights in the central chamber.
The third Poe, the Compass and the chandelier rooms
Platforms, crate and chandelier
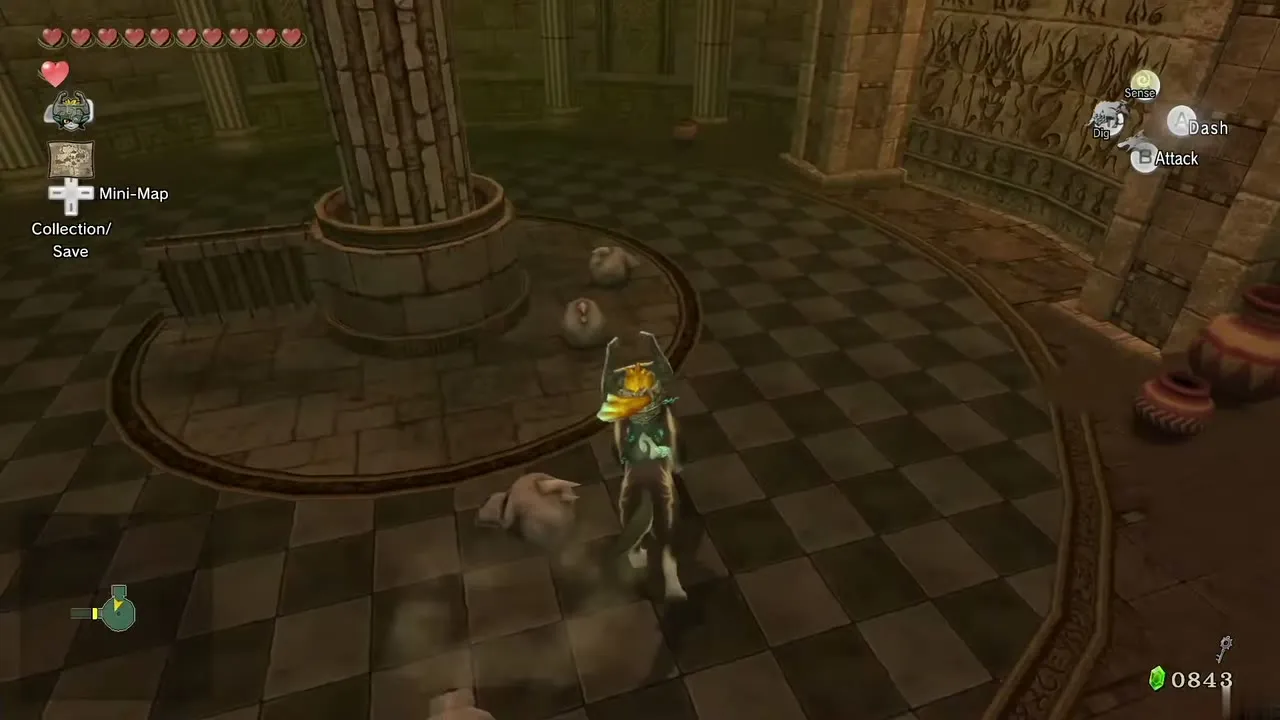
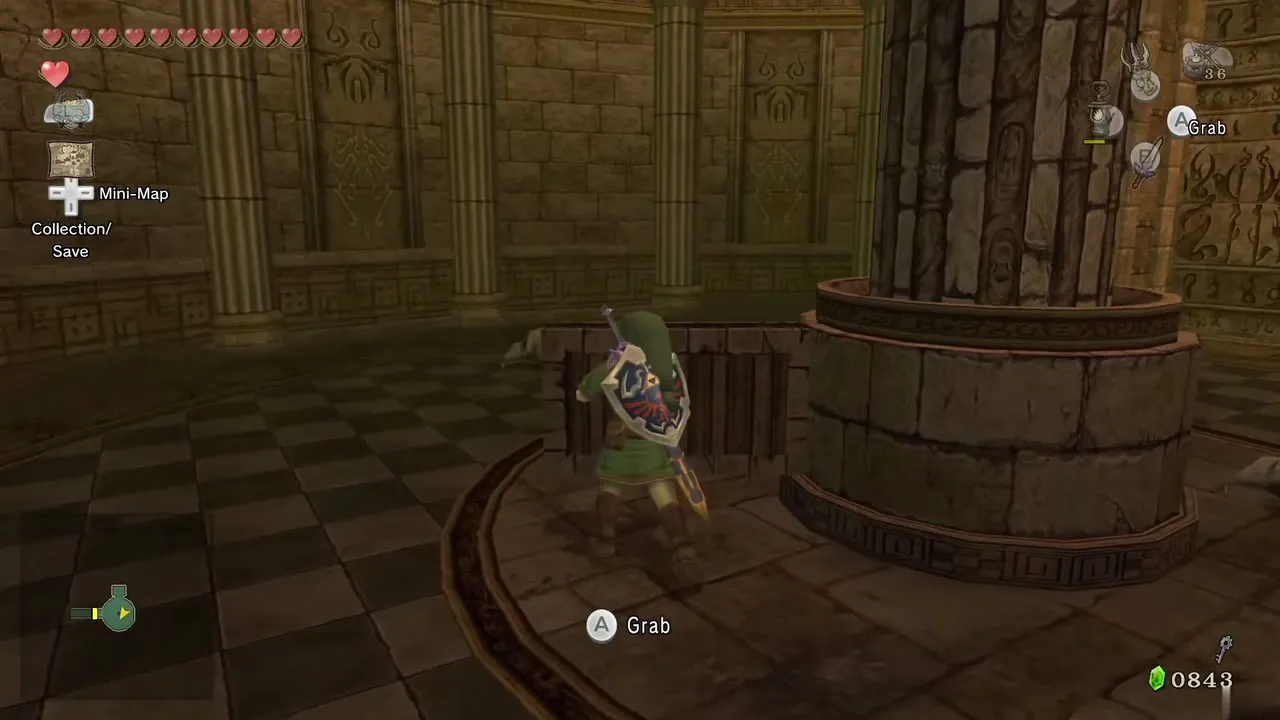
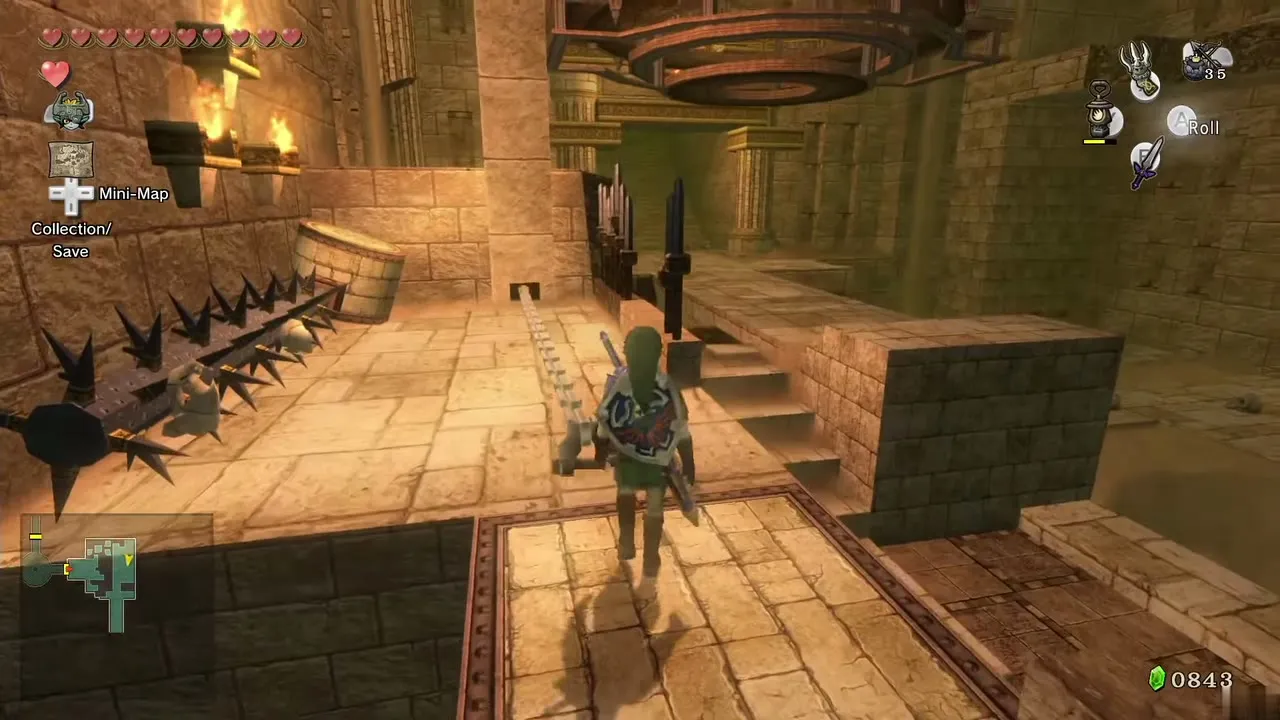
Back in the central chamber, take the stairs and the east door on the upper level. Use the small key on the locked door ahead. In the next room cross the short platforms at the north end, watching for spike barriers that pop out of the sand; Wolf Link’s senses show where they will rise. On the east side, pull the large crate backward until it drops, then push it into the narrow gap.
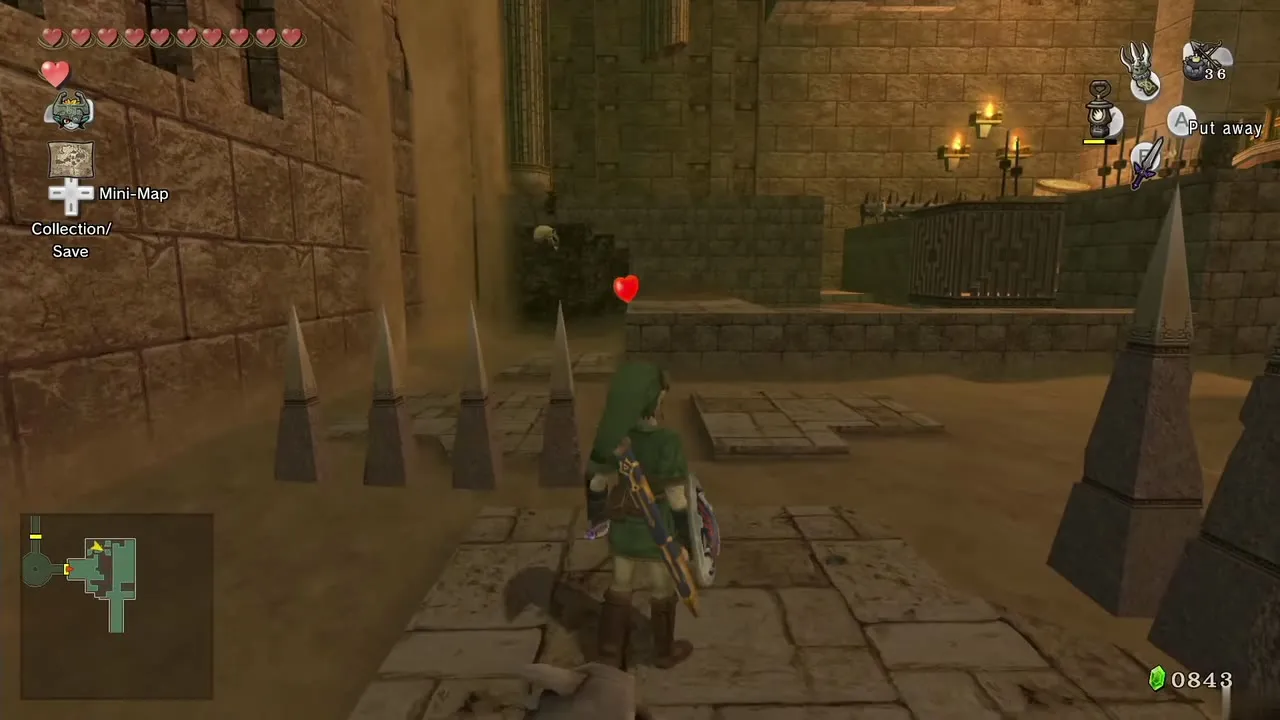
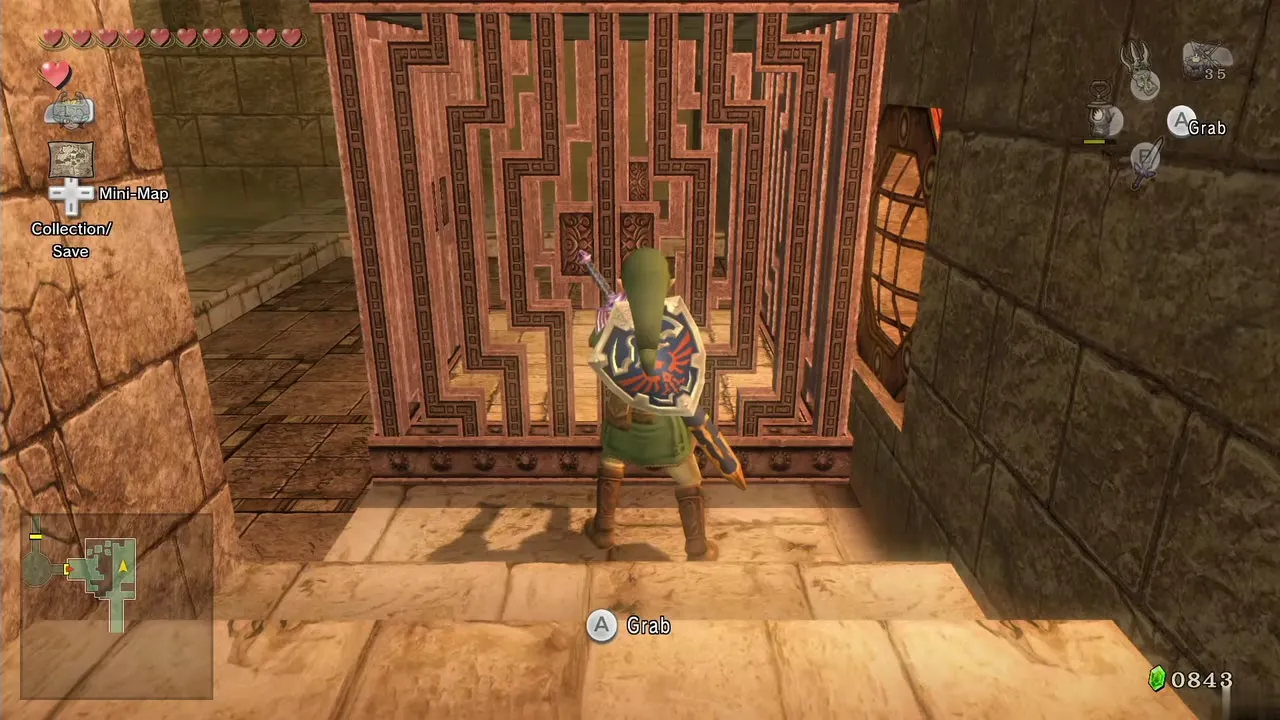
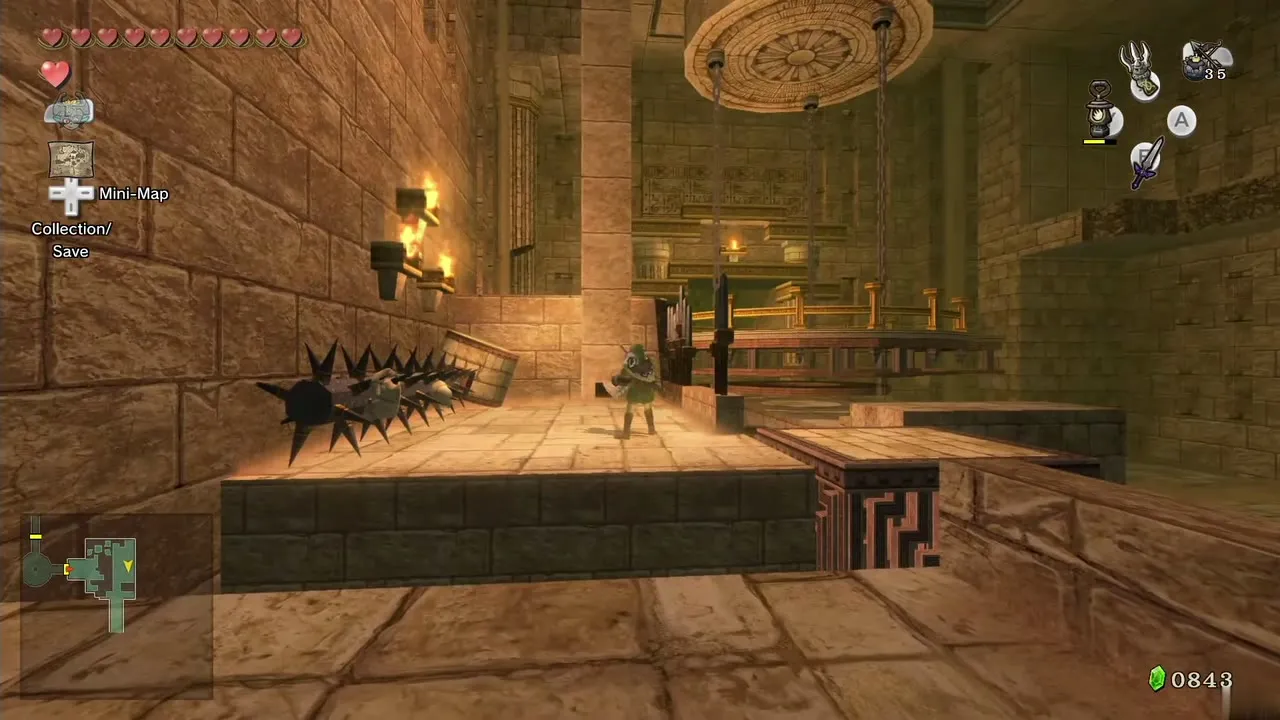
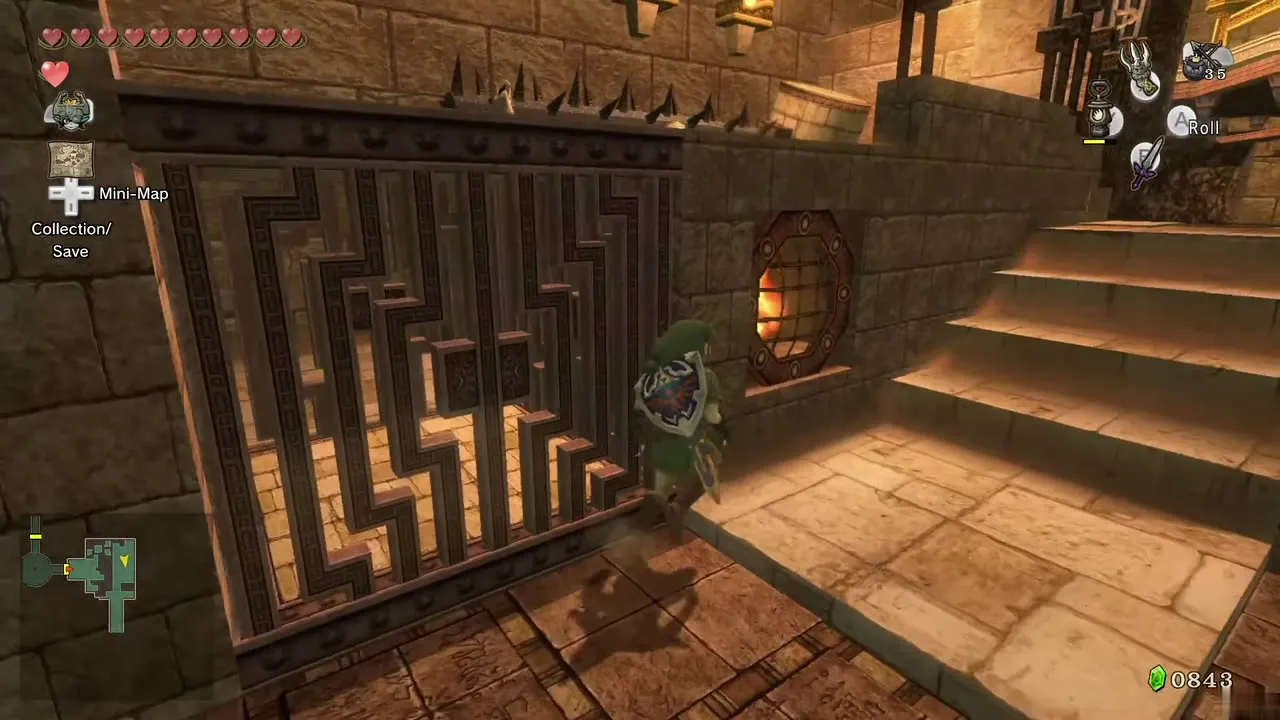
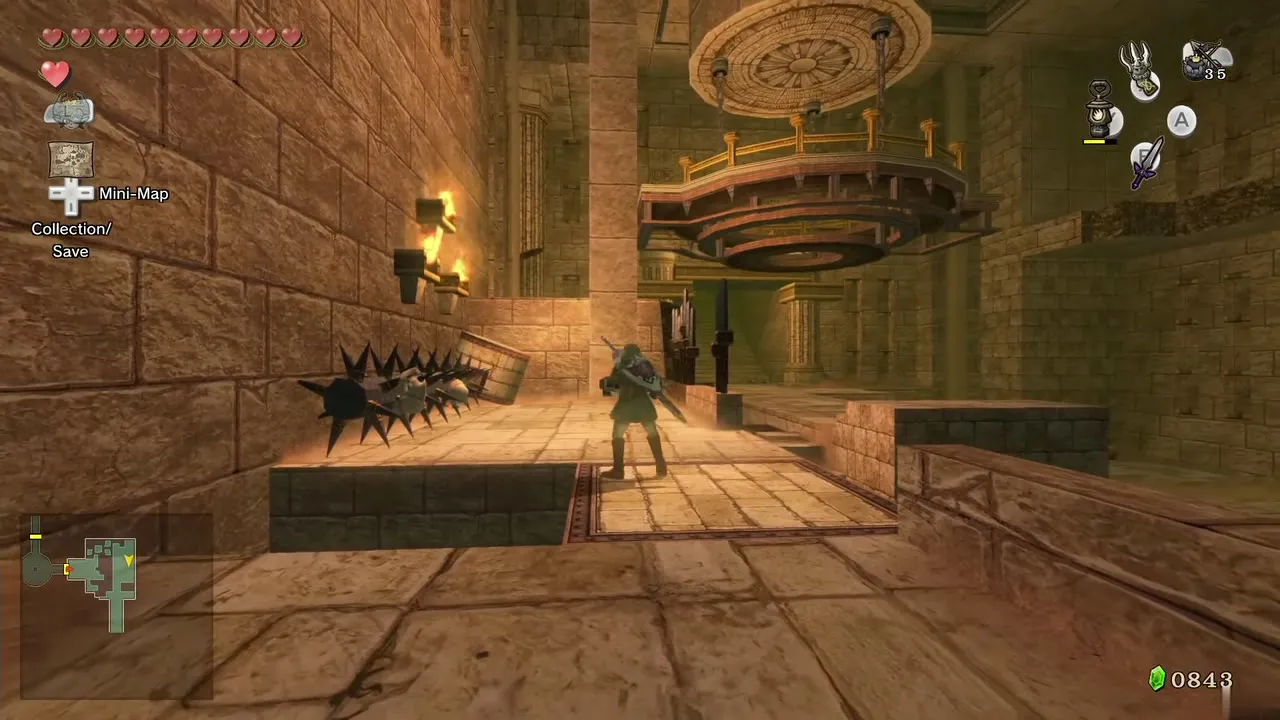
Climb the steps and the ledge on the left. Grab the chain and pull it all the way back to raise the chandelier, then jump off the ledge on the right and run past before it falls. If you are too slow, it crashes and you restart at the room entrance.

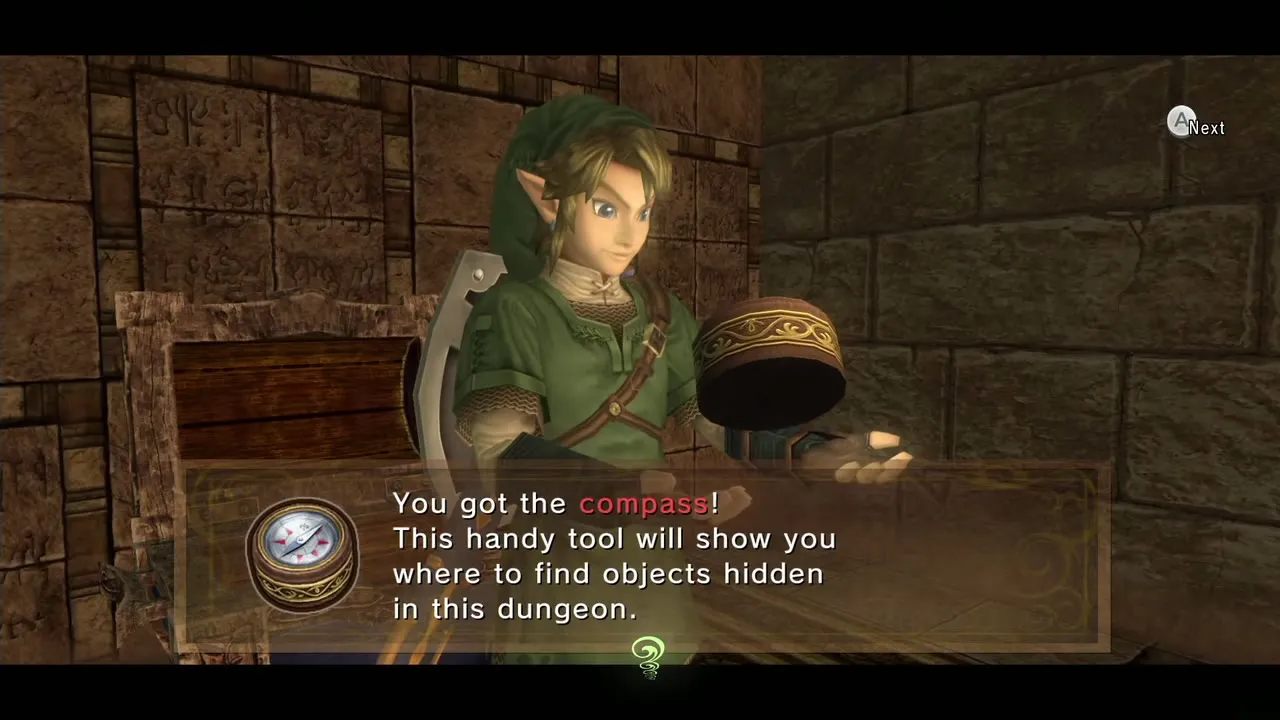
The Compass
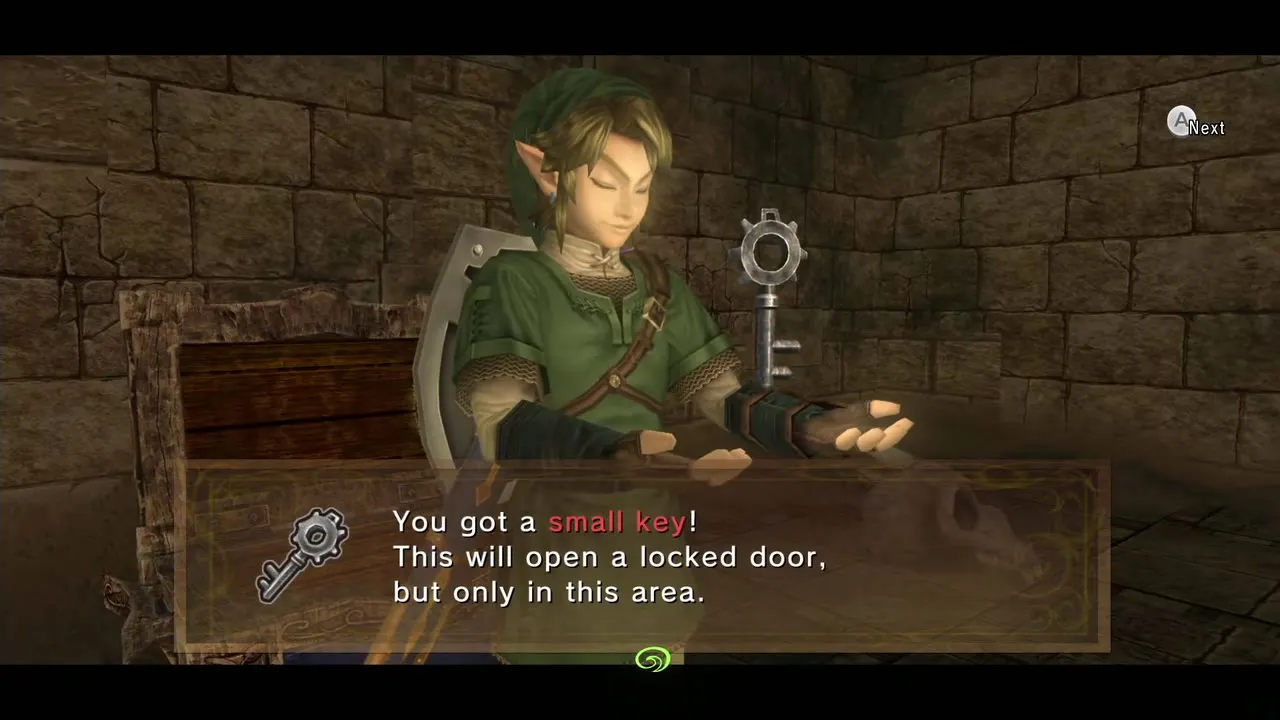
Climb the next steps and run south. Open the chest to get the Compass. A statue stands in the middle of this area: push or pull it counterclockwise to turn the room. Run east, smash the boards, defeat the ReDead Knight and open the chest behind it for the third small key. Cross to the opposite corridor and unlock the door.
The third Poe
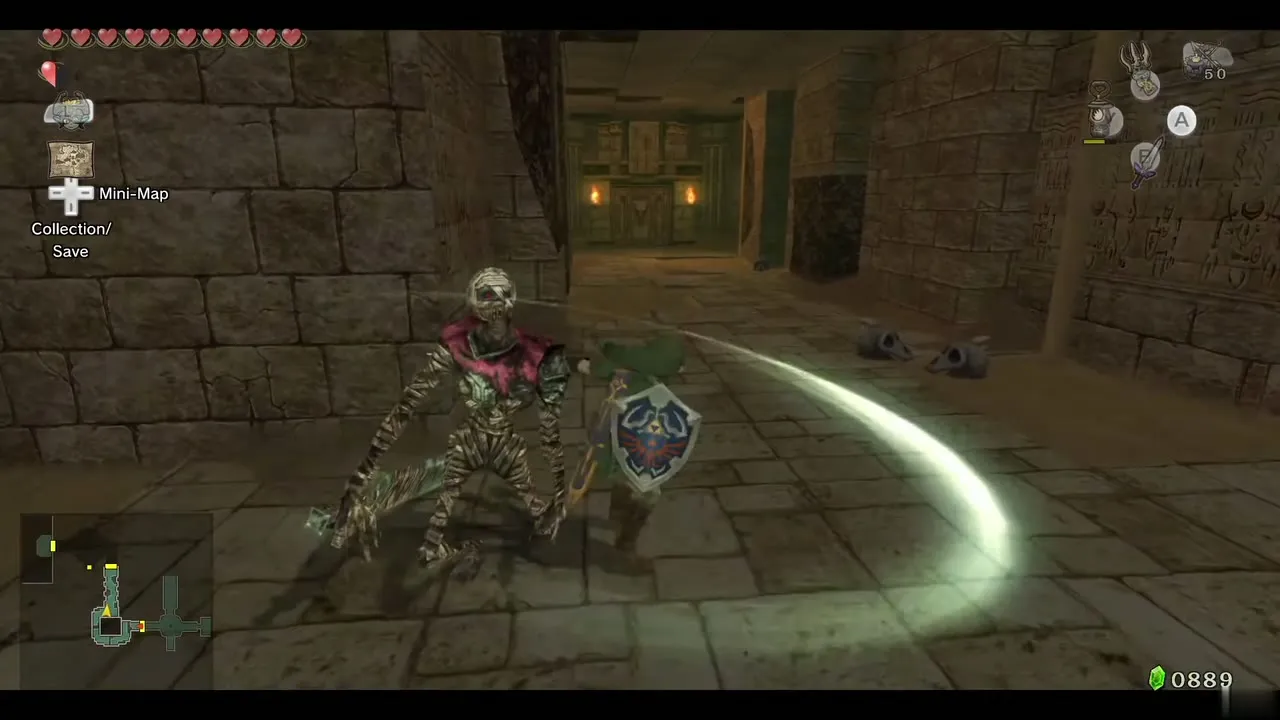
This room is full of Stalkins and holds two ReDead Knights, so use bombs or bomb arrows from range and watch the sand. Around the corner where the knights stand, switch to Wolf Link, follow the scent to a patch of sand and dig up a chain. Pull it and a wall slides aside, revealing the third Poe. Kill it as a wolf, then leave through the door at the north end.
The round room with rats
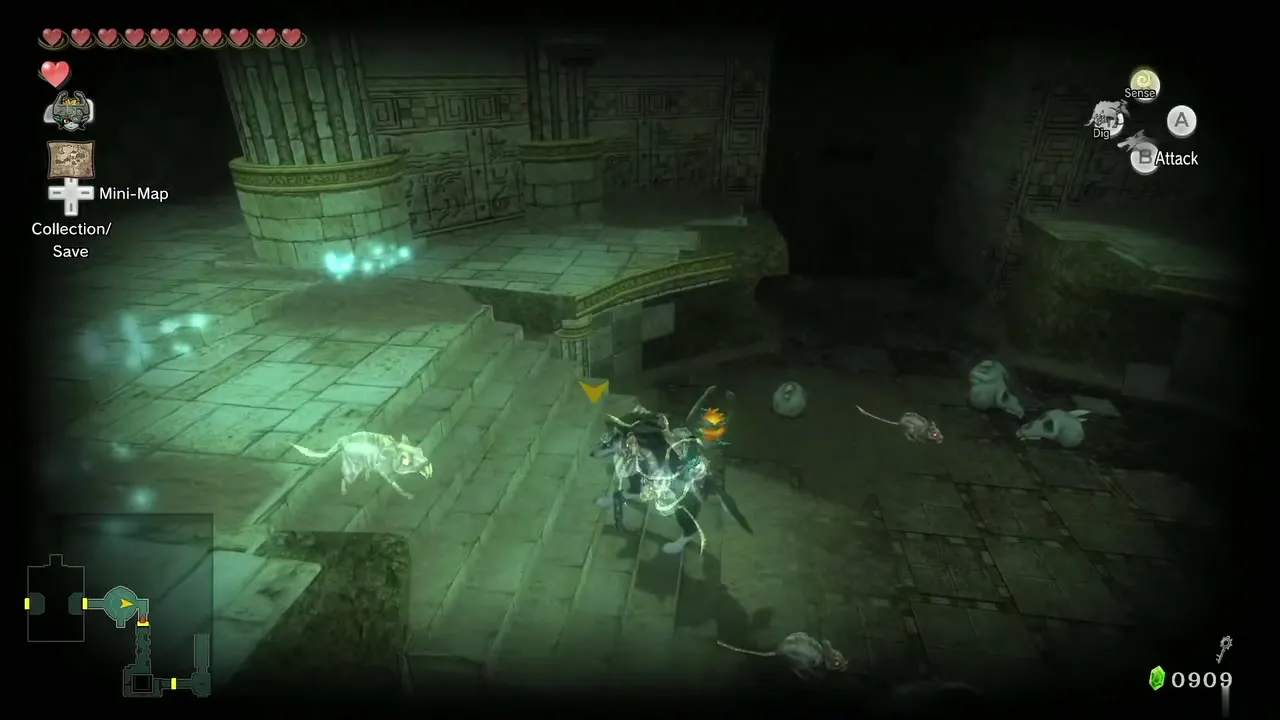
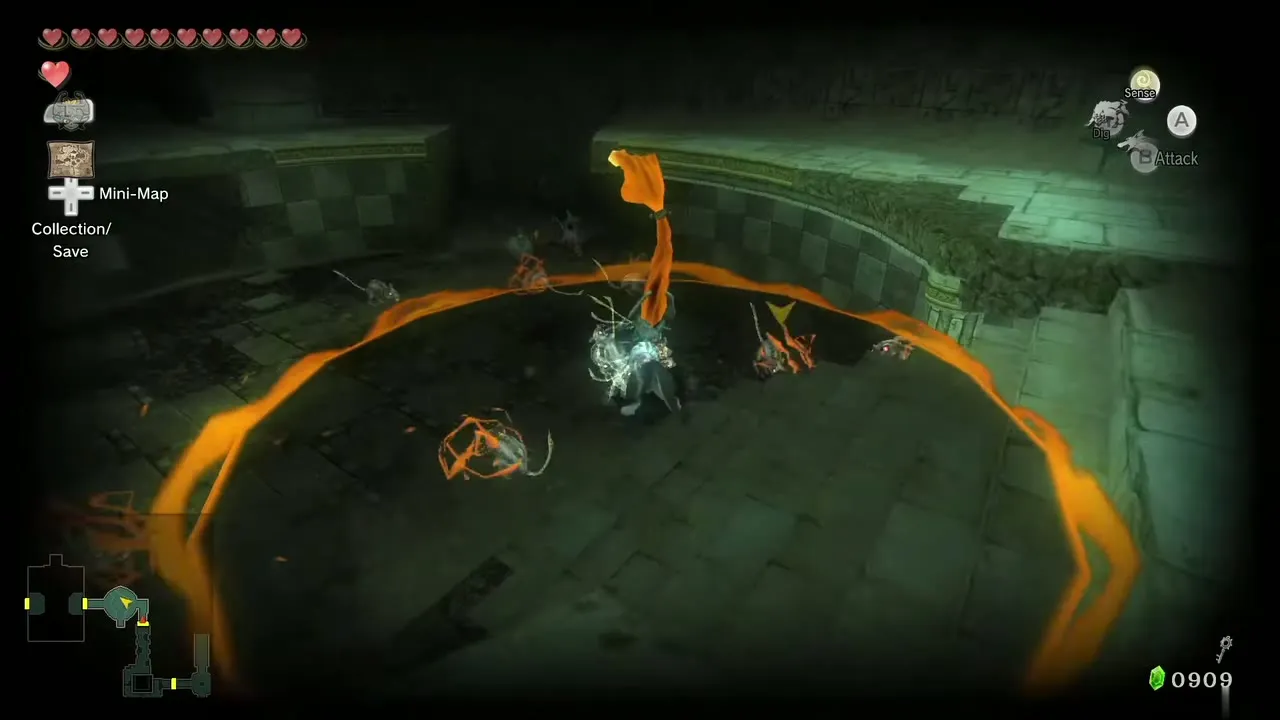
Drop down and open the chest for another small key (the fourth). As you walk, ghostly Ghoul Rats cling to you and slow you down; only Wolf Link can see them. A spin attack removes them (hold the attack button until Midna’s targeting circle vanishes, or release it before it appears, to spin instead of making the charged attack). Climb the steps, jump the gap and use the key on the locked door to return to the central chamber on the upper floor.
The fourth Poe: the last Poe
Chandelier, crate and chain
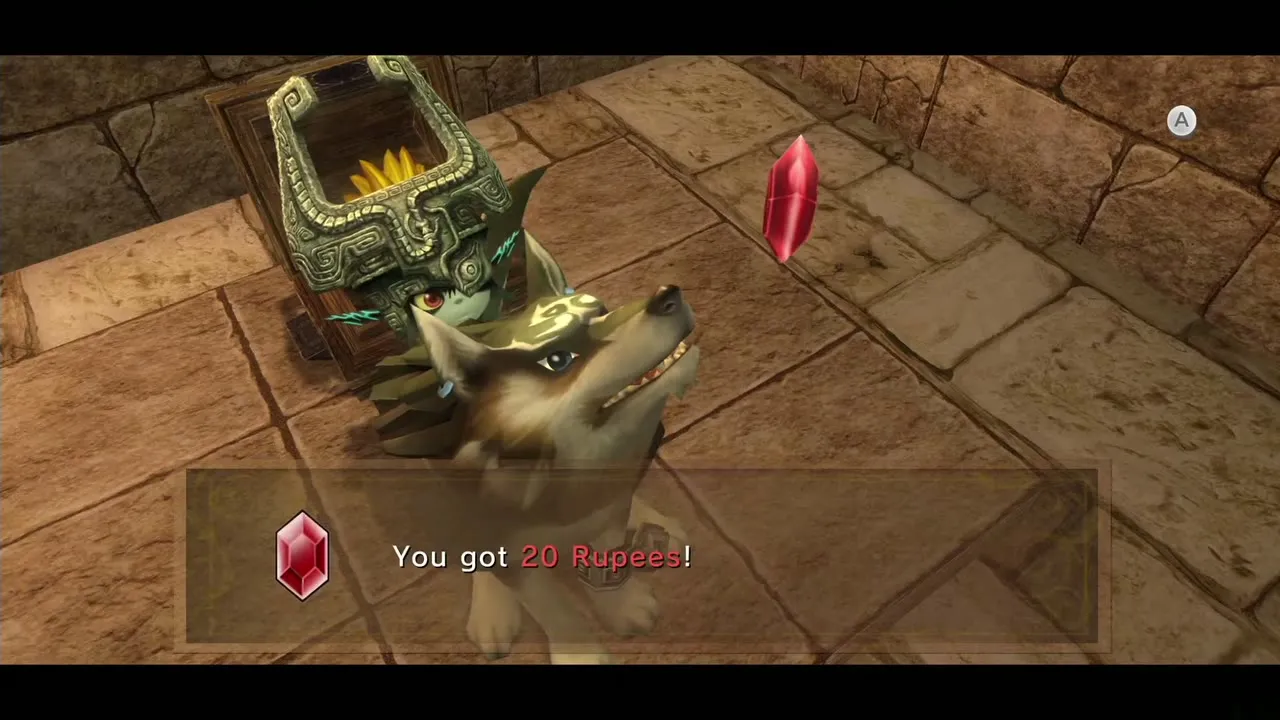
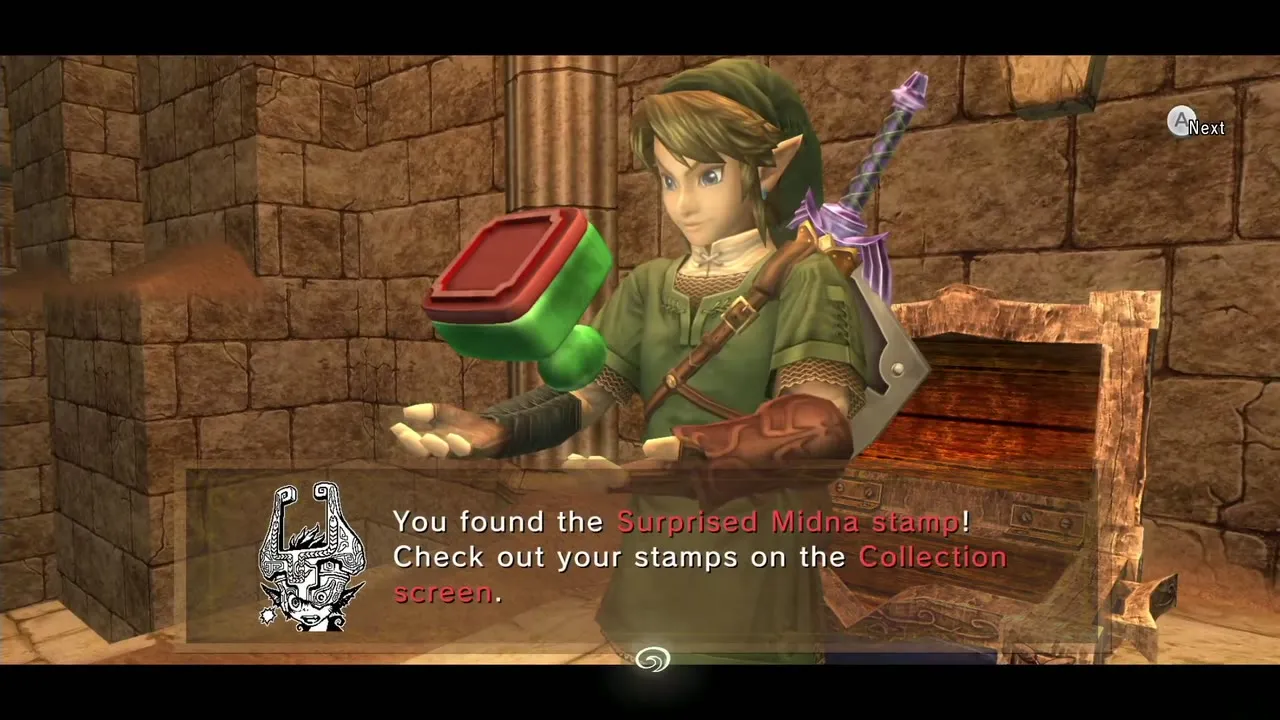
Jump onto the chandelier in the middle of the chamber, then leap to the other side and go through the west door. Walk down the steps on the right, drop and push the block ahead down the gap. A corridor behind it leads to a chest with a red Rupee. Jump onto the block, grab the chain, pull it fully back and run across the room to the chest on the far side for the Surprised Midna stamp. Moldorms in the sand try to knock you off, so Clawshot them first if needed.
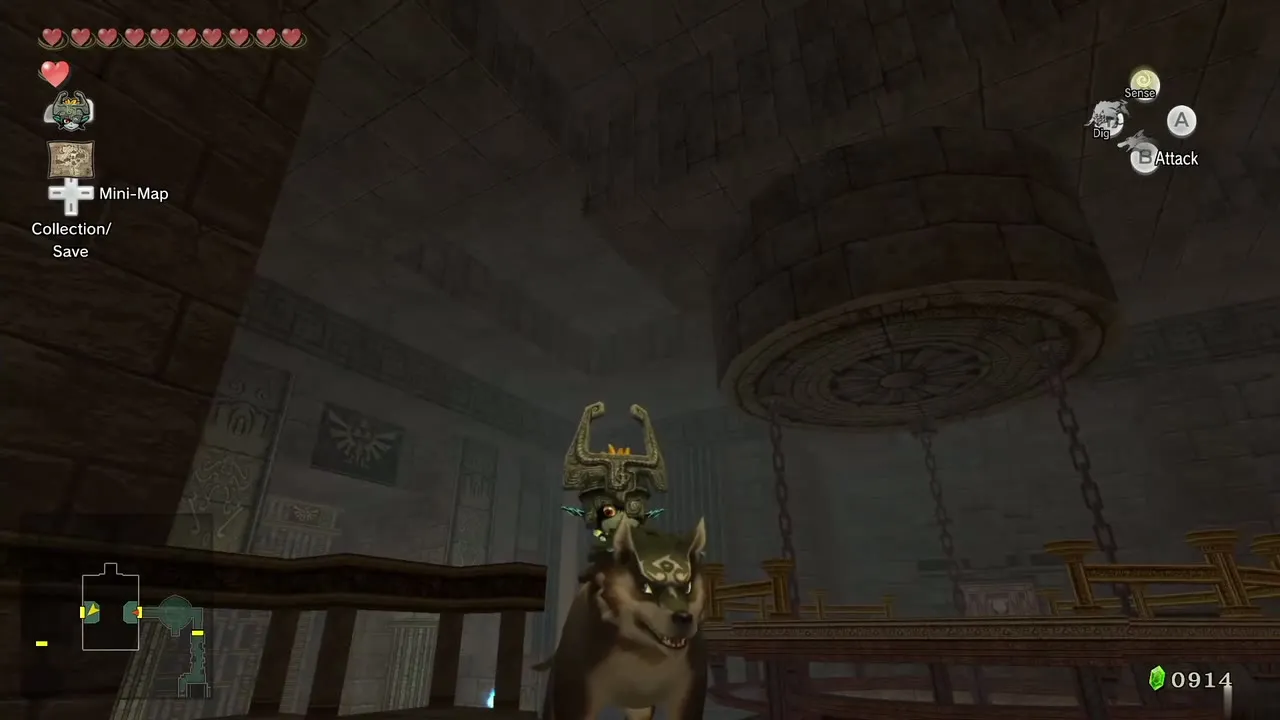
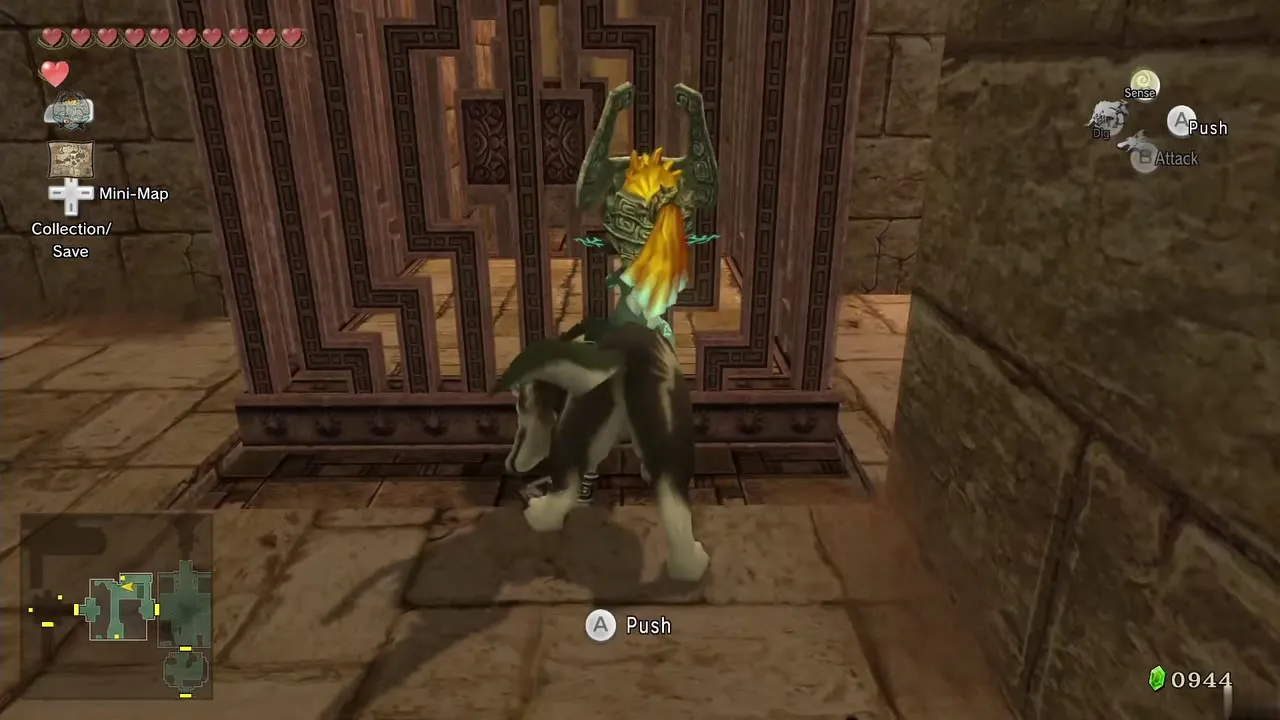
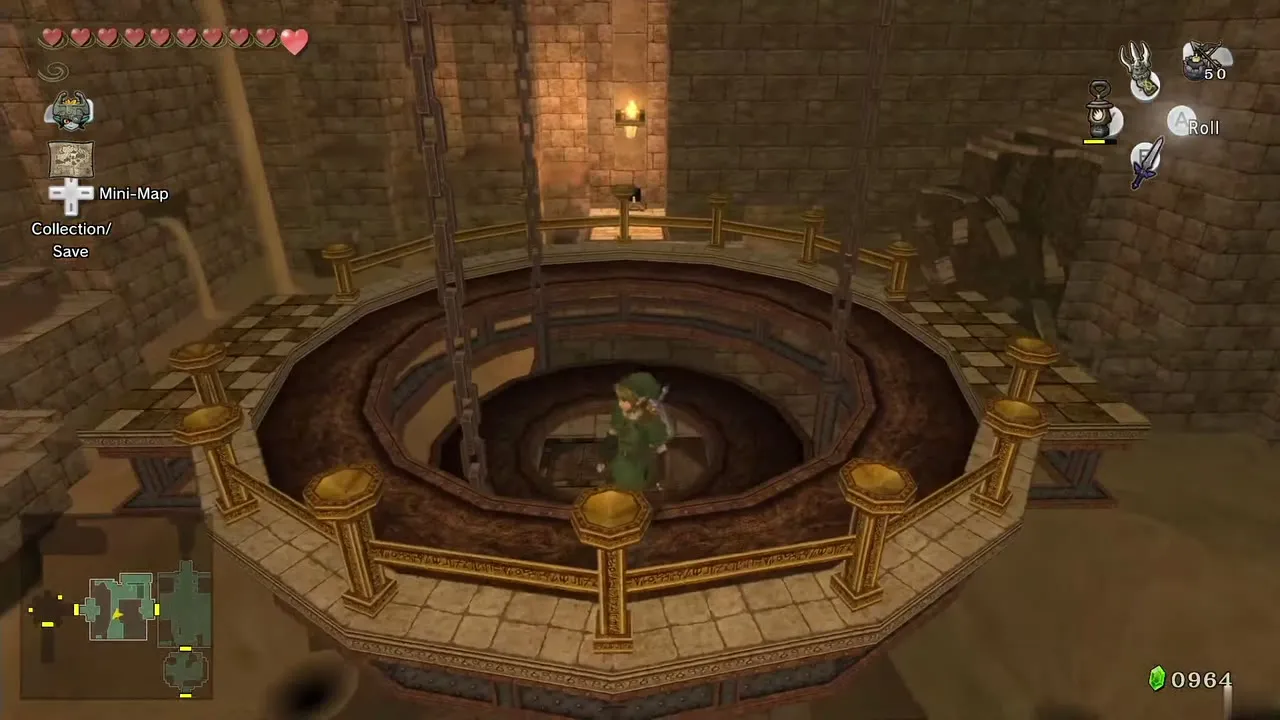
Clawshot the target to return to the east side. Pull the chain again, but this time let go and stand on the part of the bridge that sits lower than the rest, where the chandelier has a hole. It drops around you; climb up, jump west across the gap and go through the next door.
Stalfos and the torches
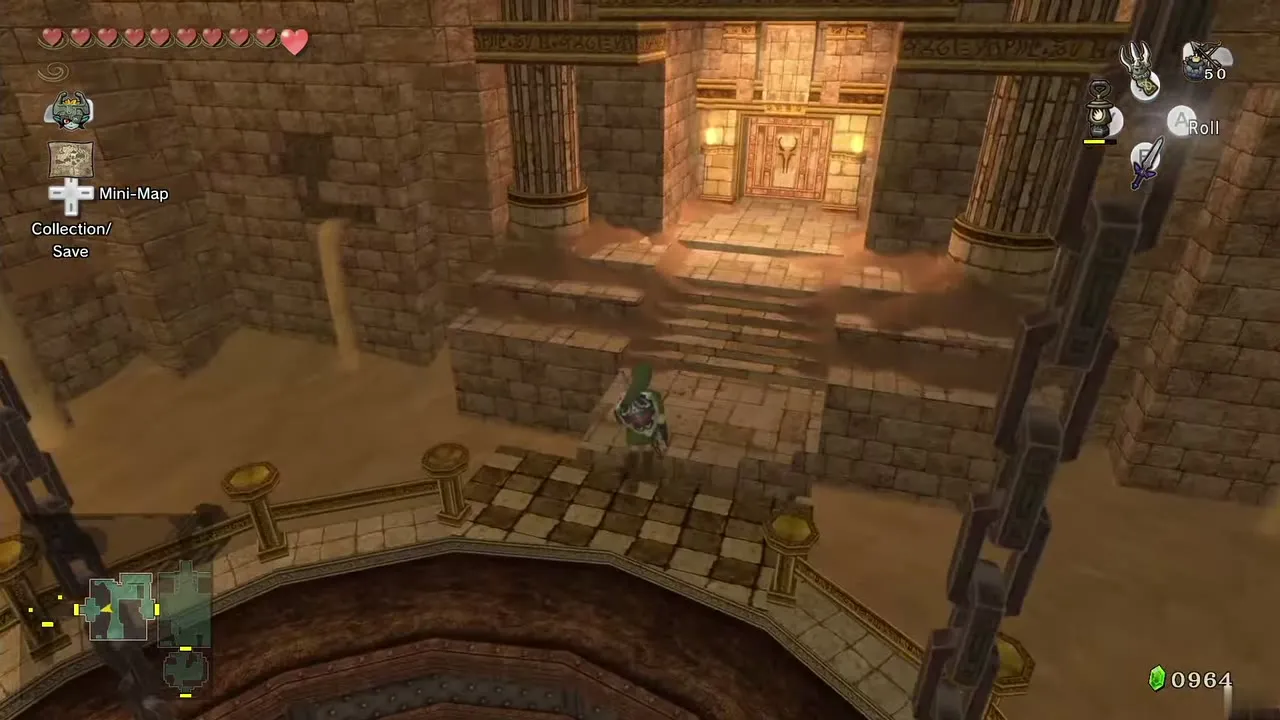
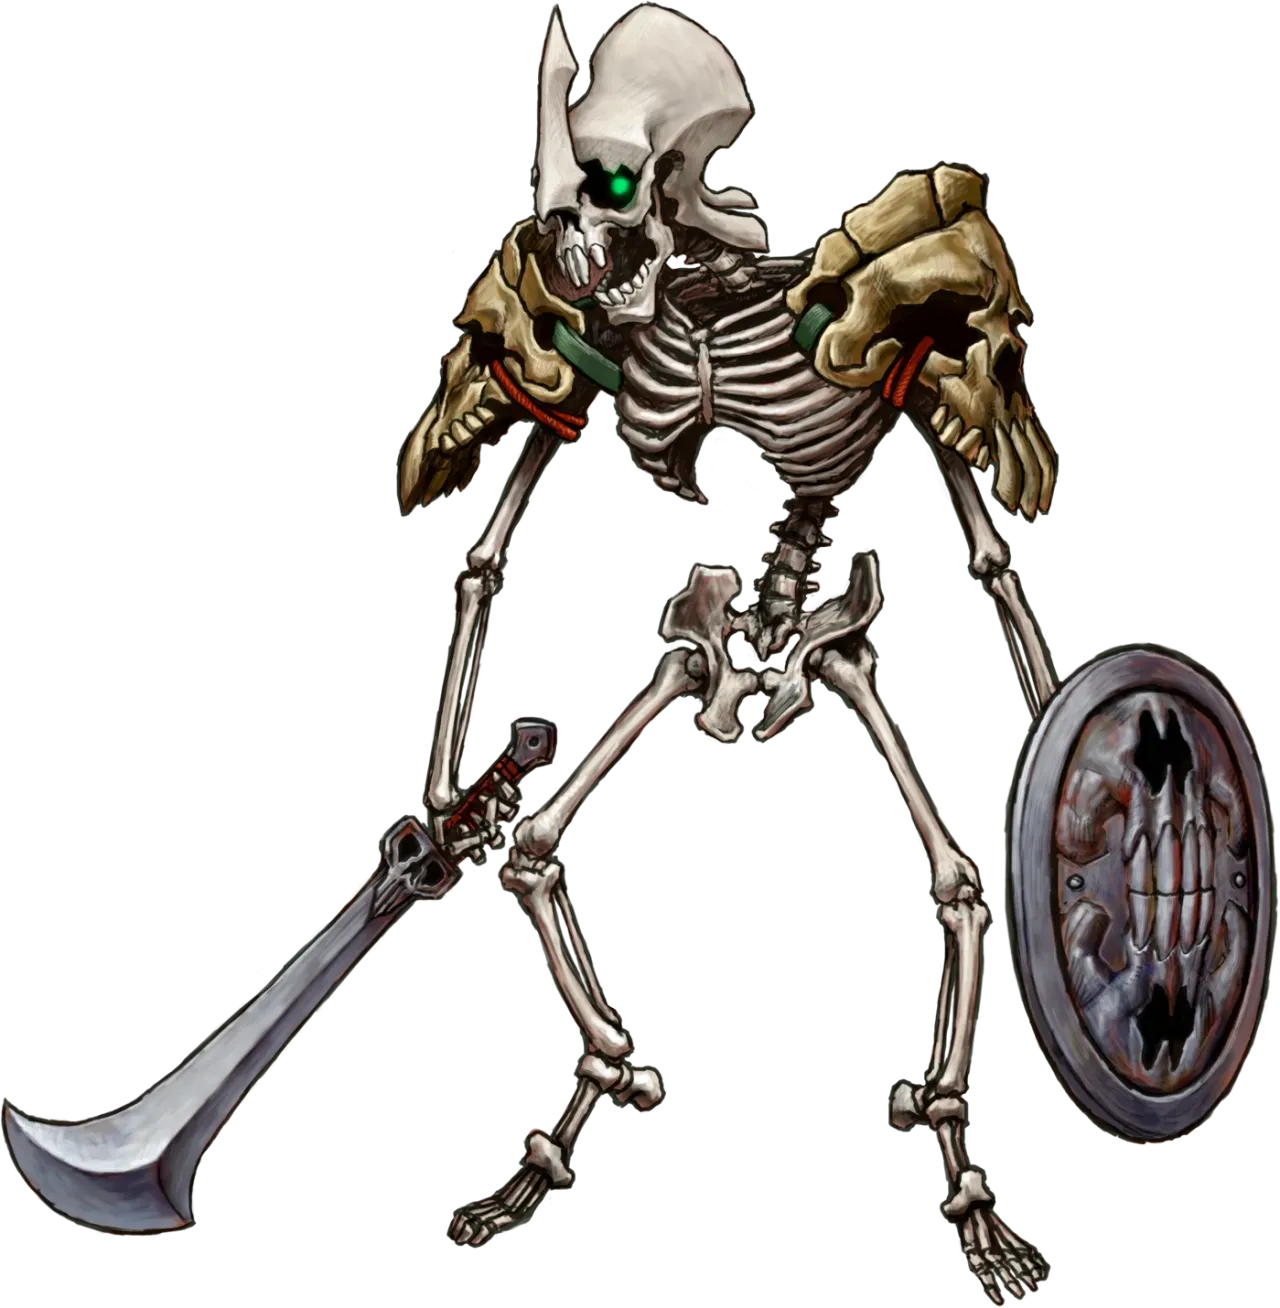
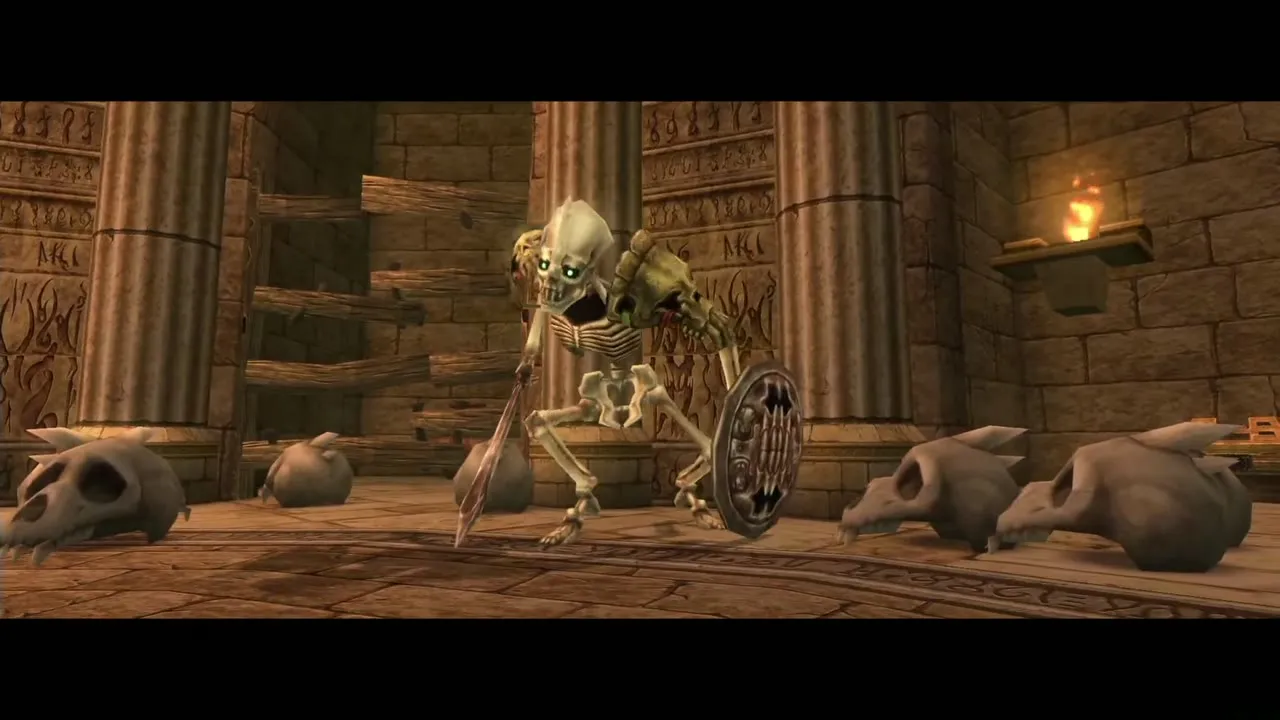
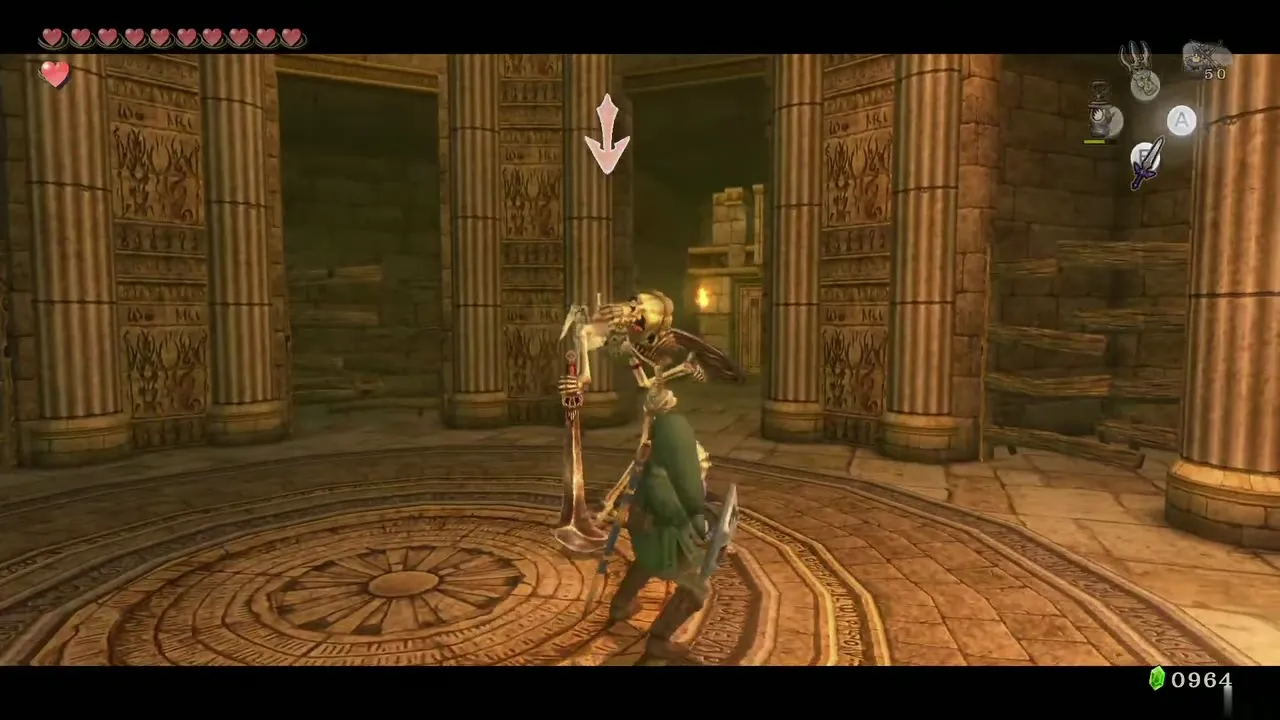
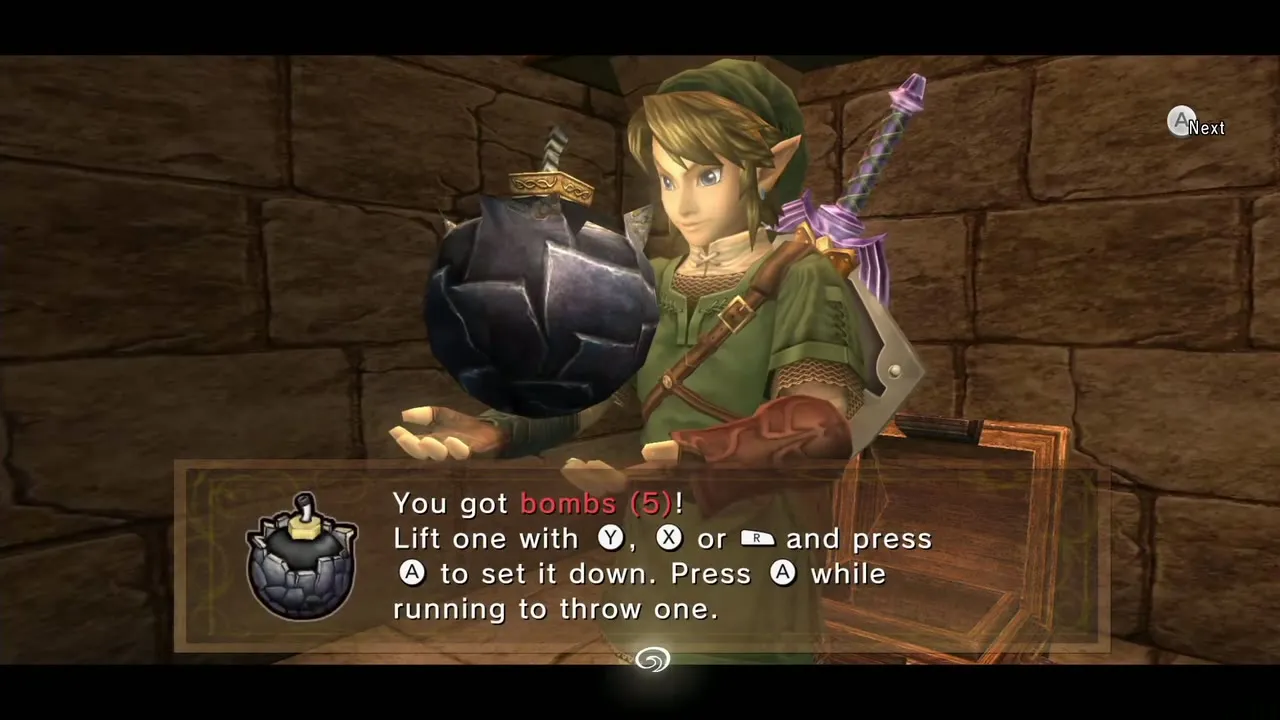
Break the wooden boards and walk ahead. A pile of bones forms a Stalfos. Hit it with a shield attack and a few slashes; it falls apart but is not dead, so blast the bones with a bomb or a bomb arrow before it reforms. Two chests in the room hold bombs. When it dies, the door to the south opens.
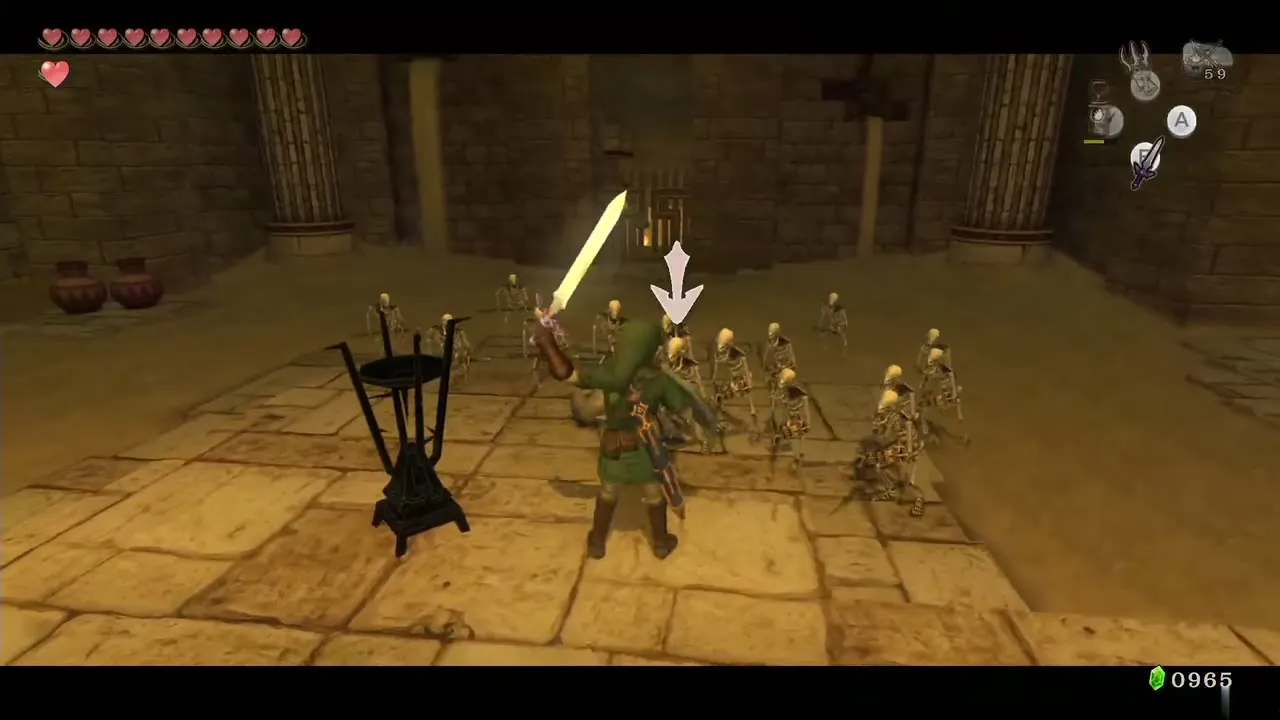
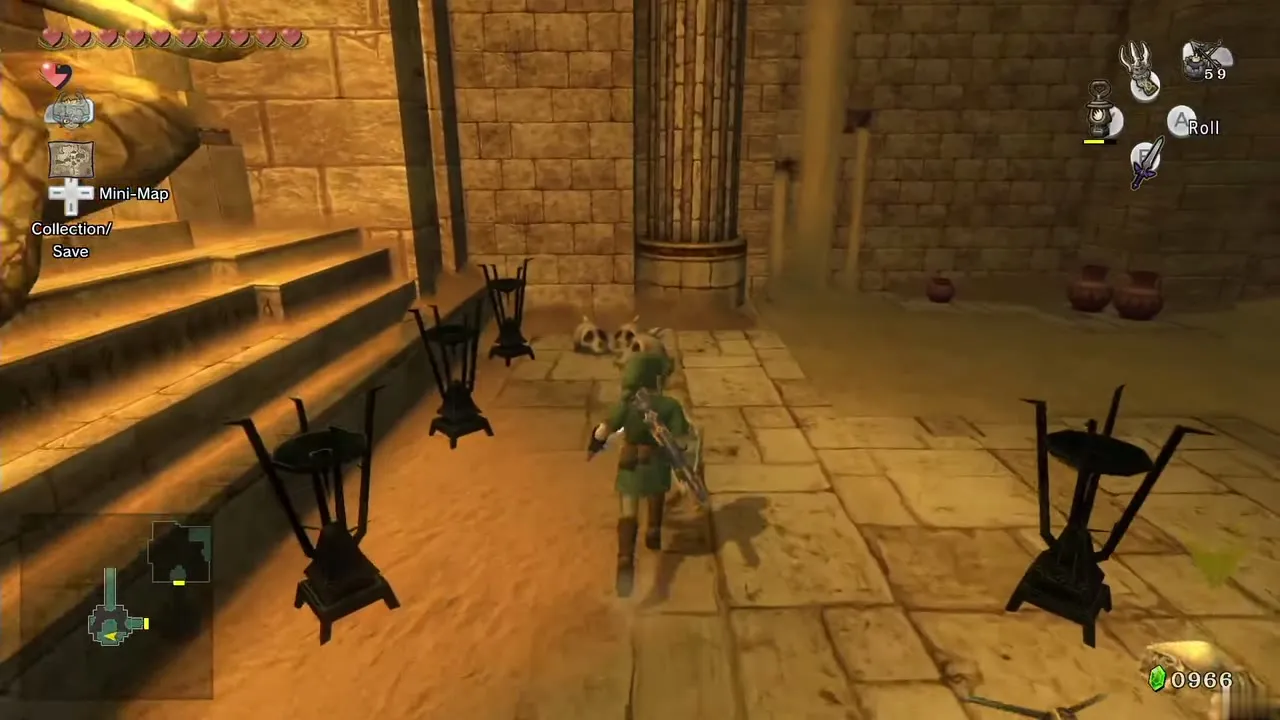
Climb the steps and cross the sand. Four torches stand in the room, and only two are correct: light the one in front first, then the one on the far left. Any other choice summons a wave of Stalkins. When the large door opens, go through.
The fourth Poe
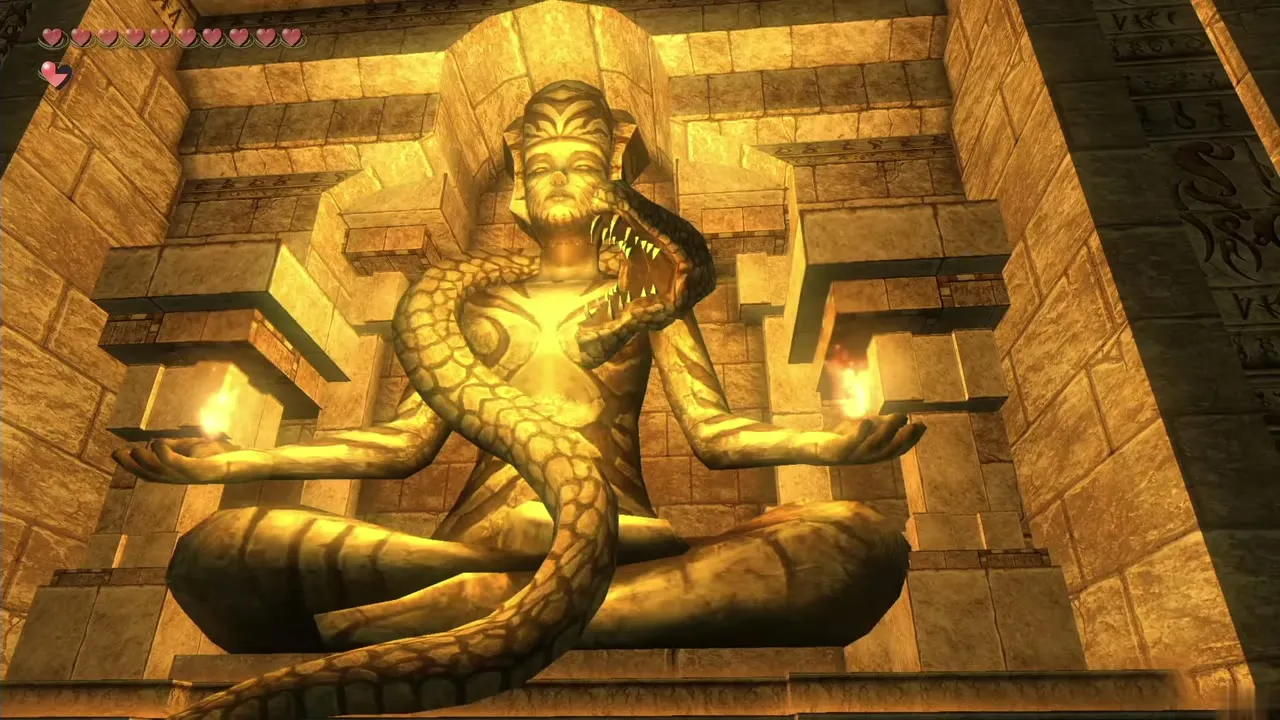
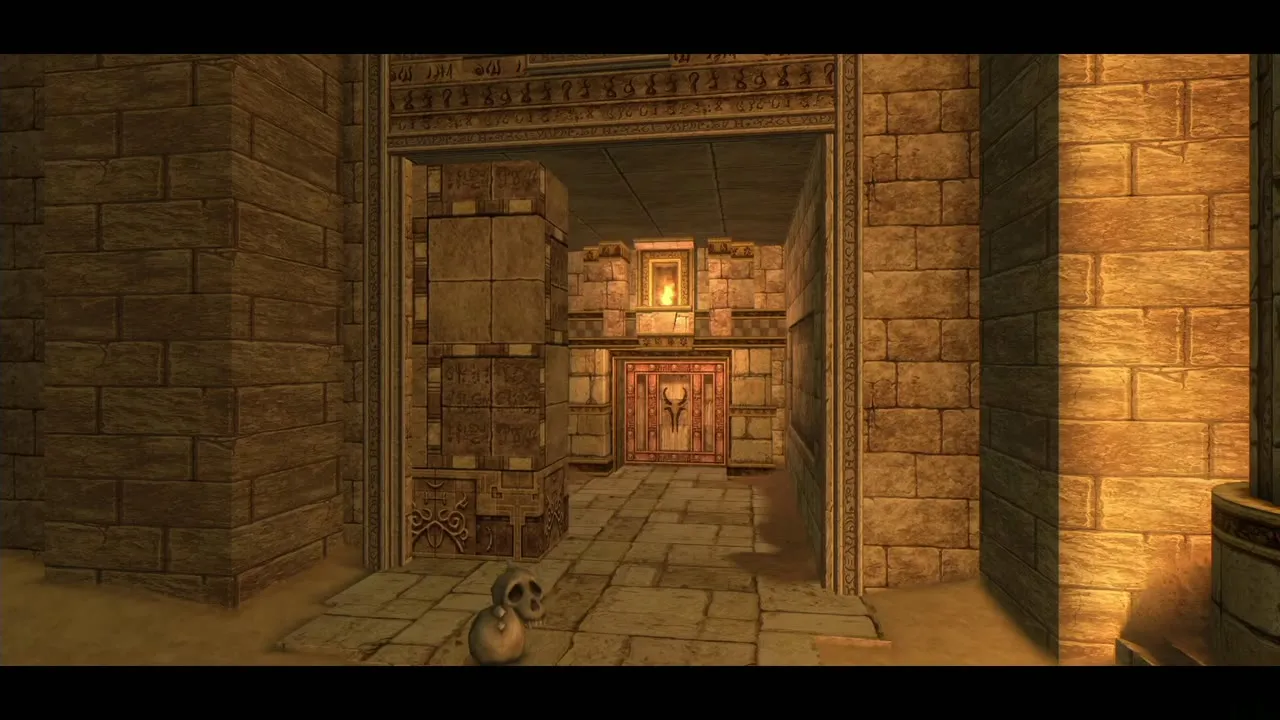
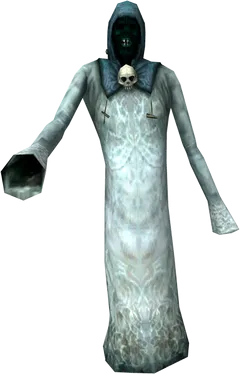
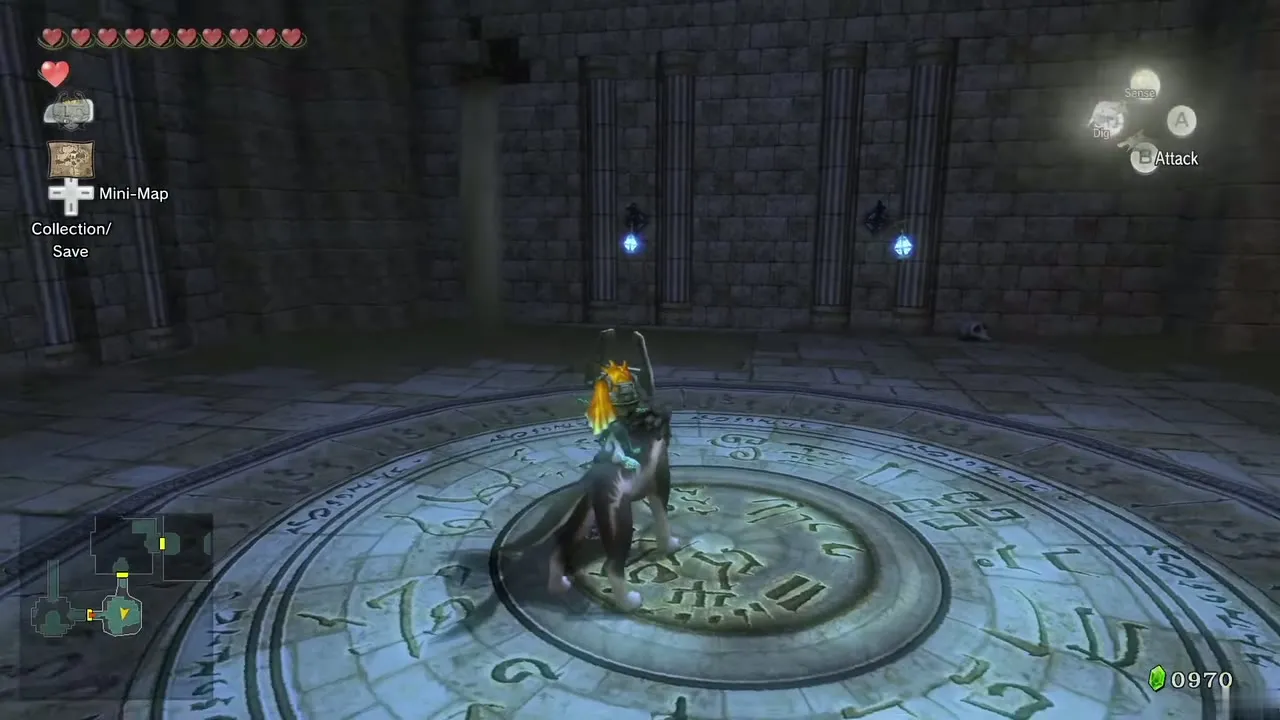
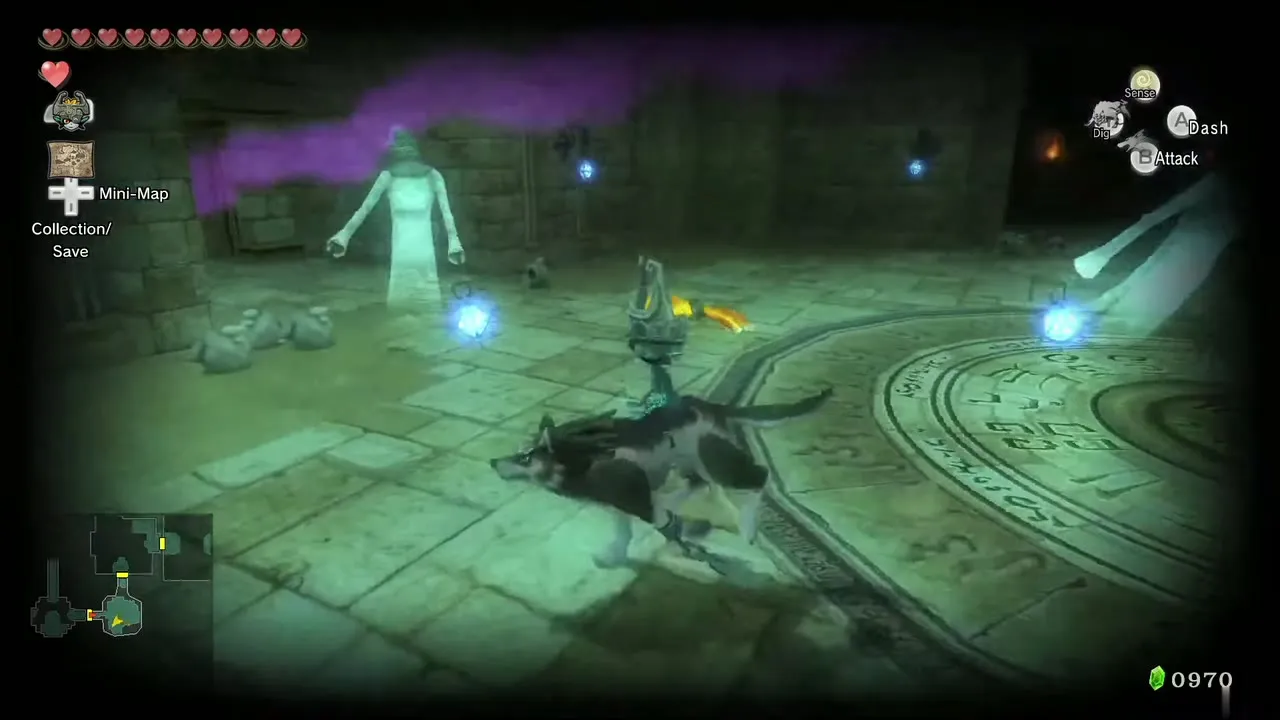
With senses on, find the Poe in the room. It splits into four that circle you and then stop. Three turn transparent while the real one glows. Lock on to the glowing one and attack with Wolf Link. Repeat until it drops, and take the fourth Poe Soul of the dungeon. Leave through the north door, then Clawshot to the target on the east side and walk through the door back into the main chamber. The fourth torch lights, and the huge north door opens.
The tall shaft, Ooccoo and the mini-boss
Down the cylindrical shaft
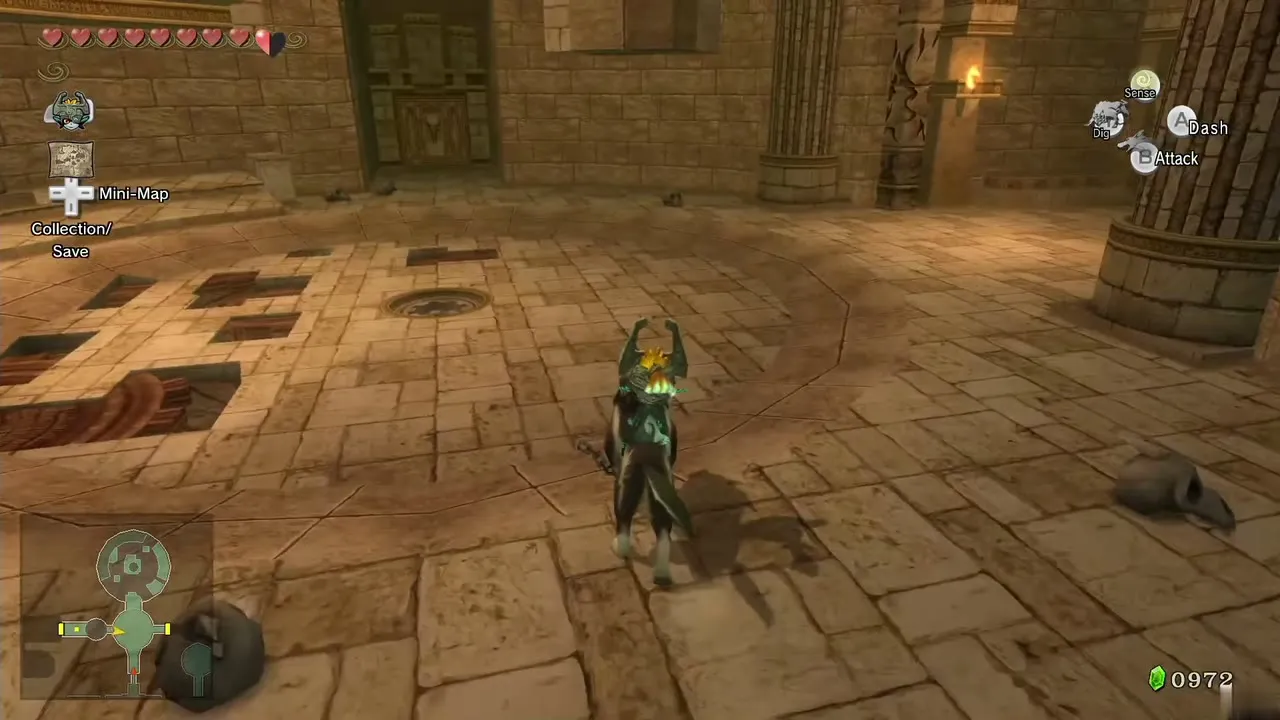
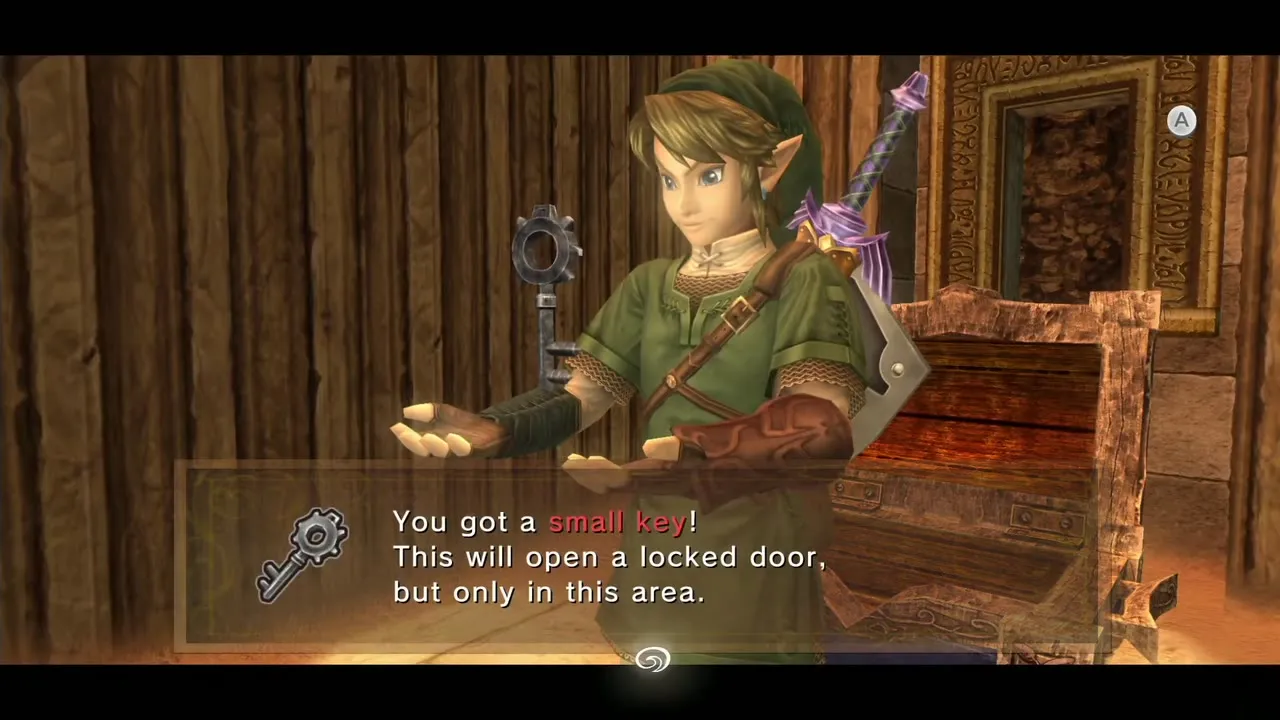
Step into the north room. The big chest is visible in the distance, but you cannot reach it yet. Go through the door at the east end to a tall cylindrical room filled with Bubbles and Fire Bubbles. Clawshot the targets on the wall to descend. A lever on the pillar at the bottom raises and lowers the floor. Push it clockwise twice and a chest with spikes in front of it becomes reachable by walking around to the right: open it for the fifth small key. If the floor moves the wrong way, turn the lever the other direction.
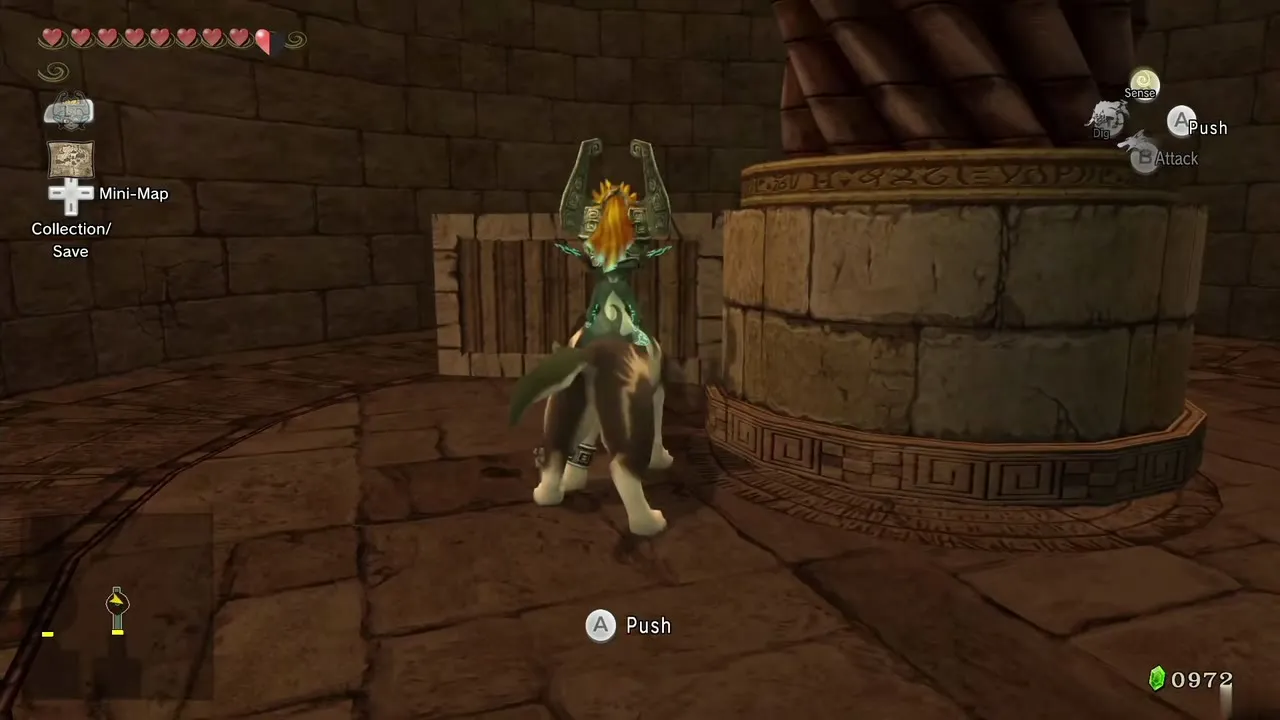
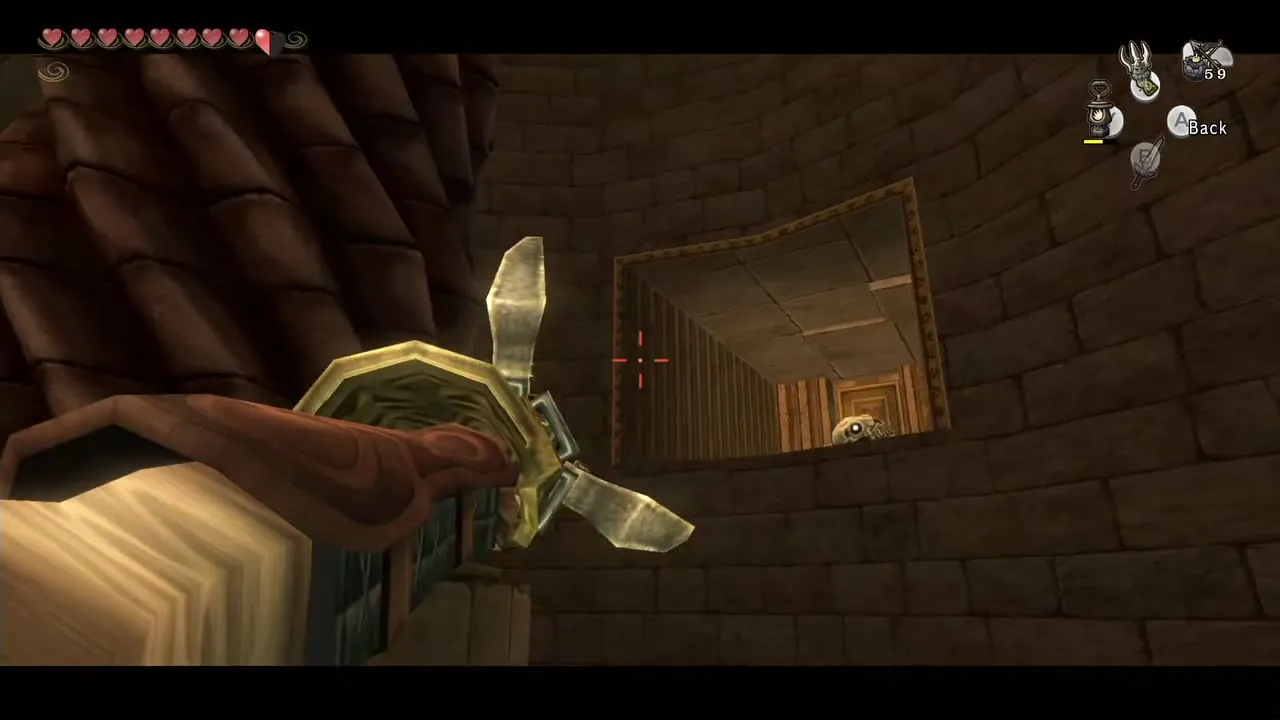
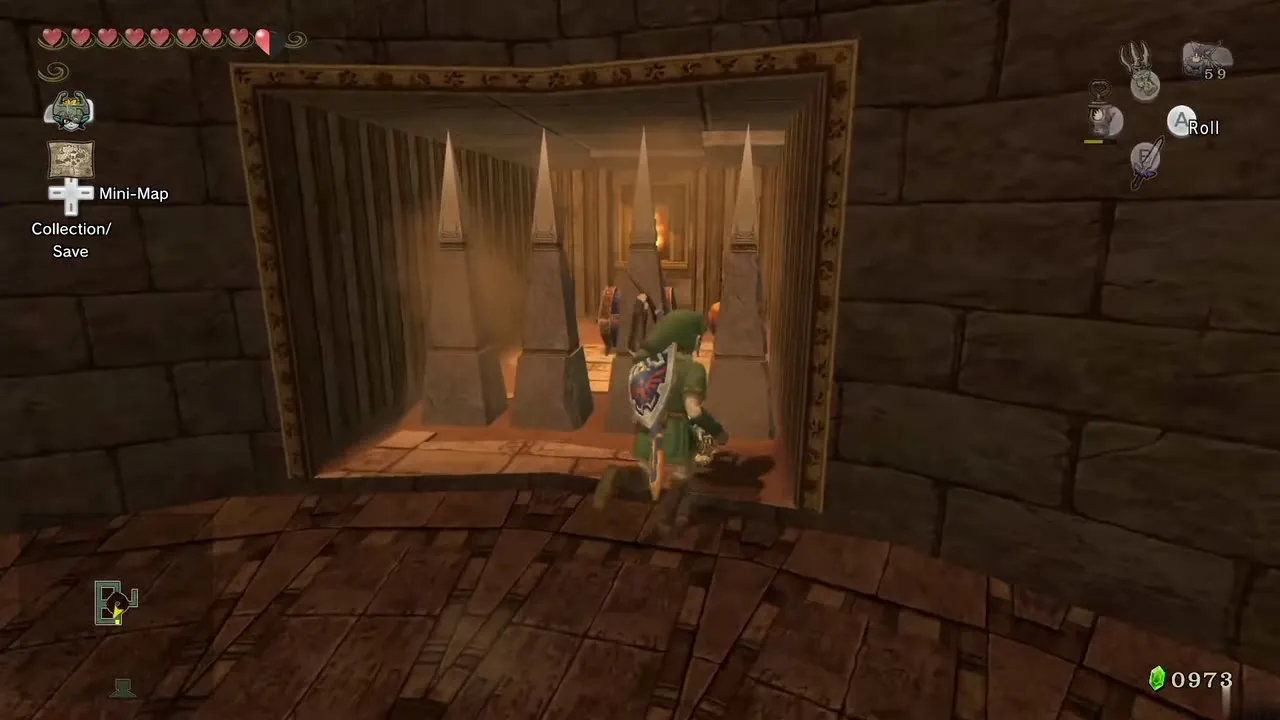
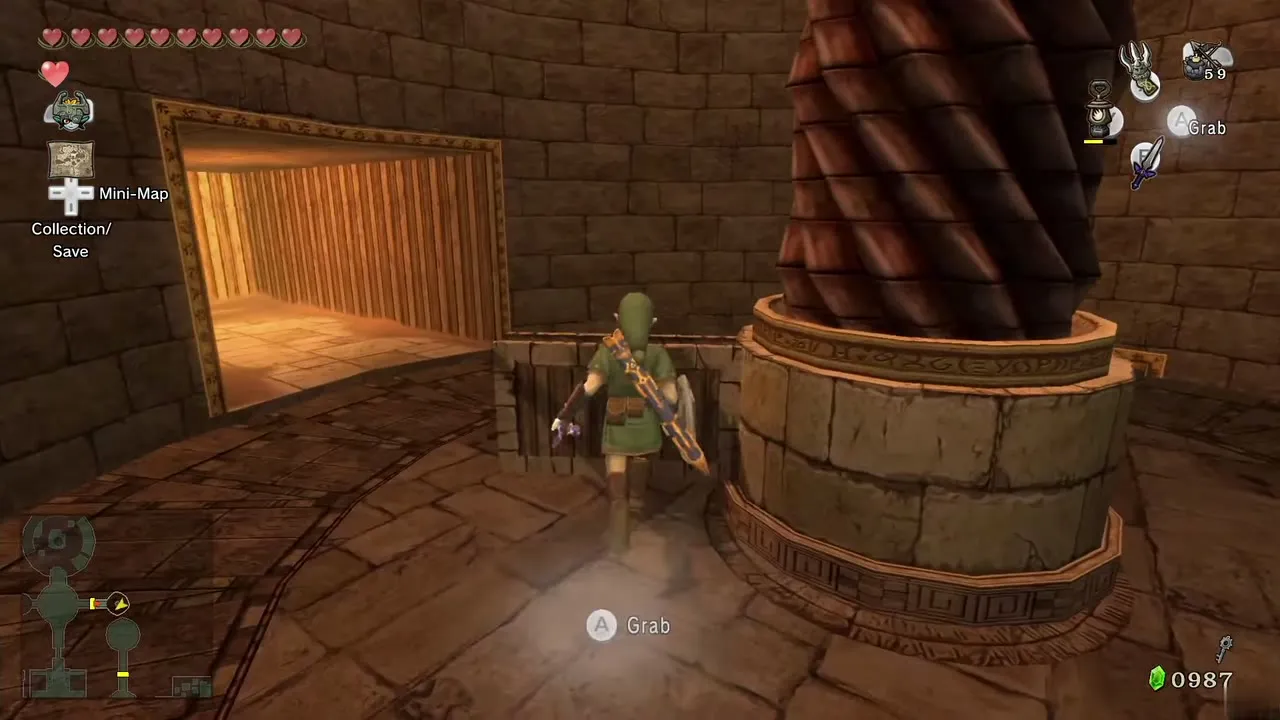
Lower the floor to the bottom and unlock the south door.
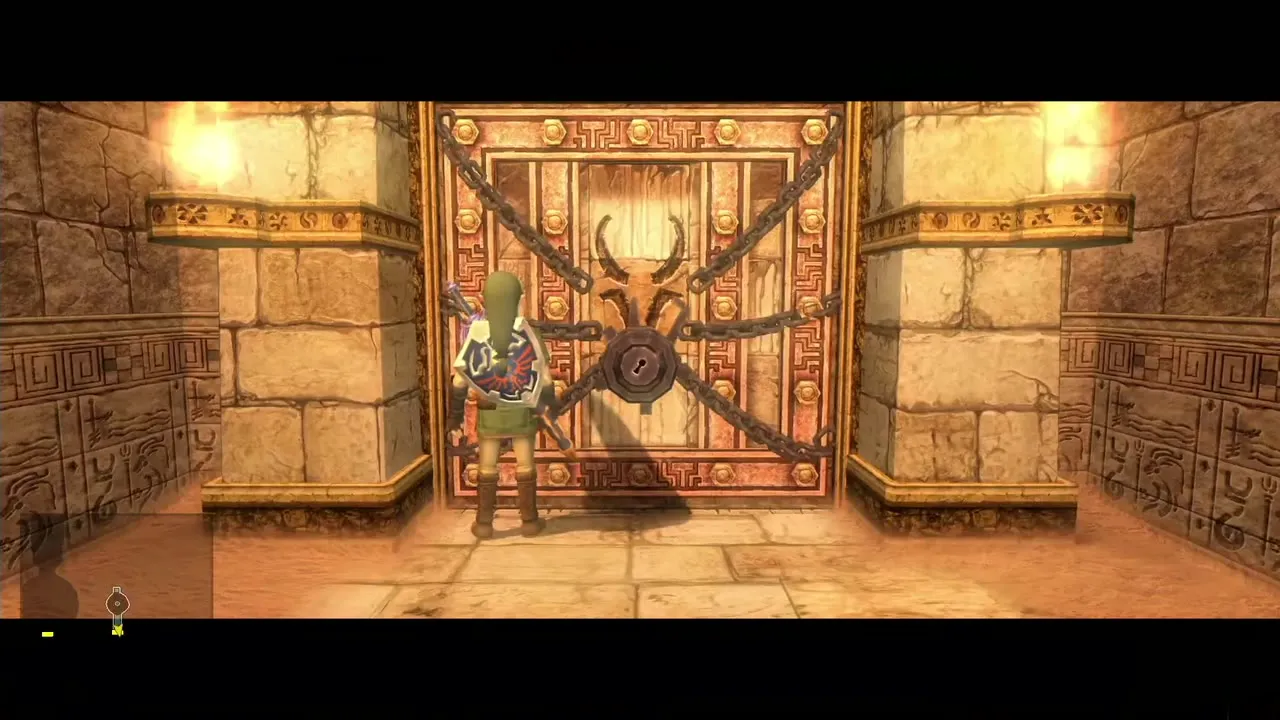
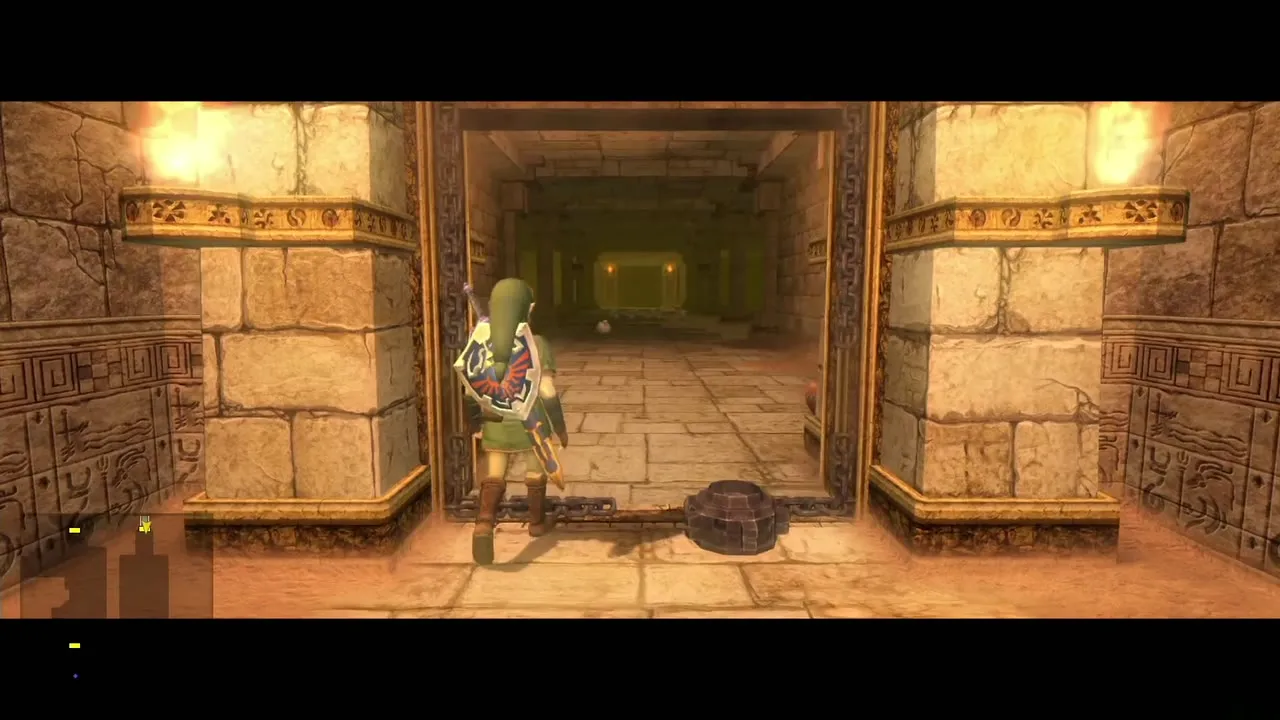
Spikes, rats and the chain
This room has hidden floor spikes, quicksand and Ghoul Rats. Wolf Link’s senses show the spike outlines. Clear the rats and the ReDead Knight in the south-west first, then reach the south-east chain. Pull it all the way back and run to the opened door in the east before the wall closes again. Leave senses on to avoid the spikes on your way.
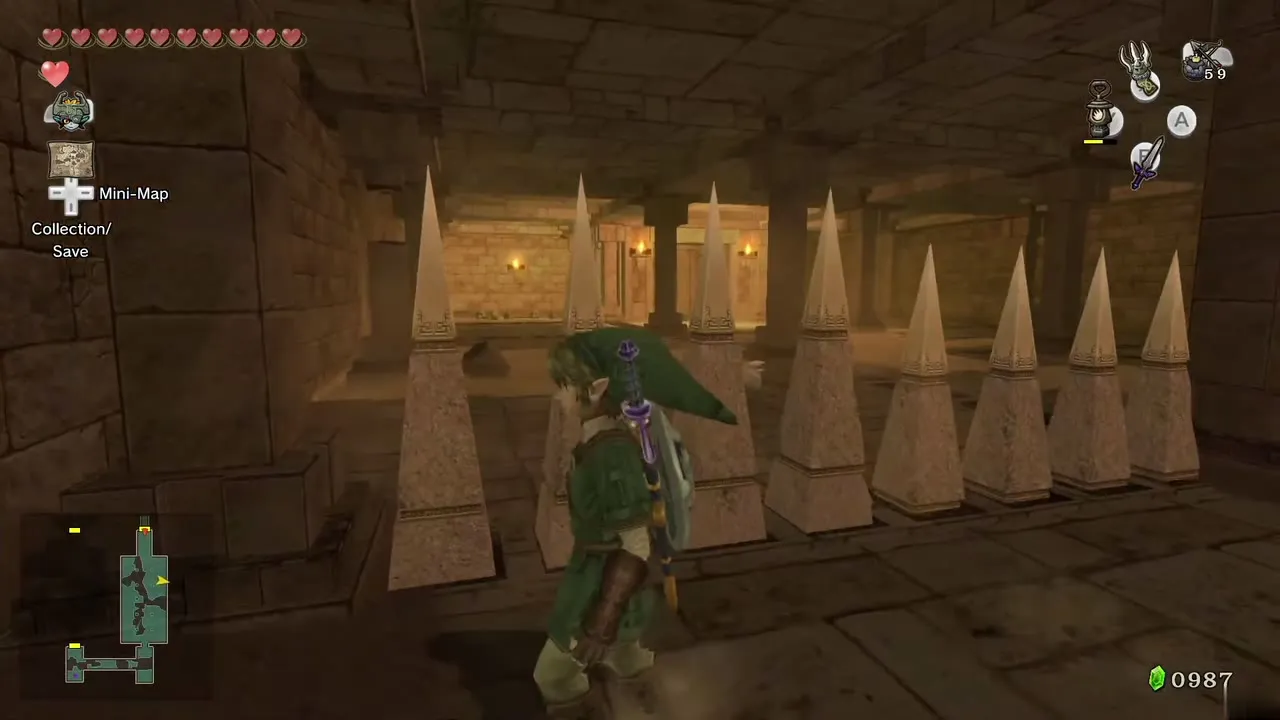
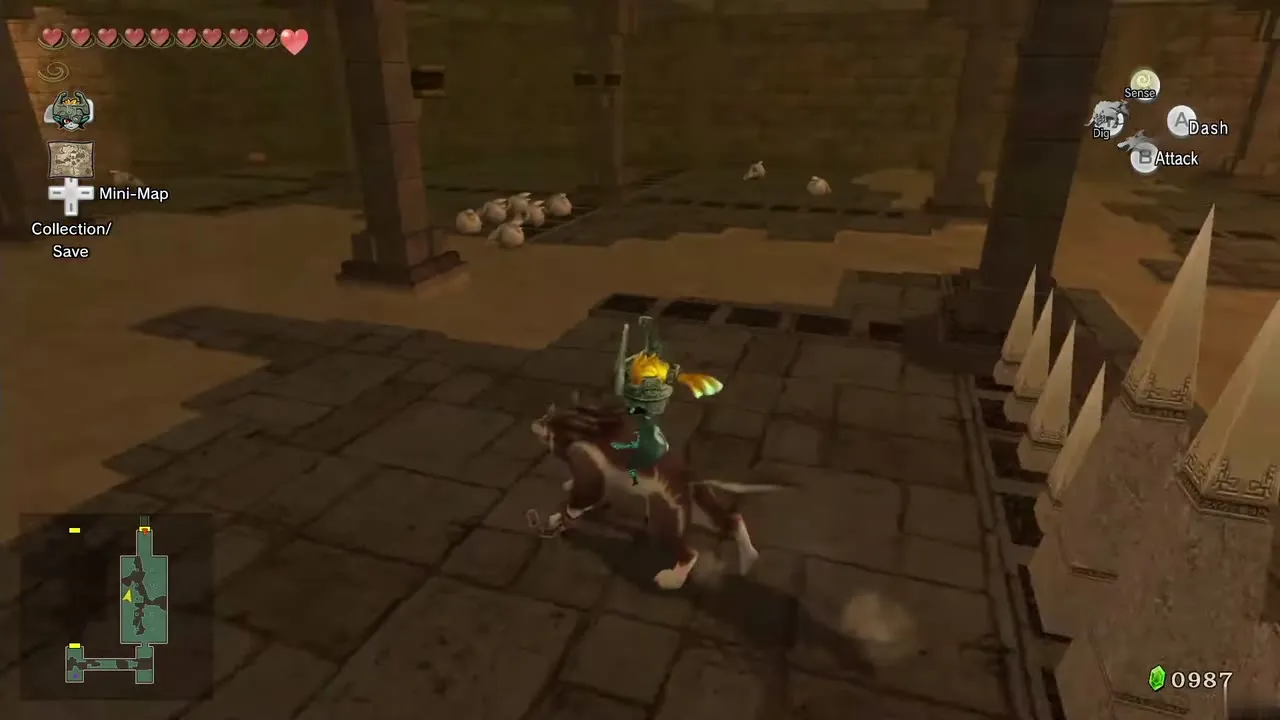
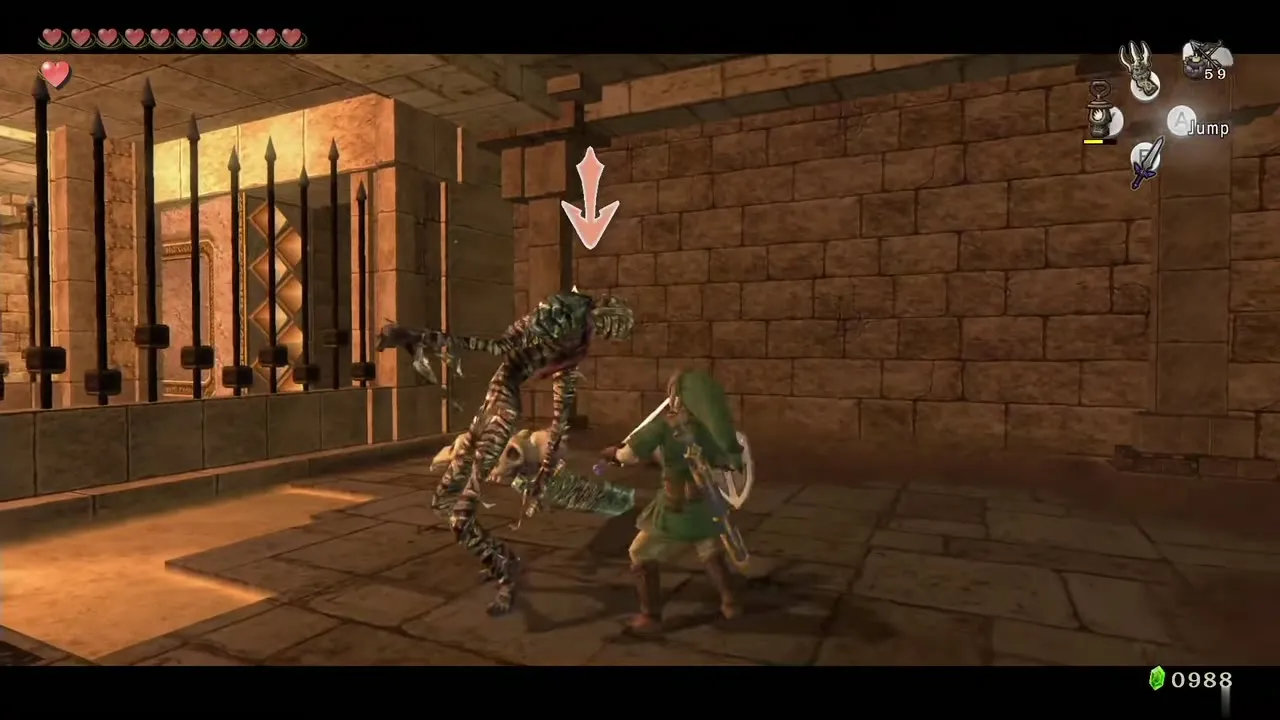
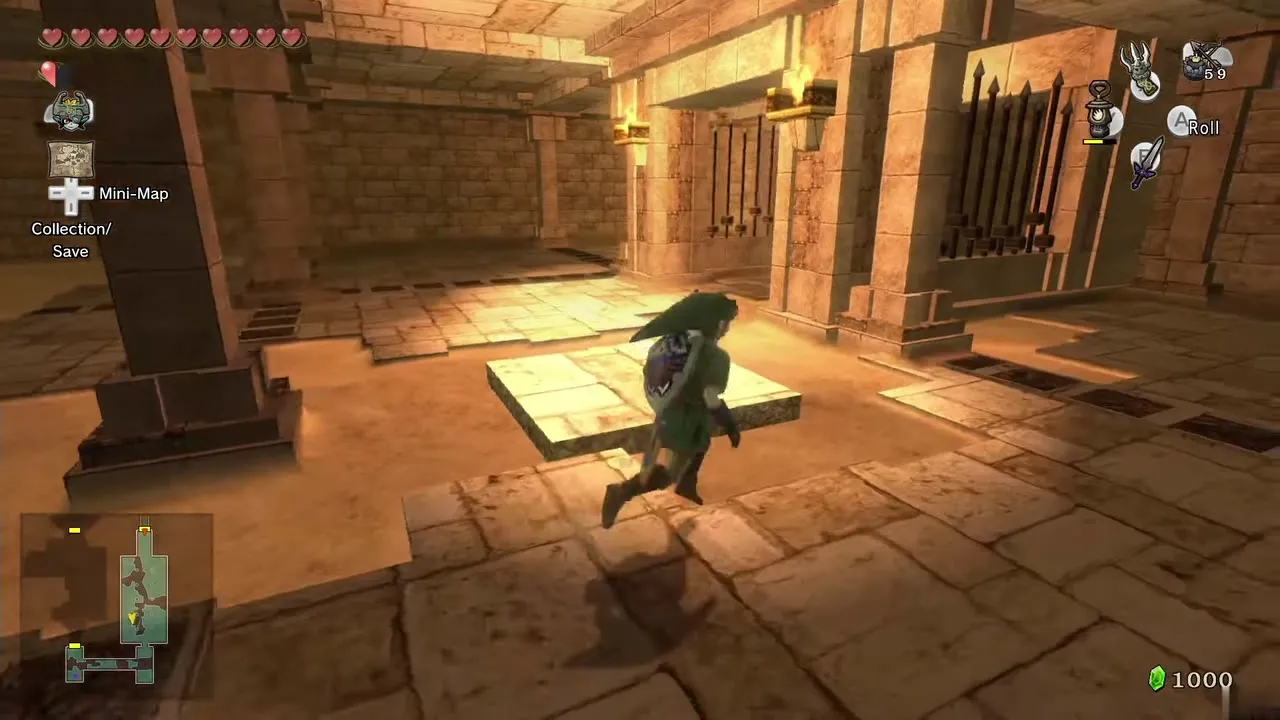
Rolling spikes and Ooccoo
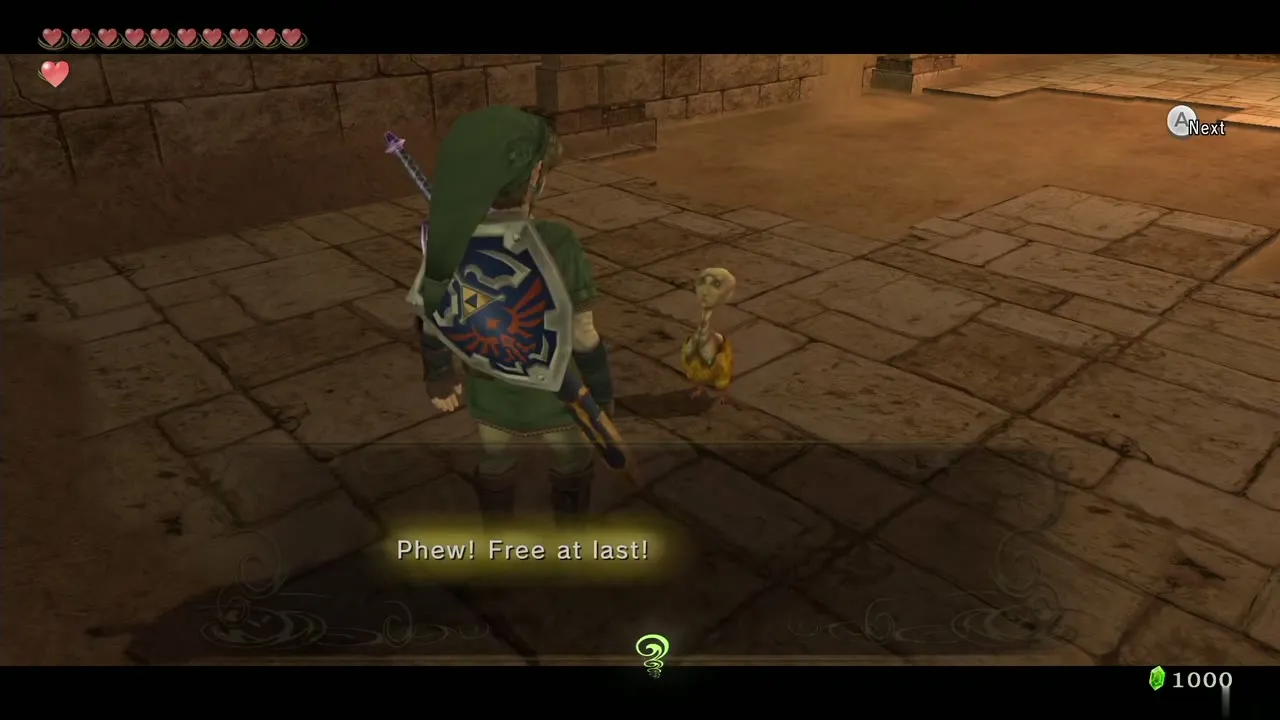
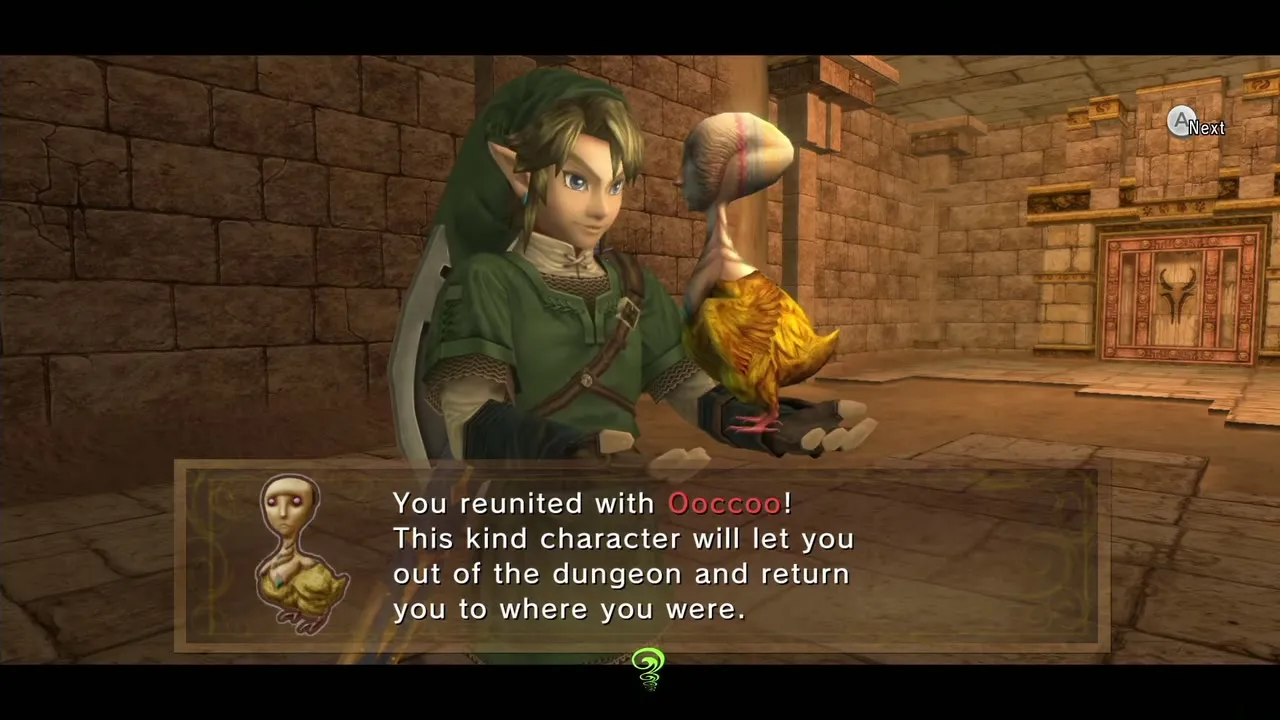
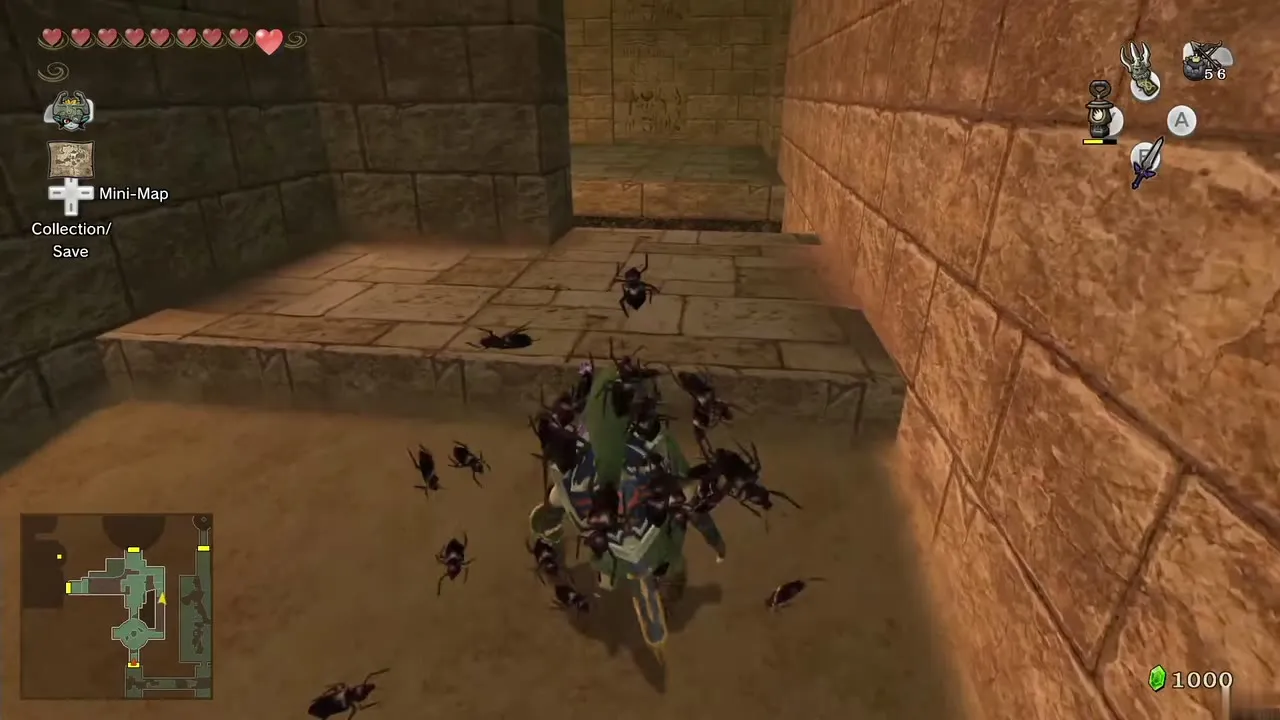
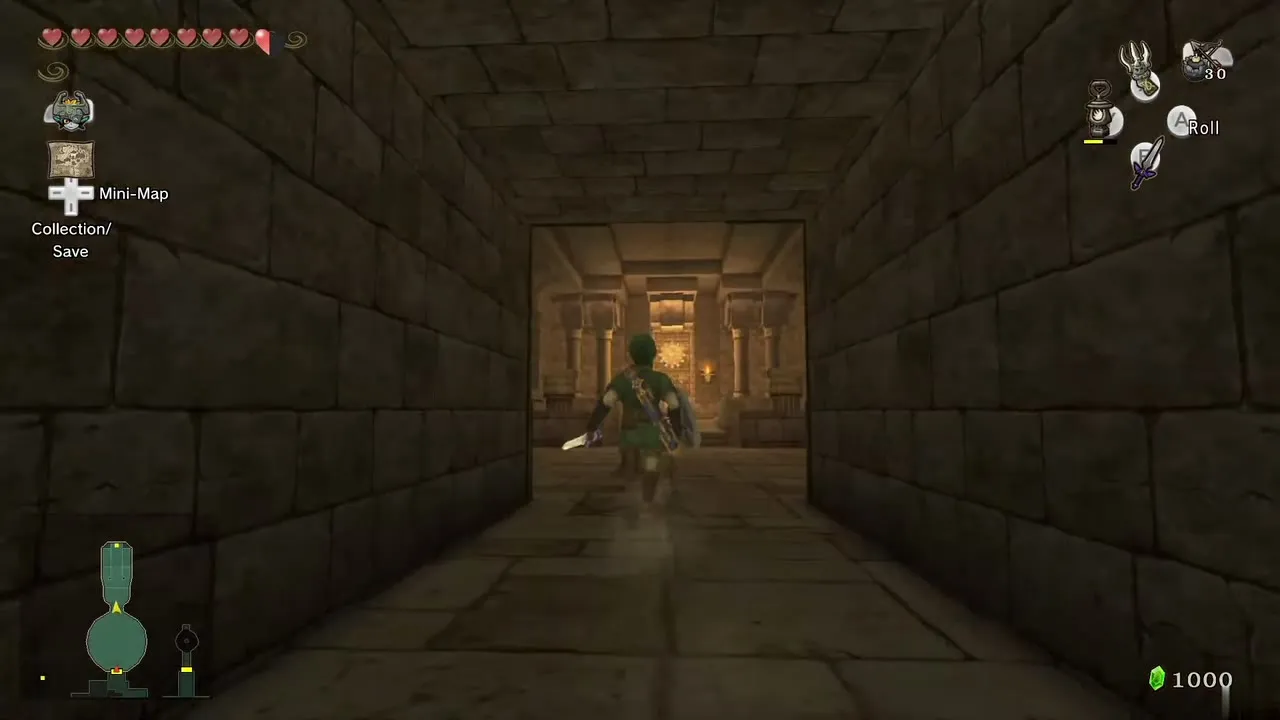
In the next room, run across the quicksand without stopping; small mites cling to you and a spin attack shakes them off. In the south-west corner lift the pot and Ooccoo hops out; she lets you leave the dungeon and return to this spot later. Go through the door to the north.
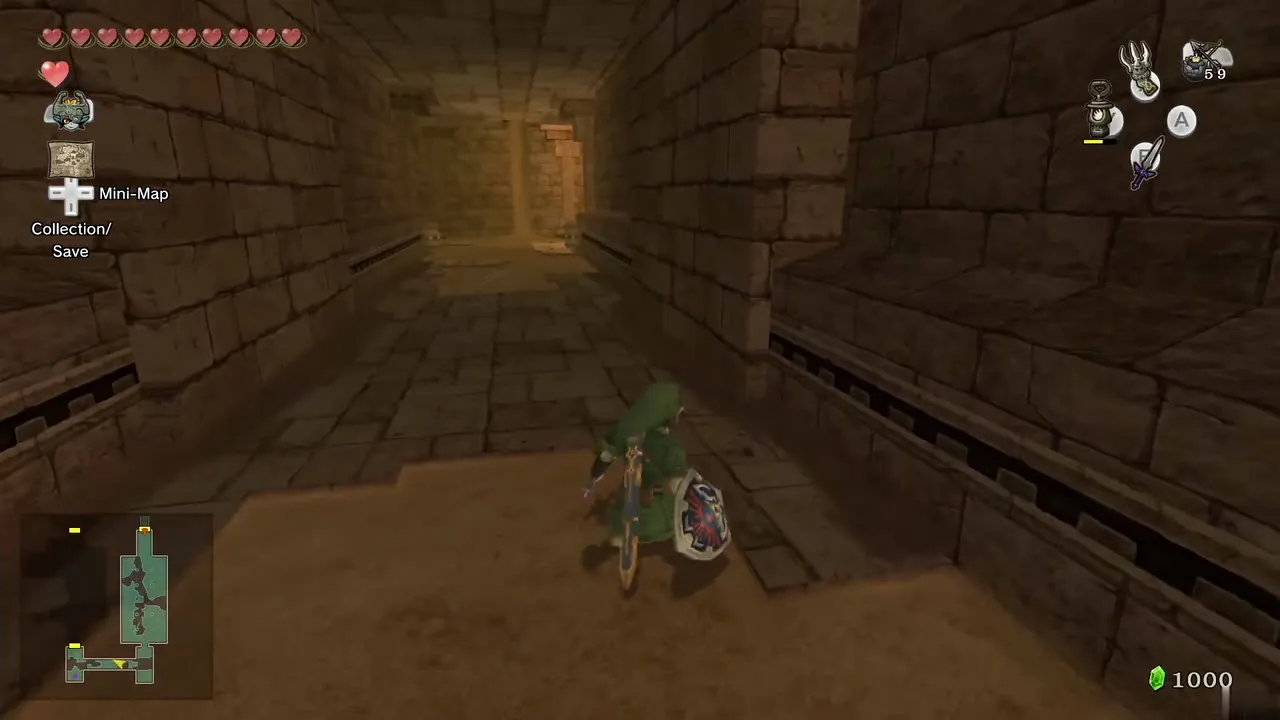
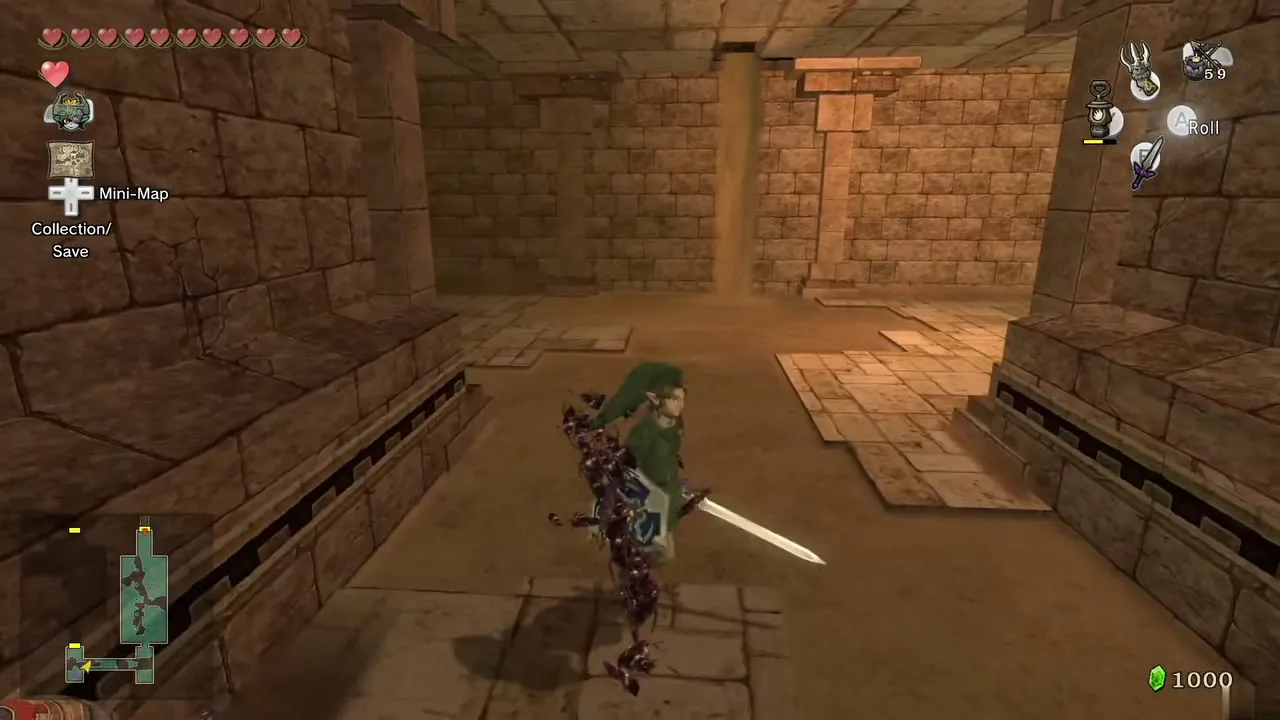
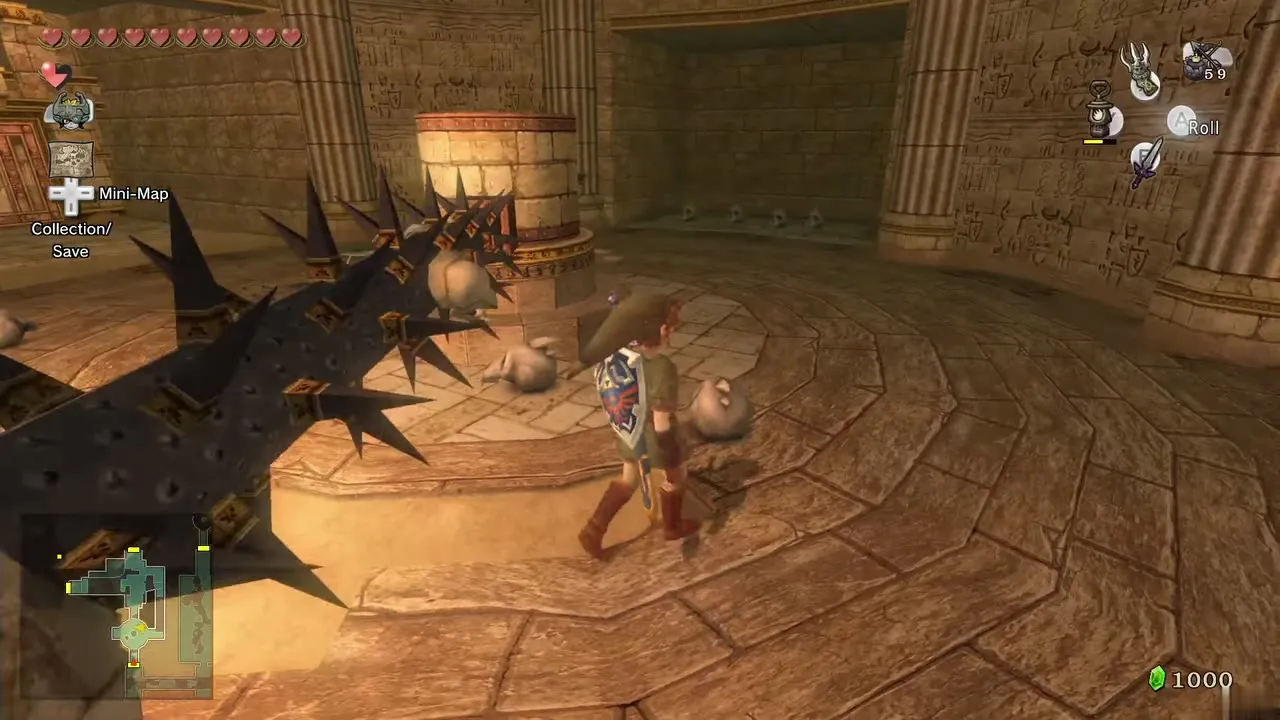
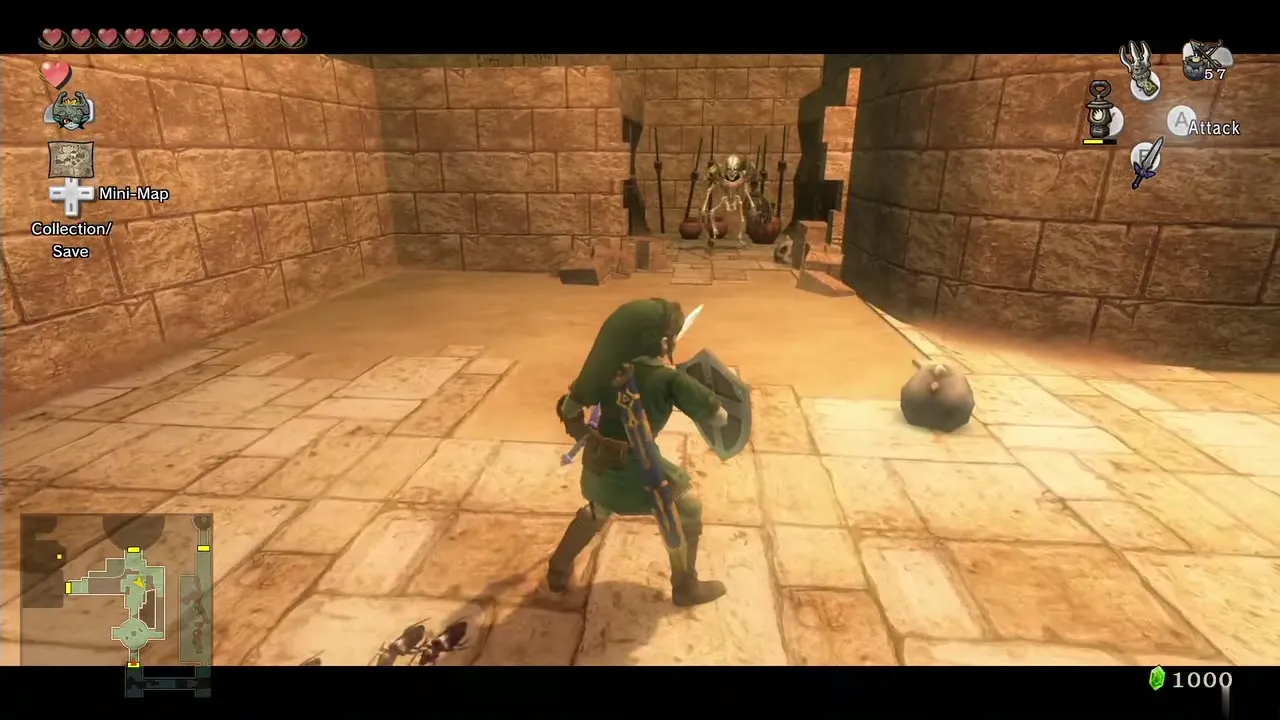
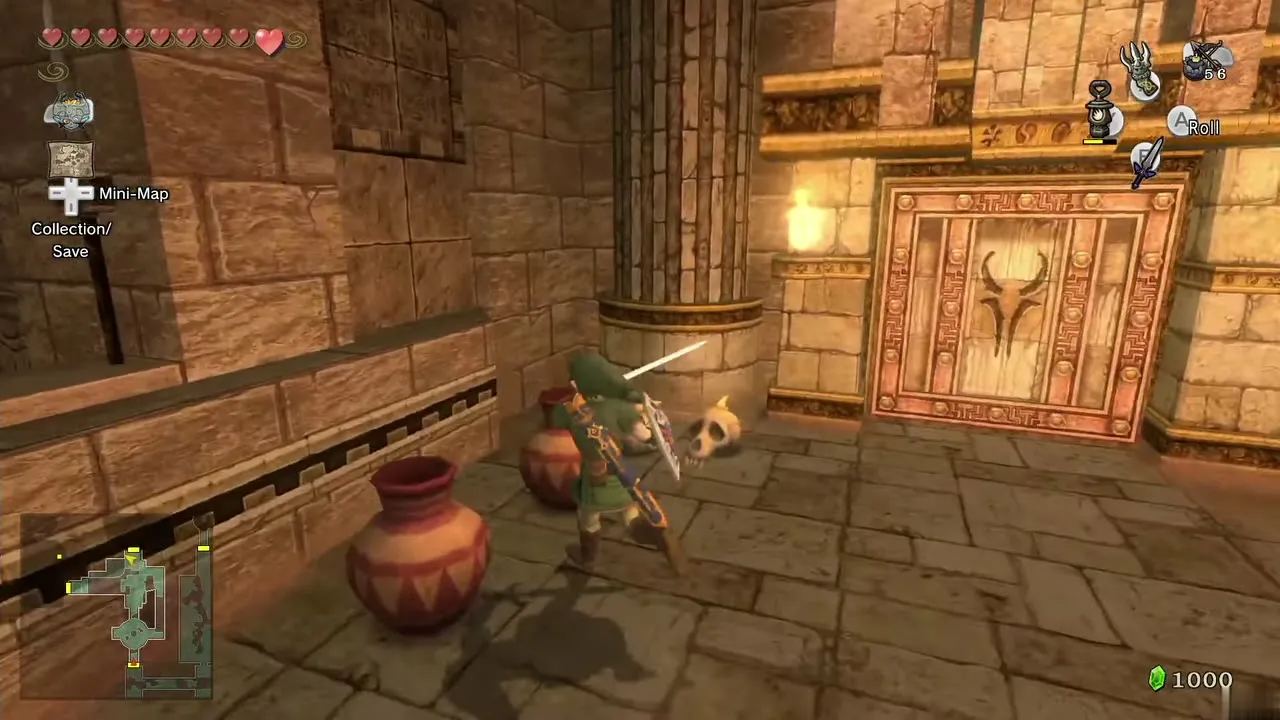
This room has rotating spikes, so keep moving north. Defeat the pair of Stalfos, then the third one to the east; when all three are down, a gate at the south end of the room opens. Run back through that gate, cross the quicksand by Clawshotting the wall targets (the mites attach again, so spin them off) and take the door in the north to the mini-boss room.
Mini-boss: Death Sword
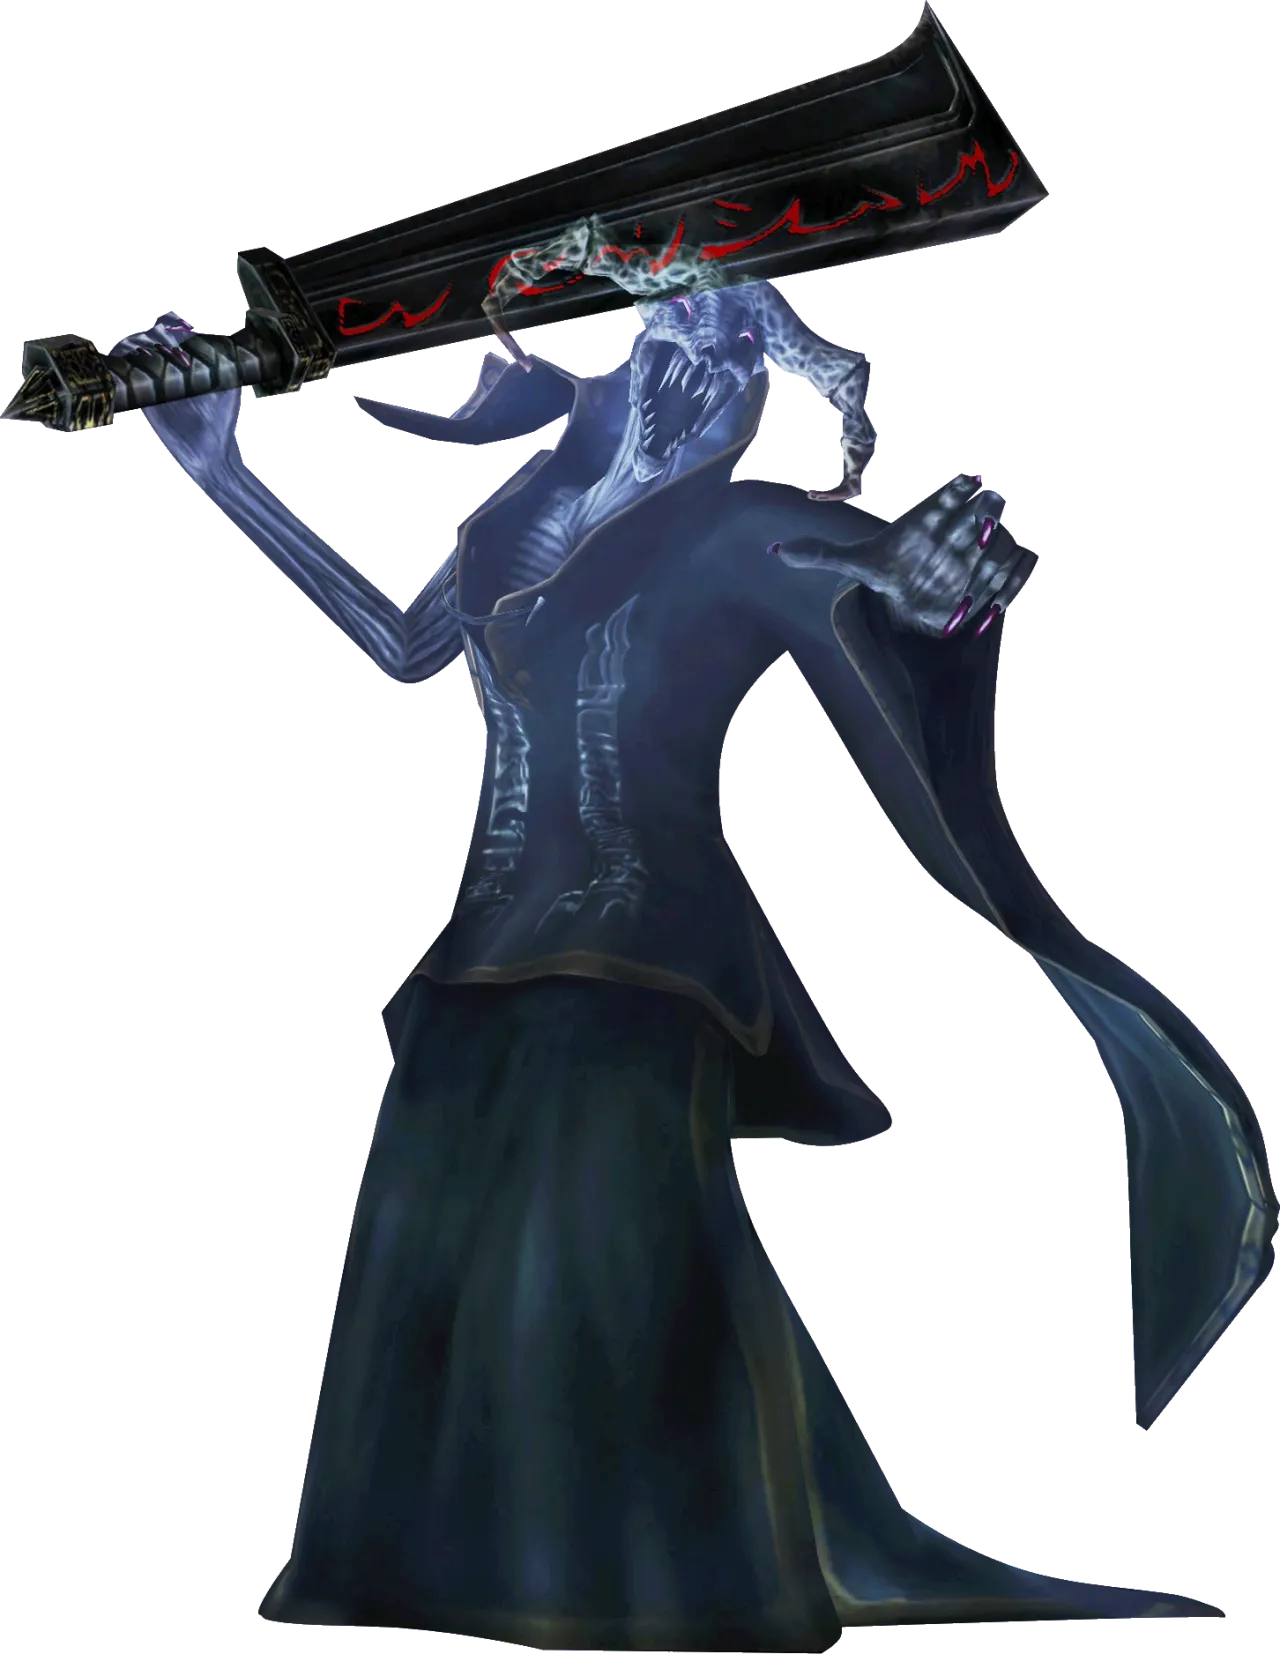
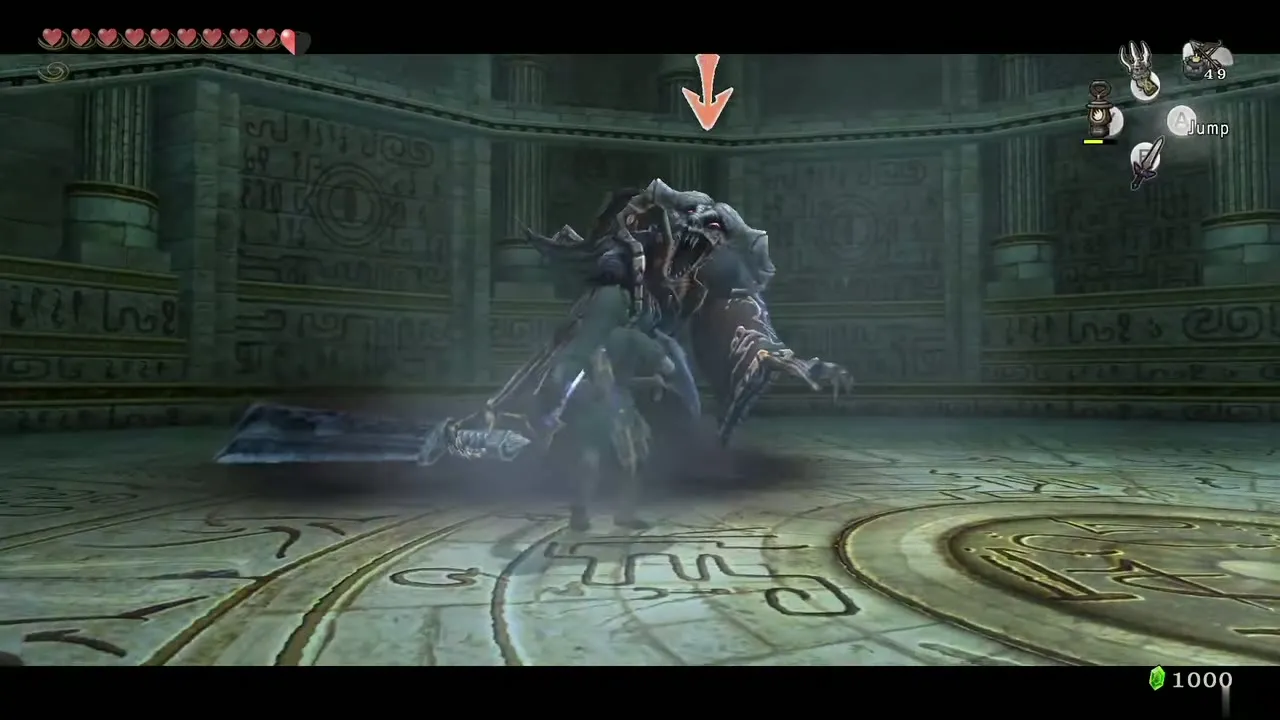
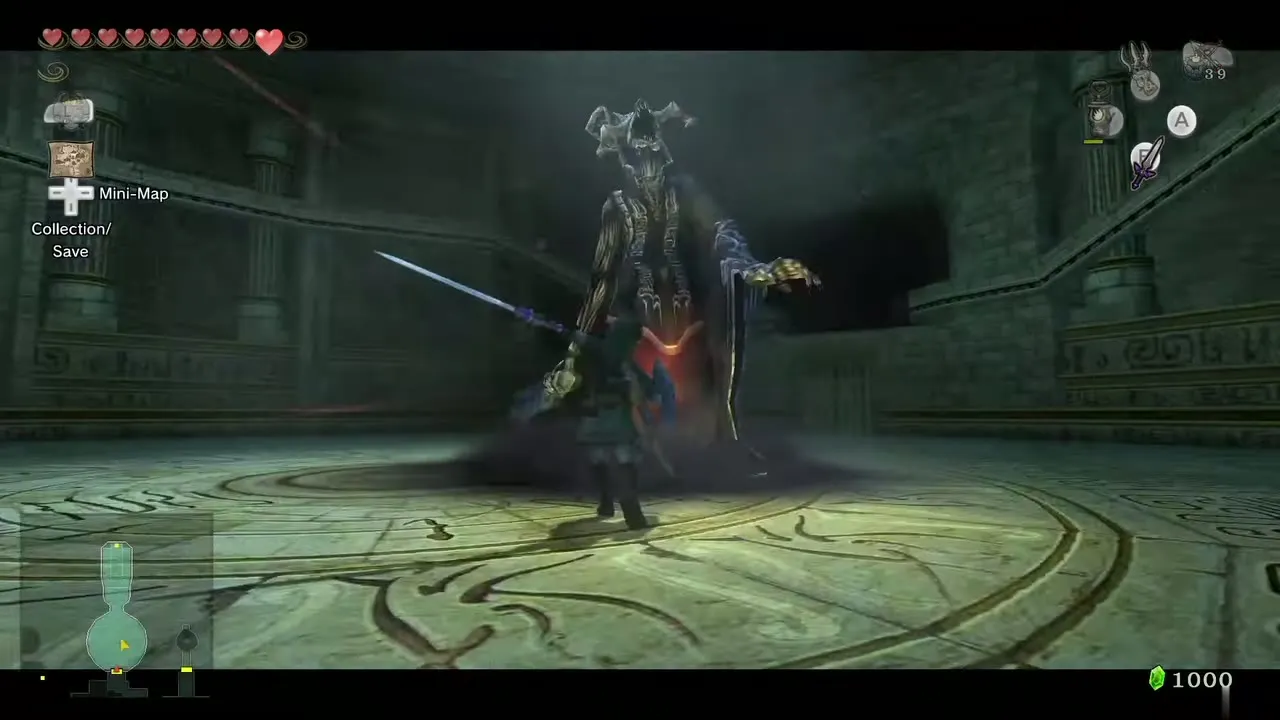
A giant sword lies bound by ropes. Slash the ropes and Death Sword wakes. Human Link cannot see its wielder, so switch to Wolf Link, dodge the sword swings and wait until the undead swordsman flashes purple, then pounce and tear him free of his cloak.
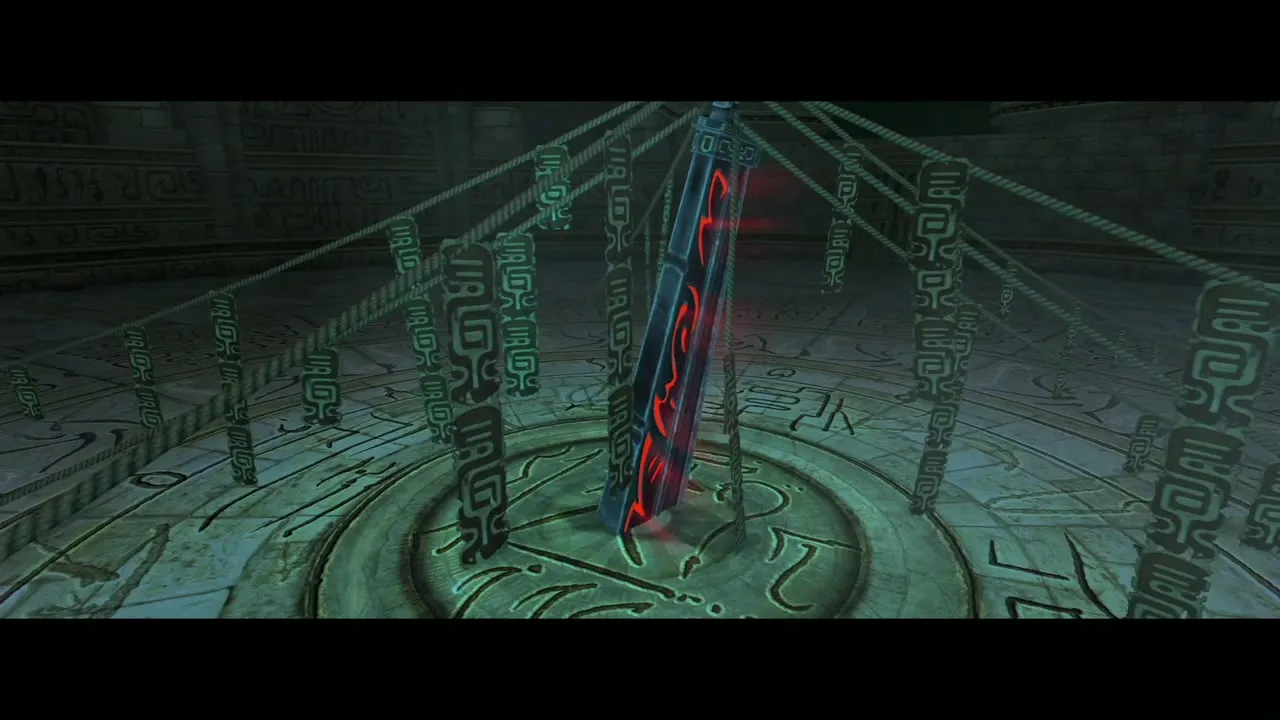
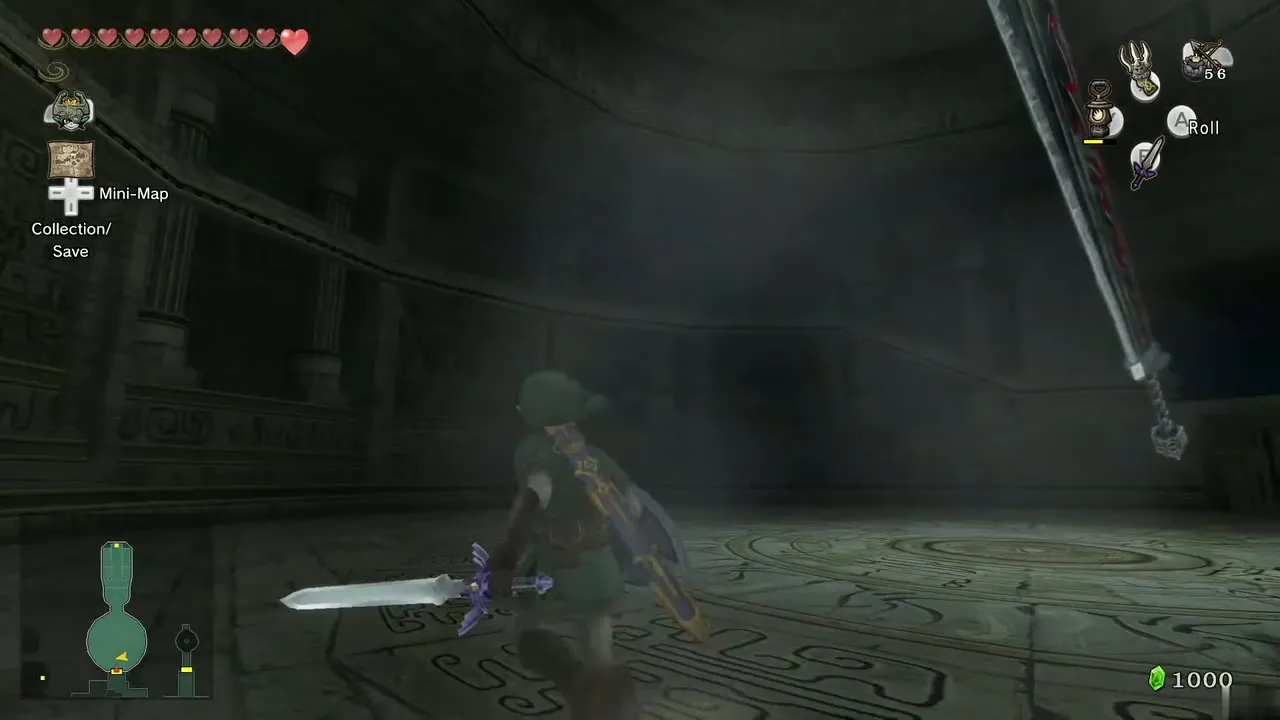
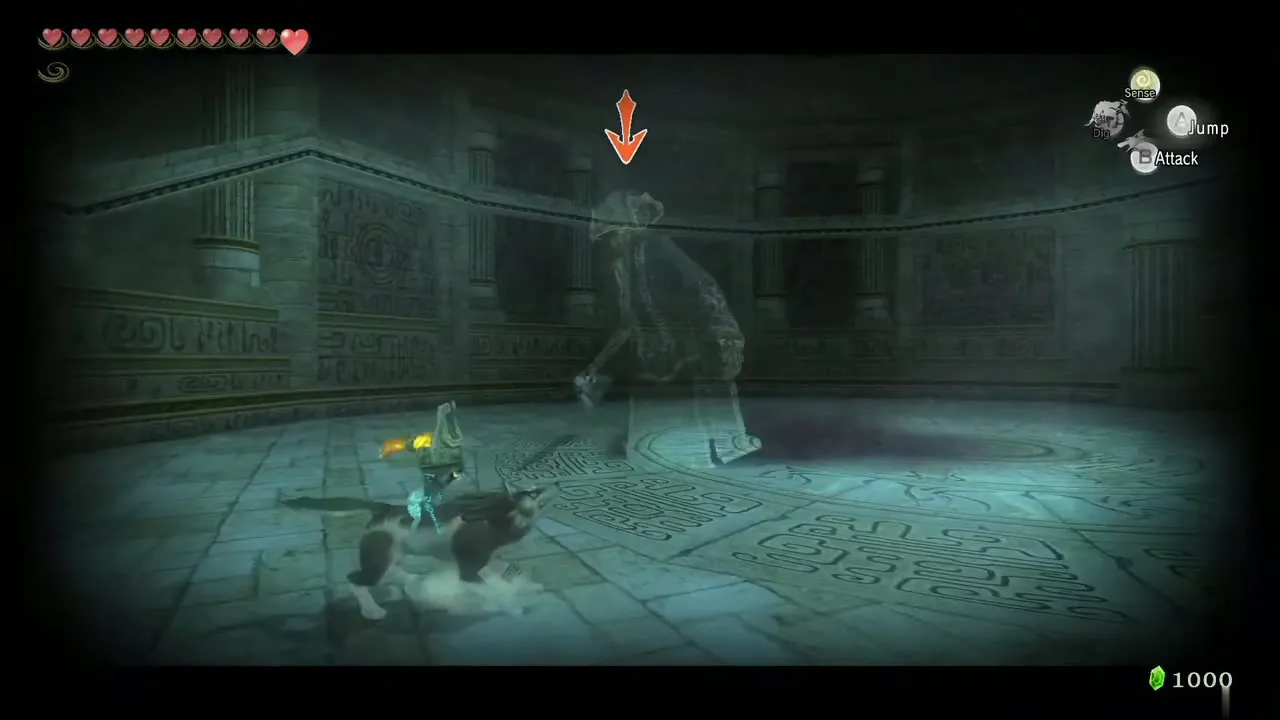
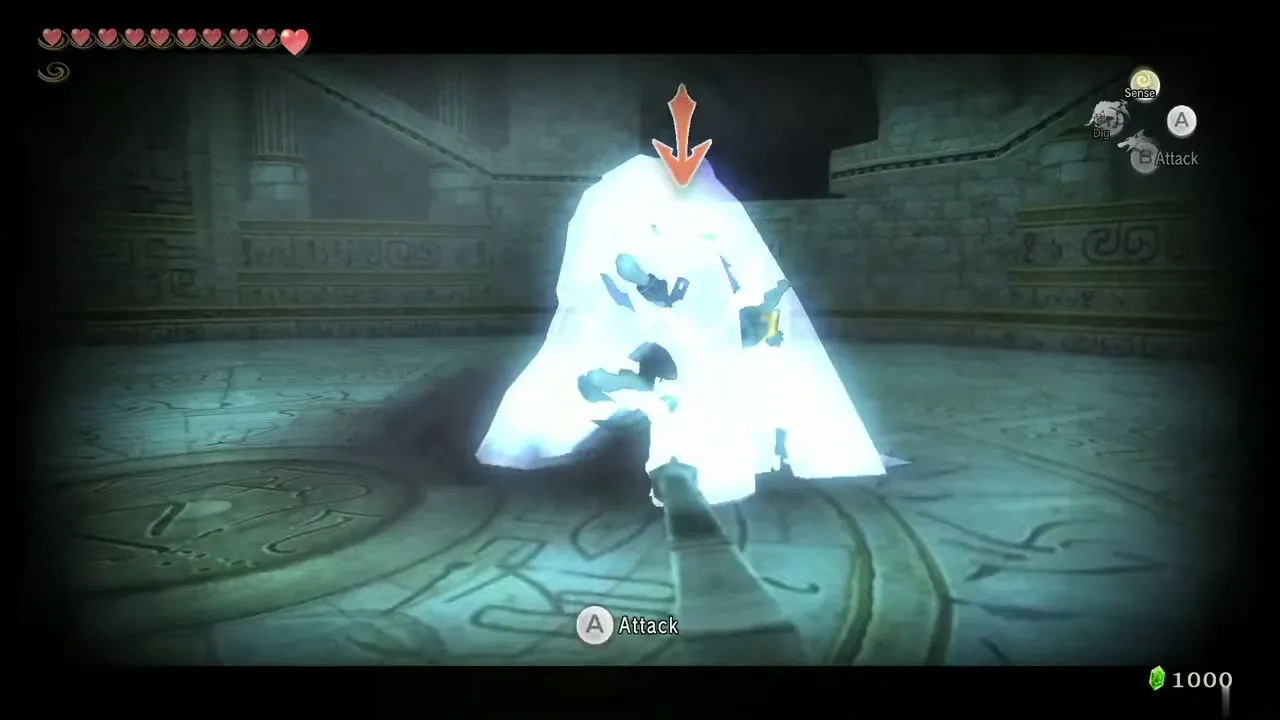
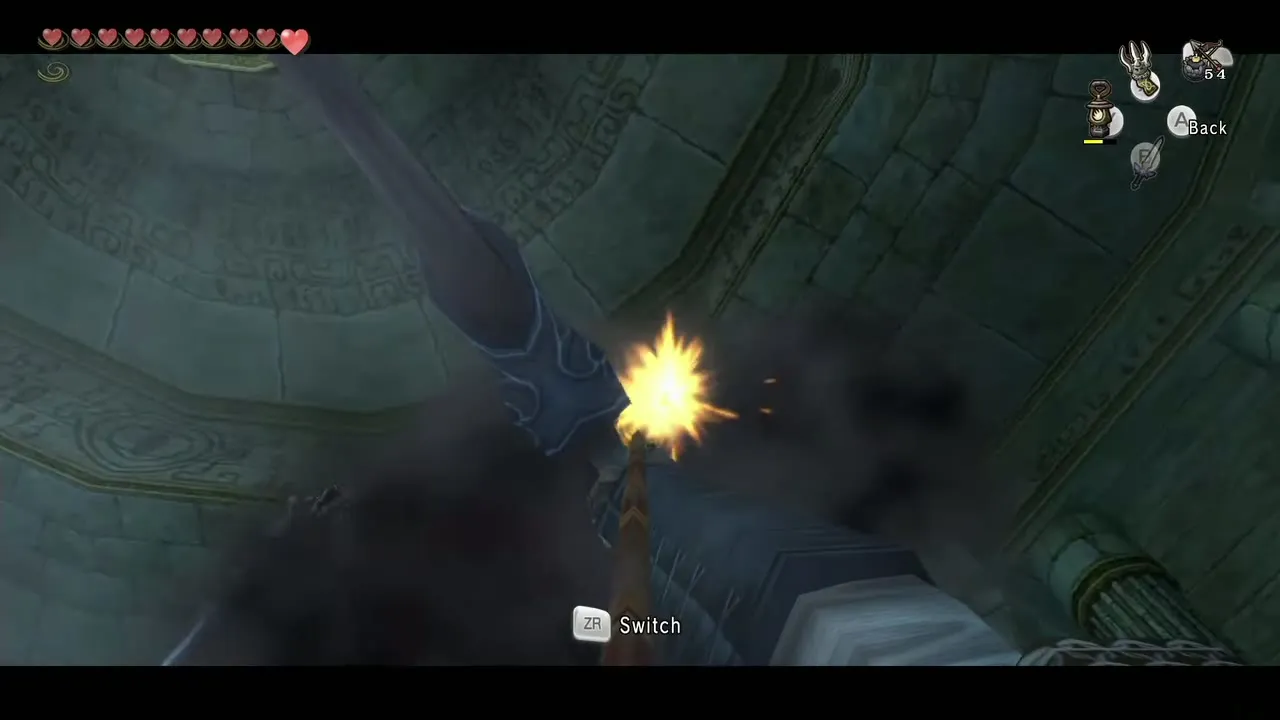
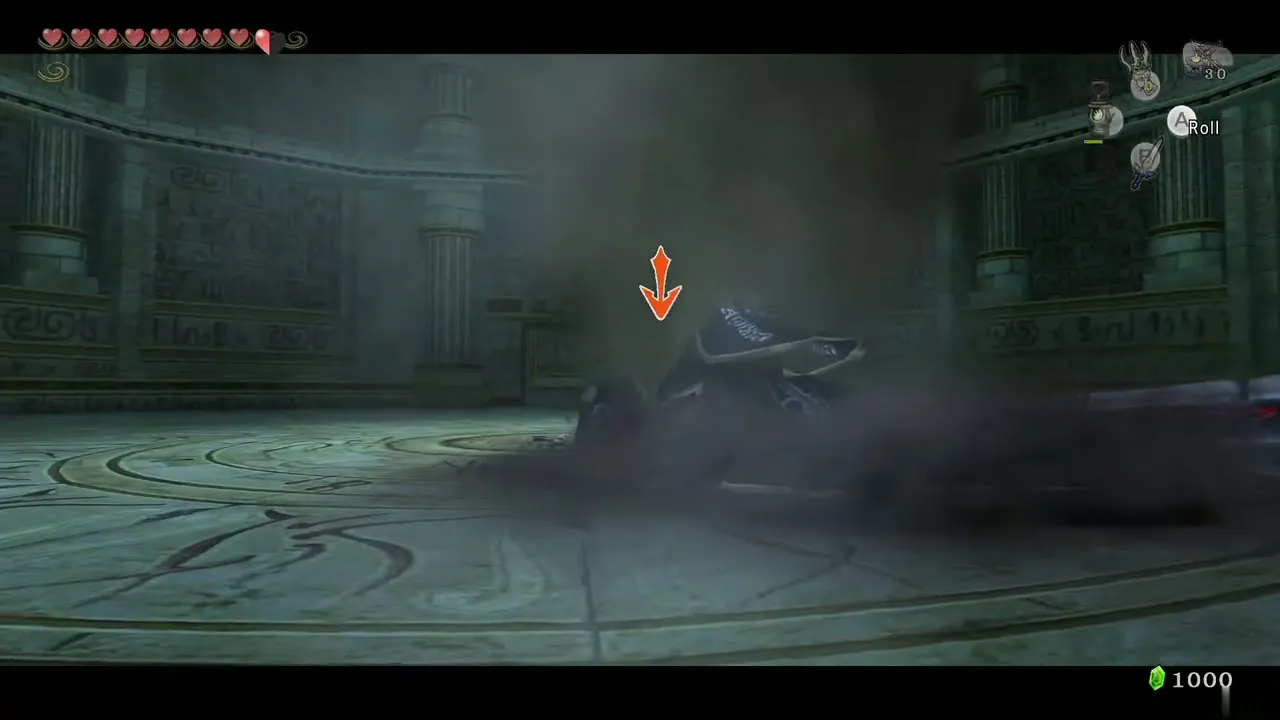
Now visible, he drifts around the room firing projectiles. Draw the bow and shoot him: he darts around wildly, and when he comes close, slash him out of the air so he tumbles to the floor, then hack away while he lies there. If he recovers and fades from sight, change back to Wolf Link and repeat. The sword shatters after enough rounds.
The Spinner
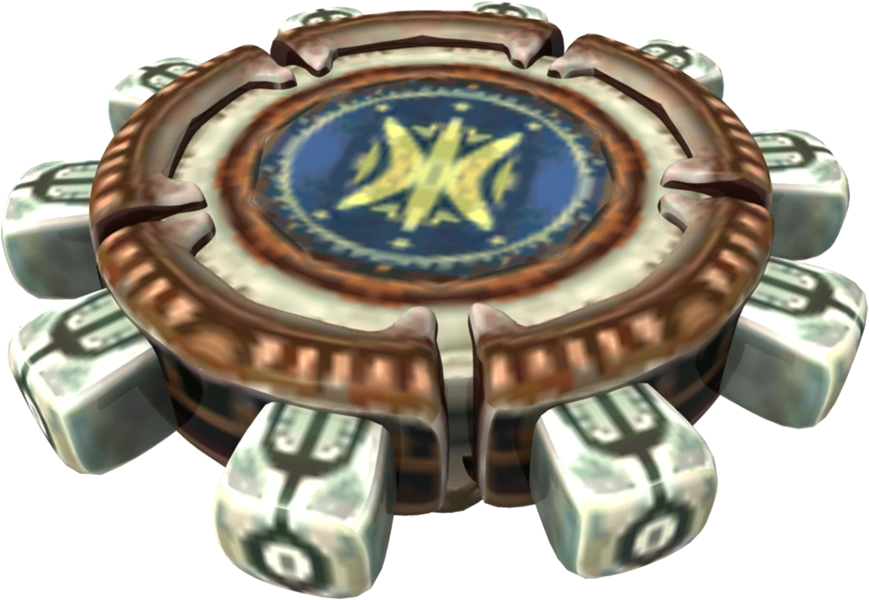
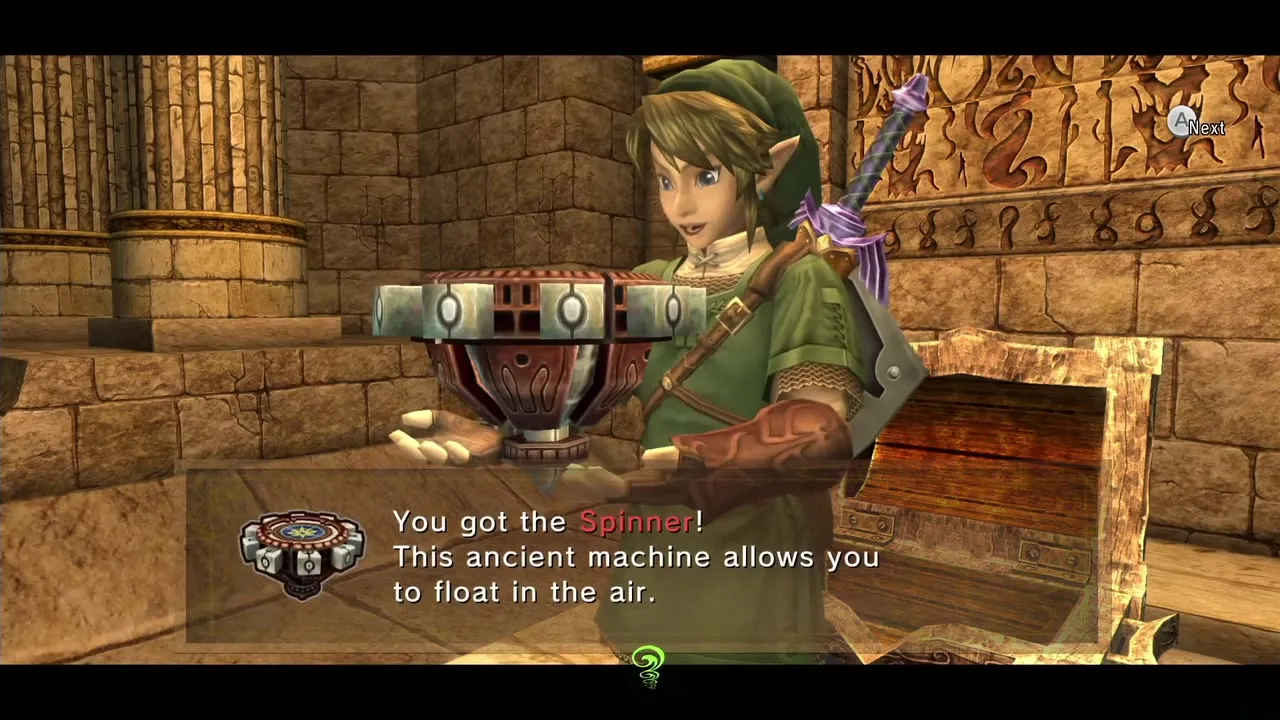
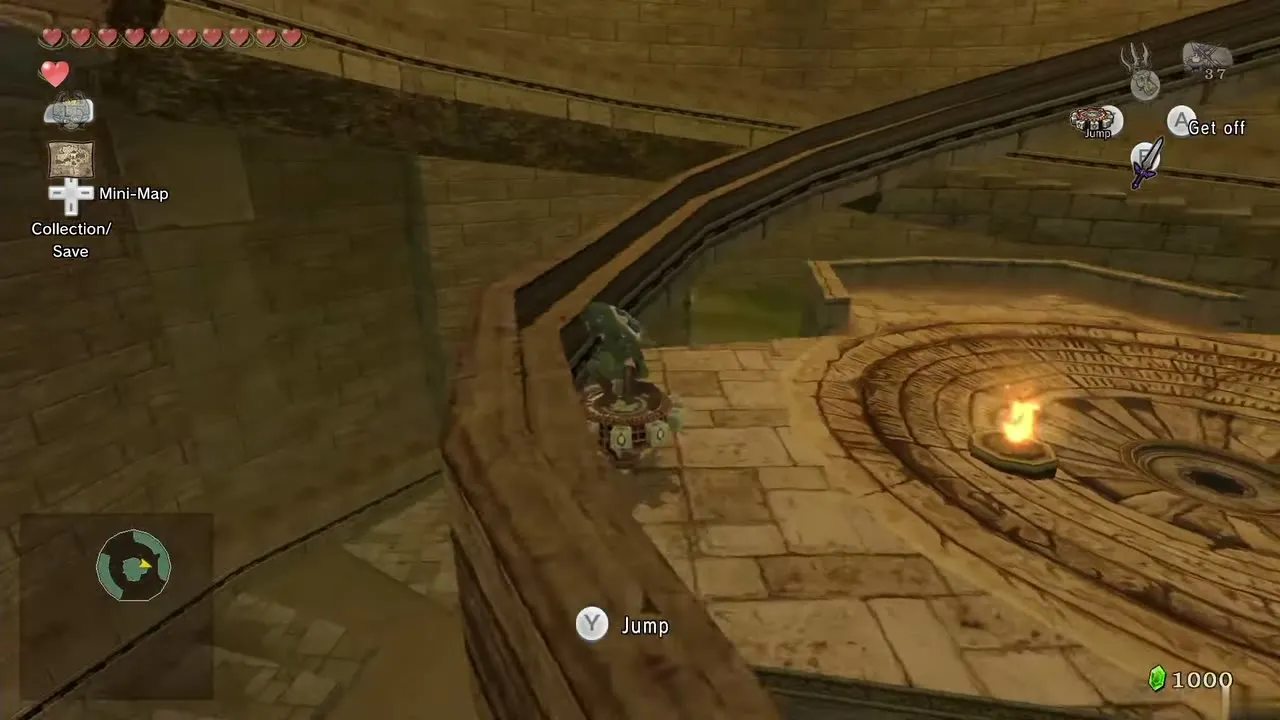
Walk through the now open gate and open the chest to get the Spinner. Equip it, ride toward the rails on either side wall and it clamps on, carrying you back up to the mini-boss room; press R to hop between tracks. Leave by the door.
Spinner rooms, Piece of Heart and the Big Key
First rail
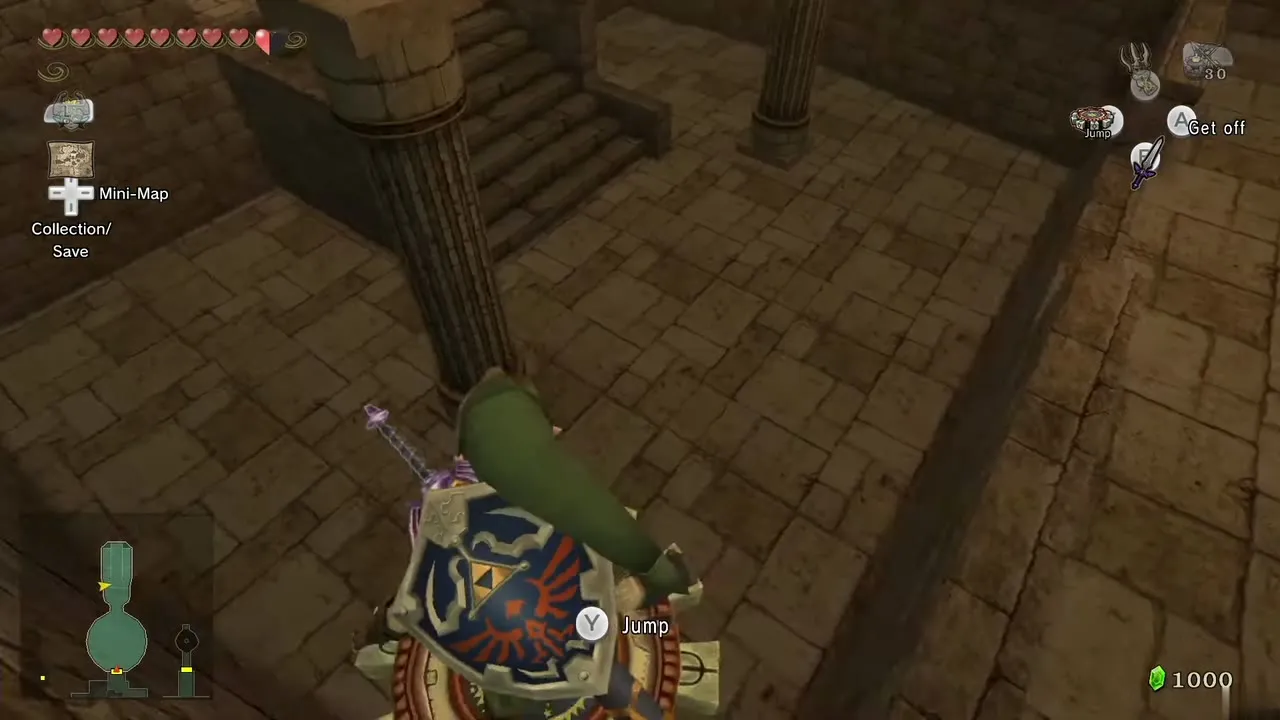
Outside, ride the rail along the right wall. When you reach the sand, press R to jump to the rail on the other side and let it carry you up to the door.
The multi-level rail room
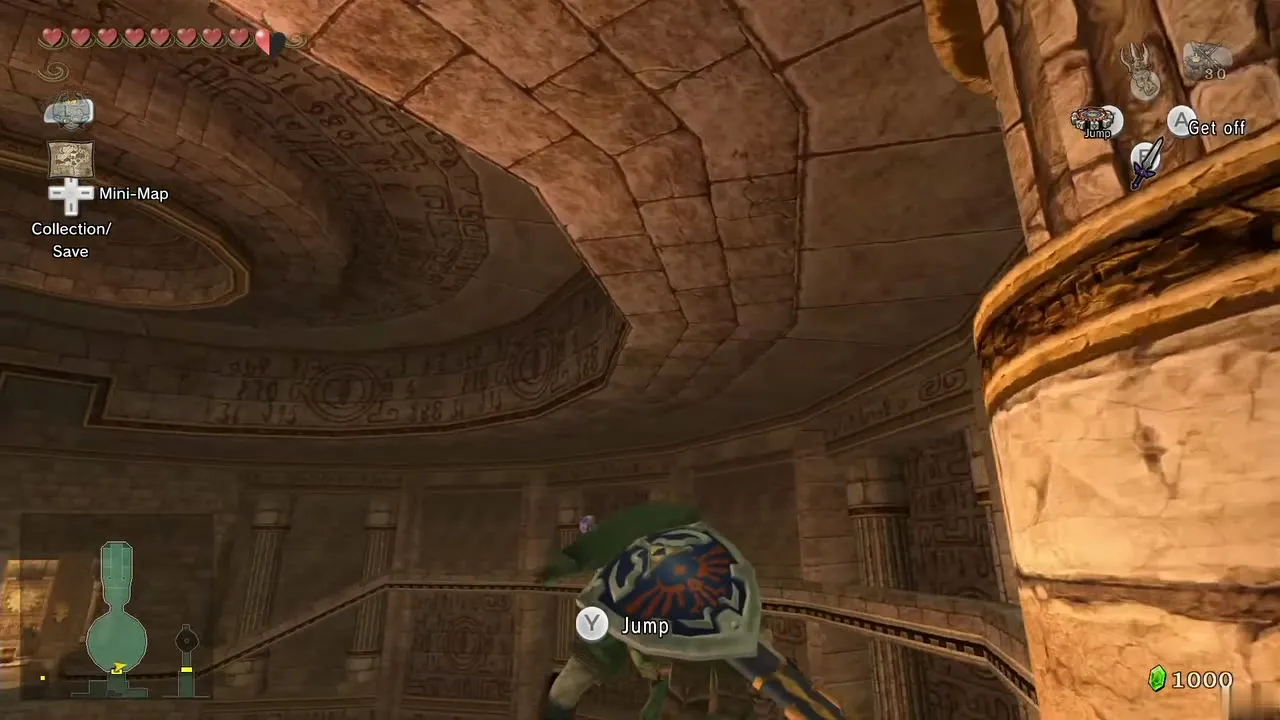
This room has several levels of rails and rolling spike balls. Two chests to the right hold bombs and a red Rupee; a third, around the north corner, holds a yellow Rupee. Chests here hold small amounts, so spend little time on them.
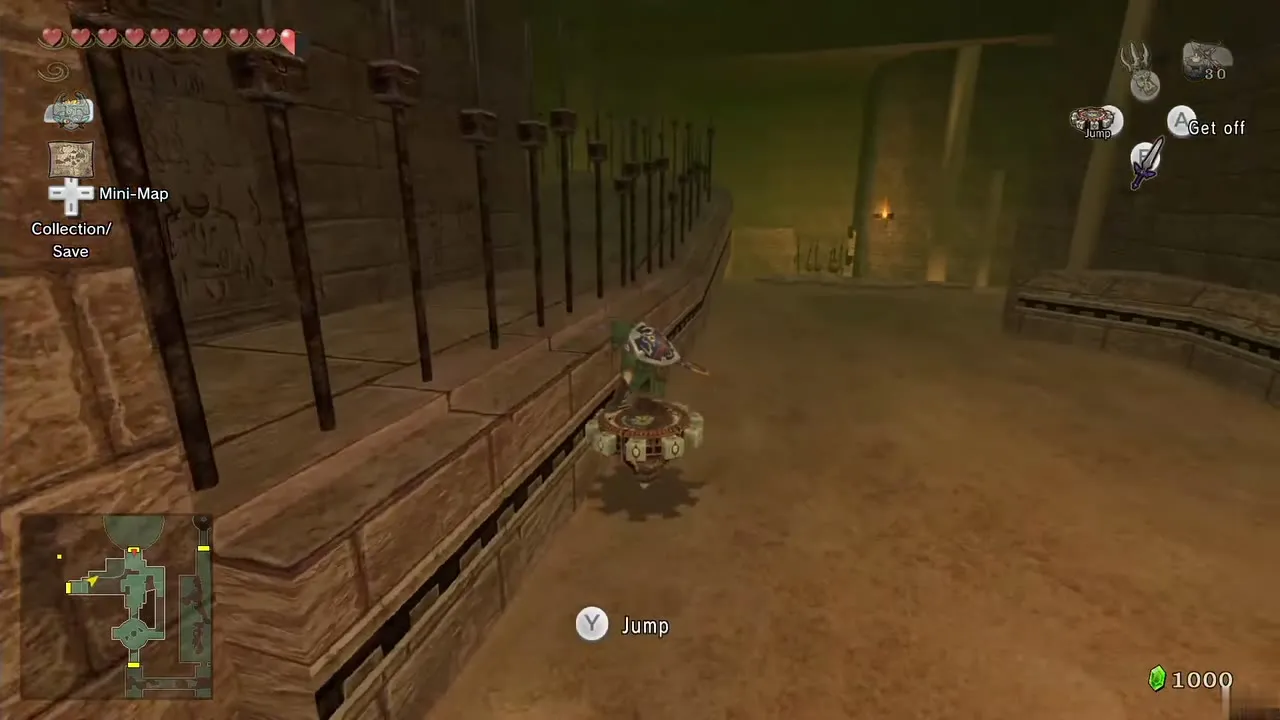
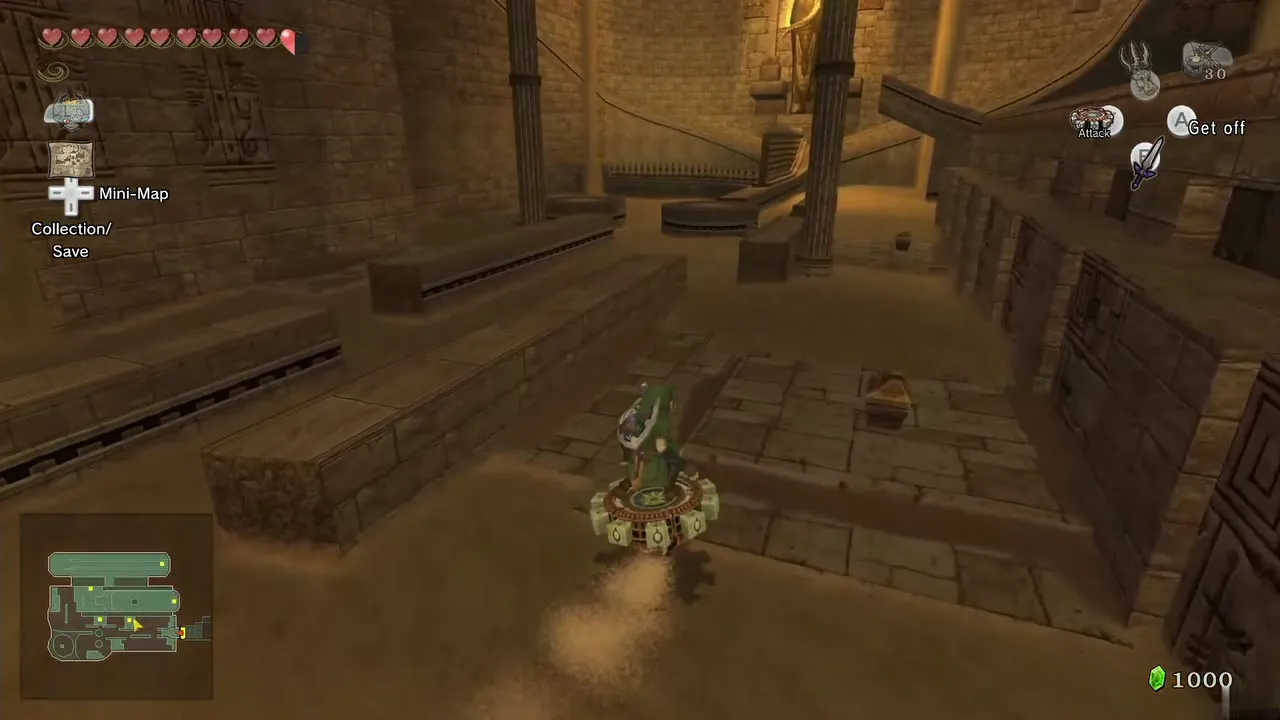
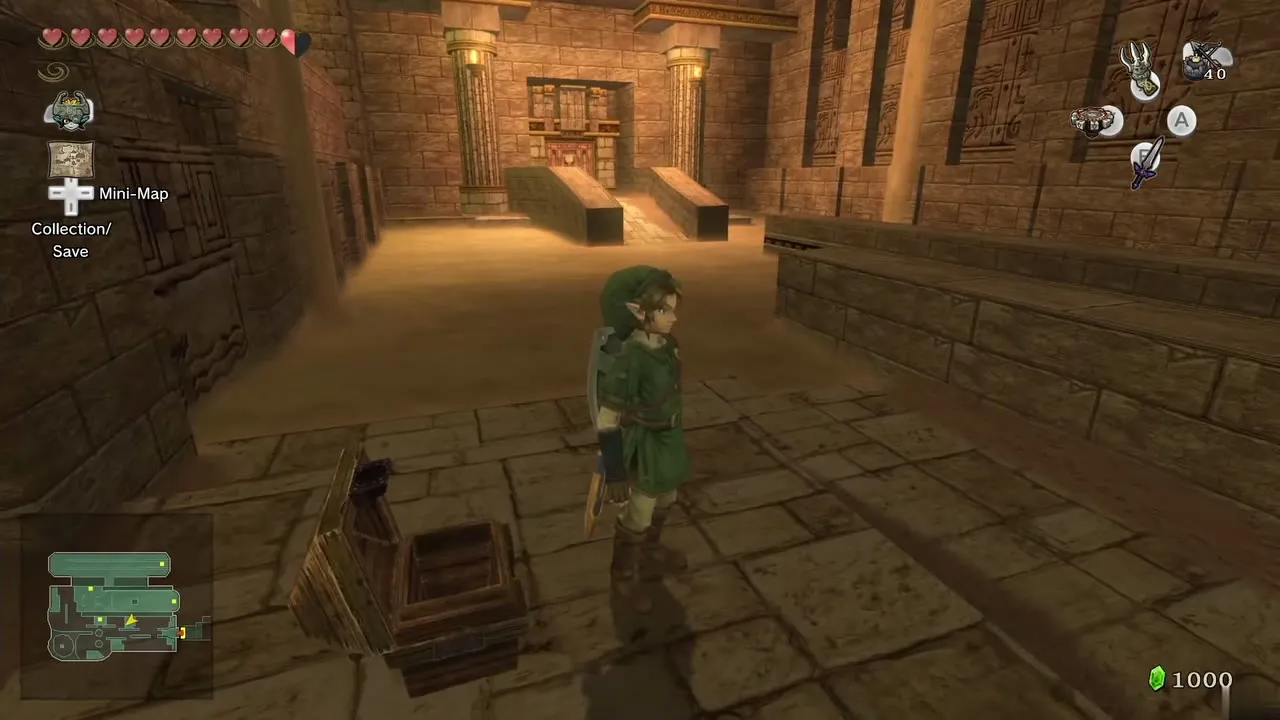
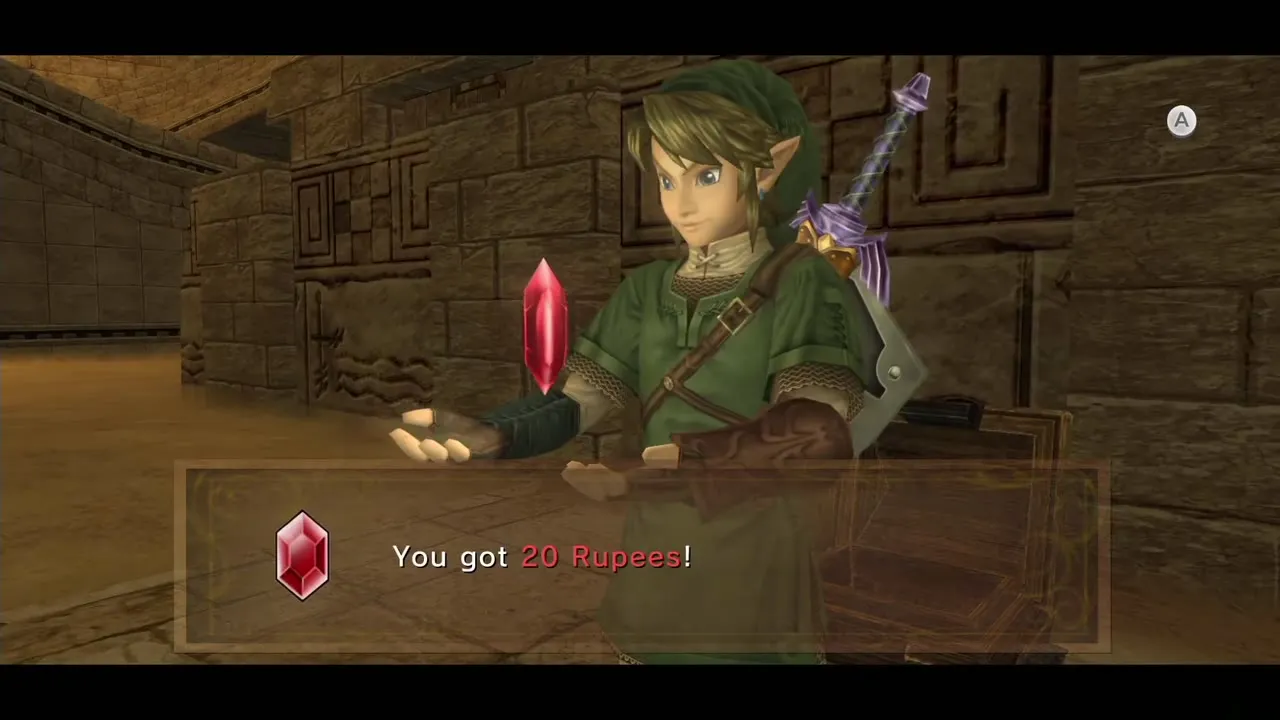
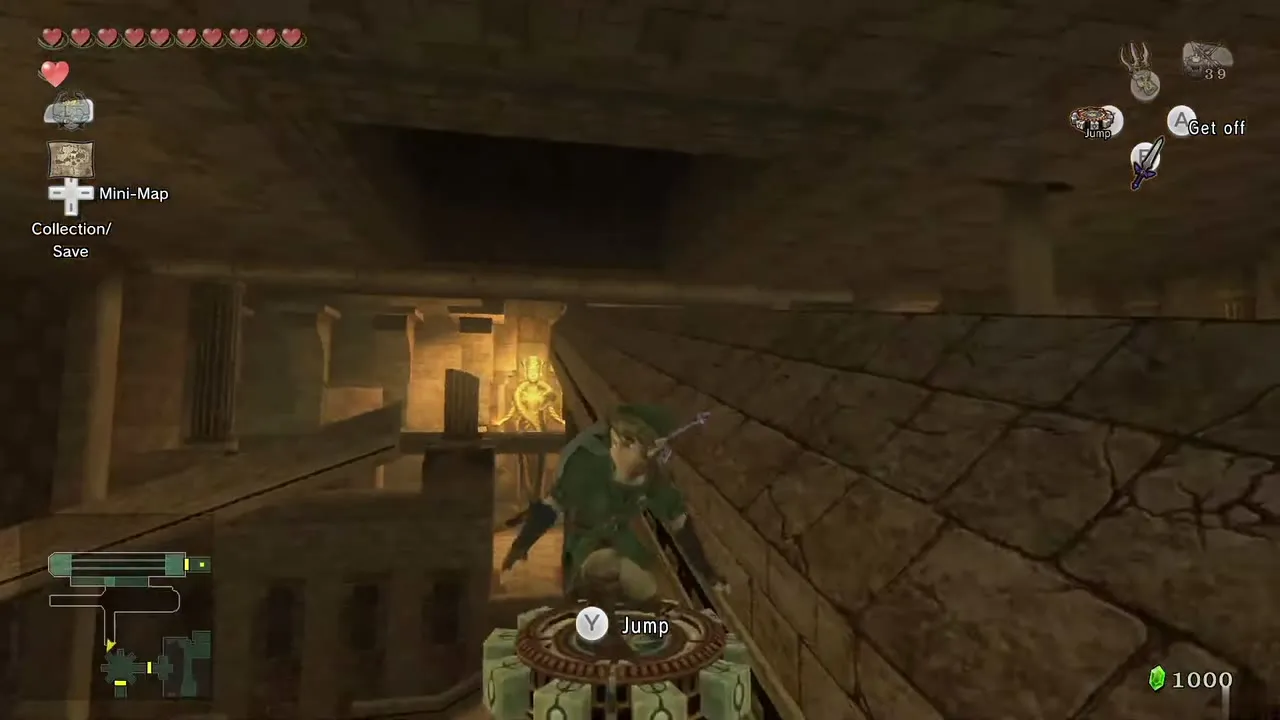
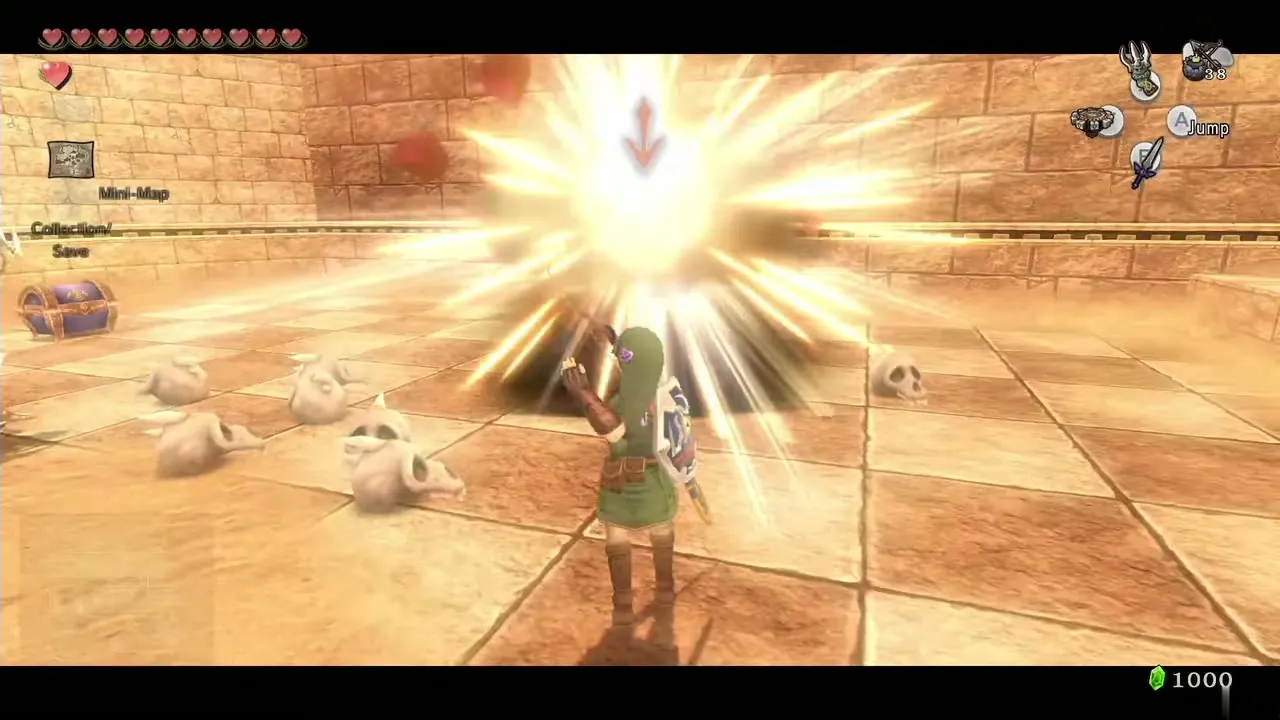
Travel west on the rails, avoiding the spiked wheels. The track curls upward to a high area with a huge rotating spike. Go east and defeat the Stalfos, then open the chest for Piece of Heart #35. Ride the north rail past the rotating spike, jump from rail to rail and you drop back to the south-west corner. If you circle forever, stop spinning, step off and take the opposite direction.
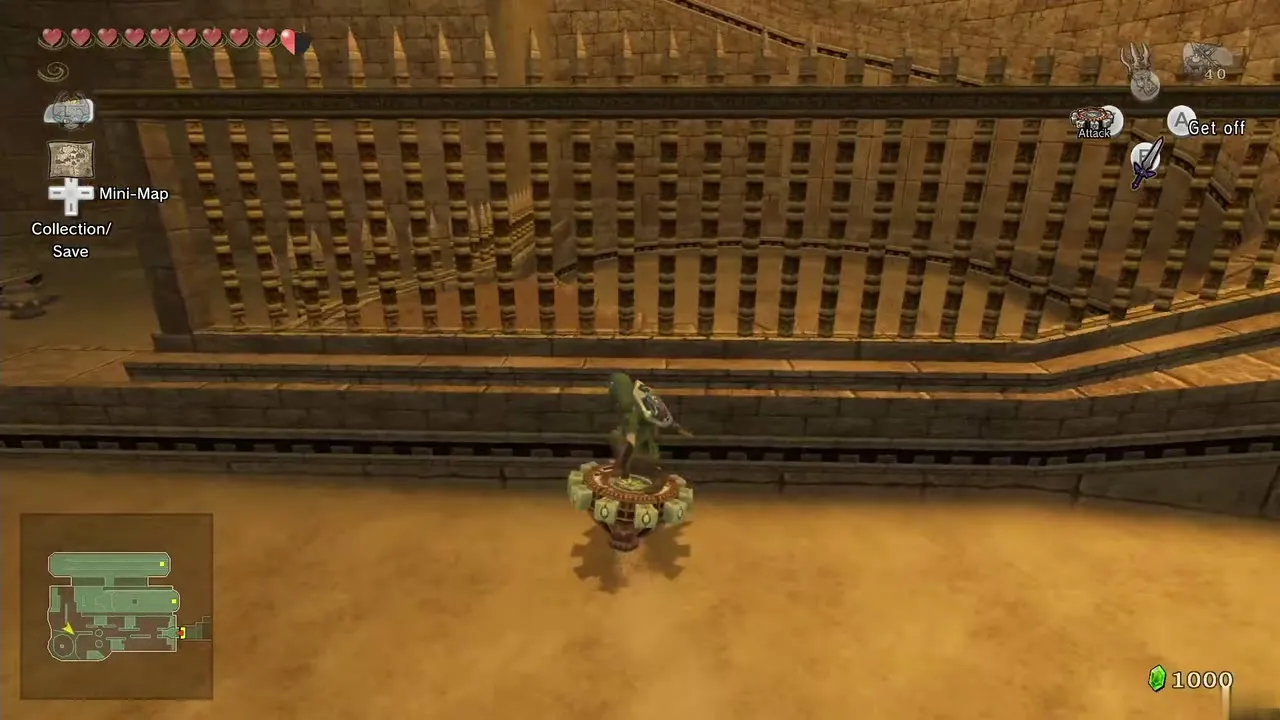
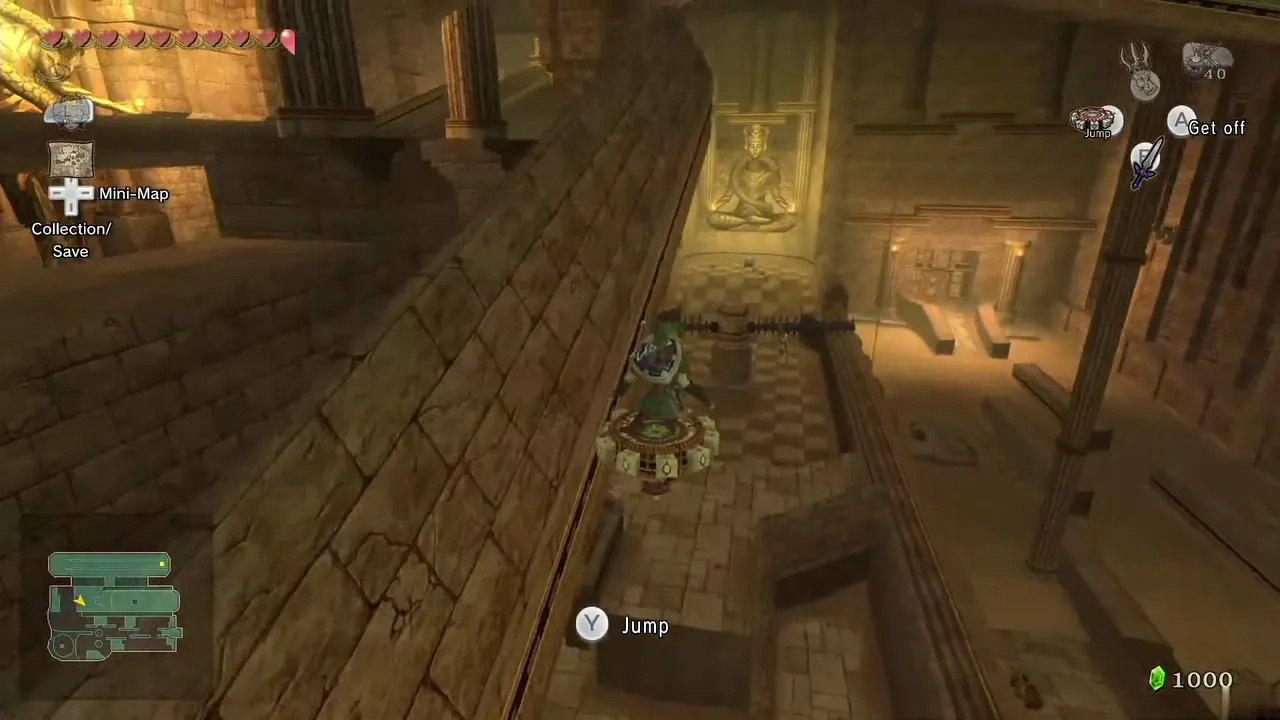
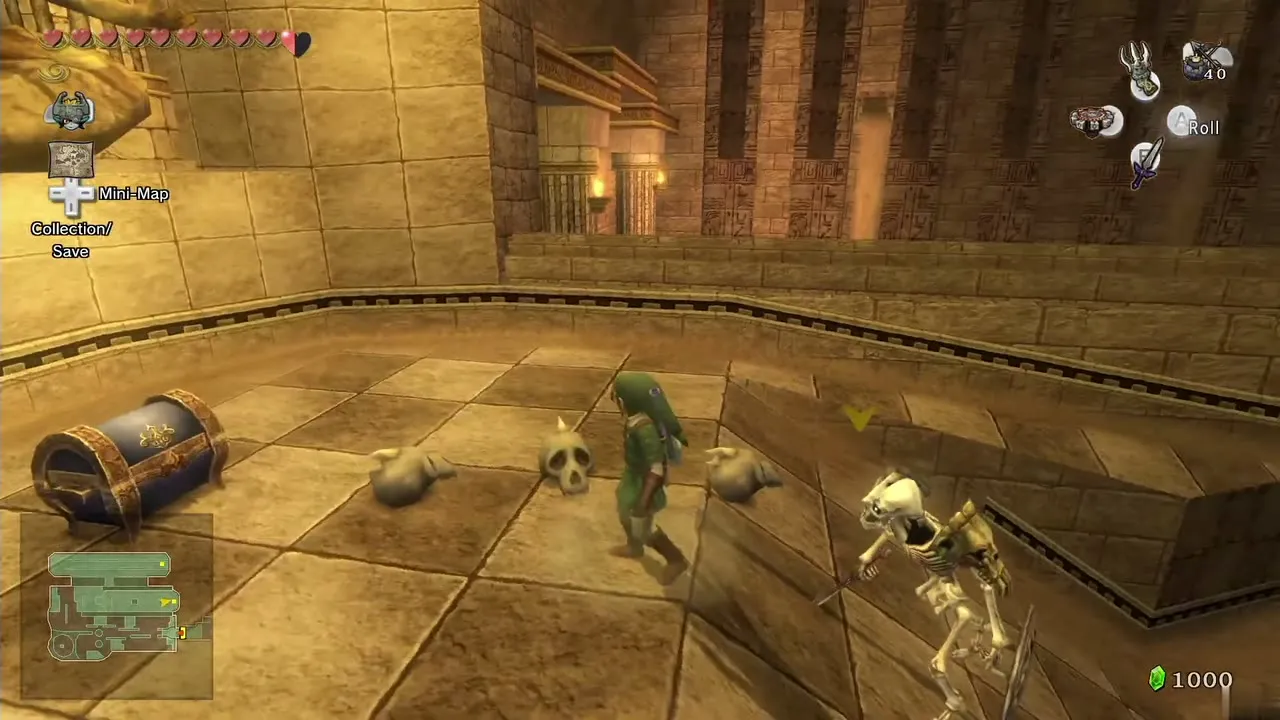
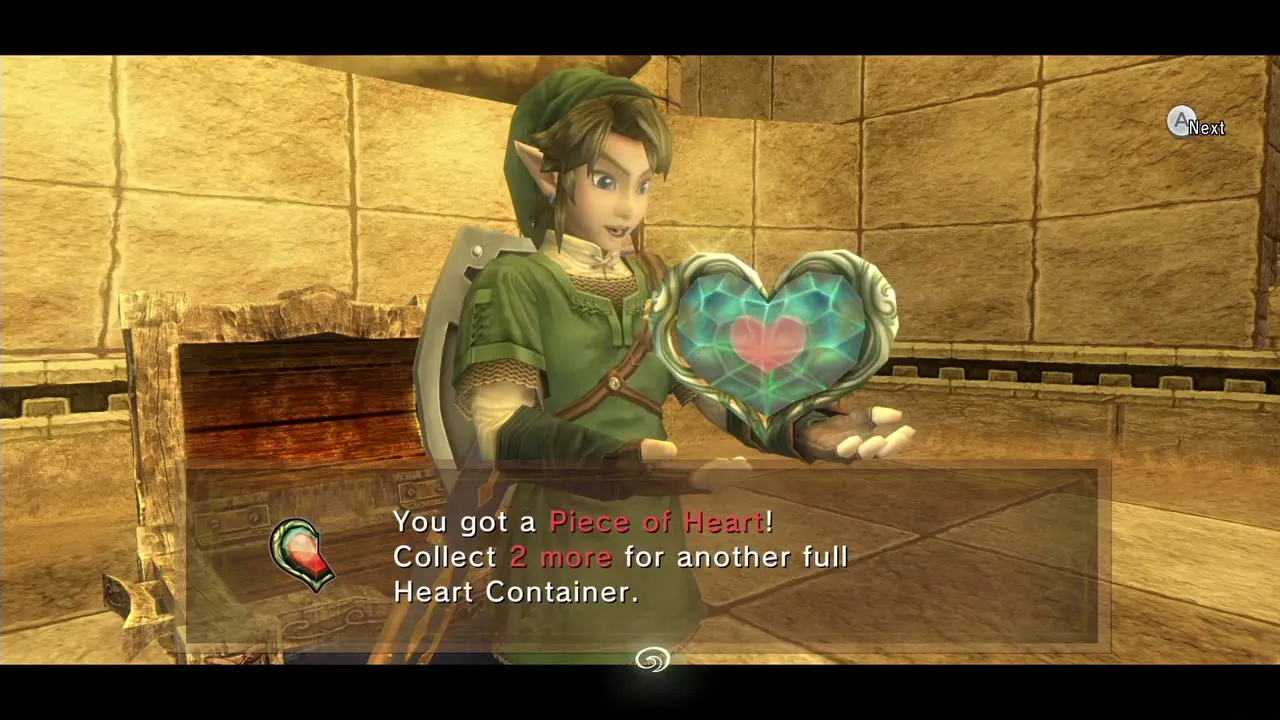
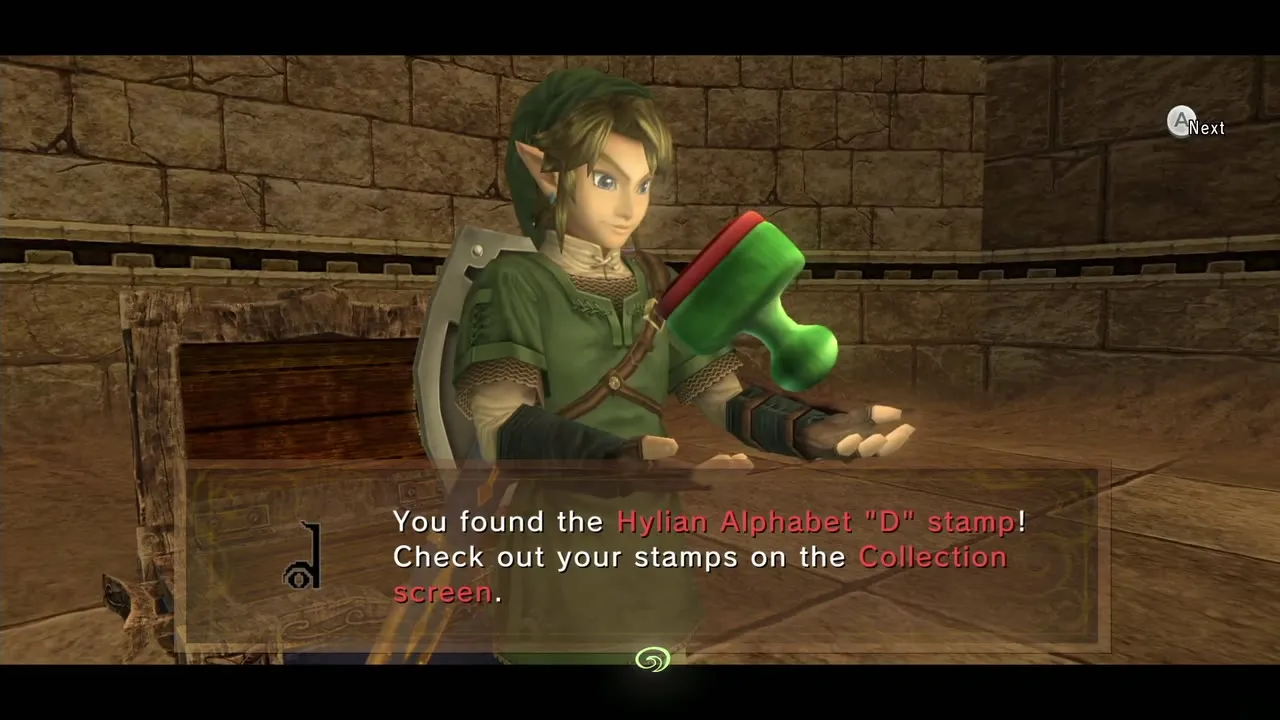
At the north-east, defeat two Stalfos and open the chest for the Hylian Letter D stamp. At the north-west, two rails run side by side with spiked wheels on them. Start on the left rail, jump to the other when the first wheel passes, and keep alternating. Falling is common; just retry. The door beyond leads to the Big Key.
Big Key chest
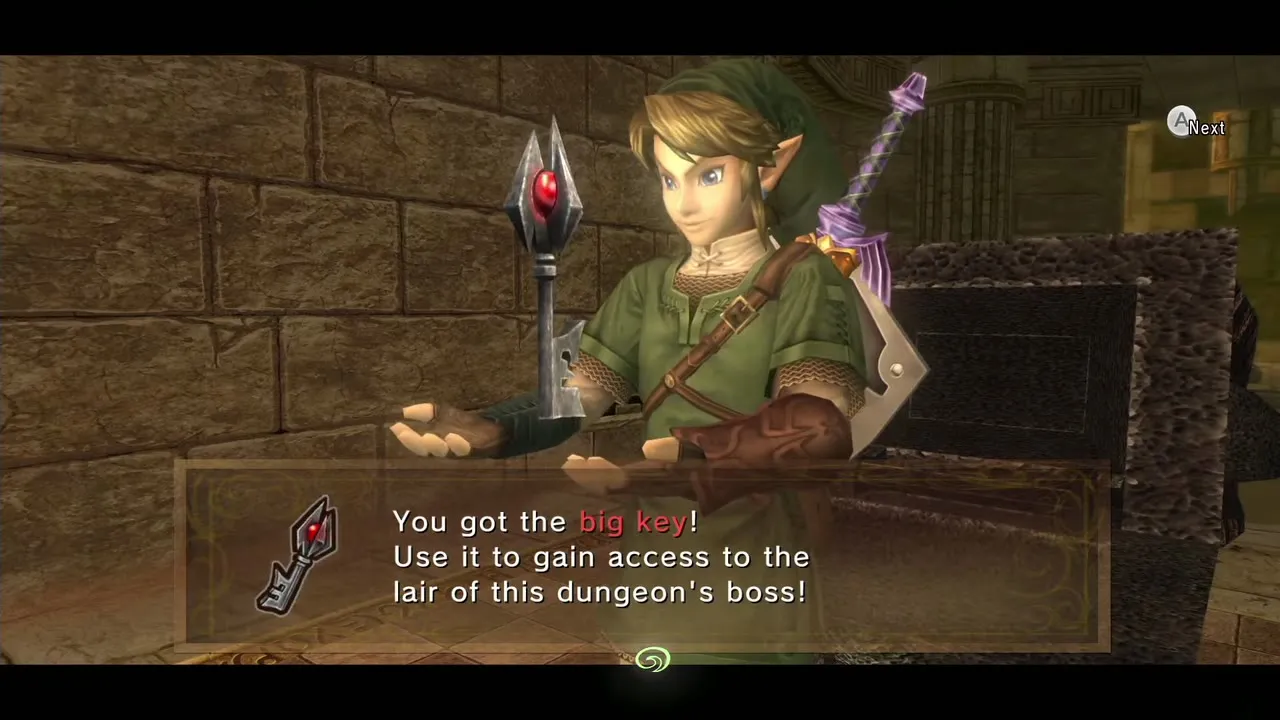
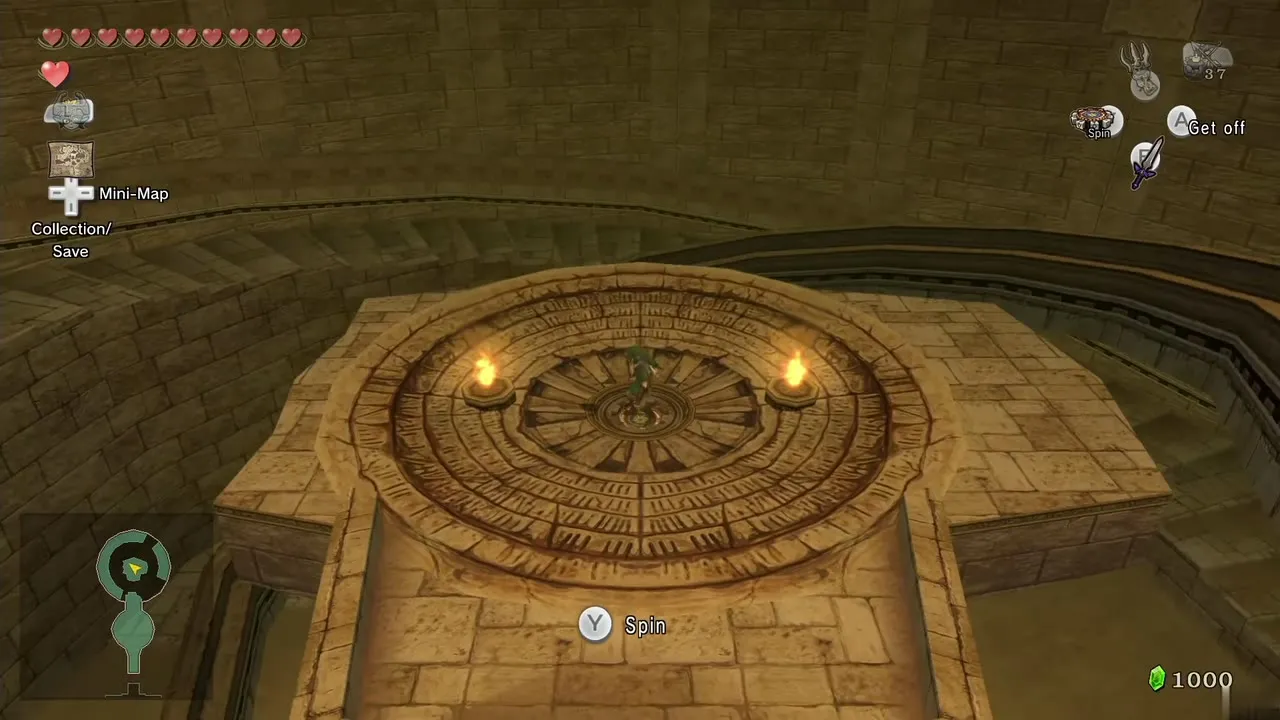
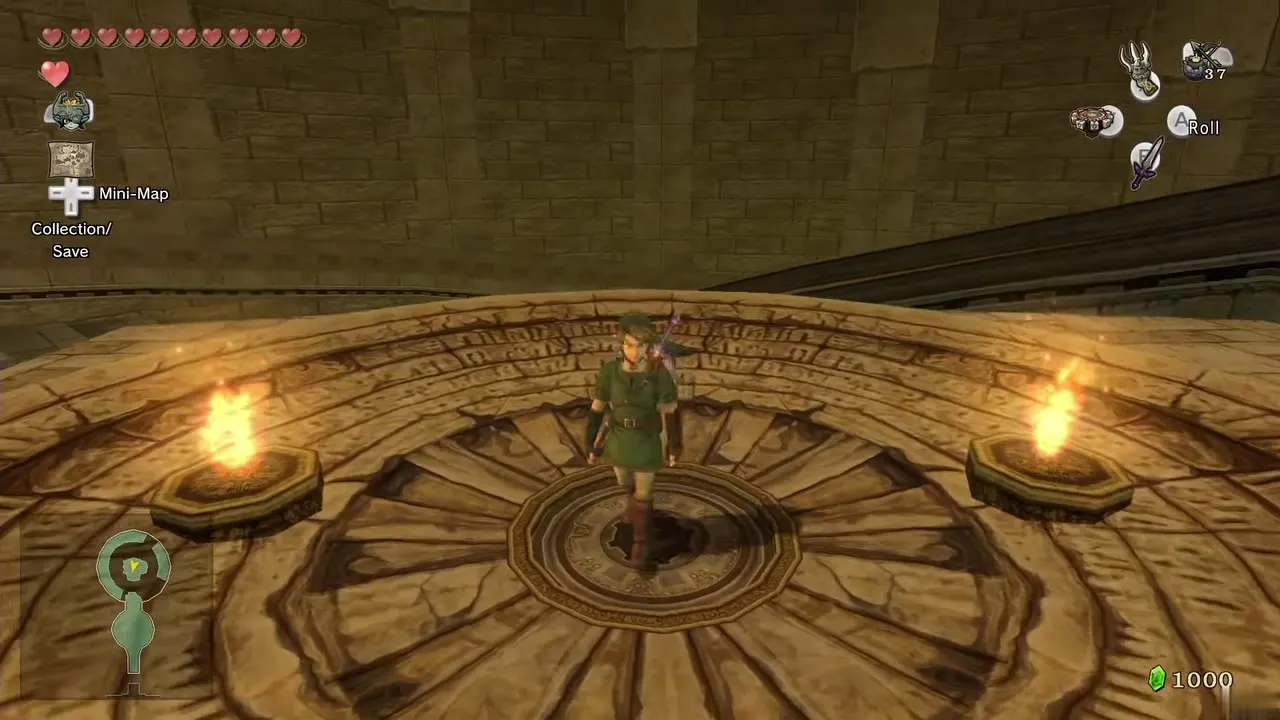
Open the large chest to get the Big Key and ride back across the sand to the central room. Place the Spinner in the gear-shaped hole in the floor and press R rapidly. The wall turns and opens a path north.
To the boss door
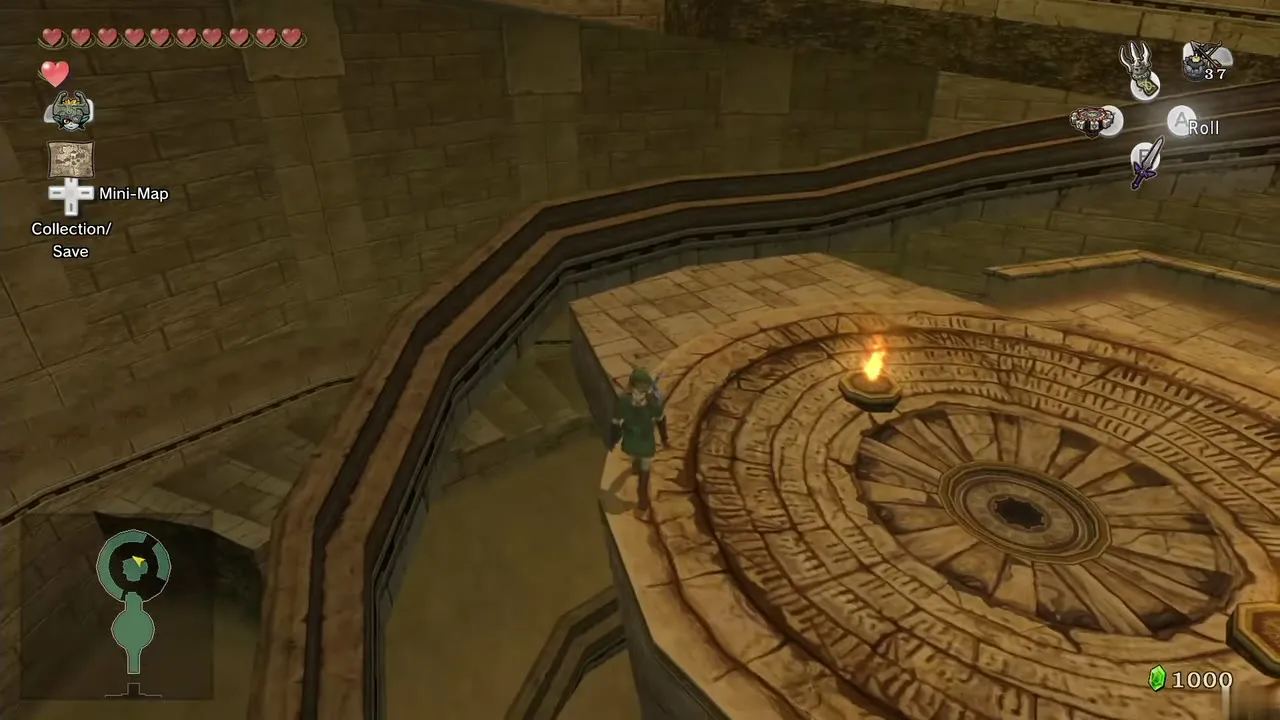
In the north shaft, use the rails to climb. Jump off the rail onto the central platform, whose edge points toward the east. Set the Spinner into the hole there and tap R rapidly; a spiral rail rises to the top of the room. Ride it up and use the Big Key on the boss door.
Boss: Twilit Fossil Stallord

Setting the scene
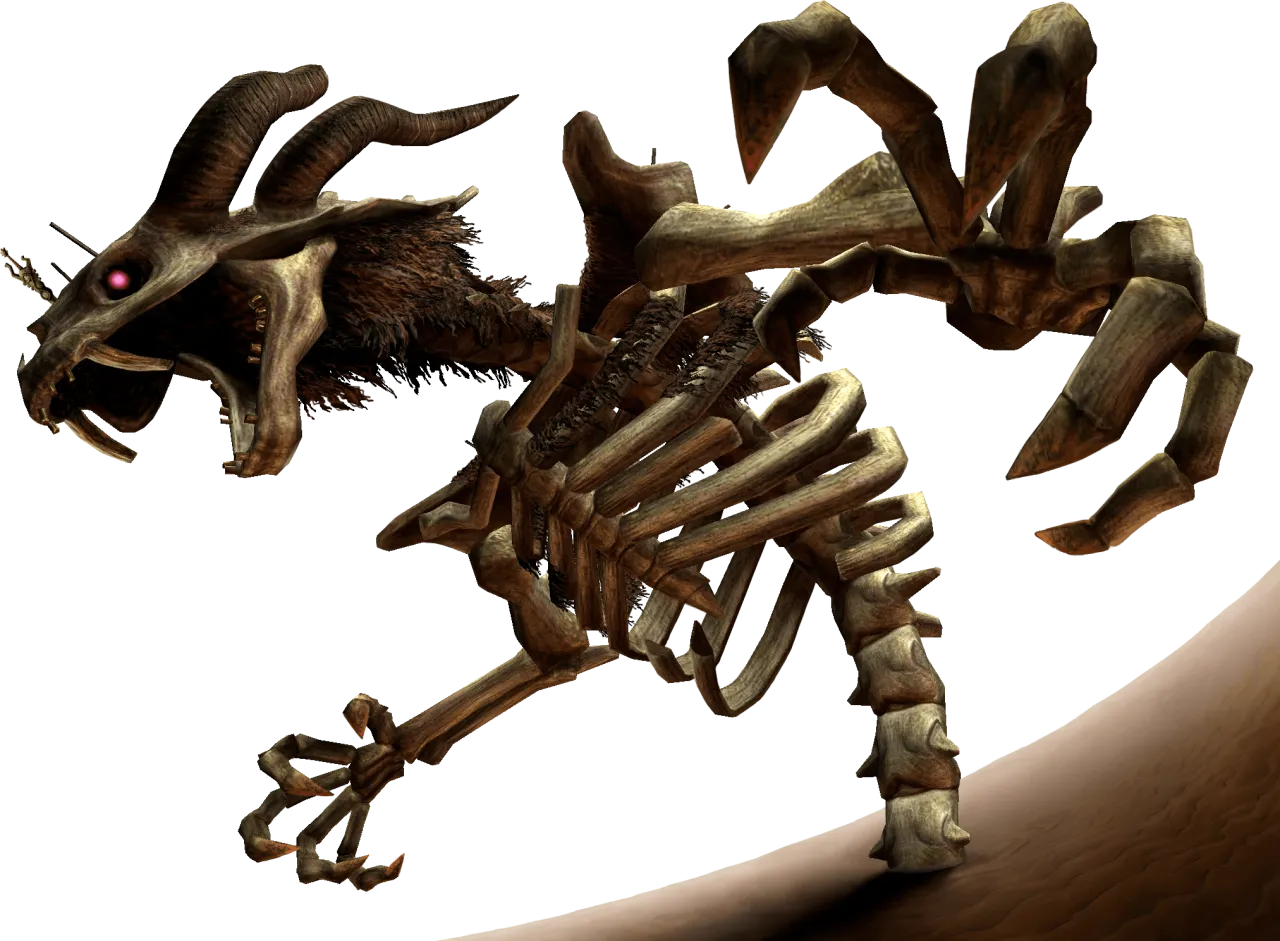
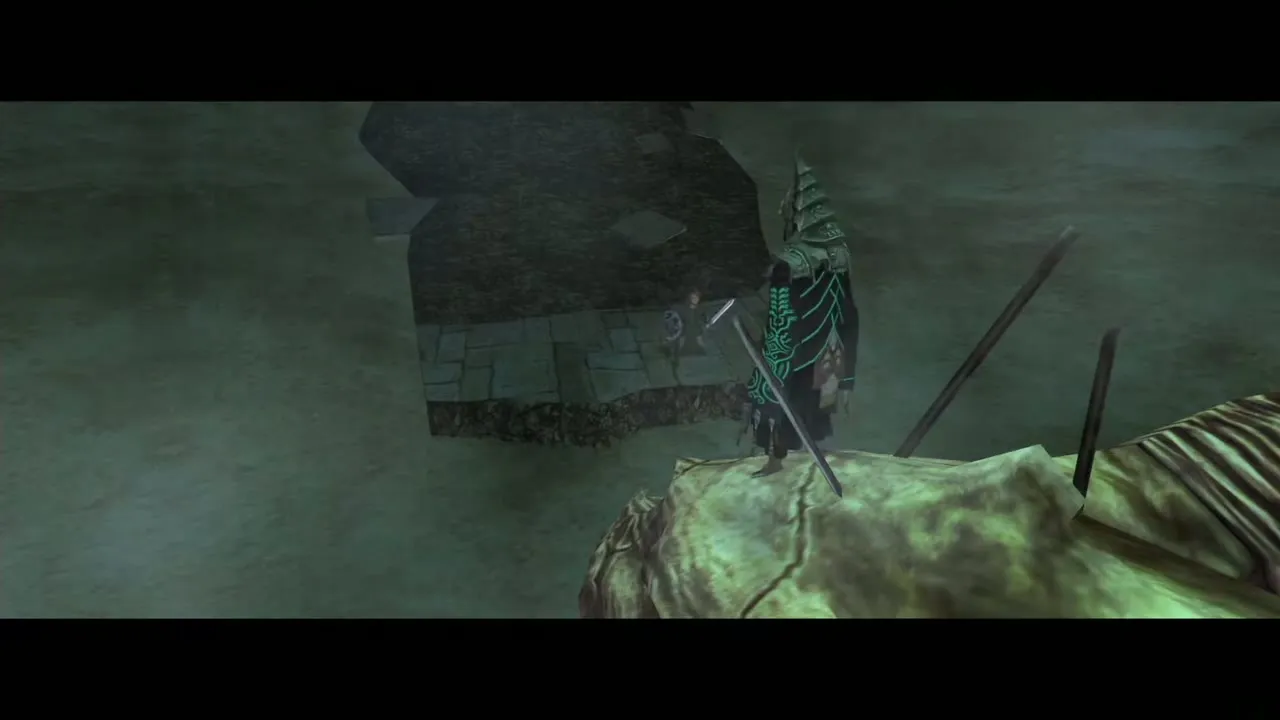
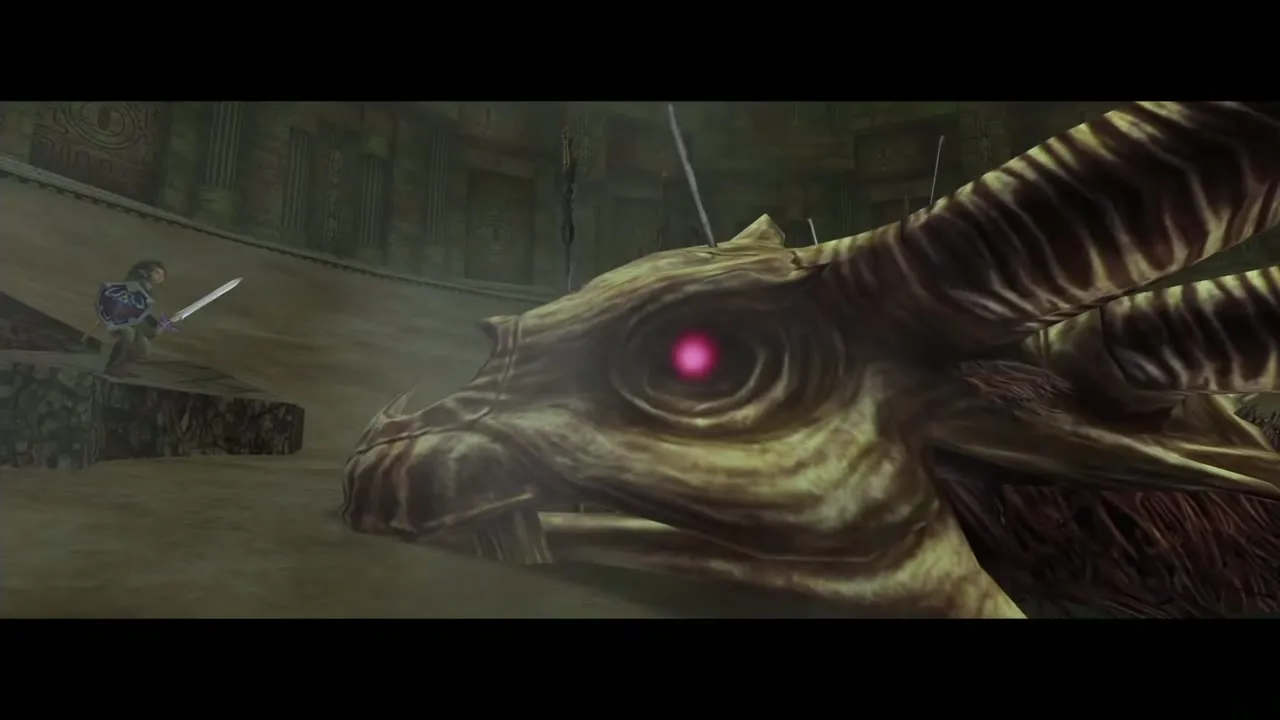
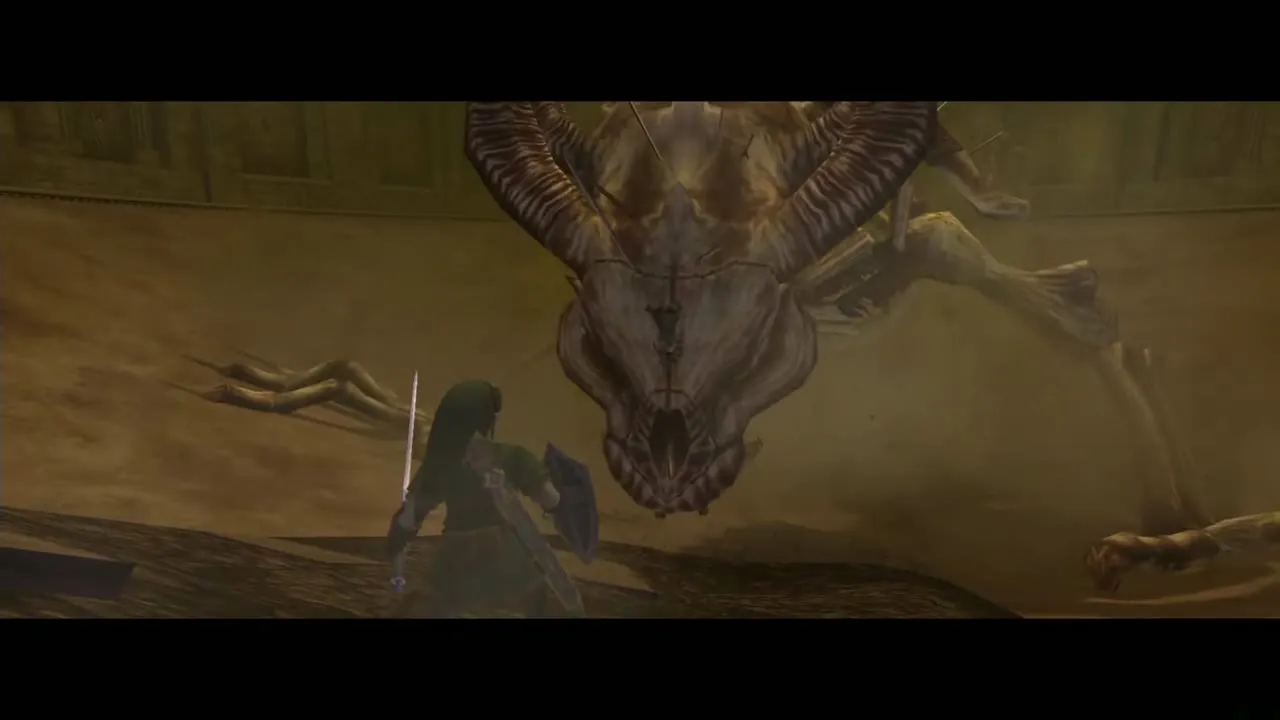
A giant skeleton lies in the dark room. Walk forward and Zant appears, speaks, then drives the Scimitar of Twilight into the skull to wake it. Stallord has two phases, and the Spinner is your weapon in both.
Phase 1: the spine
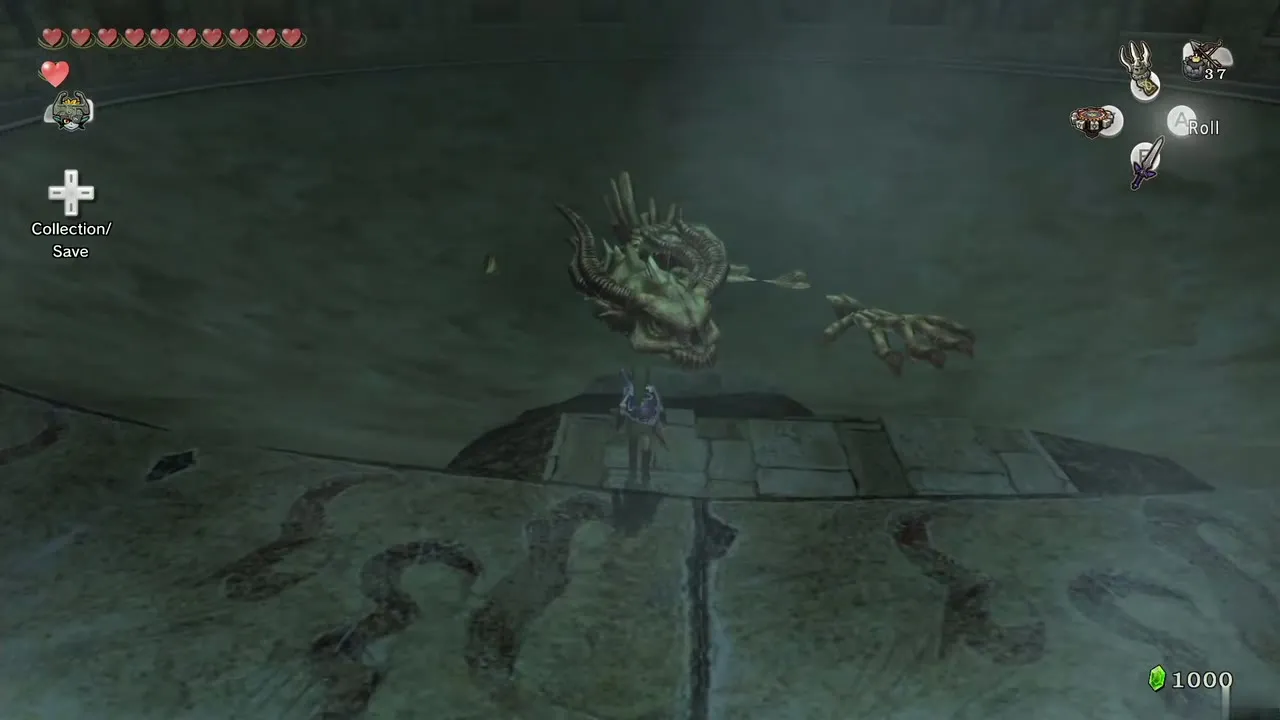
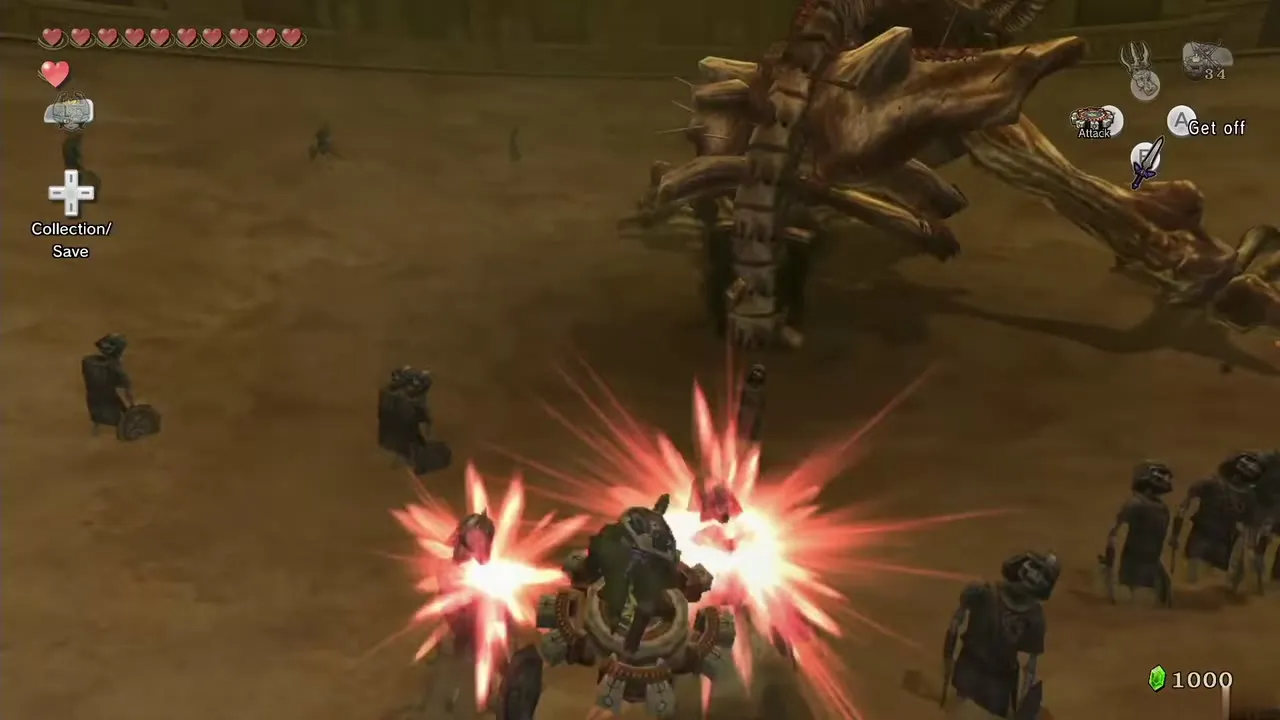
Equip the Spinner and ride the rail around the arena wall to build speed, then jump off and spin straight at the spine in the middle. Return to the rail and repeat. Staltroop skeletons rise from the sand to block you, and the Spinner cuts them down; small spiked wheels also ride the rail, so you cannot stay on it for long.
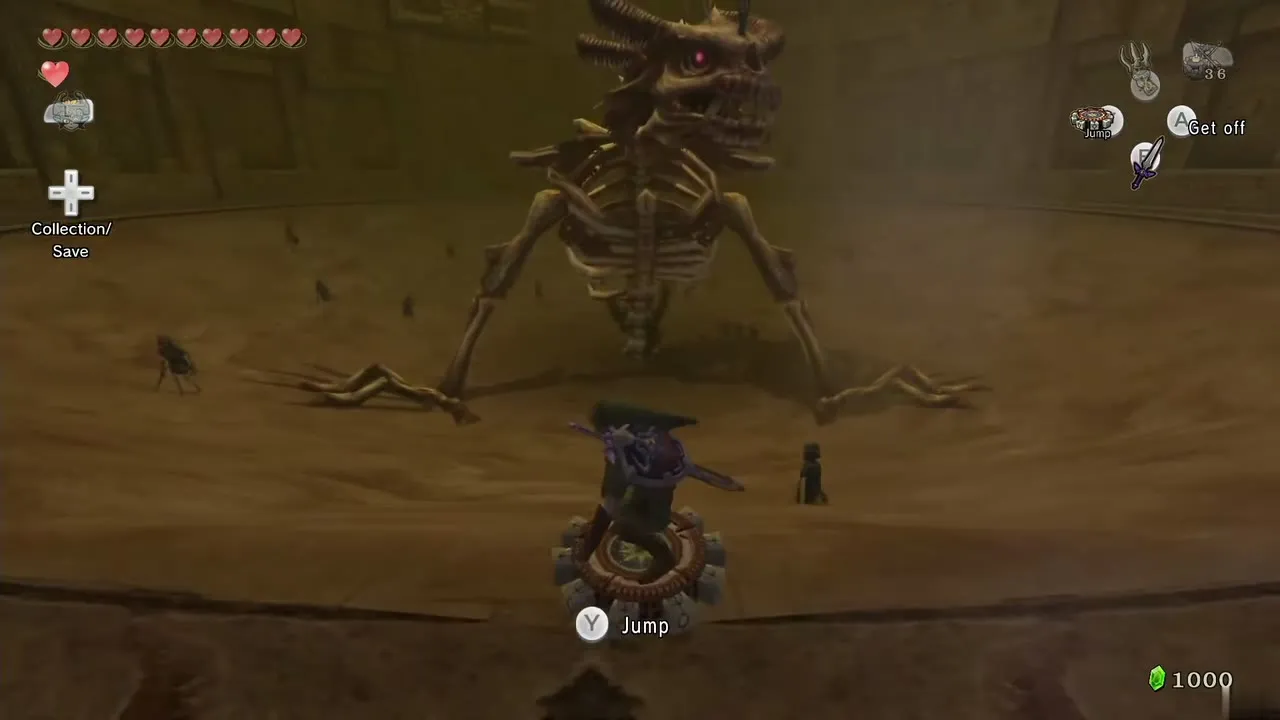
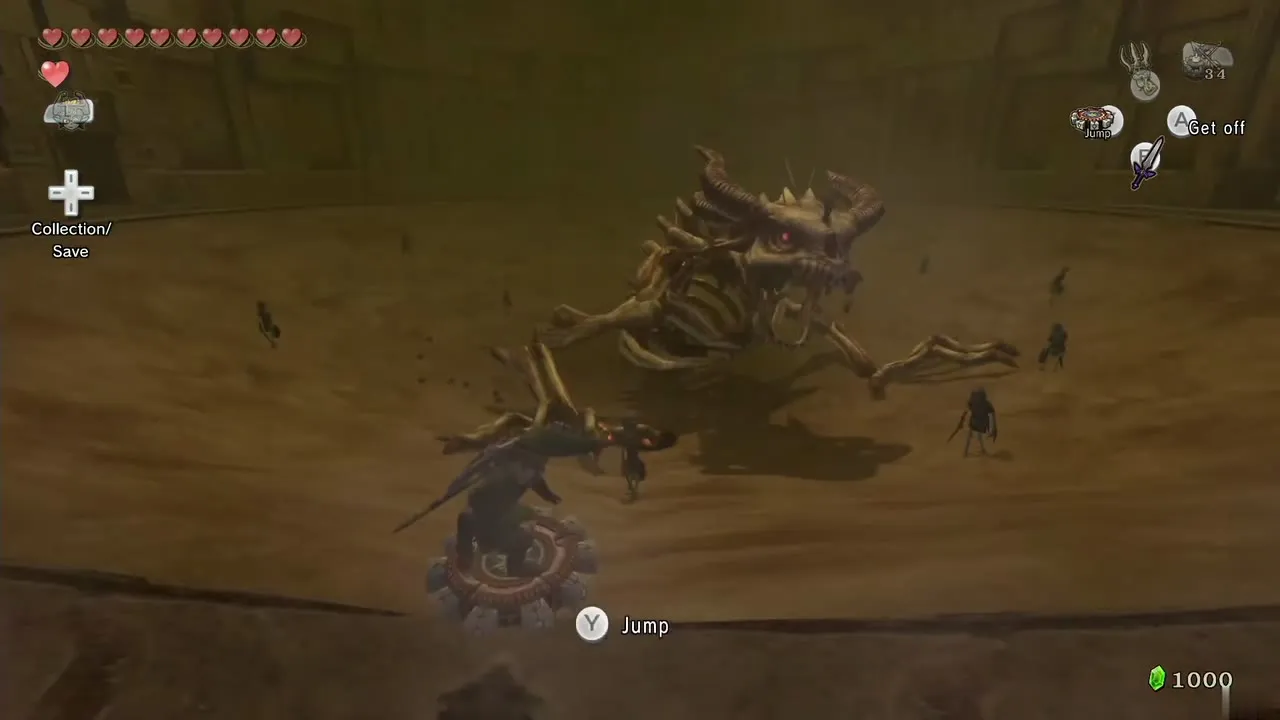
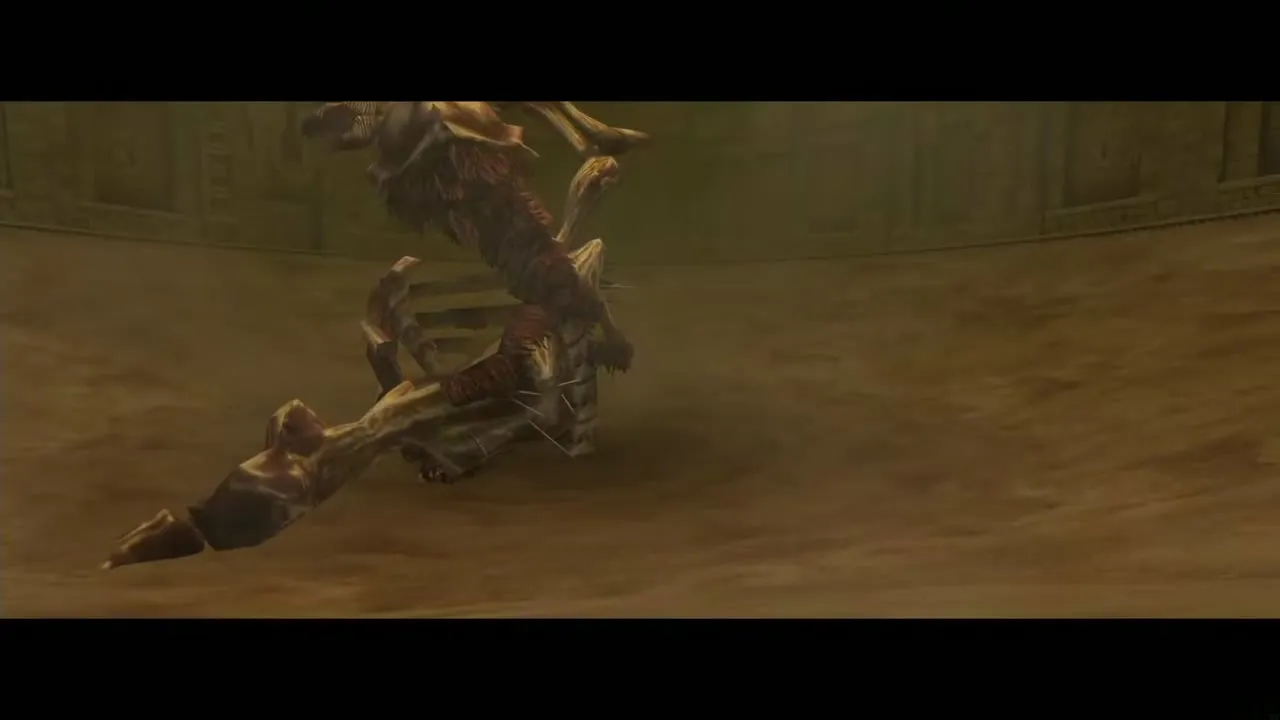
Three hits crack the spine. After the third, more Staltroops guard the base, so clear a few to get a clean line. The body then collapses and the sand drains out of the room.
Phase 2: the skull
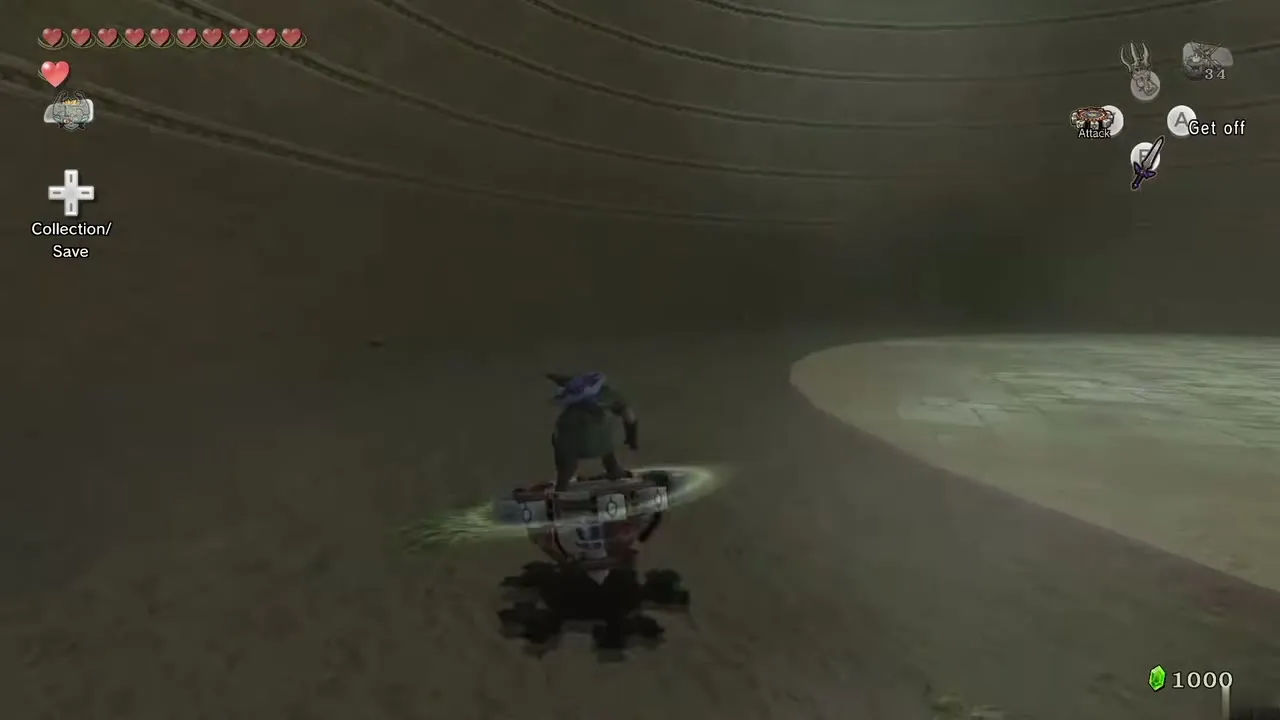
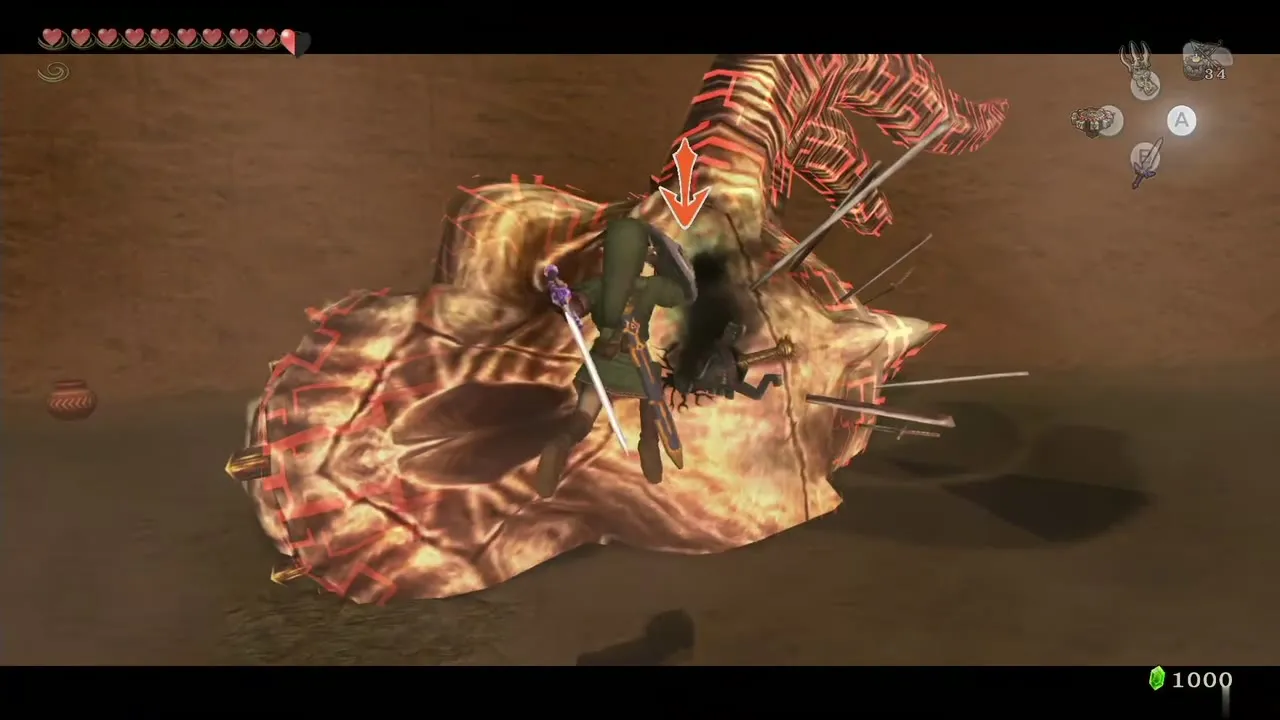
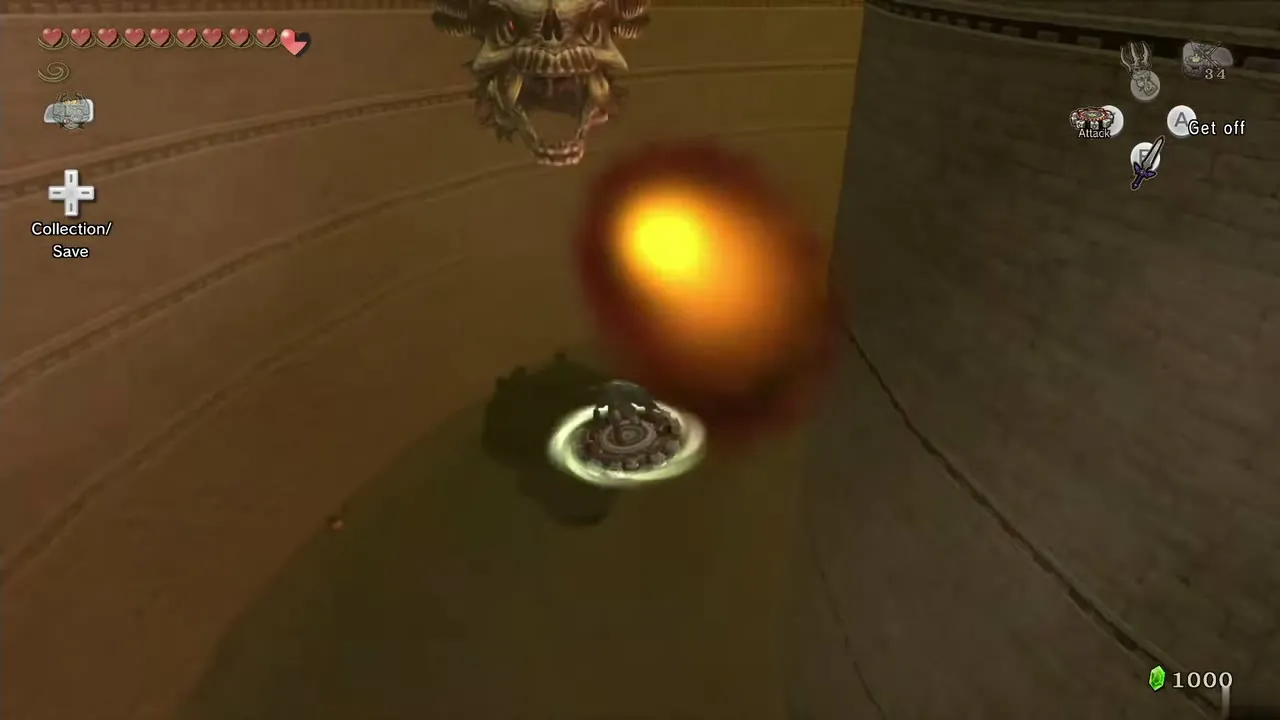
Walk to the middle and set the Spinner into the hole to raise the central pillar; the skull wakes and starts to circle it, firing fireballs. Spin up the rails of the pillar toward it. When it fires, press R to jump to the outer wall rail and dodge. After a few shots it flies close: jump with the Spinner and strike it, and it drops to the floor. Run in and slash the sword stuck in its skull.
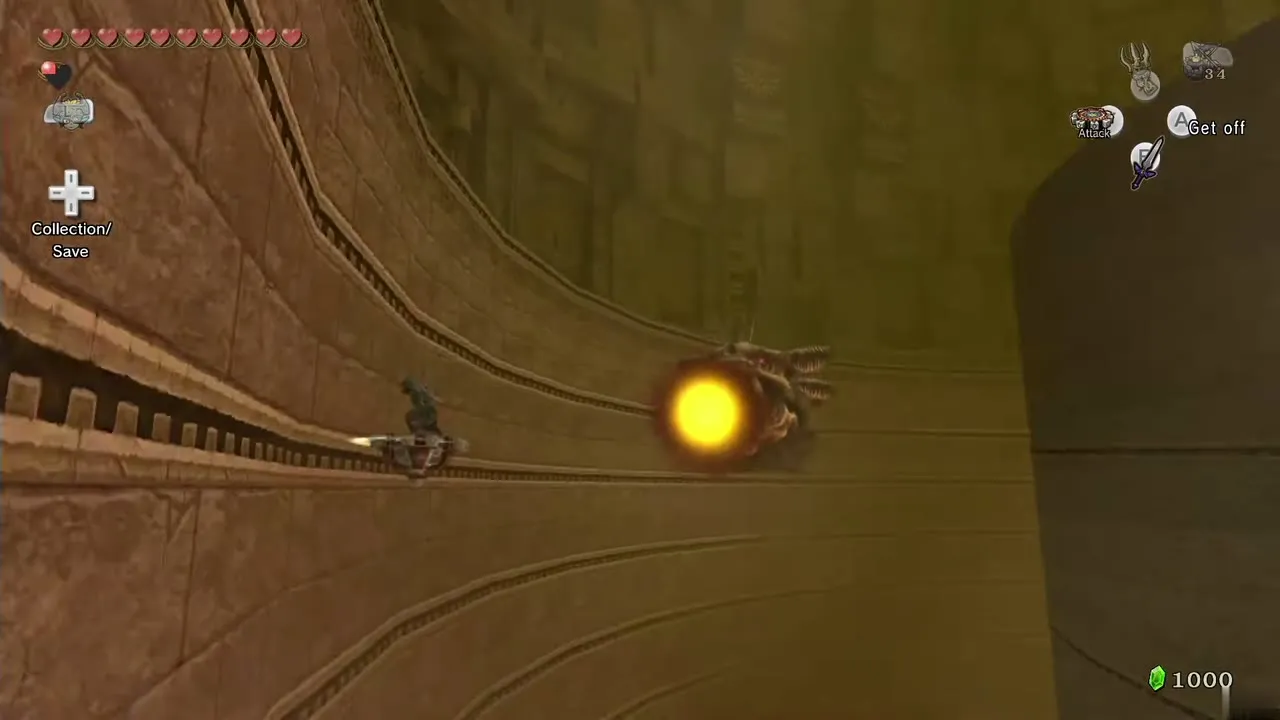
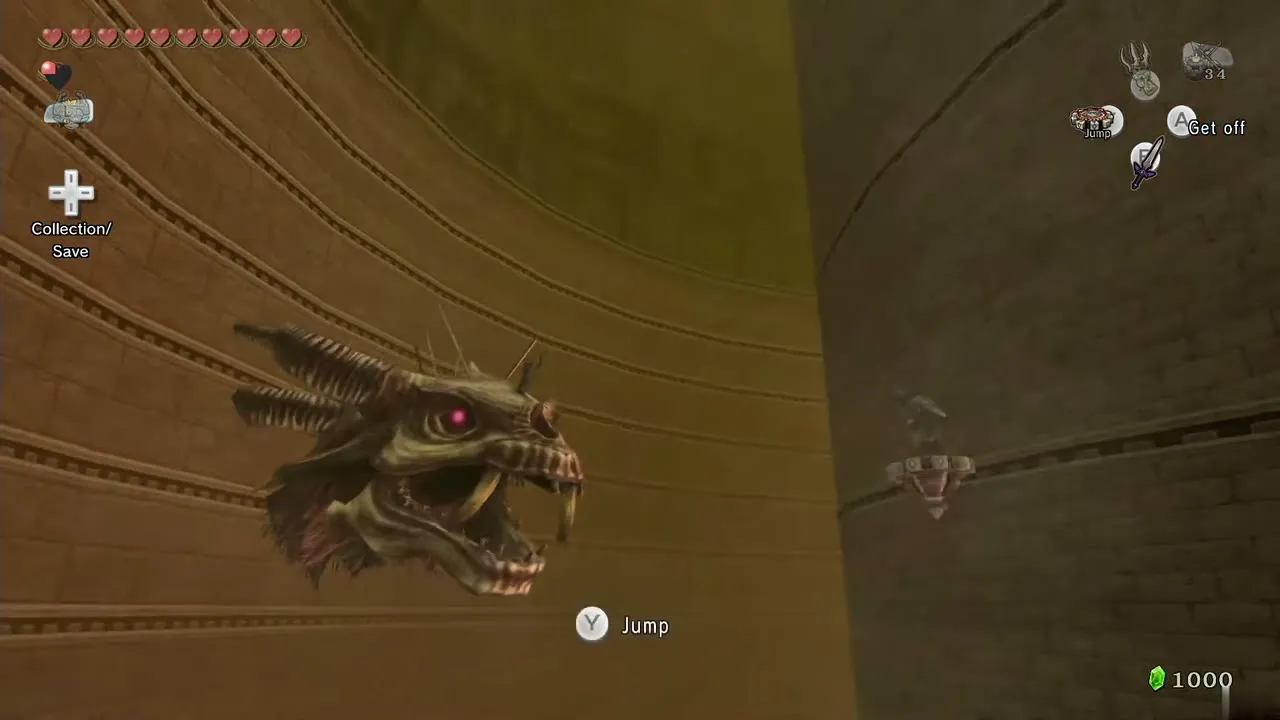
The skull rises again. Repeat the same pattern, with blade traps now appearing on the rails each round, so you must time your jumps. Keep going until the skull is destroyed.
Heart Container and the Mirror Chamber
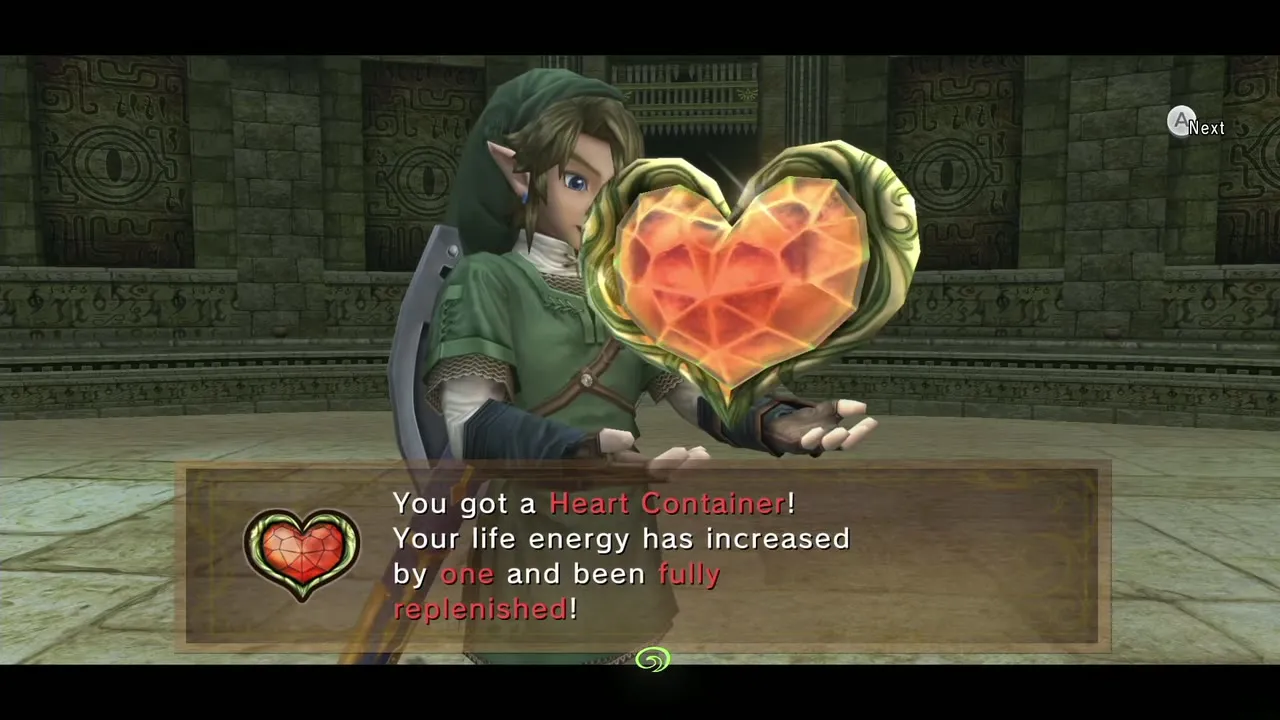
Take the Heart Container for one more full heart. Stallord leaves no Mirror Shard: the first shard is the one already set in the Mirror of Twilight, which you reach next. Leave through the exit and walk into the Mirror Chamber; the next chapter continues from there.
Chapter checklist
| Type | Name | Where |
|---|---|---|
 Poe Soul | First | Central chamber, first Poe |
| Poe Soul | Second | East of the central chamber, behind the pillar room |
| Poe Soul | Third | East corridor, behind the moving wall |
| Poe Soul | Fourth | West corridor, Poe that splits into four |
| Map and Compass | Dungeon Map; Compass | North-west platforms of the central chamber; chest at the south of the chandelier room |
| Piece of Heart | First (#34) | North-east chest of the central chamber, via Clawshot target |
| Piece of Heart | Second (#35) | Multi-level rail room, east side past the rotating spike |
| Small keys | Five | West corridor chest; first ReDead Knight chest; second ReDead Knight chest; round room chest; tall shaft chest |
| Dungeon item |  Spinner | Chest beyond Death Sword |
| Big Key | Large chest | Room beyond the paired rails |
| Mini-boss | Death Sword | Room beyond the Stalfos gate |
| Boss | Twilit Fossil Stallord | Top of the spiral rail |
| Heart Container | Stallord reward | Top of the central pillar |
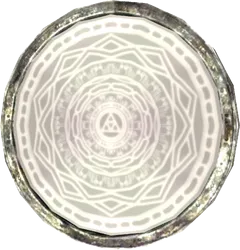 Mirror of Twilight | First Mirror Shard (already in the mirror) | Mirror Chamber, after Stallord |
 Ooccoo | Pot | South-west of the rolling-spike room |
| Stamps | Surprised Midna; Hylian Letter D | Chandelier room chest; north-east chest of the multi-level rail room |
| Rupees and bombs | Red Rupee; yellow Rupees; bombs | Chandelier corridor; rail-room chests; Stalfos room chests |
Next: Mirror Chamber, Reekfish and Snowpeak Mountain. Earlier: Gerudo Desert and the Bulblin Camp. For Poe totals see Poe Souls; for the full boss list see Boss Guide.
