
























Twilight Princess 100% Completion Walkthrough23 chapters
- Hyrule Castle and the Ganondorf BattleEvery key and chest, then how to beat Puppet Zelda, Dark Beast Ganon, the horse chase and the final duel.
- Snowpeak Ruins (Dungeon 5)Every key, chest, Heart Piece and Poe Soul, the Ball and Chain, Darkhammer and the Blizzeta boss fight.
- Temple of Time (Dungeon 6)All keys and chests, the Dominion Rod, statue puzzles, Big Key, two Heart Pieces and Armogohma.
- City in the Sky (Dungeon 7)Every chest, Heart Piece and Poe, the Double Clawshots, Aeralfos, the Big Key and how to beat Argorok.
- Ordon VillageGoat herding, fishing rod, Sera’s bottle, slingshot, Wooden Sword, Faron Woods cave Heart Piece, Lantern.
- Enter the Twilight RealmEscape the cell as Wolf Link, meet Midna and Zelda, get the Ordon Sword and Shield, meet Ordona.
- Faron WoodsAll 12 Tears of Light, Faron Spring, Coro’s key and lantern oil bottle, and the Golden Wolf’s Ending Blow.
- Forest Temple (Dungeon 1)All 8 monkeys, 4 small keys, Map, Compass, Big Key, 2 Heart Pieces, Ook, Gale Boomerang and Diababa.
- Hyrule Field, Kakariko Gorge and Twilight Kakariko12 Tears of Light, Epona, Pill Bugs, Heart Pieces.
- Iron Boots, King Bulblin and Death MountainIron Boots from Mayor Bo, the King Bulblin bridge fight, Golden Bugs and Gor Coron’s sumo match.
- Goron Mines (Dungeon 2)Every chest, both Heart Pieces, the Hero’s Bow, three Key Shards, Dangoro and Fyrus boss tactics.
- Lanayru Province, Castle Town and Zora’s DomainKakariko extras, Bridge of Eldin bugs, Castle Town, Lake Hylia, thawing Zora’s Domain and all 12 Tears of Light.
- Telma Escort, Castle Town and Lake Hylia Side QuestsTelma escort, Zora Armor, Water Bombs, 9 Golden Bugs, Agitha, Charlo, fishing, Rapid Ride and the Lakebed entrance.
- Lakebed Temple (Dungeon 3)Small keys, map, compass, Big Key, two Heart Pieces, Clawshot, Deku Toad and Morpheel boss tactics.
- Midna, Zelda and the Master SwordTelma’s Bar to Zelda, the Sacred Grove, Skull Kid, the guardian puzzle, plus its Heart Piece, Poe and Golden Bug.
- Poe Soul Collection, Malo Mart and Heart PiecesThe first 29 Poe Souls, Jovani’s rewards, Malo Mart donations and Magic Armor, Miiverse stamps and five Heart Pieces.
- Gerudo Desert and the Bulblin CampOasis Flight, eight Poe Souls, both Dayflies, Mortal Draw, Bulblin Camp and King Bulblin.
- Arbiter’s Grounds (Dungeon 4)Four Poe Souls, Dungeon Map, Compass, Spinner, Big Key, two Heart Pieces and the Stallord boss fight.
- Mirror Chamber, Reekfish and Snowpeak MountainMirror Chamber, Spinner Heart Pieces, Reekfish bait, Jump Strike, Poe Souls and the climb to Yeto.
- Heart Pieces Hunt and Return to the Sacred GroveTwo Heart Pieces, Rusl, the Skull Kid rematch, the last Golden Bug and the Temple of Time door.
- Ilia’s Memory, Hidden Village and the SkyIlia’s memory, 20 Bulblins, 20 cats, six Sky characters, Great Spin and the Sky Cannon repair.
- Palace of Twilight (Dungeon 8)Both Sols, all seven small keys, map, compass, Big Key, 2 Heart Pieces and how to beat Zant.
- Cave of OrdealsAll 50 floors, the 3 Poe Souls, every Great Fairy, buried items, the Tears and Jovani.
| Covers | The whole Temple of Time, from the entrance hall to the boss door |
|---|---|
| Dungeon | Temple of Time (Dungeon 6): bring Spinner, Clawshot, Hero’s Bow, Gale Boomerang and Lantern; boss Armogohma; dungeon item Dominion Rod |
| Rewards | Dominion Rod, Dungeon Map, Compass, Big Key, 3 Small Keys, 2 Heart Pieces (#39, #40), 2 Poe Souls, 2 Miiverse stamps (Hylian Letters L and T), Heart Container, third Mirror Shard |
You carry statues to switches, beat the Darknut for the Dominion Rod, then steer a giant Guardian Statue around the temple to break gates and traps. The same statue later wounds the boss Armogohma. Follow the order below and you also take both Heart Pieces and both Poe Souls. Directions use the Normal Mode layout. Hero Mode mirrors the world, so swap left and right and east and west. Once the Dominion Rod reaches full power, it also uncovers a Heart Piece and a Poe Soul in the entrance area; those belong to the Hidden Village chapter.
Table of Contents
Entrance hall and the first key
The missing statue
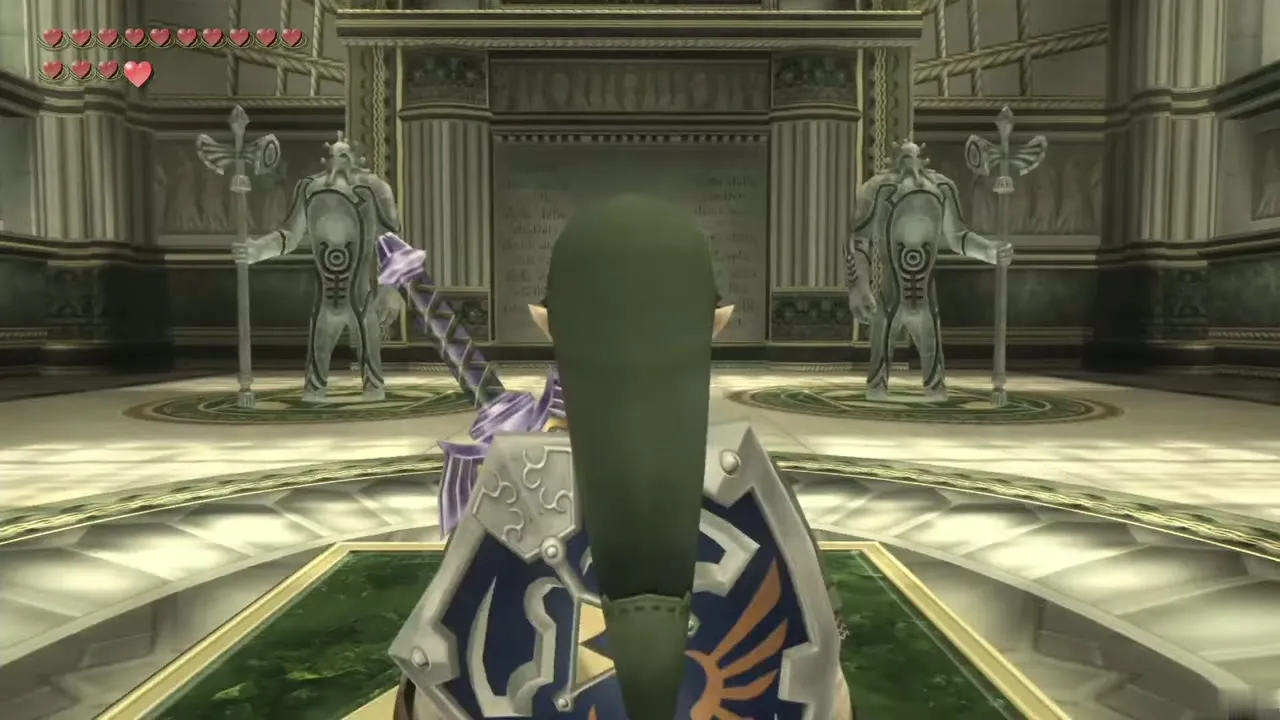
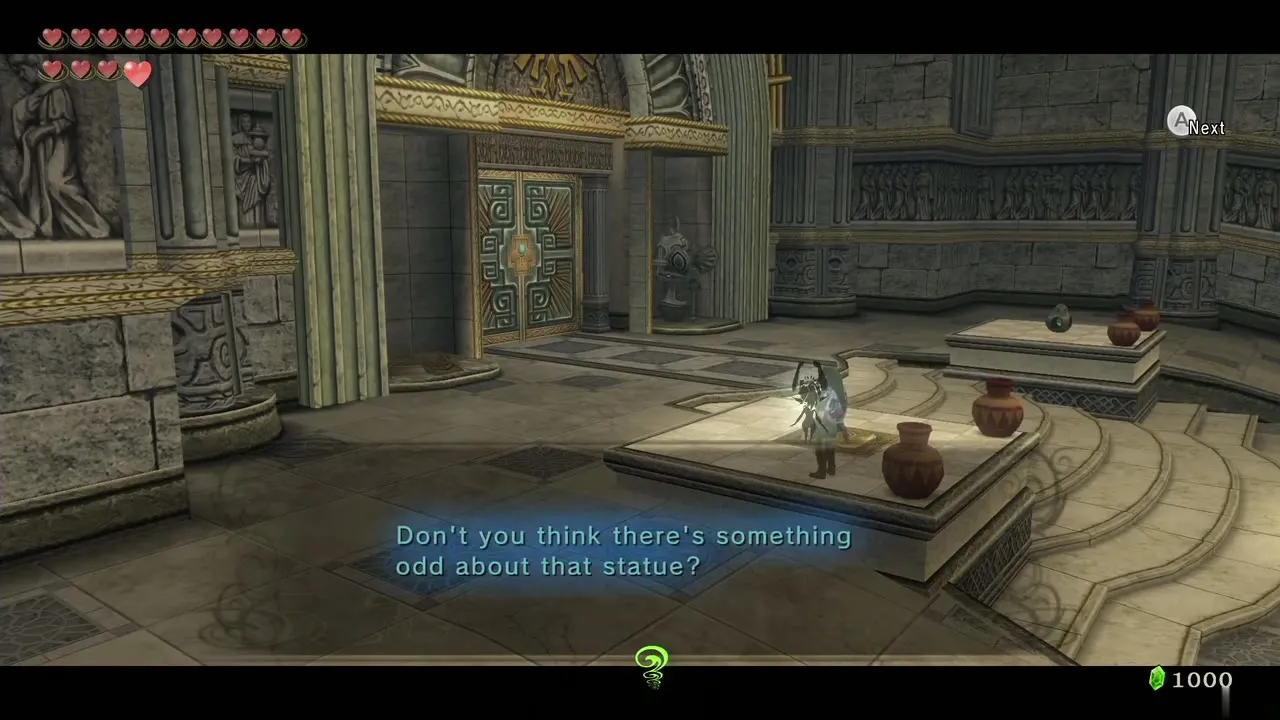
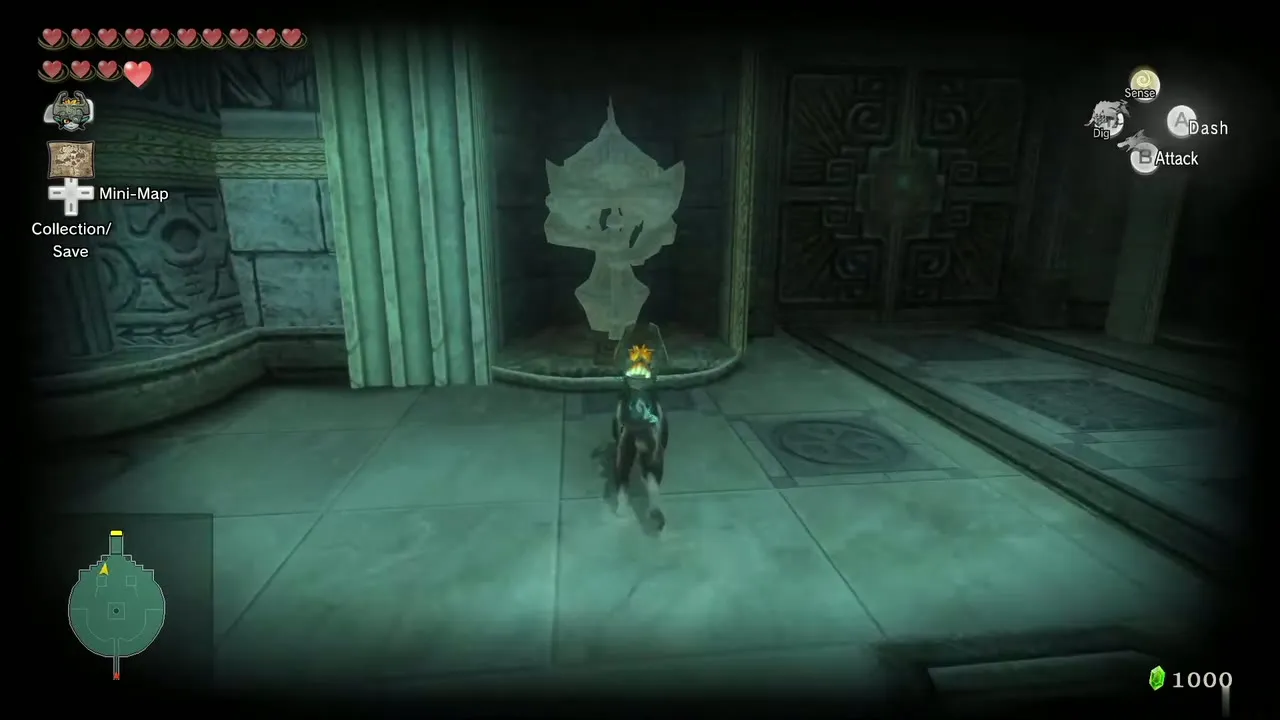
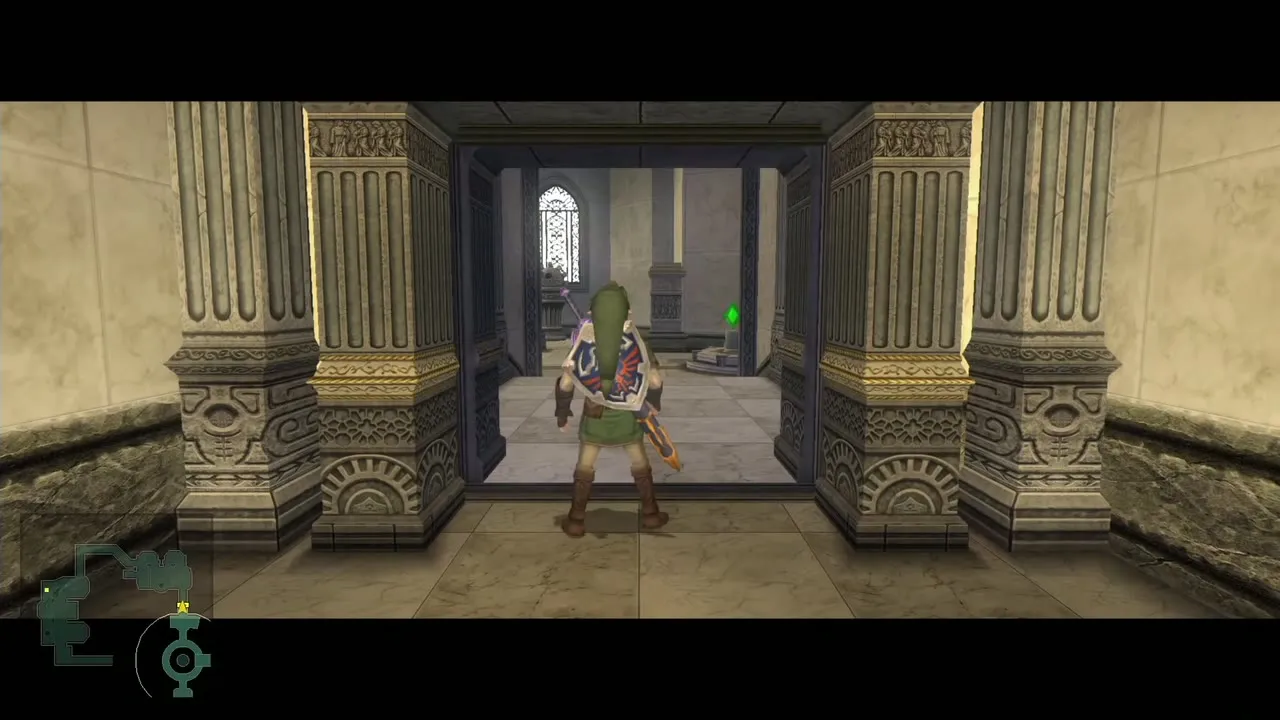
After the opening scene, run to the north end of the round entrance room. Midna points out that the statue beside the golden door has no twin. Turn into Wolf Link and you see the faint shadow of a statue where the second one used to stand. A statue must eventually return to this spot, which you do at the end of the Dominion Rod section.
Raise the platform
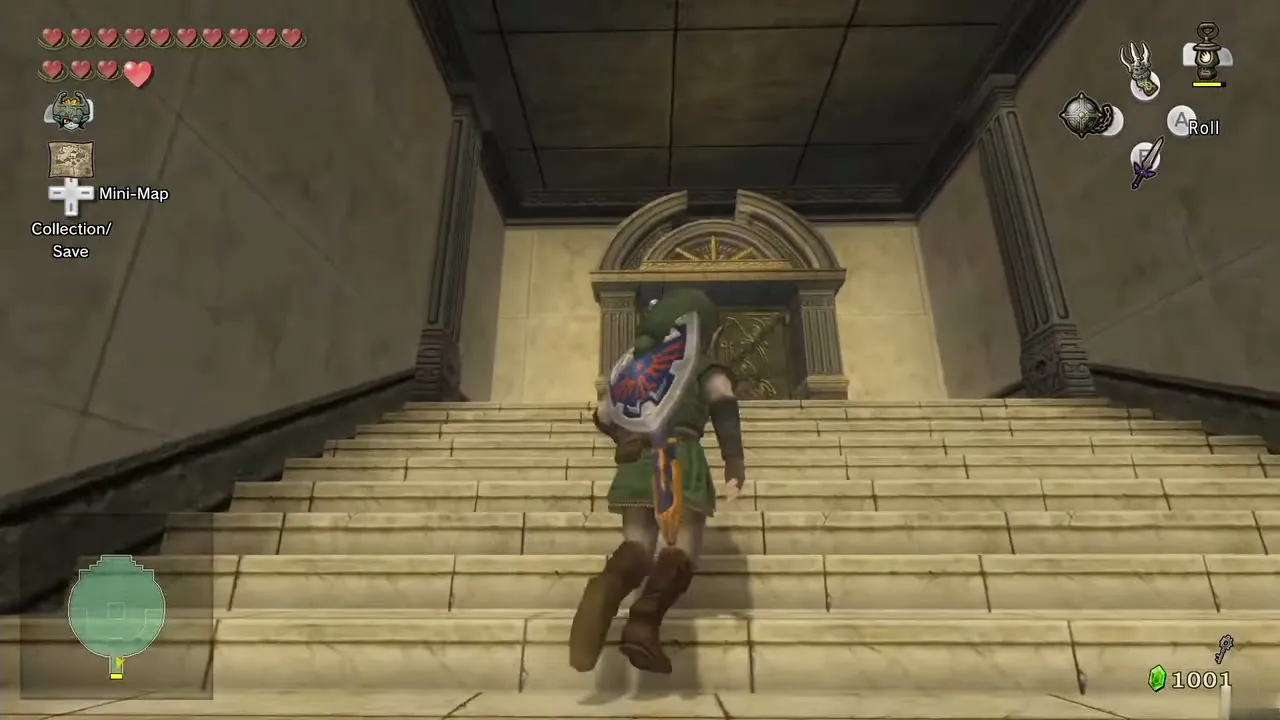
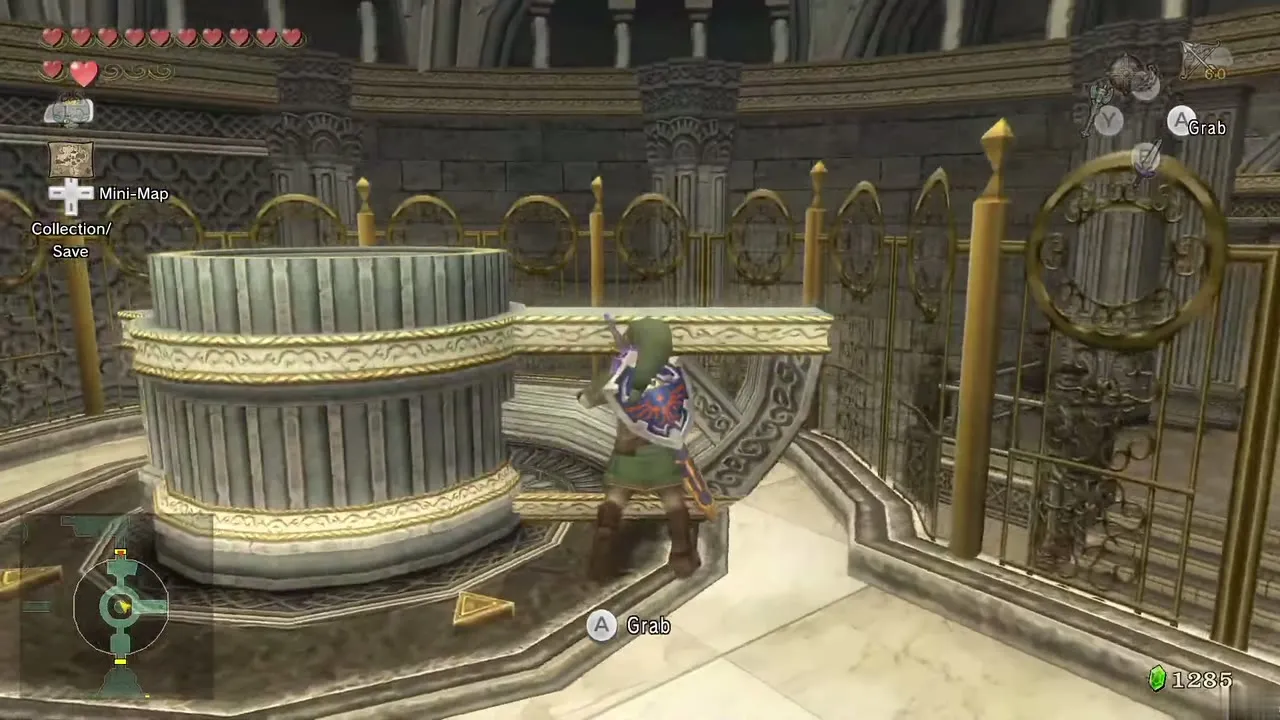
Two small platforms stand in this room; the one in the north-west has a switch. Stepping on it raises a platform nearby, but it drops when you step off. Pick up one of the pots and set it on the switch to keep the platform raised, then climb up and run up the steps. Ooccoo meets you here and explains that her people’s old technology sleeps in this temple; you can use her to leave the dungeon. Go down the steps on the east side, light both torches with the Lantern and a chest appears with a Small Key.
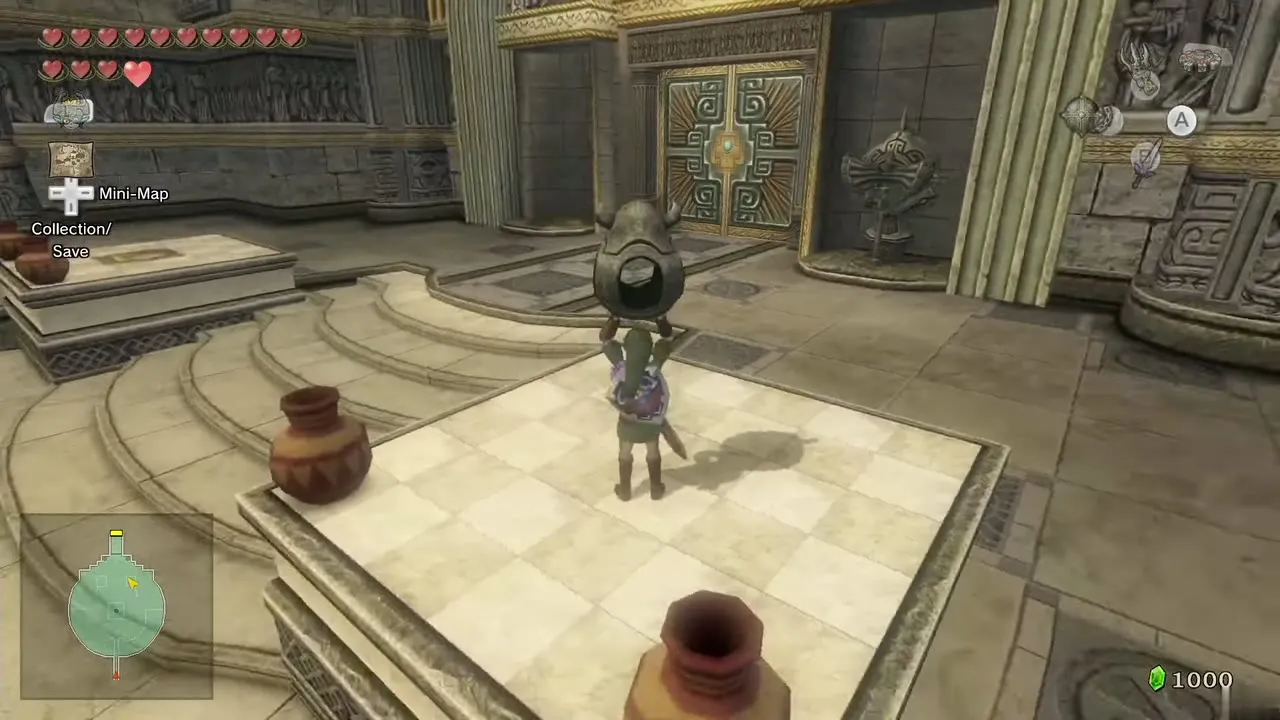
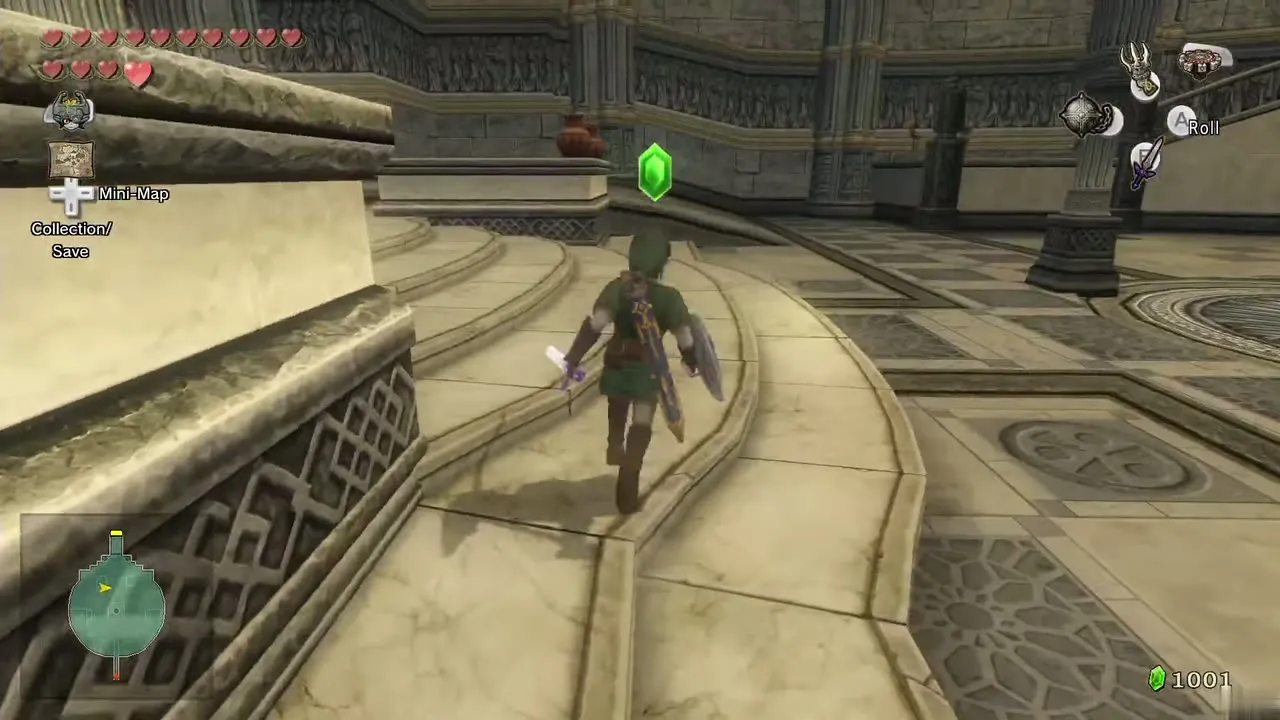
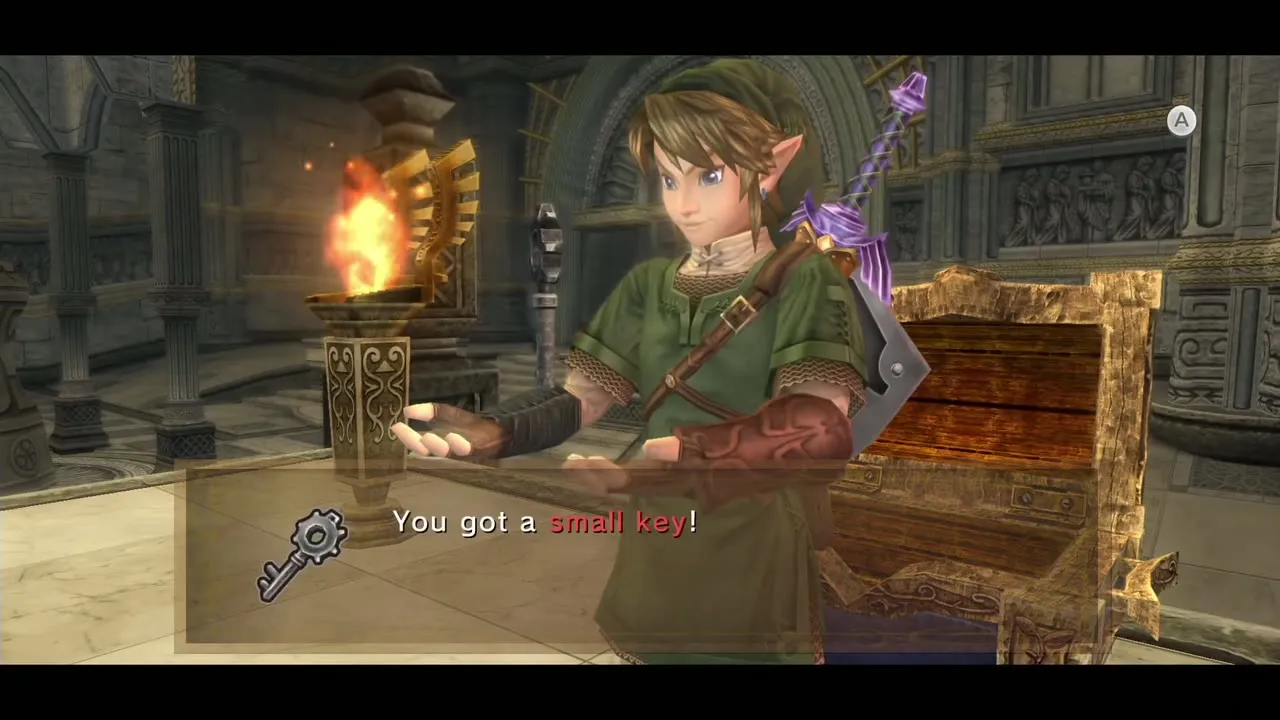
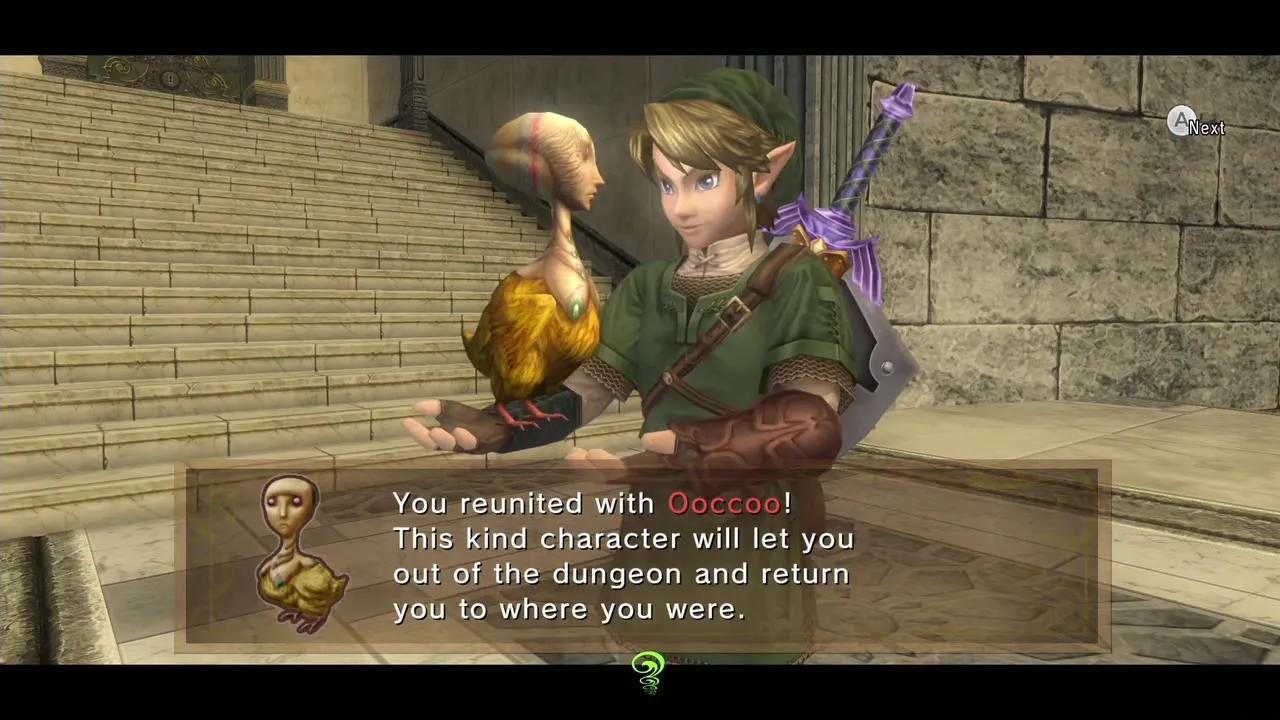
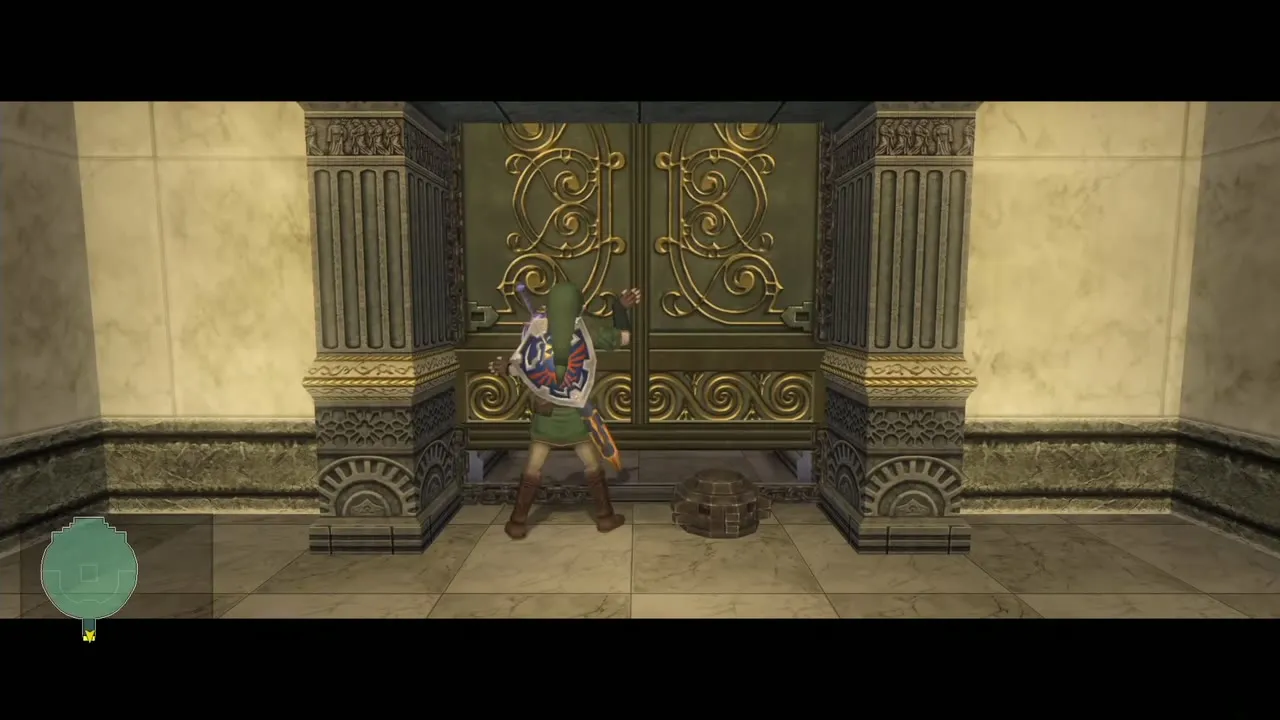
Climb the circular steps again and take the southern steps up. Unlock the door with your key and go in.
Gohma room, gates and the Dungeon Map
Pots and gates
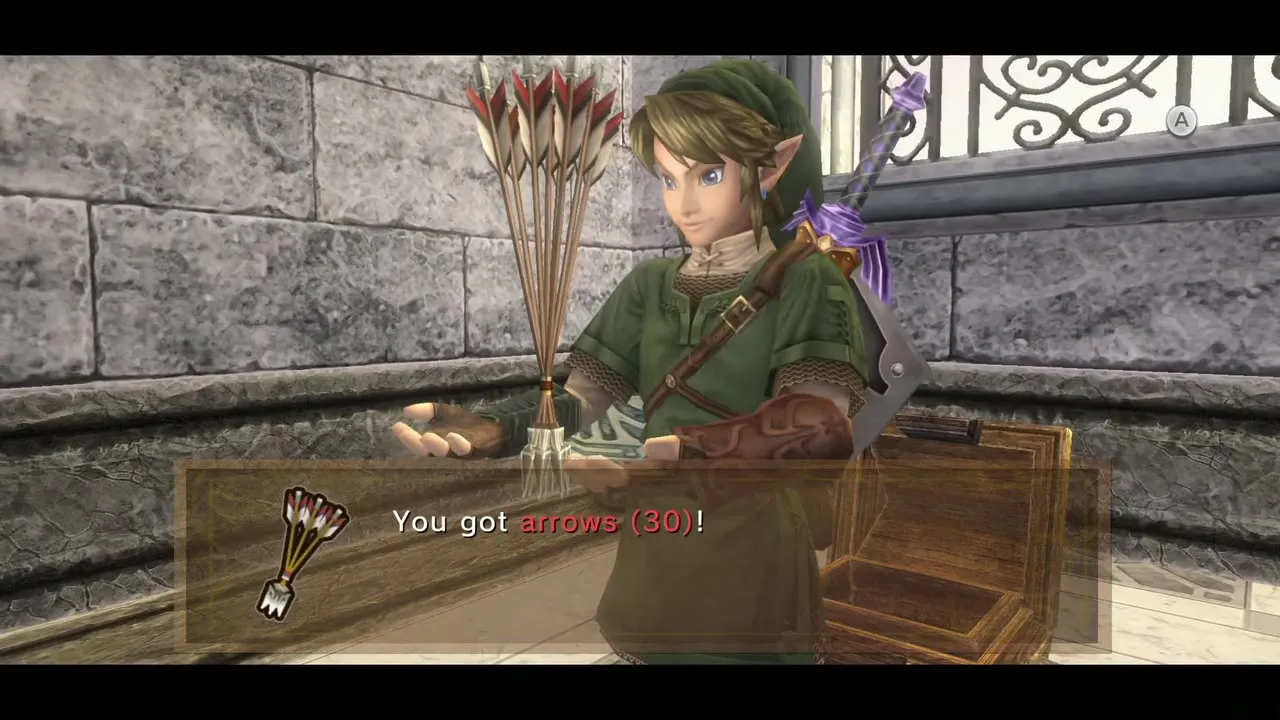
A Young Gohma wanders the room (two sword slashes kill it). Lift a pot and place it on the central switch and both gates open. A chest at the south end holds arrows.
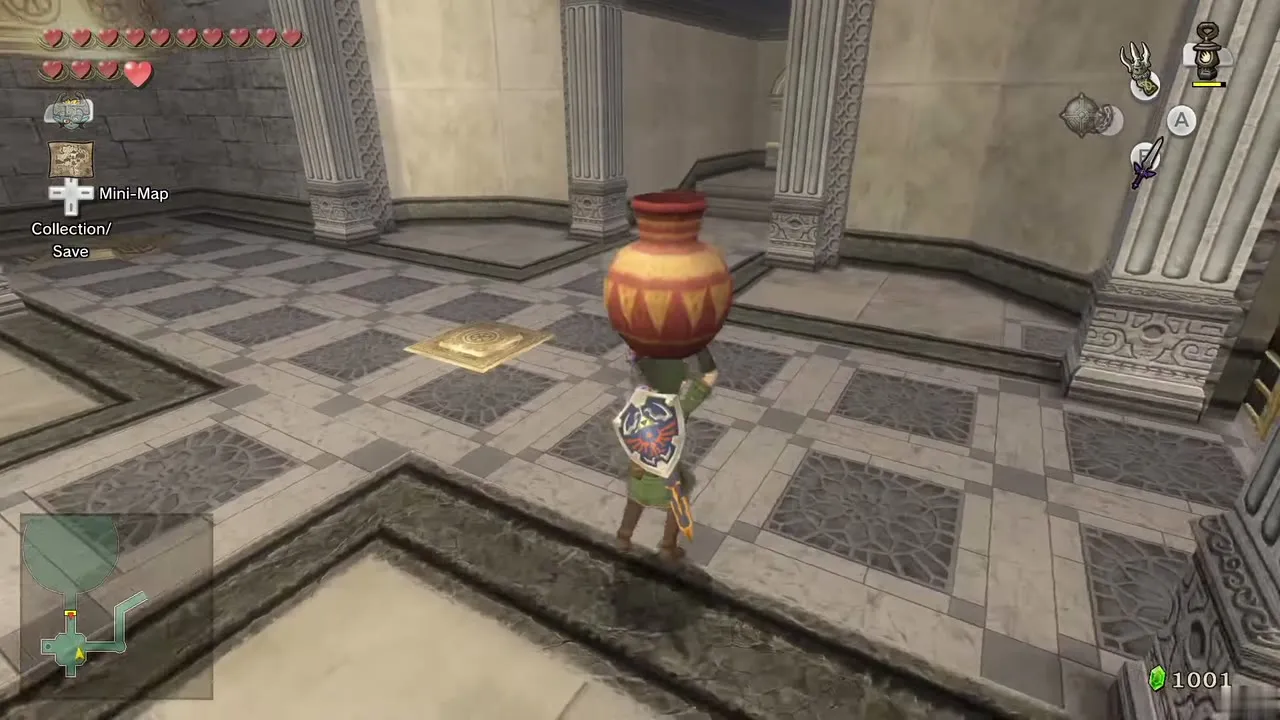
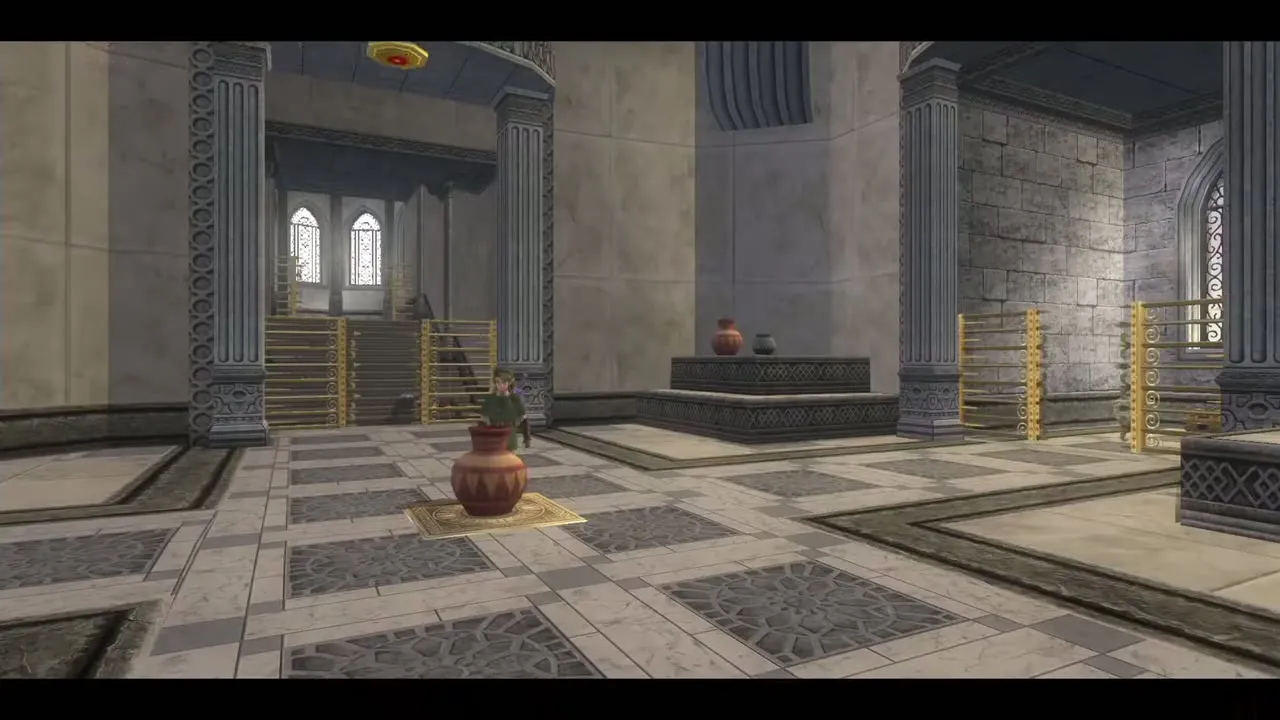
Go through the passage to the west and kill another Young Gohma. Once you are past the gate, turn around and break the pot that holds the switch down with the Clawshot or an arrow: the front gate closes, but the back gate opens and lets you on.
Lizalfos and Armos
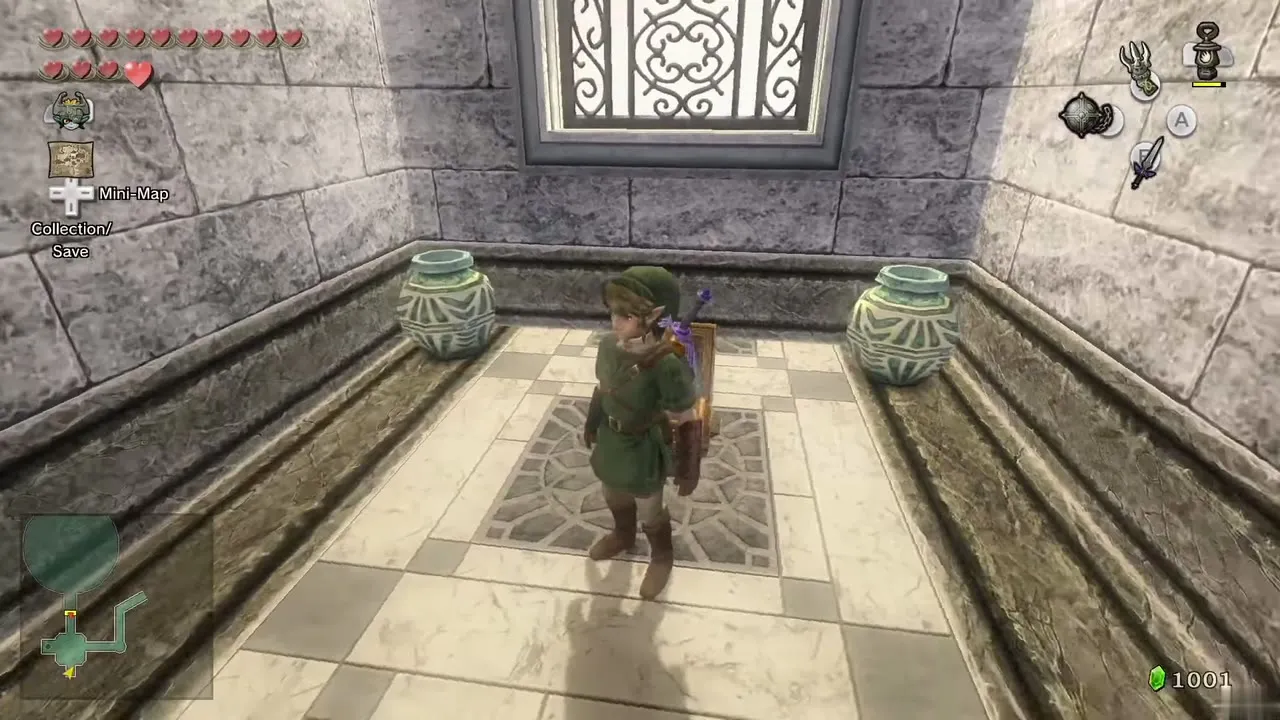
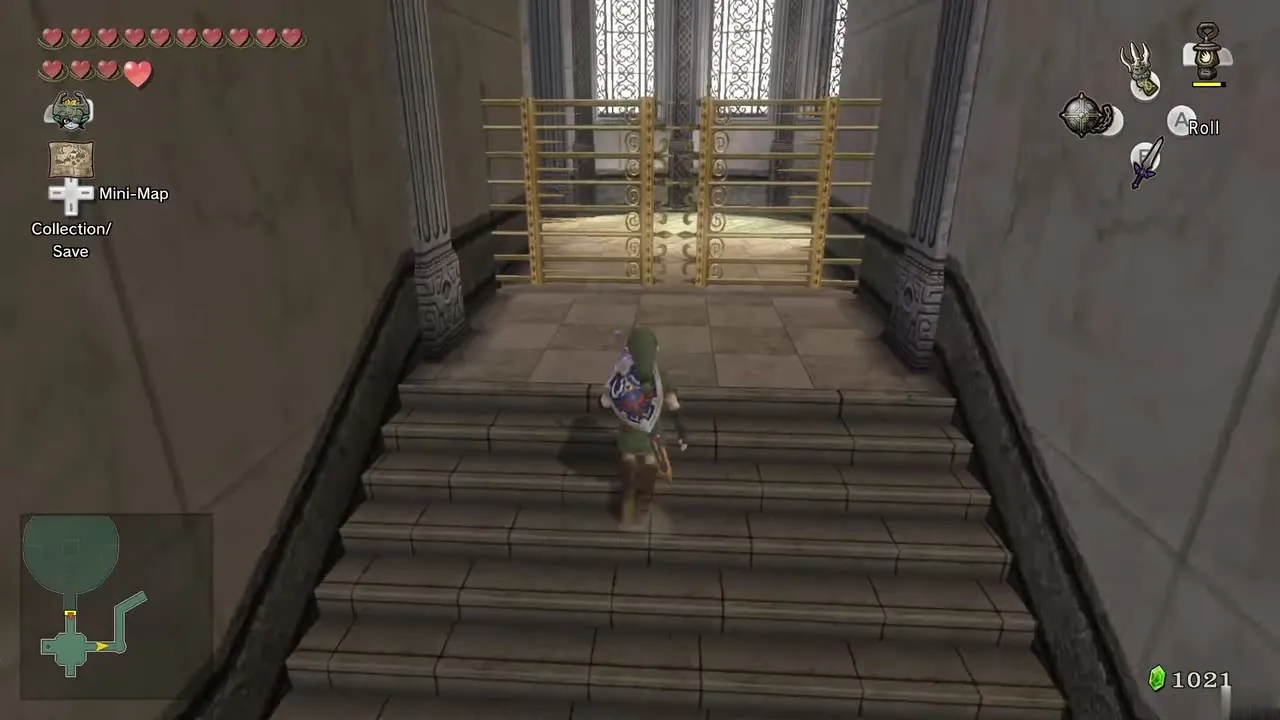
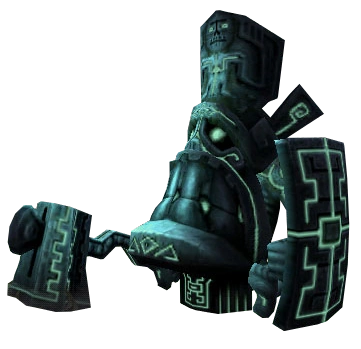
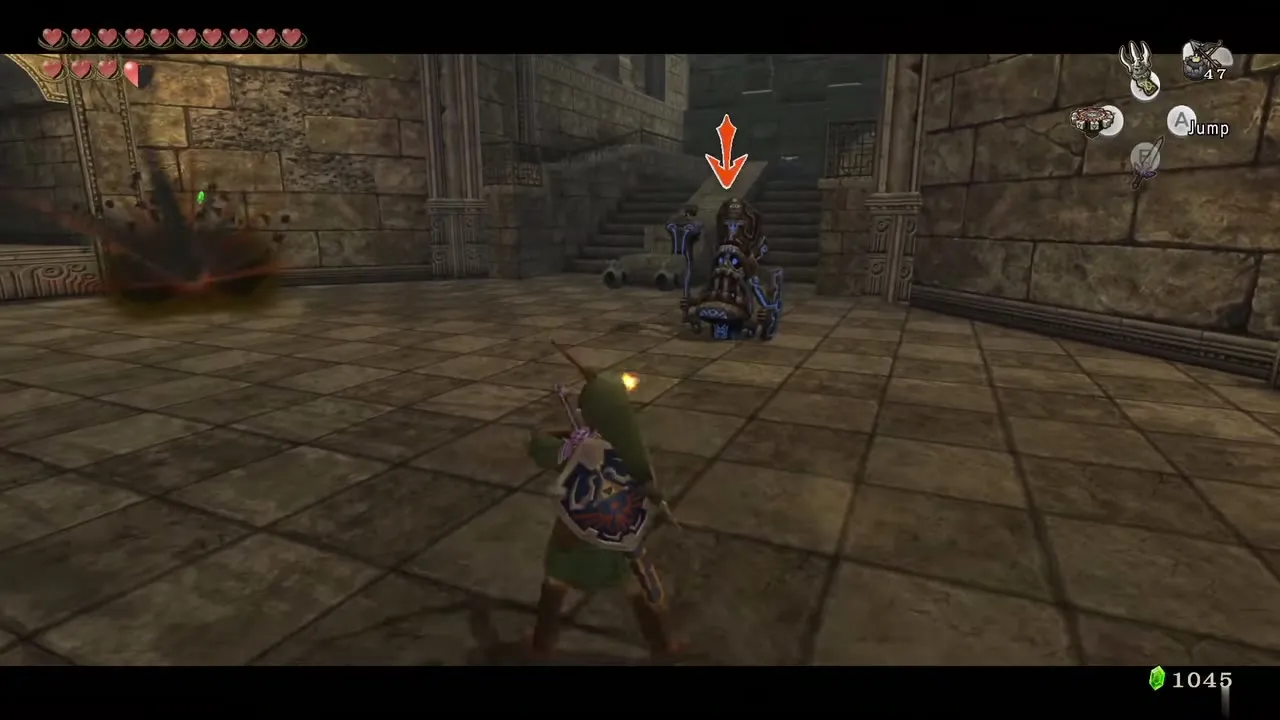
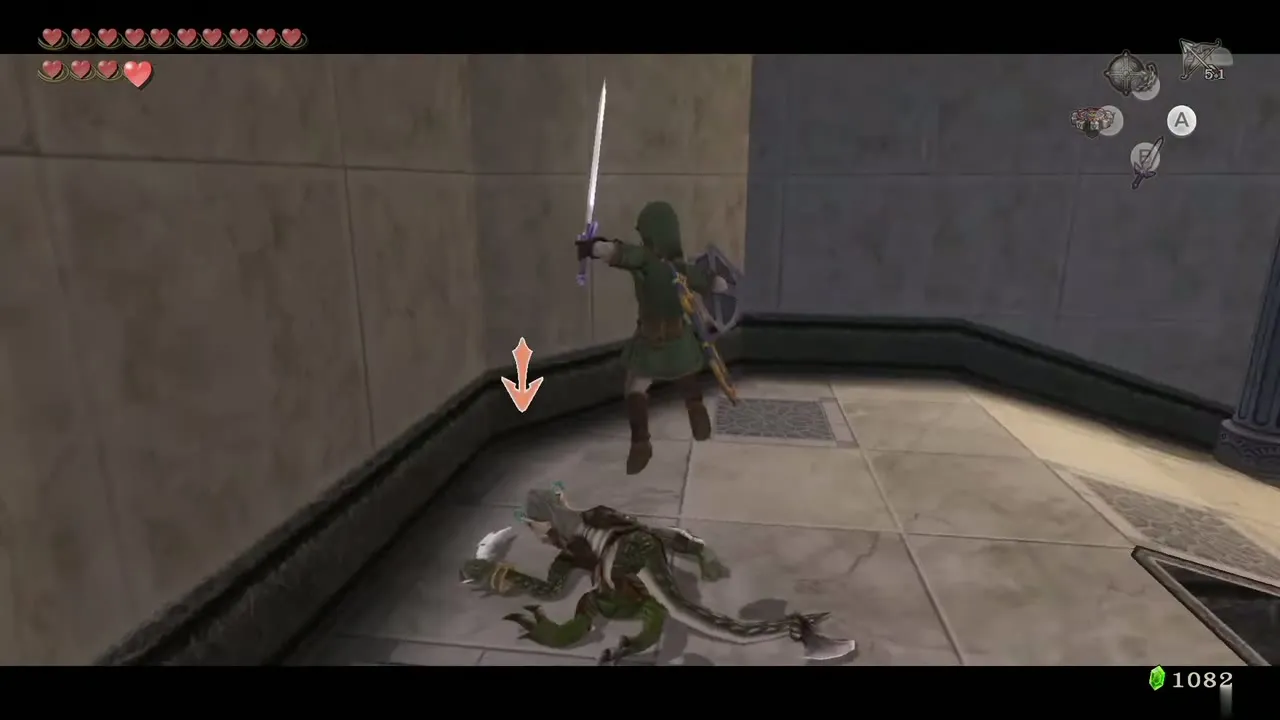
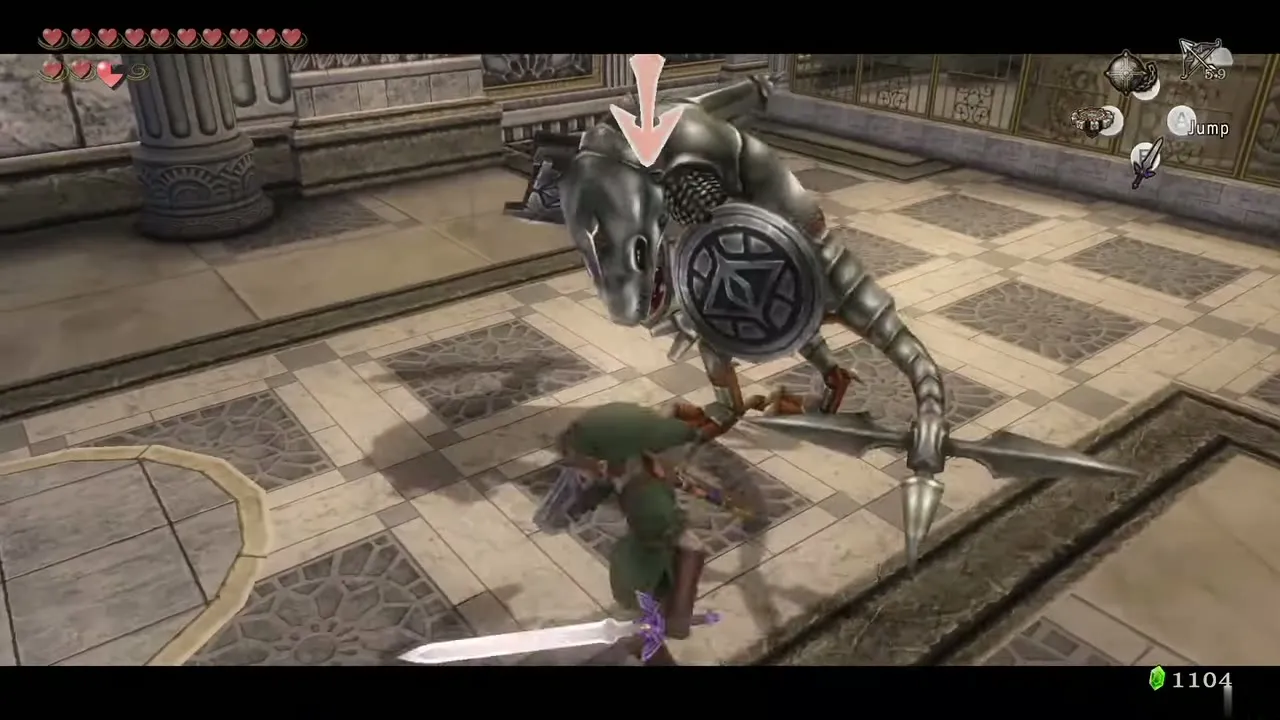
Climb the stairs: a Lizalfos attacks (a Shield Attack and Helm Splitter dispose of it), and three more follow higher up. This room also has Armos statues, which wake when they see you and swing a heavy hammer that your shield can block. A Back Slice works well, or keep your distance and use bomb arrows. Stay clear when one falls, because it explodes.
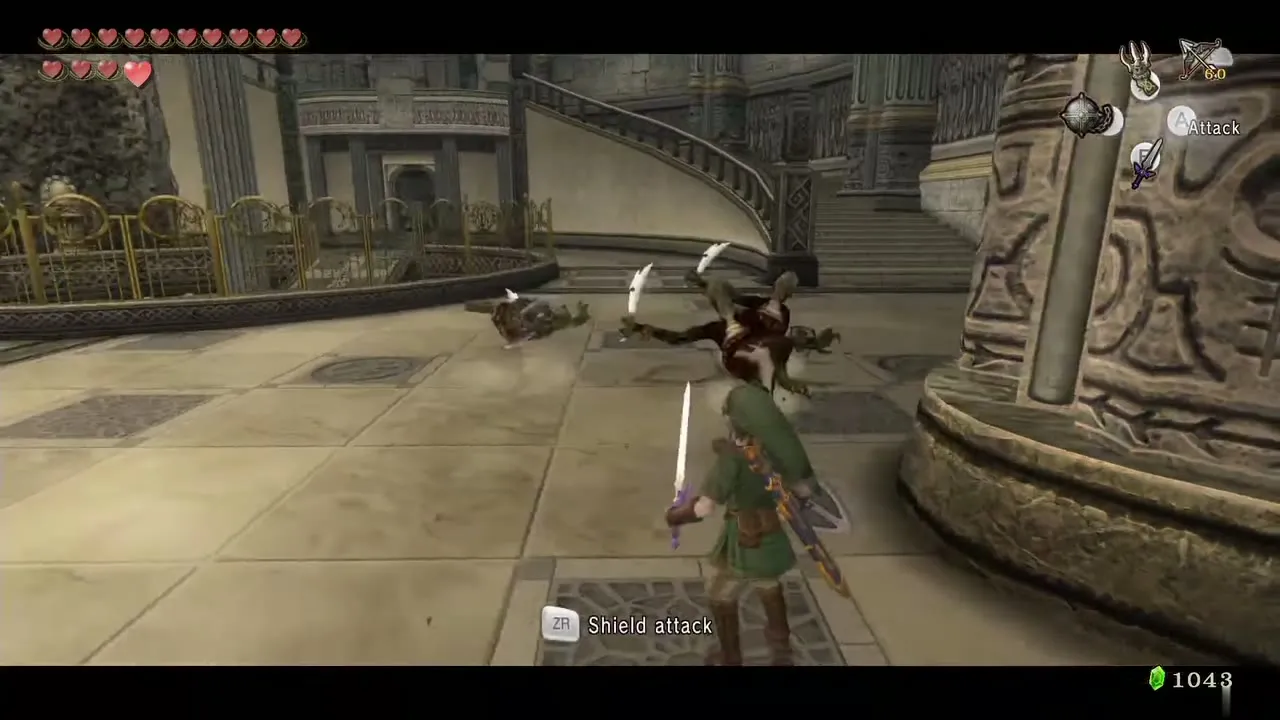
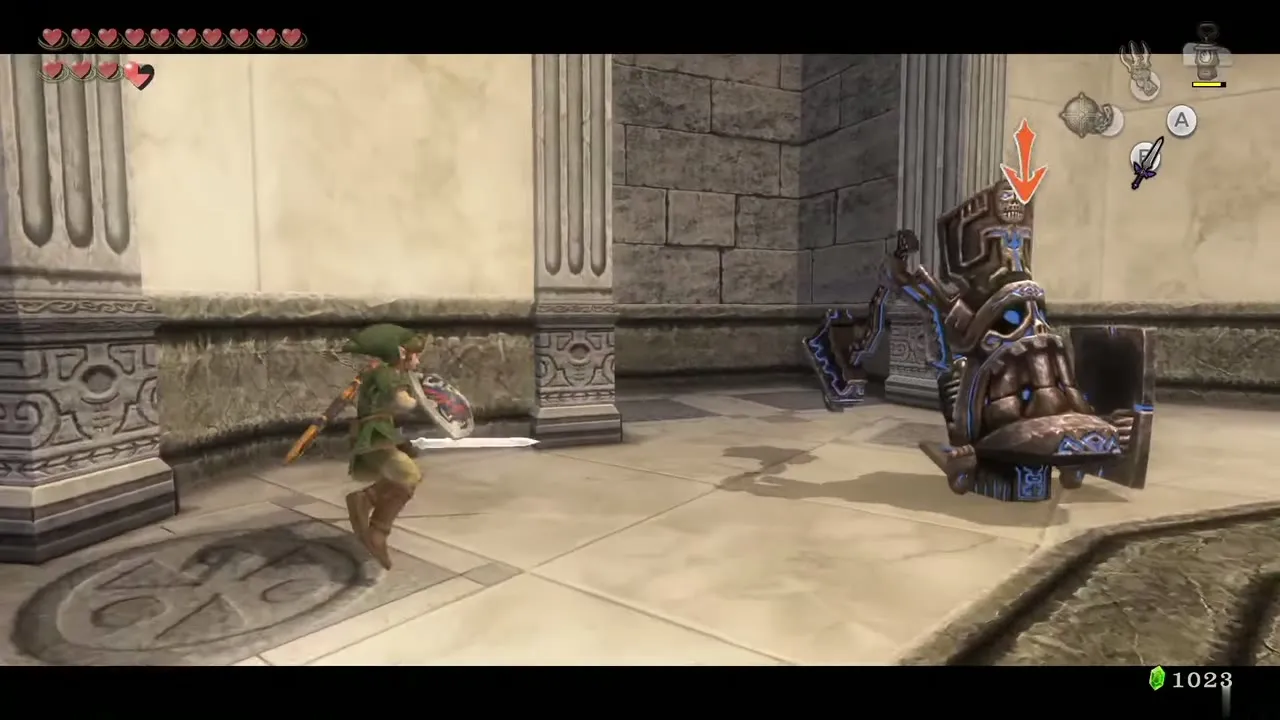
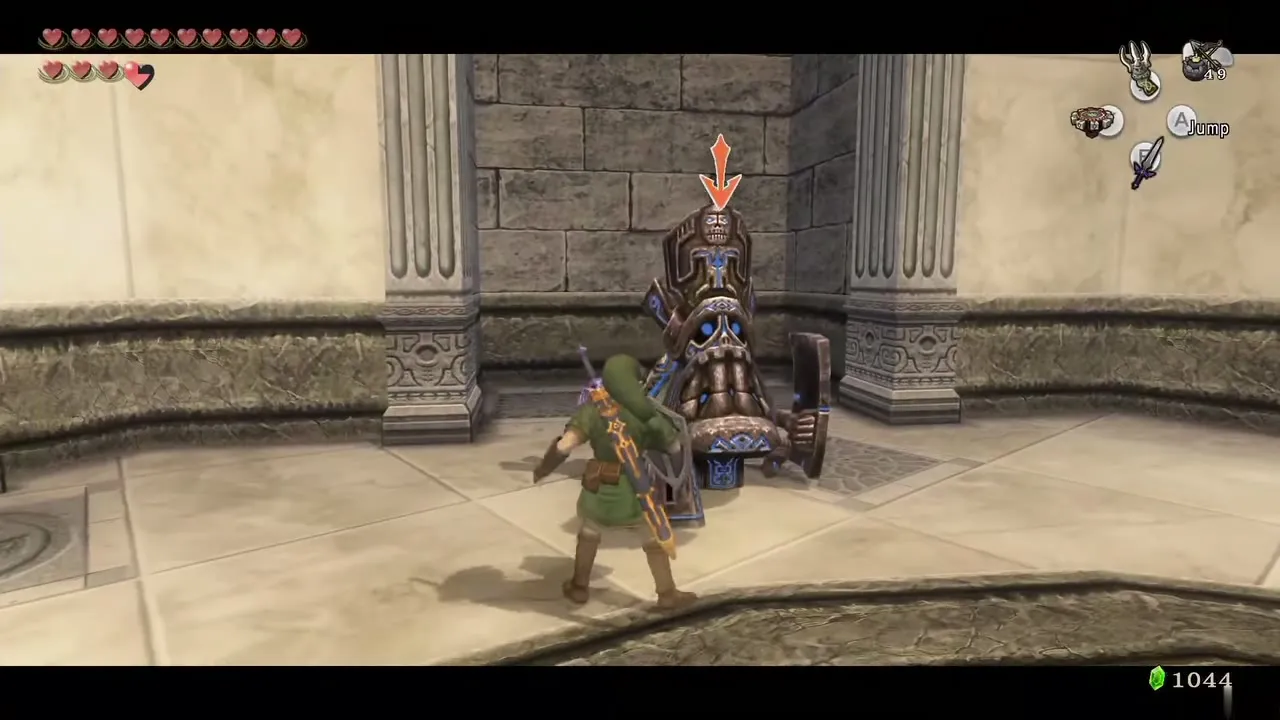
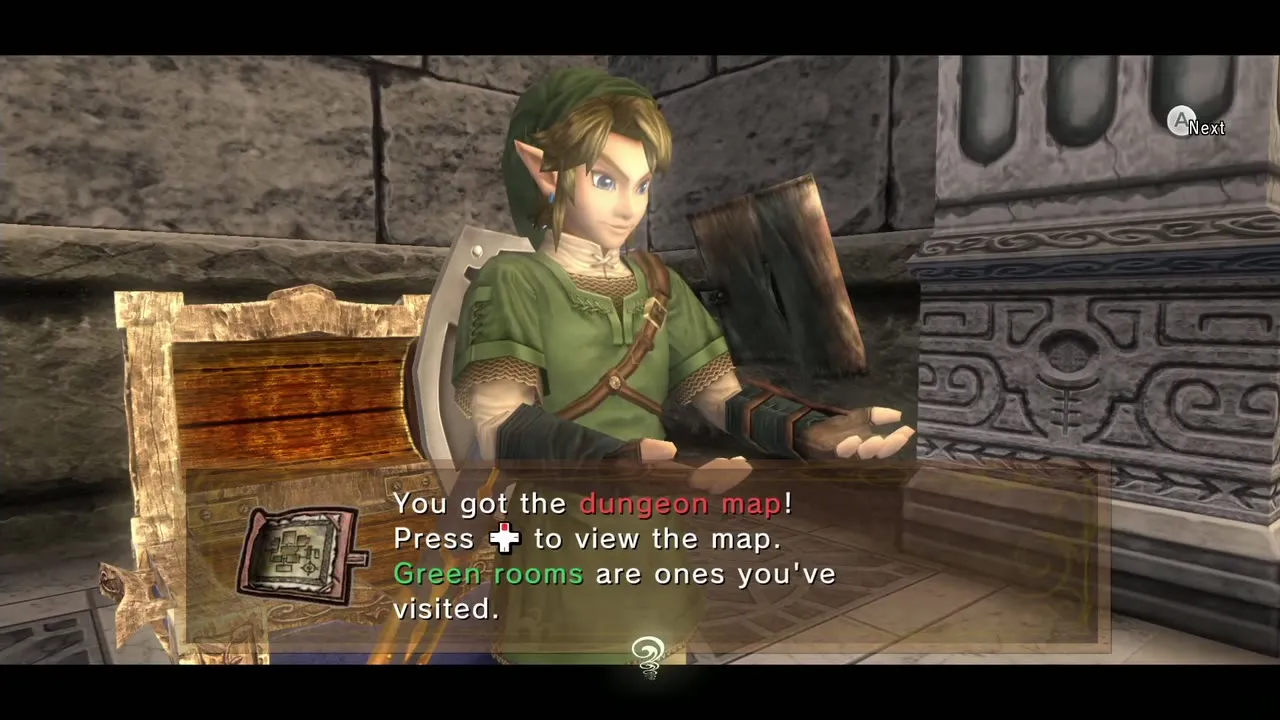
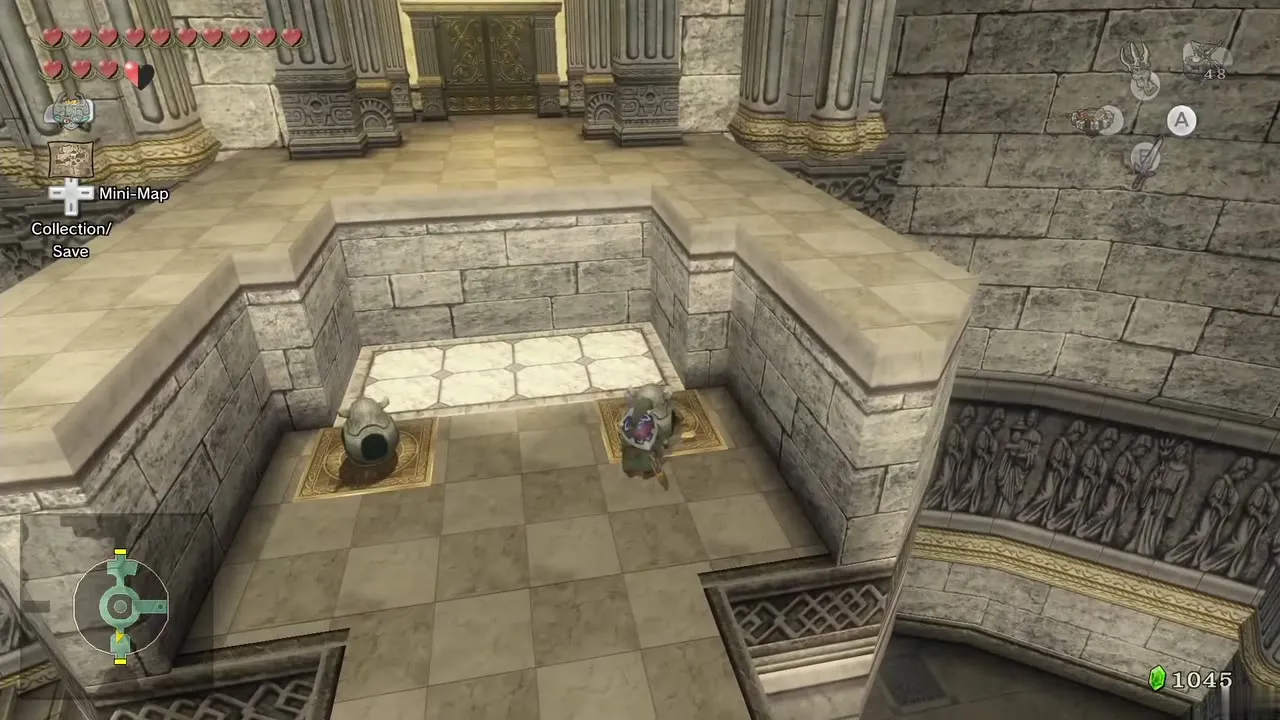
When everything is dead a chest appears in the south-west of the room with the Dungeon Map. A chest at the south end of the room holds a red Rupee. Pick up one of the small statues on either side of that chest and place it on a switch on the north side; carry the second statue to the other switch. The gate opens: take the corridor north to the next large round room.
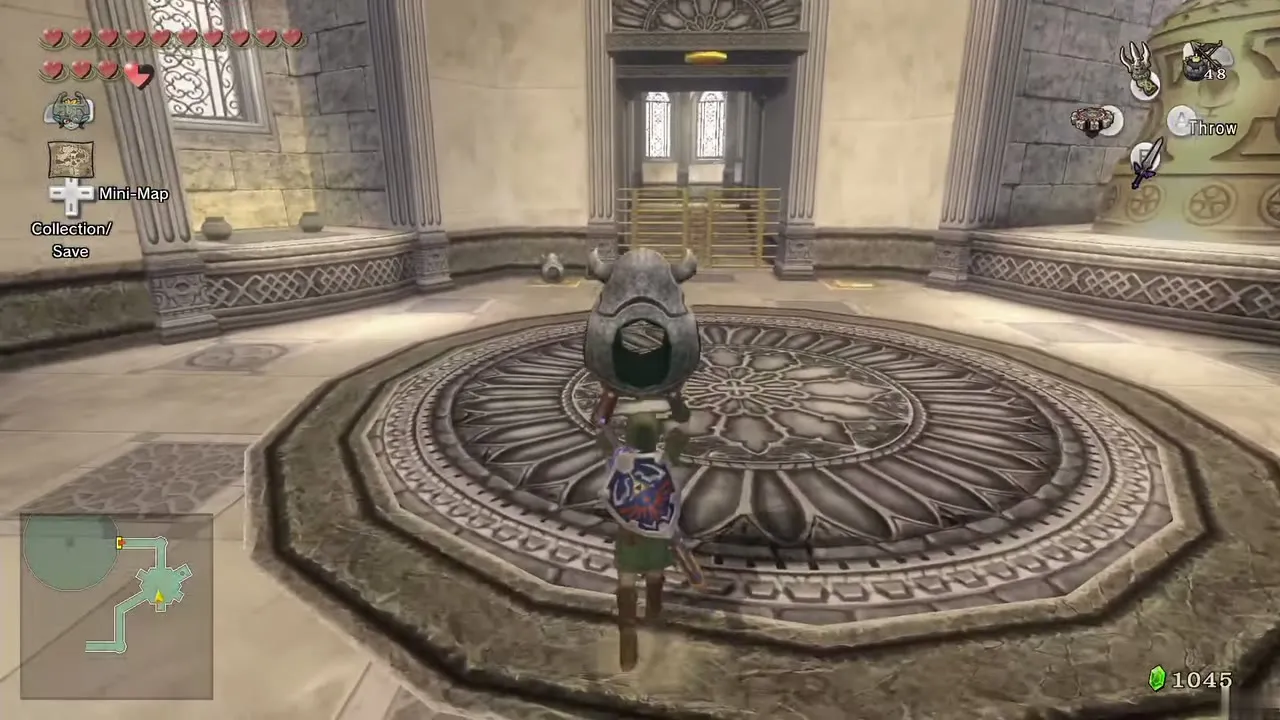
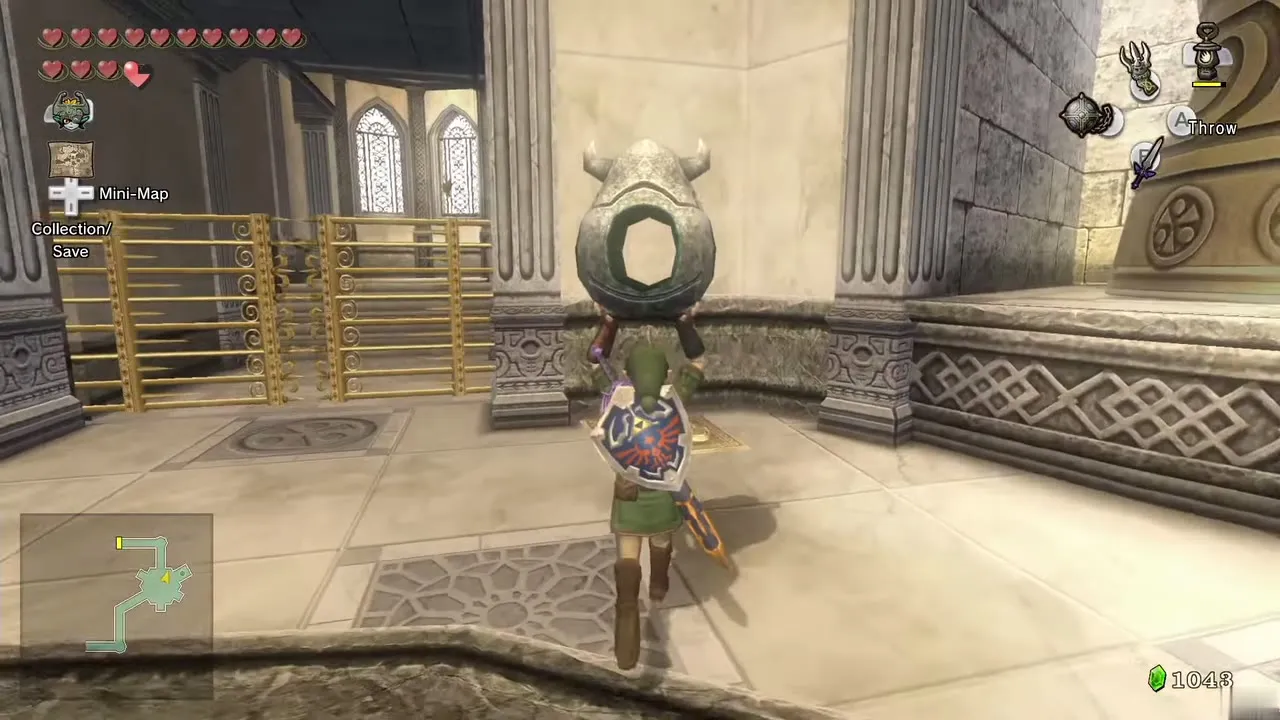
Circular room: Spinner, second key and Compass

Spinner track
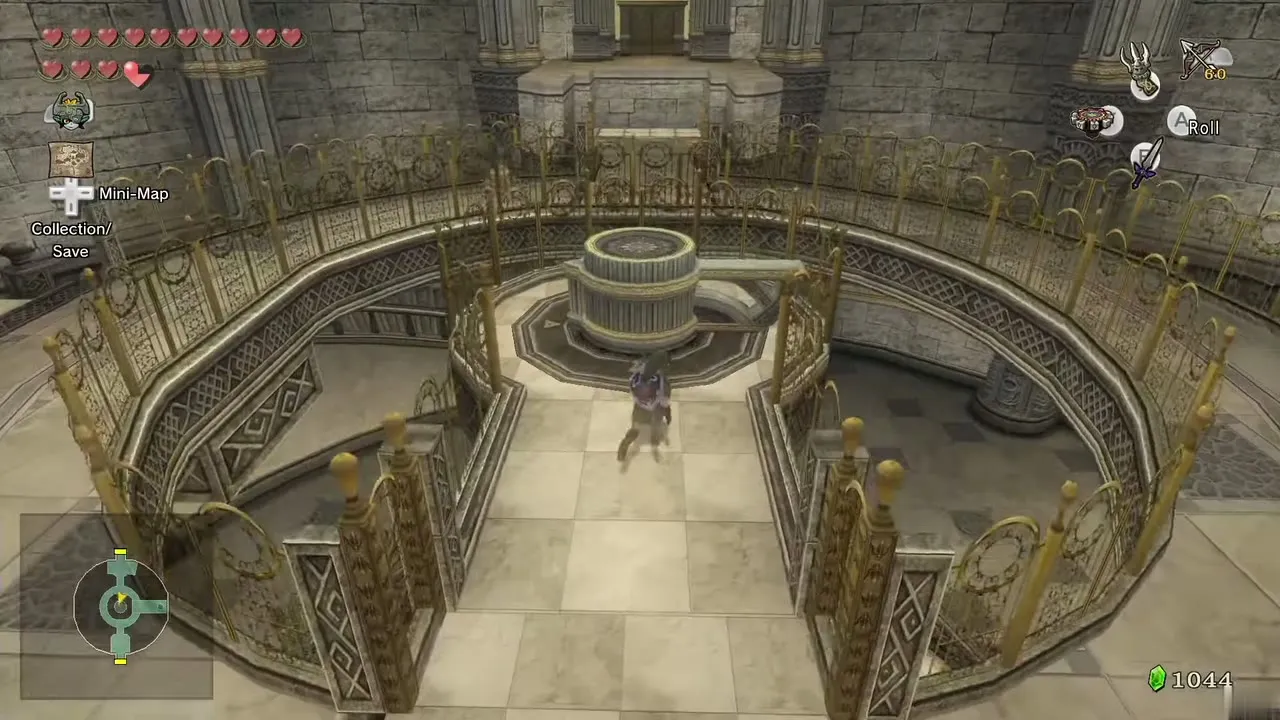
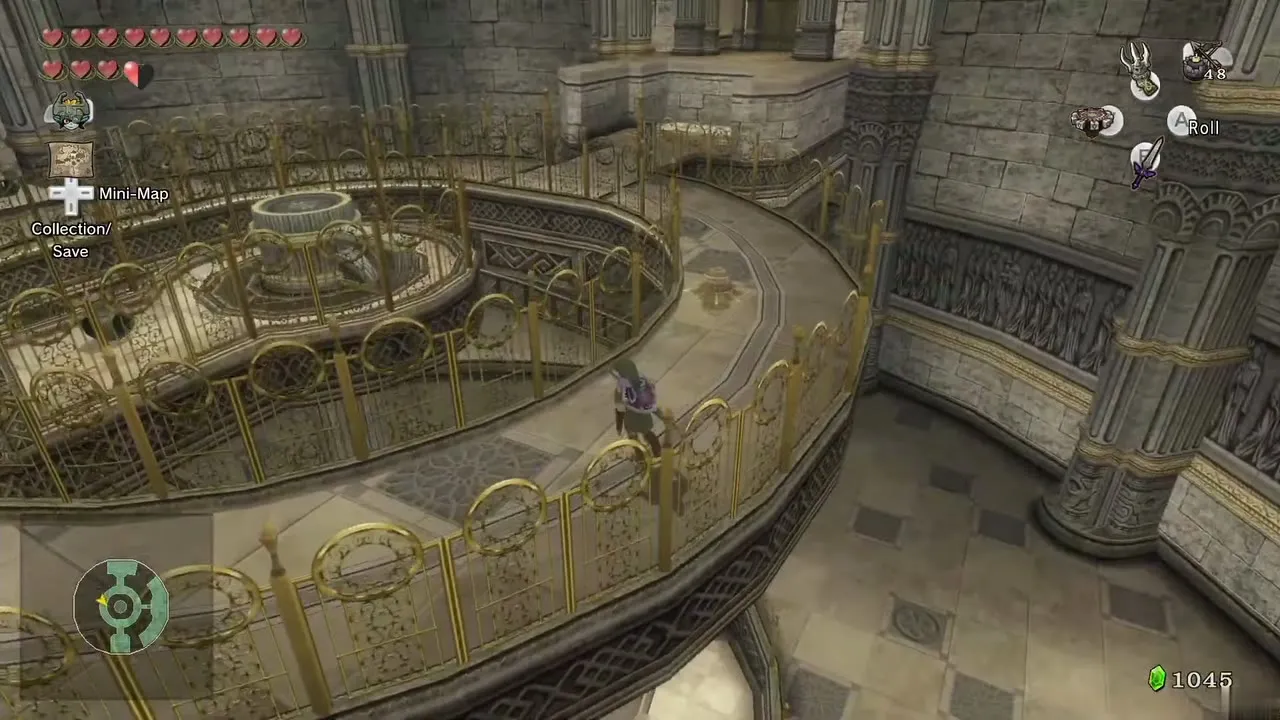
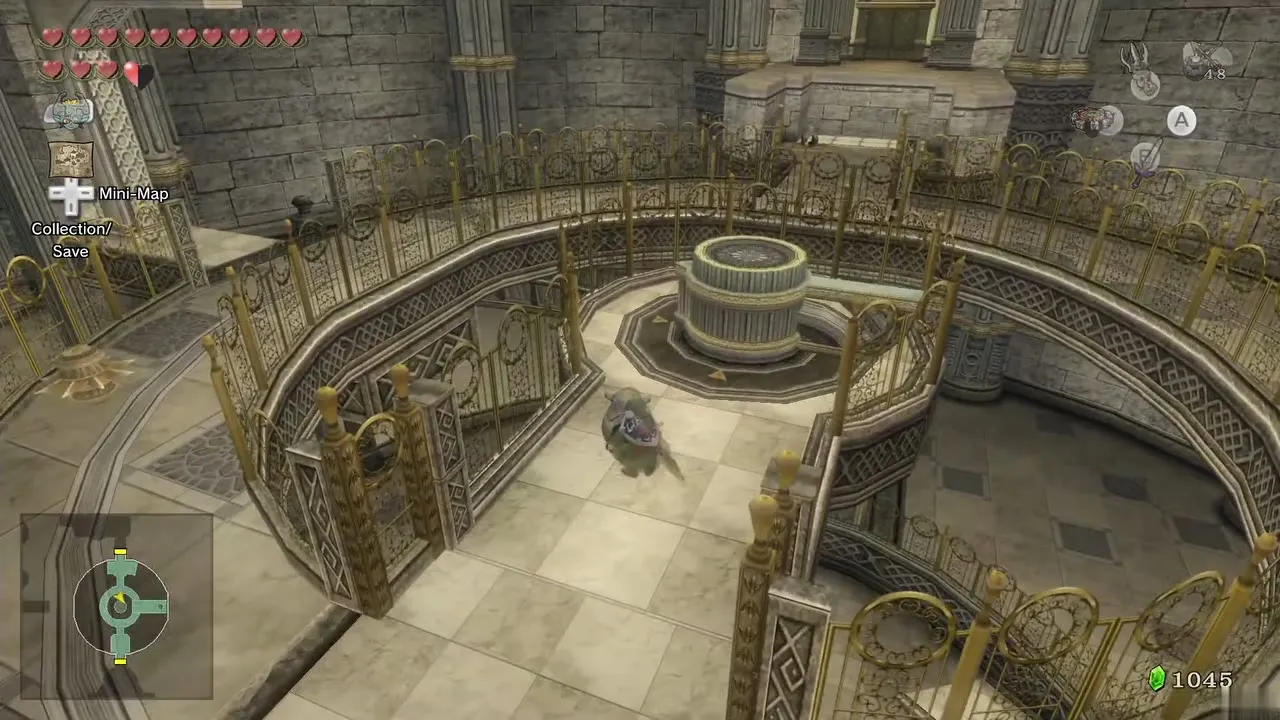
Turn left and fight more Lizalfos, then climb the steps on the south side counter-clockwise, defeating a few more along the way. When you reach a gap in the north-east, equip the Spinner and ride the track across it, then keep climbing the steps.
Central platform
There is a locked door at the north end; ignore it for now. In the centre is a platform with two spiked bars that swing round in opposite directions. Wait for the outer spike to pass, follow it and make your way to the platform on the east side. Lift the small statue there and run to the south end, where two switches wait, and put the stone statue on one.
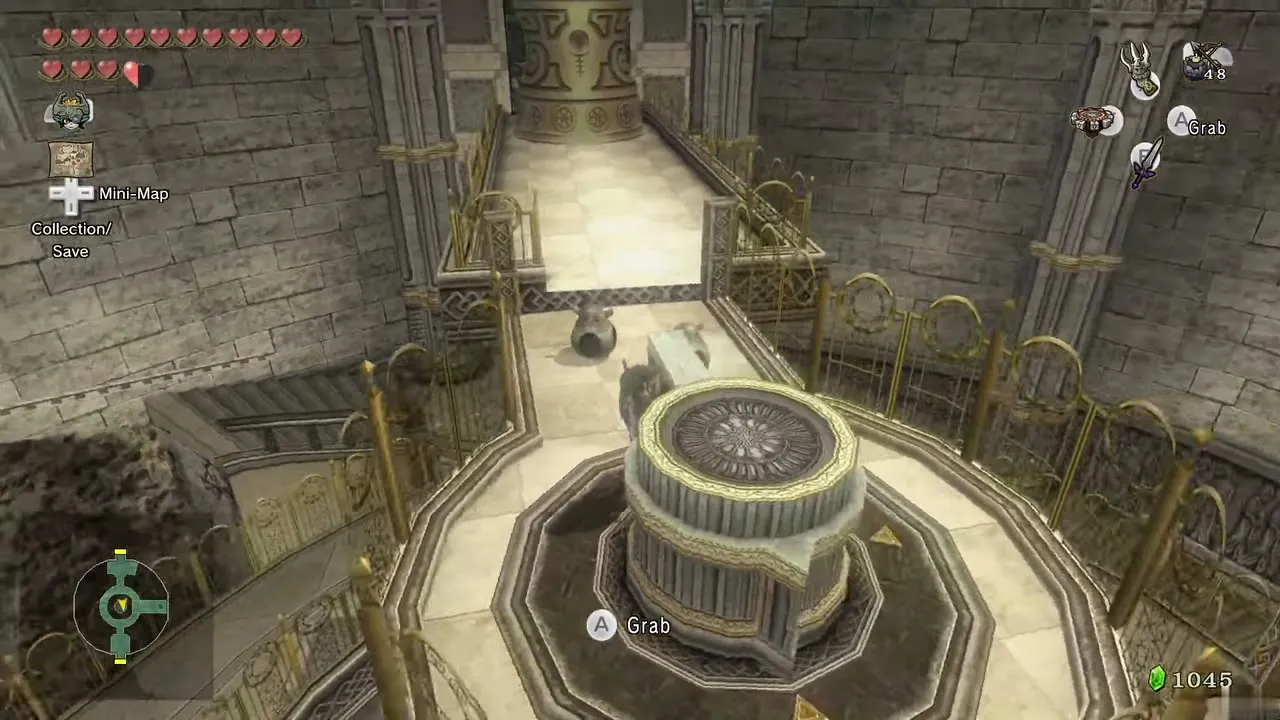
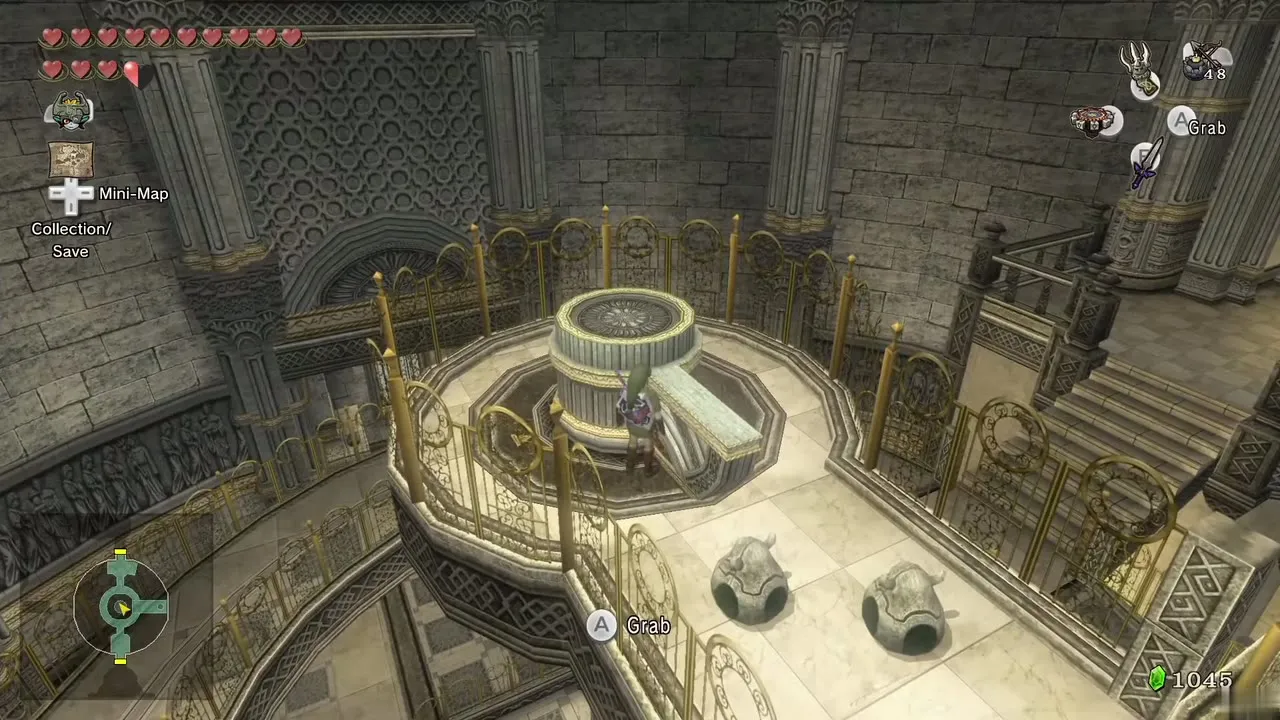
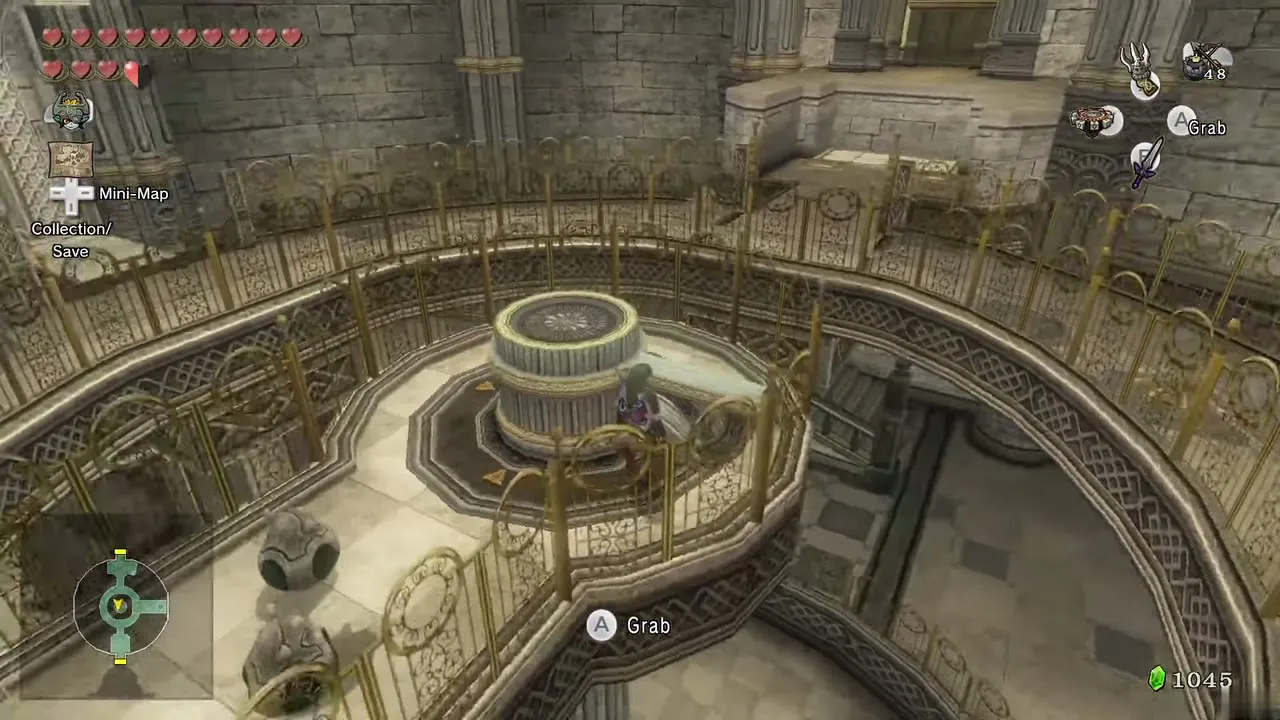
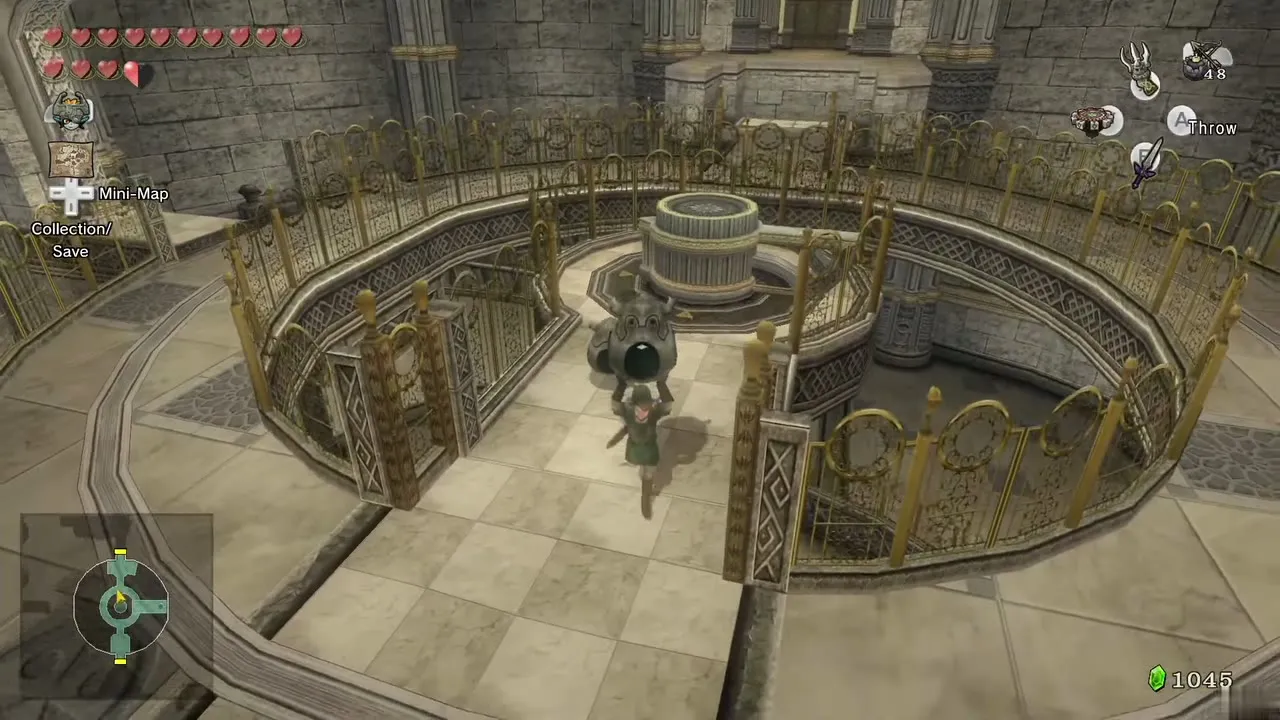
Go back through the round area to the north and step onto the central platform. Push the wedge sticking out counter-clockwise and the platform sinks to the bottom. Fetch the small statue down there (ignore the Baby Gohma), then push the wedge clockwise once to rise back to the second level. Carry the statue to the south end and set it on the second switch; after a short delay a nearby platform rises, so hurry onto it and let it carry you up. Go through the door to the south.
Armos key room
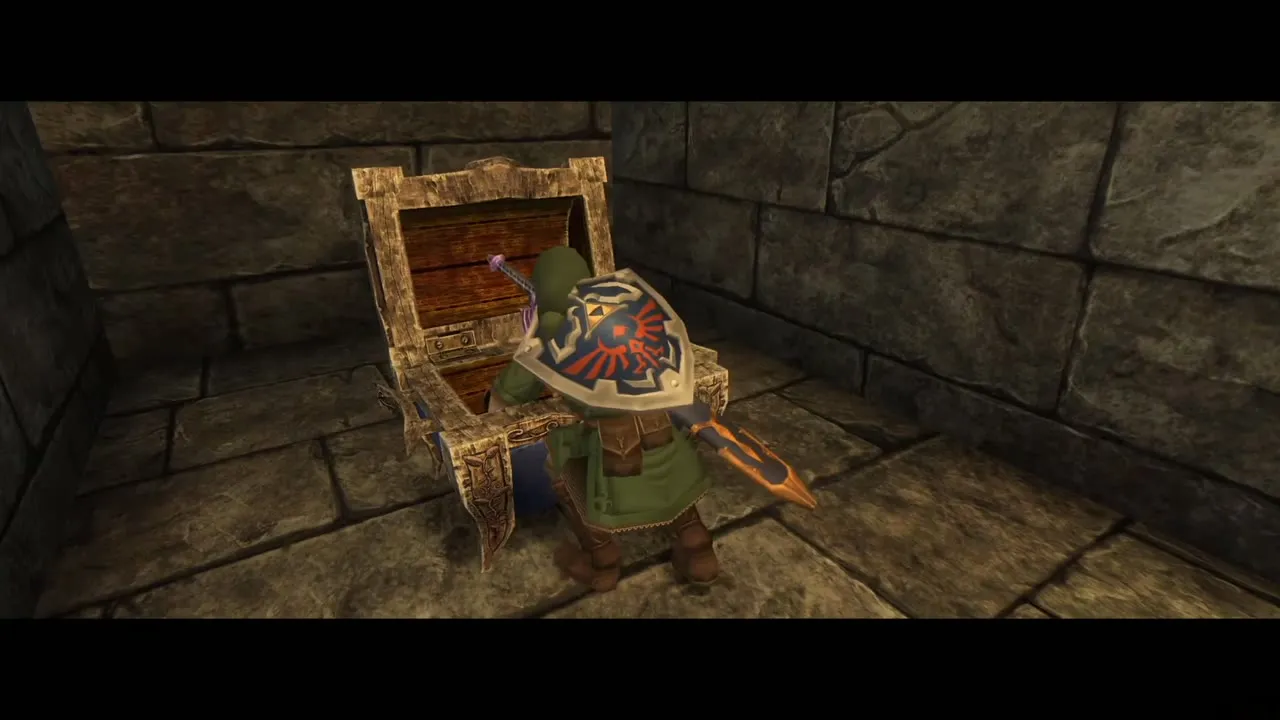
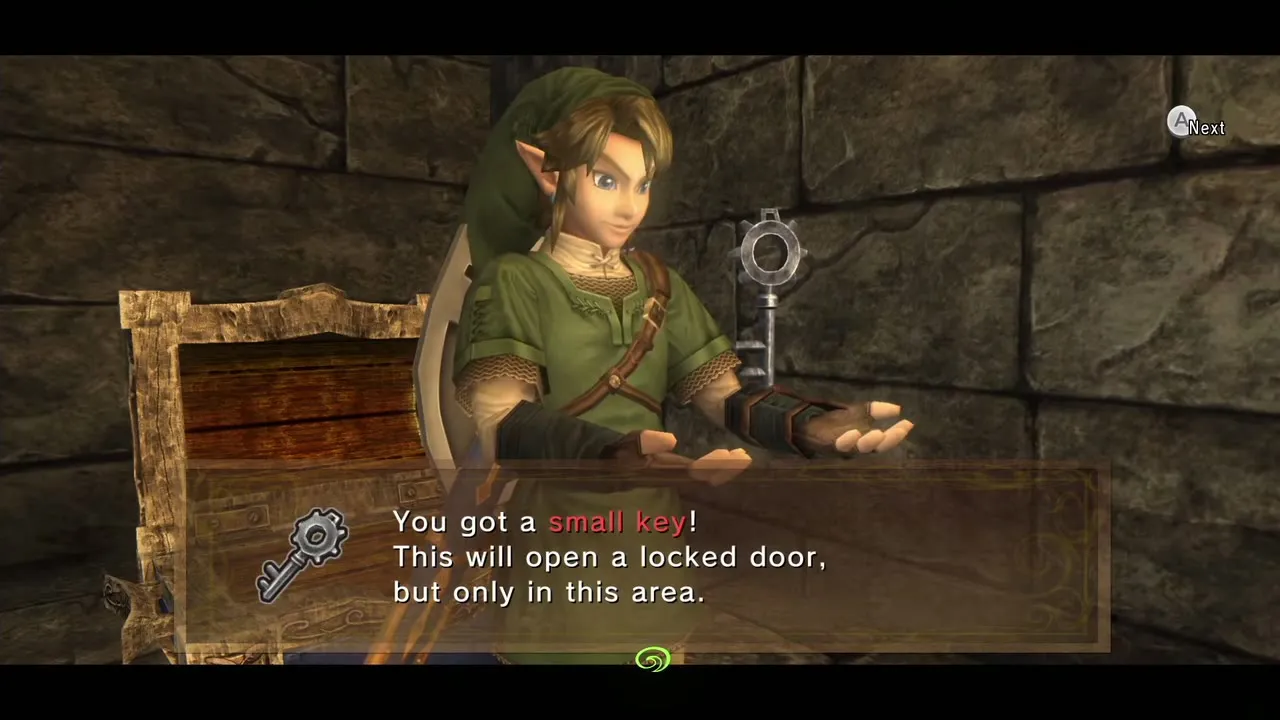
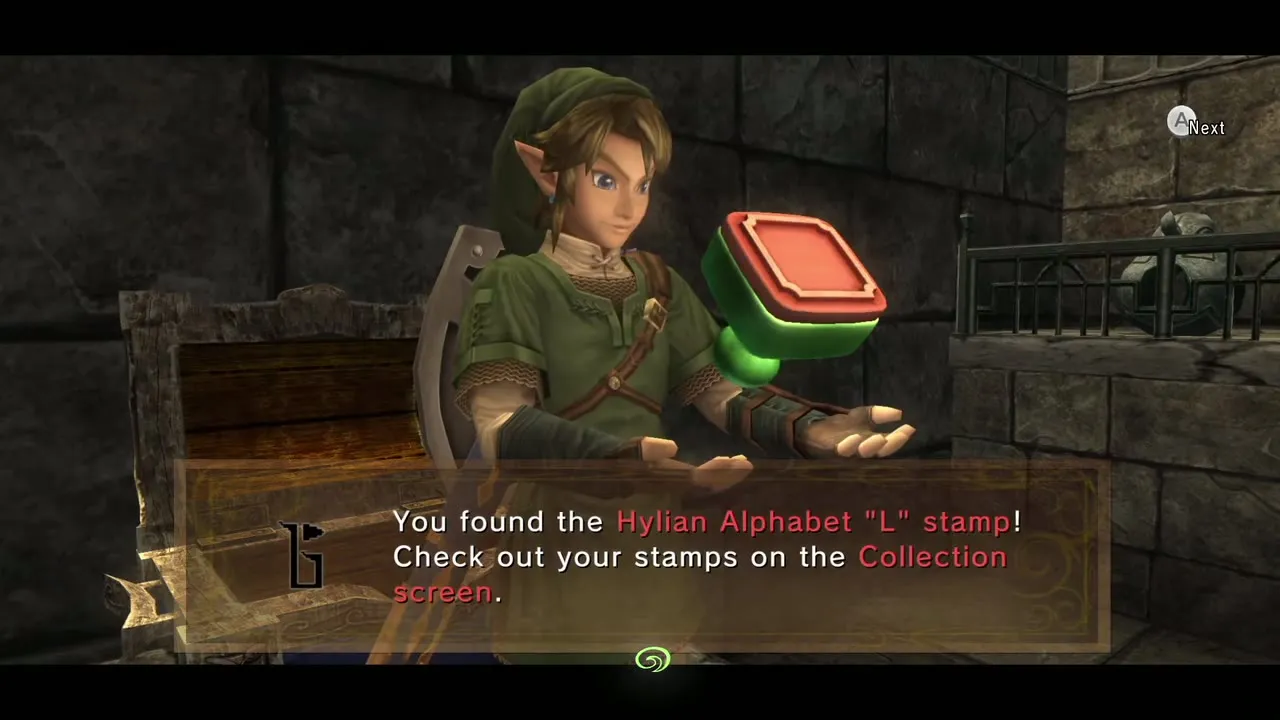
The door seals behind you and two Armos attack; use Back Slices. When both are down a chest appears at the east end of the room with a Small Key, and a chest in the south holds the Stamp for the Hylian Letter L. Go back through the north door to the round room, cross the spinning spikes to the north side and use the key on the locked door.
Crystal switch room
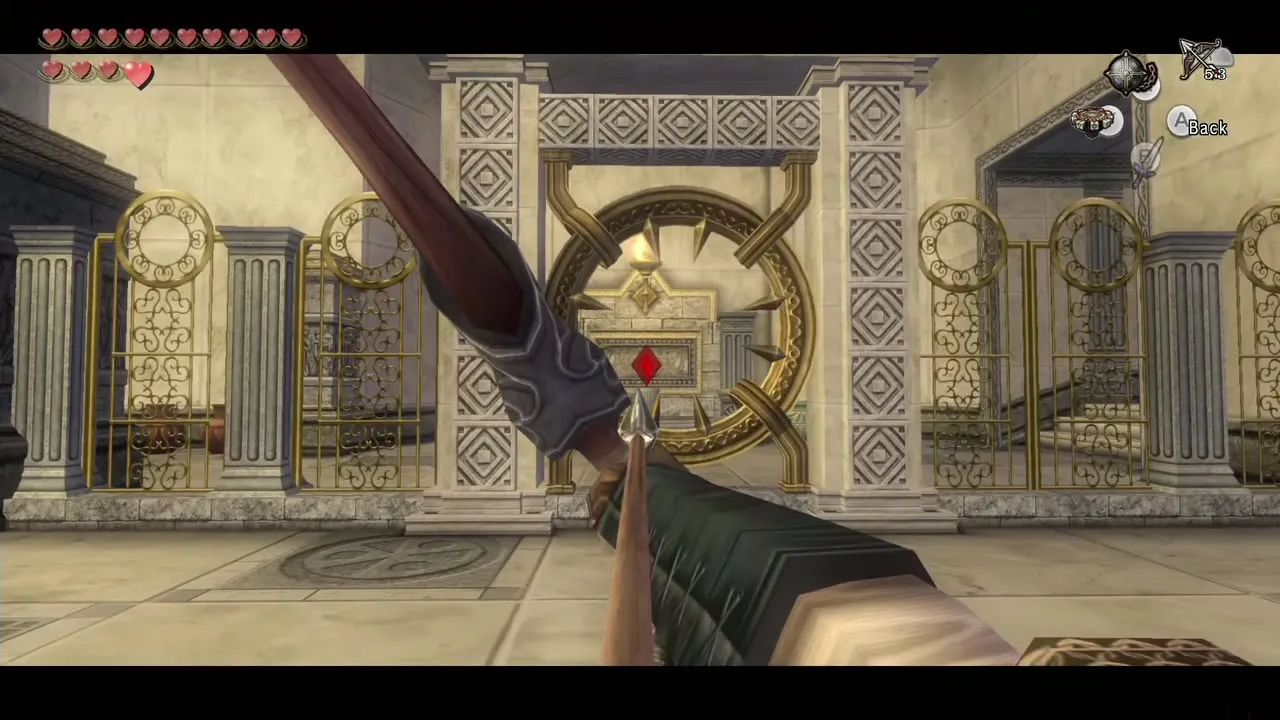
A green crystal switch controls moving walls: slash it and it turns red, opening some of them. Walk north to a Beamos and shoot an arrow into its eye to switch it off. Walk round the statue to the middle of the room, where a ring lets you look back at the red crystal: shoot through the ring to turn it green again. Follow the new path, shoot a second Beamos, and open the chest on the west side for the Compass.
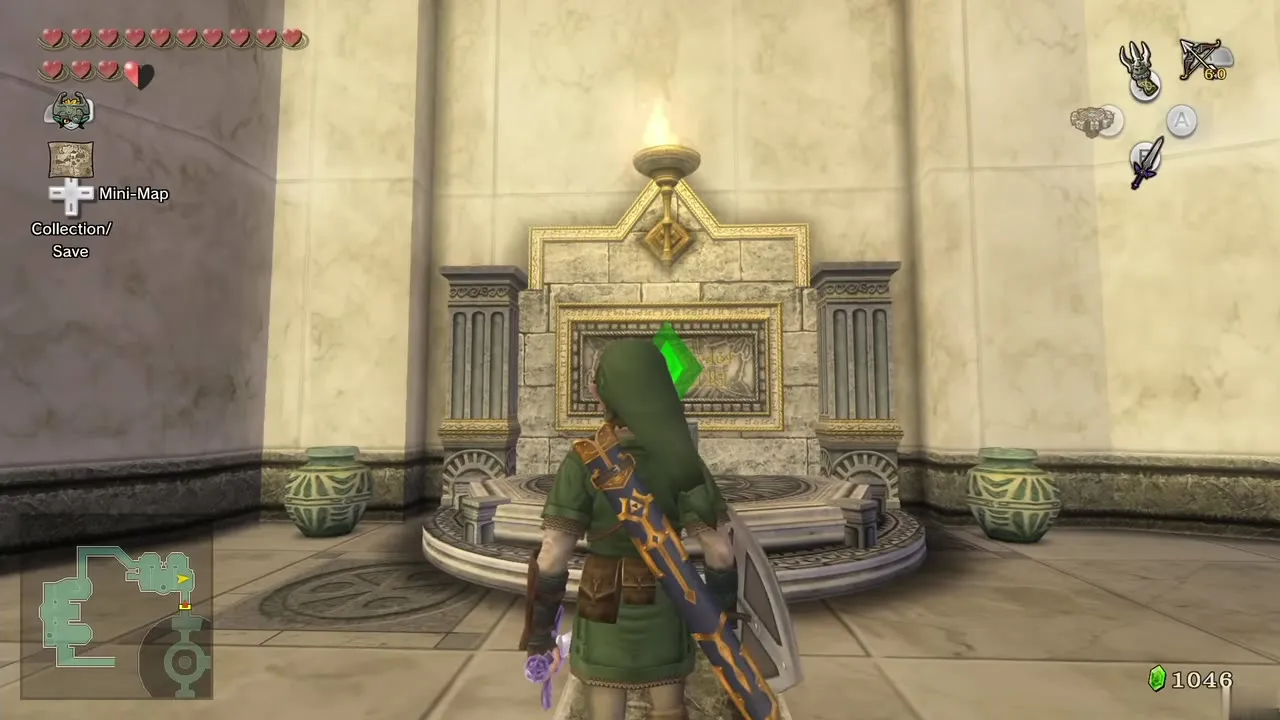
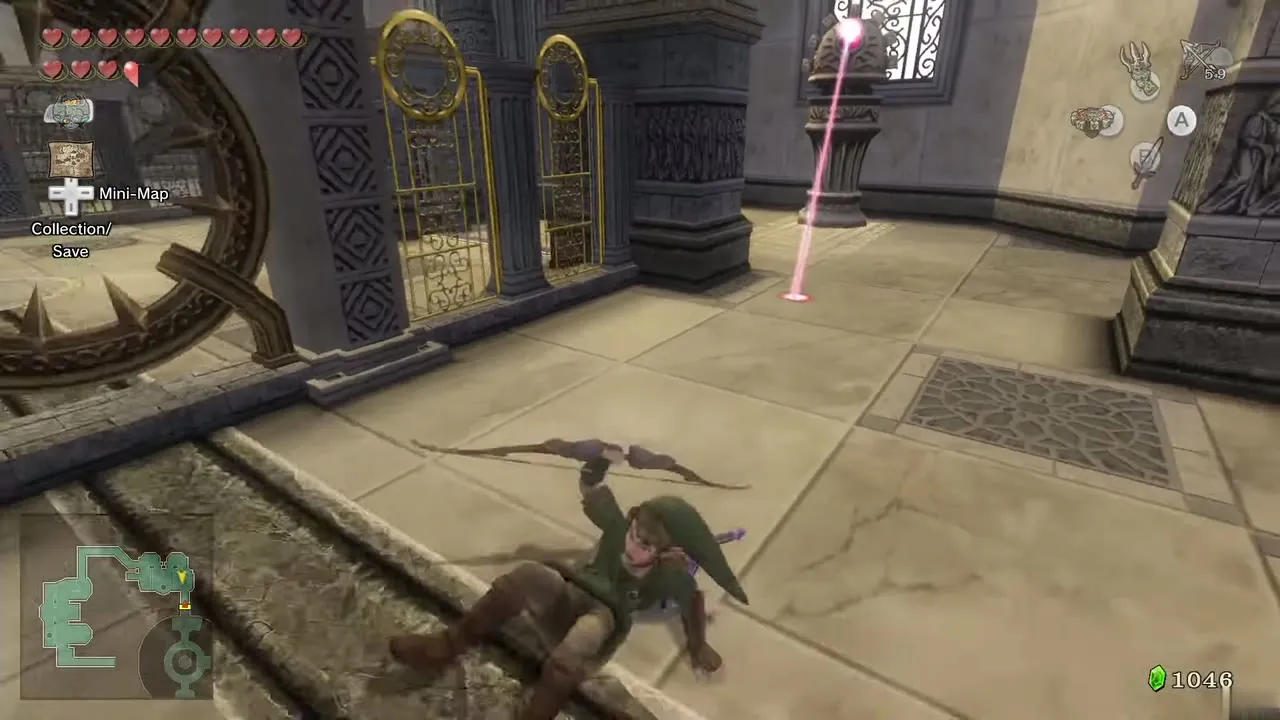
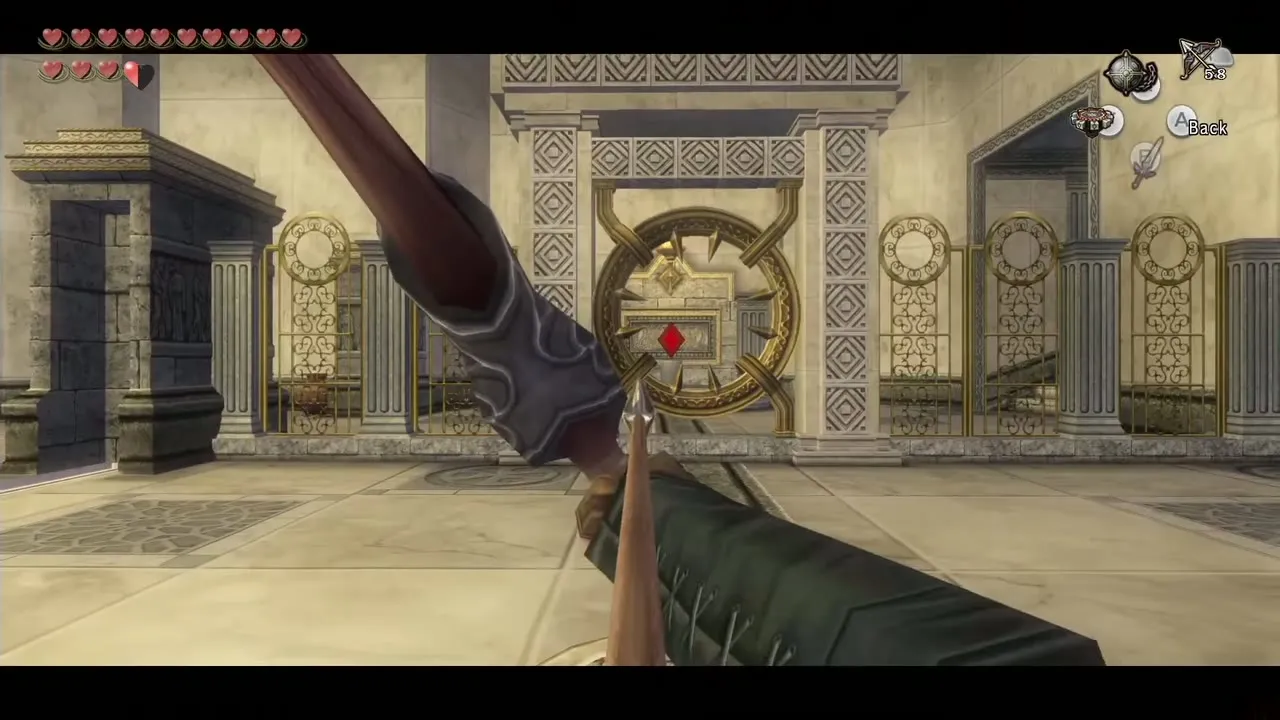
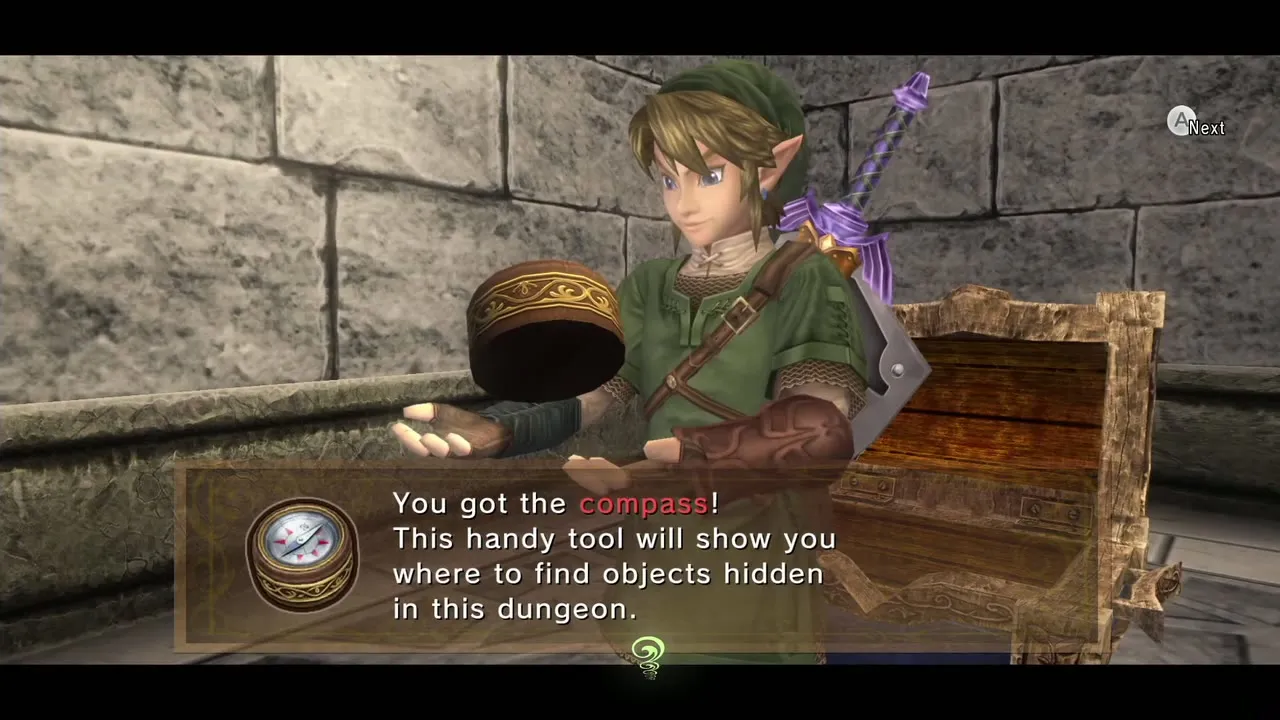
Step away from the chest and aim through the two rings in the centre to shoot the crystal back to red. A corridor in the north-west opens. Climb the steps, defeating a regular Lizalfos and a skull-faced one on the way.
Upper rooms, Darknut and the Dominion Rod
Crystal walls and electric field
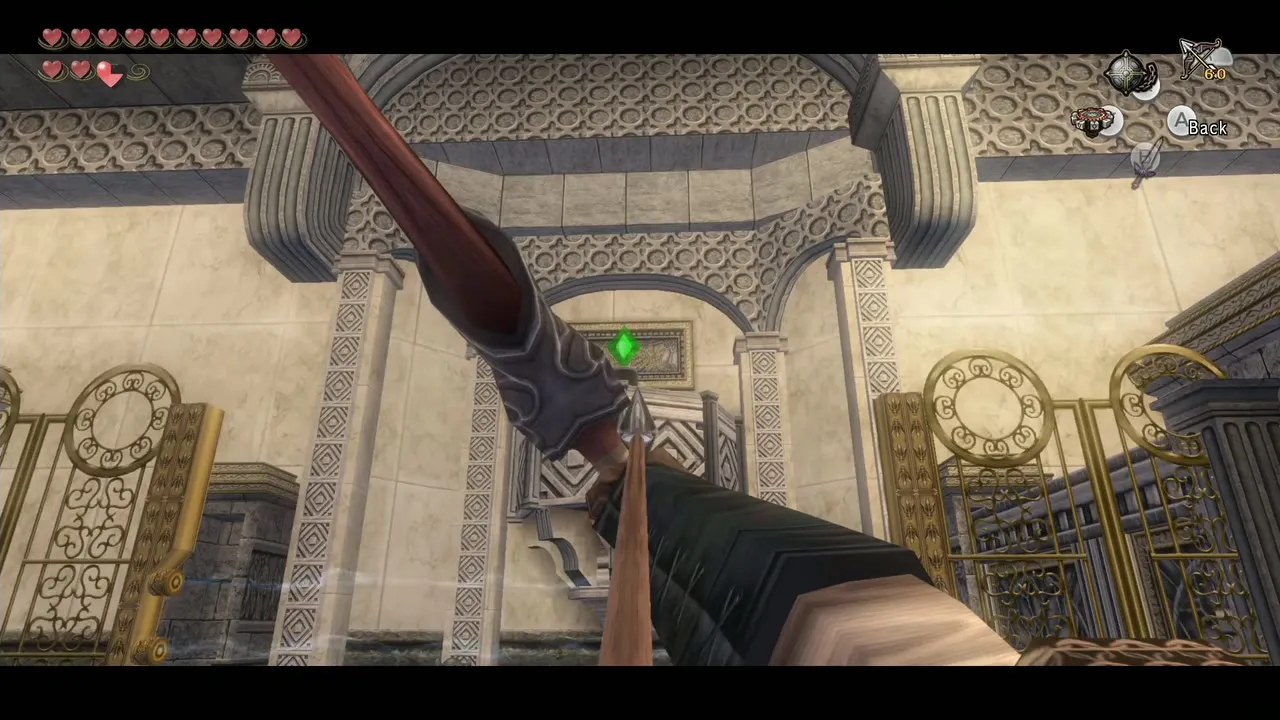
In the next area a crystal switch hangs high on the west wall: shoot it to move the first wall. Go south and defeat a Lizalfos and its stronger cousin, a Dynalfos; wait for its attack, then hit it. Stand inside the circle etched in the floor and shoot the green crystal to turn it red. Continue south, defeat another Dynalfos, shoot the crystal back to green, climb a few steps and go through the door.
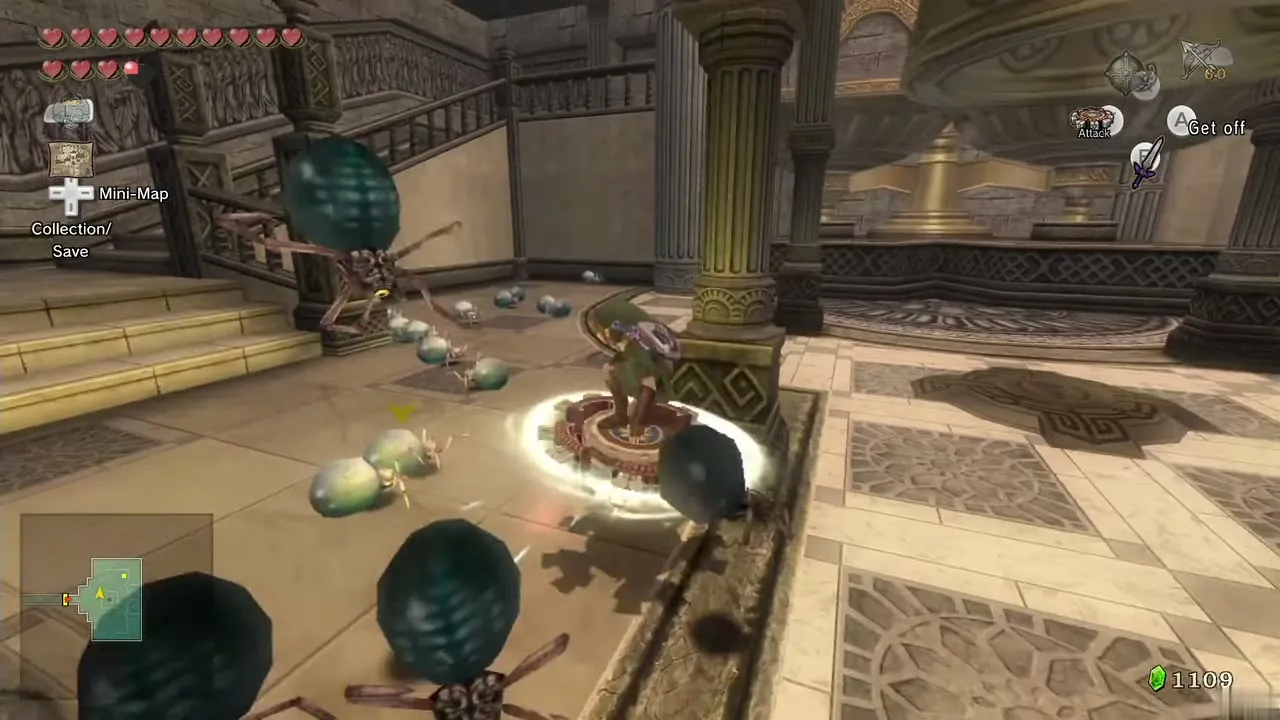
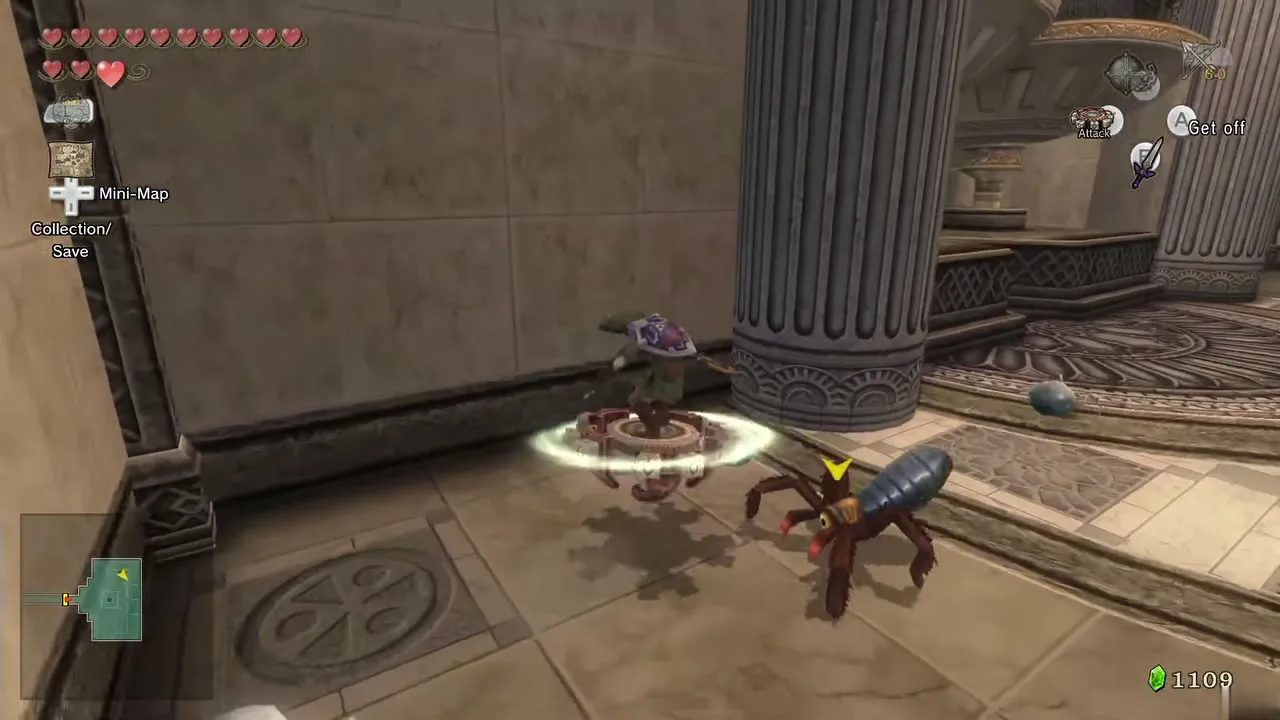
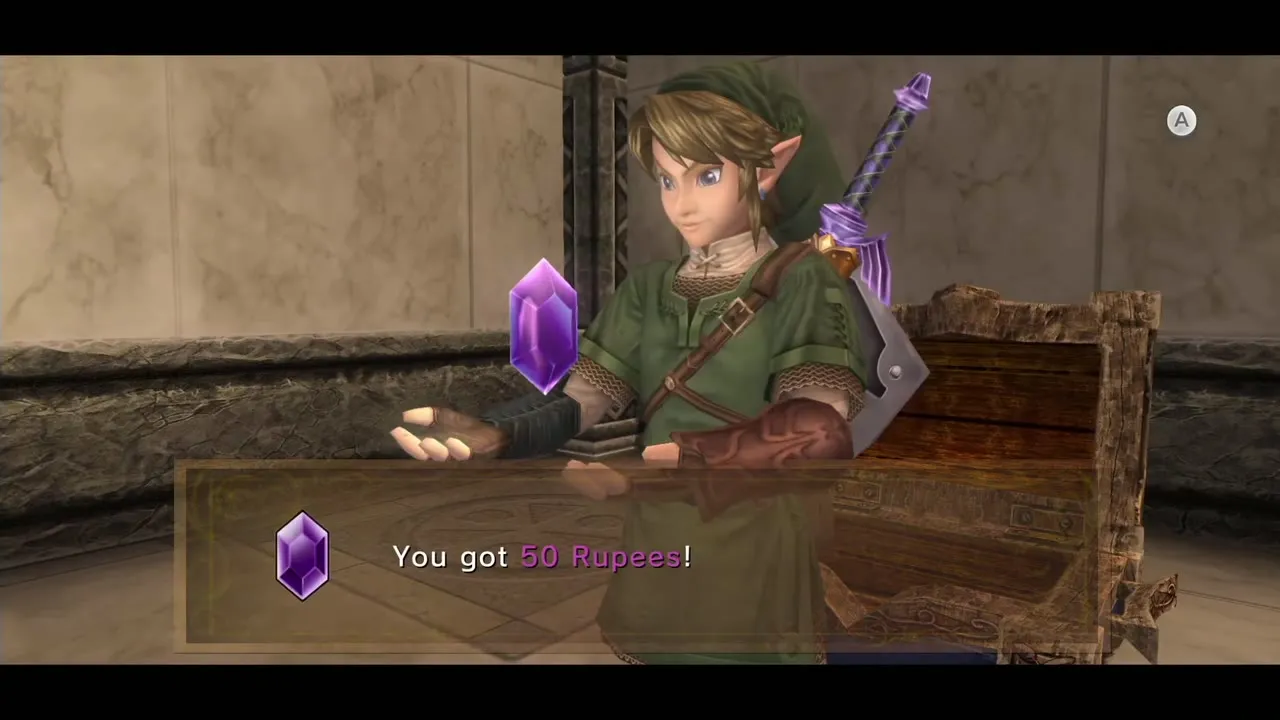
Three Gohma and a crowd of Baby Gohma fill the room. The spin attack, the Spinner or the Clawshot each kill a Baby Gohma in one hit. When all are dead a chest appears with a purple Rupee (50).
Scales
Climb the steps on the north side to a scale puzzle. Step on the first scale and it sinks. Pick up the stone statue and toss it onto the higher scale and they balance. The second scale tips again when you step on it, but you can simply climb up to the next platform and leave through the door in the south.
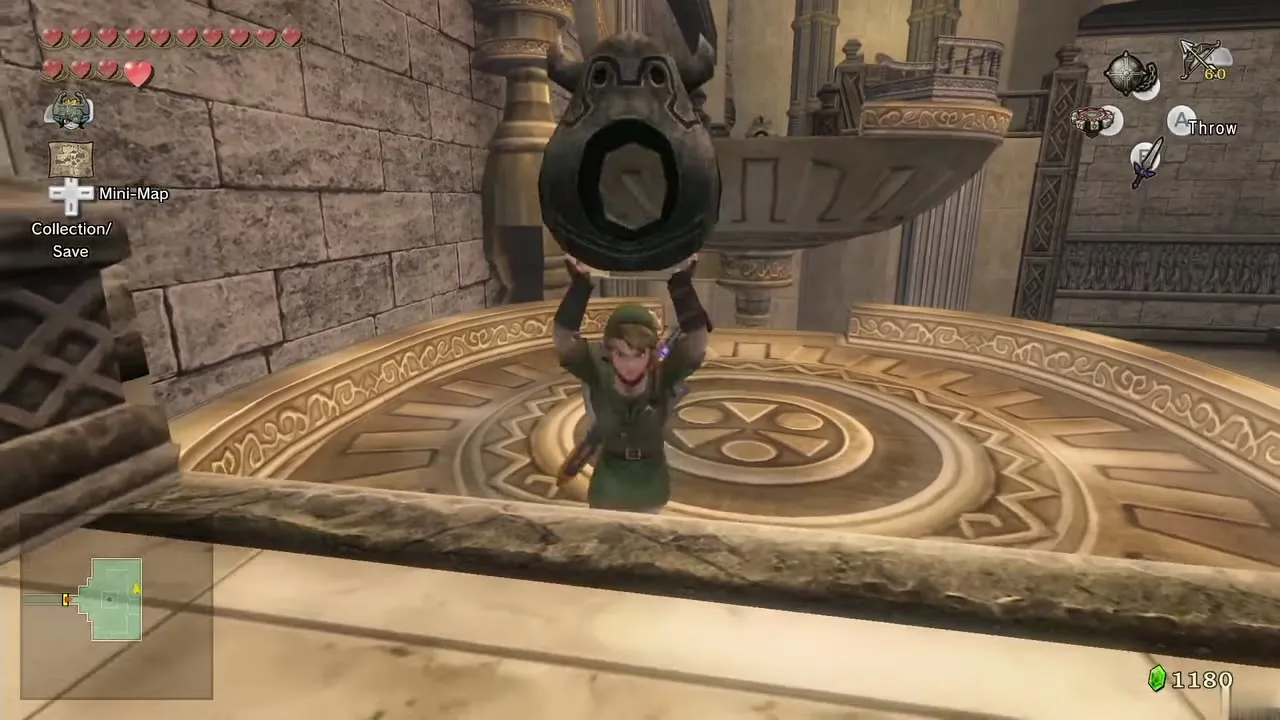
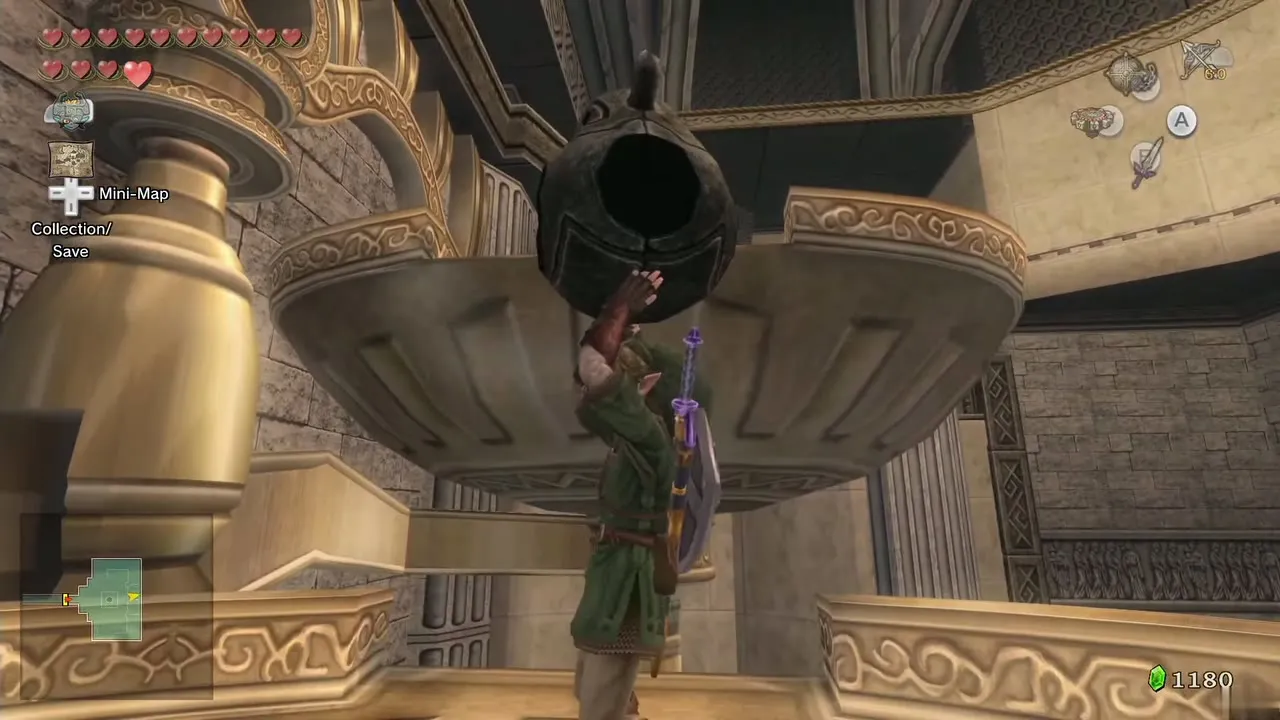
Pendulum corridor and third key
Shoot the Beamos in the middle of the room with an arrow, walk round the spikes and kill the three Lizalfos near the top of the steps. In the south are long rolling spikes: wait until they roll to your right, dash straight ahead and run past the giant pendulum blade just after it passes. Open the chest for a Small Key.
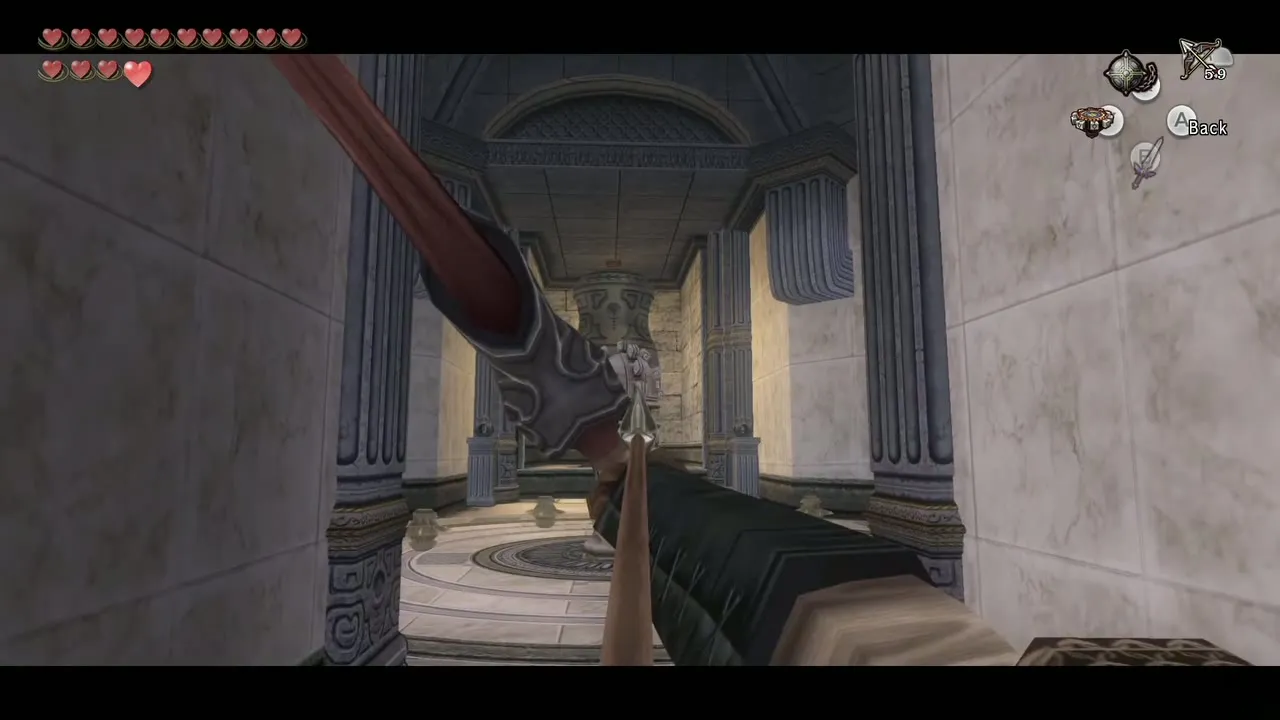
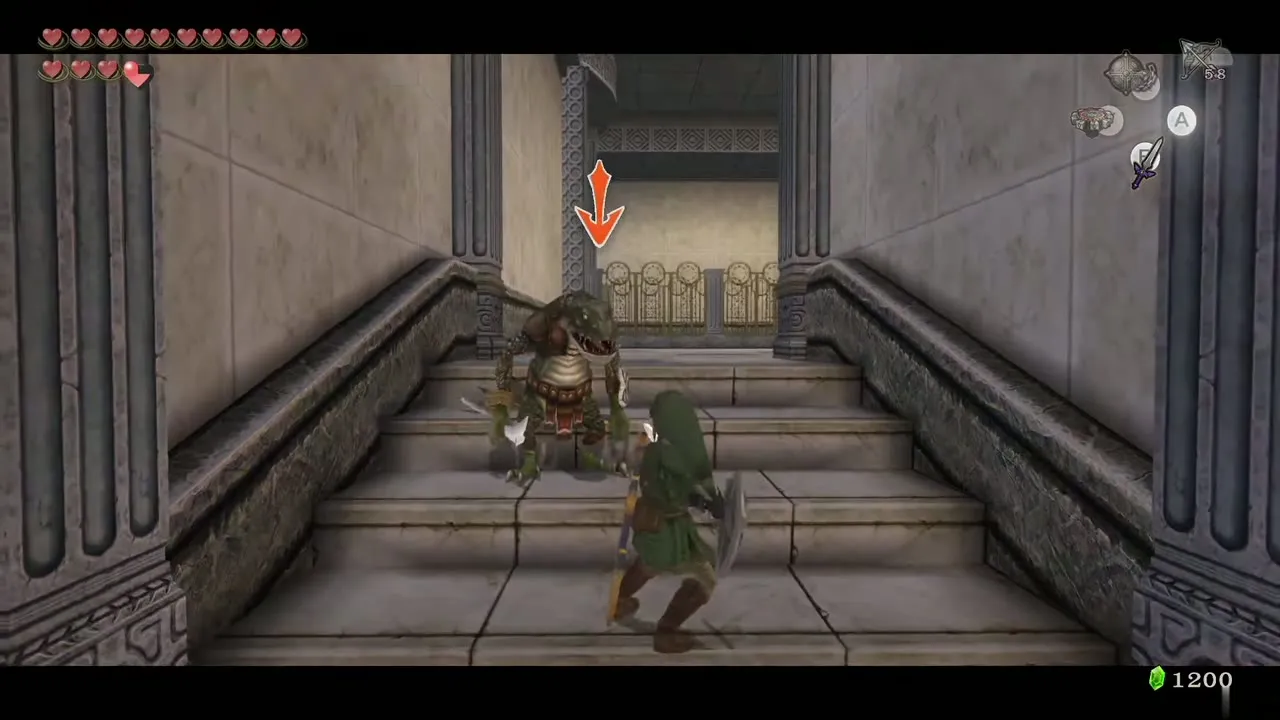
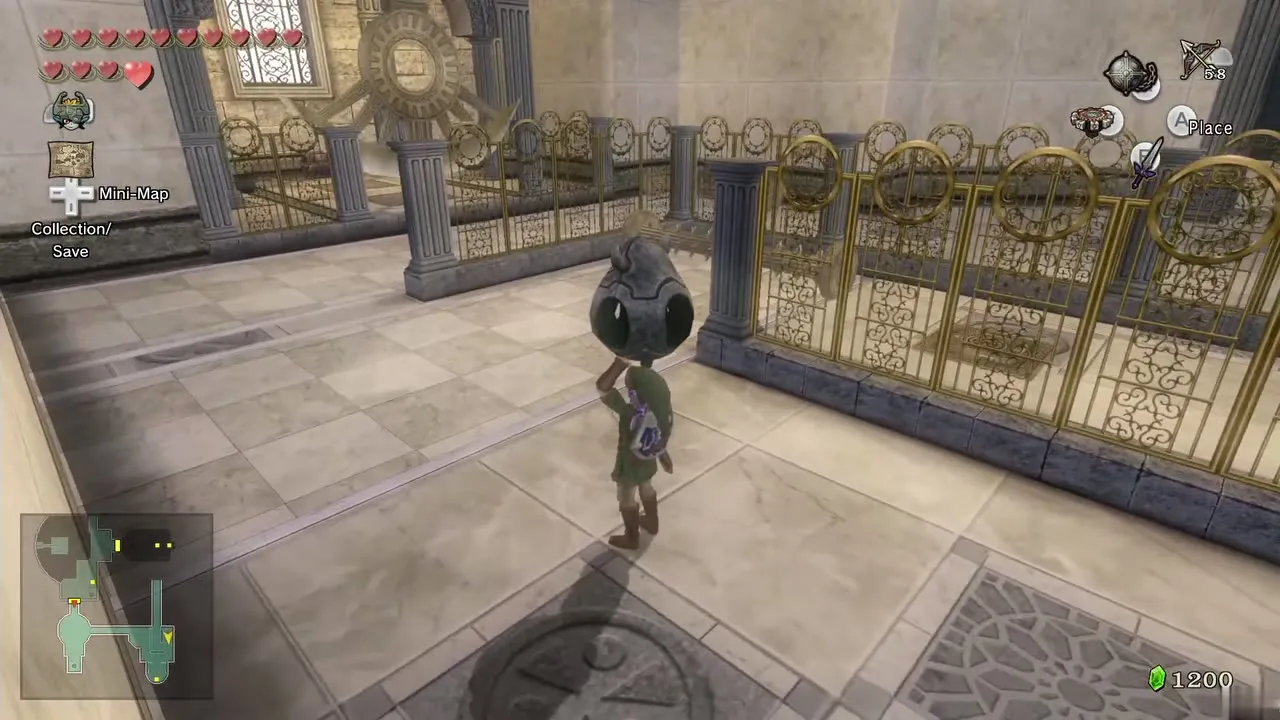
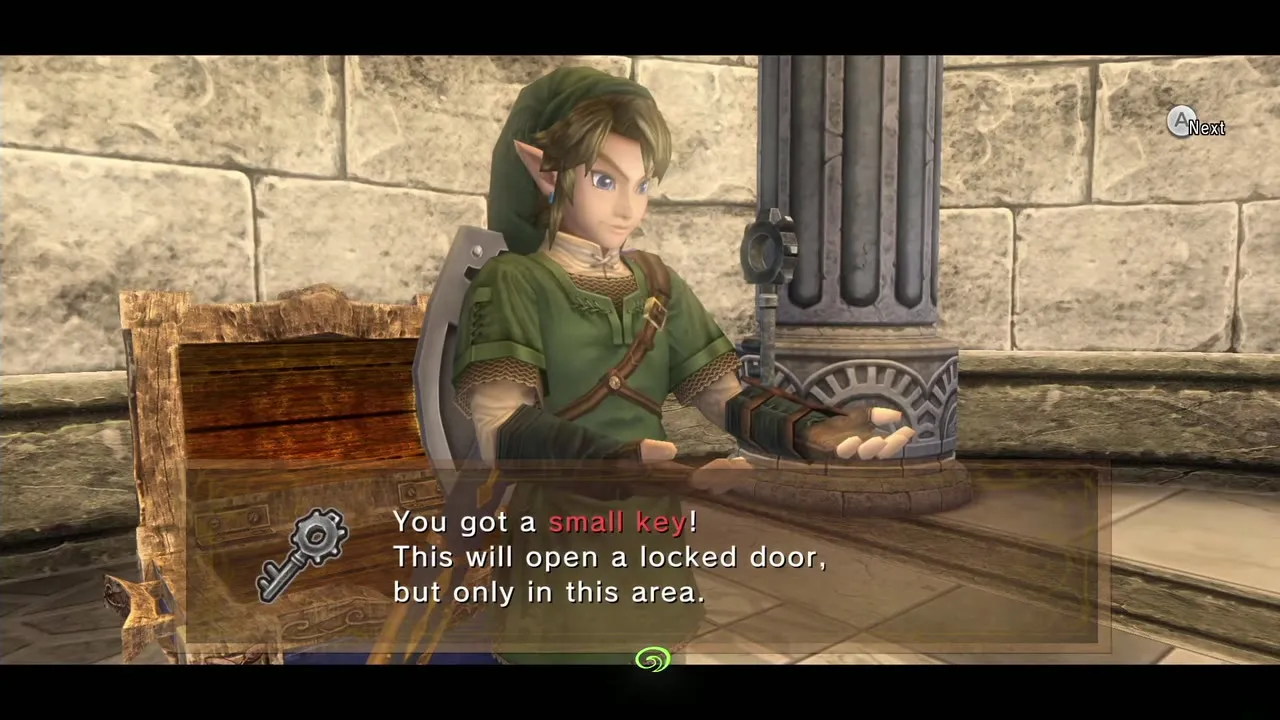
Run back past the pendulum and wait for the rolling spikes to pass to your left, then dash to the right, where a second spike rolls. Cross when you can to the north-east corner. Behind the fence is a small floor switch; lift the small statue nearby, time your run past the spikes and set it on the switch to shut off the electric charge.
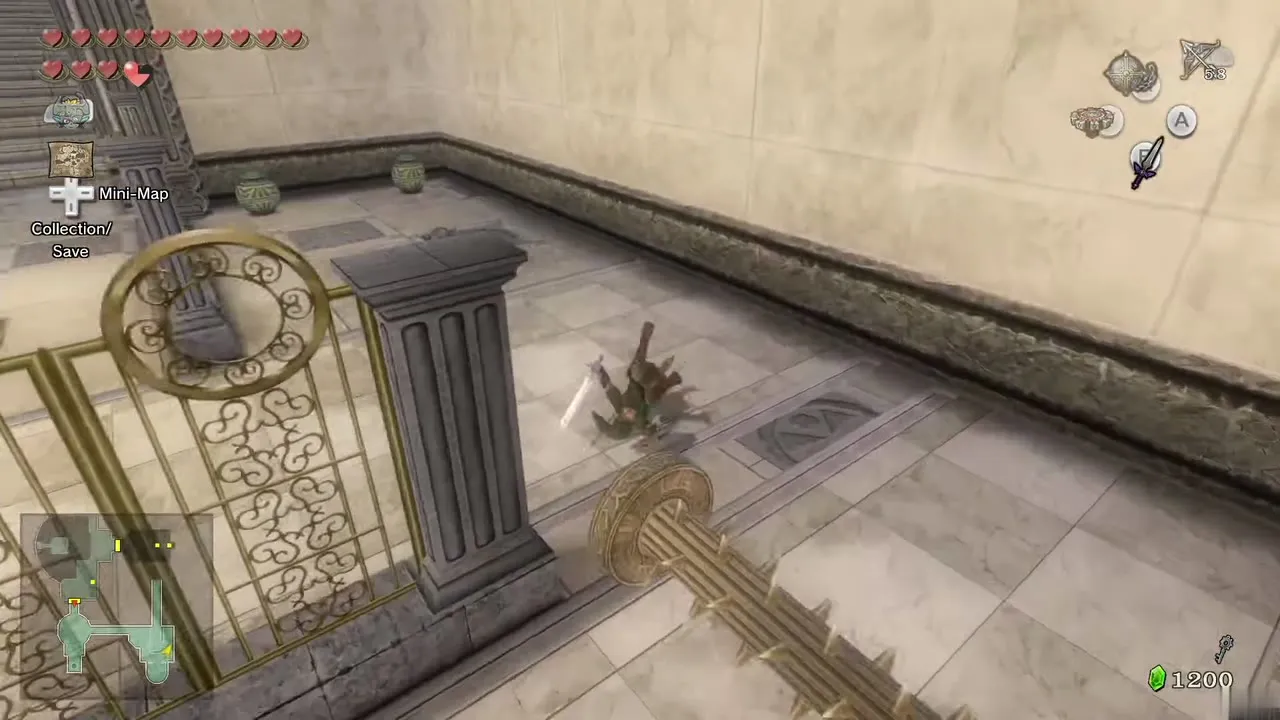
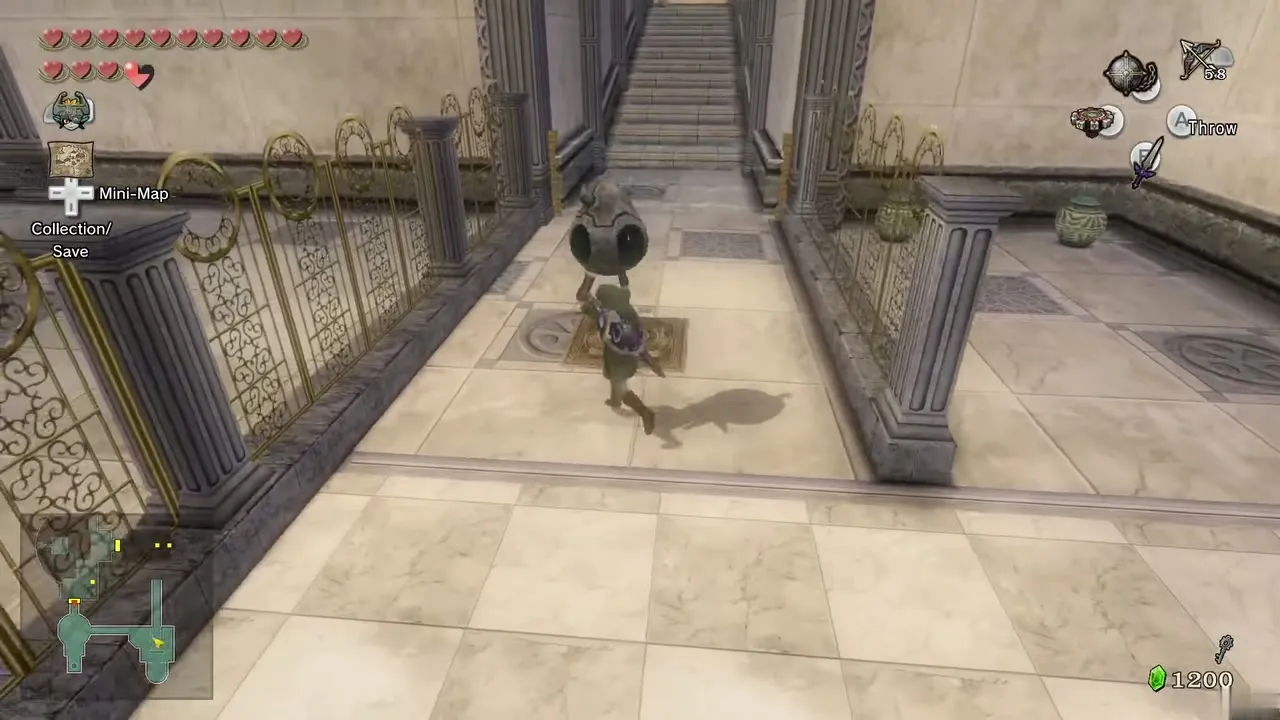
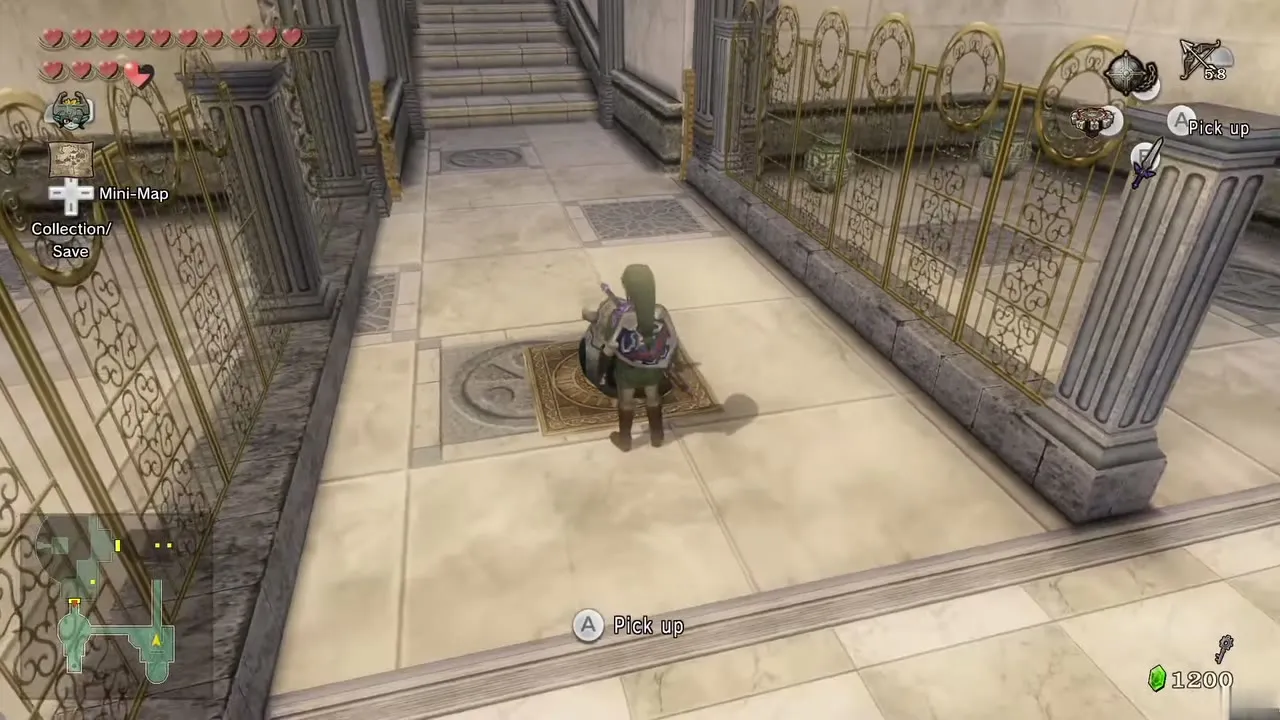
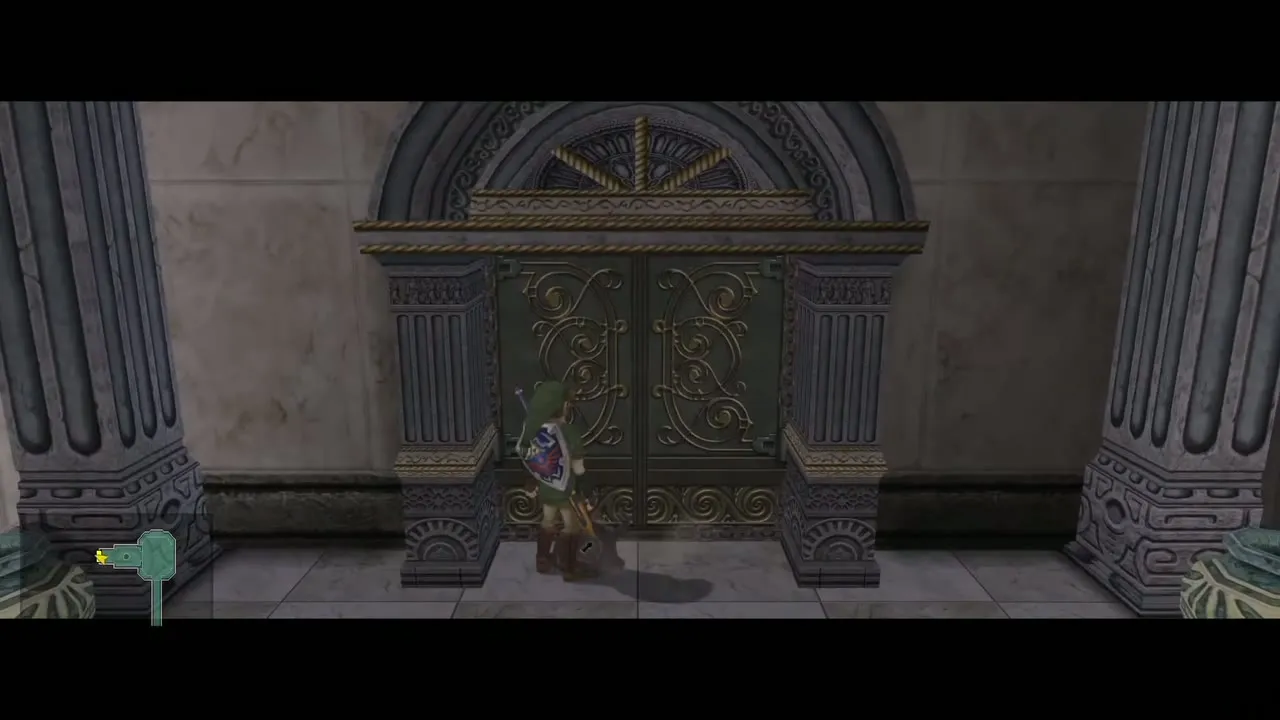
Climb the steps to find Baby Gohma and two Armos. Kill the Baby Gohma and a chest with a purple Rupee (50) appears on a higher ledge; defeat both Armos and the west gate opens. Run through and unlock the door with your key. The statue missing from the entrance stands in this room, and as you approach, the mini-boss attacks.
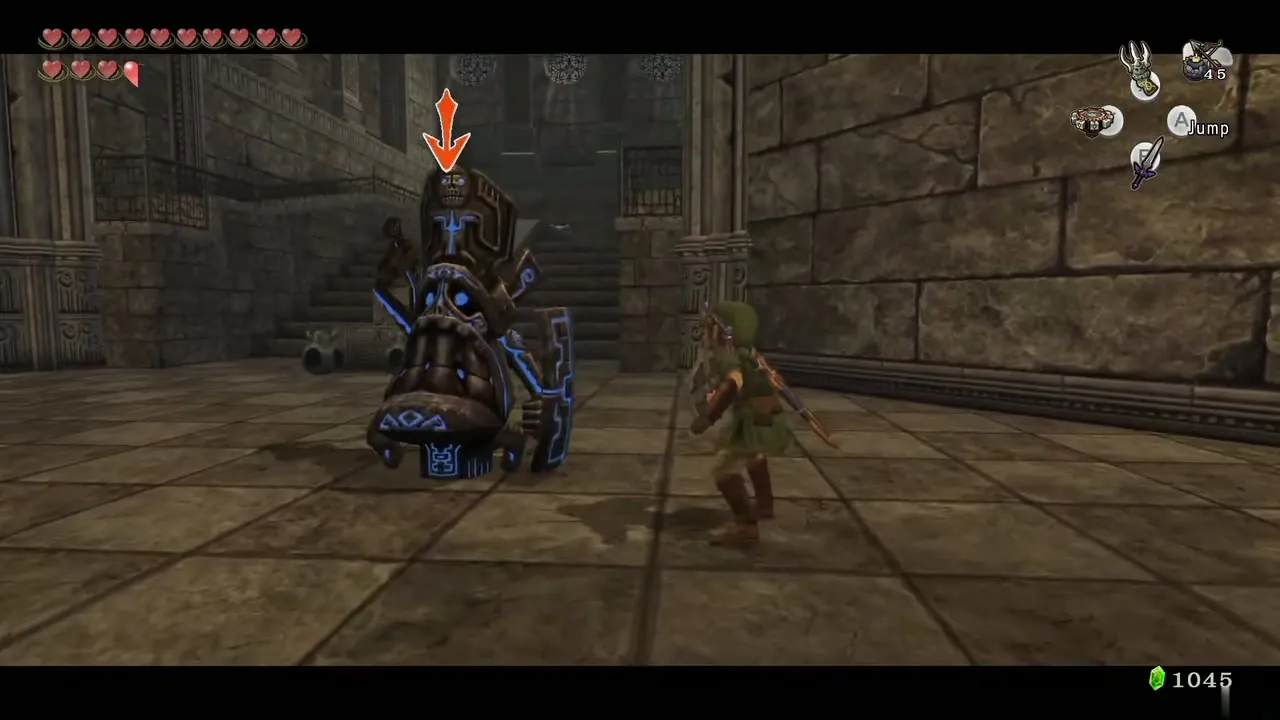
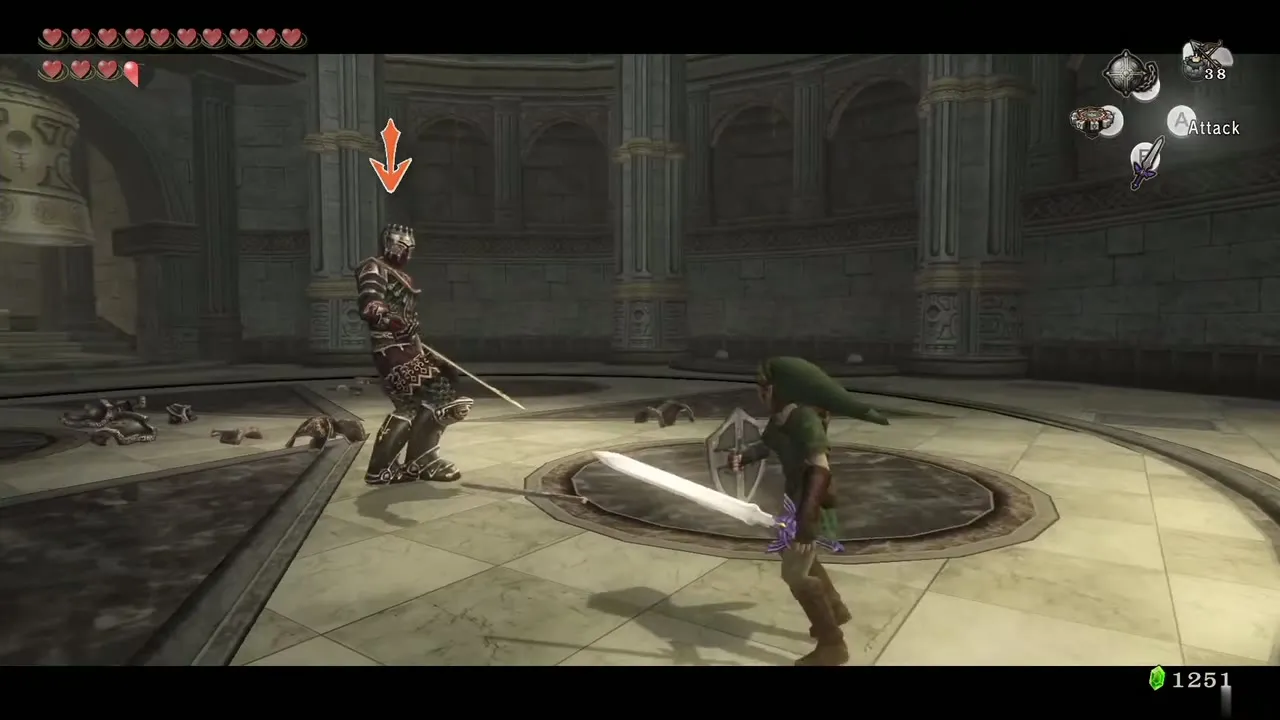
Mini-boss: Darknut
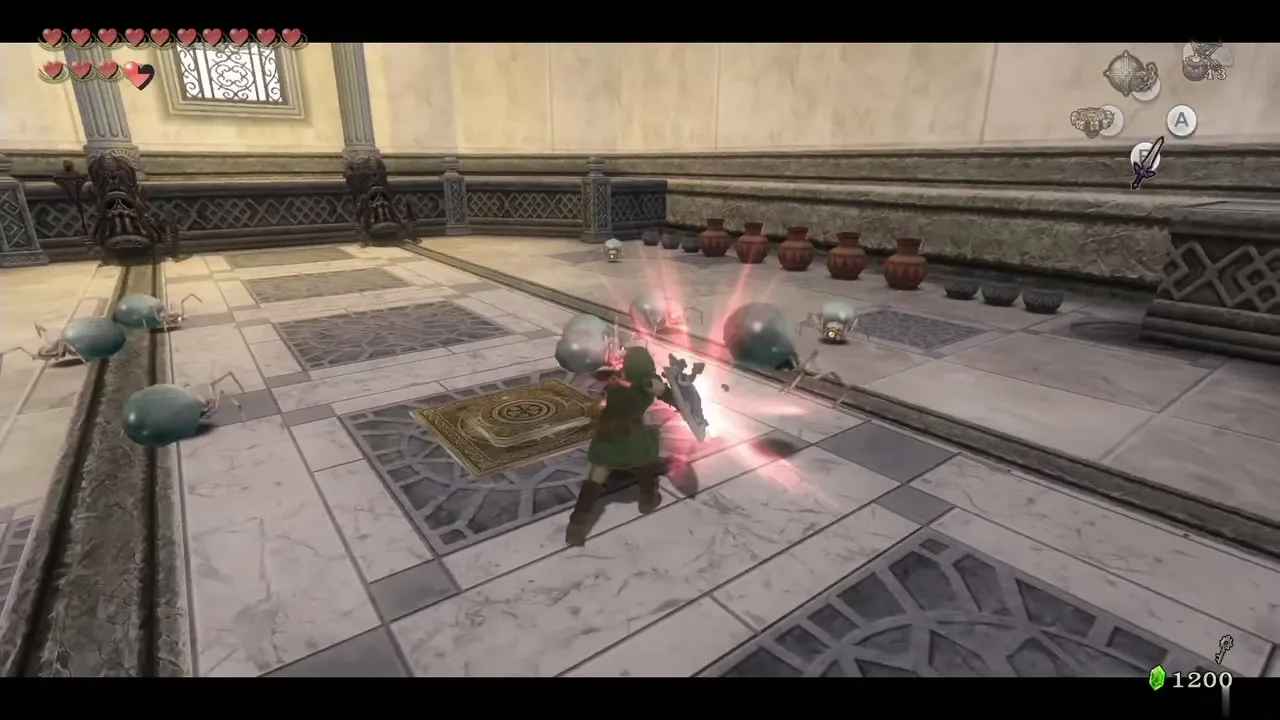
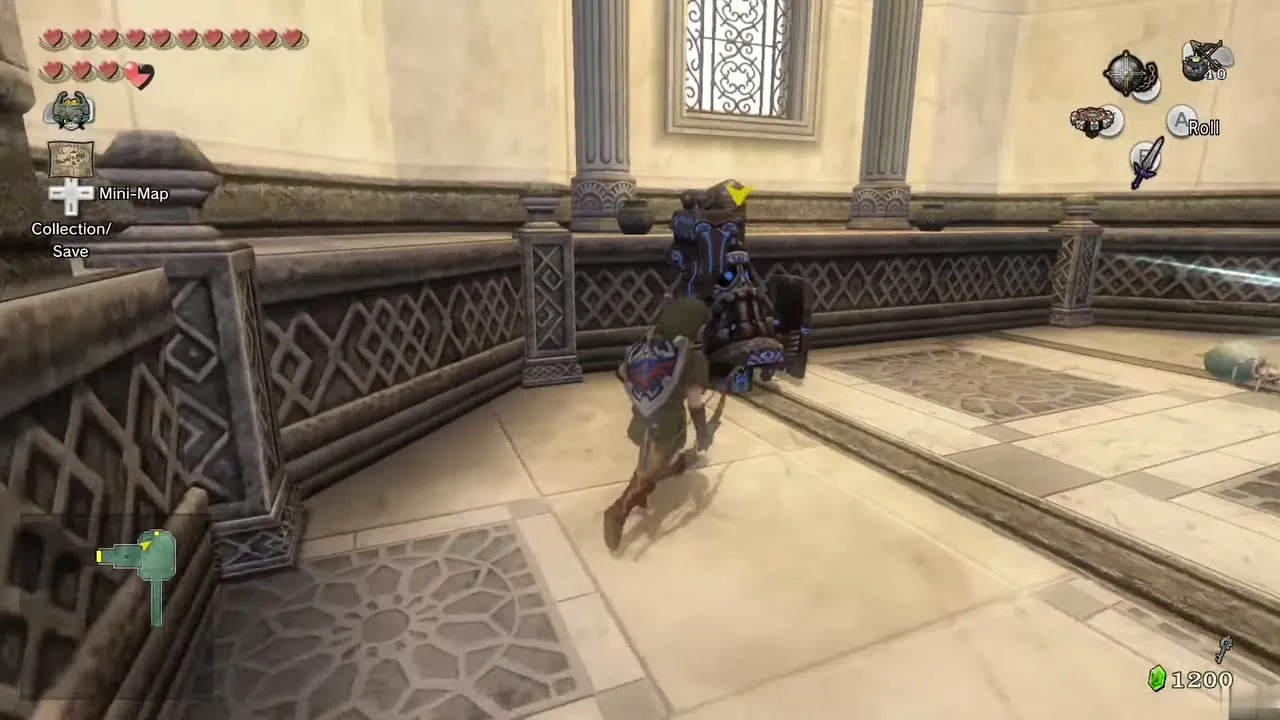
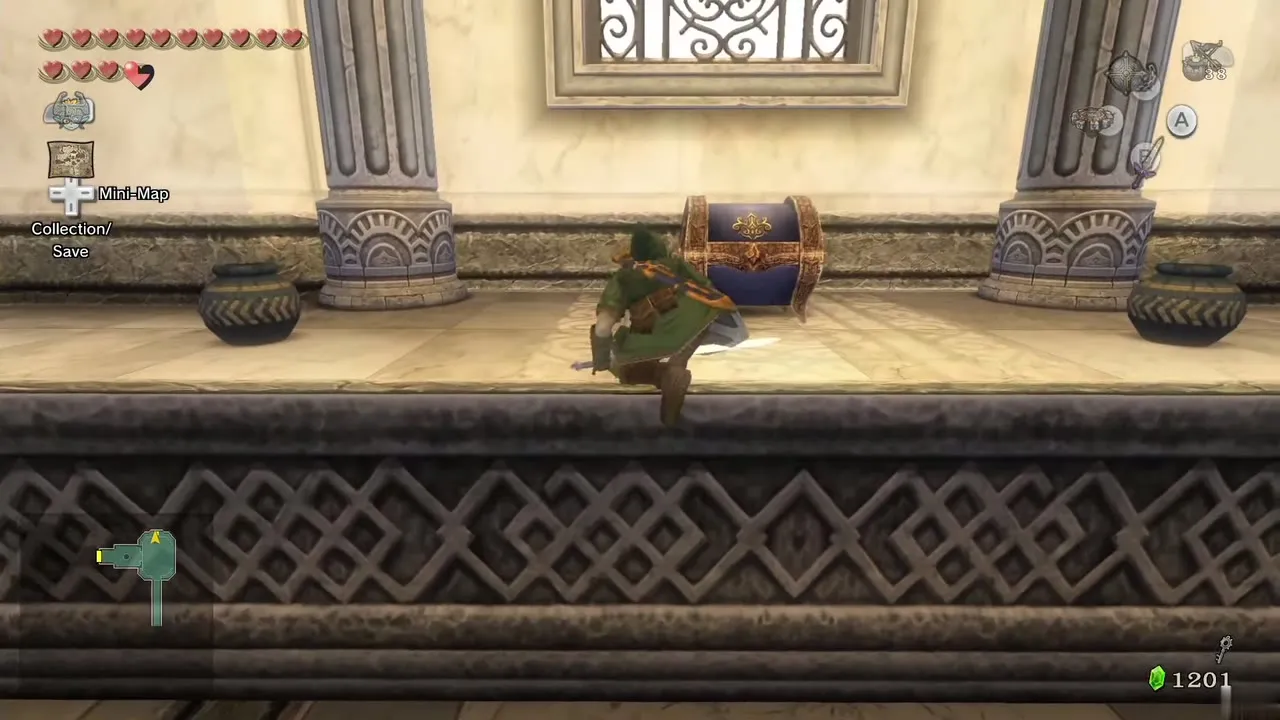
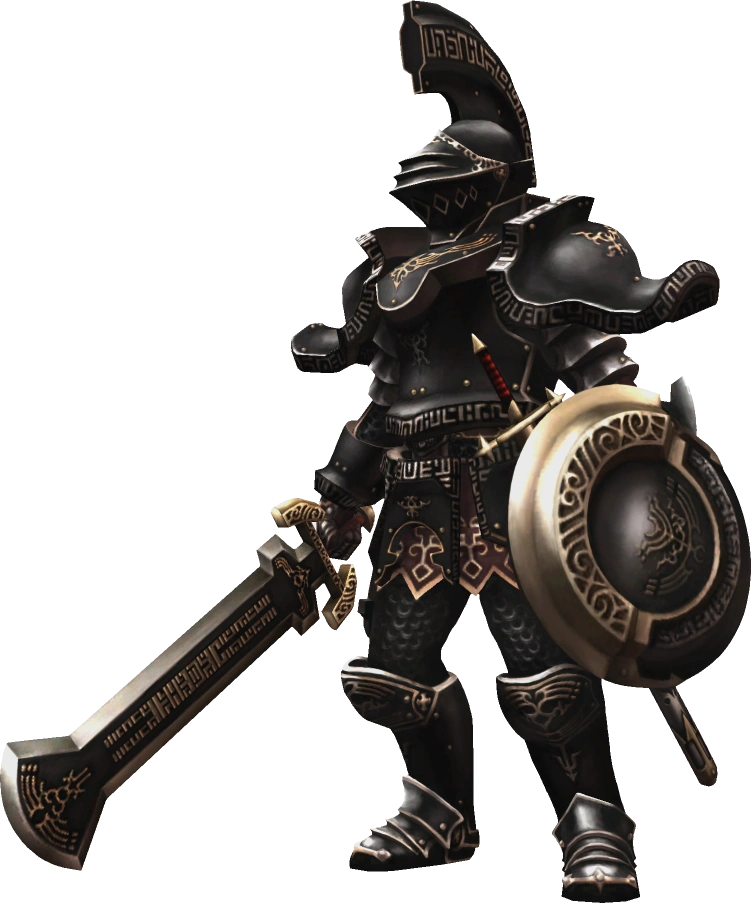
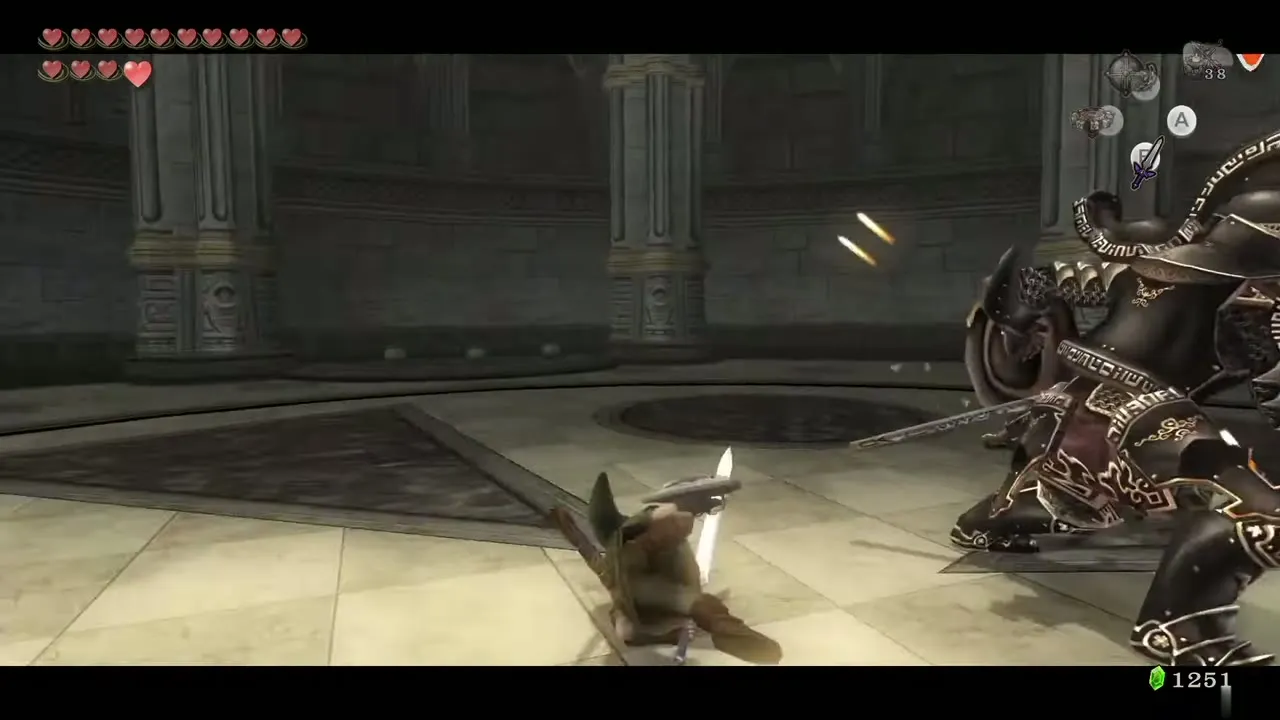
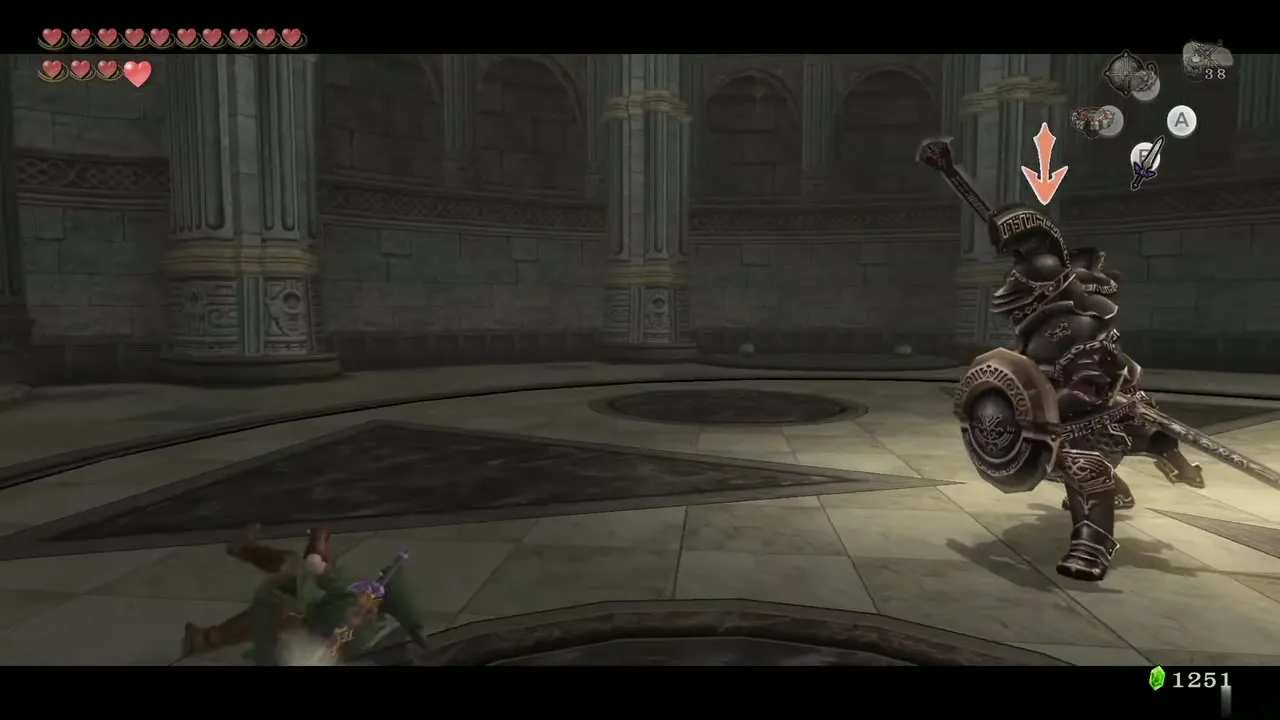
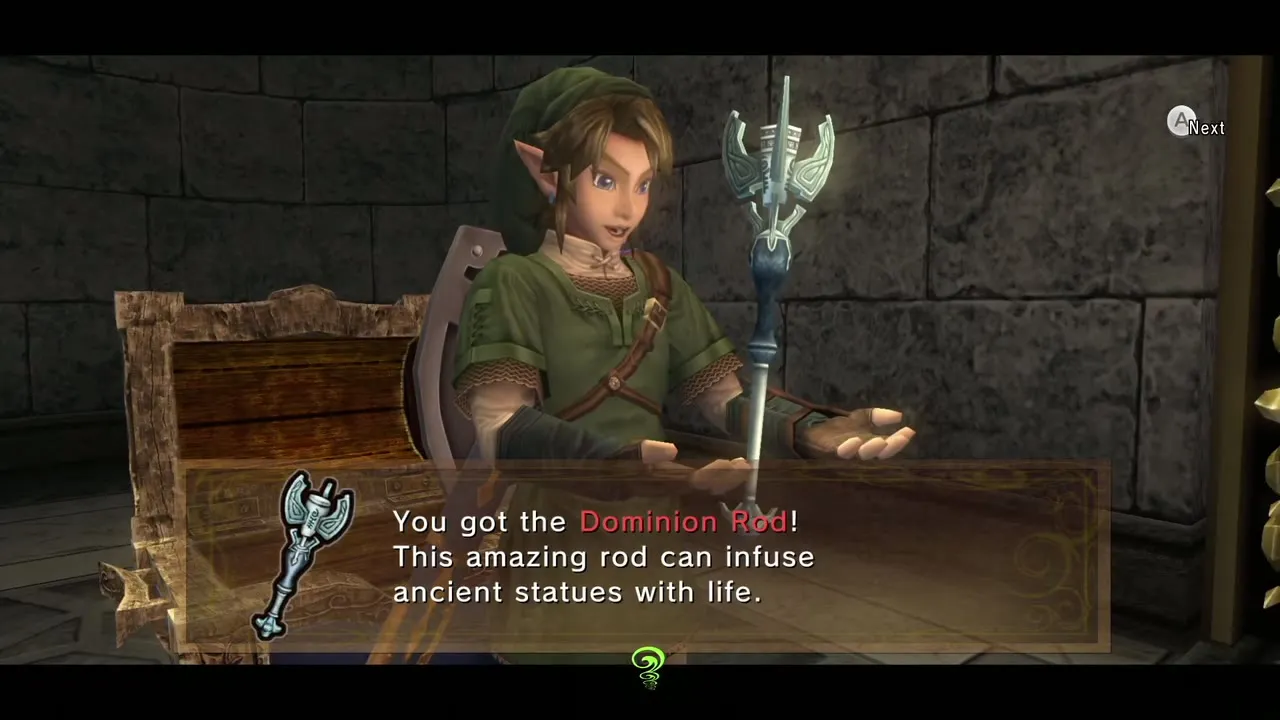
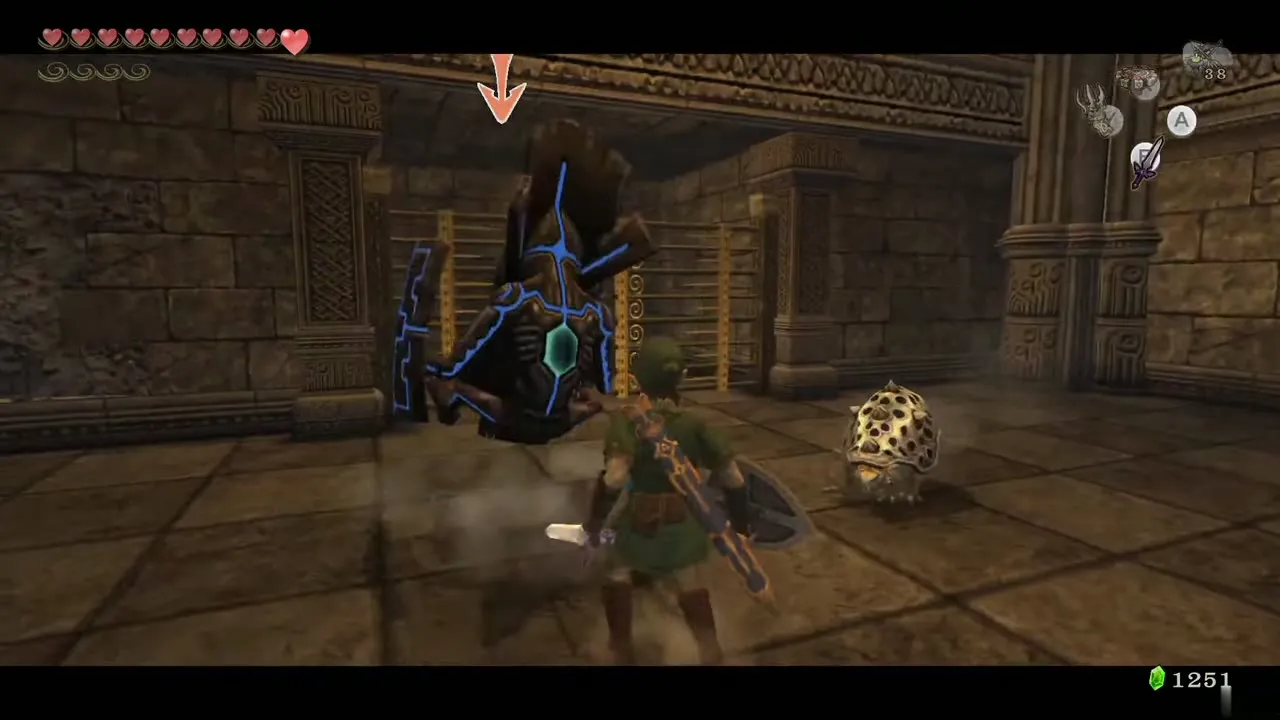
The Darknut is heavily armoured and blocks with a shield; its big sword hurts but can be blocked. Hold up your shield, side-jump, and strike when a miss leaves him open to knock off a piece of armour. A Shield Attack and Helm Splitter help when offered, and a Back Slice works but is often blocked. Once all his armour is gone he throws away the big sword and fights with a lighter blade. Dodge, then slash repeatedly, or let him block a Back Slice and hit him while he is stunned. The gate on the east side then opens: open the chest for the Dominion Rod (Items & Equipment).

First use of the rod
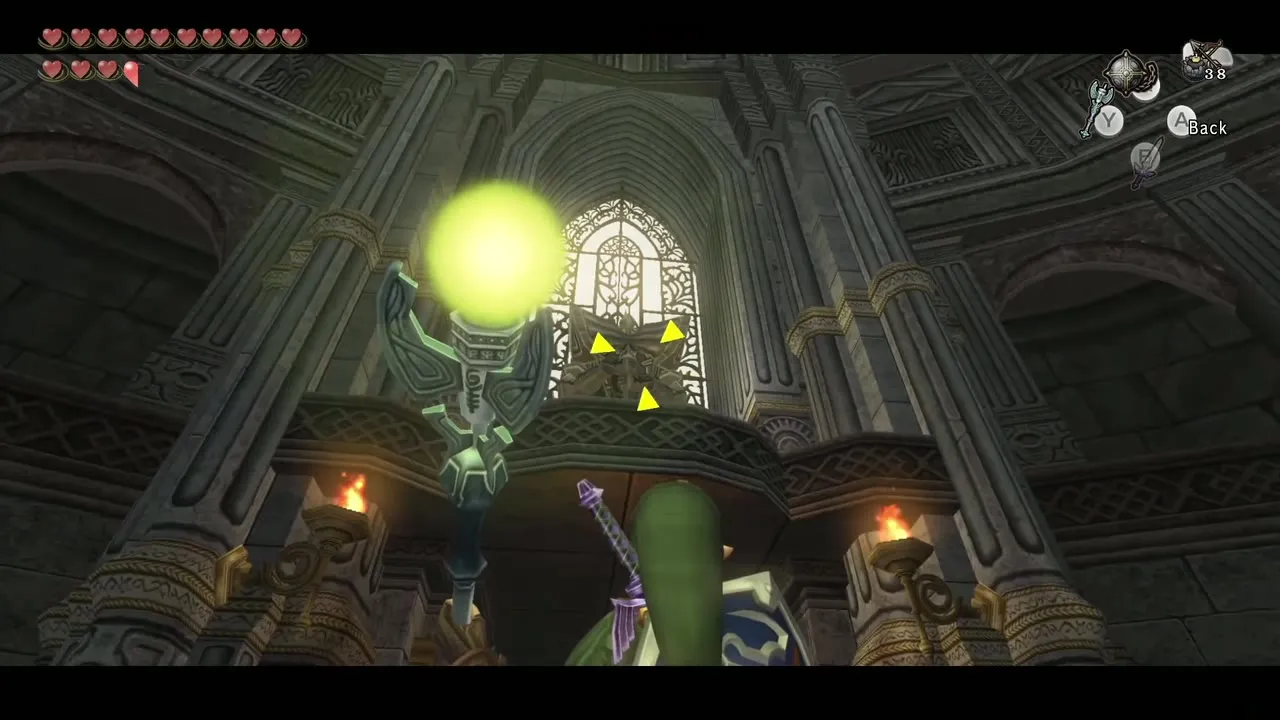
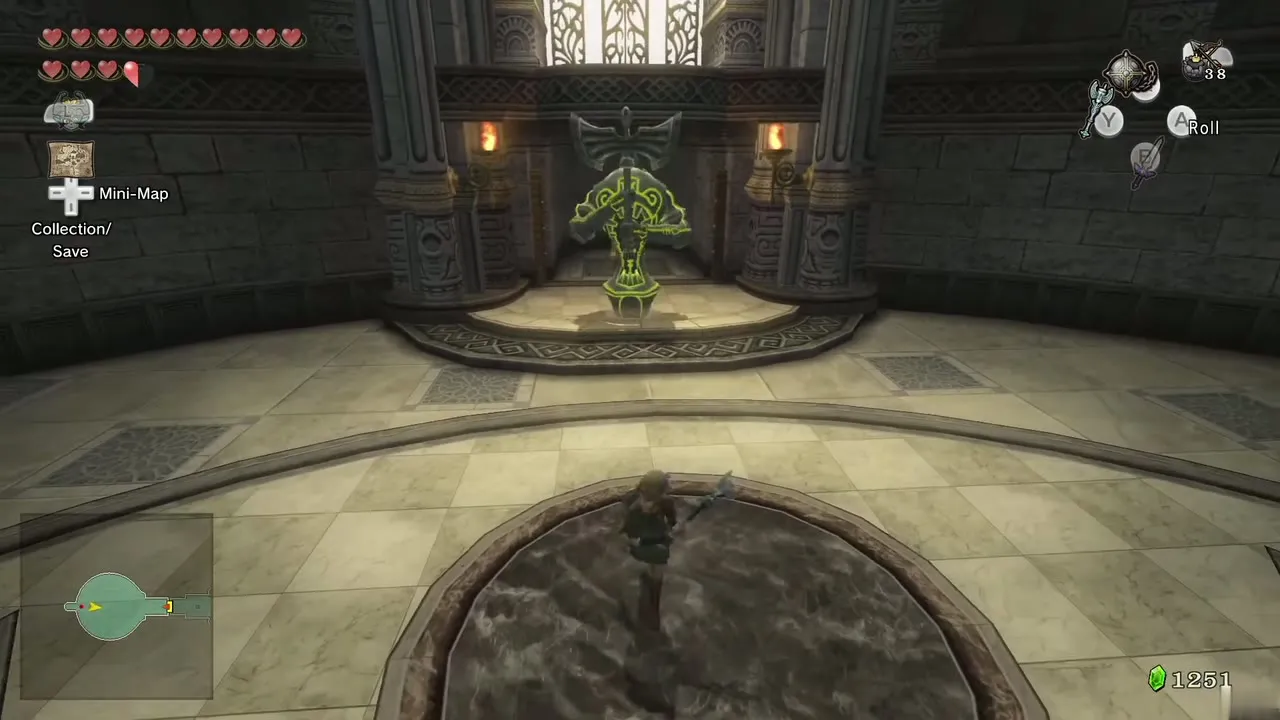
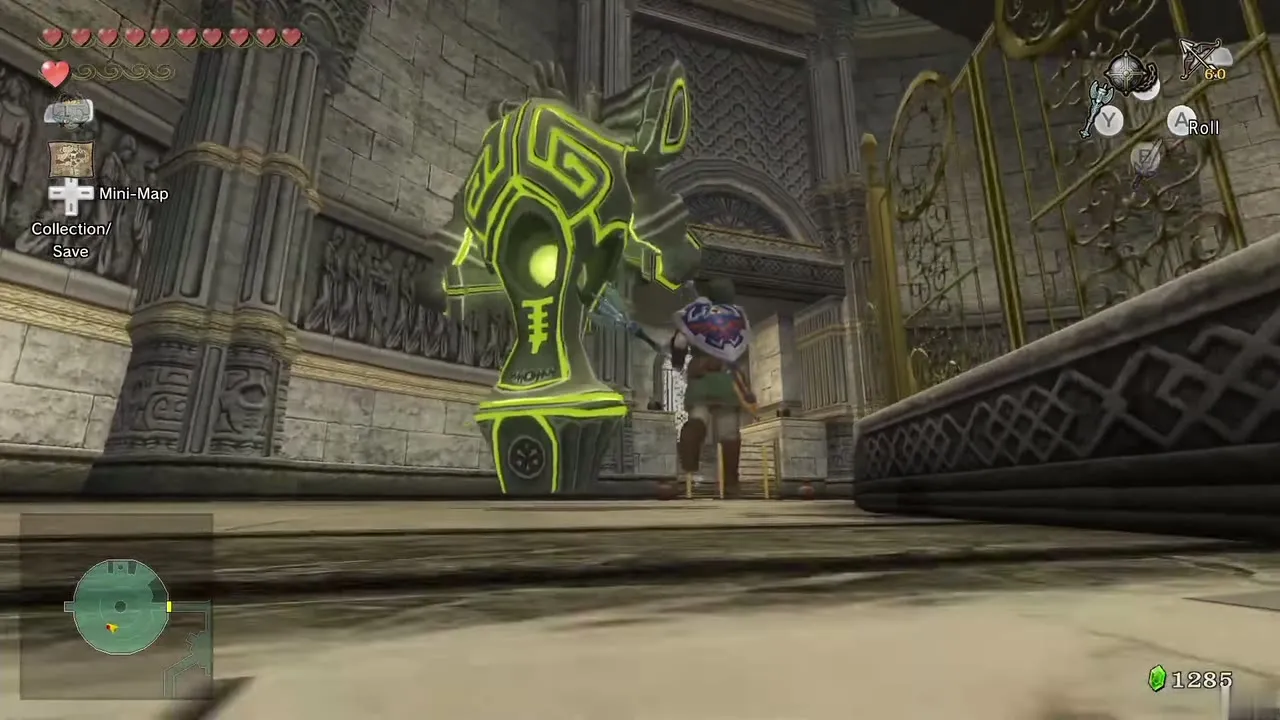
Equip the Dominion Rod and aim it at the statue above the chest to take control of it: it mirrors Link’s movements. Walk it west and it falls to the floor, aim again, then walk it all the way east. Press the rod button again while controlling it and it swings its huge hammer. Move it over the symbol on the floor under the bell on the east side; the bell drops over it and teleports it to the previous room. Open the door and go back.
Guardian Statue puzzles and the Big Key
Controlling the statue
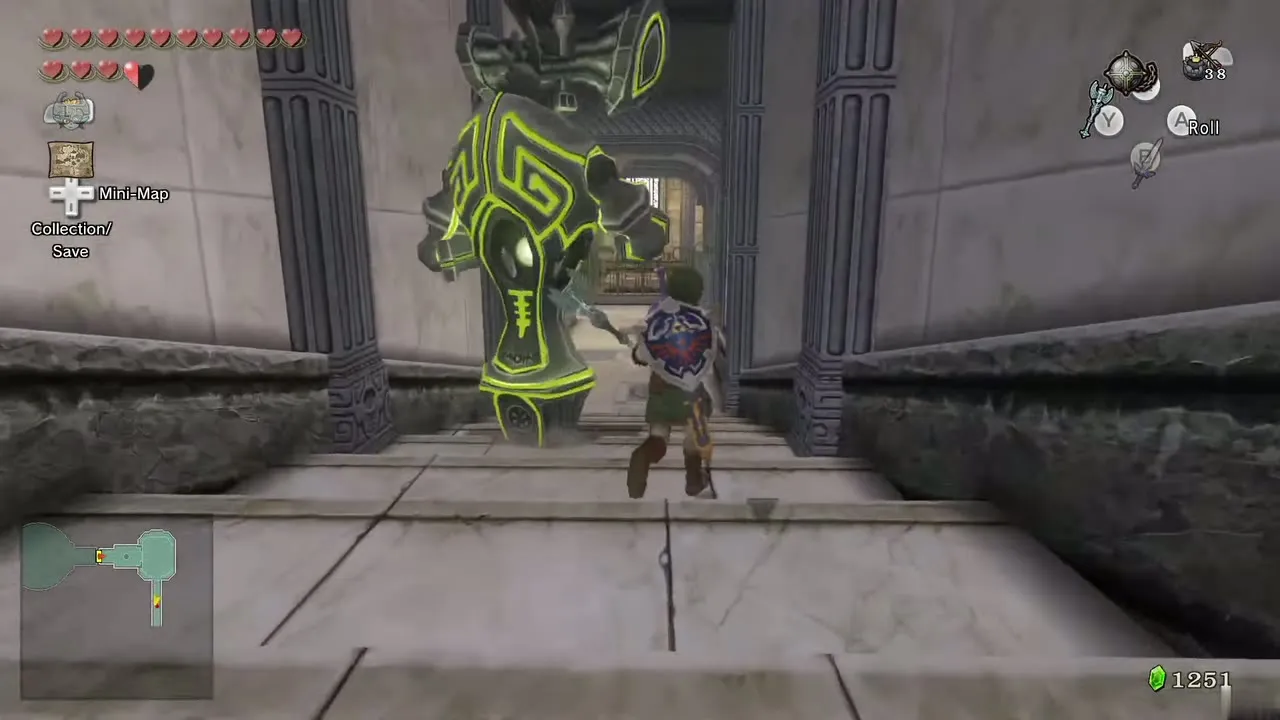
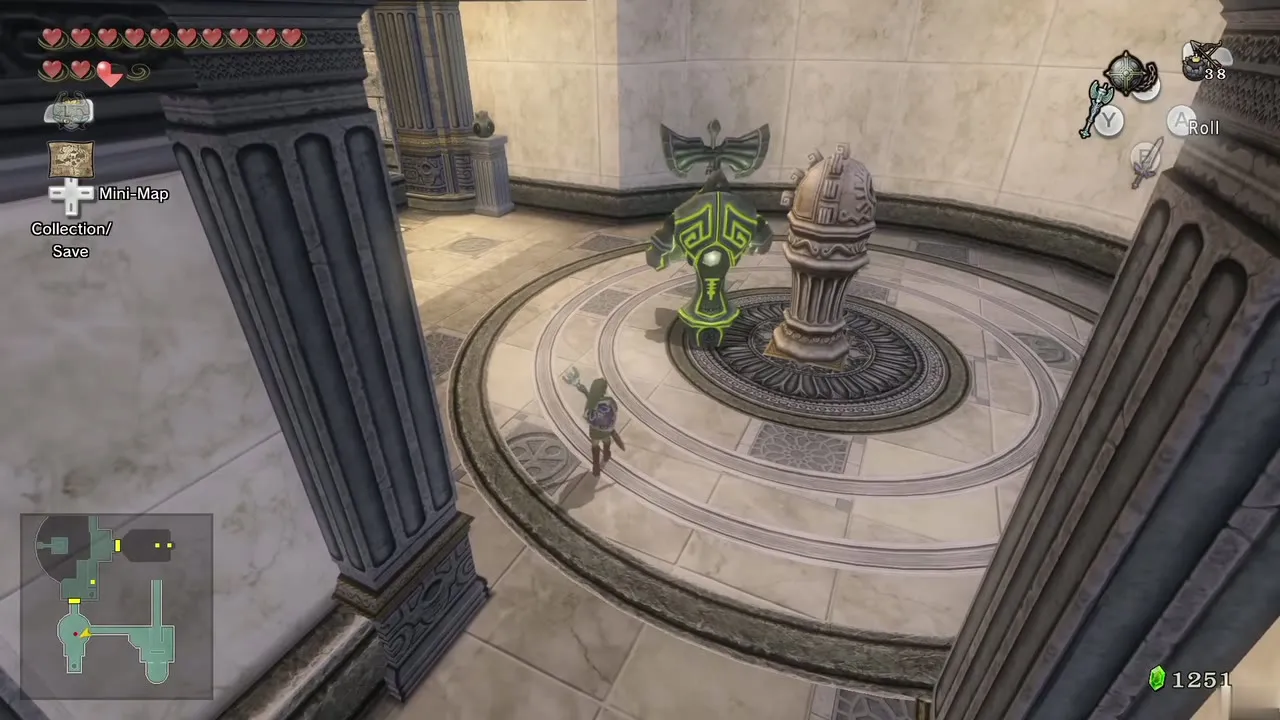
The statue appears in the next room. Aim the rod at it again, walk it to the gate and smash the gate with its hammer. It takes practice to steer, and you can leave it by aiming the rod again. See the Guardian Statue puzzle for tips.
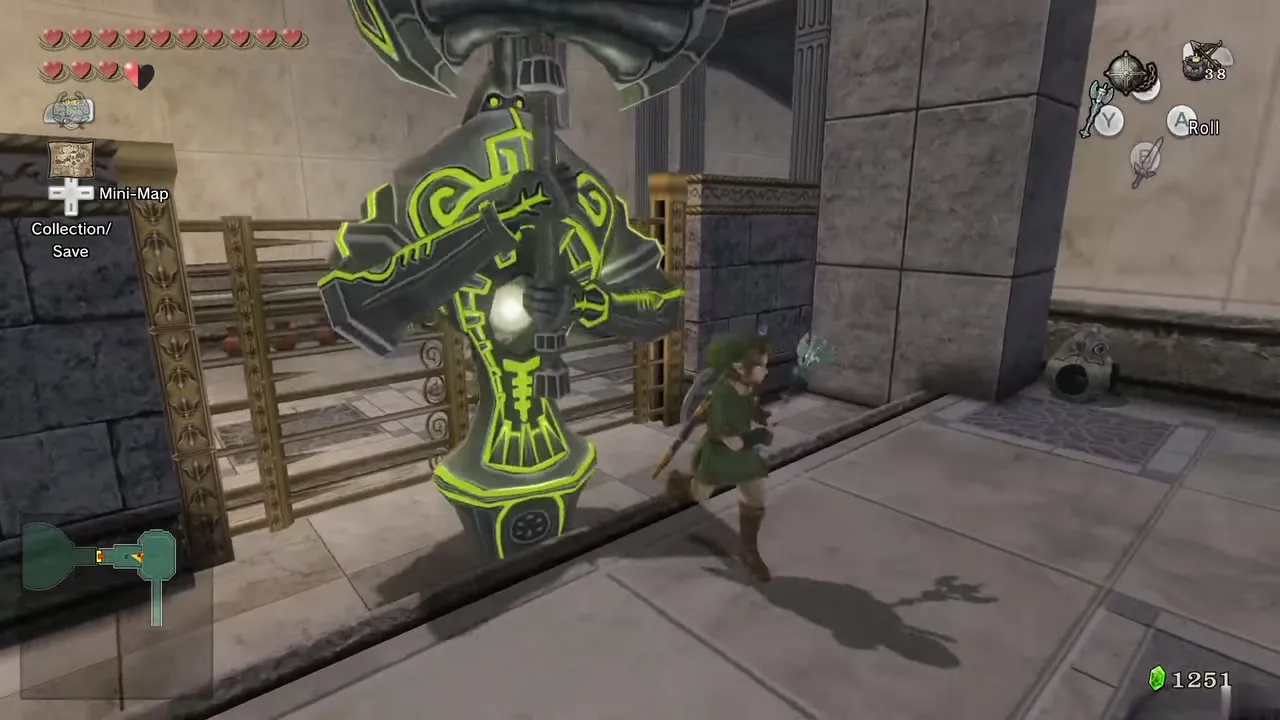
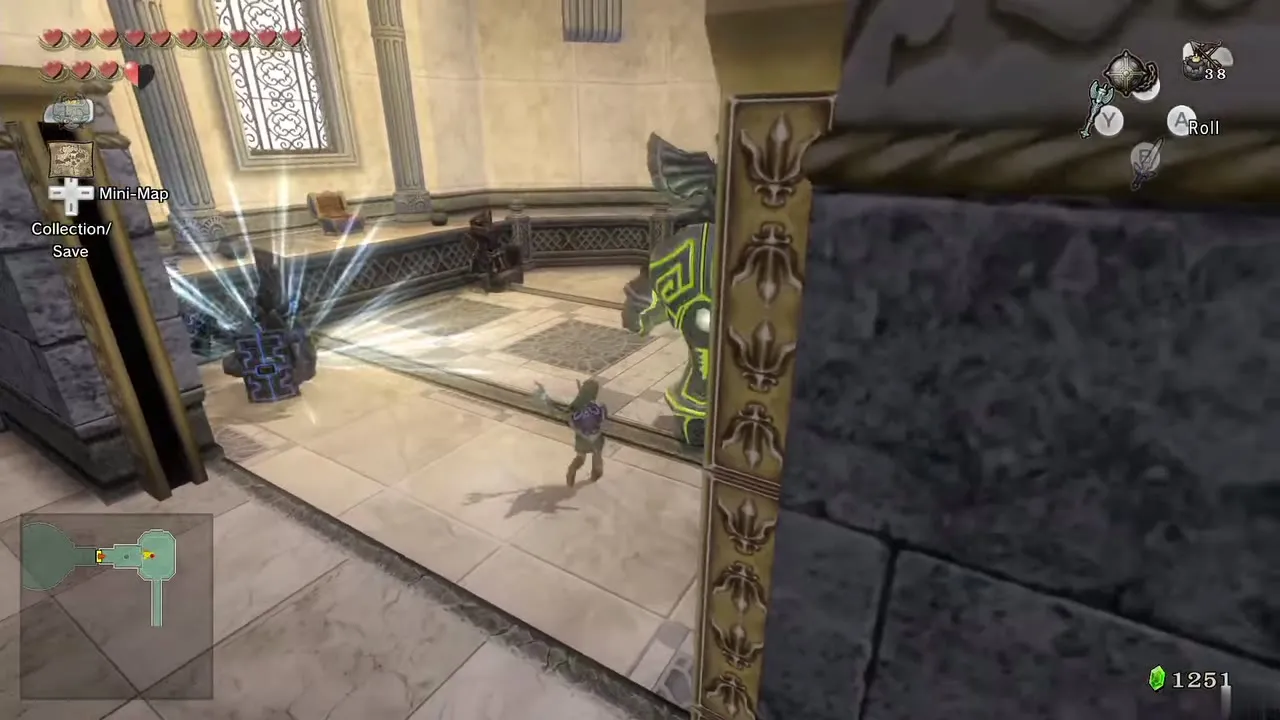
Take it down to the floor below and kill the two Armos that respawned. A floor switch in the centre controls a platform to the south. Push the statue against the platform and release it, stand on the switch to lower the platform, then reactivate the statue while still on the switch and walk it south onto the platform.
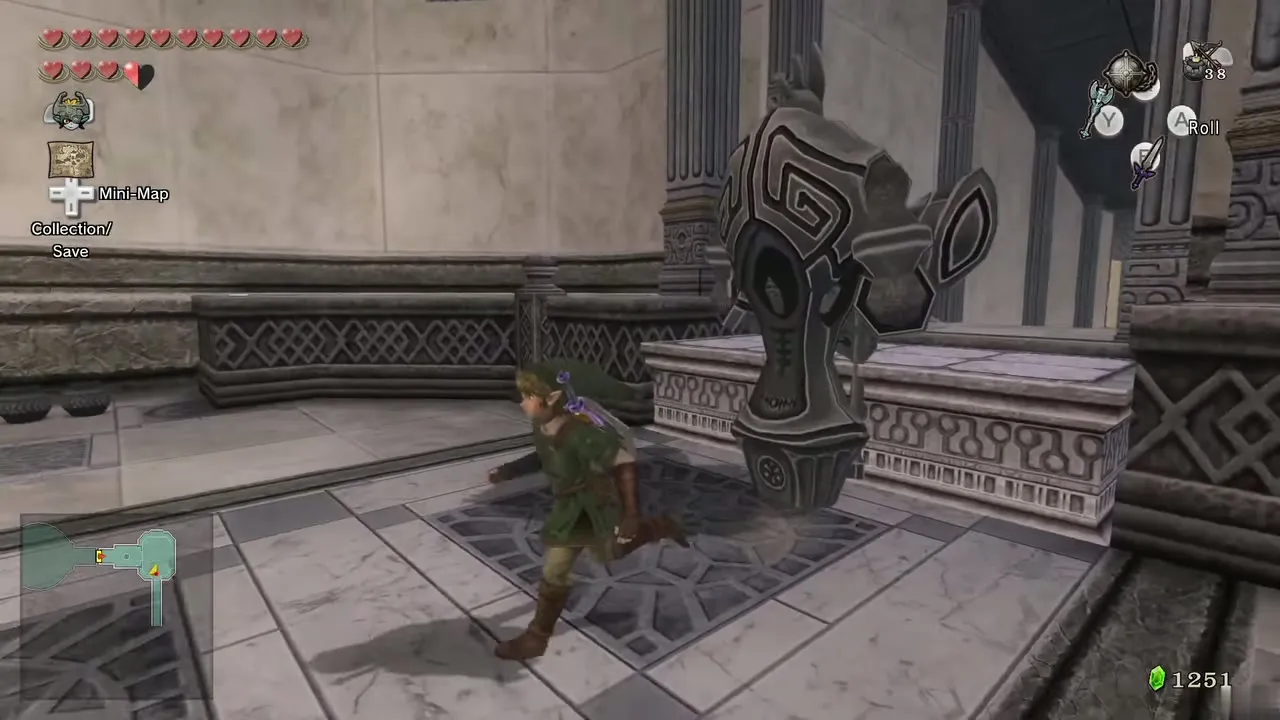
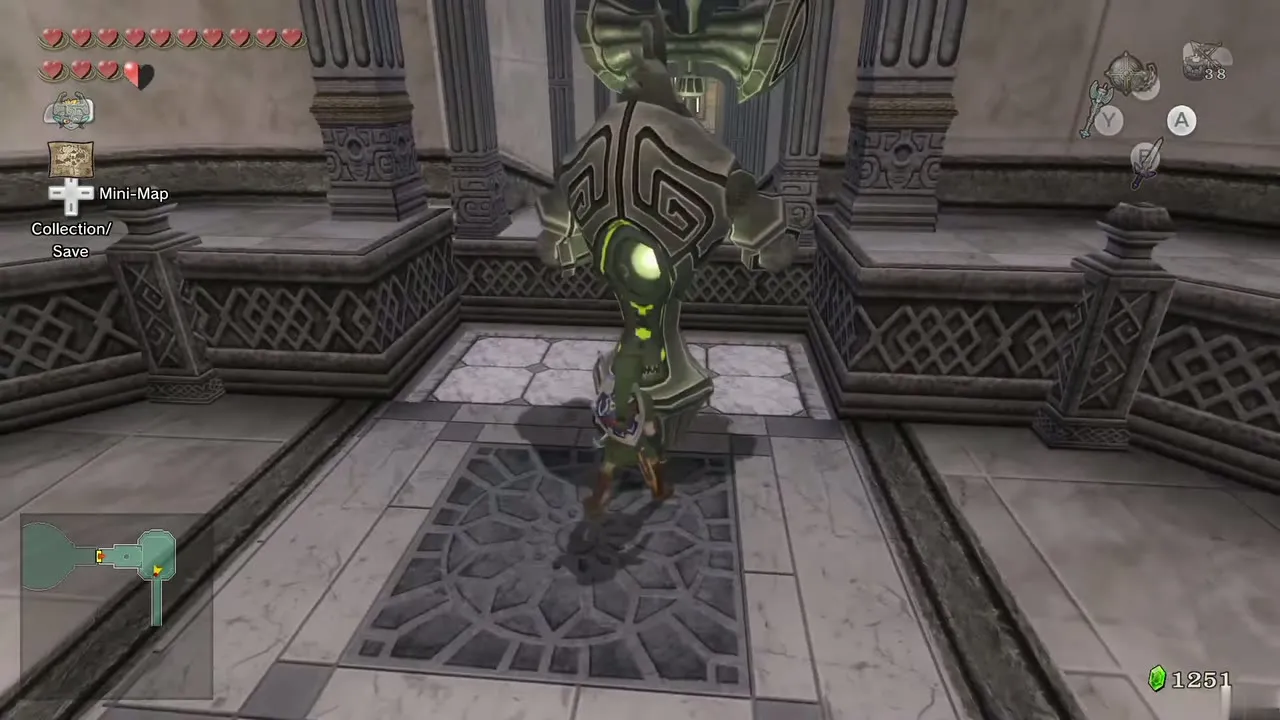
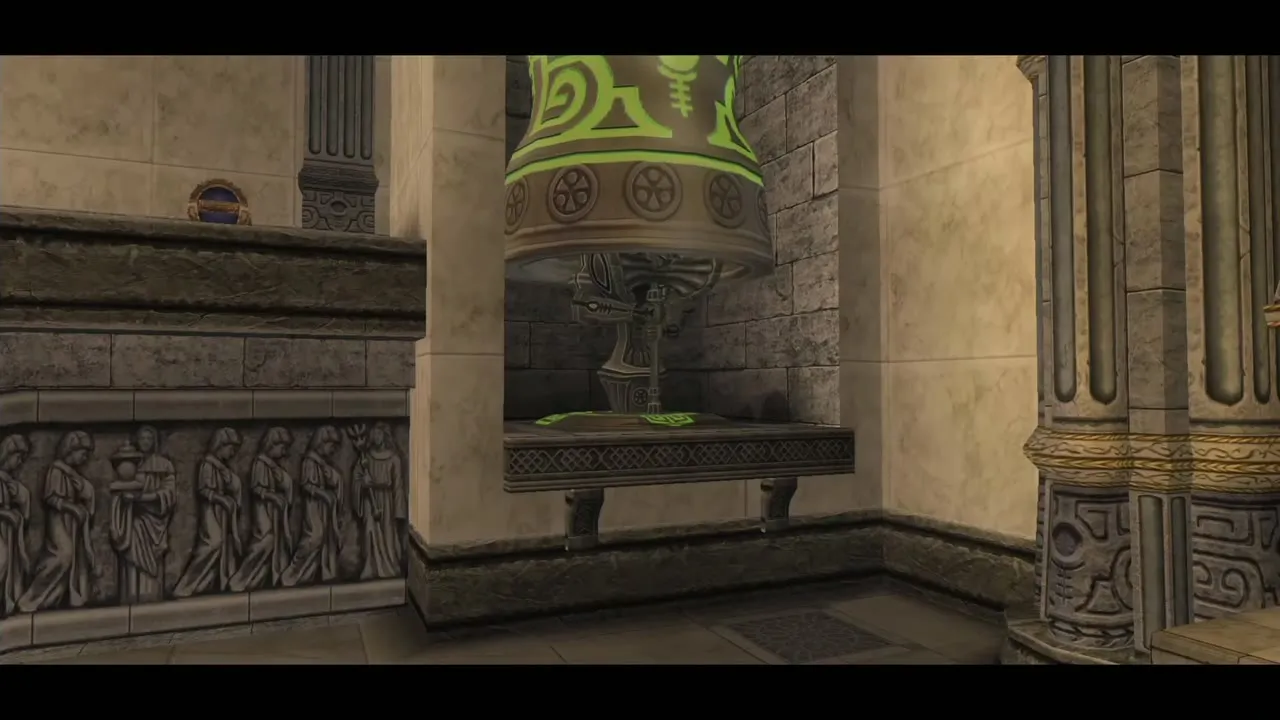
Walk the statue down the steps to the south, past the electric field, and place it on the switch to switch off the electricity. Step past the barrier and take control again. Move west and use the hammer to smash the rolling spikes, then go down the steps and break the small spikes and the dead Beamos. A small switch appears that controls a platform at the south end of the room. Stand the statue on the platform. Two small statues stand on pillars at the sides: take control of one with the rod, drop it to the floor, pick it up and place it on the switch. Reactivate the large statue and walk it under the bell at the south end; it goes to the next room. Head through the door to the north.
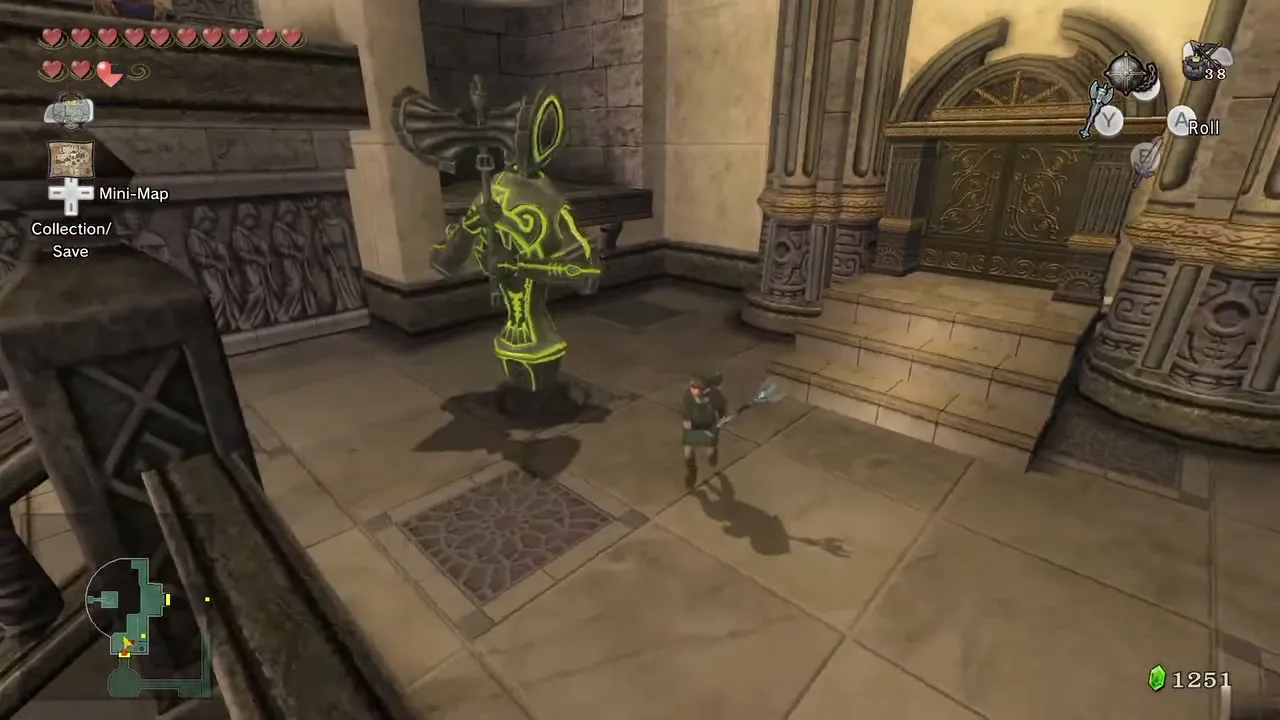
Two scale rooms
Use the rod to bring the statue down from its high ledge, walk it down the steps and onto the first scale. It is heavy enough to sink the scale. Pick up the small statue on that scale and toss it to the higher one; it is not enough to balance. Jump down a level, kill the Gohma that respawned and climb the stairs to the north side.
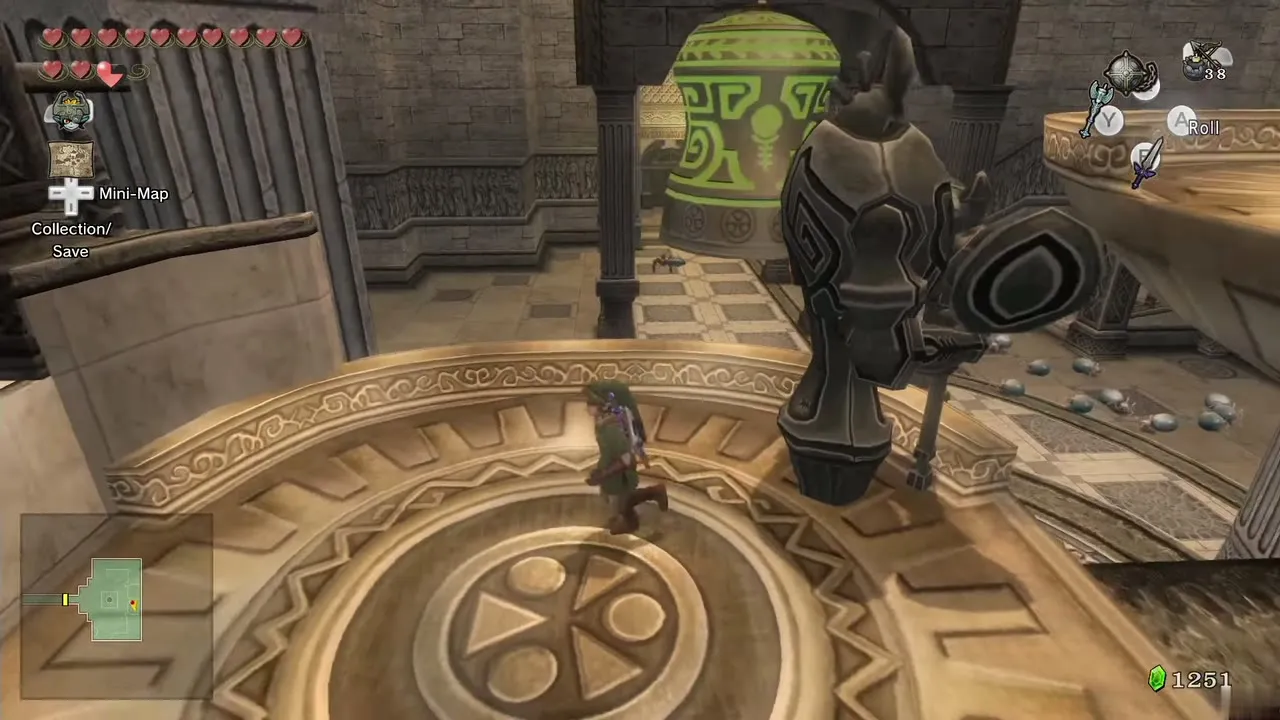
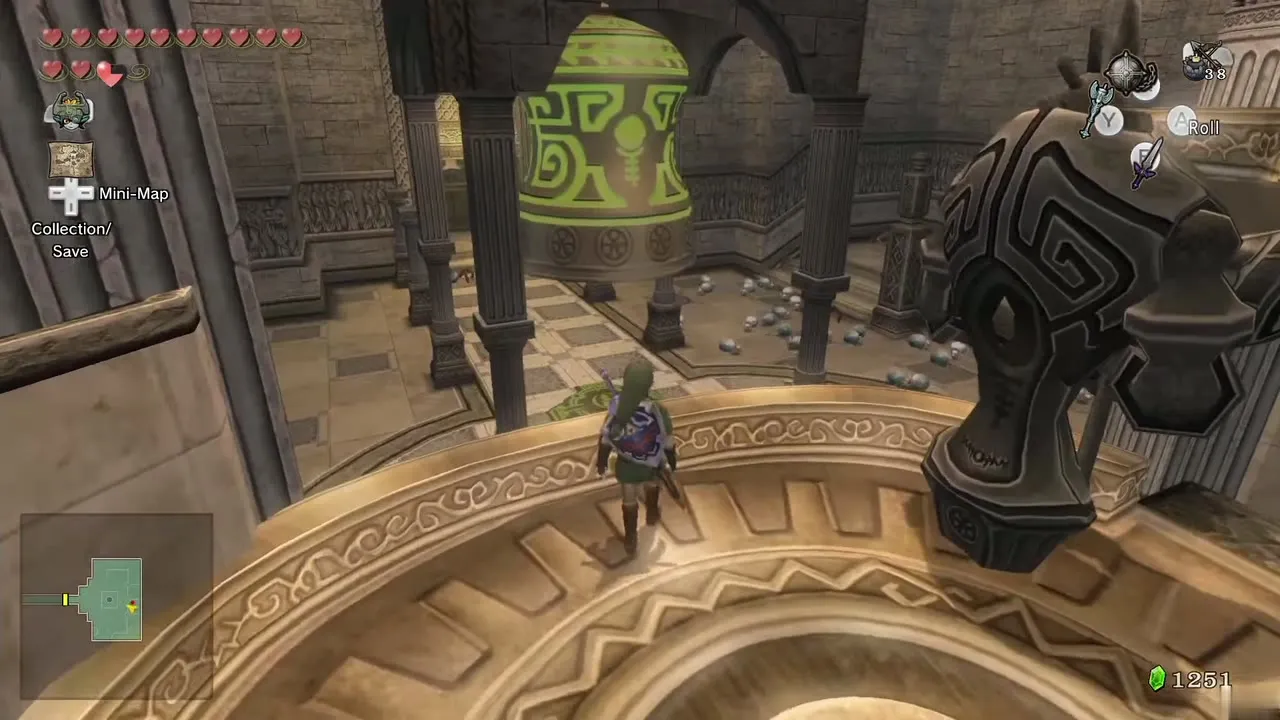
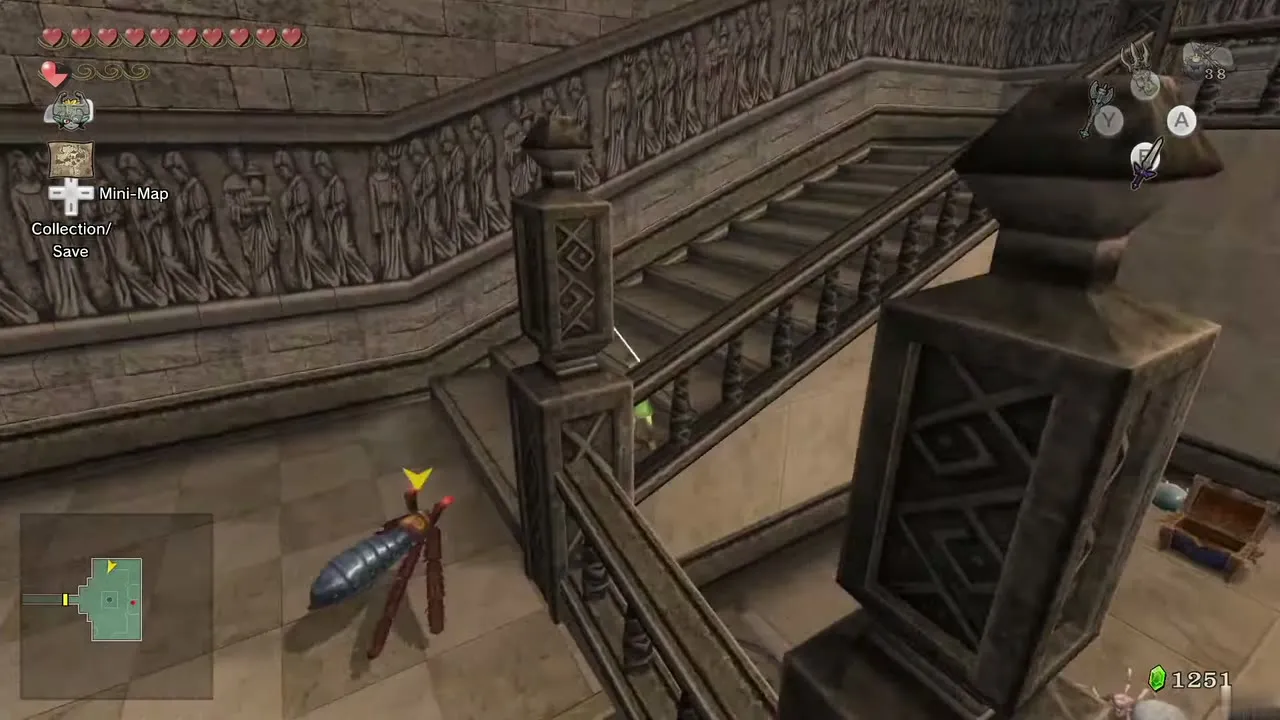
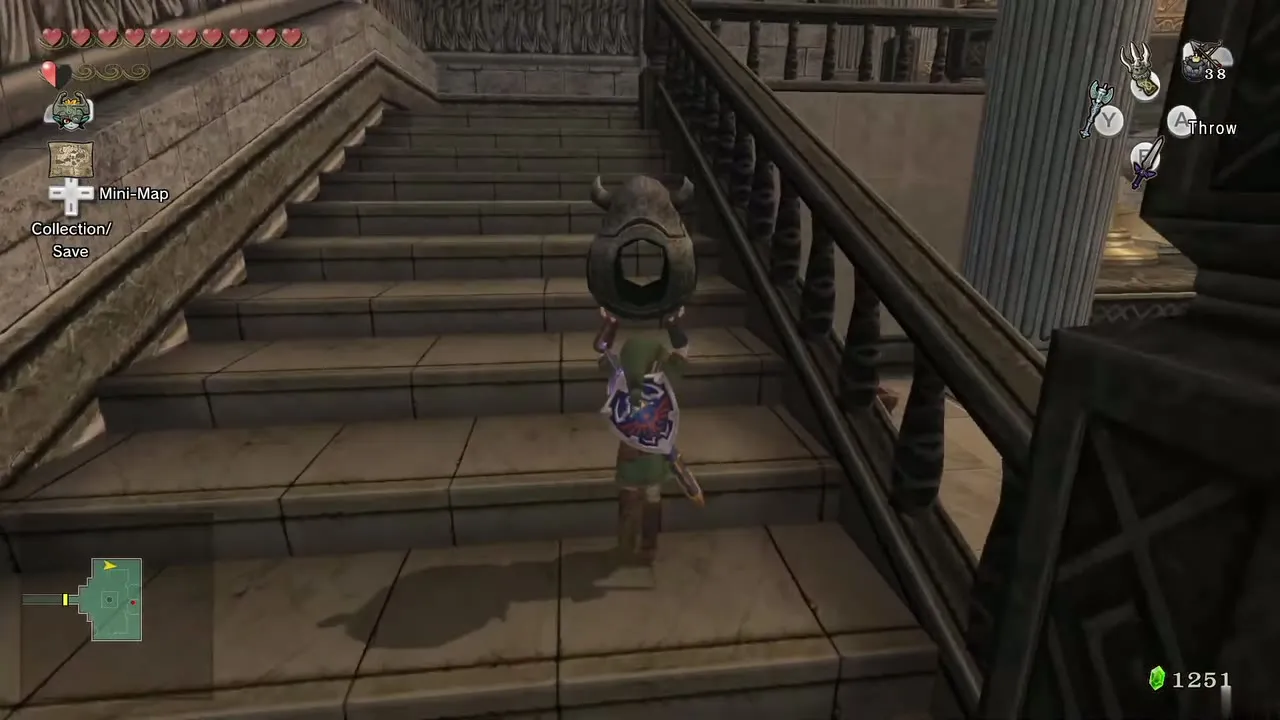
Three small statues stand on the west wall. Use the rod to bring two of them down and toss them onto the far scale. Step off both scales and the weights finally match.
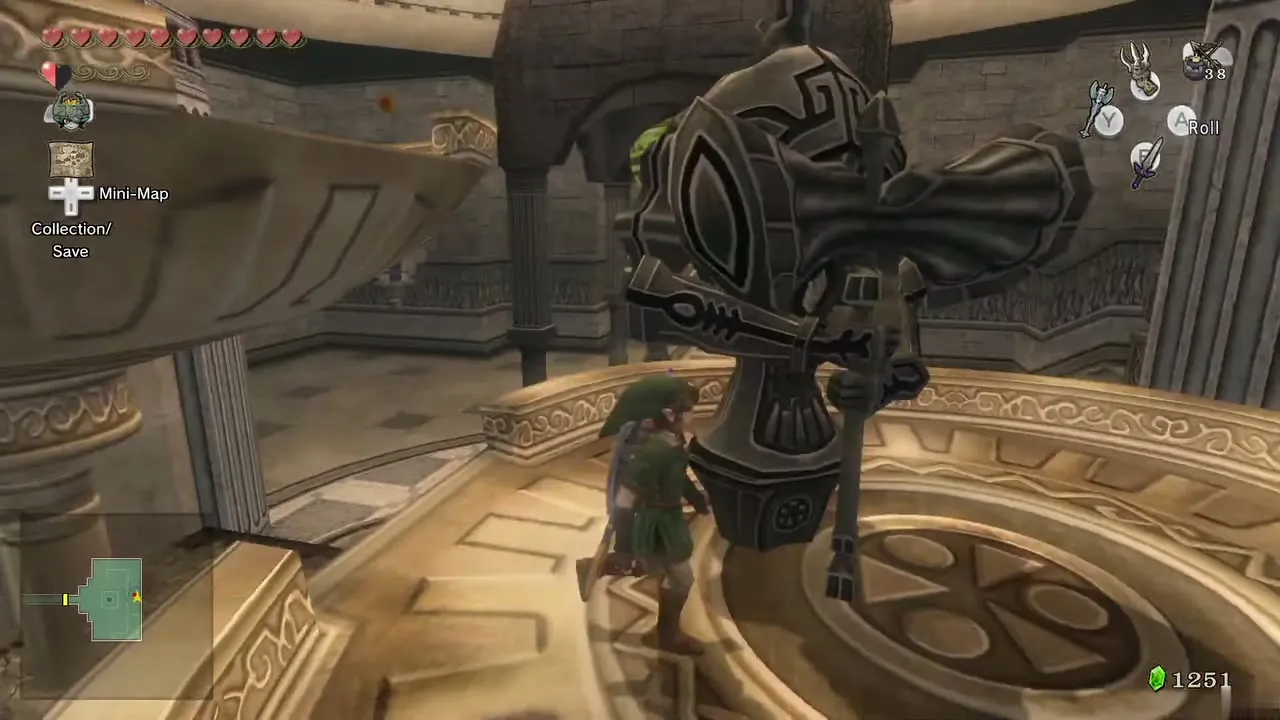
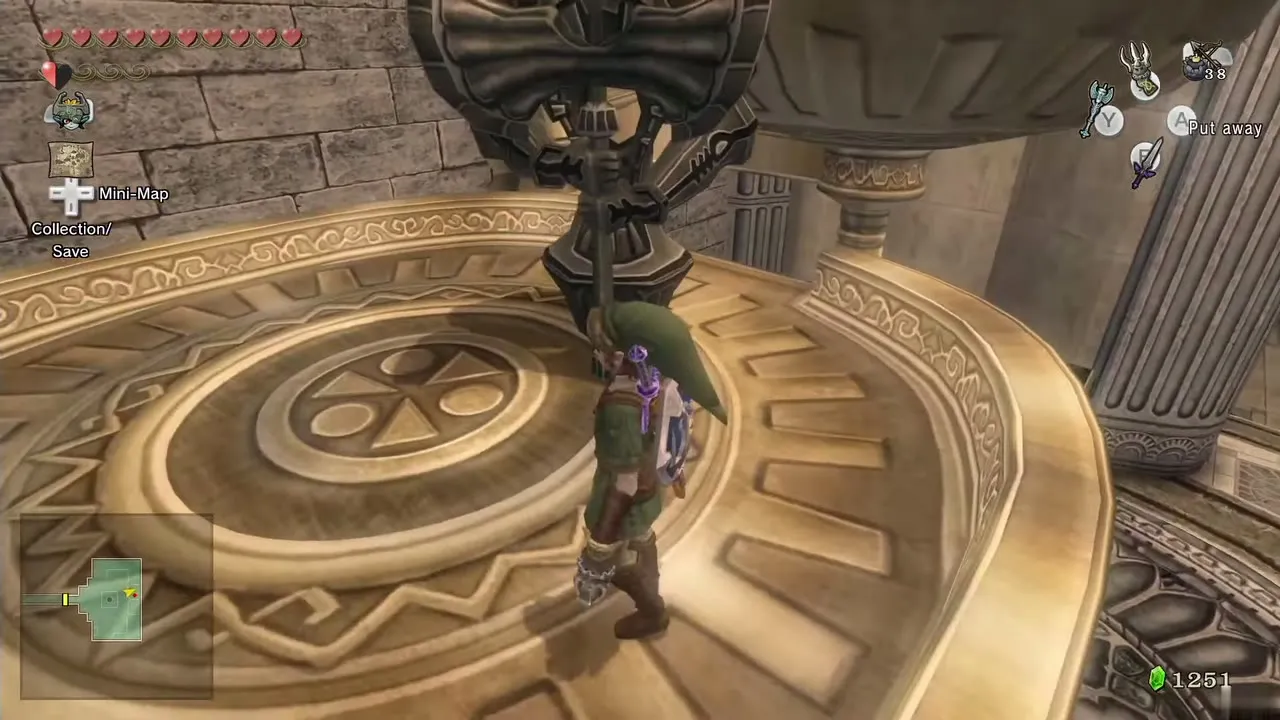
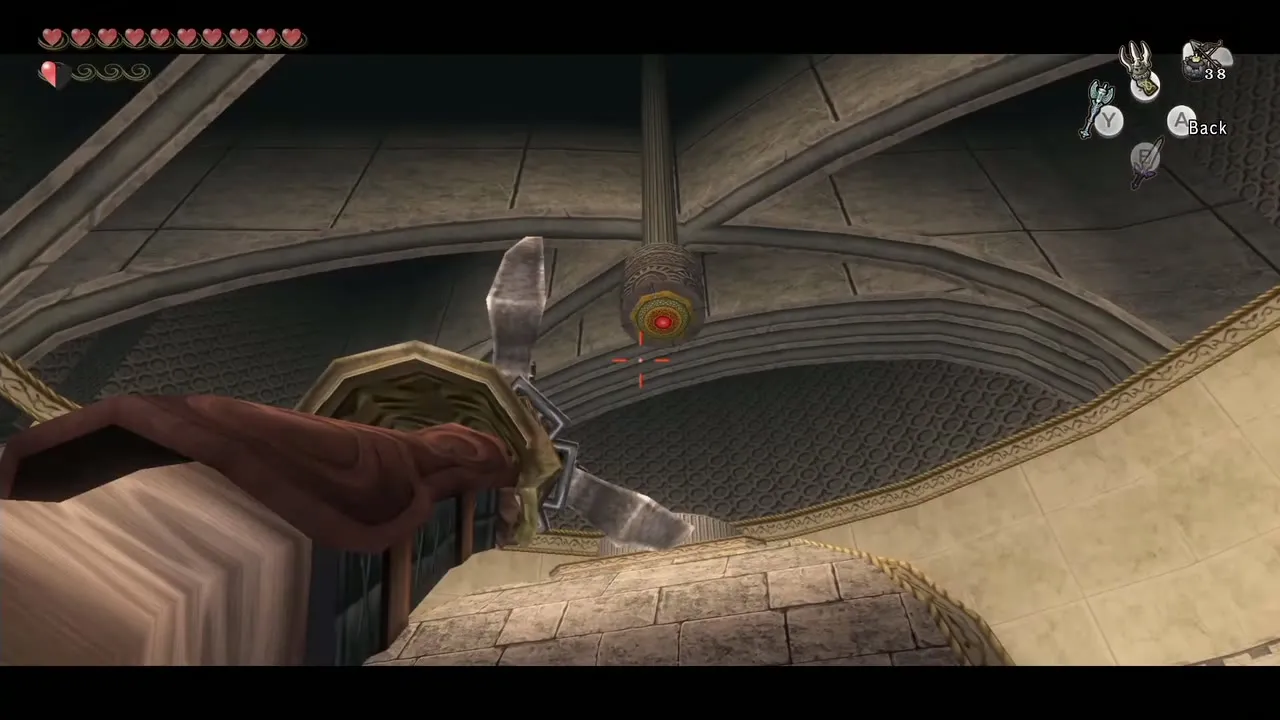
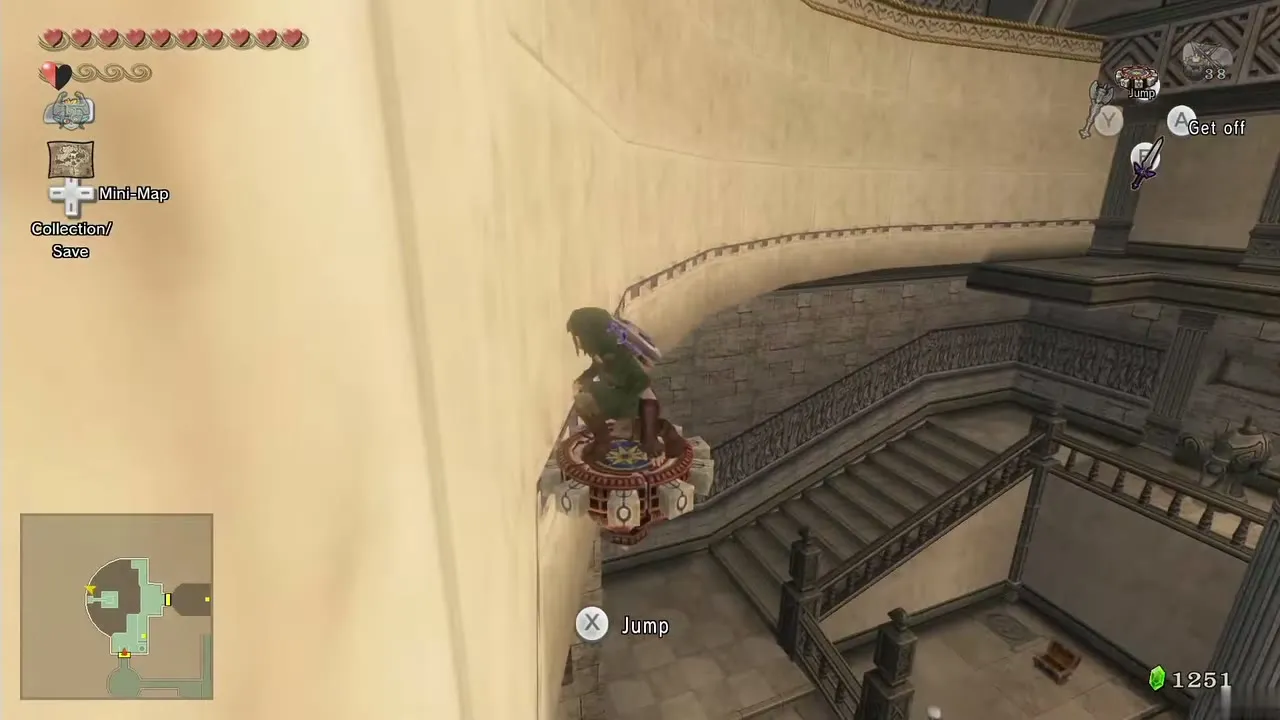
Walk the large statue to the north end, down the steps and onto the centre of the floor under the bell, and it is sent to the next room. Climb up and step on the scale; four small statues sit on the other side, so yours stays high. Clawshot the target on the ceiling in the middle and let go to land on the central structure.
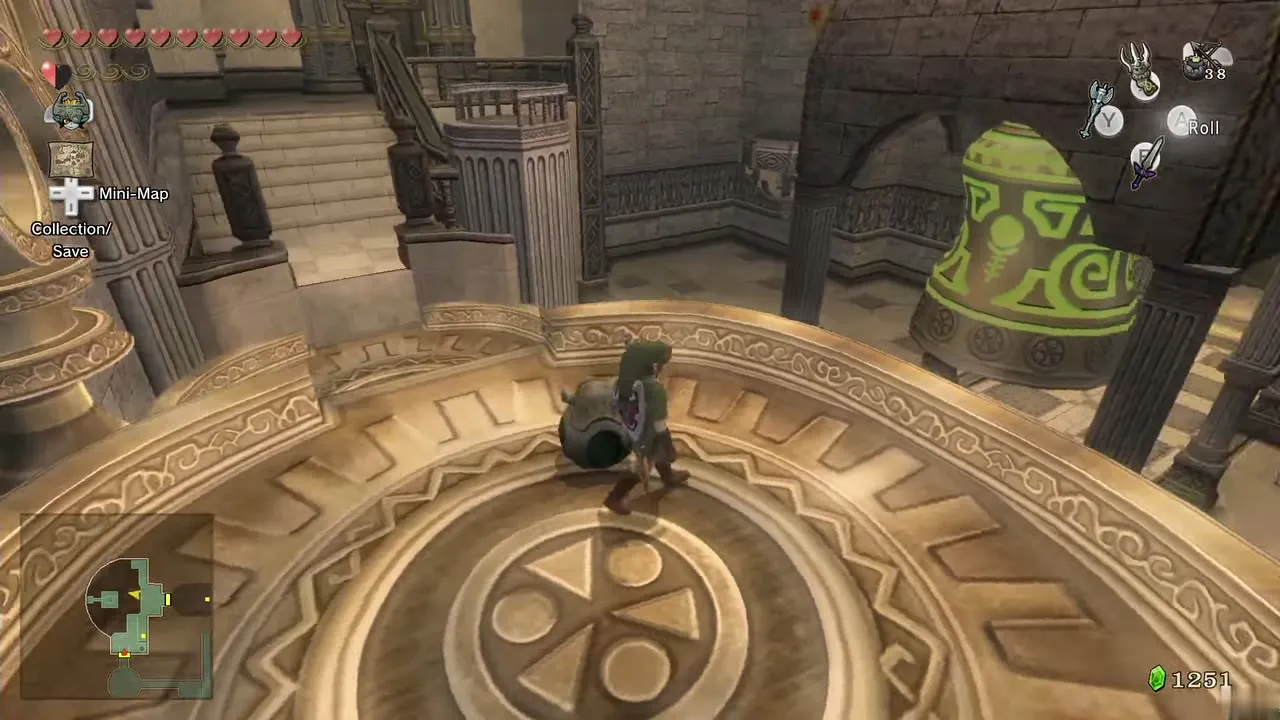
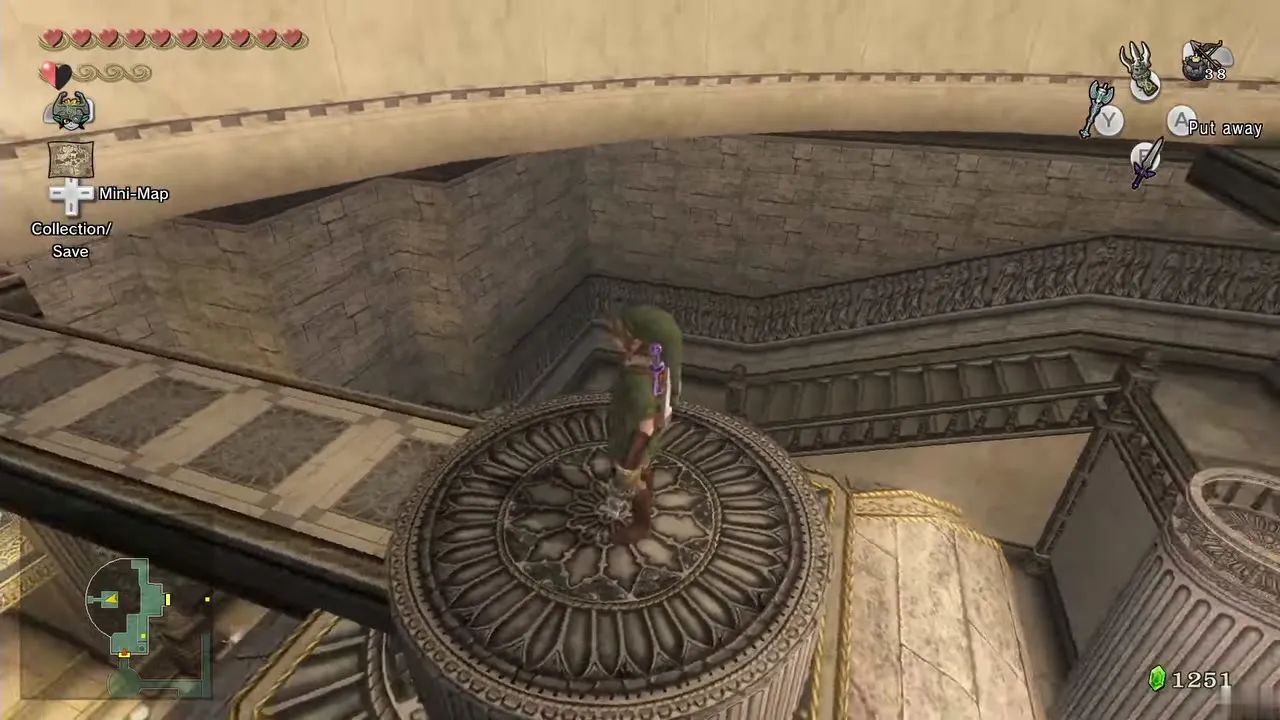
Spinner track and Poe
Helmasaur room and Big Key
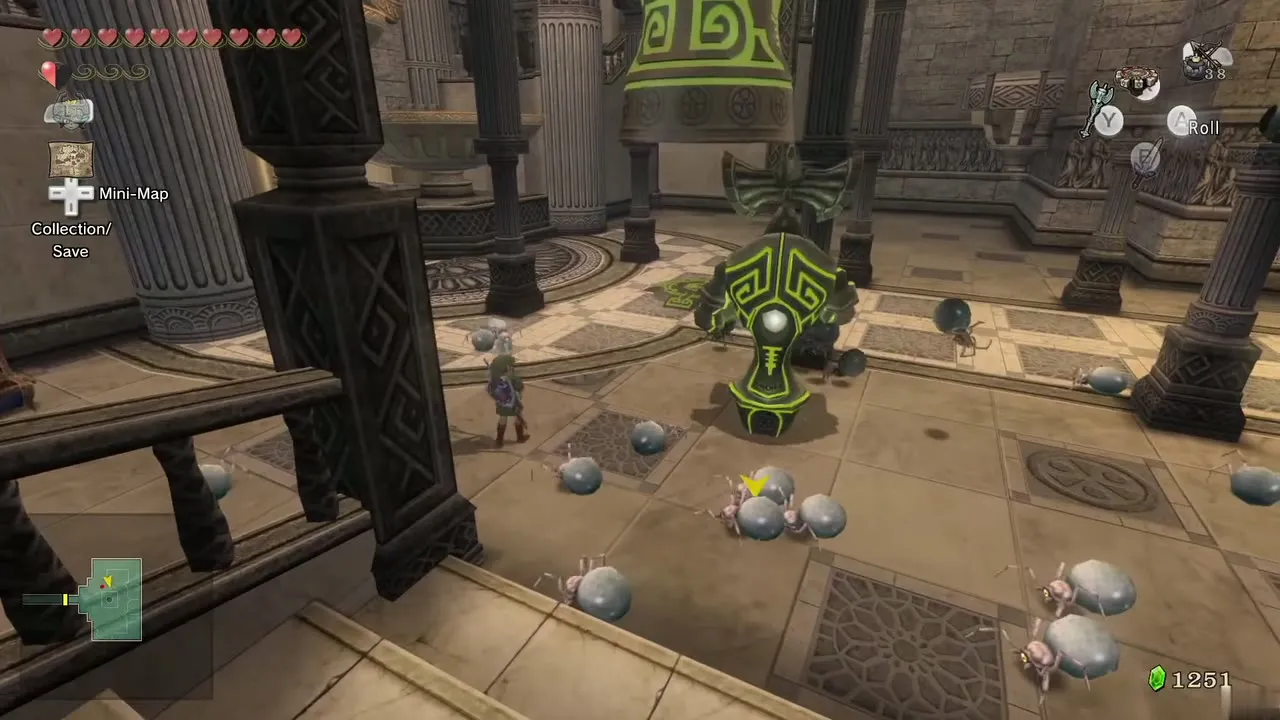
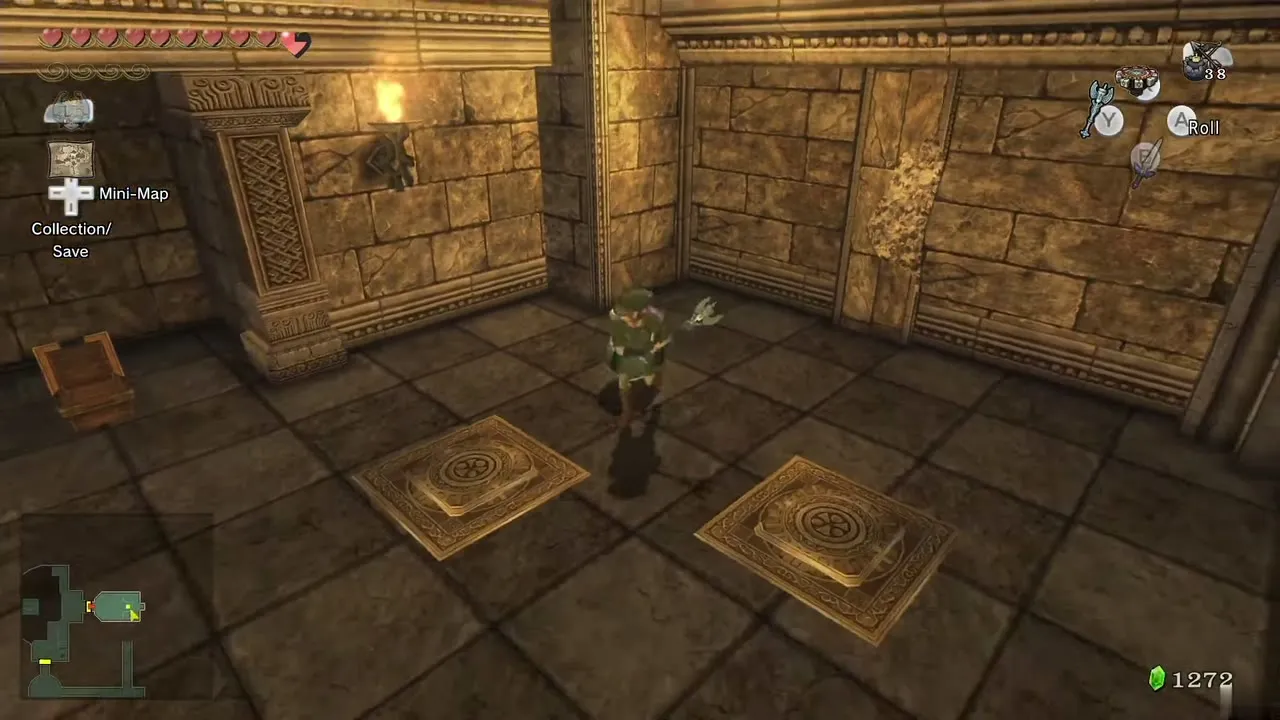
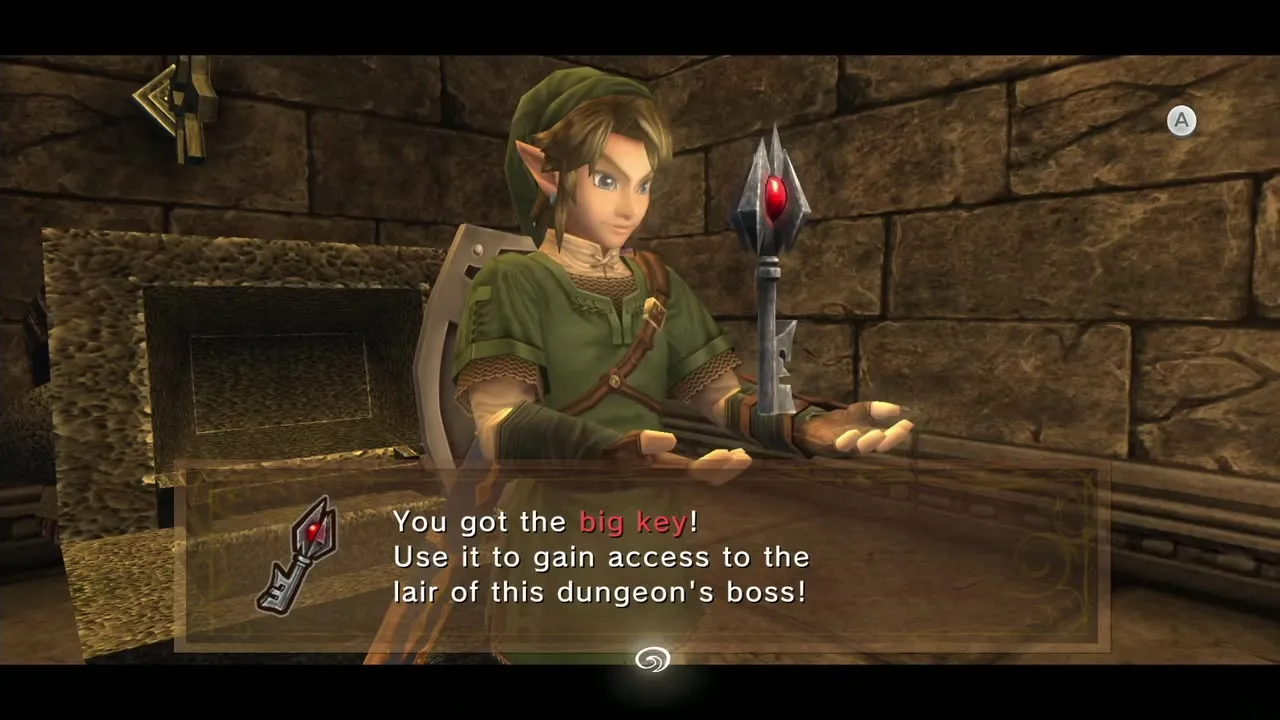
Defeat the two Helmasaurs and the Armos on this lower level. A gate blocks the main chest, so look up and Clawshot the ceiling target to reach a chest with a red Rupee. Four switches are visible on the floor. Put the two small statues here on two of them, use the rod to place the third small statue from the ledge in the north on a third, then Clawshot one of the Helmasaur armour plates and drop it on the fourth. The gate below opens: drop down and open the chest for the Big Key. Return to the previous room.
Optional: two Heart Pieces

Heart Piece one
Drop to the lower area and return to the previous room. Jump down past the scales and go through the door on the lower level. Run down the steps and you see the Guardian Statue behind a fence. Wake it, walk north (it keeps moving even if Link walks into a wall) and release it at the wall. Step into the small circle on the floor and shoot the crystal switch to turn it red. Go north and aim the rod at the large statue again, putting it on the central switch to turn off the electric charge. Walk to the north-west corner and open the chest for Piece of Heart #39 (Heart Pieces).
Heart Piece two
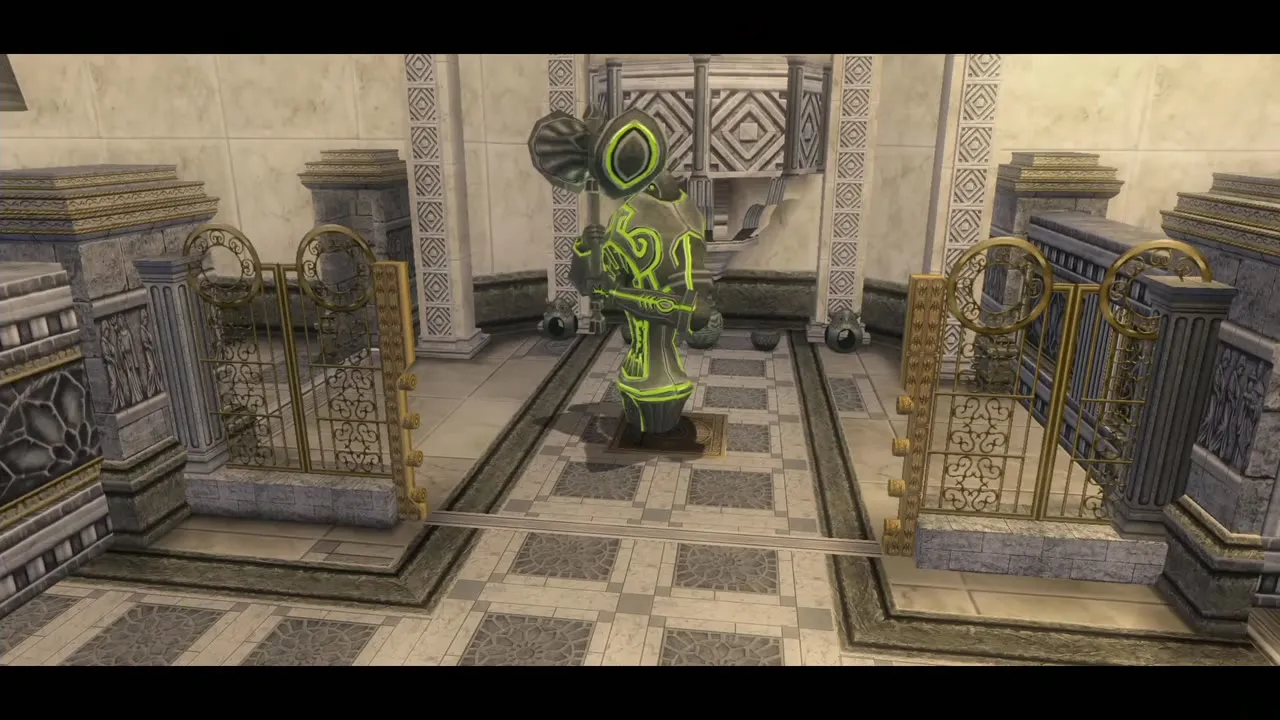
Walk back to where the electric charge was and wake the statue again. Skip the crystal and smash the movable wall with its hammer. Walk the statue through the corridor in the north-east, breaking dead Beamos and walls, and set it on the symbol in the middle of the area. Take the door in the south-east.
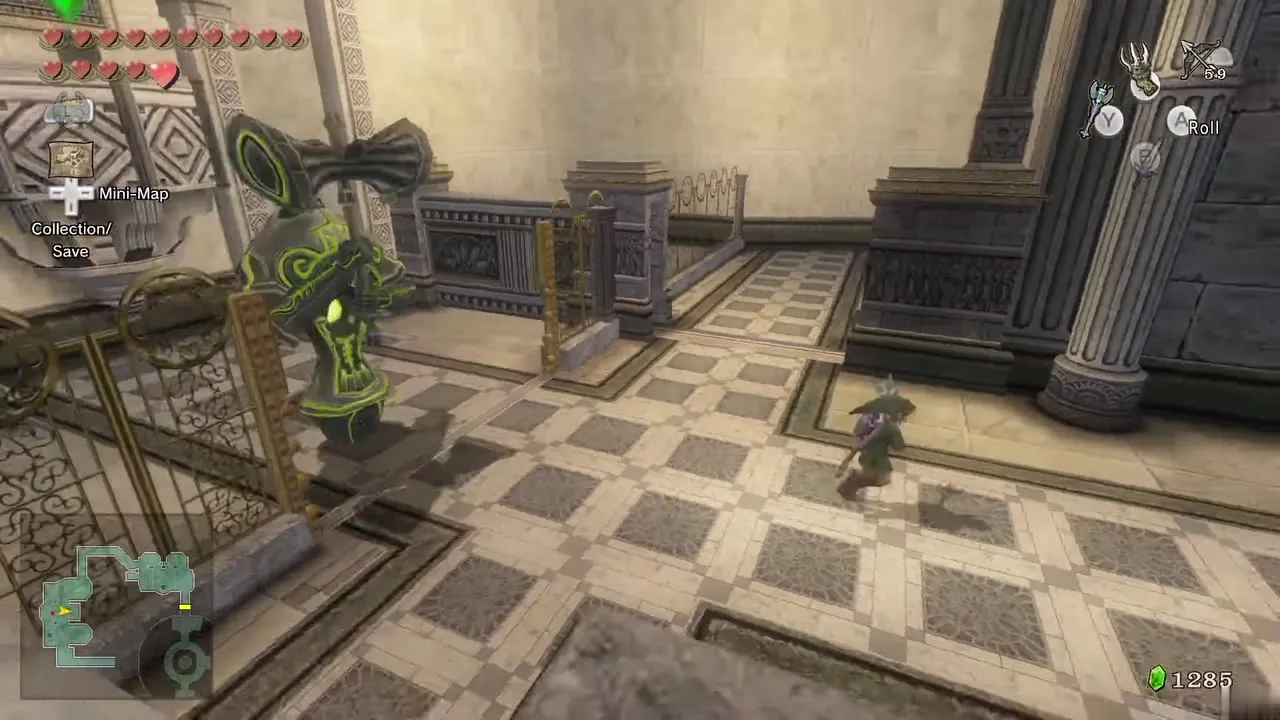
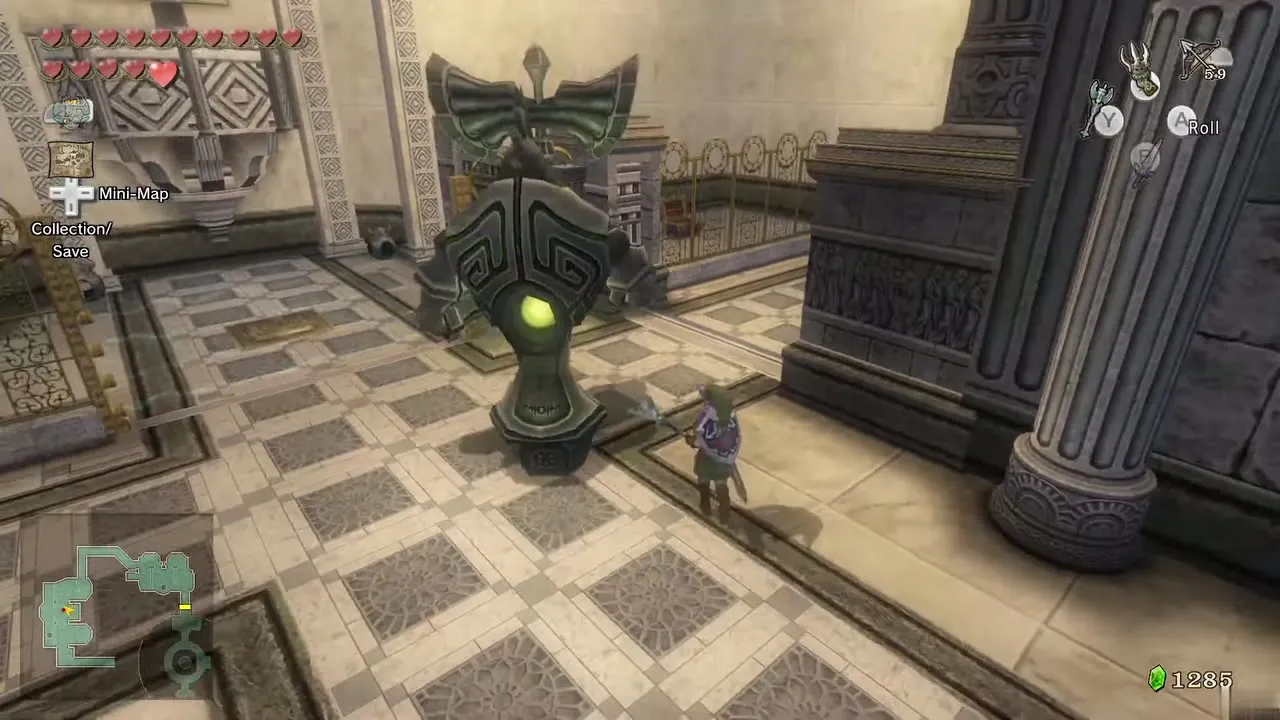
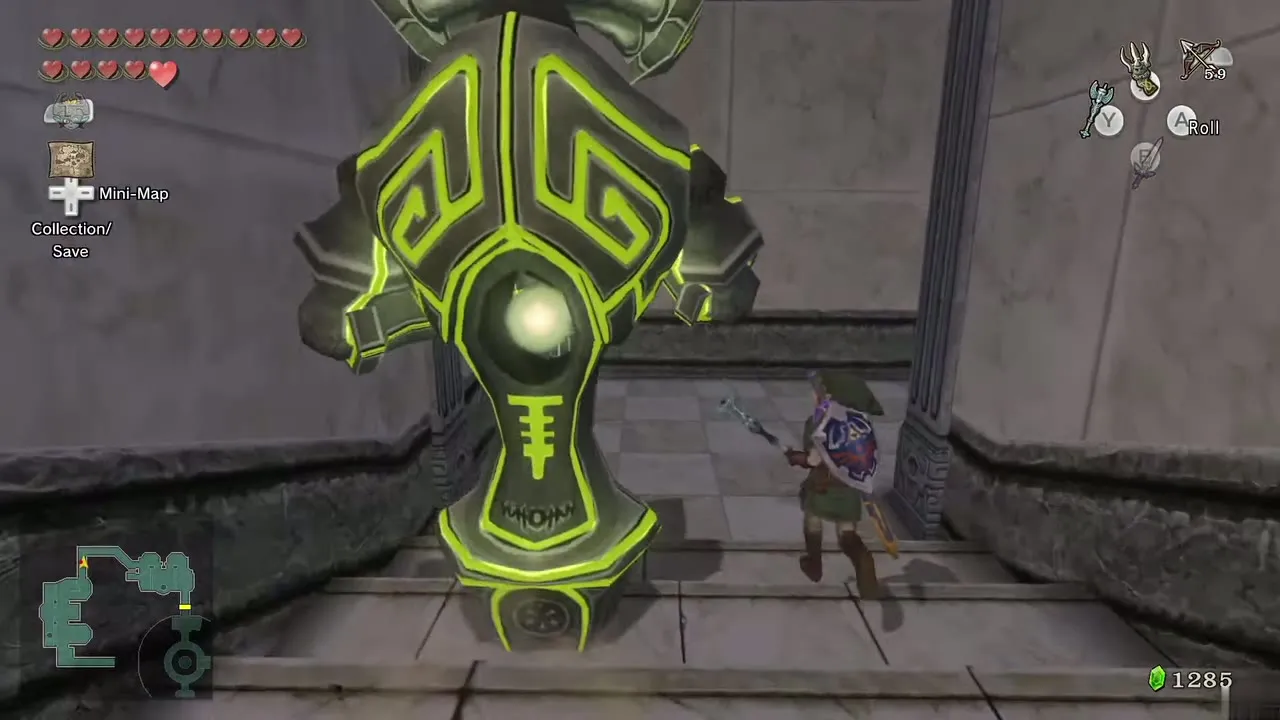
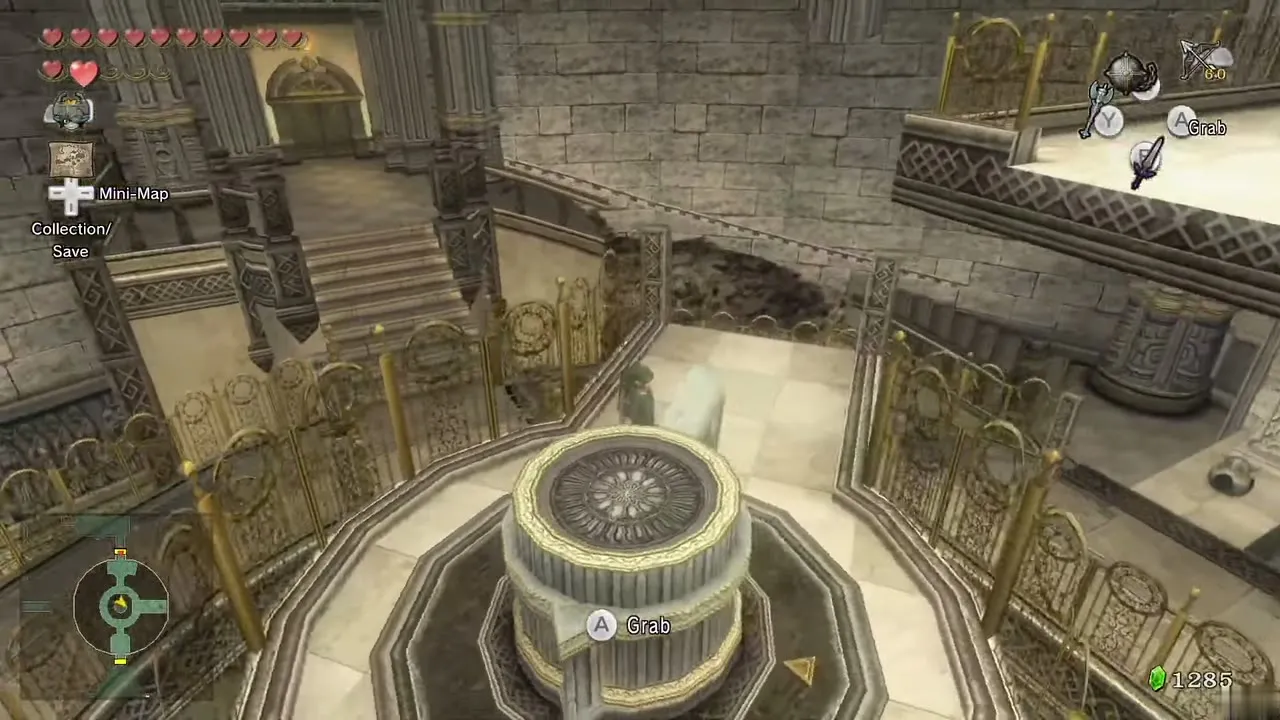
Your Compass shows a chest in the corridor just south, so repeat the platform routine to reach its door. Push the wedge of the centre platform counter-clockwise to reach the bottom floor, pick up a small statue, push the wedge clockwise to return to the second floor and set the statue on the first switch. Put the second small statue on the other switch, run onto the platform before it rises and go through the door in the south.
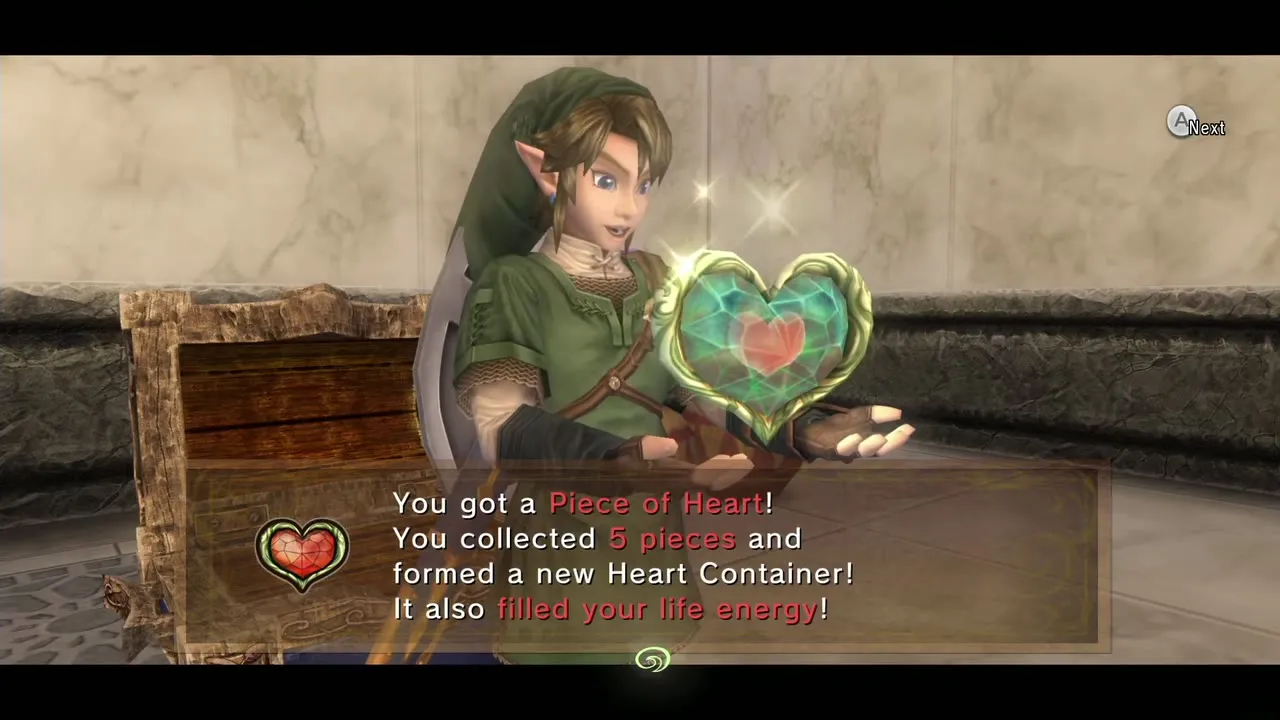
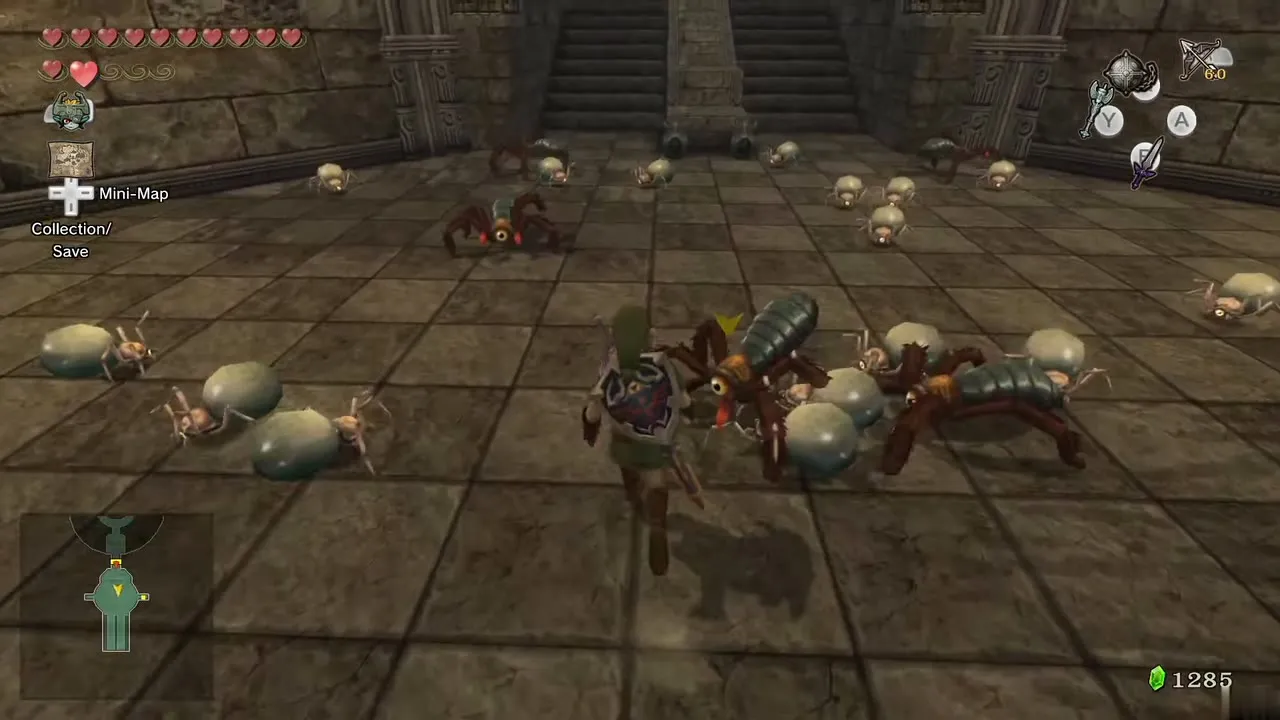
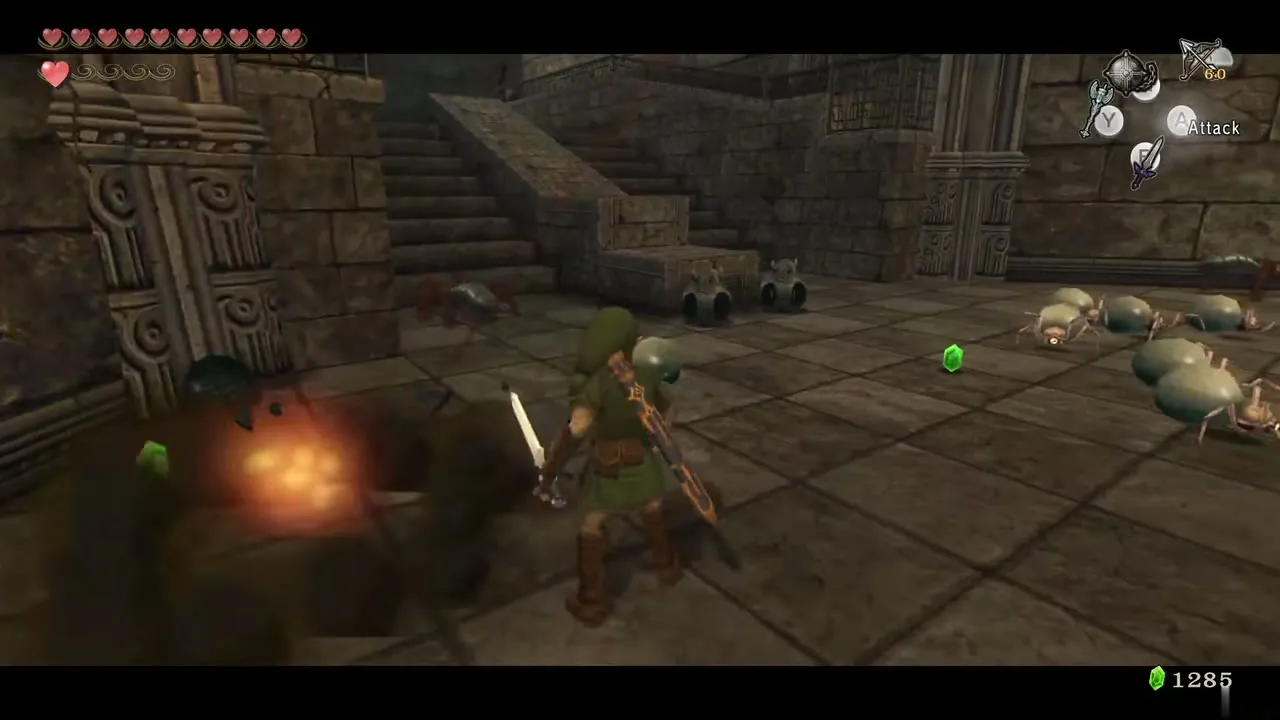
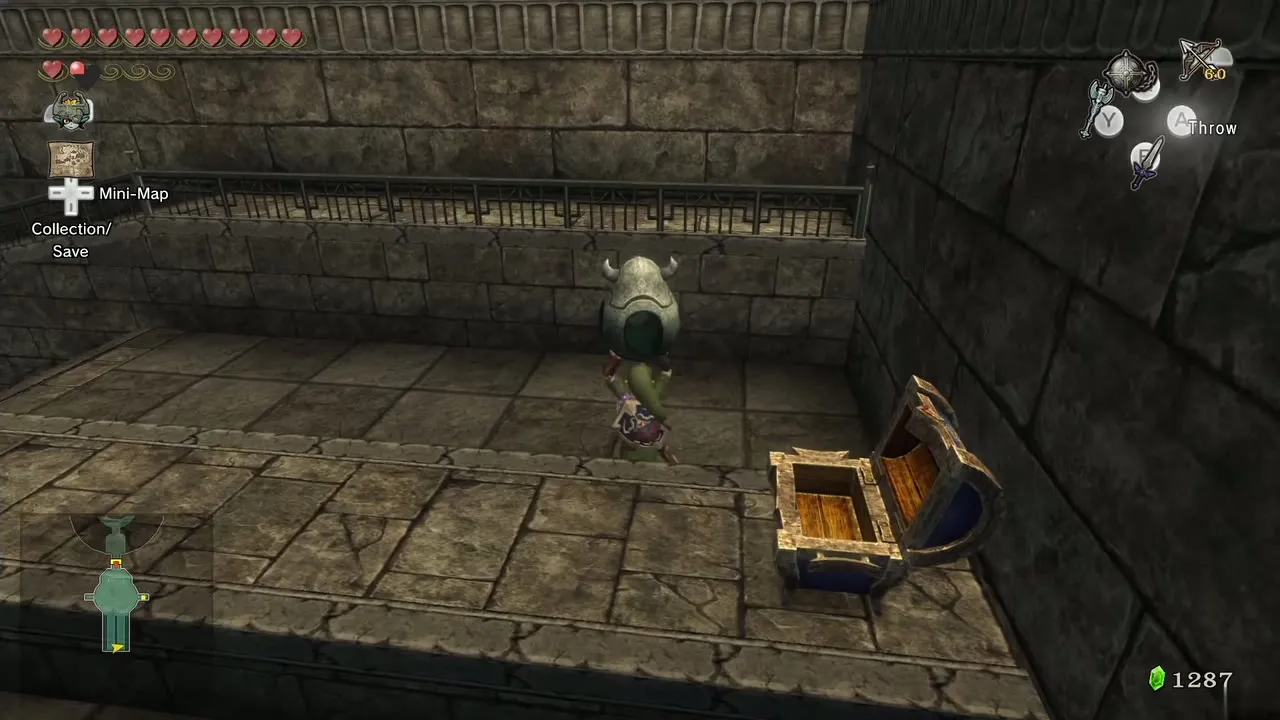
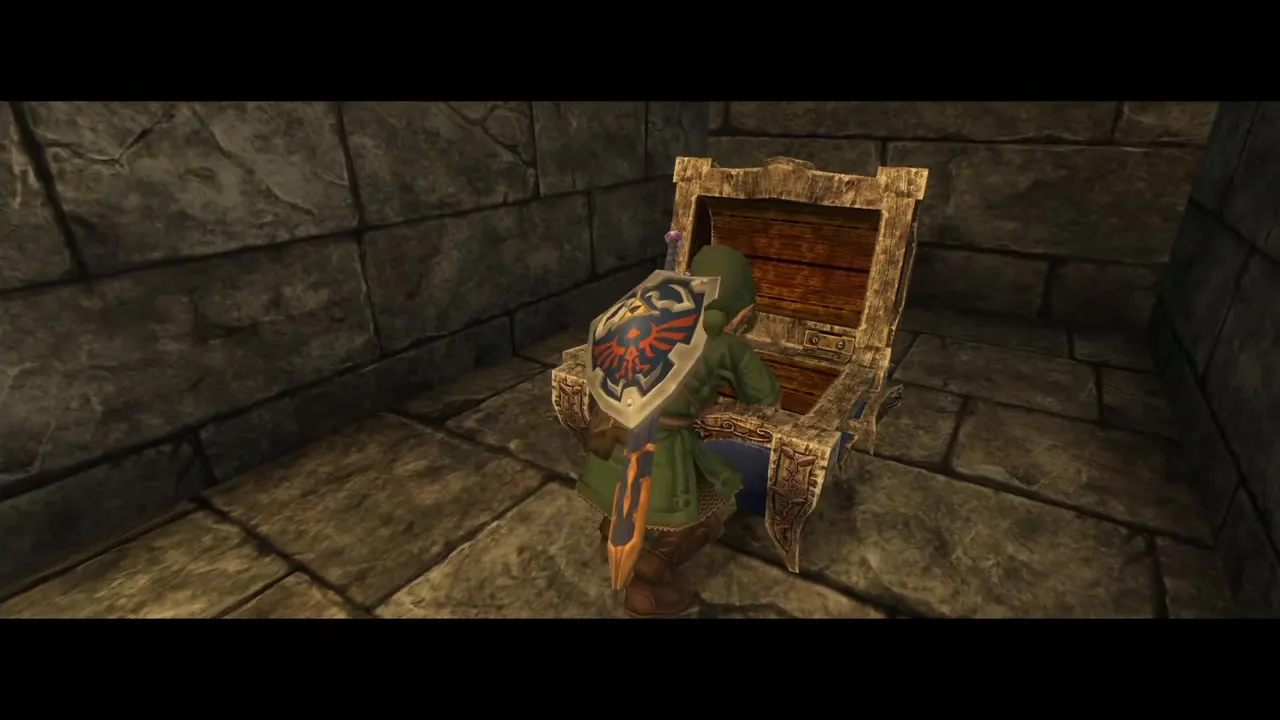
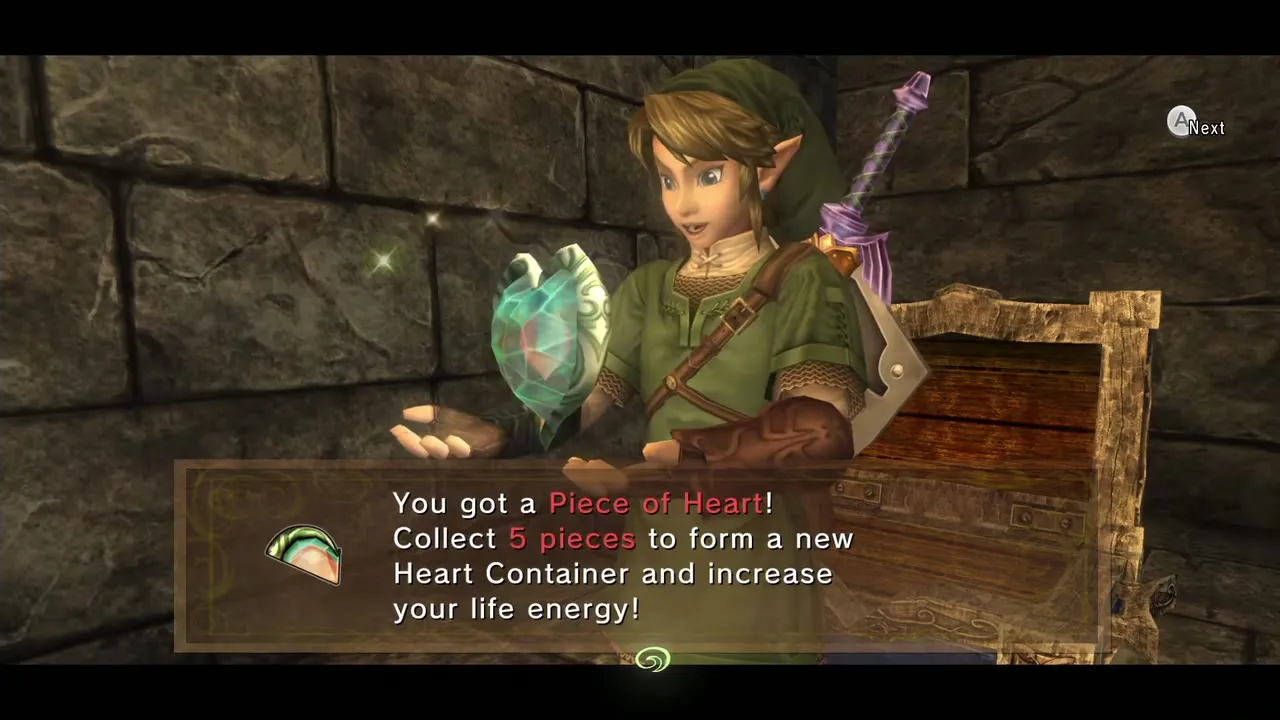
The room is full of Gohma and Baby Gohma; kill them all, then go to the far south and face west. A small statue stands on a high ledge: activate it with the rod and walk it north as far as it goes, then onto the switch on the higher platform. The opposite side has no statue, so lift one from the middle of the room, go south and throw it over the ledge, activate it with the rod and walk it onto the other switch. When both switches are pressed a chest appears with Piece of Heart #40. Return to the large round room.
Circular room again, second Poe and the boss door
Raise the platform
Run to the wedge that moves the central platform and push it clockwise to raise the platform to the top of the room. Wake the large statue, bring it onto the central platform and push the wedge counter-clockwise twice to reach the bottom.
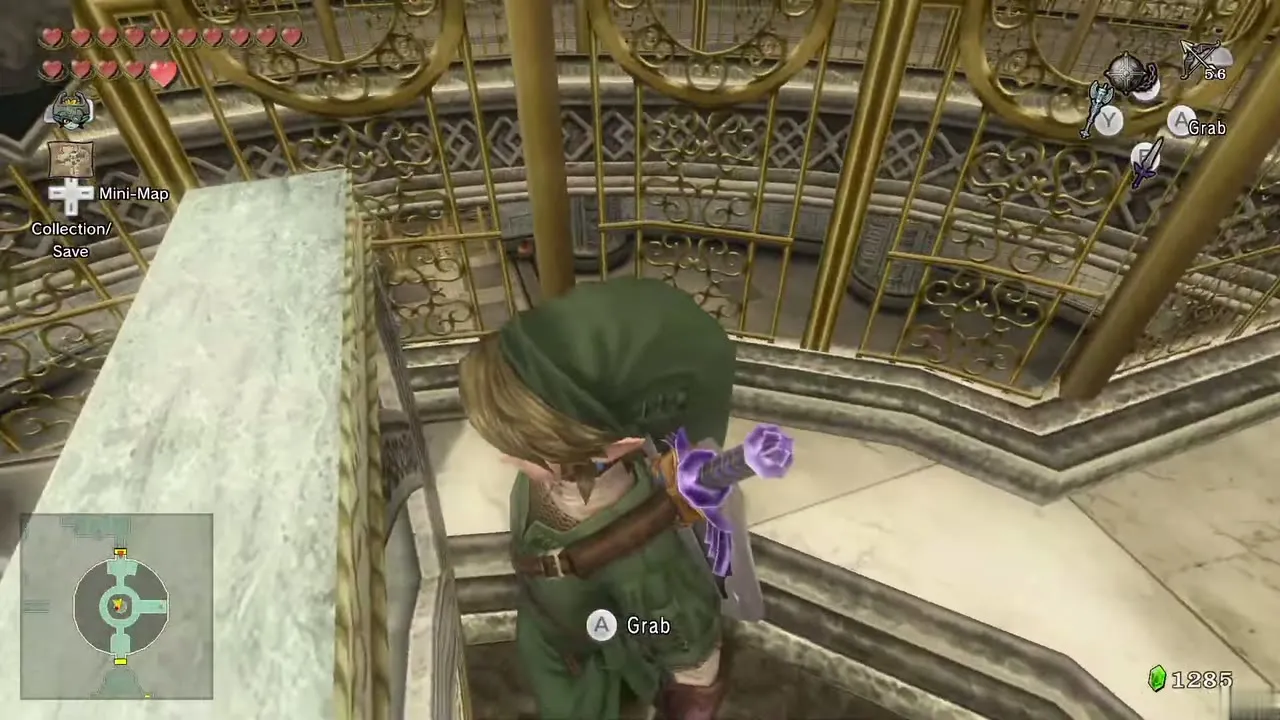
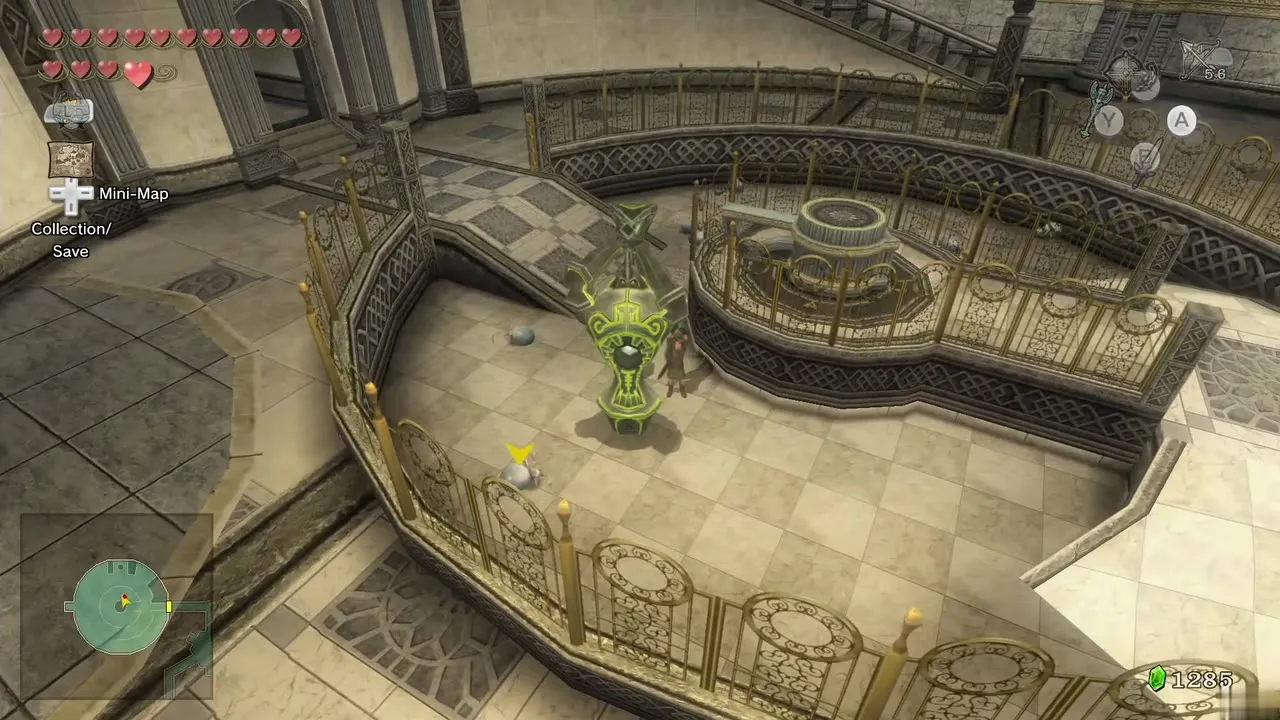
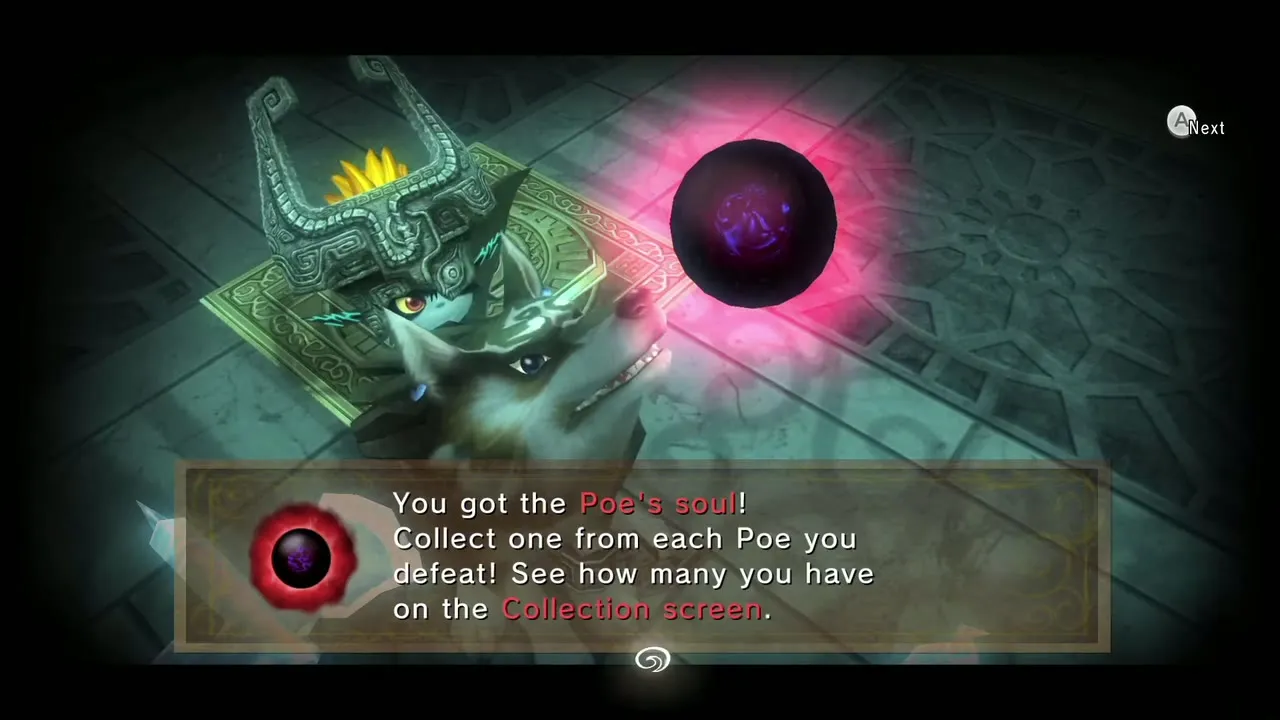
Defeat all the Baby Gohma in the pit; smashing them with the statue’s hammer is easiest. The electric fence on the east side disappears. Wake the statue and walk it past the barrier to the west end, and smash the gate with its hammer. Switch to Wolf Link and defeat the Poe here for your second Poe Soul in this dungeon, then change back.
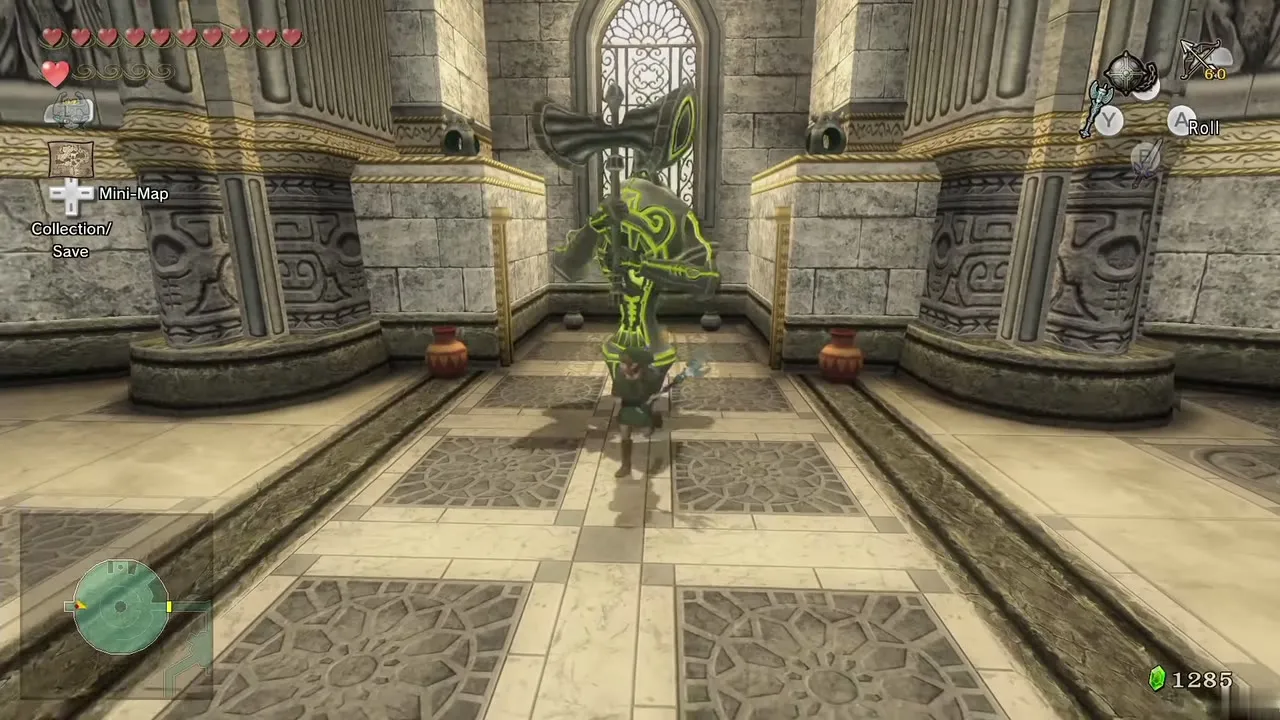
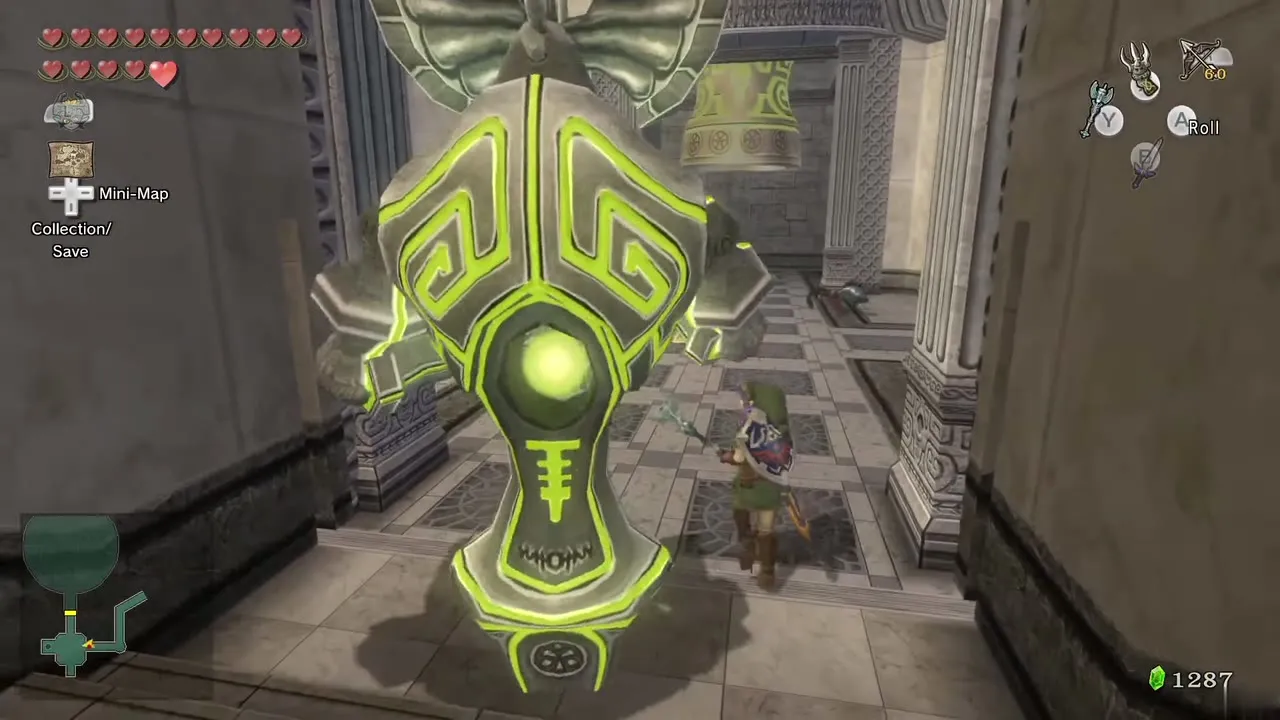
Wake the statue, take it to the north end, smash another gate and put it under the bell to send it on. Go through the east door, run down the steps and Clawshot the ceiling target to pass the gate. Kill the Armos, wake the statue and walk it down the south-west steps. Smash the gate and take the statue to the bell at the east end, then go through the north door to the temple’s first room.
Last door
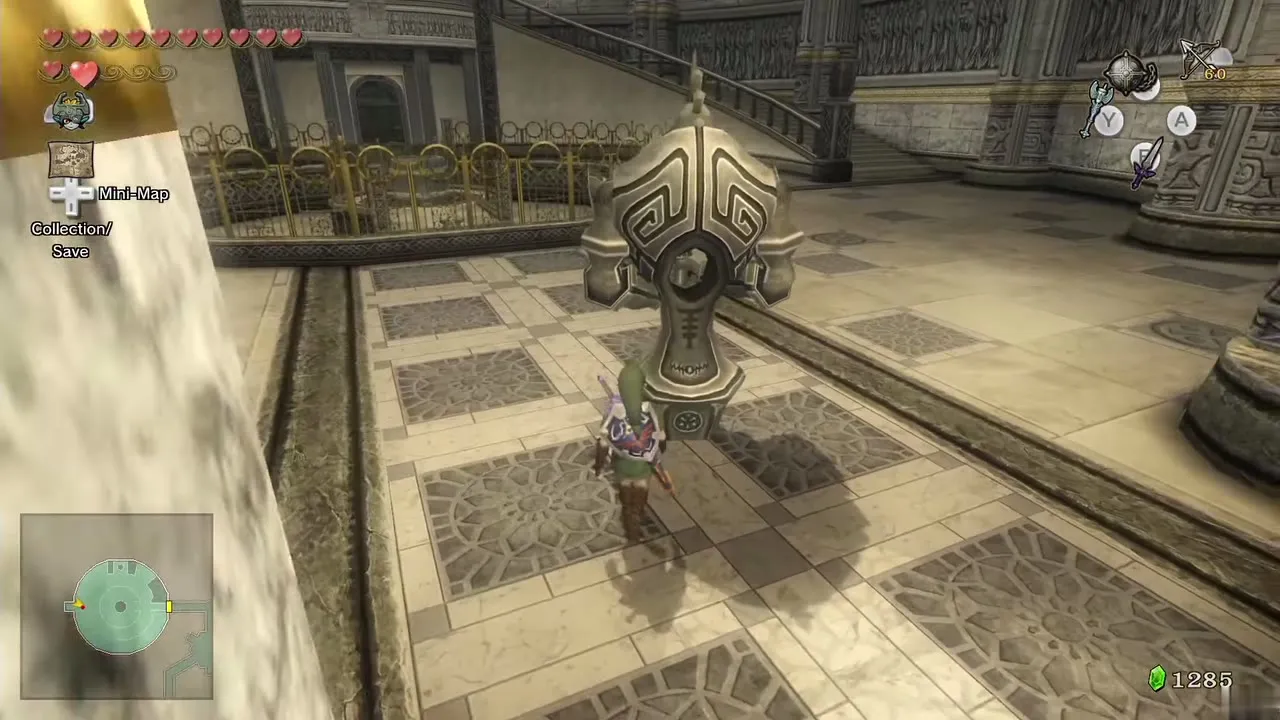
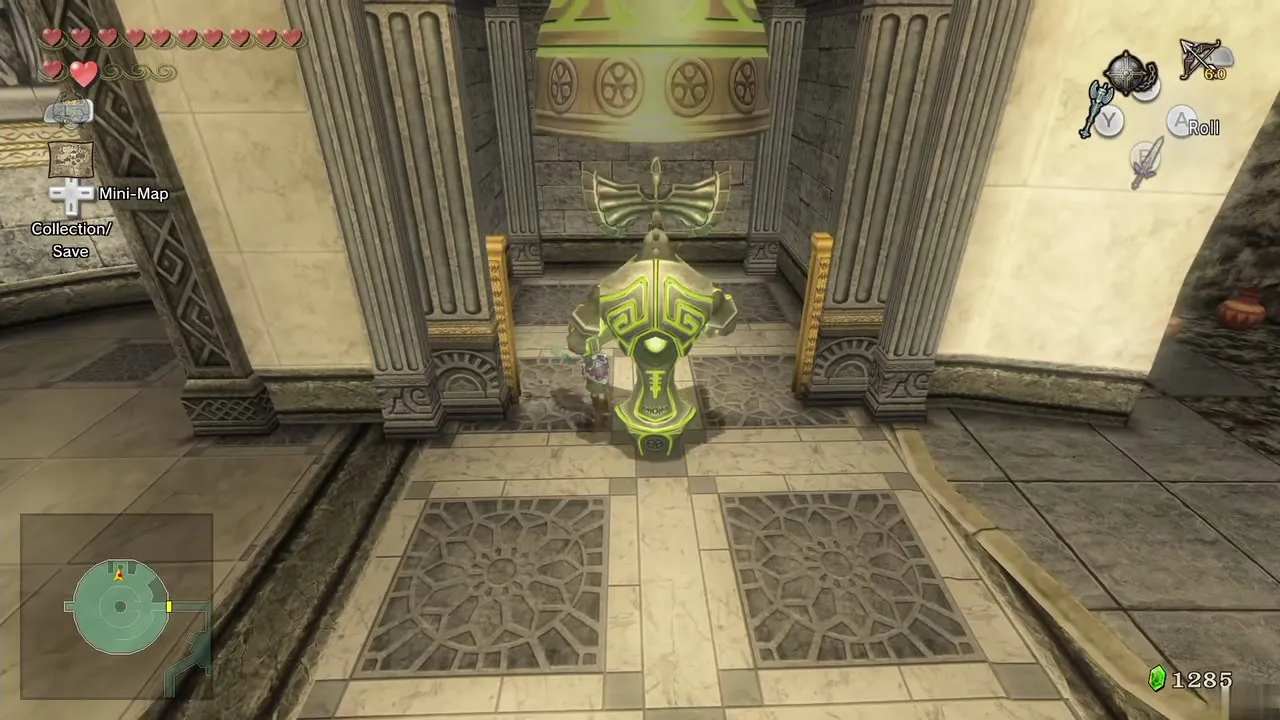
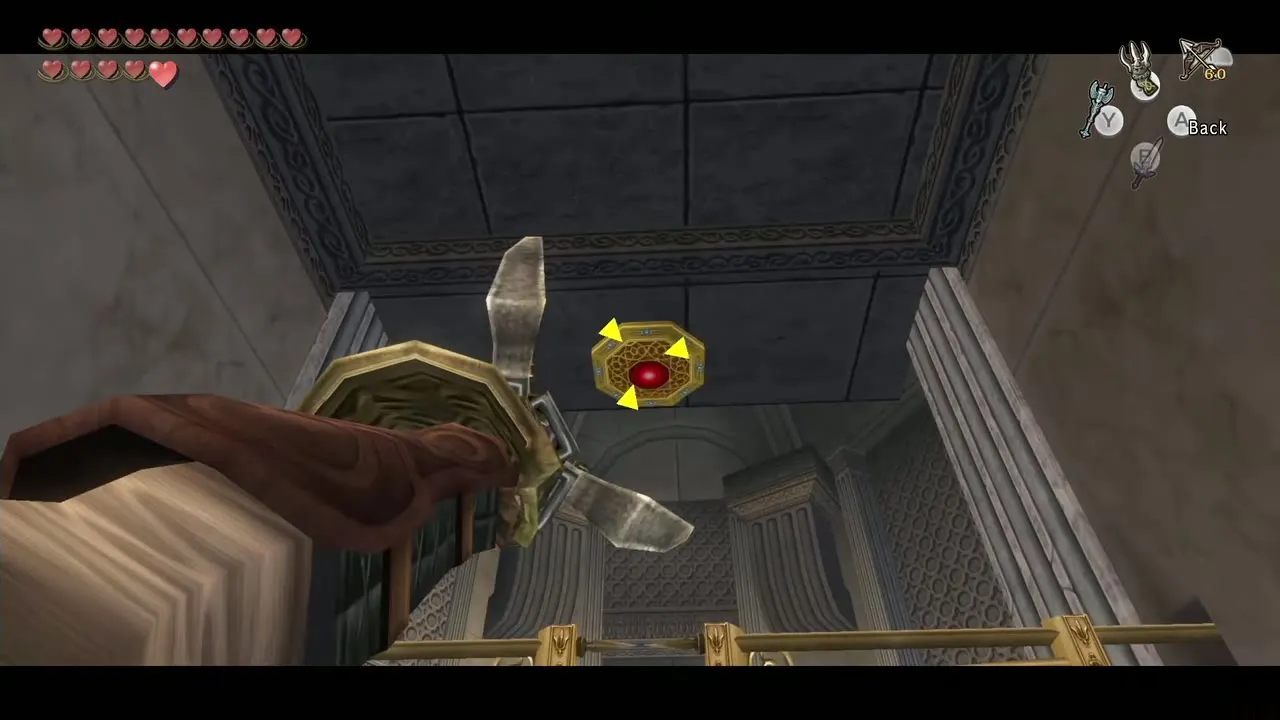
Jump to the bottom of the first room, wake the statue and move it above the symbol at the north door. The door opens, so go straight ahead. Shoot the Beamos, avoid the spike and hop the gap, then pass two more Beamos while dodging swinging blades. After two pendulums a floor switch waits. Pick up the small statue at the first pendulum and place it on the switch: the first gate opens but the back one closes. Jump the gap, turn around and use the rod on that statue, then walk it north so it leaves the switch and the back gate opens.
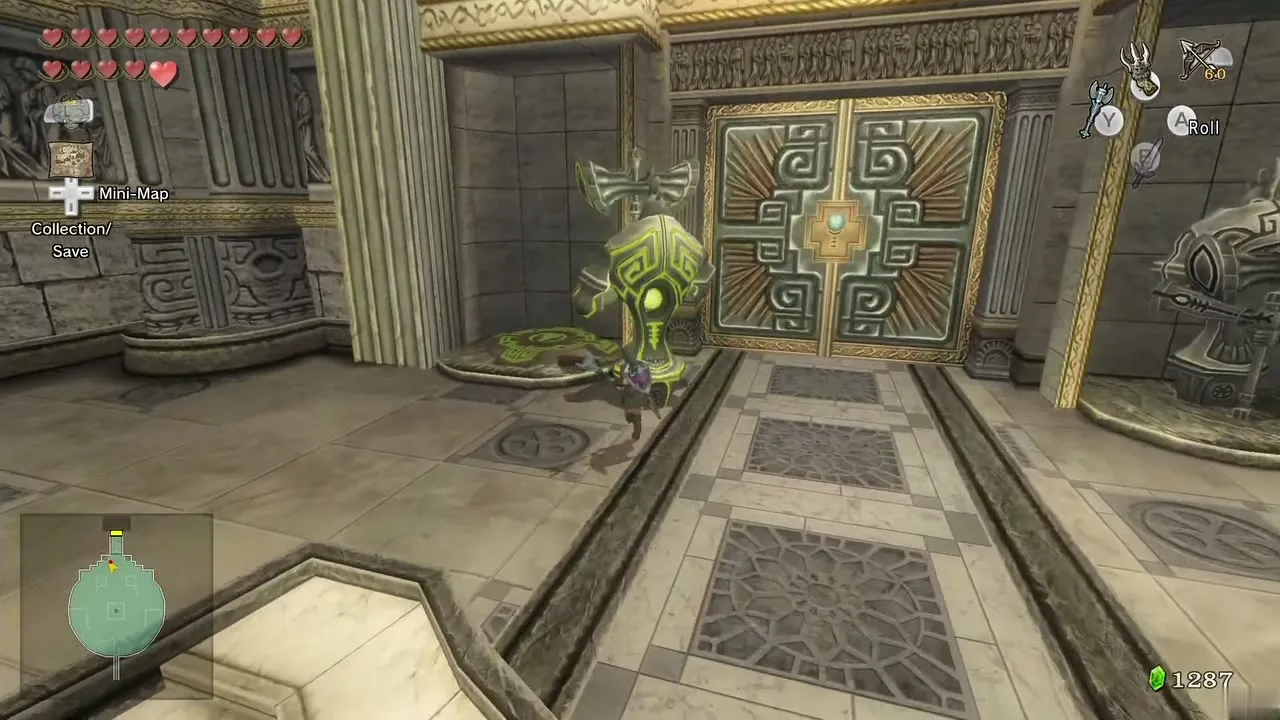
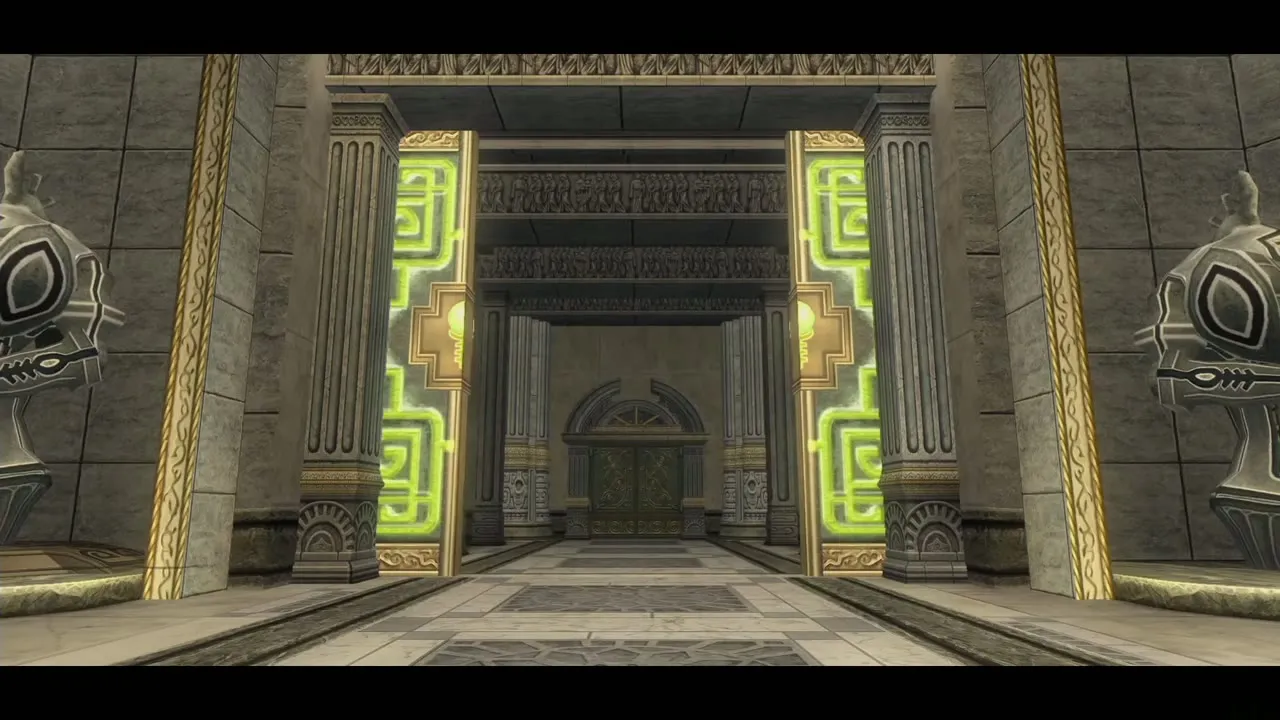
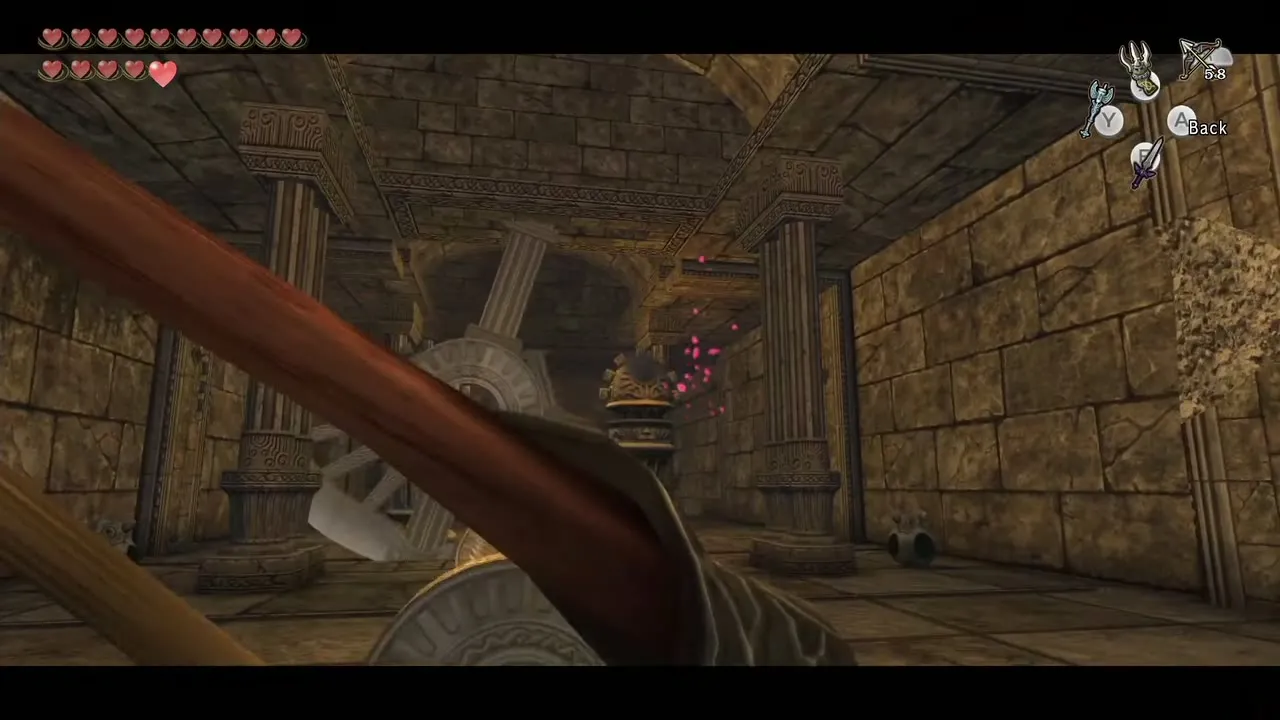
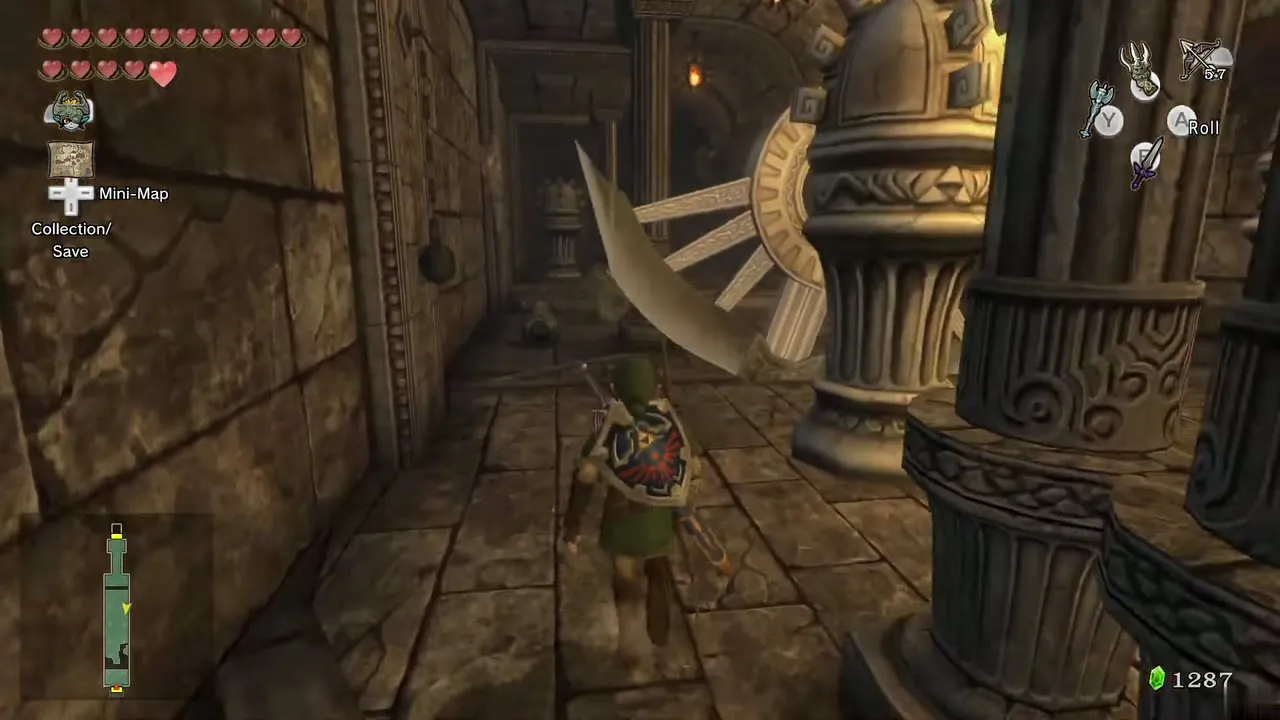
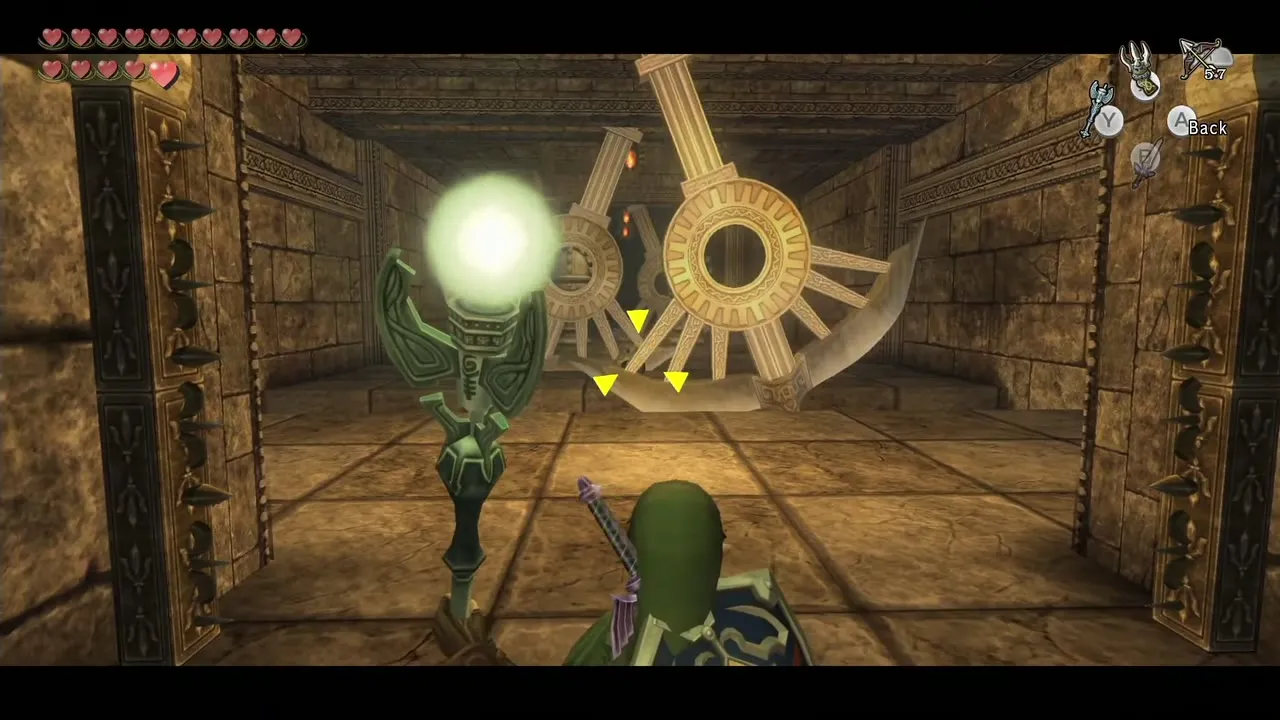
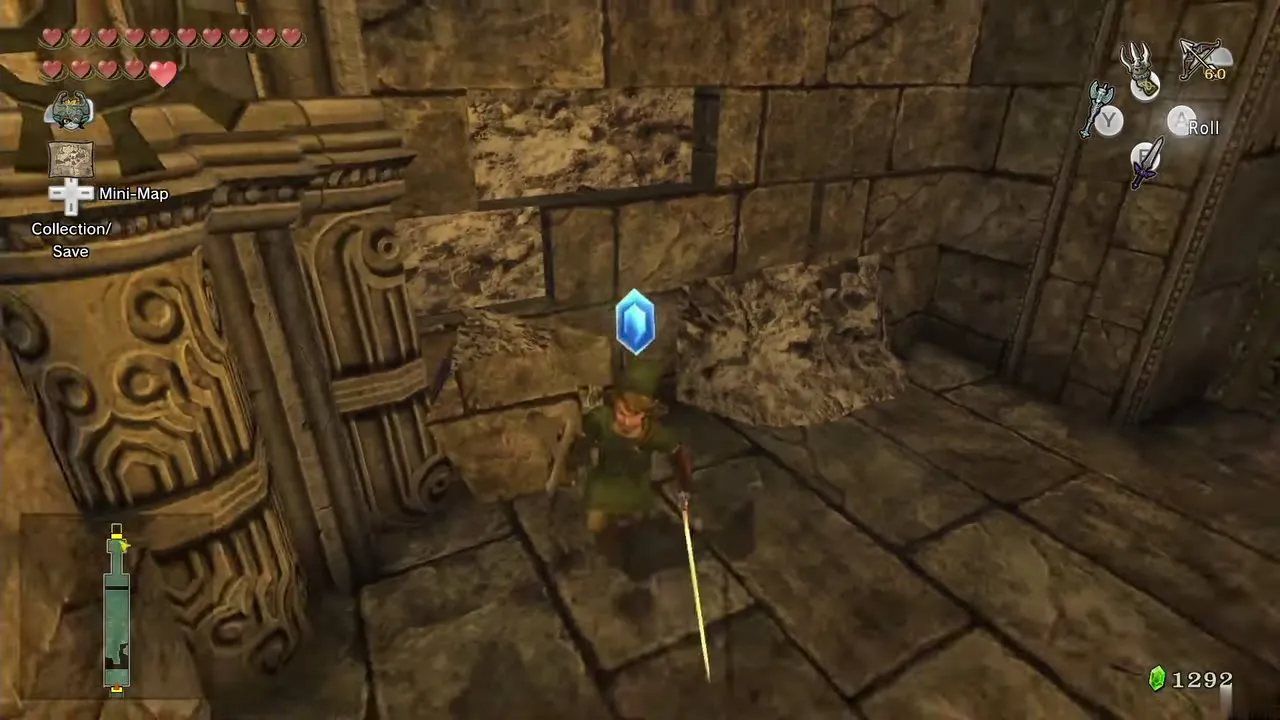
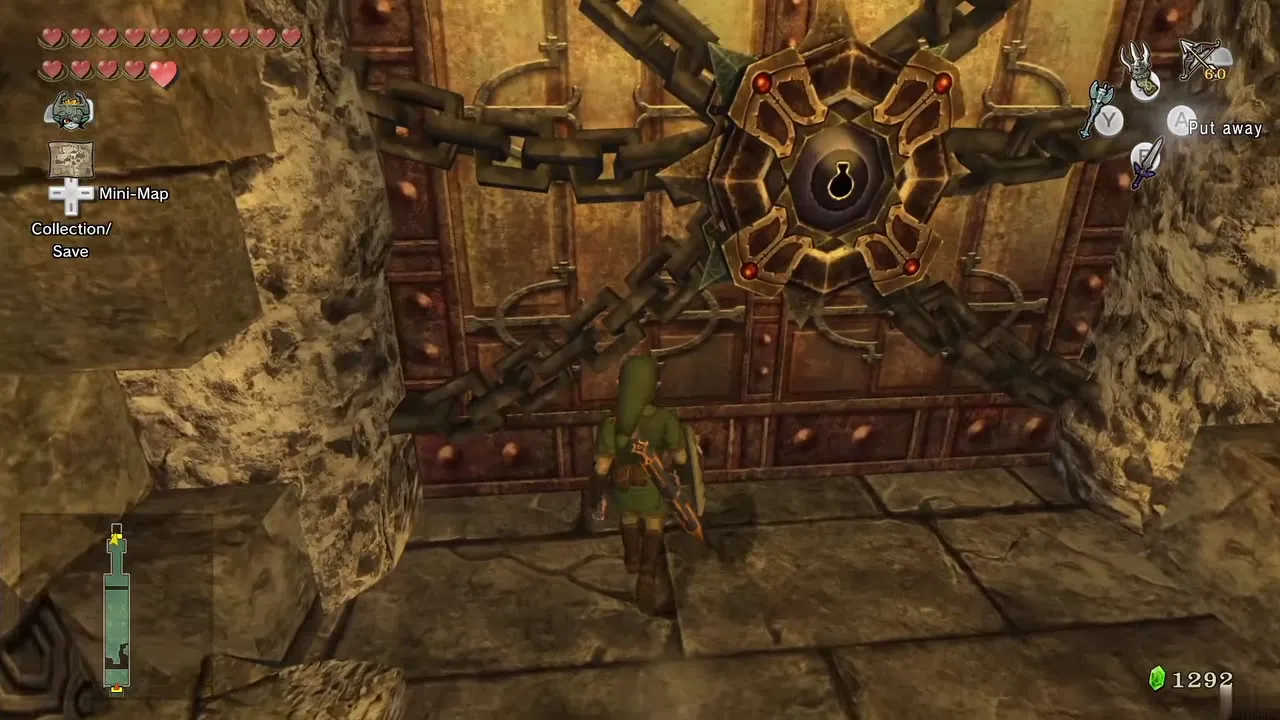
Two Gohma guard the big door. Pots nearby hold arrows and Rupees, and a stray fairy flutters about, so stock up on arrows and catch it in an empty bottle if you can. Enter the boss door.
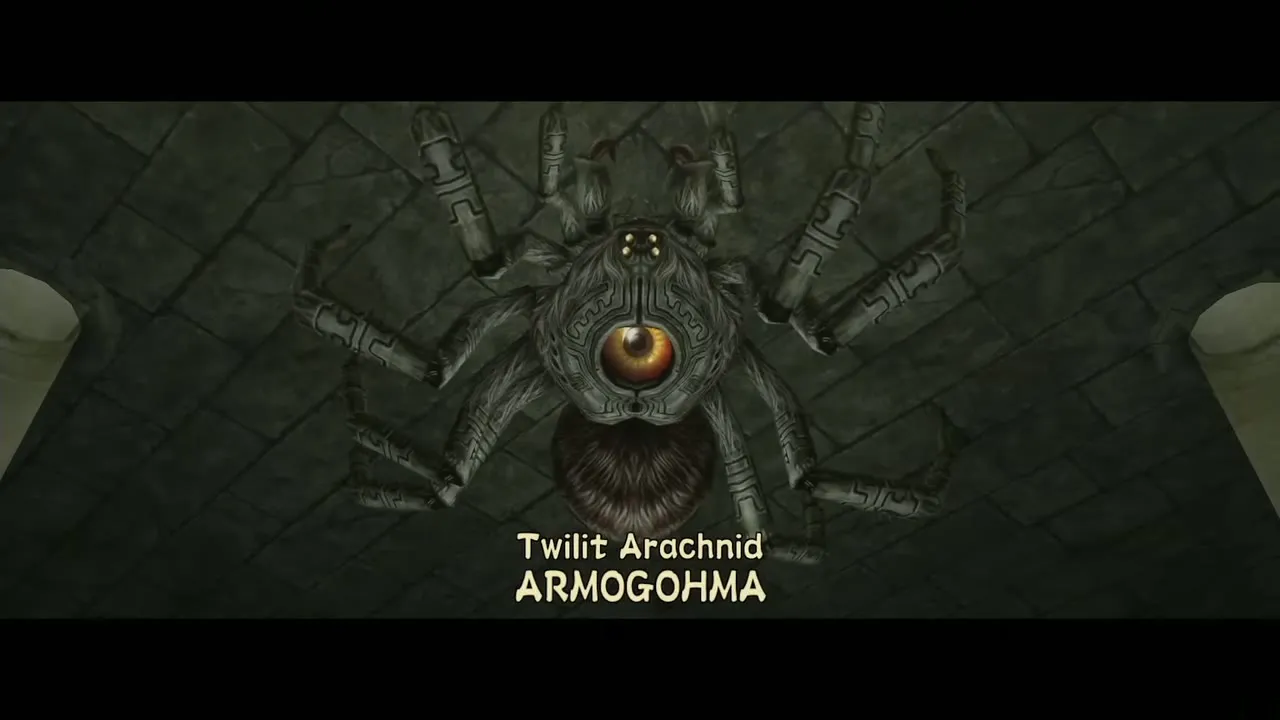
Boss: Armogohma
Phase one: eye and statues
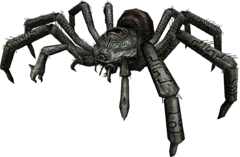
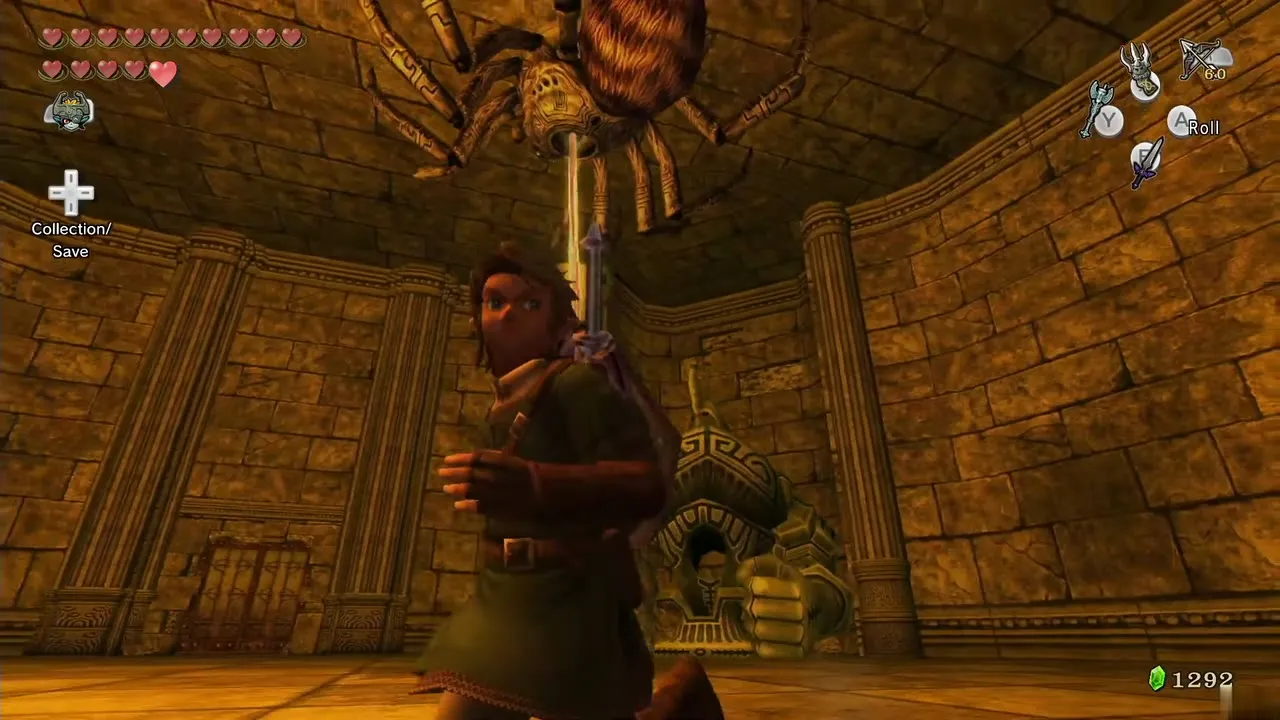
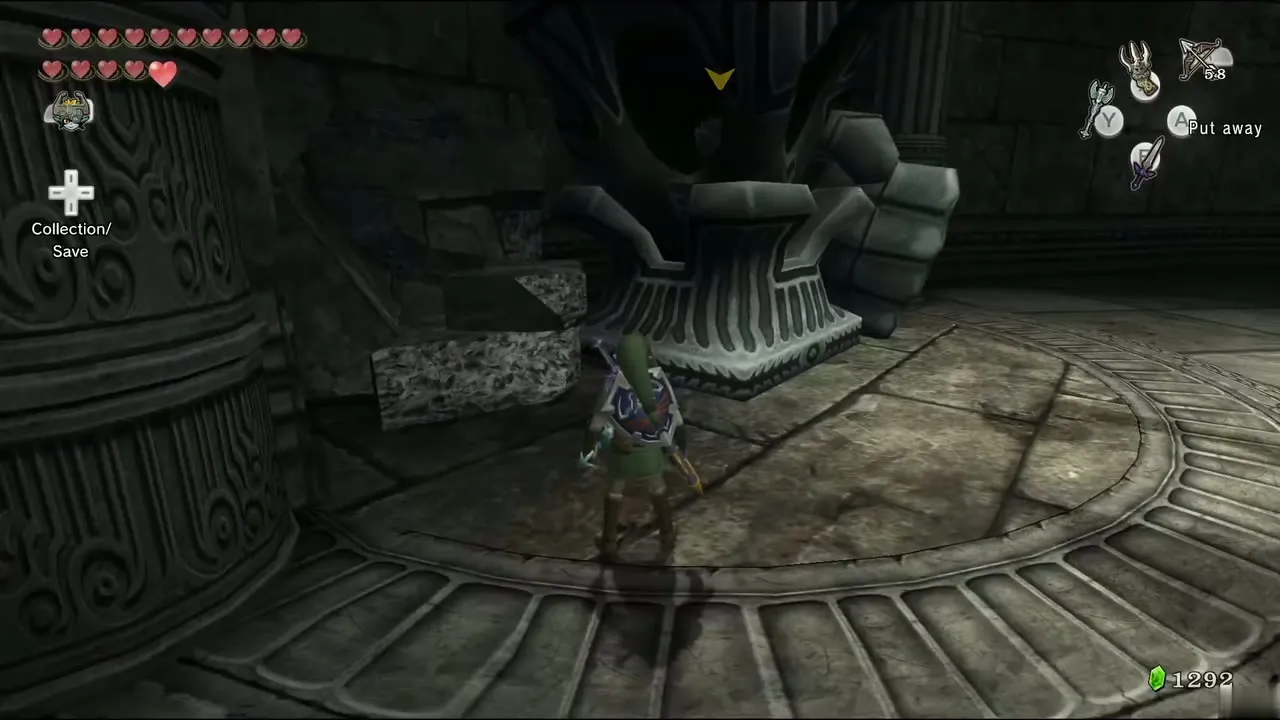
Have your bow ready as soon as the fight starts. Armogohma’s weak spot is the eye on her back: when it opens, shoot it and she tumbles to the floor. Equip the Dominion Rod and aim it at the statue next to where she fell; the statue smashes her with its fist and she crawls back up to the ceiling. From there she lays eggs that hatch into Baby Gohma, so kill them. You can tell where she is because she covers the hole where light shines in, and she also draws a line of fire with her eye that is easy to avoid or block with the shield (Boss Guide).
Phase two: the exposed eye
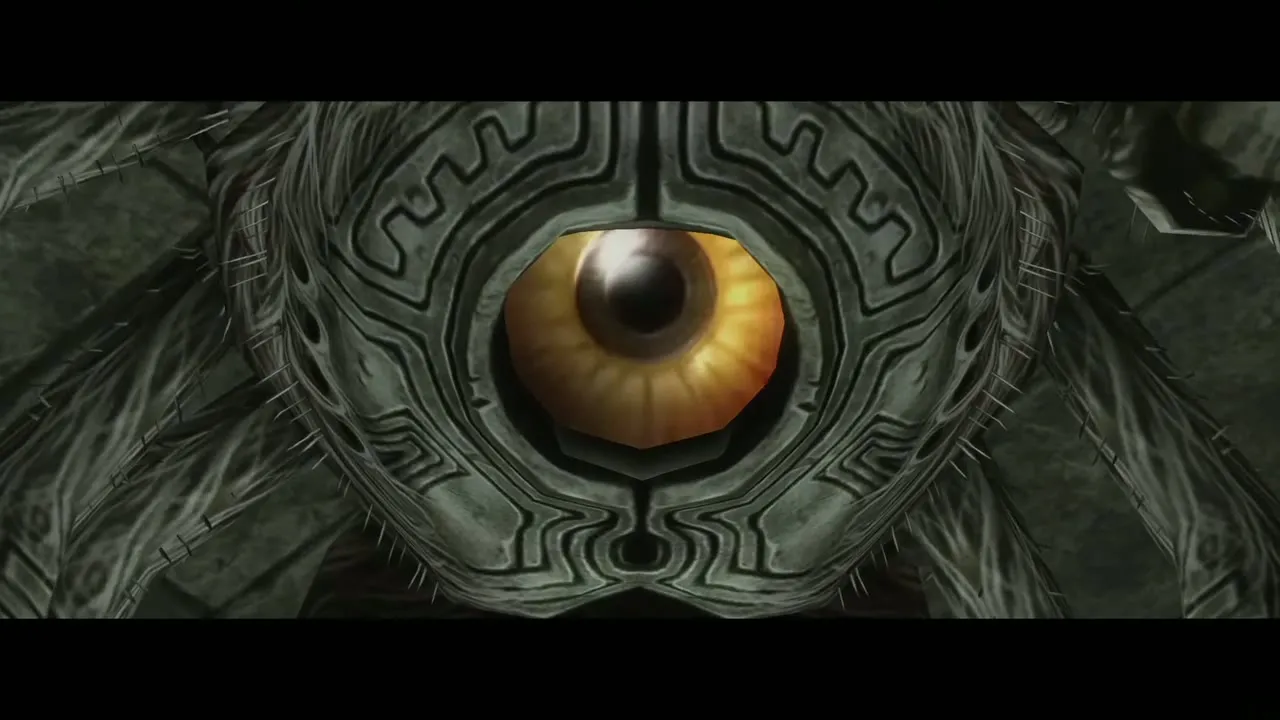
After three statue smashes she seems beaten, but her eye remains, guarded by a swarm of Baby Gohma. A single bomb arrow, or three ordinary arrows, destroys it; or lure it in front of a statue and smash it with the rod.
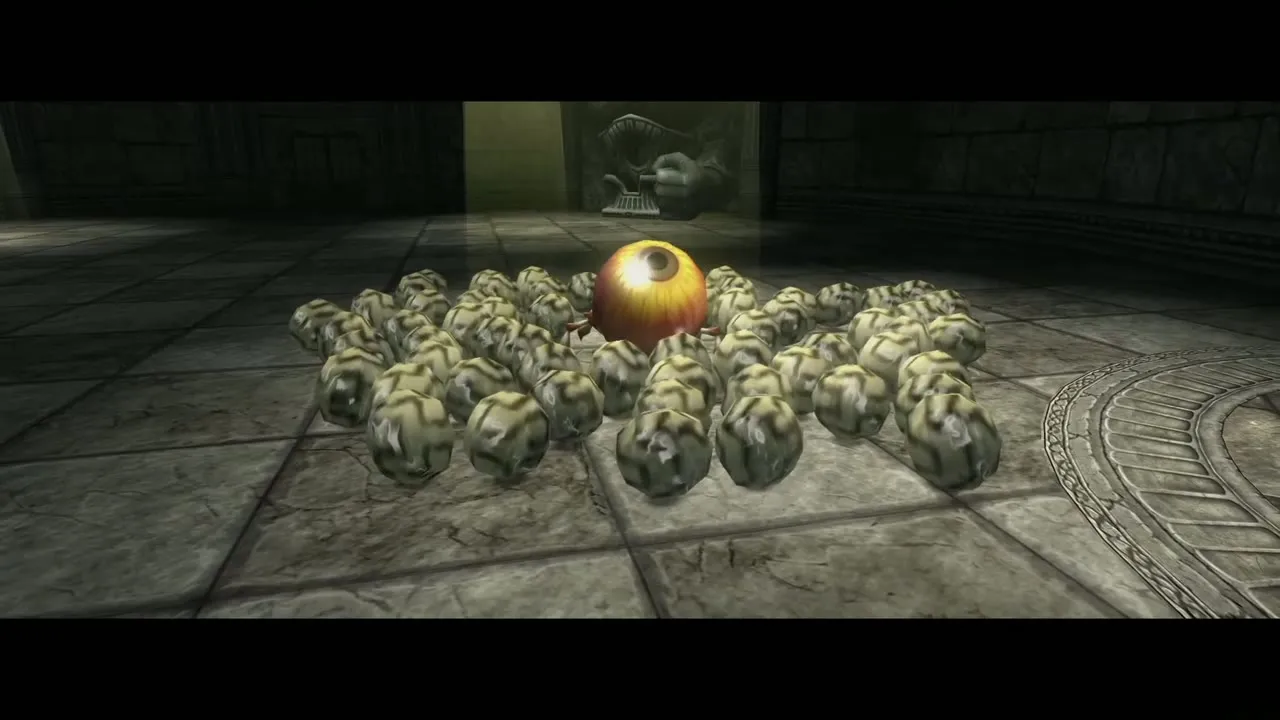
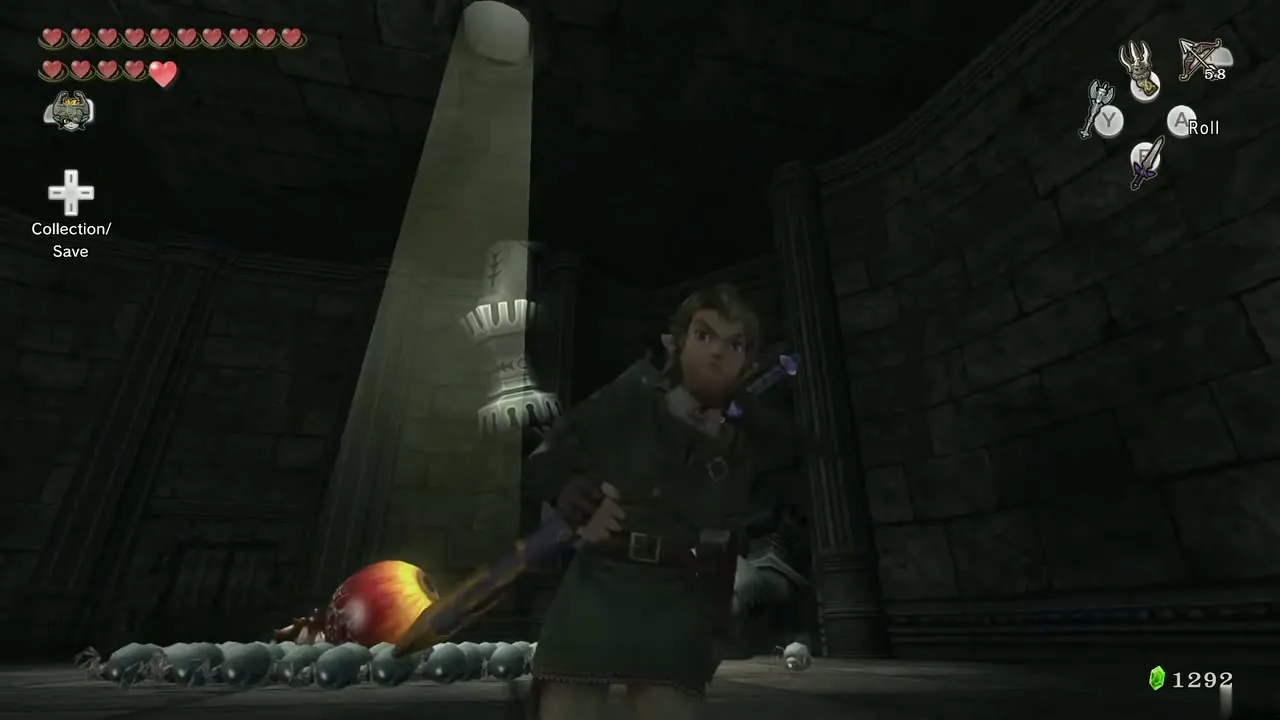
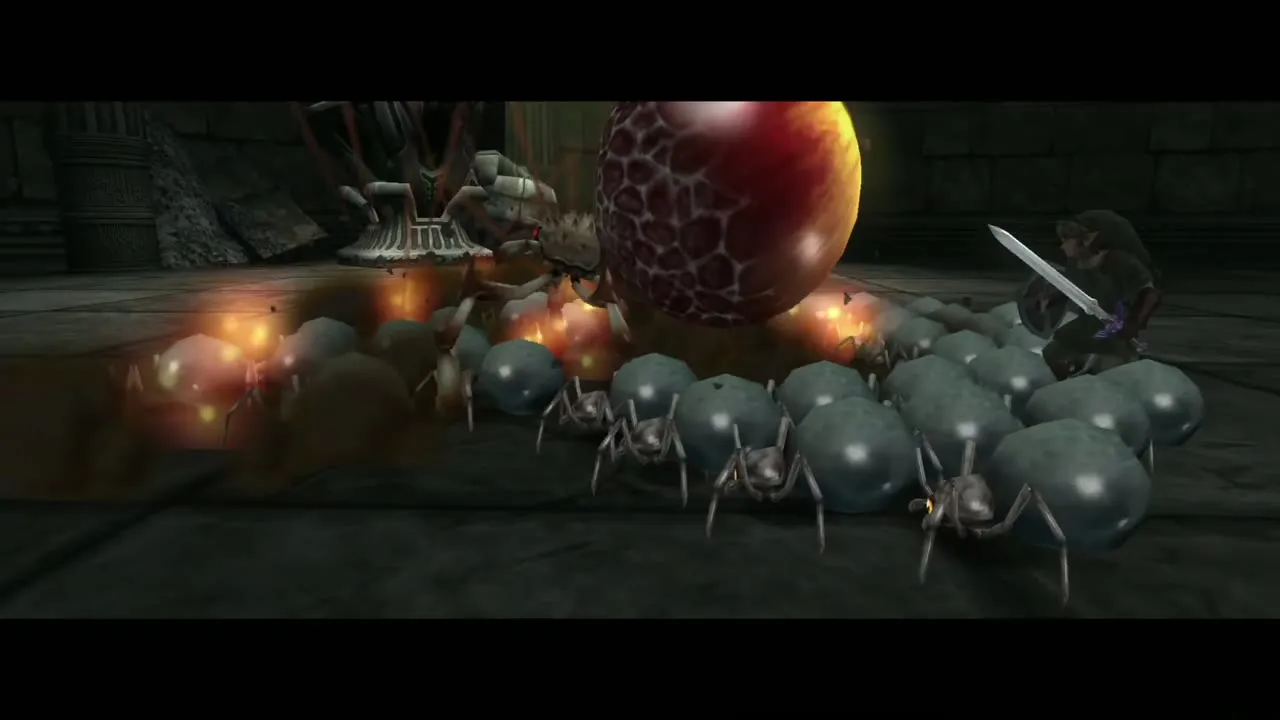
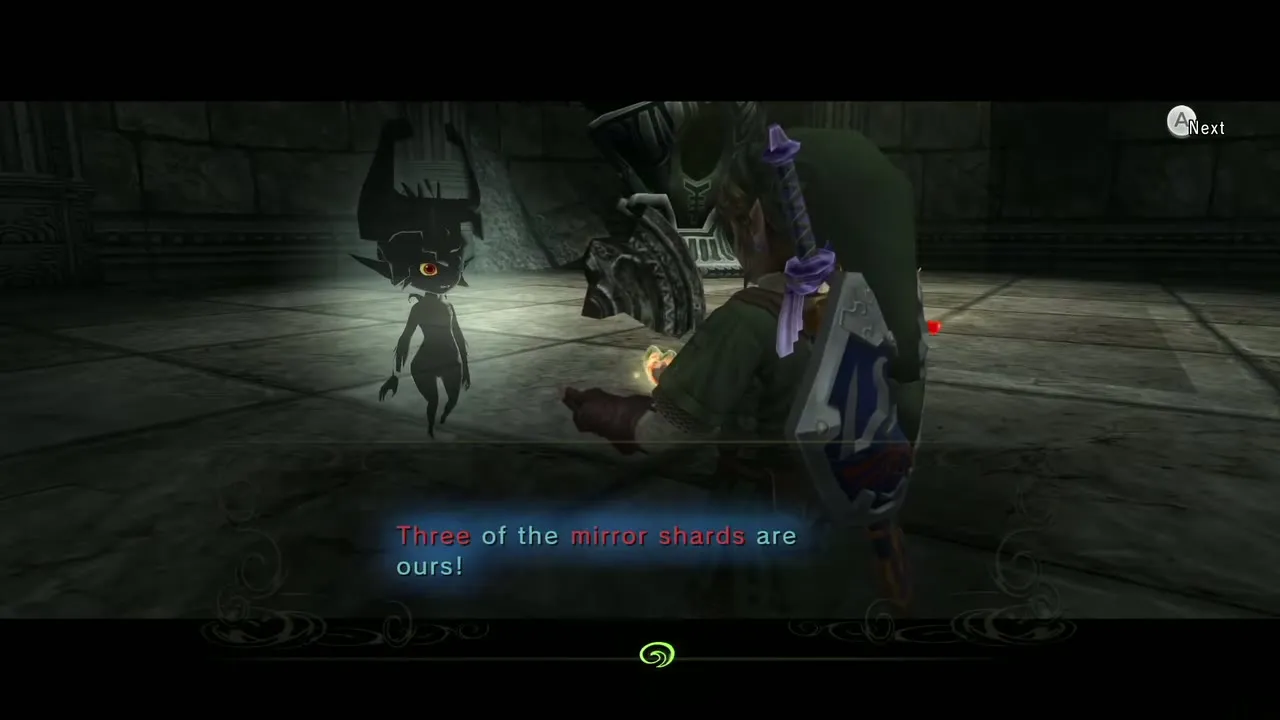
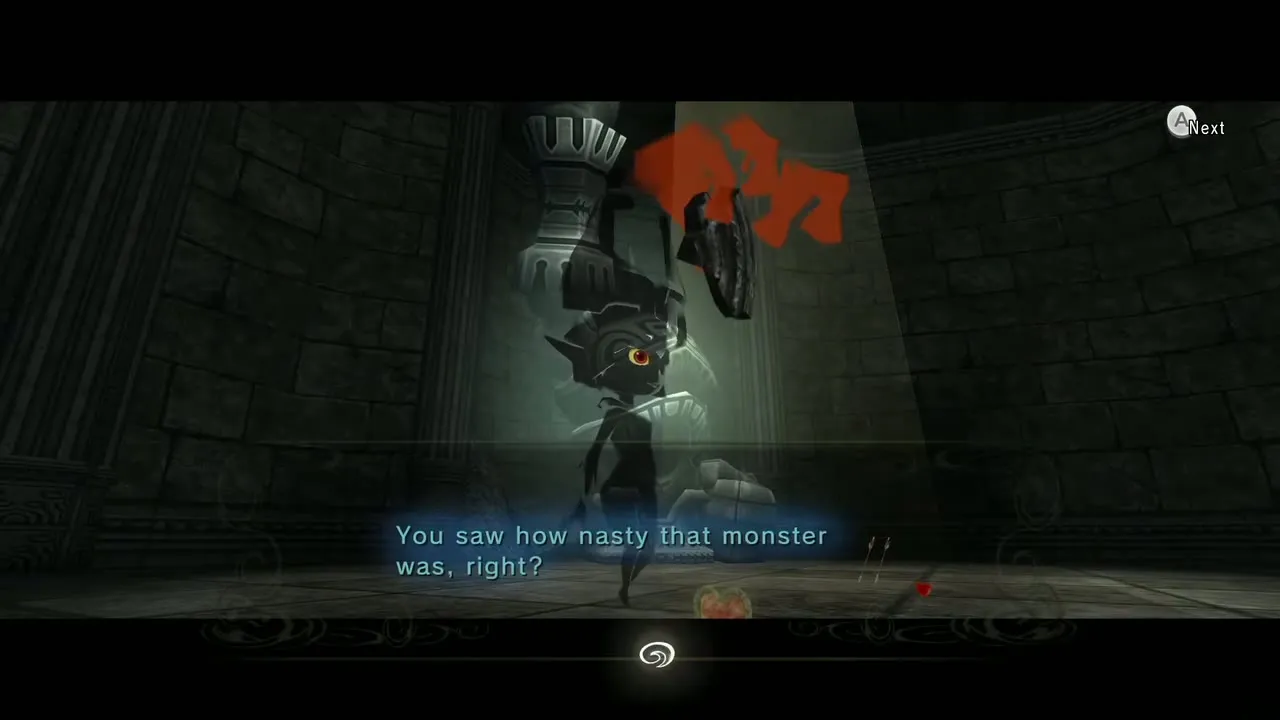
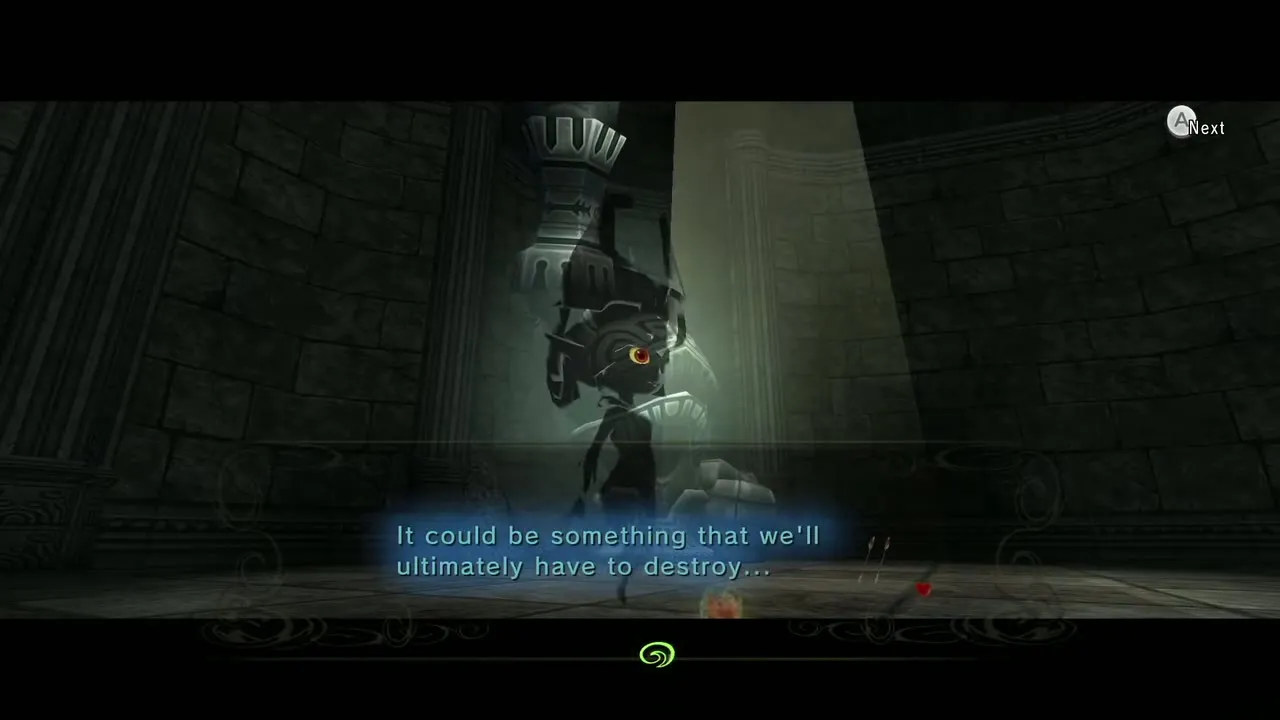
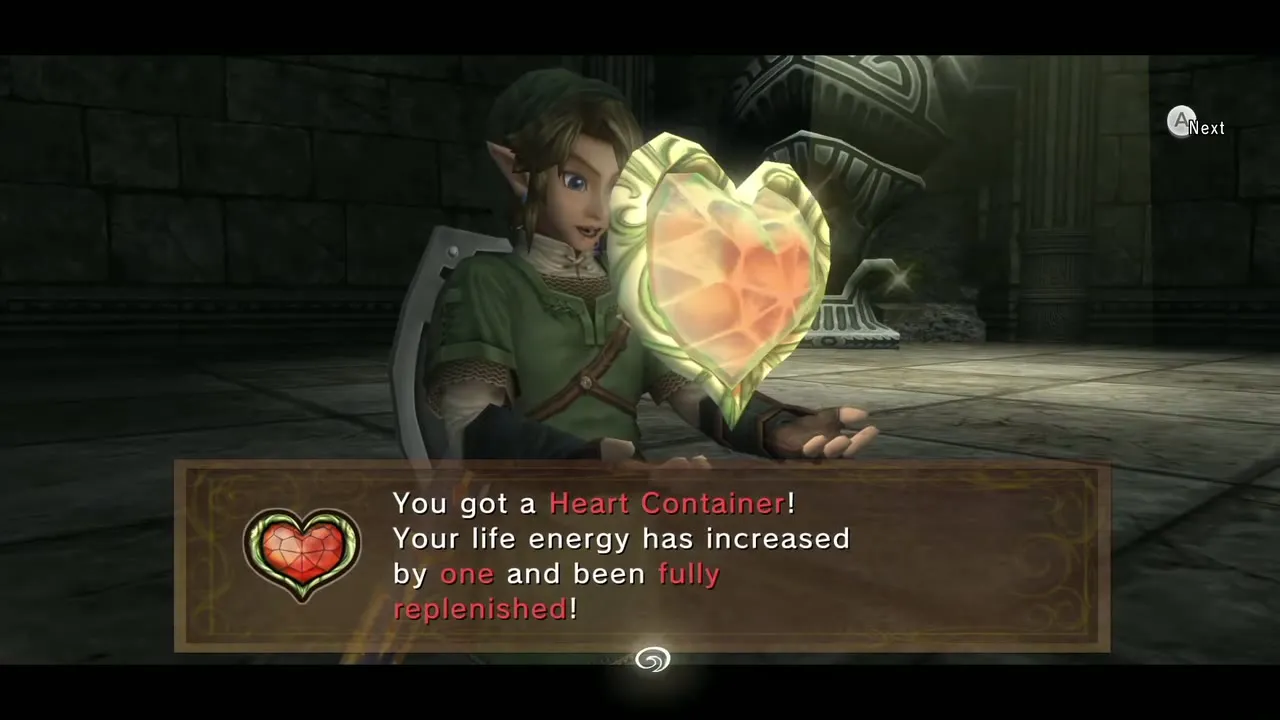
When she falls you receive the third Mirror Shard. Grab the Heart Container and leave the temple. Your next stop is the Hidden Village.
Chapter checklist
| Type | Item | Where |
|---|---|---|
 Small Key | Key 1 | Chest from the two torches at the east steps of the entrance room |
| Map |  Dungeon Map | Chest in the south-west of the Lizalfos and Armos room |
| Small Key | Key 2 | Chest after two Armos, south of the round room |
 Compass | Compass | West side of the crystal-switch room |
| Small Key | Key 3 | Chest past the pendulum blade |
| Item | Dominion Rod | Chest after the Darknut |
 Poe Soul | Spinner-track Poe | Central structure reached from the scale room |
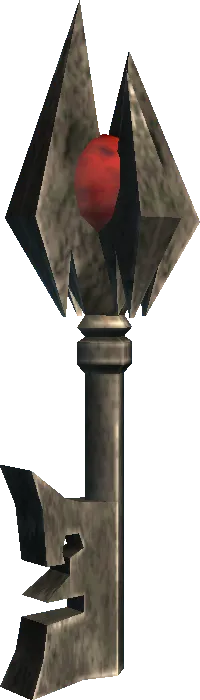 Big Key | Big Key | Helmasaur room |
| Heart Piece | Heart Piece (#39) | North-west corner chest beyond the electric barrier |
| Heart Piece | Heart Piece (#40) | Chest after two statue switches in the south room |
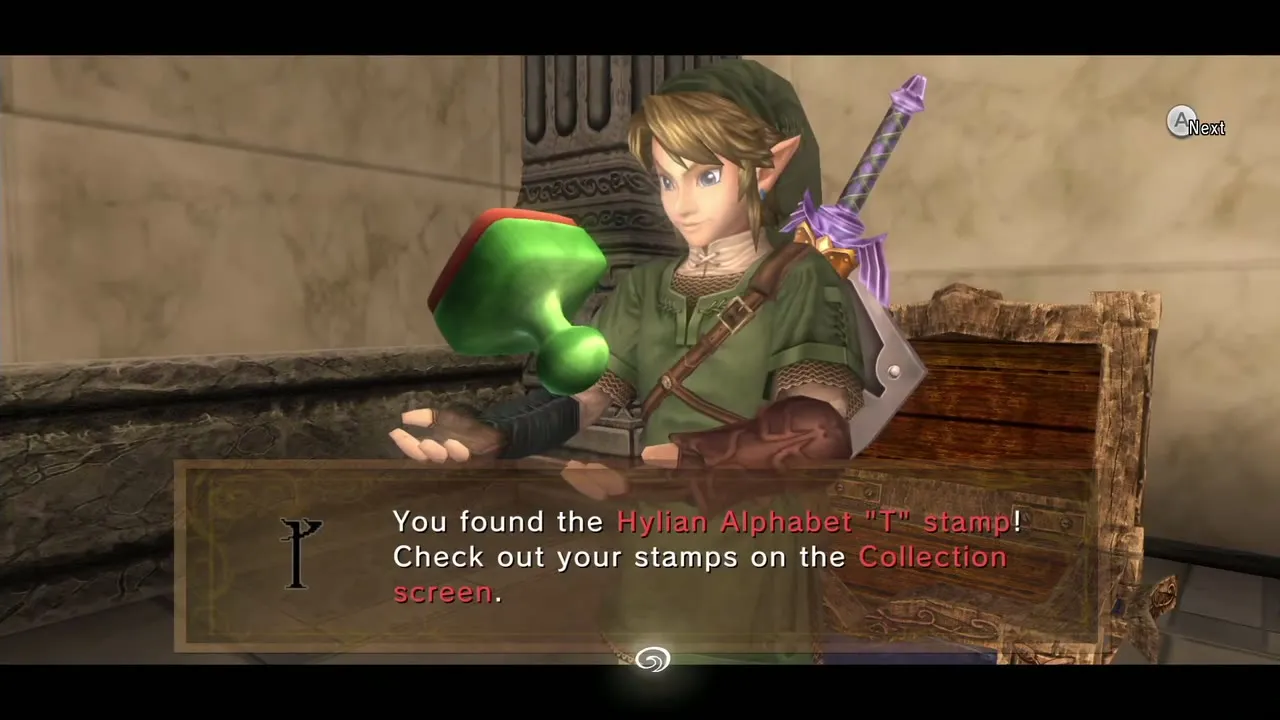
| Stamps | Hylian Letter L; Hylian Letter T | South chest of the Armos key room; chest by the scale-room Poe |
| Poe Soul | Gate Poe | West end of the circular room |
| Boss | Armogohma | Heart Container and third Mirror Shard |
