
























Twilight Princess 100% Completion Walkthrough23 chapters
- Hyrule Castle and the Ganondorf BattleEvery key and chest, then how to beat Puppet Zelda, Dark Beast Ganon, the horse chase and the final duel.
- Snowpeak Ruins (Dungeon 5)Every key, chest, Heart Piece and Poe Soul, the Ball and Chain, Darkhammer and the Blizzeta boss fight.
- Temple of Time (Dungeon 6)All keys and chests, the Dominion Rod, statue puzzles, Big Key, two Heart Pieces and Armogohma.
- City in the Sky (Dungeon 7)Every chest, Heart Piece and Poe, the Double Clawshots, Aeralfos, the Big Key and how to beat Argorok.
- Ordon VillageGoat herding, fishing rod, Sera’s bottle, slingshot, Wooden Sword, Faron Woods cave Heart Piece, Lantern.
- Enter the Twilight RealmEscape the cell as Wolf Link, meet Midna and Zelda, get the Ordon Sword and Shield, meet Ordona.
- Faron WoodsAll 12 Tears of Light, Faron Spring, Coro’s key and lantern oil bottle, and the Golden Wolf’s Ending Blow.
- Forest Temple (Dungeon 1)All 8 monkeys, 4 small keys, Map, Compass, Big Key, 2 Heart Pieces, Ook, Gale Boomerang and Diababa.
- Hyrule Field, Kakariko Gorge and Twilight Kakariko12 Tears of Light, Epona, Pill Bugs, Heart Pieces.
- Iron Boots, King Bulblin and Death MountainIron Boots from Mayor Bo, the King Bulblin bridge fight, Golden Bugs and Gor Coron’s sumo match.
- Goron Mines (Dungeon 2)Every chest, both Heart Pieces, the Hero’s Bow, three Key Shards, Dangoro and Fyrus boss tactics.
- Lanayru Province, Castle Town and Zora’s DomainKakariko extras, Bridge of Eldin bugs, Castle Town, Lake Hylia, thawing Zora’s Domain and all 12 Tears of Light.
- Telma Escort, Castle Town and Lake Hylia Side QuestsTelma escort, Zora Armor, Water Bombs, 9 Golden Bugs, Agitha, Charlo, fishing, Rapid Ride and the Lakebed entrance.
- Lakebed Temple (Dungeon 3)Small keys, map, compass, Big Key, two Heart Pieces, Clawshot, Deku Toad and Morpheel boss tactics.
- Midna, Zelda and the Master SwordTelma’s Bar to Zelda, the Sacred Grove, Skull Kid, the guardian puzzle, plus its Heart Piece, Poe and Golden Bug.
- Poe Soul Collection, Malo Mart and Heart PiecesThe first 29 Poe Souls, Jovani’s rewards, Malo Mart donations and Magic Armor, Miiverse stamps and five Heart Pieces.
- Gerudo Desert and the Bulblin CampOasis Flight, eight Poe Souls, both Dayflies, Mortal Draw, Bulblin Camp and King Bulblin.
- Arbiter’s Grounds (Dungeon 4)Four Poe Souls, Dungeon Map, Compass, Spinner, Big Key, two Heart Pieces and the Stallord boss fight.
- Mirror Chamber, Reekfish and Snowpeak MountainMirror Chamber, Spinner Heart Pieces, Reekfish bait, Jump Strike, Poe Souls and the climb to Yeto.
- Heart Pieces Hunt and Return to the Sacred GroveTwo Heart Pieces, Rusl, the Skull Kid rematch, the last Golden Bug and the Temple of Time door.
- Ilia’s Memory, Hidden Village and the SkyIlia’s memory, 20 Bulblins, 20 cats, six Sky characters, Great Spin and the Sky Cannon repair.
- Palace of Twilight (Dungeon 8)Both Sols, all seven small keys, map, compass, Big Key, 2 Heart Pieces and how to beat Zant.
- Cave of OrdealsAll 50 floors, the 3 Poe Souls, every Great Fairy, buried items, the Tears and Jovani.
| Covers | Yeto and Yeta’s mansion from the front door to the Bedroom, plus the courtyard and the soup quest |
|---|---|
| Dungeon | Snowpeak Ruins (Dungeon 5): Spinner and Clawshot recommended, Bombs and Gale Boomerang useful; mini-boss Darkhammer, boss Blizzeta |
| Rewards | Ball and Chain, Dungeon Map (from Yeta), Compass, Bedroom Key, 2 Heart Pieces, 3 Poe Souls, 2 Miiverse Stamps, Good and Superb Soup, Heart Container, second Mirror Shard |
| Previous | Snowpeak Mountain |
Snowpeak Ruins is a mansion you walk through in loops. Yeta hands you a map with a wrong guess for where the Bedroom Key is, and each wrong guess gets you an Ordon item for Yeto’s soup, a Small Key or the Ball and Chain. Break ice with the cannon first, then with the Ball and Chain, and finish at the bedroom with Blizzeta. Directions use the Normal Mode layout. Hero Mode mirrors the world, so swap left and right and east and west. There are no hearts in pots or from enemies here (Blizzeta’s room excepted), so bring spare bottles to fill with soup or fairies.
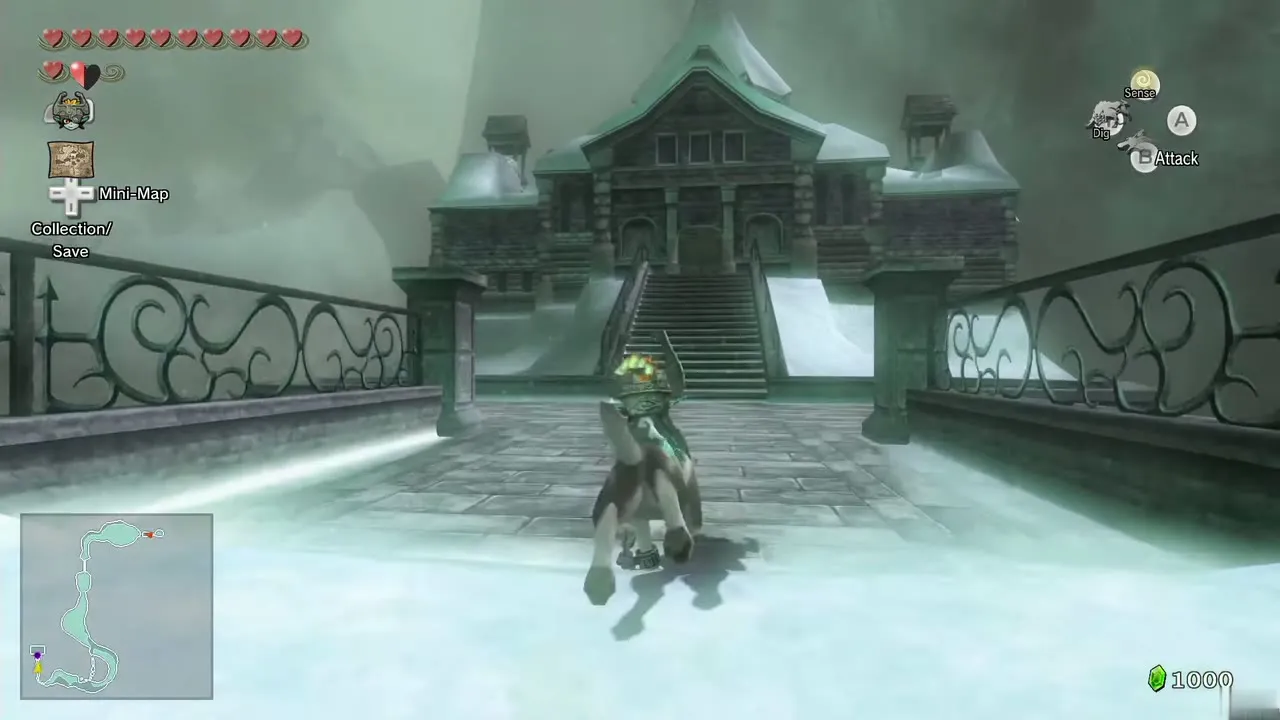
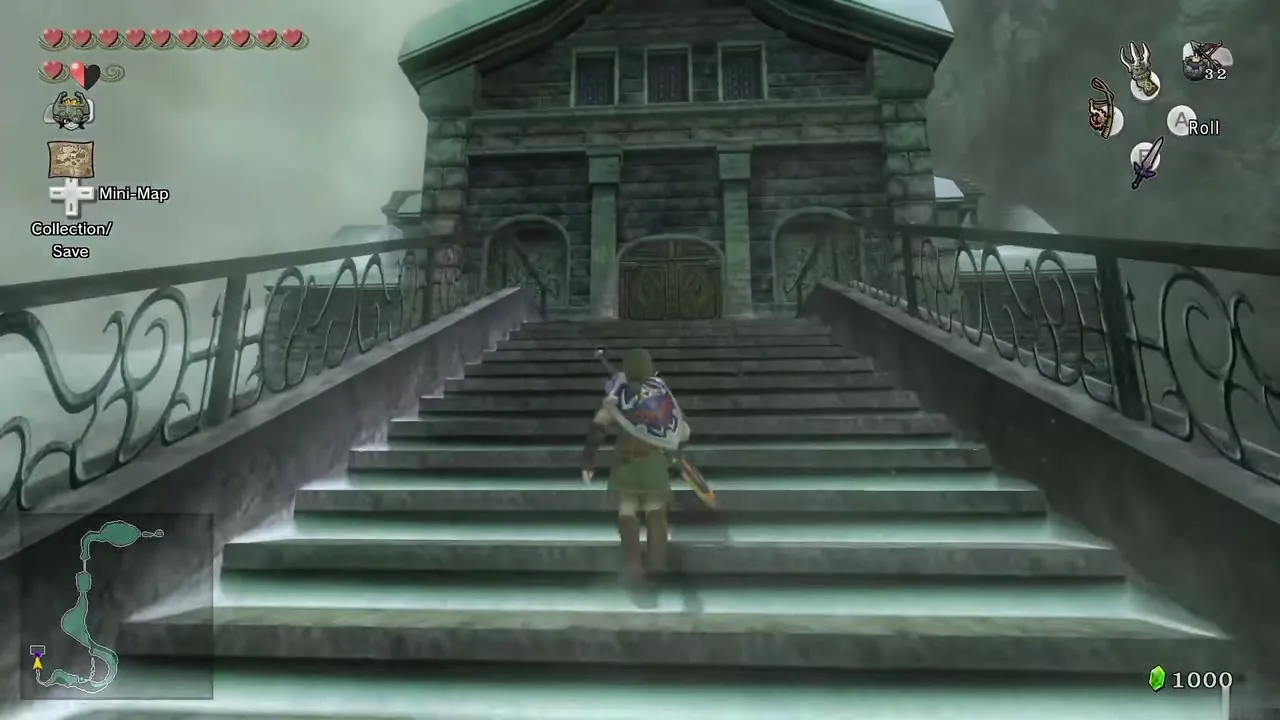
Table of Contents
Entrance, Yeta and the kitchen
Poe and the map
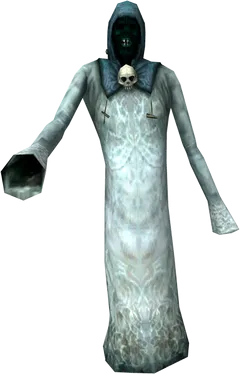
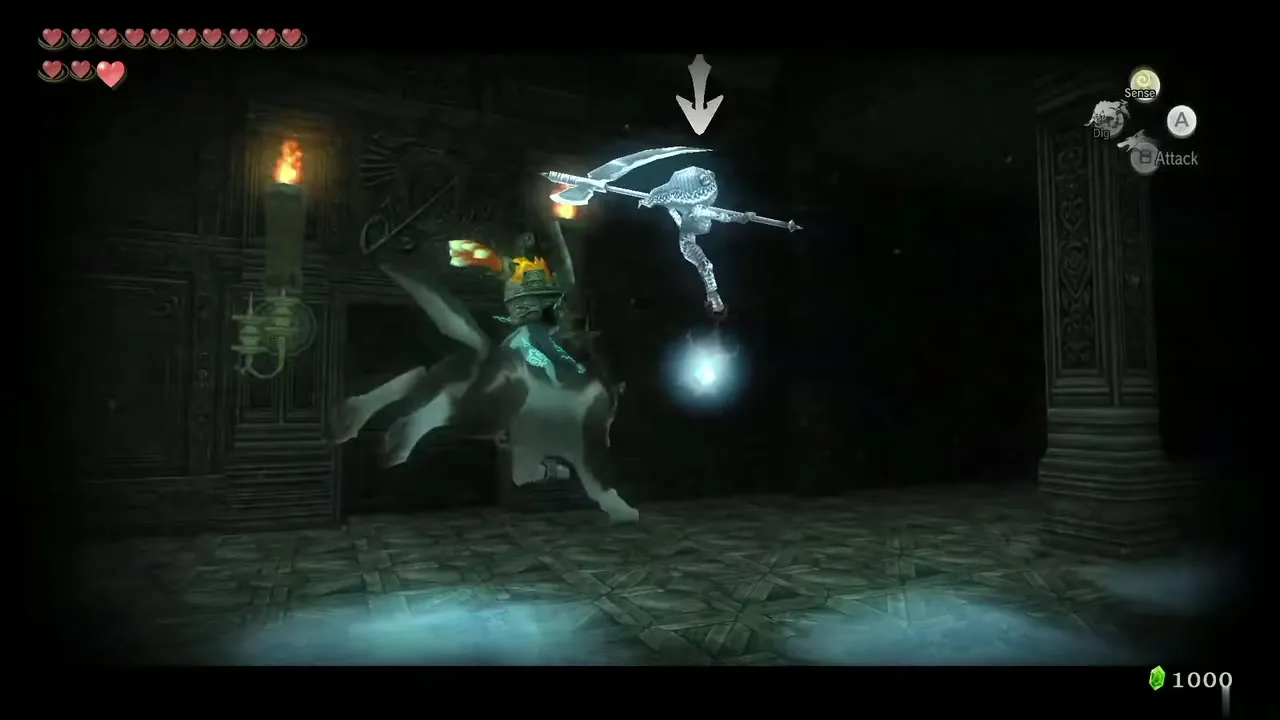
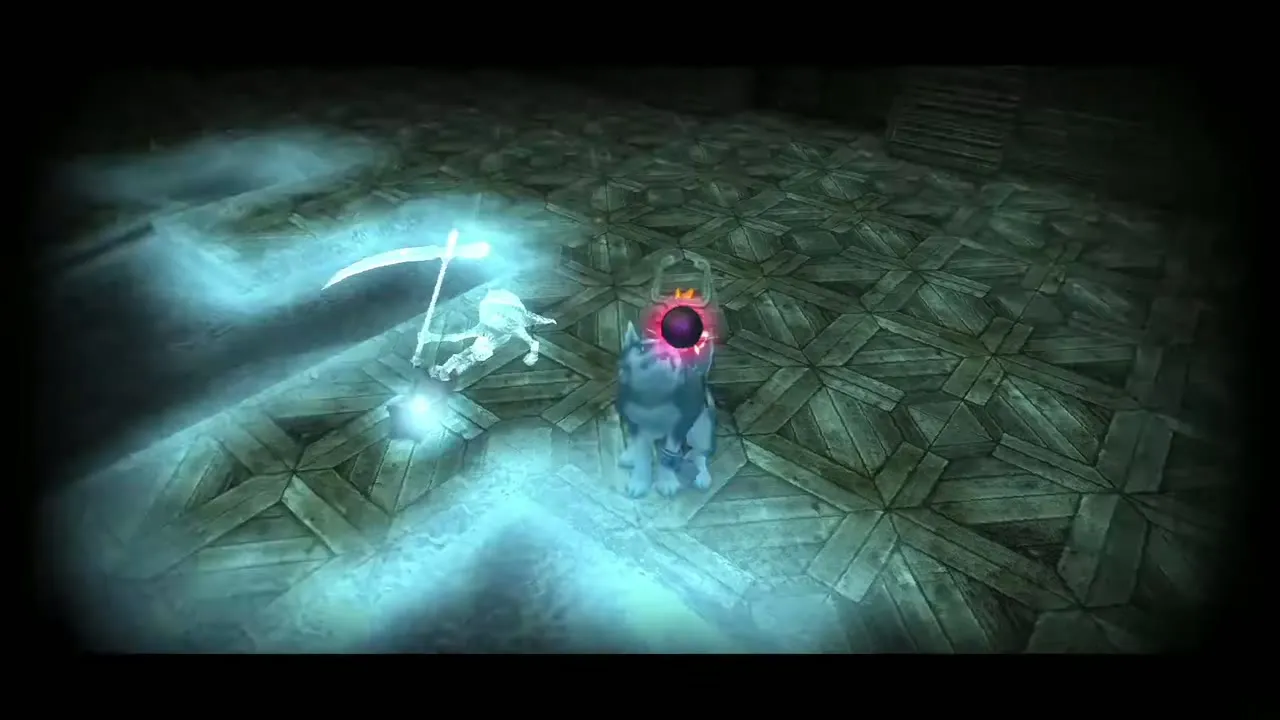
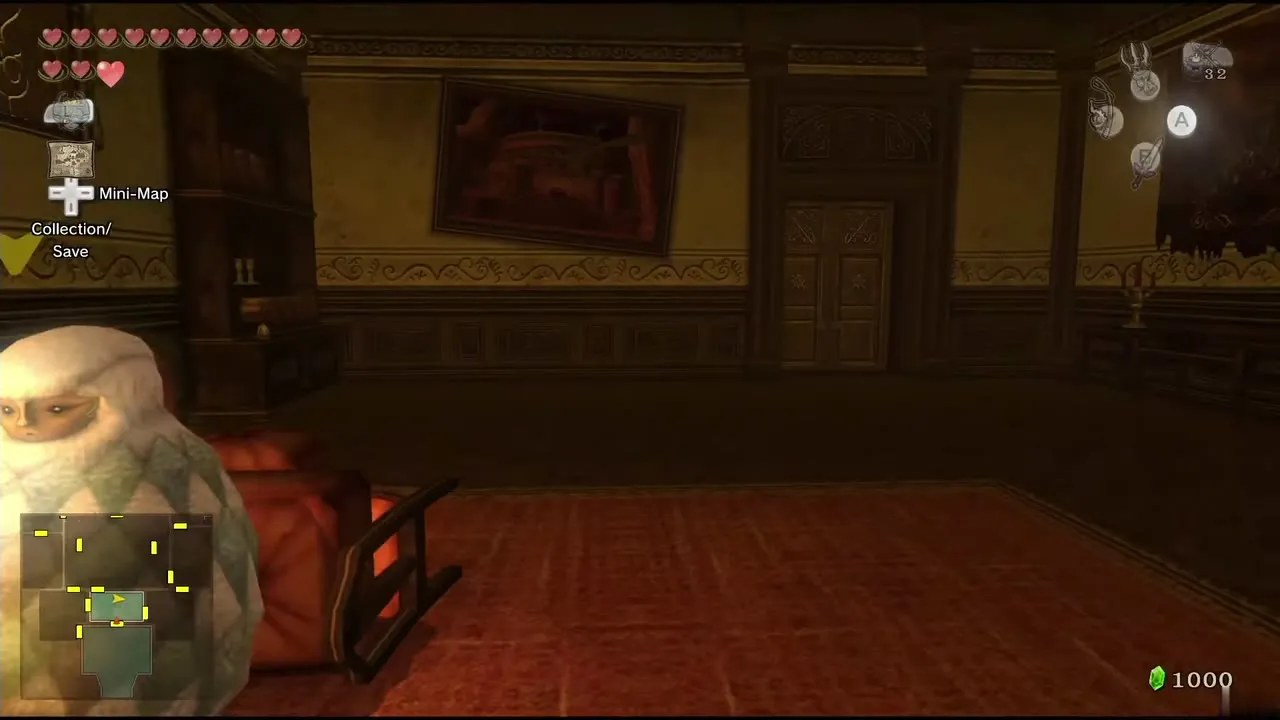
Step in and run straight ahead to find a Poe floating in the entrance hall. Switch to Wolf Link and defeat it (see Poe Souls). The north-west door leads nowhere useful, so cross the hall and go through the central door to find Yeta in the next room.
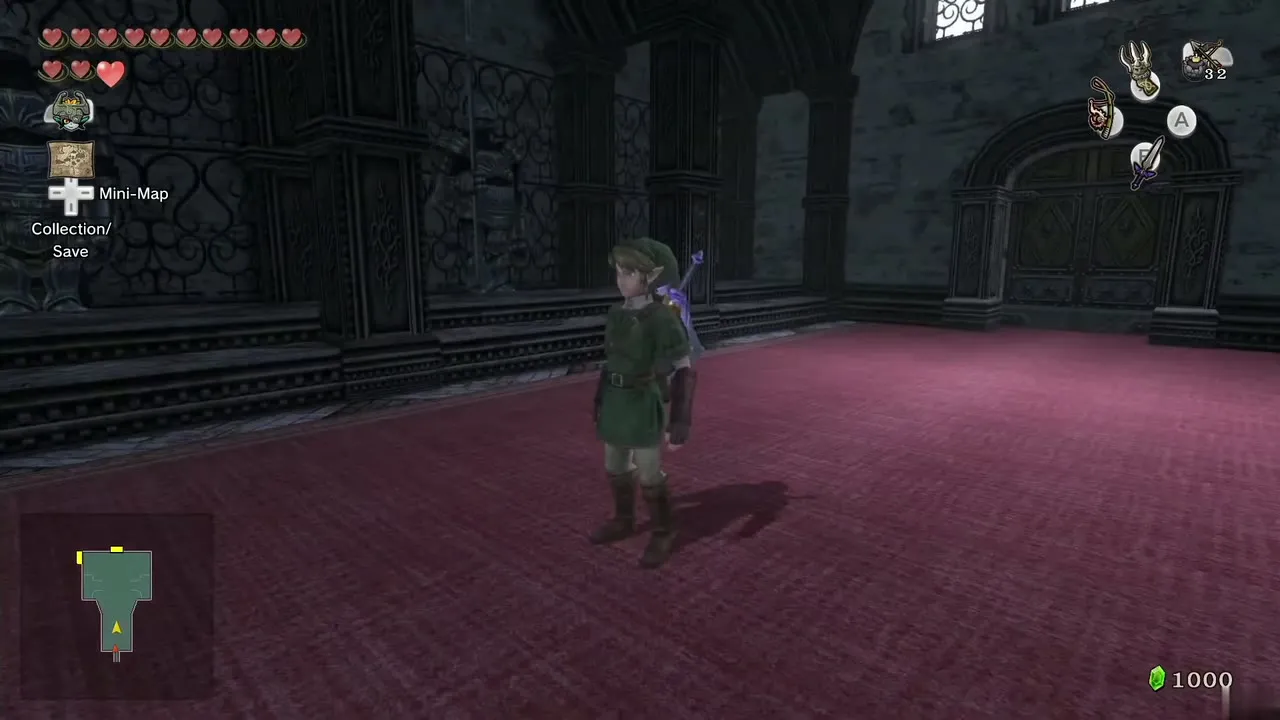
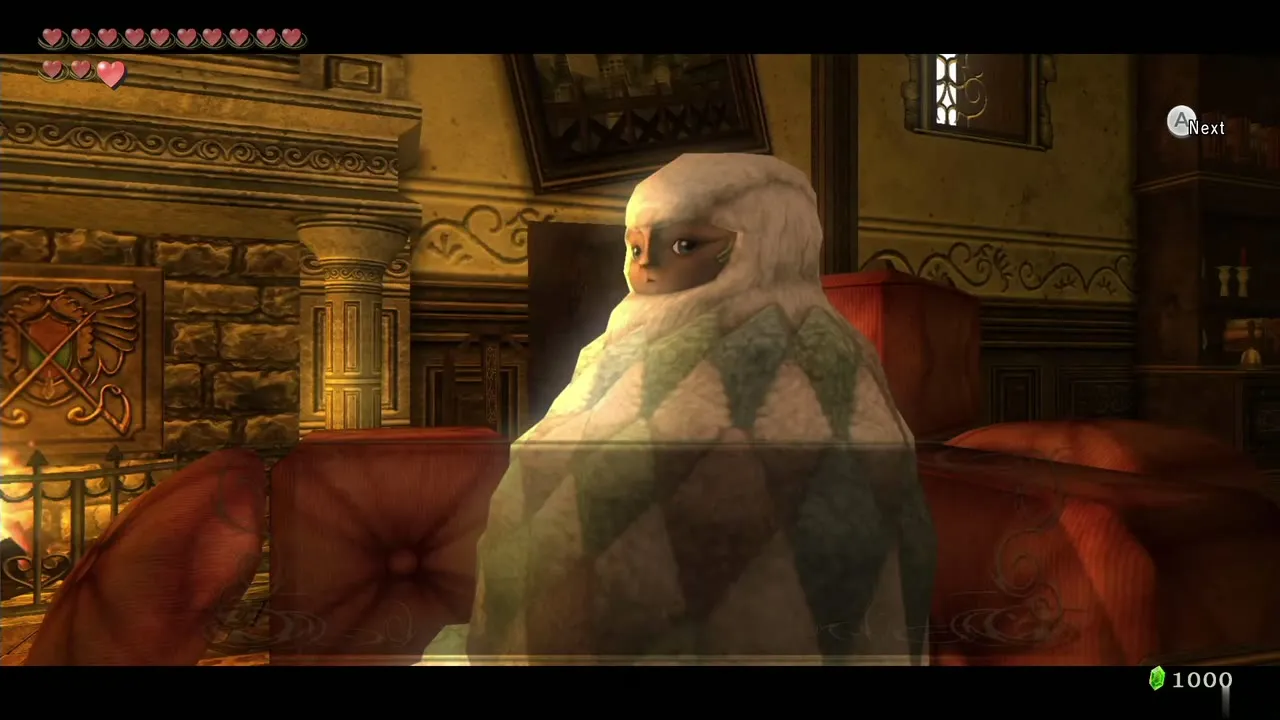
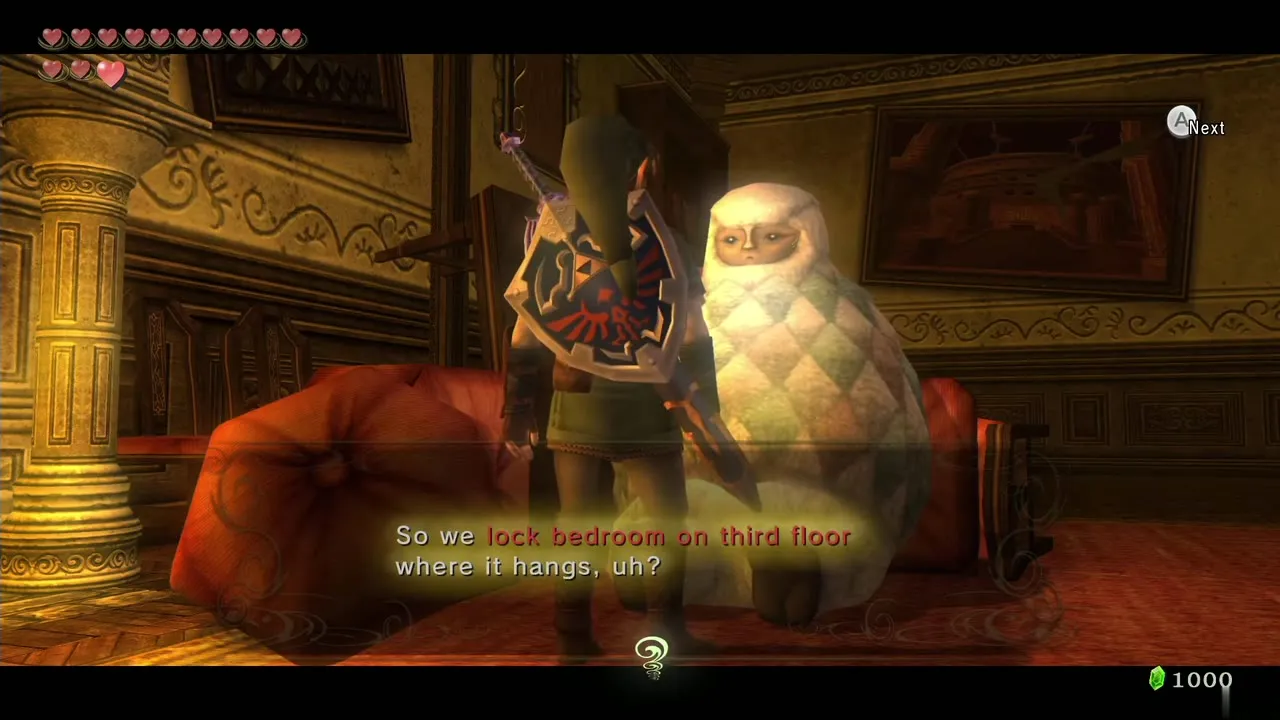
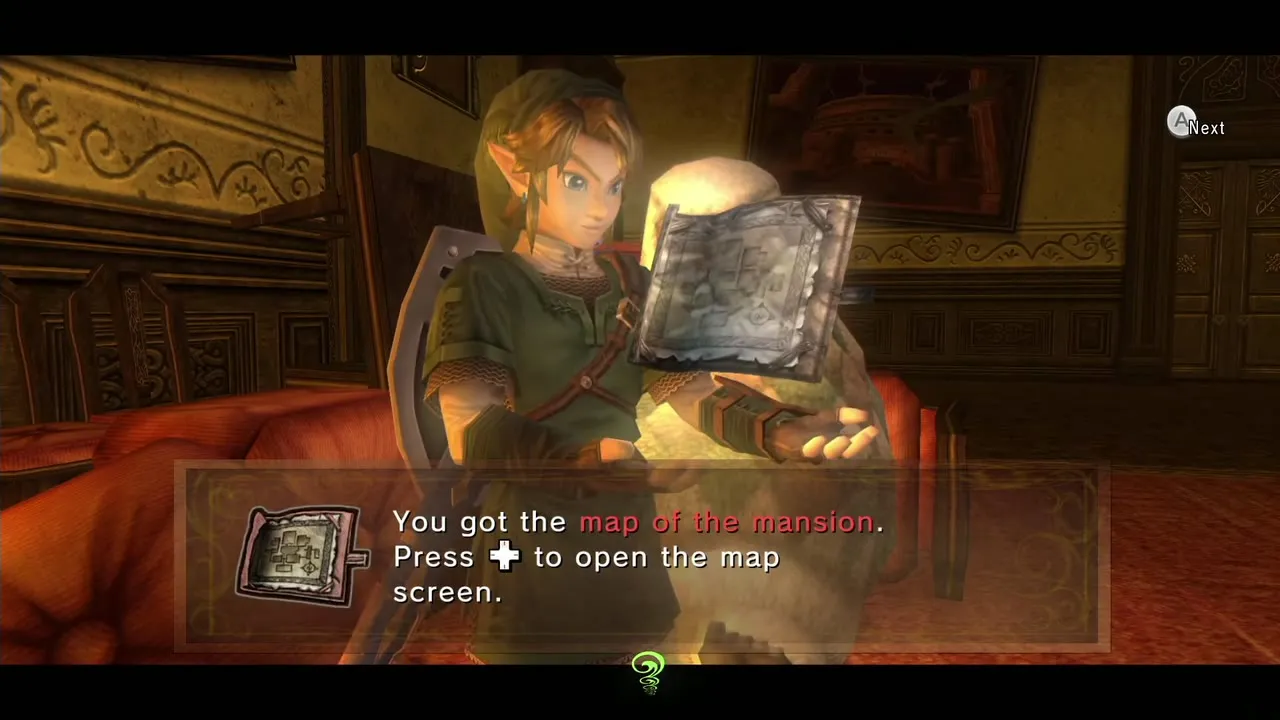
Talk to Yeta. She says the Mirror Shard is in the bedroom, gives you the Dungeon Map and marks where she thinks the Bedroom Key is. She then points you to the east door. No chest holds the map in this dungeon.

Yeto’s soup and Ooccoo
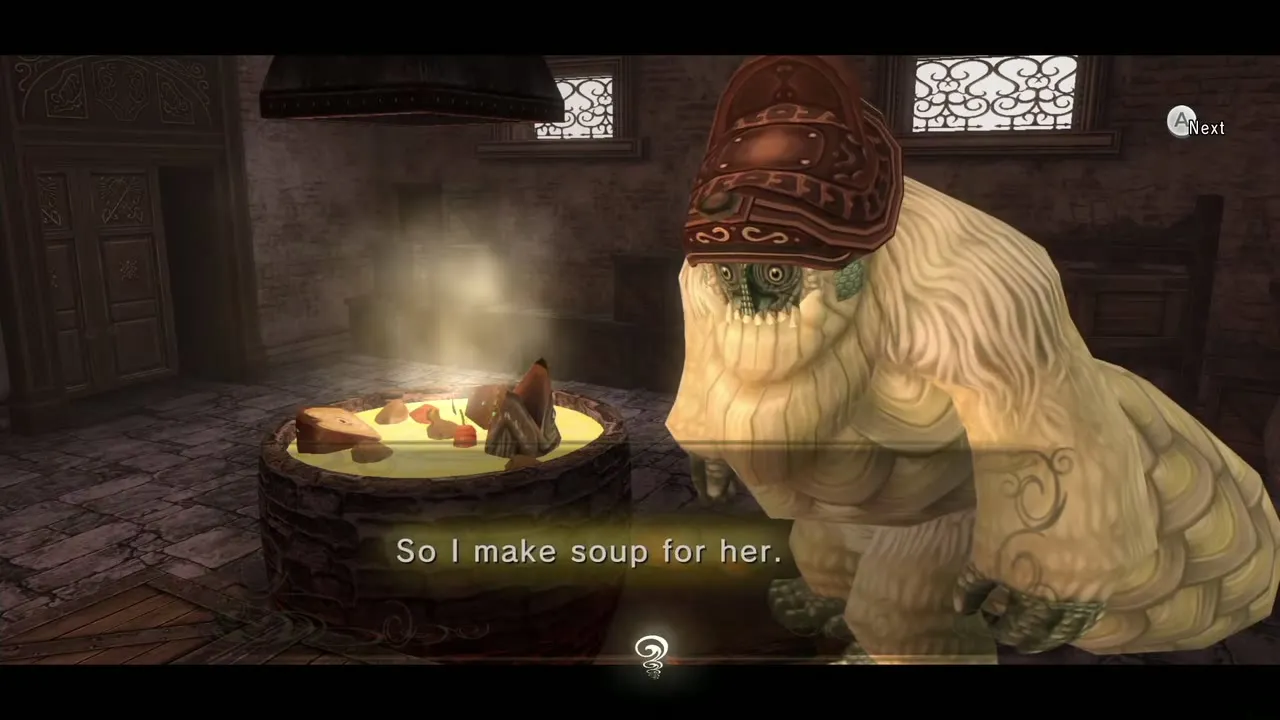
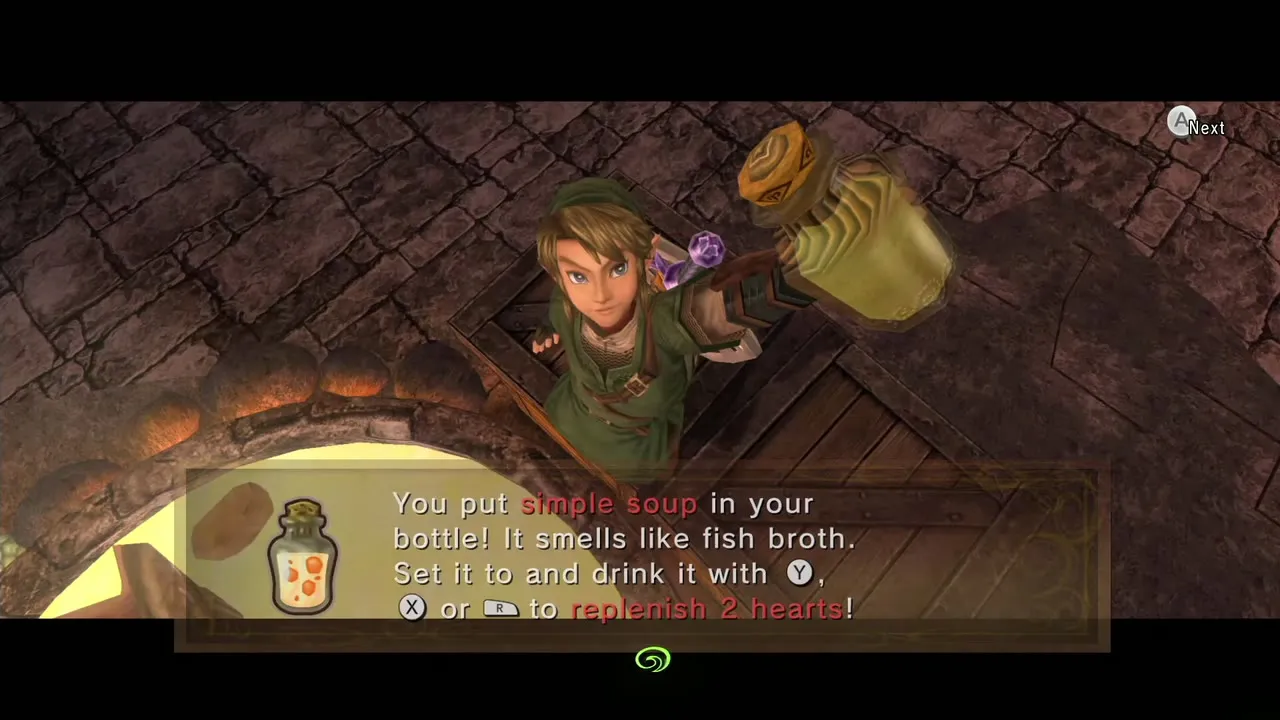
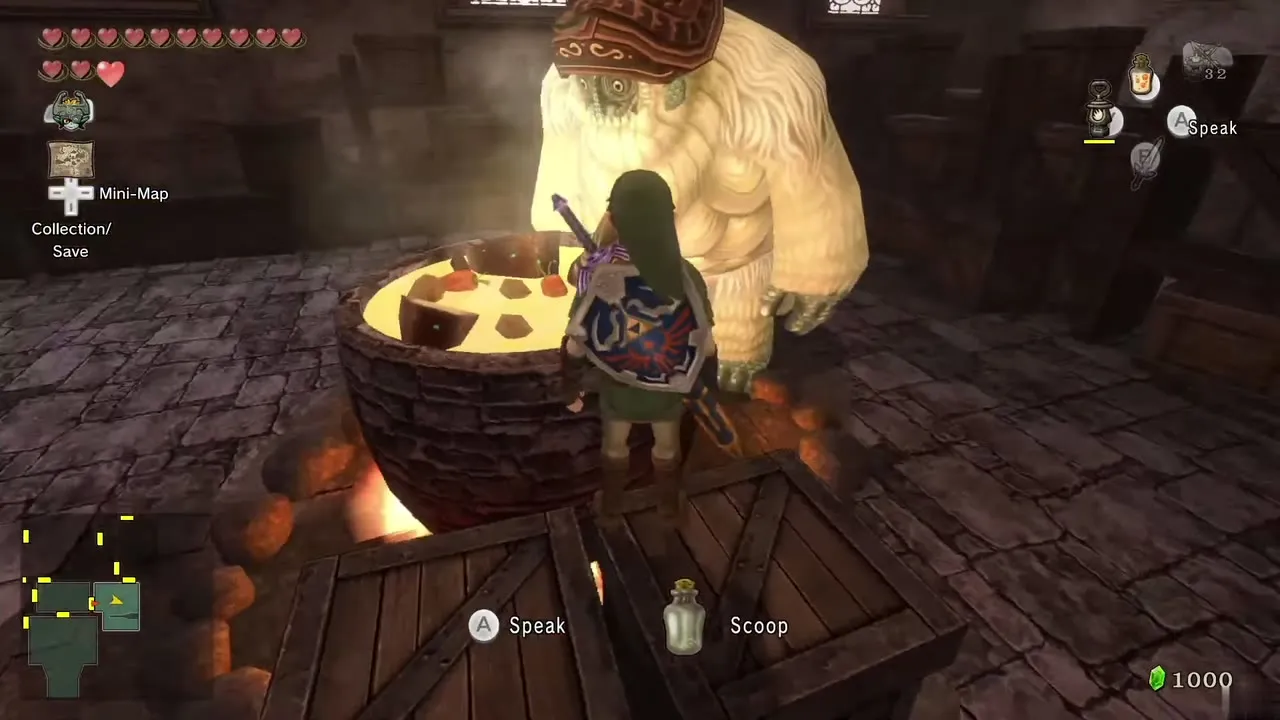
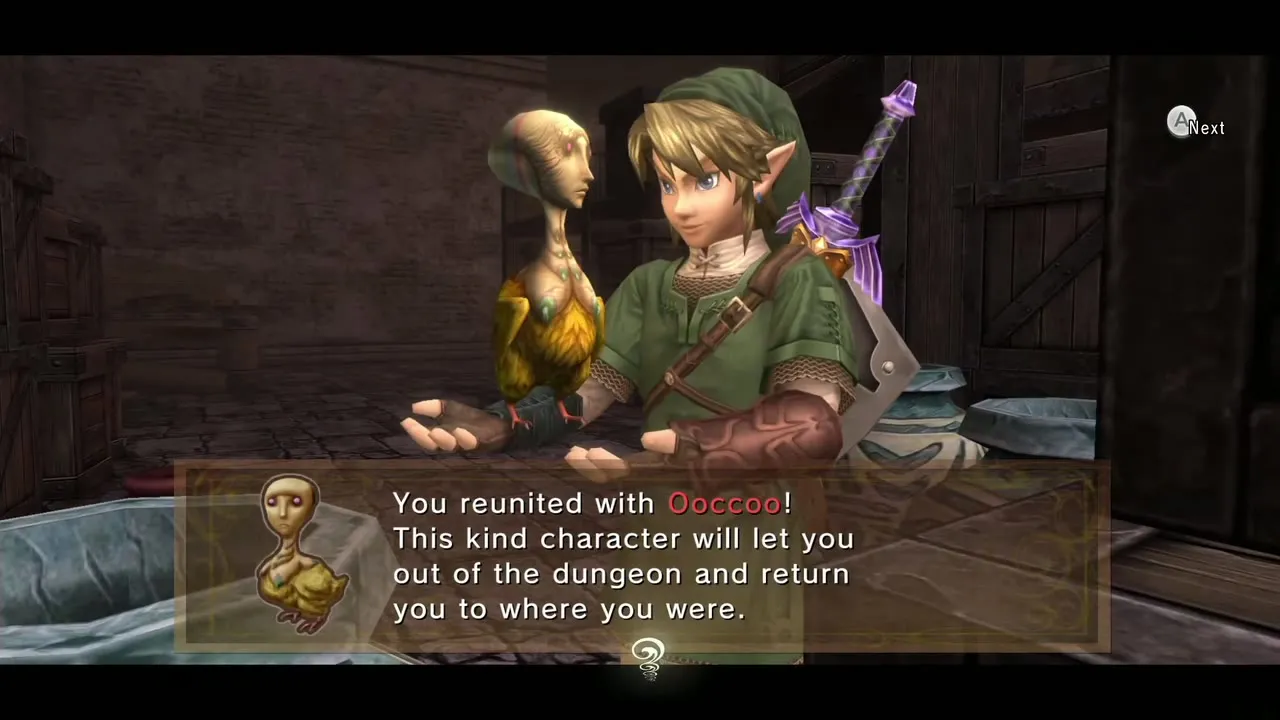
The east door leads to the kitchen, where Yeto cooks. Climb up with an empty Bottle to scoop Simple Soup, which restores two hearts. His pot is the only dependable healing in the dungeon, so refill whenever you pass. In the south of the room Ooccoo sits in a shaking pot; she lets you leave and re-enter the dungeon (see Characters).
Block puzzle, courtyard chests and the Ordon Pumpkin
Push the block onto the switch
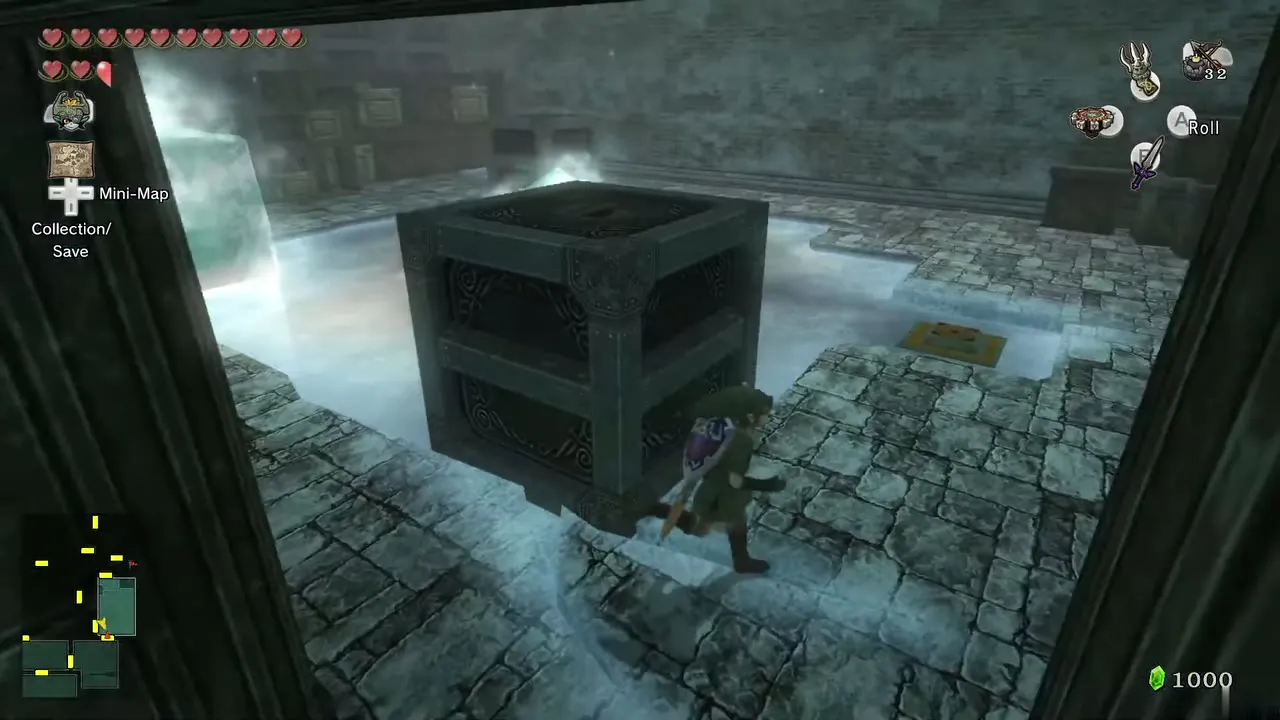
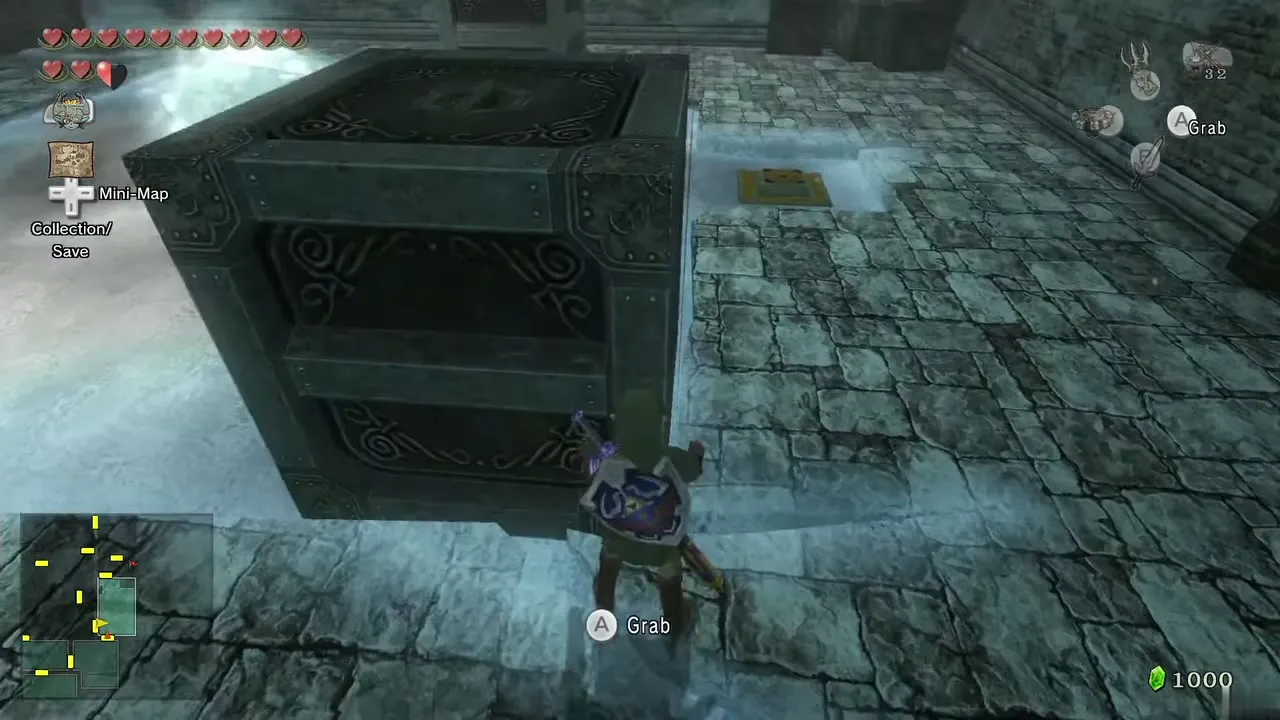
Go through the north door into the room with two movable blocks and a third frozen in ice. Push the block near the door east. Then take the other block west, south, east, south so it lands on the floor switch. That opens the west door.
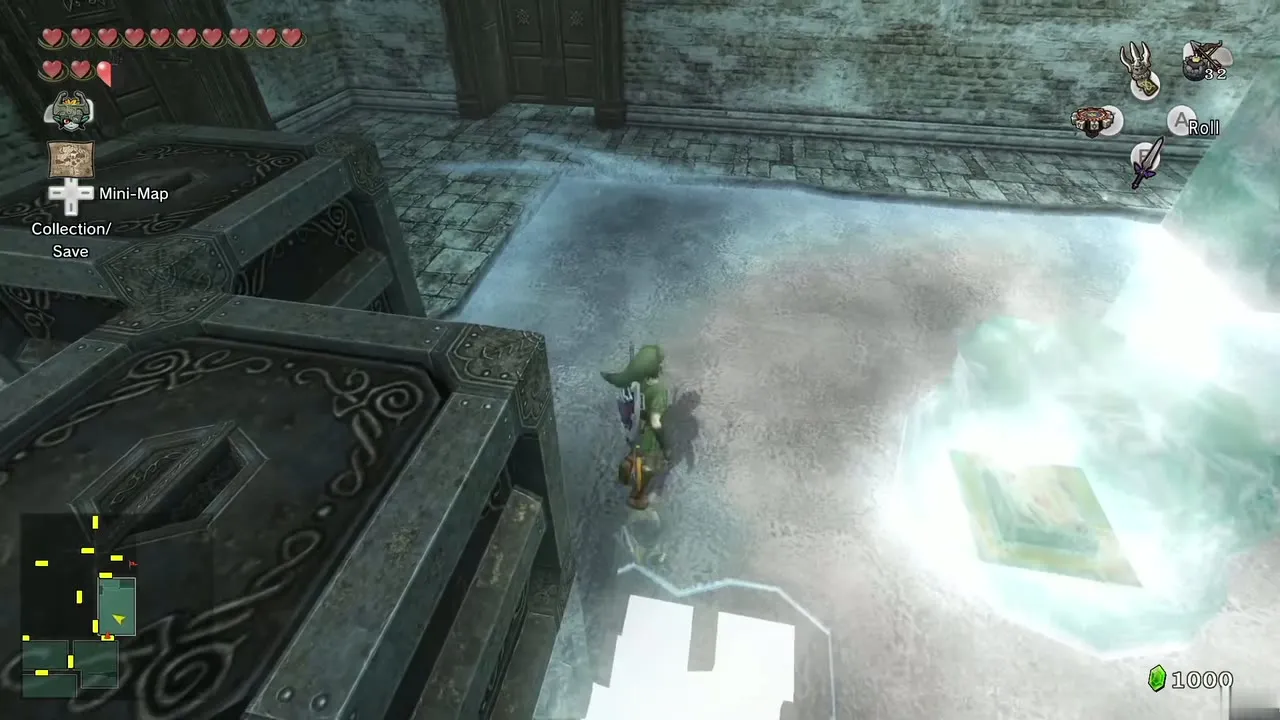
Courtyard: dig for the Small Key
The west door puts you in the mansion courtyard, which is full of White Wolfos and deep snow. Human Link wades slowly, so use Wolf Link here. A chest near the entrance holds Rupees. Dig into the snow to reach the larger courtyard, run north and dig up a buried chest. It holds a Small Key. Then go through the east door in the north of the courtyard.
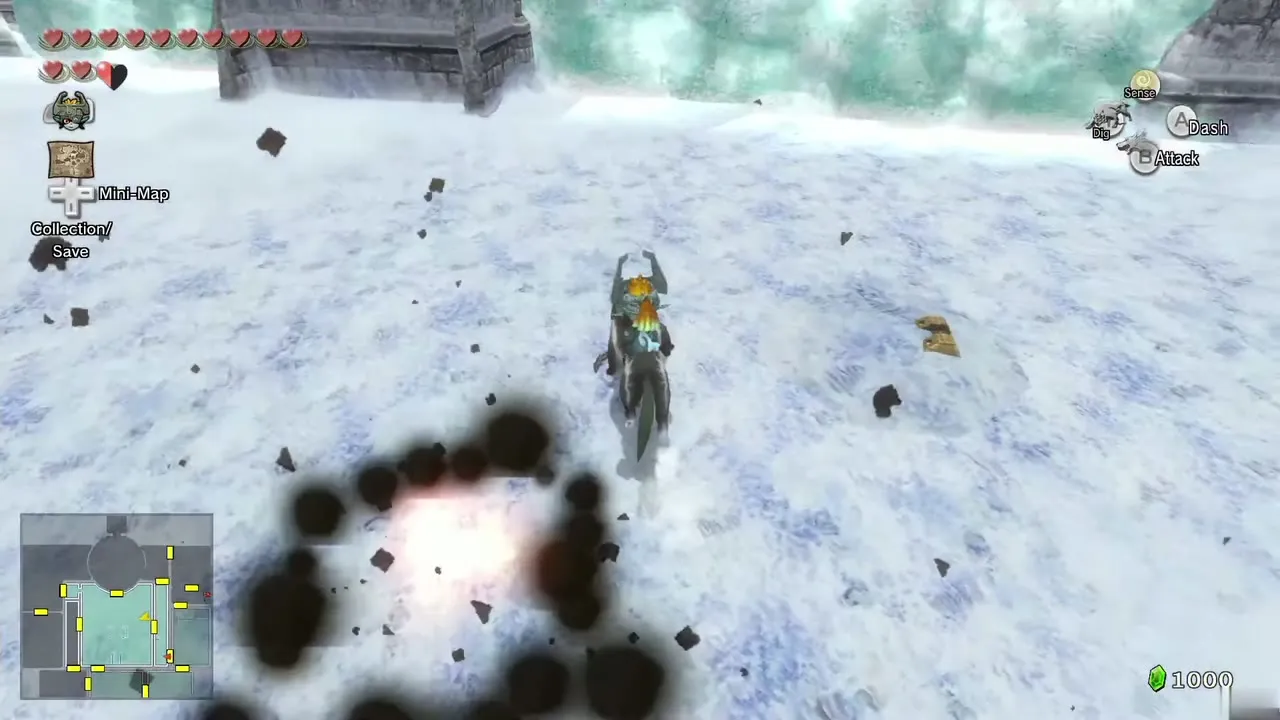
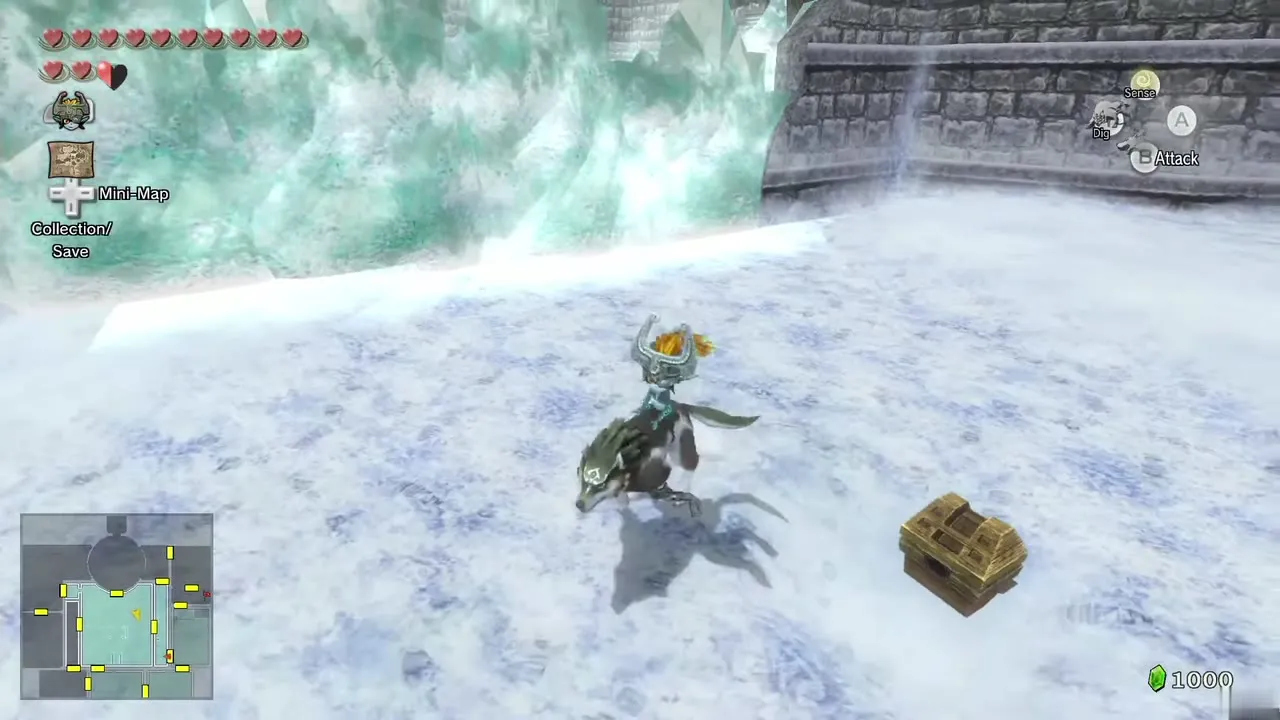
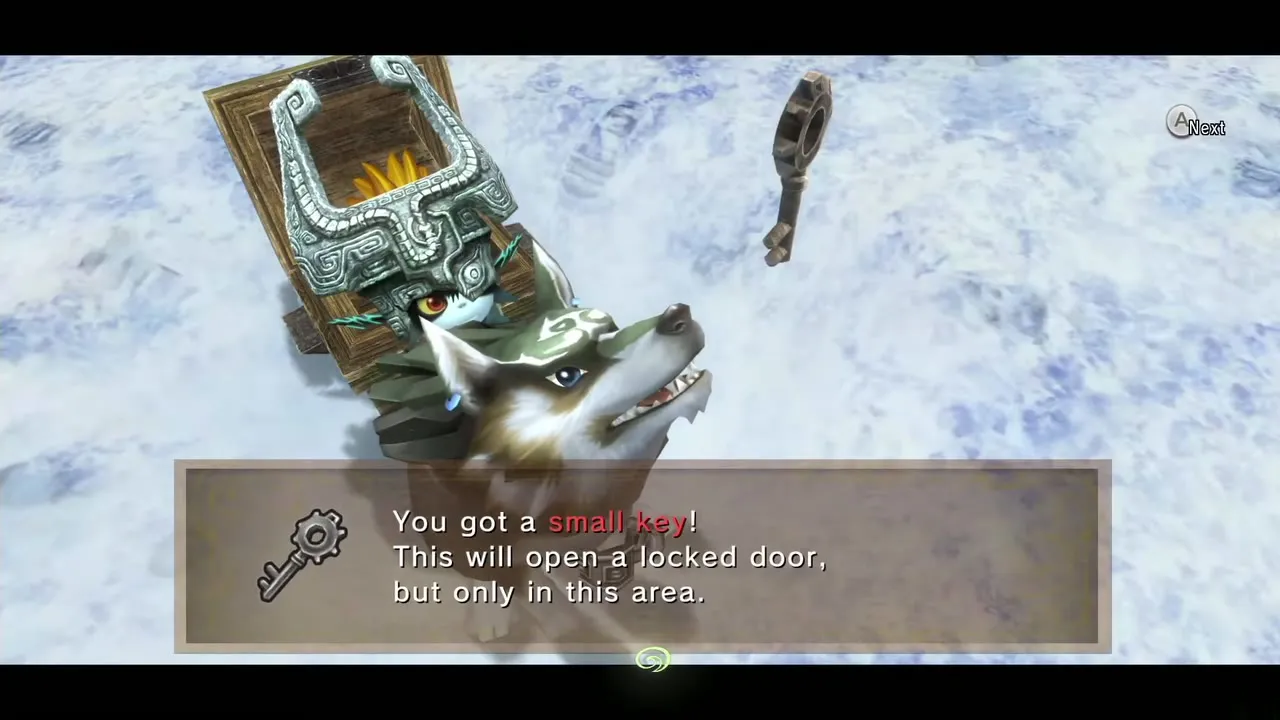
Mini Freezards and the locked door
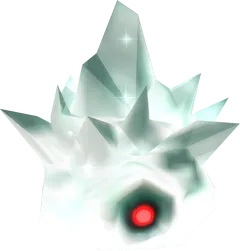
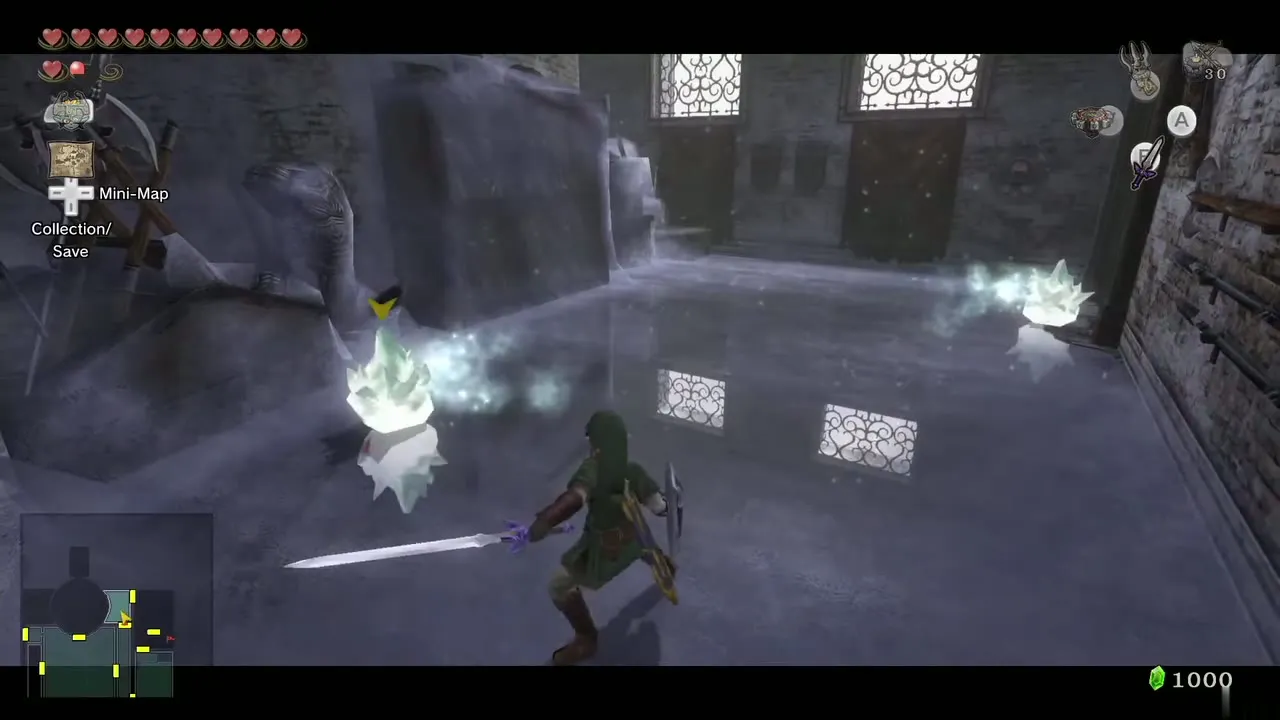
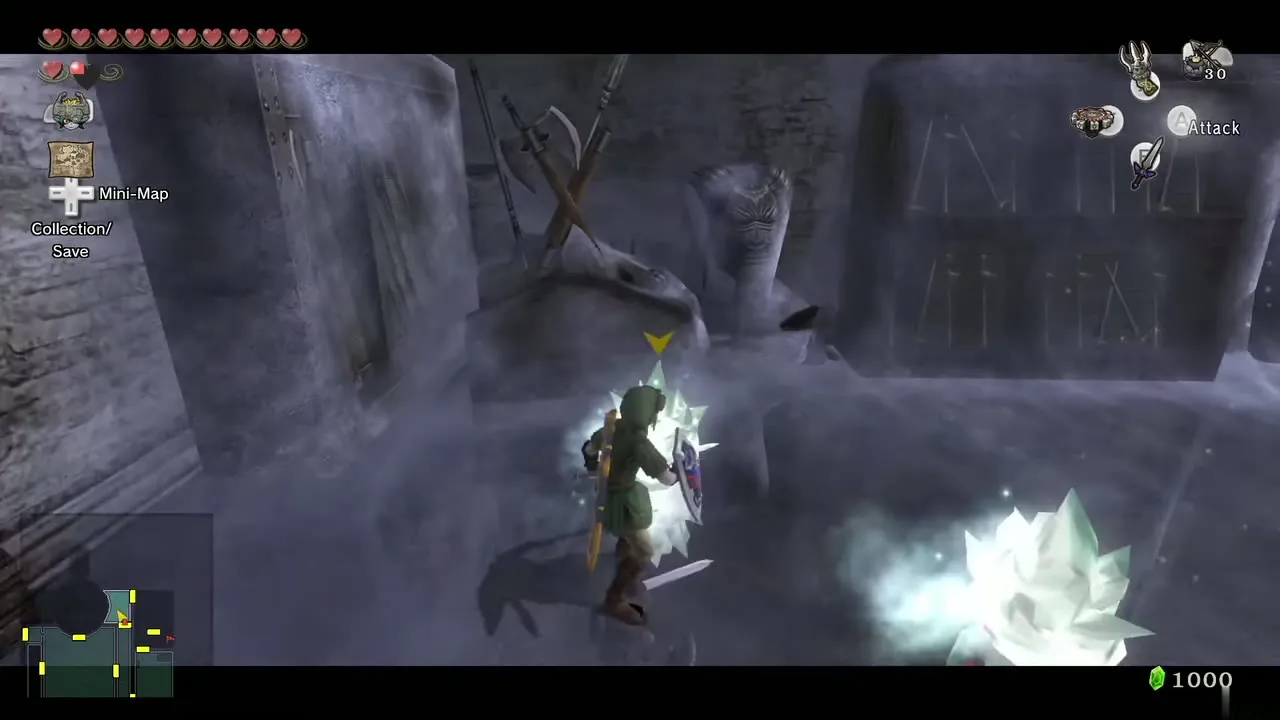
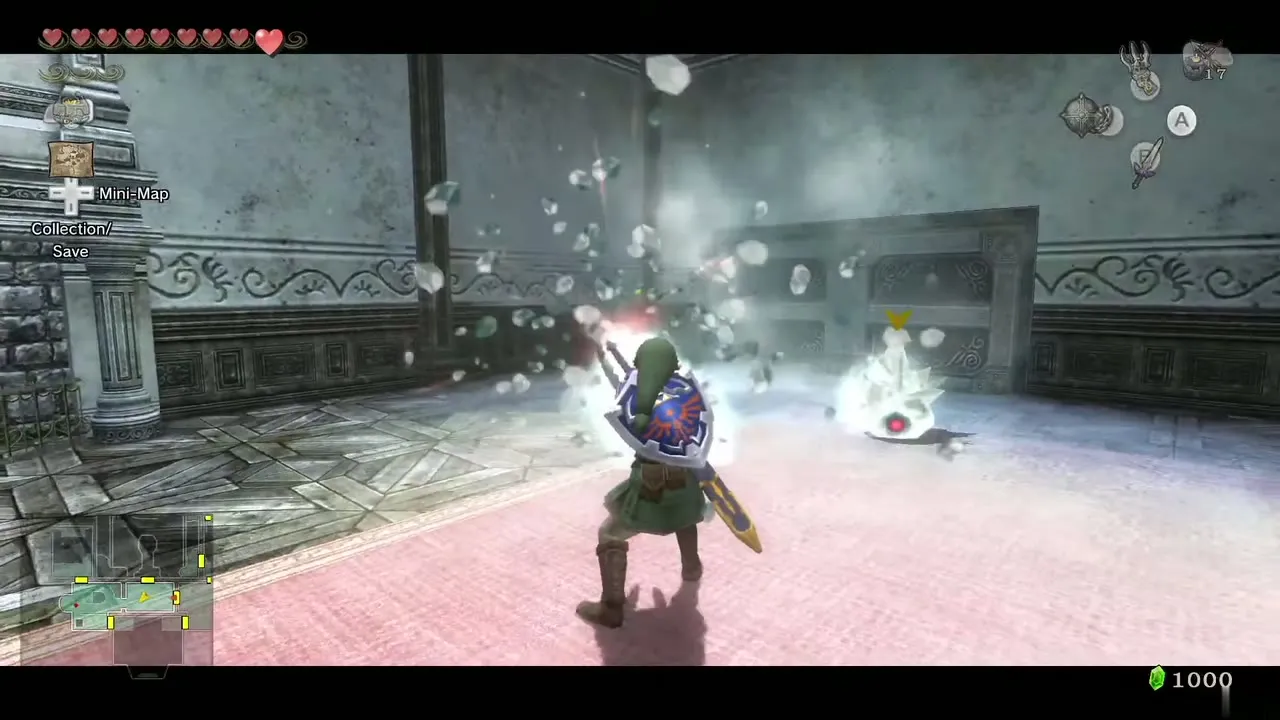
Mini Freezards slide over the ice and freeze you if they touch you; hit one and it spins away, and a jump attack or Shield Attack bounces them off. Use the Small Key on the locked door ahead. In the next room three more block the door, so beat them with your sword to open the east door.
Chilfos and the first wrong chest
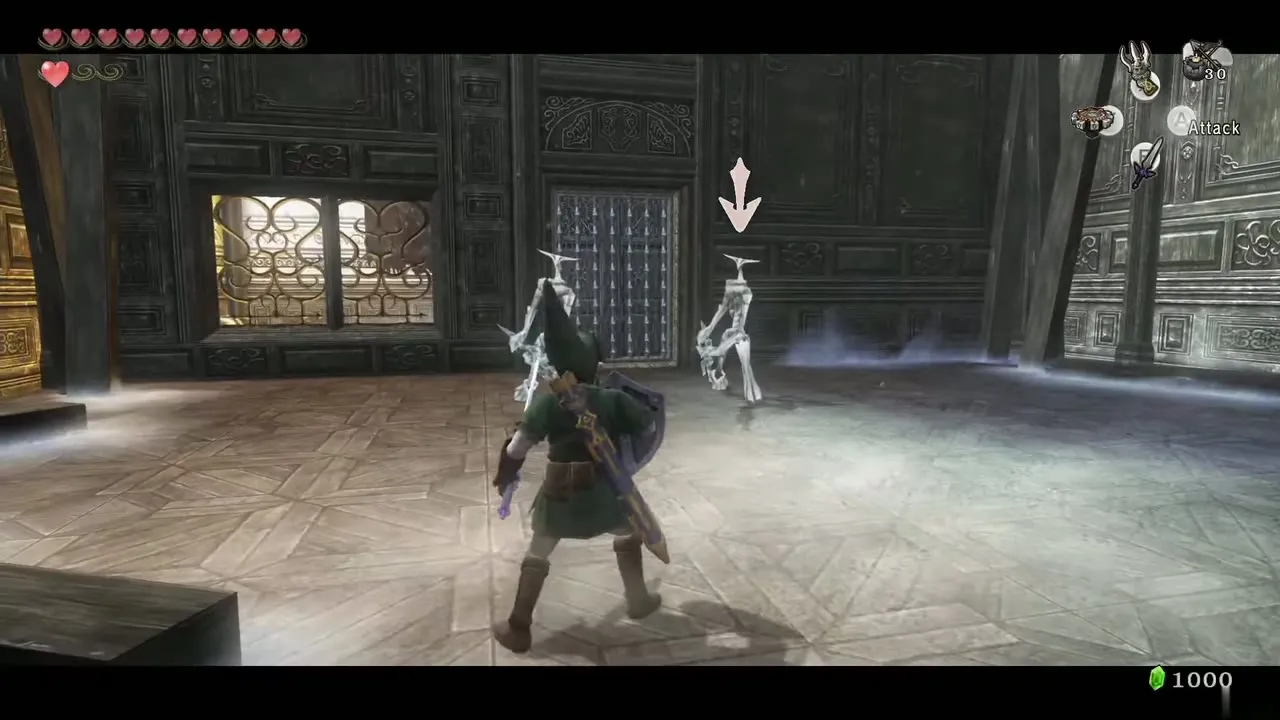
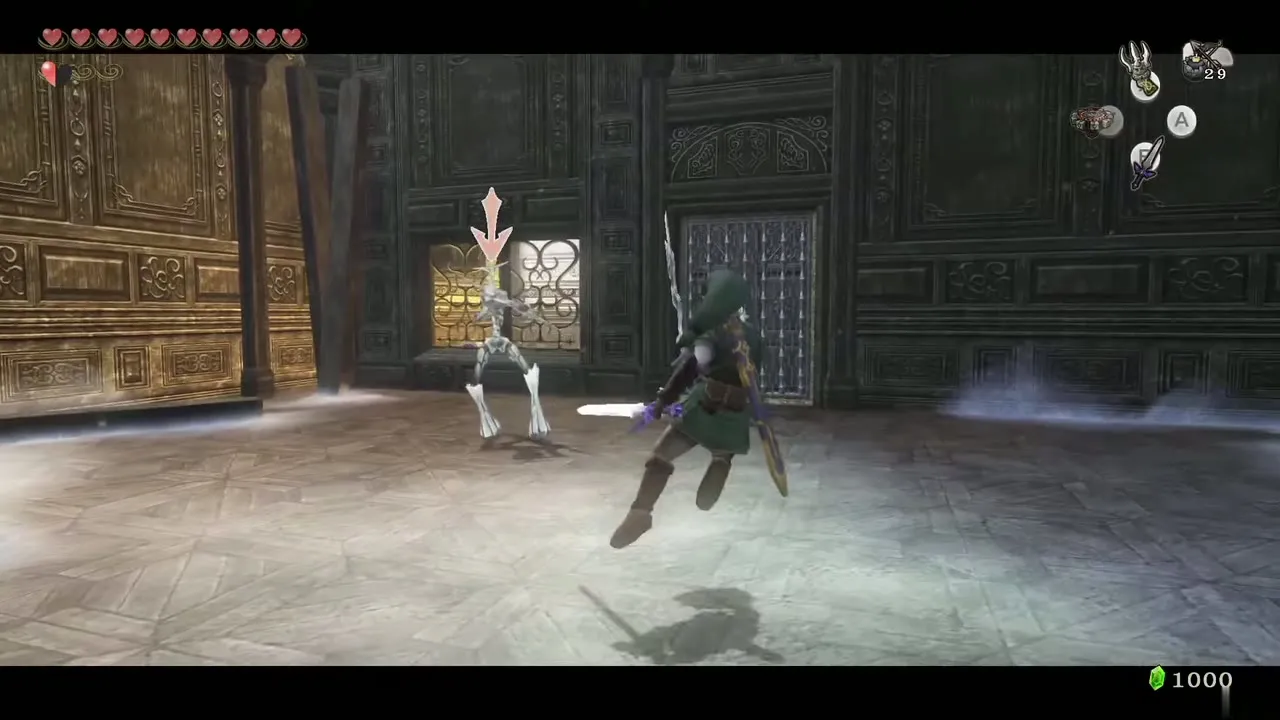
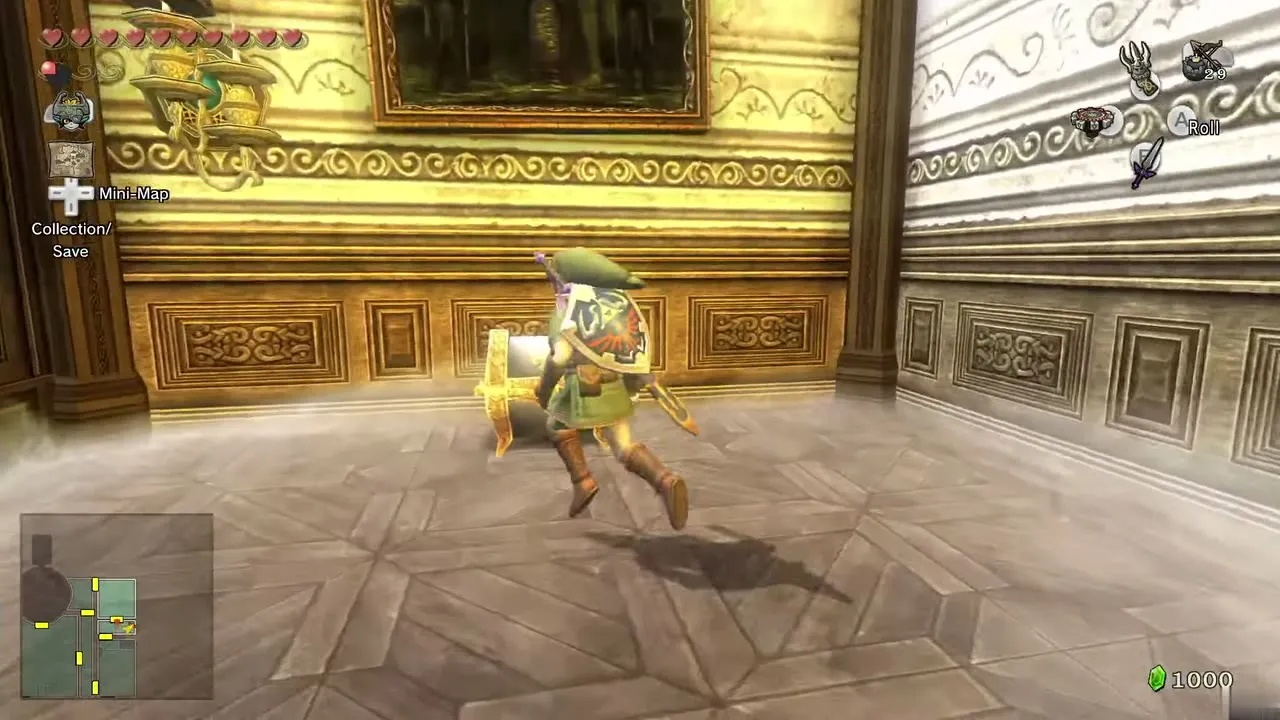
As you near the next door it shuts and two Chilfos attack with thrown icicles; a Back Slice works well since they block frontal hits. Defeat both and go through the opened door to a chest. It holds an Ordon Pumpkin, not the key. Leave through the south door to the ice-block room, climb the crates, drop down and carry on south to the kitchen.

Good Soup
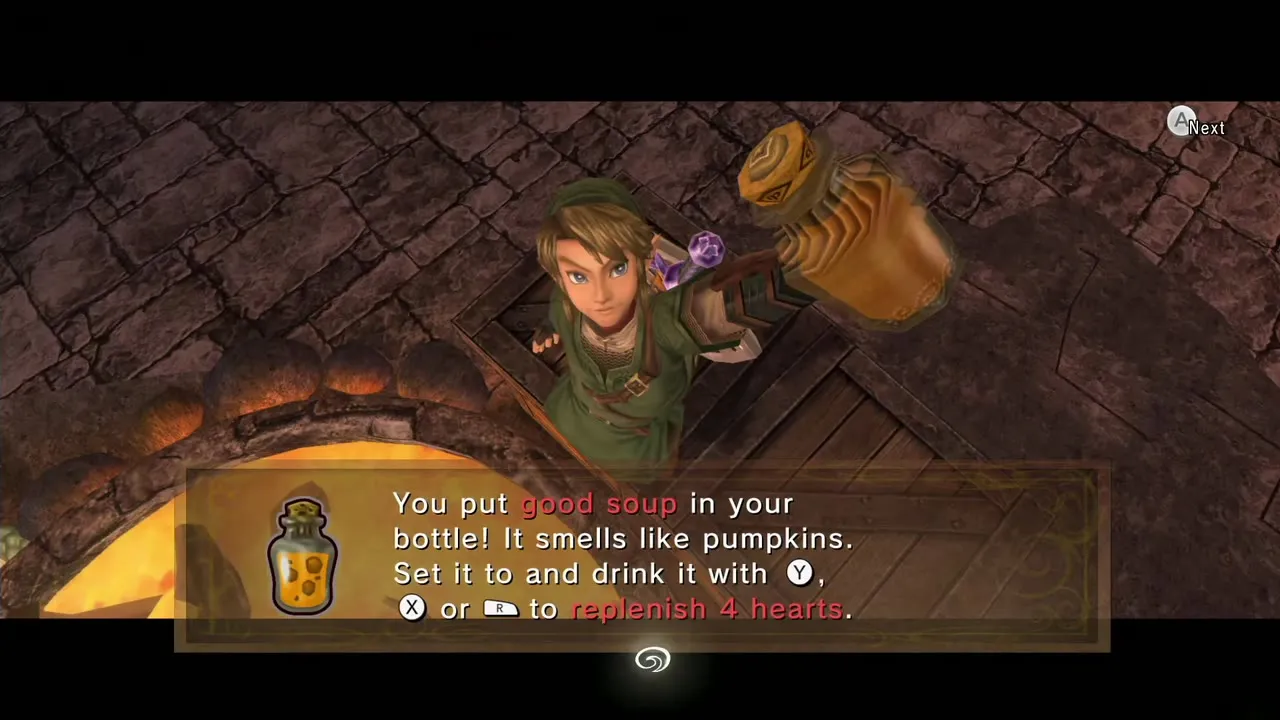
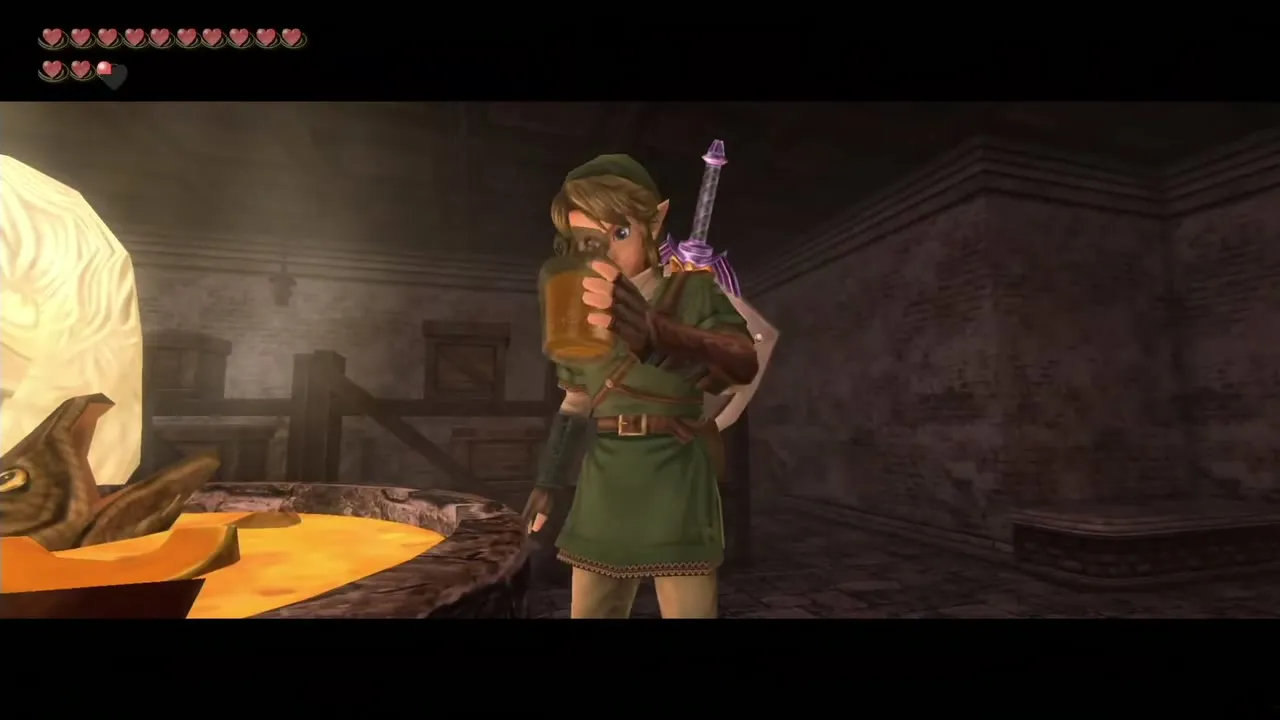
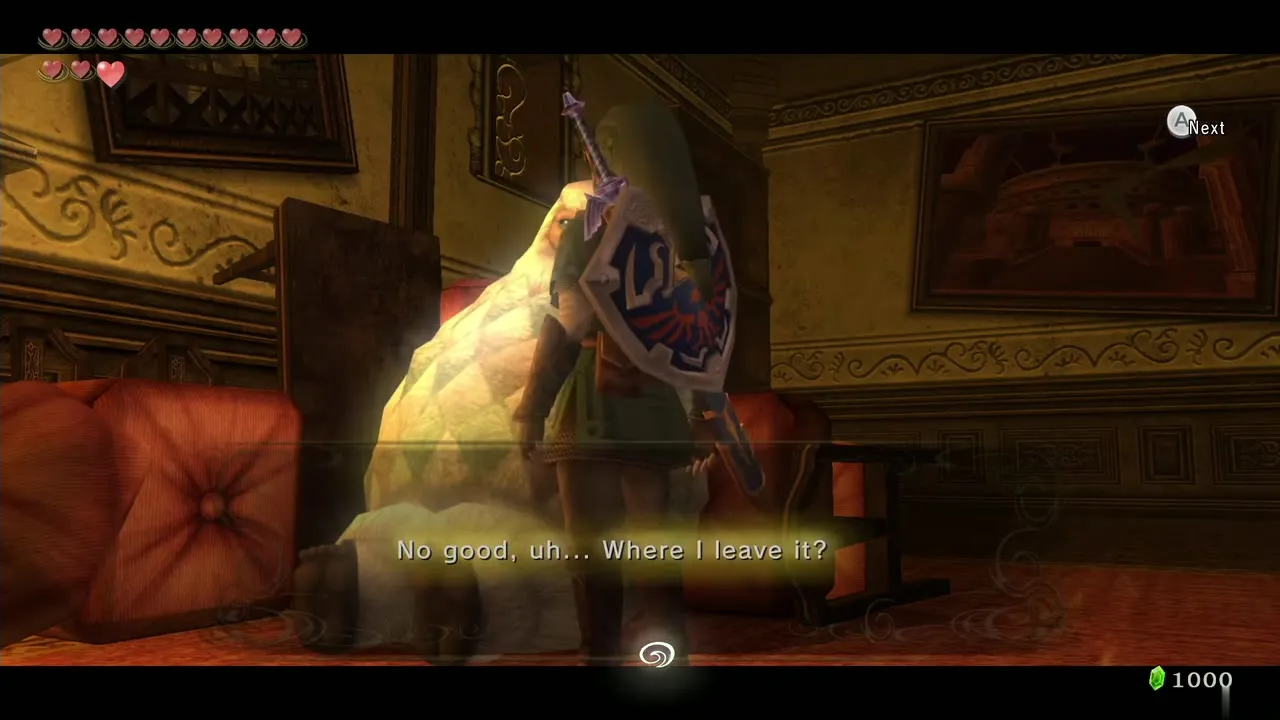
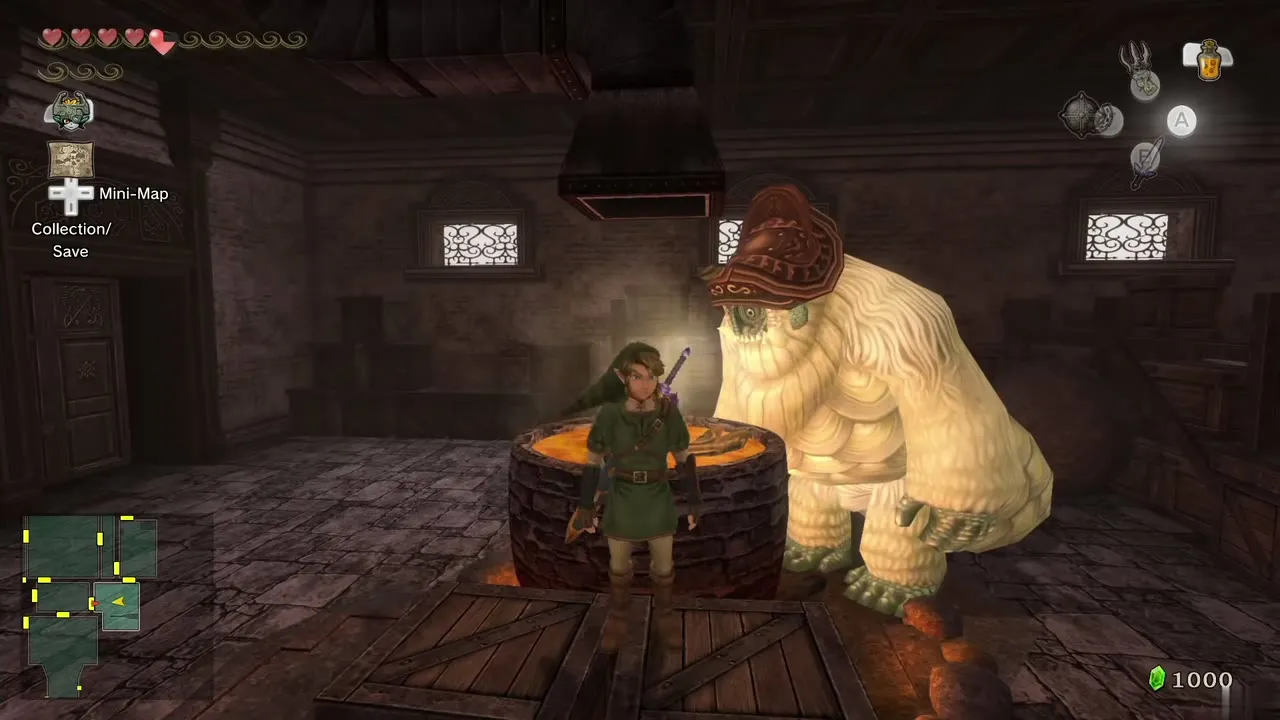
Give the Ordon Pumpkin to Yeto (he sniffs it out and knocks you over to take it). The soup becomes Good Soup, which restores four hearts. Return to Yeta; her memory is muddled and she marks a new spot at the north of the mansion.
Cannons, ice and the Compass
Courtyard to the north-west room
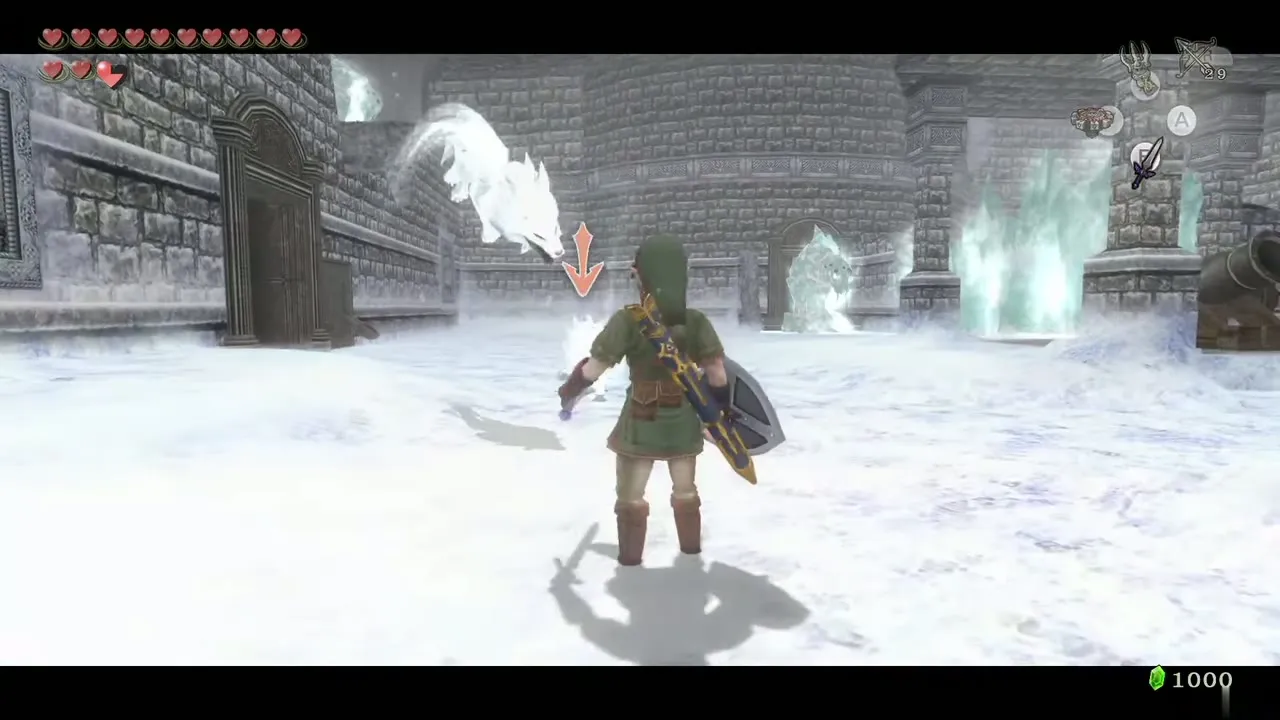
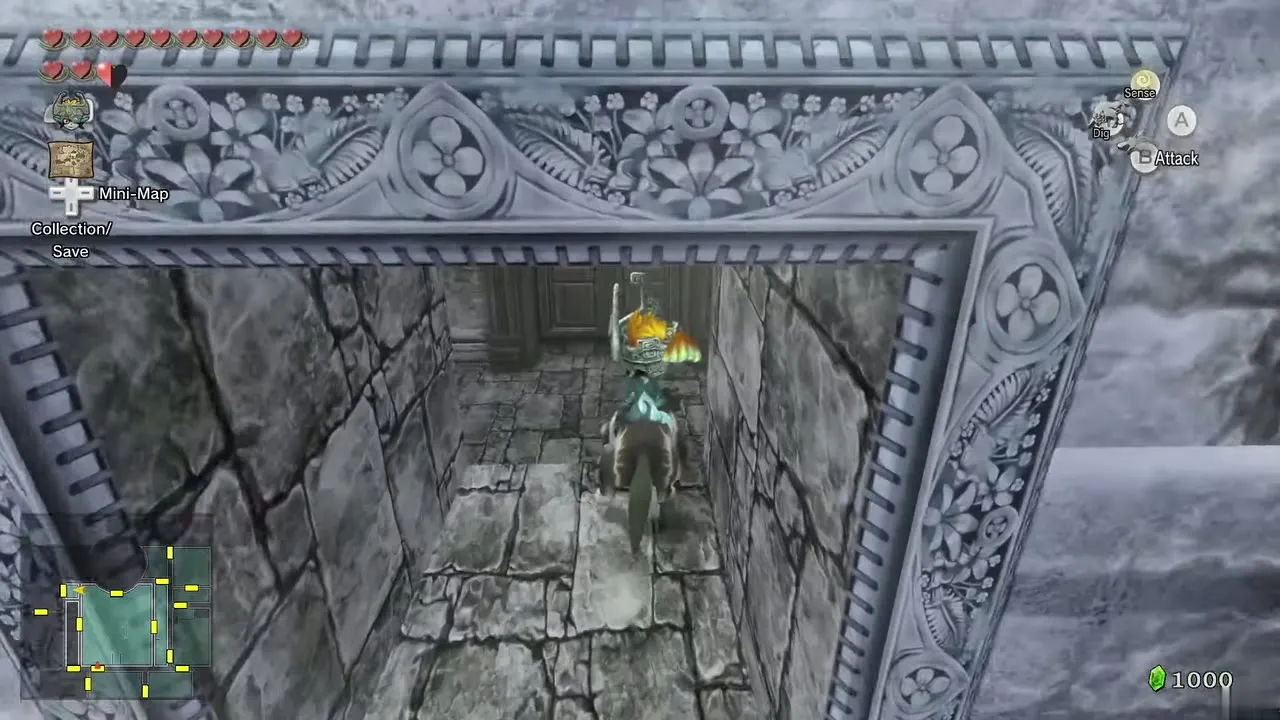
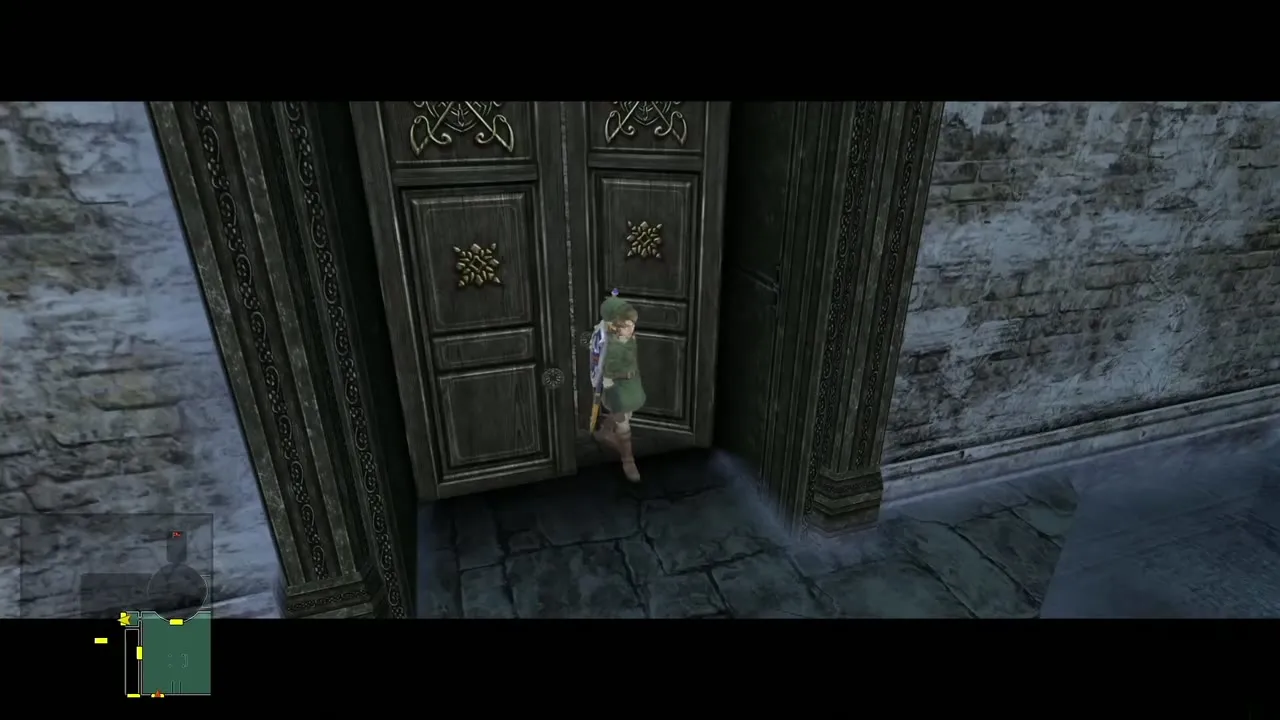
Yeta opens the north door to the courtyard again. Go to the north-west corner, climb through the window and enter the door. A large Freezard prowls near the north door, so keep your distance from it. The room beyond has Mini Freezards, which you can strike from the doorway so you do not stand on ice.
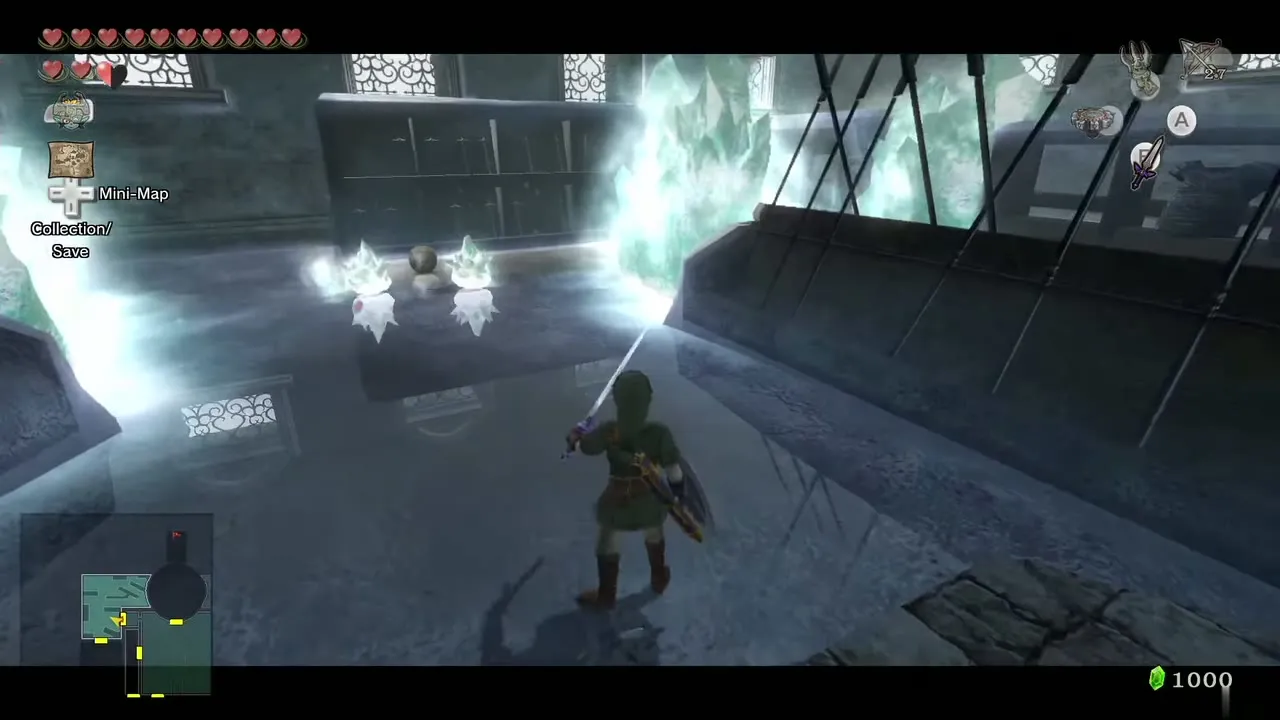
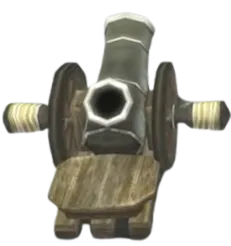
Cannon puzzle: first shot
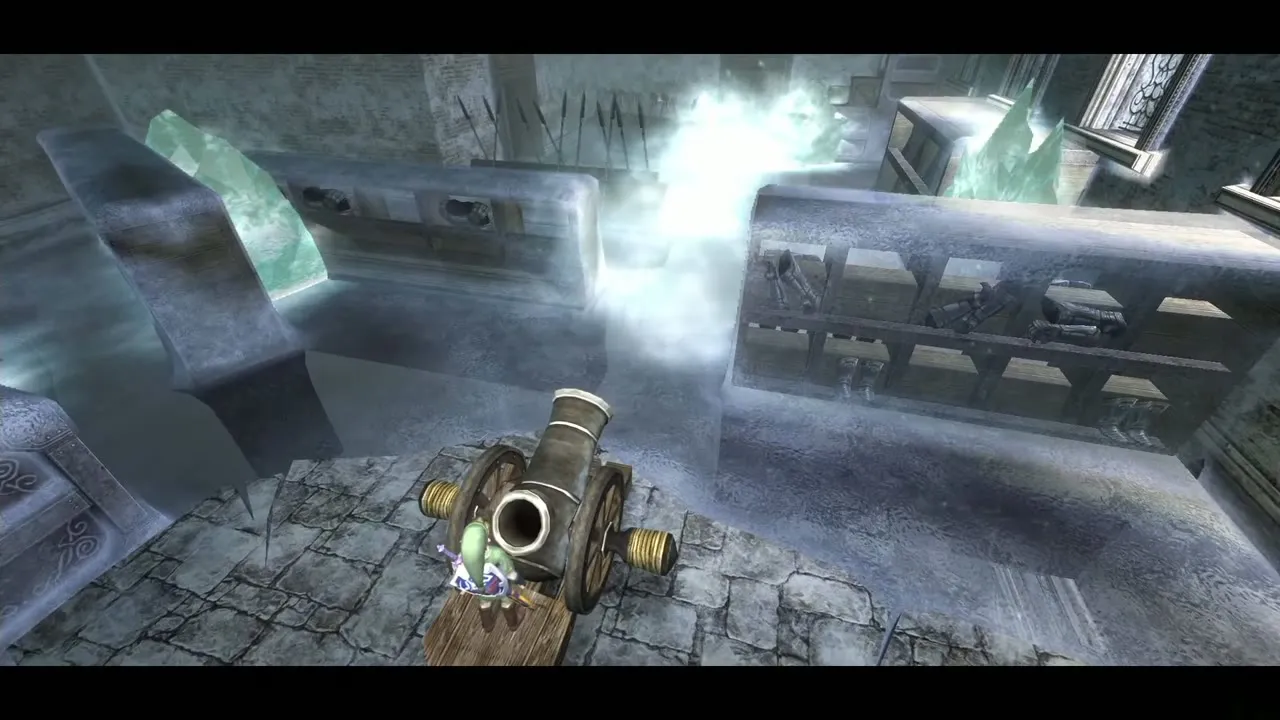
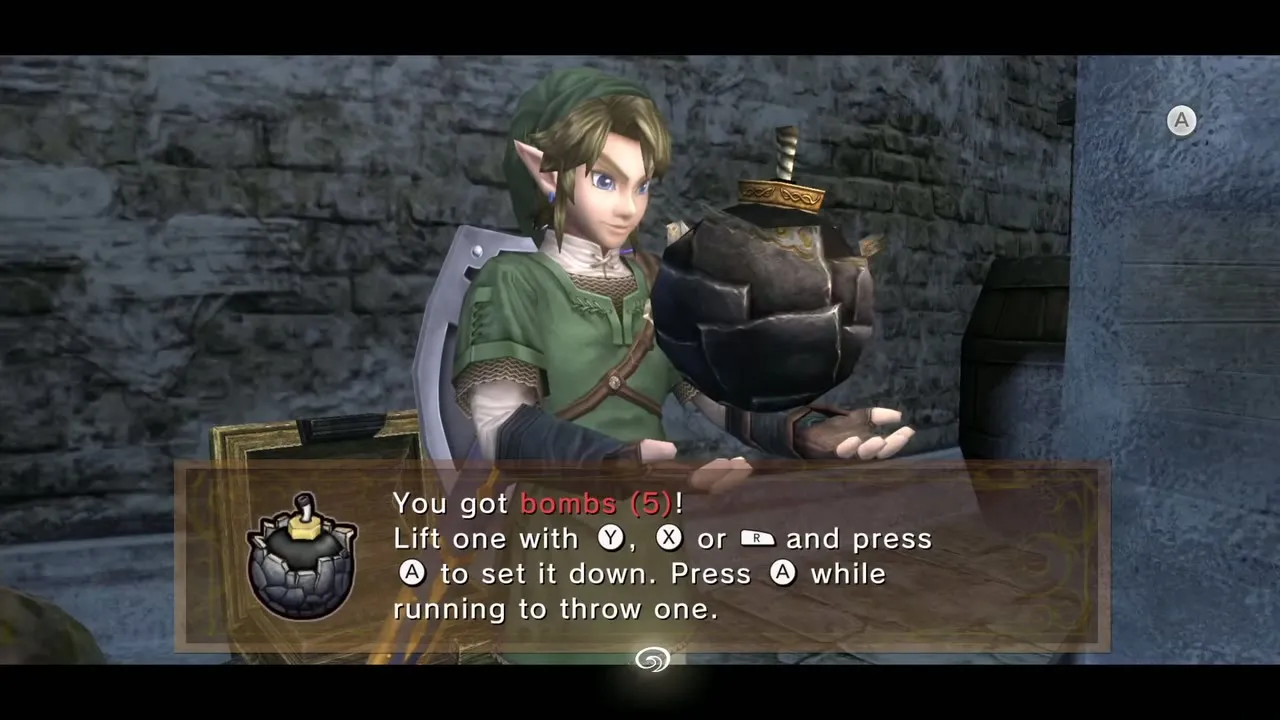
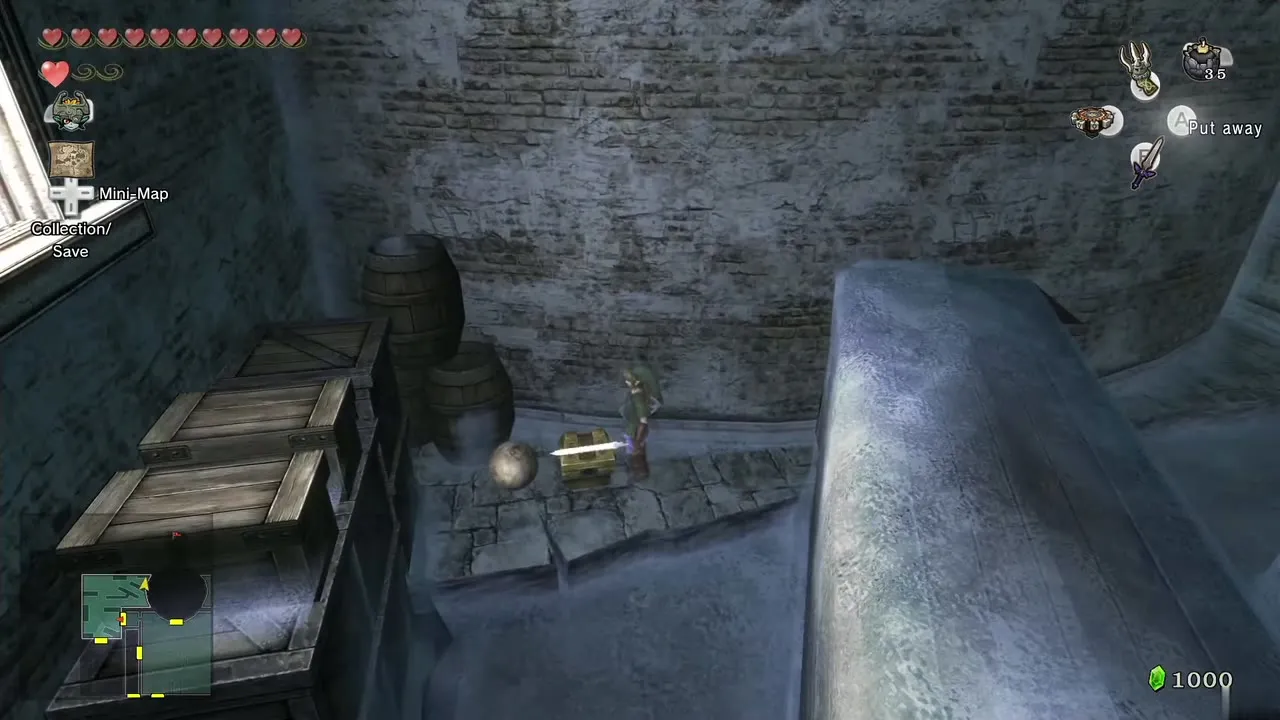
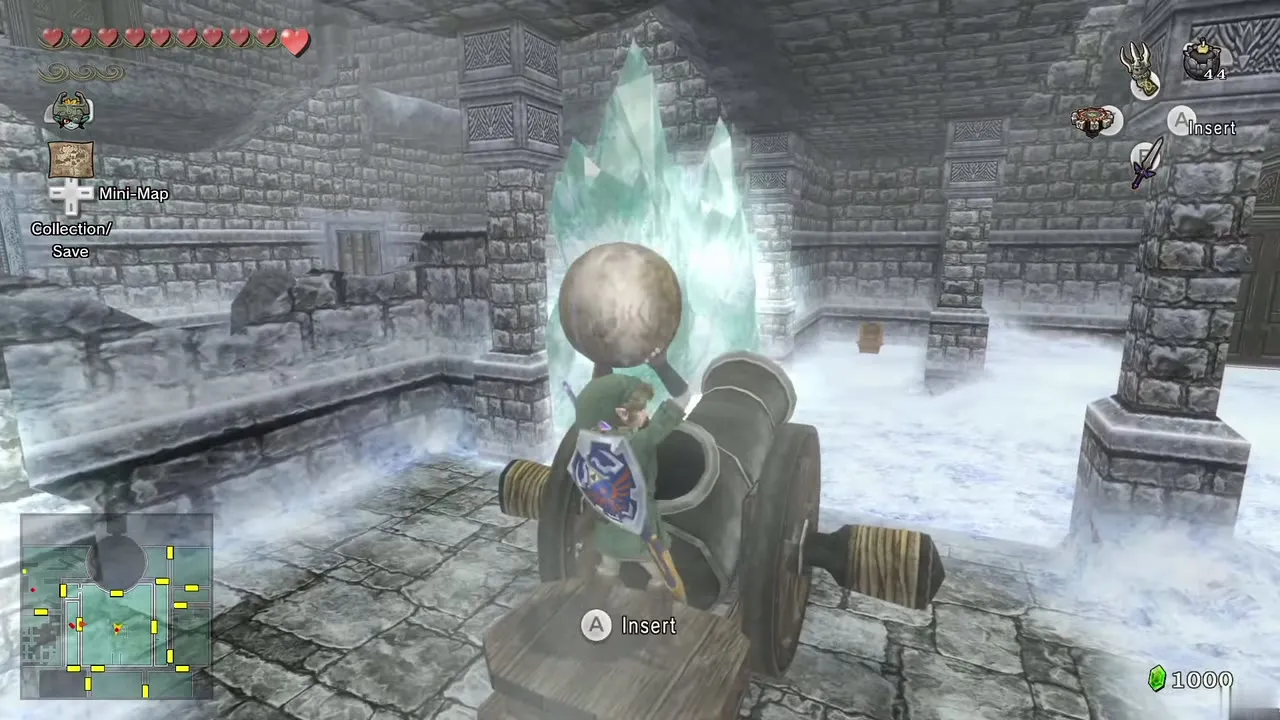
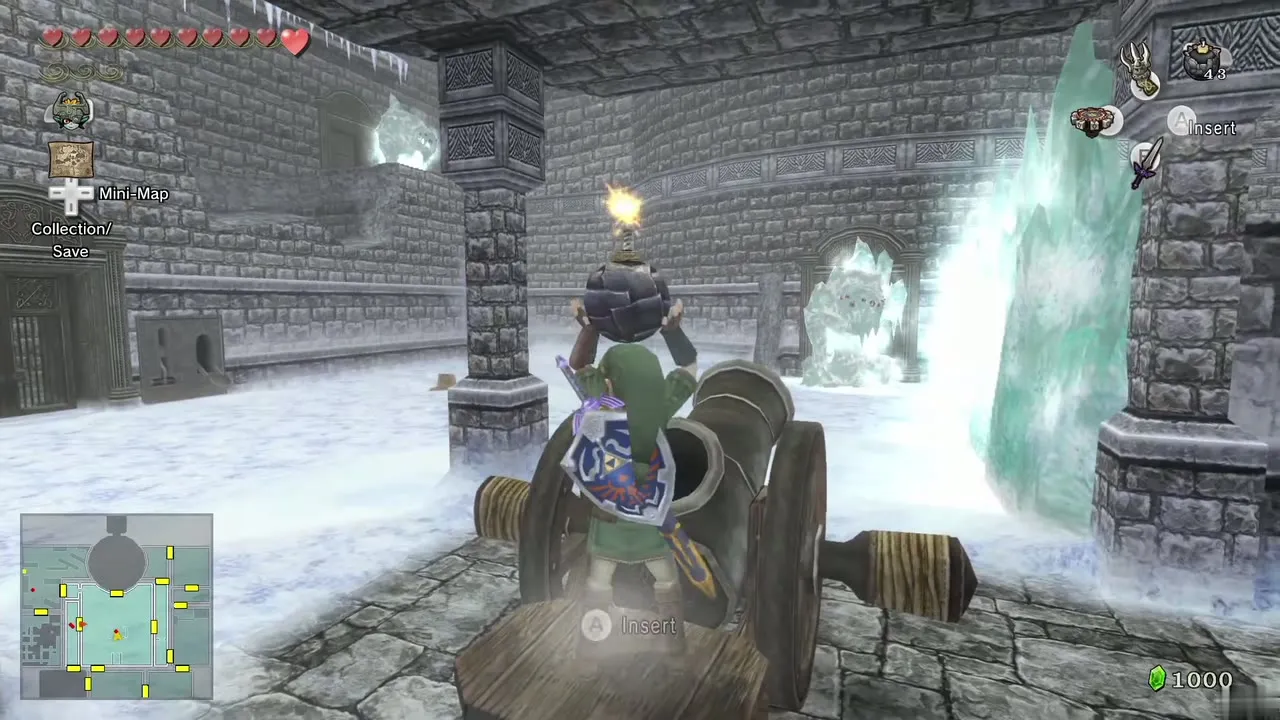
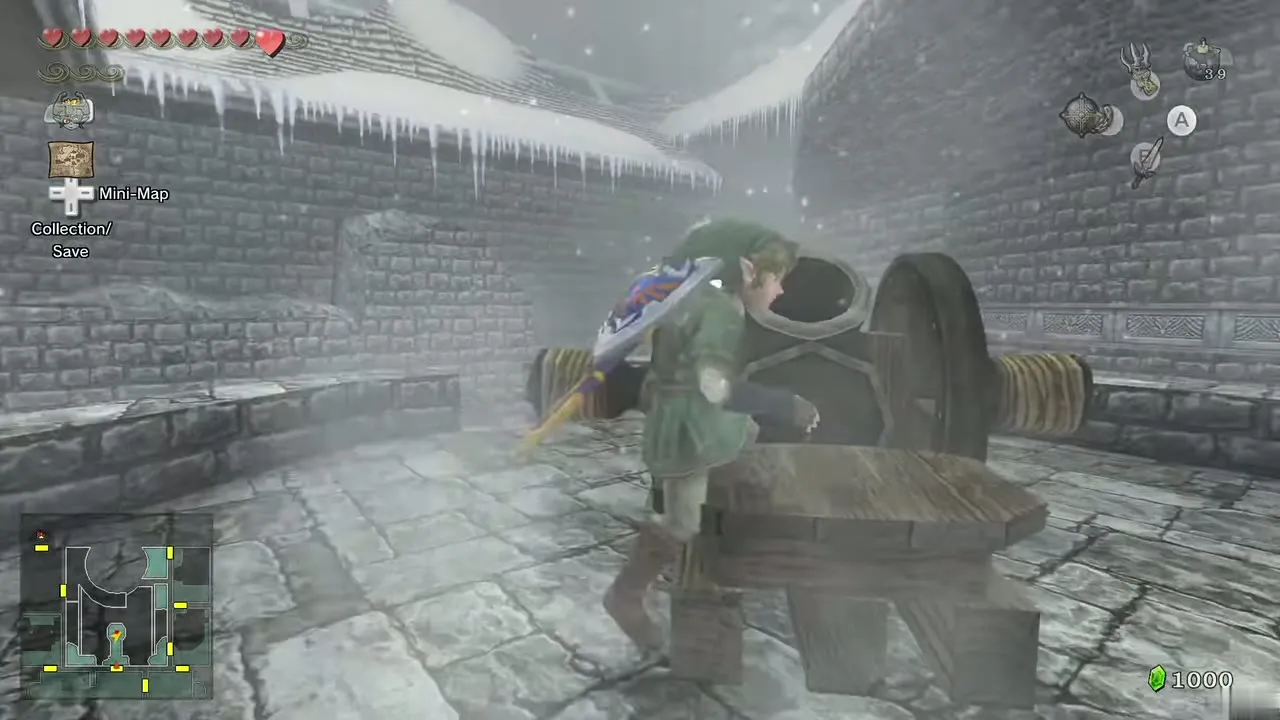
Lift the cannonball and carry it to the cannon at the north end. Drop it into the barrel, then a Bomb, and it flies to the north-east corner and destroys the ice. Open the chest there for Bombs.
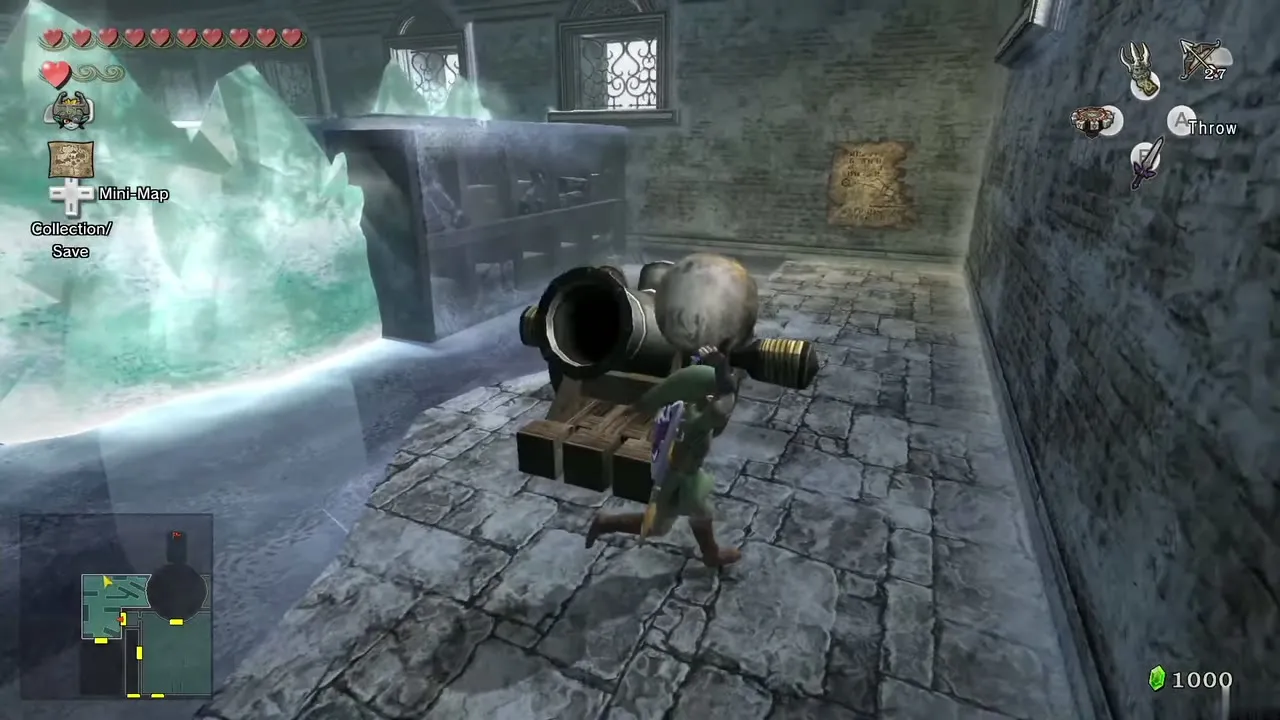
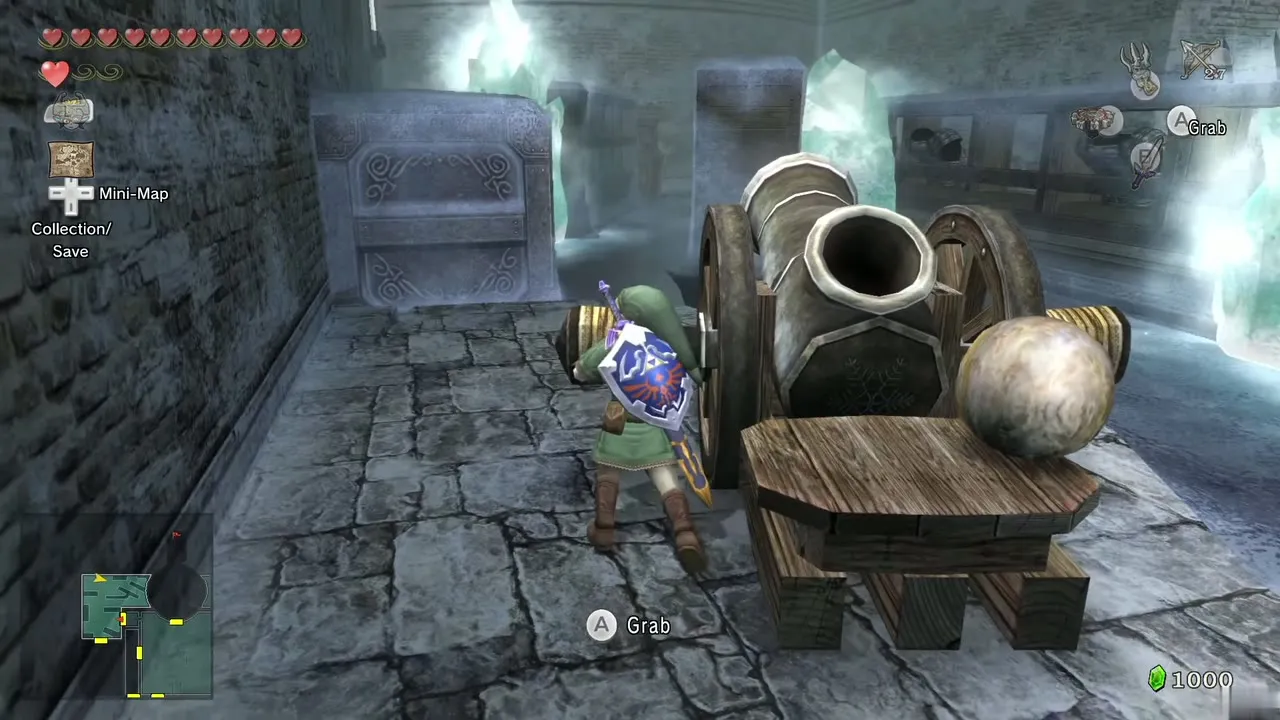
Cannon puzzle: second shot
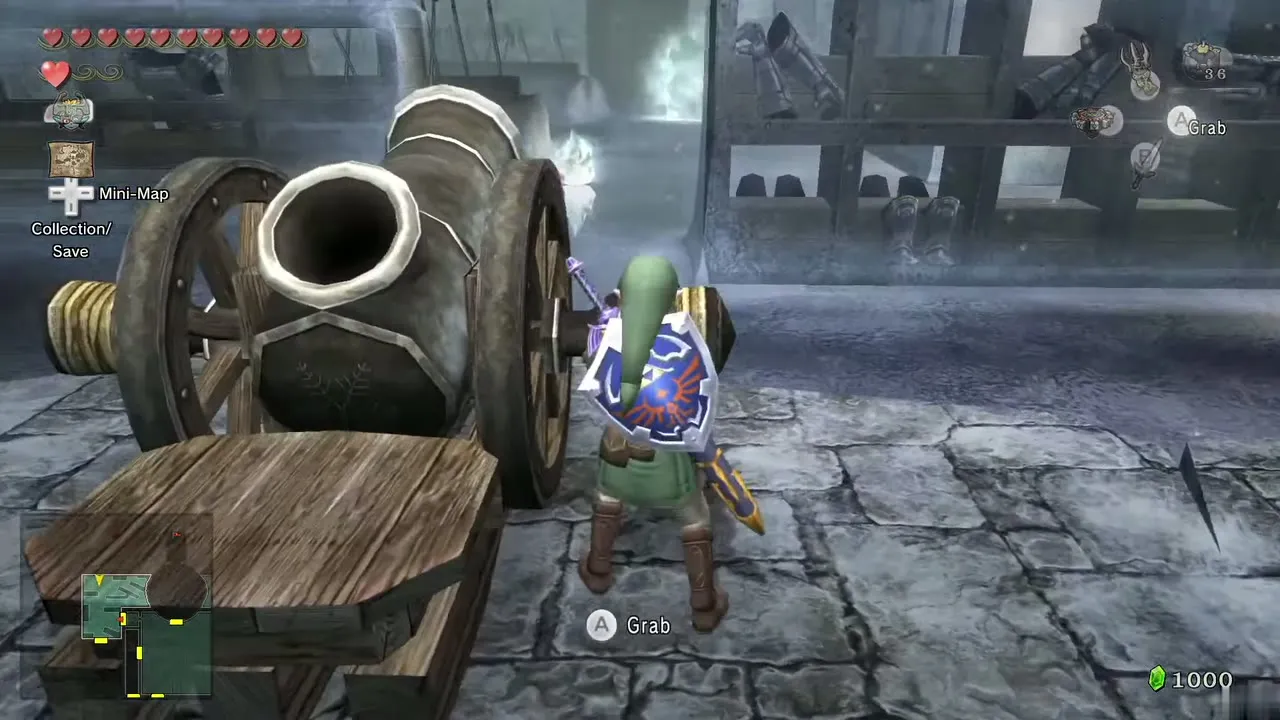
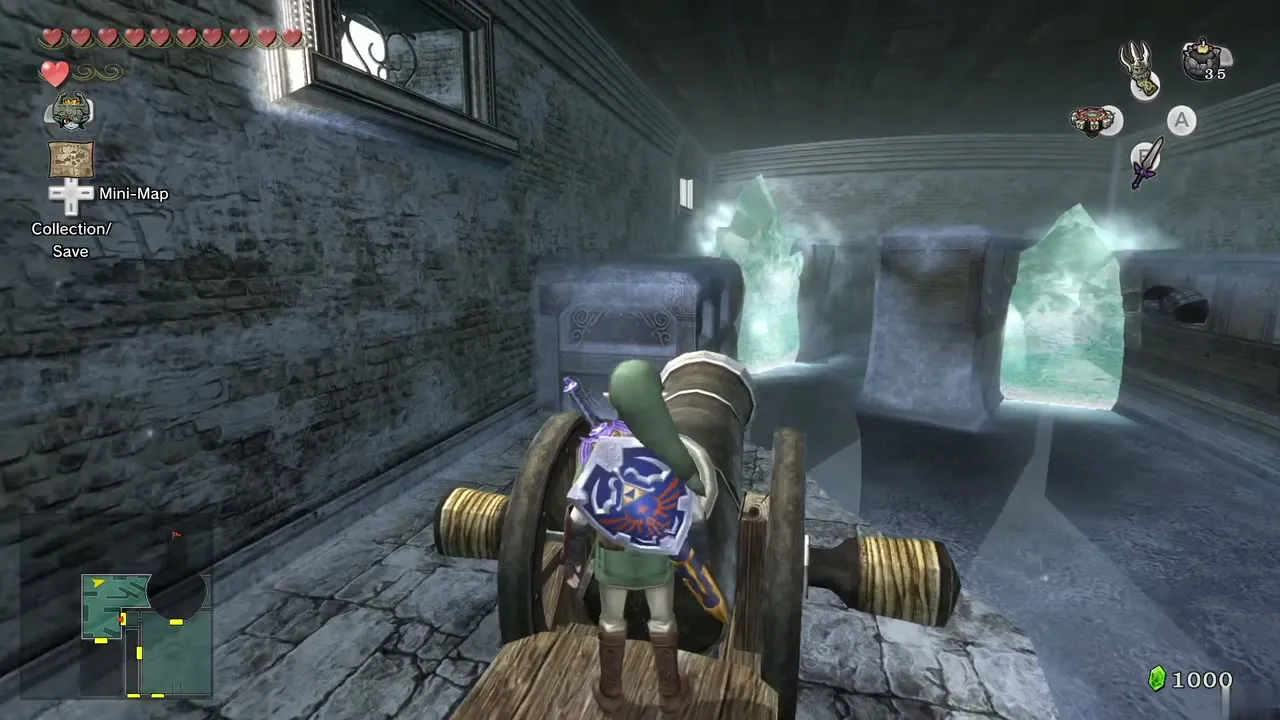
Pick the ball up again, put it back in the cannon, then stand beside the cannon and push or pull to rotate it to face south. Drop in another Bomb and it blasts through the ice toward the south door. Walk to the south door and go in.

Wooden planks and the Compass
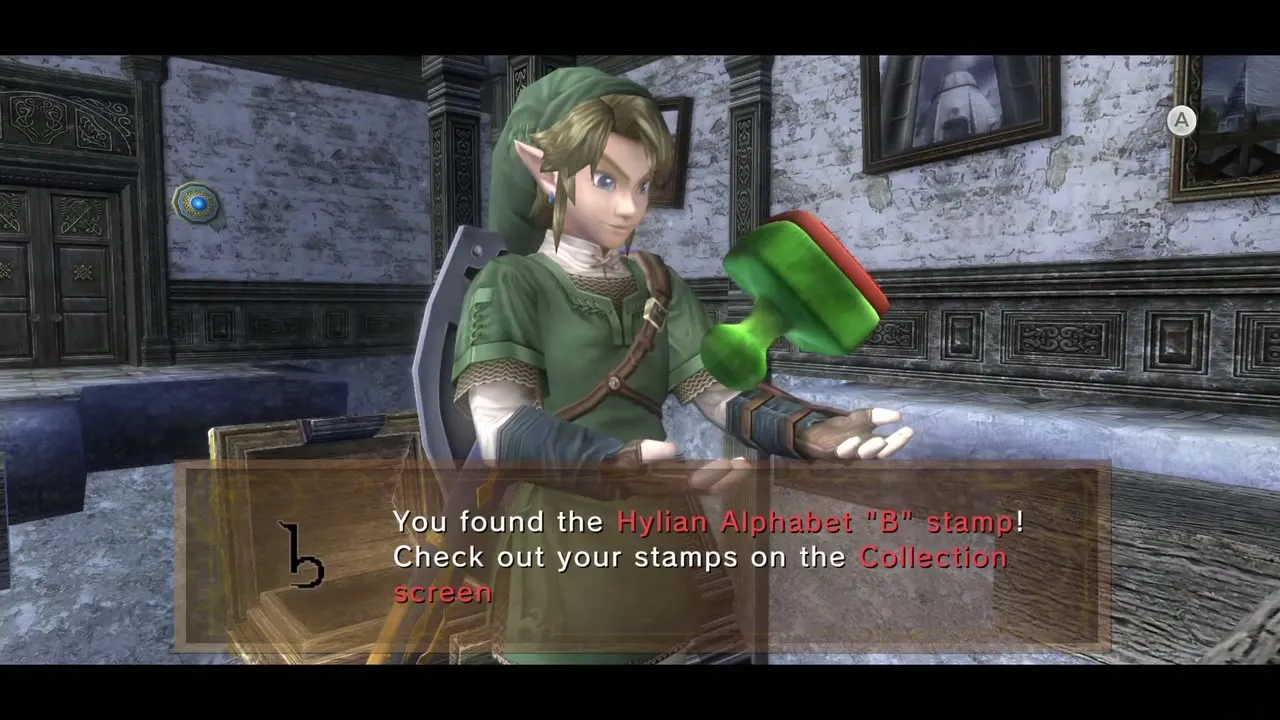
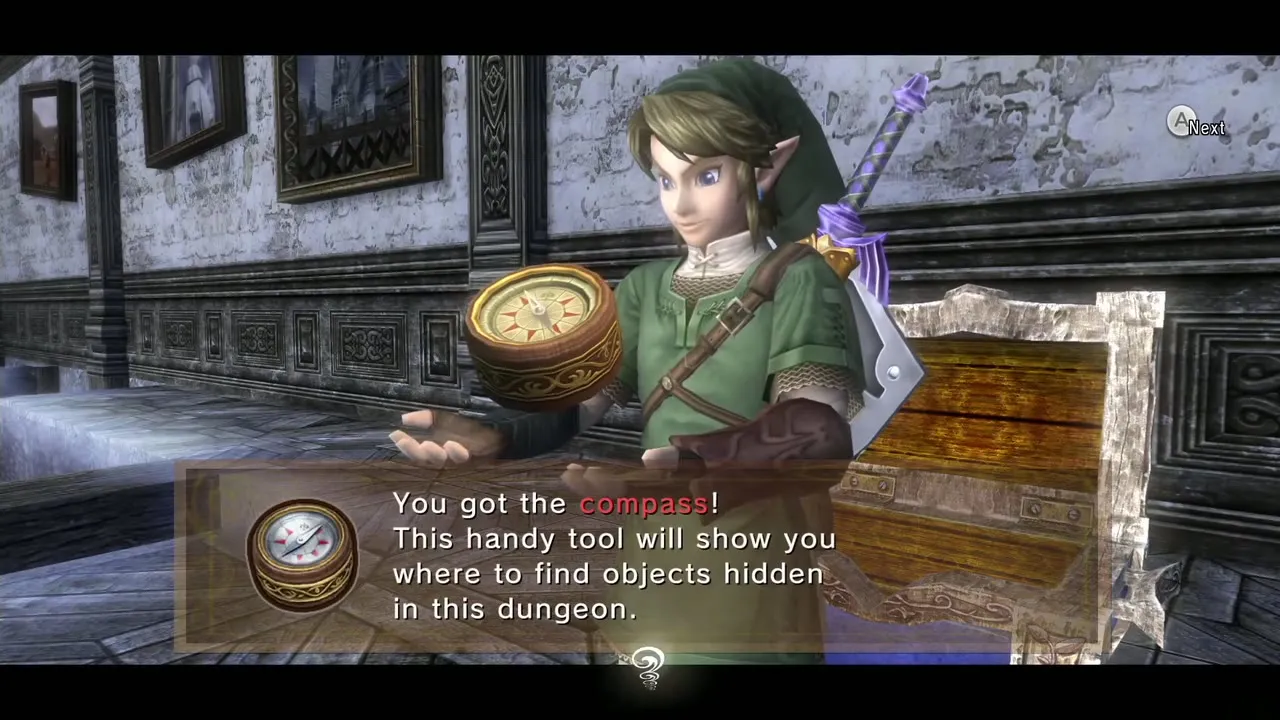
The next room has Ice Keese, Mini Freezards and slick platforms. Kill the Ice Keese, then shoot the Mini Freezards with arrows. Jump the gap and slide south-west, but do not overshoot or you slide off the ledge. Shoot the other Mini Freezard nearby and leap to the next platform. The chest in the middle of the room holds the Hylian Letter B stamp (see Miiverse Stamps). The chest in the south-east corner holds the Compass.
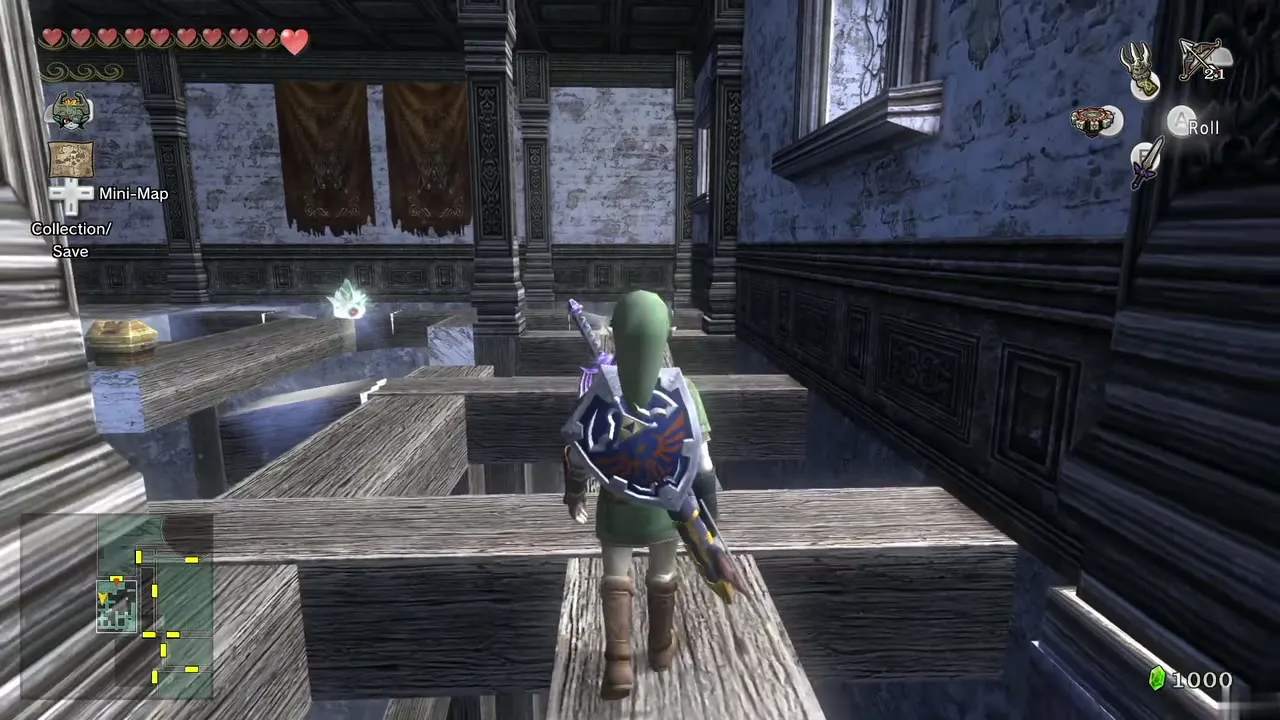
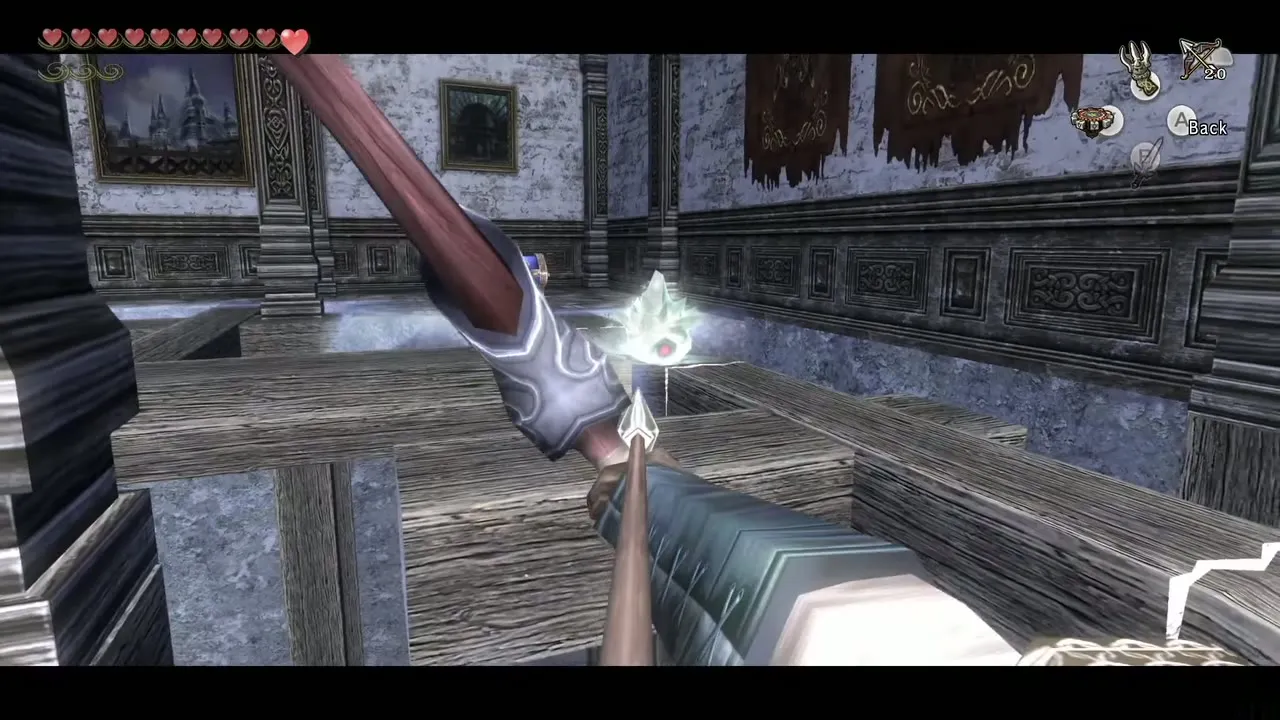
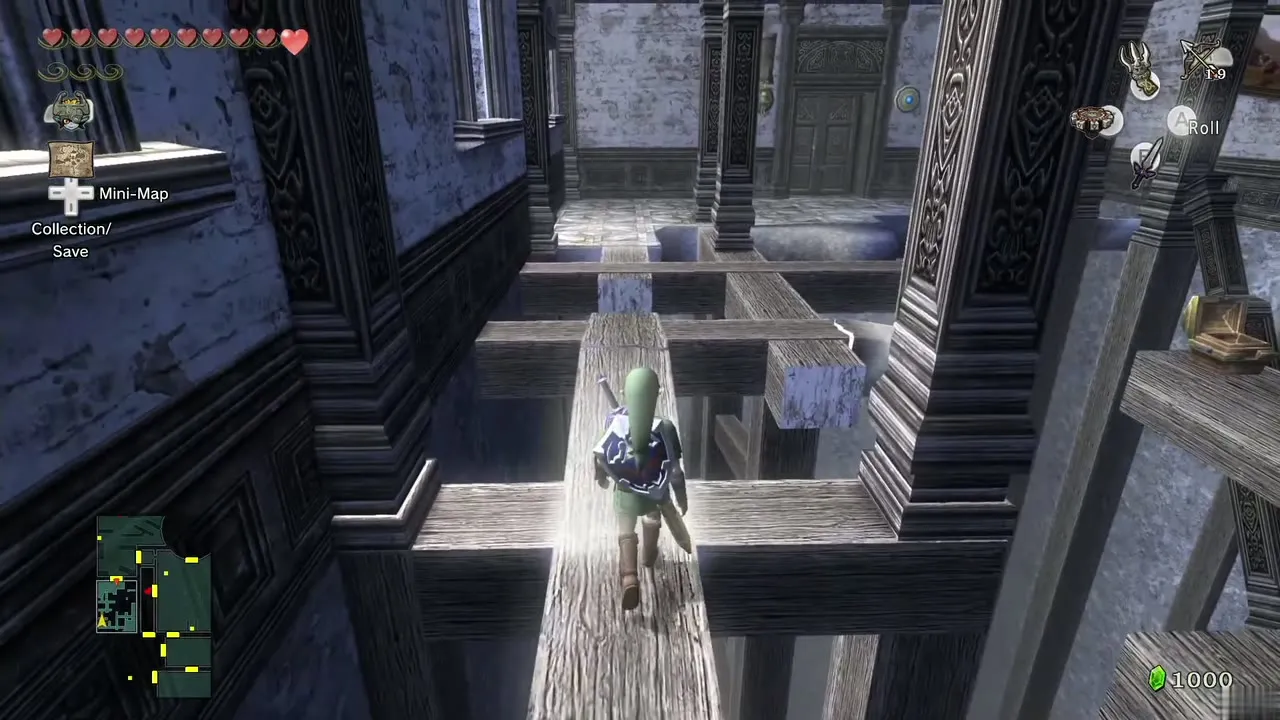
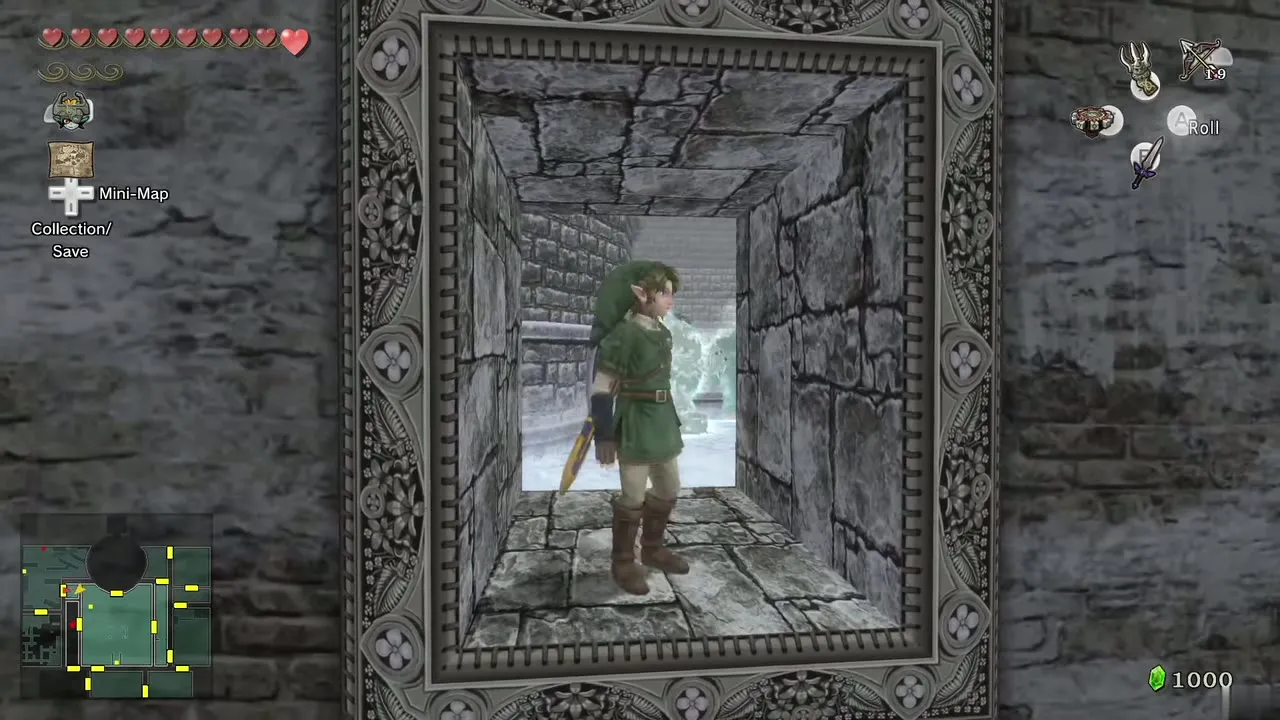
Walk north and Clawshot the target to get back to the door you came in by. Head east to the courtyard.
Second Small Key, the lever and the Ball and Chain
Buried chest and cannonball lever
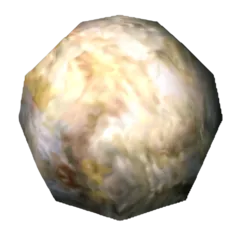
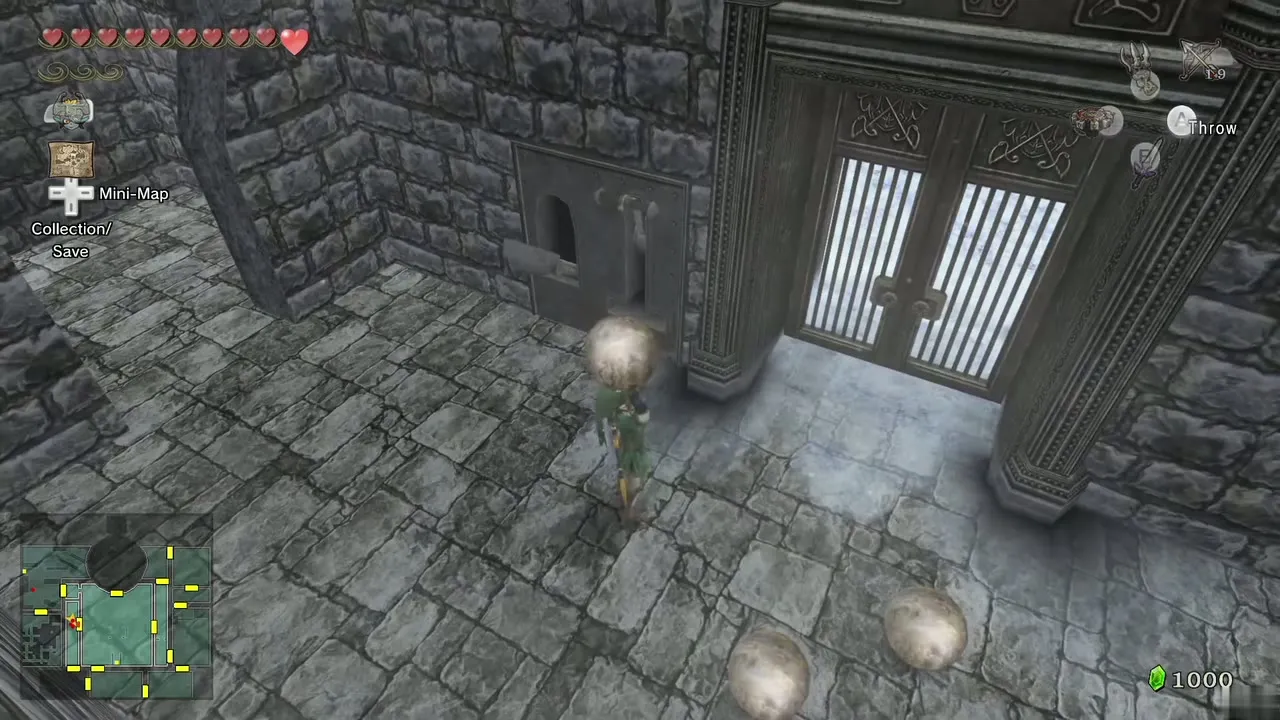
With the Compass, your map shows a chest buried in the courtyard snow. Defeat the White Wolfos, then dig as Wolf Link to uncover it; it holds a Small Key. Use it on the gate to the west. Inside, a lever by the gate lowers a seesaw: put a cannonball on it, return to the courtyard, then pull the other lever and the ball rolls out for you.
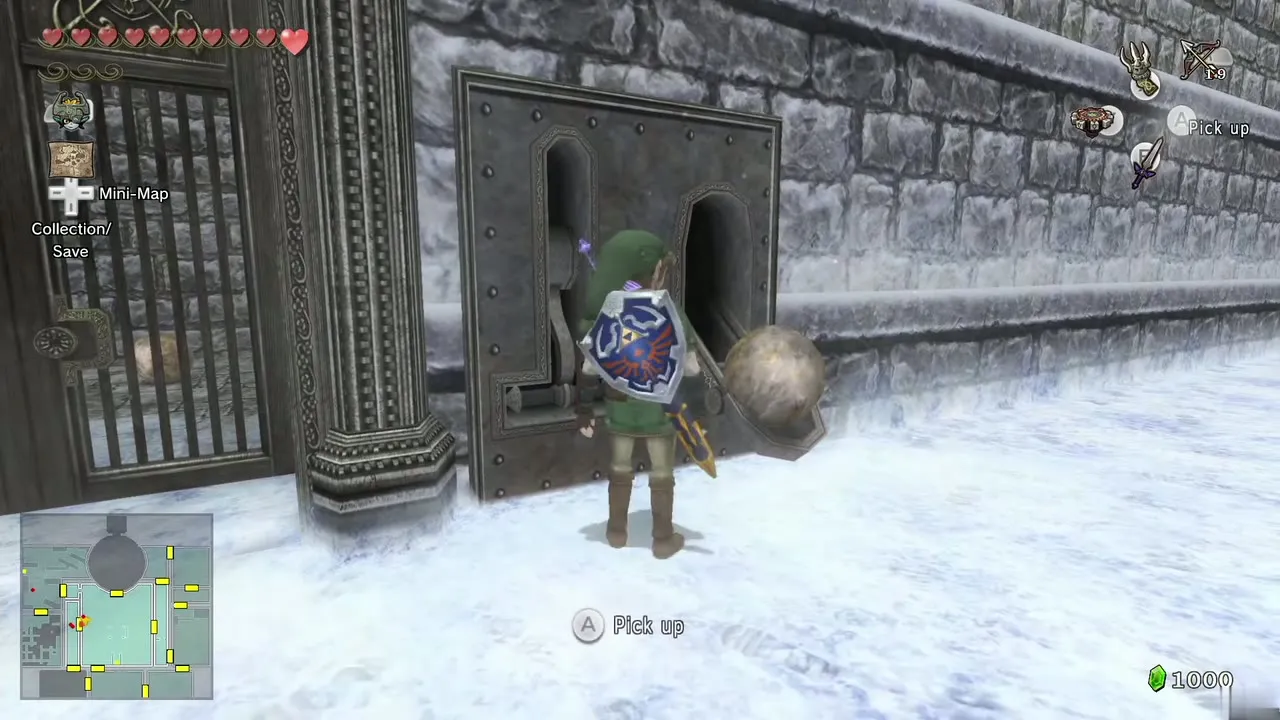
Courtyard cannon
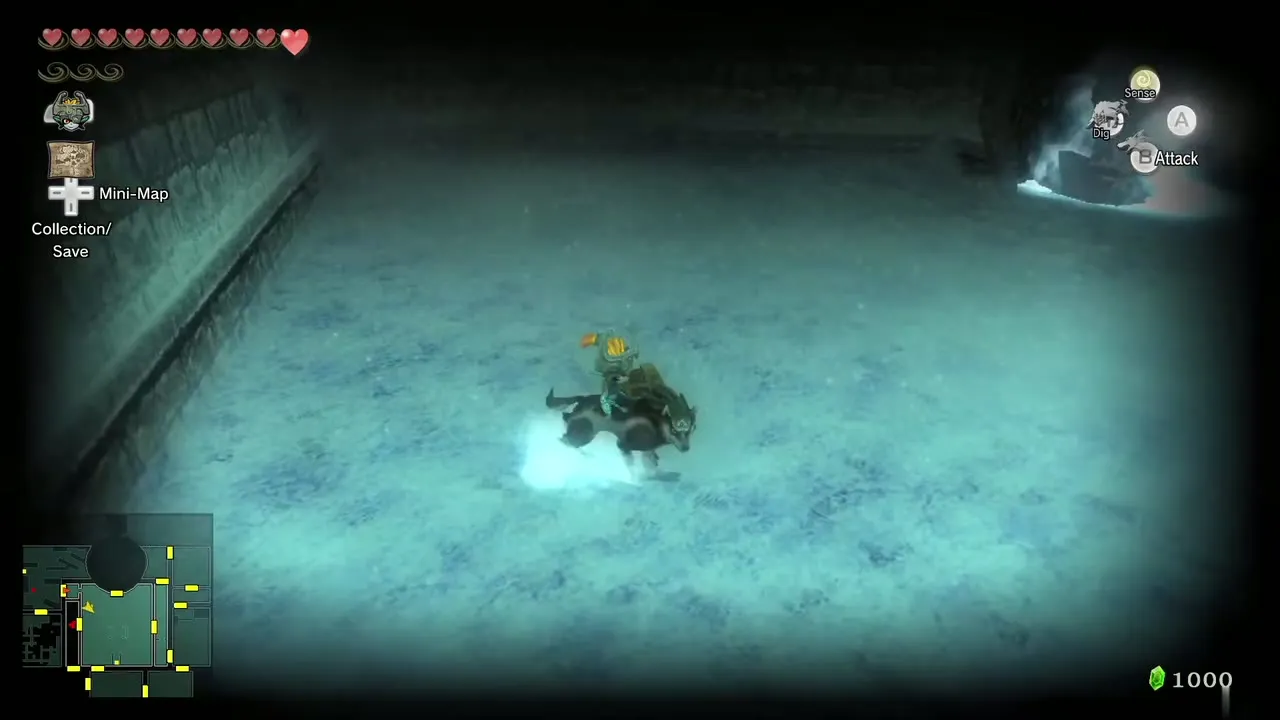
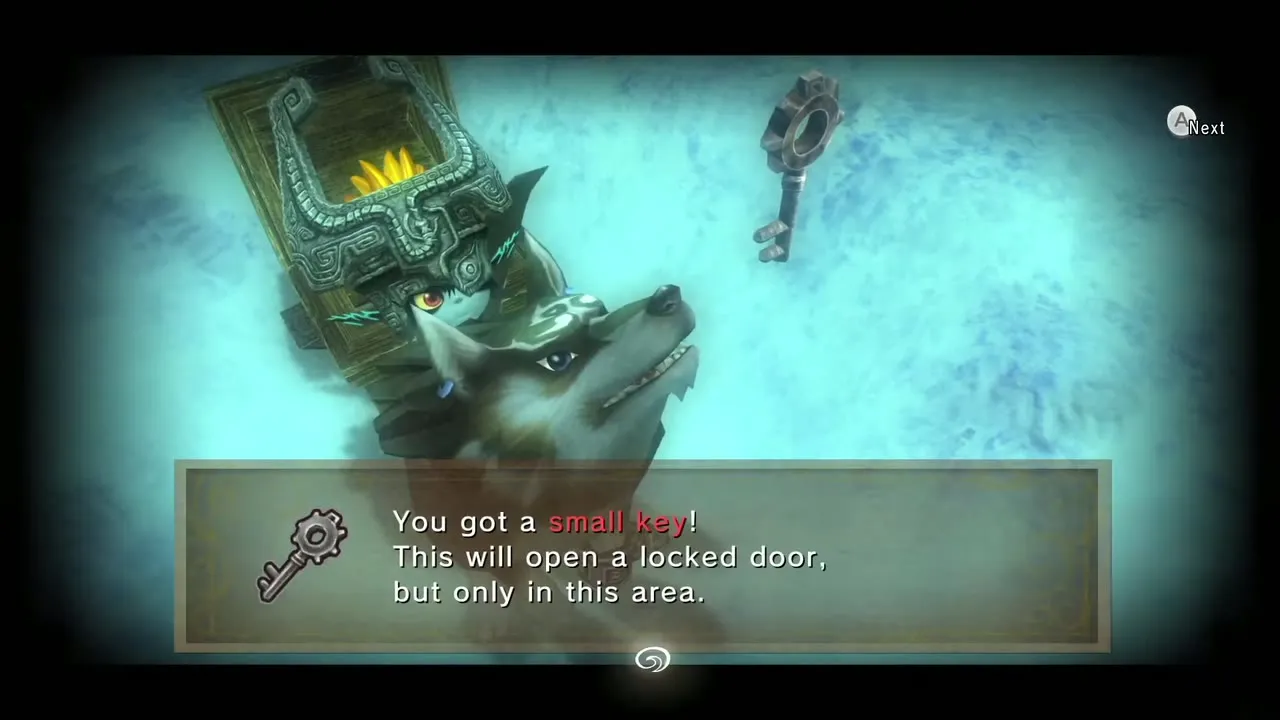
Carry the ball to the cannon in the middle of the courtyard, add a Bomb and fire it south to shatter the ice around the chest at the south end; it holds more Bombs. Then take the ball again, rotate the cannon toward the north and fire to destroy the big Freezard. A Mini Freezard takes its place. Go through its door.
Mini-boss: Darkhammer
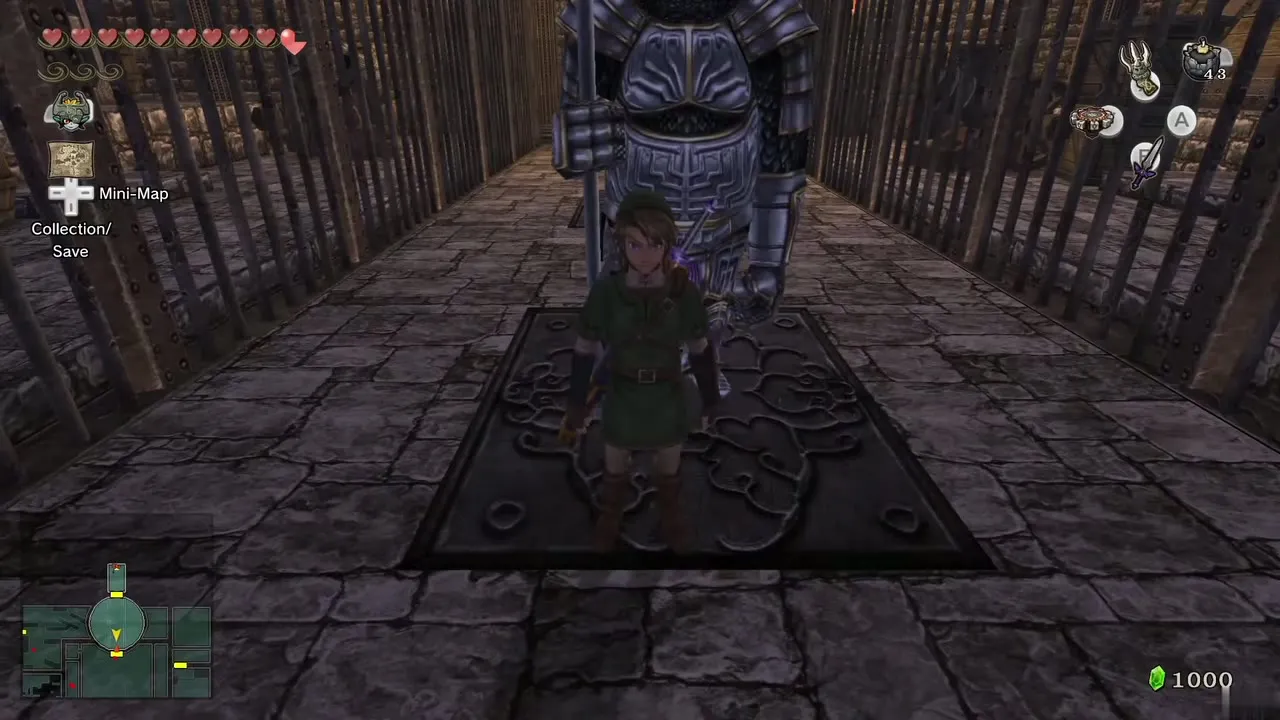
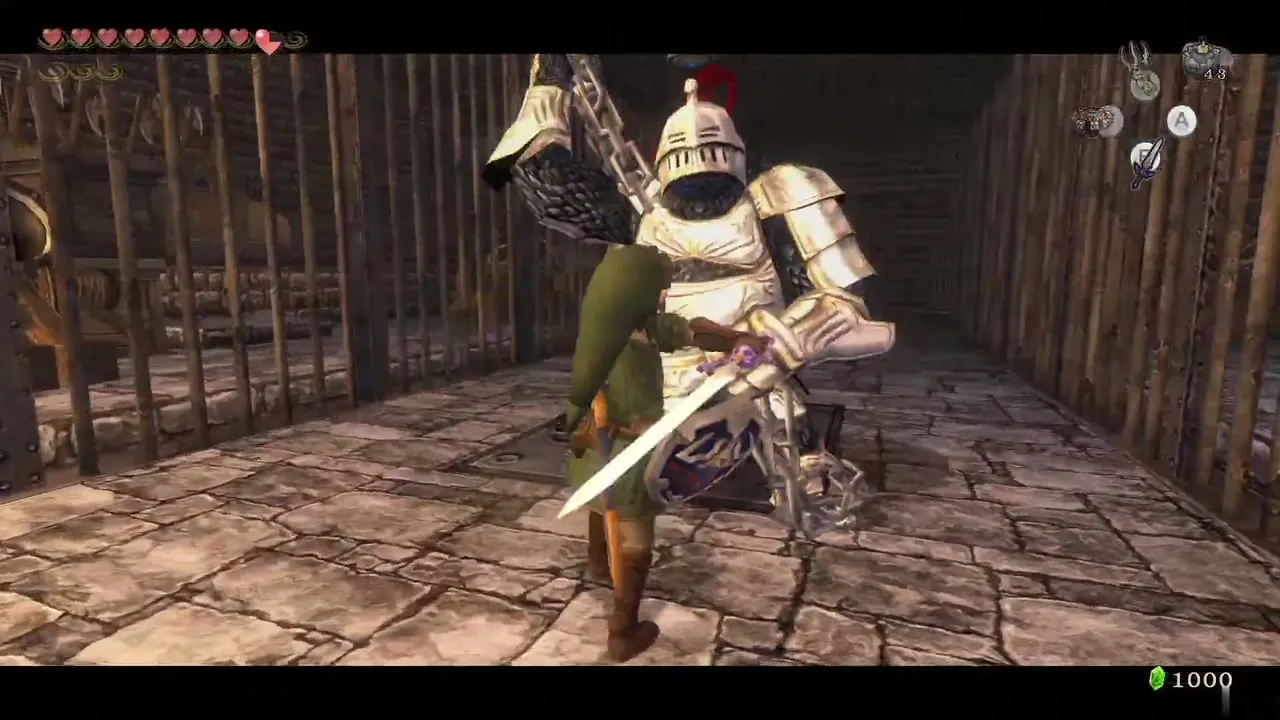
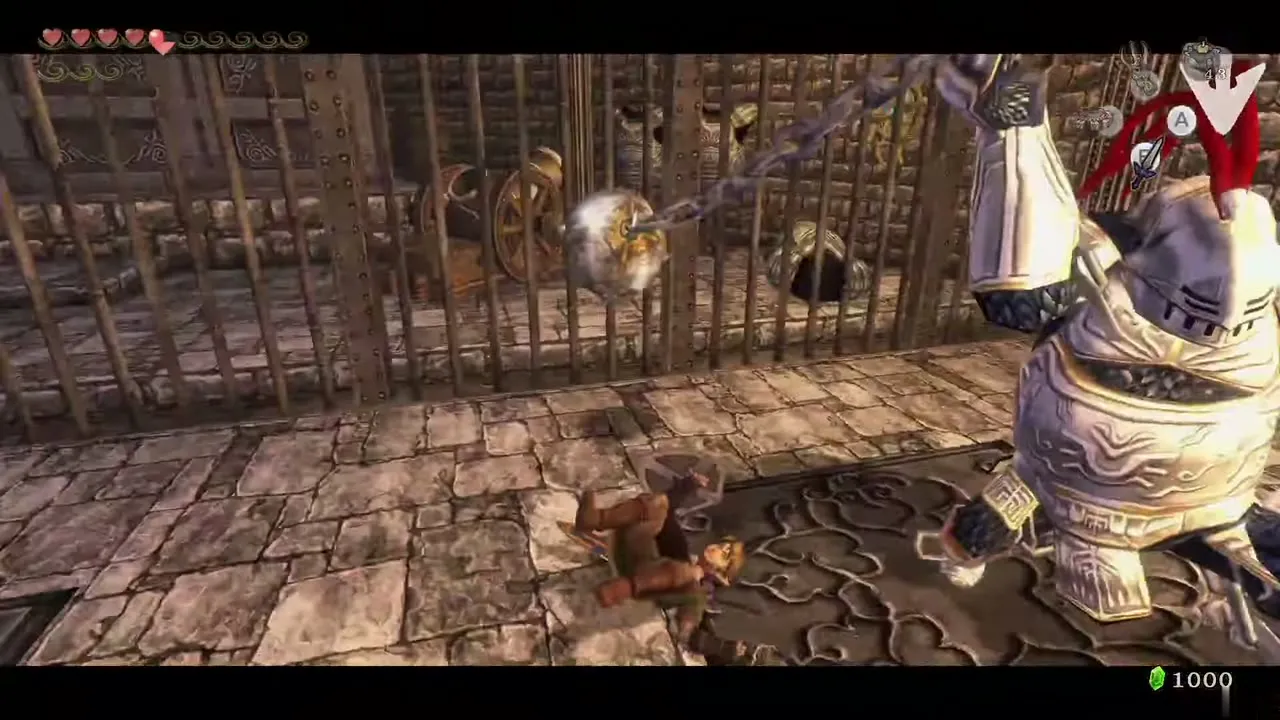
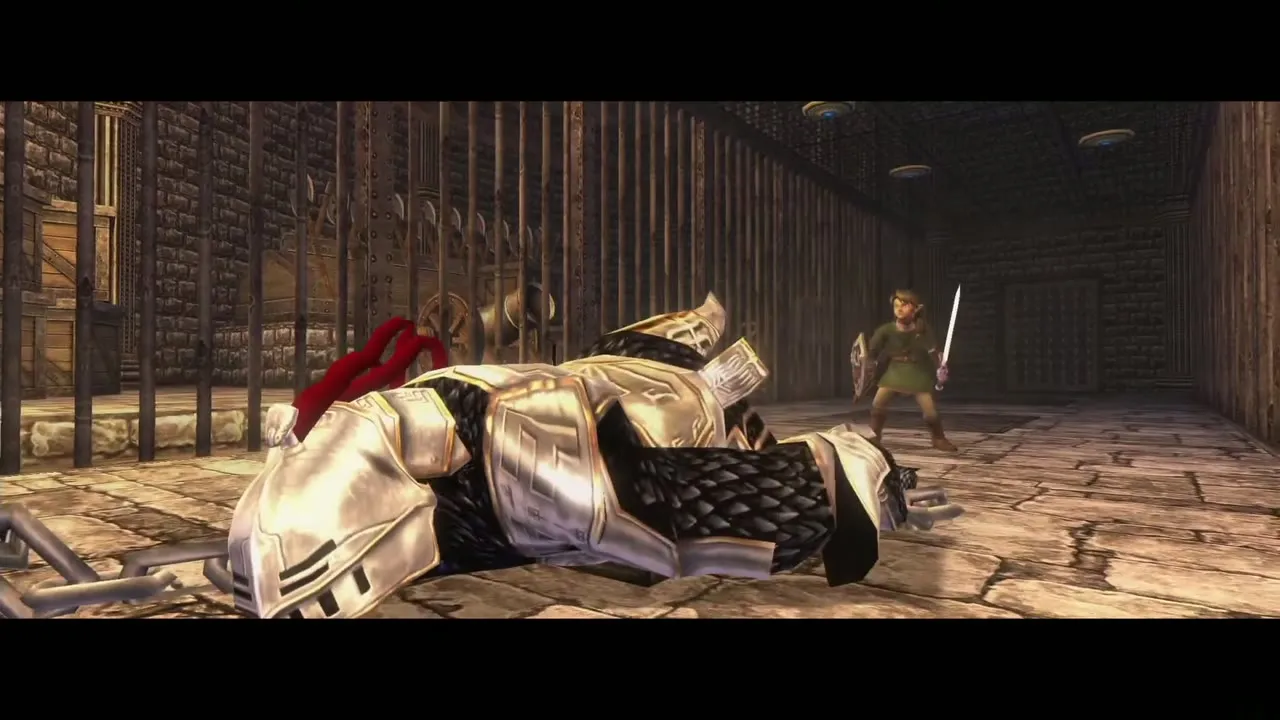
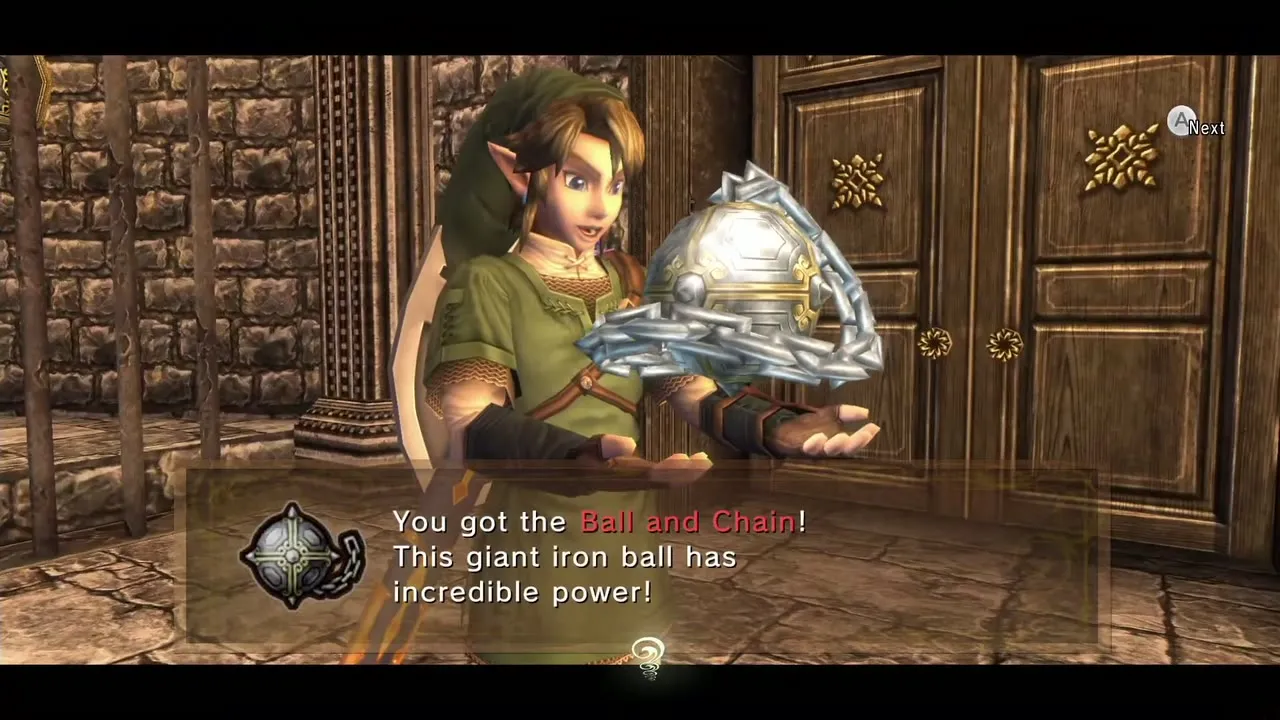
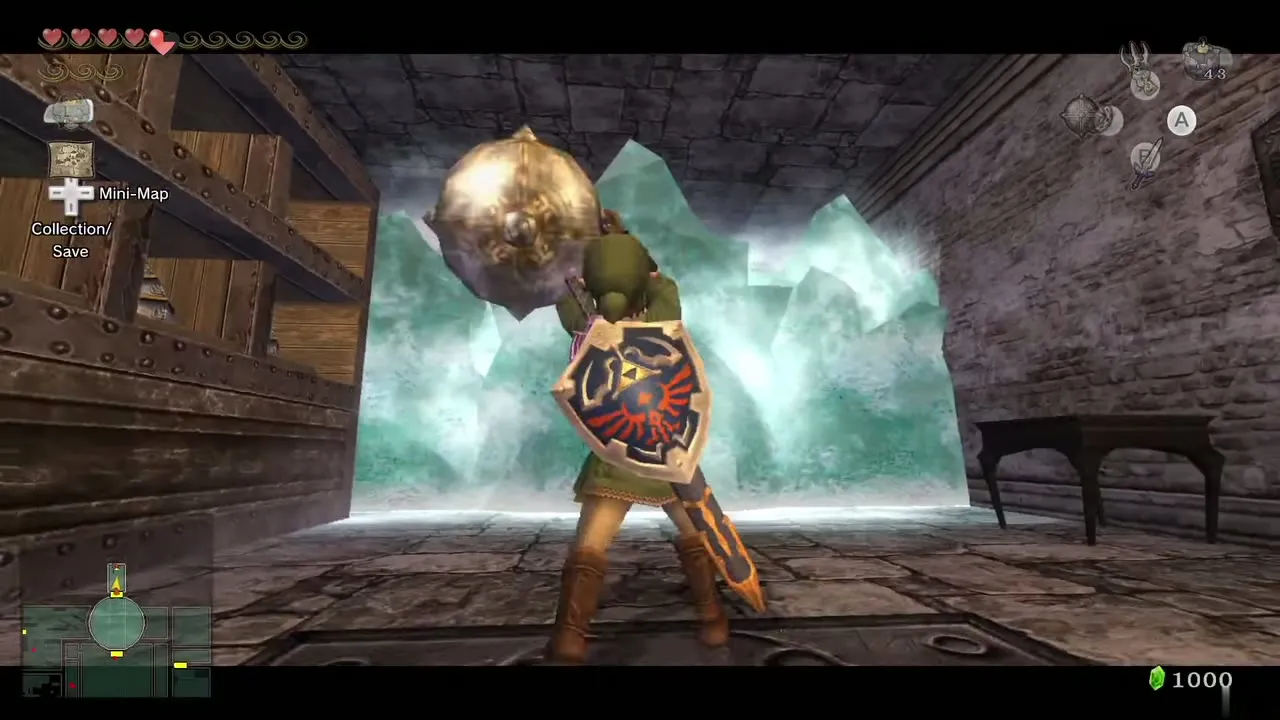
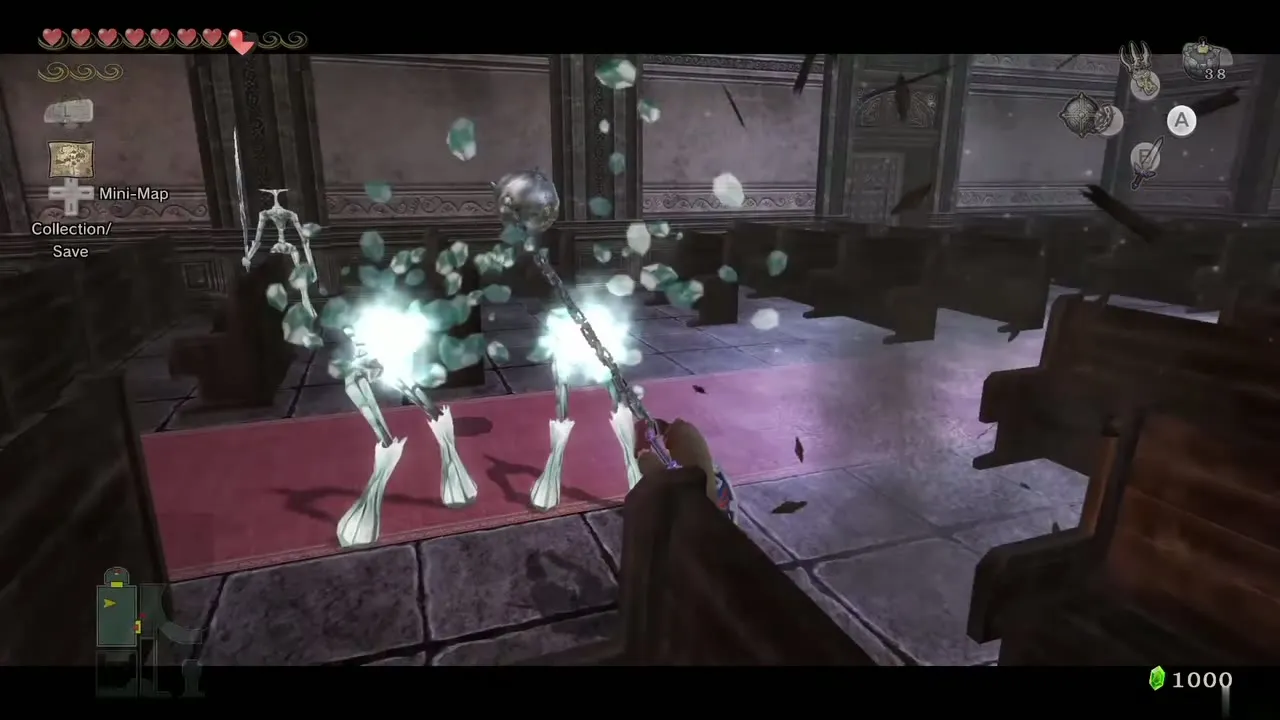
Walk past the two statues; the door shuts behind you and Darkhammer comes to life, swinging a ball and chain and slowly cornering you in the narrow corridor. Wait until he hurls the ball, sidestep it, and run in to slash his tail. When he crowds you, Clawshot the ceiling targets to reach the far side of him, dodge the next throw and slash the tail again. Repeat until he falls. Then pick up the Ball and Chain (see Items and Equipment) and leave through the north door.

Ordon Goat Cheese and extra Rupees
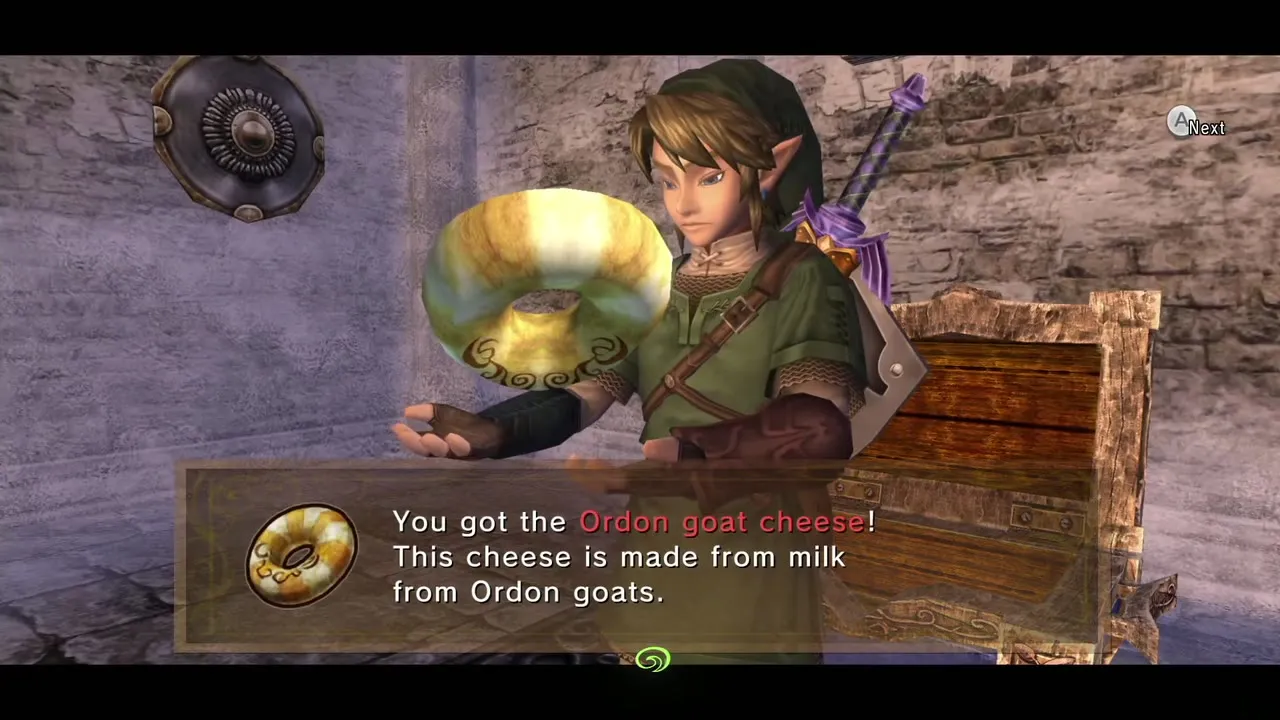
Use the Ball and Chain to break the ice in the next room and open the chest, which holds Ordon Goat Cheese. Smash one of the statues on the east side of the room and a Bubble pops out; kill it for an orange Rupee (100). You can also go back to the north-west room and smash the ice along its left wall for a chest with a red Rupee, since Mini Freezards now fall in one hit.
Superb Soup and the foyer statues
Superb Soup
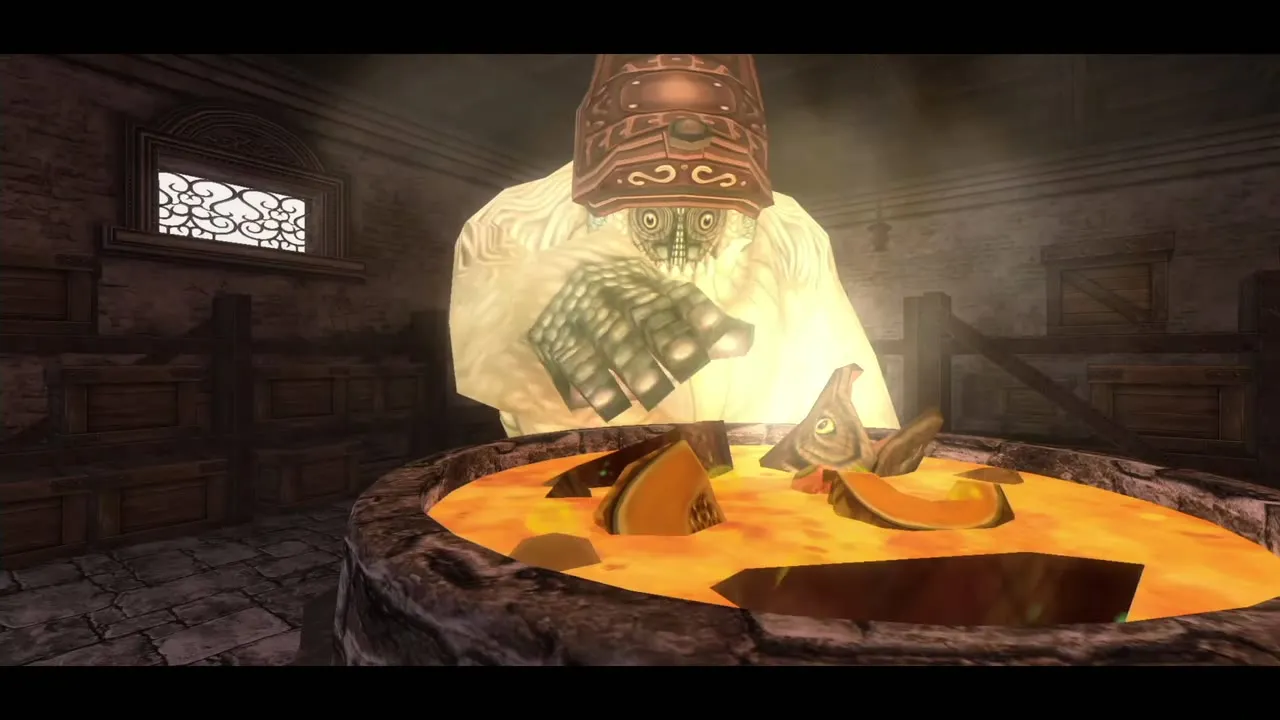
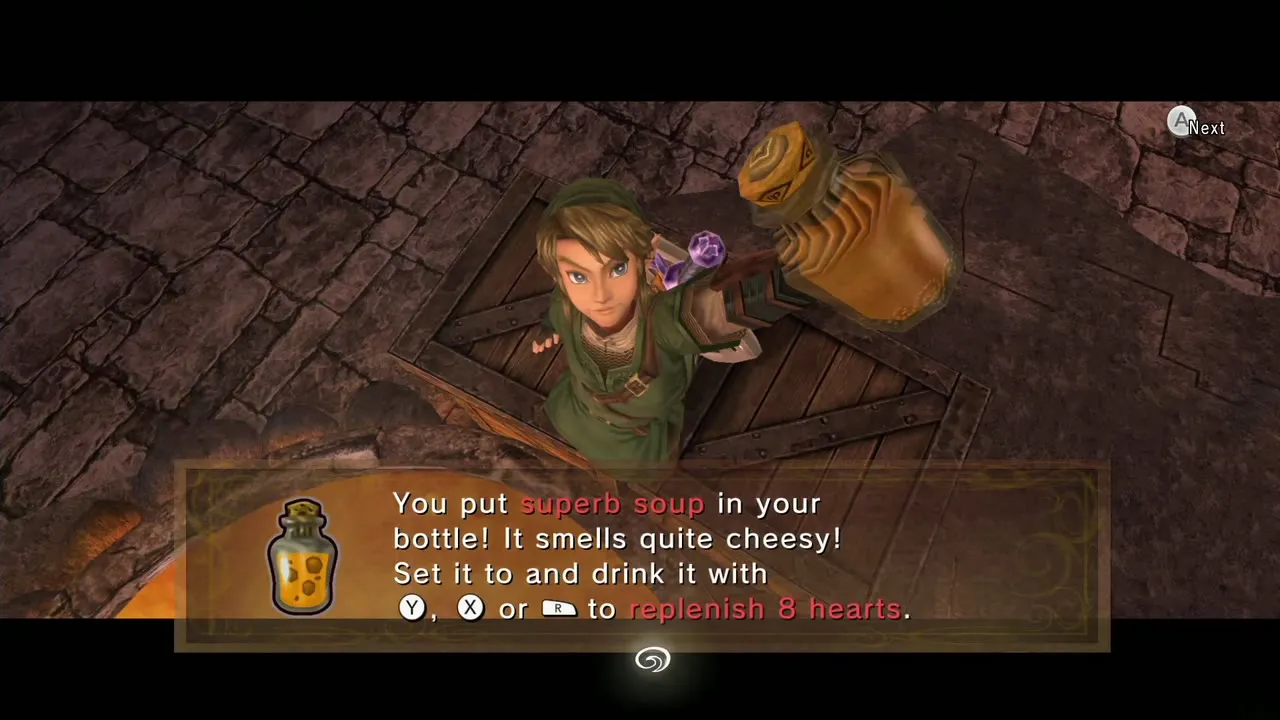
Take the cheese to Yeta, who sends you to give it to Yeto. The soup becomes Superb Soup, which restores eight hearts. Return to Yeta; she marks a spot at the north-west of the second floor.
Foyer statues: Rupees, stamp and Poe
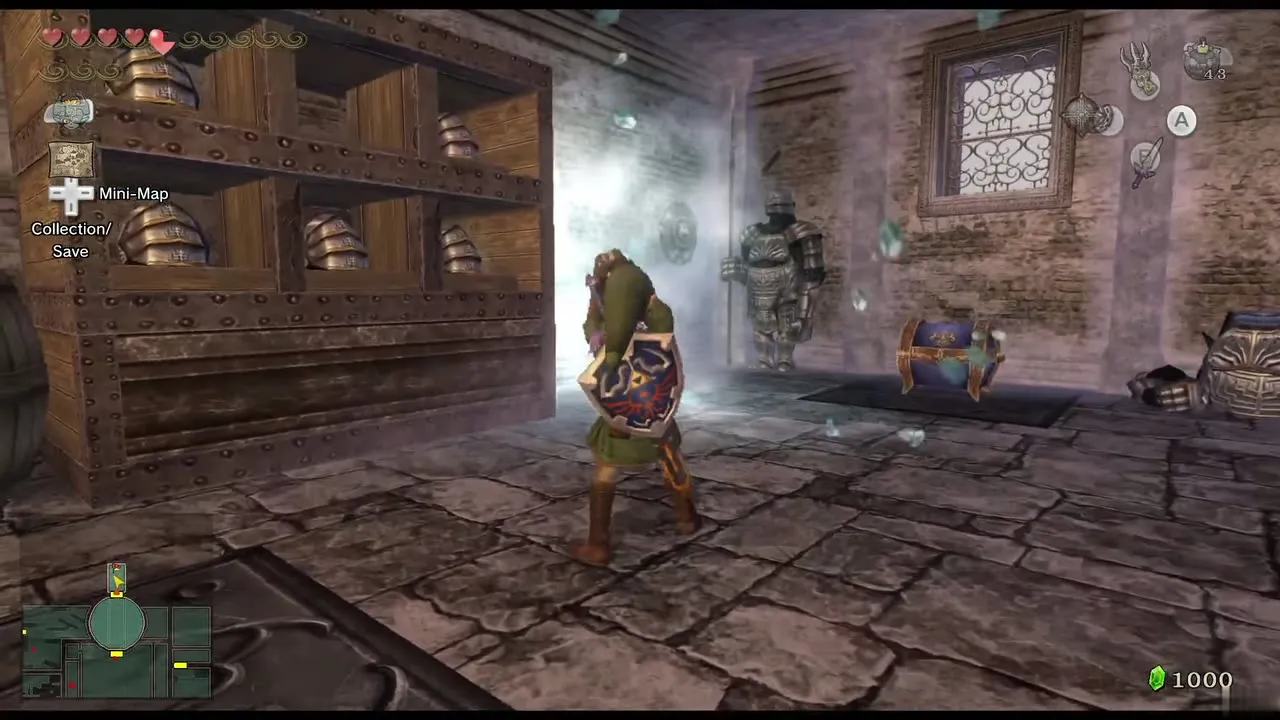
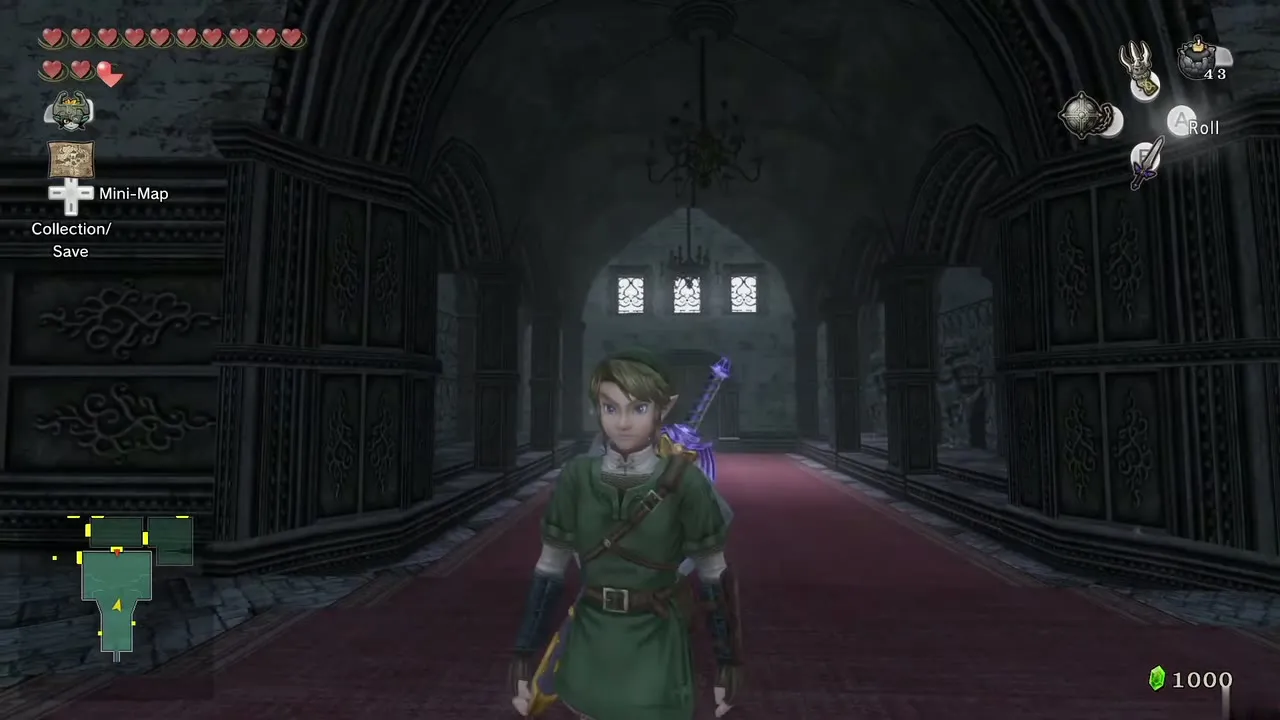
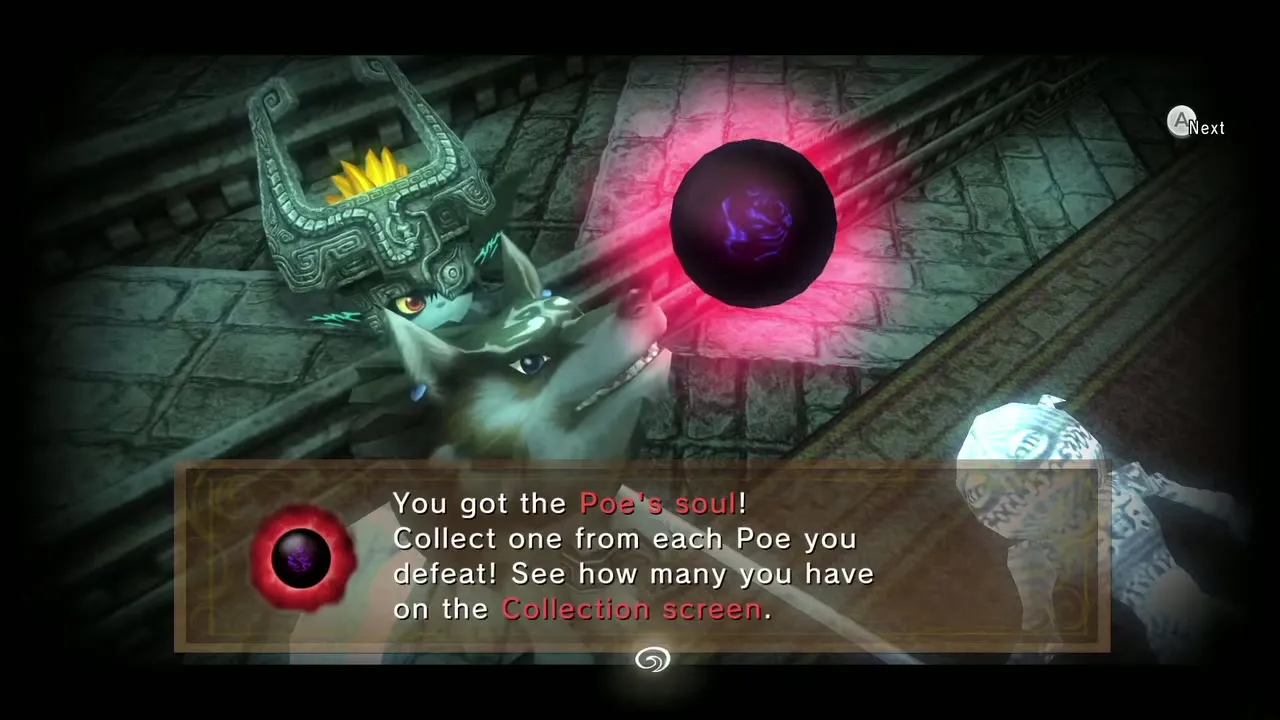
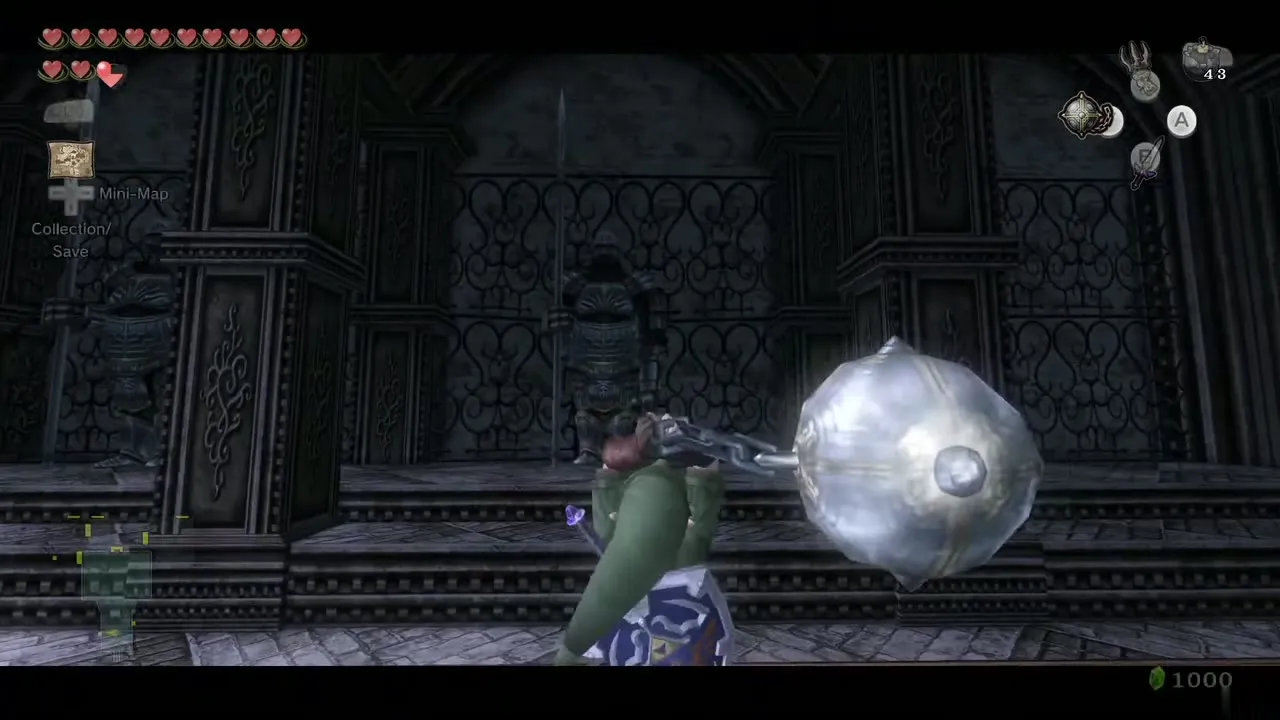
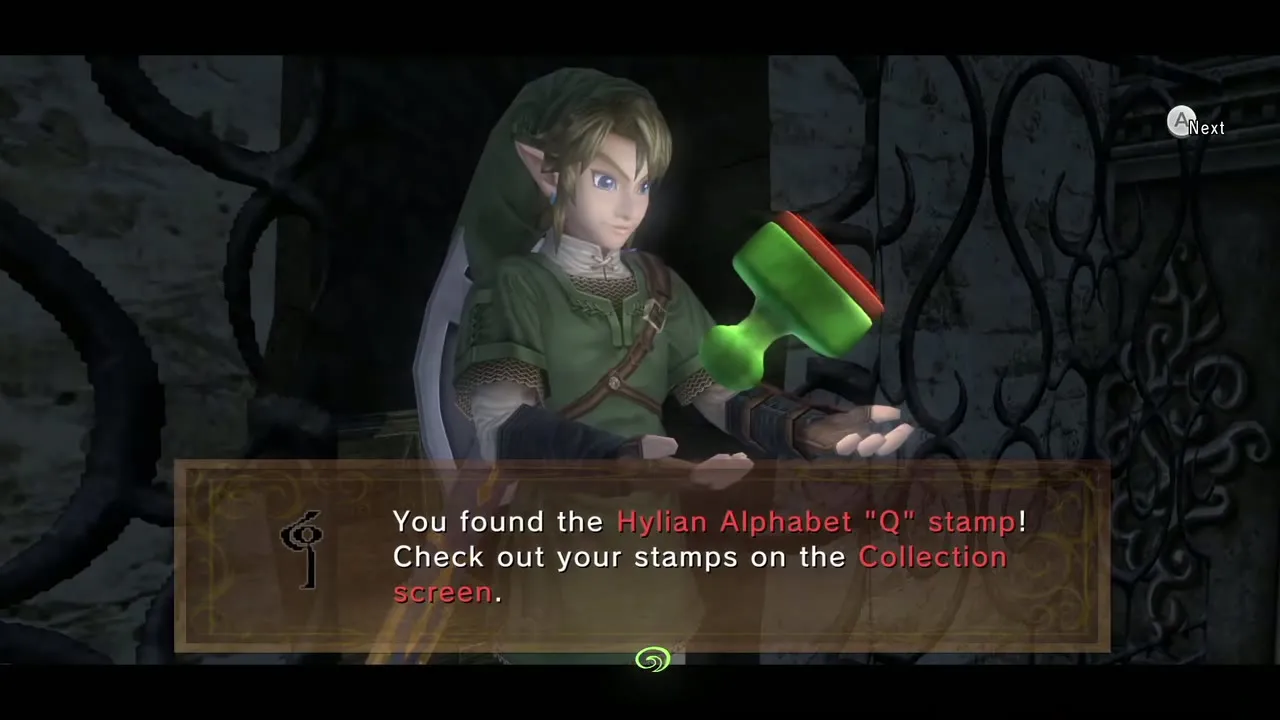
Go through the south door to the entrance hall. Two chests are marked on the map, one east and one west, each behind a soldier statue. Hit each statue twice with the Ball and Chain. The east chest holds 10 Rupees and the west chest holds the Hylian Letter Q stamp. Break the middle statue on the right wall to expose a Poe lantern: turn Wolf Link and kill it (see Poe Souls). Breaking the top-left statue releases a Bubble worth an orange Rupee (100). Go north and talk to Yeta again.
West wing: spiral ramp, chandeliers and Heart Pieces
Freezards on the spiral ramp
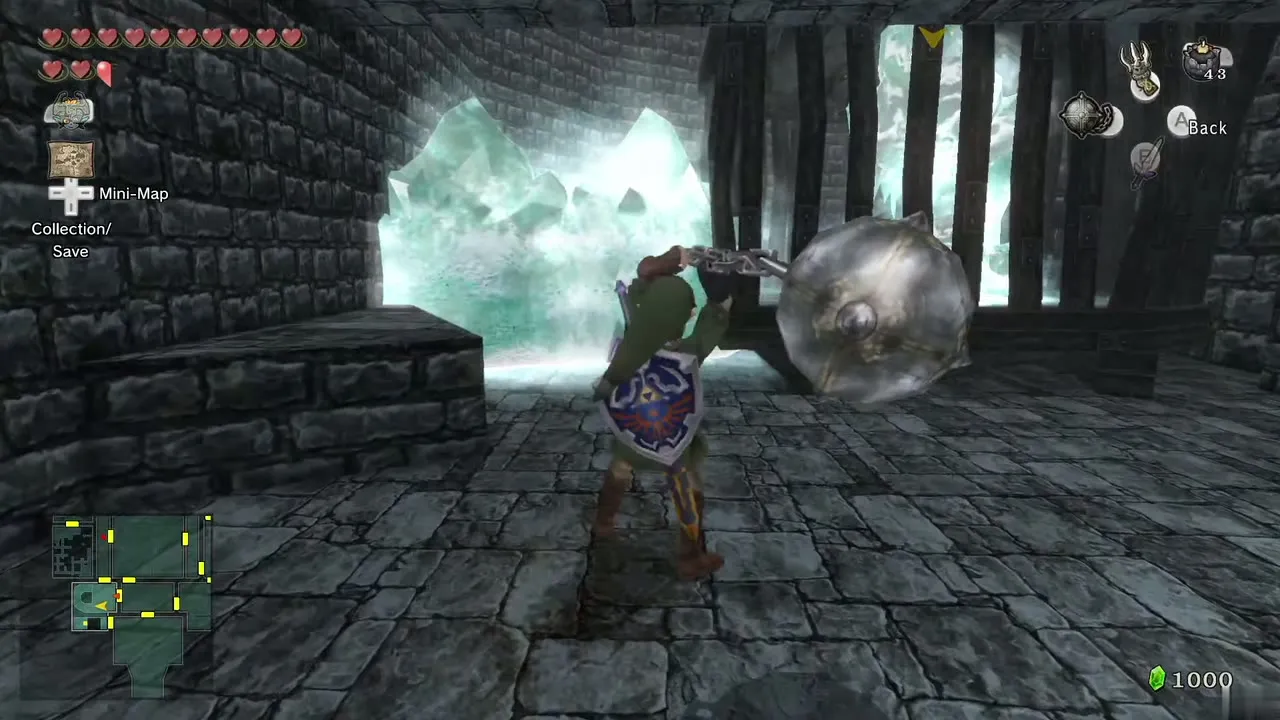
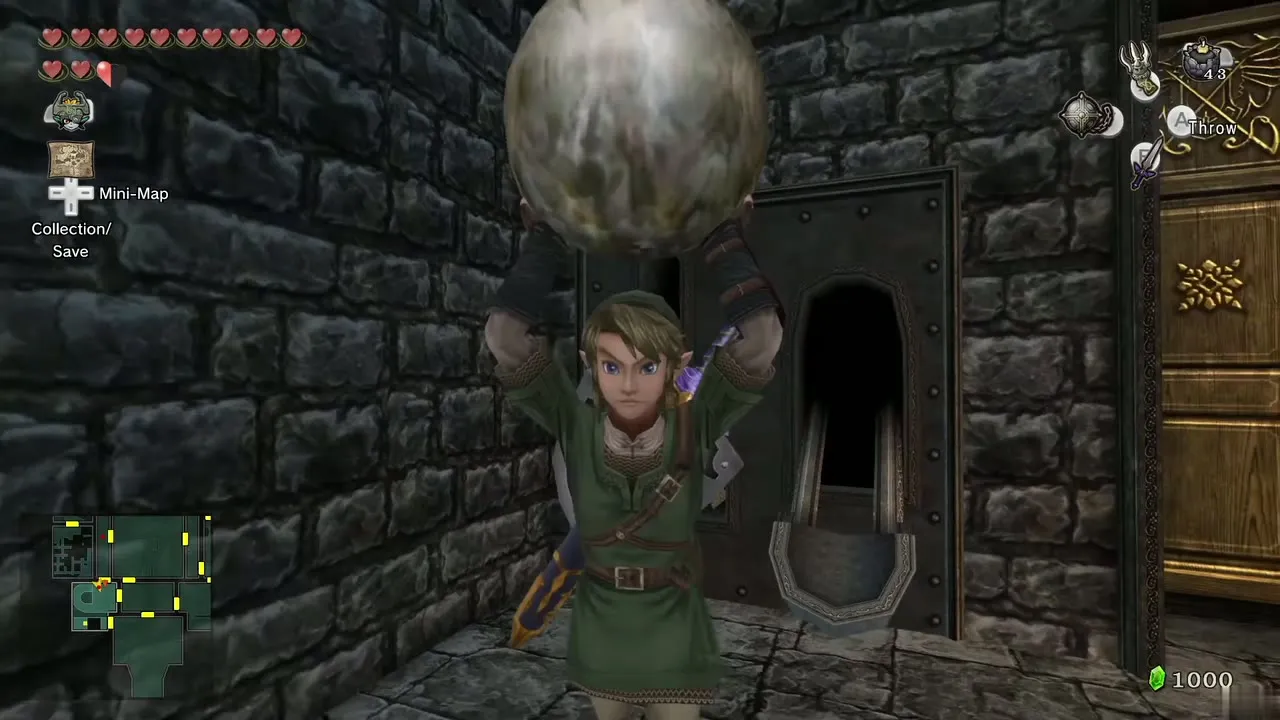
Take the newly opened west door, then the north door. Push the block forward to reach the cannonballs, put one in the seesaw by the door, return to the previous room and pull the lever to drop it. Break the ice to the north with the Ball and Chain. A Freezard breathes frost on the spiral ramp; hit it twice through the gap in its cage while it faces up the ramp. Clear the Mini Freezards if you wish, beat the next Freezard in the same way and climb to the top.
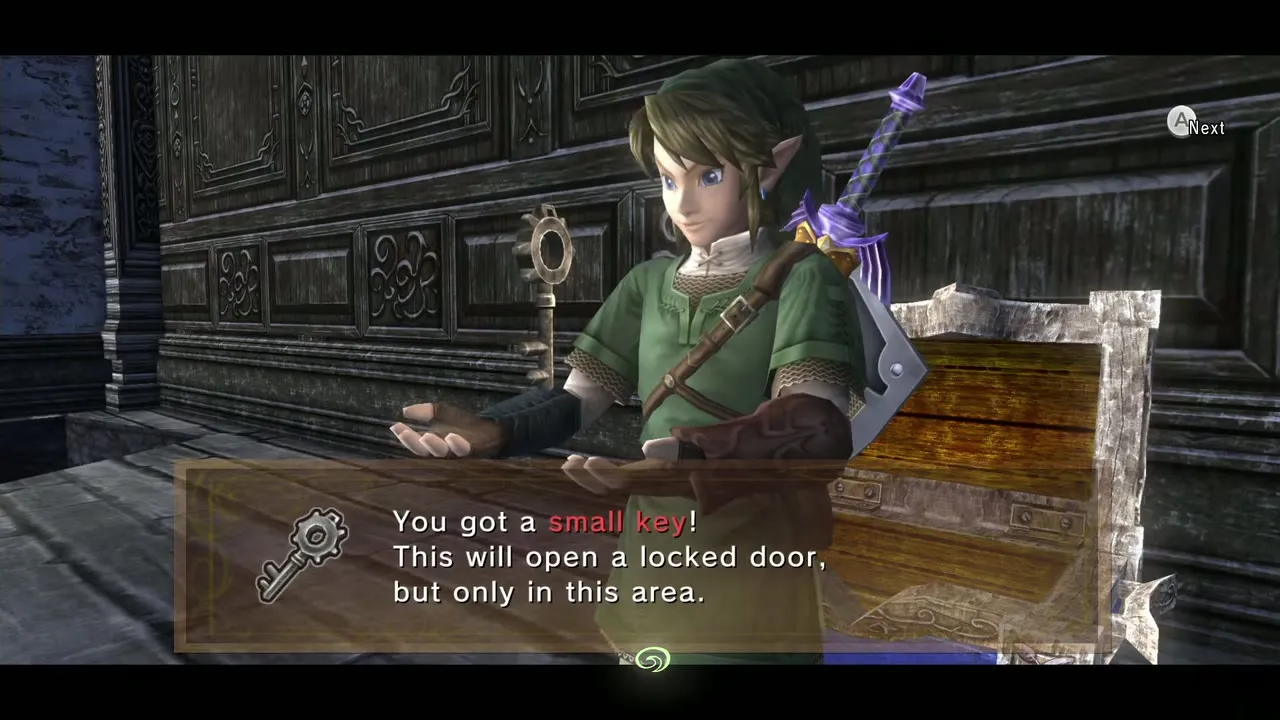
Chandelier and the third Small Key
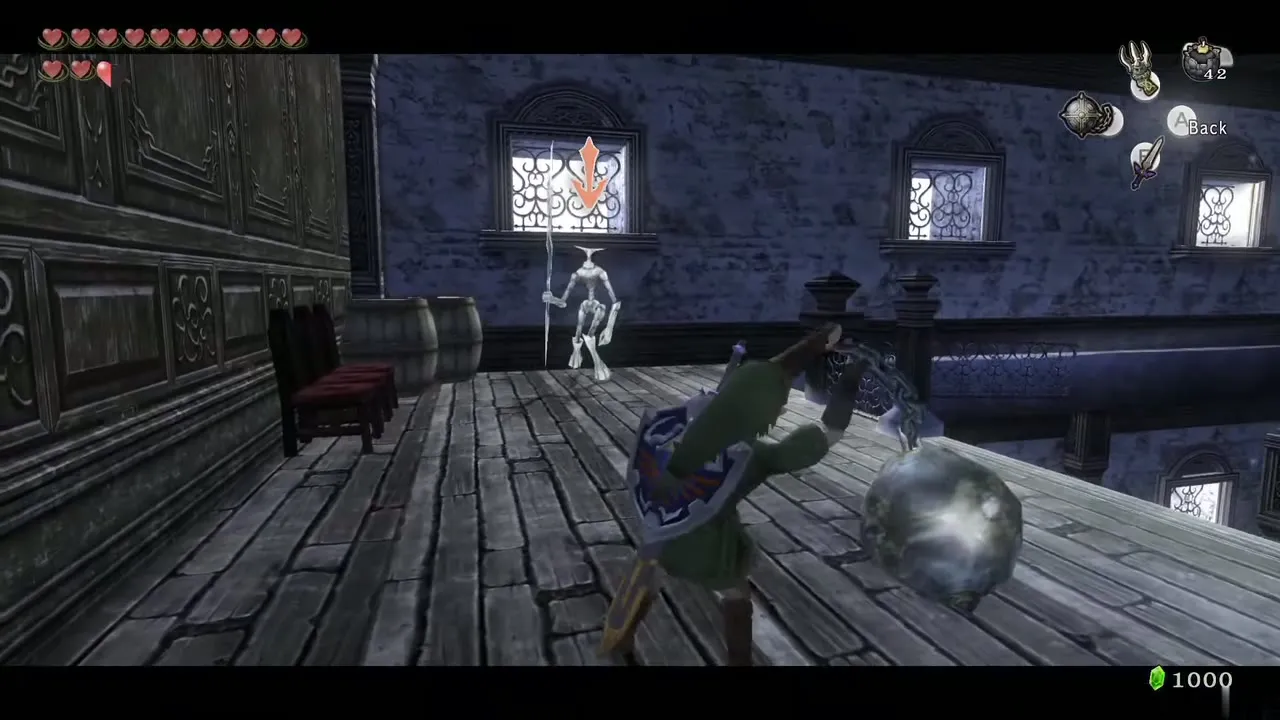
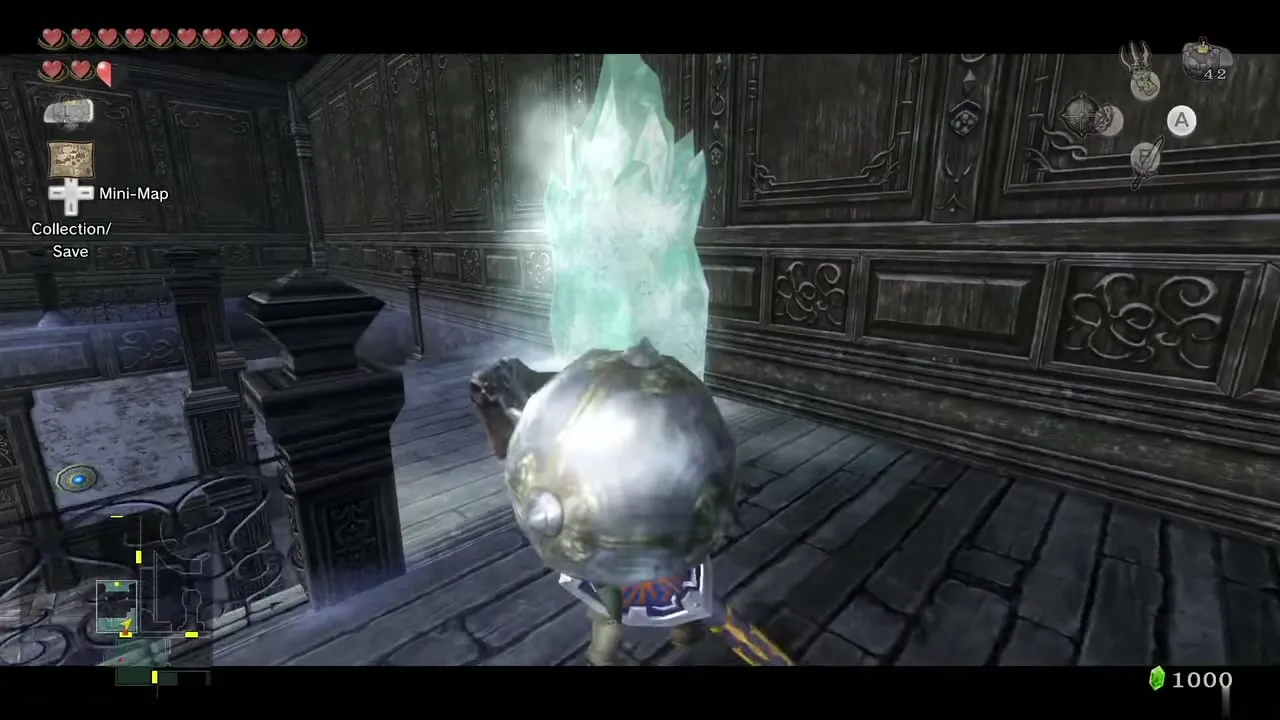
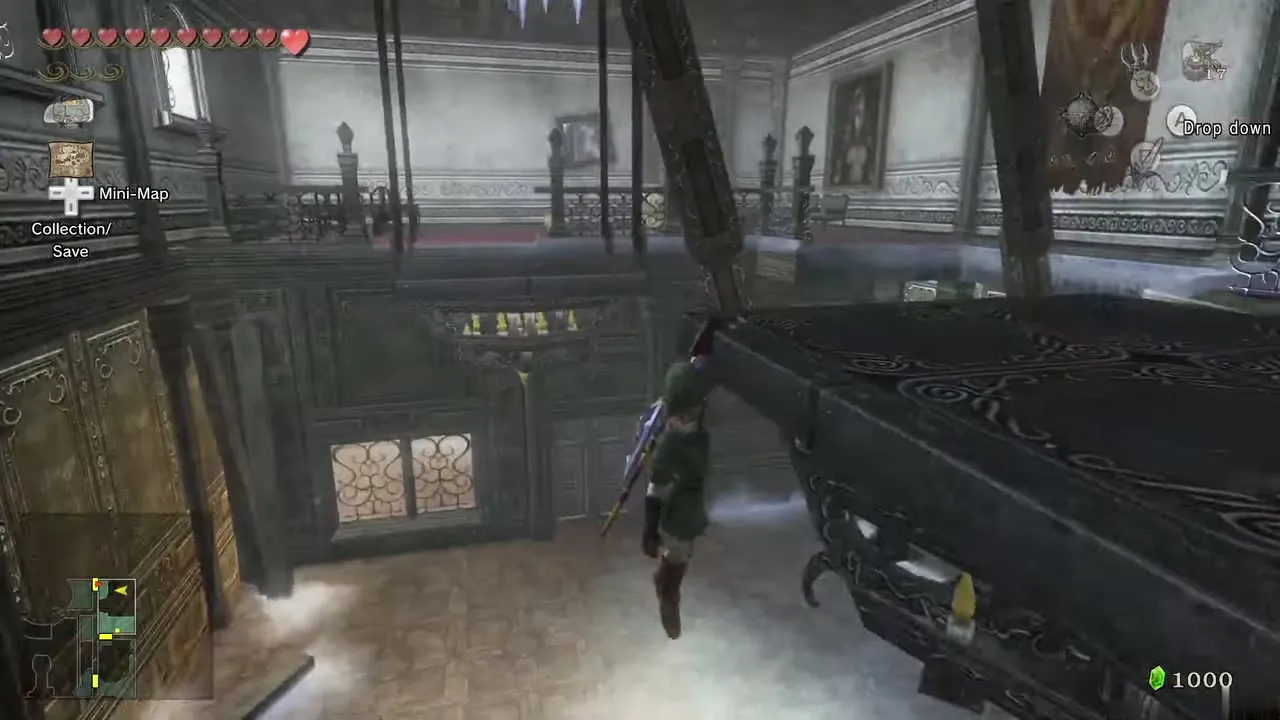
Go through the right-hand door at the top. Kill the Chilfos on the left with one swing of the Ball and Chain, then smash the ice on the right wall to reveal a Clawshot target. Stand by the gap in the center, lock onto the chandelier and hit it so it sways. Jump on and across to the chest on the far side for a Small Key. You can also Clawshot the new target to return.

Heart Piece in the cracked floor
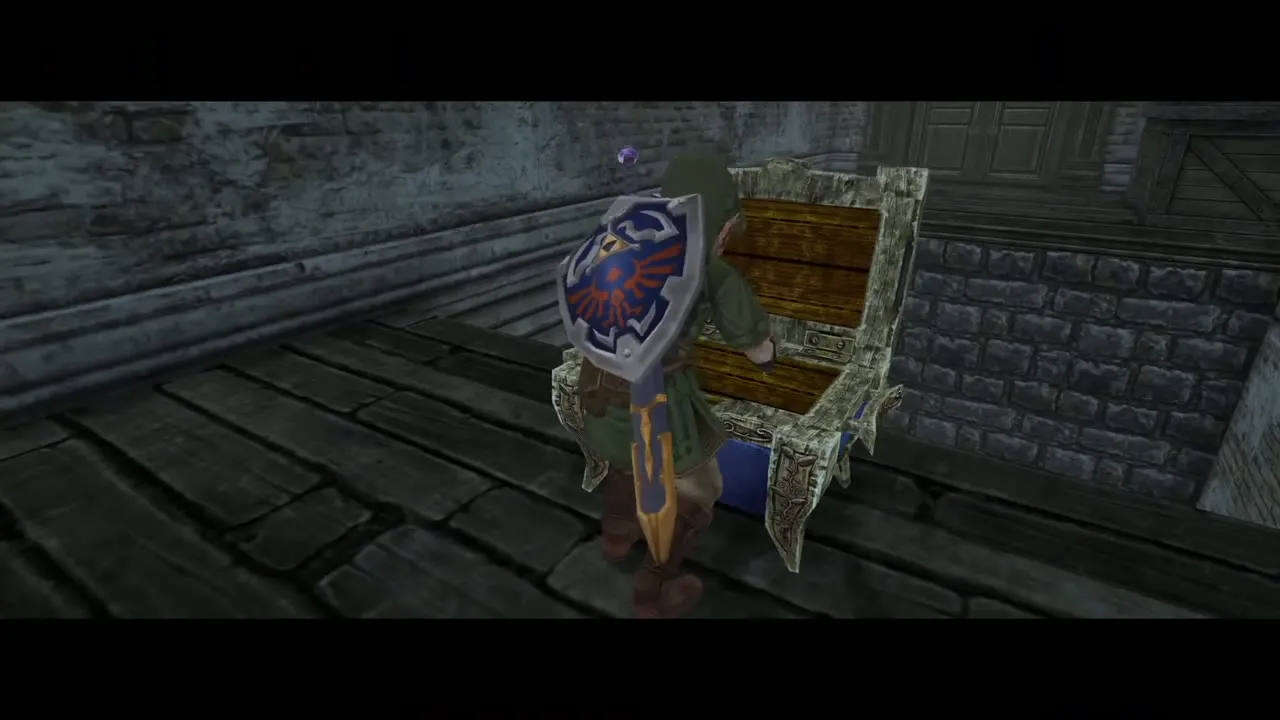
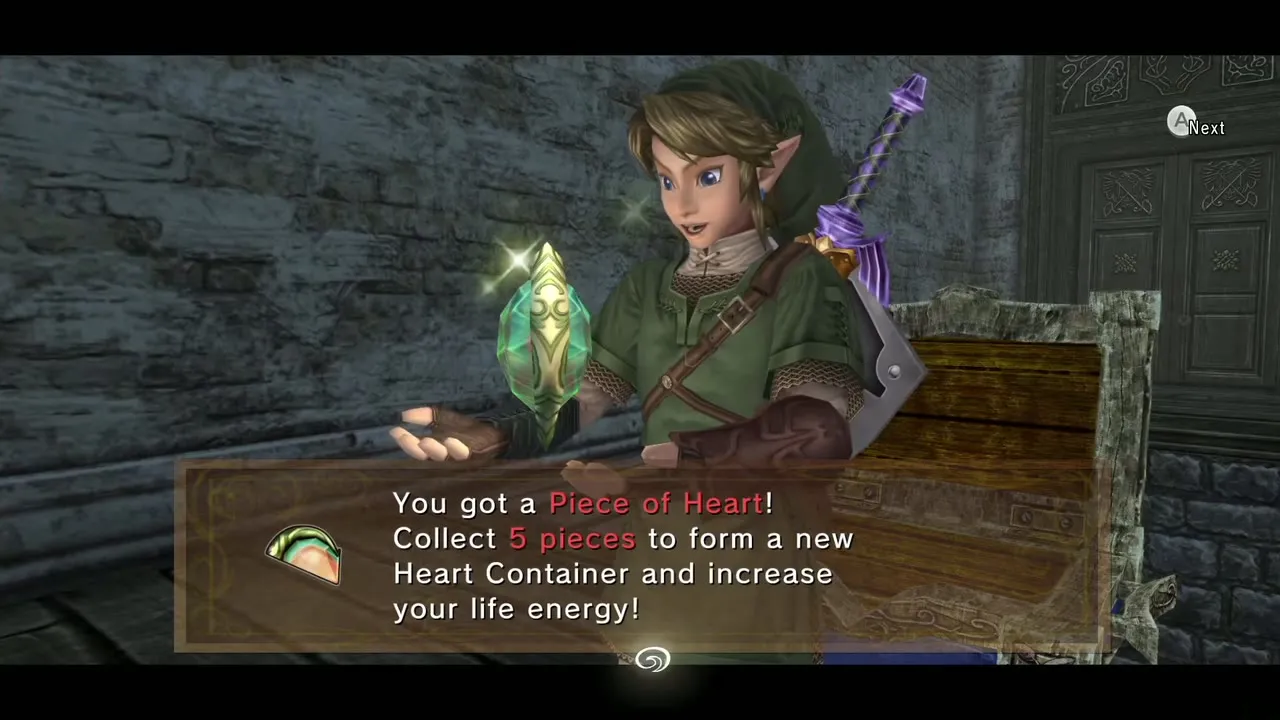
Return to the previous room and walk to its south end, where the floor is uneven. Place a Bomb (or smash it with the Ball and Chain) to open a hole, drop down and open the chest for Piece of Heart #38 (see Heart Pieces). Aim the Clawshot at the target above to climb back.
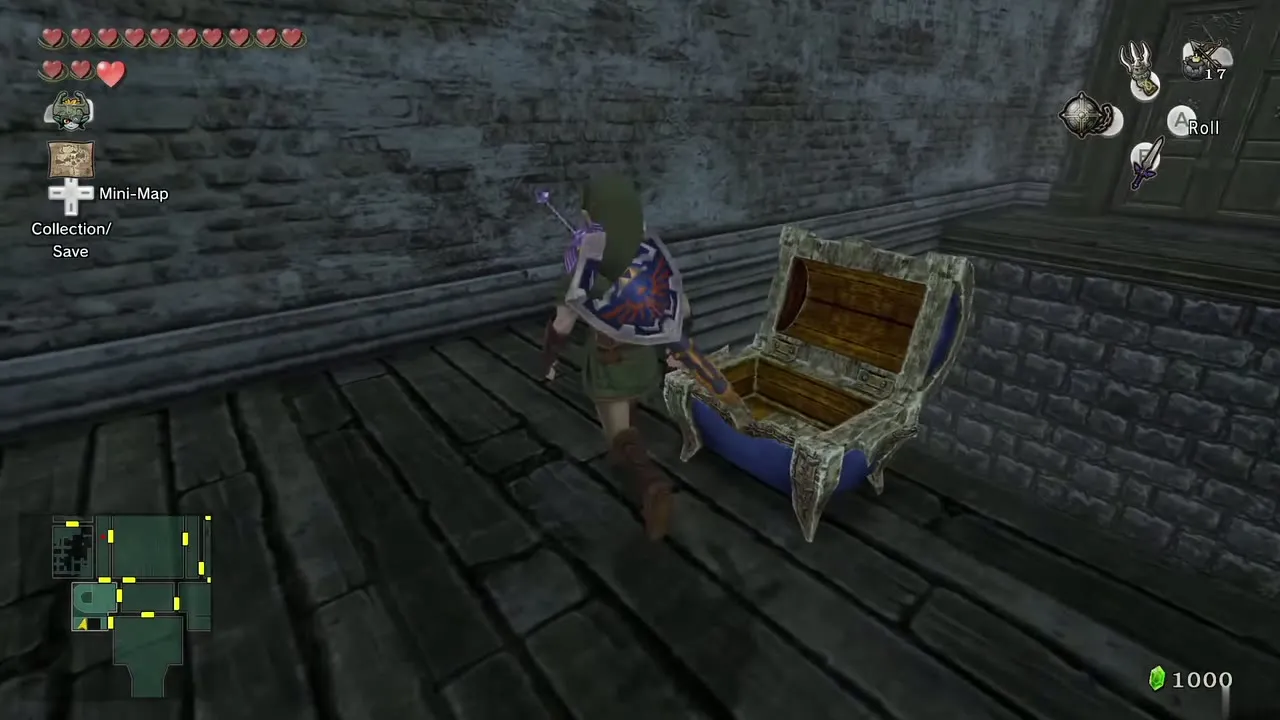
Second chandelier route and Heart Piece
Use the Small Key on the locked door at the east end. Smash the ice block to uncover another target; this lets you also reach this area from the foyer later. Walk to the ledge, rock the chandelier with the Ball and Chain, jump onto it and kill the Chilfos on the other side, or use Bomb Arrows if the timing is bad.
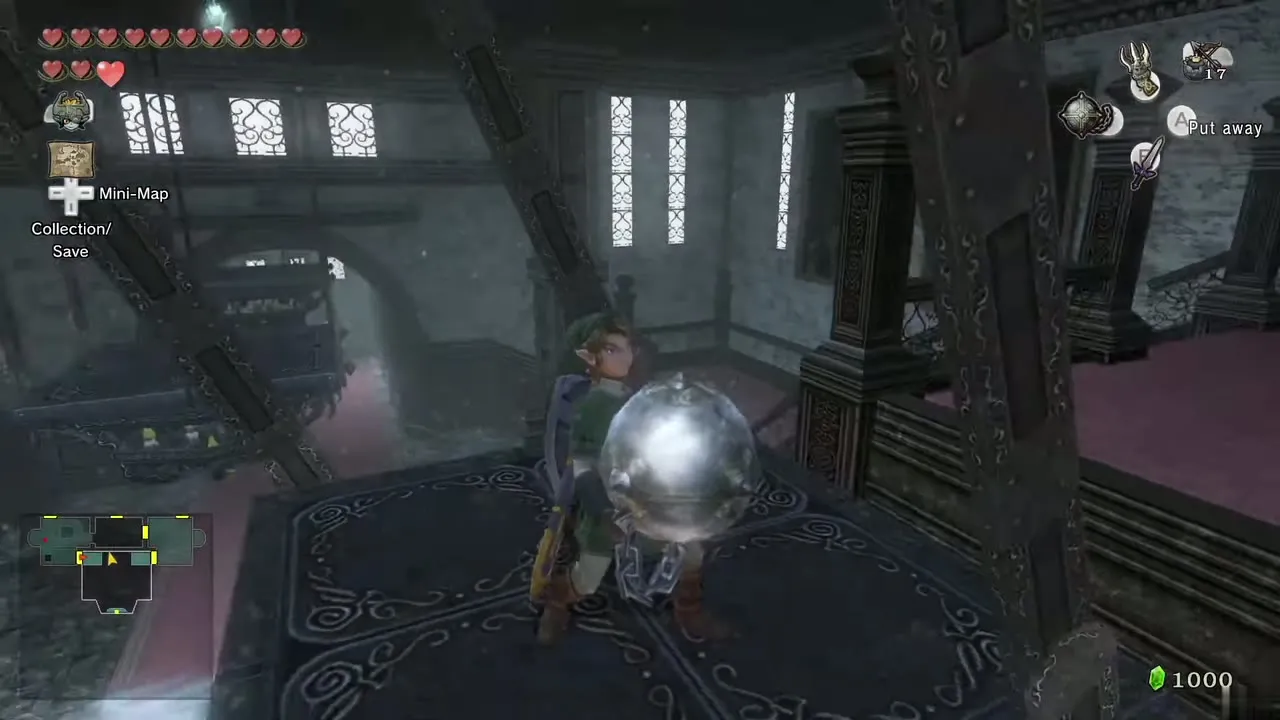
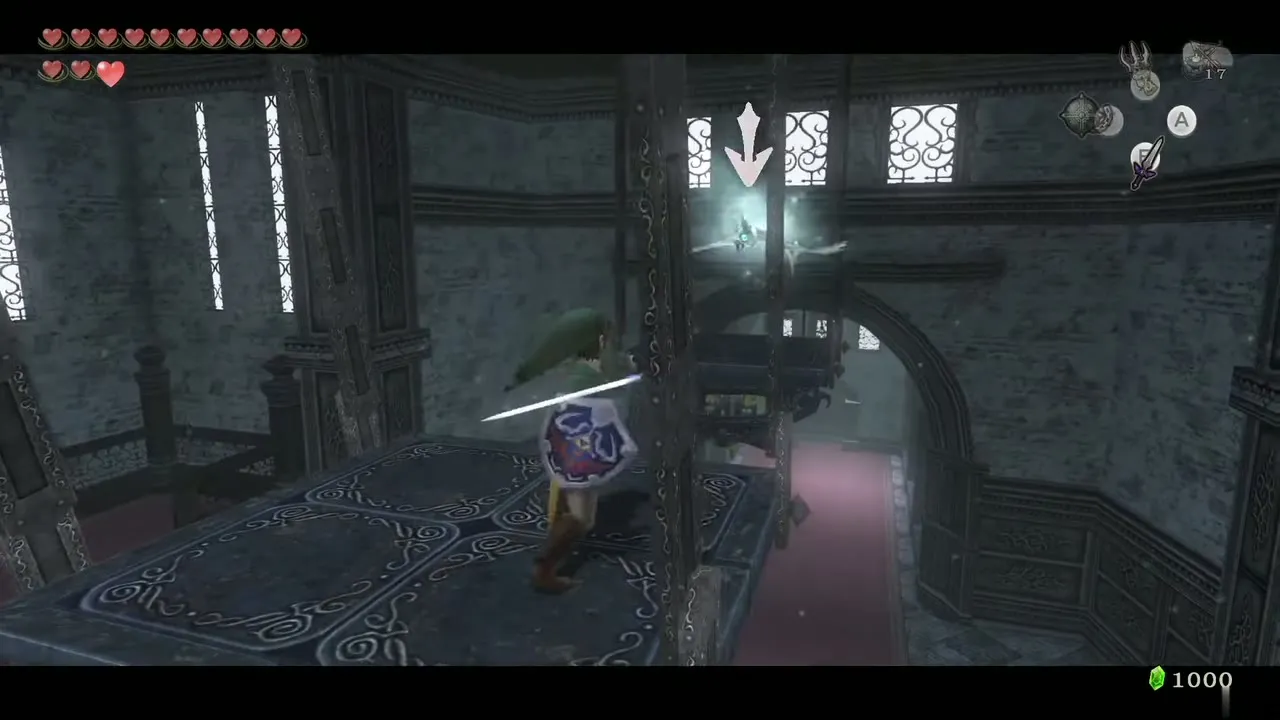
South of here is a line of hanging platforms. Wait for yours to stop, hit the next one with the Ball and Chain, jump over and repeat; Ice Keese flutter over the next two. While the last platform still sways, jump to the ledge and open the chest for Piece of Heart #37. Afterwards drop down, climb the stairs on the right and Clawshot back to the second floor.
The Bedroom Key
East balcony room and the Poe
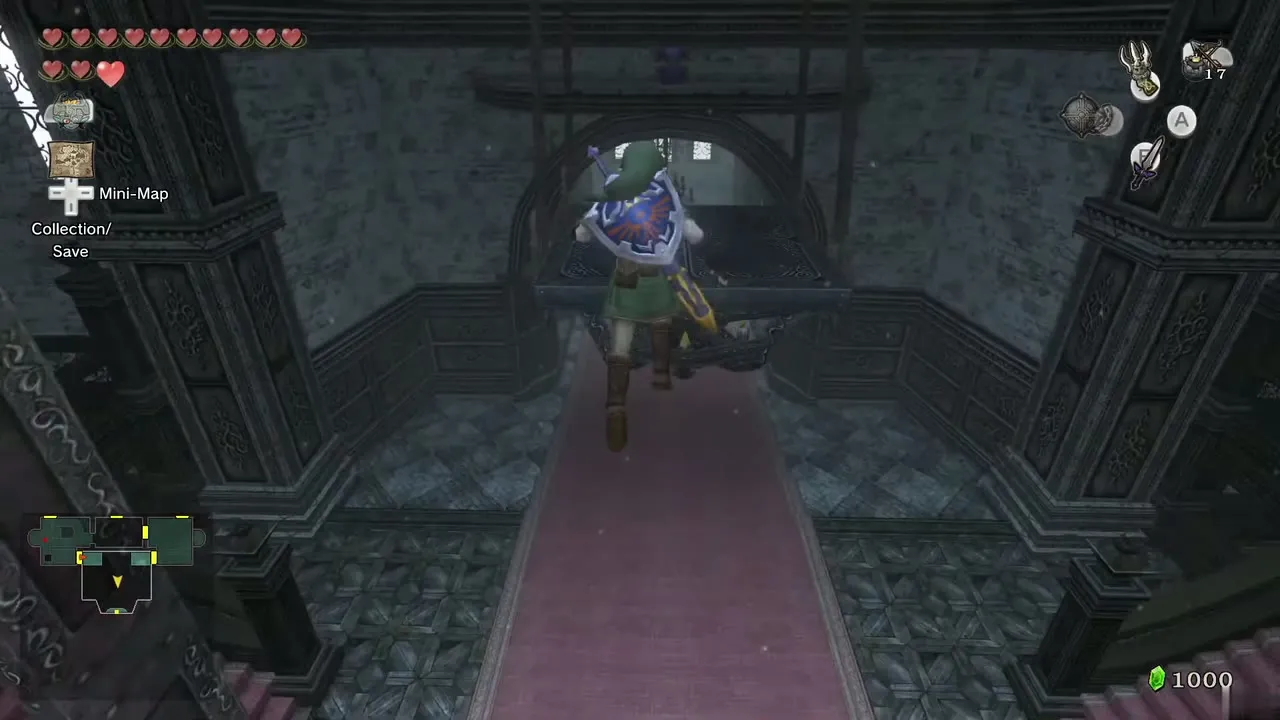
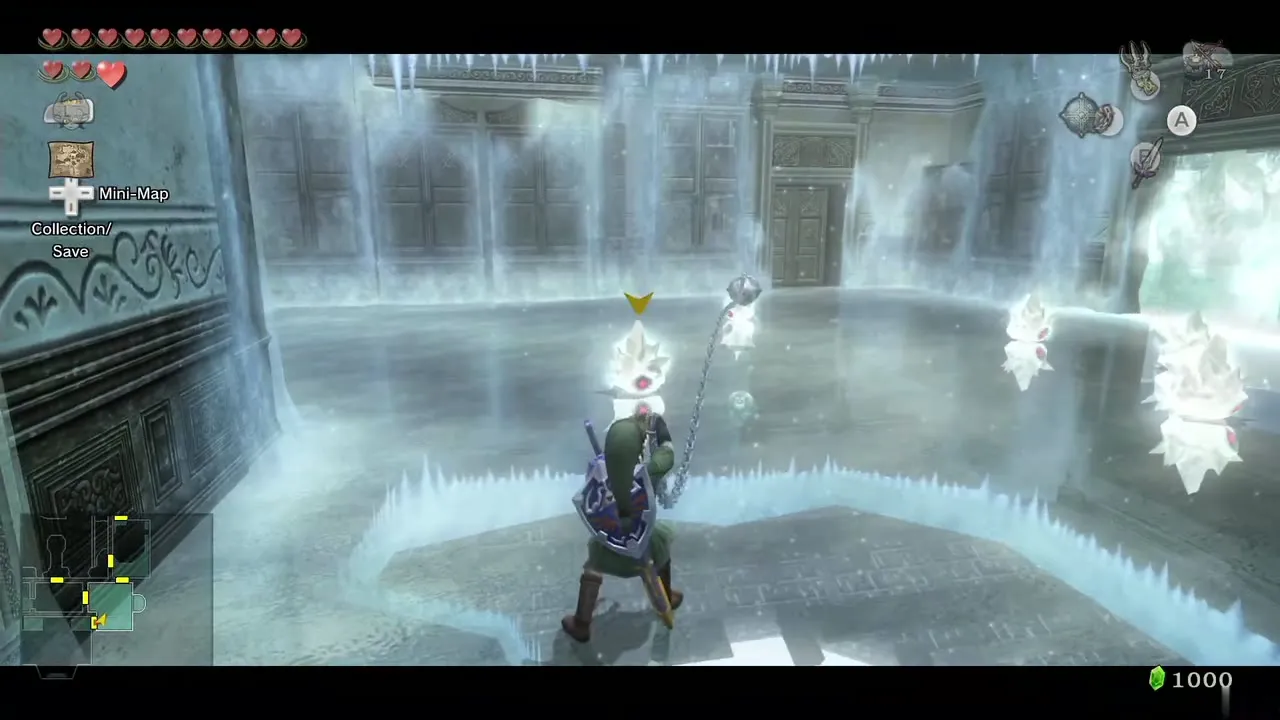
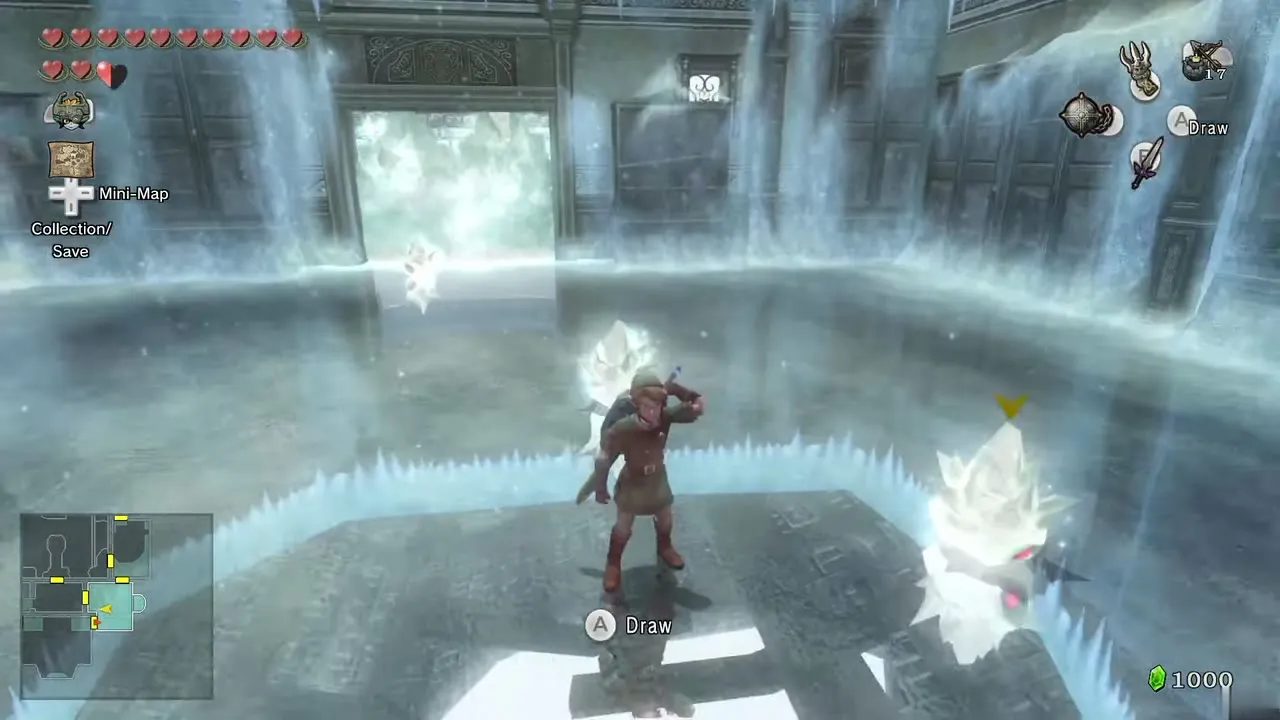
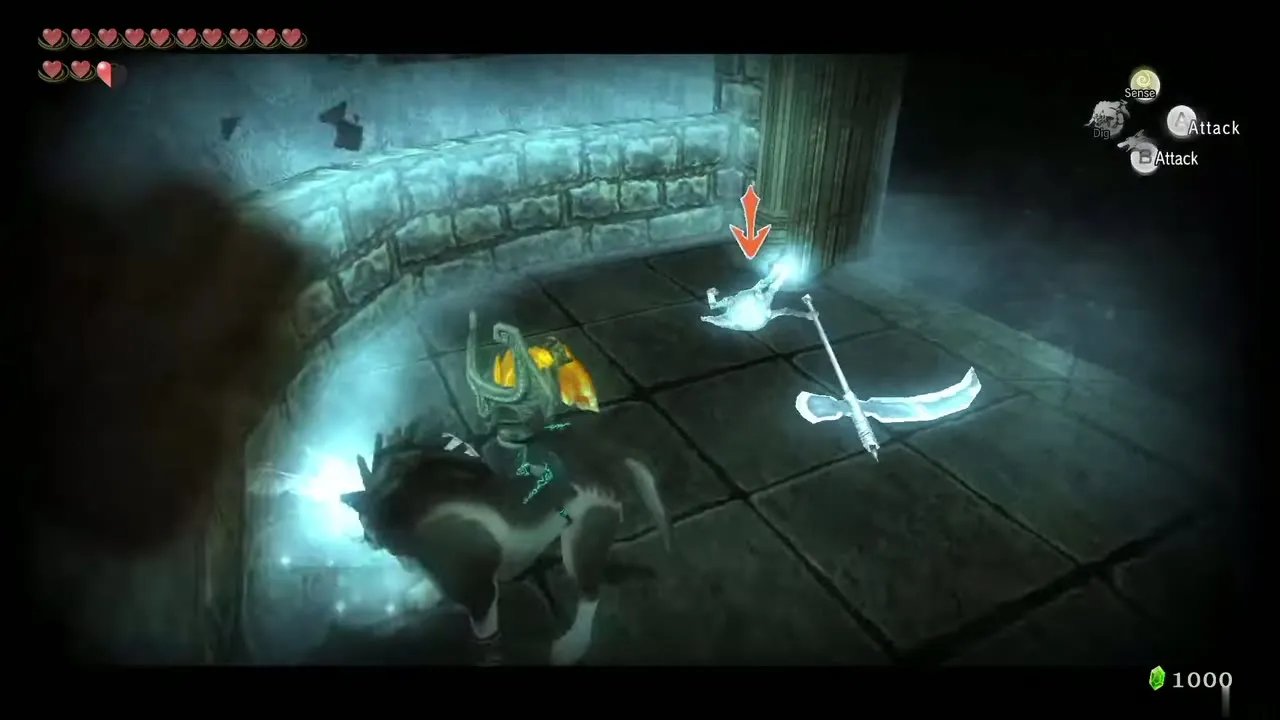
Rock the platform again, jump to the east balcony and enter the door. Defeat the Mini Freezards with the Ball and Chain, then break the ice on the east side to uncover a Poe lantern. Kill it as Wolf Link. Go through the north door.
Ice block puzzle (second version)
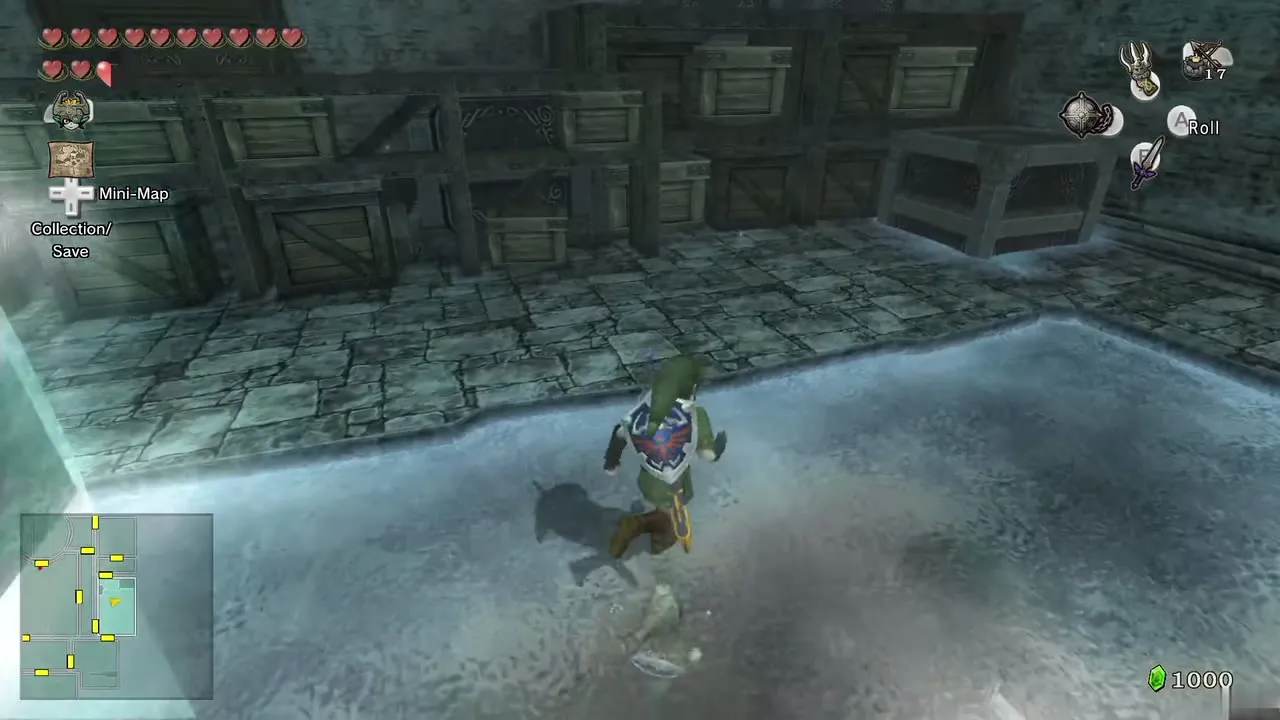
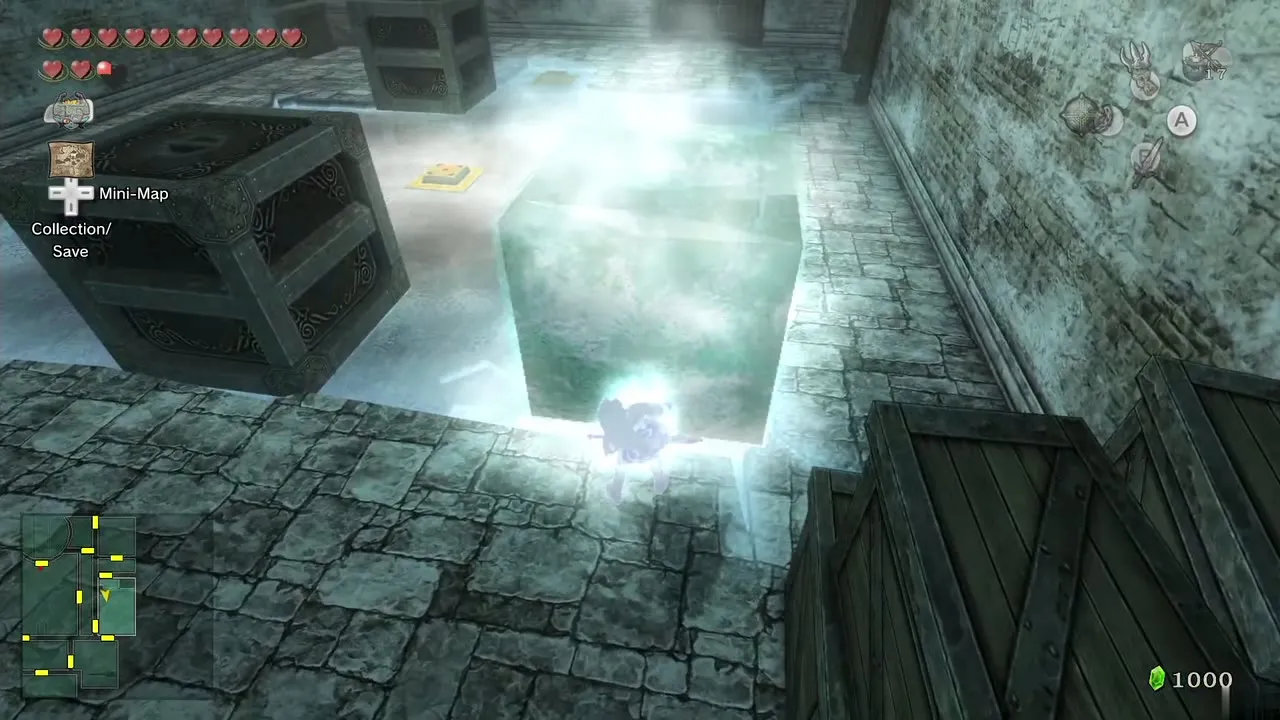
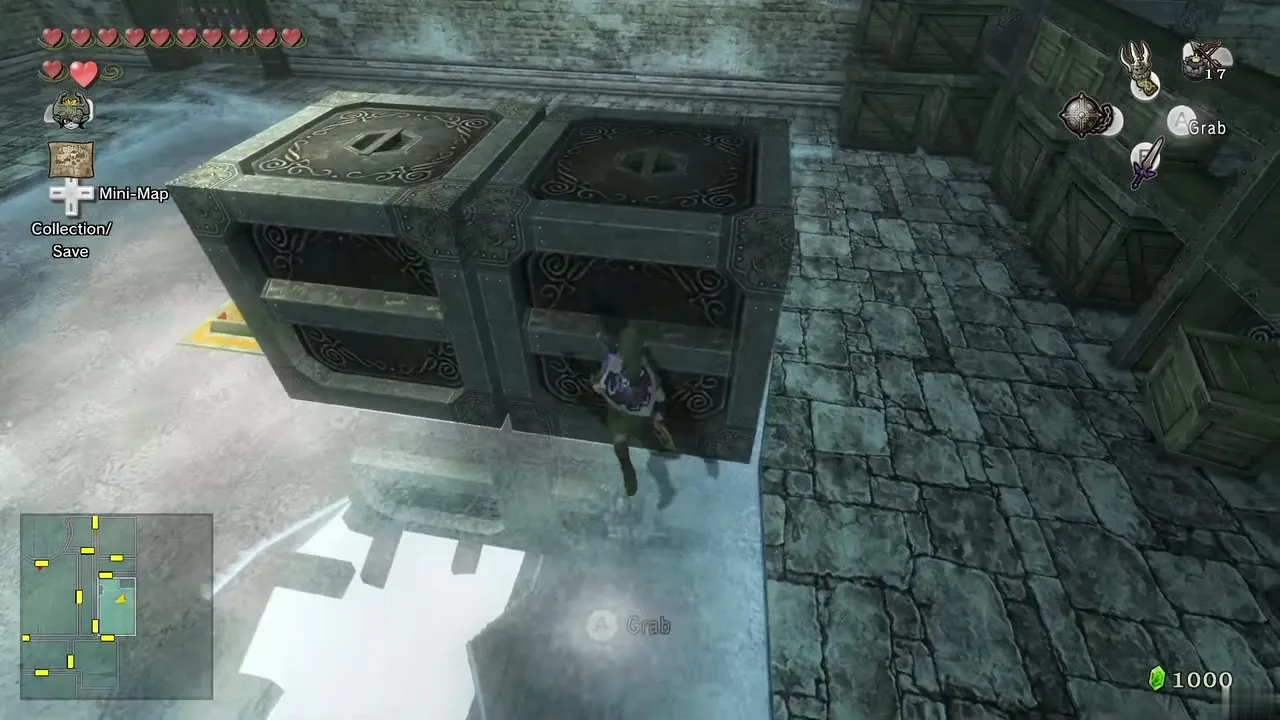
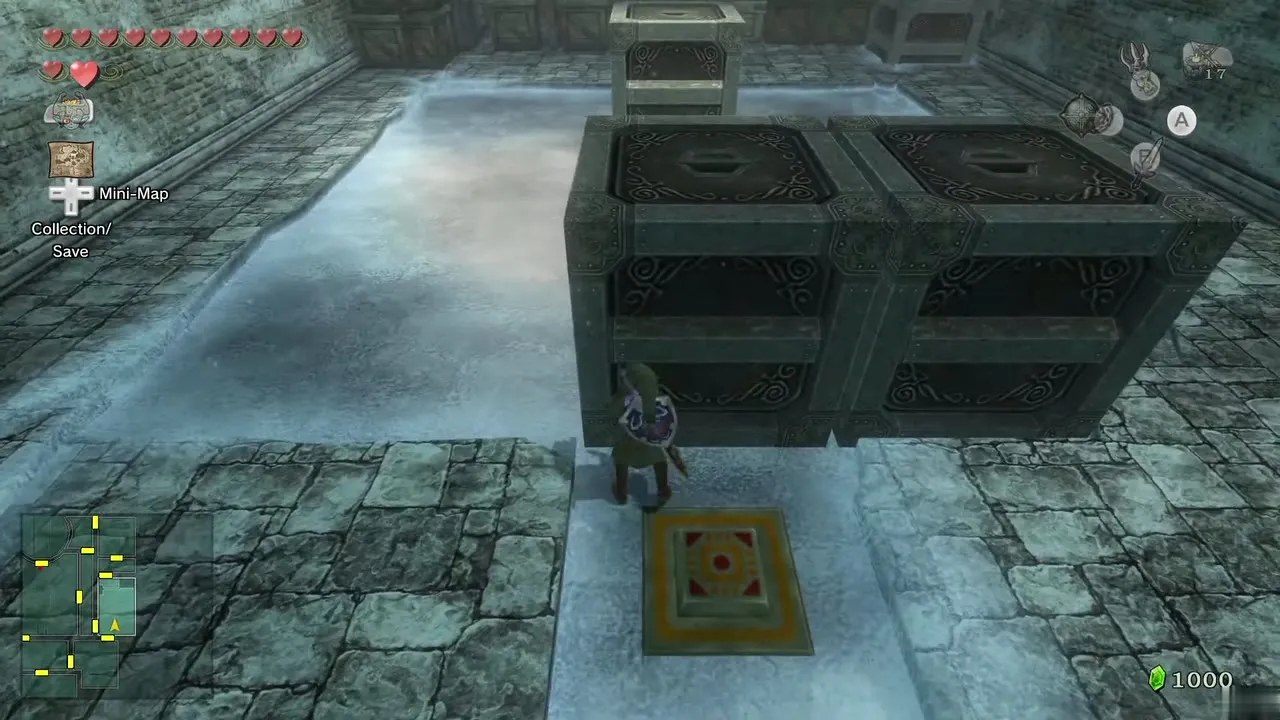
Push the block on the east side to make a shortcut to the second floor, then drop to the first floor and you are back in the block room. Smash the ice in the center and around the third block. Push the south block north, so it slides on the ice. Push the formerly frozen block south, east, then north to stop below the first. Push the north block west, south, east, north so it lands on the switch. The upstairs door opens.
Courtyard second floor
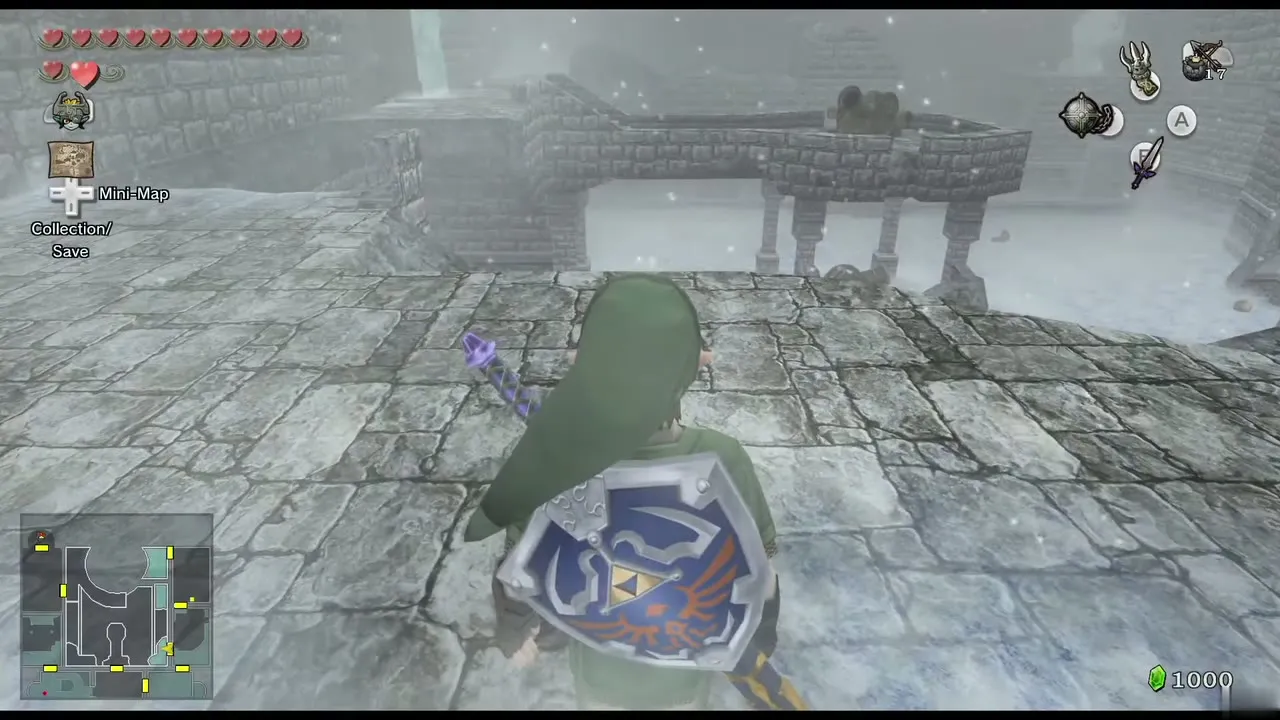
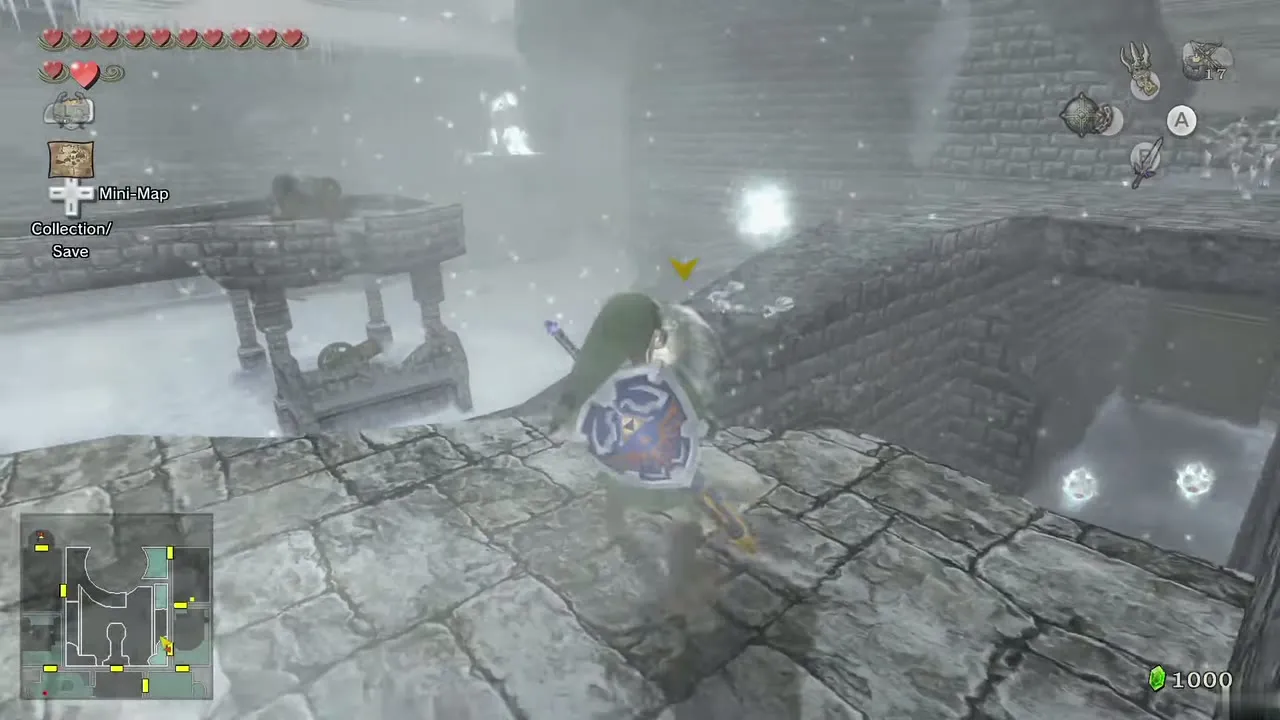
Climb the crates on the north side and jump back across to the south side; go through the west door. You reach the upper courtyard where three Chilfos wait. Hit the first from the platform, then hop to the broken wall piece and finish the other two. Clawshot the target beyond the gap and enter the door.
Fourth Small Key
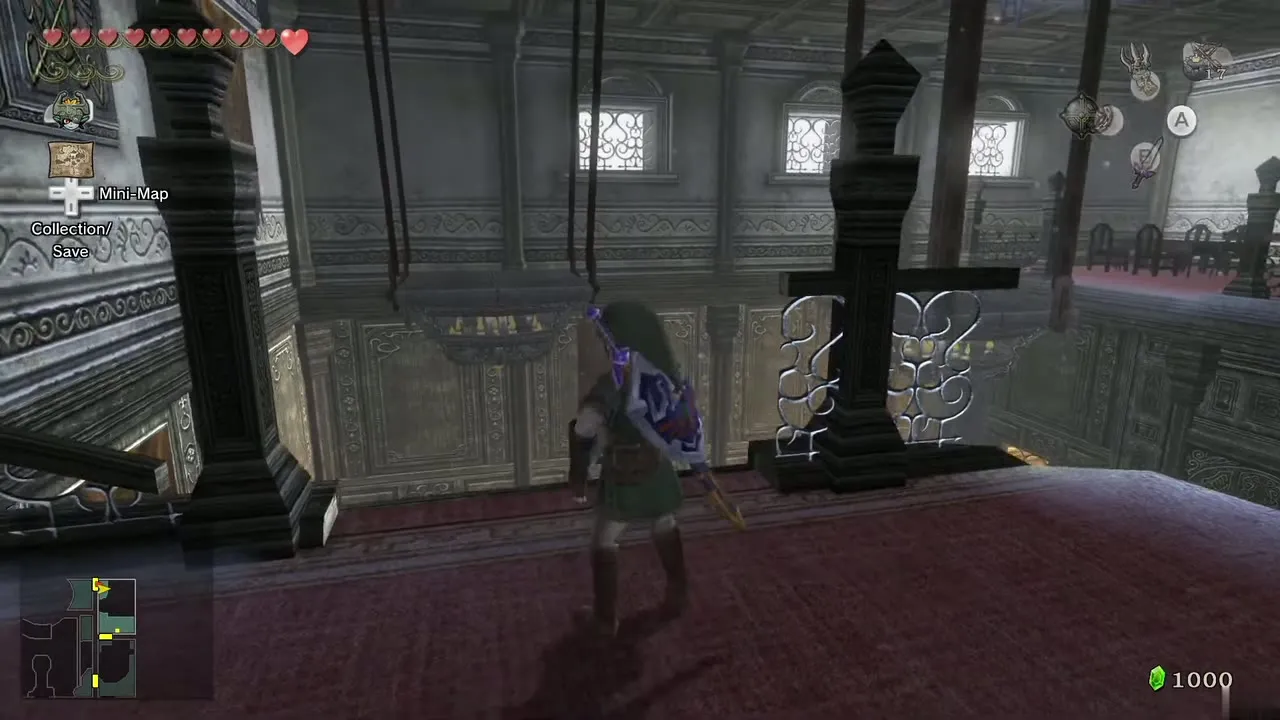
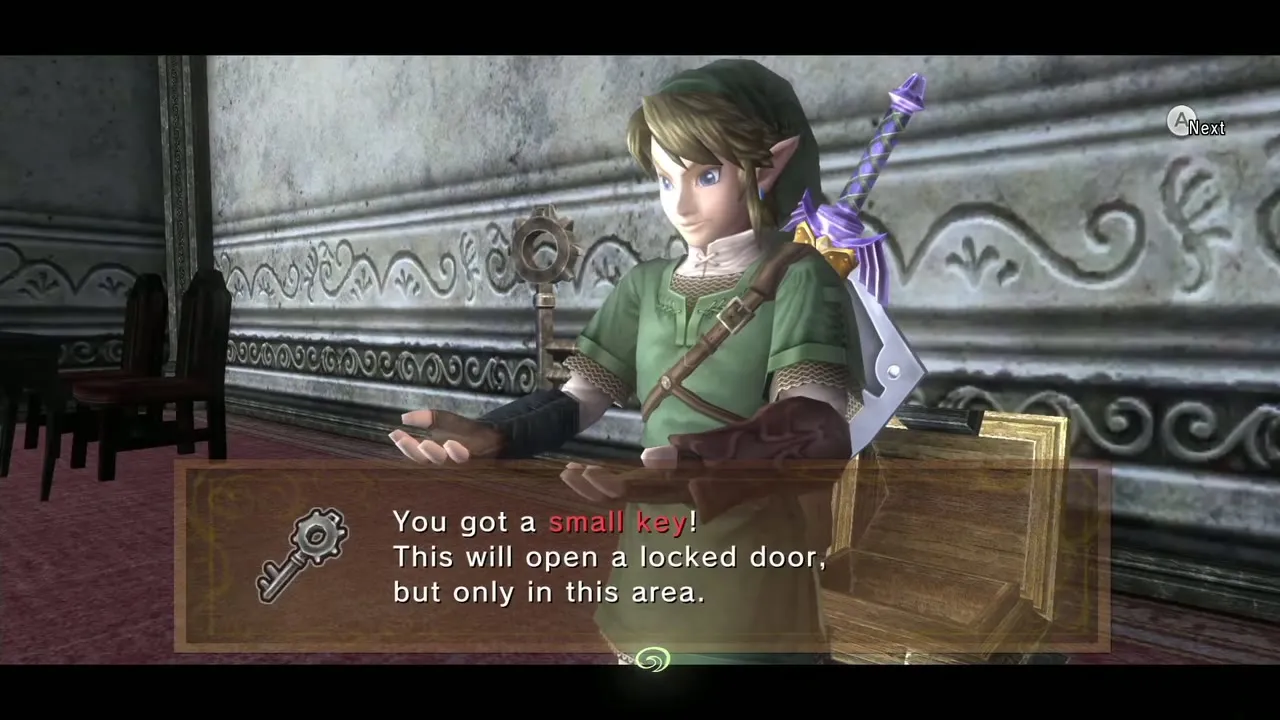
Break the ice on your left, rock the hanging platform ahead, jump on and then rock the next one facing south. Land on the second-floor ledge and open the small chest for a Small Key. Leave by the nearby door, drop off the ledge, climb the crates south and exit to the room with Mini Freezards. Run past them and unlock the west door with the key.
Two Freezards and a cannon
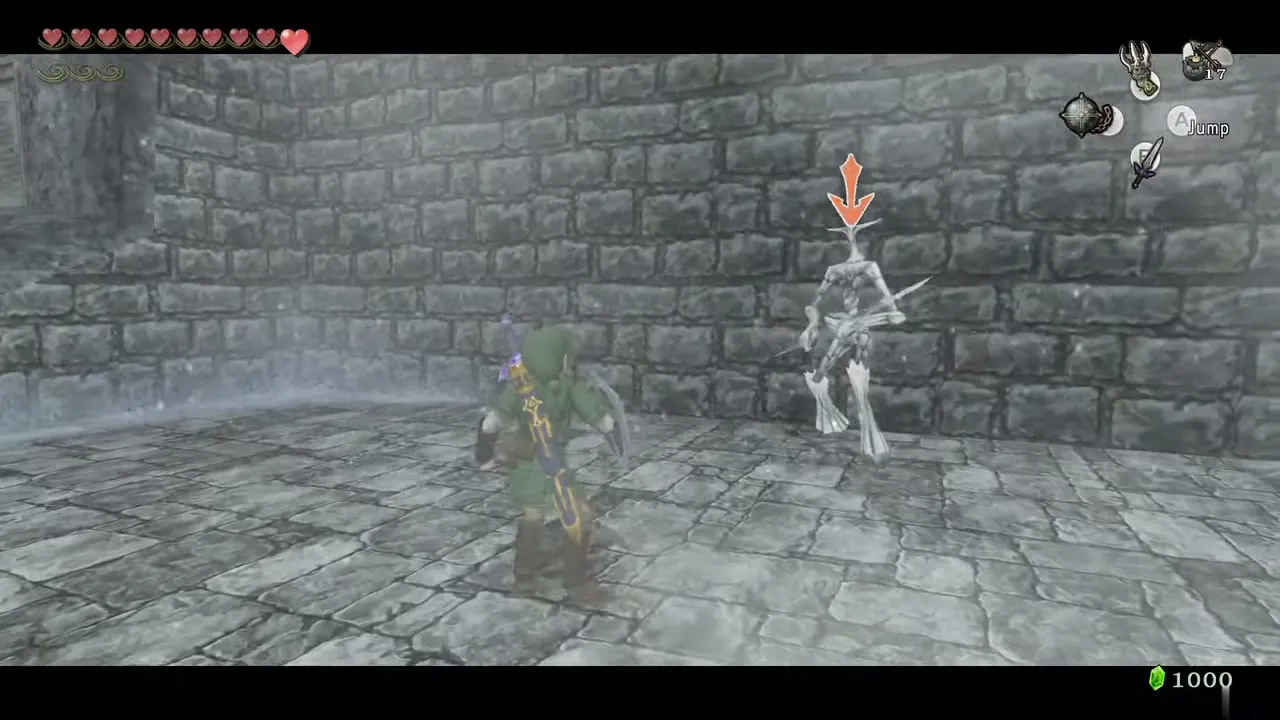
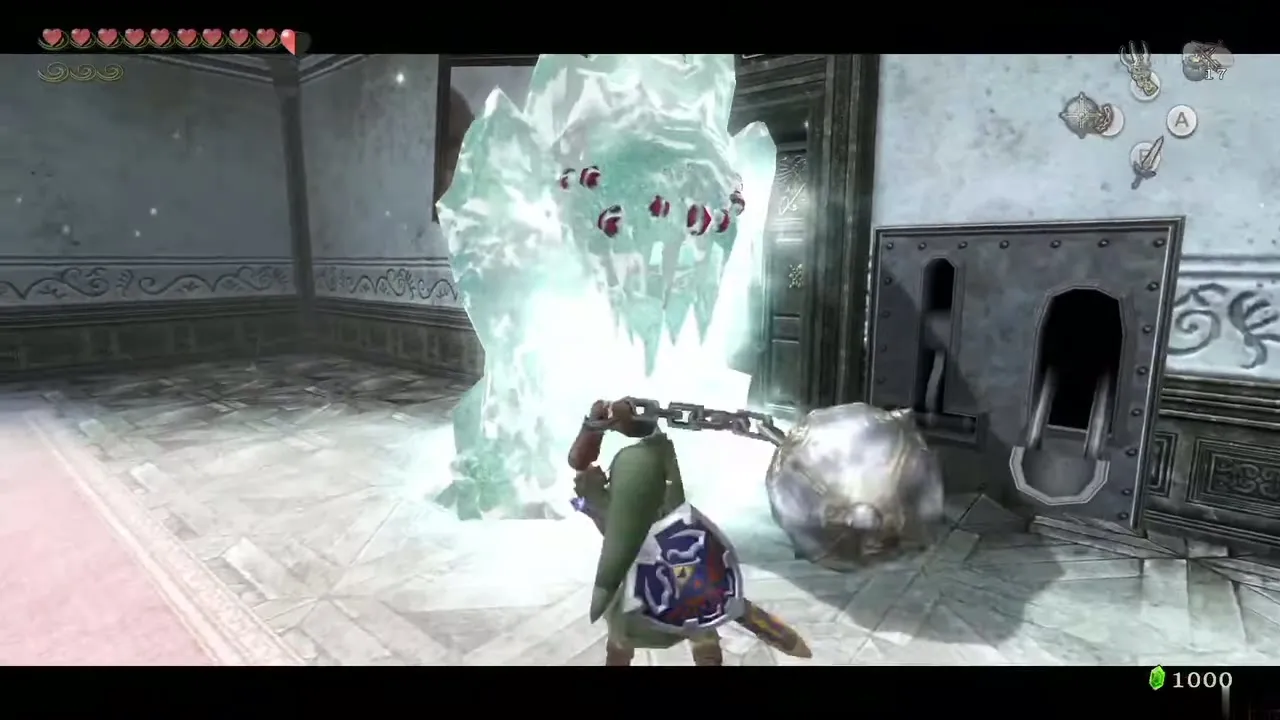
Beat the two Freezards in turn, then knock down the blocks on the west wall to open a passage back to a room you visited before. Descend the spiral ramp to the cannonball you left (or fetch another through the door mechanism), carry it to the top, smash the big ice block, kill the Ice Keese and put the ball in the cannon. Rotate it east and fire with a Bomb; the ball flies to the room with the Freezards.
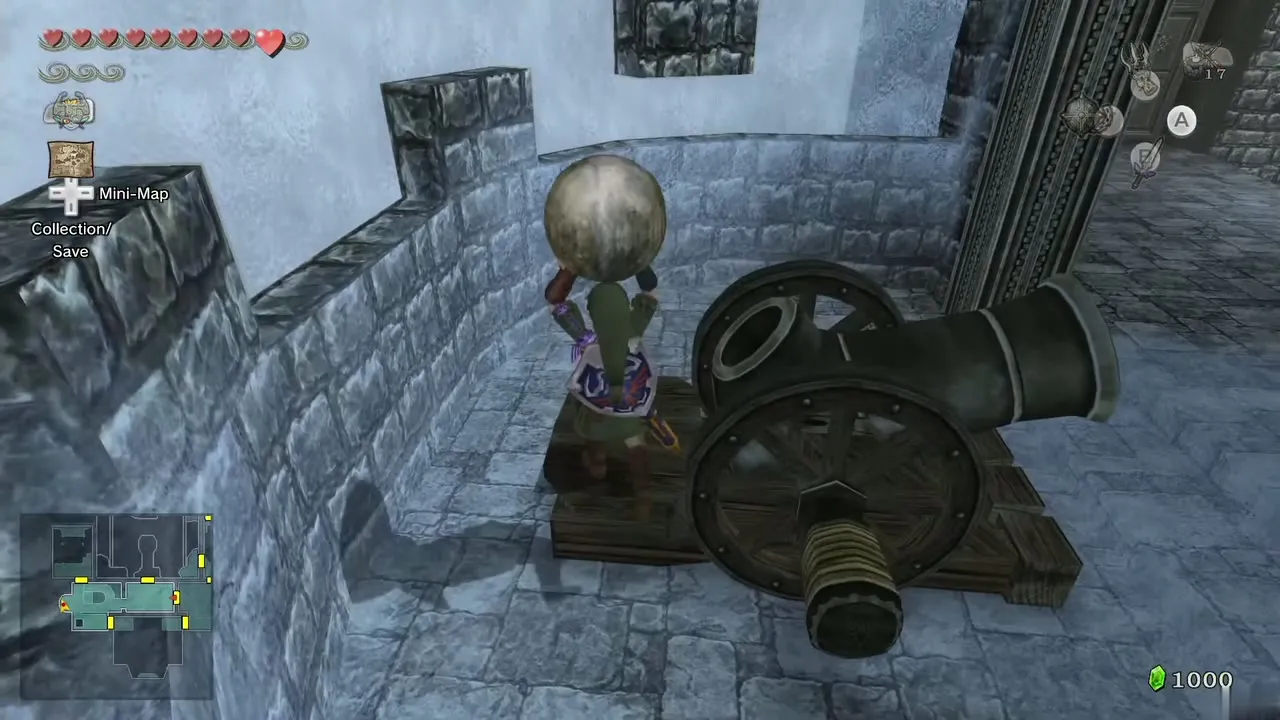
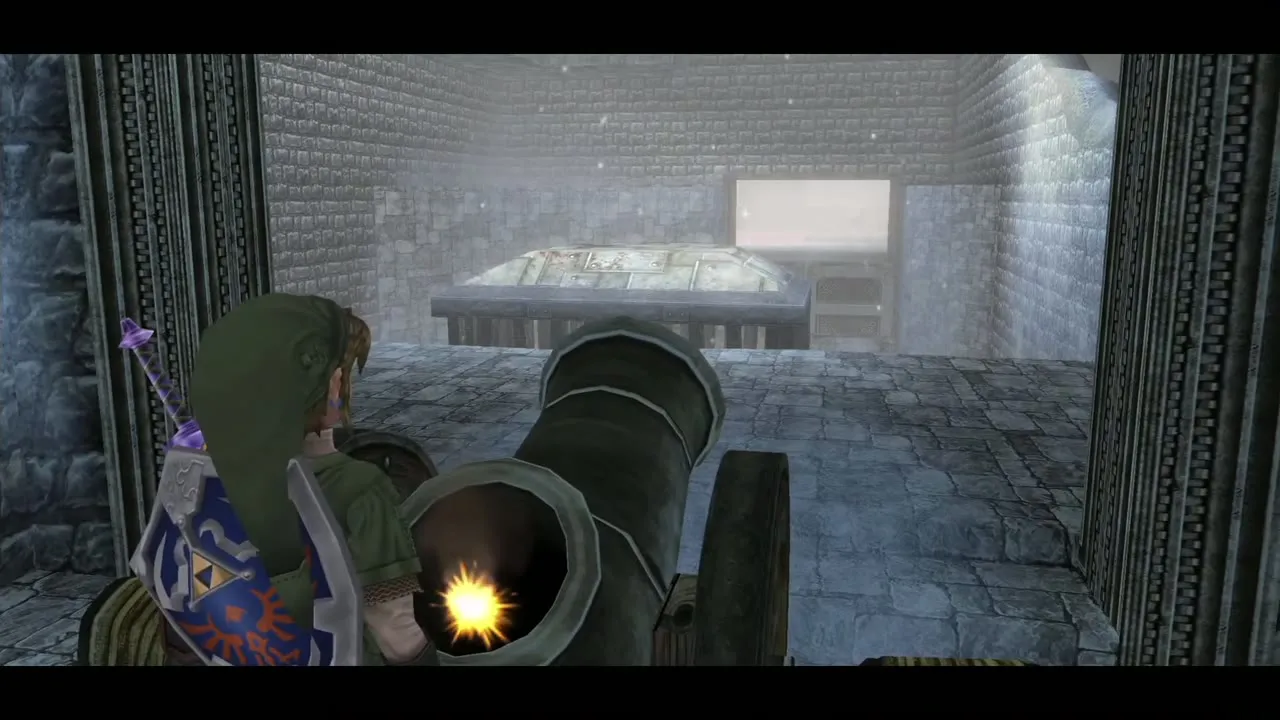
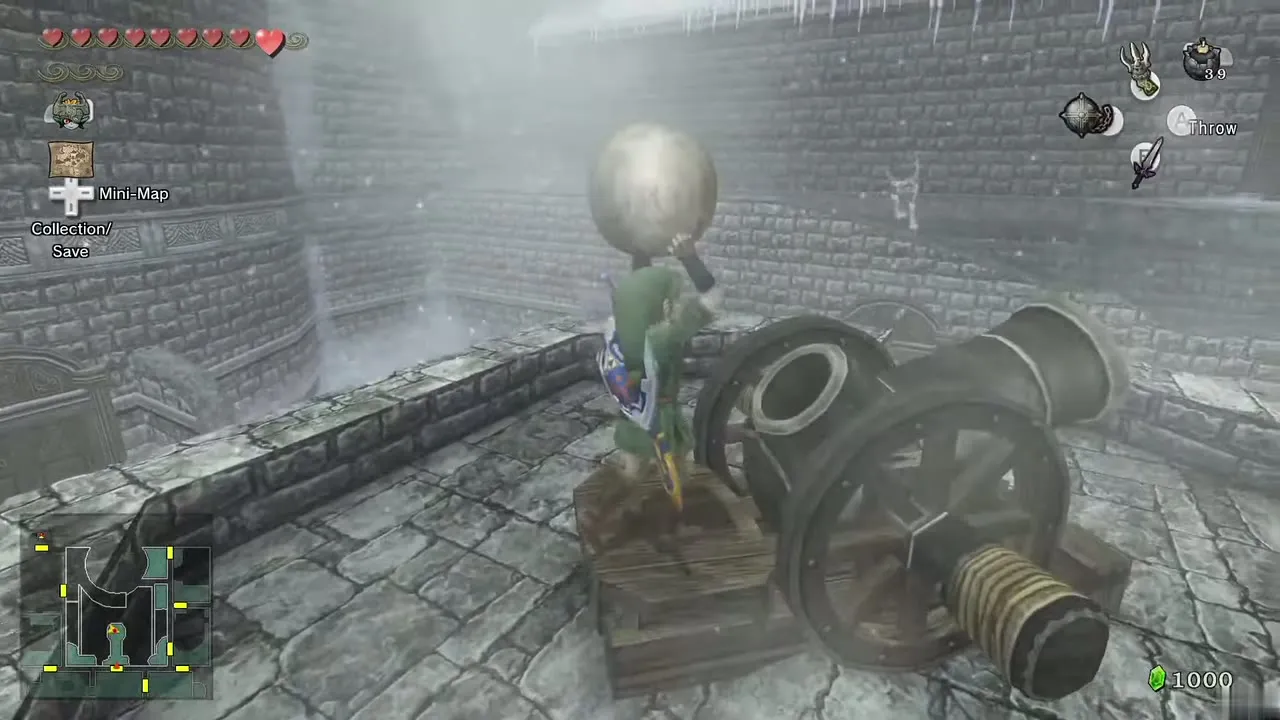
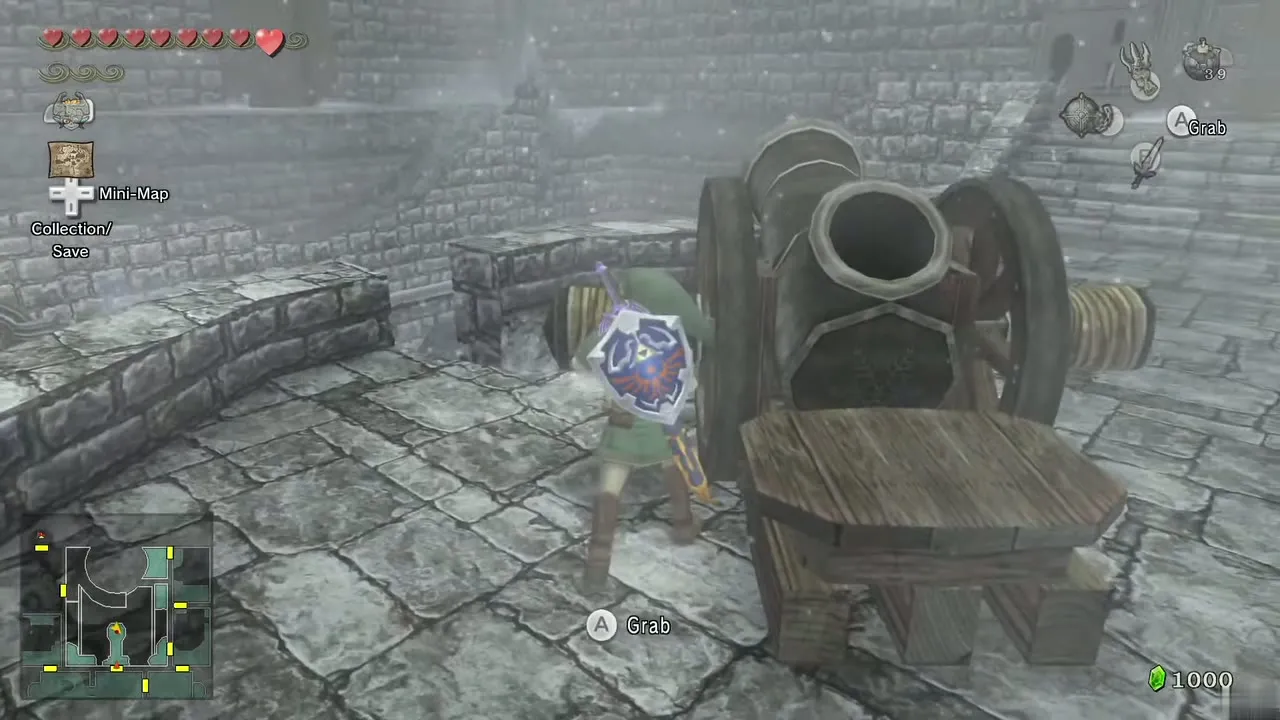
Follow it, send it through the seesaw at the north into the courtyard and go through the door to the upper courtyard. Break the ice on your left to reveal a target, take the ball from the seesaw, put it in the cannon nearby and turn it 180 degrees to face north-west. Fire a Bomb to destroy the Freezard blocking the corner.

Chilfos room and the Bedroom Key chest
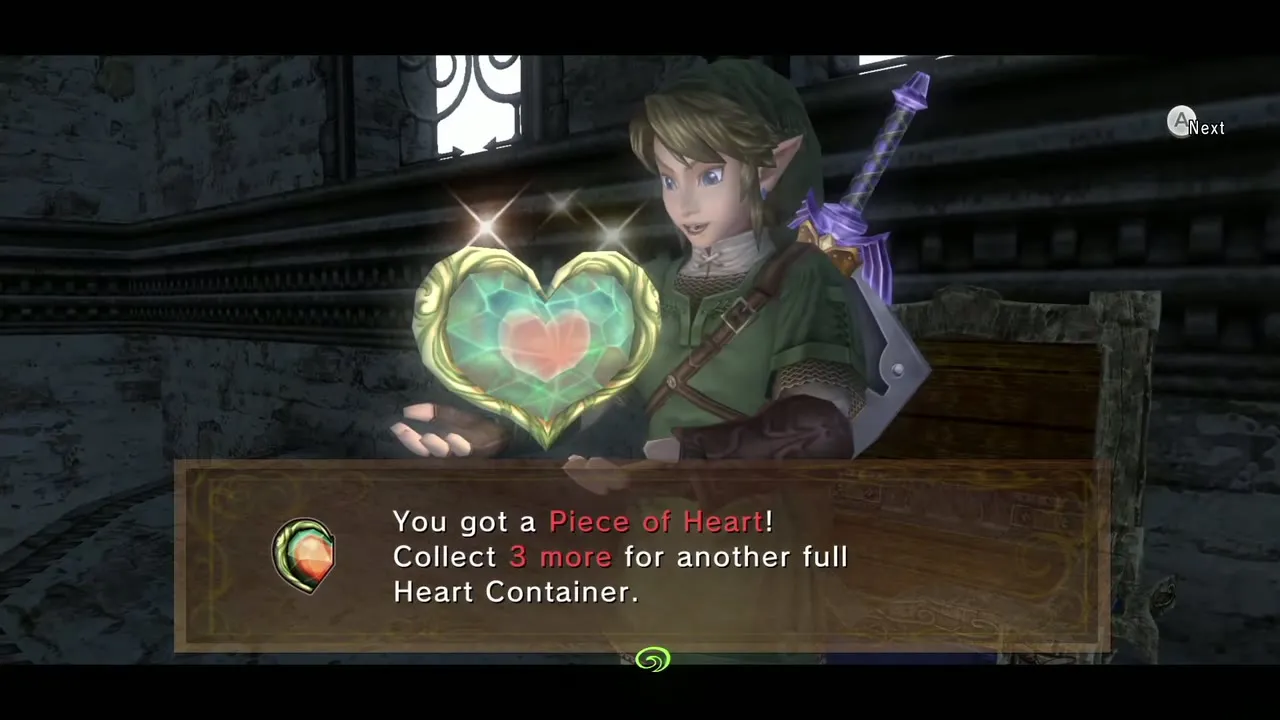
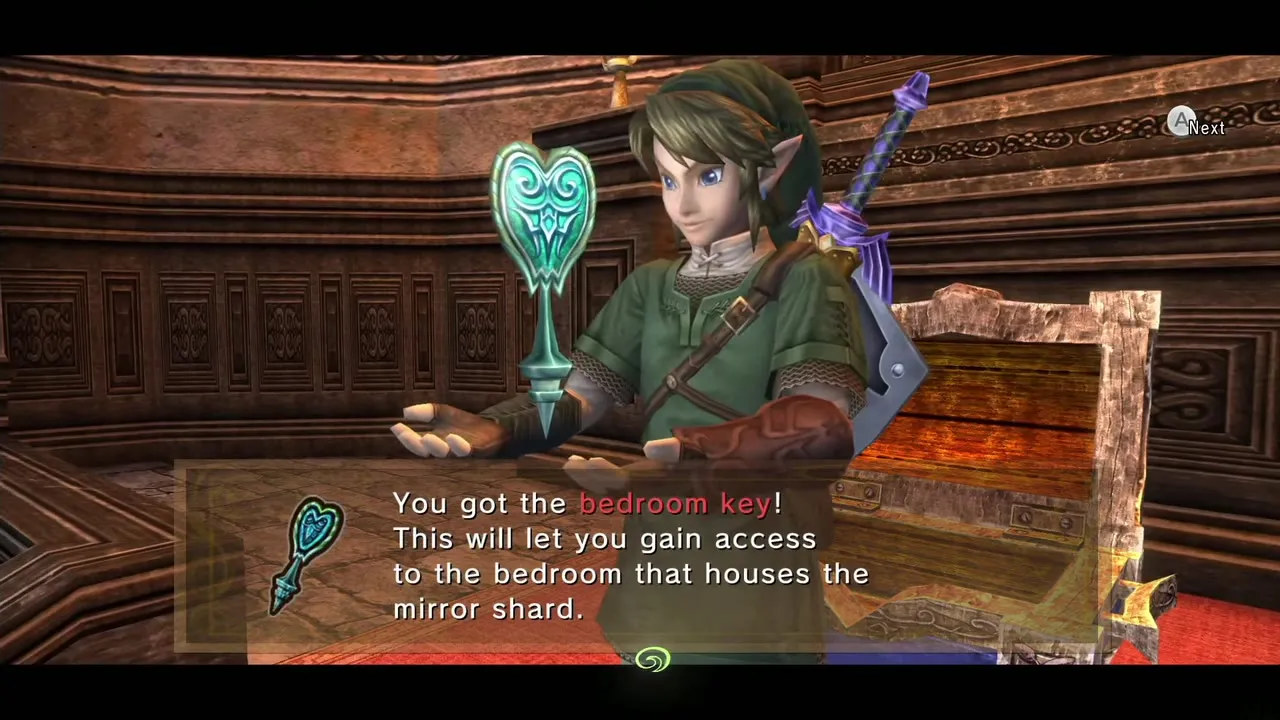
Drop to the courtyard, enter the west door, go north and climb the ladder. Kill the remaining Mini Freezards and go through the east door. Both doors lock, so smash the ceiling icicles with the Ball and Chain to stop Chilfos from appearing, or fight them as they fall. When the room is clear, open the north door and the large chest to get the Bedroom Key.
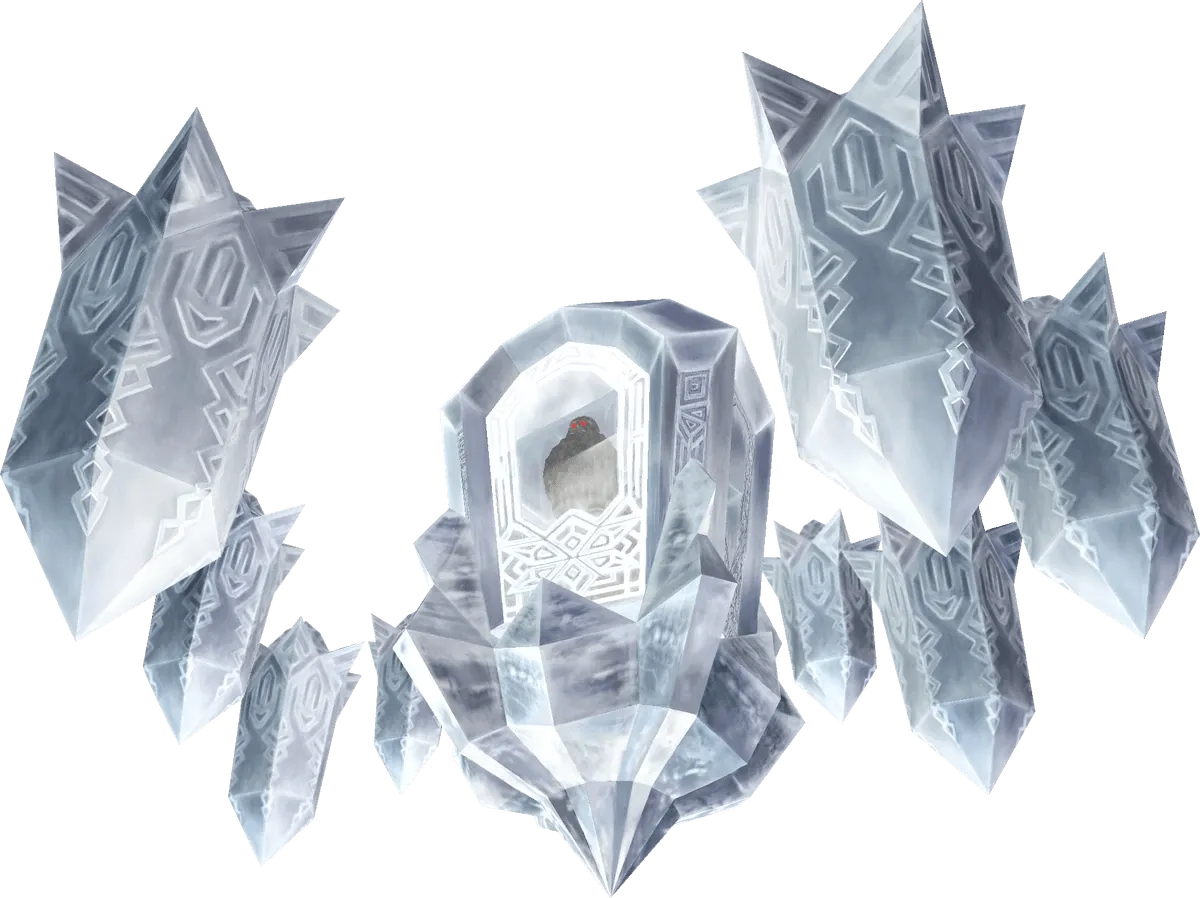
Boss: Blizzeta
Go to the bedroom
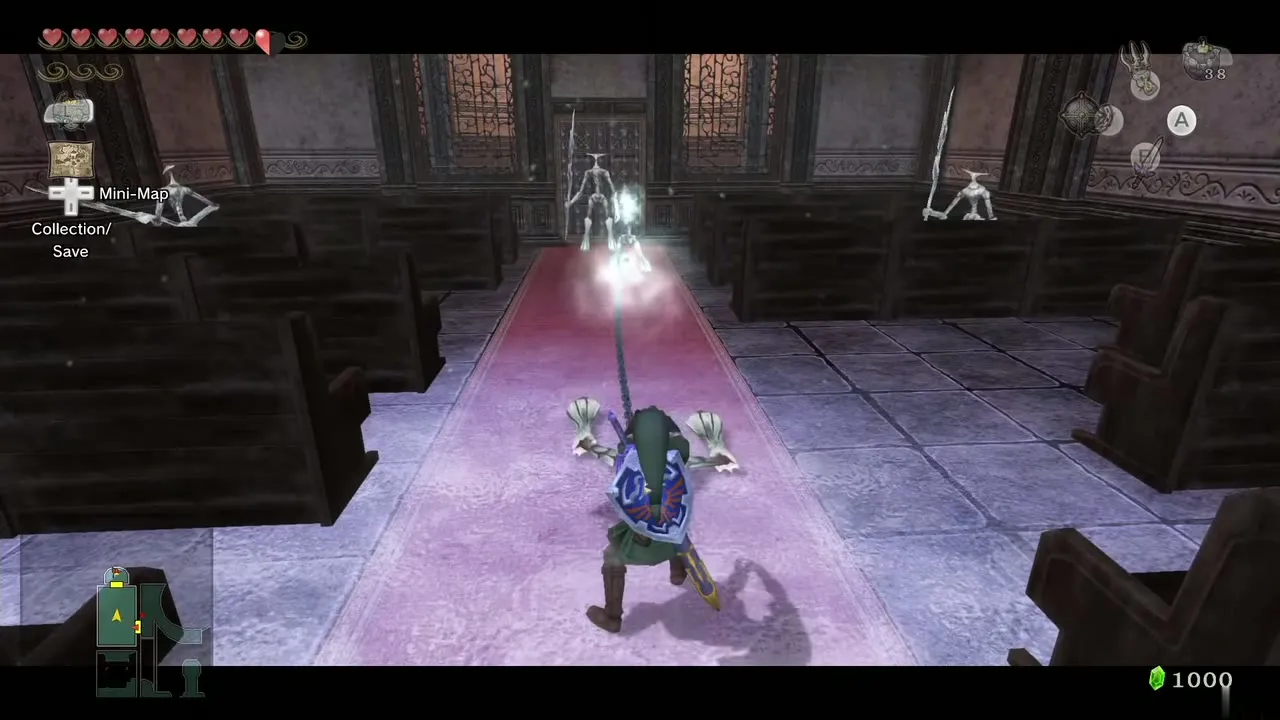
Backtrack to the courtyard, where Yeta waits and says the bedroom is above. She moves slowly, so run to the top and use the Bedroom Key on the locked door. Yeta enters, shows you the mirror, then changes into Blizzeta, the Twilit Ice Mass. Refill soup beforehand if you can.
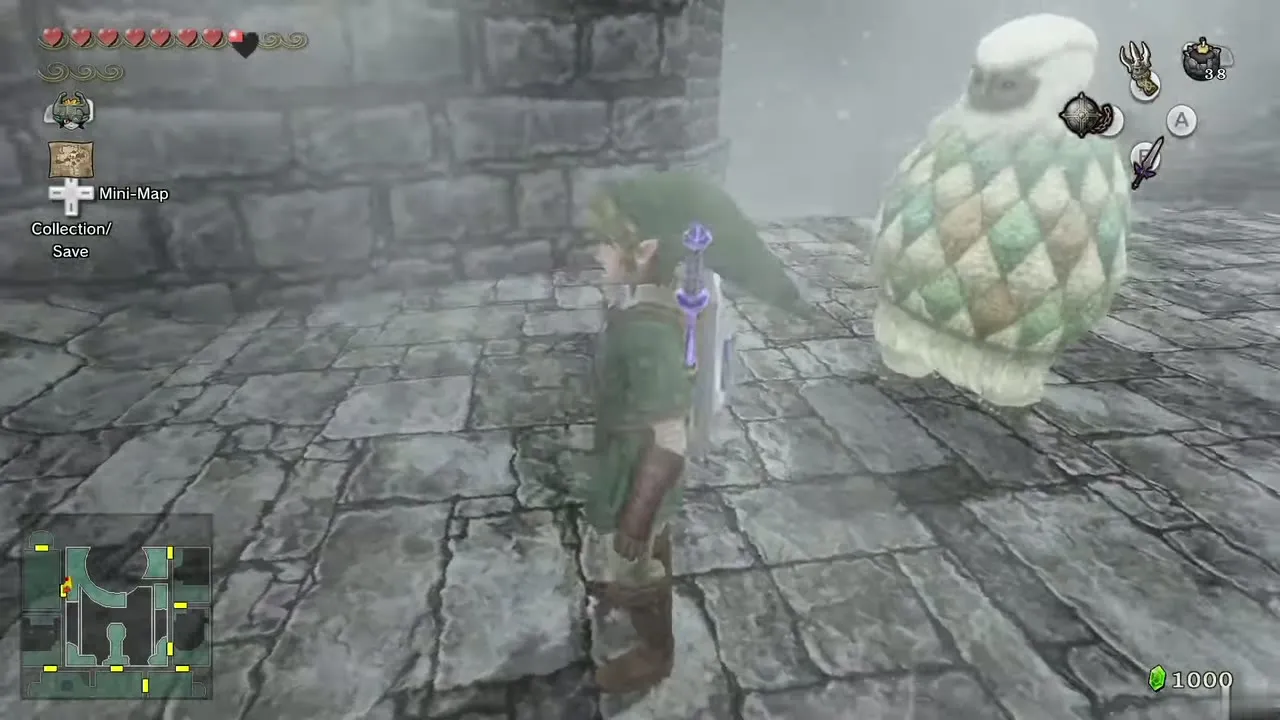
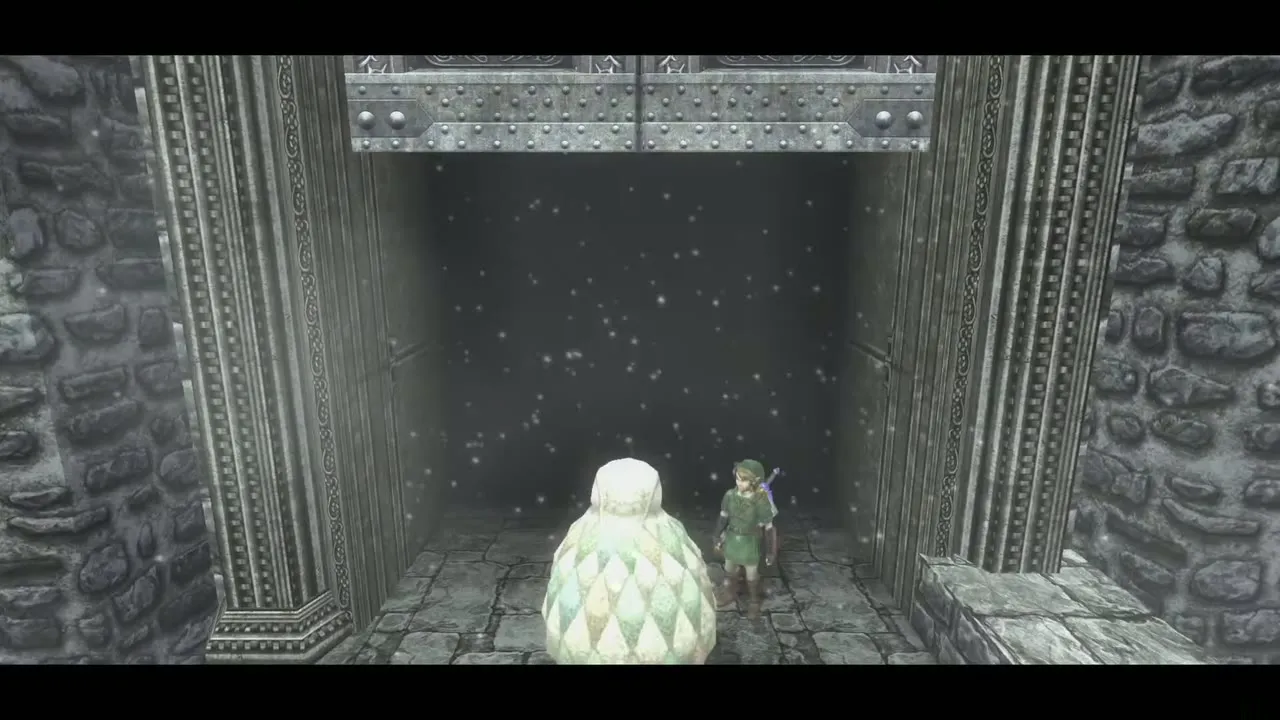
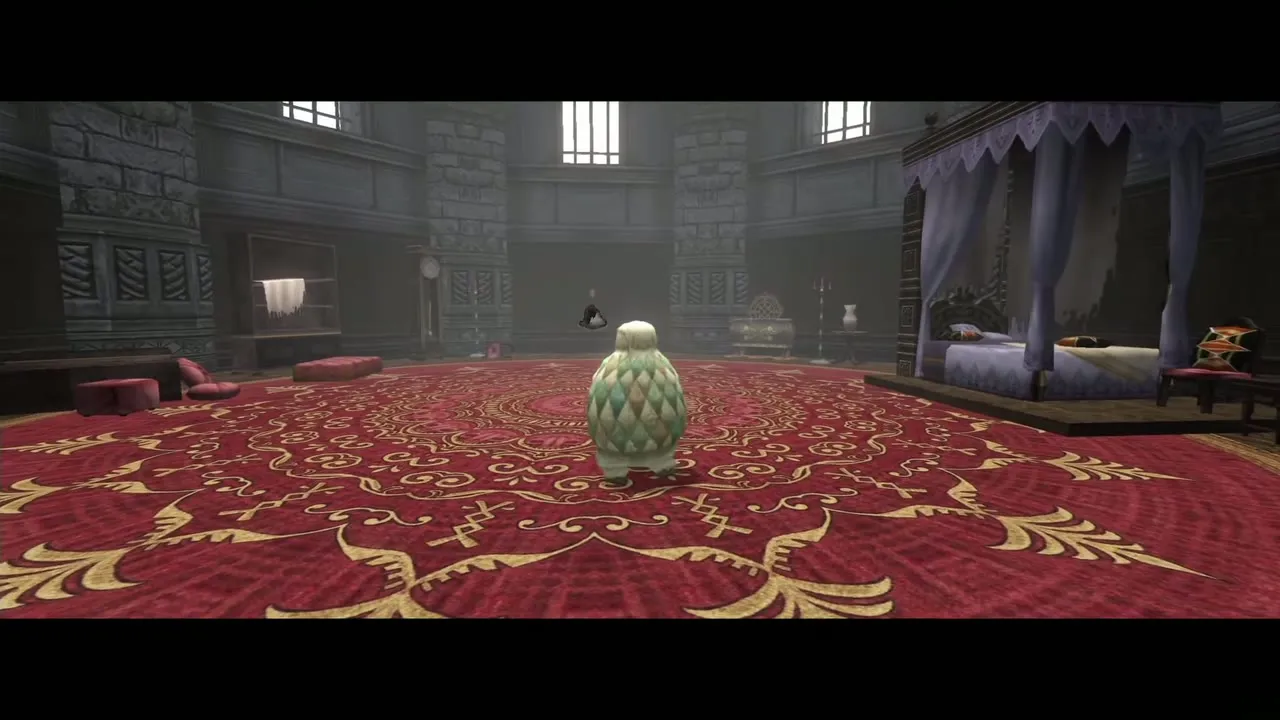
Phase one: ice shell
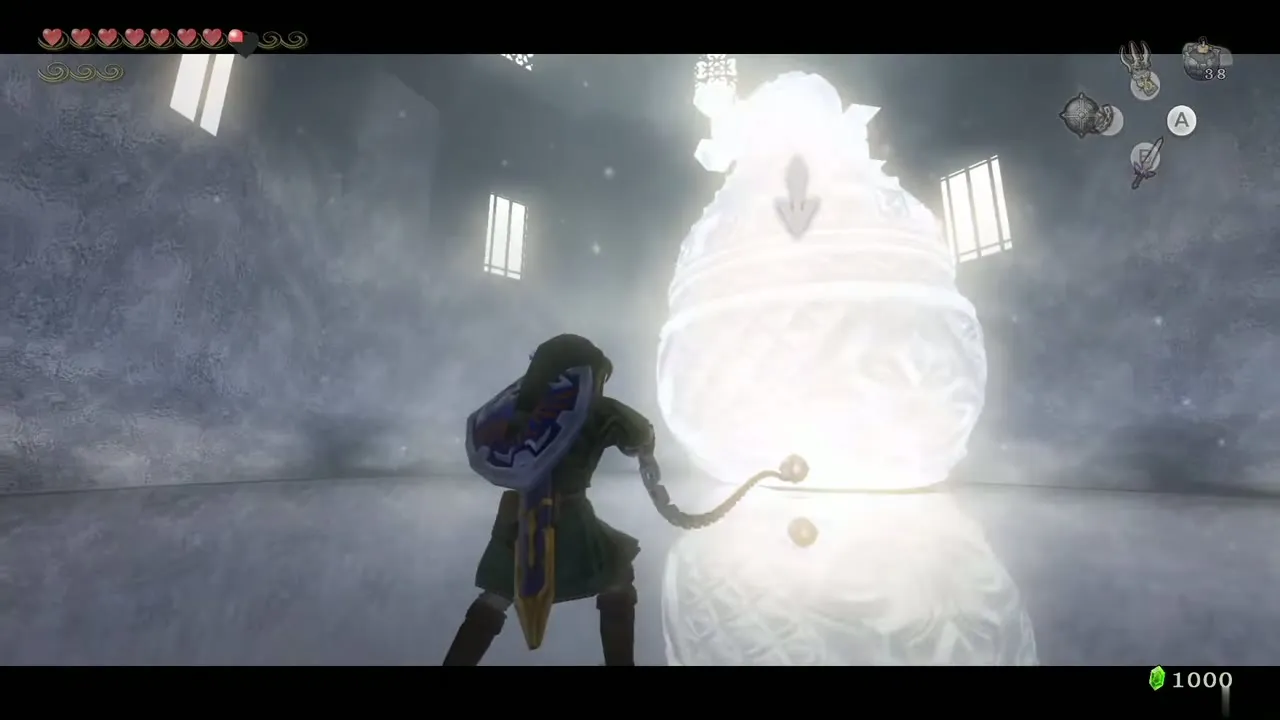
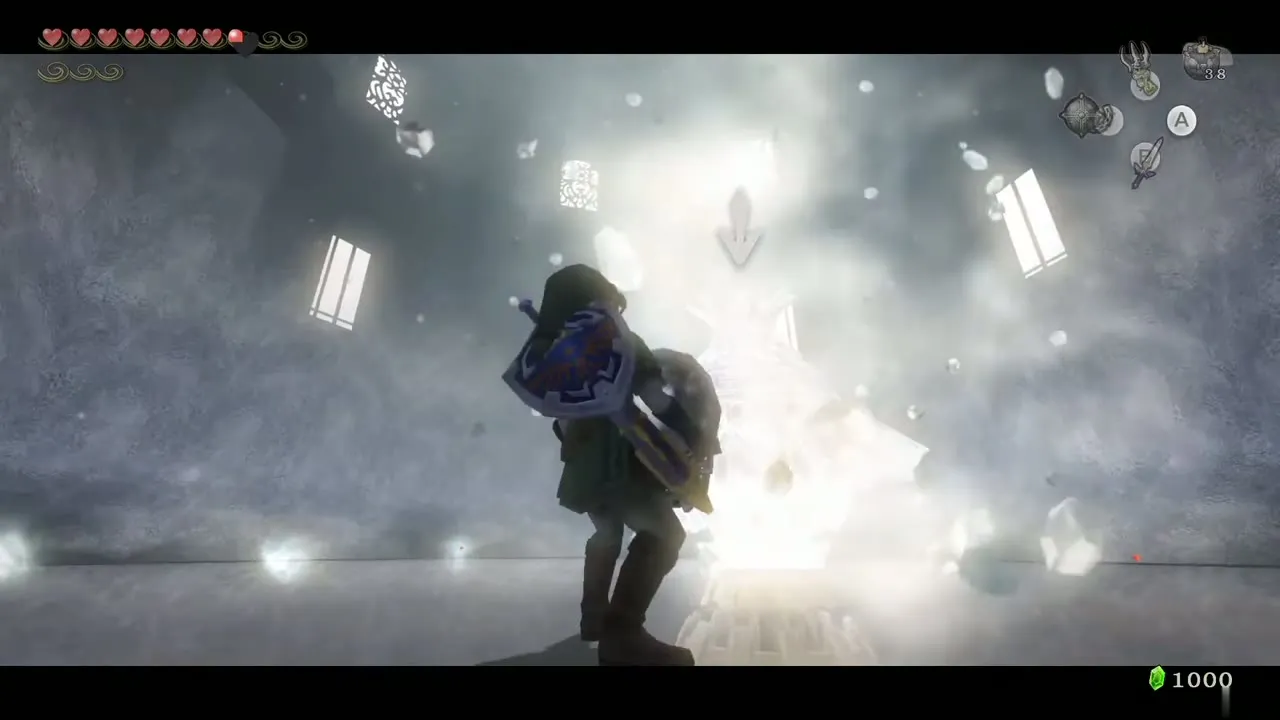
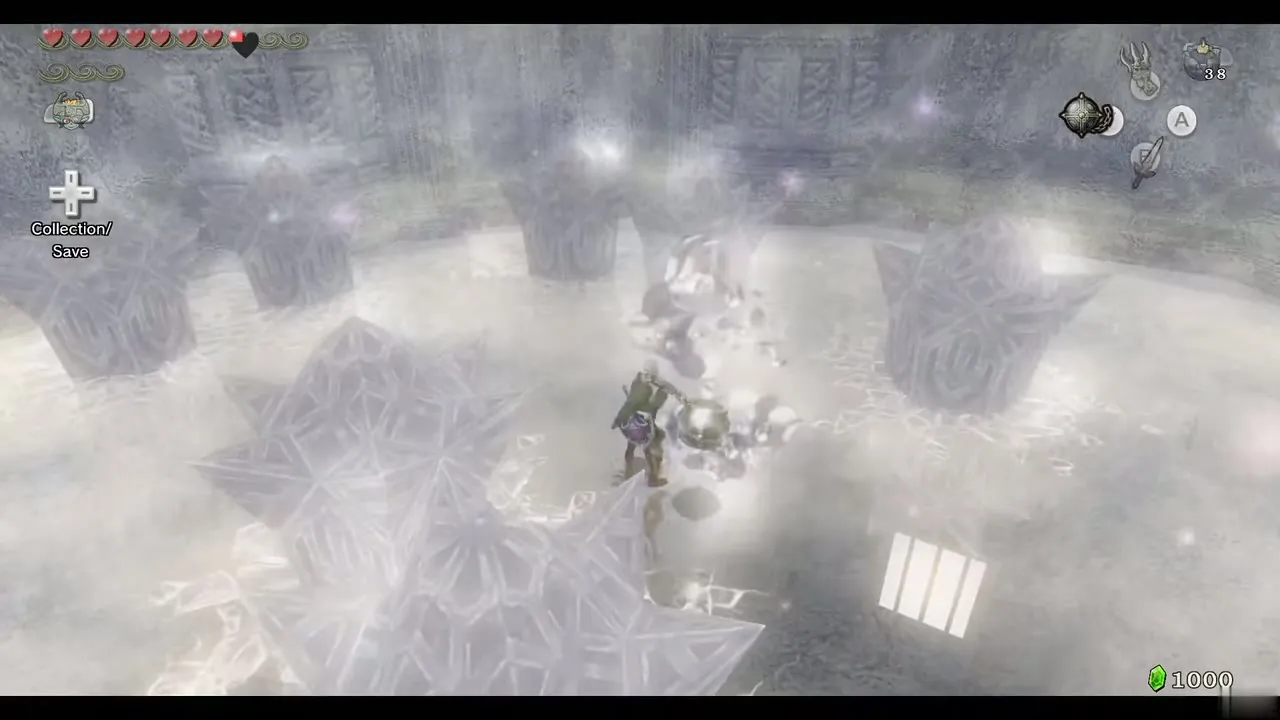
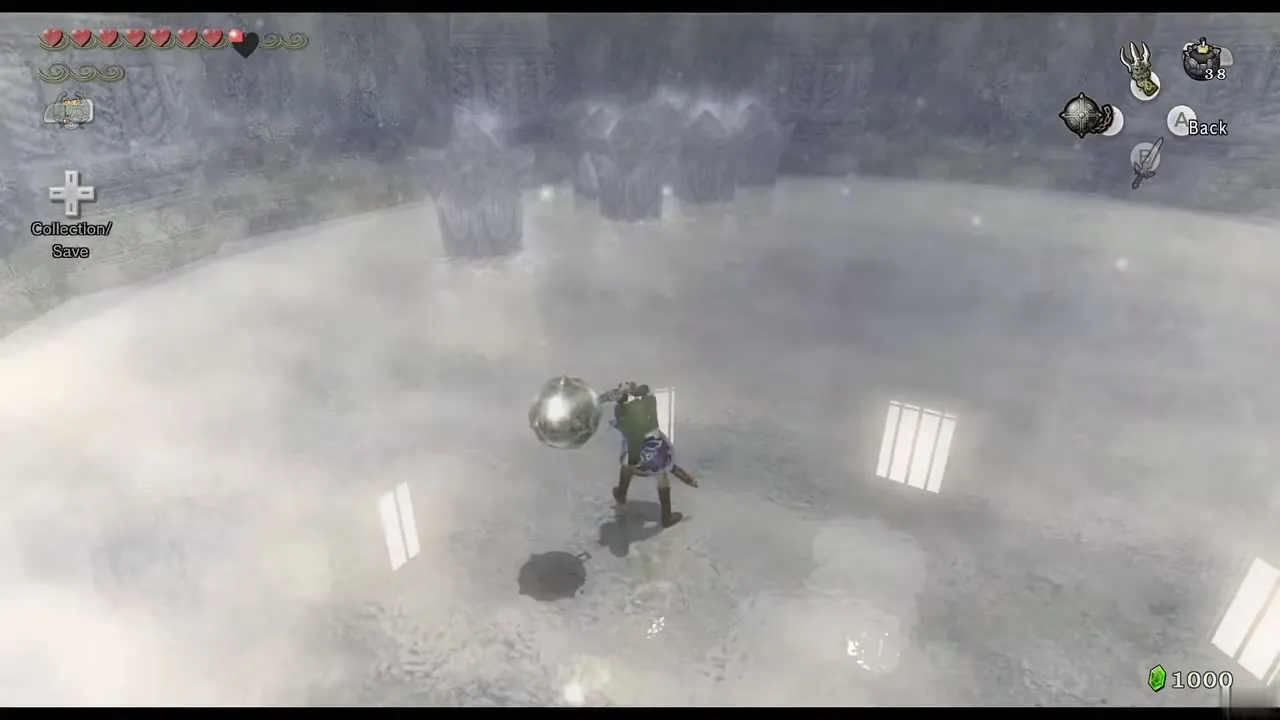
Lock onto the ice mass and hit it with the Ball and Chain over and over. It shrinks and zips around faster each hit, and Mini Freezards fire out of it; ignore them and keep hitting until she bursts out of the ice and floats up.
Phase two: spikes
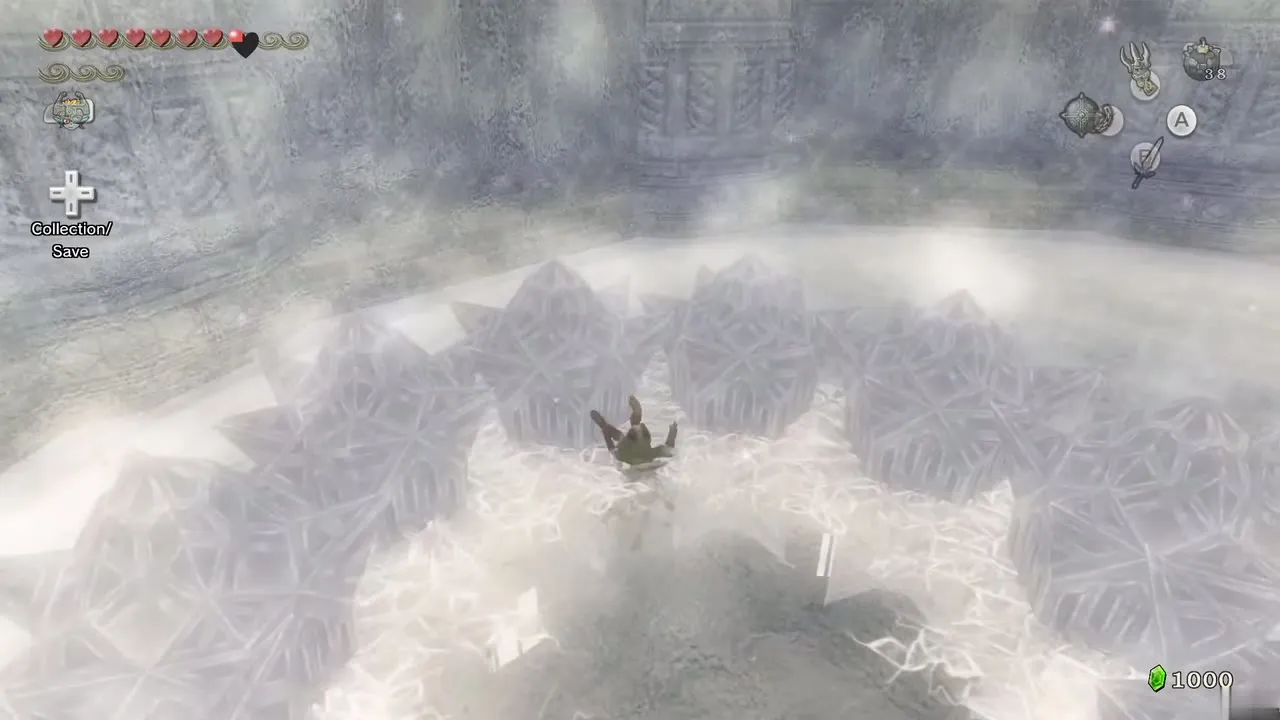
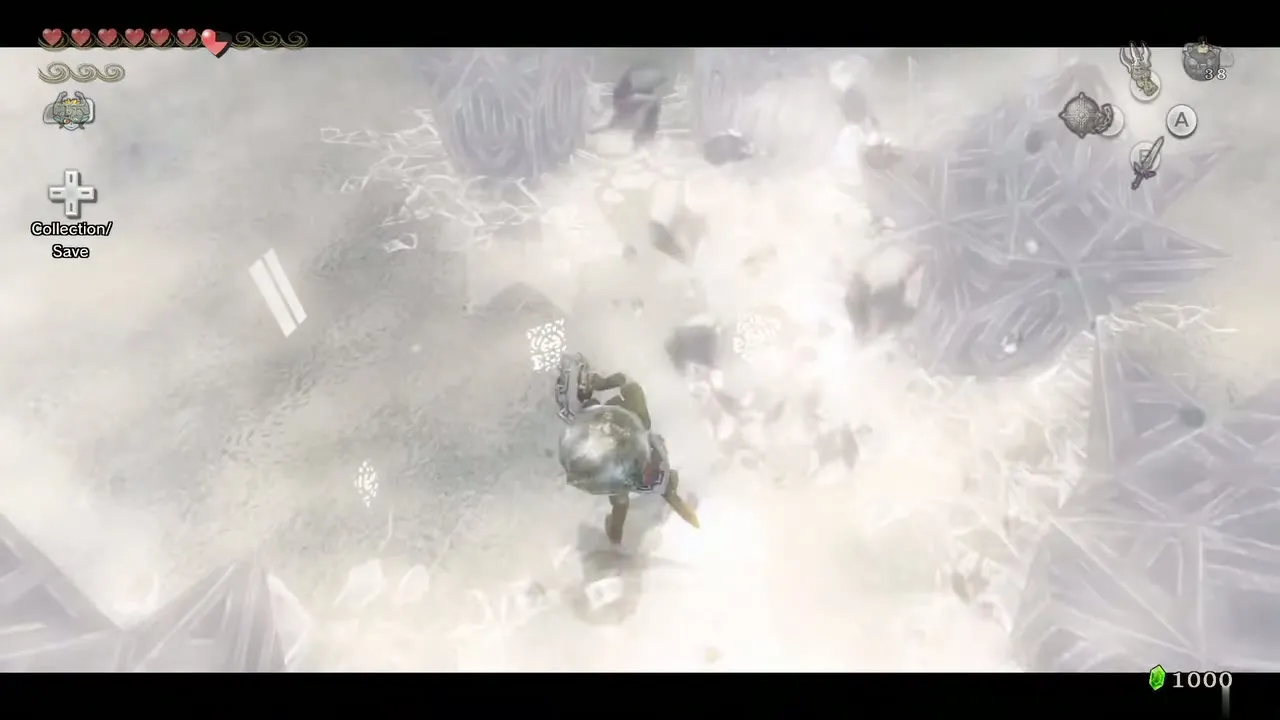
She wraps herself in ice with a ring of spikes. Watch the reflection in the ice above her, which shows which spike will fall, and roll away from it. After the last one drops, break as many spikes as you can with the Ball and Chain; each gap is a safe spot later. She then forms a circle of spikes around you and drops in the middle. Roll through a gap, and when she lands hit her with the Ball and Chain. She regenerates the spikes and repeats; three hits defeat her.
Heart Container and Mirror Shard
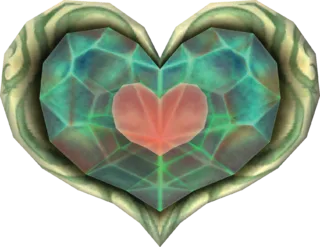
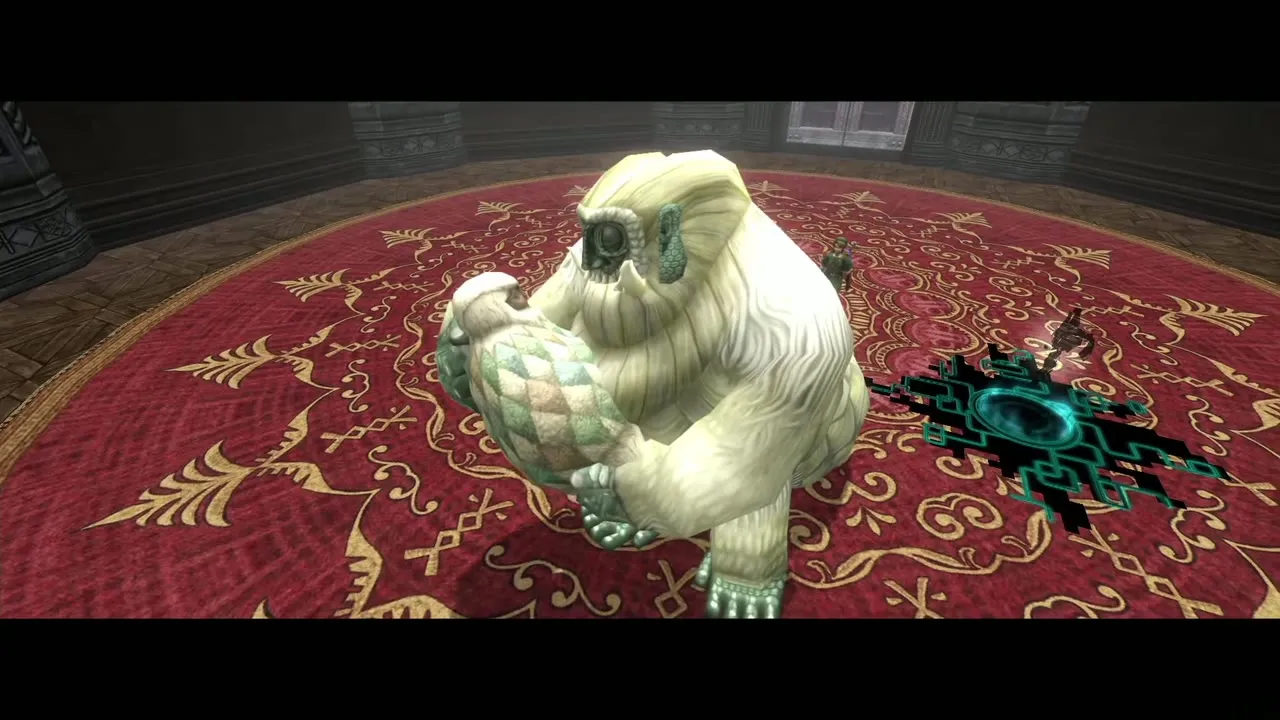
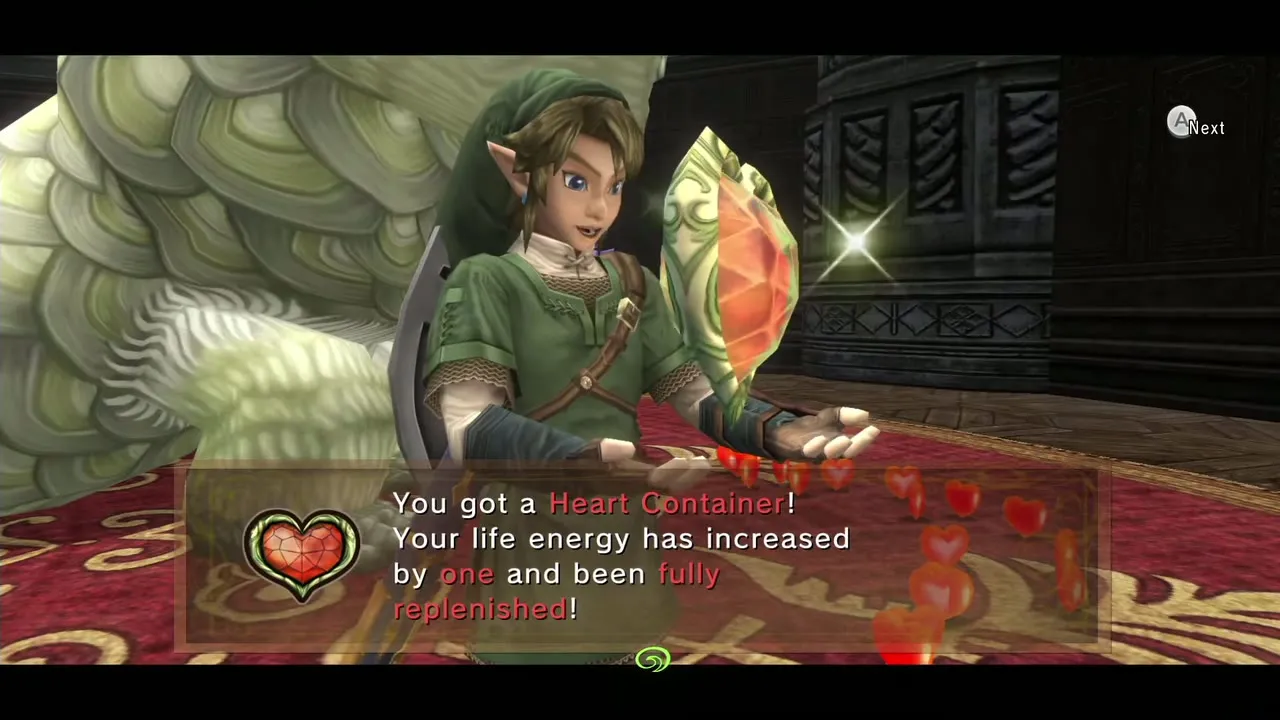
After the fight, the room returns to normal and you receive the second Mirror Shard. Yeto runs in and Yeta recovers as the shard leaves her. A Heart Container drops from their embrace; grab it (see Boss Guide). Warp out with Midna. After the dungeon, you can race Yeto and Yeta from Snowpeak Top for another Heart Piece (covered in the next chapter, Heart Pieces Hunt and Return to the Sacred Grove).
Chapter checklist
| Type | Item | Where |
|---|---|---|
| Key item |  Dungeon Map | Yeta, first room |
| Small Key x4 | Courtyard north (buried); courtyard center (buried); chandelier chest; upper-platform chest | Courtyard / west wing |
| Compass | Chest in the south-east corner of the slick-platform room | North-west wing |
| Dungeon item | 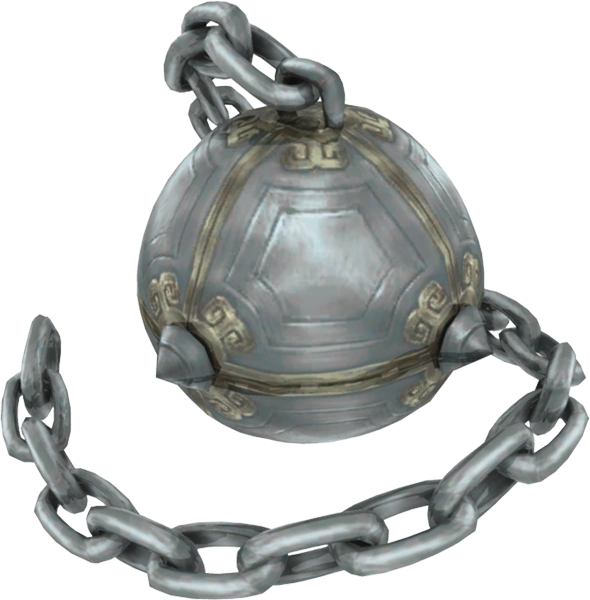 Ball and Chain | 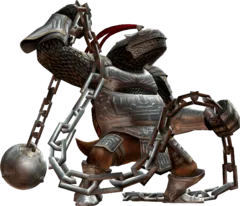 Darkhammer |
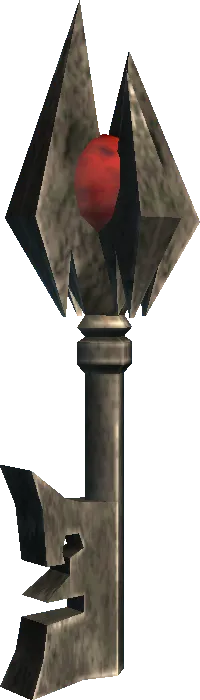 Big Key | Bedroom Key | Large chest in Chilfos room, west |
| Heart Piece | Cracked floor chest (#38) | Below the chandelier room on the west side |
| Heart Piece | Hanging platform ledge (#37) | South end of the platform hall |
| Poe Soul x3 | Entrance hall; foyer statue (middle right); balcony room east of the chandelier hall | As described |
| Miiverse Stamp | Hylian Letter B; Hylian Letter Q | Slick-platform room, centre chest; west foyer statue |
| Food | Simple, Good, Superb Soup | Yeto’s kitchen |
| Boss | Blizzeta: Heart Container, Mirror Shard | Bedroom |
