
























Twilight Princess 100% Completion Walkthrough23 chapters
- Hyrule Castle and the Ganondorf BattleEvery key and chest, then how to beat Puppet Zelda, Dark Beast Ganon, the horse chase and the final duel.
- Snowpeak Ruins (Dungeon 5)Every key, chest, Heart Piece and Poe Soul, the Ball and Chain, Darkhammer and the Blizzeta boss fight.
- Temple of Time (Dungeon 6)All keys and chests, the Dominion Rod, statue puzzles, Big Key, two Heart Pieces and Armogohma.
- City in the Sky (Dungeon 7)Every chest, Heart Piece and Poe, the Double Clawshots, Aeralfos, the Big Key and how to beat Argorok.
- Ordon VillageGoat herding, fishing rod, Sera’s bottle, slingshot, Wooden Sword, Faron Woods cave Heart Piece, Lantern.
- Enter the Twilight RealmEscape the cell as Wolf Link, meet Midna and Zelda, get the Ordon Sword and Shield, meet Ordona.
- Faron WoodsAll 12 Tears of Light, Faron Spring, Coro’s key and lantern oil bottle, and the Golden Wolf’s Ending Blow.
- Forest Temple (Dungeon 1)All 8 monkeys, 4 small keys, Map, Compass, Big Key, 2 Heart Pieces, Ook, Gale Boomerang and Diababa.
- Hyrule Field, Kakariko Gorge and Twilight Kakariko12 Tears of Light, Epona, Pill Bugs, Heart Pieces.
- Iron Boots, King Bulblin and Death MountainIron Boots from Mayor Bo, the King Bulblin bridge fight, Golden Bugs and Gor Coron’s sumo match.
- Goron Mines (Dungeon 2)Every chest, both Heart Pieces, the Hero’s Bow, three Key Shards, Dangoro and Fyrus boss tactics.
- Lanayru Province, Castle Town and Zora’s DomainKakariko extras, Bridge of Eldin bugs, Castle Town, Lake Hylia, thawing Zora’s Domain and all 12 Tears of Light.
- Telma Escort, Castle Town and Lake Hylia Side QuestsTelma escort, Zora Armor, Water Bombs, 9 Golden Bugs, Agitha, Charlo, fishing, Rapid Ride and the Lakebed entrance.
- Lakebed Temple (Dungeon 3)Small keys, map, compass, Big Key, two Heart Pieces, Clawshot, Deku Toad and Morpheel boss tactics.
- Midna, Zelda and the Master SwordTelma’s Bar to Zelda, the Sacred Grove, Skull Kid, the guardian puzzle, plus its Heart Piece, Poe and Golden Bug.
- Poe Soul Collection, Malo Mart and Heart PiecesThe first 29 Poe Souls, Jovani’s rewards, Malo Mart donations and Magic Armor, Miiverse stamps and five Heart Pieces.
- Gerudo Desert and the Bulblin CampOasis Flight, eight Poe Souls, both Dayflies, Mortal Draw, Bulblin Camp and King Bulblin.
- Arbiter’s Grounds (Dungeon 4)Four Poe Souls, Dungeon Map, Compass, Spinner, Big Key, two Heart Pieces and the Stallord boss fight.
- Mirror Chamber, Reekfish and Snowpeak MountainMirror Chamber, Spinner Heart Pieces, Reekfish bait, Jump Strike, Poe Souls and the climb to Yeto.
- Heart Pieces Hunt and Return to the Sacred GroveTwo Heart Pieces, Rusl, the Skull Kid rematch, the last Golden Bug and the Temple of Time door.
- Ilia’s Memory, Hidden Village and the SkyIlia’s memory, 20 Bulblins, 20 cats, six Sky characters, Great Spin and the Sky Cannon repair.
- Palace of Twilight (Dungeon 8)Both Sols, all seven small keys, map, compass, Big Key, 2 Heart Pieces and how to beat Zant.
- Cave of OrdealsAll 50 floors, the 3 Poe Souls, every Great Fairy, buried items, the Tears and Jovani.
| Covers | Castle Town north gate, the castle courtyard (west garden, east garden, graveyard), the castle interior, the tower climb, the throne room and the four-stage Ganondorf fight |
|---|---|
| Dungeon | Hyrule Castle: needs the Gale Boomerang, Clawshots, Hero’s Bow with Bomb Arrows, Dominion Rod, Spinner, Lantern and Wolf Link; 3 Small Keys and a Big Key; King Bulblin, three Darknut fights and an Aeralfos; final boss Ganondorf |
| Rewards | Dungeon Map, Compass, Big Key, Rupee chests (from 10 to 200), a supply room, two Miiverse stamp chests on the Wii U; no Heart Pieces or Poe Souls here; the ending and credits |
Hyrule Castle is the last dungeon of Twilight Princess HD. You fight across a courtyard, collect three Small Keys, a Dungeon Map, a Compass and the Big Key, climb the broken tower and meet Ganondorf in the throne room. His fight has four stages: Puppet Zelda, Dark Beast Ganon, a mounted chase with Zelda’s Light Arrows, and a sword duel. Prepare in Castle Town first, because there is no quick way back to town once you are inside. Directions use the Normal Mode layout. Hero Mode mirrors the world, so swap left and right and east and west.
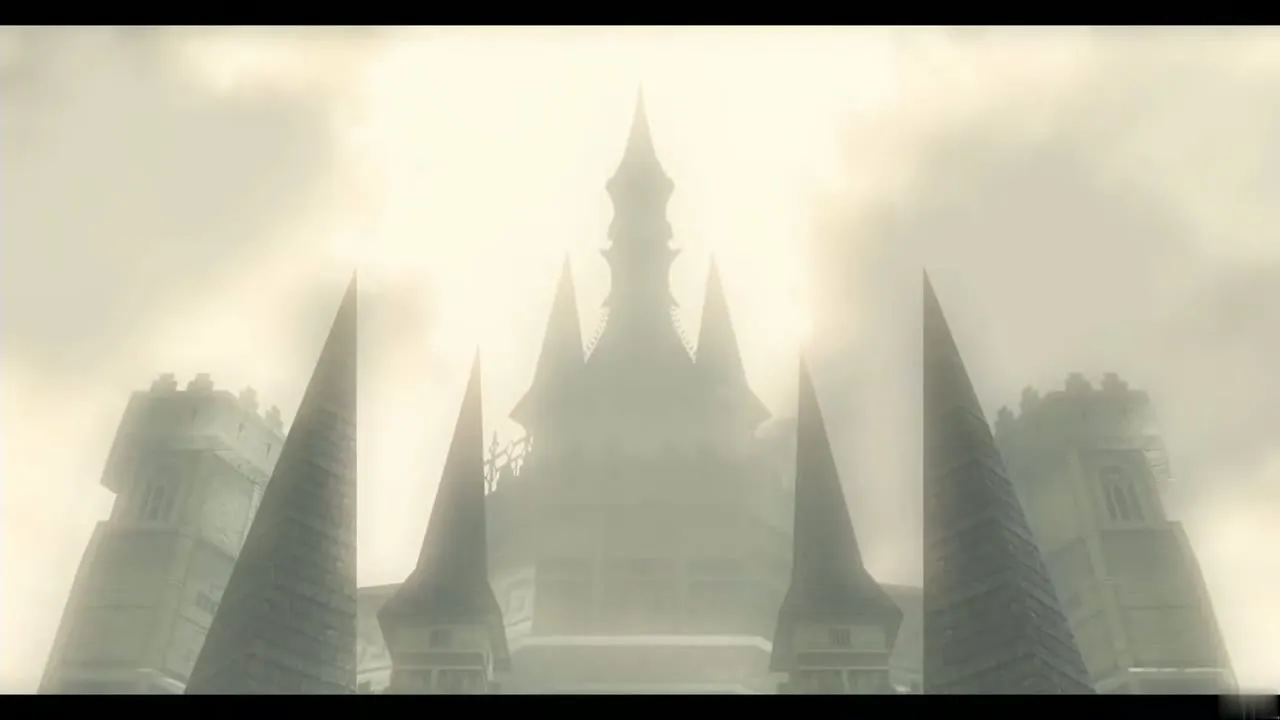
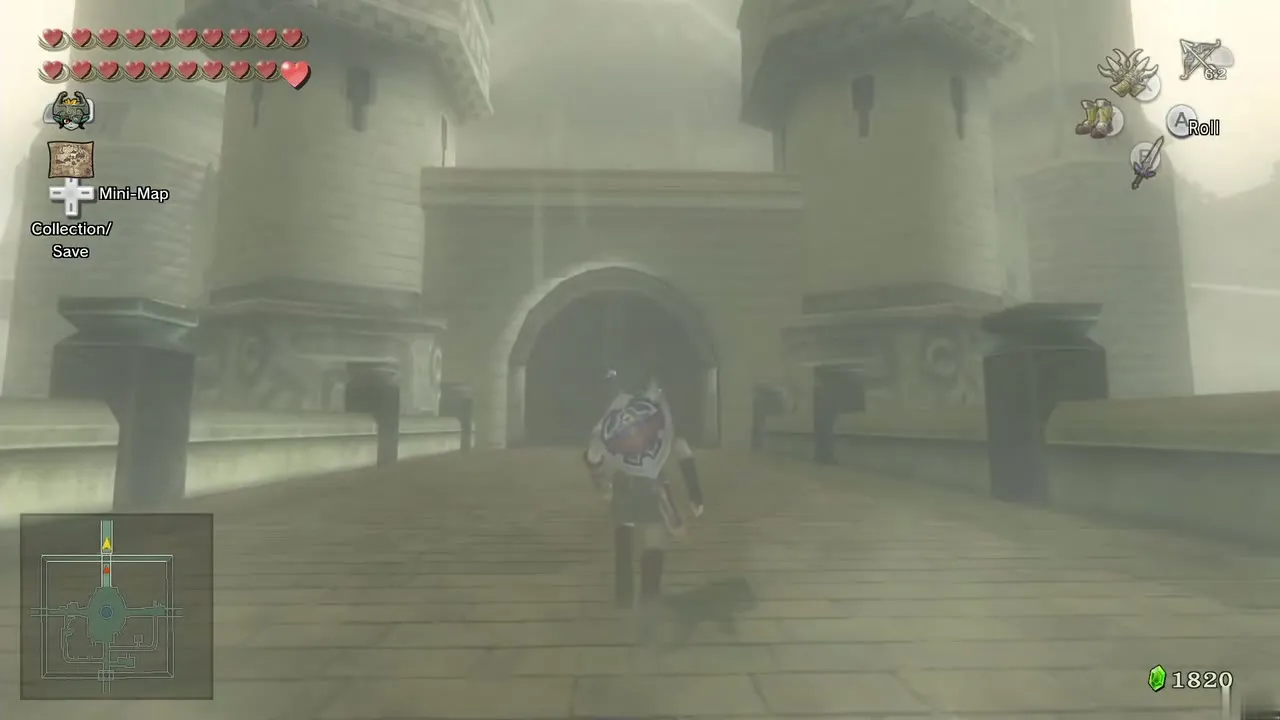
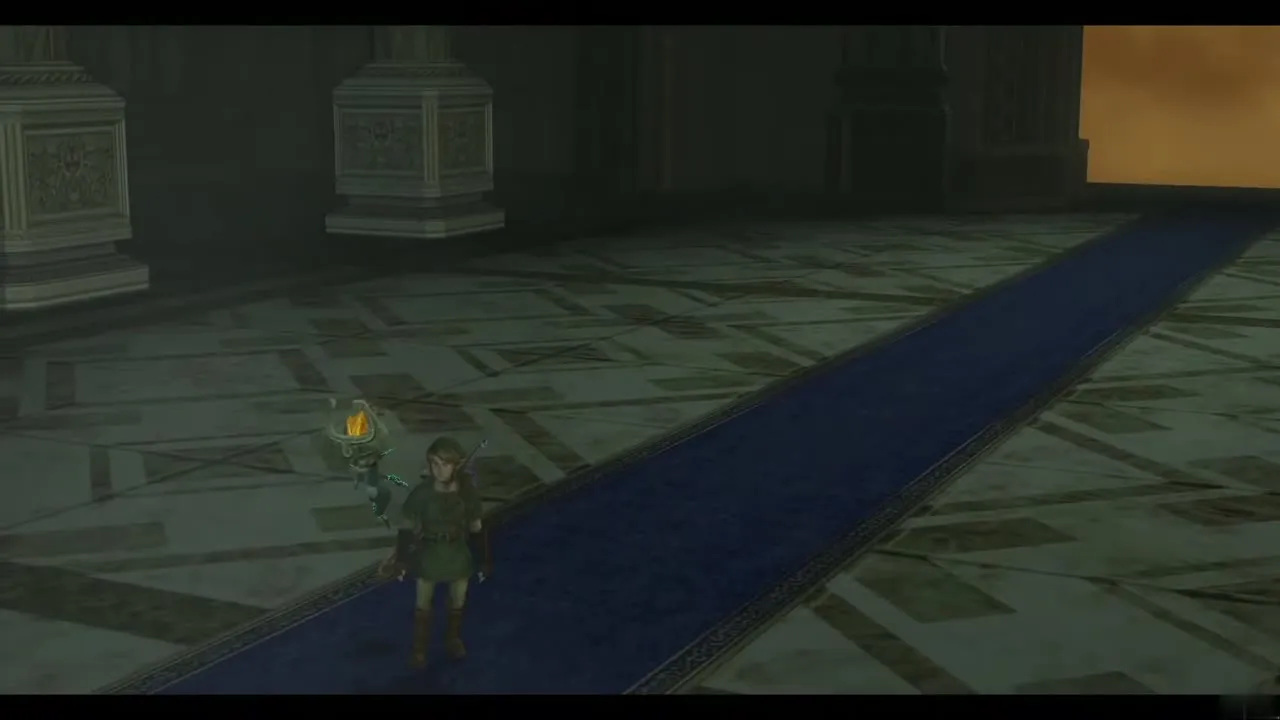
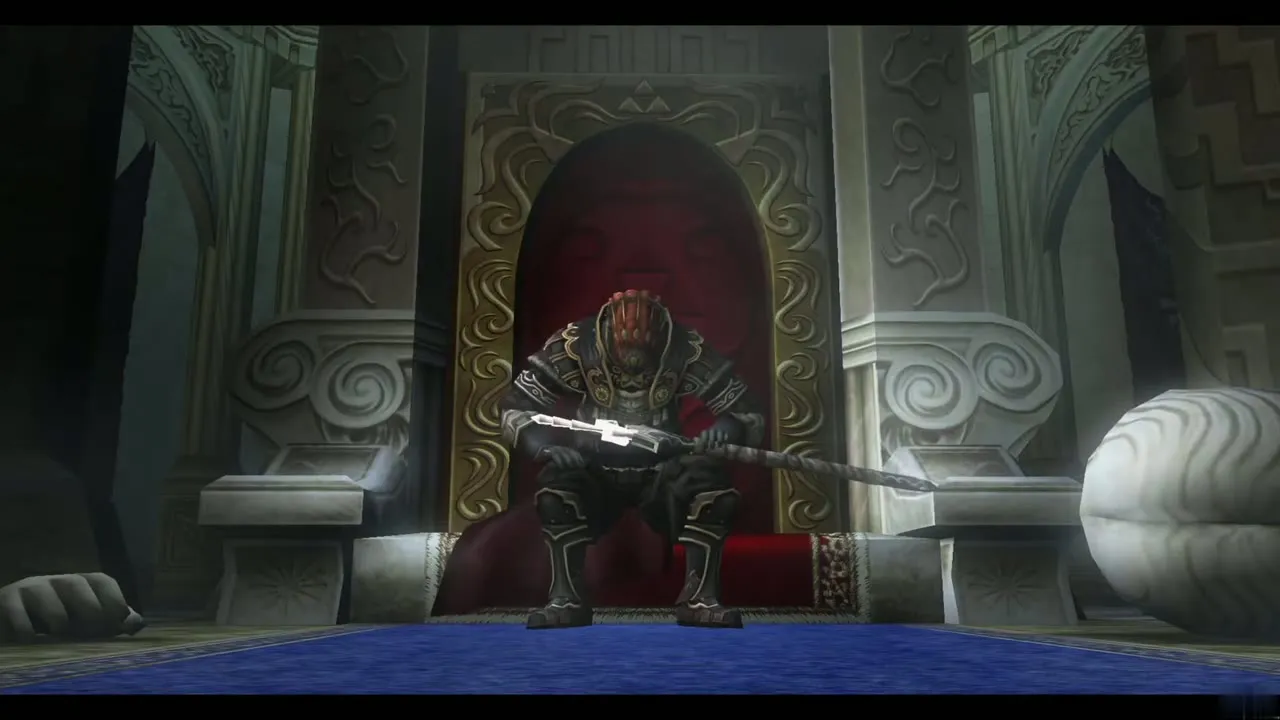
Table of Contents
Before you go to Hyrule Castle
Stock up in Castle Town
Refill your arrows and bomb bag, fill your bottles with the best potions you own, and keep one bottle empty for a fairy. If you finished the Malo Mart donation quest, wear the Magic Armor for the Darknut rooms and the last duel: it drains Rupees instead of hearts, so a full wallet acts as a second health bar. The items page lists every tool you use in the castle. Learn every Hidden Skill too, since the Back Slice, Helm Splitter and Ending Blow carry the last fights.
Open the castle gate
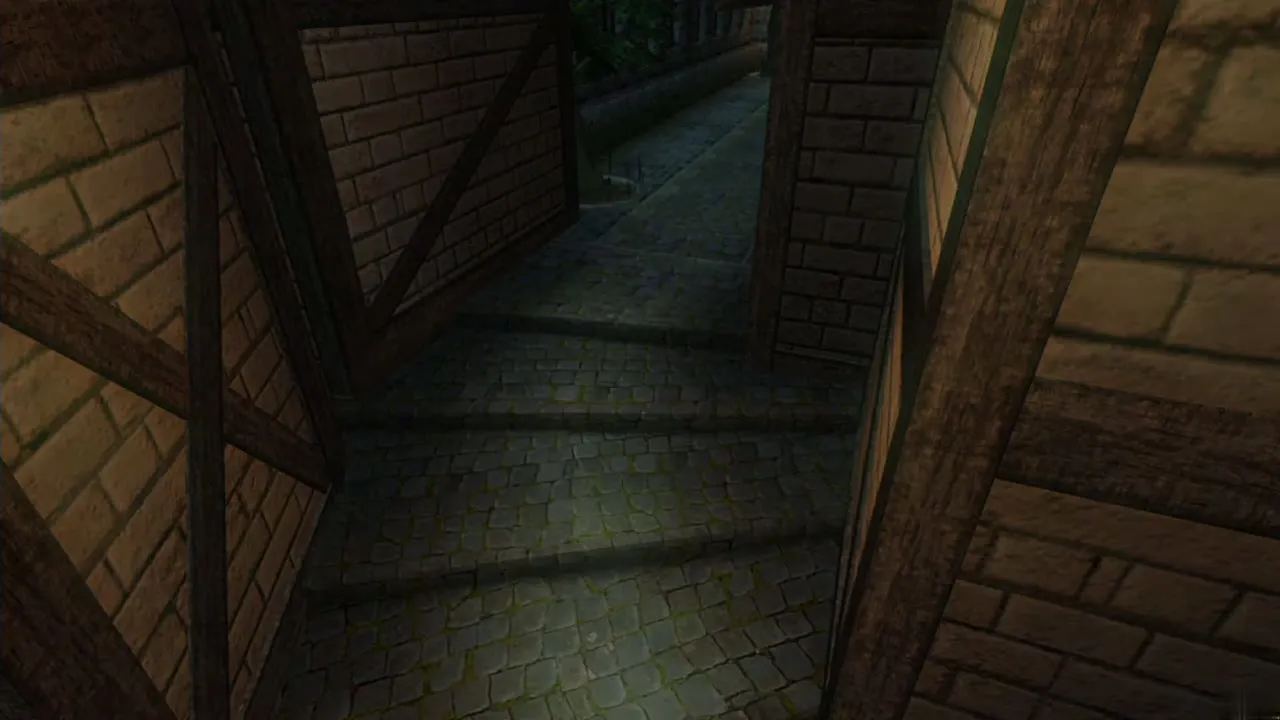
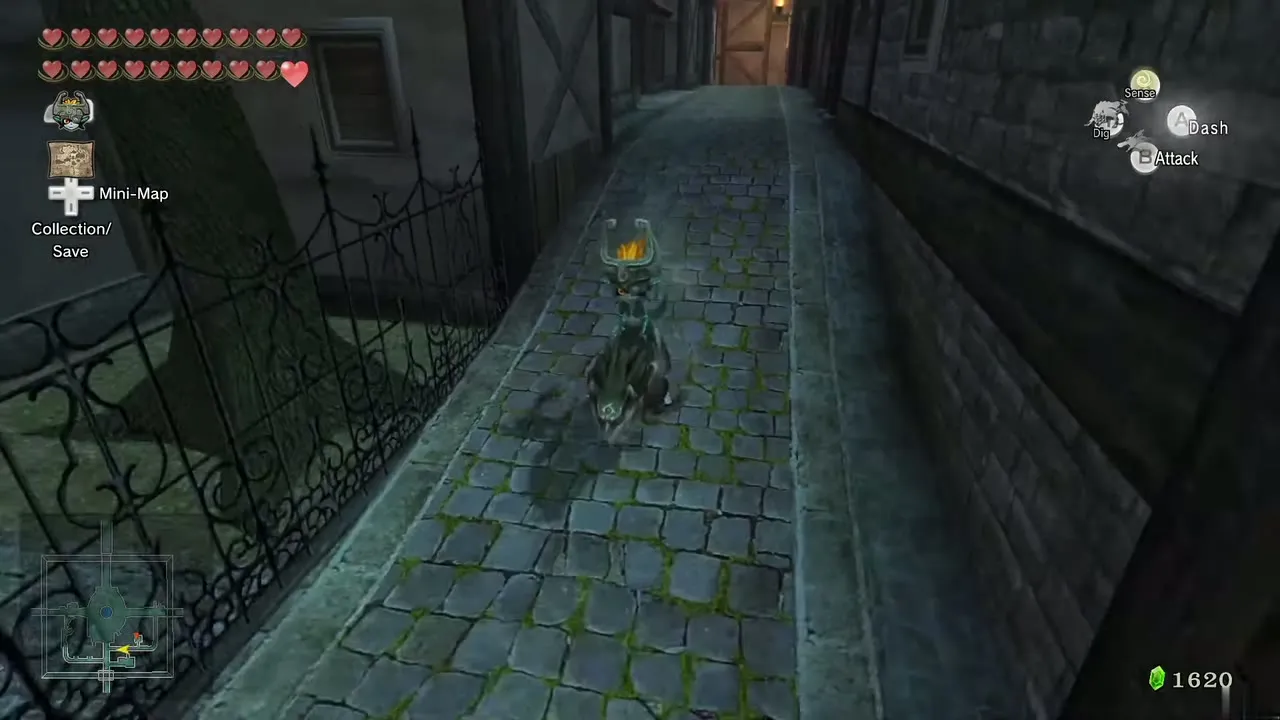
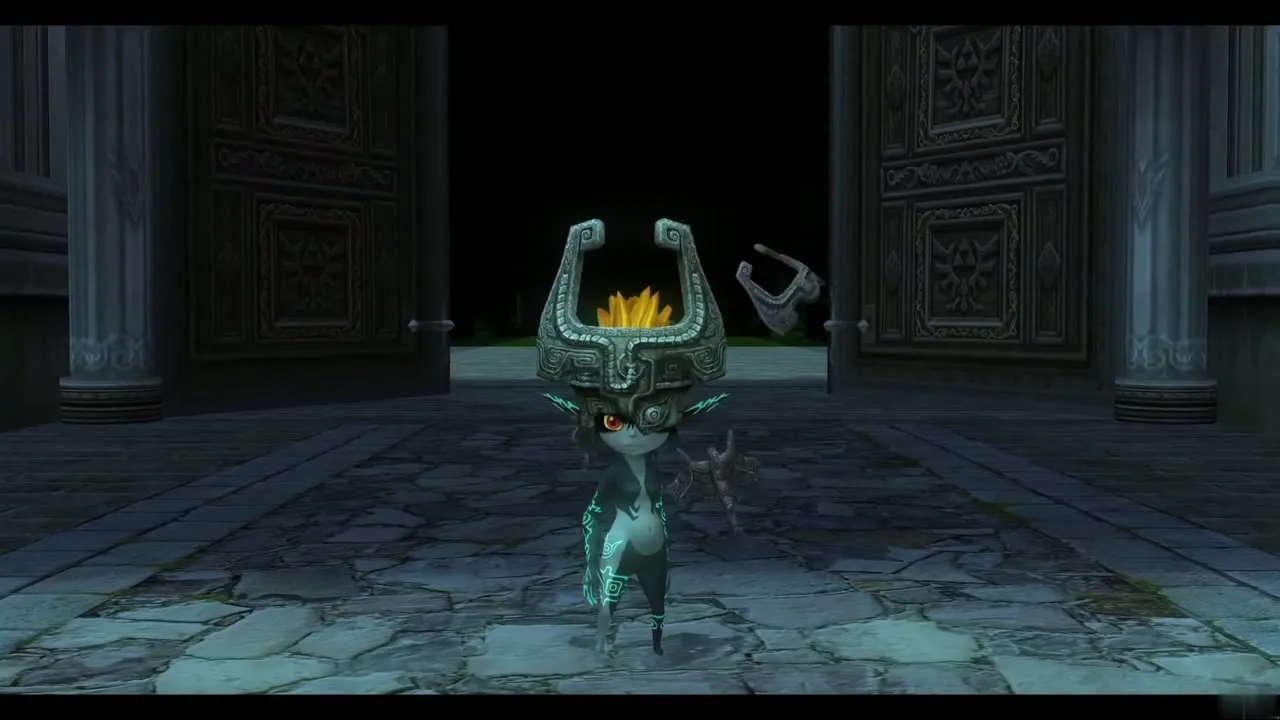
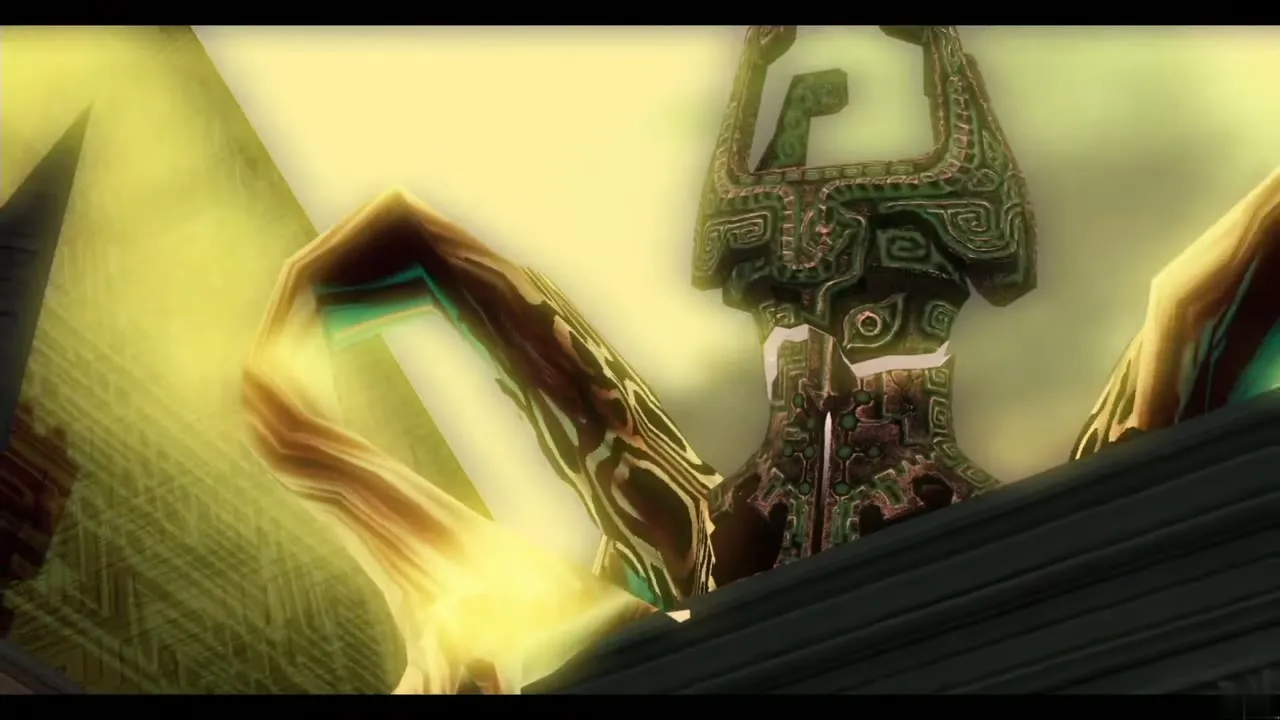
Walk to the north end of Castle Town. A cutscene shows Midna using the Fused Shadows to shatter the dark barrier around Hyrule Castle (if you have not seen it yet, it plays now; the Cave of Ordeals and Jovani are not required). When the rain starts, push the doors open and walk into the castle grounds.
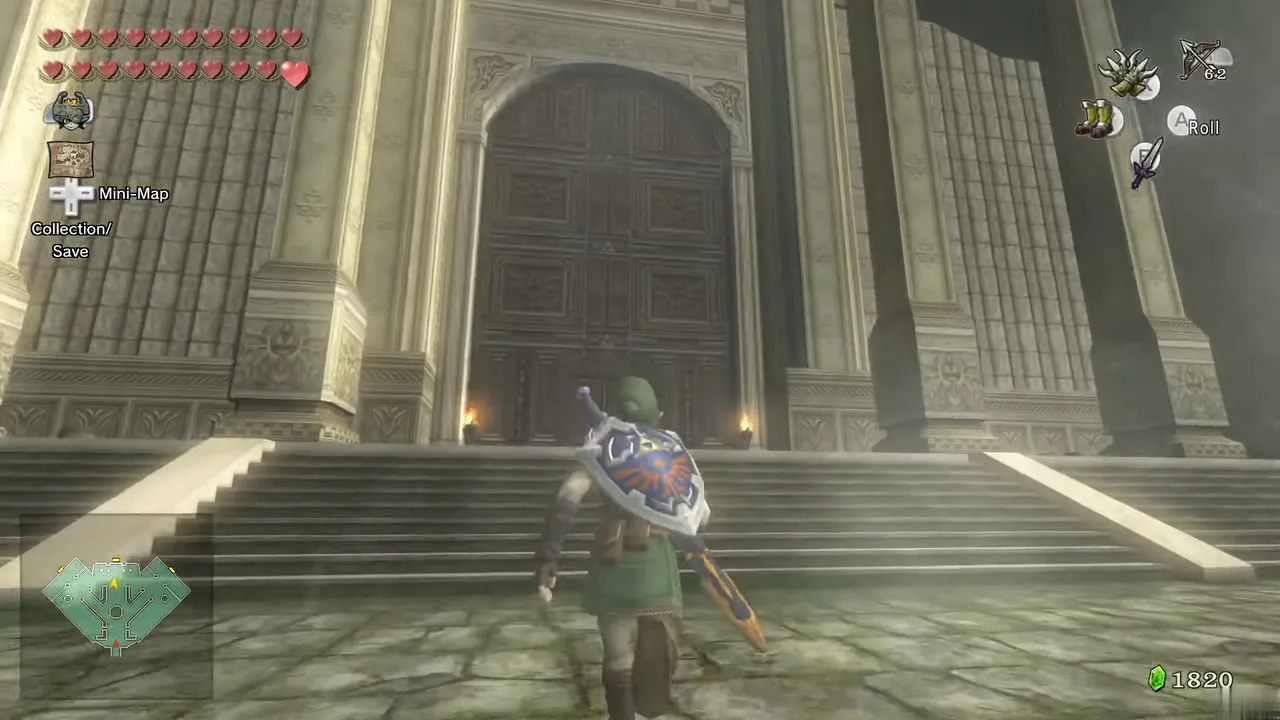
Hyrule Castle courtyard

West garden: King Bulblin and the first Small Key
From the entrance, follow the stone path northwest. A magic barrier closes around you; defeat the Bokoblins and the Kargaroks that swoop down and the barrier drops. Open the door in the northwest. Another cutscene shows the castle, a second barrier forms and an endless stream of Bokoblins charges you; spin attack when they bunch together until the barrier fades.
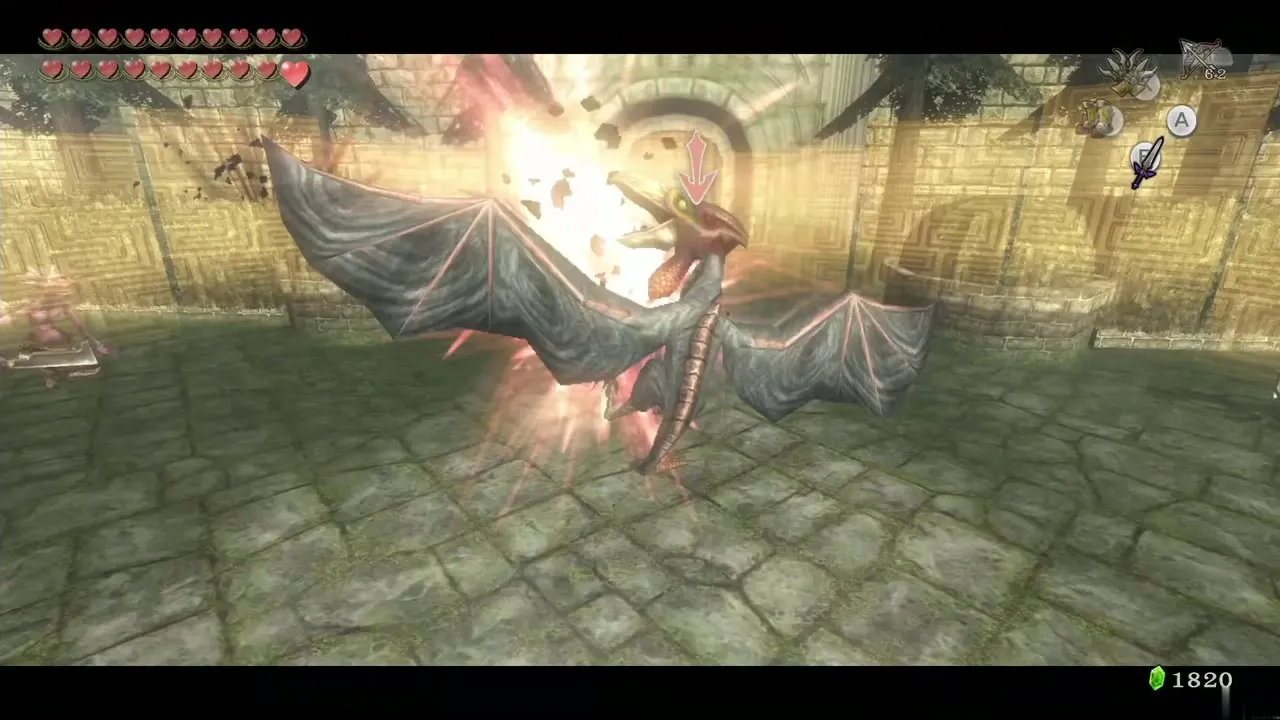
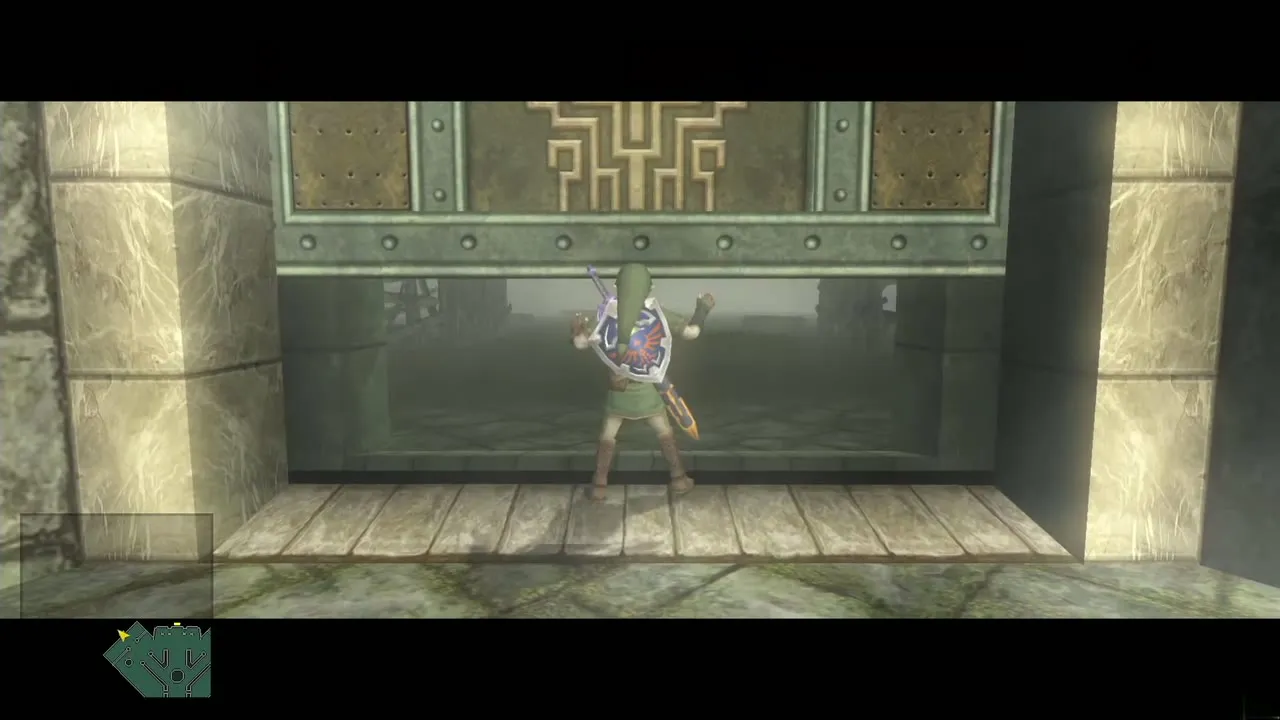
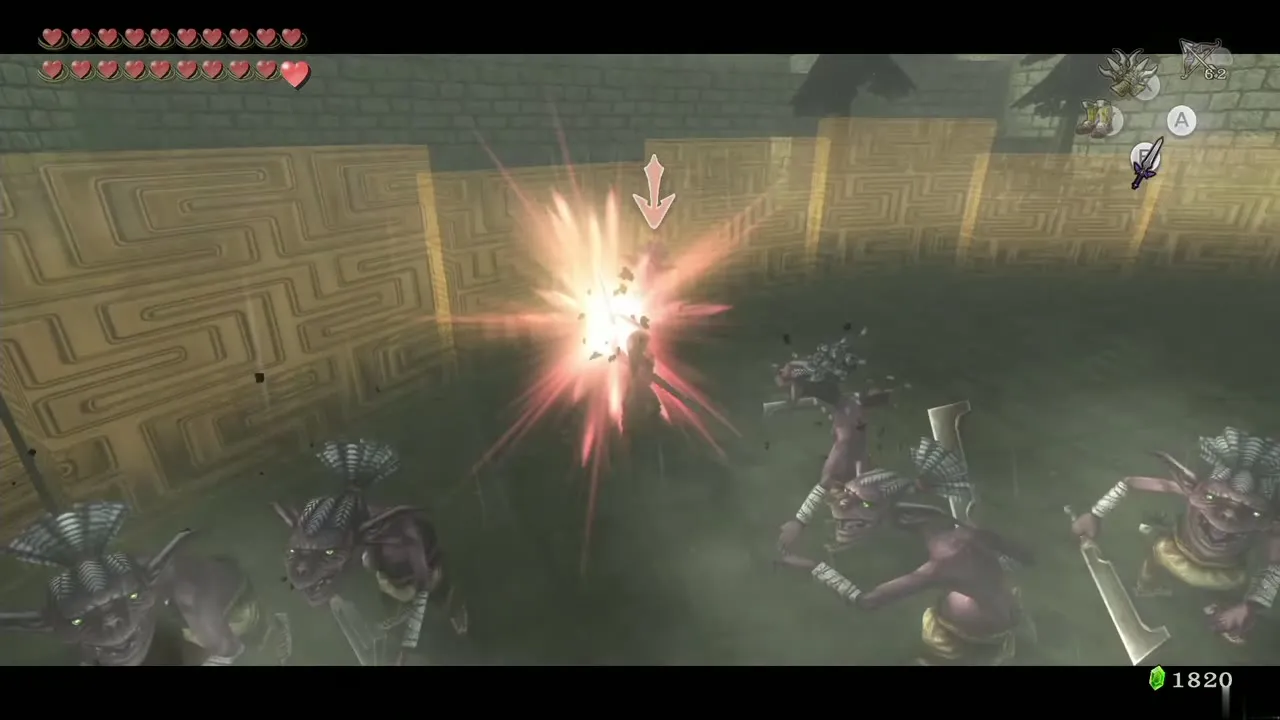
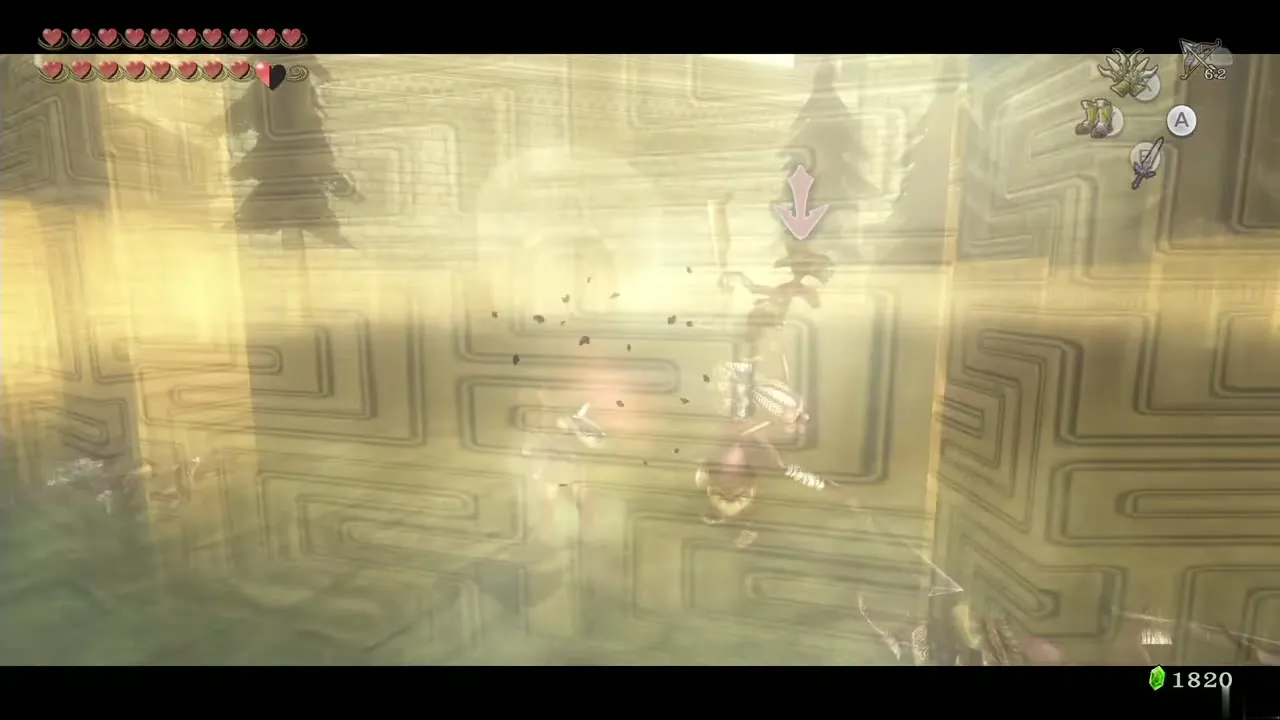
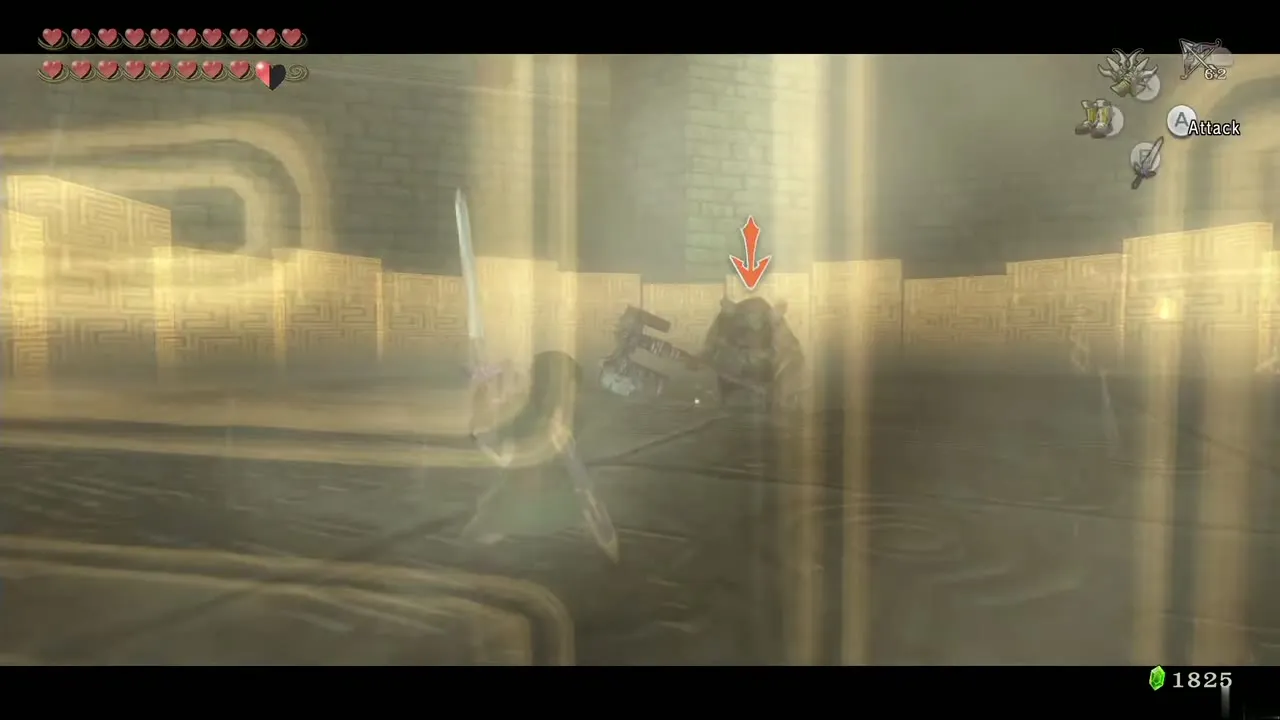
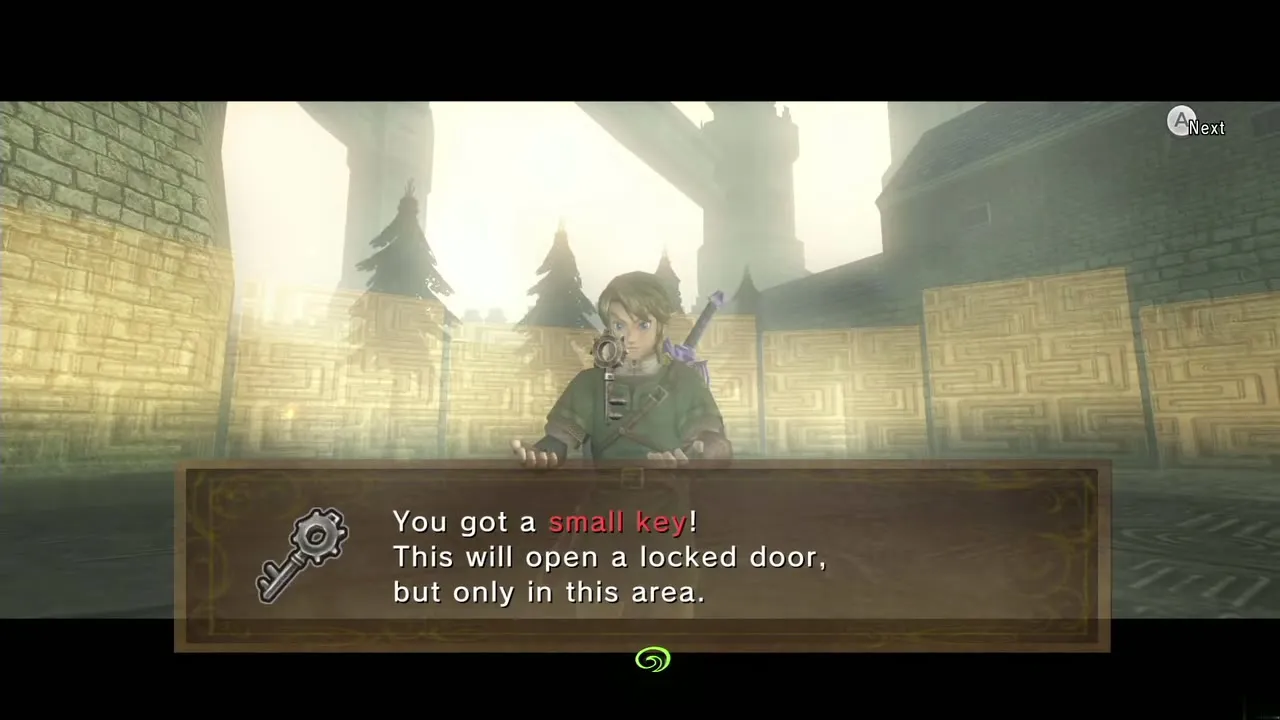
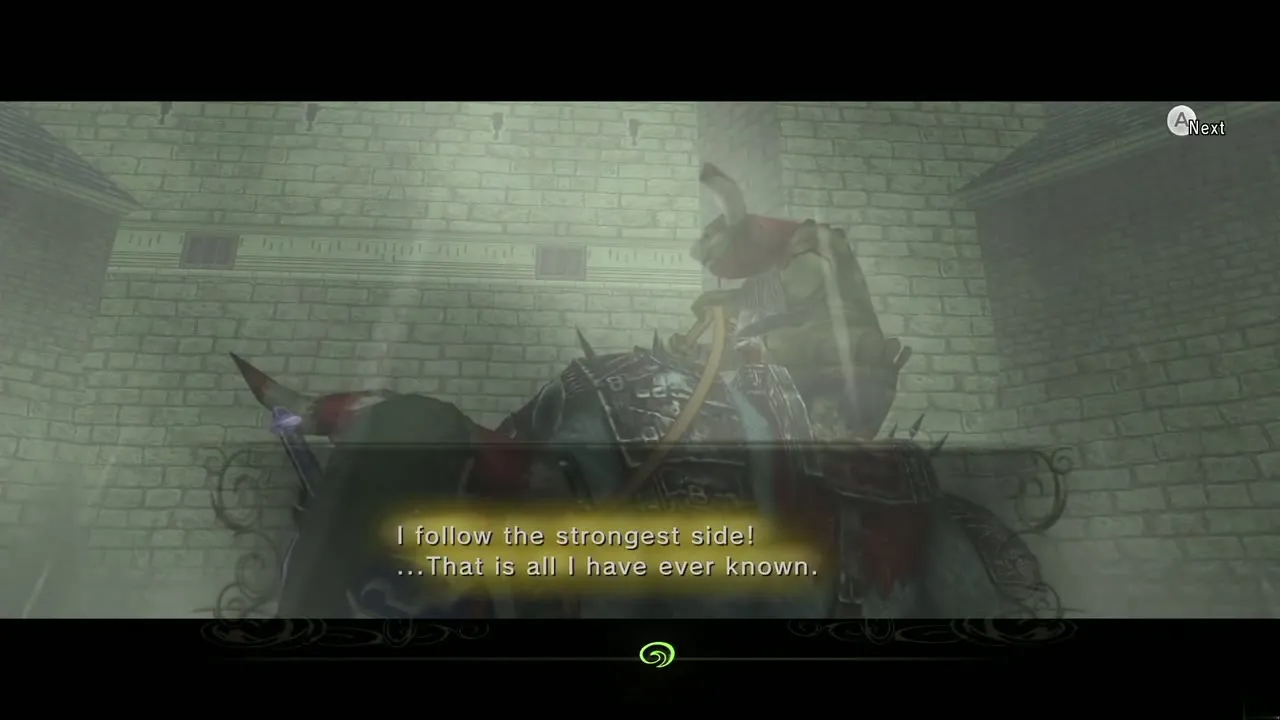
Follow the walkway to a locked gate. Grab the chain to its left and pull it to raise the gate, then walk to the middle of the raised platform. King Bulblin drops from above and the walls lock. The fight is the same as at the Bulblin camp, and he is easily stunned by a sword slash. Strike him, use a Back Slice or Helm Splitter when he turns, and back off when he spins. Eventually he hands you the first Small Key with the words that he only follows the strongest, and rides away; Midna is amazed he can talk.
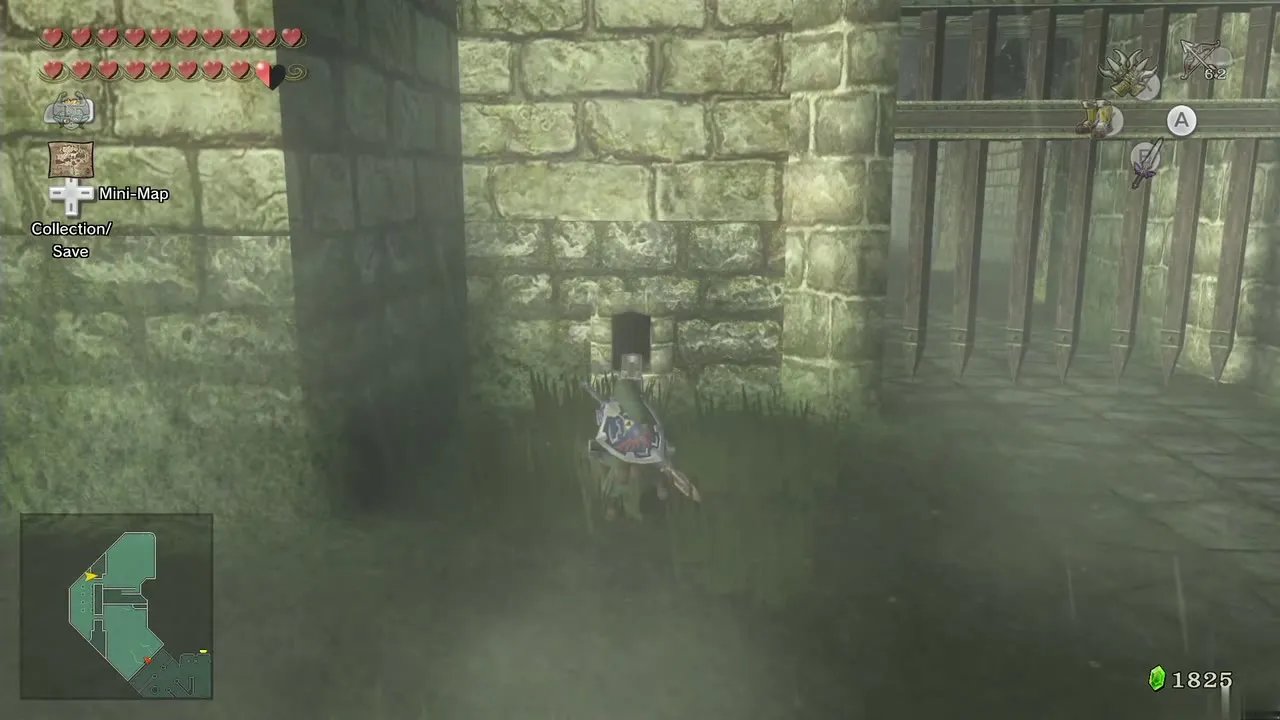
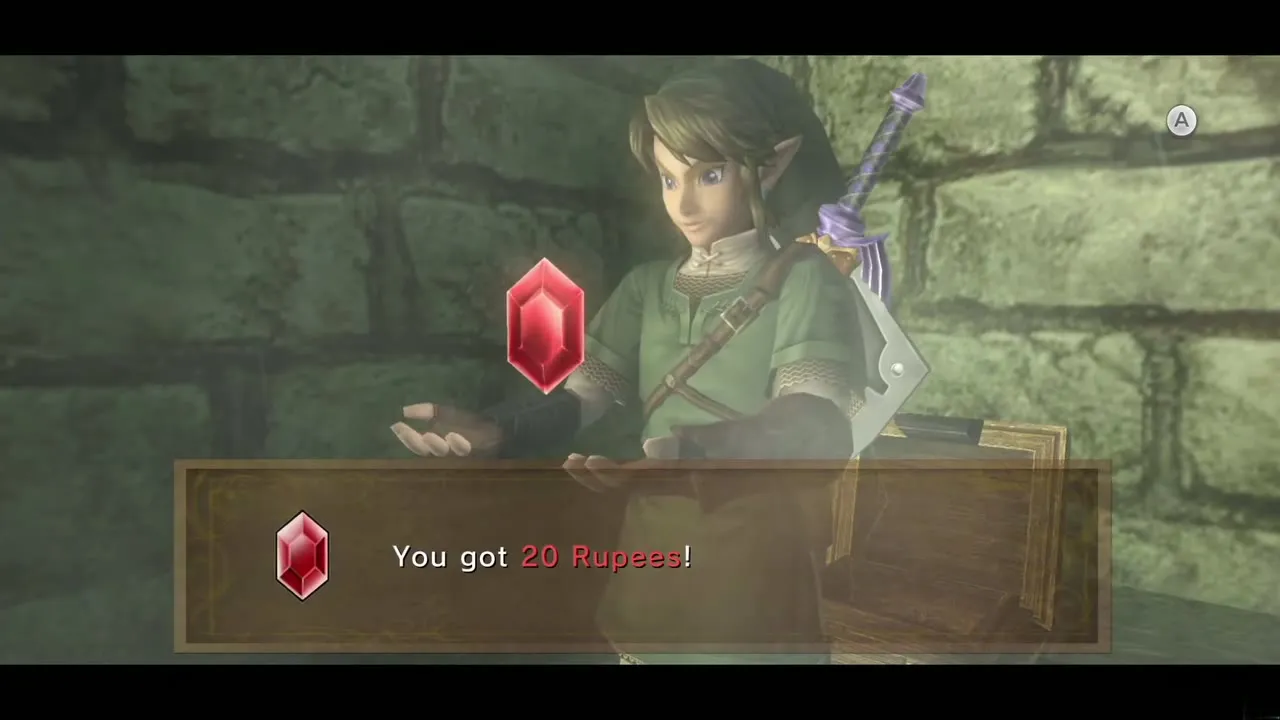
Run to the north end of the area and open the chest for a red Rupee (20). Then return to the south part of the courtyard where you entered from Castle Town.

East garden: boomerang puzzle and the Dungeon Map
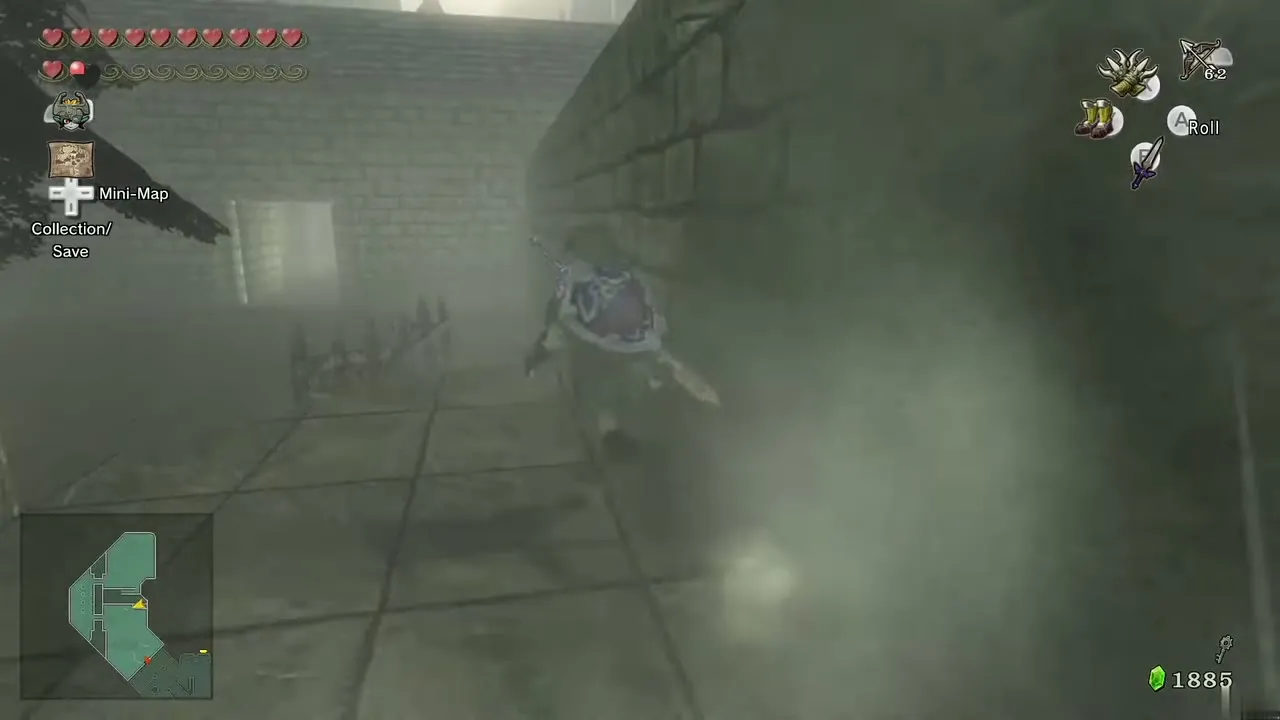
Follow the path northeast. A fourth barrier appears; defeat the Bokoblins and open the door to the east garden. Many Bokoblins charge you and Bulblin Archers fire flame arrows. Clear the ground troops with the sword and snipe the archers. Continue along the path to the east side, where two boars wait to the west. Ride one and charge into the wooden fences to knock them down, then ride northeast through the archer towers to topple them.
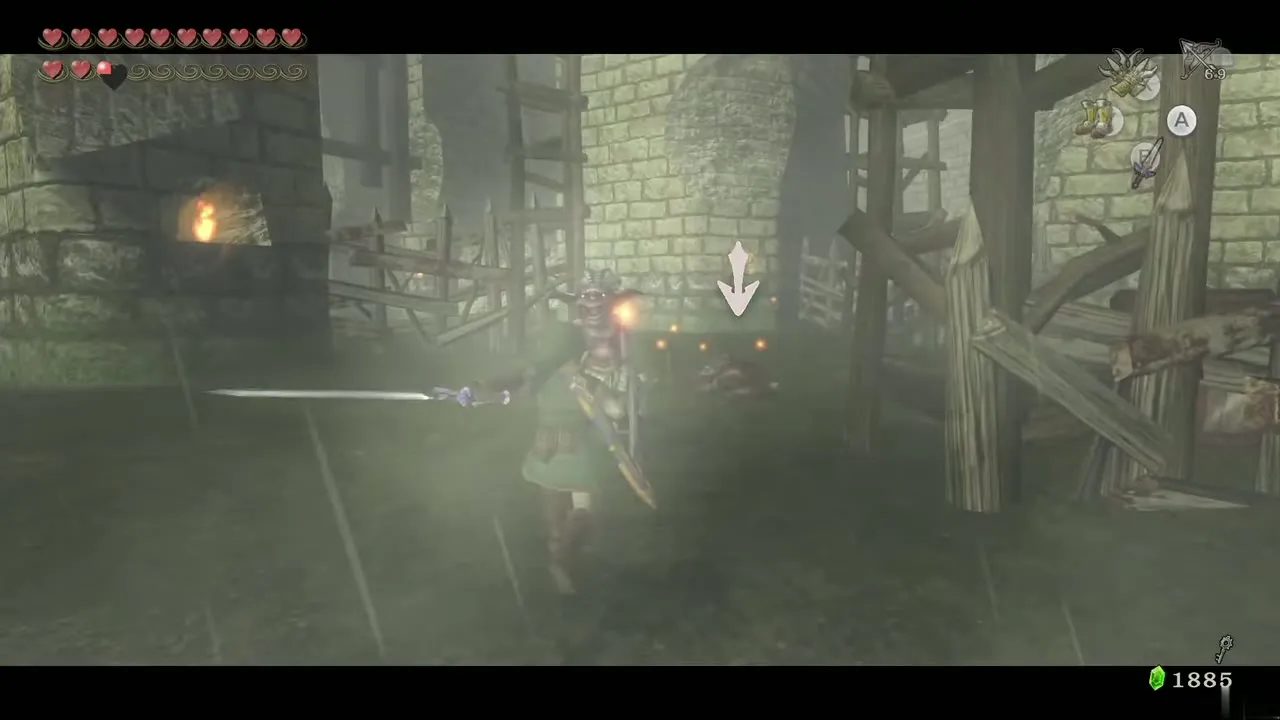
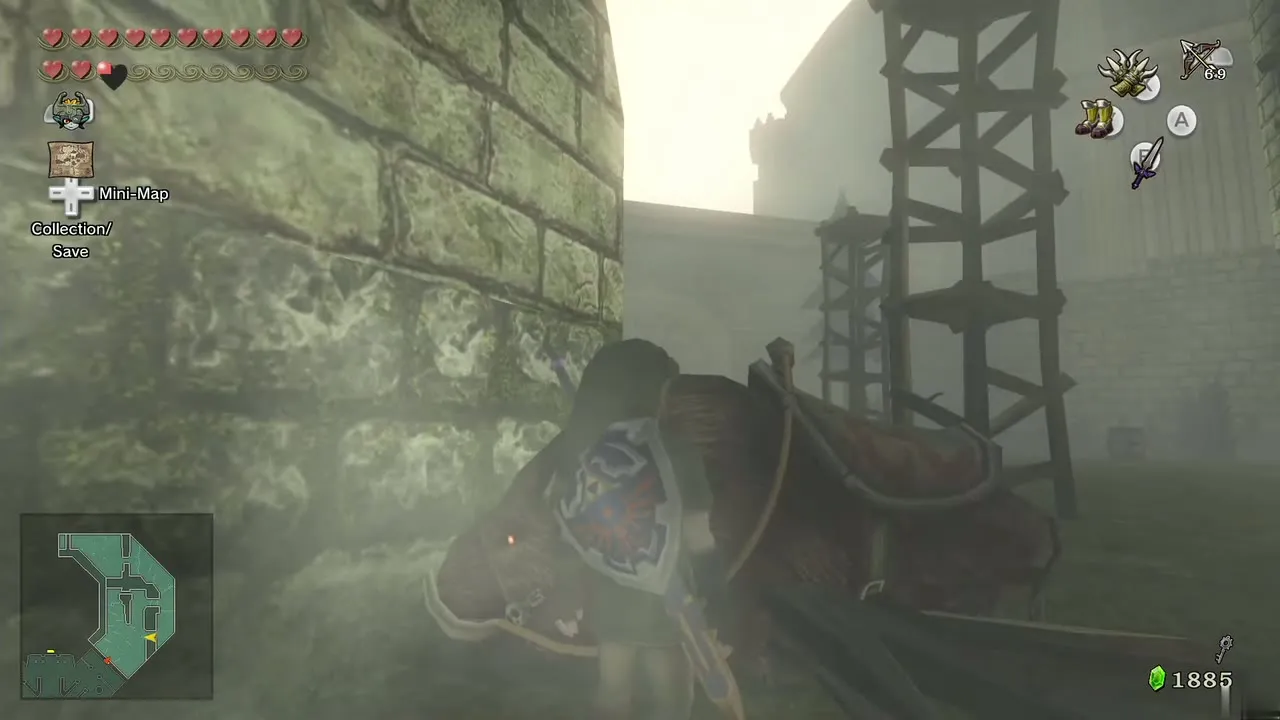
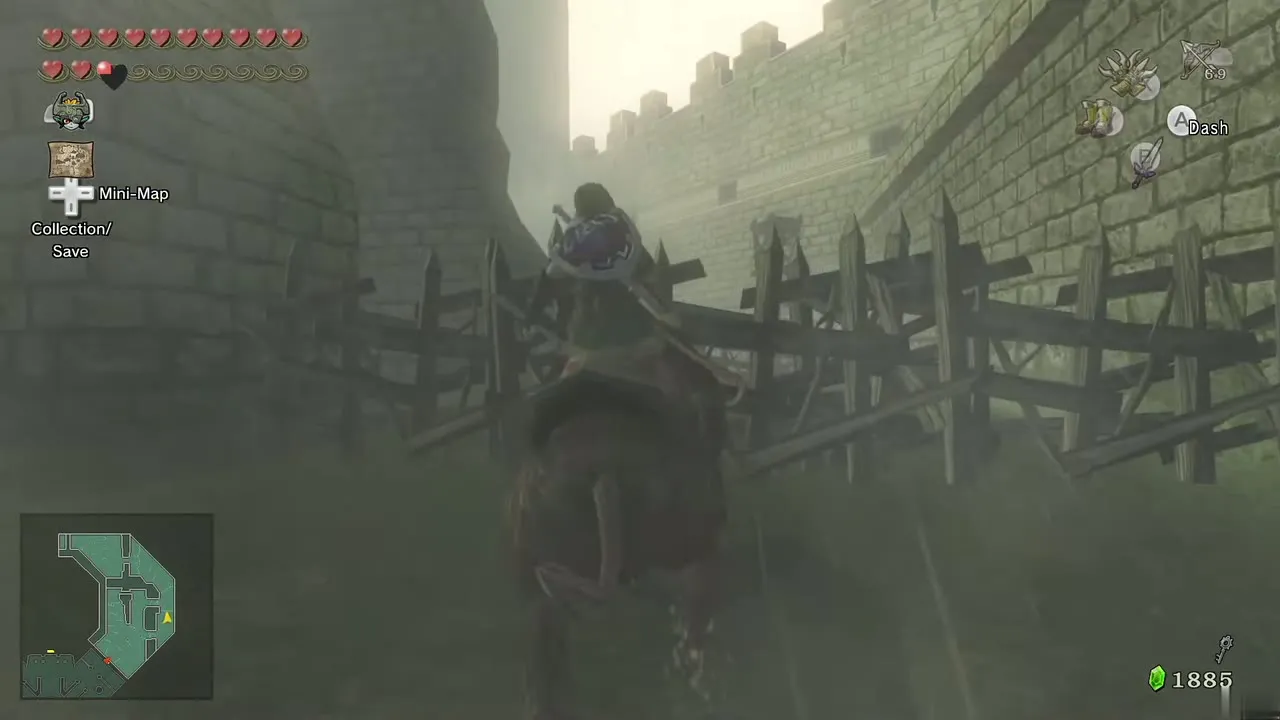
At the north end of the garden are pillars topped with spinning propellers. Walk to the gate at the west end and throw the Gale Boomerang over the pile of leaves on the ground; the wind clears them and reveals a Triforce-shaped line. The six intersections are the six pillars. Hit their propellers with the boomerang in the order the line is drawn on the map, and the gate opens.
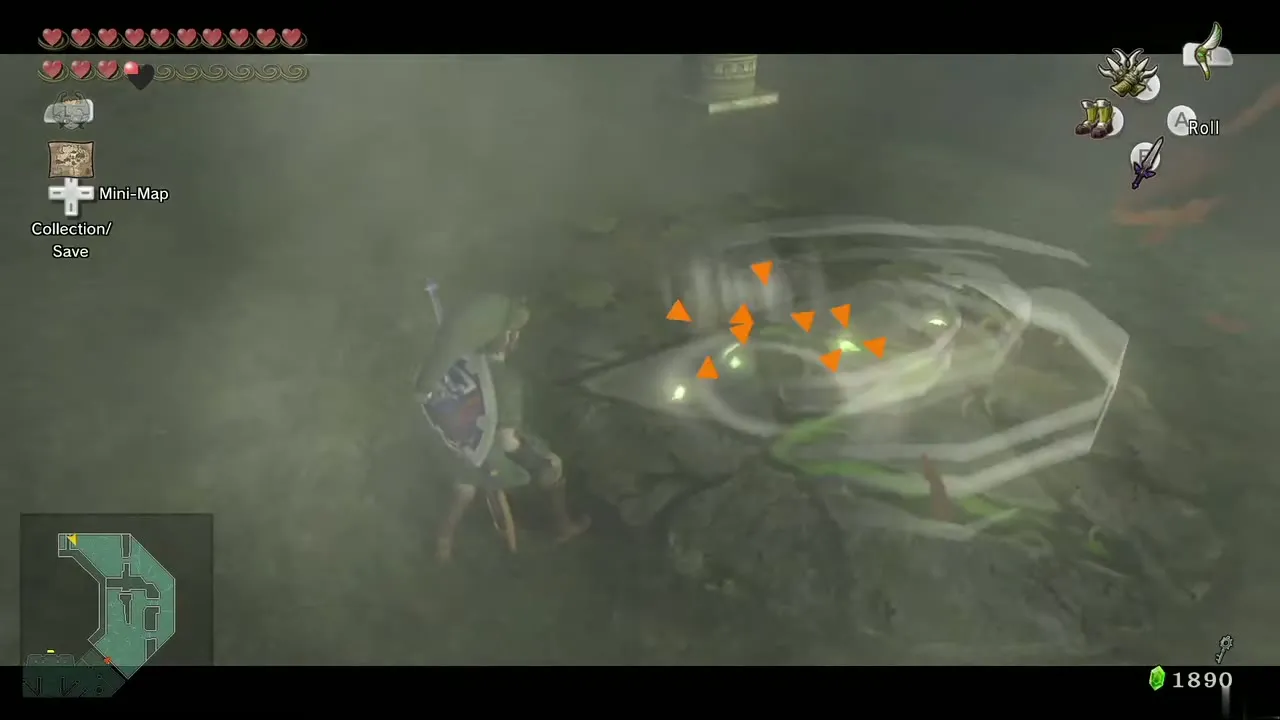
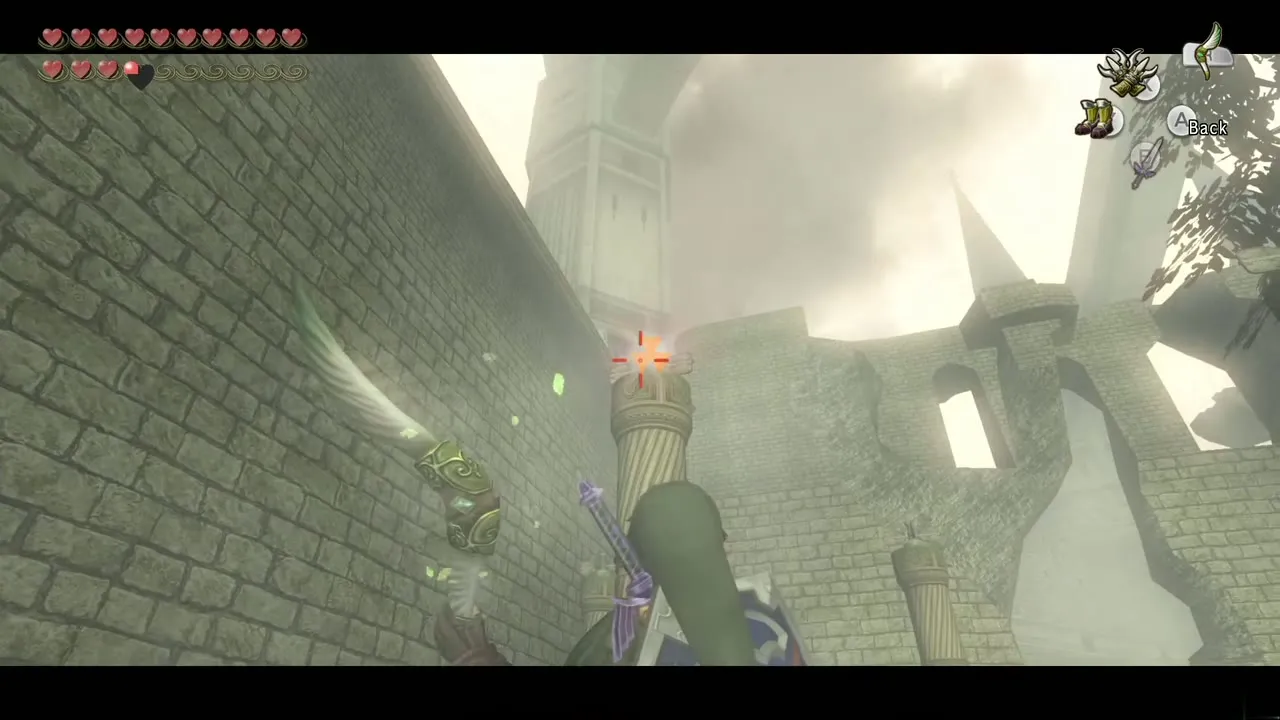
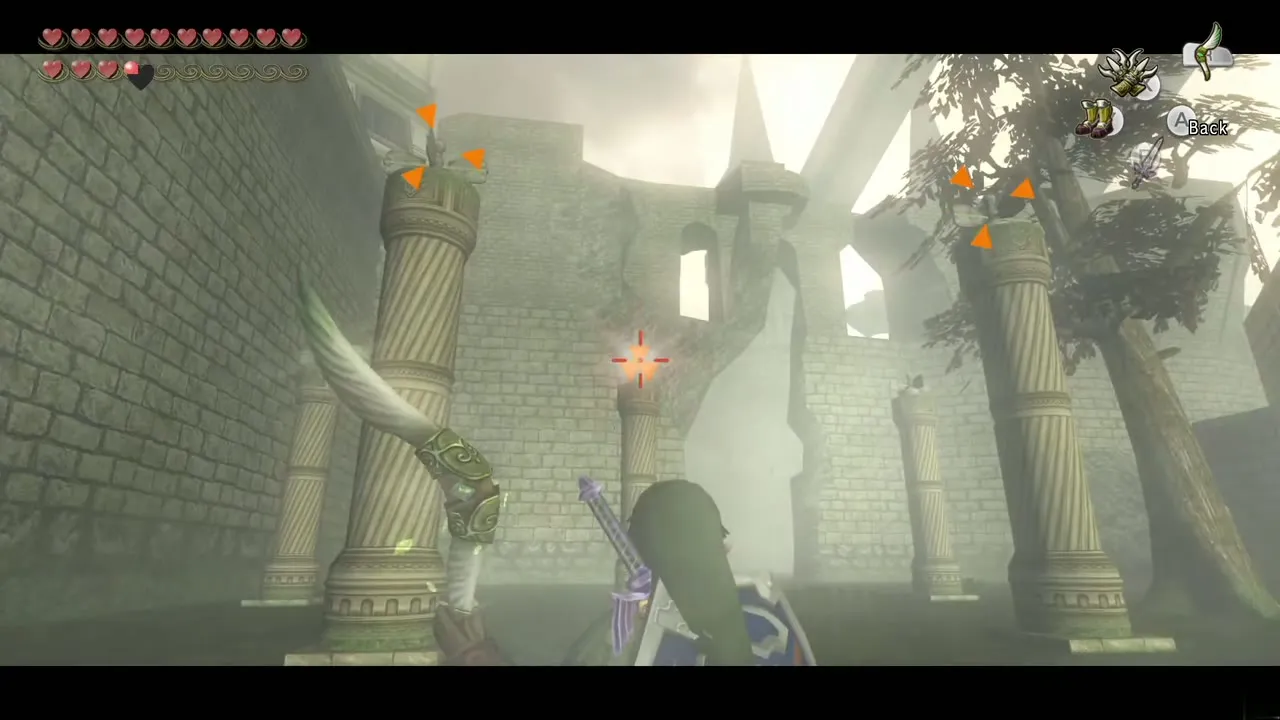
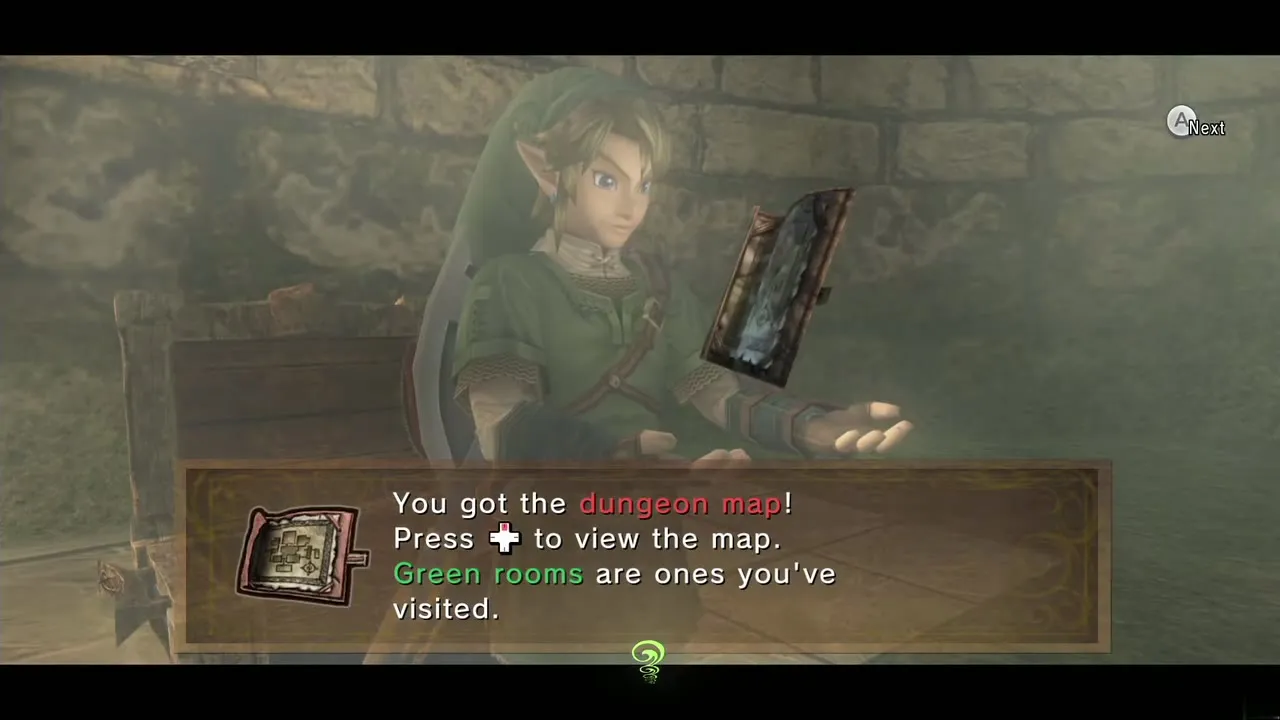
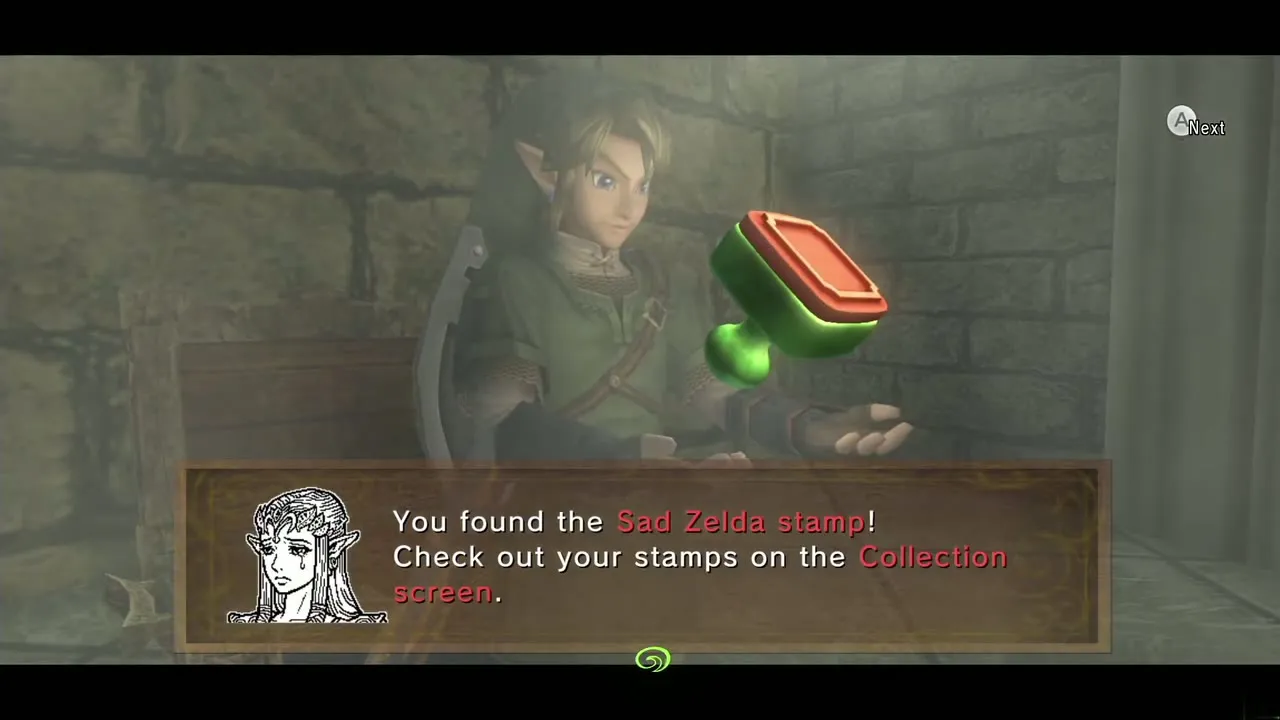
Walk through and open the chest for the Dungeon Map. Turn left to find a tall ladder up to the second level; follow the path south to a small chest holding a yellow Rupee (10), or the Sad Zelda Miiverse stamp on the Wii U. Drop down and go back to the south of the courtyard.
Graveyard: the second Small Key
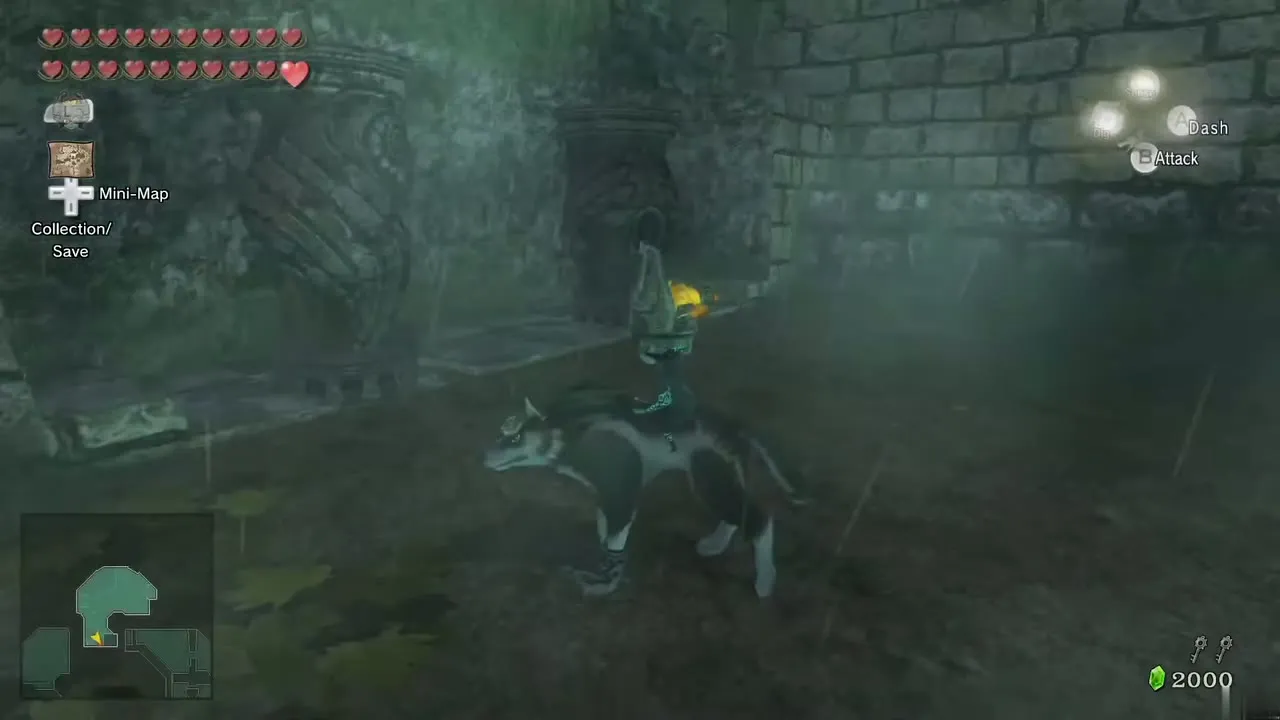
Leave the map room, turn into Wolf Link and walk along the wall near the leaf piles by the pillars; your senses mark a patch where you can dig under the wall. You surface in the graveyard after a short cutscene. Turn human and head west. Stalkin rise from the ground and are easy to clear with a spin attack; a Stalfos near the gate collapses to a bomb or strong hits.
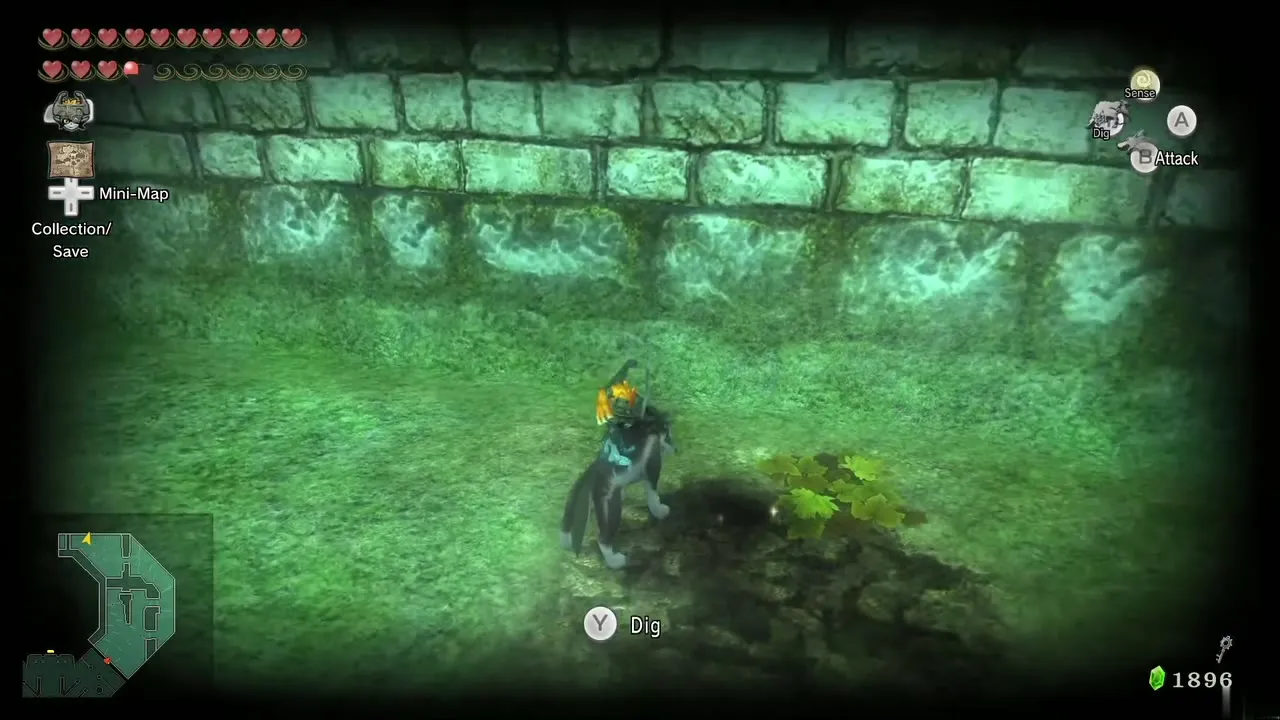
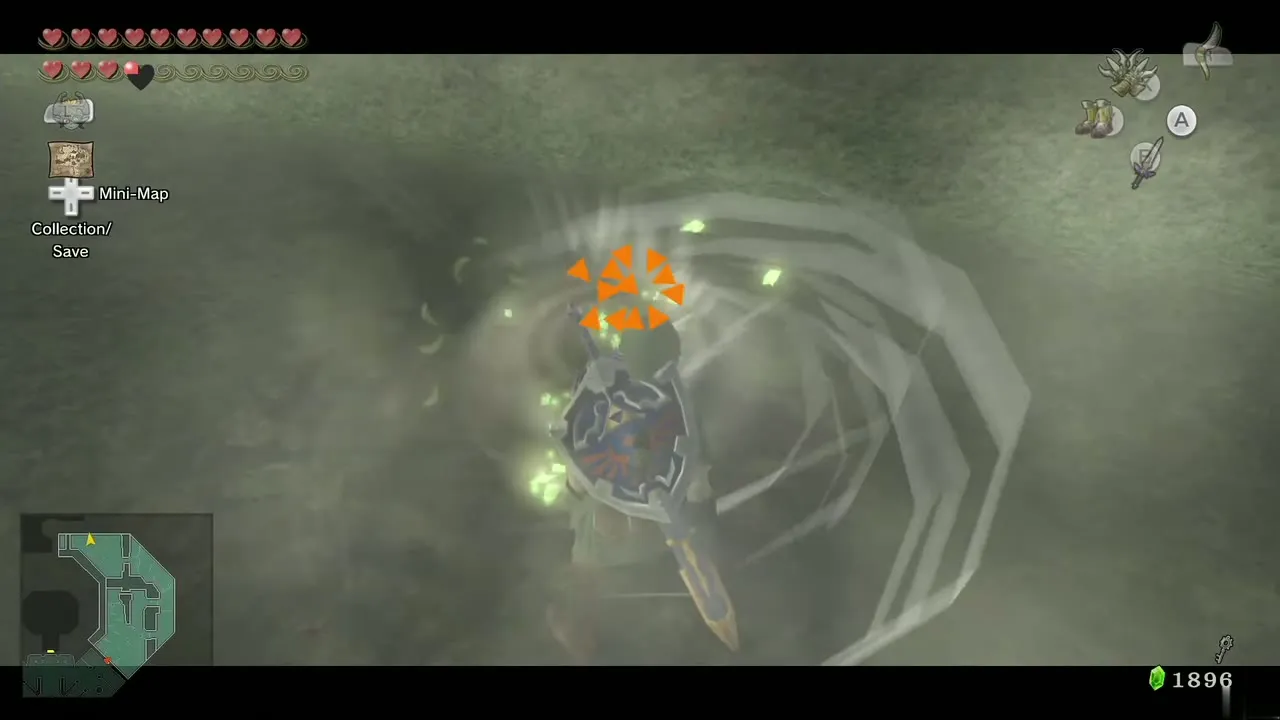
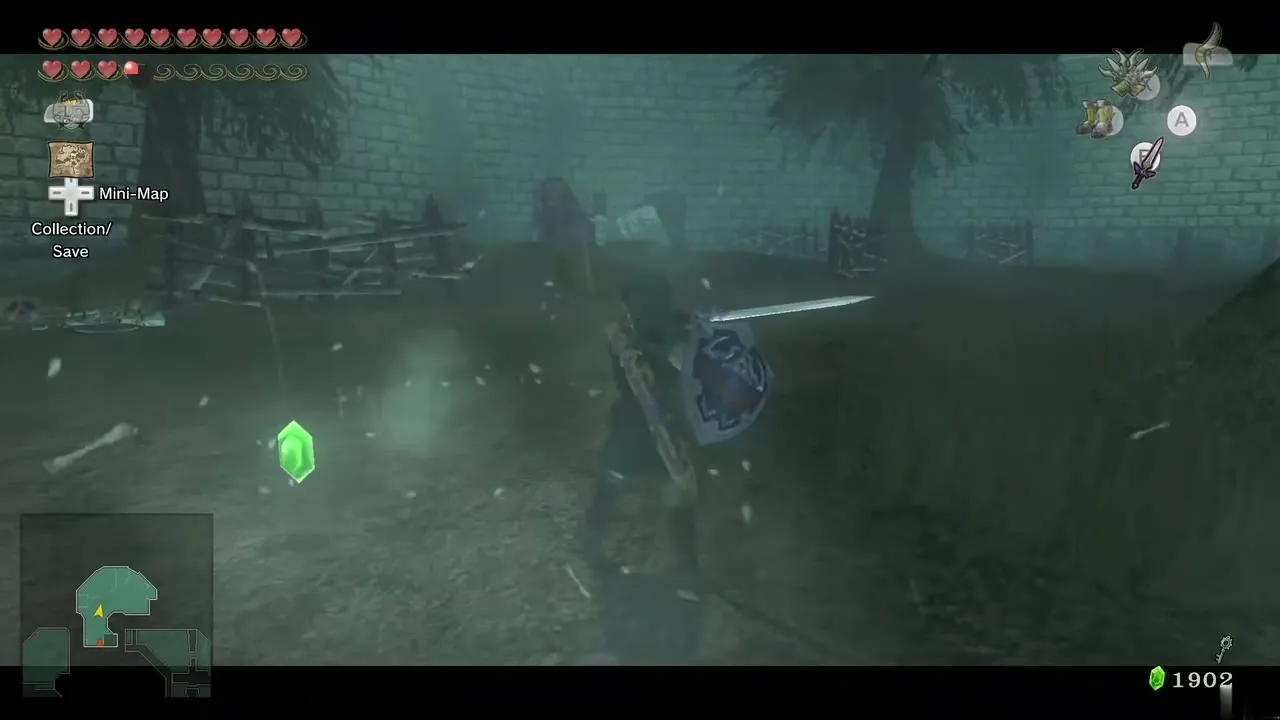
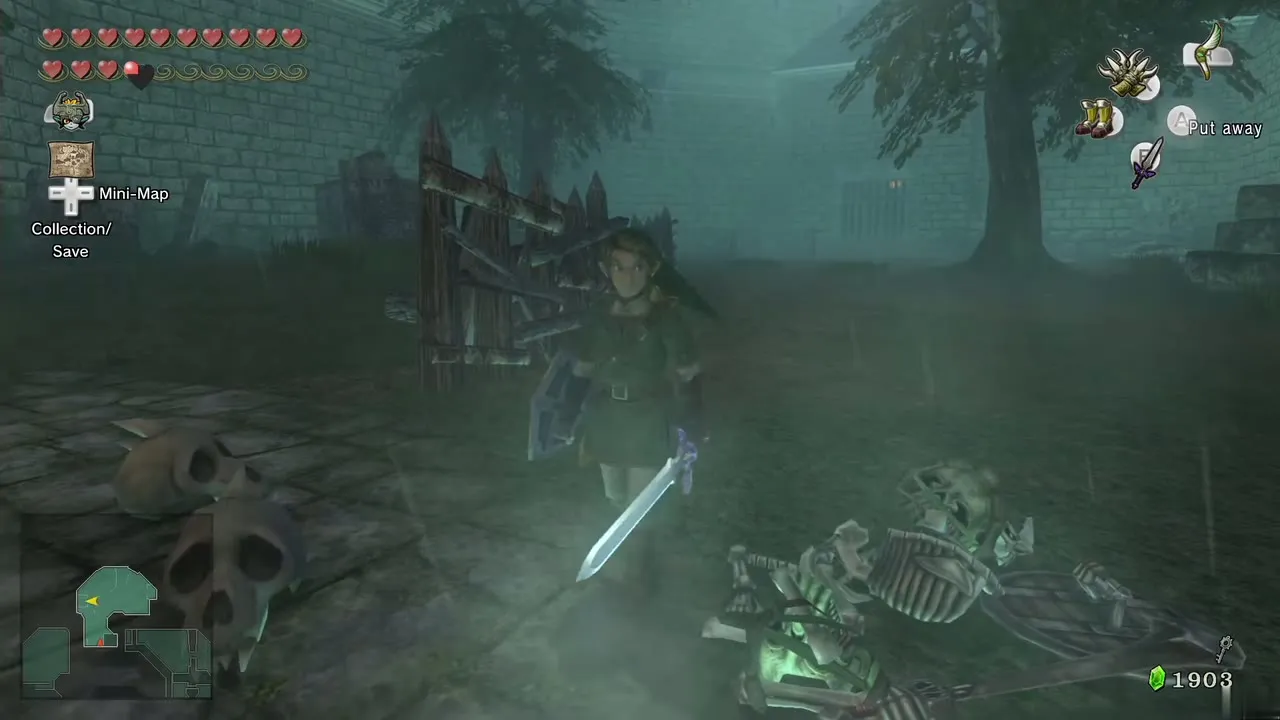
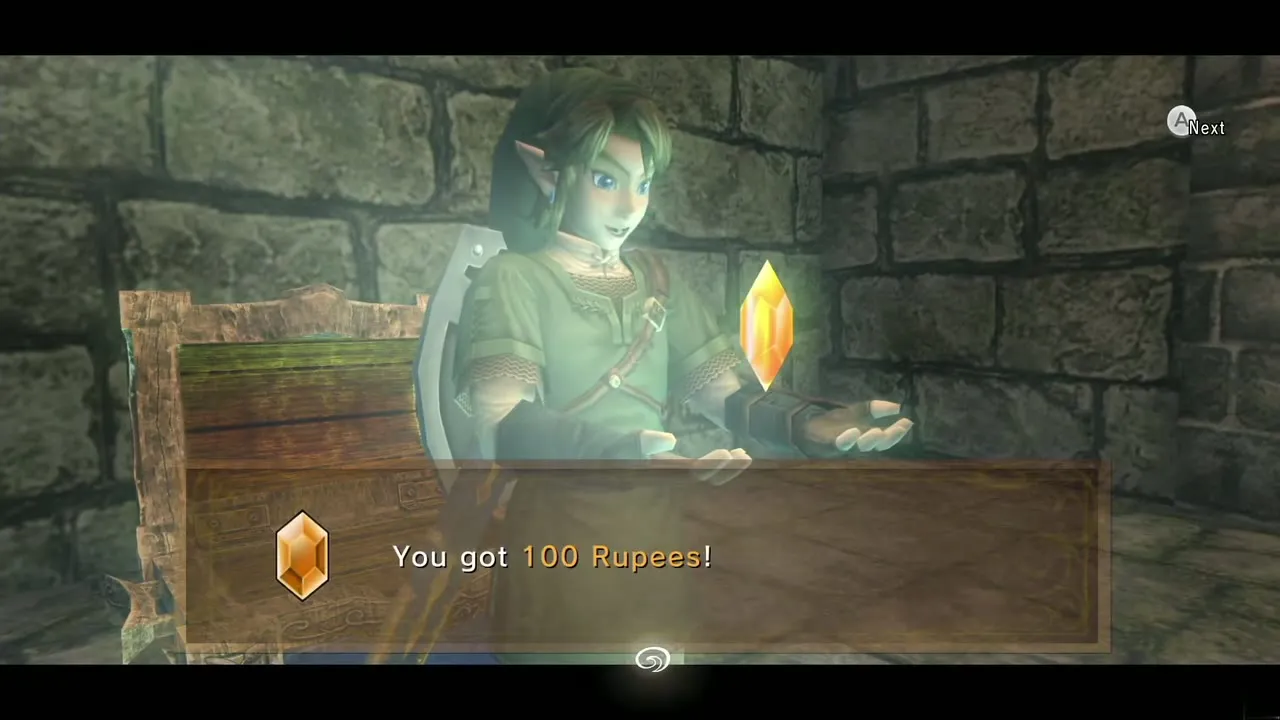
By the north wall stands a very tall tree. Use your senses as Wolf Link to see ghost soldiers pointing at the ground, or just aim a Bomb Arrow at the rocks at the base of the tree. This uncovers a switch; step on it and the nearby gate opens. Walk into the room beyond, defeating a Stalfos on the way. The large chest holds an orange Rupee (100) and the two small chests hold 21 Rupees between them.
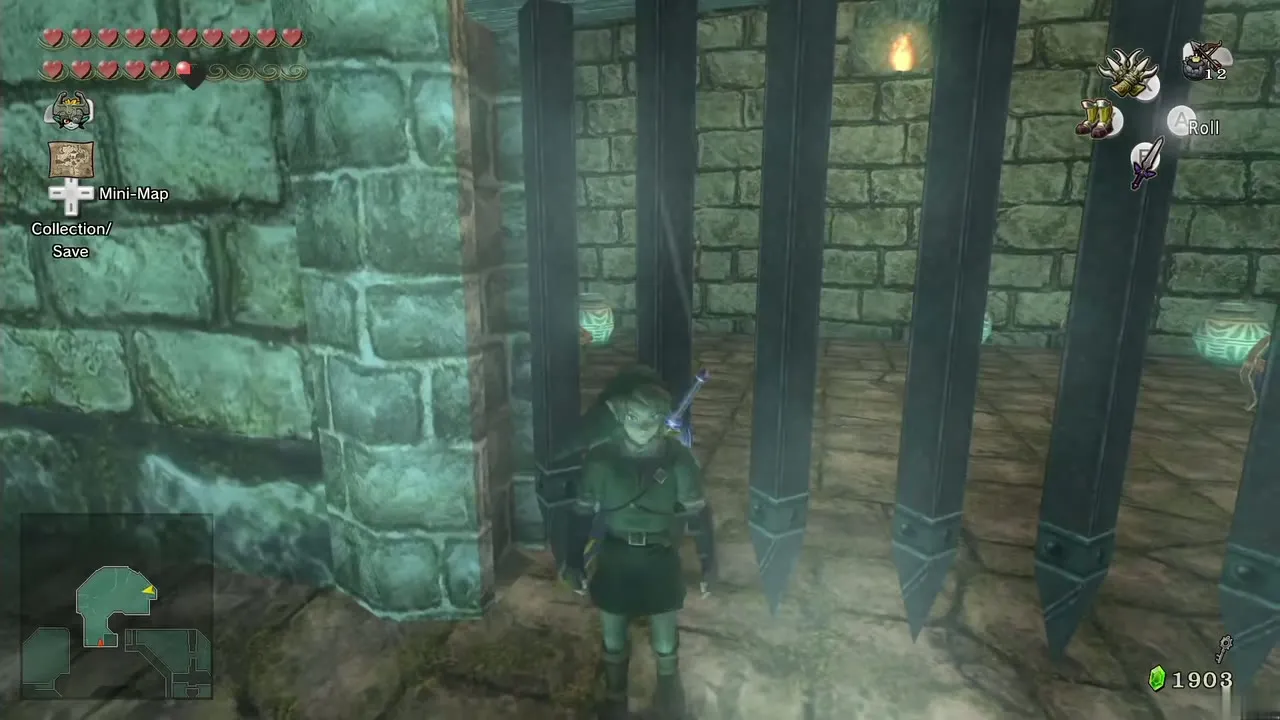
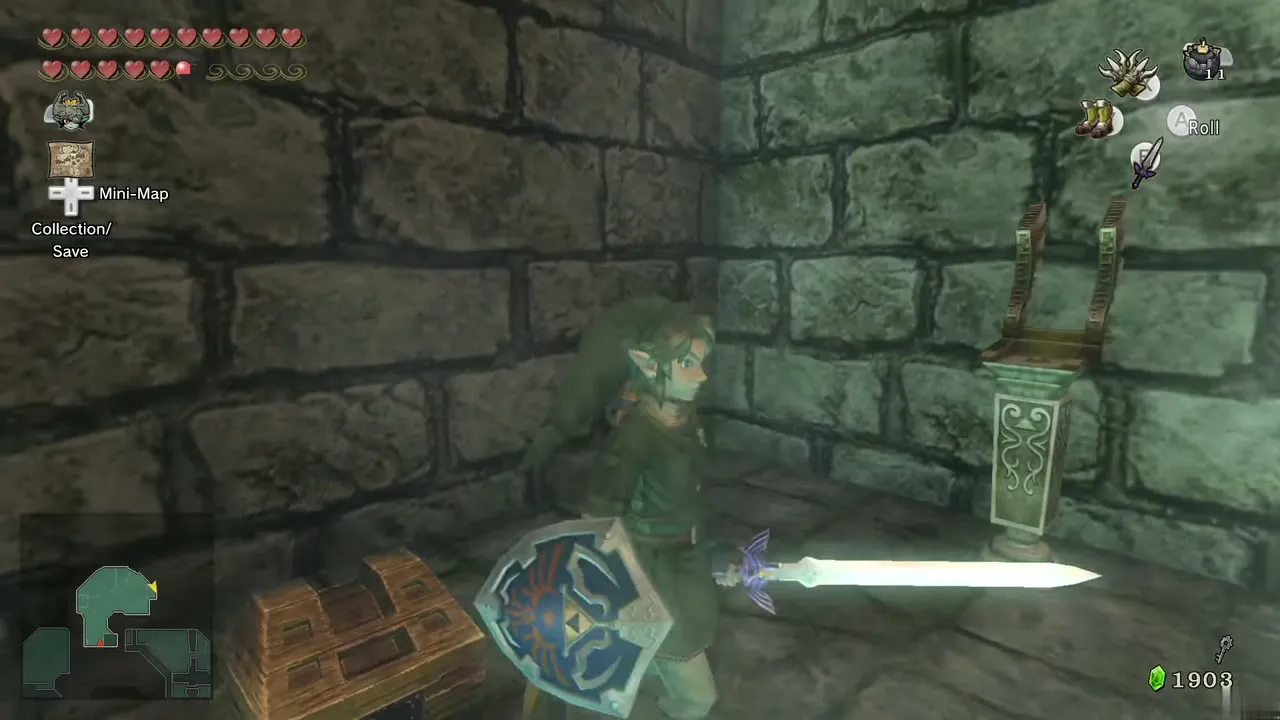
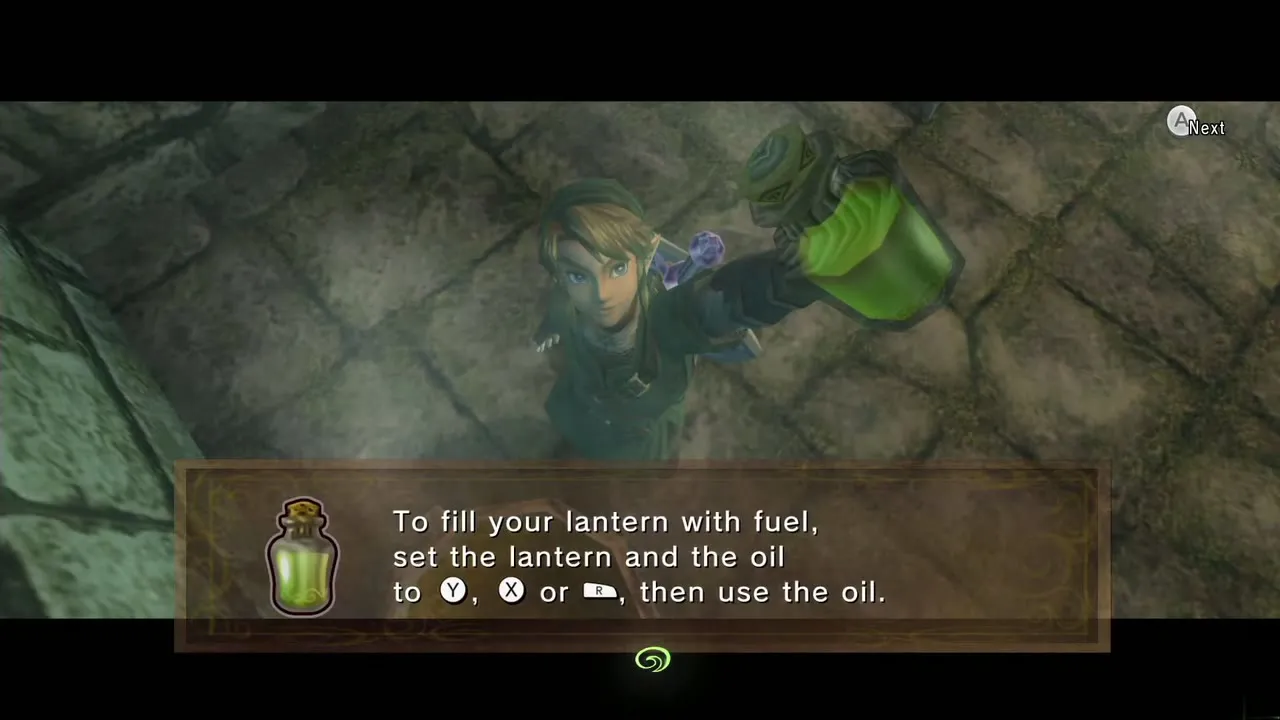
Refill the Lantern at the oil jar and light the torch close by: the rain stops for a short while. Run to the west gate and light both torches there before the rain returns, and the gate opens.
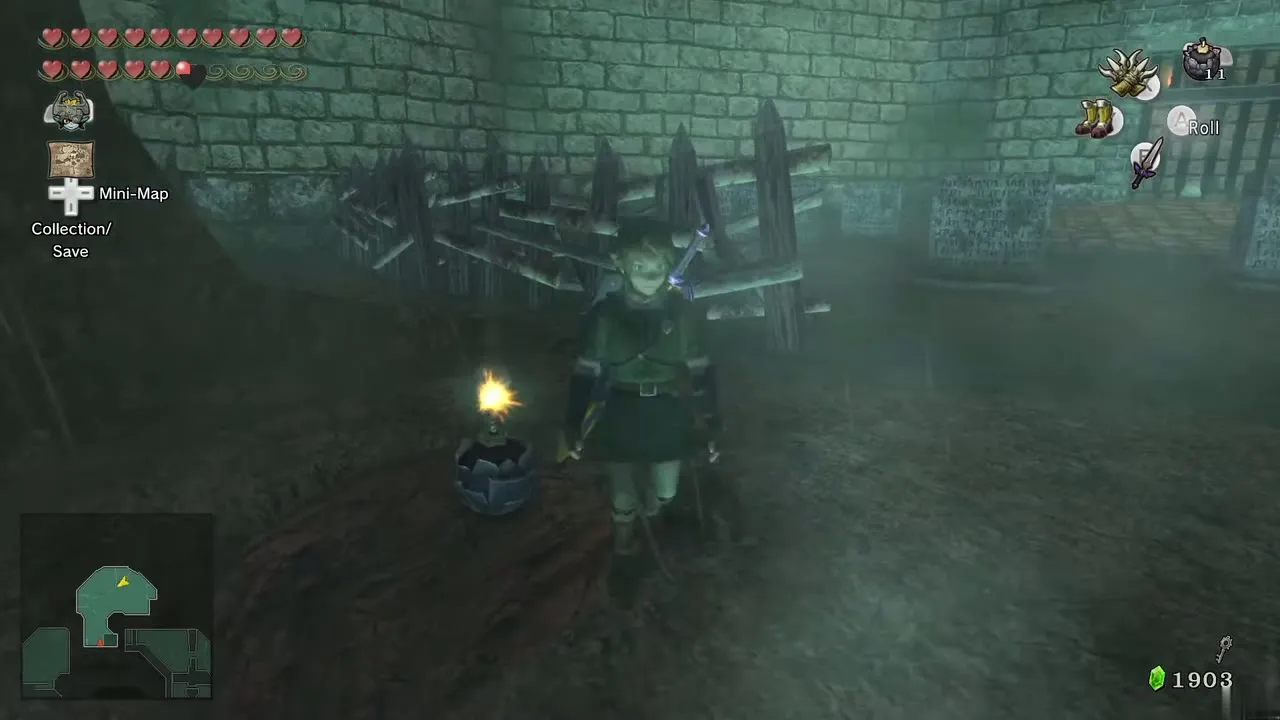
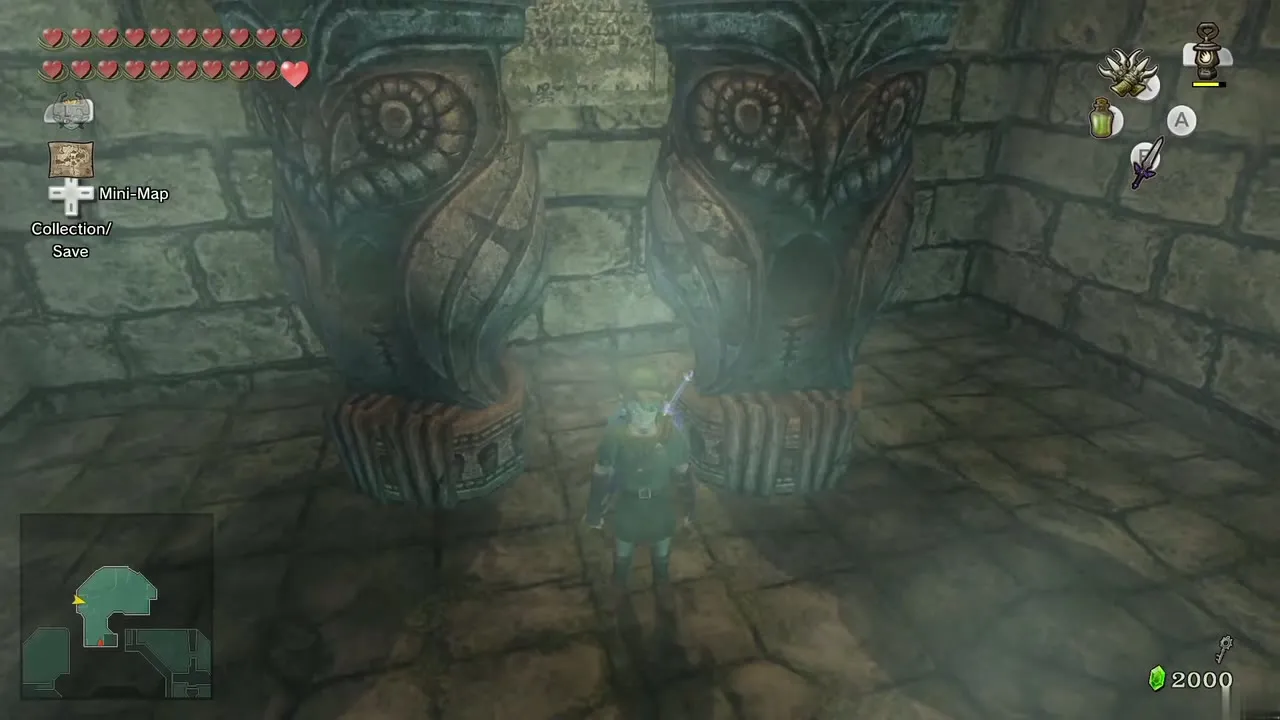
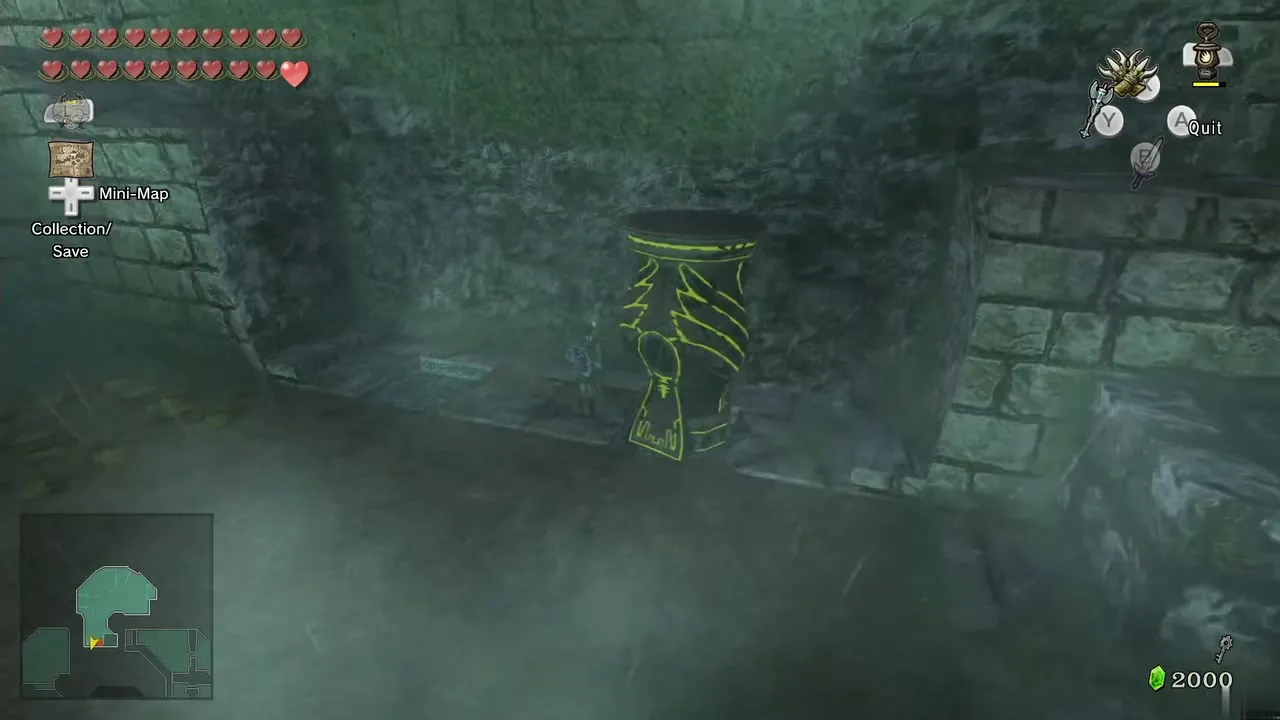
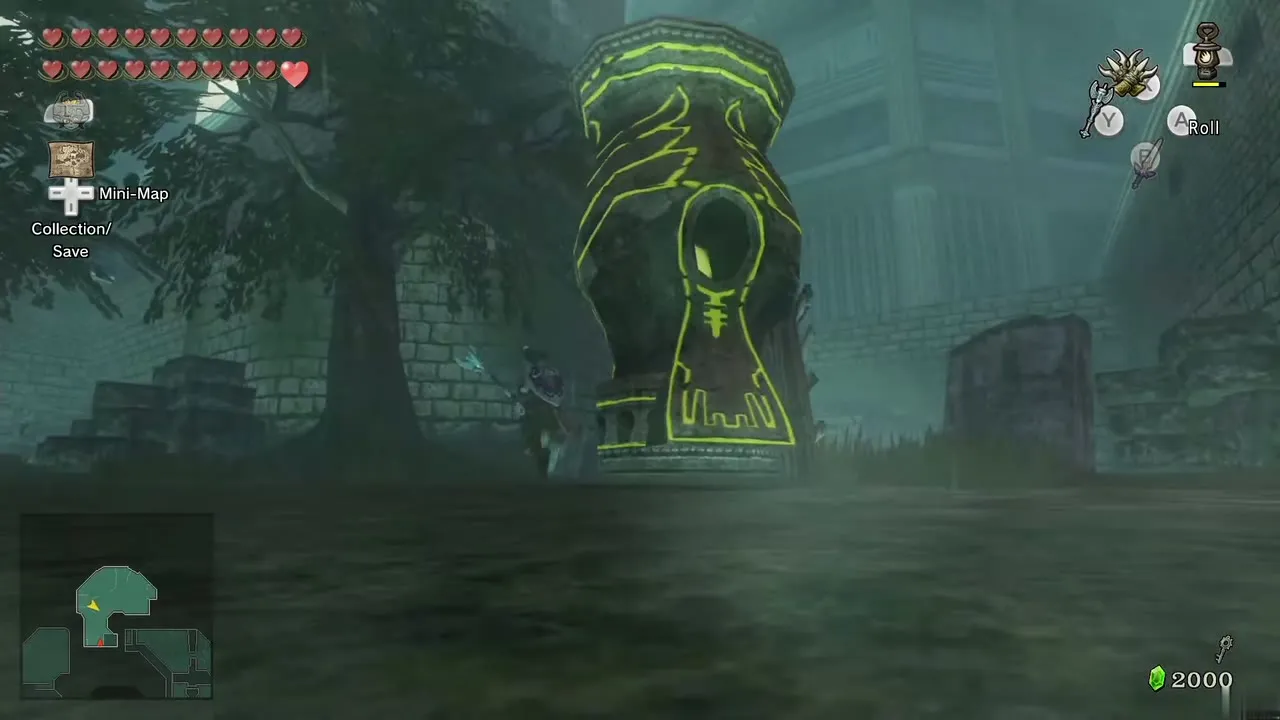
Take out the Dominion Rod. Pull the statues one at a time to the south wall where you entered, where two indentations wait in the ground. Climb the steps on the right wall and cross over the two statues to the far side. Pull the chain at the top to raise the gate and open the chest for the second Small Key.
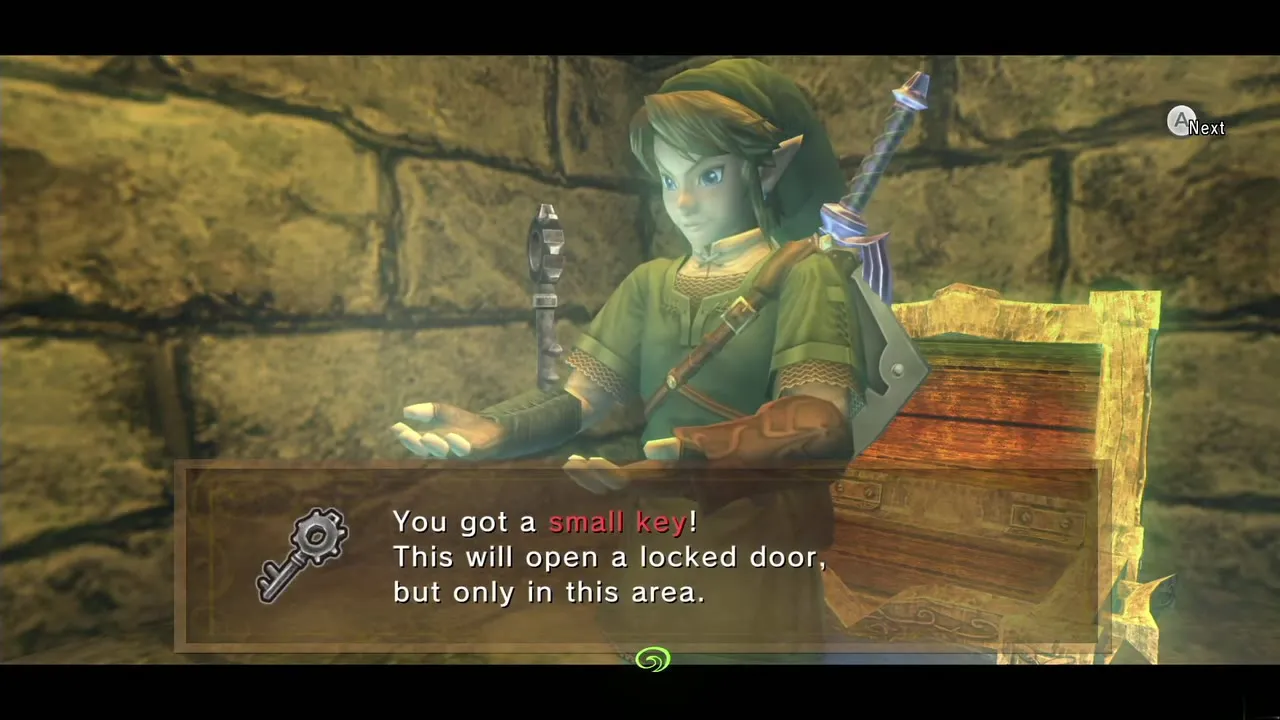
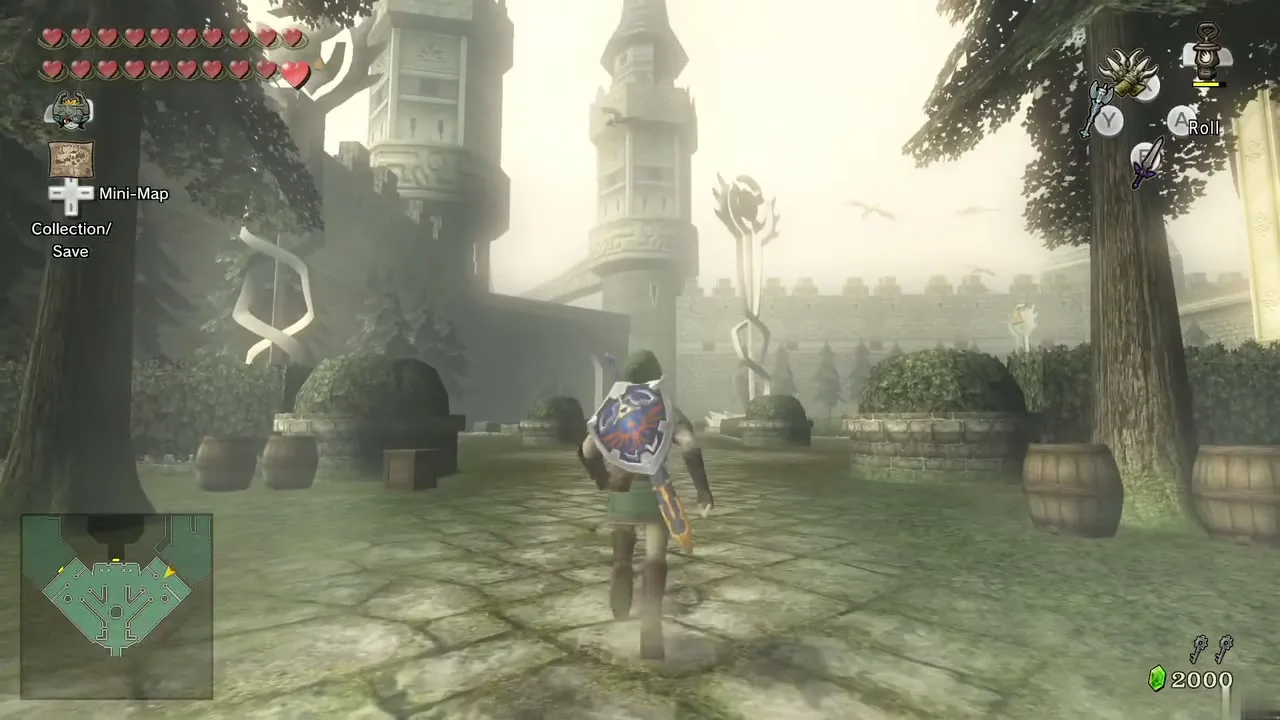
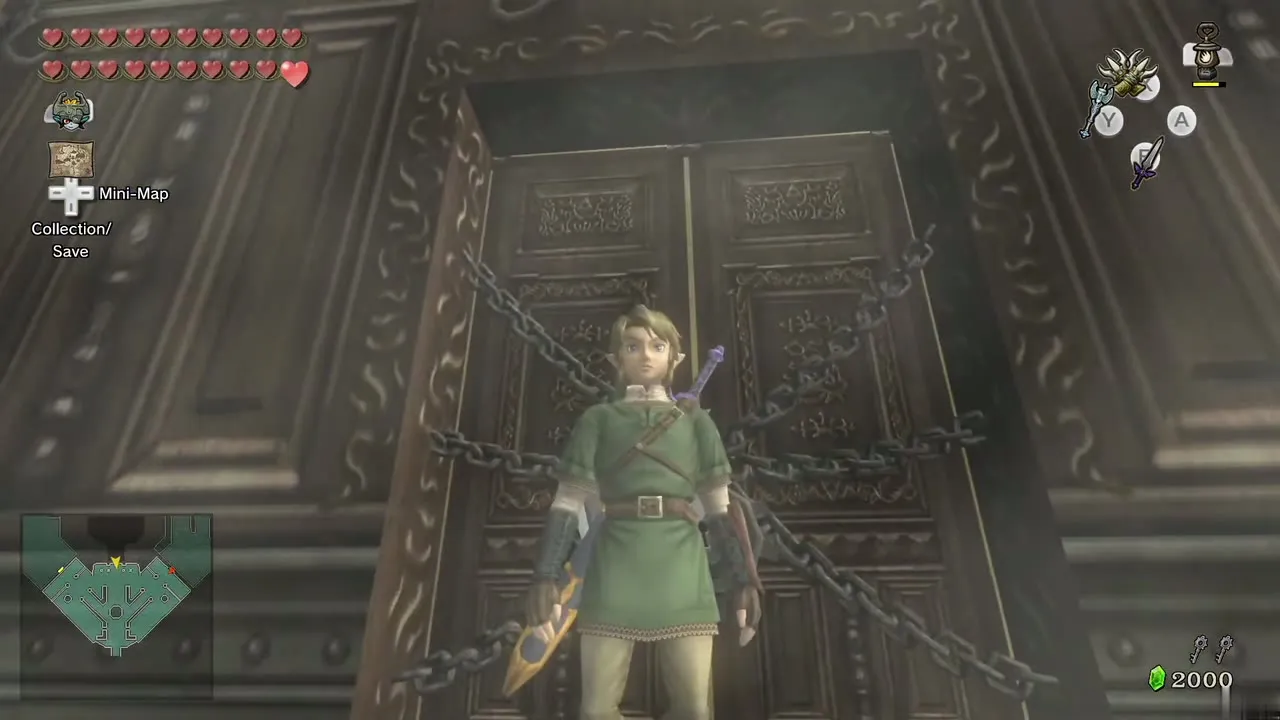
Dig back out the way you came as Wolf Link. In the map room, climb the ladder for a shortcut back across the garden, ignoring the respawned Bokoblins and archers, and leave by the door. Walk to the middle of the courtyard and up to the castle’s front doors. Buy or collect anything you need first; backtracking from inside is slow. Then unlock the door with the first Small Key.
Hyrule Castle interior

Entrance hall: the Compass
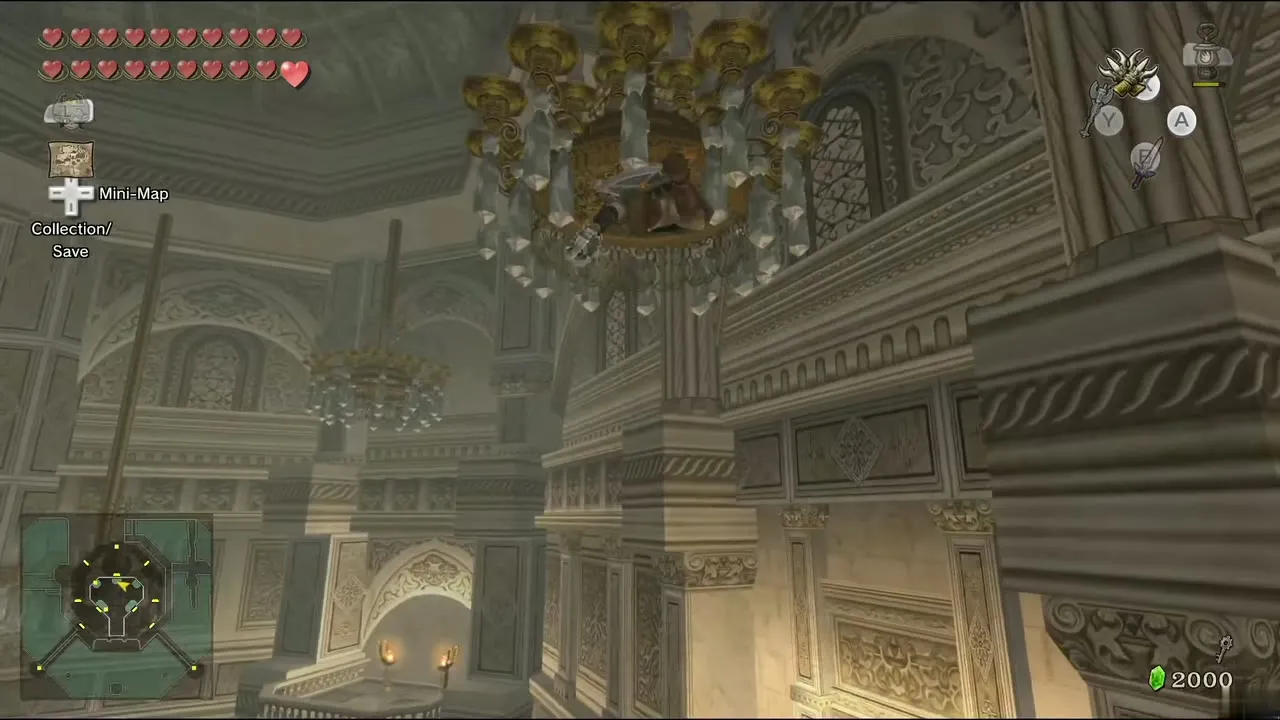
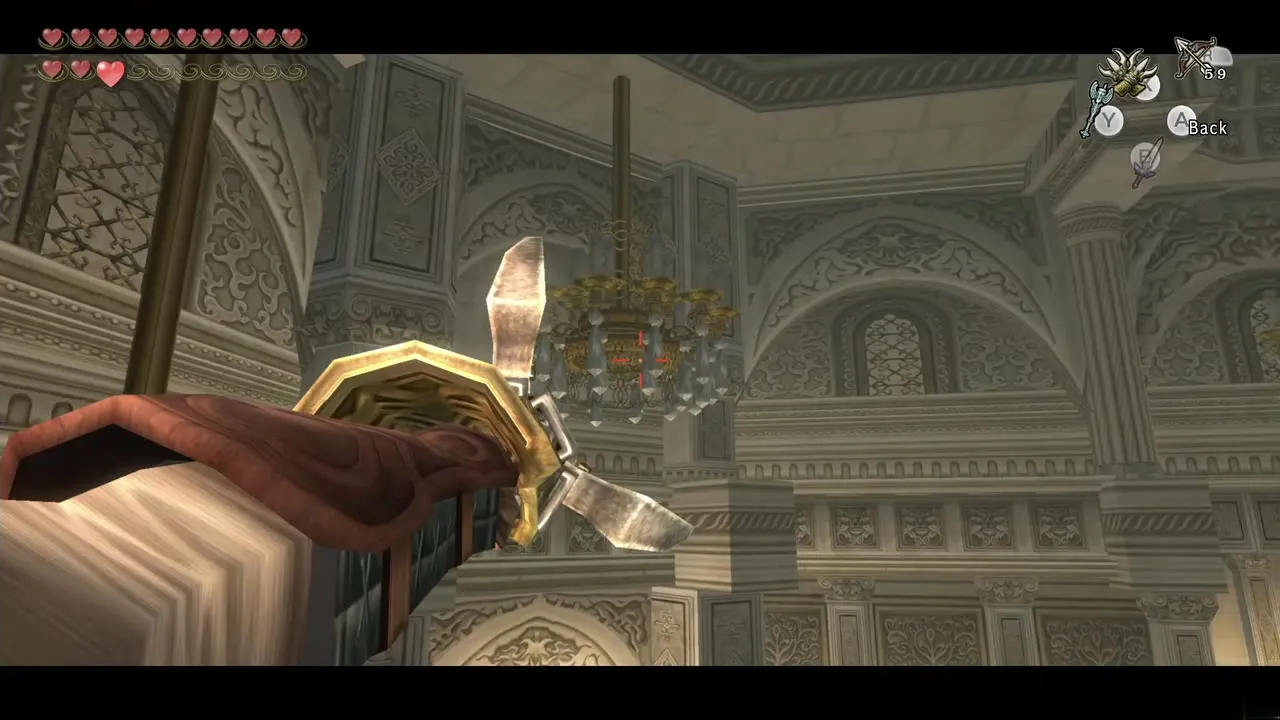
As you enter, a barrier closes around the hall. Defeat the Bokoblins and the Lizalfos that follow; the torches then light and a chest appears on a high ledge. Walk to the northeast corner and climb the short steps, Clawshot the chandelier and ride it up, drop onto the ledge and open the chest for the Compass.
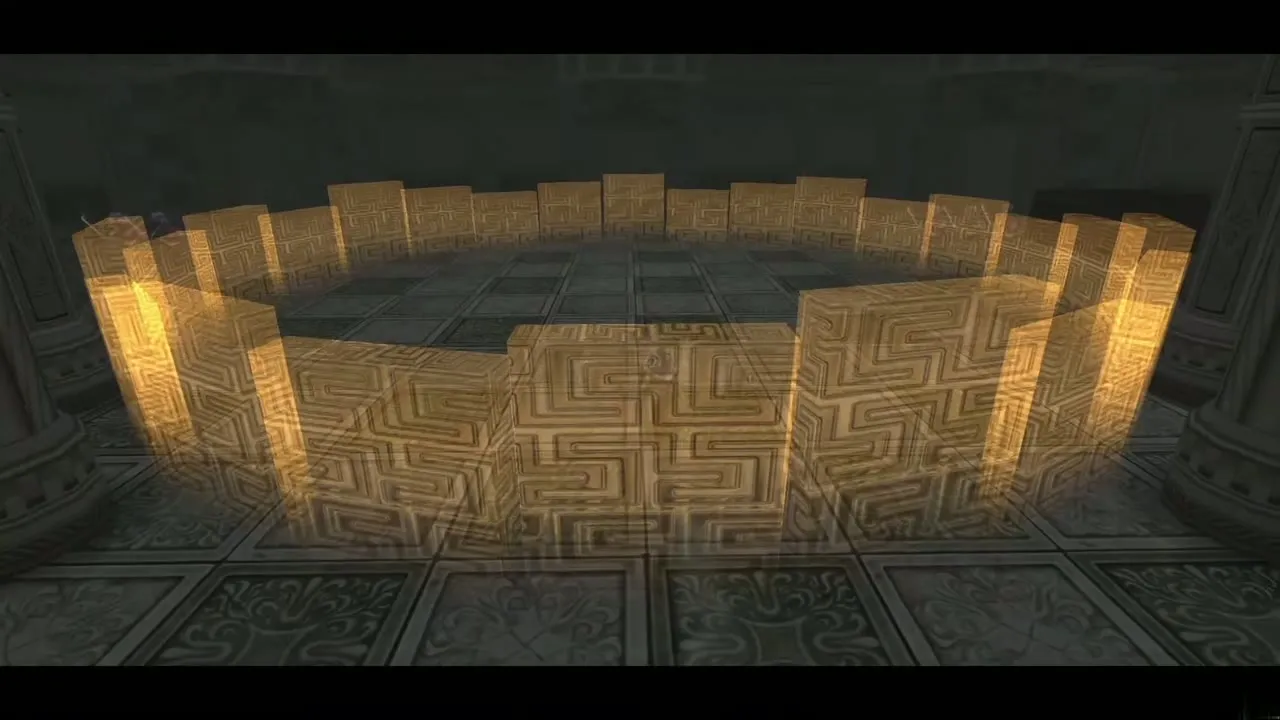
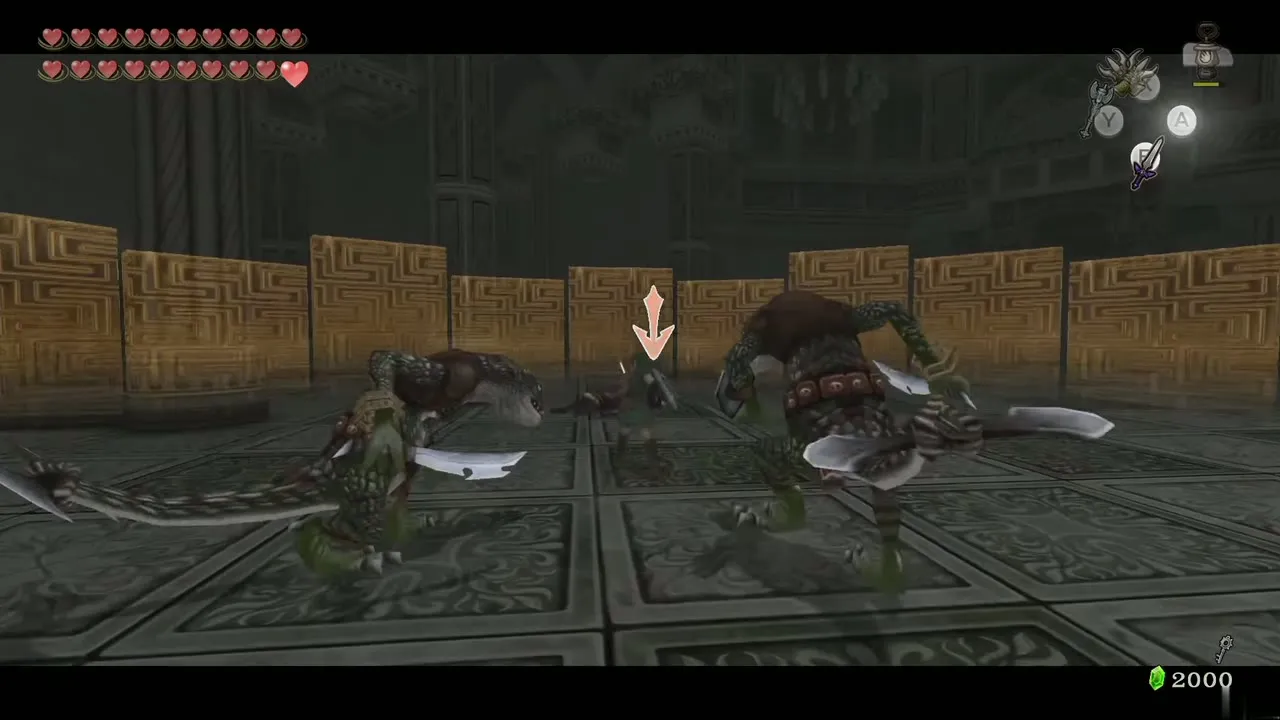
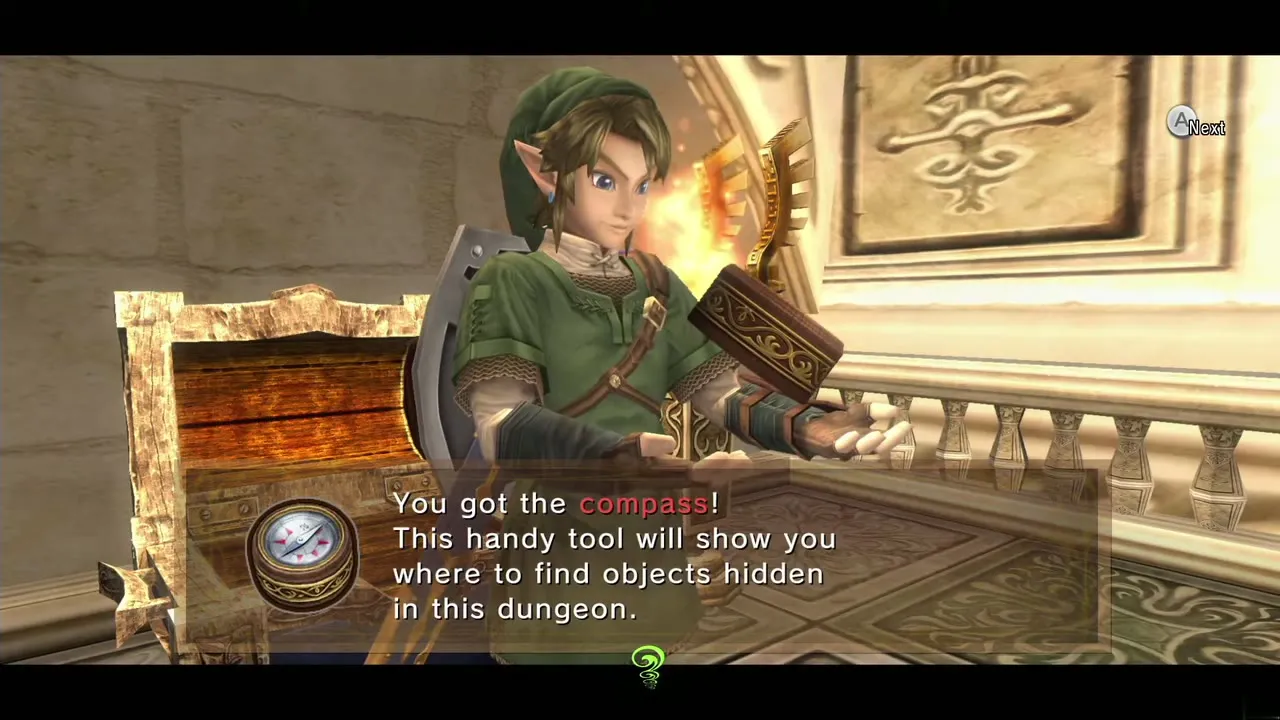
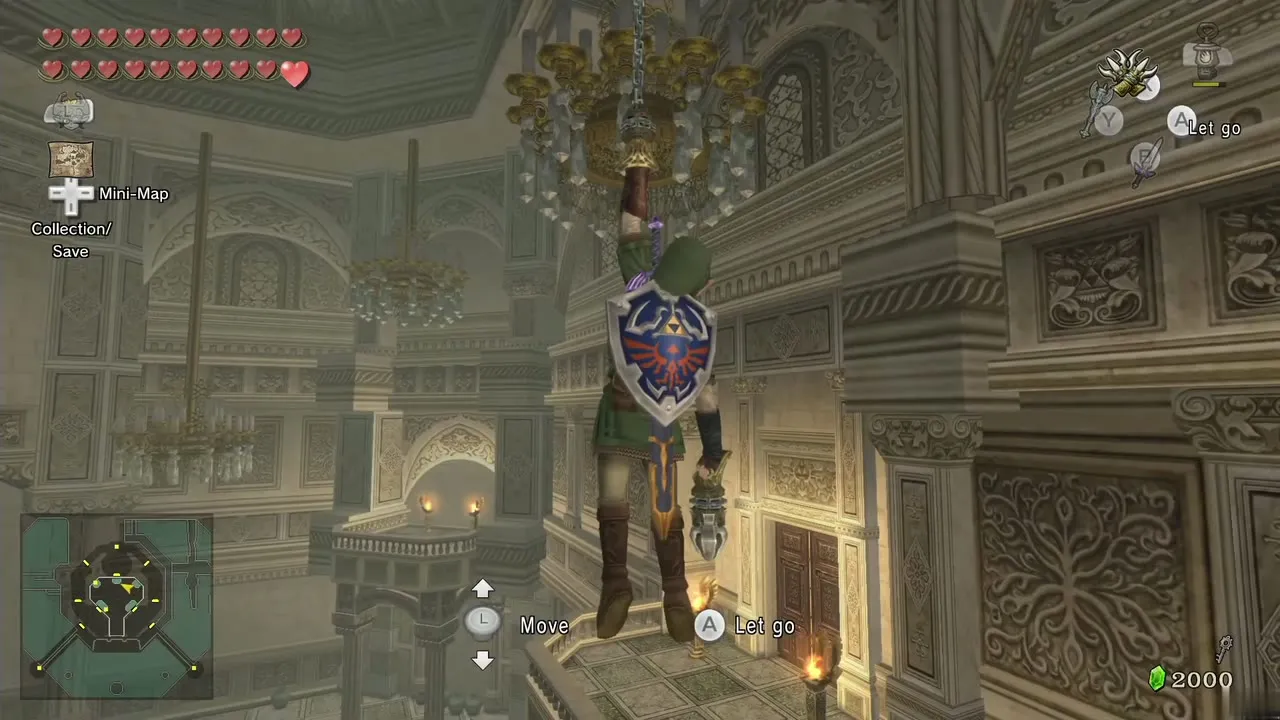
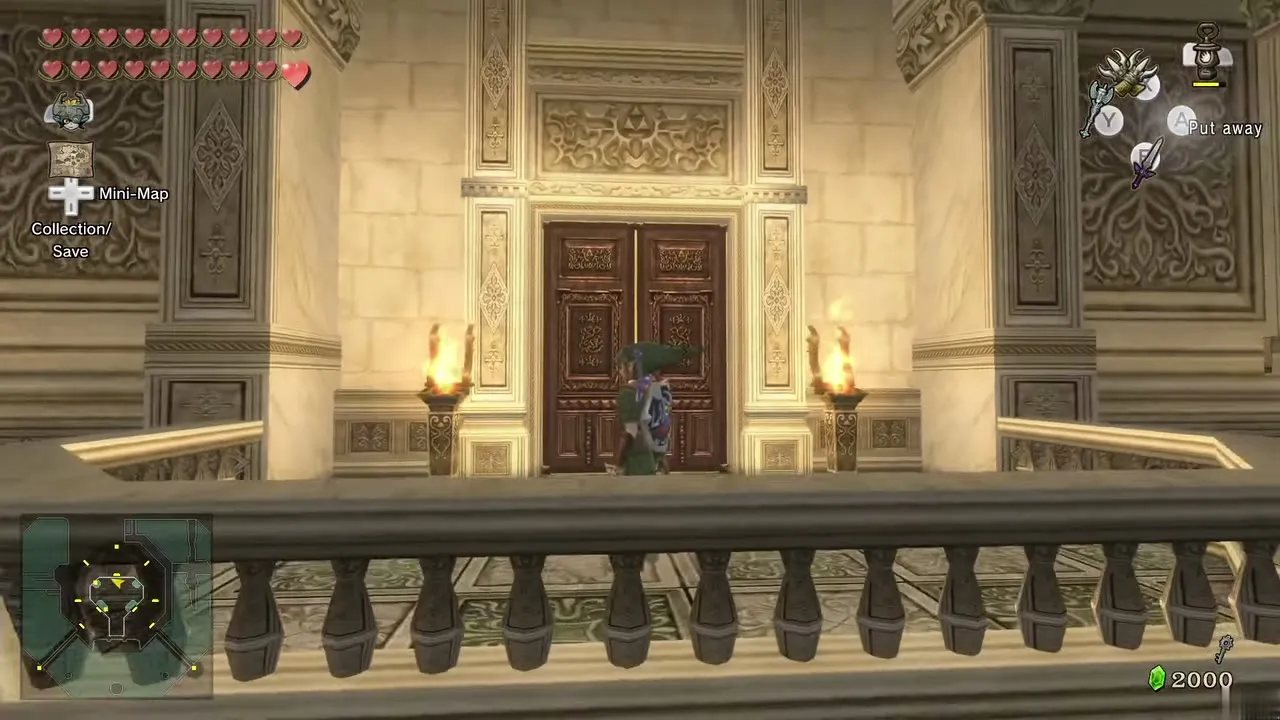
Use the Double Clawshots to swing across several chandeliers to the north balcony with the door, and go through.
First Darknut and the ledge chest
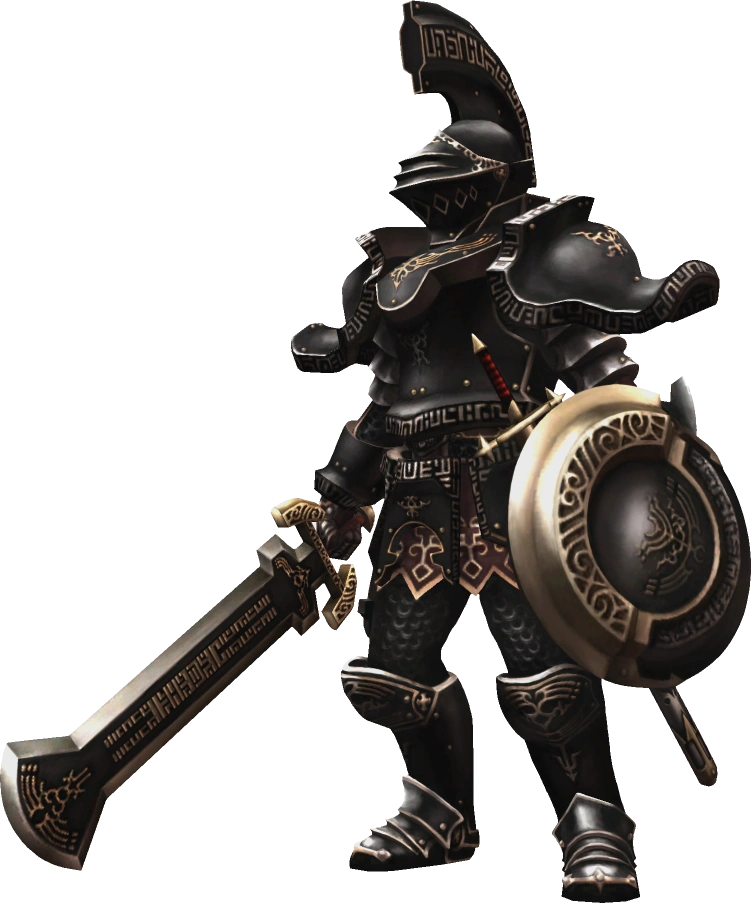
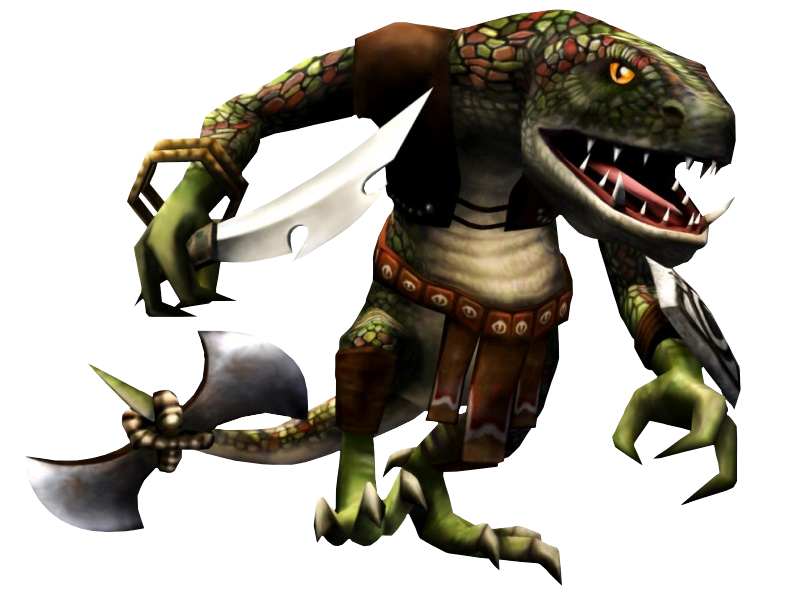
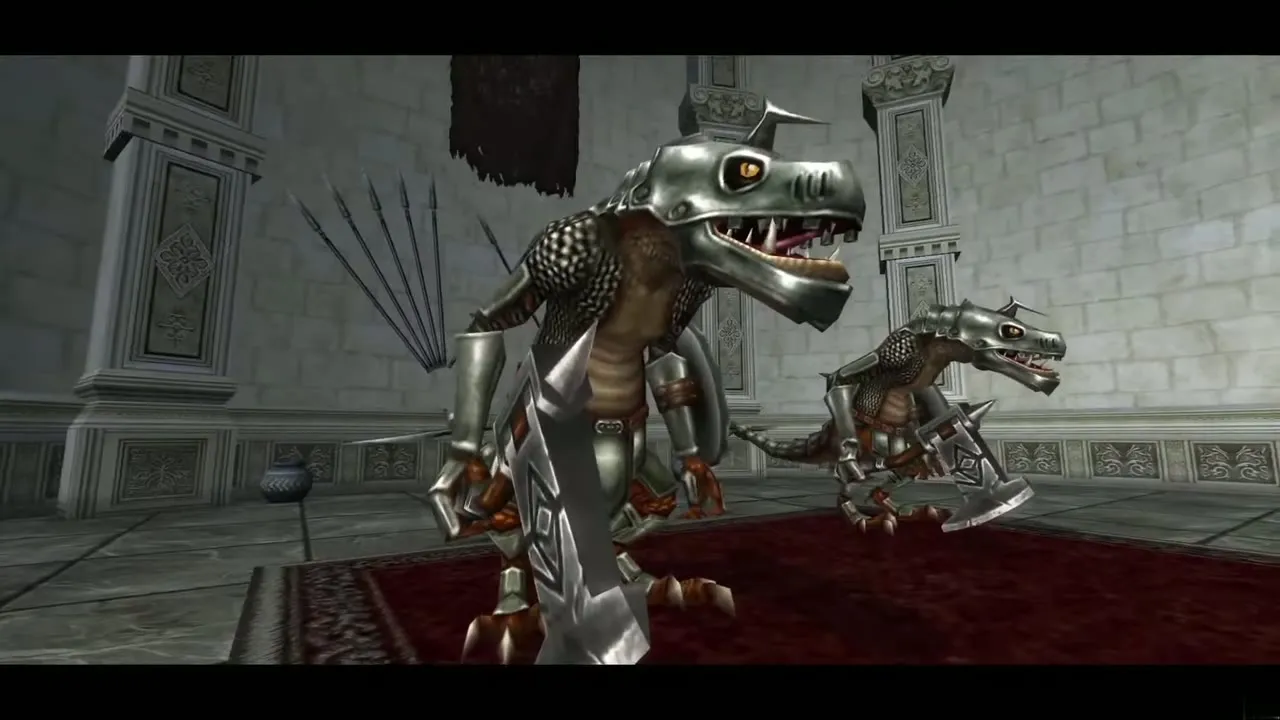
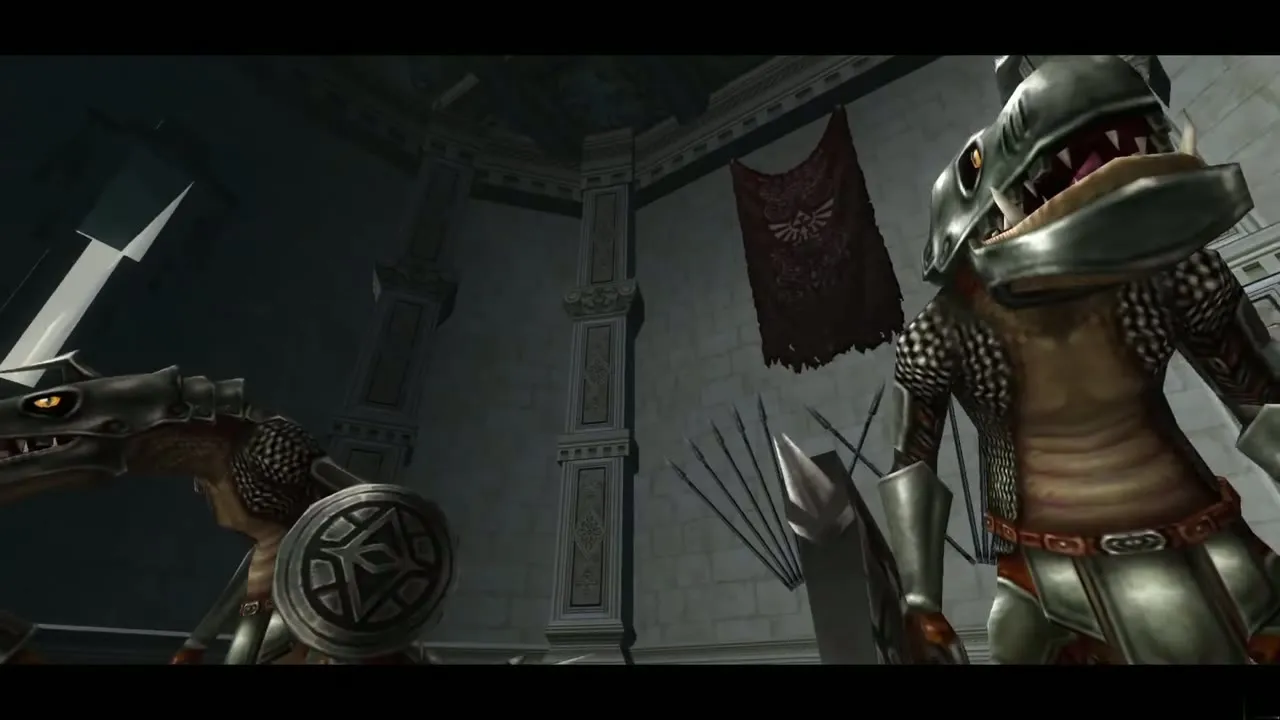
A Darknut waits in the next room and the door seals behind you. Step back from his heavy swings and slash him while he recovers. Strip his shield with a Shield Attack or a Helm Splitter, then circle behind him and Back Slice once only his sword is left. More about them on the enemies page. A chest appears at the north end of the room.
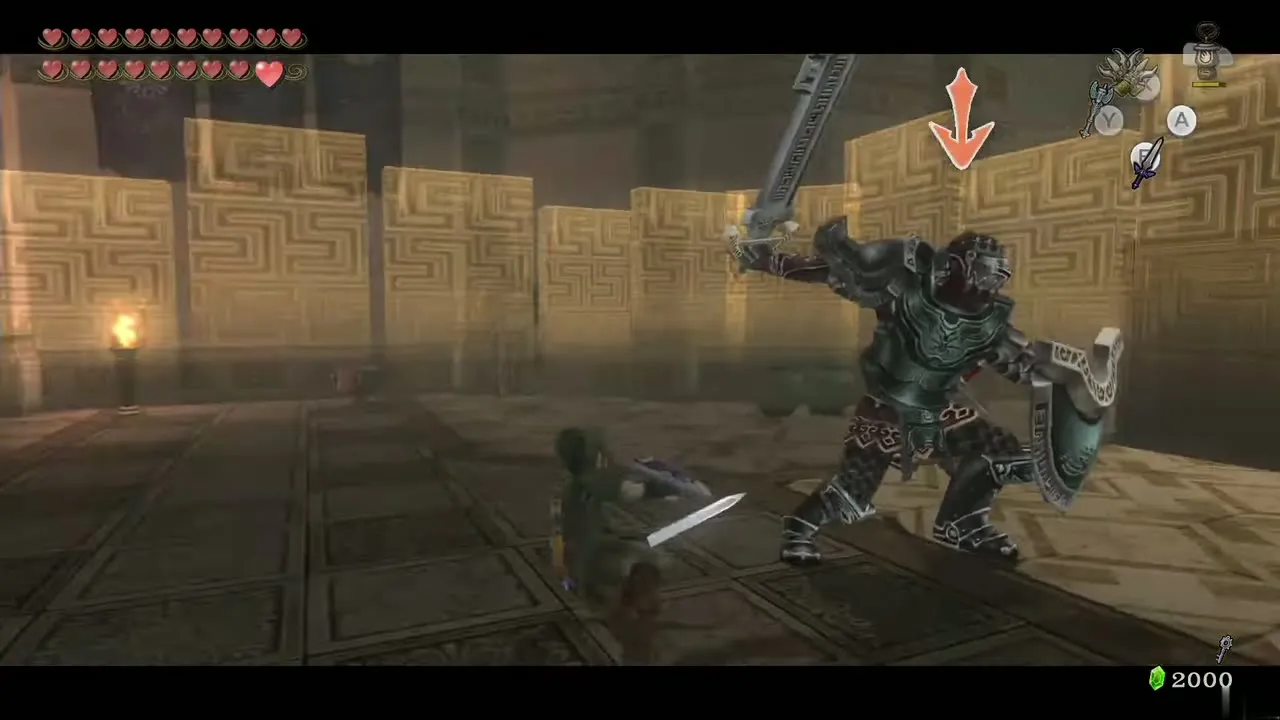
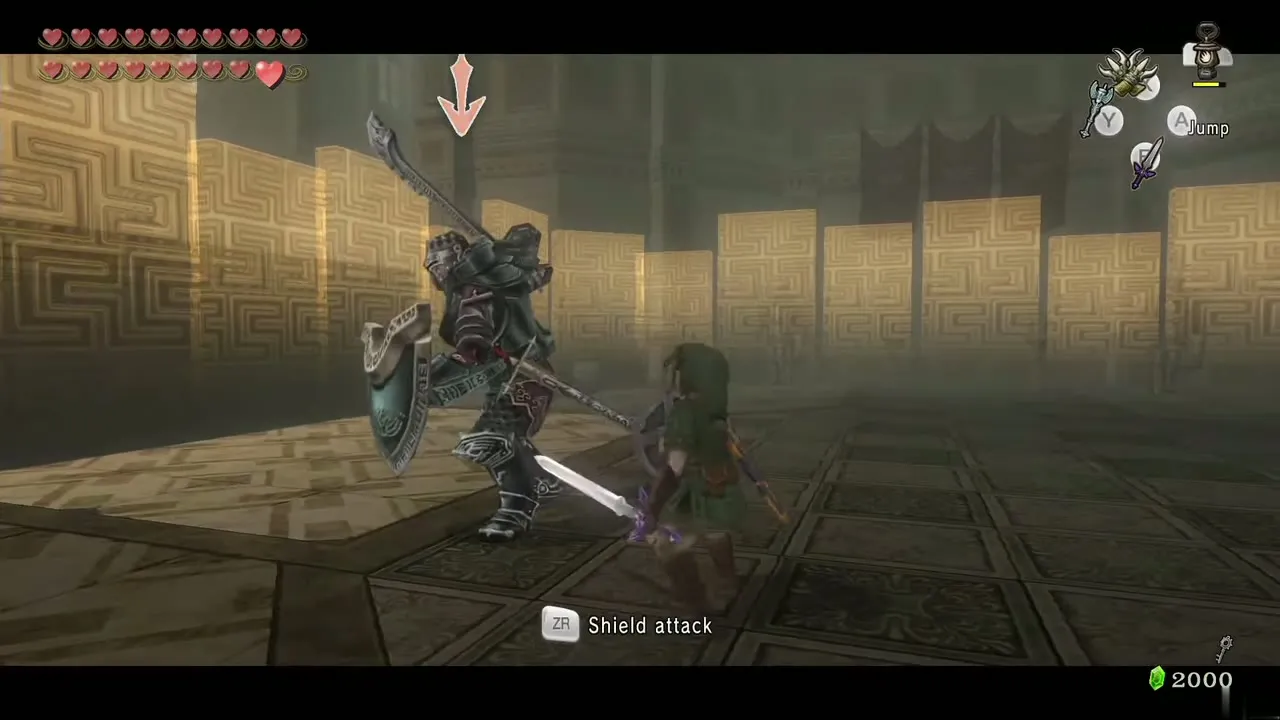
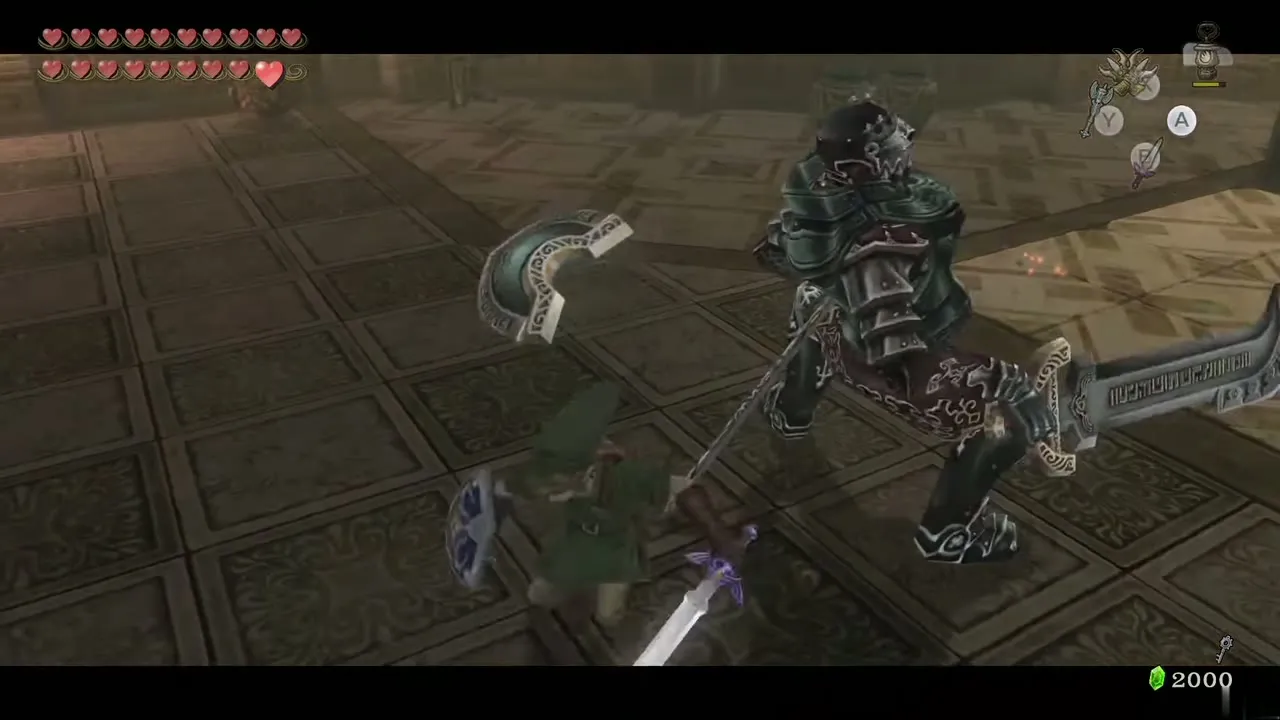
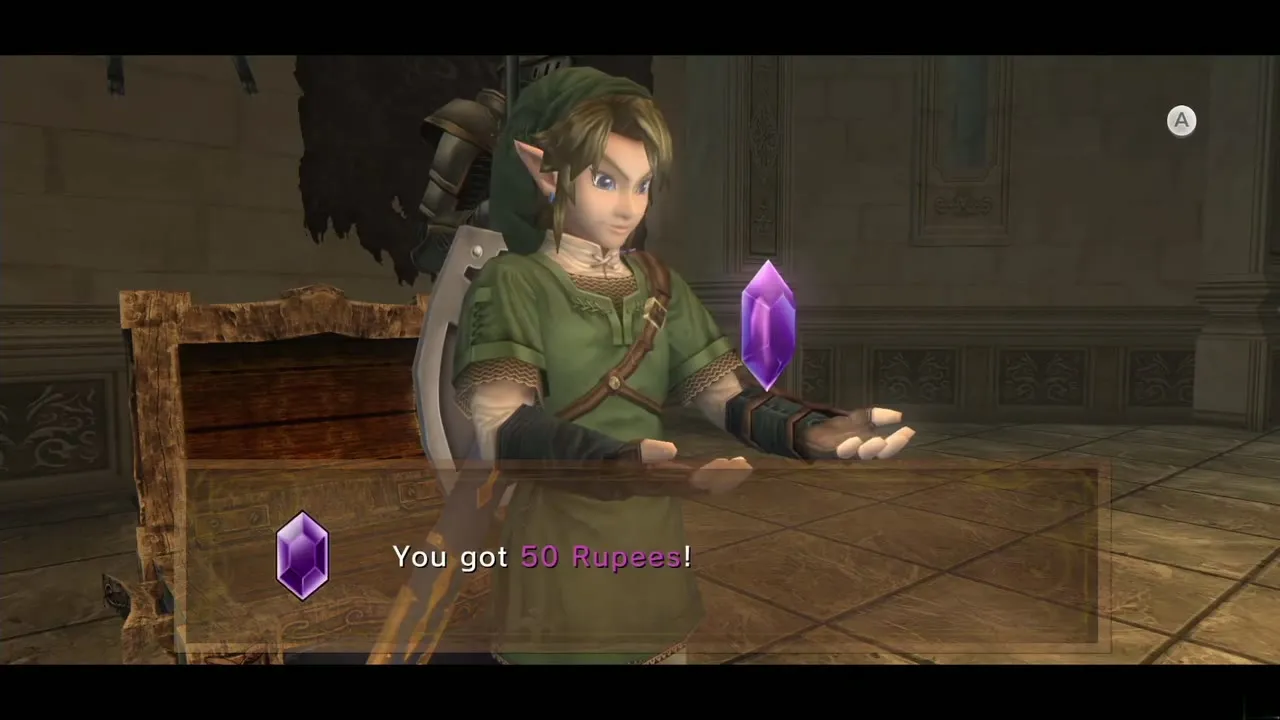
Light the two unlit torches and run up the platforms they raise. Face the lone lit torch on the west wall, throw the Gale Boomerang to put it out and run up the final step at once without waiting for the boomerang to return. If you miss, relight the torch and try again. Open the chest for a purple Rupee (50). Stairs on either side of the ledge lead to two routes that meet again on the balcony; the east is easier and the west holds bonus chests.
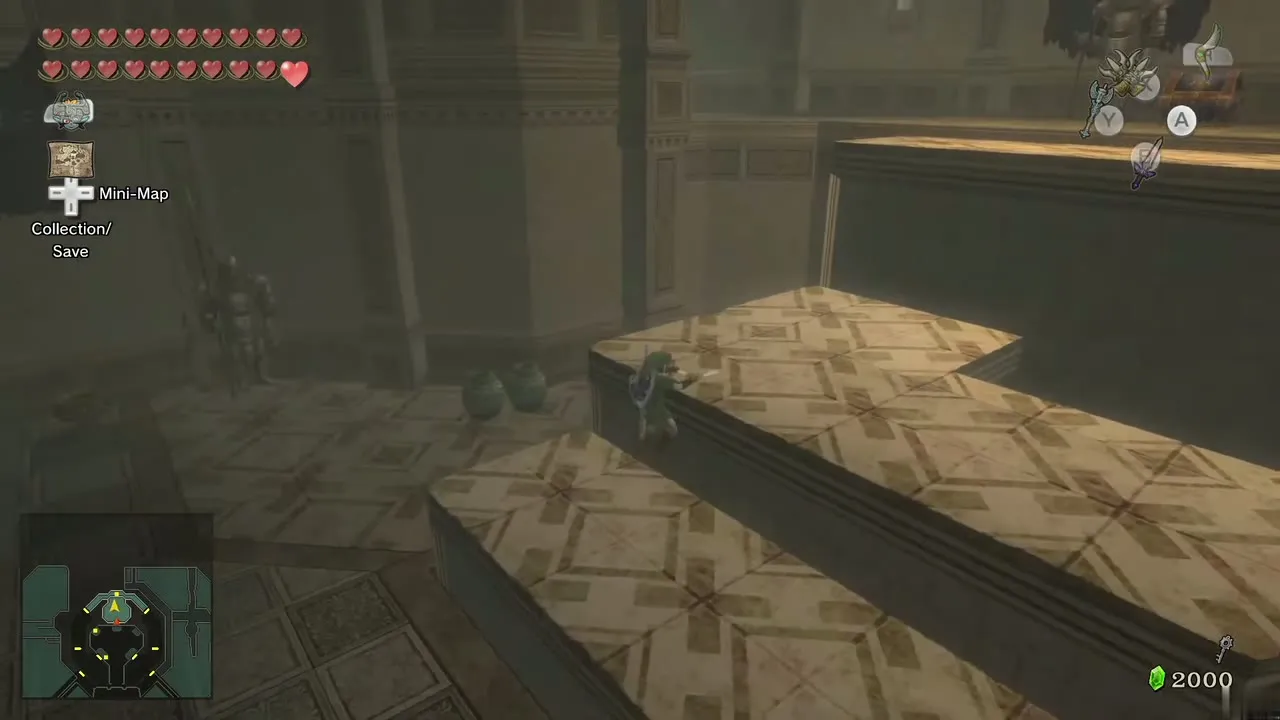
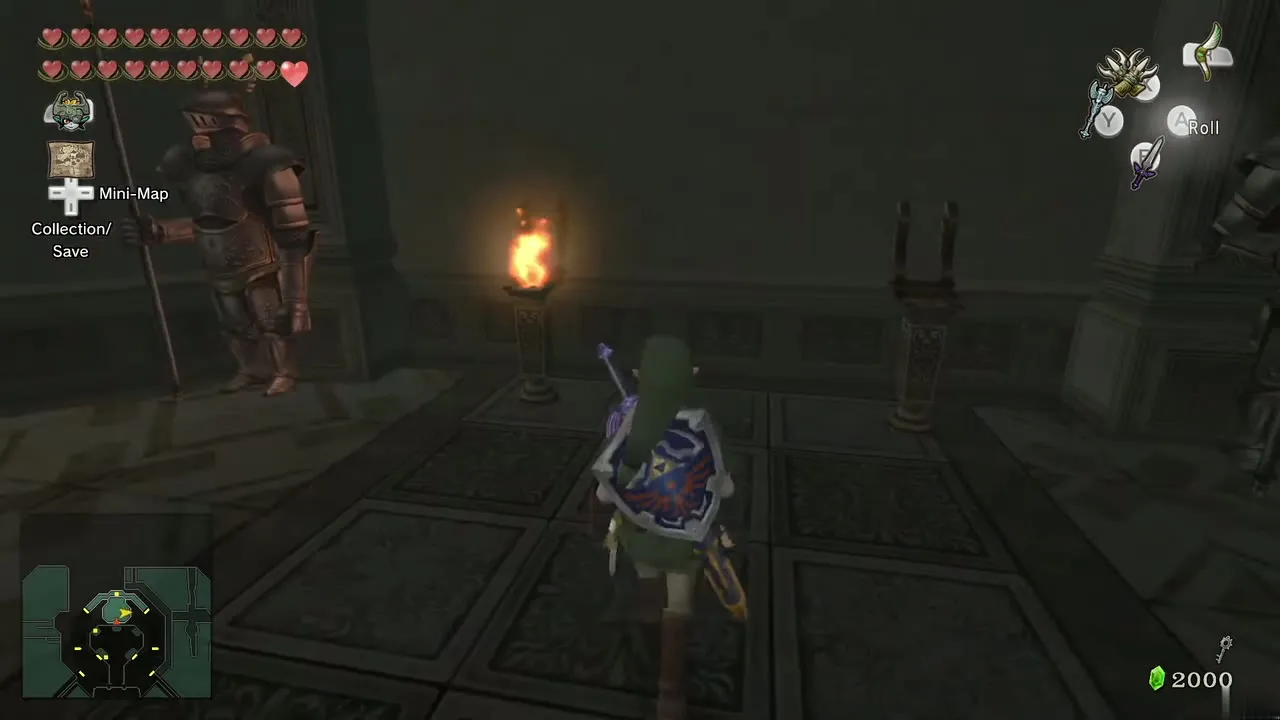
West route: paintings, two Darknuts and the big chests
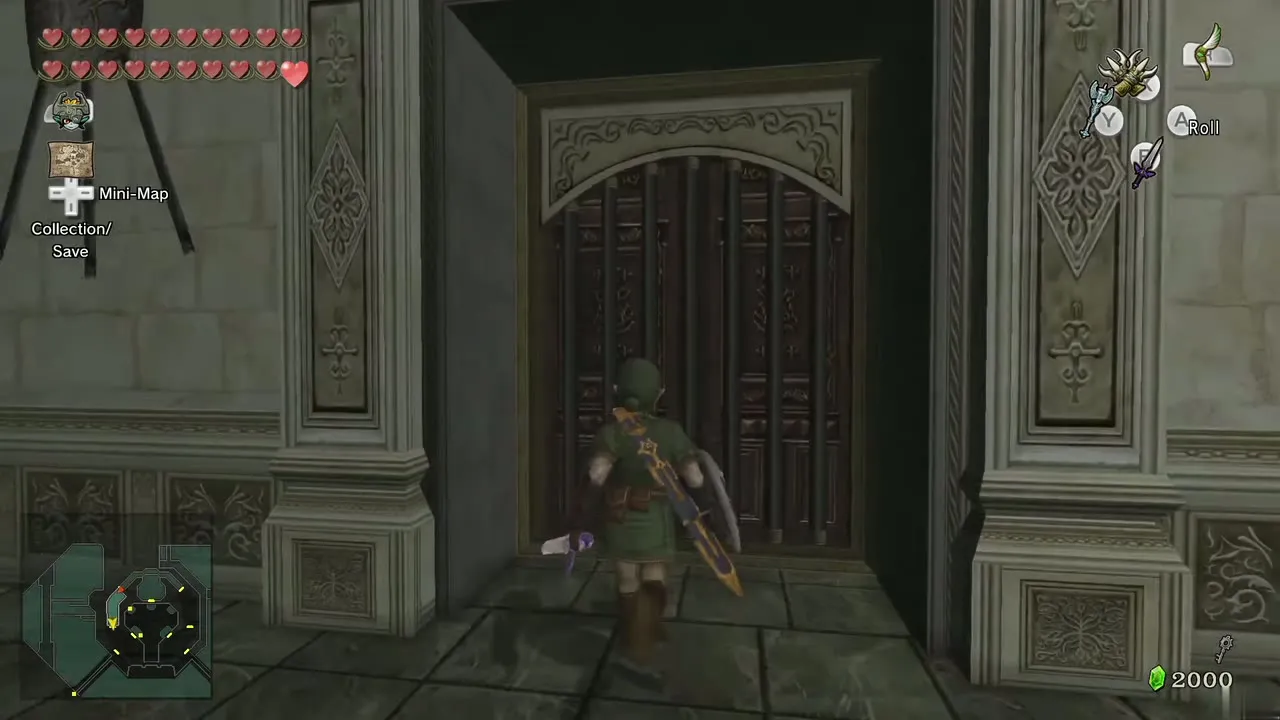
Defeat the two Lizalfos guarding the door; a spin attack opens well. Shoot the ropes holding the two paintings on the east wall. Hit the crystal switch behind the north painting to open the gate (the second switch drops yellow Chus). Go through the door to the south.
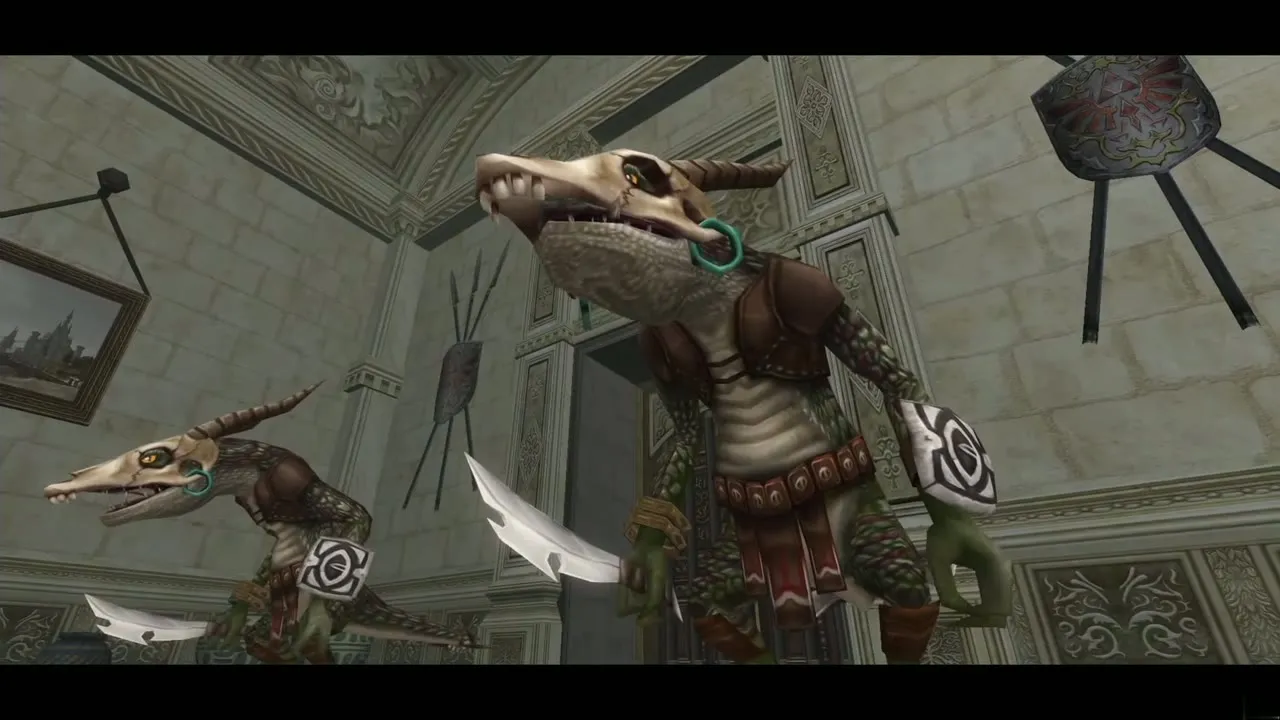
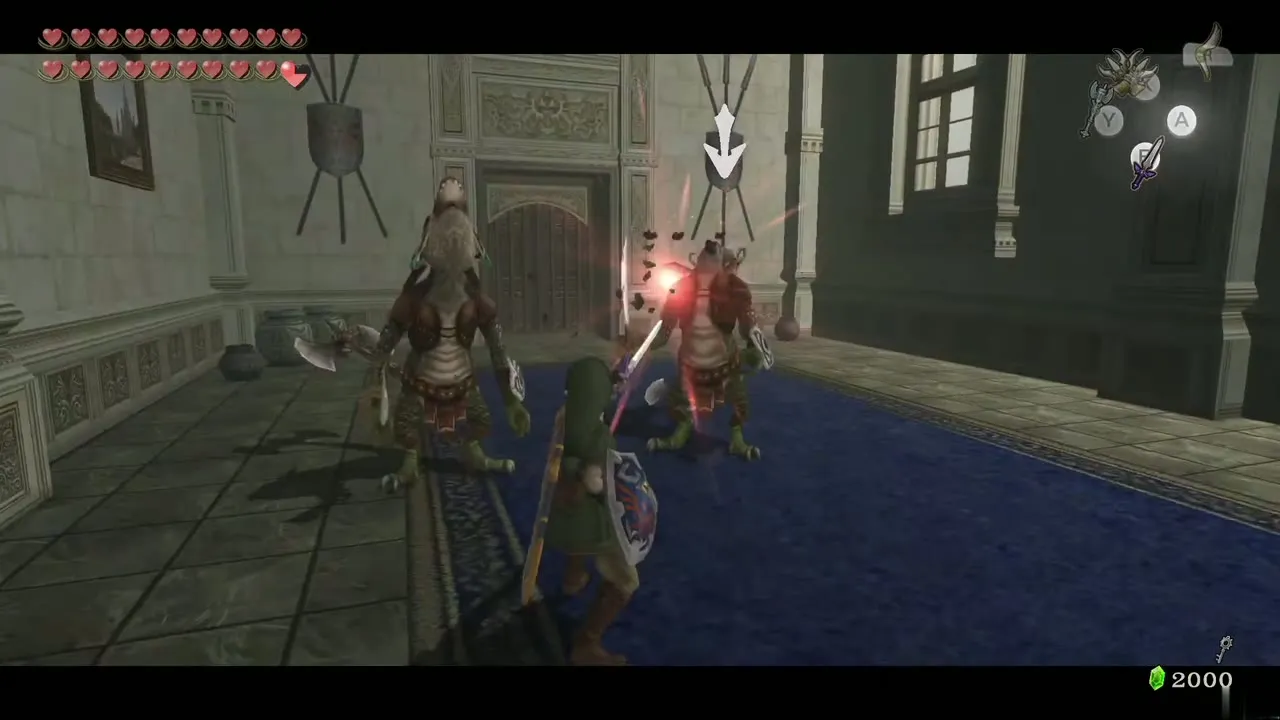
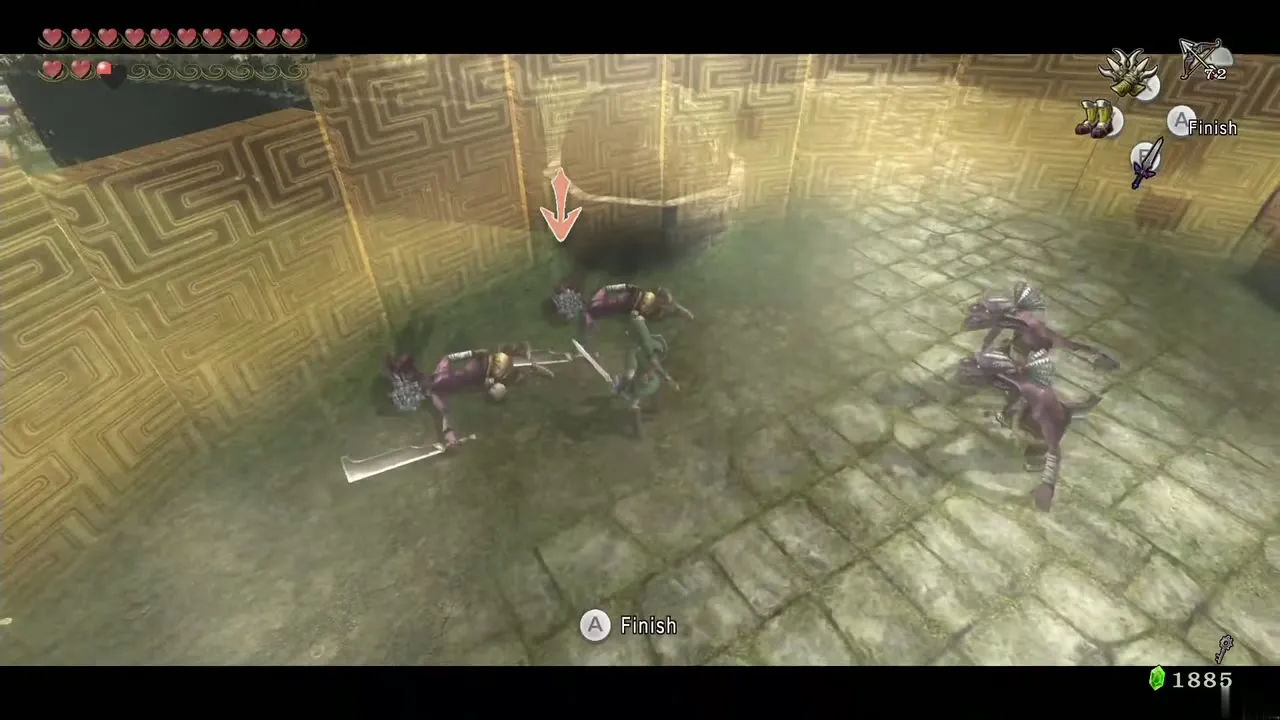
Two Darknuts fight you in the hall. Stay on one side of the room so that one stays idle while you work on the other; wear the Magic Armor if your hearts are low. When both are down two doors open. Take the one in the northeast and open the chest to the right for a purple Rupee (50). Step on the switch between the two torches to make a chest appear on the northwest balcony.
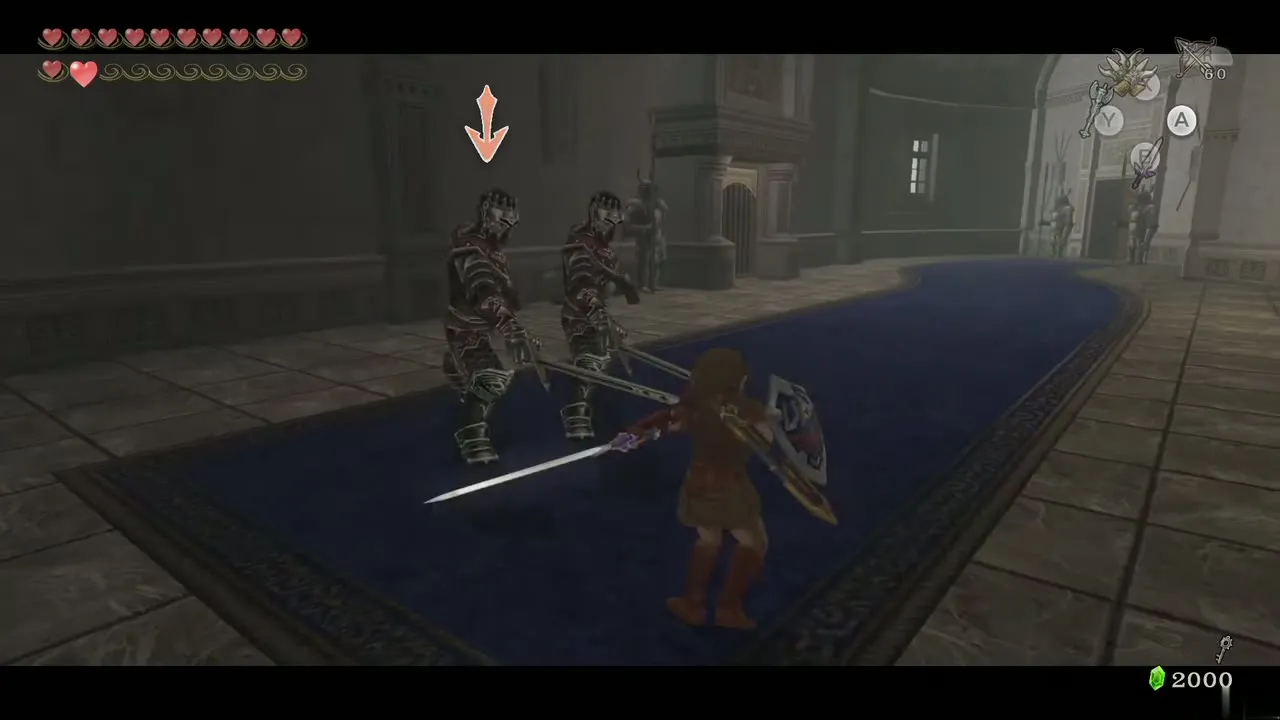
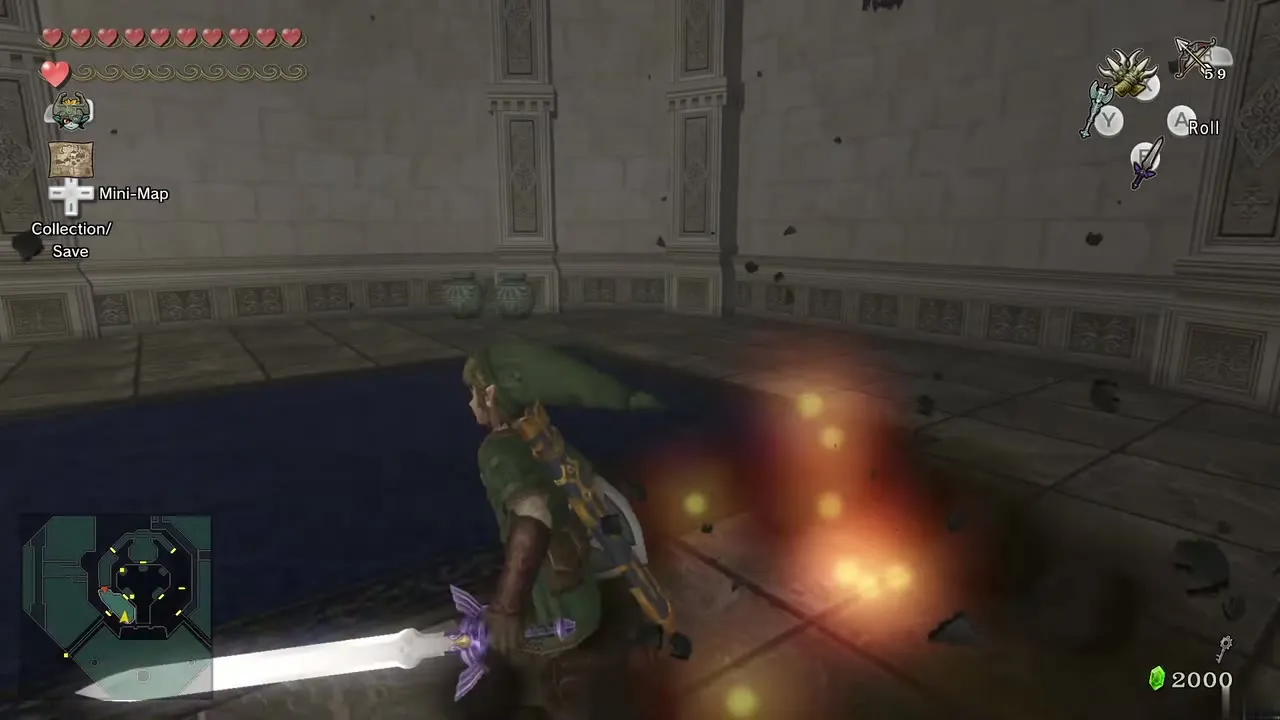
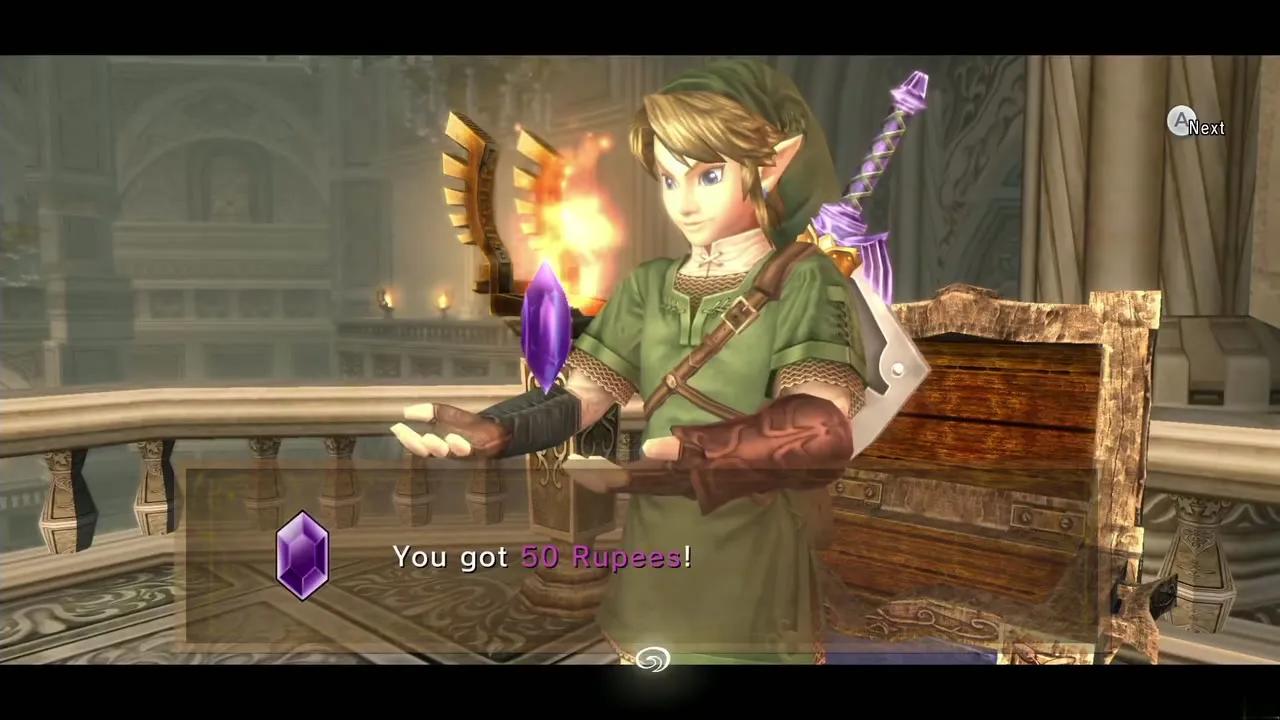
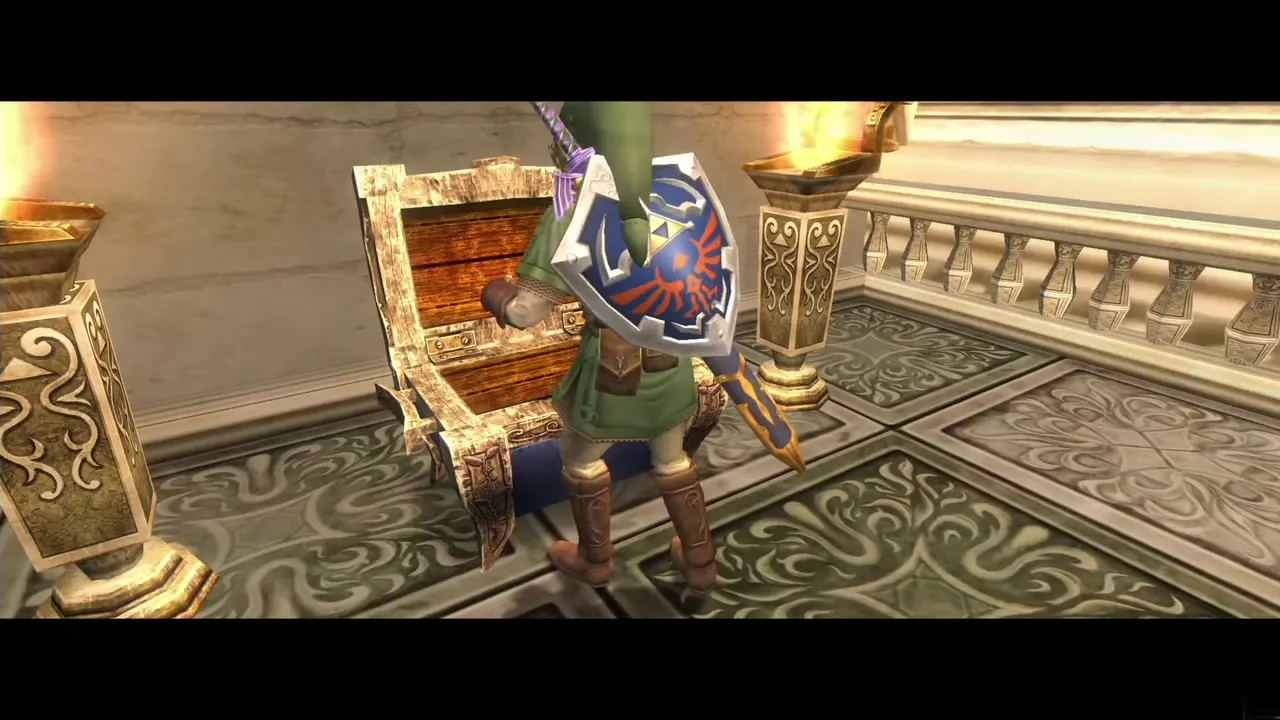
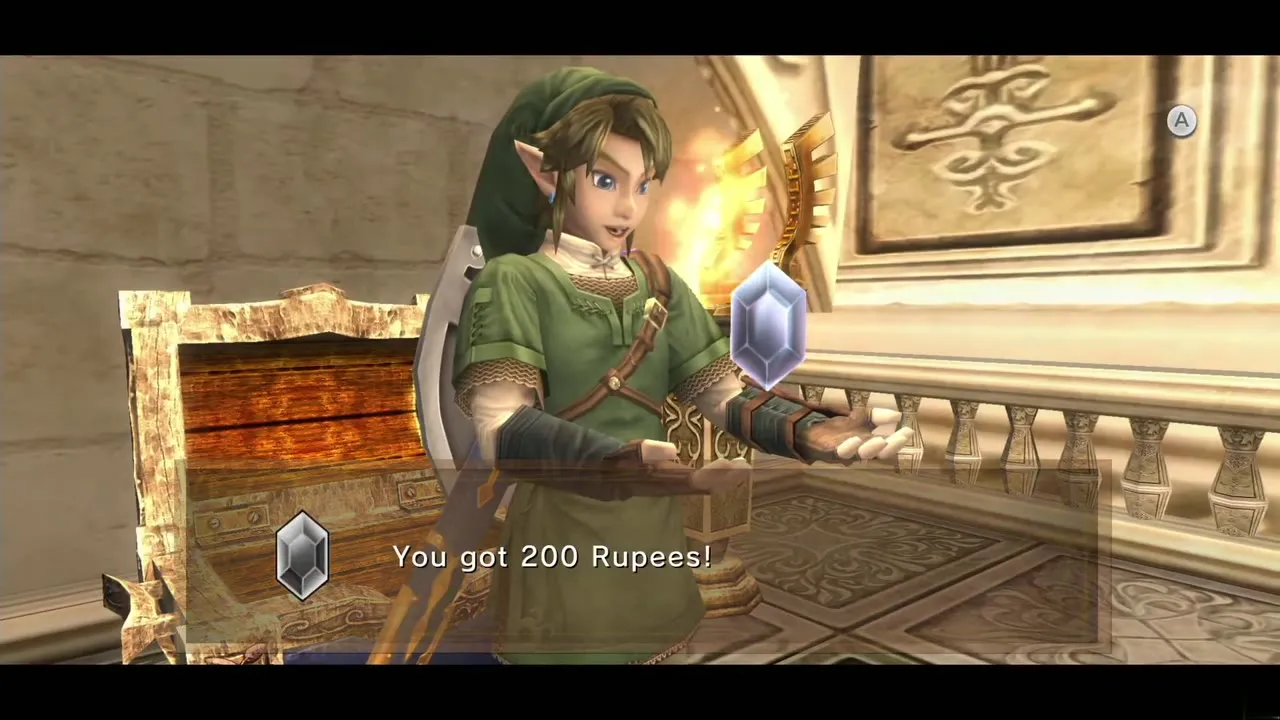
That chest holds a Silver Rupee (200), but takes effort. Drop to the floor below, Clawshot the low chandelier, then the chandelier hanging over the chest, and open it. You cannot get back to the southwest ledge from there, so return through the passage to the north, back to the Darknut hall, and leave by the door at the southwest to reach the courtyard. A gate with a chest behind it waits there.
East route: torches, Dynalfos and a lowered chandelier
The east route is quicker. The room beyond is dark with four torches near the opposite door. Shoot down the painting on the west wall between two torches to reveal the lighting order: southwest, northeast, northwest, southeast. Keese appear when you light the first torch. When the last is lit the door opens.
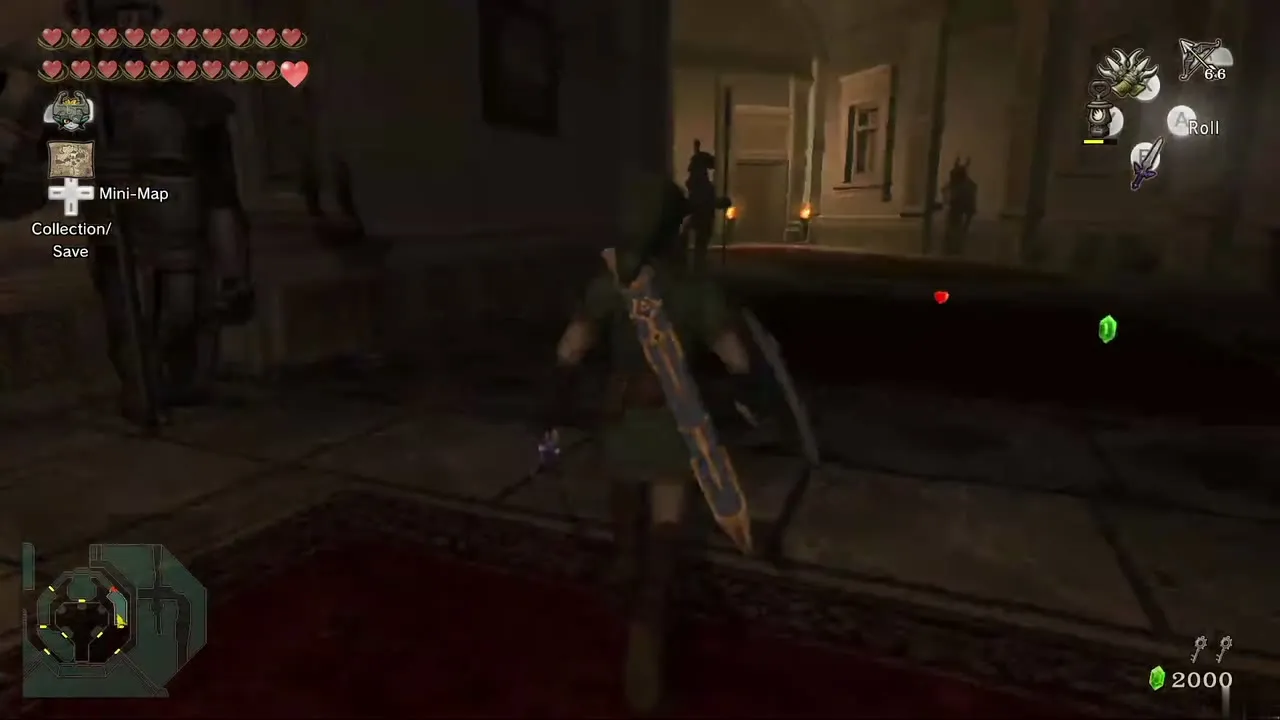
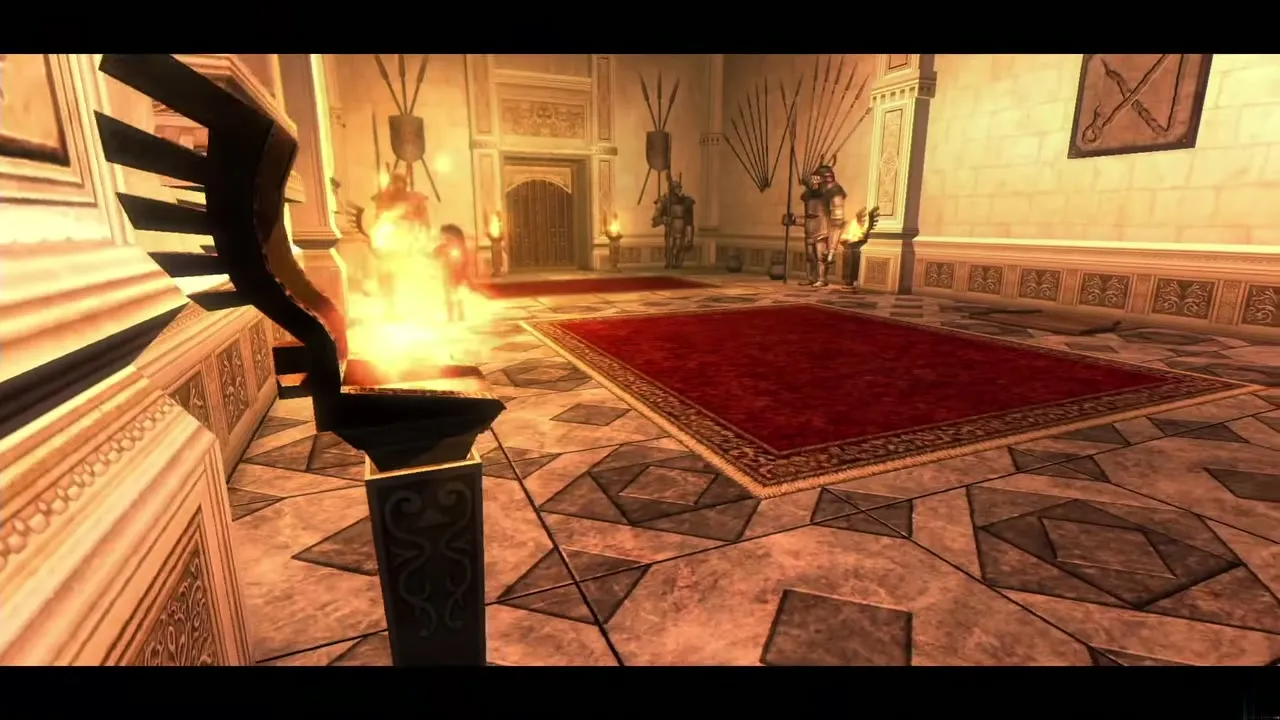
Two Dynalfos wait in the next room; Bomb Arrows from the doorway make short work of them. In the door to the northeast is a switch that lowers a chandelier for an easy return. Go back, take the door on the opposite side and you are in the courtyard again facing a chest.
Outer balcony: the Big Key and the third Small Key
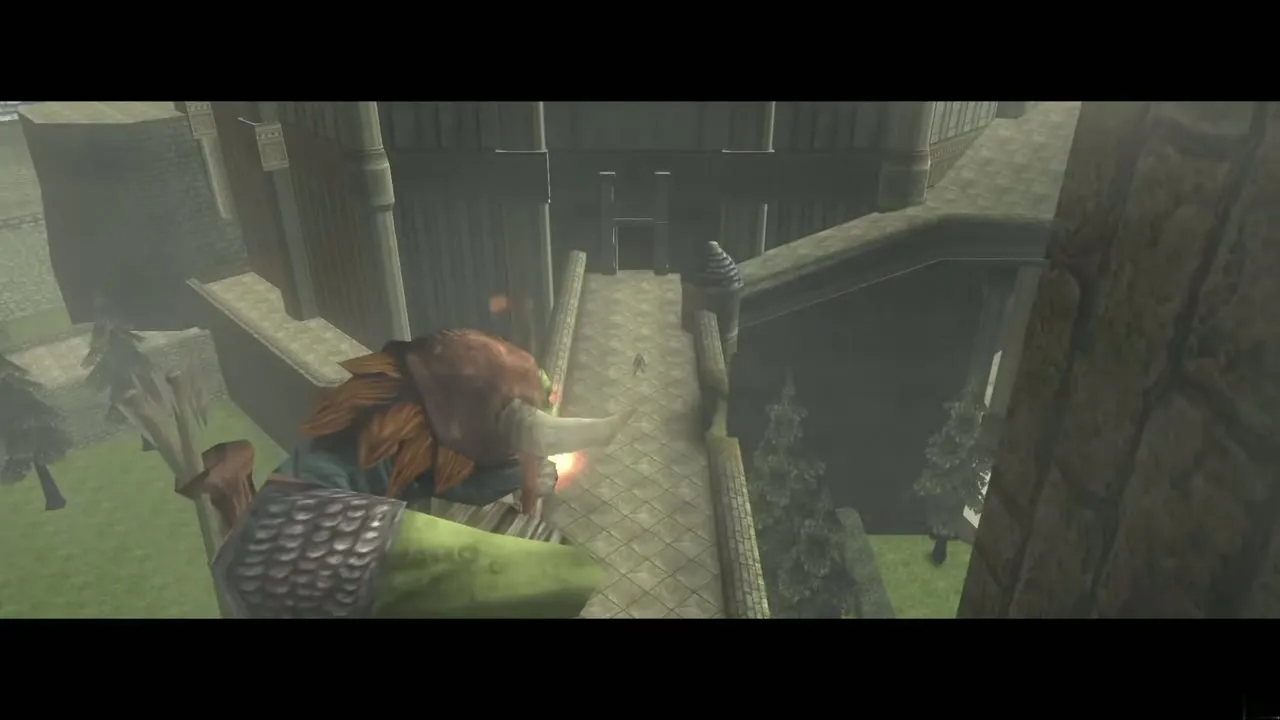
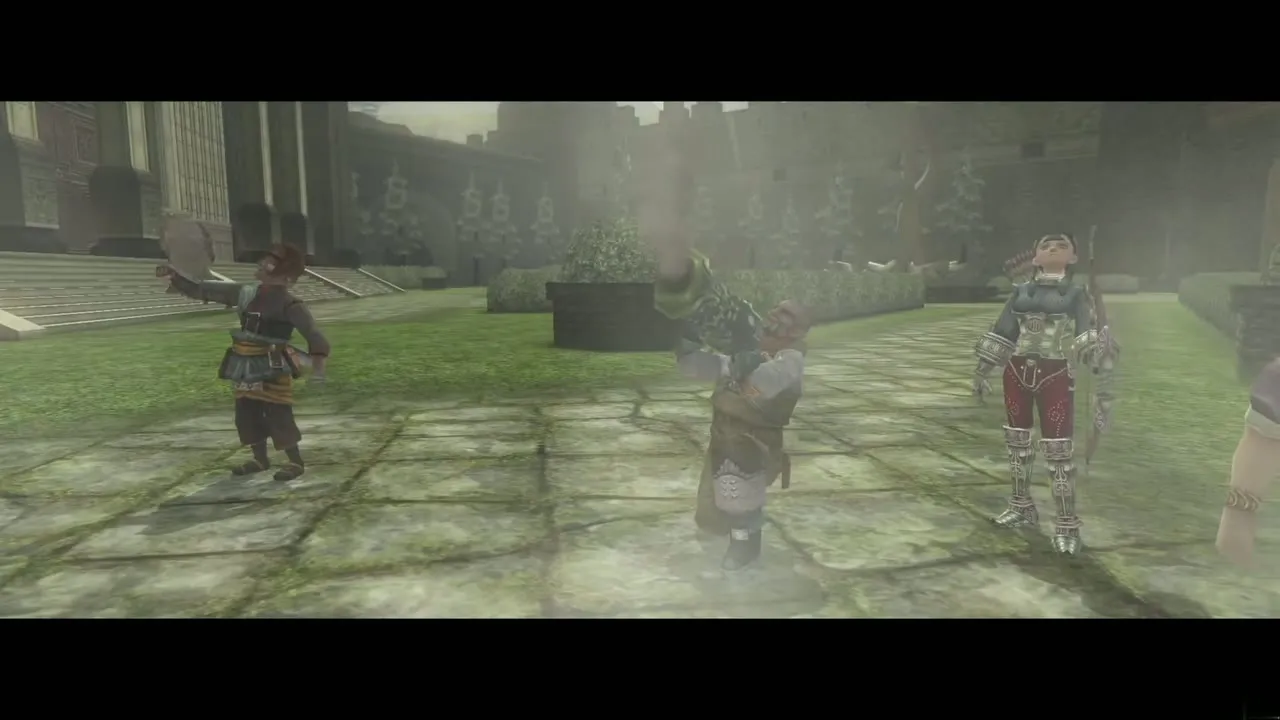
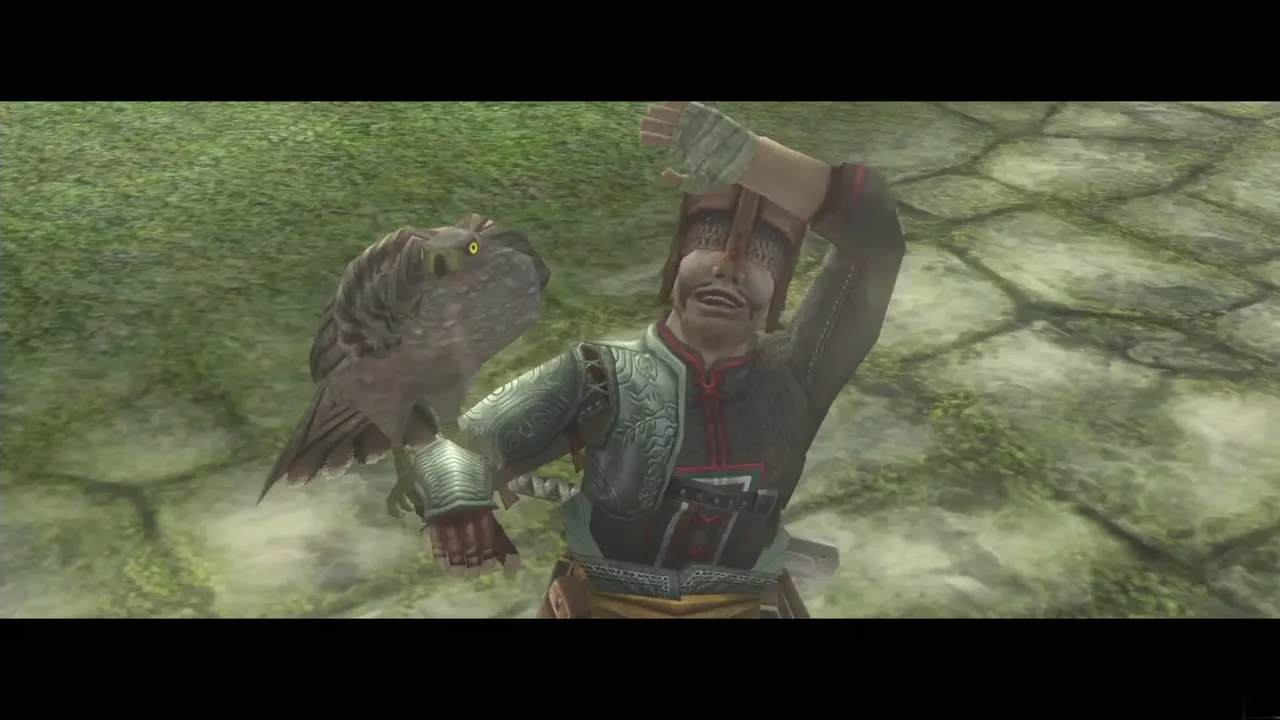
Walk out along the balcony. Lizalfos charge and Bokoblin archers shoot, but a hawk’s cry brings help: Rusl and the Hyrule Resistance from Telma’s bar fell the archers and blow up the Lizalfos. Open the gate-guarded chest on the west half for the Big Key.
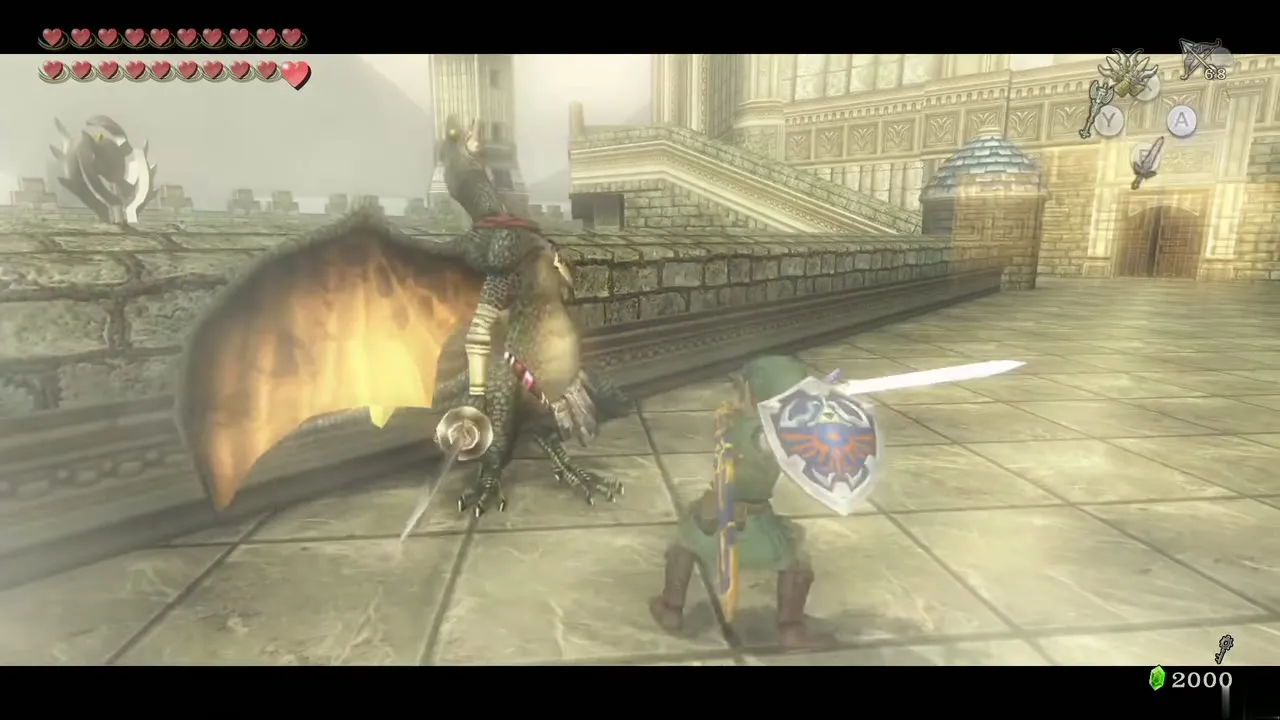
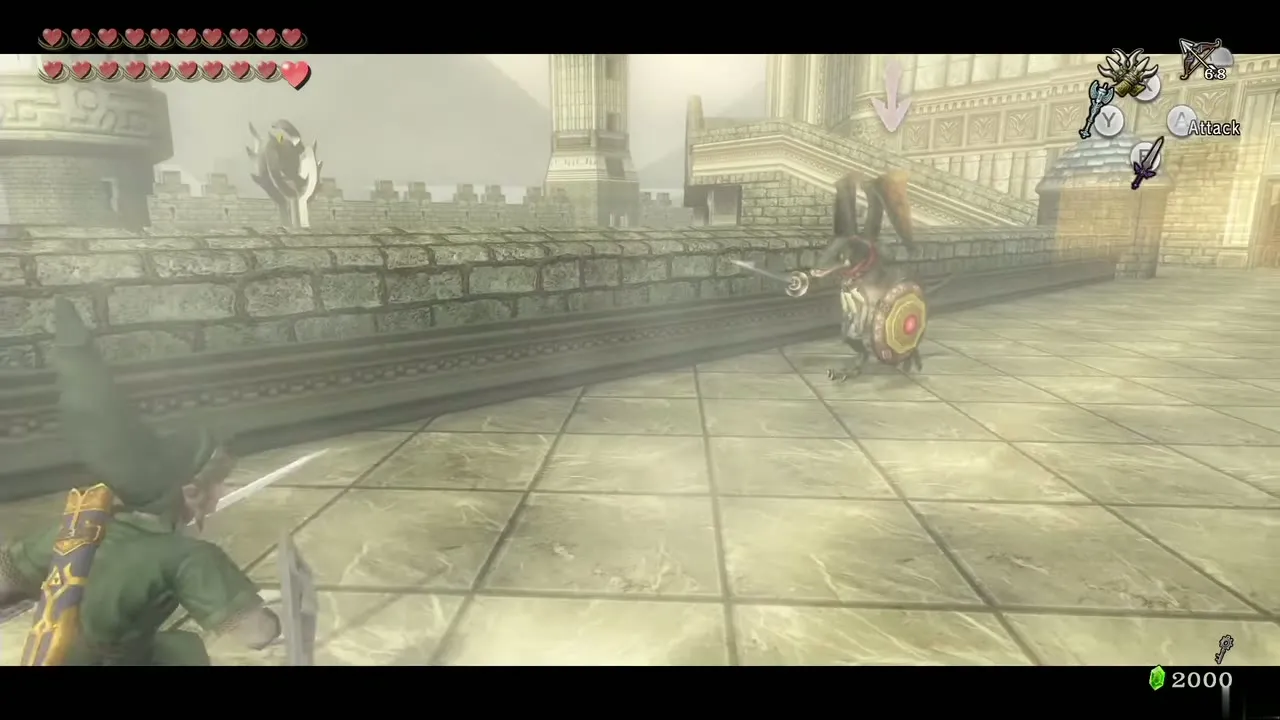
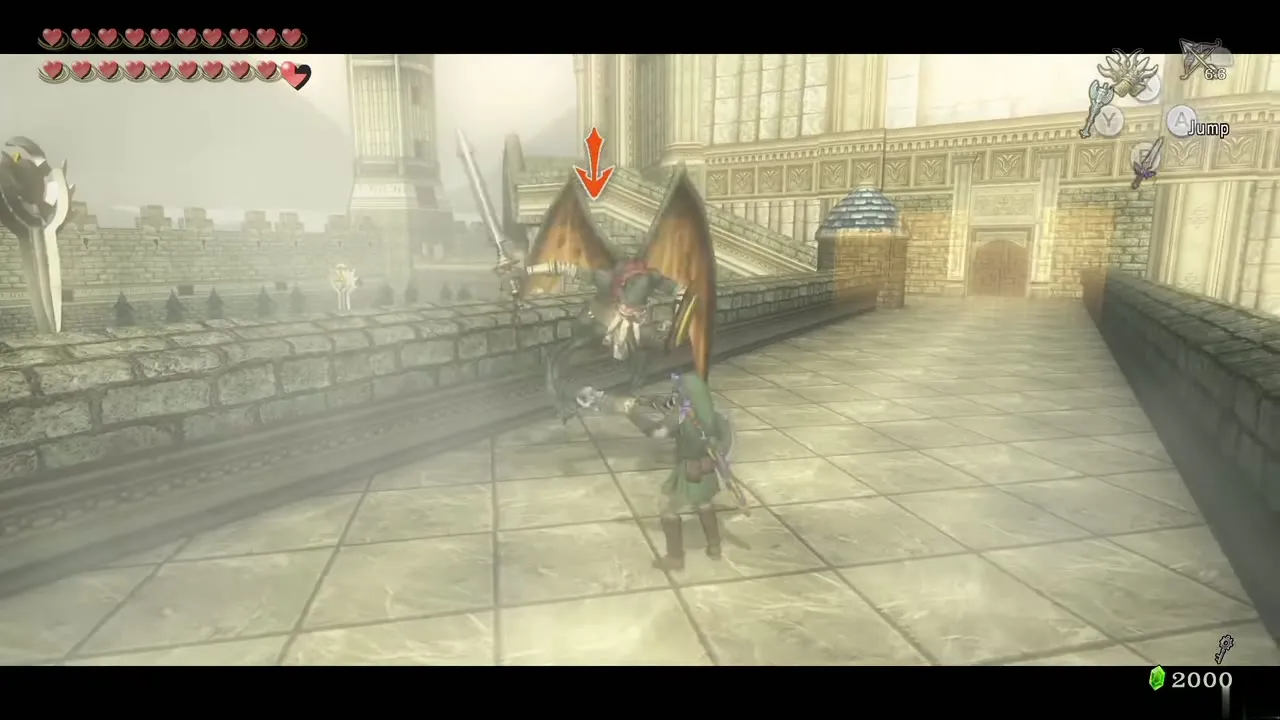
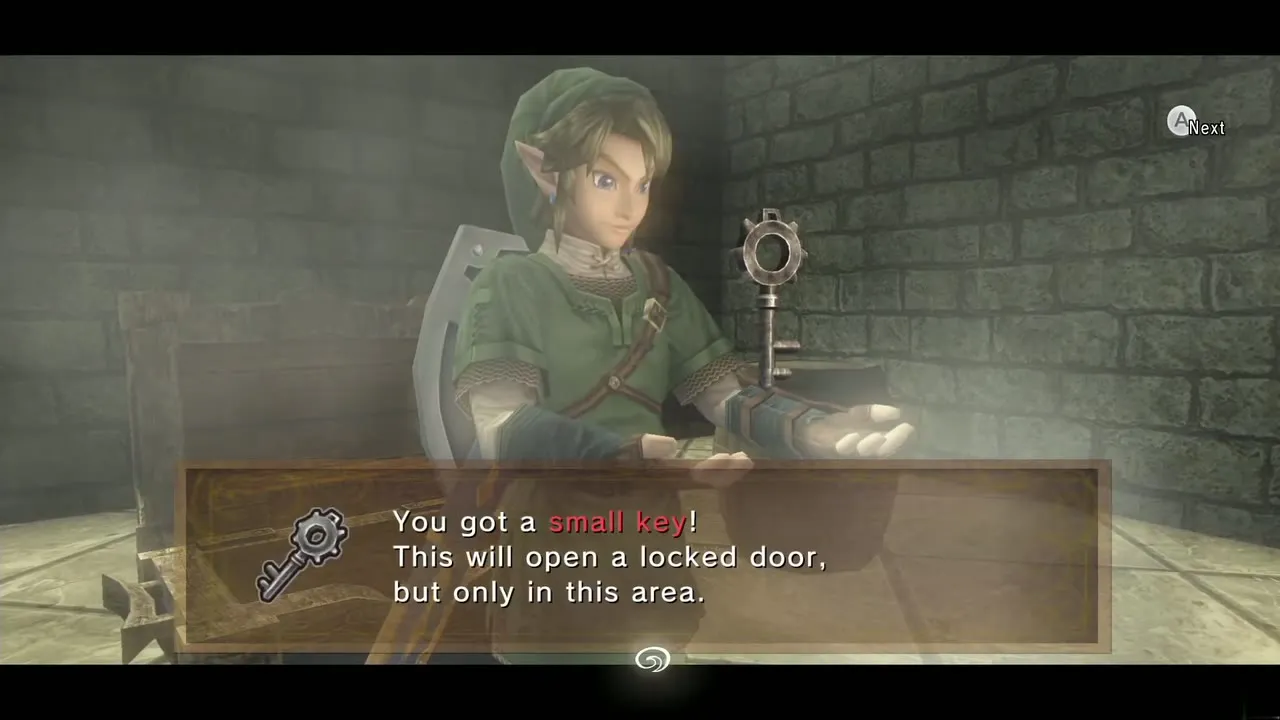
Walk to the east half and a barrier closes around you with an Aeralfos. Fight it as in the City in the Sky: Clawshot it when it holds its shield out, slash it on the ground, finish it with a Shield Attack. Open the chest nearby for the third Small Key. Return to the locked door at the center of the balcony, in front of the castle, and unlock it.
The tower climb to the throne room
Ghost soldier room
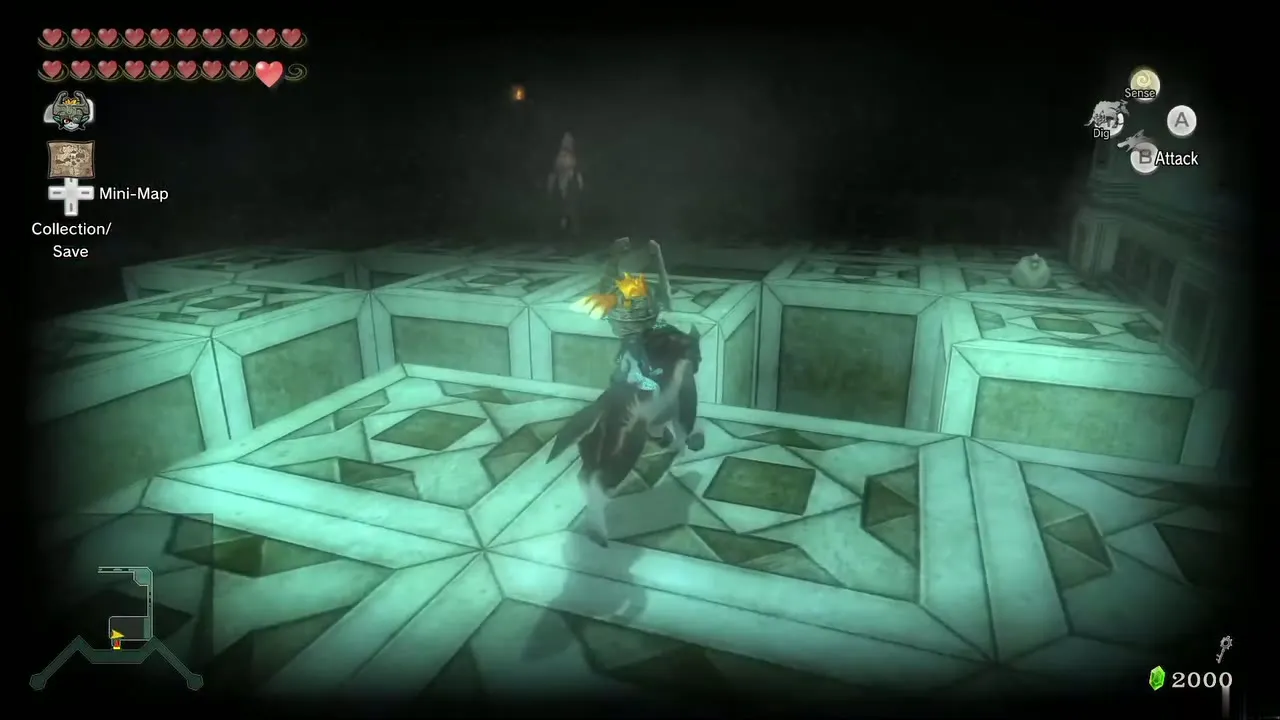
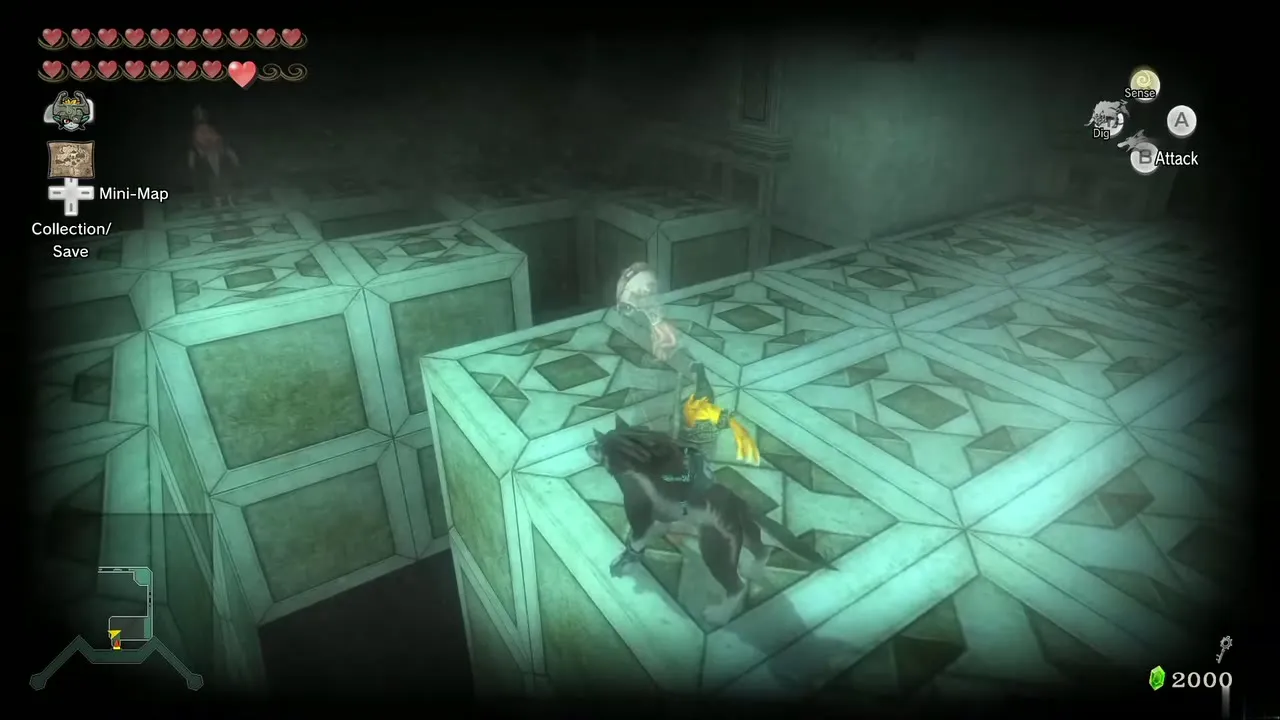
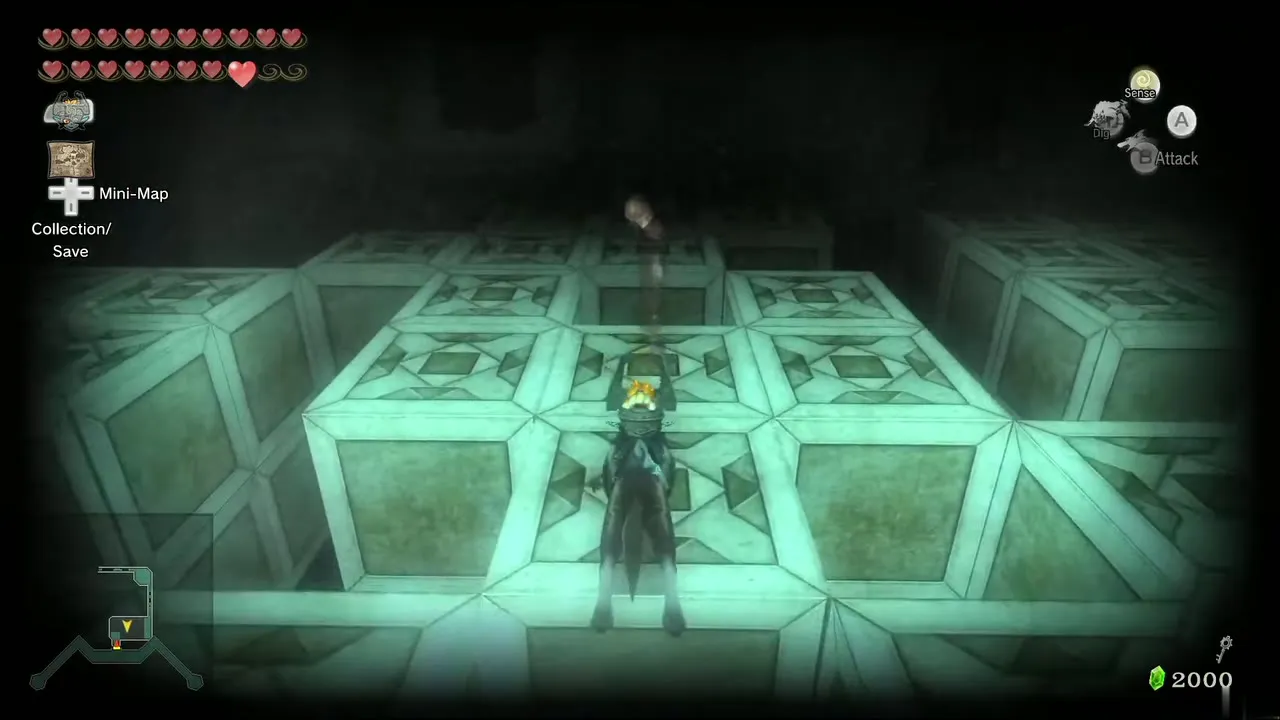
Change into a wolf and kill the Ghoul Rats that attach to you with a spin attack. Many floor blocks crumble when stepped on, but the ghost soldiers point to the safe route: walk straight from the first soldier to the second, then follow the next soldier’s arm, and so on until you reach the east side of the room. Turn human again.
The broken stairs
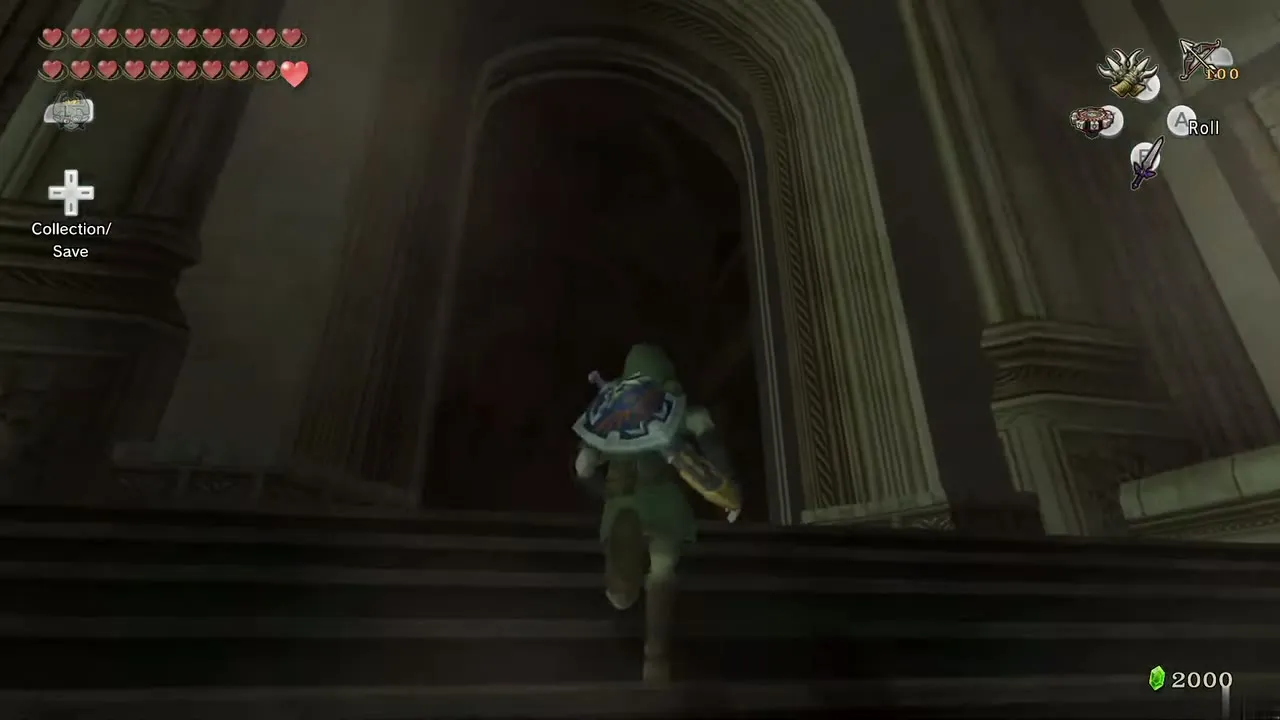
Climb the narrow broken staircase. A barrier closes at the top with two Lizalfos. Defeat them and continue up the next flight, where gratings cover small torches: Clawshot from torch to torch to cross the gaps. At the top another barrier appears with two more Lizalfos.
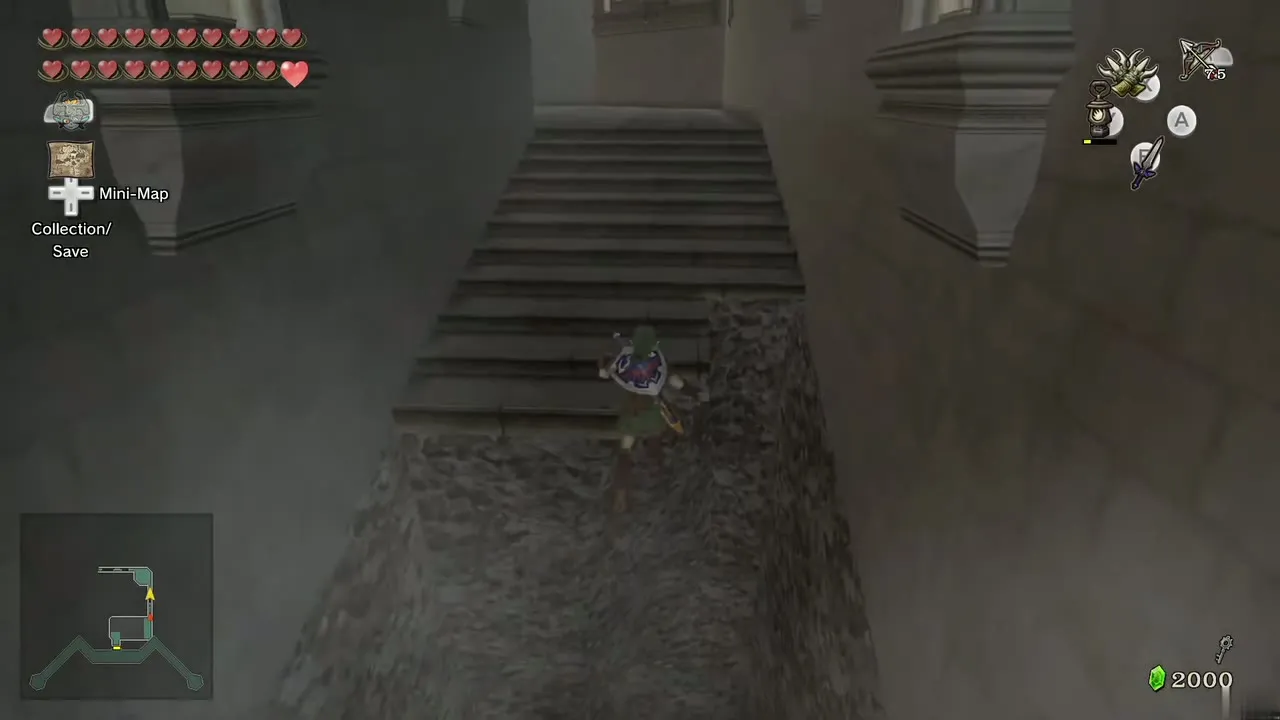
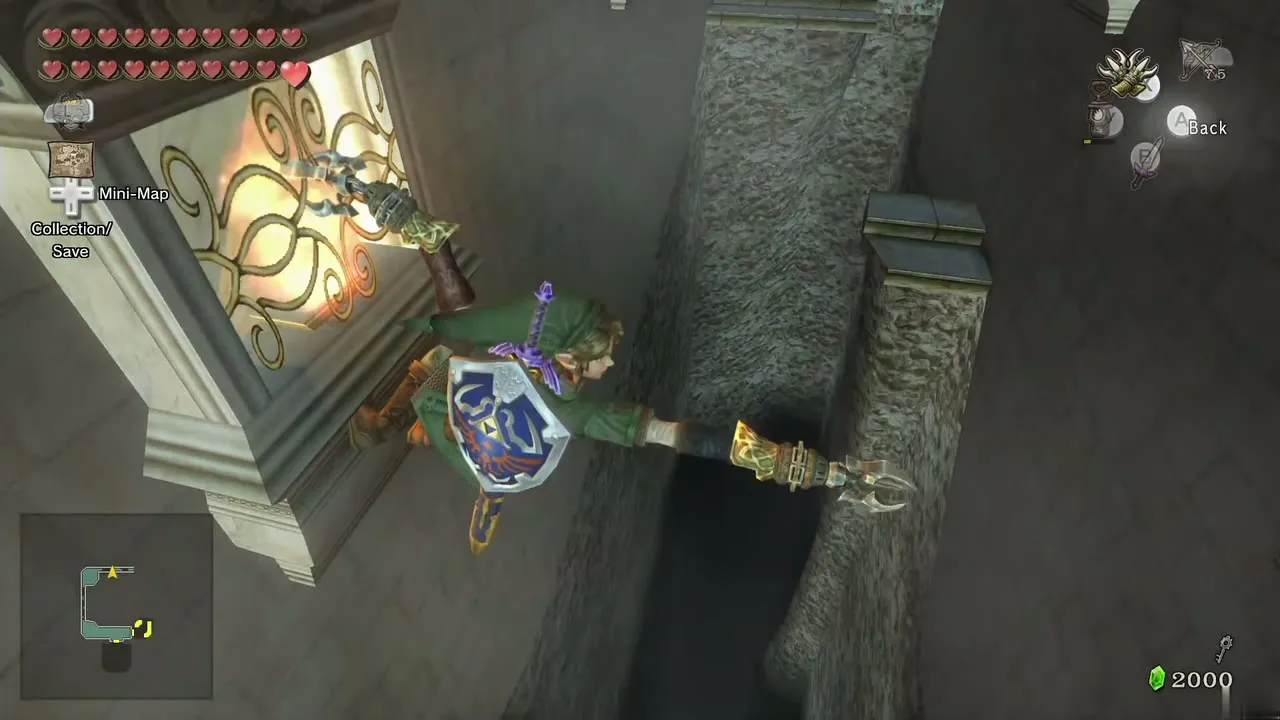
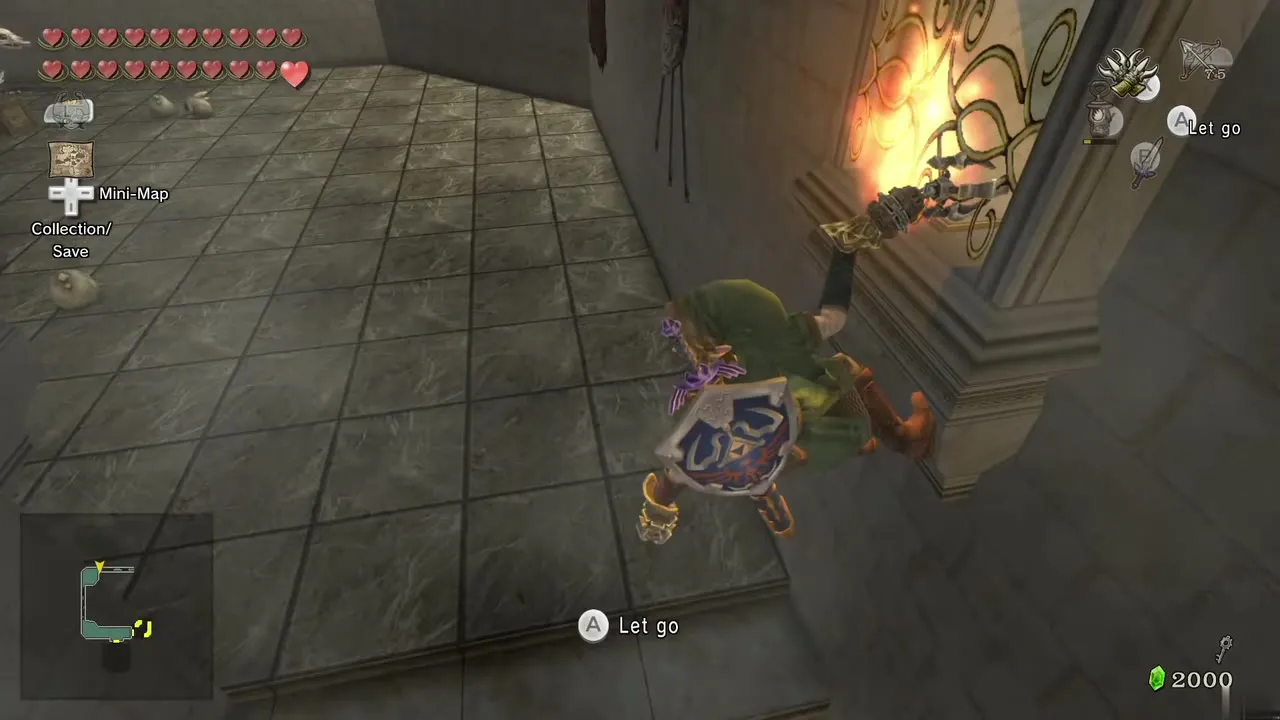
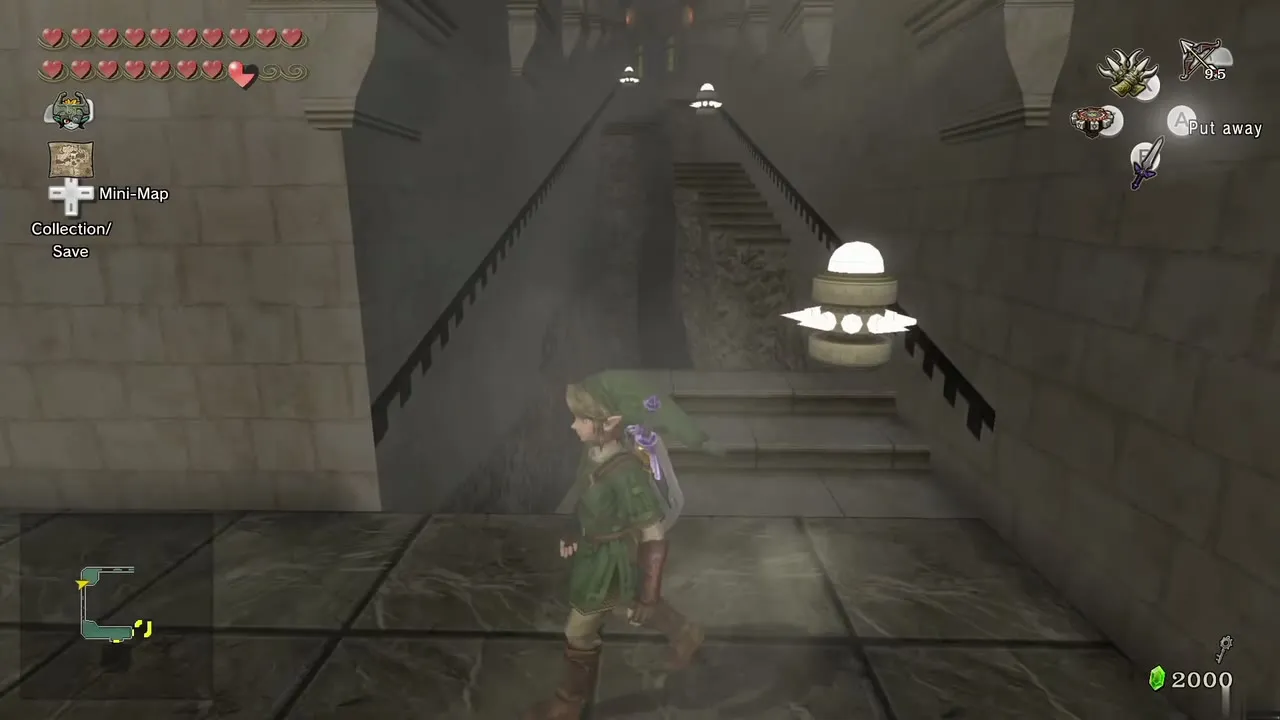
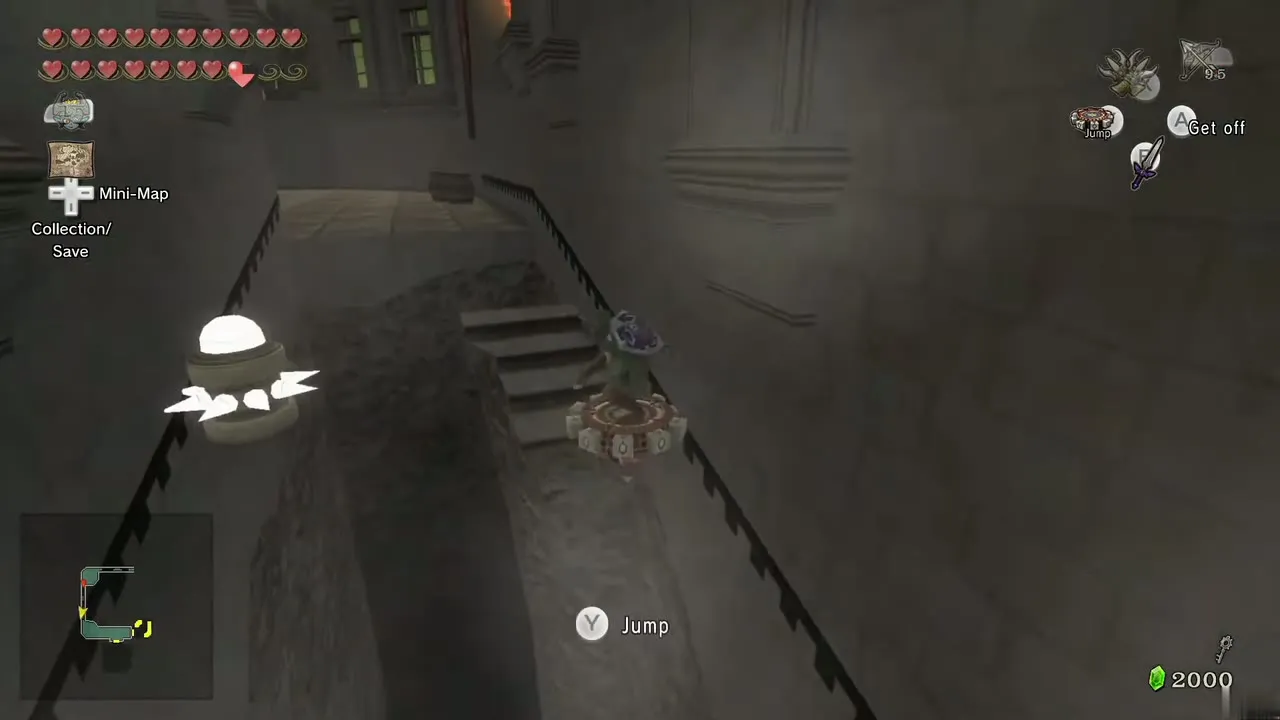
The next flight has Spinner tracks on the railing. Ride the Spinner from rail to rail, avoiding the three spikes that also travel the rail, to reach the top floor.
Last Darknut and the supply room
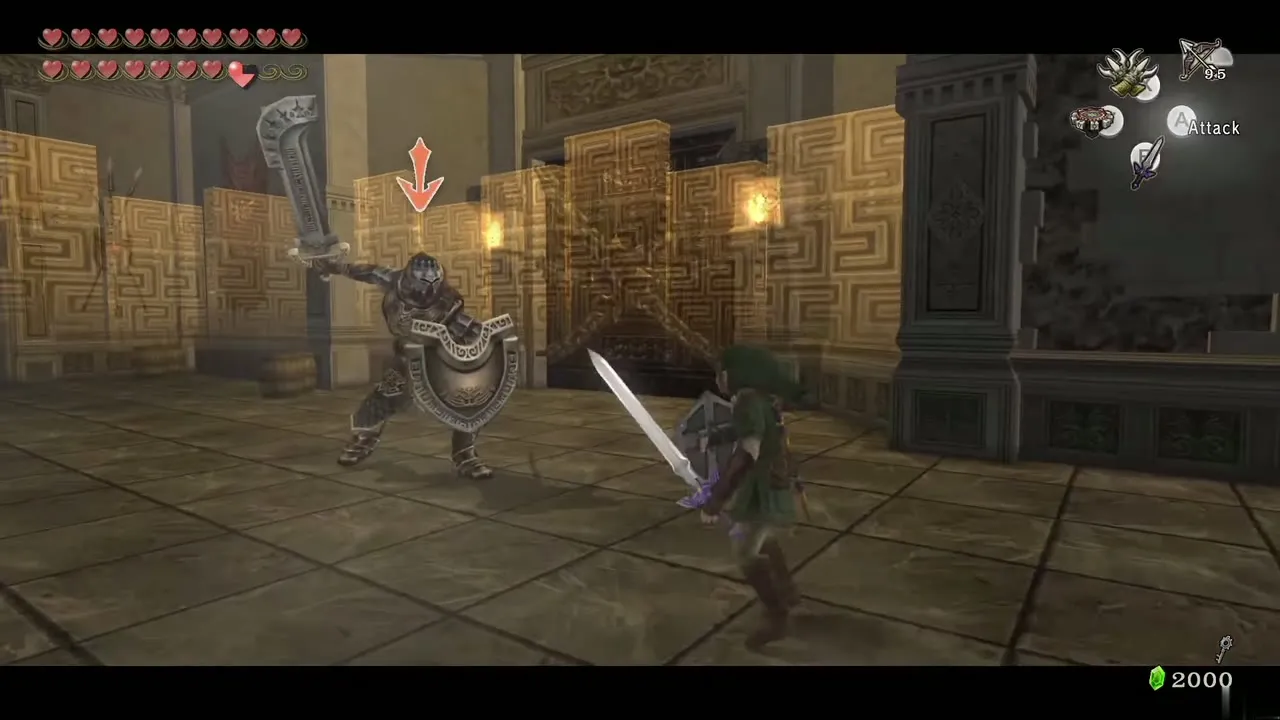
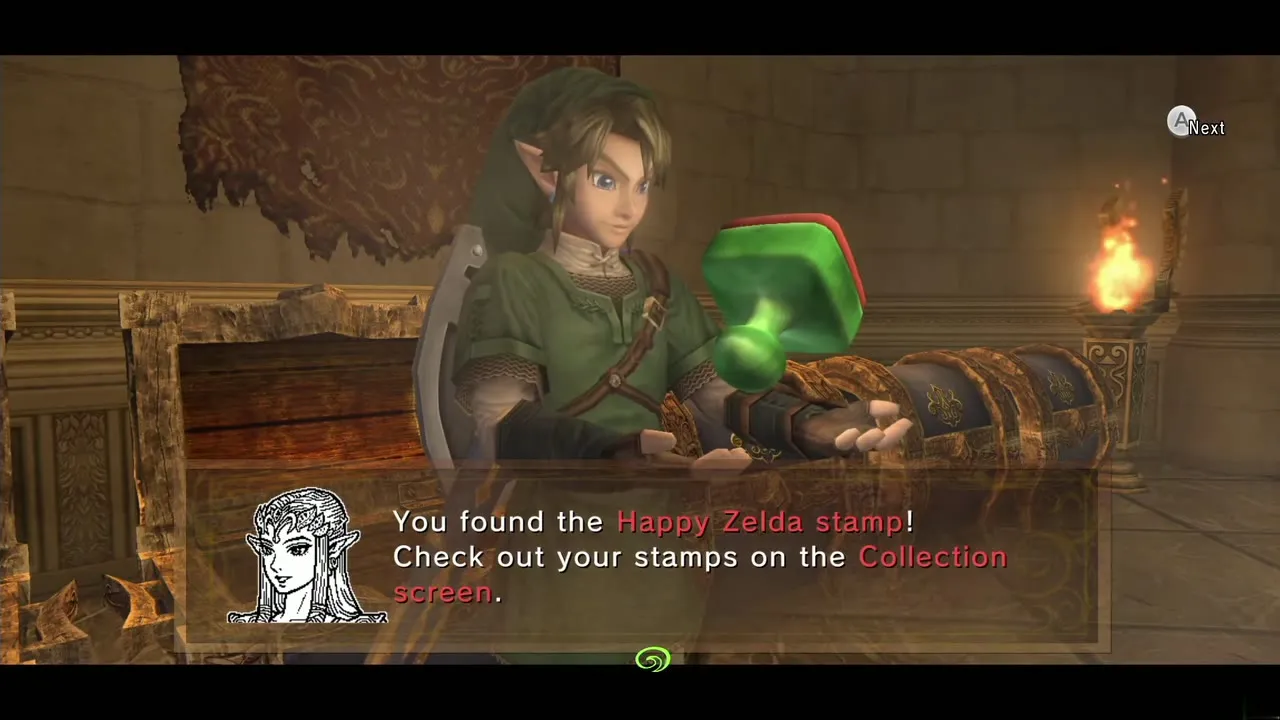
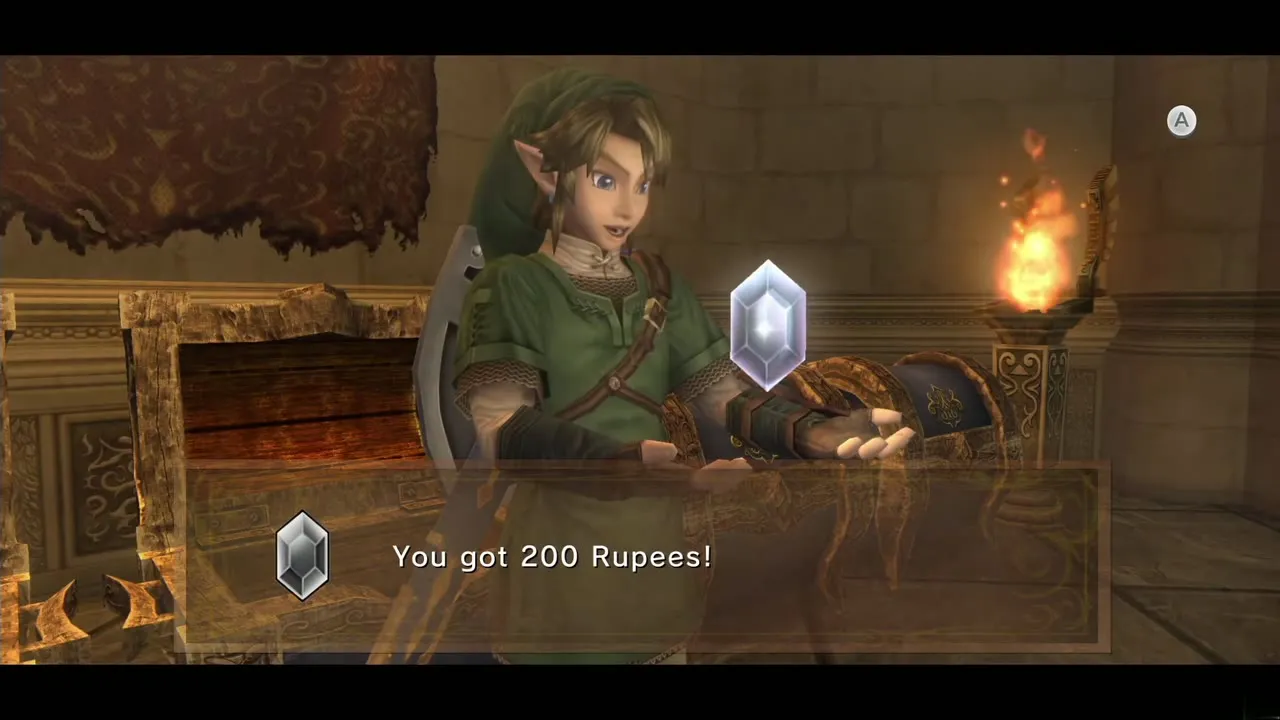
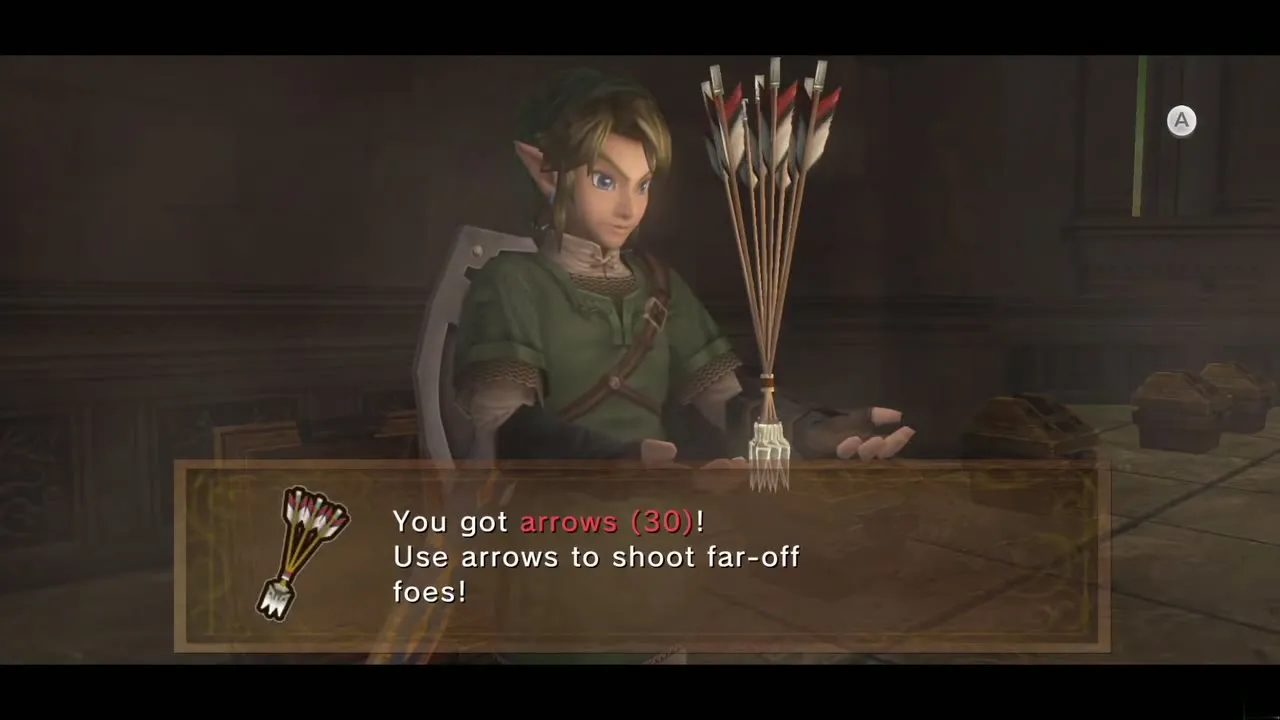
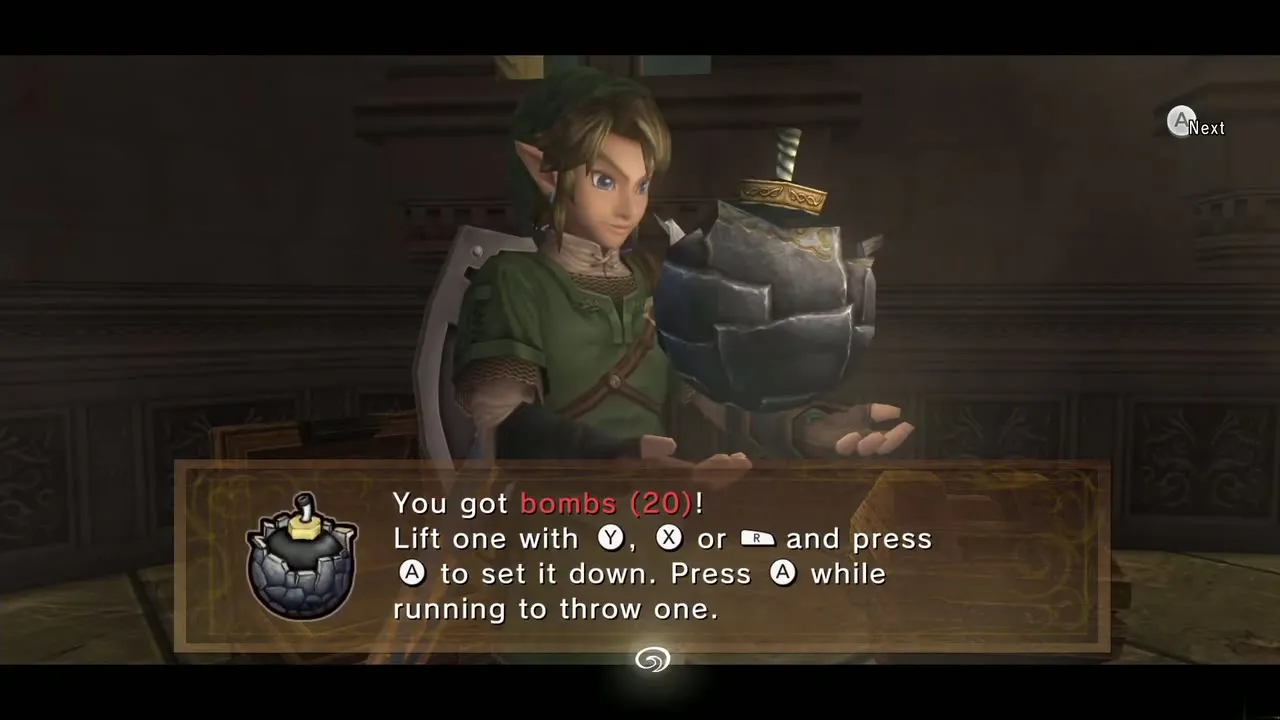
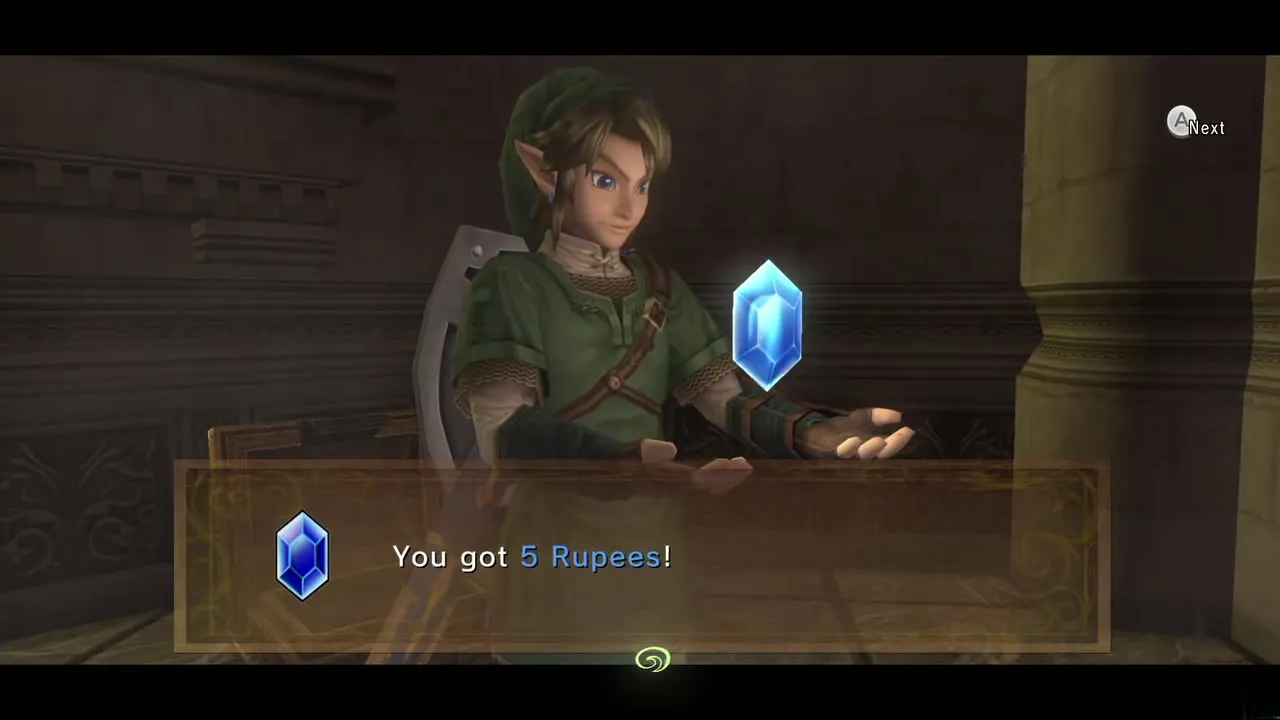
A third Darknut guards the top landing behind another barrier; beat him with the same tactics as before. Before the boss door, a side door opens with the second Small Key from the graveyard. Its chests hold Rupees from 5 up to 200, bombs, arrows and other supplies, and the chest with the Happy Zelda Miiverse stamp (50 Seeds without it). If this is your 49th stamp, the Twili Midna stamp arrives automatically.
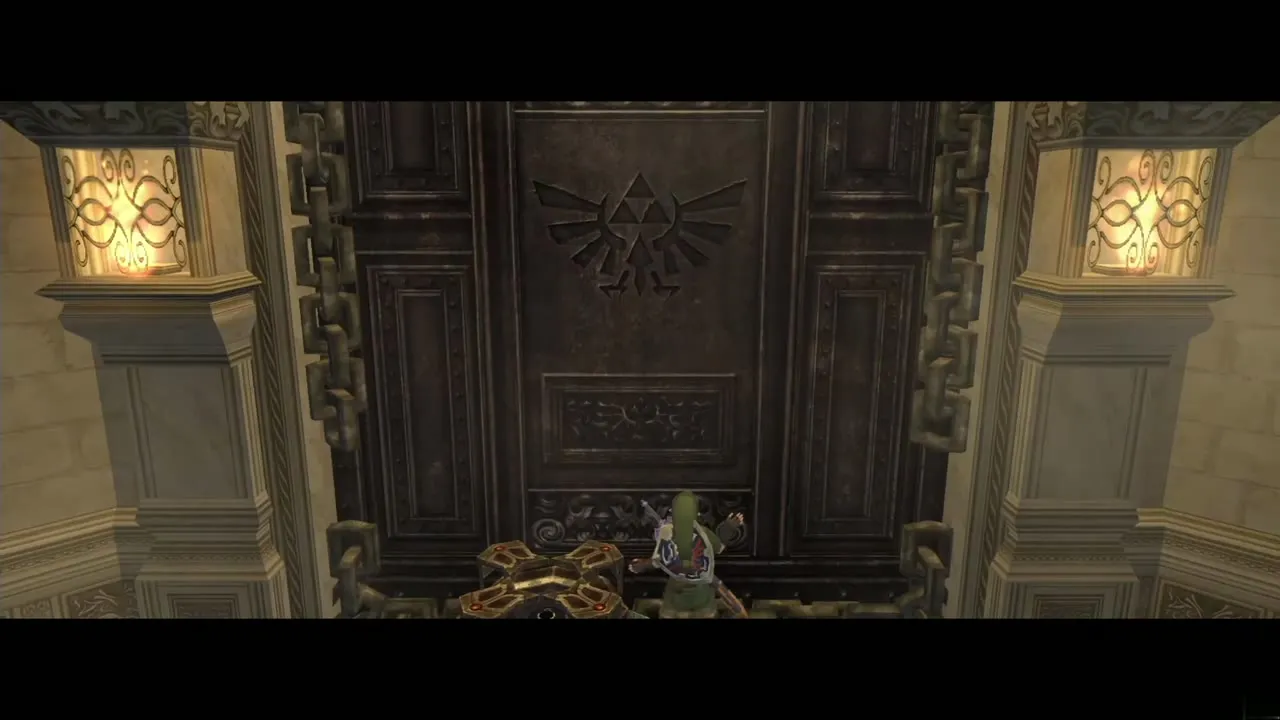
Check your hearts, bottles and ammunition, then open the boss door with the Big Key. Pots and skulls in the throne room give back hearts and fairies during the fight, but nothing refills your arrows.
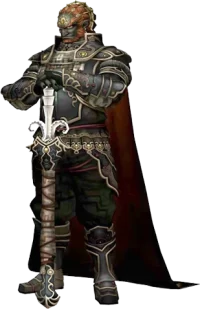
Ganondorf battle: all four phases
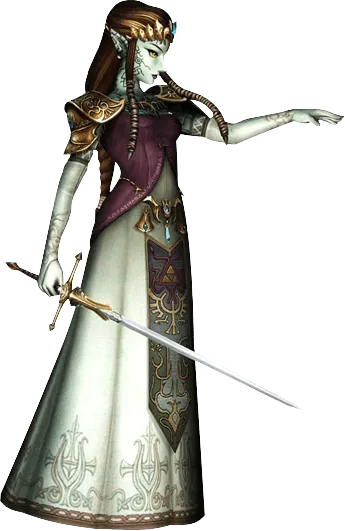
Phase 1: Puppet Zelda
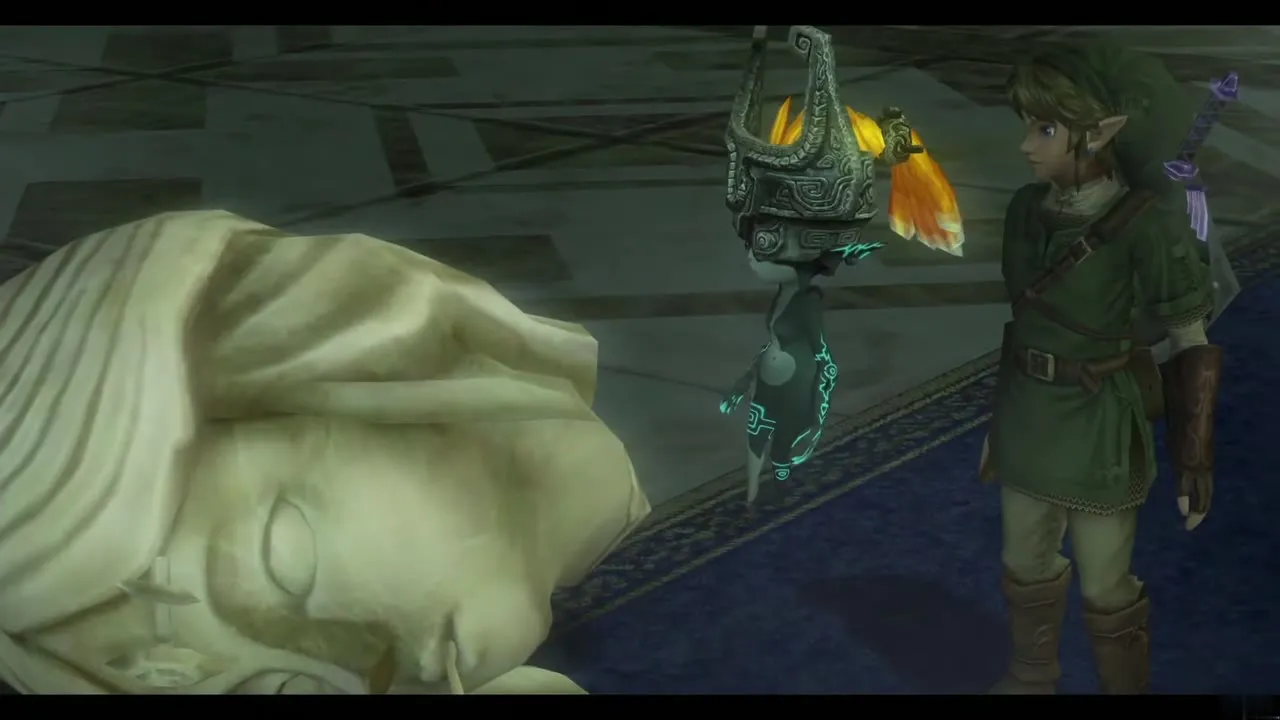
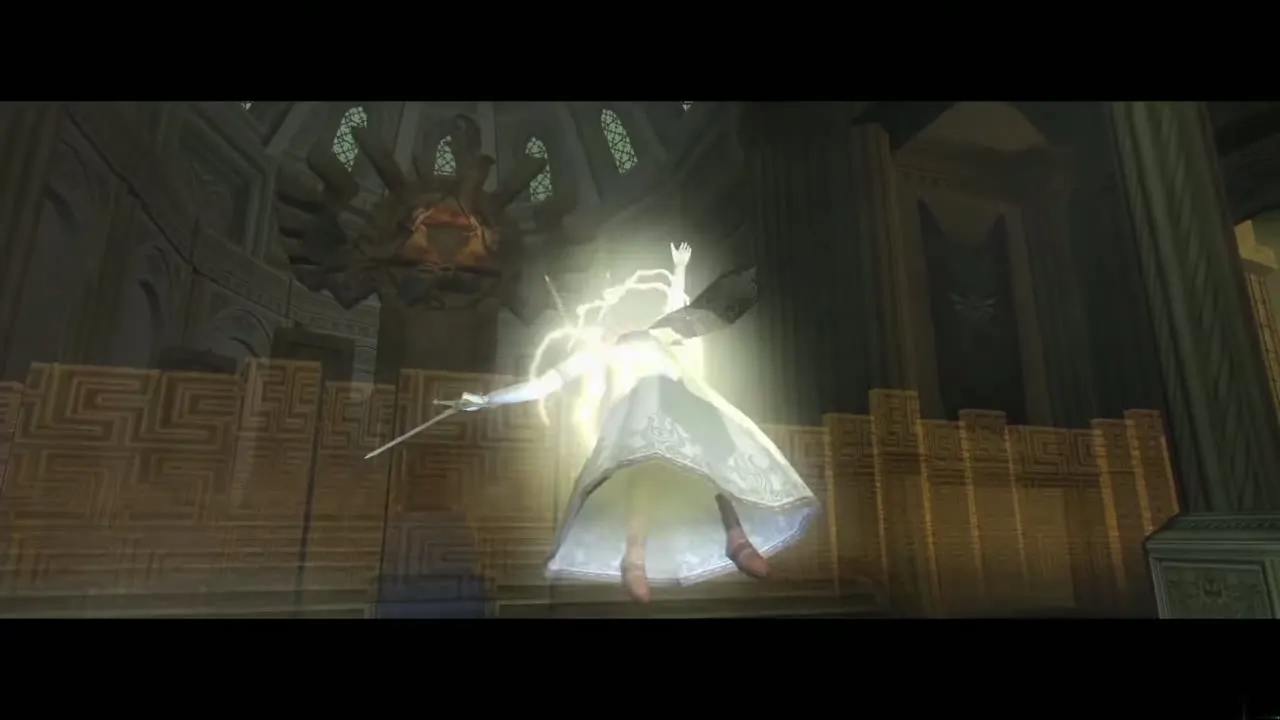
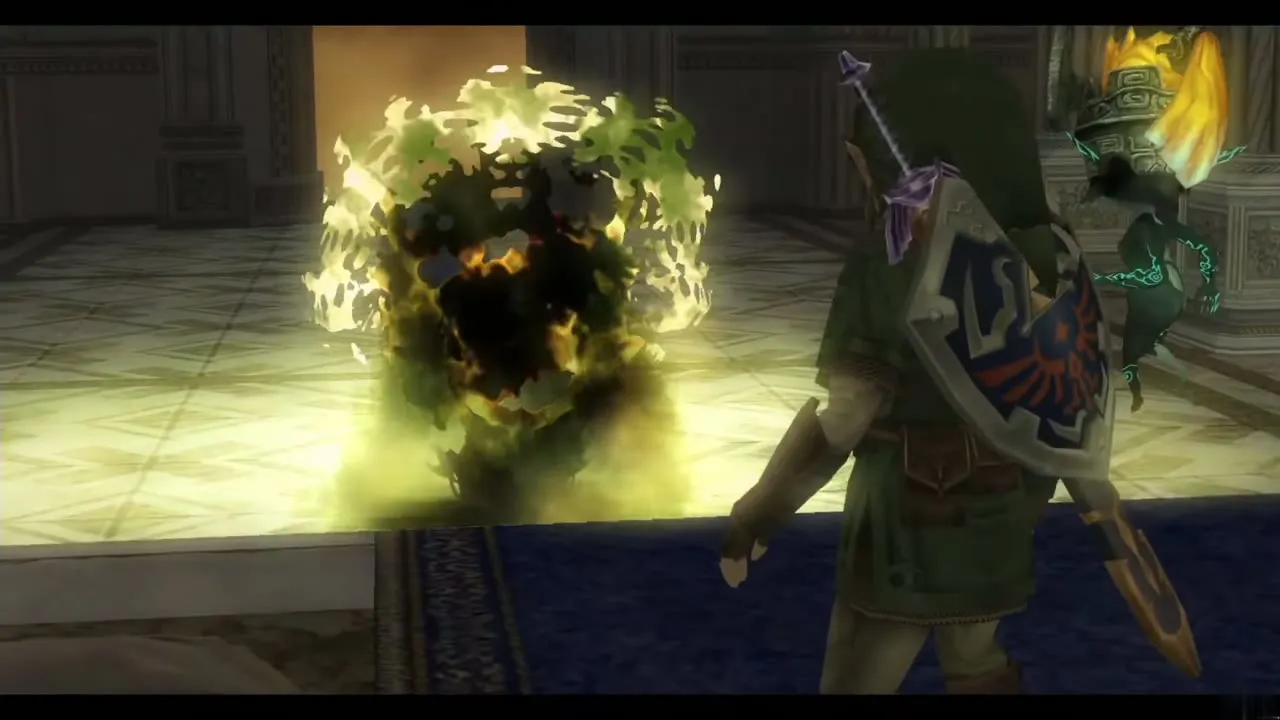
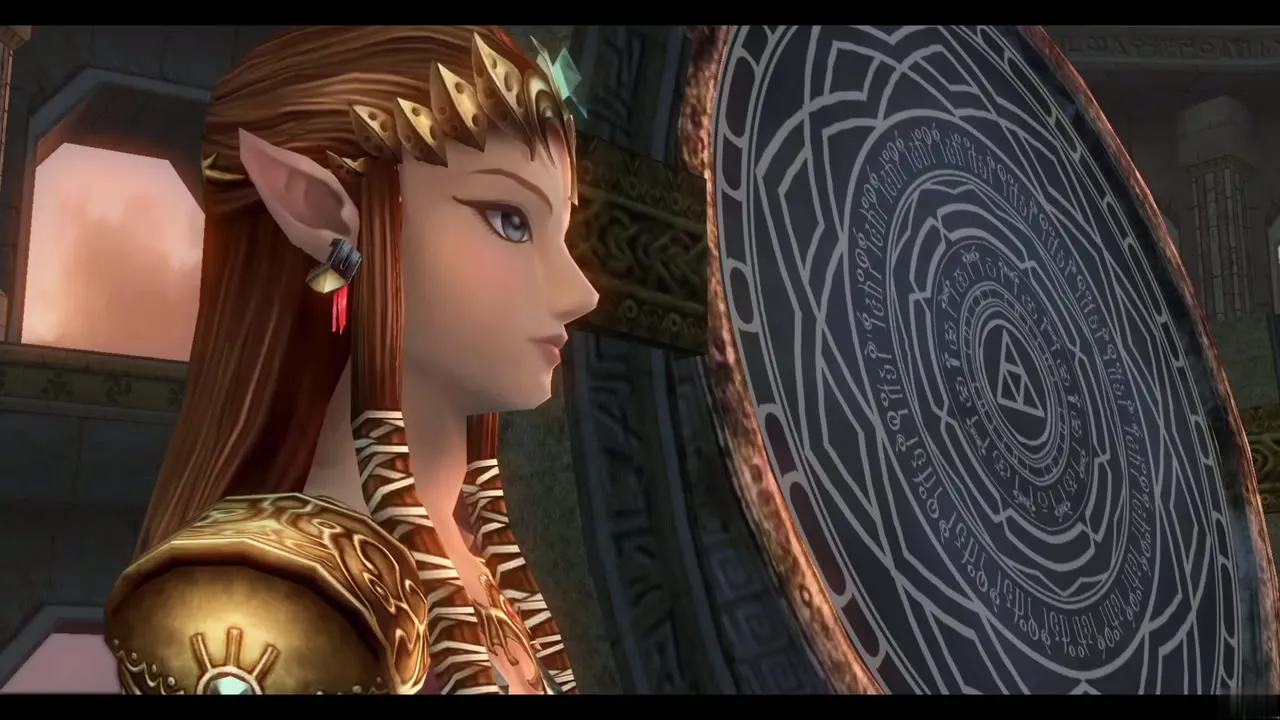
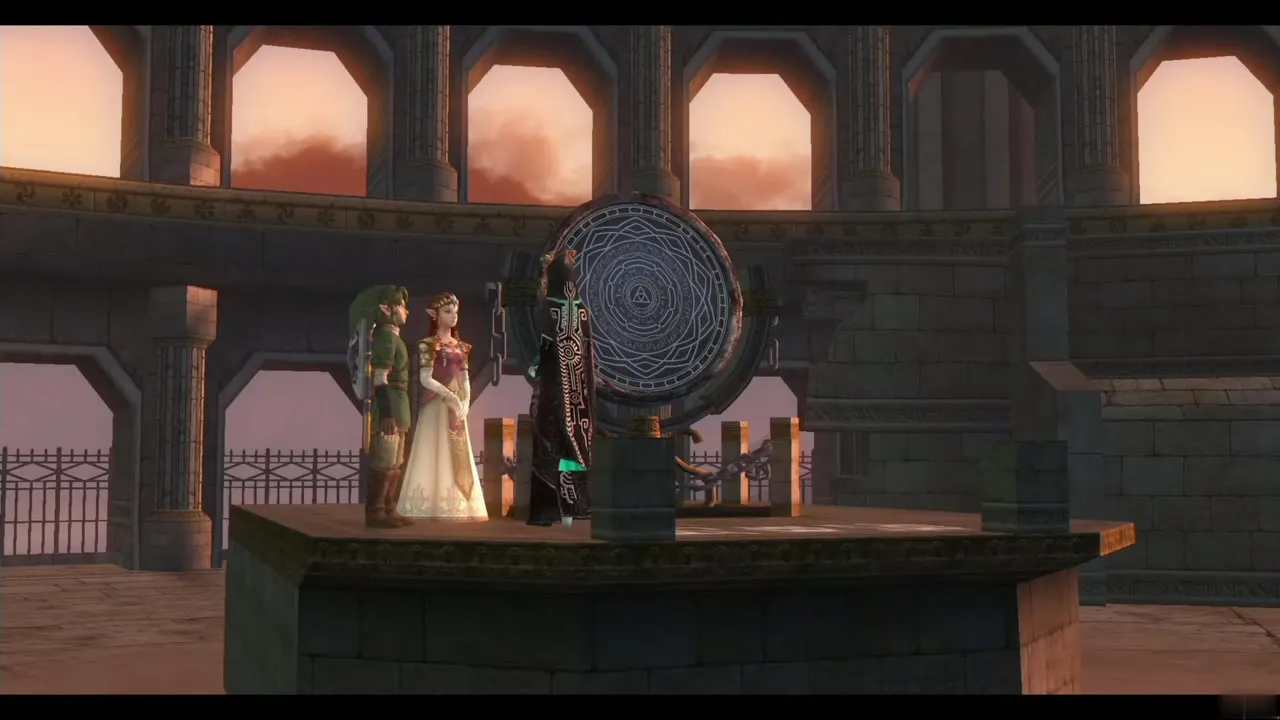
You emerge outside near the top of the castle, climb the steps and enter over a blue carpet into the throne room where Zant once appeared. Zelda lies asleep and Ganondorf sits on the throne. After he mocks the Twili and shows his Triforce of Power, he puts his power into Zelda, who rises as a puppet and throws Midna out of the room.
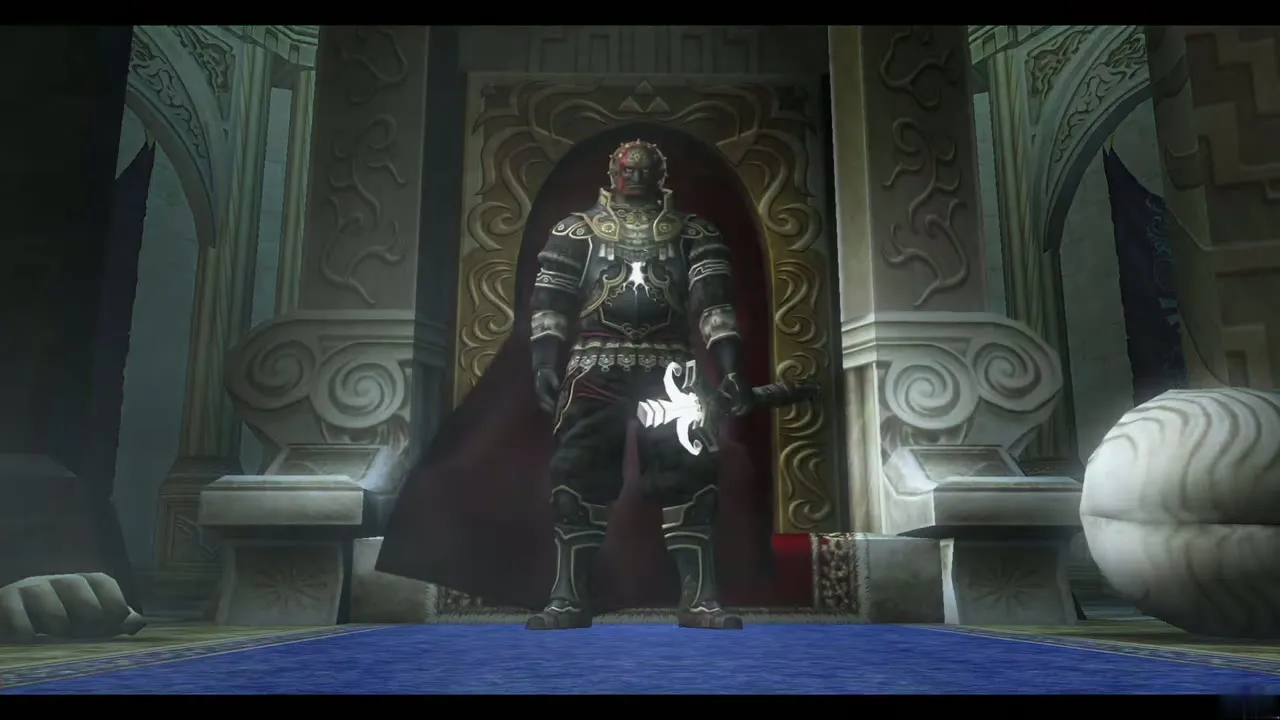
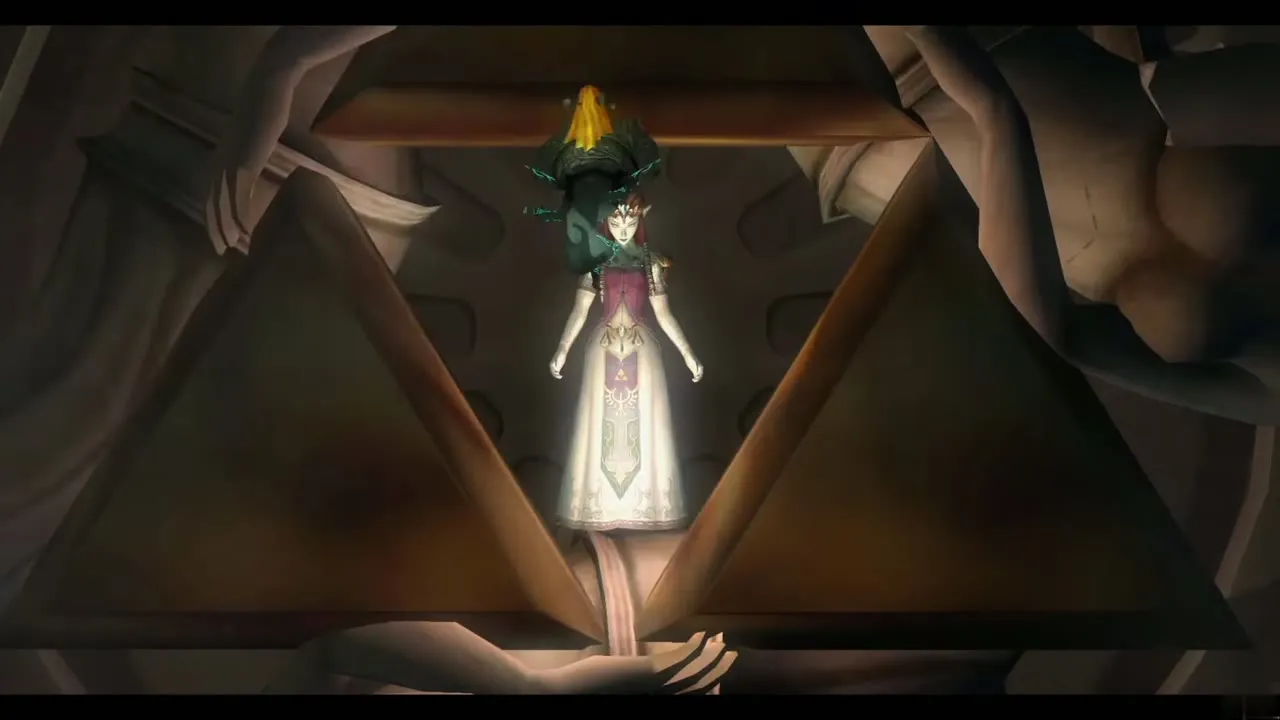
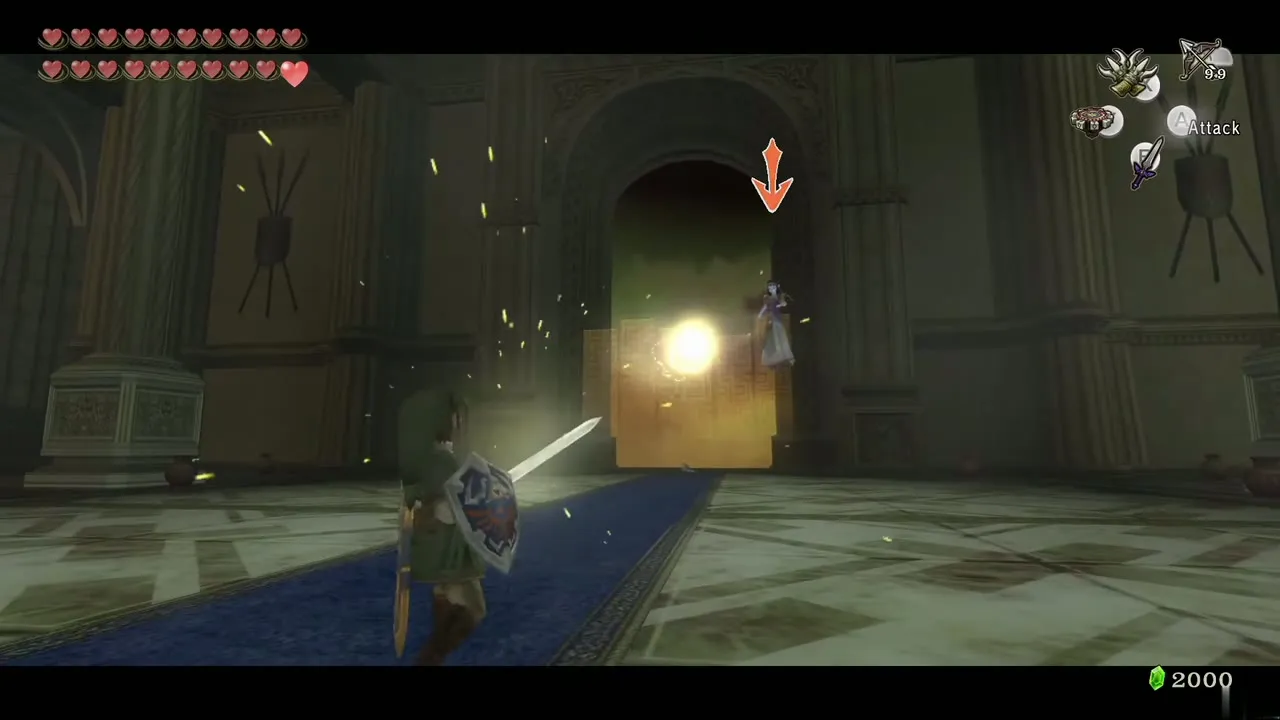
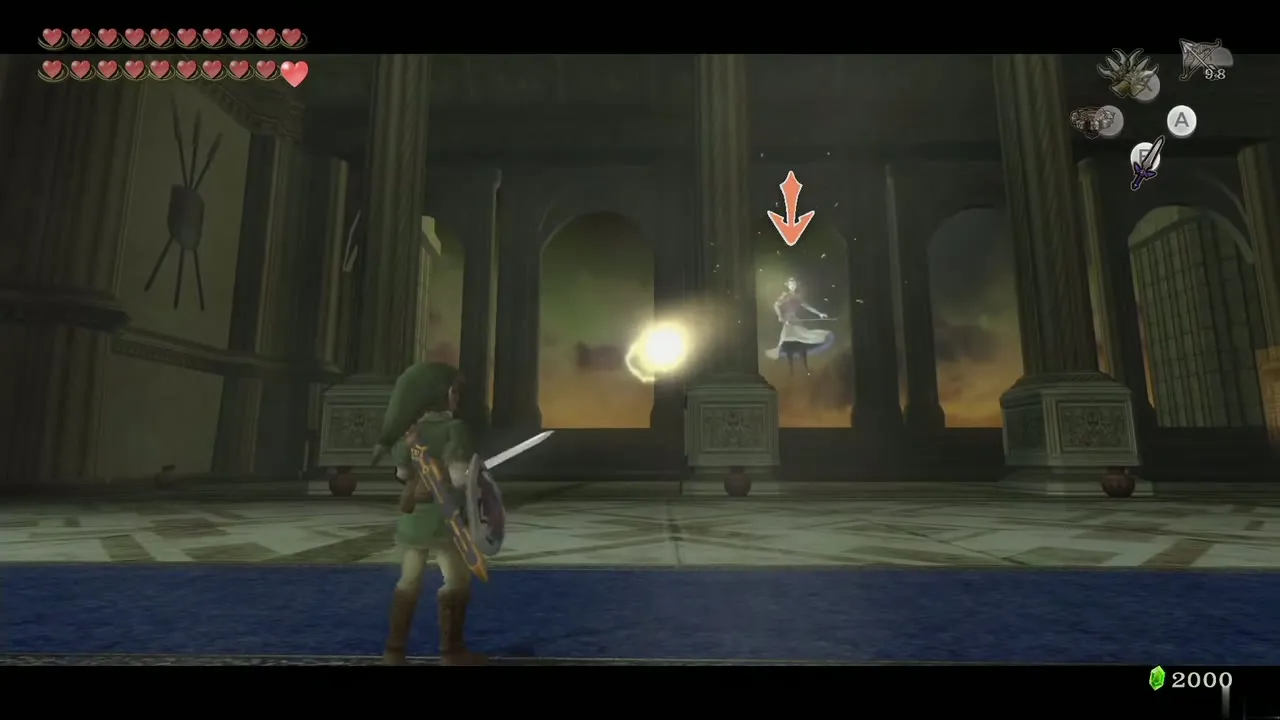
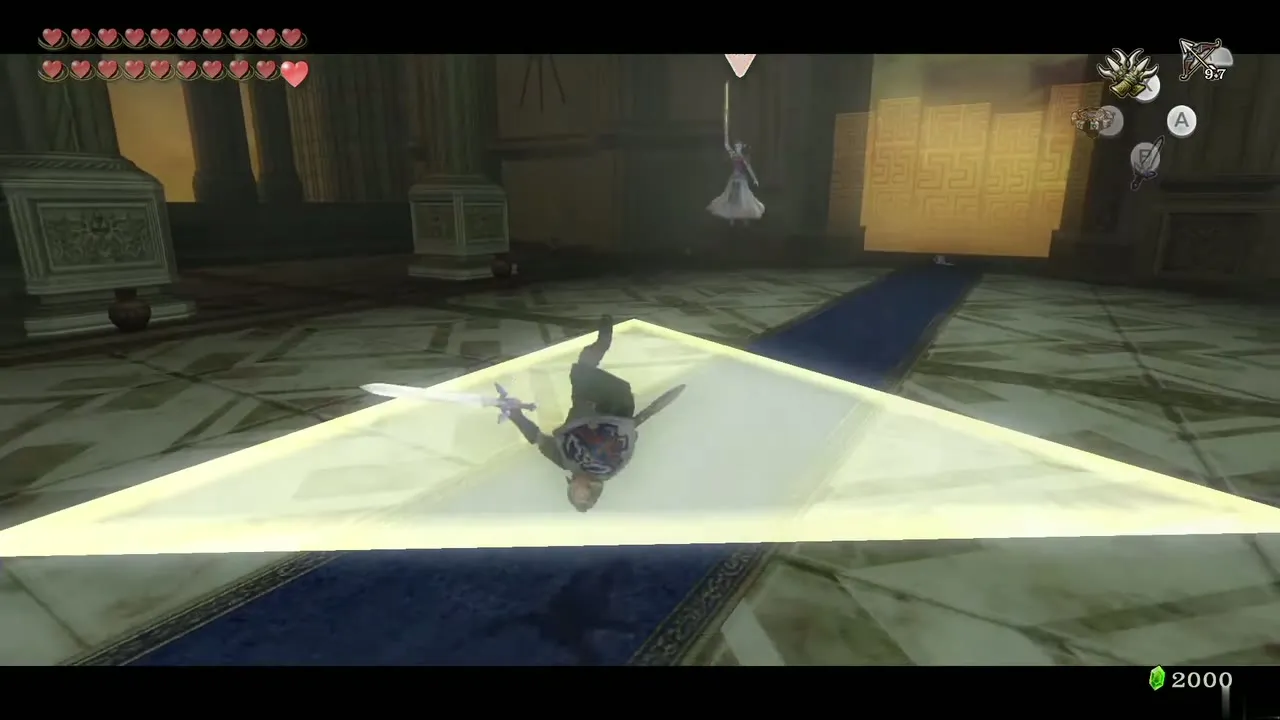
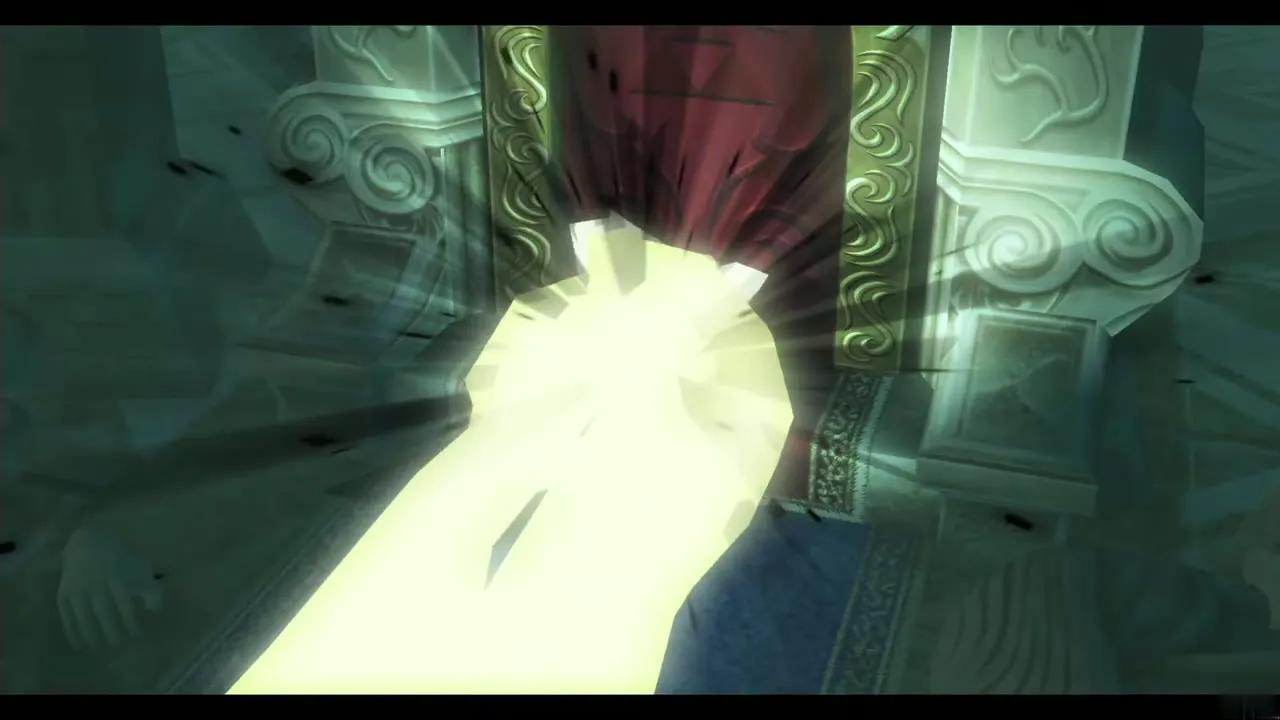
Puppet Zelda floats and attacks three ways. She dashes with her sword, which a shield blocks (a hit makes you lose your lock-on for a second). She summons a giant golden triangle on the floor; leave it at once or lose hearts. Her main attack is a ball of light: slash it back and she deflects it again, tennis style, but the ball speeds up each time, until she misses and is hit. Hit her three times and Midna uses the three Fused Shadows to break the curse. Break pots between rounds for hearts.
Phase 2: Dark Beast Ganon
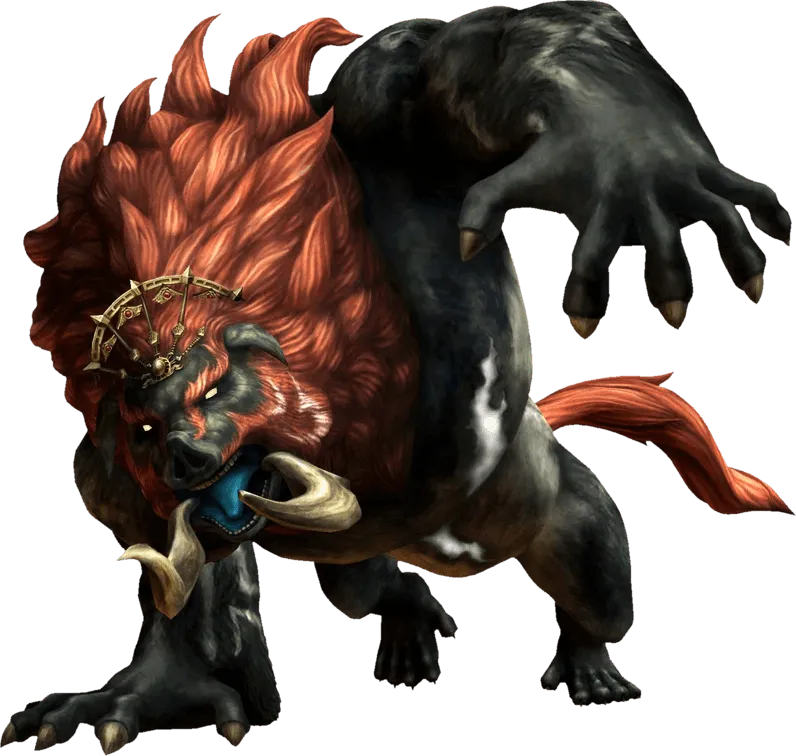
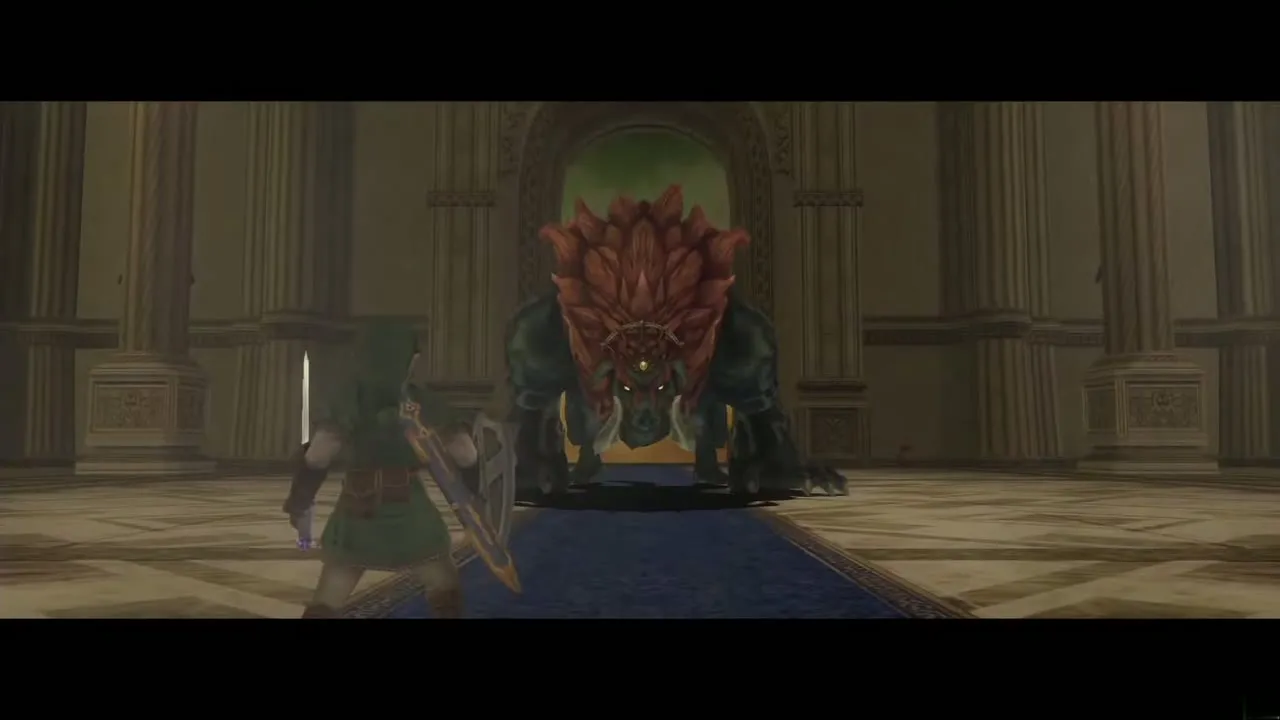
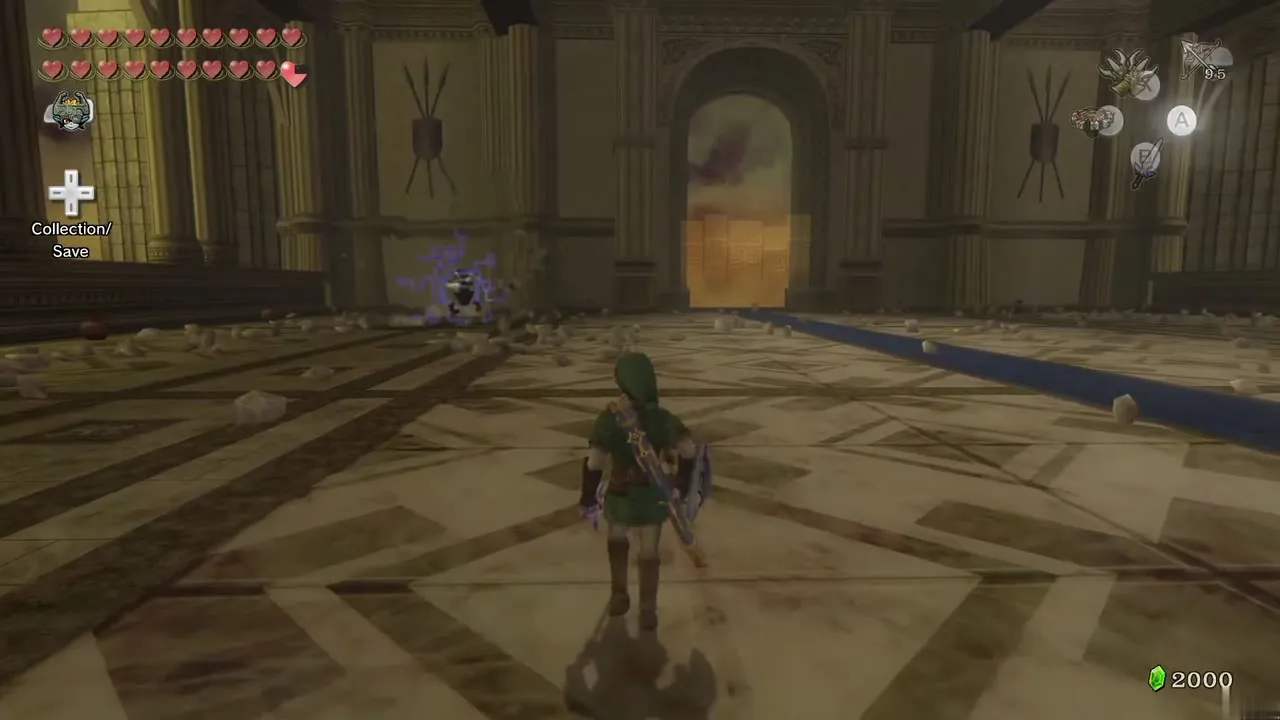
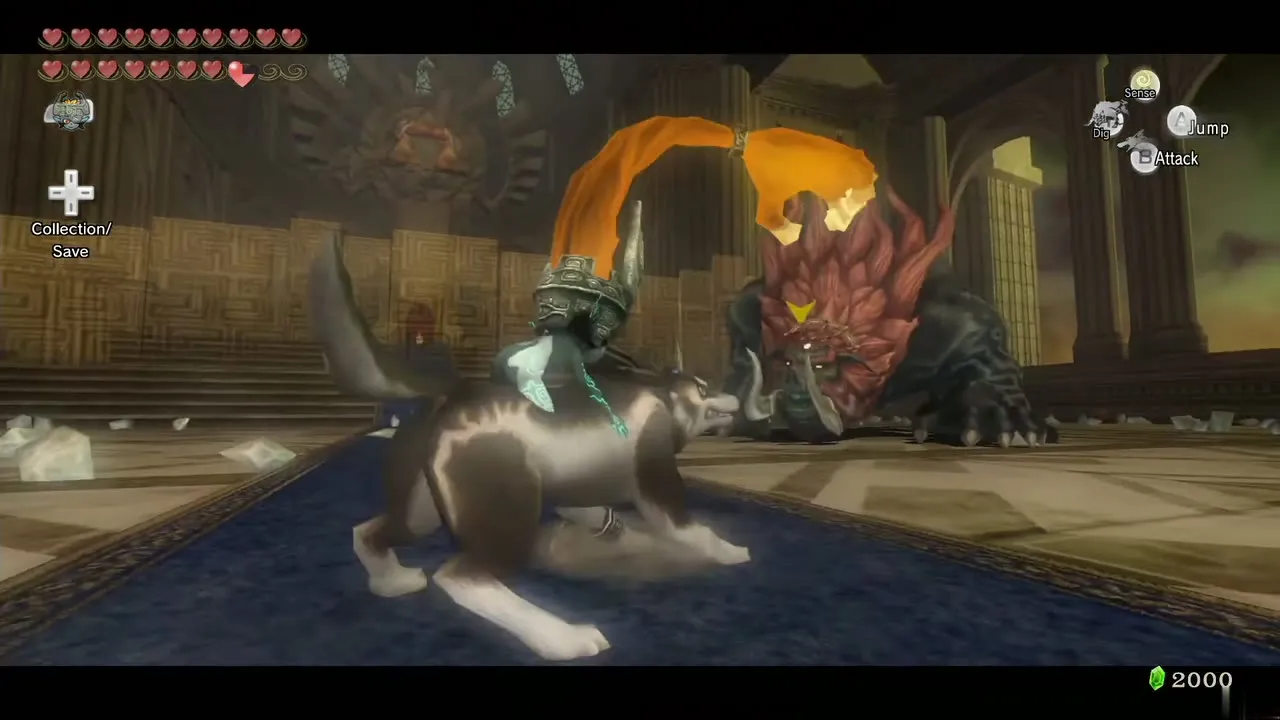
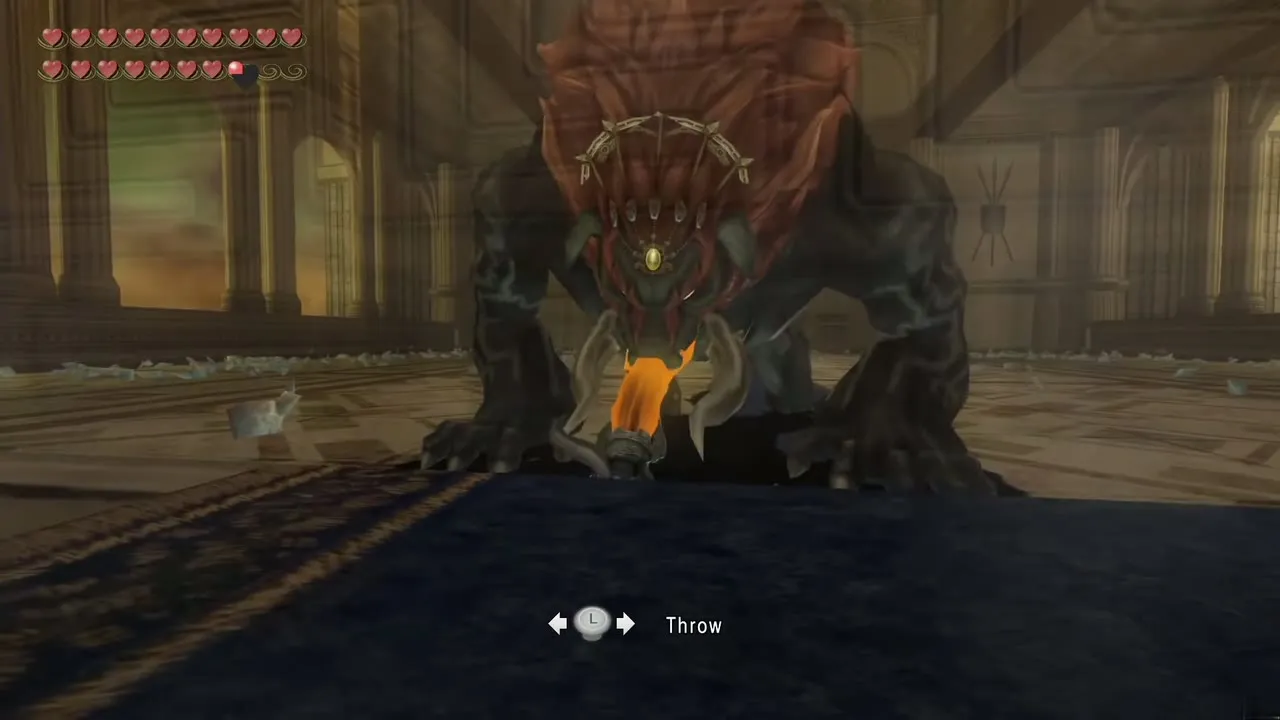
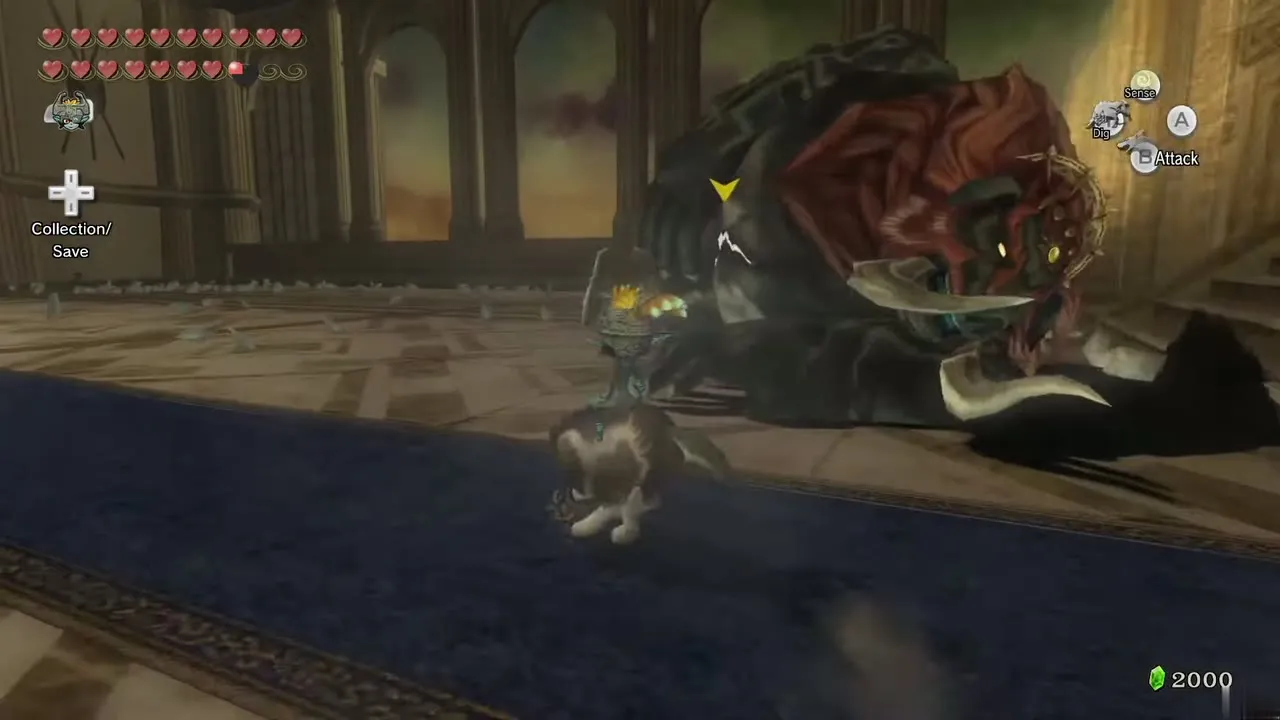
Ganondorf becomes the huge Dark Beast Ganon, whose weak point is the silver scar on his belly. He runs around knocking down pillars, then vanishes through portals; several red portals appear and one turns purple when he is about to charge out, with a pulsing sound. Keep your back to a wall with the bow ready, shoot an arrow between his eyes as he emerges to stun him, then run in and slash the scar. Sometimes he drops from above onto you, so roll aside.
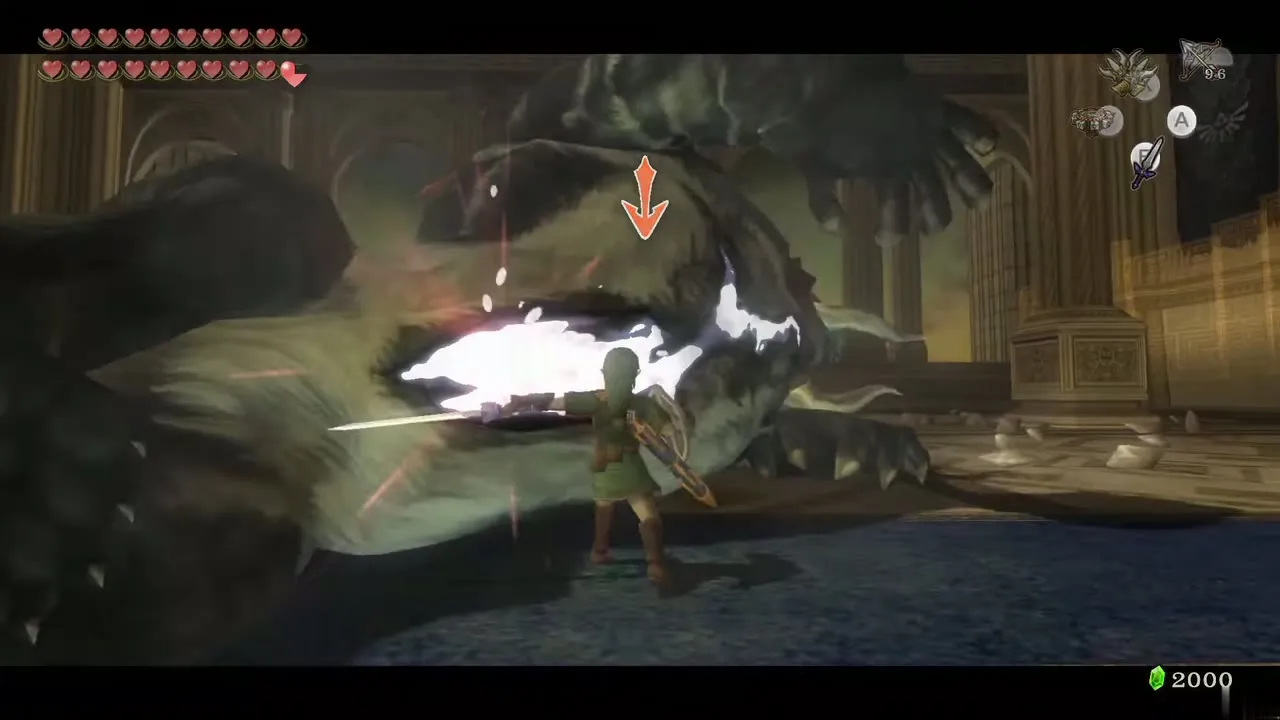
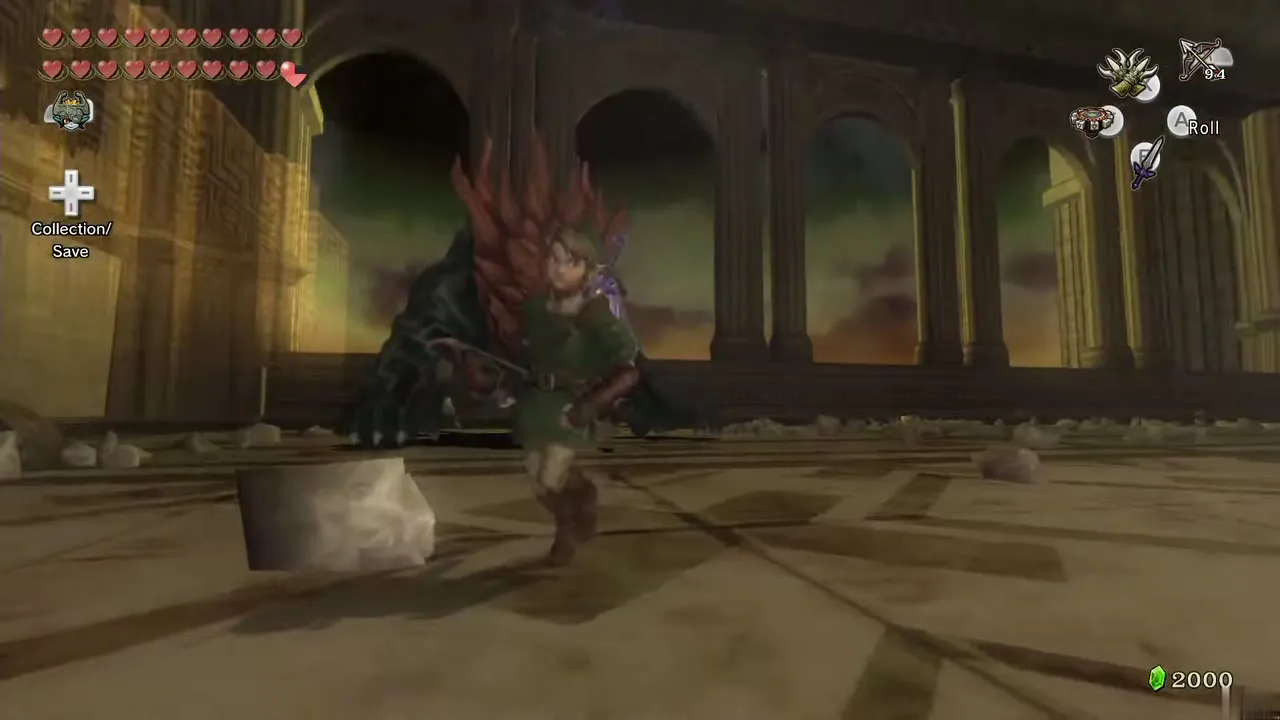
After a few hits he learns the trick and jumps over your arrows. Switch to Wolf Link, wait for him to come out of a portal and, when he is close, press the button shown to grab his horns. Overpower him in the power struggle, throw him to one side, lock onto the scar and bite it. Repeat the grab until Ganon concedes. Midna then revives Zelda.
Phase 3: Ganondorf on horseback
After a scene in which a fiery head of Ganondorf appears and Midna takes a new form, Midna warps Link and Zelda to Hyrule Field. Ganondorf rides in on his horse with Midna’s crushed headpiece and an army. Zelda calls on the four Spirits of Light for the Light Arrows and rides with you on Epona. The fight feels like the King Bulblin chase: stay close behind Ganondorf and keep him locked on. When Zelda has a clear shot she fires; a hit stuns him, so ride up and slash with the Master Sword.
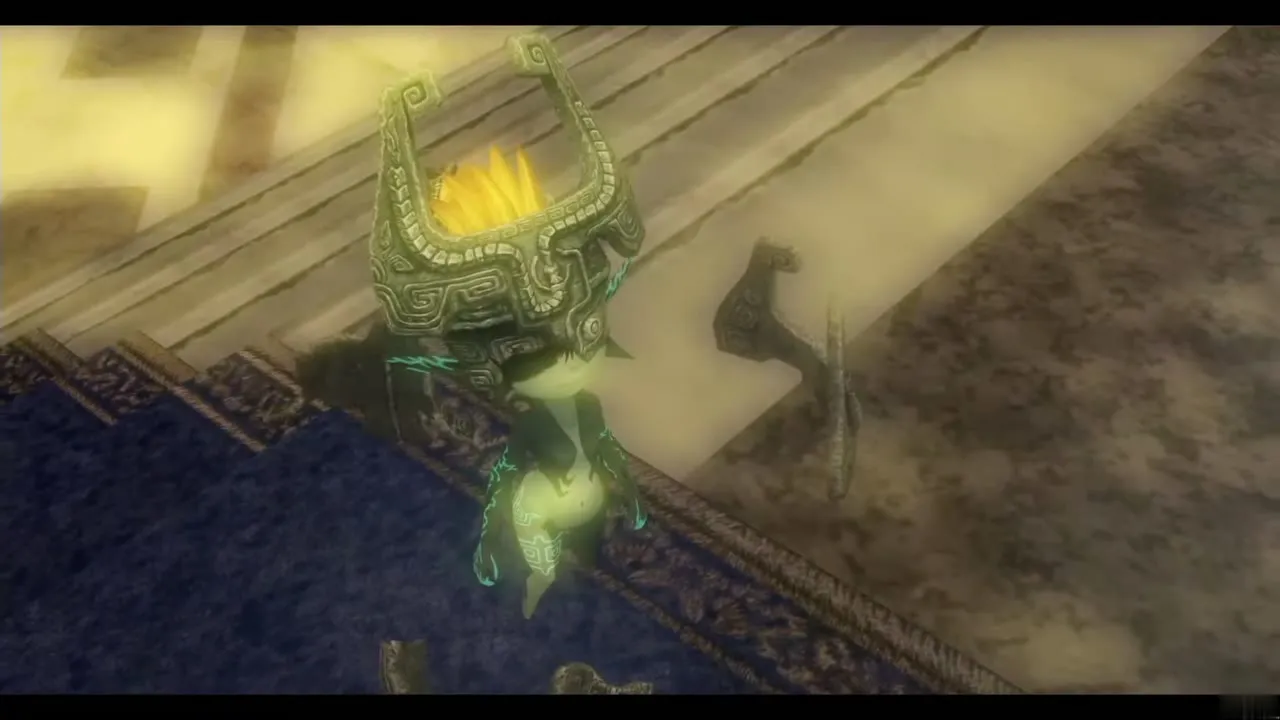
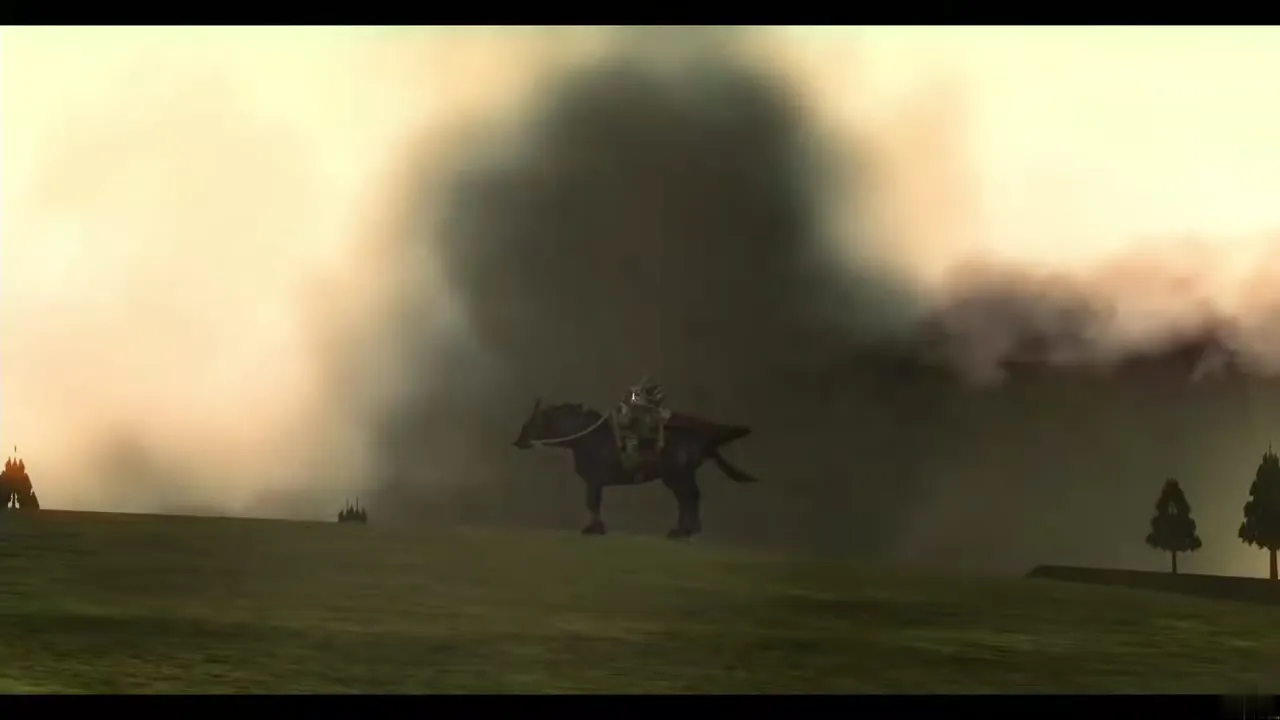
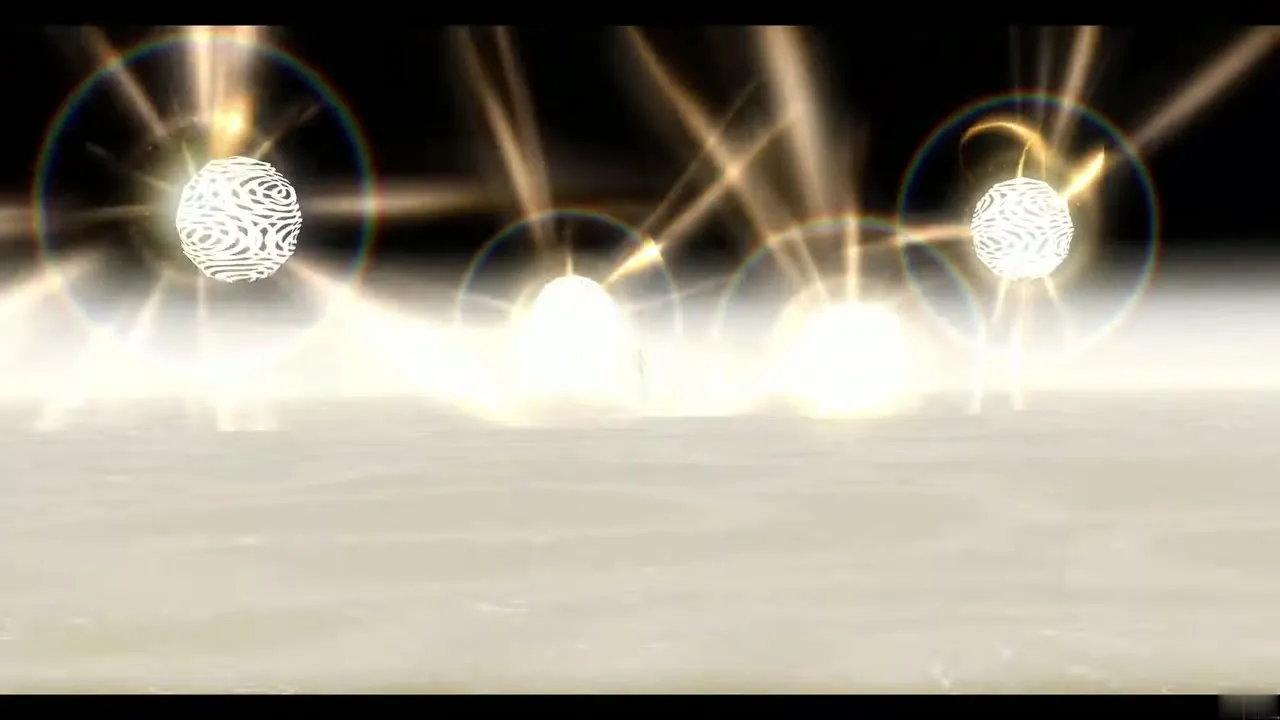
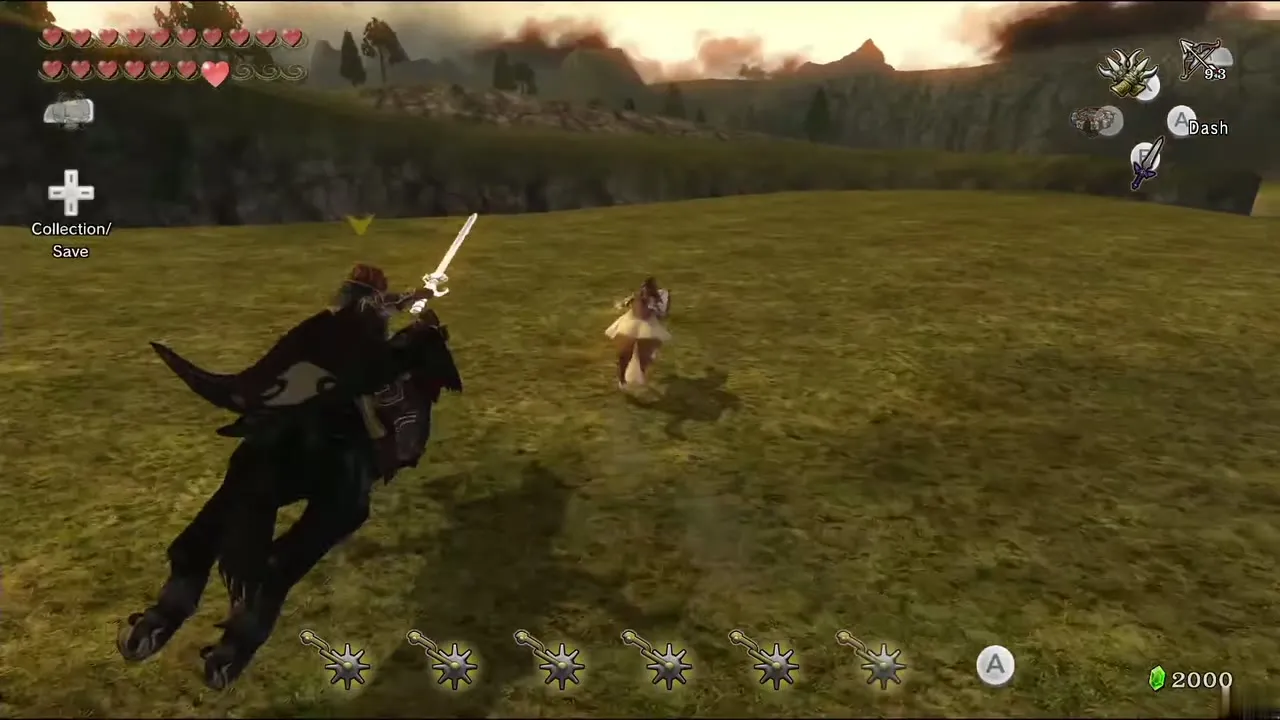
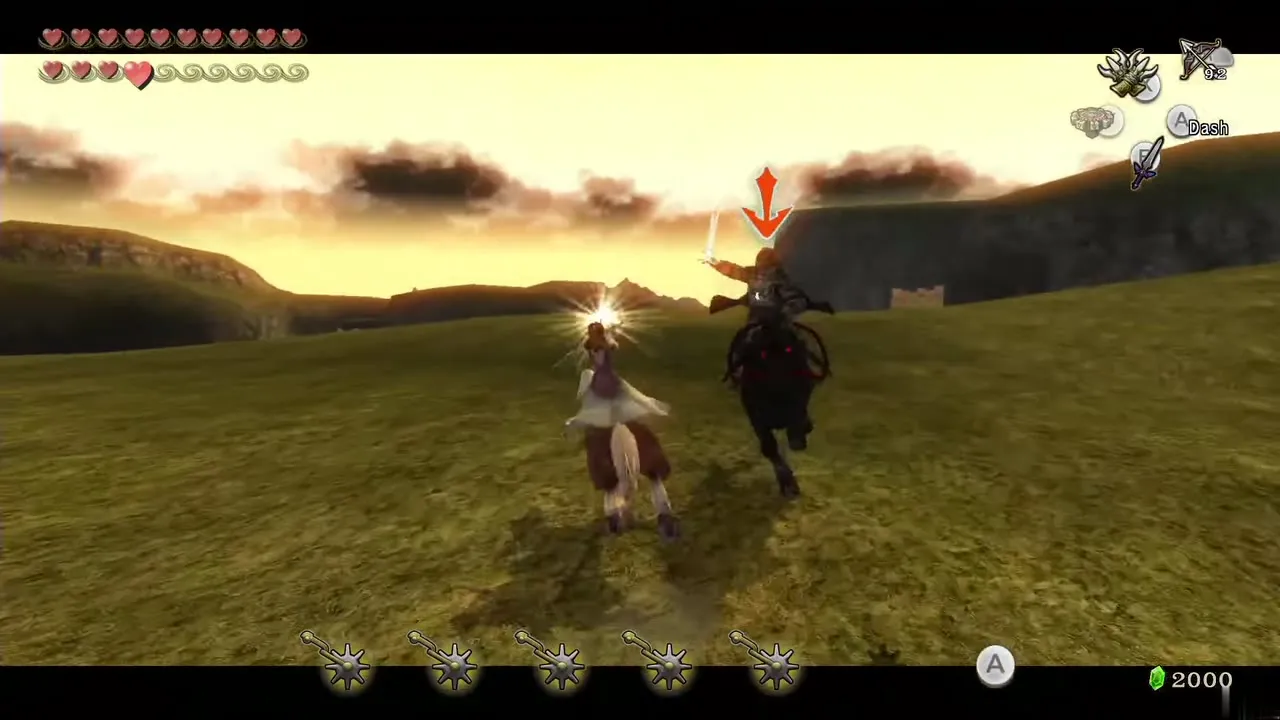
Keep following, keep him targeted and swerve around his attacks. After several hits Ganondorf falls from his horse. He mocks your sword, draws his own blade and a barrier closes around you both.
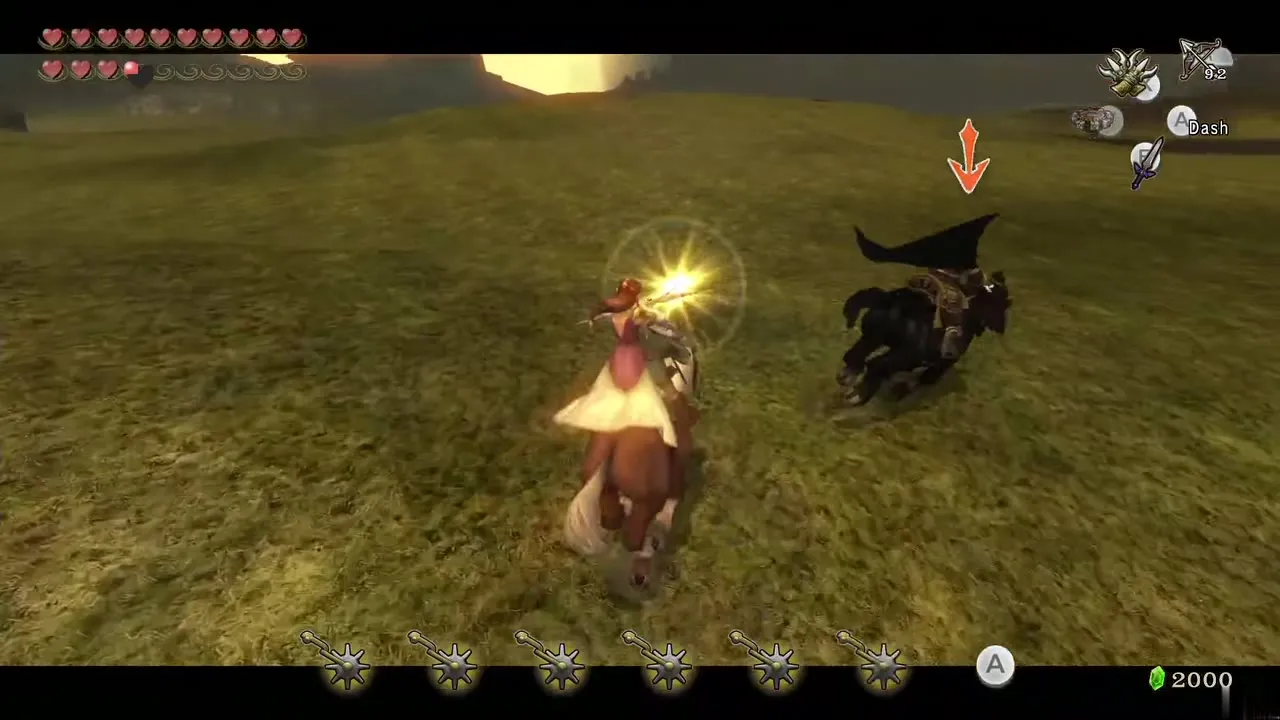
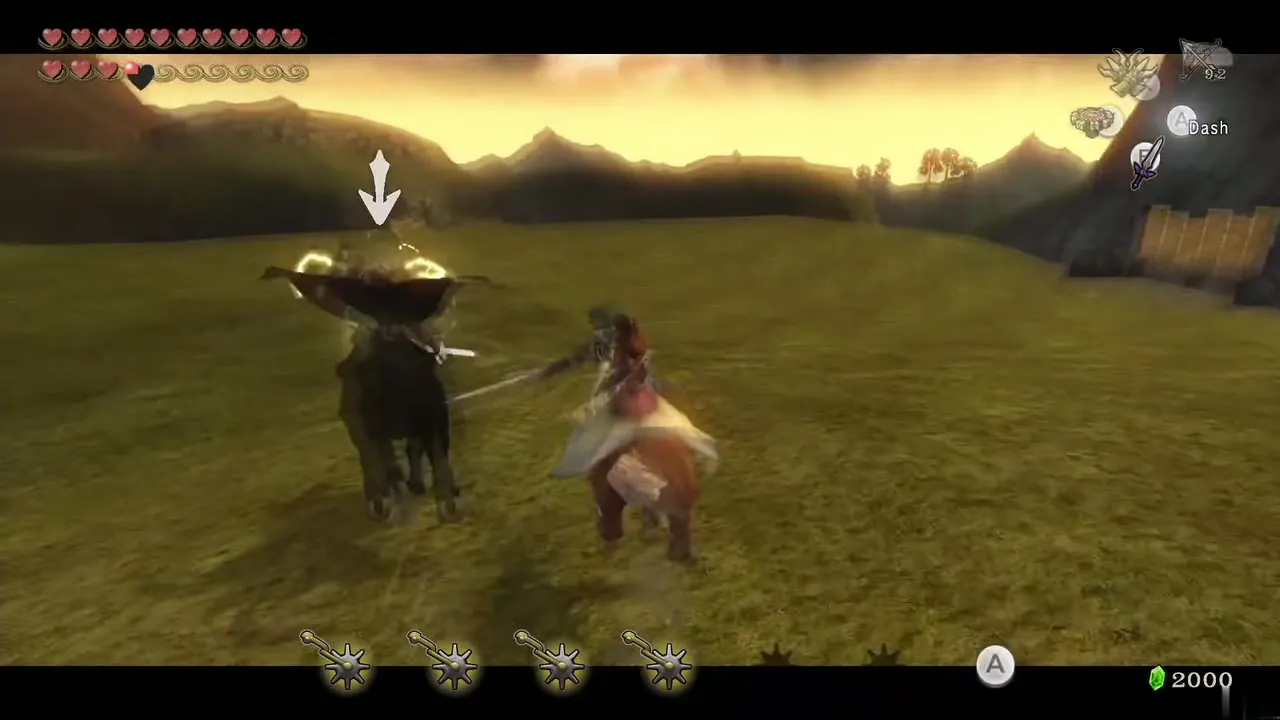
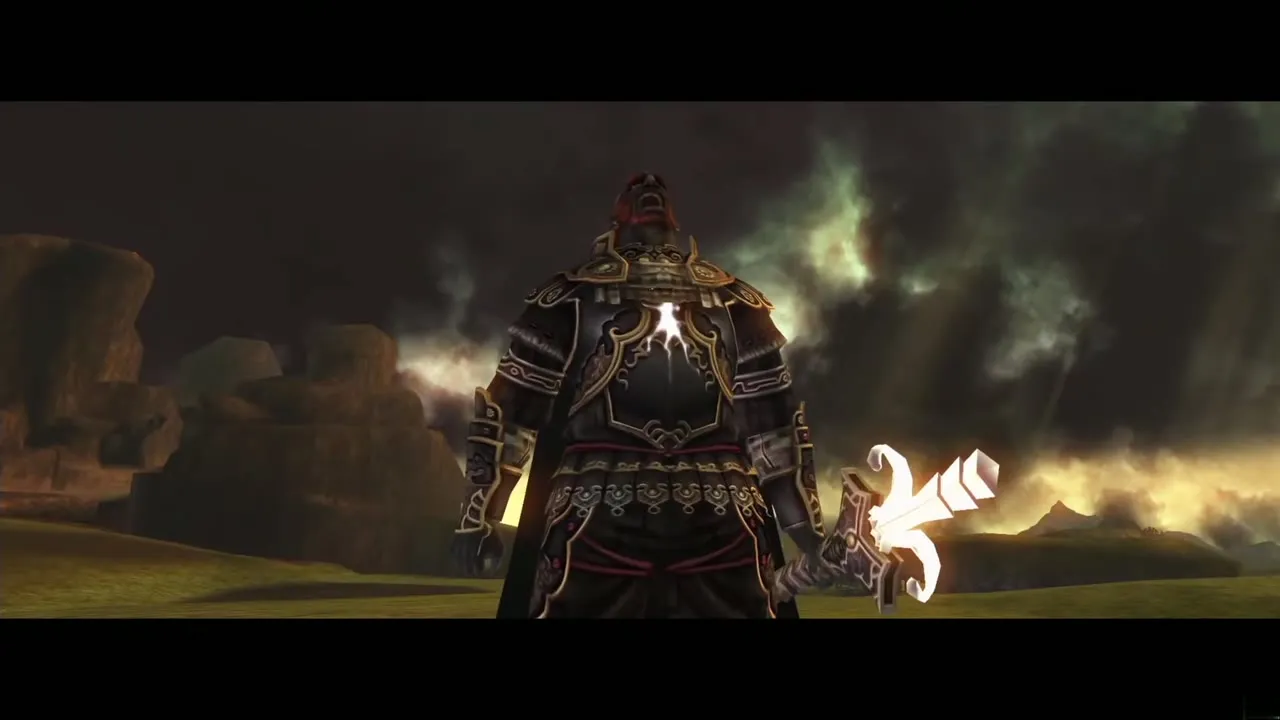
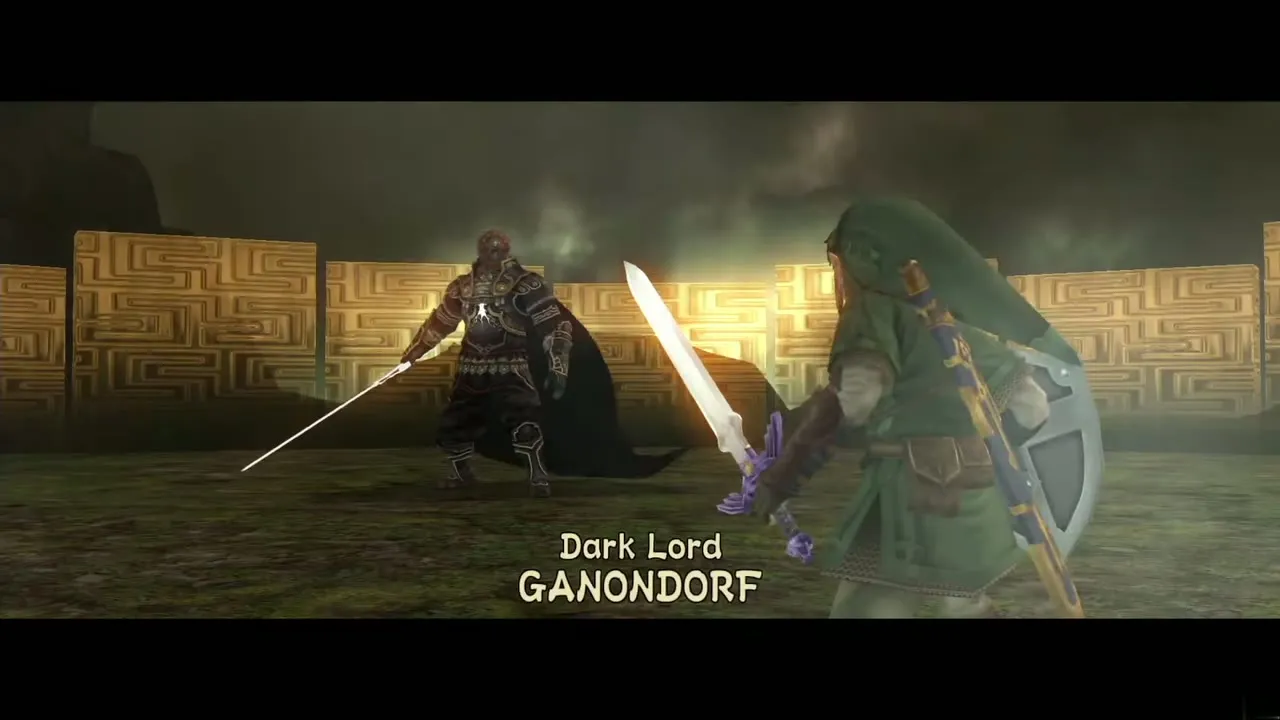
Phase 4: Dark Lord Ganondorf
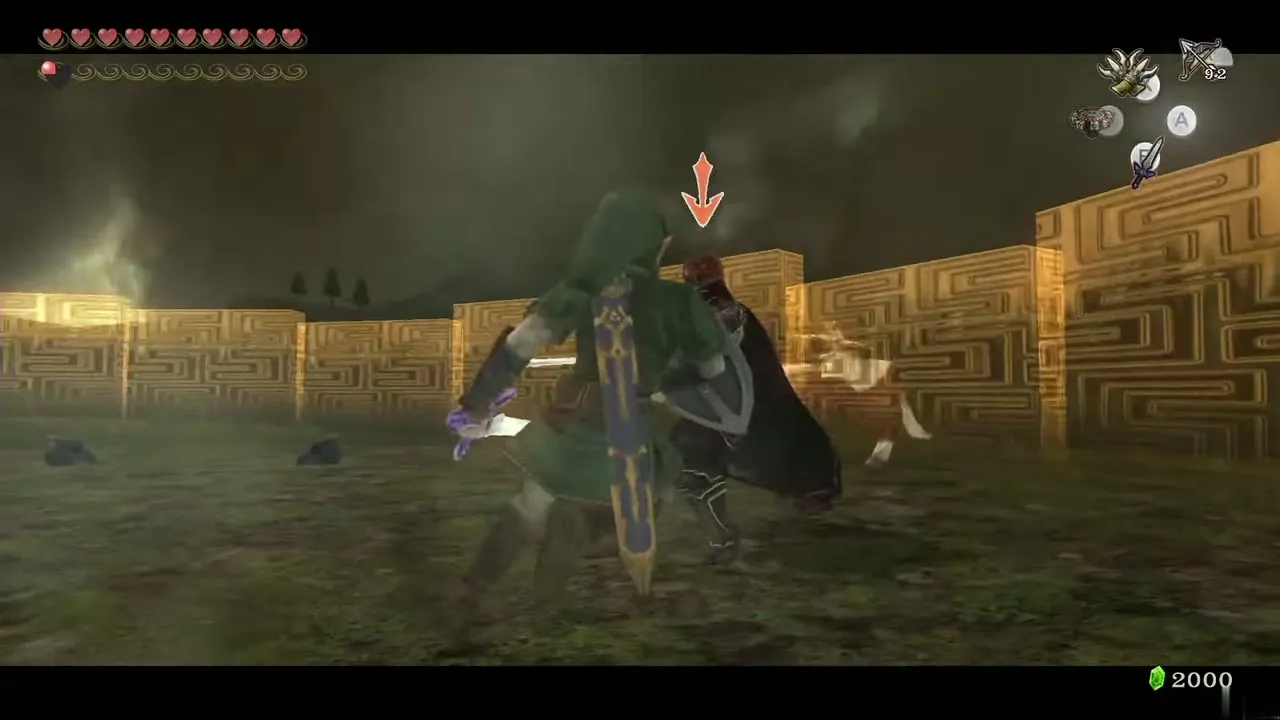
The last stage is a pure sword duel. Do not use the Shield Attack, as it only hurts you. His weakness is the Back Slice; he blocks it poorly. Circle to your right, because Ganondorf is right-handed and that keeps you farther from his blade, Back Slice, then slash repeatedly until he blocks.
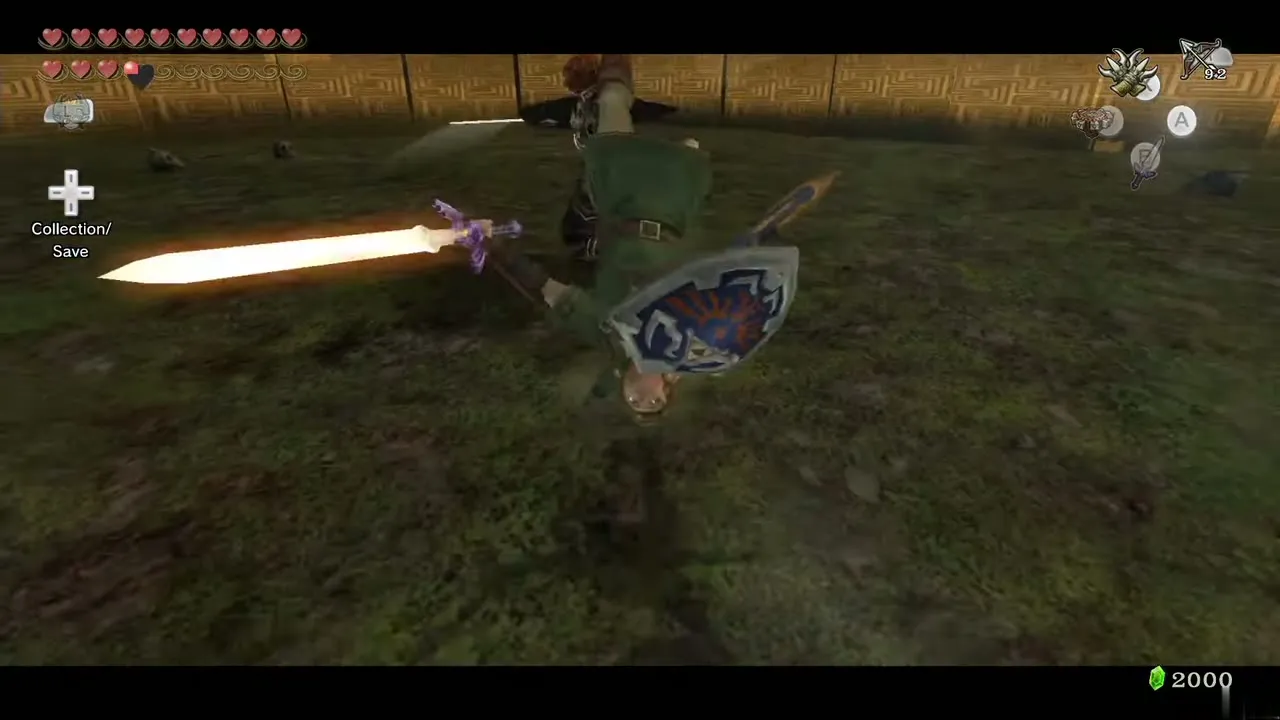
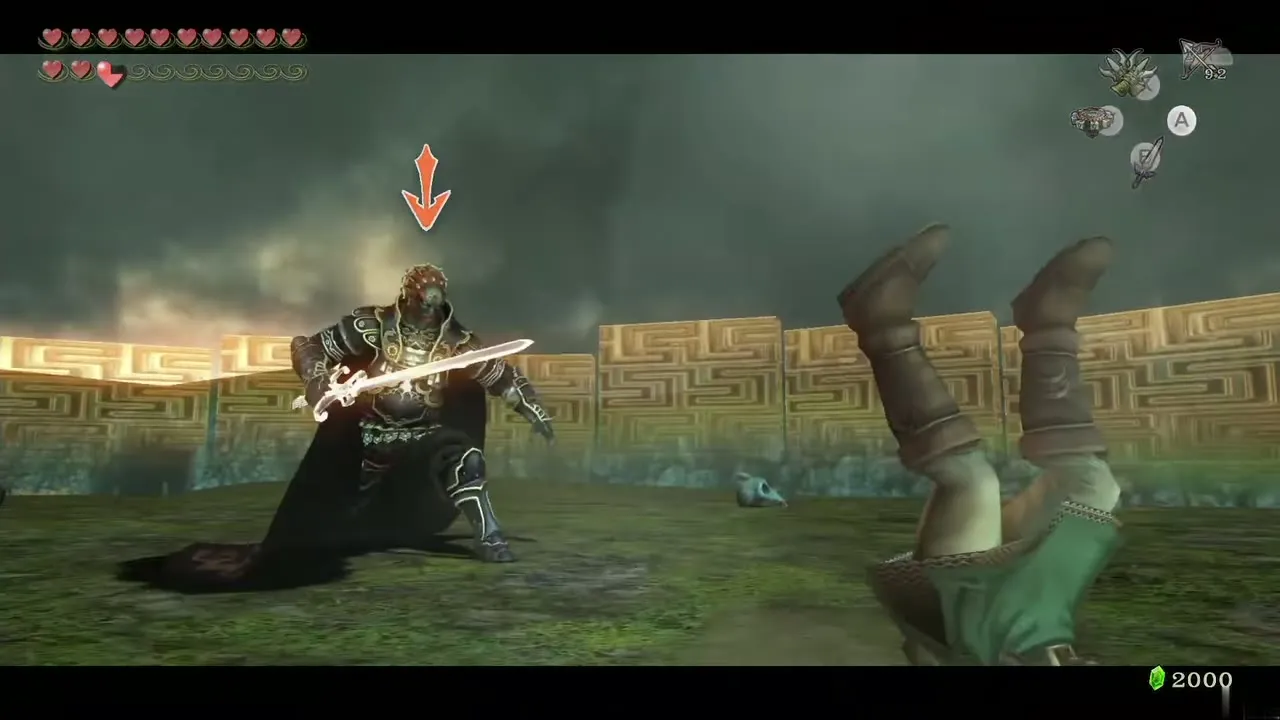
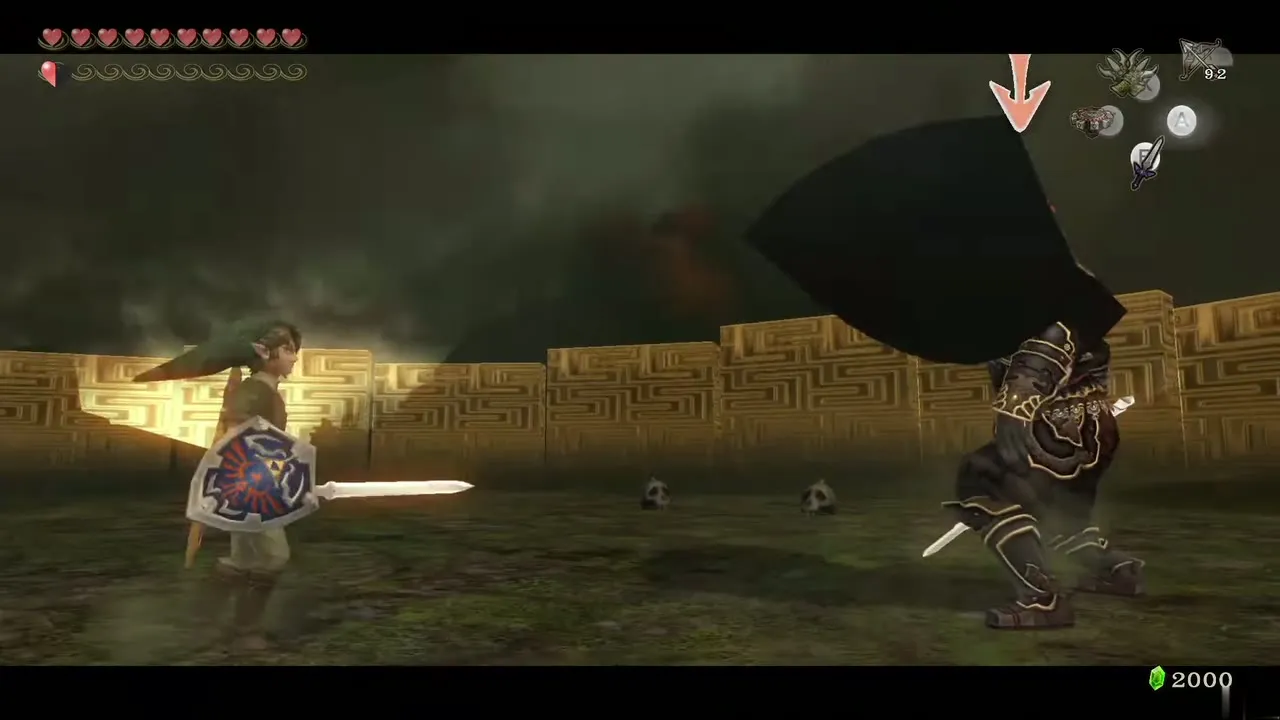
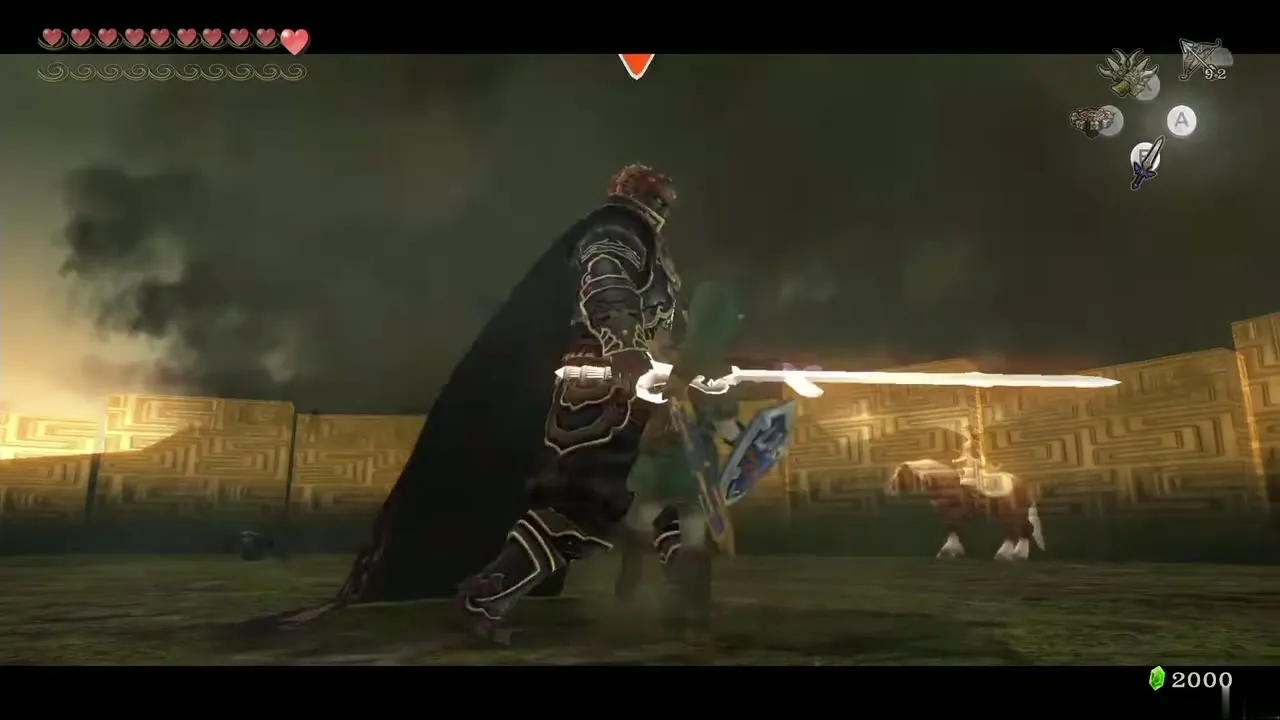
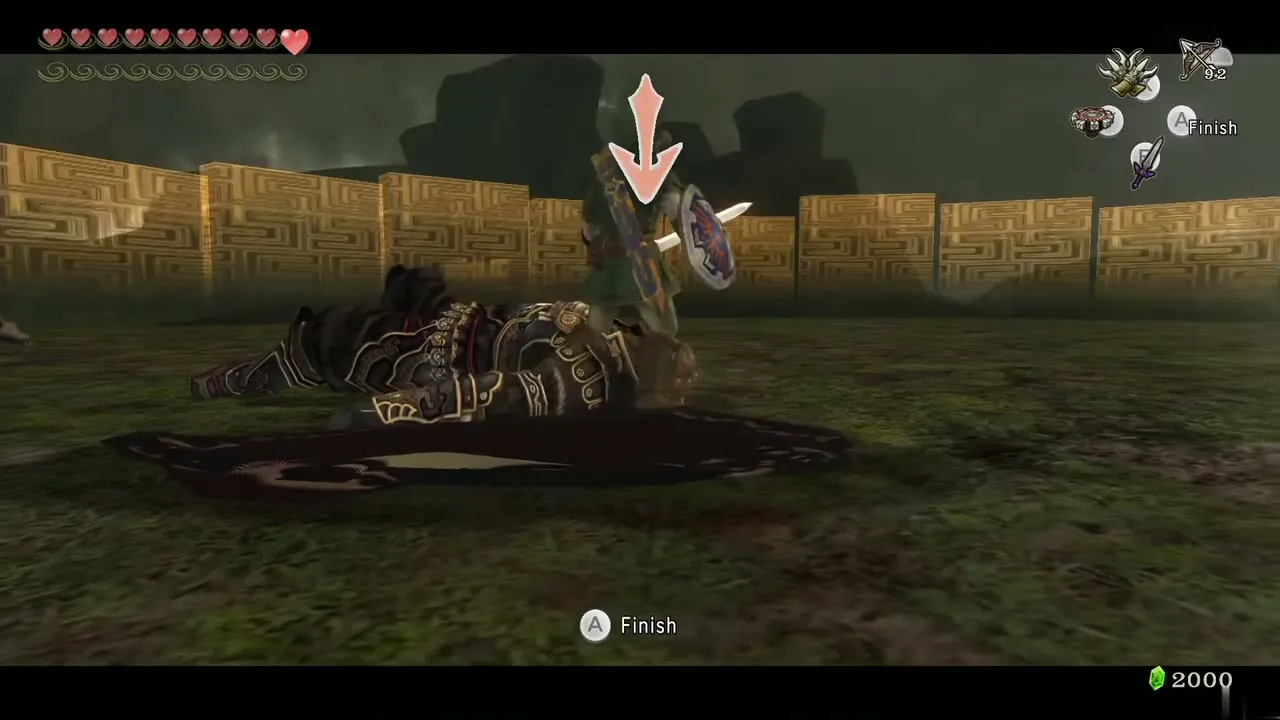
When he swings his huge sword, the button prompt reads “Chance”. Press it and the blades collide; mash the button to win the clash and he is left open for a few free hits. You can also cast the fishing rod at him: he stares at it confused for a moment, and you can slash him from the front. Skulls around the arena hold hearts or fairies, and the Magic Armor protects your hearts.
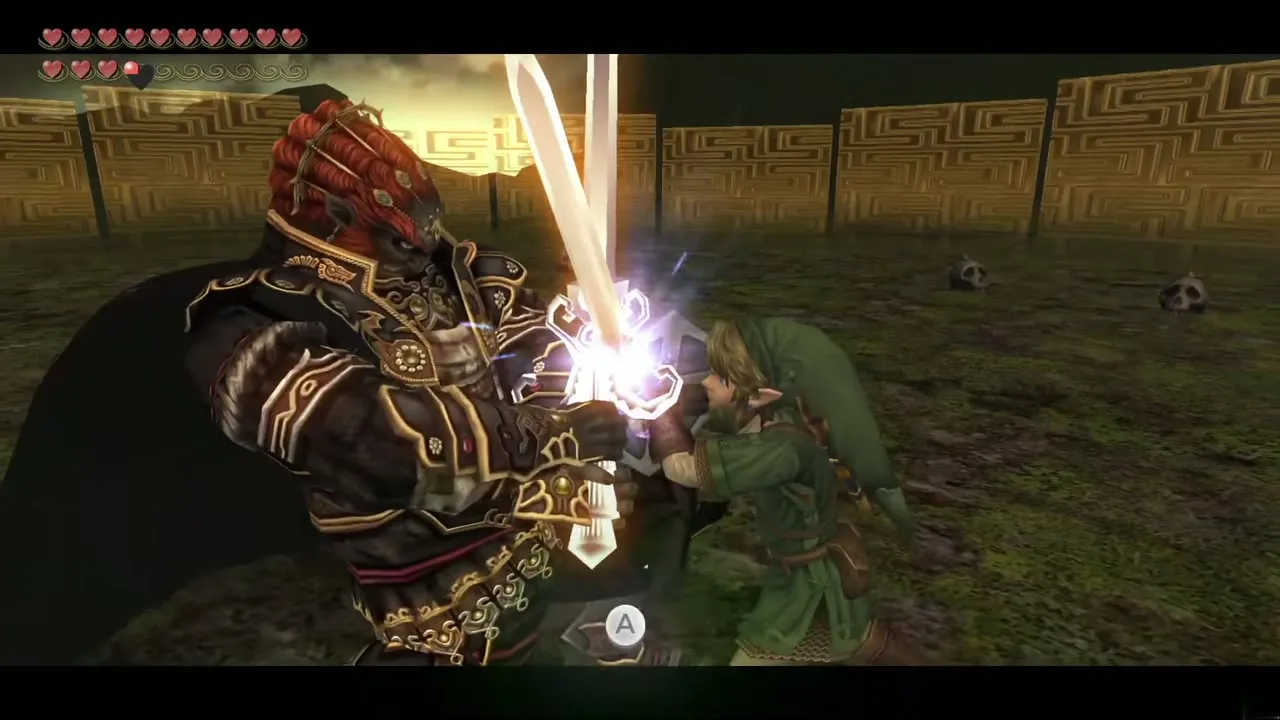
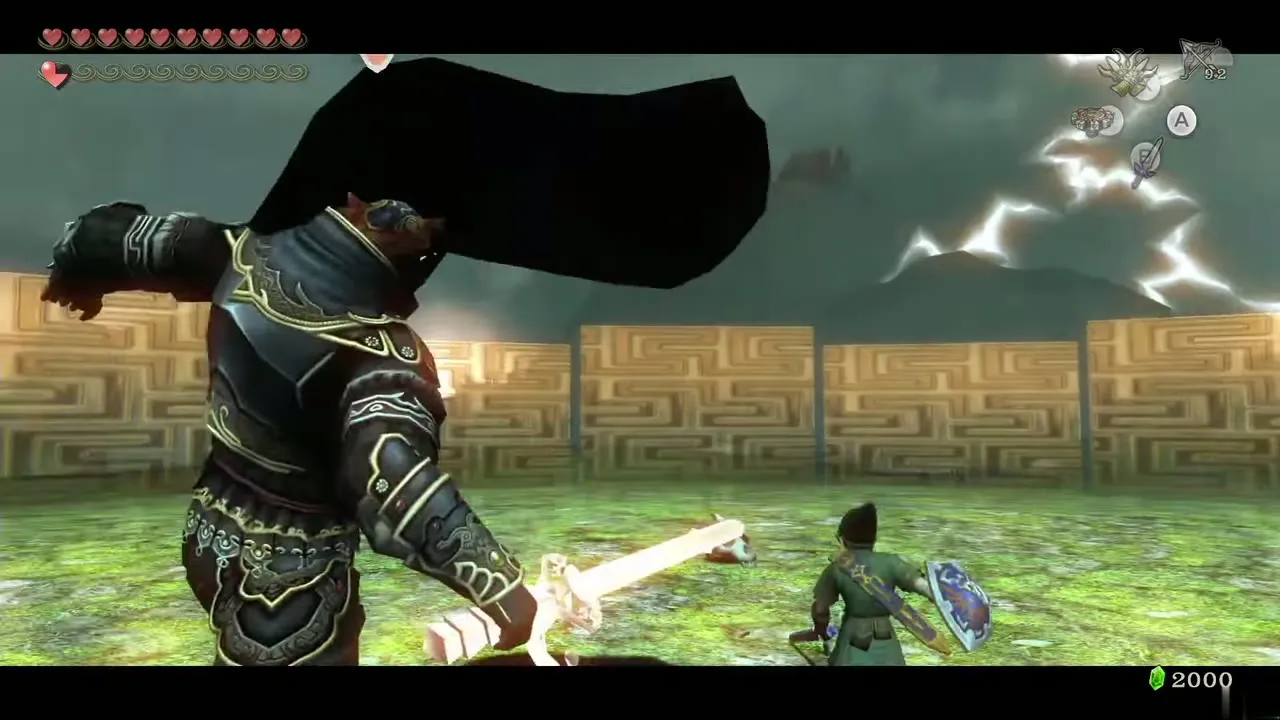
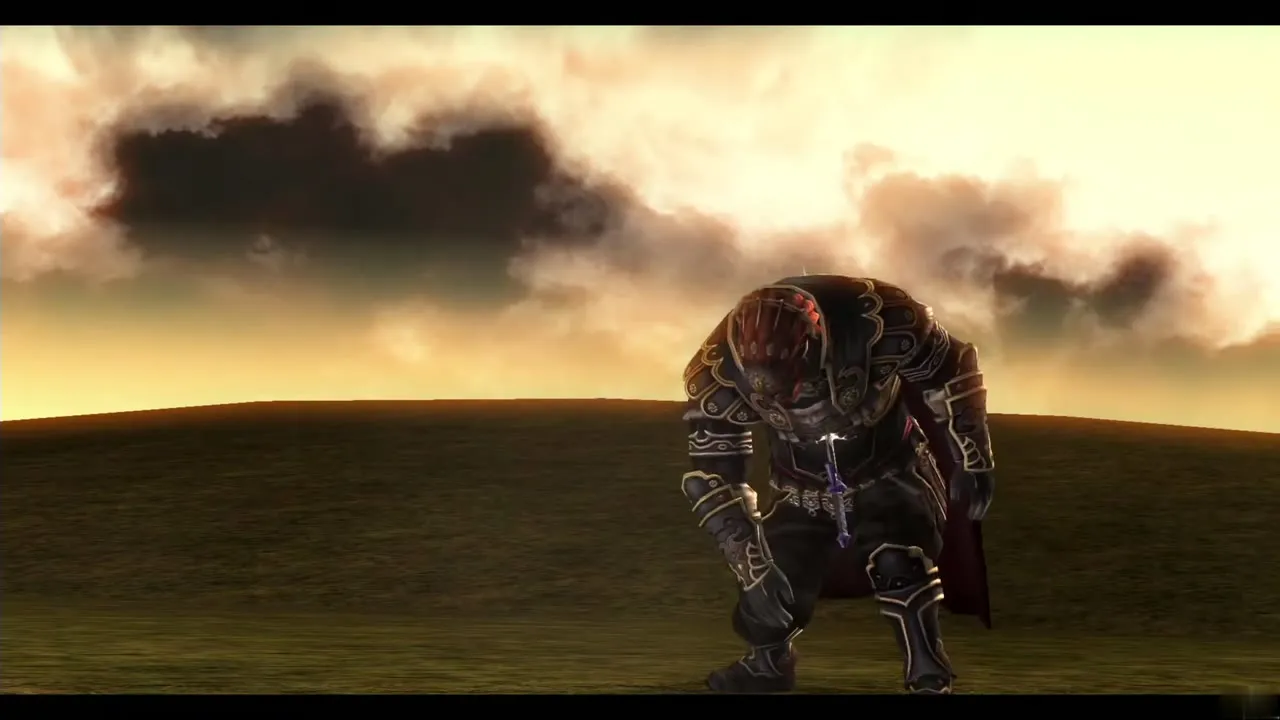
When he drops to a knee, lock on and use the Ending Blow to drive the Master Sword through him.
Ending, credits and what comes next
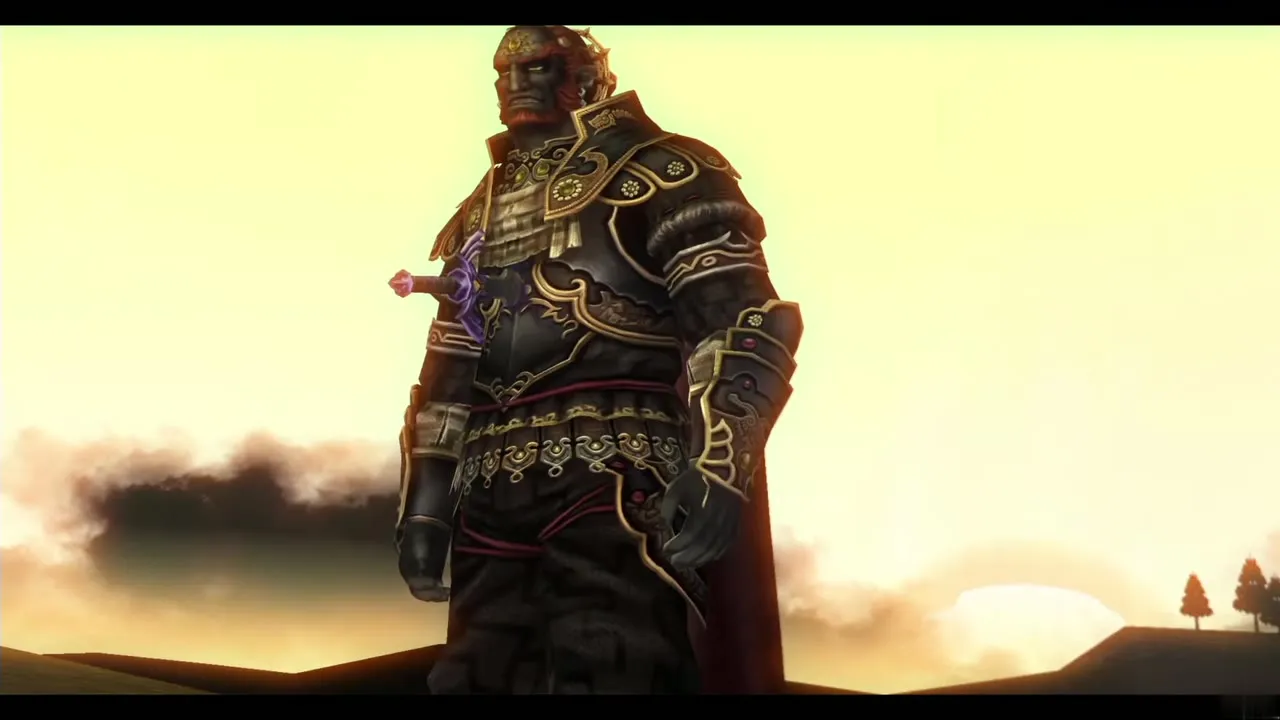
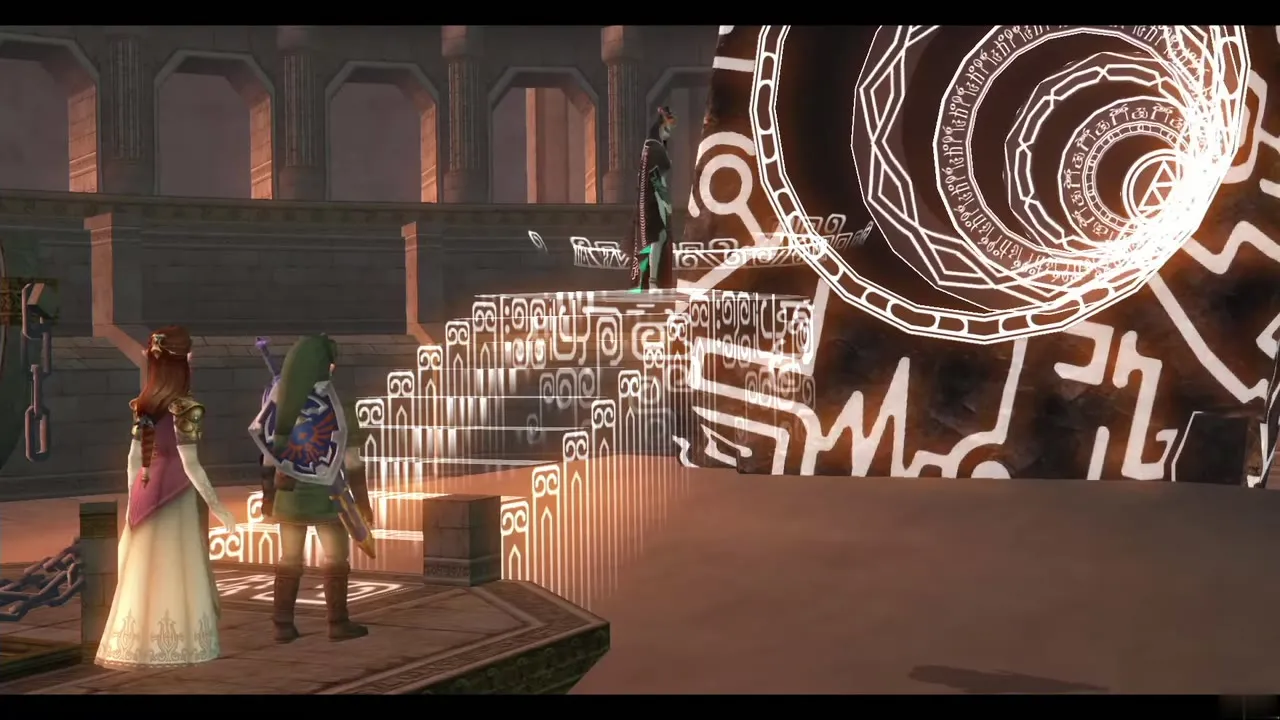
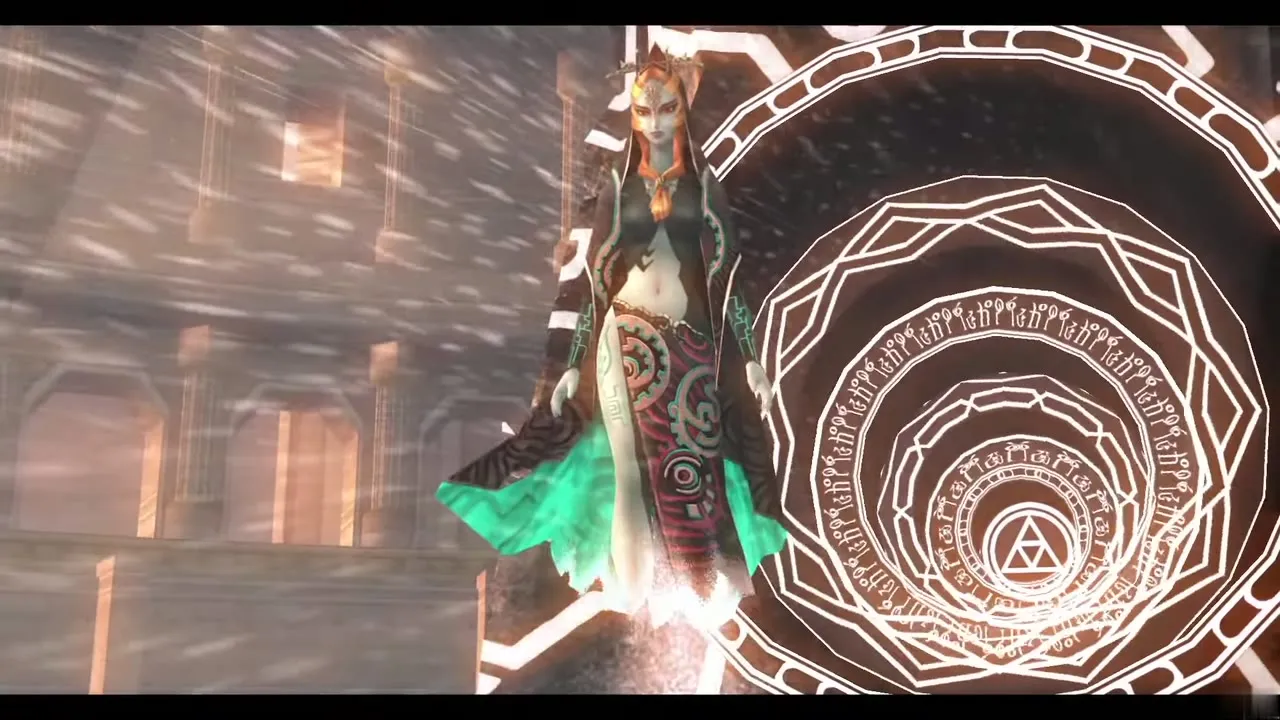
The final cutscenes lead to the credits, ending with Midna’s goodbye in the Mirror Chamber. Afterward you return to a save from before the final fight, so you can reload to explore and hunt missing collectibles, or start a fresh file in Hero Mode, which mirrors the world, doubles the damage enemies deal and stops hearts dropping.
If anything is still missing, check Heart Piece locations, Poe Souls and Golden Bugs. The Cave of Shadows is the main extra left. The story page recaps the plot and the boss guide covers every boss.
Chapter checklist
| Type | Item | Where |
|---|---|---|
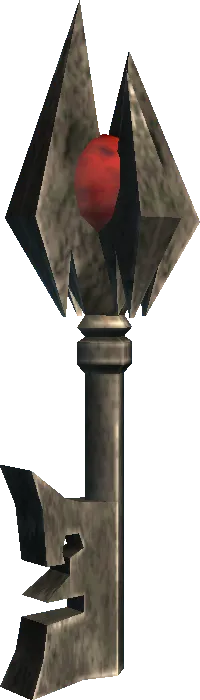
| Small Key | Key 1 | Dropped by King Bulblin, west garden; opens the castle’s front doors |
| Small Key | Key 2 | Chest after the owl-statue puzzle, graveyard; opens the supply room |
| Small Key | Key 3 | Chest after the Aeralfos, outer balcony; opens the tower door |
| Dungeon Map | Hyrule Castle map | East garden chest behind the boomerang gate |
| Compass | Hyrule Castle compass | Balcony chest in the entrance hall, reached by chandelier |
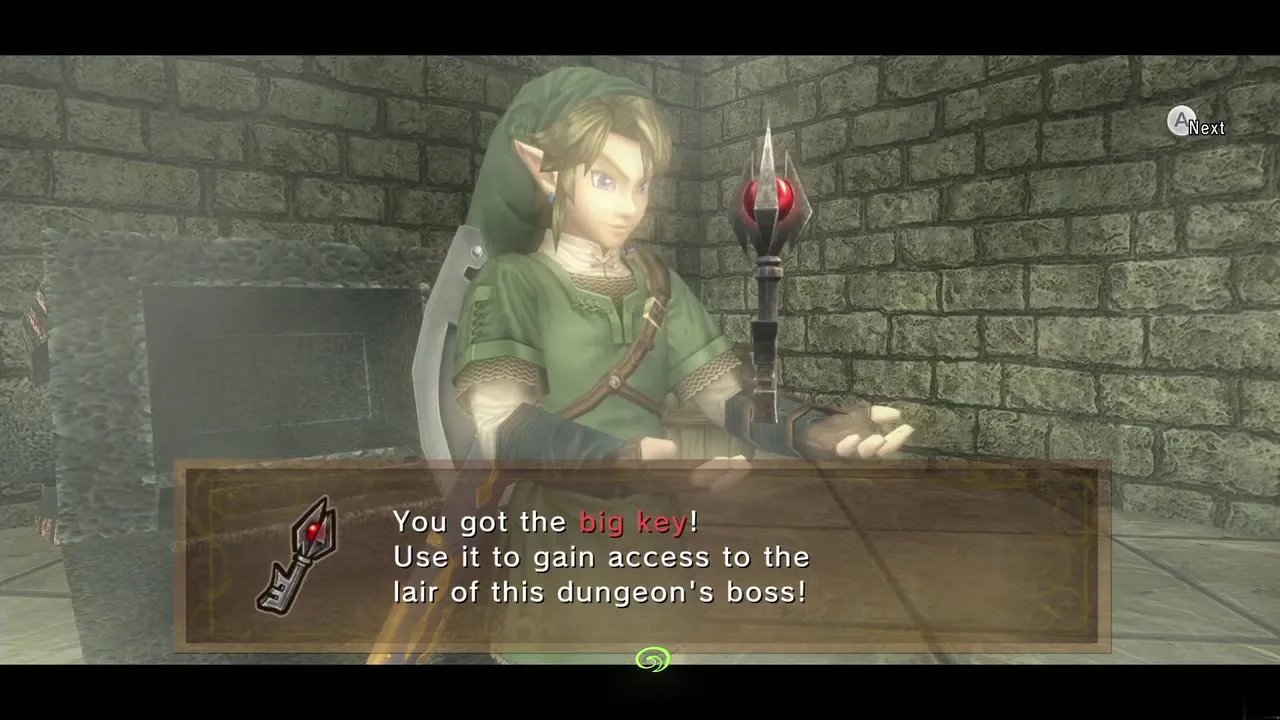
| Big Key | Boss door key | Outer balcony chest, after the Resistance arrives |
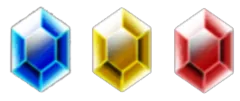 Rupees | 20 (red) | North end of the King Bulblin platform |
| Rupees / stamp | 10 (yellow) or Sad Zelda stamp | East garden ladder chest |
| Rupees | 100 + 21 | Three graveyard chests |
| Rupees | 50 | Boomerang-and-torch ledge chest, first Darknut room |
| Rupees | 50 + 200 | West route chests (purple, then Silver) |
| Supplies | Rupees up to 200, bombs, arrows, Happy Zelda stamp or 50 Seeds | Top-floor supply room |
