
























Twilight Princess 100% Completion Walkthrough23 chapters
- Hyrule Castle and the Ganondorf BattleEvery key and chest, then how to beat Puppet Zelda, Dark Beast Ganon, the horse chase and the final duel.
- Snowpeak Ruins (Dungeon 5)Every key, chest, Heart Piece and Poe Soul, the Ball and Chain, Darkhammer and the Blizzeta boss fight.
- Temple of Time (Dungeon 6)All keys and chests, the Dominion Rod, statue puzzles, Big Key, two Heart Pieces and Armogohma.
- City in the Sky (Dungeon 7)Every chest, Heart Piece and Poe, the Double Clawshots, Aeralfos, the Big Key and how to beat Argorok.
- Ordon VillageGoat herding, fishing rod, Sera’s bottle, slingshot, Wooden Sword, Faron Woods cave Heart Piece, Lantern.
- Enter the Twilight RealmEscape the cell as Wolf Link, meet Midna and Zelda, get the Ordon Sword and Shield, meet Ordona.
- Faron WoodsAll 12 Tears of Light, Faron Spring, Coro’s key and lantern oil bottle, and the Golden Wolf’s Ending Blow.
- Forest Temple (Dungeon 1)All 8 monkeys, 4 small keys, Map, Compass, Big Key, 2 Heart Pieces, Ook, Gale Boomerang and Diababa.
- Hyrule Field, Kakariko Gorge and Twilight Kakariko12 Tears of Light, Epona, Pill Bugs, Heart Pieces.
- Iron Boots, King Bulblin and Death MountainIron Boots from Mayor Bo, the King Bulblin bridge fight, Golden Bugs and Gor Coron’s sumo match.
- Goron Mines (Dungeon 2)Every chest, both Heart Pieces, the Hero’s Bow, three Key Shards, Dangoro and Fyrus boss tactics.
- Lanayru Province, Castle Town and Zora’s DomainKakariko extras, Bridge of Eldin bugs, Castle Town, Lake Hylia, thawing Zora’s Domain and all 12 Tears of Light.
- Telma Escort, Castle Town and Lake Hylia Side QuestsTelma escort, Zora Armor, Water Bombs, 9 Golden Bugs, Agitha, Charlo, fishing, Rapid Ride and the Lakebed entrance.
- Lakebed Temple (Dungeon 3)Small keys, map, compass, Big Key, two Heart Pieces, Clawshot, Deku Toad and Morpheel boss tactics.
- Midna, Zelda and the Master SwordTelma’s Bar to Zelda, the Sacred Grove, Skull Kid, the guardian puzzle, plus its Heart Piece, Poe and Golden Bug.
- Poe Soul Collection, Malo Mart and Heart PiecesThe first 29 Poe Souls, Jovani’s rewards, Malo Mart donations and Magic Armor, Miiverse stamps and five Heart Pieces.
- Gerudo Desert and the Bulblin CampOasis Flight, eight Poe Souls, both Dayflies, Mortal Draw, Bulblin Camp and King Bulblin.
- Arbiter’s Grounds (Dungeon 4)Four Poe Souls, Dungeon Map, Compass, Spinner, Big Key, two Heart Pieces and the Stallord boss fight.
- Mirror Chamber, Reekfish and Snowpeak MountainMirror Chamber, Spinner Heart Pieces, Reekfish bait, Jump Strike, Poe Souls and the climb to Yeto.
- Heart Pieces Hunt and Return to the Sacred GroveTwo Heart Pieces, Rusl, the Skull Kid rematch, the last Golden Bug and the Temple of Time door.
- Ilia’s Memory, Hidden Village and the SkyIlia’s memory, 20 Bulblins, 20 cats, six Sky characters, Great Spin and the Sky Cannon repair.
- Palace of Twilight (Dungeon 8)Both Sols, all seven small keys, map, compass, Big Key, 2 Heart Pieces and how to beat Zant.
- Cave of OrdealsAll 50 floors, the 3 Poe Souls, every Great Fairy, buried items, the Tears and Jovani.
| Covers | The Oocca’s floating city: the entrance pool and shop, the central hub, the outer bridges and the four towers, the Aeralfos arena and Argorok’s rooftop |
|---|---|
| Dungeon | City in the Sky (Level 7): Clawshot and Iron Boots; mini-boss Aeralfos; boss Twilit Dragon Argorok; reward Mirror Shard |
| Items | Second Clawshot (Double Clawshots), Dungeon Map, Compass, Big Key, one Small Key |
| Rewards | Heart Container, 4th Mirror Shard, 2 Heart Pieces (#42, #43), 2 Poe Souls (#56, #57), three Miiverse stamp chests (Ooccoo, G, Z), Rupees and ammunition |
This chapter takes you from the Sky Cannon to the end of the City in the Sky: stock up at the Oocca shop, find the Small Key and the Dungeon Map, beat the Aeralfos for the second Clawshot, claw your way up for the Compass and two Heart Pieces, take the Big Key and defeat the dragon Argorok for the last Mirror Shard. Wind is the dungeon’s gimmick, and the Iron Boots keep you planted in gusts. Directions use the Normal Mode layout. Hero Mode mirrors the world, so swap left and right and east and west.
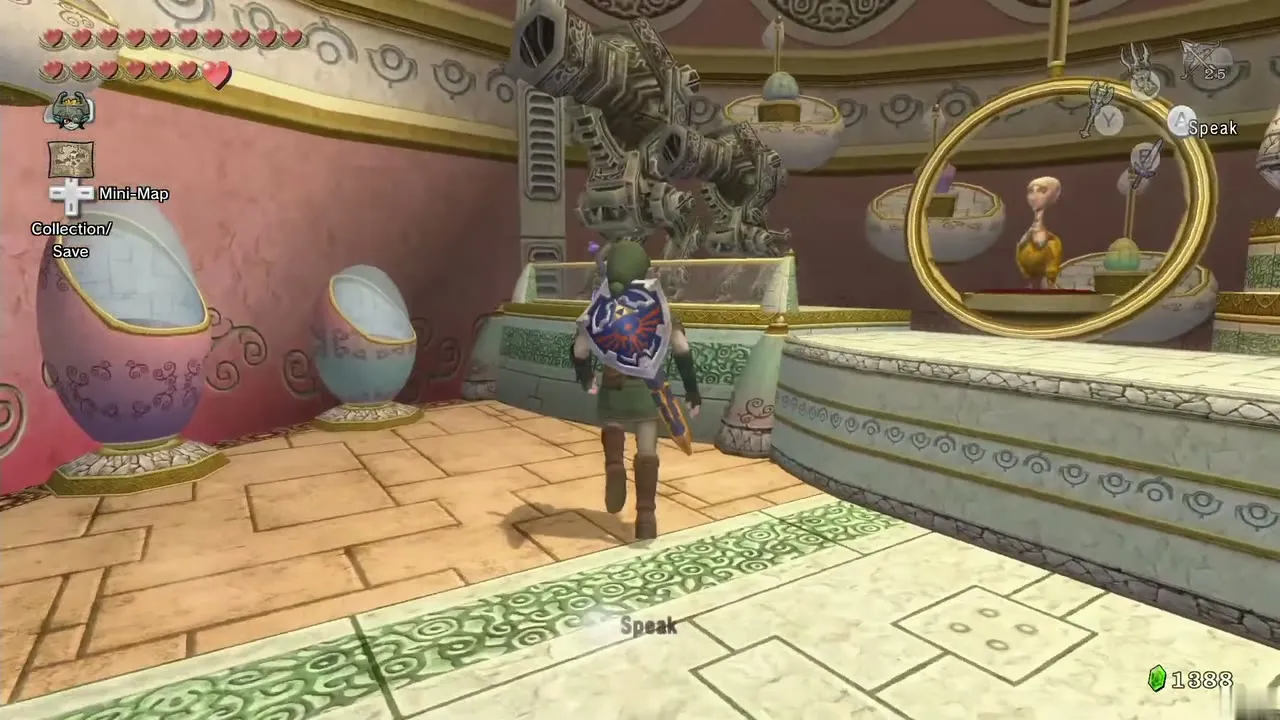
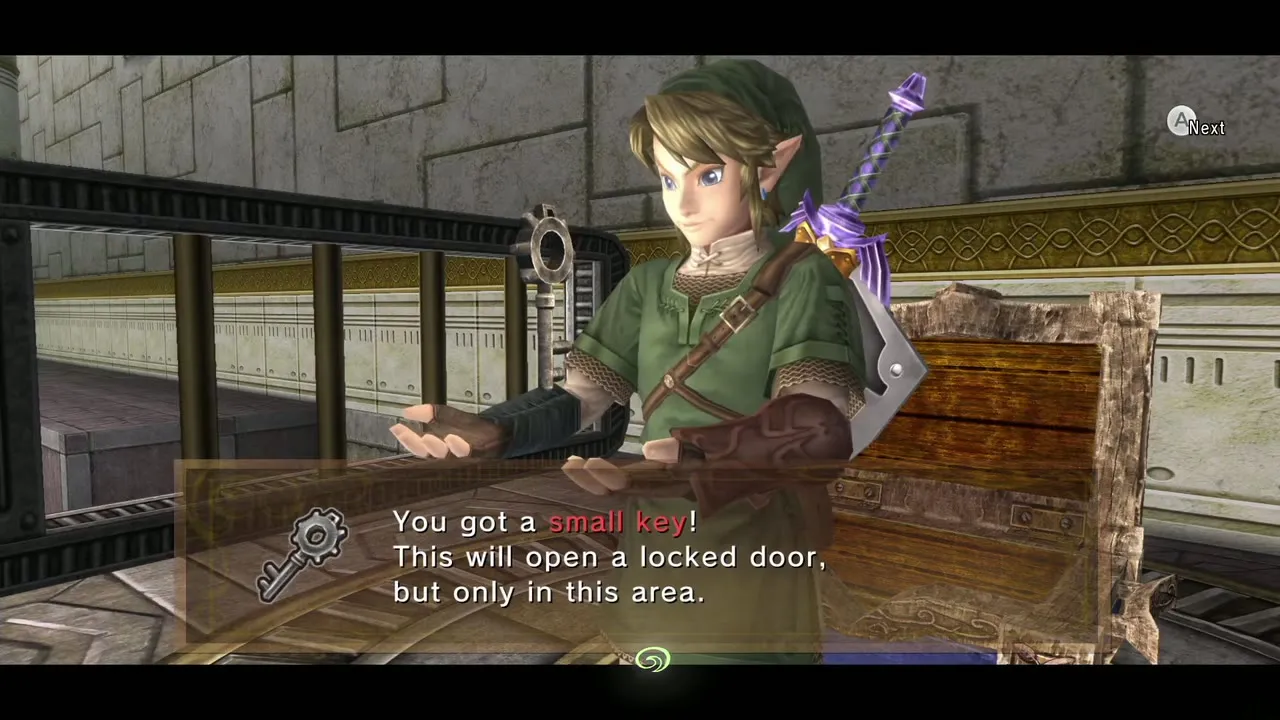
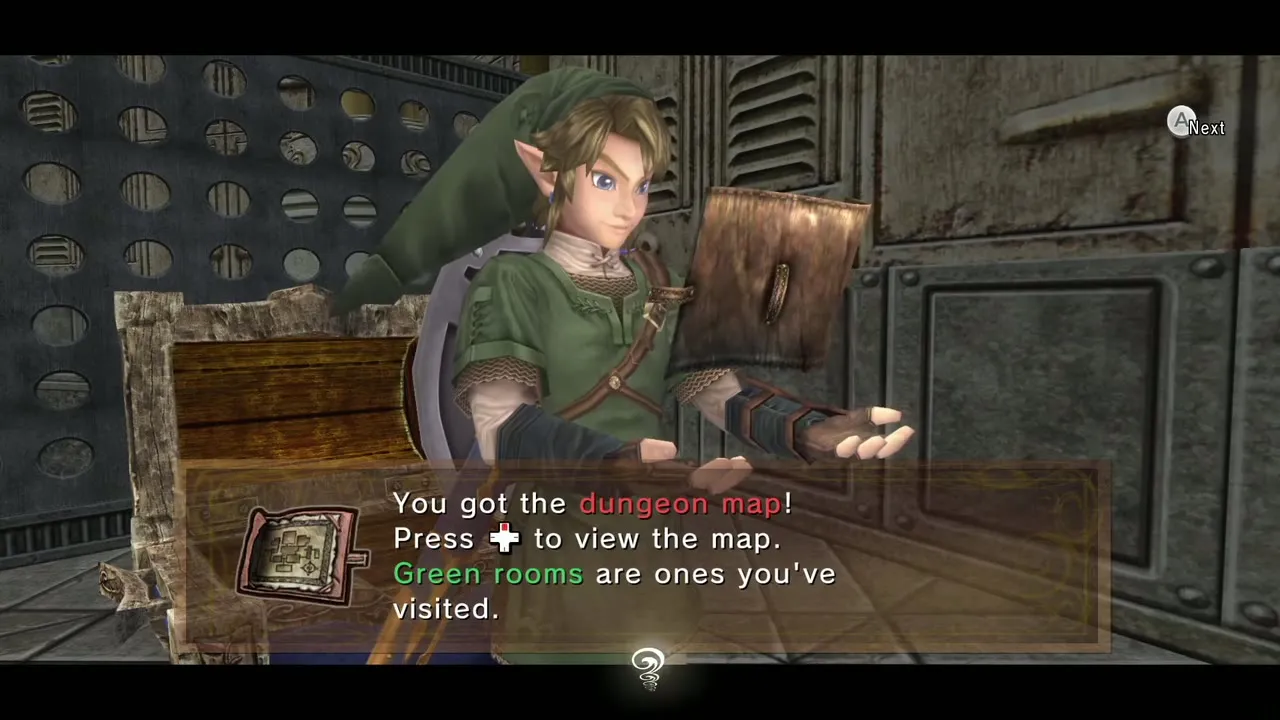
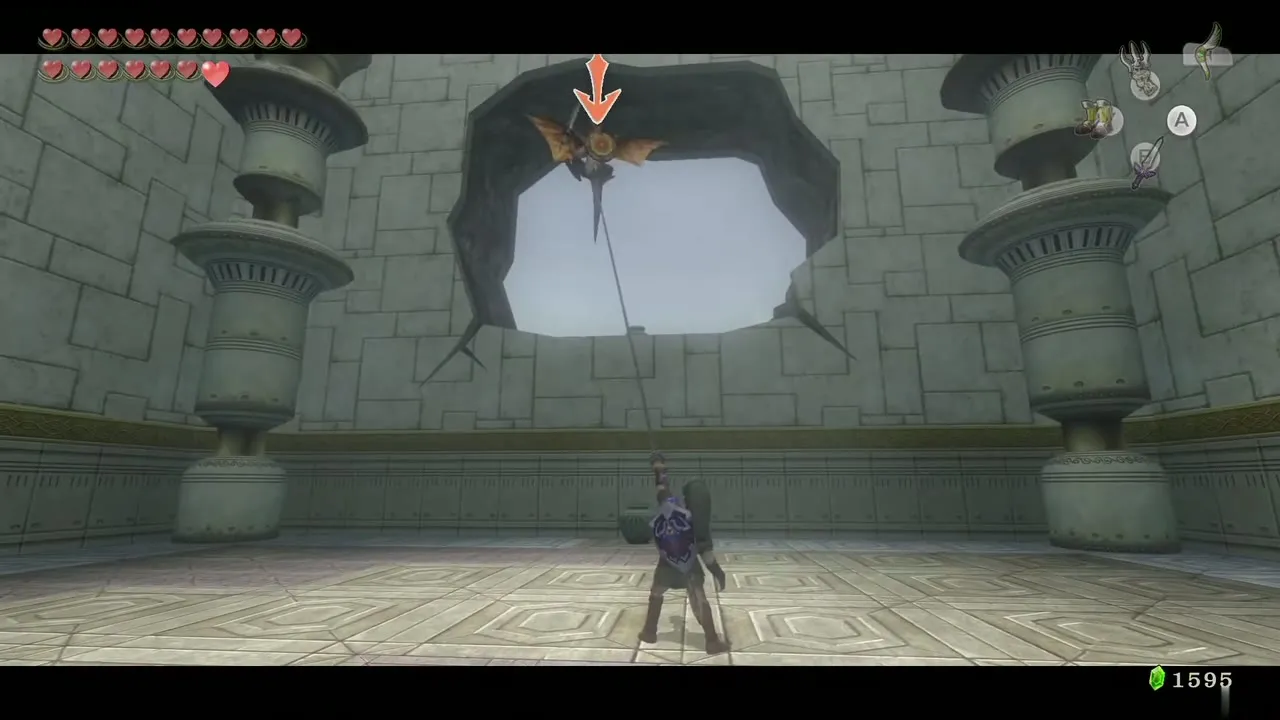
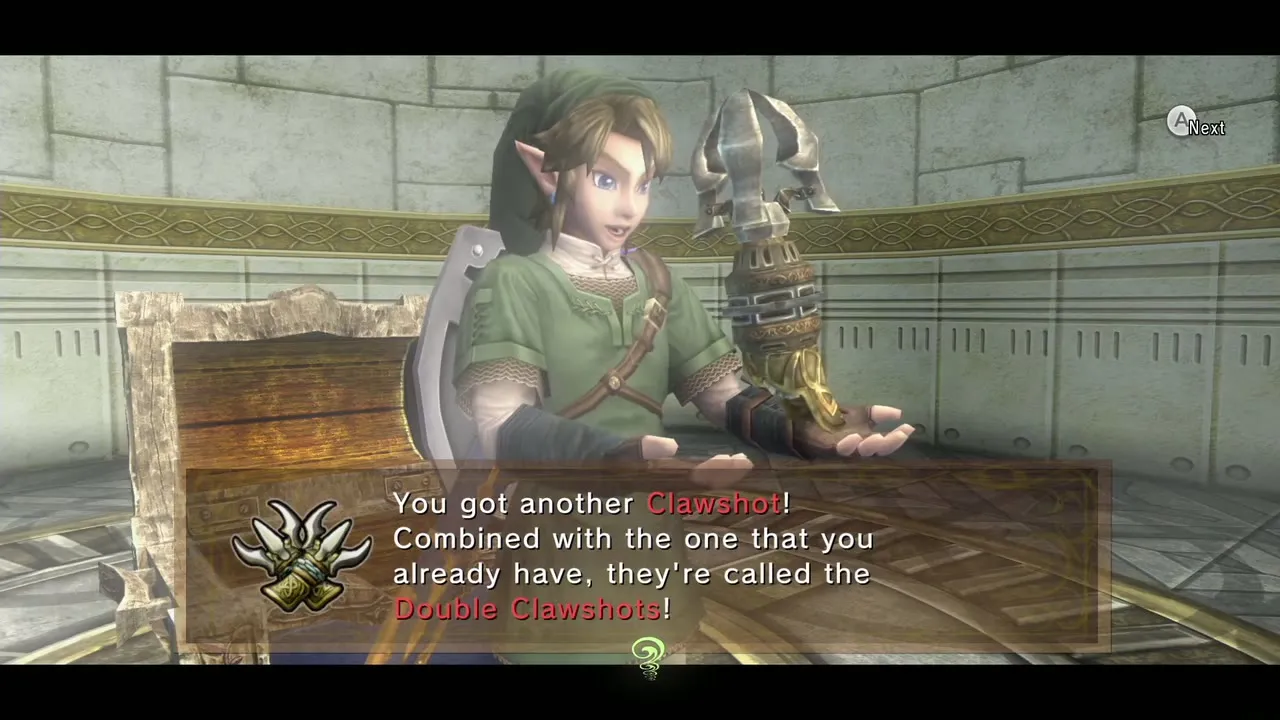
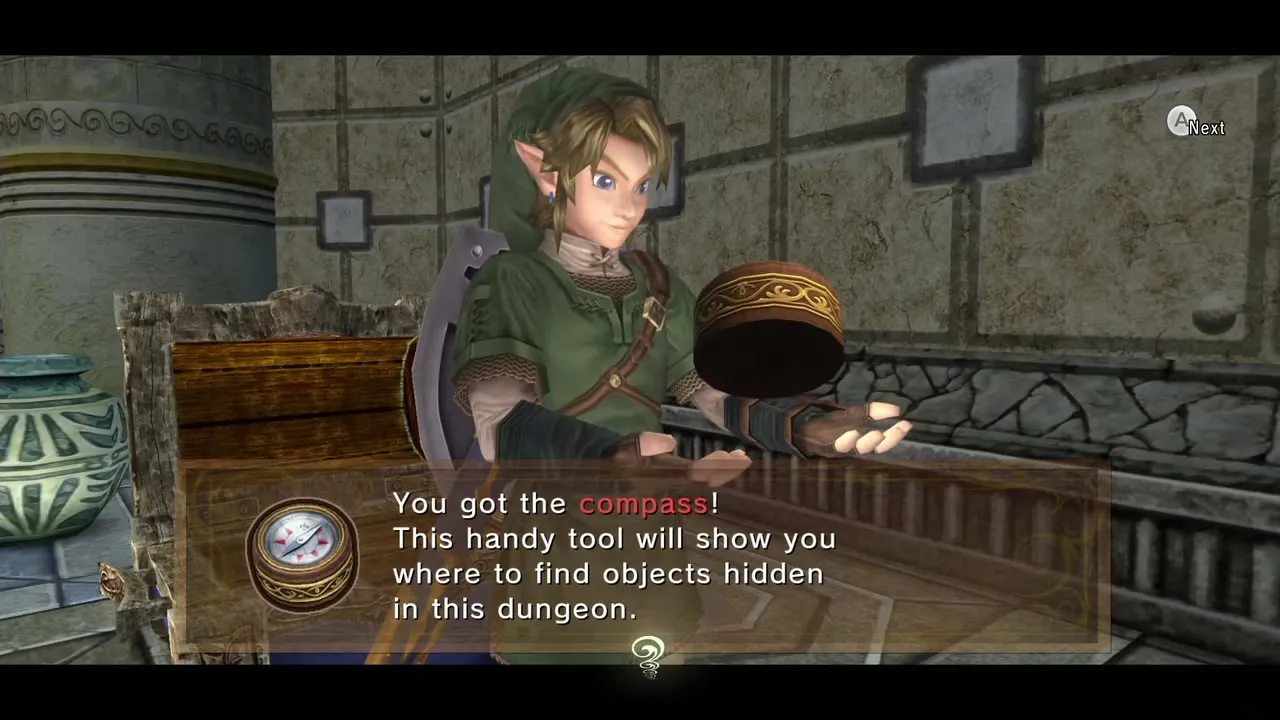
Table of Contents
Arrival, the entrance pool and the Oocca shop
Collect the underwater chests
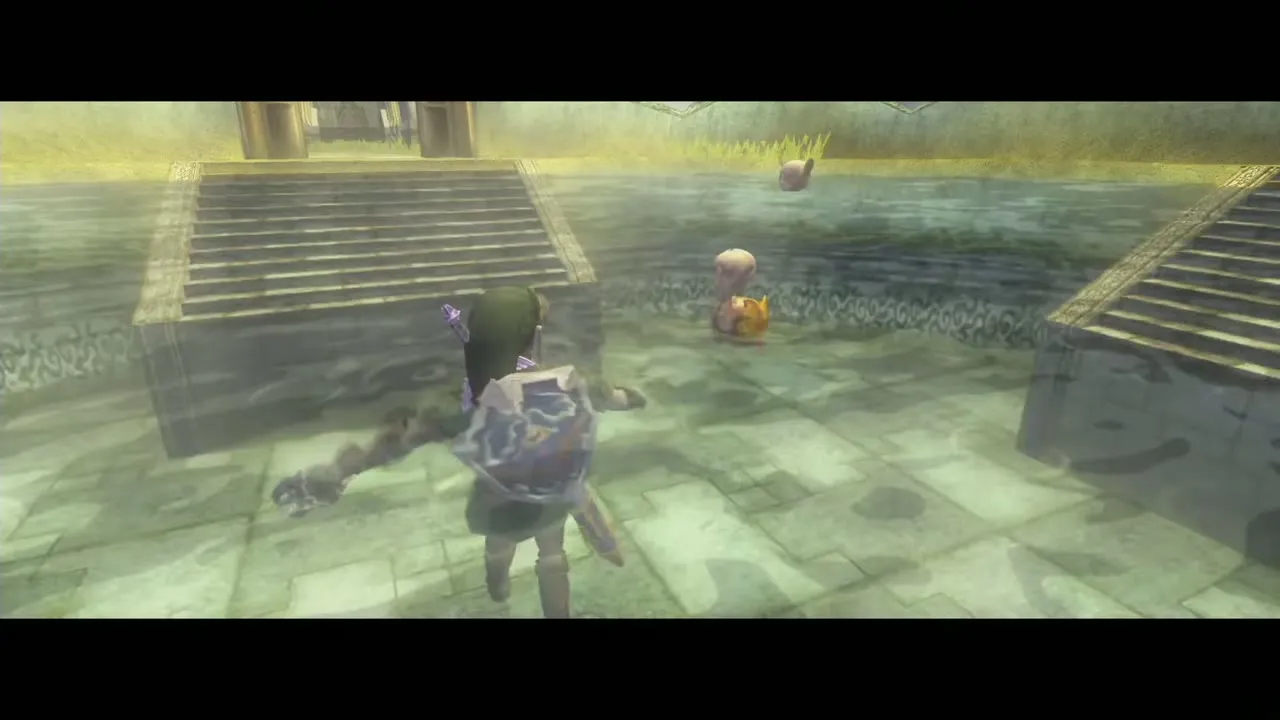
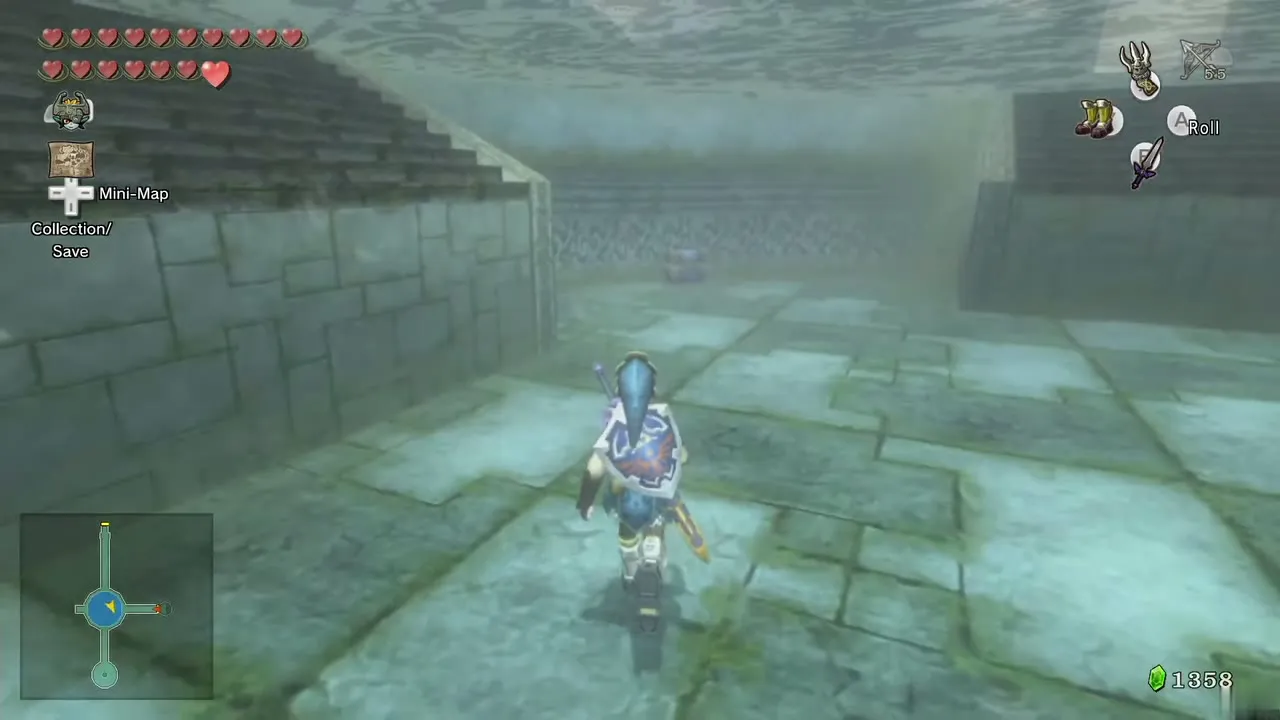
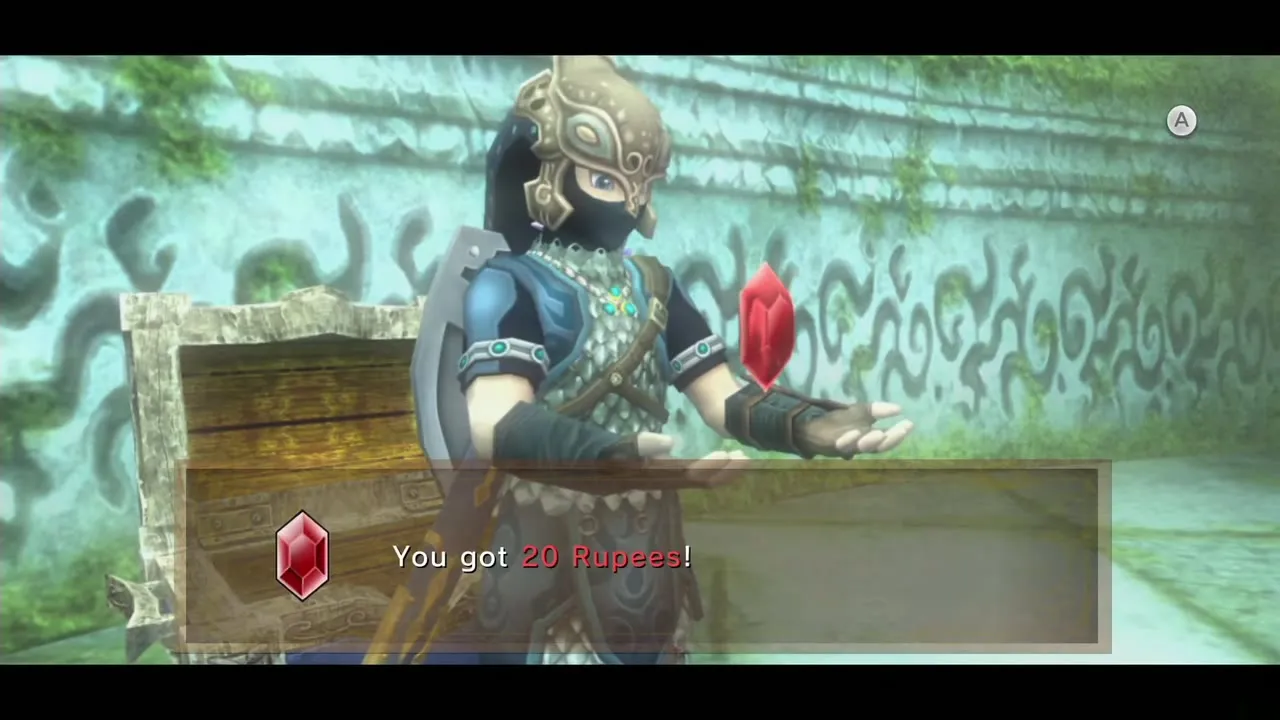
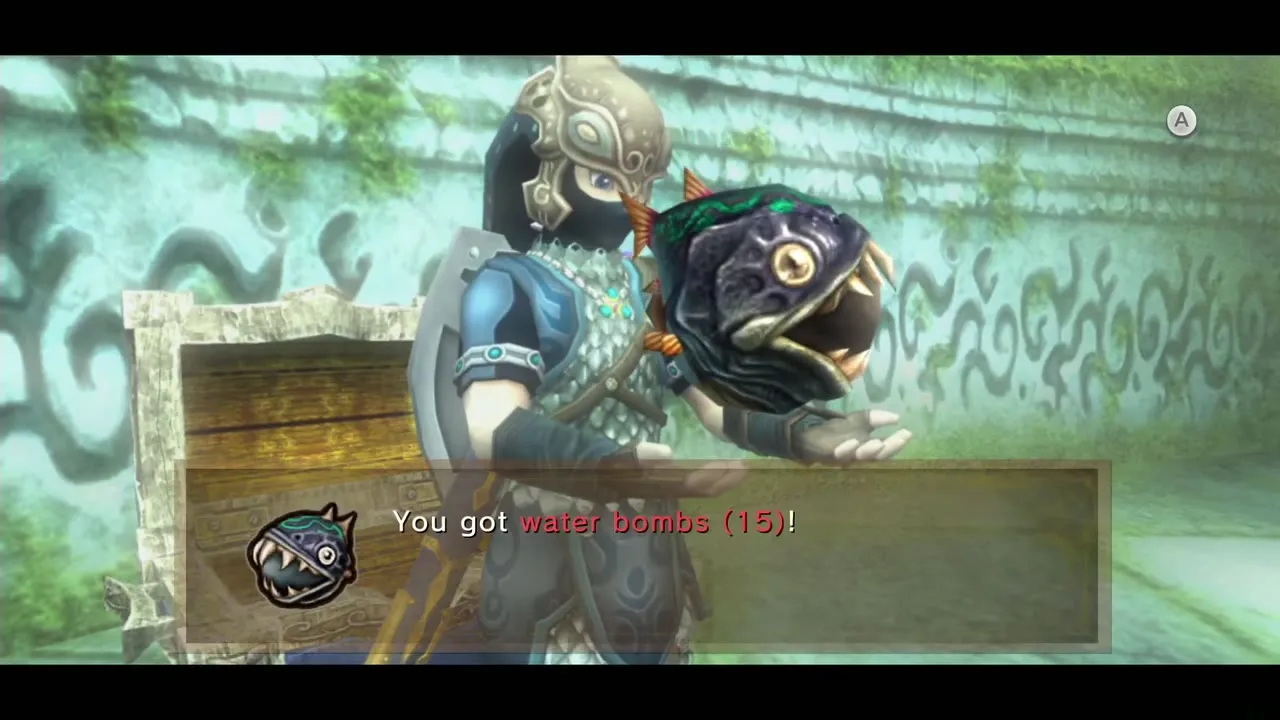
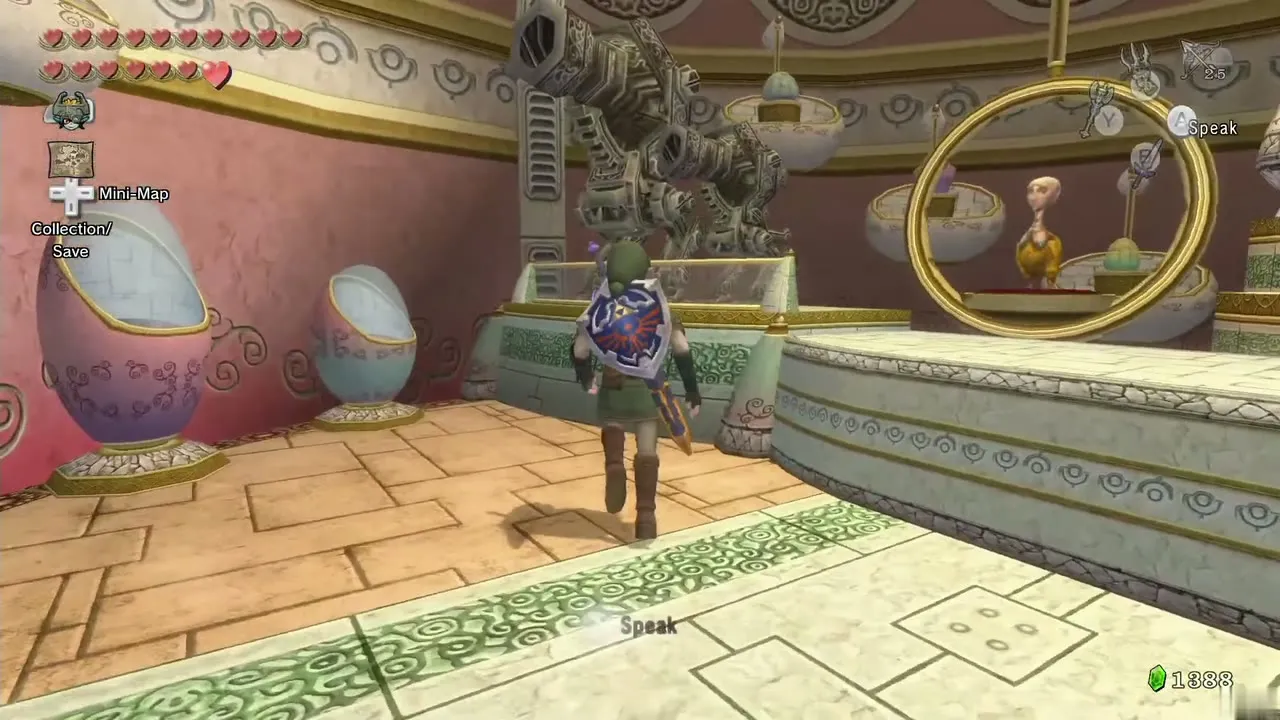
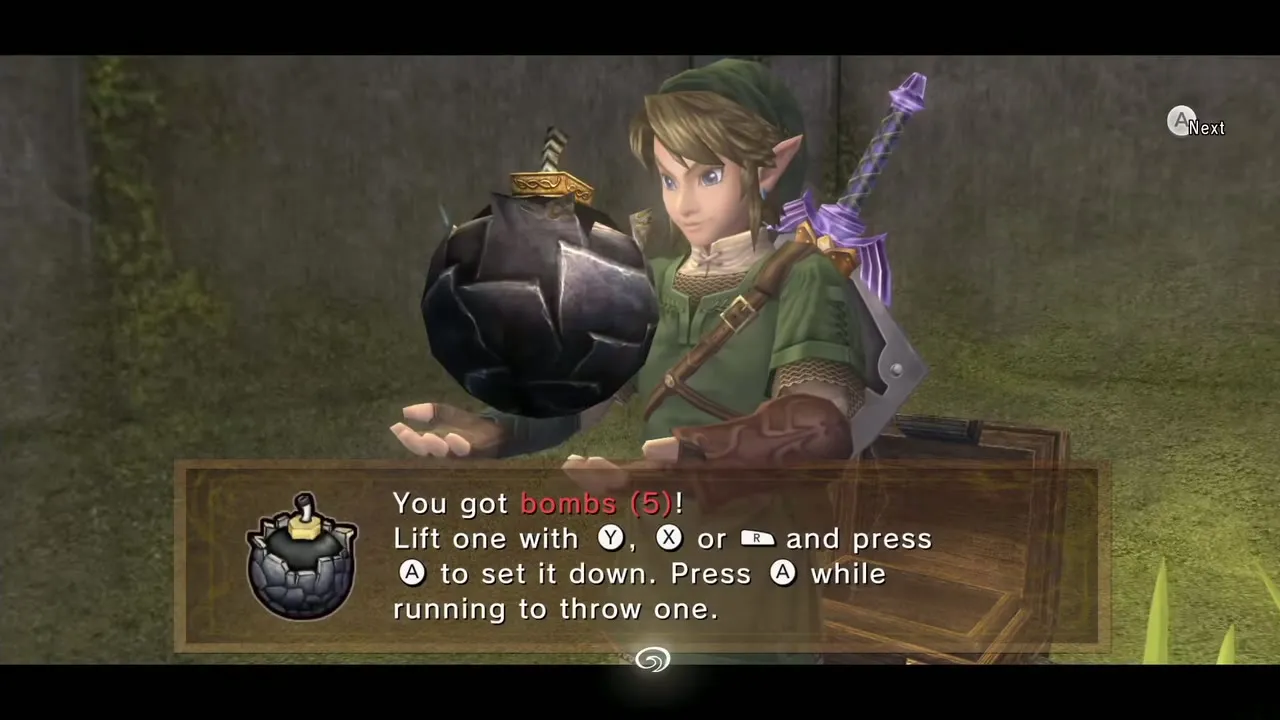
You land in a pool with Ooccoo beside you. A huge dragon flies past, and the Oocca run off to a shop just east of the pool. Equip the Iron Boots (and the Zora Armor to stay under longer) and sink to the bottom. Chests in the southeast and southwest corners hold bombs and Rupees. Take the boots and tunic off and climb out.
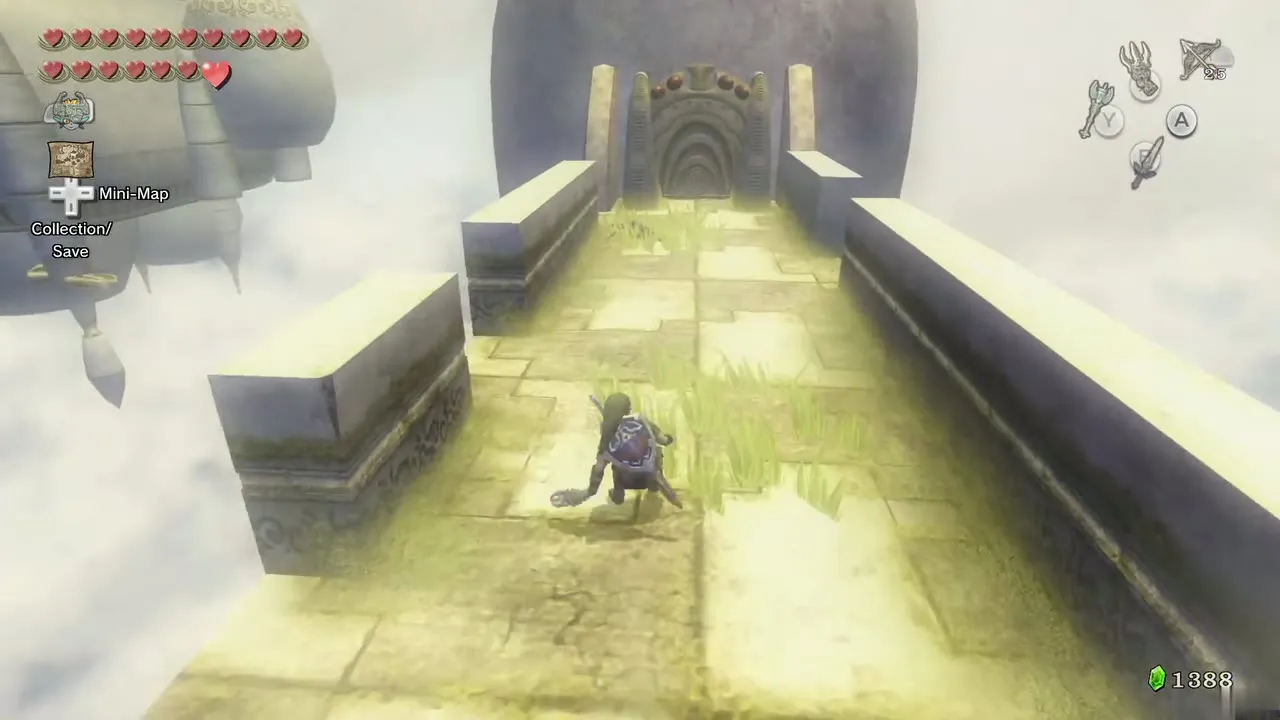
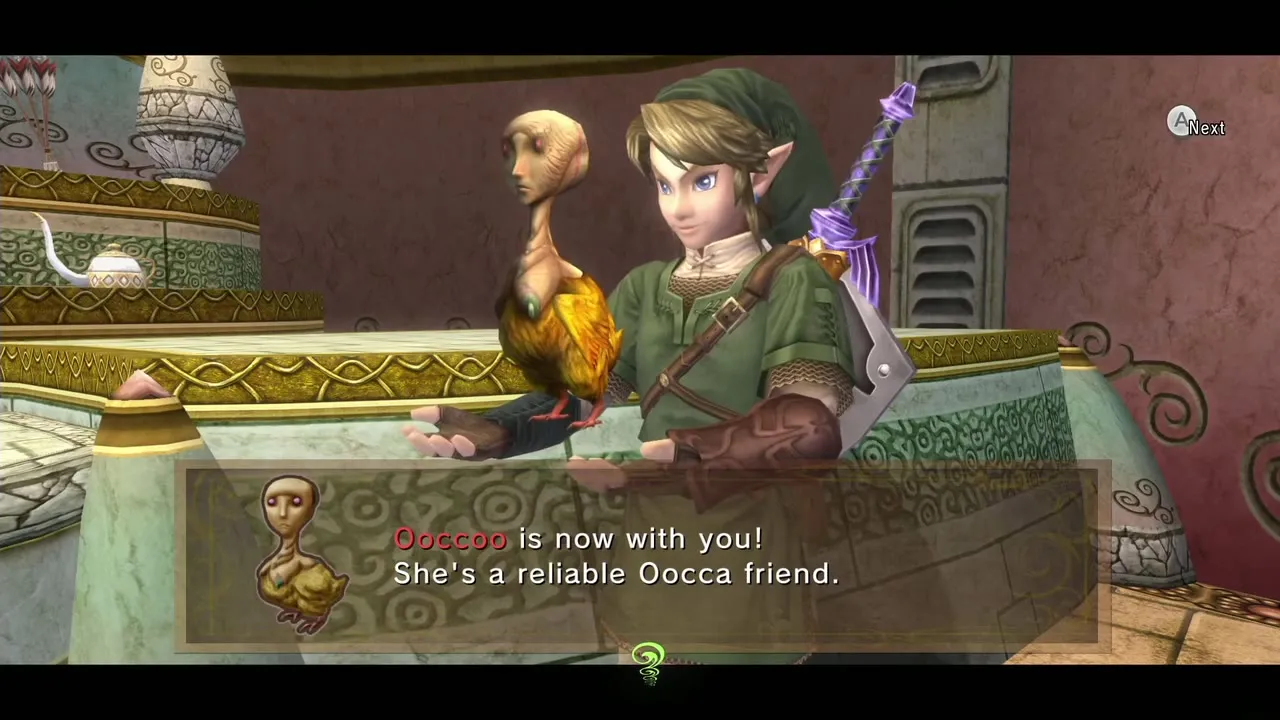
Head east along the walkway; the wind comes and goes, so use the Iron Boots when it gets strong. Defeat the Deku Baba beside the door and enter the shop. The Oocca sells nothing worth buying this early, but Ooccoo waits on your right: talk to her and she joins you again. As in every dungeon, she lets you leave and return to the room where you used her, but if you quit through the pool you lose that return point.
Open the first door
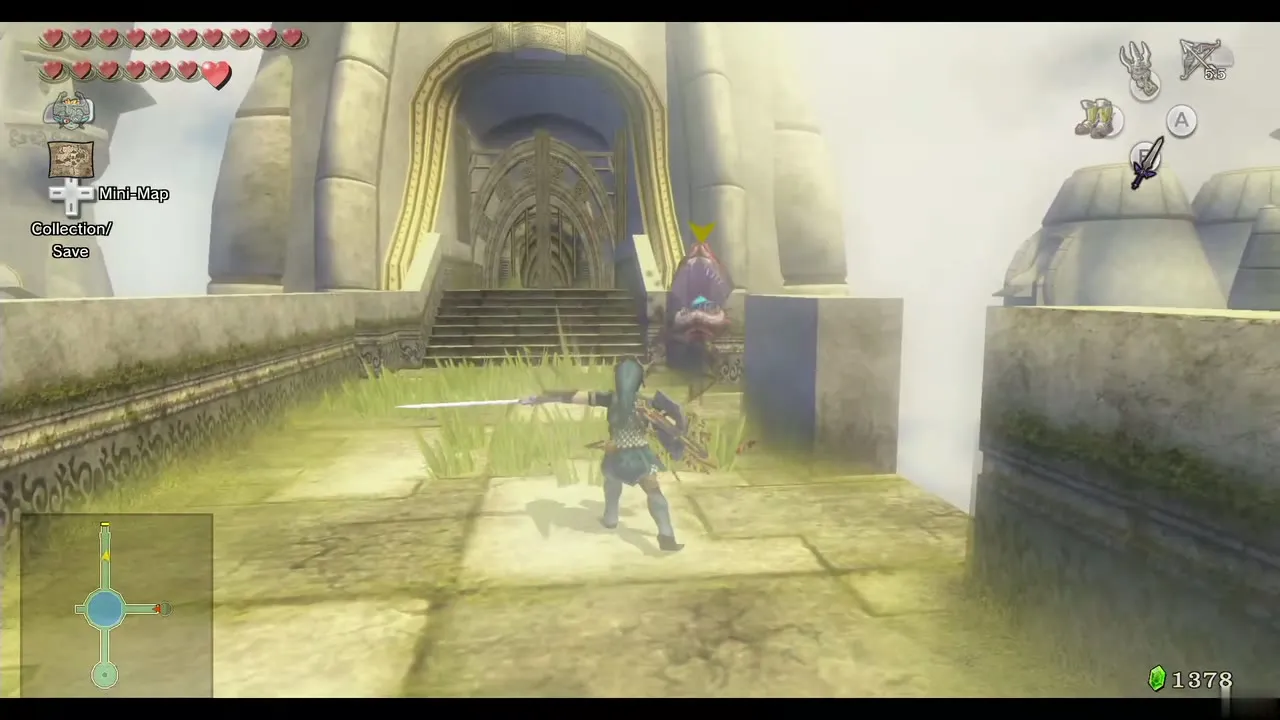
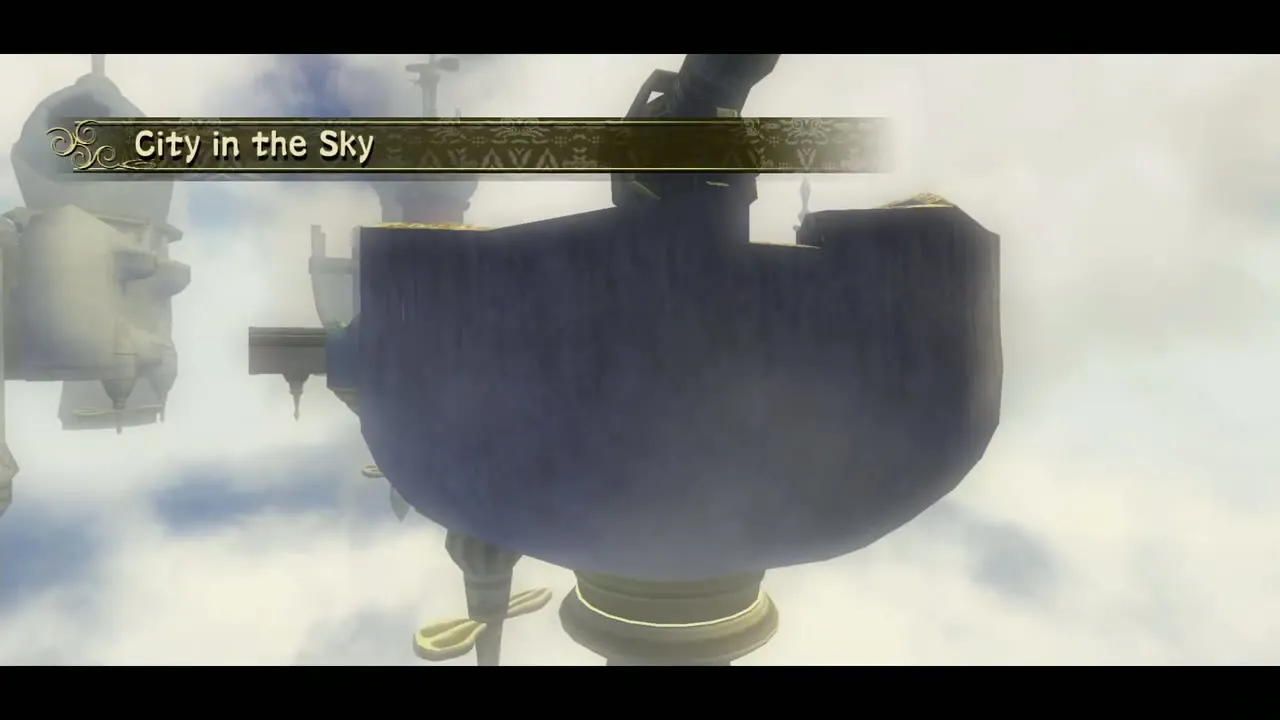
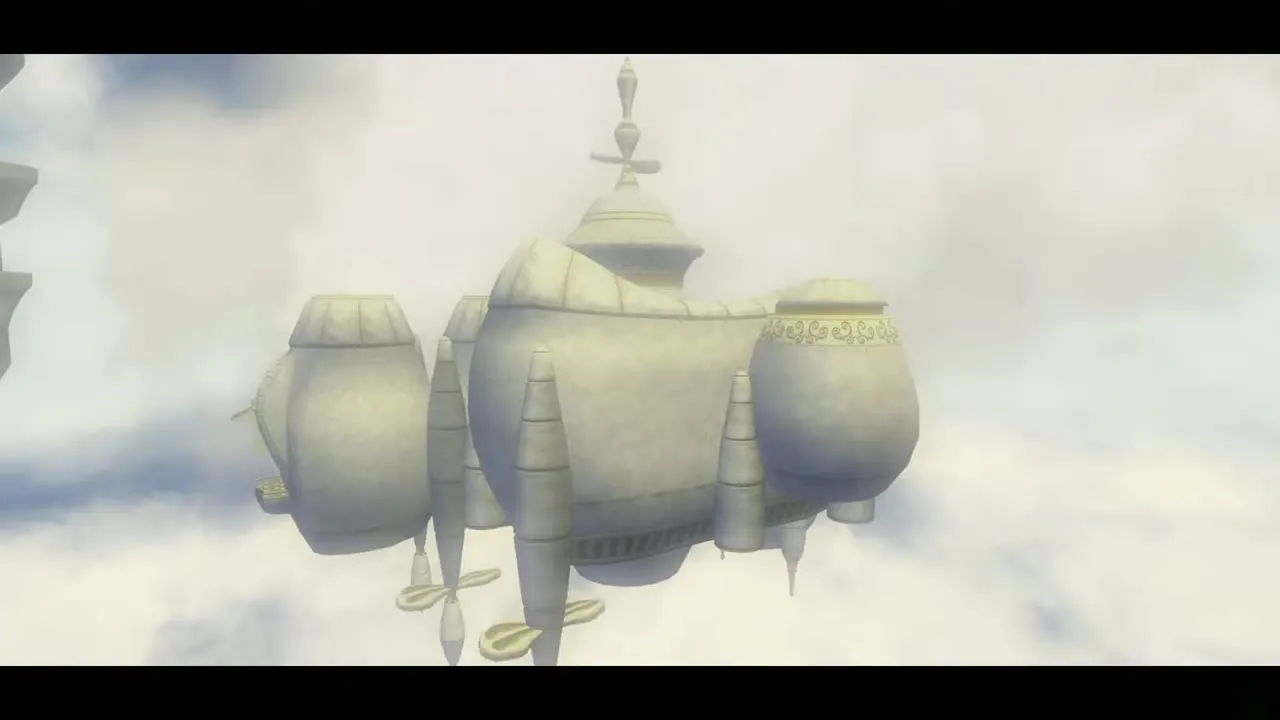
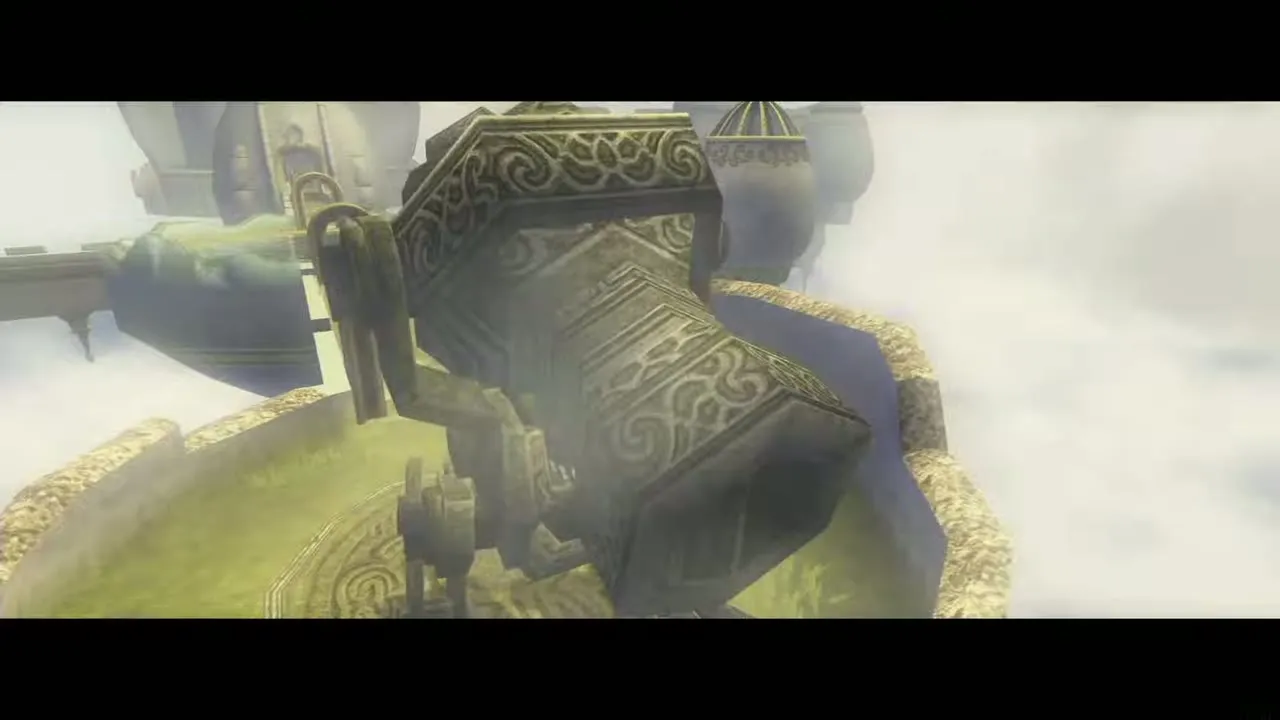
Back at the pool, head north and defeat two Deku Babas. A second door is blocked by a gate: hit the target above it with the Clawshot, or shoot it with the bow when the wind drops. As you approach the door, a short view of the whole city appears and the dungeon’s title is shown. Go through.
Small Key and Dungeon Map
First room: blue blocks and Oocca
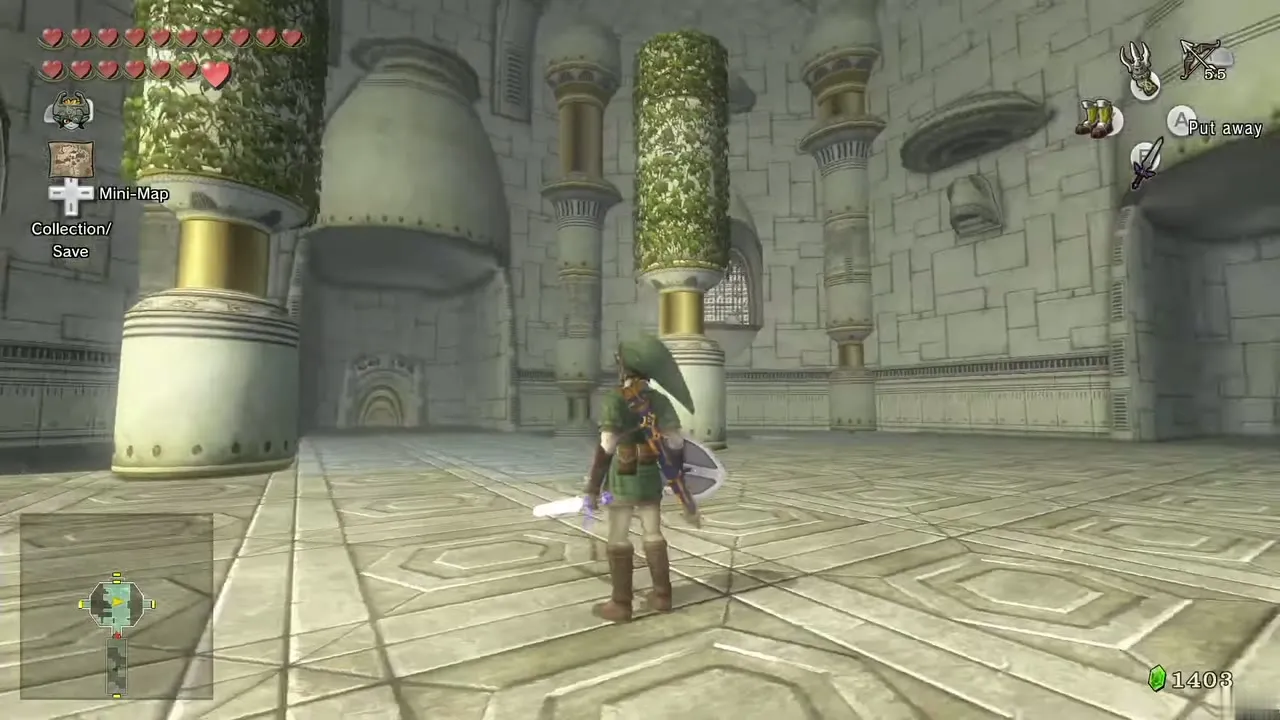
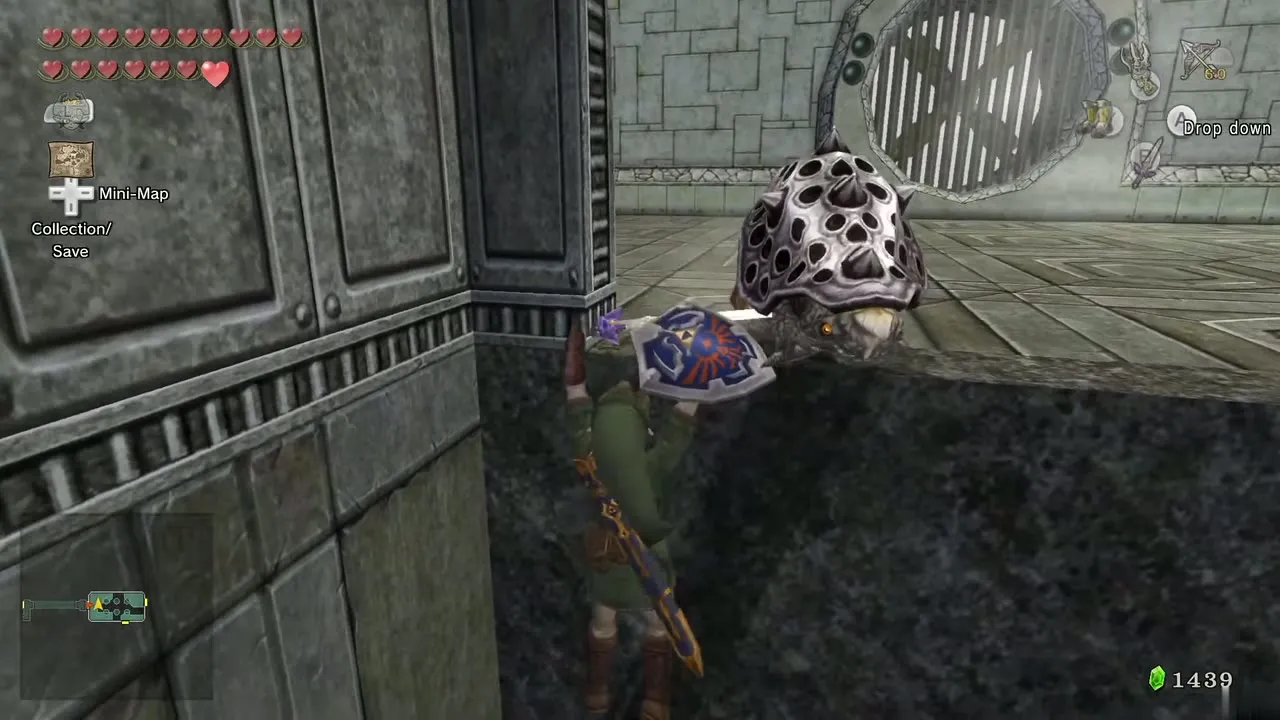
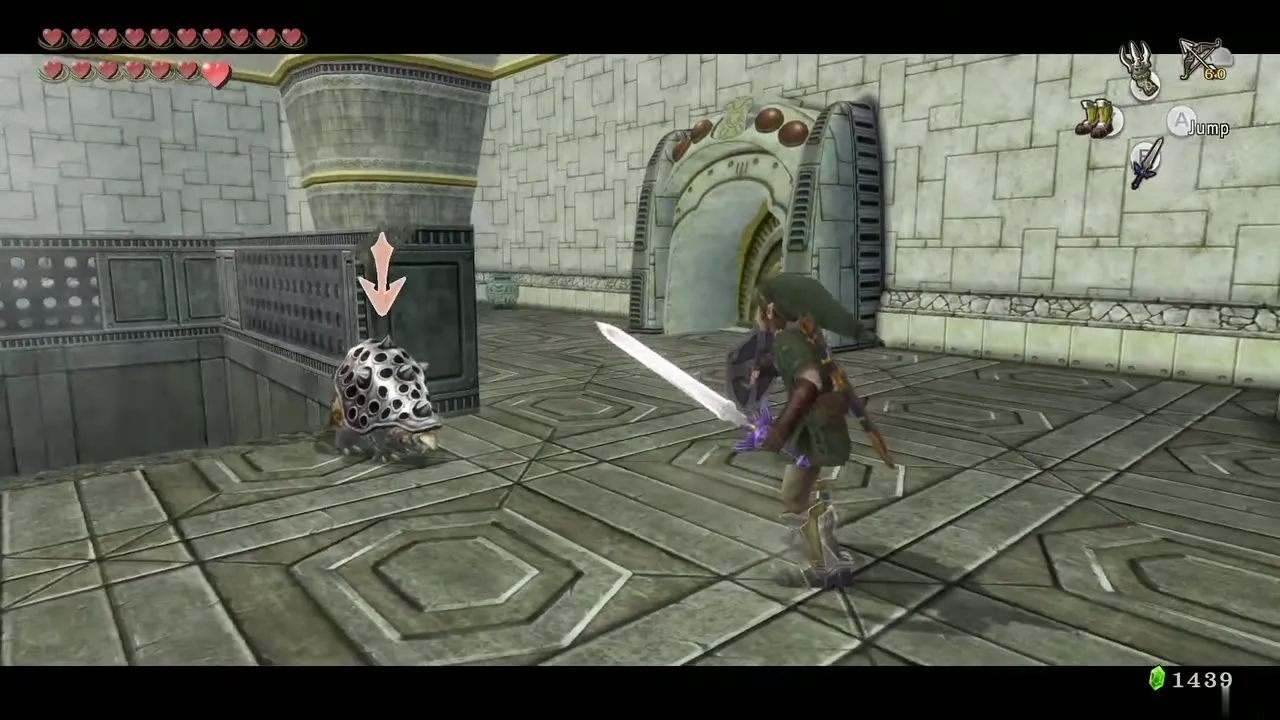
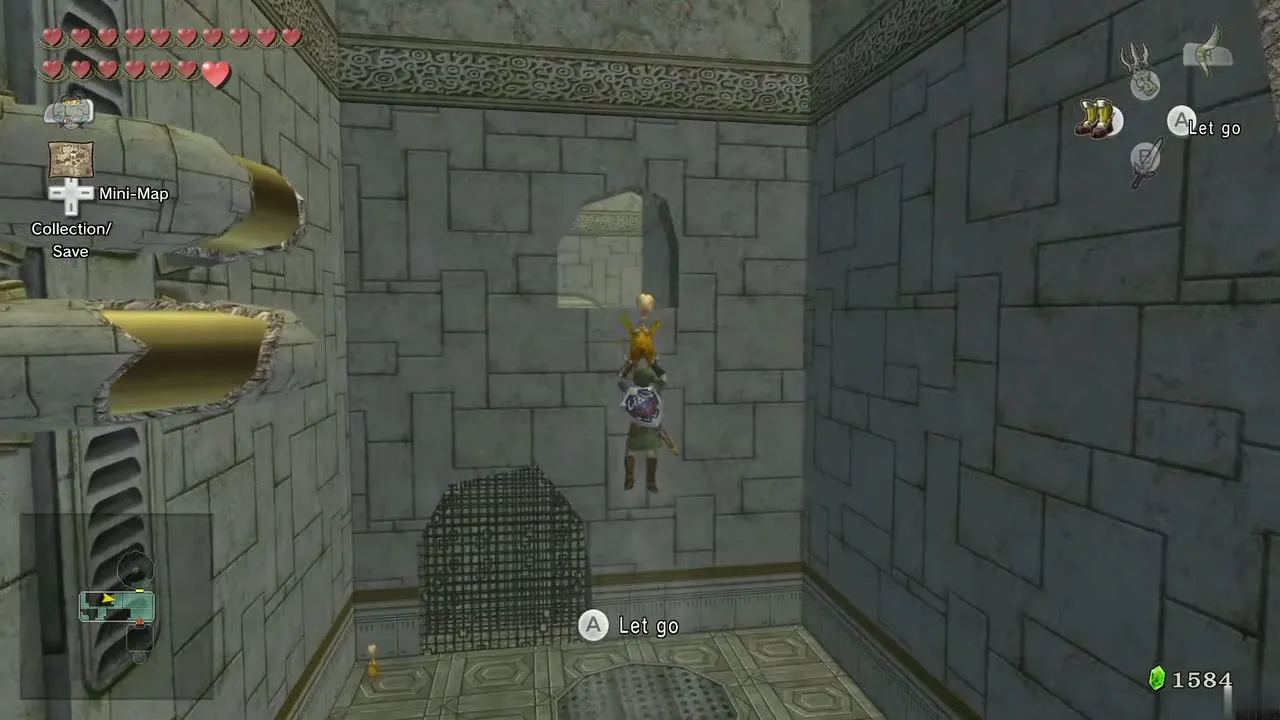
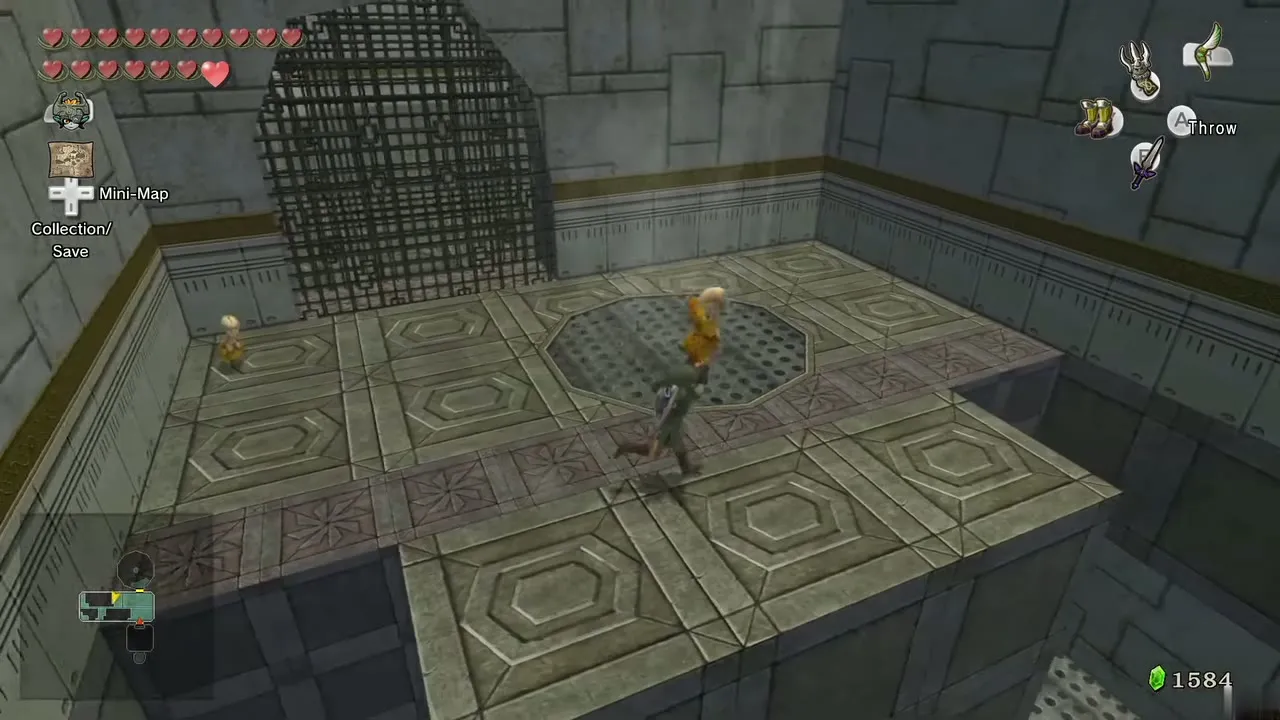
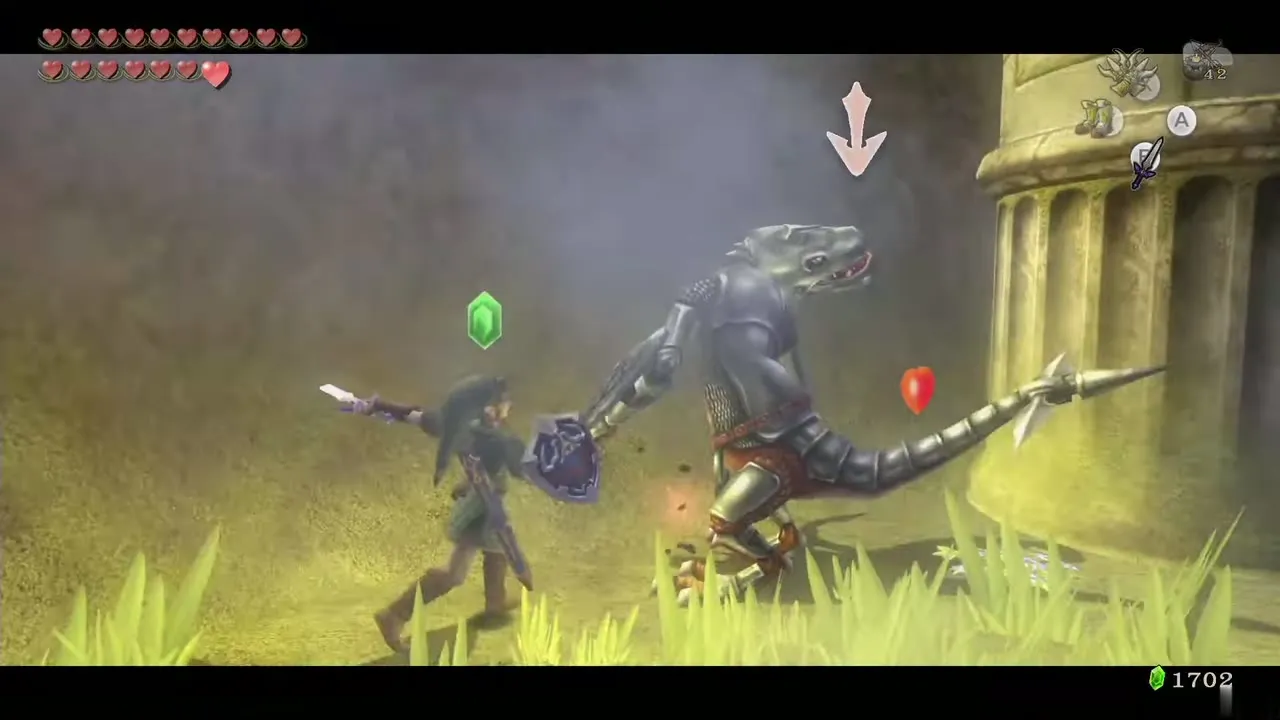
Blue blocks in this dungeon fall a few seconds after you stand on them, so cross them quickly. In the first room pick up an Oocca from the left side, carry it to the right and float down to the lower platform. Drop it and defeat the Helmasaur, pulling off its mask with the Clawshot first.
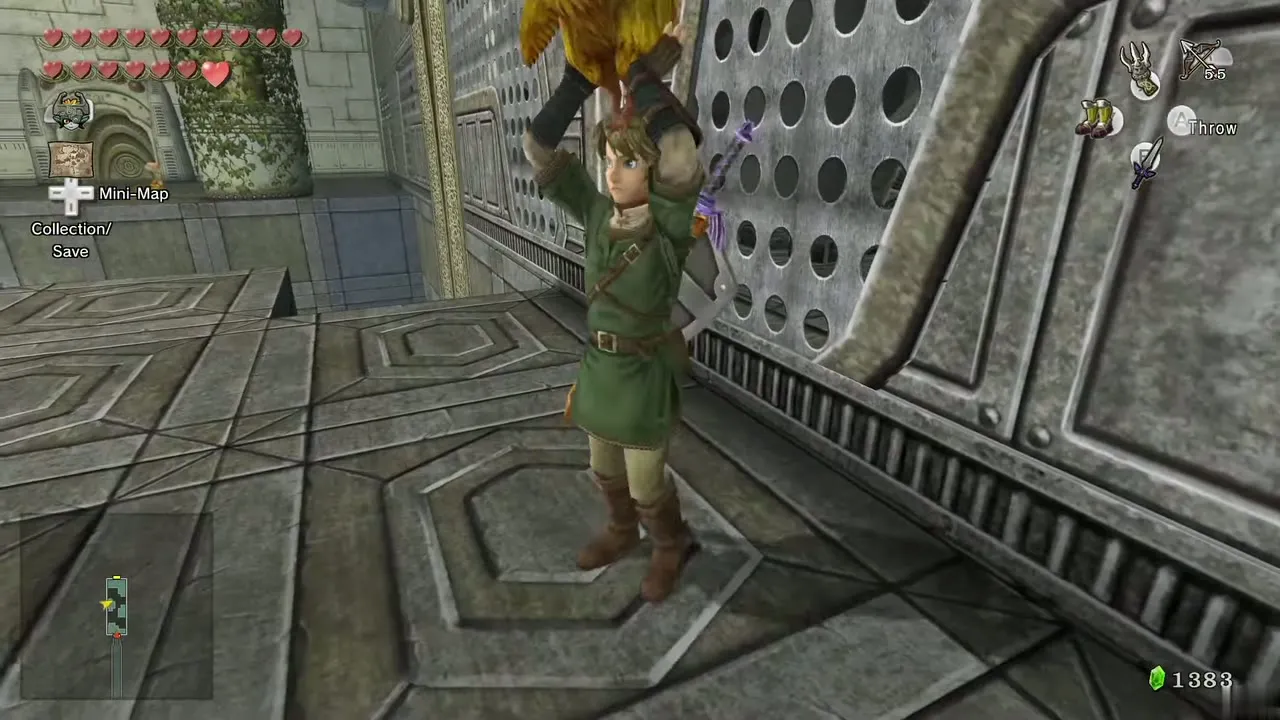
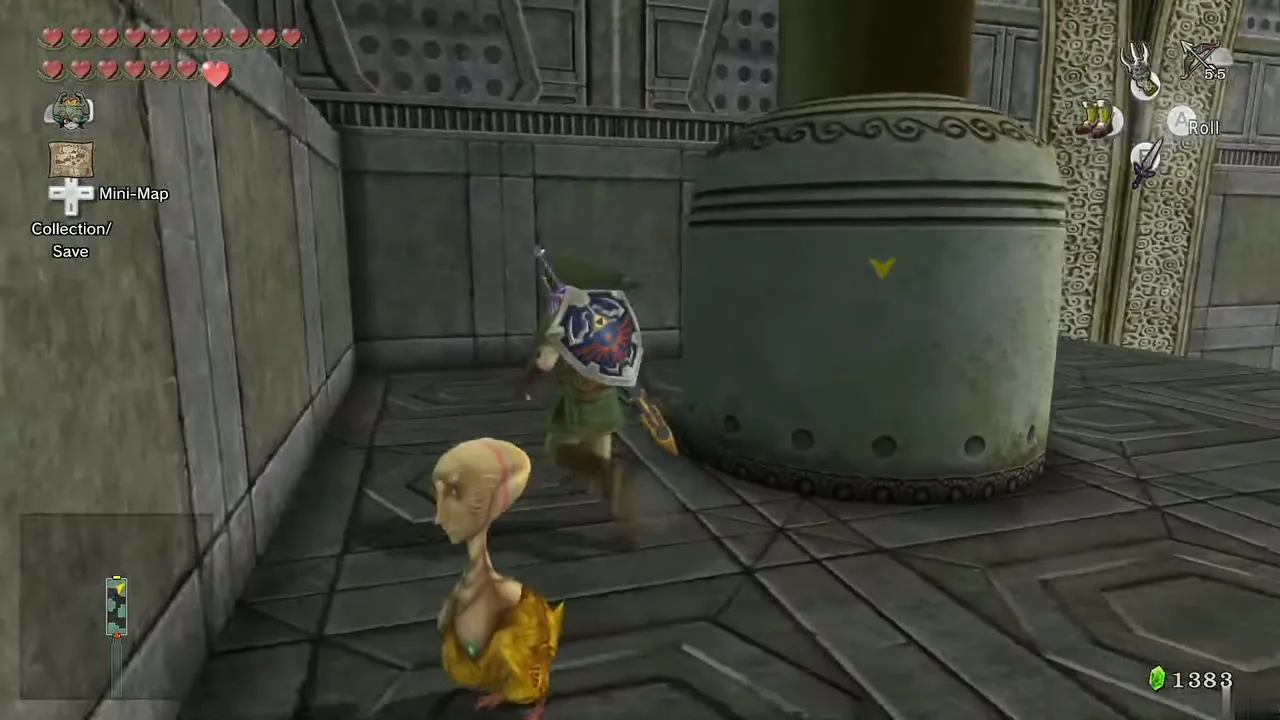
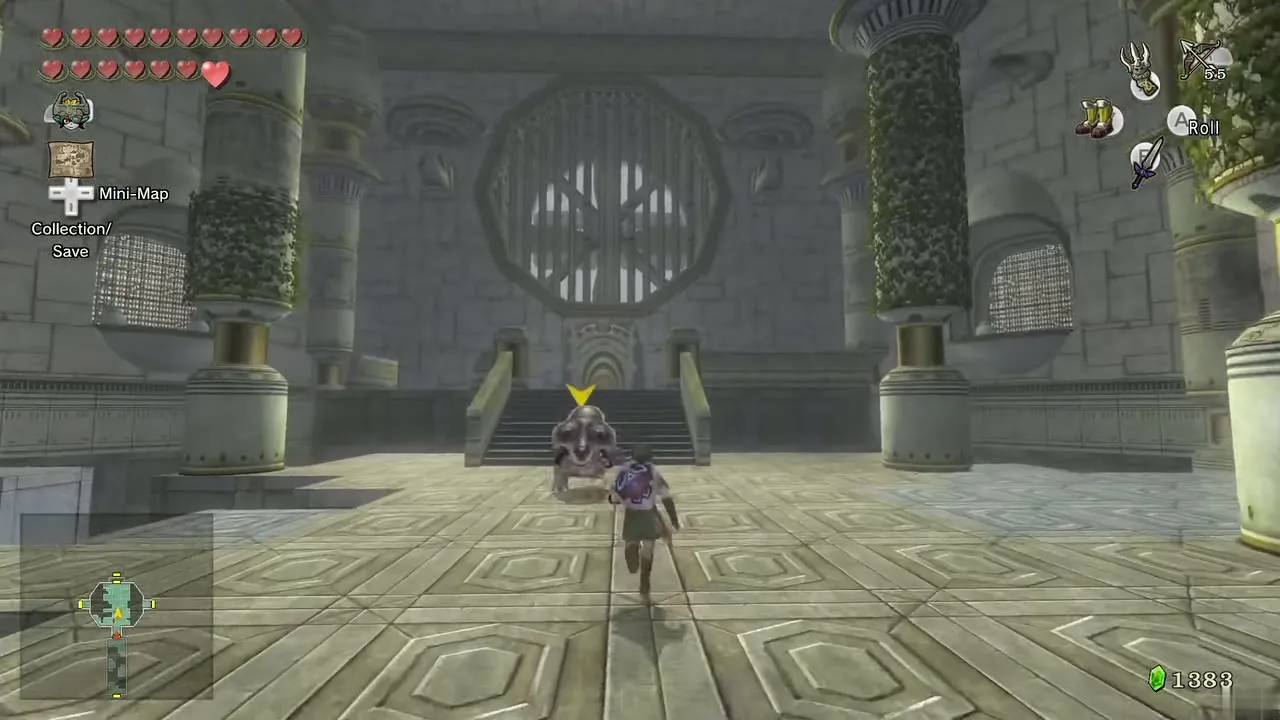
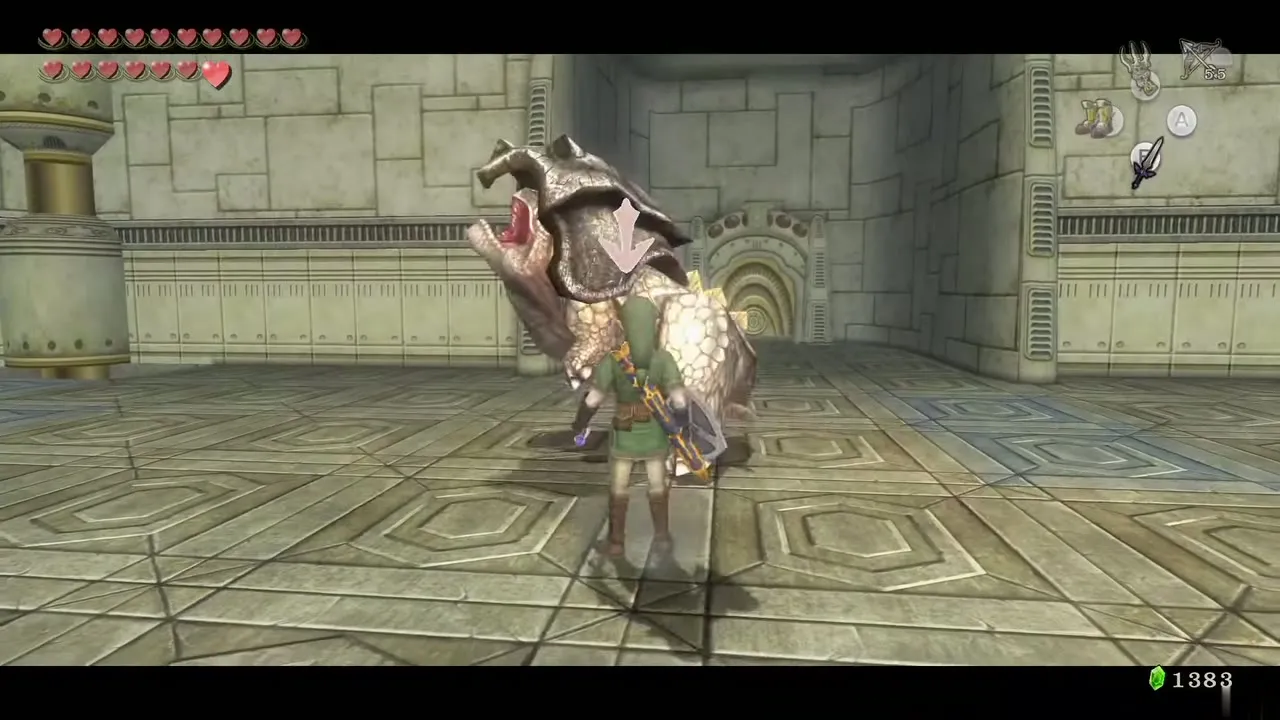
Clawshot the vines on the pillar to reach the higher ledge on the left and drop to the floor. Two Oocca sit on the wall to the left: Clawshot one down and use it to float to the lower platform at the north end. Defeat two more Helmasaurs, climb the ledge in the northwest and take the north door.
Helmasaur King and the spinner bridge
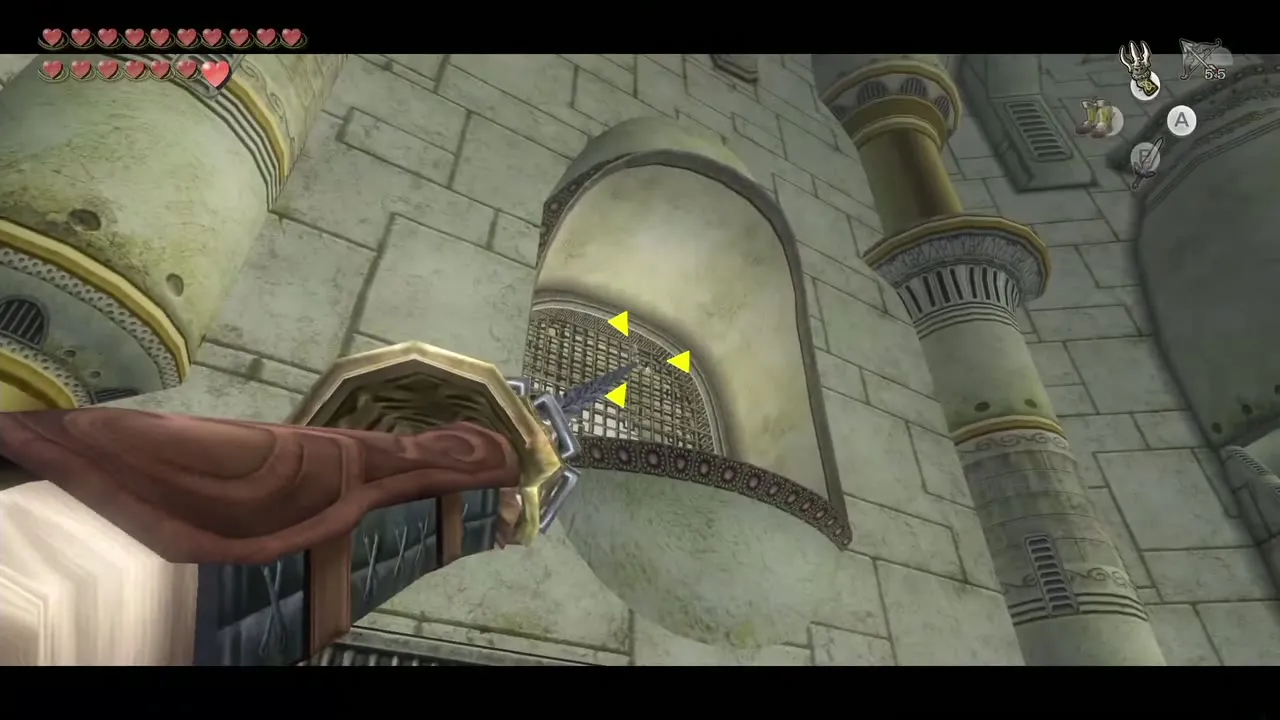
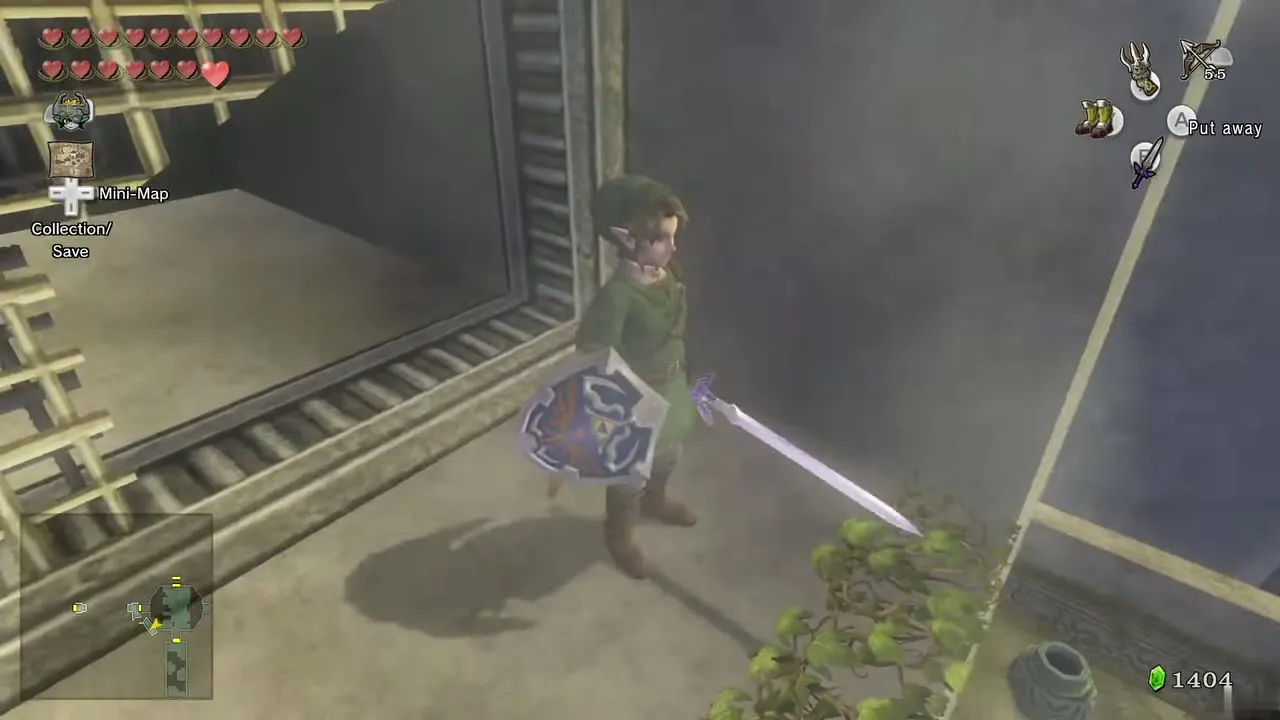
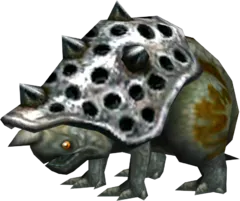
A Helmasaur King guards the next room. Its mask cannot be pulled off, so hit it from behind with a Back Slice. In the southwest corner, Clawshot the grate of the small balcony window and crawl through the opening back outside.
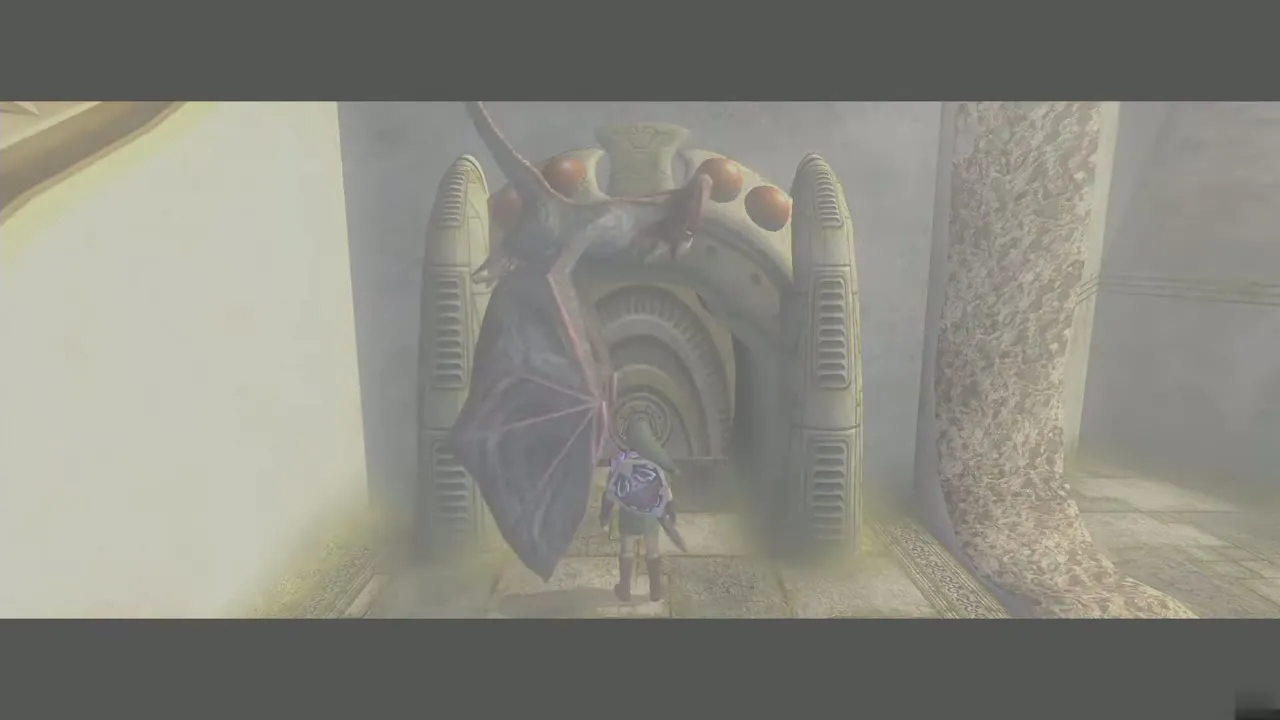
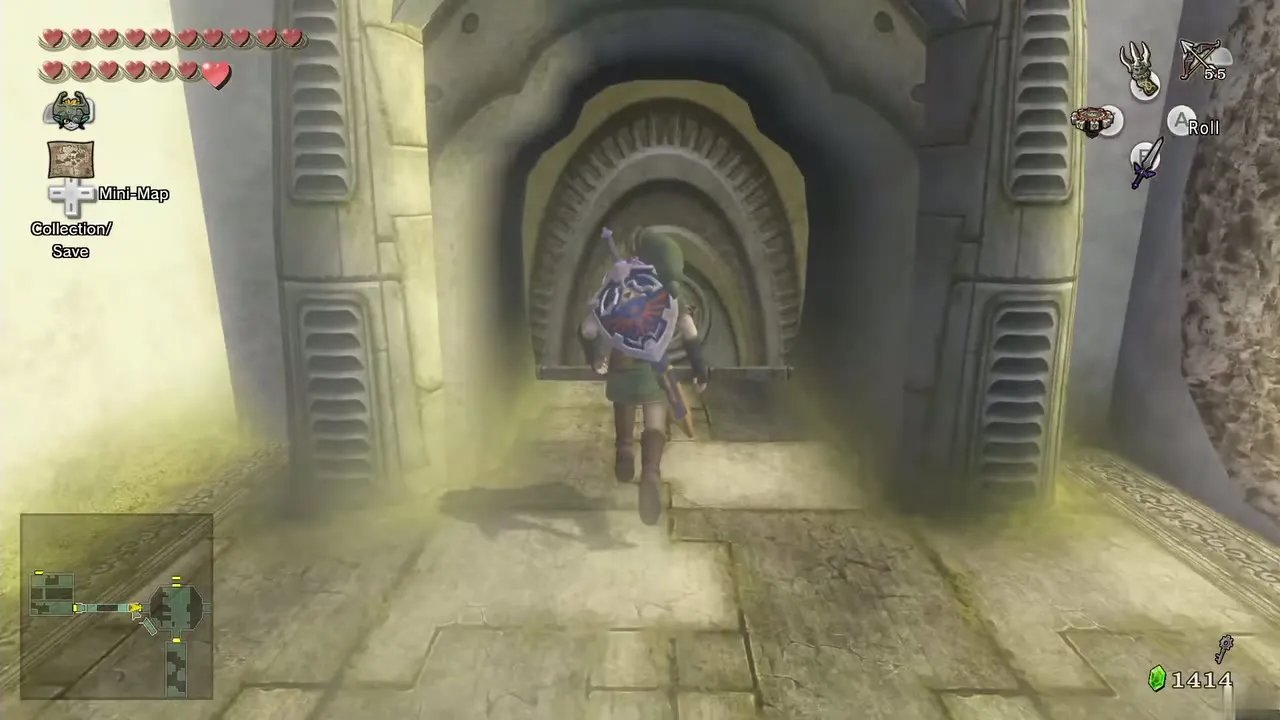
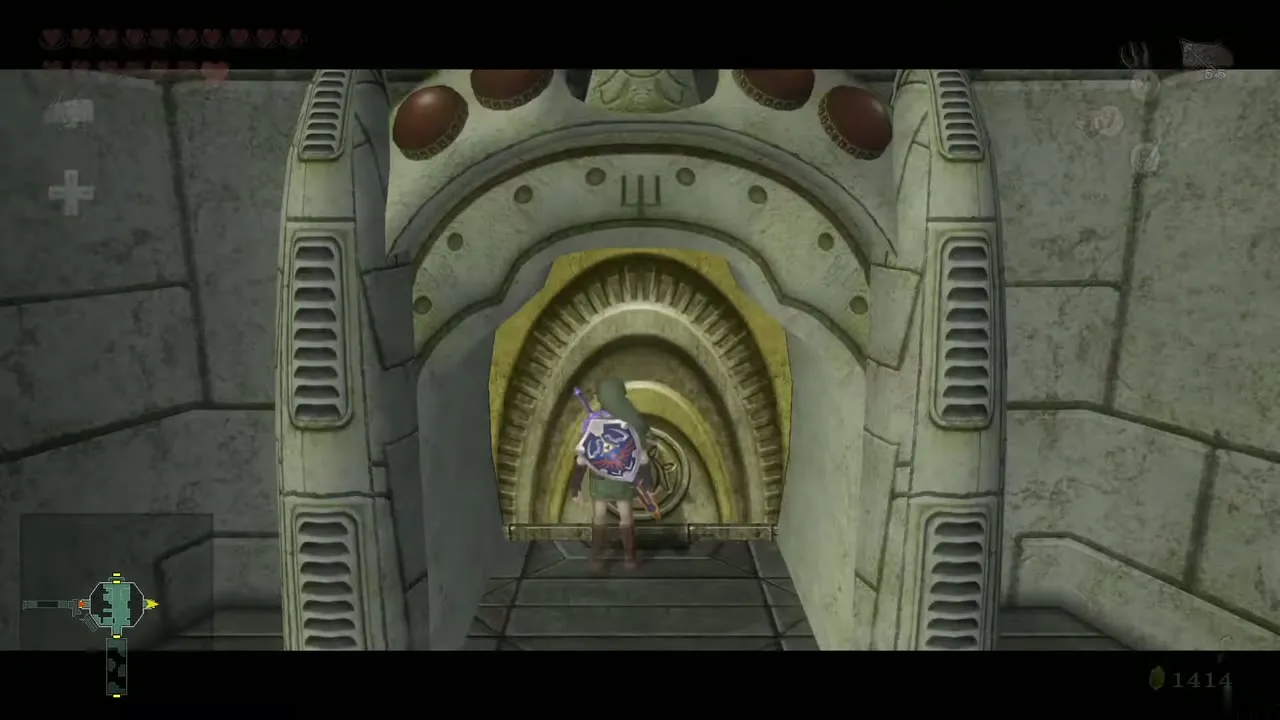
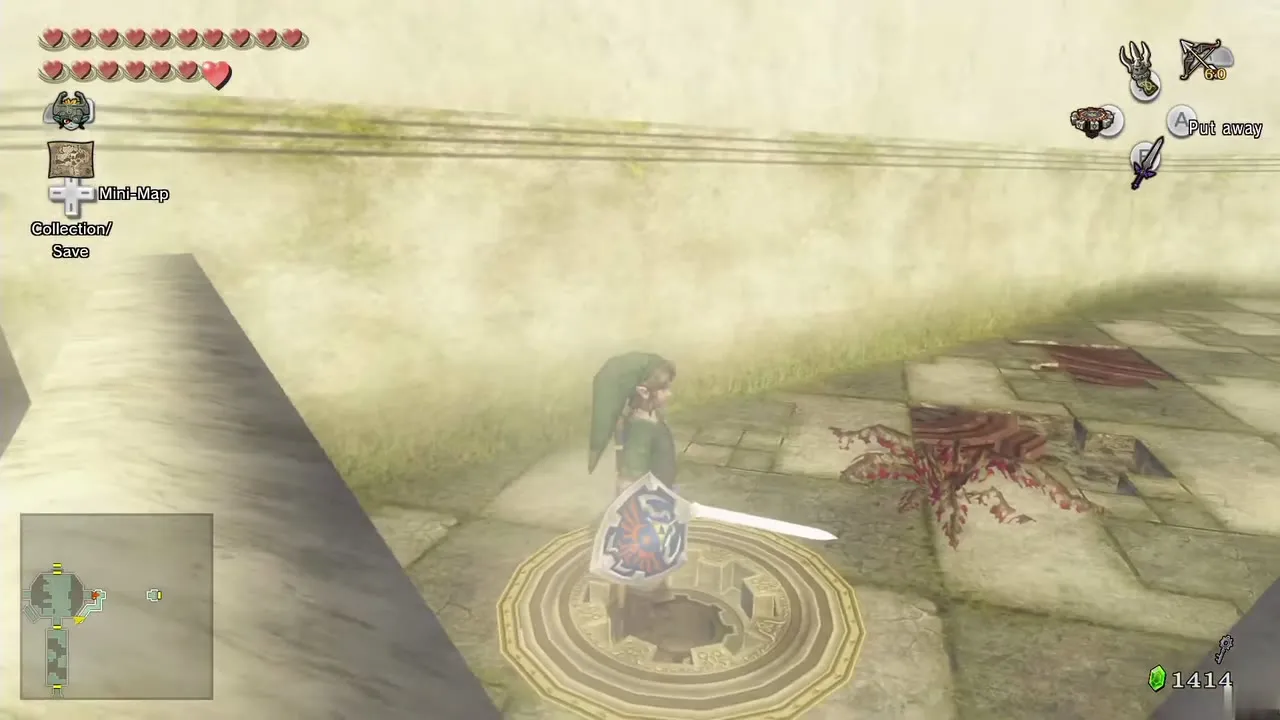
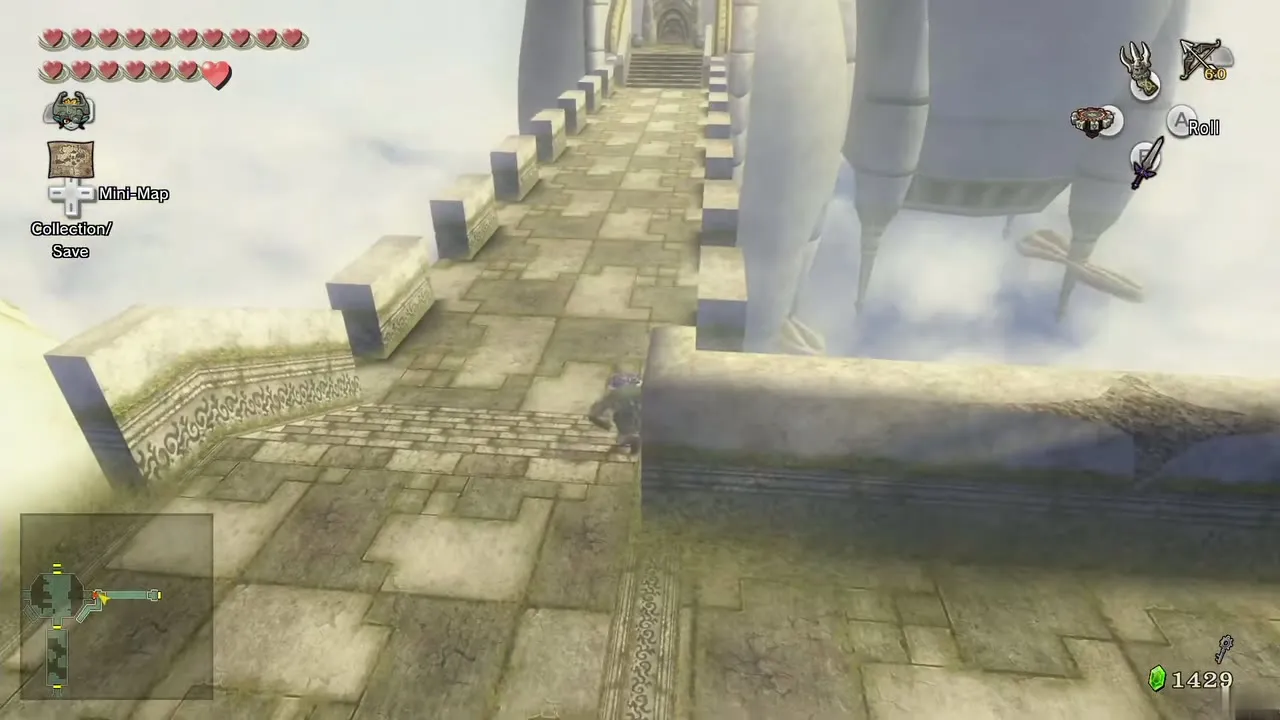
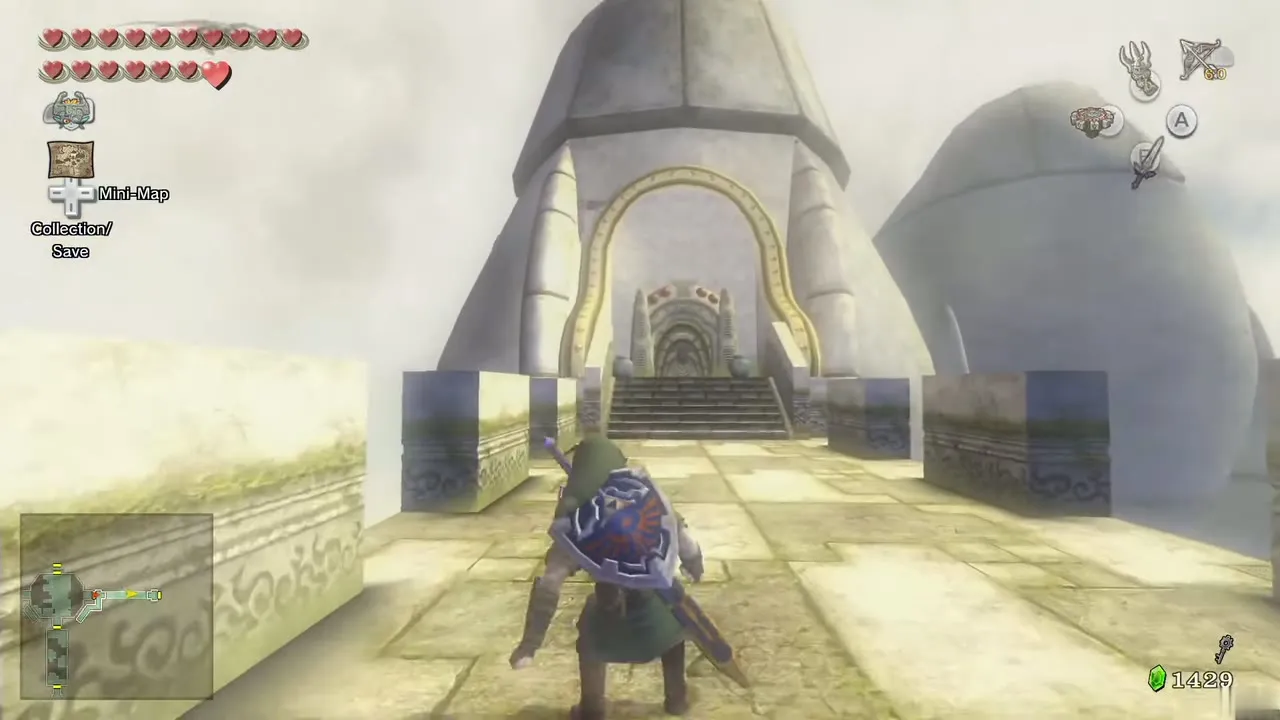
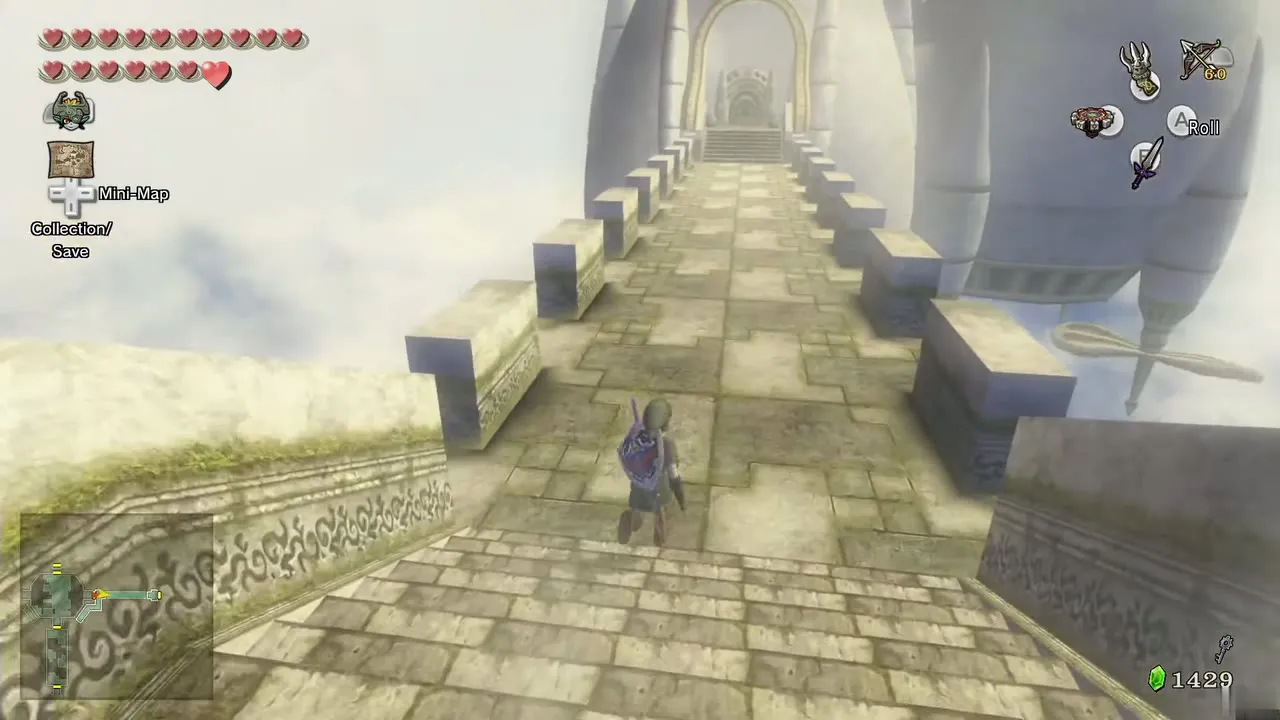
Drop to the ledge below and look to the right for a spinner slot. Ride the Spinner into it and spin repeatedly to build a bridge stretching east. Walk to the north end of the platform and Clawshot the ivy to cross the gap, climb up and cross the bridge. Kargaroks fly here, harmless Peahats float about and the wind pushes hard, so wear the Iron Boots as needed. Enter the door at the bridge’s end.

Small Key
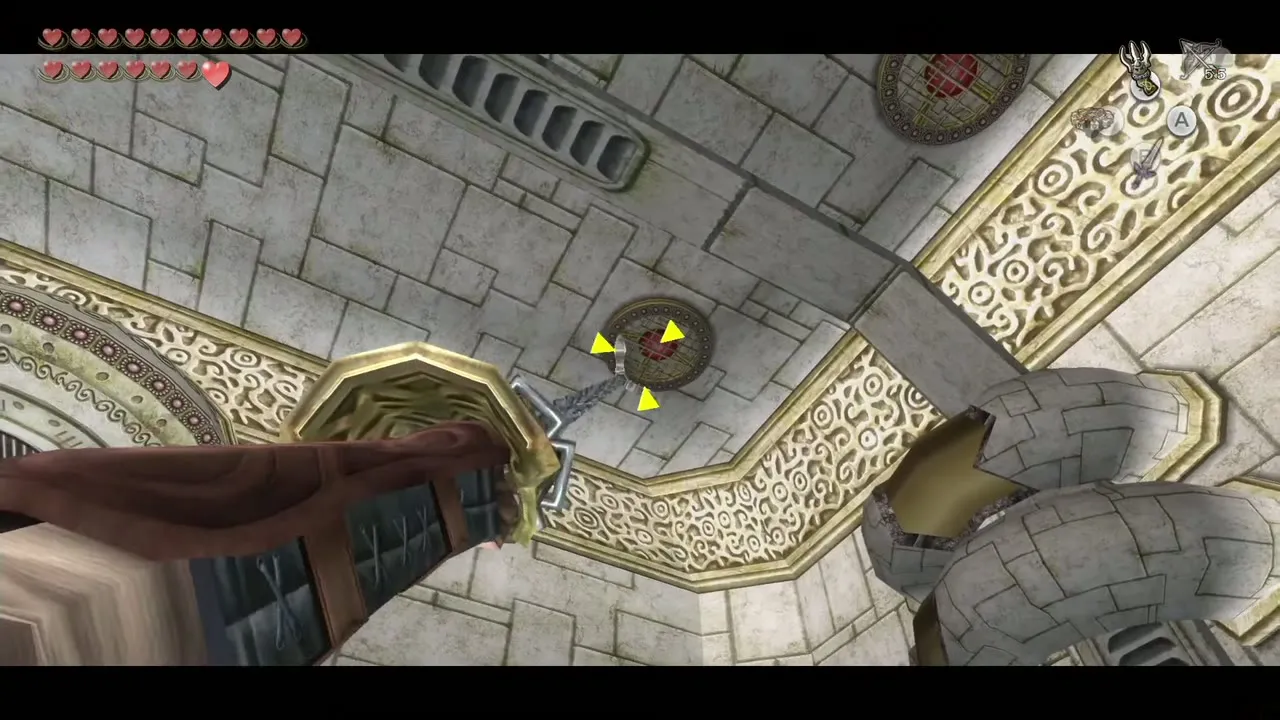
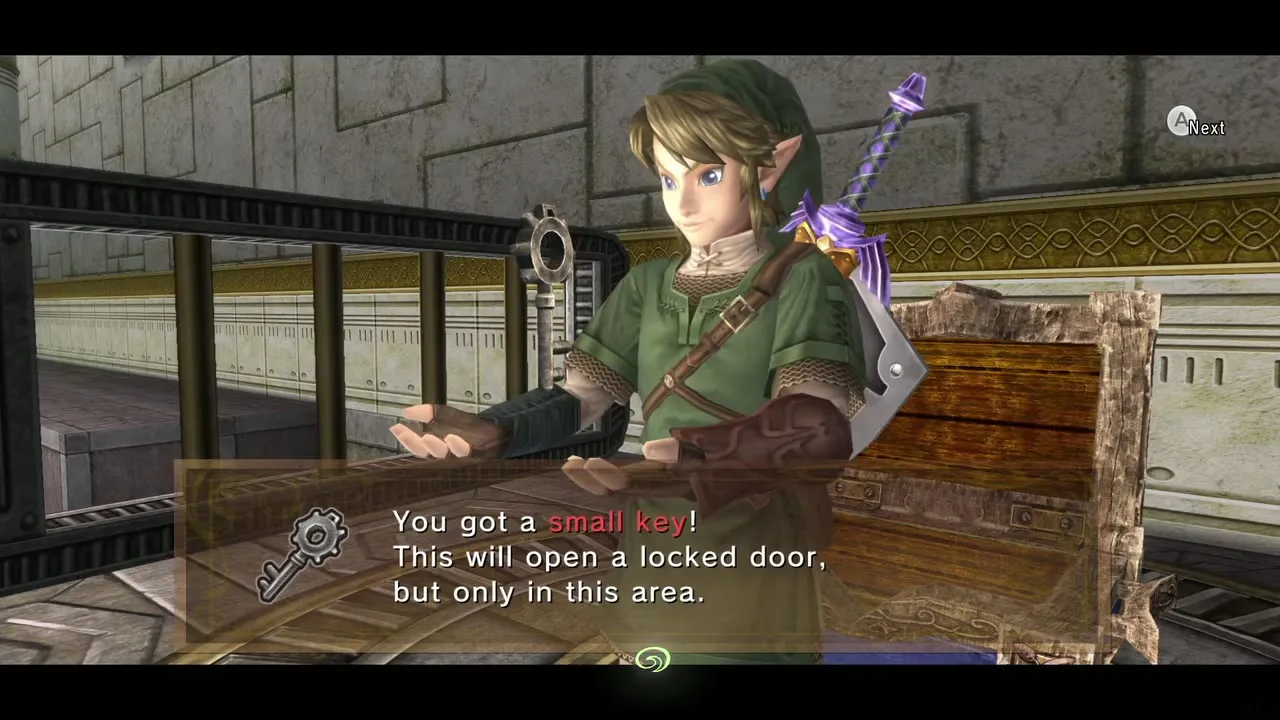
Walk to the west end of the room, jump the small gap and lock onto the Clawshot target on the ceiling in the southwest. Drop and open the chest for the Small Key. Clawshot the grate near the platform to return, jump back to the door and go out to the bridge. As you cross, the dragon swoops in and wrecks the bridge. Continue through the door.

Central hub and the Dungeon Map
This large round room is the city’s center. Clawshot the ivy on one of the two pillars, climb around to the other side and drop to the middle platform. Run over the blue blocks to the east door.
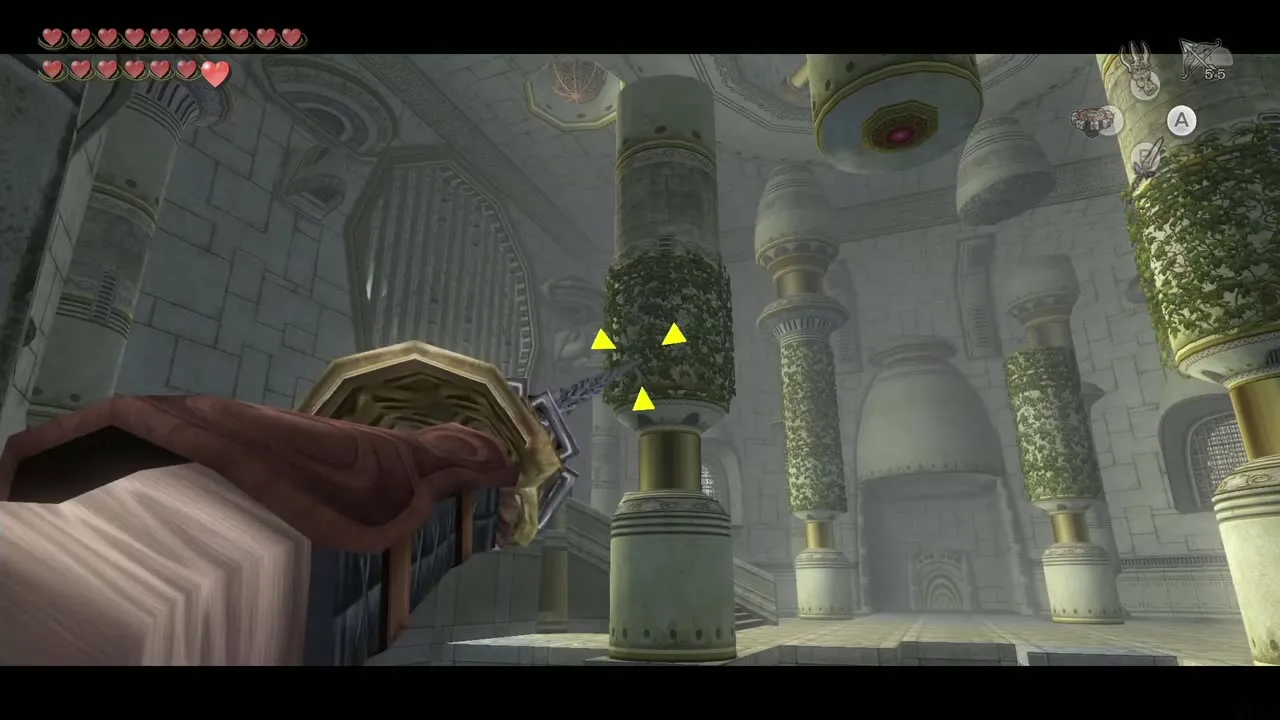
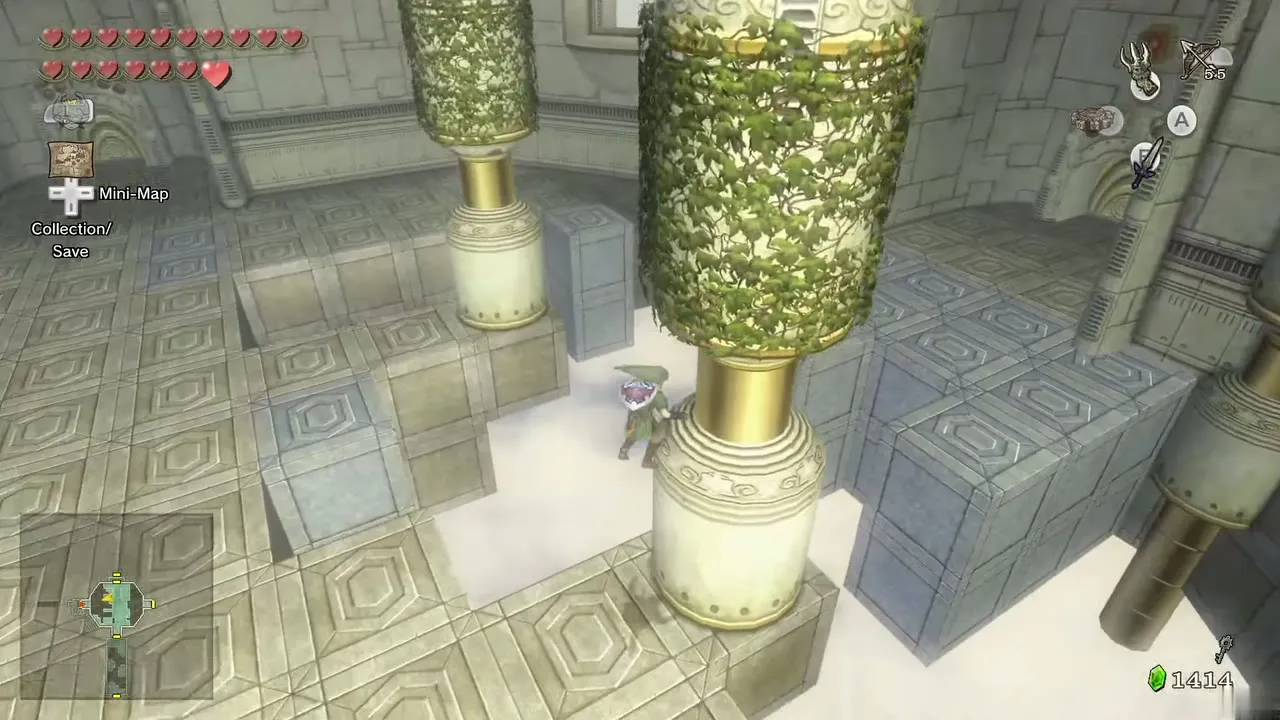
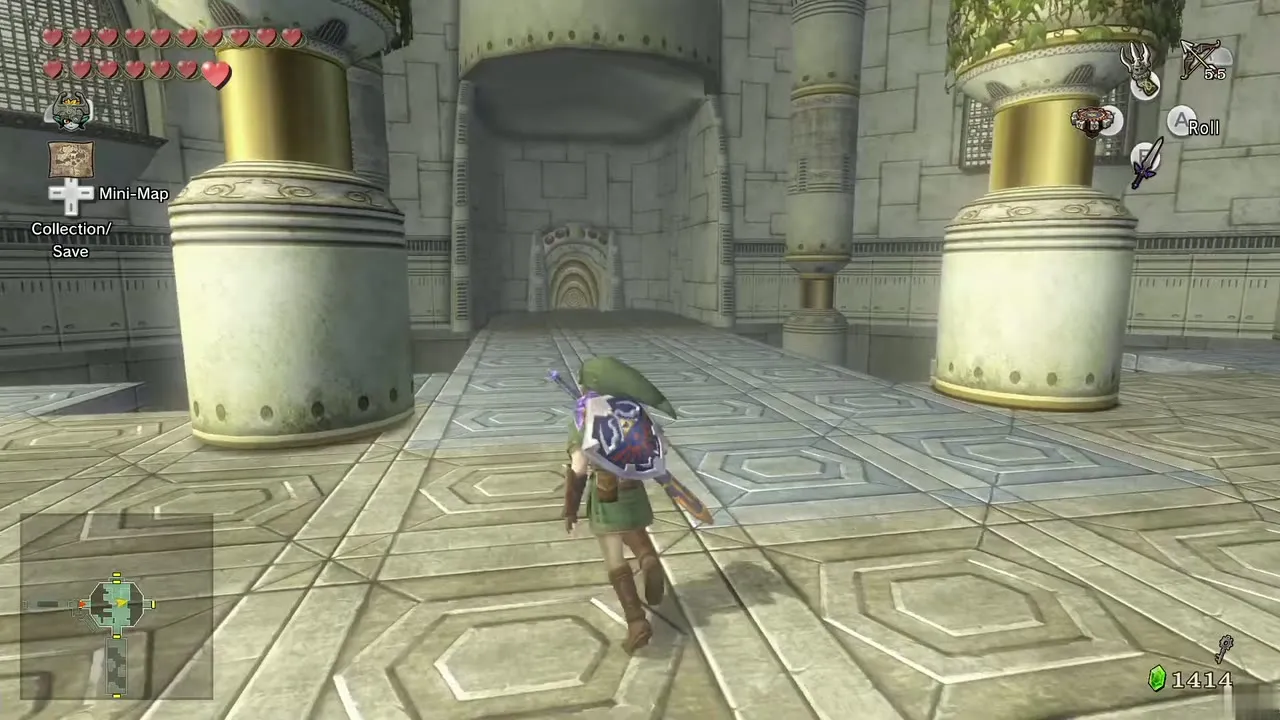
Turn right and follow the path past two Deku Babas to another spinner slot. Spin repeatedly to extend a bridge east, watching for Kargaroks and gusts, and unlock the door at its end with your Small Key.
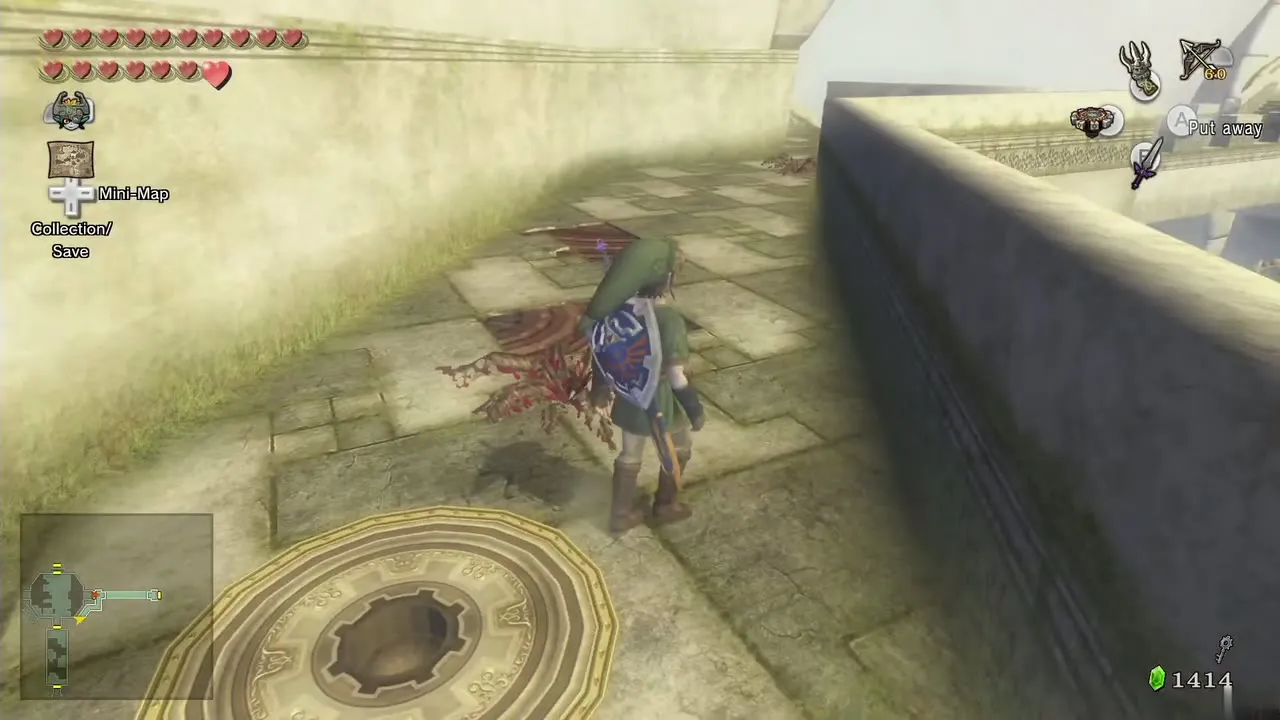
Inside, turn right and defeat the Helmasaur. From the corner of the ledge, look to the northeast: a crystal switch sits there, out of arrow range because of the wind. Hit it with the Clawshot to shut off a wind turbine in the southeast. Go north, then east, defeating the Helmasaur in the way. Wear the Iron Boots to walk through the first turbine’s gust; the second sits on blue blocks, so take the boots off and Clawshot the ivy on the far pillar instead. Defeat the third Helmasaur and take the east door.
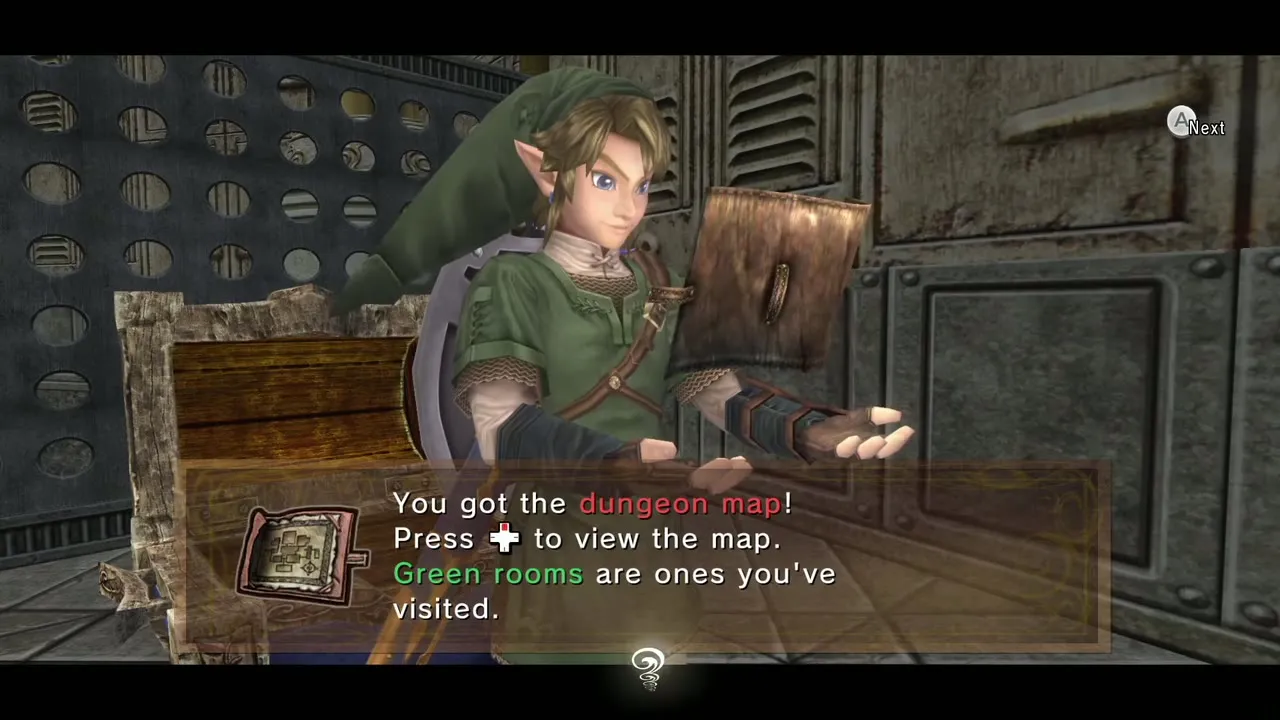
The chest directly to your east holds the Dungeon Map. This tall tower is revisited twice later. Go back to the previous room.
Double Clawshots and the Aeralfos
Wind turbine room and the Tile Worm gaps
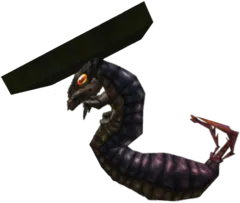
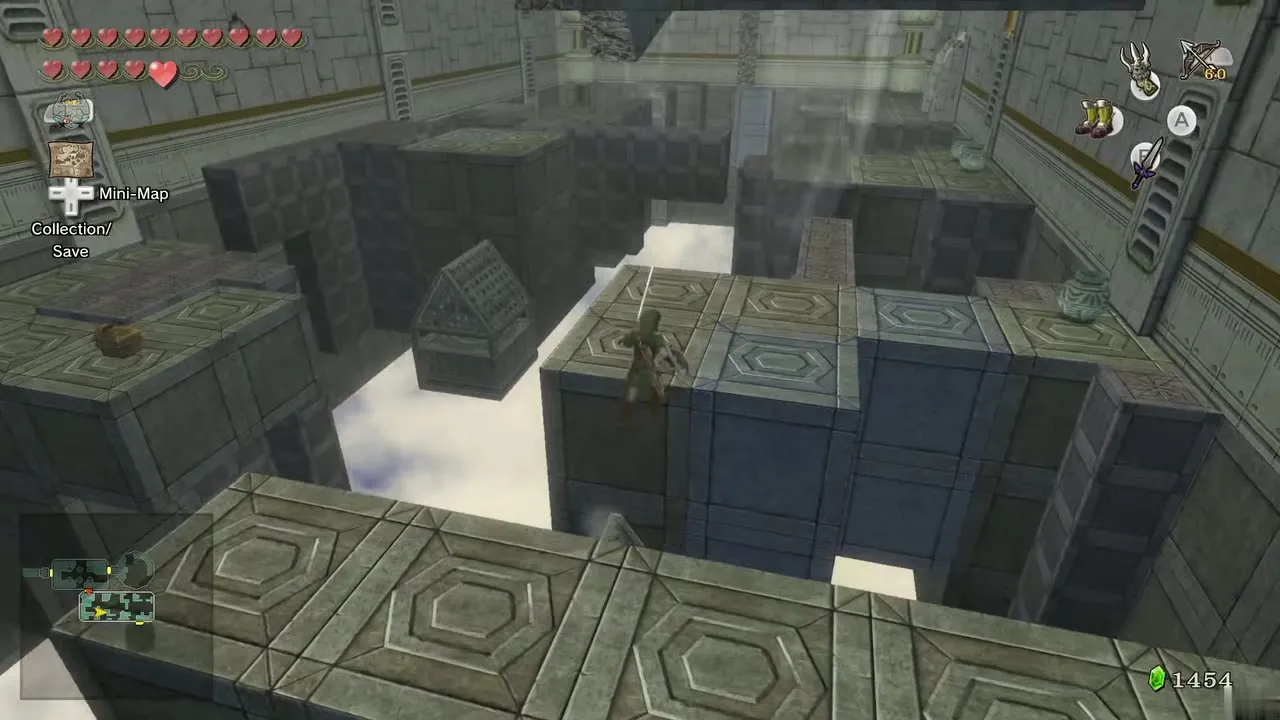
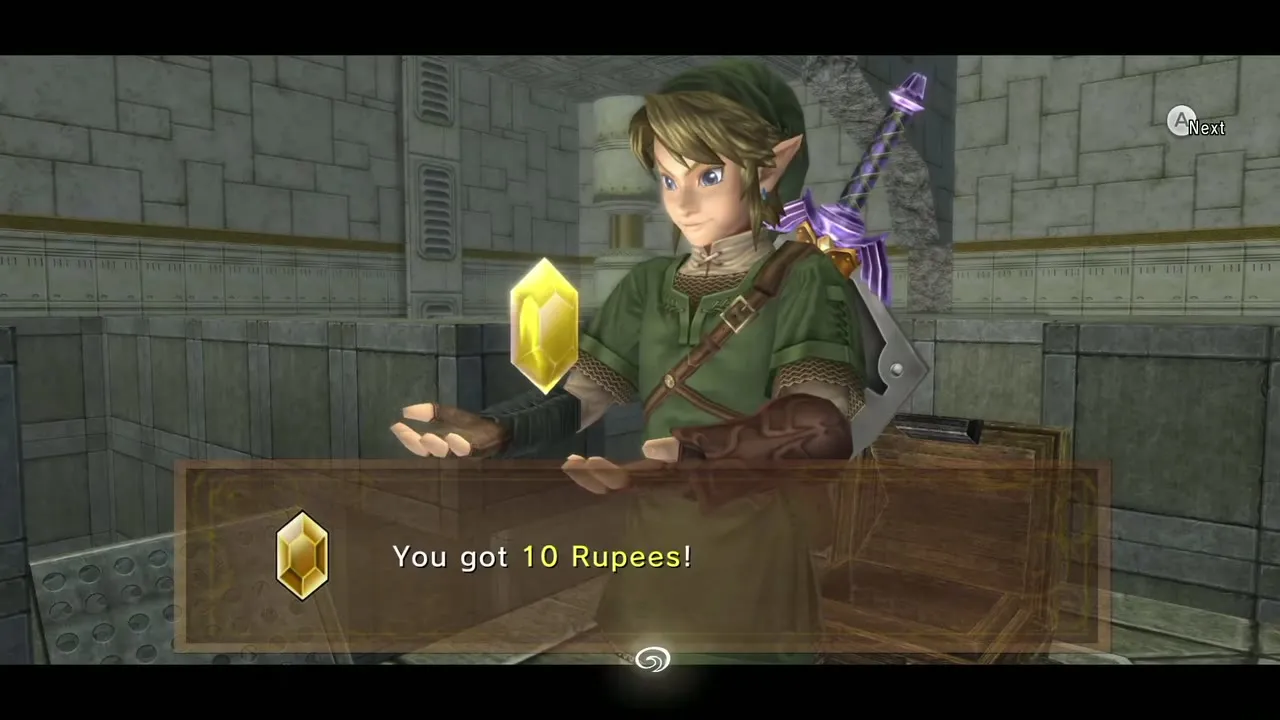
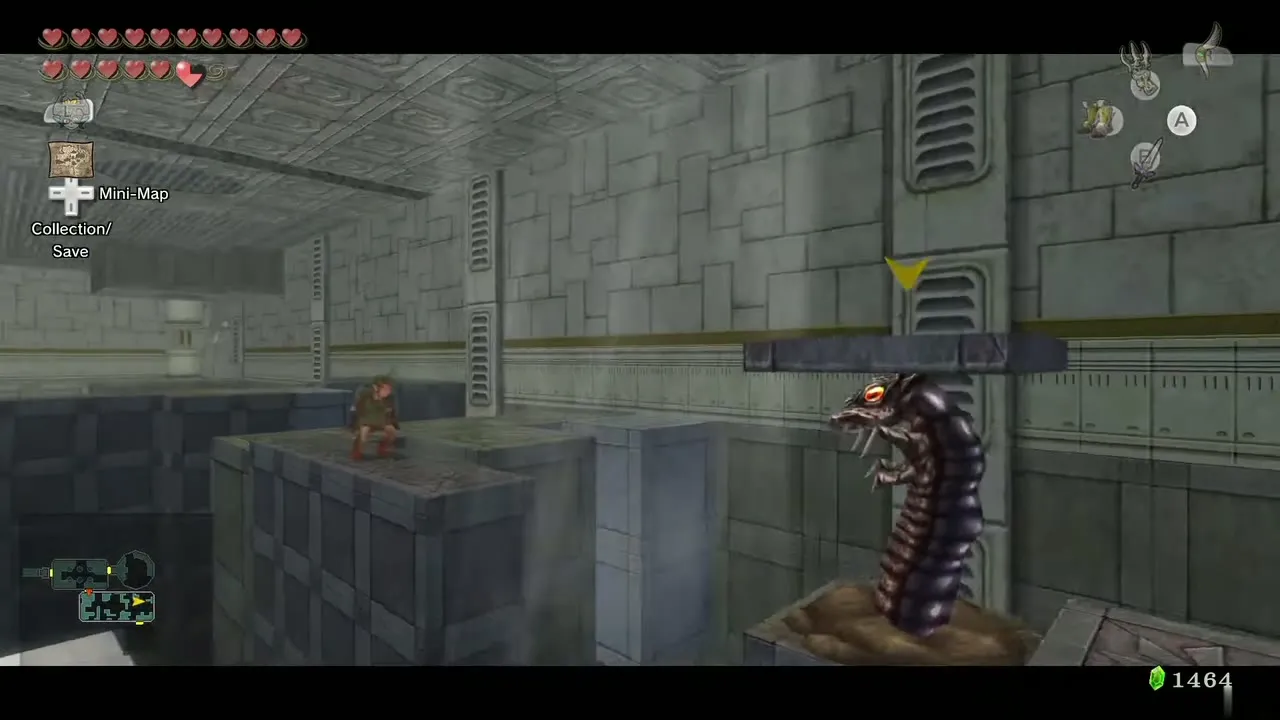
The turbine you switched off earlier lets you cross the blue blocks to the south door. Clear the few Keese here; arrows help. Run to the south end and jump the gap to the platform on the east; gusts of air rise from below, so time your jumps. A Tile Worm hides under one of the tiles across the gap: pull it out with the Gale Boomerang and cut it down, or skip the gap with the Clawshot target on the south wall. Jump the next gap, defeat another Tile Worm and walk along the wall to the north, then head west and jump down to the lower platform to open a chest holding a yellow Rupee (10). Return to the north-wall platform, go east to another gust and Tile Worm, cross when it is safe, hop onto the blue block to the south and then to the southeast platform and its door.
Dinolfos room and the first chandelier
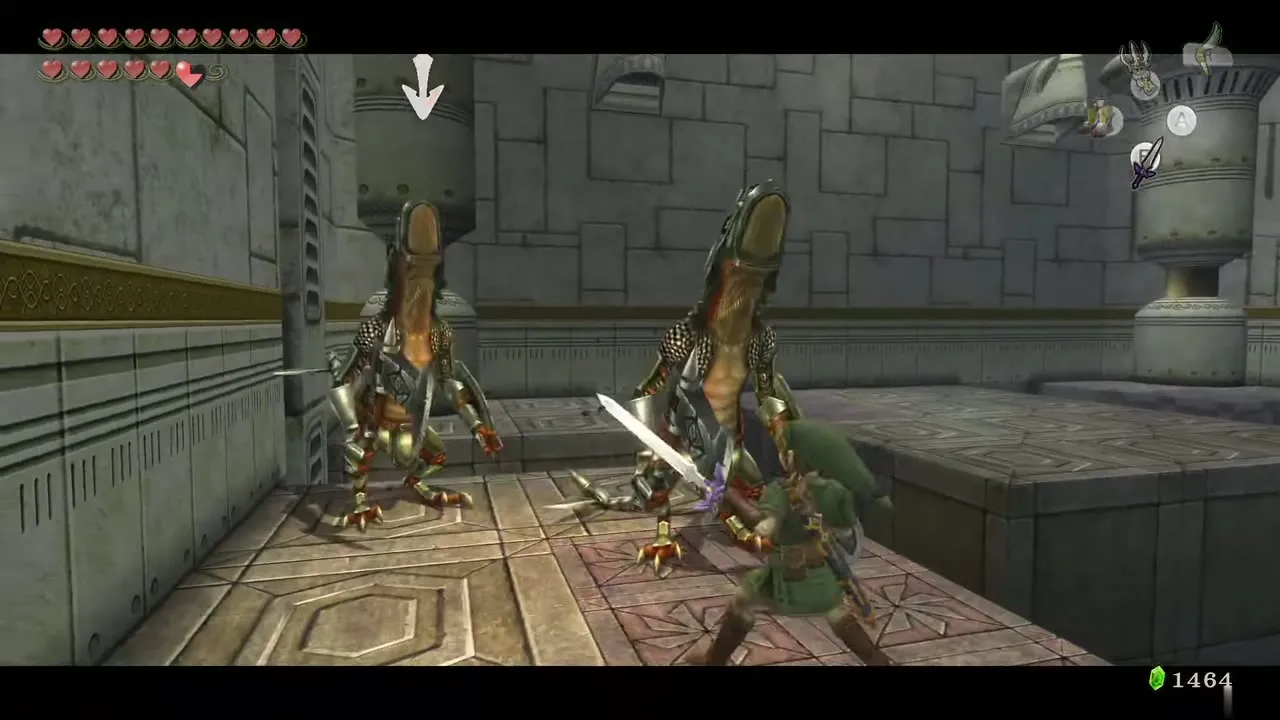
The door seals behind you and two Dinolfos attack. Jump to the platform straight ahead; they follow. A Shield Attack followed by a Helm Splitter kills them, and so does knocking them off the edge. When both are down a gate and the door open. Face south, Clawshot the ivy and climb, then Clawshot the chandelier overhead: it is a switch that starts periodic wind from the center of the room.
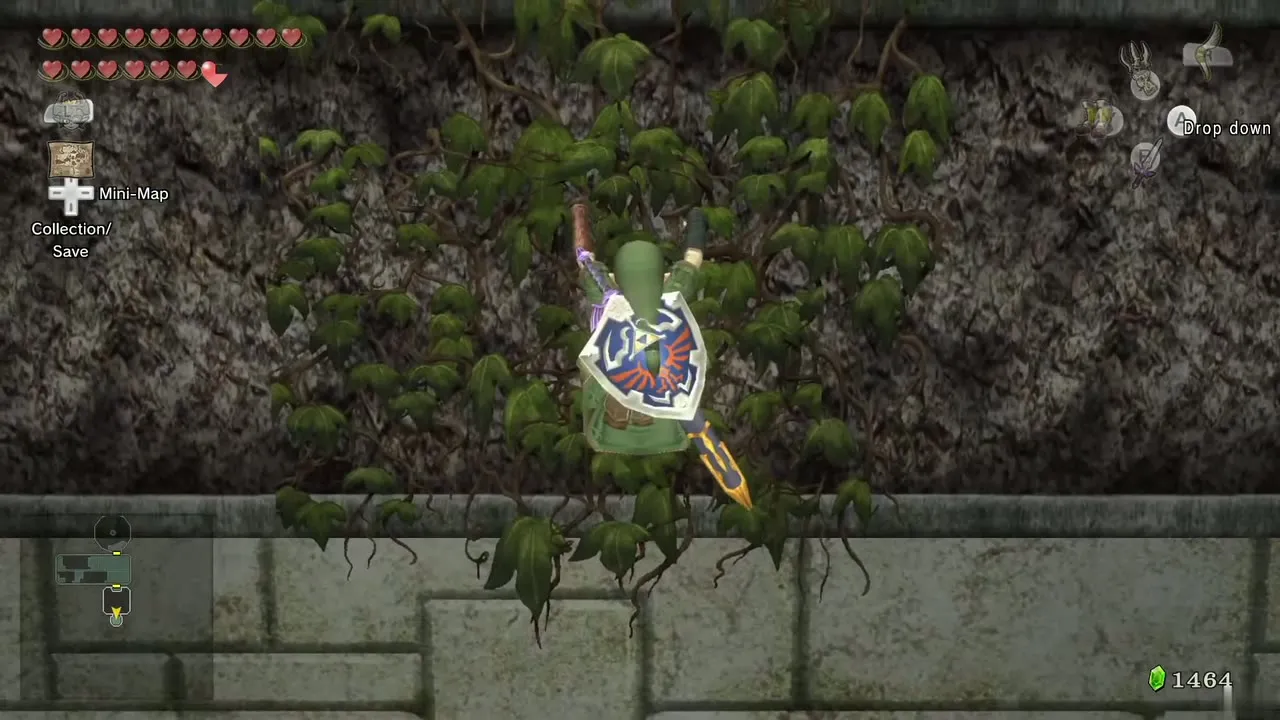
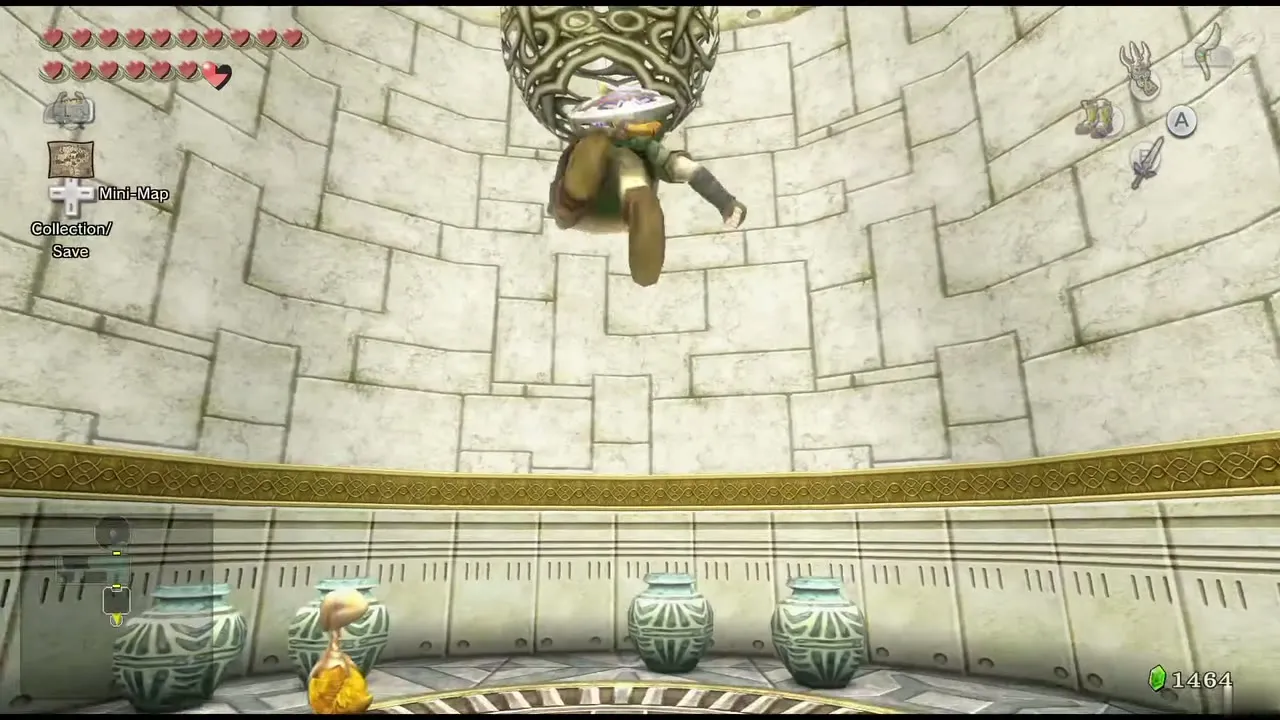
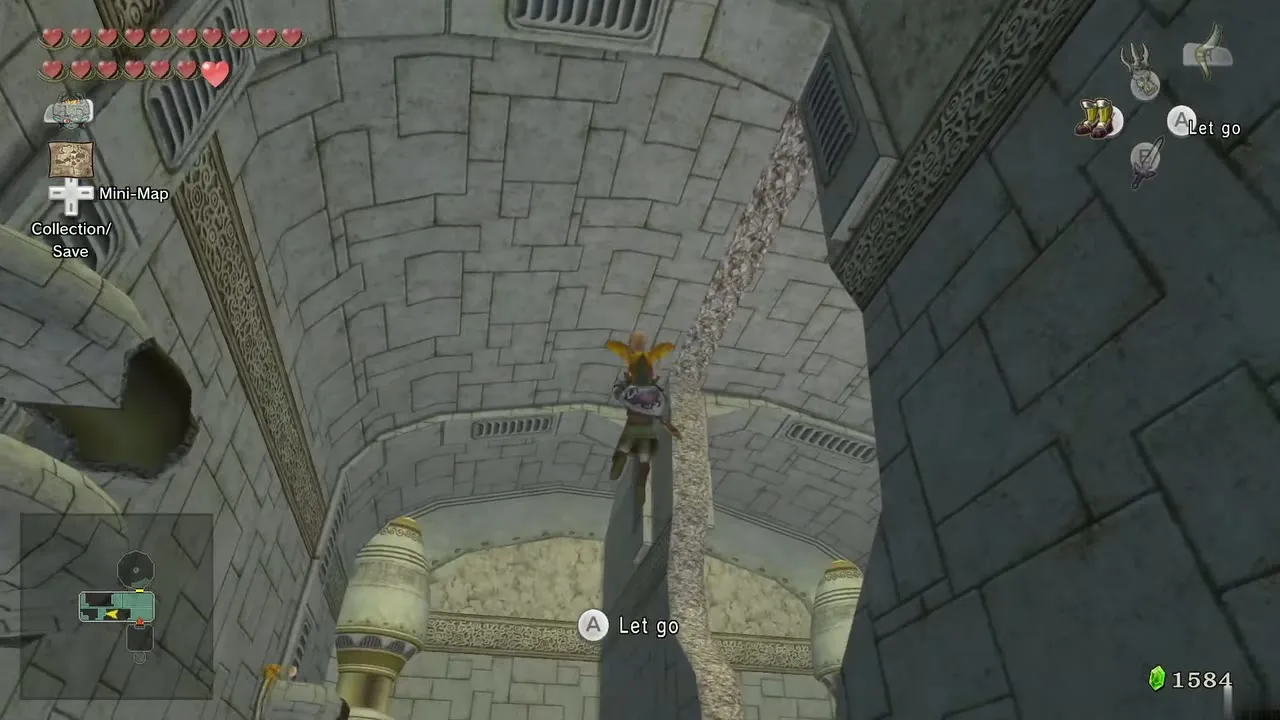
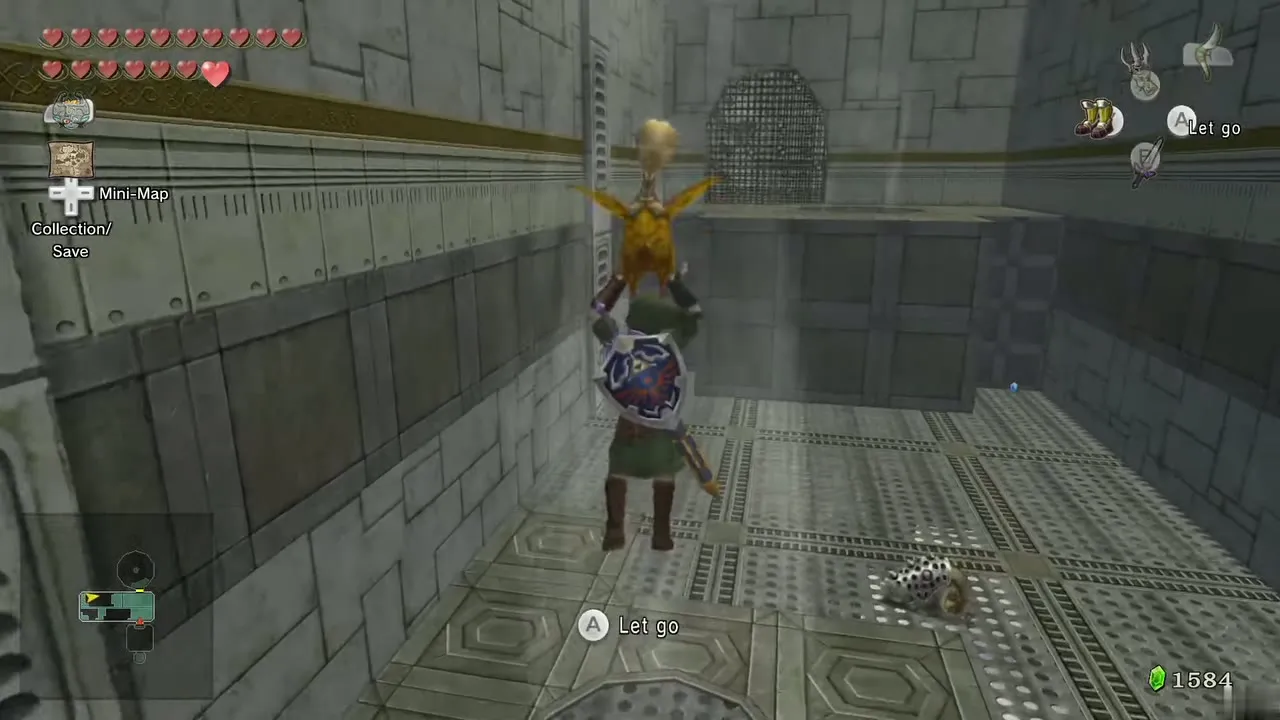
Lift an Oocca nearby and wait for a gust to begin in the center. Jump toward it holding the Oocca and the wind carries you up to the north ledge. Take the door.
Two wind rooms and two chests
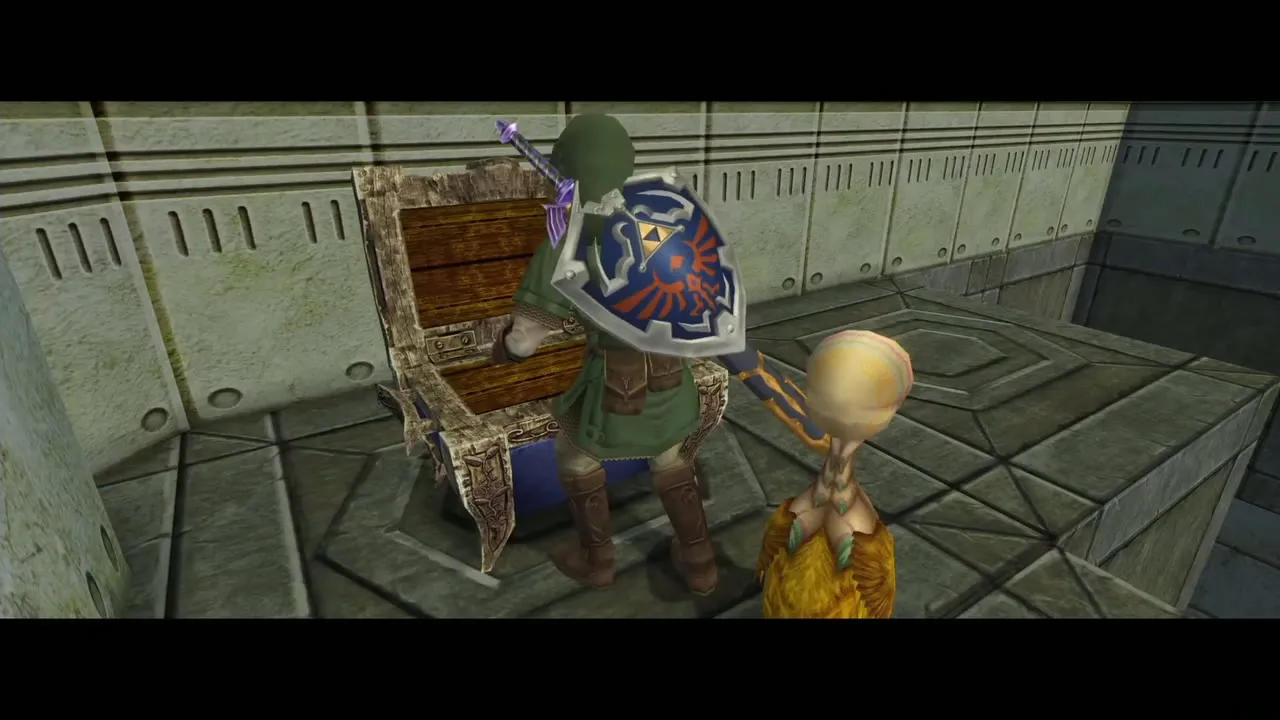
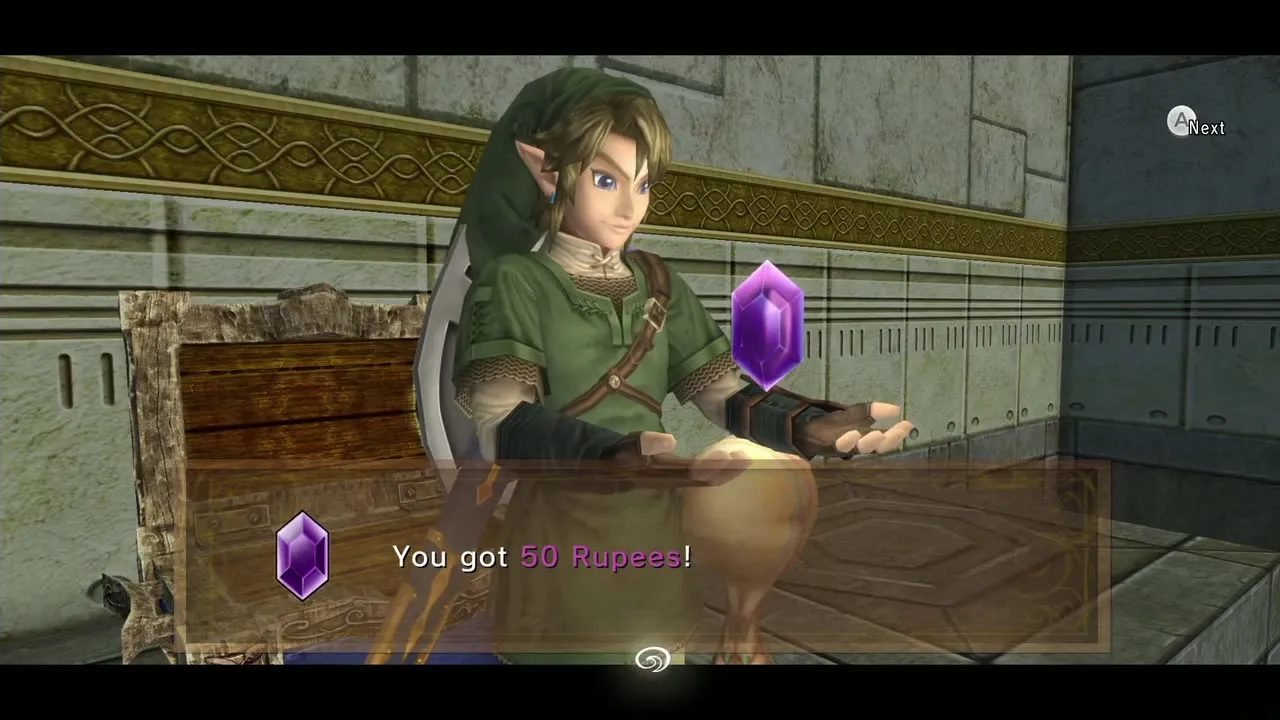
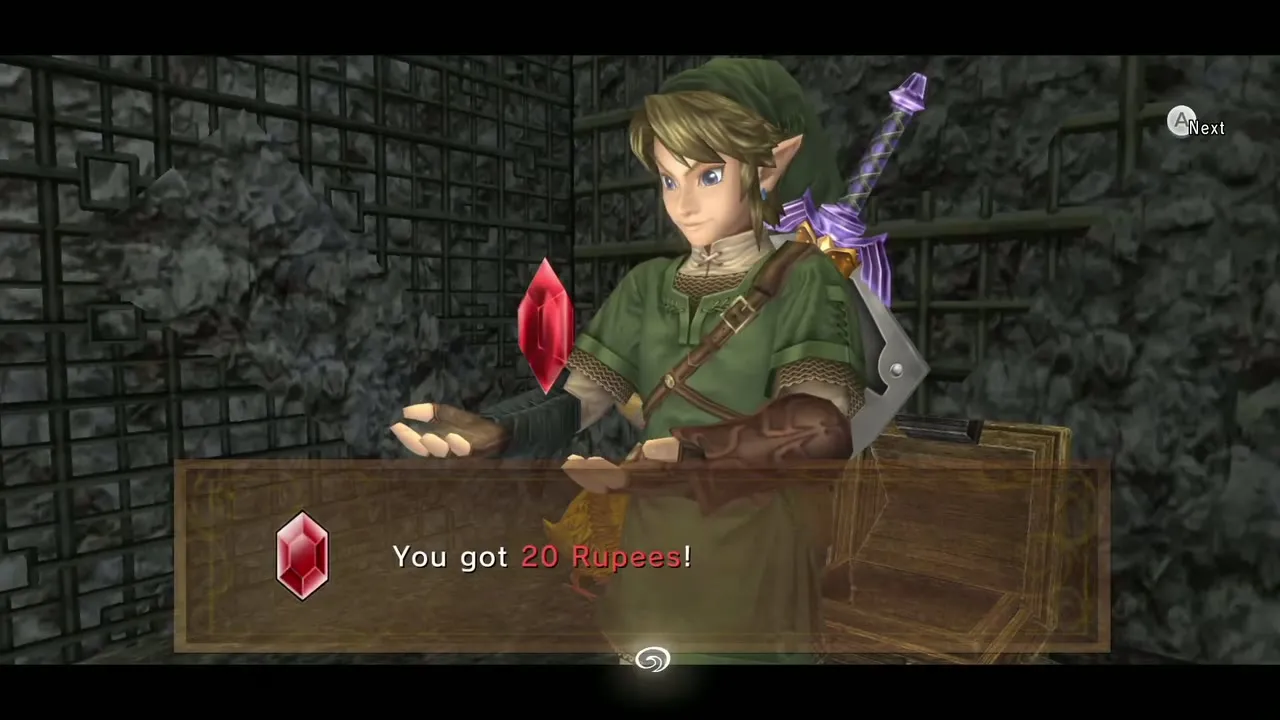
Clawshot the next chandelier to open a gate on the side of the room. Behind it is a chest: carry an Oocca down, float on the wind to it and open it for a purple Rupee (50). Drop down, Clawshot the target to return to the east platform, then pull the Oocca across with the Clawshot and fly it to the chest on the far right for a red Rupee (20).
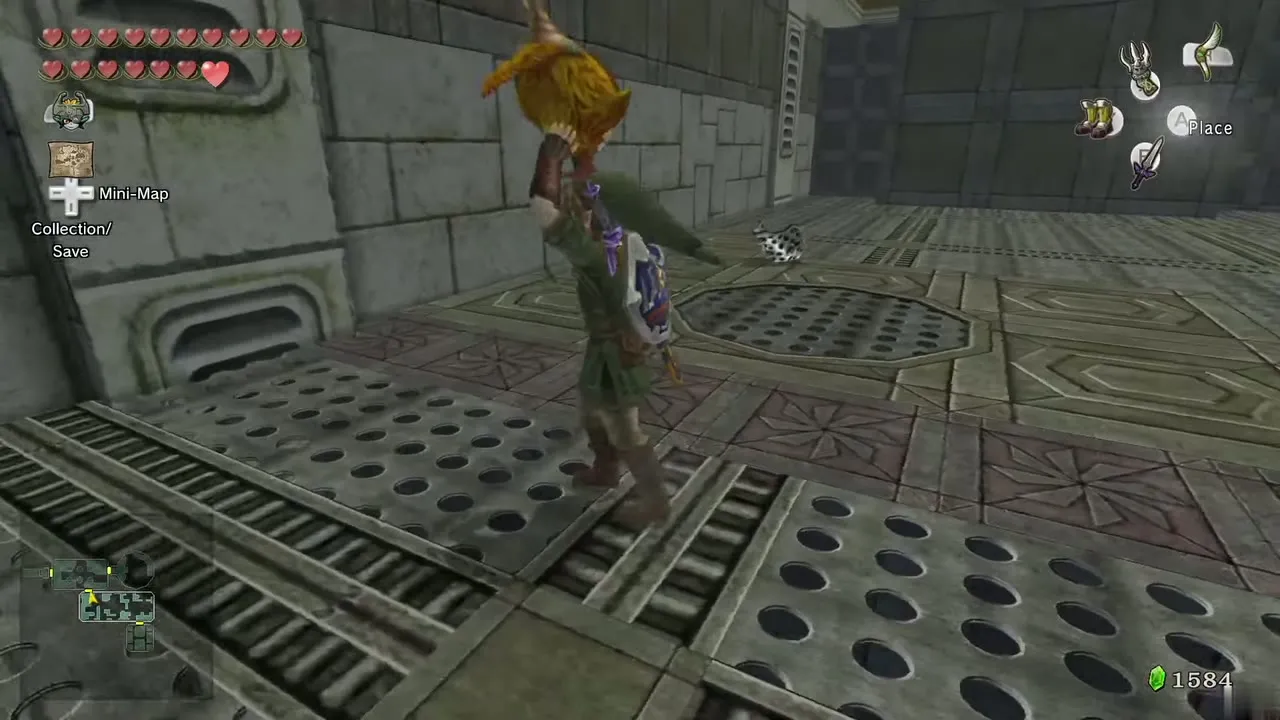
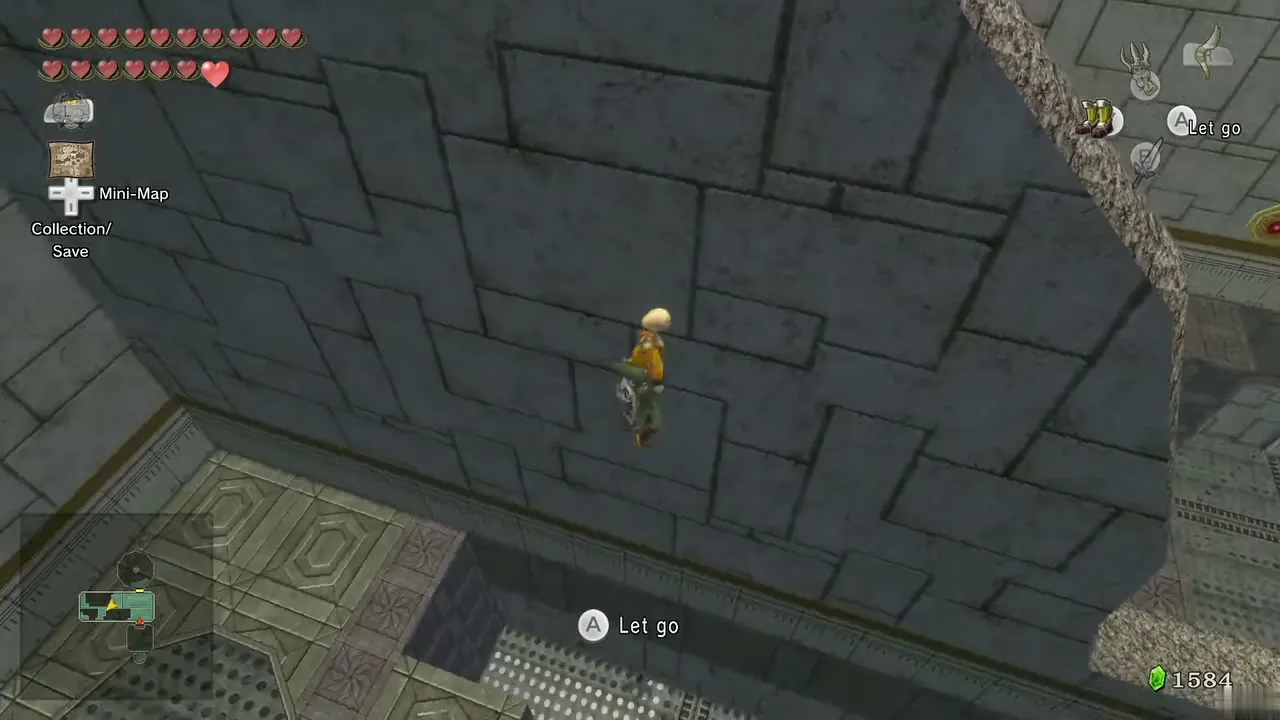
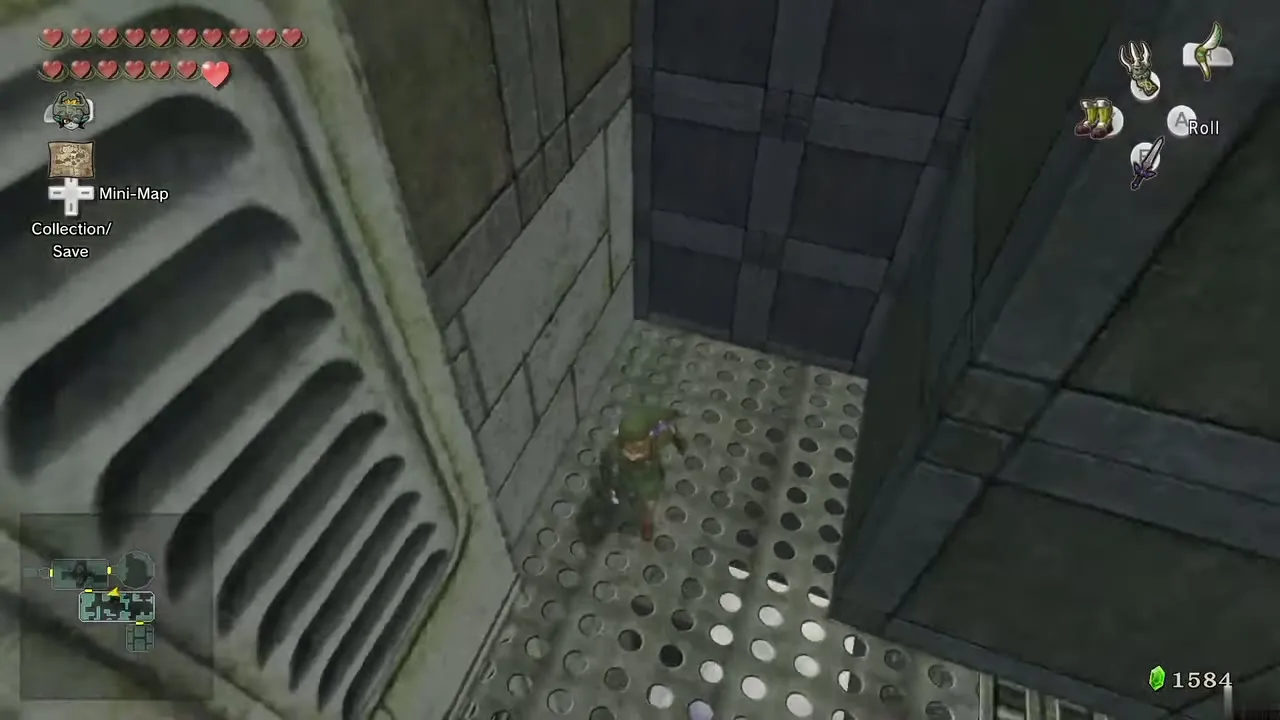
Clawshot the target on the south wall to reach a nearby platform, pull the Oocca over, and fly through the passage in the wall, turning west. Drop to the higher ledge, Clawshot the chandelier to start the wind tunnel at the other end, lift an Oocca and use the center wind to cross to the east side. The new tunnel carries you through a crack in the wall. Release the Oocca and go through the north door.
Drop down the tower
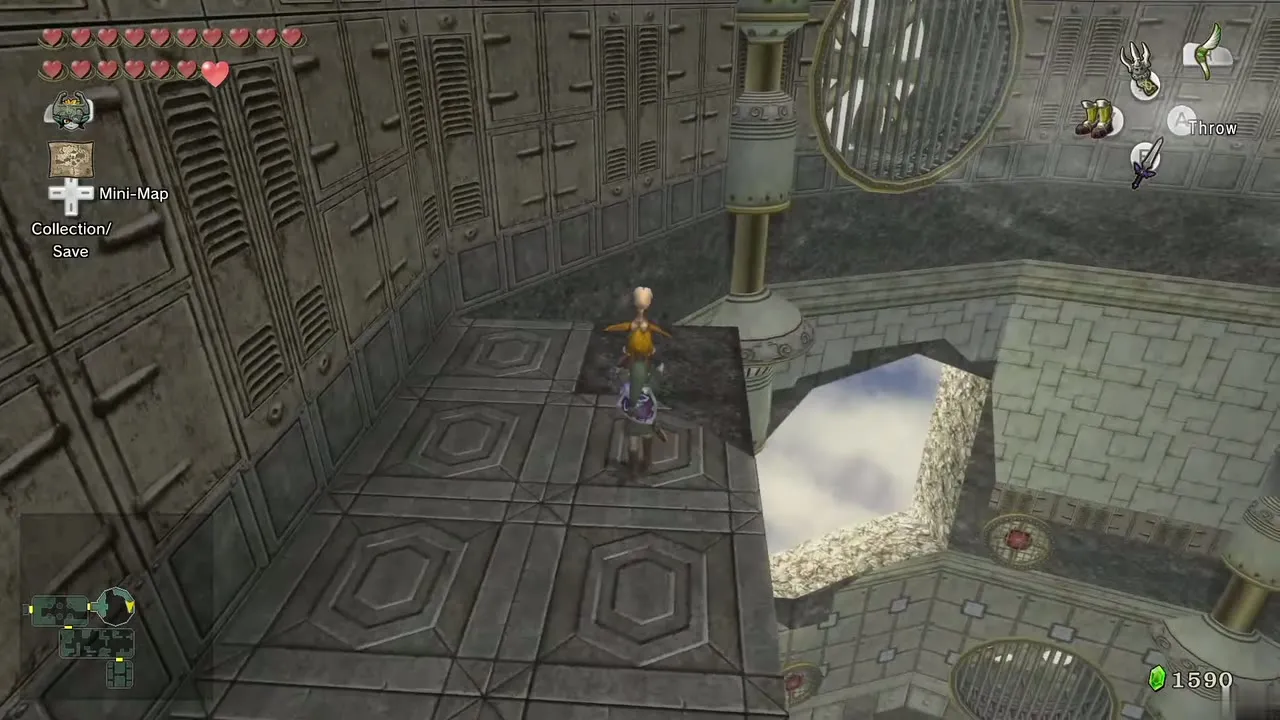
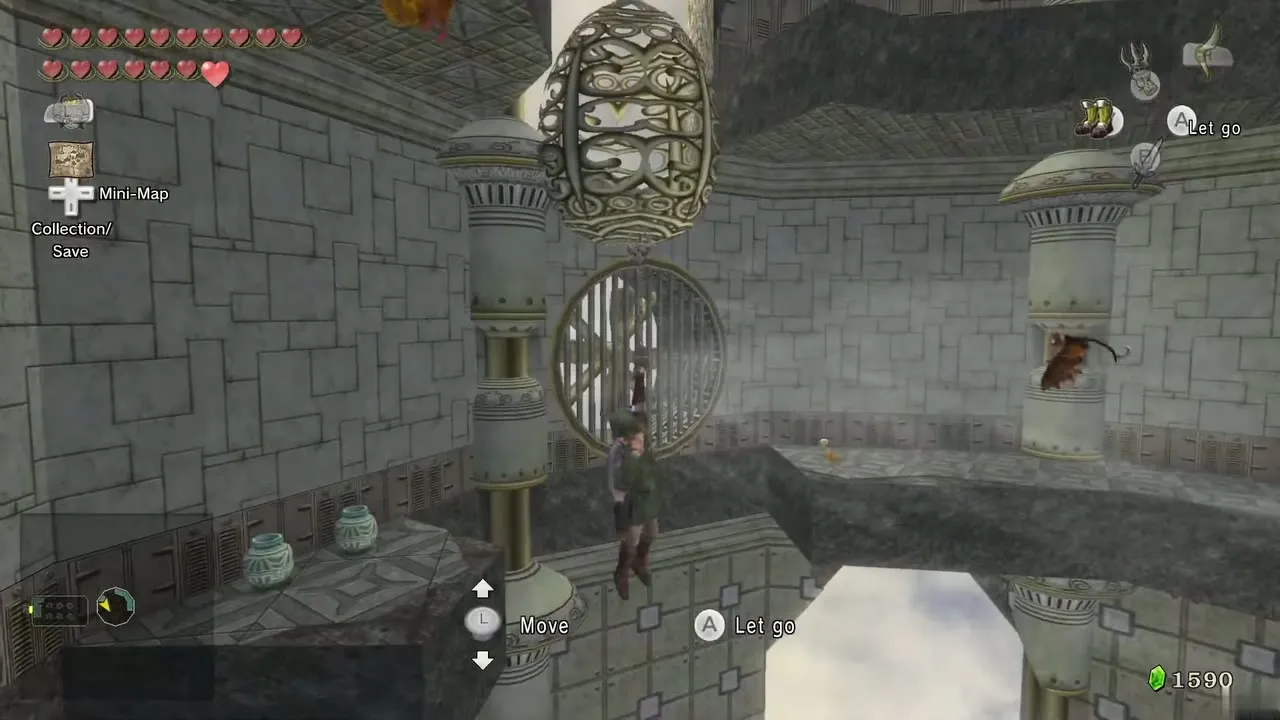
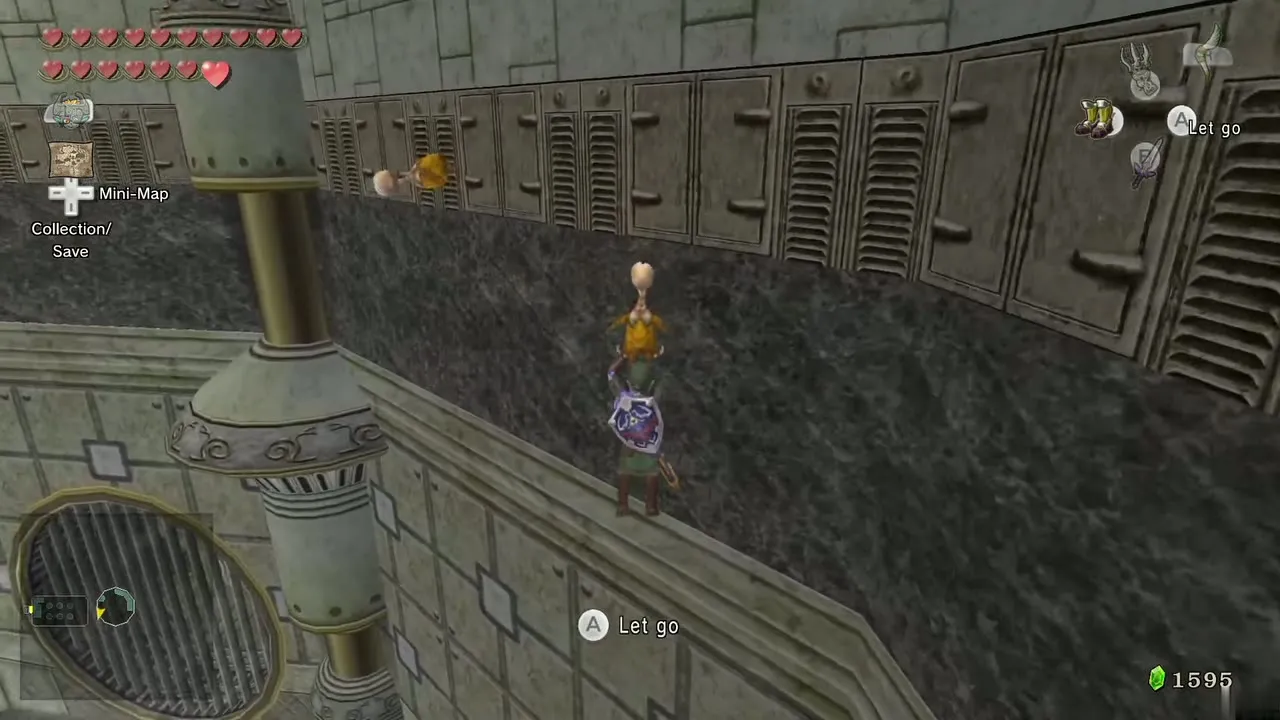
You are back in the Dungeon Map tower at a different level. Grab the nearby Oocca, glide to the northeast corner and drop to a lower platform. Horizontal gusts can blow you out of the tower, so cross only when they stop. Use several Oocca to descend floor by floor until you reach the bottom and the east door.
Mini-boss: Aeralfos
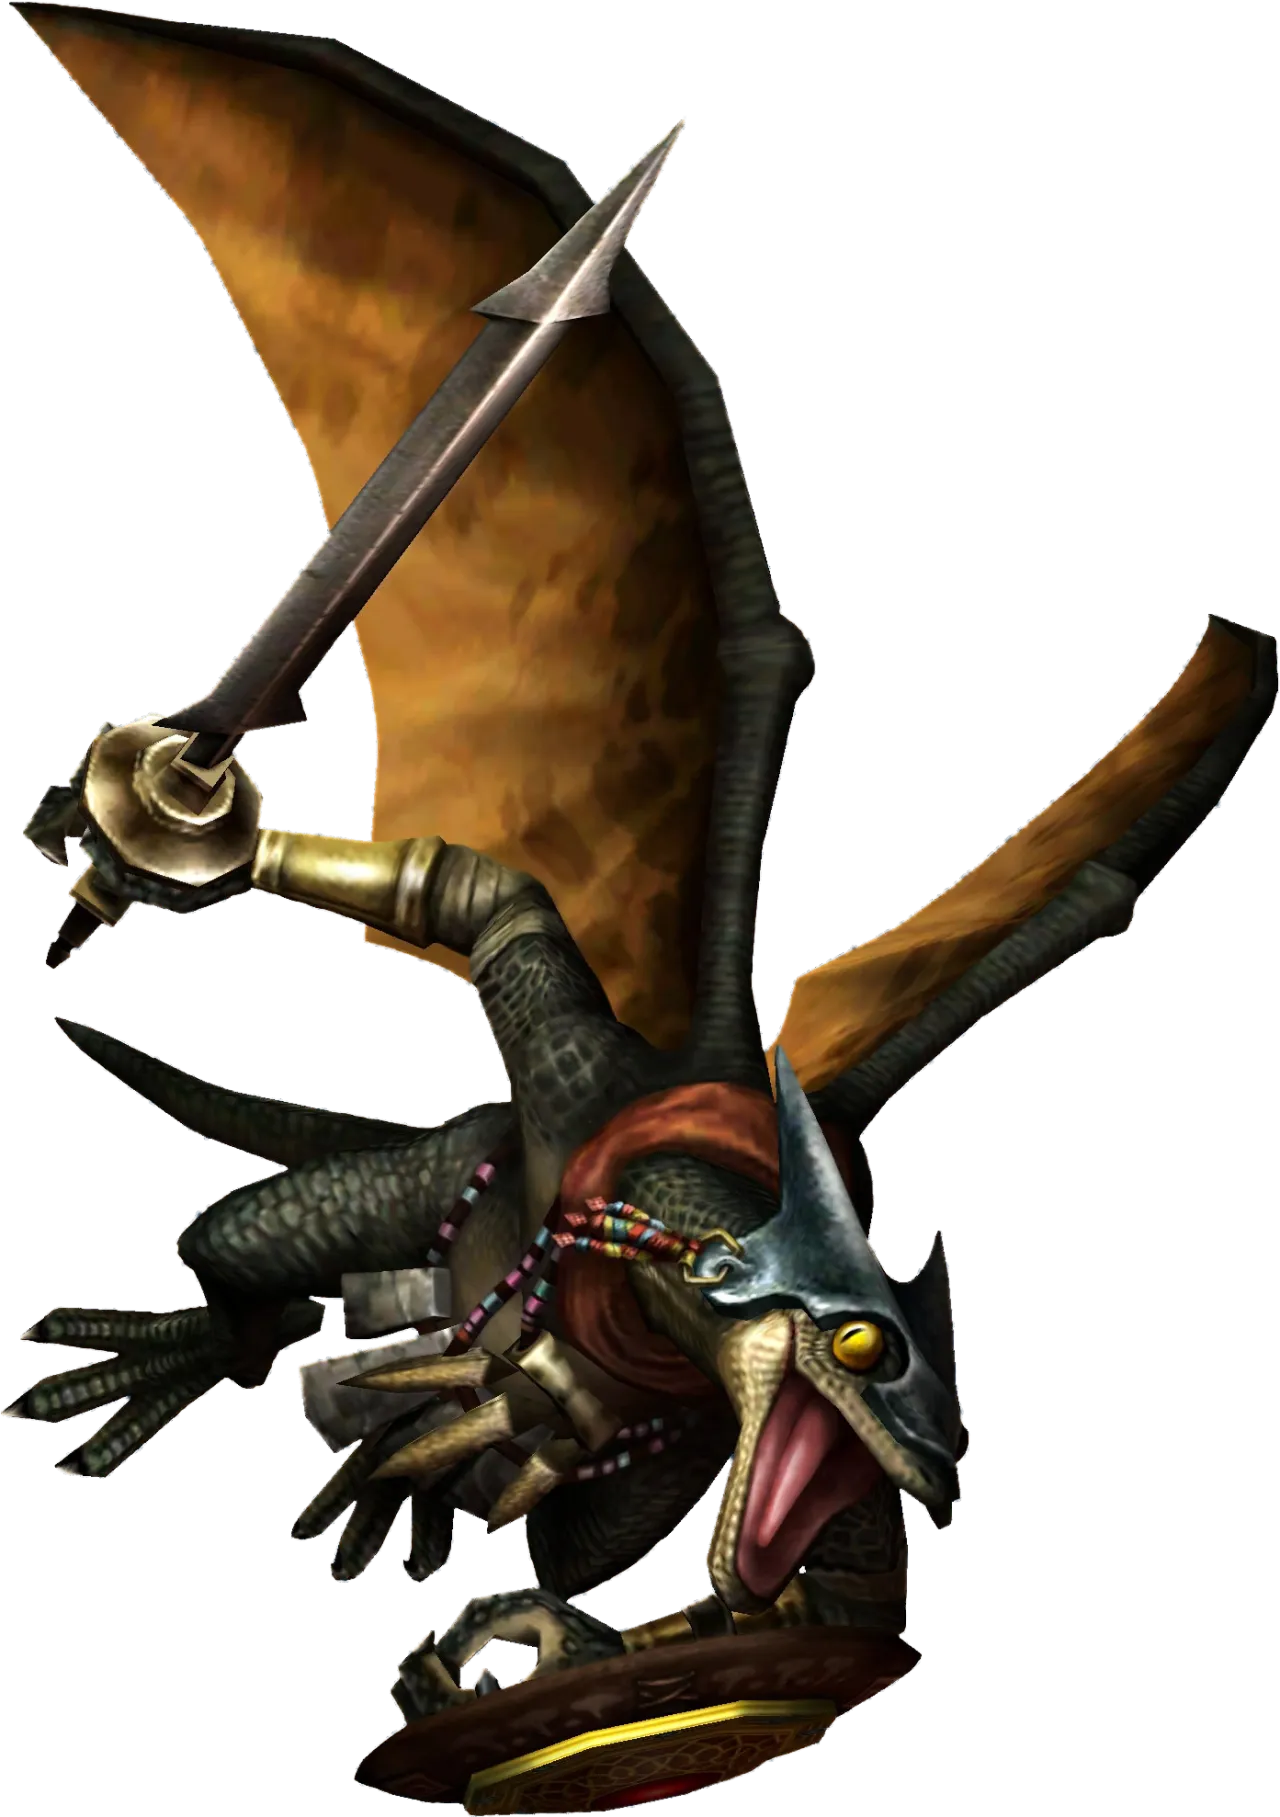
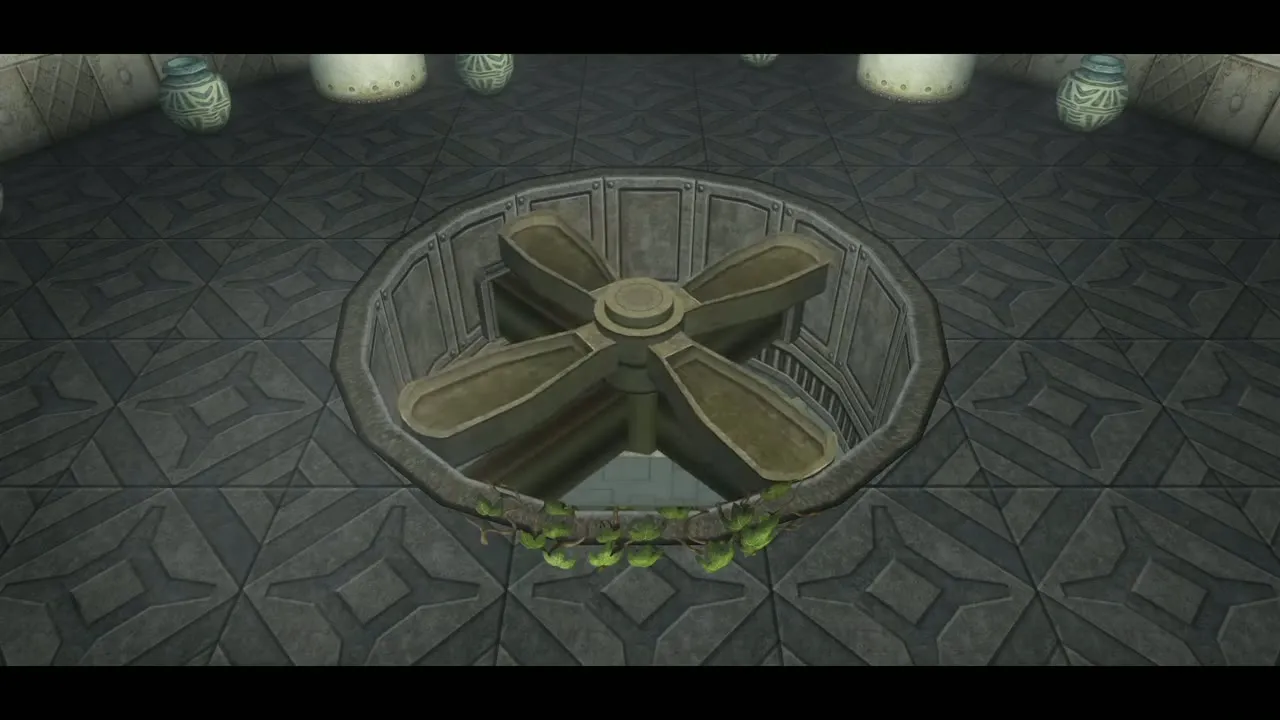
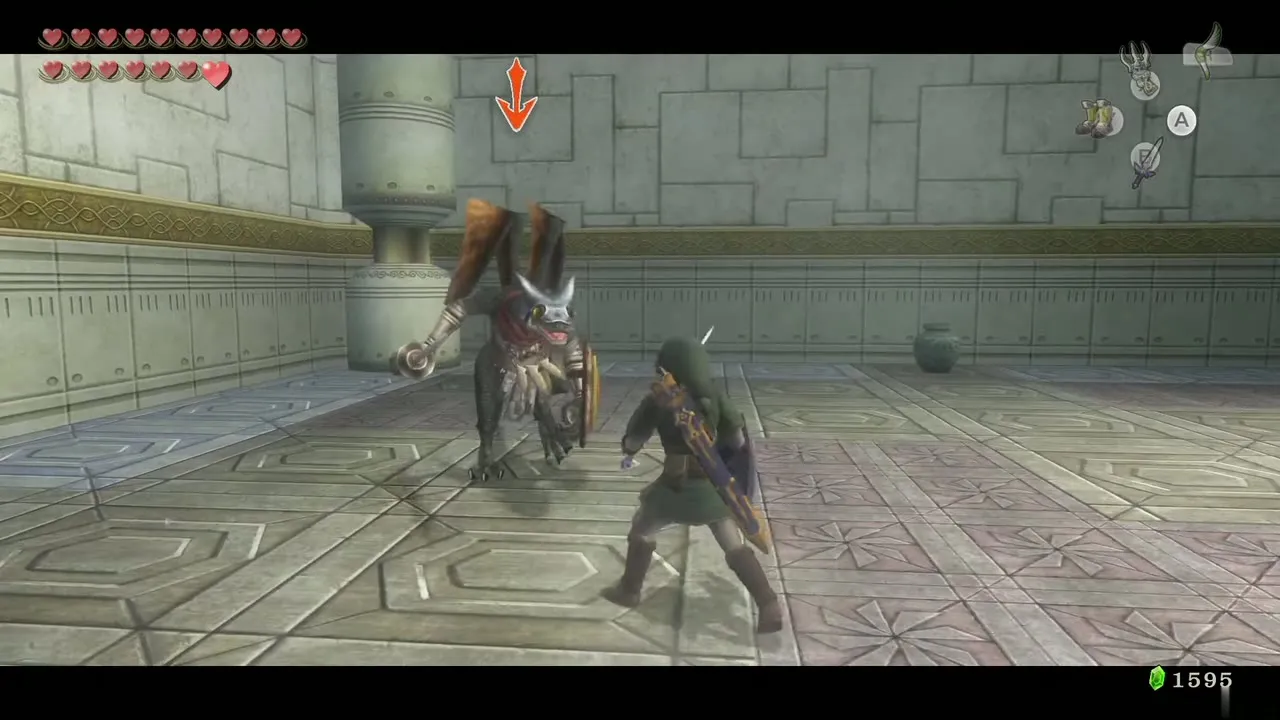
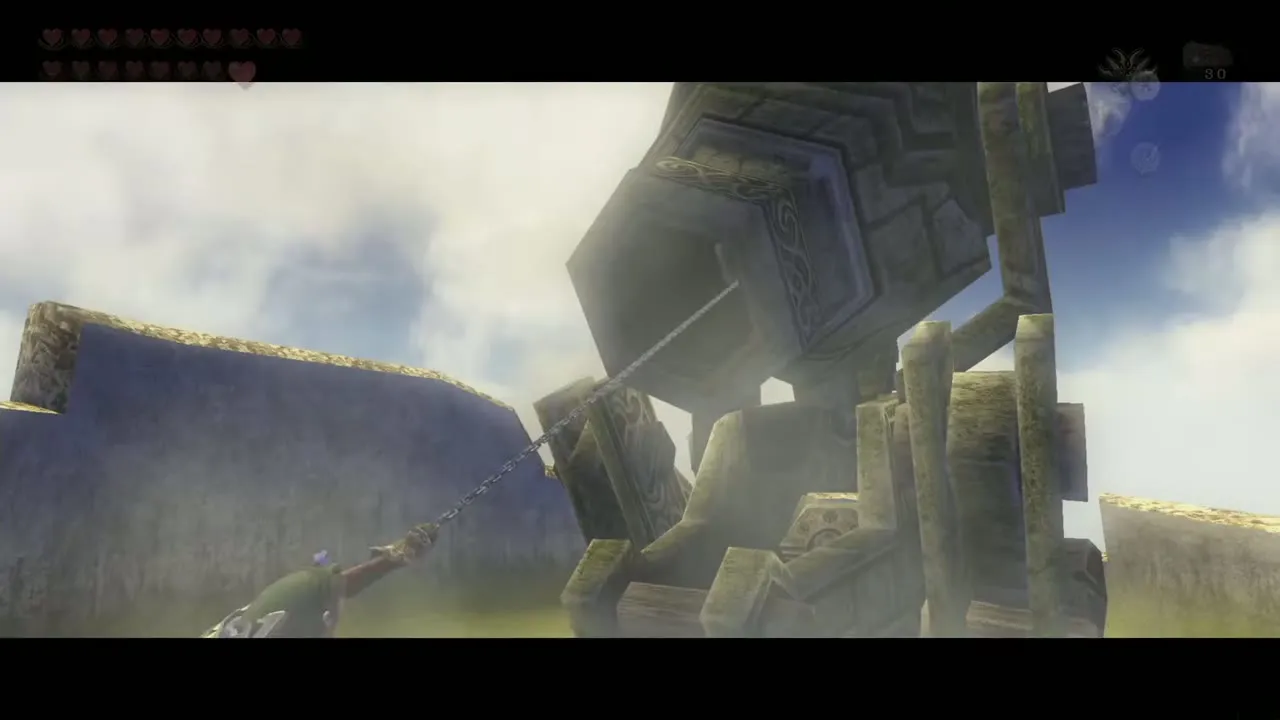
The door locks. A strong fan blows beneath a chandelier. Clawshot the chandelier; the wind stops it dropping, so equip the Iron Boots and the extra weight brings it down. The wind below stops, so release and fall to the lower floor, where the Aeralfos attacks. It is a flying Dinolfos, so stay away from the blue blocks around the edge because they fall.
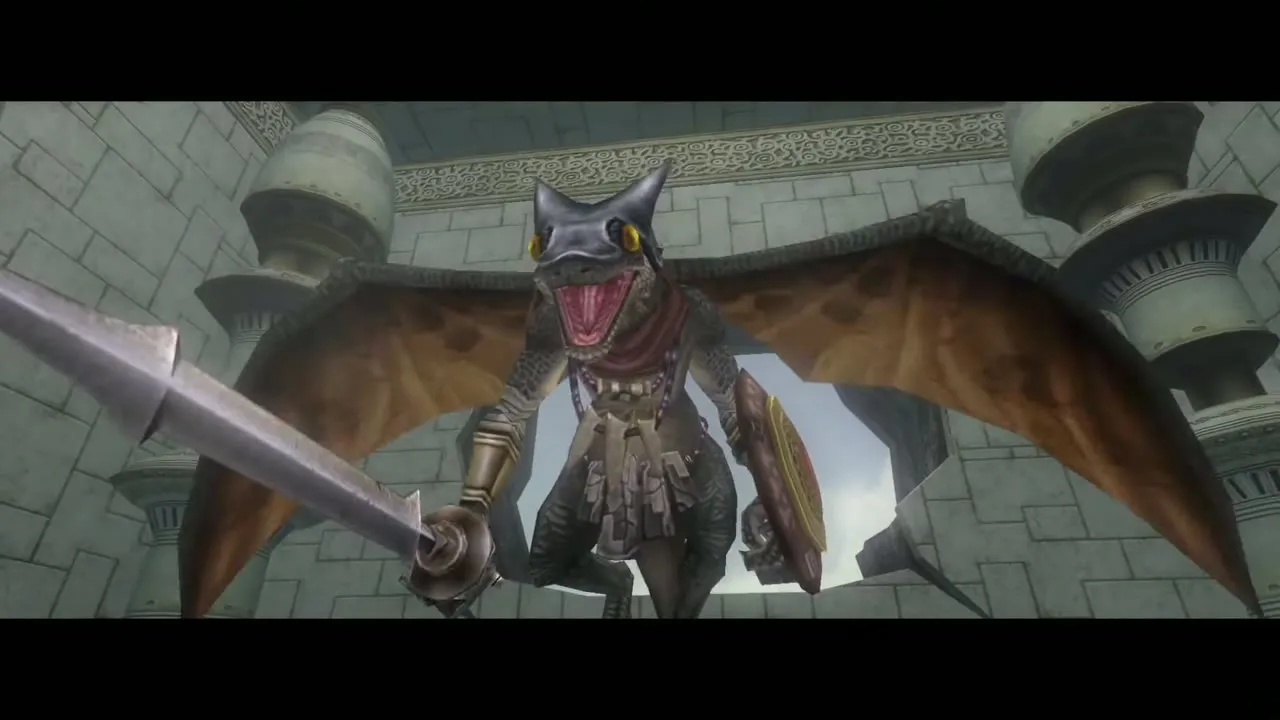
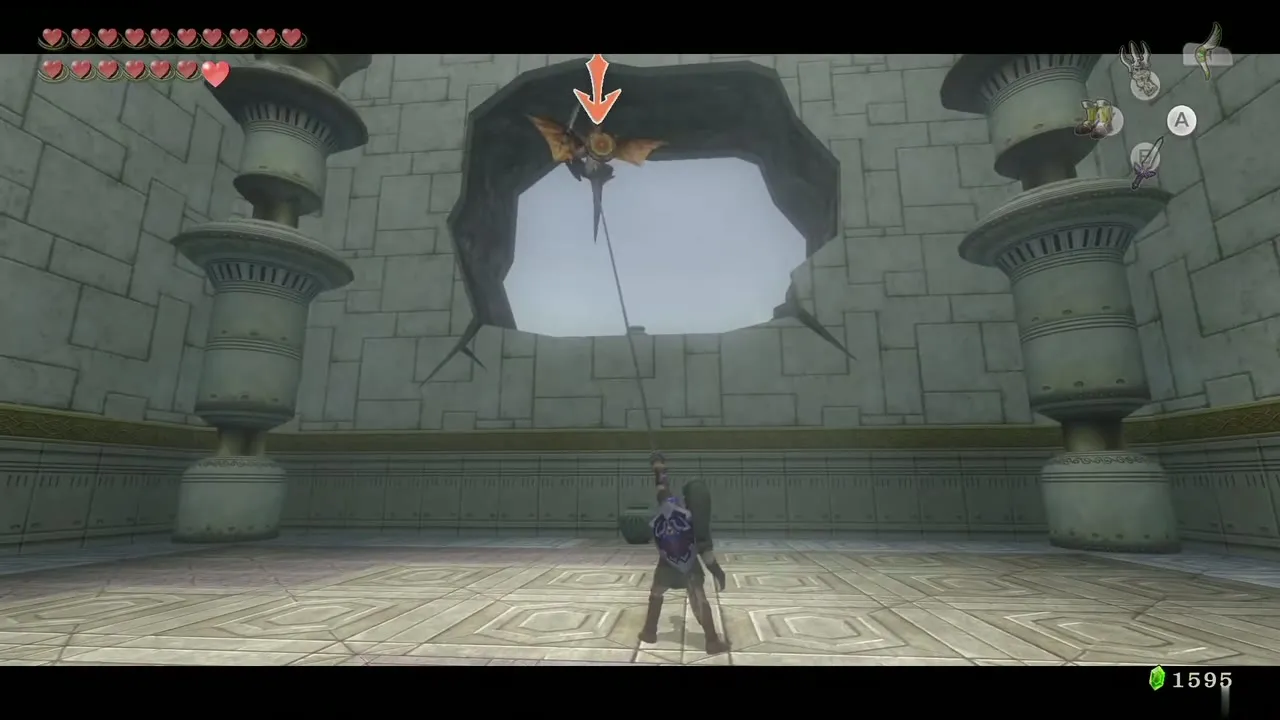
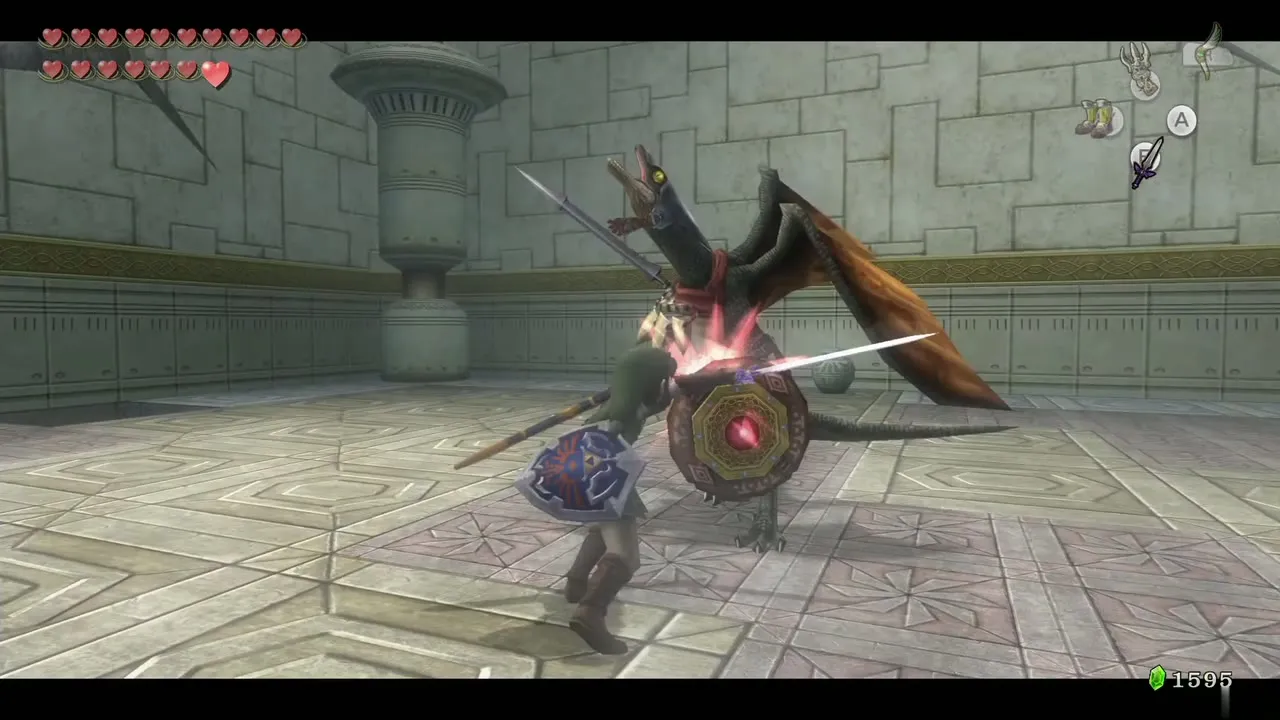
Its shield is a Clawshot target. Run around it while locked on; when it holds its sword back and thrusts the shield forward, hook the shield to pull it to you, then slash until it regains its footing. After seven sword hits it flies off and returns through four windows in the walls. It floats higher in this phase, so aim the Clawshot by hand when it is out of lock-on range. Pull it down each time it appears, slash, then finish the grounded Aeralfos with a Shield Attack and Helm Splitter. If the Clawshot will not land, block its dive and counter with the sword.

Reward: the second Clawshot
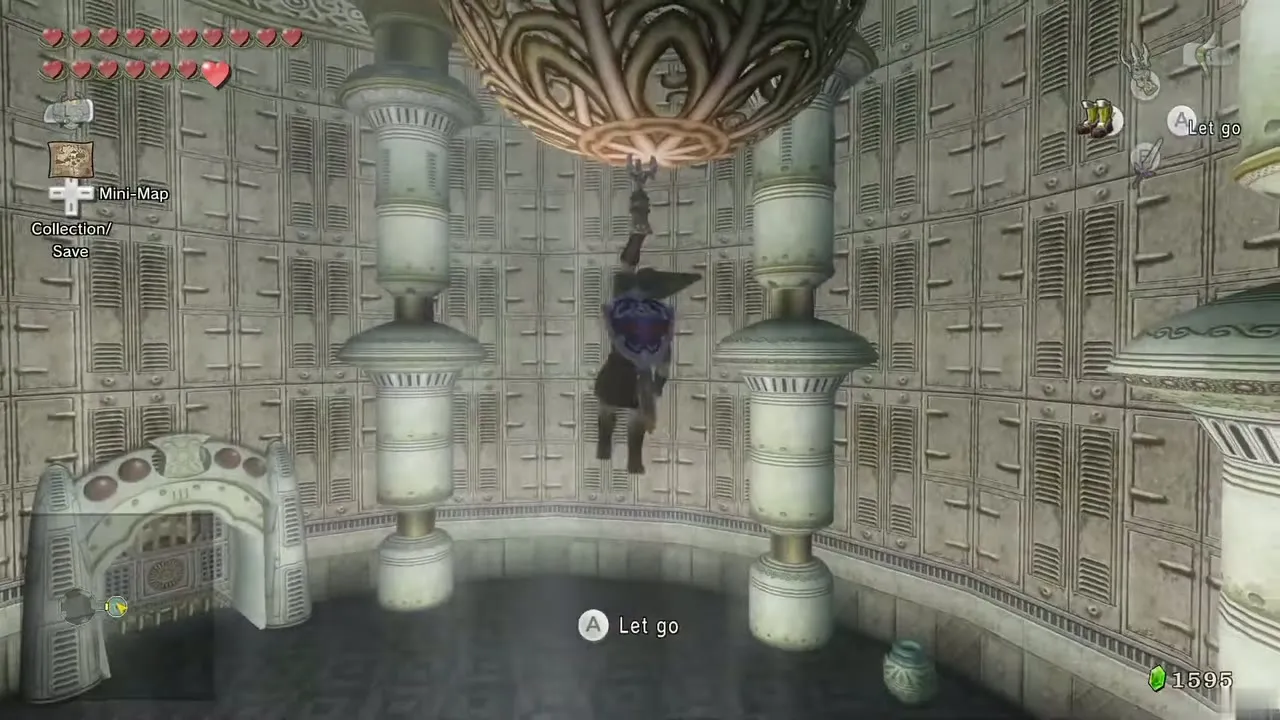
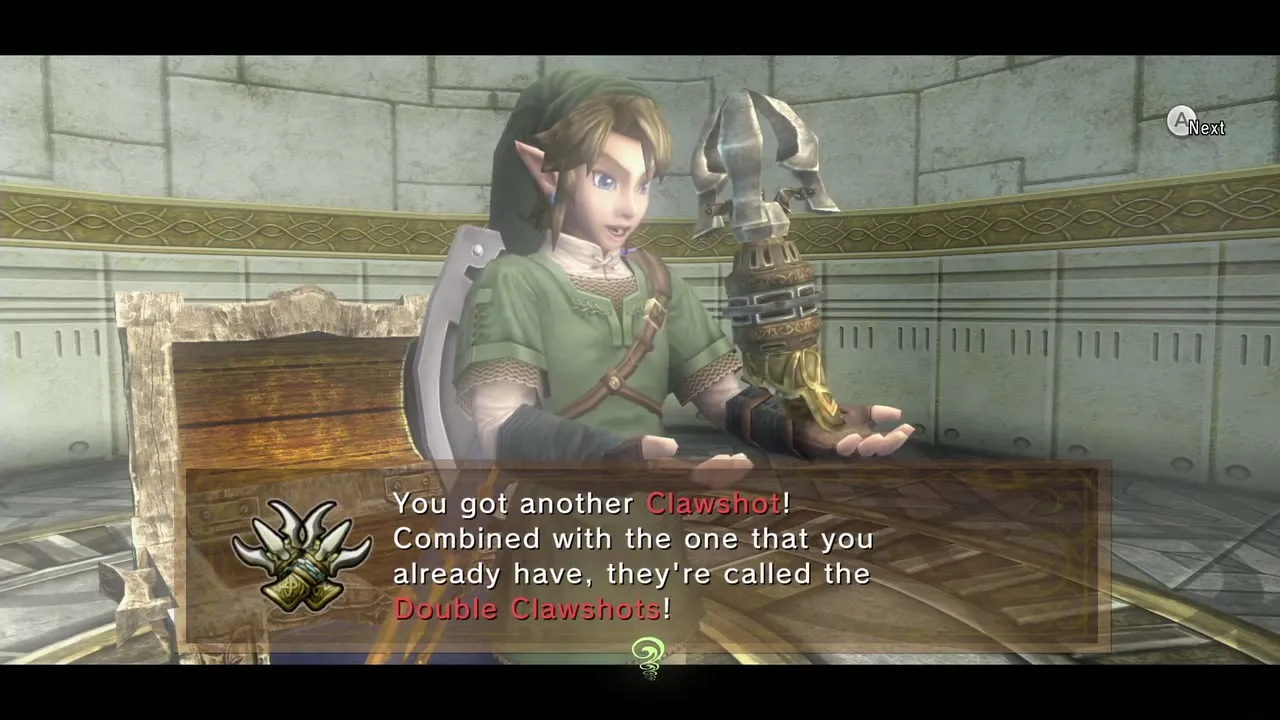
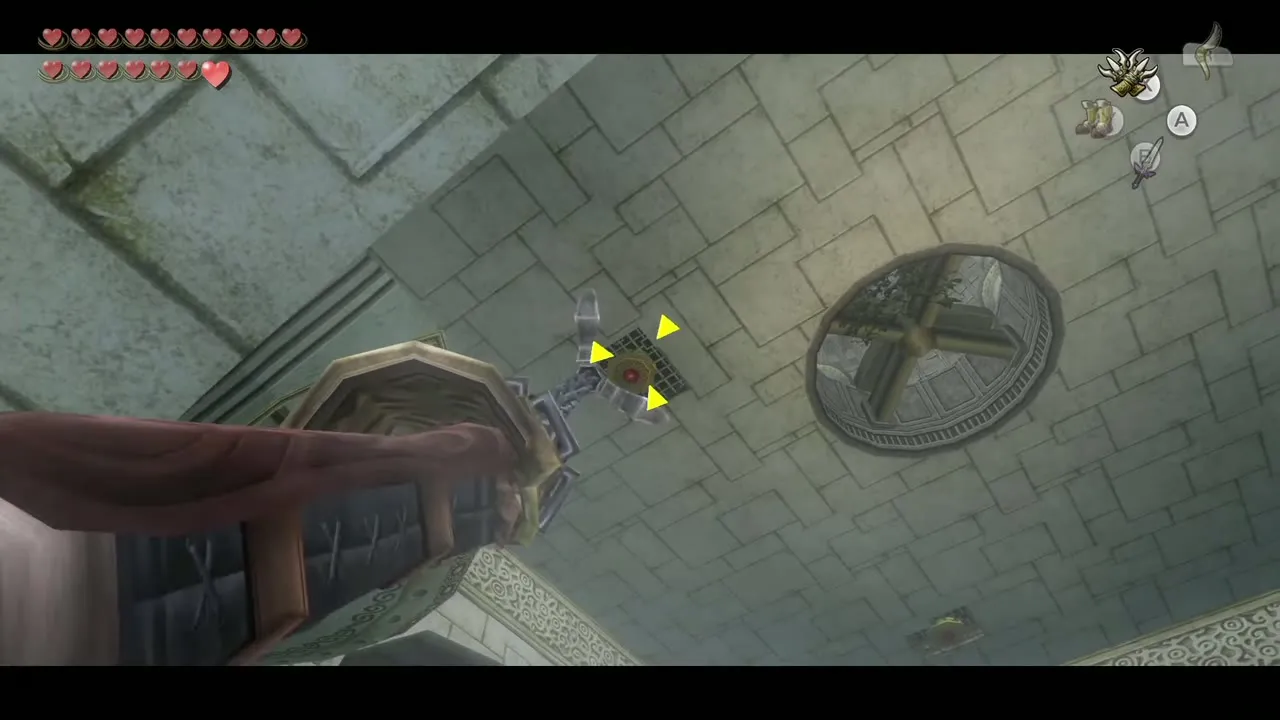
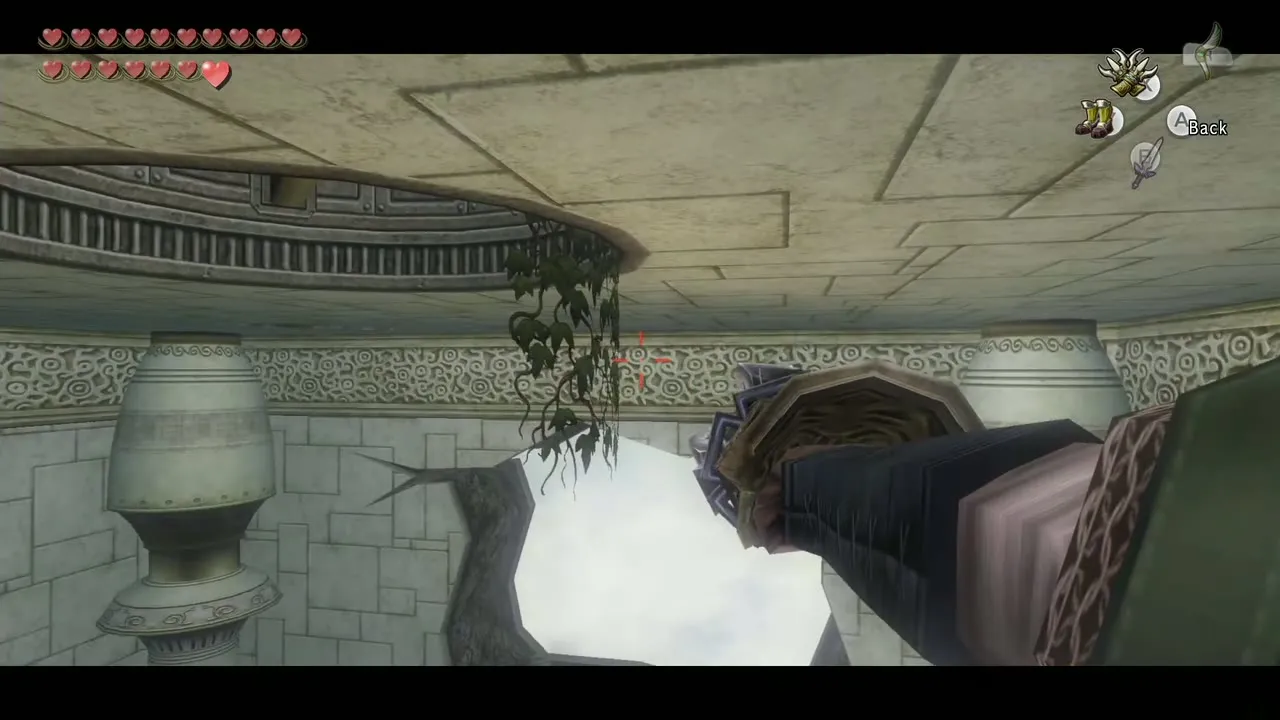
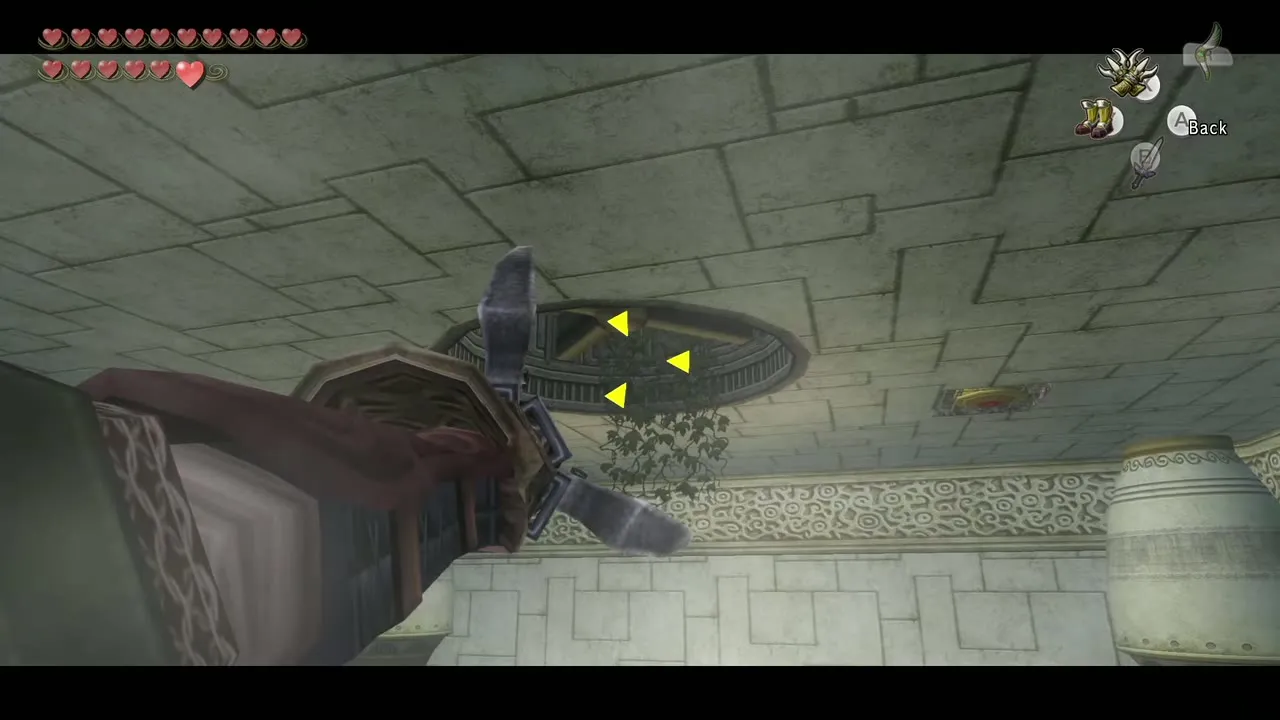
A gate opens at the west end of the room and the door above opens. Clawshot the ceiling target, run to the chest and open it for the second Clawshot. With two you can hang from one target while hooking another. Practice here: four targets sit in the ceiling corners and ivy hangs from the fan. Hook the target on your right, lower yourself a little, hook the northeast target with the other Clawshot, then grab the ivy over the central hole, climb it and take the west door.
Compass: climbing the tower

Spiral tower to the Compass
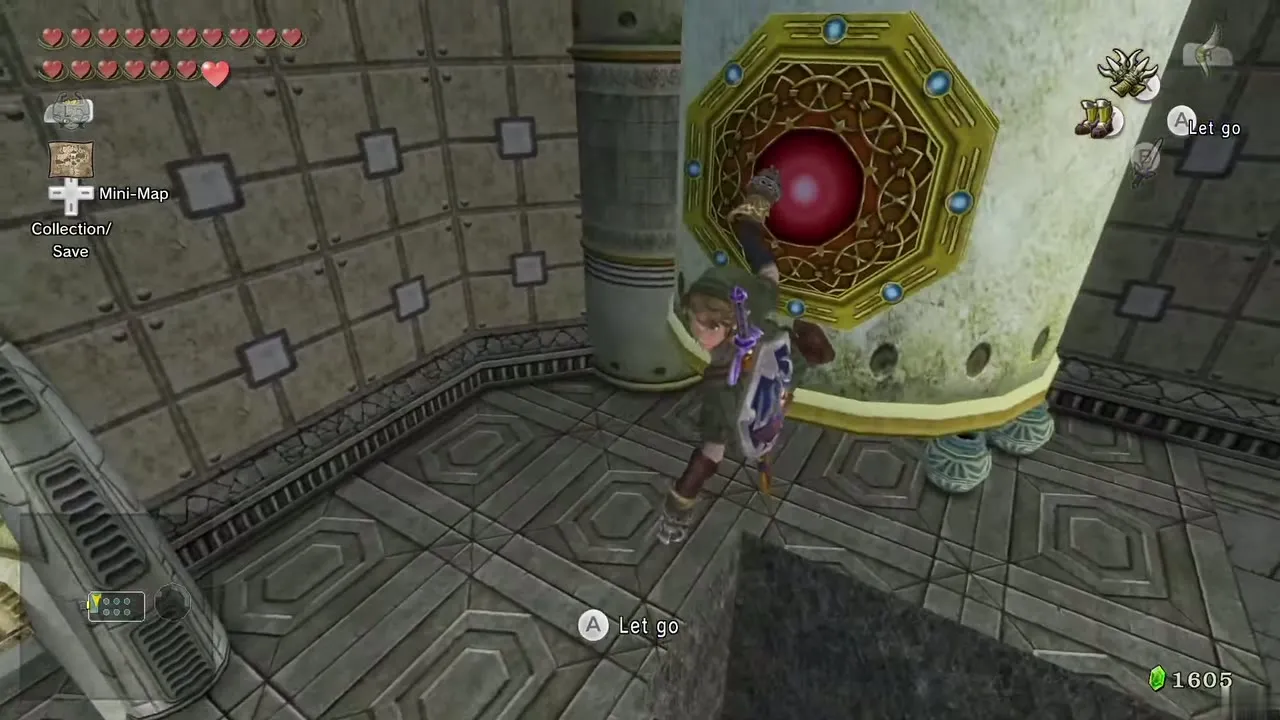
You return to the tall tower. With both Clawshots, climb counterclockwise from target to target, never letting go of the one you hold. After passing a horizontal wind tunnel, turn clockwise. From the next target you can hook a chandelier; pulling it opens a gate lower down, and it closes as soon as you let go. Stay hooked, lower yourself and Clawshot a target on either side of the door on your right to get through in time. Open it and head east.
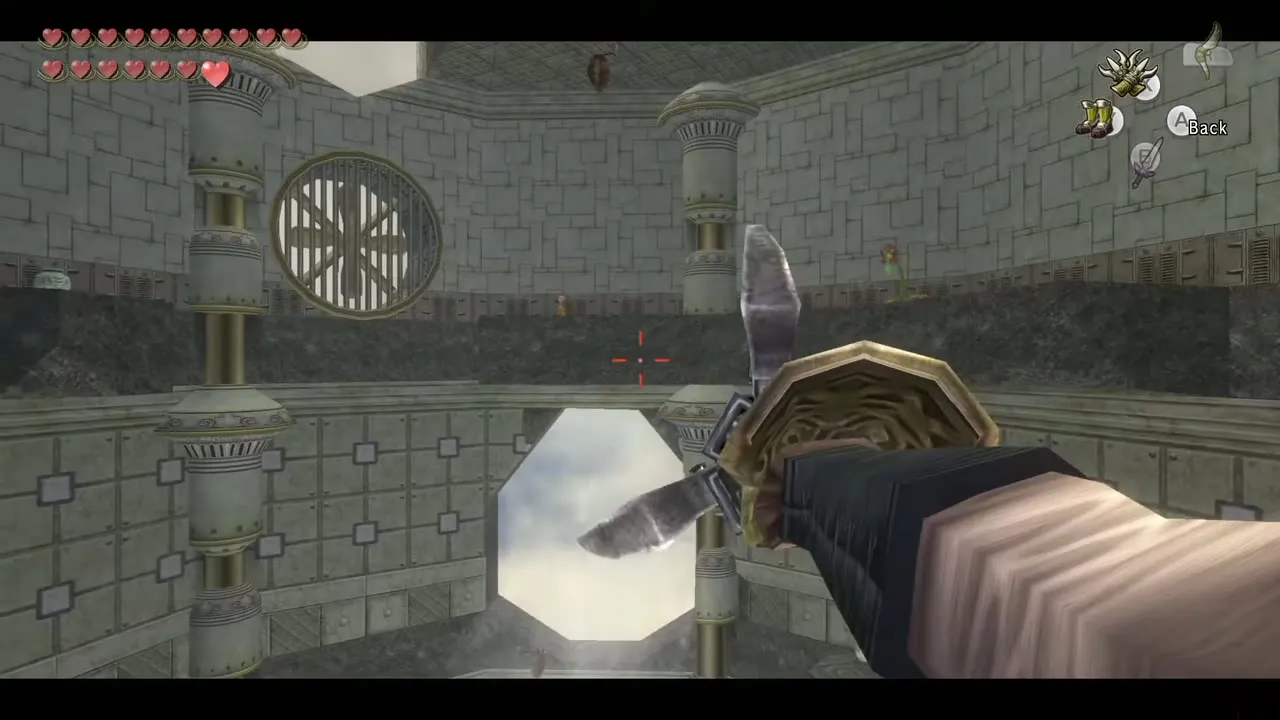
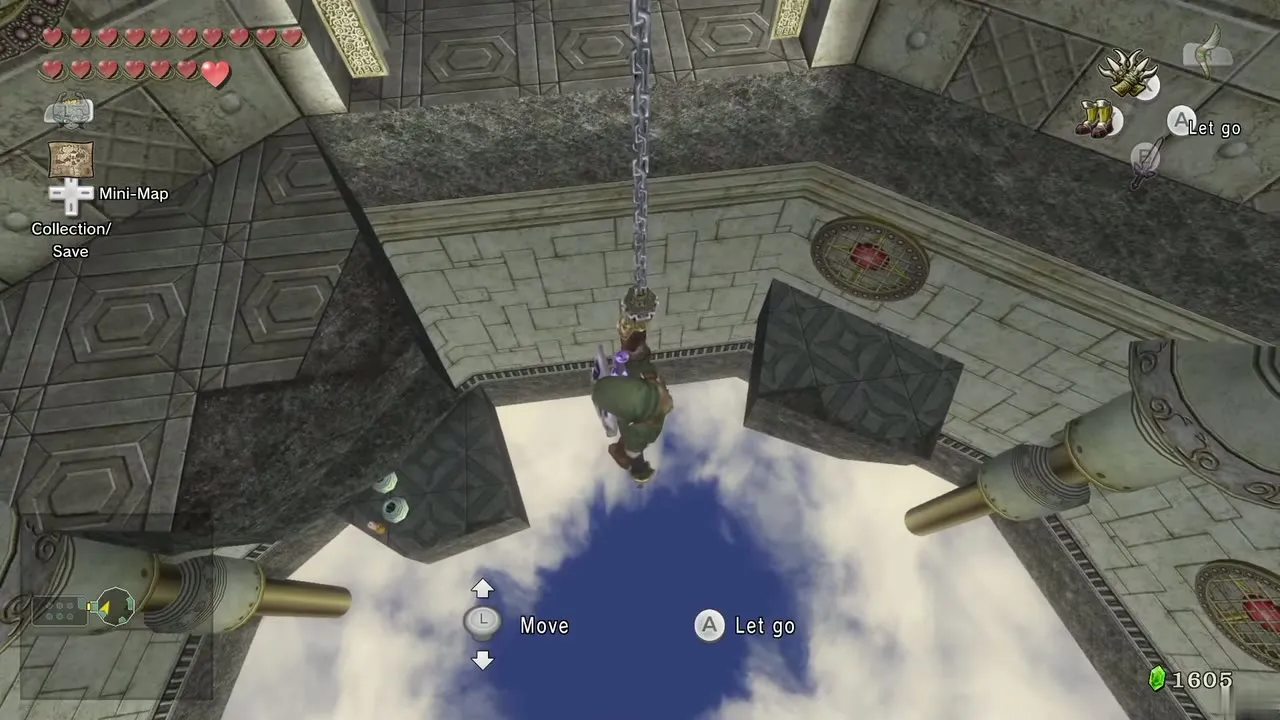
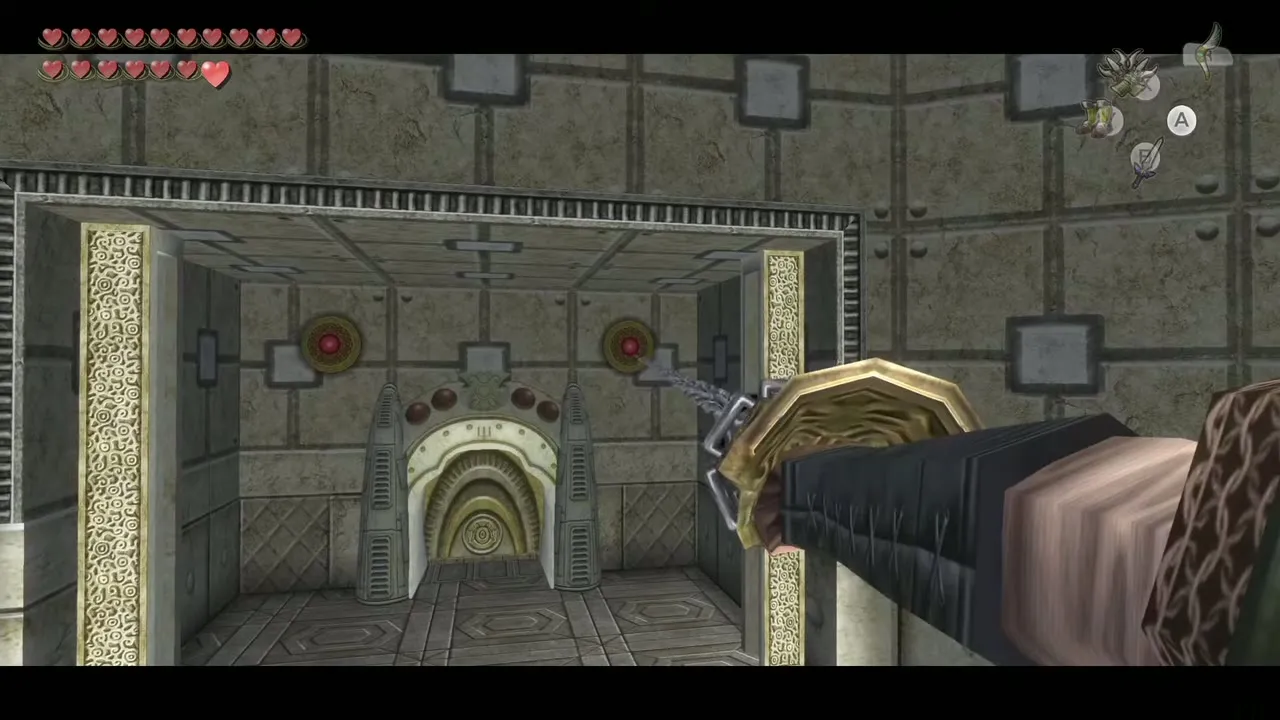
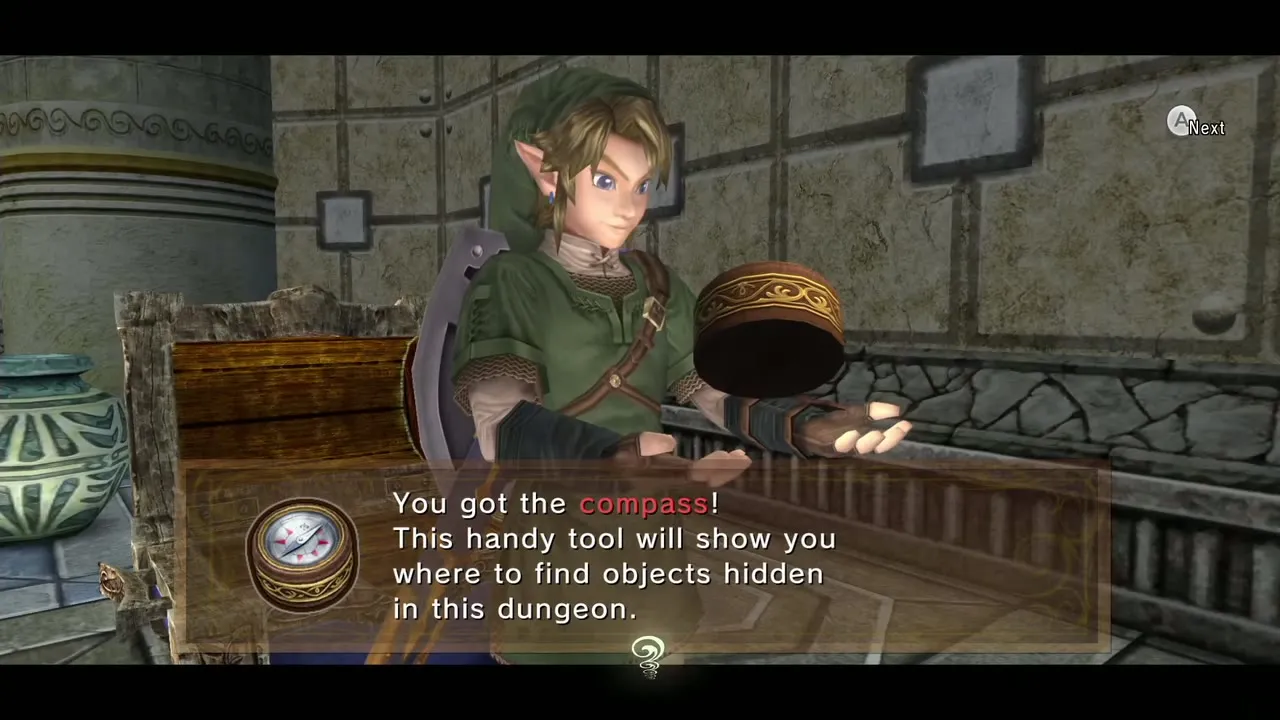
The next room is a chain of hanging pillars with targets heading east; swing across them. The Compass is in the chest at the far right. Leave through the door to the outside.
Two Heart Pieces, two Miiverse chests and a Poe Soul
Under the extended bridge
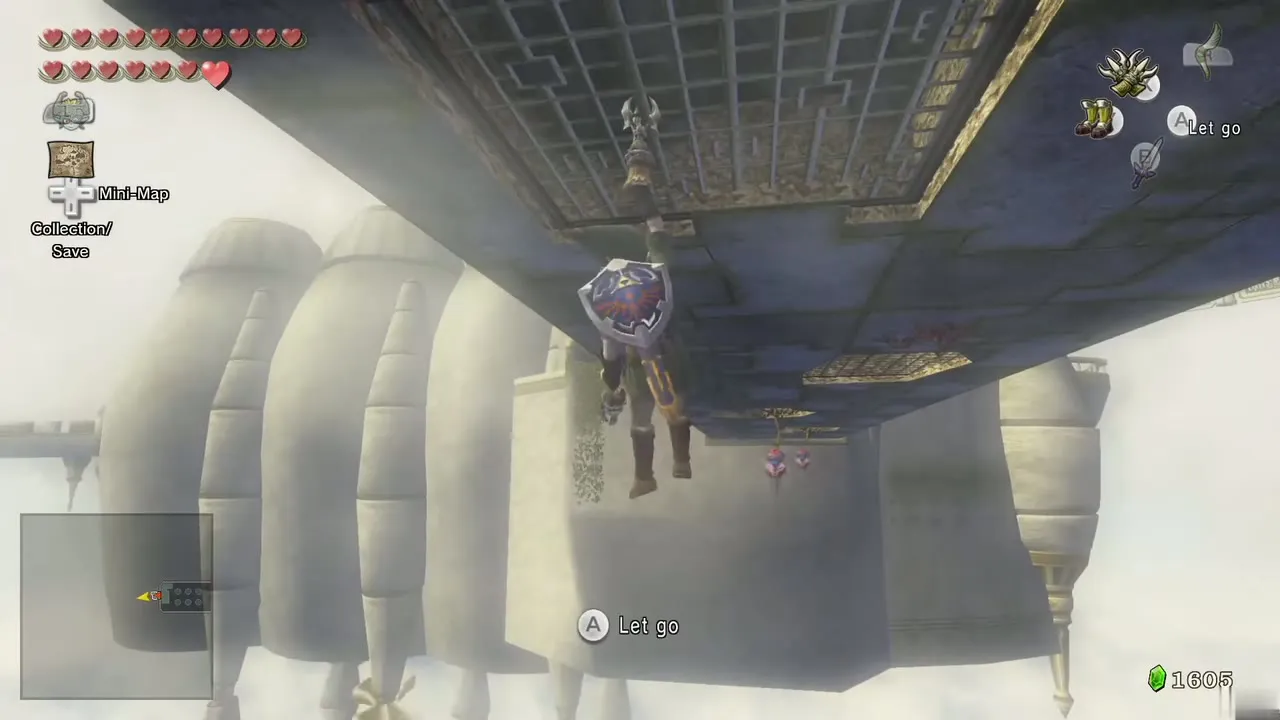
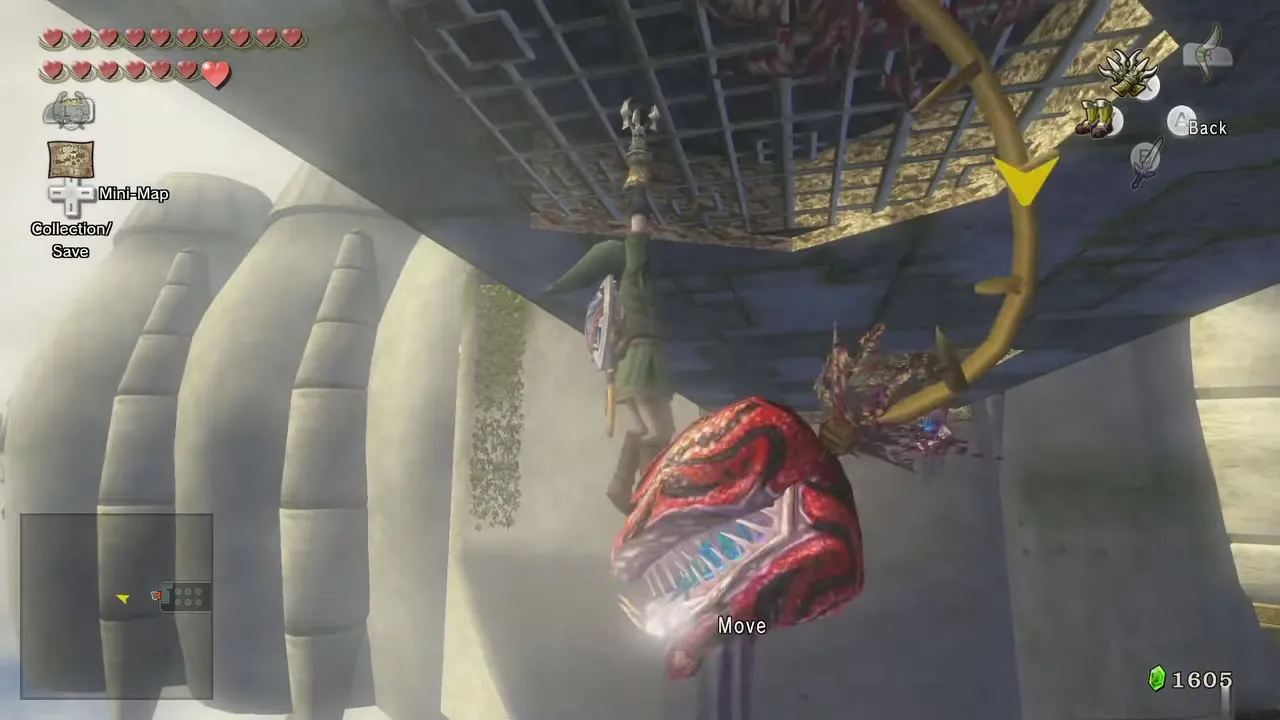
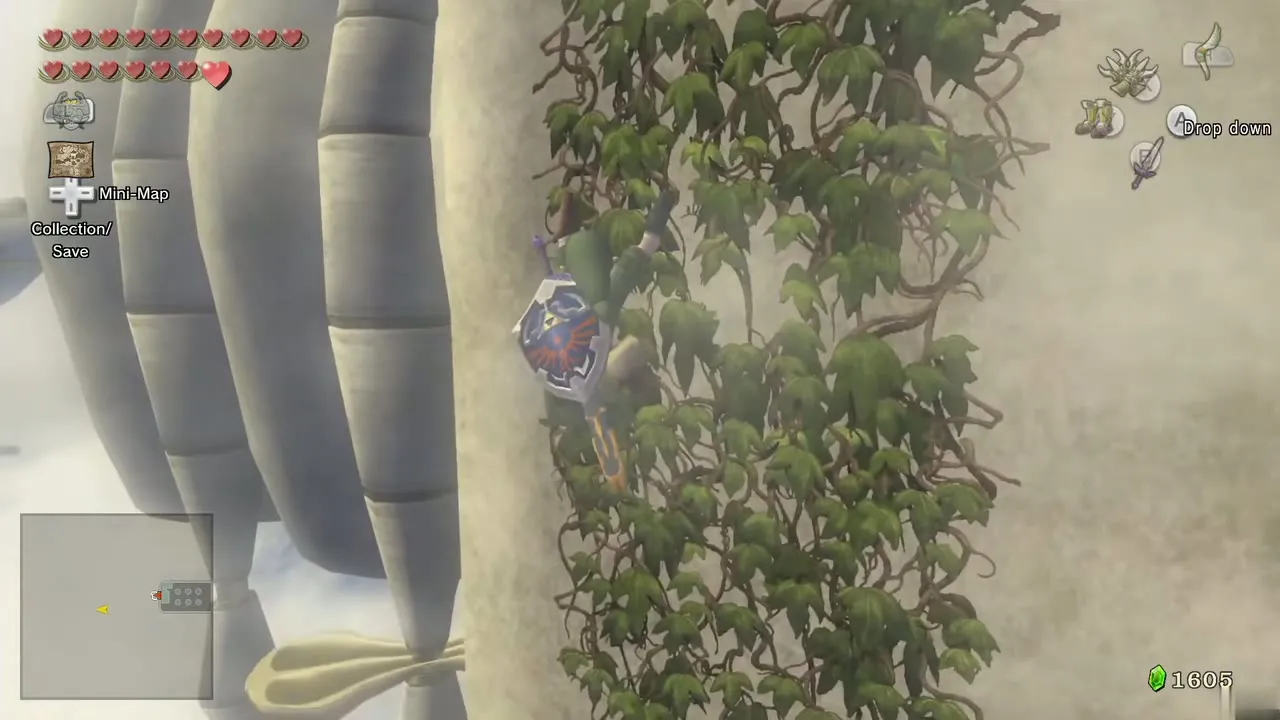
This is the area under the bridge you extended earlier. Three Deku Babas hang under it; shoot them with the Hawkeye bow or cut them as you go. Clawshot a grate, lower yourself, hook the next, and at the last grate look left for ivy to climb. Take the door back to the hub.
Crumbling pillars and the arrow chest
In the hub, run over the blue blocks to the center and walk to the west end. Clawshot the ceiling target there, then the one above the door at the west end. The bridge here was broken by the dragon, so lock onto the Peahats overhead and swing across them to the door on the far side.
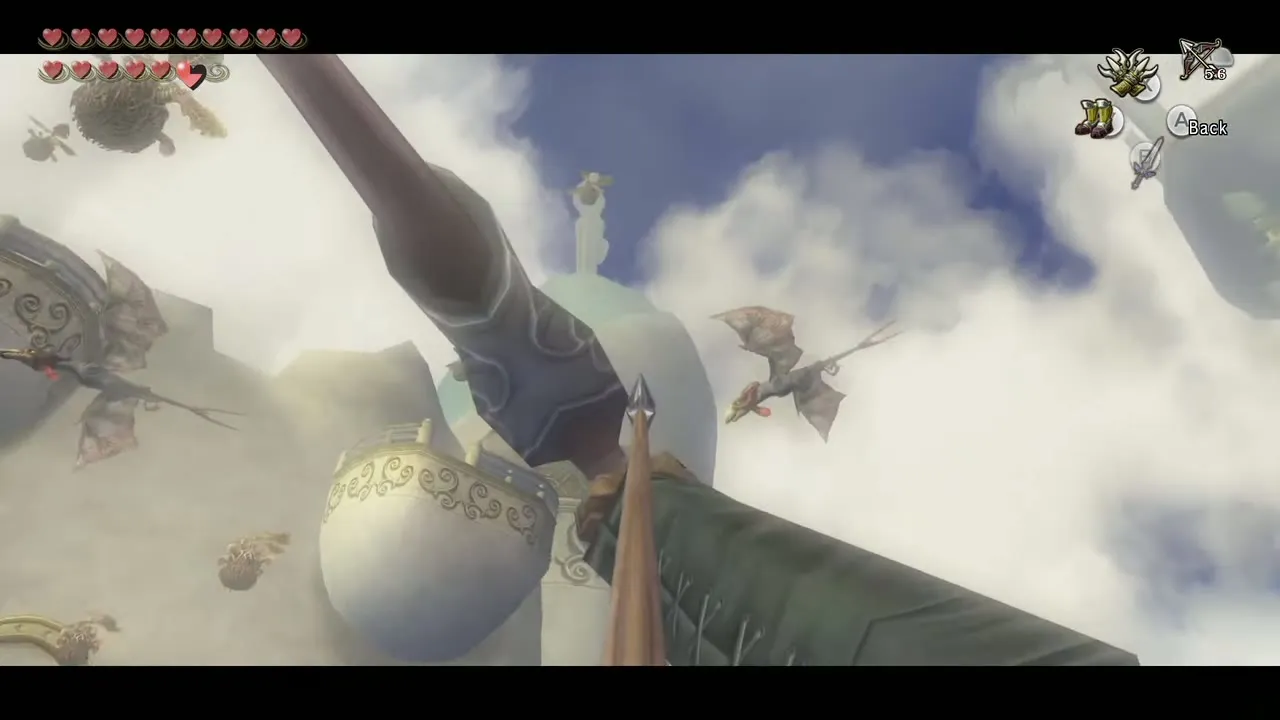
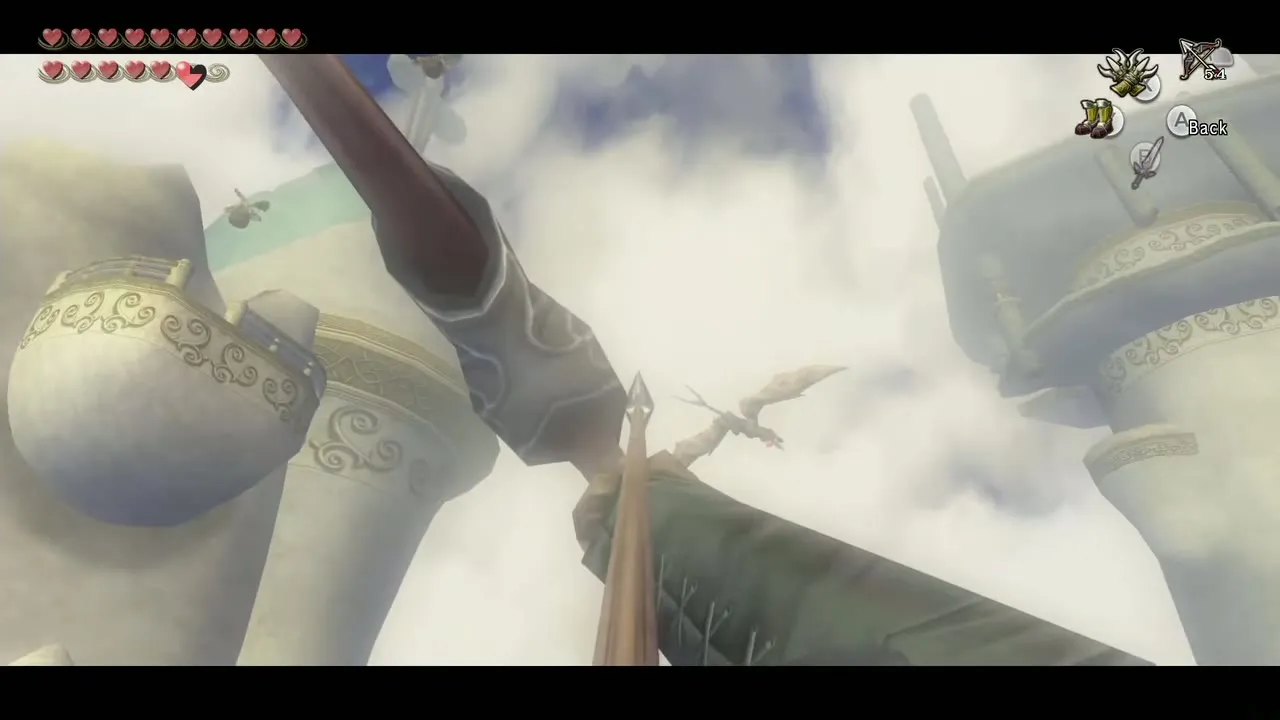
In the next room, walk to the west end and hook the ceiling target that lies farther north. Lower the chain and zigzag from pillar to pillar toward the southeast corner. Each pillar drops when you grab its target. At the southeast corner let the last pillar fall and land on a small platform.
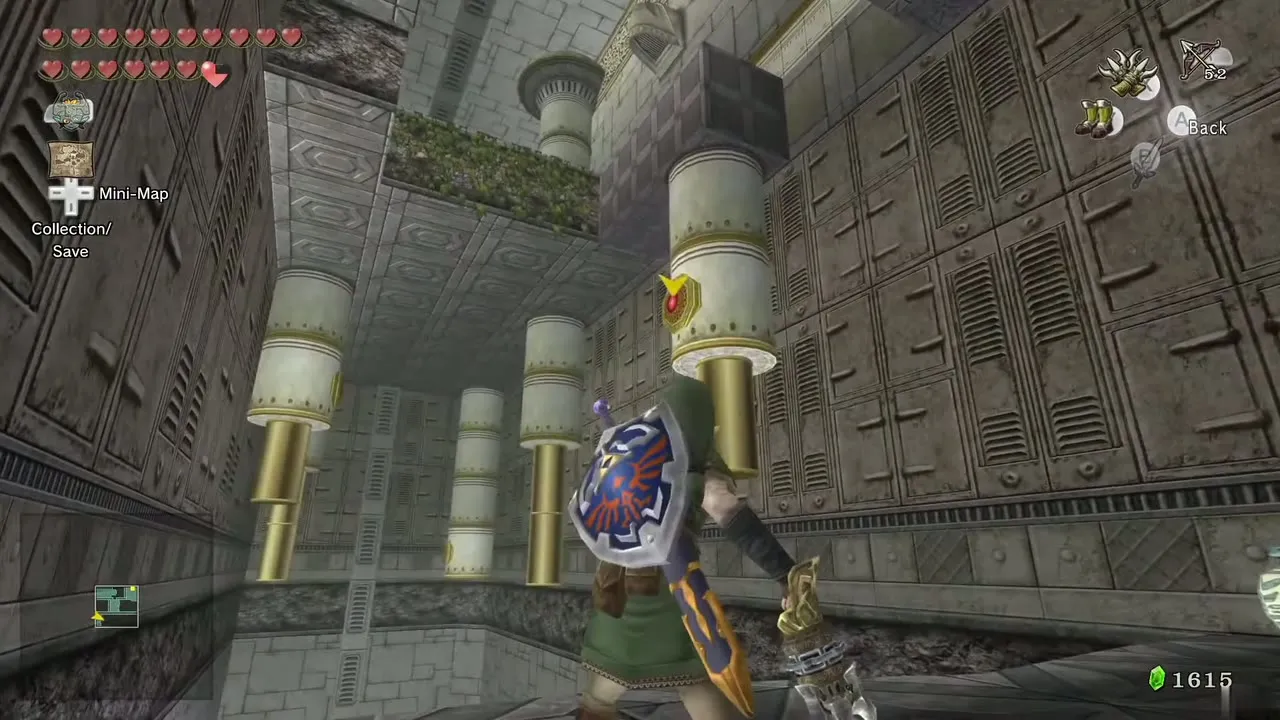
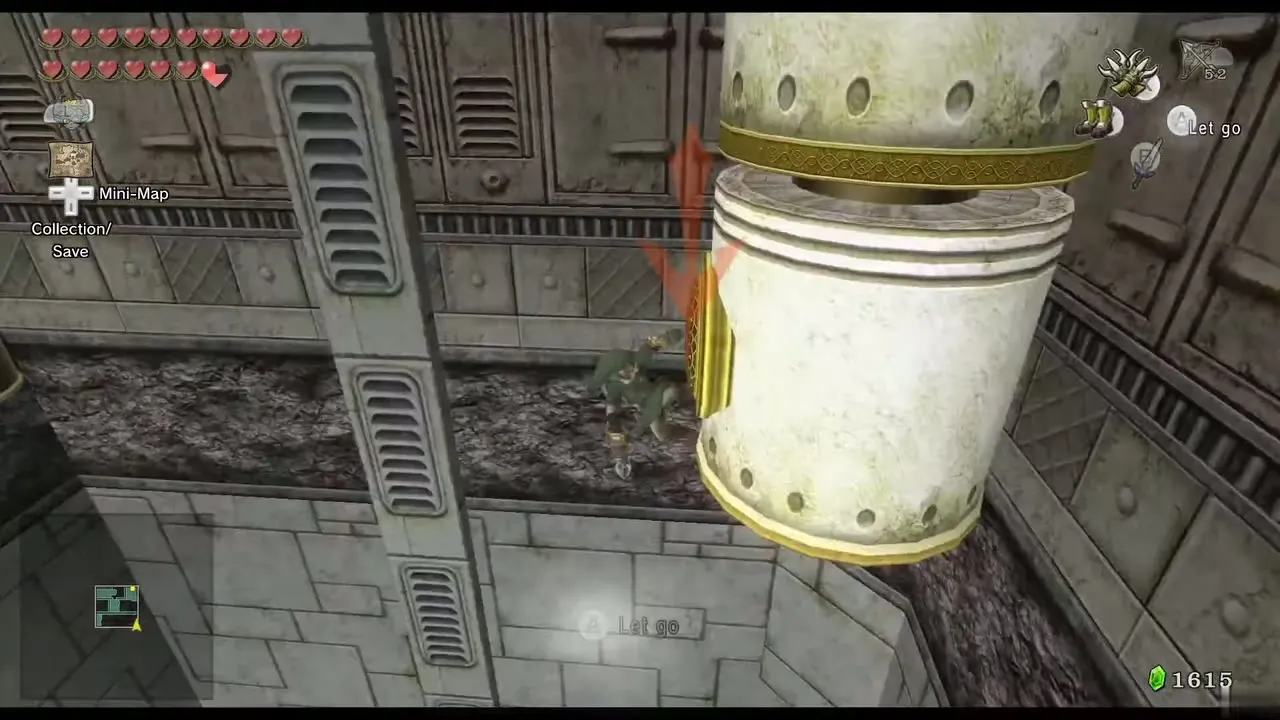
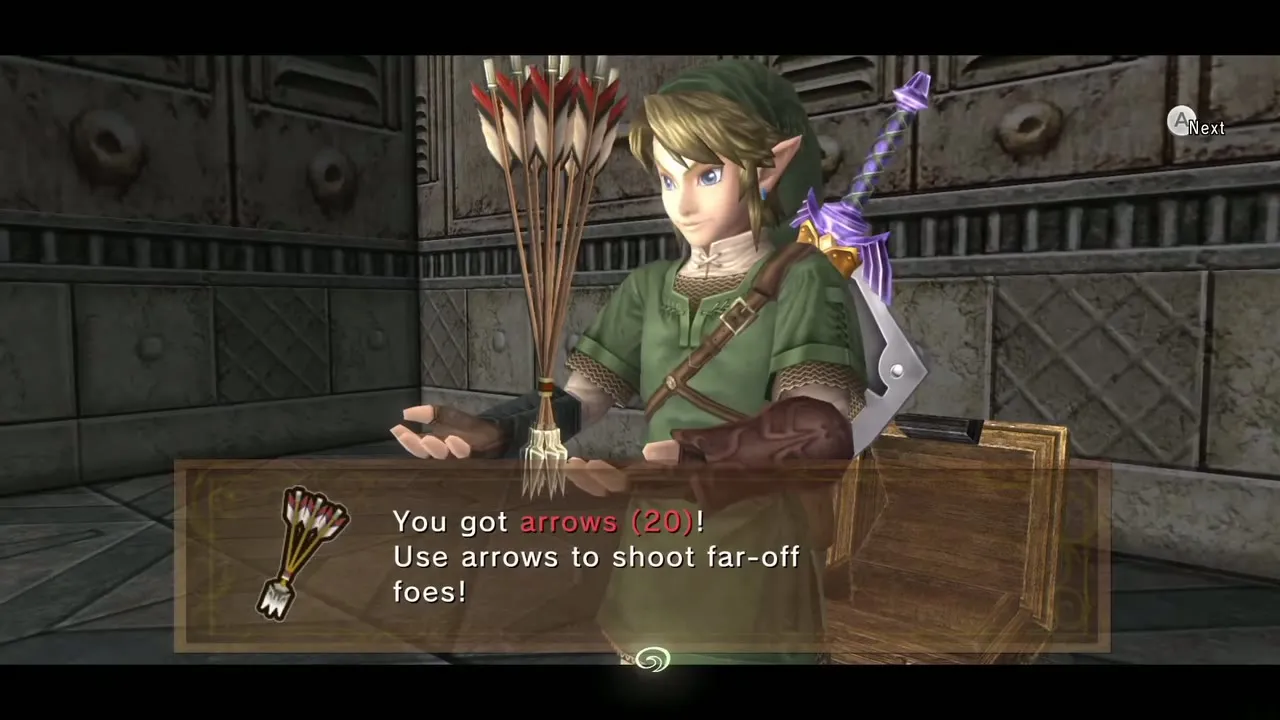
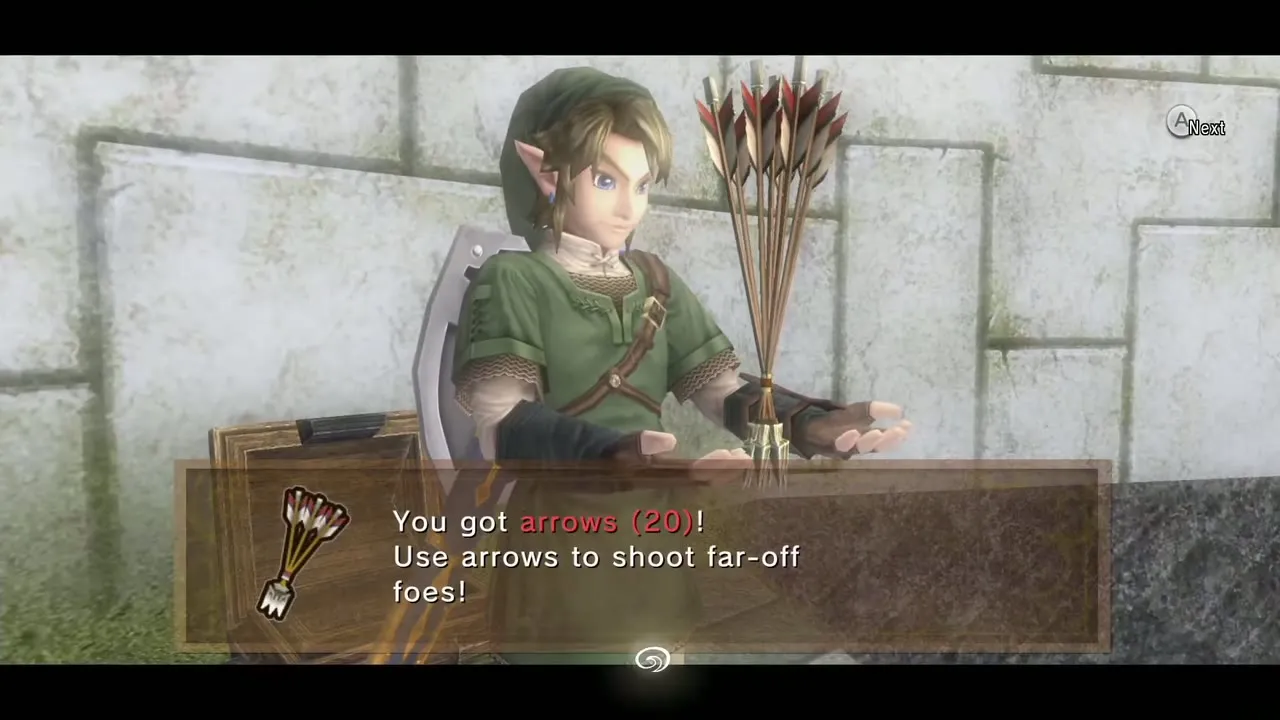
Pull yourself north into the next room. Two targets are on the opposite wall: hook the left one to spot a chest, Clawshot the nearby grate and drop, defeat the Deku Babas that appear and take arrows from the chest. Hook the other wall target, then the grate, to land in the center. Go through the small hole to the north and drop to the platform to the east.

Deku Baba grates, the big chest and the Big Baba
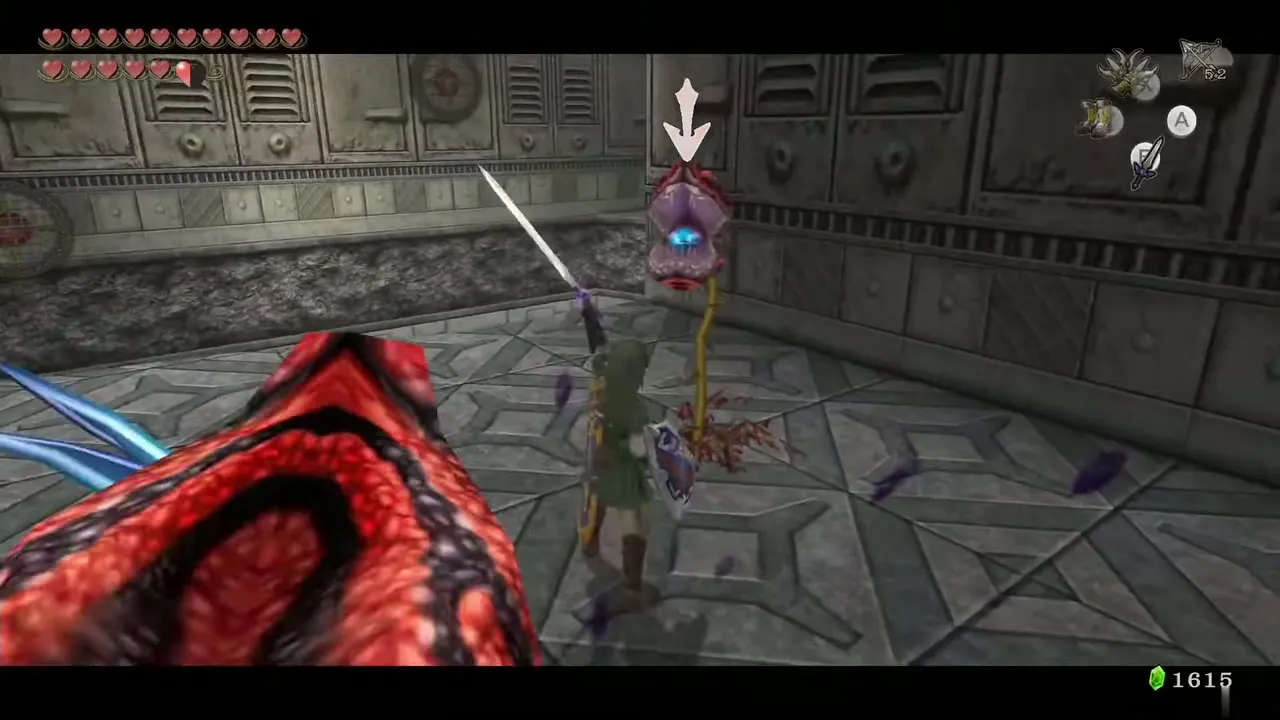
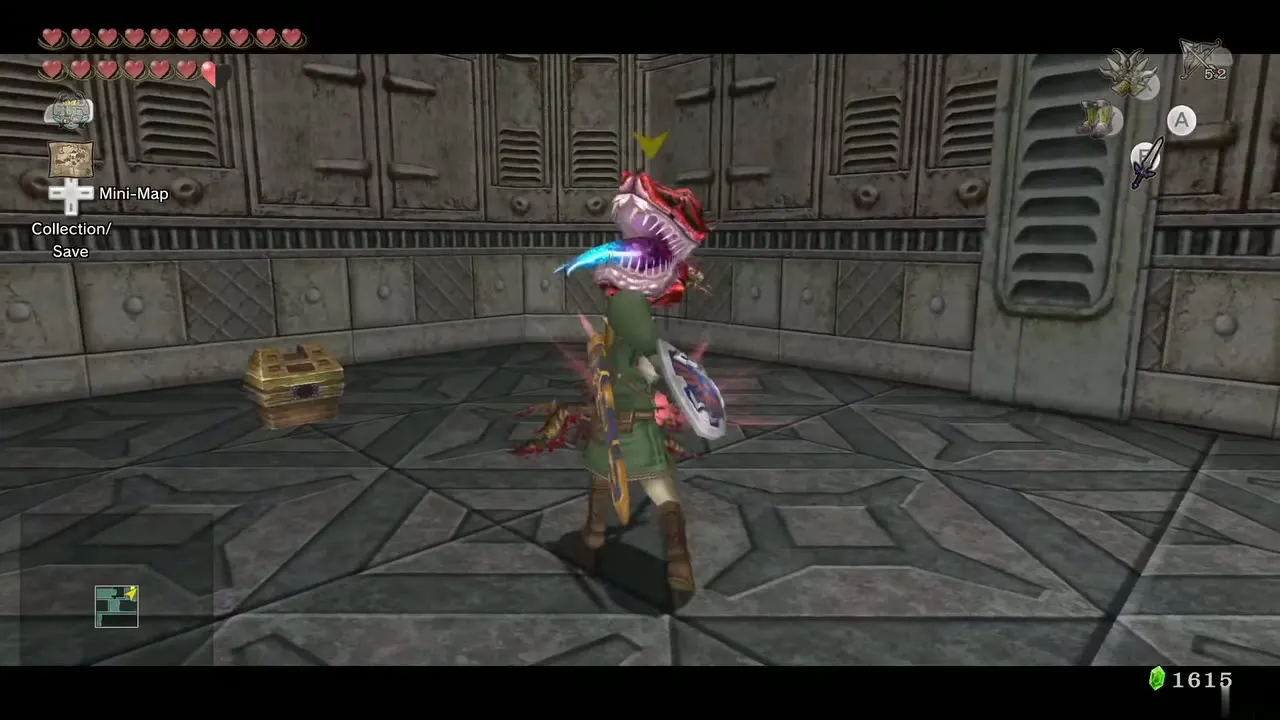
Shoot down the two dangling Deku Babas. Clawshot the grate where one hung, lower yourself and hit the crystal switch to the north with the second Clawshot; this opens a gate along the south wall. Turn and hook the target, then climb grates and targets to a safe platform.
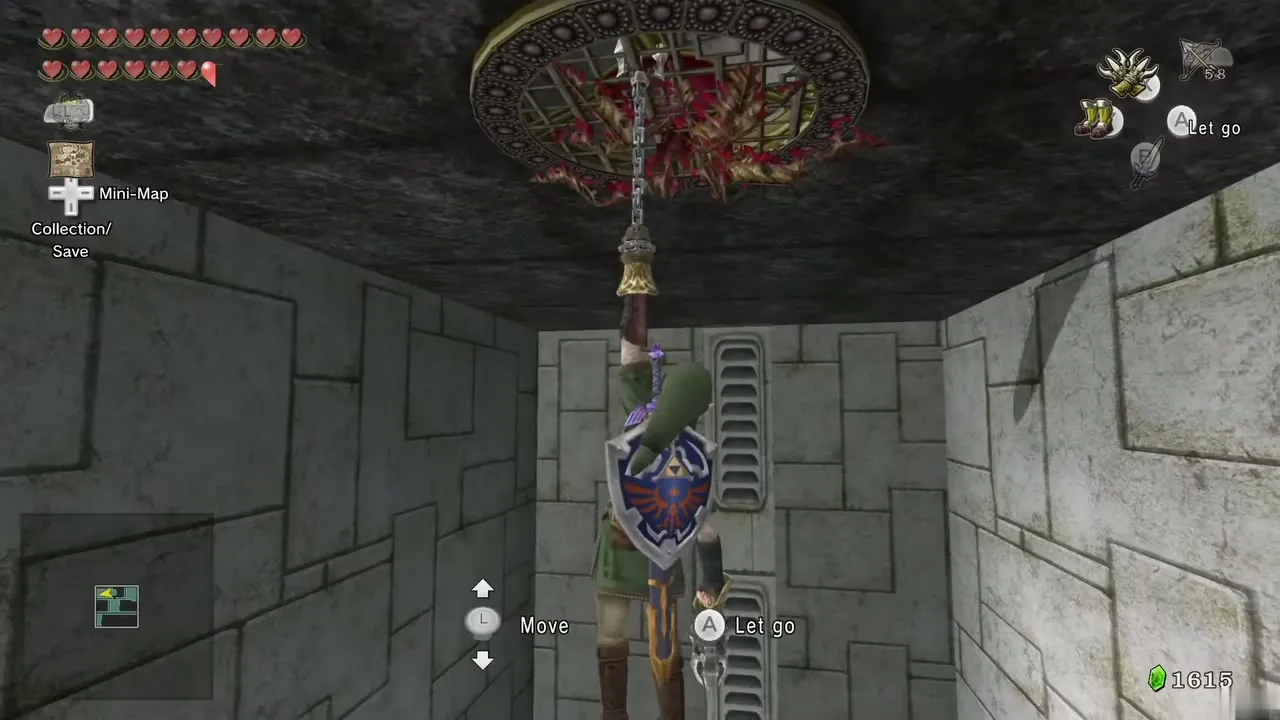
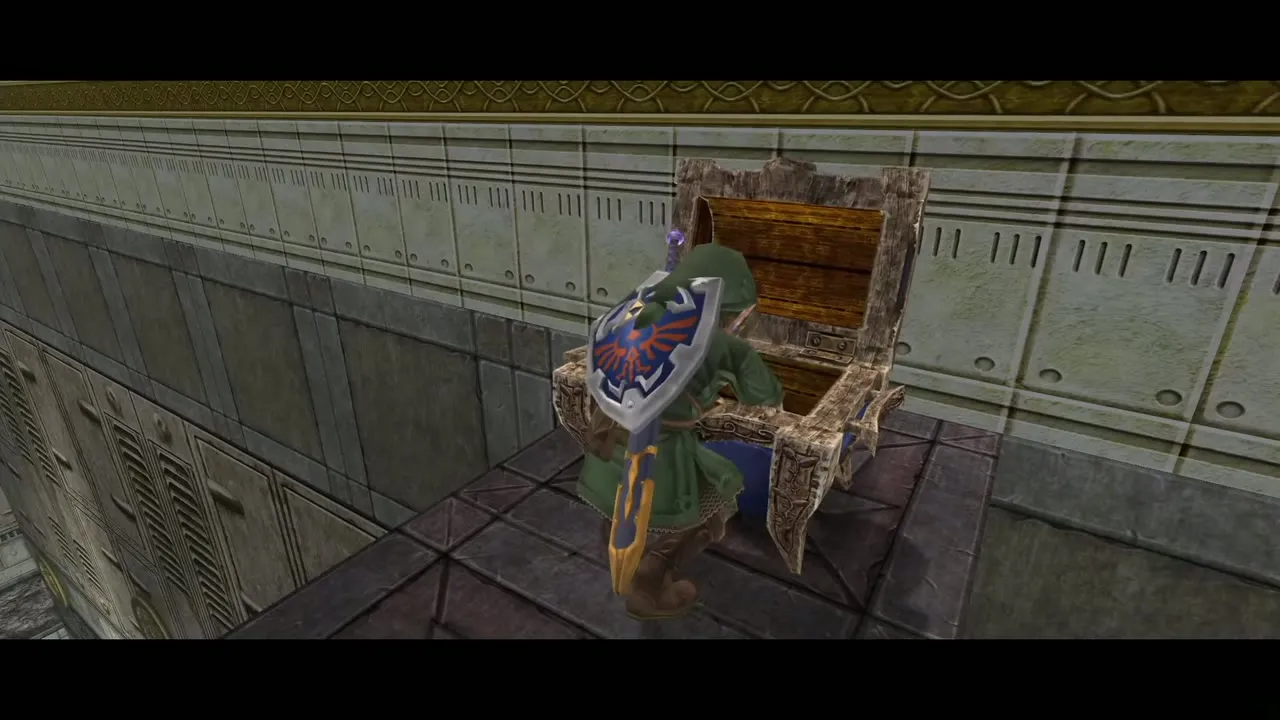
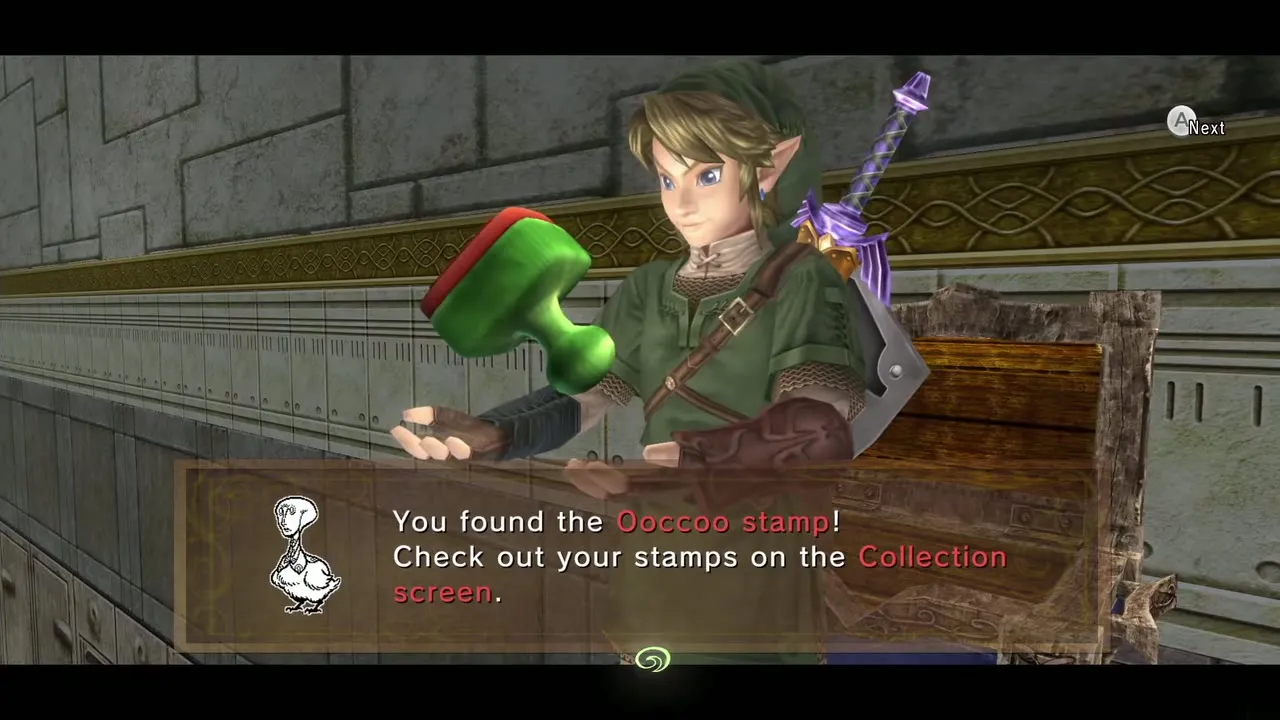
In the center of the room is a large chest: jump across the blocks to it and open it for the Ooccoo Miiverse stamp (a red Rupee, 20, on the stamp list). Jumping the blocks to the northeast corner brings you to a chest with bombs; two Tile Worms lurk there. Return and take the north door.
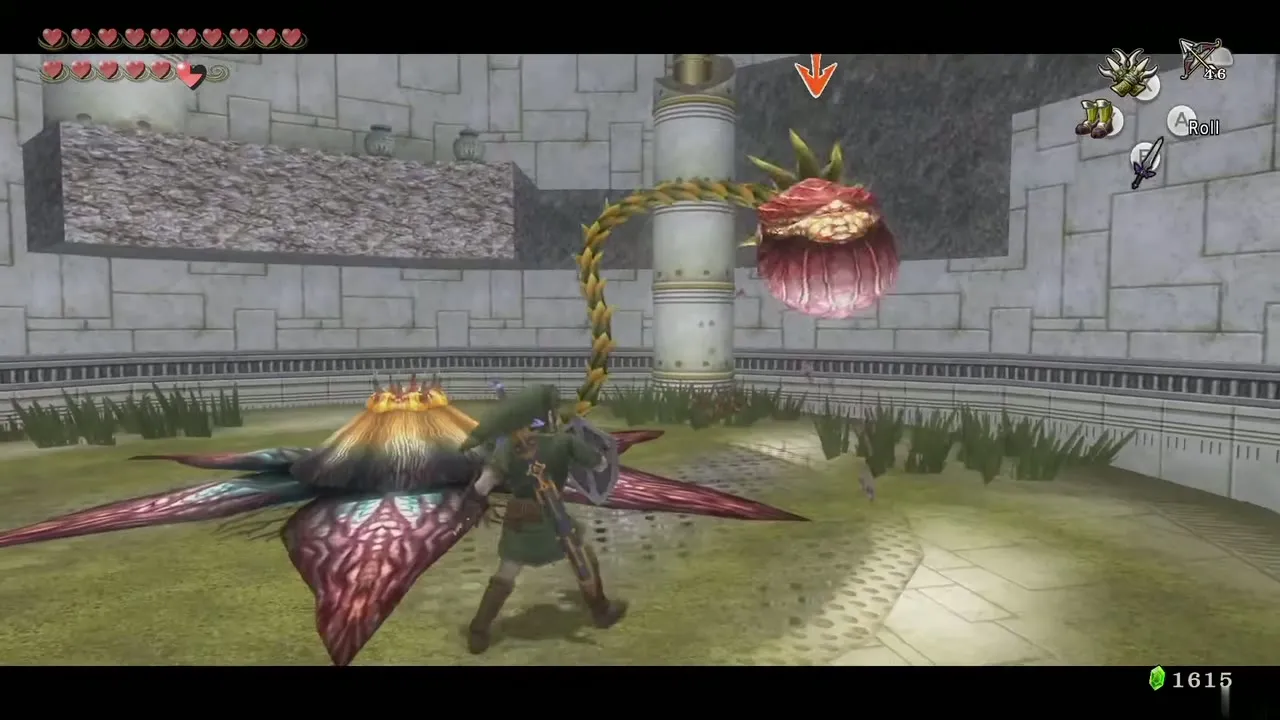
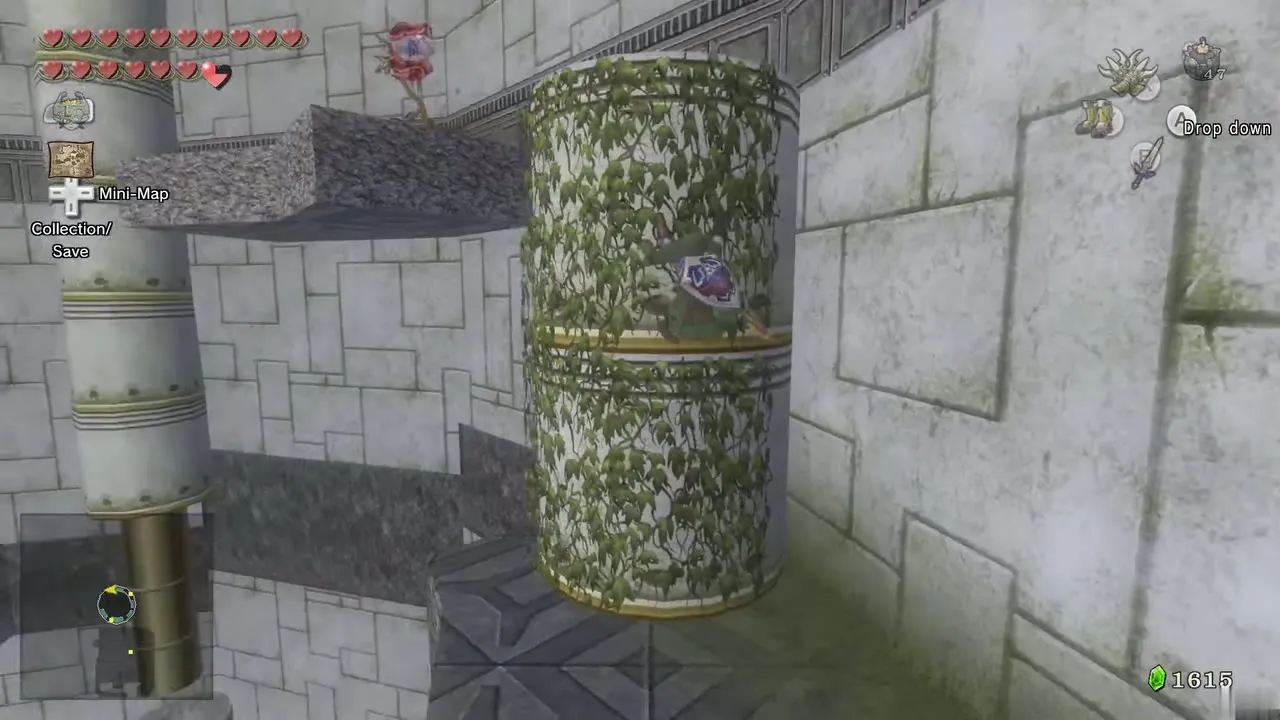
A Big Baba and three normal Deku Babas wait here. Kill the small ones and cut the Big Baba, bombing it if needed. Clawshot the target at the west end; its pillar starts to fall, so swing at once to the ivy in the north. Climb clockwise along narrow ledges, shooting the Deku Baba and Keese in your way. A small chest holds arrows.

First Heart Piece
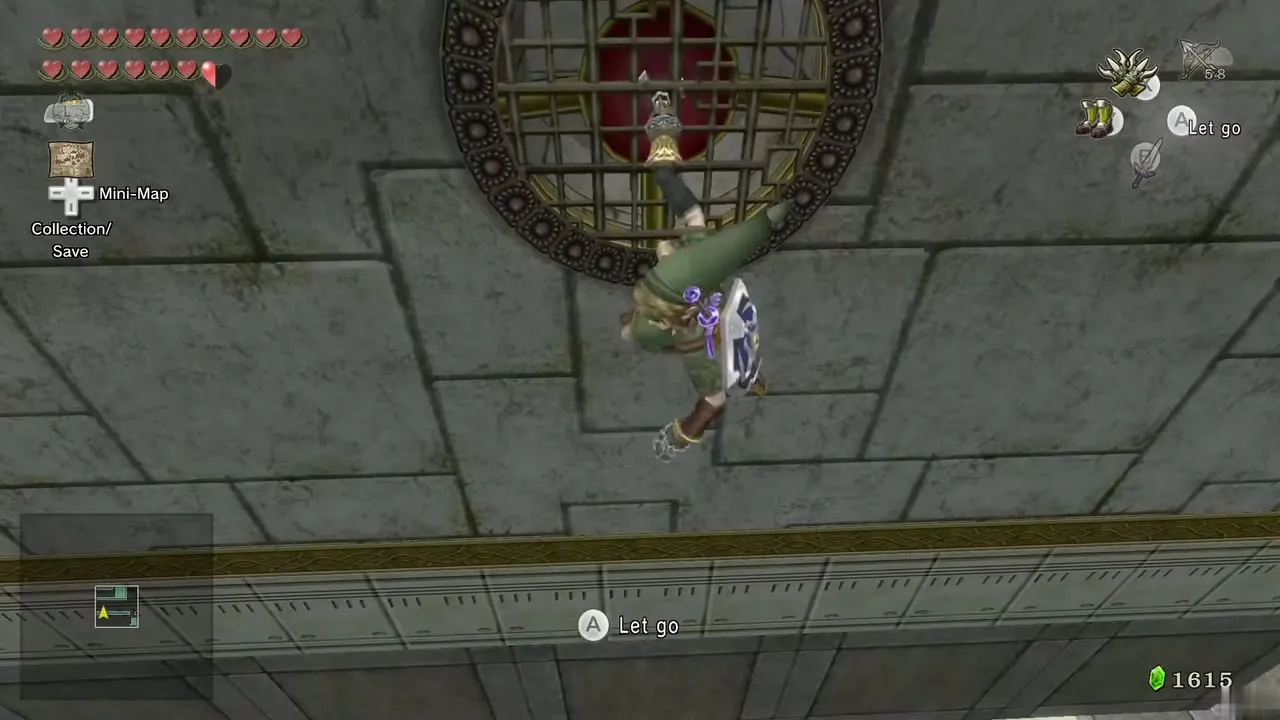
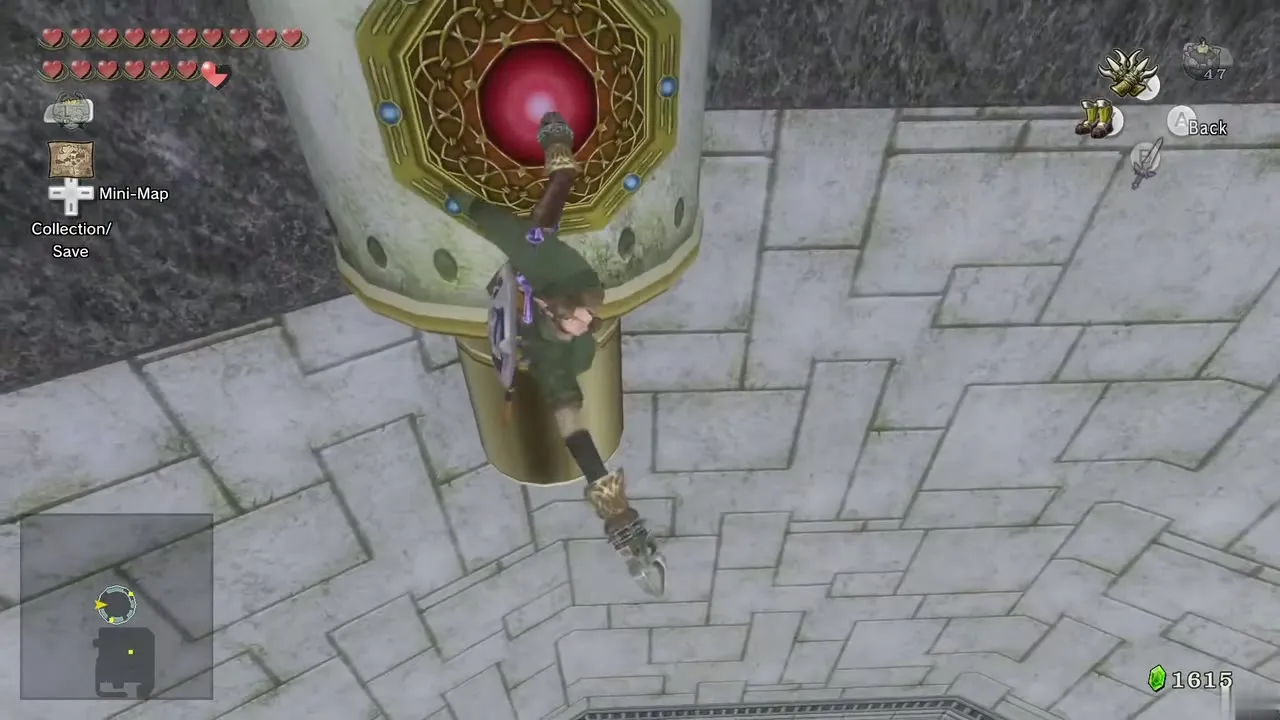
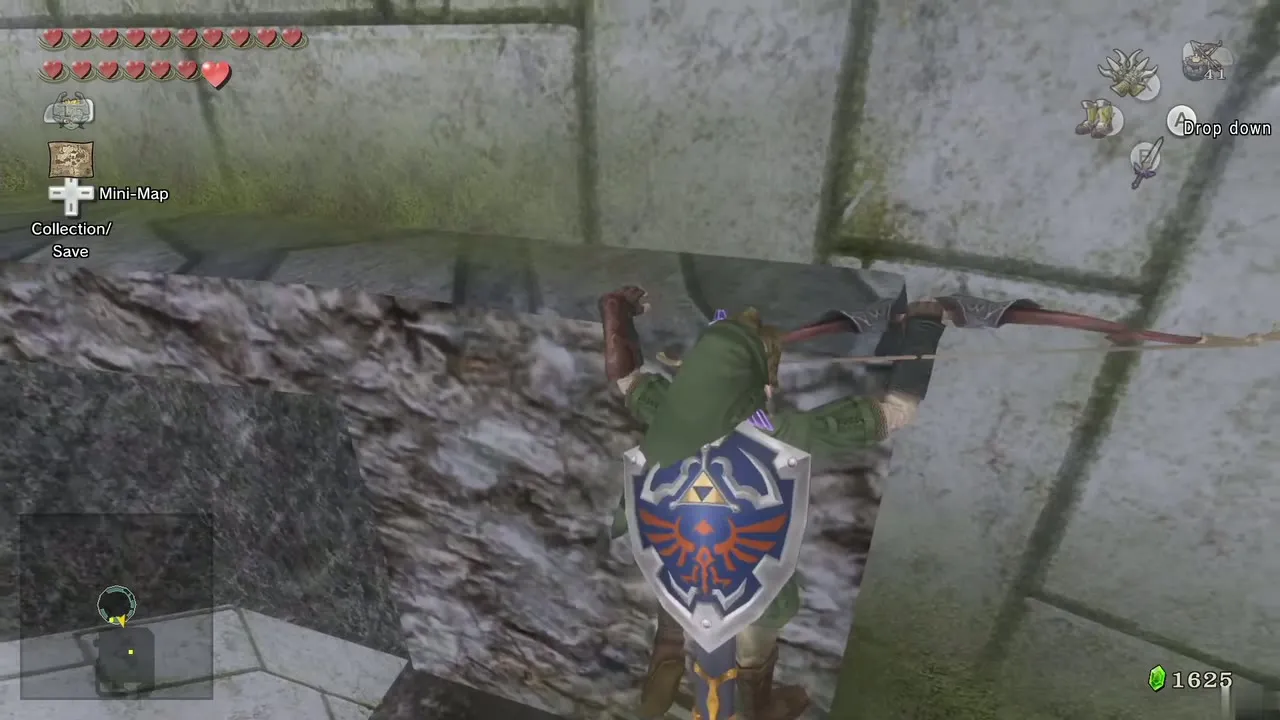
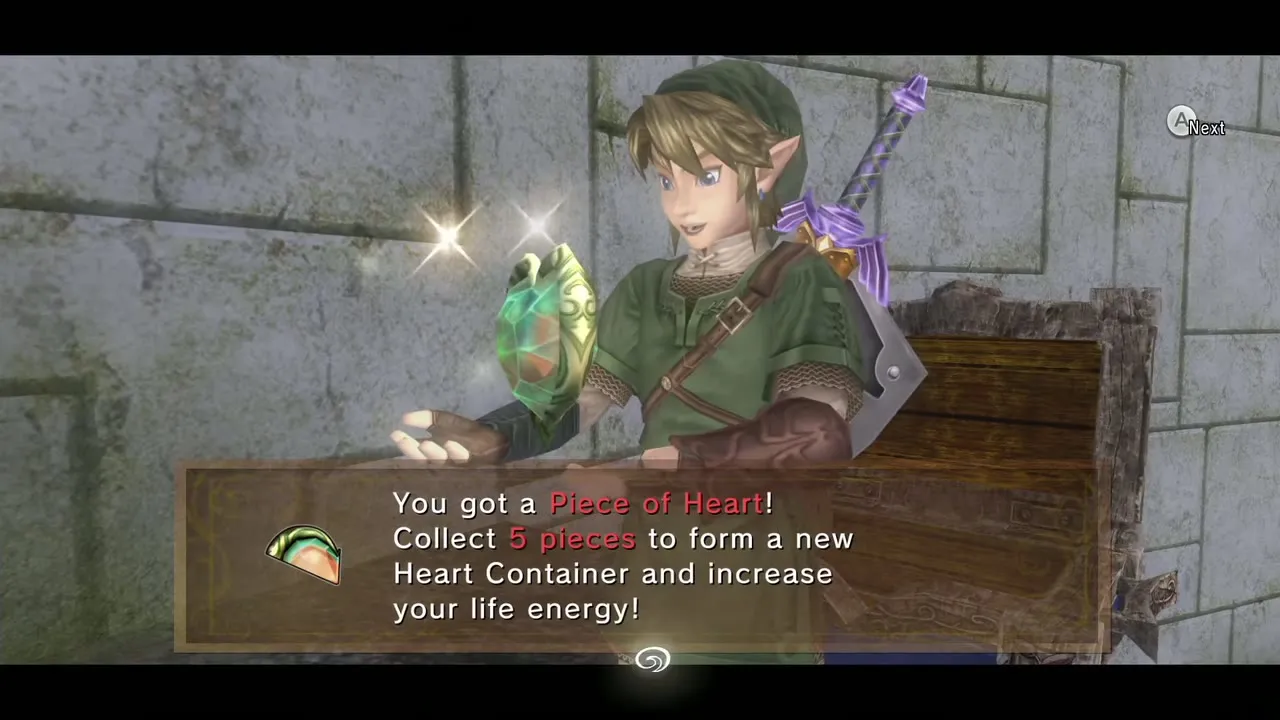
A narrow ledge on the wall is too thin to stand on: hang from it and shuffle across the gap. A Deku Baba dangles from the ceiling; shoot it and finish it with the sword. Open the chest nearby for a Piece of Heart (#42 on the Heart Piece list).
Peahat route outdoors
Return across the ledge. Hook the target on a pillar, quickly lock onto a second pillar and hook it, then Clawshot the ivy at the north end. Hook the target in the center and lower yourself to a safe platform. Defeat the Dinolfos and take the south door to the outside.
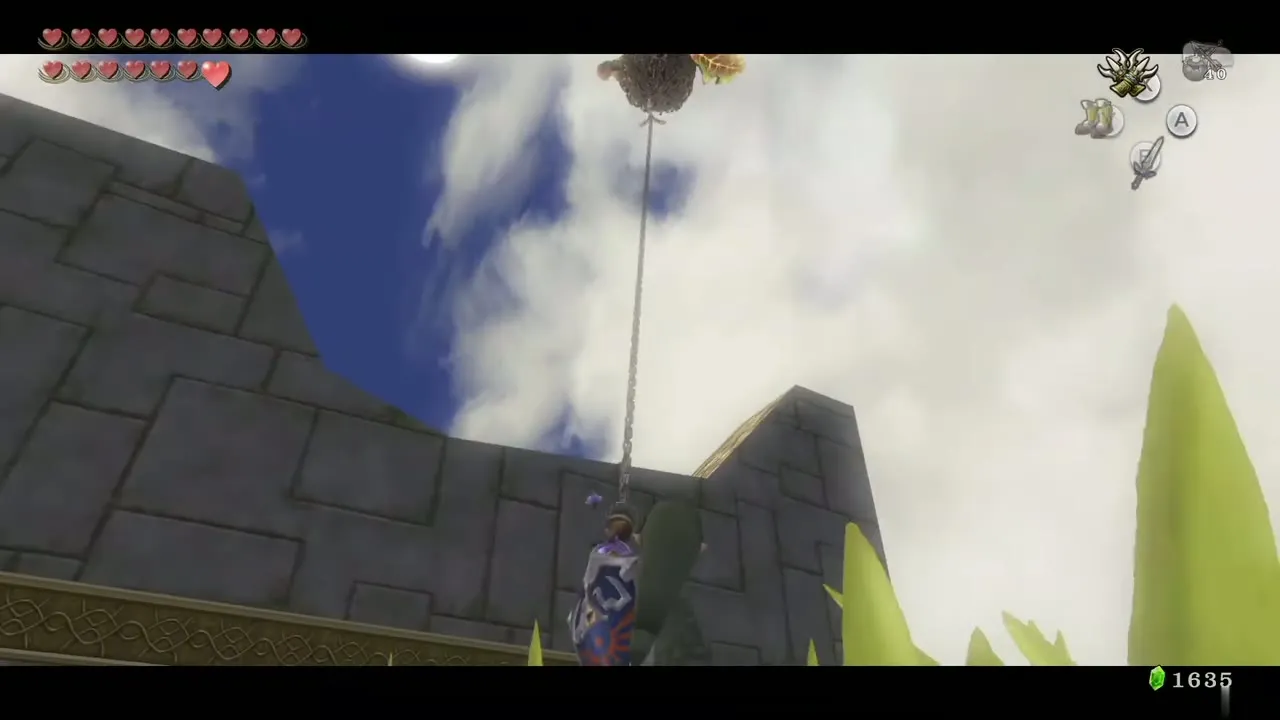
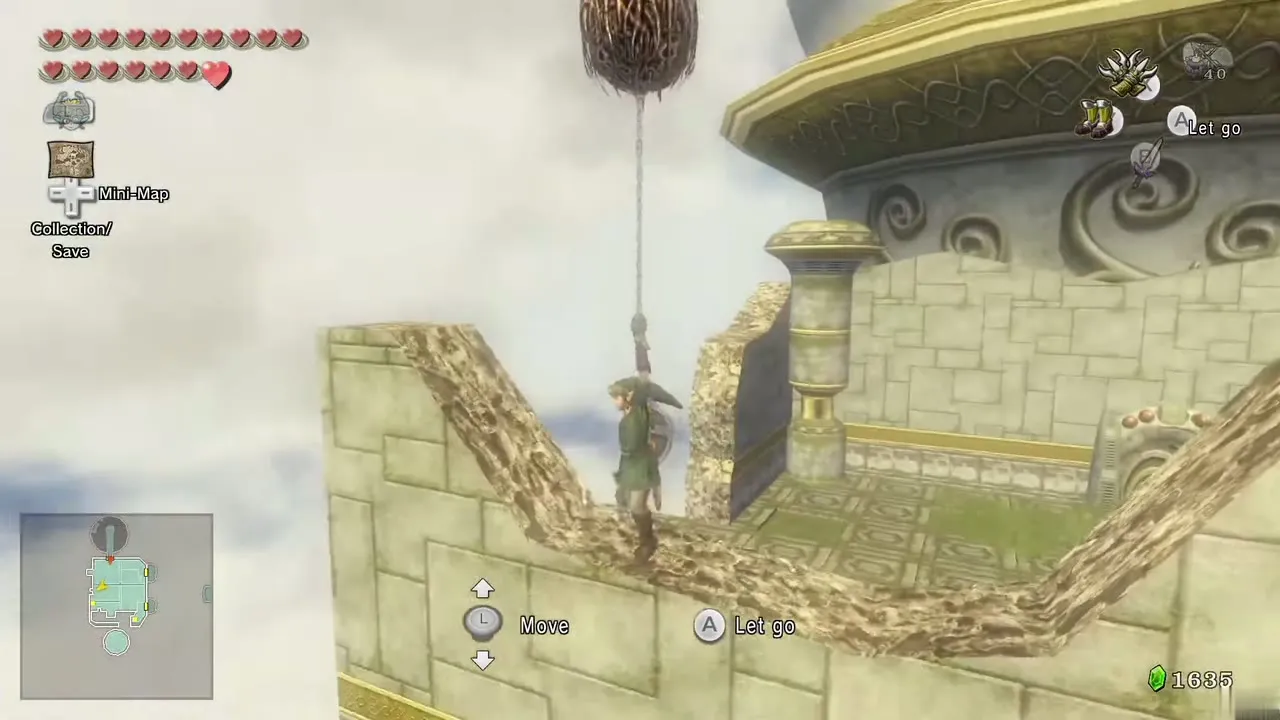
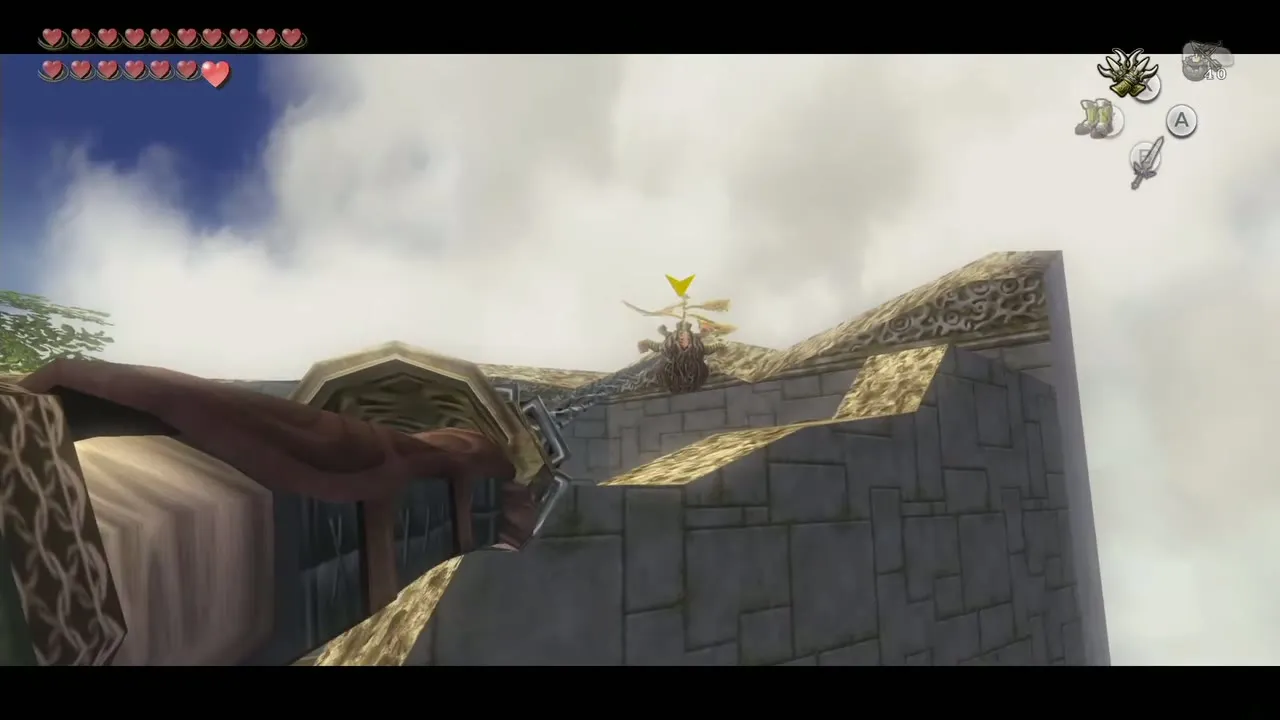
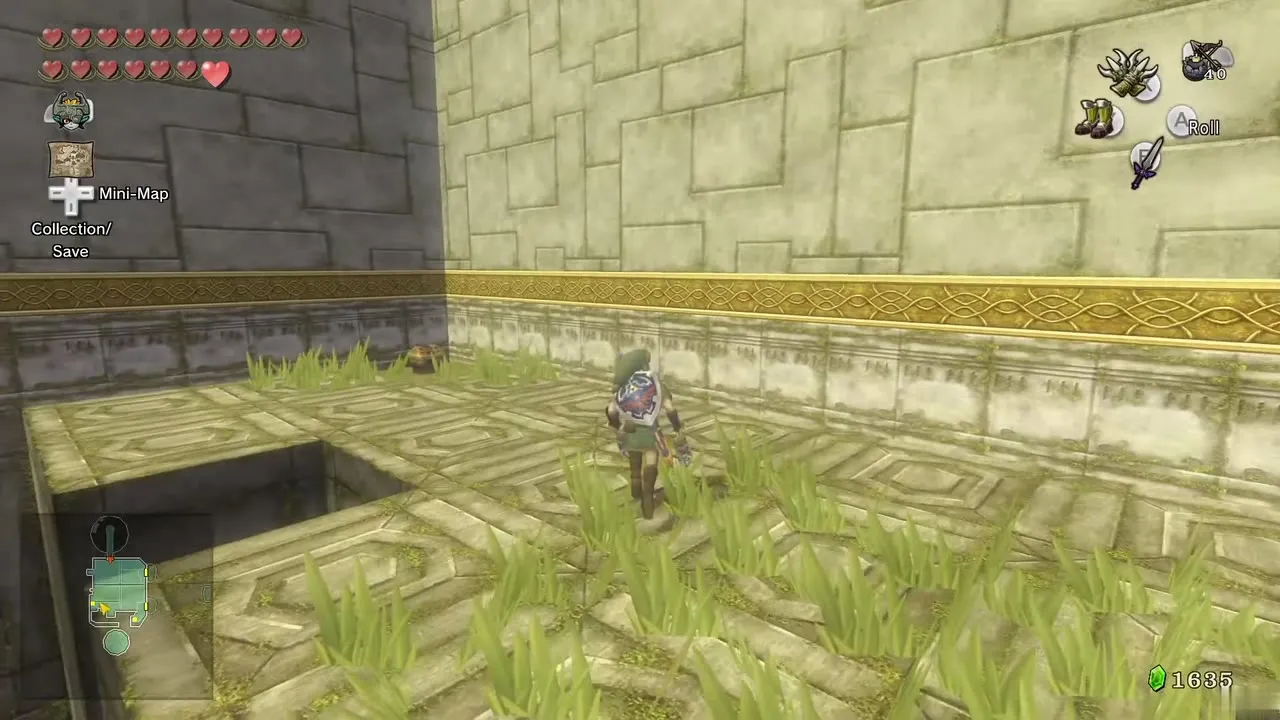
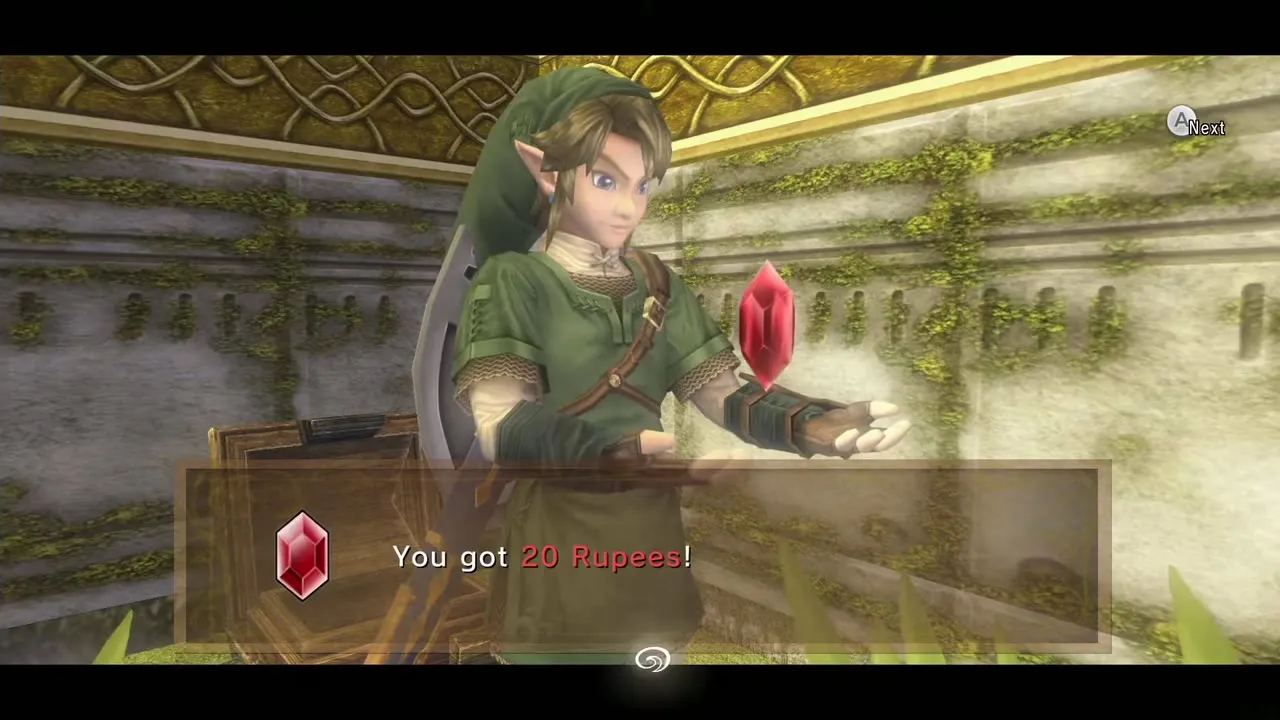
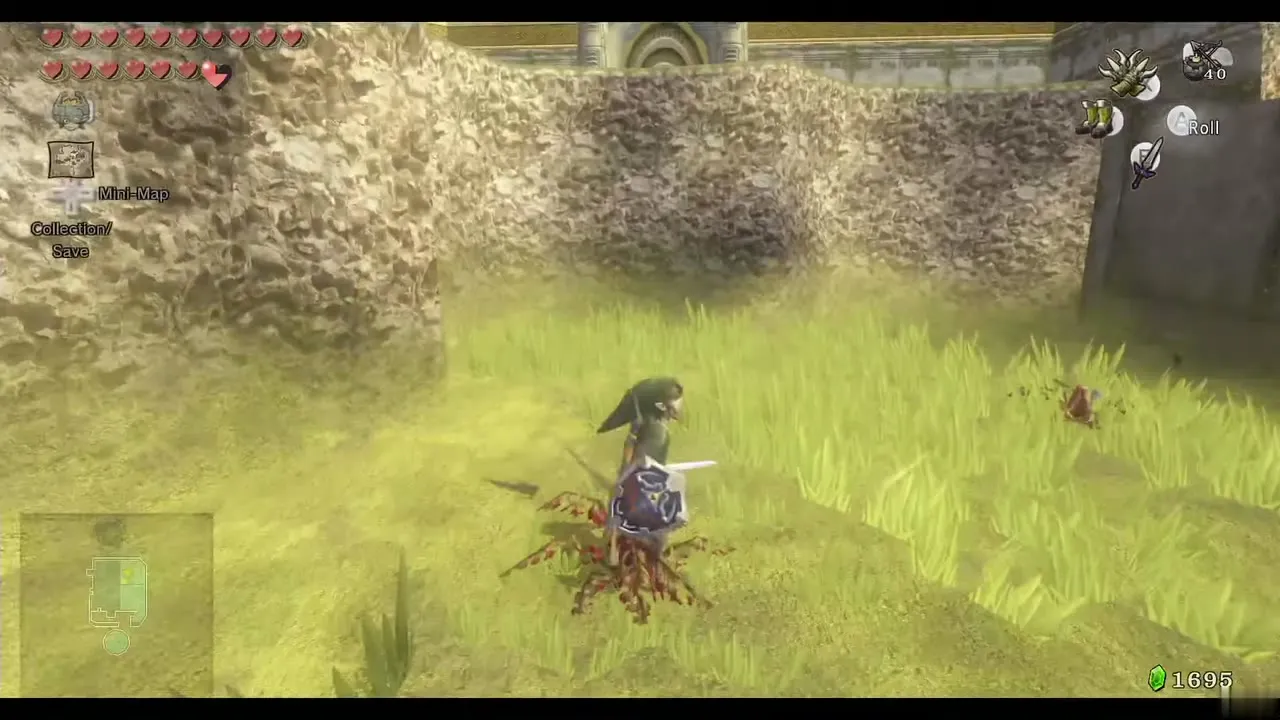
Beat the few Deku Babas, then grab the roaming Peahat in the sky. It carries you south; hook a second Peahat that also carries you south and release once you pass the wall. Walk west and open the chest behind the grass for Rupees.
Poe Soul and the Hylian G stamp
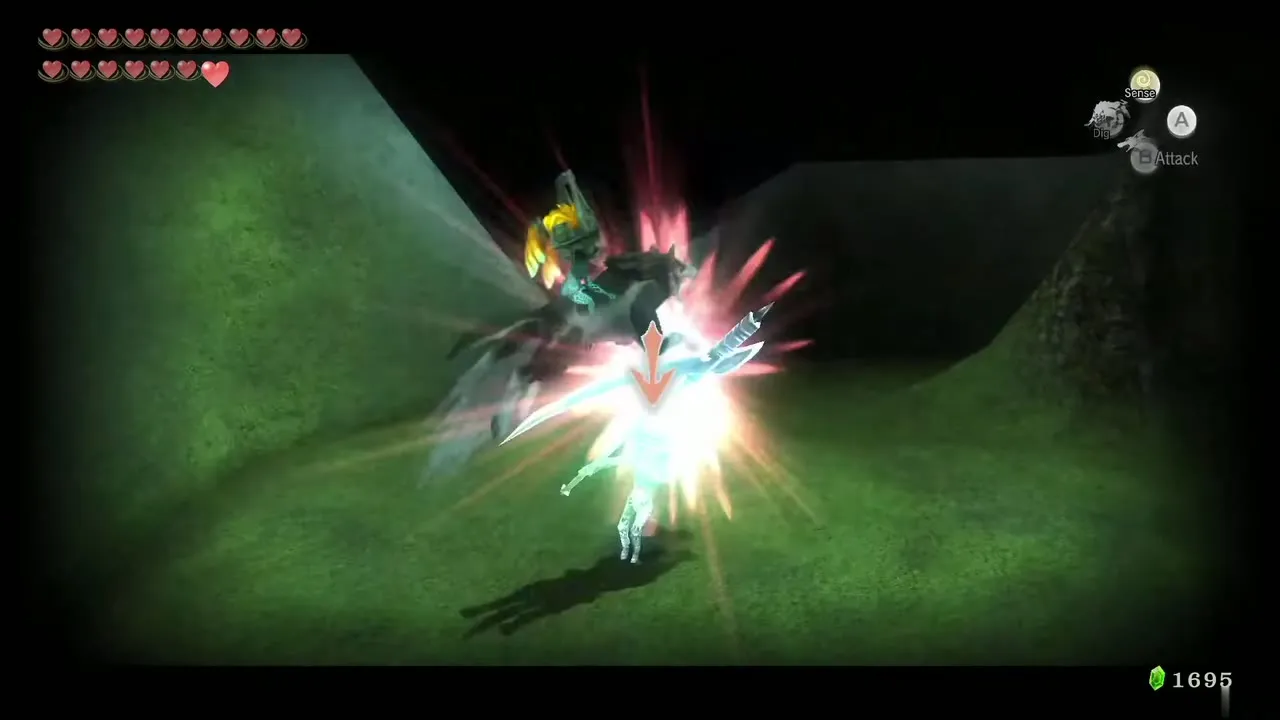
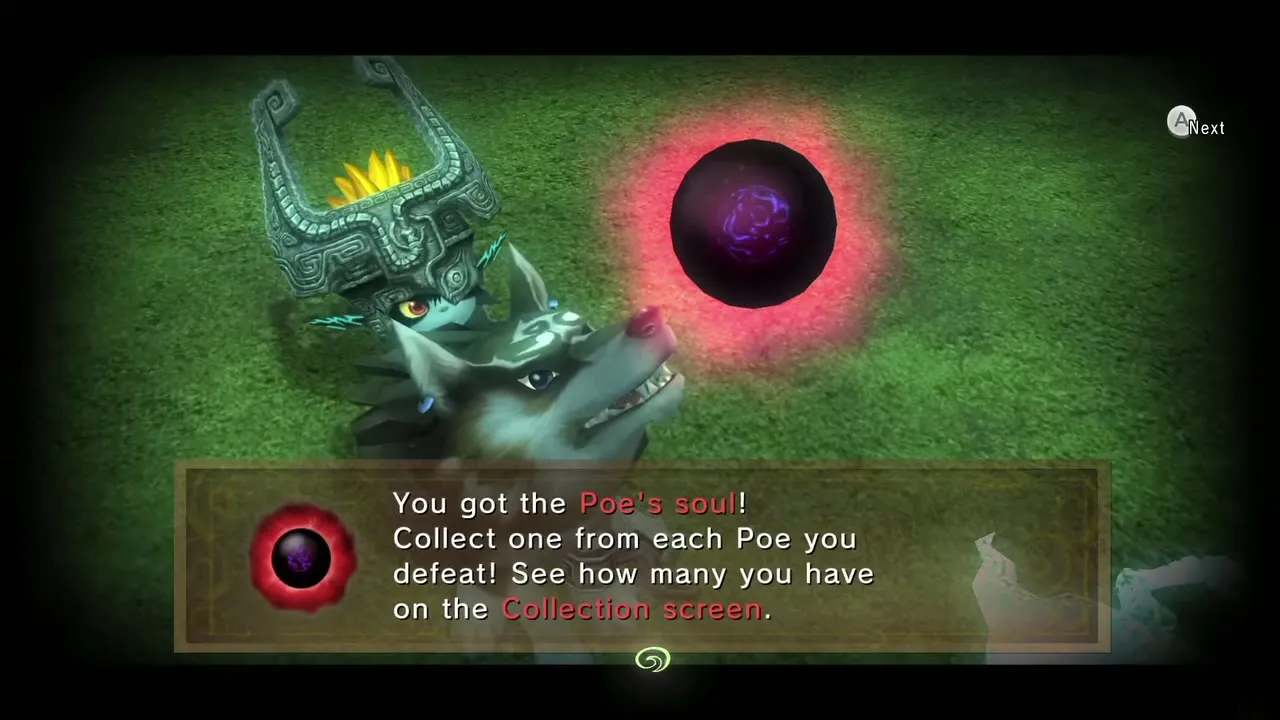
Another Peahat moves north and south; grab it while it travels south. Next, a stationary Peahat hovers near a round platform: grab it and release onto the platform. A Poe floats here; become Wolf Link and defeat it for the Poe Soul (#56 on the Poe Soul list), found on the lone island in the far west. As Link, open the nearby chest for the Hylian letter G Miiverse stamp (a purple Rupee, 50).
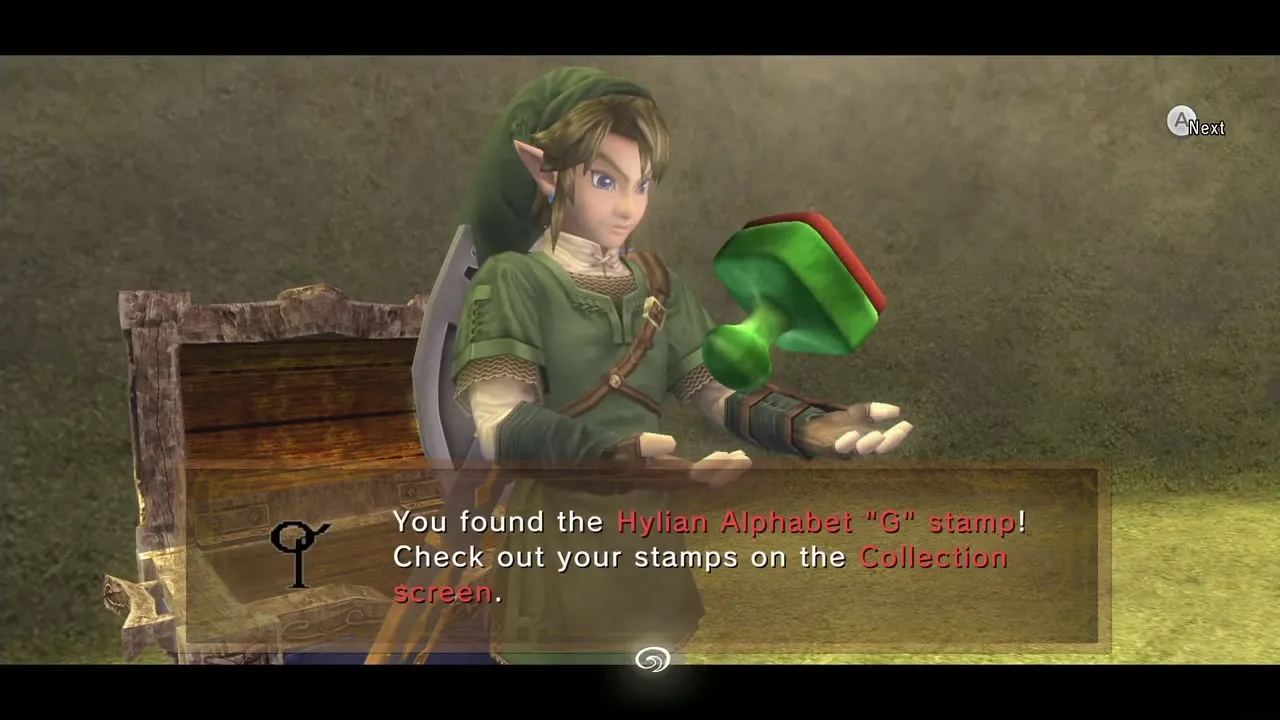
Second Heart Piece
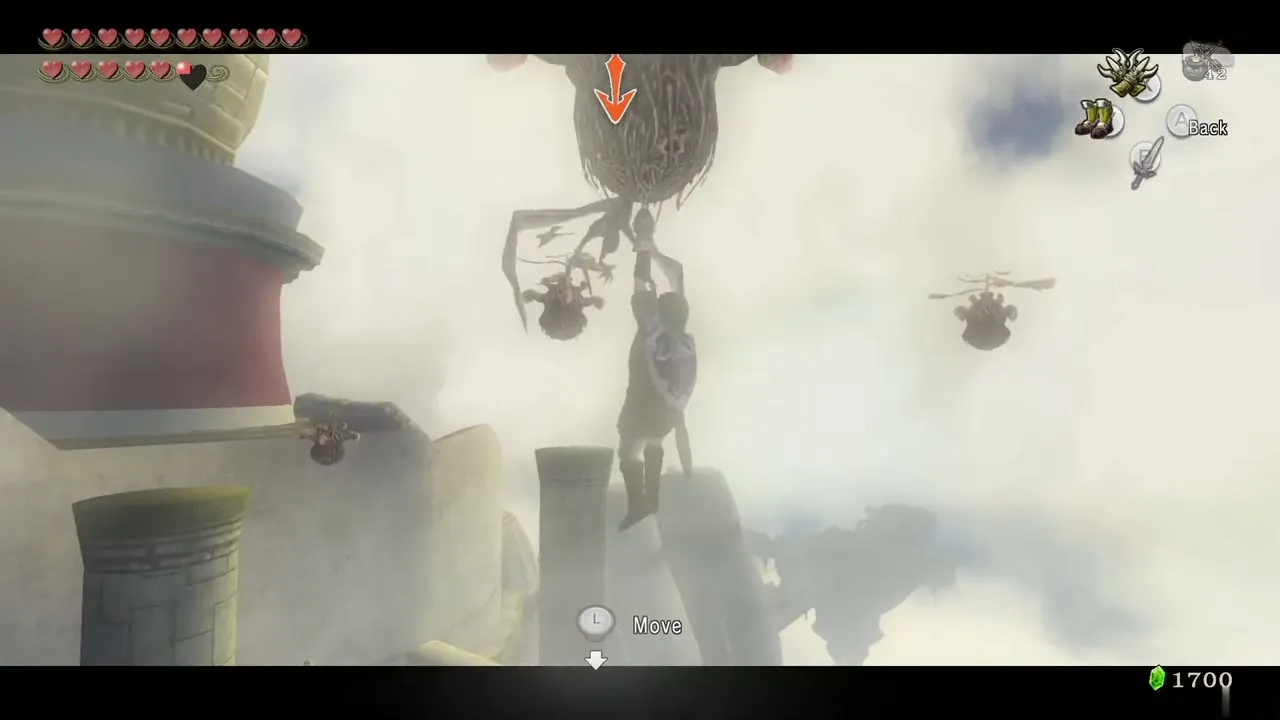
Grab the stationary Peahat, wait for the traveling one and switch to it as it heads north. A wall ahead has a gap too narrow for you; lower yourself so the chain slips through. Pass it, claw to the next Peahat and ride on north. Lower yourself through a second hole in the wall, drop down and defeat two Deku Babas. Open the chest for bombs. Grab the Peahat as it heads north again and let it set you on the higher platform; take that door.
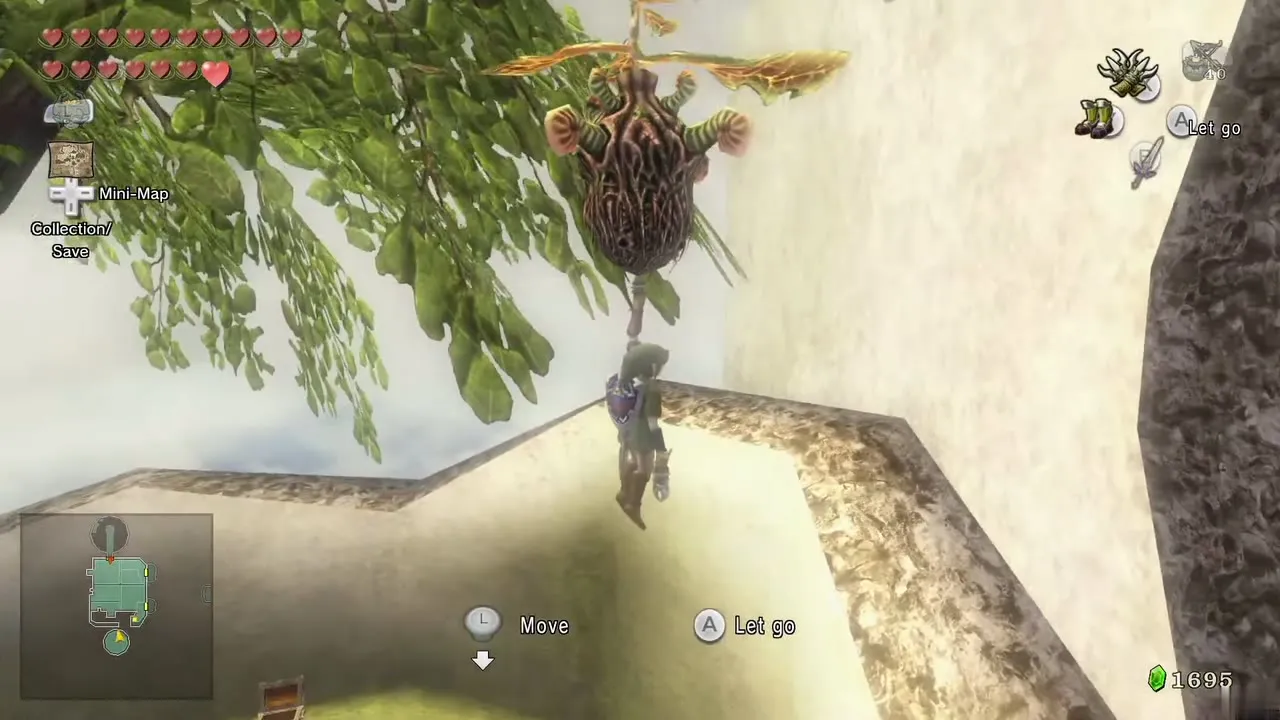
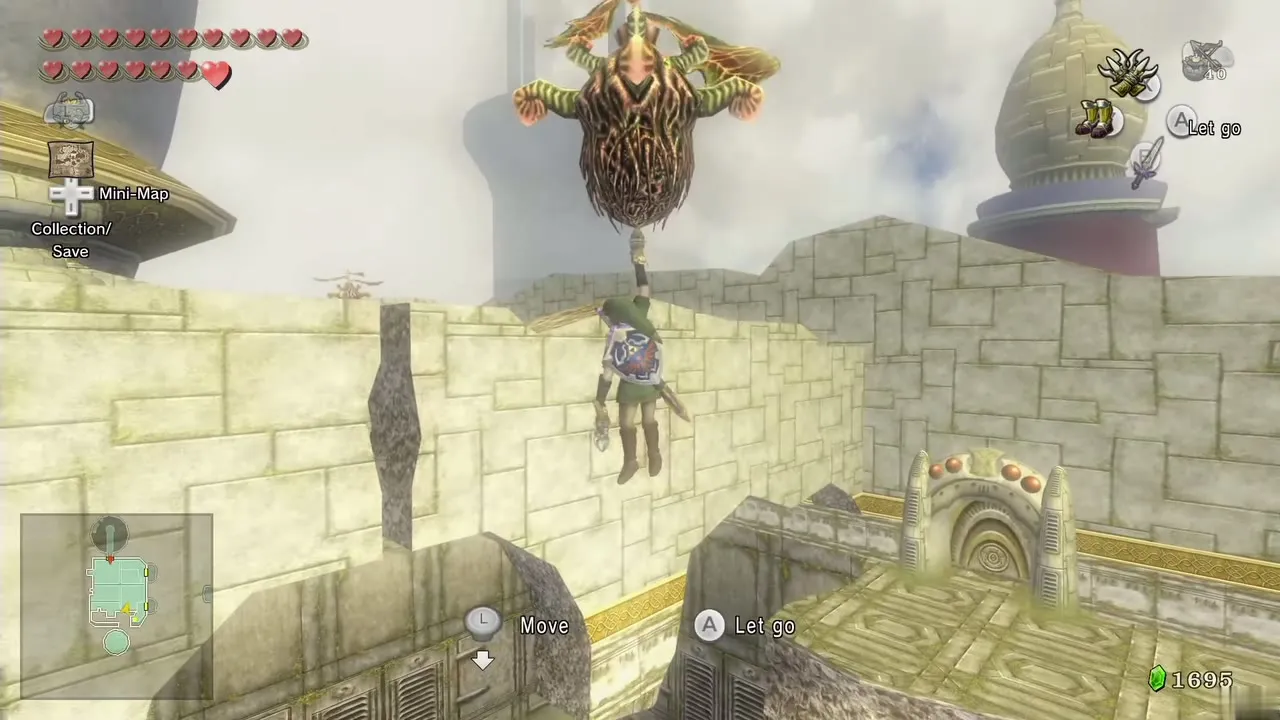
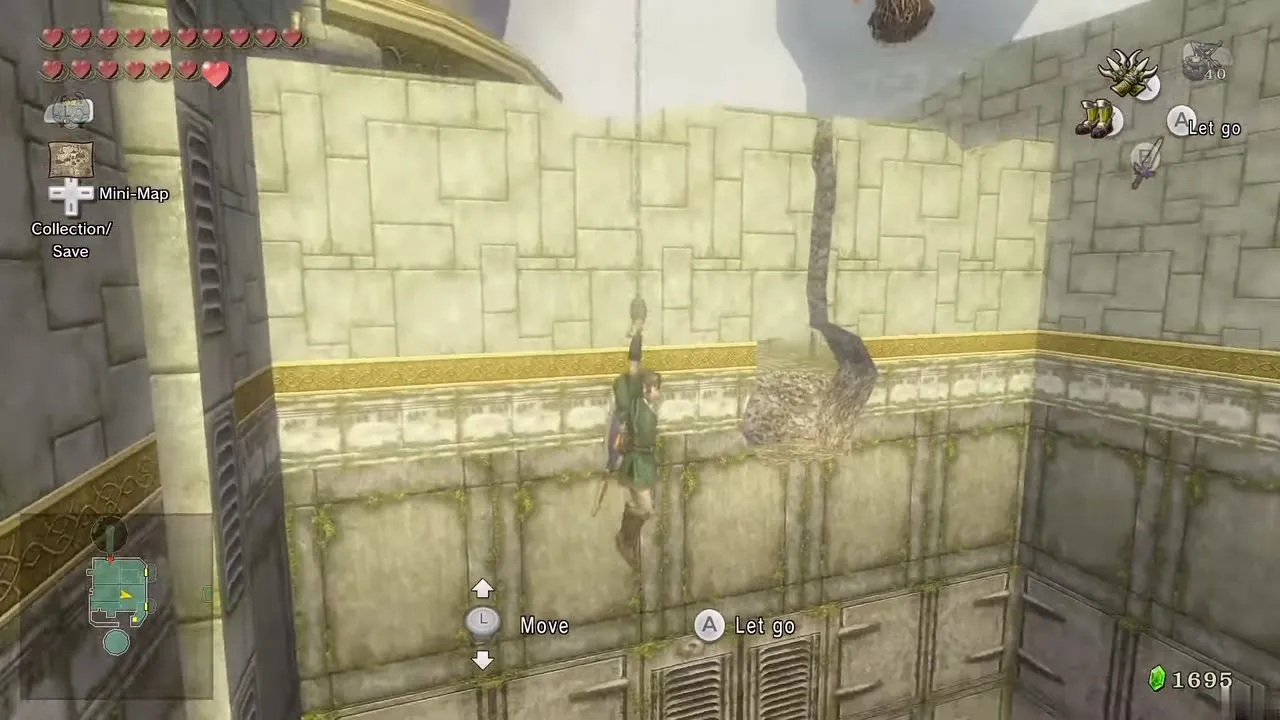
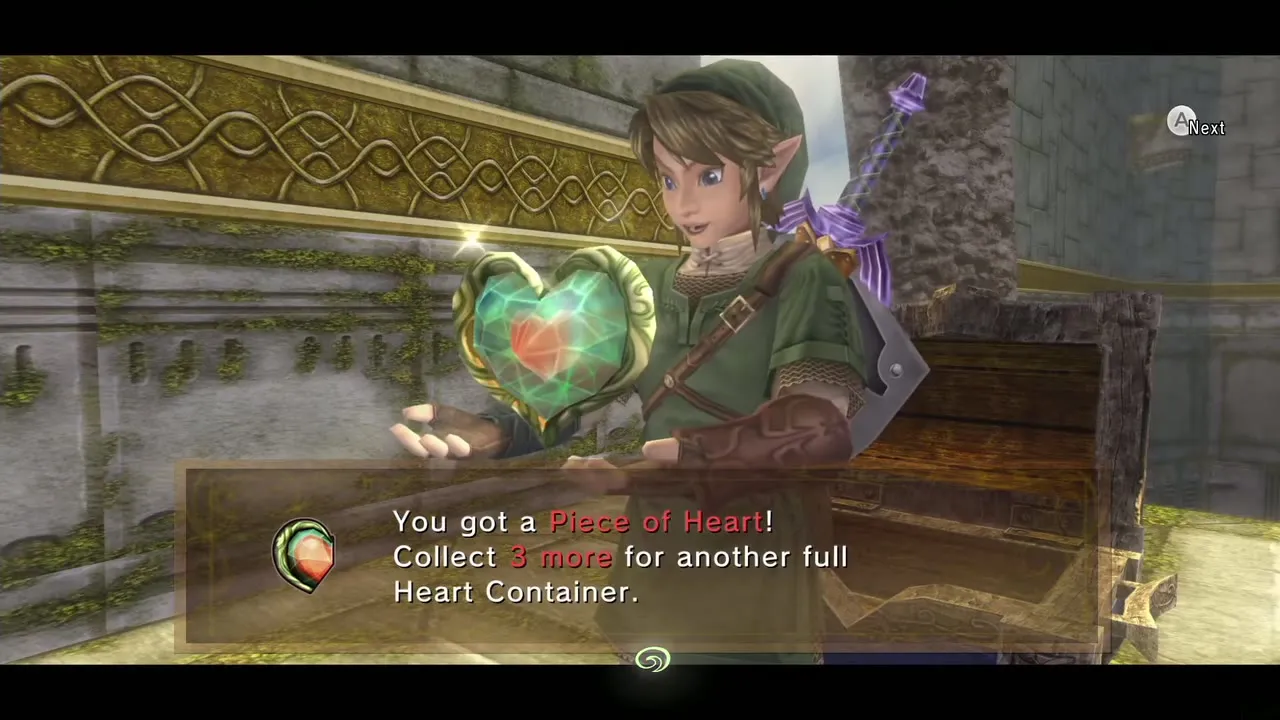
You are high above the broken west bridge, in the northwest of the outdoor area. Swing east across the Peahats overhead, but do not go all the way: turn southwest and cross a few more to the far southwest area, then take the door back. You are on a higher ledge on the other side of the room. The nearby chest holds the second Piece of Heart (#43). Go back through the door, cross to the east side of the outdoor area on the Peahats and drop down to the door that leads just north of the hub.
Big Key
Tightropes as Wolf Link
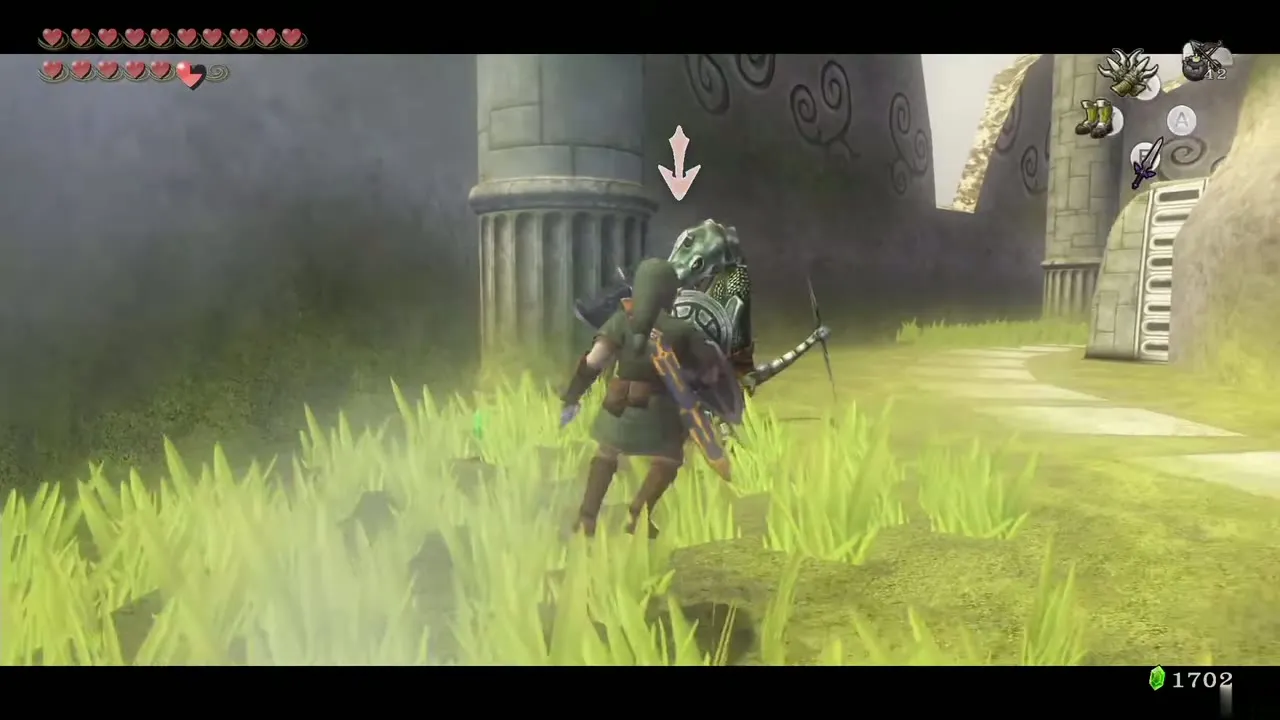
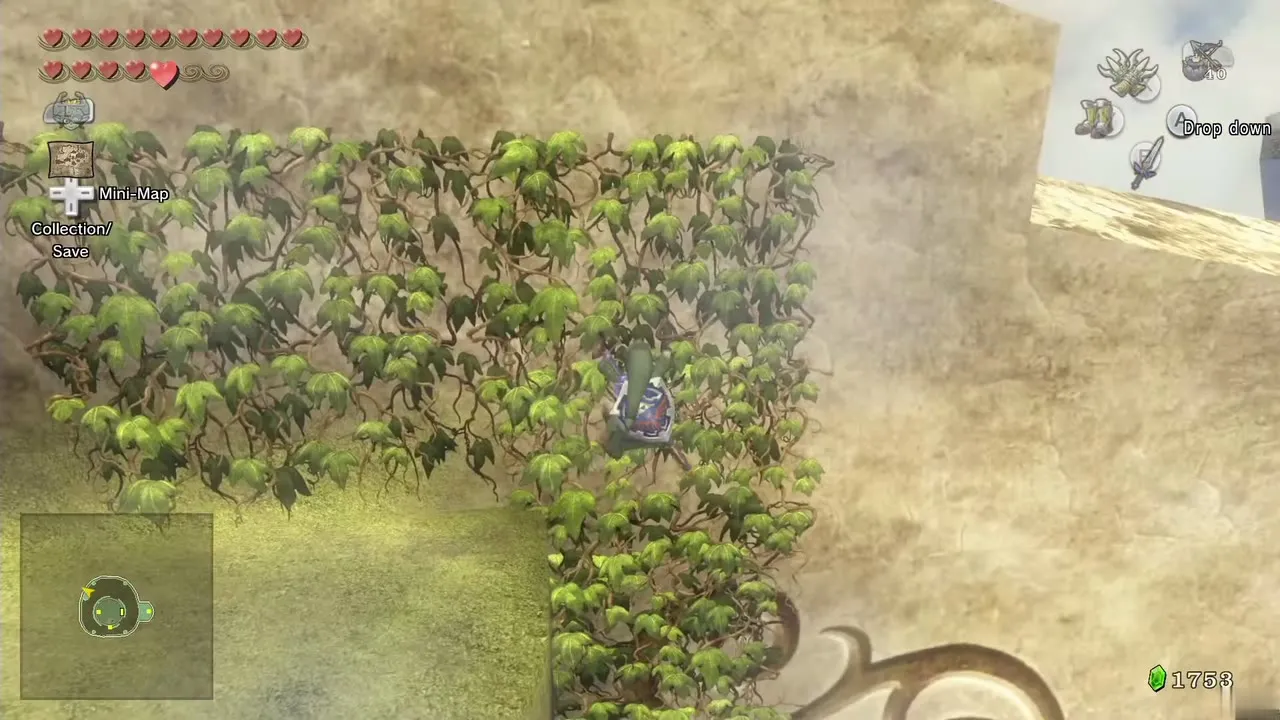
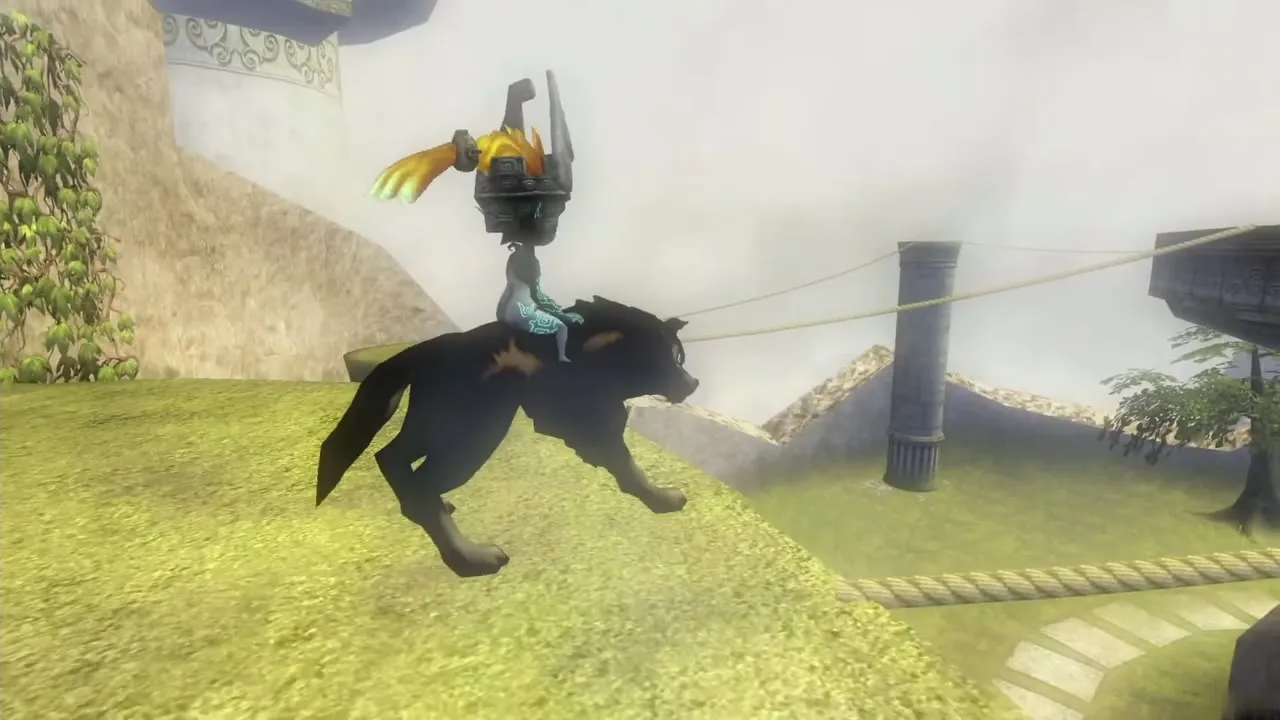
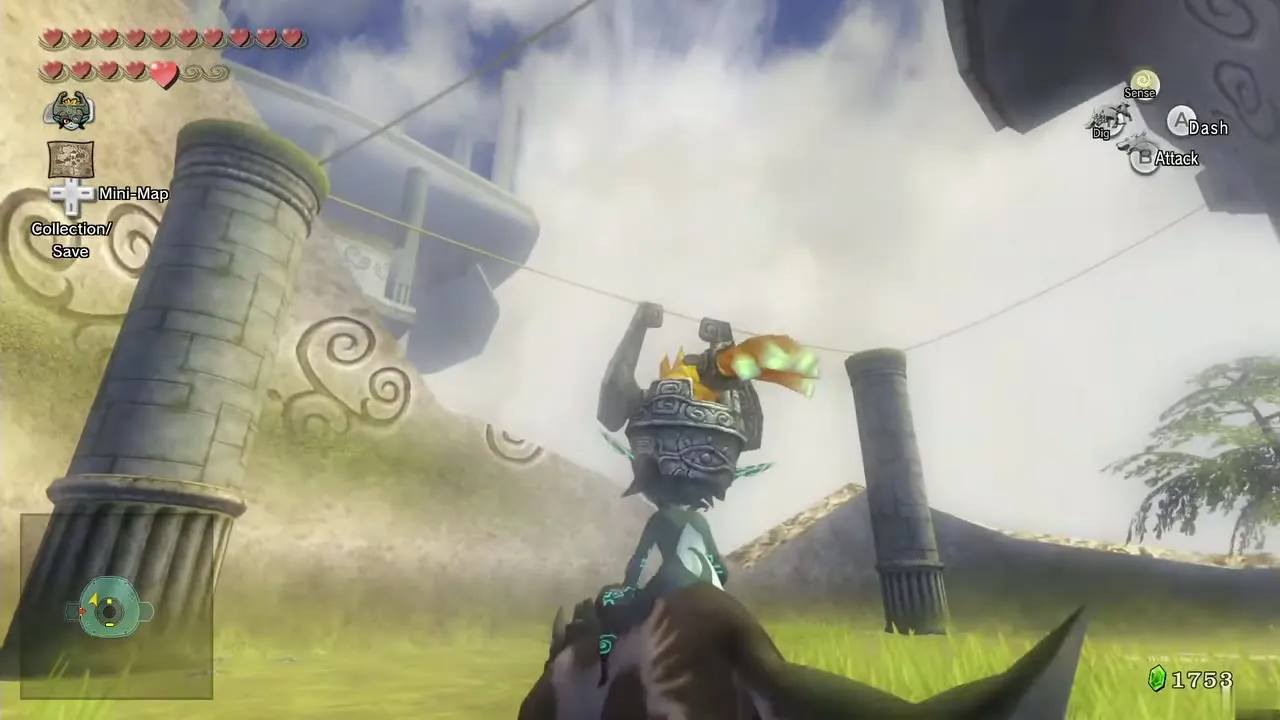
You can walk around and beat the two Dinolfos here if you like. In the northwest corner, Clawshot the ivy and climb to a platform. Shoot the Kargaroks perched on nearby platforms. Become Wolf Link and cross the tightrope, then return to Link and walk counterclockwise around the area. Two Walltulas crawl on the ivy; shoot them with arrows or the slingshot, climb the ivy and drop to the platform for a chest with a red Rupee.
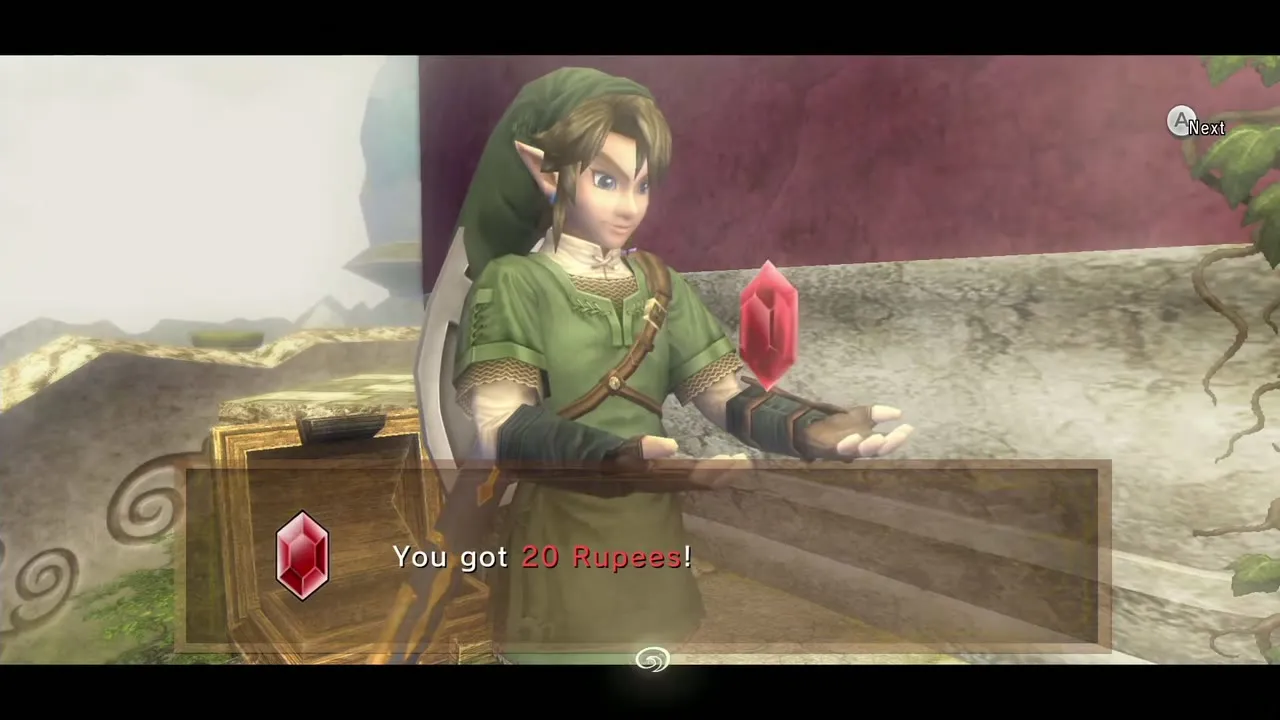
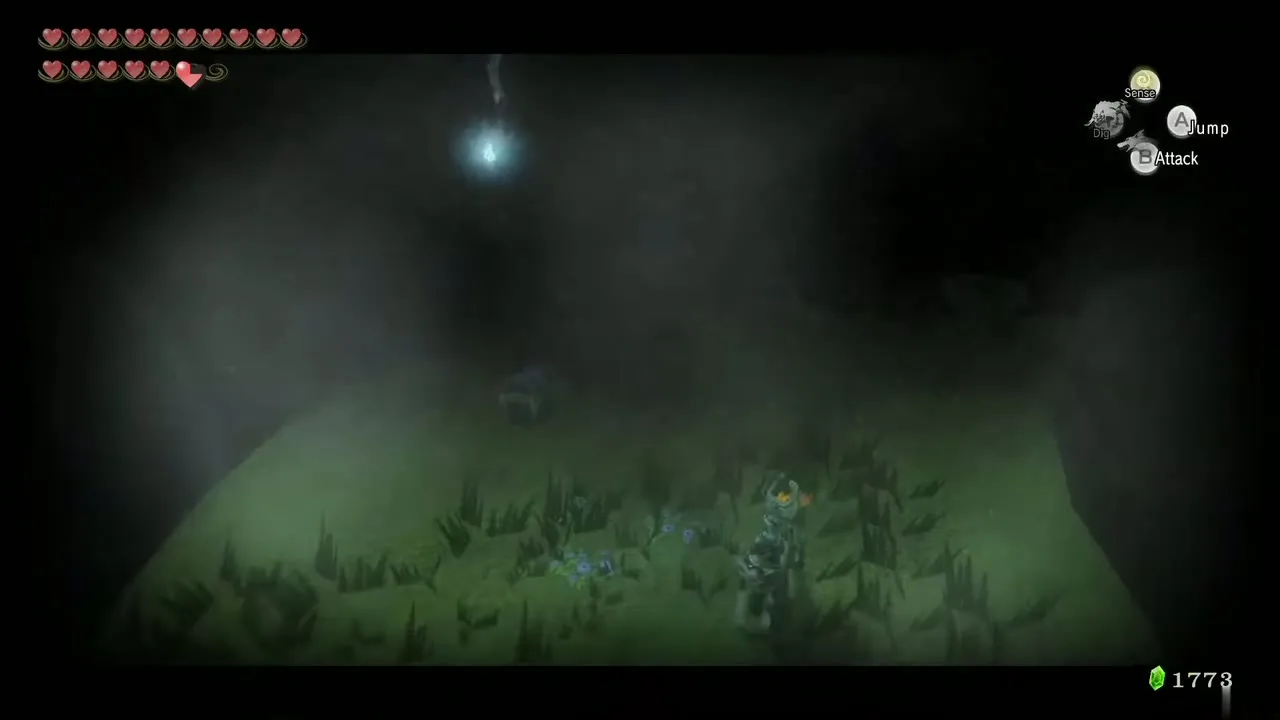
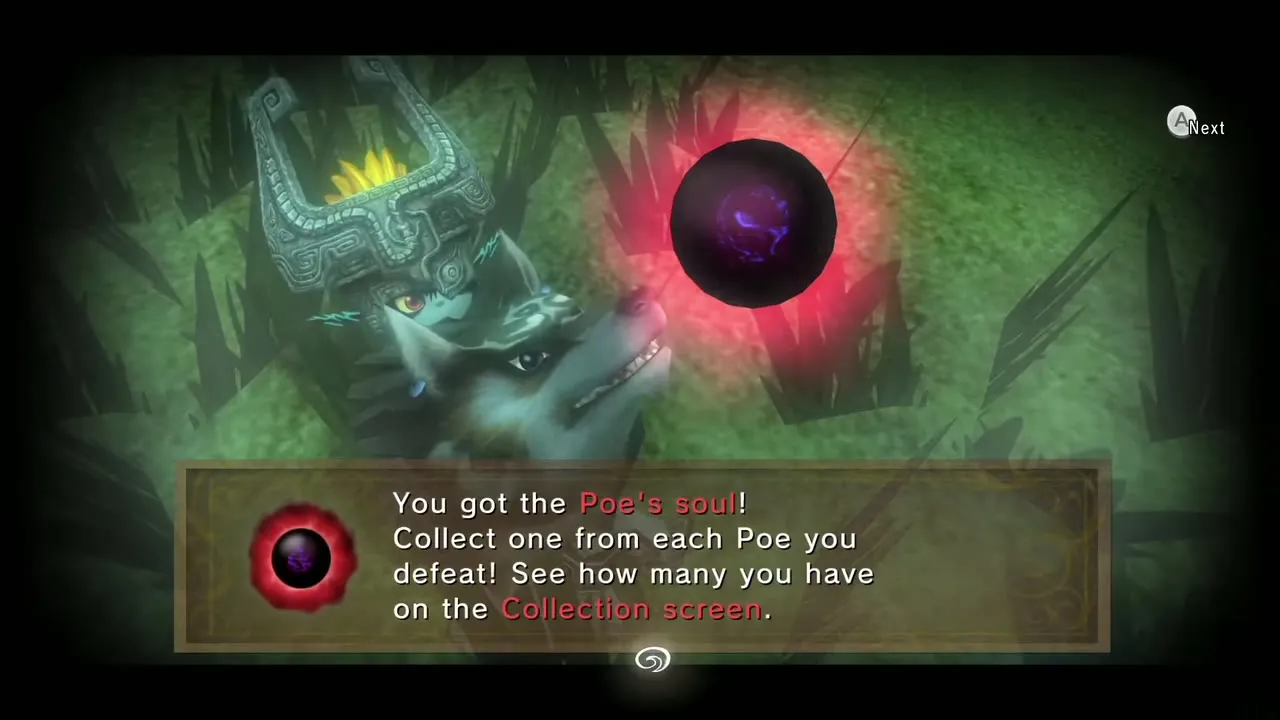
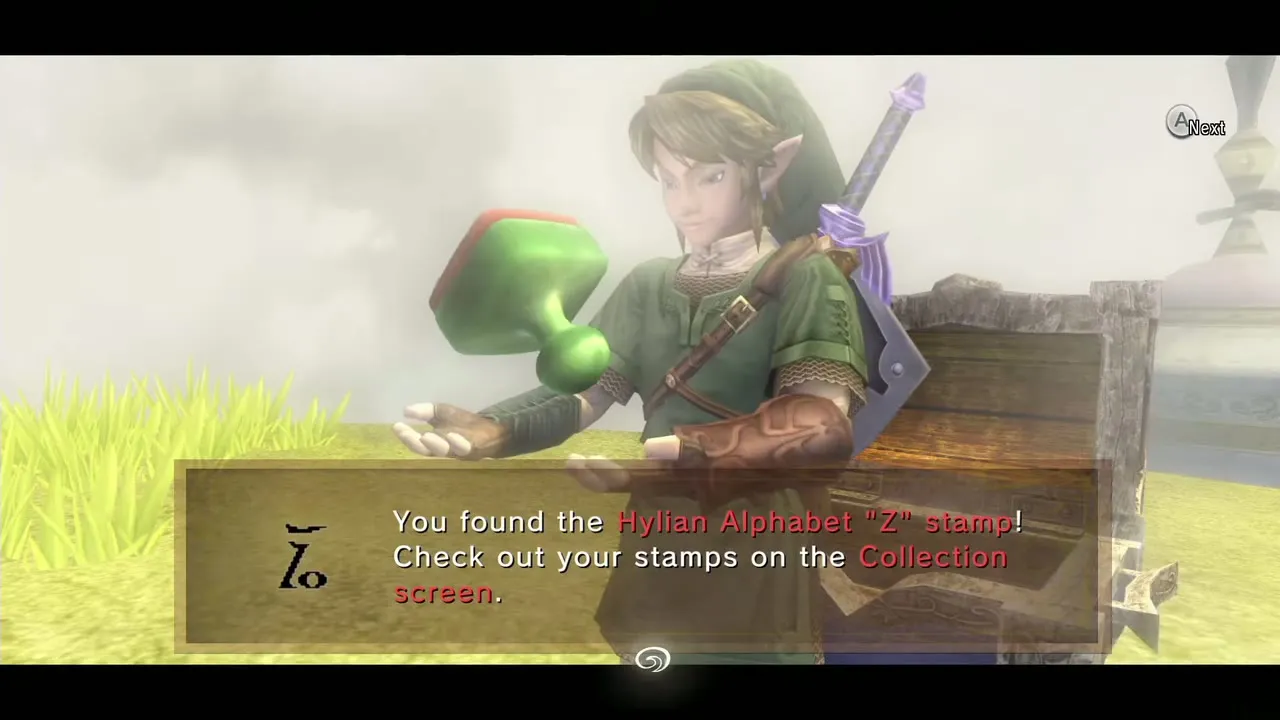
As Wolf Link, cross two more tightropes to the Poe floating on the west side of the tall red building and defeat it for the Poe Soul (#57). As Link, open the chest for the Hylian letter Z Miiverse stamp (a purple Rupee, 50). Jump off to return to the northwest ivy, climb it again, switch to wolf, cross the tightropes clockwise and change back before the door after the third.
Fan room and the Big Key
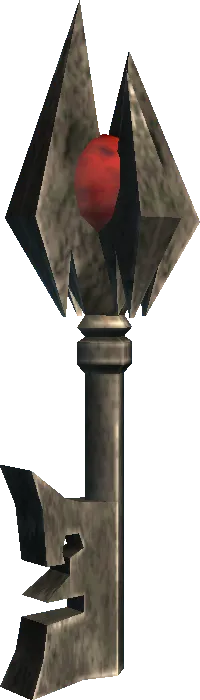
Clawshot the chandelier at the west end of the ceiling, then equip the Iron Boots: the weight shuts off the wind tunnel below. Drop down and beat the two Helmasaurs. Open the chest for the Big Key.
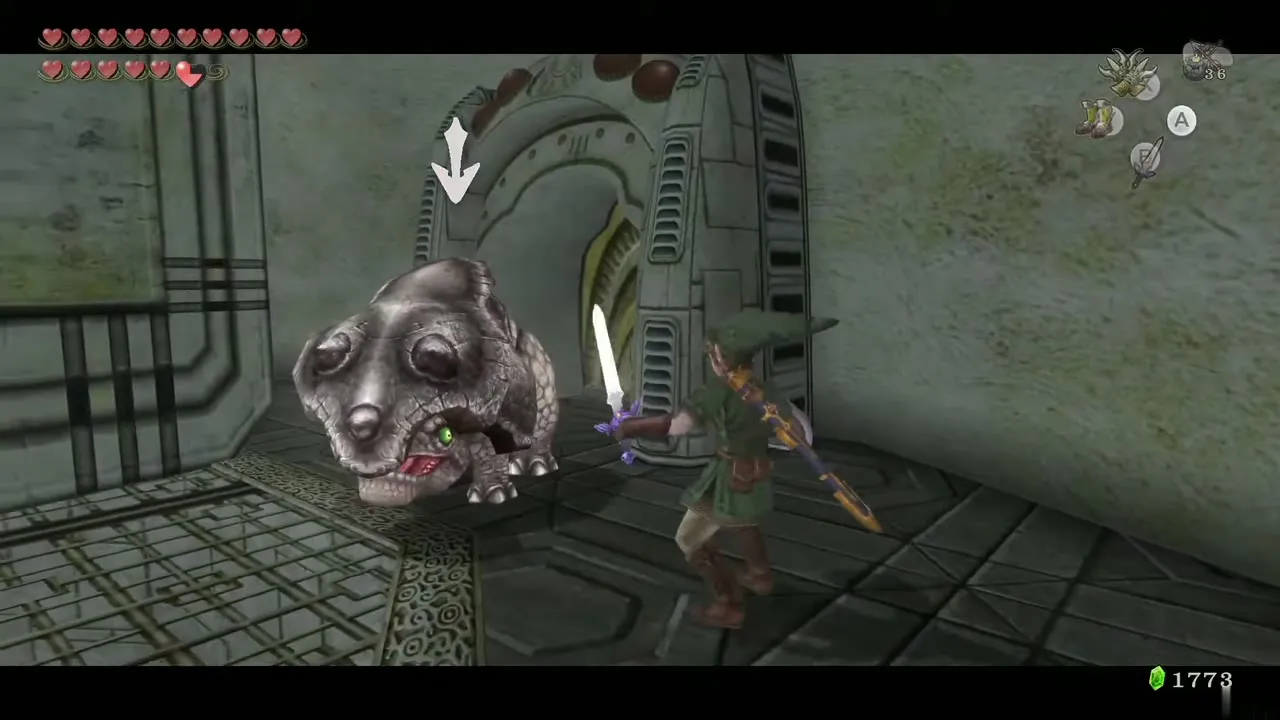
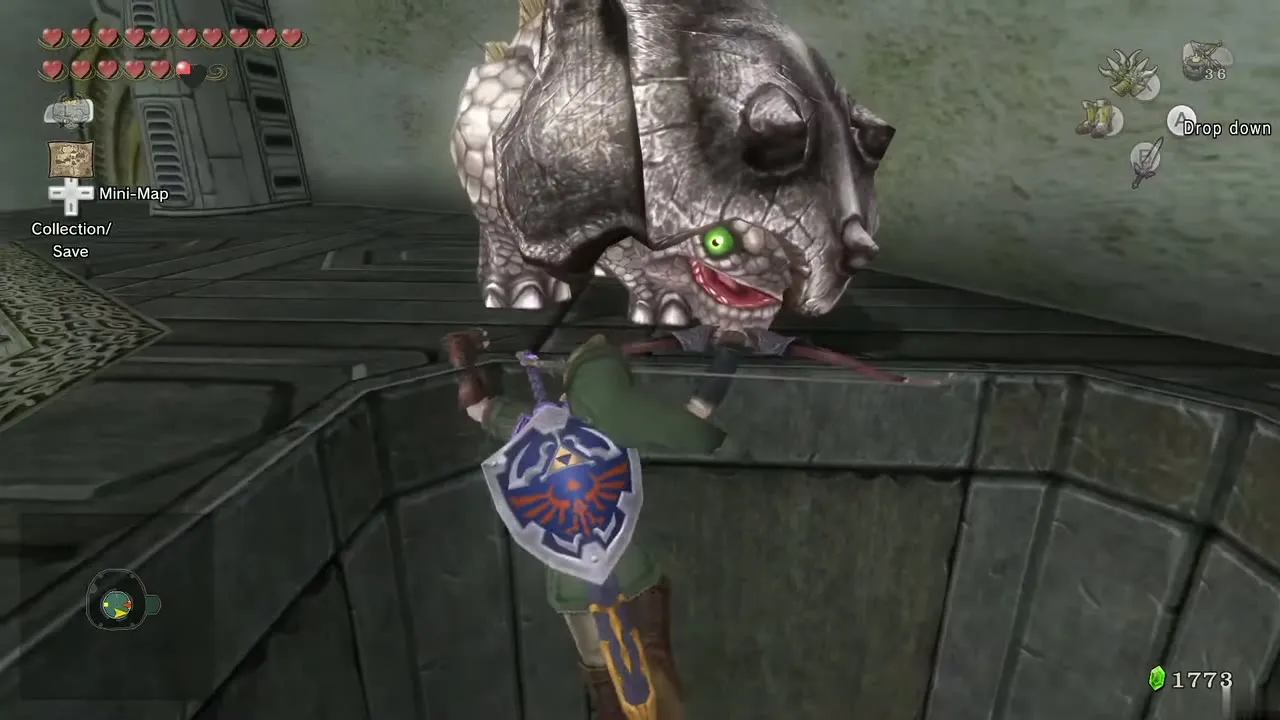
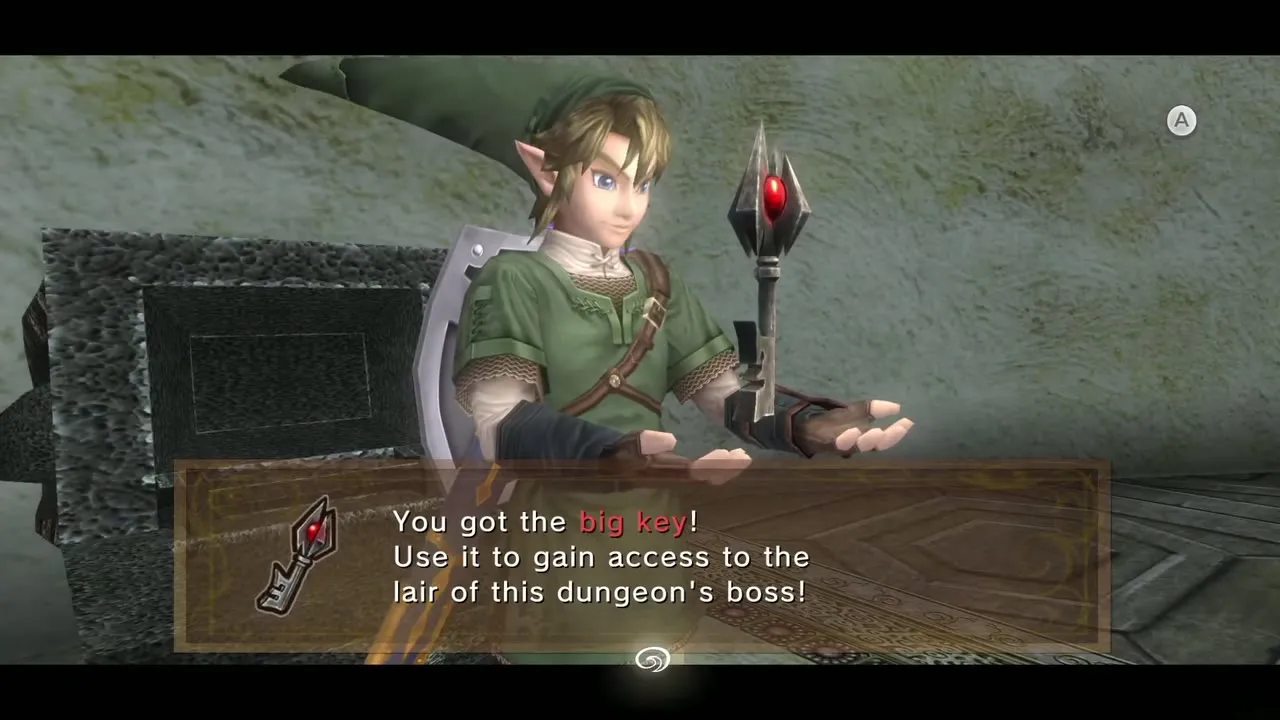
Go to the southeast side, drop into the small pit and defeat two Helmasaurs. A chest here holds a red Rupee. Grab the grate on the ceiling, then the grate near the north side, and lower yourself below the idle fan. Look at the chandelier on the floor below to the north and hook it in the Iron Boots; the weight starts a fan, but it blows out of this room. Drop to the bottom, back in the hub, and take the north door.
Rotating platforms to the Big Lock
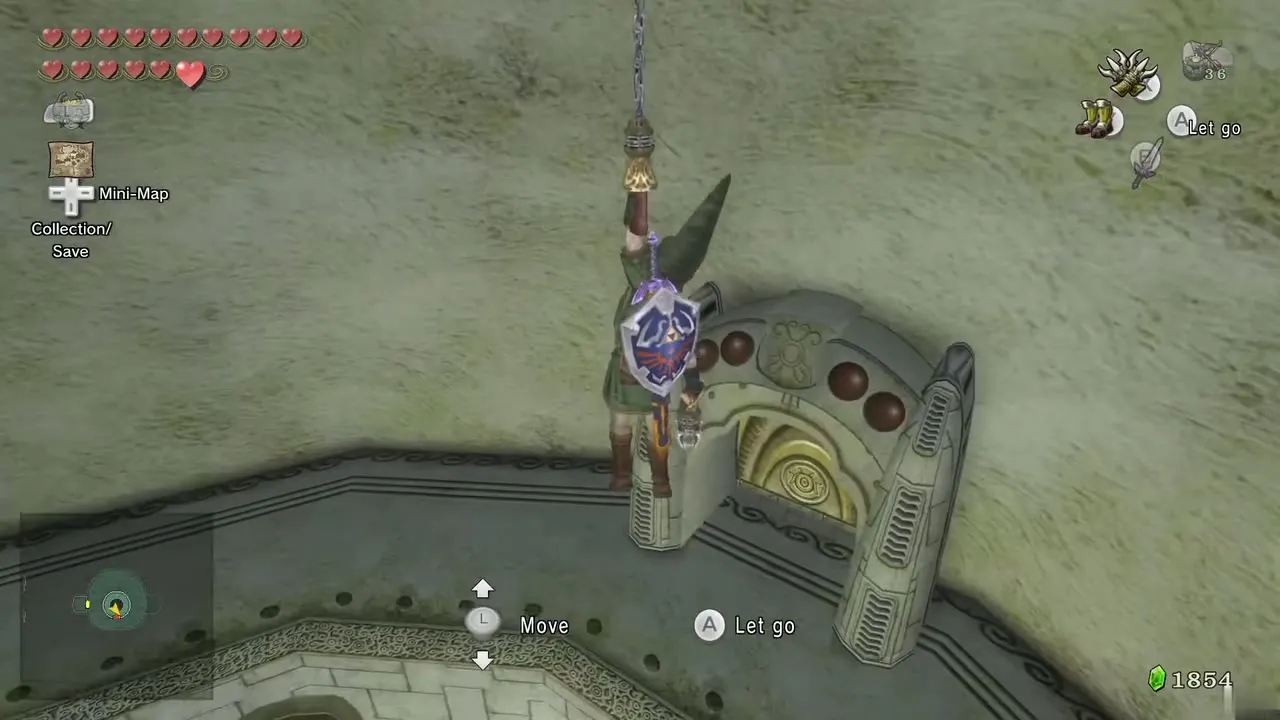
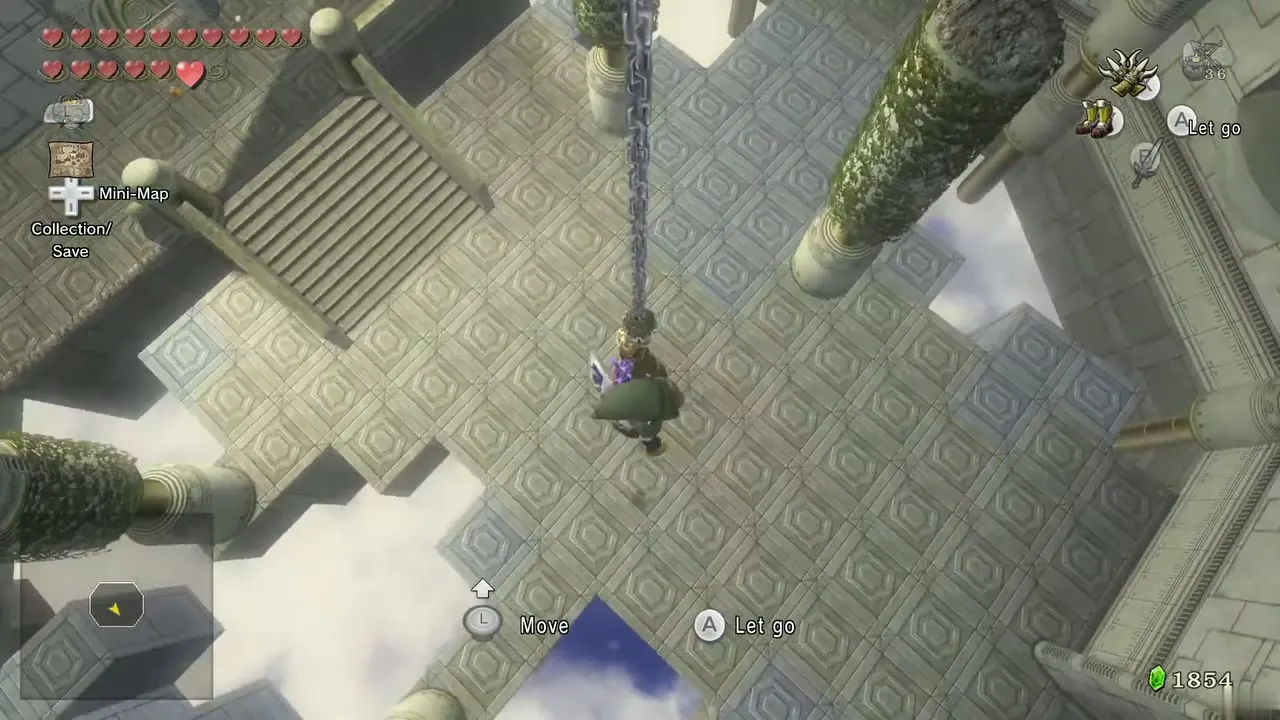
With the fan on, grated platforms rotate. Clawshot the first spinning platform and keep hooking grates across. At the last spinning platform do not fall: grab the grate near the fan and open the chest for a purple Rupee (50). Drop and take the door.
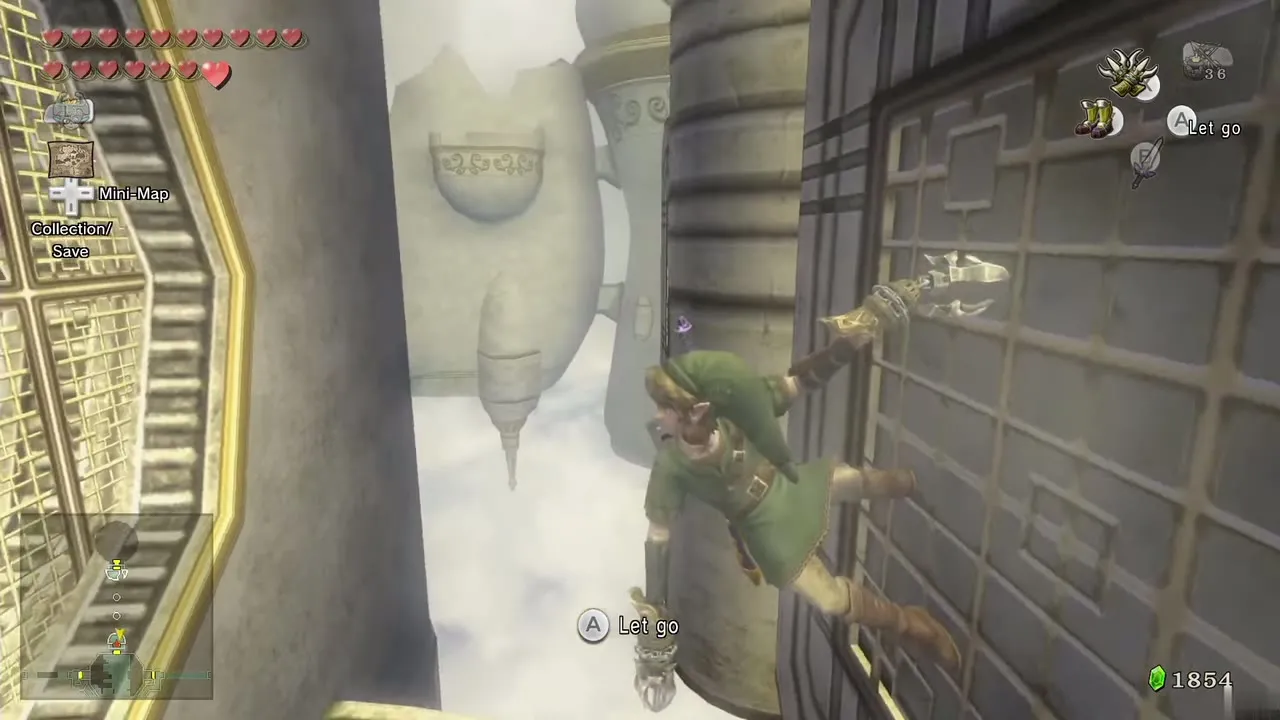
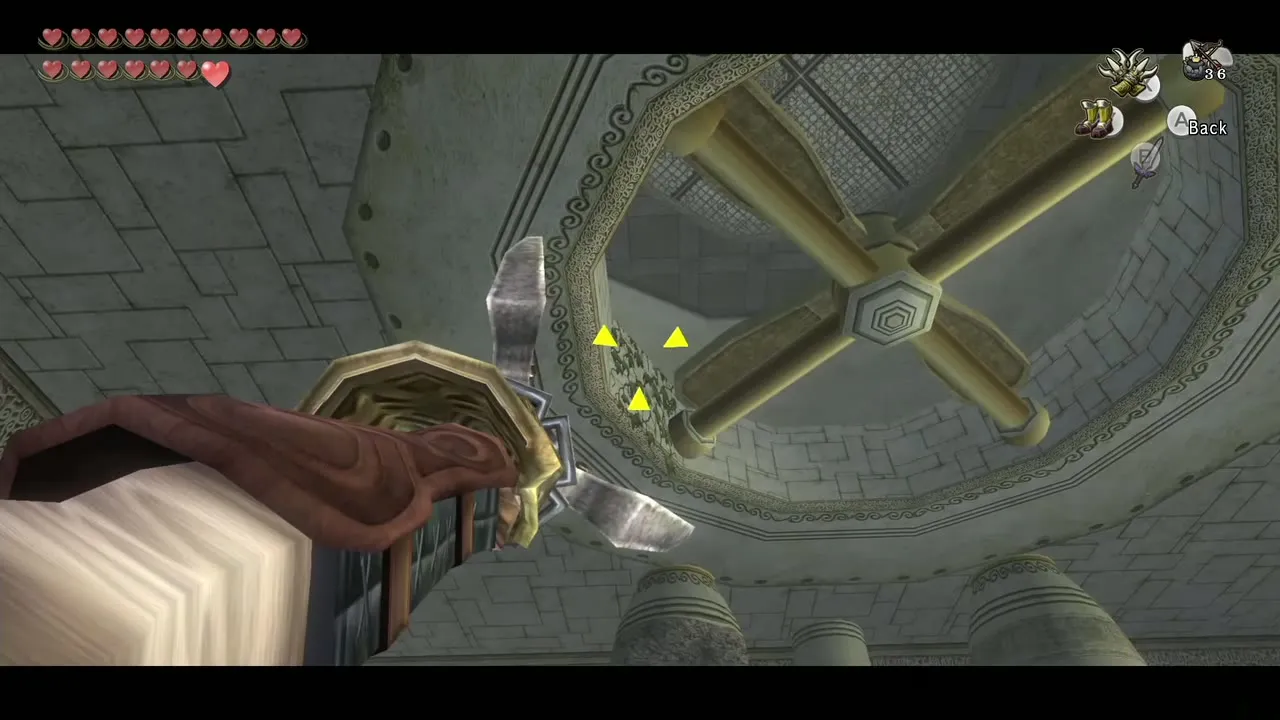
Two more Aeralfos wait. Defeat them as before: pull each shield open with the Clawshot, slash until it falls, then finish with a Shield Attack and a few slashes. Afterward hook the grate above the door you came through, then the grate on a spinning platform, and use the second Clawshot to hit the crystal switch on the south wall to start that platform. Keep clawing upward through the platforms.
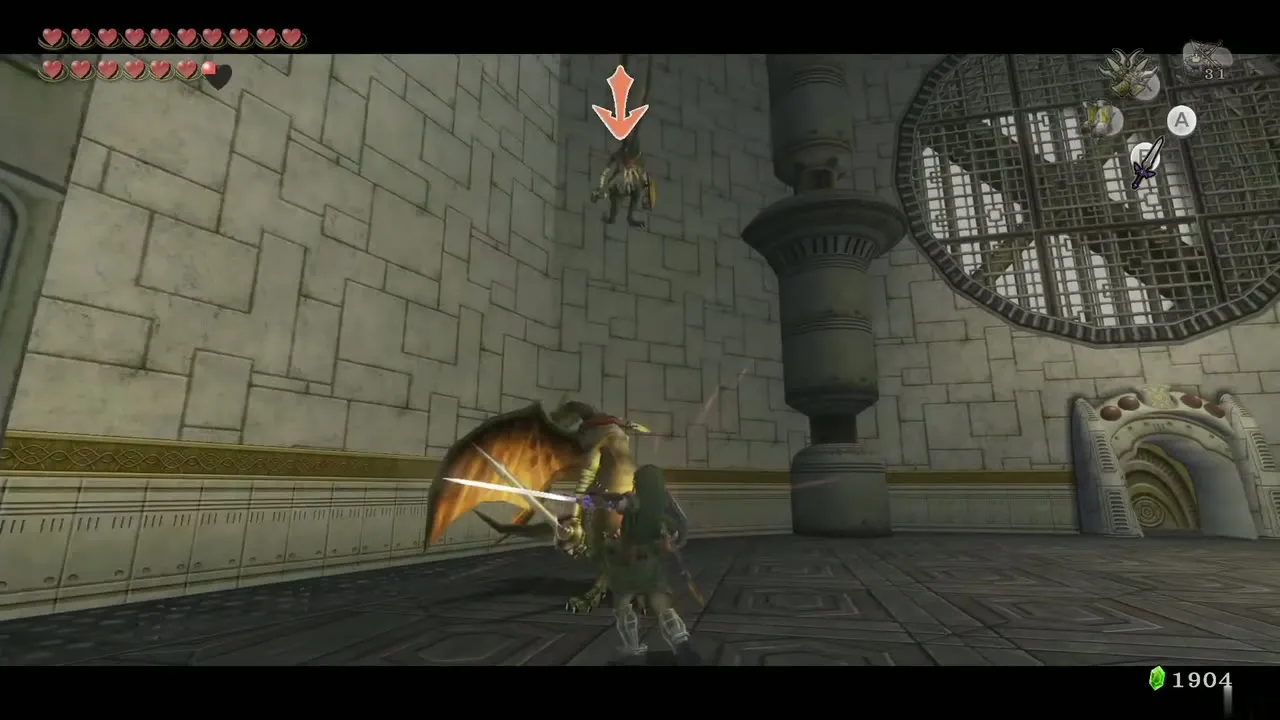
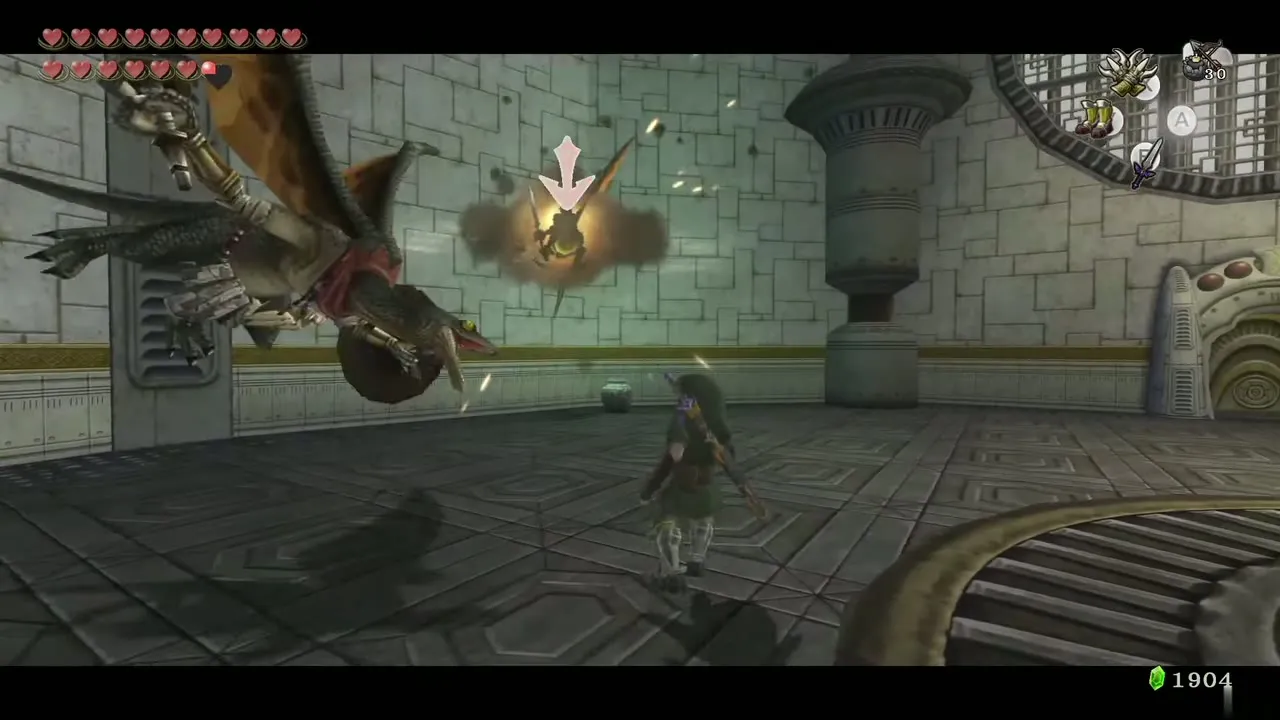
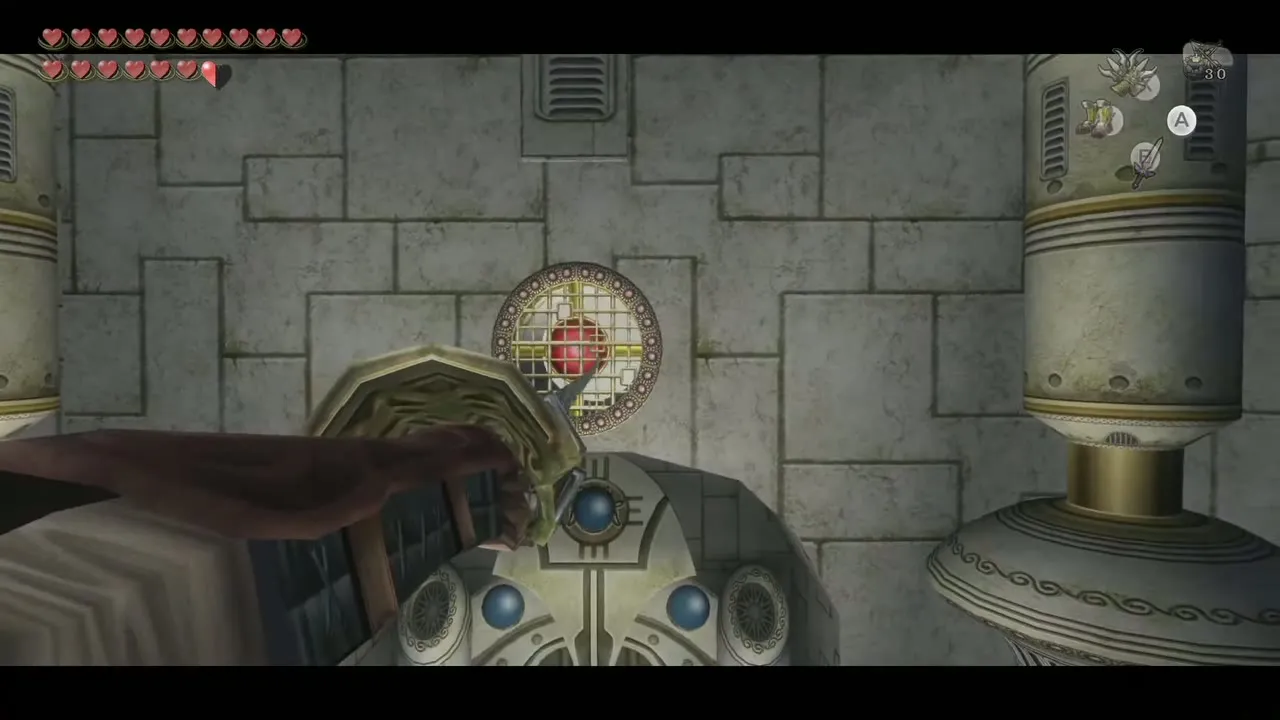
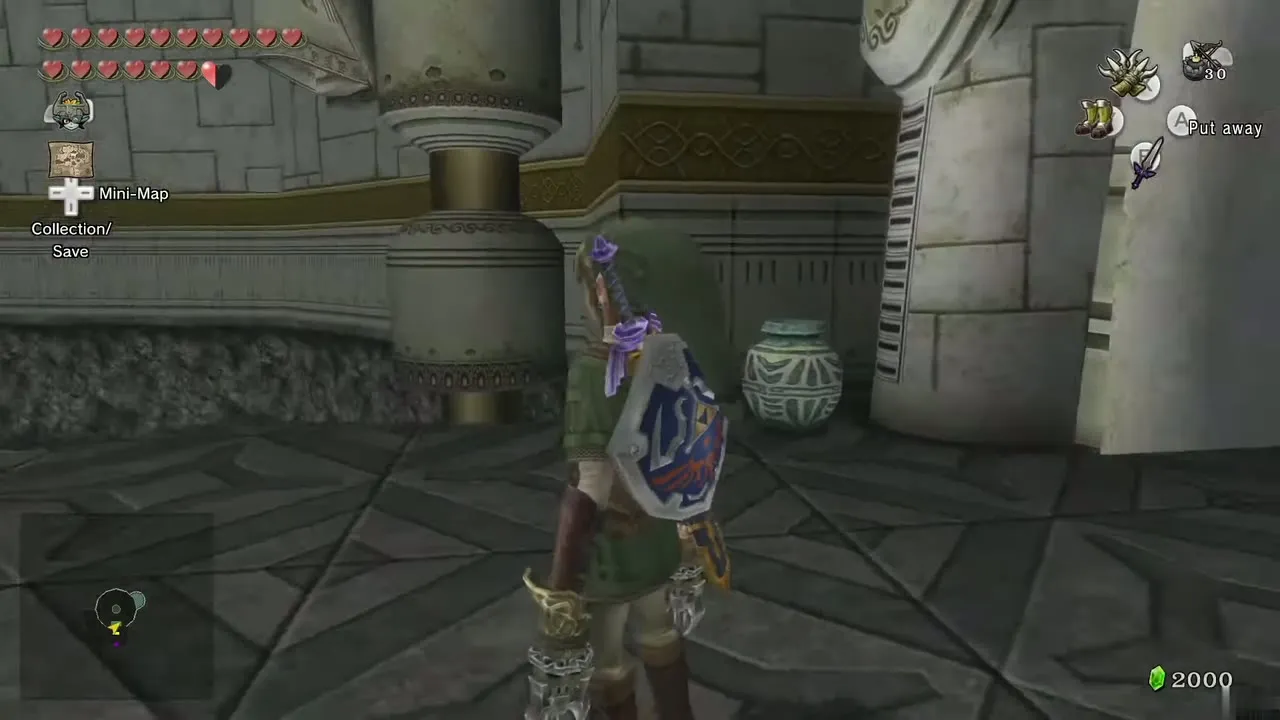
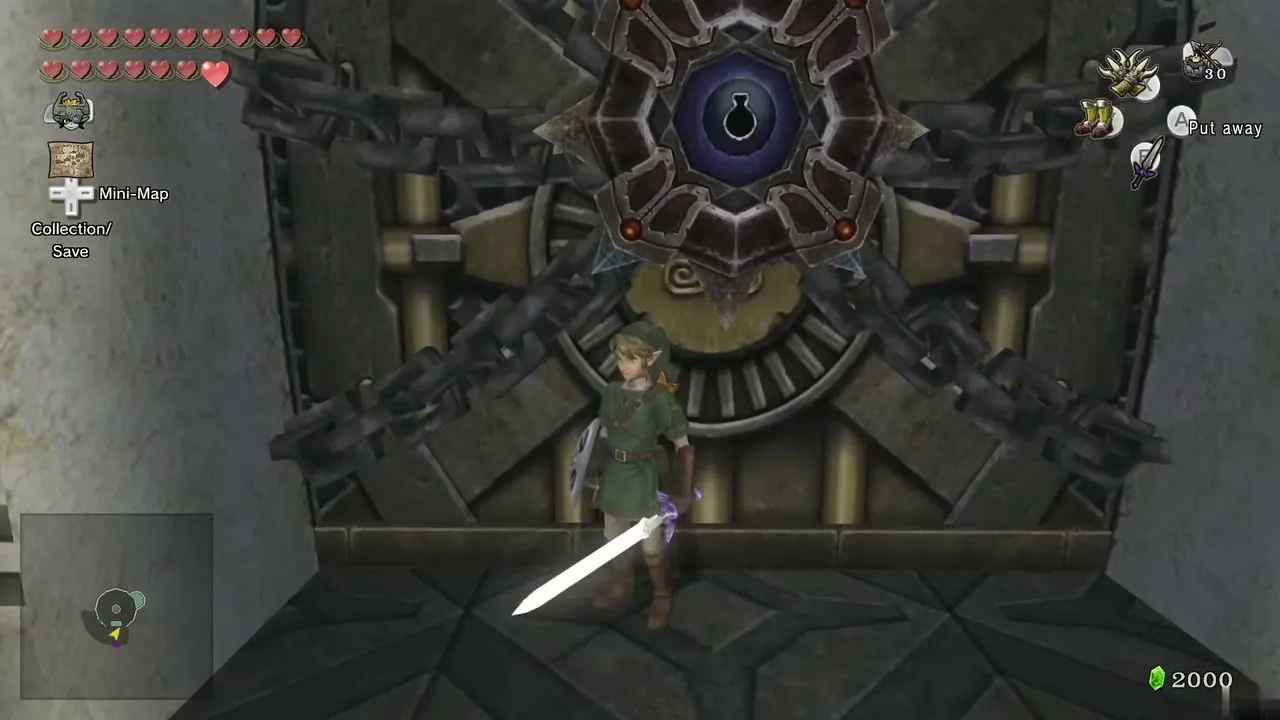
The top platform is not spinning; face the north wall and hit its switch to start it. Hook the target on the south wall and use the Big Key on the Big Lock. Go through for the boss.
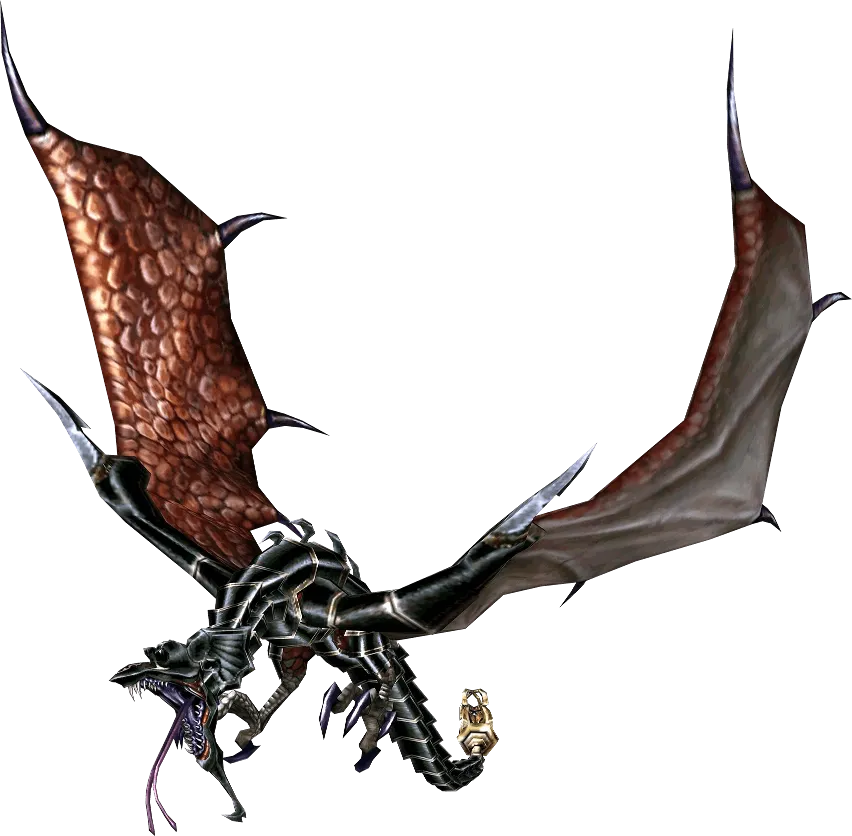
Boss: Twilit Dragon Argorok
Reach the rooftop
Outside, Clawshot the grate on the pillar to your left, then the ivy on the next pillar, and climb to the top of the city. A cutscene shows the dragon again and the storm begins.
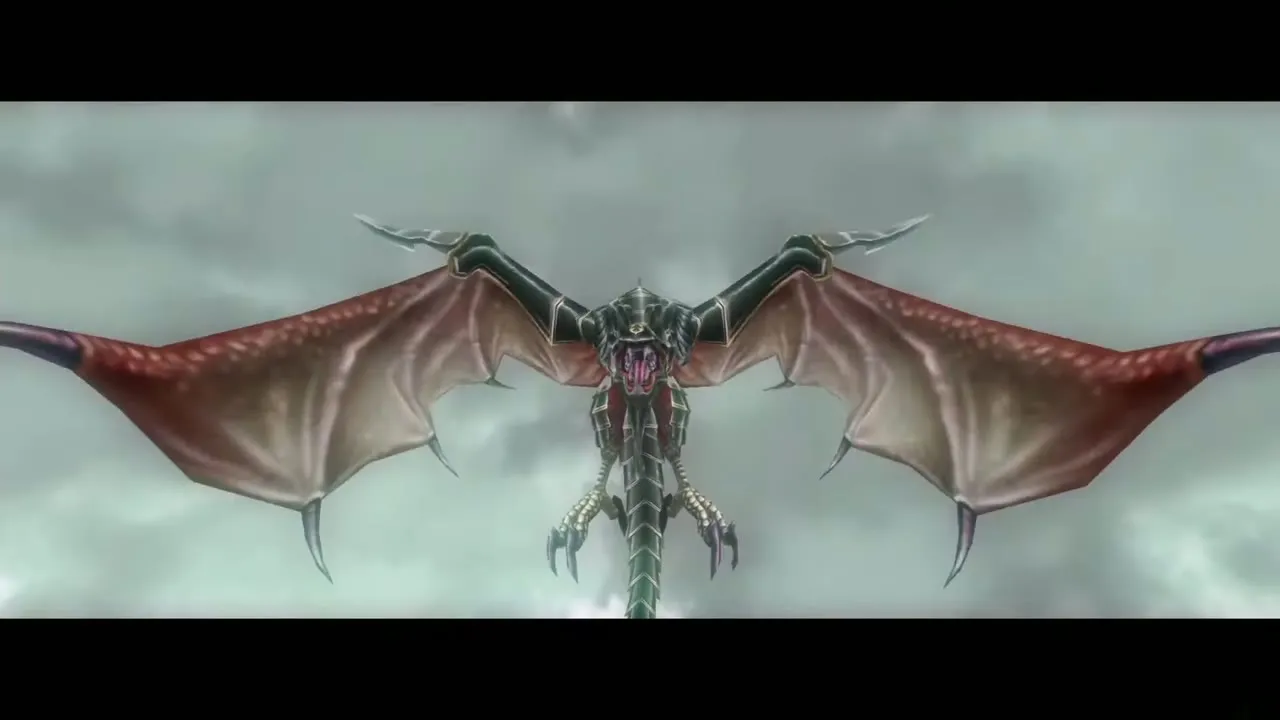
Phase 1: pull the dragon down
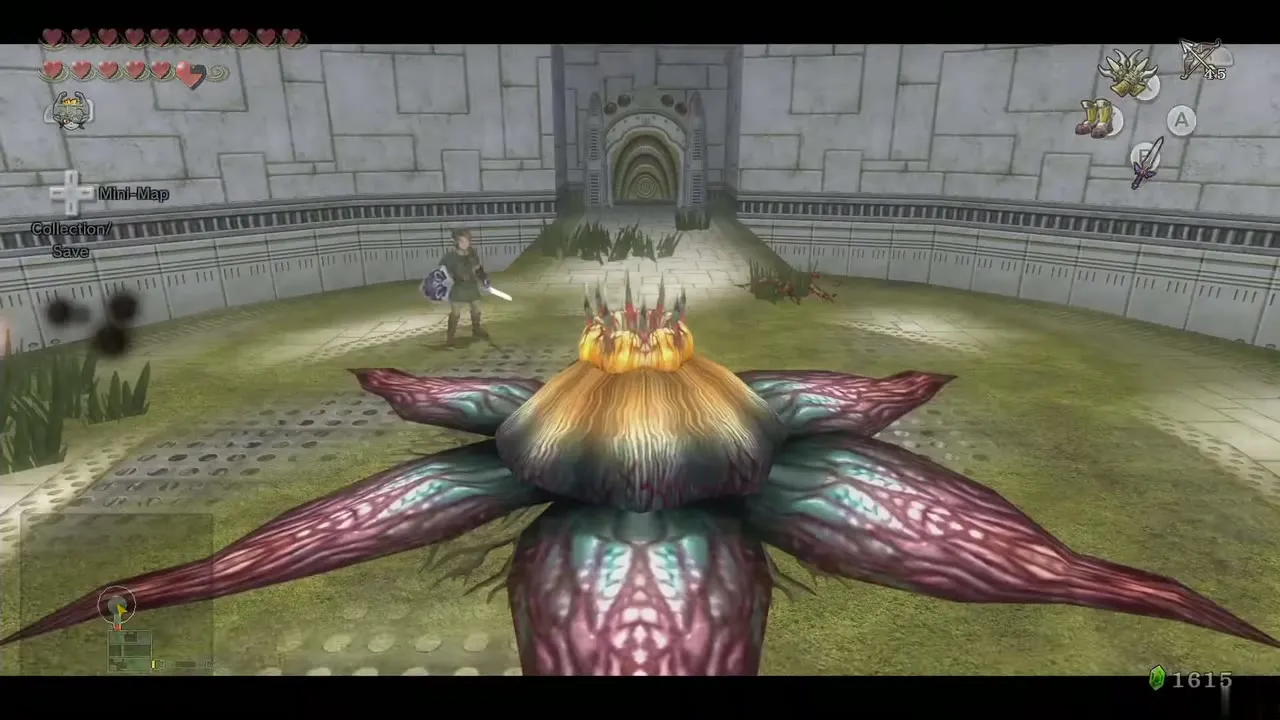
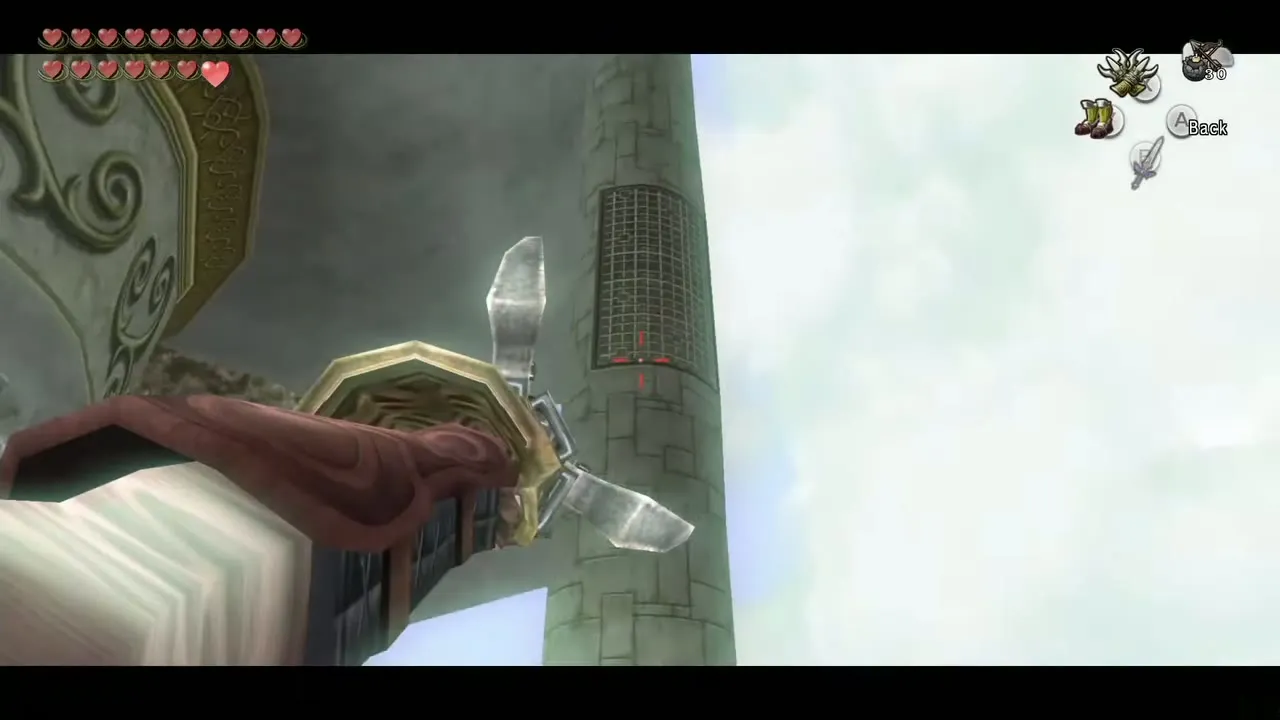
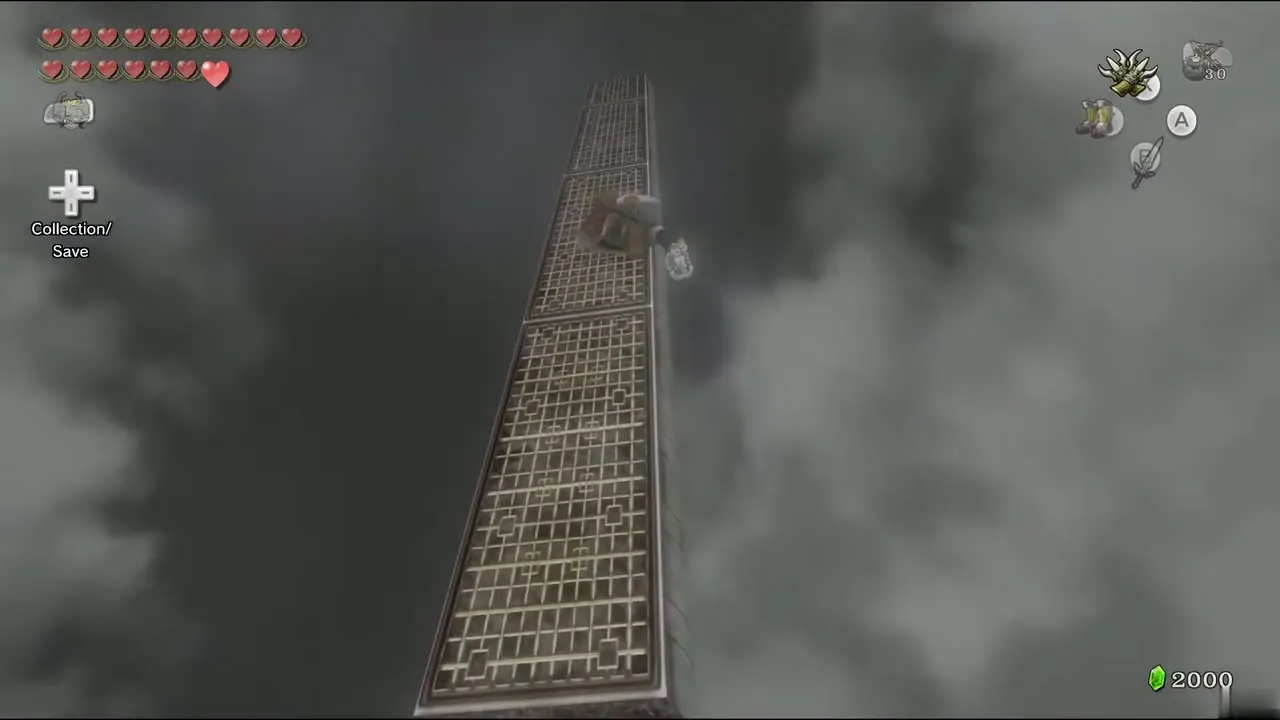
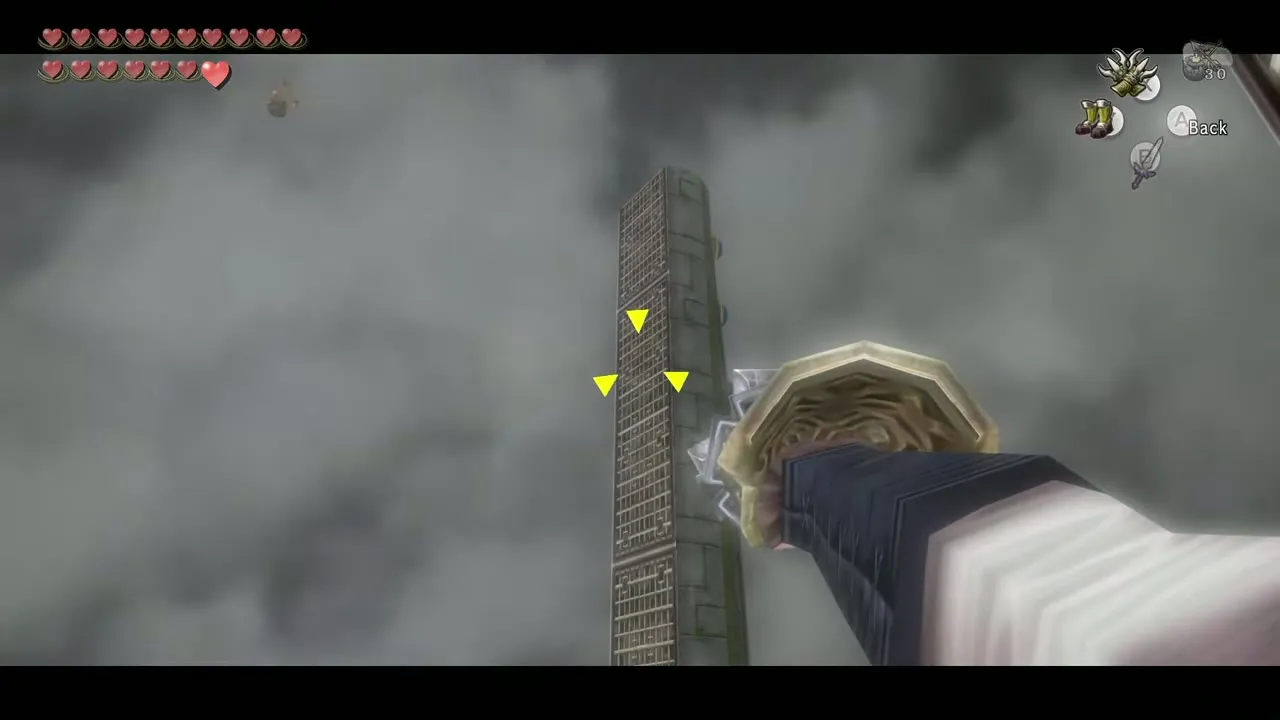
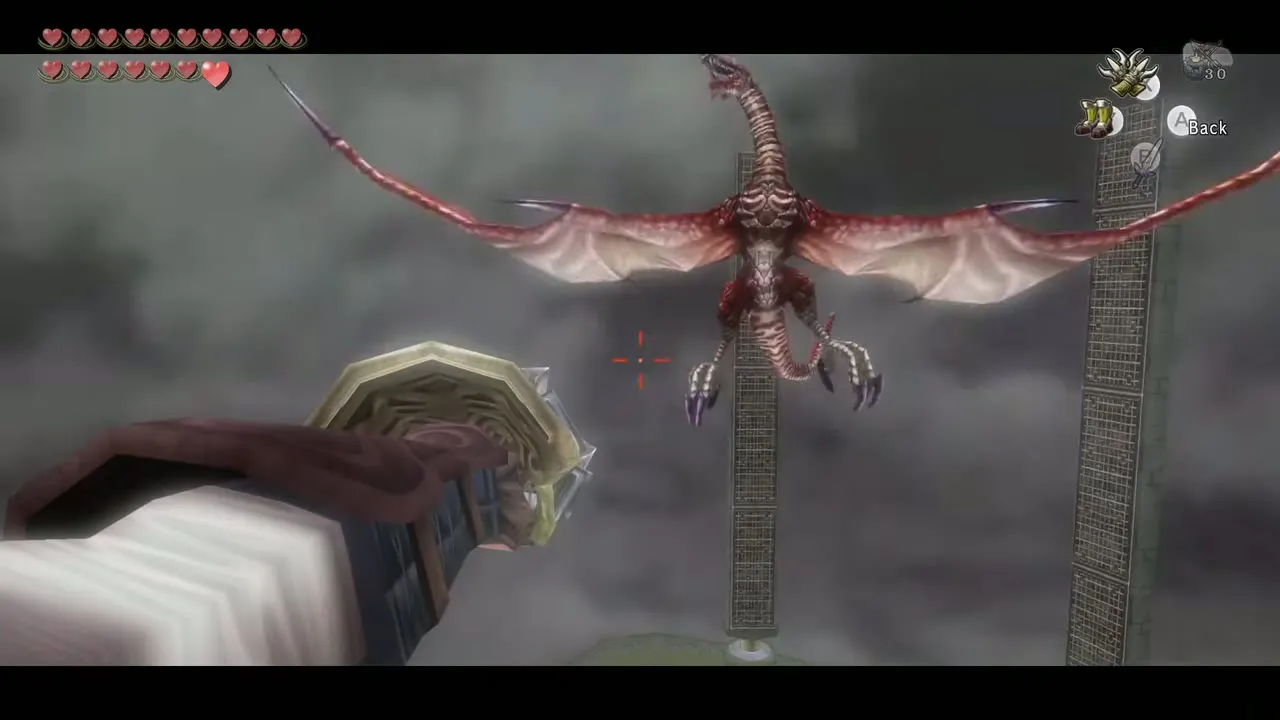
Argorok sweeps across the platform trying to blow you off, and hovers over the center to flap its wings. Put on the Iron Boots when the gusts come. While it flaps in the middle, lock onto its tail, Clawshot it and equip the Iron Boots; the weight crashes it to the floor and breaks off armor. Then it flies again and tries to blow you off the cliff, so keep the boots handy.
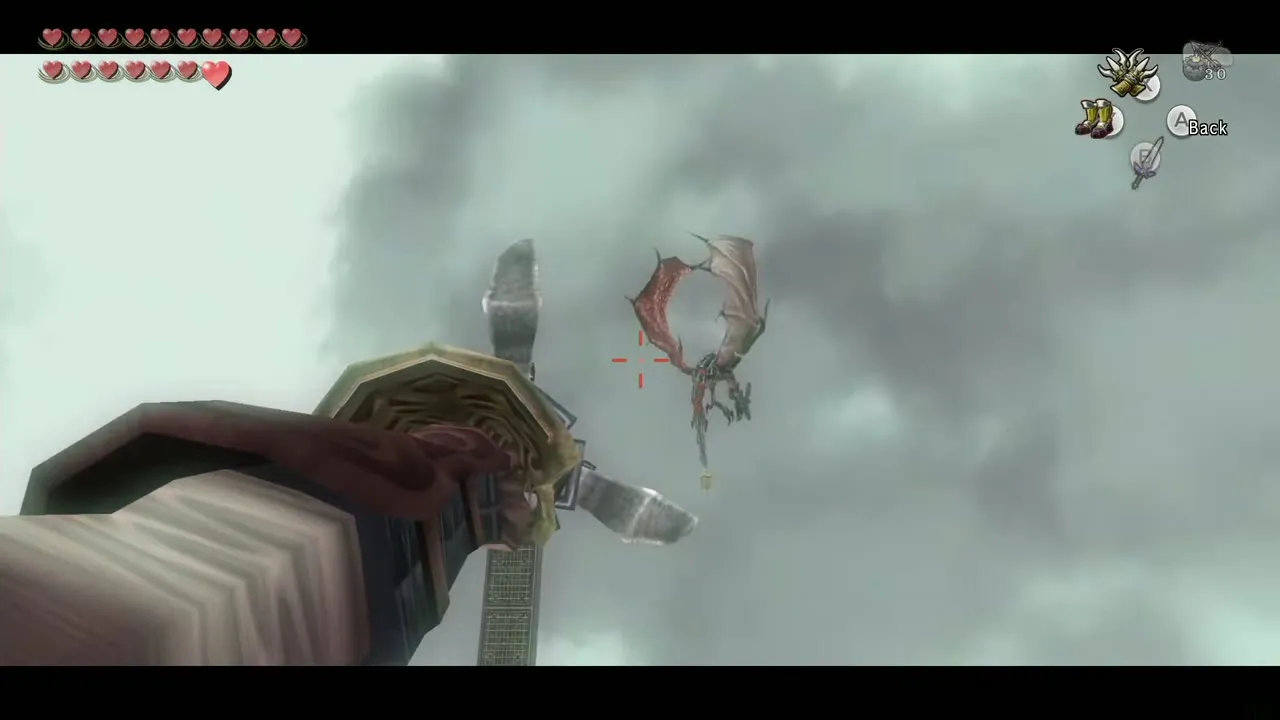
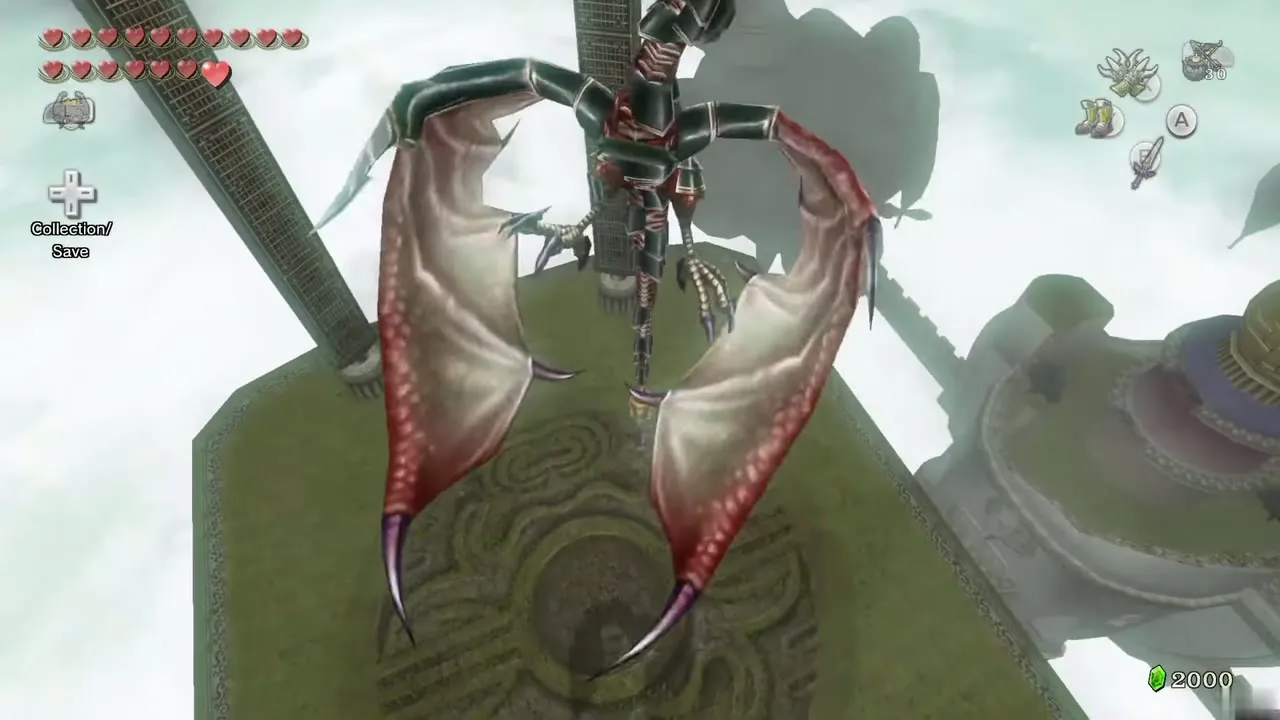
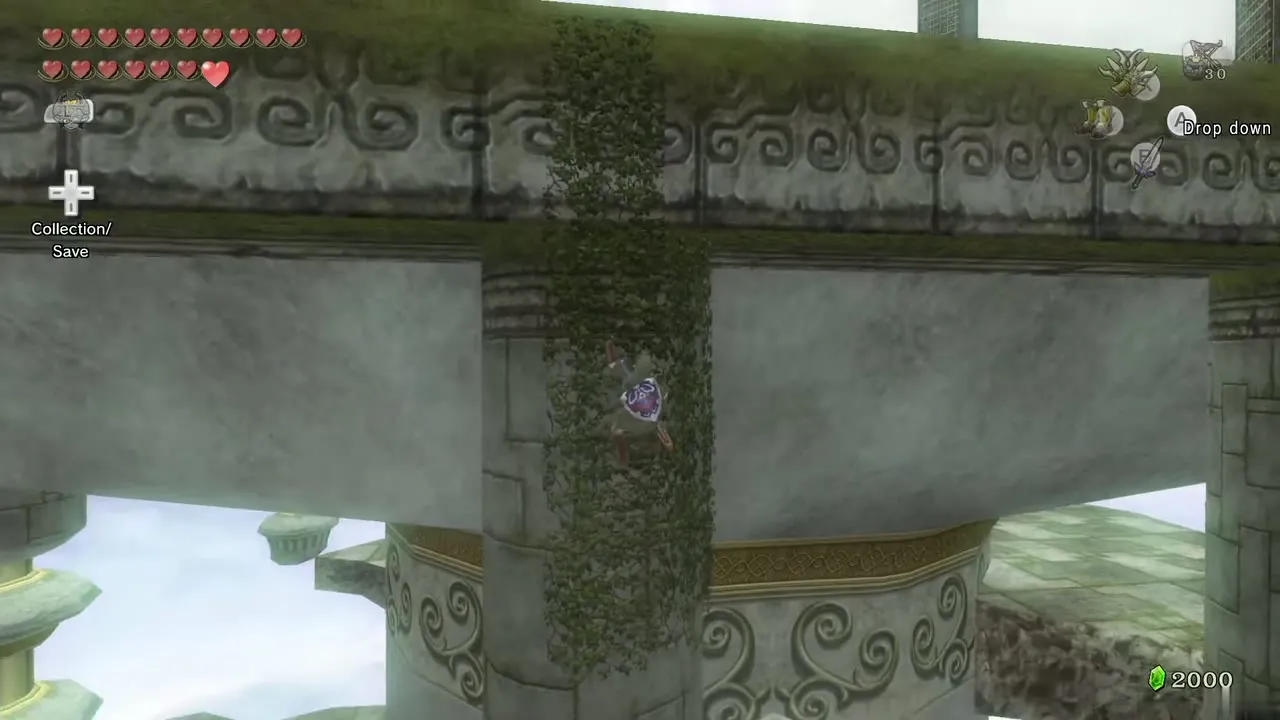
It eventually perches on a massive pillar and breathes fire. Use both Clawshots to climb the grates on the pillars to the top, then, boots on, hook its tail again to bring it down. More armor breaks away and a weak spot appears on its back. Argorok shudders, the rest of its armor falls off, and rain and thunder begin.
Phase 2: Peahats and the back weak spot
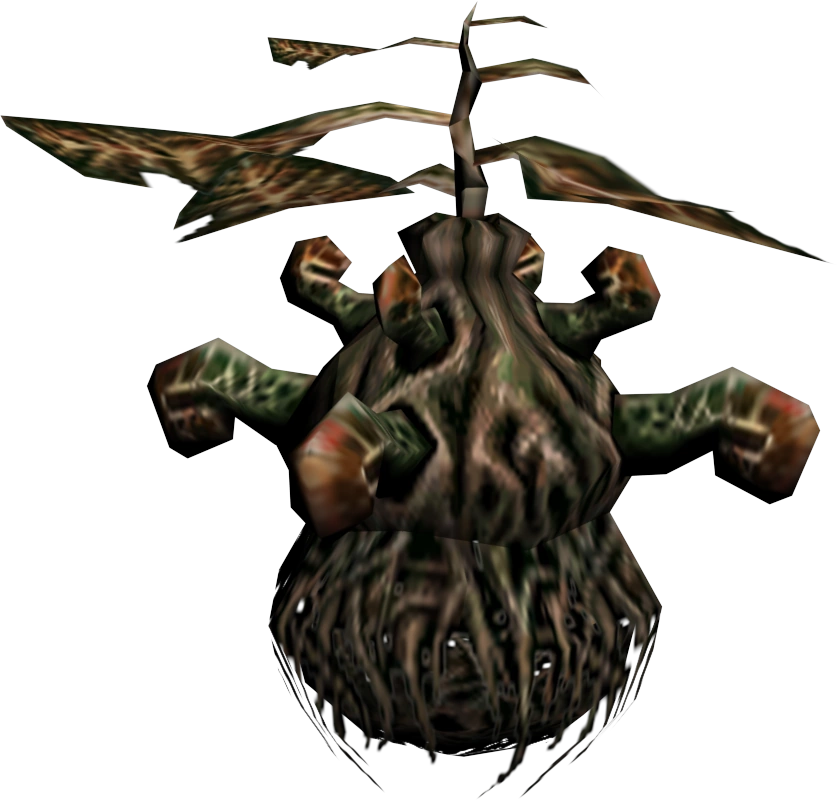
The rain makes Peahats rise even higher than the pillars. Climb to the top of the pillars and hook the Peahats, swinging in a circle while Argorok breathes fire at you. When it rears back to breathe, keep swinging so the flames miss; when it stops, you can get behind it. Hook the weak spot on its back and slash repeatedly until it falls. Repeat.
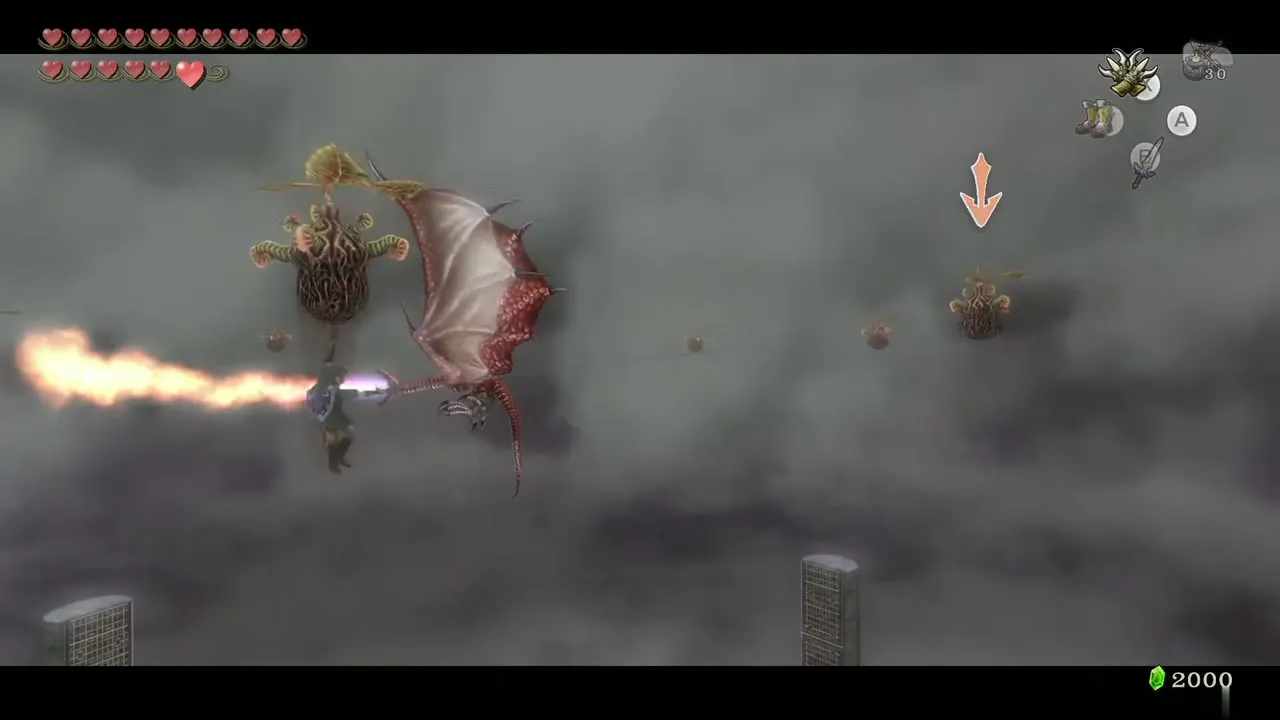
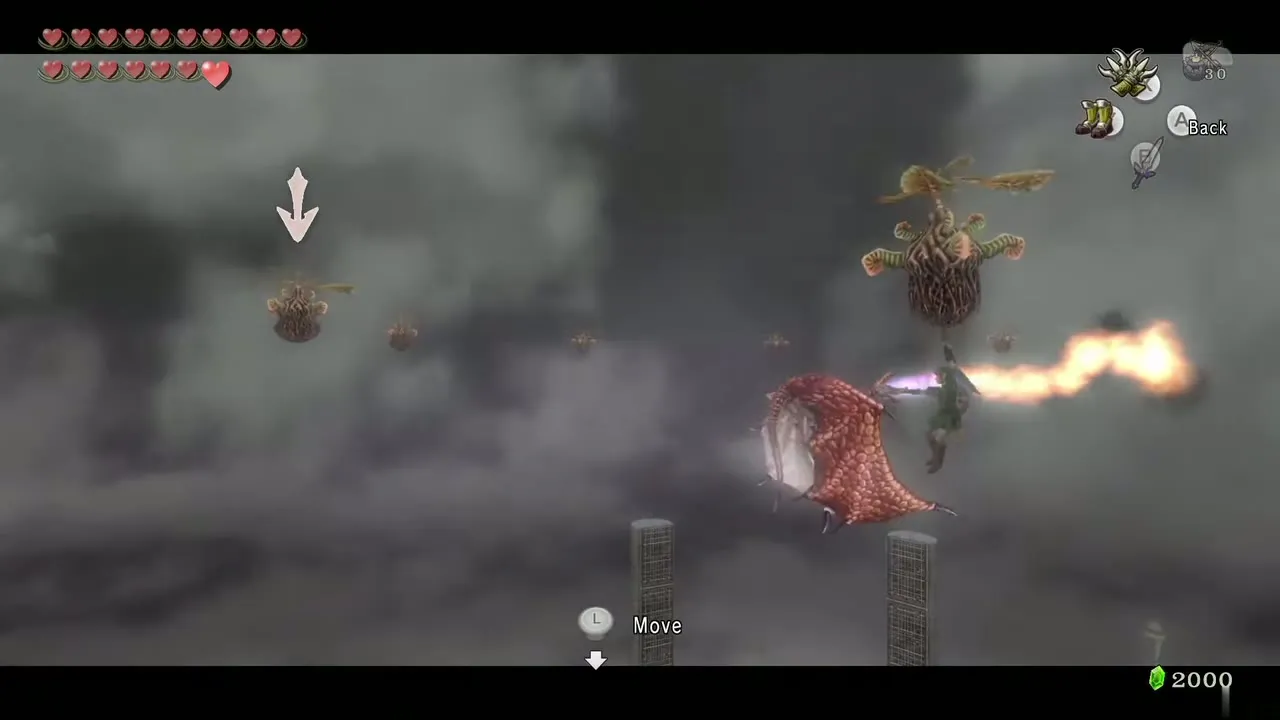
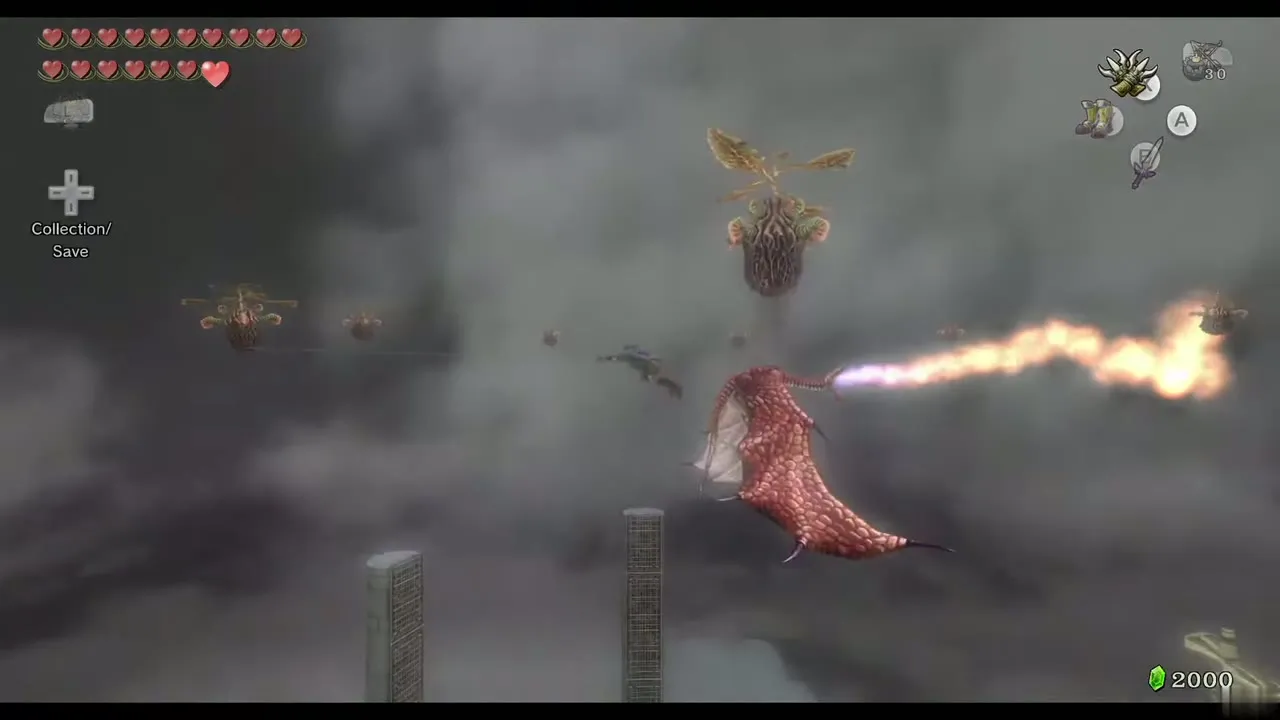
After a few hits it adapts: it breathes fire in one direction, then turns and breathes the other way, so reverse your swing around the Peahats. Hook its back and strike again. Three hits on its back in this phase finish it.
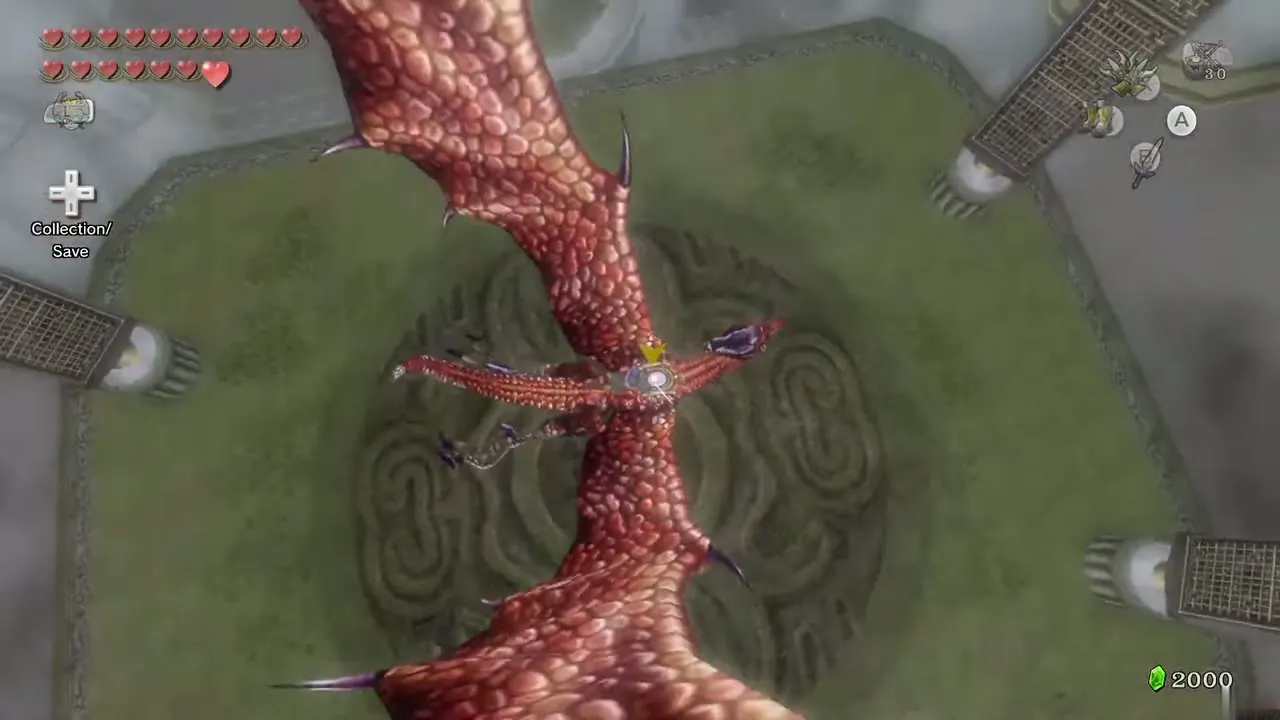
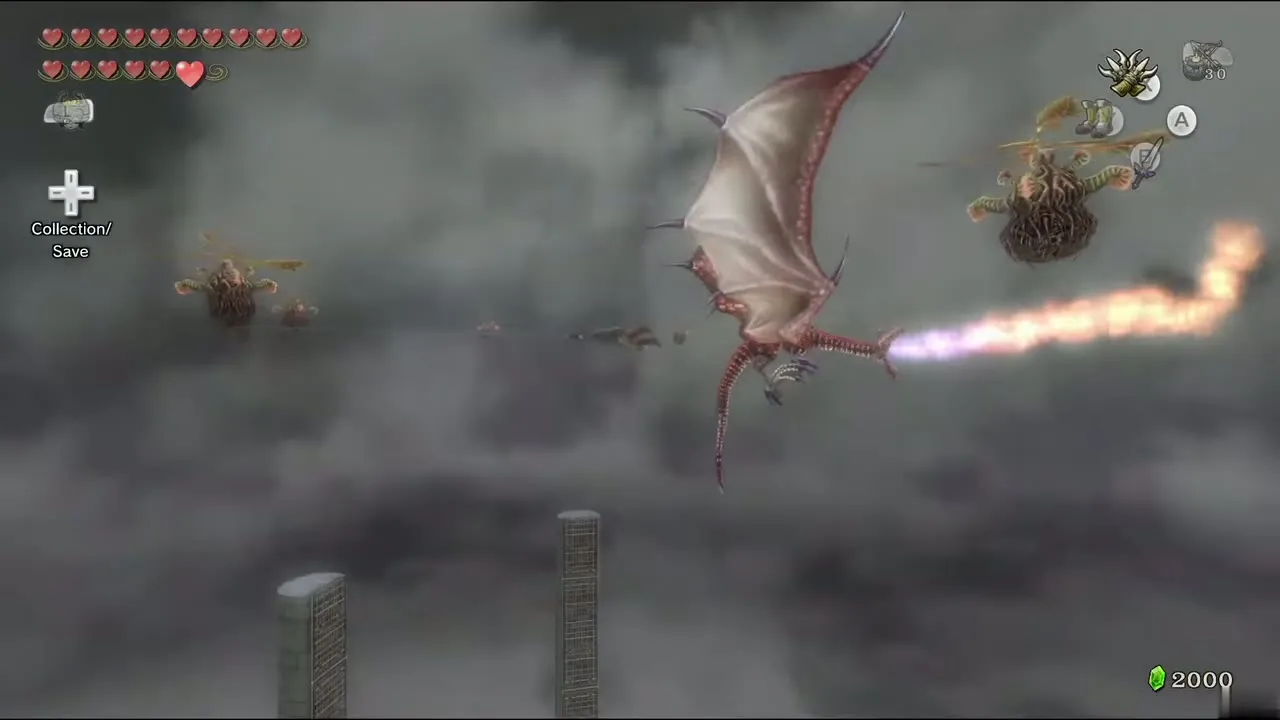
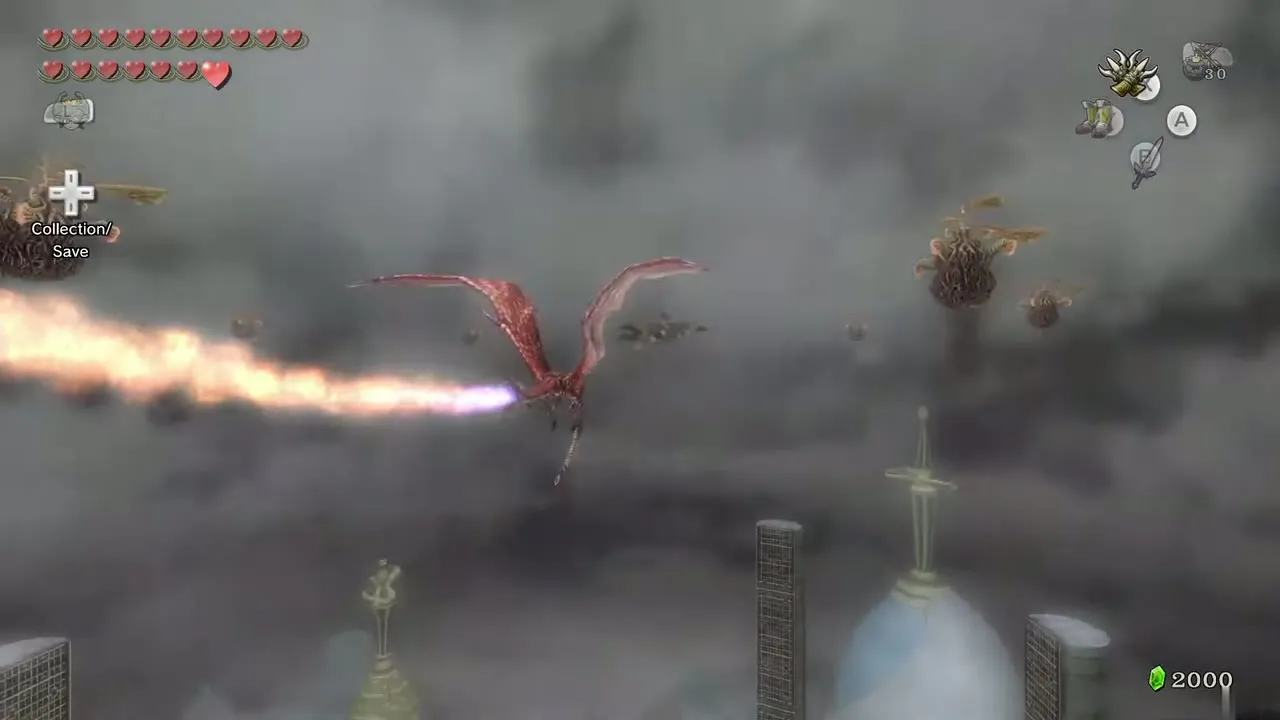
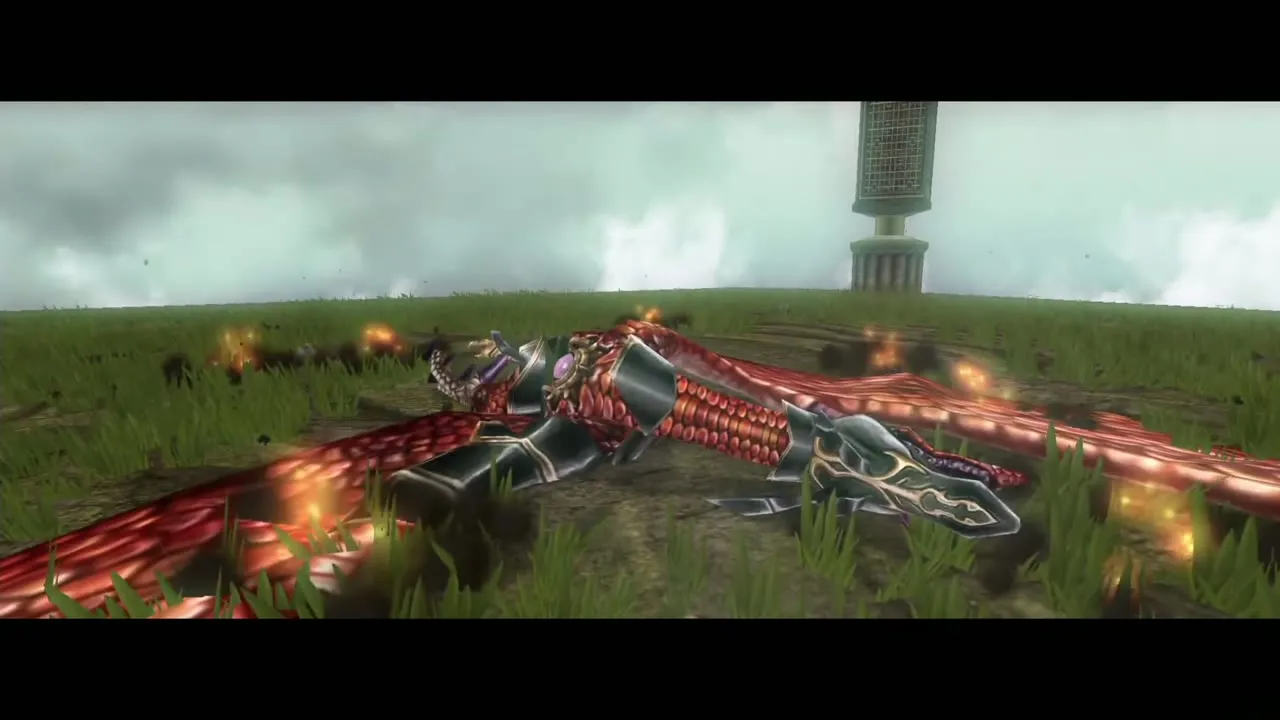
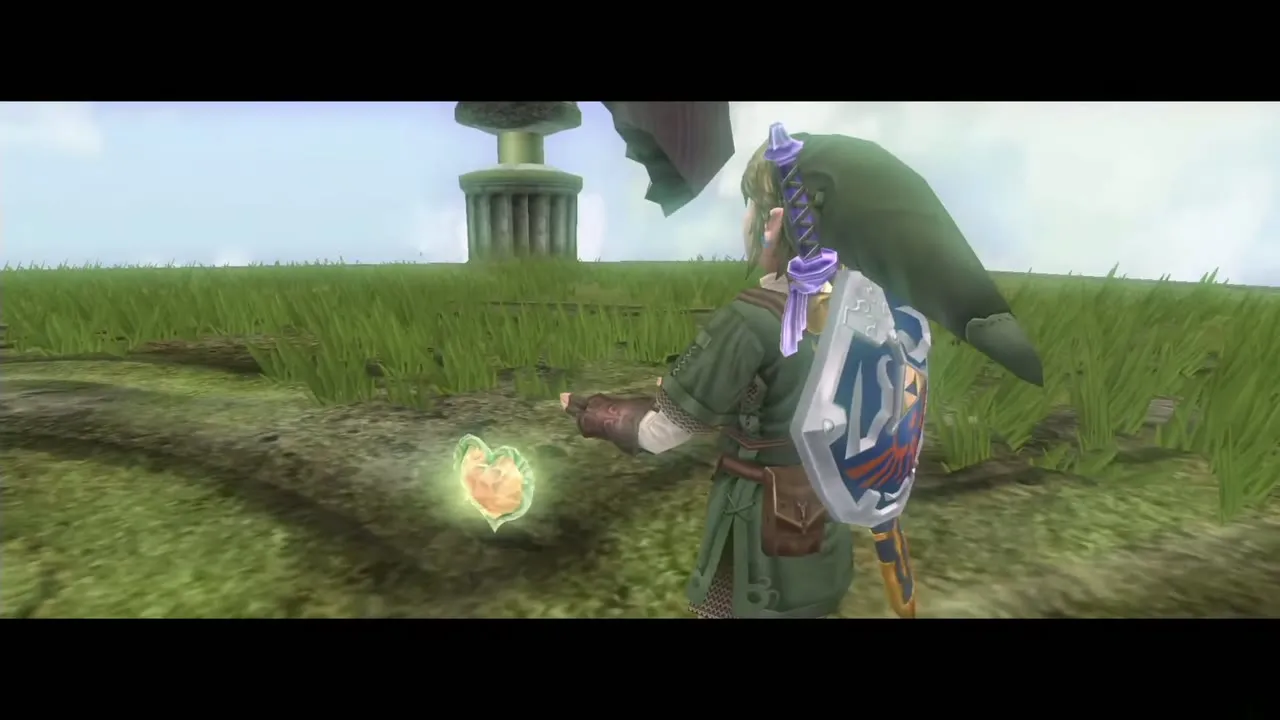
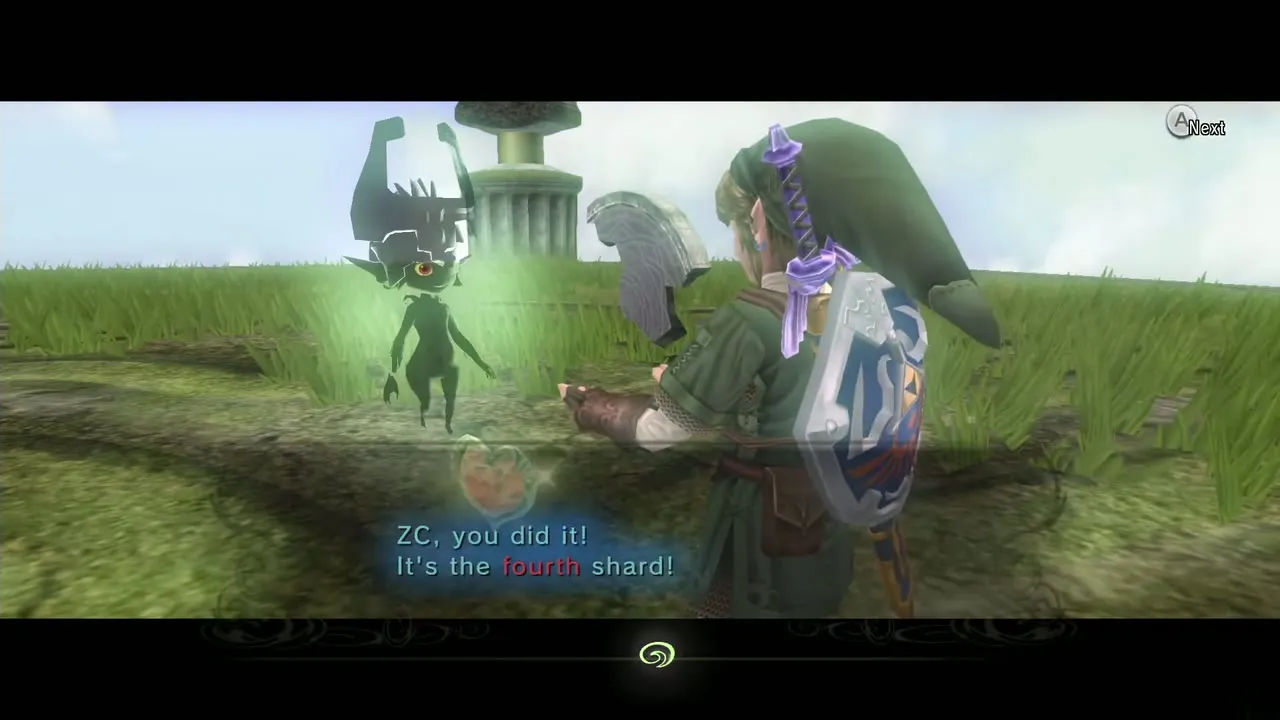
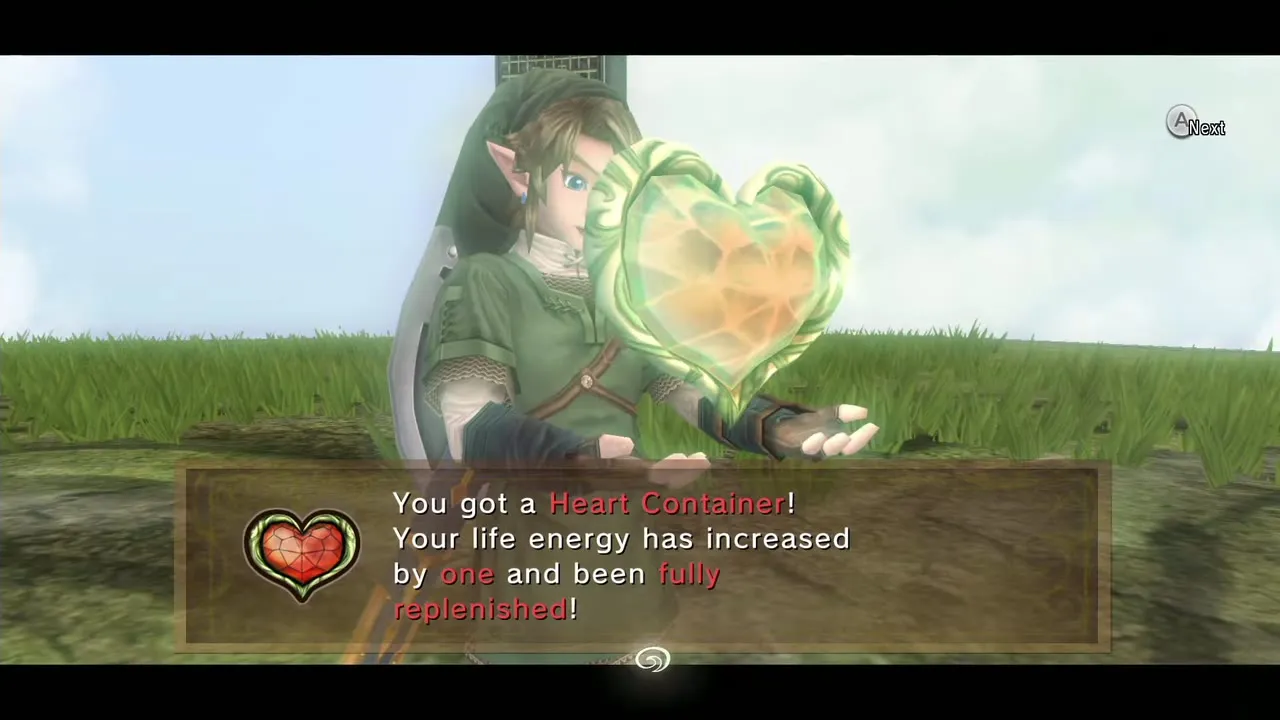
Argorok explodes. A Heart Container falls at your feet, the weather clears and Midna gives you the fourth and last Mirror Shard. Midna sends you to the Sky Cannon near the entrance. Walk behind the cannon and hook the target on its back to fly down to Lake Hylia. The cannon can be used again to return here. See the boss guide for a summary.
Chapter checklist
| Type | Name | Where |
|---|---|---|
| Dungeon item | Small Key | Chest on the west side of the room beyond the first bridge |
| Dungeon item | Dungeon Map | Chest in the room east of the wind-turbine hall |
| Key item |  Double Clawshots | Chest after the Aeralfos |
| Dungeon item | Compass | Chest at the end of the east target chain |
| Dungeon item | Big Key | Fan room beyond the tightropes |
| Heart Piece | #42 Narrow-ledge chest | Beyond the Big Baba room, hanging from a narrow ledge |
| Heart Piece | #43 Upper-ledge chest | Reached via Peahats above the broken bridge |
| Poe Soul | #56 Peahat island | Round platform far west, wolf |
| Poe Soul | #57 Tightrope area | West side of the red tower before the Big Key, wolf |
| Stamp chests | Ooccoo, G, Z | Big chest in the Big Baba room, Peahat island, tightrope area |
| Boss reward | Heart Container, Mirror Shard | Argorok |
