
























Phantom Hourglass 100% Completion Walkthrough19 chapters
- Temple of FireEvery key, the Boomerang, the Boss Key, how to beat Blaaz, the Heart Container, Leaf and Astrid’s Power Gem.
- Temple of WindGet the bombs, the Boss Key, beat Cyclok, free Neri and take the Heart Container.
- Molida Island and the Temple of CourageBeat the Giant Eye Plant, light Molida’s statues, get the Bow, defeat Crayk and awaken the Spirit of Courage.
- The Ghost ShipFind the ship with the Spirits, free the Cubus sisters, win their volley game, get the Ghost Key and Heart Container.
- Goron TempleTeam up with Gongoron, get the Bombchus and the Boss Key, beat Dongorongo and take the Crimsonine.
- Temple of IceLever order, three small keys, Grappling Hook, Boss Key, Gleeok fight, Heart Container and Azurine.
- Mutoh’s TempleGet the Hammer, find both small keys and the Boss Key, beat Eox and collect the Aquanine.
- Mercay Island and the First Sea ChartGet Oshus’s Sword, solve the lever passage, rescue Linebeck and find the first sea chart.
- Temple of the Ocean KingTake the Phantom Hourglass, sneak past Phantoms, carry three Force Gems and find the Northwestern Sea Chart.
- Temple of the Ocean KingPhantom Eyes, the hourglass crest door, the Salvage Arm, treasure salvage and the Sun Key.
- Zauz and the Temple of the Ocean KingPure Metals, Triforce door, crystal puzzles and the Southeastern Sea Chart.
- Temple of the Ocean KingGold Phantoms, the B11 bridges, three Force Gems on B12 and the Northeastern Sea Chart.
- The Phantom Sword and BellumPhantom Hourglass walkthrough for the Phantom Sword, the last Temple of the Ocean King descent, Bellum.
- Isle of Ember and AstridFirst voyage, Beedle’s Shop Ship, Kayo’s torches, freeing Astrid and the volcano path to the Temple of Fire.
- Cannon Island, the Ghost Ship Chase and Molida IslandBuy the Cannon from Eddo, chase the Ghost Ship, then reach Molida Island and take the Shovel.
- Northwestern Sea and the Isle of GustThe fog route, Bannan Island fishing, Zauz, the Cyclone Slate, Golden Frogs and the way to the Temple of Wind.
- Goron Island and GongoronSail the Southeastern Sea, beat the Massive Eye, pass Biggoron’s quiz, find Gongoron and reach the Goron Temple.
- Isle of Frost and the Yook MysteryCannon the ice, Anouki Estates, find the Yook among six villagers and fight through the Great Ice Field.
- Isle of the Dead and the Isle of RuinsDig spot, Phantom Corridor path, Regal Necklace, King’s Key, Max and the door symbol.
| Covers | Jolene’s ambush, steering through the fog, the Ghost Ship (B1 to B3), the Cubus Sisters, the Ghost Key and Oshus’s revelation |
|---|---|
| You need | The Temple of Courage finished, all three Spirits awake (Ciela as the Spirit of Courage), the Northwestern Sea Chart with the fog route copied onto it, the Boomerang and the Bow |
| Rewards | 1  Heart Container, the  Ghost Key, a  Big Red Rupee (200 Rupees); on the way, 1  Wisdom Gem for delivering Jolene’s Letter; Joanne also mails a random ship part afterwards; no Sand of Hours, treasure maps or Golden Frogs |
The Ghost Ship is a short dungeon with no main item. You find the vessel by steering Linebeck’s ship while the three Spirits react to how close you are, rescue four sisters of the house of Cubus from the ship’s three basement floors, beat them at a deadly game of tennis, and leave with the Ghost Key and a Heart Container. The key opens the door that holds the petrified Tetra, and Oshus then tells you the truth about the seas.
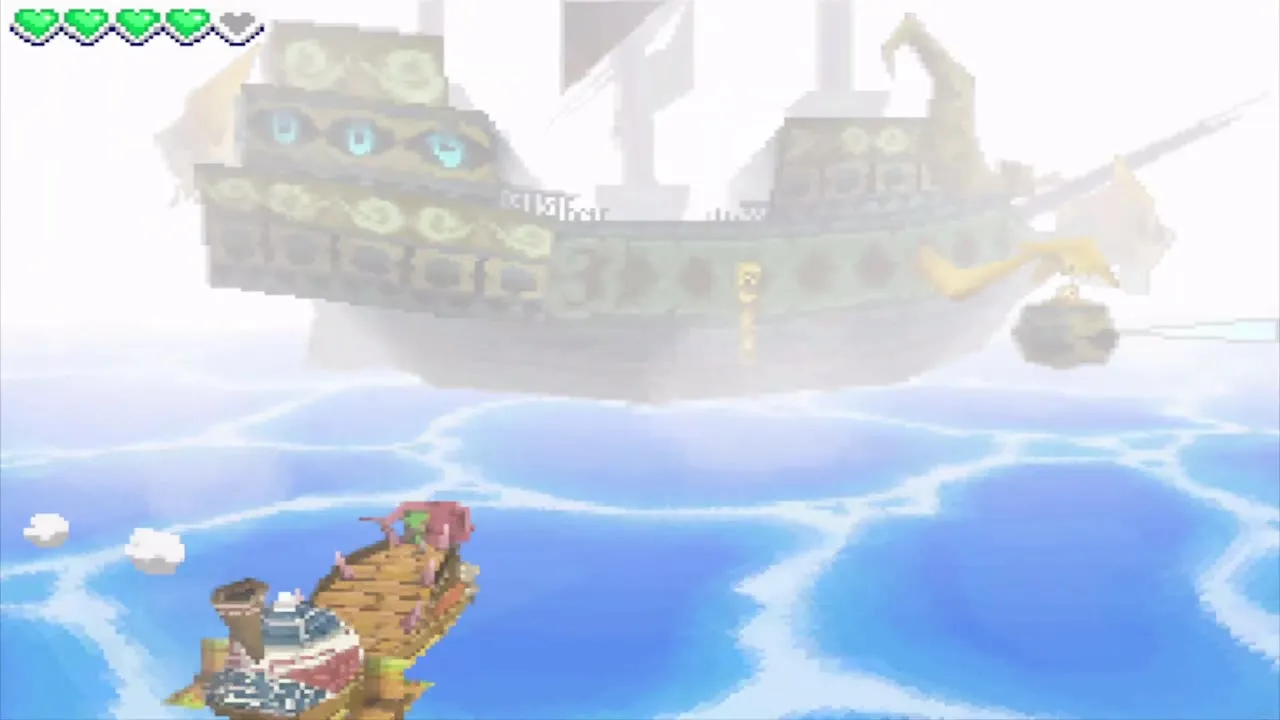
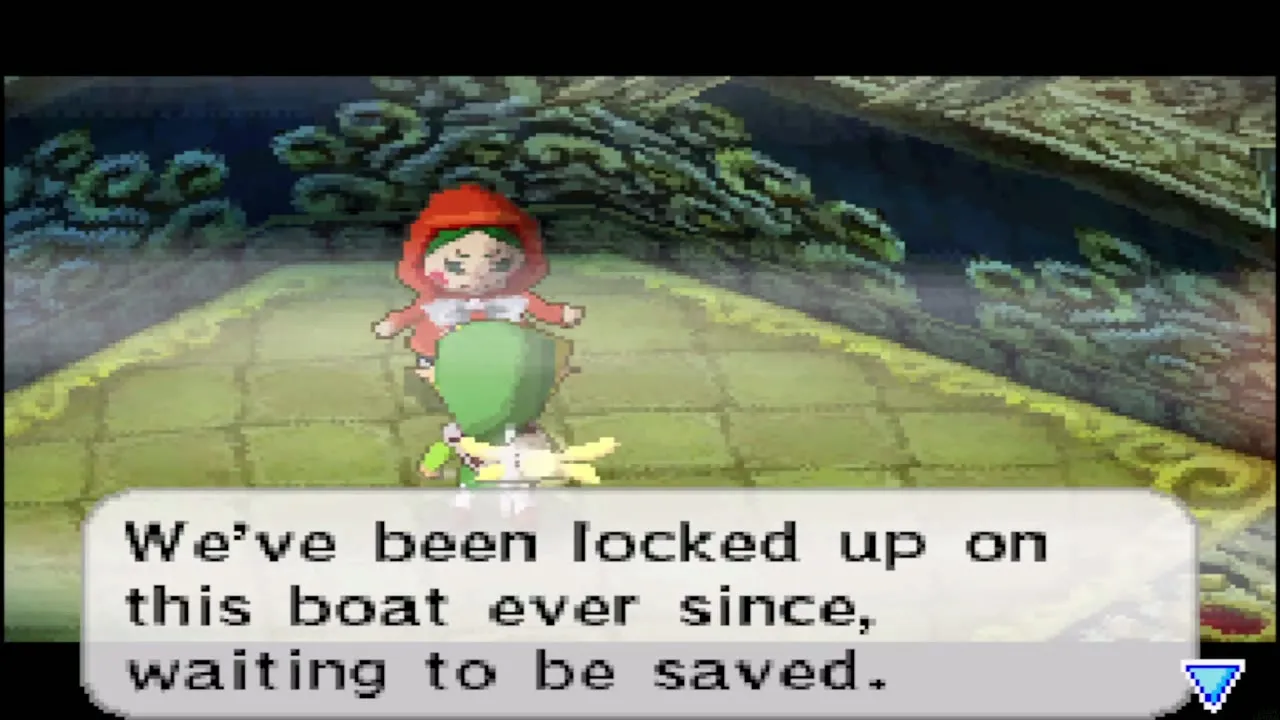
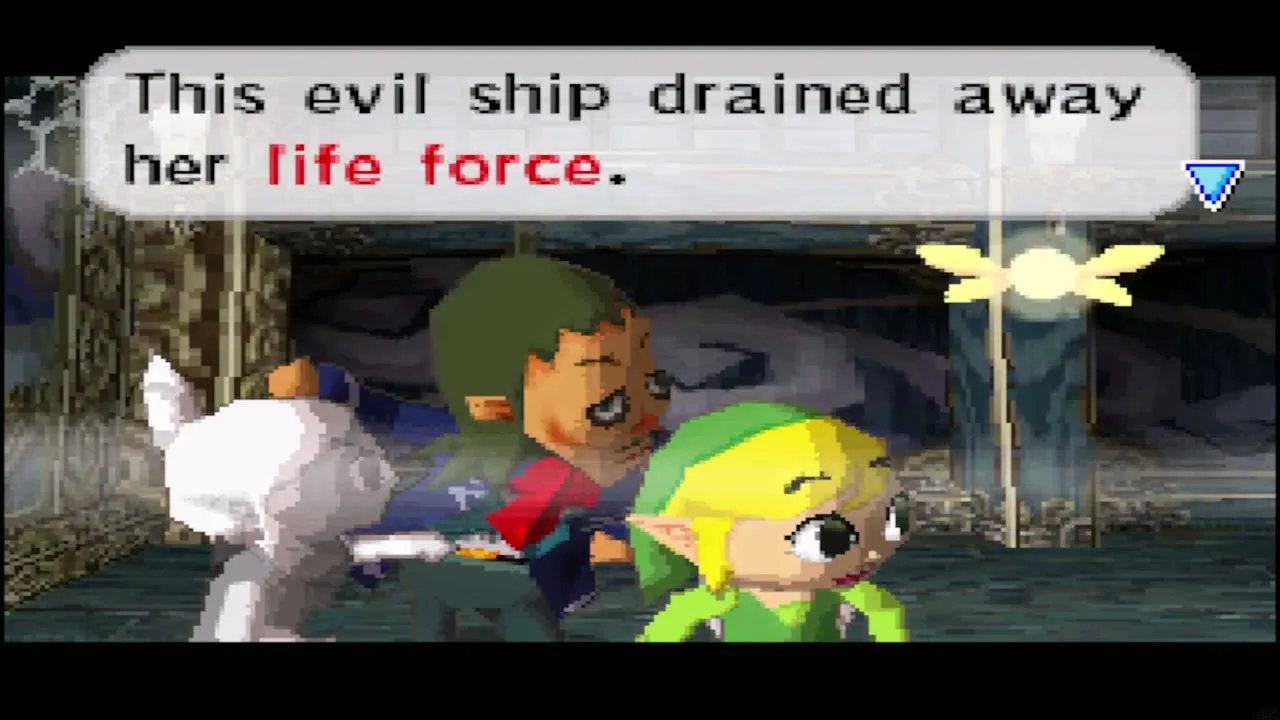
Table of Contents
Jolene’s ship fight

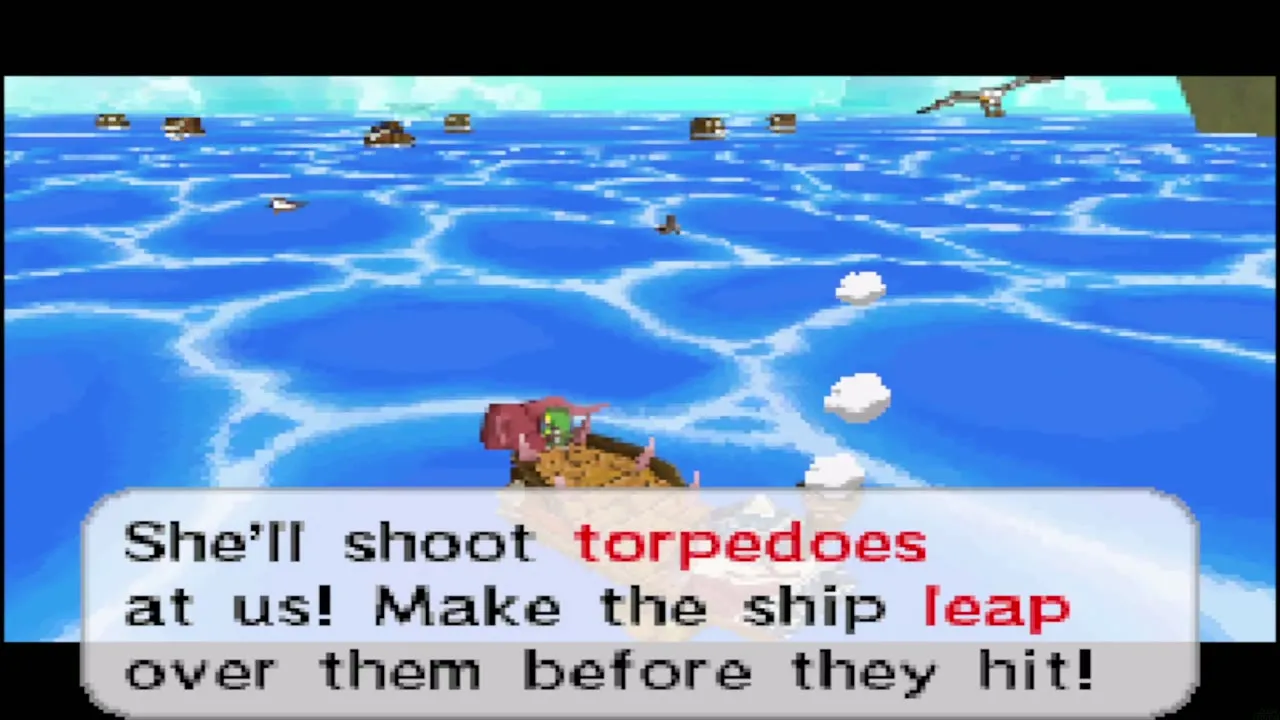
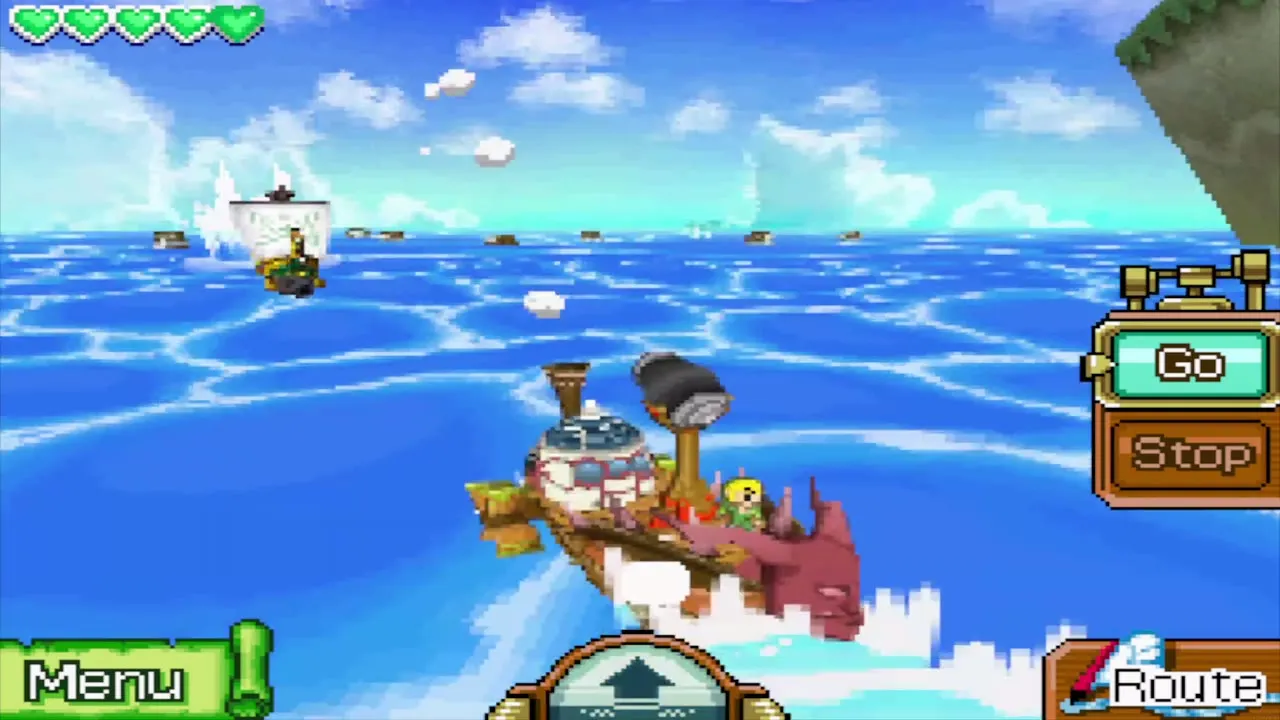
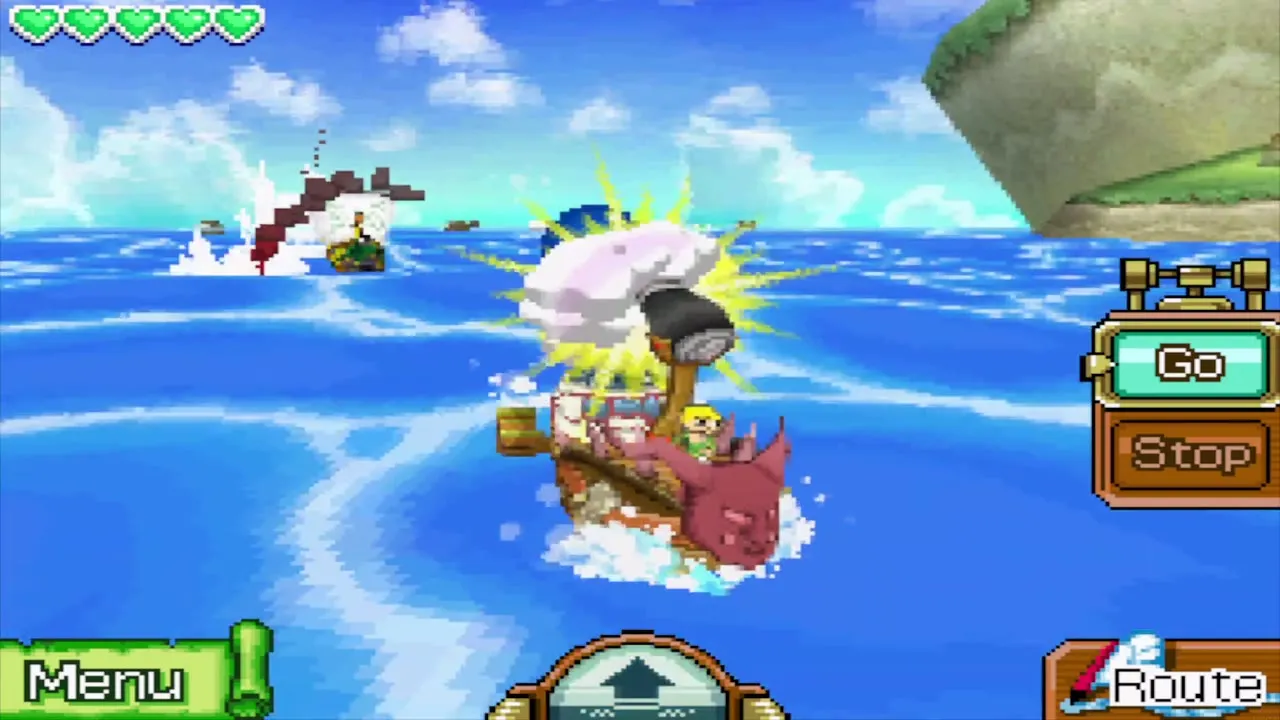
How to escape Jolene’s torpedoes
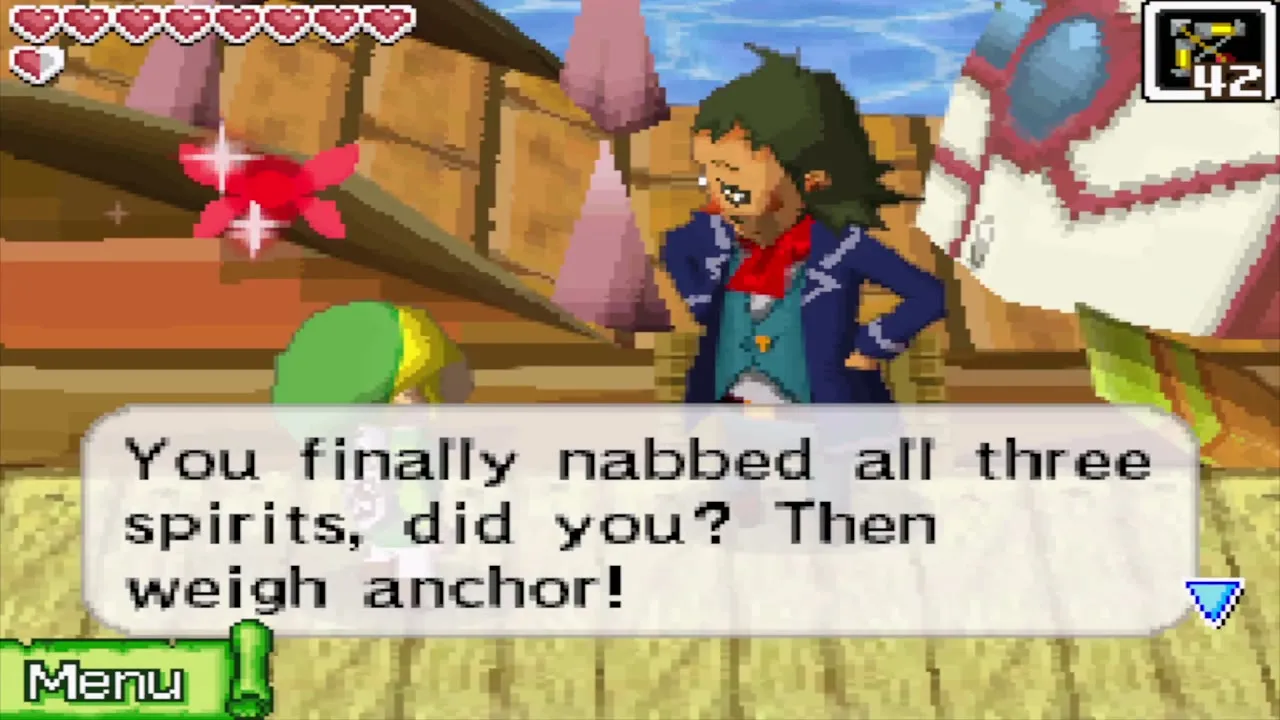
After the Temple of Courage, Linebeck wants you to lay a course into the thickest fog you can find. Before you reach any fog, the pirate Jolene gives chase in her pirate ship. Do not try to fight her at sea: draw a course away from her, keep the engine on Go, and tap the jump button whenever a torpedo comes at you so the ship hops over it. Sooner or later she boards you anyway.
Jolene boss fight
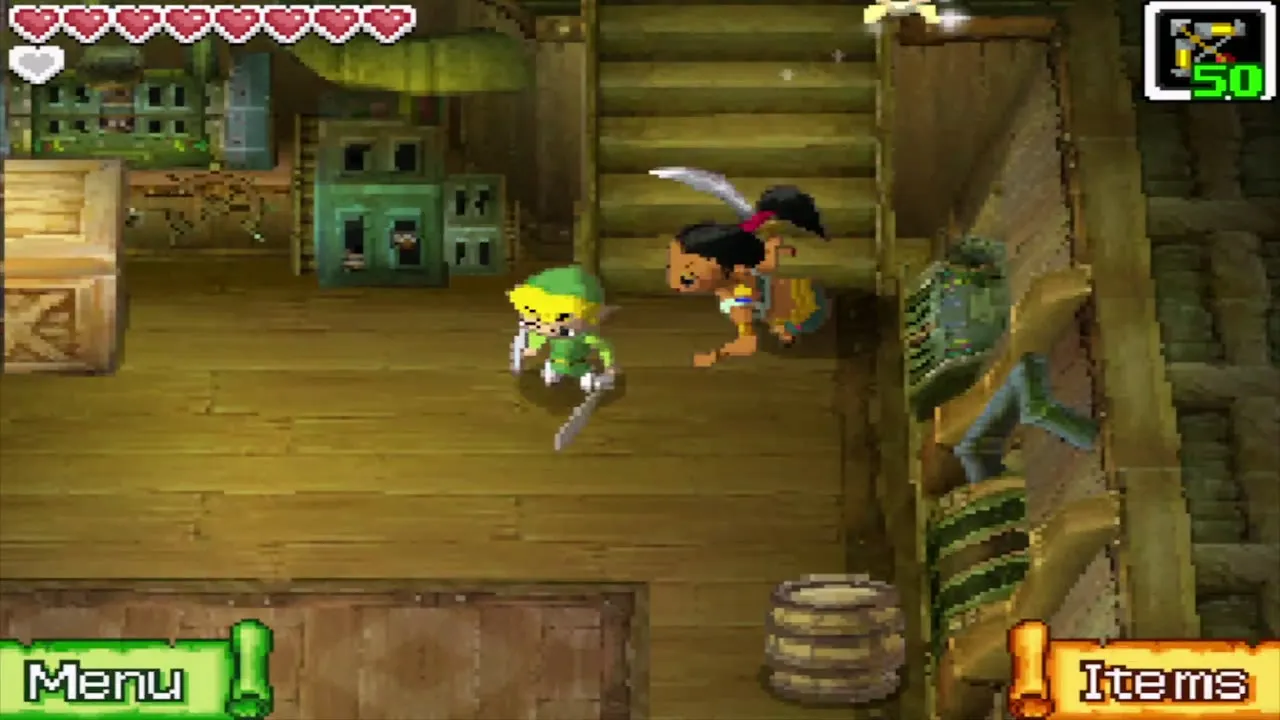
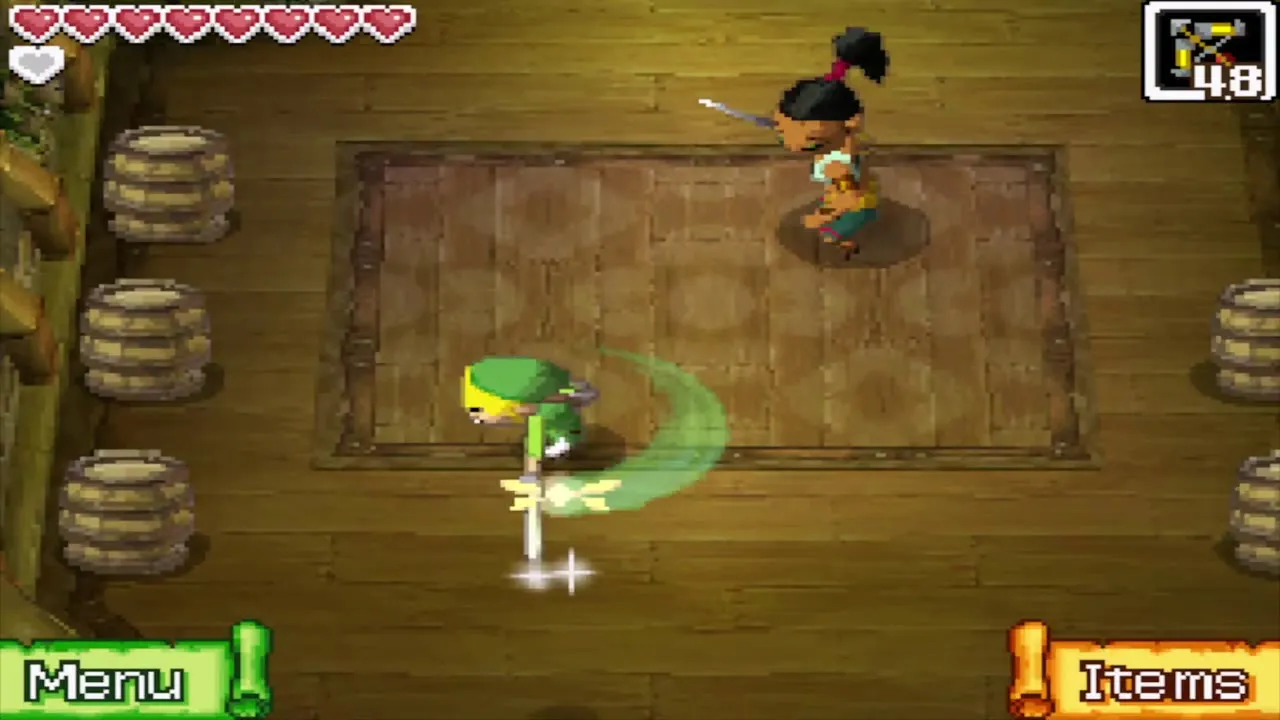
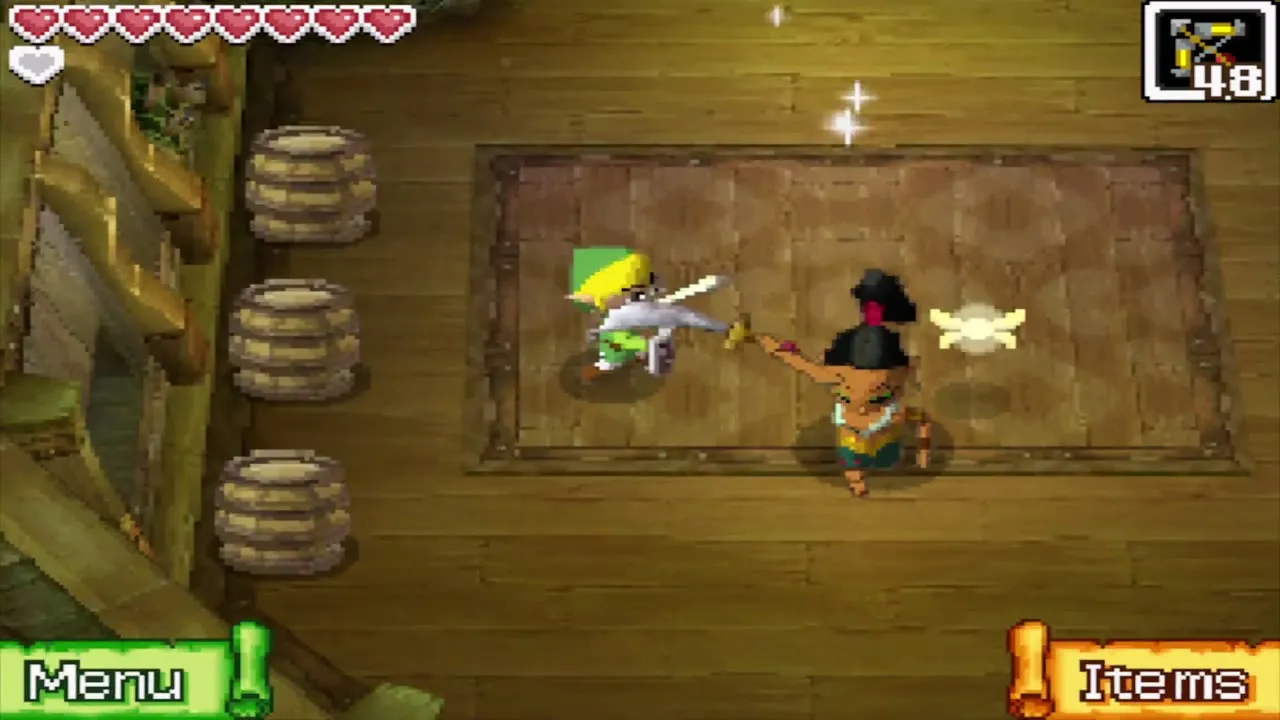
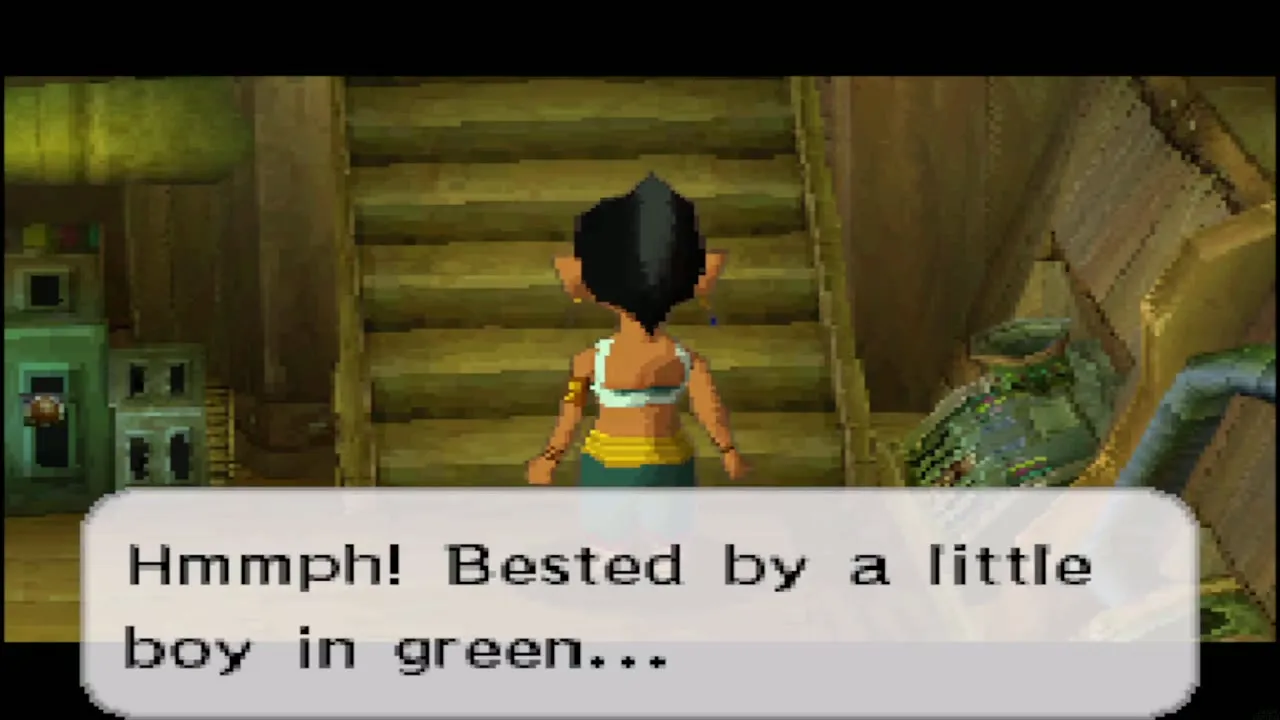
You face Jolene alone in the hold of her ship, armed with your sword. She swings and rolls toward you in set patterns. Dodge, watch for the moment after one of her heavy attacks when she is open, and strike. Keep at it until she gives up. She can ambush you at sea again later, and the same method works each time.
Jolene’s Letter and the Wisdom Gem
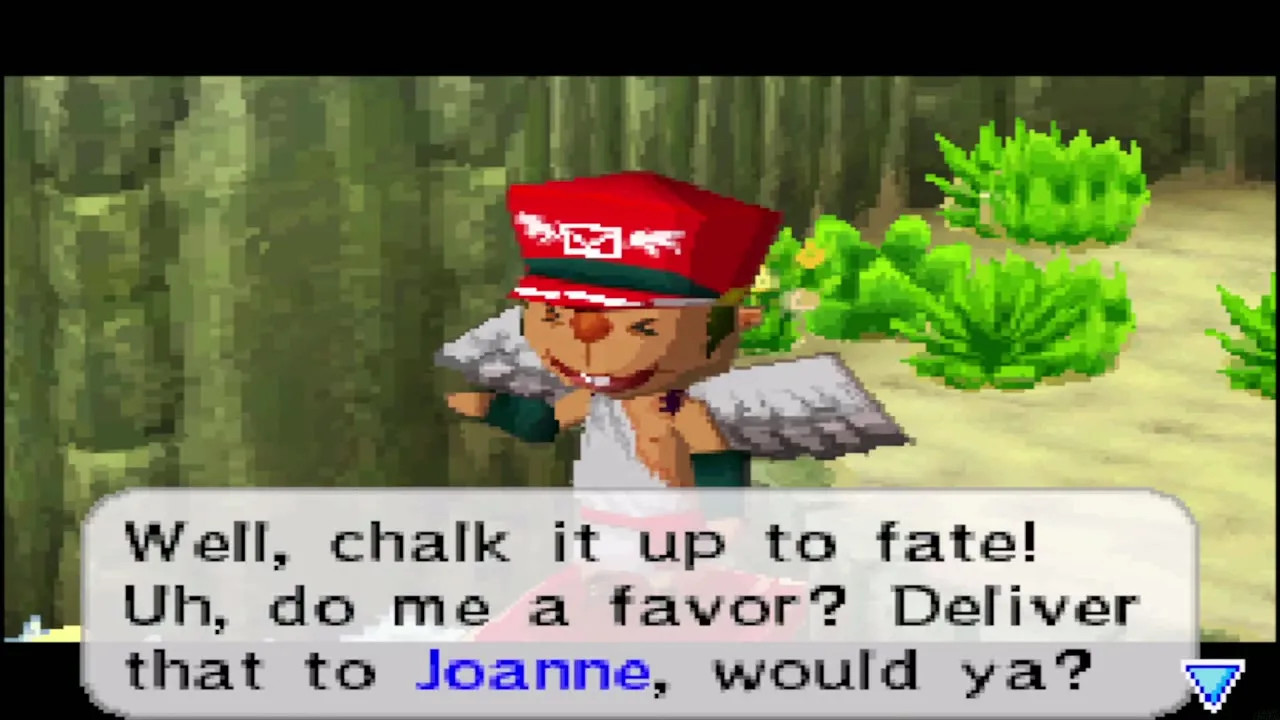
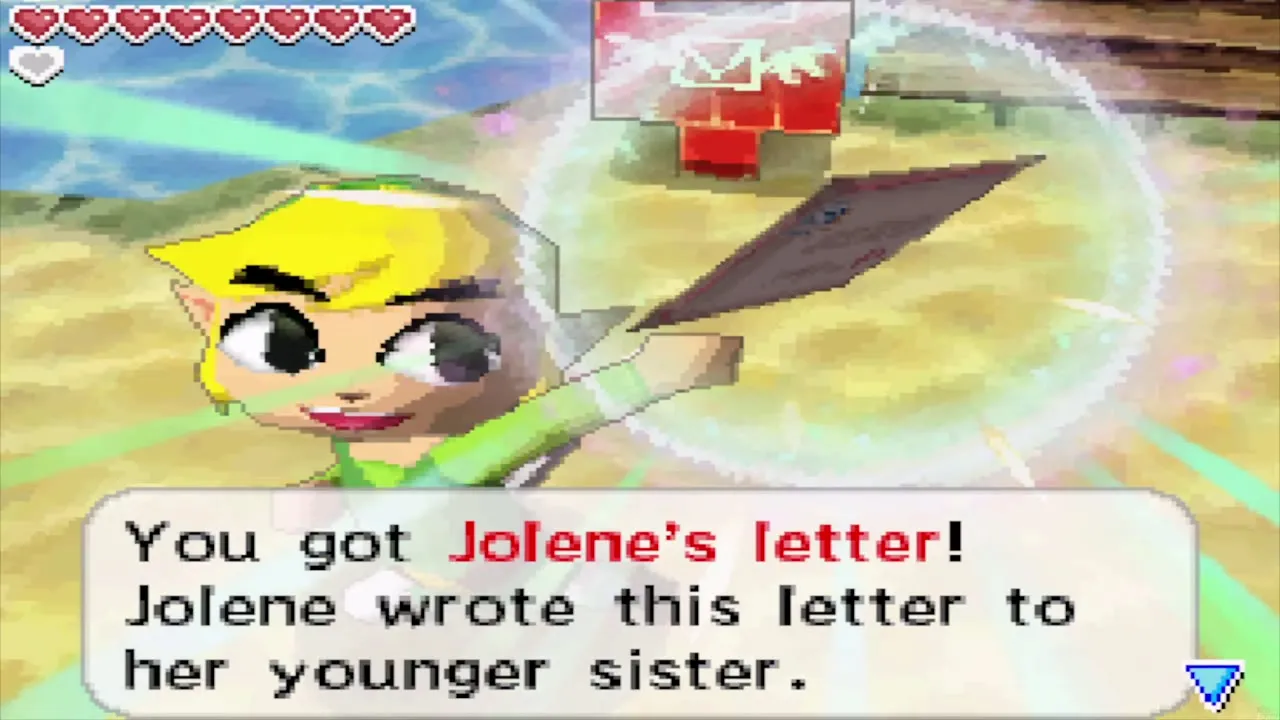
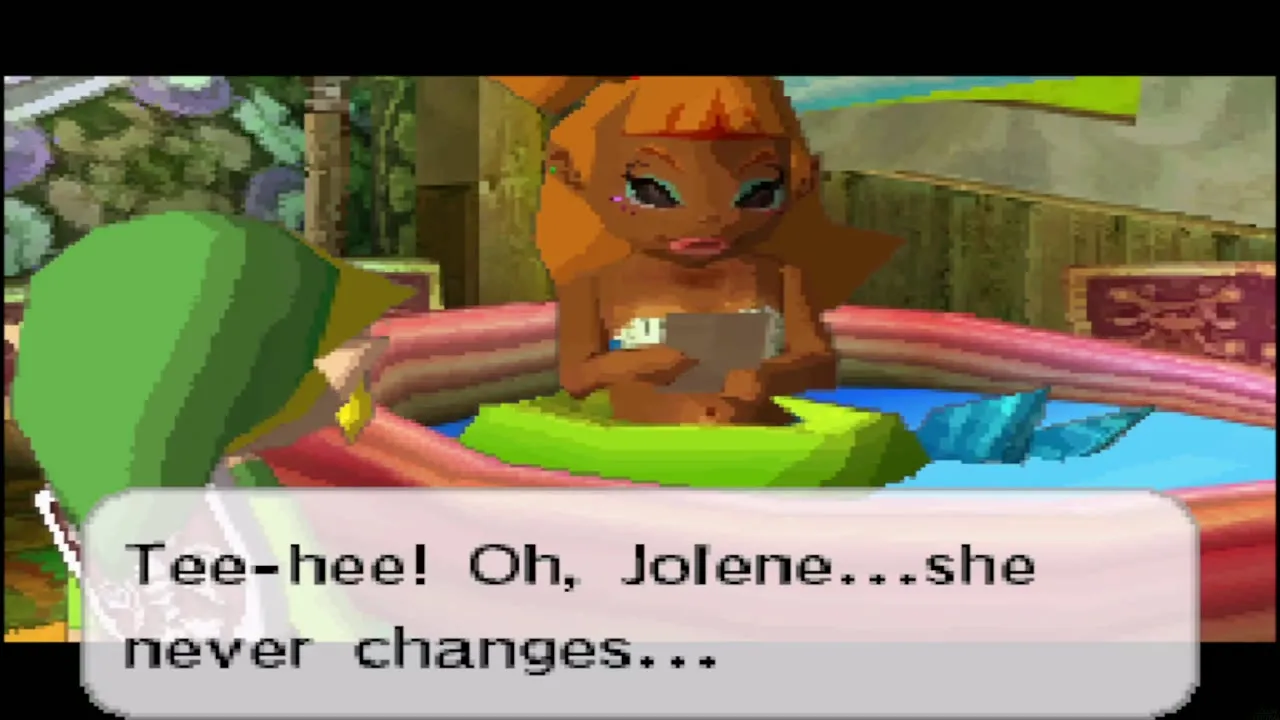
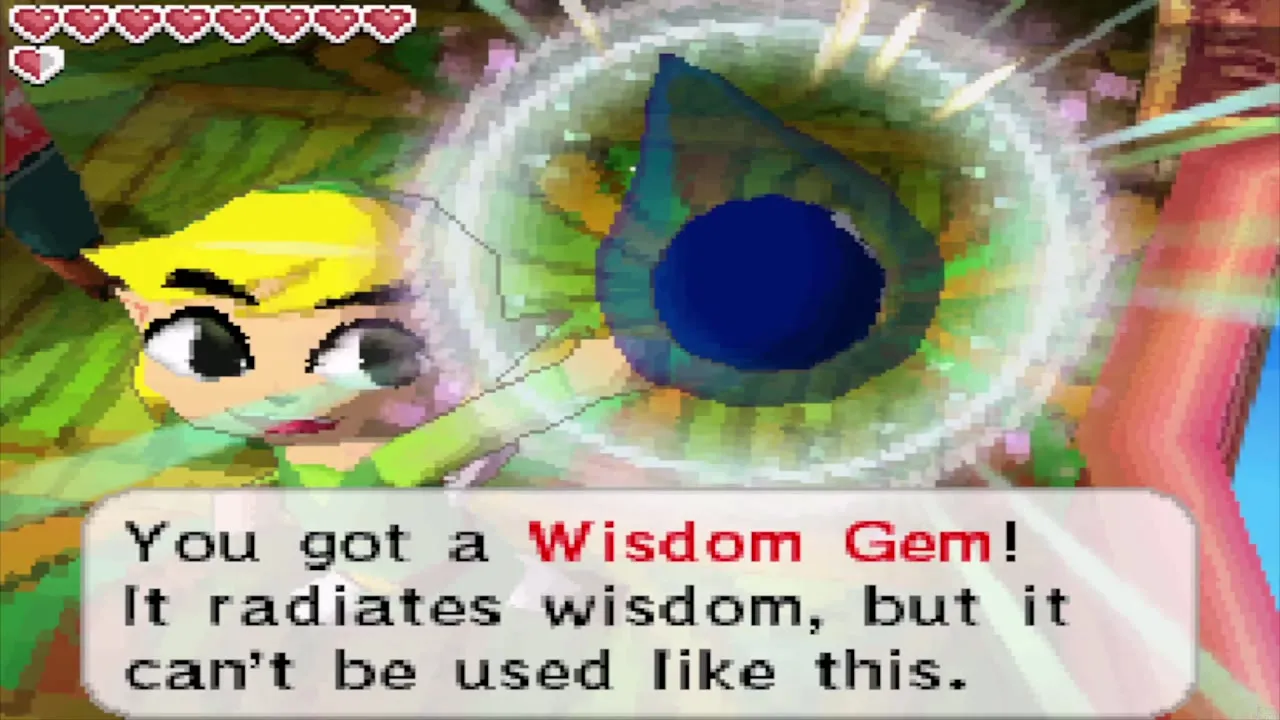
After you have beaten Jolene, the winged Postman brings Jolene’s Letter, which he has mistaken for yours; it is addressed to her sister Joanne. You do not have to deliver it now, but it is the one reward on this part of the route that has nothing to do with the dungeon. Sail to Bannan Island, enter the Old Wayfarer’s hut, and show the letter to Joanne in her pool. She gives you a Wisdom Gem for it, and a thank-you letter with a random ship part follows later. The gem does nothing until you take it to the shrine on Spirit Island, where gems are turned in at ten and again at twenty.
How to find the Ghost Ship
Sail into the Northwestern Sea fog
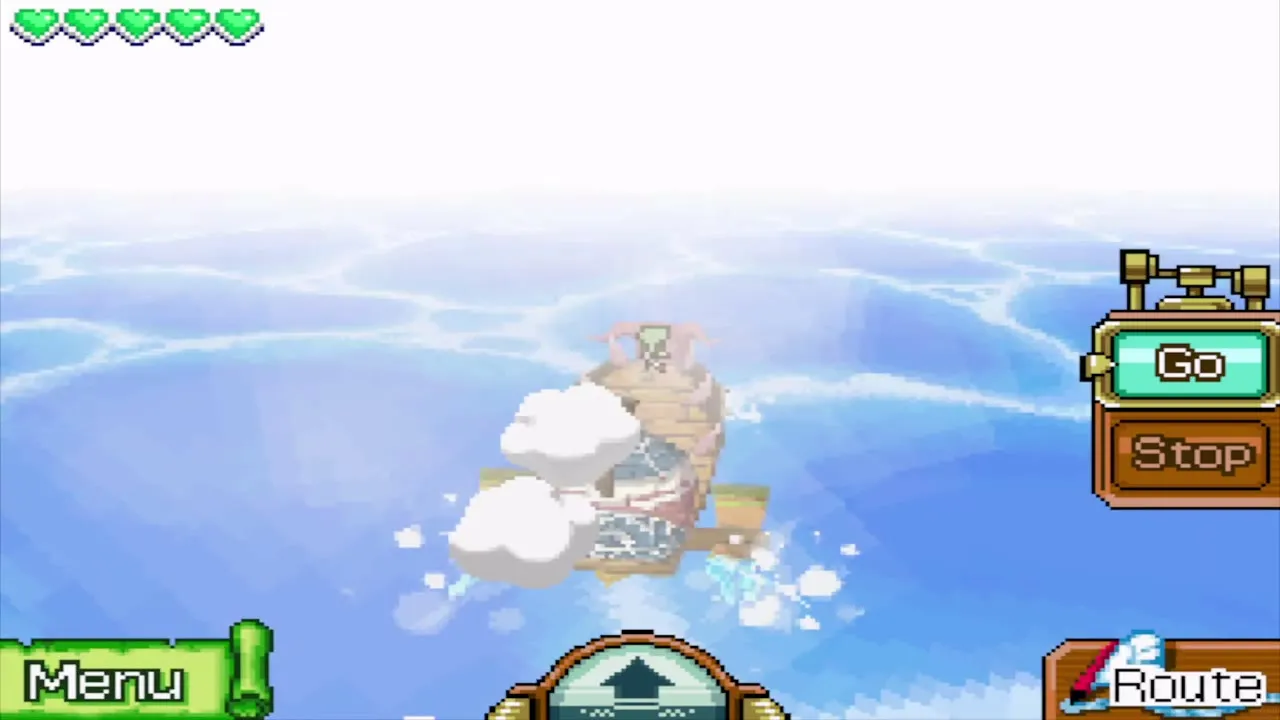
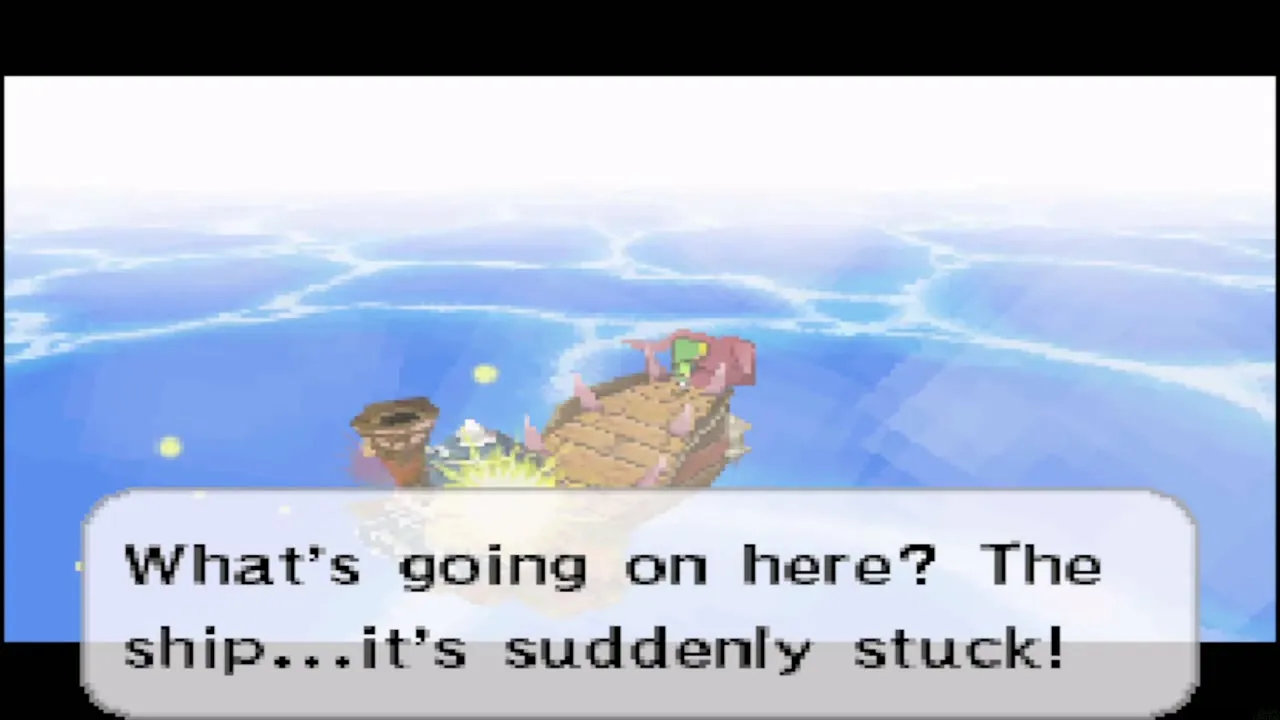
Return to the Mercay dock, talk to Linebeck and choose to go now. Open the Northwestern Sea Chart, draw the fog route you copied from the picture in the second hideout on Molida Island, and head for the western part of the fog. Partway through, the engine dies and the ship stops dead.
Steer toward the Ghost Ship
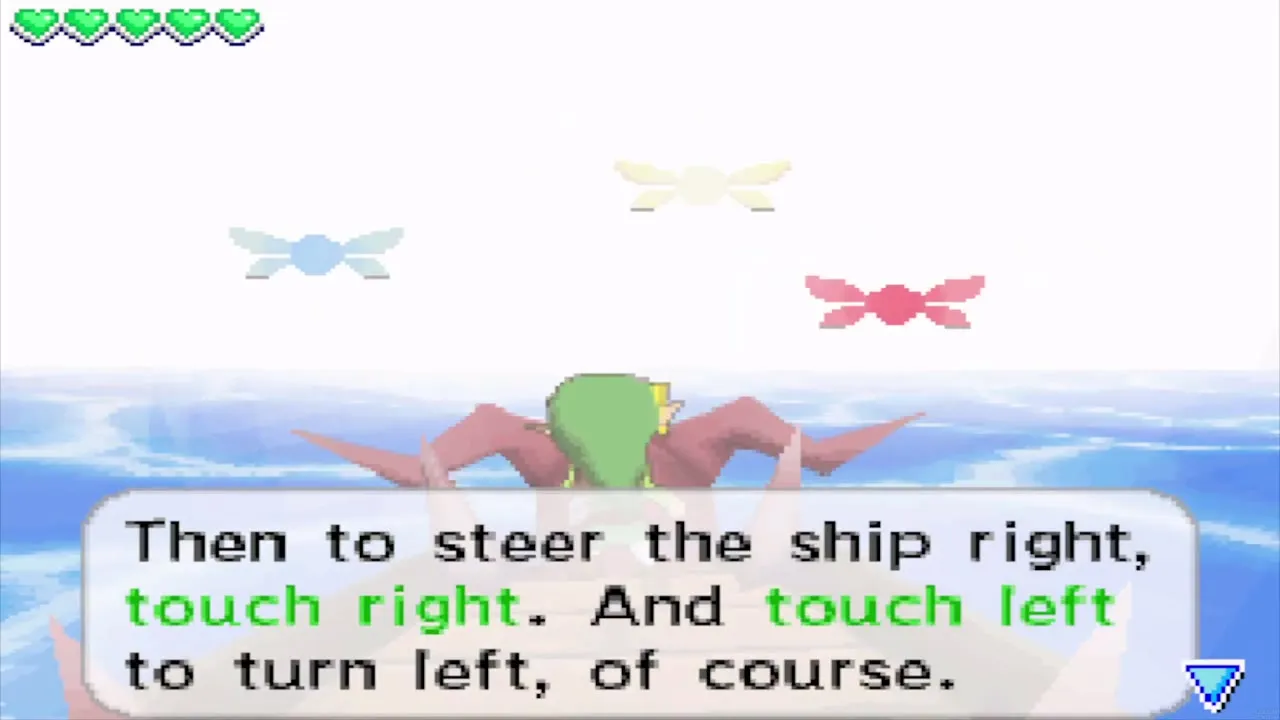
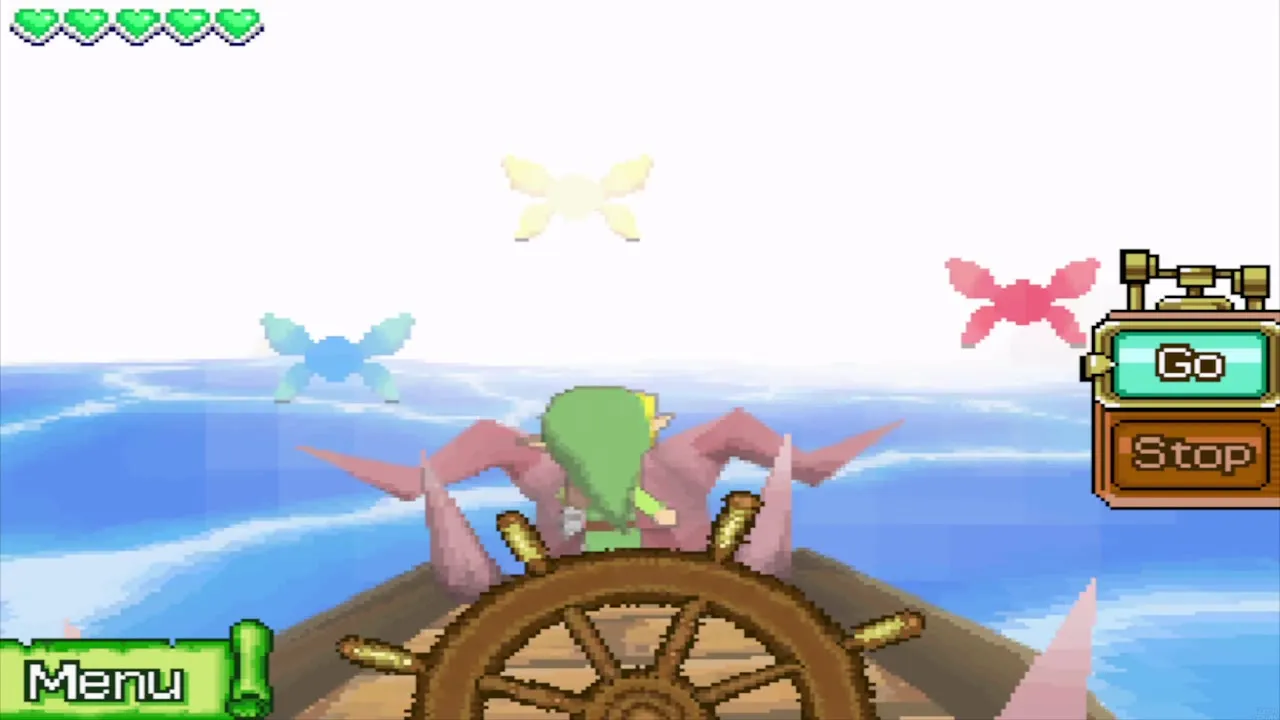
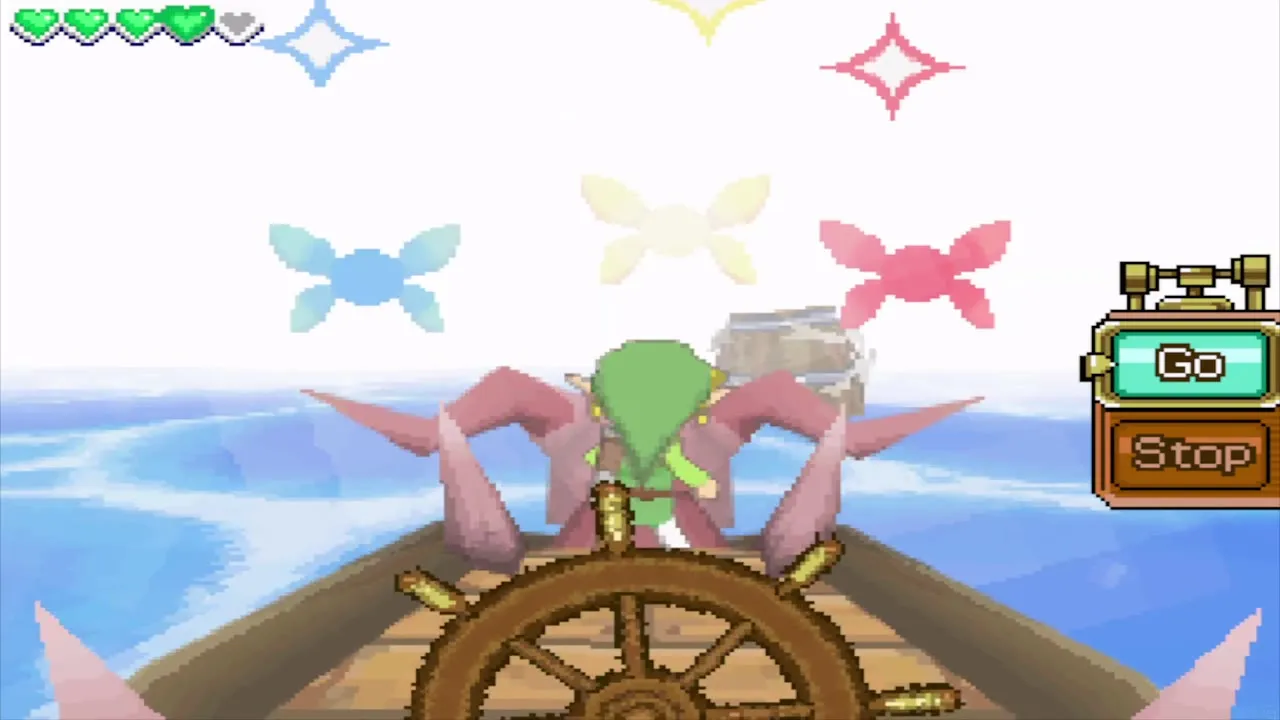
Linebeck stays below to fix the engine, so you take the helm. Set the engine to Go, then touch the right side of the screen to turn right and the left side to turn left; you can touch anywhere, not only the wheel. The Spirits hover over the wheel and grow more excited the closer the bow points at the Ghost Ship. Turn slowly until they flutter wildly, hold that heading, and the dark hull appears out of the mist. Linebeck is too frightened to follow you aboard, so you go in alone.
Ghost Ship, first basement (B1)
Meet the youngest sister
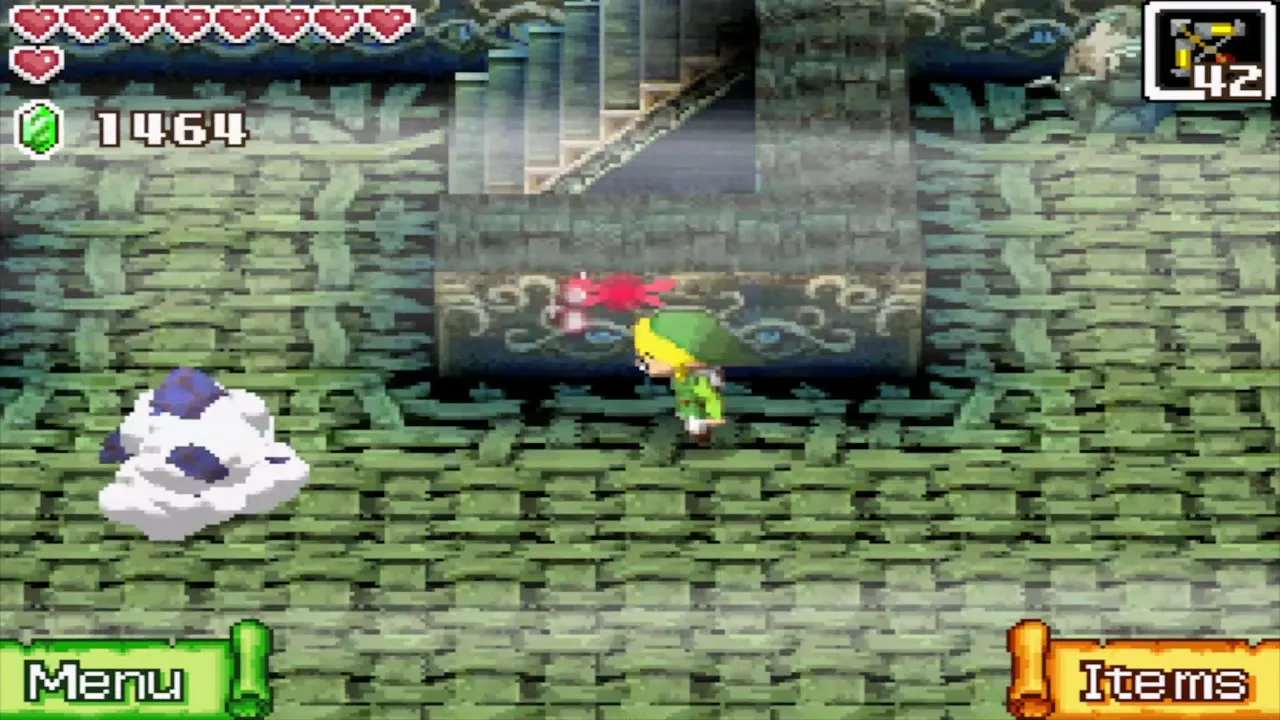
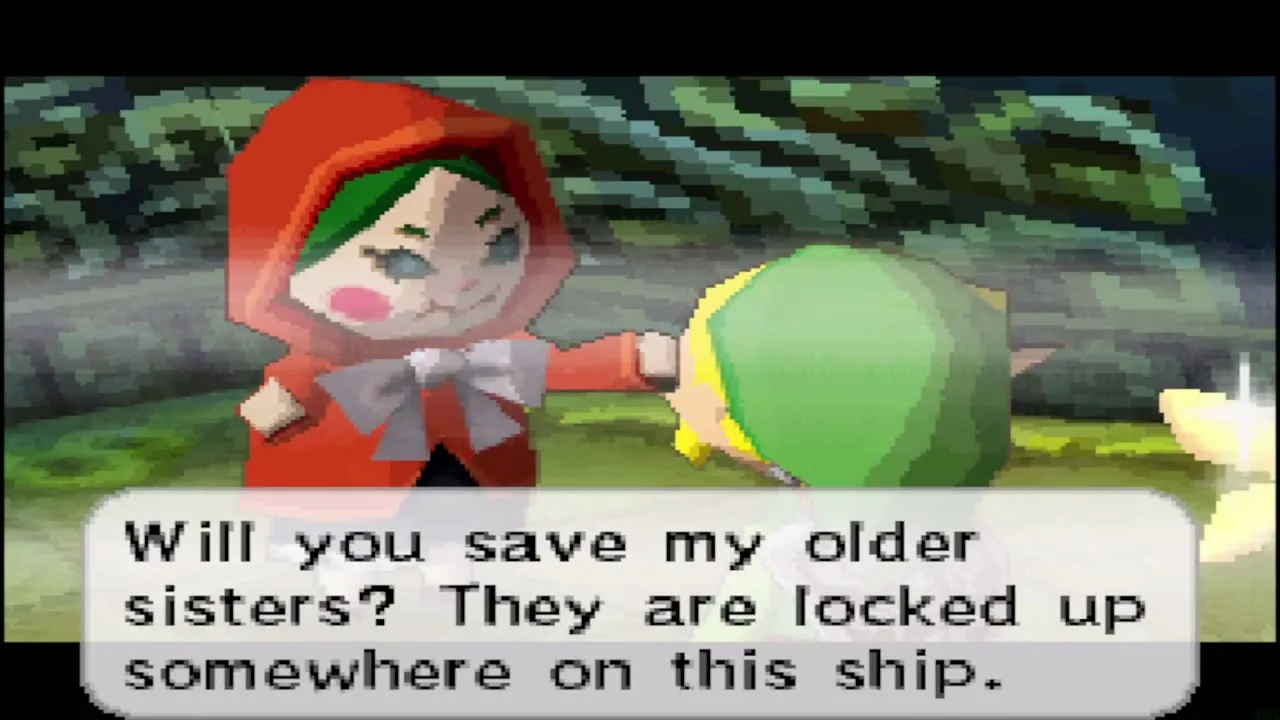
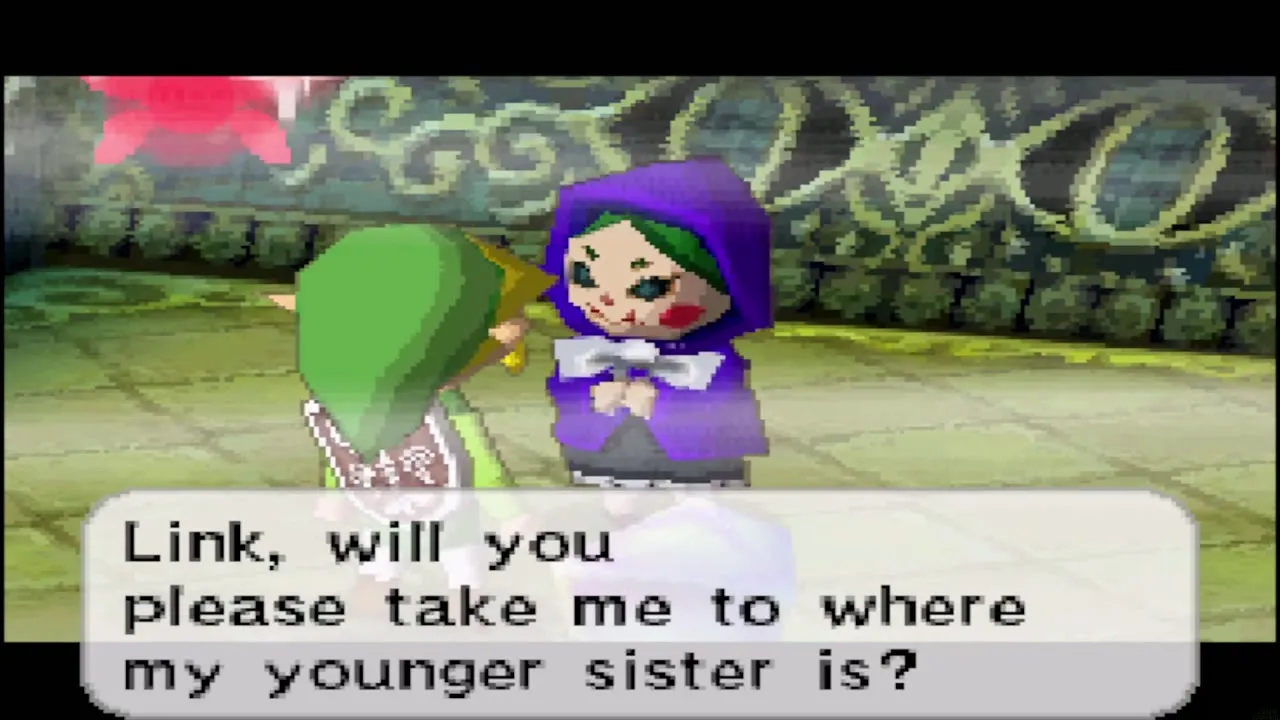
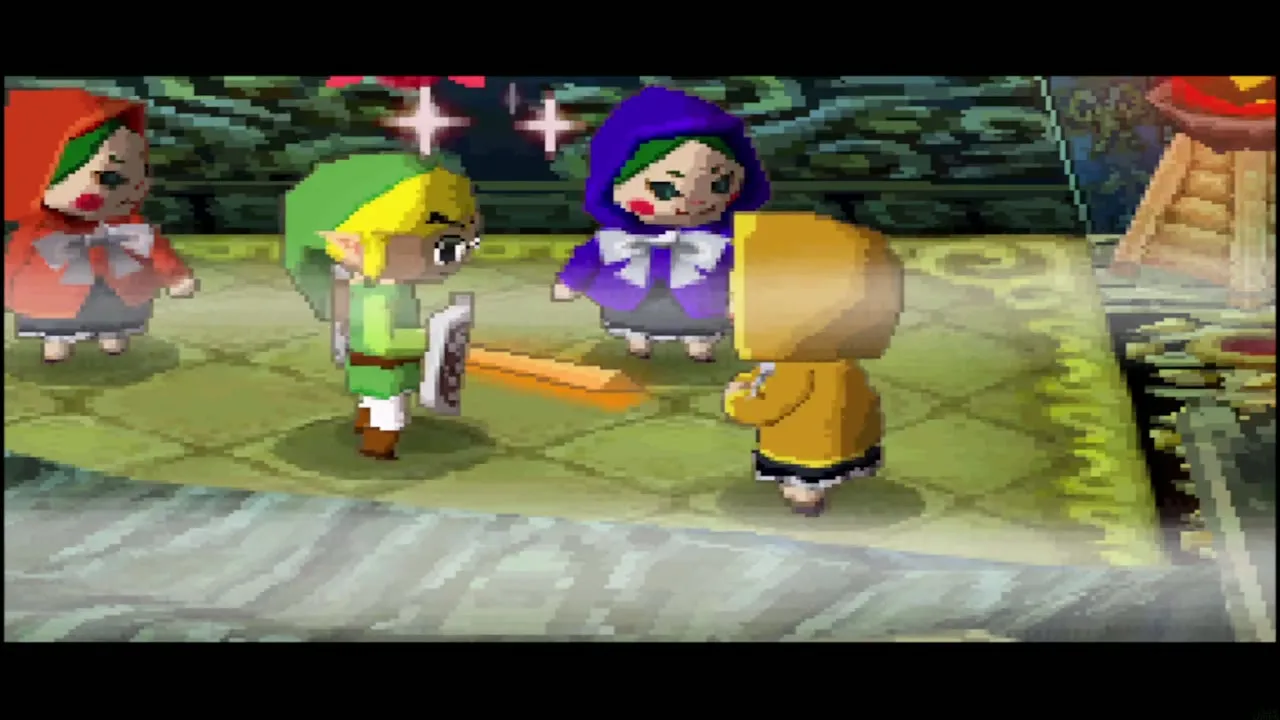
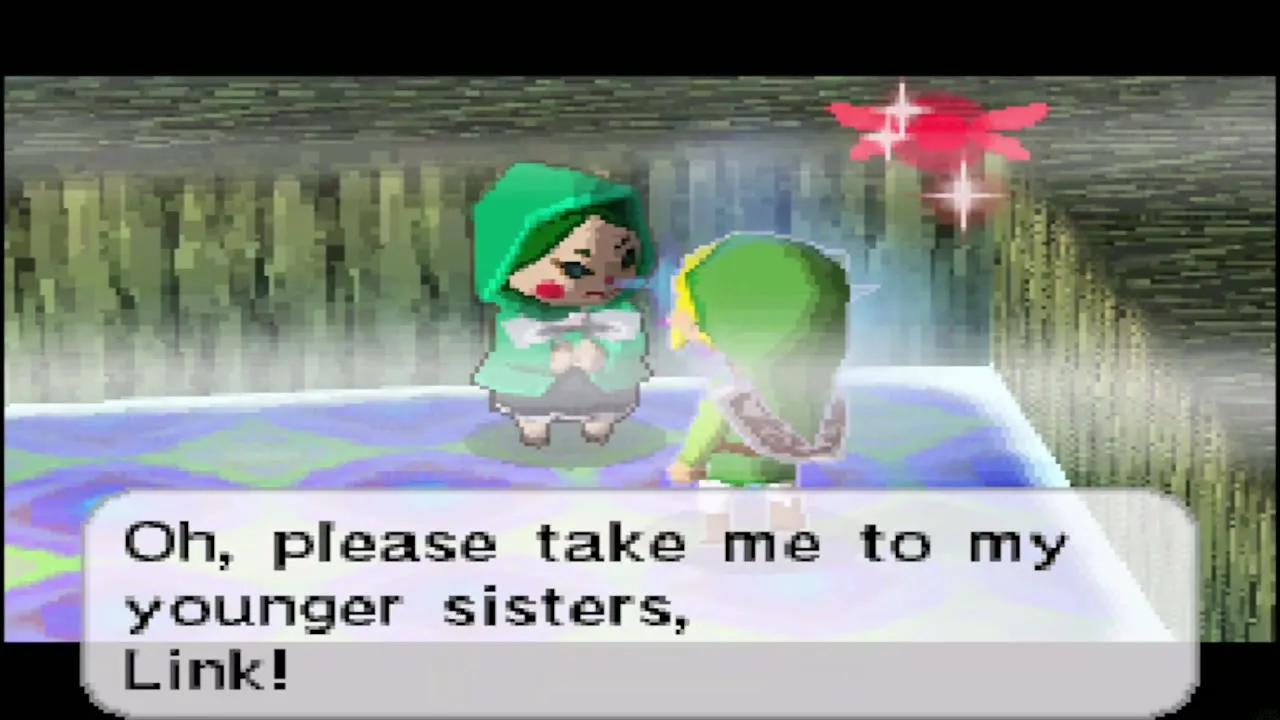
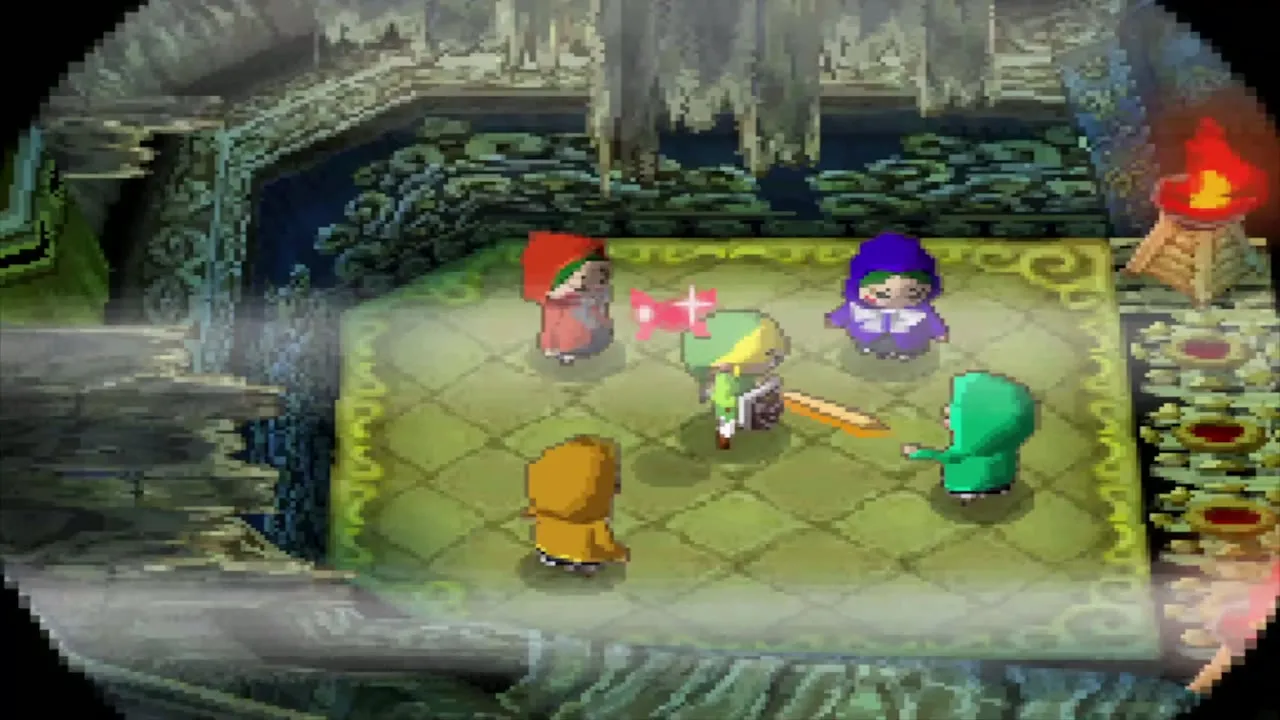
From the main deck walk west and take the stairs down to B1. Keep walking west until the door slams behind you, then cut down the Poes that attack. Talk to the youngest sister of the house of Cubus. She asks you to find her three older sisters, and that is the whole point of the dungeon: bring each sister back to her. Stay close to any sister you escort, because she freezes in fear when something startles her and will not move until you walk back and speak to her.

Get the triangle crystal
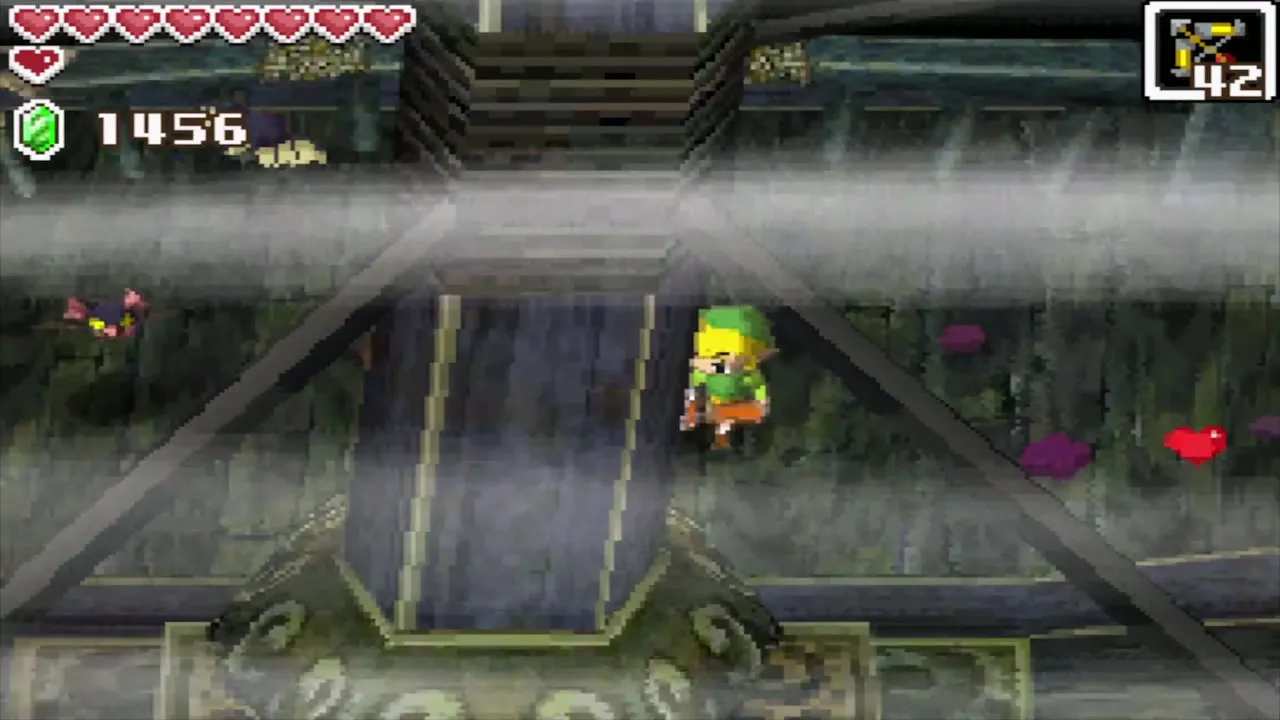
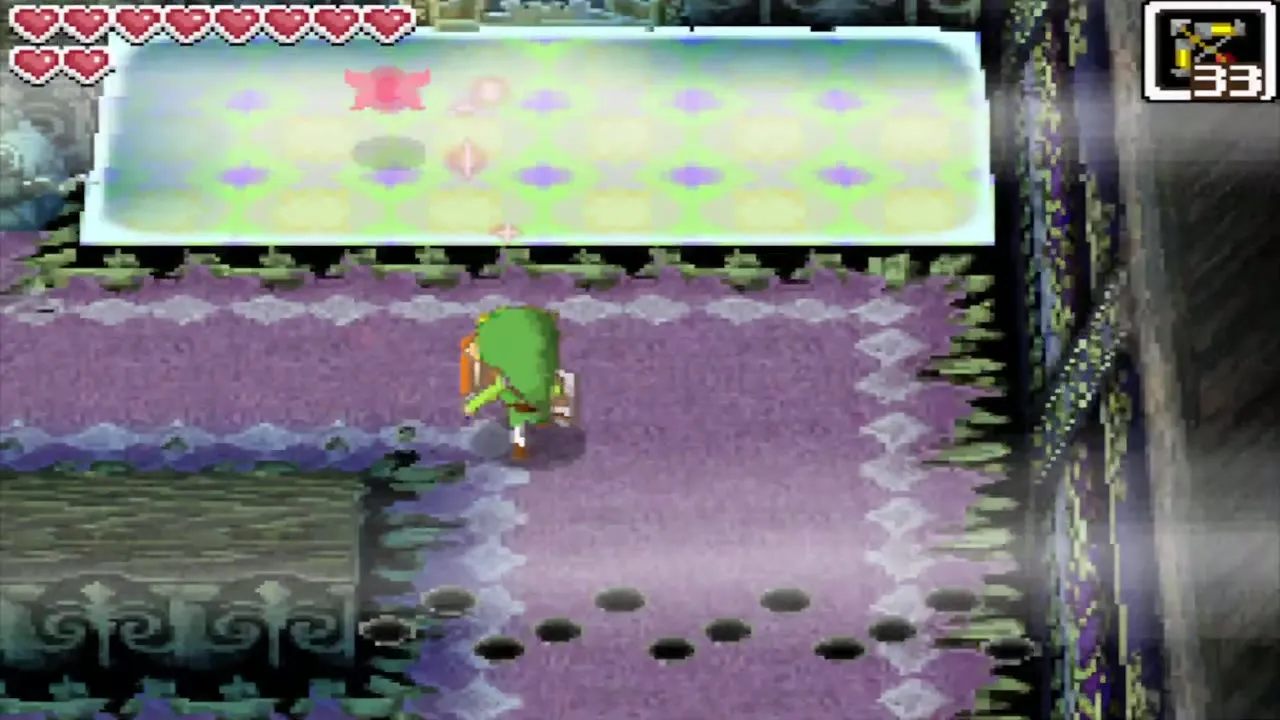
Head north, slashing Skulltulas as they drop from the ceiling. Throw the Boomerang at the crystal switch to the north to lower the first row of spikes, then walk east past the spinning blue fireballs and hit the next crystal switch the same way. Follow the corridor until blue flames block it, then jump down into the lower section to the south, go around the corner and walk the hallway of popping spikes. Hit the crystal switch just north of them, then open the chest to the west to take the triangle crystal.
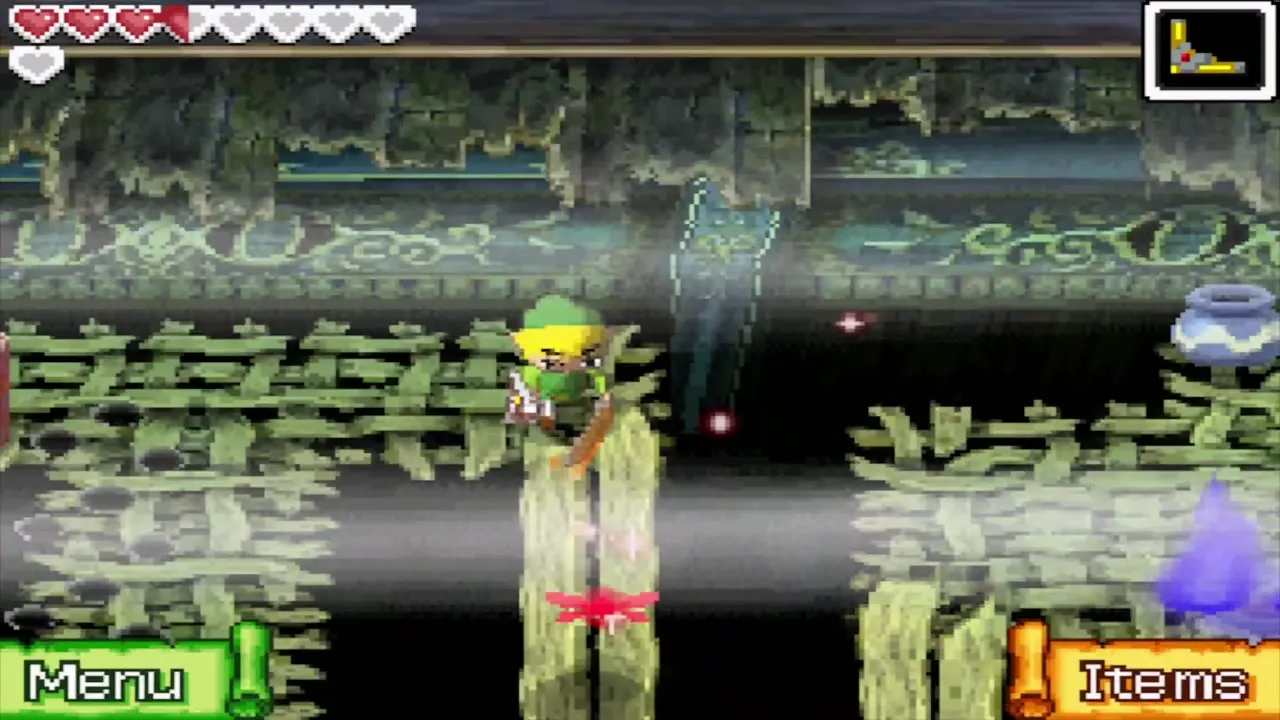
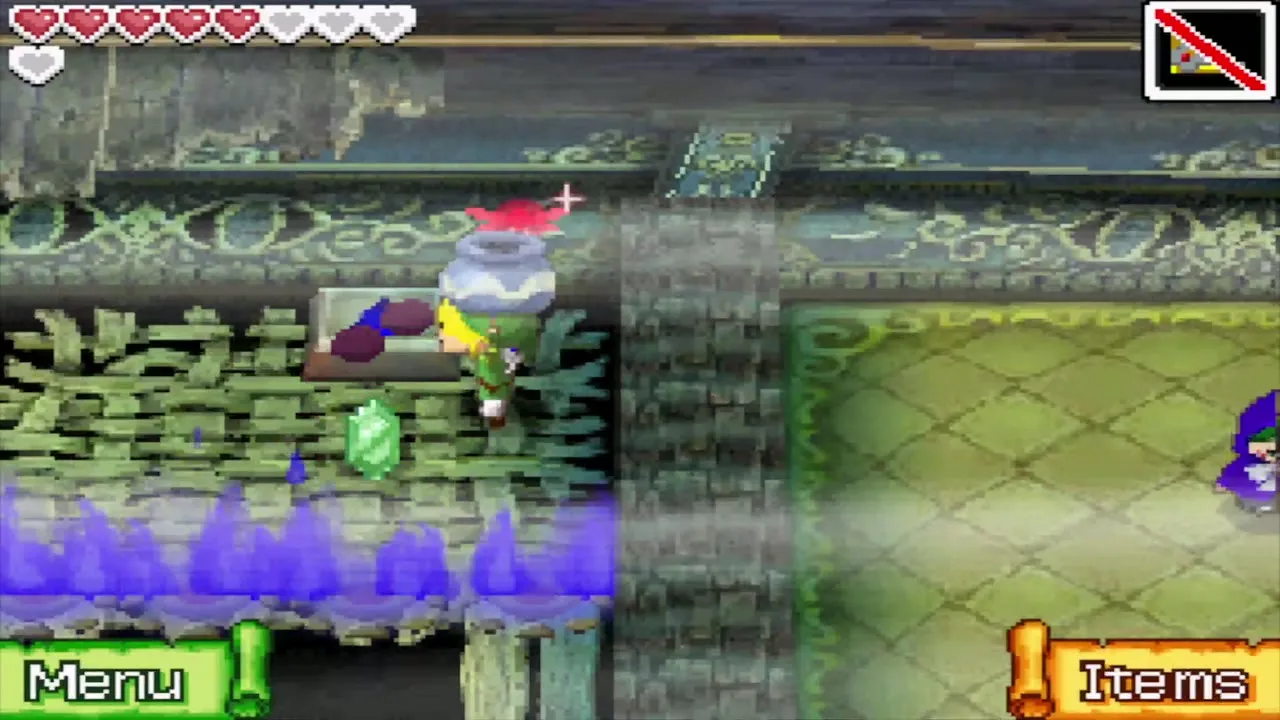
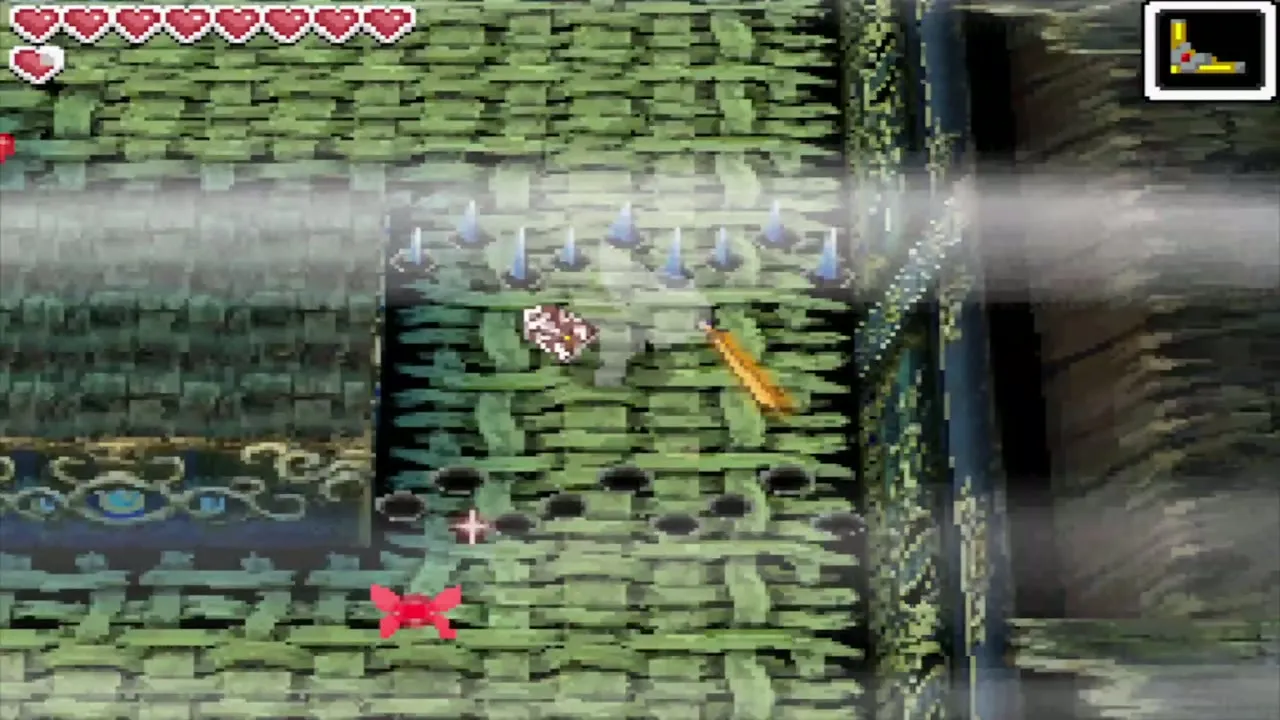
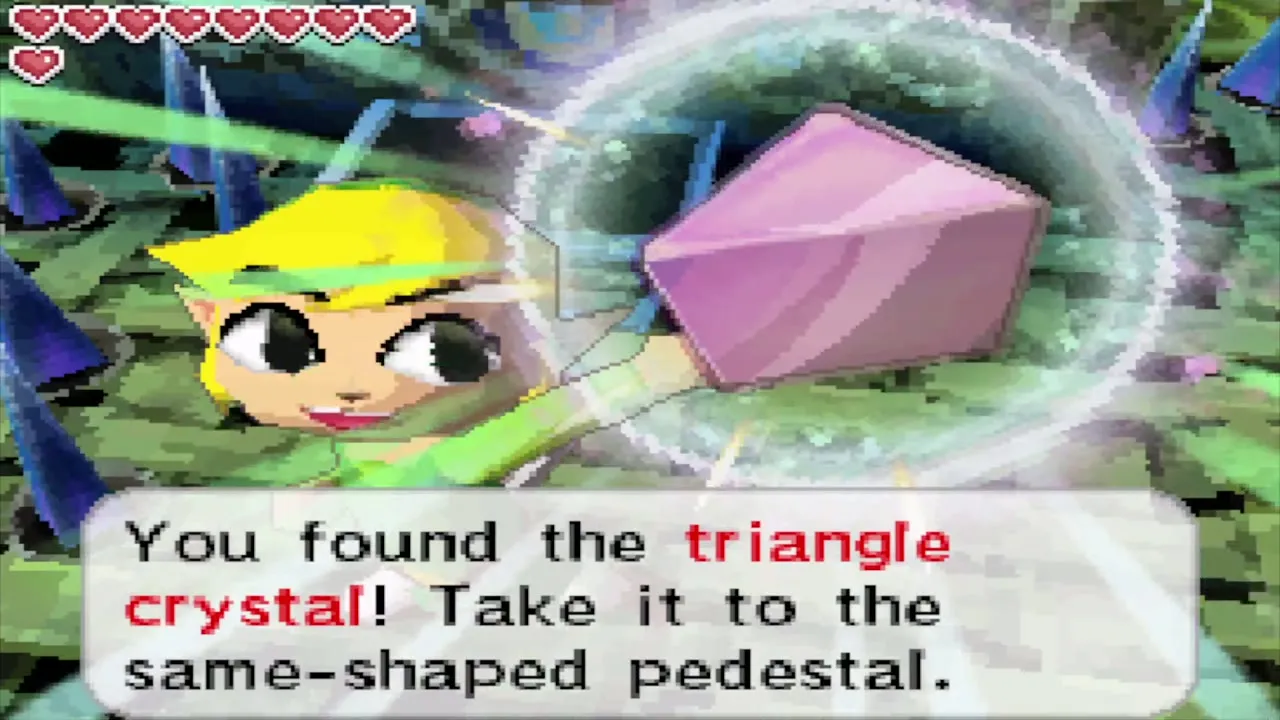
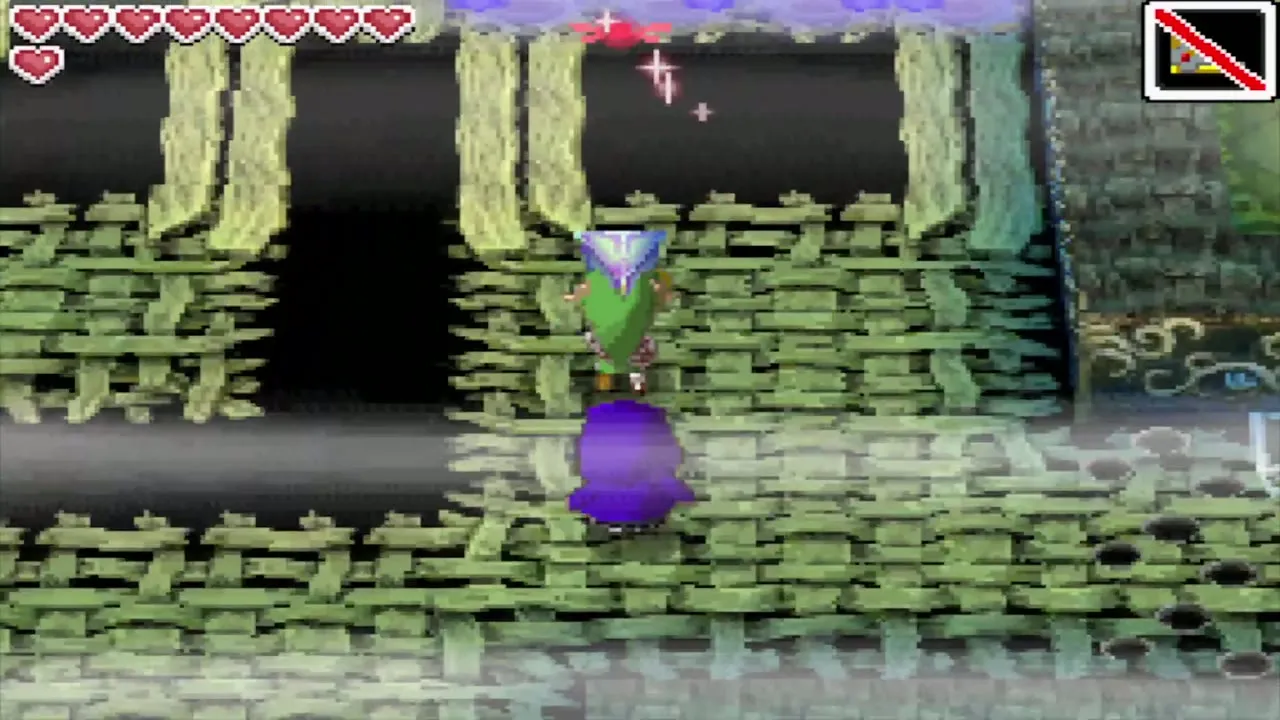
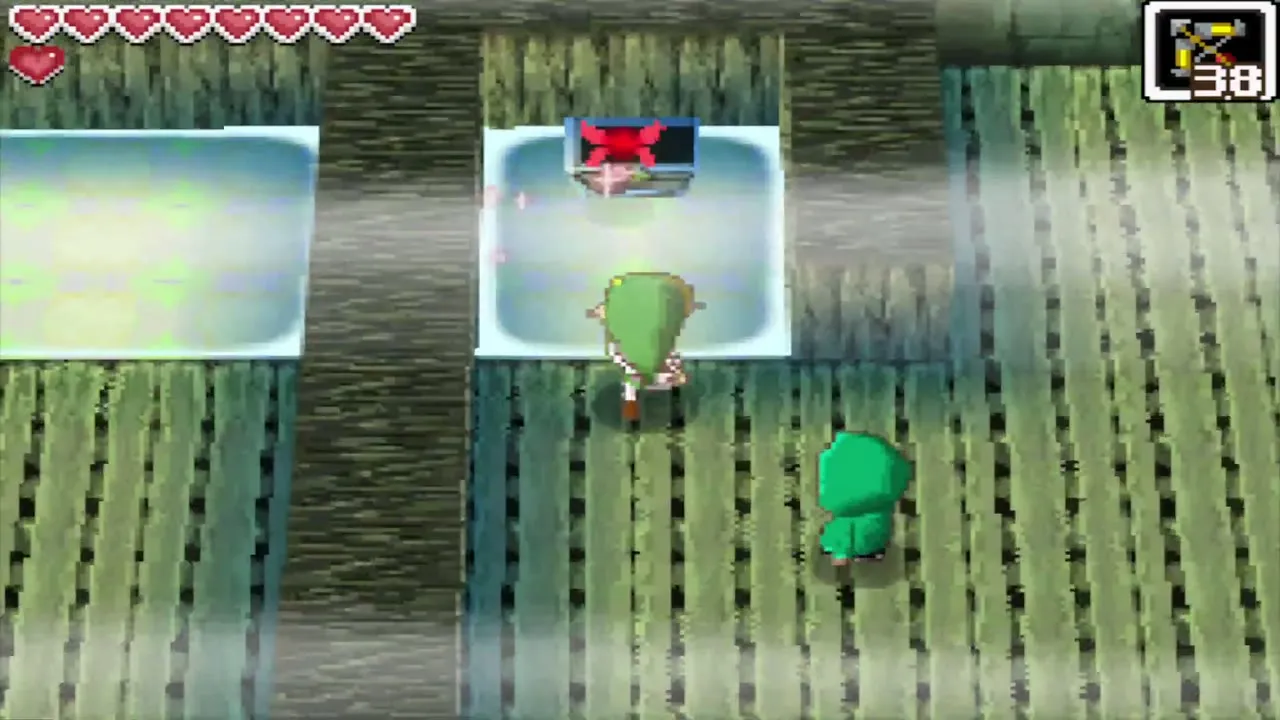
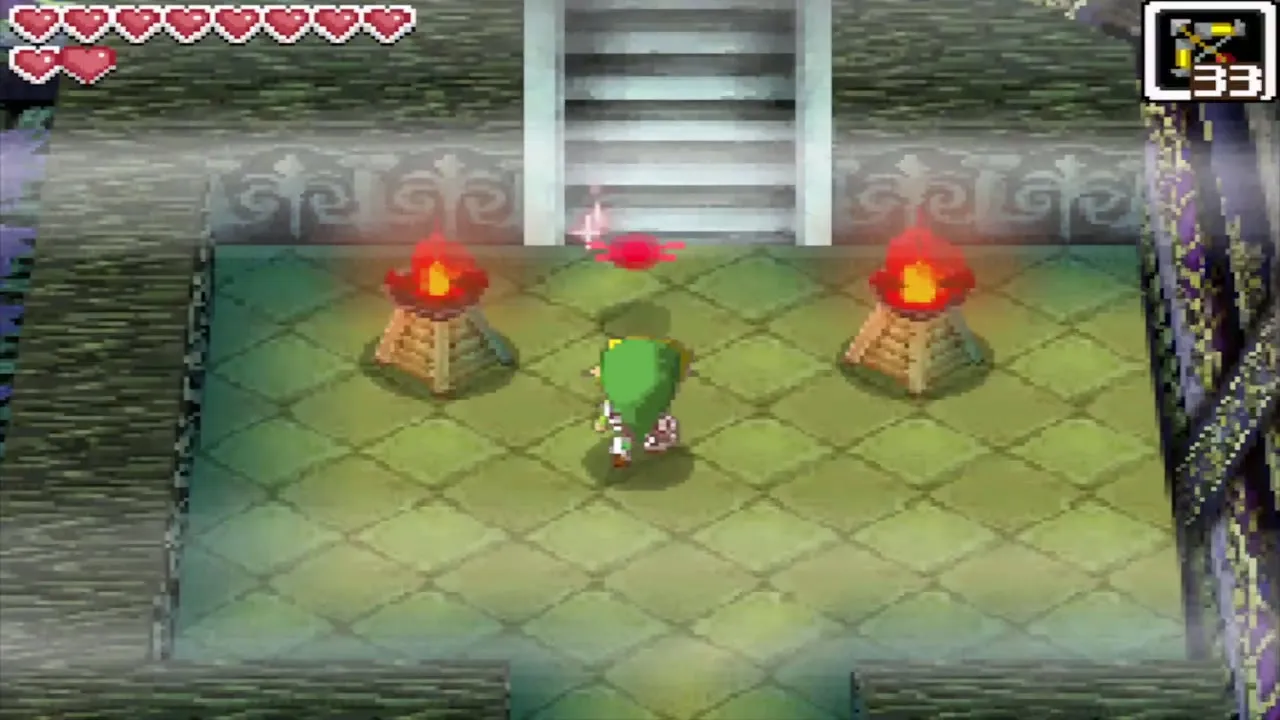
Carry the crystal back to the place you jumped down from, throw it up onto the ledge, climb up and lift it again. Set it on the triangle pedestal in the north-east corner, above the last blue flames. The flames die out and the way to the second sister in the north-east room opens. Talk to her so she follows you, then lead her west to the youngest sister, killing Skulltulas before they reach her.
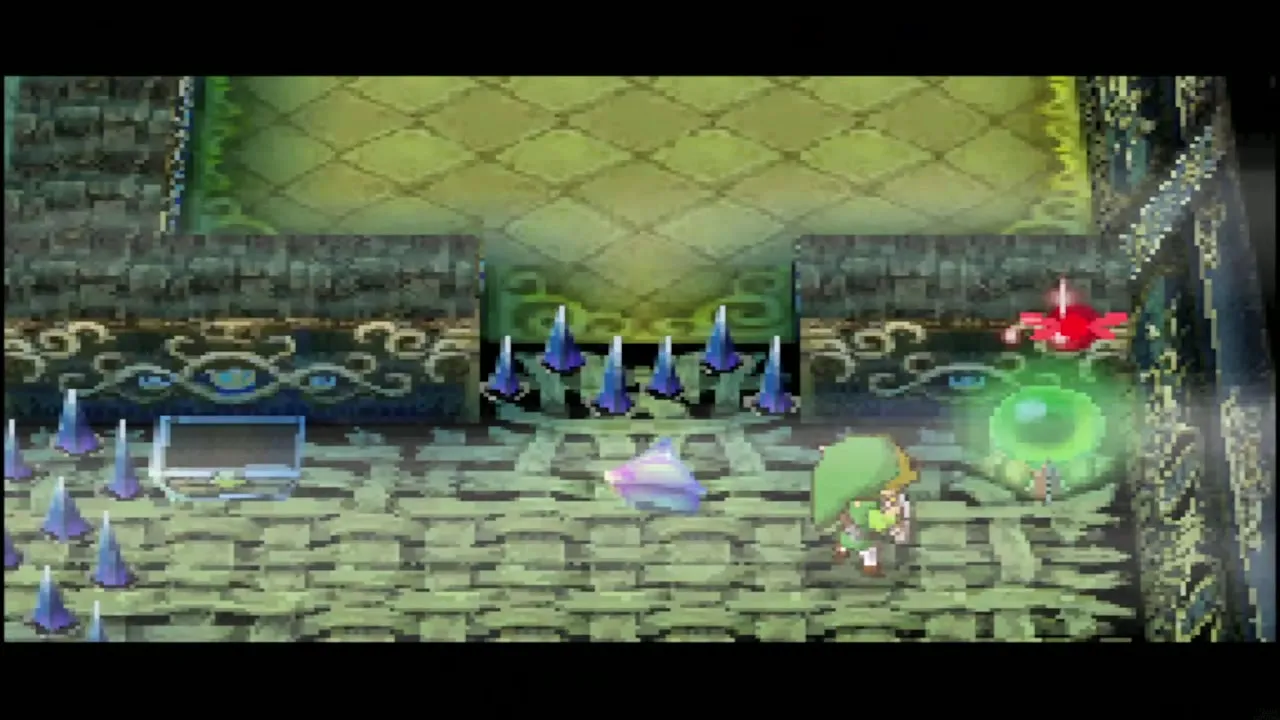
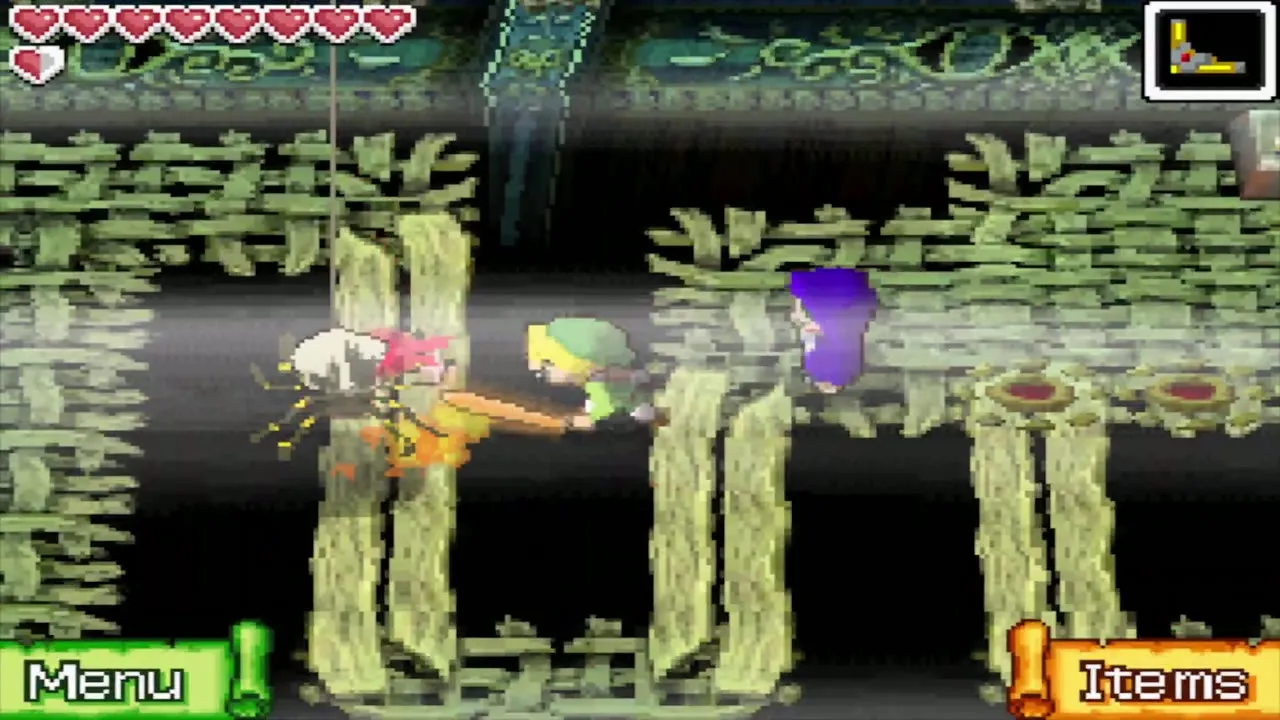
A skull-faced stone in these rooms offers to show you where treasure lies for 20 Rupees. If you pay, a note appears on your map and a sign tells you how many chests are left on the floor. Nothing on the floor needs it, so skip it unless you want the map note.
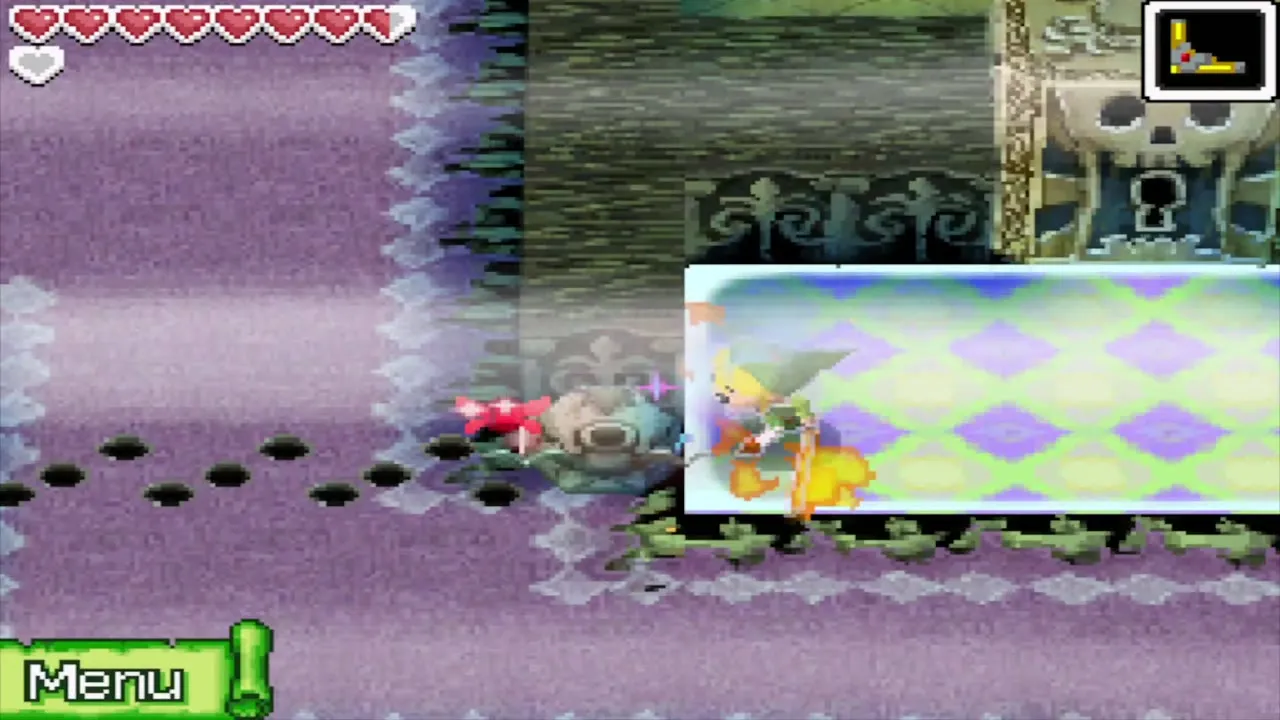
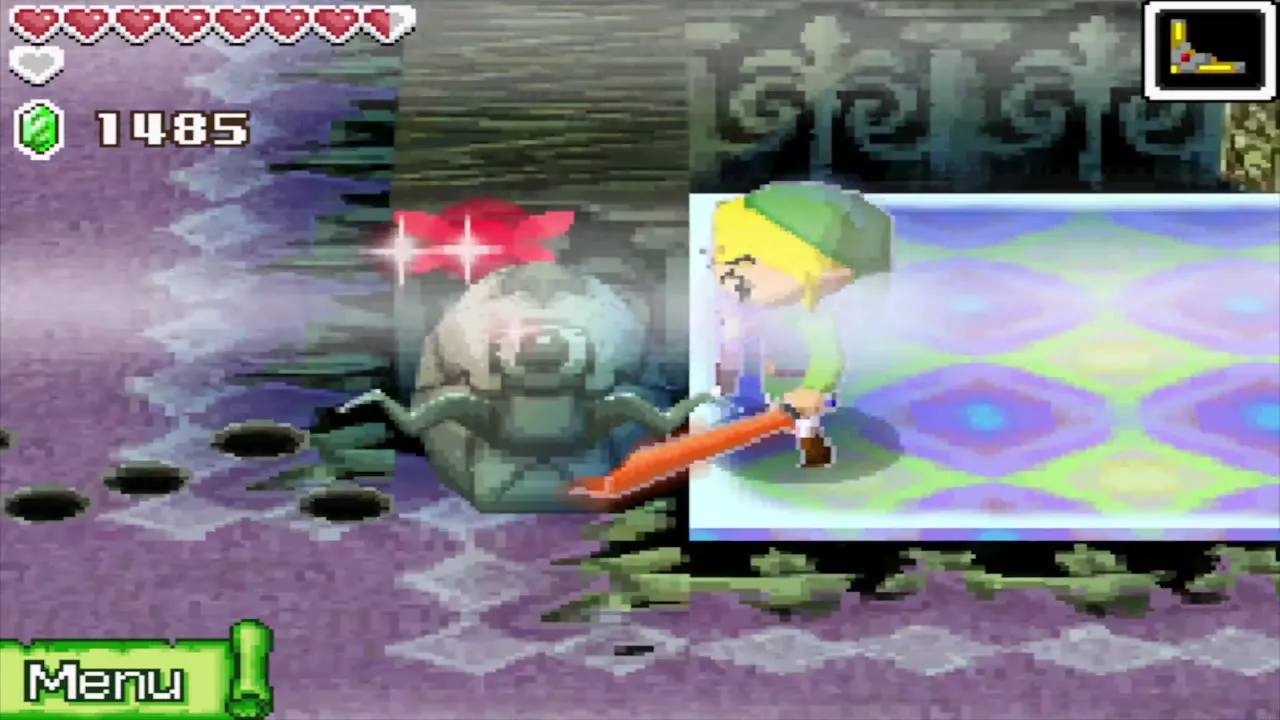
Take the east stairs down to B2.
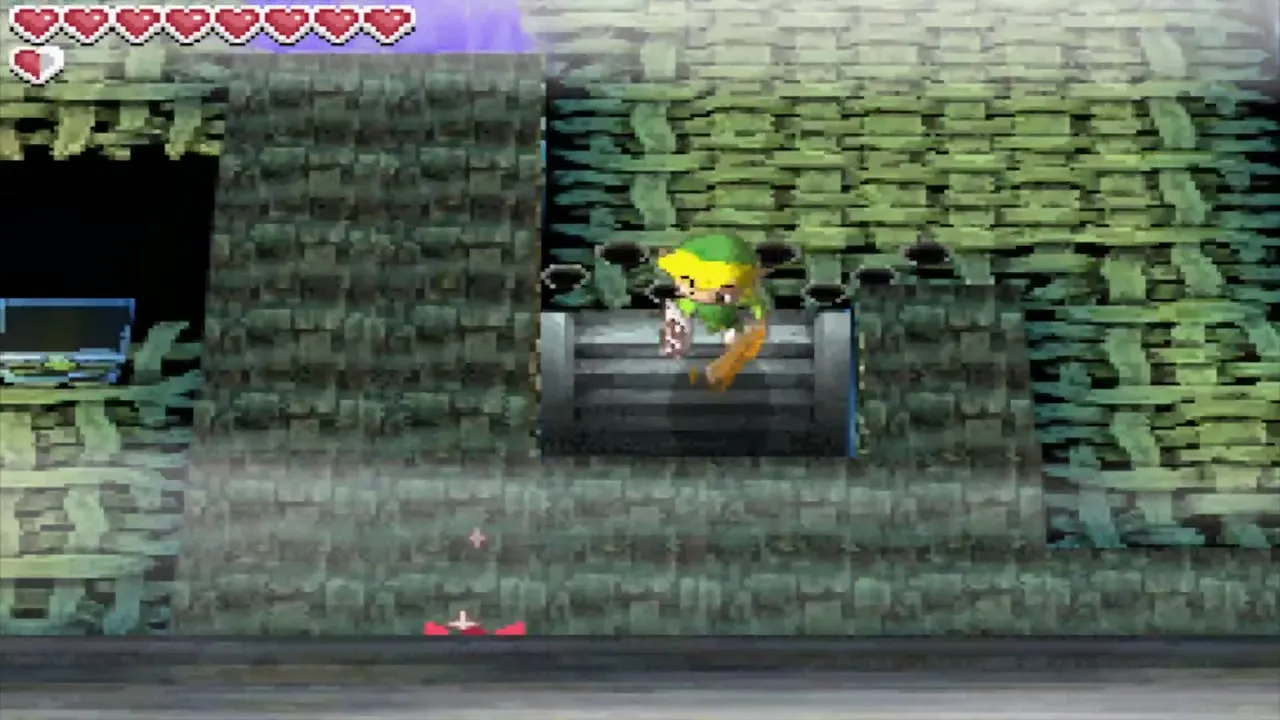
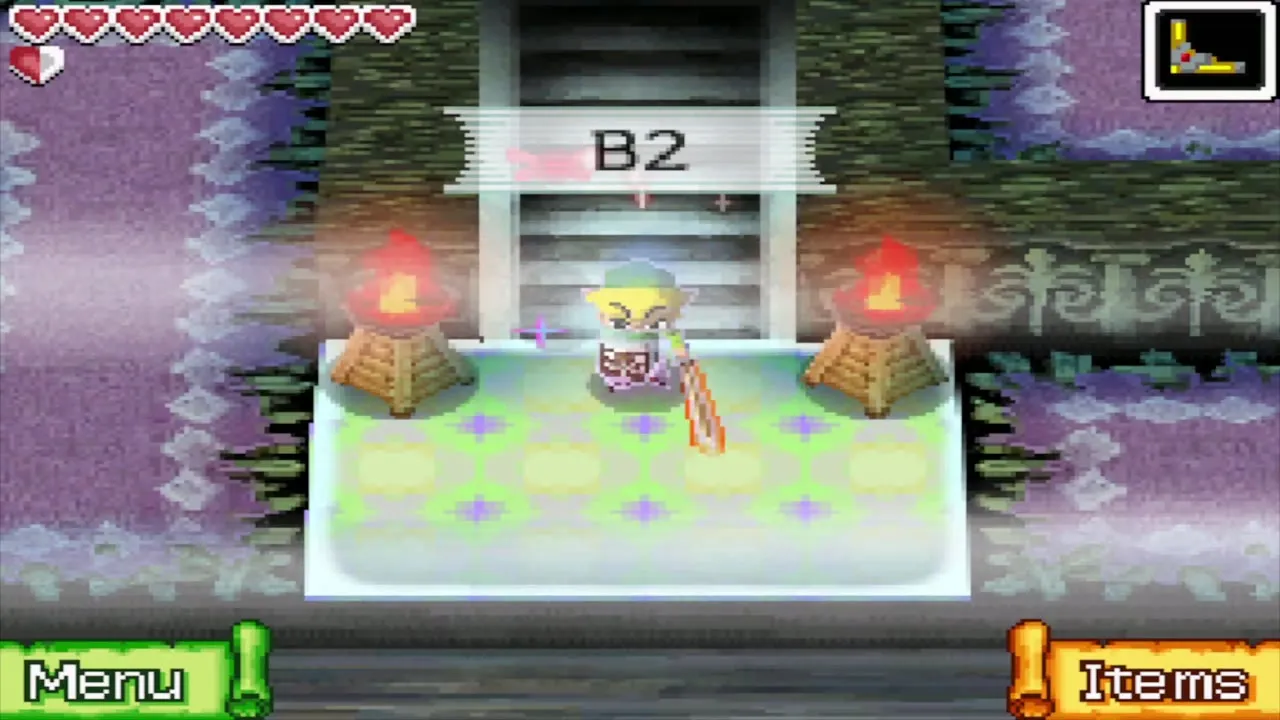
Ghost Ship, second basement (B2) and the Reaplings
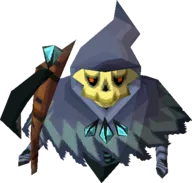
How to deal with Reaplings
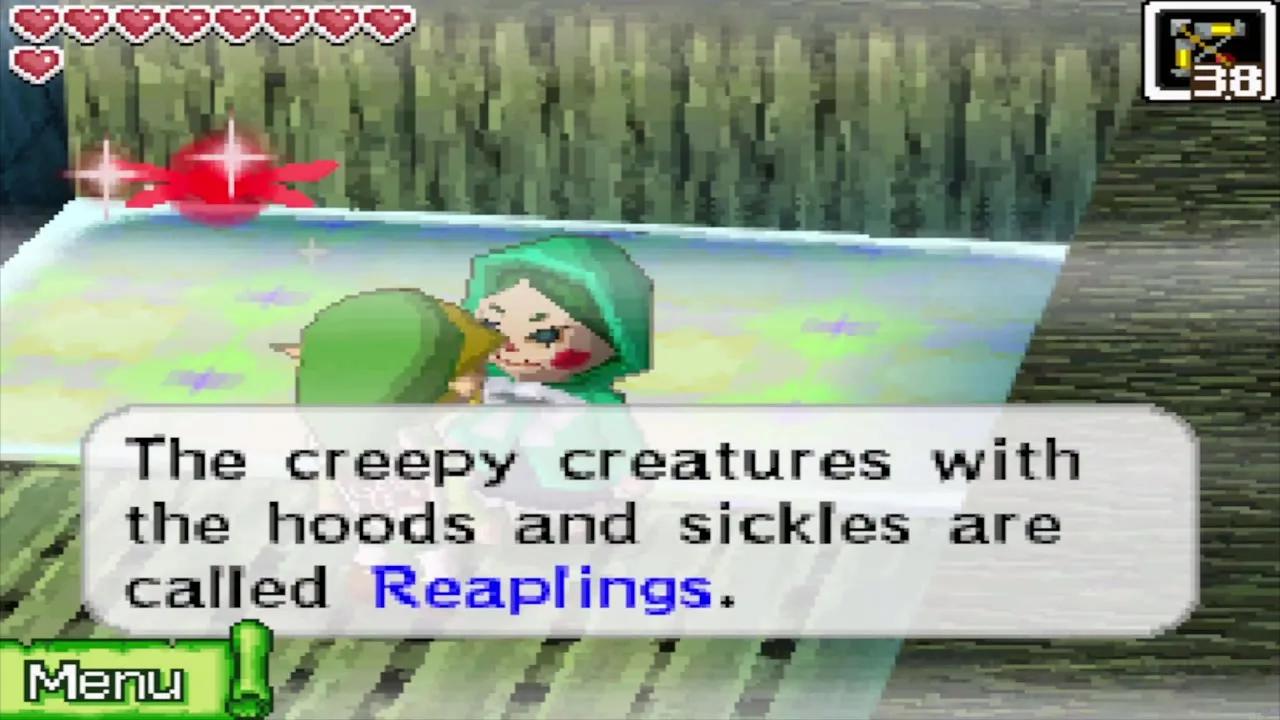
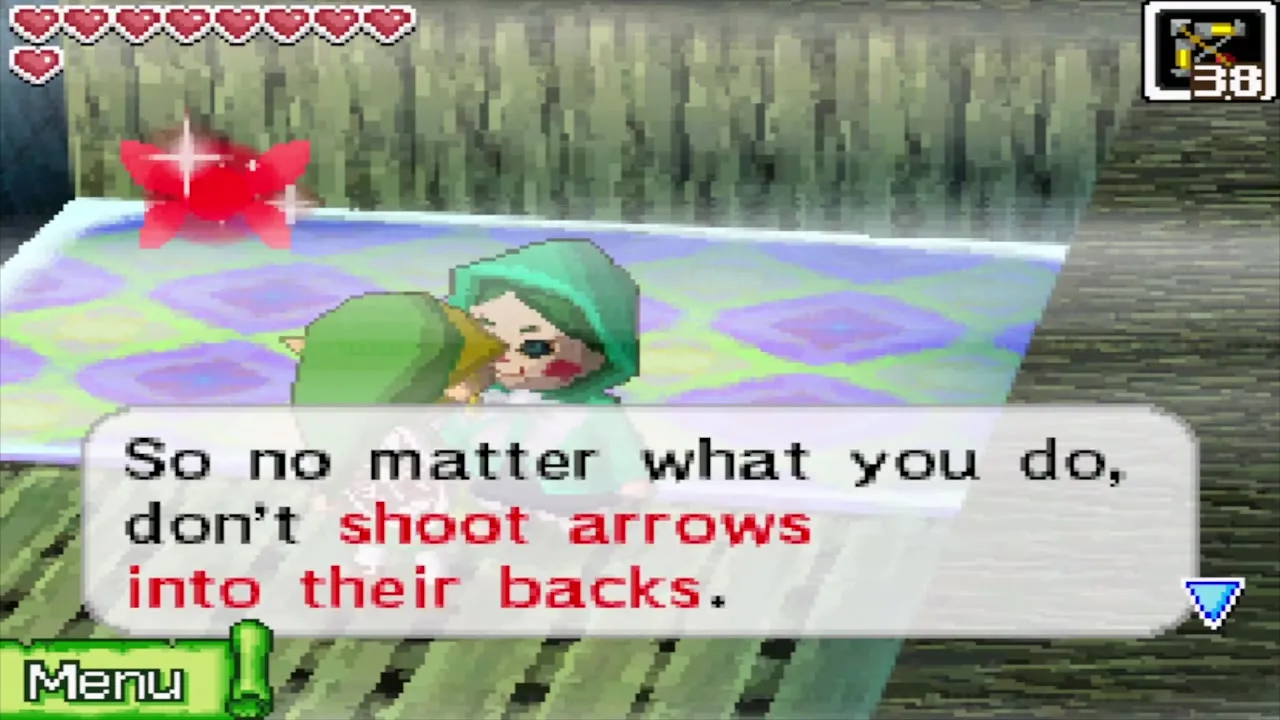
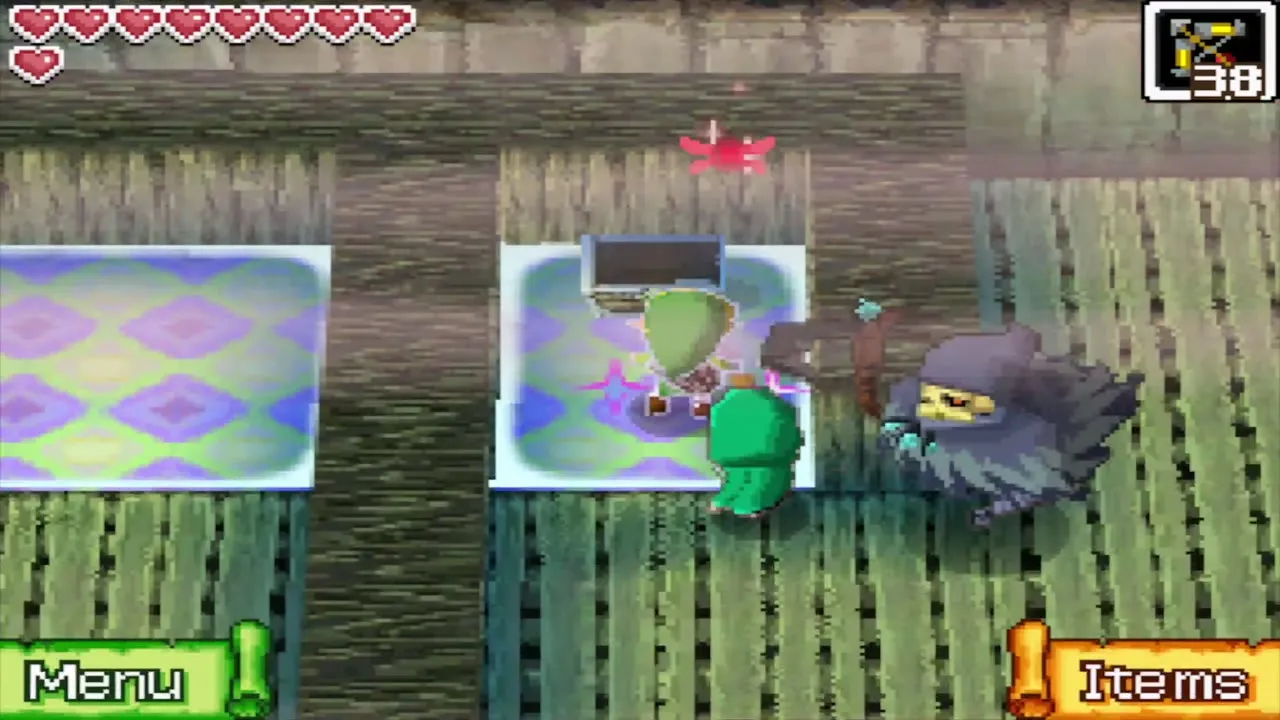
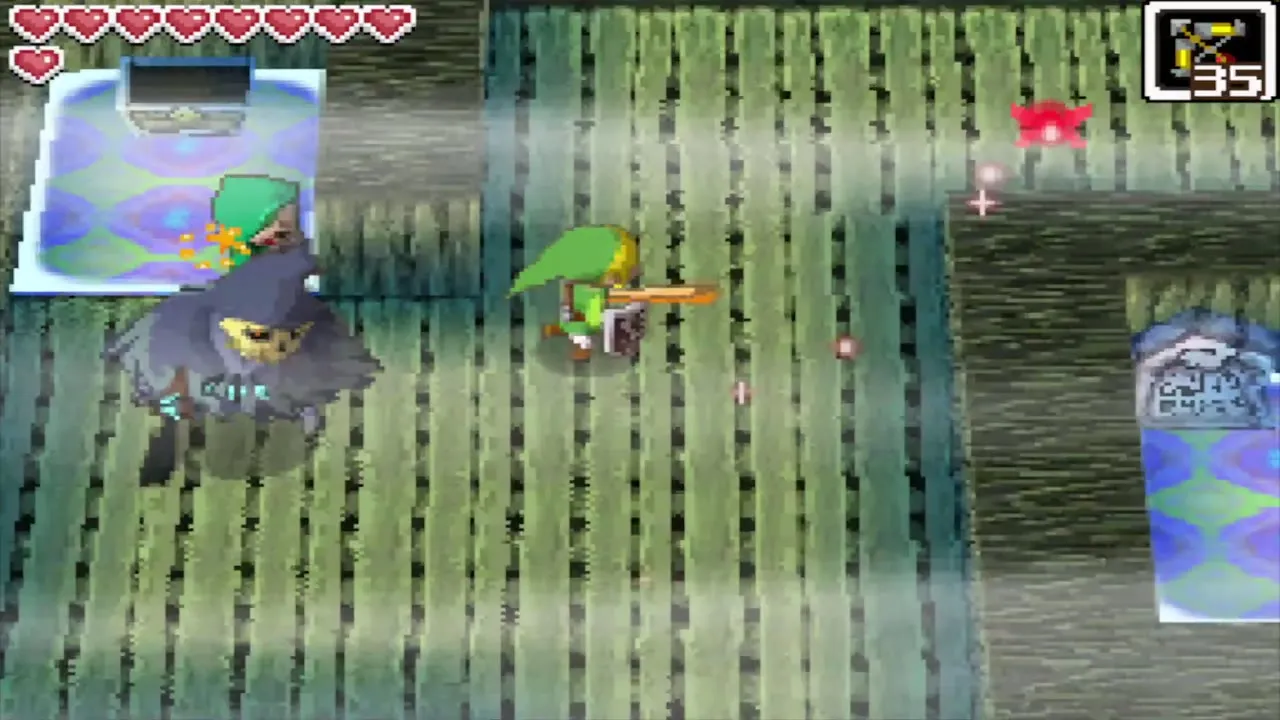
B2 introduces Reaplings, hooded ghosts with sickles that patrol like Phantoms. Your sword cannot kill them. When one sees you, run for a Safe Zone and wait until it wanders off. The eldest sister later warns you never to shoot arrows into their backs, which is her devilish advice rather than a rule: an arrow in the back stuns a Reapling briefly, but sneaking past is safer.

Free the next sister and get the round crystal
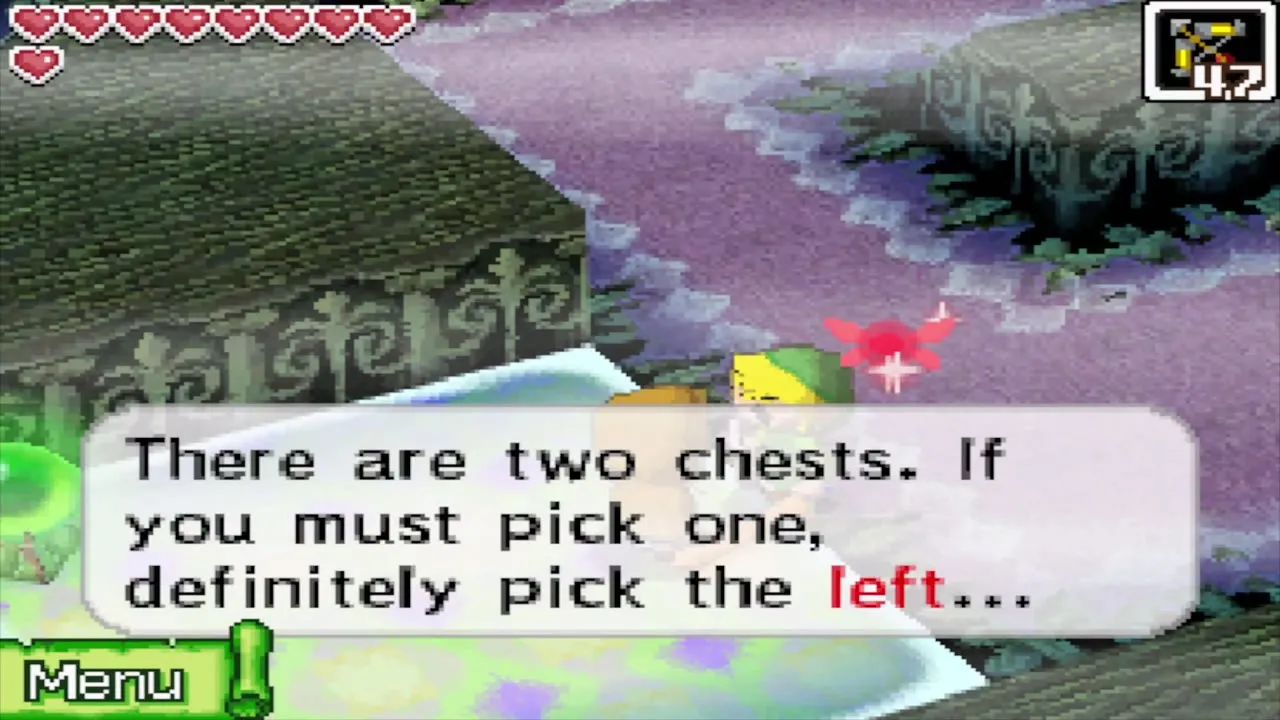
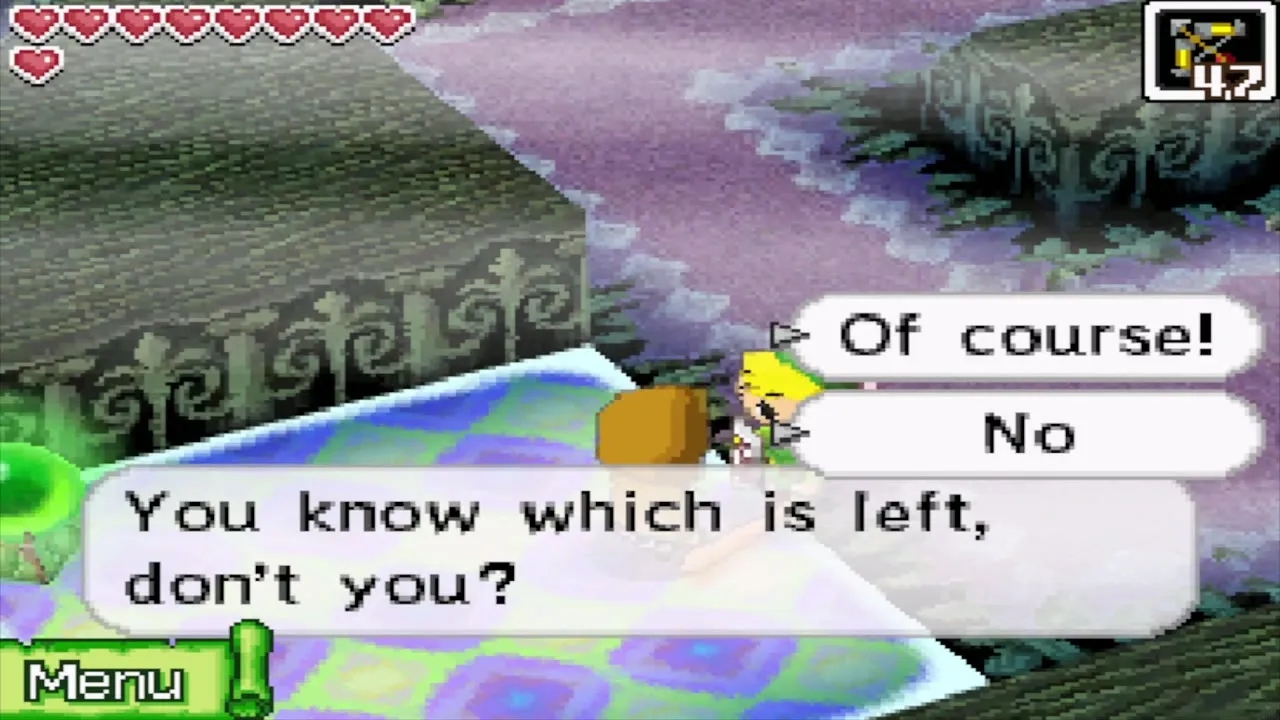
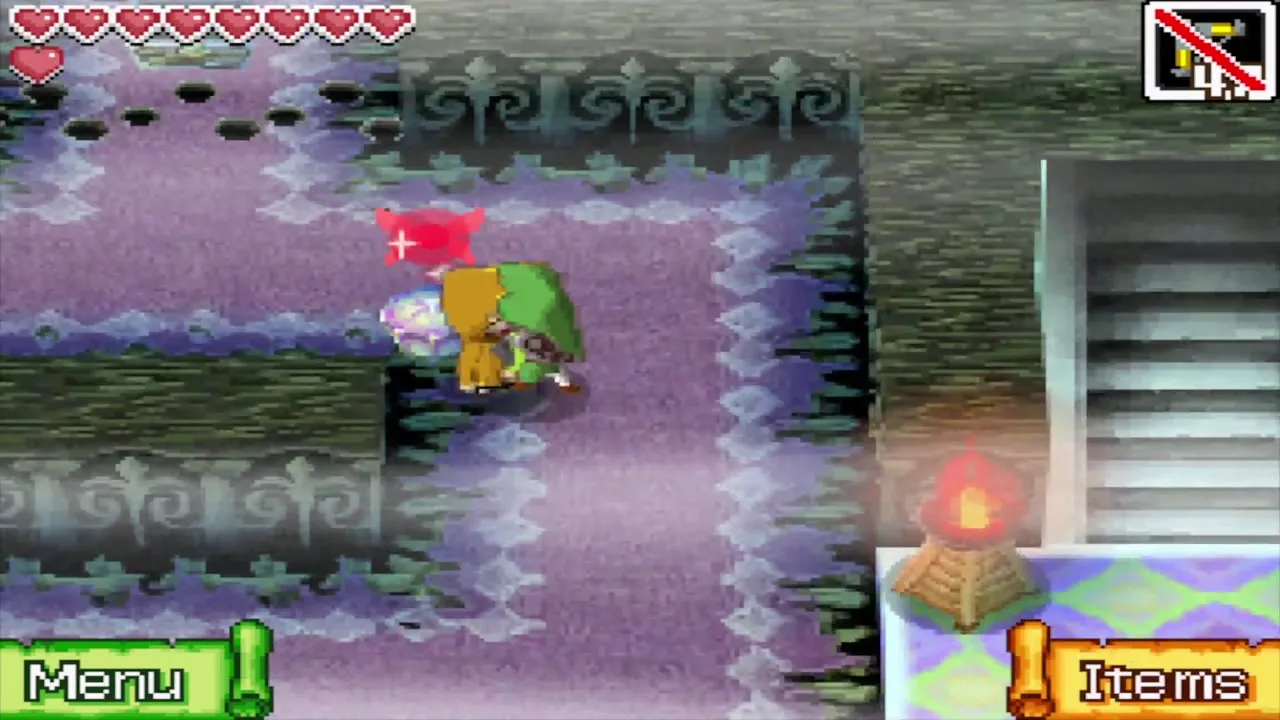
Walk east, then north, then north-west past the spikes, taking the northern path west while the Reapling walks the southern one. On the west side, hit the crystal switch behind you and talk to the sister there. She tells you to open the left chest. Do not: it holds a black Rupoor that costs you 10 Rupees and calls another Reapling. The right chest holds a Yellow Potion.
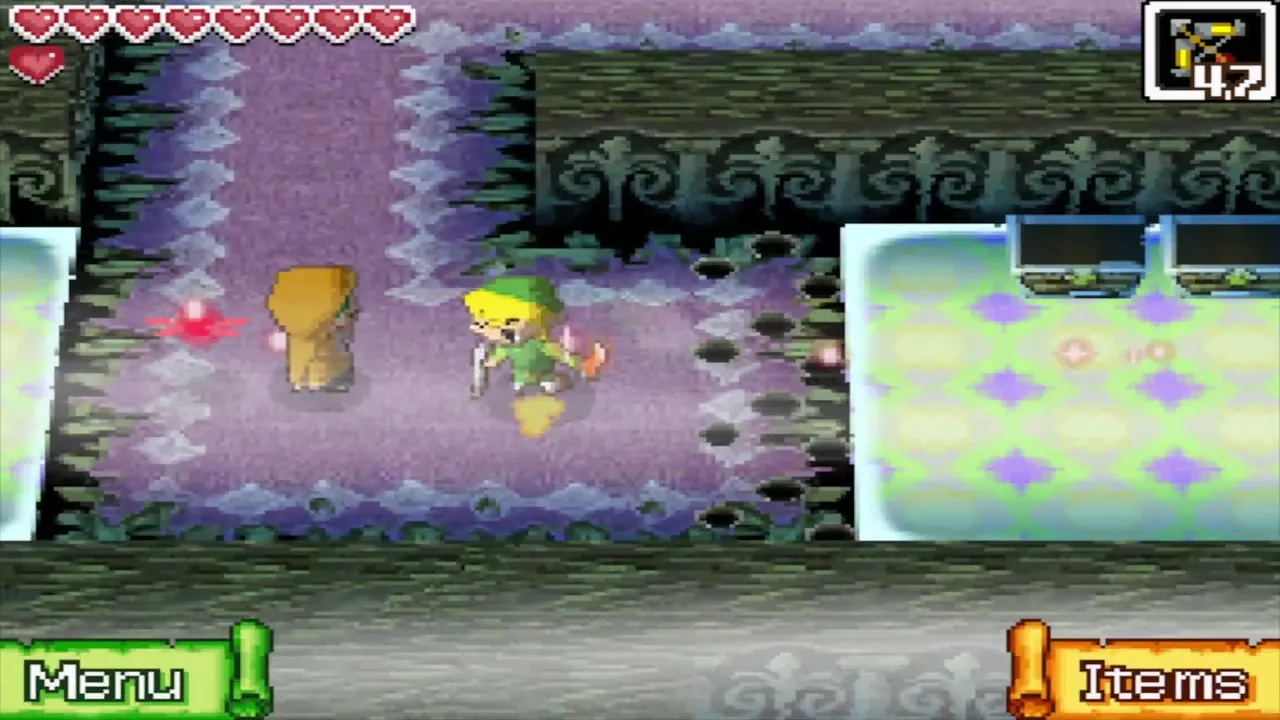
The switch has made the chest in the middle of the room reachable. Open it for the round crystal. Carry the crystal and walk the sister to the stairs that lead up to B1. If she gets frightened, put the crystal down on safe ground, fetch her, and then take both up together.
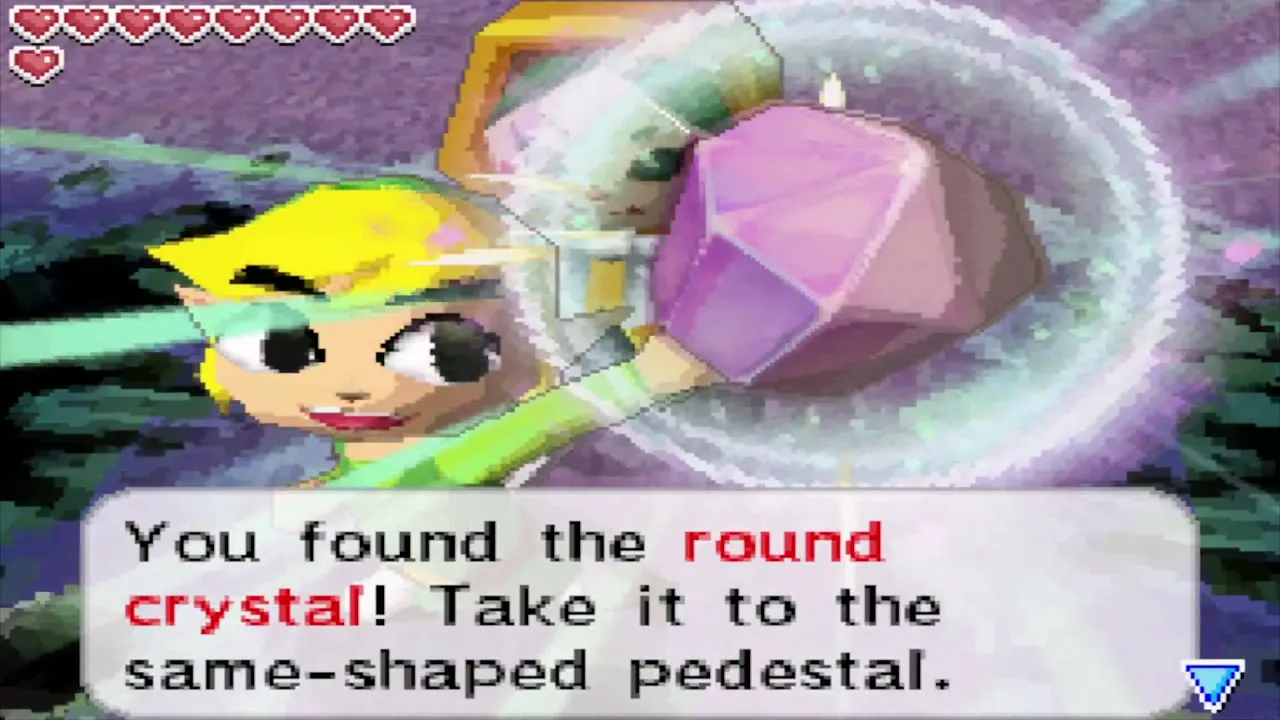
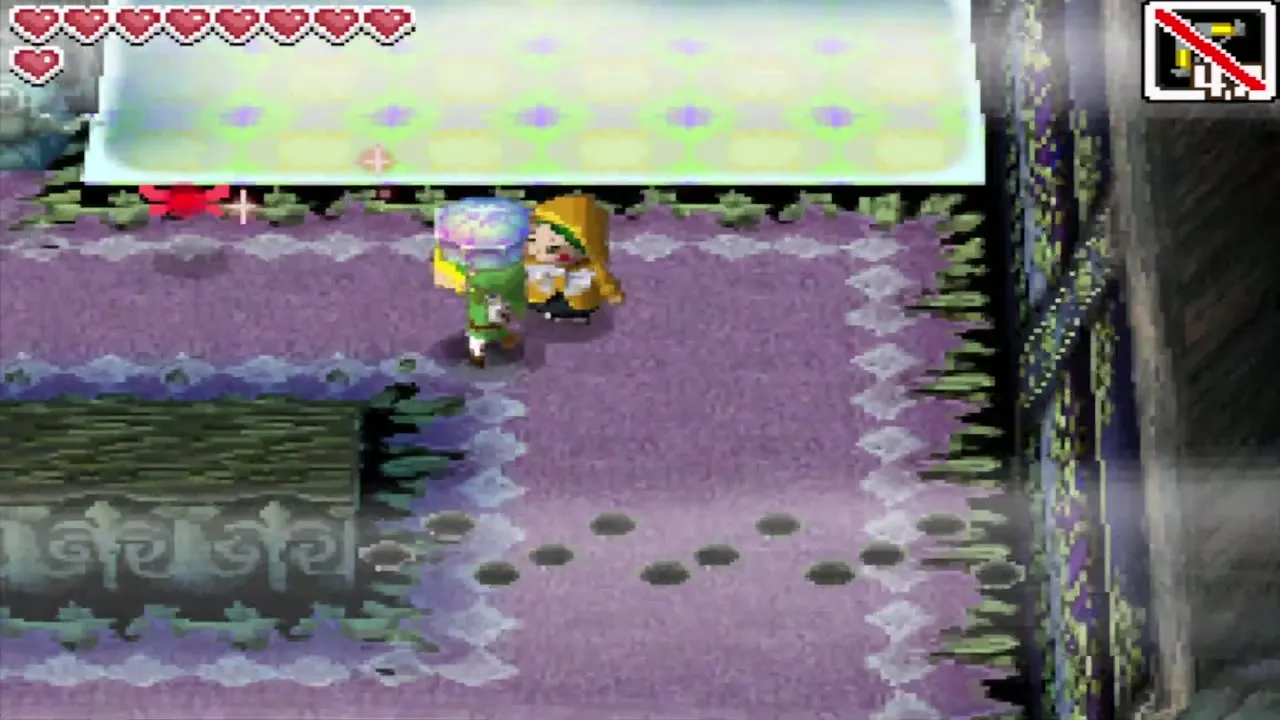
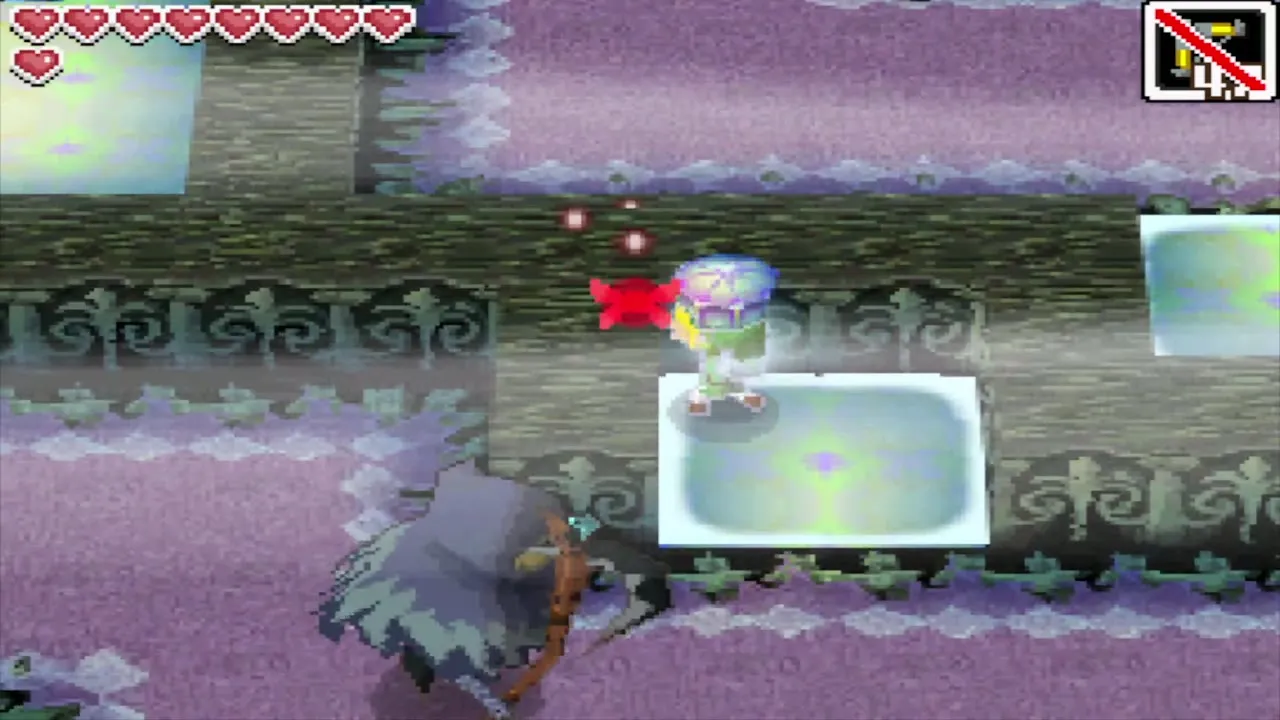
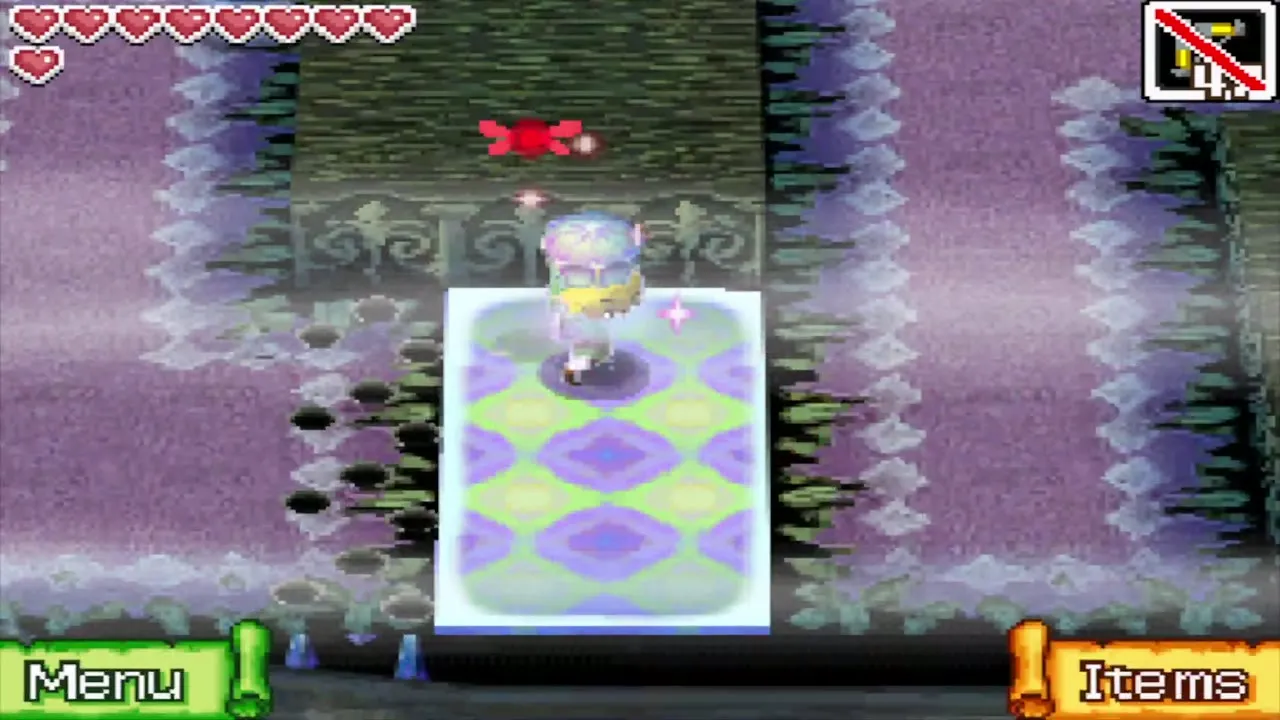
Back on B1, place the round crystal on the round pedestal north of the stairs. The blue flames to the west go out. Lead this sister west to the others, then return down the stairs to B2.
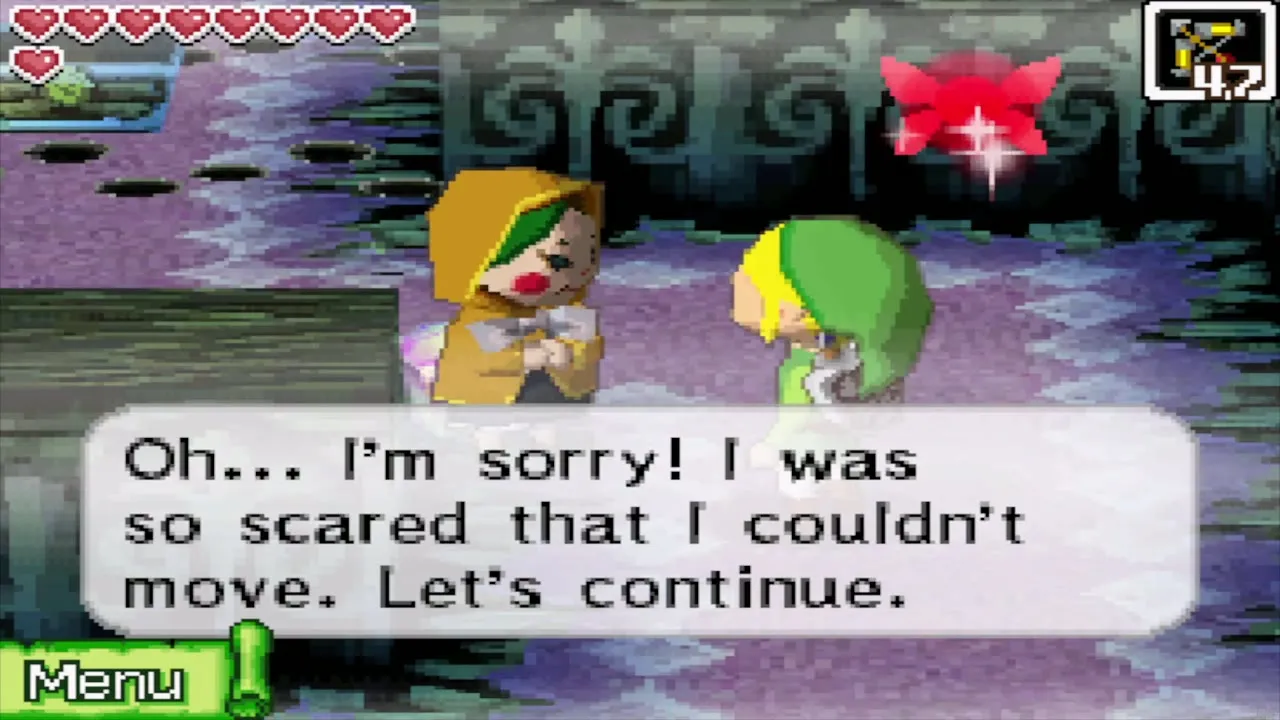
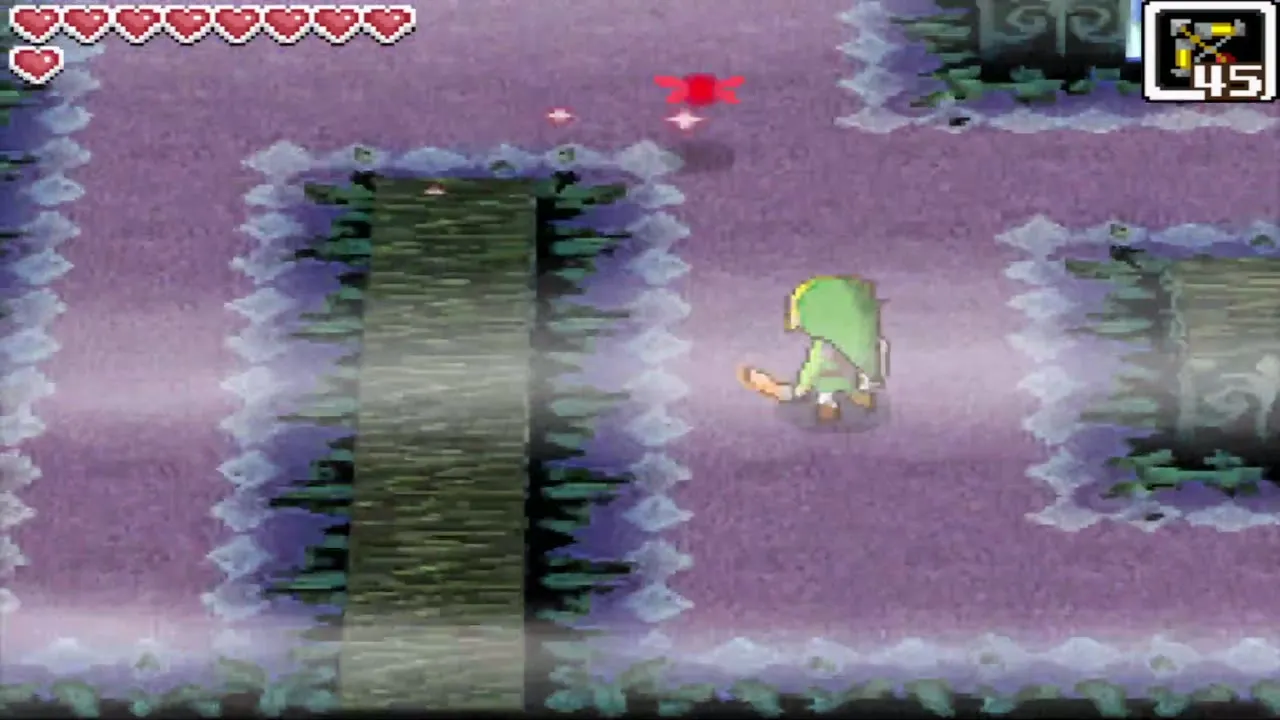
Run west to the staircase at the far side of B2 and go down to B3.
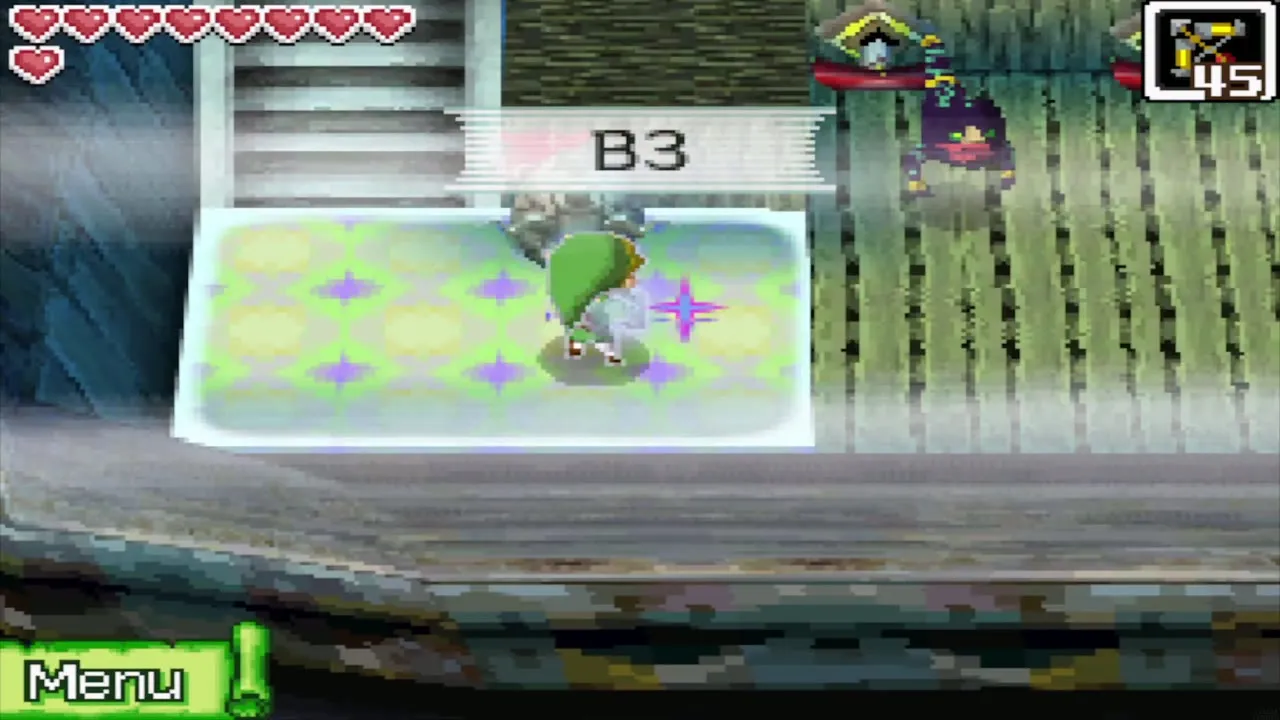
Ghost Ship, third basement (B3)
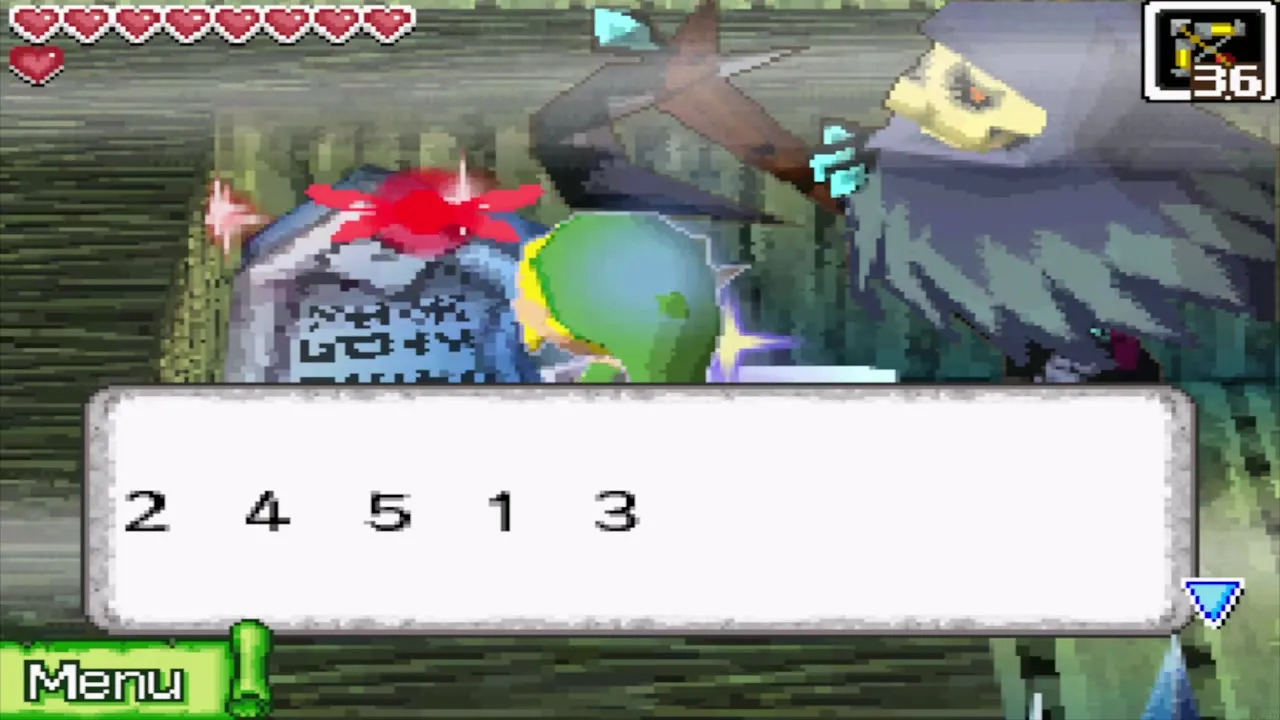
B3 lever order: 2, 4, 5, 1, 3
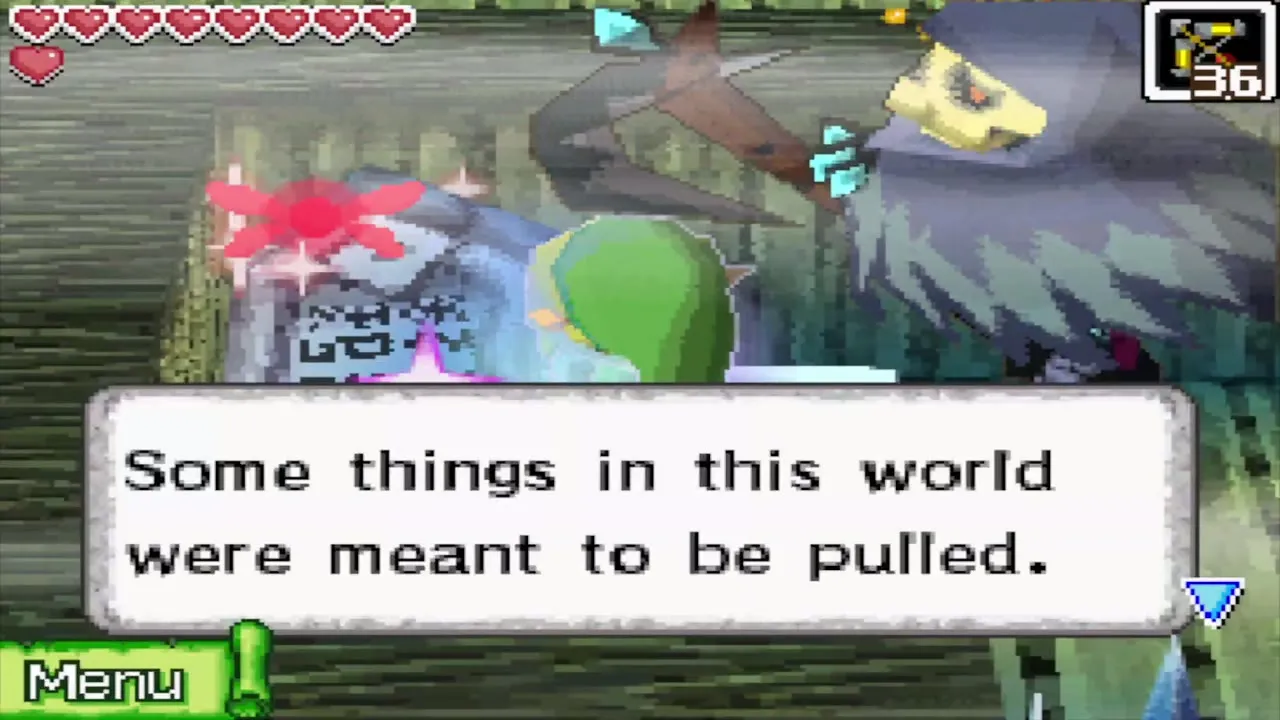
Run east until the door closes and five Skulltulas drop from the ceiling. Stand still until they land, then kill them. Go north. A crystal switch sits in the safe zone on the left: leave it alone, because hitting it summons a Reapling. Take the first path to the left and reach the winged skull creature at the end, which shows the number sequence 2 4 5 1 3 and tells you that some things are meant to be pulled.
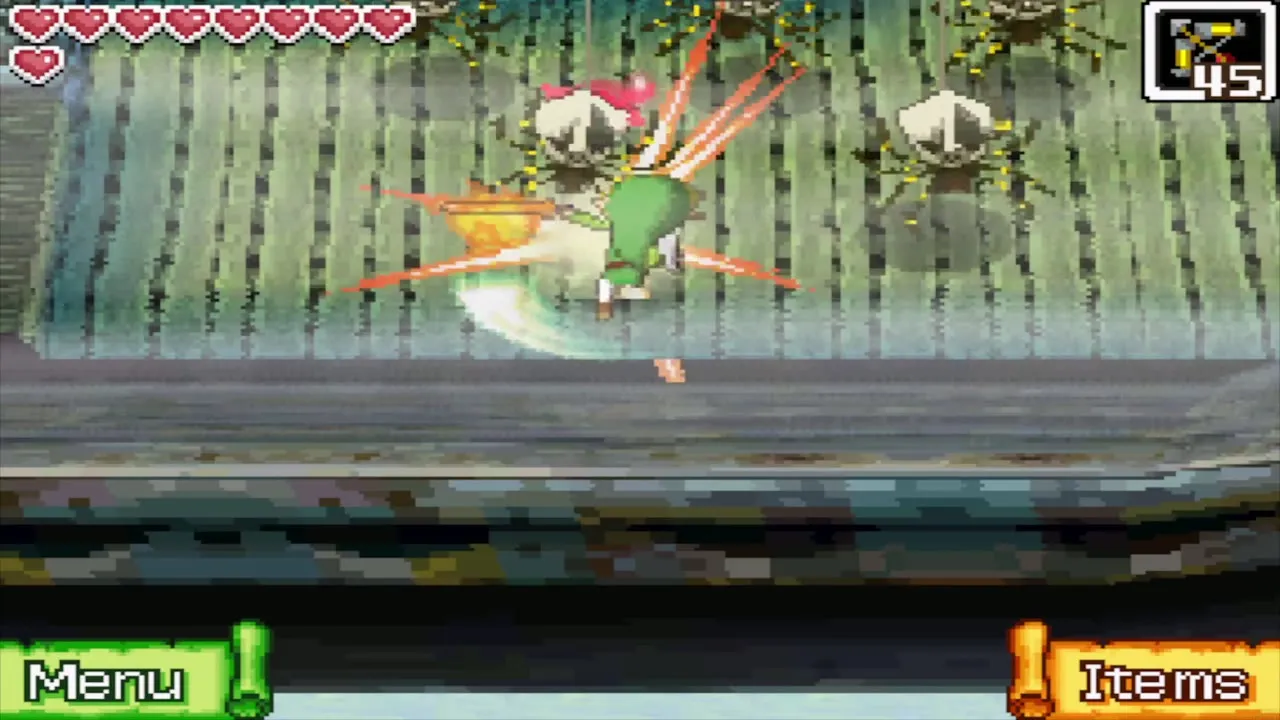
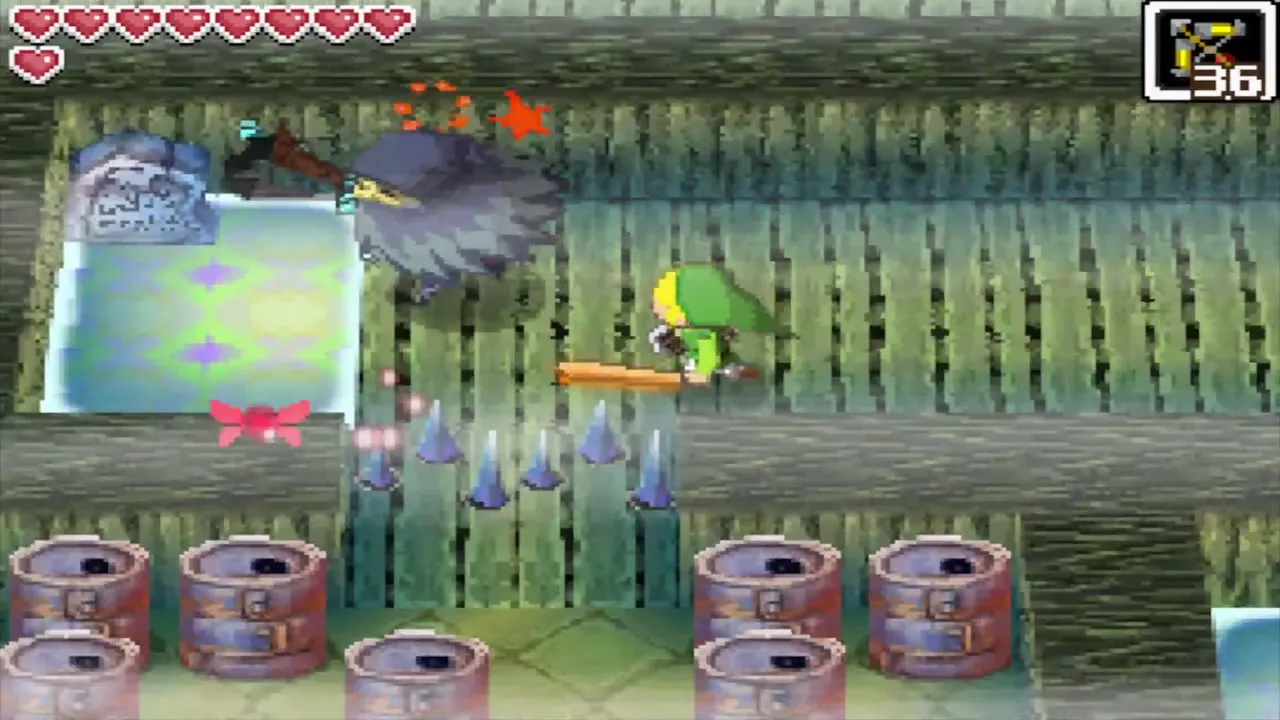
Go back to the lever room where you arrived. Number the levers one to five from left to right and pull them in the order the tablet gave: second, fourth, fifth, first, third. This removes the spikes over the steel drum rooms to the north.
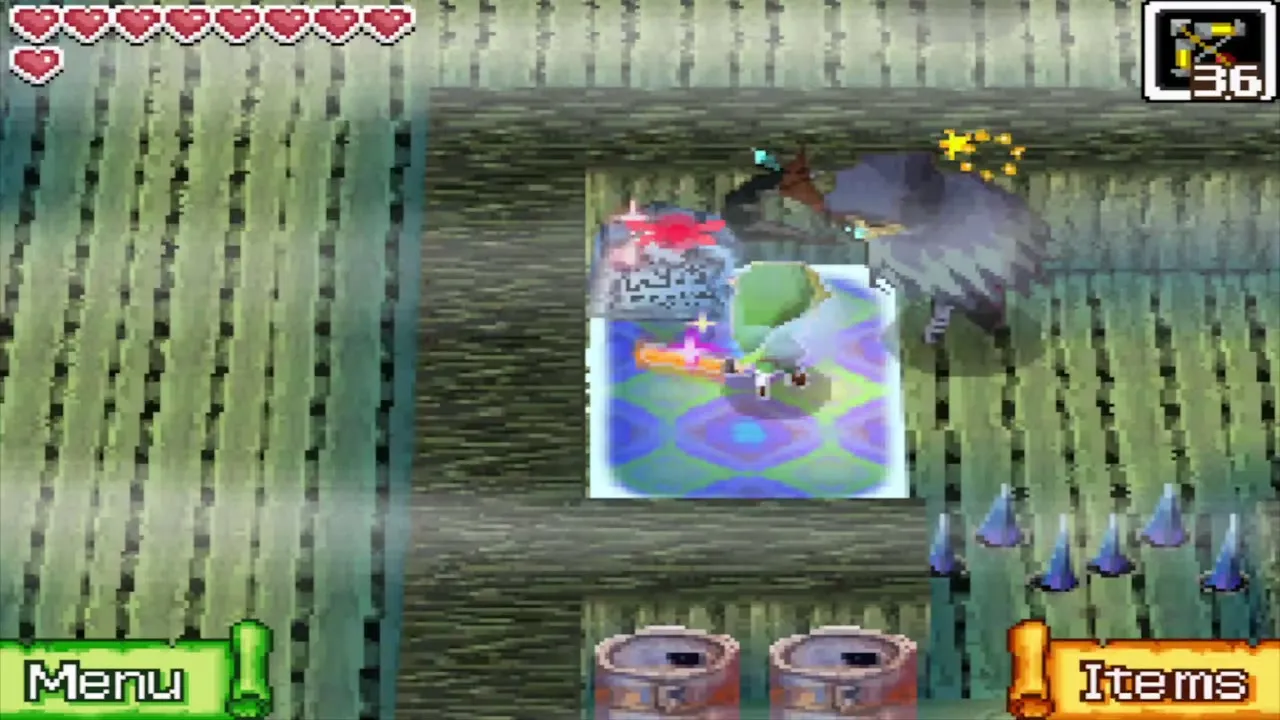
Rescue the eldest sister
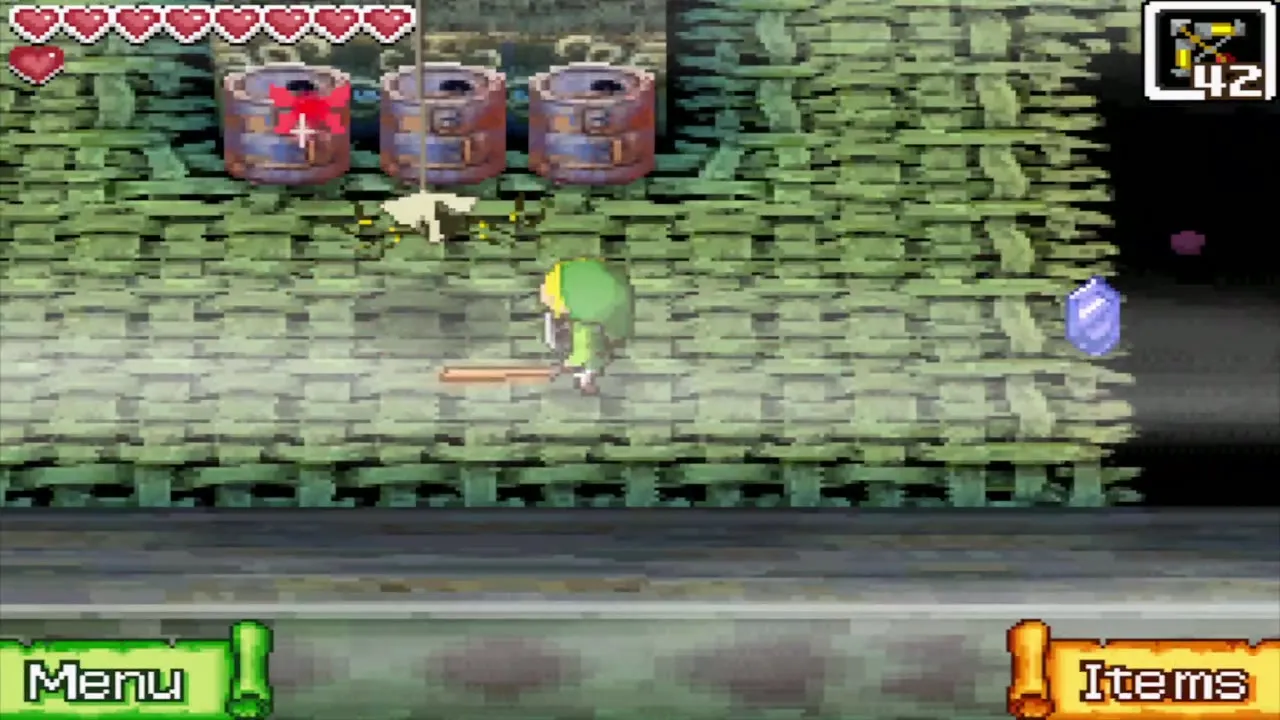
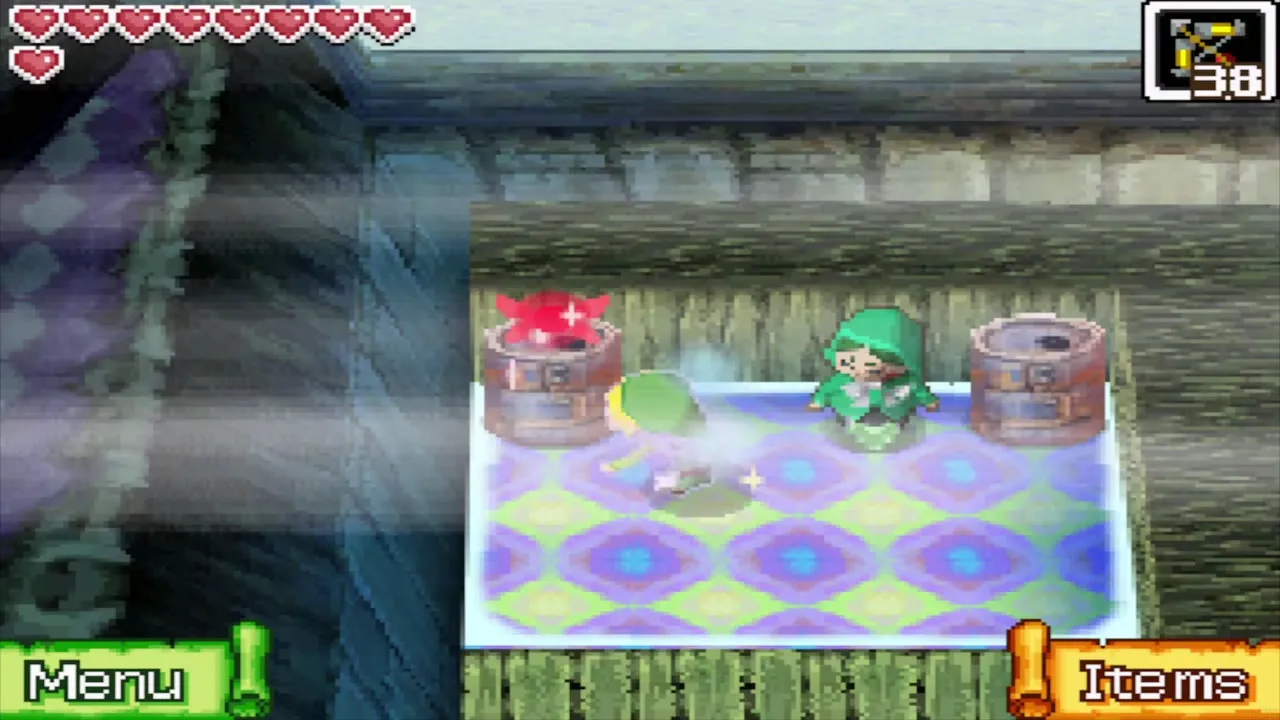
Enter the steel drum rooms from the north. Step carefully past the spike rows, collect the Rupees, and pick up the Big Red Rupee worth 200 Rupees from the pedestal in these rooms. A hidden floor switch lies on the left side of the barrel room: move and throw the barrels to clear a path to it, then step on it to put out the flames to the west.
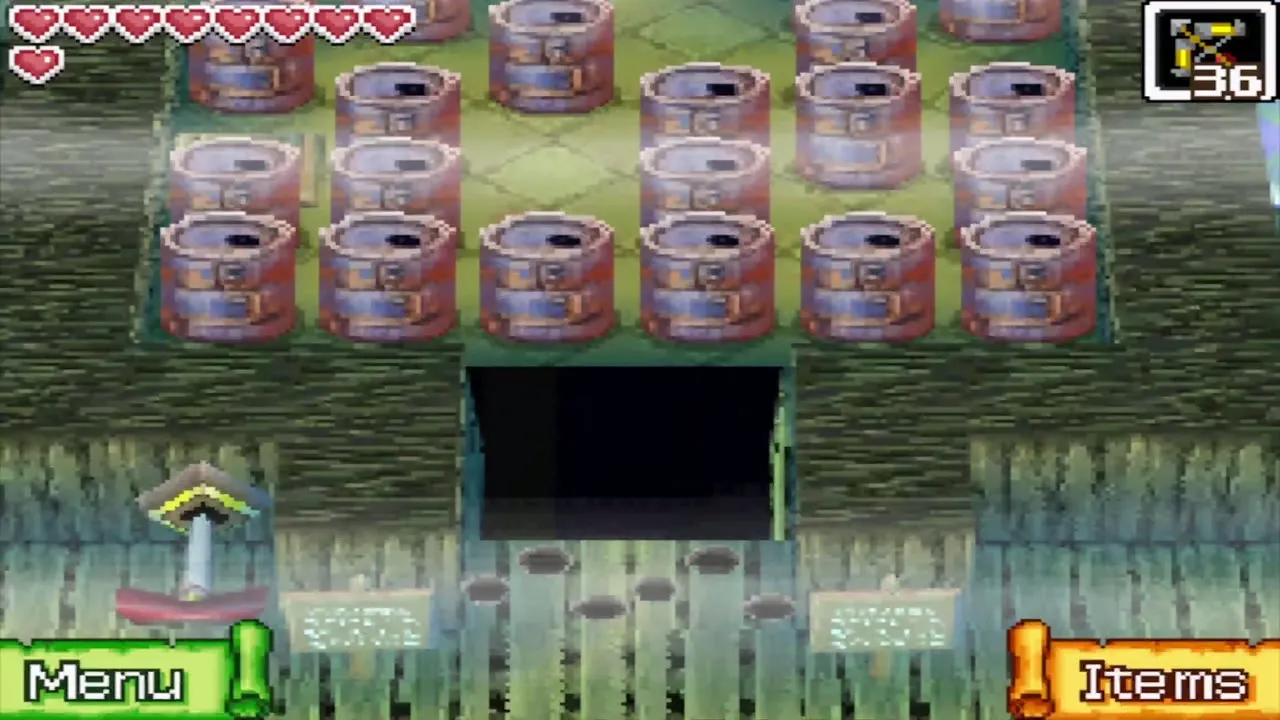
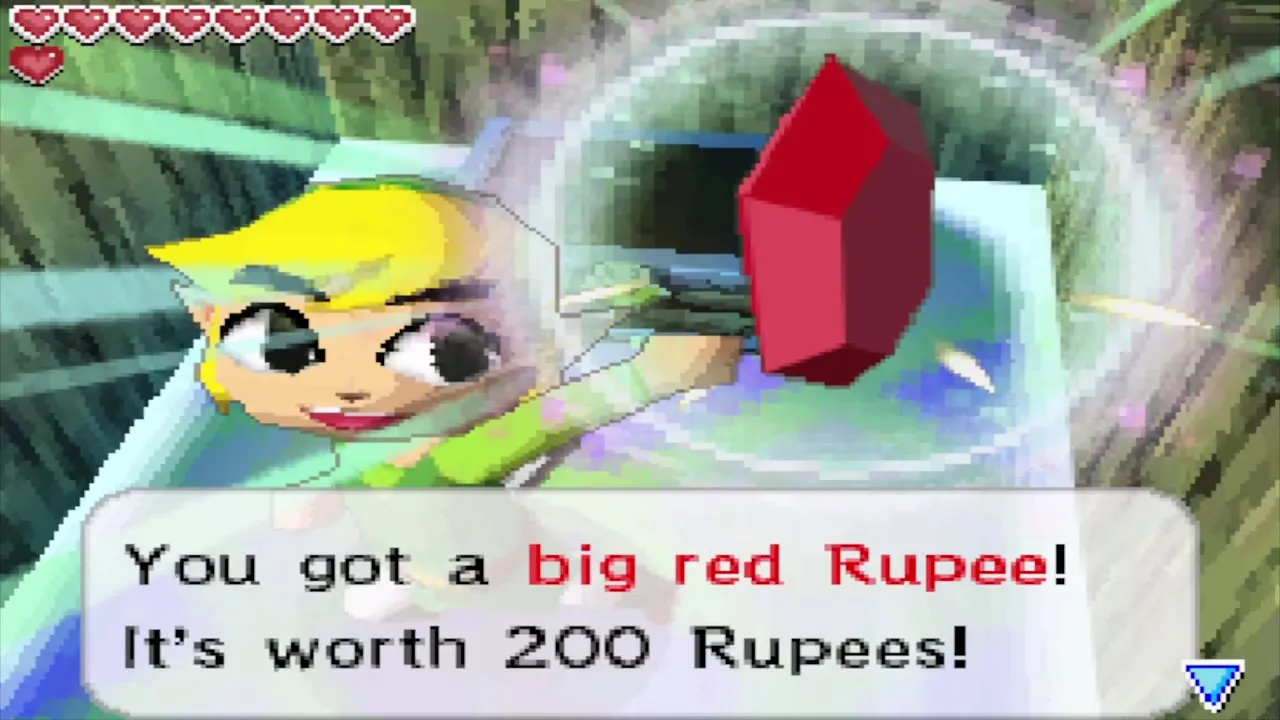
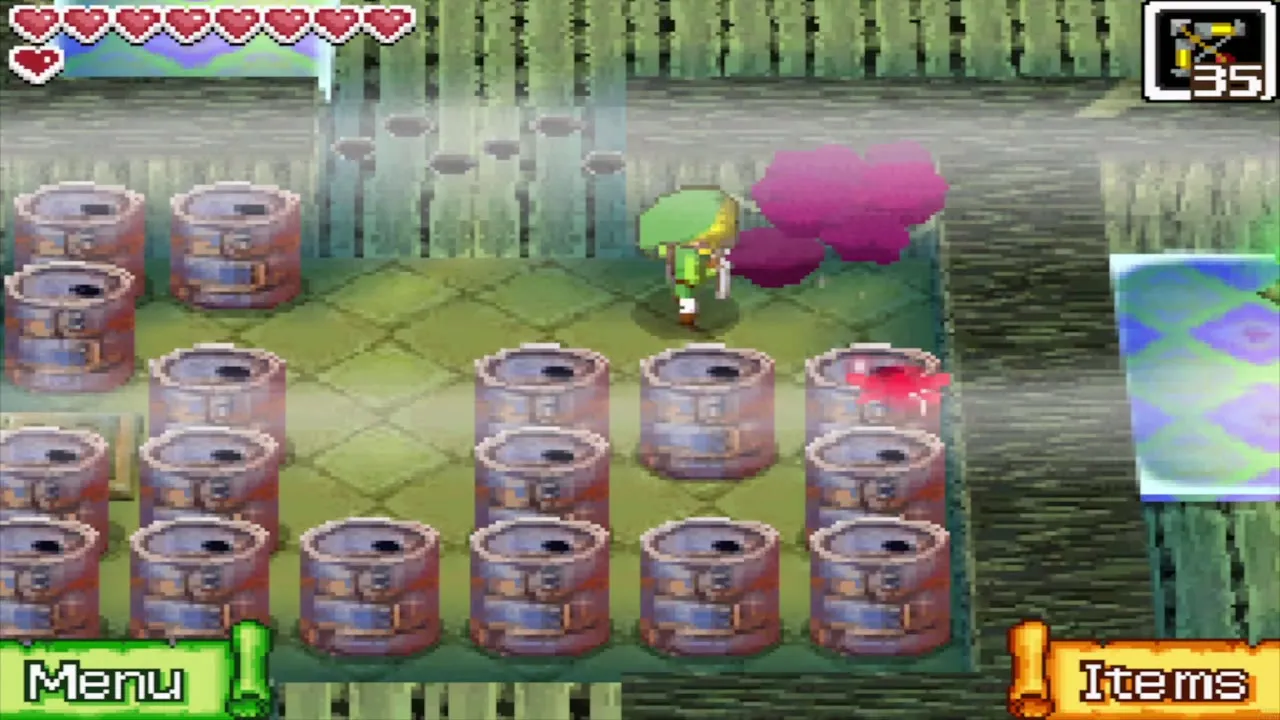
Go through the north-west safe zone and break the barrel that shakes on its own. The eldest sister of the house is inside. Lead her back the way you came, past any Reaplings, up to B2, then east to the stairs to B1, and west to her sisters.
Diabolical Cubus Sisters boss fight
Dead Man’s Volley: how to win
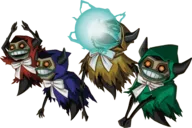
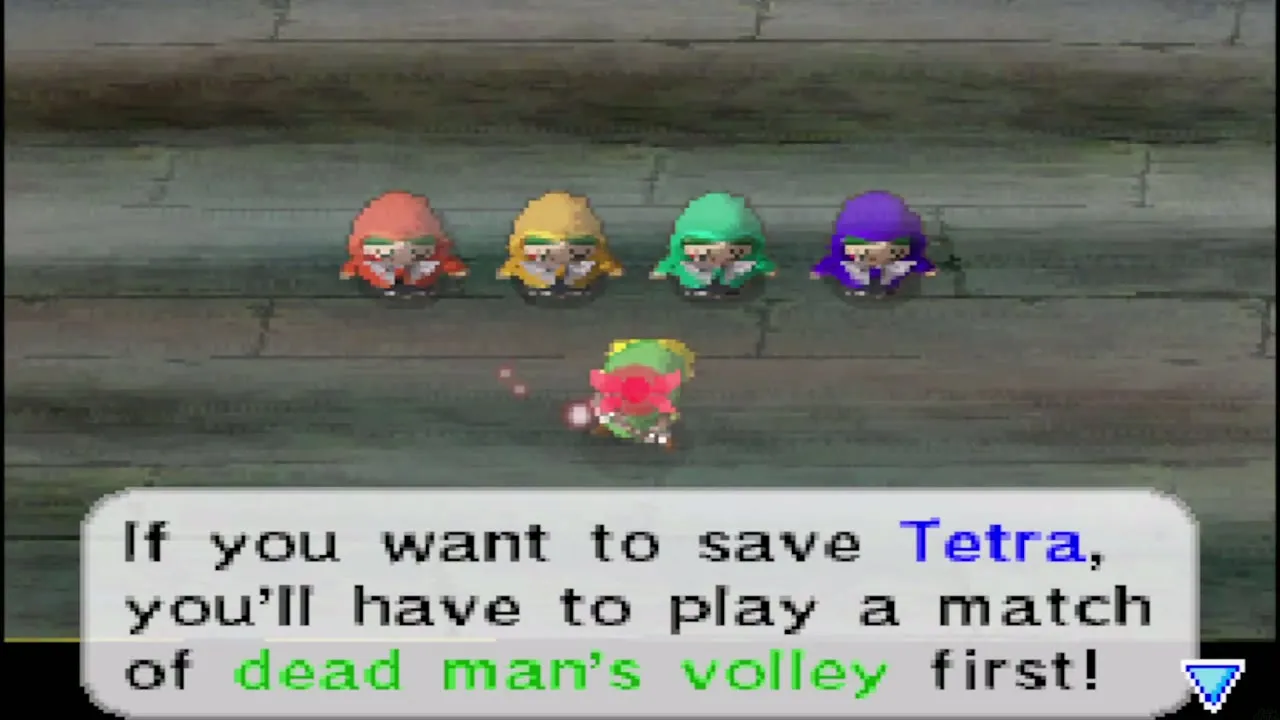
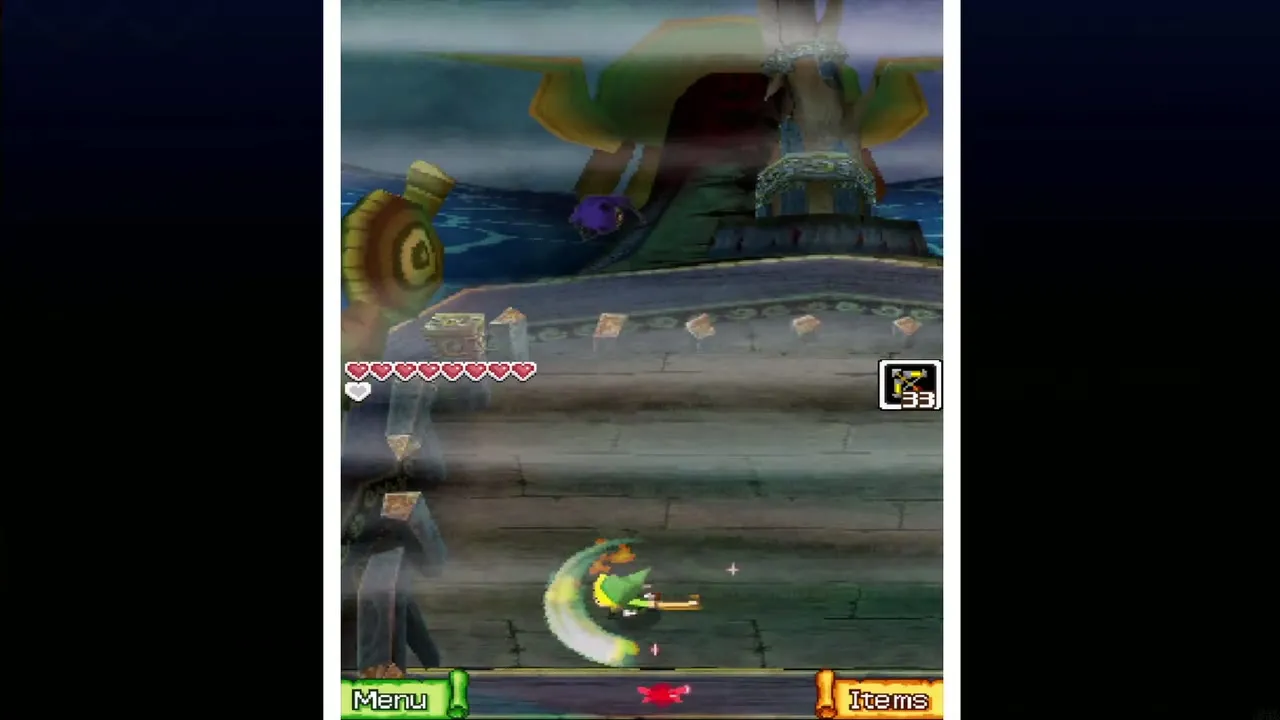
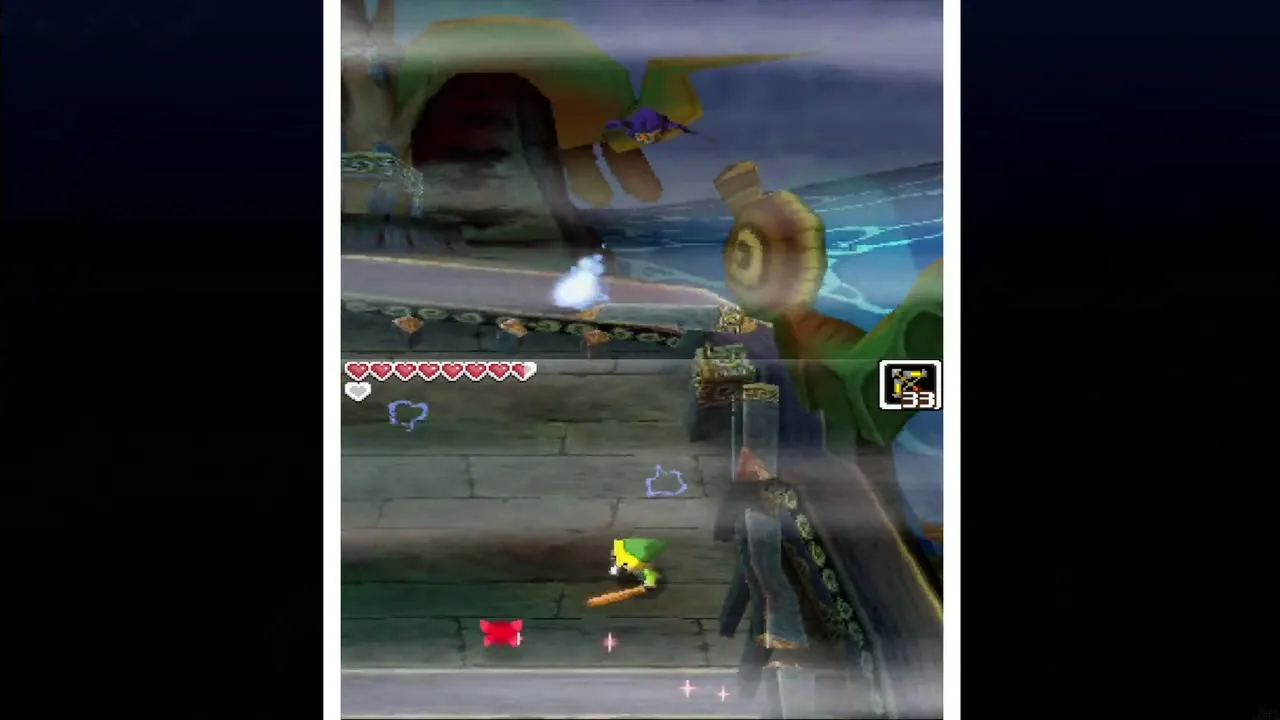
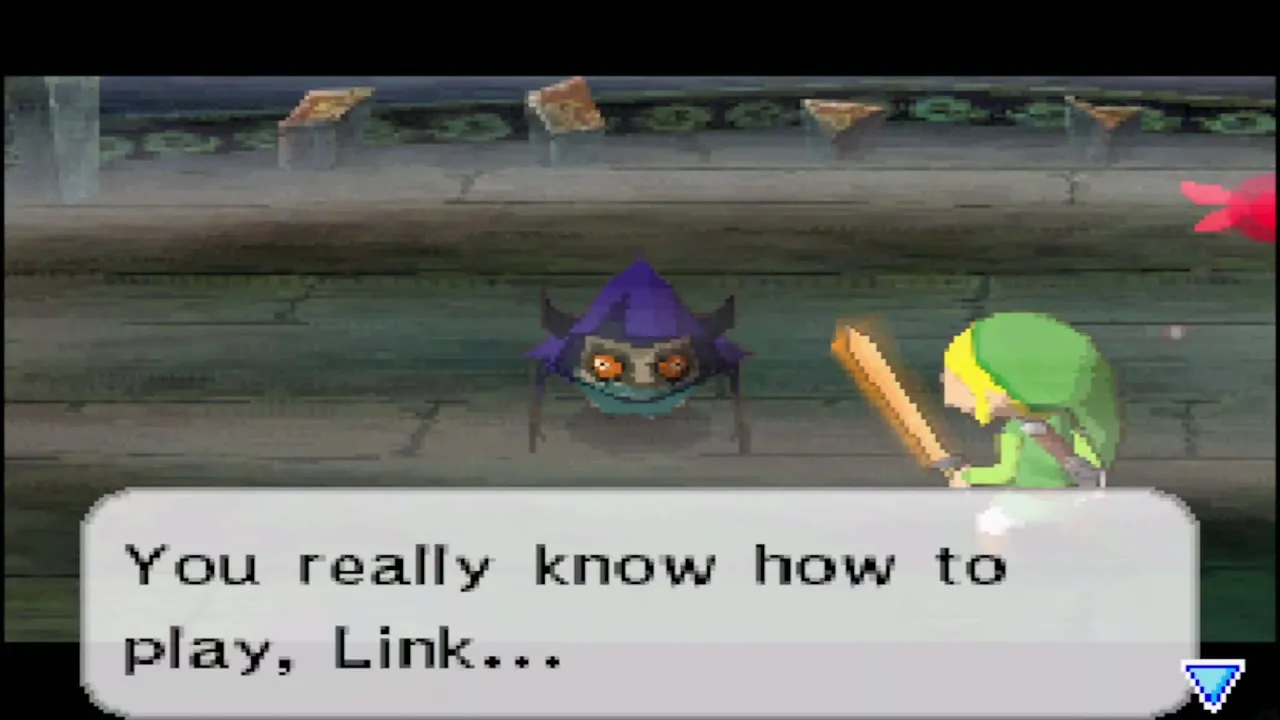
Once the sisters are together they drop the act, taunt you, and challenge you to a game of Dead Man’s Volley. It is a tennis match: a sister hurls a glowing energy ball at you and you swing your sword to send it back. Stay near the south end of the court. Three sisters fire lasers while the fourth throws the ball, so step out of the beams and into the line of the thrower. Hit the ball back at her twice and she vanishes.
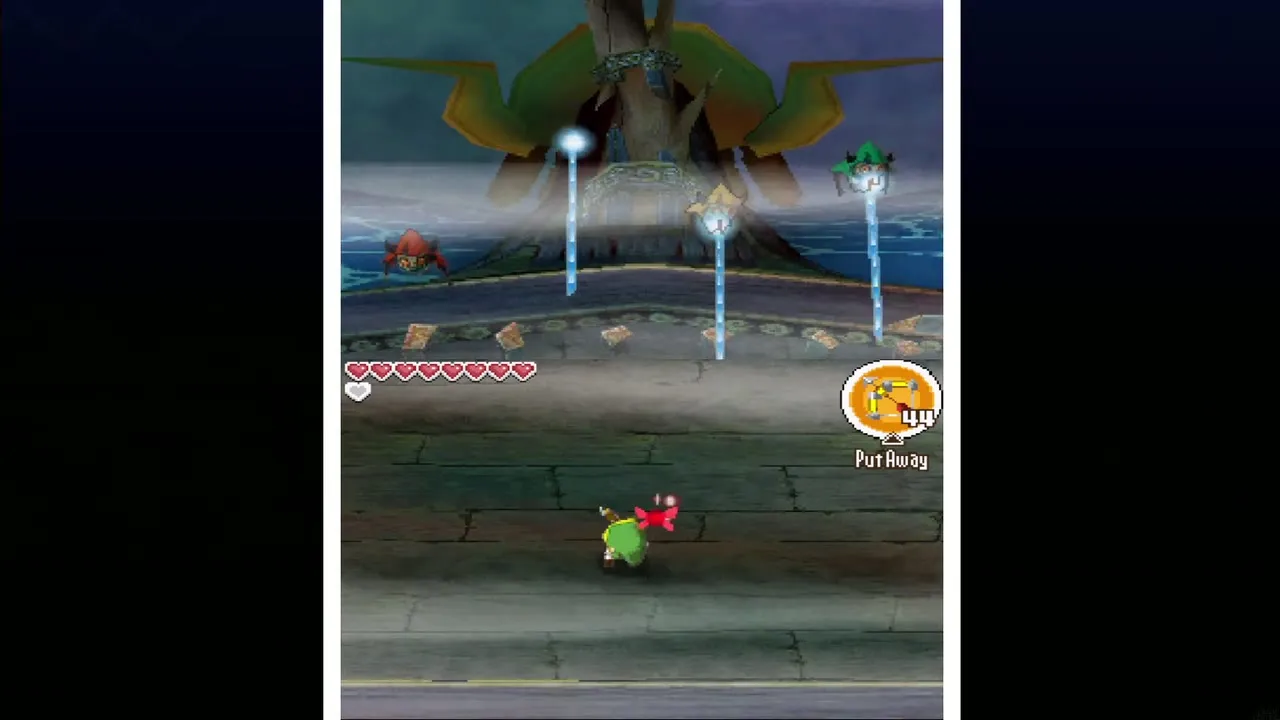
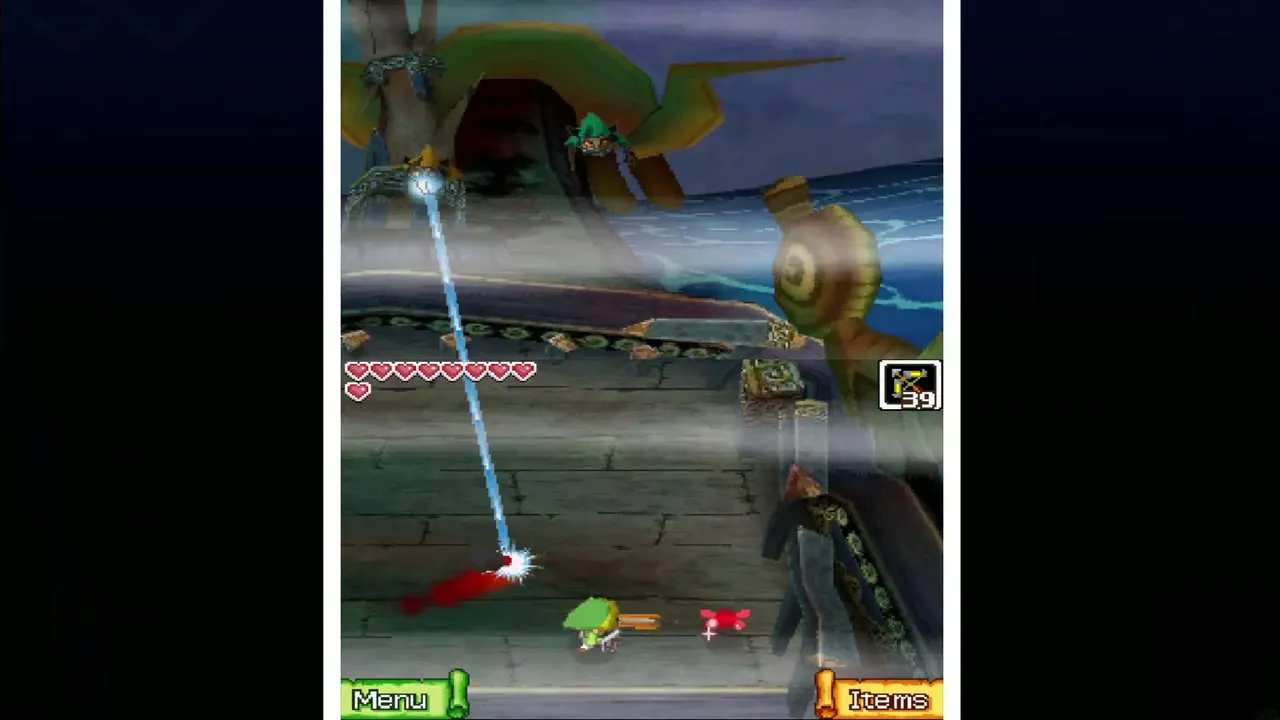
With fewer sisters left, the thrower passes the ball between the others before sending it at you, so follow it with your eyes. Sometimes a cluster of tiny balls comes instead of a single big one. Do not try to return the cluster; dodge it and wait for a normal ball.
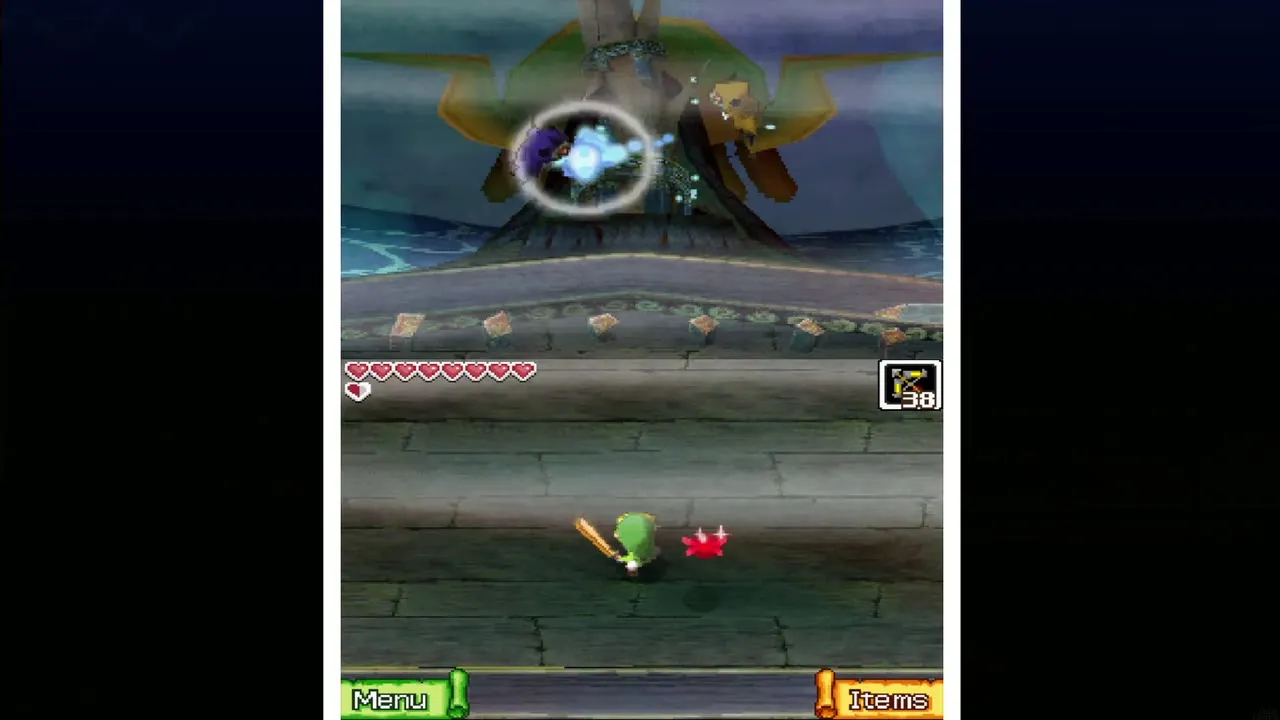
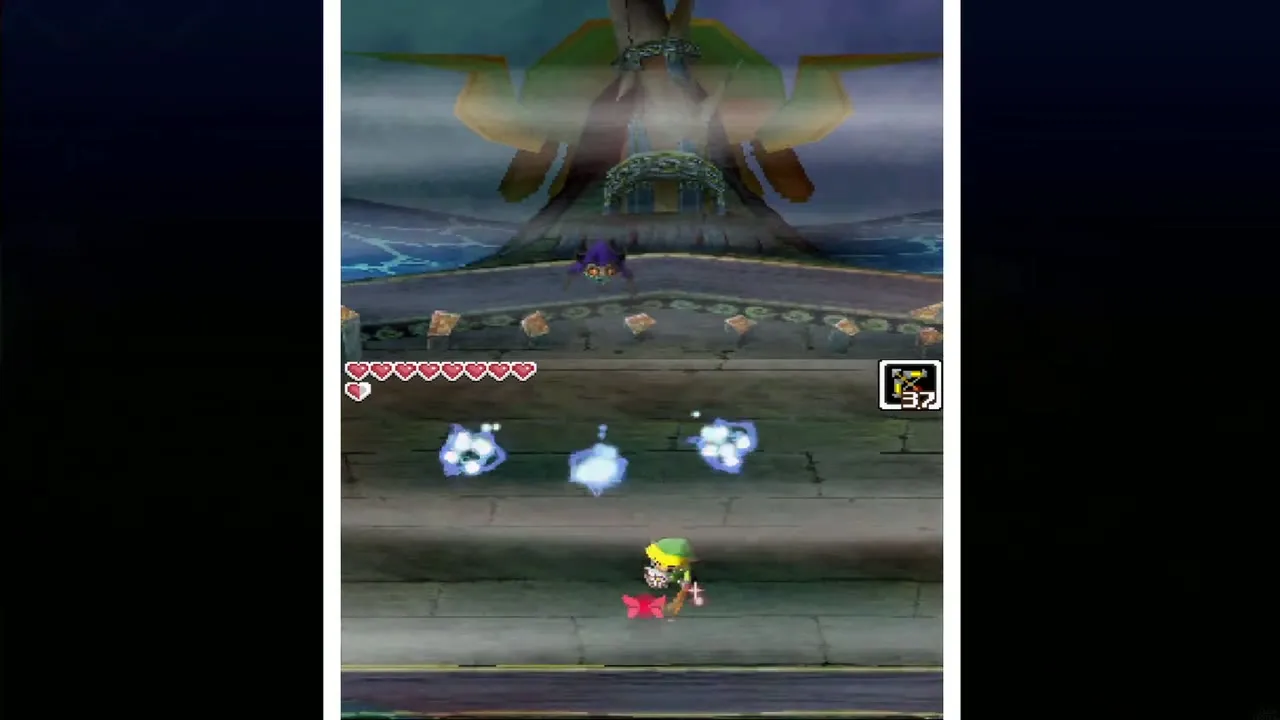
The last sister throws three balls at once. Only the large one can be returned, and the fake ones split apart when they hit a wall. Keep returning the real ball until she gives in and the game is over.
Ghost Key and Heart Container
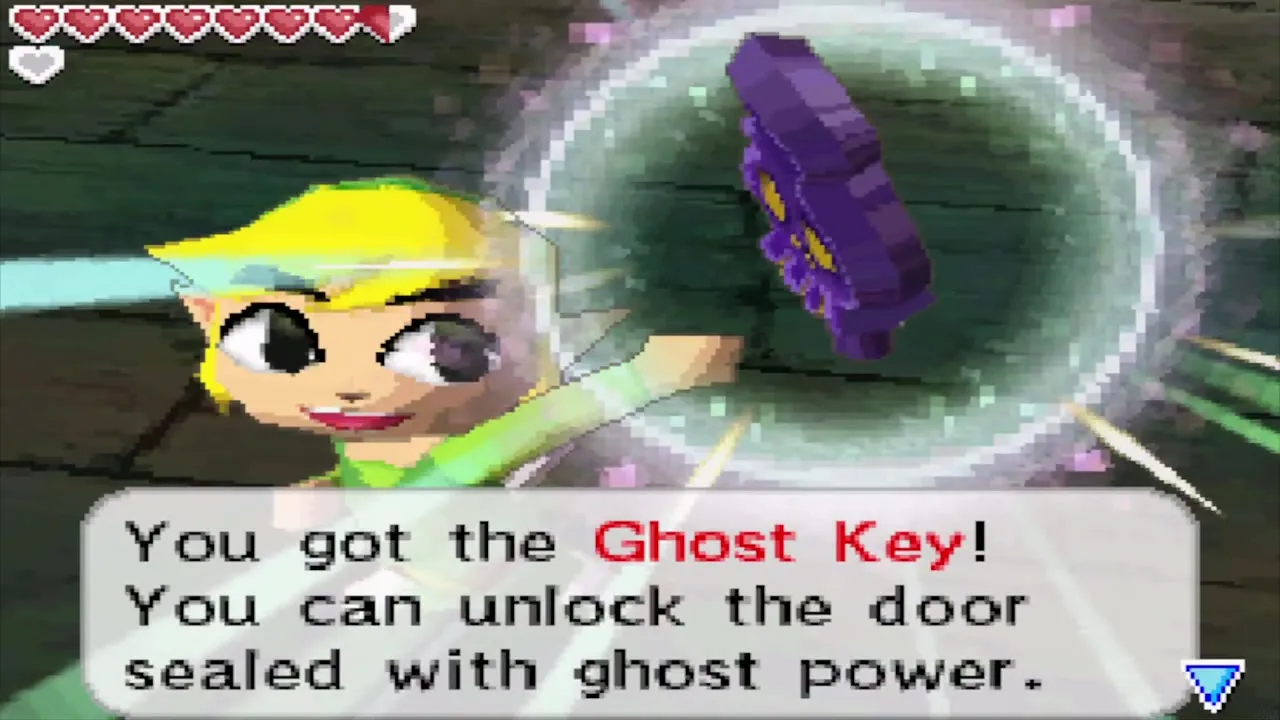
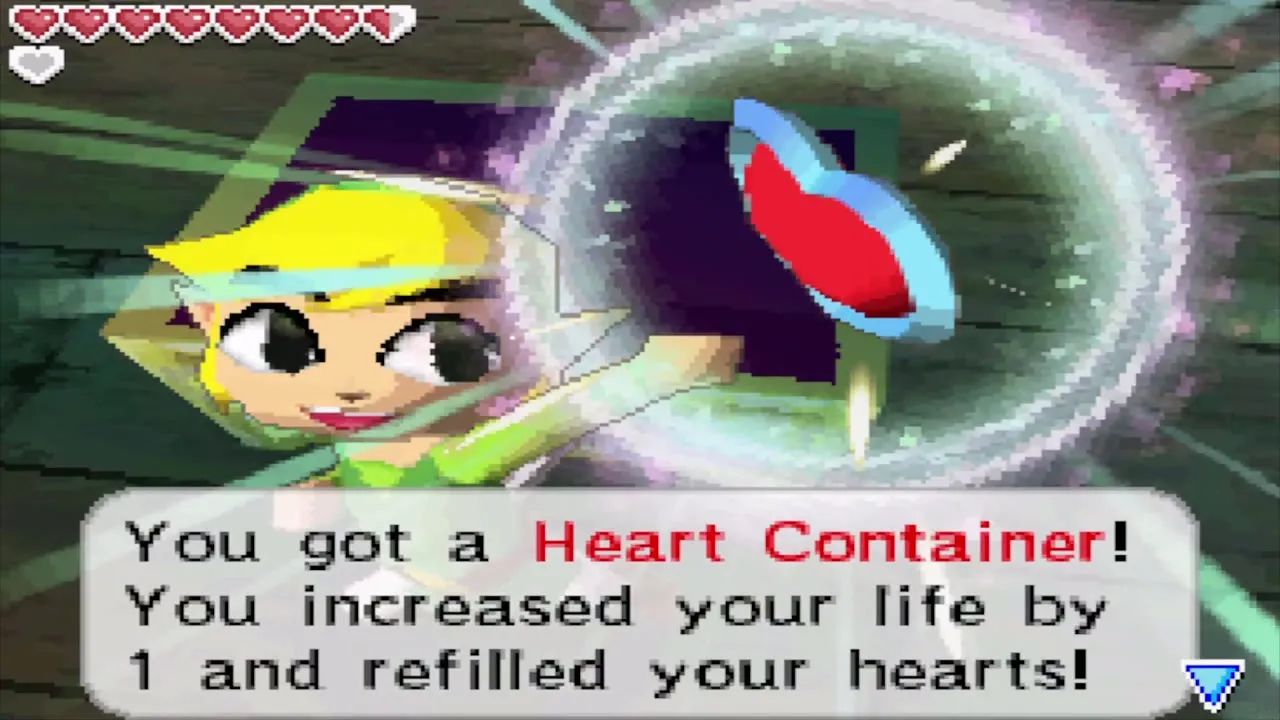
The defeated sisters hand over the Ghost Key, which opens a door sealed with ghost power. A chest on the court holds a Heart Container, the Cubus Sisters’ boss reward; open it before you leave, or it is mailed to you later.
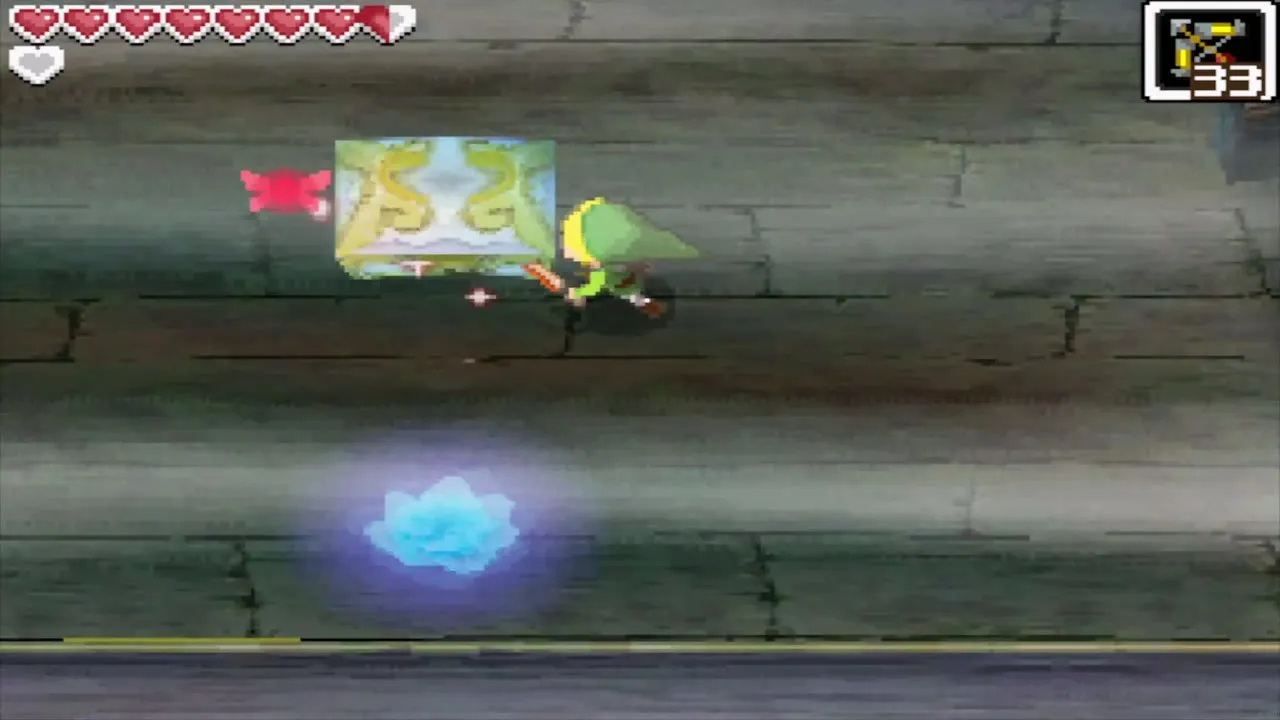
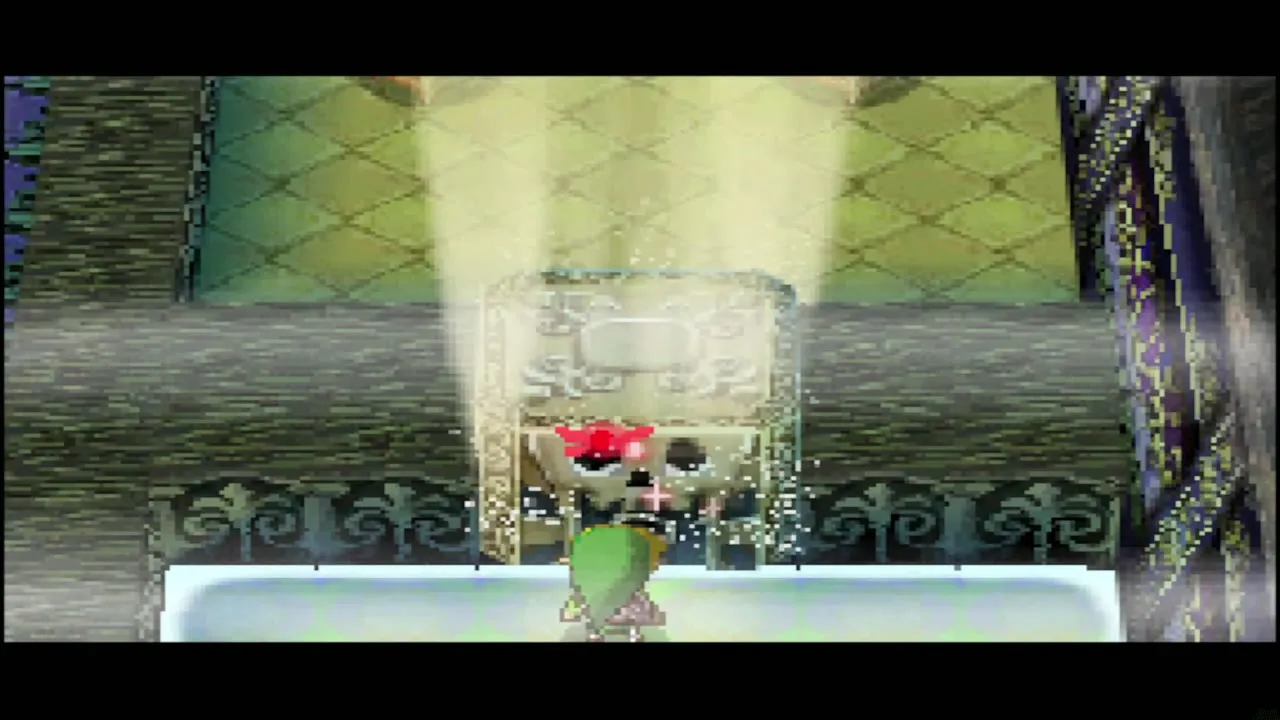
Step into the blue light to leave the court; it carries you back up into the ship. Make your way to the door sealed with ghost power, on the east side of B2, and use the Ghost Key. In the chamber beyond, Tetra stands turned to stone.
Tetra and Oshus’s story
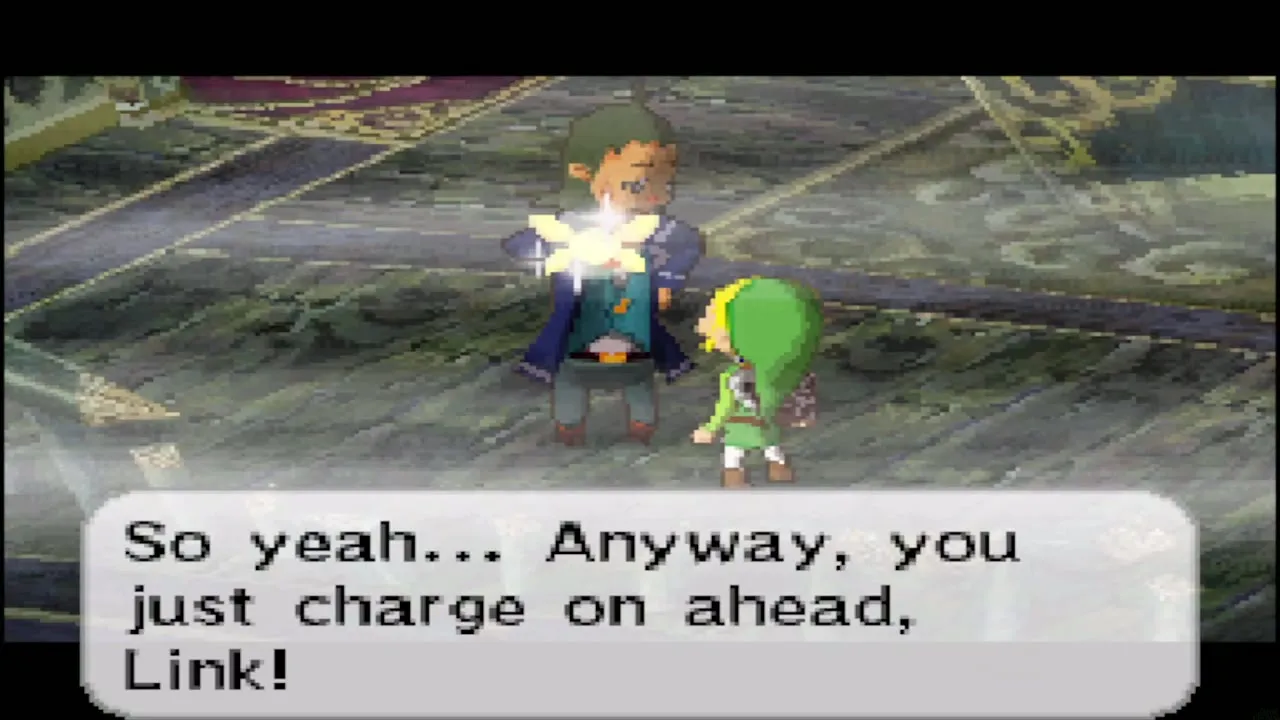
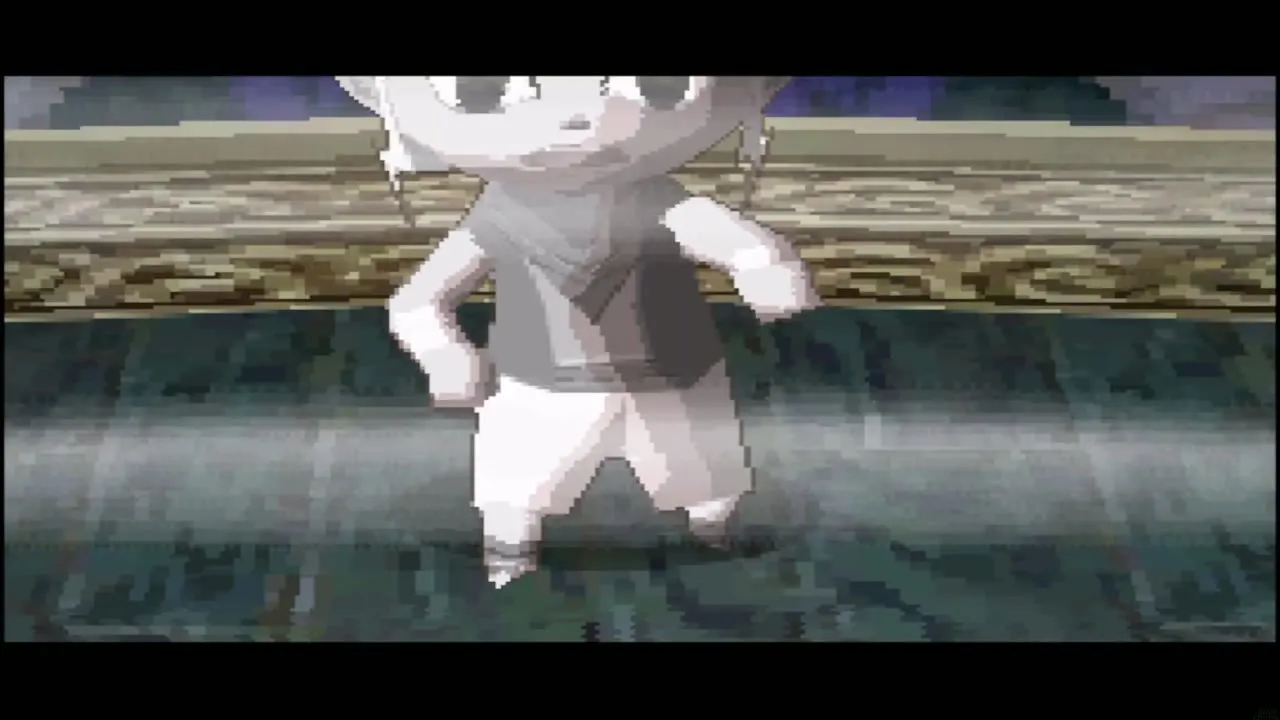
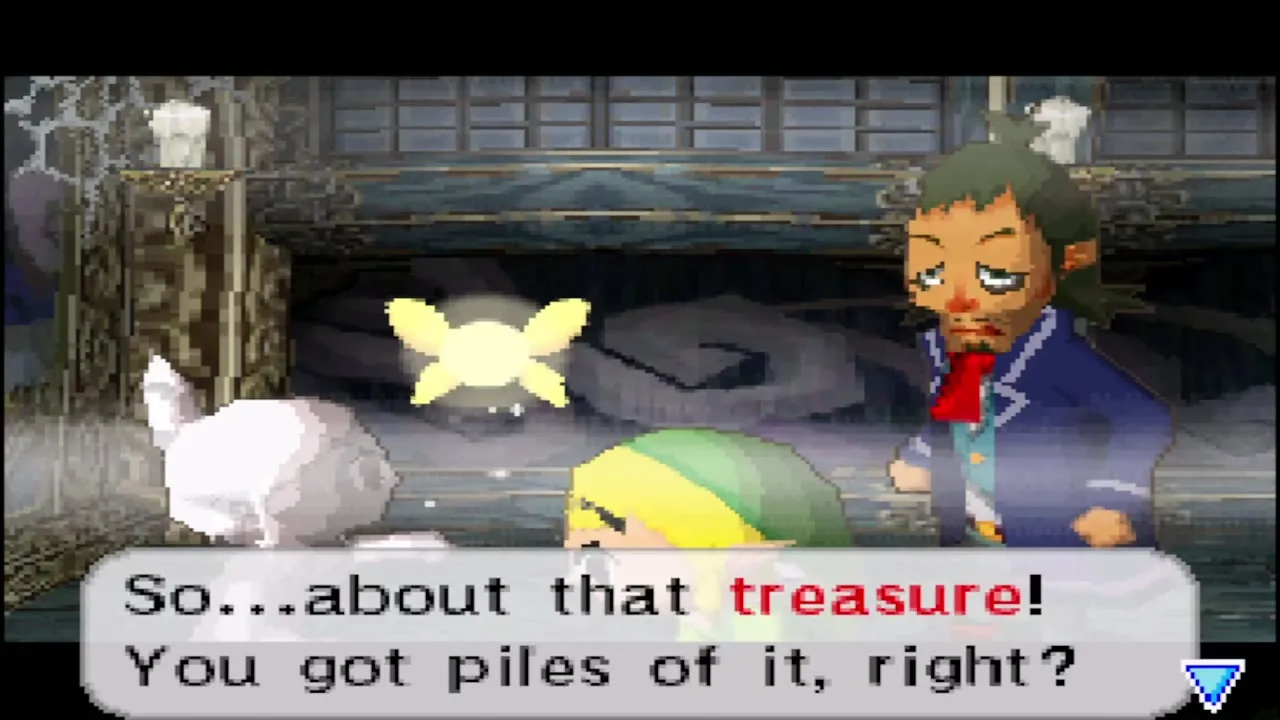
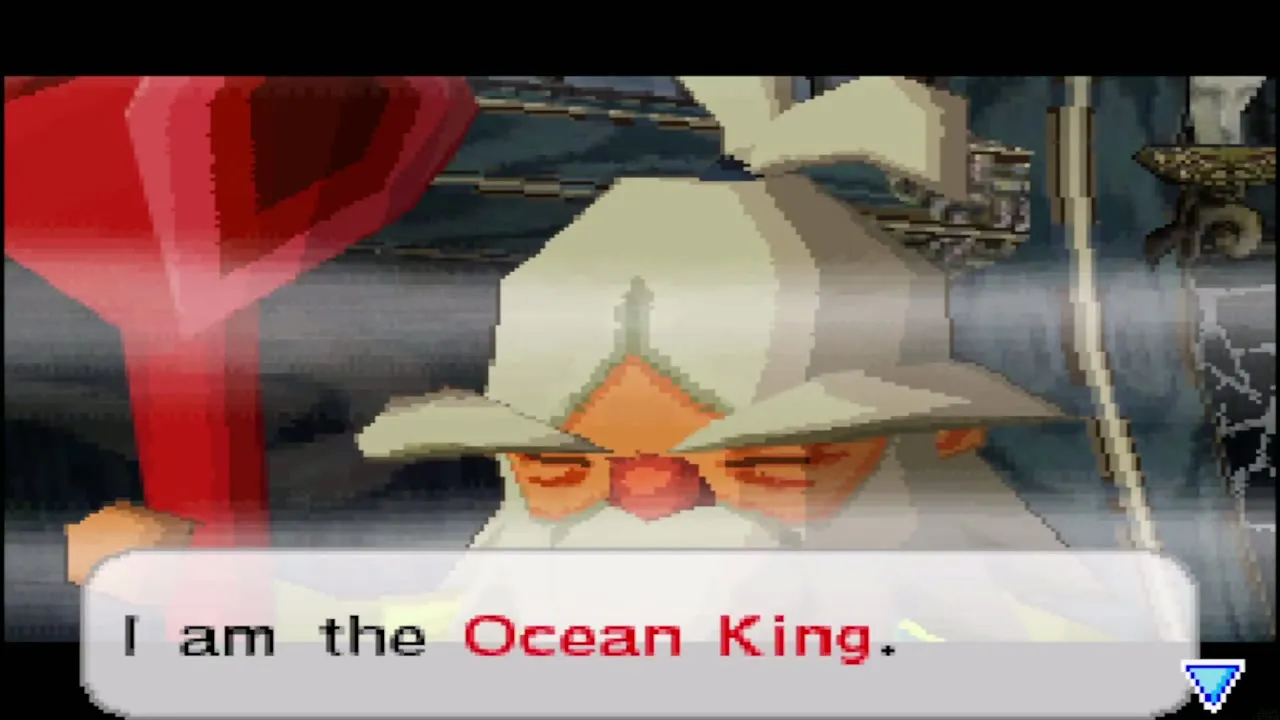
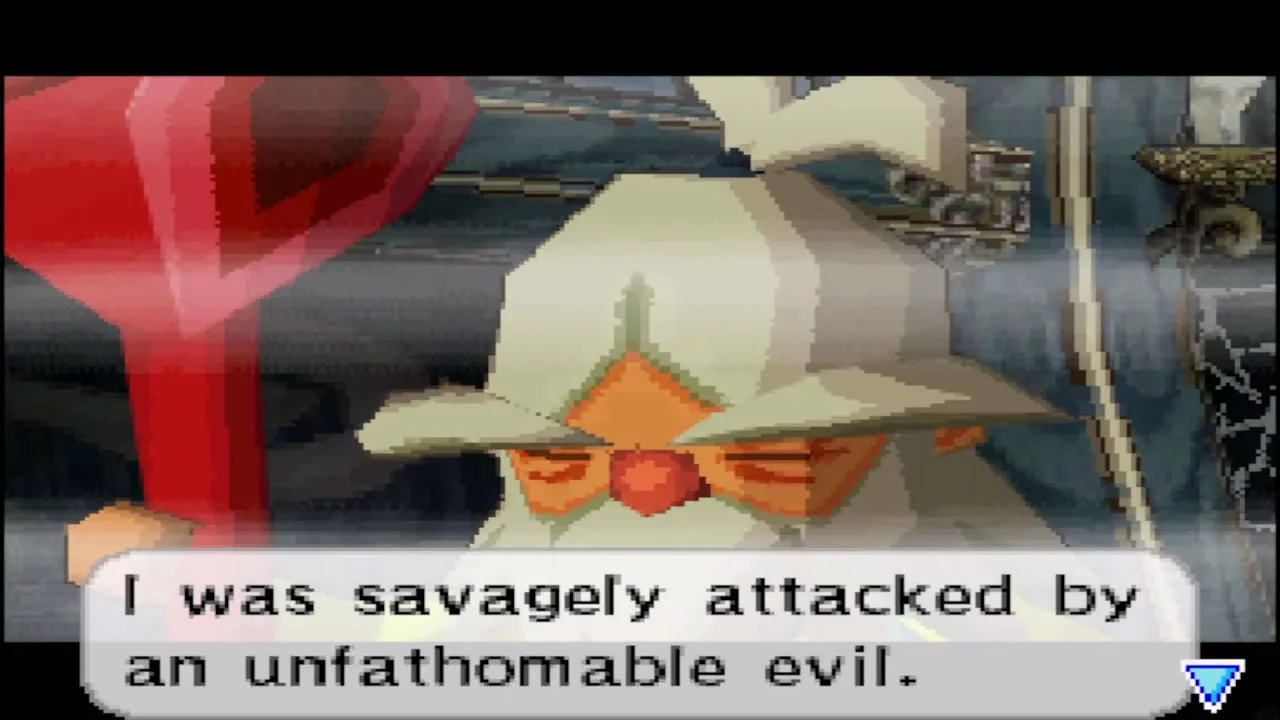
Linebeck turns up asking about treasure while you stare at the statue. Then Oshus appears and tells you he is not an ordinary old man: the seas are his domain, and the monster Bellum drained his life force, which is why Phantoms roam his temple. The Ghost Ship was built to steal the same life force from sailors with a false promise of treasure, and Tetra’s bold spirit is what drew it to her. There is no treasure, but Oshus can sense that Tetra is still alive.
Chapter checklist
| Collectible | Type | Where |
|---|---|---|
| Wisdom Gem | Spirit Gem | Joanne, Bannan Island, for Jolene’s Letter |
| Triangle crystal | Dungeon key item | Chest in the hallway of popping spikes, B1 |
| Round crystal | Dungeon key item | Middle chest, B2 |
 Yellow Potion | Item | Right chest next to the sister, B2 (the left chest is a Rupoor) |
| Big Red Rupee (200) | Rupees | Pedestal in the steel drum rooms, B3 |
| Ghost Key | Key item | Reward from the Cubus sisters |
| Heart Container | Heart Container | Chest after the Dead Man’s Volley |
With Tetra’s fate known, sail to Zauz’s Island next and learn how the Pure Metals and the Triforce crest open the deeper floors in Zauz and the Temple of the Ocean King: B7 to B9.
