
























Phantom Hourglass 100% Completion Walkthrough19 chapters
- Temple of FireEvery key, the Boomerang, the Boss Key, how to beat Blaaz, the Heart Container, Leaf and Astrid’s Power Gem.
- Temple of WindGet the bombs, the Boss Key, beat Cyclok, free Neri and take the Heart Container.
- Molida Island and the Temple of CourageBeat the Giant Eye Plant, light Molida’s statues, get the Bow, defeat Crayk and awaken the Spirit of Courage.
- The Ghost ShipFind the ship with the Spirits, free the Cubus sisters, win their volley game, get the Ghost Key and Heart Container.
- Goron TempleTeam up with Gongoron, get the Bombchus and the Boss Key, beat Dongorongo and take the Crimsonine.
- Temple of IceLever order, three small keys, Grappling Hook, Boss Key, Gleeok fight, Heart Container and Azurine.
- Mutoh’s TempleGet the Hammer, find both small keys and the Boss Key, beat Eox and collect the Aquanine.
- Mercay Island and the First Sea ChartGet Oshus’s Sword, solve the lever passage, rescue Linebeck and find the first sea chart.
- Temple of the Ocean KingTake the Phantom Hourglass, sneak past Phantoms, carry three Force Gems and find the Northwestern Sea Chart.
- Temple of the Ocean KingPhantom Eyes, the hourglass crest door, the Salvage Arm, treasure salvage and the Sun Key.
- Zauz and the Temple of the Ocean KingPure Metals, Triforce door, crystal puzzles and the Southeastern Sea Chart.
- Temple of the Ocean KingGold Phantoms, the B11 bridges, three Force Gems on B12 and the Northeastern Sea Chart.
- The Phantom Sword and BellumPhantom Hourglass walkthrough for the Phantom Sword, the last Temple of the Ocean King descent, Bellum.
- Isle of Ember and AstridFirst voyage, Beedle’s Shop Ship, Kayo’s torches, freeing Astrid and the volcano path to the Temple of Fire.
- Cannon Island, the Ghost Ship Chase and Molida IslandBuy the Cannon from Eddo, chase the Ghost Ship, then reach Molida Island and take the Shovel.
- Northwestern Sea and the Isle of GustThe fog route, Bannan Island fishing, Zauz, the Cyclone Slate, Golden Frogs and the way to the Temple of Wind.
- Goron Island and GongoronSail the Southeastern Sea, beat the Massive Eye, pass Biggoron’s quiz, find Gongoron and reach the Goron Temple.
- Isle of Frost and the Yook MysteryCannon the ice, Anouki Estates, find the Yook among six villagers and fight through the Great Ice Field.
- Isle of the Dead and the Isle of RuinsDig spot, Phantom Corridor path, Regal Necklace, King’s Key, Max and the door symbol.
| Covers | the Goron Temple (1F down to the boss room), switching between Link and Gongoron, Bombchus, the Boss Key, Dongorongo, and the Goron village afterwards |
|---|---|
| You need | Sword, Bombs, Bow, Boomerang, Shovel and the Southeastern Sea Chart; you must already be an official Goron, which the Goron Island chapter covers |
| Rewards |  Bombchus with the first Bombchu Bag, 1  Boss Key, 1  treasure map, 1 random treasure (such as a  Goron Amber), 2  red Rupees, 1  Heart Container,  2 minutes of sand for the Phantom Hourglass, the Pure Metal  Crimsonine, a  big red Rupee, a Bombchu Bag upgrade (1,000 Rupees) |
The Goron Temple is the fifth dungeon and the one that gives you Bombchus. Gongoron is trapped in the lower floors, so you free him, then play as Link and as Gongoron in turn to open one another’s paths through spikes, quicksand and switches. Take the Bombchus on B1, use them to reach the Boss Key on B2, and finish Dongorongo with Gongoron’s charge and a Bombchu to the mouth. The prize is a Heart Container, two more minutes of sand and the Pure Metal Crimsonine.
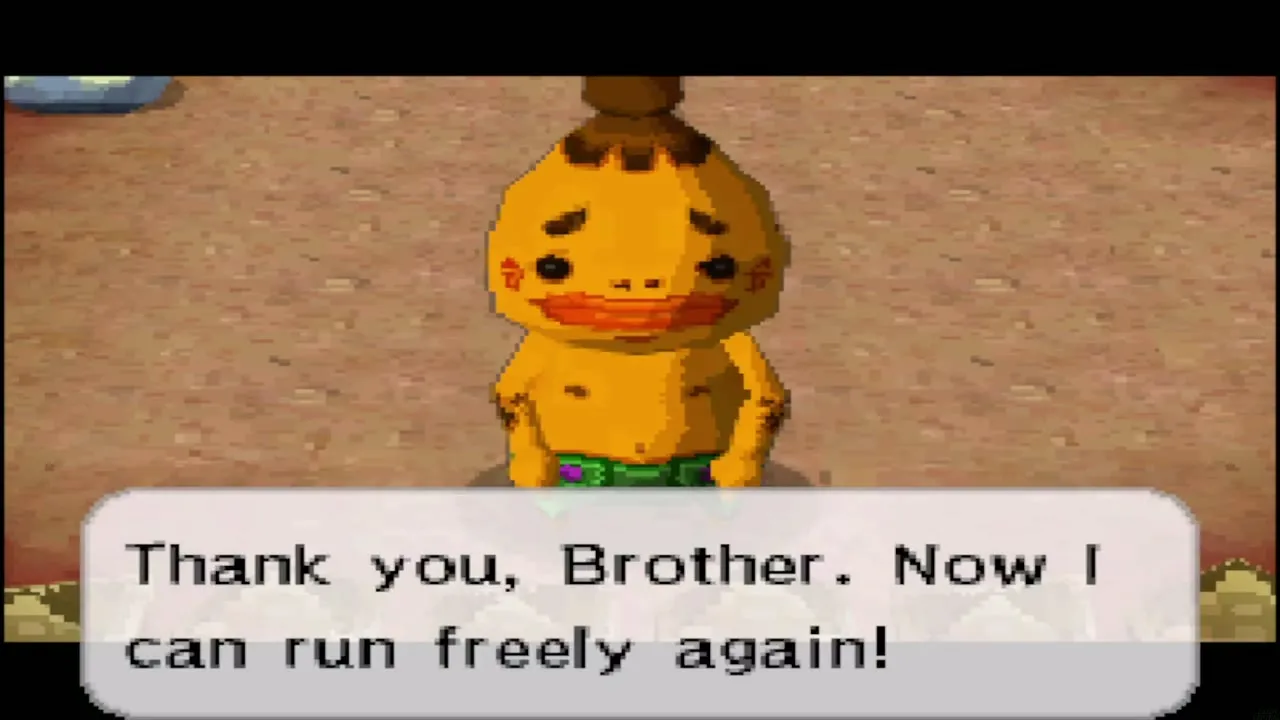
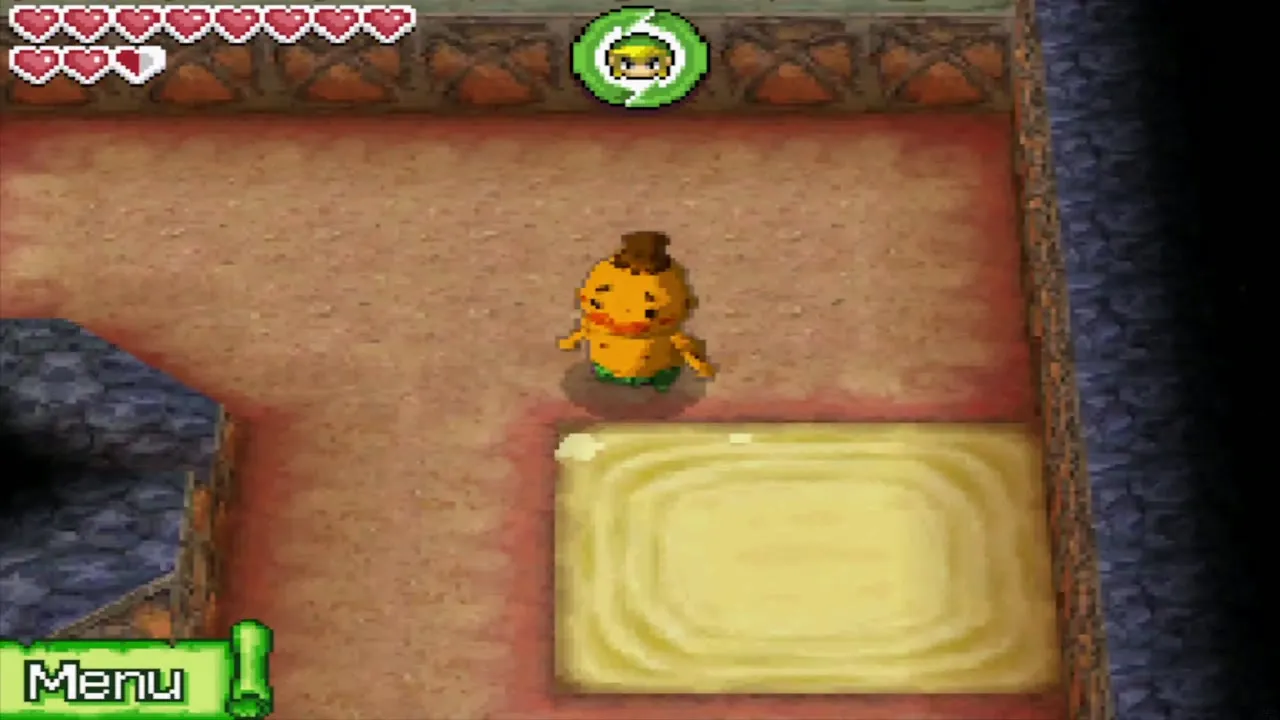
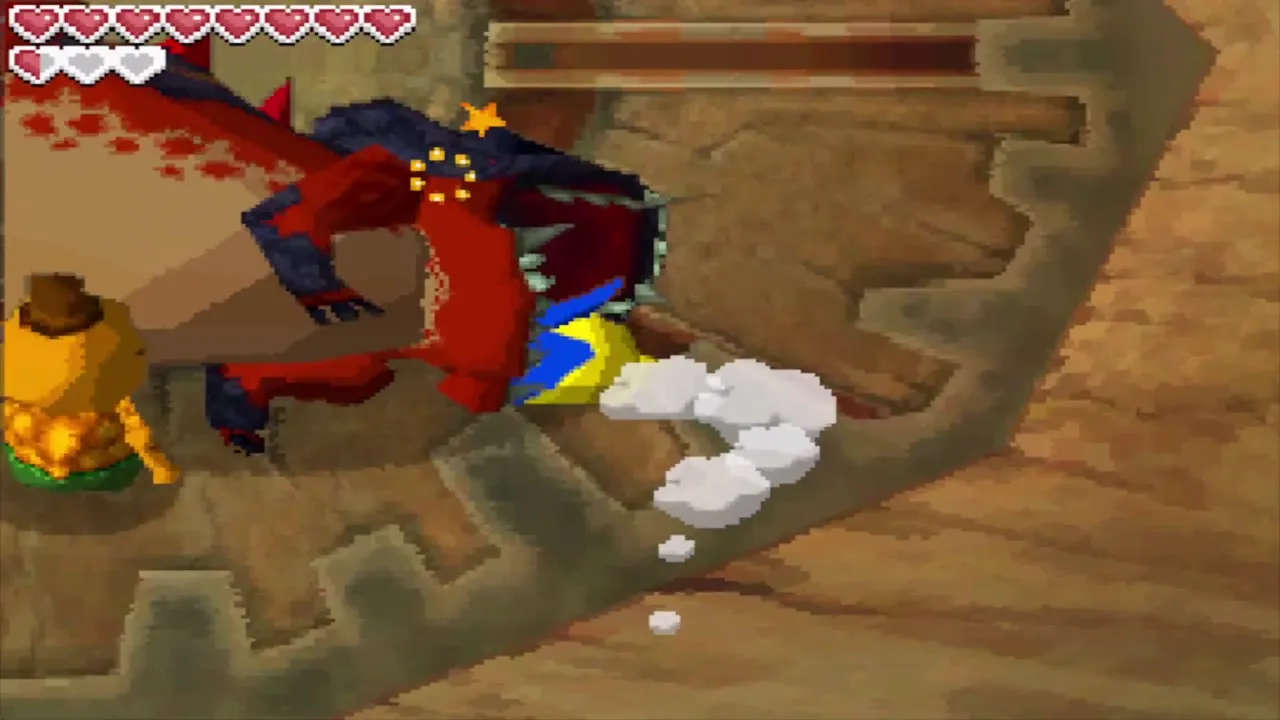
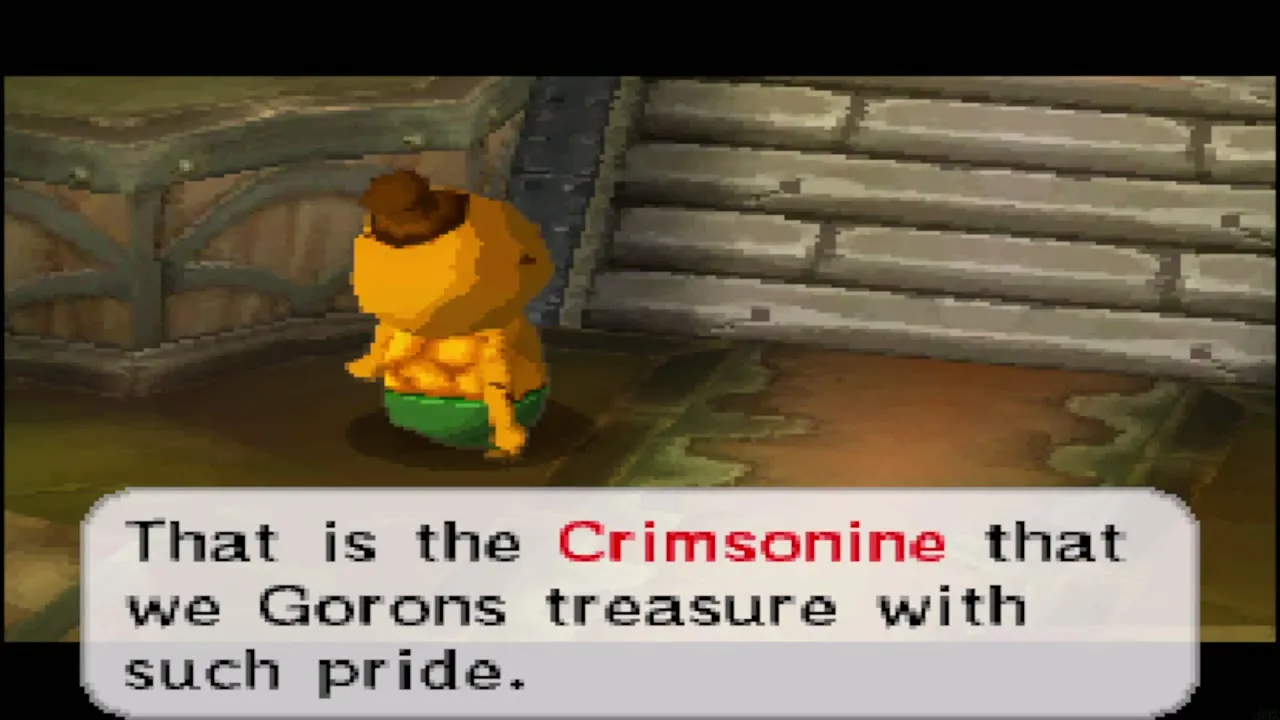
Table of Contents
Goron Temple entrance and 1F
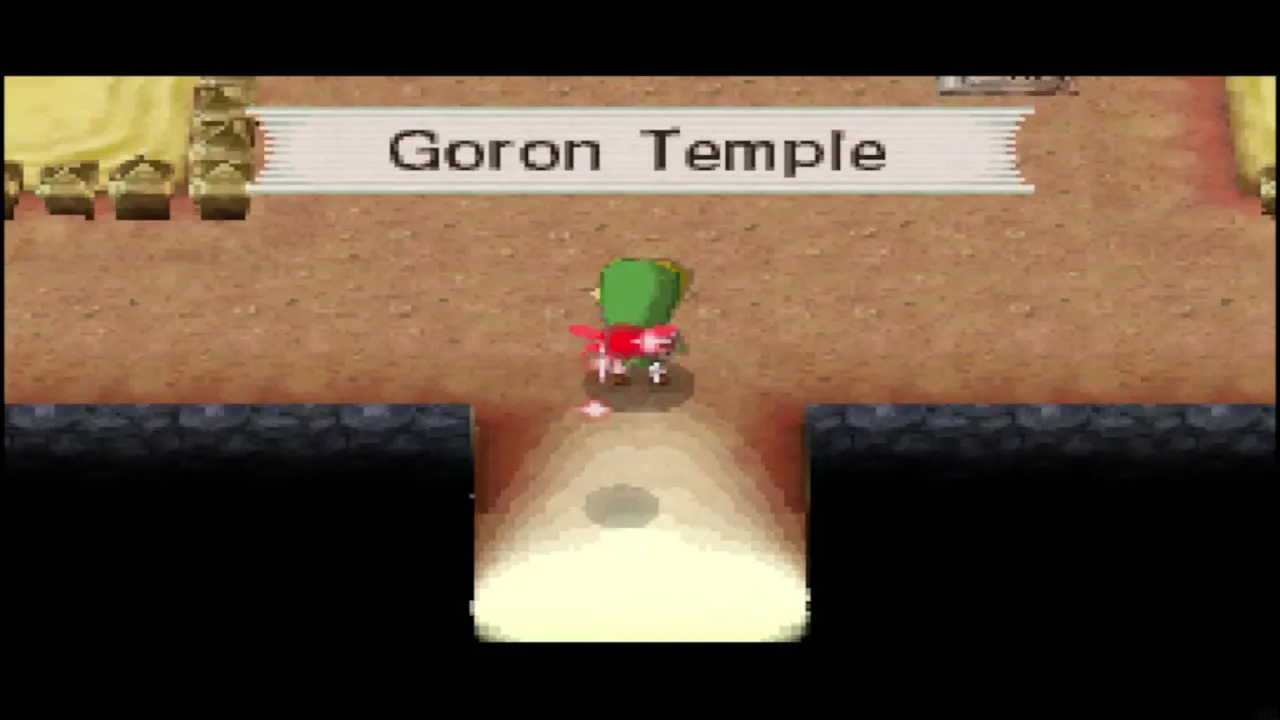
Enter the temple
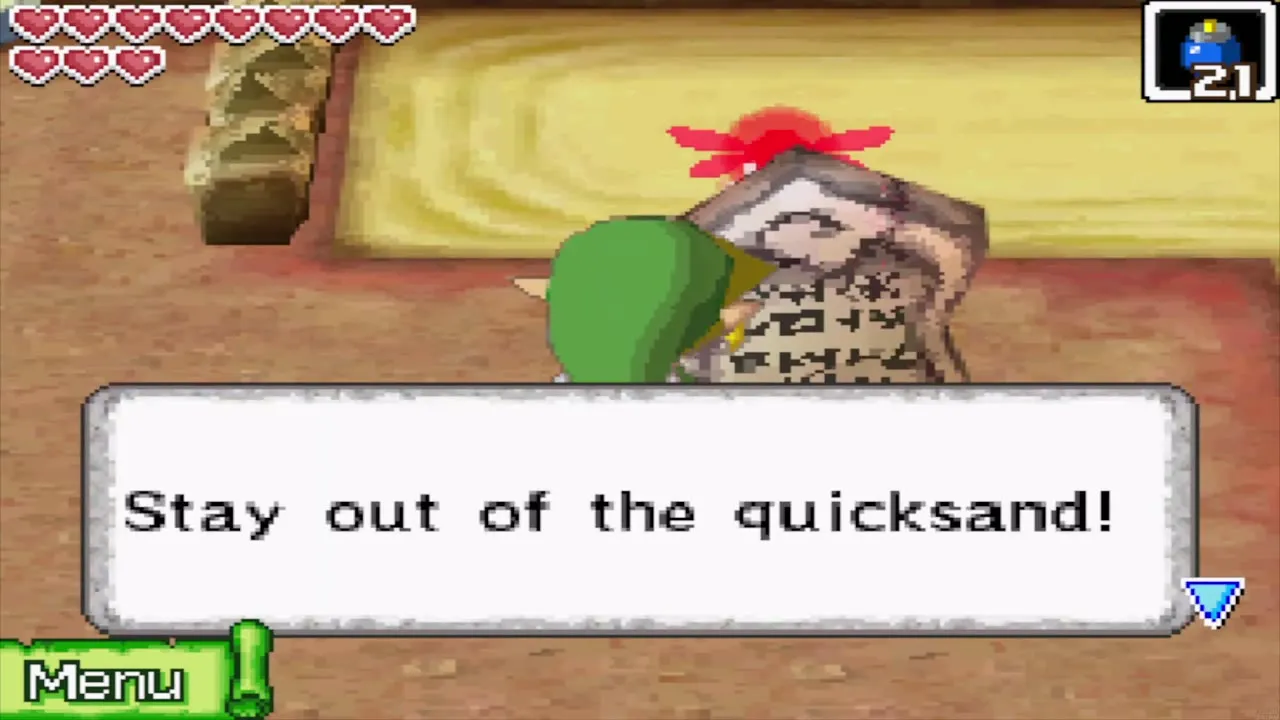
Leave the north maze of Goron Island by the stone doorway on the coast and walk into the temple. Gongoron ran inside ahead of you and got caught, so your goal is to find him. This is a sandy dungeon: the floor is full of stone blocks, spike traps, quicksand and Beamos statues that fire at you when you step in front of them. Quicksand swallows and hurts Link, so stay out of it and let Bombchus cross it instead.
Push Armos and statues onto the switches
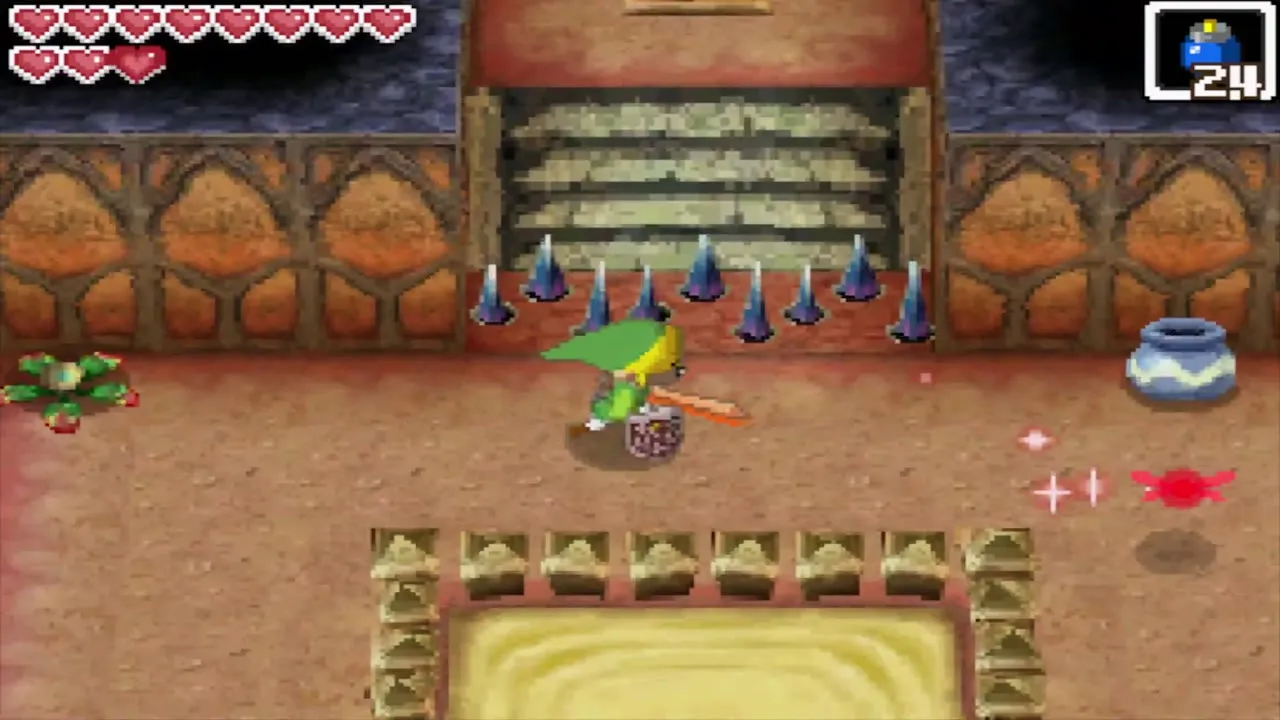
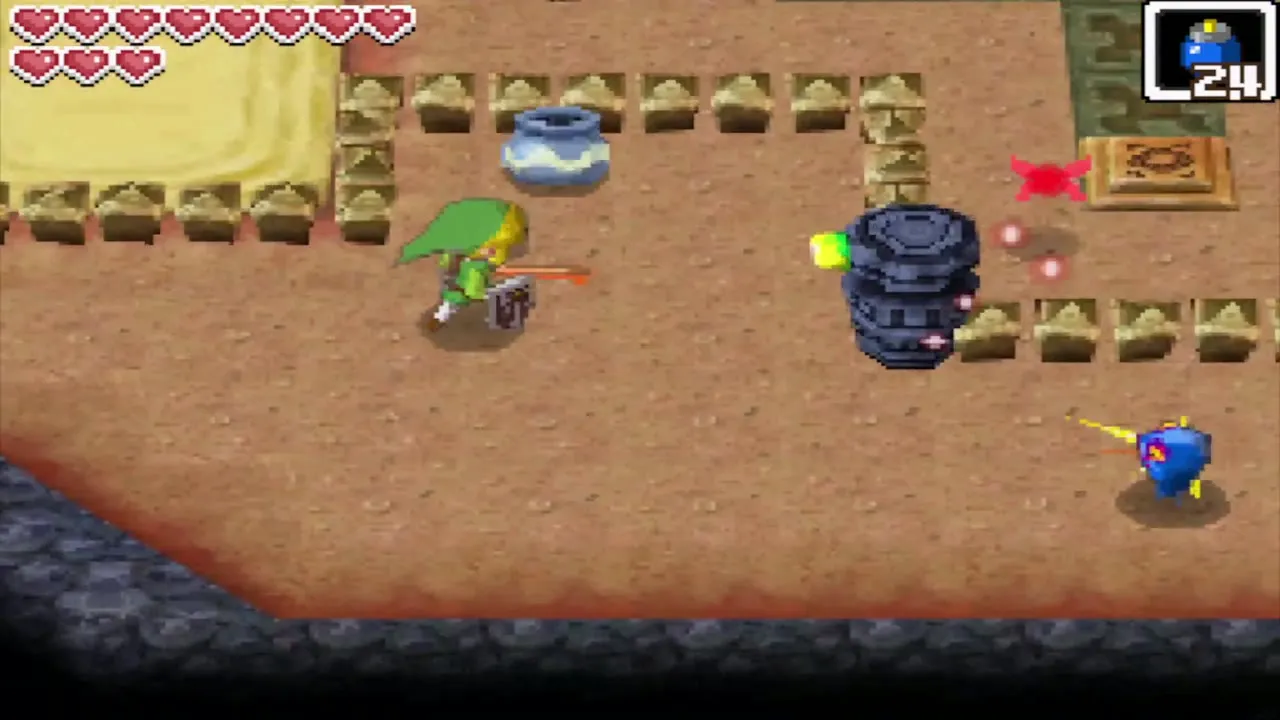
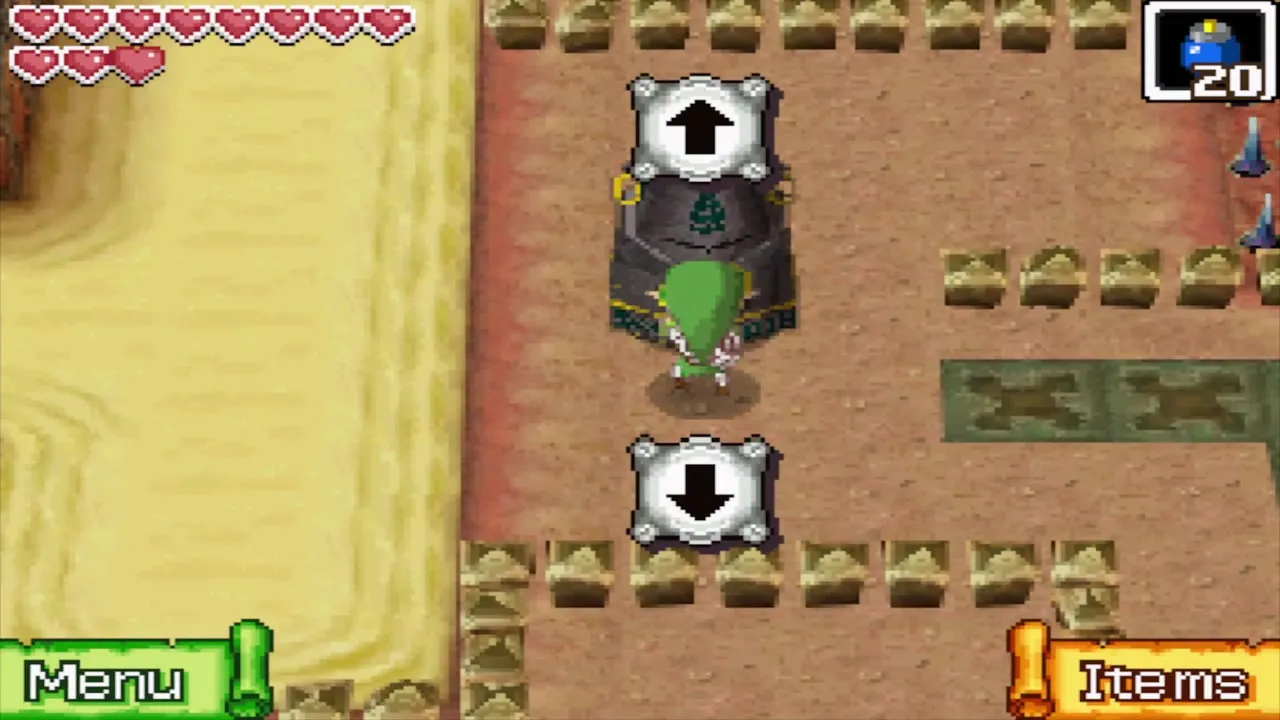
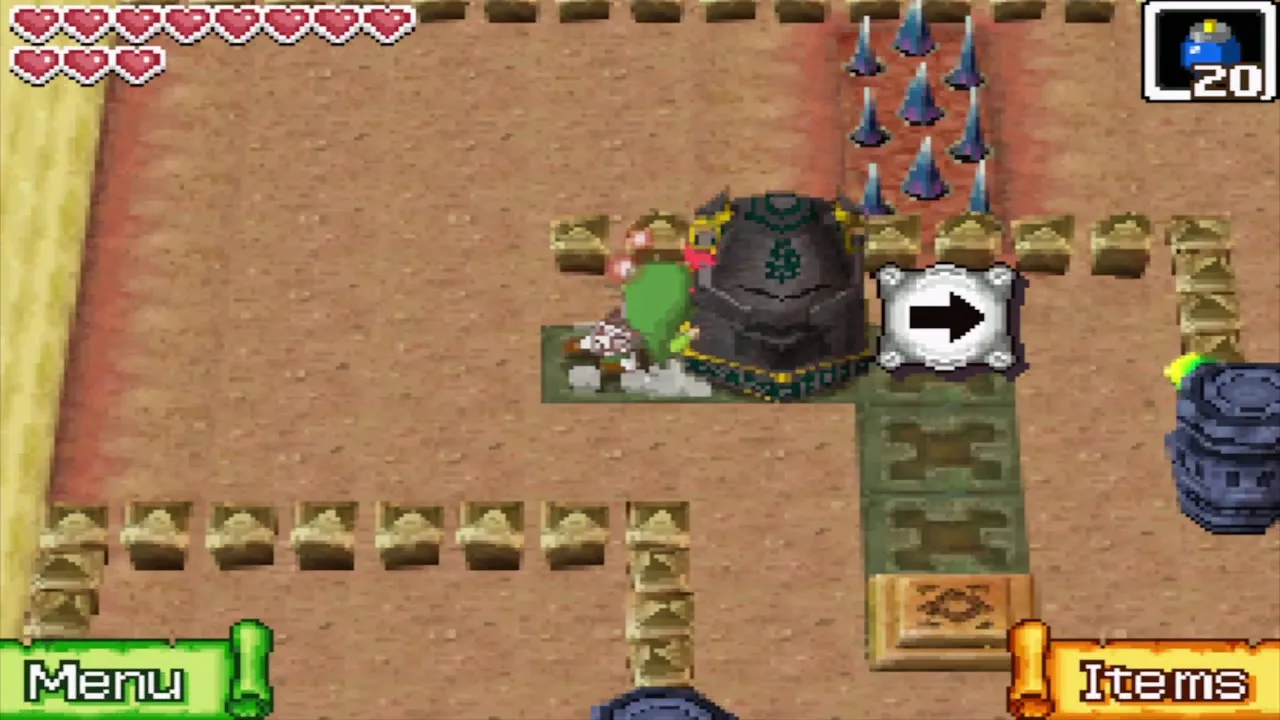
The 1F rooms are a series of block puzzles. Push the statues and arrow blocks onto the floor switches to lower the spikes in your way, and shoot the Beamos eyes with arrows if one blocks a corridor. Where a stone Armos stands in a room, throw a bomb at it to stop it from moving, then push it onto the nearest switch. Work east and then north; each solved room opens the next door.
The 1F chests
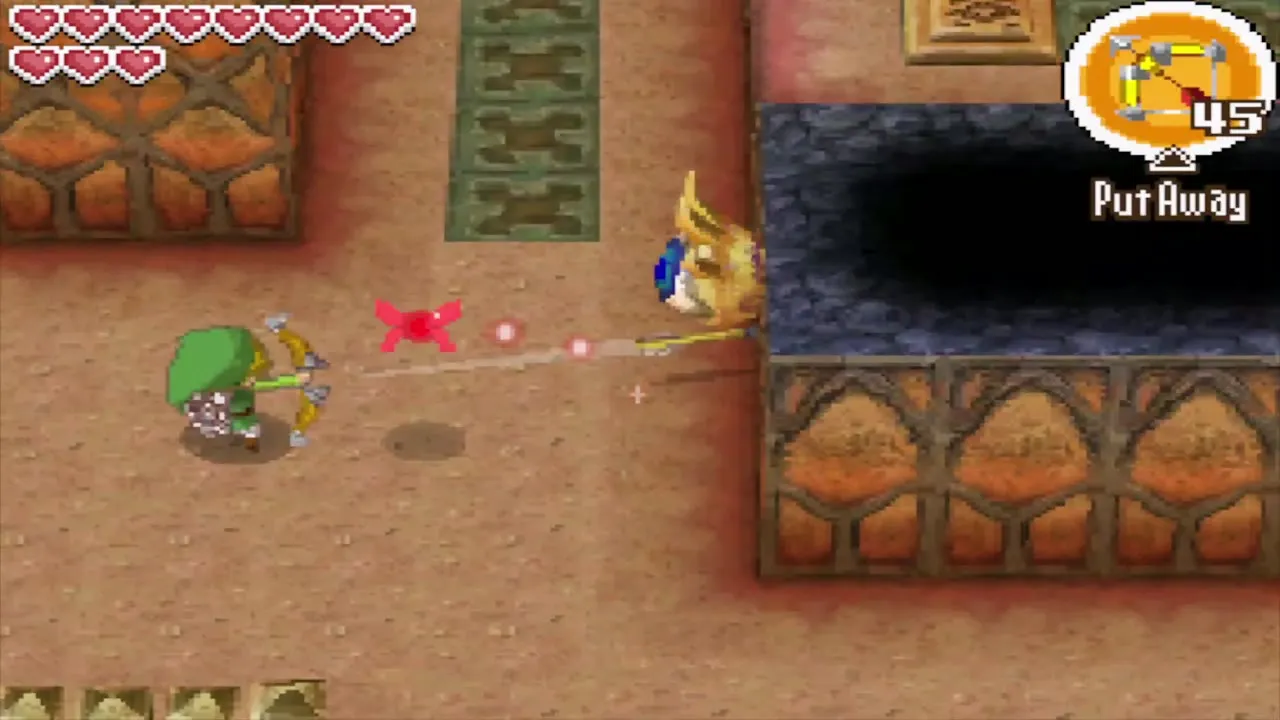
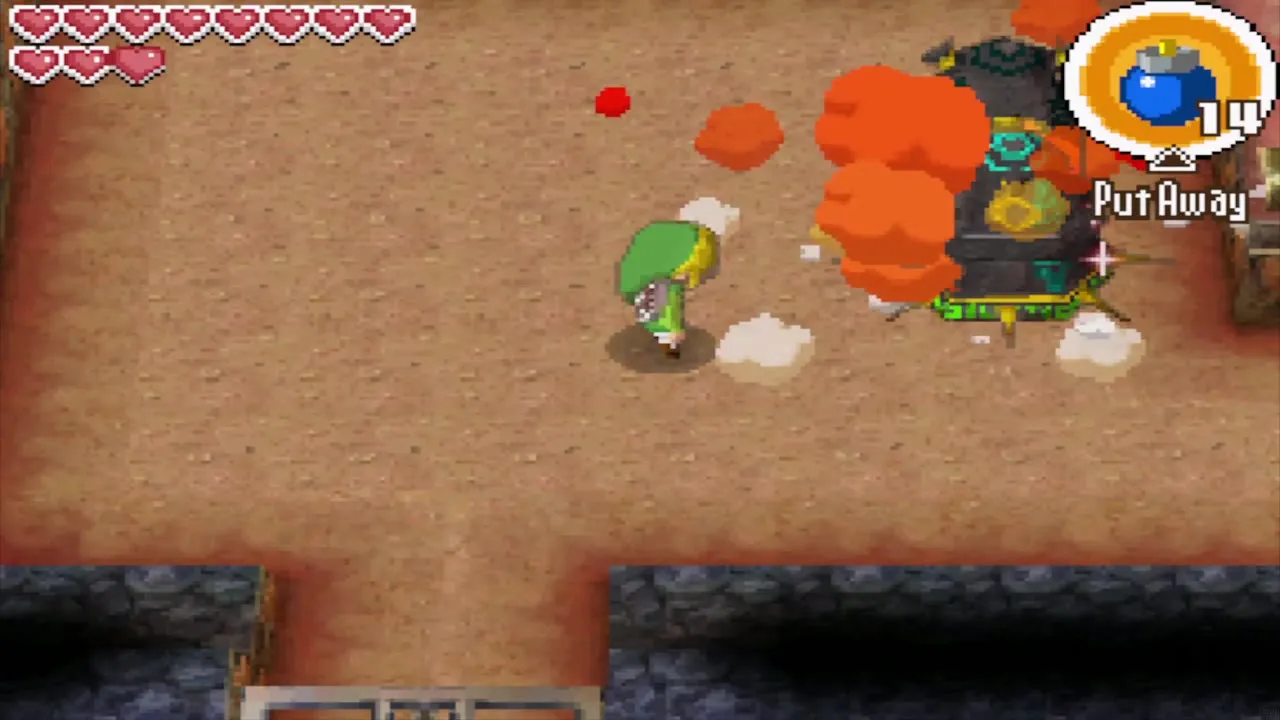
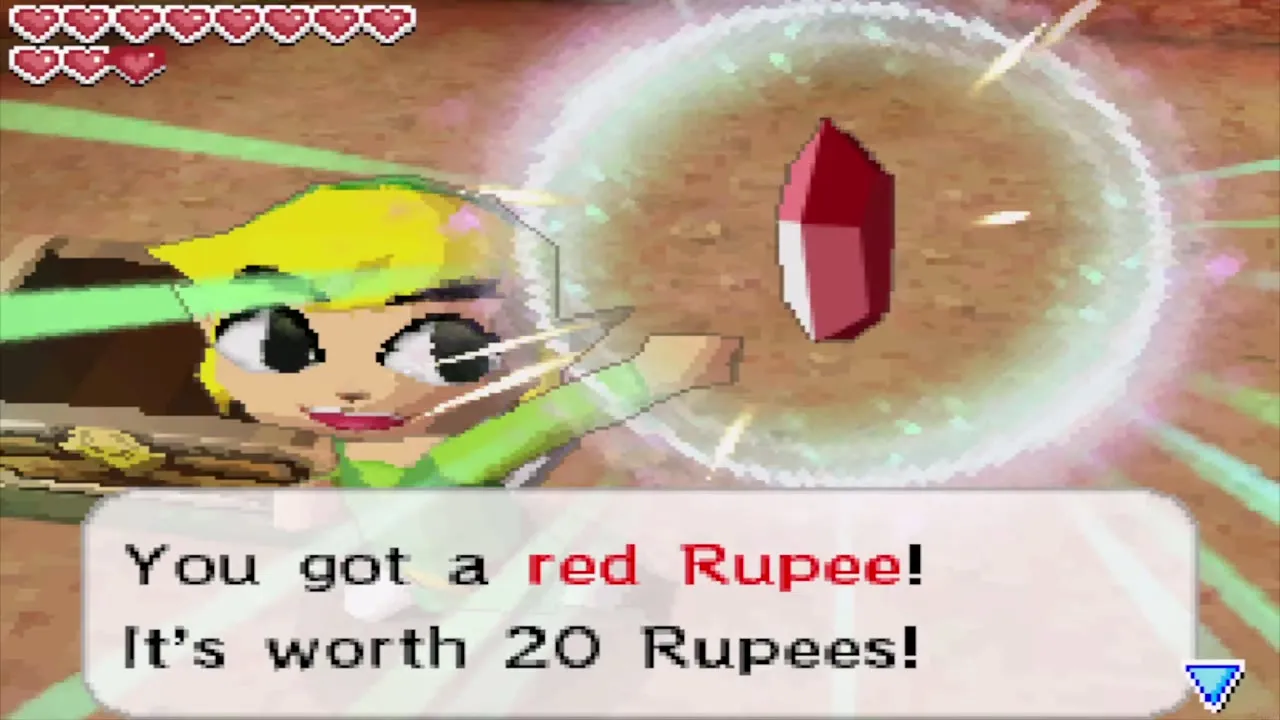
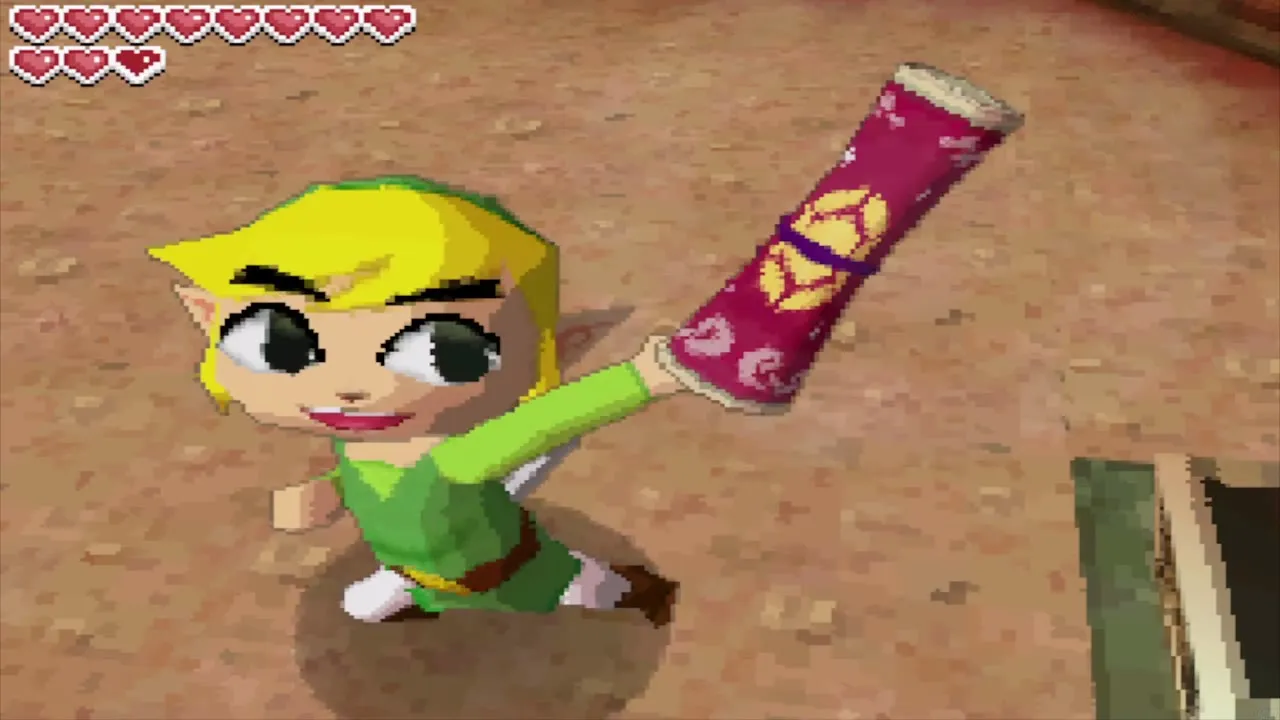
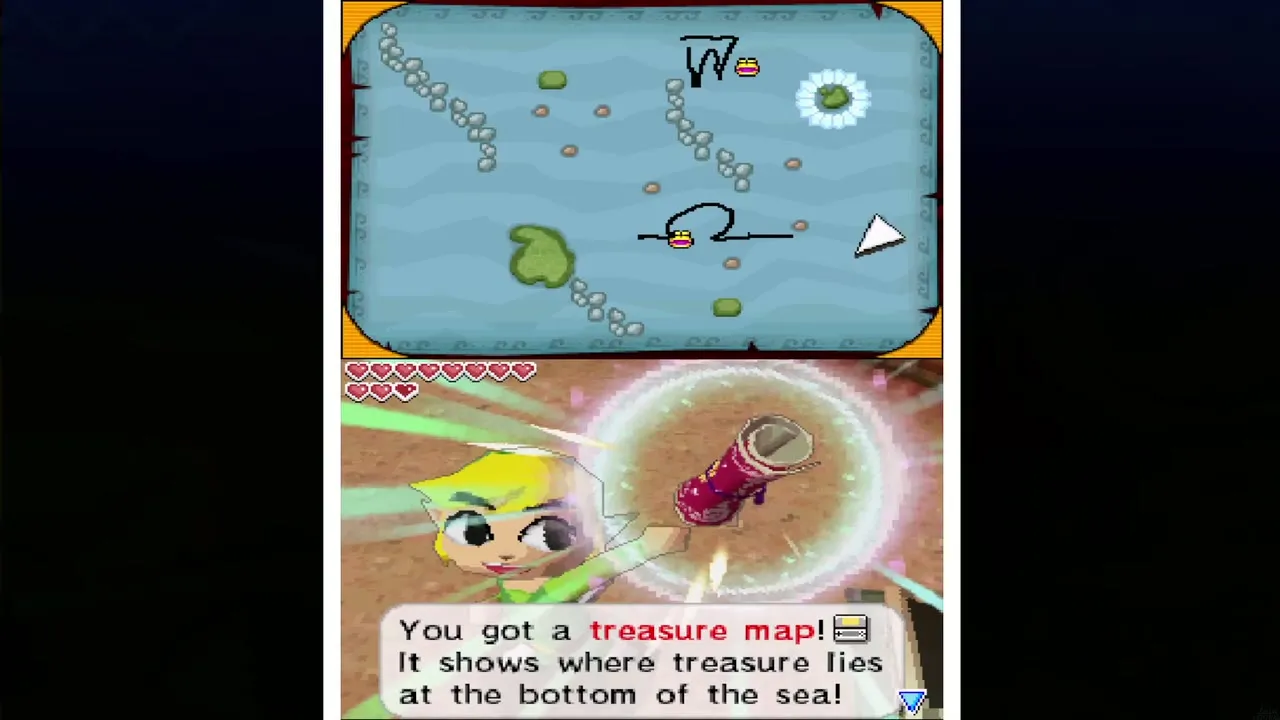
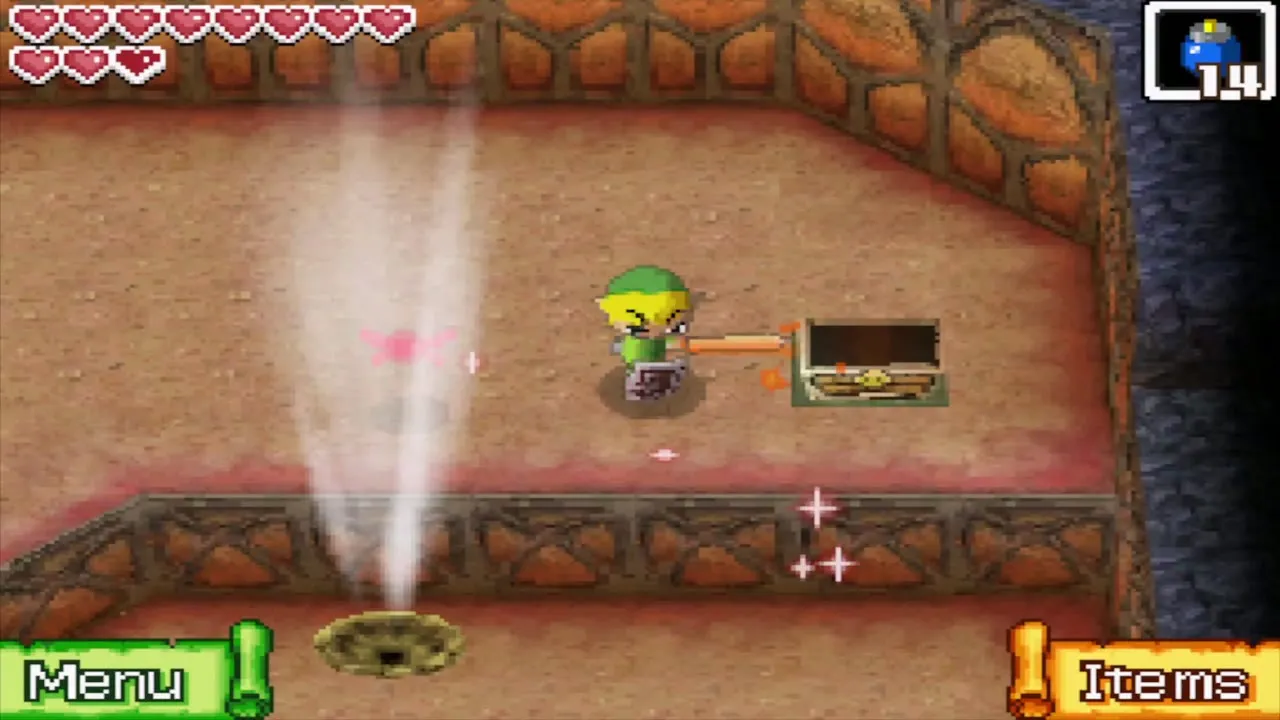
A chest at the end of the pillared hall holds a red Rupee, worth 20, and opens after you hit the eye switch with an arrow. Another chest appears in the north-east corner for only a few seconds when you hit the switch in the quicksand to the north (a bomb thrown from the bridge does it), so run to it at once. Inside is a treasure map, which marks the sunken treasure on your Southeastern Sea Chart: you can salvage it as soon as you own the Salvage Arm (see the treasure maps list, number 15).
Bomb your way down to B1
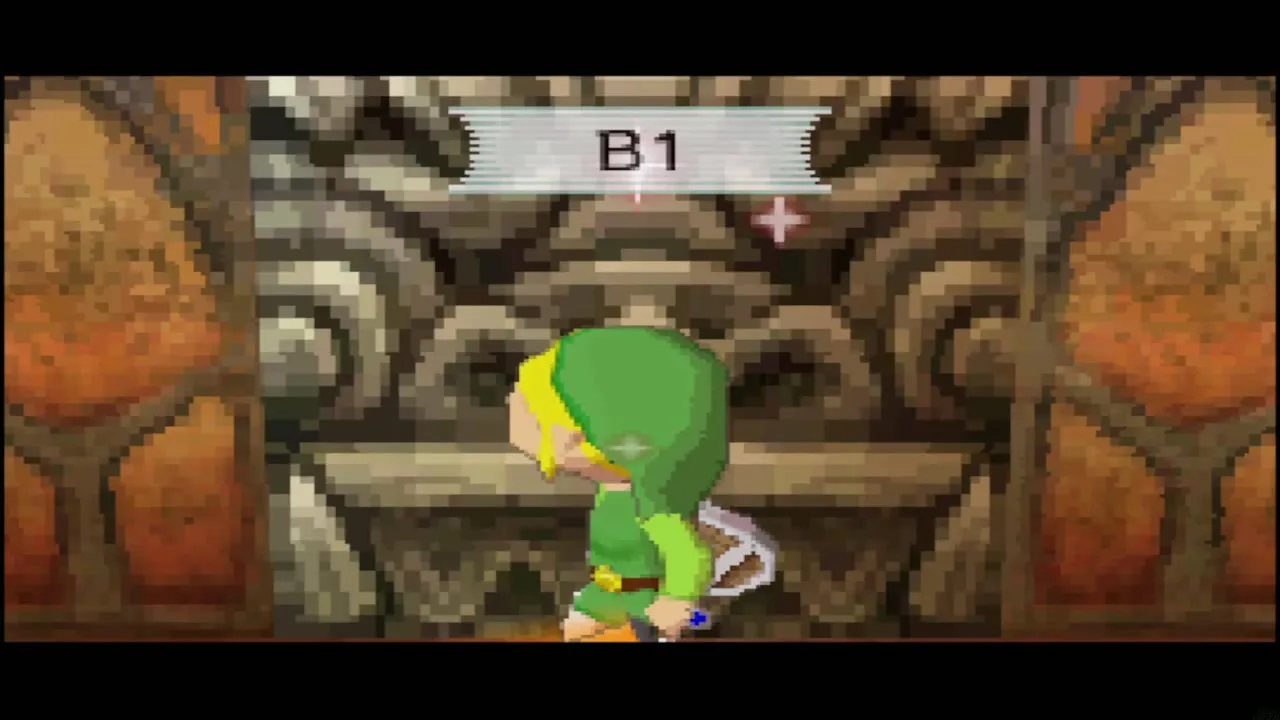
Bomb the cracked wall that hides a short dead end, then place a bomb between two columns of the pillared hall to open a hidden door. Go north, then take the stairs down. A sign on the wall tells you that you have reached B1.
Goron Temple B1: free Gongoron and get the Bombchus
Beat the Hinox and find Gongoron
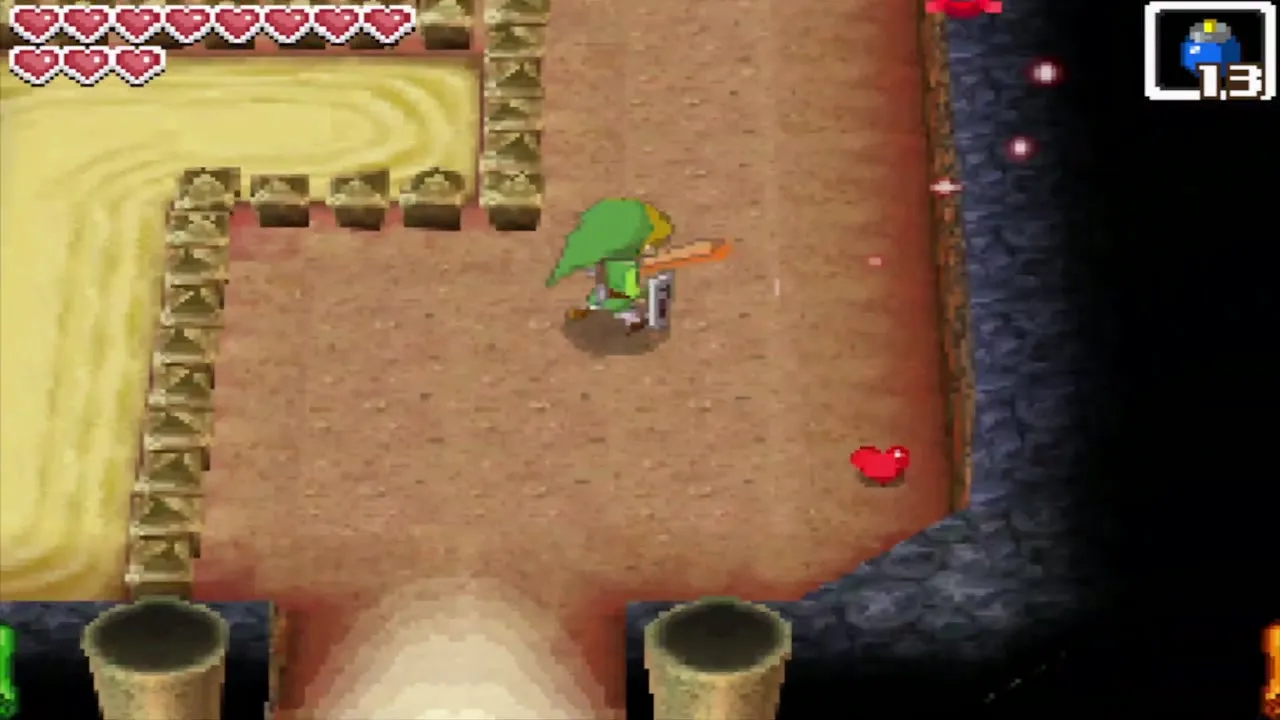
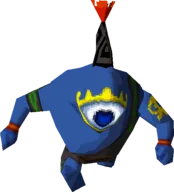
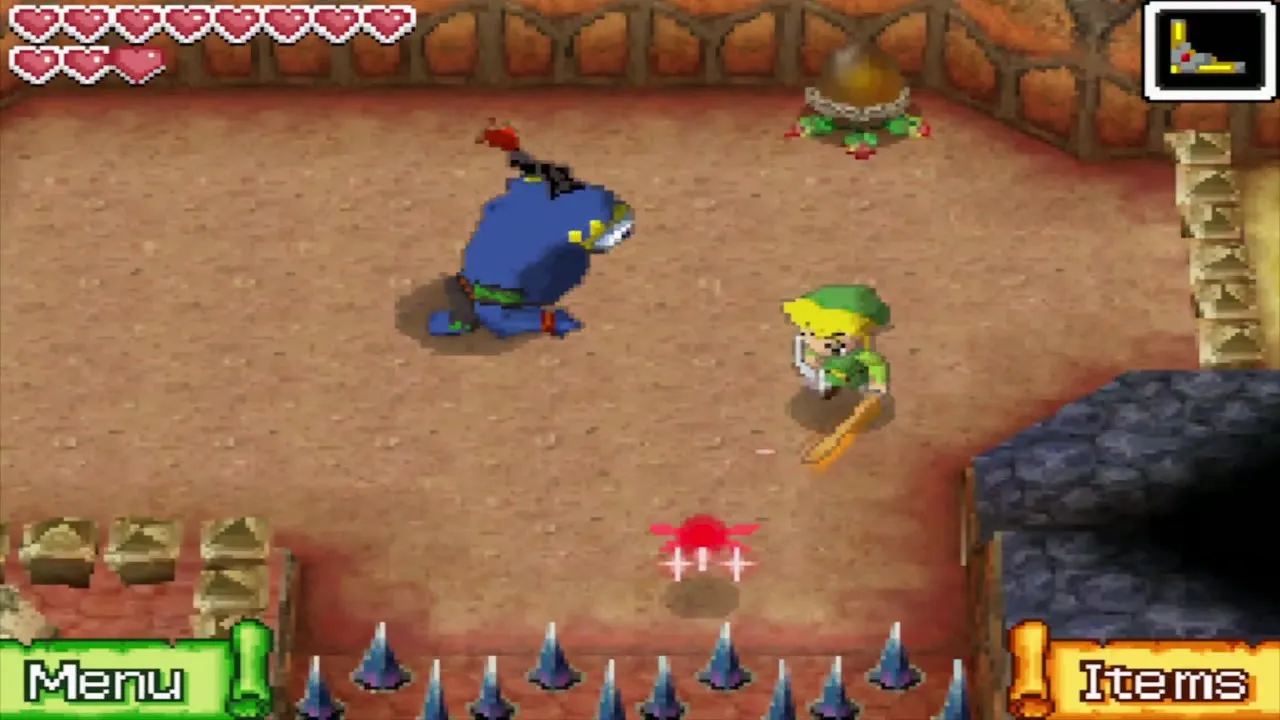
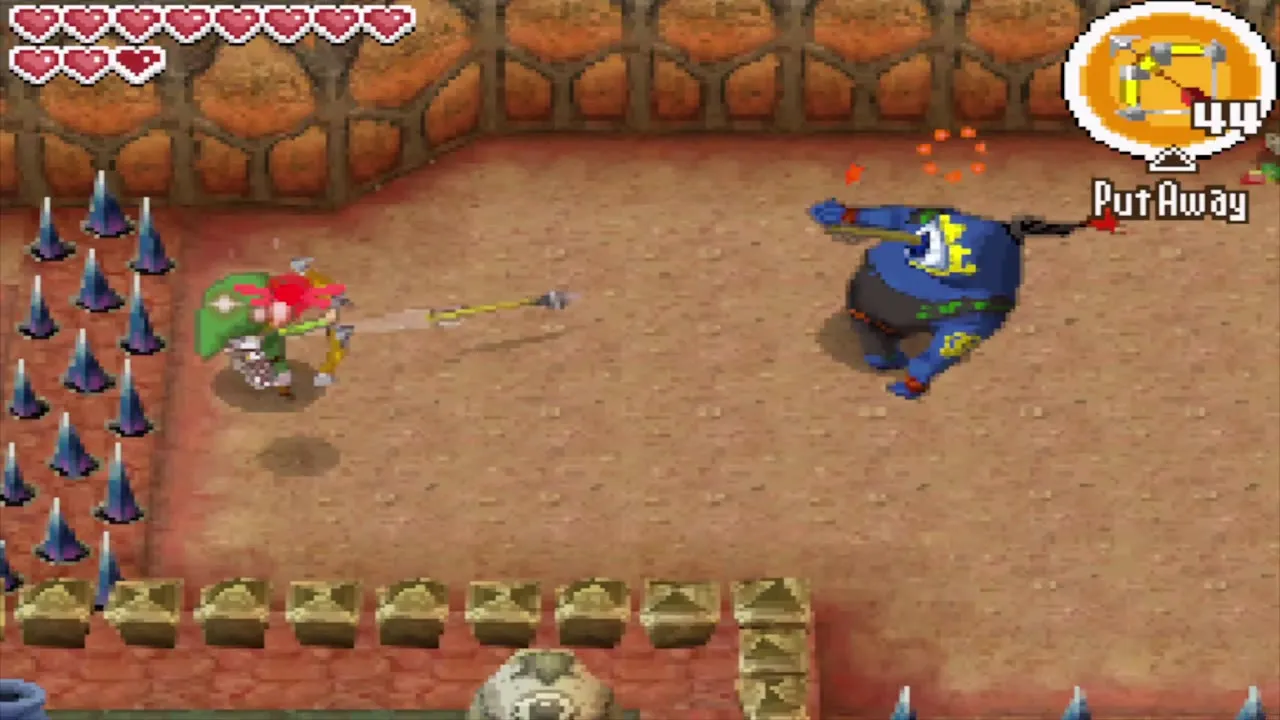
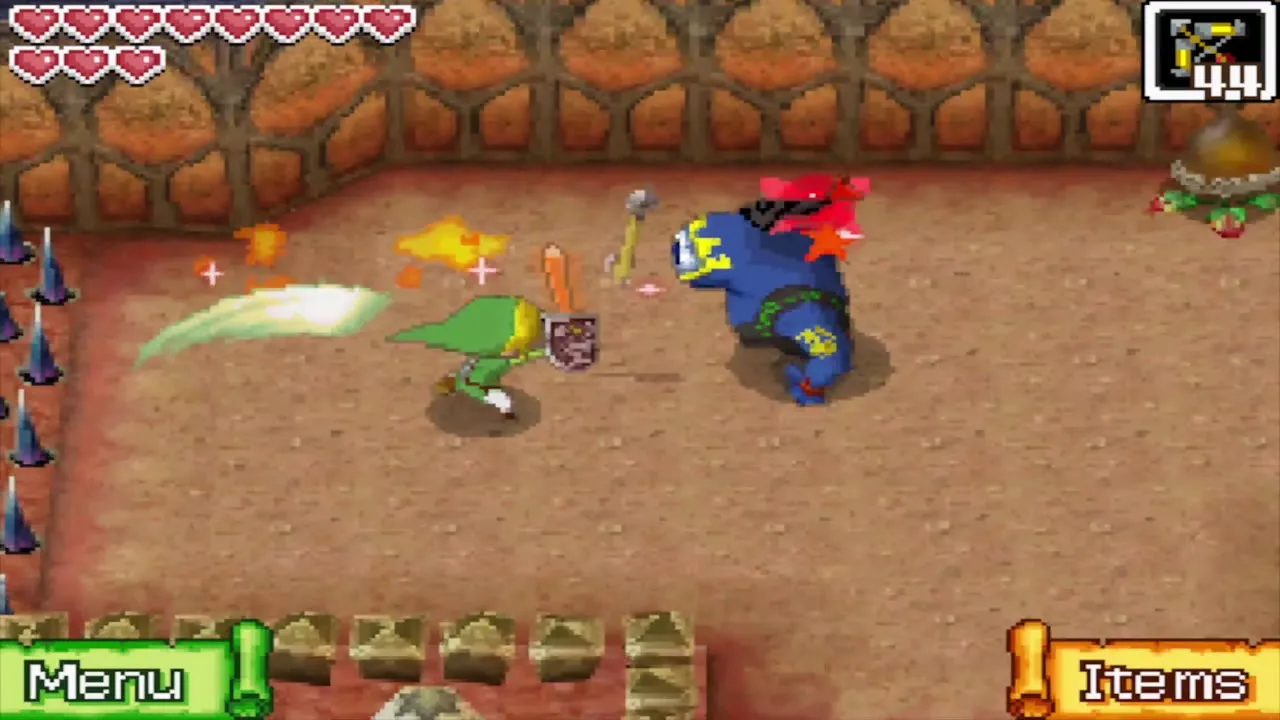
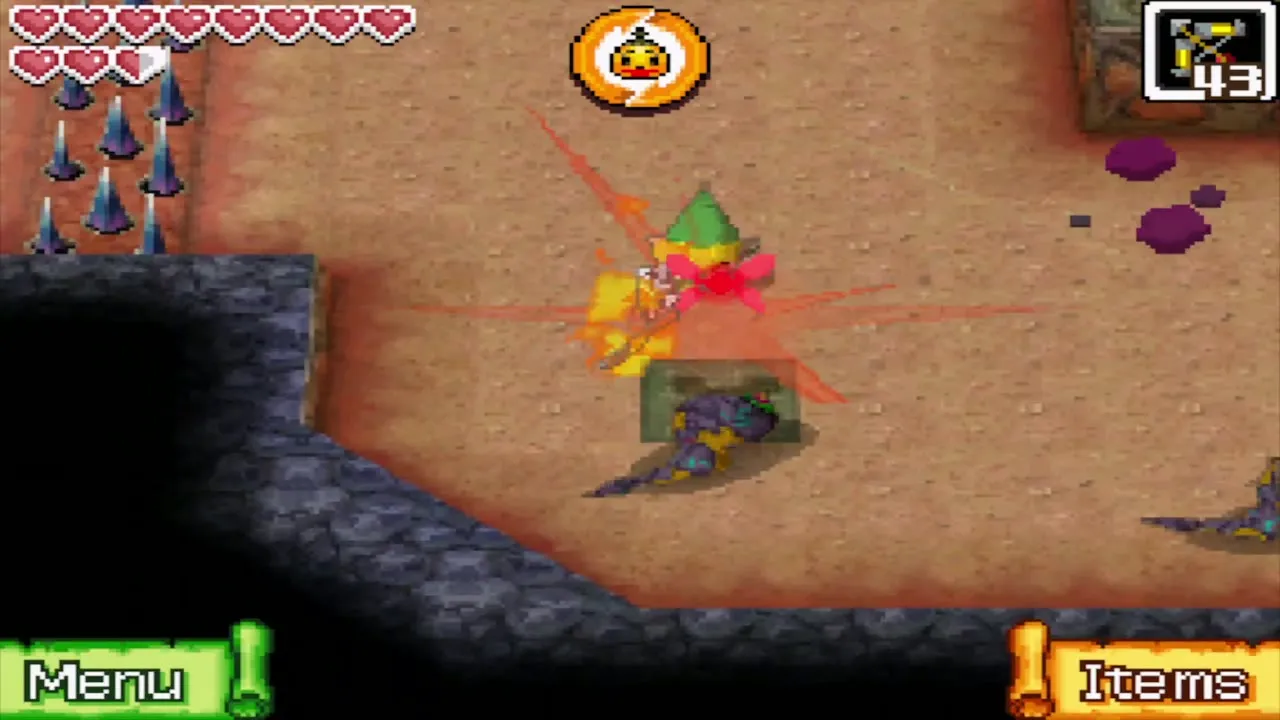
The door locks behind you on B1. Shoot the Fire Bubbles with arrows or stun them with the boomerang, then head south and east past the lowered spikes. An Hinox, a hulking blue brute with a lit fuse in its hair, blocks the way. Your sword bounces off its front, so shoot its eye with an arrow, run in and slash it while it is stunned, then back off before it swings. Throw back any bomb it lobs at you, or simply avoid it.
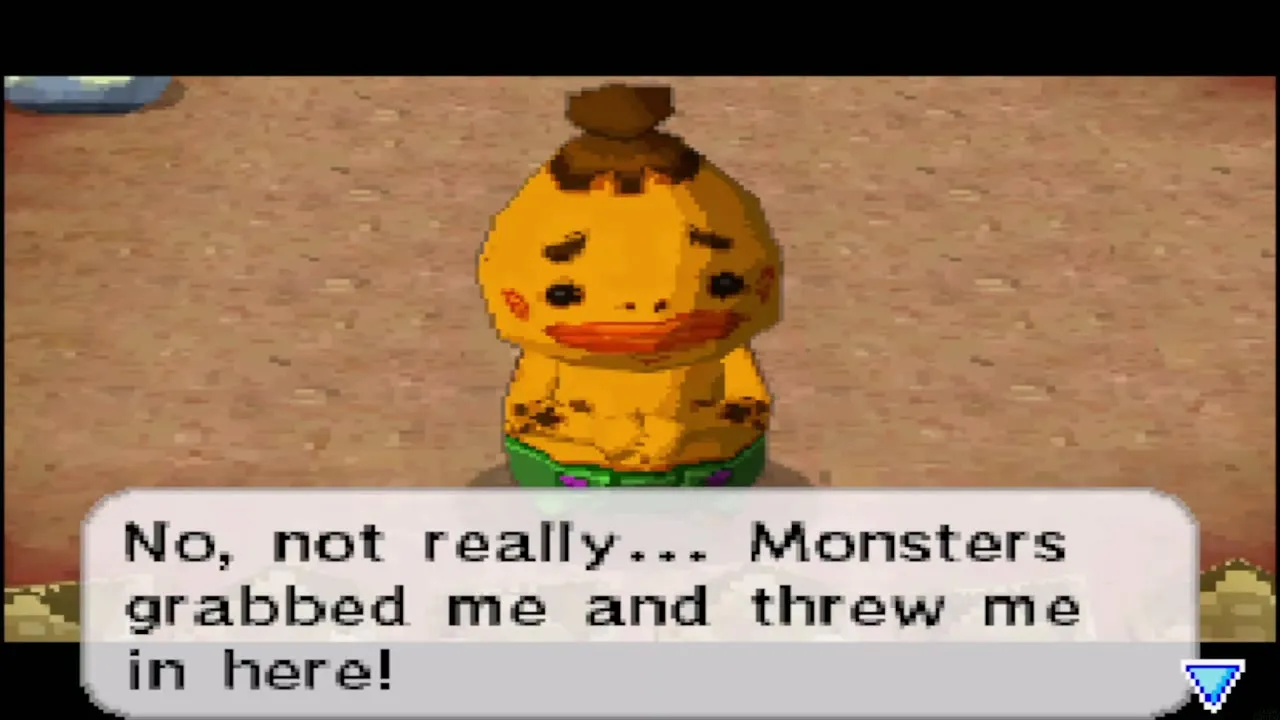
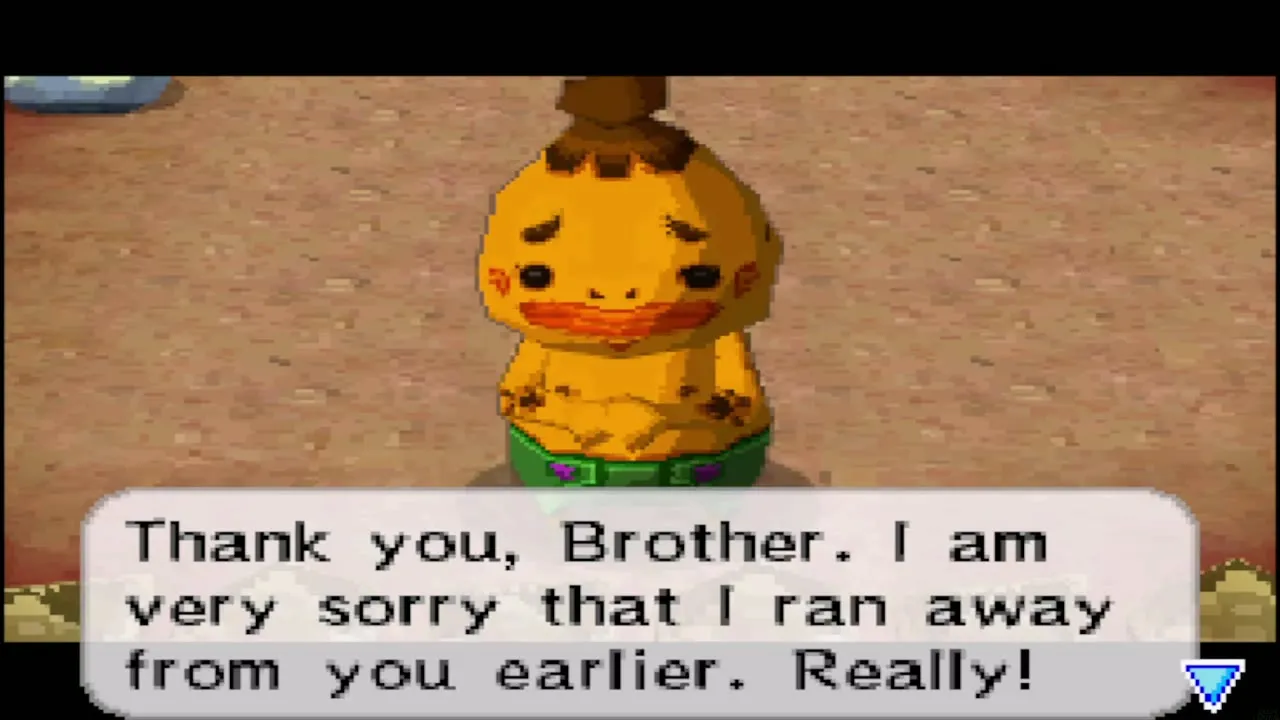
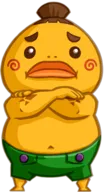
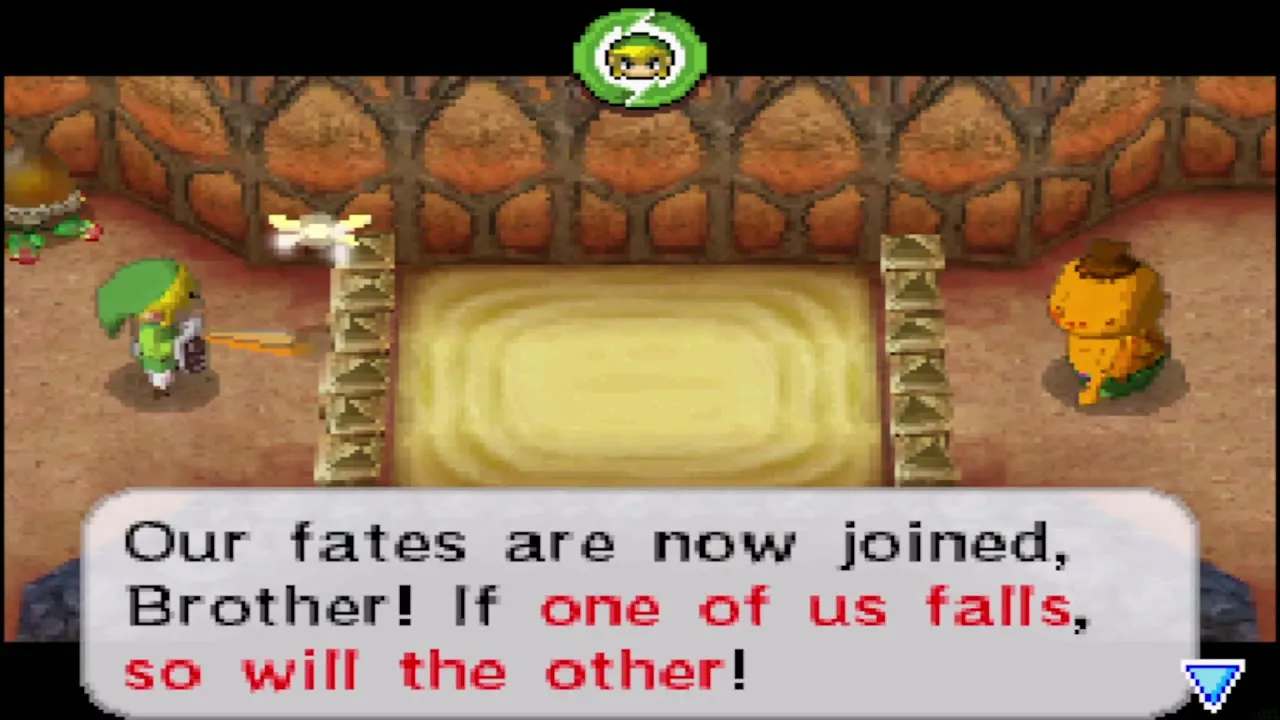
Gongoron is held in a cage-like area at the back. He thanks you, explains that monsters threw him in here, and shows you how to switch control between the two of you.
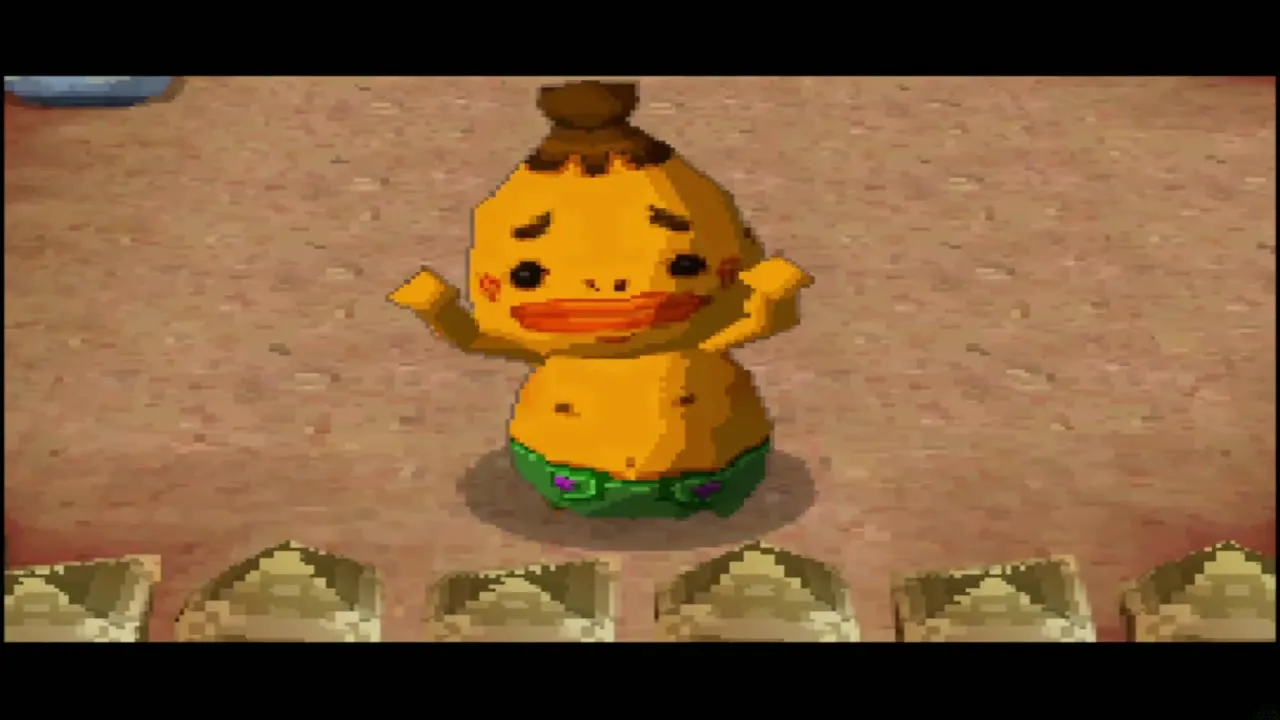
Switch between Link and Gongoron
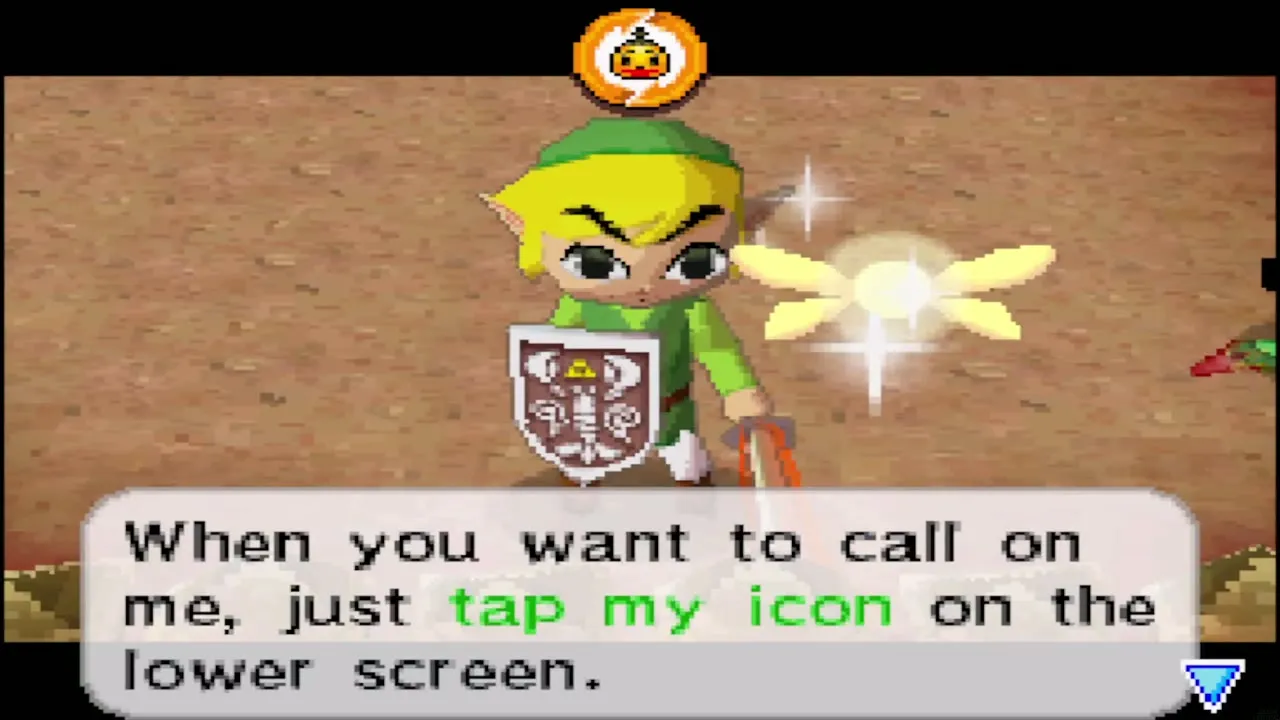
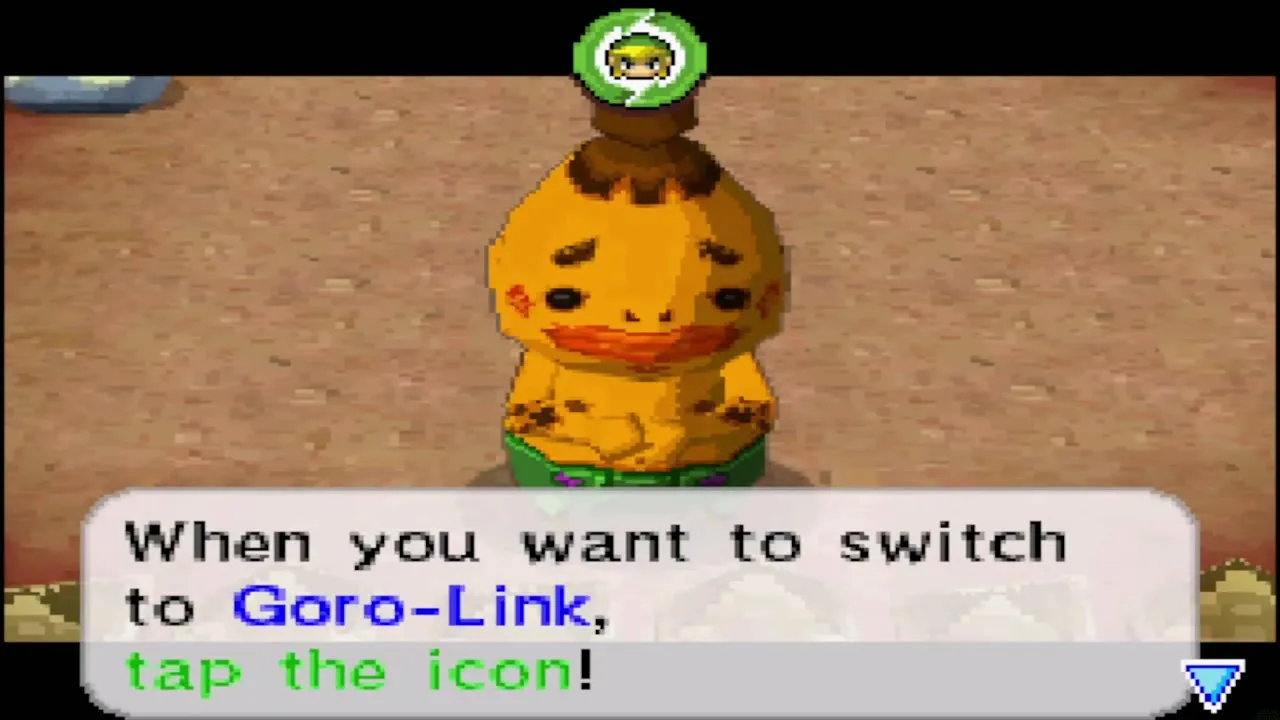
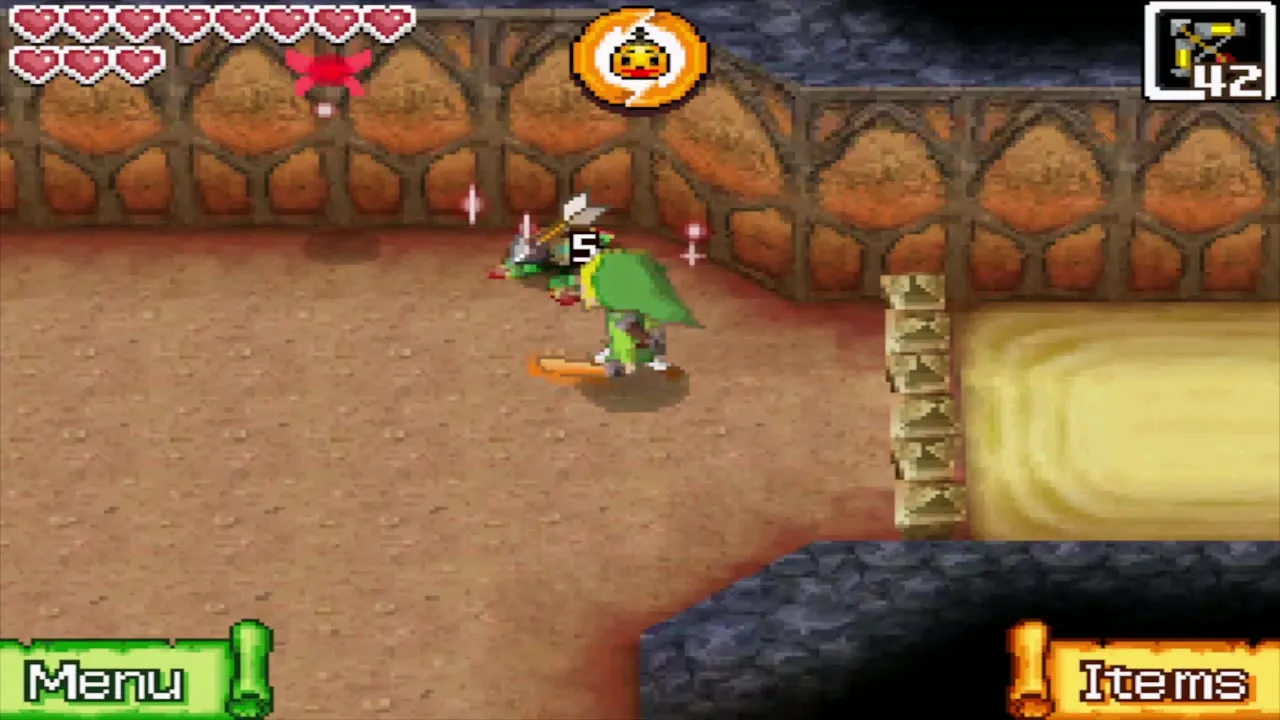
Gongoron joins you as a second character. Tap his icon on the lower screen to take control of him, and tap Link’s icon to switch back. Draw a path with the stylus to make Gongoron roll along it. He rolls over boulders, breaks spiked walls and flattens enemies that Link cannot touch. Enemies still go after Link while you play Gongoron, so keep an eye on him. In the boss fight Gongoron yelps when he is in trouble, and you should switch control at once.
Open the way with both characters
As Gongoron, roll through the boulder room and defeat the Rock ChuChus that hide inside the boulders; this lowers the spikes that block Link. As Link, then shoot the Like Likes from a distance (arrows or bombs) so that they cannot swallow you. Step on the floor switch in the south, switch to Gongoron and roll fast across the gap to land on the identical switch beyond it. With both of you standing on a switch, a chest appears for Link.
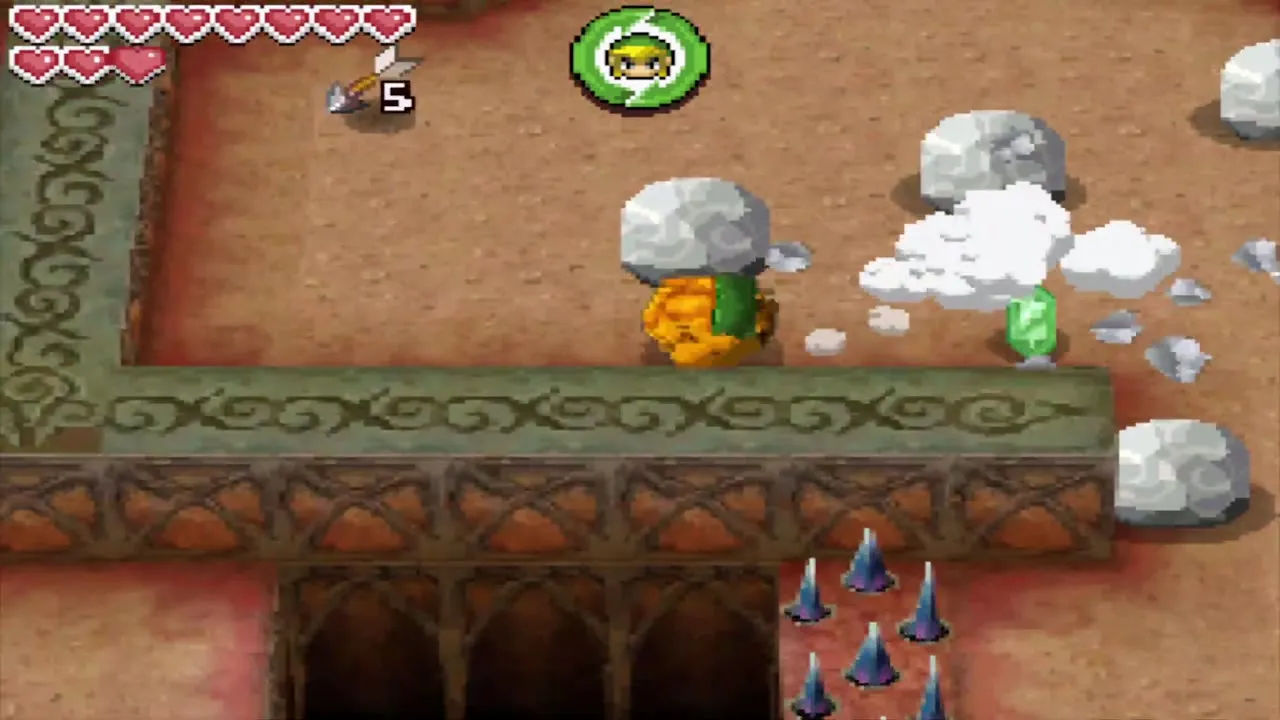
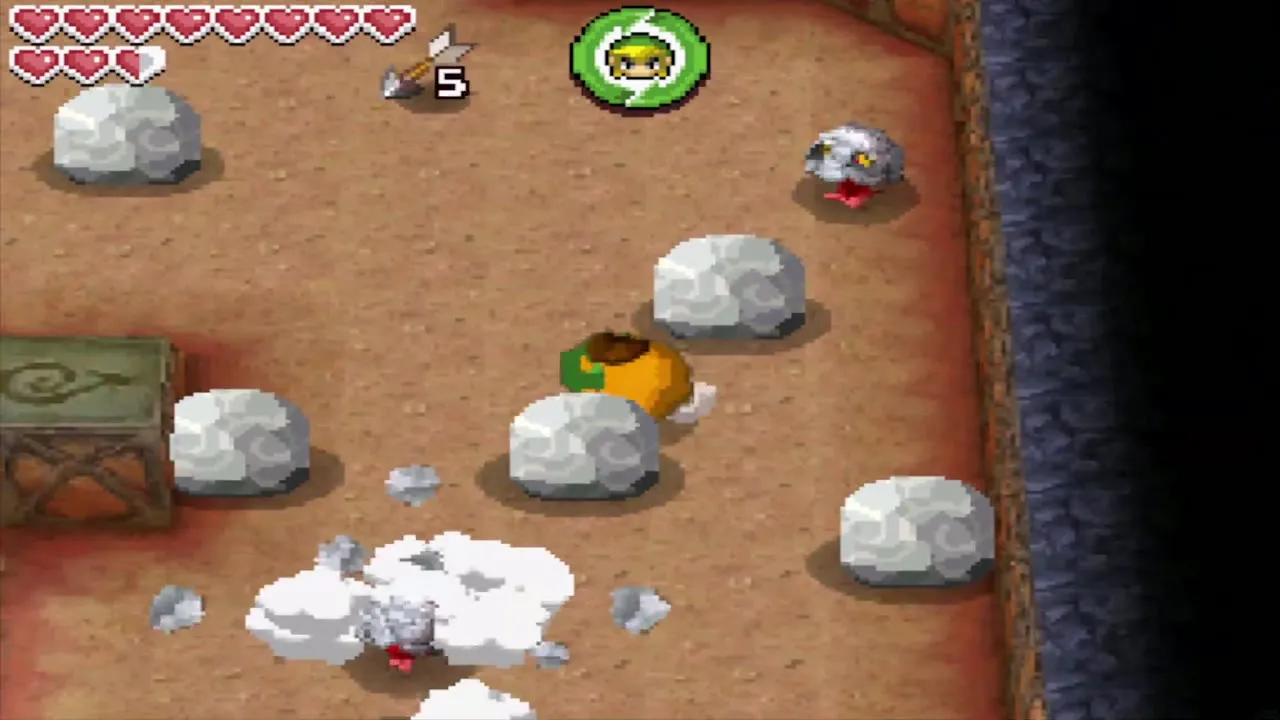
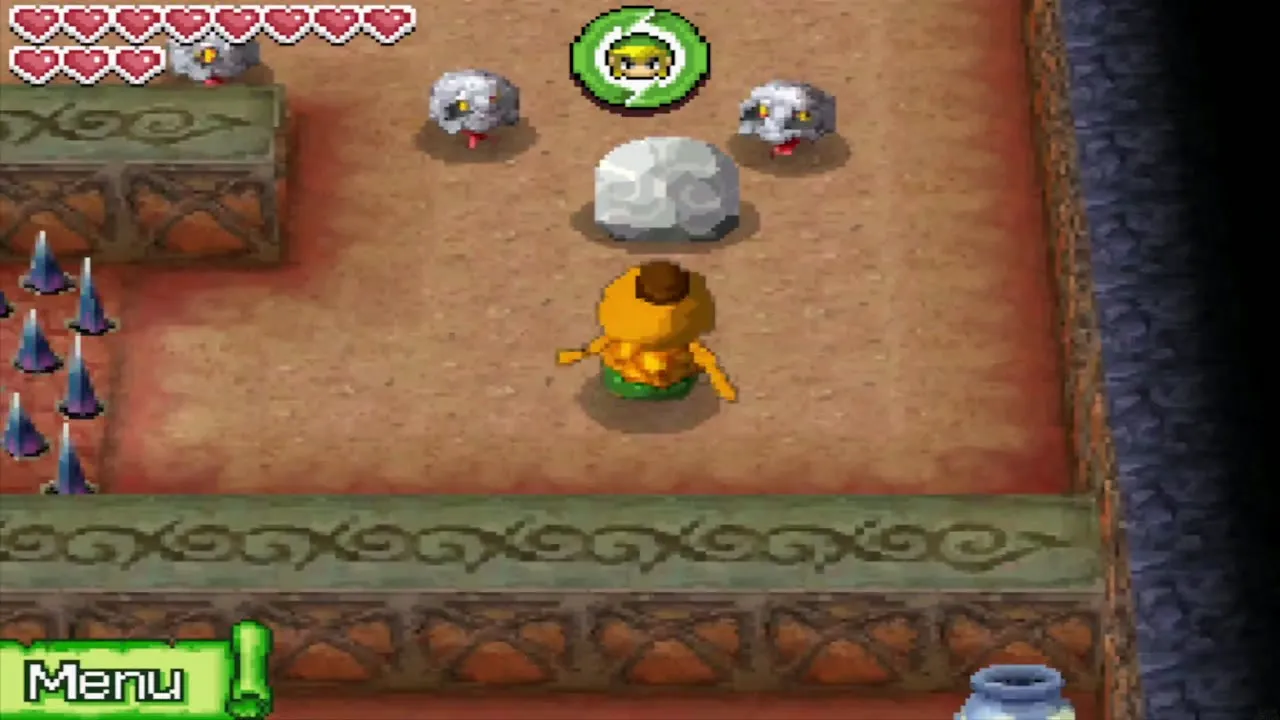
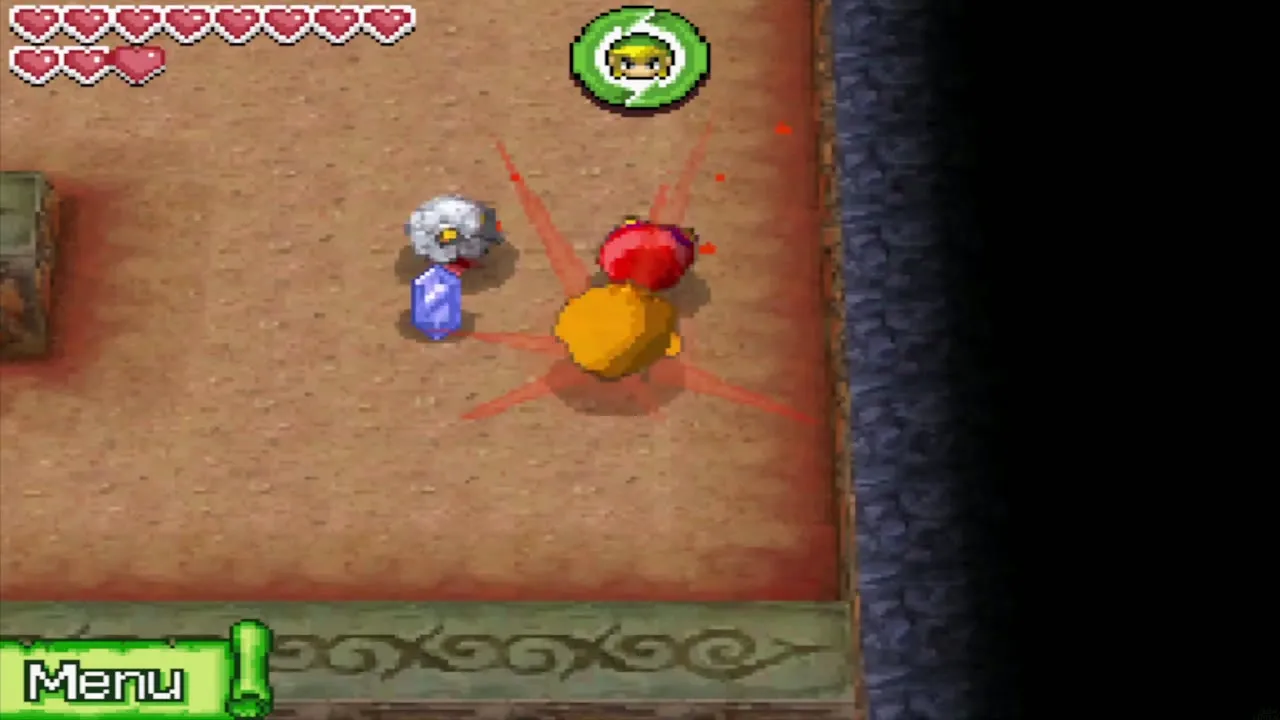
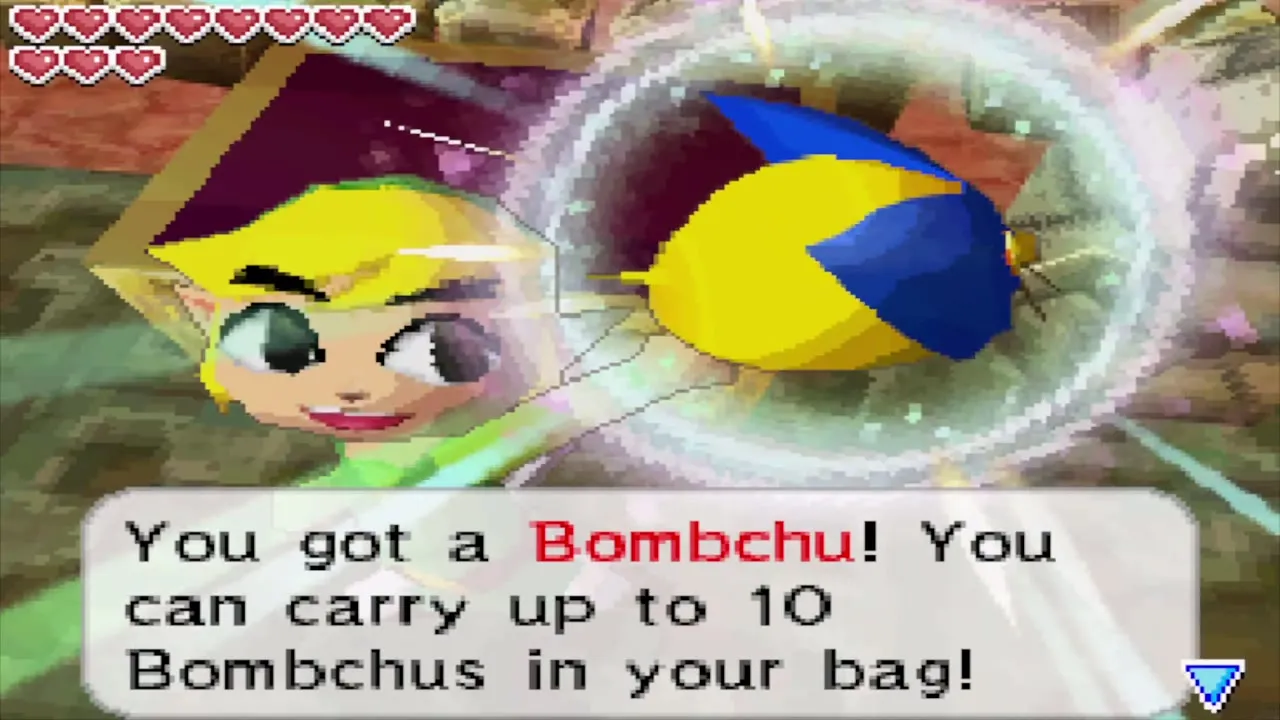
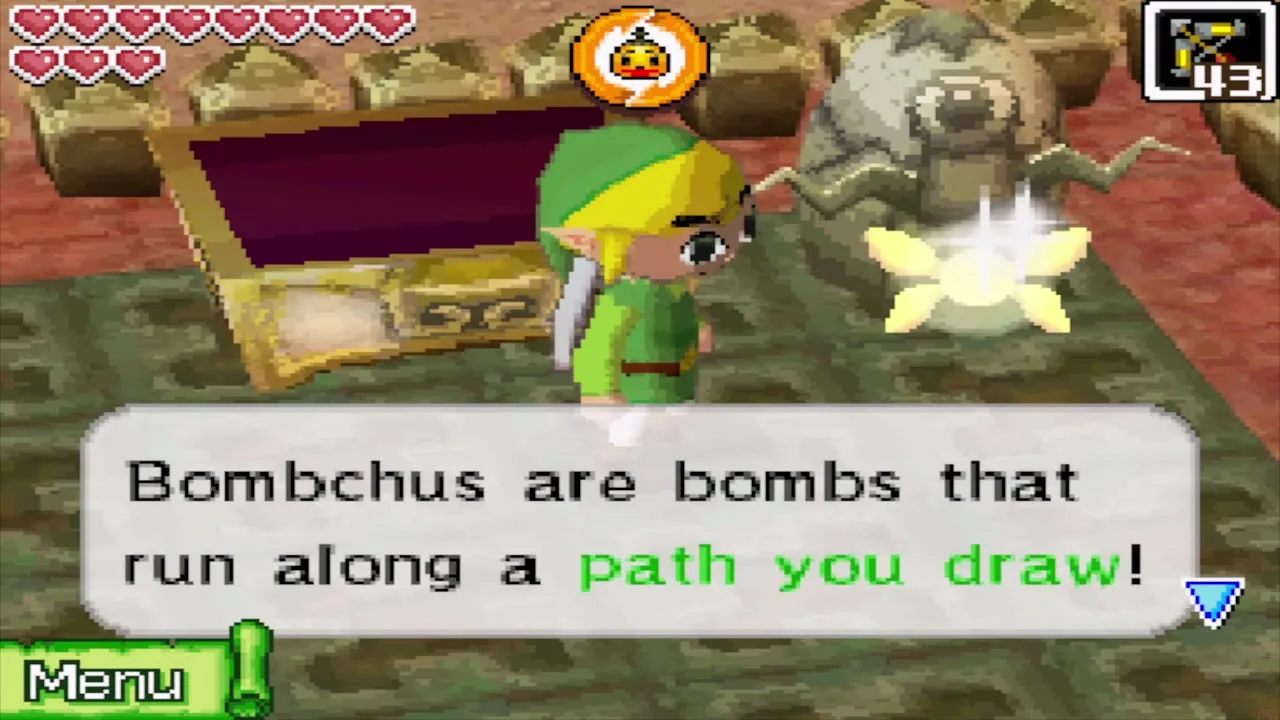
The chest contains the Bombchus and the Bombchu Bag, and you can carry up to ten Bombchus in it. Select them on the Items screen, tap where the Bombchu should start and draw its path on the lower screen with the stylus; it follows the line, can pass through small holes and over quicksand, and sets off crystal switches that your sword cannot reach.
Defeat the Eye Slugs
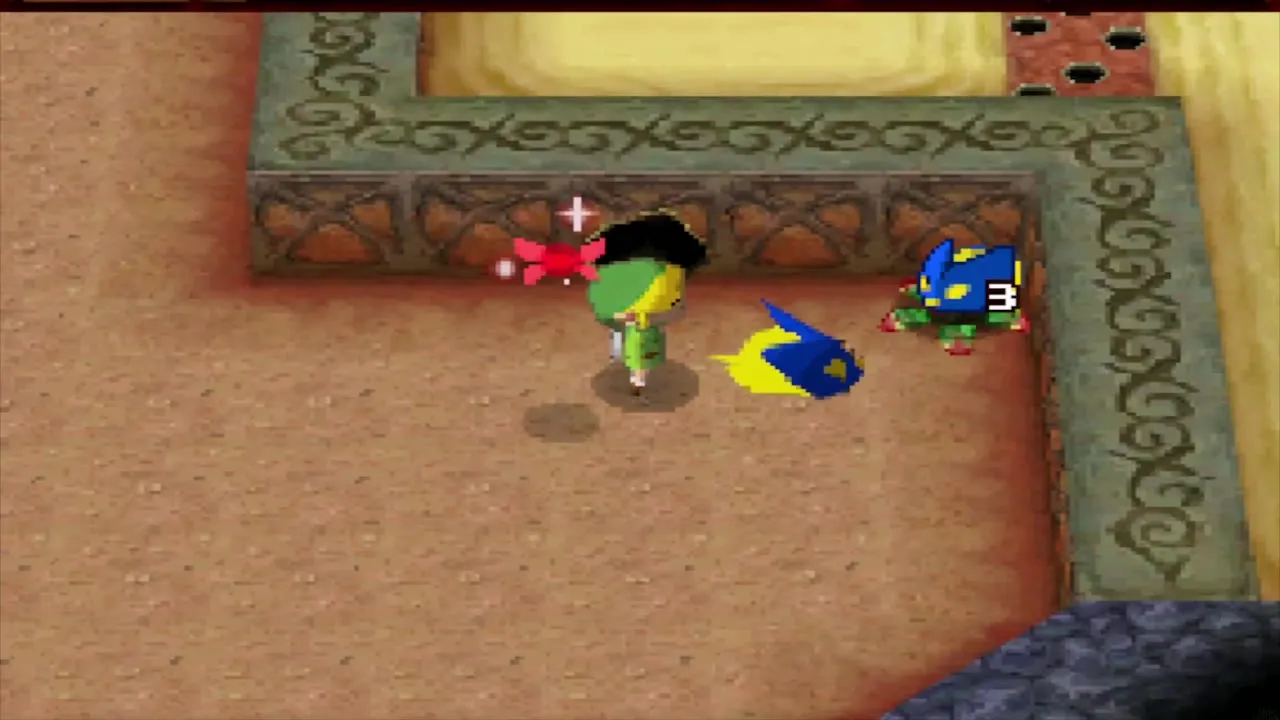
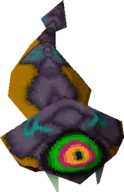
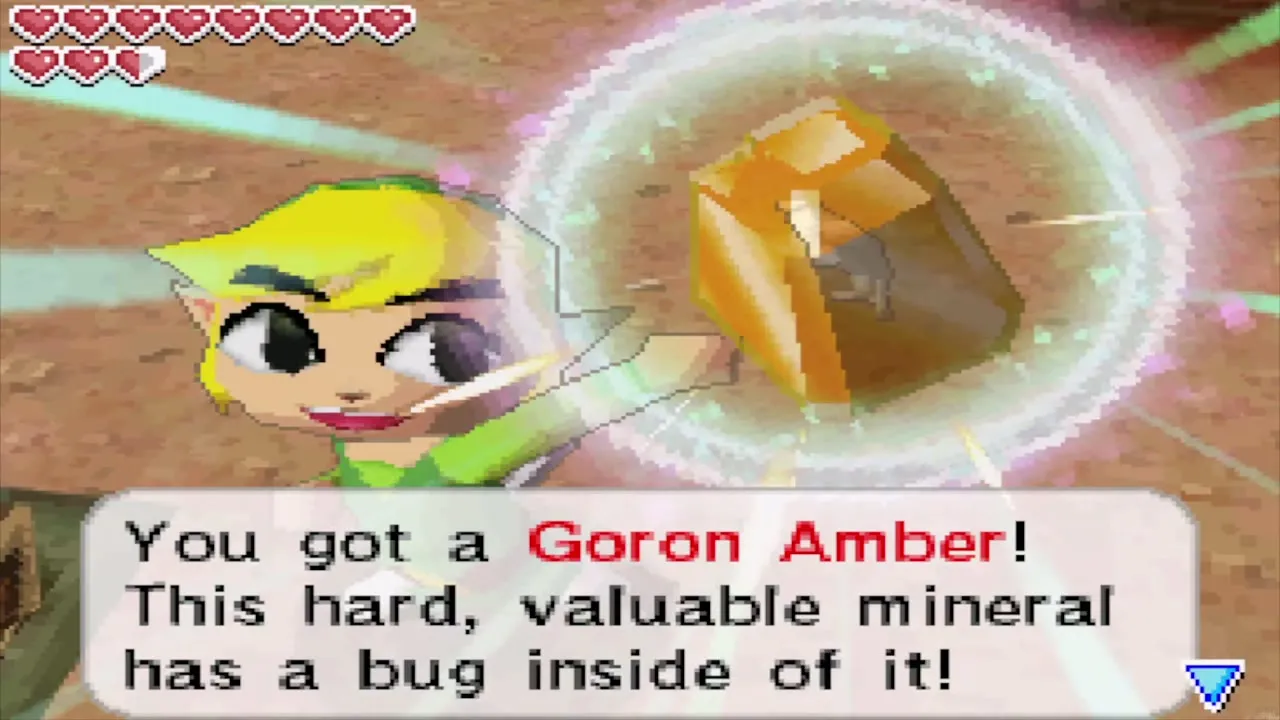
Continue south as Gongoron and defeat all the Eye Slugs in the next room to unlock the west door. Defeat the second group of Eye Slugs in the room beyond it and a chest appears. It holds a random treasure (a Goron Amber is one possibility) that you can sell to the Treasure Teller. Then send a Bombchu through the small hole and around the corner to the crystal switch, which opens the faster routes between 1F, B1 and B2. On 1F you can use a Bombchu in the same way to make a bridge that gives you a shortcut back to the entrance.
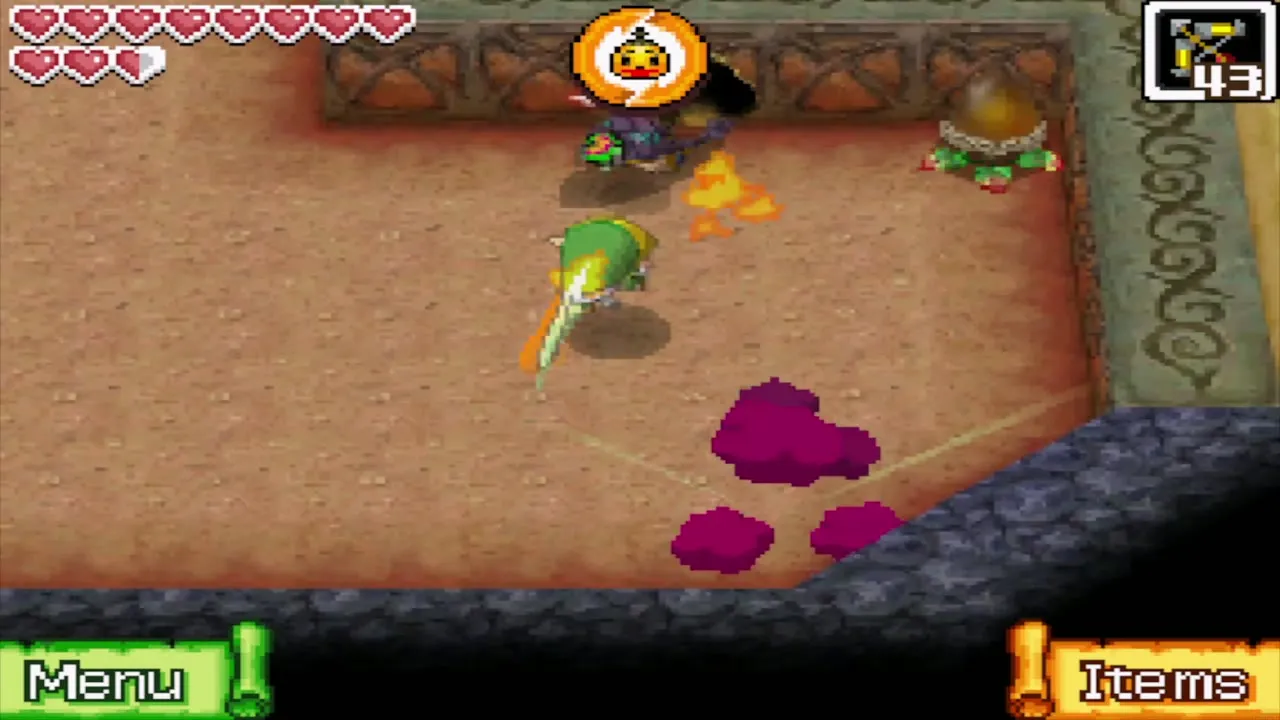
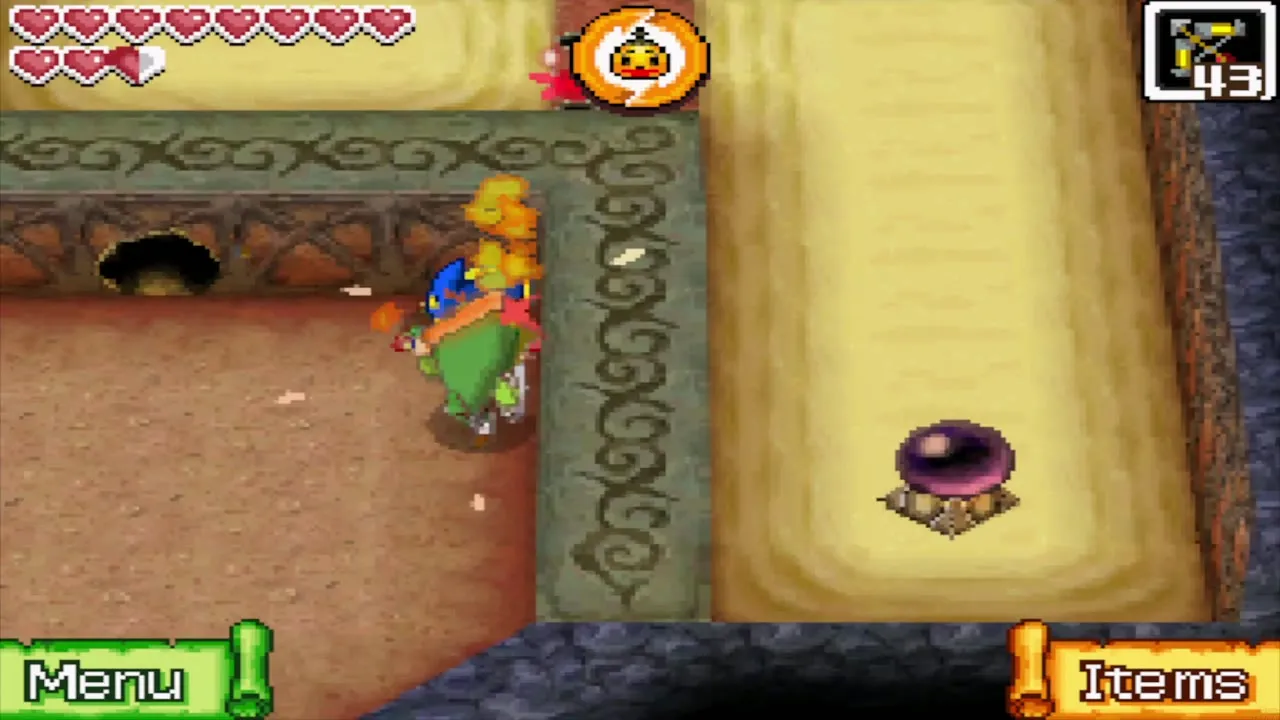
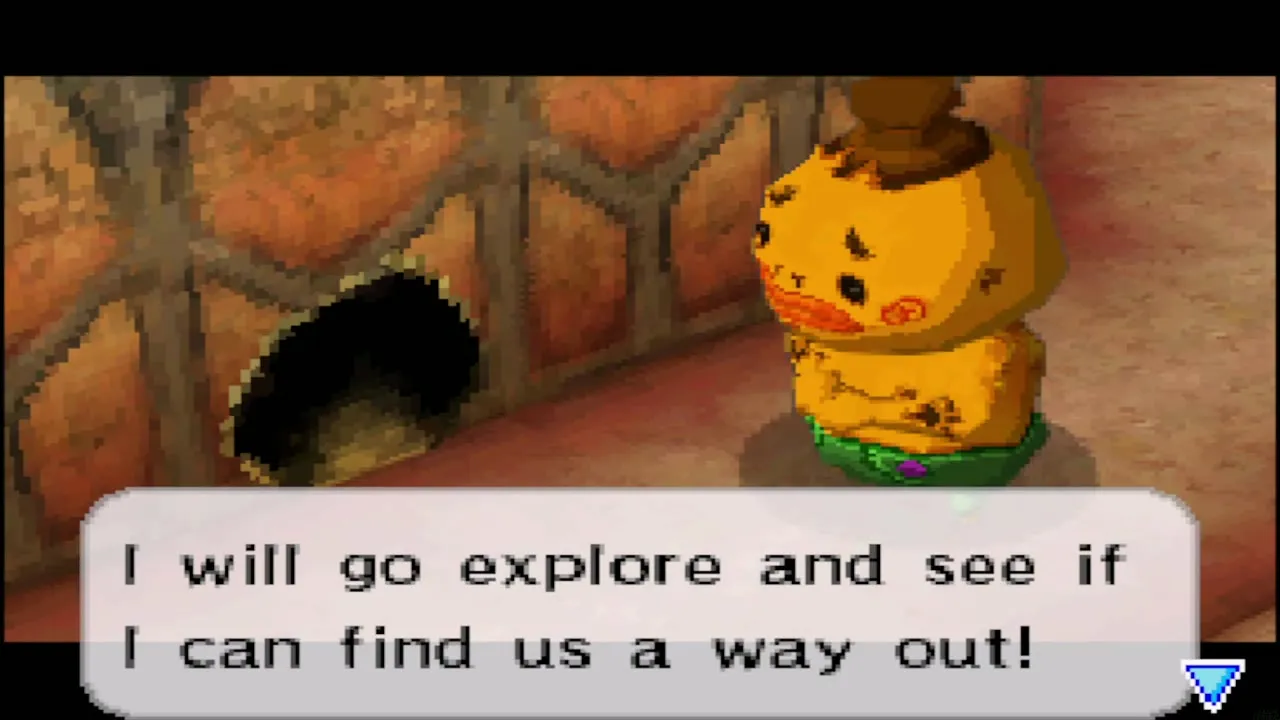
Gongoron finds a hole that only he can squeeze through and goes ahead to look for the exit, so for a while you walk the floors alone. Take the second set of stairs down to B2.
Goron Temple B2 and B3: Bombchu puzzles
B2: the north crystal switches
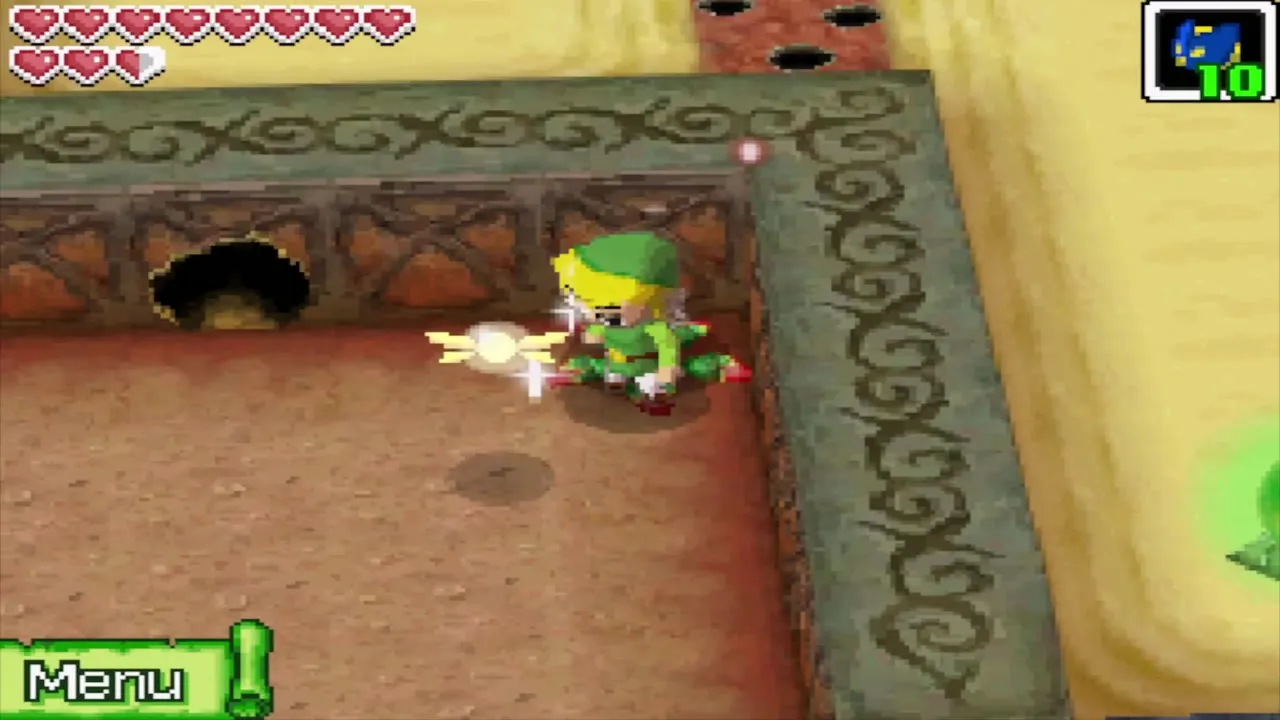
Defeat the Like Like in the first room of B2, then smash the rocks; some hide Rock ChuChus, so bomb those. Stand to the left of the north crystal switch and draw a Bombchu through the holes in the wall to the second switch. At the same moment slash the switch beside you, because both must be hit together to lower the spikes in the west. Go west and down the stairs to B3.
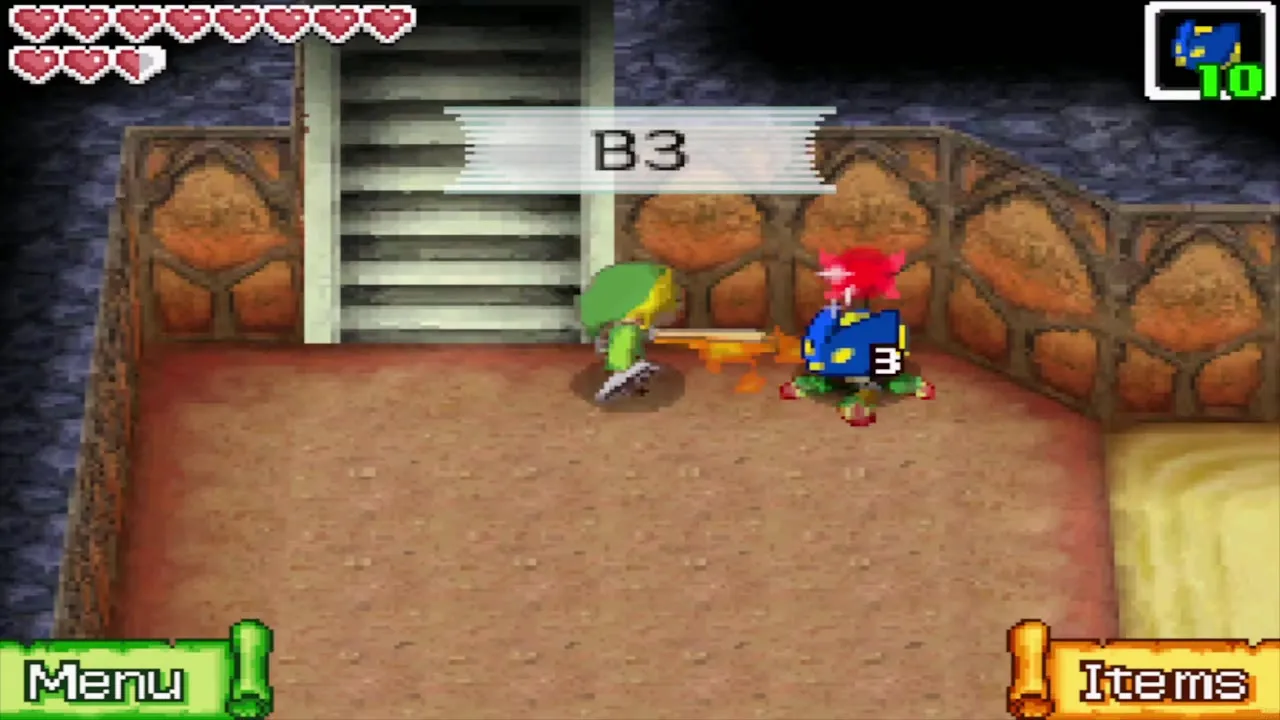
B3: quicksand, Armos and a red Rupee
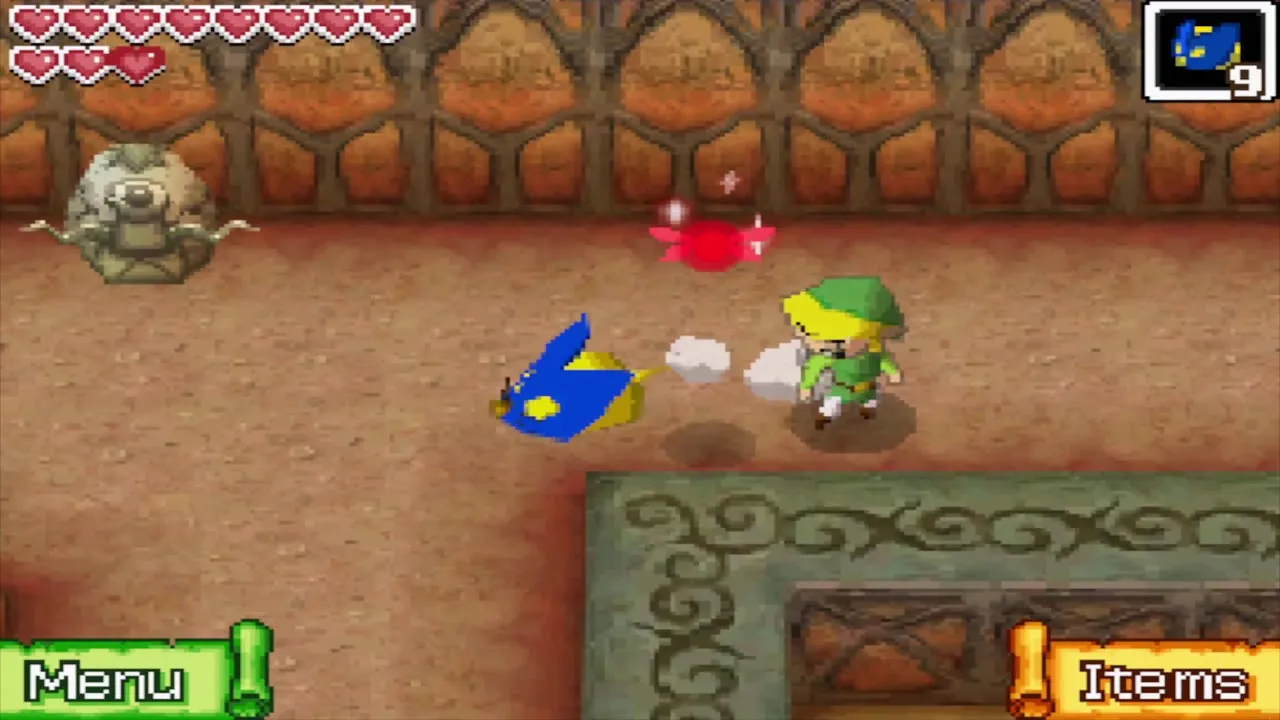
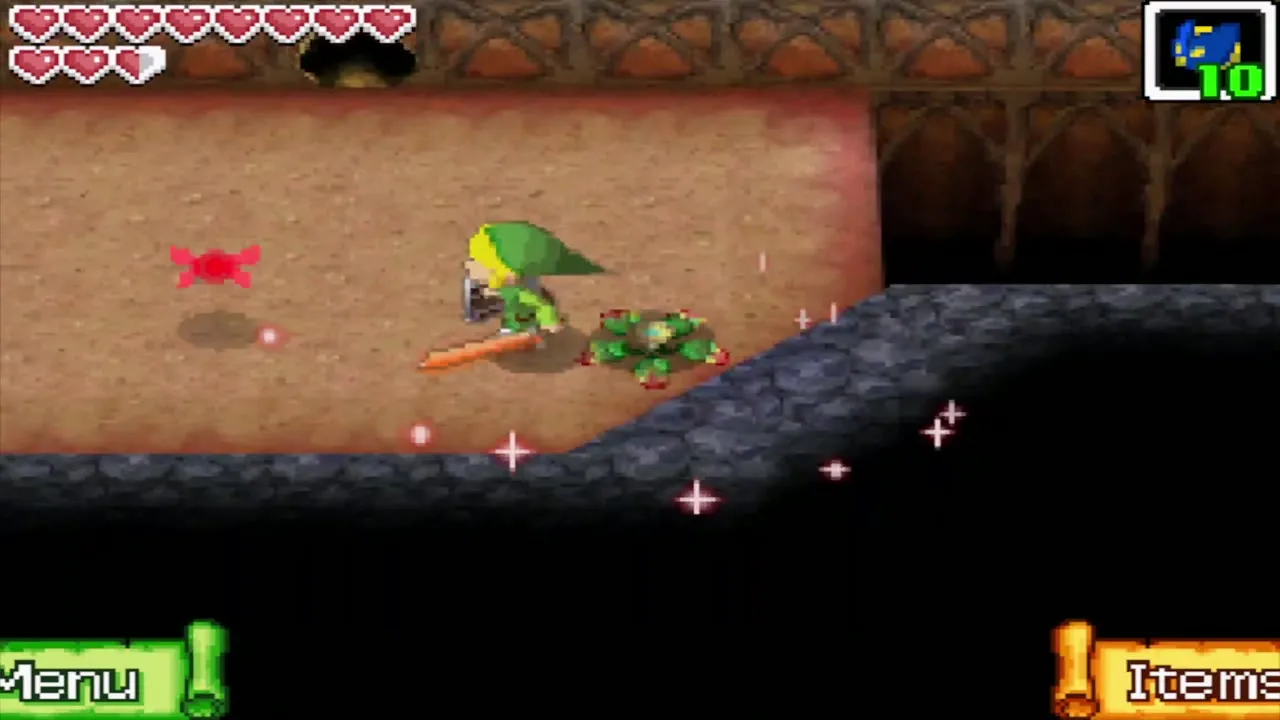
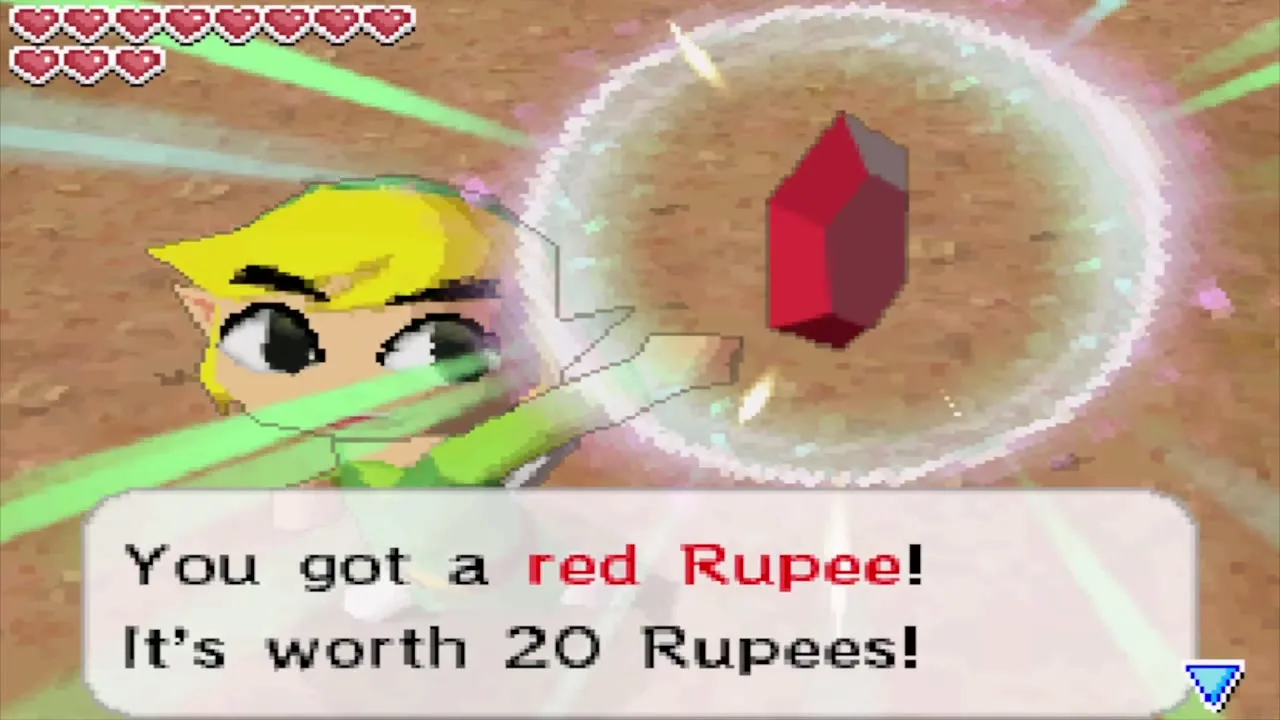
Avoid the quicksand on B3 and defeat the Miniblins to make a chest appear. It holds a red Rupee. In the north-west corner slash the red switch to lower the red blocks, then send a Bombchu through the hole and around the bend to the crystal switch behind the blue blocks. When the Bombchu is past the red blocks, slash the switch next to you to lower the spikes in the north.
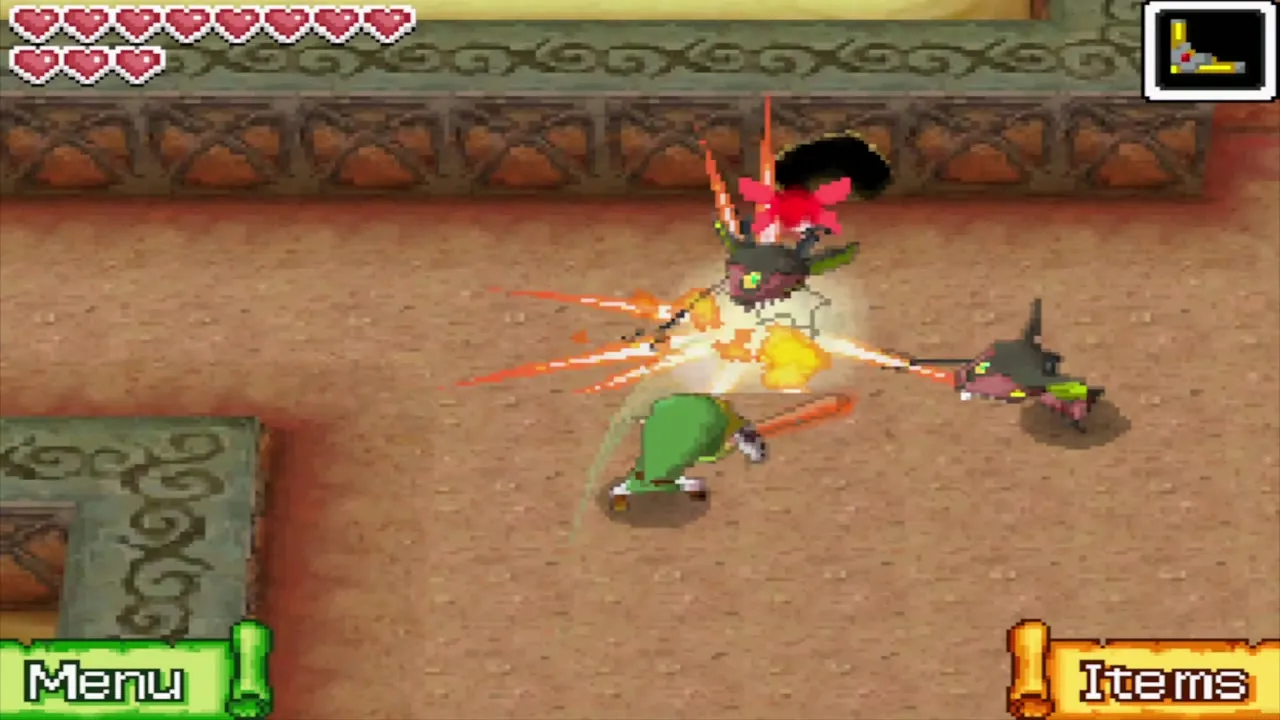
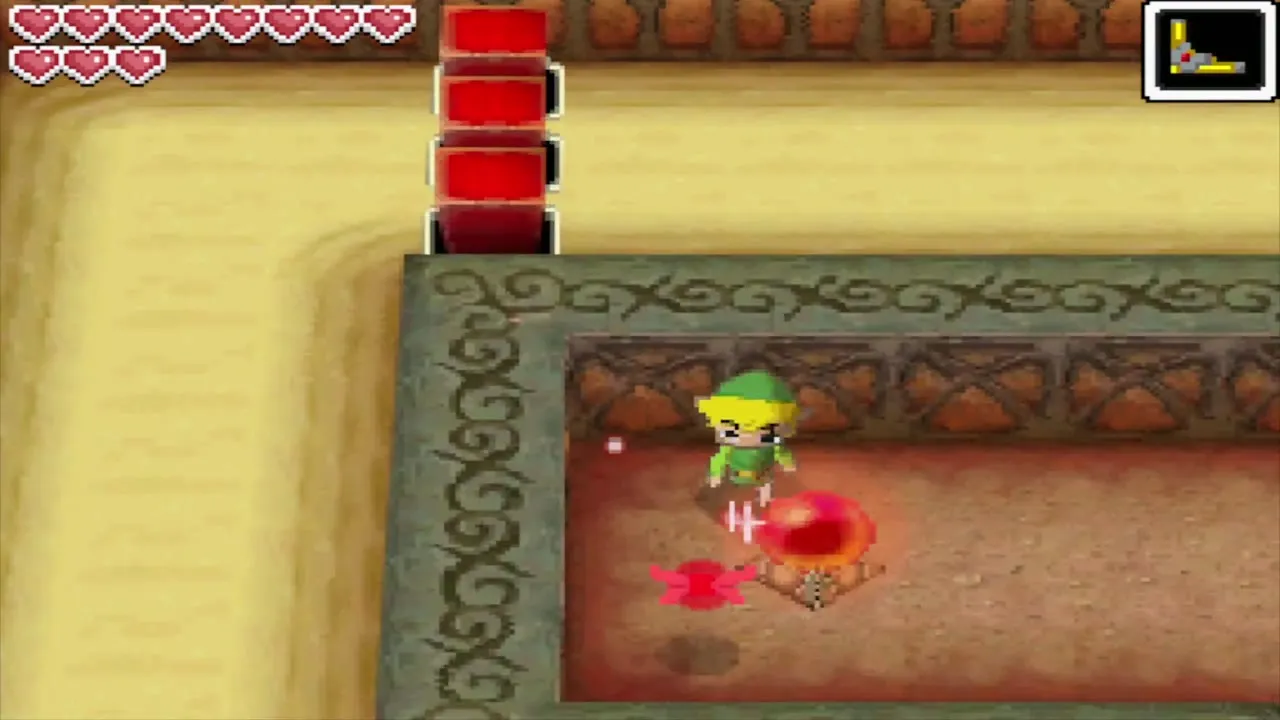
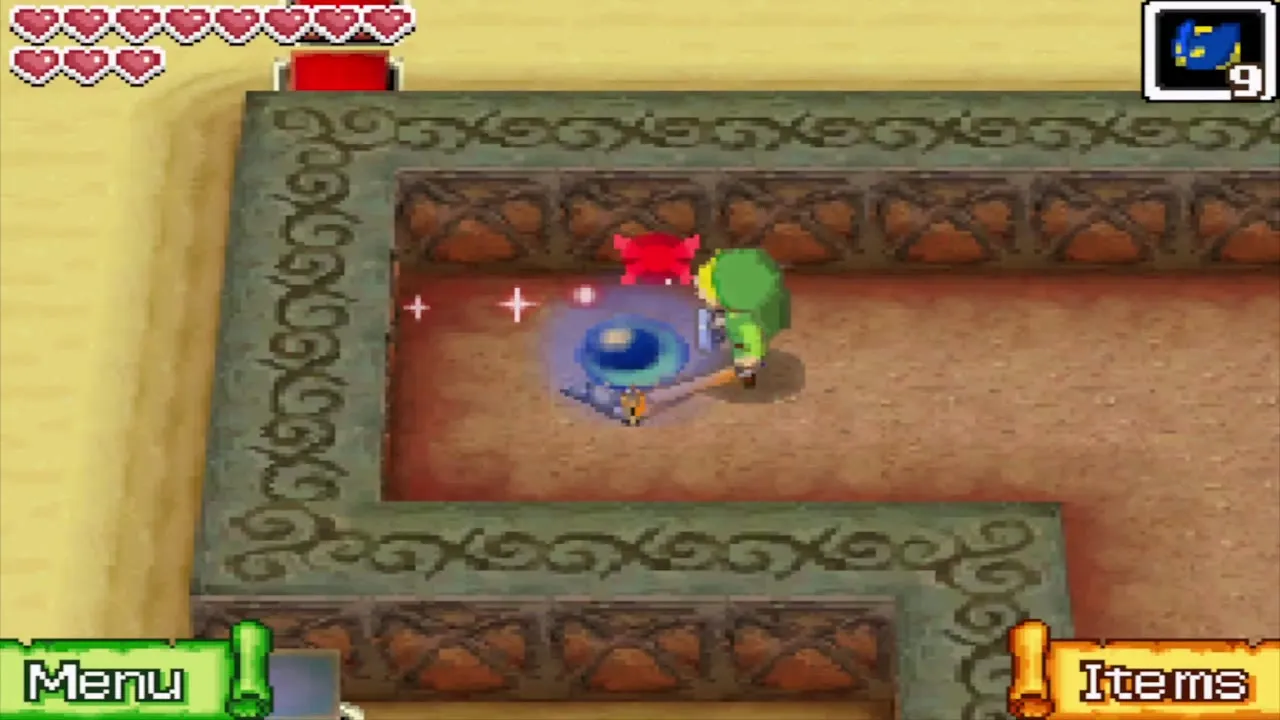
Around the bend, bomb the four Armos that circle a patch of quicksand and push each one onto one of the four floor switches. This lowers the spikes to the east. Follow that path to the stairs back up to B2.
B2 again: take the Boss Key
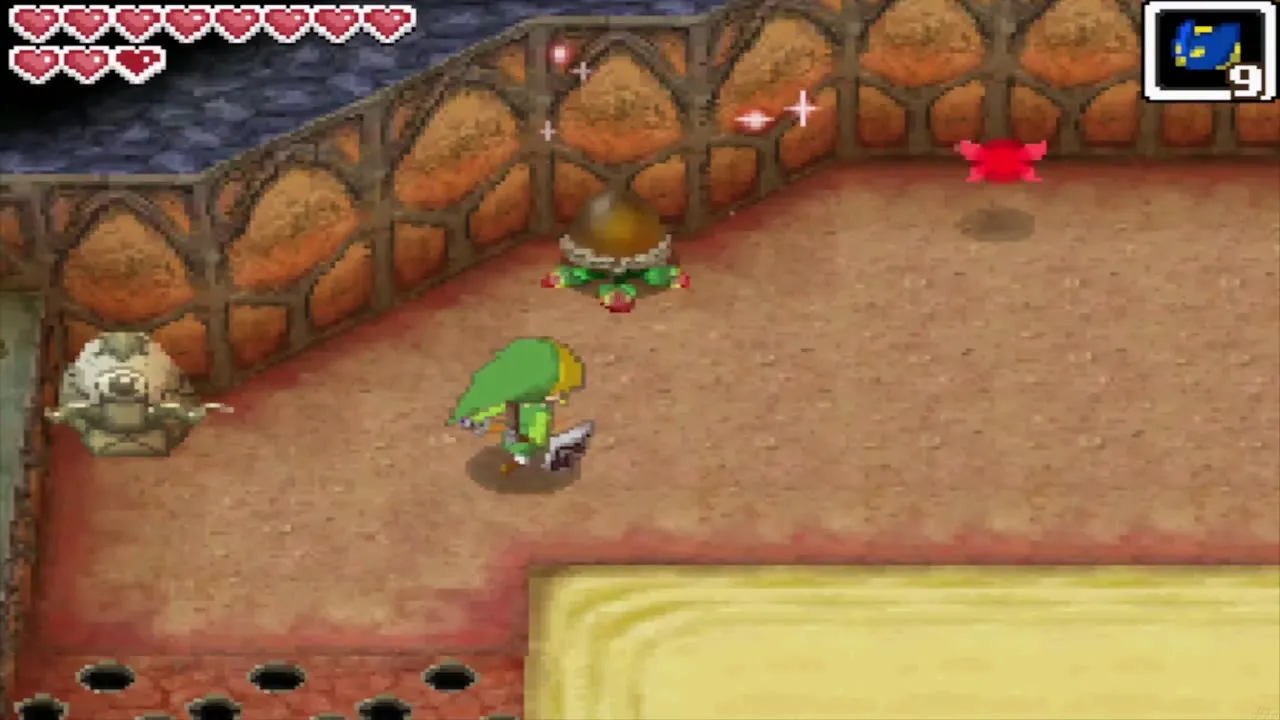
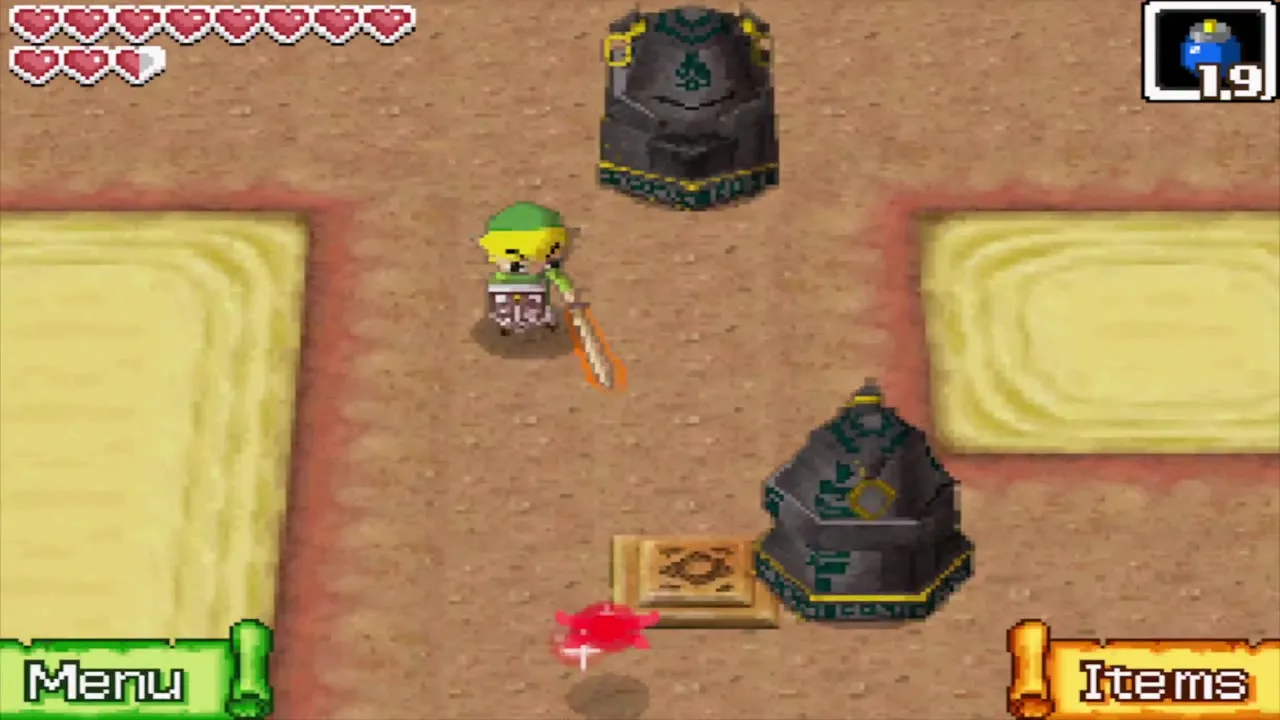
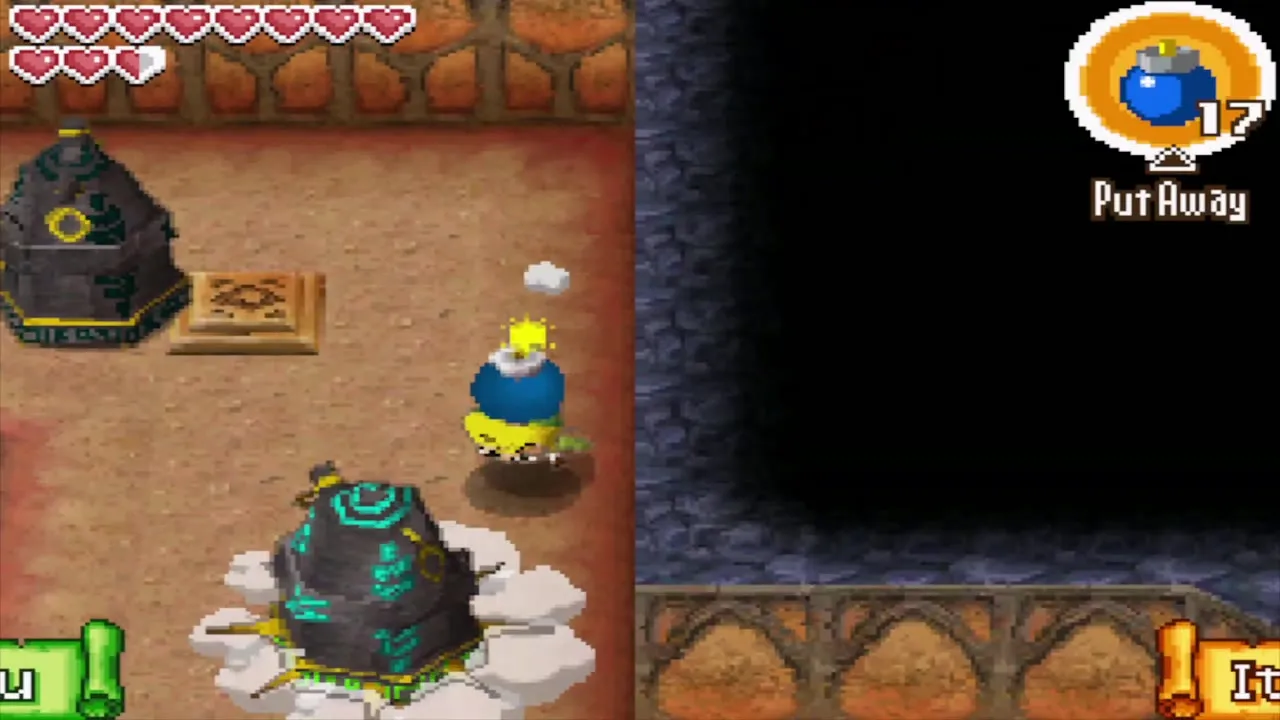
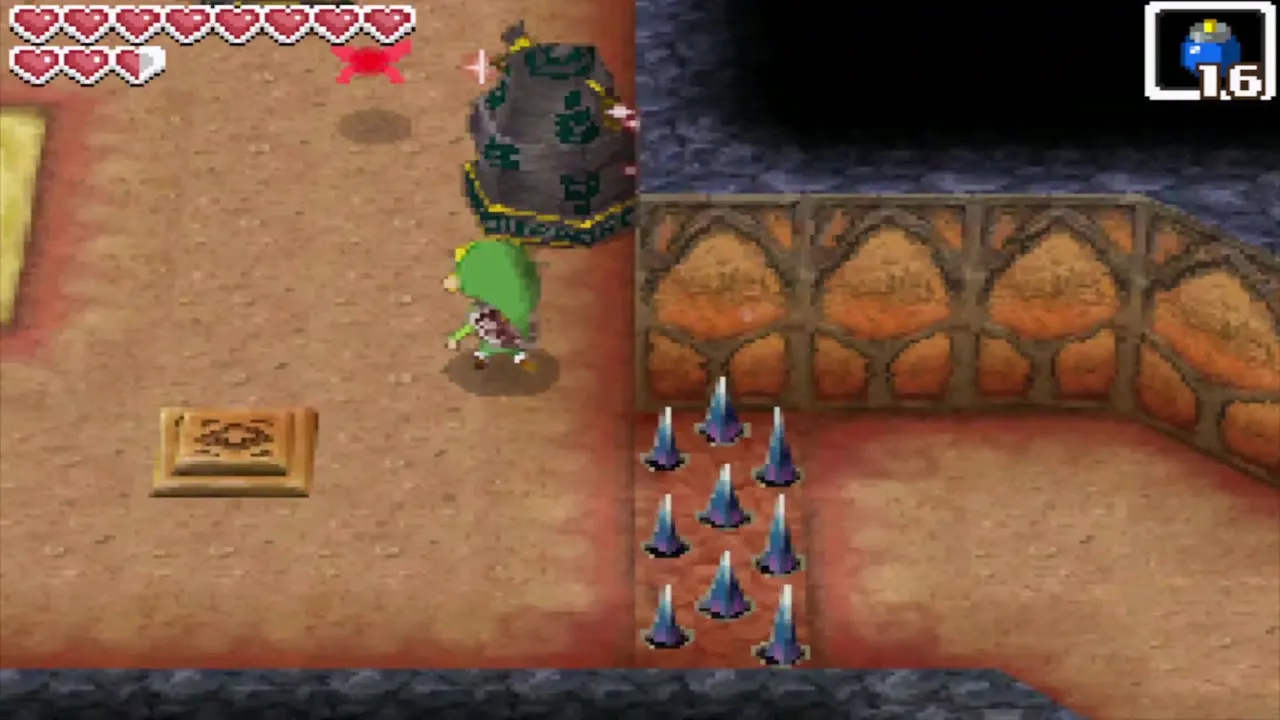
Step on the floor switch at the west end for a shortcut, then go into the east room. The door locks and two Hinoxes attack; defeat them with arrows and slashes as before. Head north into the large room and ignore the nearest crystal switch for now. Walk east, then north to the spikes, and draw a Bombchu round the central platform to hit the switch that lowers them. Run west past the spikes before they rise again.
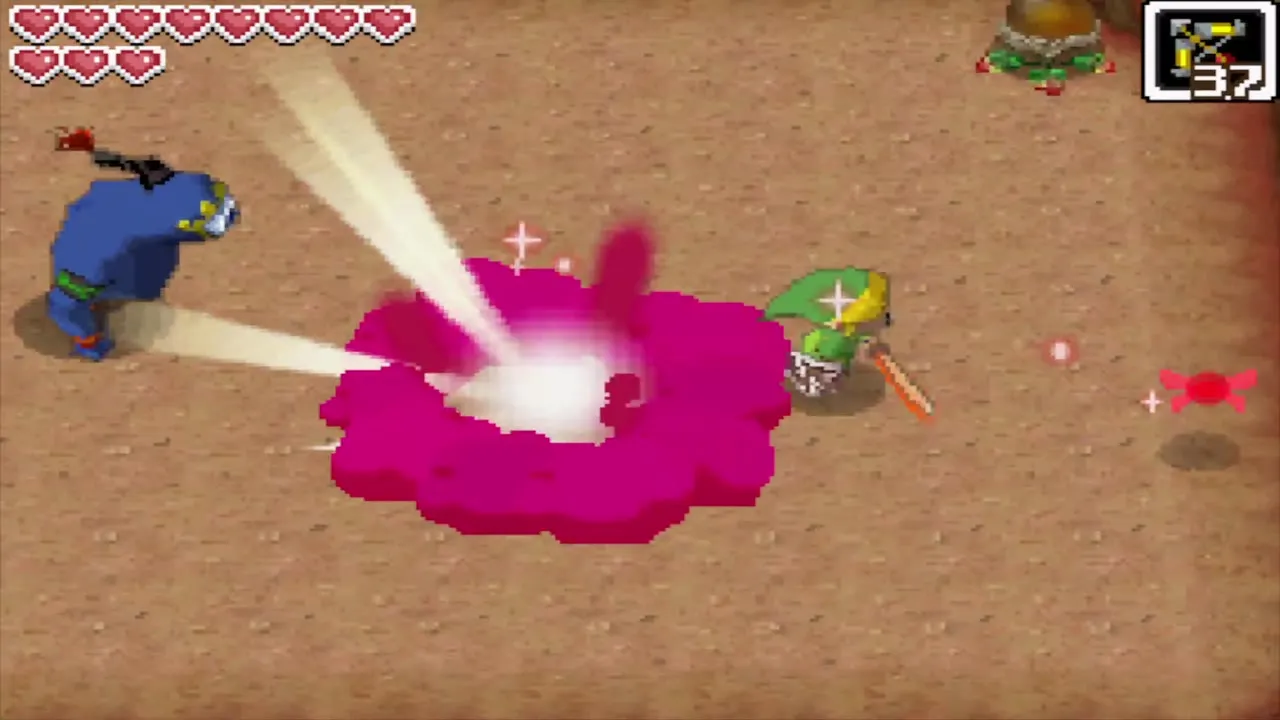
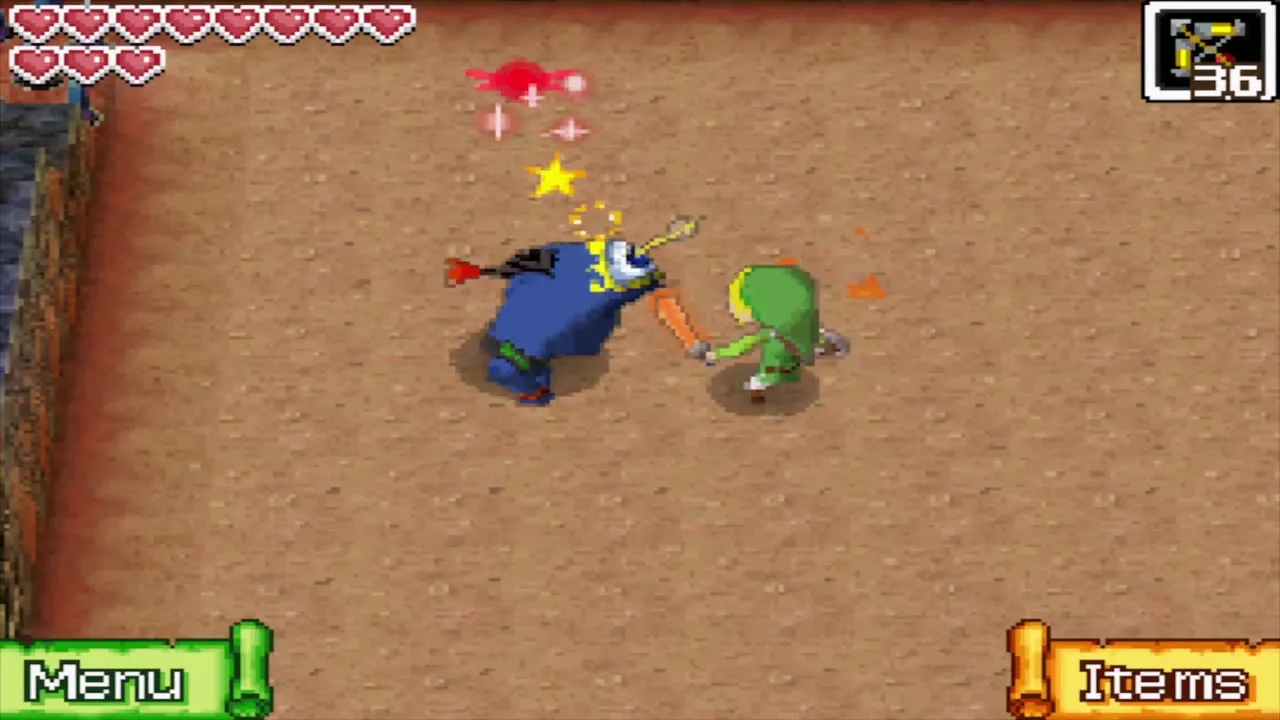
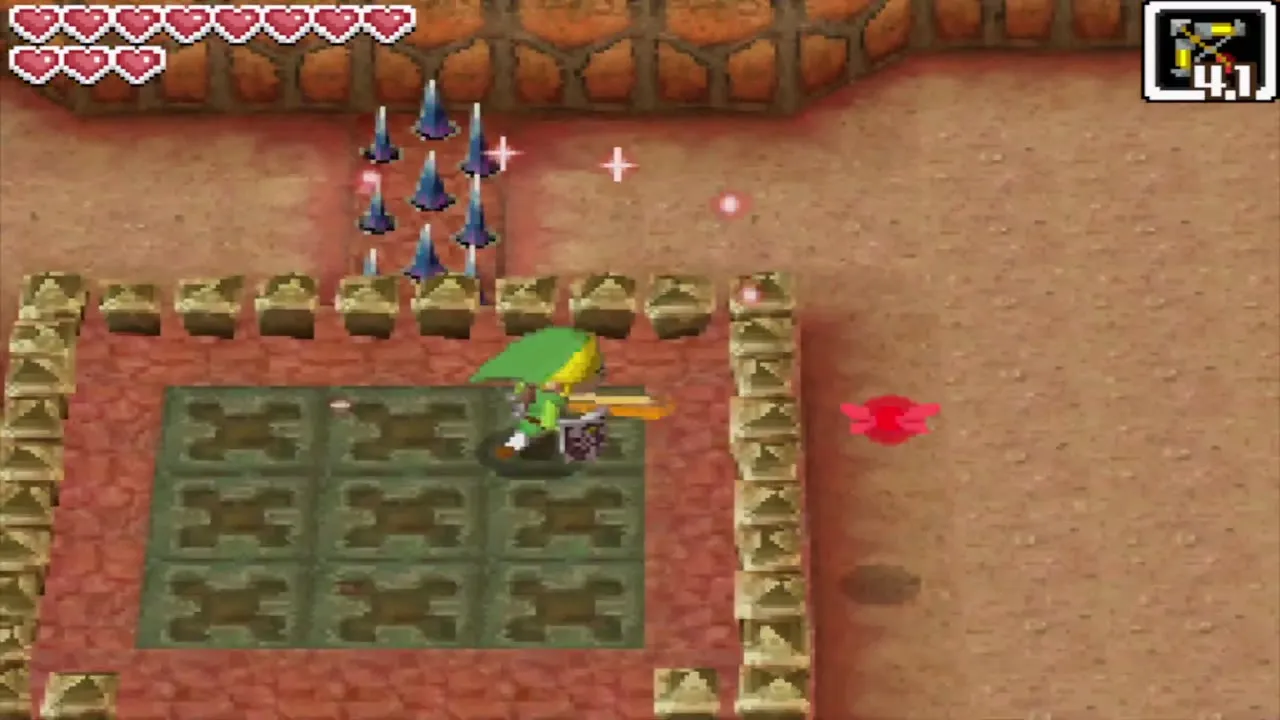
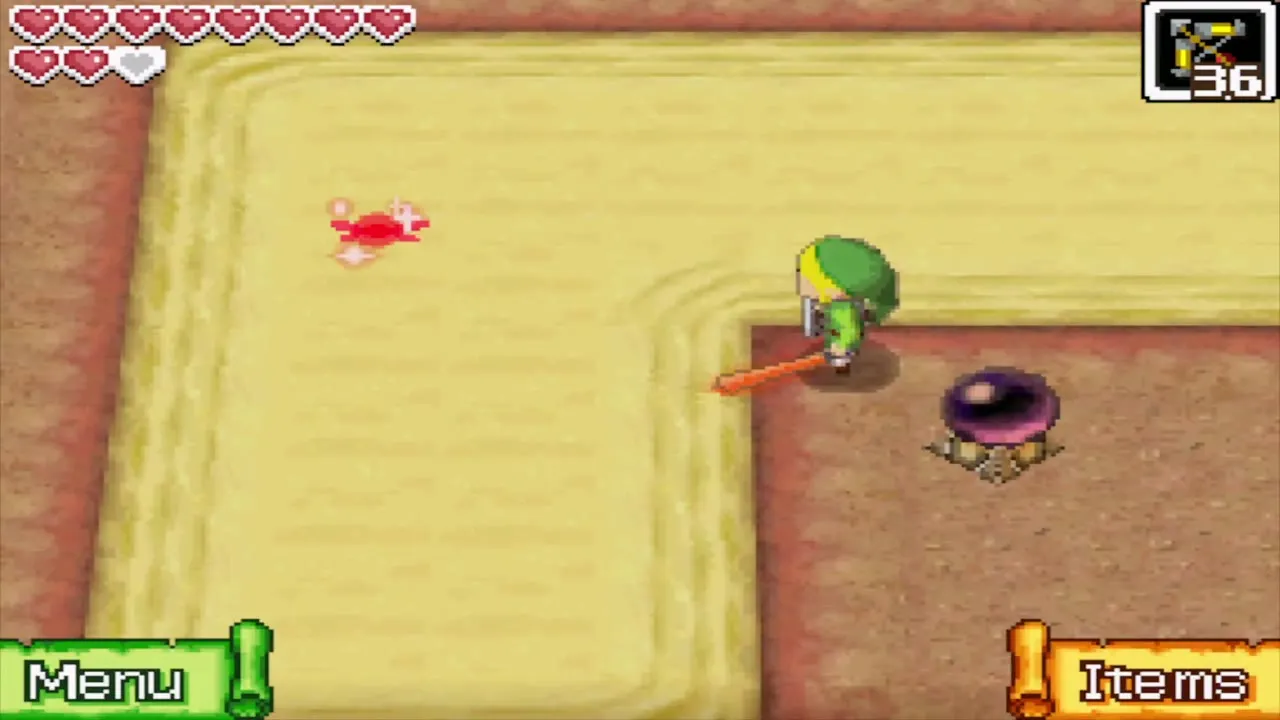
In the north-west, defeat the Eye Slugs and send Bombchus across the quicksand pit to hit its two crystal switches. The large chest that appears holds the Boss Key. It is heavy: tap close to yourself to put it down and far away to throw it.
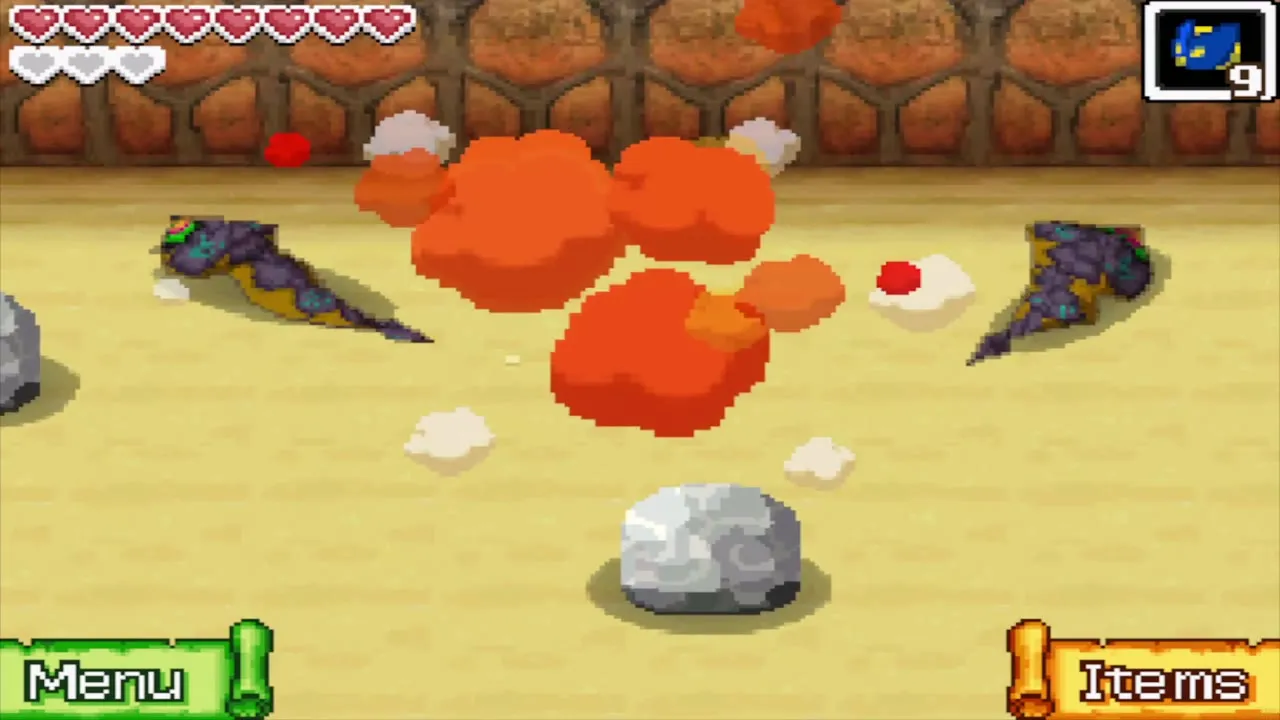
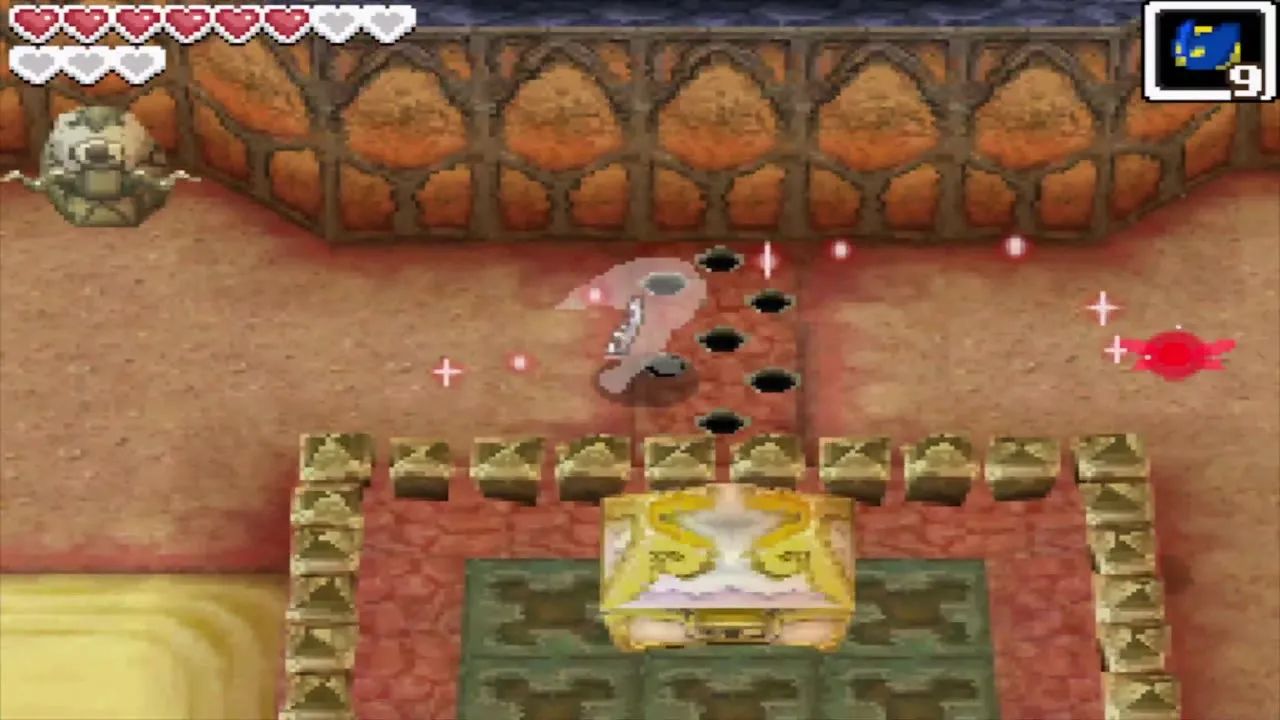
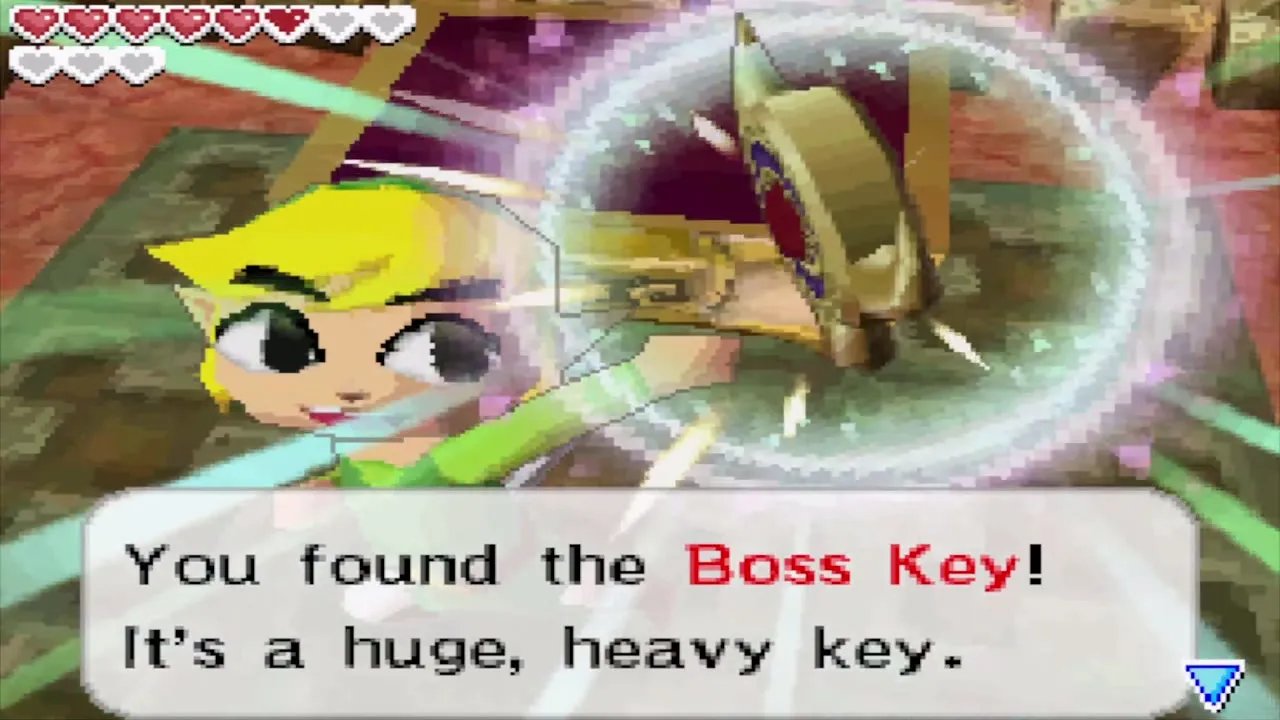
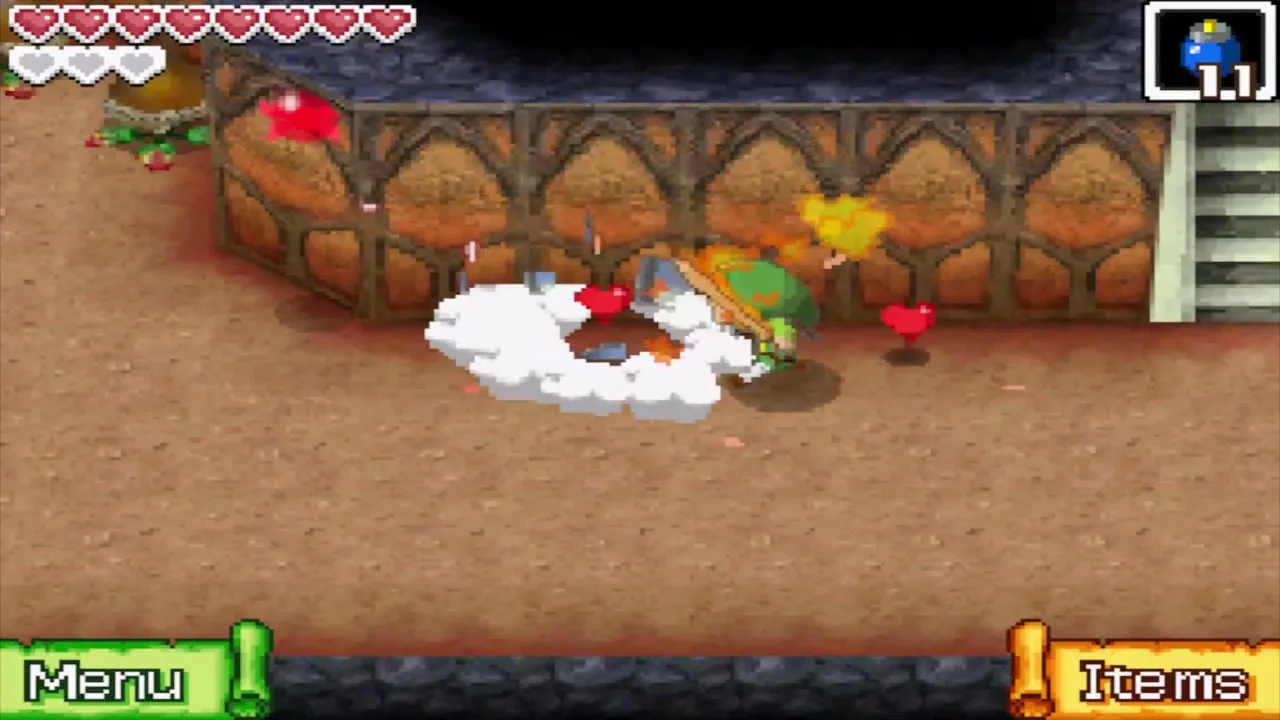
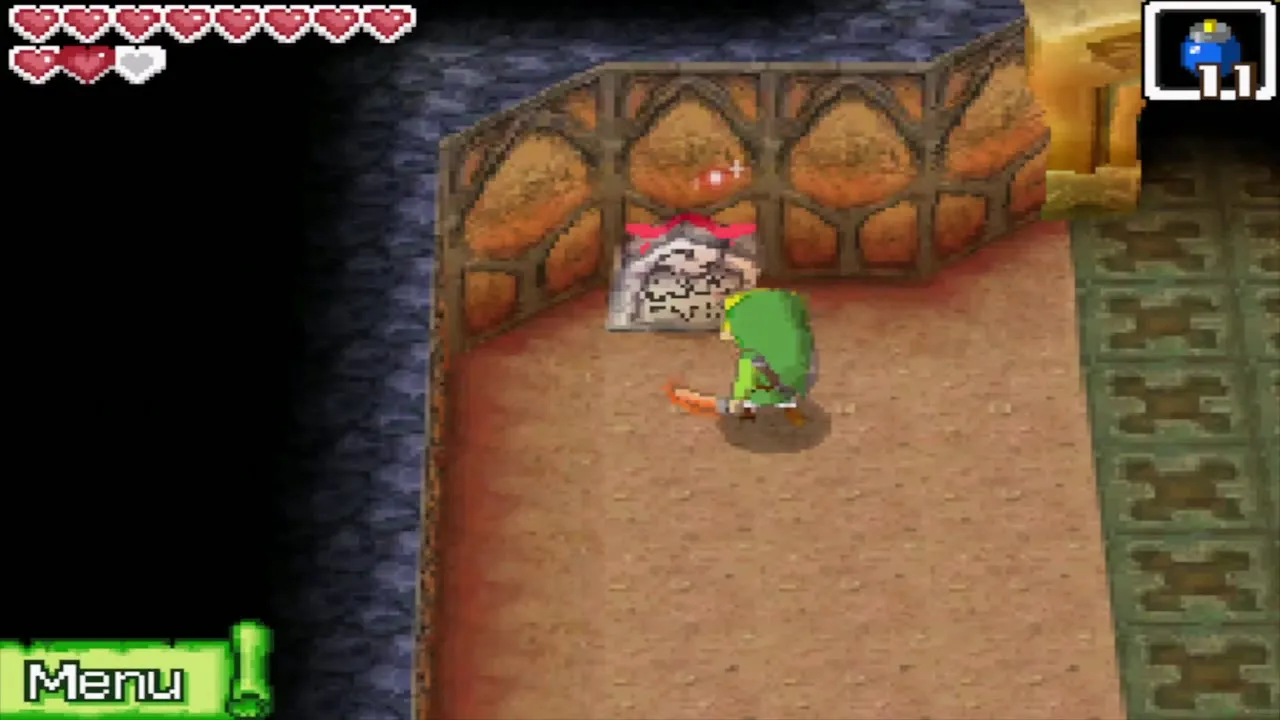
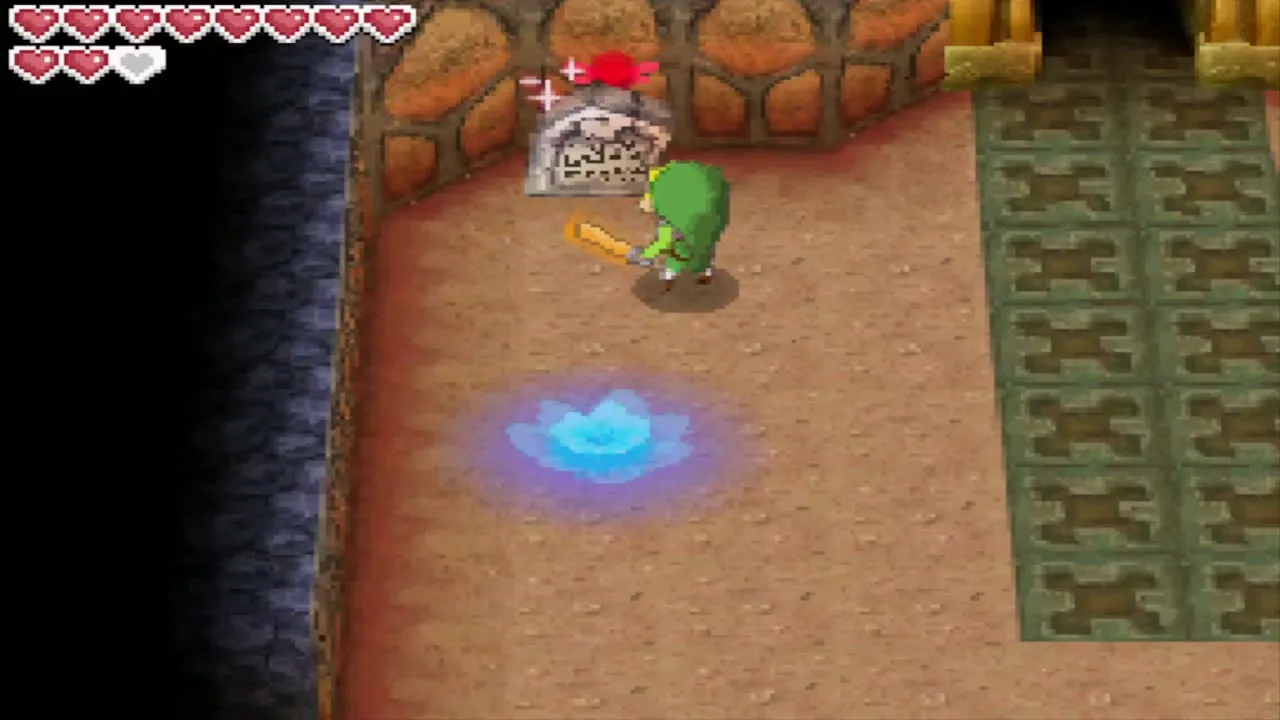
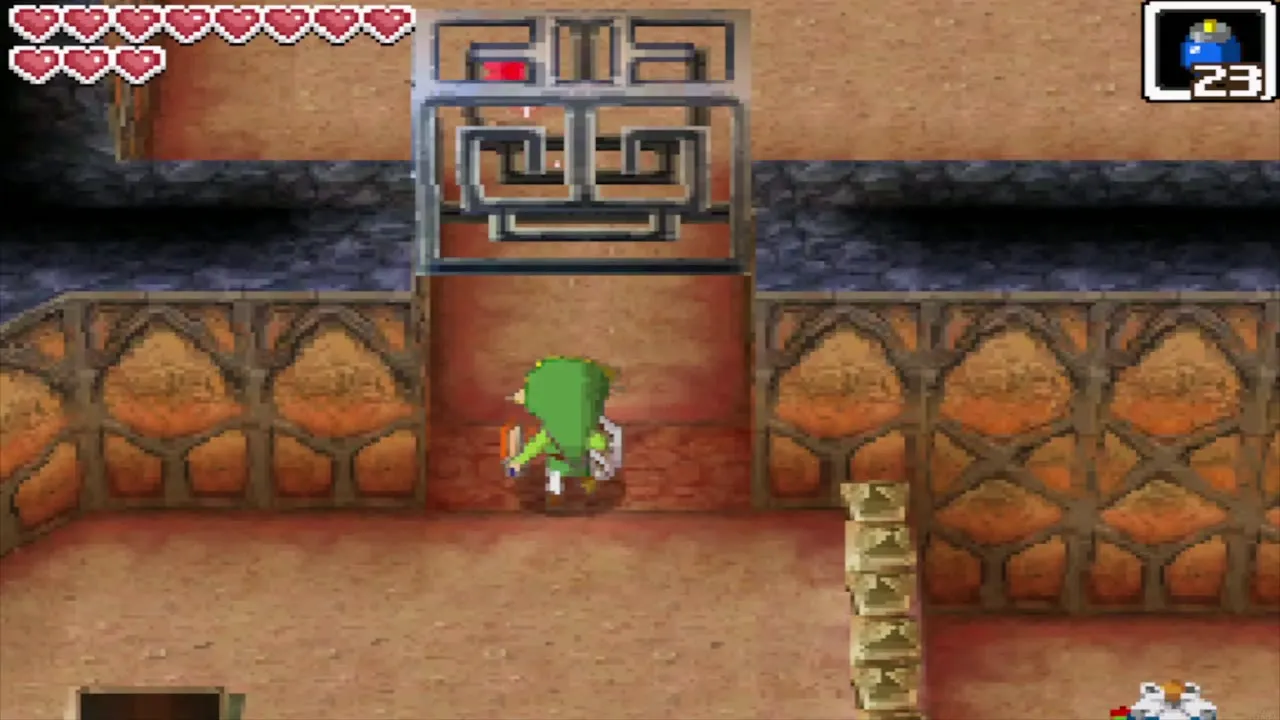
Take the Boss Key to the south-east stairs and go back down to the locked door on B3. Break the pots below the door for hearts and supplies, then read the stone tablet on the west side to create a blue warp point to the temple entrance. Open the door with the key.
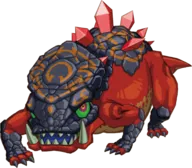
Dongorongo boss fight
Phase 1: knock him over, then use a Bombchu
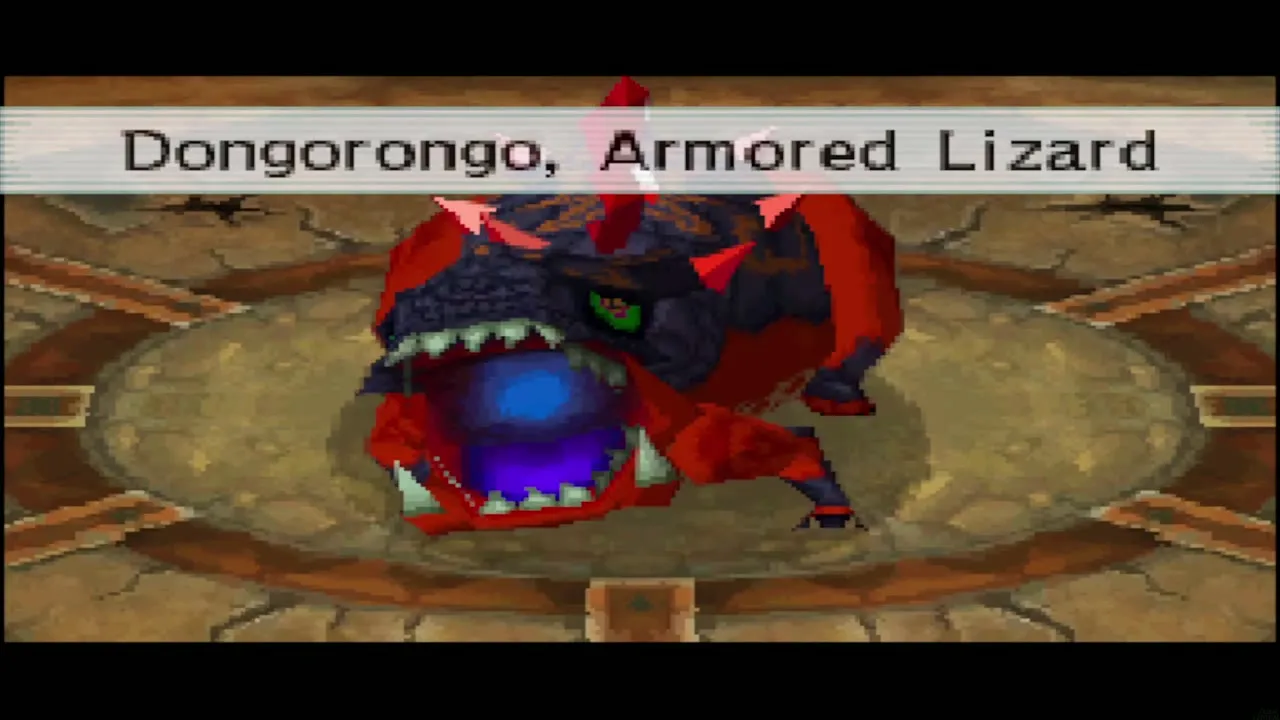
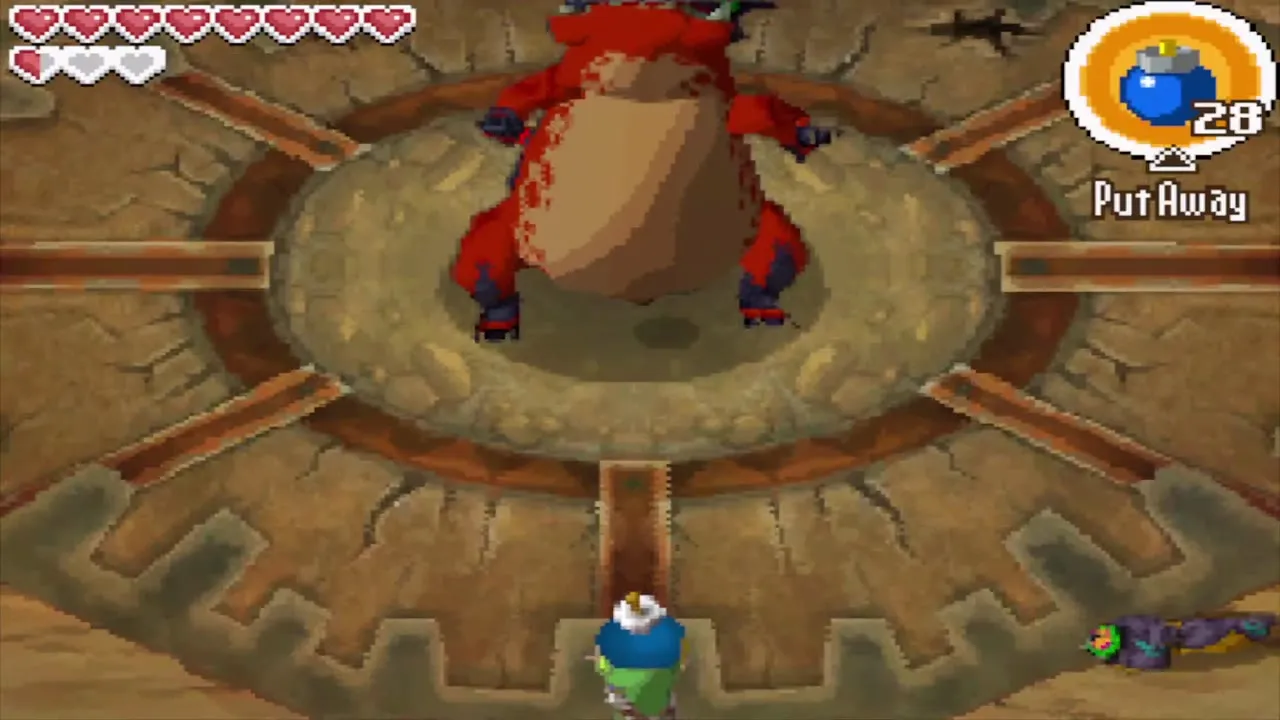
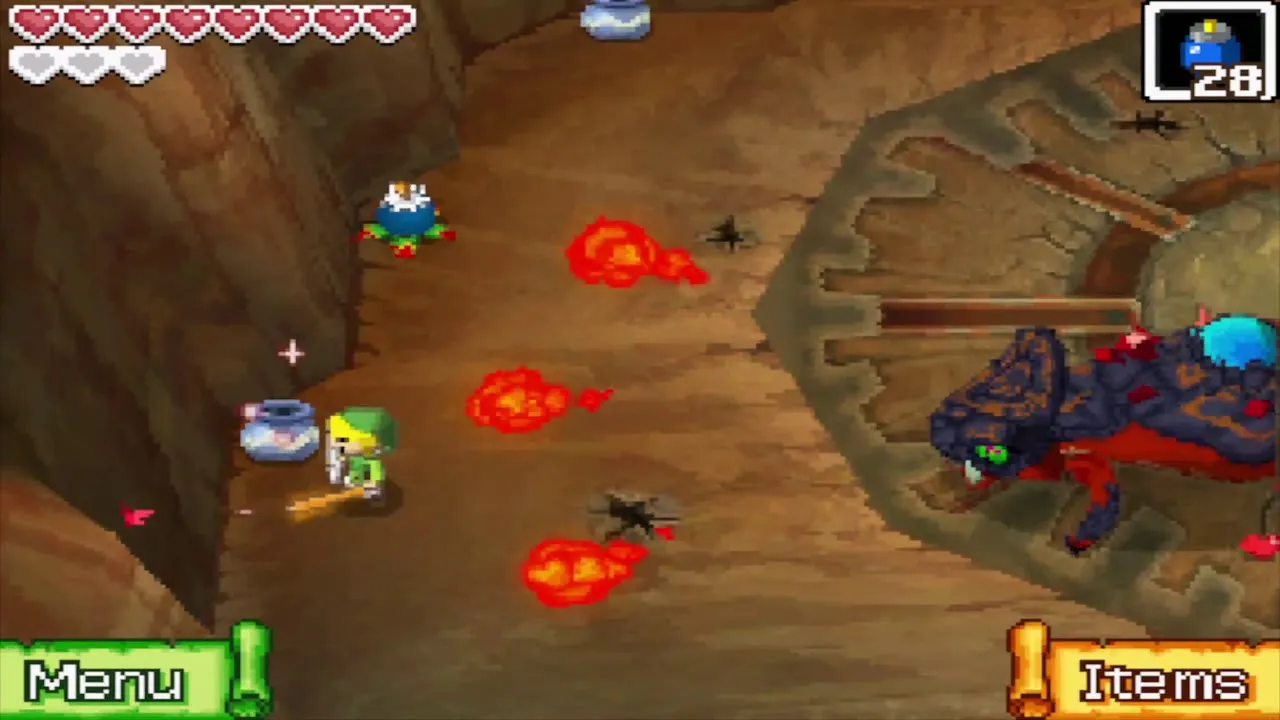
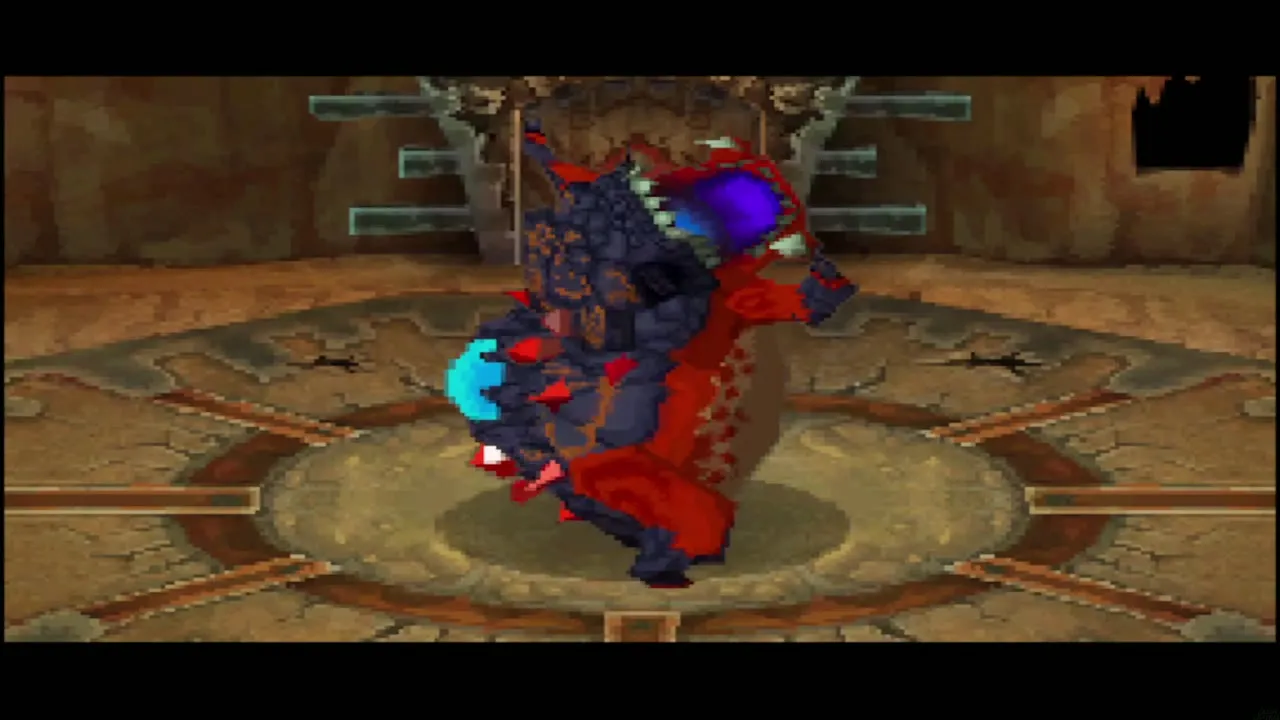
Dongorongo is a giant armoured lizard on the far side of a sandpit, and you cannot reach him alone. Gongoron agrees to trip him from one side while Link attacks from the other, so play as Gongoron and roll along the sand toward the boss. He spits fireballs and sometimes charges at Gongoron; dodge the charge so that he smashes into the wall and is dazed, then roll round to his side to tip him onto his back. Eye Slugs crawl after Link while you play as Gongoron, so switch back to Link when Ciela shouts a warning and kill them.
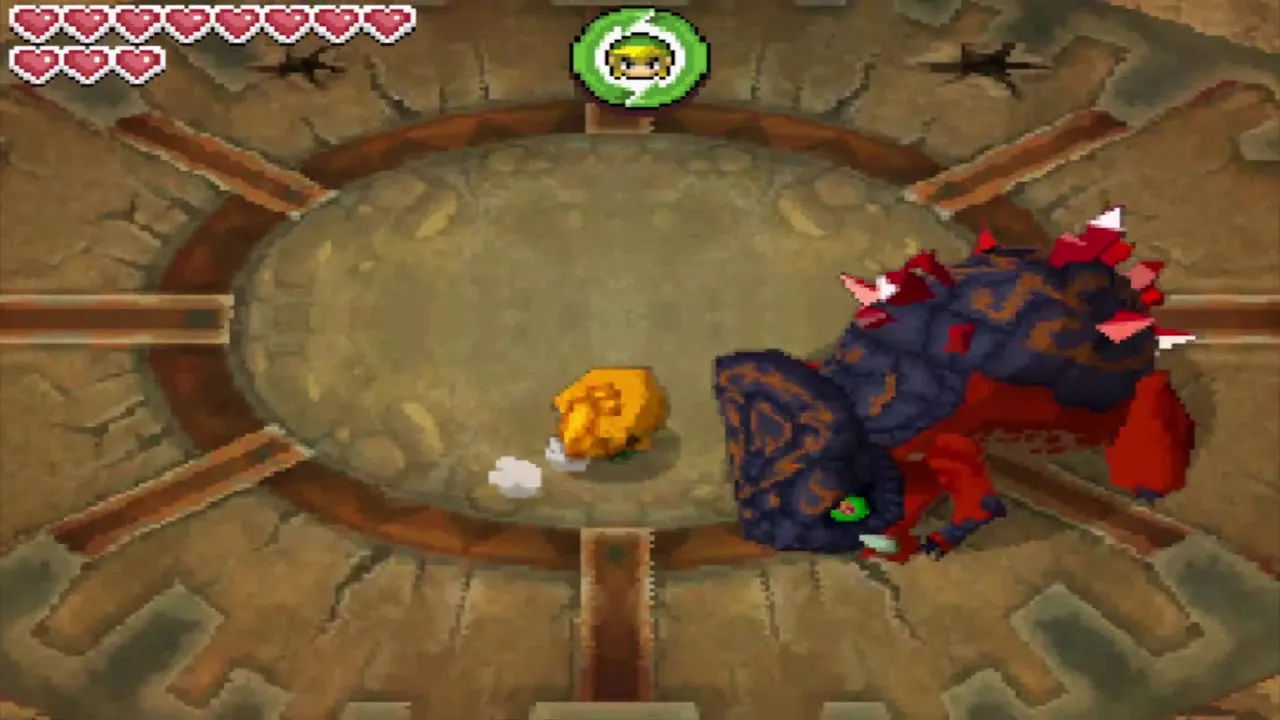
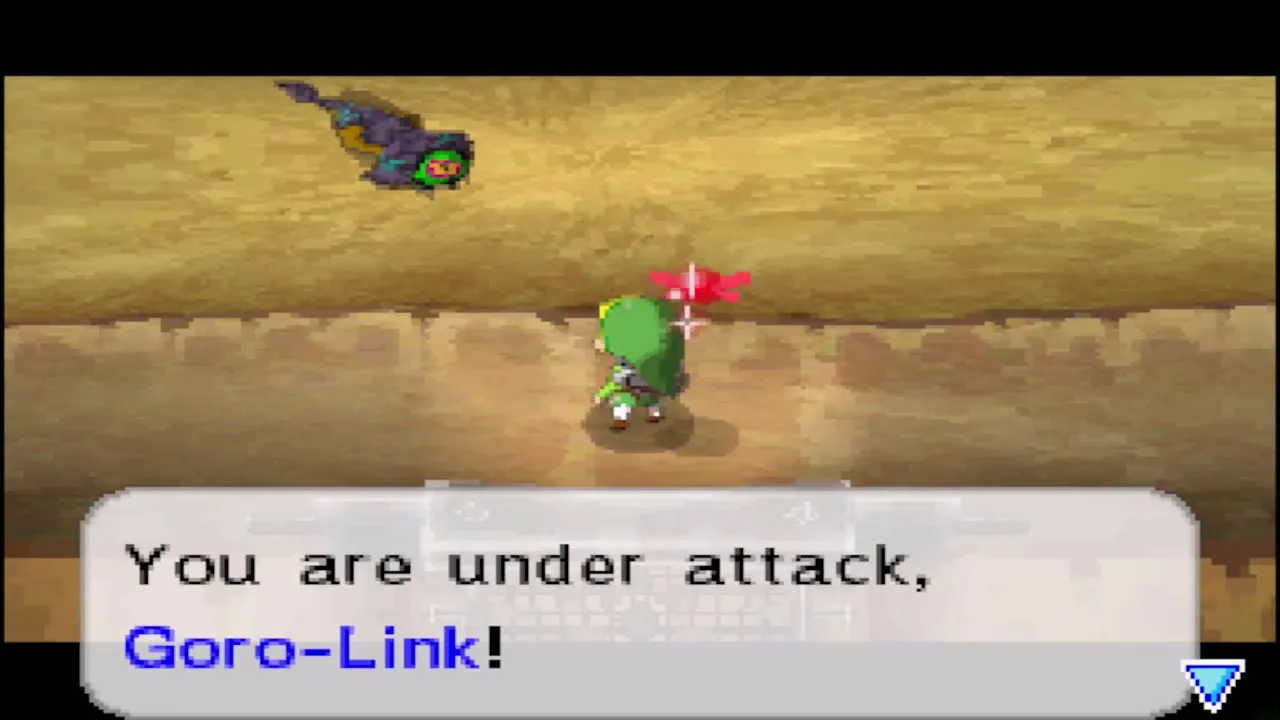
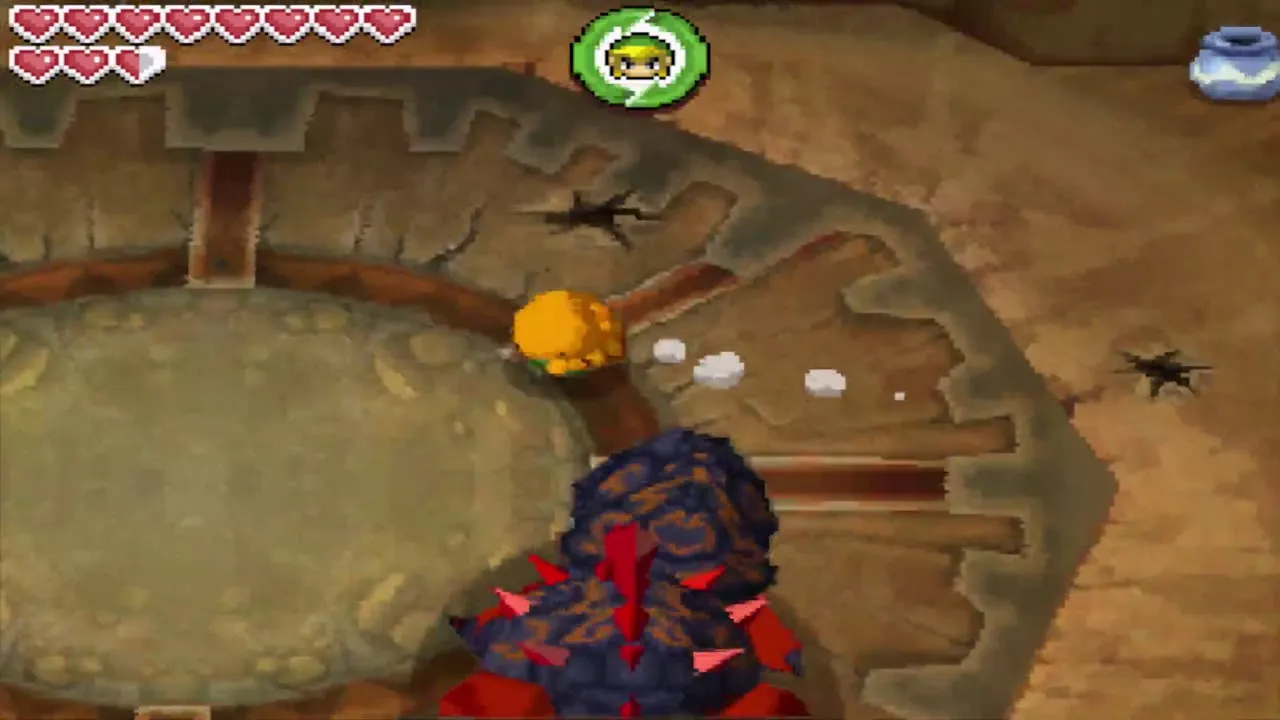
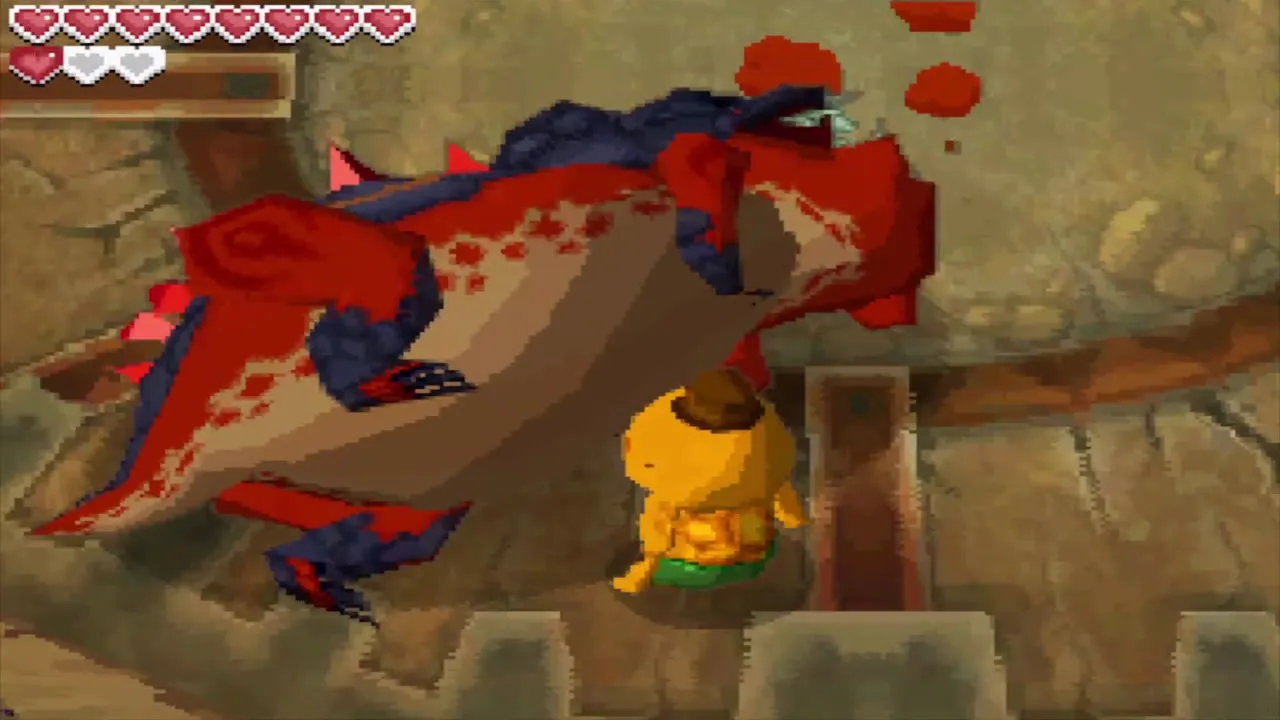
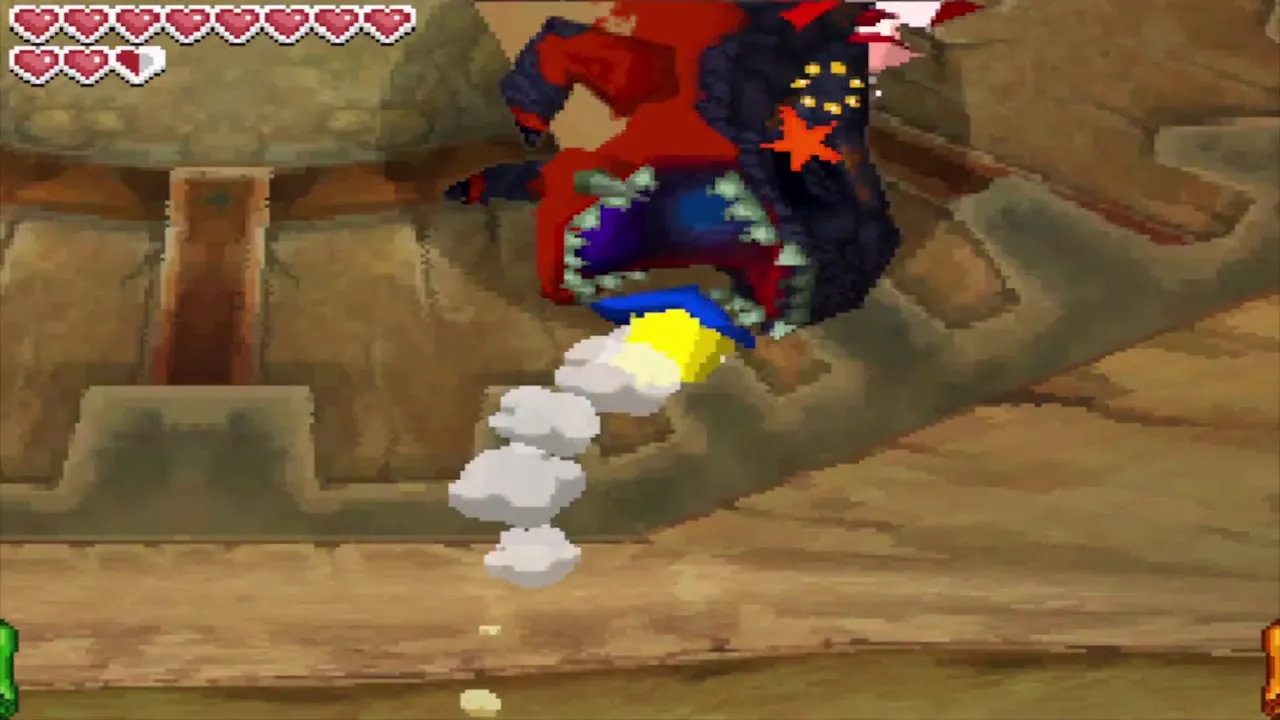
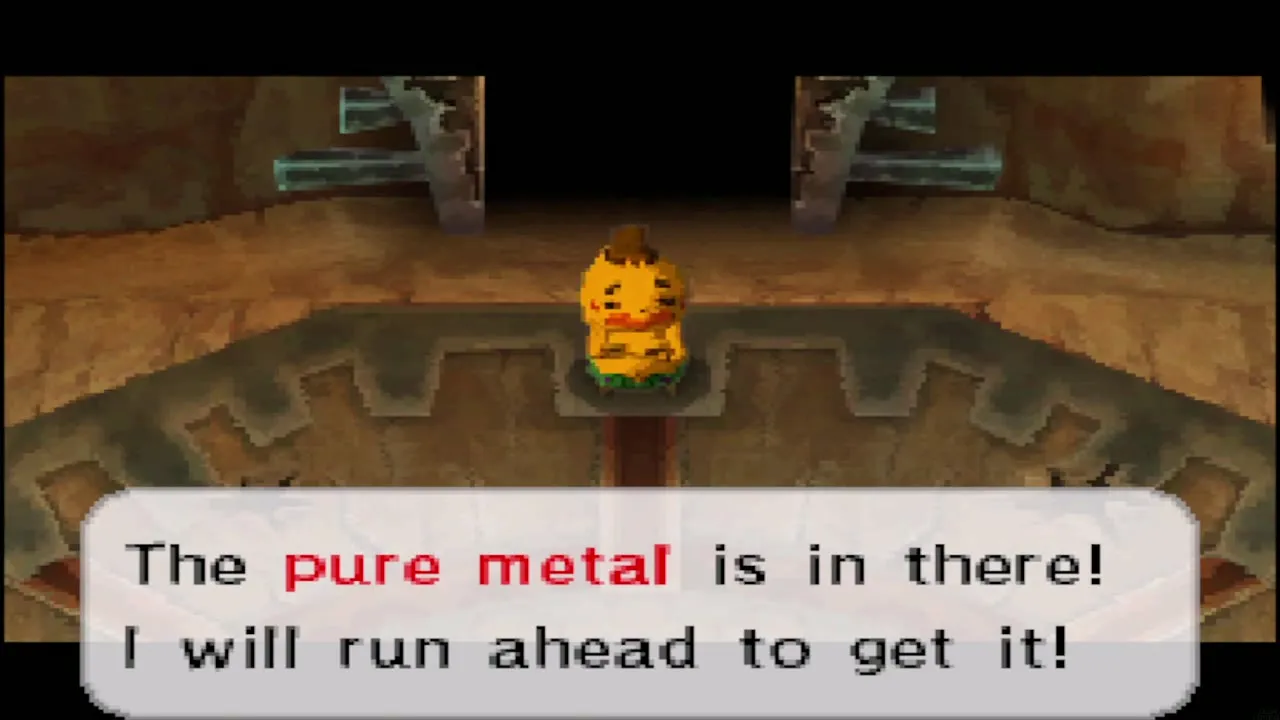
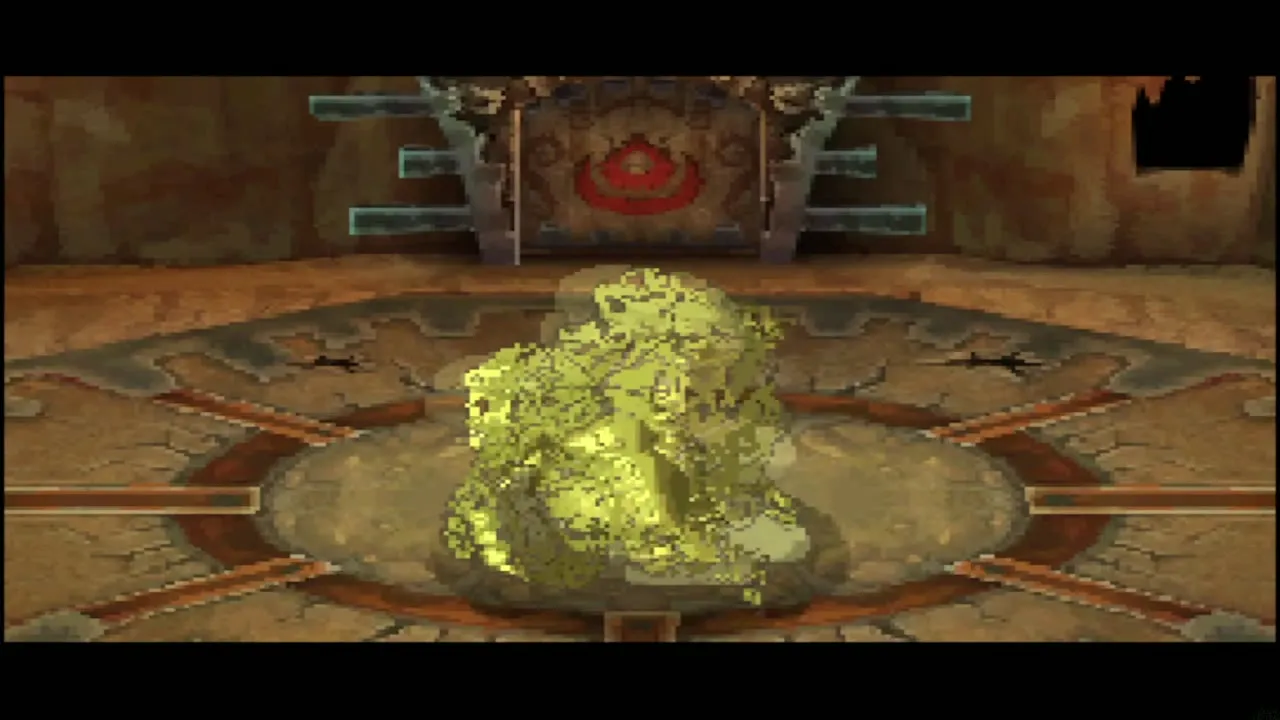
While he lies on his back, switch to Link, equip a Bombchu and draw its path across the sand to his open mouth. Do this three times. The third hit knocks him senseless, and Gongoron runs off to fetch the Pure Metal.
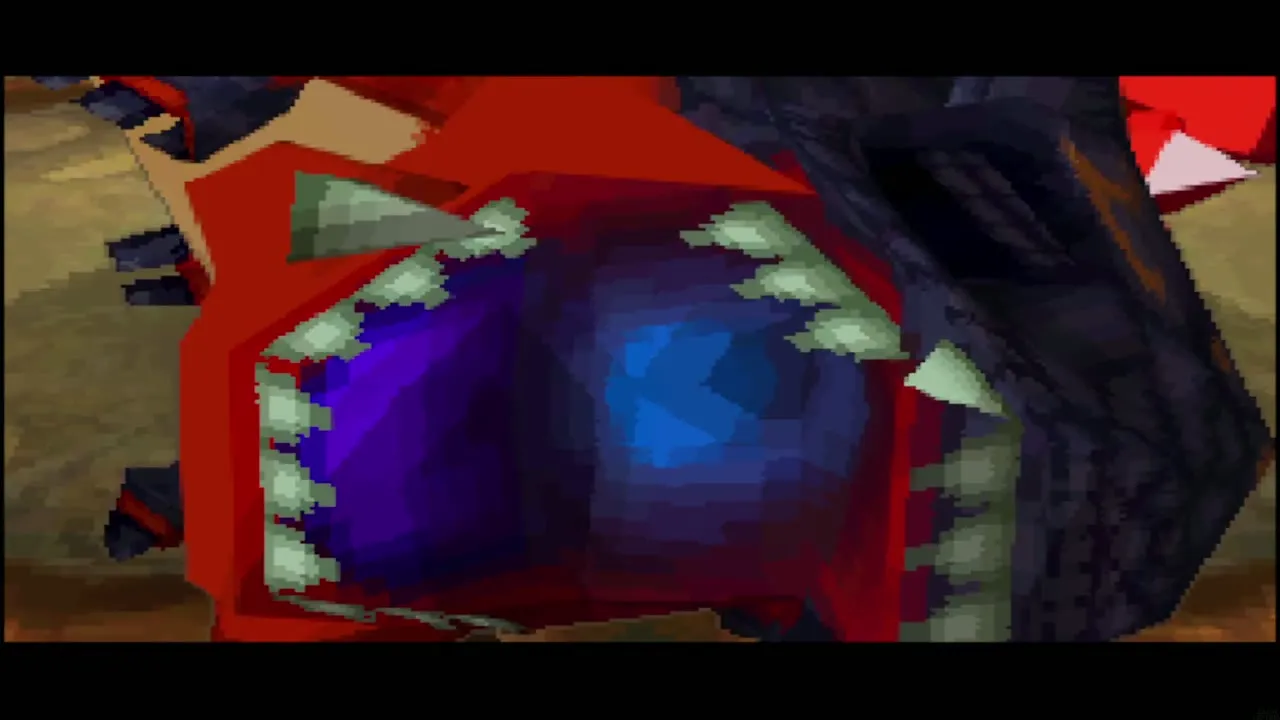
Phase 2: bomb his mouth and slash the blue jewel
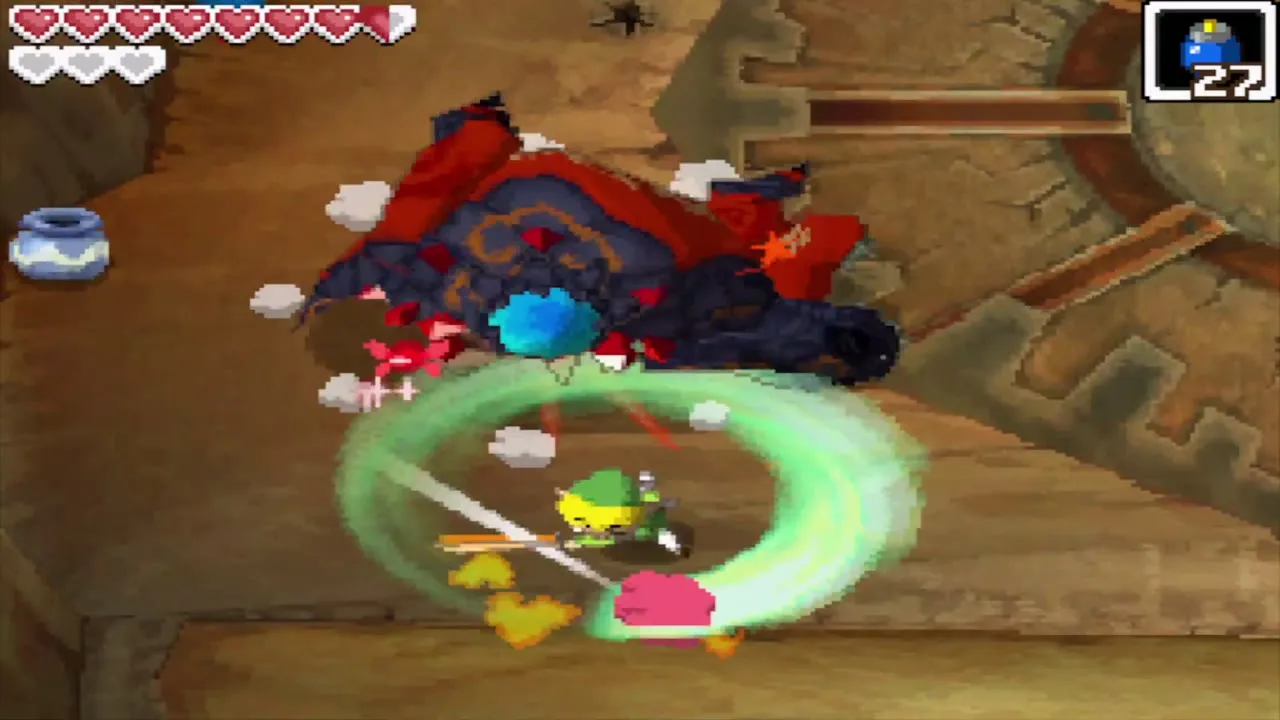
Dongorongo gets up again for the last phase. Dodge his fireballs and the small Eye Slugs, and keep Link moving. When he inhales, throw a bomb into his mouth to stun him, then run behind him and slash the blue jewel on his back until he stands up again. Repeat this a few times until he falls. See the boss guide for all bosses at a glance.
After Dongorongo: the Heart Container and Crimsonine
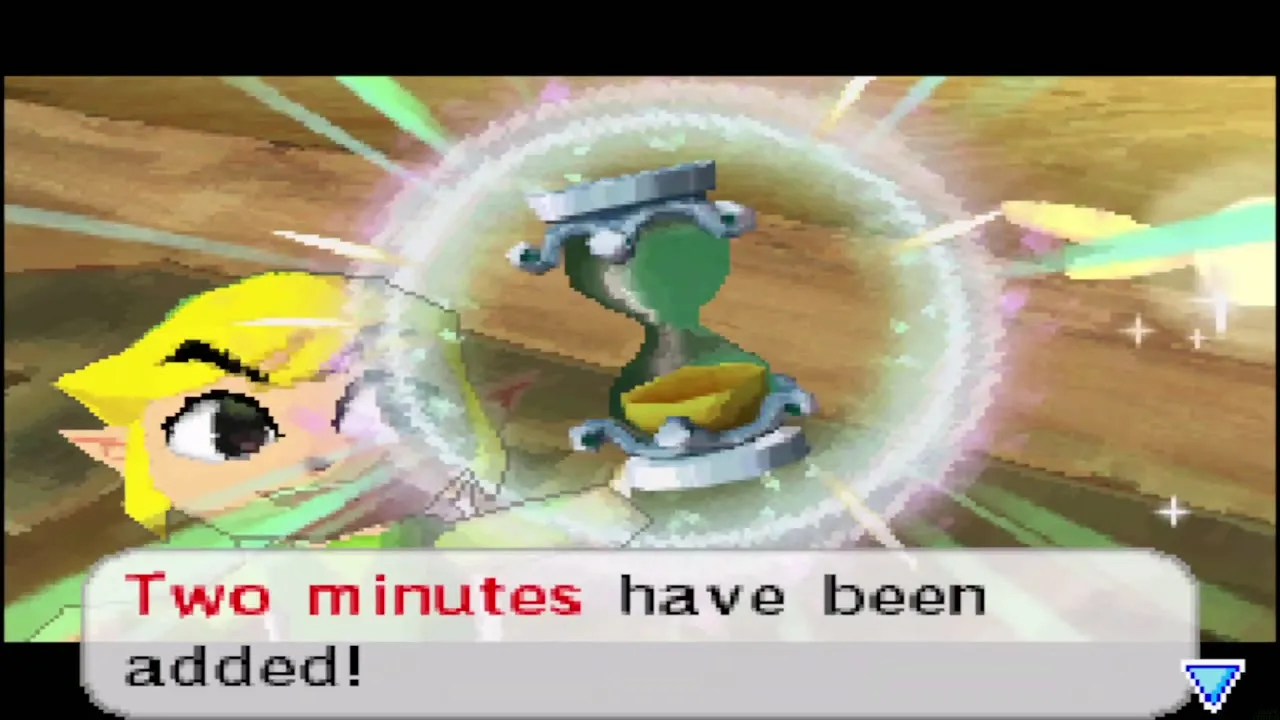
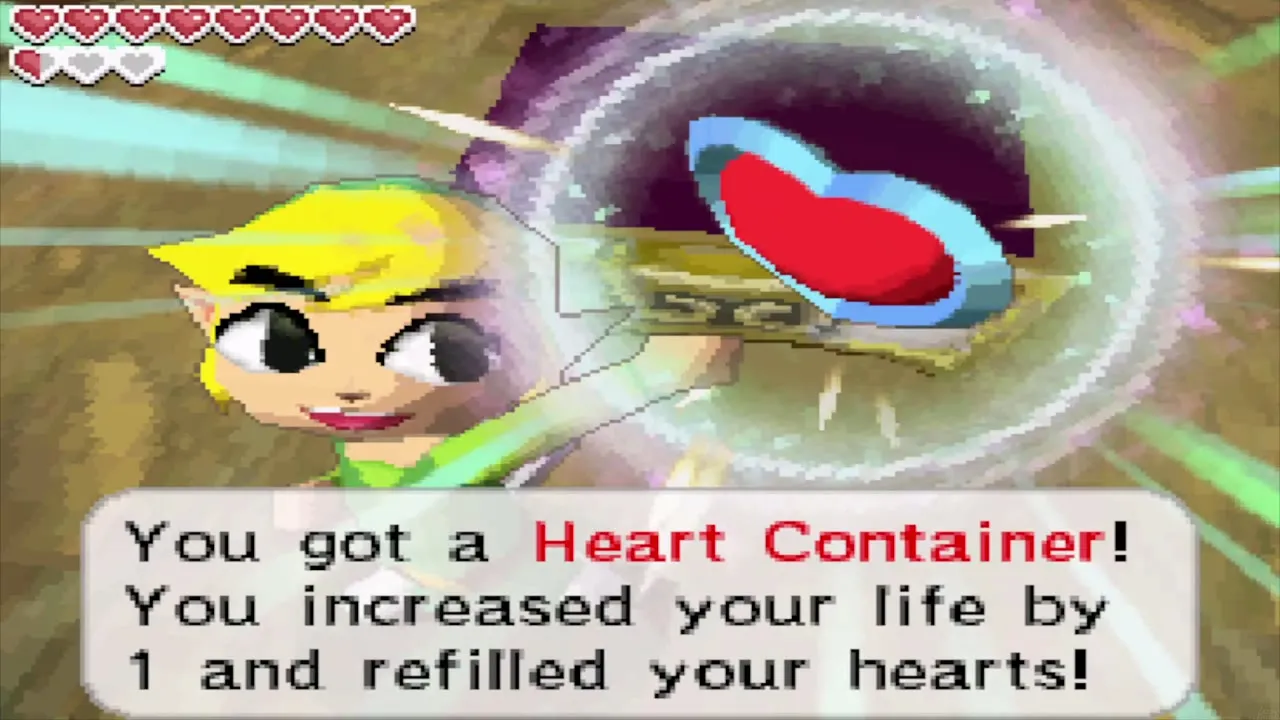
Sand pours into the Phantom Hourglass when Dongorongo falls, adding two minutes. Your total is now 16 minutes. A chest appears in the boss arena itself and holds the Heart Container, which adds a heart and refills your life.
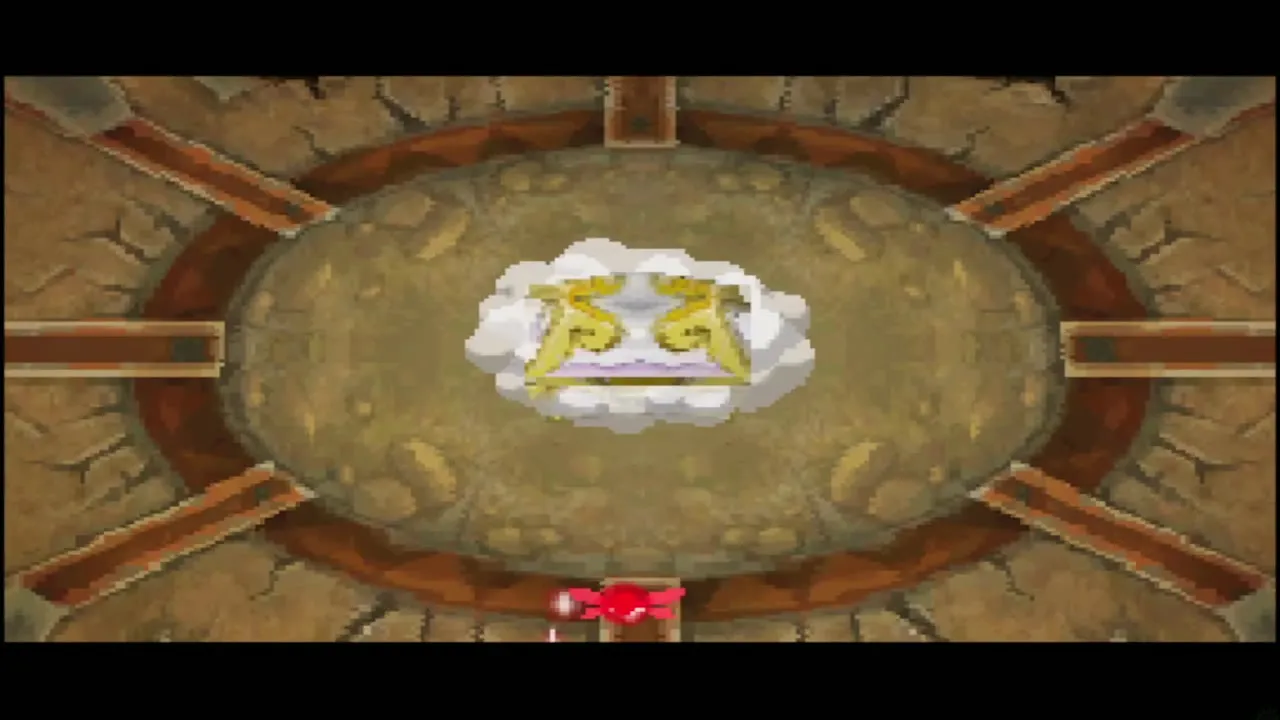
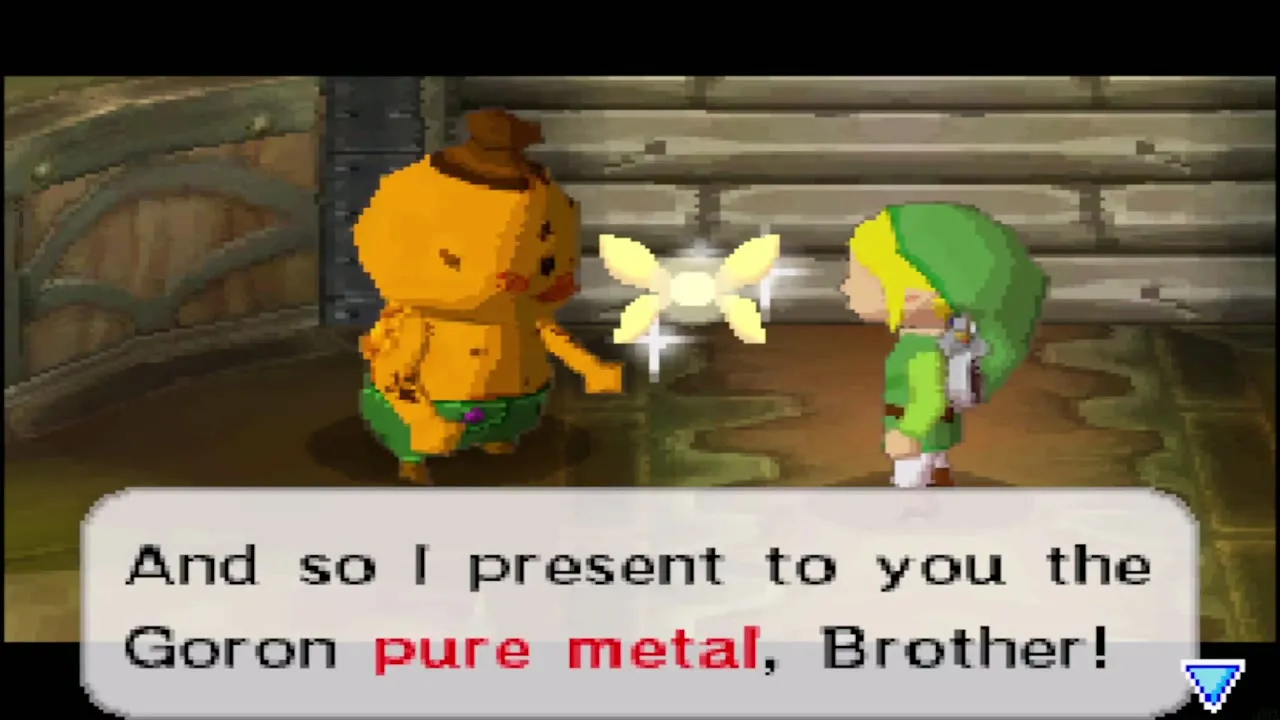
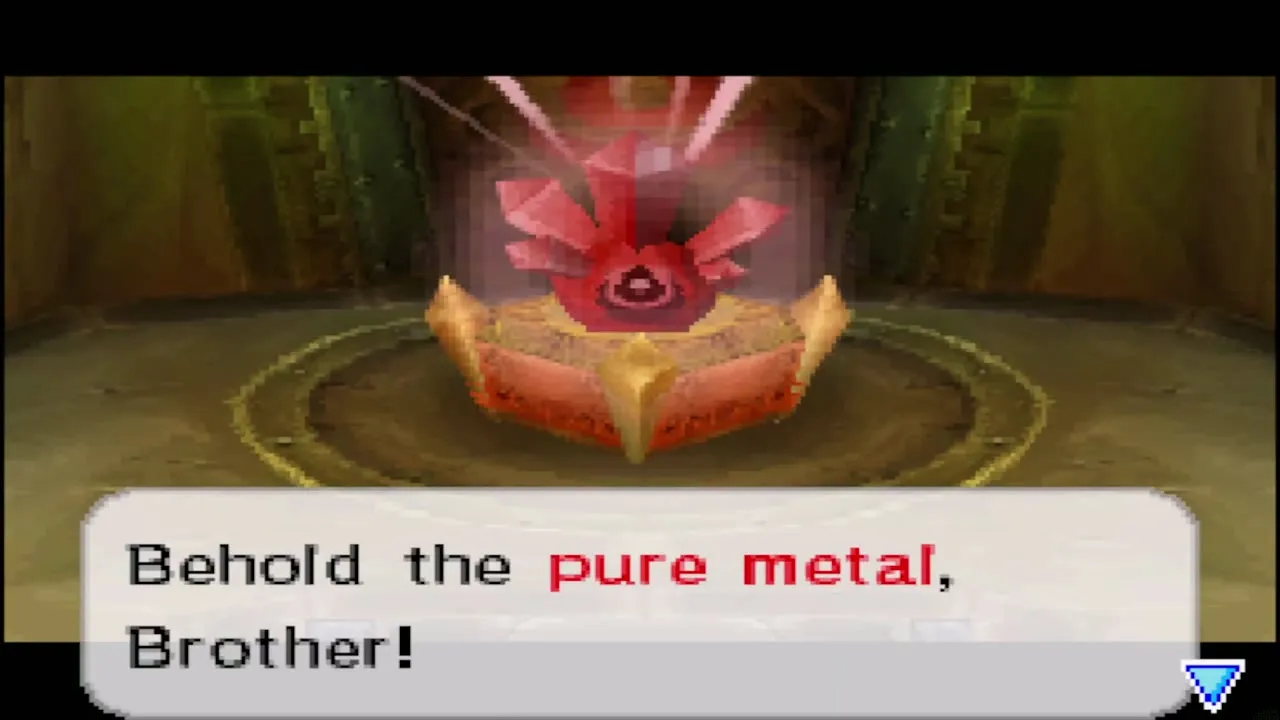
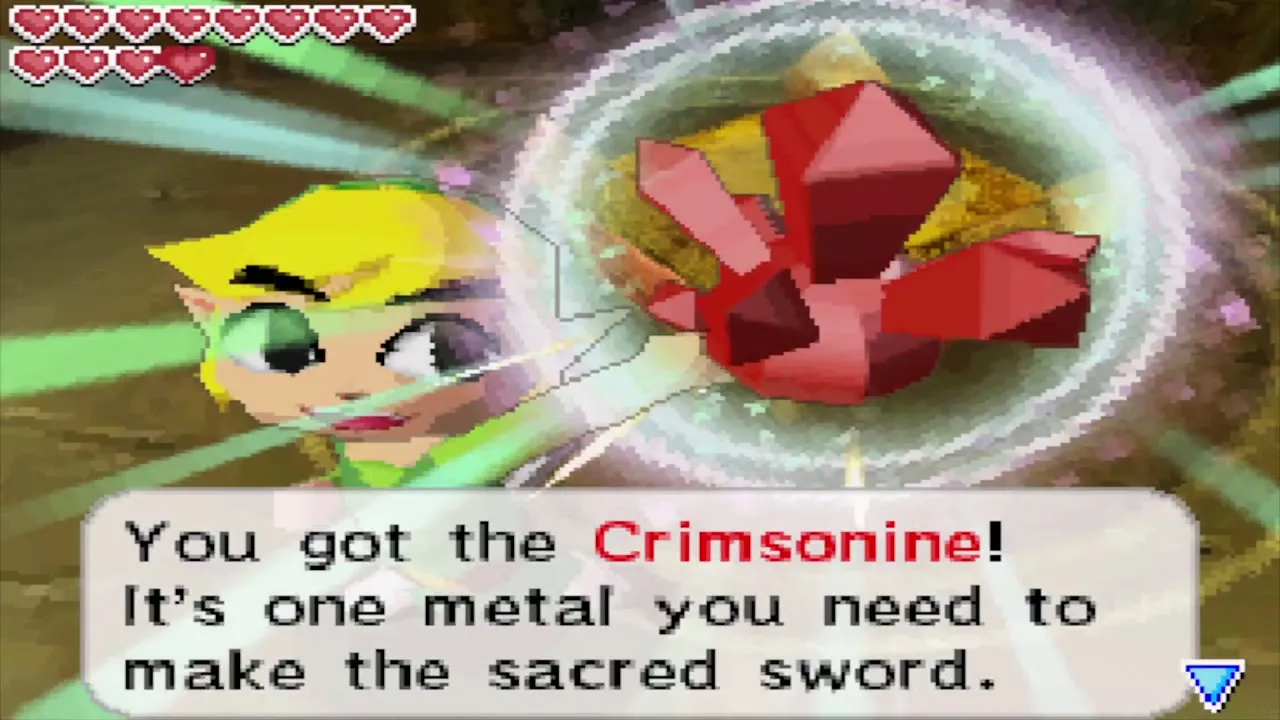
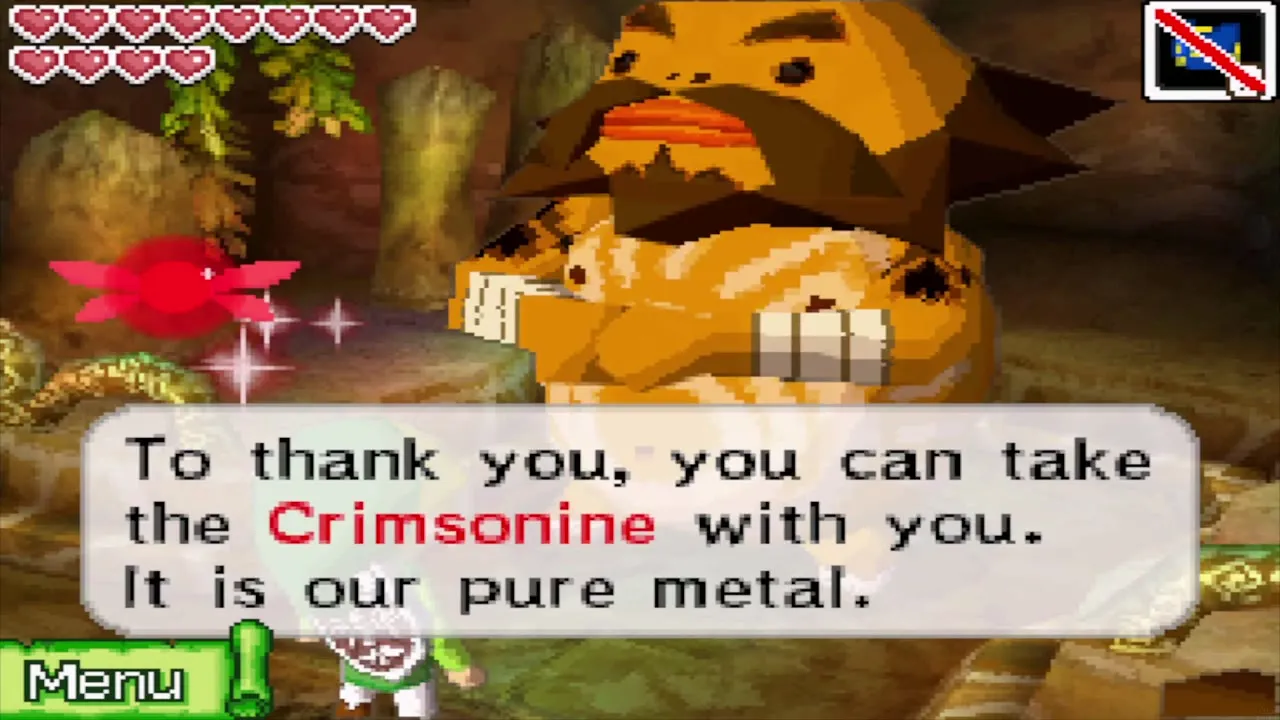
Walk north and talk to Gongoron, who presents you with the Crimsonine, the Goron Pure Metal. Only a sword forged from the three Pure Metals can hurt Bellum, so this is the first of the three. Step into the blue light afterwards and you are back outside the temple. Gongoron asks you to visit his home on the way out.
Goron village after the temple
Salvage map in the entrance maze
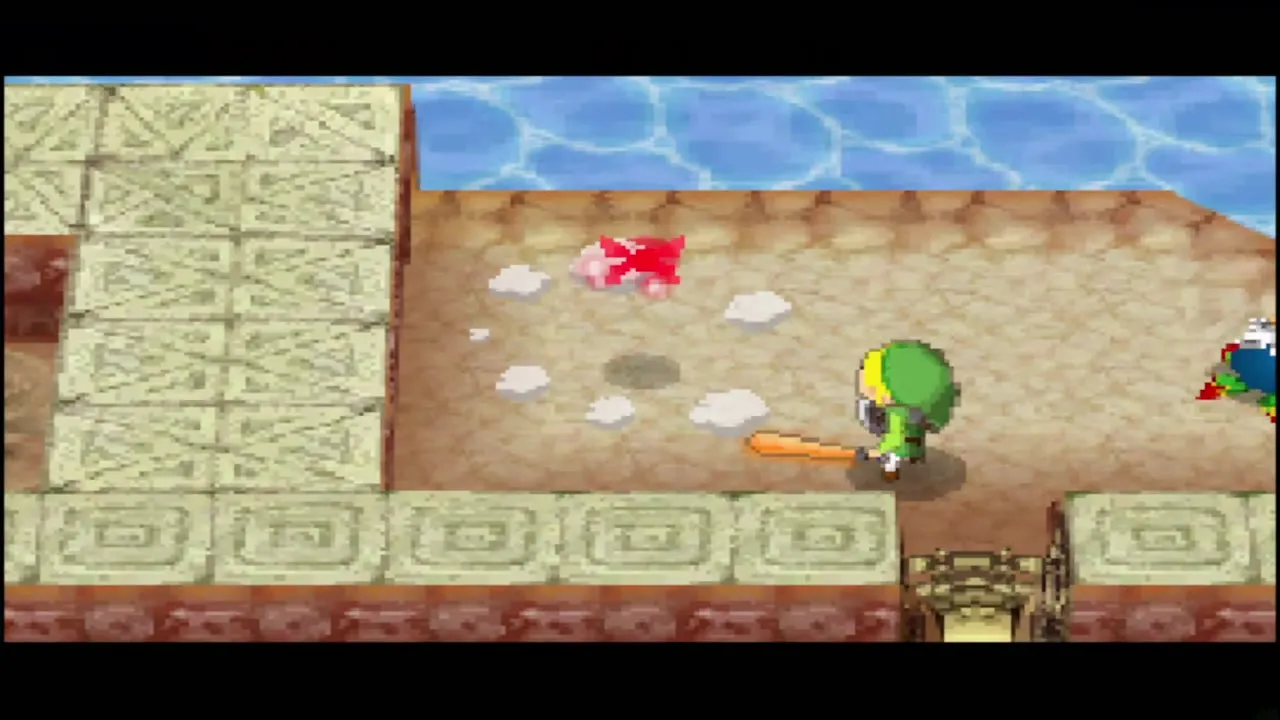
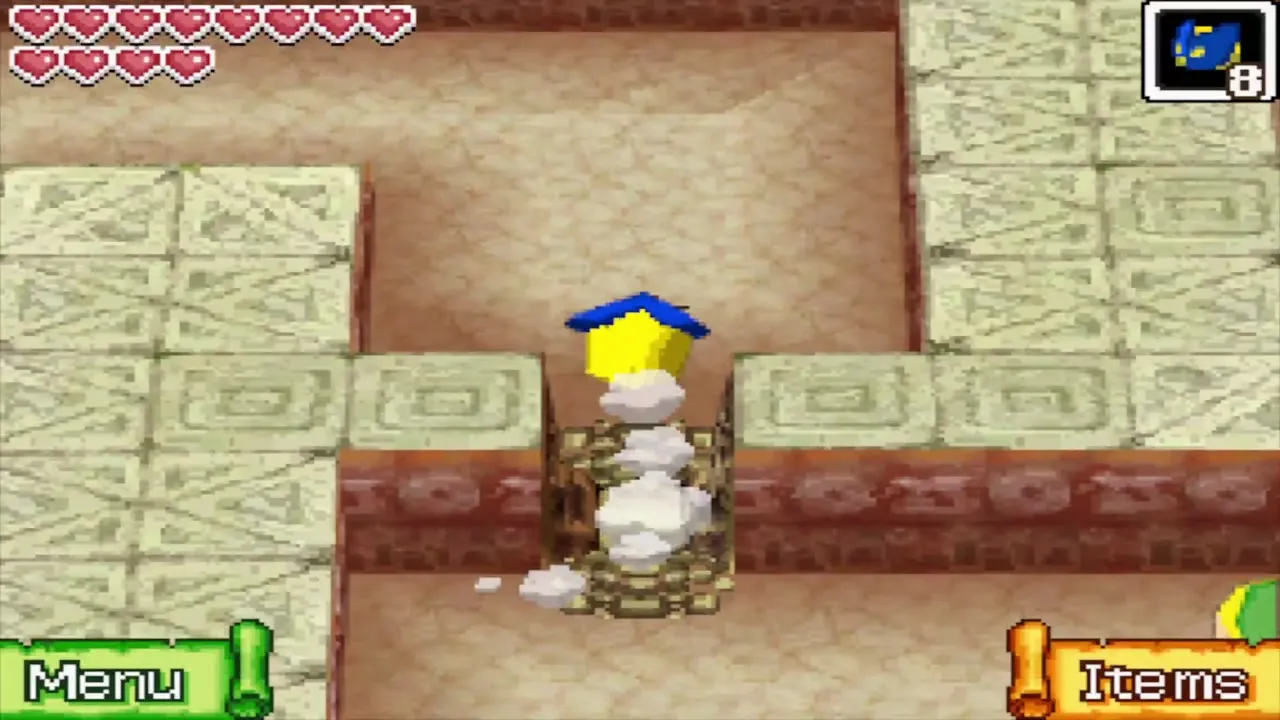
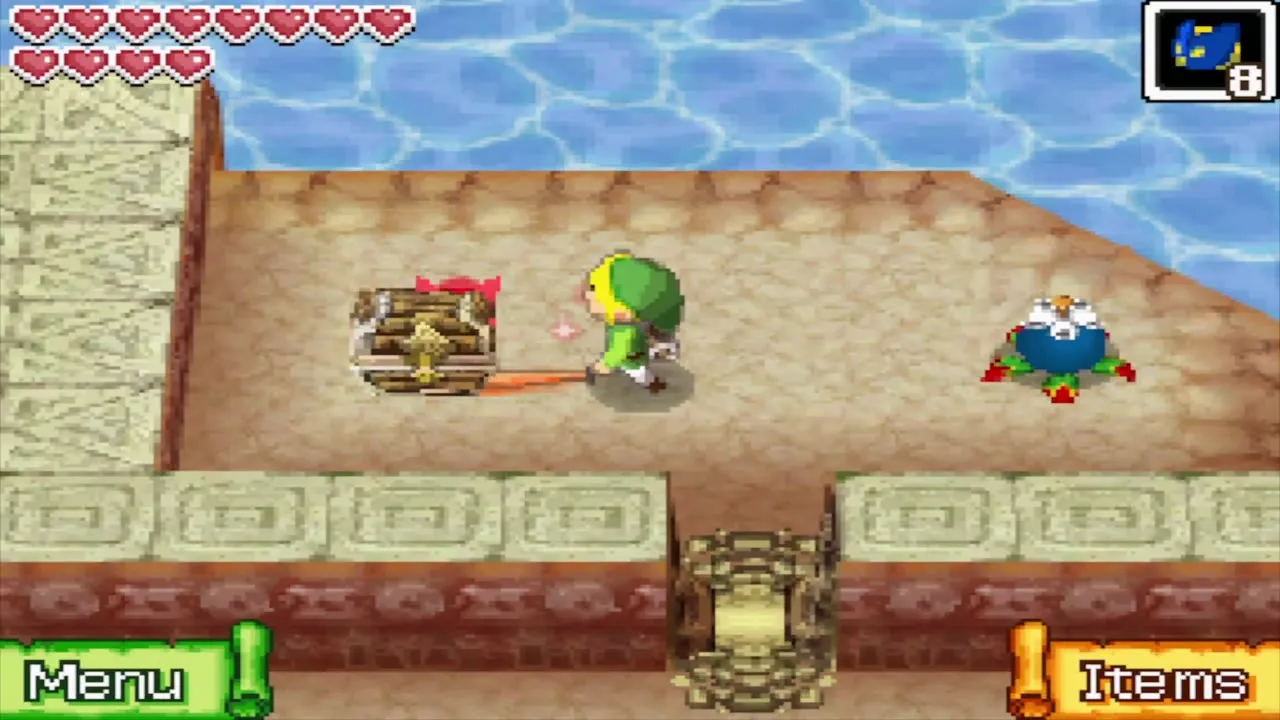
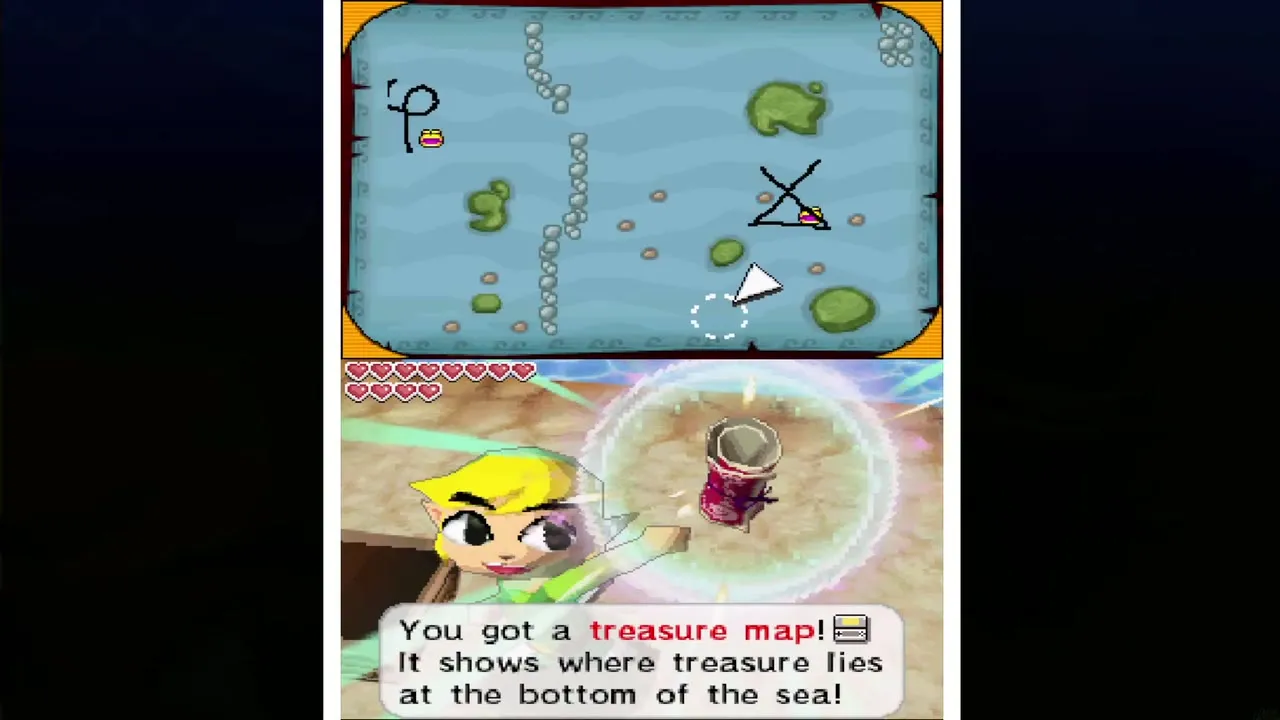
Walk back through the north maze. Now that you own Bombchus, a small hole in a maze wall near the entrance leads to a switch. Draw a Bombchu through the hole to the switch, and a timed chest appears in the north-east. It holds a treasure map, number 16, that marks a ship part at sea.
Talk to the Goron chief
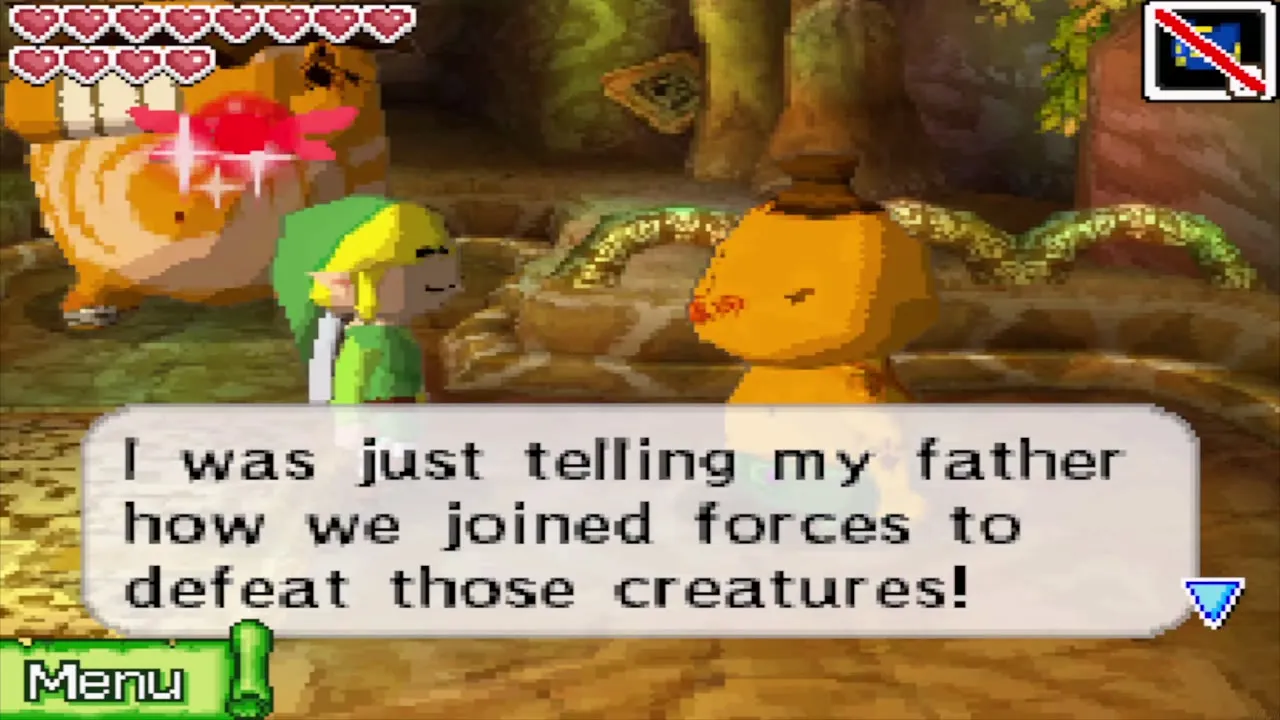
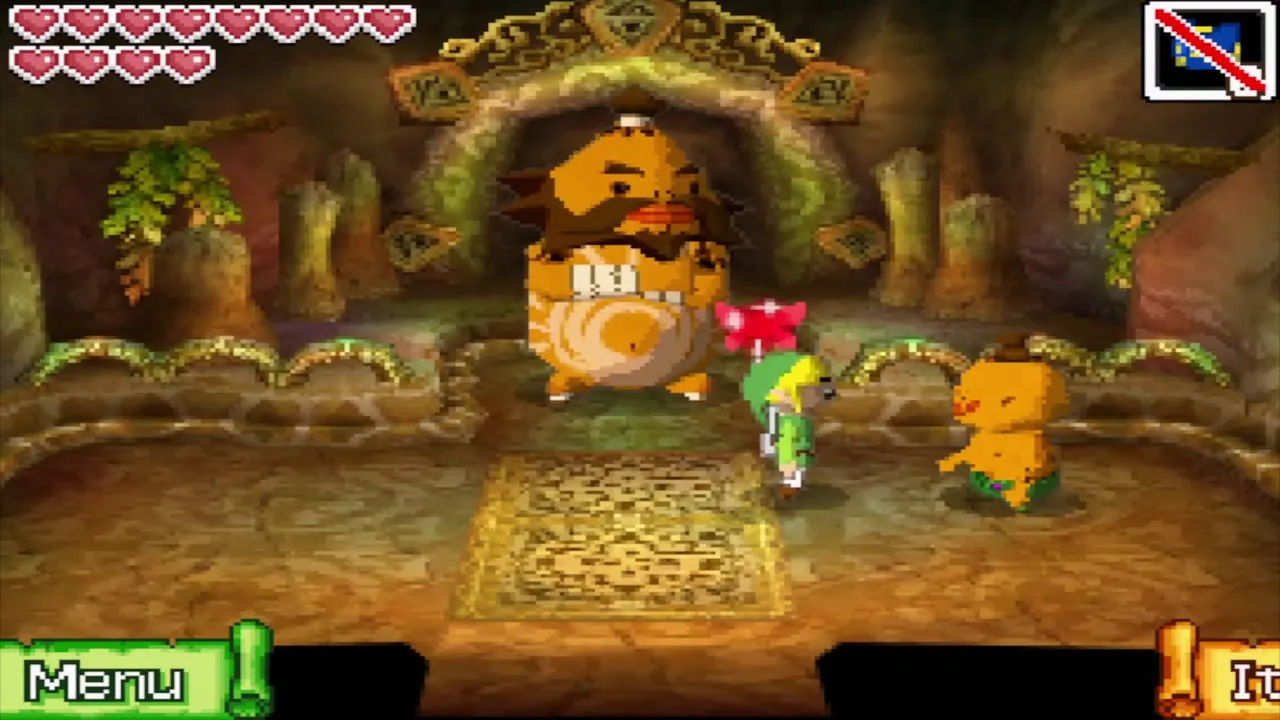
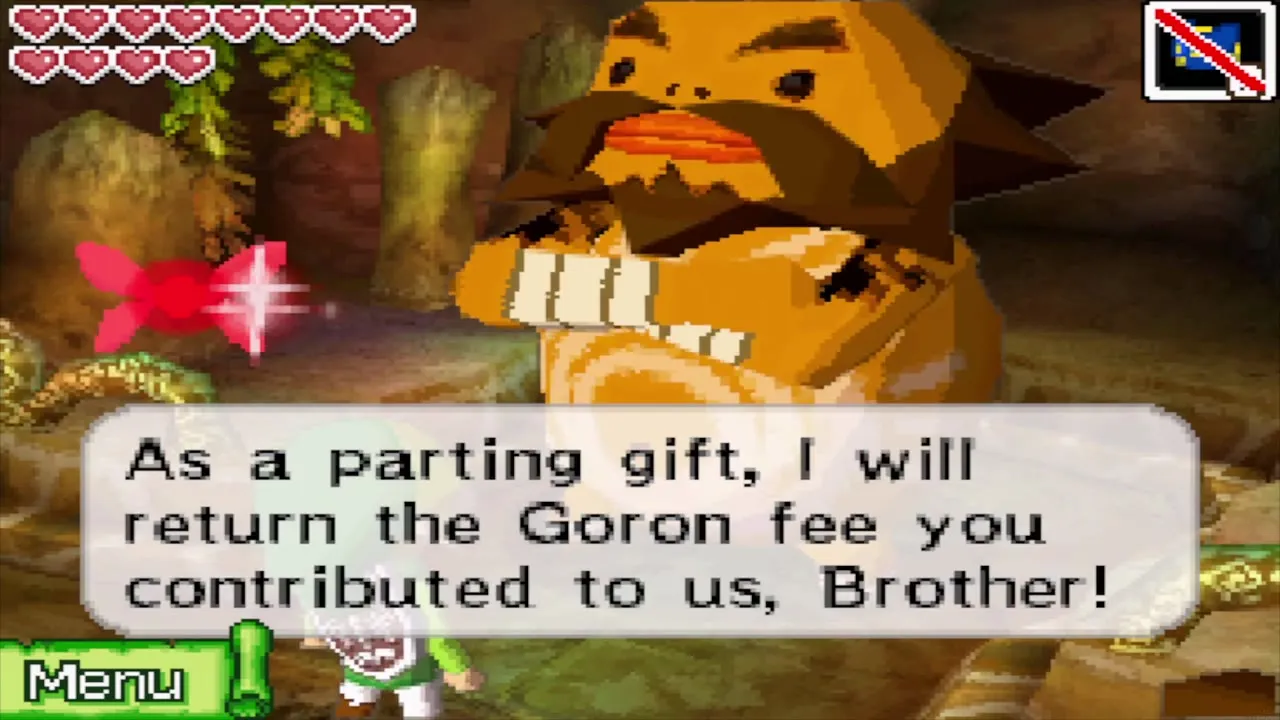
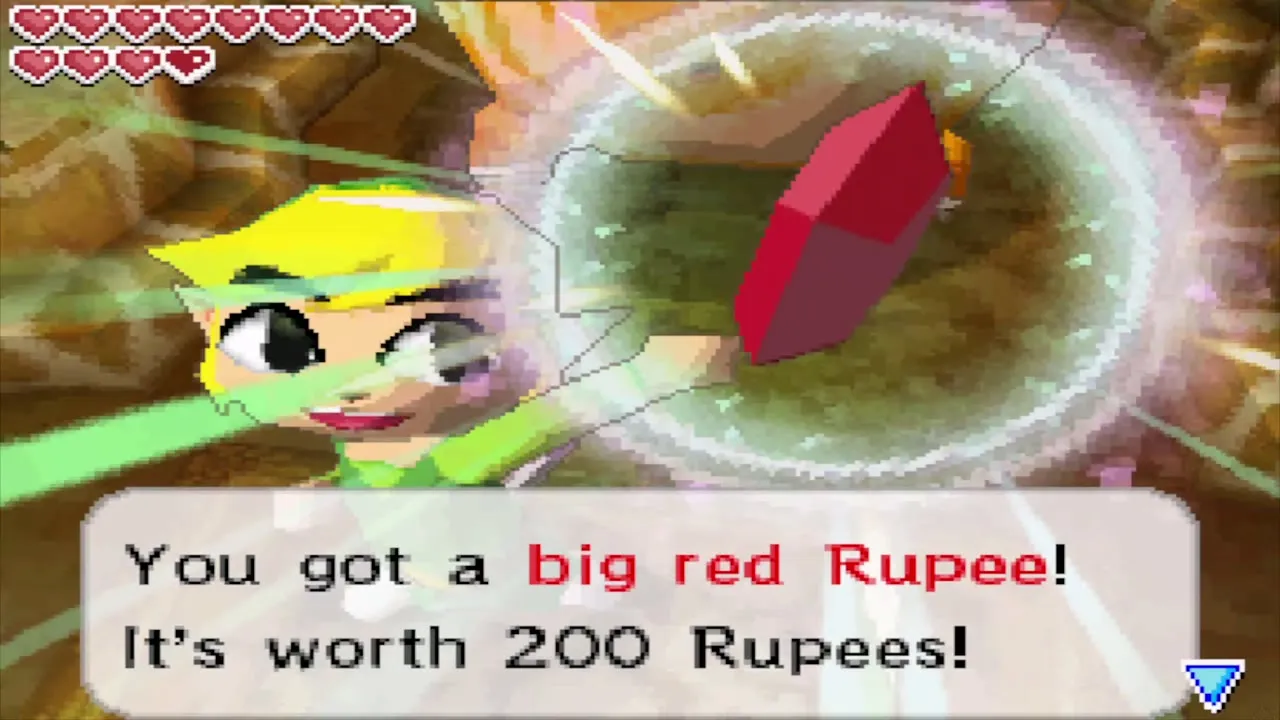
Go to the chief’s home in the village. He thanks you for the help and gives you a big red Rupee, worth 200. A letter from Gongoron is sent to you later and contains a Courage Gem.

Buy the Bombchu Bag
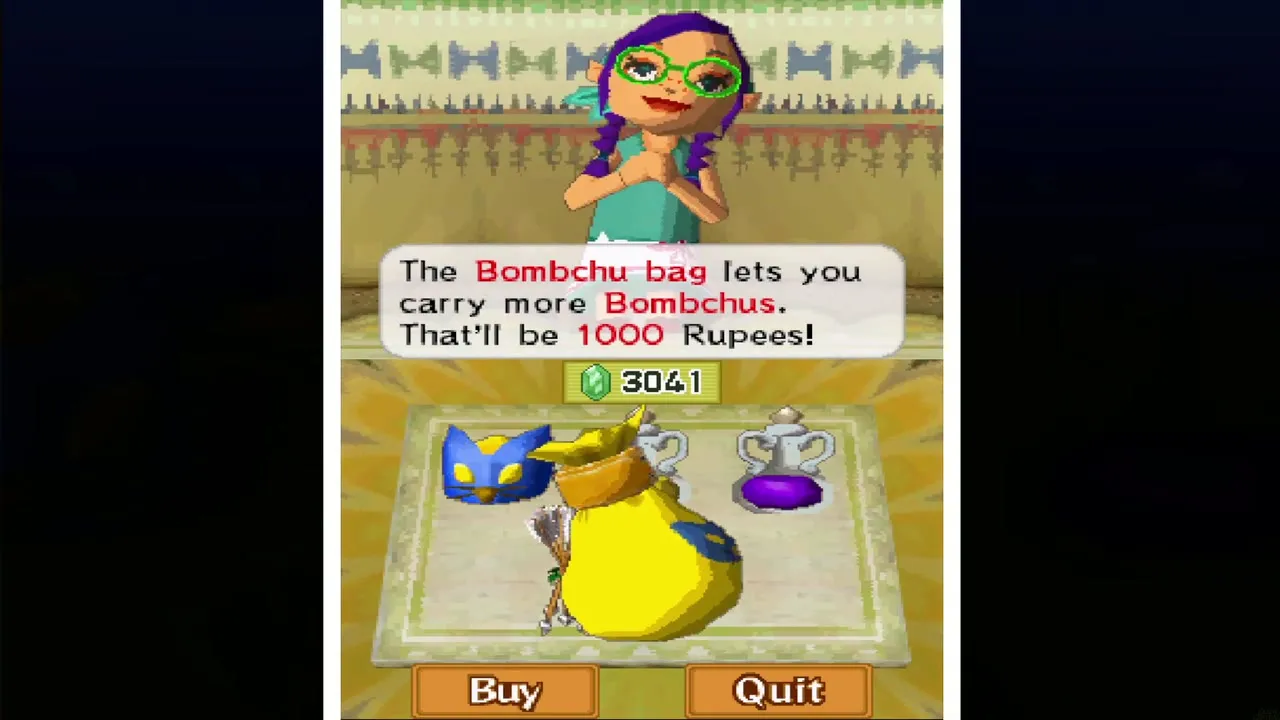
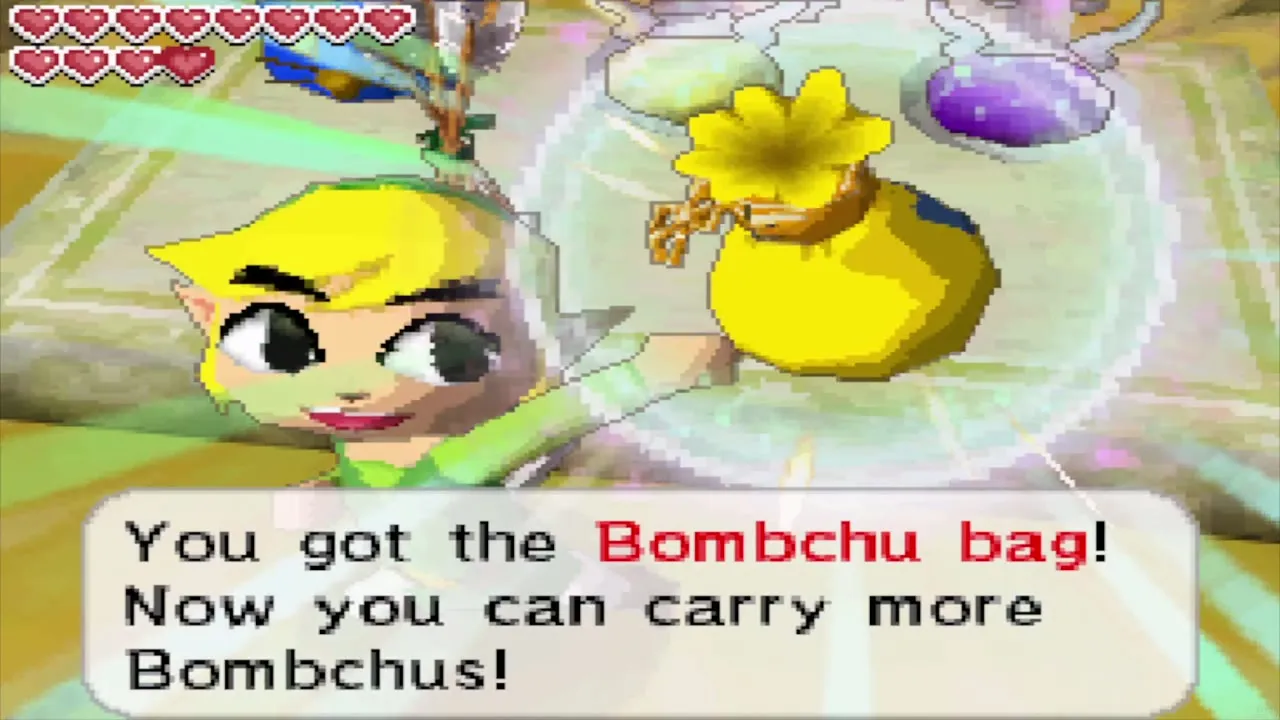
The Goron Island shop sells a Bombchu Bag upgrade for 1,000 Rupees. It raises the number of Bombchus you can carry from 10 to 20, and you will use plenty on the next dungeon, so it is a good purchase. A third bag size, 30, is the reward for beating the Goron Game on Dee Ess Island in 35 seconds or less (see mini-games). Once you have bought both the Bombchu Bag and the Quiver upgrade, the shops stock a Heart Container for 2,000 Rupees.
Leave Goron Island
Walk to the dock, where Linebeck is waiting. He wants to look for the other Pure Metals, so board the ship and open the sea chart. The Isle of Frost, where the next dungeon is, lies in the Southeastern Sea. Dee Ess Island also has Gongoron’s Goron Game, but its Bombchu Bag prize waits until you have cleared the Temple of Ice (see the mini-games page).
Chapter checklist
| Collectible | Type | Where |
|---|---|---|
| Red Rupee (20) | Rupees | 1F chest in the pillared hall, opened with an arrow into an eye switch |
| Treasure map 15 | Treasure map | 1F timed chest in the north-east corner, opened by hitting the quicksand switch to the north |
| Bombchus | Item | B1 large chest (with the Bombchu Bag), after Link and Gongoron stand on their two switches |
| Treasure (such as a Goron Amber) | Treasure | B1 chest after the Eye Slugs; the treasure is random, so it may be something else |
| Red Rupee (20) | Rupees | B3 chest after the Miniblins |
| Boss Key | Key | B2 large chest in the north-west, after the two quicksand crystal switches |
| Sand of Hours | Phantom Hourglass | Dropped by Dongorongo, 2 minutes |
| Heart Container | Heart Container | Chest in the room after Dongorongo |
| Crimsonine | Pure Metal | Given by Gongoron after the boss |
| Treasure map 16 | Treasure map | Timed chest at the north maze entrance, reached with a Bombchu |
| Big red Rupee (200) | Rupees | The Goron chief’s home |
 Bombchu Bag | Upgrade | Goron Island shop, 1,000 Rupees |
 Courage Gem | Spirit Gem | Letter from Gongoron, delivered later |
With the Crimsonine in your bag, sail for the Southeastern Sea to the Isle of Frost, where a Yook is hiding among the Anouki.
