| Where | Beneath Gerudo Mesa in the Gerudo Desert; the entrance is beside the Gerudo Mesa warp point |
|---|---|
| Floors | 50, with a Great Fairy room on every tenth floor |
| Items needed | Spinner (floor 11), Ball and Chain (21), Dominion Rod (31), Double Clawshots (41); Hero’s Bow with Bomb Arrows and Iron Boots help throughout |
| Rewards | Fairies in four Spirit Springs, a Bottle of Great Fairy’s Tears, unlimited tears afterwards, three Poe Souls (#58 to #60) |
| Recommended | About 17 hearts, four bottles with potions or fairies, full bomb bag and quiver, Magic Armor, Mortal Draw and Great Spin |
The Cave of Ordeals is an optional 50-floor gauntlet. Each floor drops you into a pit with a set of enemies; you cannot go on until they are all defeated. There are no checkpoints except the Great Fairy rooms on floors 10, 20, 30, 40 and 50, and you need the dungeon items from Lakebed Temple, Arbiter’s Grounds, Snowpeak Ruins, Temple of Time and City in the Sky to get through floors 11, 21, 31 and 41. Beating the last floor gives you a Bottle of Great Fairy’s Tears, and three of the floors carry the last three Poe Souls of the 60. The chapter version of this fight, with its place in the story, is the Cave of Ordeals walkthrough.
Table of Contents
Quick reference
| Floor | What happens | What you need |
|---|---|---|
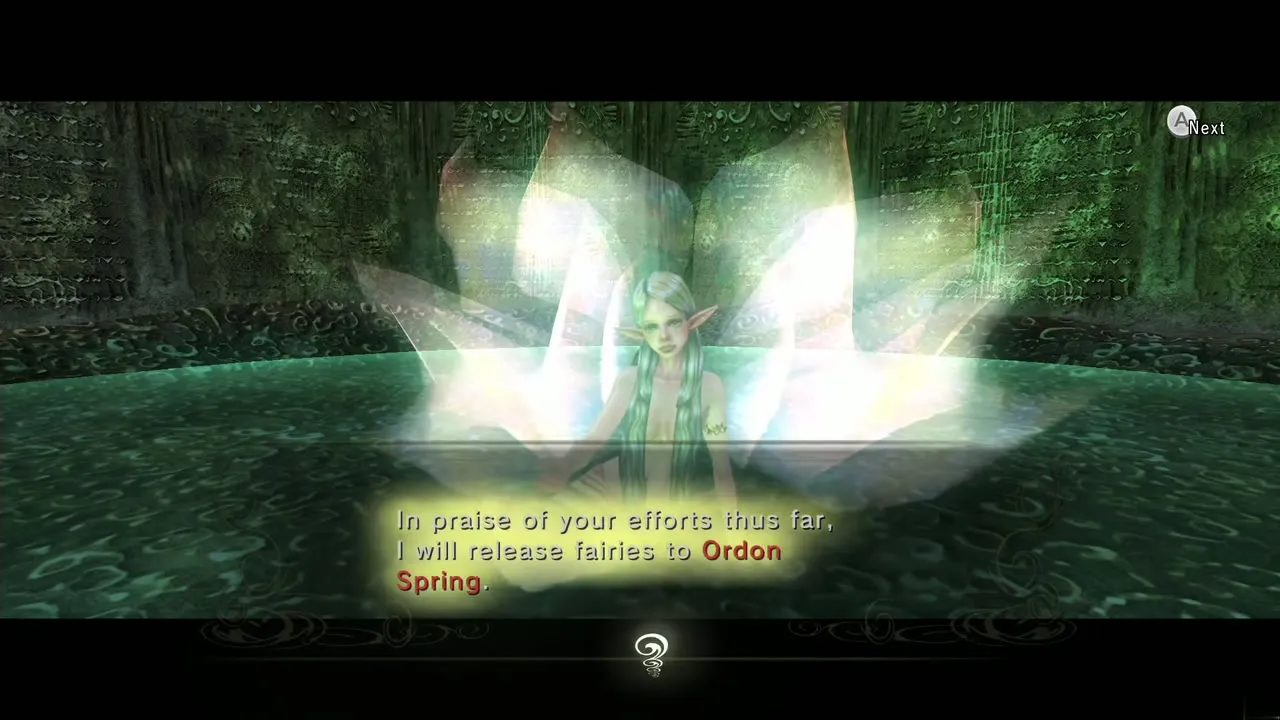
| 10 | Great Fairy: fairies appear in Ordon Spring | Floors 1 to 9 cleared |
| 11 | Door out of the floor is hidden behind a wall | Spinner |
| 17 | Imp Poe (Poe Soul #58) with ten Stalhounds | Wolf form to take the soul |
| 20 | Great Fairy: fairies appear in Faron Spring | Floor 19 cleared |
| 21 | Ice wall over the door | Ball and Chain |
| 30 | Great Fairy: fairies appear in Eldin Spring | Floor 29 cleared |
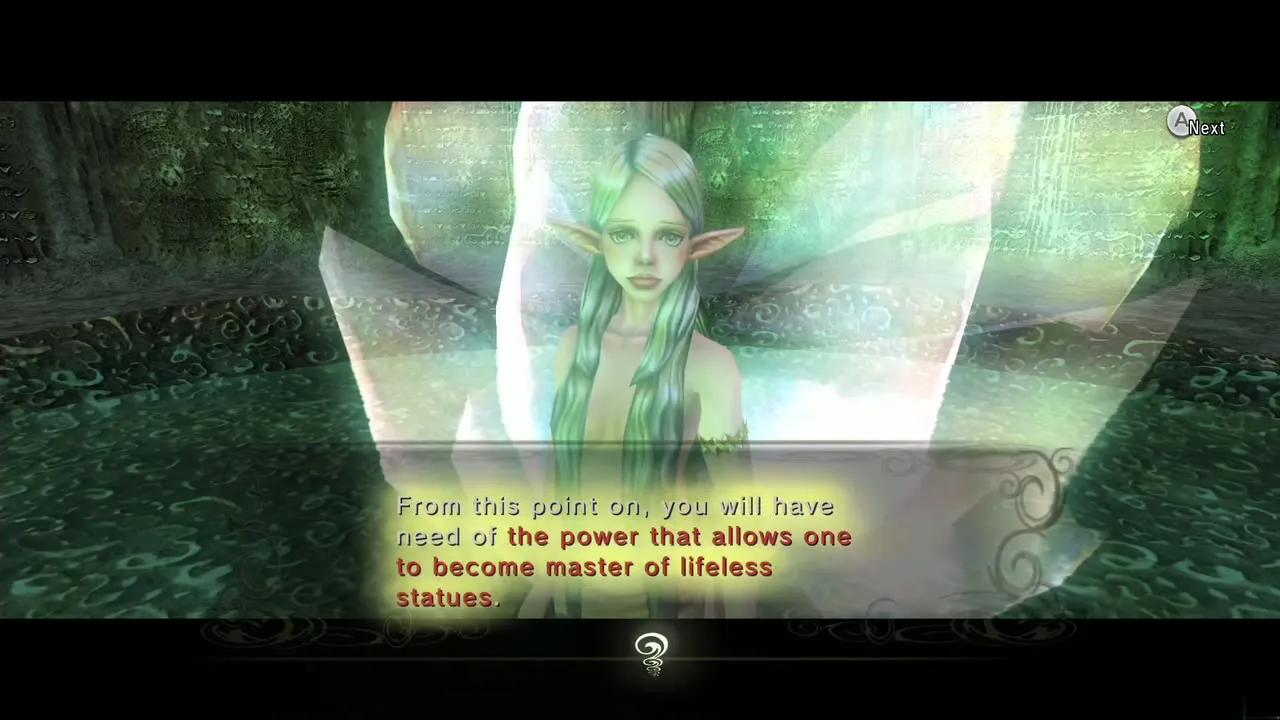
| 31 | Gate held by two statue switches | Dominion Rod |
| 33 | Imp Poe (Poe Soul #59) with four Gibdos | Wolf form |
| 40 | Great Fairy: fairies appear in the Spring of the Spirit Lanayru | Floor 39 cleared |
| 41 | Exit is over a grate | Double Clawshots |
| 44 | Imp Poe (Poe Soul #60) with four Dynalfos | Wolf form |
| 50 | Great Fairy gives the Bottle of Great Fairy’s Tears | An Empty Bottle |
Getting in and getting ready
Entrance and what to bring
Warp to Gerudo Mesa with Midna. The cave entrance is a short walk from the warp point. It opens once the Bridge of Eldin has been warped across to the desert, which is part of the story long before you have the dungeon items. You can begin at any time, but you can only finish after the City in the Sky (City in the Sky walkthrough). Aim for about 17 hearts (13 to 15 is possible), four bottles filled with Blue Potion or a Fairy (see bottle locations), a full Bomb Bag and a full Giant Quiver, and the Magic Armor from Malo Mart with a full wallet. Learn the Mortal Draw (the fifth Hidden Skill, see howling stones) for the Darknuts, and ideally the Great Spin as well.
Rules of the cave
You can look into each floor from the ledge before dropping, and you can shoot weaker enemies from there. Leaving the cave through the Great Fairy restarts the cave from the top the next time you enter, so only do it if you must. Enemies do not drop Hearts in the cave, but some floors have Hearts or Rupees buried (dig them up with Wolf Link’s senses). Do not wear the Zora Armor in the ice floors, as ice attacks deal extra damage with it. Take unavoidable damage early and heal at three hearts or fewer. Floors 36, 39 and 49 have fewer enemies on your first run and more on repeat runs.

Floors 1 to 10: warm-up
| Floor | Enemies | Notes |
|---|---|---|
| 1 | 1 Bokoblin | Use the Helm Splitter or the Ball and Chain |
| 2 | 3 Rats, 3 Keese | Spin attack |
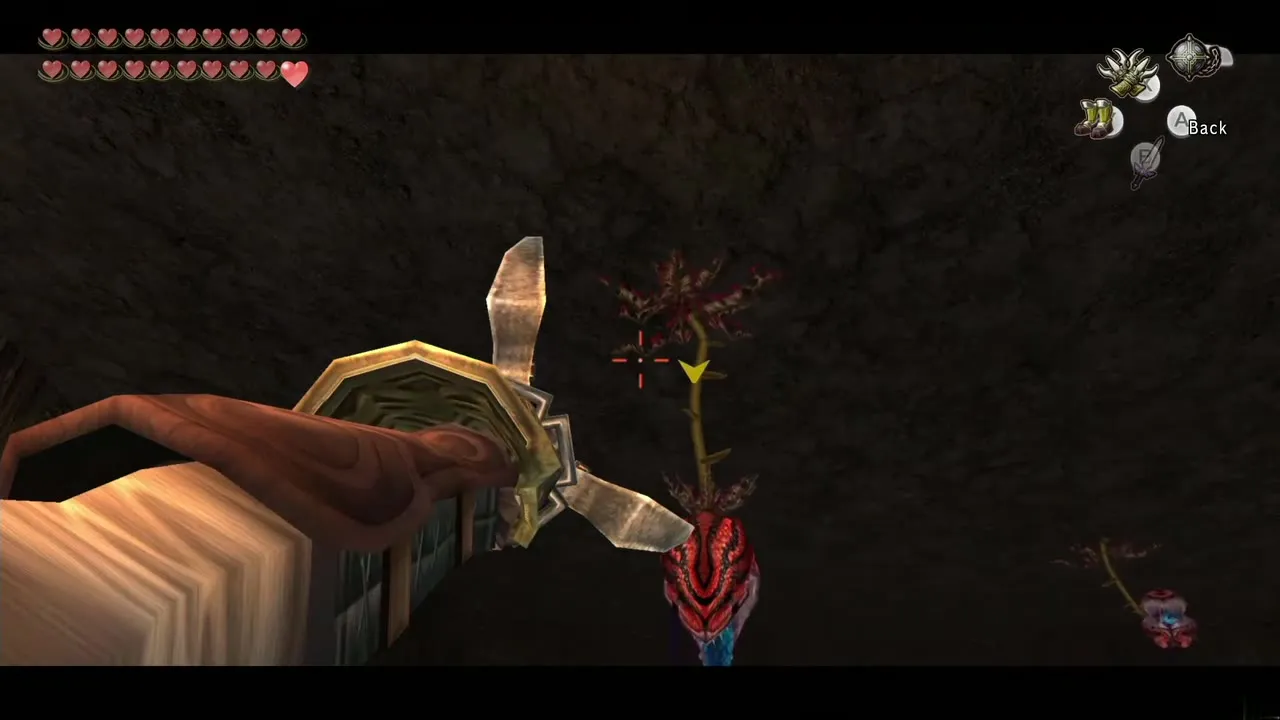
| 3 | 4 Baba Serpents | One Heart buried; three hang from the ceiling, knock them down with the Gale Boomerang |
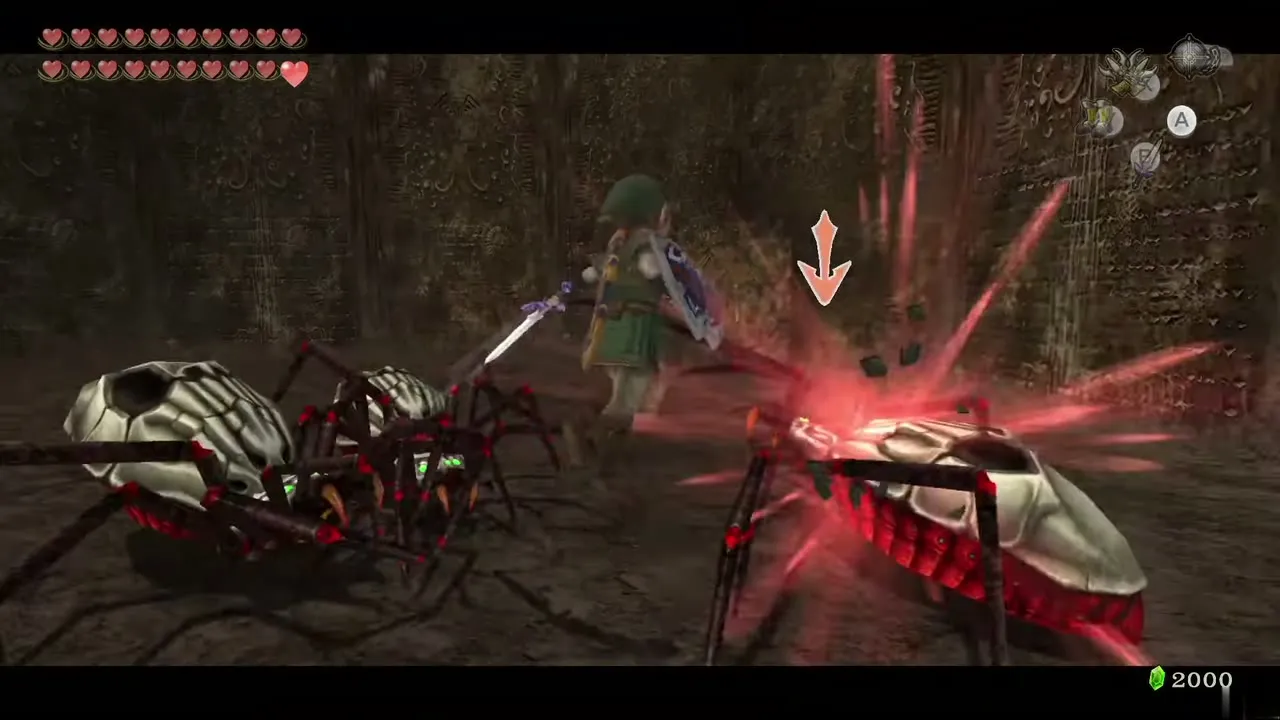
| 4 | 3 Skulltulas | Ball and Chain |
| 5 | 3 Bulblin Archers | Shoot from the ledge or roll in close |
| 6 | 9 Torch Slugs | Shoot the ceiling ones first |
| 7 | 2 Dodongos, 5 Fire Keese | Three Hearts buried; hit the tails with the Back Slice or Mortal Draw |
| 8 | 4 Red and 2 Blue Tektites | Stab the eye |
| 9 | 2 Bulblin Archers, 4 Lizalfos (first run: 2) | Shoot the archers, Helm Splitter the Lizalfos |
| 10 | Great Fairy | Fairies appear in Ordon Spring; Spinner needed next |
Floor 3 to 10: Hearts and the first Great Fairy
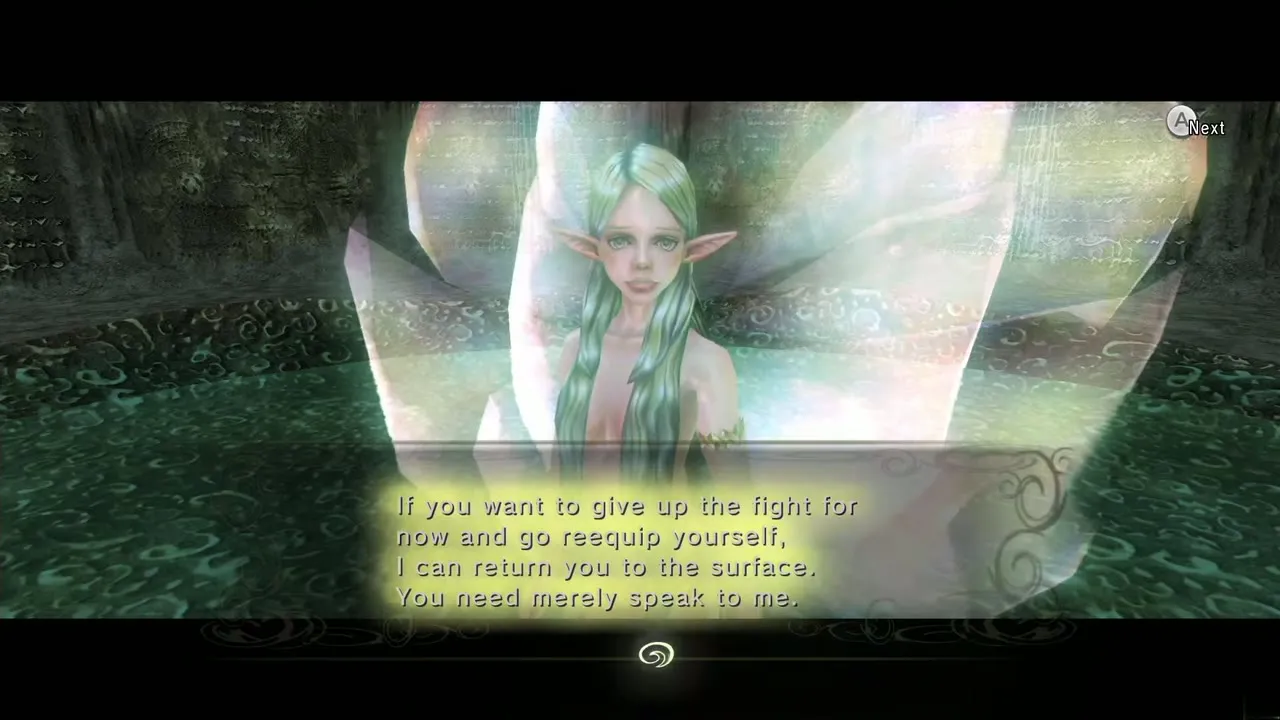
The first nine floors are simple if you keep your health full. Floor 3 hides a Heart in the ground, and floor 7 hides three. After the Dodongos on floor 7, sniff around as a wolf. On floor 10 the Great Fairy fills Ordon Spring with fairies, which stay available there from now on, and will return you to the surface if you ask (this resets your progress).


Floors 11 to 20: Spinner and the first Imp Poe
| Floor | Enemies | Notes |
|---|---|---|
| 11 | 3 Helmasaurs, 13 Rats | Spinner on the wall grooves to reach the hidden door |
| 12 | 1 Large Purple Chu | Hit it from a distance; it can take off four hearts at close range |
| 13 | 4 Chu Worms | Clawshot them out of their bubbles |
| 14 | 15 Bubbles | An Orange Rupee is buried here; spin attacks |
| 15 | 10 Bulblins | Bomb Arrows into the clump |
| 16 | 6 Rats, 6 Keese | Dark room: light the Lantern |
| 17 | 1 Imp Poe, 10 Stalhounds | Poe Soul #58; the Poe vanishes for good once taken |
| 18 | 8 Leevers | One Heart buried; spin attack as they close in |
| 19 | About 40 Chus (Purple, Blue, Red, Yellow) | They merge when they touch; a rare Yellow Chu can appear |
| 20 | Great Fairy | Fairies appear in Faron Spring; Ball and Chain needed next |
Floor 11: Spinner door
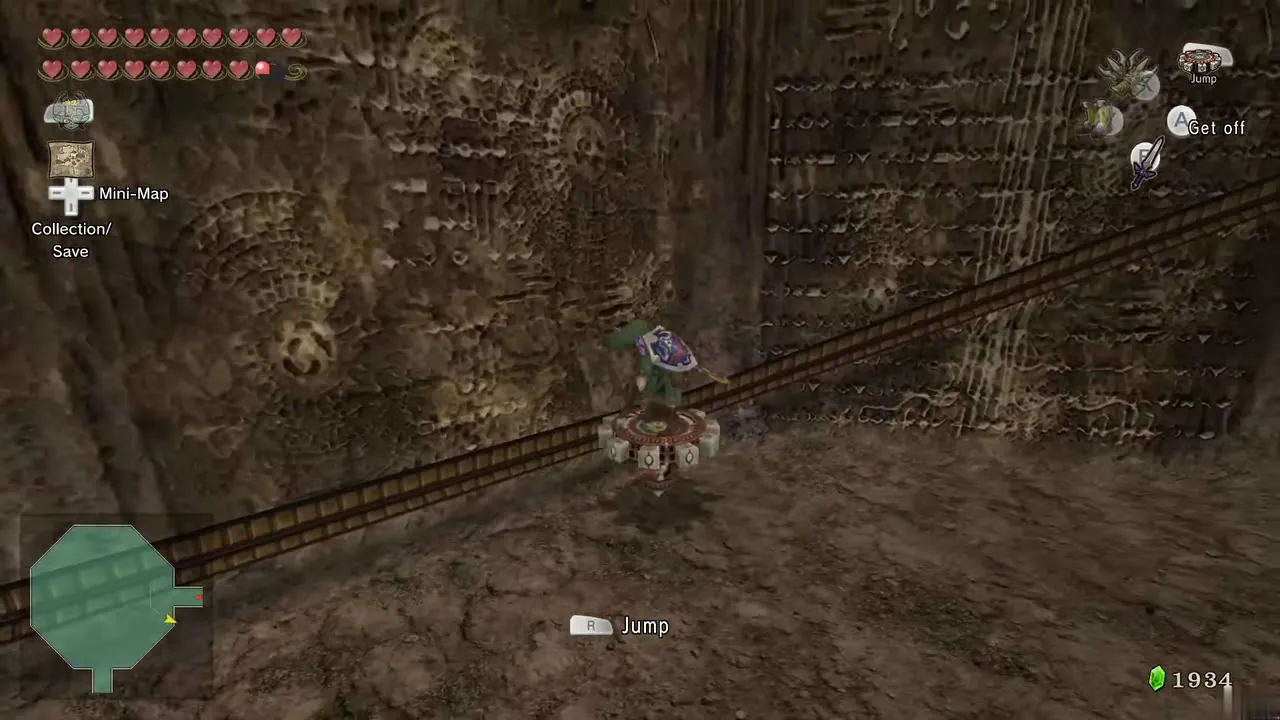
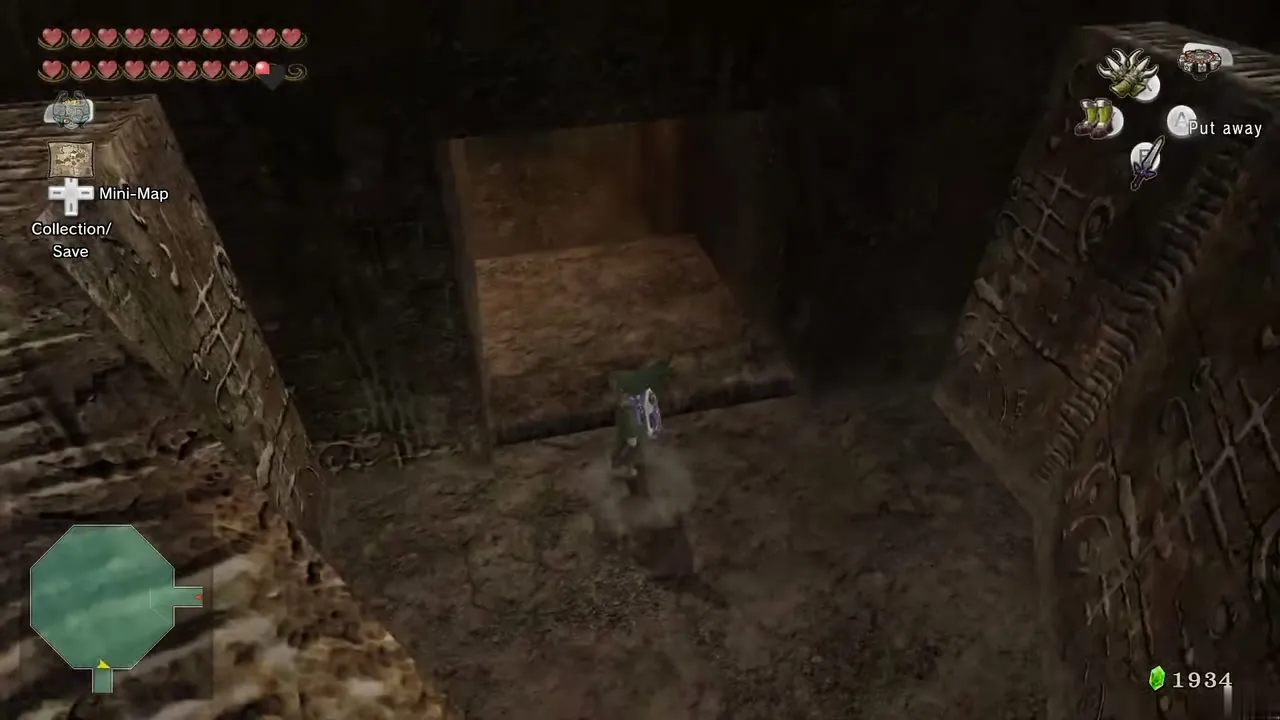
Defeat the three Helmasaurs (use the Clawshot to rip their armor off and throw it back, then slash them) and 13 Rats with spin attacks. The exit is hidden behind a wall: ride the Spinner along the grooves in the walls until you are over the door and then jump off.

Floor 17: Imp Poe
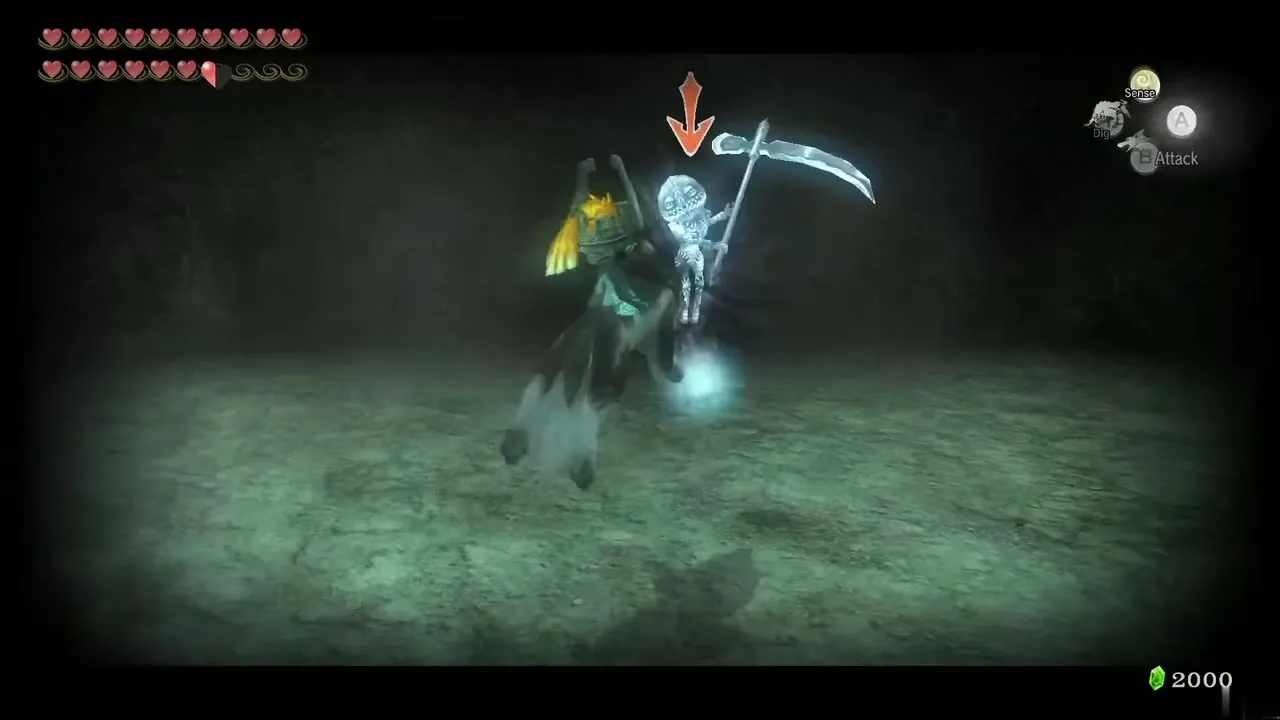
As Wolf Link, take the Imp Poe’s soul first and it will not come back, then deal with the ten Stalhounds with spins, bombs or the Ball and Chain. This is Poe Soul #58 and counts towards the 60 Poe Souls.

Floor 19: the Chu swarm
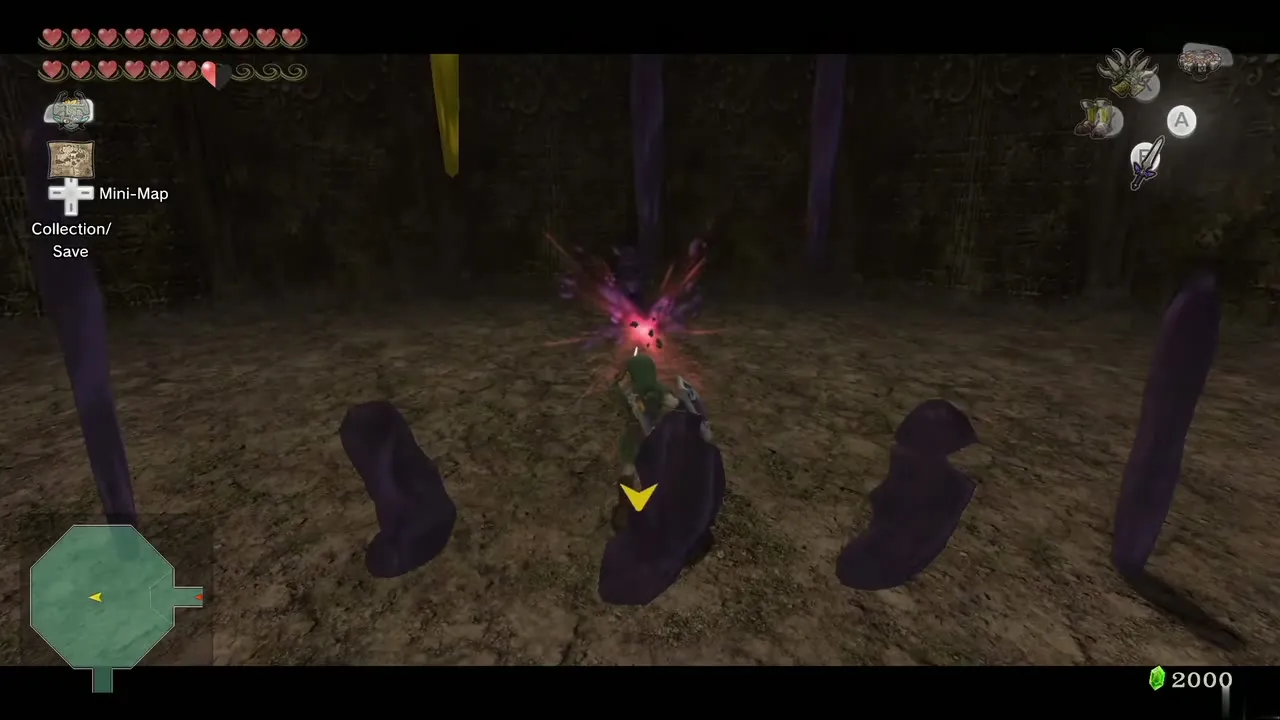
From the ledge you see only a few Chus; once you land the rest drop in. Thin them with the Ball and Chain and finish the small ones with spin attacks. Chus join together if they touch, so keep them apart.

Floors 21 to 30: Ball and Chain
| Floor | Enemies | Notes |
|---|---|---|
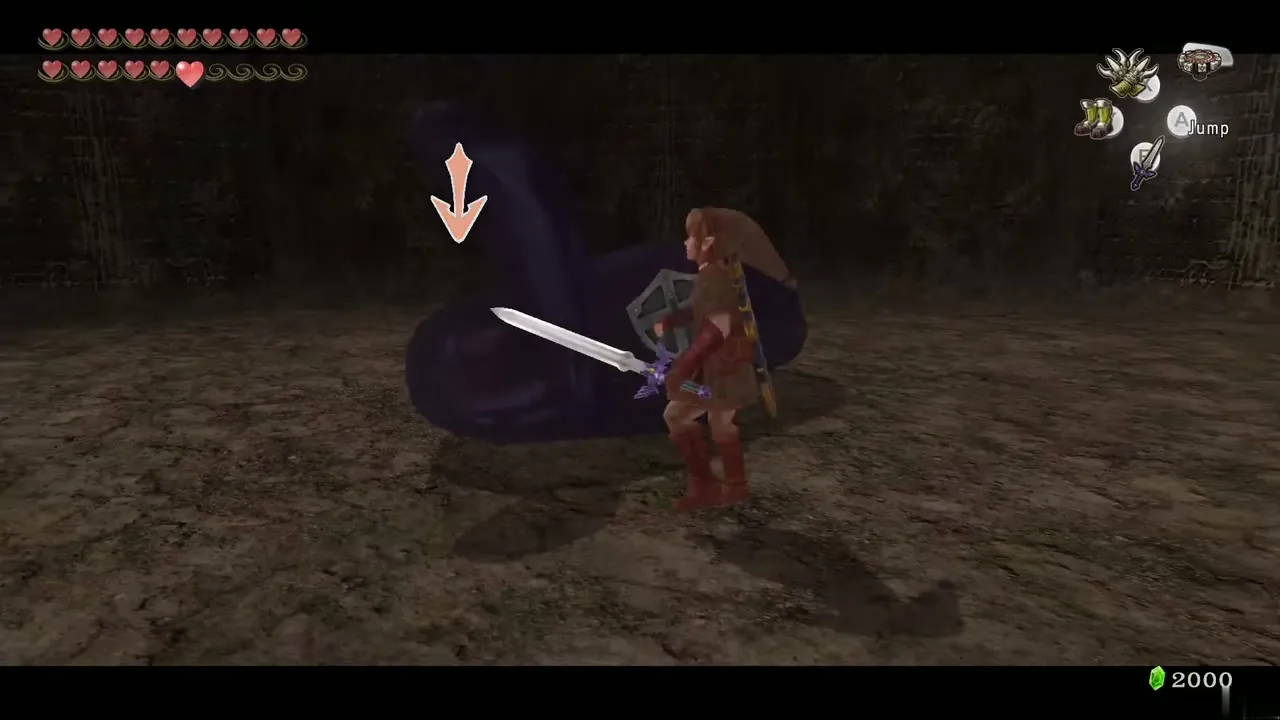
| 21 | 5 Bokoblins, 5 Ice Keese | Smash the ice wall over the door with the Ball and Chain |
| 22 | 5 Keese, 7 Rats, 10 Ghoul Rats | Three Hearts buried; Ghoul Rats slow you down, spin to shake them off |
| 23 | 25 Stalchildren | Ball and Chain |
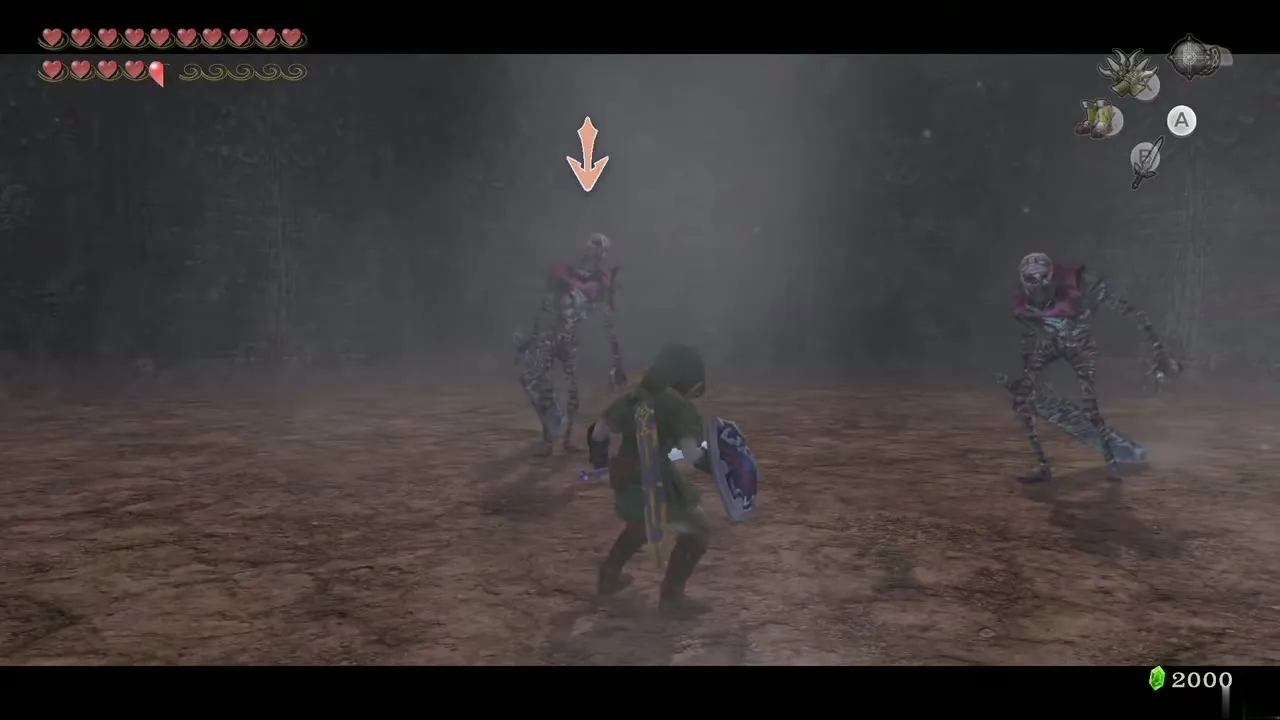
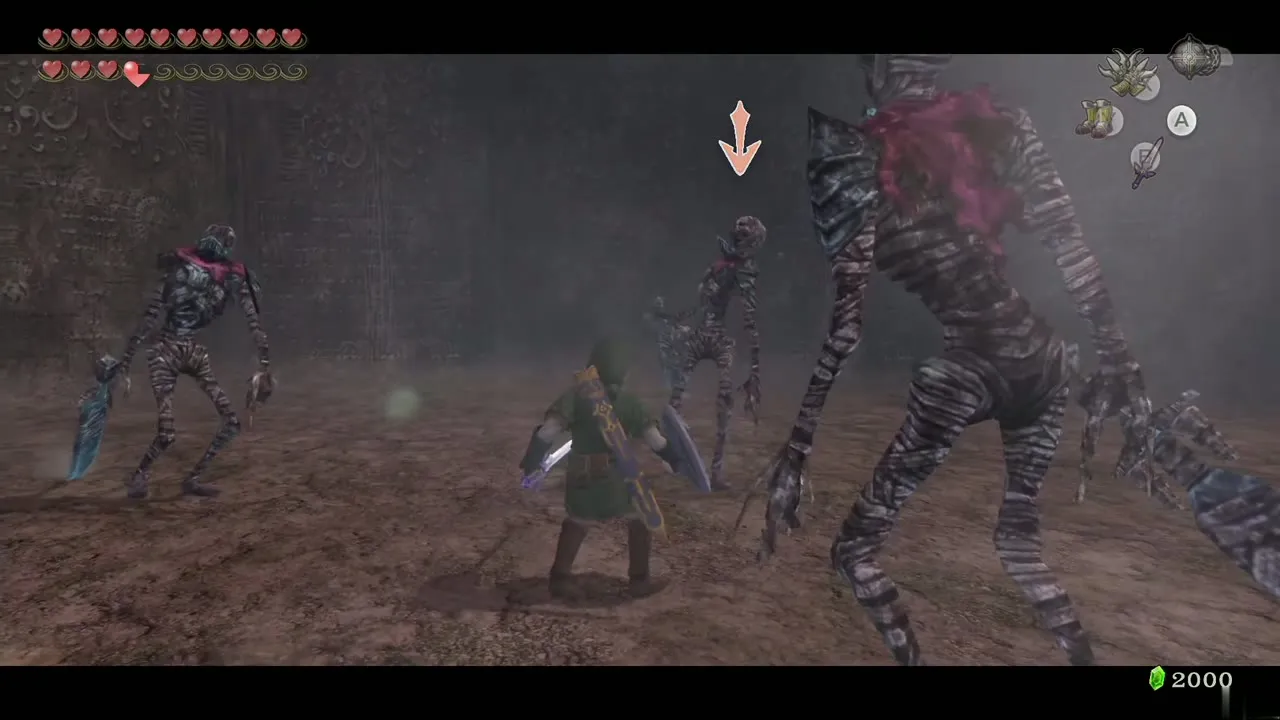
| 24 | 5 Gibdos | Two Bomb Arrows each; keep your distance from their scream |
| 25 | 3 Bulblin Archers, 8 Bulblins | Archers first from the ledge |
| 26 | 3 Stalfos | Ball and Chain or Bomb Arrows; sword hits do not hurt them |
| 27 | 3 Skulltulas, 6 Bubbles | One Heart buried |
| 28 | 2 Lizalfos, 6 Bokoblins | Spin attack or Helm Splitter |
| 29 | 2 Stalfos, 3 Fire Bubbles, 12 Stalchildren | Ball and Chain |
| 30 | Great Fairy | Fairies appear in Eldin Spring; Dominion Rod needed next |
Floors 21 to 29
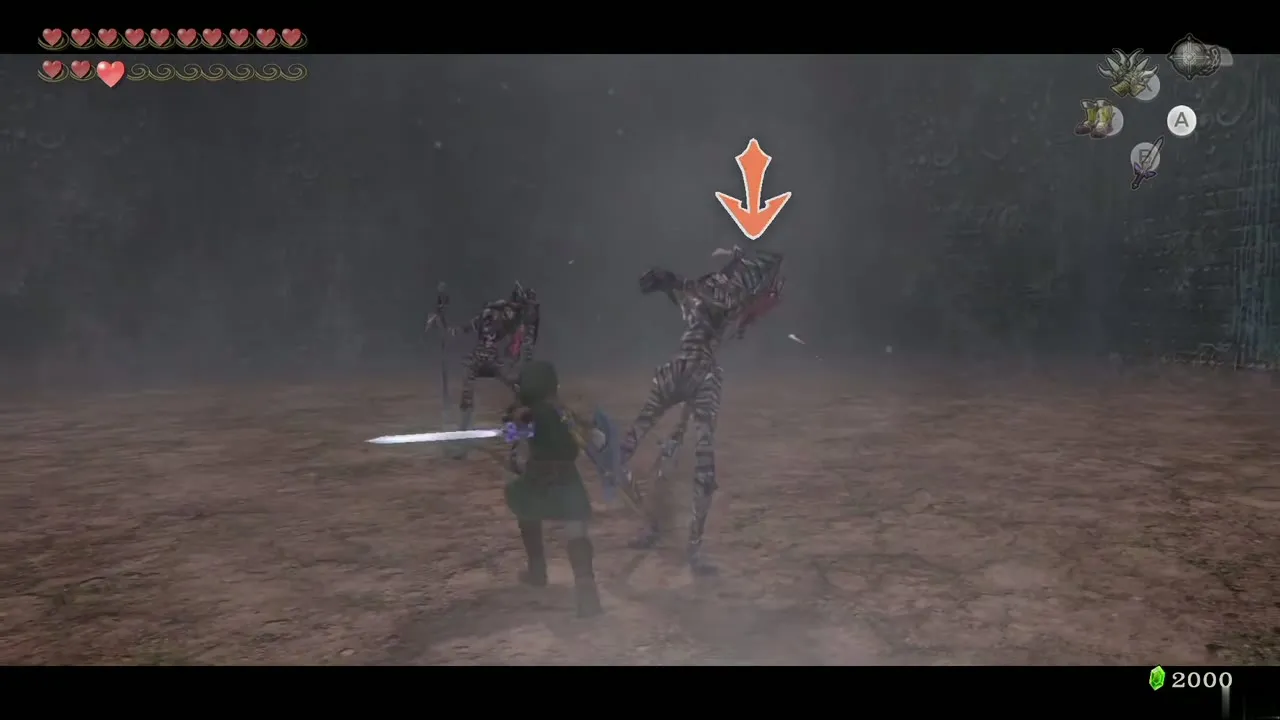
Stalfos shrug off ordinary sword hits, so the Ball and Chain (its outward swing knocks them down and the return hit destroys them) or Bomb Arrows are your tools. The Ball and Chain is also the best answer to hanging Skulltulas and to groups of Stalchildren.
Floors 31 to 40: Dominion Rod and ice
| Floor | Enemies | Notes |
|---|---|---|
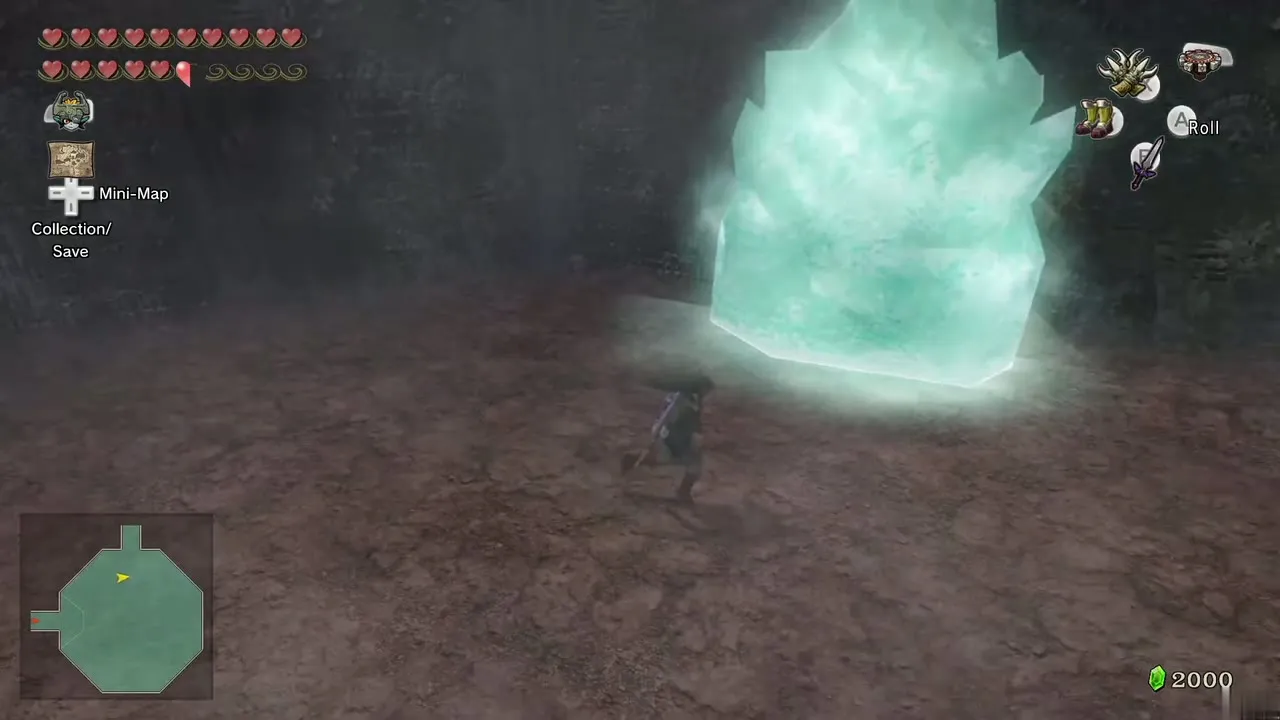
| 31 | 5 Beamos, 8 Keese | Shoot the Beamos eyes from the ledge; move the two statues with the Dominion Rod to open the gate |
| 32 | 6 Torch Slugs, 2 Dodongos, 6 Fire Keese, 6 Fire Bubbles | Arrows for the Torch Slugs, spins for the rest |
| 33 | 1 Imp Poe, 4 Gibdos | Poe Soul #59; Bomb Arrow the Gibdos from the ledge first |
| 34 | 10 Ghoul Rats, 9 Chus | One Heart buried; wolf form is enough |
| 35 | 6 Ice Keese, 1 Freezard | Ball and Chain; the Freezard splits into four small ones |
| 36 | 4 Chilfos (8 on repeat runs) | Ball and Chain or Bomb Arrows from a distance |
| 37 | 8 Leevers, 4 Bubbles, 4 Ice Bubbles | Spin attack |
| 38 | 2 Freezards, 3 Ice Bubbles, 3 Ice Keese, 4 Chilfos | Snipe the Chilfos from the ledge; Magic Armor helps |
| 39 | 2 Darknuts (3 on repeat runs) | A Silver Rupee is buried here; Mortal Draw |
| 40 | Great Fairy | Fairies appear in the Spring of the Spirit Lanayru; Double Clawshots needed next |
Floor 31: statue switches
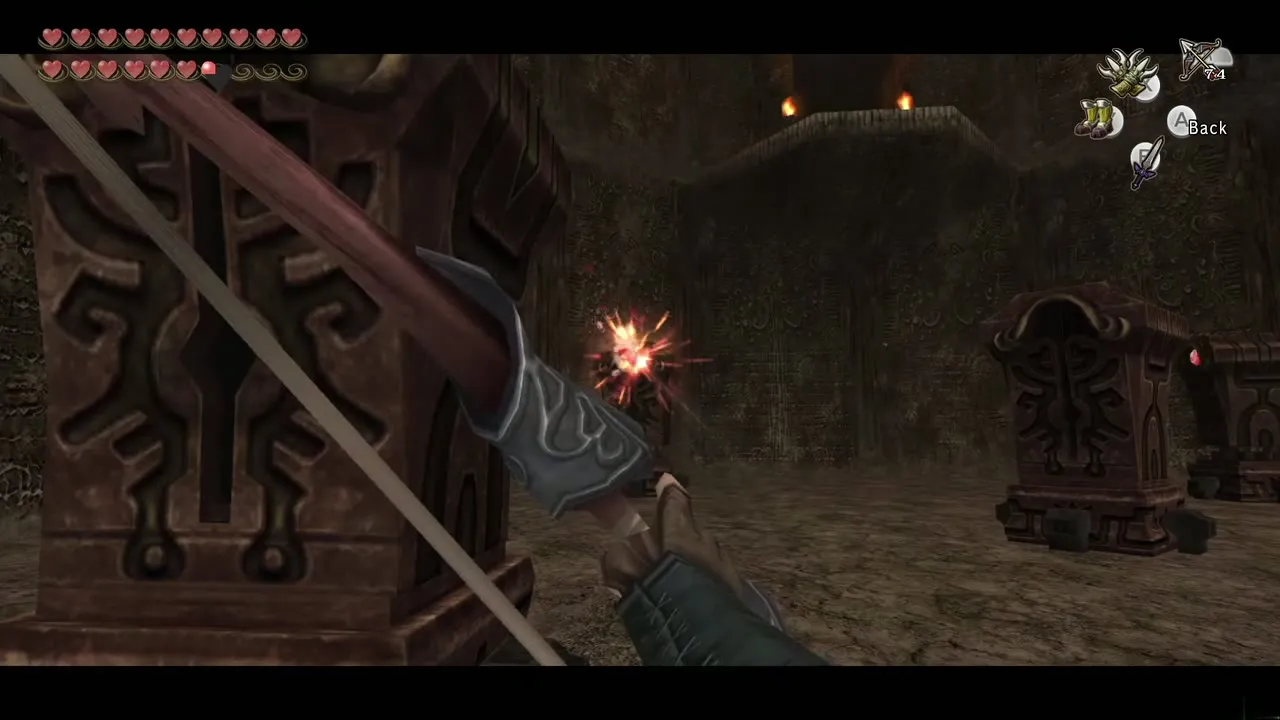
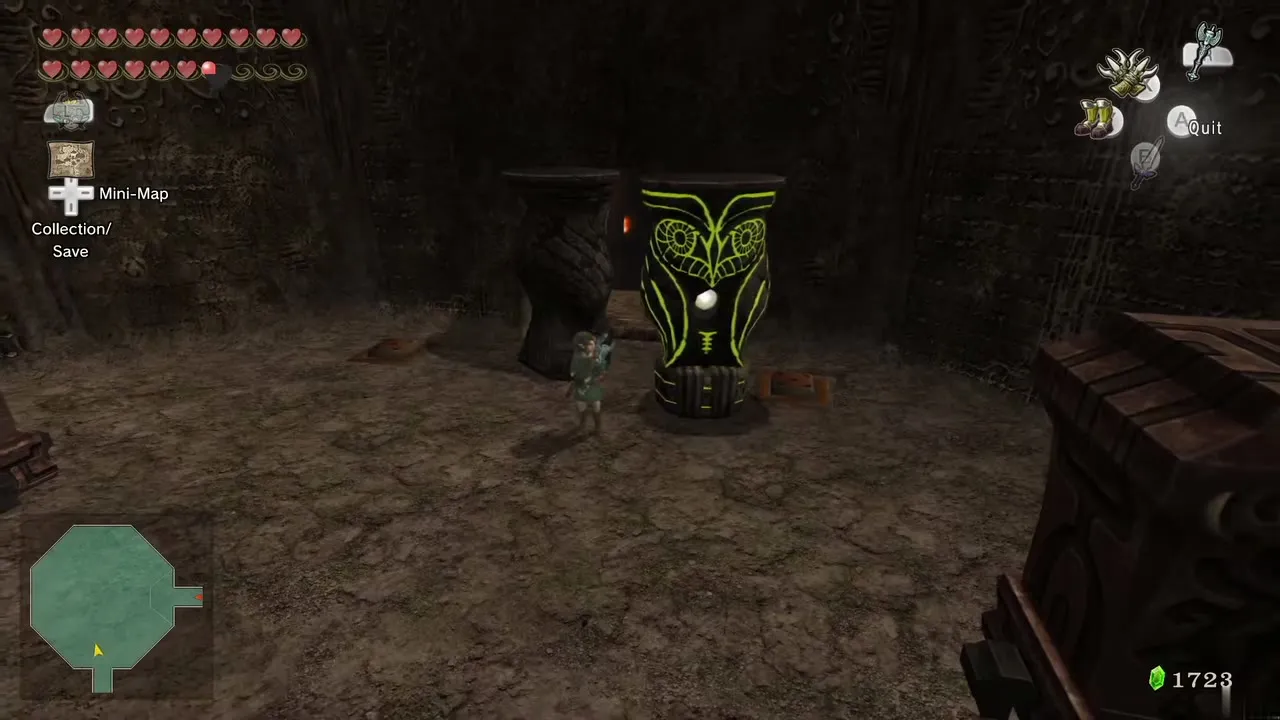
Kill the Beamos first (an arrow in the eye), then the Keese. Use the Dominion Rod to lift and move the two bird statues off the switches they are pressing; once both are moved the gate opens.

Floor 33: second Imp Poe
Shoot three Gibdos from the ledge with Bomb Arrows, then drop down and take the Poe’s soul as a wolf before dealing with the last Gibdo. This is Poe Soul #59.

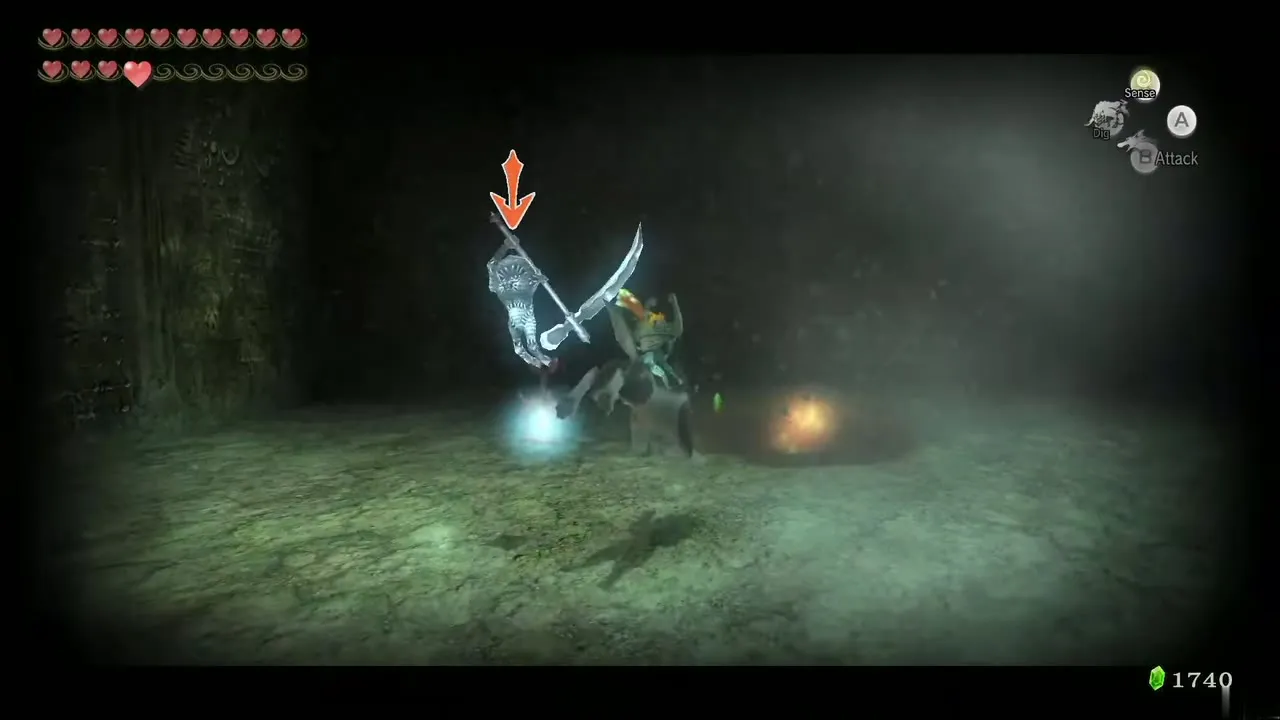
Floors 35 to 38: Freezards and Chilfos
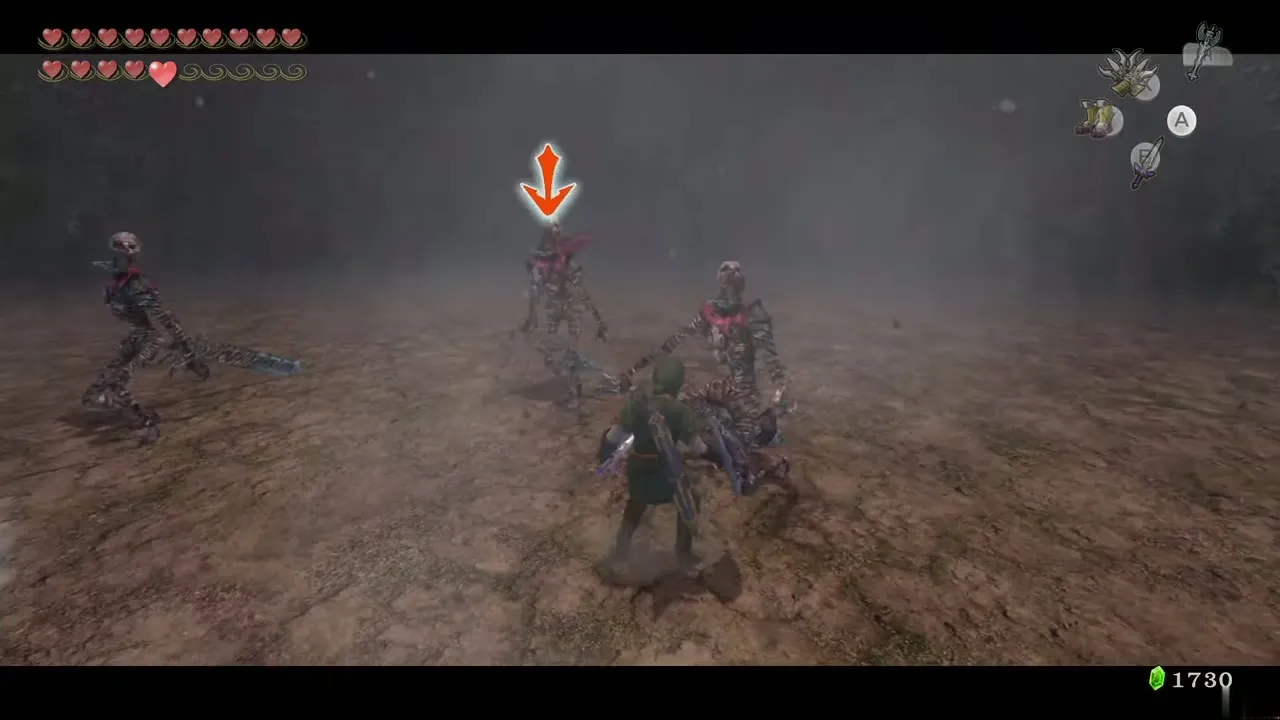
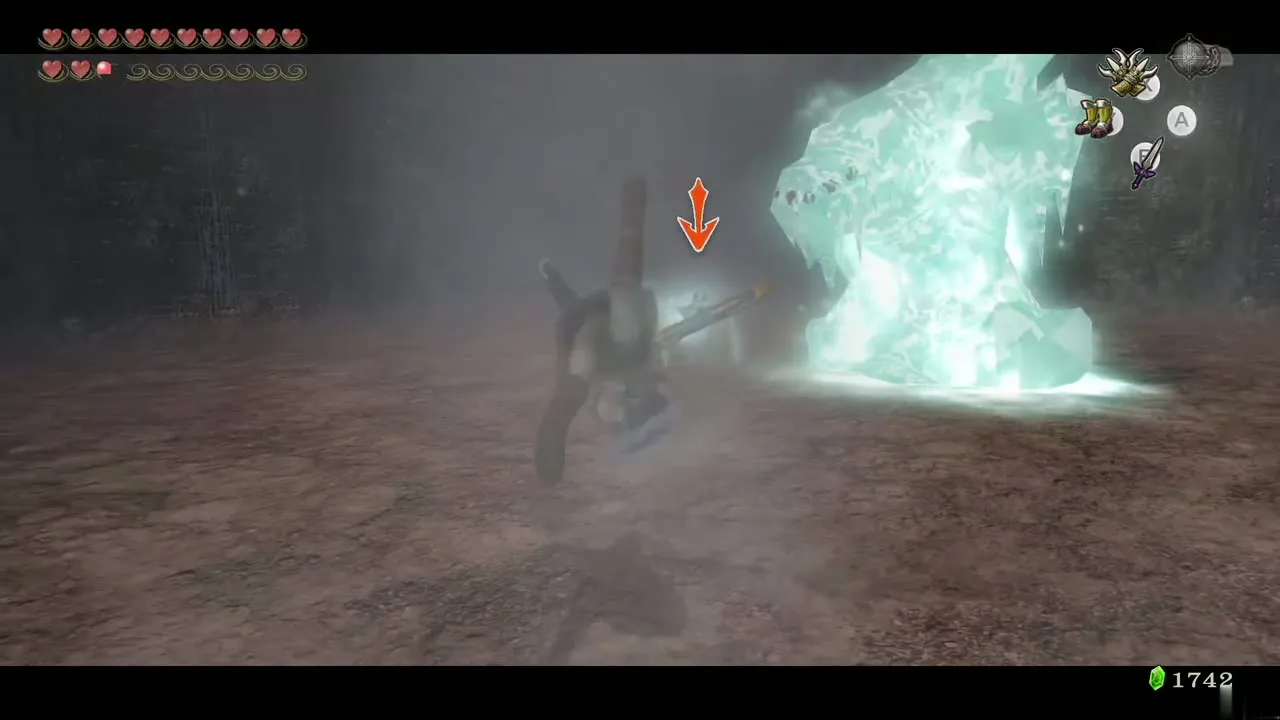
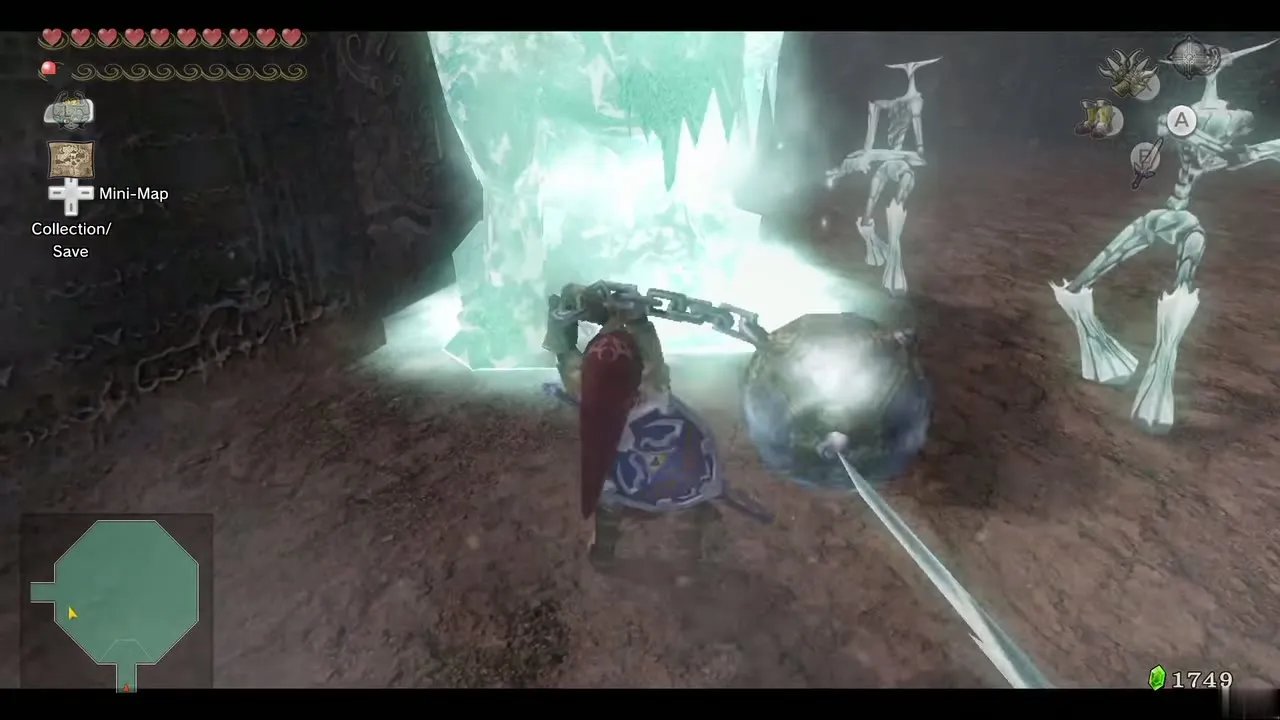
These floors are the first real test. Chilfos fire ice quickly, so snipe them with Bomb Arrows from the ledge where you can. A Freezard breaks into four small ones when struck; destroy all of them with the Ball and Chain. Wear the Magic Armor on floor 38 and remove it afterwards.
Floor 39: Darknuts
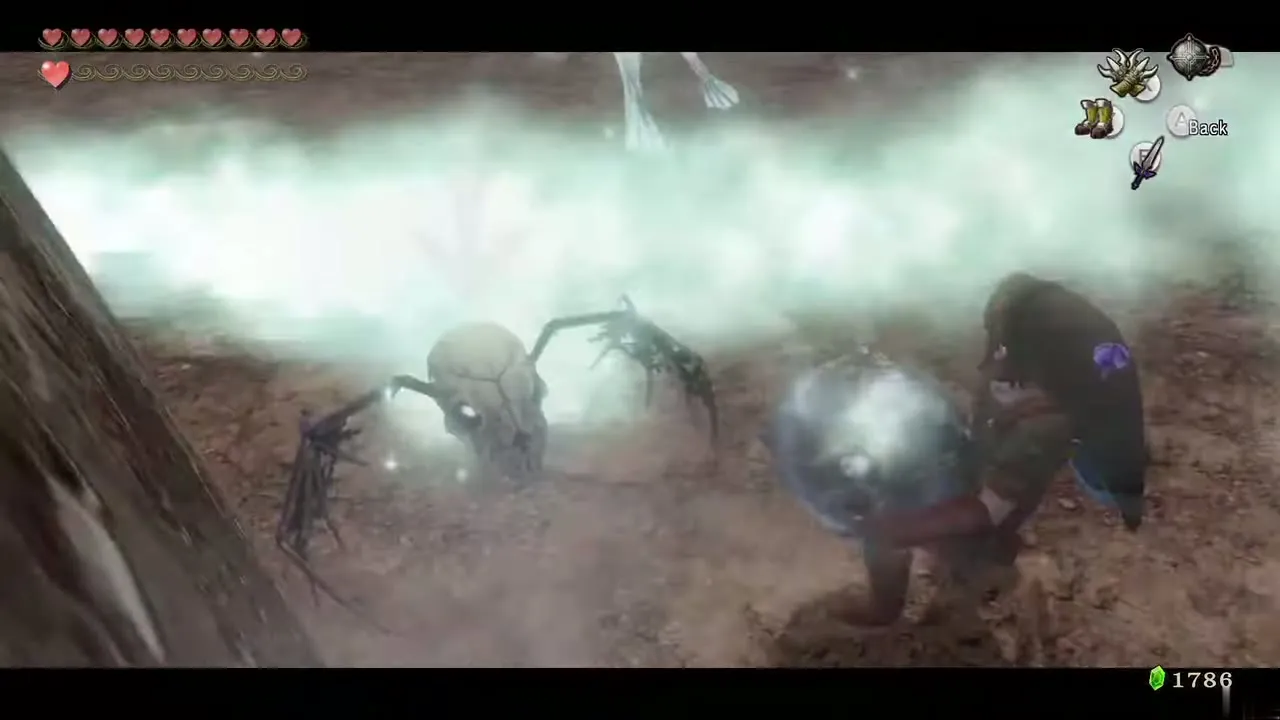
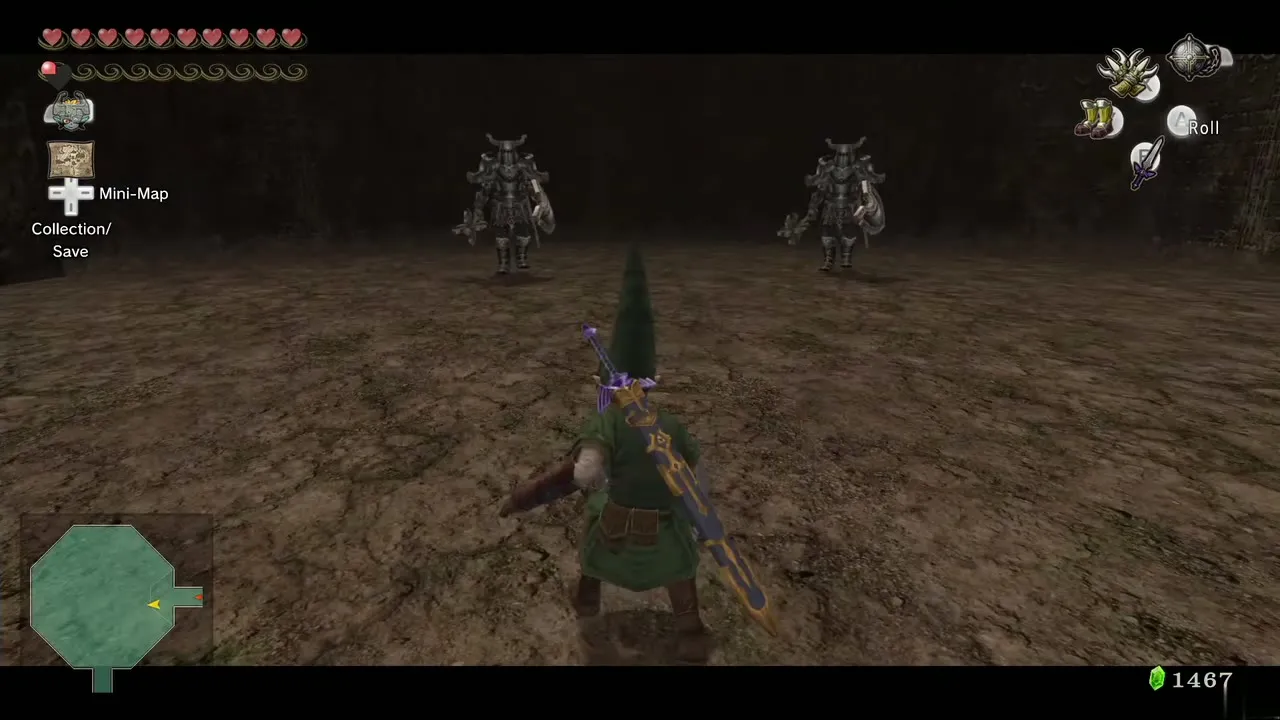
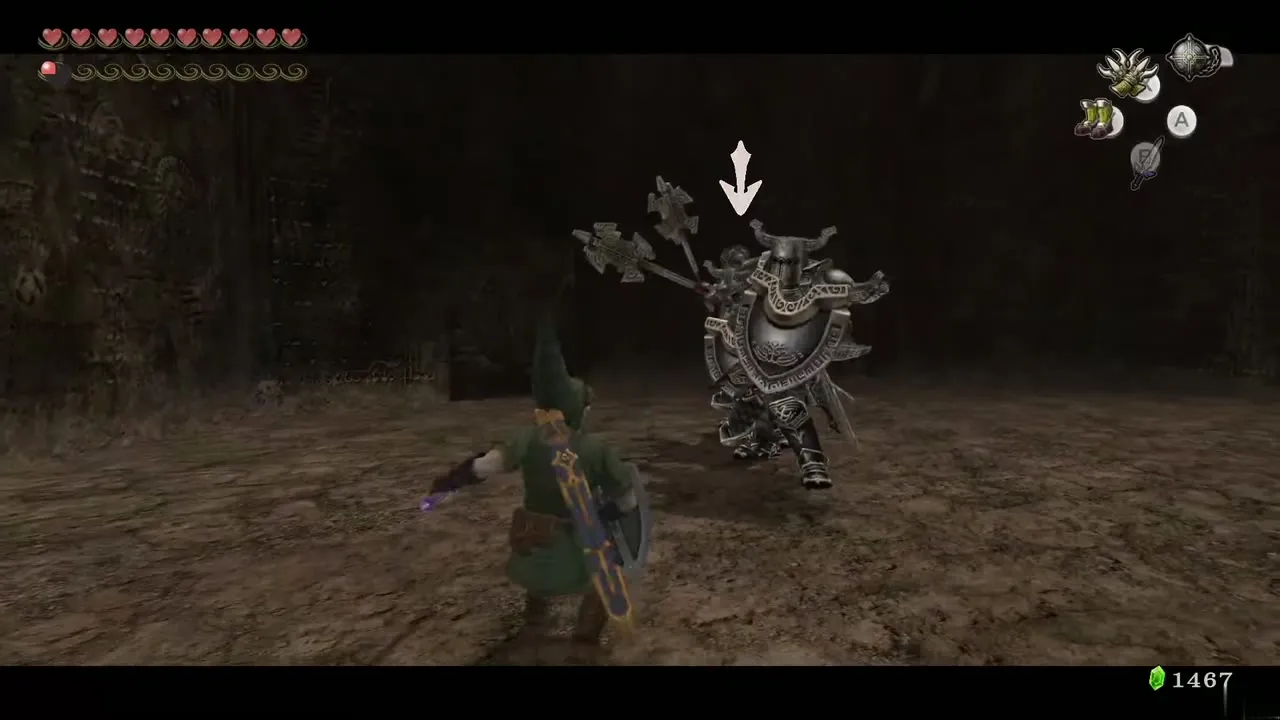
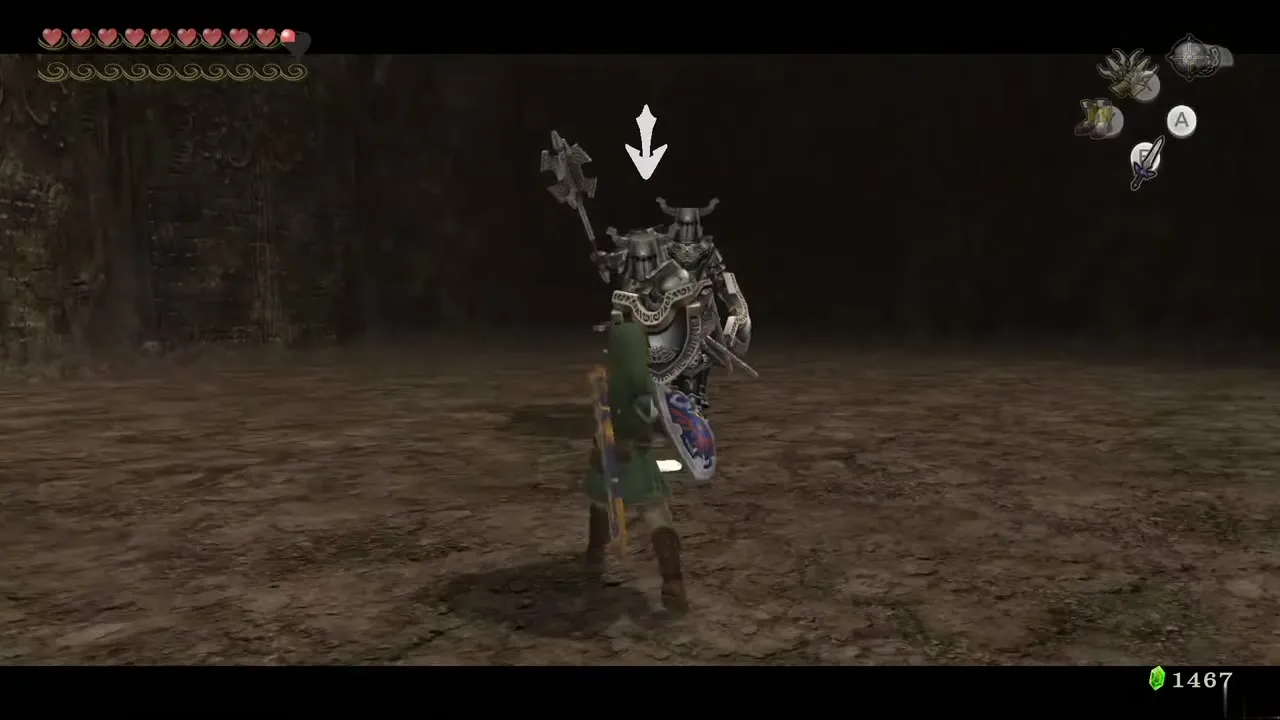
Darknuts are slow but heavy hitters. Stand close with your shield, sidestep at the last moment, then use the Mortal Draw to break armor. Once the armor is gone the Darknut is faster but weaker: keep using Back Slices and combos. Take down one at a time.
Floors 41 to 50: Double Clawshots and the finale
| Floor | Enemies | Notes |
|---|---|---|
| 41 | 9 Armos | Wake one at a time and hit the back; Double Clawshots across the wall grates to reach the exit |
| 42 | 6 Baba Serpents, 6 Bokoblins | Spin attack, Helm Splitter |
| 43 | 6 Bulblin Archers, 3 Lizalfos | Shoot the archers from the ledge |
| 44 | 1 Imp Poe, 4 Dynalfos | Poe Soul #60 |
| 45 | 5 Gibdos, 2 Bulblin Archers, Chus on first run (8 Purple, 1 Red, 1 Yellow) | Three Hearts buried |
| 46 | 2 Freezards, 3 Chilfos, 10 Ghoul Rats | Magic Armor |
| 47 | 9 Stalchildren, 17 Rats, 1 Bokoblin | Spin attack and Ball and Chain |
| 48 | 2 Aeralfos, 1 Darknut | Clawshot an Aeralfos when it raises its shield |
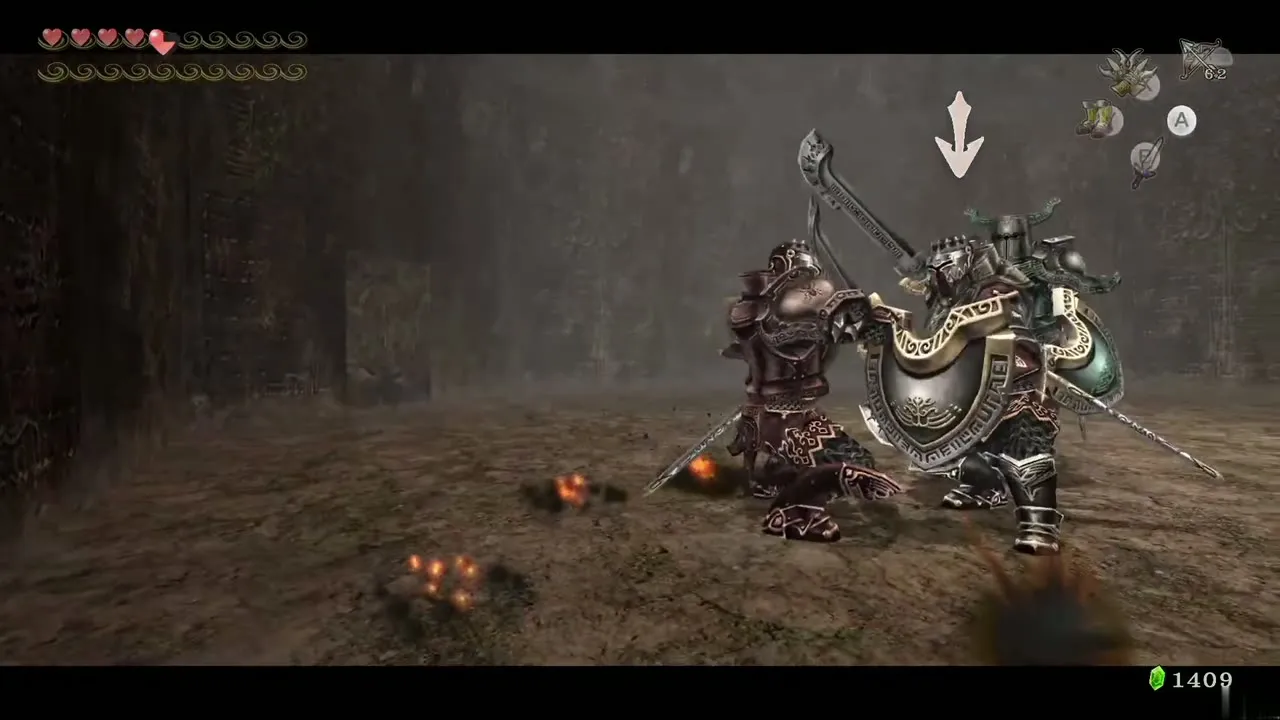
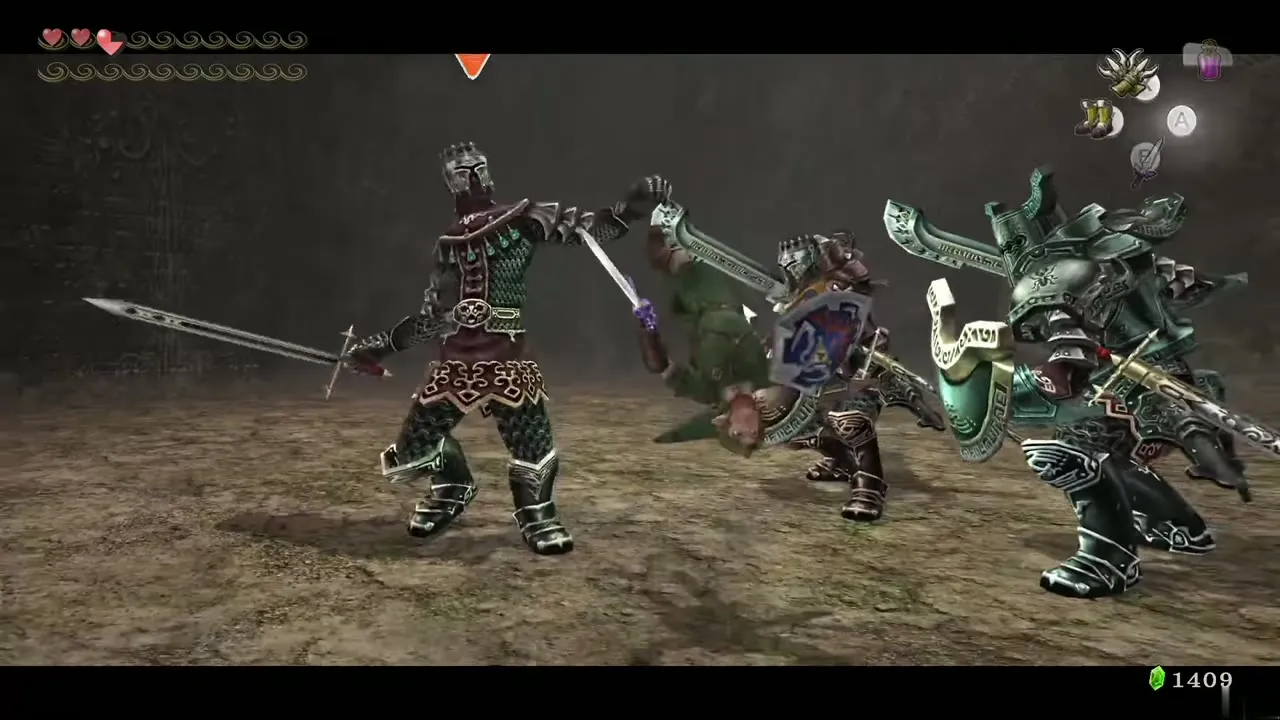
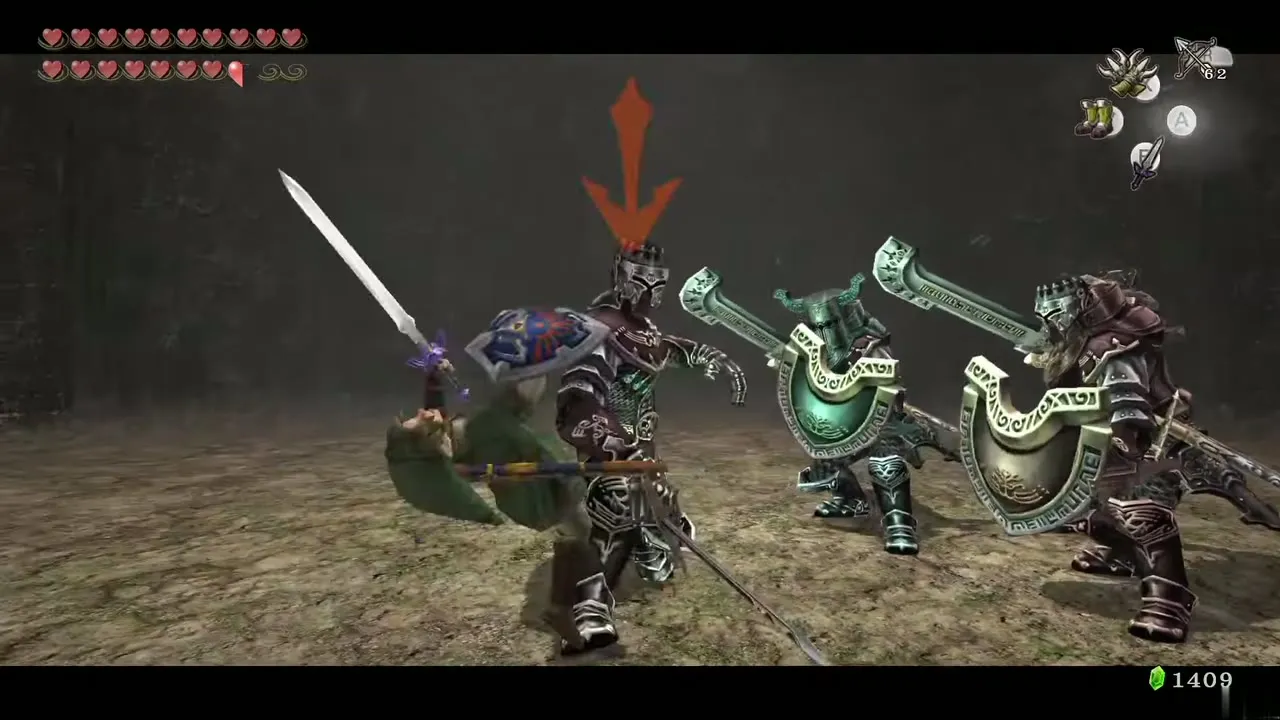
| 49 | 3 Darknuts (4 on repeat runs) | Hardest fight outside the bosses |
| 50 | Great Fairy | Bottle of Great Fairy’s Tears |
Floor 41: Armos and the grates
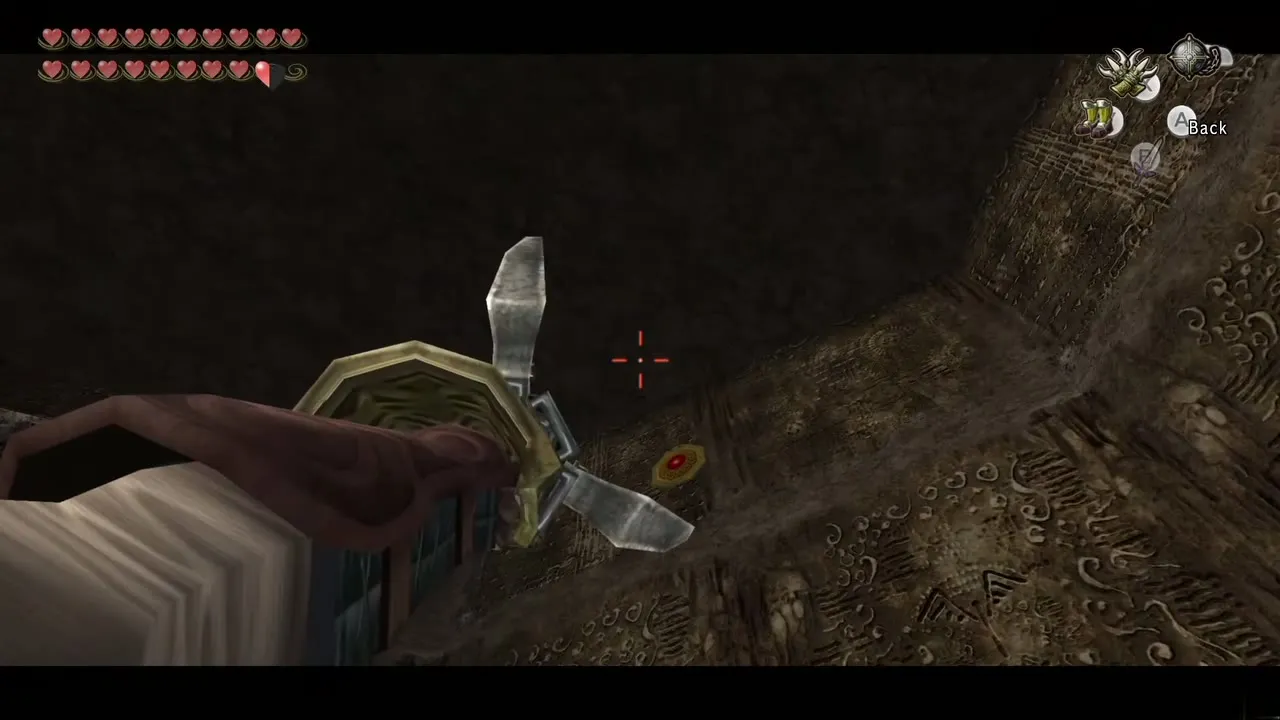
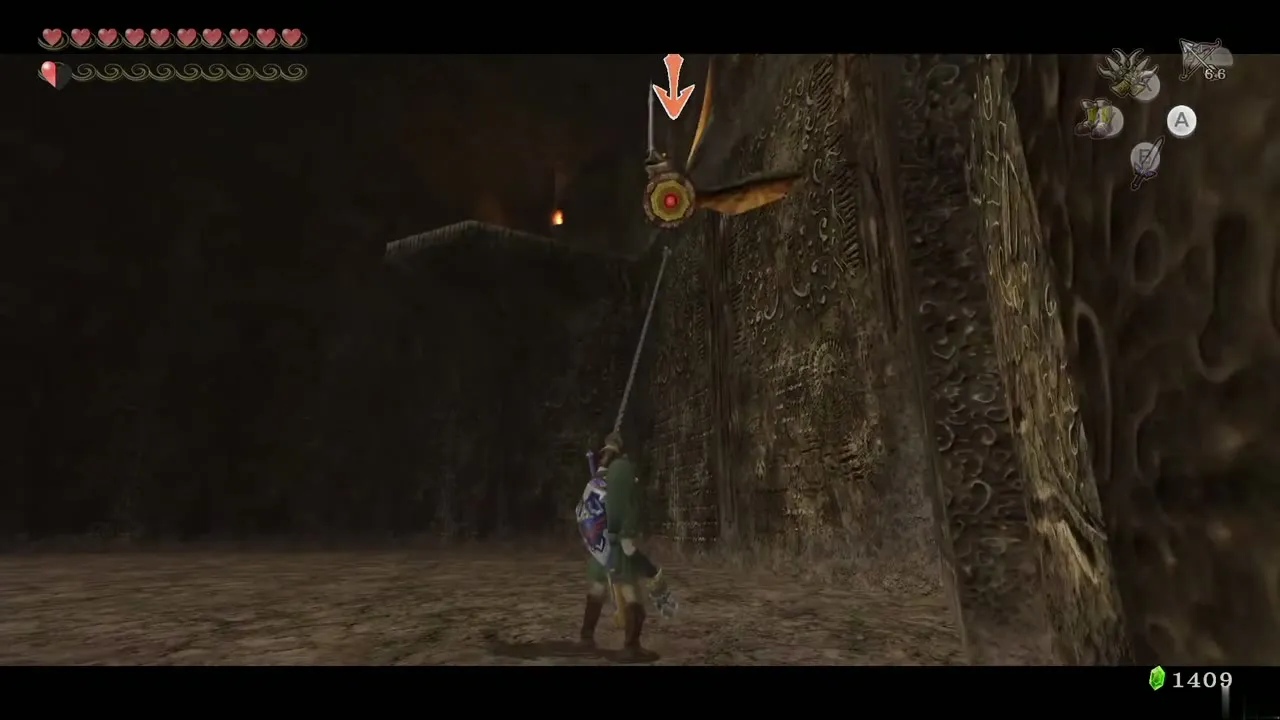
Wake only one Armos at a time and strike the crystal on its back. When the room is empty, use the Double Clawshots on the grates on the walls to move from grate to grate until you are above the exit door, then drop.

Floor 44: third Imp Poe
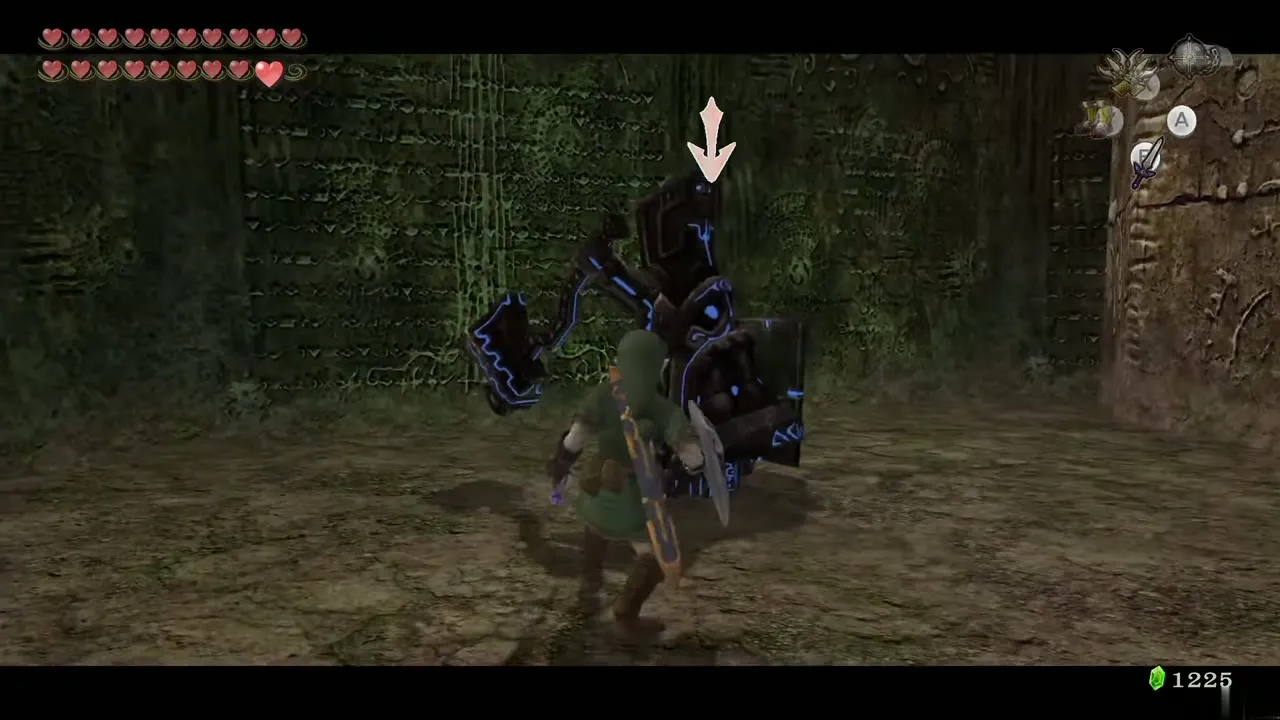
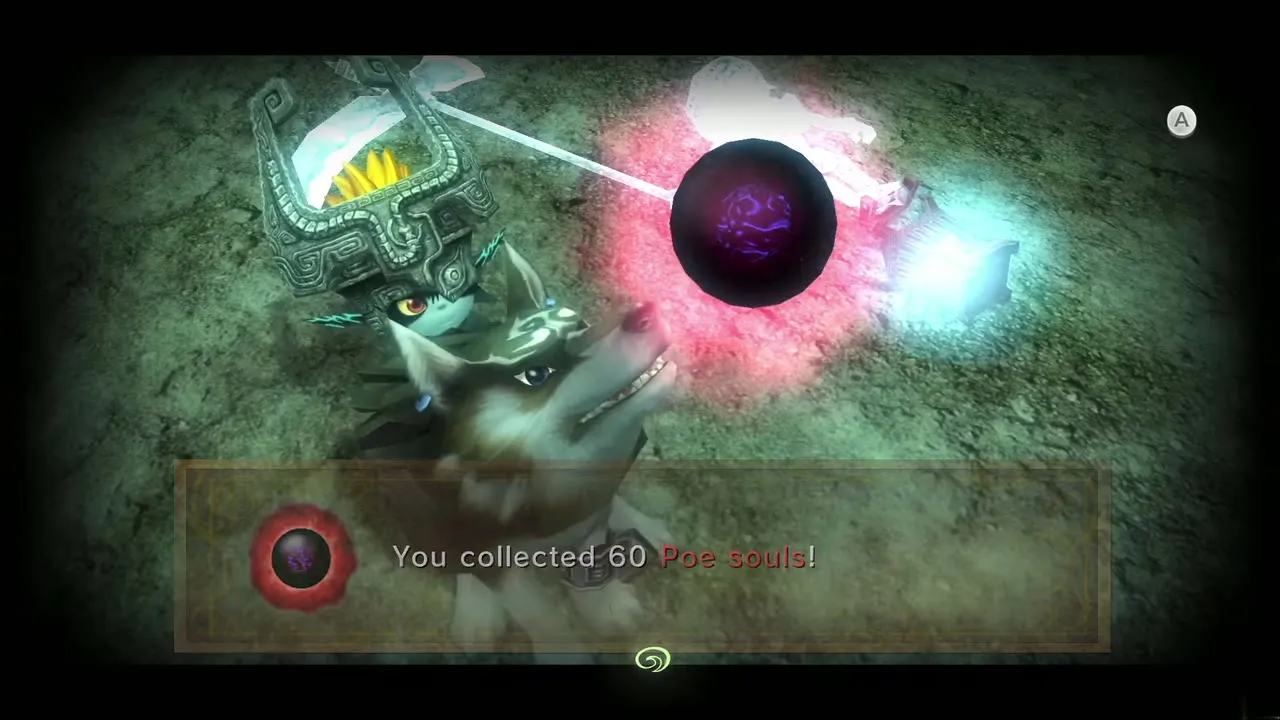
Take the Imp Poe’s soul first (Poe Soul #60), then fight the four Dynalfos together if you can so your spin attack hits more than one.


Floors 46 to 48
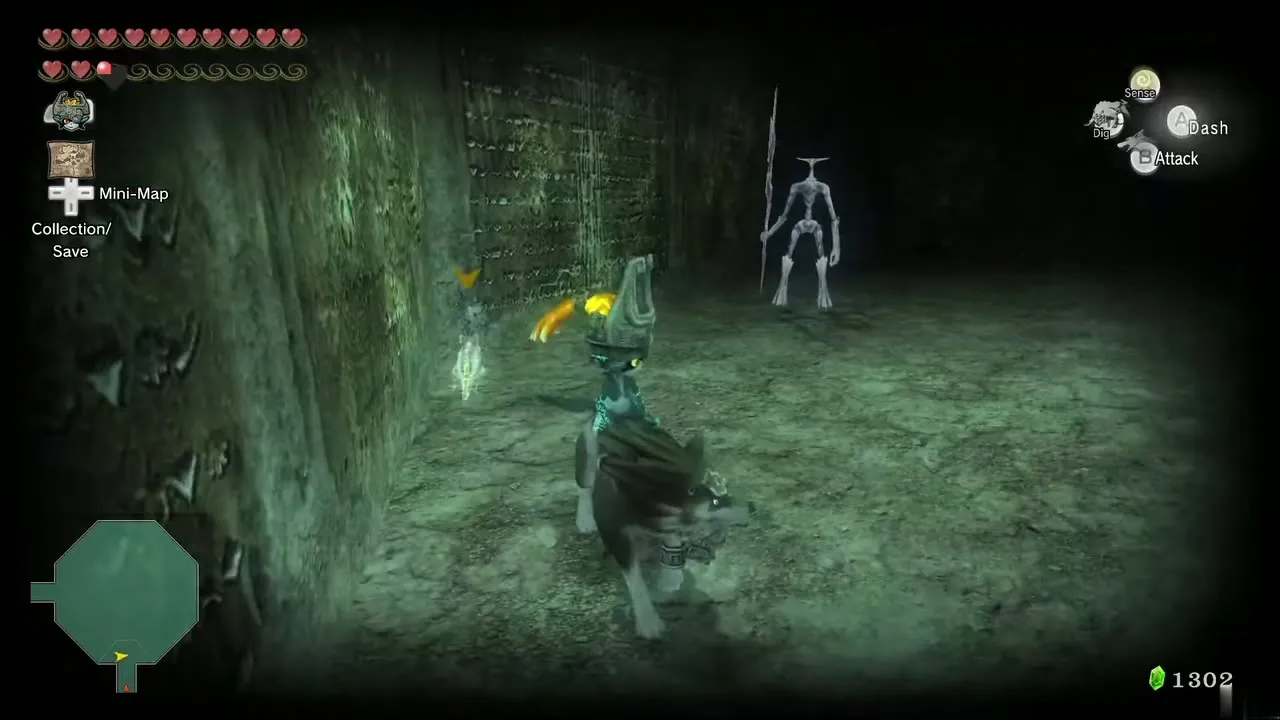
Floor 46 mixes Chilfos, Freezards and Ghoul Rats: snipe the Chilfos, hunt the Ghoul Rats as a wolf, then break up each Freezard. On 47 a single Bokoblin hides about 30 other enemies. On 48 wait for each Aeralfos to raise its sword and shield before hooking it with the Clawshot, then fight the Darknut as on floor 39.


Floor 49: final Darknuts
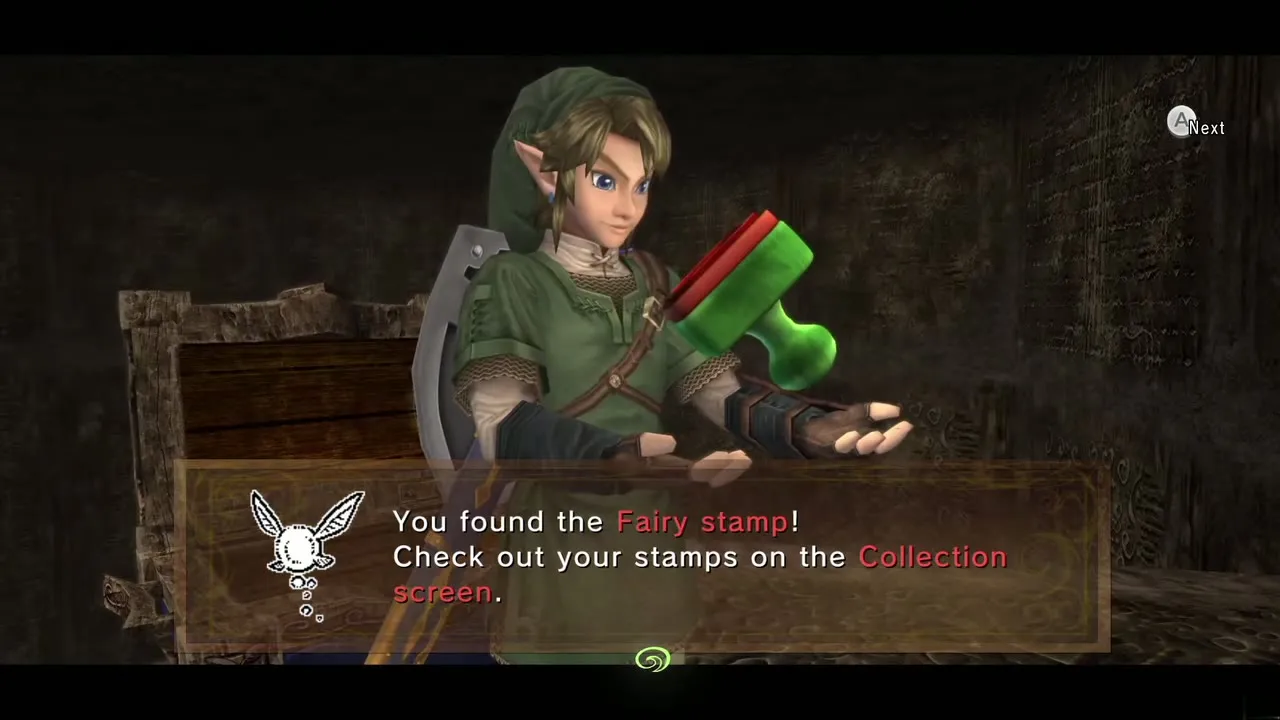
The toughest non-boss fight in the game. Wear the Magic Armor, stay mobile and break one Darknut’s armor at a time so you never face more than one fast, armorless Darknut at once. A Bomb Arrow at the feet strips plenty of armor. In the Wii U version a Miiverse stamp is also awarded here (see Miiverse stamps).

Floor 50: the Great Fairy
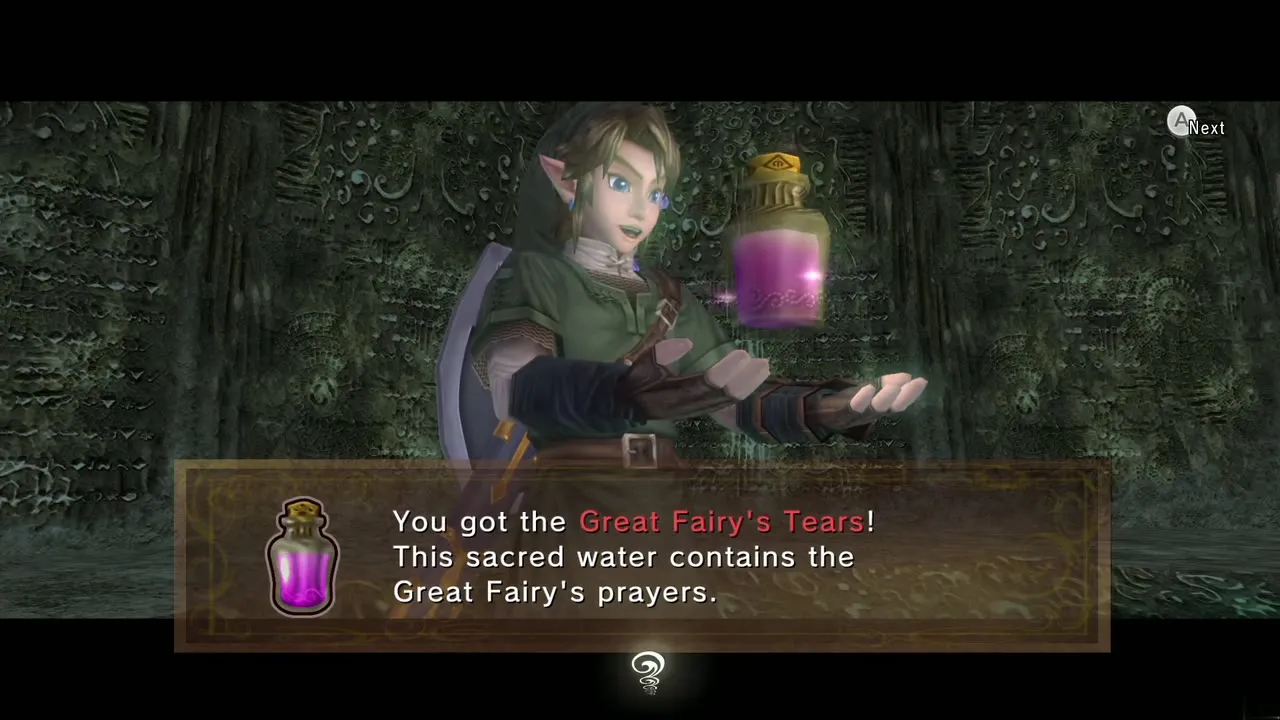
With an Empty Bottle, speak to the Great Fairy to receive a Bottle of Great Fairy’s Tears, which fully restores your health and can also be used to heal in a pinch. She also lets you collect more tears from any Spirit Spring afterwards (when you have none in a bottle), and sends you out to the Spring of the Spirit Lanayru. See Great Fairies for the springs.

Rewards summary
What you get for finishing
Floors 10, 20, 30 and 40 release fairies into Ordon, Faron, Eldin and Lanayru springs. Floor 50 gives the Great Fairy‘s Tears bottle. The three Imp Poes on floors 17, 33 and 44 are Poe Souls #58, #59 and #60, which finish the Poe collection and let you reach Jovani’s final reward. In the HD version Miiverse stamps are given on some floors. The enemy counts on a few floors differ by a handful between guides, so trust the types of enemy over the exact numbers.