
























Twilight Princess 100% Completion Walkthrough23 chapters
- Hyrule Castle and the Ganondorf BattleEvery key and chest, then how to beat Puppet Zelda, Dark Beast Ganon, the horse chase and the final duel.
- Snowpeak Ruins (Dungeon 5)Every key, chest, Heart Piece and Poe Soul, the Ball and Chain, Darkhammer and the Blizzeta boss fight.
- Temple of Time (Dungeon 6)All keys and chests, the Dominion Rod, statue puzzles, Big Key, two Heart Pieces and Armogohma.
- City in the Sky (Dungeon 7)Every chest, Heart Piece and Poe, the Double Clawshots, Aeralfos, the Big Key and how to beat Argorok.
- Ordon VillageGoat herding, fishing rod, Sera’s bottle, slingshot, Wooden Sword, Faron Woods cave Heart Piece, Lantern.
- Enter the Twilight RealmEscape the cell as Wolf Link, meet Midna and Zelda, get the Ordon Sword and Shield, meet Ordona.
- Faron WoodsAll 12 Tears of Light, Faron Spring, Coro’s key and lantern oil bottle, and the Golden Wolf’s Ending Blow.
- Forest Temple (Dungeon 1)All 8 monkeys, 4 small keys, Map, Compass, Big Key, 2 Heart Pieces, Ook, Gale Boomerang and Diababa.
- Hyrule Field, Kakariko Gorge and Twilight Kakariko12 Tears of Light, Epona, Pill Bugs, Heart Pieces.
- Iron Boots, King Bulblin and Death MountainIron Boots from Mayor Bo, the King Bulblin bridge fight, Golden Bugs and Gor Coron’s sumo match.
- Goron Mines (Dungeon 2)Every chest, both Heart Pieces, the Hero’s Bow, three Key Shards, Dangoro and Fyrus boss tactics.
- Lanayru Province, Castle Town and Zora’s DomainKakariko extras, Bridge of Eldin bugs, Castle Town, Lake Hylia, thawing Zora’s Domain and all 12 Tears of Light.
- Telma Escort, Castle Town and Lake Hylia Side QuestsTelma escort, Zora Armor, Water Bombs, 9 Golden Bugs, Agitha, Charlo, fishing, Rapid Ride and the Lakebed entrance.
- Lakebed Temple (Dungeon 3)Small keys, map, compass, Big Key, two Heart Pieces, Clawshot, Deku Toad and Morpheel boss tactics.
- Midna, Zelda and the Master SwordTelma’s Bar to Zelda, the Sacred Grove, Skull Kid, the guardian puzzle, plus its Heart Piece, Poe and Golden Bug.
- Poe Soul Collection, Malo Mart and Heart PiecesThe first 29 Poe Souls, Jovani’s rewards, Malo Mart donations and Magic Armor, Miiverse stamps and five Heart Pieces.
- Gerudo Desert and the Bulblin CampOasis Flight, eight Poe Souls, both Dayflies, Mortal Draw, Bulblin Camp and King Bulblin.
- Arbiter’s Grounds (Dungeon 4)Four Poe Souls, Dungeon Map, Compass, Spinner, Big Key, two Heart Pieces and the Stallord boss fight.
- Mirror Chamber, Reekfish and Snowpeak MountainMirror Chamber, Spinner Heart Pieces, Reekfish bait, Jump Strike, Poe Souls and the climb to Yeto.
- Heart Pieces Hunt and Return to the Sacred GroveTwo Heart Pieces, Rusl, the Skull Kid rematch, the last Golden Bug and the Temple of Time door.
- Ilia’s Memory, Hidden Village and the SkyIlia’s memory, 20 Bulblins, 20 cats, six Sky characters, Great Spin and the Sky Cannon repair.
- Palace of Twilight (Dungeon 8)Both Sols, all seven small keys, map, compass, Big Key, 2 Heart Pieces and how to beat Zant.
- Cave of OrdealsAll 50 floors, the 3 Poe Souls, every Great Fairy, buried items, the Tears and Jovani.
| Covers | Telma’s Bar, Auru and Fyer at Lake Hylia, South Gerudo Desert, North Gerudo Desert, the Bulblin Camp and the approach to Arbiter’s Grounds |
|---|---|
| Needs | Clawshot, Hero’s Bow, bombs, Lantern, Gale Boomerang and the Master Sword (Hawkeye helps against archers) |
| Boss | 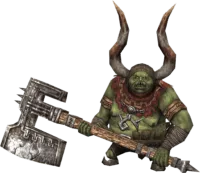 King Bulblin (second duel, on foot) |
| Rewards |  Hidden Skill: Mortal Draw; Piece of Heart (Bulblin Camp); Male and Female Dayfly; eight Poe Souls; Bridge of Eldin restored; Howling Stone and Auru’s Memo; Miiverse stamps |
This chapter takes you from the fourth Howling Stone at Lake Hylia to the door of the Arbiter’s Grounds: you fly into the desert, collect eight Poe Souls and both Dayflies, put the missing piece of the Bridge of Eldin back, learn the Mortal Draw, fight through the Bulblin Camp and beat King Bulblin once more. If you only want the main path, jump off the northern ledge, ride a Bullbo through the fences, pass the Golden Wolf and clear the camp; everything else is optional but sits on this route and is worth taking now.
Table of Contents
Telma’s Bar, Auru and the Oasis Flight
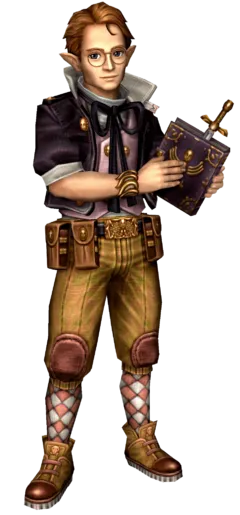
Meet Shad and Ashei in Telma’s Bar
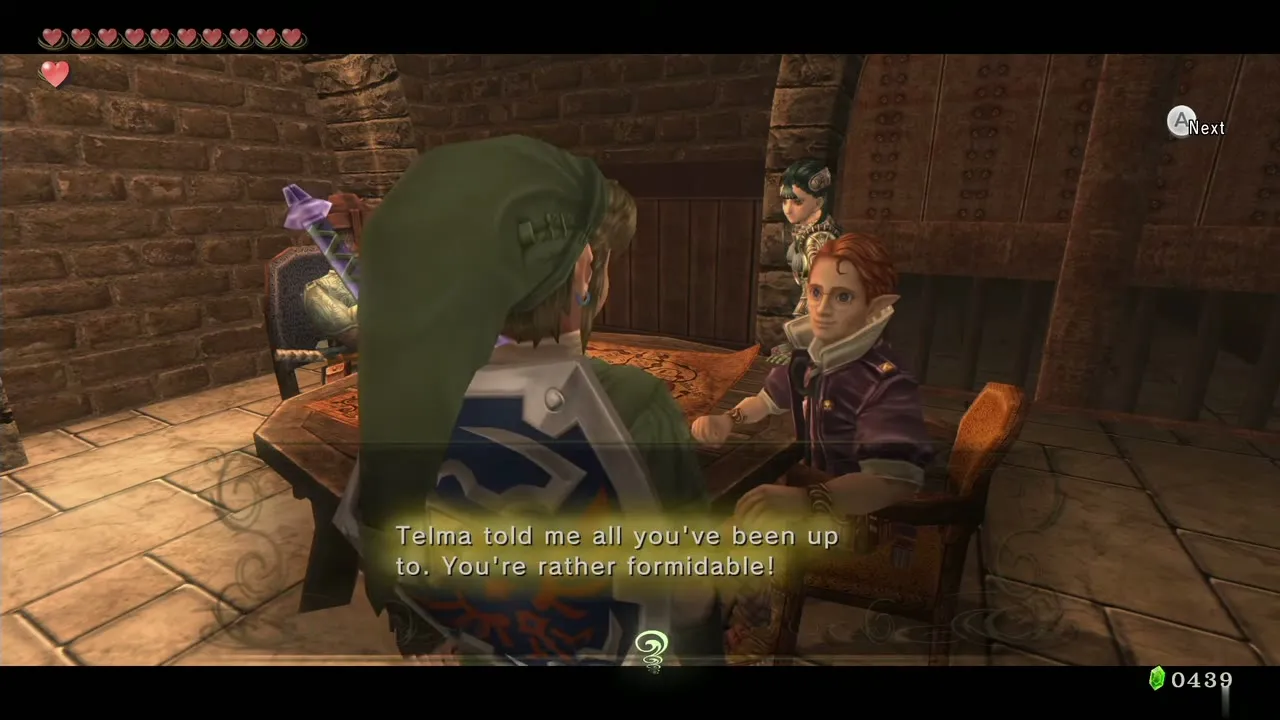
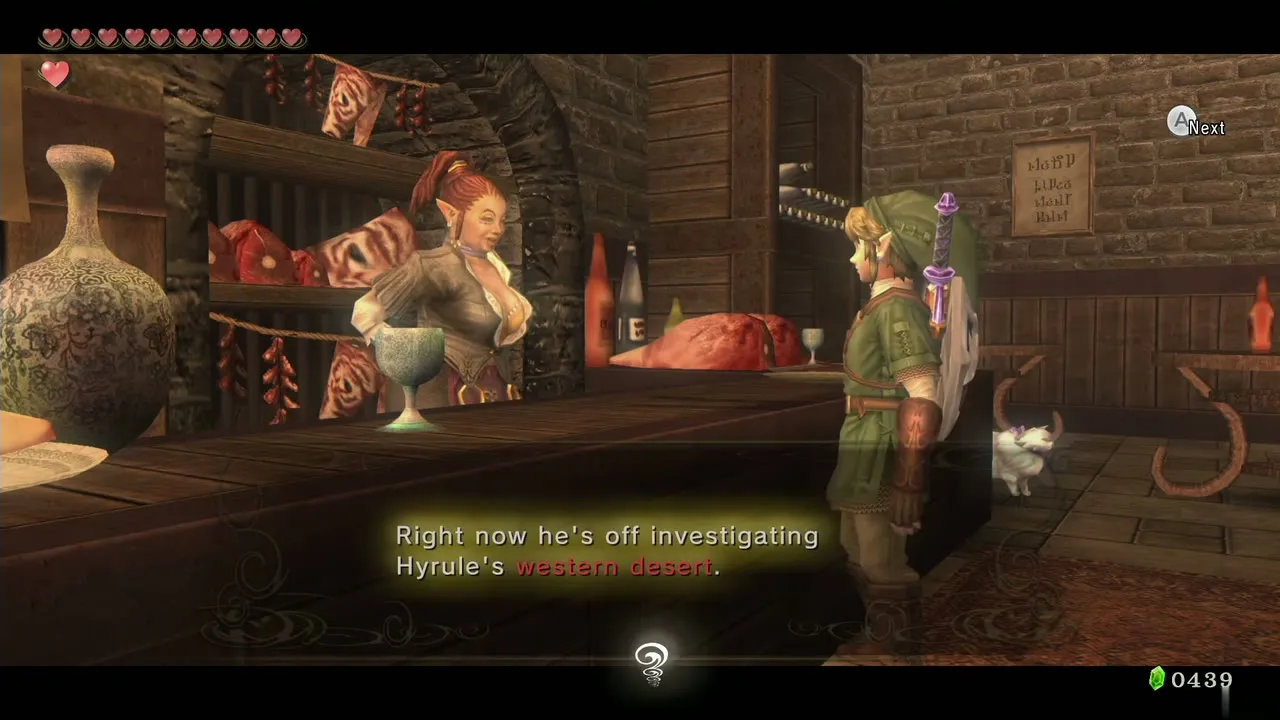
Warp to Castle Town with Midna and walk to Telma’s Bar. Telma invites you to join the three people at the back table: Rusl’s group of the Resistance now includes Shad and Ashei. Look at the map on the table and a location at Lake Hylia is marked, which tells you where Auru has gone to study the desert. Leave the bar and warp to Lake Hylia.
Howling Stone #4 and Auru’s Memo
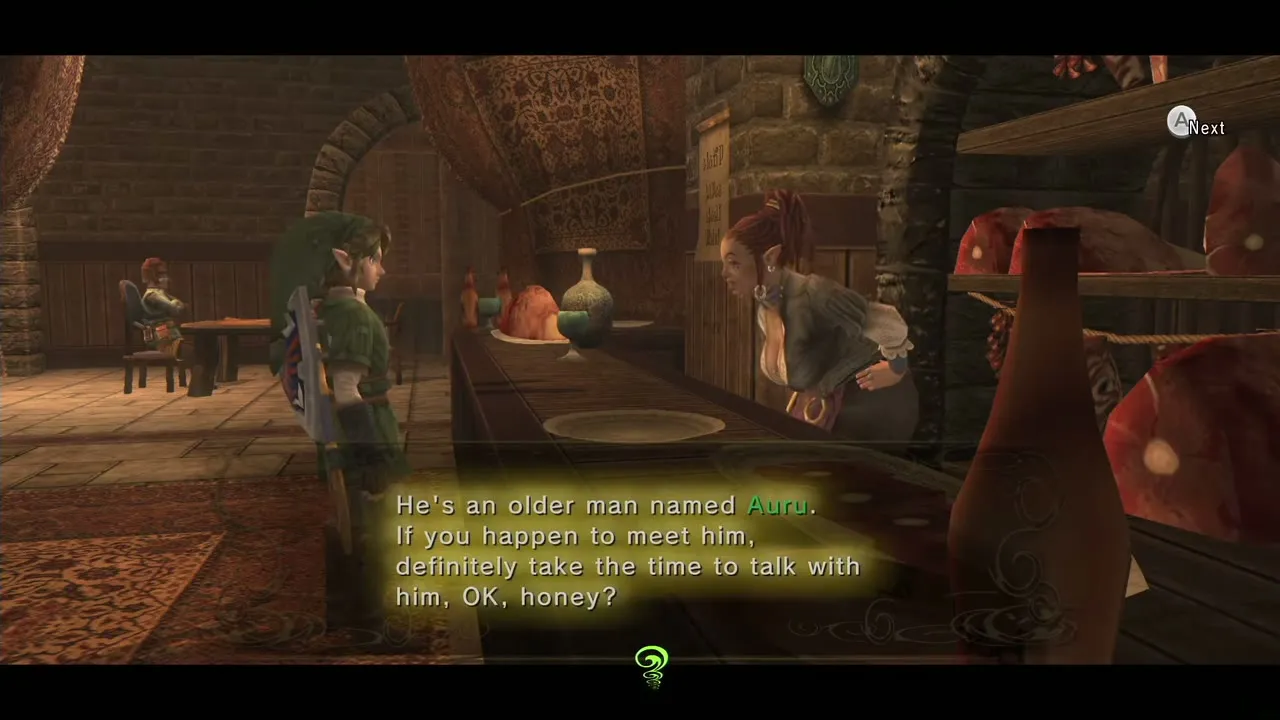
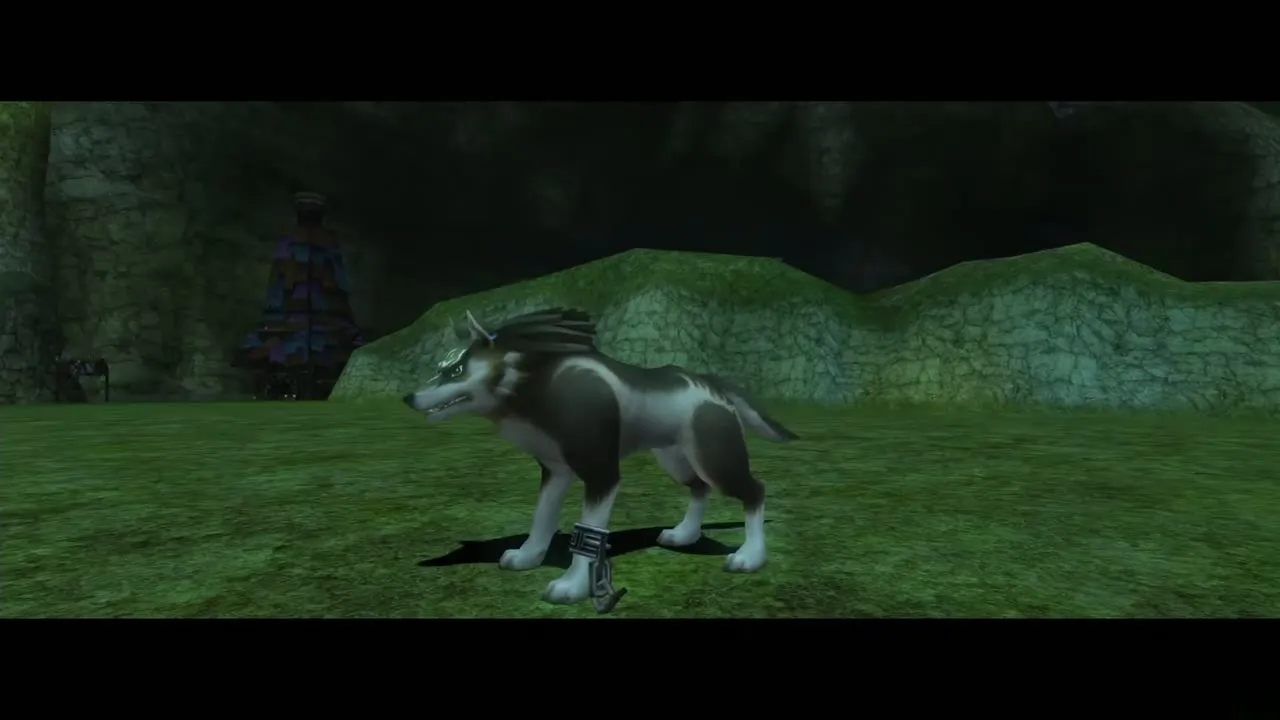
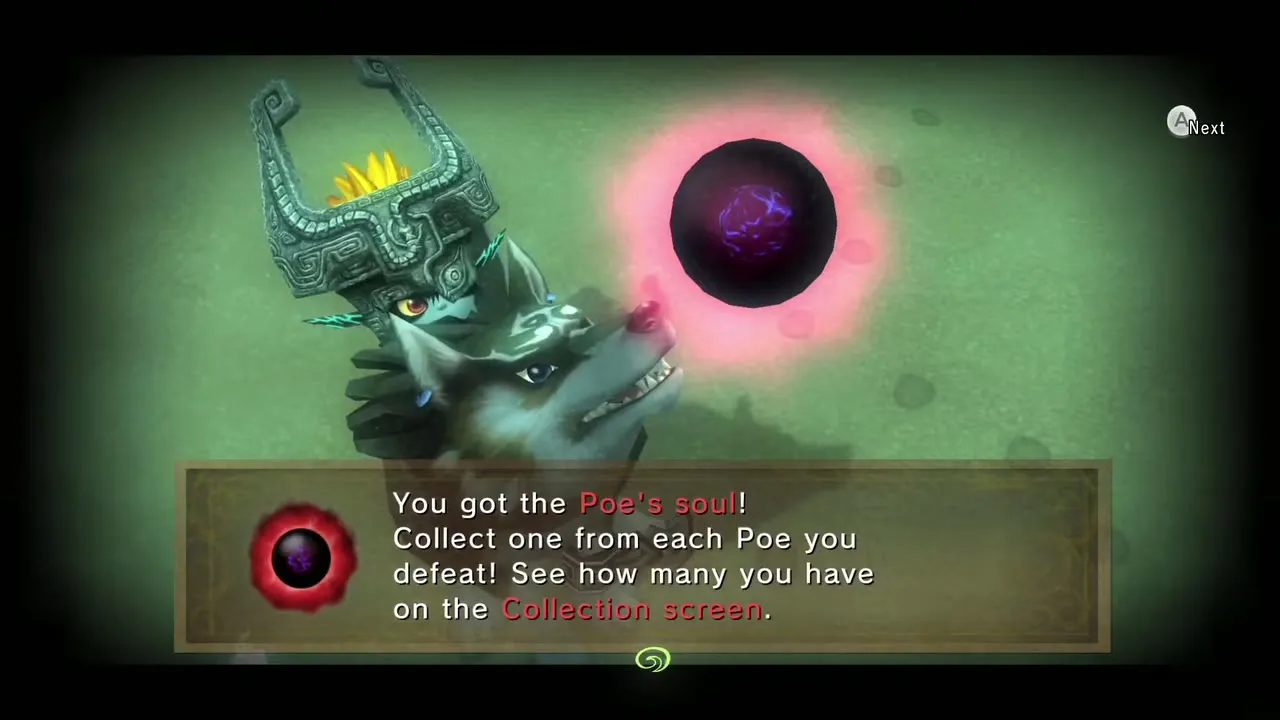
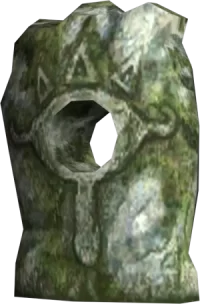
Walk to the south-west corner of the lake and climb the ladder. Turn right at the top and you find a Howling Stone. As Wolf Link, step up to it and howl the tune shown. You are taken to the Golden Wolf’s realm and, after you repeat the tune, a Golden Wolf icon appears on the map far to the west. The skill it leads to is the Mortal Draw, collected in North Gerudo Desert below; if you skip the stone, the Golden Wolf does not appear there. The full list of stones and tunes is on the Howling Stones page.
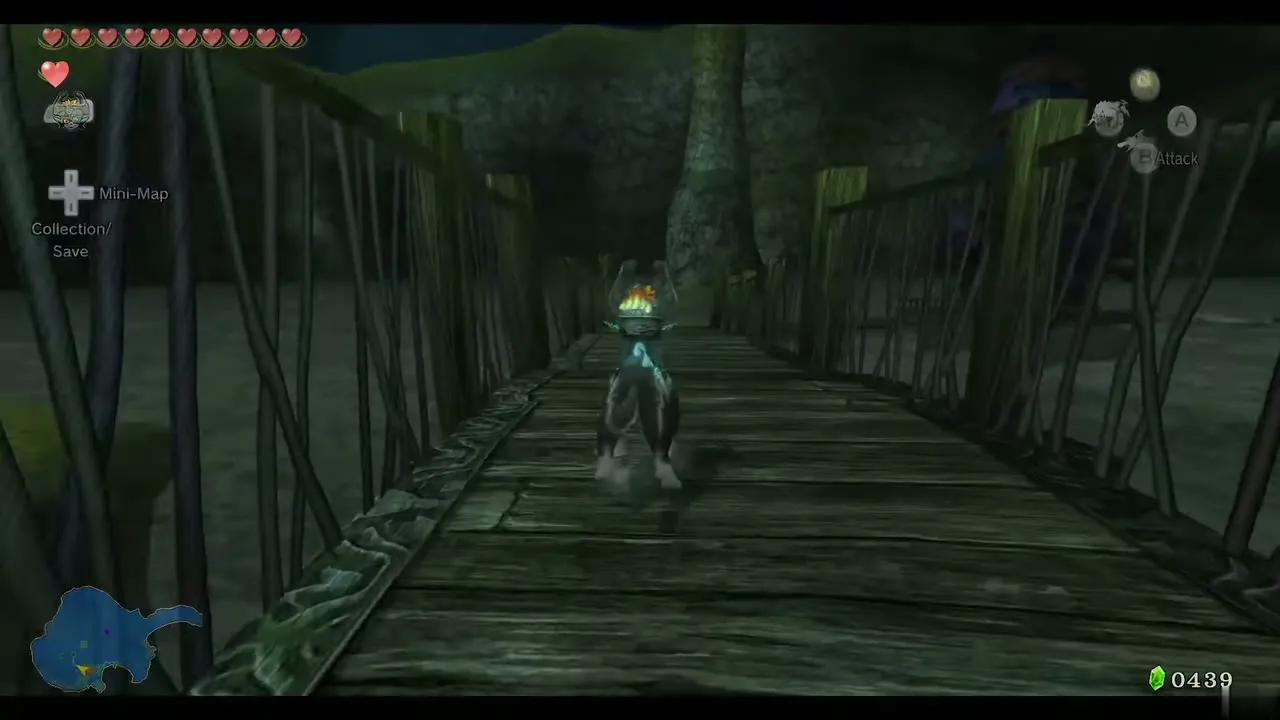
Climb the watchtower next to the stone and talk to Auru. He hands over Auru’s Memo and asks you to show it to Fyer, the cannon keeper in the middle of the lake. Take the memo to Fyer, agree to the Oasis Flight, and he lets you use the cannon for free. Climb in and he fires you west into Gerudo Desert.
South Gerudo Desert
Moldorms and the lay of the land
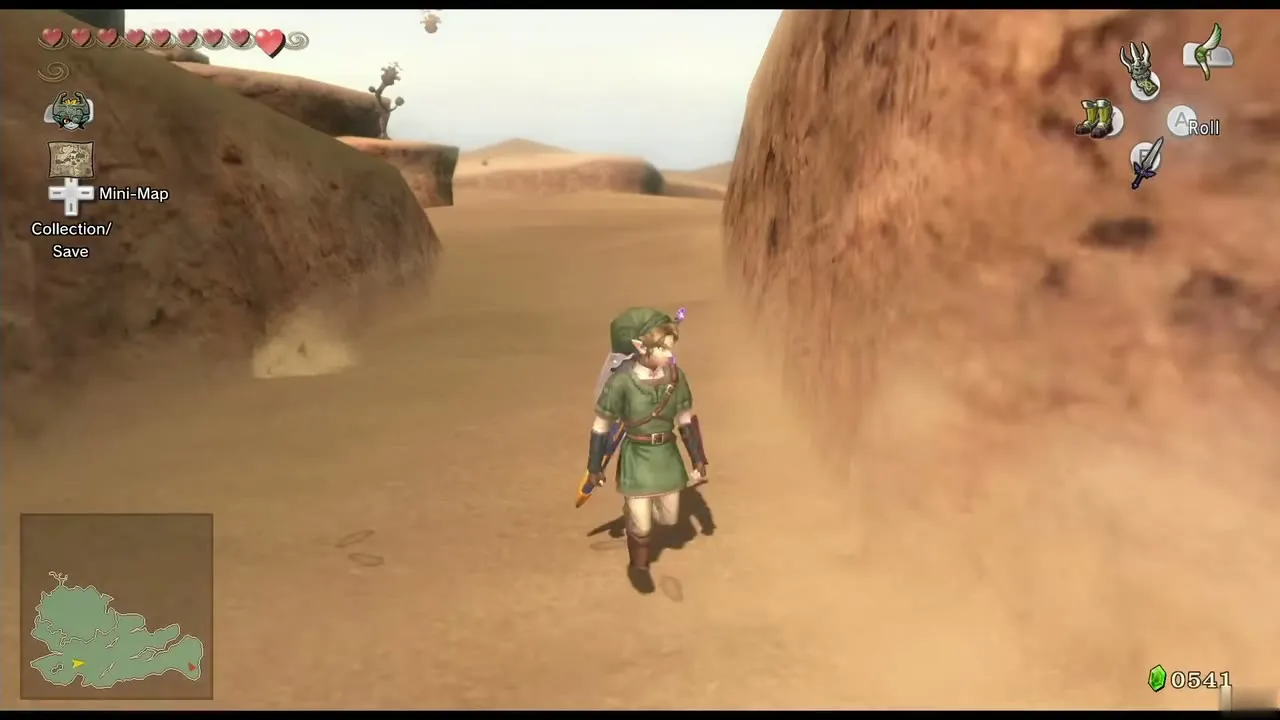
You land in the south part of the desert, separated from the north by a ledge. Nothing here is required for the story, but two Poe Souls, both Dayflies and the missing Bridge of Eldin piece are in this half. Moldorms live under the sand everywhere: they leap out when you pass. Pull one up with the Clawshot and cut it once, or just keep moving, because they never run out. If you fight long enough a Big Moldorm appears and takes two sword hits. Poe Souls in the open desert appear after dark, so if it is daytime now, take the chests and bugs first and come back for the ghosts once night falls.
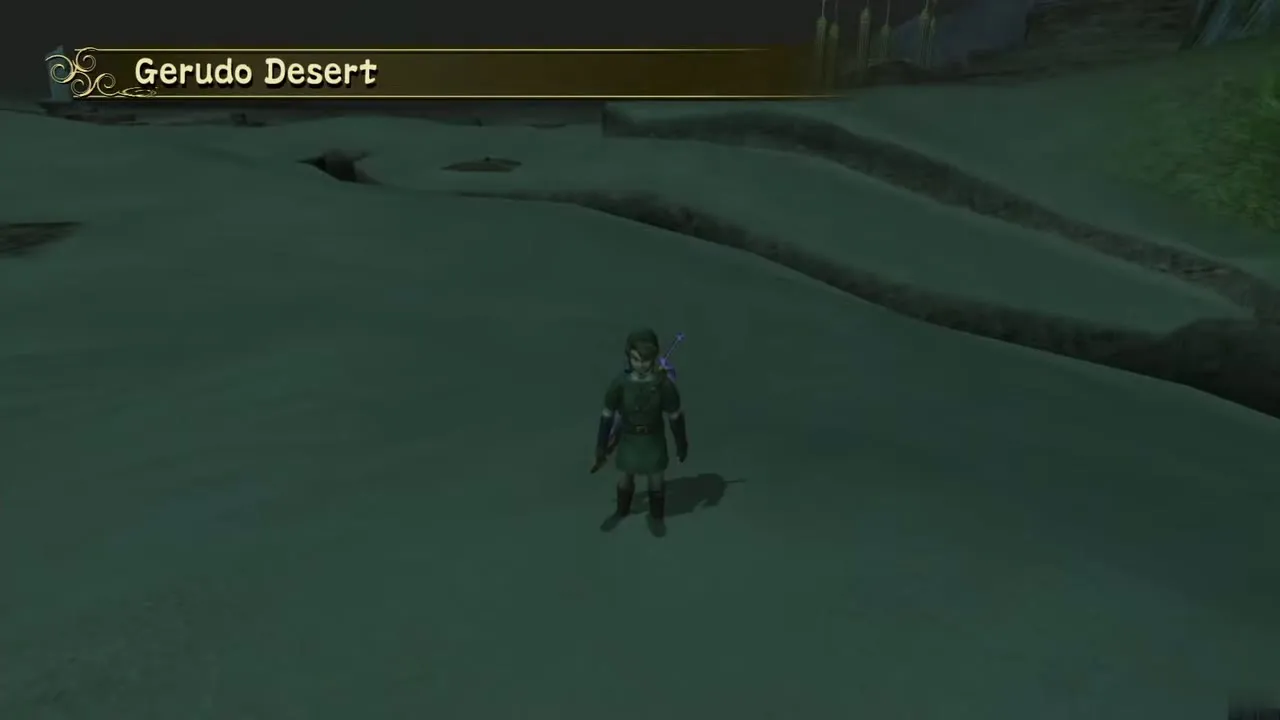
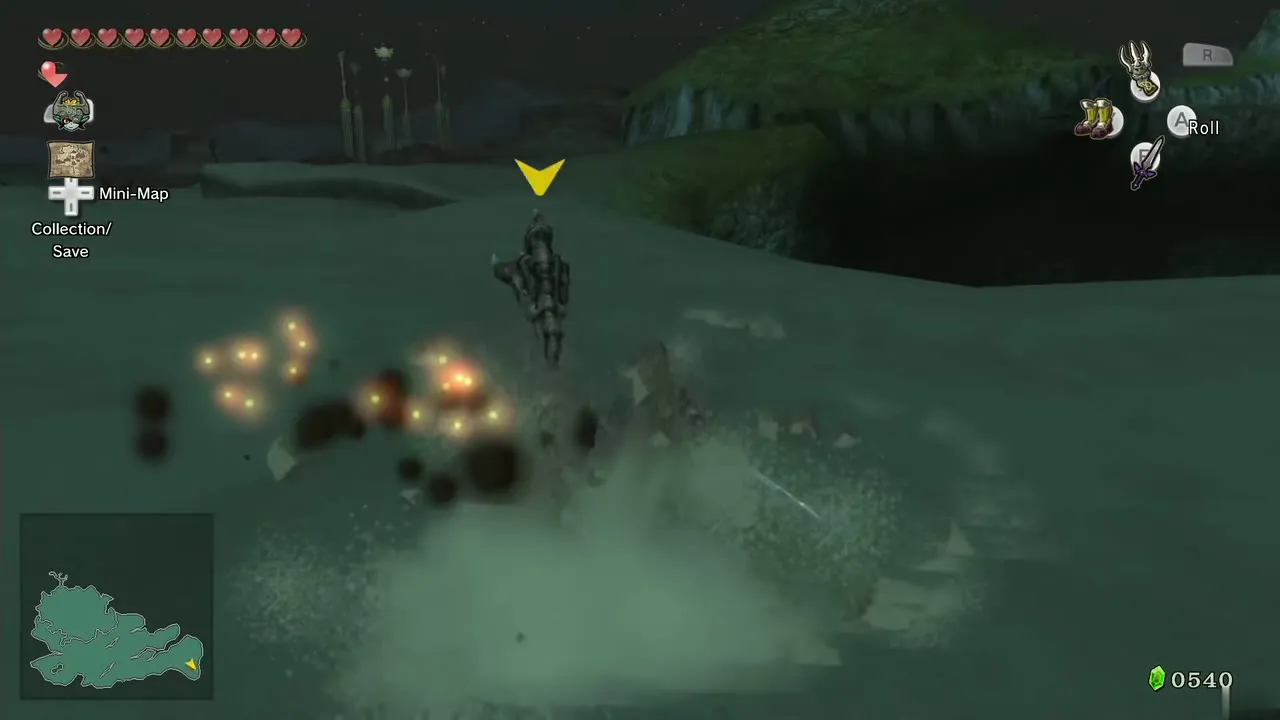
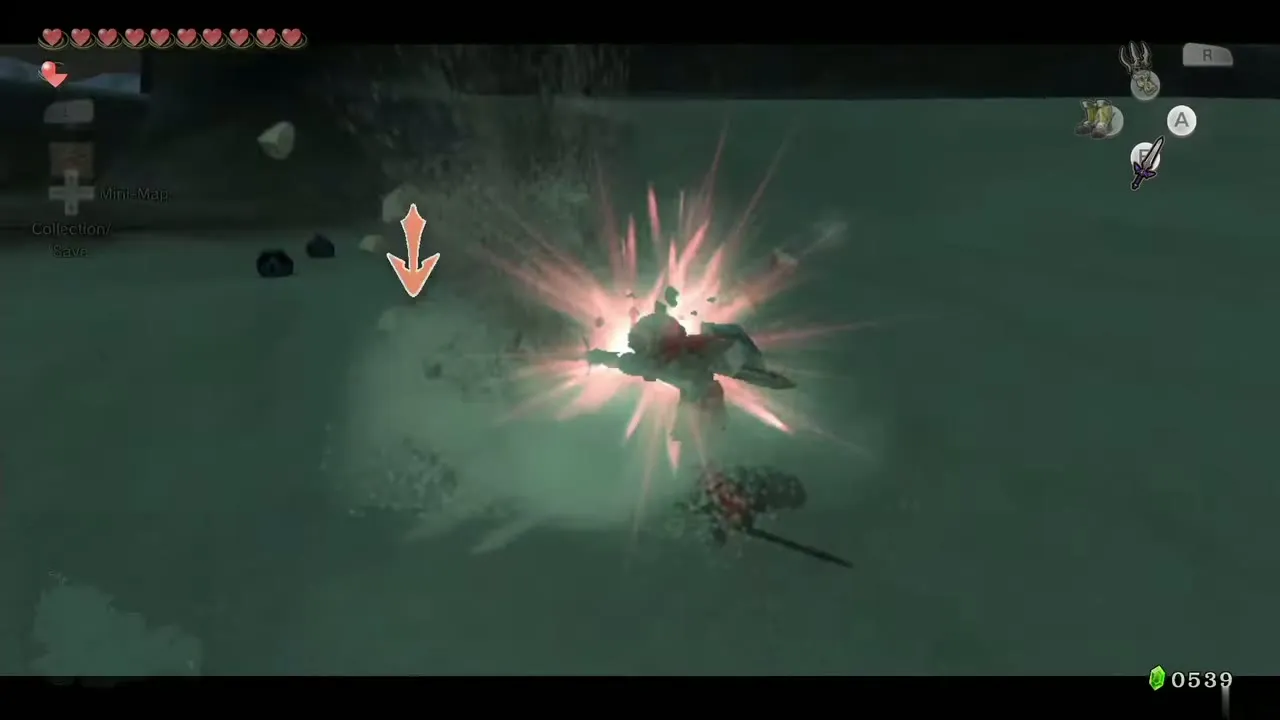
The south-east Poe and the Dig Cavern
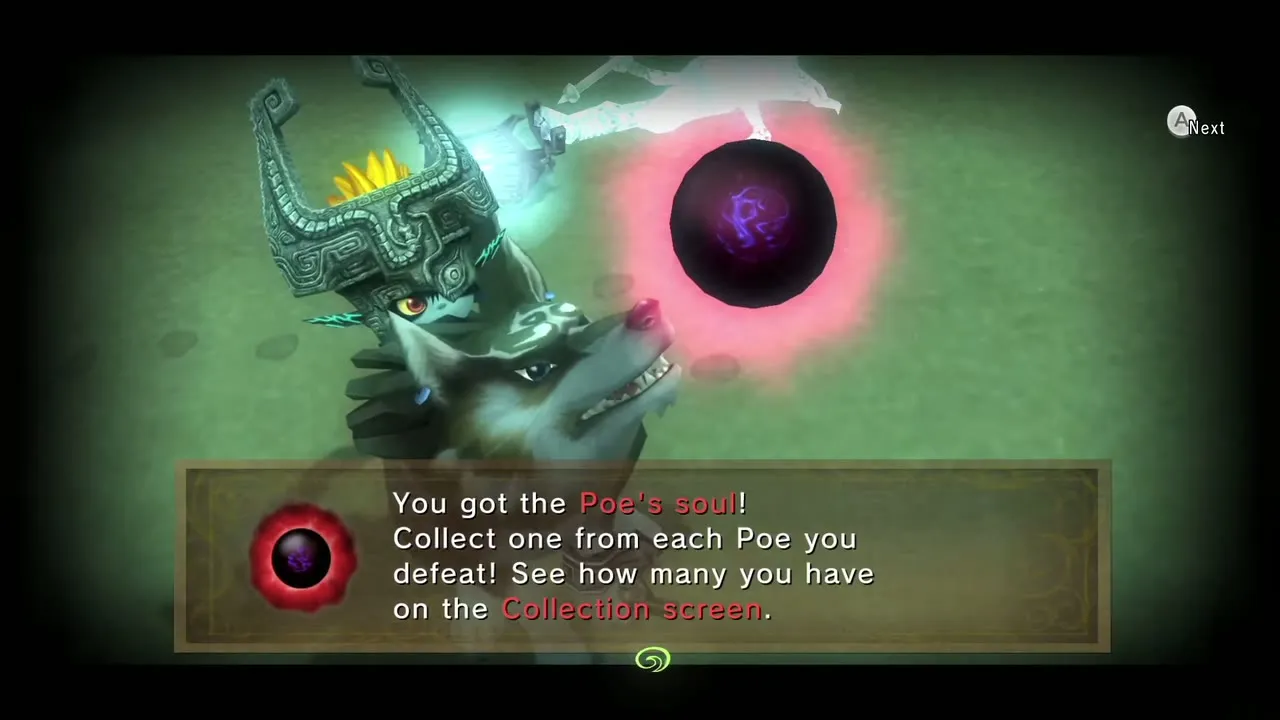
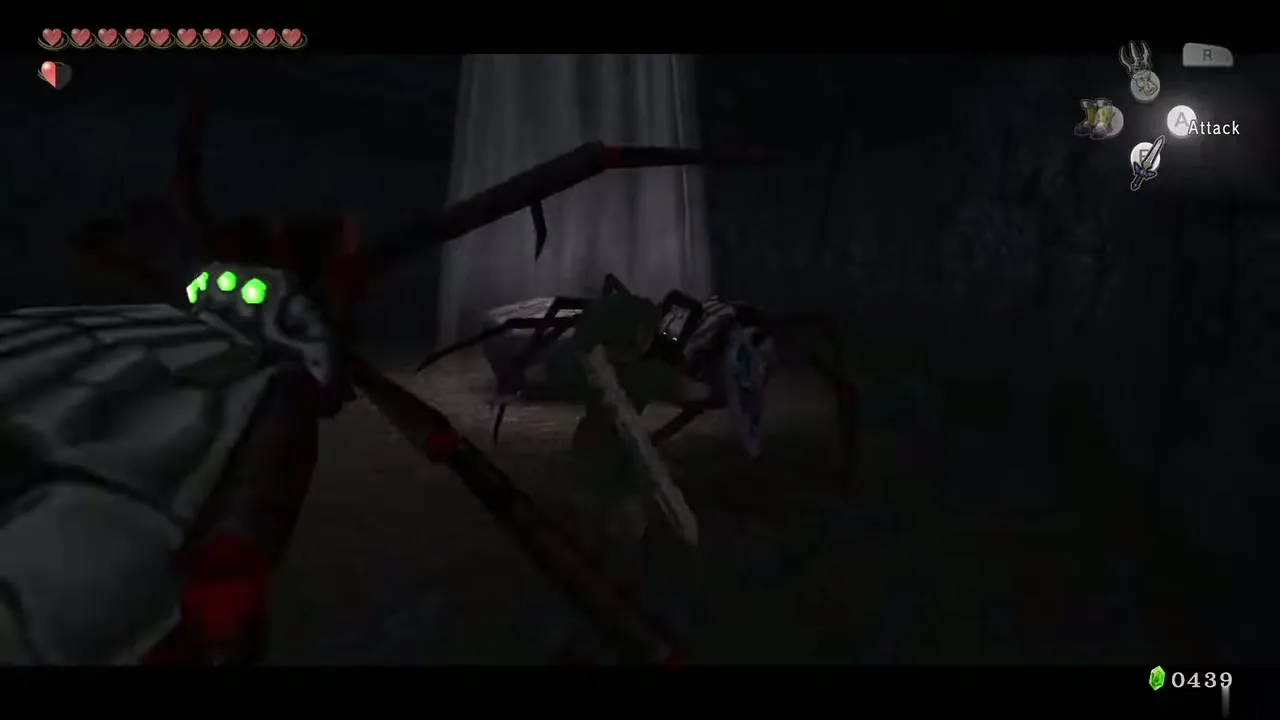
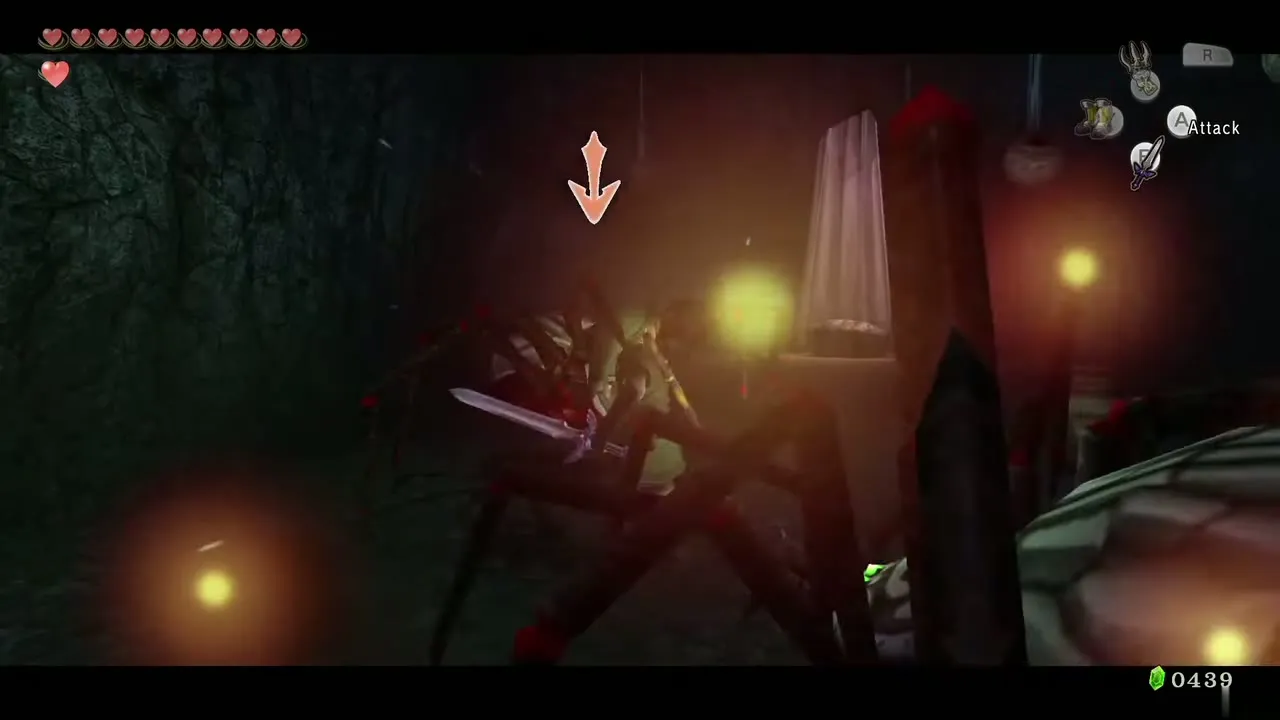
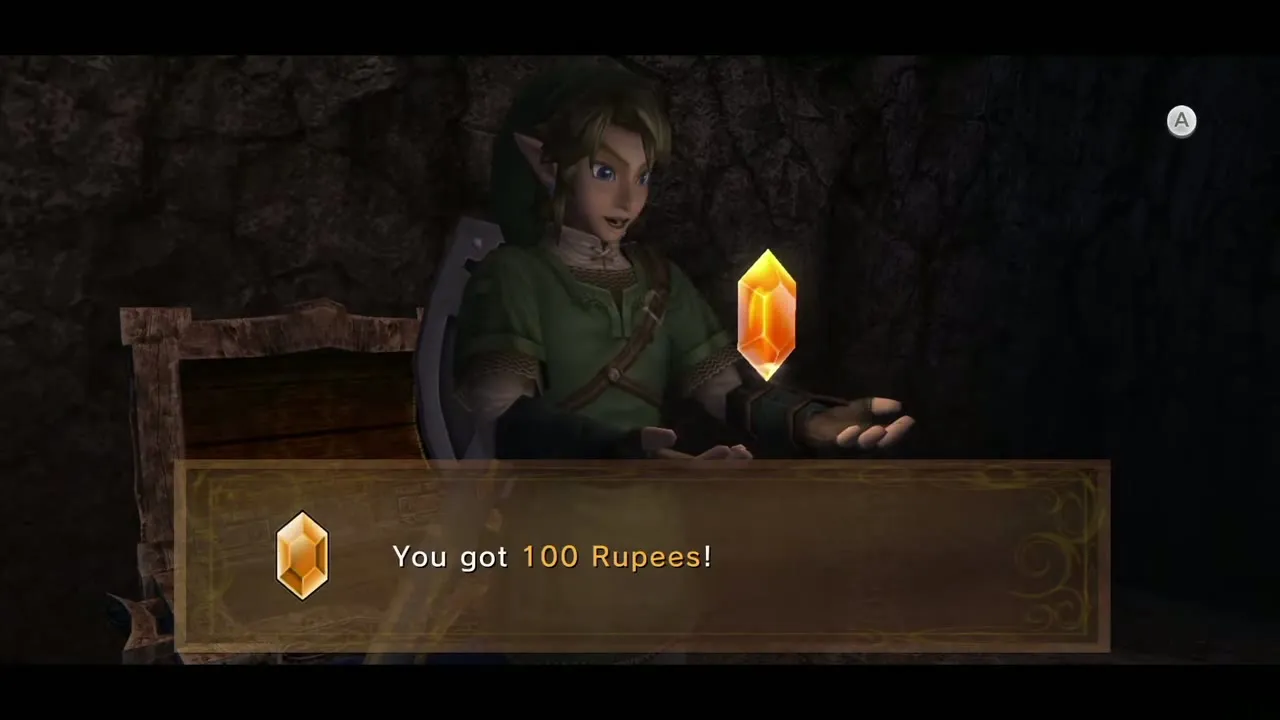
Head to the south-east corner, east of where you landed. Three skulls mark the spot, and at night the first Poe of the desert floats above them. As Wolf Link, hit it when it glows and take its soul. Dig where your senses show the cavern entrance next to the skulls and drop in: Skulltulas hang from the ceiling here. Kill them all and a chest rises with a 100-rupee orange Rupee. Back outside, a Clawshot target on a dead tree branch leads to a raised rock nearby, where a chest holds a red Rupee (20).
Chests on the rocks
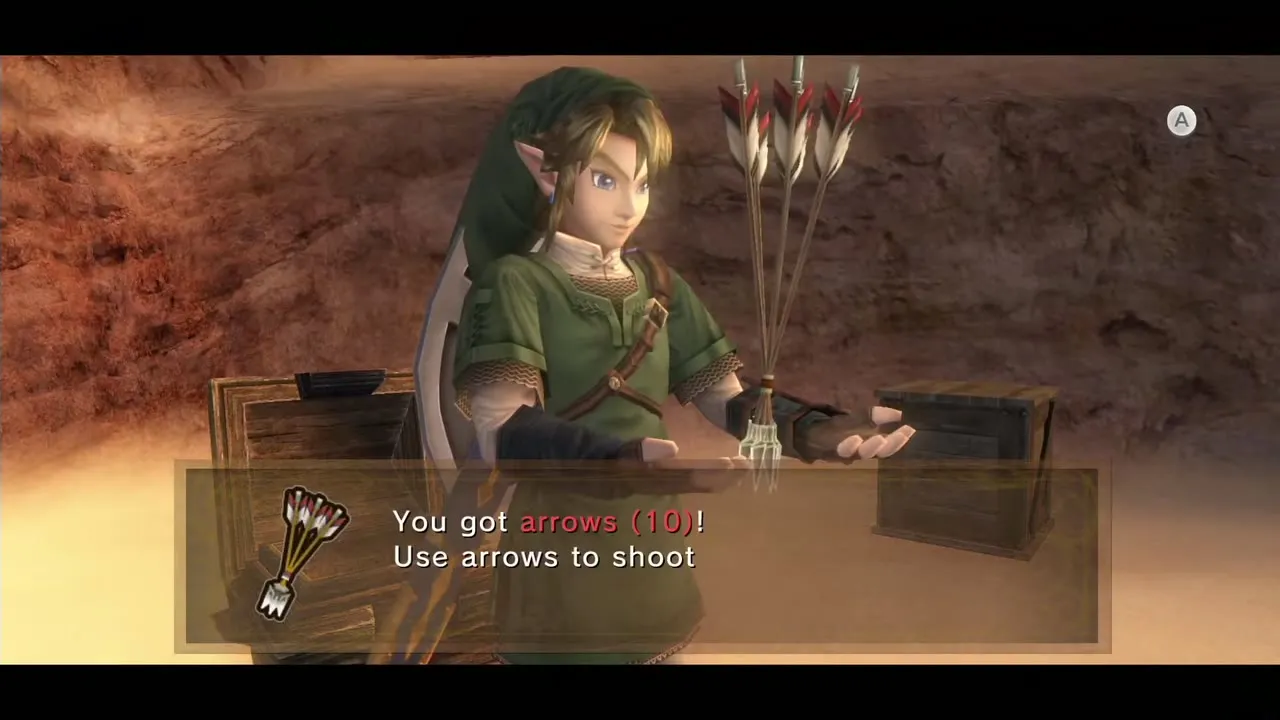
Two more chests sit on rocks: one on the east side of the desert holds a red Rupee and one near the centre holds ten arrows. Neither is needed, but they fill the time while you wait for night.
Male Dayfly
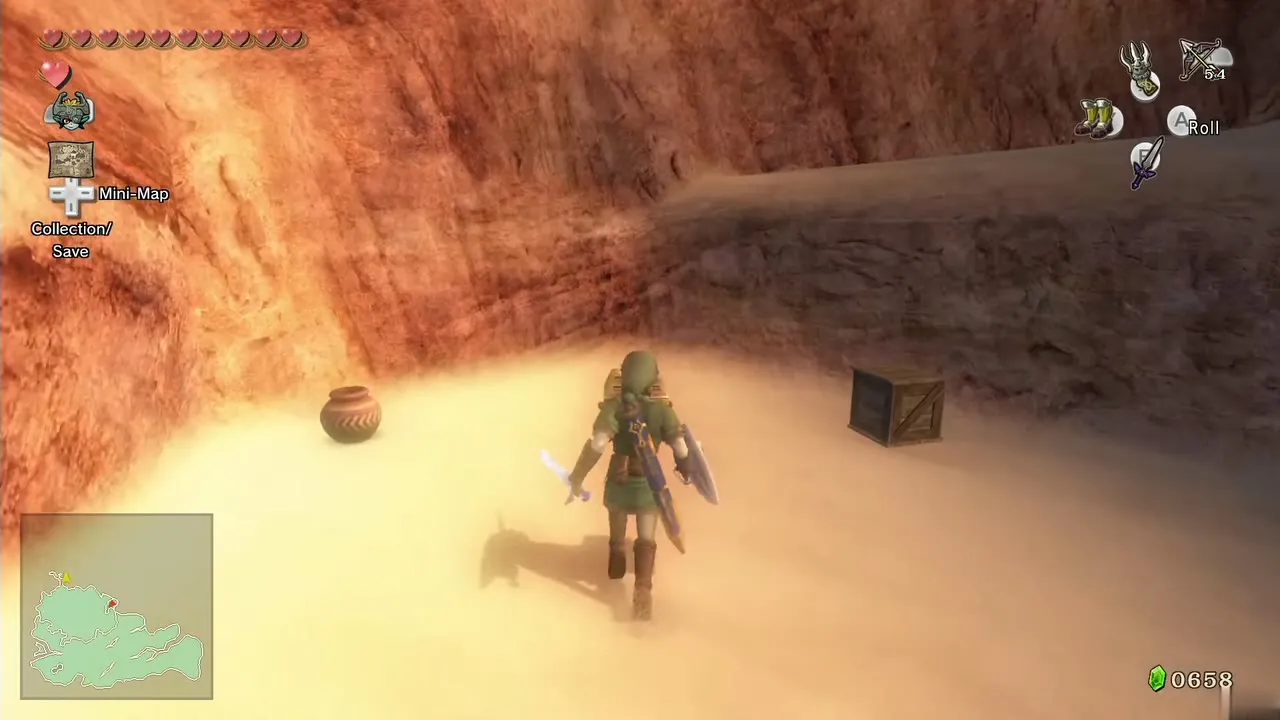
Travel west along the south side of the desert. Near the south-central part, just north-east of a large boulder, a Golden Bug flutters in the open. Catch it for the Male Dayfly. If it drifts away, a Gale Boomerang throw pulls it back. Agitha in Castle Town takes it later; the Golden Bugs page lists what each pair unlocks.

Female Dayfly
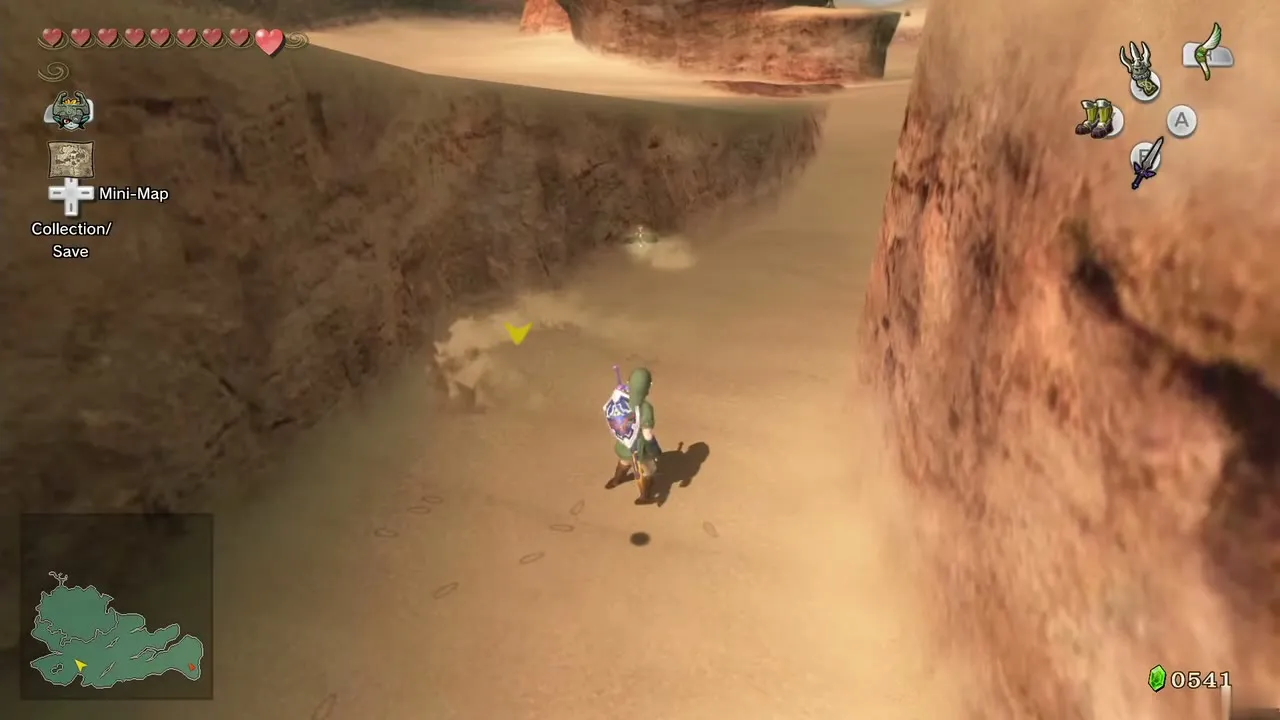
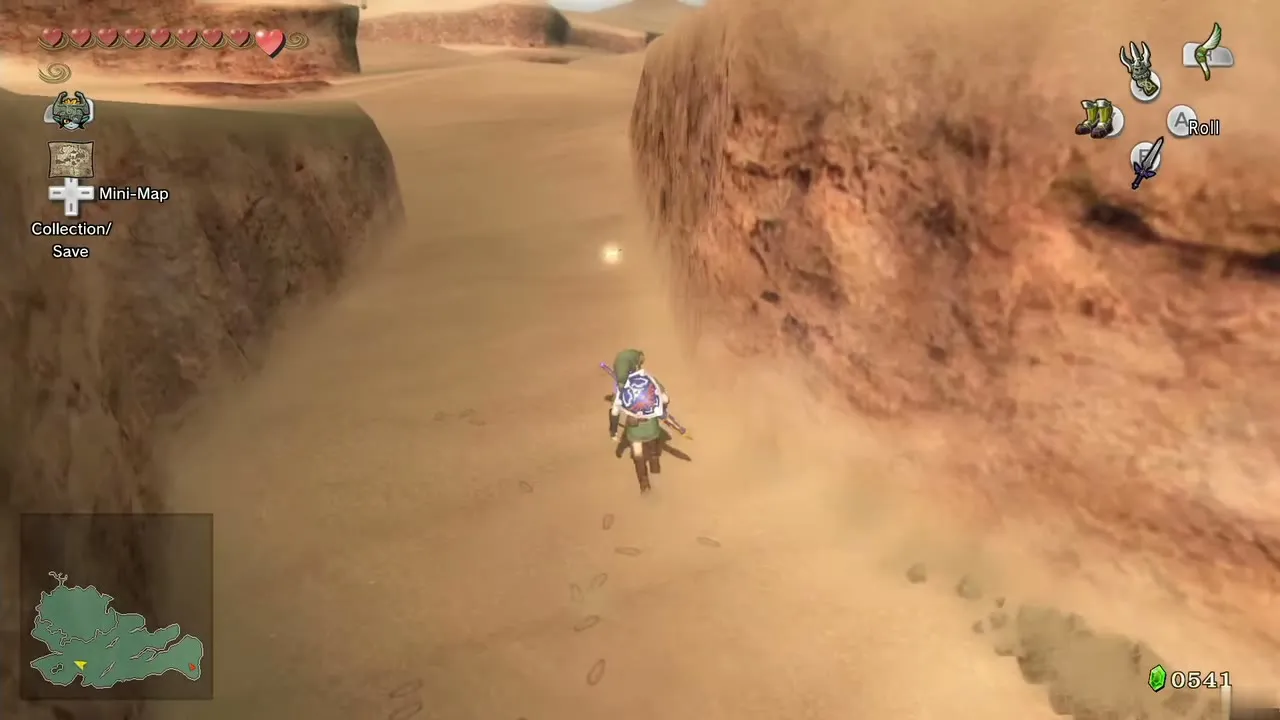
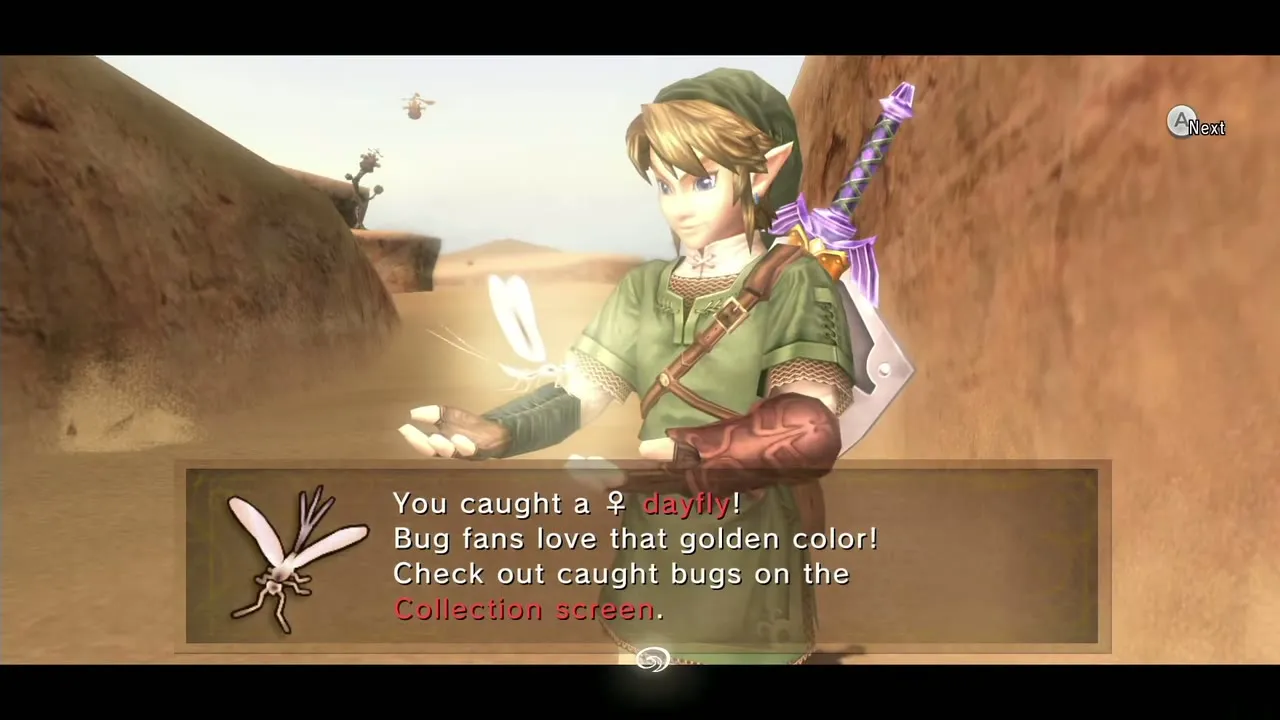
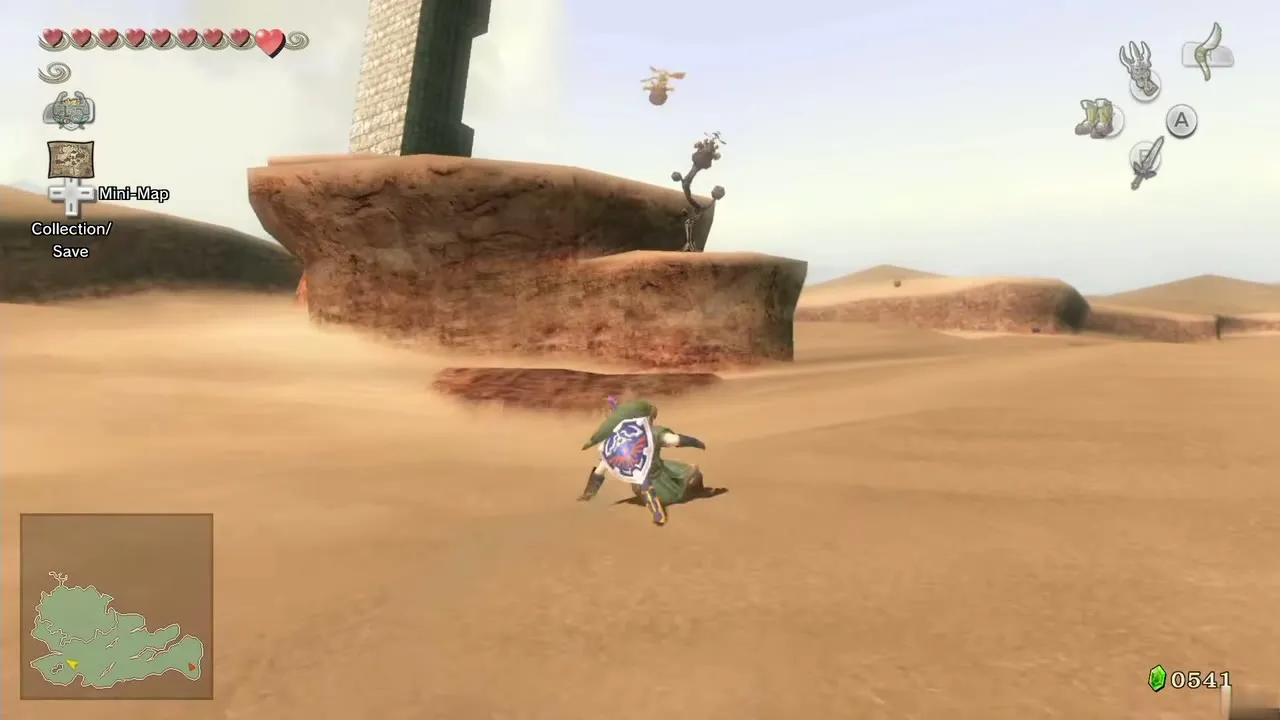
Continue west until you pass a chest and a strange statue on a set of platforms. You cannot do anything with them yet, but they are a good landmark. A little north of them are two long trenches. Walk into the northern trench: the Female Dayfly floats at the middle. More Moldorms swarm in here, so catch the bug and leave. The chest and statue on the platforms hold an orange Rupee, which you can only reach later with the Dominion Rod.
The Bridge of Eldin piece and a south-west Poe
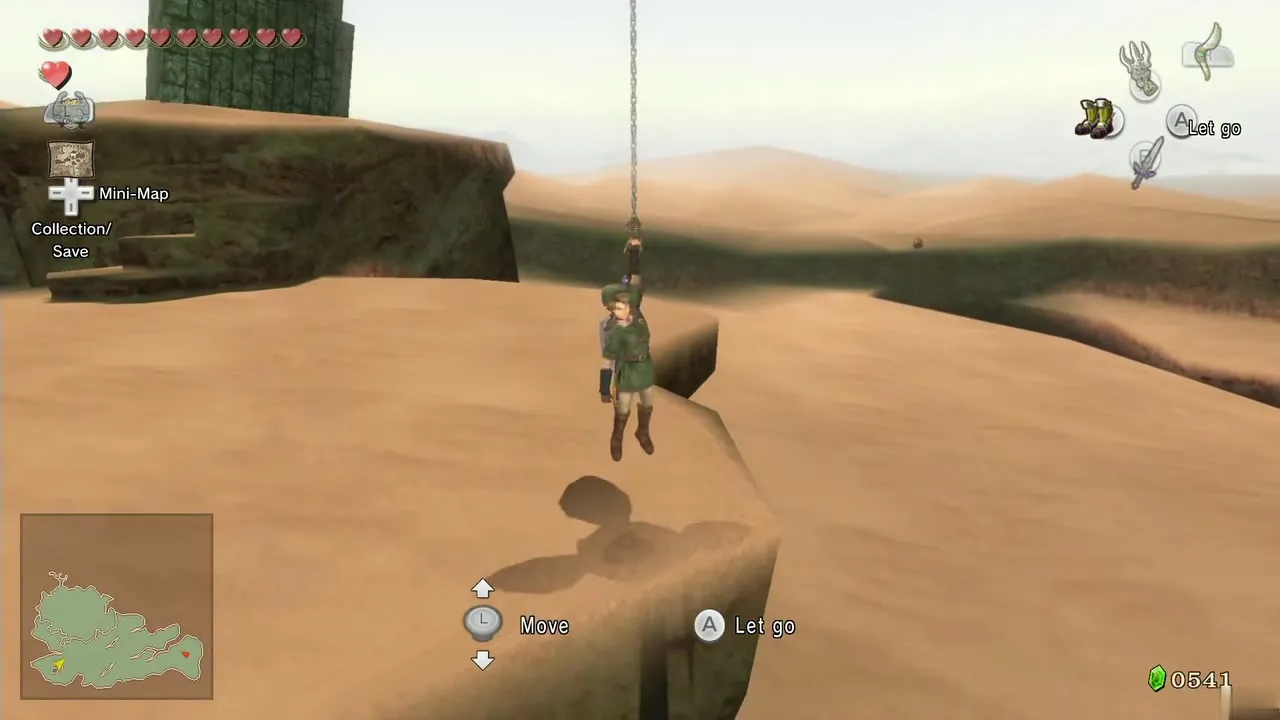
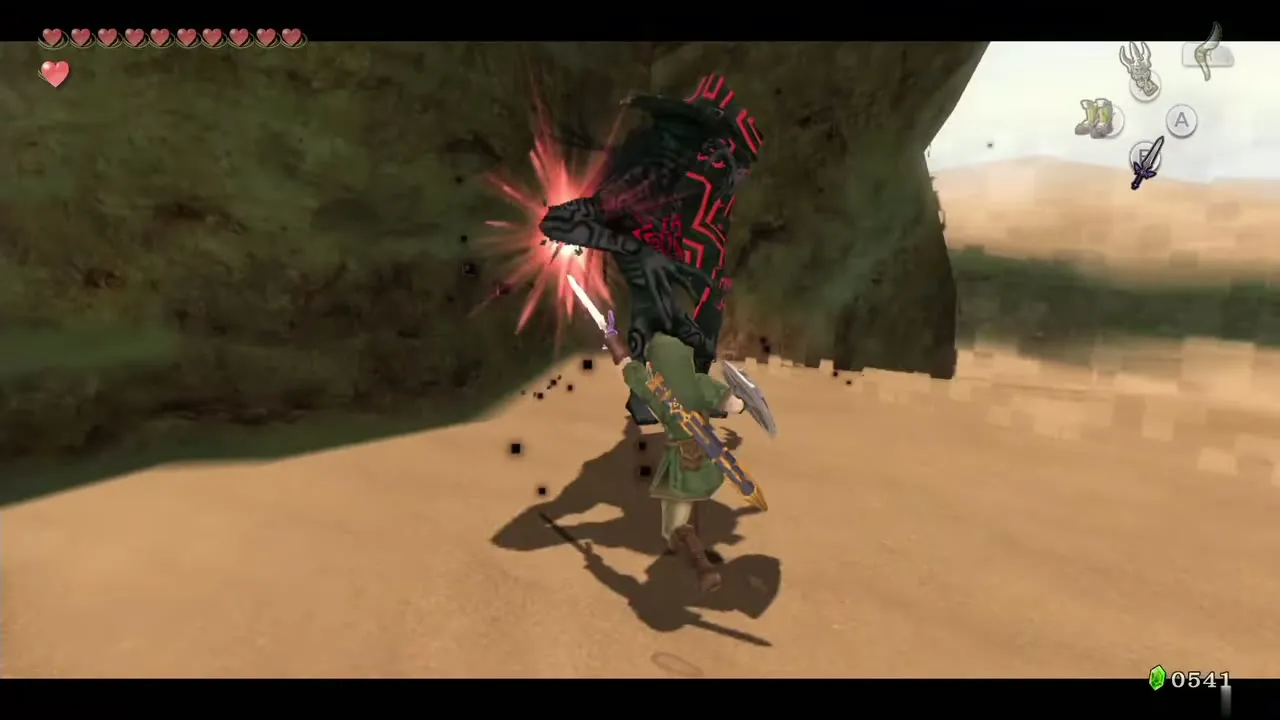
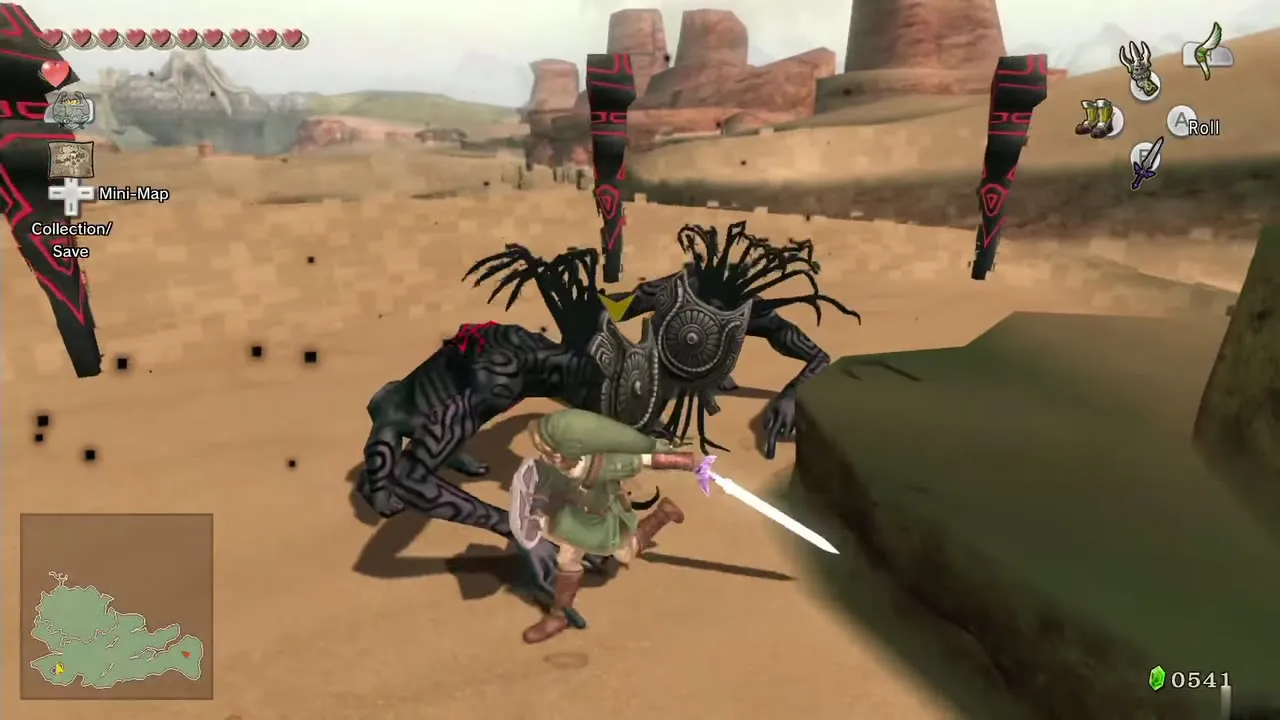
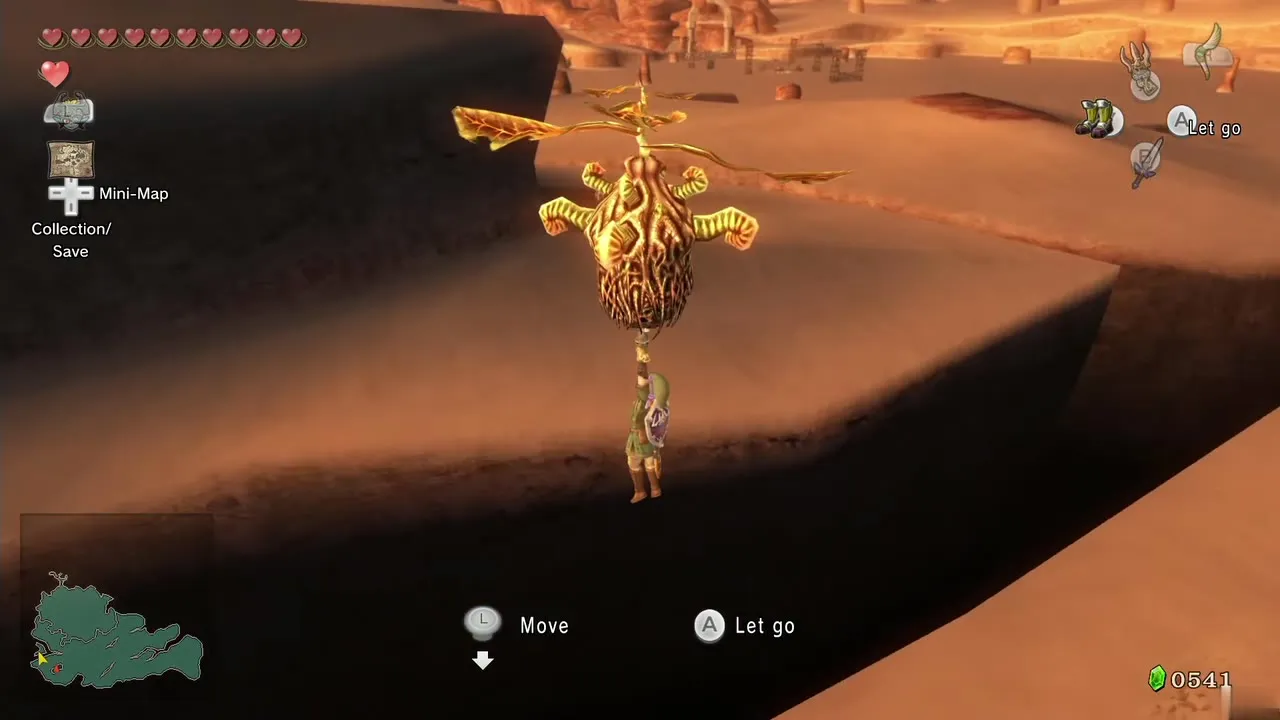
Go to the far south-west corner. A tree grows on a low ledge: shoot the Clawshot at it, then look up for a Peahat hovering overhead and grab it with the Clawshot. Let it carry you onto the high ledge. When you step forward a wall of twilight rises and three Shadow Beasts fall from the sky. Beat them with sword attacks or, as Wolf Link, with Midna’s charged attack. At night, a Poe floats behind the huge boulder here; defeat it as Wolf Link.
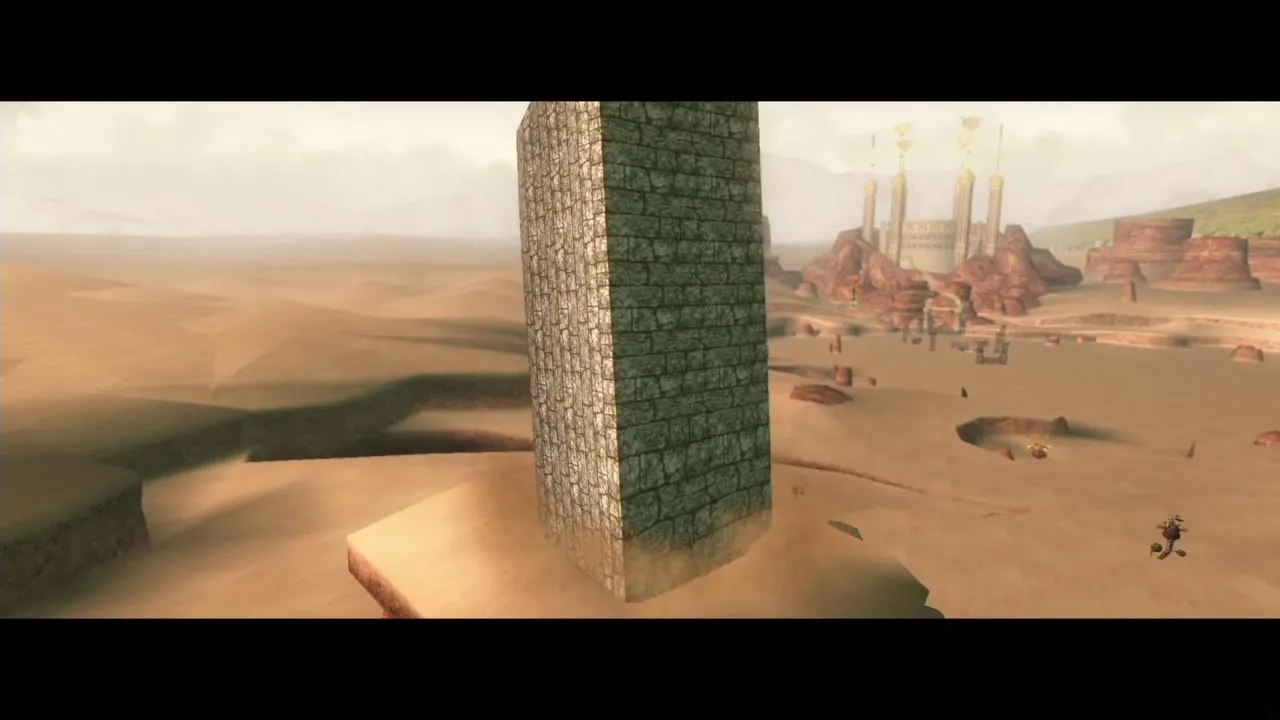
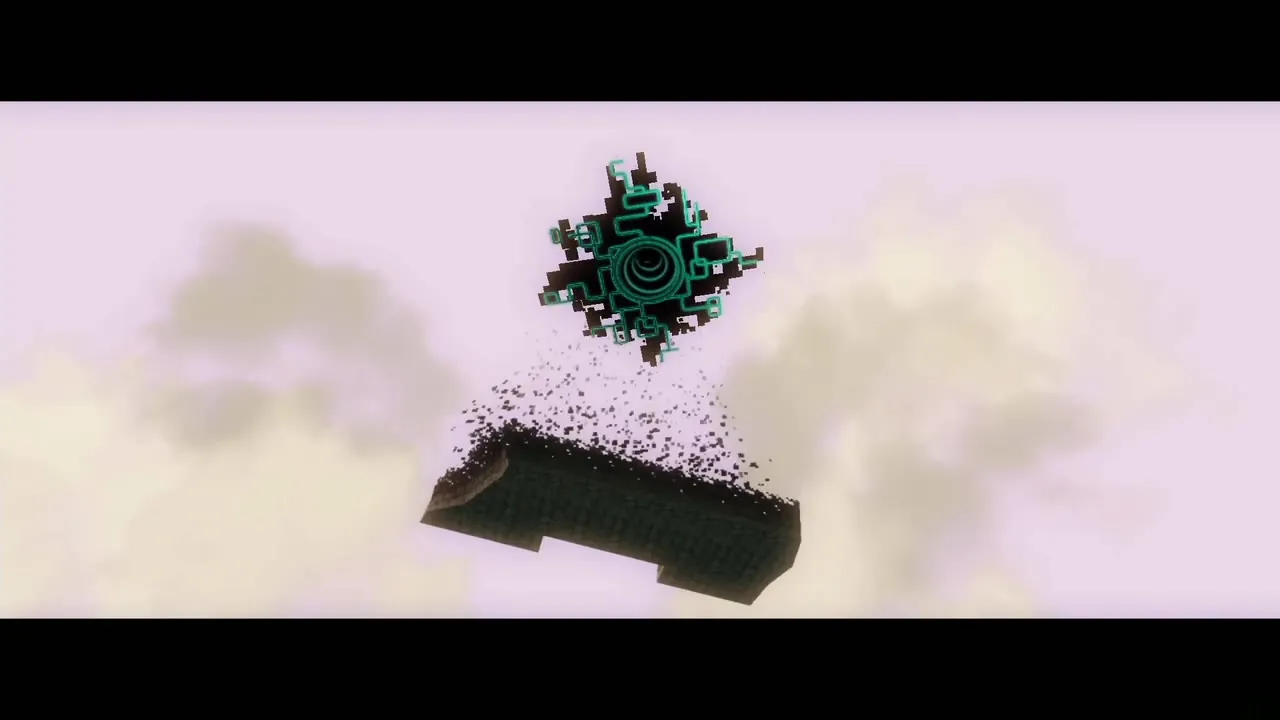
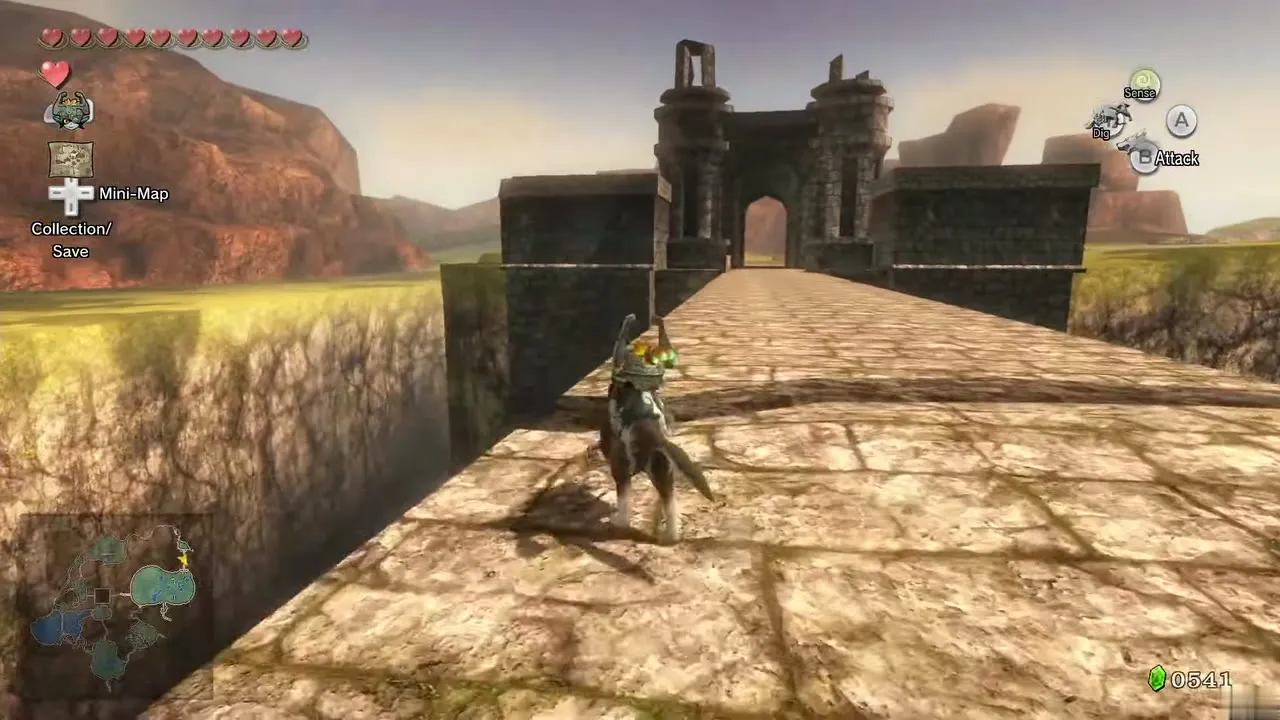
Walk up to the boulder, the missing piece of the Bridge of Eldin. Talk to Midna and she warps it back to Hyrule Field. This repairs the bridge and gives you a new warp point there. Warp to the Bridge of Eldin and back to the desert if you want to confirm it. The hole where the boulder stood is the entrance to the Cave of Ordeals. Do not enter yet: the cave is better finished late in the game. See Cave of Ordeals.
Miiverse stamp chest in the west
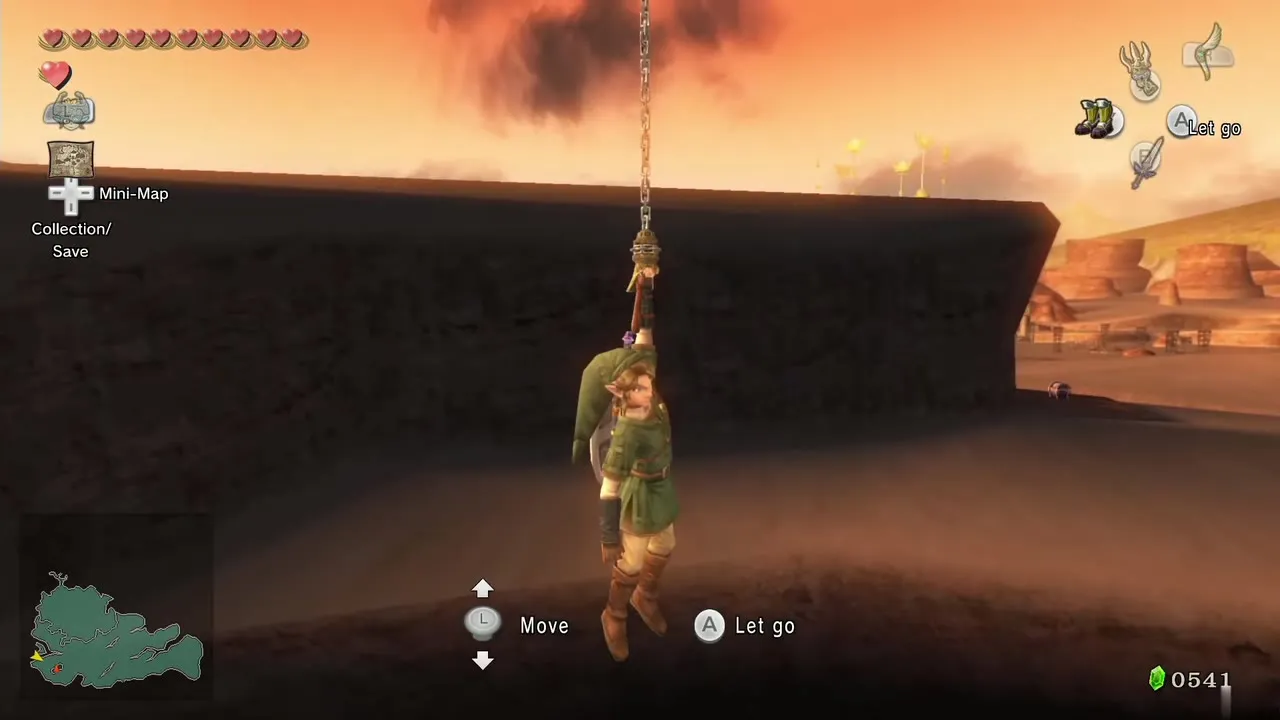
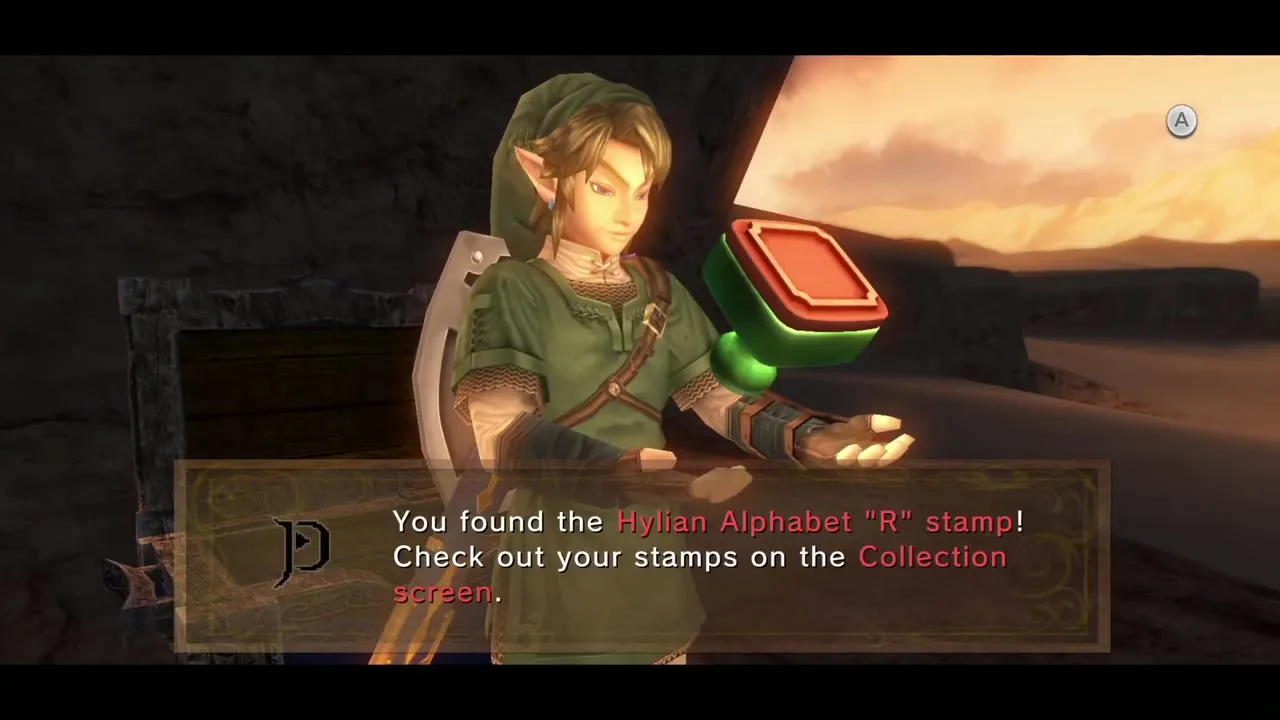
A chest sits on an isolated rock in the west of the desert, north of where the boulder stood. Jump down from the ledge, Clawshot onto the floating Peahat above the rock and drop onto it. Open the chest to get the Stamp for the Hylian Letter R. This chest only exists in the HD version.
North Gerudo Desert
Jump the ledge and the Bulblin riders
When you are ready for the main path, go north and jump off the ledge. The Bulblins at the camp spot you at once and several ride out on Bullbos. Shoot them from a distance with the Hero’s Bow; Hawkeye makes the long shots easy. When the riders are down, a few archers stay on their watchtowers.
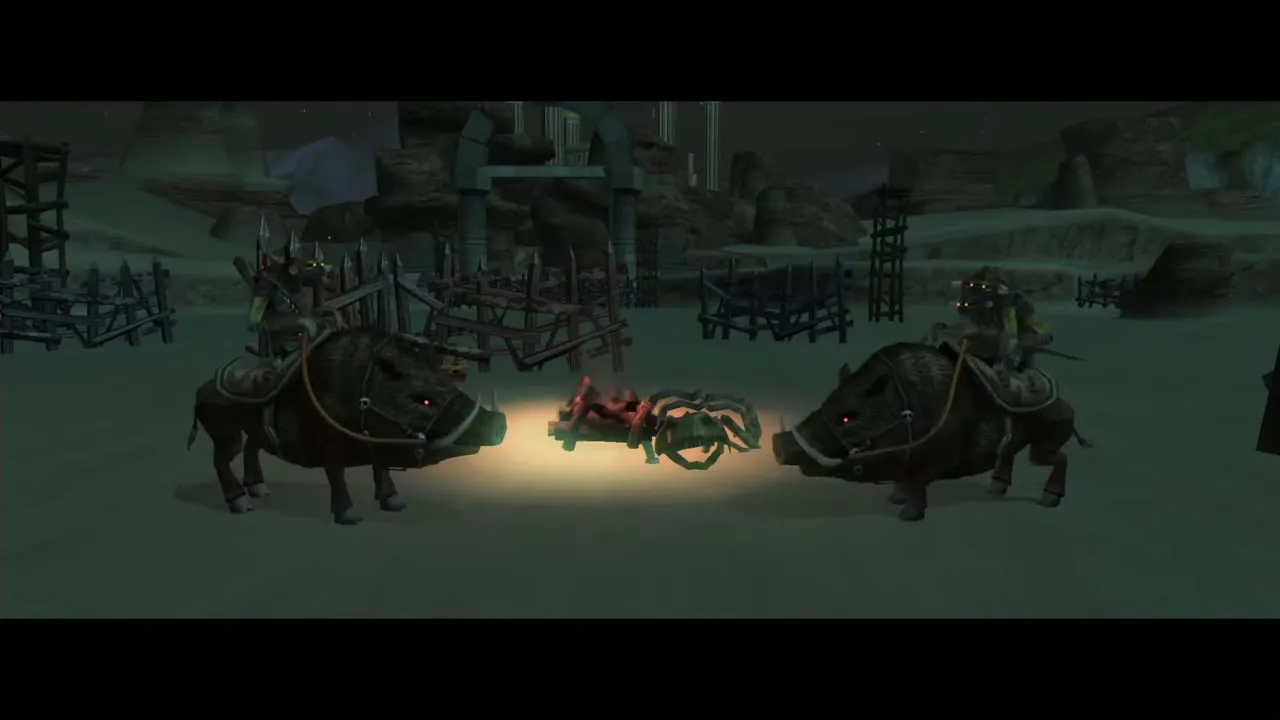
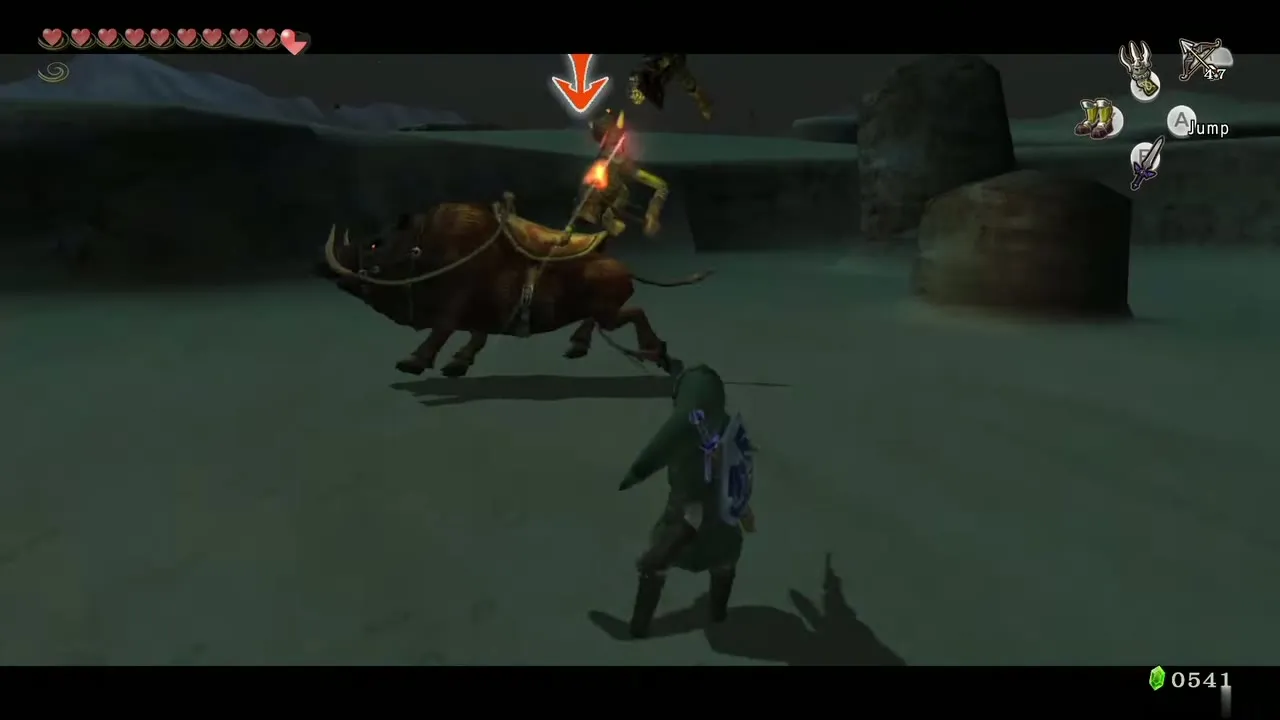
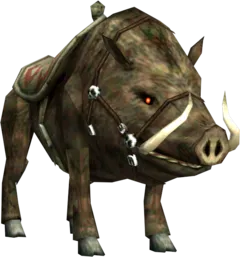
Ride a Bullbo for the fenced chests
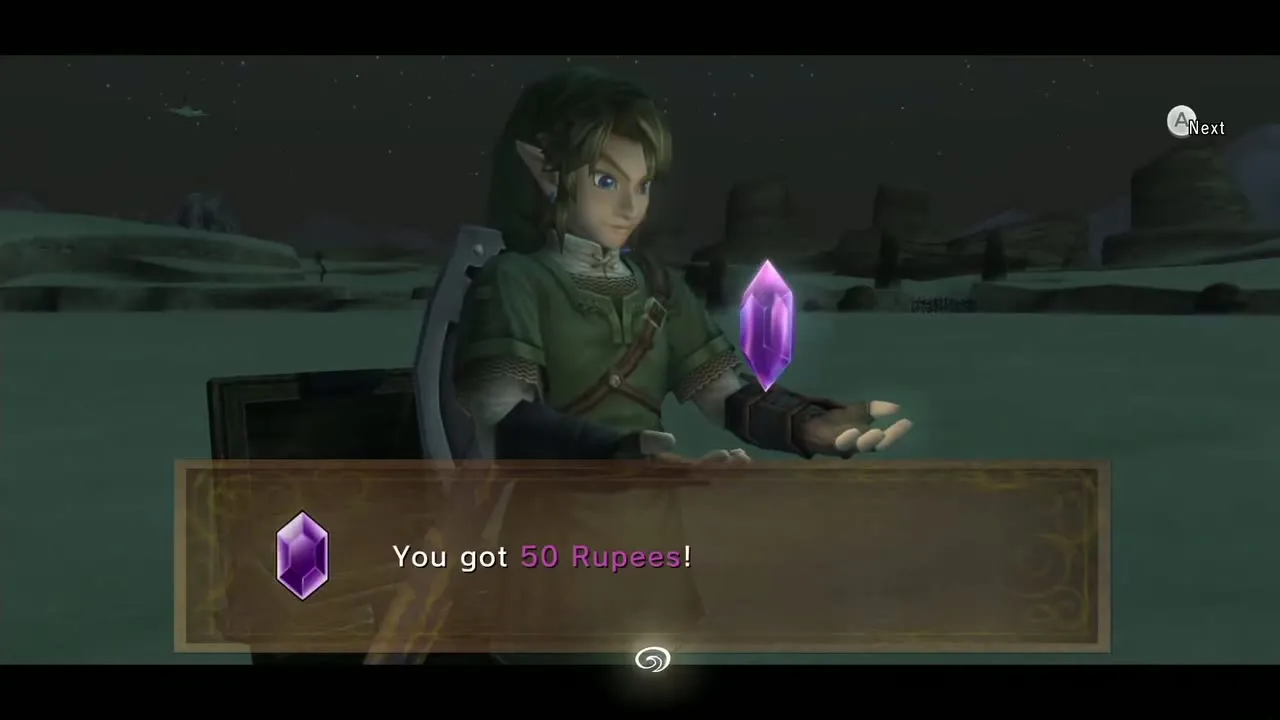
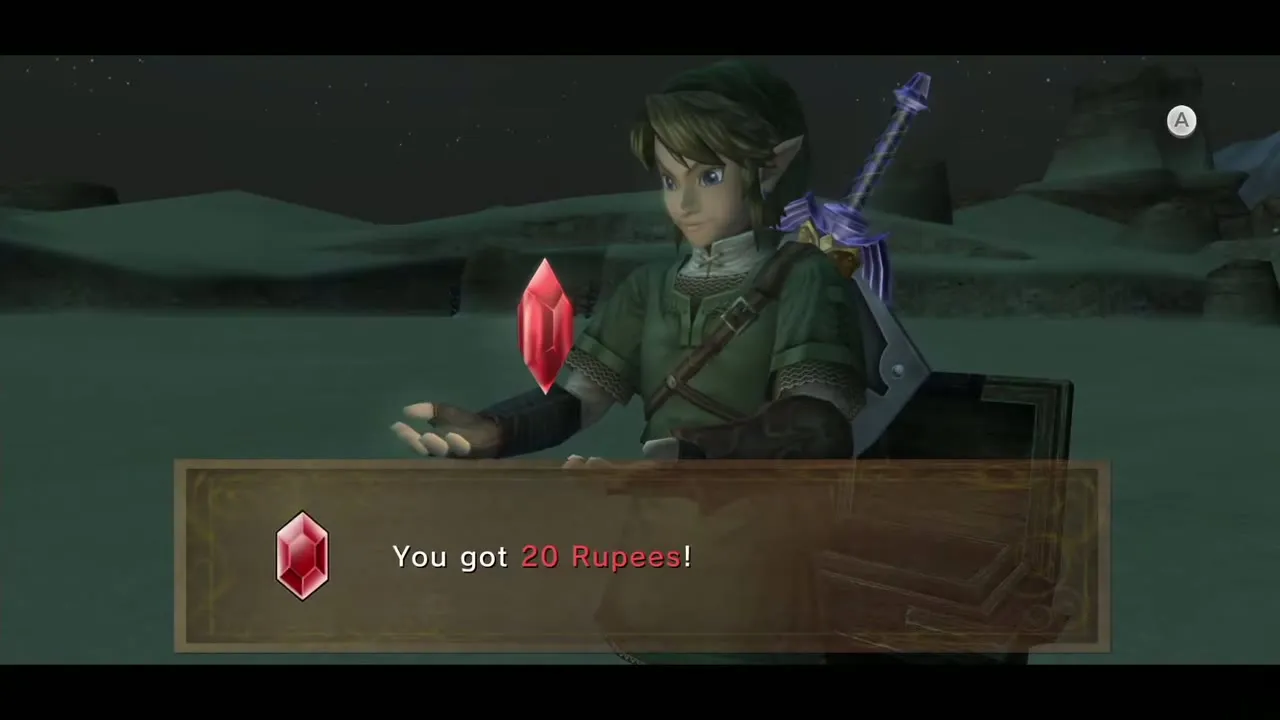
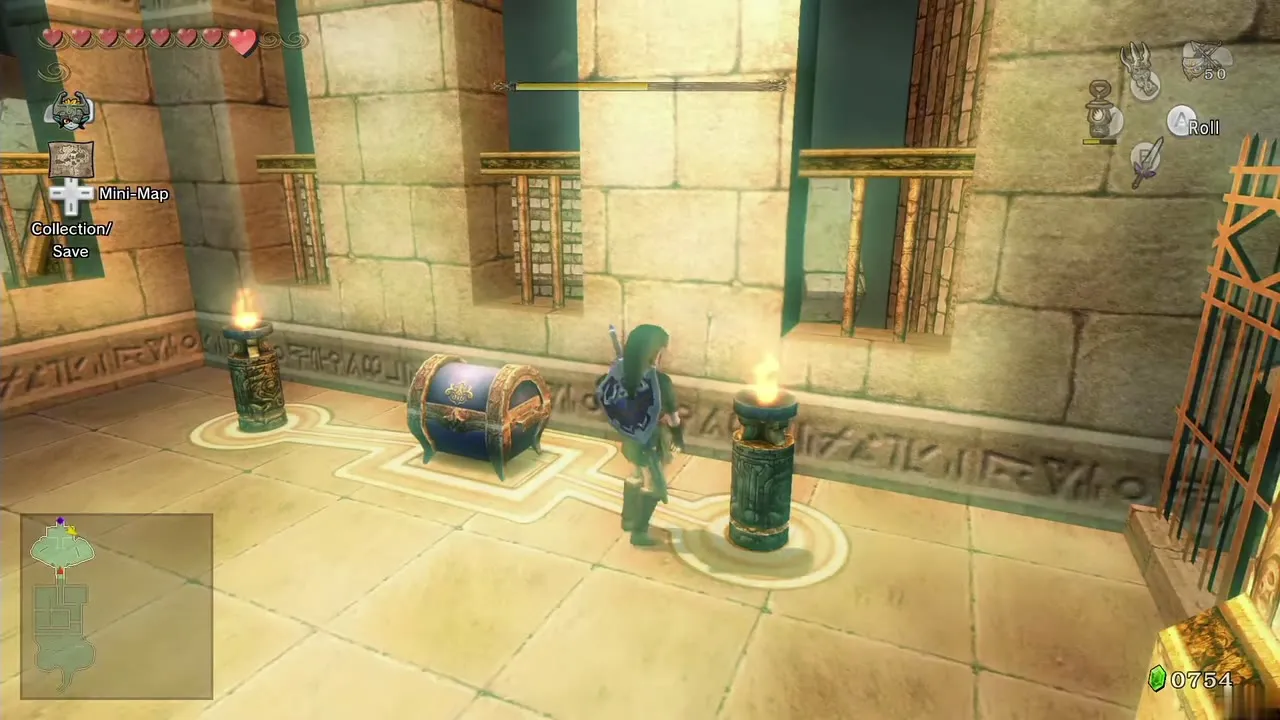
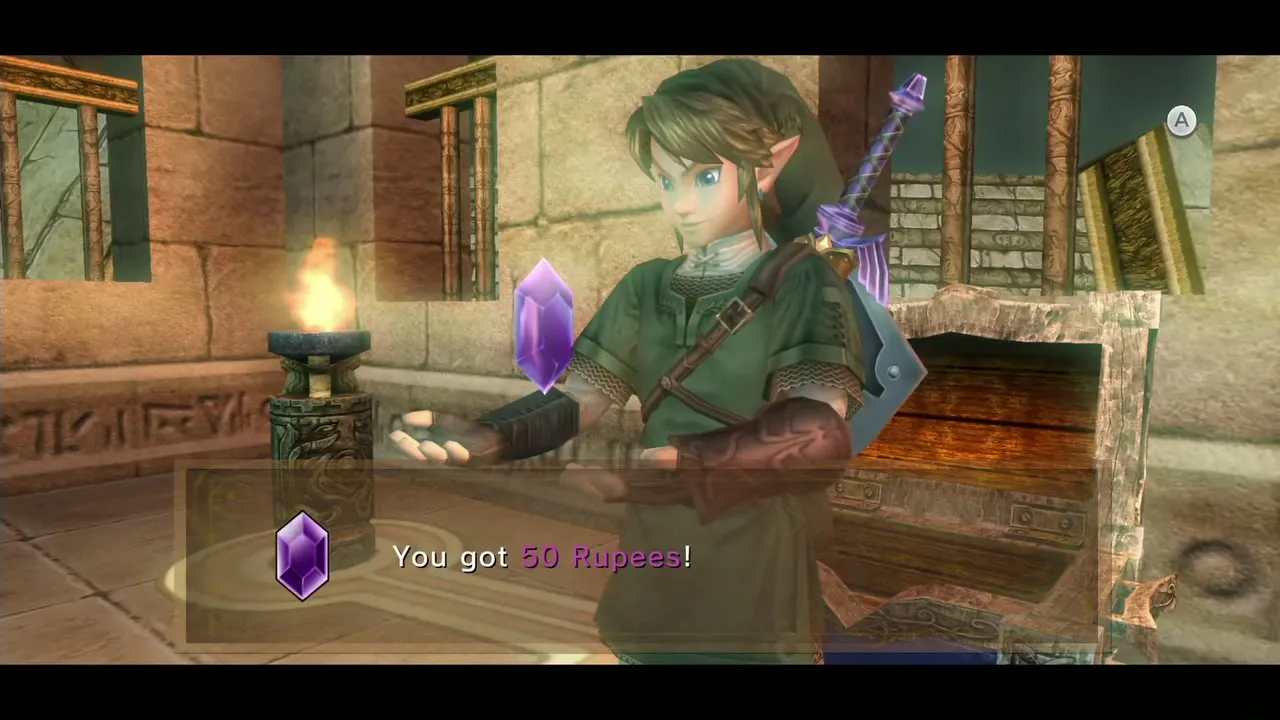
Open the chest beside the campfire for a red Rupee (20), then walk up to a free Bullbo and mount it. Its dash smashes wooden fences and watchtowers. The tower west of the campfire hides a chest with ten arrows and the tower east of it a purple Rupee (50). Three more chests sit behind fences: a red Rupee in the north-west corner, another red Rupee in the north, and an orange Rupee (100) behind the barriers at the southern end of this basin. A last chest with ten arrows waits in the far north. You dismount by running the Bullbo into a wall, so line up each fence with a clear run-up and expect to fetch a second Bullbo for the later ones.
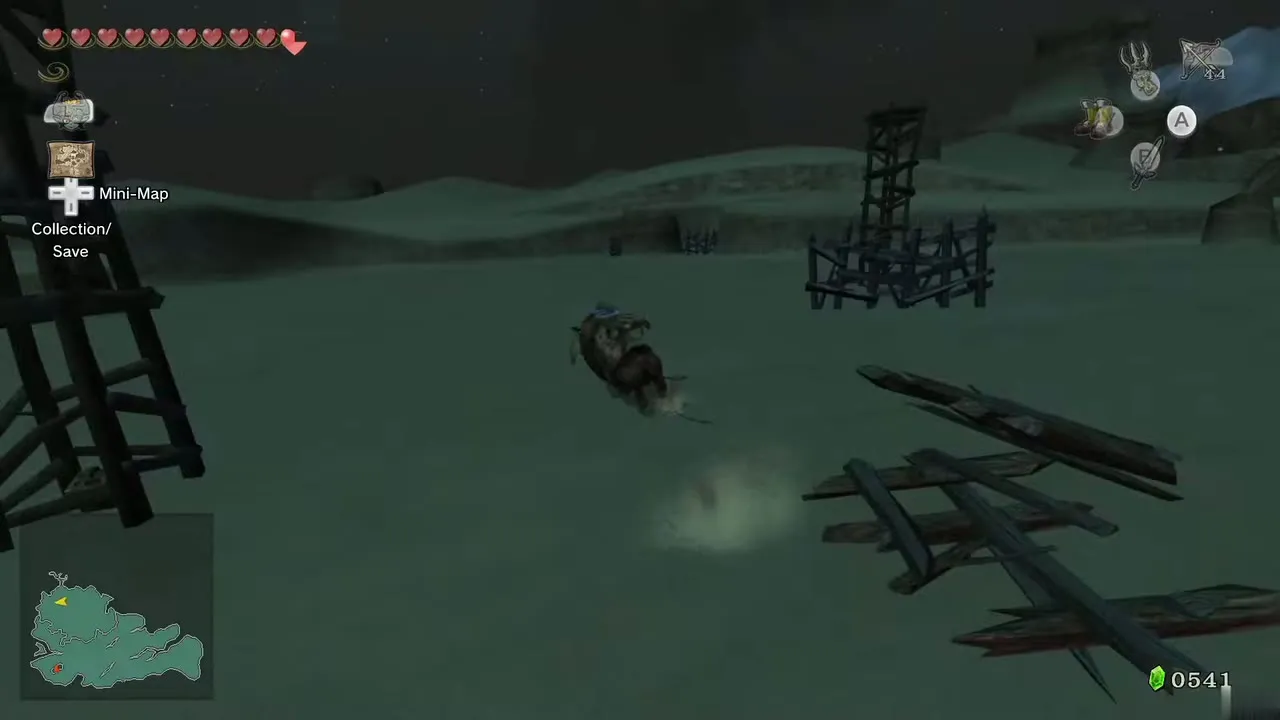
A Poe on the north-east ledge
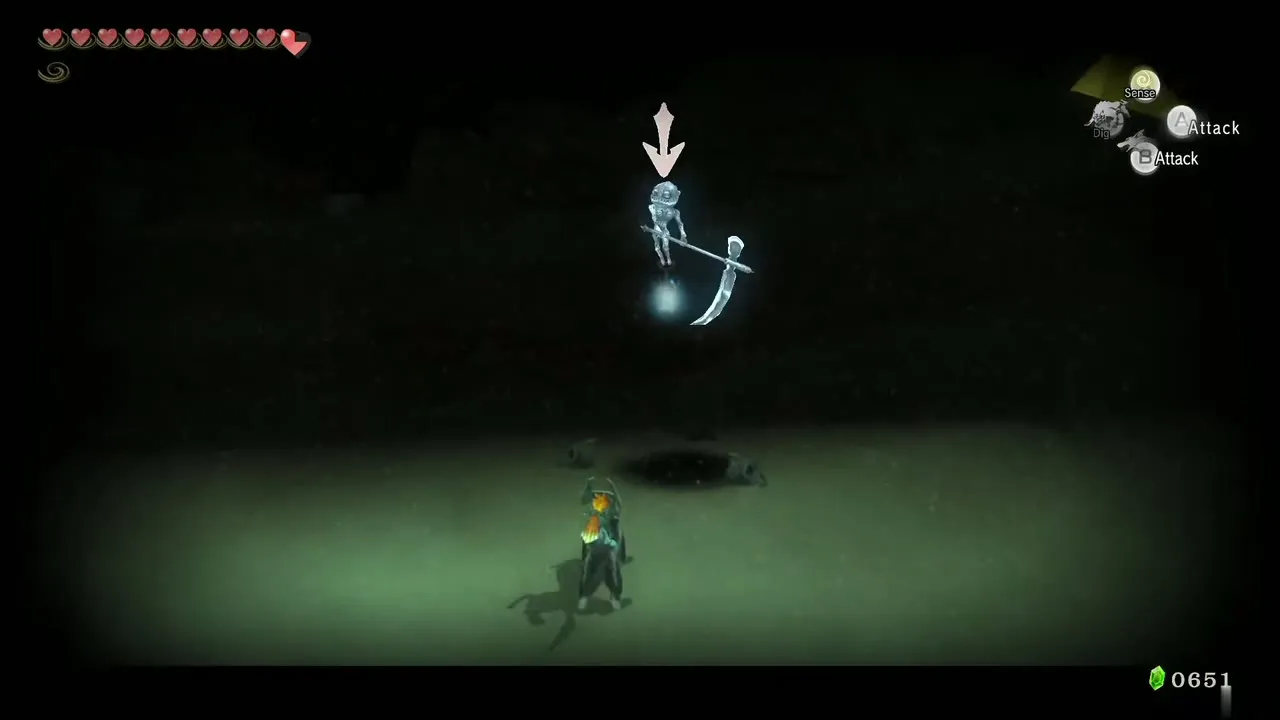
Walk east from the campfire to the north-east corner. A dead tree stands here: Clawshot up onto it. On the ledge is another set of three skulls. After dark a Poe floats above them, so switch to Wolf Link and defeat it.
Two cavern Poes and the Sad Midna stamp
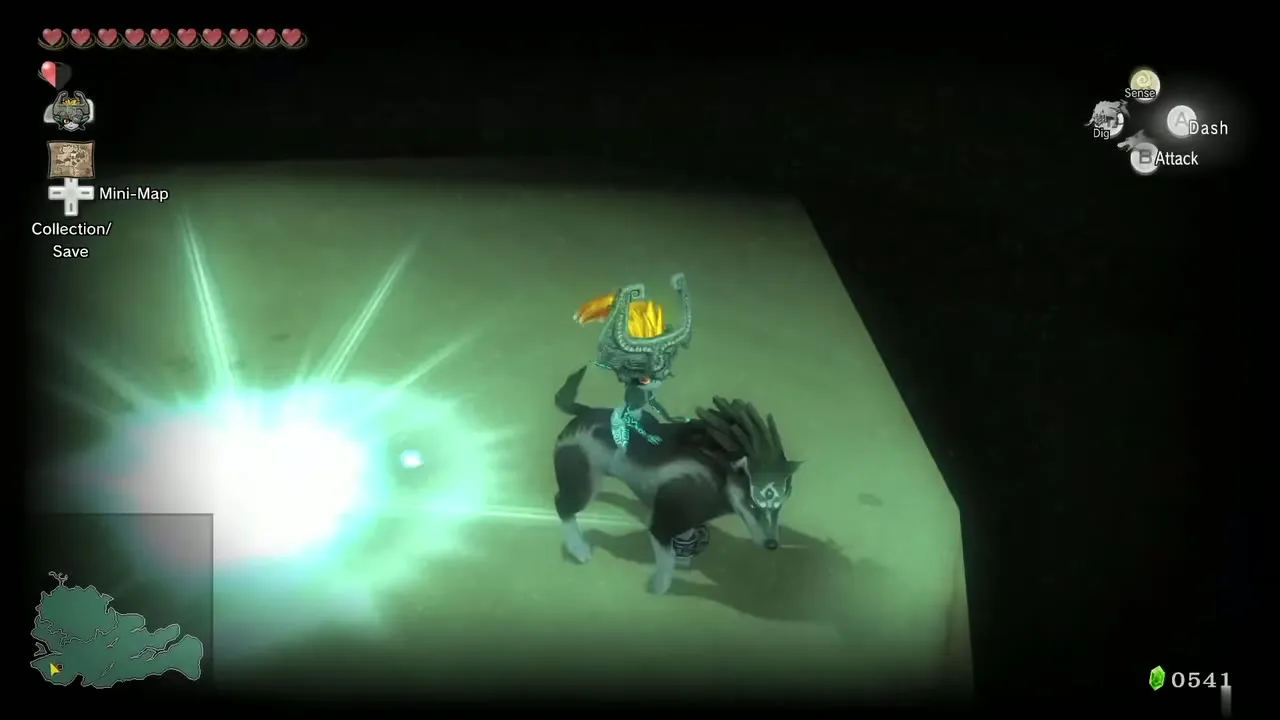
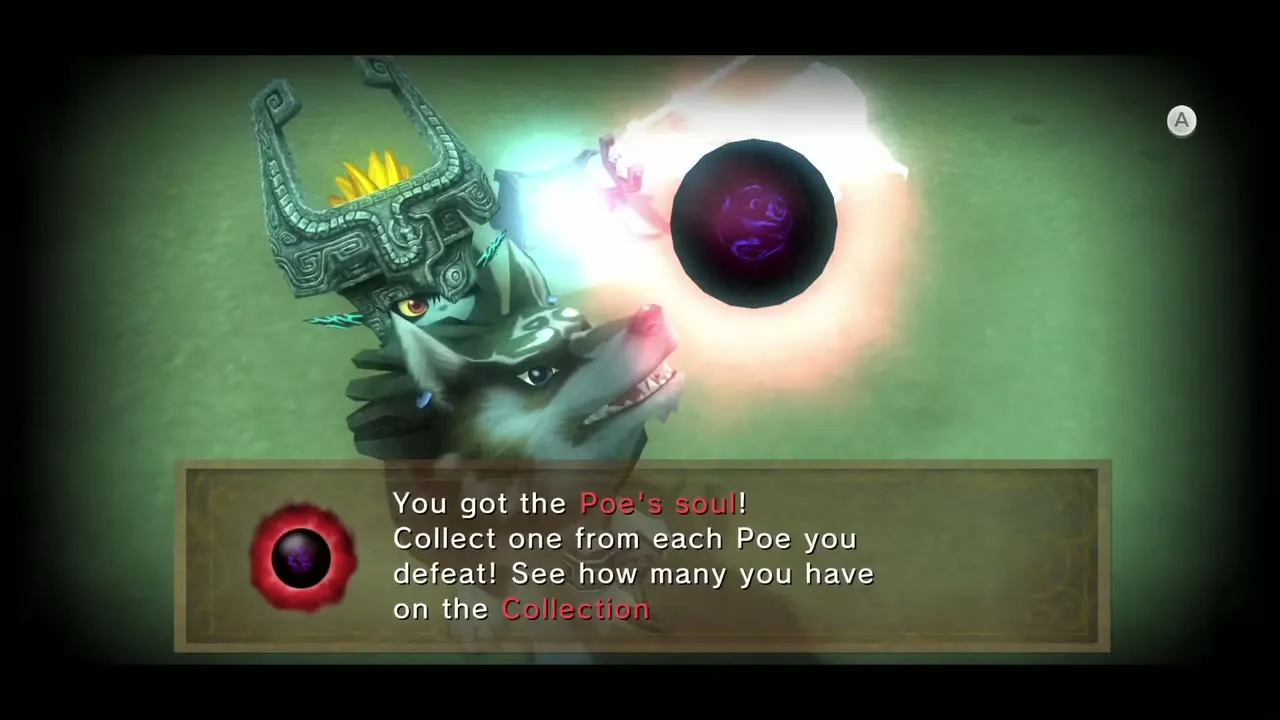
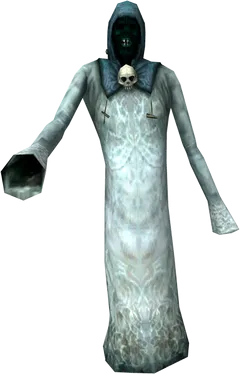
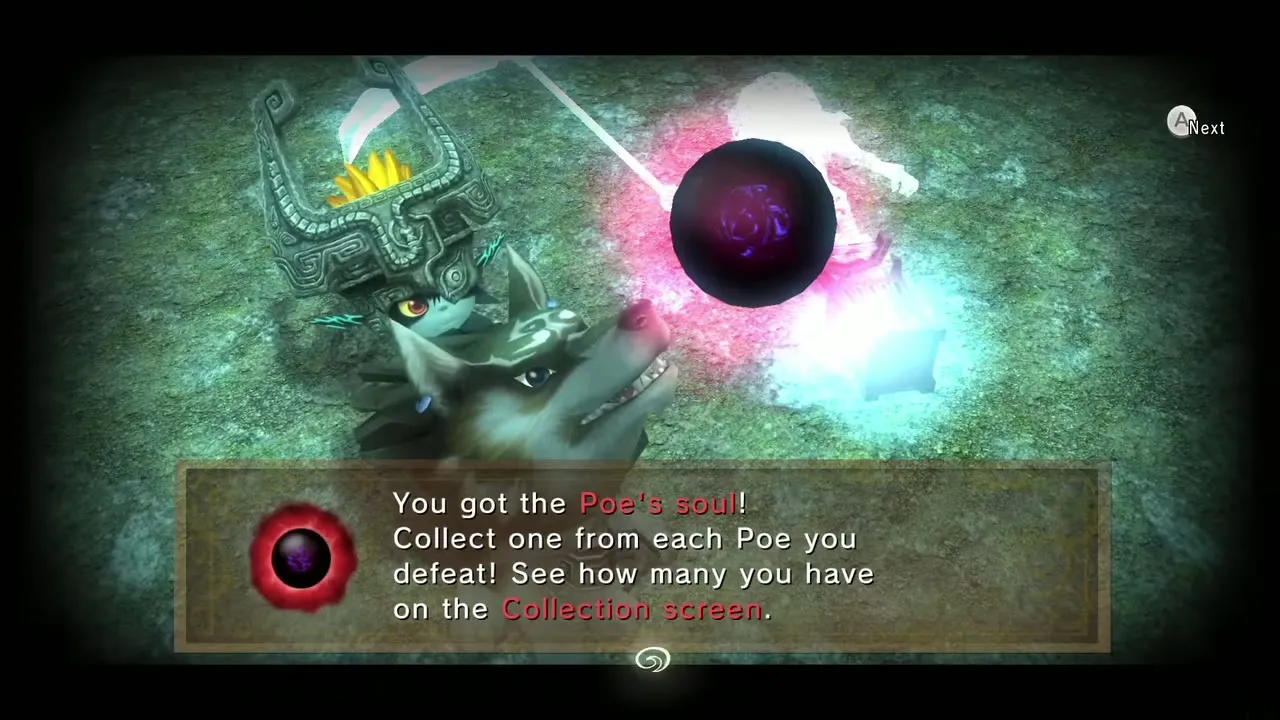
As Wolf Link, dig at the centre of the three skulls to open the cavern. A Poe waits right in front of you: defeat it for its soul. Switch to human form and blow up the boulders with bombs. A second Poe seeps out of the rocks; fight it as a wolf for the second soul. Light the three torches in the cave with the Lantern and a chest appears holding the Stamp for Sad Midna. Climb out.
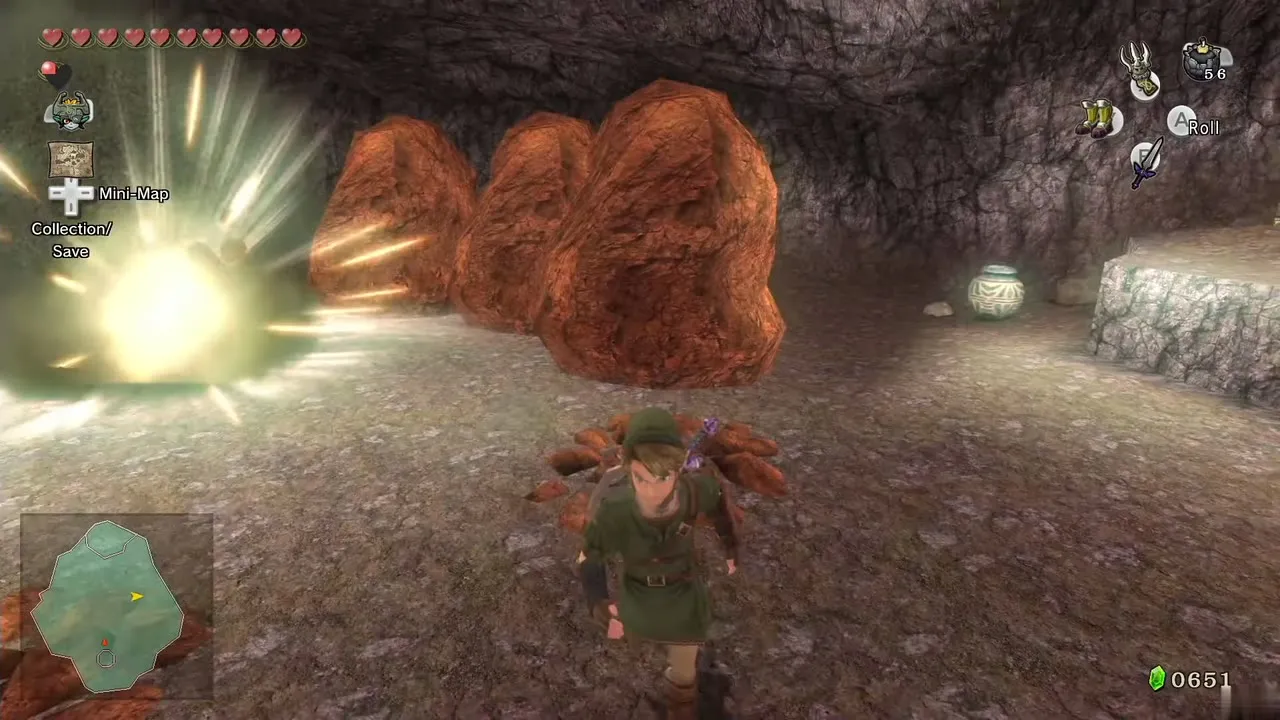
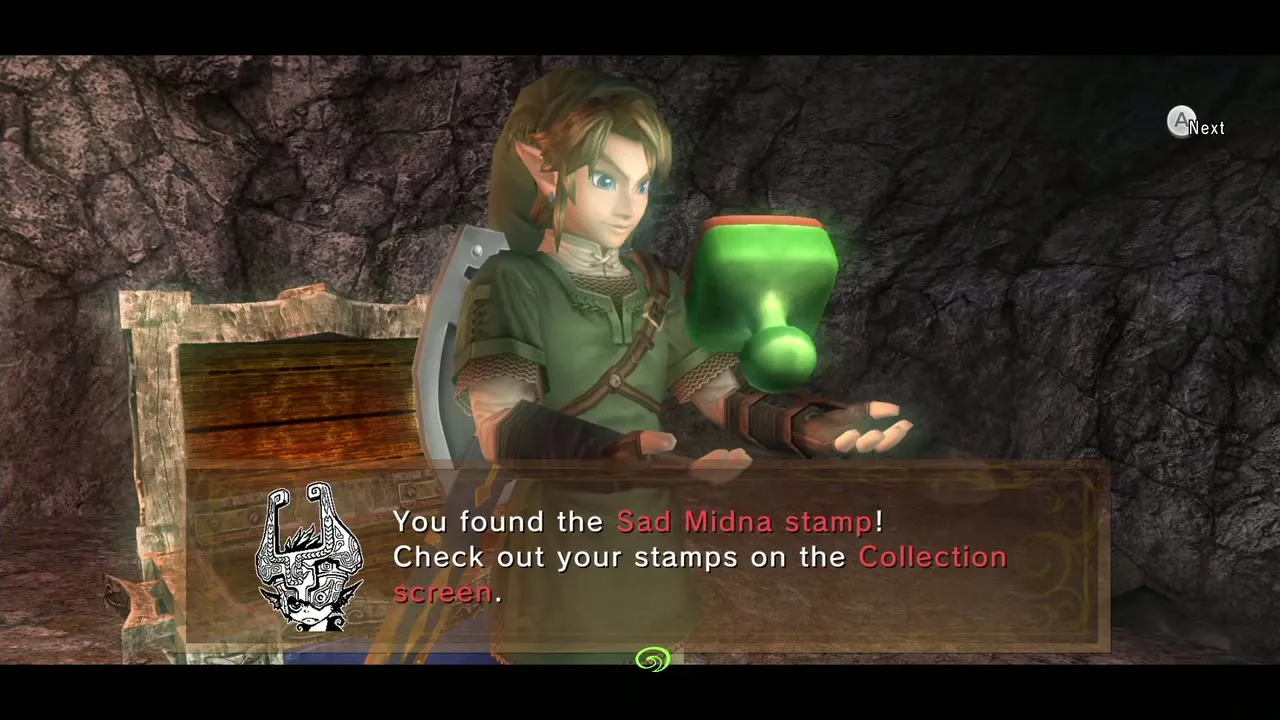

Golden Wolf and the Mortal Draw
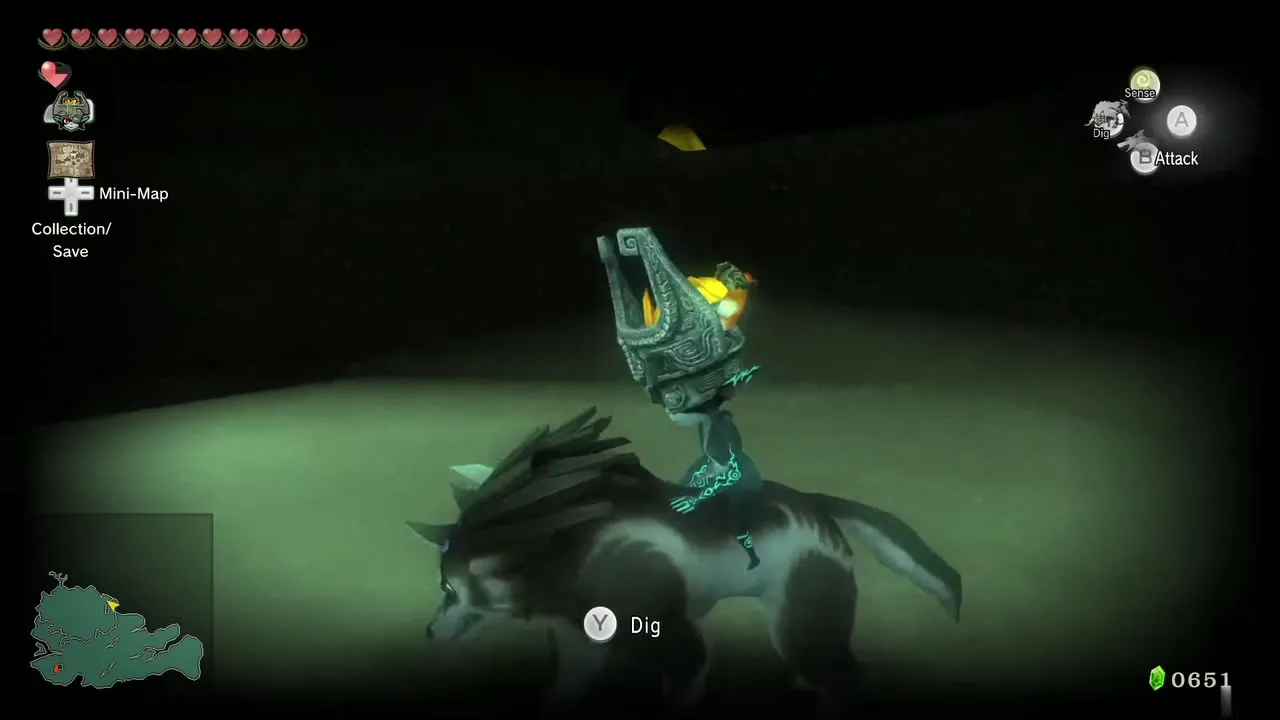
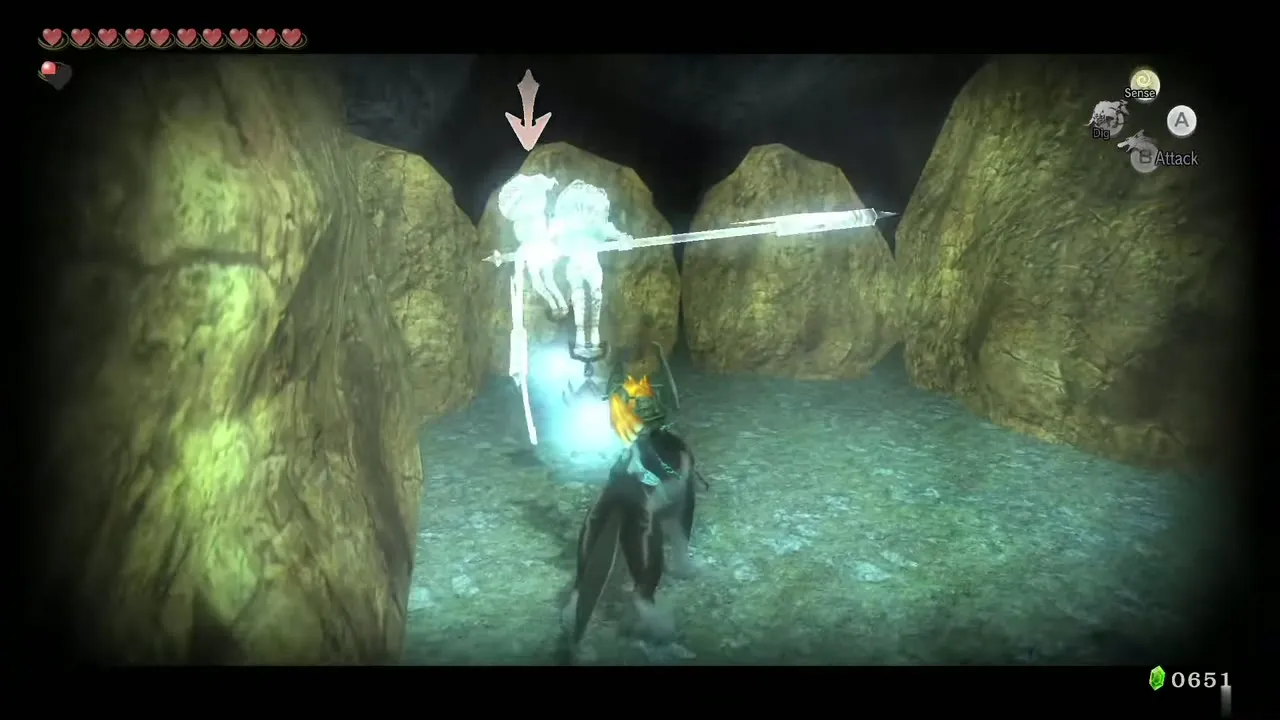
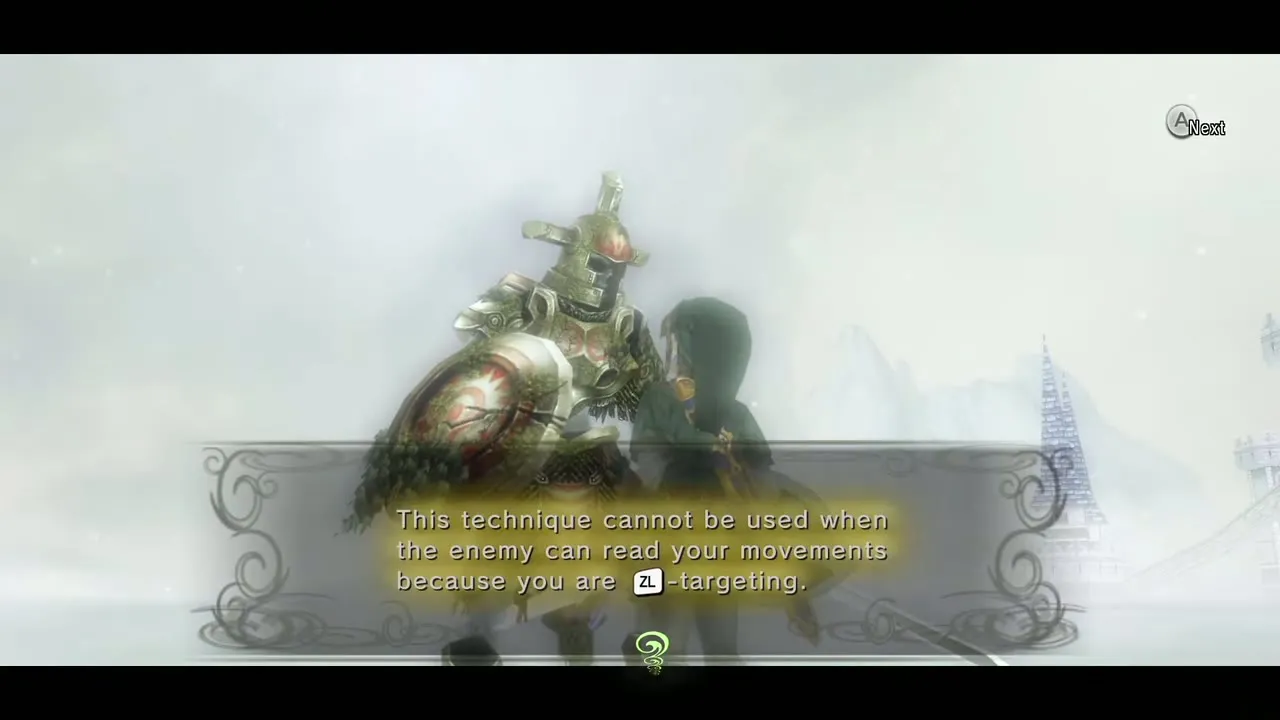
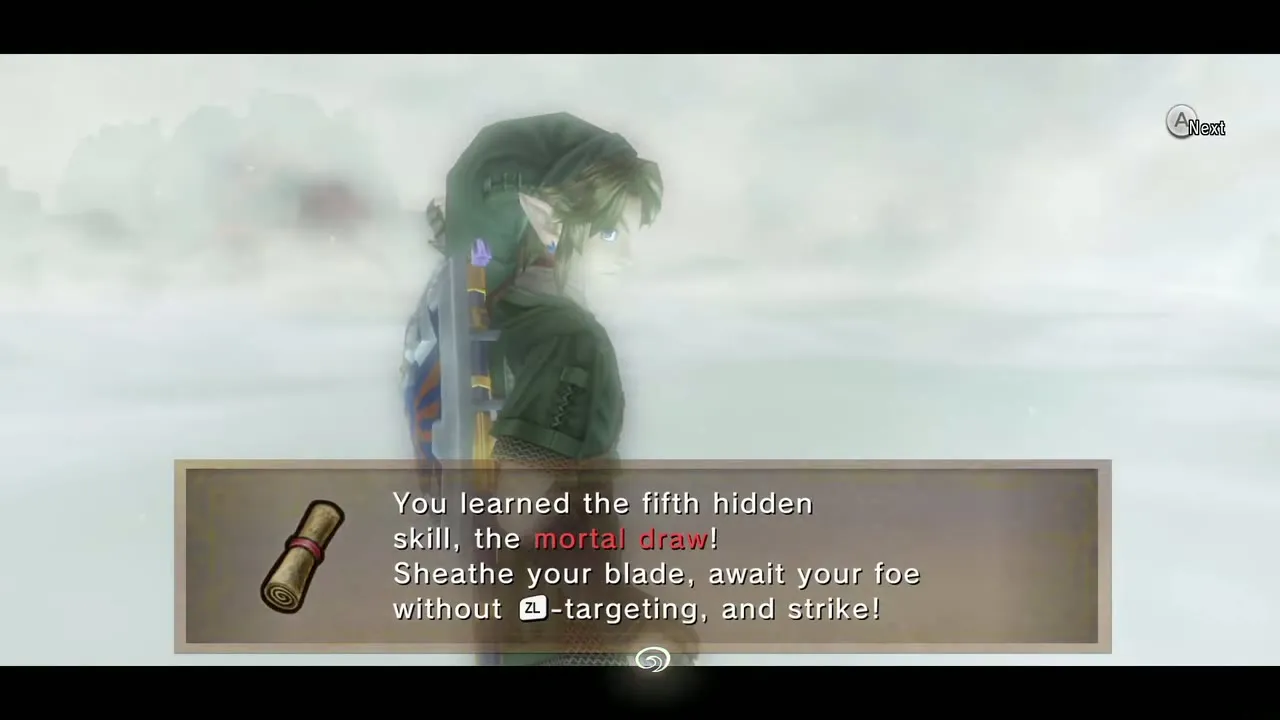
Return to the north edge and ride a Bullbo into the fence that blocks the northern path. Climb the steps and look right first: a short path leads to a chest with arrows. Then go left and the Golden Wolf stands here (only if you howled at the Lake Hylia stone). Approach it and you are taken to the Hero’s Shade. Prove the Helm Splitter: bash with the shield attack, press A to jump onto his helm, and finish him with a slash.
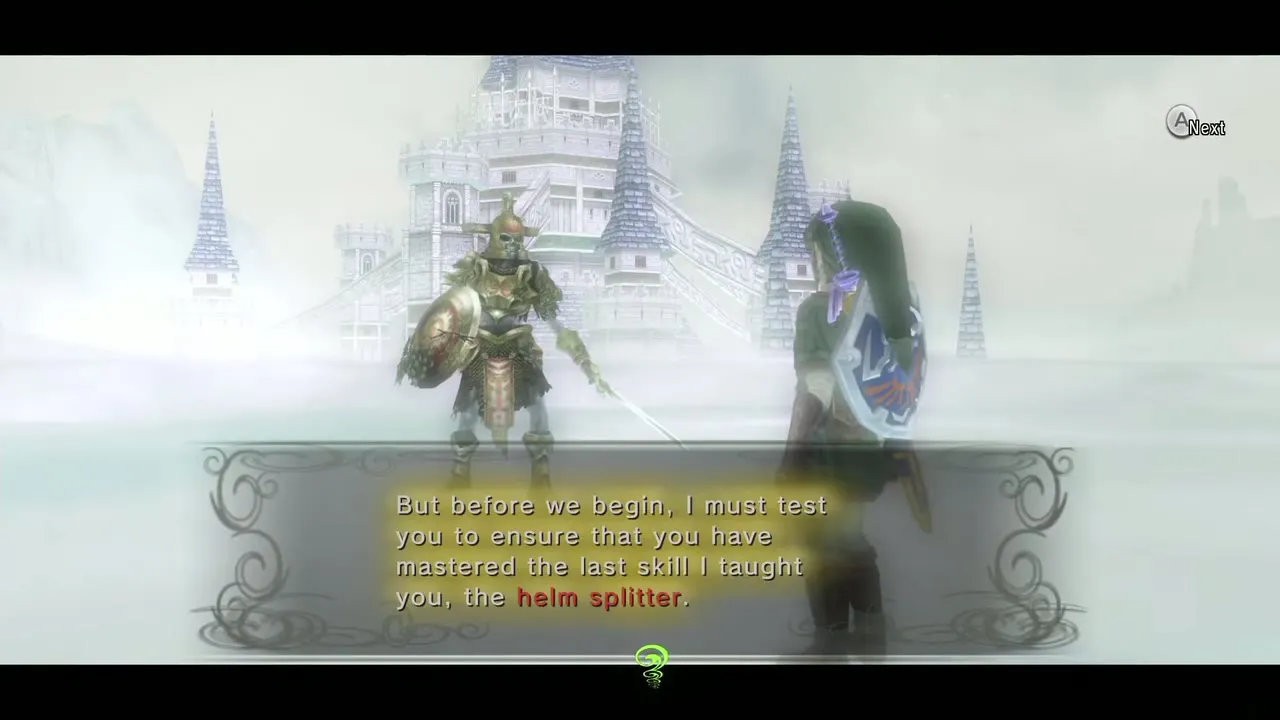
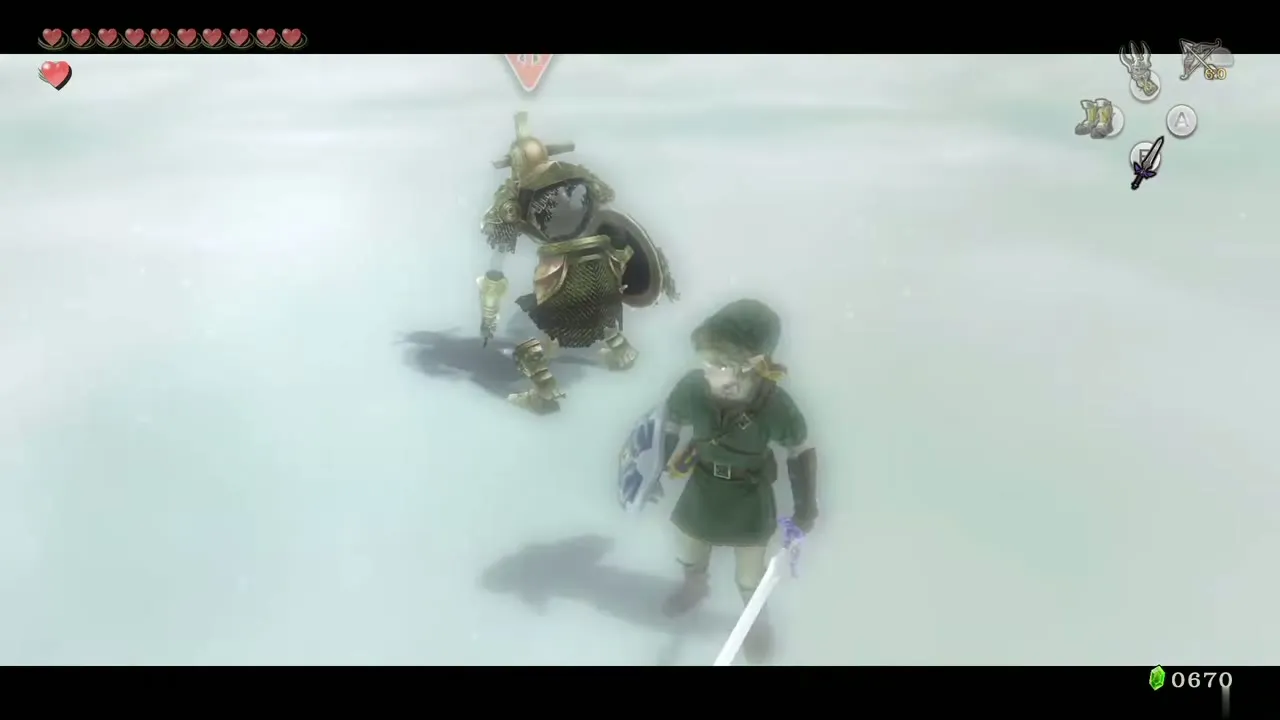
The Shade teaches the Mortal Draw. Keep your sword sheathed, stand close to a target without locking on, and press A when the prompt appears. Link draws and strikes in one move. It always lands, but leaves you open if the enemy survives. It is the fifth Hidden Skill of the game.
A Poe past the Golden Wolf
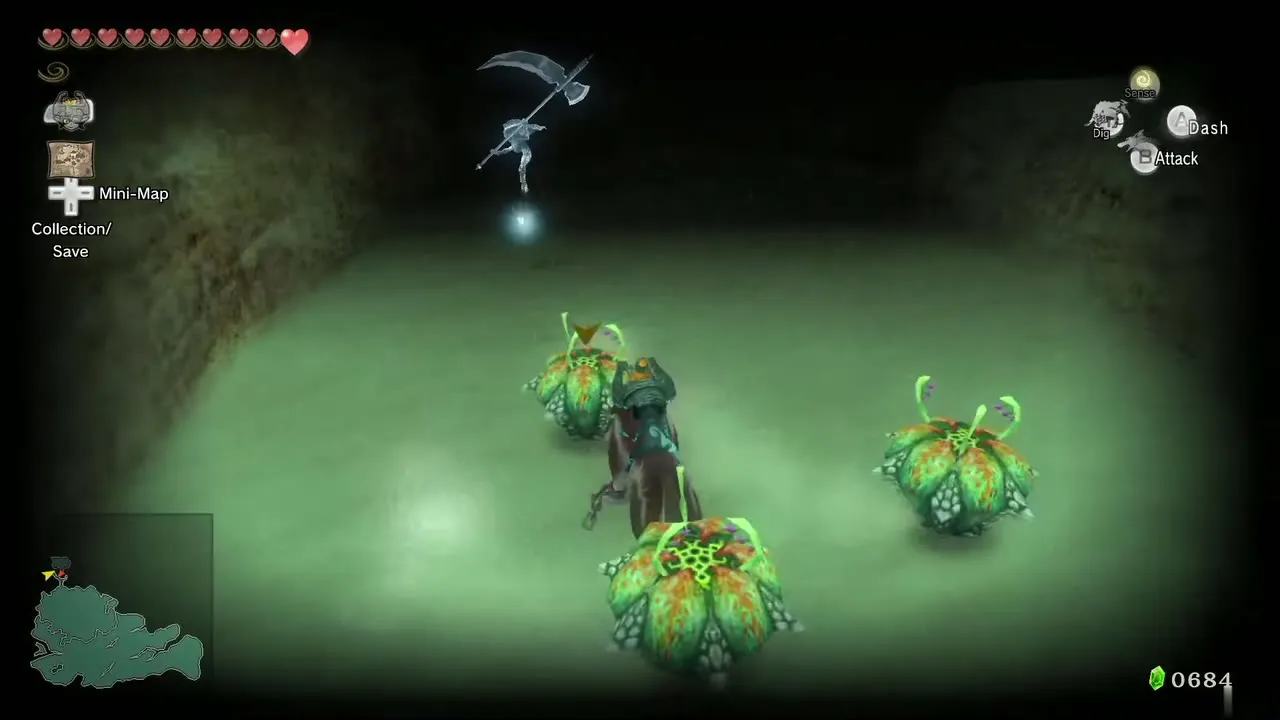
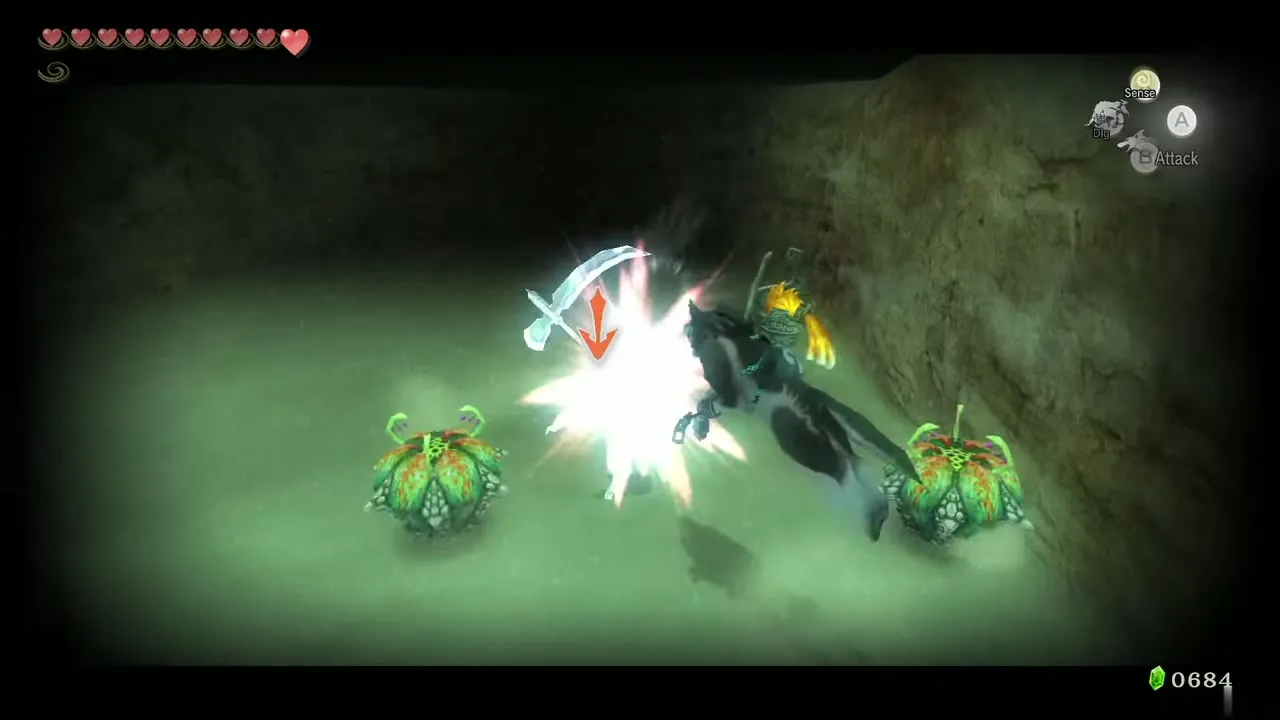
Continue west of the Golden Wolf. Three Leevers pop out of the sand: kill them, then switch to Wolf Link to find and defeat the Poe. Return to the steps where you met the Golden Wolf and follow the path north.
Bulblin Camp
Fight your way through the camp
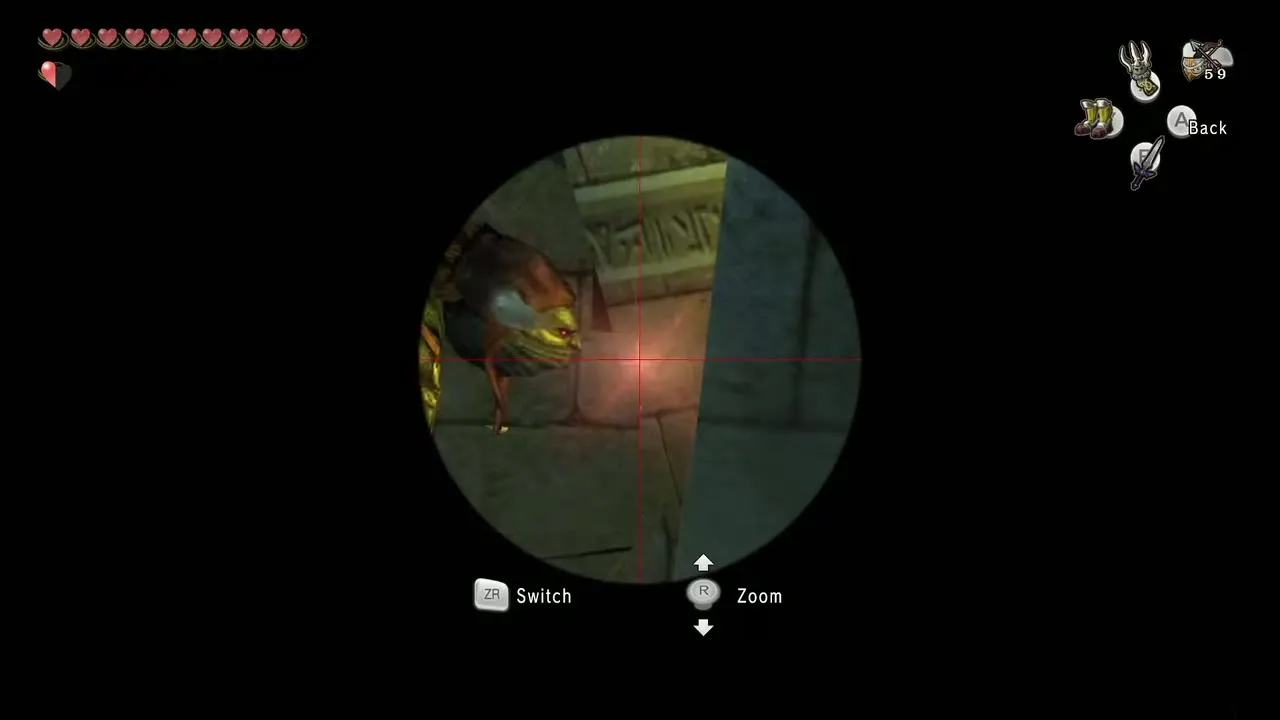
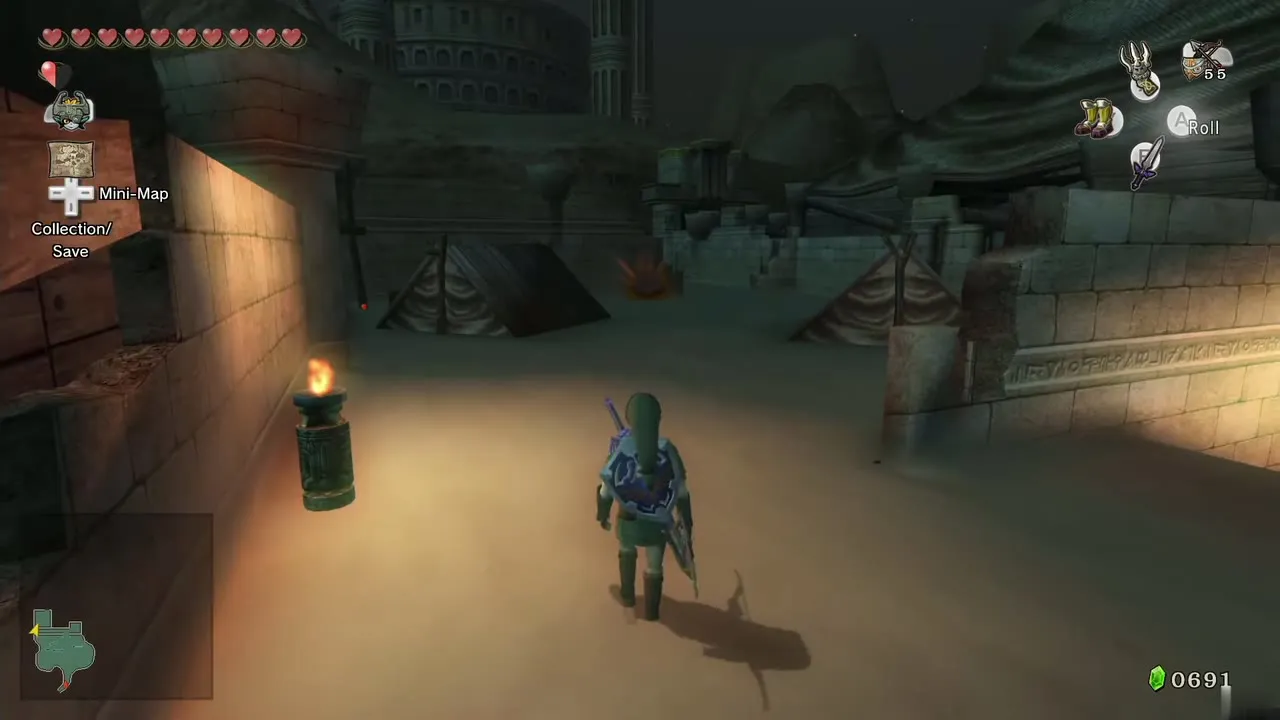
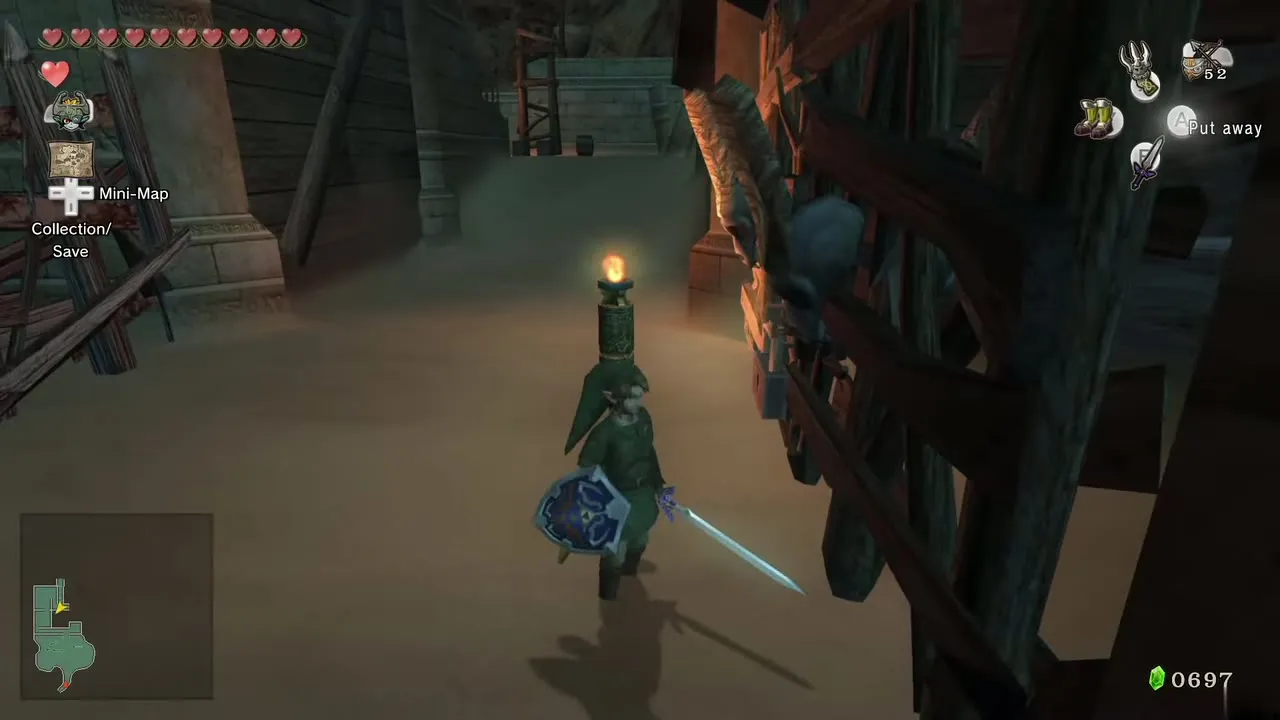
The camp has no music. Walk toward the locked gate and a Bulblin archer spots you, sending a melee Bulblin ahead. Defeat him and shoot the archer on the tower. A chest east of the archer holds arrows. Head west to meet two more Bulblins and an archer, then a larger area of tents with more melee Bulblins and archers. Lock on and use Hawkeye, since any tower archer who spots you calls reinforcements.

Small key and Piece of Heart
Head to the north-east corner. A Bulblin cooks a Bullbo over a campfire and carries the small key, so defeat the Bulblin guarding it, kill the archer and take the key. A chest in the south-west corner of this little area holds a purple Rupee.
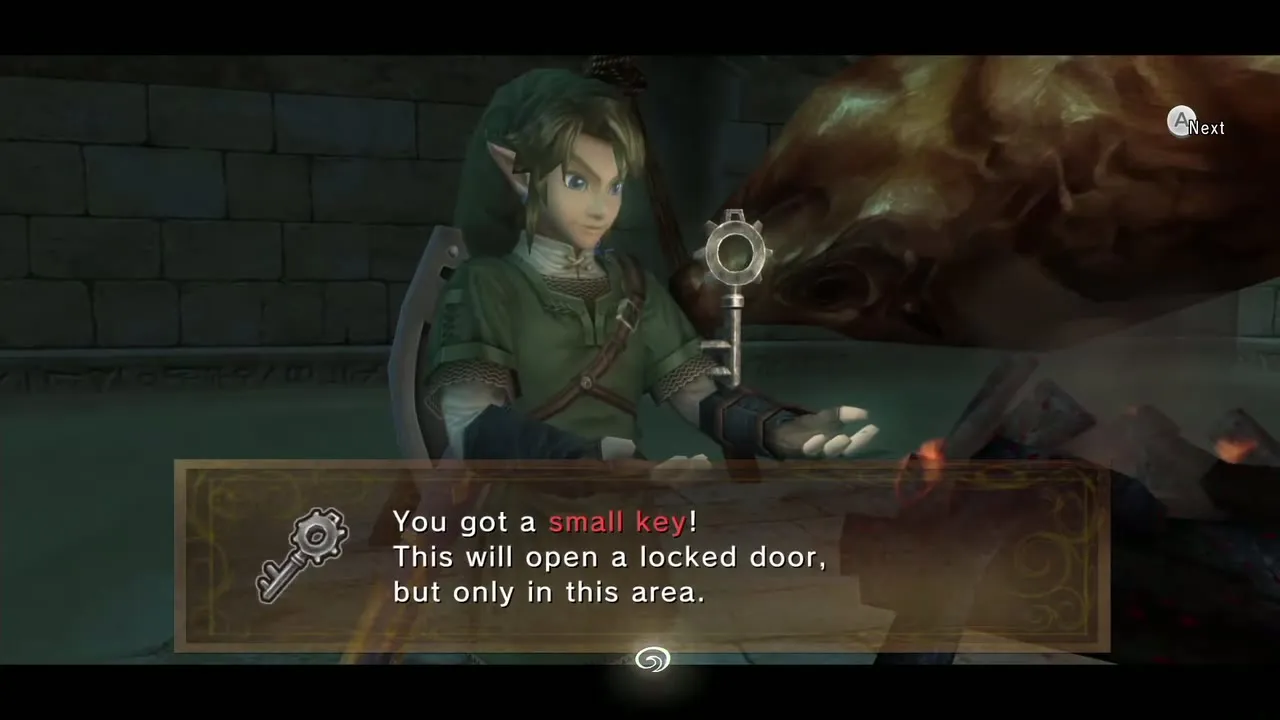
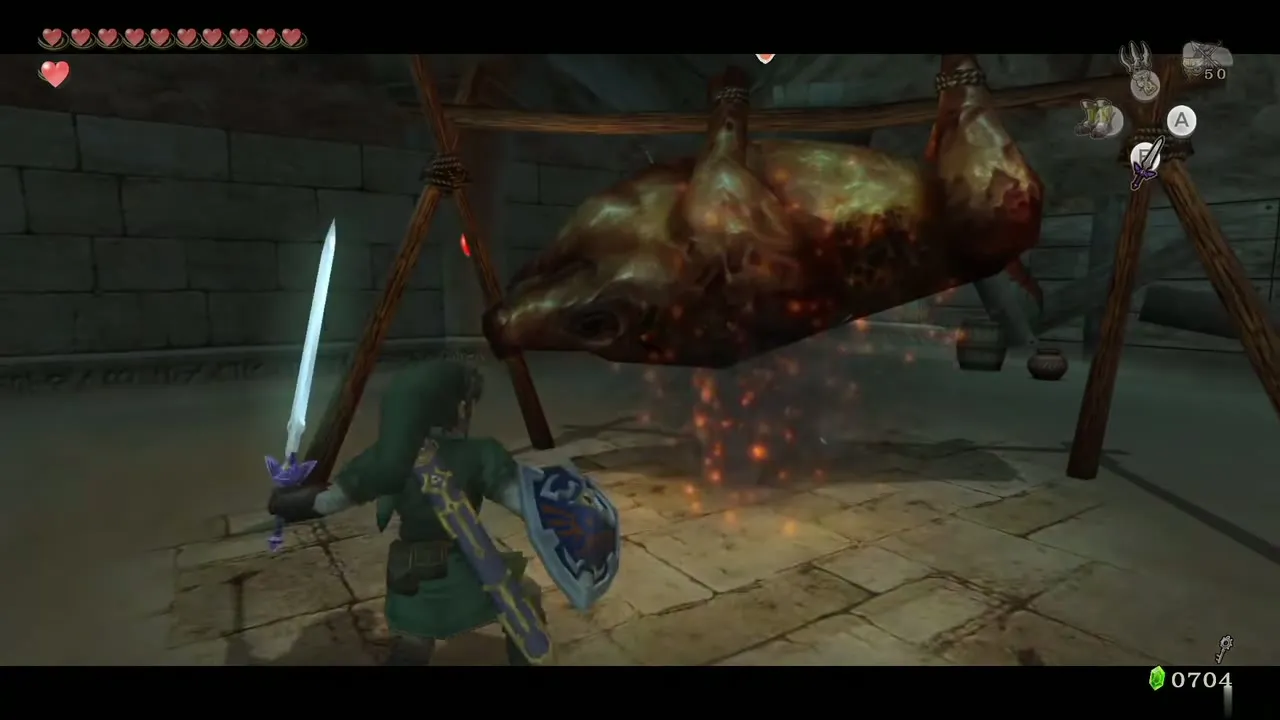
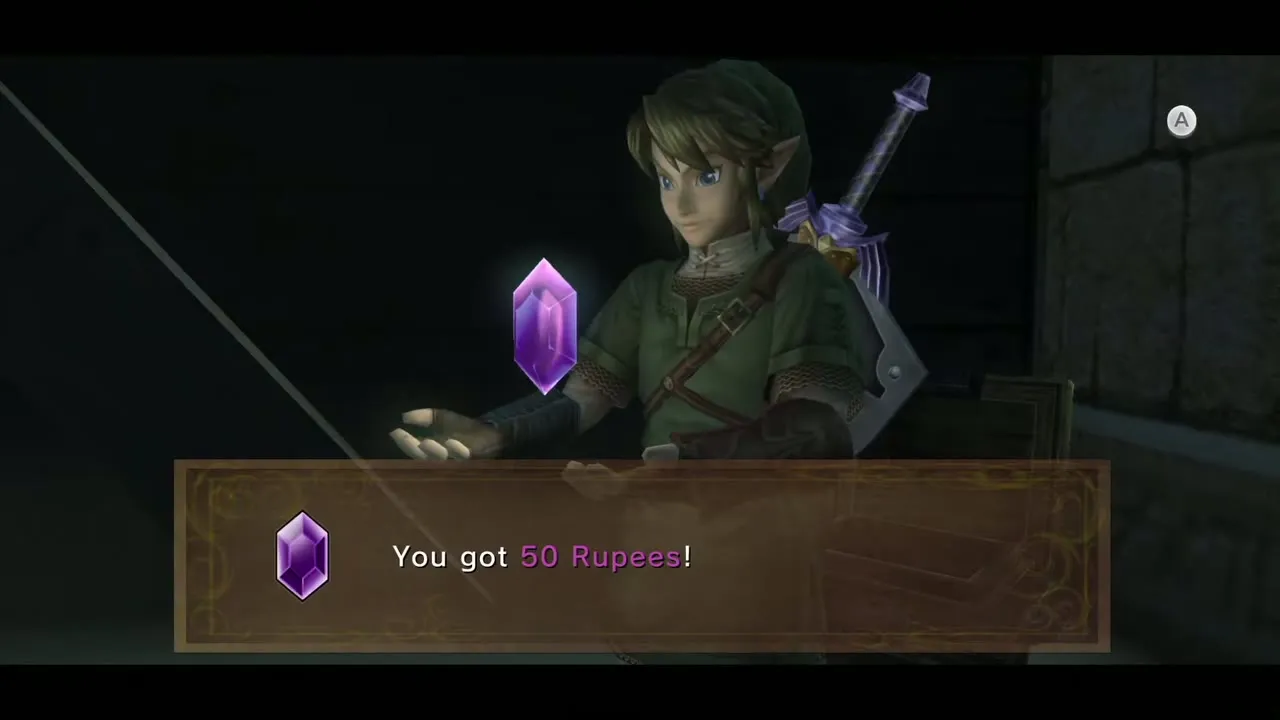
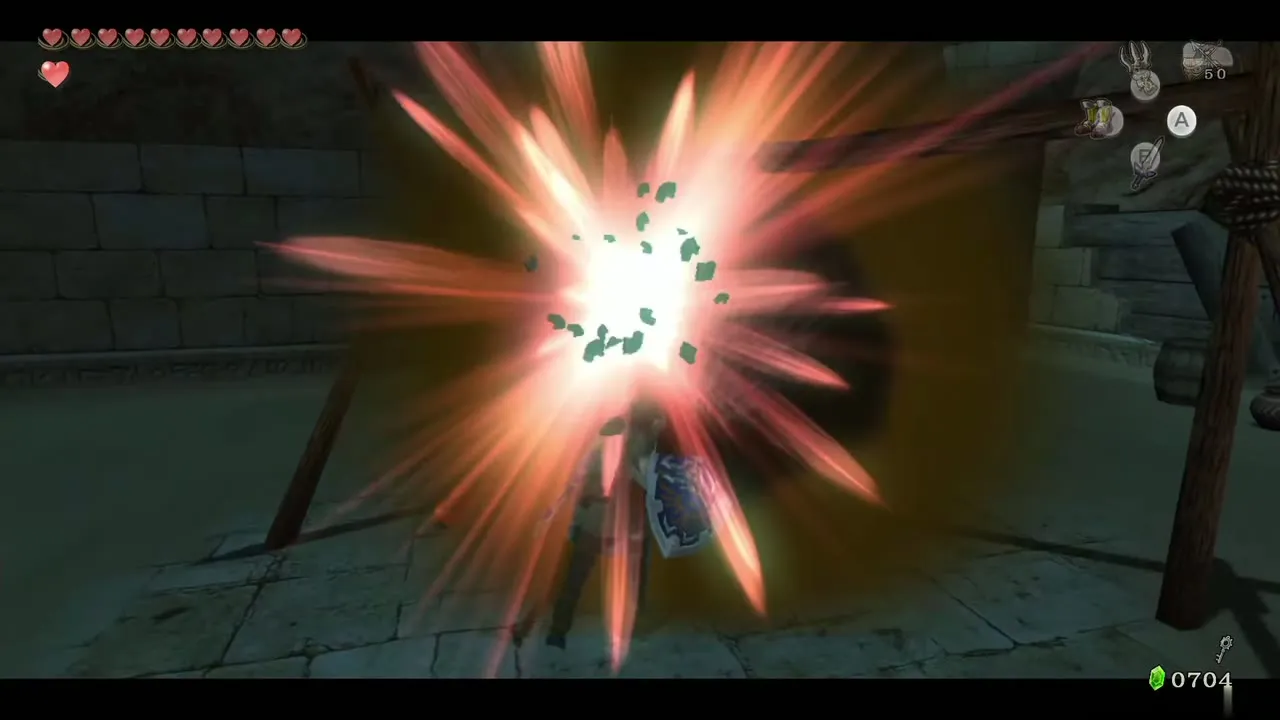
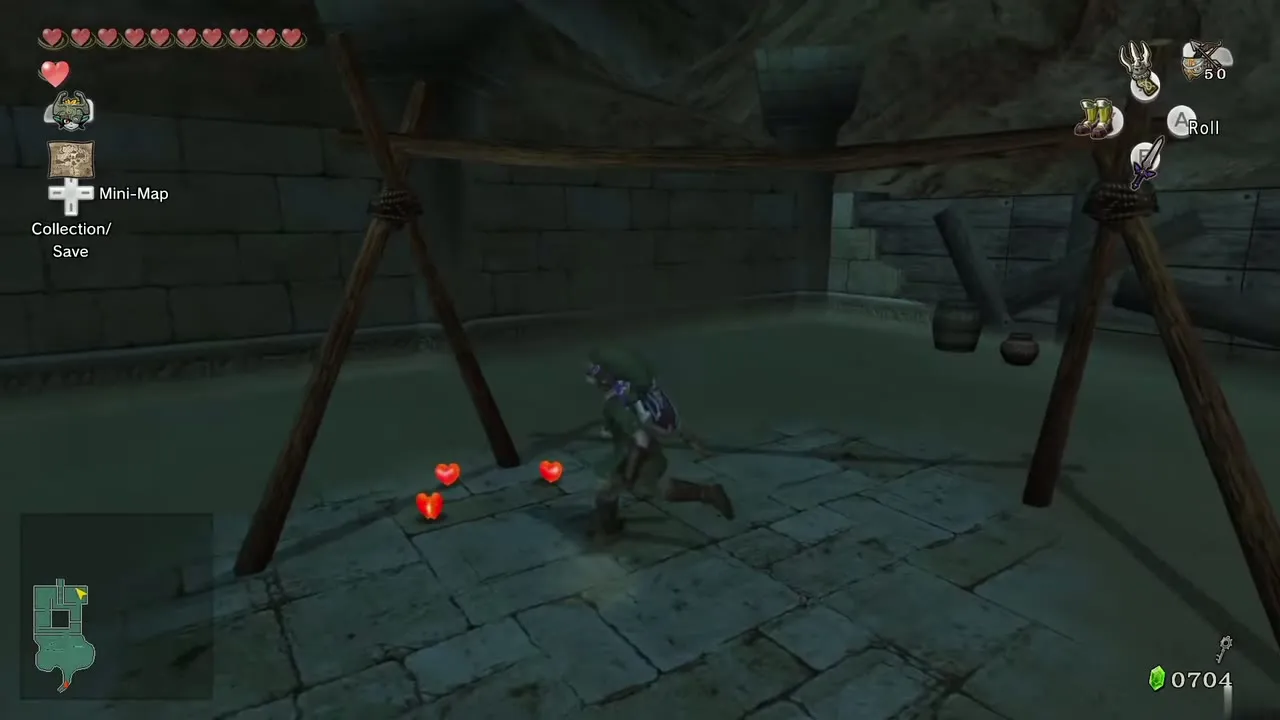
Hack at the roasting Bullbo with your sword. The fire goes out, hearts pop out, and when it is torn apart it leaves a Piece of Heart. It is number 33 on the Heart Piece list.
King Bulblin, second duel
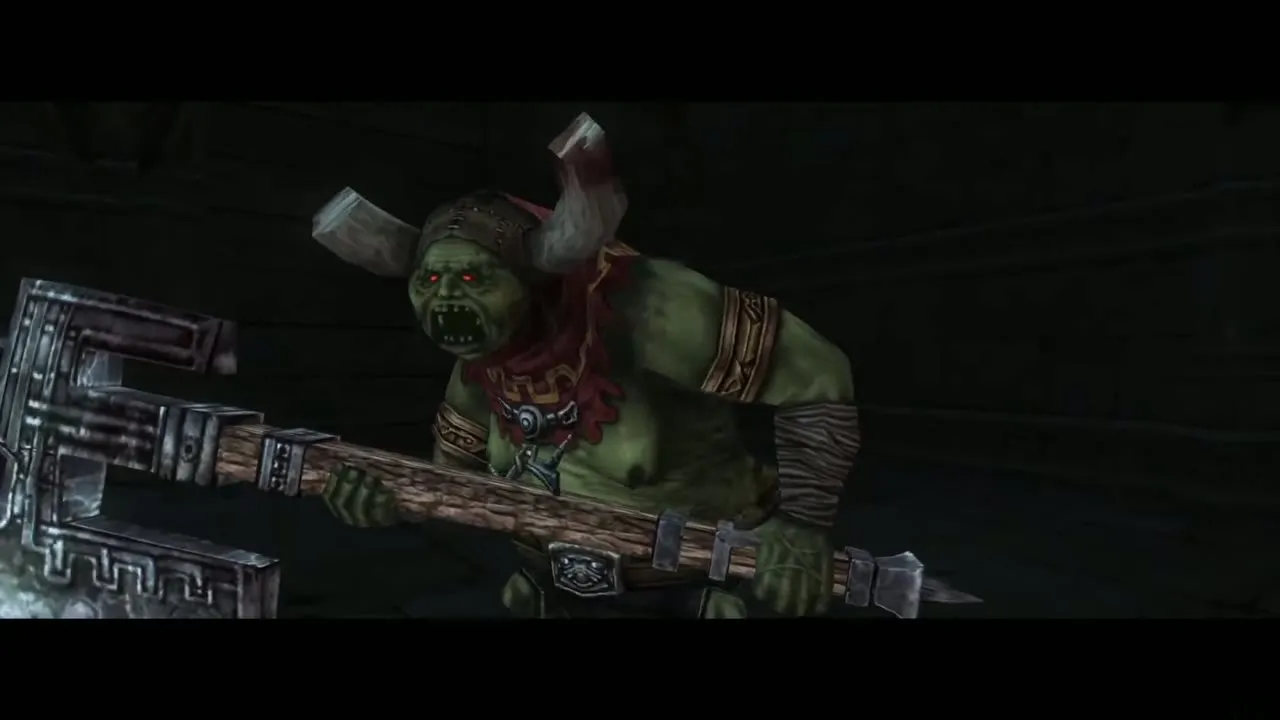
Use the small key on the locked gate in the middle of the camp. King Bulblin waits beside his Bullbo, this time on foot, and he swings an oversized sword whose hit costs three full hearts, the hardest blow you have taken so far. Use the shield attack, Back Slice, Helm Splitter and the new Mortal Draw to wear him down. After a few hits he is stunned with his head lowered: strike a few times, but jump back the moment his head lifts because a big swing follows.
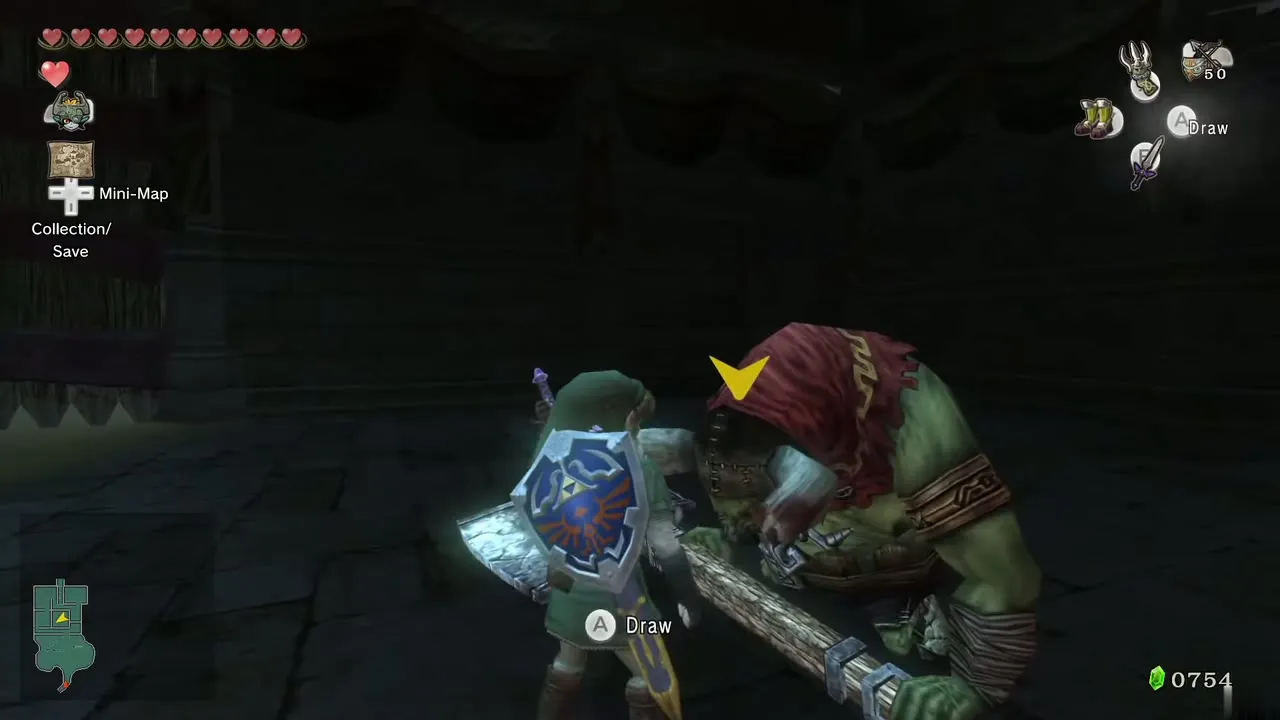
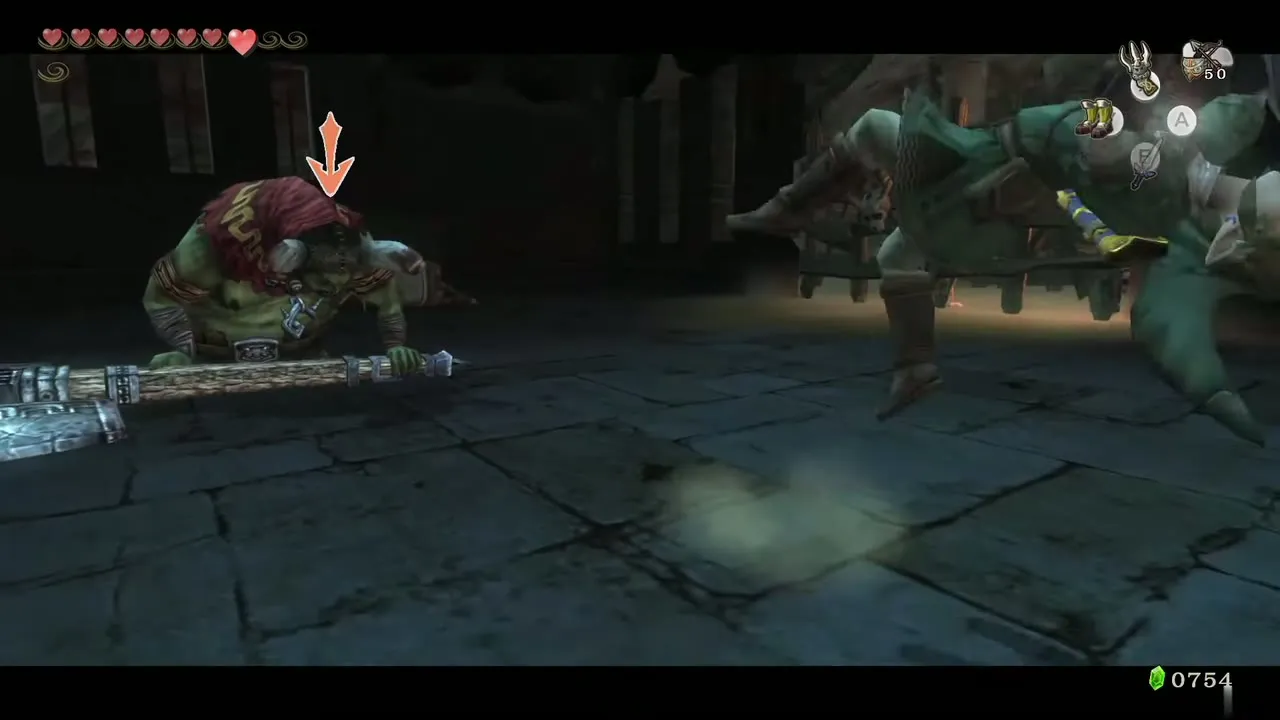
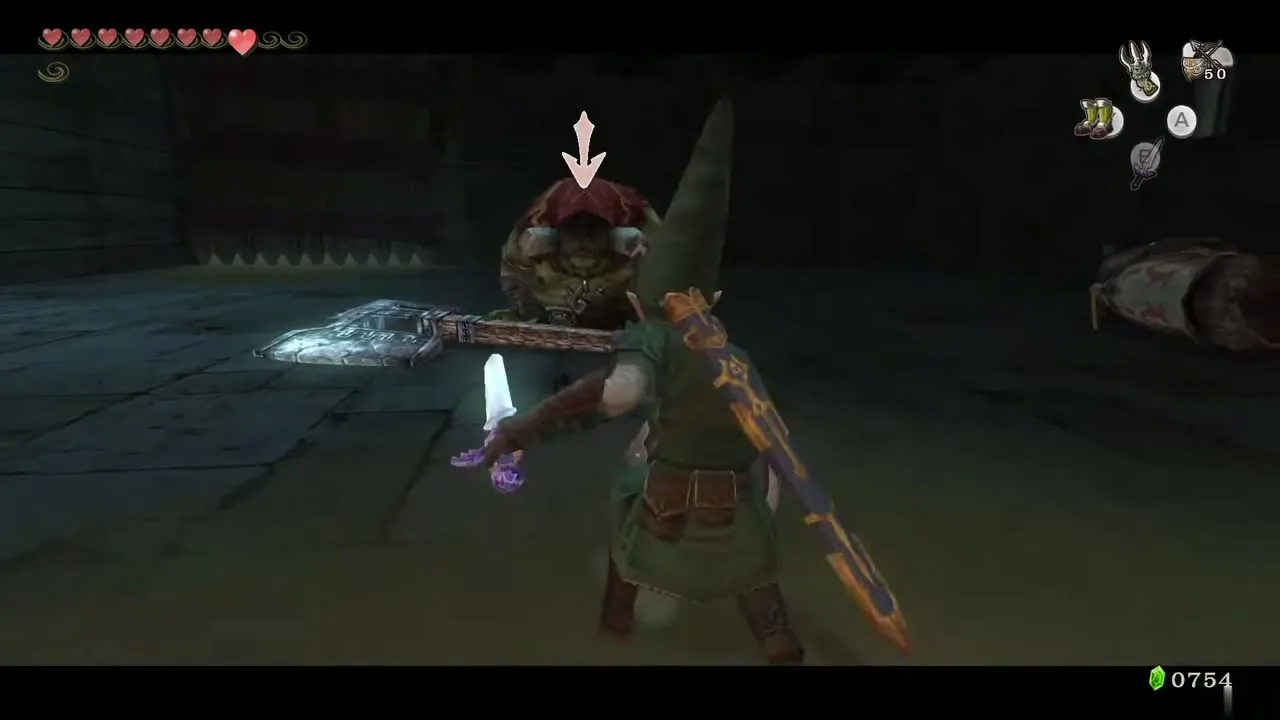
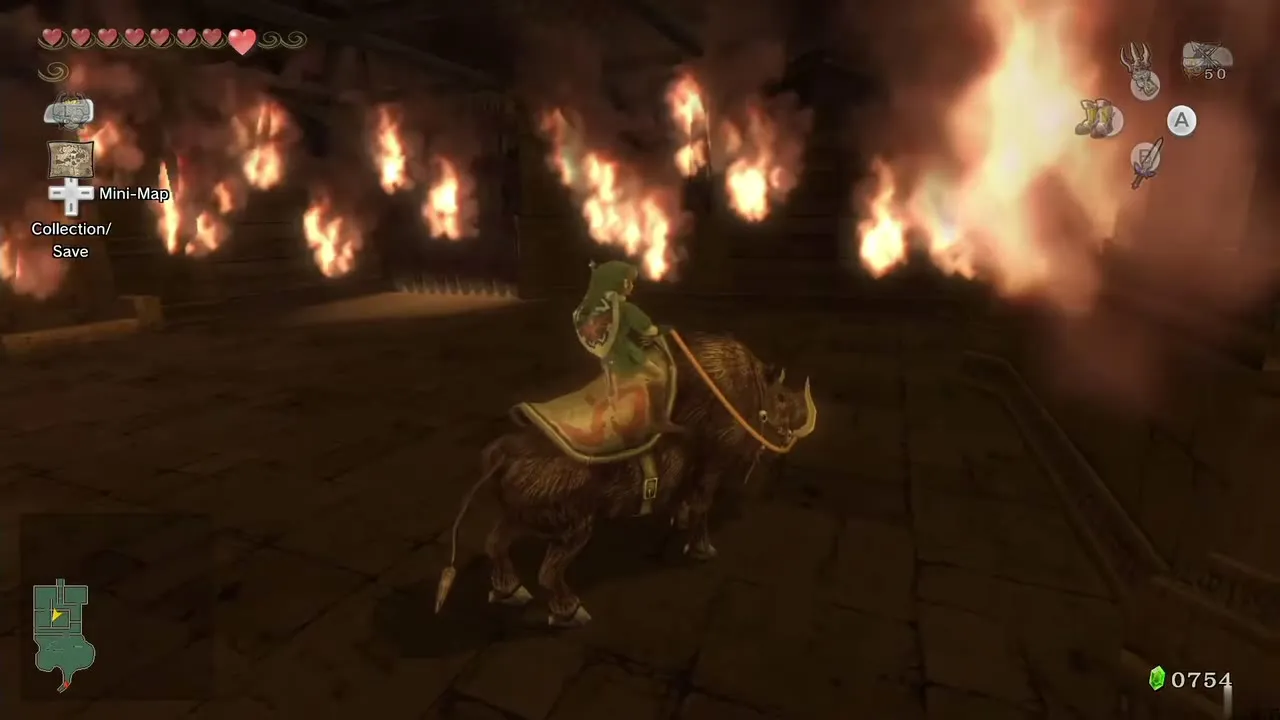
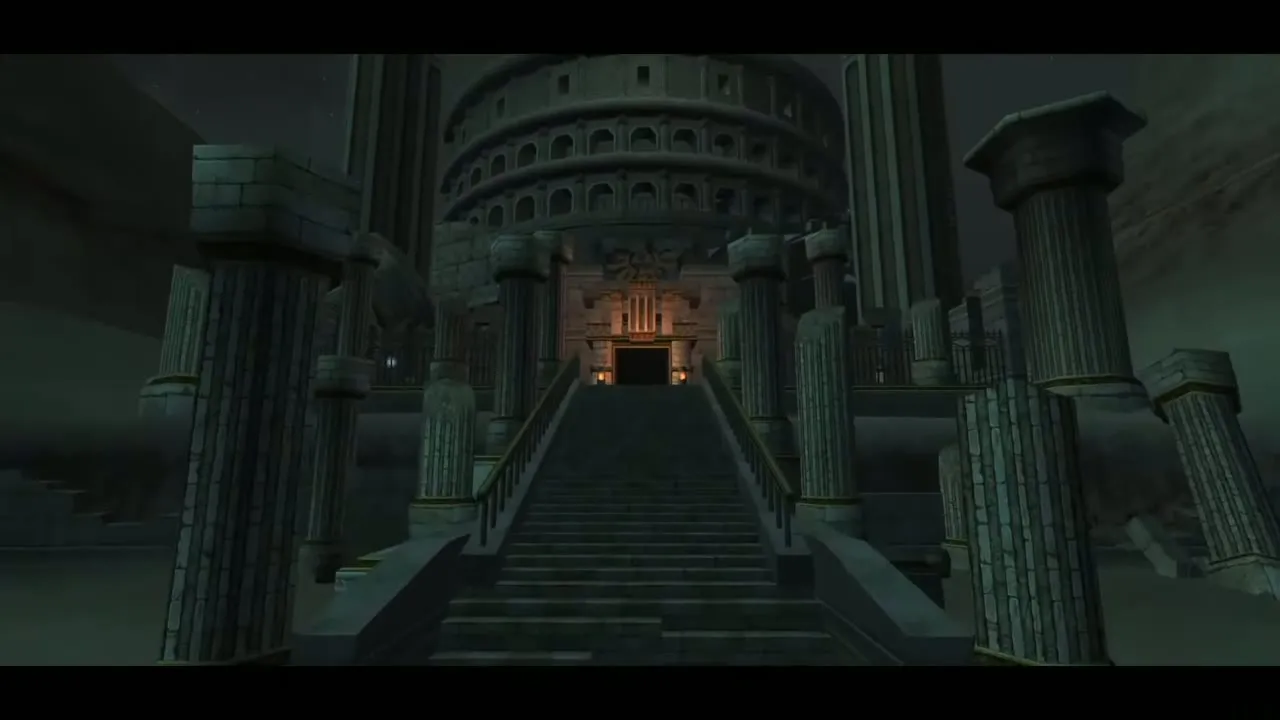
When he is beaten he limps away and sets the camp on fire. His Bullbo gets up: mount it and dash north through the series of wooden gates to reach the entrance to Arbiter’s Grounds.
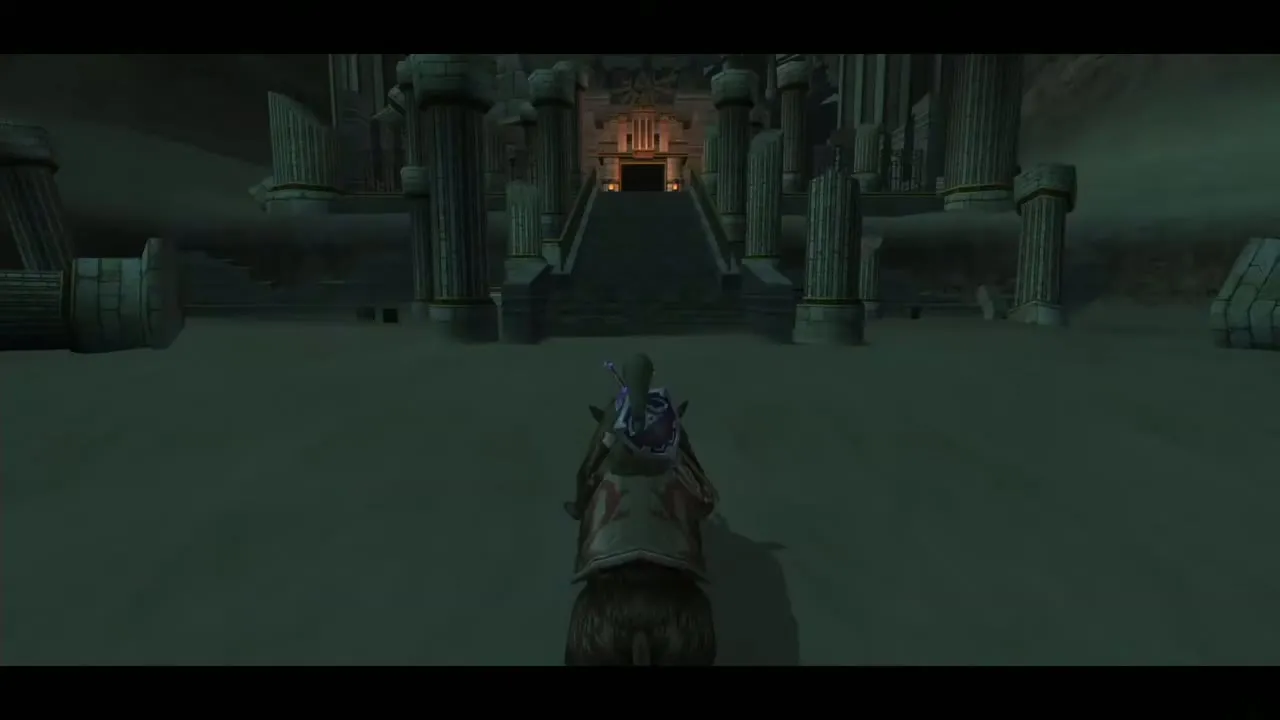
Before you enter Arbiter’s Grounds
The last two Poes
Dismount and go back to the camp. In the area where you fought King Bulblin, a Poe now floats among the embers. Defeat it as Wolf Link for its soul, then walk north again.
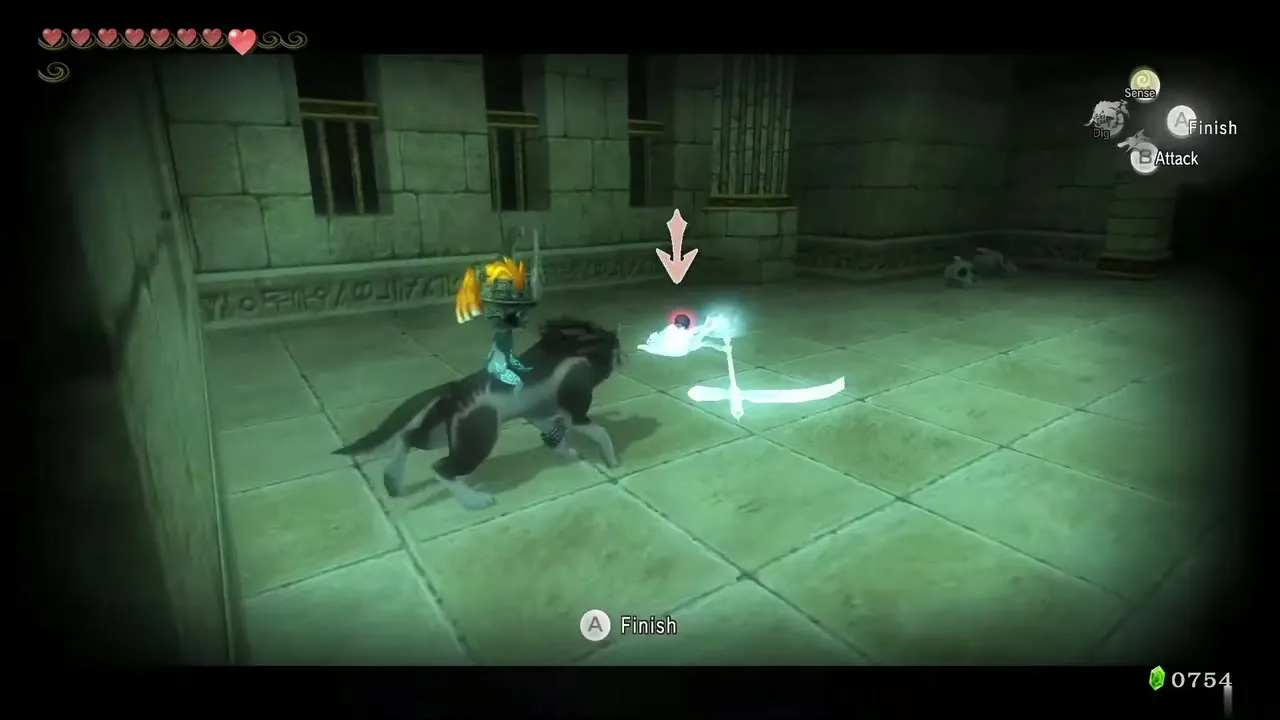
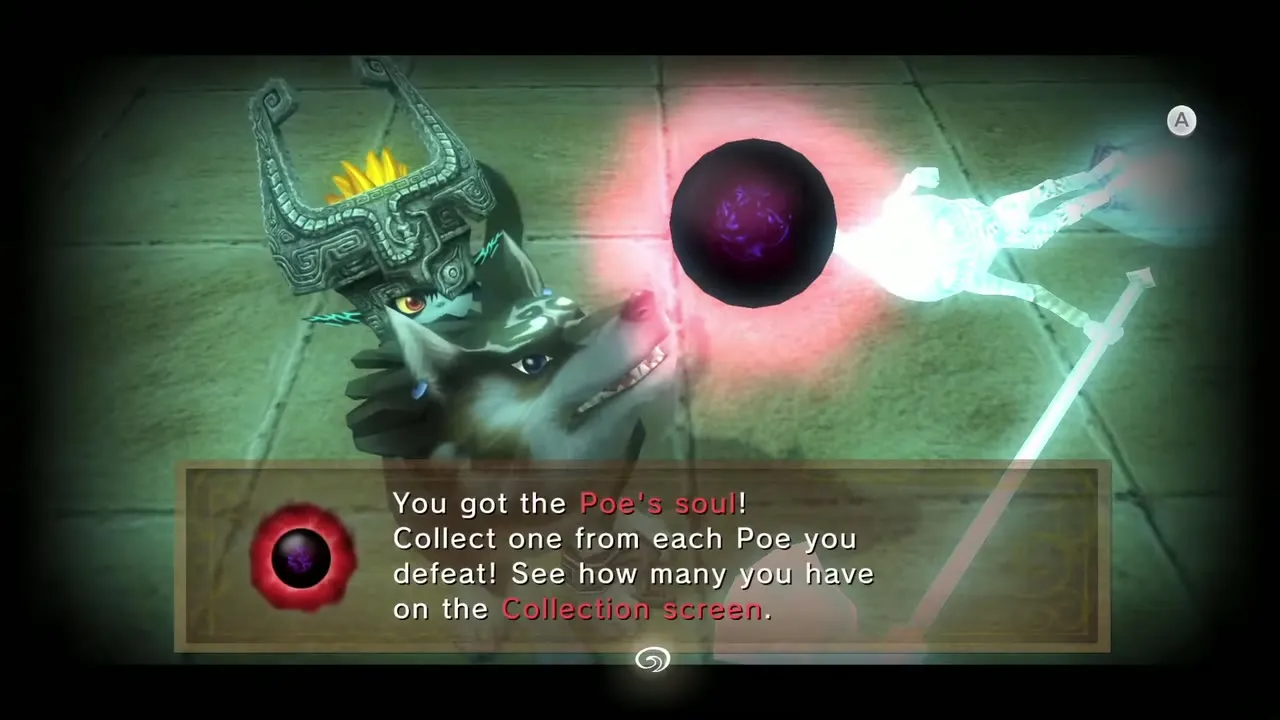
Outside the dungeon, climb the stairs and look left: the last Poe floats there. Defeat it as a wolf. On the other side of the stairs, light two torches with the Lantern and a chest appears with a purple Rupee. Take the stairs down into the Arbiter’s Grounds, the next dungeon (Arbiter’s Grounds Walkthrough).
Chapter checklist
| Type | Name | Where |
|---|---|---|
| Key item | Auru’s Memo, Oasis Flight | Auru’s tower and Fyer, Lake Hylia |
 Howling Stone | Fourth stone (Mortal Draw) | South-west Lake Hylia, up the ladder |
| Golden Bug |  Male Dayfly | South-central desert, north-east of a large boulder |
| Golden Bug | Female Dayfly | Middle of the northern trench, south desert |
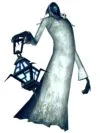 Poe Soul | South-east | Three skulls, south-east corner (night) |
| Poe Soul | South-west | Behind the Bridge of Eldin boulder, south-west ledge (night) |
| Poe Soul | North-east | Skulls on the north-east ledge (night) |
| Poe Souls (two) | North-east cavern | Dig Cavern at the north-east skulls |
| Poe Soul | West | Past the Golden Wolf, among Leevers |
| Poe Soul | Camp | Bulblin Camp arena after King Bulblin |
| Poe Soul | Stairs | Left of the Arbiter’s Grounds stairs |
| Hidden Skill | Mortal Draw | Golden Wolf, north-west of the camp |
 Piece of Heart | Bulblin Camp roast Bullbo (#33) | North-east corner of the camp |
| Stamp | Hylian Letter R | Isolated rock, west desert |
| Stamp | Sad Midna | Torch chest in the north-east Dig Cavern |
| Chests |  Orange Rupee (100), red Rupees, purple Rupees (50), arrows | South Dig Cavern, rocks, campfire, watchtowers, fenced areas, north path |
| Story | Bridge of Eldin repaired | South-west ledge, boulder |
Next: Arbiter’s Grounds (Dungeon 4). Earlier: Poe Soul Collection and Malo Mart. Poe tally: Poe Souls.
