
























Phantom Hourglass 100% Completion Walkthrough19 chapters
- Temple of FireEvery key, the Boomerang, the Boss Key, how to beat Blaaz, the Heart Container, Leaf and Astrid’s Power Gem.
- Temple of WindGet the bombs, the Boss Key, beat Cyclok, free Neri and take the Heart Container.
- Molida Island and the Temple of CourageBeat the Giant Eye Plant, light Molida’s statues, get the Bow, defeat Crayk and awaken the Spirit of Courage.
- The Ghost ShipFind the ship with the Spirits, free the Cubus sisters, win their volley game, get the Ghost Key and Heart Container.
- Goron TempleTeam up with Gongoron, get the Bombchus and the Boss Key, beat Dongorongo and take the Crimsonine.
- Temple of IceLever order, three small keys, Grappling Hook, Boss Key, Gleeok fight, Heart Container and Azurine.
- Mutoh’s TempleGet the Hammer, find both small keys and the Boss Key, beat Eox and collect the Aquanine.
- Mercay Island and the First Sea ChartGet Oshus’s Sword, solve the lever passage, rescue Linebeck and find the first sea chart.
- Temple of the Ocean KingTake the Phantom Hourglass, sneak past Phantoms, carry three Force Gems and find the Northwestern Sea Chart.
- Temple of the Ocean KingPhantom Eyes, the hourglass crest door, the Salvage Arm, treasure salvage and the Sun Key.
- Zauz and the Temple of the Ocean KingPure Metals, Triforce door, crystal puzzles and the Southeastern Sea Chart.
- Temple of the Ocean KingGold Phantoms, the B11 bridges, three Force Gems on B12 and the Northeastern Sea Chart.
- The Phantom Sword and BellumPhantom Hourglass walkthrough for the Phantom Sword, the last Temple of the Ocean King descent, Bellum.
- Isle of Ember and AstridFirst voyage, Beedle’s Shop Ship, Kayo’s torches, freeing Astrid and the volcano path to the Temple of Fire.
- Cannon Island, the Ghost Ship Chase and Molida IslandBuy the Cannon from Eddo, chase the Ghost Ship, then reach Molida Island and take the Shovel.
- Northwestern Sea and the Isle of GustThe fog route, Bannan Island fishing, Zauz, the Cyclone Slate, Golden Frogs and the way to the Temple of Wind.
- Goron Island and GongoronSail the Southeastern Sea, beat the Massive Eye, pass Biggoron’s quiz, find Gongoron and reach the Goron Temple.
- Isle of Frost and the Yook MysteryCannon the ice, Anouki Estates, find the Yook among six villagers and fight through the Great Ice Field.
- Isle of the Dead and the Isle of RuinsDig spot, Phantom Corridor path, Regal Necklace, King’s Key, Max and the door symbol.
| Covers | the fog route, Bannan Island, Zauz’s Island, Uncharted Island, the Prince of Red Lions’ ship and the Isle of Gust up to the Temple of Wind door |
|---|---|
| You need | Boomerang, Shovel, Cannon, the Southwestern and Northwestern Sea Charts and the fog route copied onto your chart |
| Rewards | 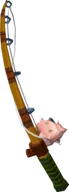 Fishing Rod,  Big Catch Lure,  Cyclone Slate,  2 Heart Containers (a third is for sale), 6 Spirit Gems here (  1 Power,  3 Wisdom,  2 Courage), plus the Spirit Island Courage Gem if you skipped it,  5 treasure maps, treasures and ship parts |
This chapter takes you out of the Southwestern Sea, through the fog and into the Northwestern Sea, where four islands wait: Bannan Island with its fishing quest, Zauz’s Island, Uncharted Island, which hands you the Cyclone Slate, and the sandy Isle of Gust. The short version is to copy the fog route onto your Sea Chart, sail it, pick up the side quests in the order the islands appear, and finish by crossing the Isle of Gust to the locked door of the Temple of Wind.
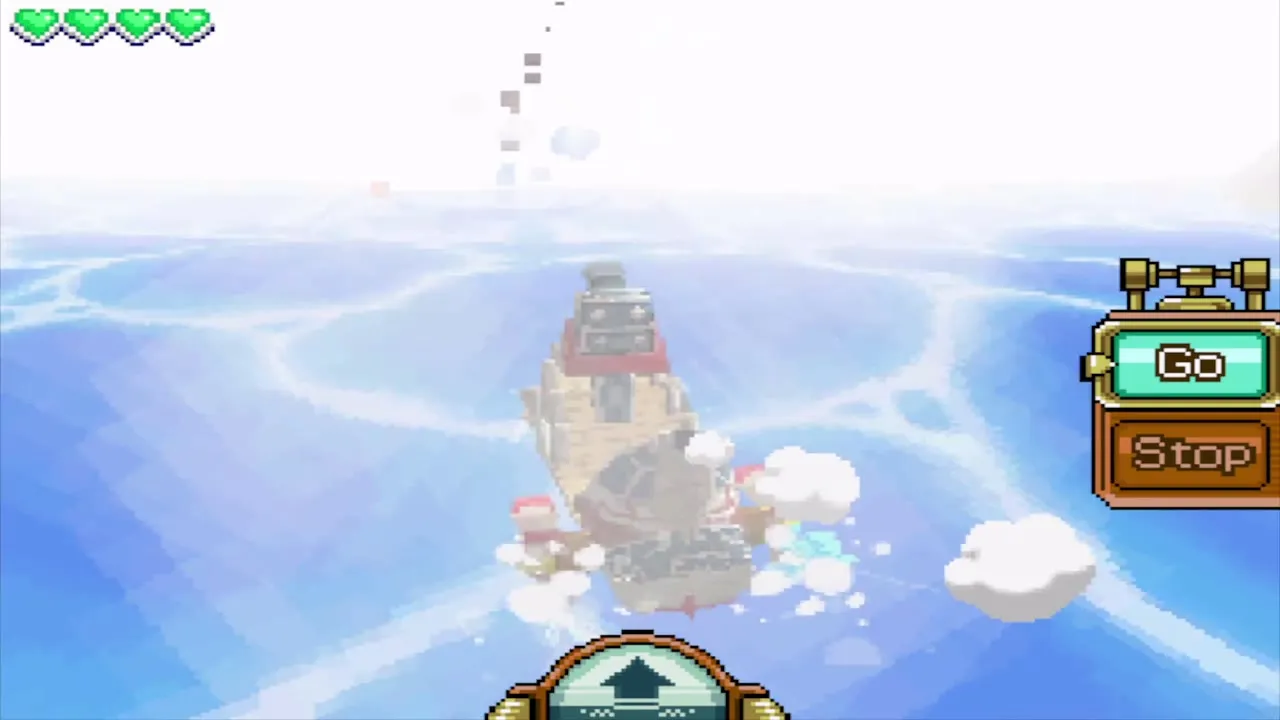
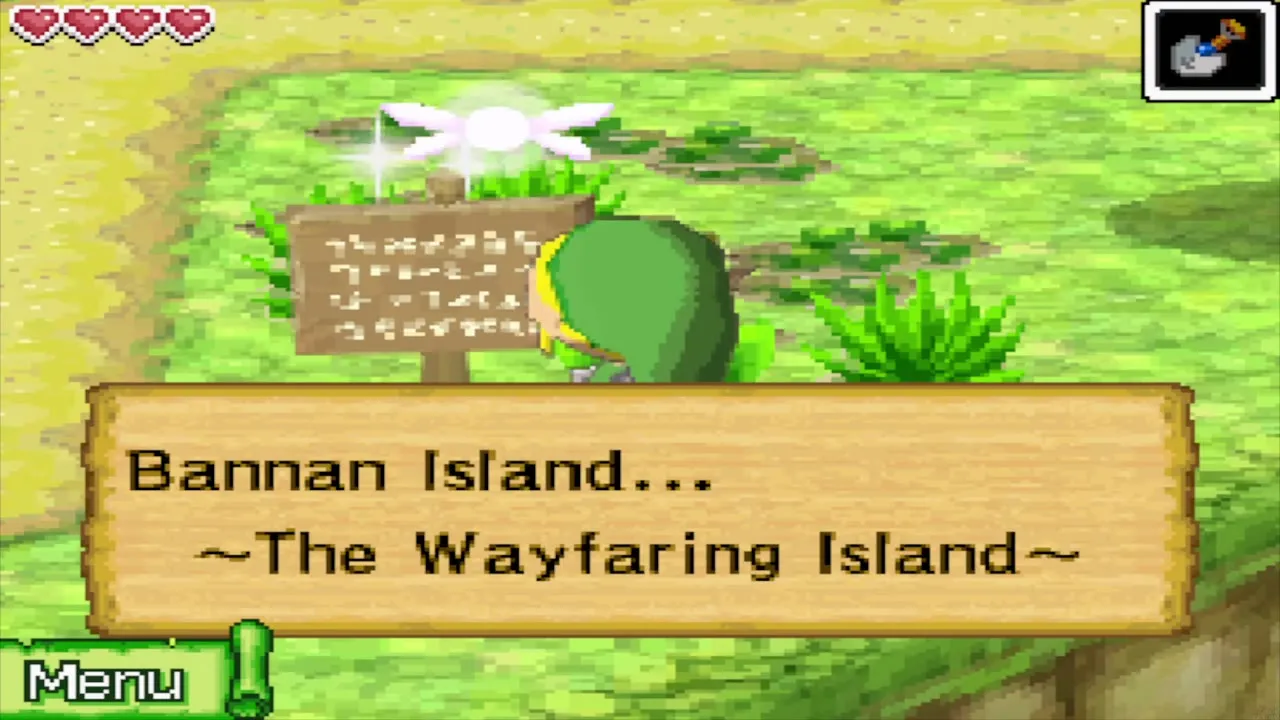
Table of Contents
Stops in the Southwestern Sea before the fog
Nyave’s Traveler’s Ship
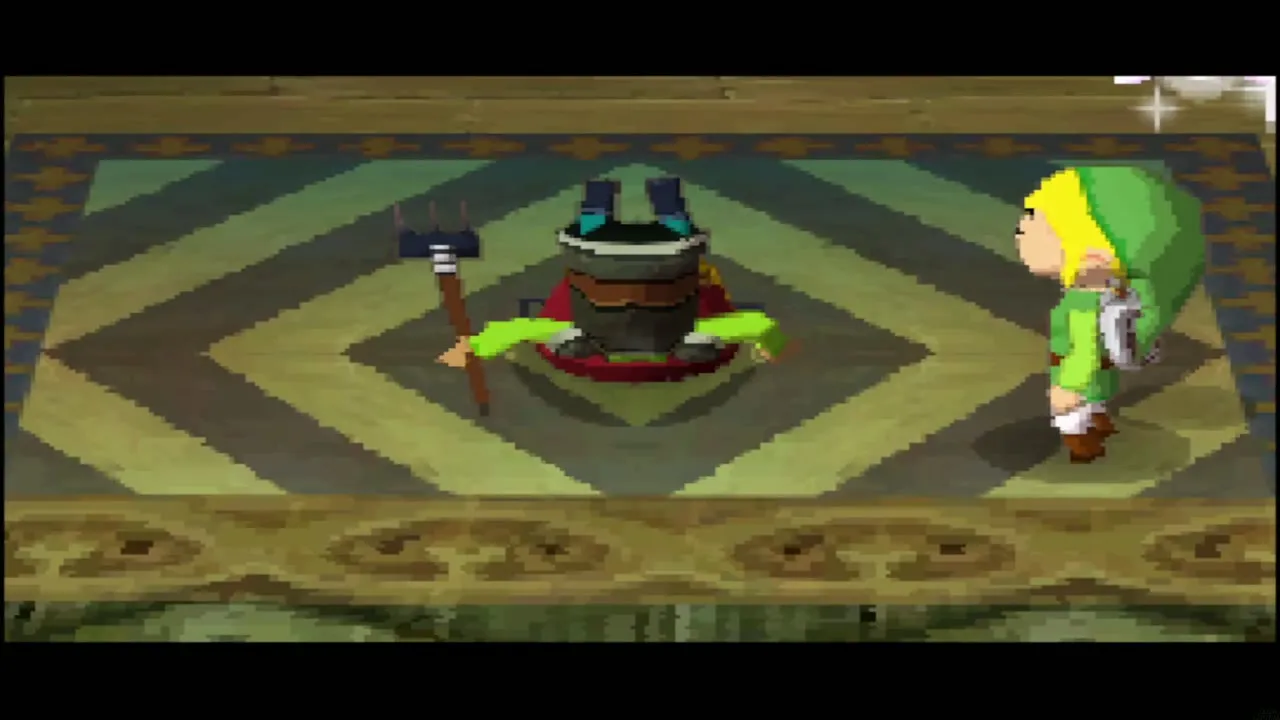
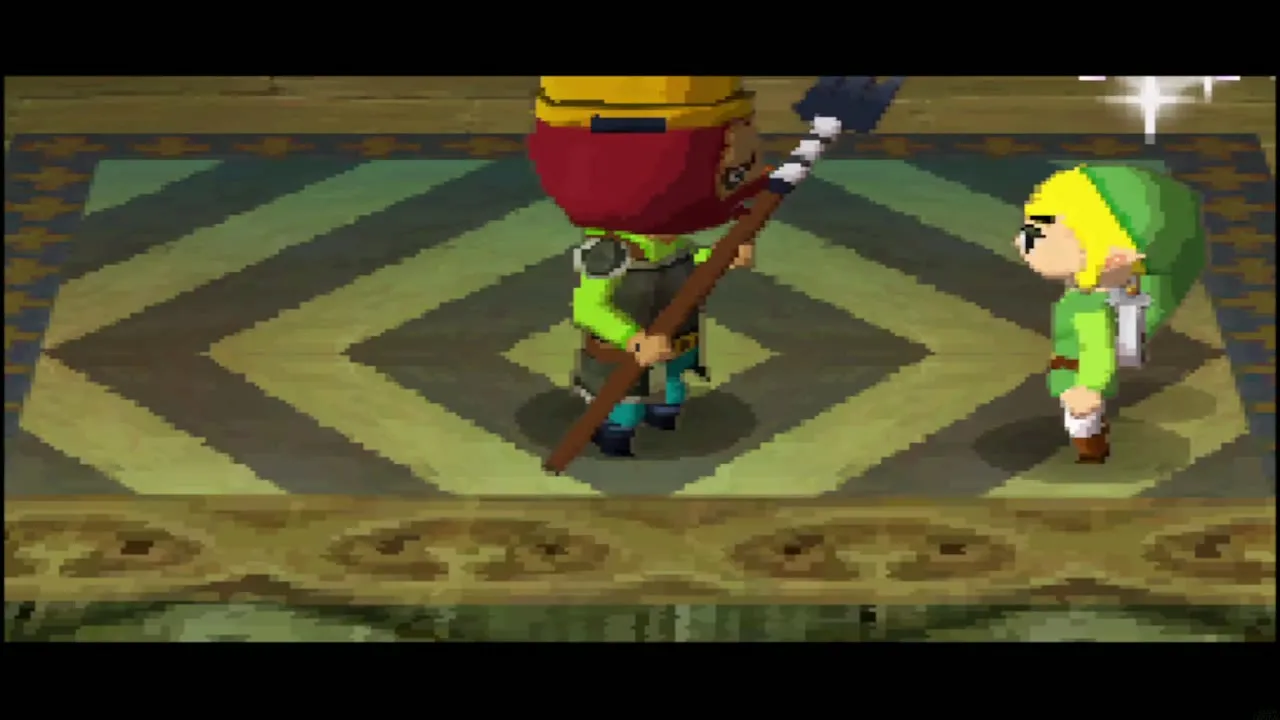
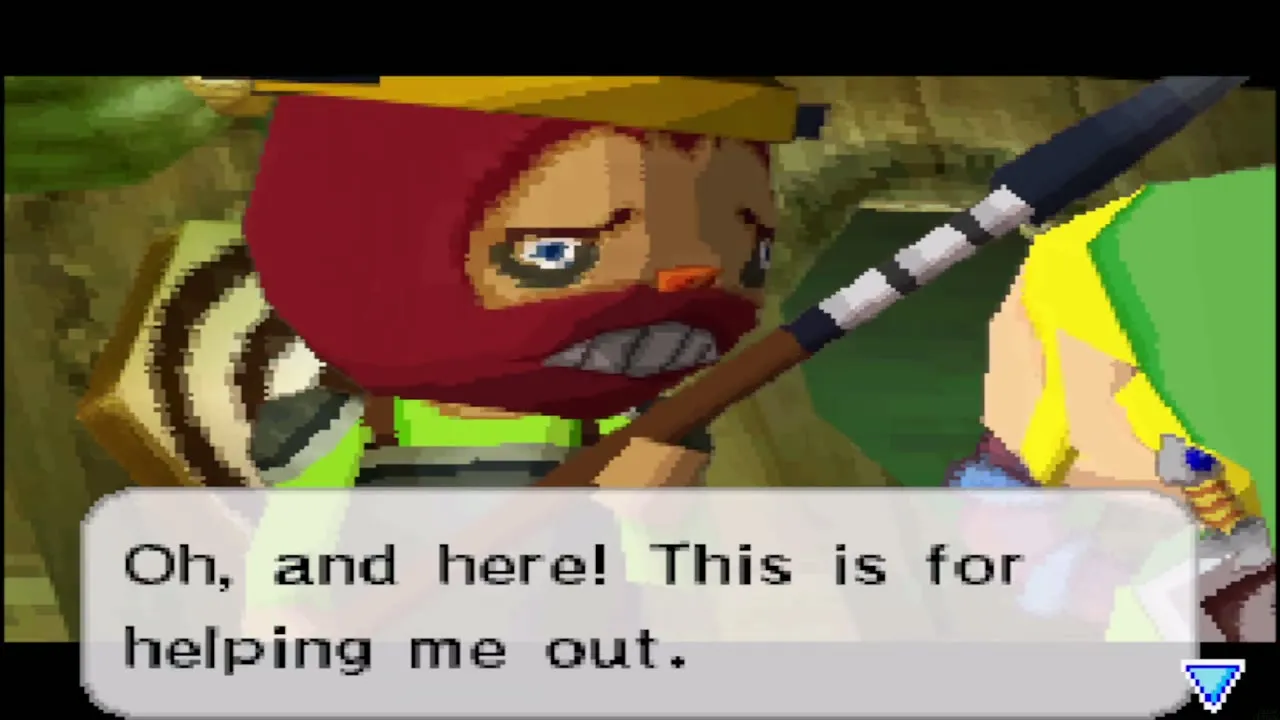
Sail to the Traveler’s Ship in the south-west of the sea and board it. Miniblins and a Geozard have overrun the deck and Nyave lies on the planks playing dead, so clear out every monster. He wakes, claims he overslept and thanks you with a handful of treasures that you can sell to the Treasure Teller on Mercay Island. He turns up again much later in the trading sequence.
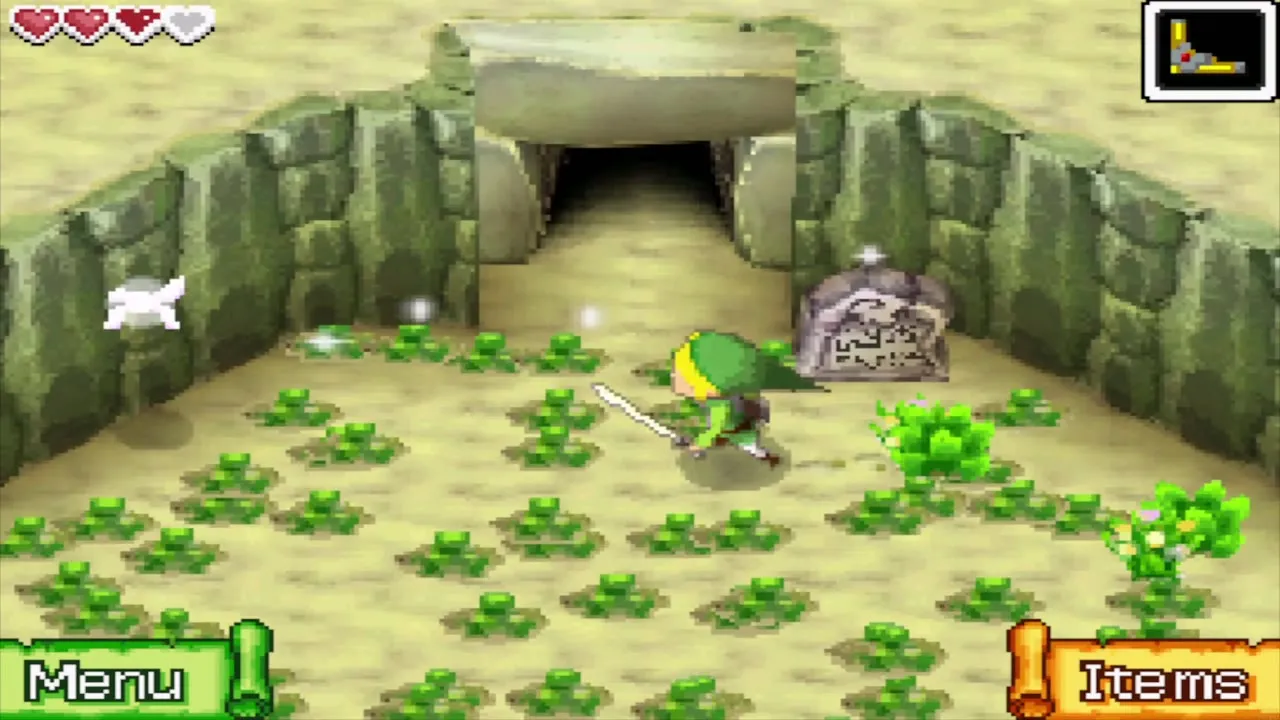
Spirit Island and its Courage Gem
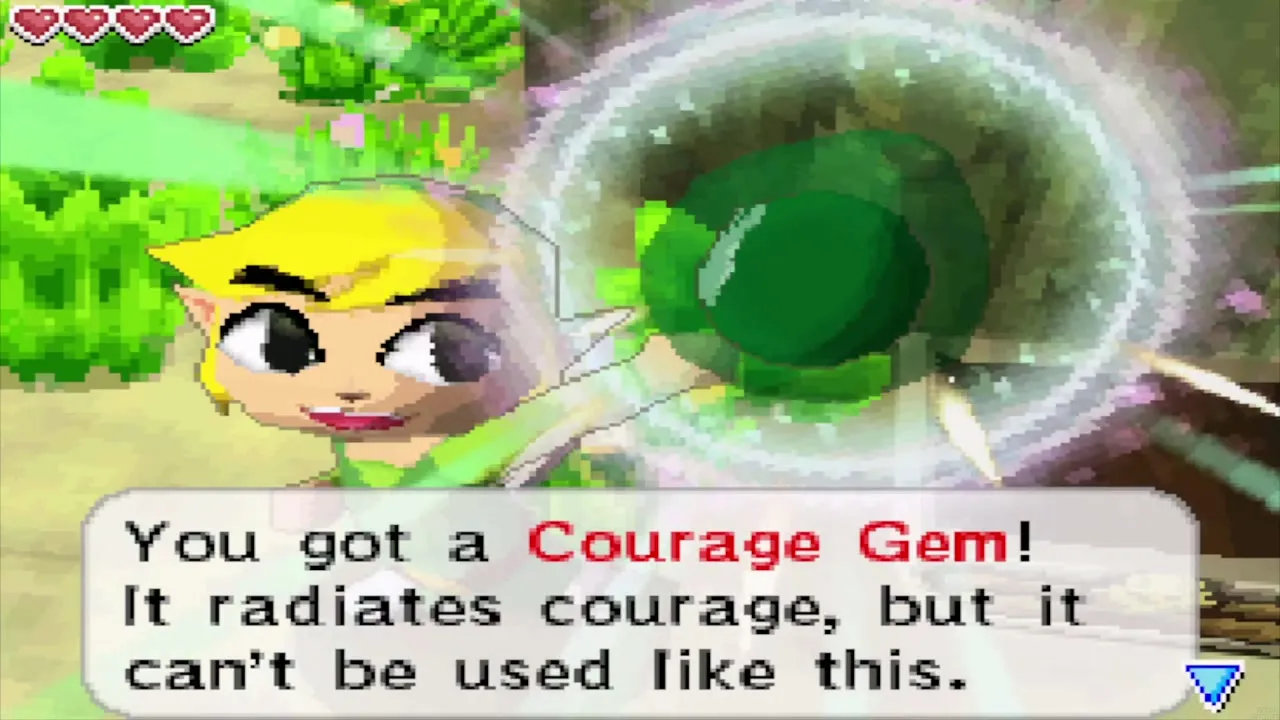
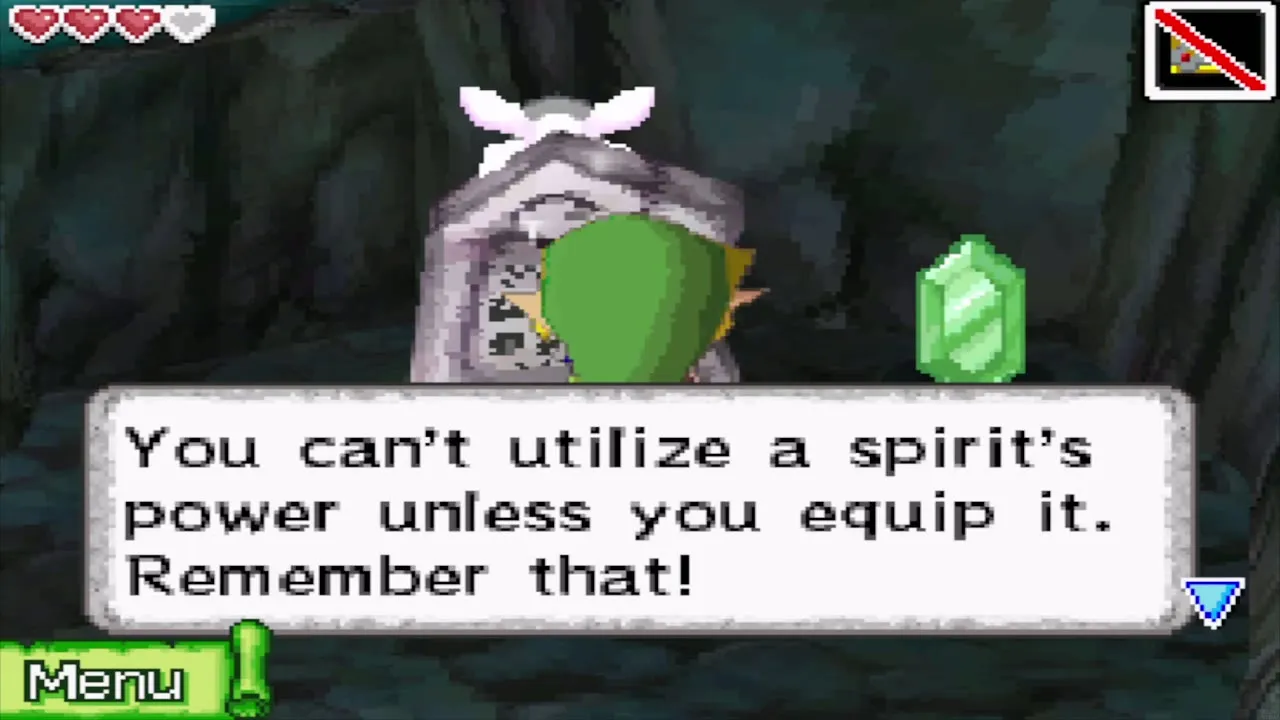
Nyave also points out an island that is not on your chart. This is Spirit Island, in the ring of three rocks south of Molida Island; the previous chapter covers it in full. Dock there, walk east of the landing to collect the Courage Gem, then enter the shrine. Its servant takes the gems you have found and strengthens the matching Spirit once you hand over 10 of a kind, and again at 20.
Sail the fog route to the Northwestern Sea
Copy the route onto your Sea Chart
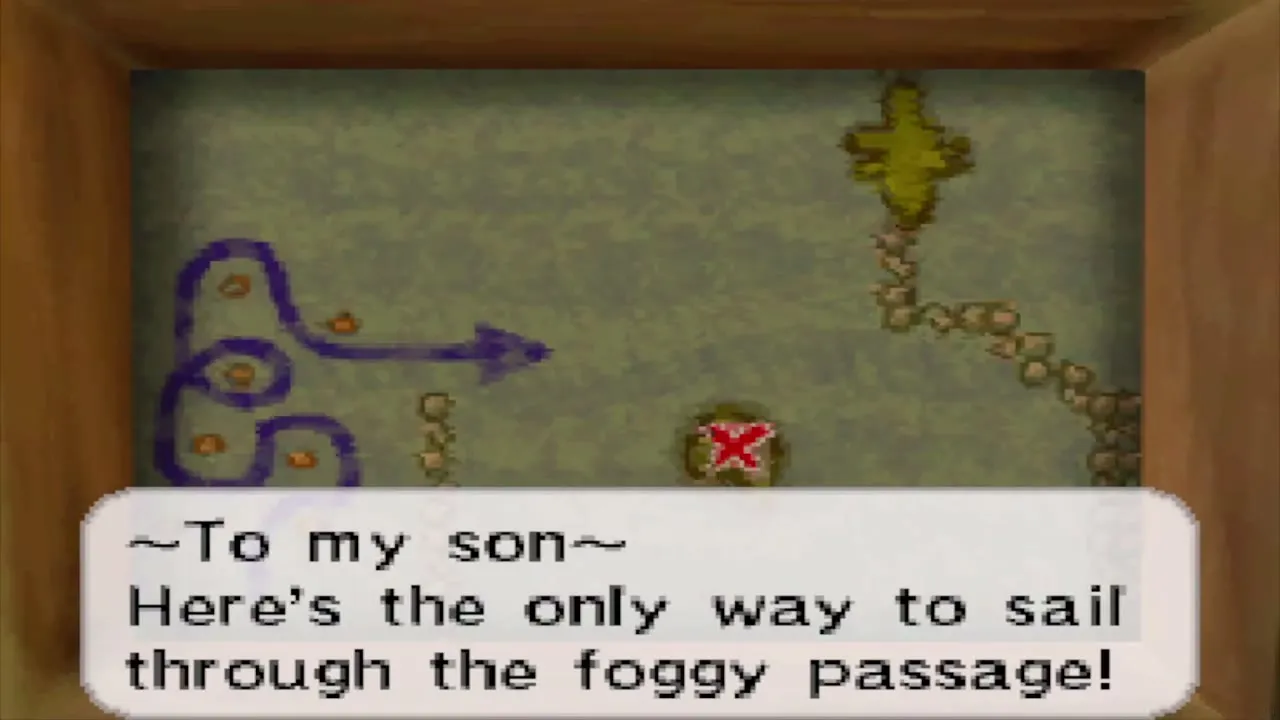
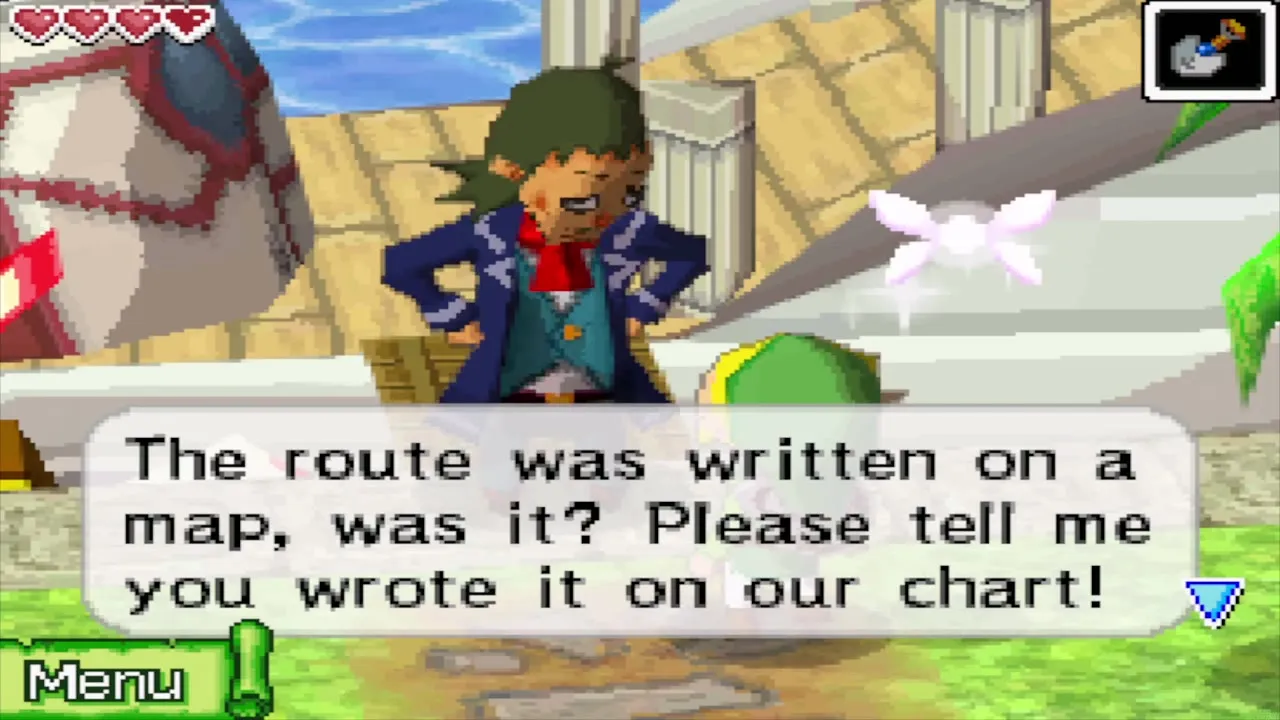
The way through the fog is the route drawn on the second hideout’s map on Molida Island, which Linebeck reminds you to record on your chart. Open the Sea Chart, switch to the Memo pen and trace that picture line for line in the western part of the chart.
Sail the route
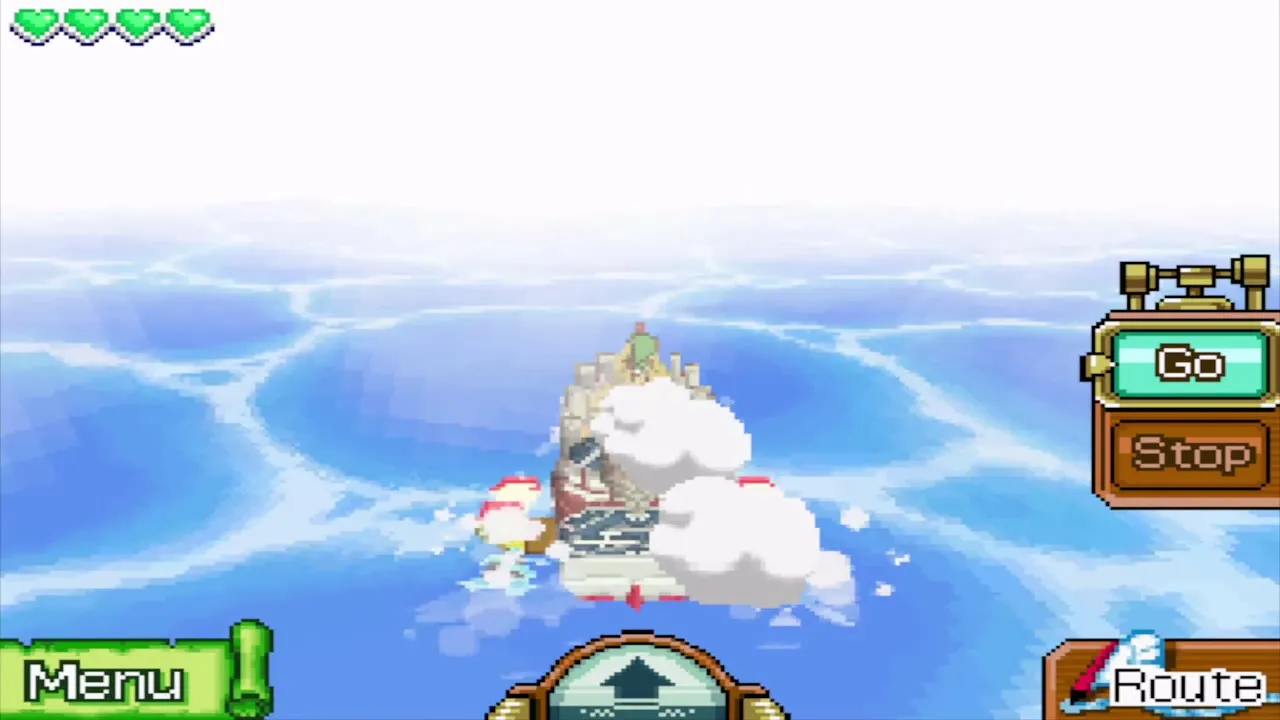
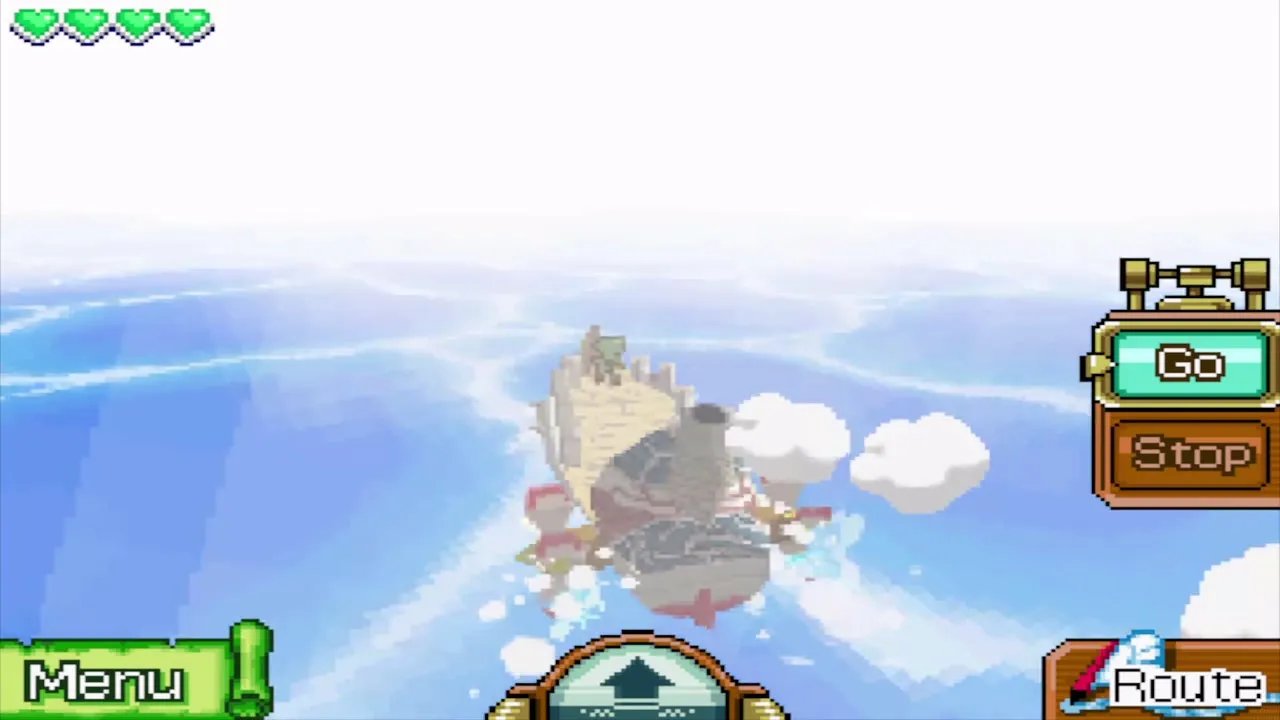
Open the sea chart, draw your sailing course directly along the line you copied, then press Go. The ship follows the course by itself, and the screen fills with white haze as you enter the fog. Tap Stop whenever you need to deal with something and Go to continue.
Dangers on the crossing
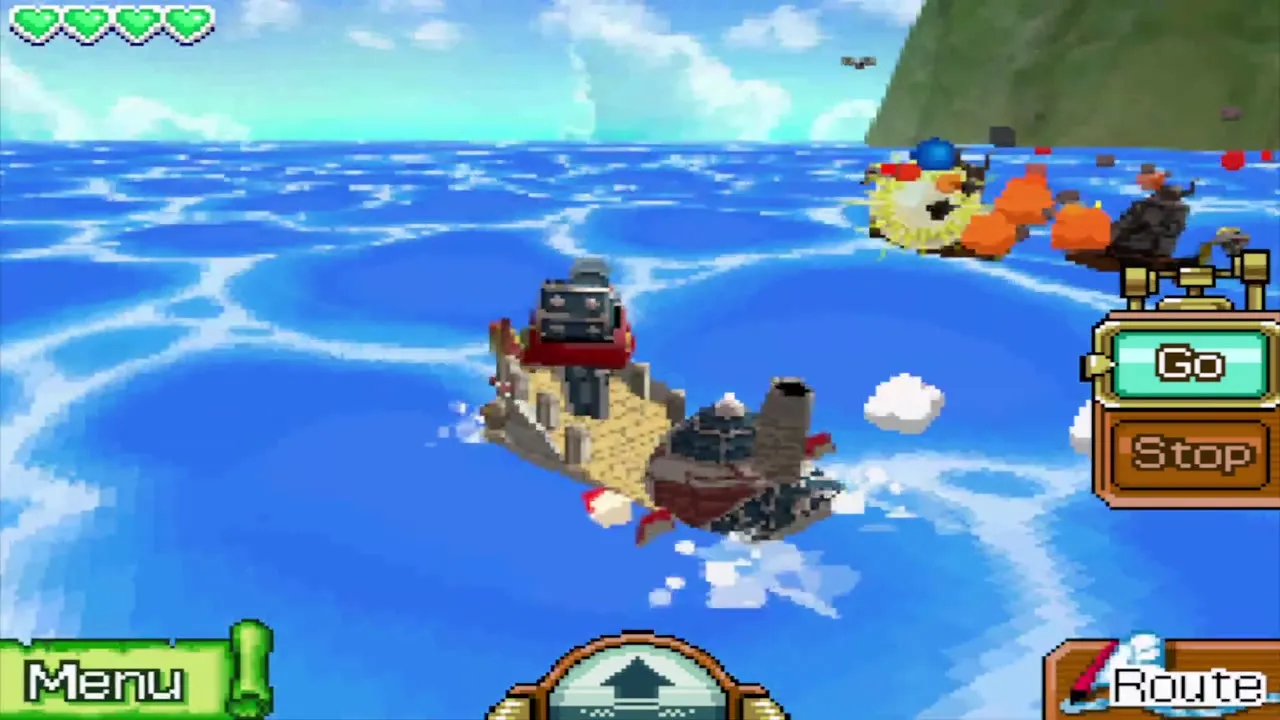
Enemy ships open fire as you sail. Stop, tap them to answer with the Cannon, and sink them before moving on. Watch for Sea Traps, which are barbed wires held by two urchins, and jump the ship over them with the arrow button. Docking at any port refills the ship’s hearts.
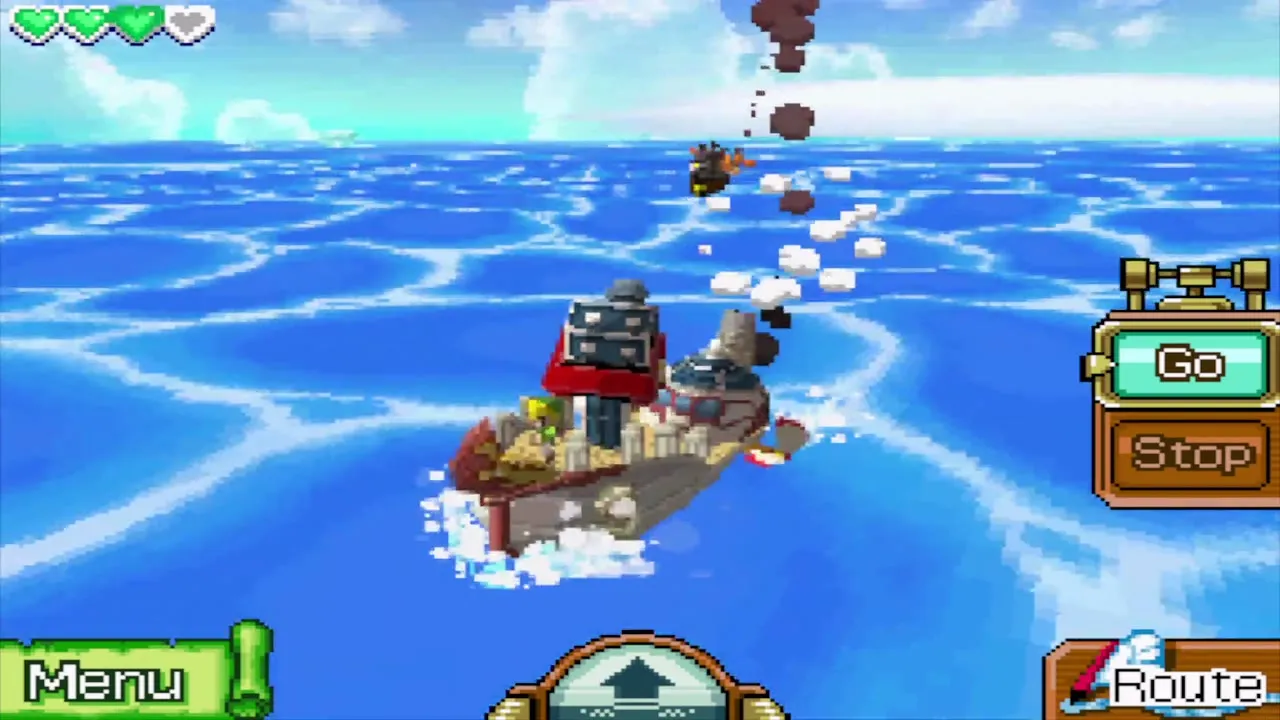
Beedle’s ships at sea
Beedle’s Shop Ship can pull alongside you in any sea. Its stock changes daily, and it carries a treasure and ship parts. The Wisdom Gem for sale there costs 500 Rupees, so buy it if you can.
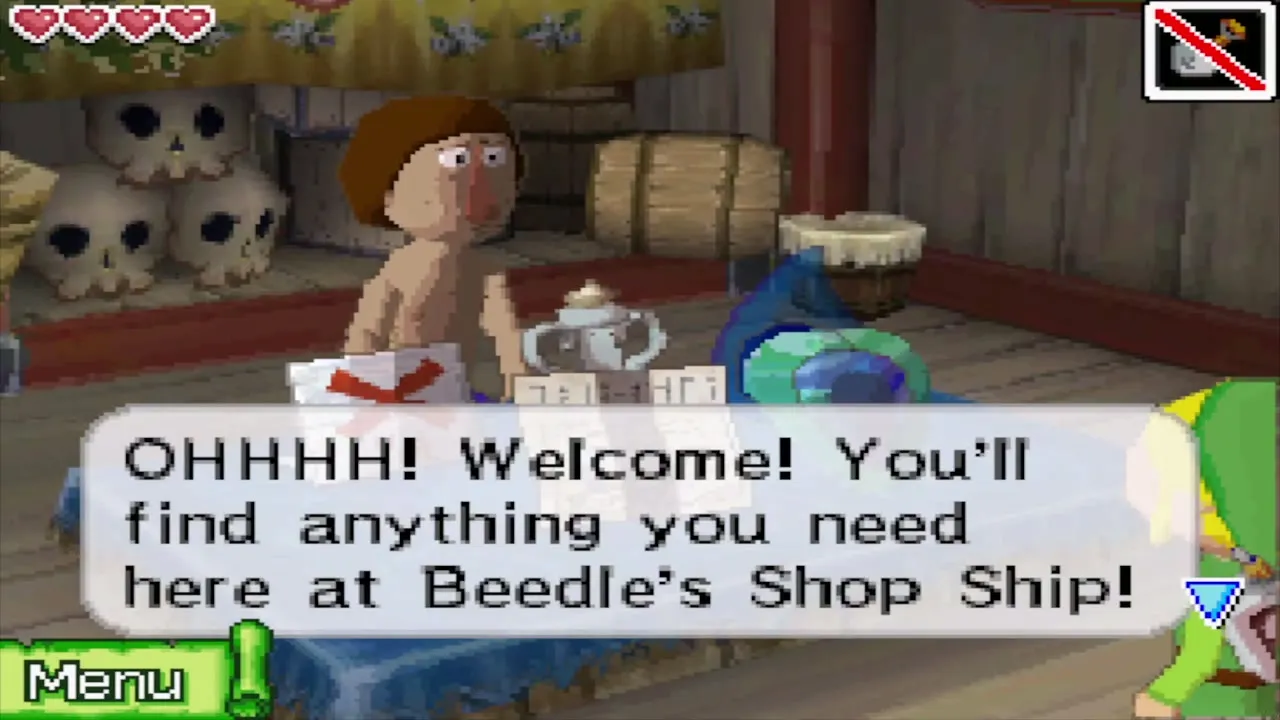
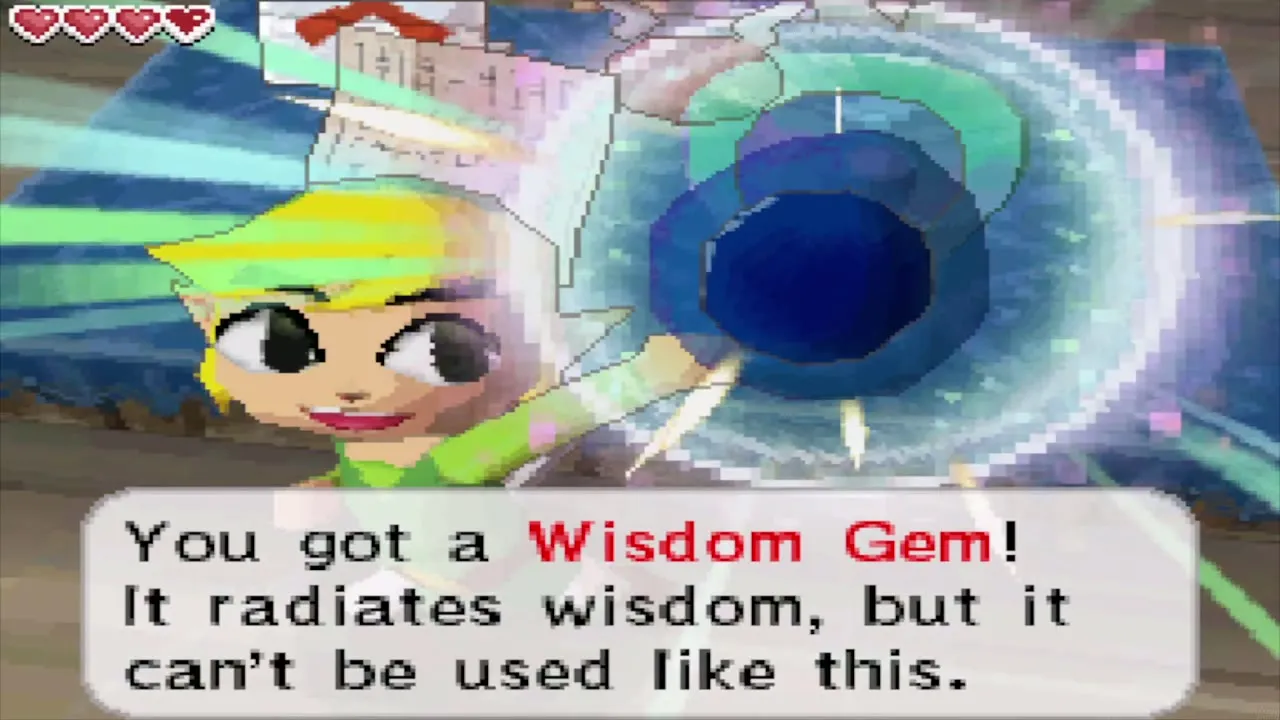
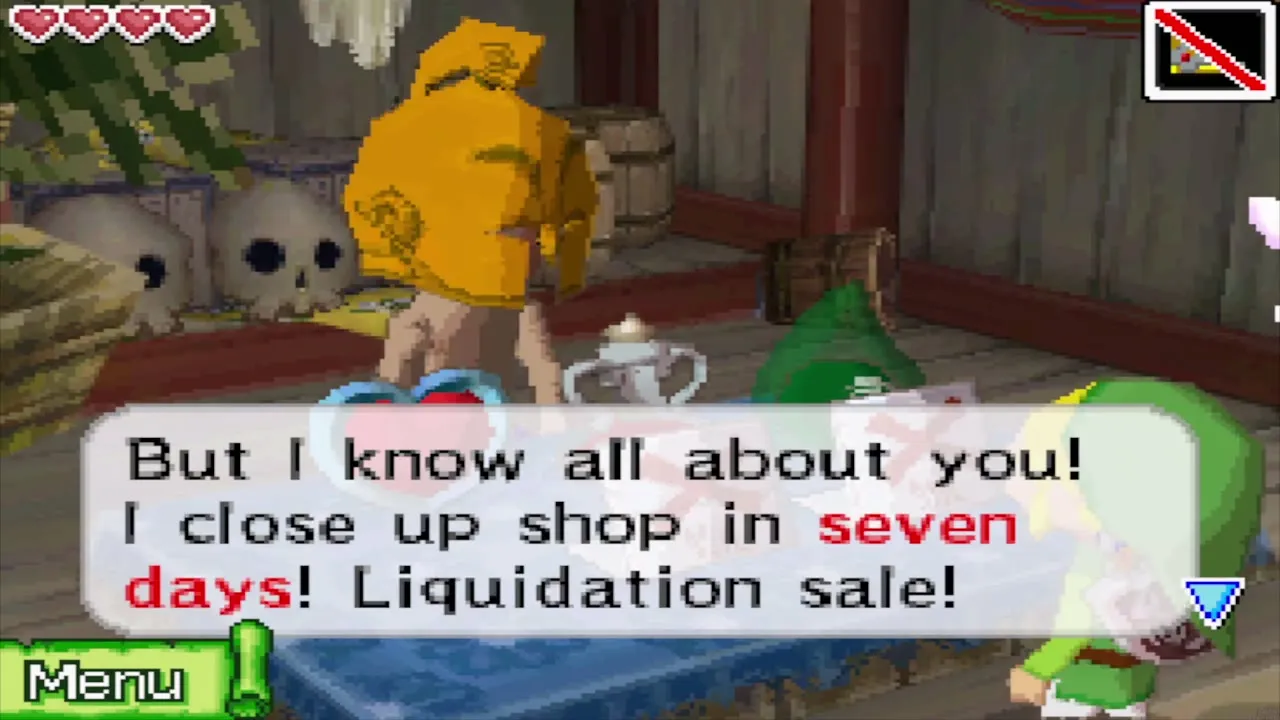
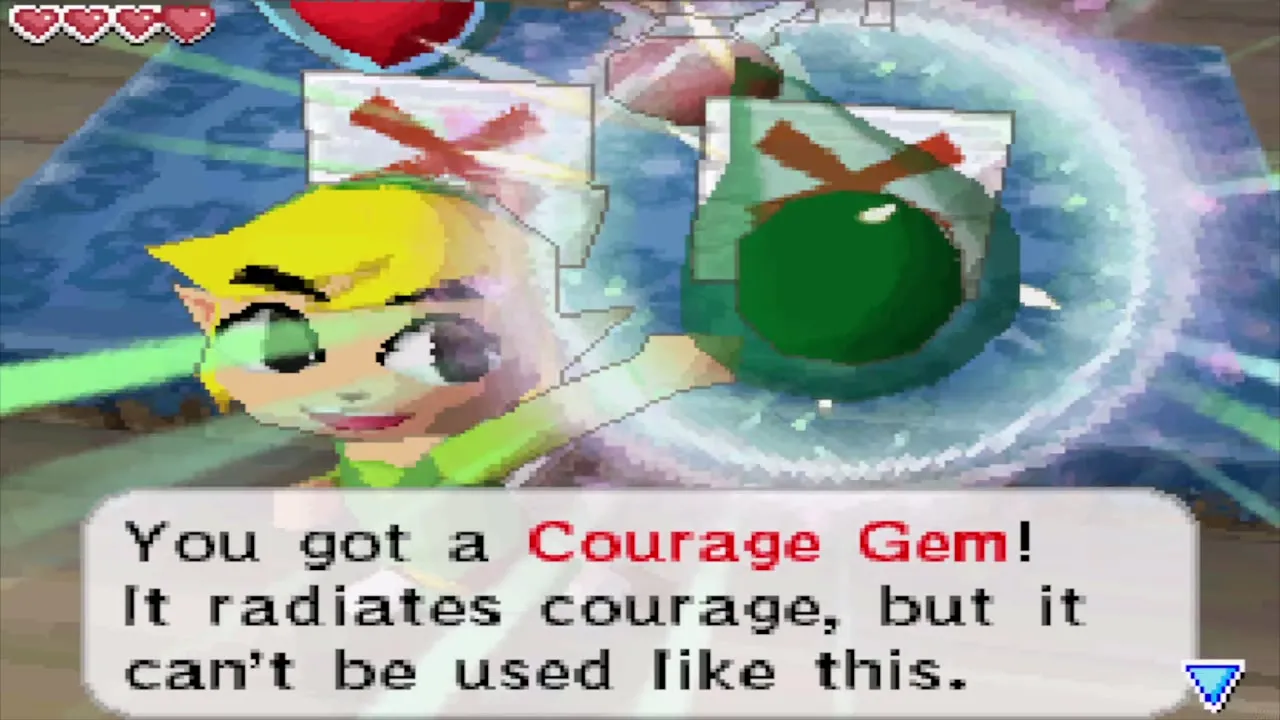
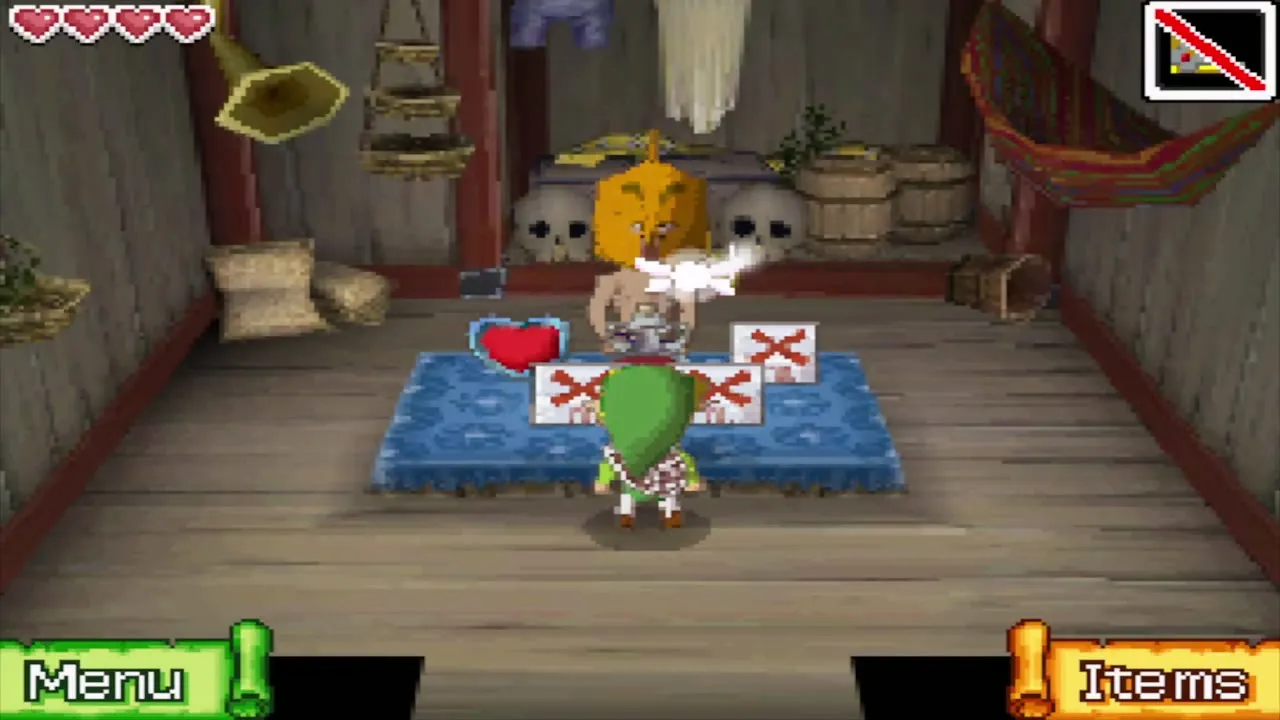
A second, masked shopkeeper’s ship appears only at certain hours by the DS clock, from 10 pm to midnight on weekdays and from 10 am to noon on weekends. He sells a Courage Gem for 500 Rupees and a Heart Container for 1,500 Rupees, one of each. Buy the gem first and save for the Heart Container.
Bannan Island and the fishing quest
Find the mermaid for the Old Wayfarer
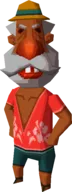
Dock at Bannan Island and enter the Old Wayfarer’s hut. He is convinced a mermaid lives nearby and asks you to tell him if you find her. Clear the monsters that roam the island, then walk the shore and watch the water from your ship.
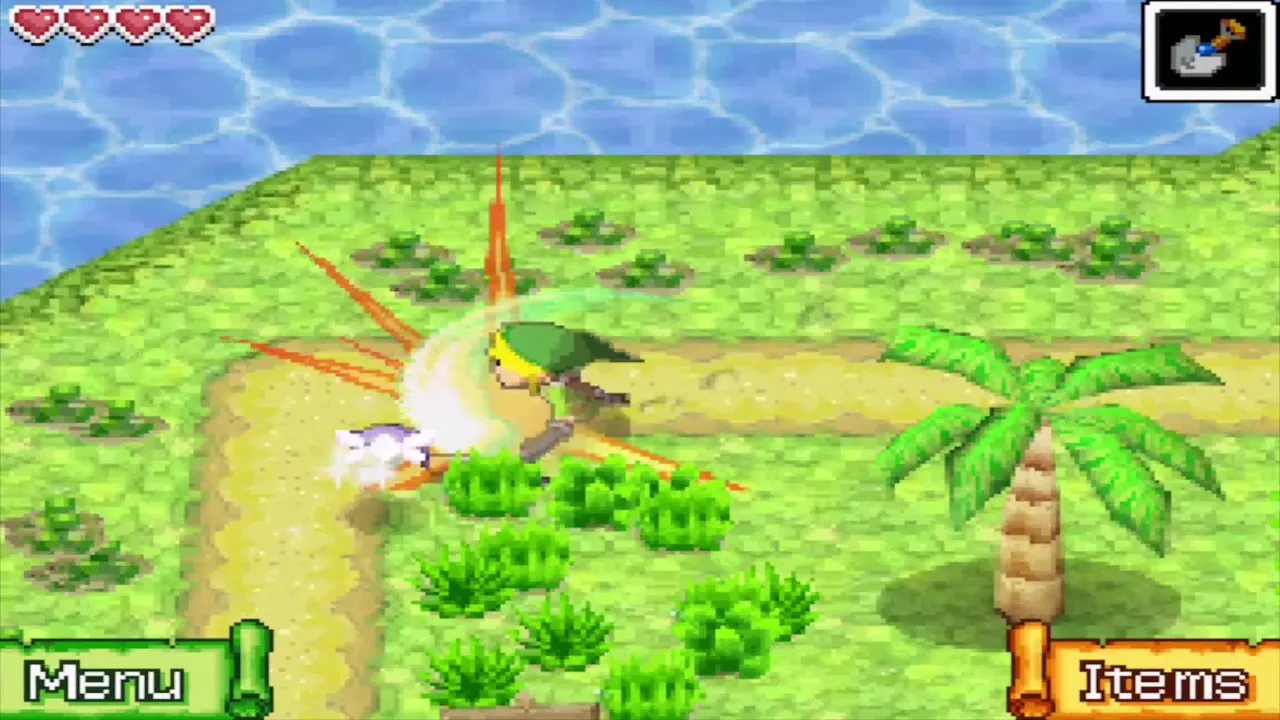
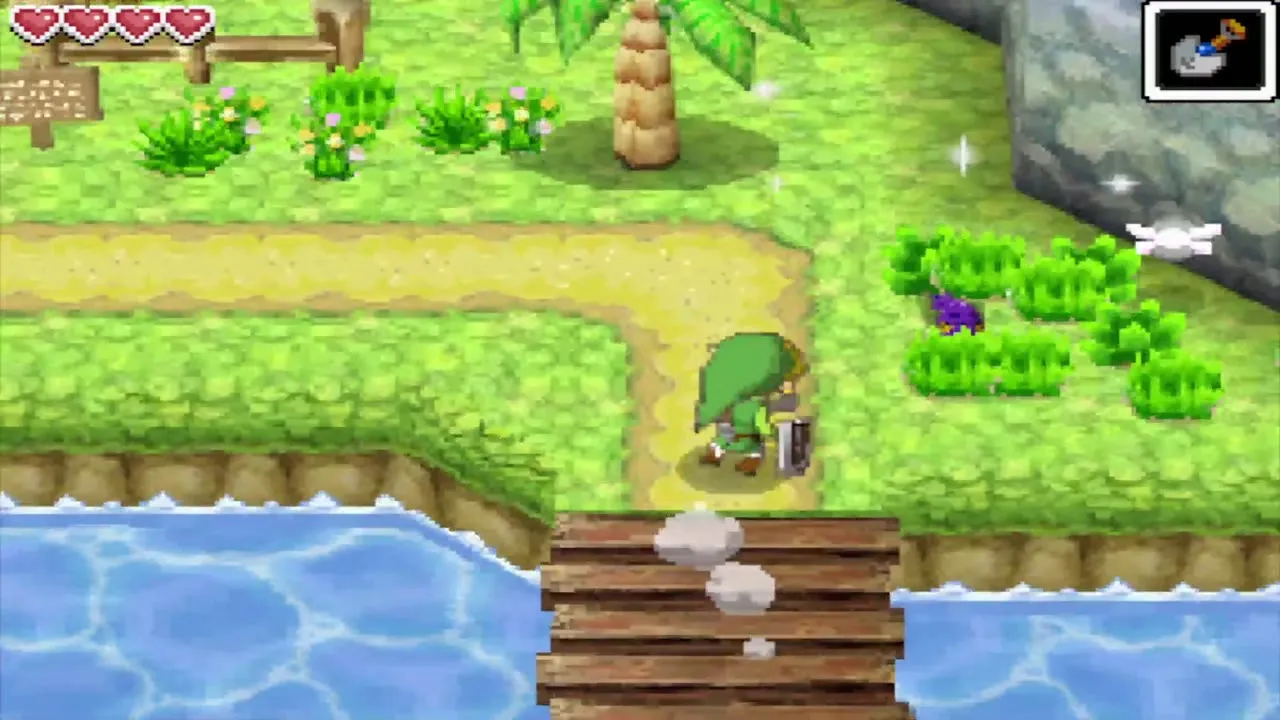
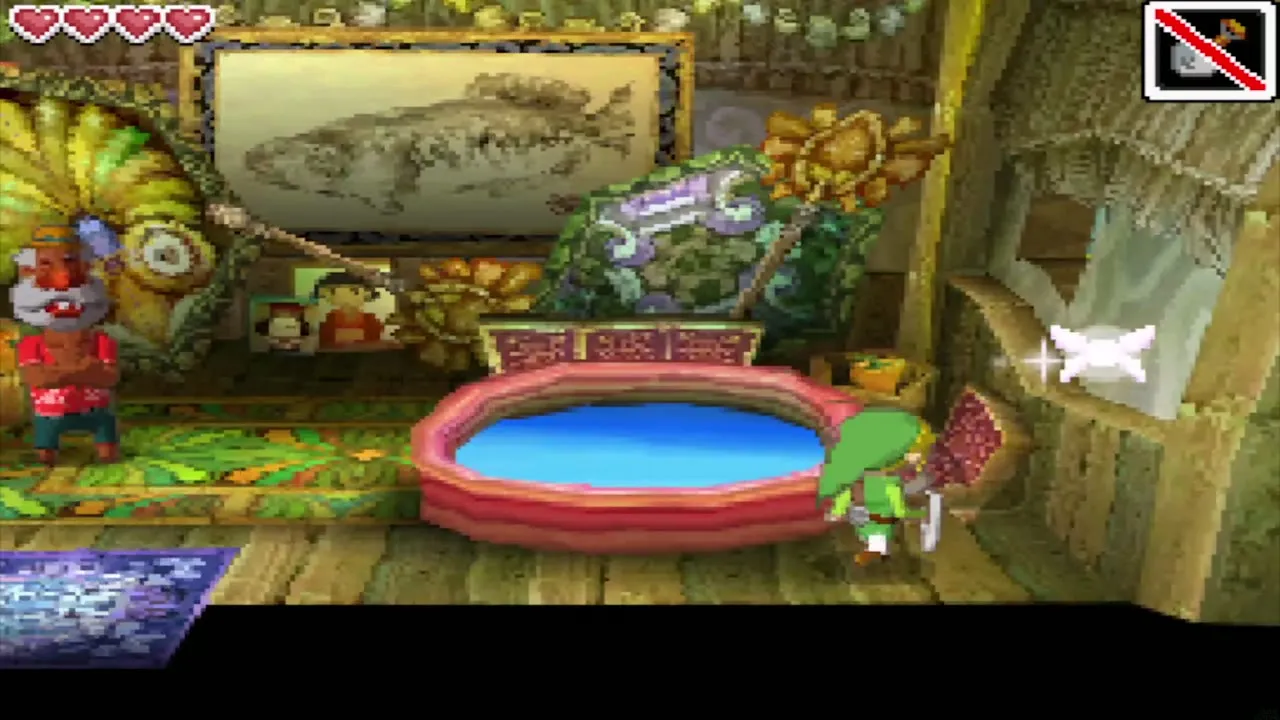
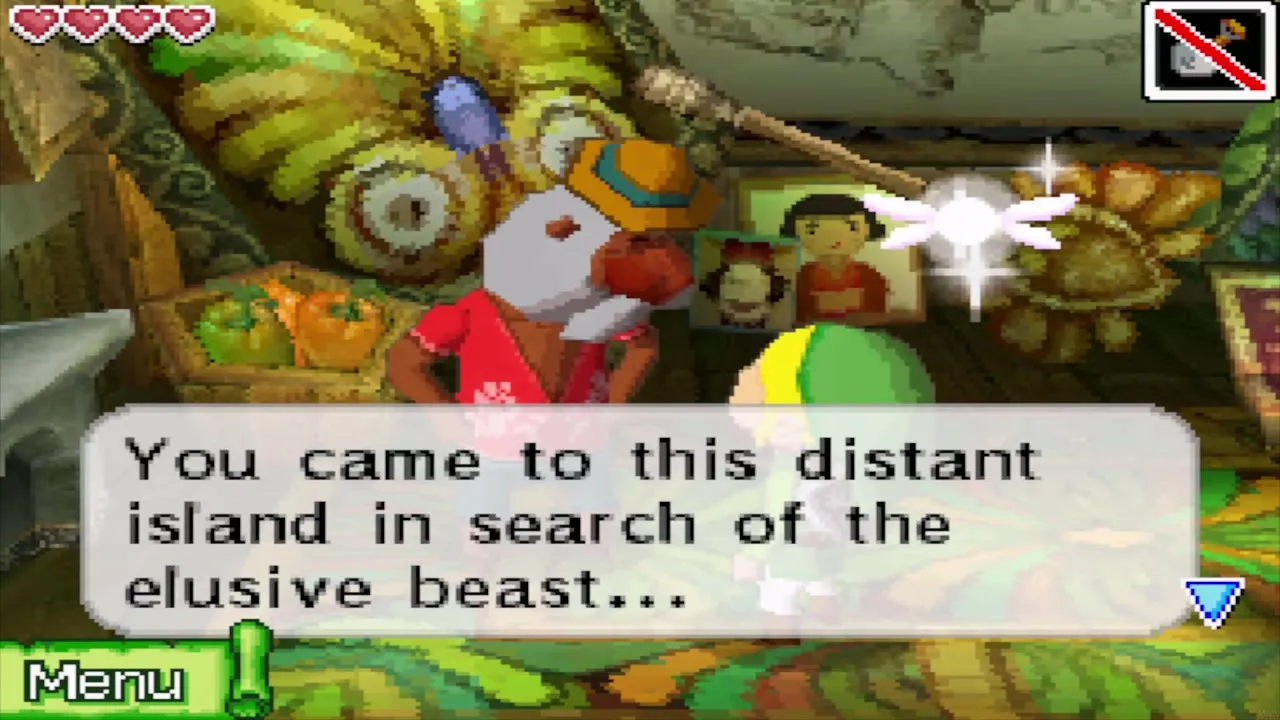
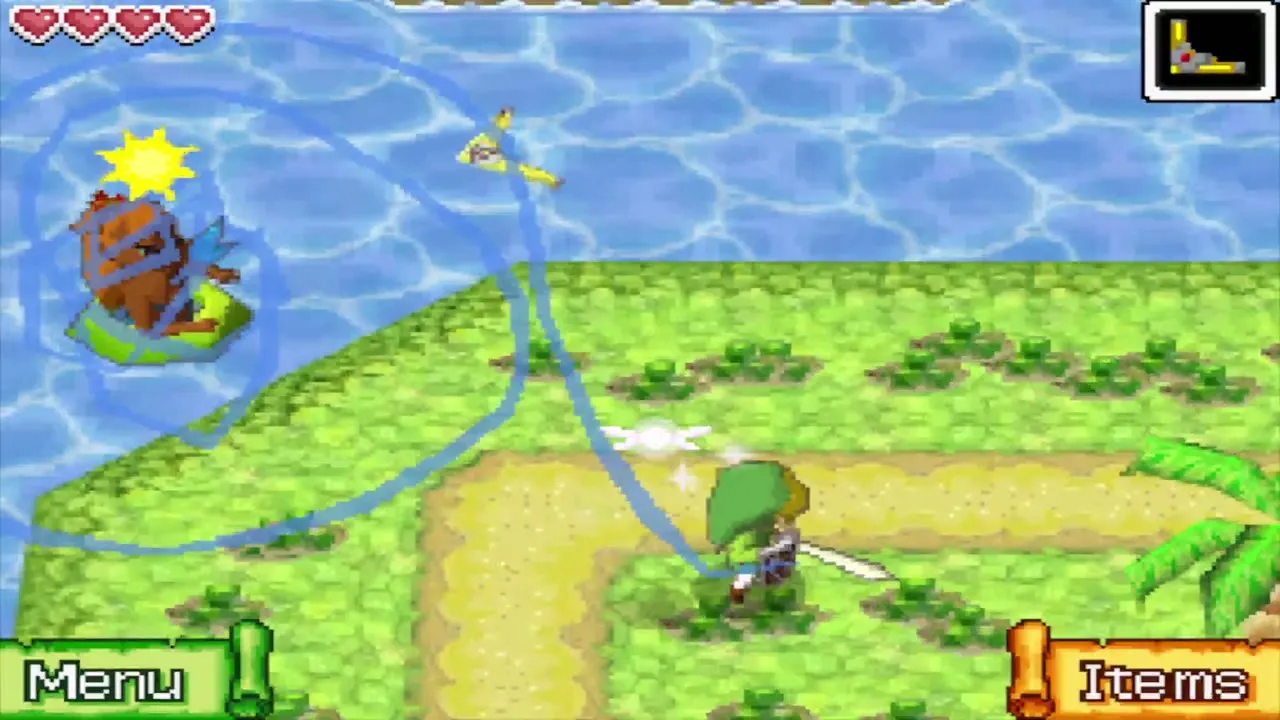
The mermaid keeps her distance, so throw the Boomerang at her from afar. When it connects she turns out to be Joanne, a girl in a costume, who agrees to visit the old man.
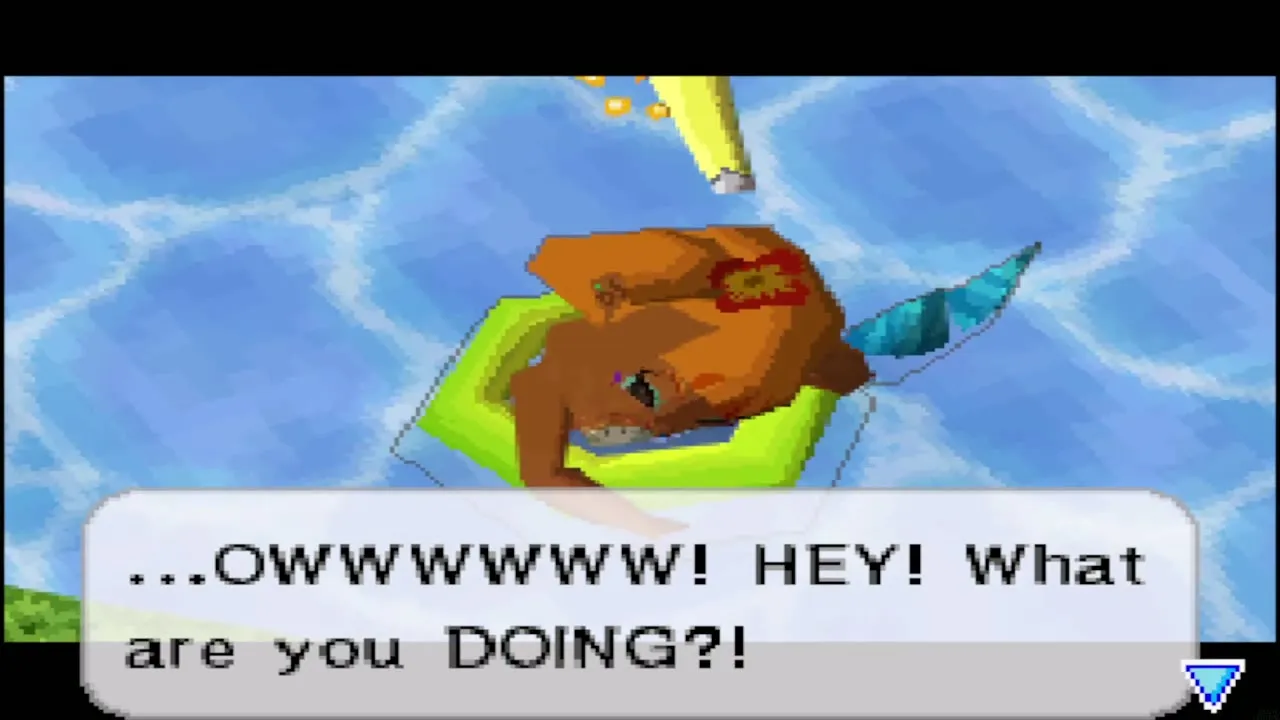
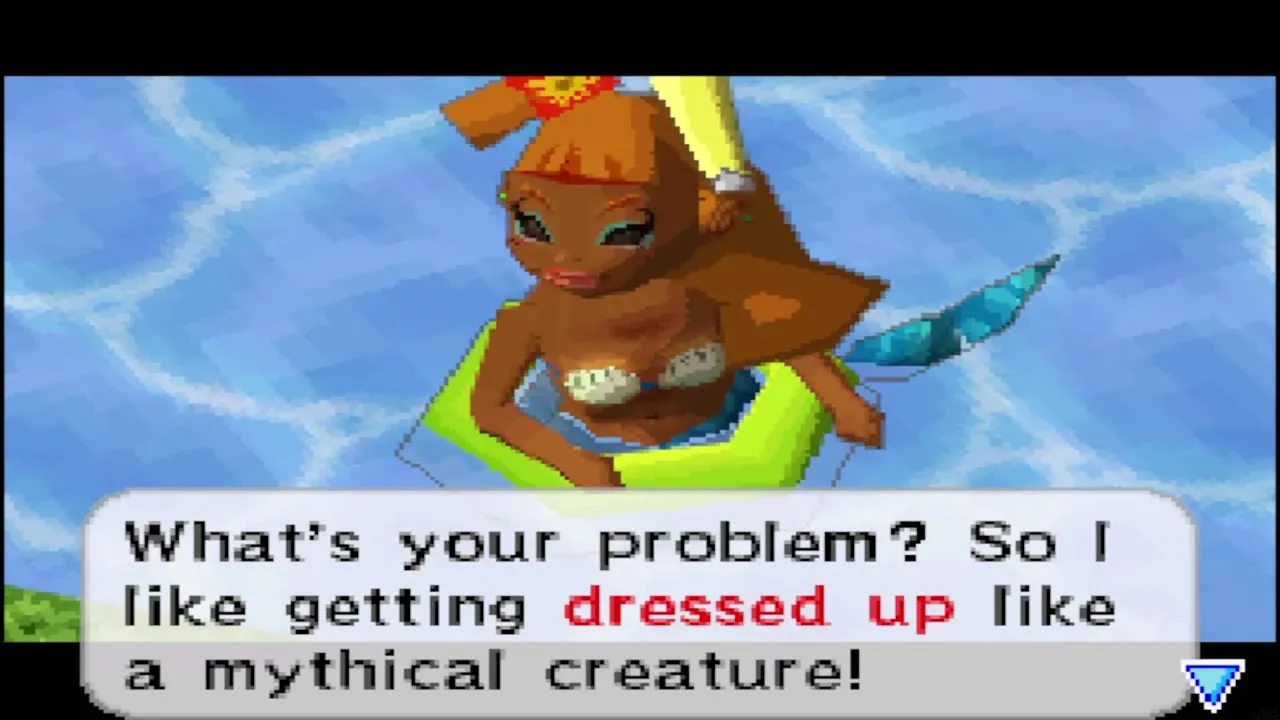
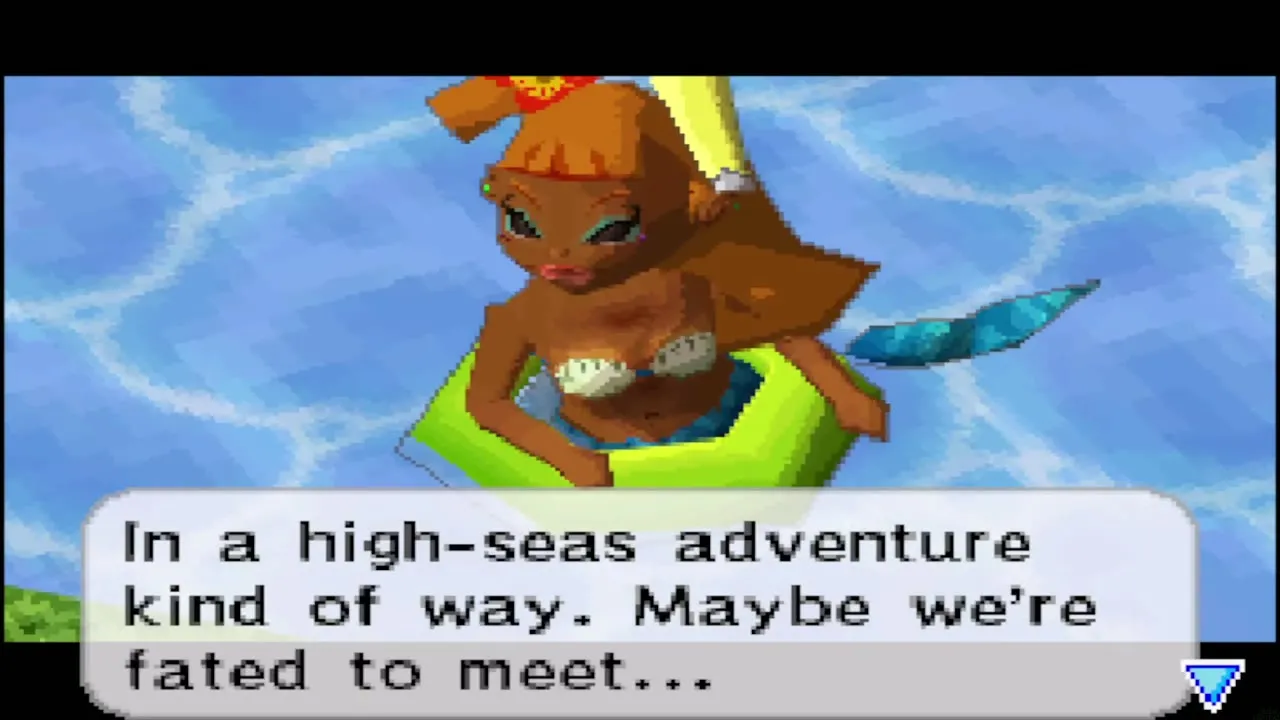
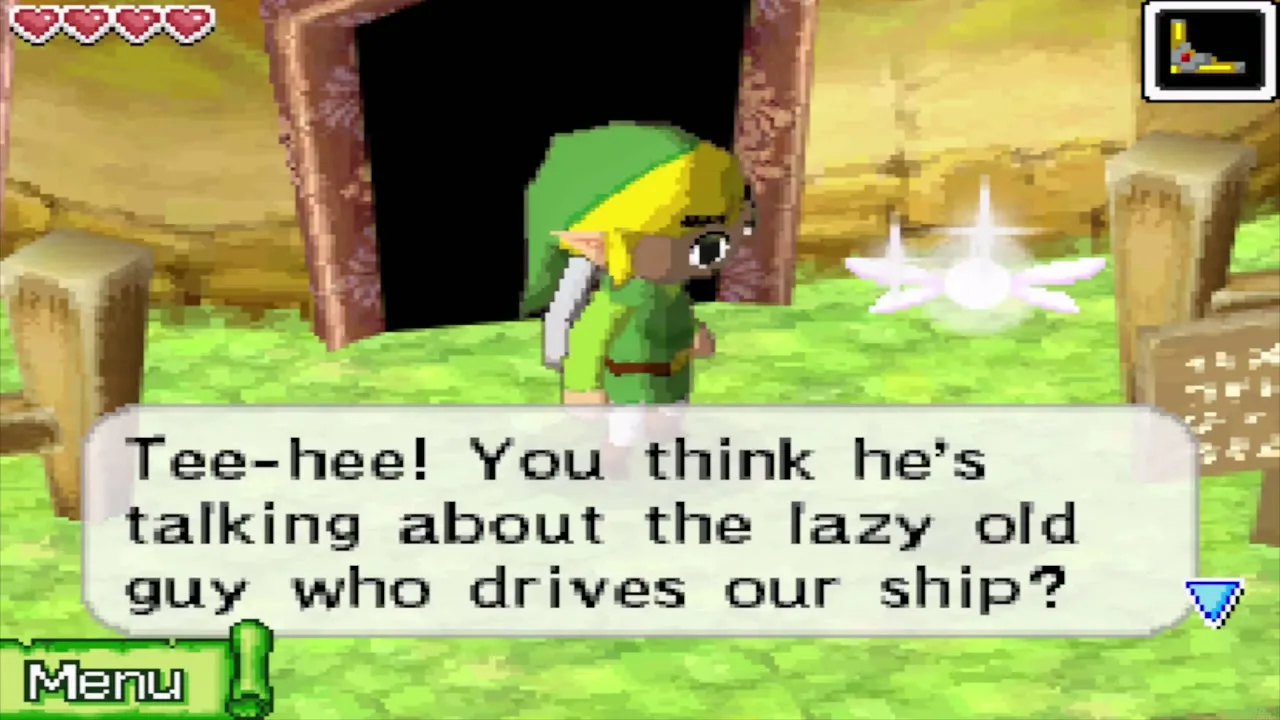
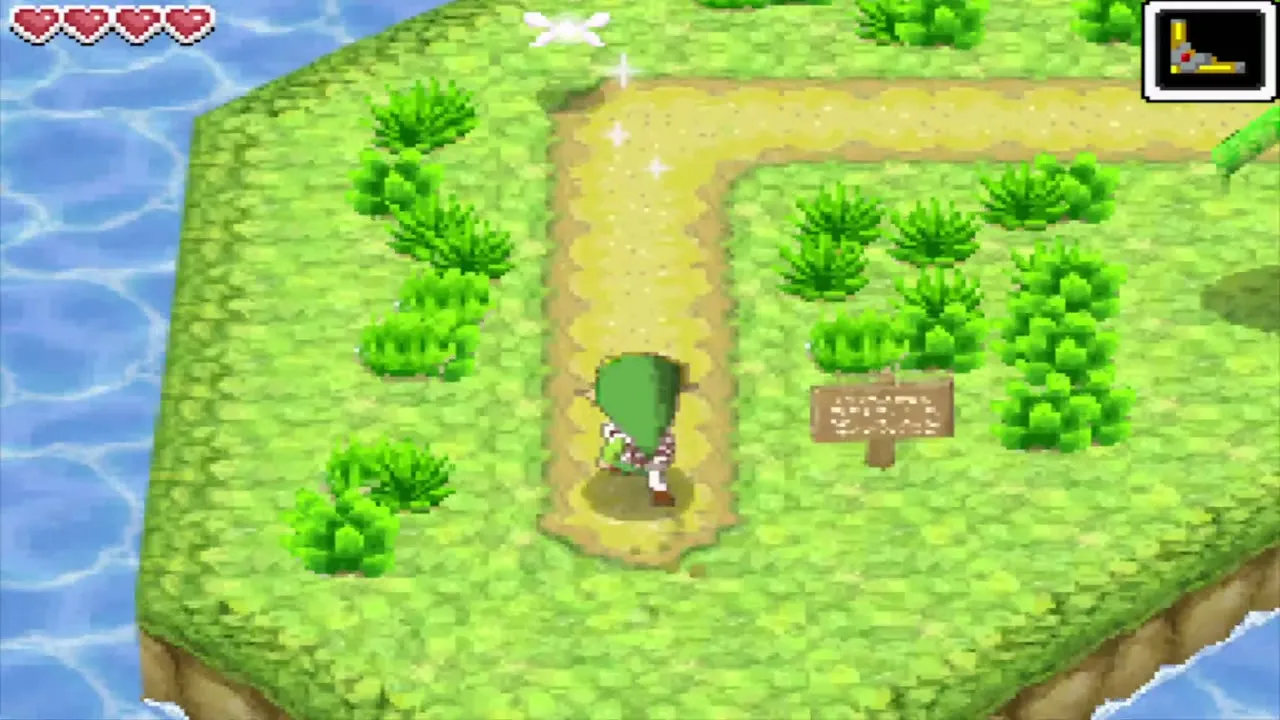
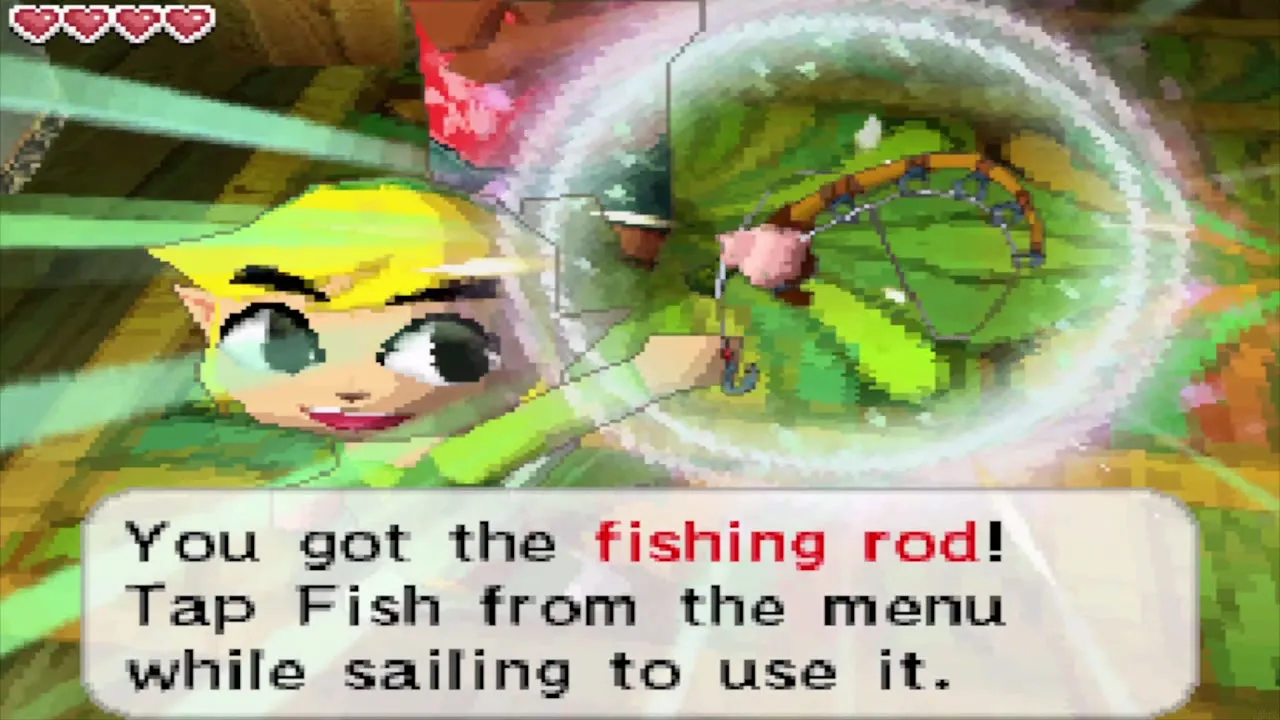
Go back to the hut and tell the Old Wayfarer. He says she has not turned up, so walk down to the dock and talk to Linebeck, who has met a girl on the shore, then return to the hut a second time. Joanne has arrived, and he rewards you with the Fishing Rod.
Fishing from your ship
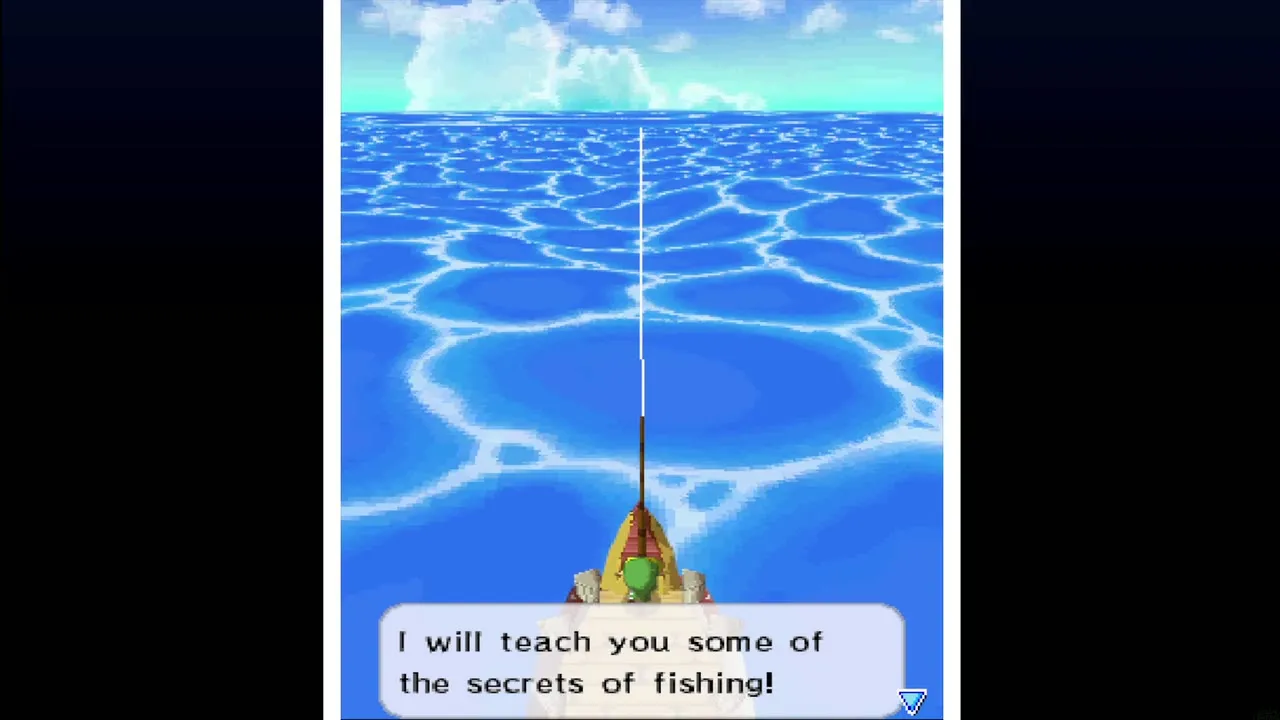
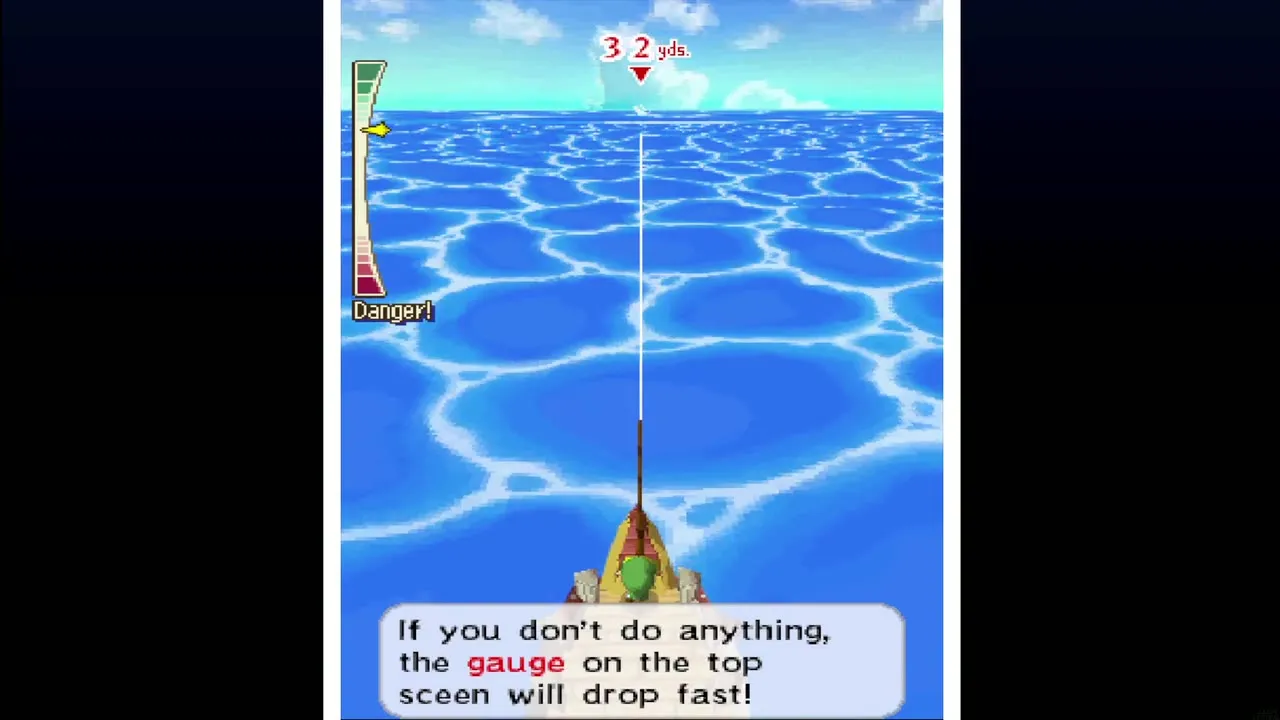
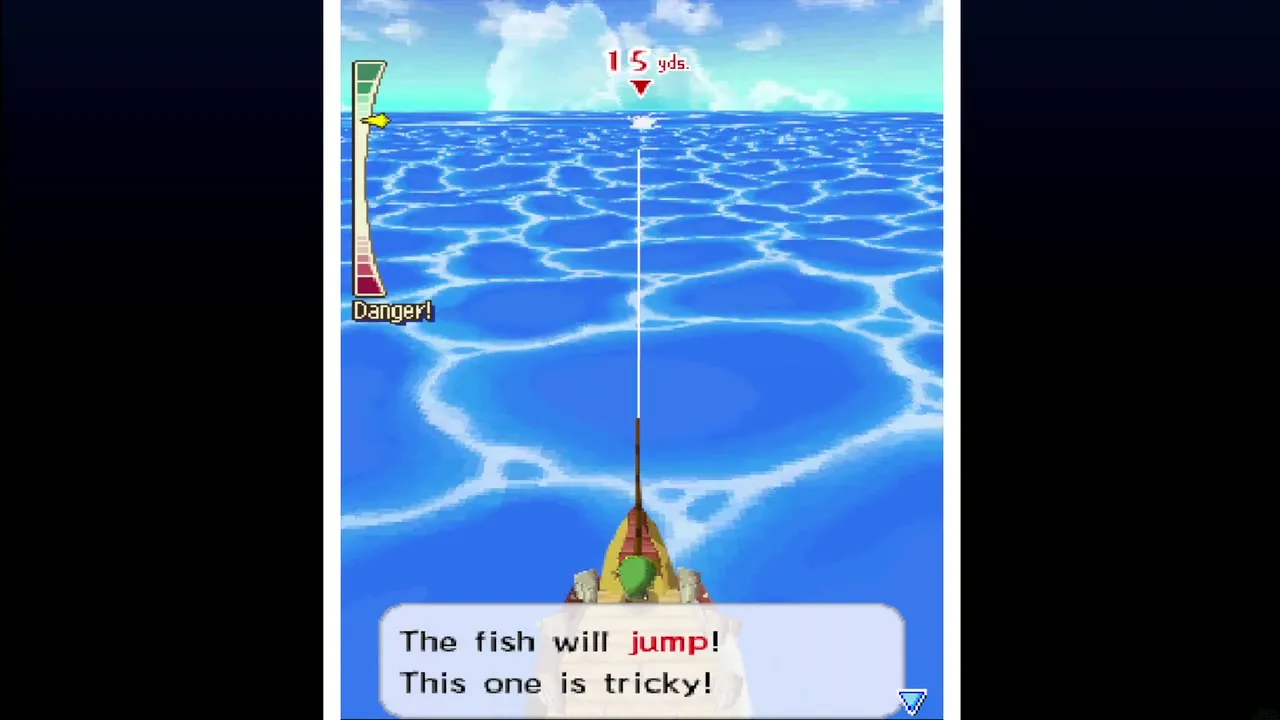
Fish shadows appear on the sea as you sail with the Rod. Stop above one, tap Fish in the menu and a short lesson starts. Wait for a bite, then lift the rod with the stylus to set the hook. While the fish fights, the gauge on the top screen drains, so slide down again, away from the fish, to refill it. When the fish jumps, lift the stylus and ease off, or it escapes. A Skippyjack is the easiest catch and brings no reward.
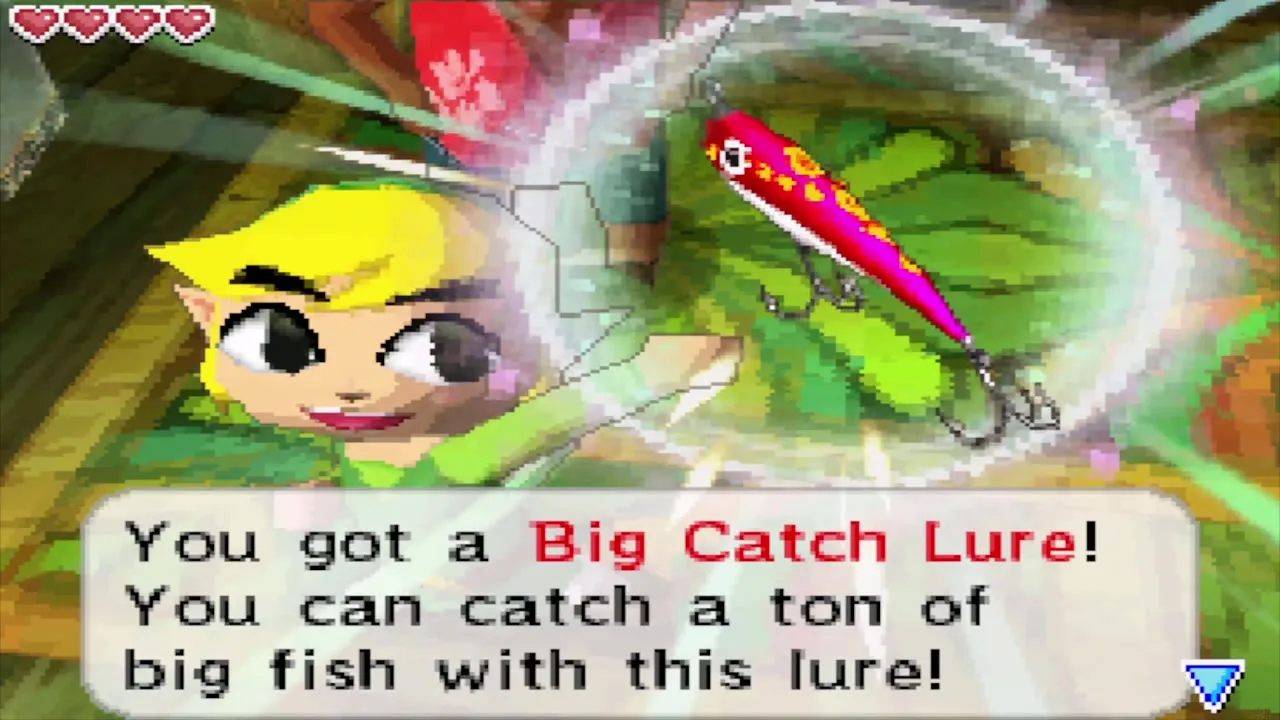
Big Catch Lure
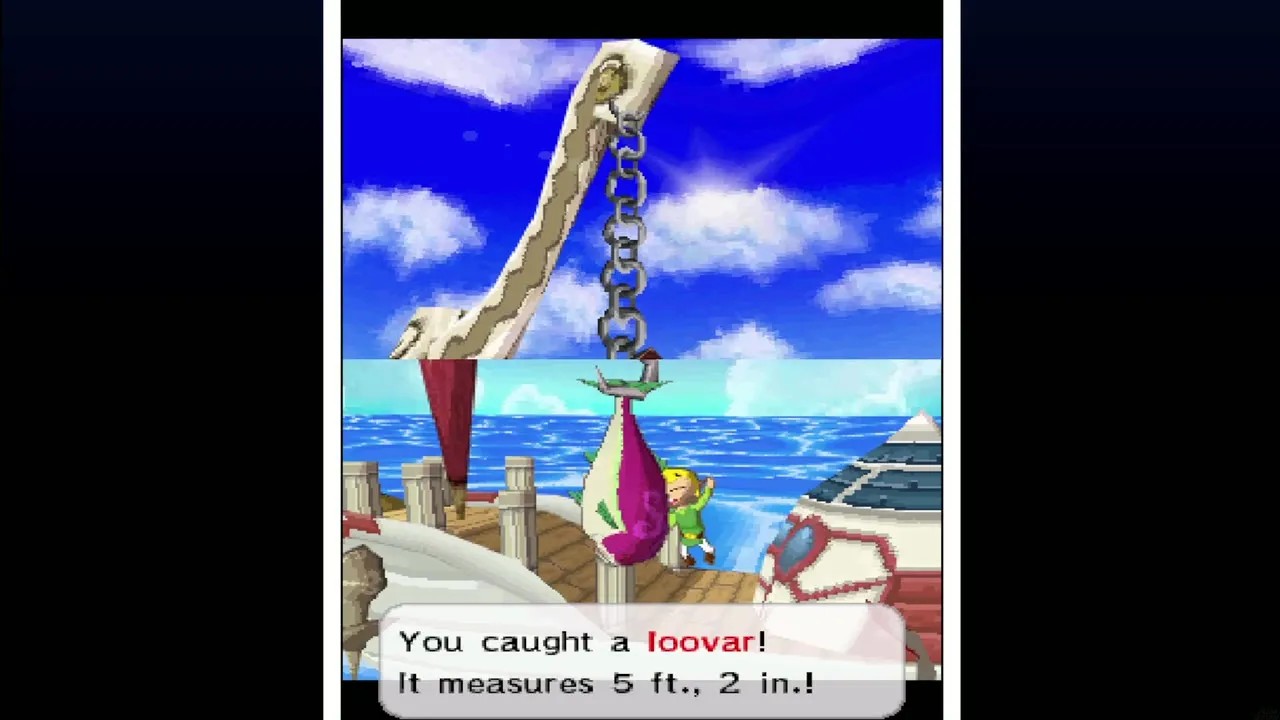
Catch a Loovar and carry it back to the Old Wayfarer. He is impressed enough to give you the Big Catch Lure, which helps you land big fish. A Toona is a good catch along the way but earns no prize.
Rusty Swordfish and Stowfish
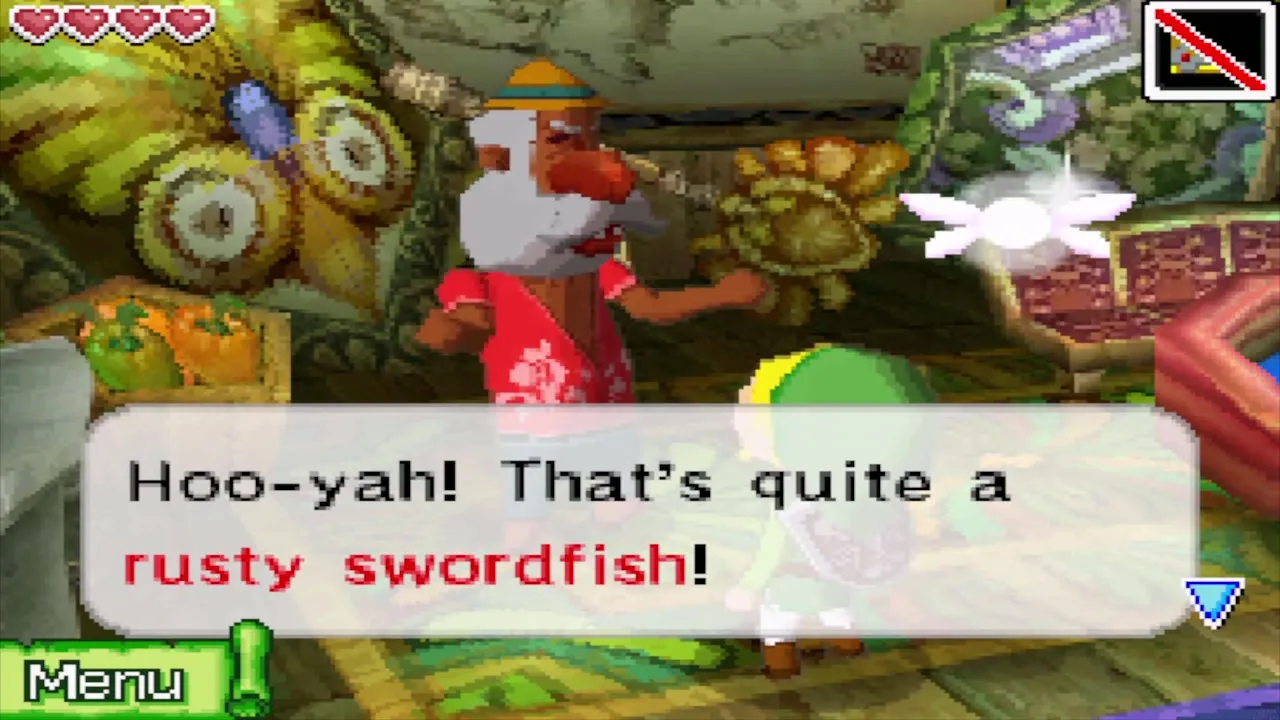
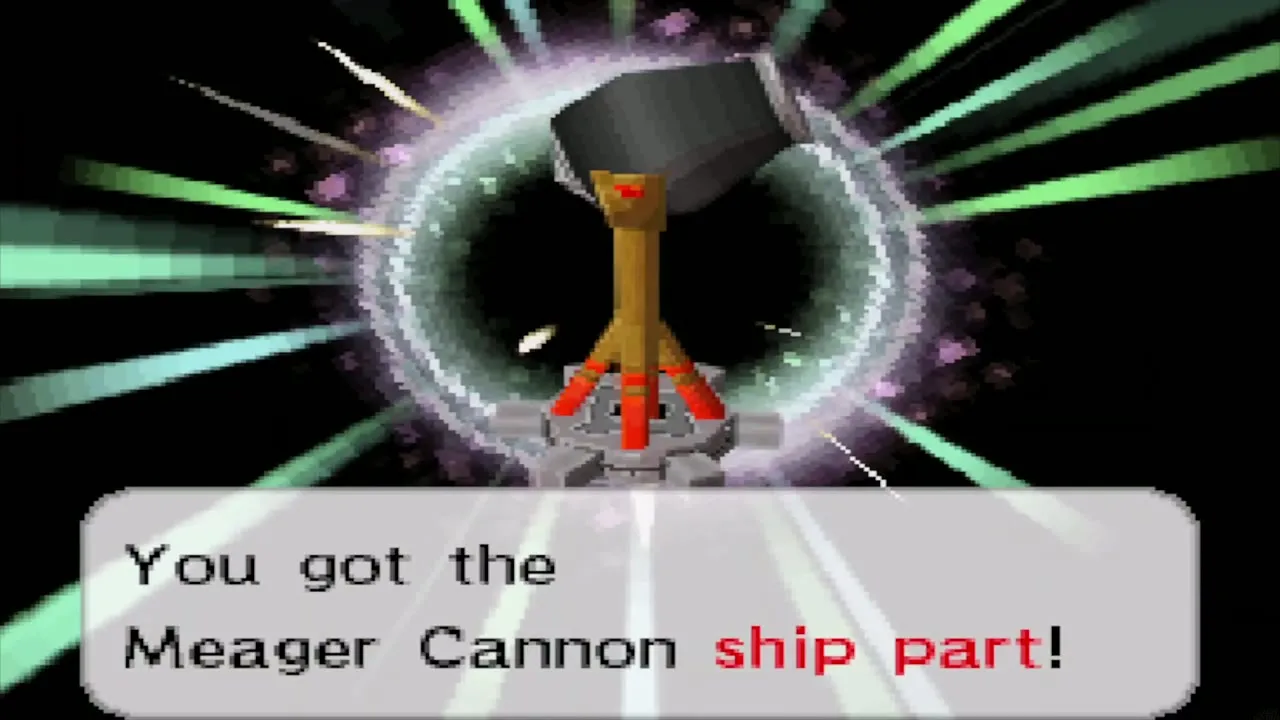
With the lure, keep fishing until you reel in a Rusty Swordfish and show it to the Old Wayfarer. He rewards you with a random ship part. If a tiny Stowfish is also hooked on a big fish you land, show him that too for another part.
Neptoona and the Heart Container
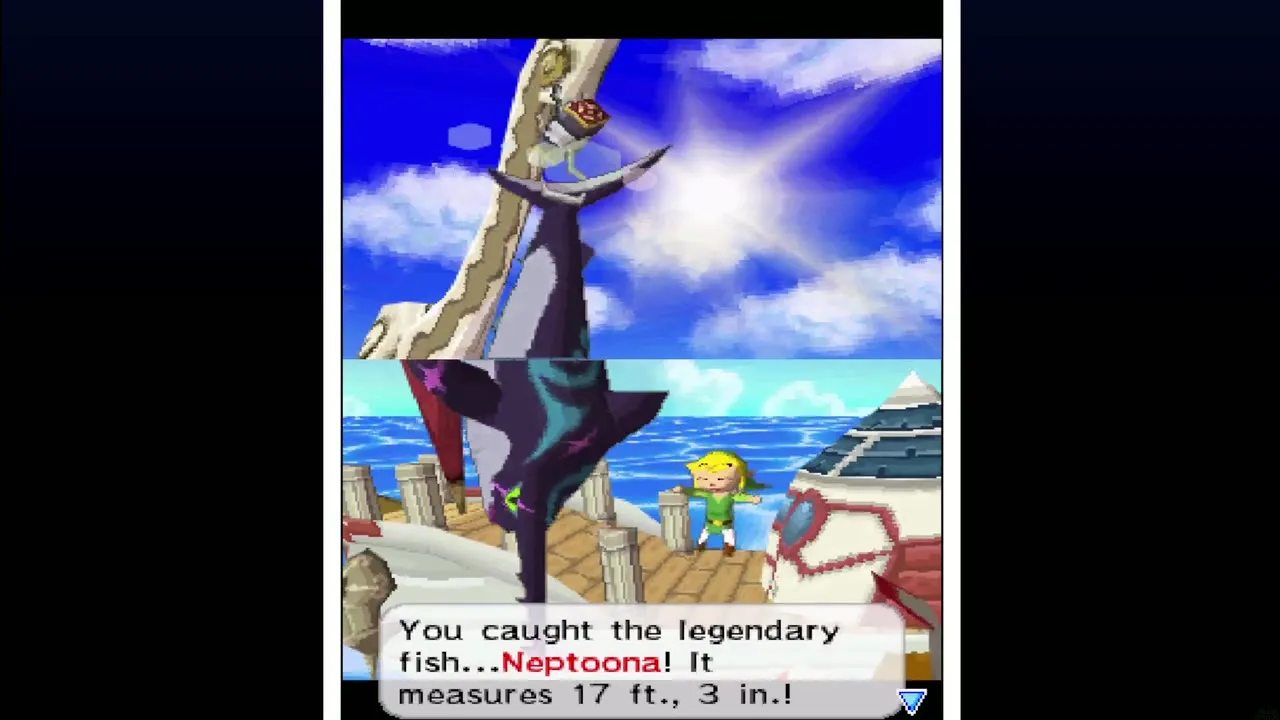
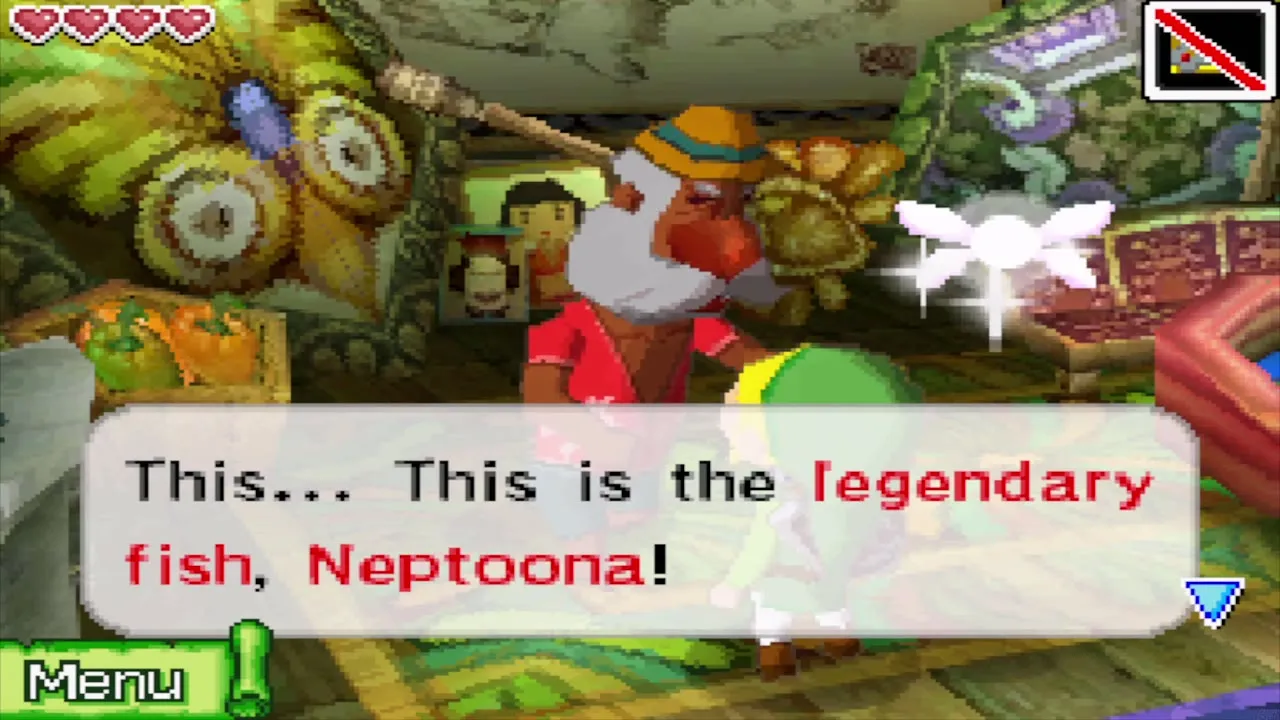
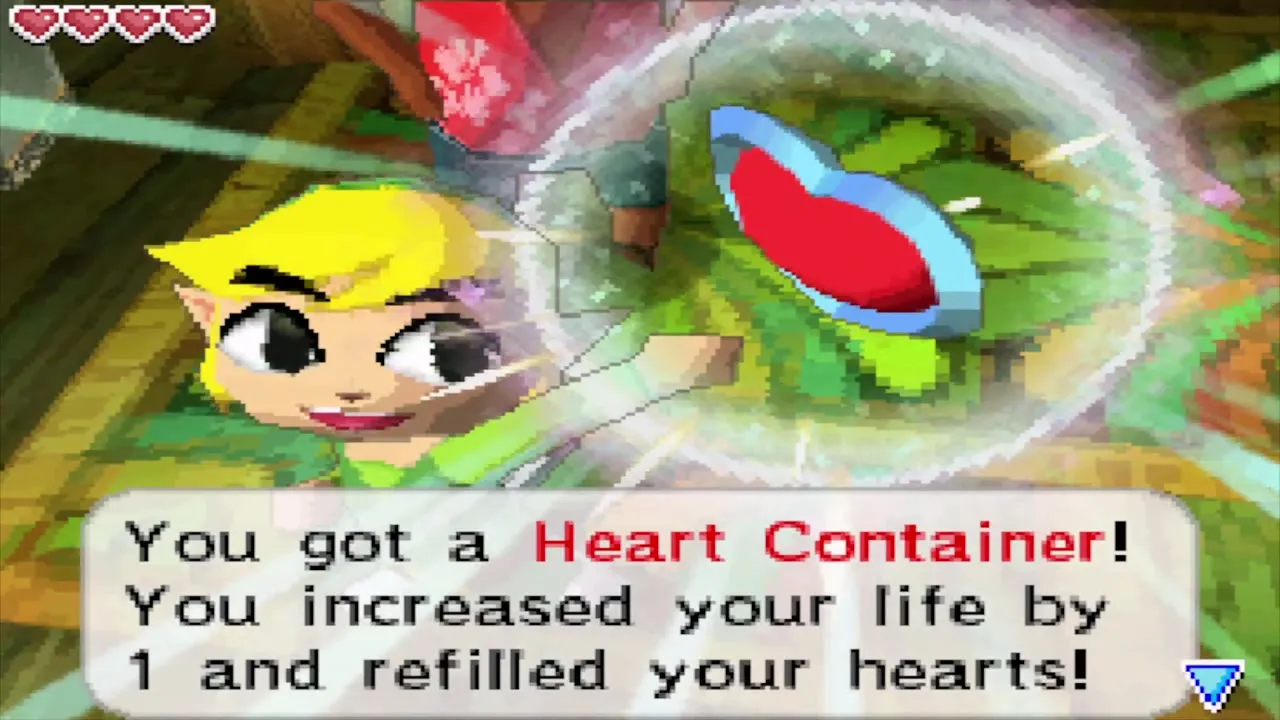
After the swordfish, the Old Wayfarer tells you of Neptoona, the legendary fish. Land it and bring it to the hut for a Heart Container. The full list of fish and their prizes is in the fishing guide.
What waits for later
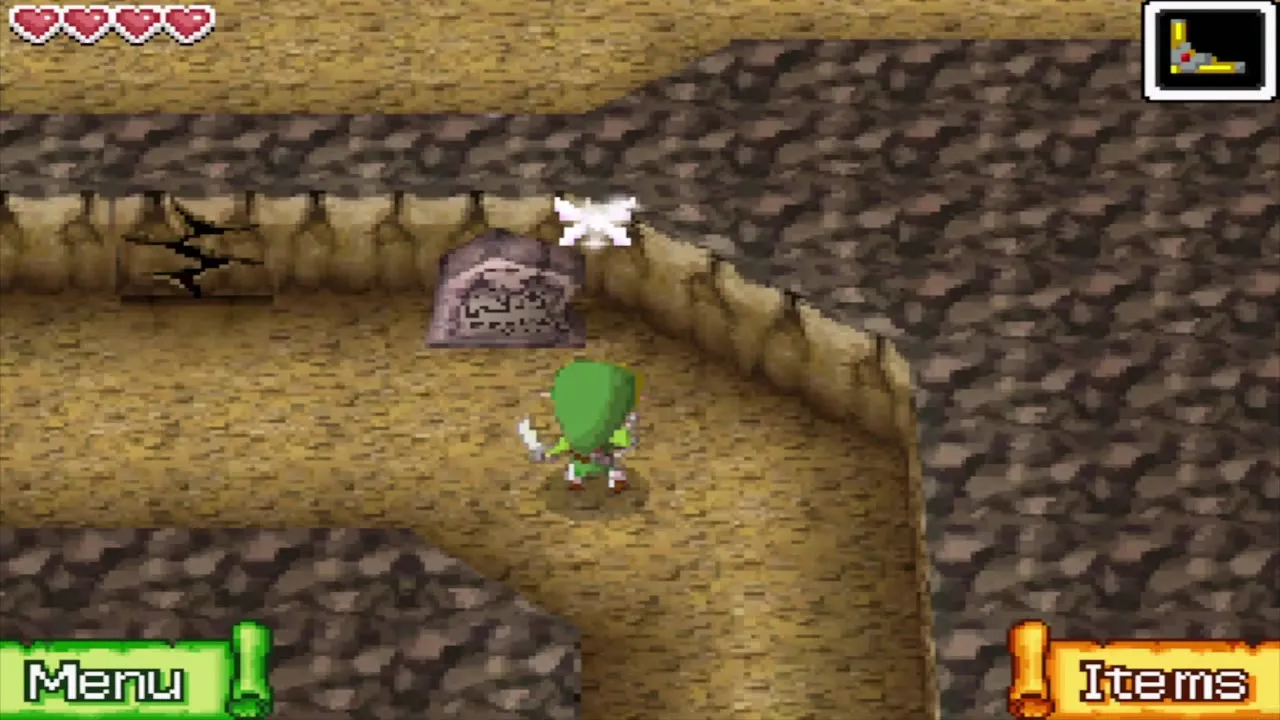
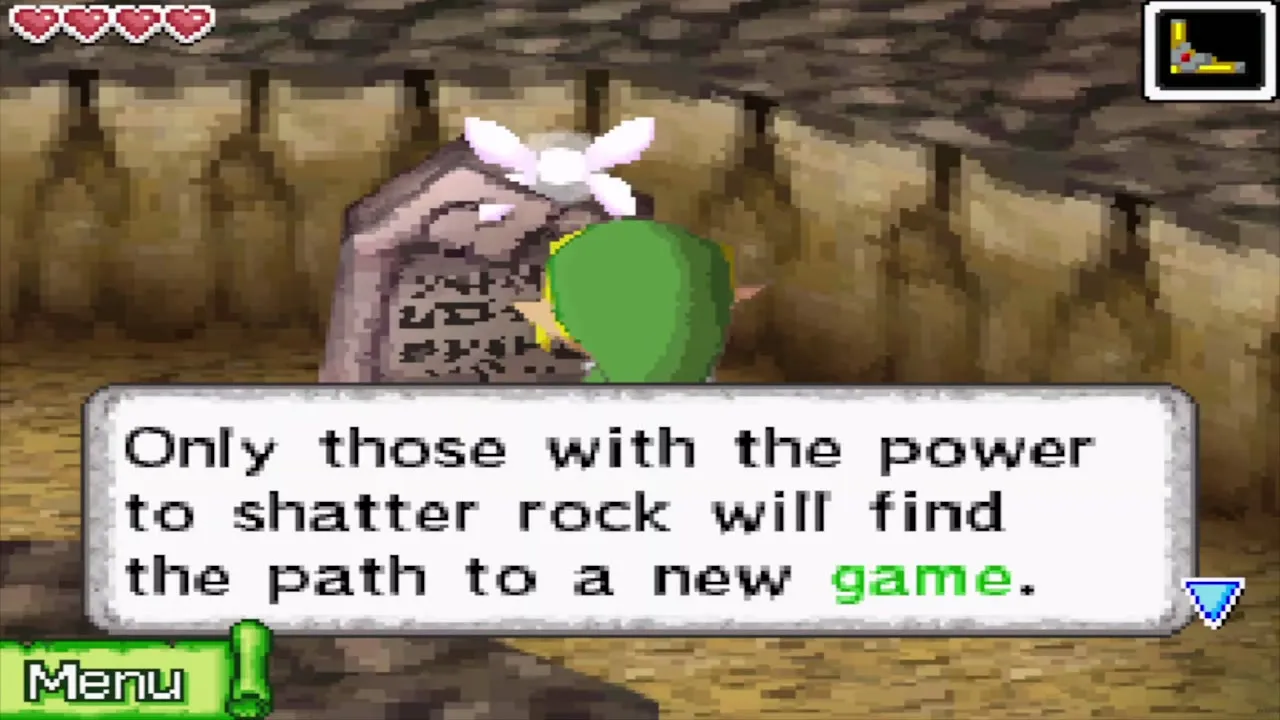
A wall in the cavern that splits the island hides Salvatore’s Cannon Game on the far side, and only a bomb will open it, so come back with Bombs from the Temple of Wind. A Power Gem chest on a small island south of the island’s lower part and a Courage Gem chest on an islet north of Salvatore need the Grappling Hook, and Joanne has a Wisdom Gem for you once the Postman brings Jolene’s letter (after you beat her in her first duel, following the Temple of Courage). Dig in front of the sign outside the hut for a treasure map right away.
Zauz’s Island
Wisdom Gem and the line puzzle
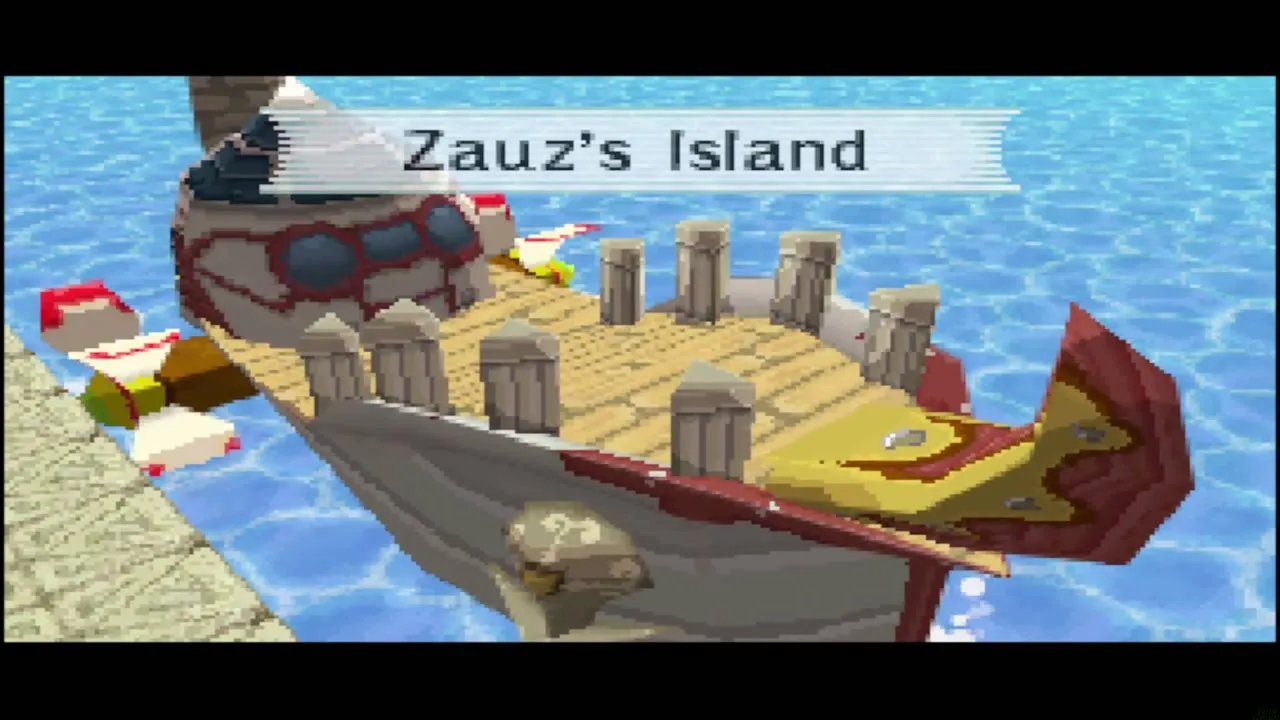
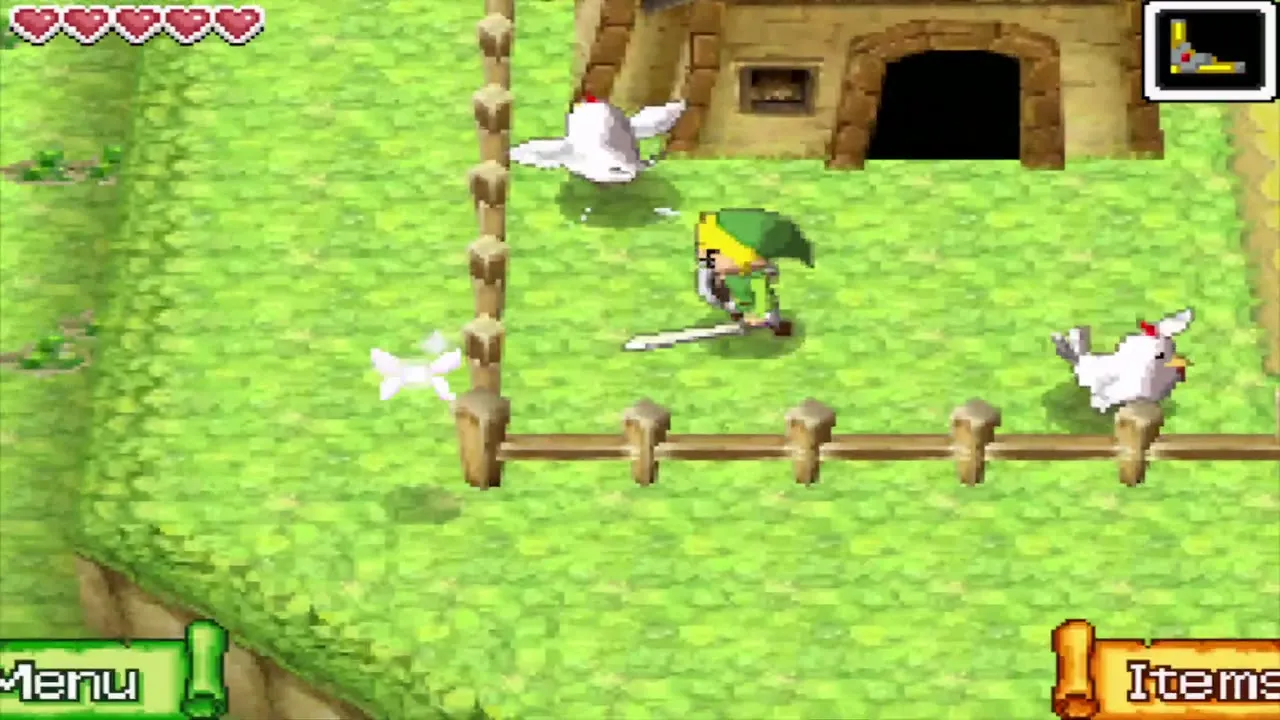
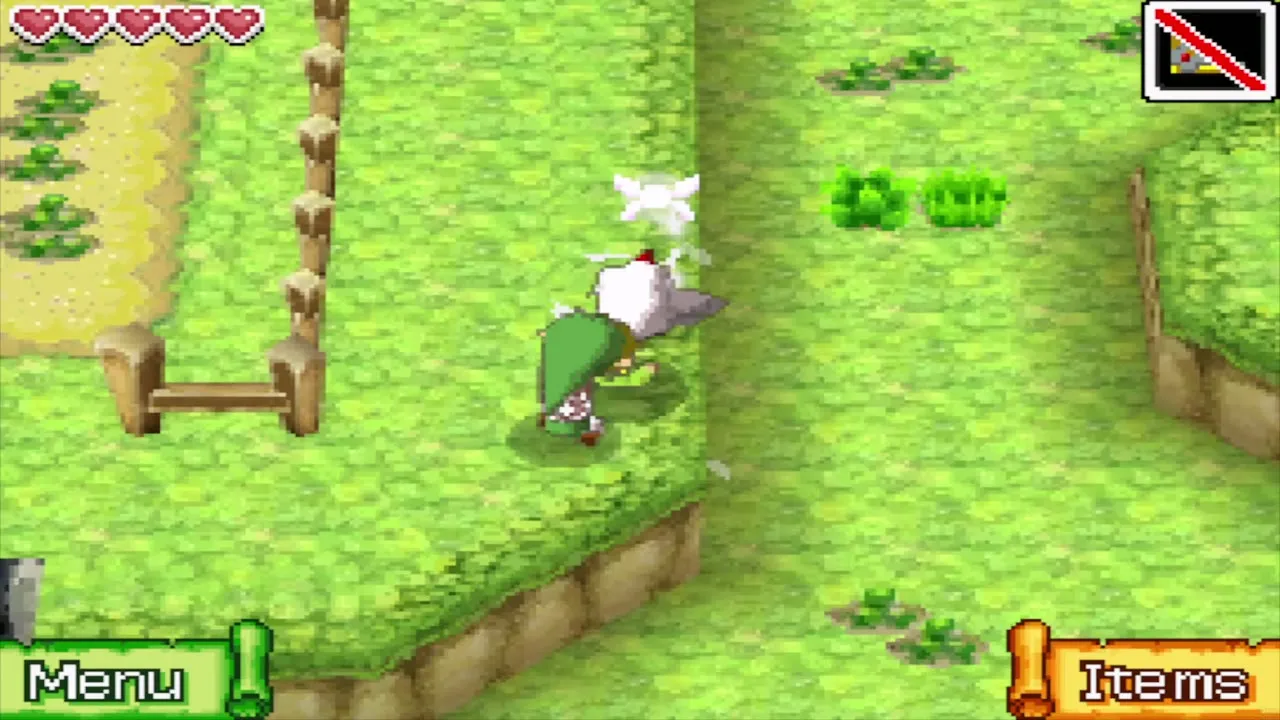
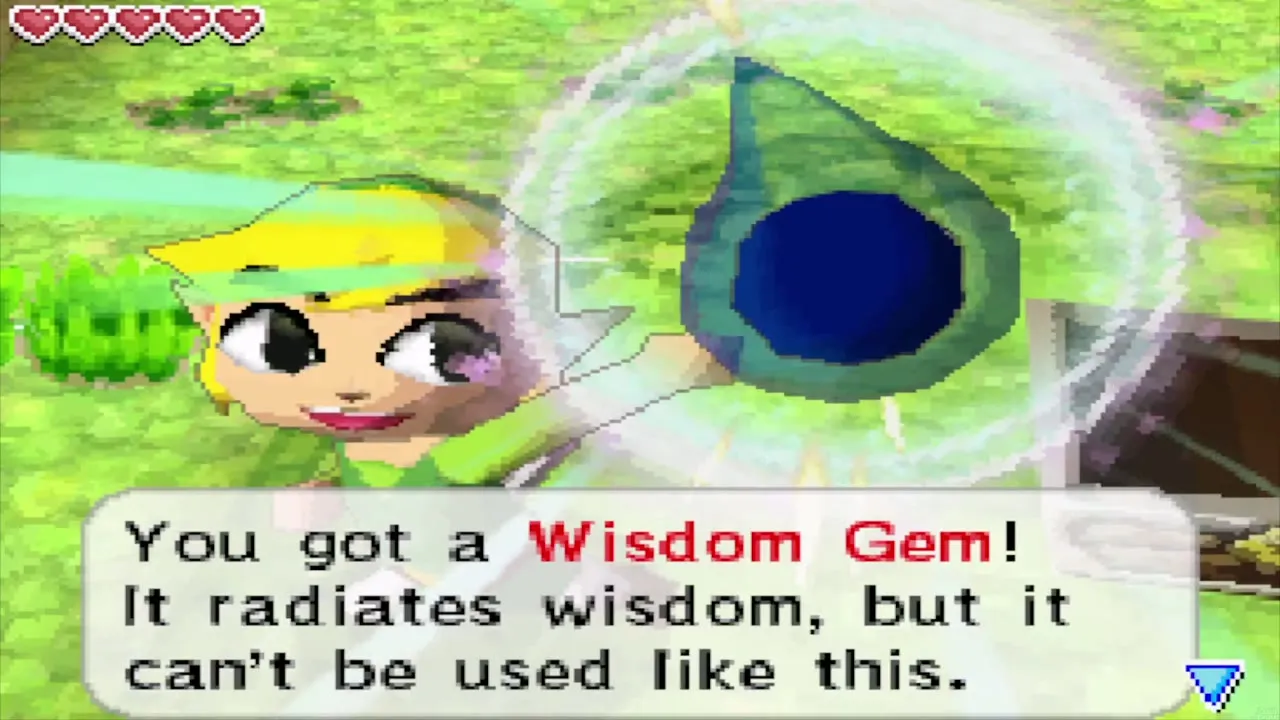
Sail to the small island at the northern edge of this sea. It is missing from your chart until you come close, when Ciela spots it and marks it. Beside the hut with the cucco pen, pick up a cucco, carry it to the cliff edge and jump so that you glide across the gap to a raised ledge. The chest there, east of the hut, holds a Wisdom Gem.
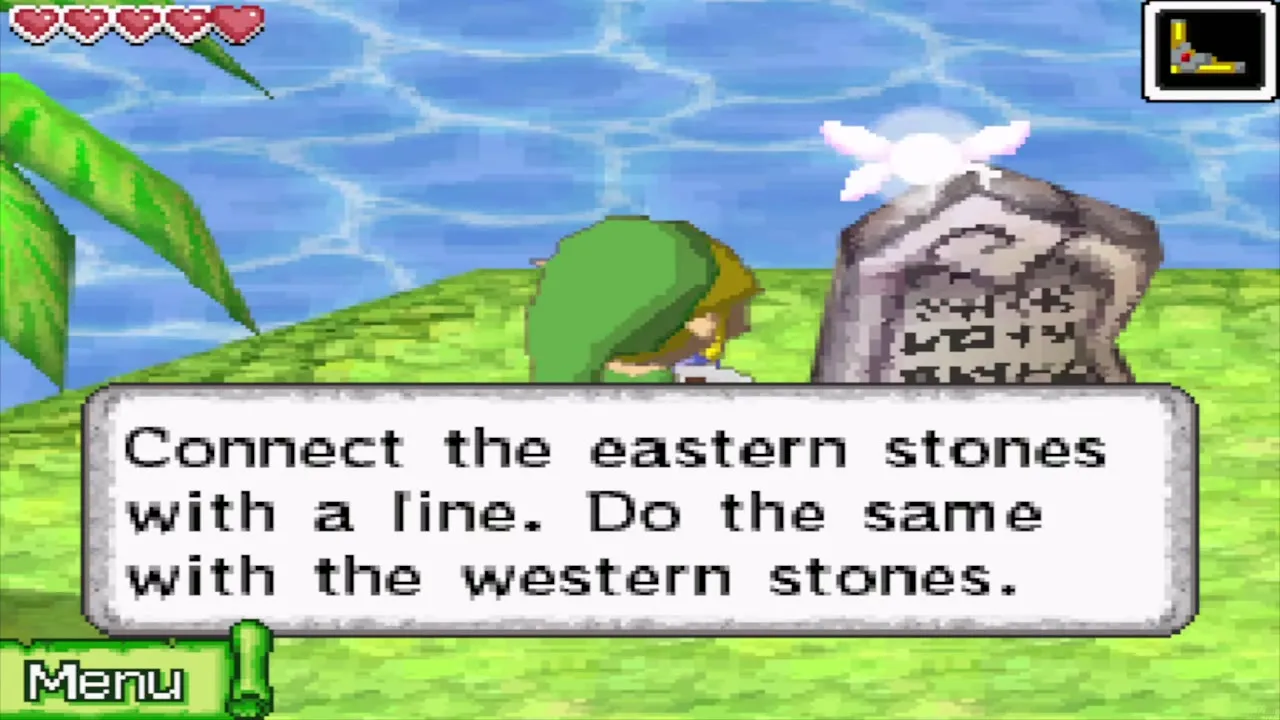
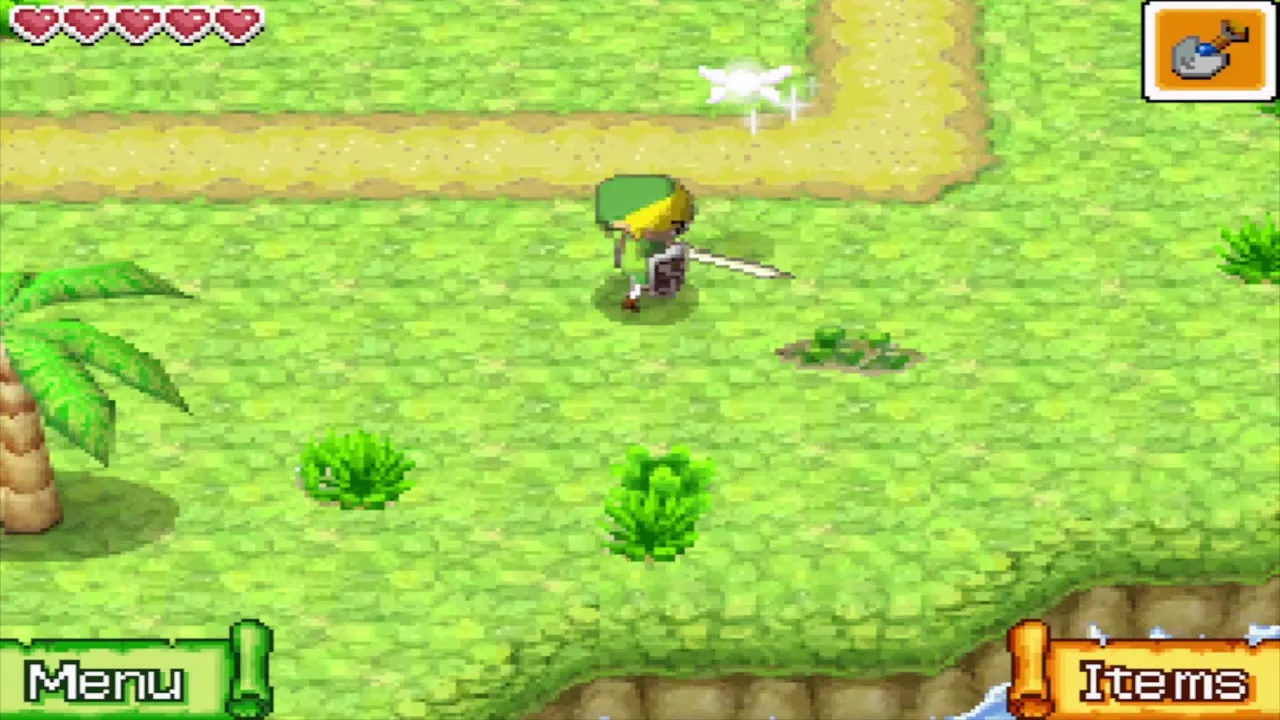
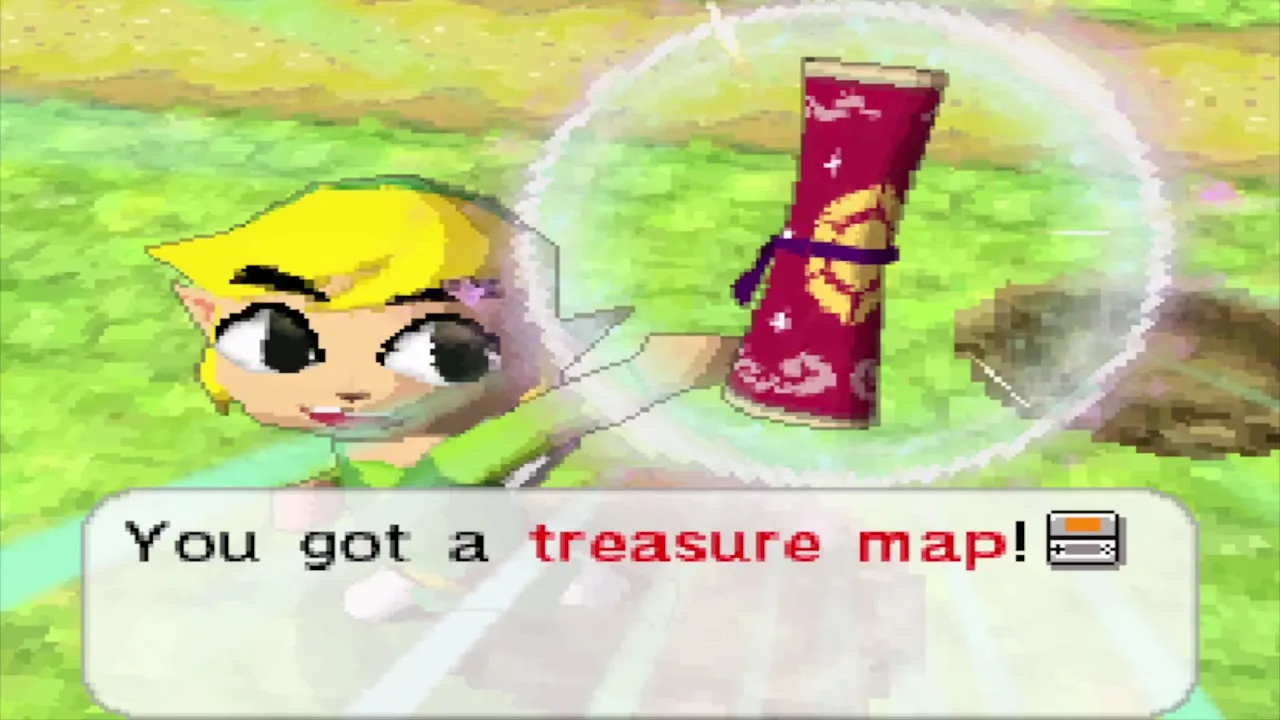
A stone tablet on the island tells you to join the stones on the east with a line and the stones on the west with another, then dig where the lines cross. Open the island map, draw both lines with the Memo pen, and dig at the crossing for a treasure map.
Zauz’s forge
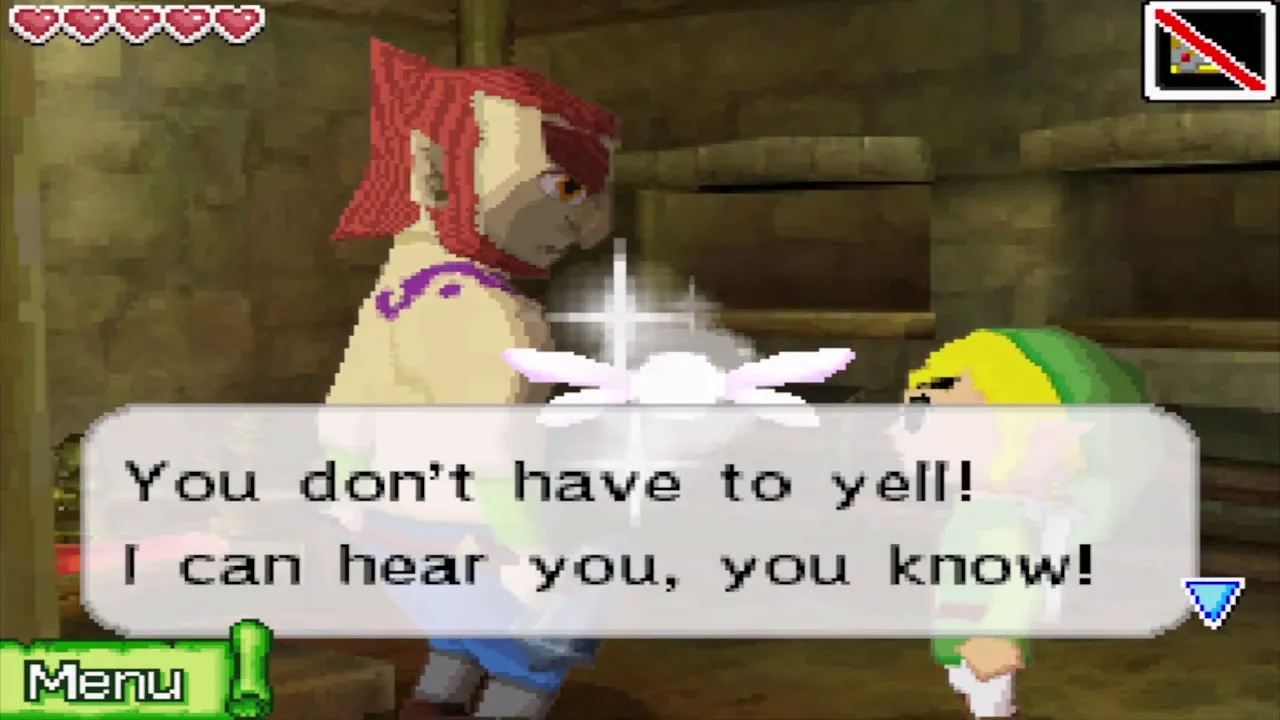
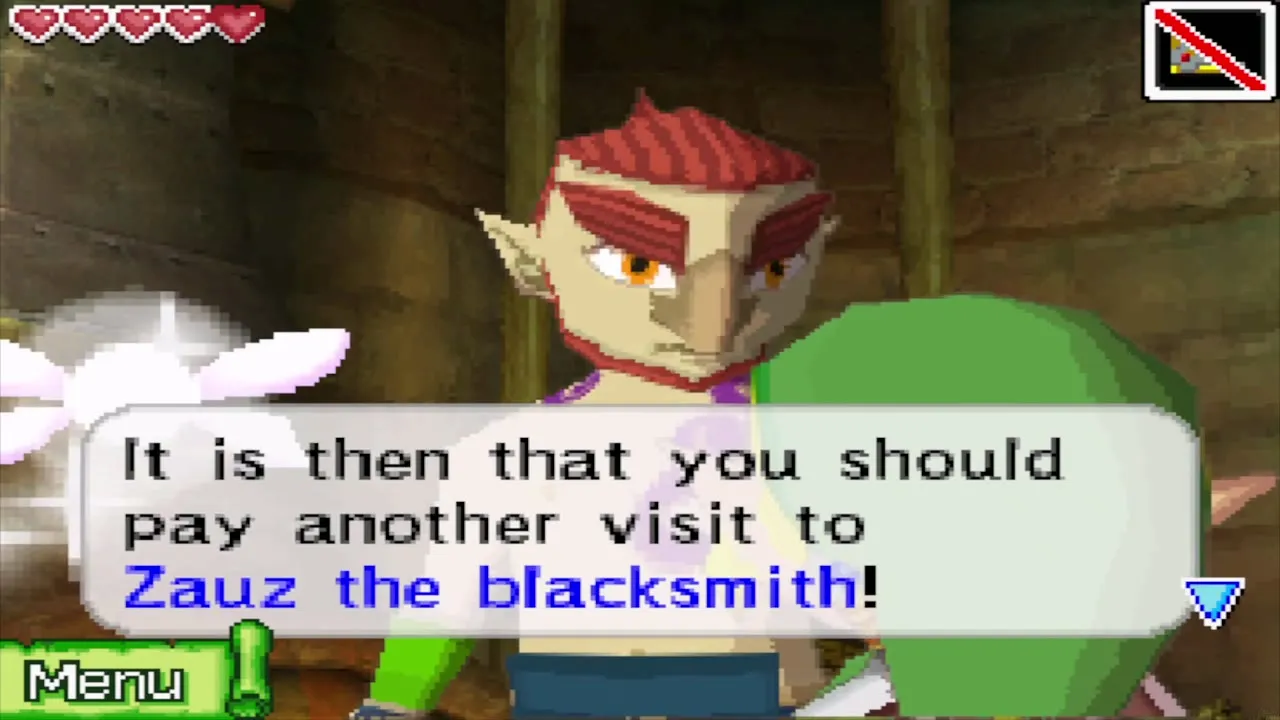
Zauz the blacksmith lives in the forge on the island. There is nothing for you here yet. Oshus sends you to him after the Ghost Ship, and the Temple of the Ocean King B7 to B9 chapter picks it up.
Uncharted Island and the Cyclone Slate
The four whale statues
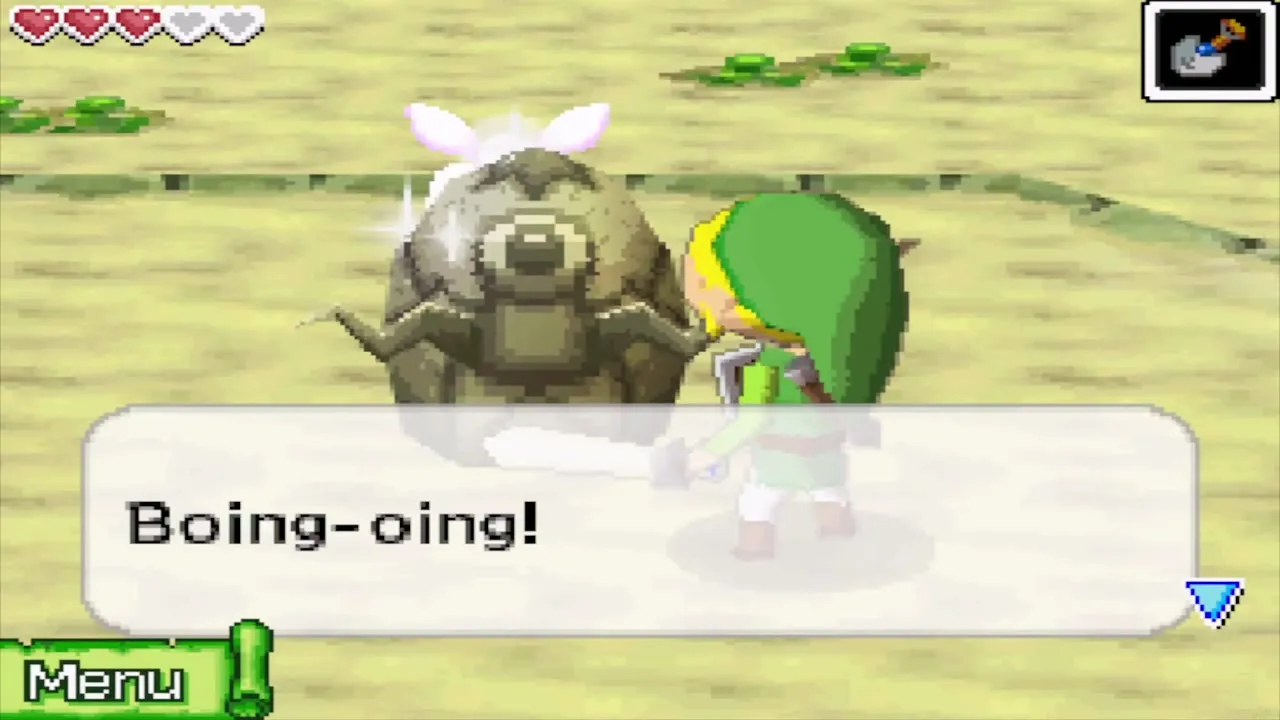
Dock on Uncharted Island and cross the beach. Linebeck insists there is treasure on the island, but the useful path leads north, where a talking stone stands guard over the Golden Chief’s chamber.
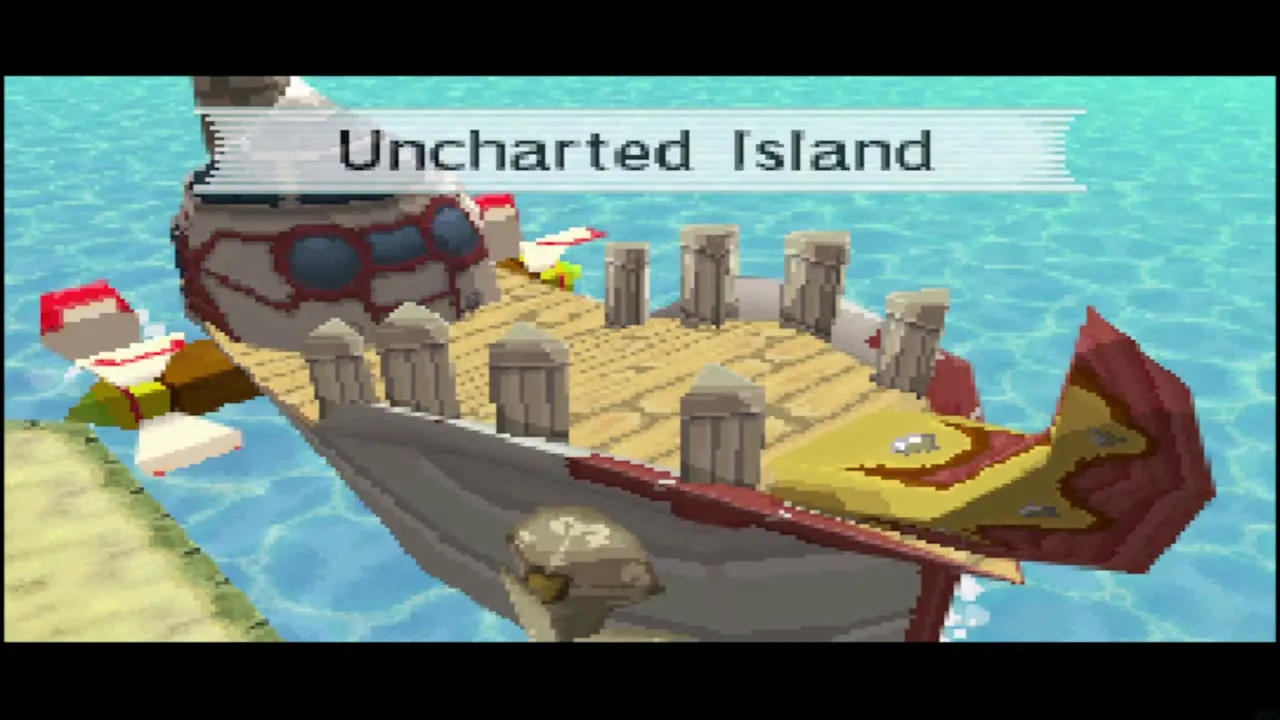
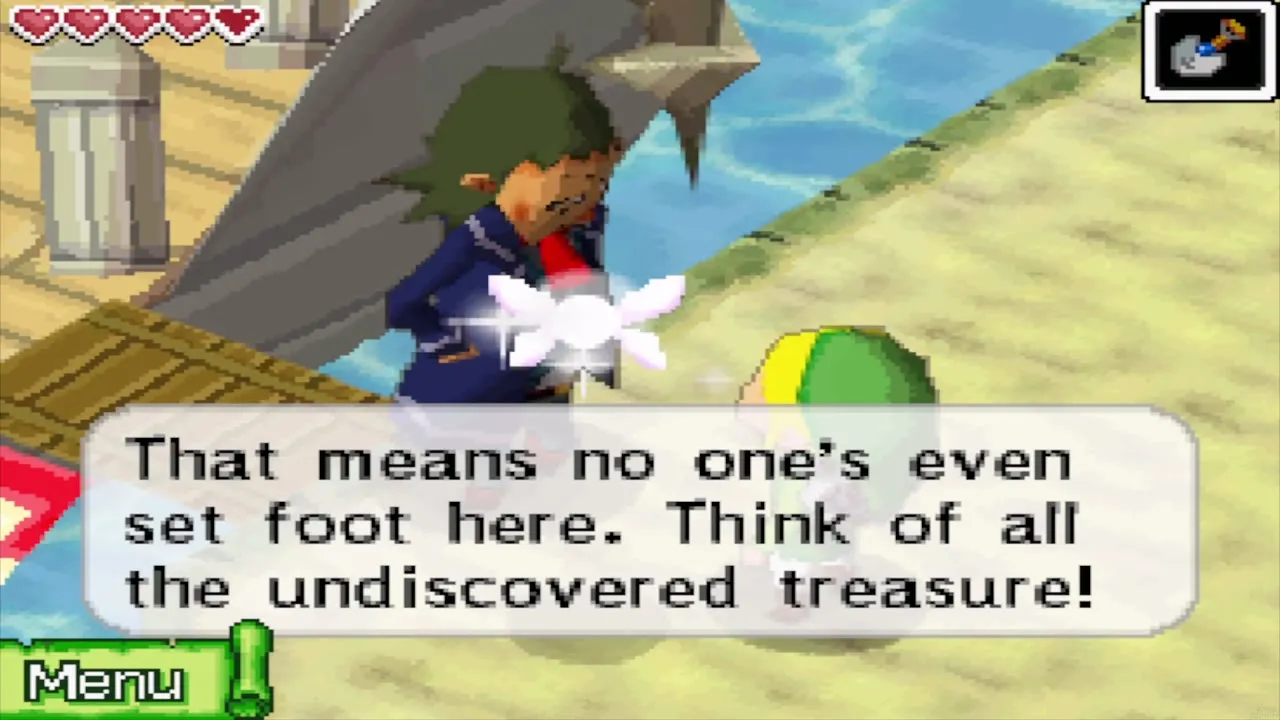
The stones tell you to hit four statues in a very specific order, and the riddle says: it steers with a rudder, then makes spray, and third it paddles, then sees a way. The island is shaped like a whale, so the clues are its tail, its spout, its flipper and its eye.
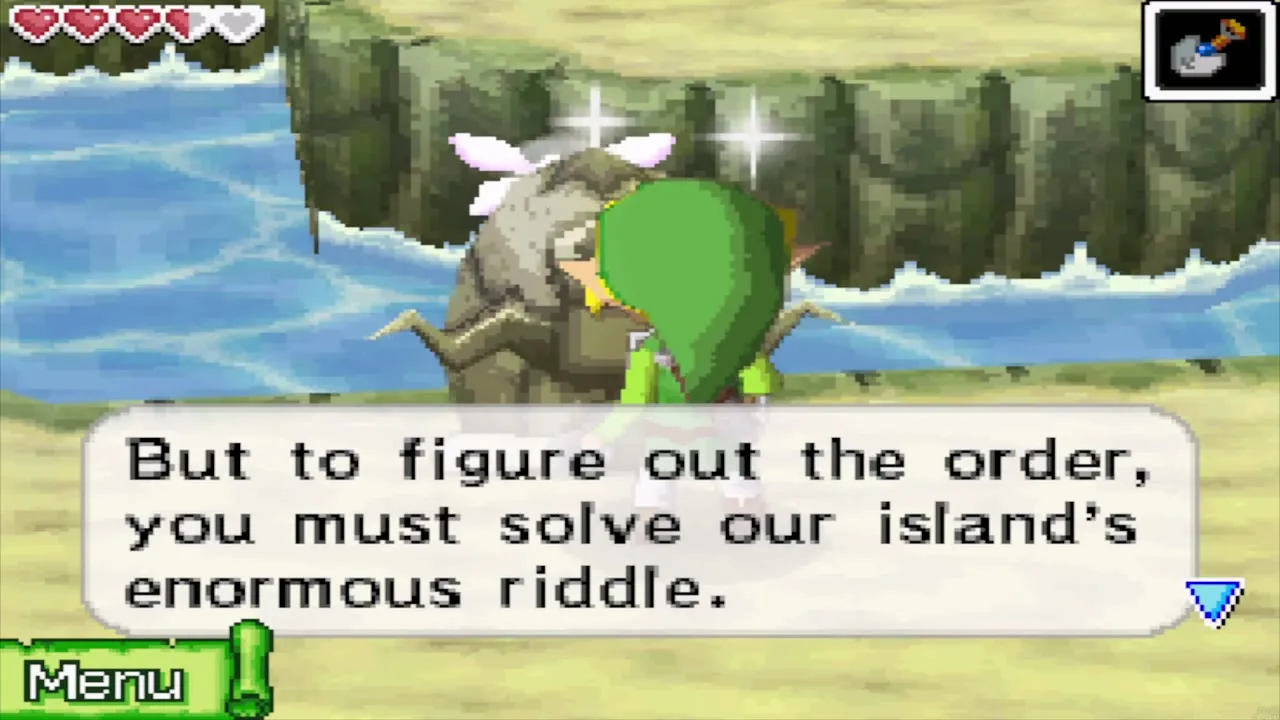
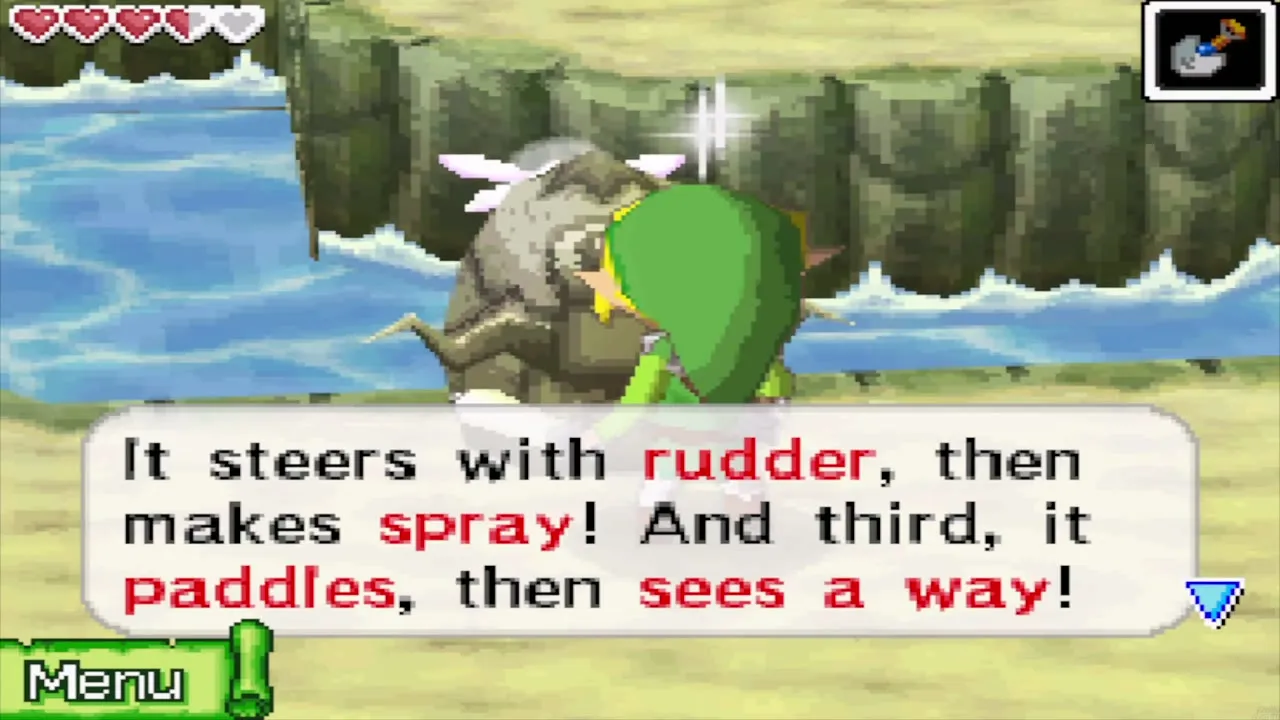
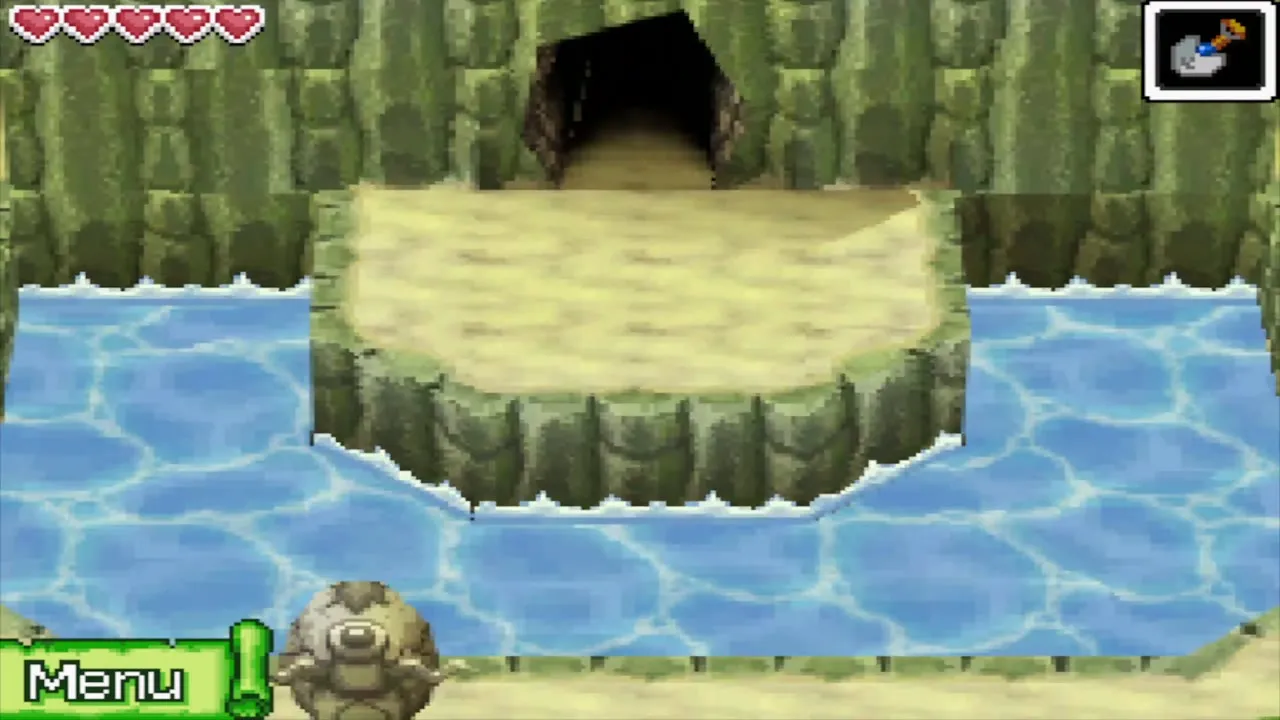
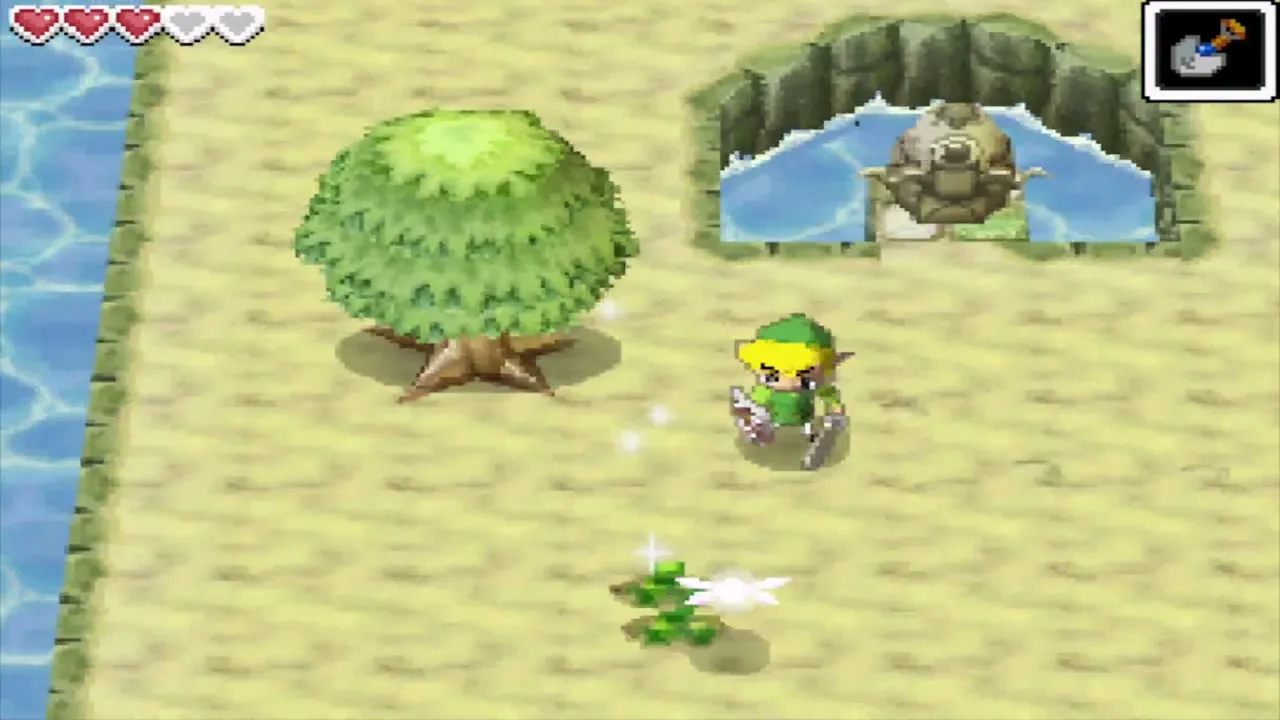
Walk the shoreline and strike each statue with your sword in that order: the statue at the east end for the rudder, the northernmost one for the spray, the one at the bottom for the paddles and the one in the west for the eye. The path into the cave opens after the last hit.
Golden Chief Cylos
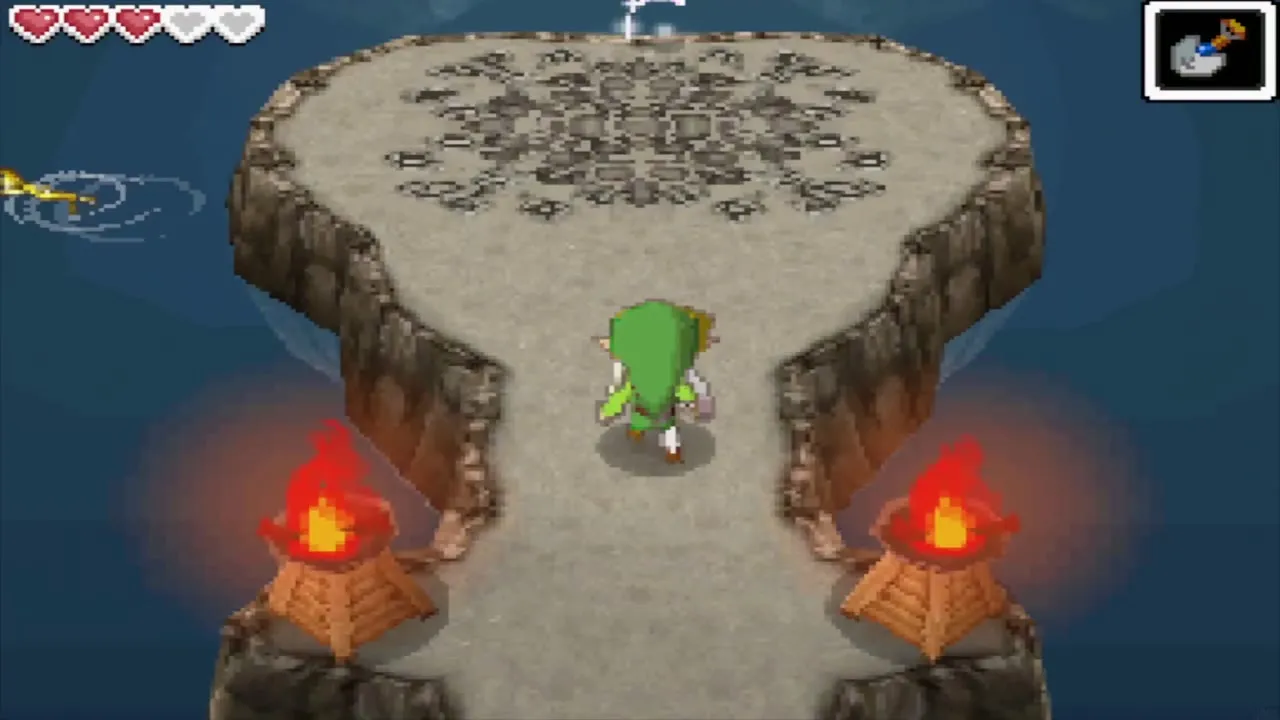
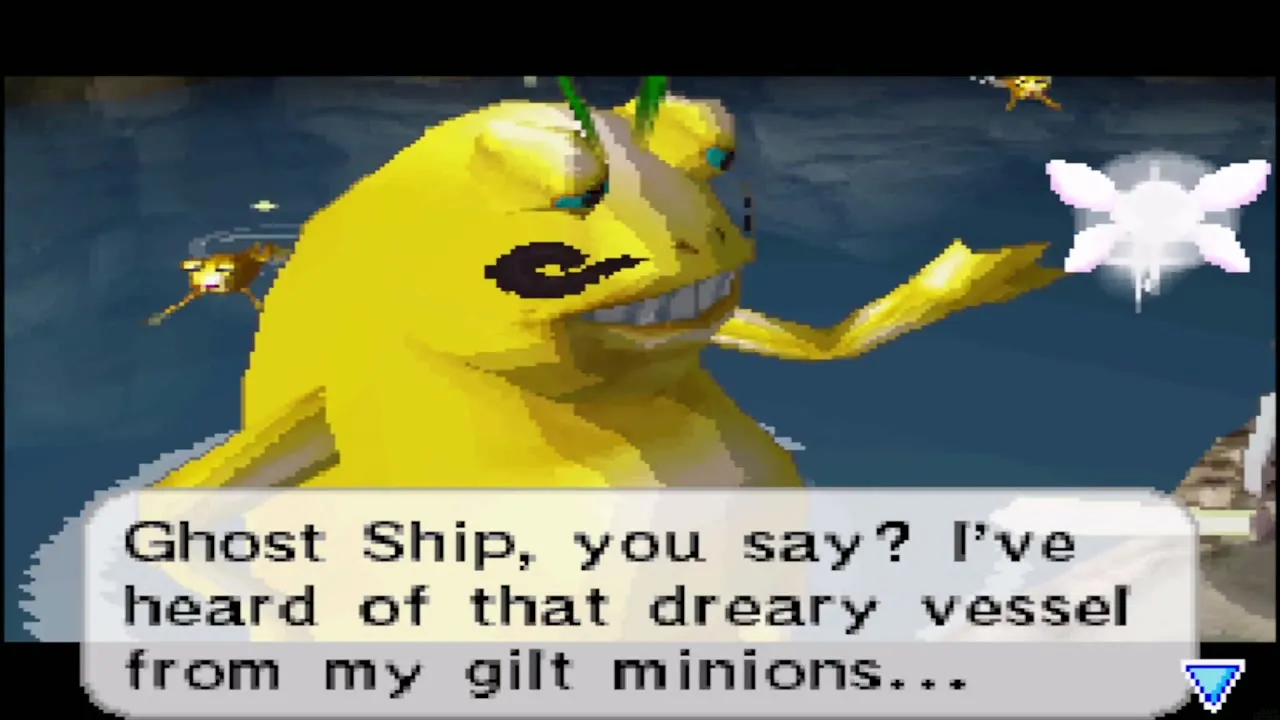
Follow the tunnels to the round chamber with two braziers and talk to Golden Chief Cylos. He recognises your Phantom Hourglass as a sign that you know Oshus, learns that the Ghost Ship took Tetra, and explains the Golden Frogs that sit around the sea.
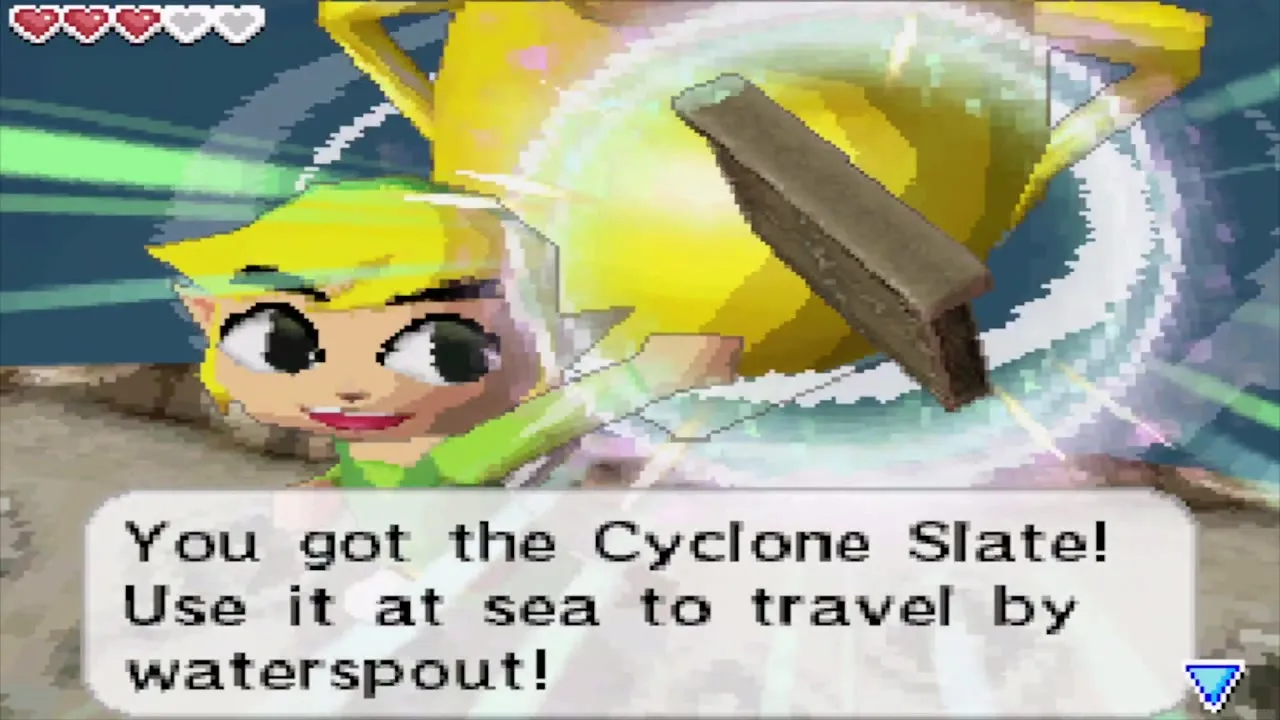
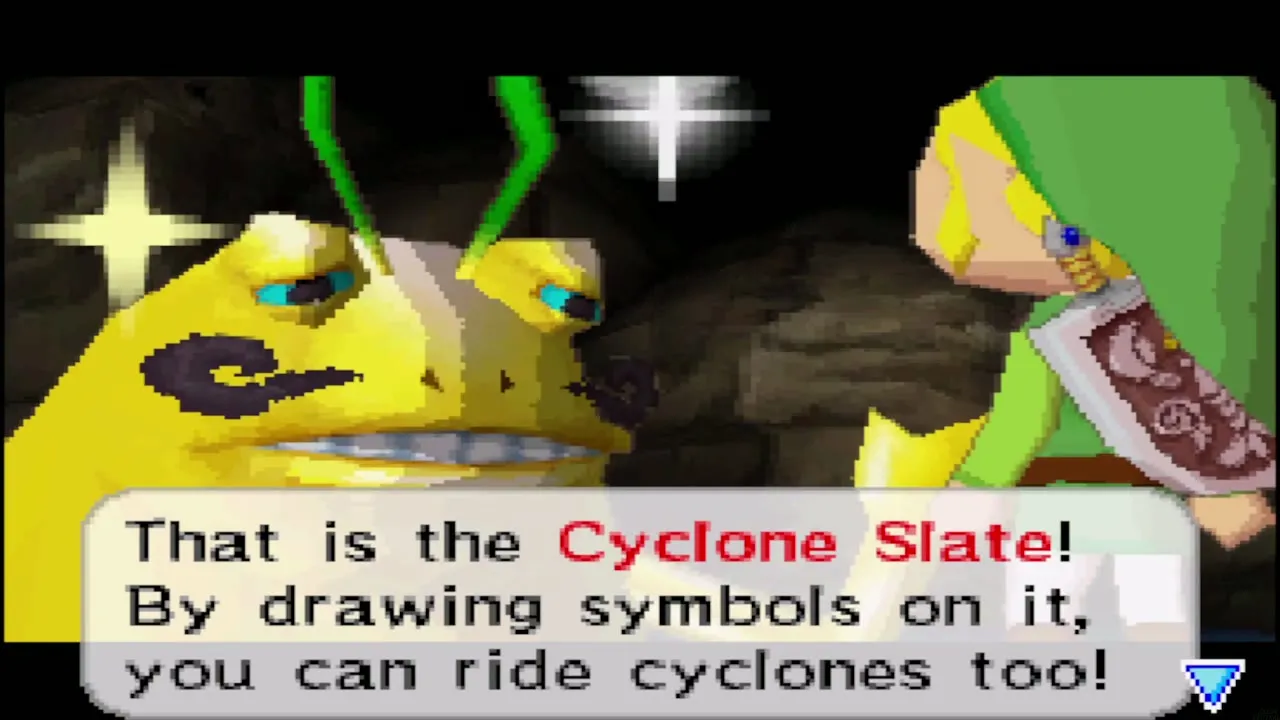
He gives you the Cyclone Slate, which lets you draw a symbol to ride a cyclone to a Golden Frog’s location. Six frogs each know one symbol, and you learn each symbol by meeting the frog.
Treasure map and what is later
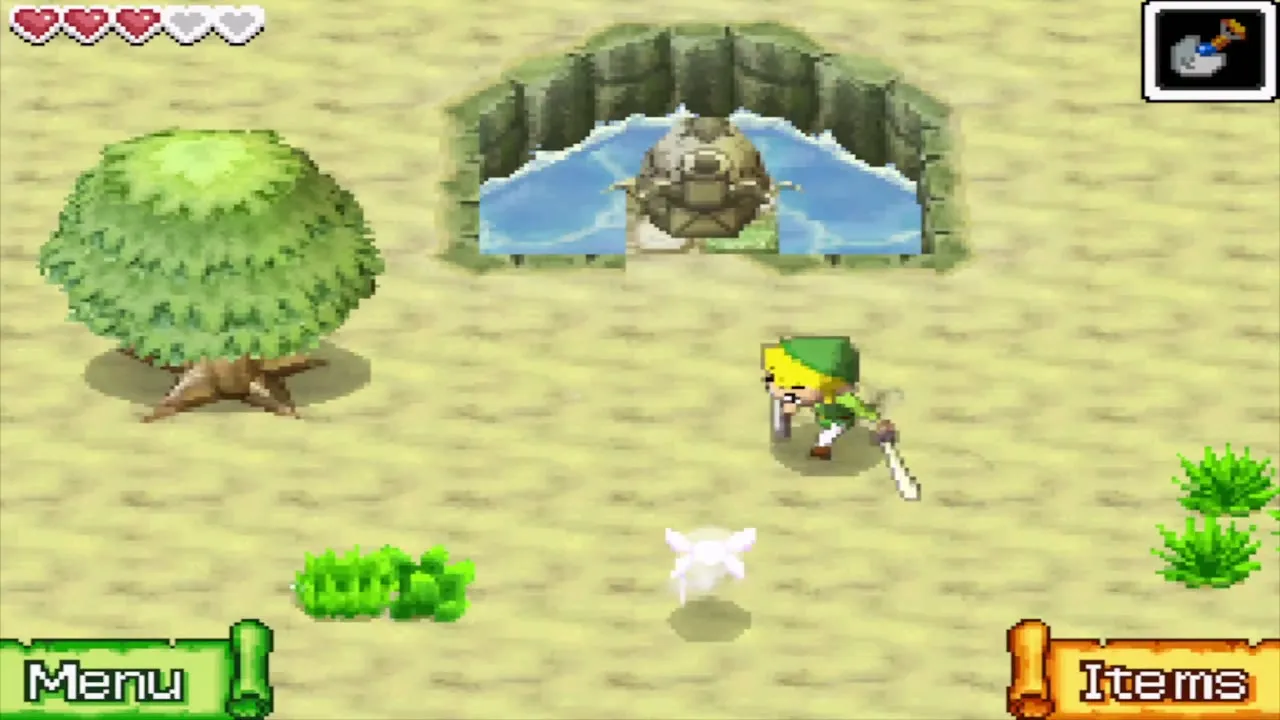
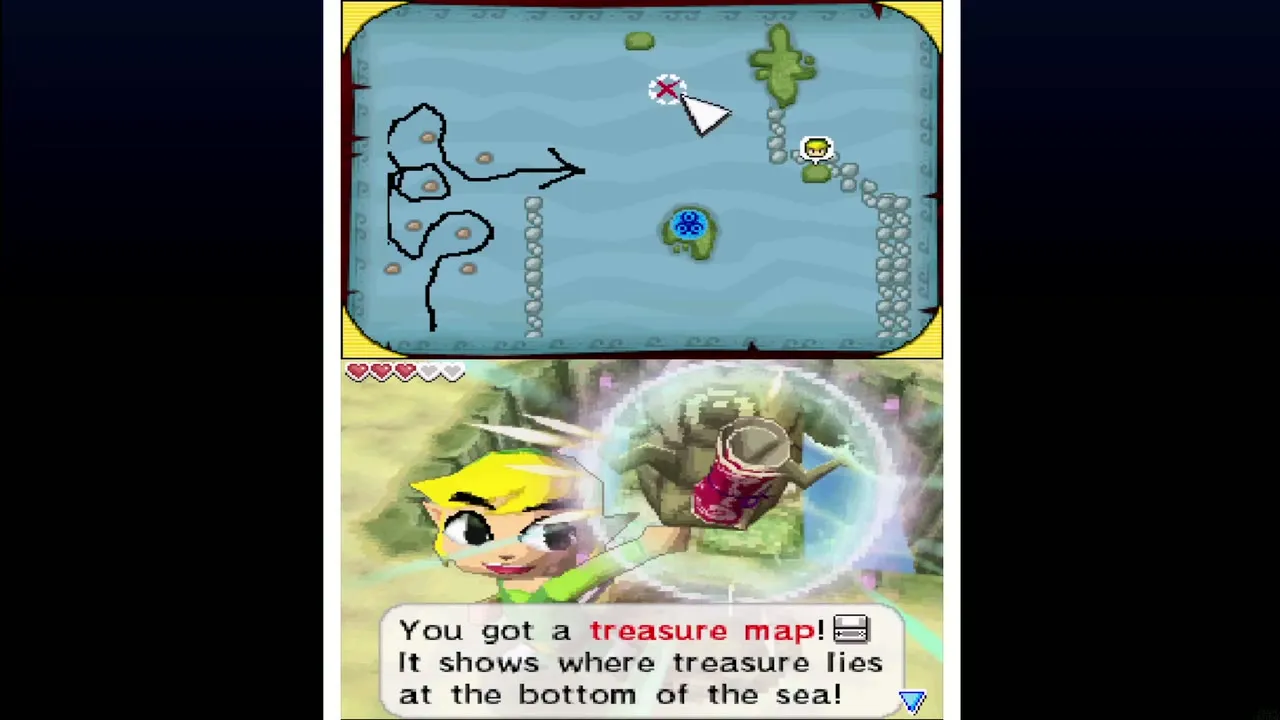
Back on the surface, walk to the western side of the island and dig in front of the stone statue beside the pond for a treasure map. A chest on a ledge in the central cave holds a Courage Gem, but it needs the Grappling Hook, so leave it for later.
Golden Frogs in the Northwestern Sea
Golden Frogs bob on the sea and slip away unless you hit them with the Cannon, so lead your shot slightly ahead of the frog. Each frog you hit shows its symbol on a wooden sign. Draw that symbol on the Cyclone Slate, found in your Menu, to sail straight back to the same place by cyclone.
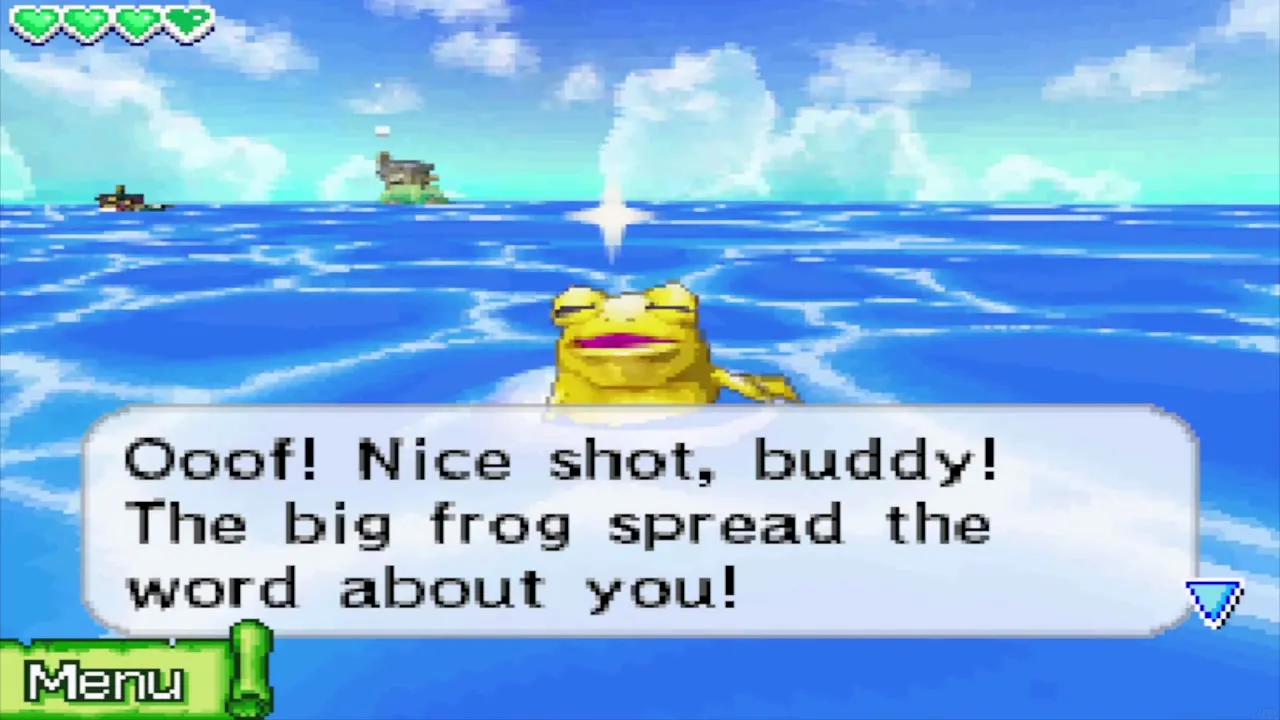
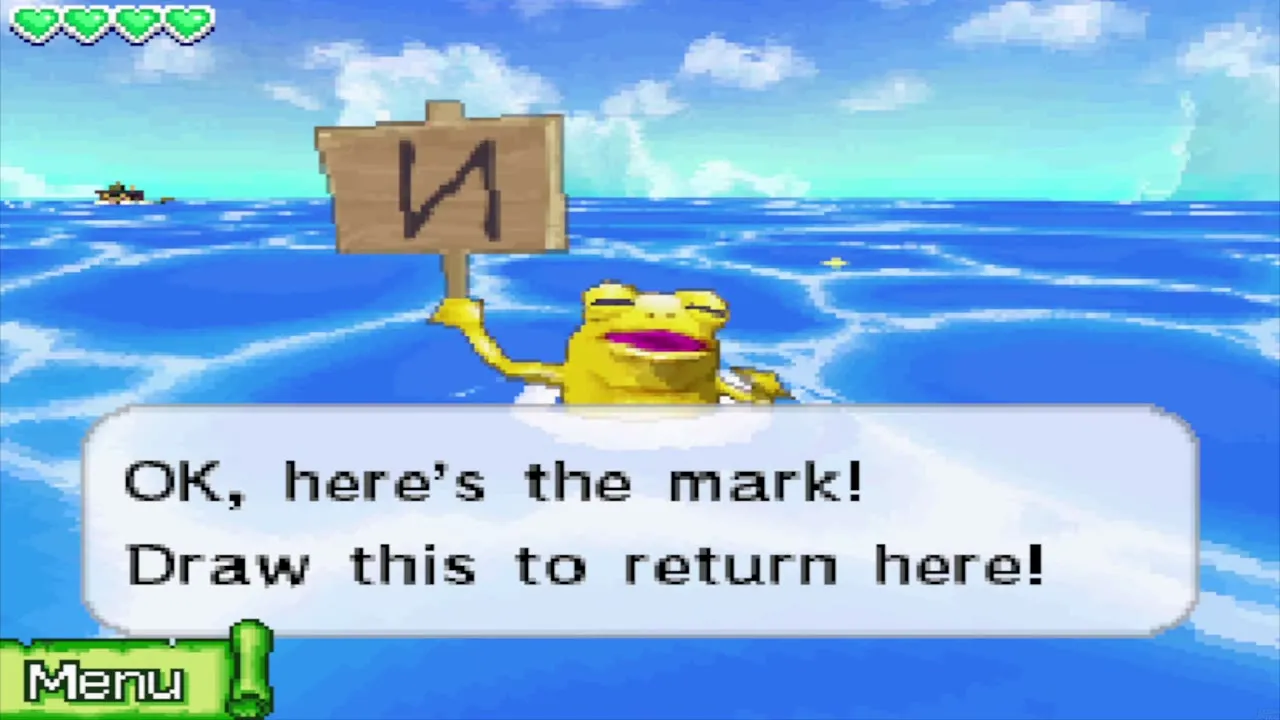
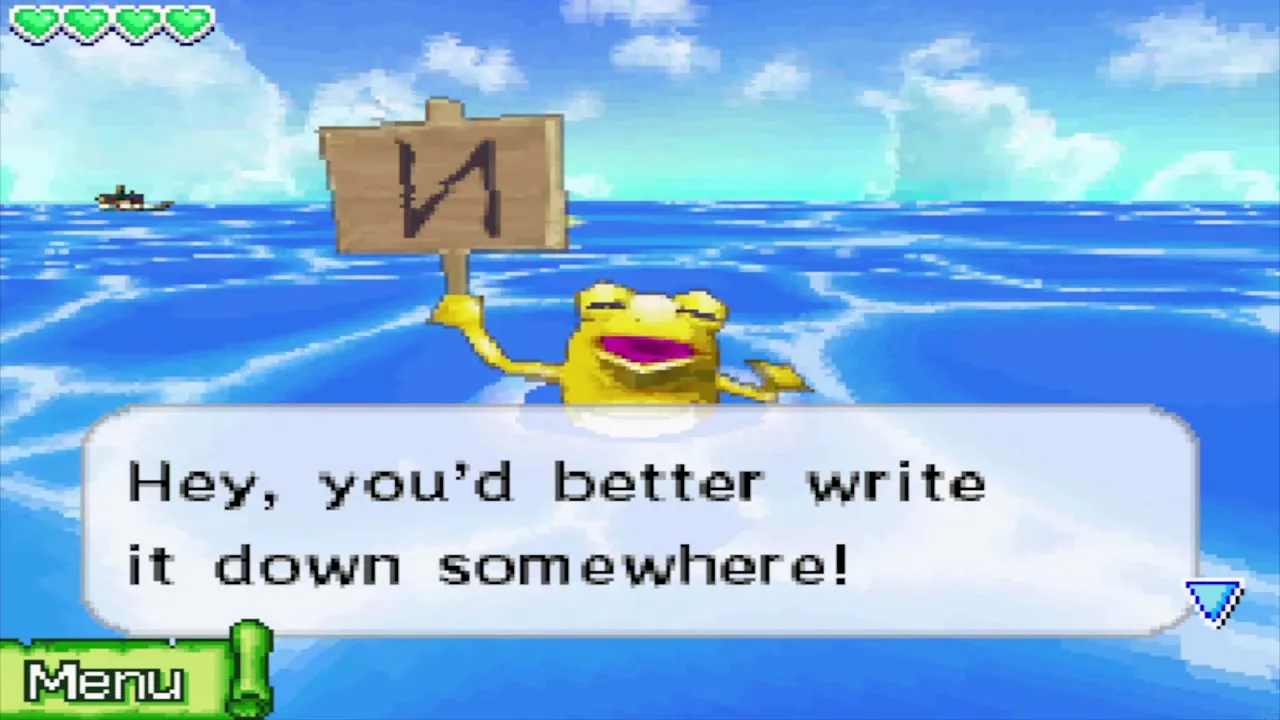
The frog in this sea floats between Bannan Island and the Isle of Gust. Its sign shows a backwards N, and drawing that on the Slate later warps you to this sea from anywhere. The other five frogs are listed in the Golden Frog guide.
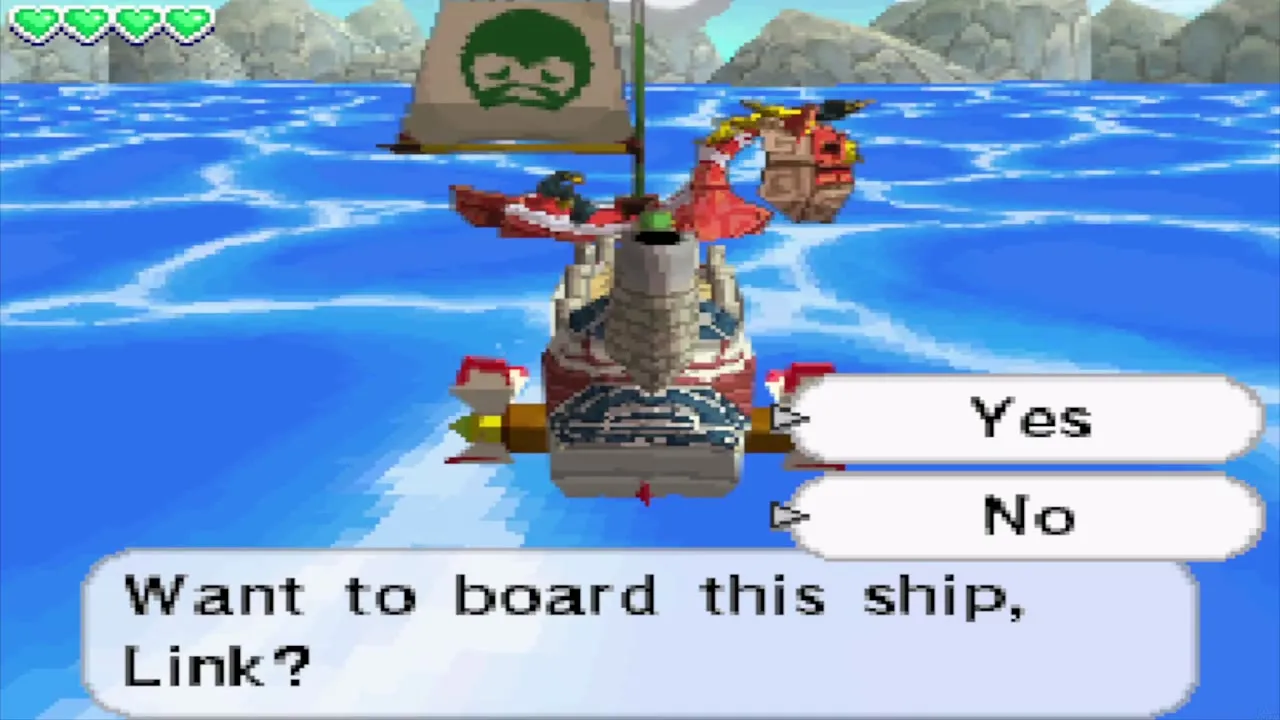
The Prince of Red Lions’ ship
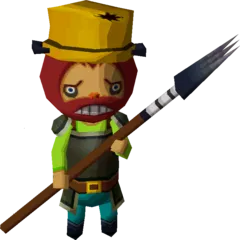
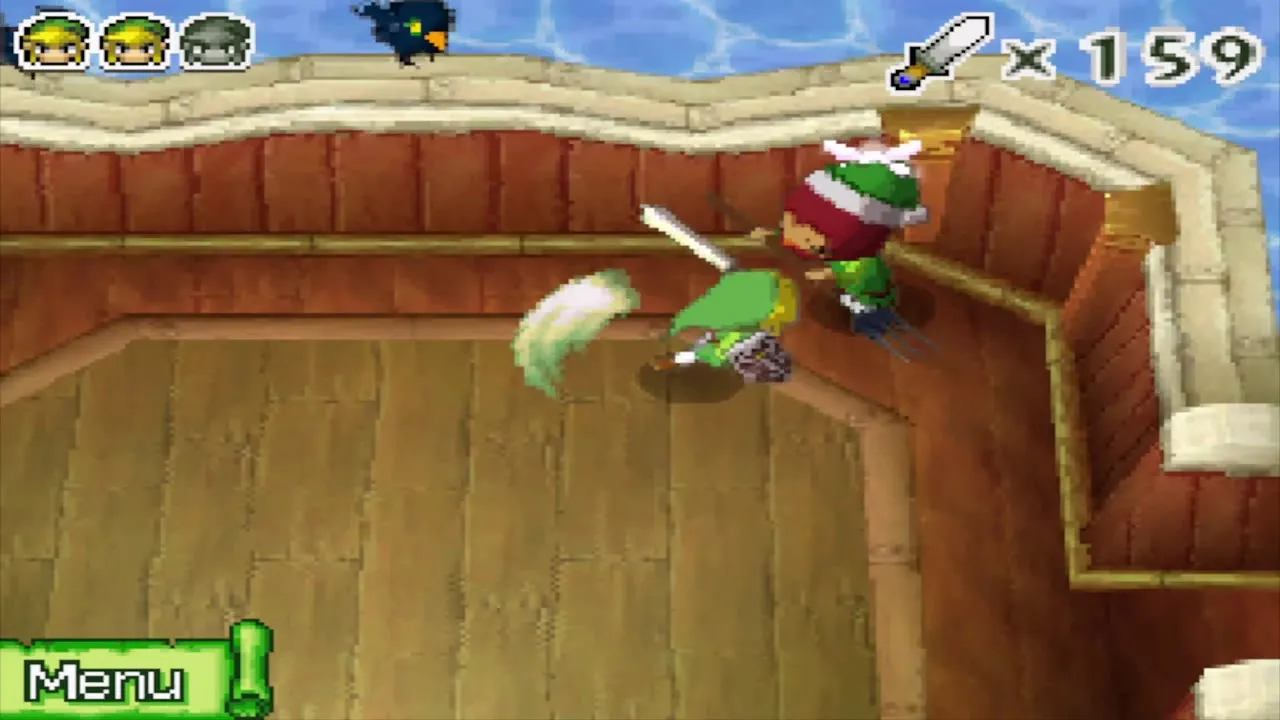
Sail up to the Prince of Red Lions’ ship and board it when the game asks. Nyeve, the Prince of Red Lions, is dressed just like Link and makes you his apprentice. Agree to a lesson and you duel him in a round wooden arena, slashing at him from every side while he attacks with his spear.
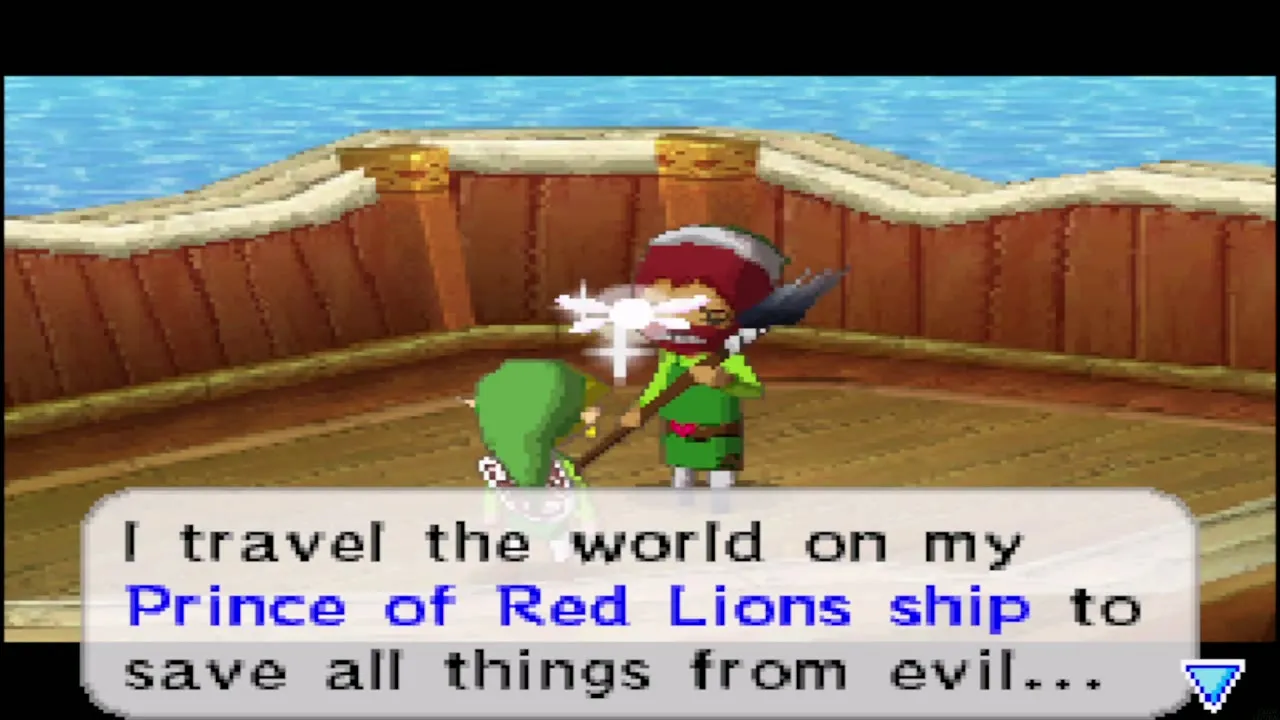
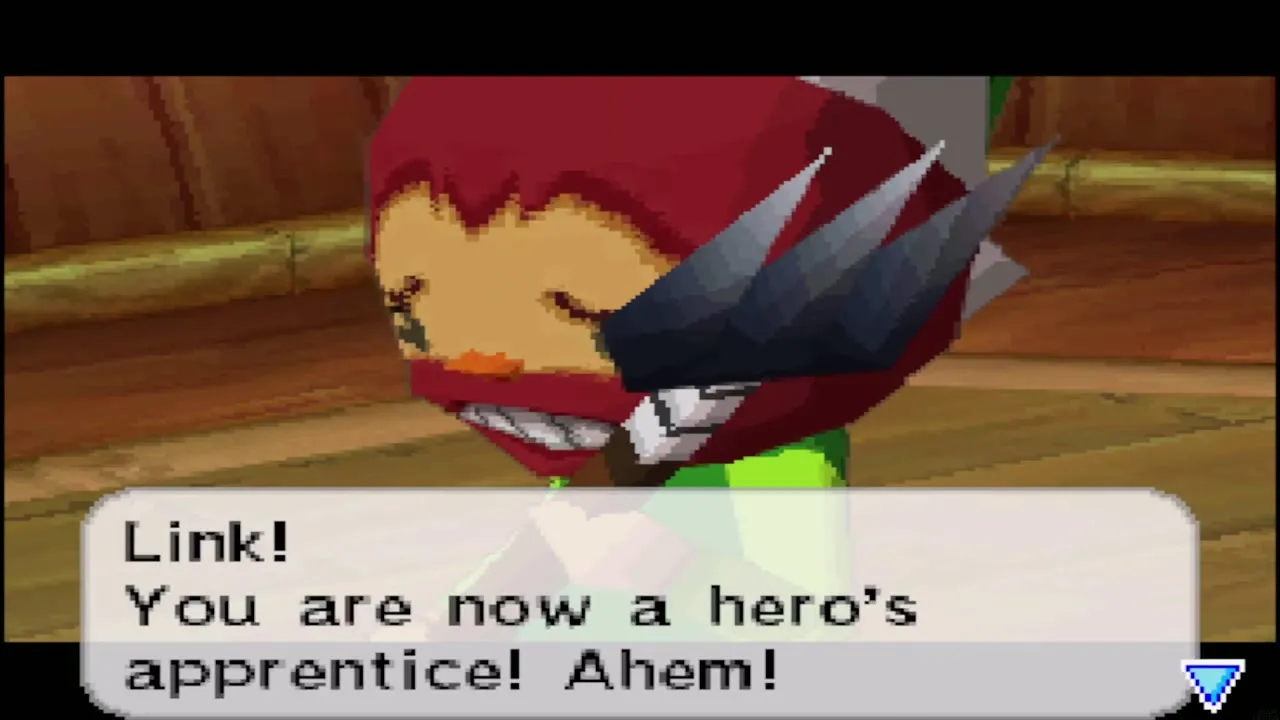
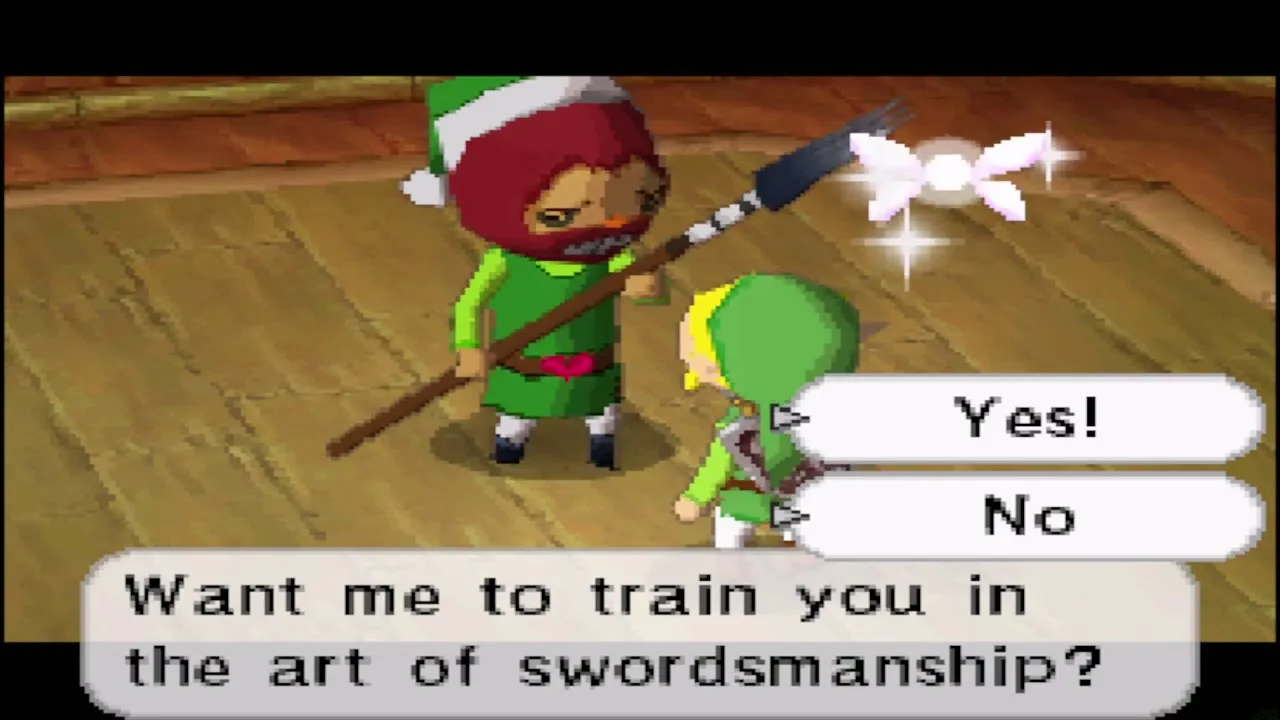
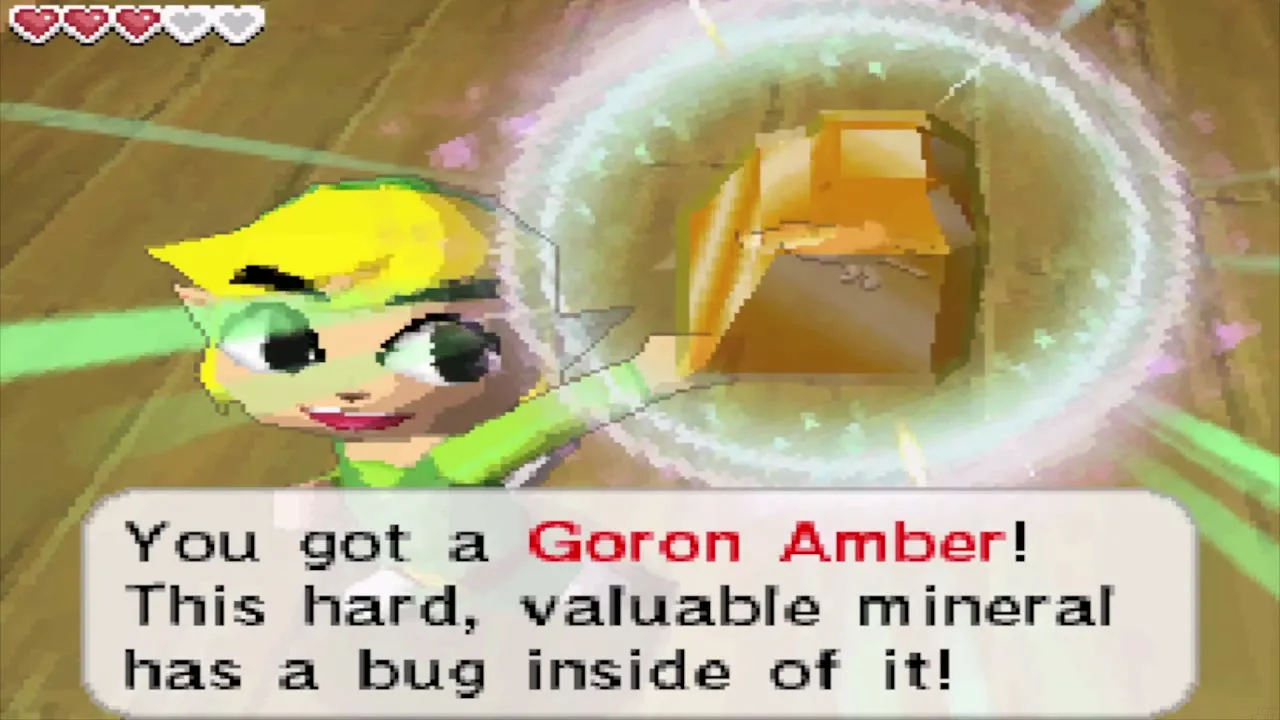
The early rounds are only lessons: strike him a few times and he hands you a treasure and a new title for your trouble, and the next round pays out another treasure.
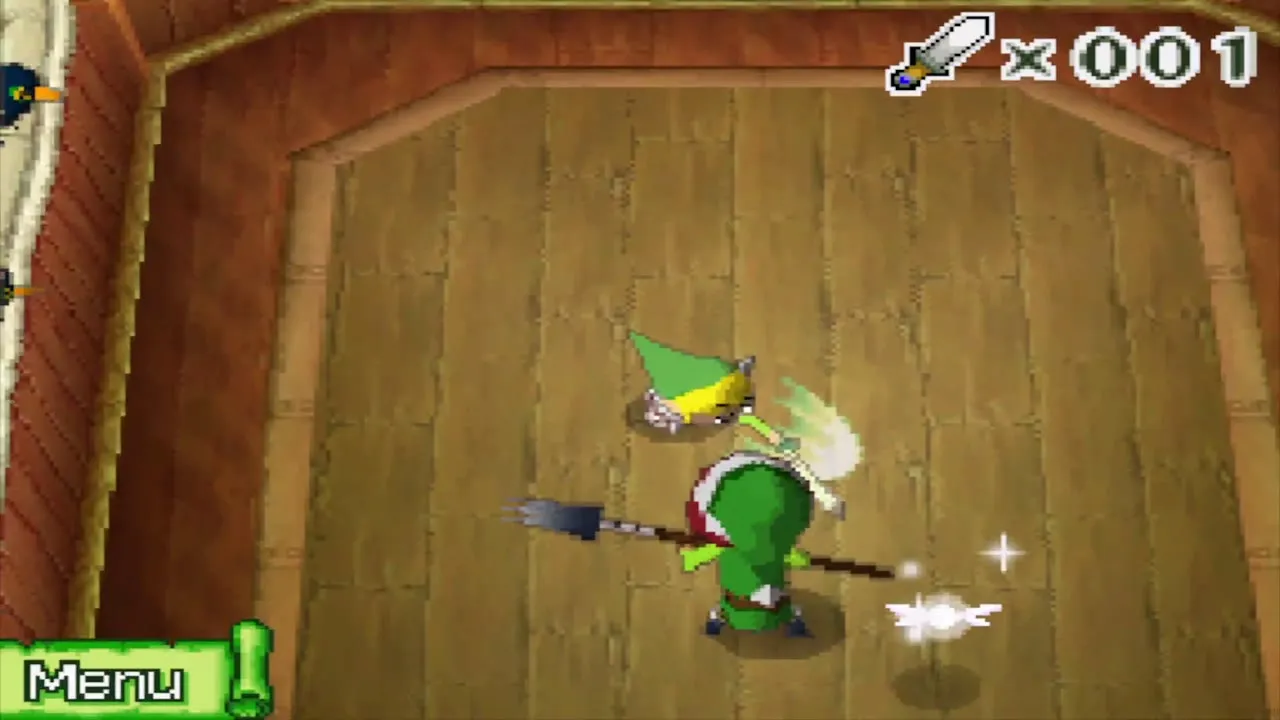
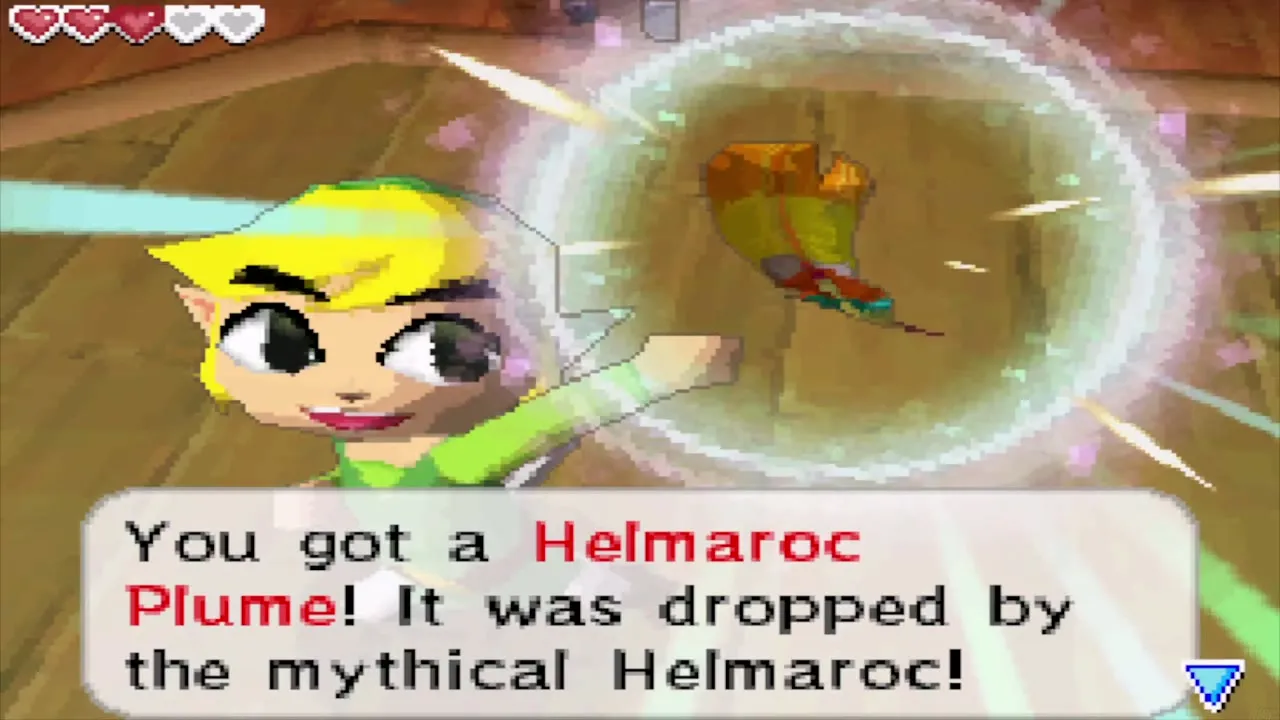
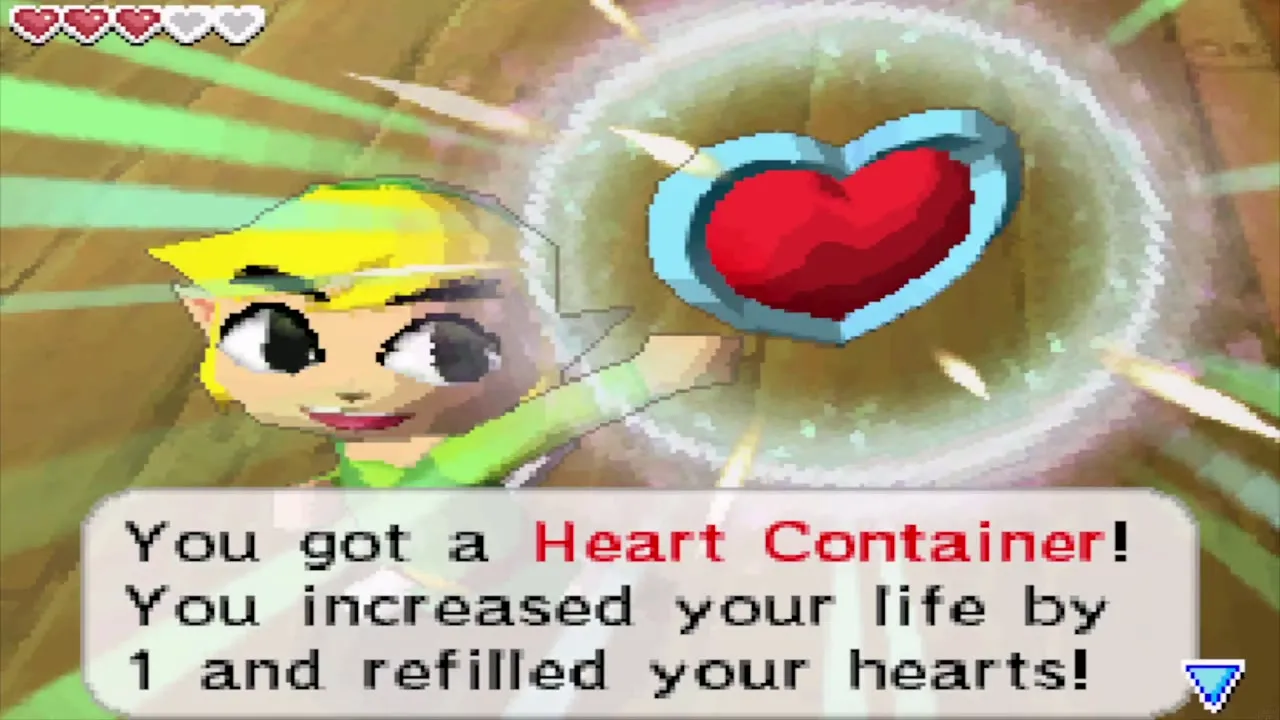
The fourth round asks how many times you can hit him before he hits you three times. Land at least 100 hits, which you can follow on the counter in the corner of the screen, and you win a Heart Container. You can spar again later for more prizes.
Isle of Gust
Landing and the wind
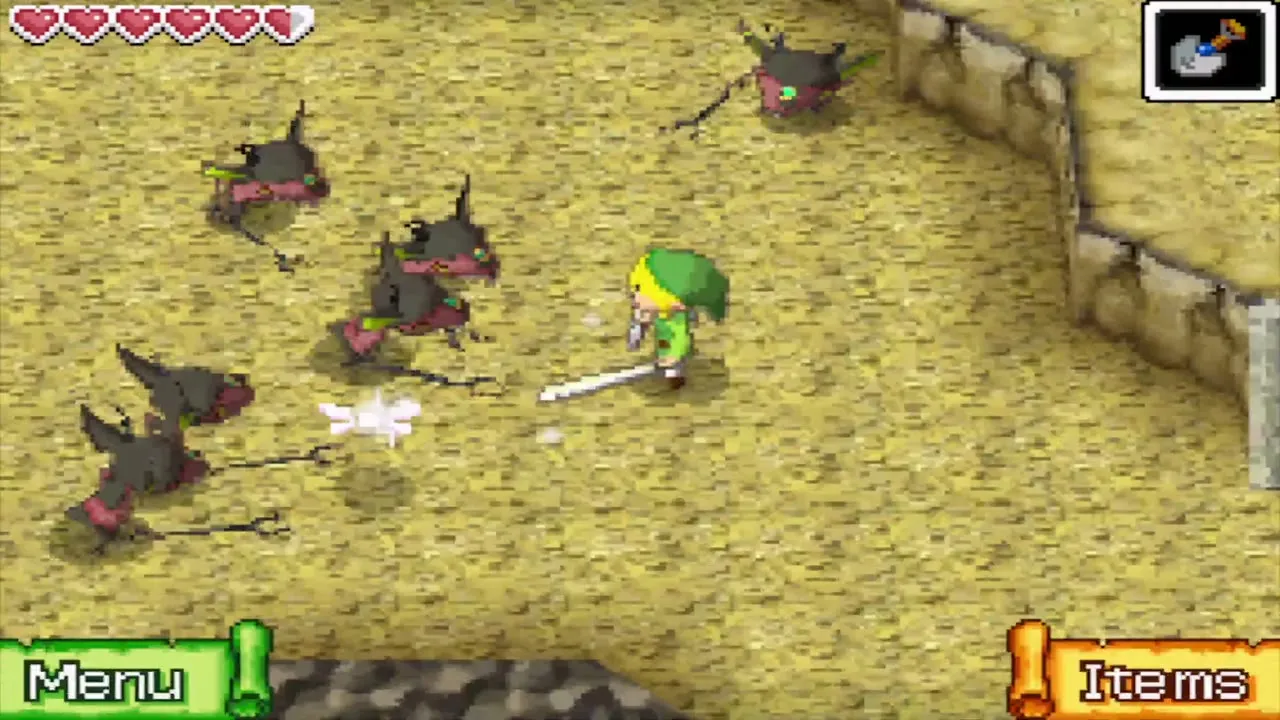
Choose Isle of Gust on the sea chart and sail to the dock. A sign warns of great winds, and for good reason, since gusts can blow Link off the sand ledges. Cross the gaps only when the wind drops, and defeat the Miniblins and ChuChus first.
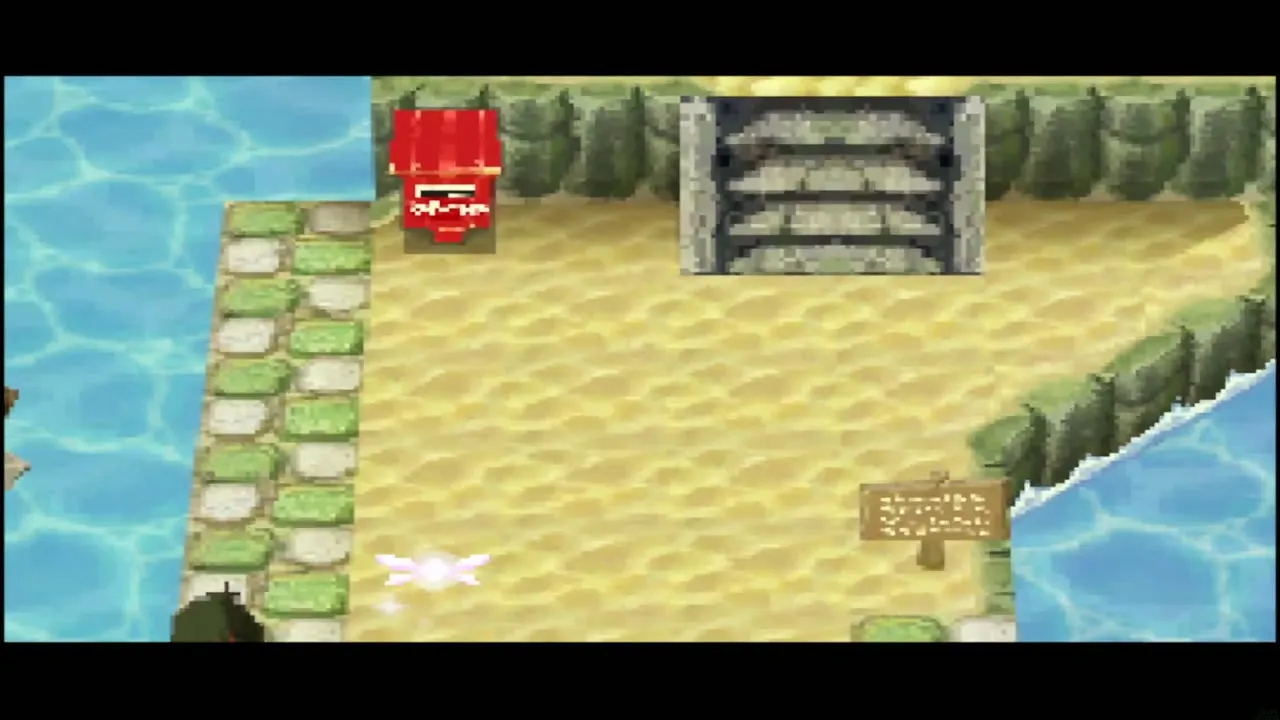
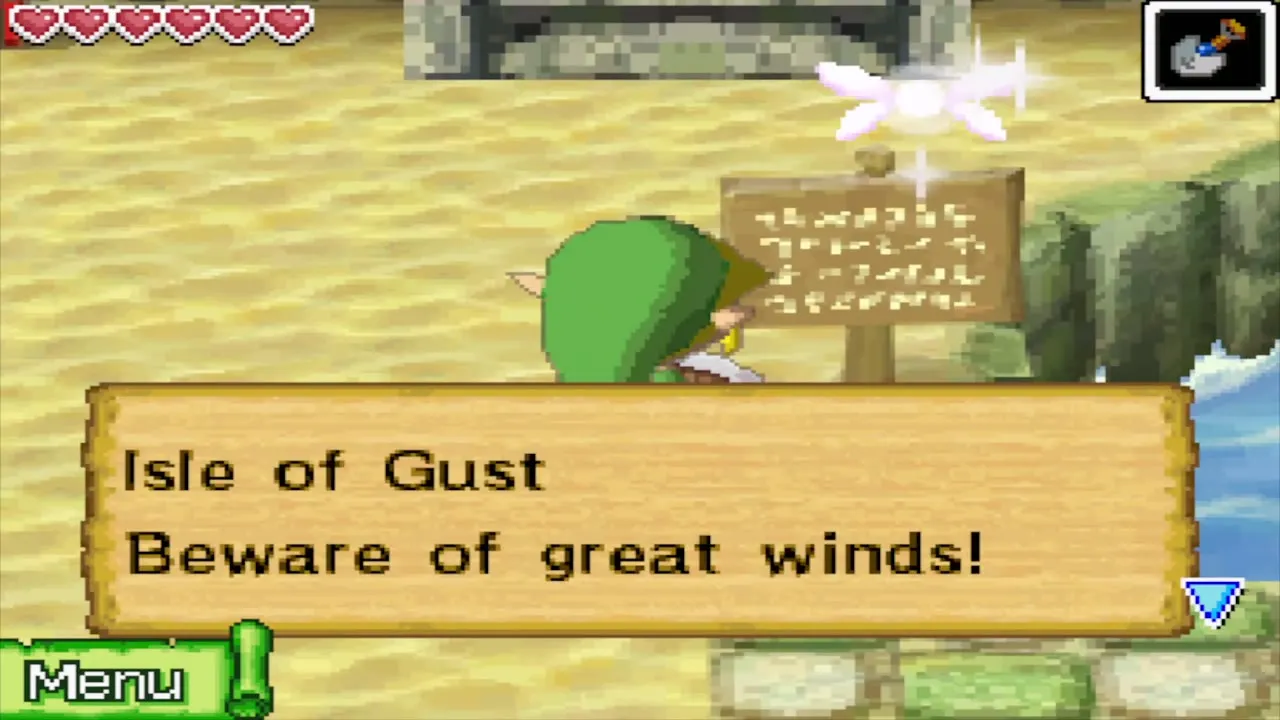
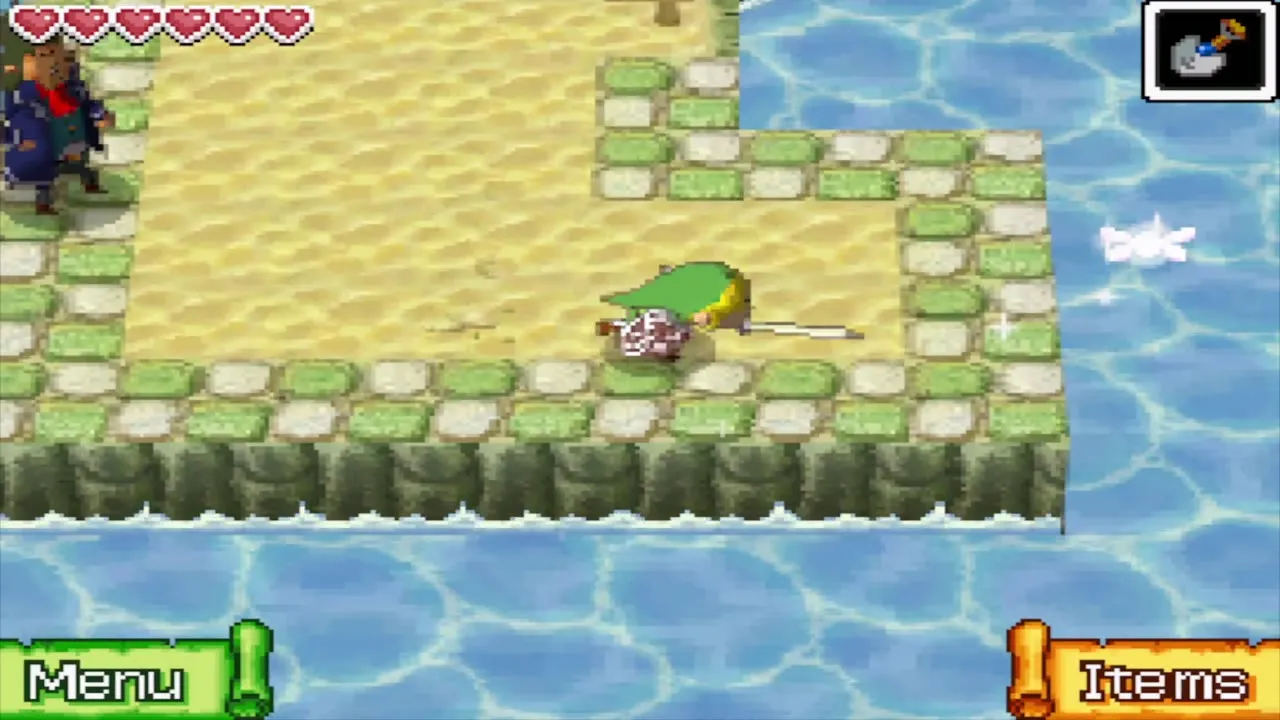
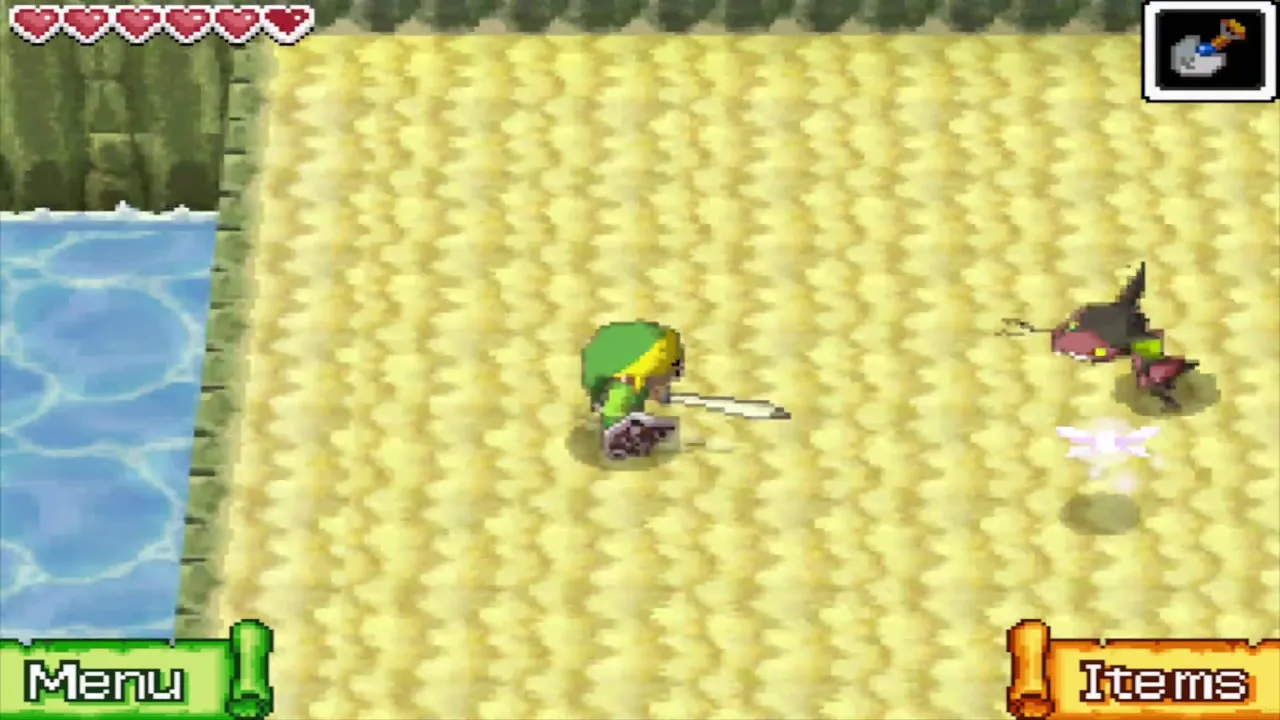
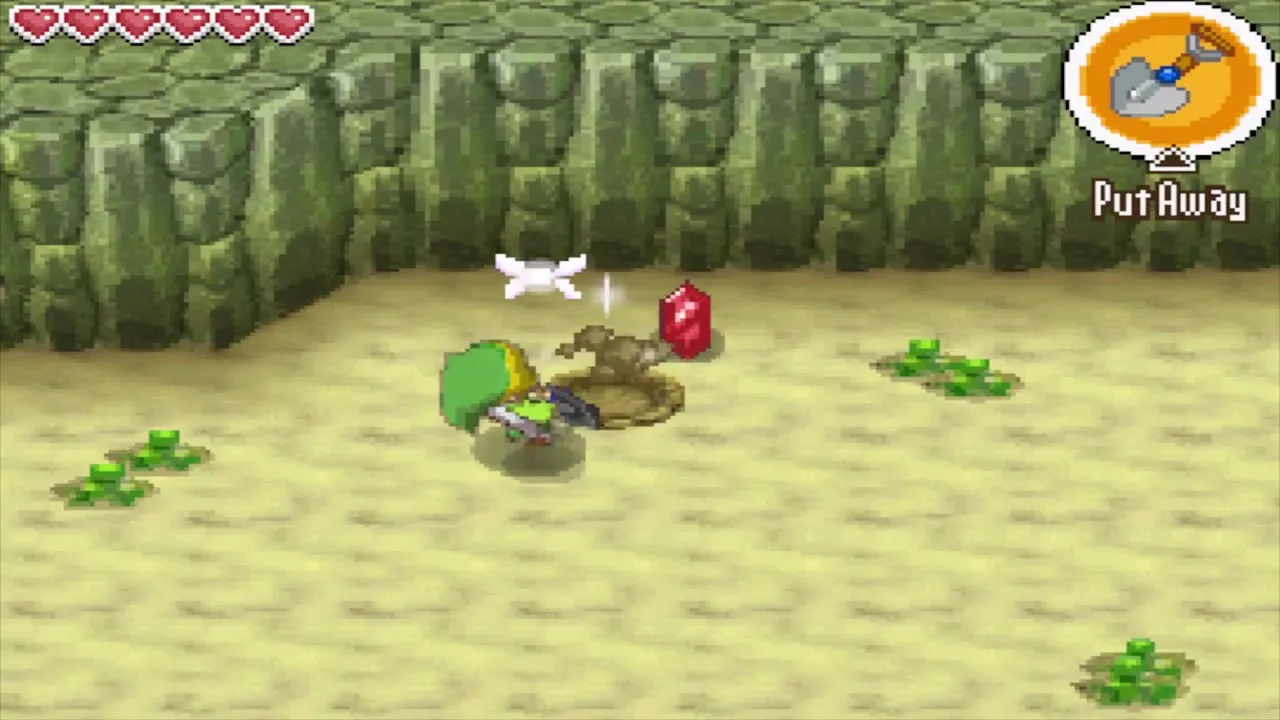
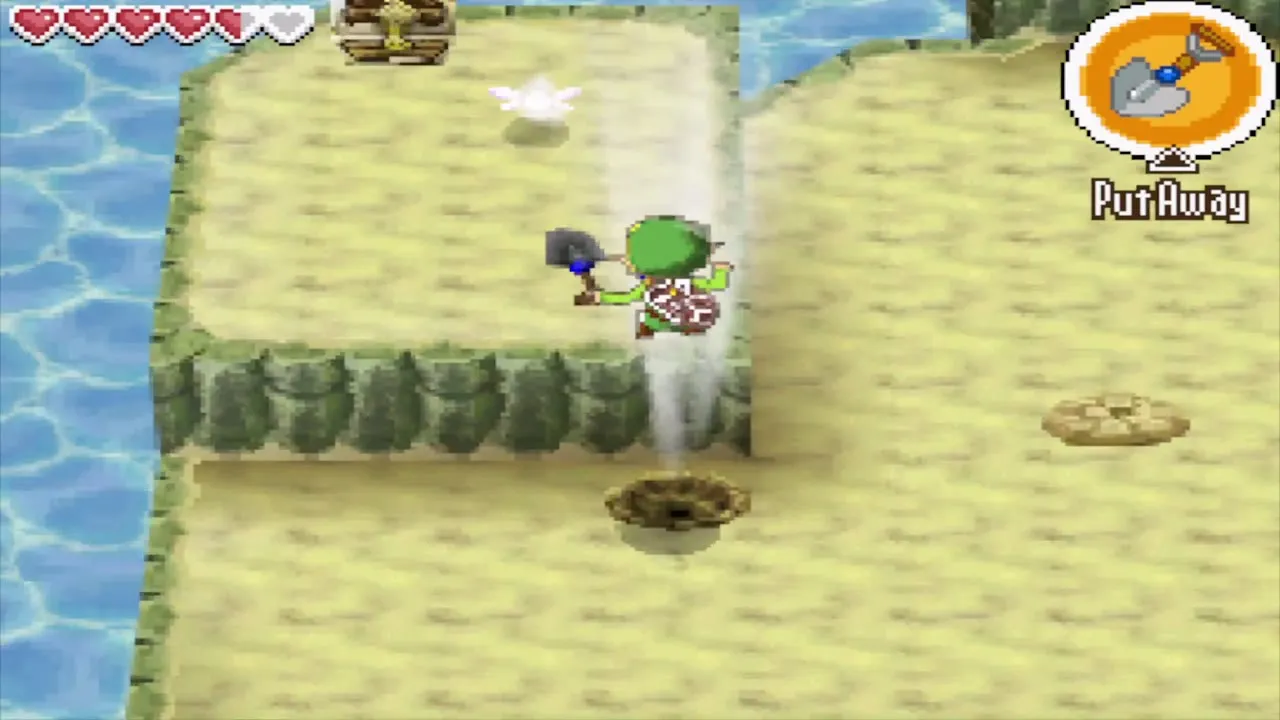
Wind geysers carry Link upward. Dig a patch of soft soil with the Shovel to open a geyser and ride it to a higher ledge, and dig over an open geyser to cover it again. This is how you reach most of the higher ledges on the island.
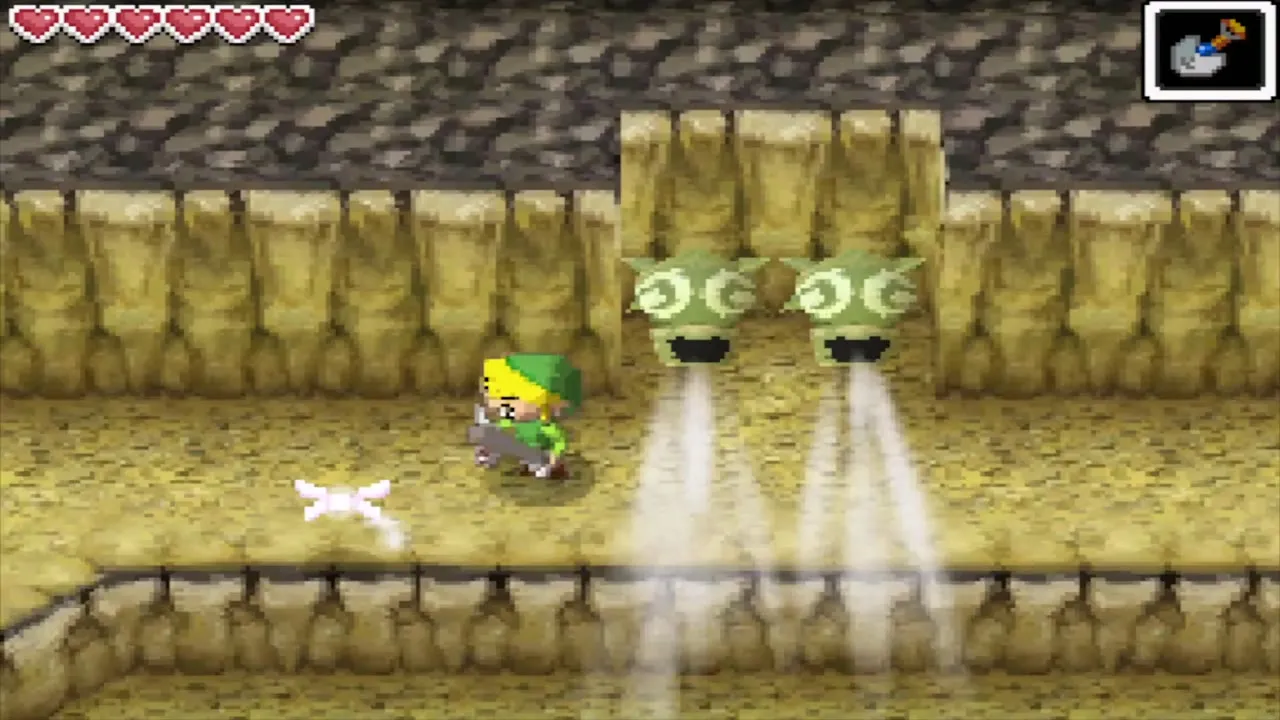
Courage Gem in the hidden study
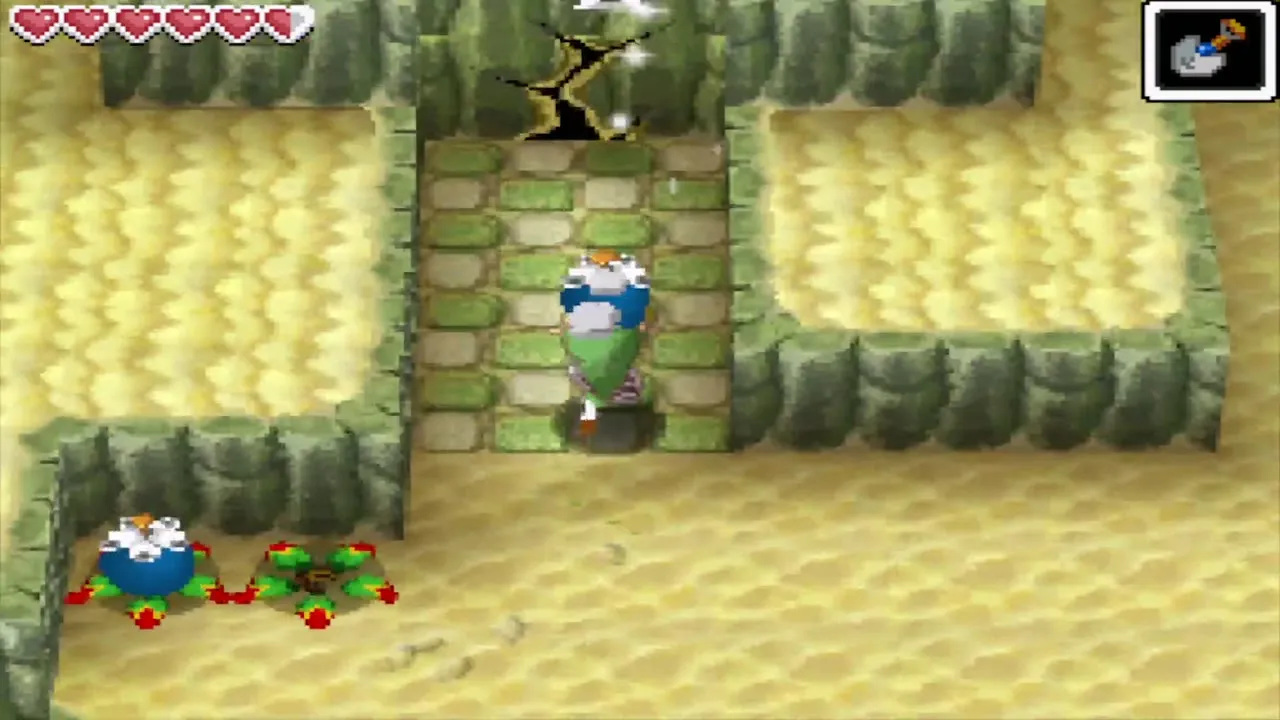
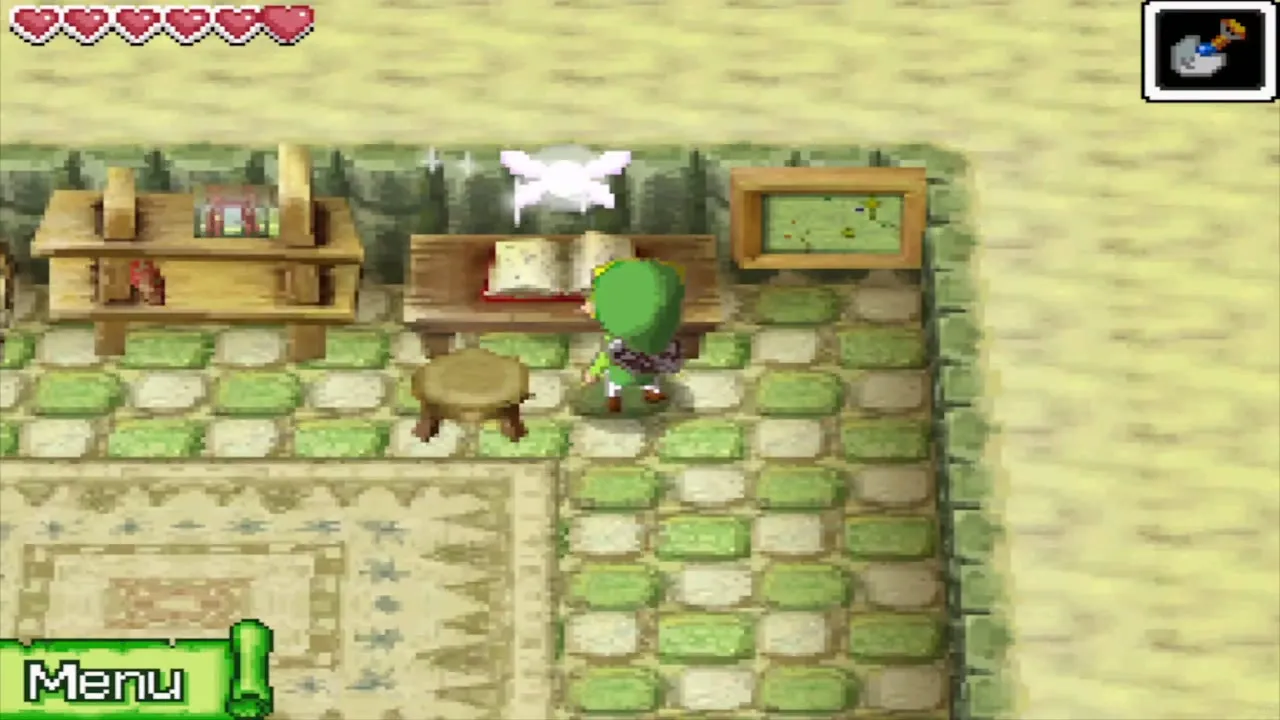
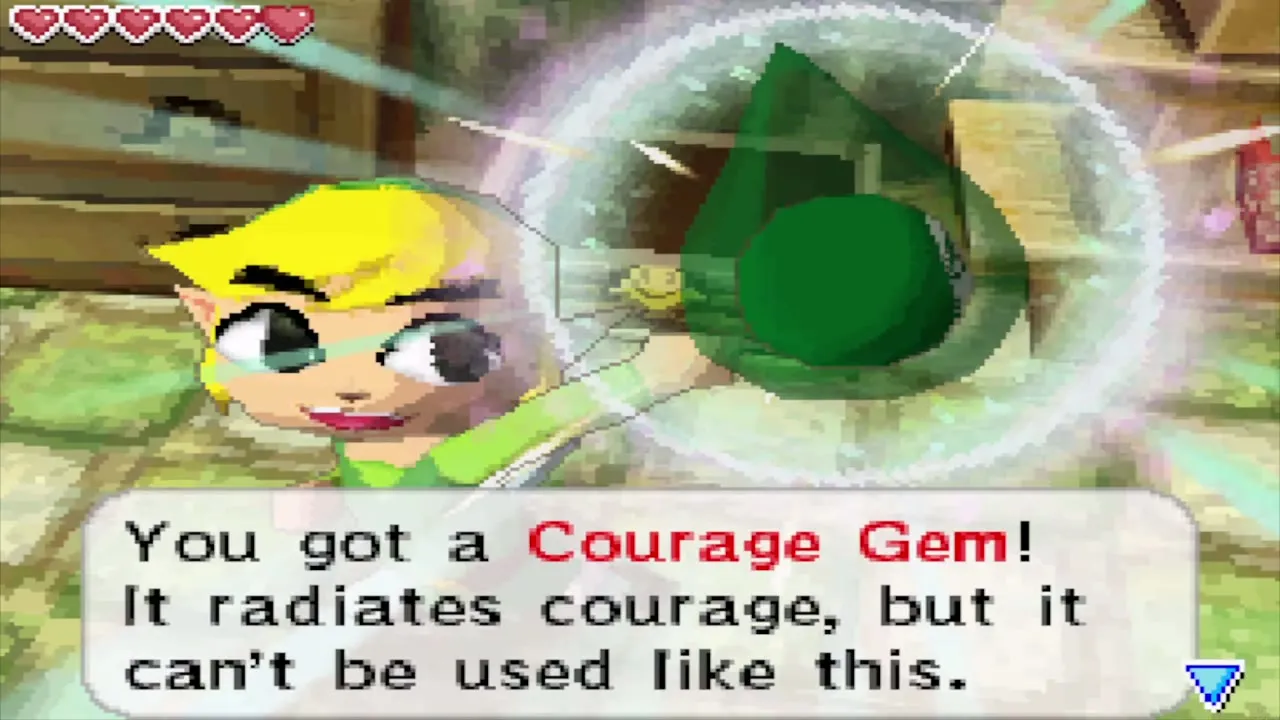
Near the sign about strong winds, carry a blue bomb flower to the cracked wall and let it blow a hole in the stone. Step through into a hidden study and open the chest inside for a Courage Gem.
Wisdom Gem and treasure map
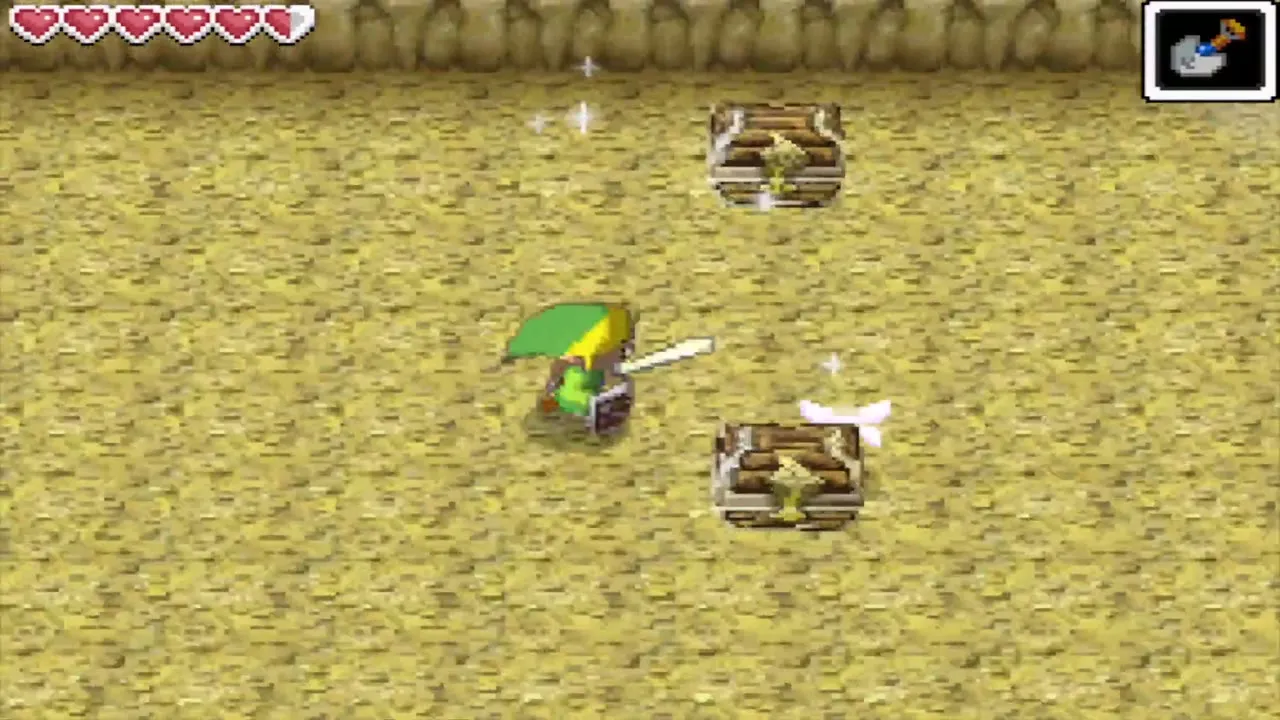
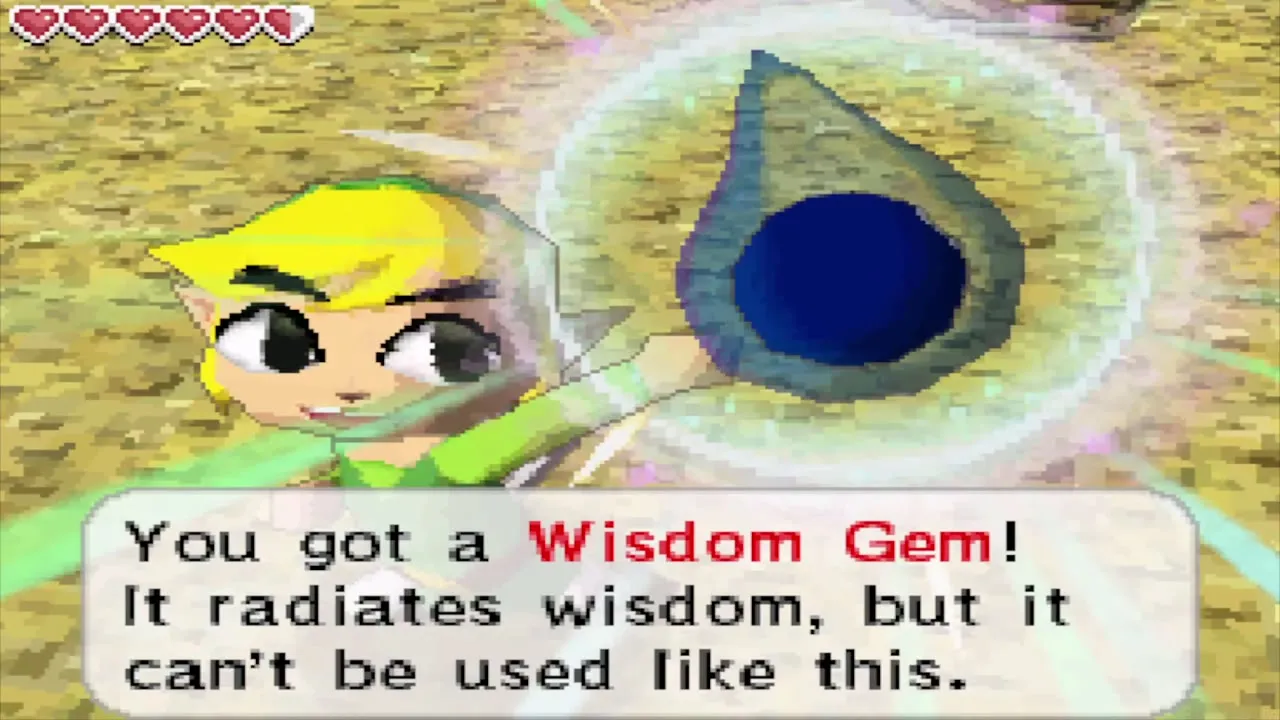
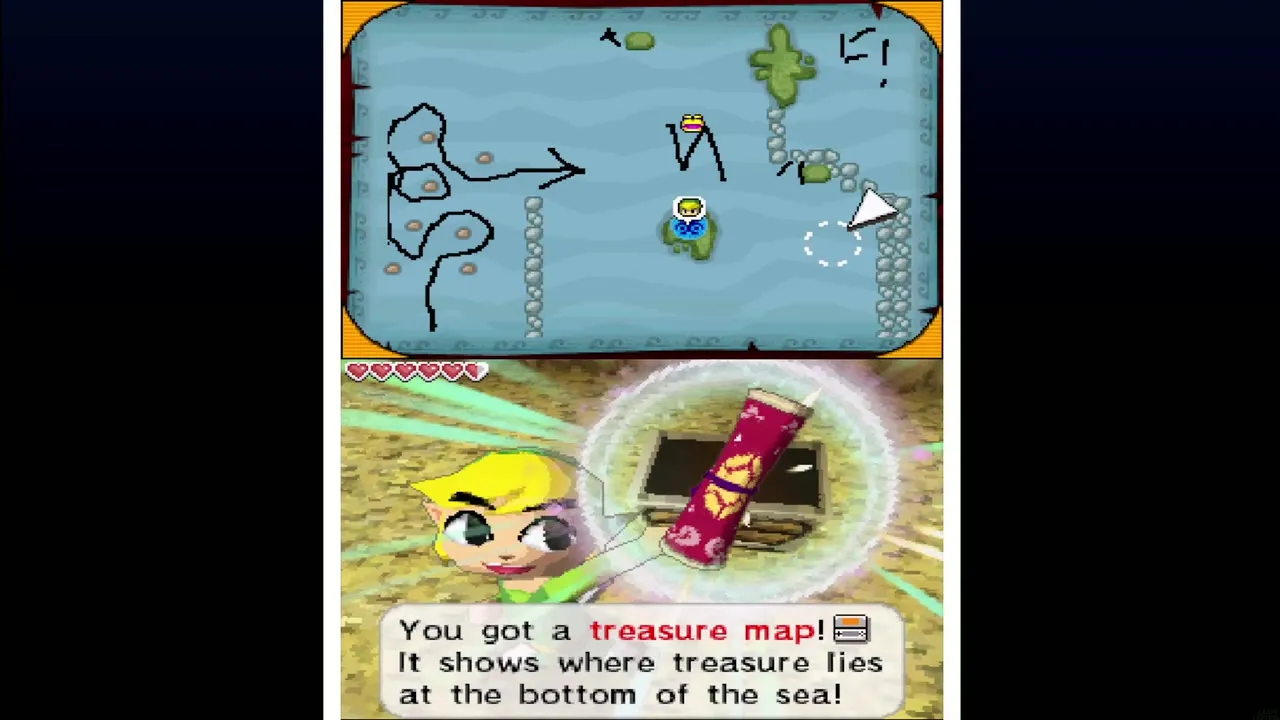
A cave on the island is full of Miniblins and holds two chests. One contains a Wisdom Gem. Defeat all the Miniblins and the second chest gives you a treasure map.
Power Gem on the raised ledge
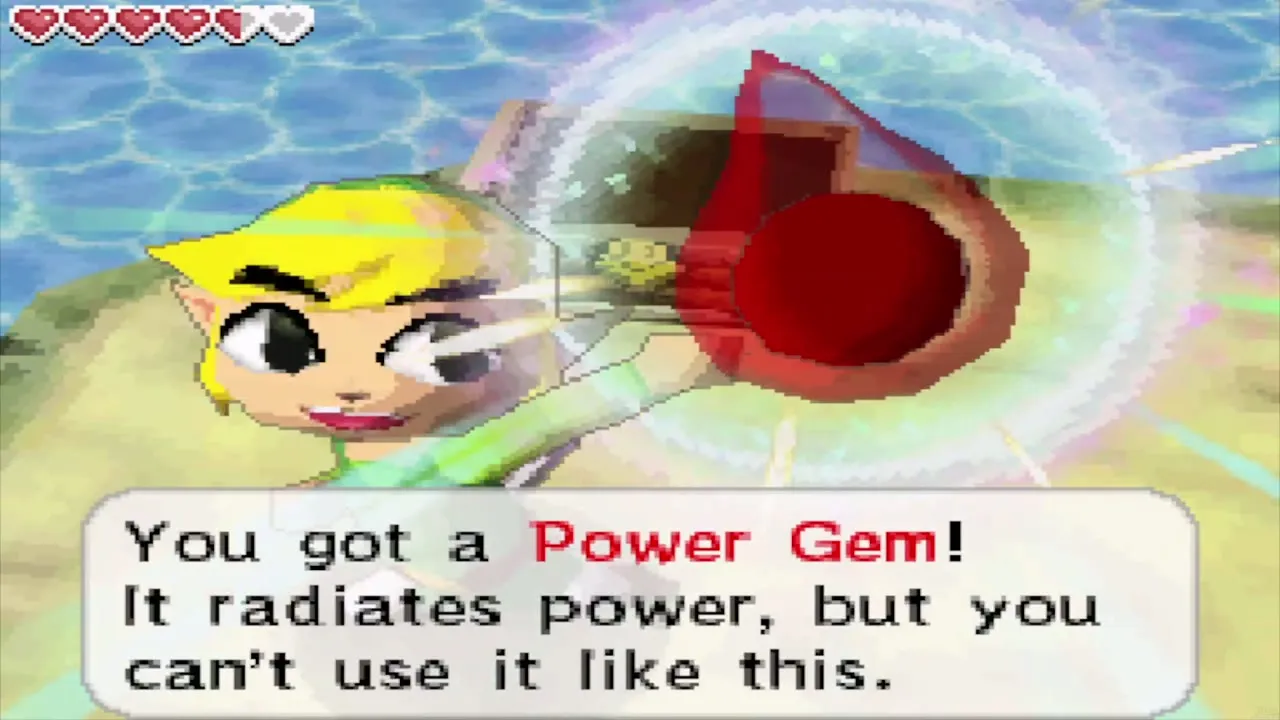
Head for the western edge of the island, dig the soft soil in the sand and let the geysers lift Link up to a raised ledge. The chest there holds a Power Gem.
Sandworms and bomb flowers
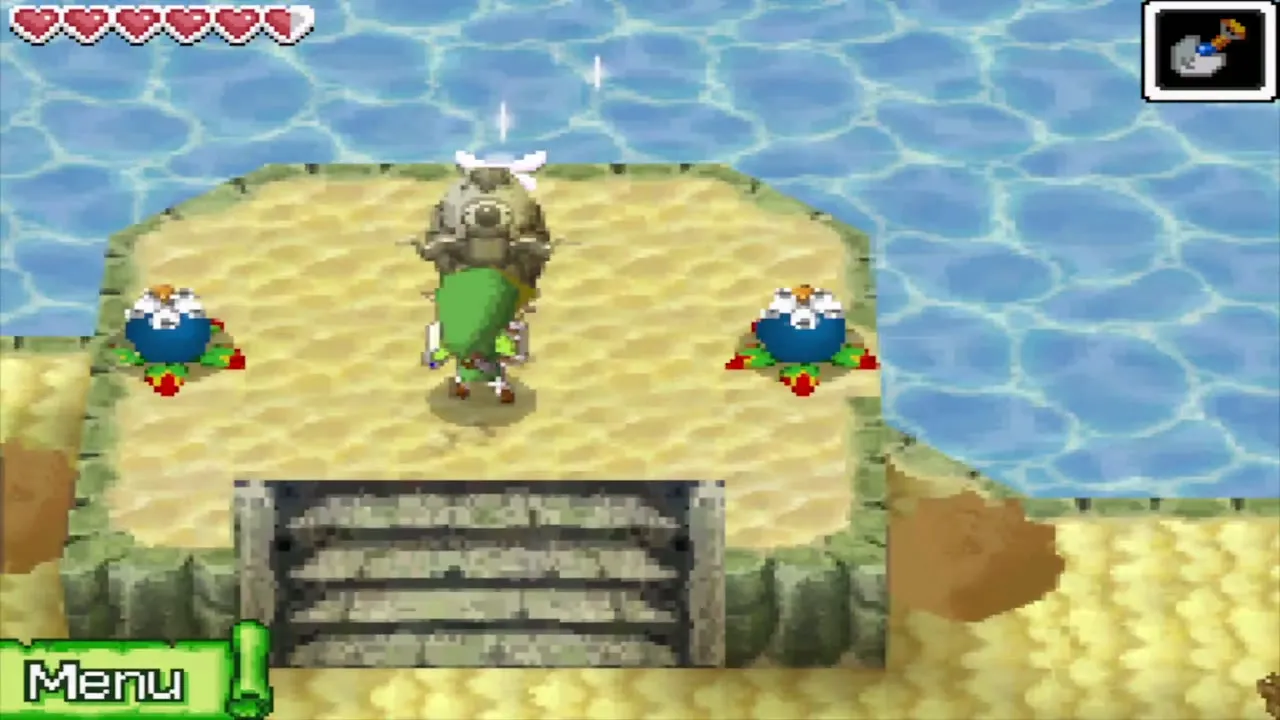
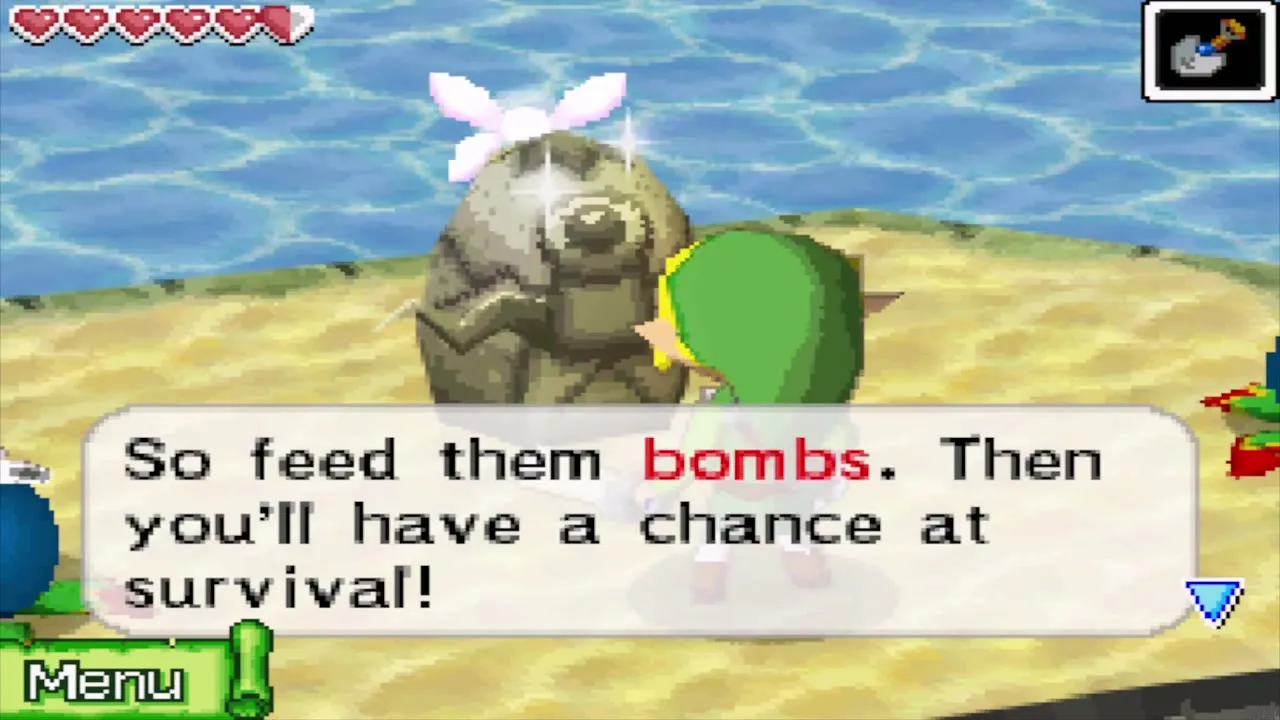
Signs and stone statues warn of the sandworms that lurk under the sand and swallow whatever they find. Throw a bomb onto the sand and a worm swallows it and blows up, and blue bomb flowers grow near the stairs for this purpose. Where a worm blocks the way, you can also simply take the stairs to avoid it.
The three windmills
A stone statue near the temple entrance says the wind stops only when the windmills have had their fill, and another says the hero must blow on the three sacred windmills. Of the several windmills in the desert, only three count, and the map plaque there marks which. Blow into the microphone while you stand in front of each of the three. The first is in the south-east of the sandy area.
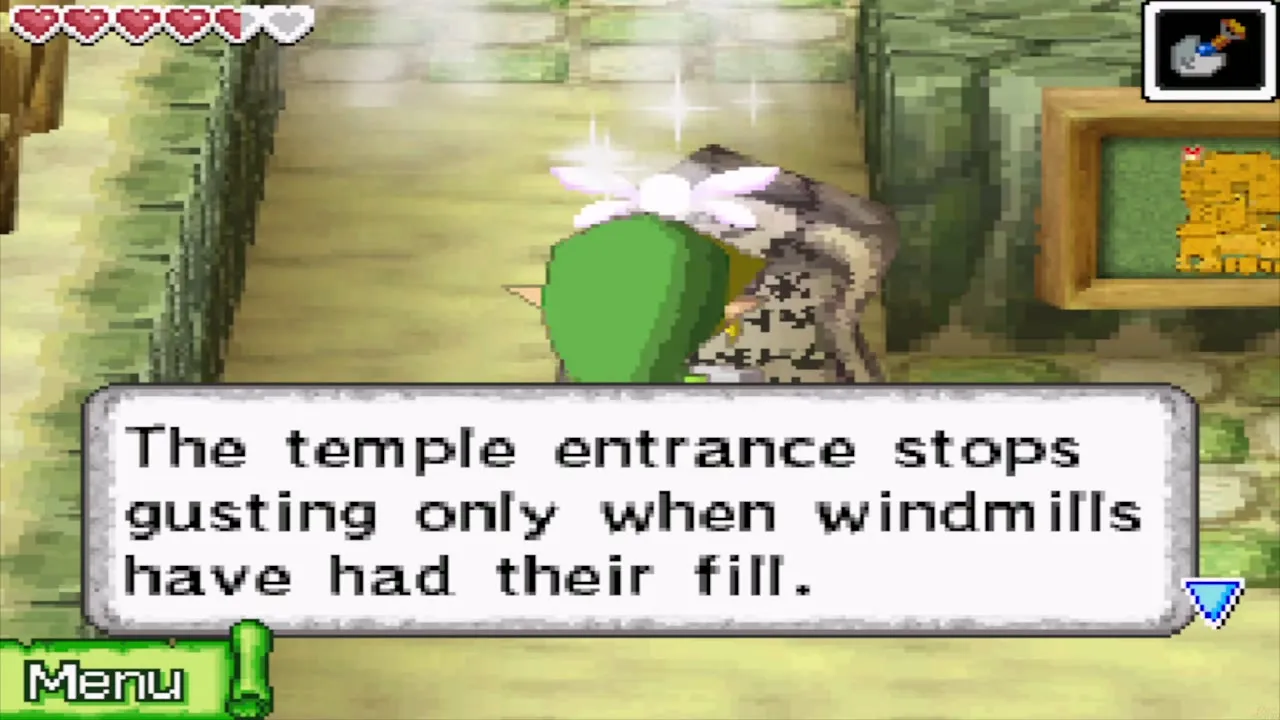
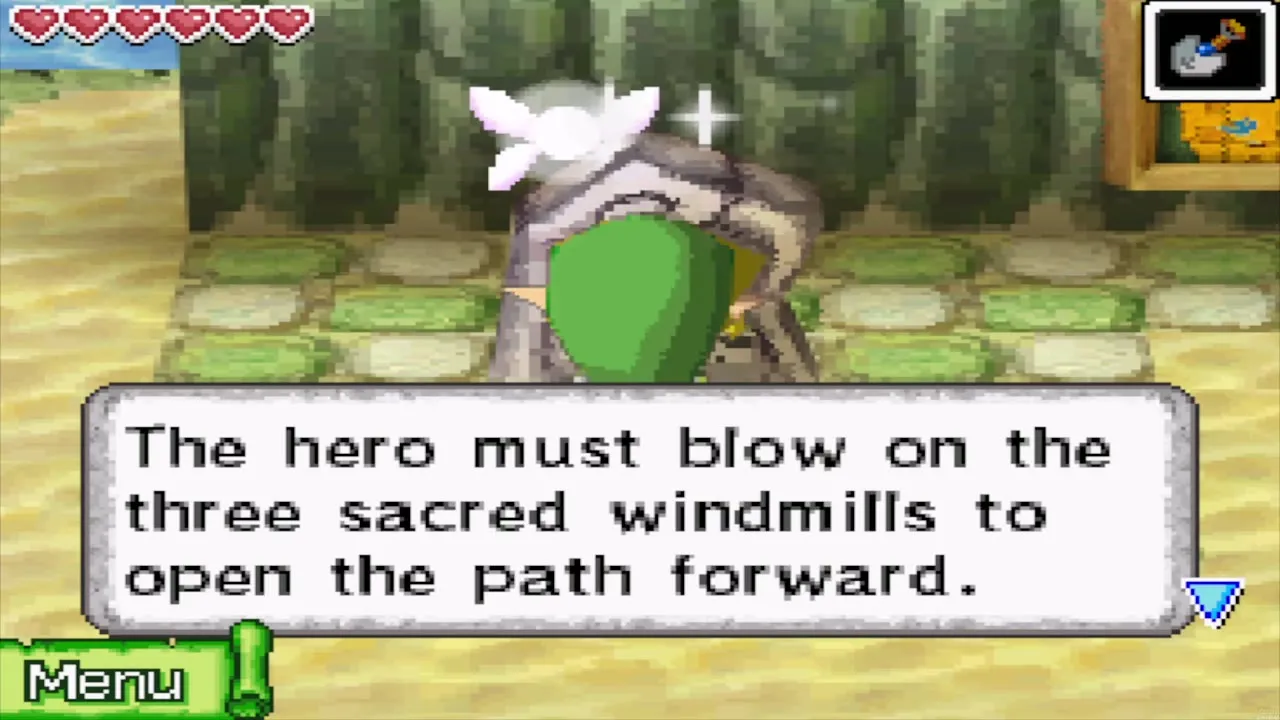
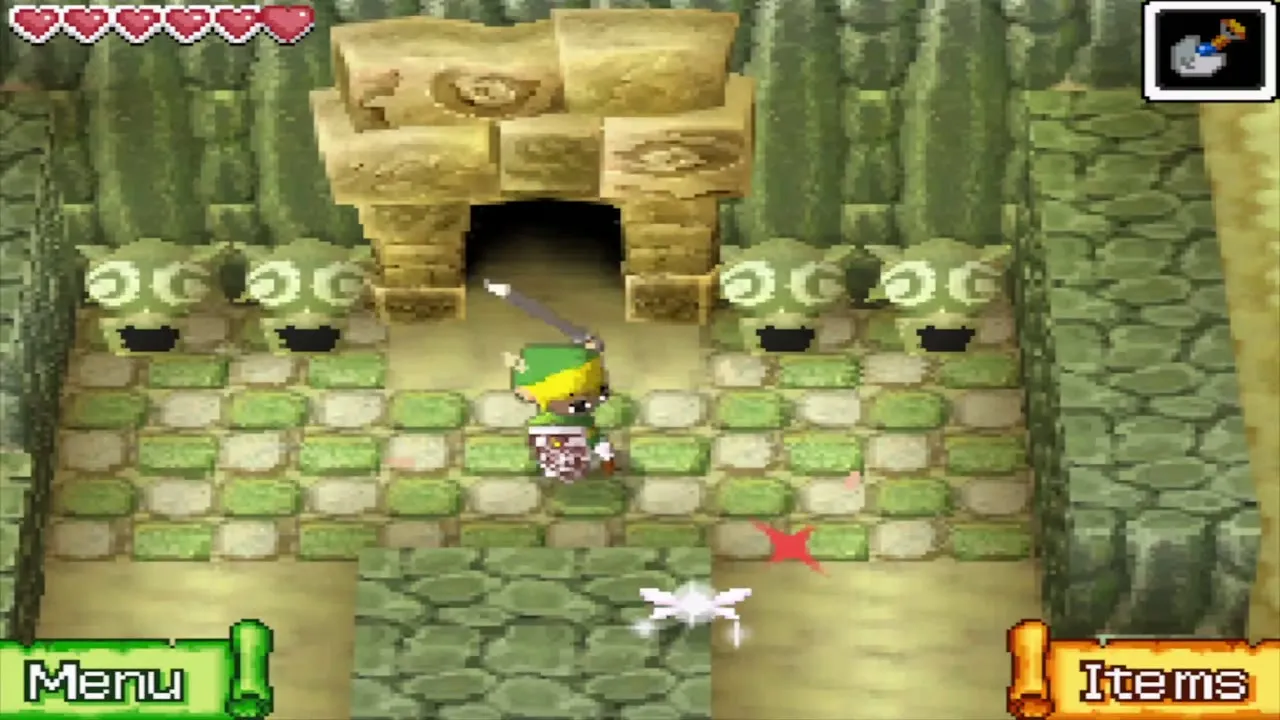
Once all three are spinning, the wind at the temple dies down and the doors open. Follow the route in the Temple of Wind chapter. A chest in the south-east corner of the sandworm desert, south of the first windmill, holds another treasure map, so open it on your way.
Chapter checklist
| Collectible | Type | Where |
|---|---|---|
| Treasures (several) | Treasure | Nyave’s Traveler’s Ship, Southwestern Sea |
| Courage Gem | Spirit Gem | Spirit Island, east of the dock |
| Wisdom Gem | Spirit Gem | Beedle’s Shop Ship, 500 Rupees |
| Courage Gem | Spirit Gem | Masked ship, 500 Rupees |
| Heart Container | Heart Container | Masked ship, 1,500 Rupees |
| Fishing Rod | Item | Old Wayfarer, Bannan Island |
| Big Catch Lure | Item | Old Wayfarer, after showing him a Loovar |
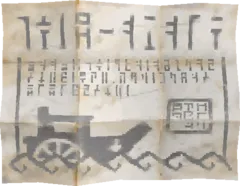 Ship part | Ship part | Old Wayfarer, after the Rusty Swordfish |
| Heart Container | Heart Container | Old Wayfarer, after catching Neptoona |
| Treasure map | Treasure map | Bannan Island, dig in front of the sign by the hut |
| Wisdom Gem | Spirit Gem | Zauz’s Island, chest on the raised ledge |
| Treasure map | Treasure map | Zauz’s Island, dig where the two lines cross |
| Cyclone Slate | Item | Golden Chief Cylos, Uncharted Island |
| Treasure map | Treasure map | Uncharted Island, dig in front of the western statue |
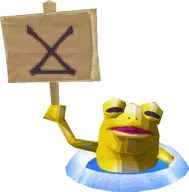 Golden Frog | Golden Frog | Sea between Bannan Island and the Isle of Gust |
| Treasures (three) | Treasure | Prince of Red Lions, the early rounds |
| Heart Container | Heart Container | Prince of Red Lions, round four |
| Courage Gem | Spirit Gem | Isle of Gust, hidden study behind the cracked wall |
| Wisdom Gem and treasure map | Spirit Gem, treasure map | Isle of Gust, Miniblin cave |
| Power Gem | Spirit Gem | Isle of Gust, raised ledge on the west side |
| Treasure map | Treasure map | Isle of Gust, southeast corner of the sandworm desert |
Next comes the Temple of Wind, which waits behind the windmill doors.
