
























| Total | 100 Gold Skulltula tokens, numbered 1 to 100 in this page’s list |
|---|---|
| Where | Dungeons and every field and town, from the Great Deku Tree and Kokiri Forest to Zora Fountain and the Desert Colossus |
| You need | Fairy Slingshot, Boomerang, Hookshot, Longshot, Bombs, Megaton Hammer, Fairy Bow, Lenses of Truth, a bug in a bottle, the Sun’s Song and the Echo Gem |
| Rewards | At the House of Skulltula in Kakariko Village: 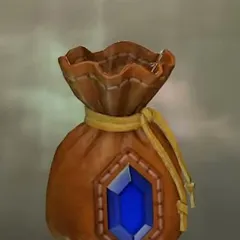 Adult’s Wallet (10), Echo Gem (20), 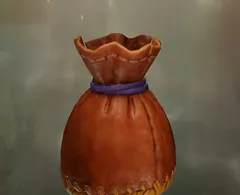 Giant’s Wallet (30), 20 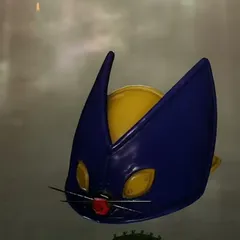 Bombchus (40), 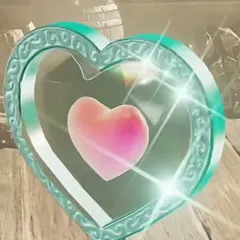 Piece of Heart (50), 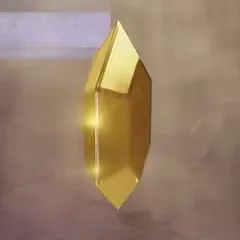 Gold Rupee (100) |
There are 100 Gold Skulltula tokens in Ocarina of Time Remake, and this page lists all of them by number. They are grouped by area, so you can clear a region while you are there. More than forty are in dungeons, where you can collect them at any hour. The rest are out in the open, where most only appear after dark, and a handful hide under soft soil. Bring them to the Cursed Rich Man in Kakariko Village for six rewards between 10 and 100 tokens.
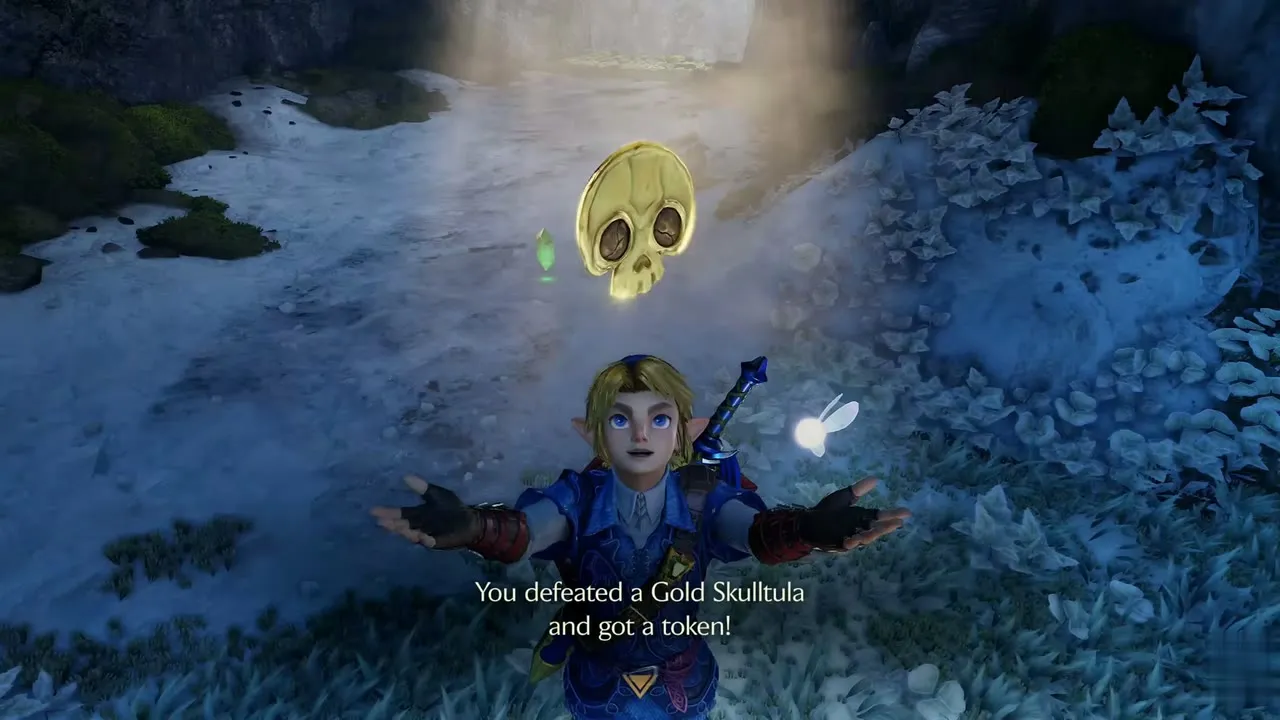

Table of Contents
How Gold Skulltulas work
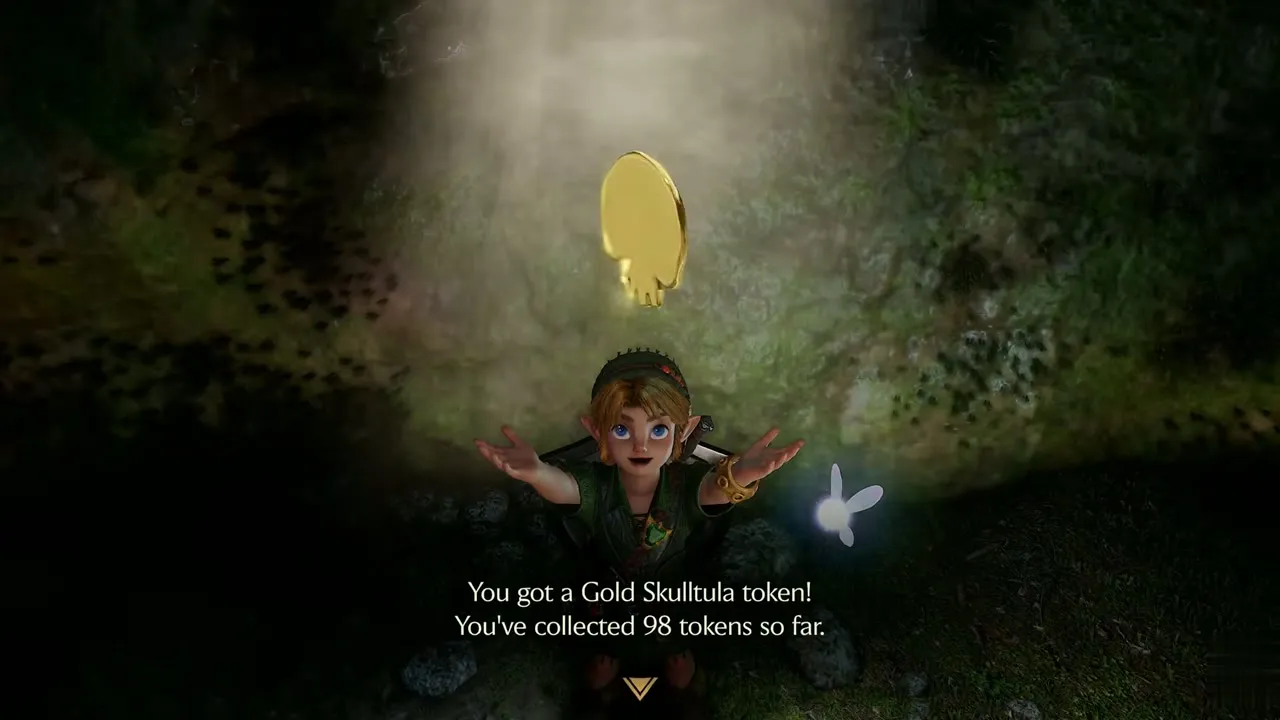
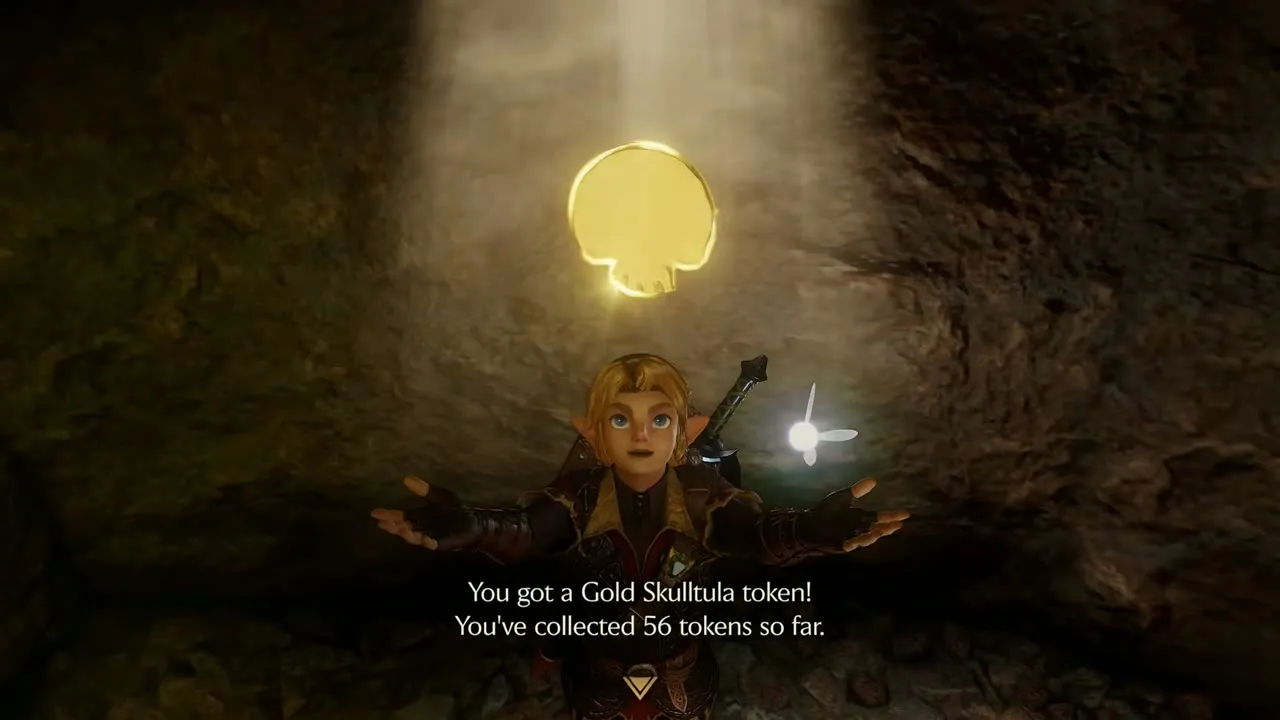
Every token has its own number from 1 to 100. These are the numbers of this page’s list, not the count the message box shows when you pick a token up, so the box may read “You’ve collected 24 tokens so far.” beside a token this page calls #27. Your Collection screen counts how many you actually hold.


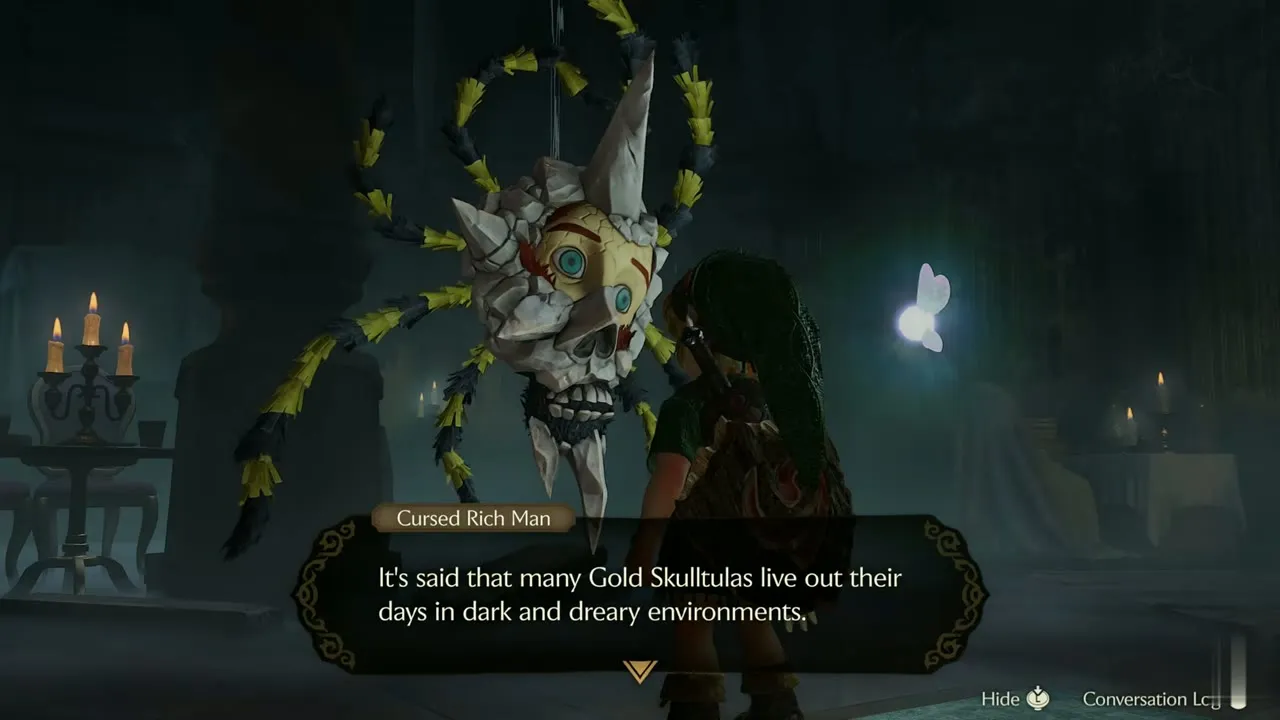
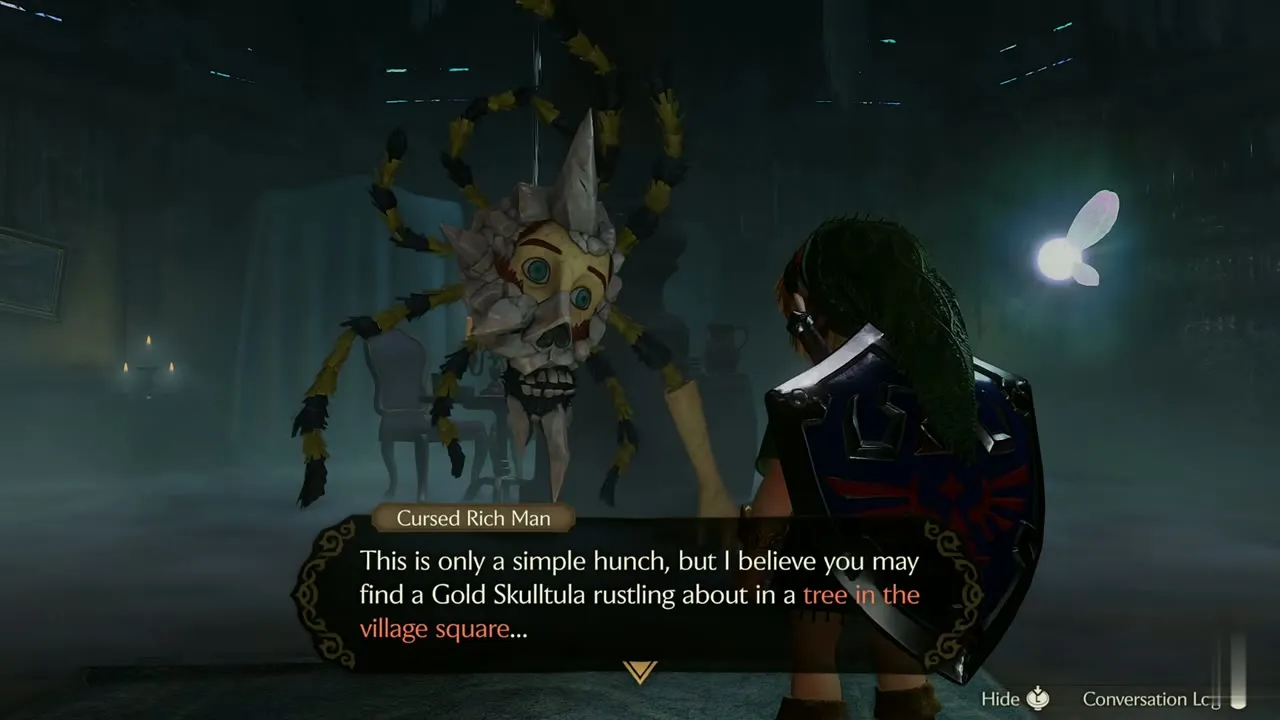
The Cursed Rich Man tells you what to look for. Gold Skulltulas live in dark, dreary places, so dungeons and caves are fair game at any time. Outdoors you will find most of them only at night. Play the Sun’s Song to switch between day and night whenever the sky is wrong for the spot. A few outdoor tokens, such as the palm tree in the castle garden (#6) and the one at Lon Lon Ranch (#13), appear in daylight, and so do the soft-soil tokens.
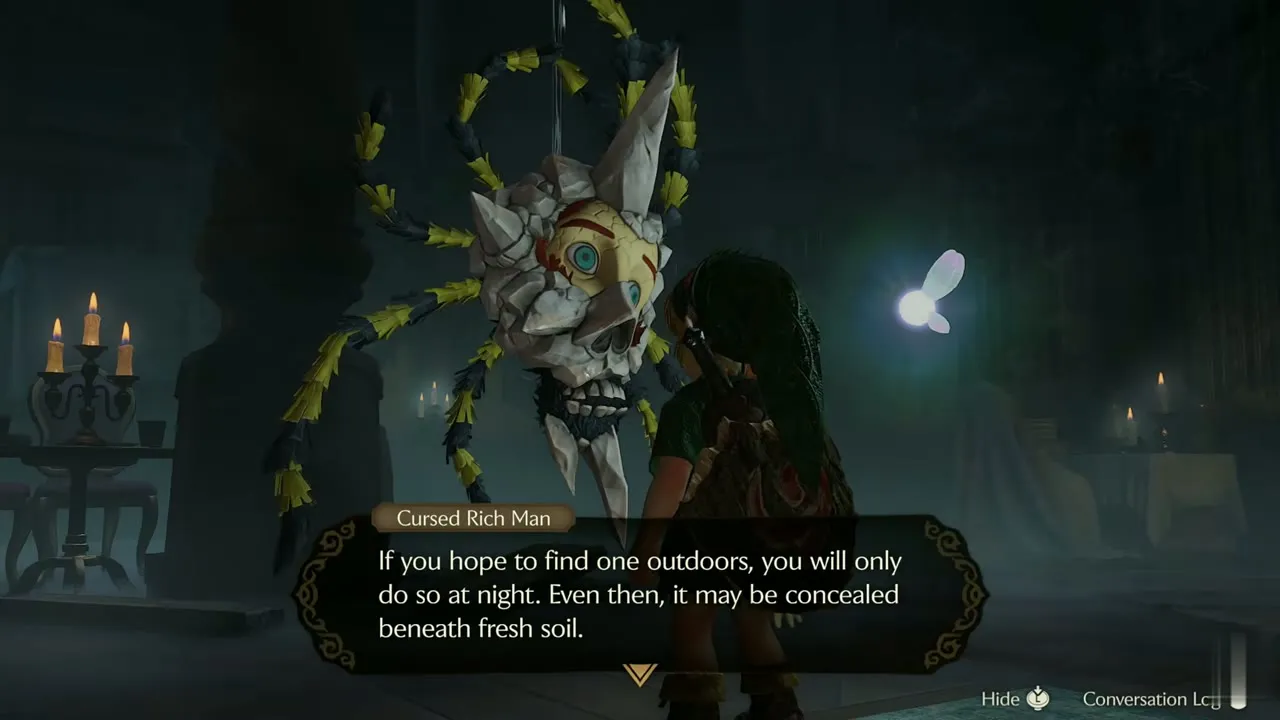
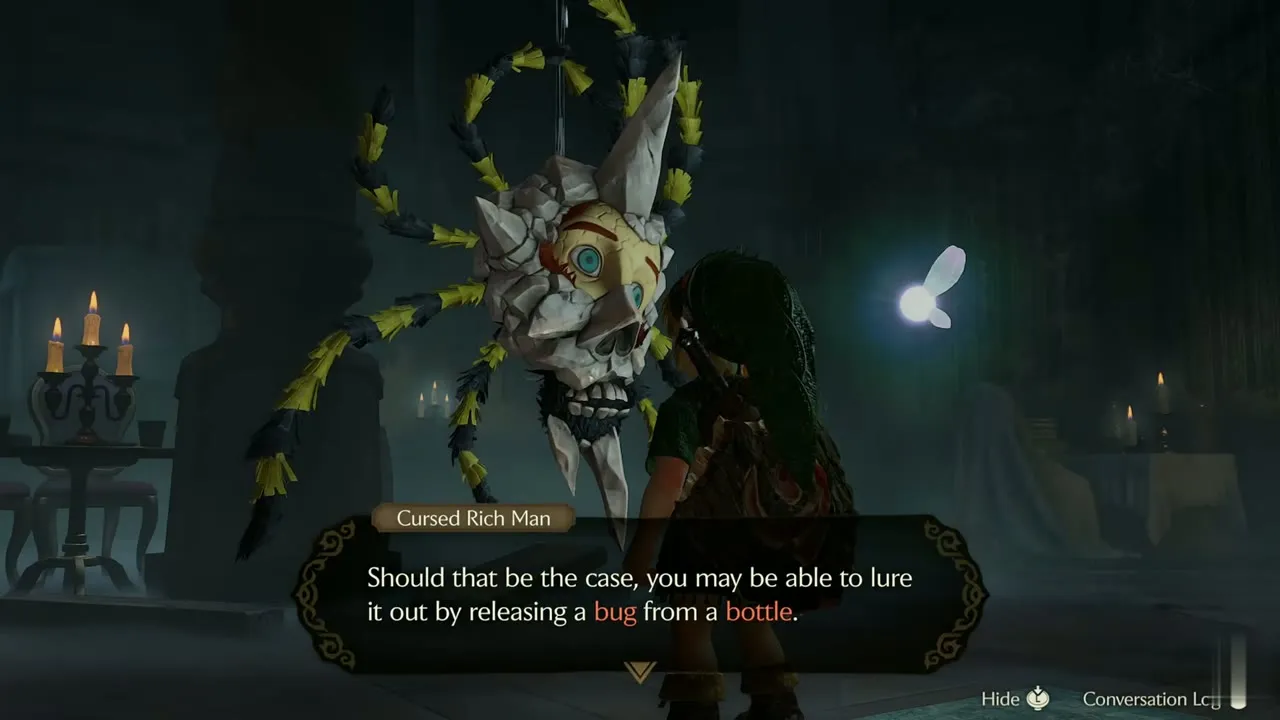
He has two more hints. Tokens may be hiding in trees: run into a tree that is shedding leaves, or hit it with your sword, and a Gold Skulltula may fall out. Tokens also hide under soft soil, which you open by releasing a bug from a bottle onto the patch. The soft soil page lists every patch.

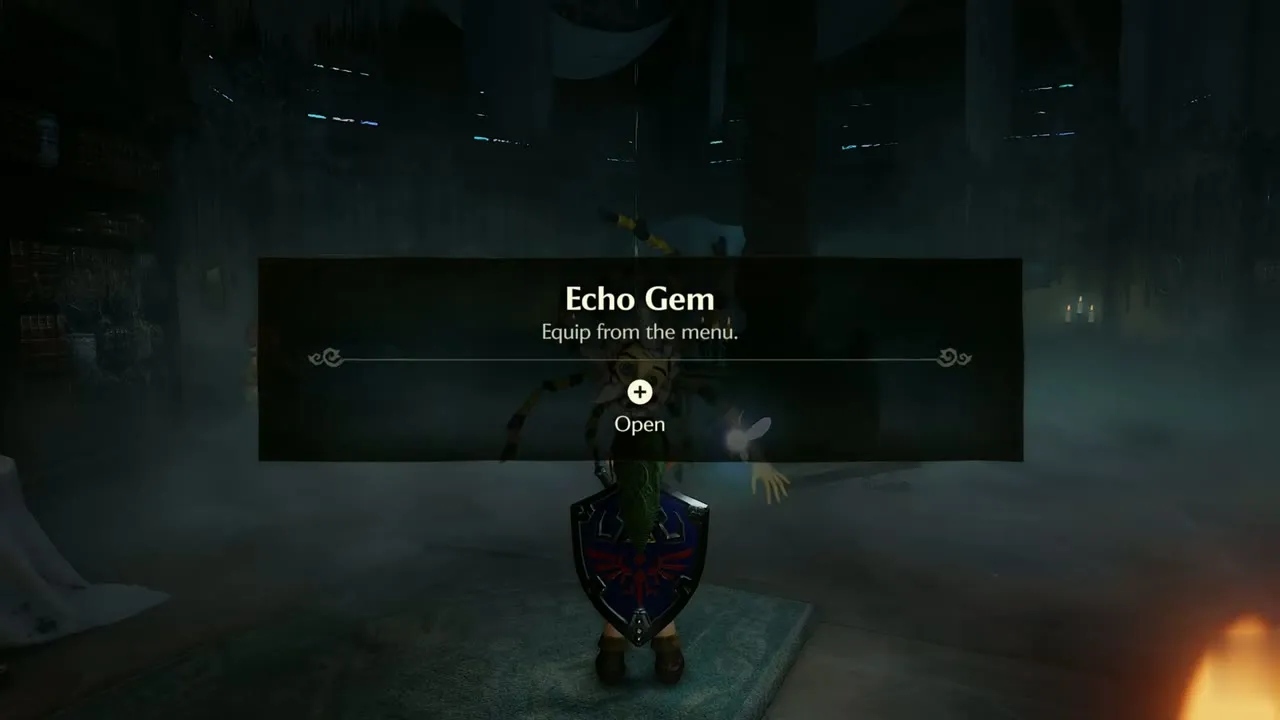
The Echo Gem, your reward for 20 tokens, makes the search easier. Equip it from the Equipment screen and it reacts near Gold Skulltulas with light and sound, stronger as you get closer. Beyond that, nearly every token calls for one of a few tools. The Fairy Slingshot and Boomerang handle the child tokens, the Hookshot and Longshot the adult ones, and the Megaton Hammer, Bombs and the Fairy Bow cover the rest. The Lenses of Truth show two tokens in the Bottom of the Well.
House of Skulltula rewards
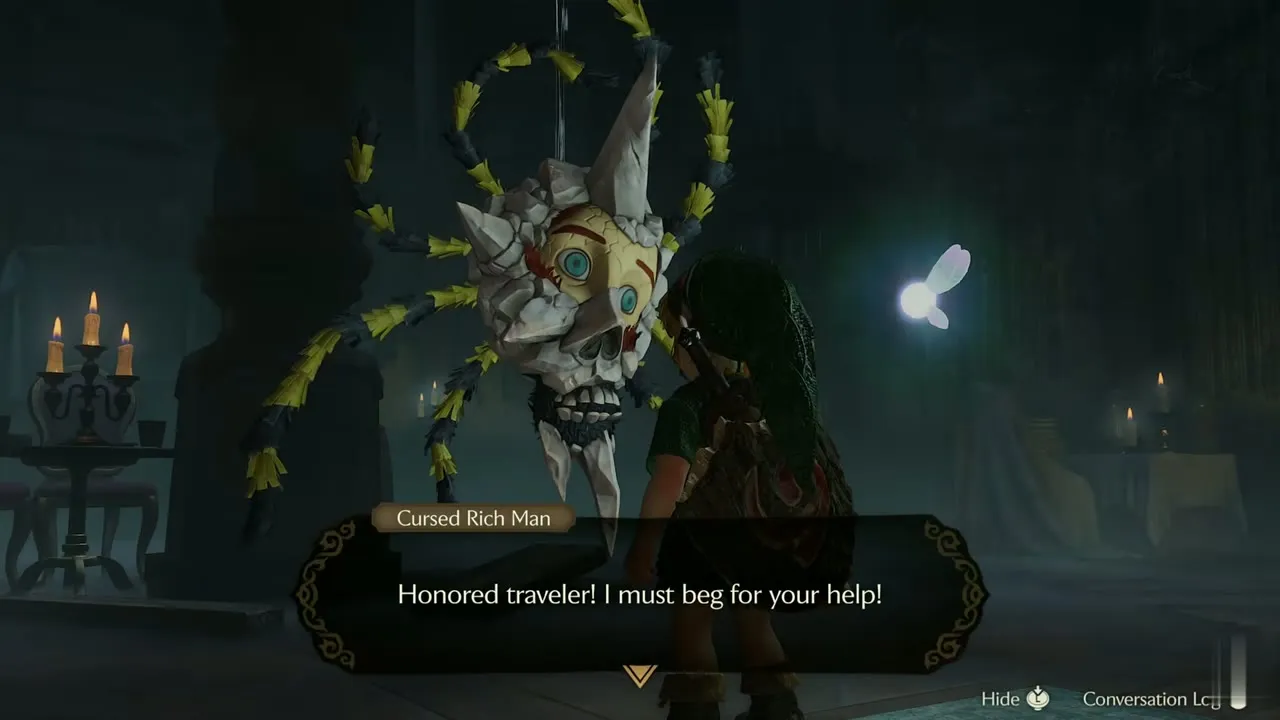
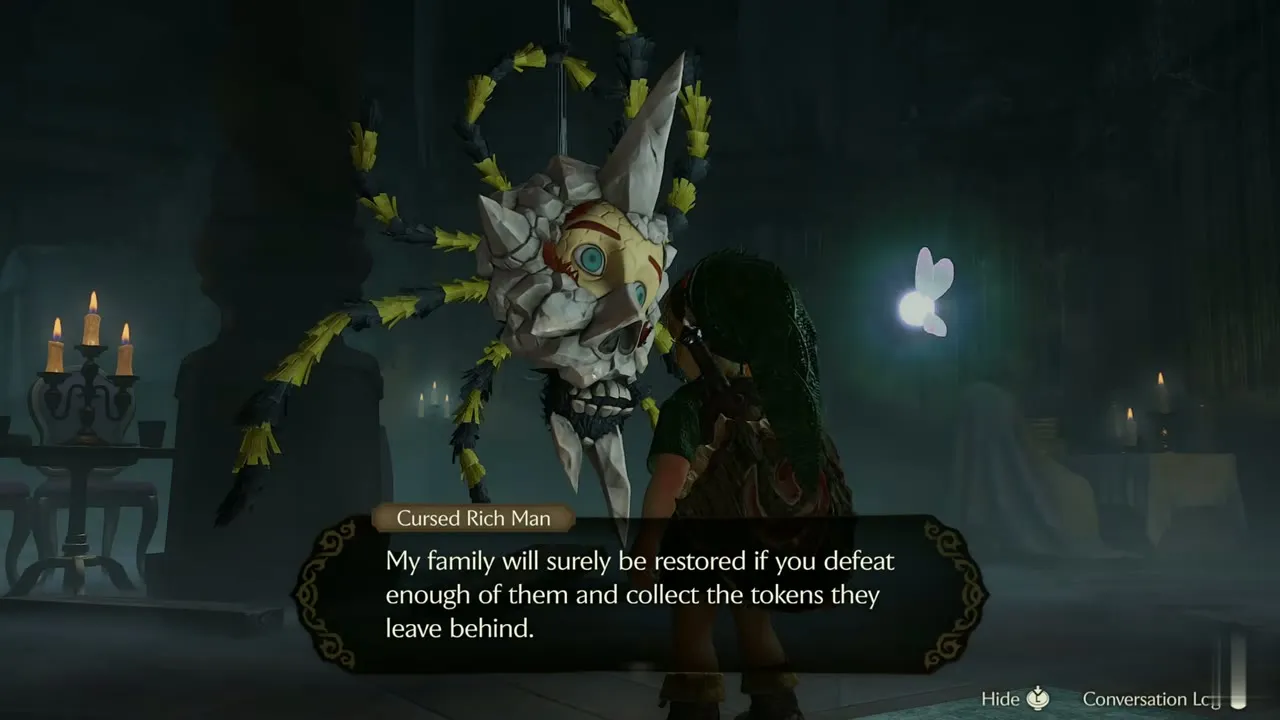
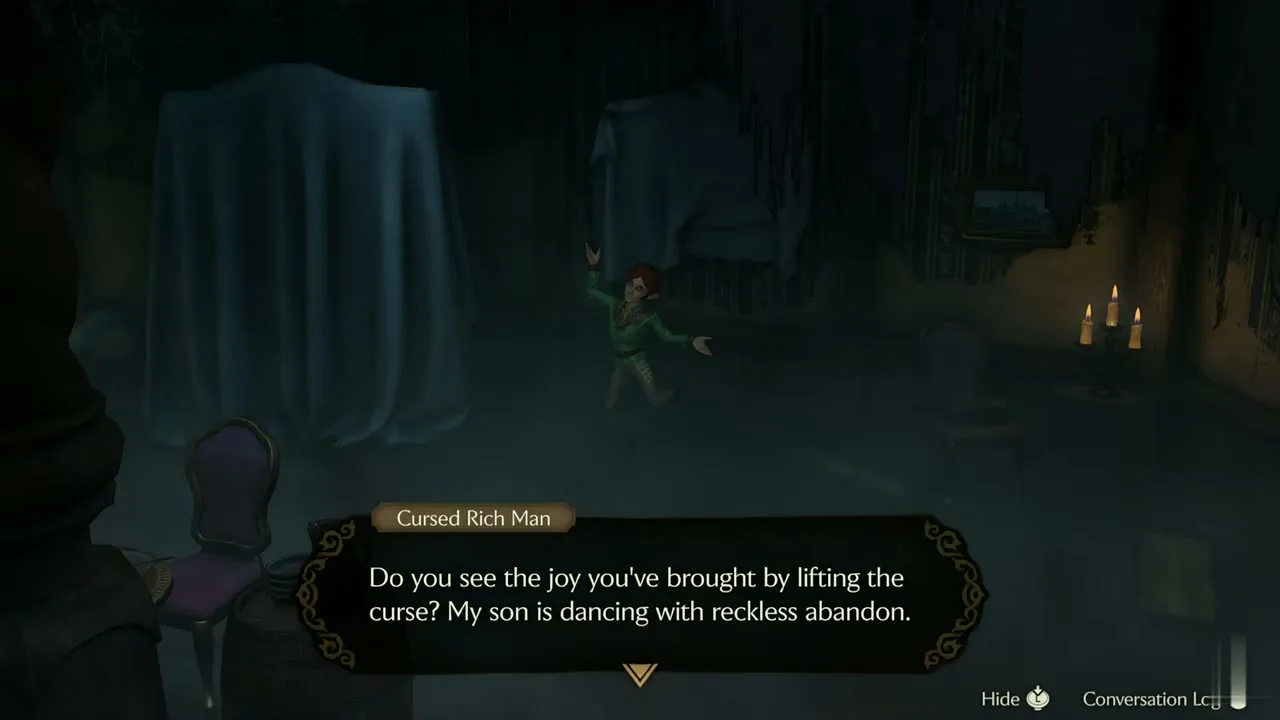
The House of Skulltula is the stone house with the blue door in Kakariko Village. Inside, the Cursed Rich Man hangs in the middle of the room, and each time you reach a reward count he lifts the curse from one of his sons and hands you a gift. The counts below are the ones the game shows, and each one is a one-time reward.
Adult’s Wallet
10 tokens. Bring 10 tokens to the Cursed Rich Man. His curse weakens, his fifth son is freed and the box reads “You got an adult’s wallet!” The message adds that grown-ups get to carry lots of money, and your wallet now holds up to 500 rupees.

Echo Gem
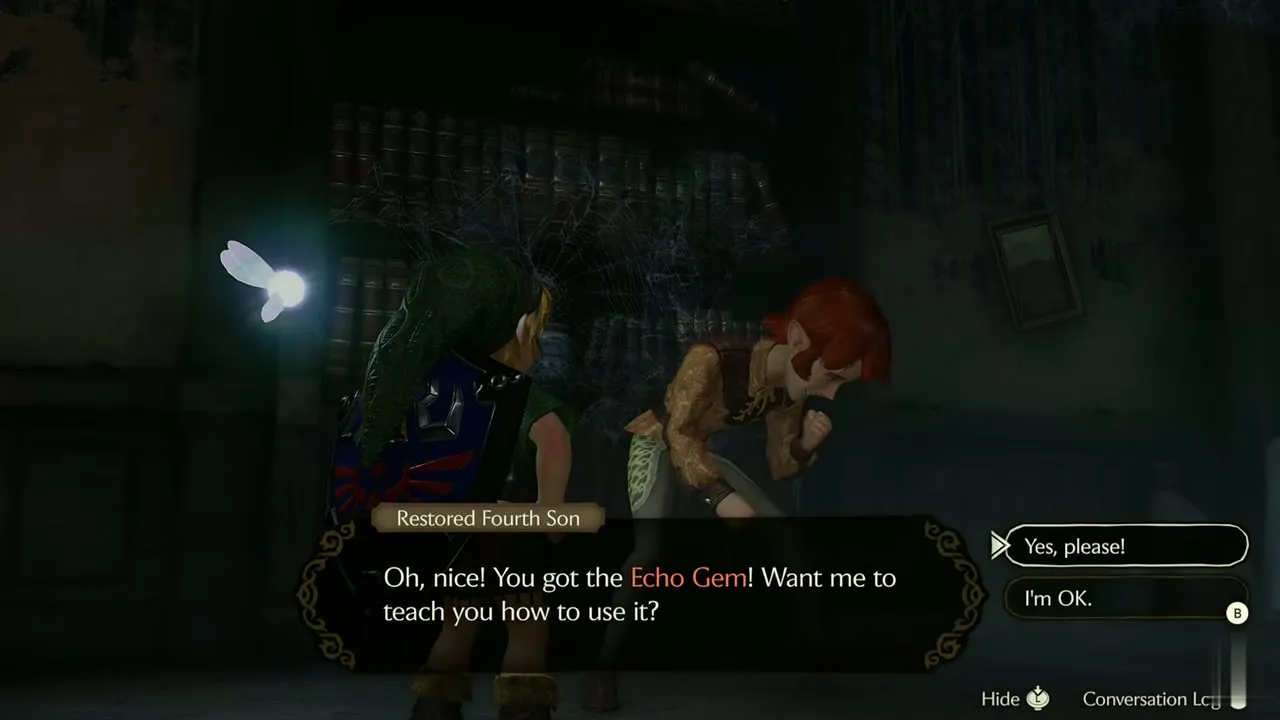
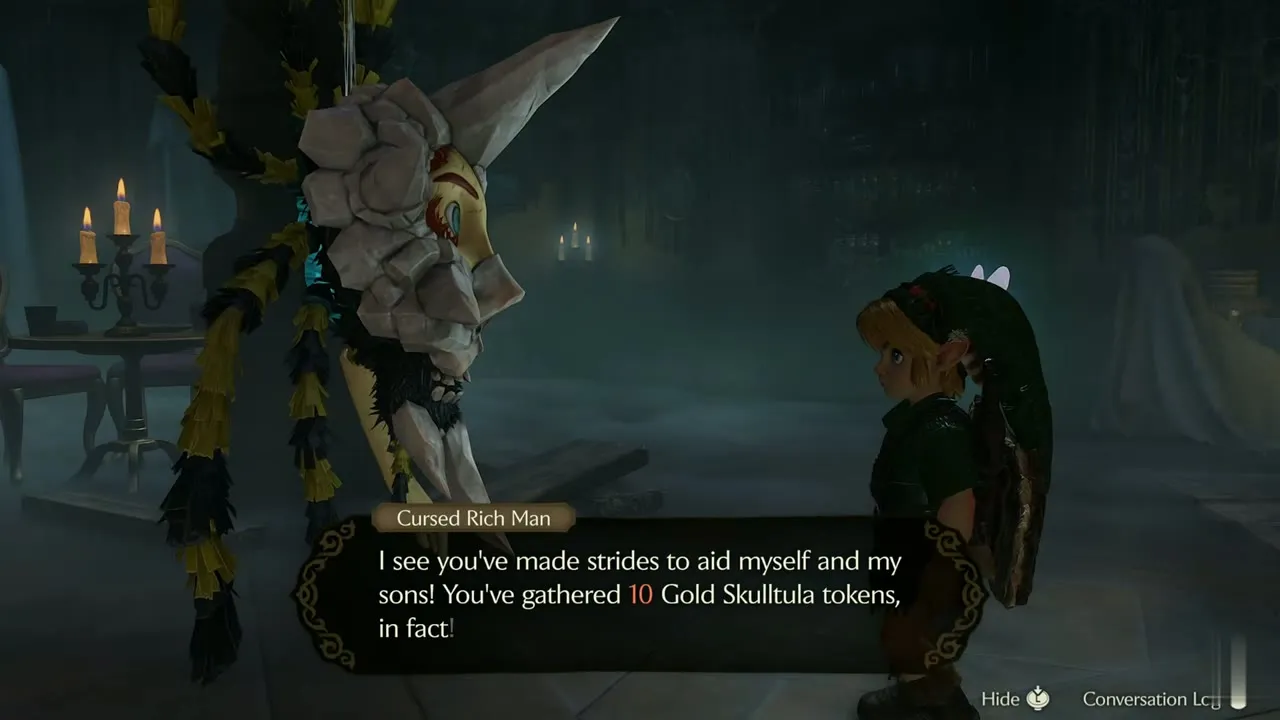
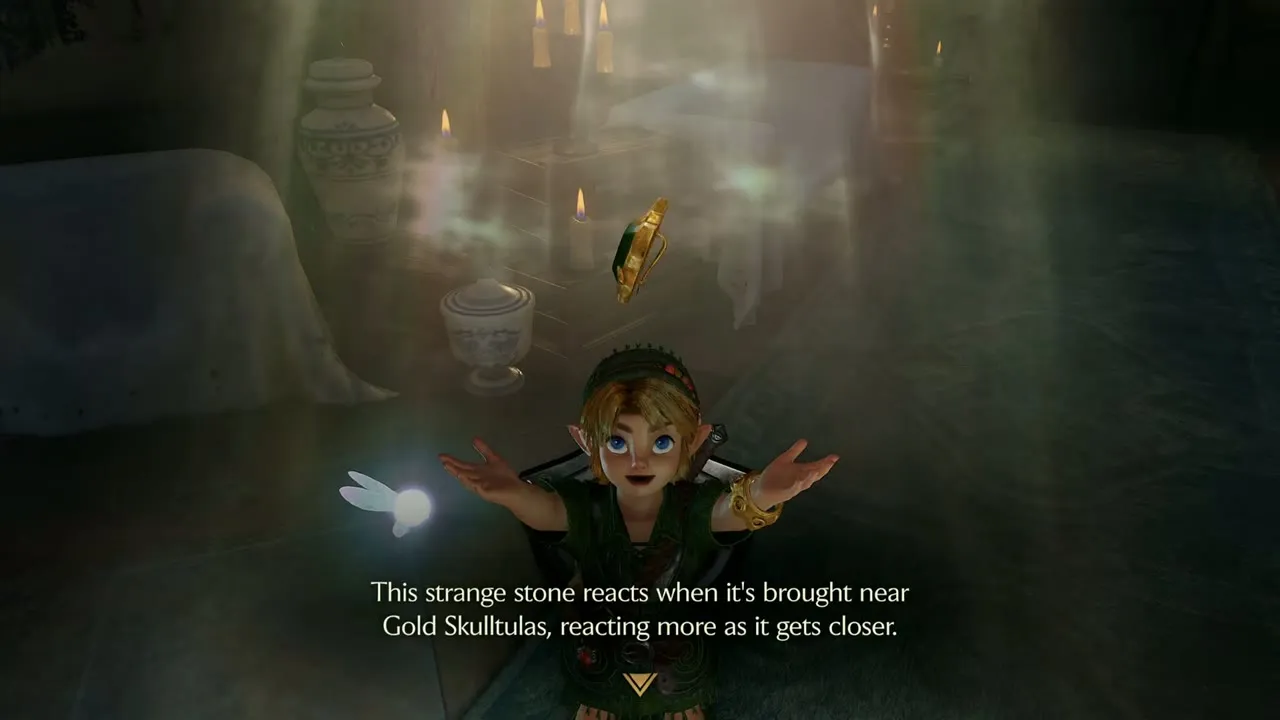
20 tokens. At 20 tokens his fourth son is freed and the Cursed Rich Man gives you the Echo Gem, a strange stone that reacts when it is brought near Gold Skulltulas, and more the closer it gets. Equip it from the Equipment screen and it signals nearby tokens with light and sound. The Rich Man also suggests you speak to his freed sons.

Giant’s Wallet
30 tokens. At 30 tokens you get the Giant’s Wallet. The box reads “You got a giant’s wallet!” and the Rich Man calls it humongous: it holds up to 1,000 rupees. His third son thanks you and says the same.

Bombchus
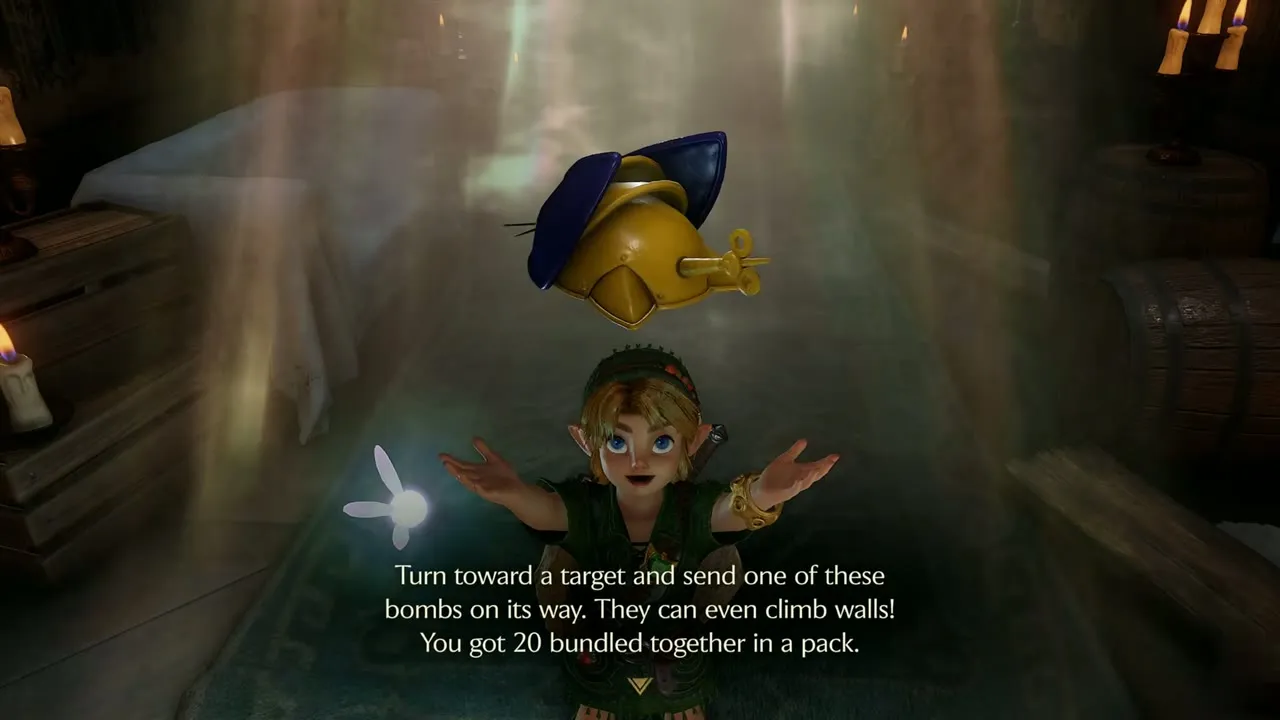
40 tokens. At 40 tokens the Rich Man hands over a pack of 20 Bombchus. The item message says you can turn toward a target and send one on its way, and that they can even climb walls. His second son adds that you place a Bombchu on the floor and it darts forward, climbing walls and ceilings.

Piece of Heart
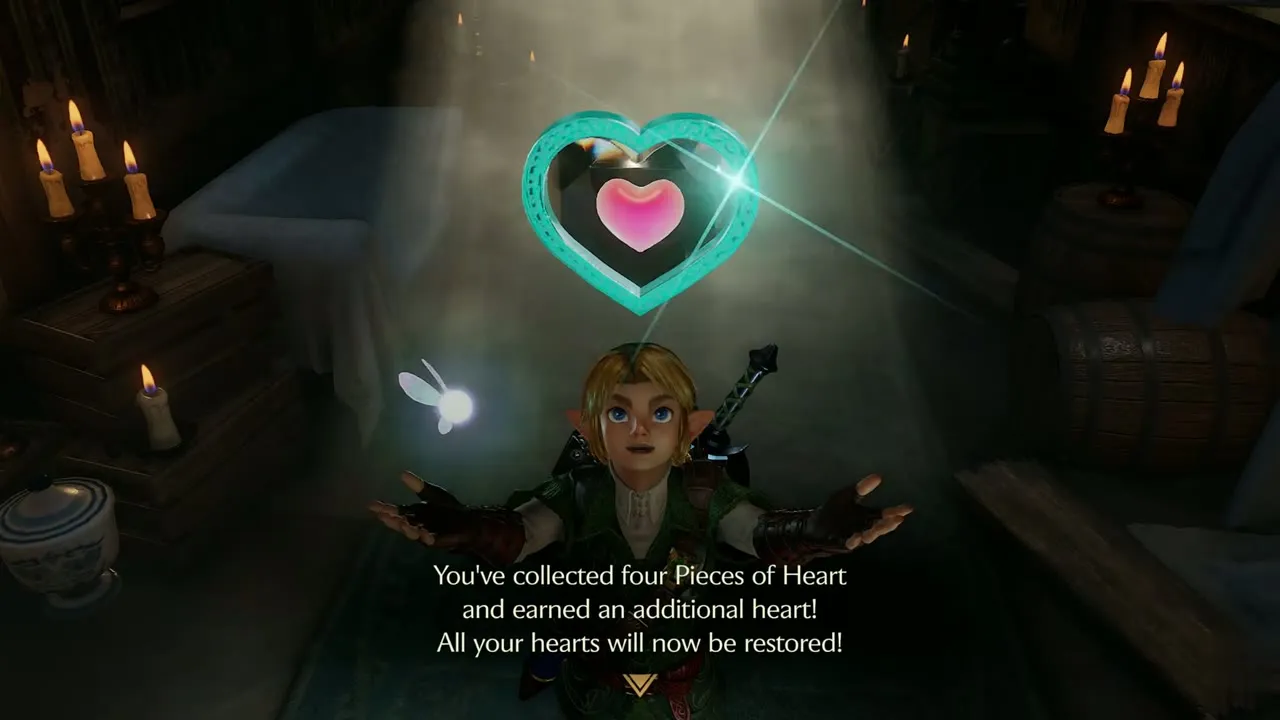
50 tokens. At 50 tokens the last of his sons is freed and the Rich Man gives you a Piece of Heart. It counts toward the 36 on the Heart Piece list.
Gold Rupee
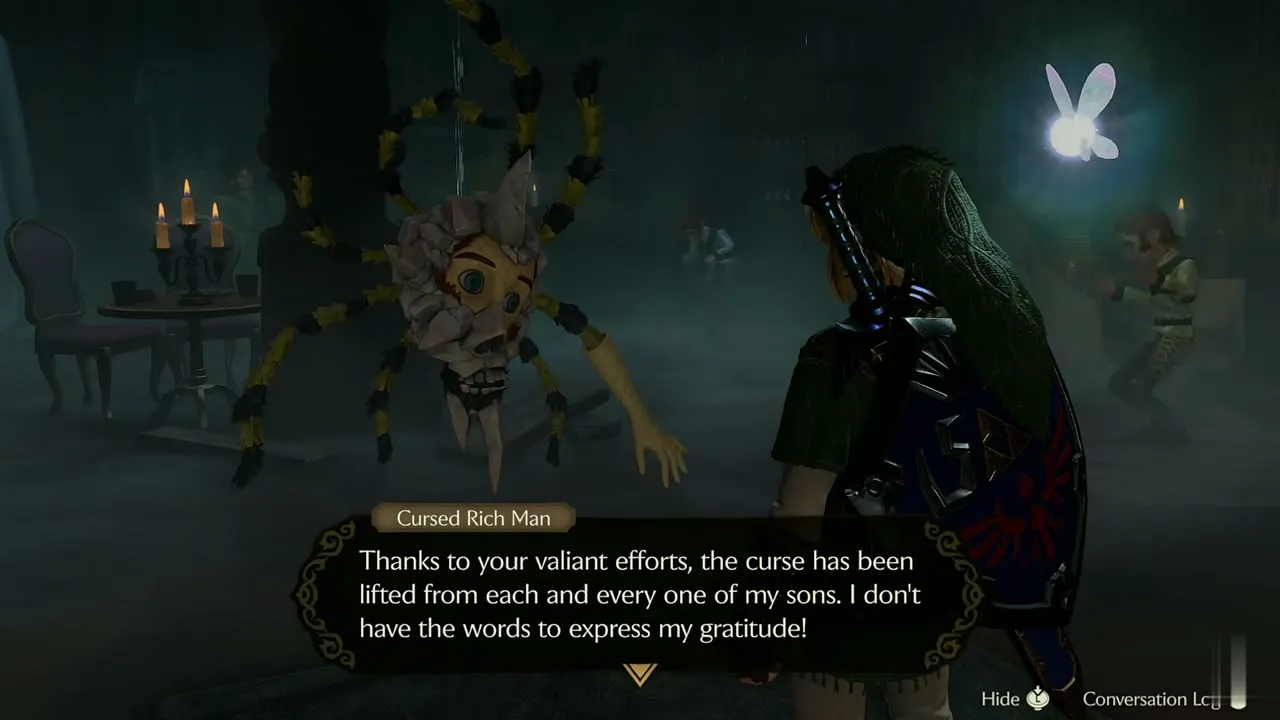
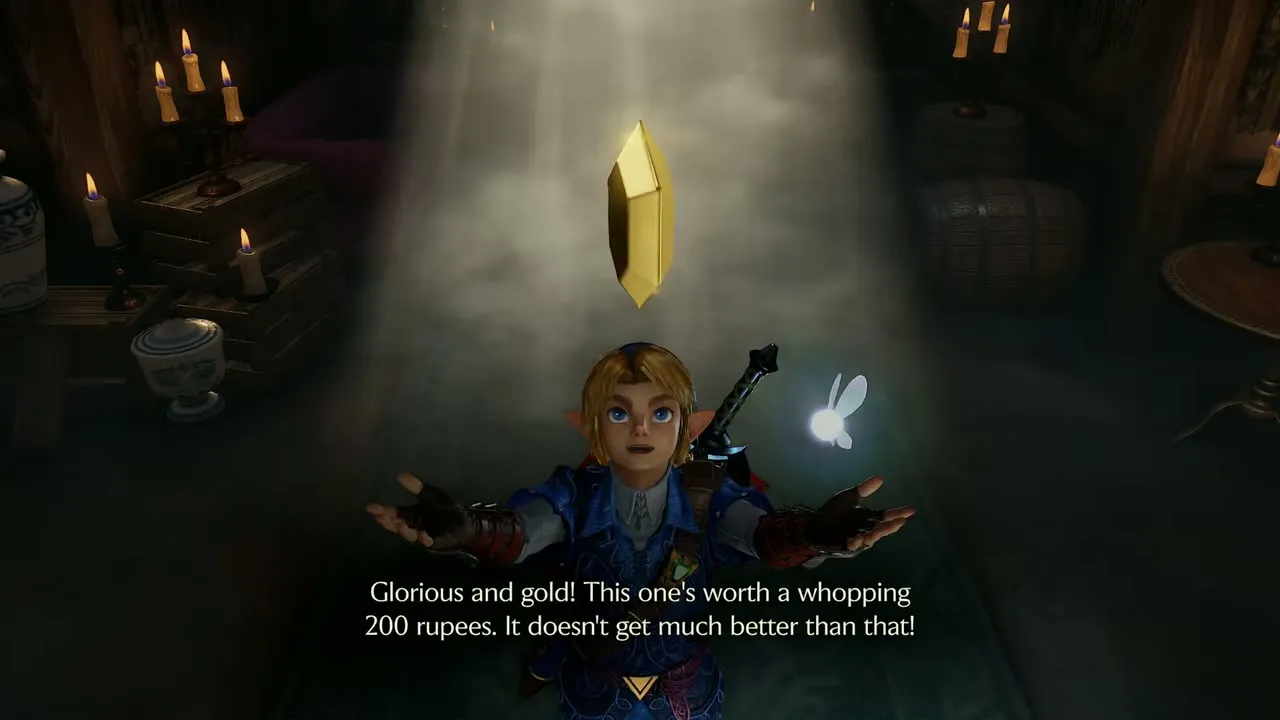
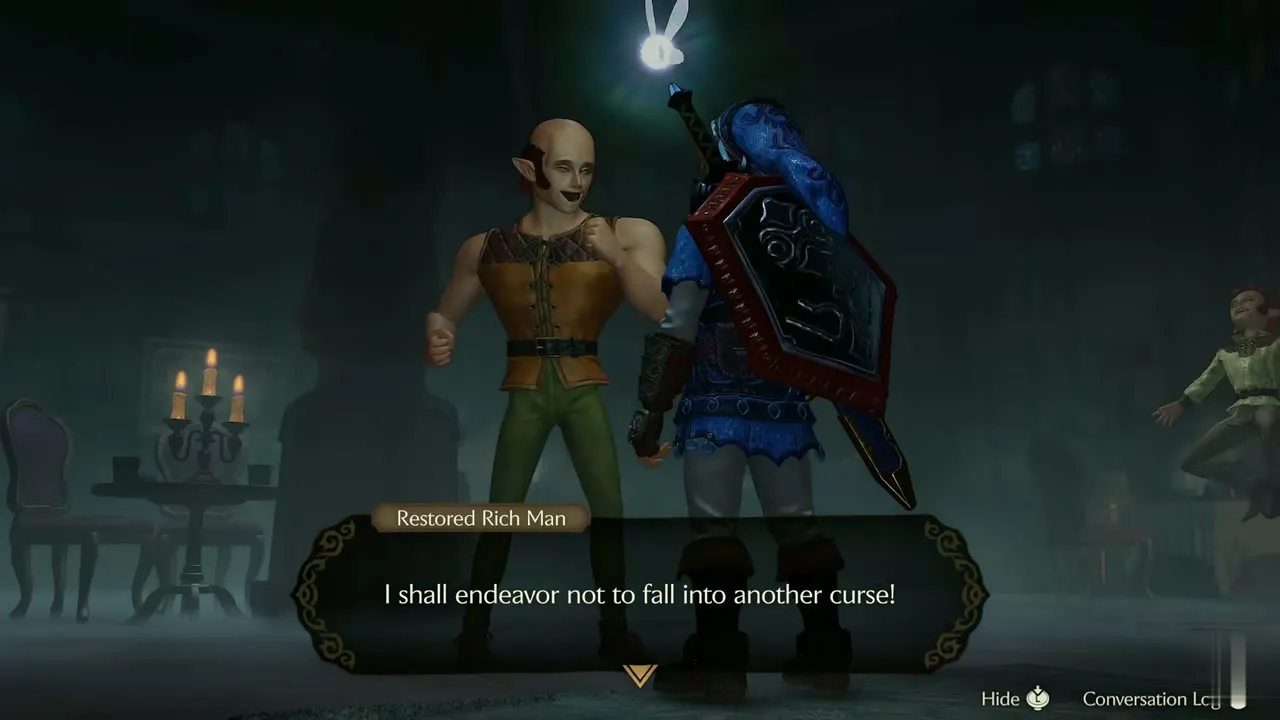
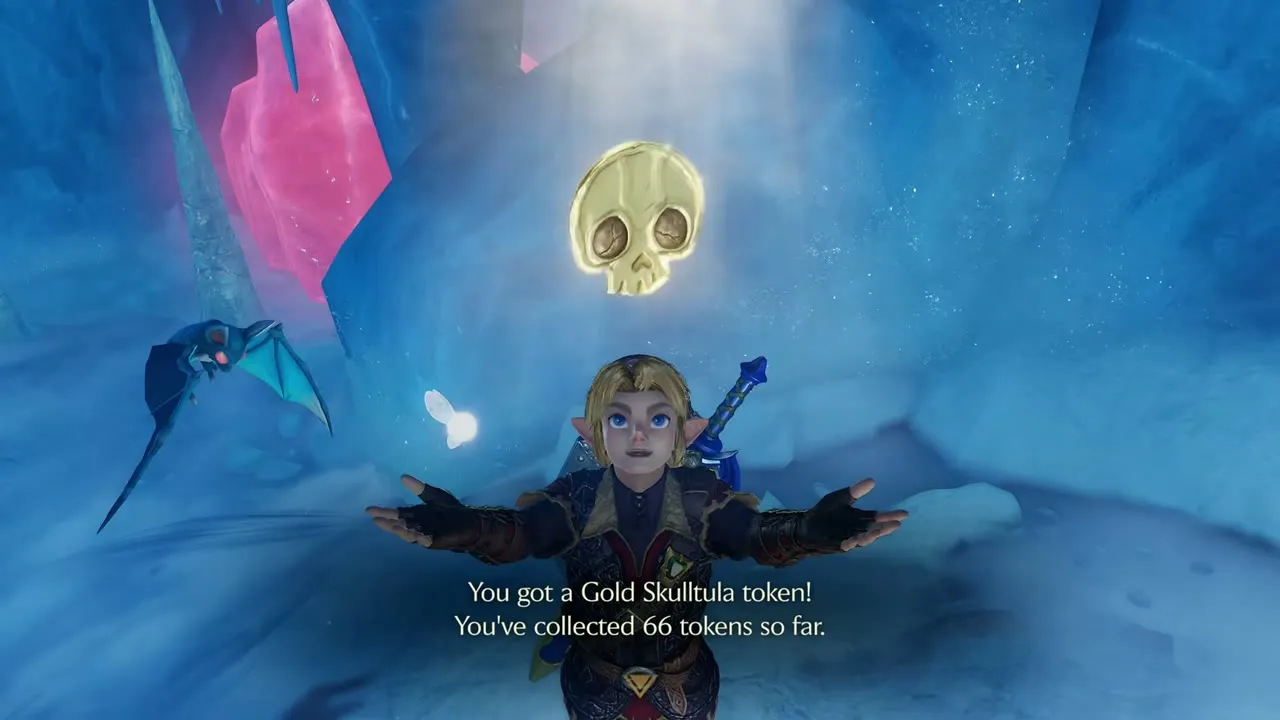
100 tokens. The Rich Man himself needs 100 tokens to break his curse. When you bring the full set, he and his sons turn back into people, and he says you did not have to collect them all but you did anyway. A gold light falls from above and you catch a Gold Rupee worth 200 rupees. It fills your wallet up to its limit, and the Collection screen shows 100 beside the token.

Great Deku Tree
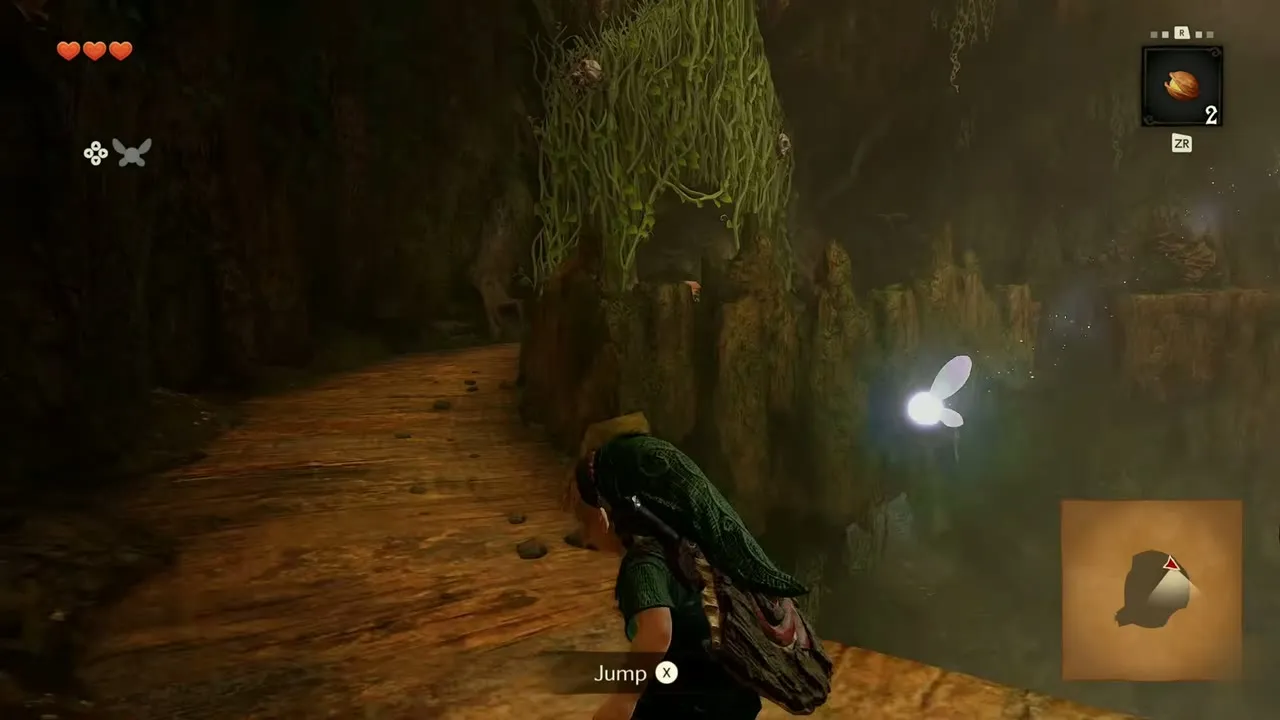
Every token in the Great Deku Tree is inside the tree, and the Slingshot you pick up there handles most of them. They come first in the count. The dungeon is covered step by step in the Great Deku Tree chapter.

Gold Skulltula #1
Great Deku Tree, wall by the alcove, 3F. Child Link, any time of day. You need: Sword. On the third floor, hop across the stone platforms toward the next room. A Skulltula with a cyan belly hangs near the platforms, so strike it when its belly turns toward you. In the alcove beyond, a Gold Skulltula glows on the wall. Hit it and take the token. Navi tells you there may be something in it for you if you keep collecting them.


Gold Skulltula #2
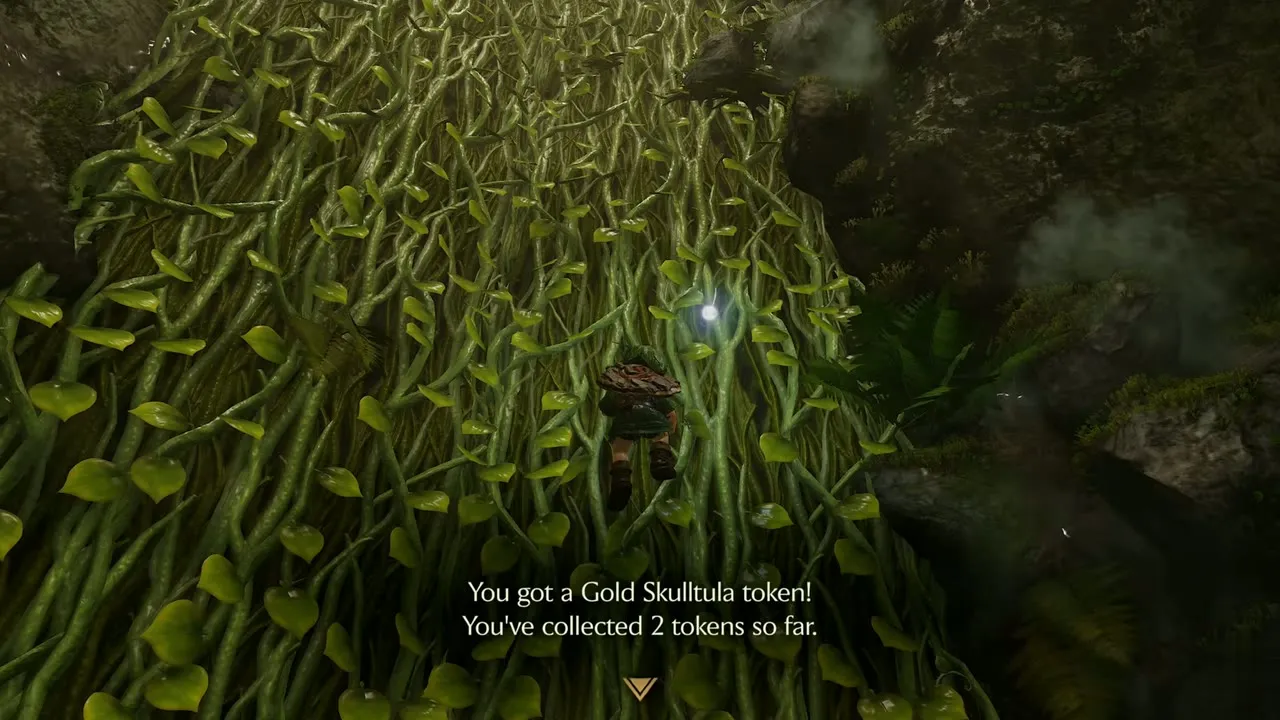
Great Deku Tree, vine wall on B1. Child Link, any time of day. You need: Fairy Slingshot. After the drop to the basement water room, swim to the vine wall and look up. A Gold Skulltula clings to the vines. Shoot it with the Slingshot, then climb the vines to where it fell and collect the token.

Gold Skulltula #3
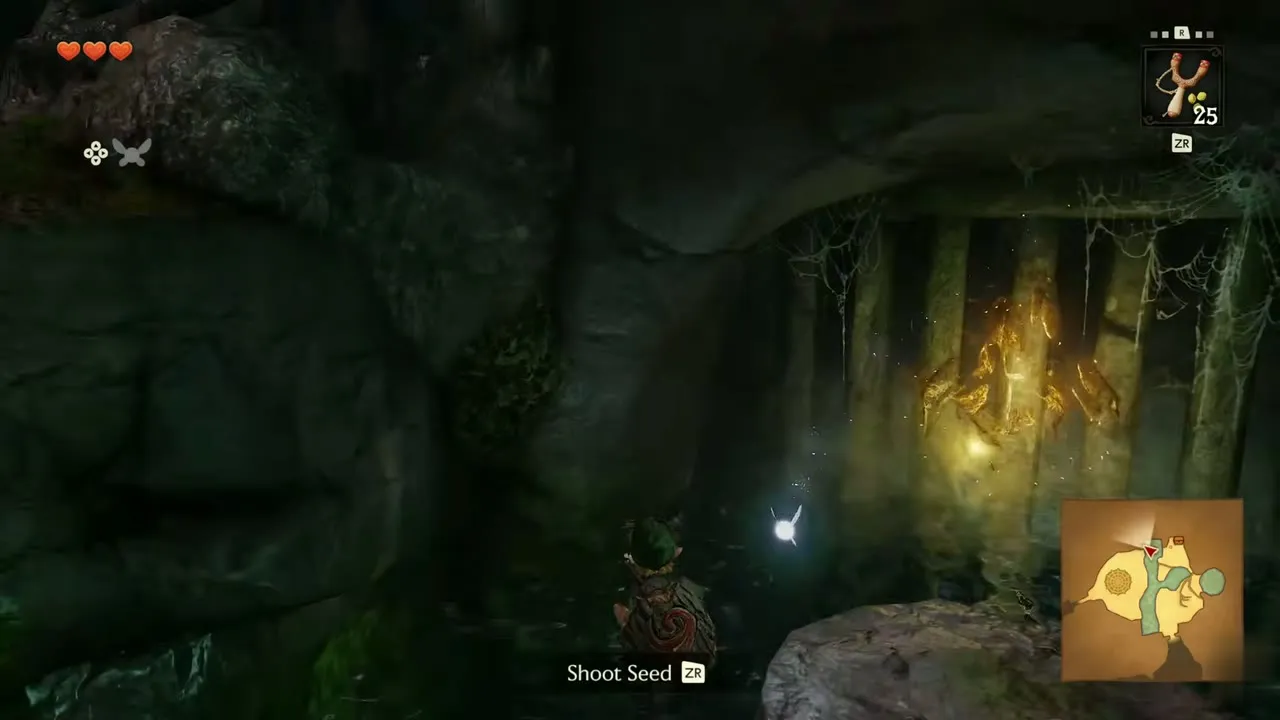
Great Deku Tree, by the web-covered grate. Child Link, any time of day. You need: Fairy Slingshot. Swim on along B1 to the barred grate covered in webs. A Gold Skulltula sits on the wall beside it. Shoot it with a Slingshot seed and pick up the token it leaves.

Gold Skulltula #4
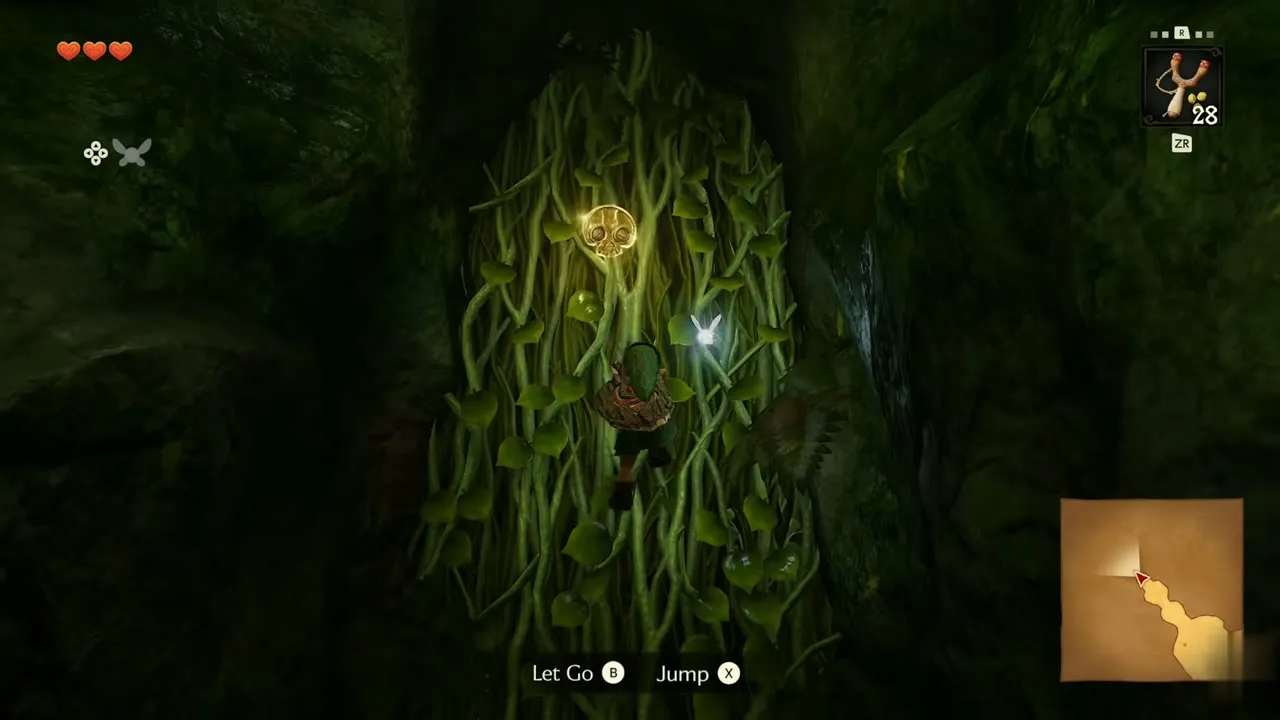
Great Deku Tree, vine wall near the torch room. Child Link, any time of day. You need: Fairy Slingshot. In the cave past the burned webs, a Skulltula guards a vine wall. Shoot it with the Slingshot first, then climb the wall and take the token on it.

Kokiri Forest, Lost Woods and Sacred Grove
This area gives you three soft-soil tokens in the Lost Woods and one in Kokiri Forest as a child, then three more as an adult. The child tokens are in the Lost Woods and Sacred Grove chapter and the adult ones in Sacred Grove as an Adult.


Gold Skulltula #16
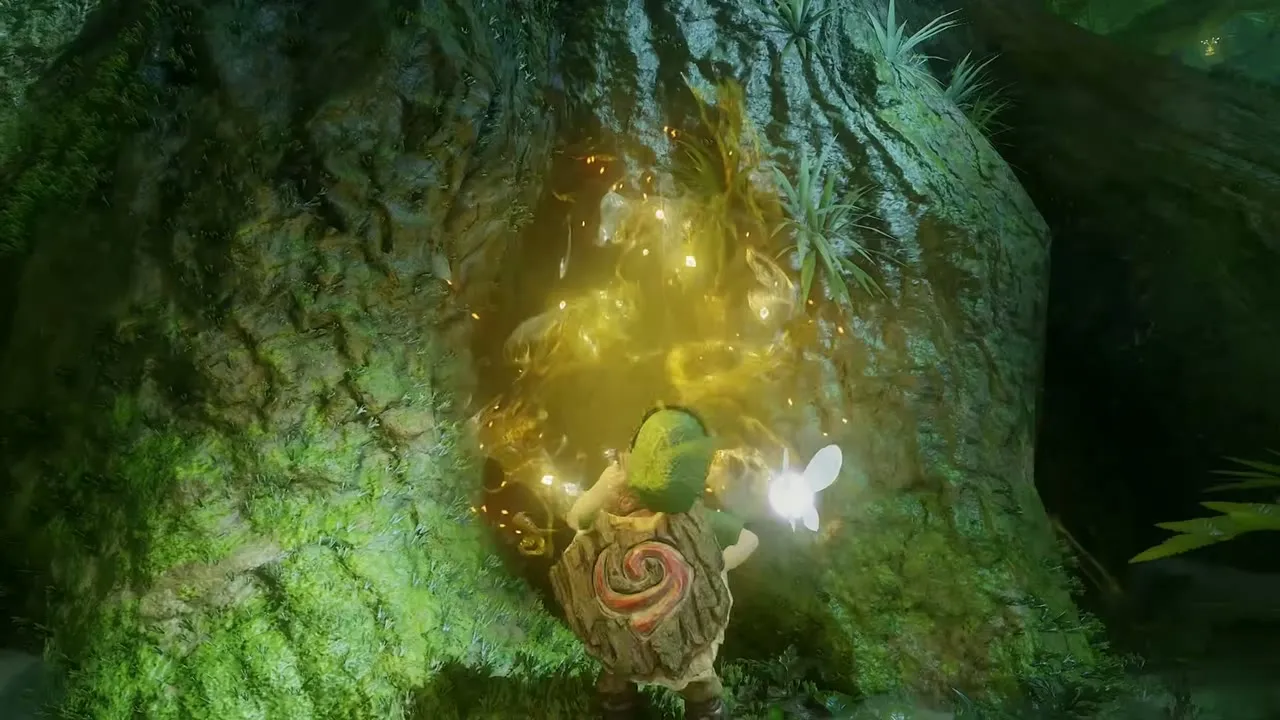
Kokiri Forest, tree trunk beside the houses. Child Link, night. You need: Sun’s Song, Sword. Stand beside the sign written in Kokiri script near the small house and play the Sun’s Song to turn the day to night. A Gold Skulltula now crawls on the huge tree trunk beside the house. Climb the trunk, defeat it and take the token.
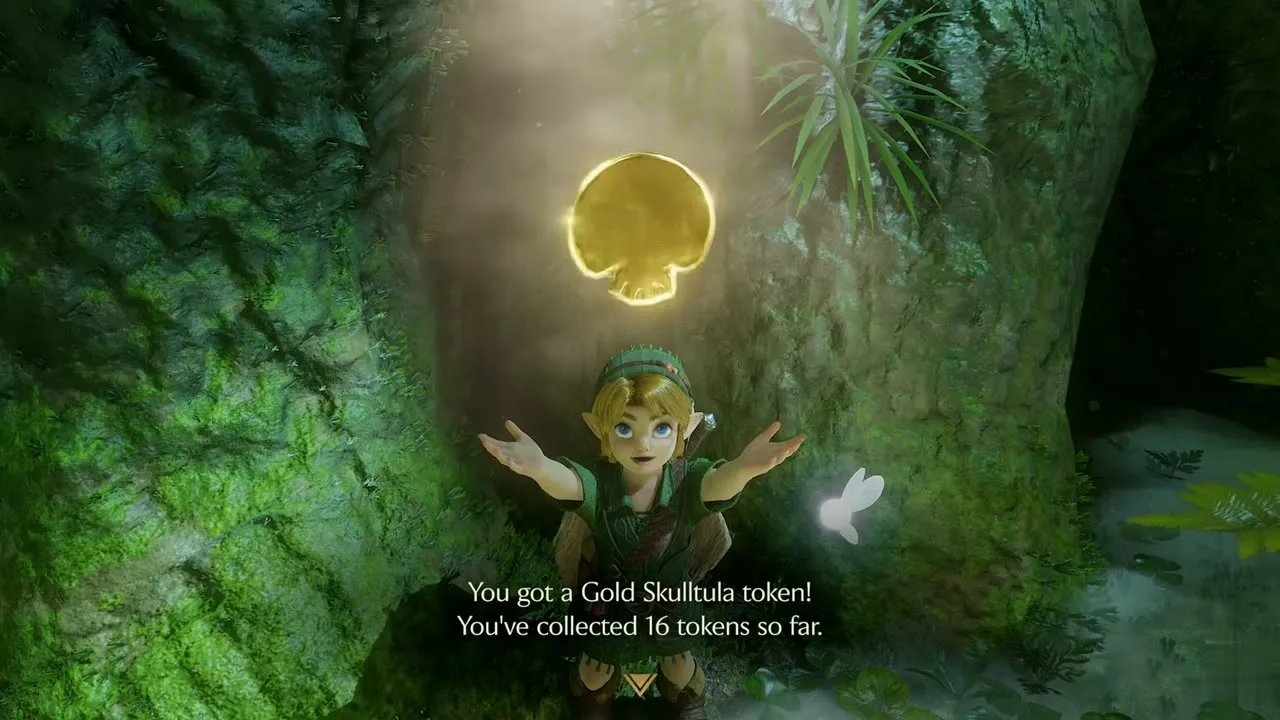
Gold Skulltula #17
Lost Woods, soft soil near the first Business Scrub. Child Link, any time of day. You need: Bug in a bottle. Walk on through the dark section of the woods to the patch of loose soil near the first Business Scrub. Select the bug in your bottle, release it on the soil and defeat the Gold Skulltula that crawls out. The token drops.


Gold Skulltula #18
Lost Woods, soft soil by the second Scrub. Child Link, any time of day. You need: Bug in a bottle. Go on to the patch of soft soil by the second Business Scrub. Release a bug from your bottle on it, defeat the Gold Skulltula that comes out and take its token.
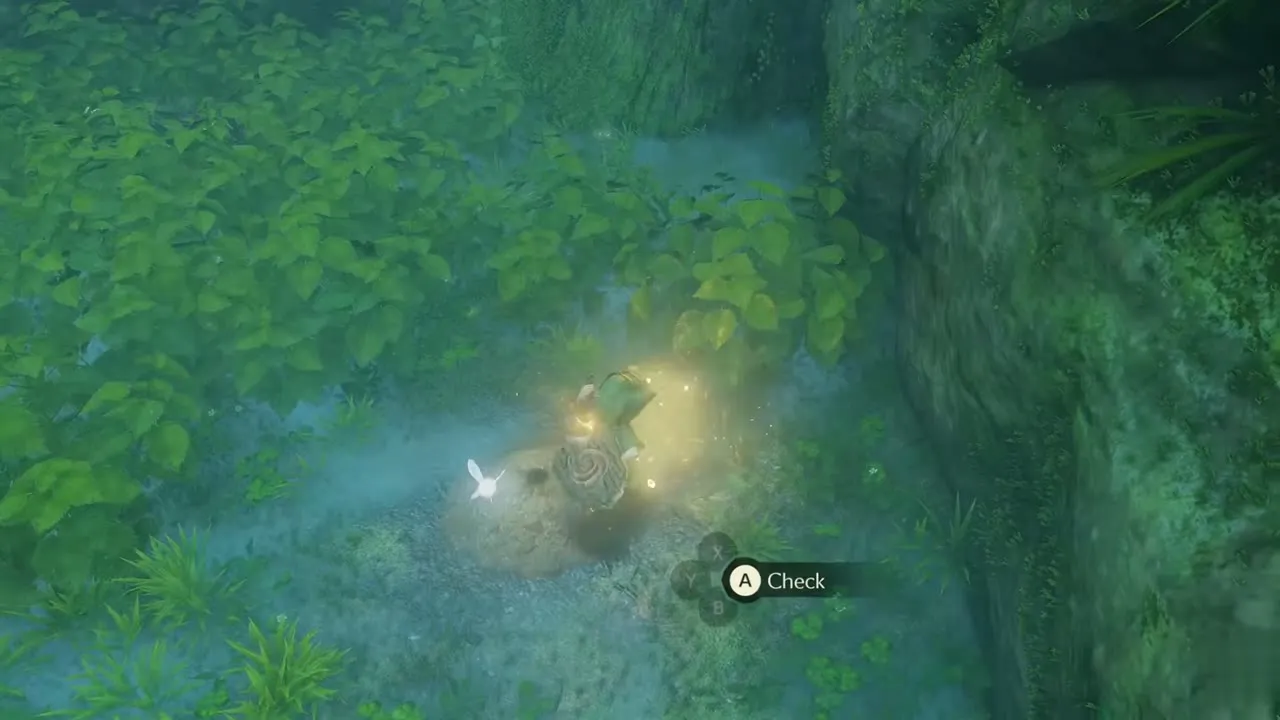

Gold Skulltula #19
Lost Woods, soft soil on the path to Kokiri Forest. Child Link, any time of day. You need: Bug in a bottle. Follow the stone path with the rock steps toward the Kokiri Forest side of the woods. Navi points out another patch of soft soil. Use a bug on it and defeat the Gold Skulltula that crawls out.
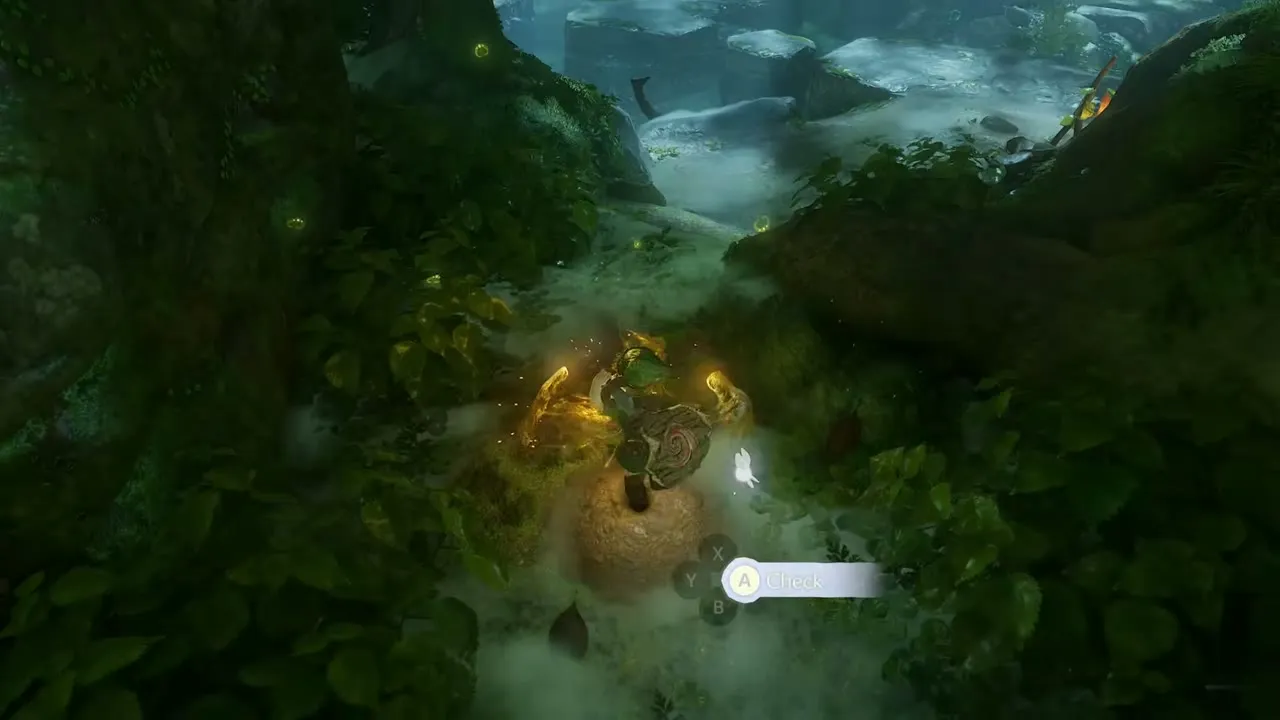
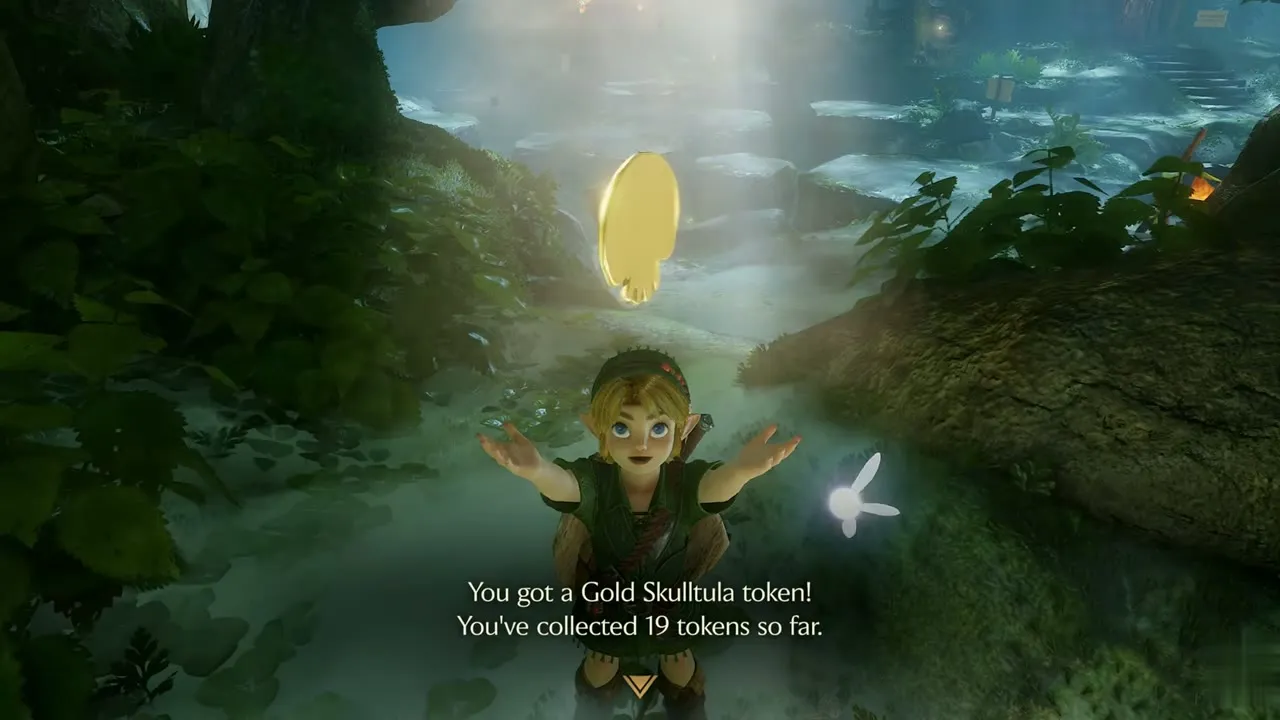
Gold Skulltula #44
Kokiri Forest, big tree by the House of the Twins. Adult Link, night. You need: Hookshot, Sun’s Song. As an adult, play the Sun’s Song to bring night, then walk past the House of the Twins sign to the huge tree at the edge of the village. Look up the trunk for a gold glint on a branch, aim the Hookshot at it (the prompt reads Fire) and fire.

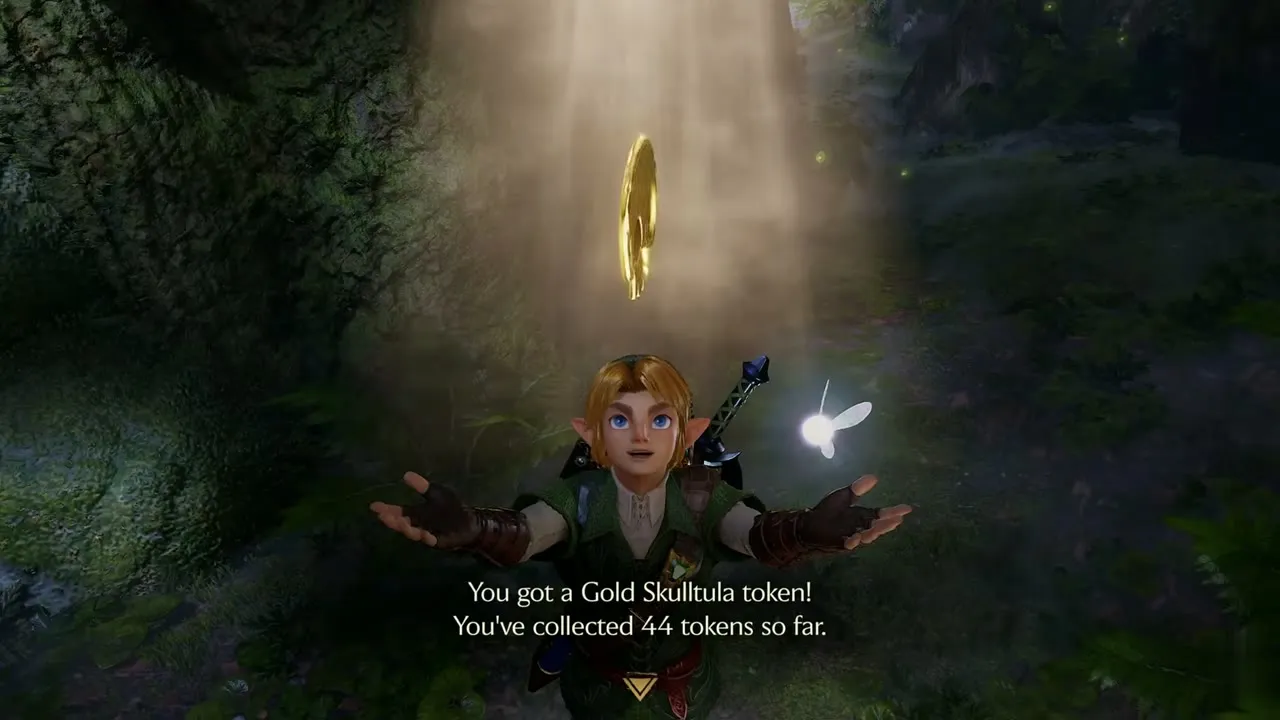
Gold Skulltula #45
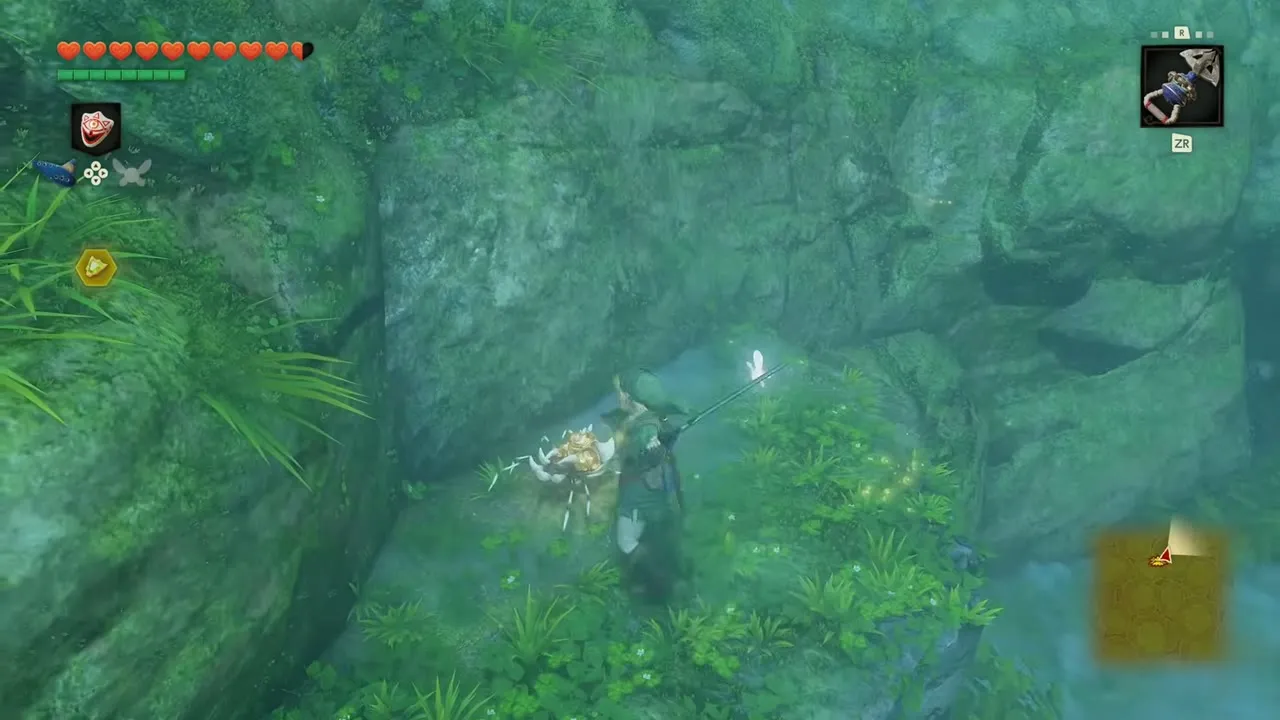
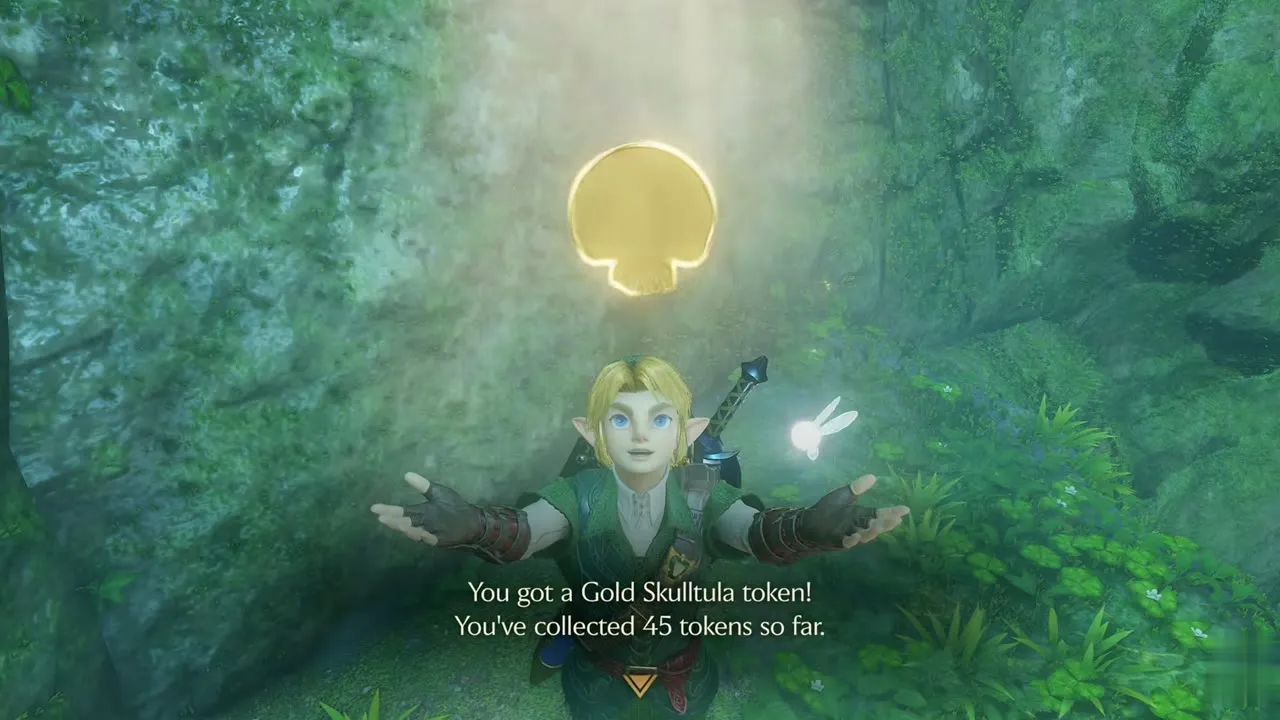
Lost Woods, ledge above the flower pad. Adult Link, night. You need: Deku Flower launch. Follow the path deeper into the misty woods until a tall rock face blocks it. A multicolored flower pad sits at its base. Step onto the pad and it launches you up to a ledge, where a token waits in the gloom.

Gold Skulltula #46
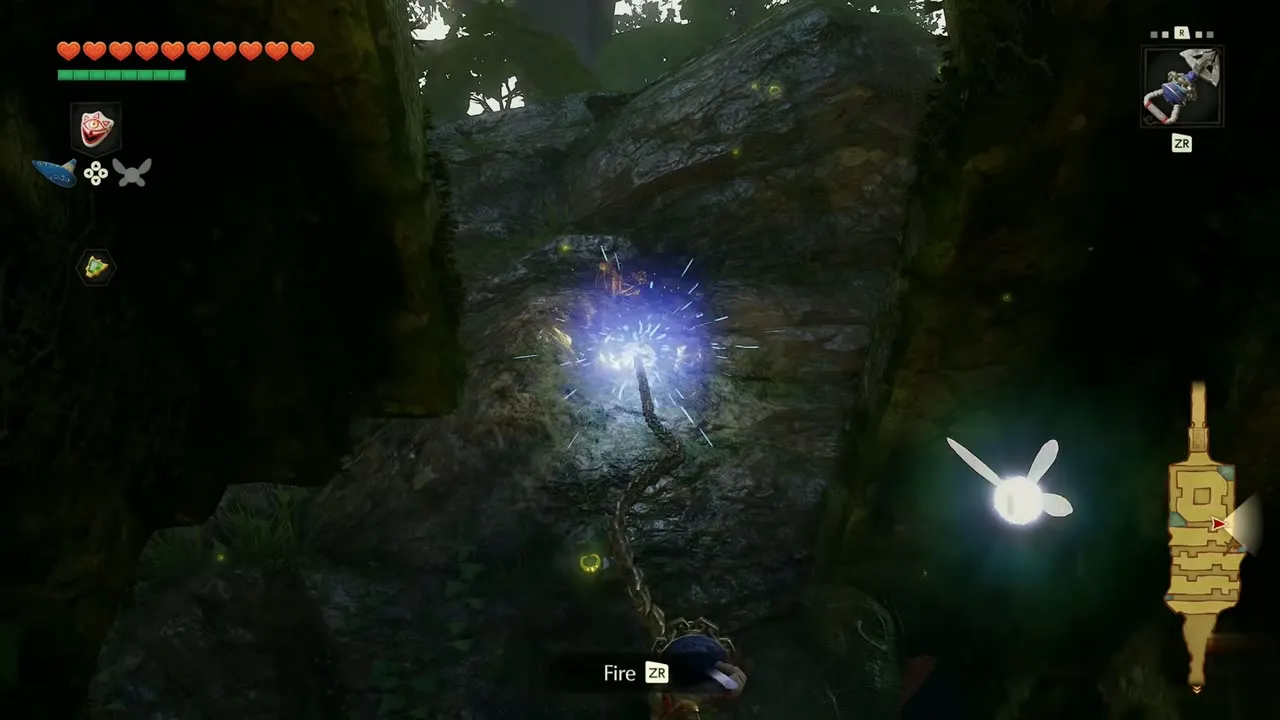
Sacred Grove, dead end of the maze. Adult Link, night. You need: Hookshot. Cross the Sacred Grove maze and look for a blue spark on the wall at the dead end of the cave. Switch to the Hookshot and fire at it to pull the token down.
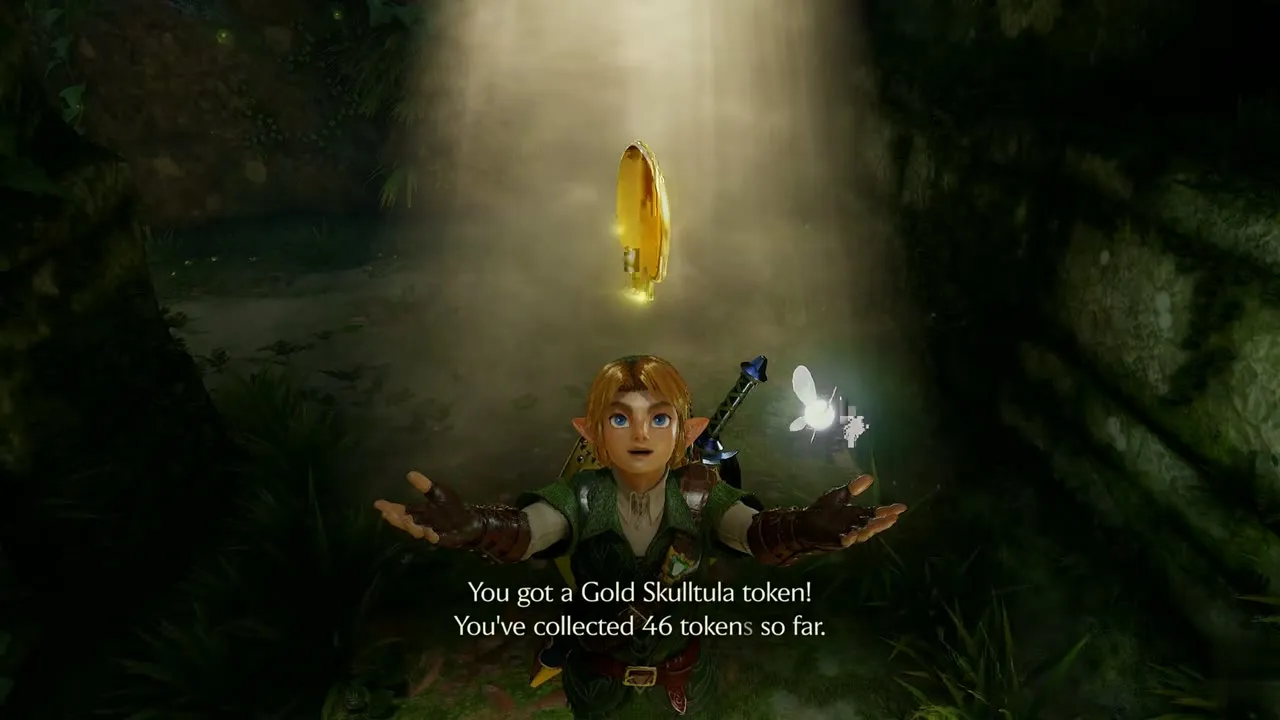
Hyrule Castle Town and Hyrule Castle
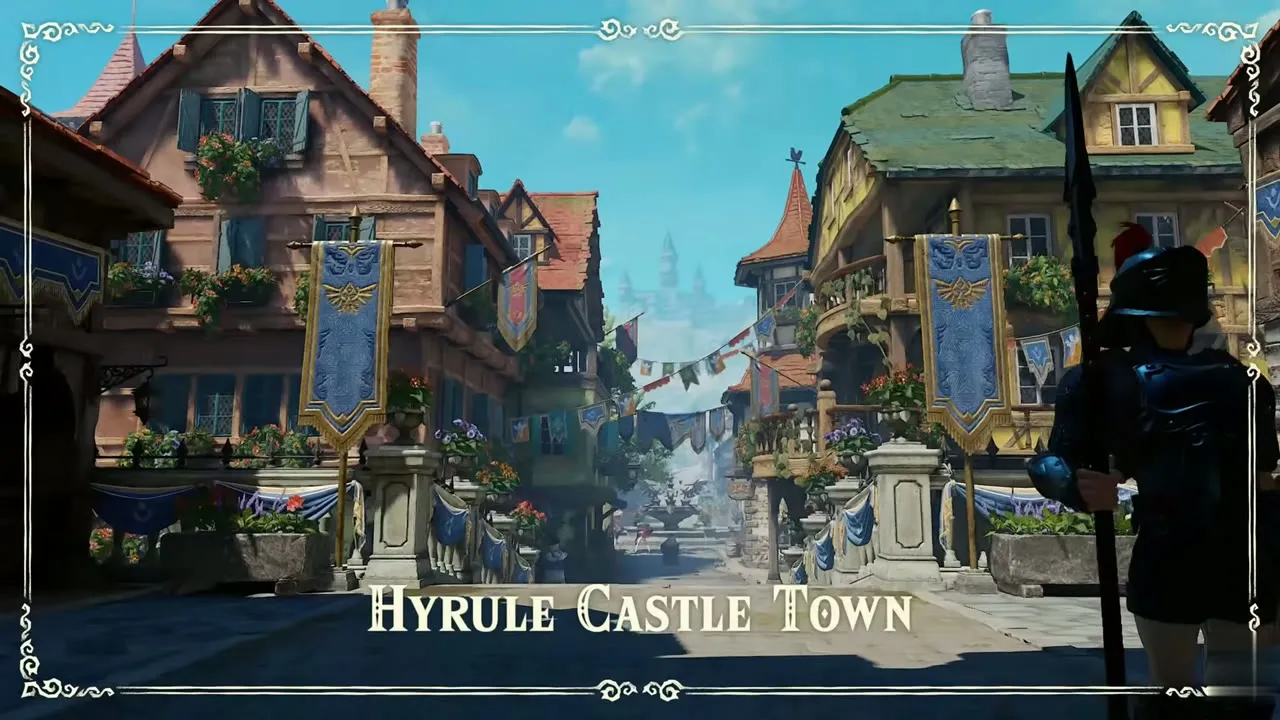
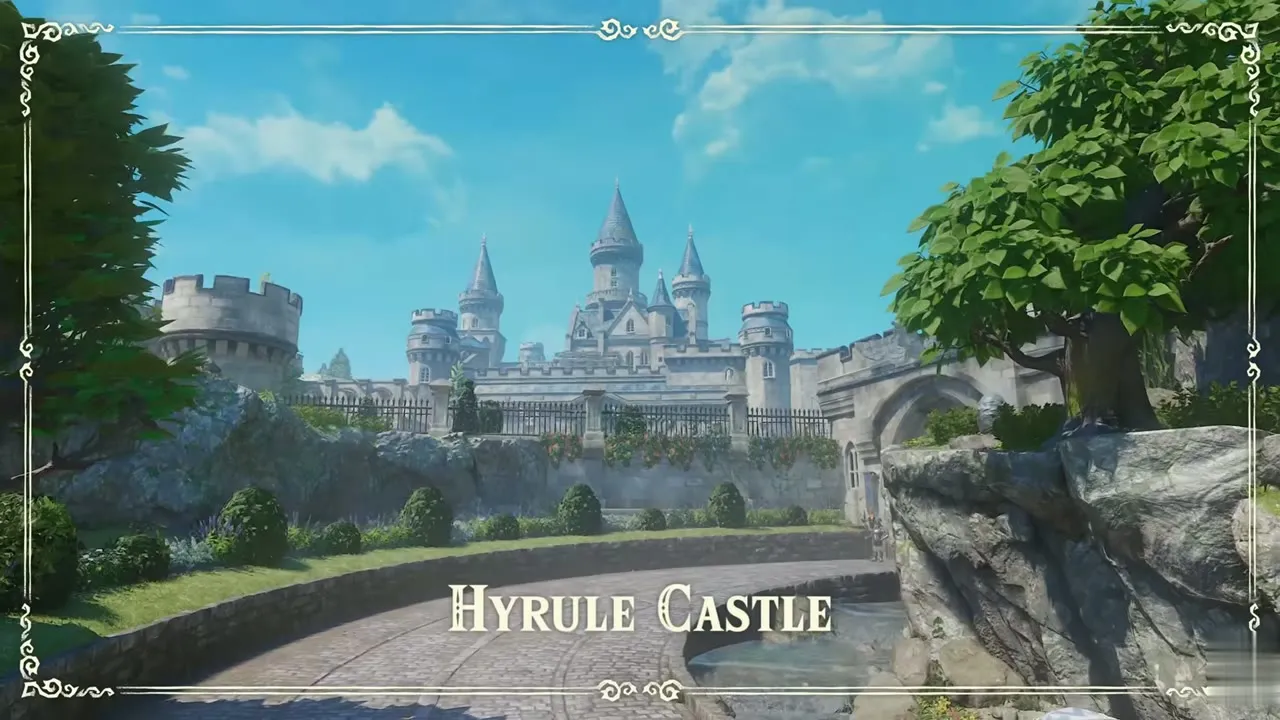
One token sits in the guard house of the market, two are on the castle grounds, and one is waiting on the ruined road to Ganondorf’s Castle as an adult. See Hyrule Castle Town, Hyrule Castle and Nocturne of Shadow.
Gold Skulltula #5
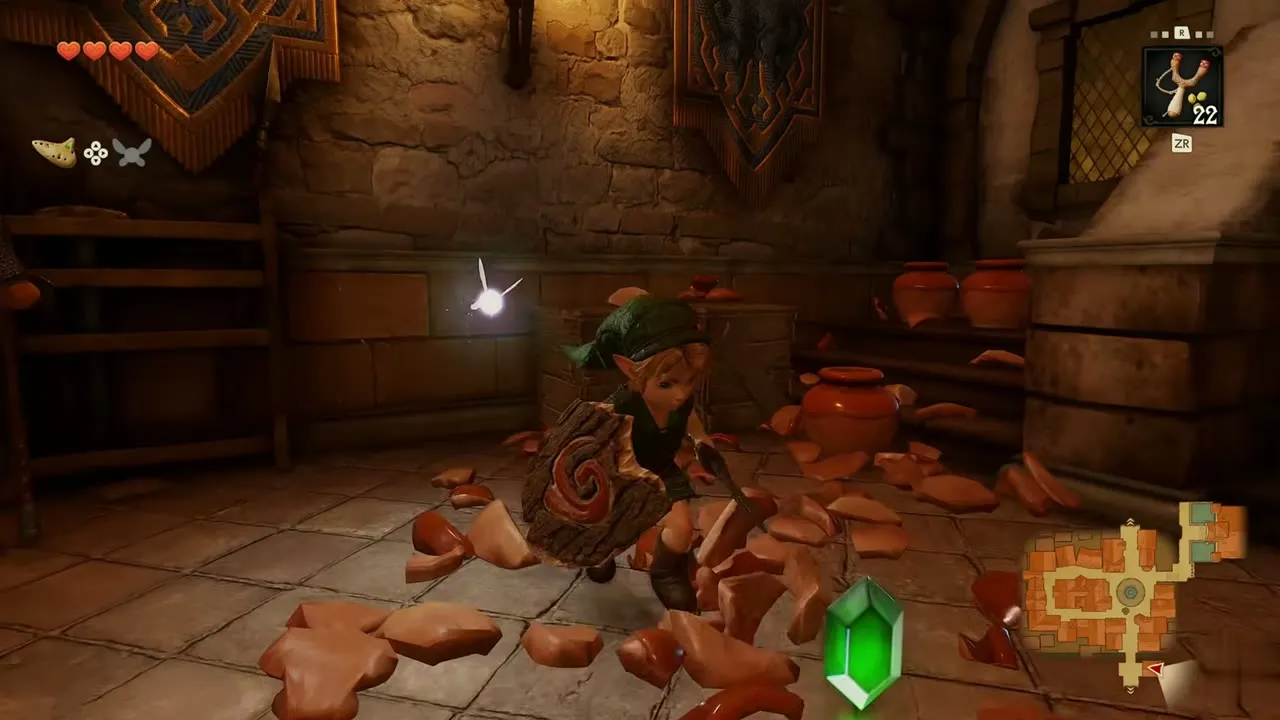
Hyrule Castle Town, guard house storeroom. Child Link, any time of day. You need: Sword. Go through the door of the guard house near the gate to the storeroom full of pots. Smash them for Rupees, then slash around the stack of crates until a Gold Skulltula appears beside them. Strike it and take the token.

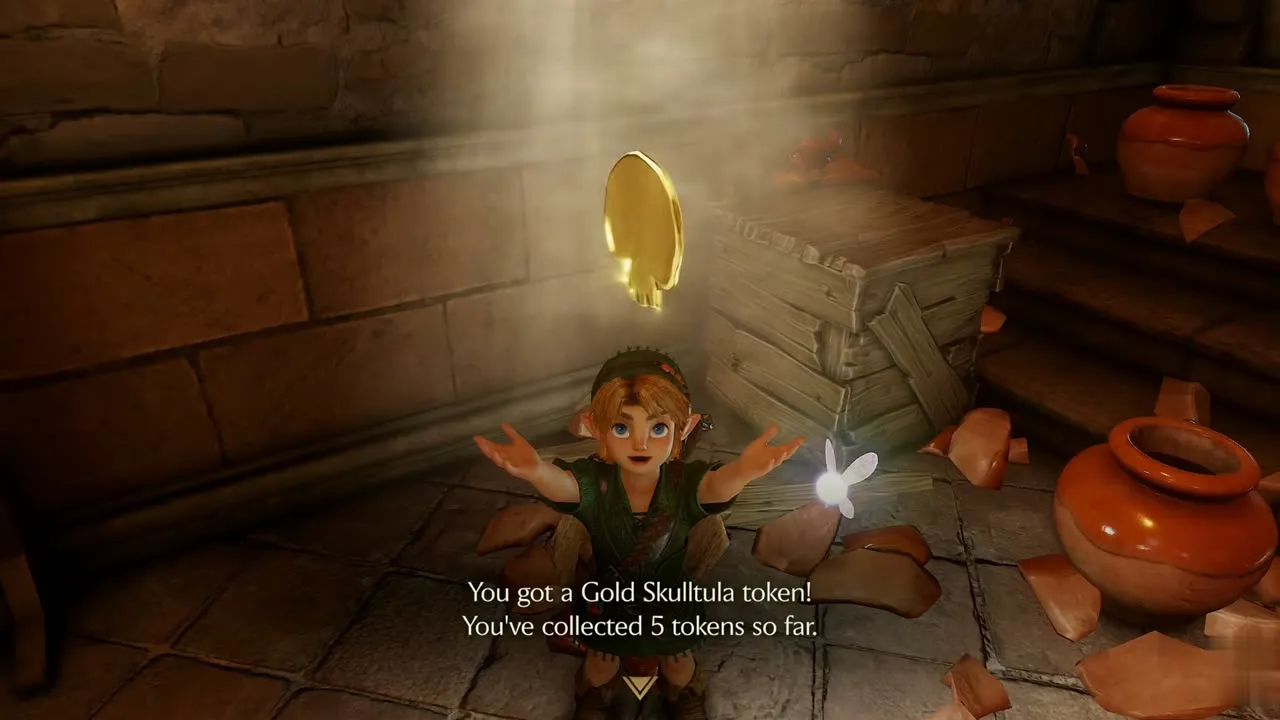
Gold Skulltula #6
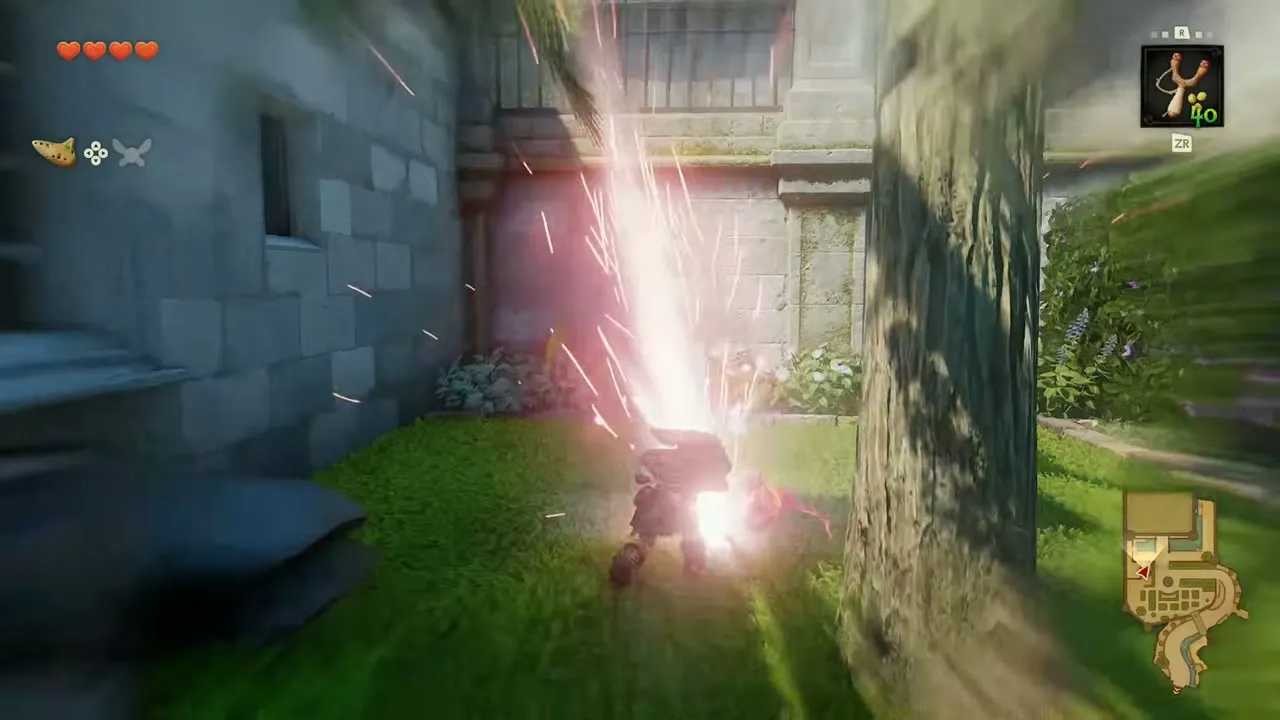
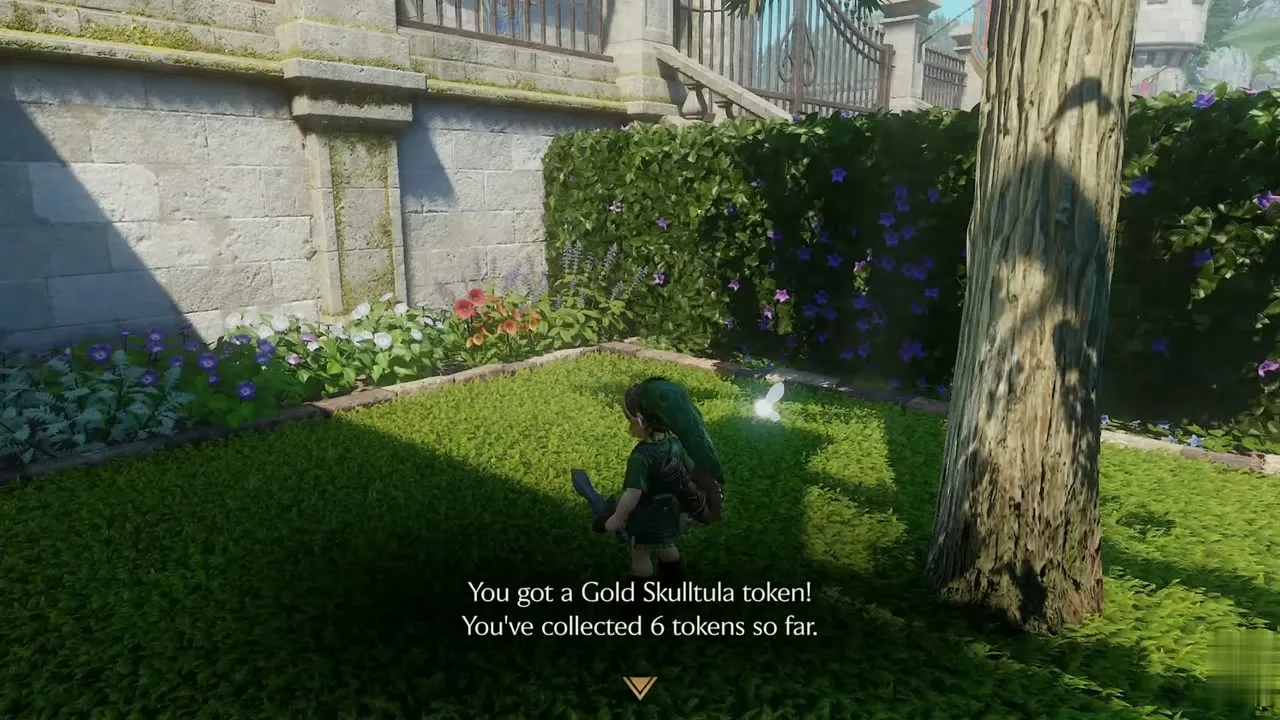
Hyrule Castle, palm tree in the garden. Child Link, day. You need: Sword. Walk along the flower beds beyond the hedges to the lawn at the foot of the castle wall. A palm tree stands at its edge with a Gold Skulltula on the trunk. Circle to the side it faces, strike it and step up to the token.

Gold Skulltula #43
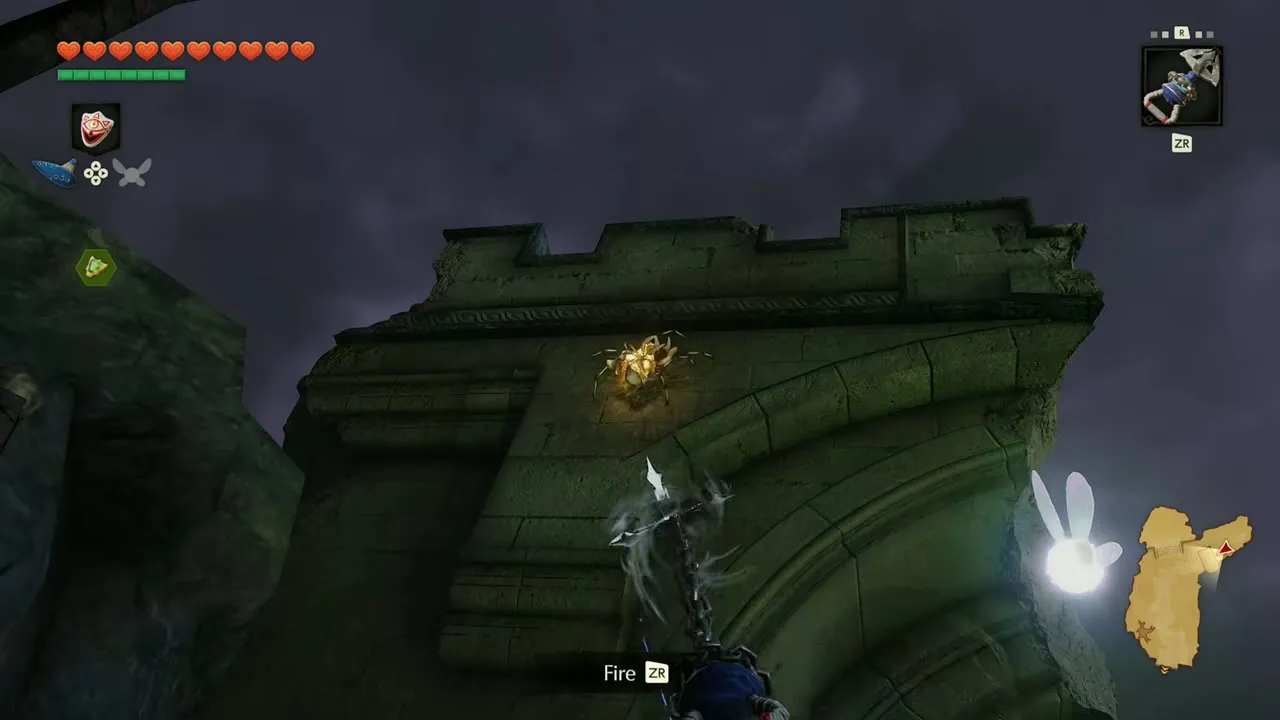
Hyrule Castle Town, ruined wall on the road to Ganondorf’s Castle. Adult Link, night. You need: Hookshot. Walk north through the broken streets toward Ganondorf’s Castle. Past the archway, look up at the crumbling stonework above you for a gold glint. Aim the Hookshot at it and fire.
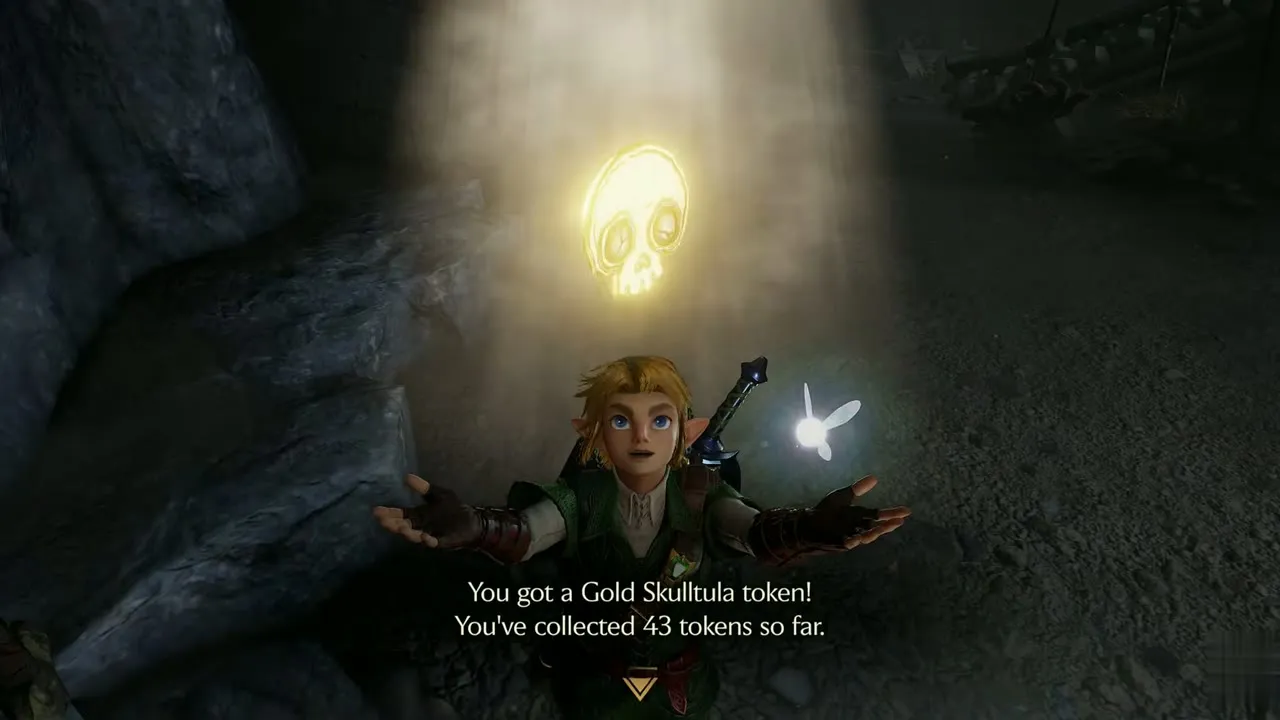
Gold Skulltula #75
Hyrule Castle, cave below the castle grounds. Child Link, any time of day. You need: Song of Storms, Bombs, Boomerang. Stand by the fence in the castle grounds and play the Song of Storms. A plant sprouts and a hole opens beside it. Drop in, bomb the cracked rock wall at the cave and walk through. A Gold Skulltula hangs in its web at the end; throw the Boomerang at it when the Throw prompt shows.


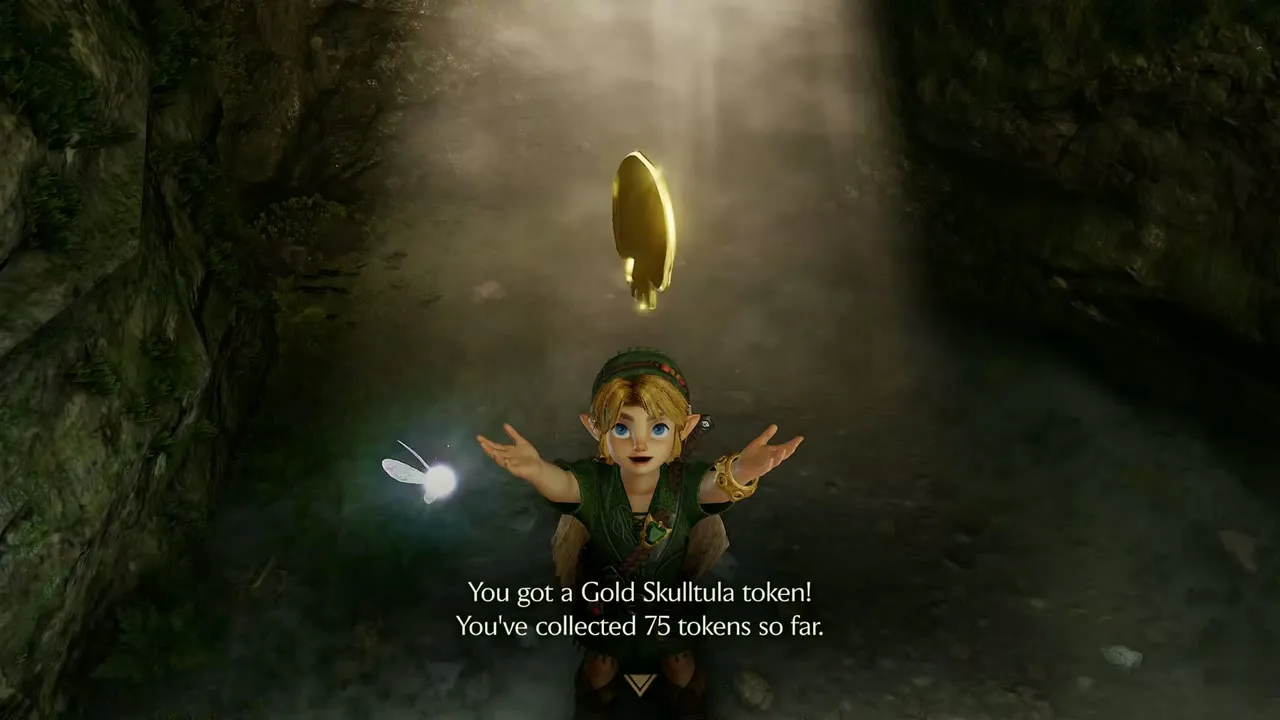
Kakariko Village and Graveyard
Kakariko is the busiest stop: five tokens as a child, one more on a night of the Sun’s Song, a soft-soil token by the Graveyard wall and a rooftop token as an adult. The House of Skulltula is here too. See Kakariko Village, Last Child Errands and Final Collectibles.
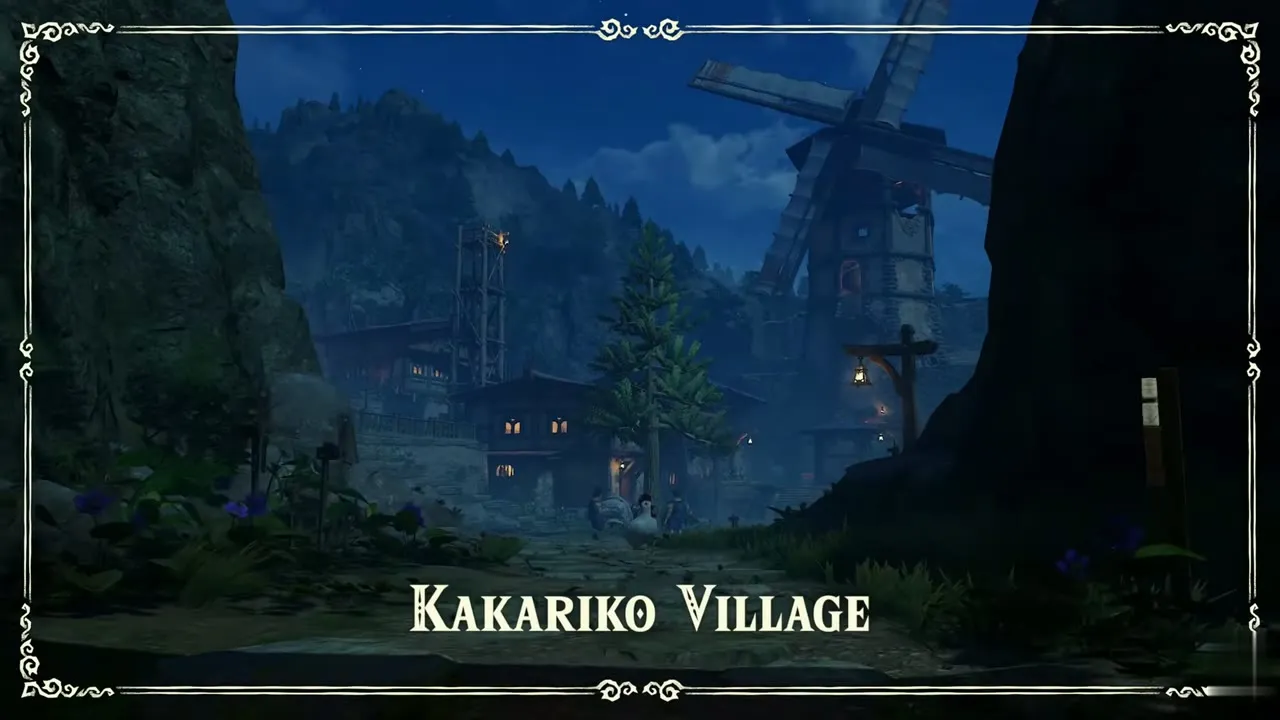

Gold Skulltula #7
Kakariko Village, house under construction. Child Link, night. You need: Fairy Slingshot. Climb onto the wooden walkways around the unfinished brick house near the lamp. Look at the brick wall until a Gold Skulltula shows up, then shoot it with a Deku Seed.


Gold Skulltula #8
Kakariko Village, wall by the blue door. Child Link, night. You need: Sword. Go up the short flight of steps to the stone house with the blue door, the House of Skulltula. A golden glow flickers on the wall to the left of the door. Strike the Gold Skulltula and take the token.


Gold Skulltula #9
Kakariko Village, tree in the village square. Child Link, night. You need: Sword. Go to the cobbled square where the Master Craftsman’s Son sits muttering. Hit the trunk of the tall tree at its edge with your sword, and a Skulltula falls out. Pick up the token.


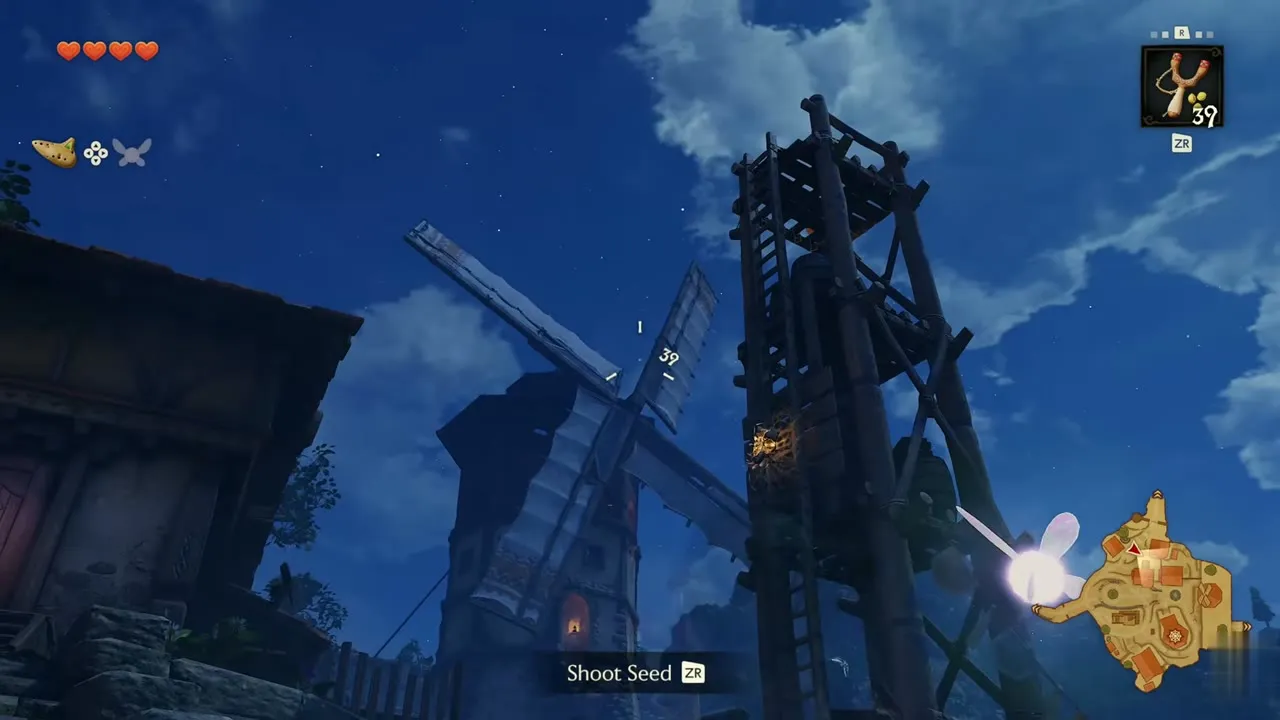
Gold Skulltula #10
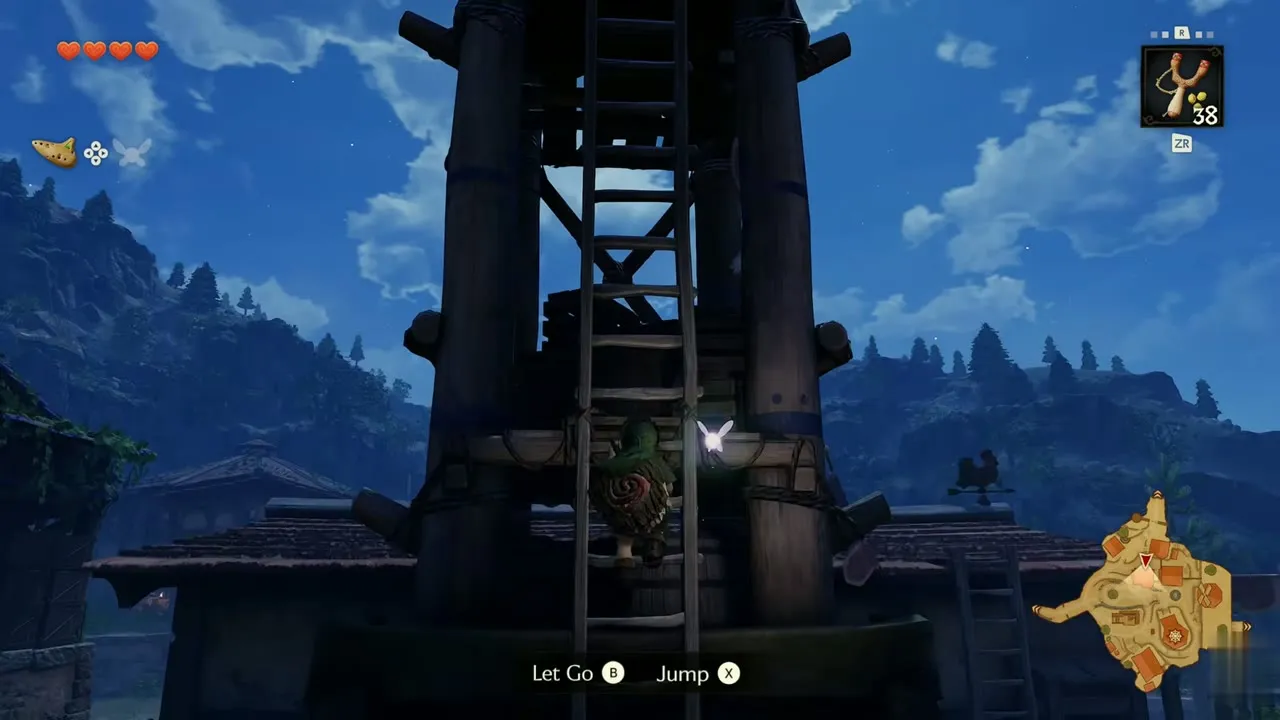
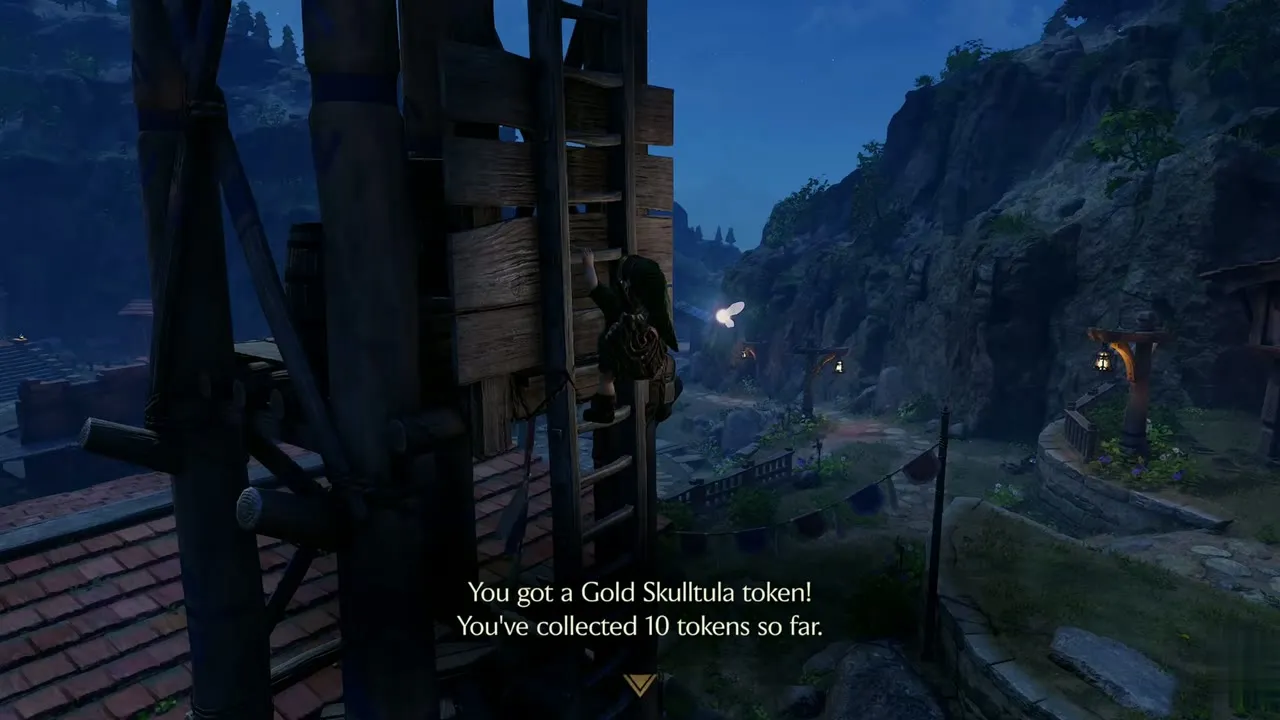
Kakariko Village, windmill ladder. Child Link, night. You need: Fairy Slingshot. A Gold Skulltula sits at the top of the windmill ladder, out of reach. Shoot it with the Slingshot, then climb up and take the token.
Gold Skulltula #11
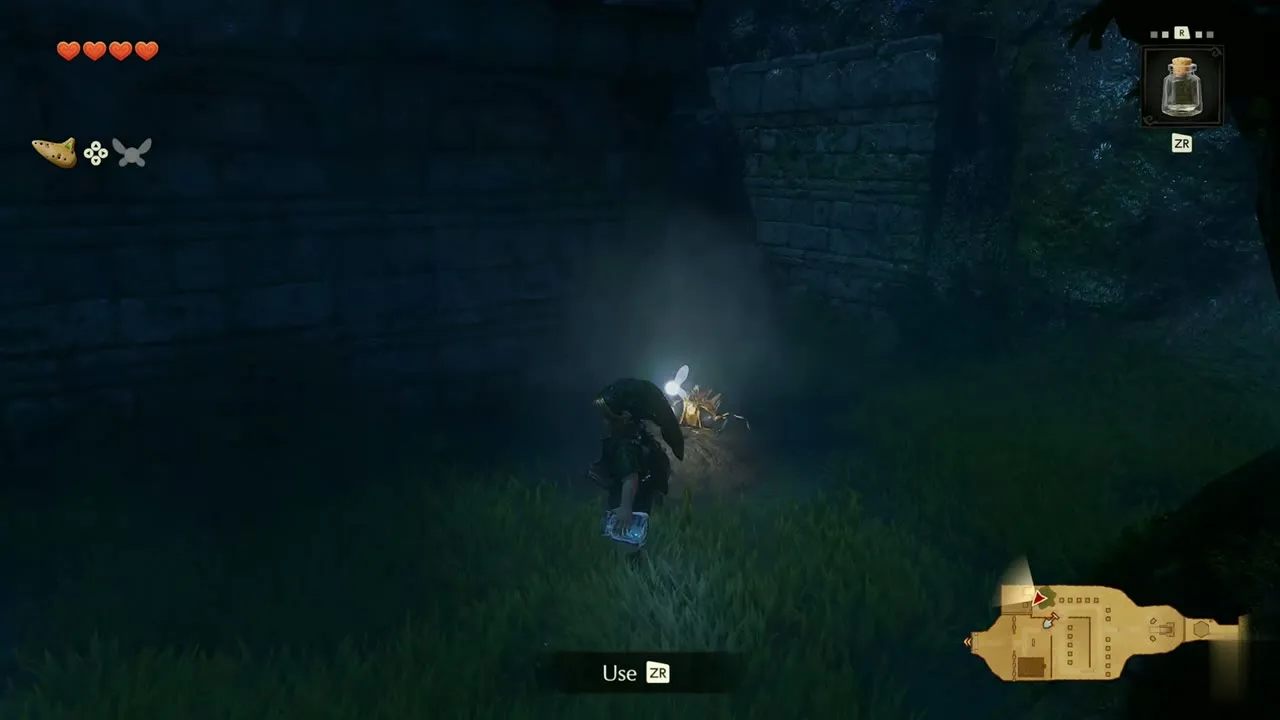
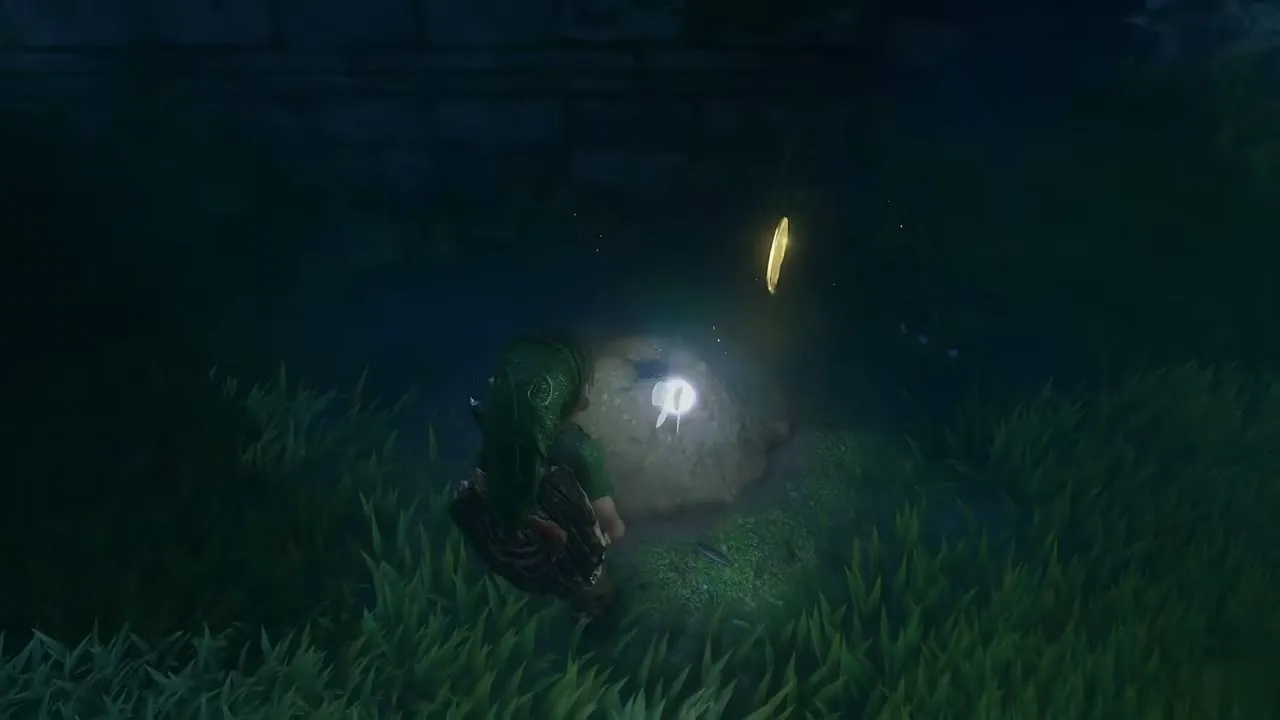
Graveyard, soft soil by the wall. Child Link, any time of day. You need: Empty Bottle, bug. Walk the path through the Graveyard toward the exit with an empty bottle. Catch a bug crawling in the long grass, then stand on the patch of soft soil by the stone wall and let it out. A Gold Skulltula pops out and drops its token.

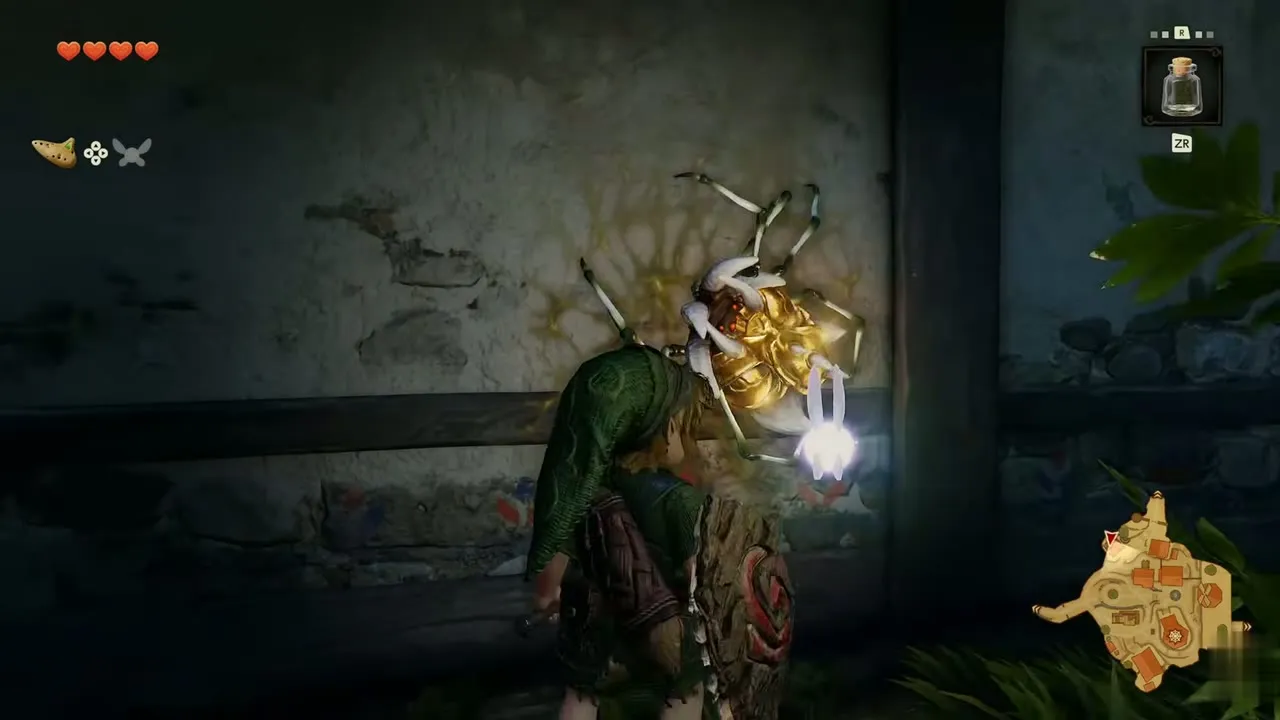
Gold Skulltula #12
Kakariko Village, plaster wall under the eaves. Child Link, night. You need: Sword. After night falls, walk down through the village past the lit houses. Under the eaves of one house a Gold Skulltula clings to the plaster wall. Strike it and take the token. It is easy to miss in passing.
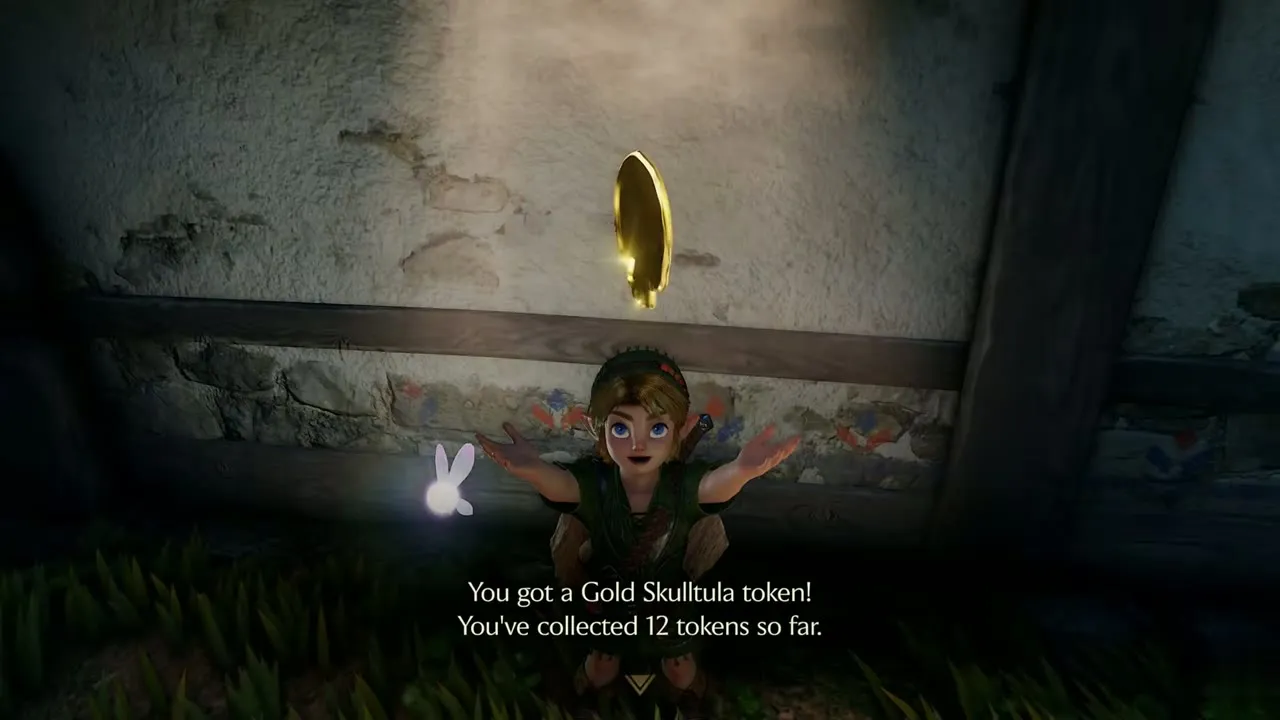
Gold Skulltula #41
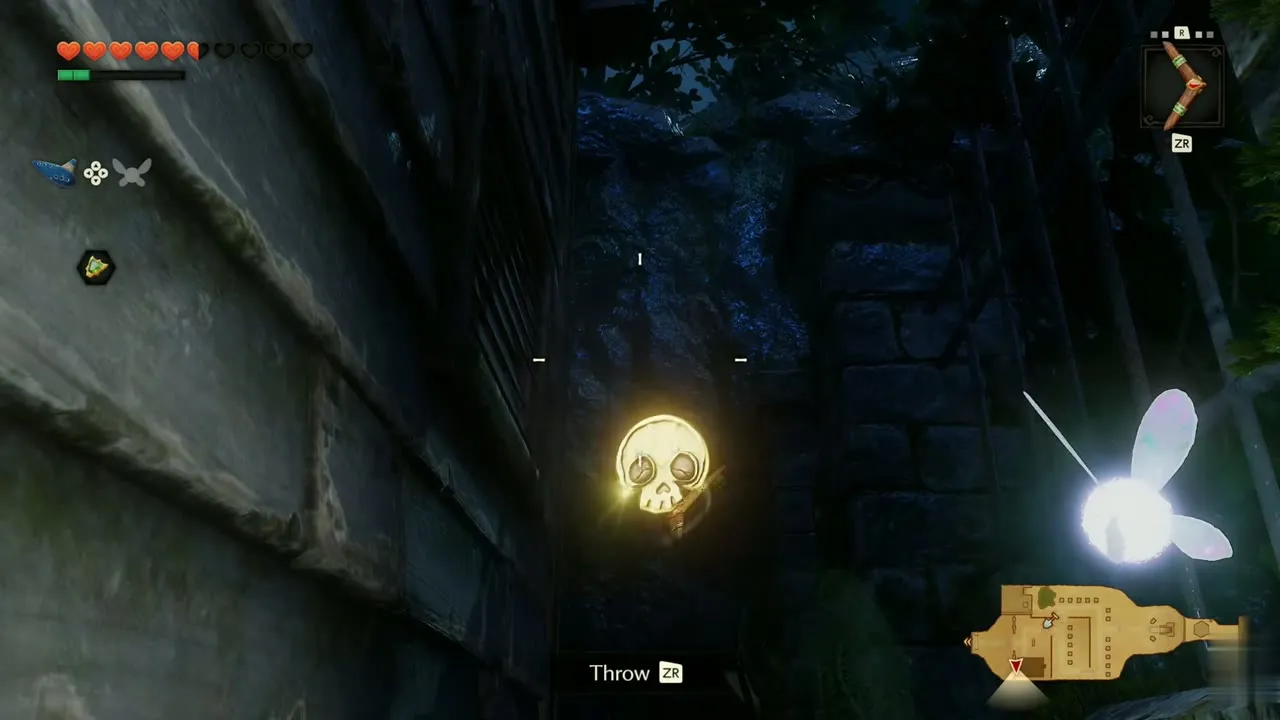
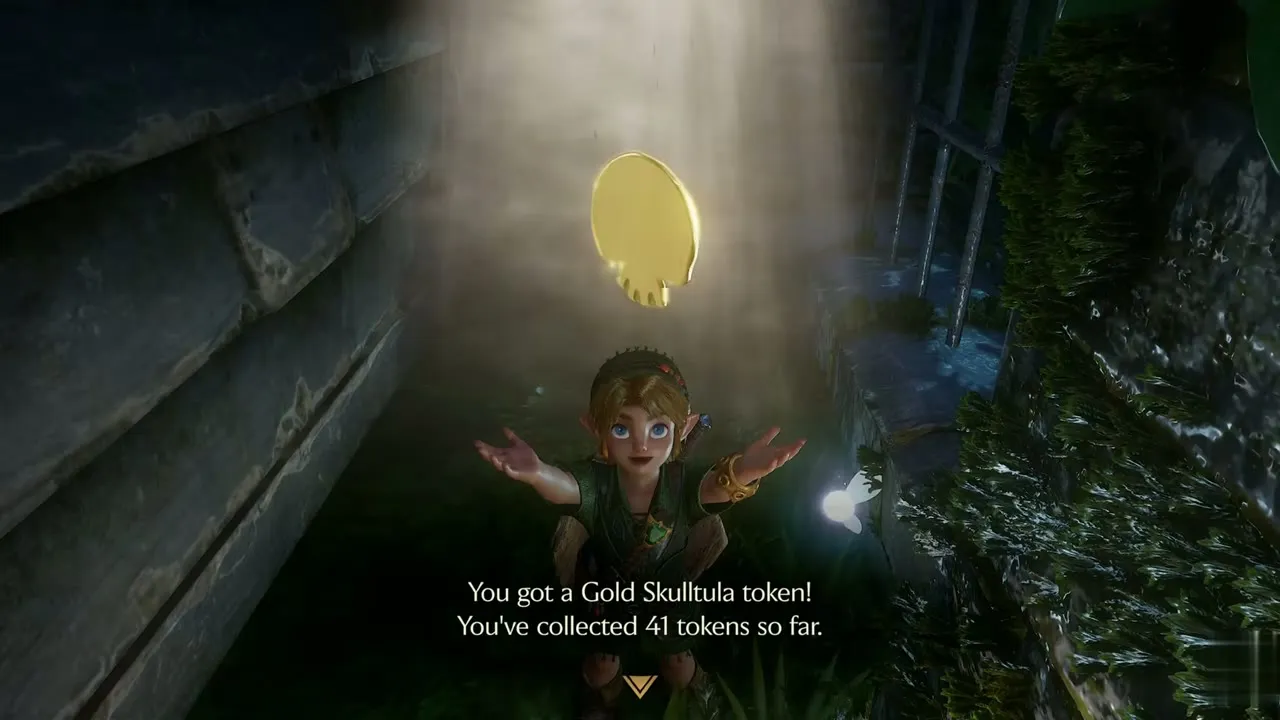
Kakariko Village, wall beside the passage by the well. Child Link, night. You need: Sun’s Song, Boomerang. Climb the stone steps past the village well to the passage with the wooden door and play the Sun’s Song so night falls. Look up at the stone wall beside the passage until the lock-on settles on a glint, then throw the Boomerang.
Gold Skulltula #96
Graveyard, crypt beneath the second tomb. Adult Link, night. You need: Bombs, Longshot. Visit the Graveyard after dark, carry a bomb to the doorway filled with cracked rock and blow it open. Follow the underground halls, ride the flower platform back up and pull aside the slab of the tomb with the Grab prompt. In the hall below, take the Heart Piece from the chest, then aim the Longshot at the Gold Skulltula on the wall beside the blue-tiled floor when the Fire prompt shows.


Lon Lon Ranch and Hyrule Field
Lon Lon Ranch hides three tokens, and Hyrule Field has a lone tree, a webbed cave and a late grotto. Most of them come with the Boomerang at night. See Lon Lon Ranch, Last Child Errands and Final Collectibles.

Gold Skulltula #13
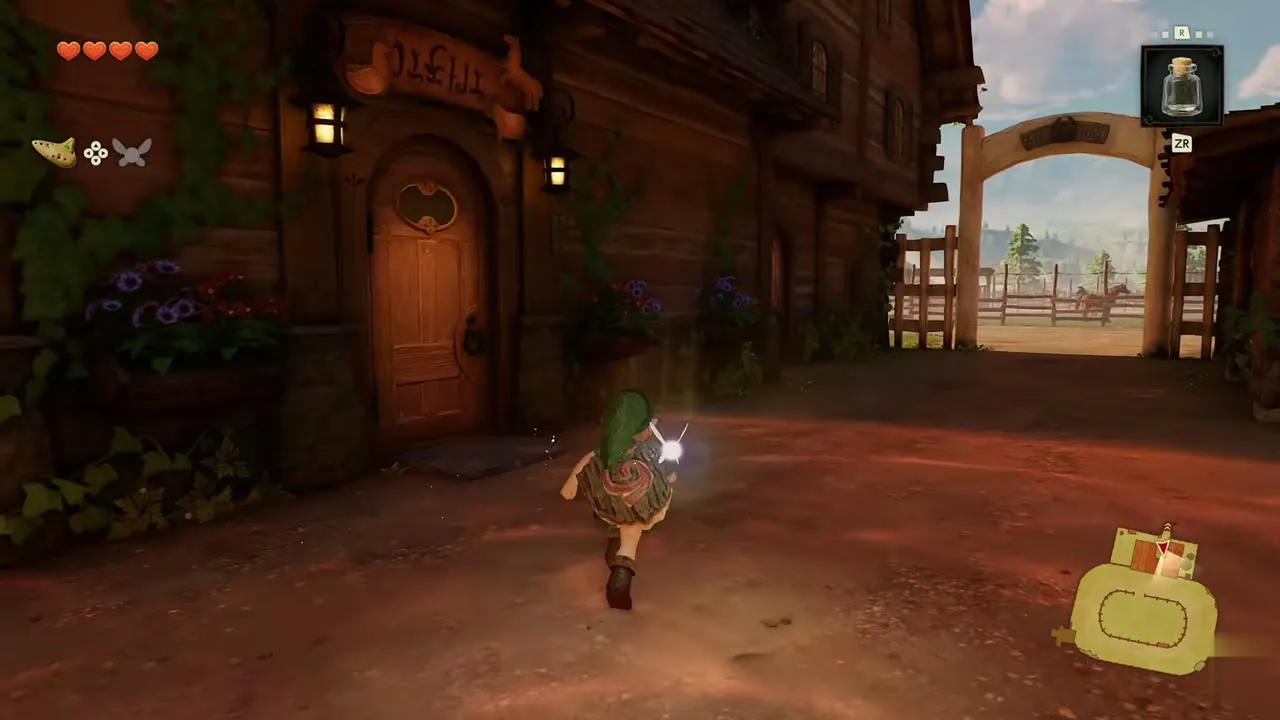
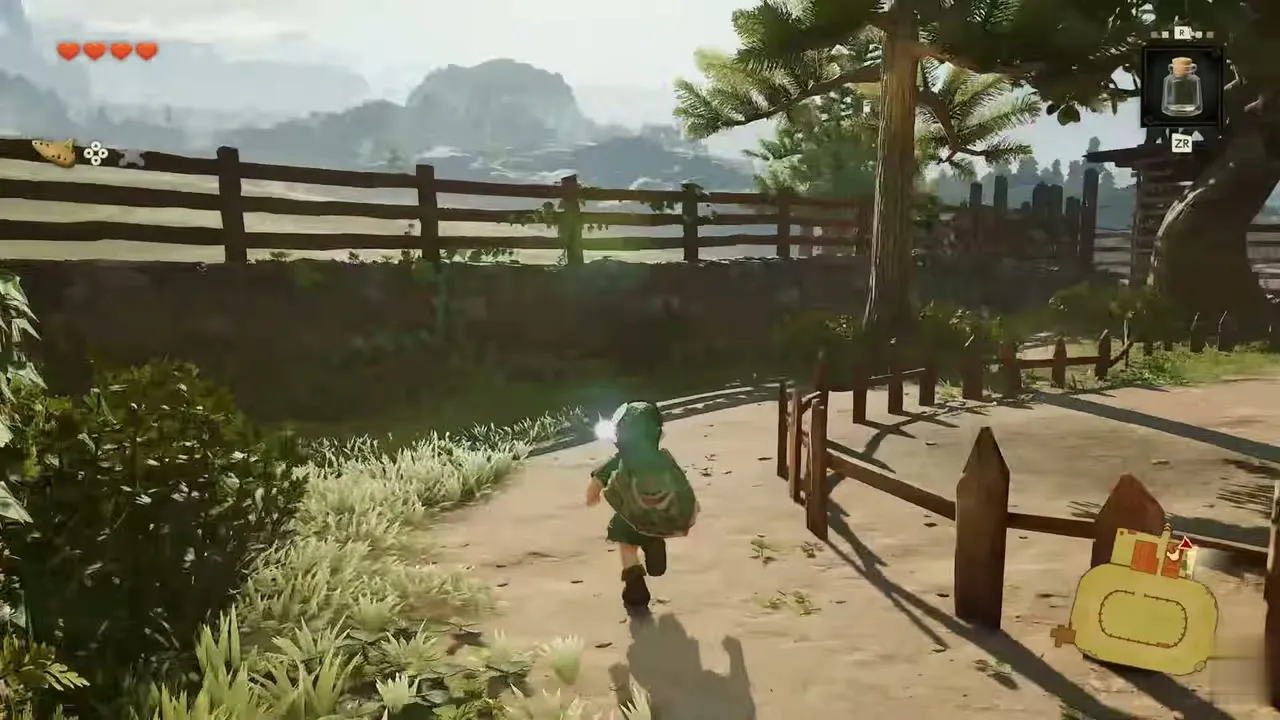
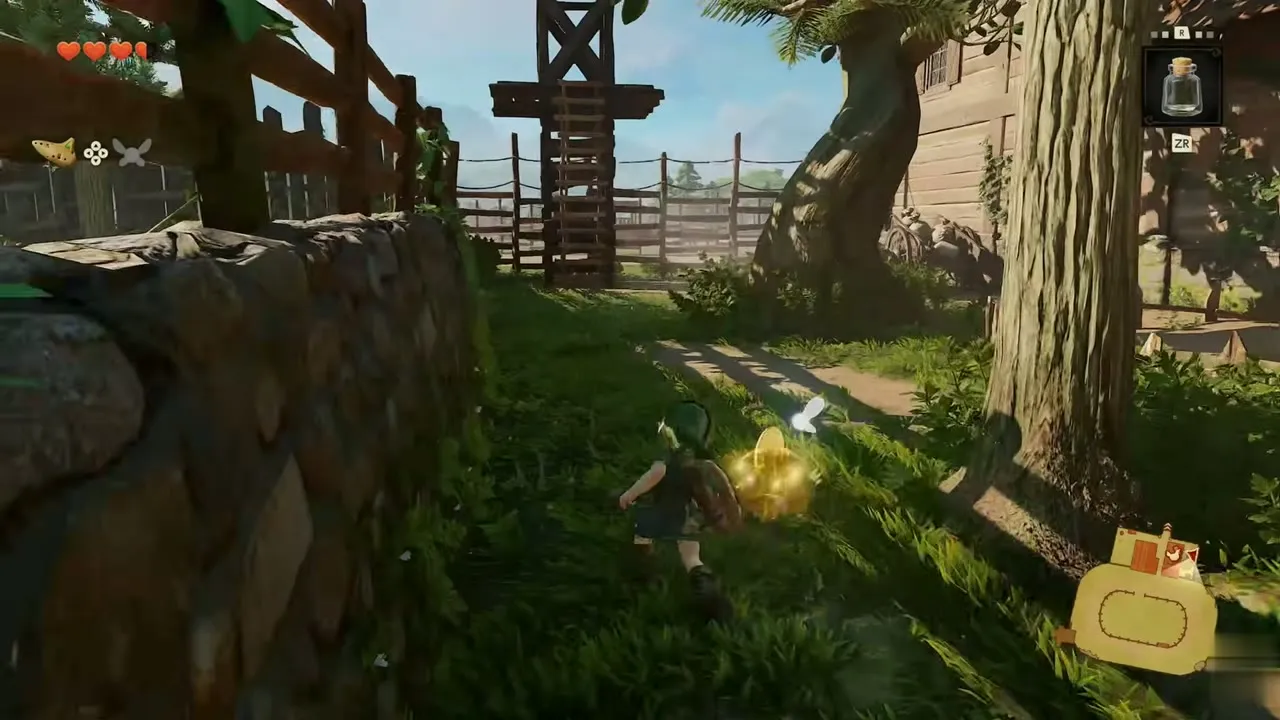
Lon Lon Ranch, fenced path beside the yard. Child Link, day. You need: None. Follow the fenced dirt path away from the yard. A Gold Skulltula token turns up along the way in broad daylight, so pick it up before heading on to the paddock.

Gold Skulltula #37
Lon Lon Ranch, wall above the entrance arch. Child Link, night. You need: Sun’s Song, Boomerang. Run across Hyrule Field in the dark to the entrance of Lon Lon Ranch. In the yard before the ranch house, look at the wooden wall above the entrance arch. A Skulltula sits near the window. Knock it down with the Boomerang and take the token.


Gold Skulltula #38
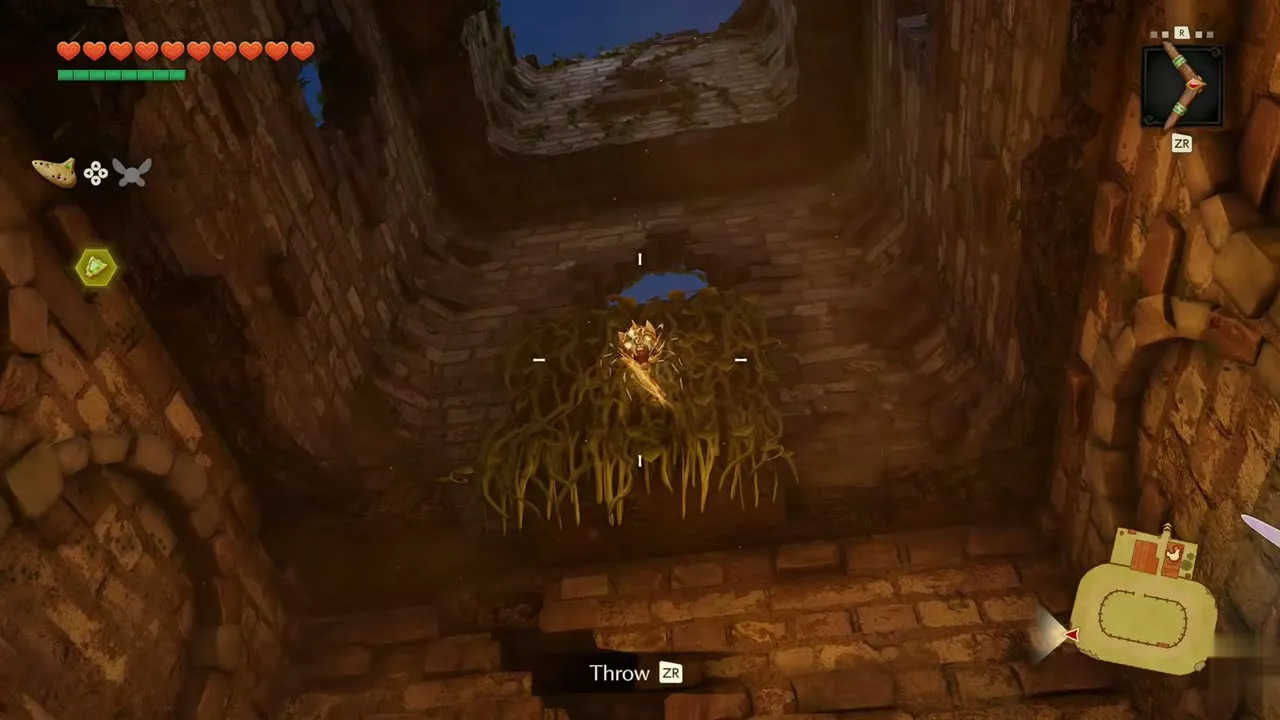
Lon Lon Ranch, stone tower. Child Link, night. You need: Sun’s Song, Boomerang. Cross the ranch fields to the stone tower and walk in through its door. Inside, play the Sun’s Song so night falls, then look up toward the roof opening and lock on to the Skulltula in the vines, then throw the Boomerang. The token lands among the stacked crates in the storeroom.

Gold Skulltula #42
Hyrule Field, lone tree where the river ends. Child Link, any time of day. You need: None. From the Kokiri Forest entrance, head directly west to the lone skinny tree by the end of the river. Dash and roll into the trunk to knock the Gold Skulltula loose, then defeat it and take the token.
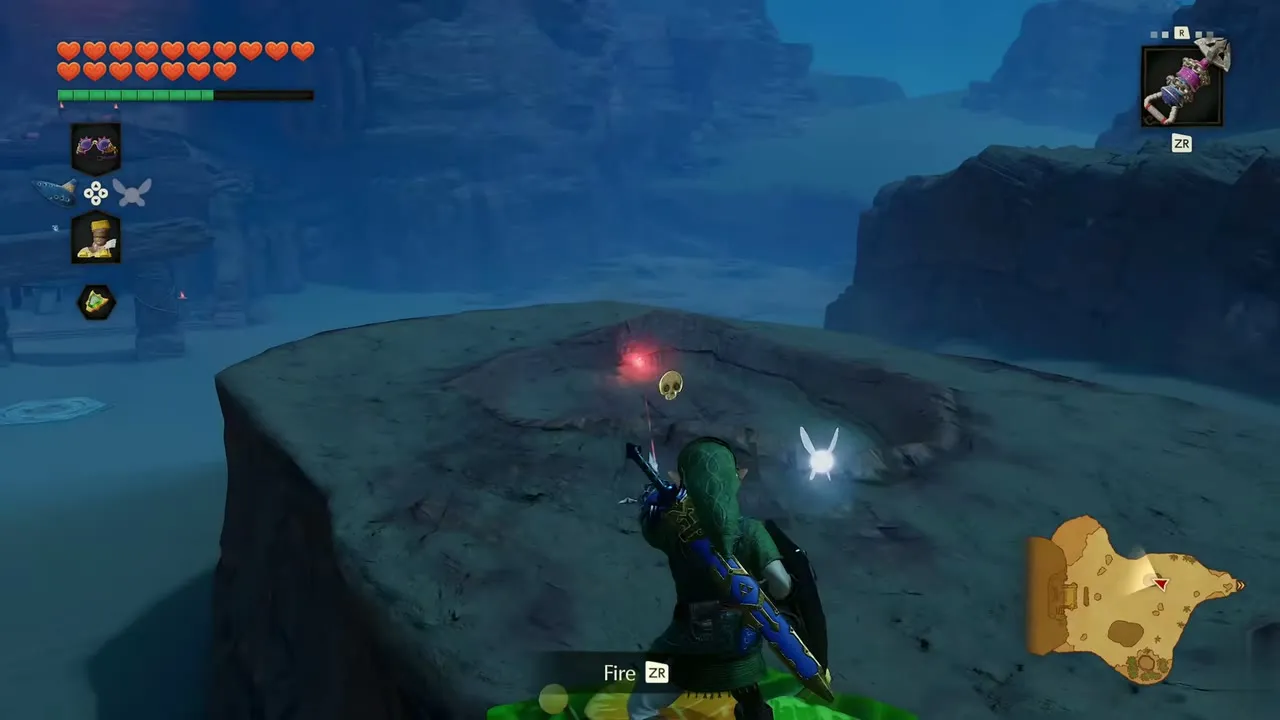
Gold Skulltula #39
Hyrule Field, webbed cave along the cliffs. Child Link, night. You need: Boomerang, Sword. Walk the dark path along the cliffs to a cave mouth thick with webs. A large Skulltula hangs inside, so finish it with the sword and a spin attack. Lock on to the glint on the web wall beside it and throw the Boomerang.


Gold Skulltula #99
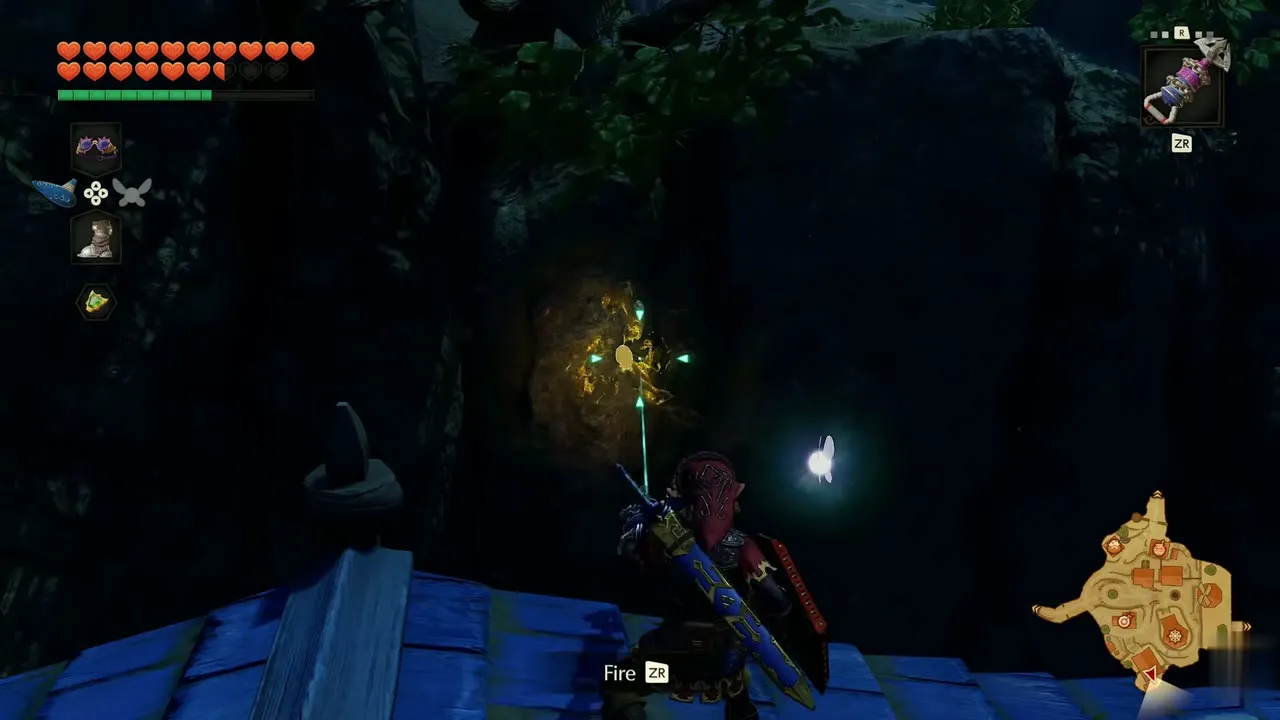
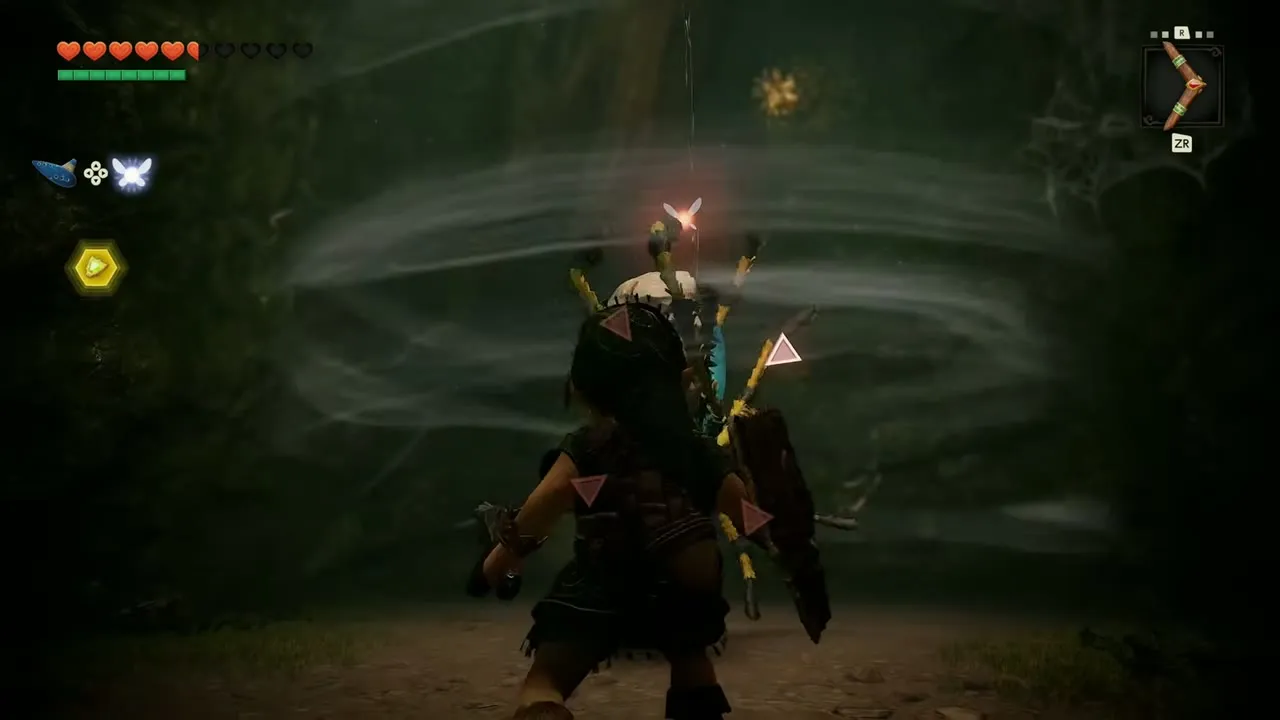
Hyrule Field, grotto beside the water. Adult Link, night. You need: Epona, Sword. Ride Epona across Hyrule Field at night until a round hole appears in the grass beside the water. Dismount and step into it, and a yellow flower platform carries you into a dim, mossy grotto. Climb the wooden crate by the wall and slash the Gold Skulltula that drops down.


Lake Hylia
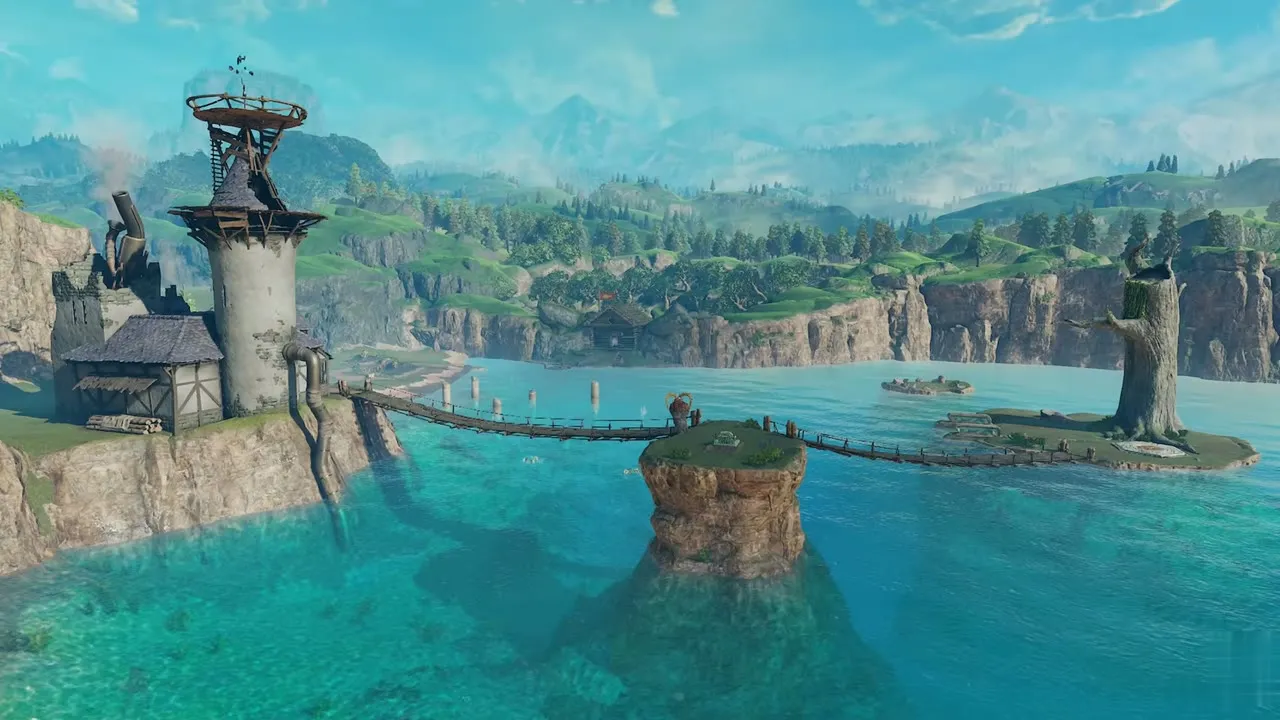
Lake Hylia gives one soft-soil token as a child, a night token on the pier, a token in the hollow of the big tree as an adult, one in the Lakeside Laboratory and a grotto on the far shore. See Lake Hylia, Water Temple and Final Collectibles.

Gold Skulltula #14
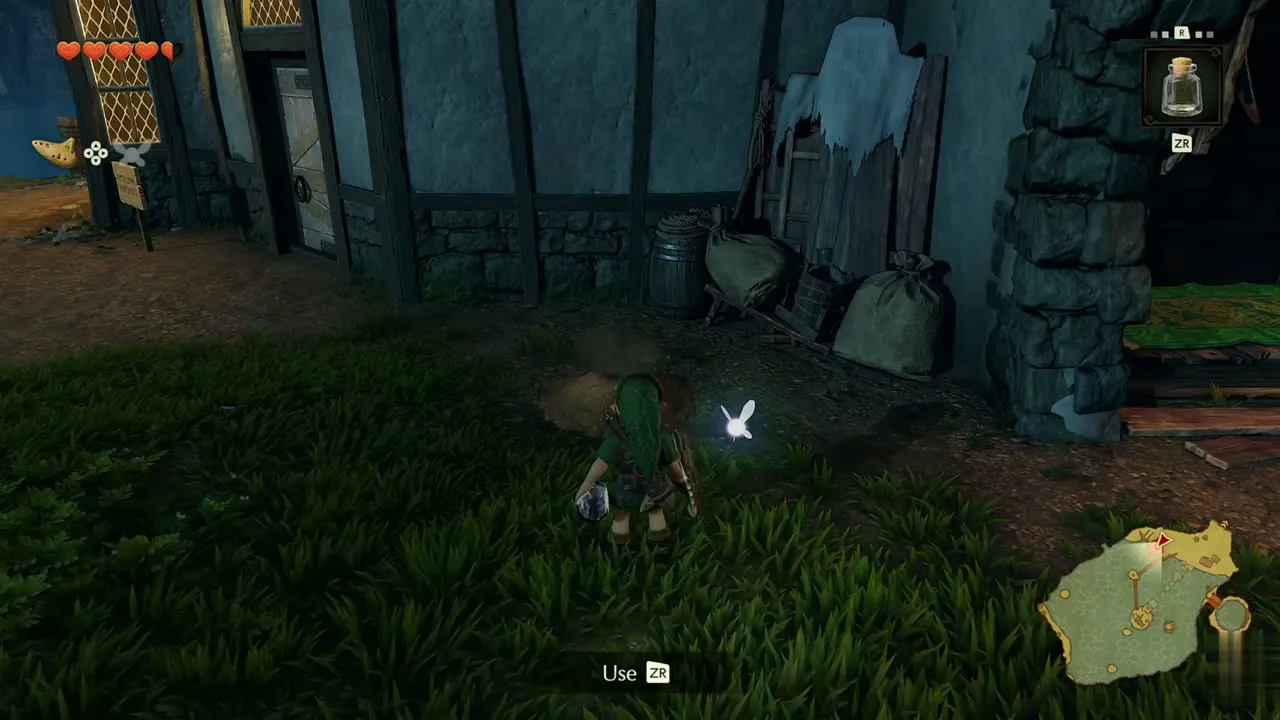
Lake Hylia, soft soil by the barrels. Child Link, any time of day. You need: Bug in a bottle. Go back to the houses and find the barrels and sacks stacked against the wall of the house on the lake side. Stand on the loose soil in front of them and release a bug from your bottle. A Gold Skulltula token drops.

Gold Skulltula #36
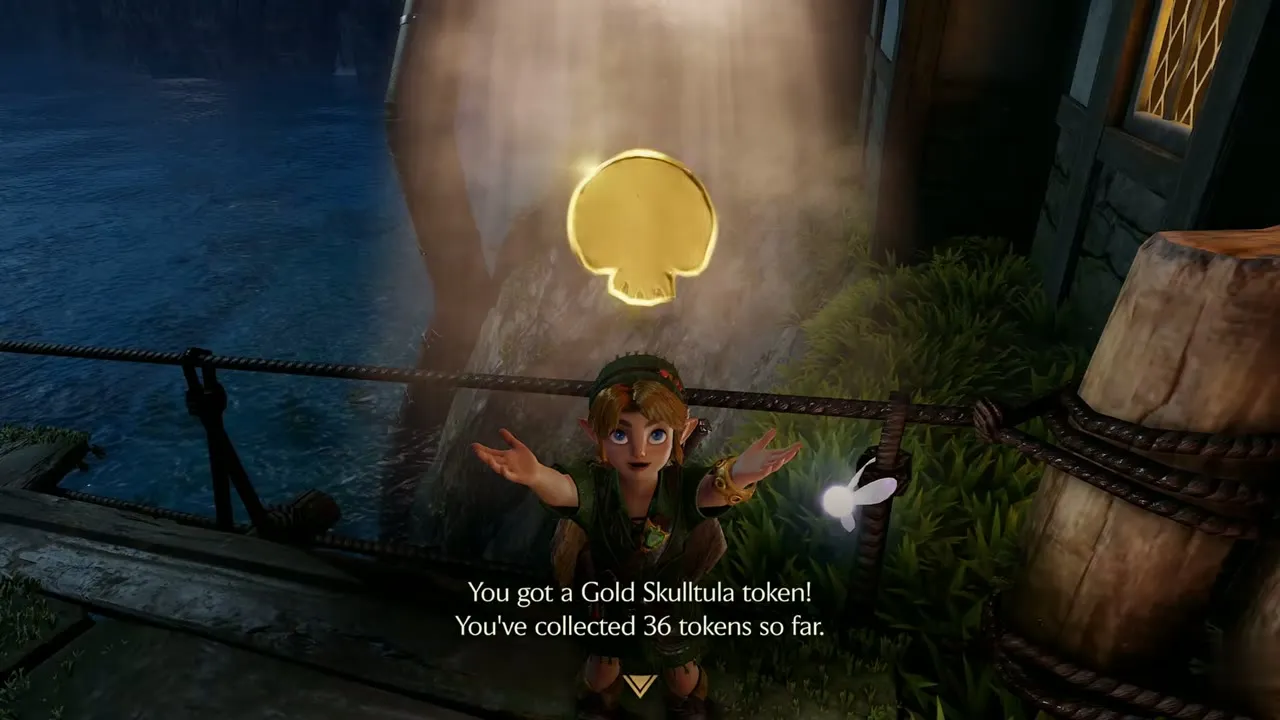
Lake Hylia, pillar by the lit building. Child Link, night. You need: Boomerang. Climb out beside the lit lakeside building. A Skulltula clings to the tall pillar by its wall. Lock on and throw the Boomerang, and the token falls onto the wooden pier.

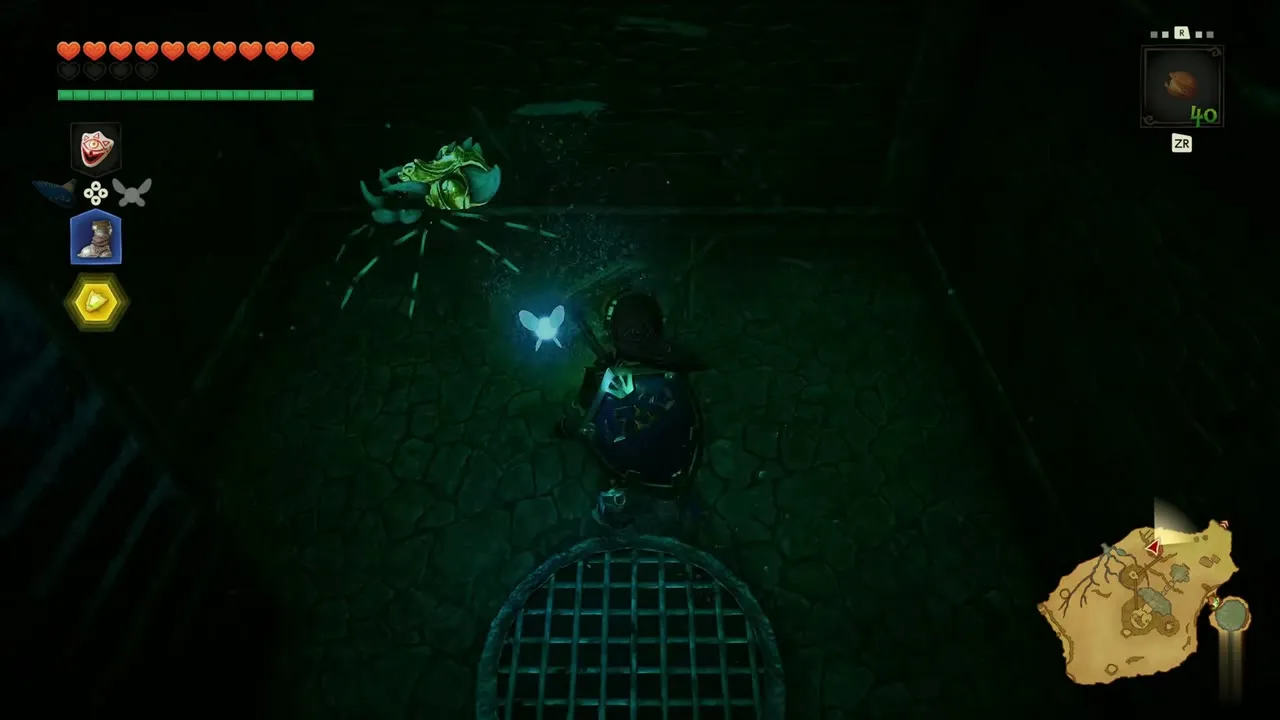
Gold Skulltula #68
Lakeside Laboratory, beneath the laboratory floor. Adult Link, any time of day. You need: Hookshot, Iron Boots. Go through the laboratory door and down into the flooded cellar, then put on the Iron Boots so you sink to the bottom. A Gold Skulltula hangs overhead. Take the Hookshot out and fire at the Gold Skulltula when the Fire prompt appears. The token drops in a golden shimmer. Swim and Dash back up to the laboratory floor when you are done.

Gold Skulltula #74
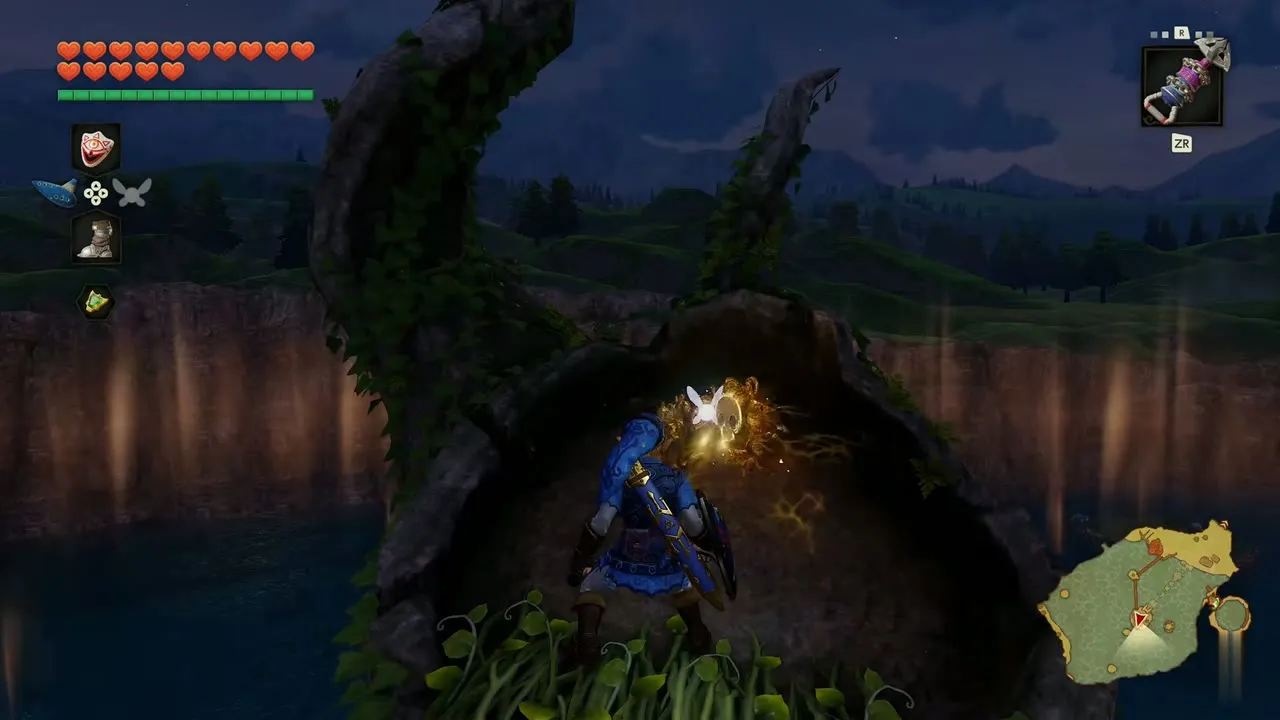
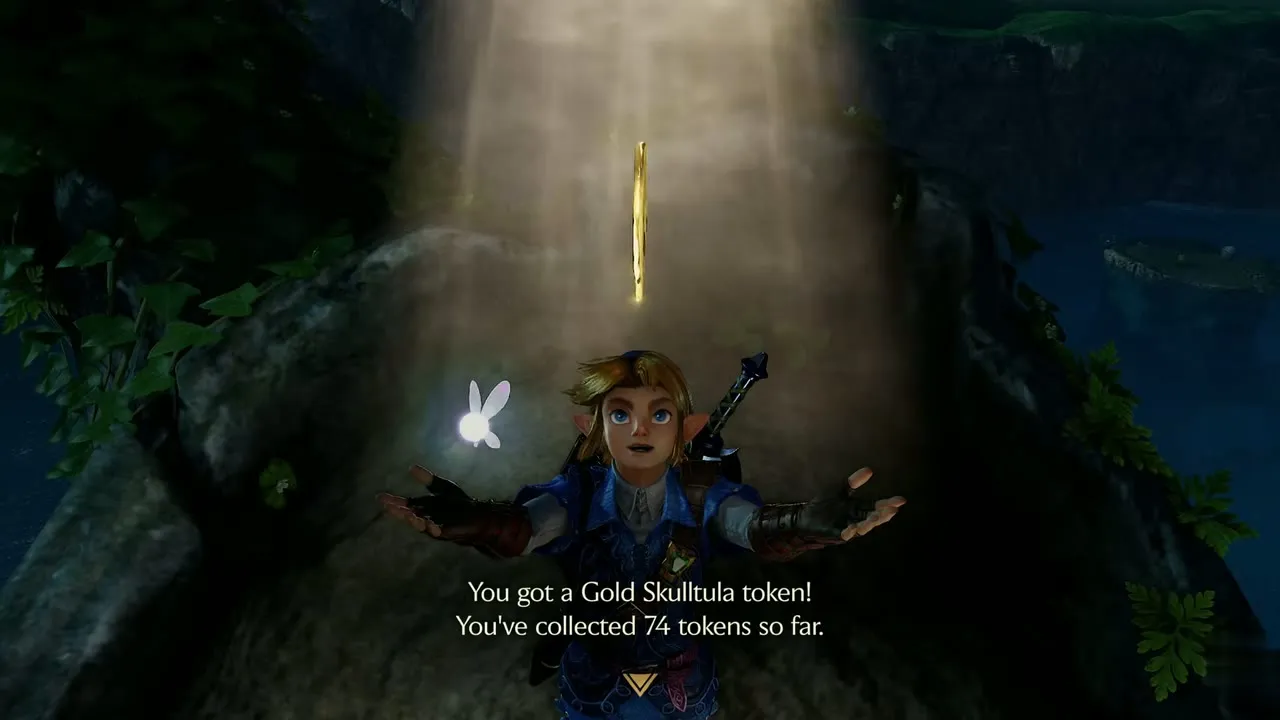
Lake Hylia, hollow of the big tree. Adult Link, night. You need: Sun’s Song. Climb the vines up the big tree growing out of the cliff above Lake Hylia and play the Sun’s Song so night falls. Check the hollow in its trunk and a Gold Skulltula token drops.
Gold Skulltula #98
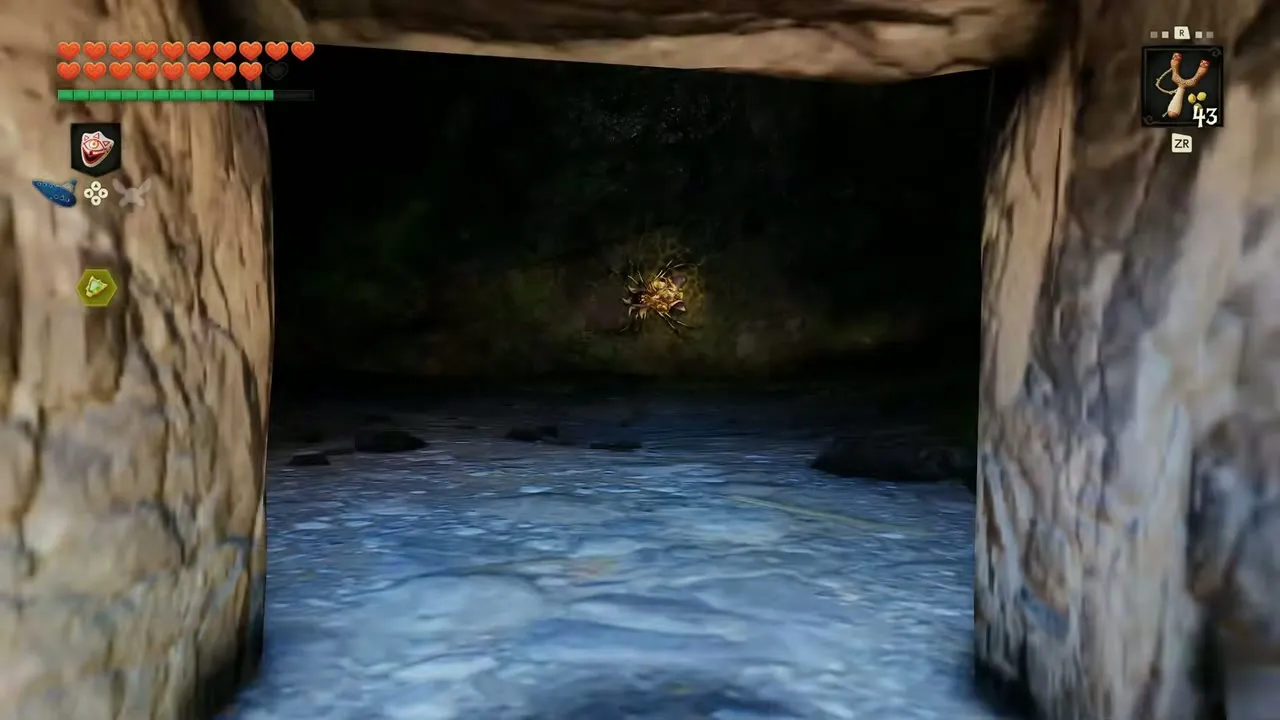
Lake Hylia, grotto on the far shore. Child Link, any time of day. You need: Sword. Step off the warp pad and swim to the far bank, climb out on the grassy shore and follow it to a low stone doorway in the cliff. In the dark grotto beyond, strike the token on the mossy wall.
Gerudo Valley, Gerudo Fortress and the Desert
The desert side of the map is full of Hookshot and Longshot tokens, with one soft-soil token in Gerudo Valley and another at the Desert Colossus. Chapters: Gerudo Valley, Last Child Errands, Biggoron Sword Route, Gerudo Fortress and Mirage Desert and Desert Colossus.

Gold Skulltula #15
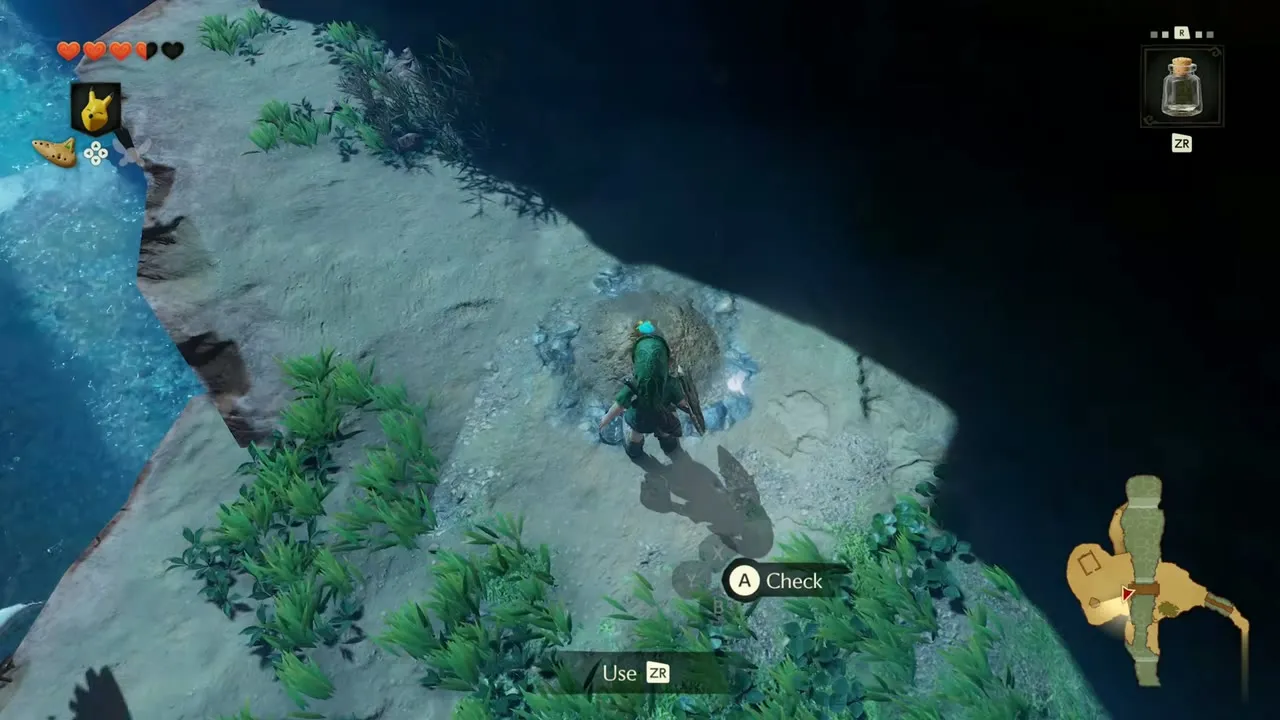
Gerudo Valley, soft soil on the rock shelf. Child Link, any time of day. You need: bug in a bottle. Come back down the cliff to the pool below the waterfall, jump in and hold the Dive button to swim down into a dark cavity. A rocky shelf under the water has a patch of loose soil, and your hearts start to drain while you are down there, so work quickly. Stand on the soil and release a bug, and the token pops out.

Gold Skulltula #40
Gerudo Valley, wall by the river channel. Child Link, night. You need: Sun’s Song, Boomerang. Climb the wooden stairs beside the waterfall, cross the plank path to the water at its foot and play the Sun’s Song so night falls. Walk on to the dark stone wall by the river channel, target the glint above you and throw the Boomerang.


Gold Skulltula #67
Gerudo Valley, rock arch on the canyon path. Adult Link, night. You need: Hookshot. Ride into Gerudo Valley at night and dismount near the rocks beside the path. Equip the Hookshot, look up at the rock arch for the glowing token and fire when the prompt shows.


Gold Skulltula #84
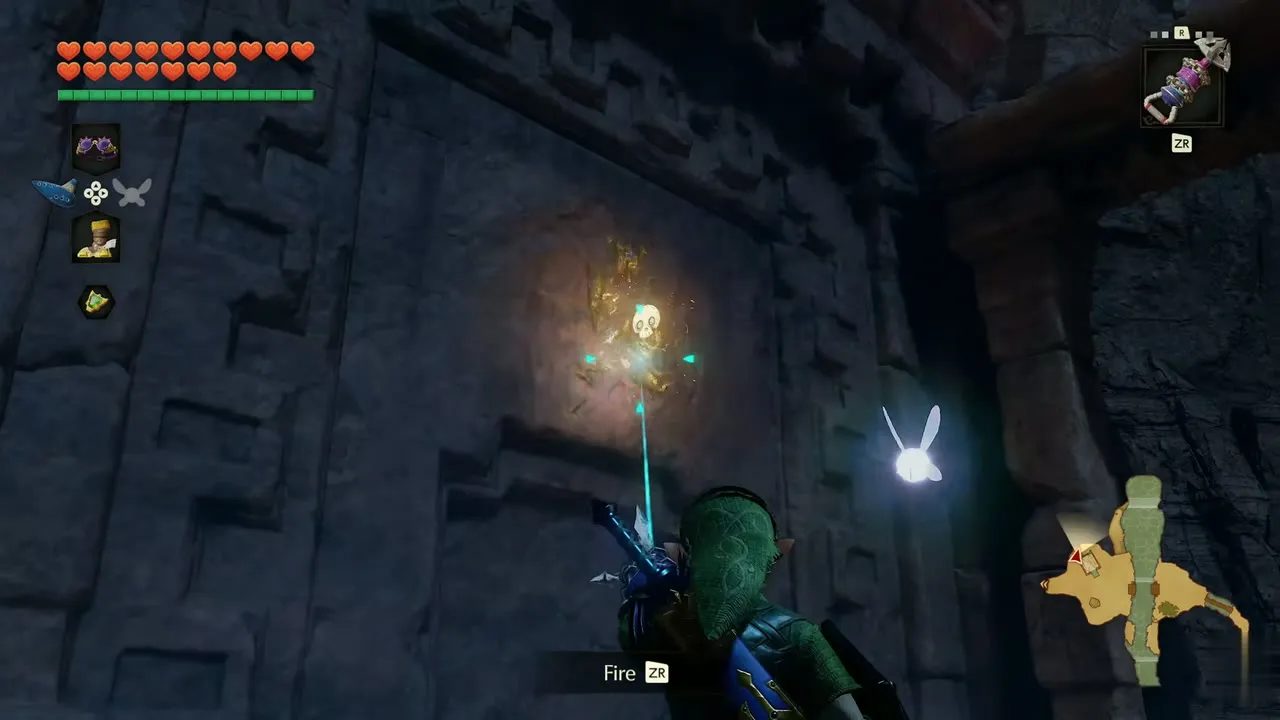
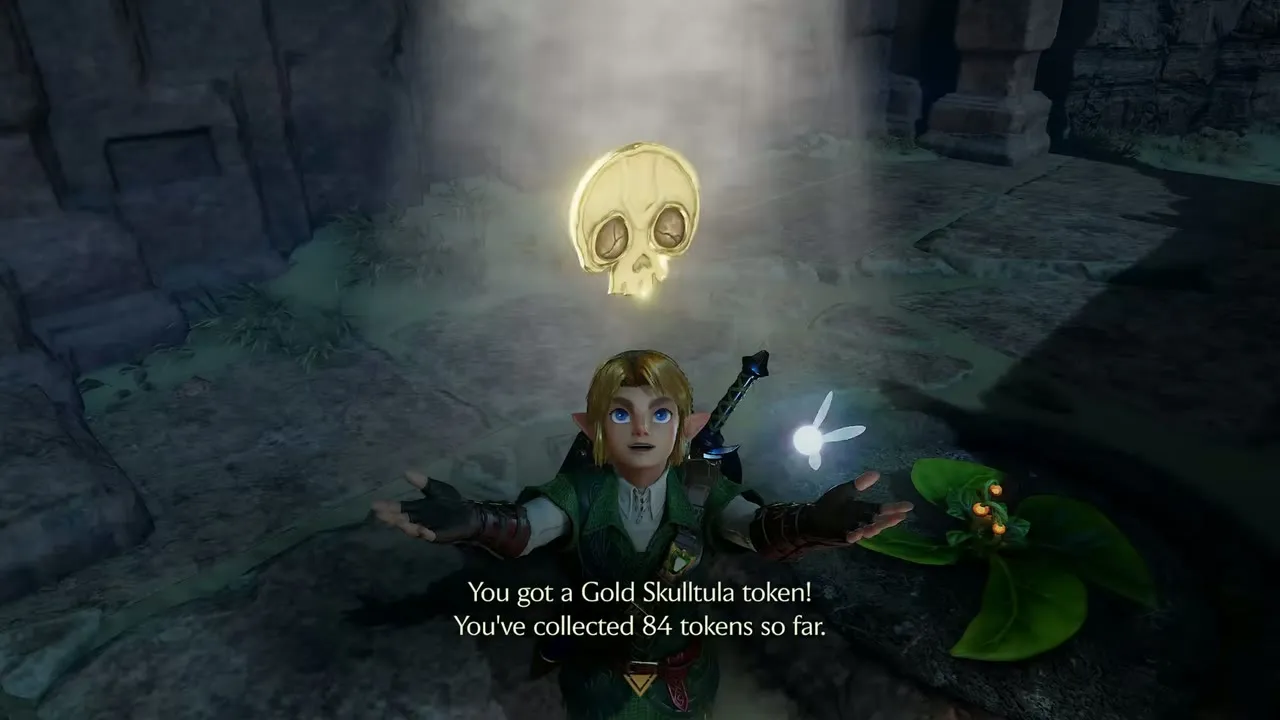
Gerudo Valley, wall of the ruin by the tents. Adult Link, night. You need: Longshot. Beside the camp, walk to the stone wall of the ruined building and switch to the Longshot. Aim up at the Gold Skulltula on the wall and fire.
Gold Skulltula #85
Gerudo Fortress, sloped wall over the courtyard. Adult Link, night. You need: Longshot. Use the ladder beside the stairs, cross the rooftops and climb the next ladder past the courtyard brazier. A Gold Skulltula sits on the sloped wall above the courtyard. Fire the Longshot at it and collect the token.


Gold Skulltula #86
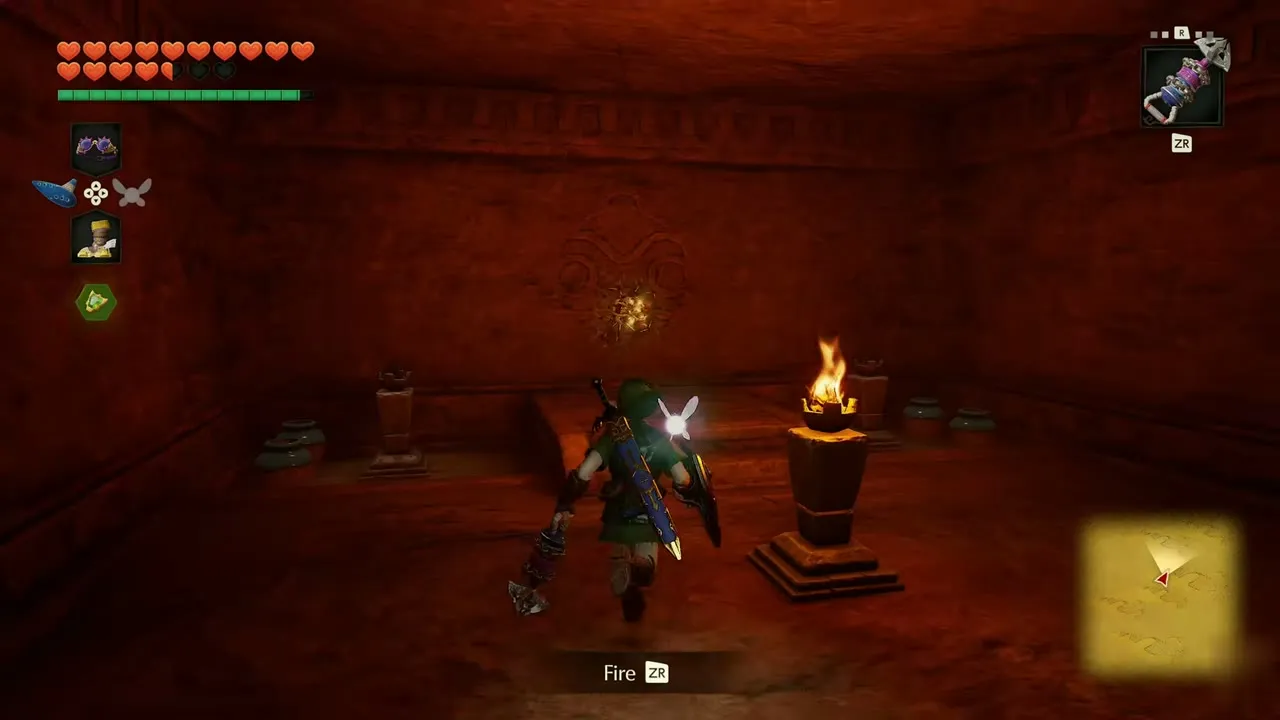
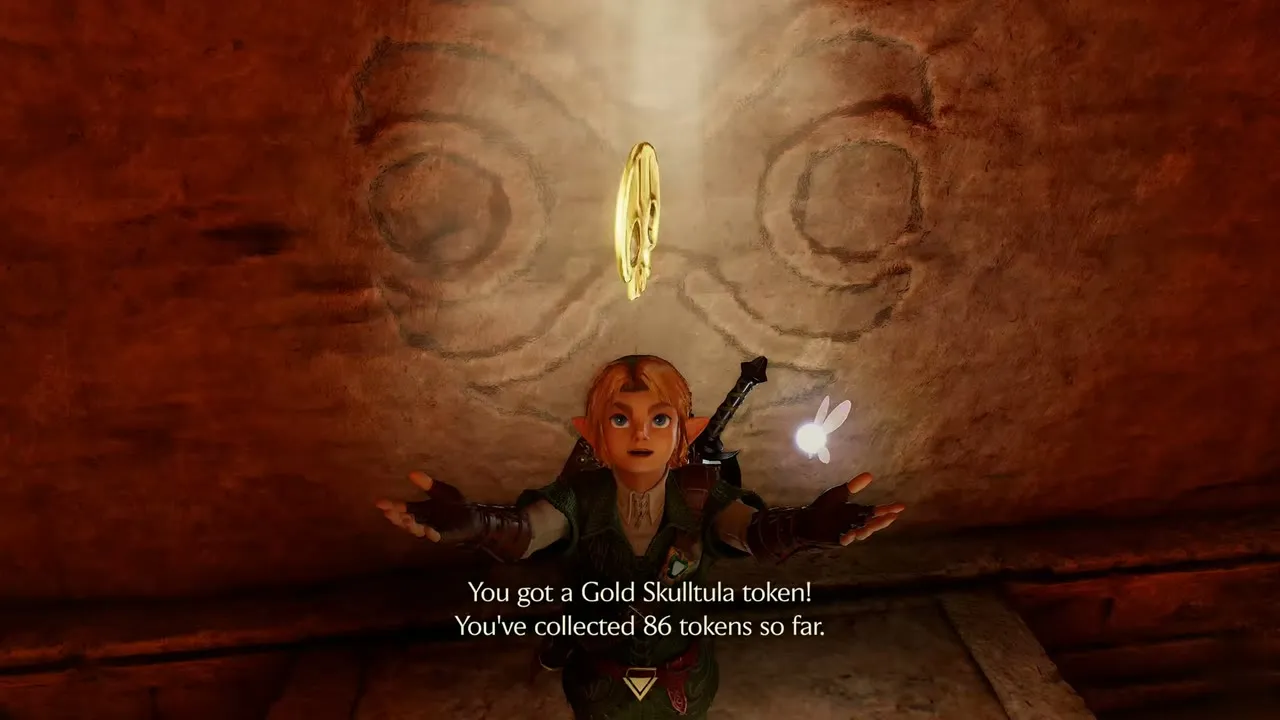
Mirage Desert, underground ruin. Adult Link, any time of day. You need: Longshot. Cross the ruin to the open pit and climb down the ladder into a red-lit stone room. Look high on the wall for the Gold Skulltula’s glow and lock the Longshot onto it.
Gold Skulltula #87
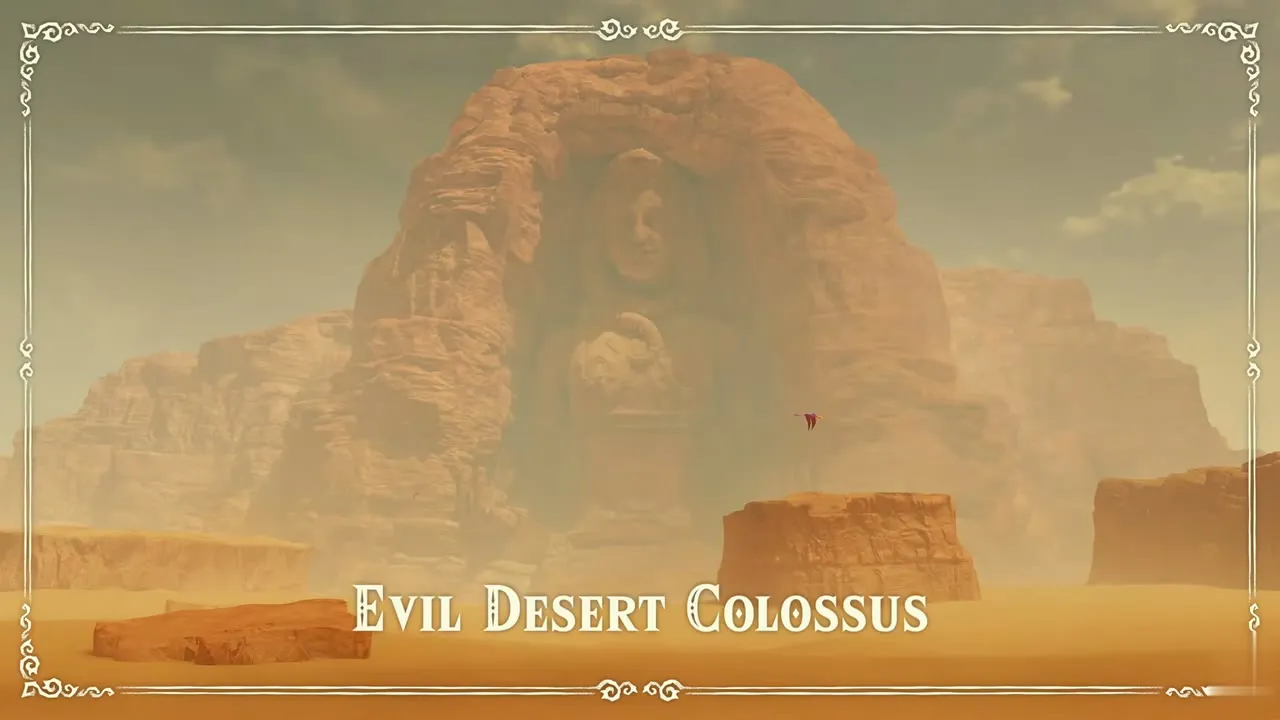
Evil Desert Colossus, cliff wall beyond the sanctum. Adult Link, night. You need: Longshot. Cross the wide sand beyond the sanctum toward the high rock wall. Once night falls, equip the Longshot, find the Gold Skulltula glowing on the cliff and fire at it.


Gold Skulltula #88
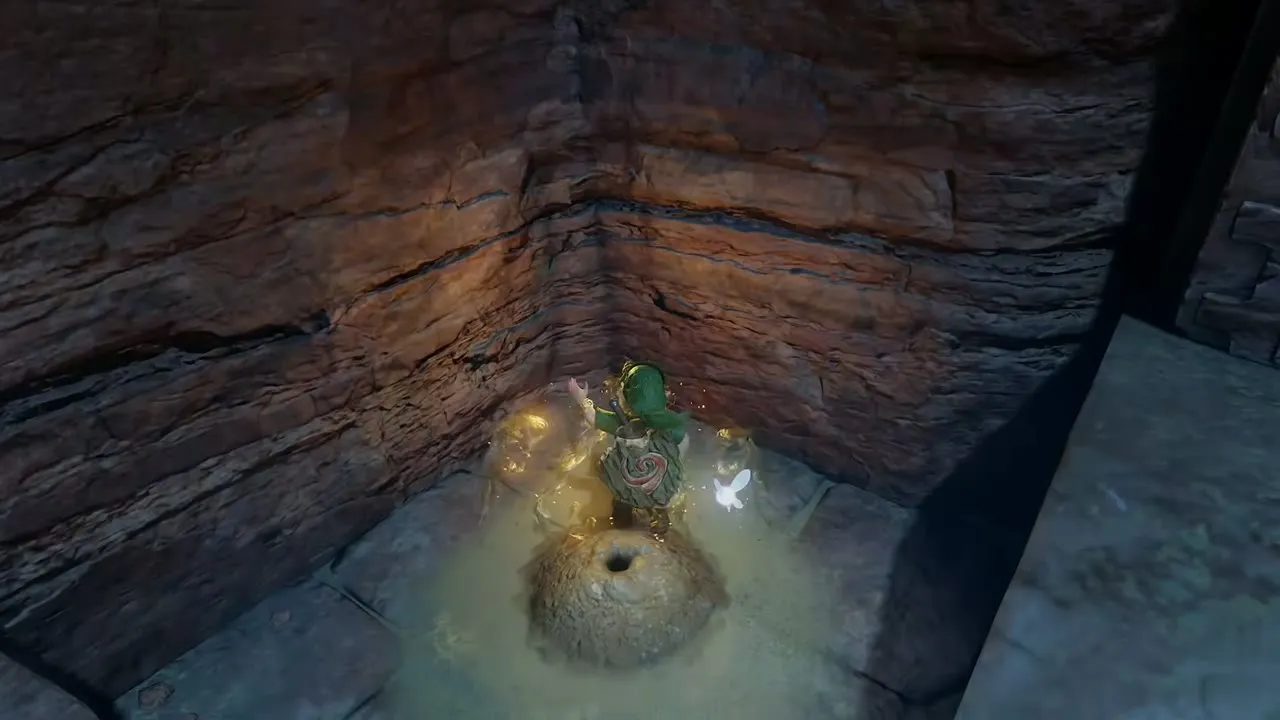
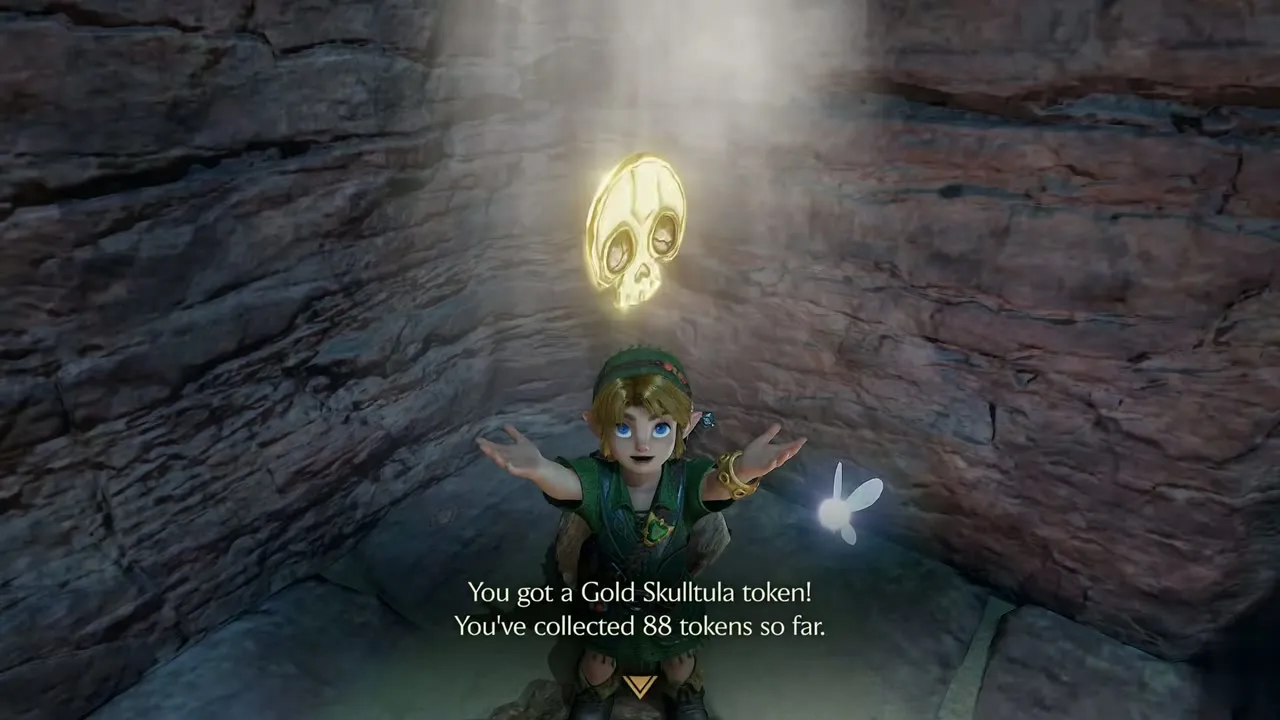
Evil Desert Colossus, soft soil by the temple wall. Child Link, any time of day. You need: Bug in a bottle, Din’s Fire. Walk the stone path beside the temple wall to the patch of soft soil in the corner. Release a bug into it, cast Din’s Fire over the patch and take the token that bursts out. Plant a Magic Bean in the empty hole afterward.
Gold Skulltula #89
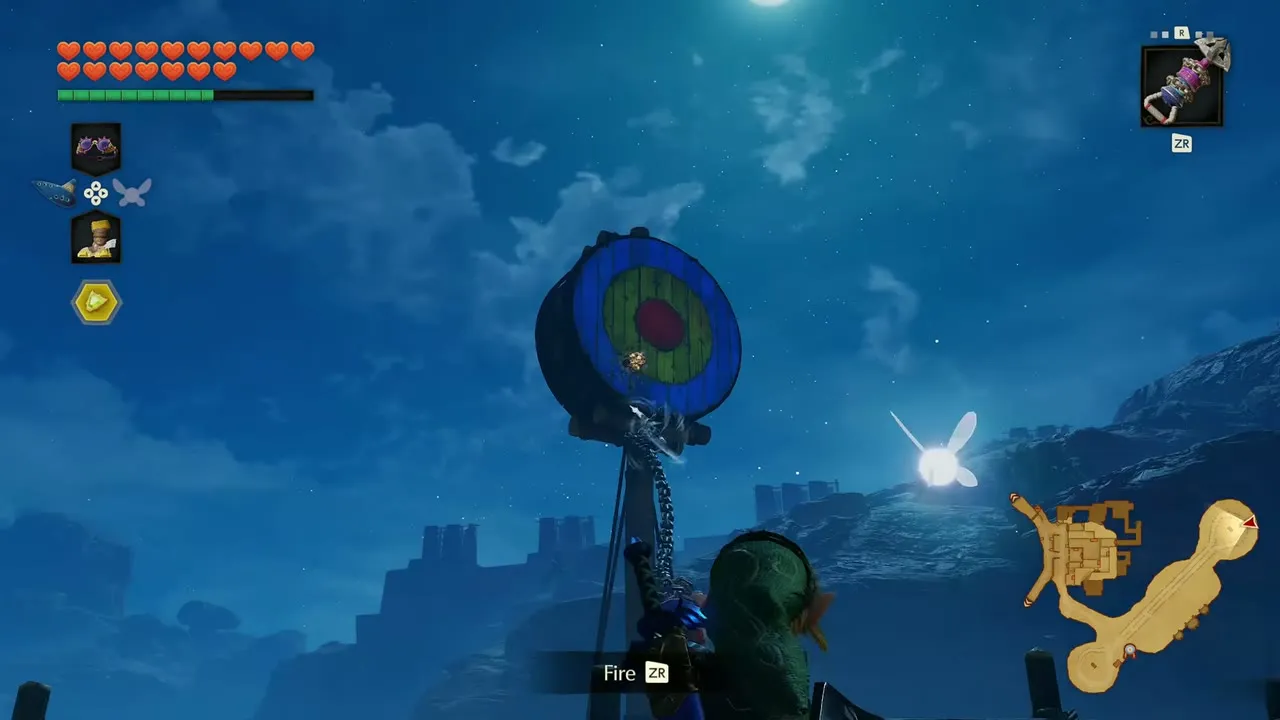
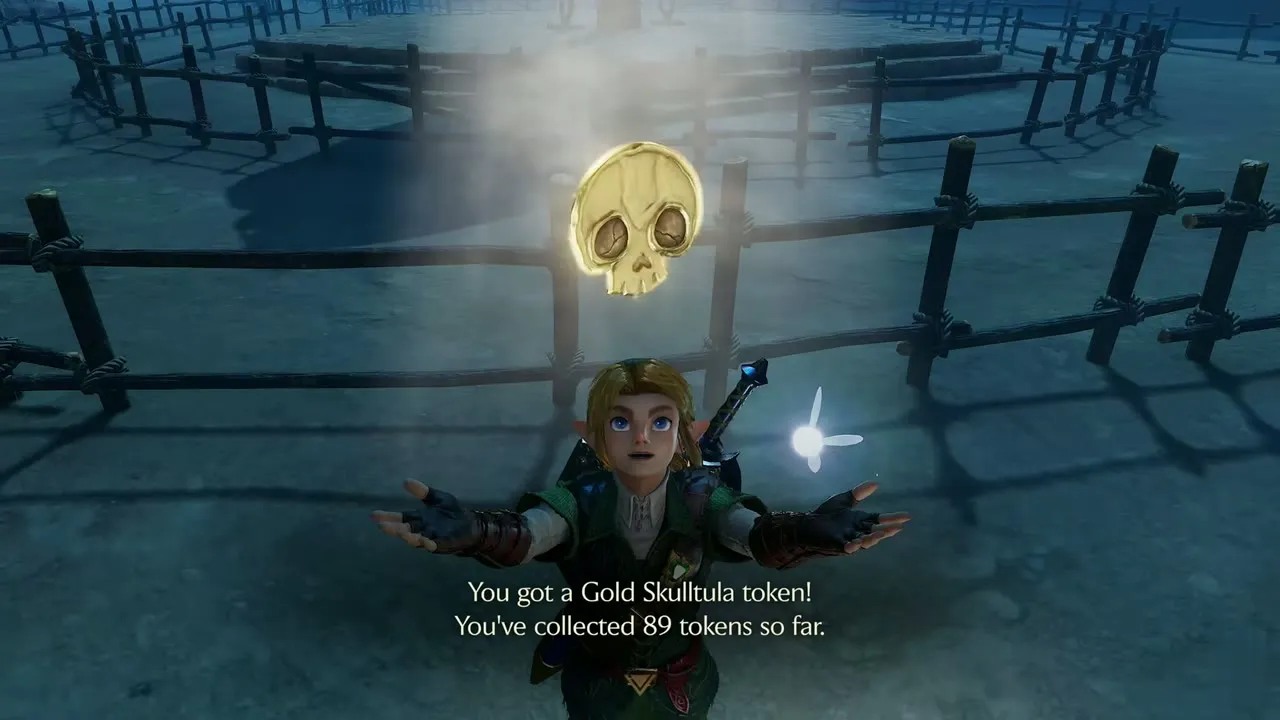
Evil Desert Colossus, target pole at the archery range. Adult Link, night. You need: Sun’s Song, Longshot. Stay at the archery range and play the Sun’s Song to turn day to night. Aim the Longshot at the target pole near the fence, where a Gold Skulltula now clings, and the shot brings it down.
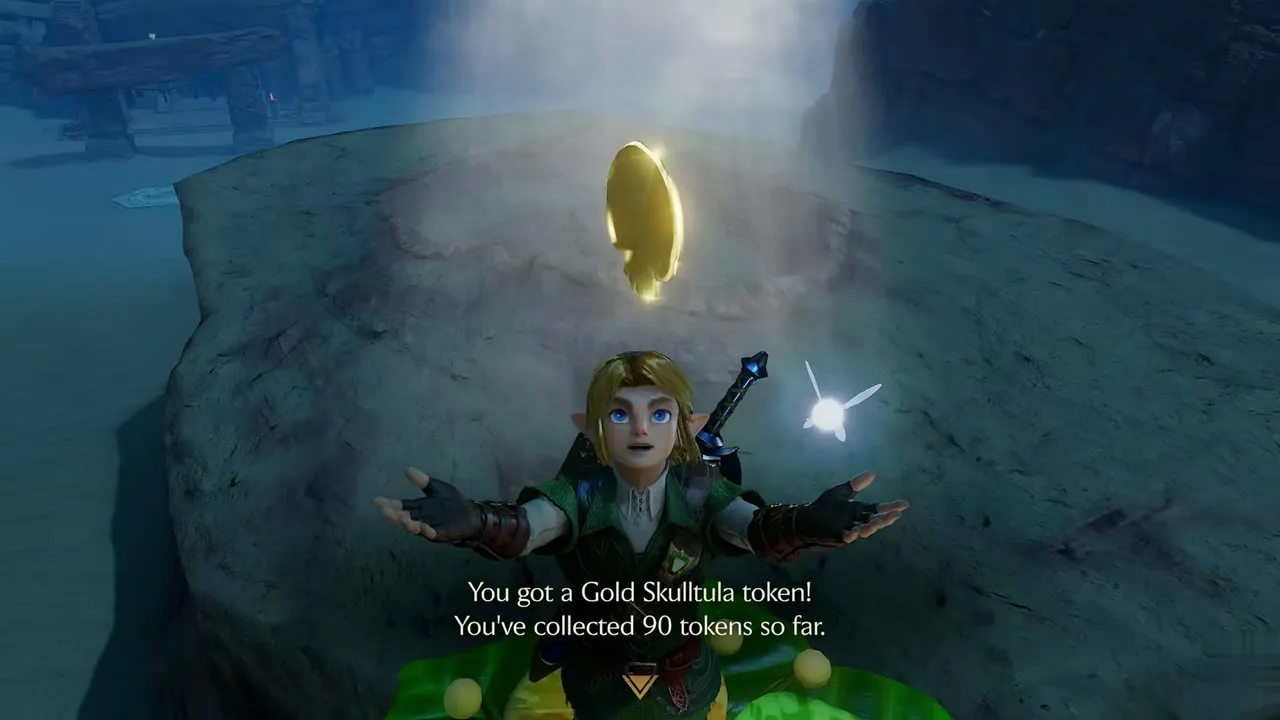
Gold Skulltula #90
Evil Desert Colossus, rock pillar across the sand. Adult Link, night. You need: Magic Bean, Longshot. Step on the leaf of the bean plant and ride it across the sand to a flat rock pillar. Aim the Longshot at the glow overhead and take the token from the top of the rock.
Death Mountain, Goron City and the Crater
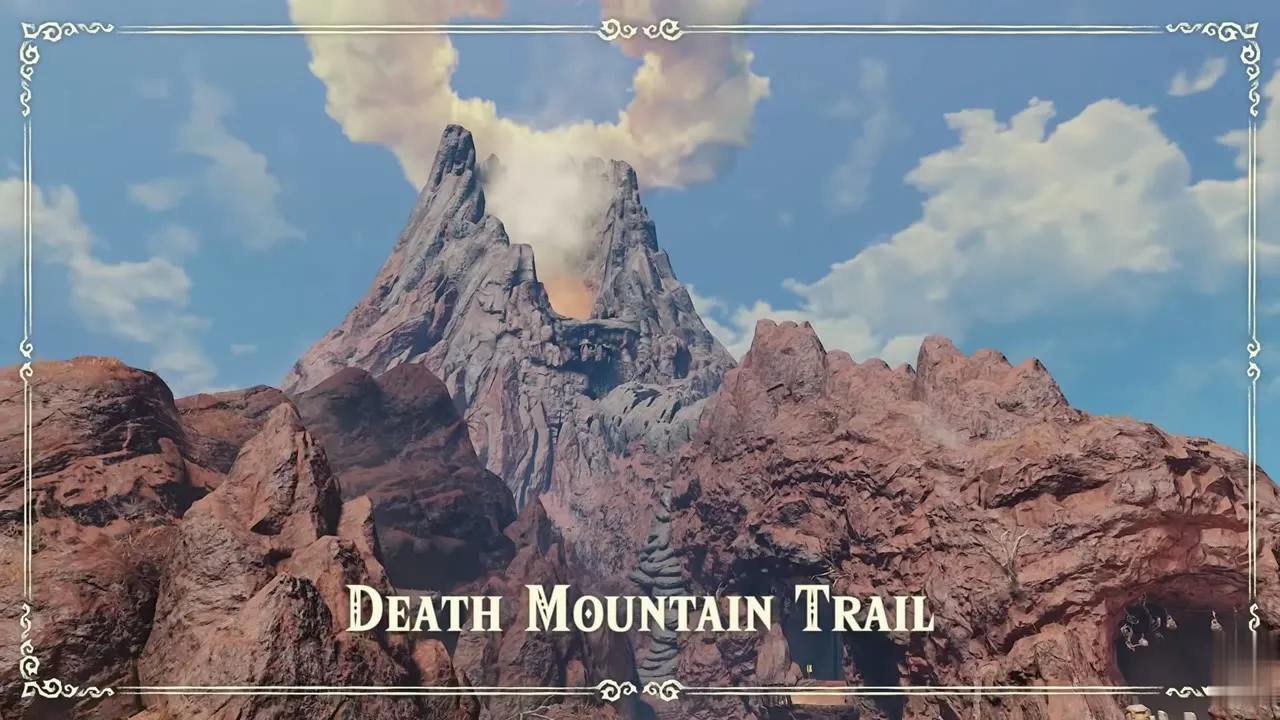
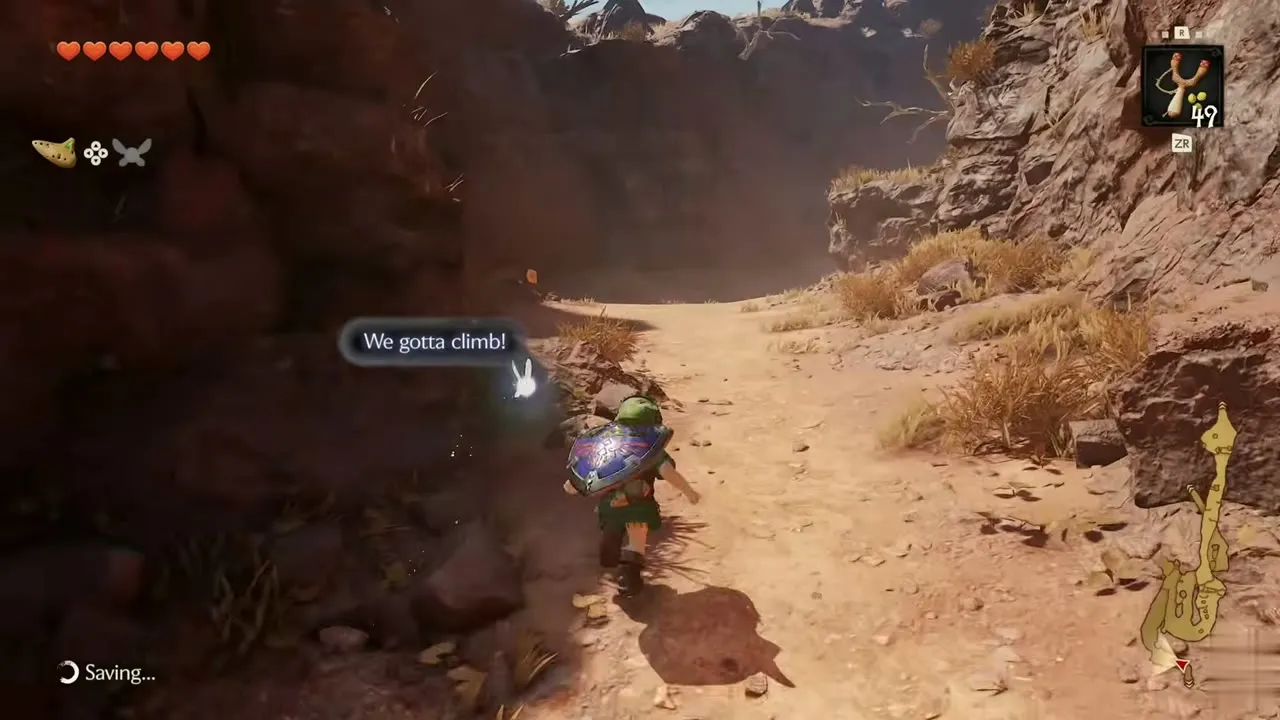
Death Mountain gives tokens as a child and as an adult, from a soft-soil patch by the trail sign to Hammer cave walls near Biggoron. See Death Mountain Trail and Goron City, Death Mountain Summit and Crater, Goron City as an Adult and Double Magic and Death Mountain.
Gold Skulltula #20
Death Mountain Trail, soft soil by the sign. Child Link, any time of day. You need: Bug in a bottle. Past the Tektites on the way to the Dodongo Cavern path, a dim stretch of trail has a patch of soft soil near a sign. Release a bug from your bottle on it and a token pops out.

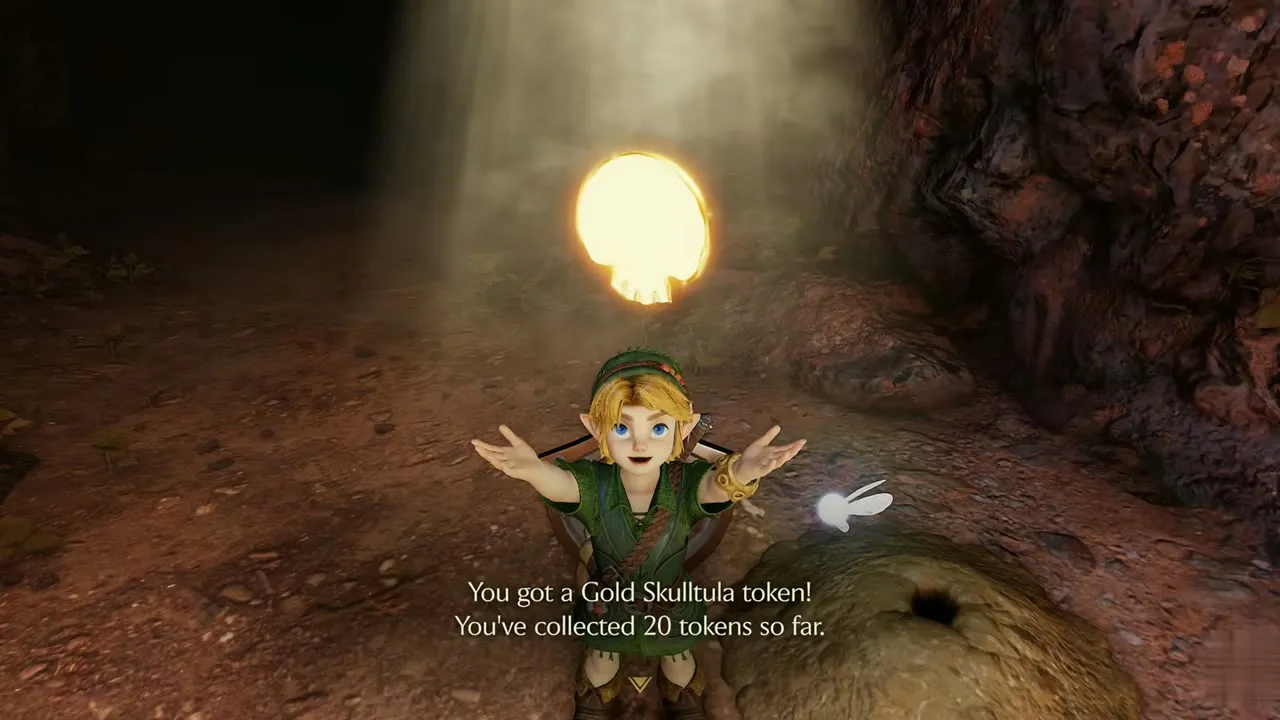
Gold Skulltula #25
Death Mountain Crater, first alcove with the golden pot. Child Link, any time of day. You need: Sword. Follow the path in the Crater to the first alcove on your right, where a golden pot sits against the cave wall. Break the pot and rocks for Rupees, then defeat the Gold Skulltula on the wall and pick up the token.
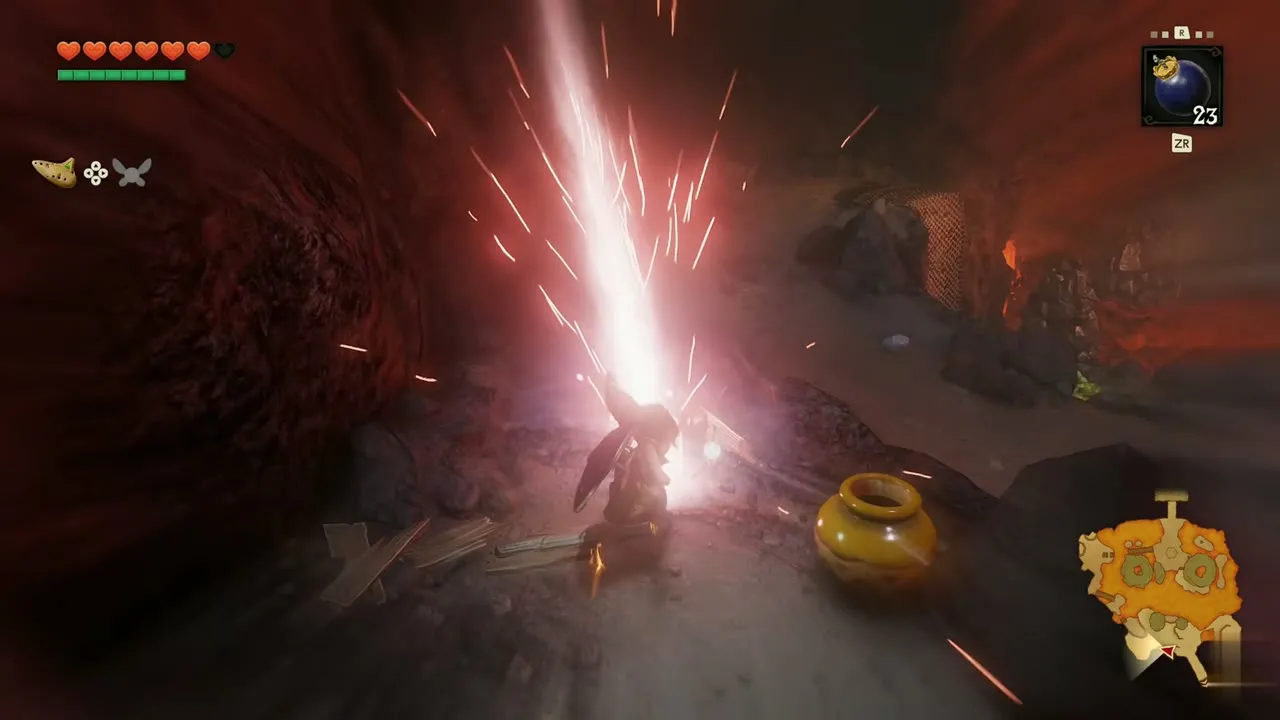
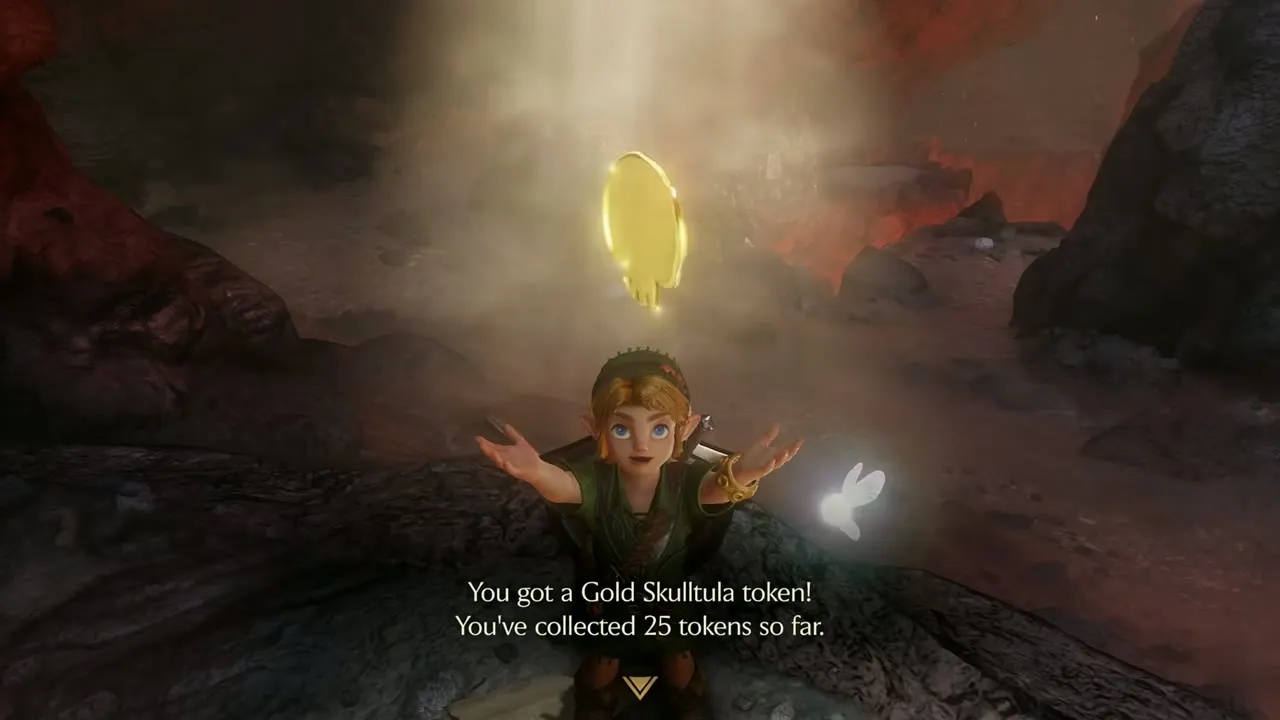
Gold Skulltula #26
Death Mountain Trail, small cave behind a cracked rock. Child Link, any time of day. You need: Bombs, Echo Gem, Sword. Climb the village stairs to the upper gate and walk back onto the trail. Bomb the cracked rock that blocks a small cave and go in. The Echo Gem helps you find the Gold Skulltula on the cave wall. Defeat it and collect the token.
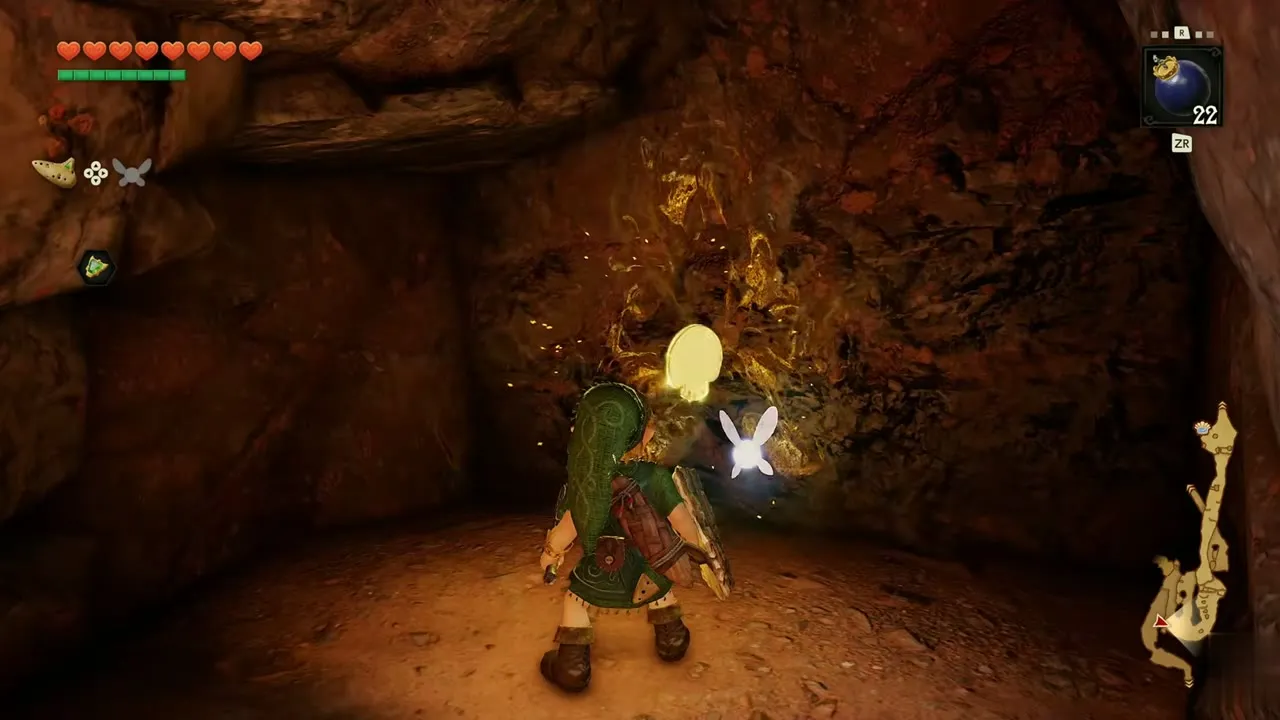

Gold Skulltula #27
Goron City, side cave behind the boulder wall. Child Link, any time of day. You need: Bombs. Past the Goron mini-game, follow the passage lined with huge boulders and bomb the cracked wall. The side cave beyond holds dark crystal rocks with Rupees and, at the end, a chest by a stone with an eye carved in it. A Gold Skulltula waits on the cave wall near the chest.
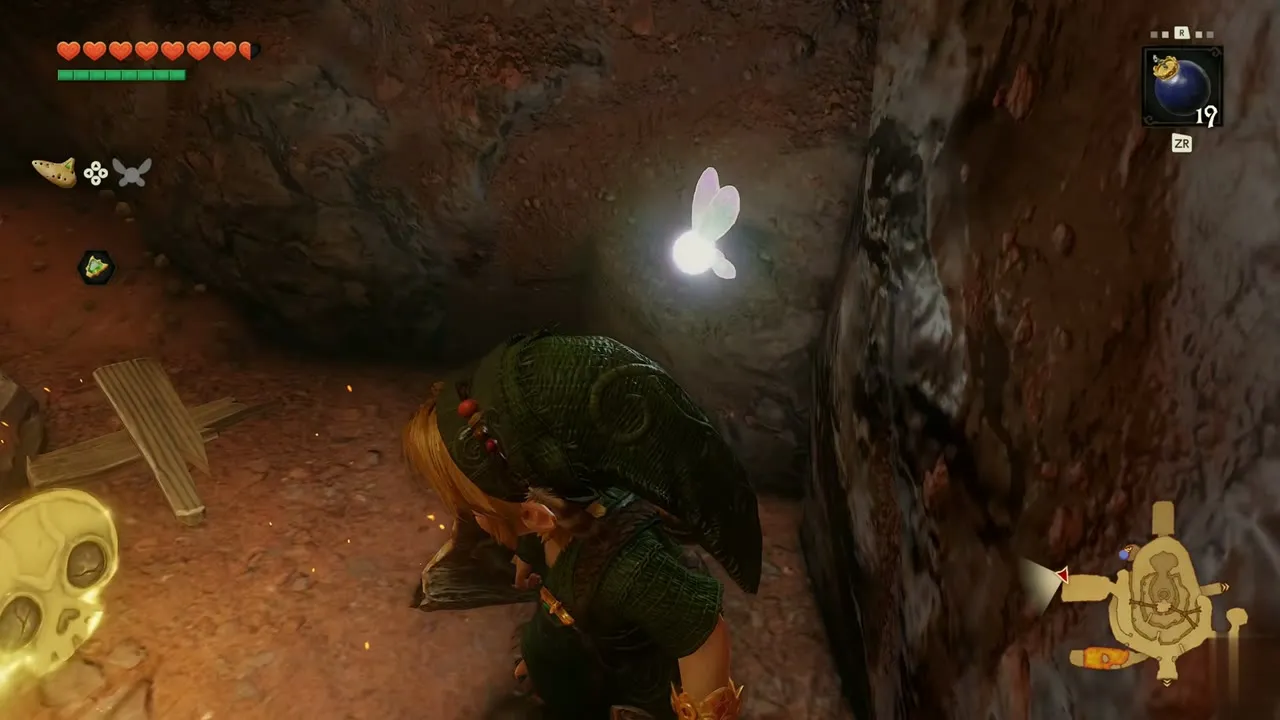

Gold Skulltula #52
Dodongo Cavern, cave above the scarecrow. Adult Link, any time of day. You need: Hookshot. On the back route through Dodongo Cavern, aim the Hookshot at the scarecrow when the Fire prompt shows and let it pull you up into the small cave above. A Gold Skulltula clings to the rock wall at the back. Defeat it and collect the token.

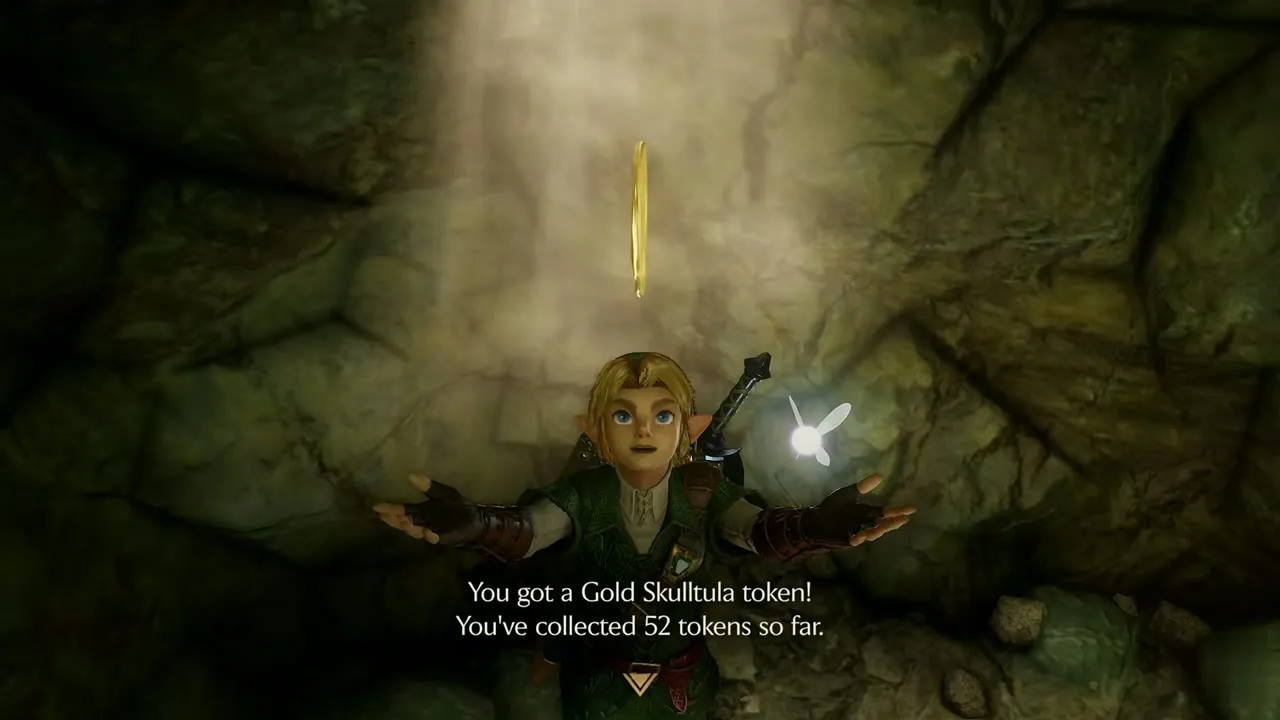
Gold Skulltula #53
Death Mountain Trail, cave wall beside the plank bridge. Adult Link, any time of day. You need: Fairy Bow. Once you are in the Goron City tunnels, a plank bridge crosses a cave. From the bridge, a Gold Skulltula glows on the cave wall. Draw the Fairy Bow, aim at it and shoot when the Shoot Arrow prompt shows.


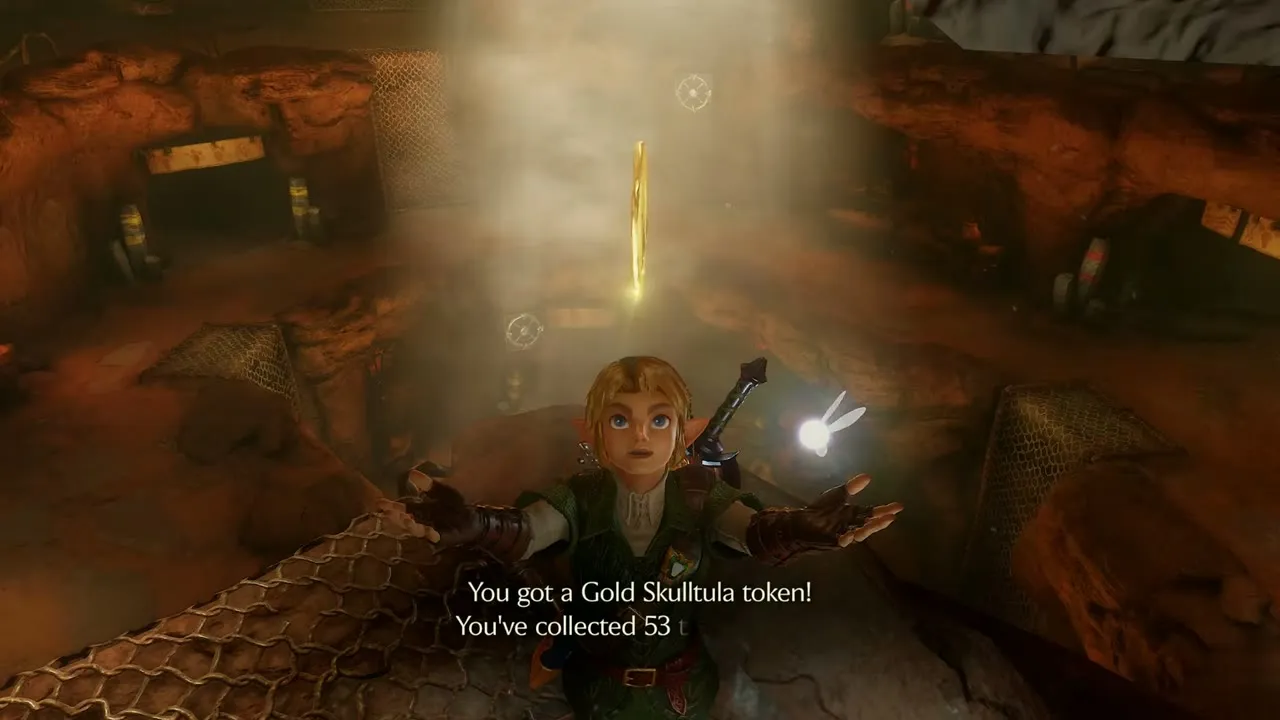
Gold Skulltula #54
Death Mountain Crater, soft soil on the lava rim. Child Link, any time of day. You need: Bug in a bottle. Walk along the lava rim of the Crater to the patch of soft soil and release a bug on it. The token pops out, and the soil now holds a sprout.

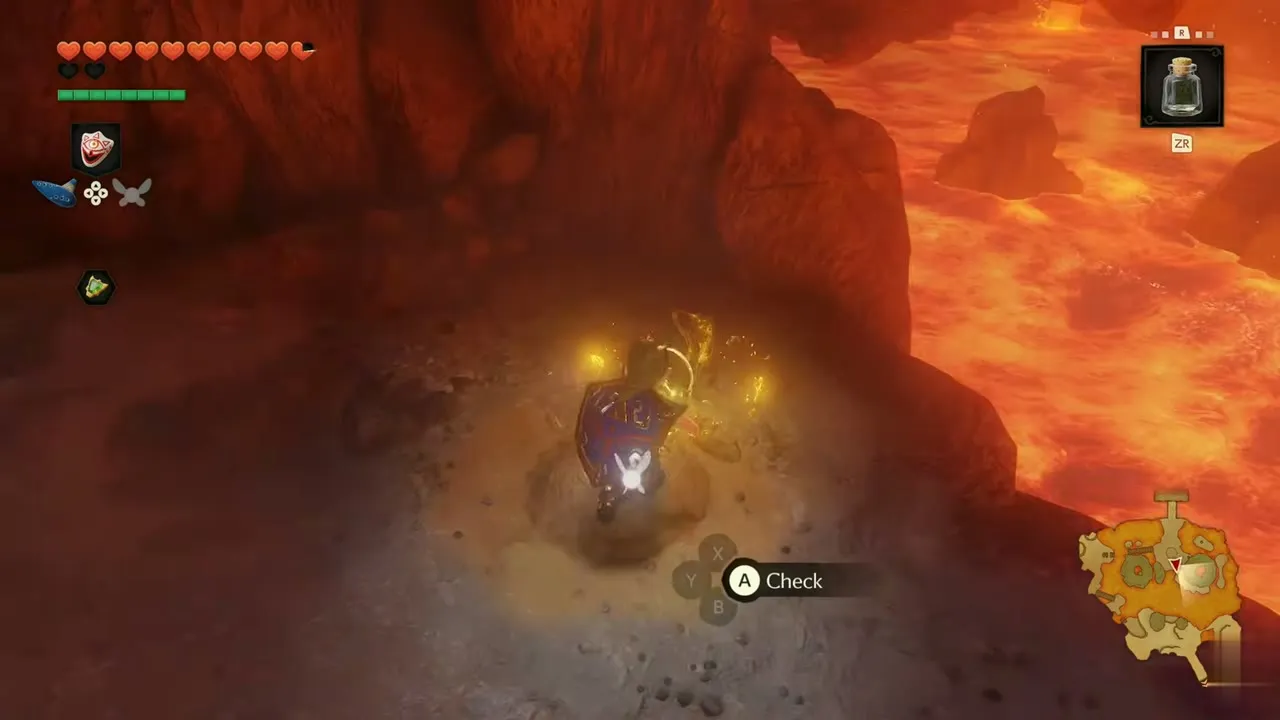
Gold Skulltula #60
Death Mountain Trail, cave past the net slope. Adult Link, any time of day. You need: Megaton Hammer. Past the net slope below Biggoron’s ledge, a cave passage leads on. A Gold Skulltula crawls on the rock wall. Strike it with the Hammer and pick up the token.

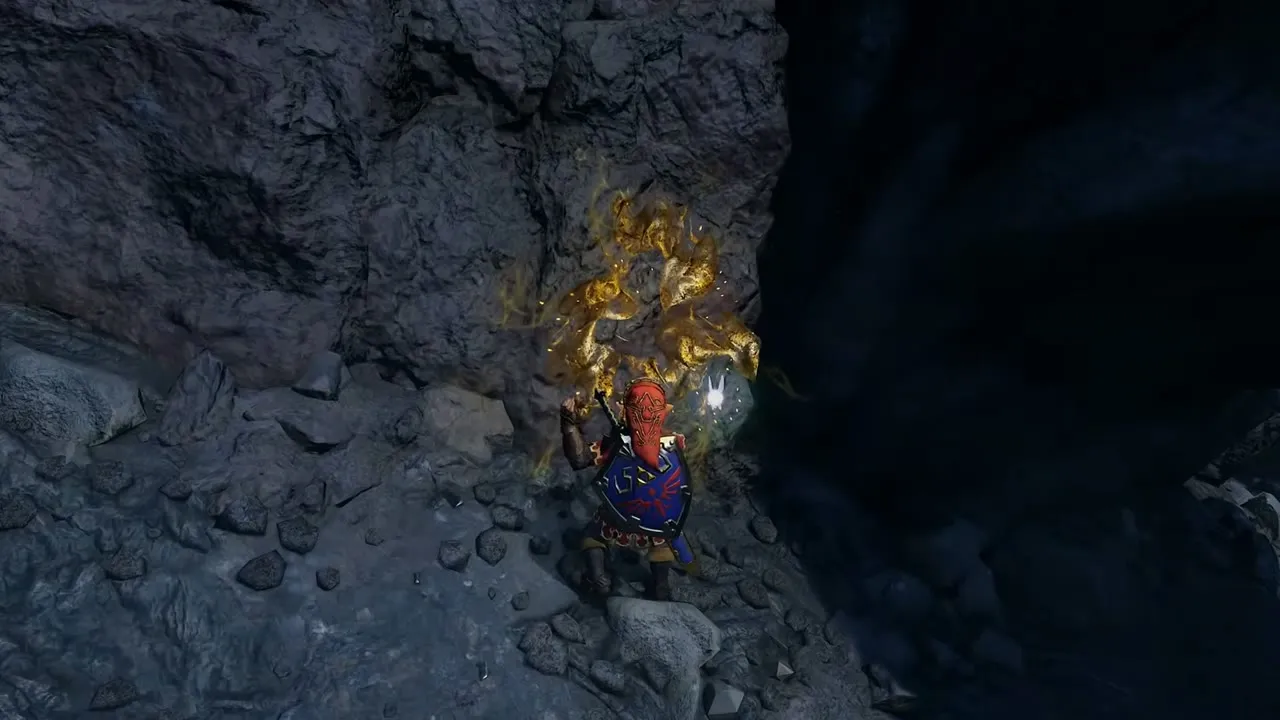
Gold Skulltula #61
Death Mountain Trail, dark tunnel toward Goron City. Adult Link, night. You need: Megaton Hammer. After night falls on the mountain, follow the dark tunnel toward the glow of Goron City. A yellow spider hides in the shadows on the cave wall. Hit it with the Hammer and the token drops.


Zora River, Zora Domain and Zora Fountain
Zora country holds tokens for both ages, from the Bean Seller’s soft soil to the last token of the game in the snowfield cave. See Zora River and Zora Domain, Last Child Errands, Ice Cavern and Final Collectibles.
Gold Skulltula #28
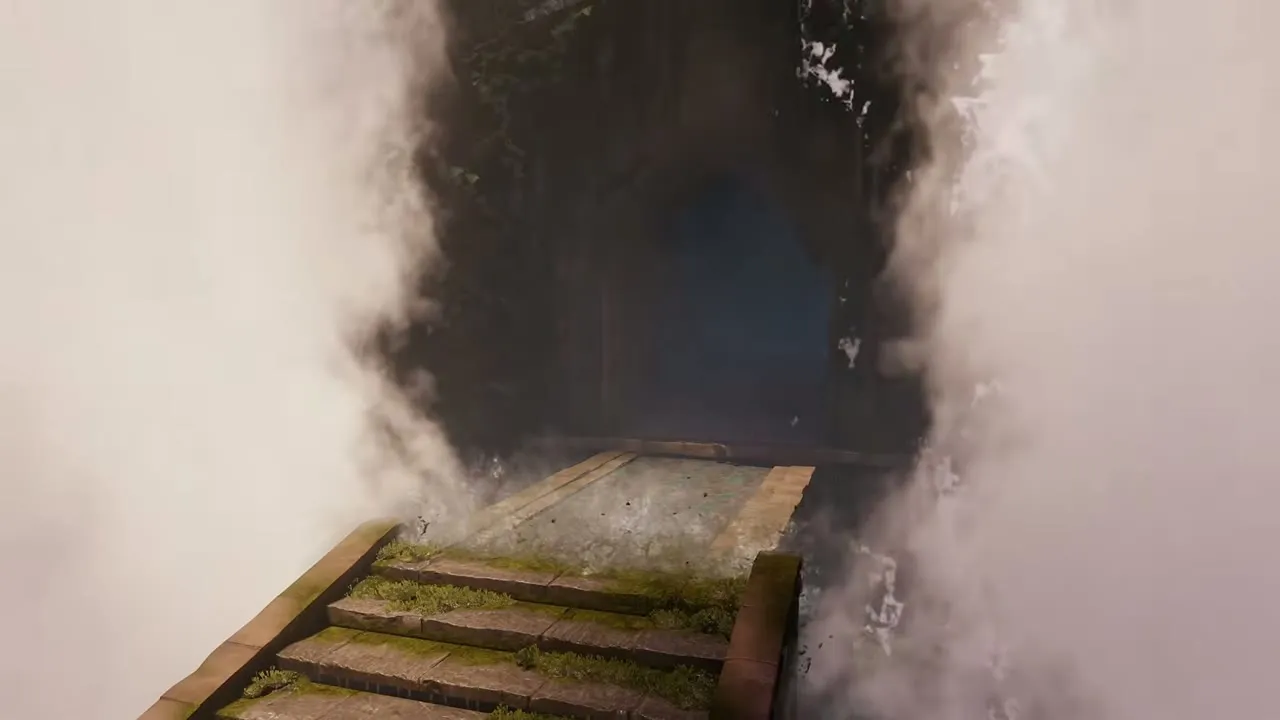
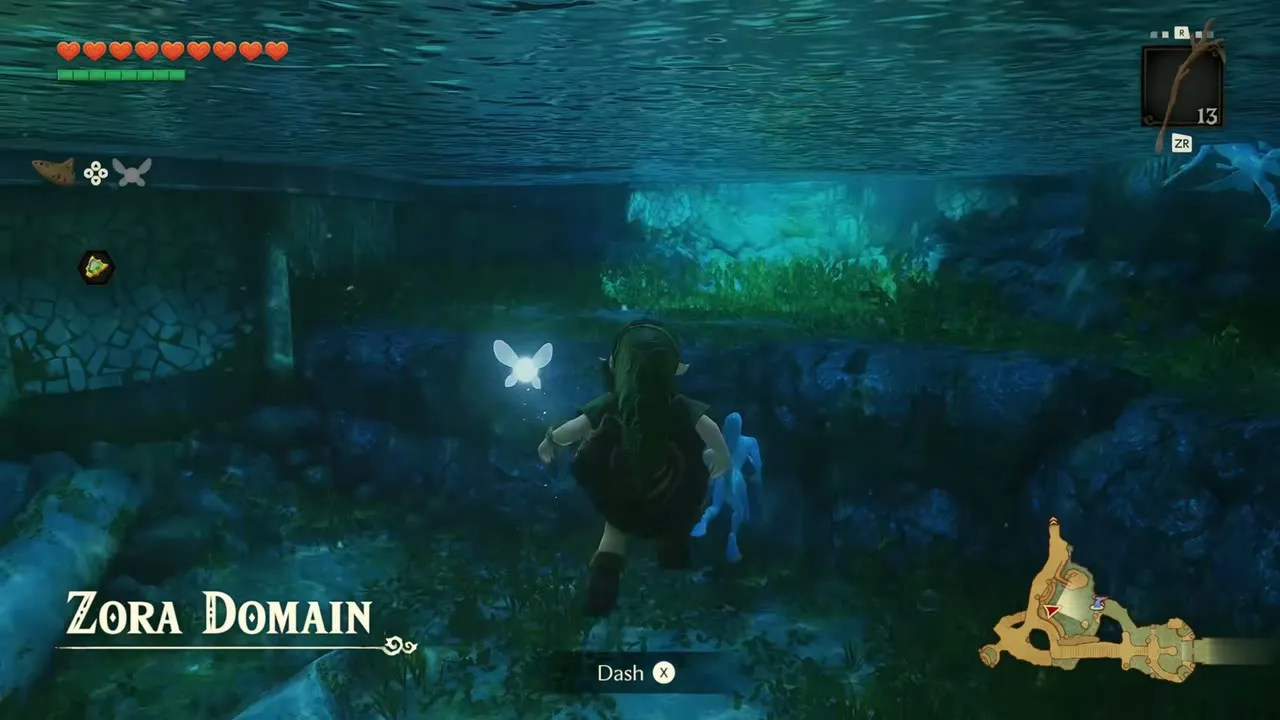
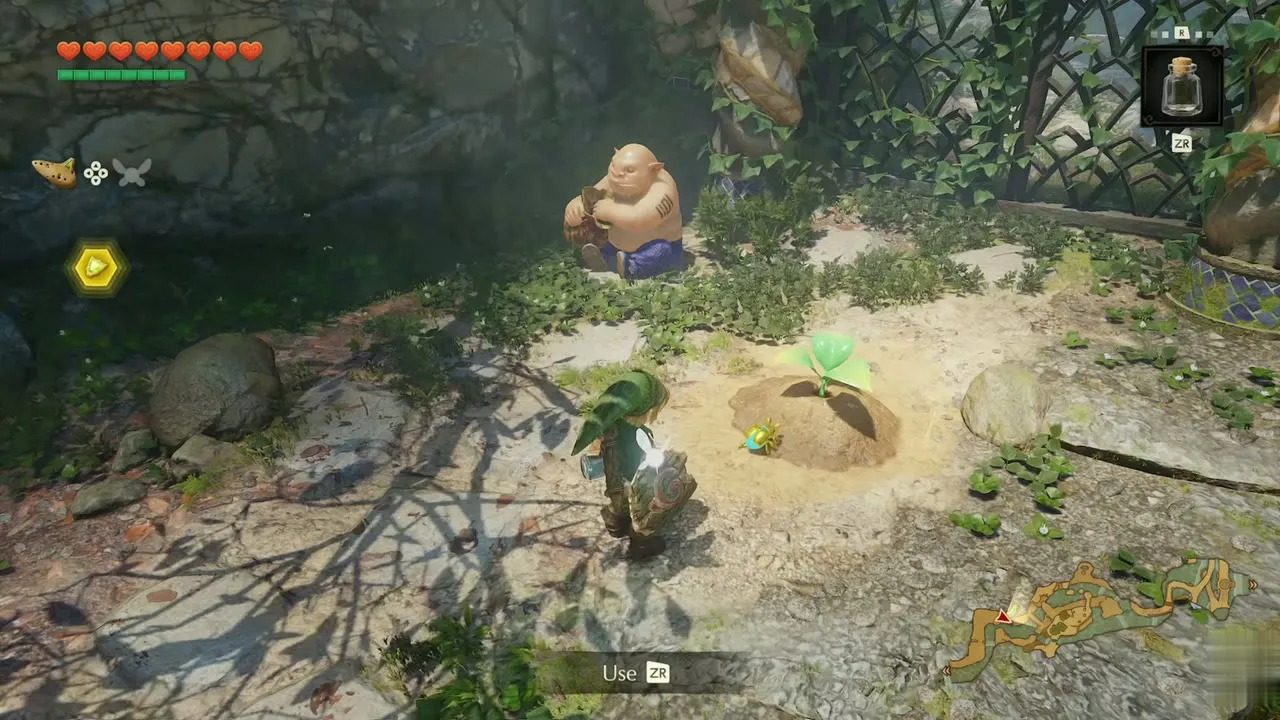
Zora River, soft soil by the Bean Seller. Child Link, any time of day. You need: Bug in a bottle. Stand on the soil patch by the Bean Seller and release your bottled bug. It burrows in and a Gold Skulltula token pops out.


Gold Skulltula #29
Zora River, rock wall below the crest stone. Child Link, night. You need: Sword. Climb the river stairs to the stone engraved with the Triforce crest, then follow the grassy ledge beyond it and climb down the vines to the river bank. A Gold Skulltula hangs on the rock under the overhang beside the river. Hit it with your sword and take the token.

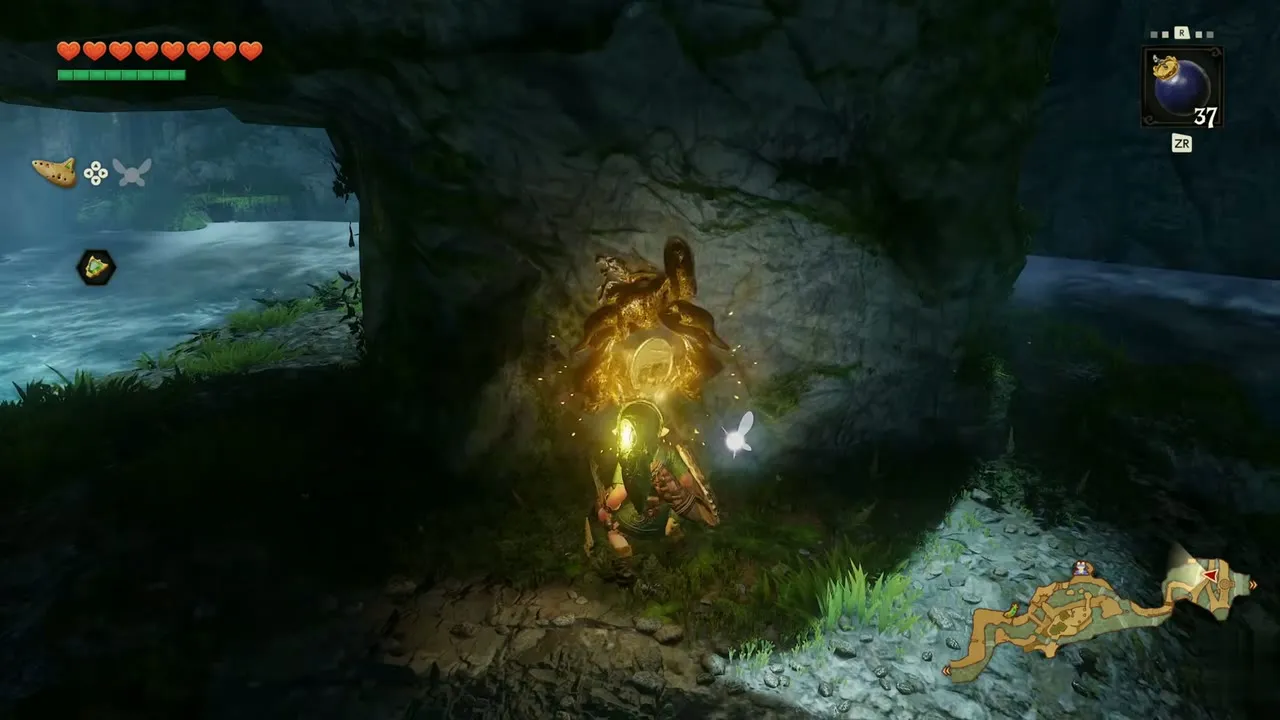
Gold Skulltula #30
Zora Fountain, foot of the big tree. Child Link, night. You need: Sword. Follow the stone steps and mossy path from Zora Domain into Zora Fountain. At the foot of a big tree beside the path, just before the rocky wall, a Gold Skulltula sits in the undergrowth. Cut it down with your sword.
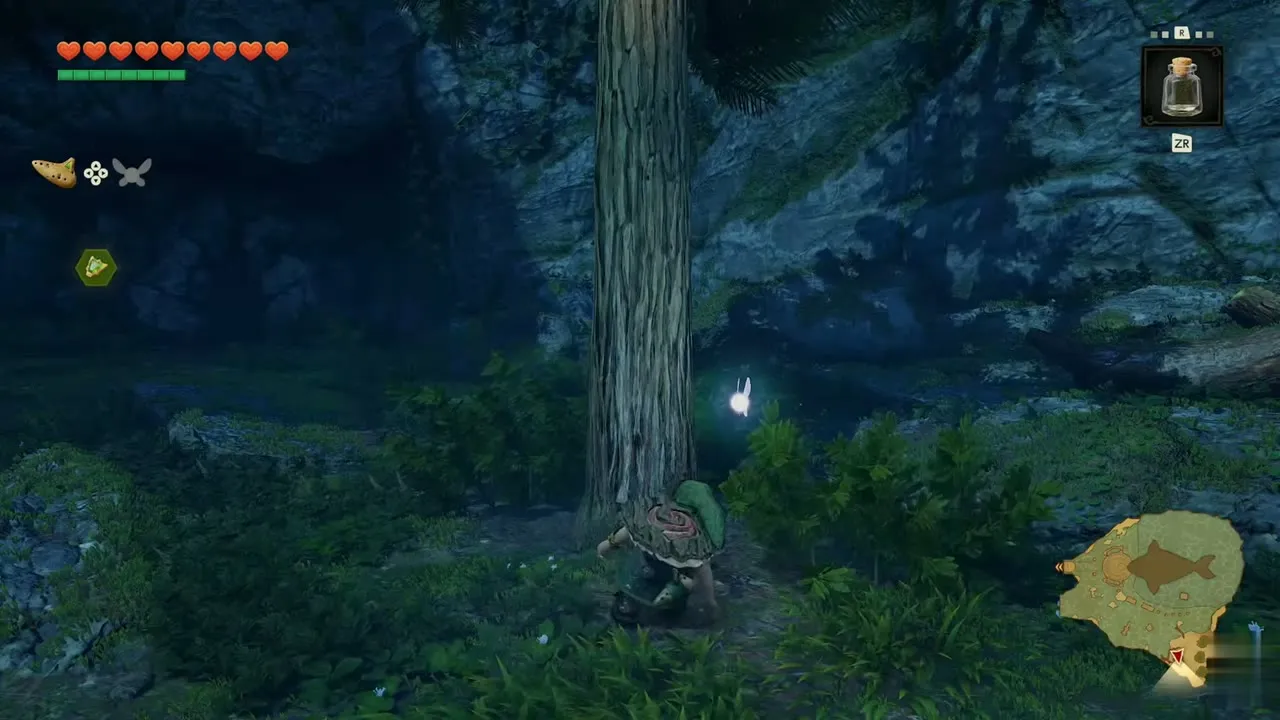

Gold Skulltula #35
Zora Fountain, rock wall at the end of the slab walkway. Child Link, night. You need: Sun’s Song, Boomerang. On the Fountain shore, play the Sun’s Song to bring night. Walk to the end of the slab walkway and look up at the rock wall until the lock-on settles on a glint. Throw the Boomerang to knock the Skulltula loose.
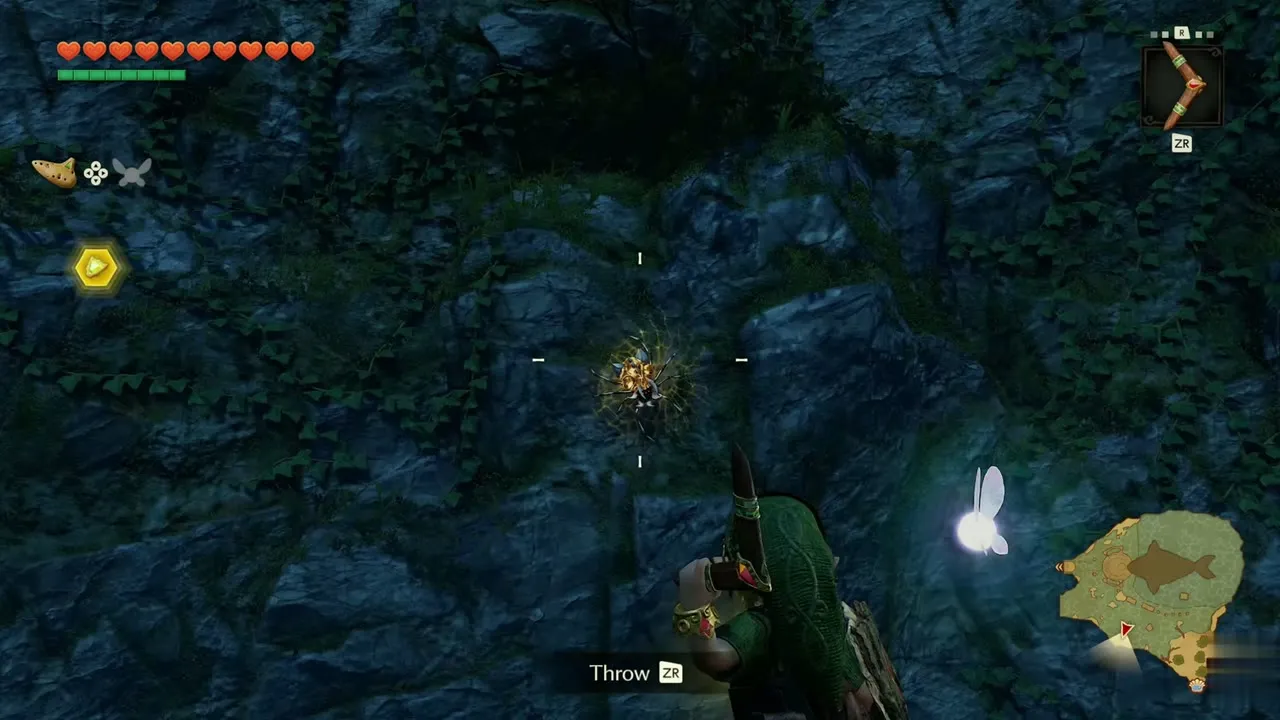

Gold Skulltula #62
Zora River, rocky ledge above the water. Adult Link, night. You need: Hookshot, Sun’s Song. Cross the leaf pads and follow the cliff path past the iron gate, then climb the rocky ledge above the water. If it is daytime, play the Sun’s Song first. Aim the Hookshot at the Gold Skulltula on the dark cliff and fire.
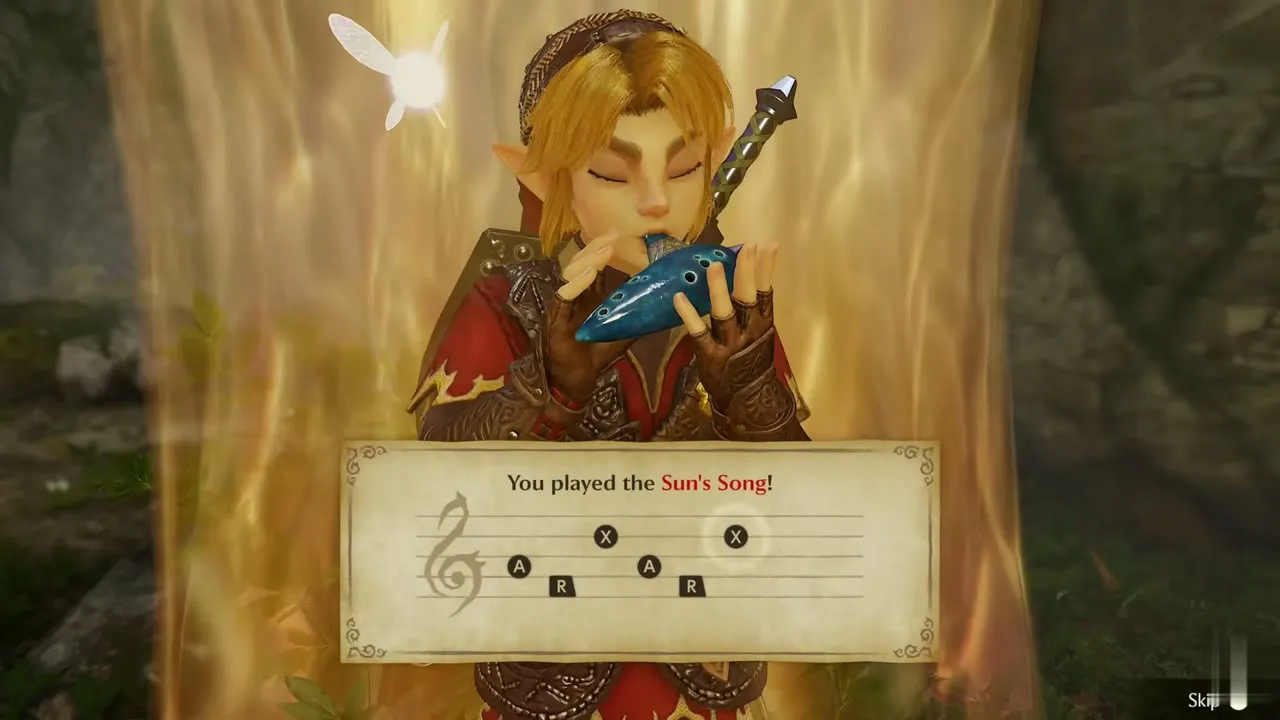
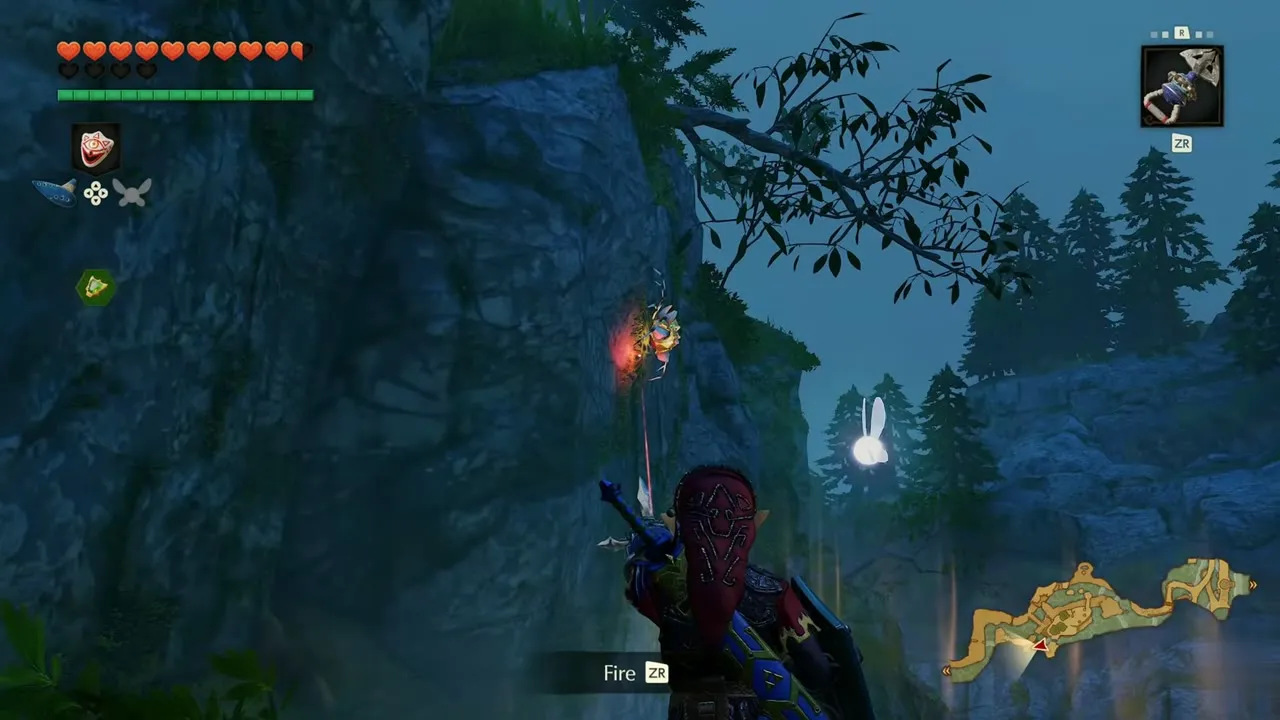
Gold Skulltula #63
Zora Domain, pillar by the frozen bridge. Adult Link, any time of day. You need: Hookshot. In the frozen Zora Domain, climb the icy stairs to where the cave opens onto the frozen bridge. A Gold Skulltula clings to the pillar beside the stonework, out of sword reach. Aim the Hookshot at it and fire.


Gold Skulltula #97
Zora River, mossy overlook by the footbridge. Adult Link, night. You need: Longshot. Follow the river path through the bends and up the stairs. A token clings to the rock wall of a mossy overlook beside a stone footbridge. Stop on the grass, aim the Longshot at it and fire.


Gold Skulltula #100
Zora Fountain, second cave of the snowfield. Adult Link, any time of day. You need: Longshot. Travel to Zora Fountain and cross the frozen lake to the snow path between black stone pillars. Go into the ice cave, climb the vine wall and cross the snowfield to the second cave. The token hangs high on the dark wall. Aim the Longshot at it and fire.
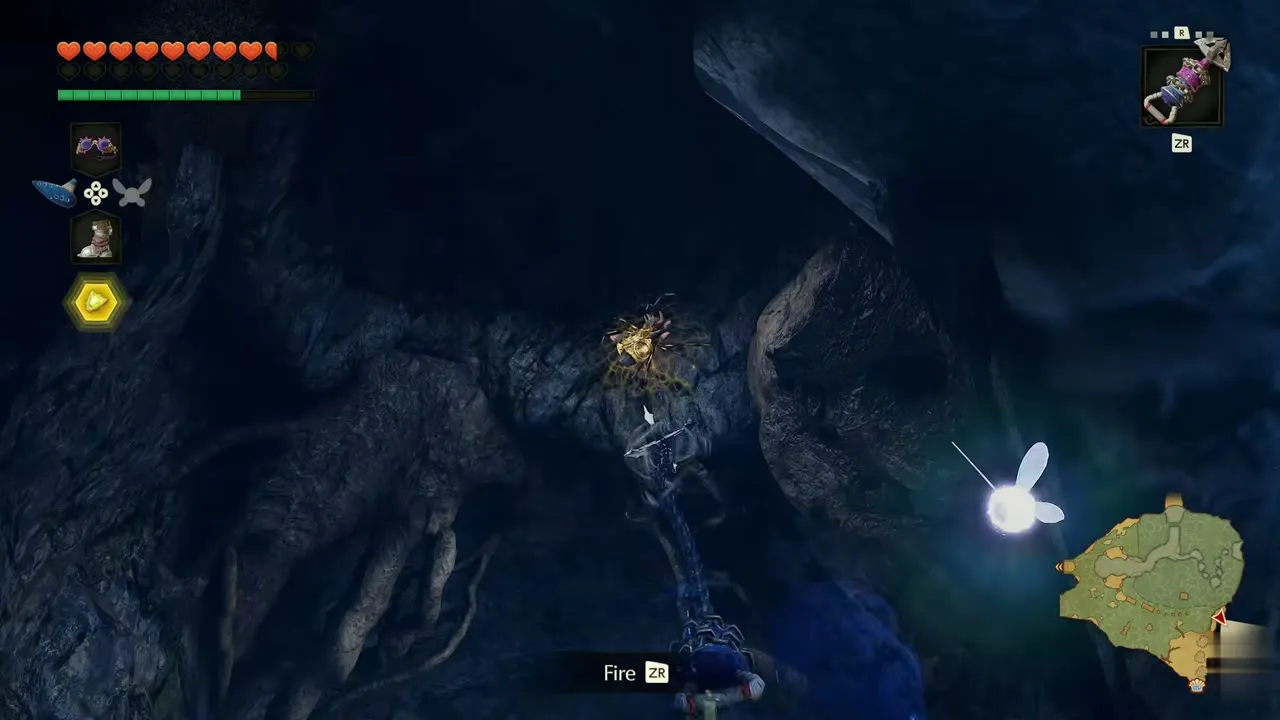

Dodongo Cavern
Dodongo Cavern has four tokens for child Link, with bomb flowers, bombs and the Slingshot doing the work, and a fifth for adult Link on the back route (#52, listed under Death Mountain below). See the Dodongo Cavern chapter.


Gold Skulltula #21
Dodongo Cavern, net wall above the stone steps. Child Link, any time of day. You need: Goron Bracelet, Fairy Slingshot. Carry a bomb flower through the garden room to the cracked stone block and blast it open. Climb the steps behind it, then the ladder, and jump onto the net wall above. A Gold Skulltula clings to the net. Bring it down with a Slingshot seed.


Gold Skulltula #22
Dodongo Cavern, small cave in the southeast corner. Child Link, any time of day. You need: Fairy Slingshot. Back on the first floor, walk to the small cave in the southeast corner and pass through it. Shoot the glowing spot on the cave wall with the Slingshot to knock down a Gold Skulltula.

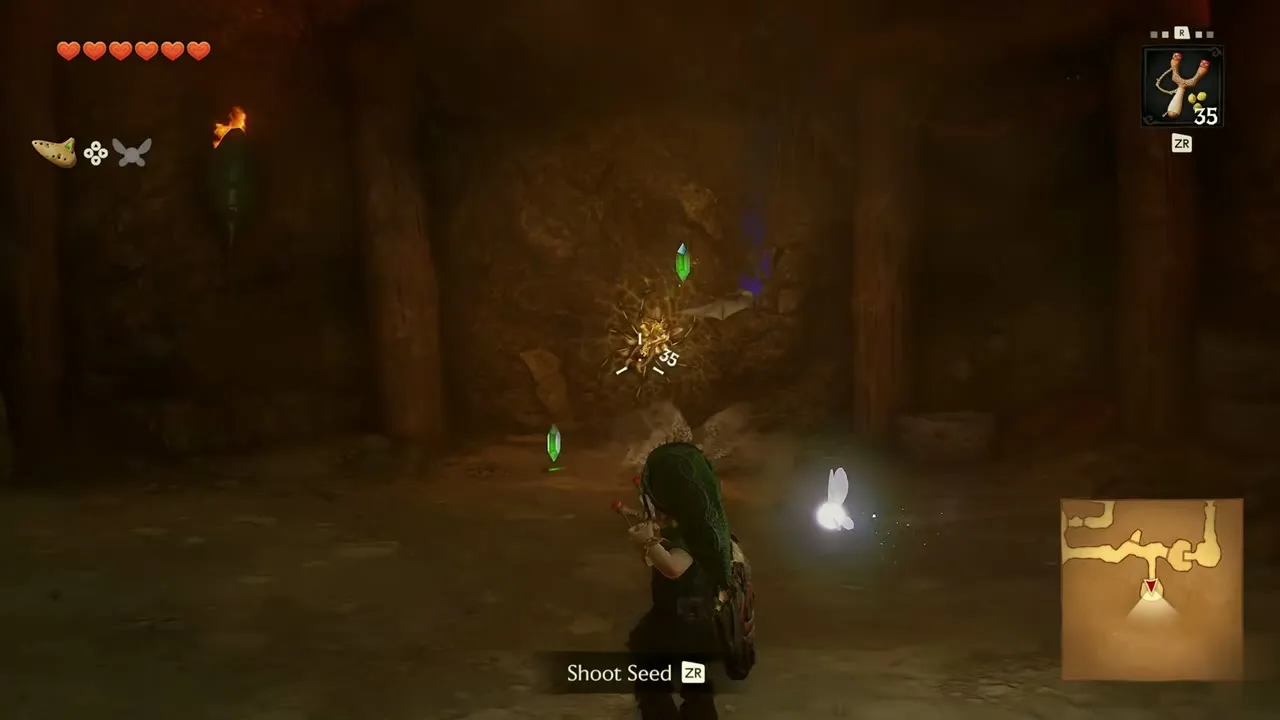
Gold Skulltula #23
Dodongo Cavern, cave of the Dodongos on 2F. Child Link, any time of day. You need: Bombs. Go up to the second floor and into the cave of the Dodongos. Throw bombs at them, then break the big glowing rock among them with a bomb. The Gold Skulltula token appears.
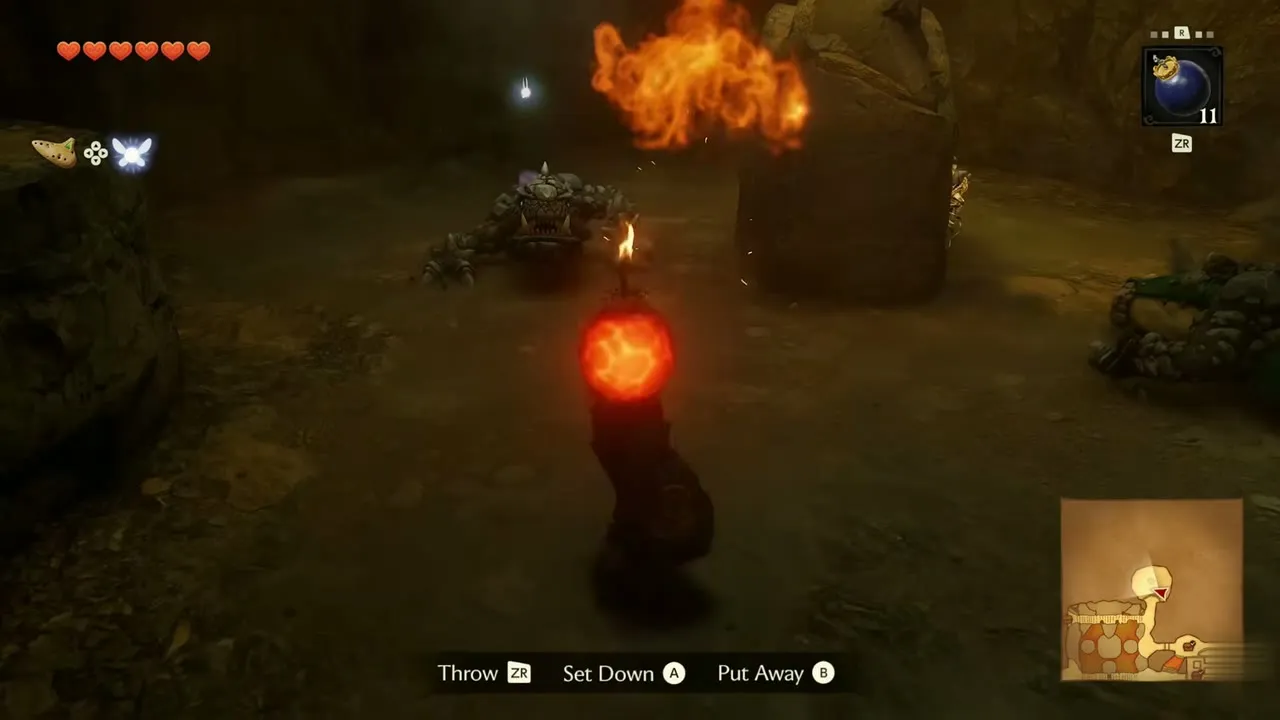

Gold Skulltula #24
Dodongo Cavern, side room behind the block room. Child Link, any time of day. You need: Bombs. On the first floor, push the stone block in front of the cracked wall, then blast the wall with a bomb. Inside, an Armos statue and three Baby Dodongos attack. Clear them and the Gold Skulltula is on the back wall.

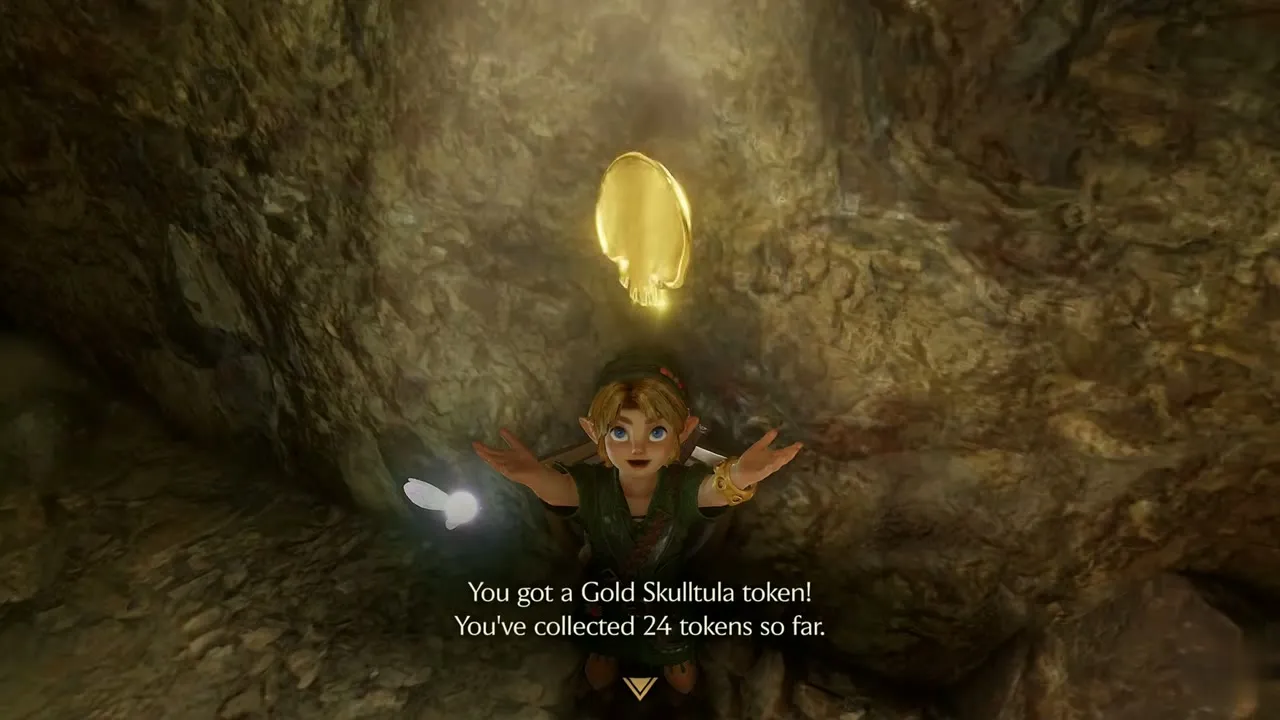
Lord Jabu-Jabu’s Belly
Lord Jabu-Jabu’s Belly has four tokens, and the Boomerang you find inside collects three of them. See Lord Jabu-Jabu’s Belly.


Gold Skulltula #31
Lord Jabu-Jabu’s Belly, above the room of pots. Child Link, any time of day. You need: Fairy Slingshot. Back on B1, swim to the purple wall near the yellow shell pad and climb the thick vine wall. Jump off at the top into a room with three pots. A Gold Skulltula token floats near the ceiling. Shoot it with a Slingshot seed.
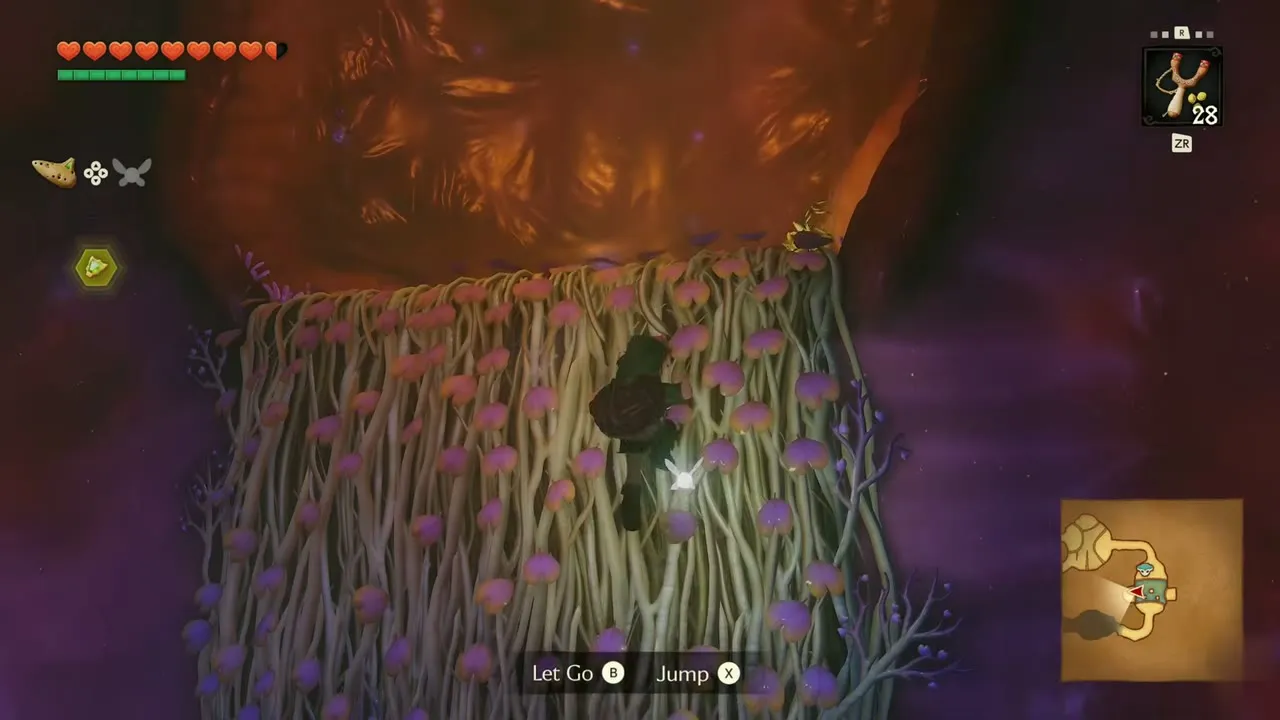

Gold Skulltula #32
Lord Jabu-Jabu’s Belly, B1 cave ceiling. Child Link, any time of day. You need: Boomerang. On B1, walk along the purple ridge in the cave with dripping stalactites. A Gold Skulltula waits on the ceiling. Turn on it and throw the Boomerang.
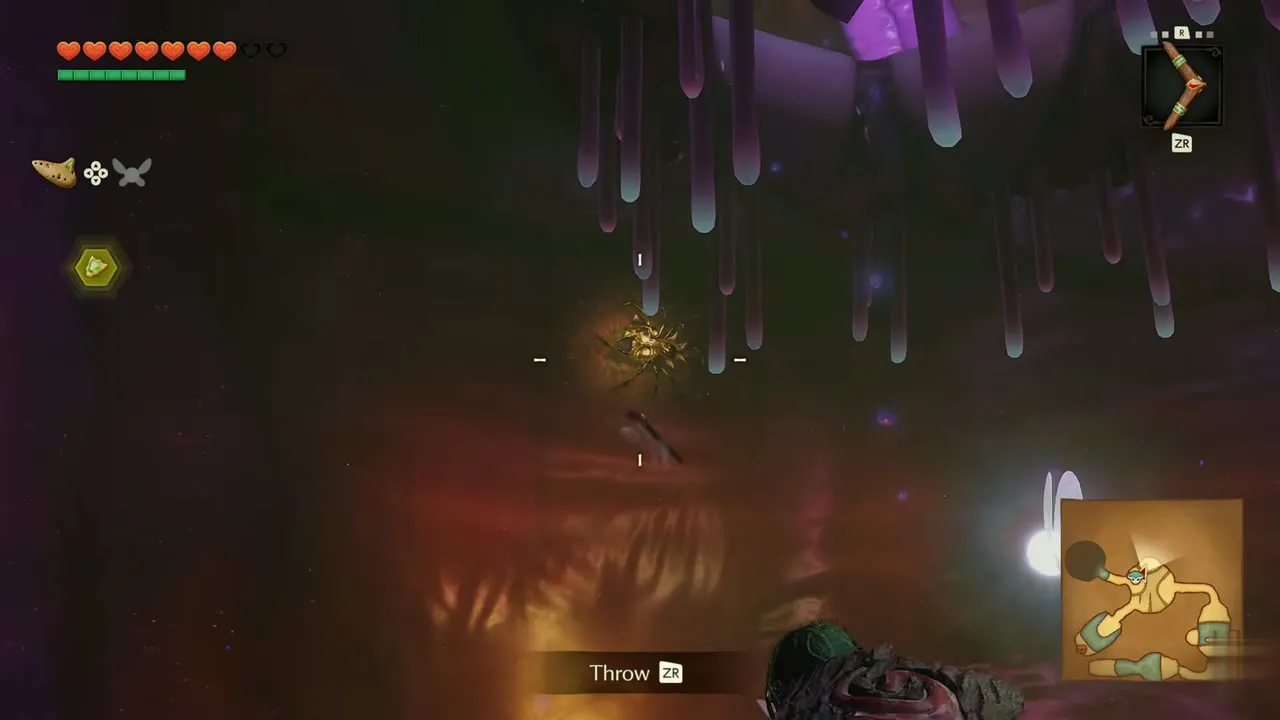

Gold Skulltula #33
Lord Jabu-Jabu’s Belly, dark passage past the first ceiling token. Child Link, any time of day. You need: Boomerang. Keep going along the same B1 ridge. A little farther on, in the dark passage ahead, a second token glints up high. Lock on and throw the Boomerang again.
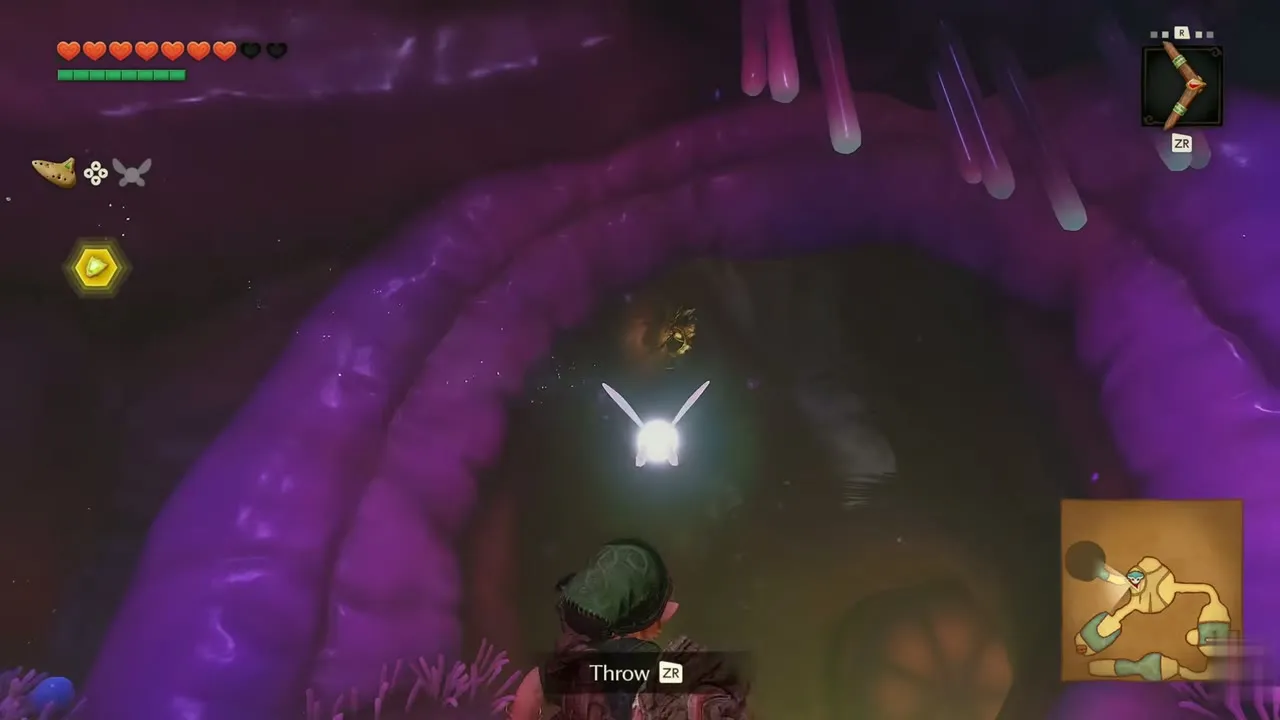
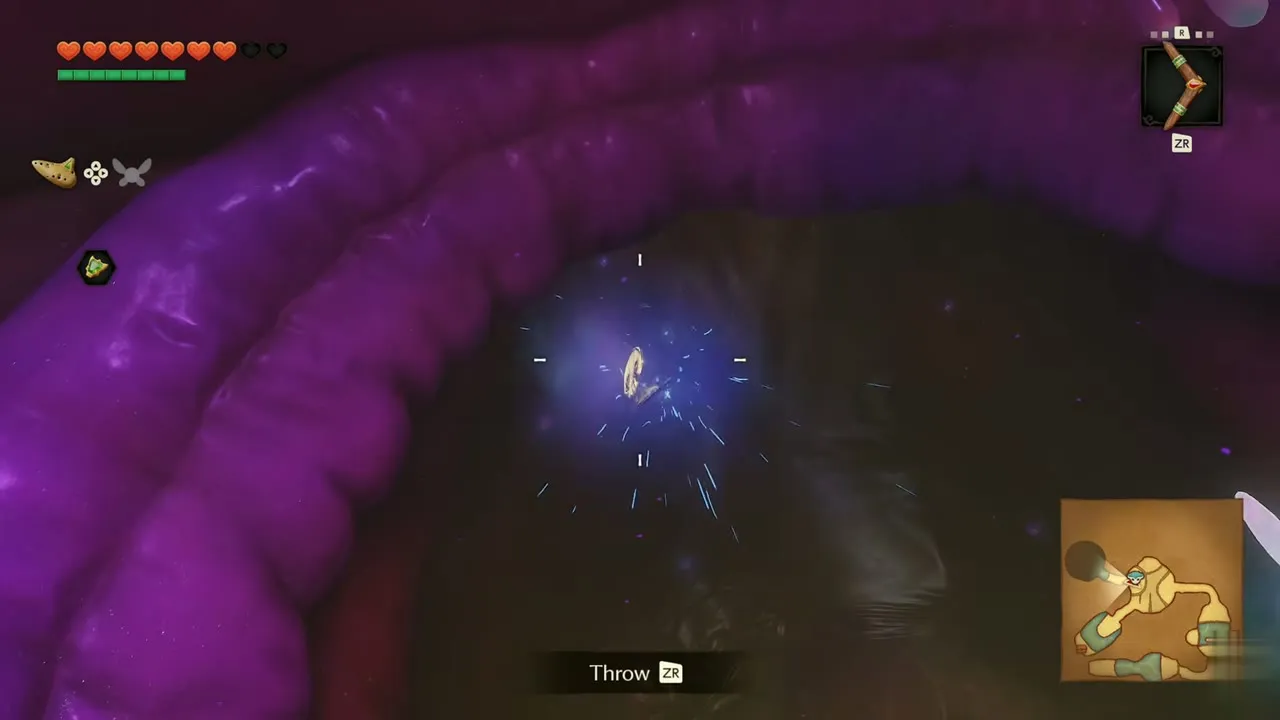
Gold Skulltula #34
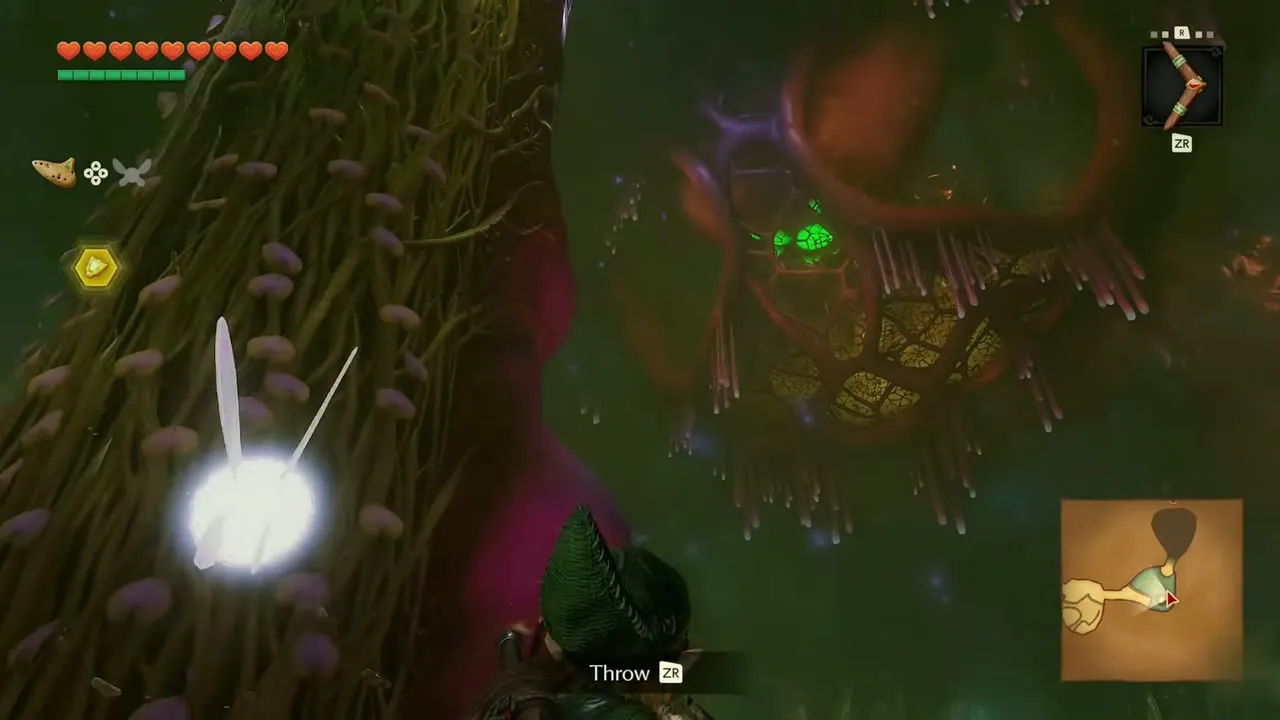
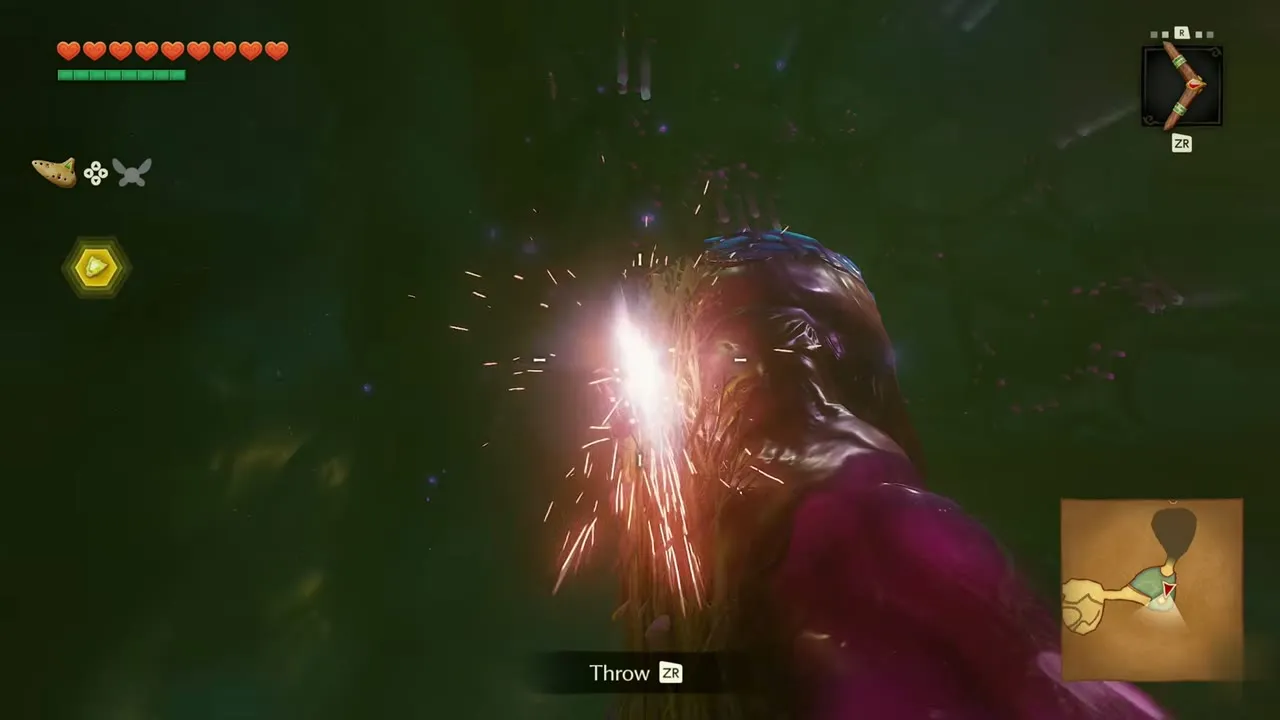
Lord Jabu-Jabu’s Belly, vine pillar on 2F. Child Link, any time of day. You need: Boomerang. On 2F, climb the purple tissue ledge and drop onto the pad. A tentacle pillar wrapped in vines stands in the middle of the passage. Throw the Boomerang at the pillar and the token falls into reach.

Forest Temple
The Forest Temple holds five tokens for adult Link, and the Hookshot reaches all of them. See Forest Temple.
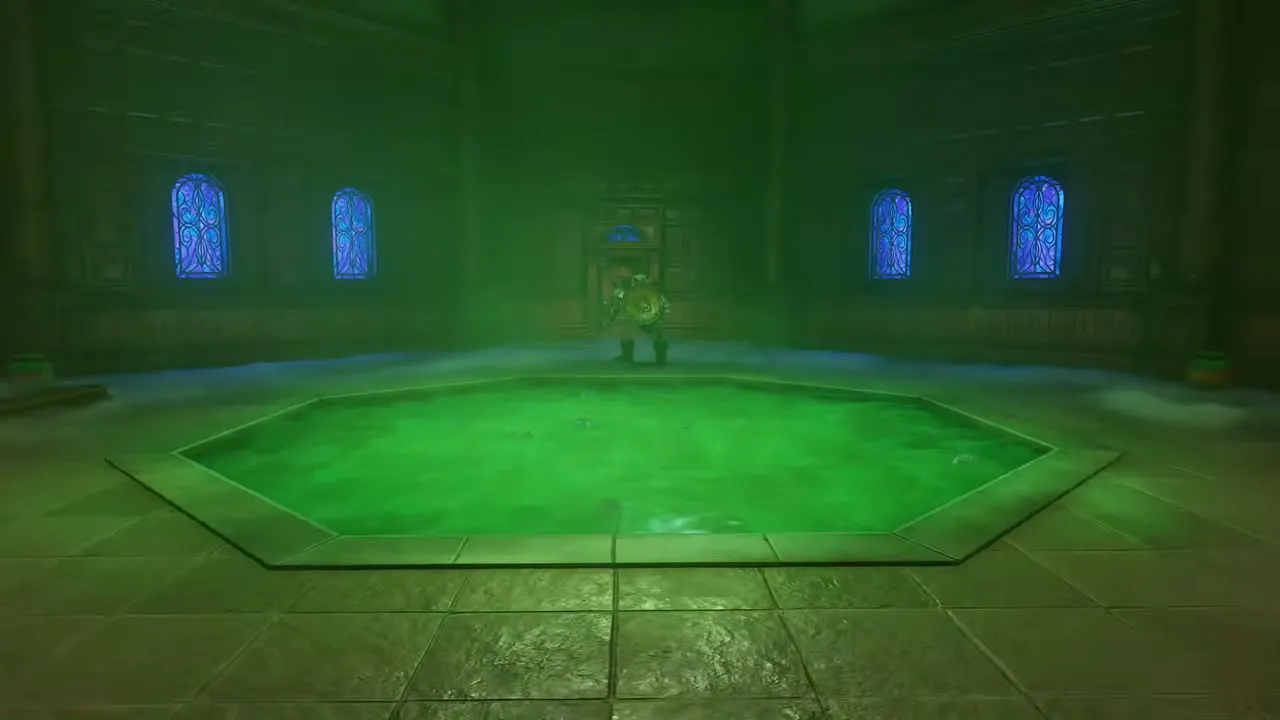
Gold Skulltula #47
Forest Temple, vine wall above the courtyard. Adult Link, any time of day. You need: Hookshot. Climb the vine wall at the side of the courtyard. Near the top, before the mossy tunnel, a token glows among the vines. Put away anything you are holding, equip the Hookshot and aim at it when the Fire prompt shows.
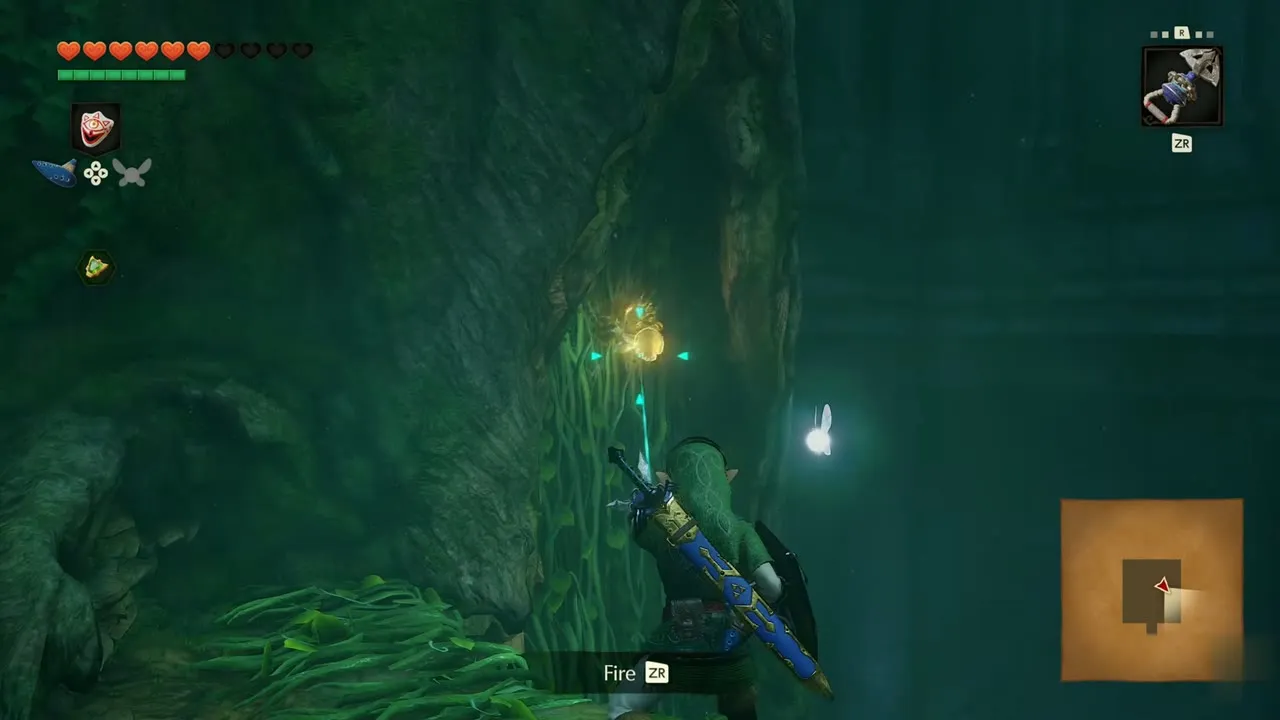
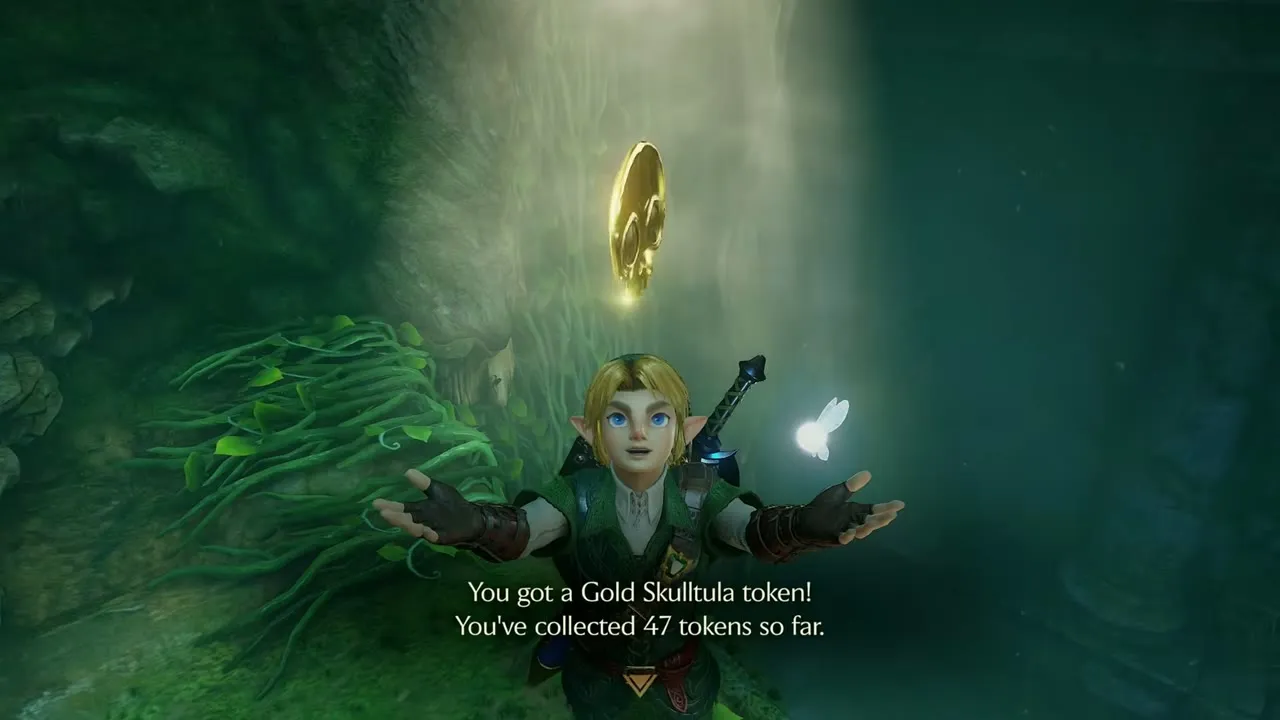
Gold Skulltula #48
Forest Temple, stairs landing above the main hall. Adult Link, any time of day. You need: Hookshot. After the Forest Temple Mysteries banner in the checkered main hall, climb the stairs to the wood-paneled landing above. A token glows high on the wall. Fire the Hookshot at it.

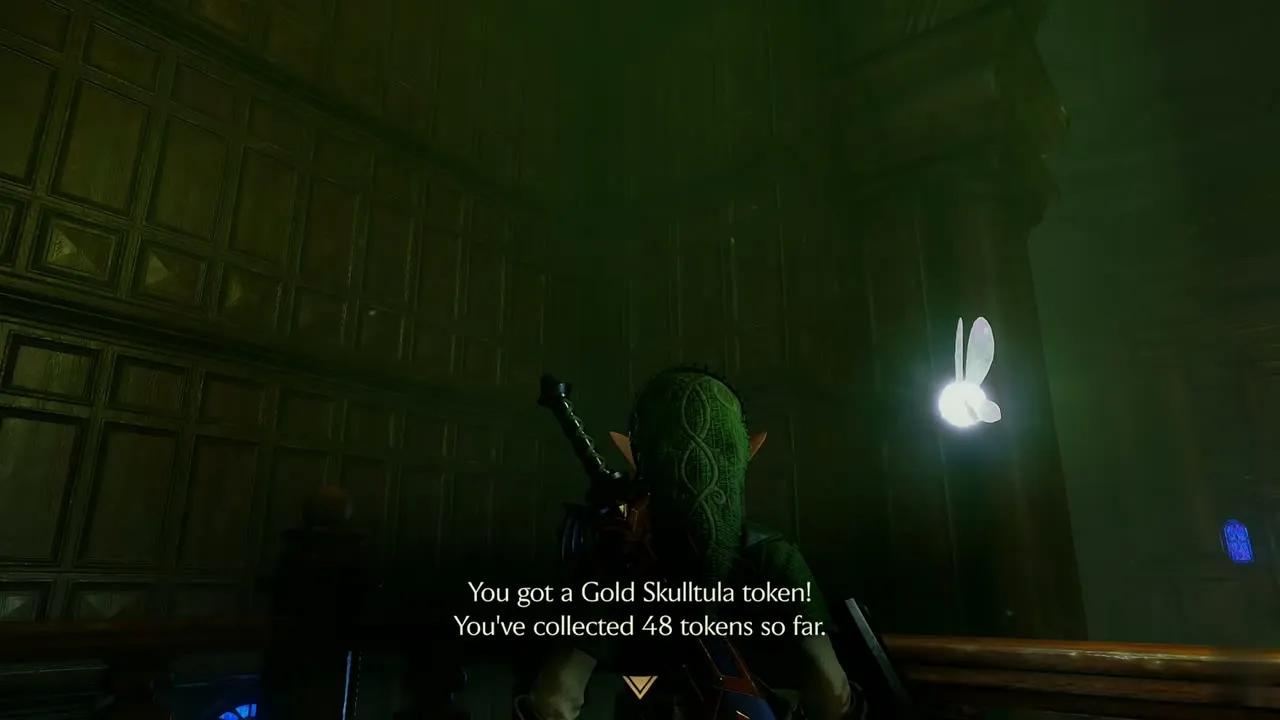
Gold Skulltula #49
Forest Temple, ivy room wall. Adult Link, any time of day. You need: Hookshot. After the pool room targets, walk through the ivy room, where the Hookshot prompt appears on a wall. A Gold Skulltula hangs high on the ivy. Hit it with an arrow, switch to the Hookshot, fire it when the prompt shows and take the token.


Gold Skulltula #50
Forest Temple, web in the corridor on B2. Adult Link, any time of day. You need: Din’s Fire, Hookshot. On B2, cast Din’s Fire at the first round window in the hub and the doorway beside it opens. Kill the large Skulltula in the passage, burn the web in the dusty room beyond with Din’s Fire, then hook the Gold Skulltula behind it with the Hookshot.


Gold Skulltula #51
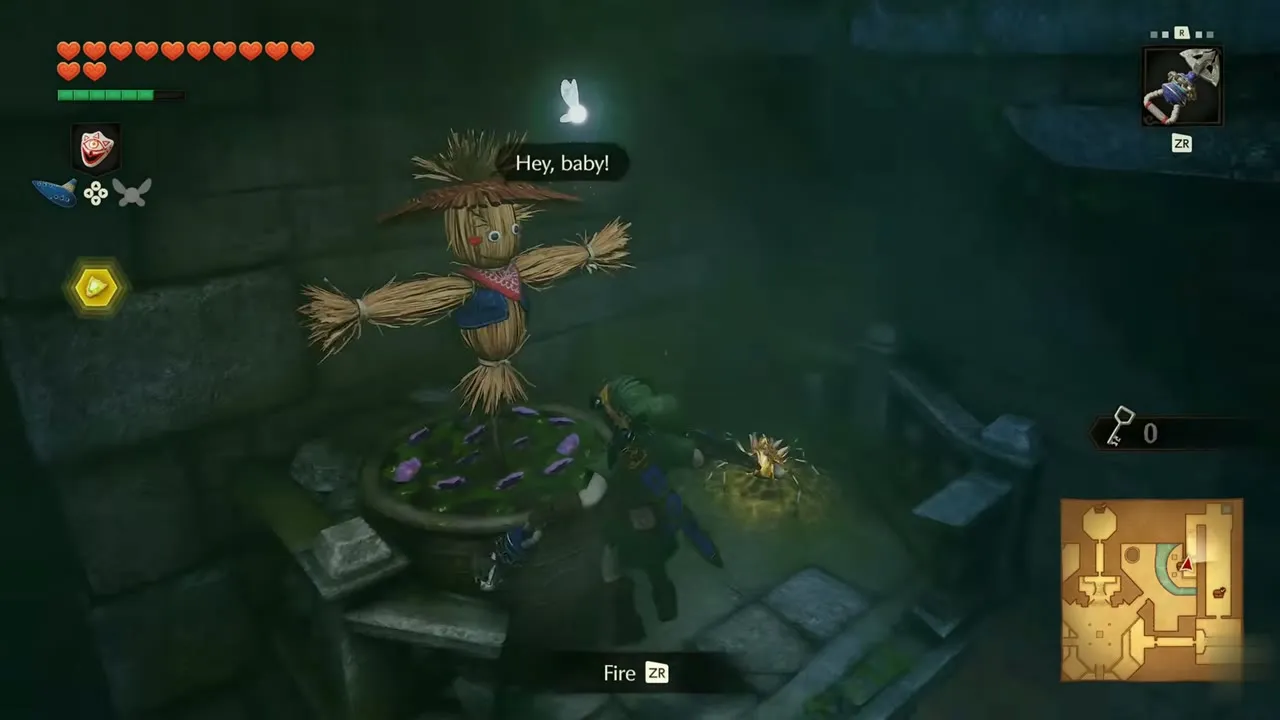
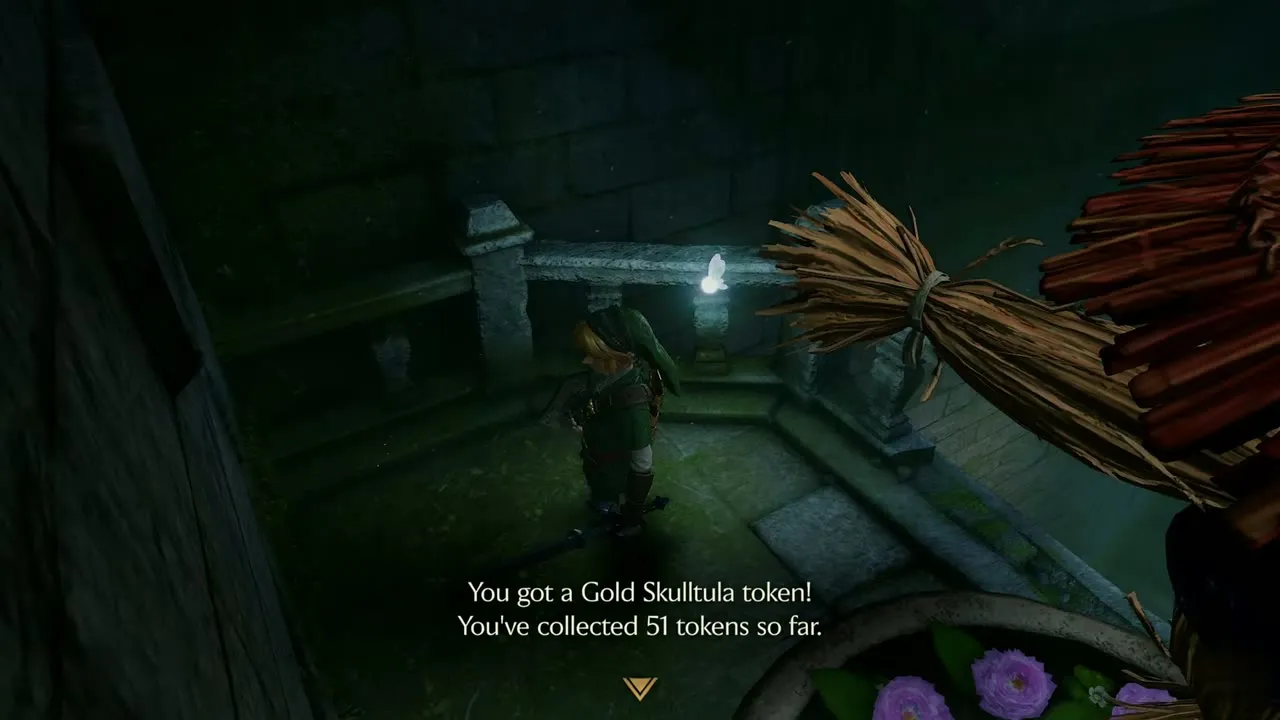
Forest Temple, scarecrow perch in the courtyard. Adult Link, any time of day. You need: Scarecrow Song, Hookshot. Open the songbook on the ledge and play the Scarecrow Song. A scarecrow appears on a perch across the gap. Hookshot to it and pull yourself over to the perch, where the token waits.
Fire Temple
The Fire Temple has five tokens. Bombs and the Megaton Hammer open two of them, and the Hookshot takes the rest. See Fire Temple.


Gold Skulltula #55
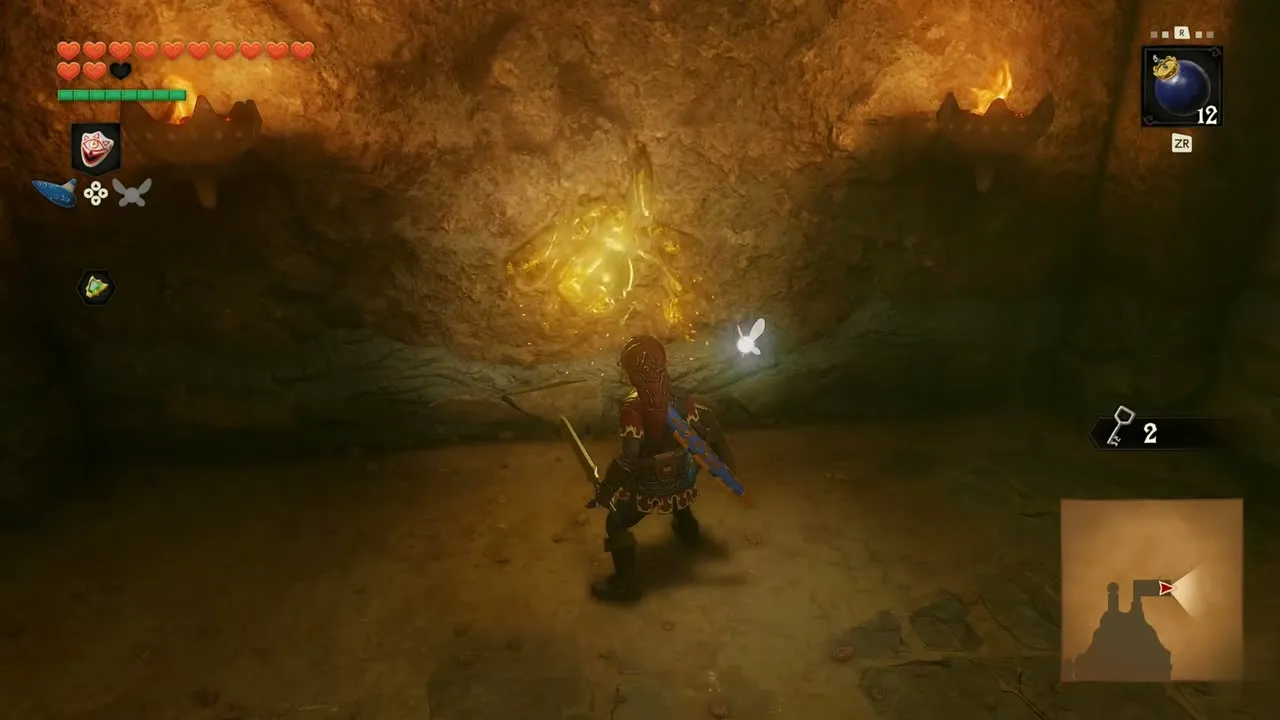
Fire Temple, stone idol in the tiled room. Adult Link, any time of day. You need: Bombs, Goron Tunic. In the room with the square floor tiles, set a Bomb against the stone idol at the back wall and step back. The blast clears it, and a golden glow on the rock behind marks the Gold Skulltula. Defeat it and take its token.
Gold Skulltula #56
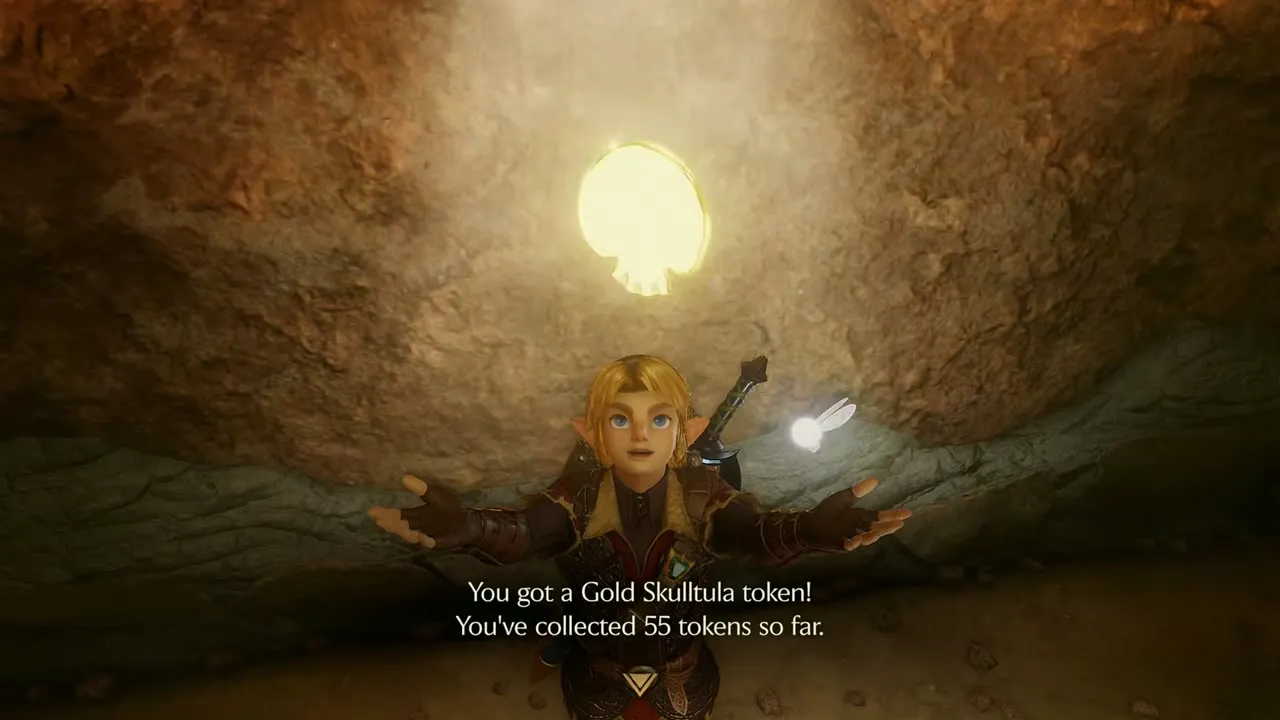
Fire Temple, rubble wall on 3F. Adult Link, any time of day. You need: Bombs. On 3F, set a Bomb against the rubble wall and step away. A Gold Skulltula bursts out in a shower of sparks. Defeat it and take the token.

Gold Skulltula #57
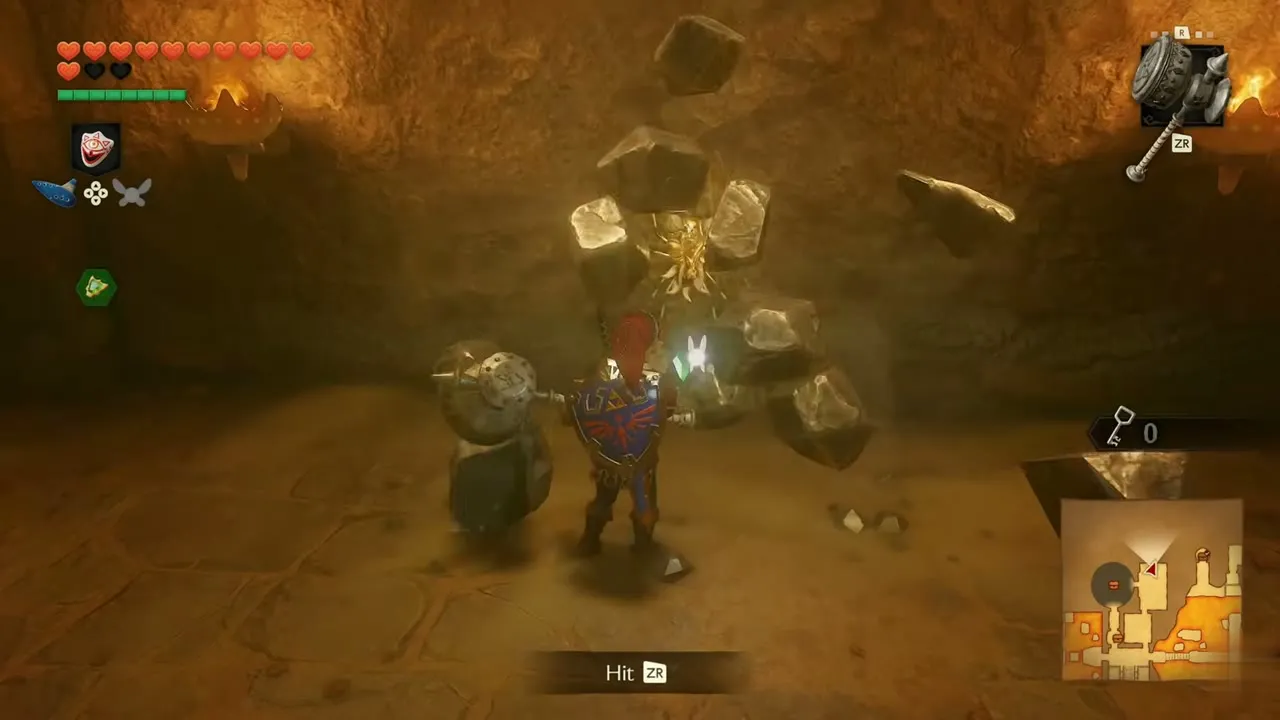
Fire Temple, boulder pile. Adult Link, any time of day. You need: Megaton Hammer. Smash the boulder pile in the room with the Megaton Hammer. A Gold Skulltula bursts out of the stones. Defeat it and take the token.

Gold Skulltula #58
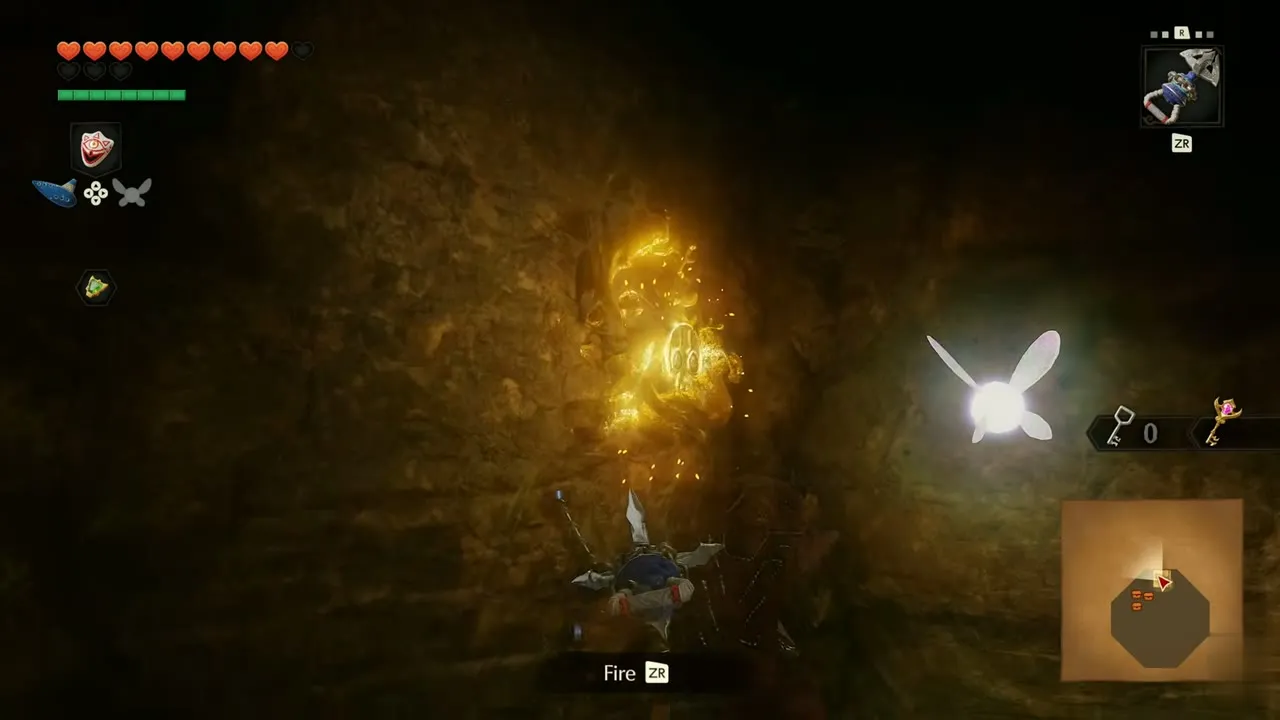
Fire Temple, 5F corridor wall. Adult Link, any time of day. You need: Hookshot. A golden glow lights a patch of wall in the 5F corridor. Fire the Hookshot at it and the Gold Skulltula falls.

Gold Skulltula #59
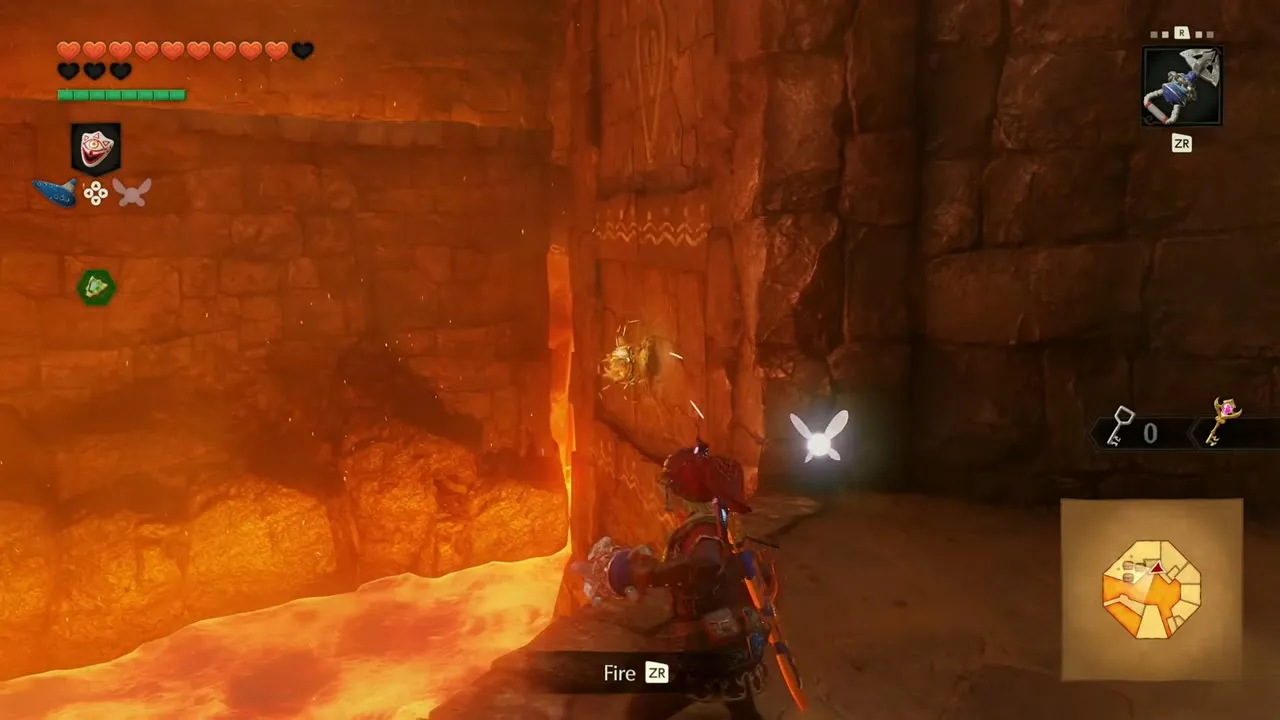
Fire Temple, lava room beside it. Adult Link, any time of day. You need: Hookshot. Walk on to the lava room next to the corridor and fire the Hookshot at the next Gold Skulltula on the wall when the Fire prompt appears.

Ice Cavern
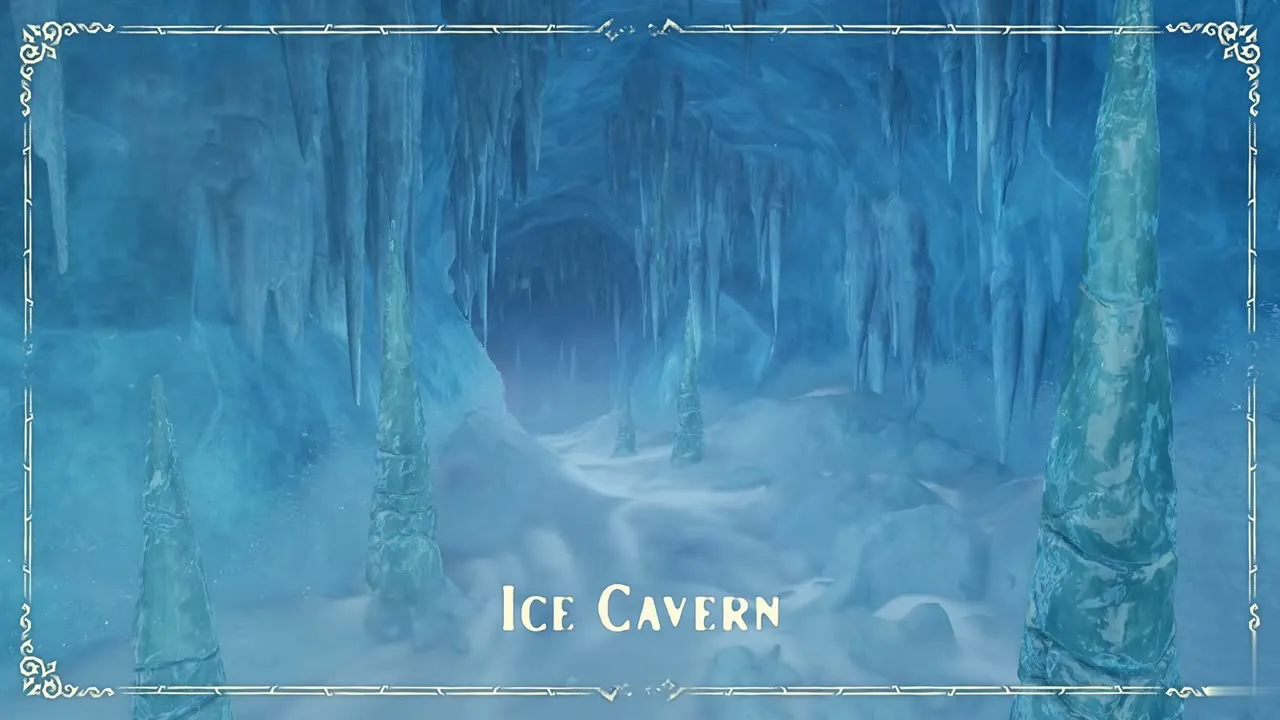
The Ice Cavern has three tokens, each a Hookshot target on the ice. A fourth token sits just outside in the frozen Zora Domain, listed under the Zora section above. See Ice Cavern.
Gold Skulltula #64
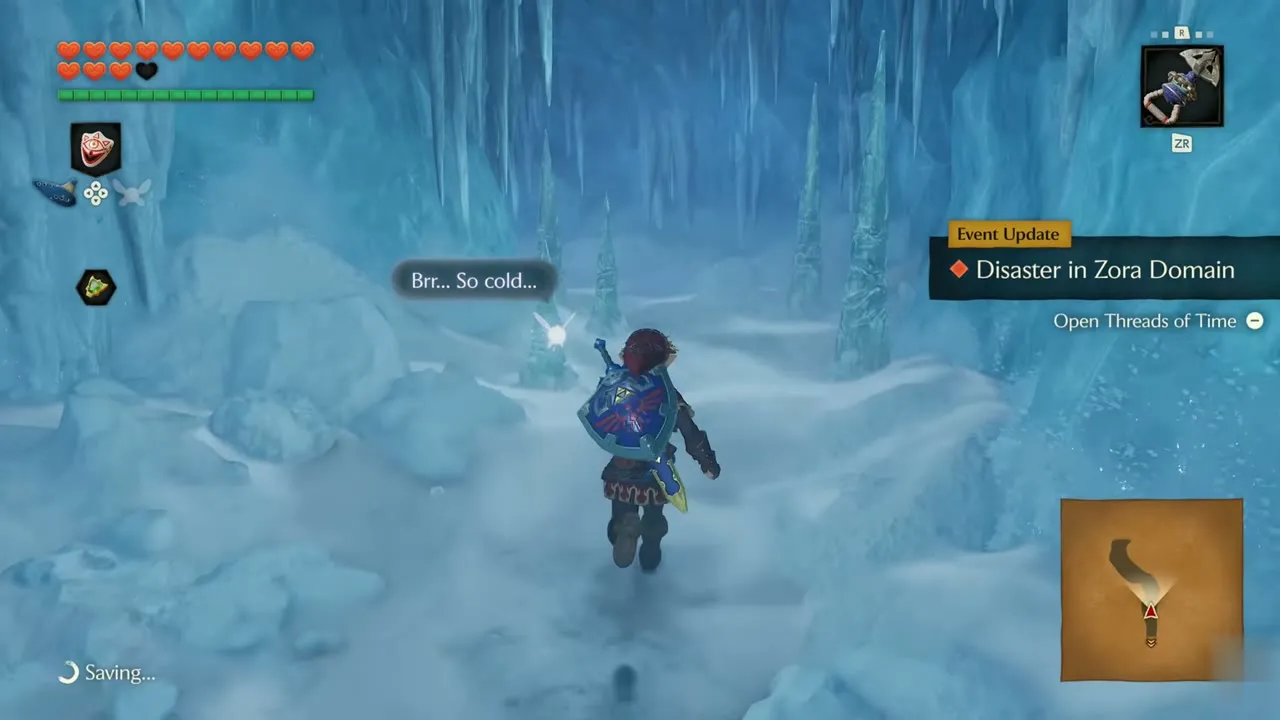
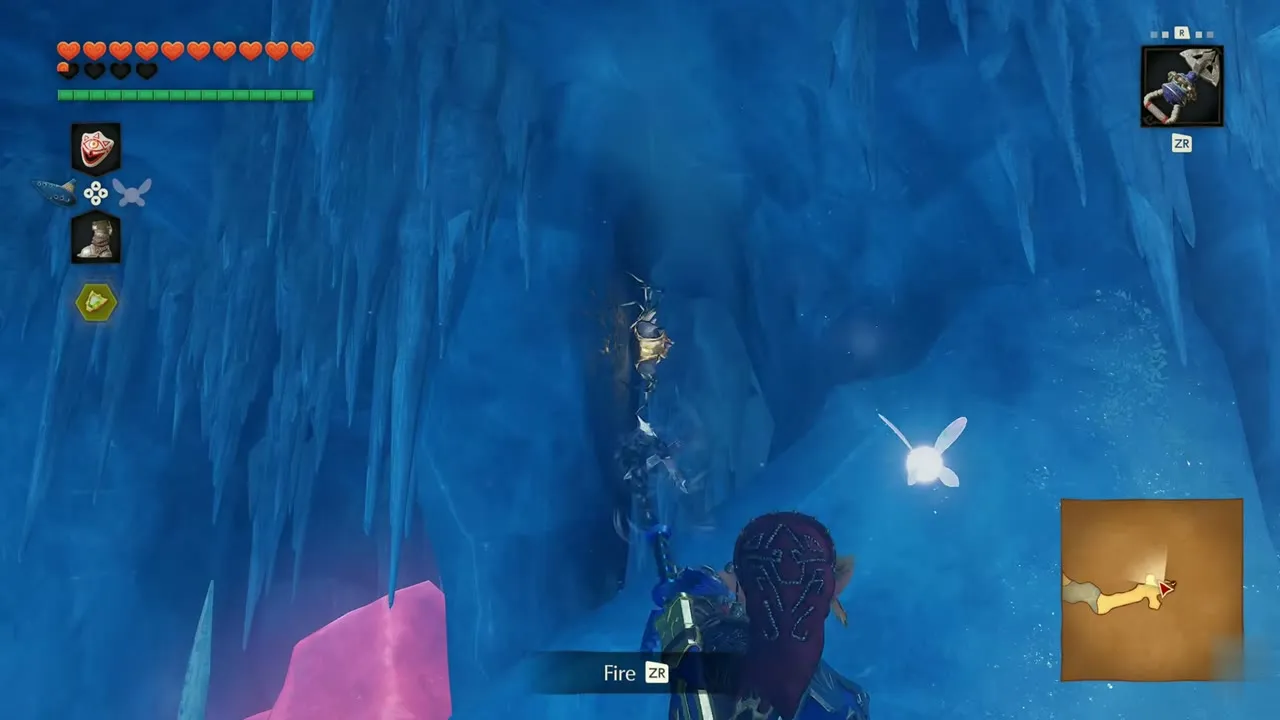
Ice Cavern, frozen ruins. Adult Link, any time of day. You need: Hookshot. Move through the cave and past the gates. In the cavern beyond them, look up the ice wall for a Gold Skulltula. Aim the Hookshot at it with Fire.

Gold Skulltula #65
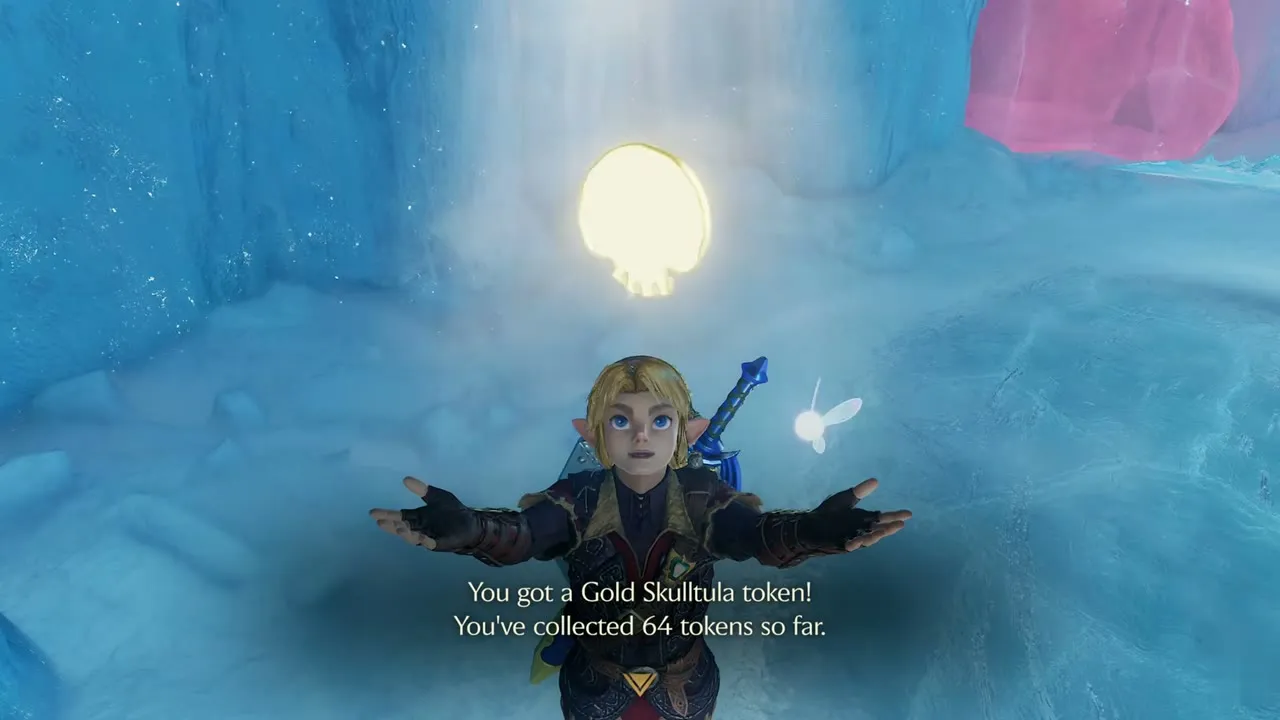
Ice Cavern, ice walkway. Adult Link, any time of day. You need: Hookshot. Equip the Hookshot, line up on the Gold Skulltula on the wall of the ice walkway and press Fire. The token drops onto the walkway.

Gold Skulltula #66
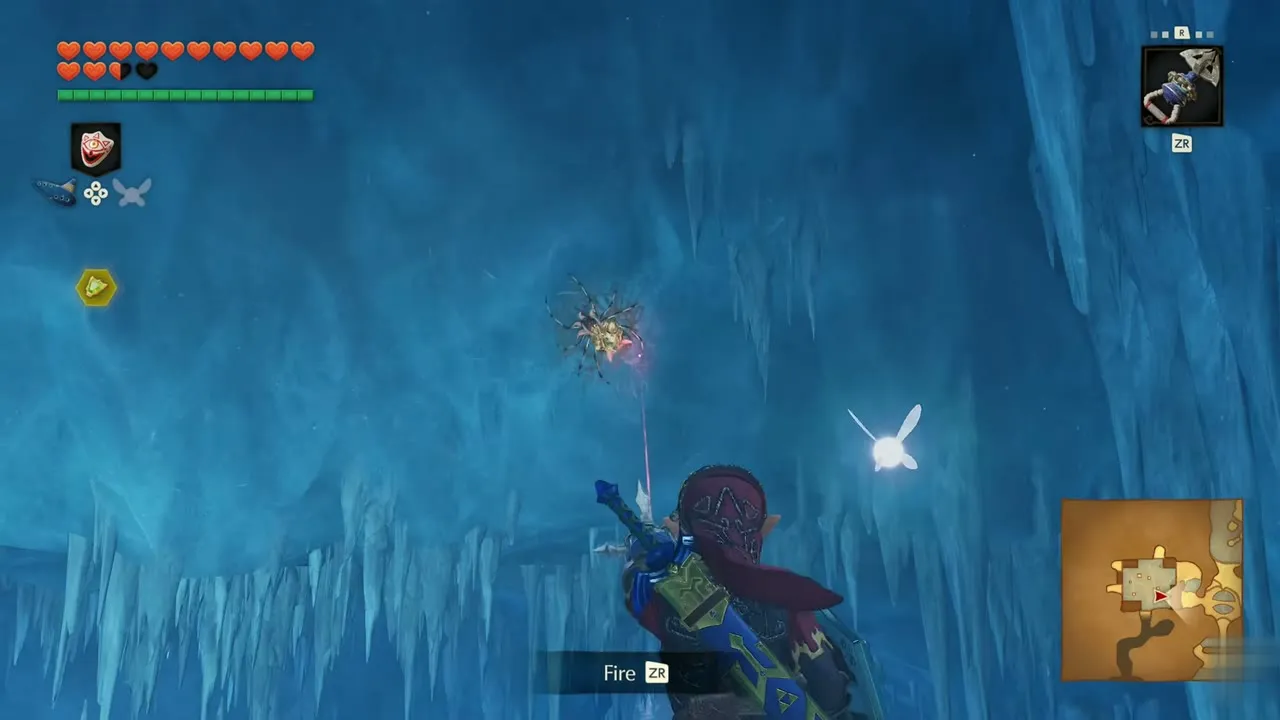
Ice Cavern, beyond the Compass chest. Adult Link, any time of day. You need: Hookshot. After the Compass chest, continue past the pink ice block. A token glows high on the ice wall. Fire the Hookshot at it.
Water Temple
The Water Temple has five tokens, mostly Longshot shots across water. The tokens at the Lakeside Laboratory and in the big tree outside belong to the Lake Hylia section. See Water Temple.


Gold Skulltula #69
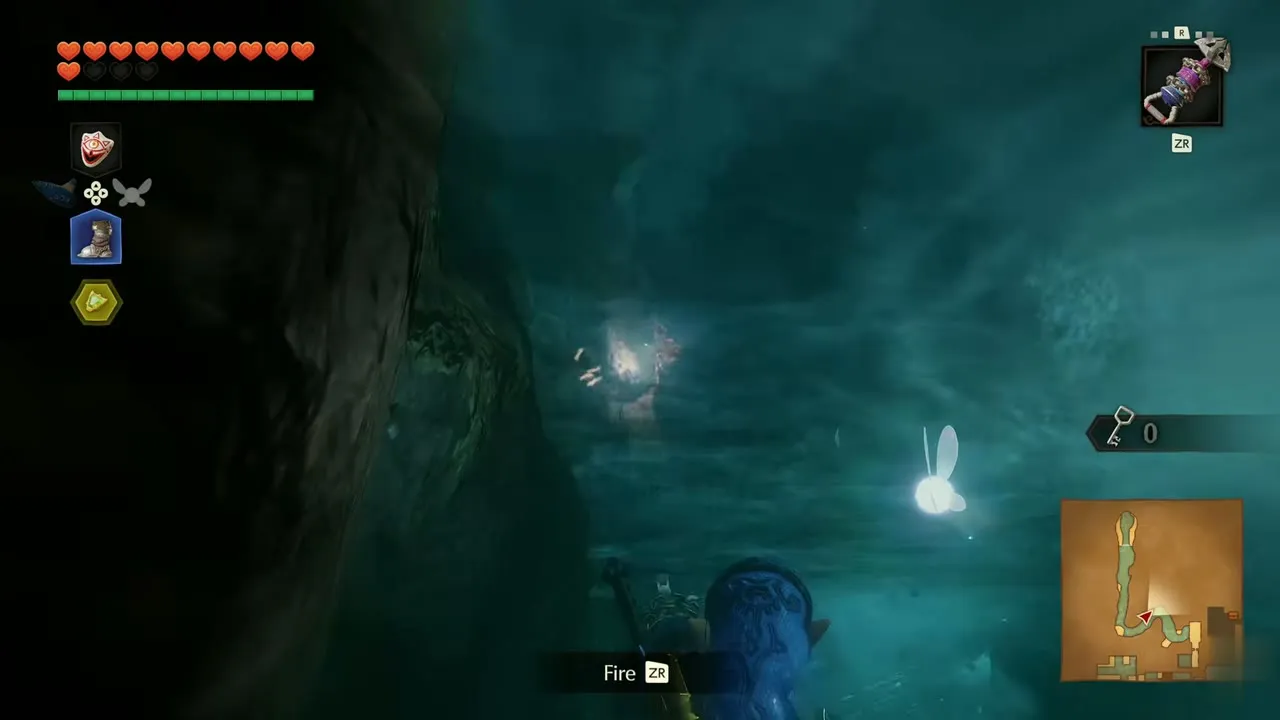
Water Temple, flooded cave on 2F. Adult Link, any time of day. You need: Longshot. Leave the chest room, aim the Longshot at the green ring above the barred cage and follow the water tunnel where the current drags you along. In a dark cave section on 2F, fire the Longshot at the Gold Skulltula glowing ahead.

Gold Skulltula #70
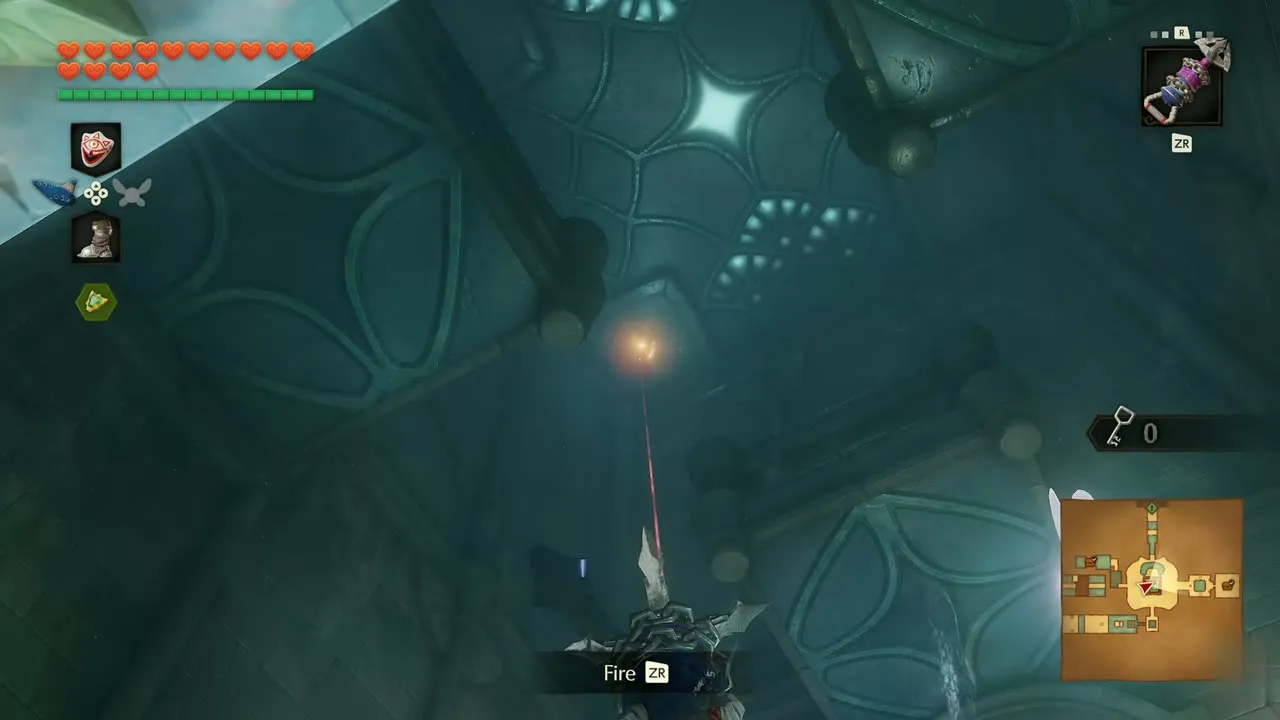
Water Temple, ceiling of the glyph chamber. Adult Link, any time of day. You need: Longshot. On 1F, walk to the stone chamber with a Triforce door and green glowing glyphs. A Gold Skulltula hangs from the vaulted ceiling. Look up and fire the Longshot at it.
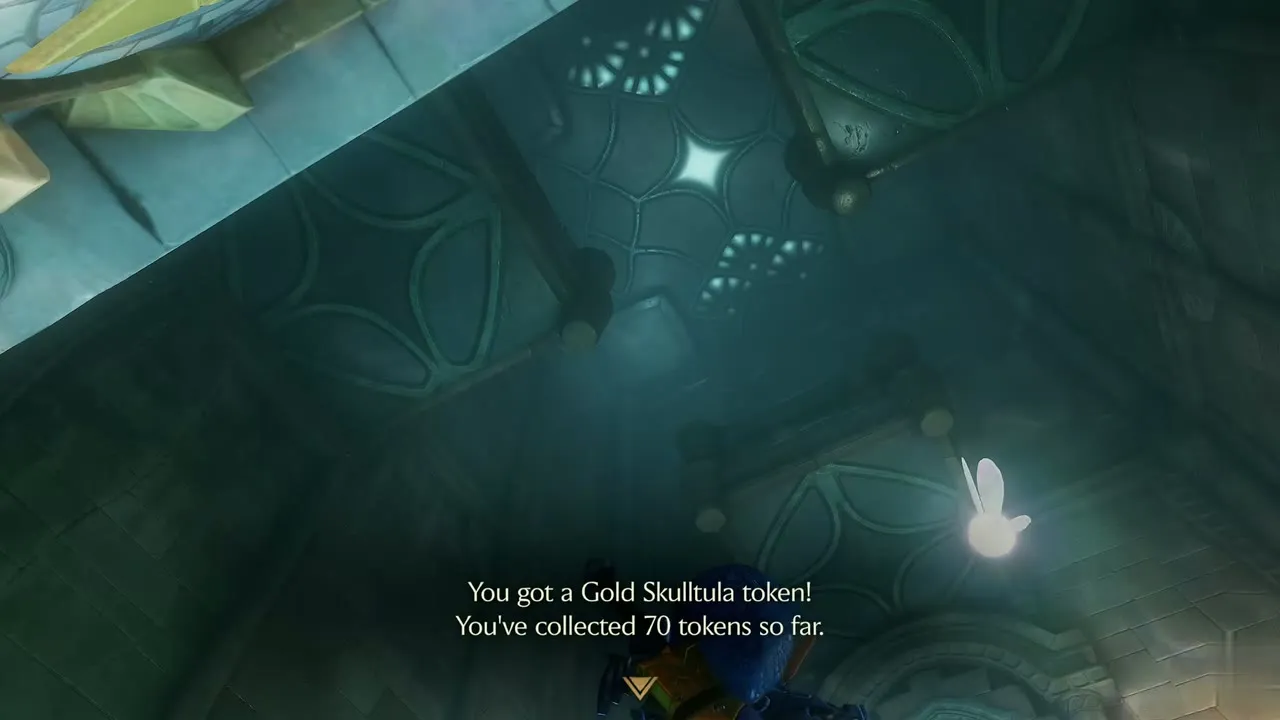
Gold Skulltula #71
Water Temple, golden corridor waterfall. Adult Link, any time of day. You need: Longshot. Follow the golden corridor away from the Boss Key room. A Gold Skulltula hides behind the falling water on its walls. Fire the Longshot at it.

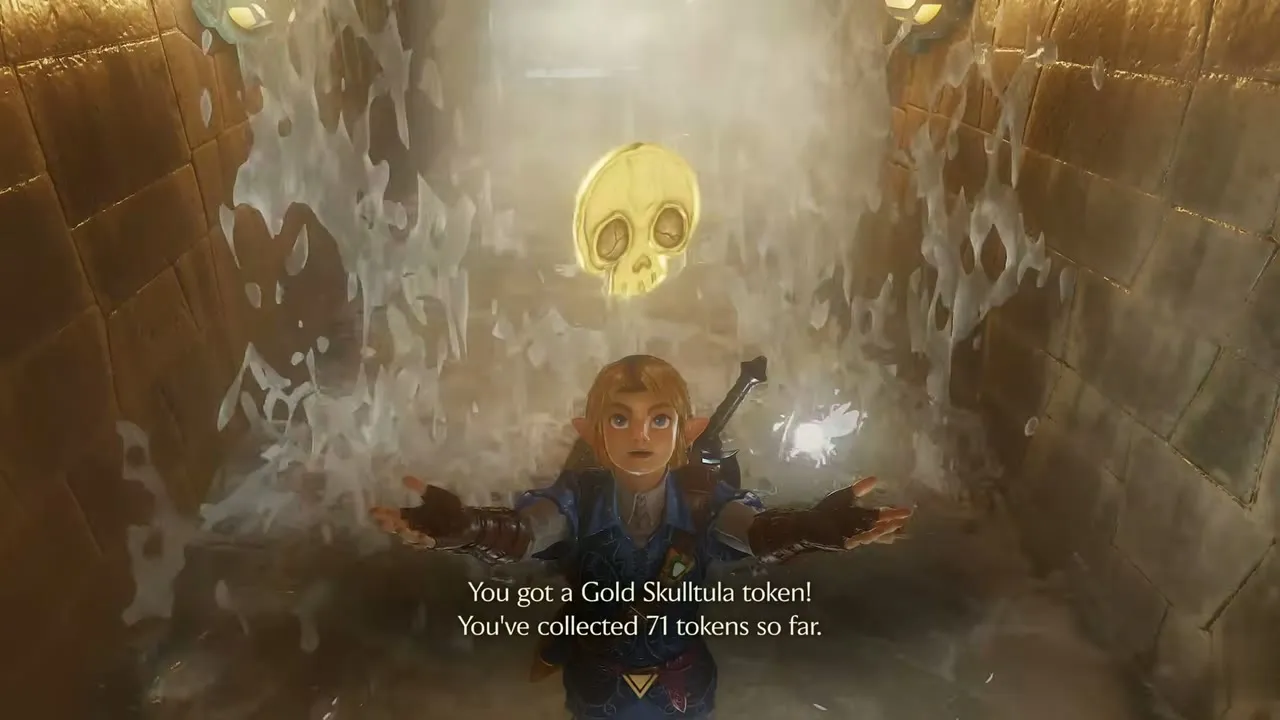
Gold Skulltula #72
Water Temple, flooded hall on B1. Adult Link, any time of day. You need: Longshot. On B1, swim through the green-lit hall. A Gold Skulltula clings high in the flooded hall near the end. Pull it down with the Longshot.


Gold Skulltula #73
Water Temple, stained-glass wall on 2F. Adult Link, any time of day. You need: Megaton Hammer, Fairy Bow. Swim up to 2F and hit the stone block in the room with the red plant enemy with the Hammer. In the next room a golden shimmer glows on a stained-glass wall. Shoot it with an arrow.

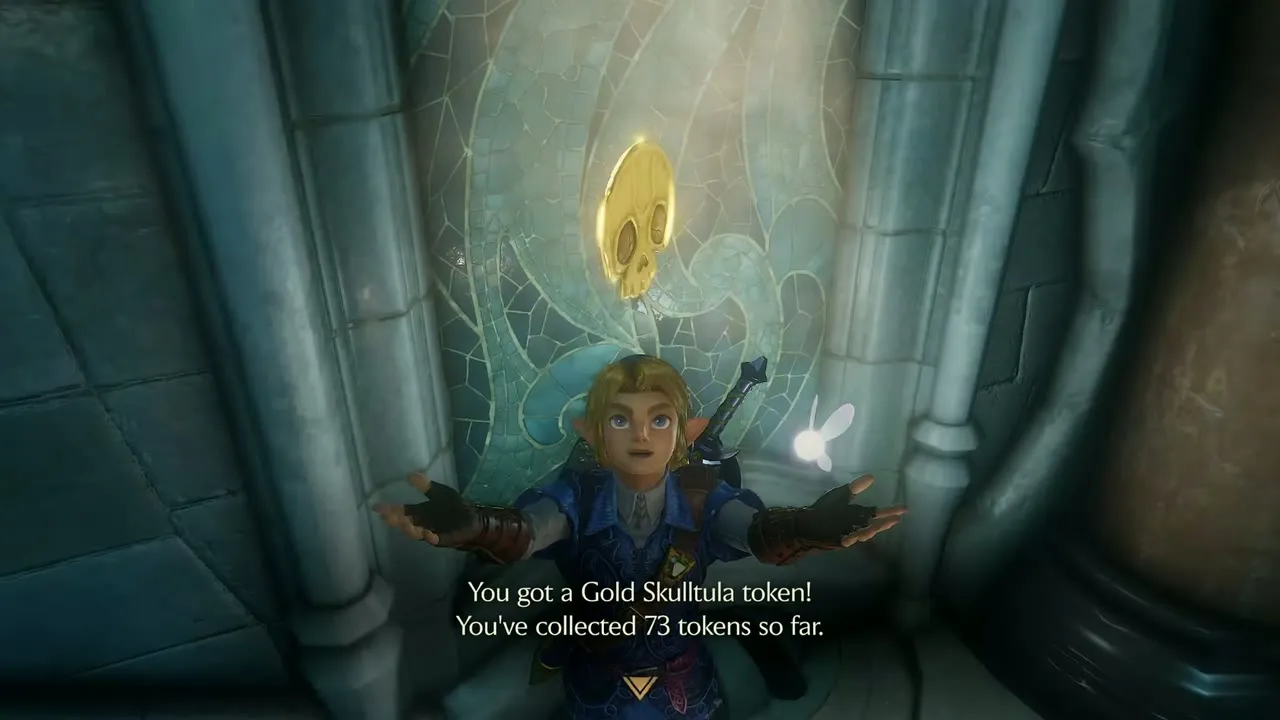
Bottom of the Well
The Bottom of the Well has three tokens for child Link, all knocked down with the Boomerang. Two of them only show under the Lenses of Truth. See Bottom of the Well.


Gold Skulltula #76
Bottom of the Well, wall of the torch-lit room. Child Link, any time of day. You need: Boomerang. In the torch-lit room, spot the Gold Skulltula on the wall and throw the Boomerang at it. The token drops into view.
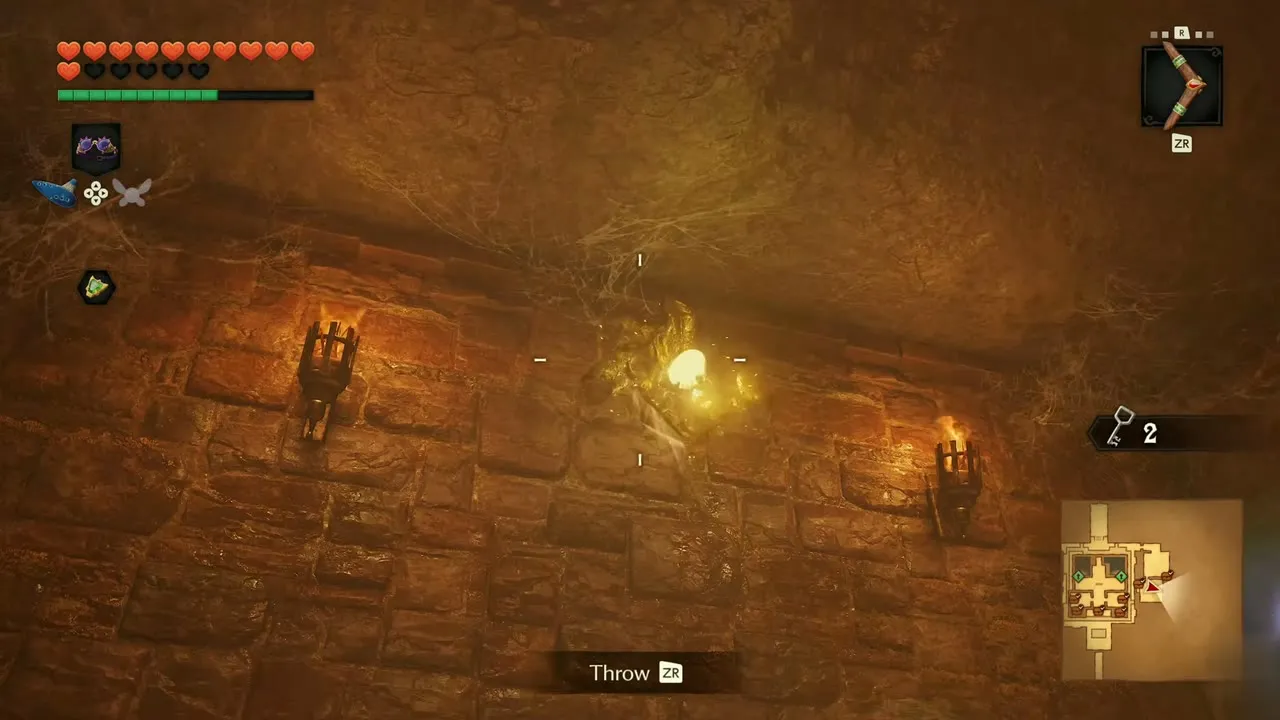
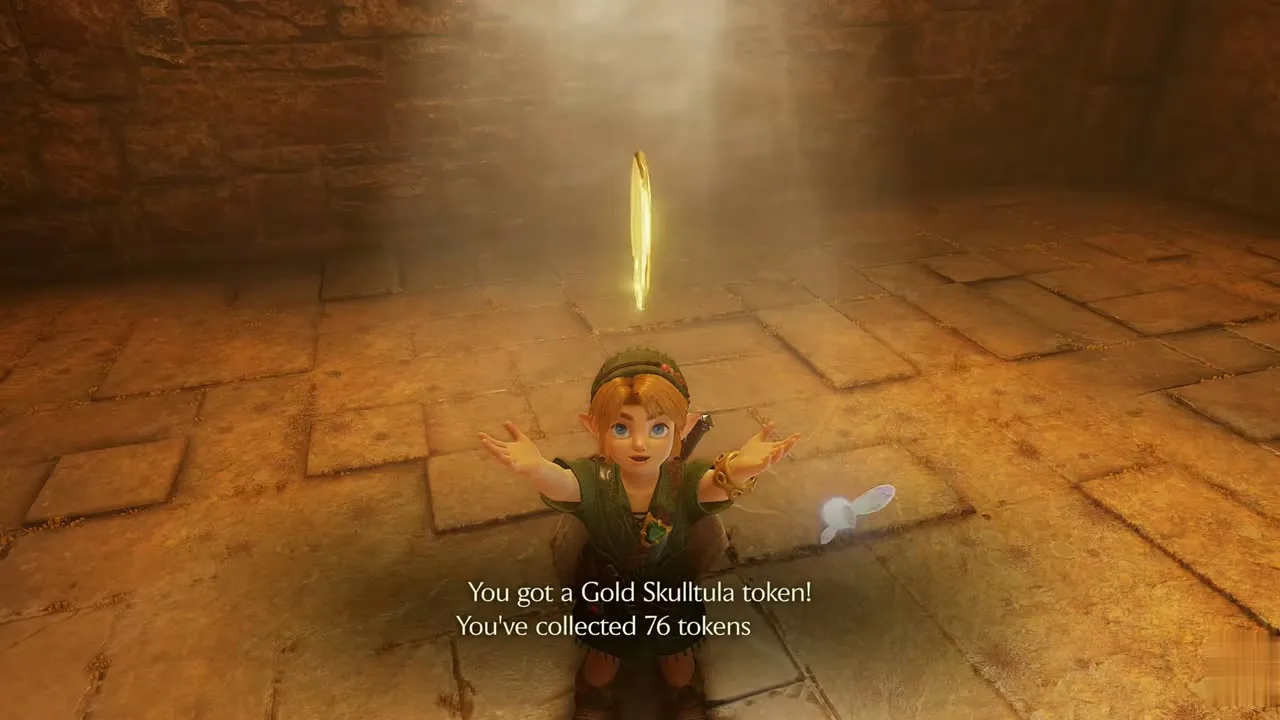
Gold Skulltula #77
Bottom of the Well, shaft above the corridor. Child Link, any time of day. You need: Lenses of Truth, Boomerang. Look up with the Lenses of Truth on, and a Gold Skulltula appears on the wall in a shaft above the corridor. Throw the Boomerang at it as soon as it shows.


Gold Skulltula #78
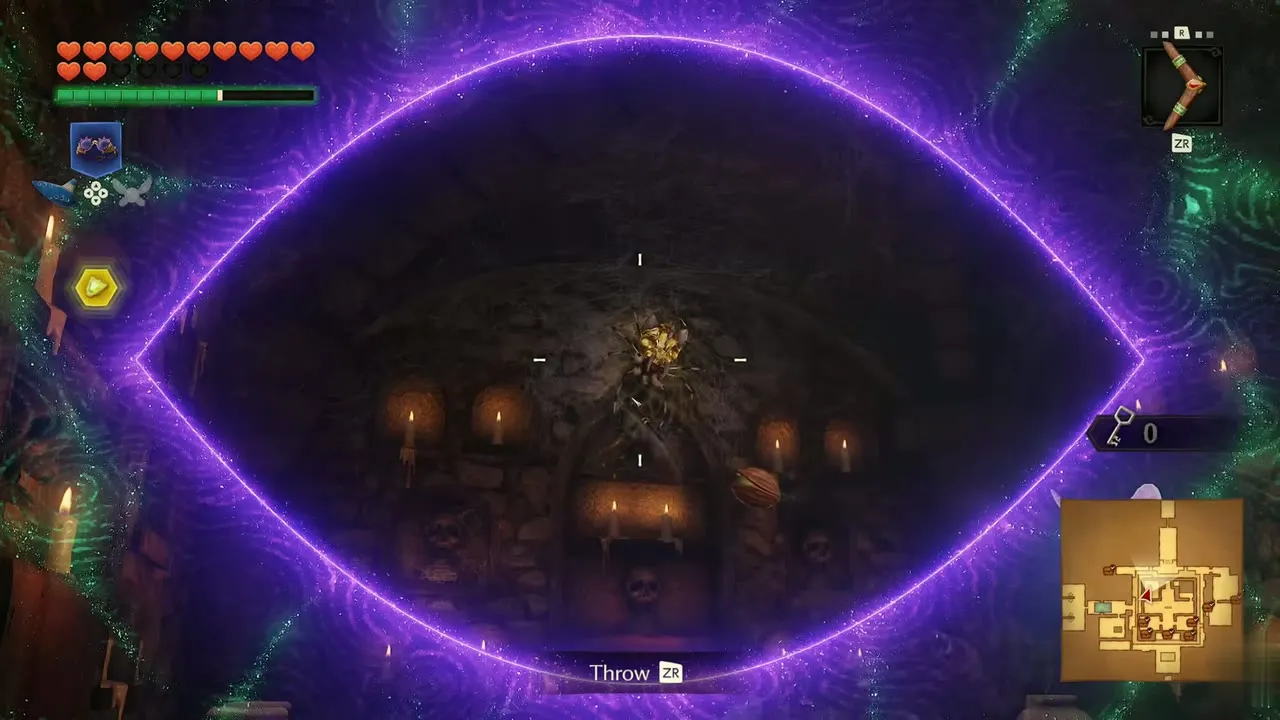
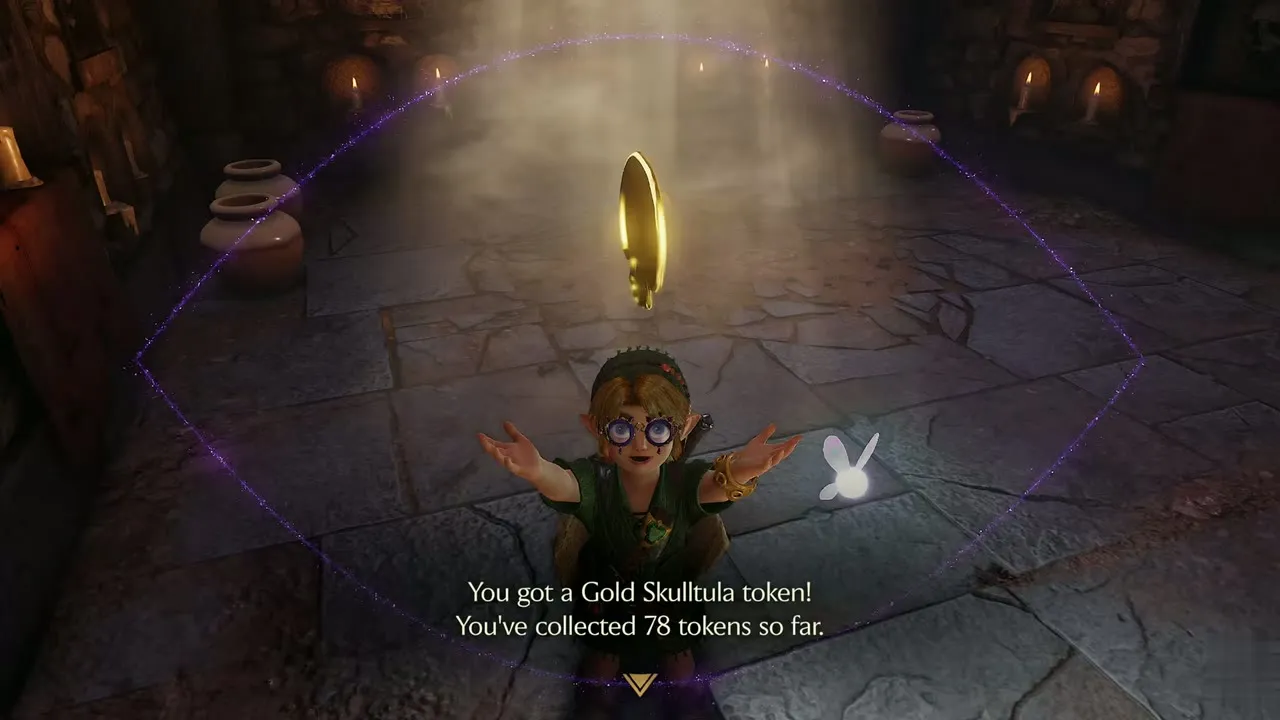
Bottom of the Well, wall opposite the door. Child Link, any time of day. You need: Lenses of Truth, Boomerang. With the Lenses on, a Gold Skulltula shows against the wall opposite the door. Throw the Boomerang at it and collect the token.
Shadow Temple
The Shadow Temple has five tokens, and the Longshot takes the ones that hang behind bars or across gaps. See Shadow Temple.

Gold Skulltula #79
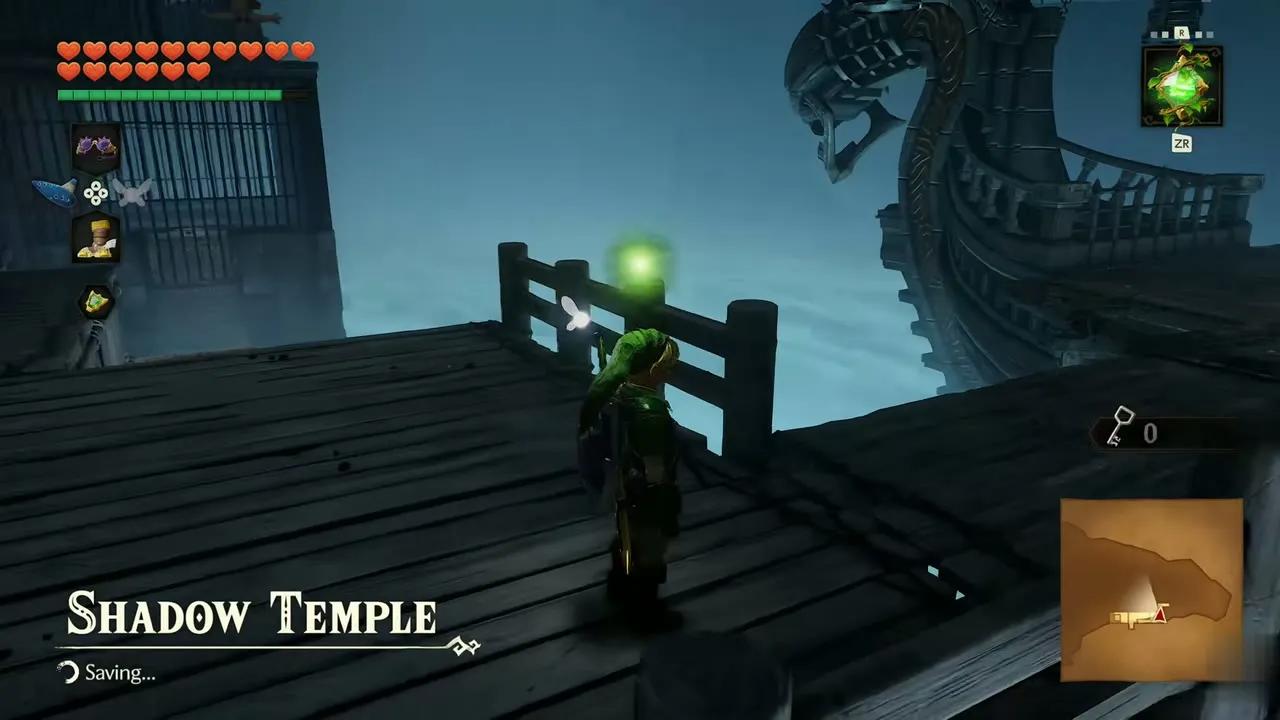
Shadow Temple, above the chest past the eye door. Adult Link, any time of day. You need: None. Fight through the rooms past the scrub, where red-glowing enemies attack in the dark. In the room behind the next eye door, a chest sits against the wall and a Gold Skulltula clings above it. Defeat it and take the token.
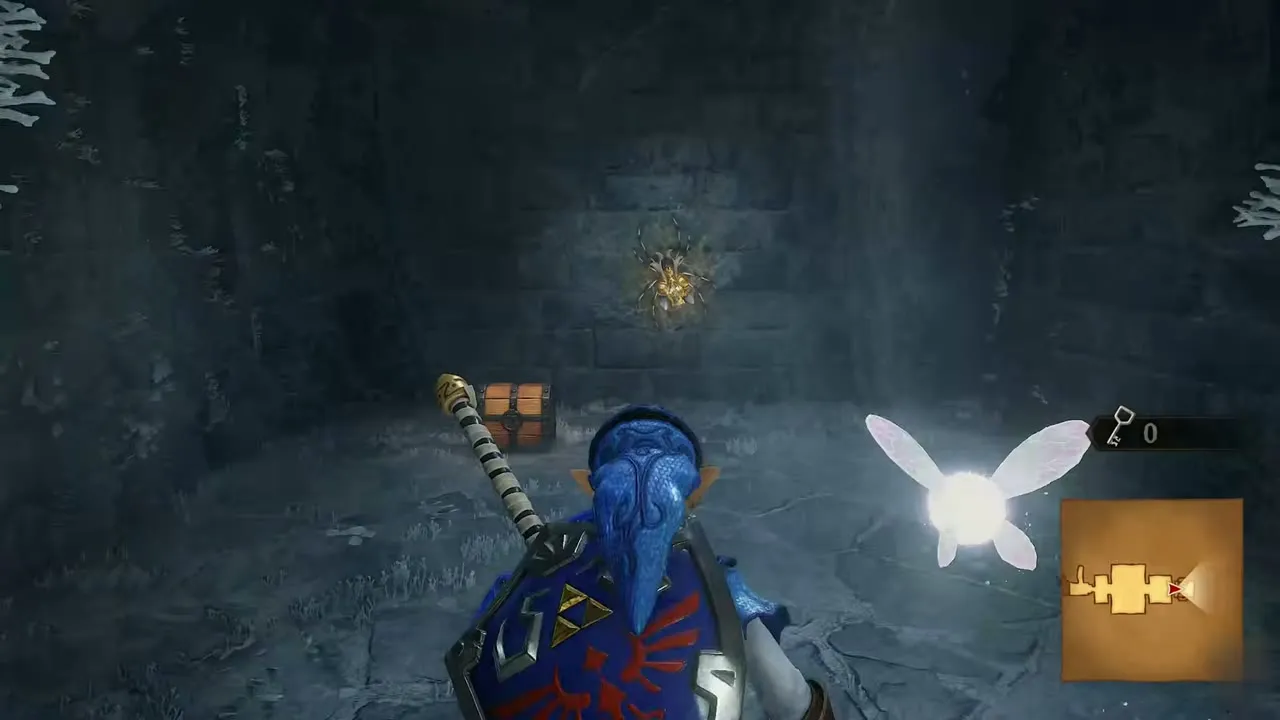
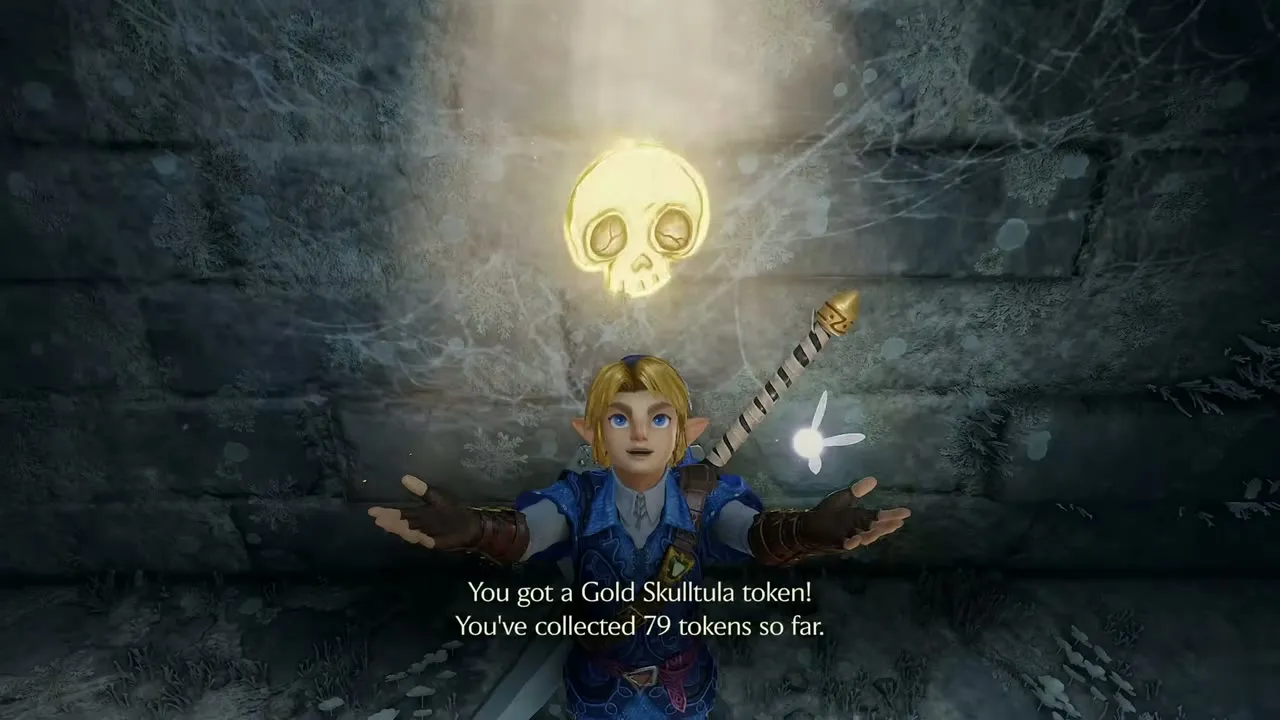
Gold Skulltula #80
Shadow Temple, barred gate corridor. Adult Link, any time of day. You need: Longshot. A glowing gold light marks a barred gate corridor with a Gold Skulltula crawling on the wall. Take out the Longshot, aim at it and fire.
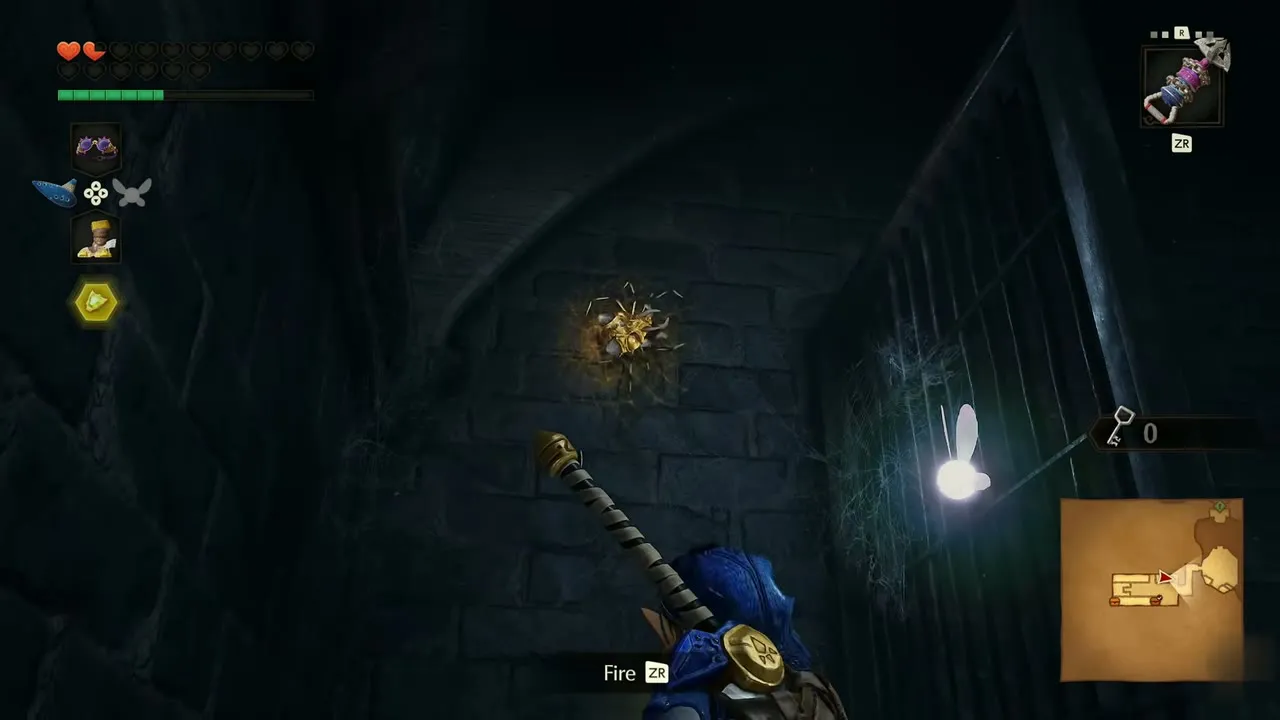
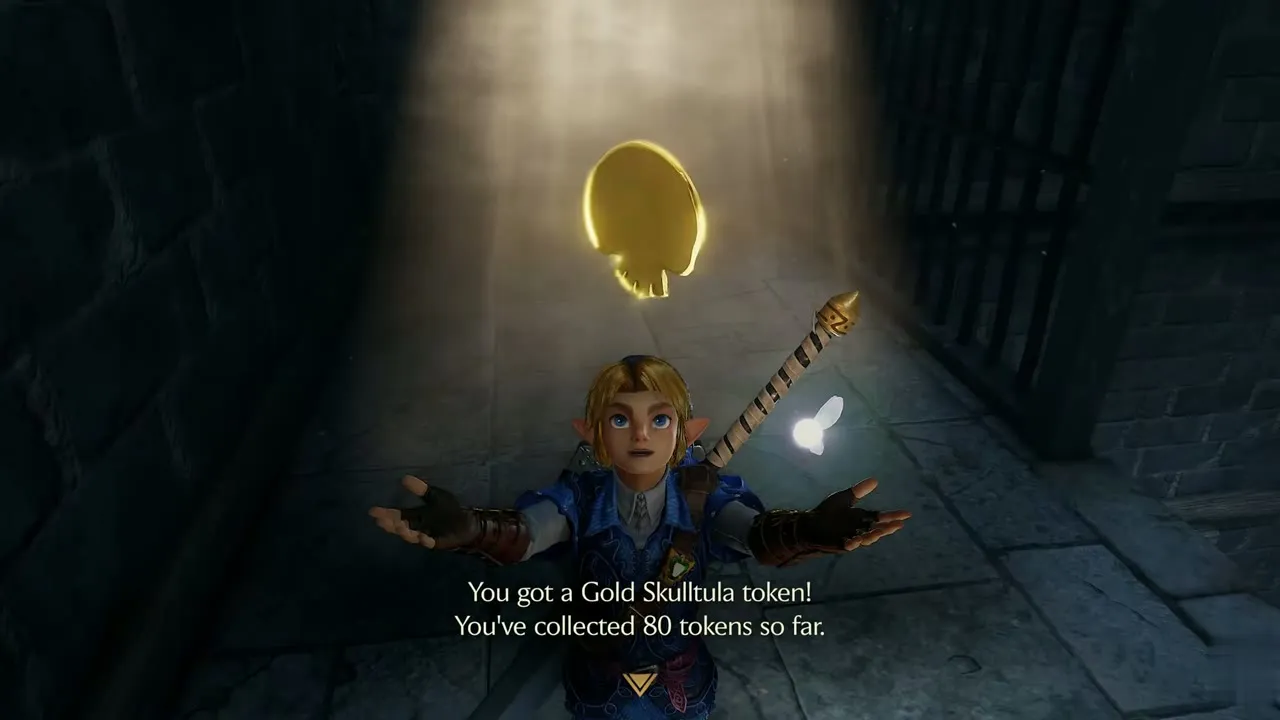
Gold Skulltula #81
Shadow Temple, skull statue room. Adult Link, any time of day. You need: Longshot. Past the skull room, follow a dark, narrow corridor with the Longshot equipped. The Gold Skulltula sits on the wall ahead, so fire the Longshot at it from a distance and take the token.
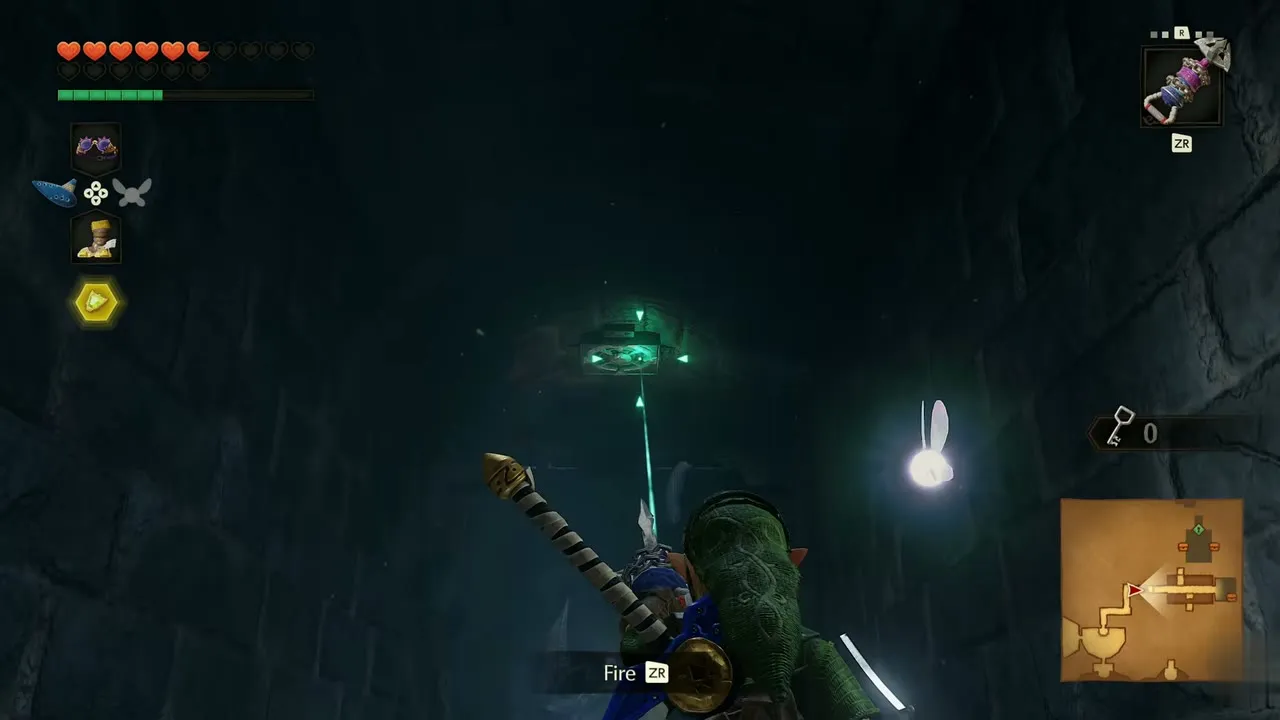

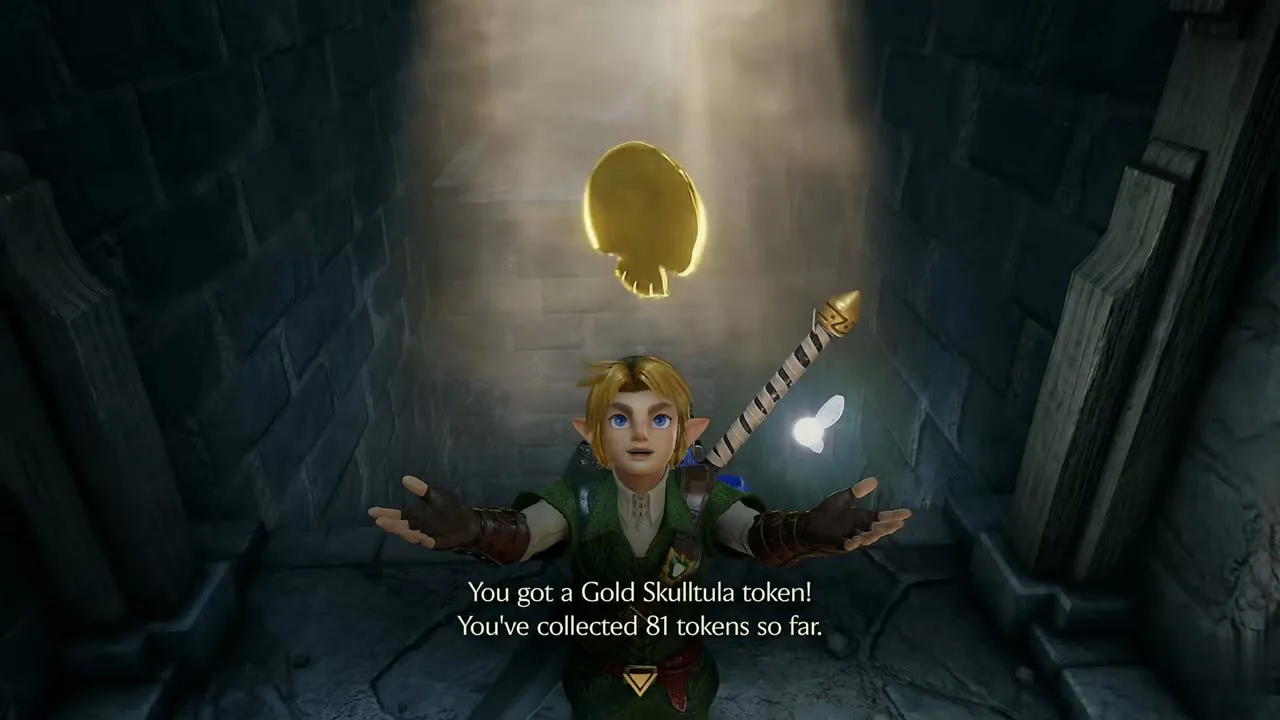
Gold Skulltula #82
Shadow Temple, cage on the walkways. Adult Link, any time of day. You need: Longshot, Scarecrow Song. Aim the Longshot at the Scarecrow, a small target, and fire. It pulls you onto the cage. Walk along the planks inside to a Gold Skulltula in a corner and collect the token.
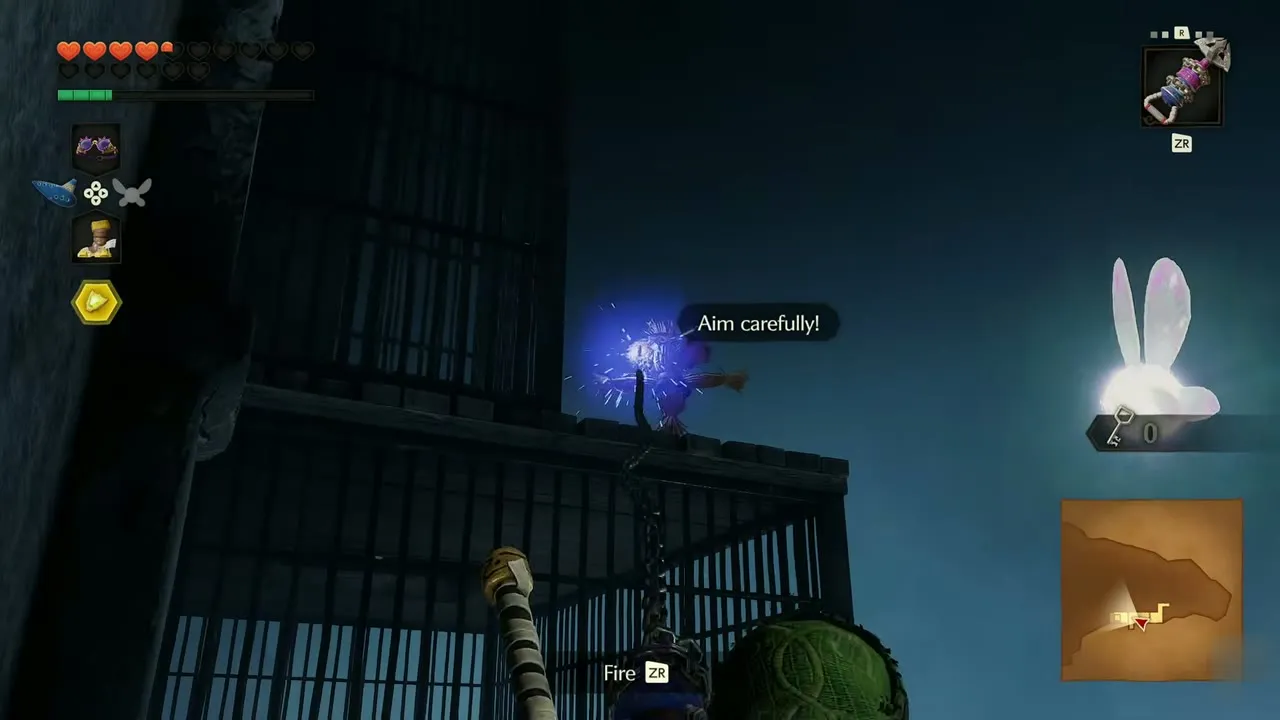

Gold Skulltula #83
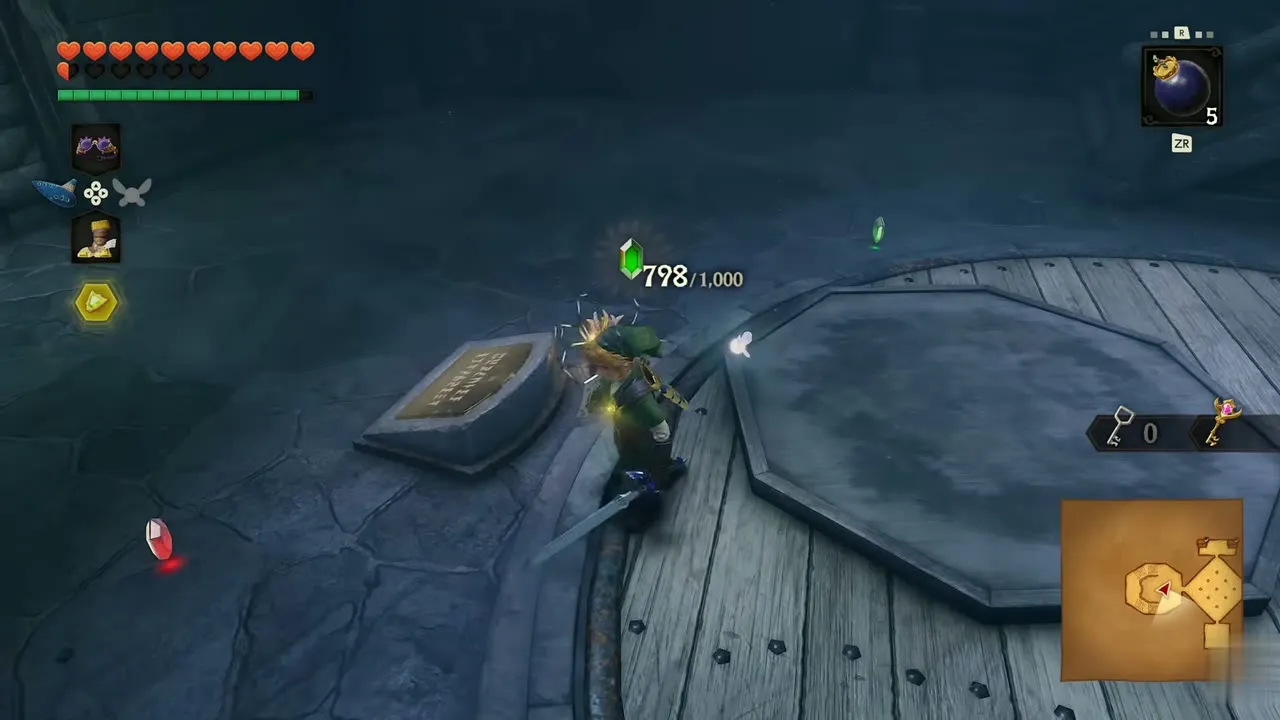
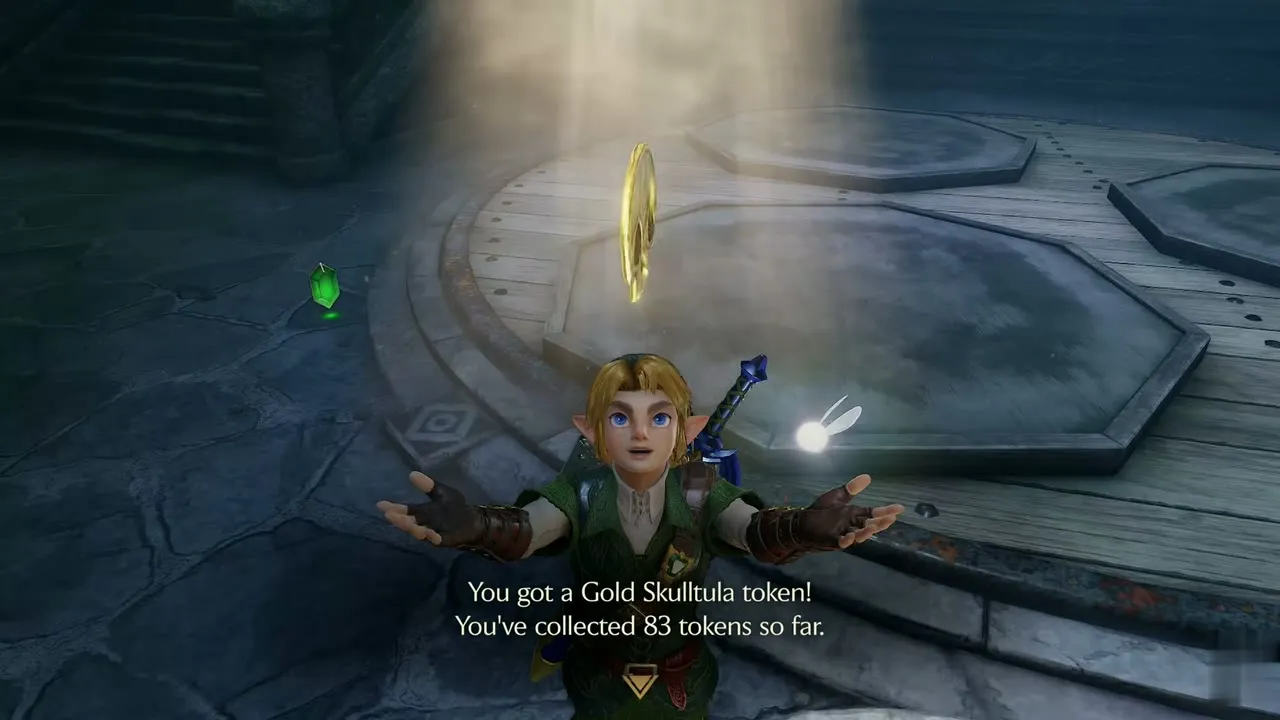
Shadow Temple, round platform with the cauldrons. Adult Link, any time of day. You need: None. From the balcony railing above the metal cauldrons, throw Bombs at them and they burst into Rupees. Walk down to the round wooden platform, where a golden plaque lies on the floor. Slash it and take the token before heading for the dark, foggy bridge.
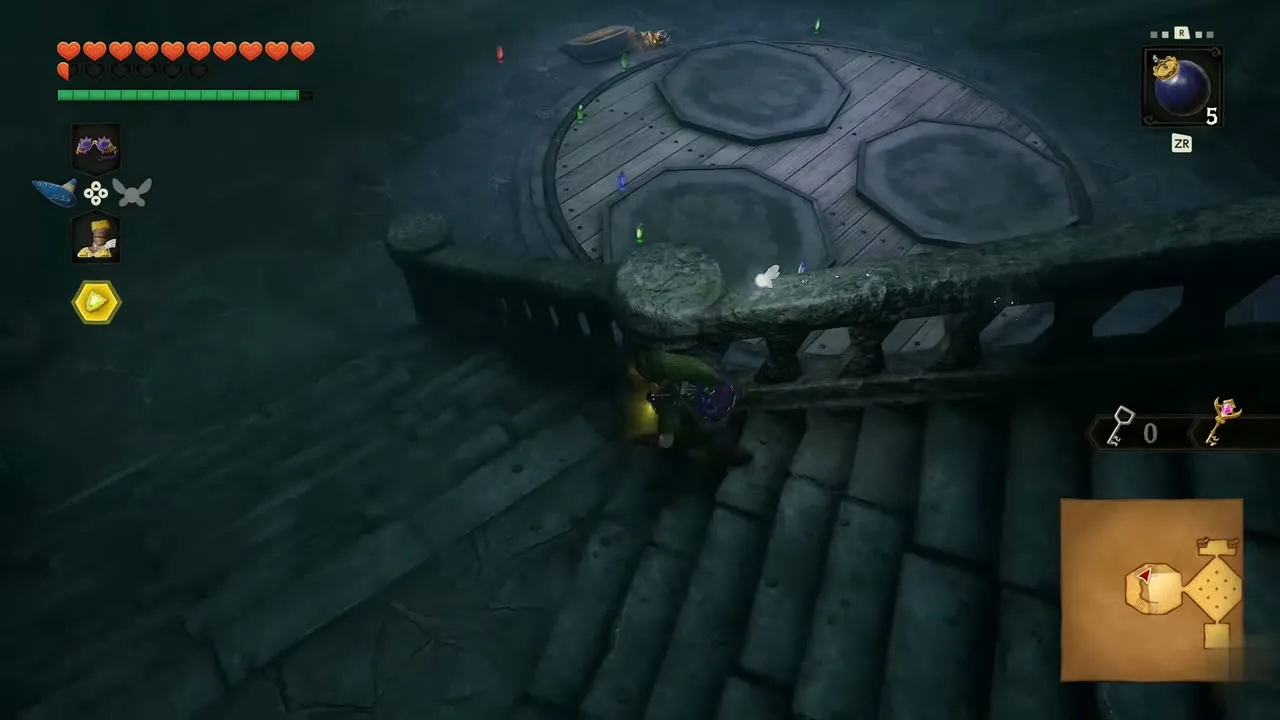
Spirit Temple
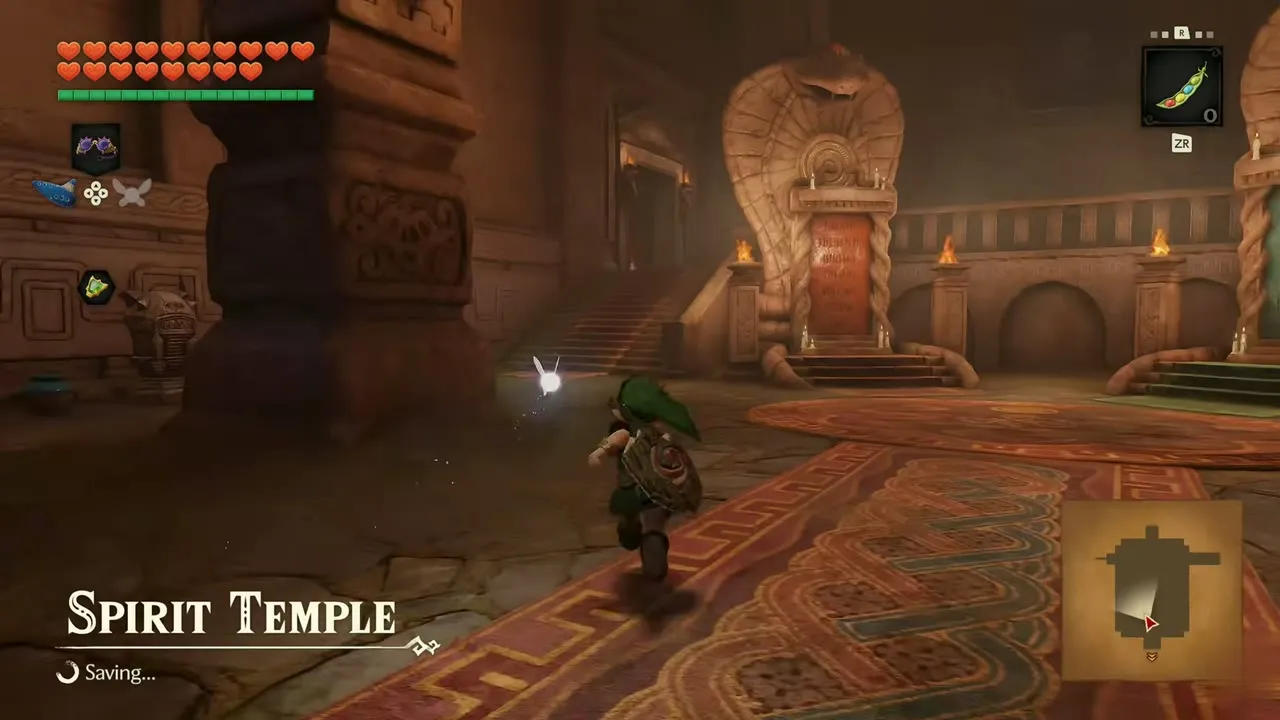
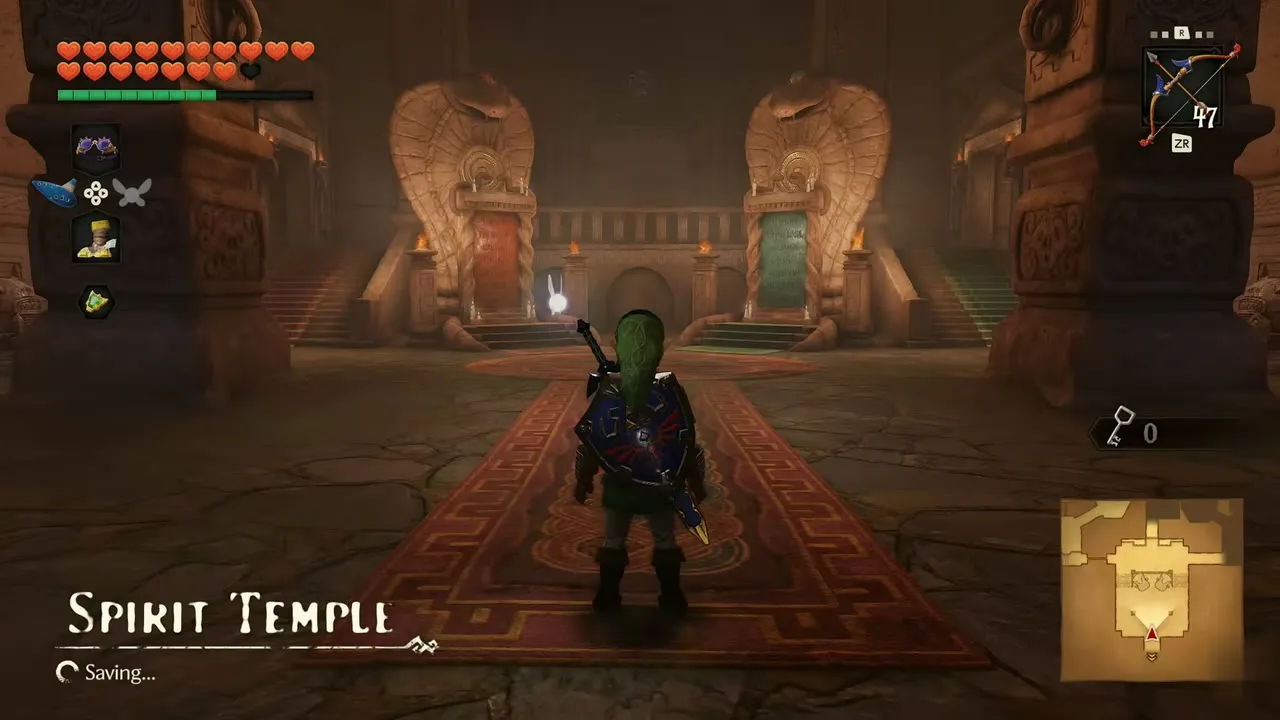
The Spirit Temple has five tokens, three for child Link with the Boomerang and two for adult Link. See Spirit Temple.
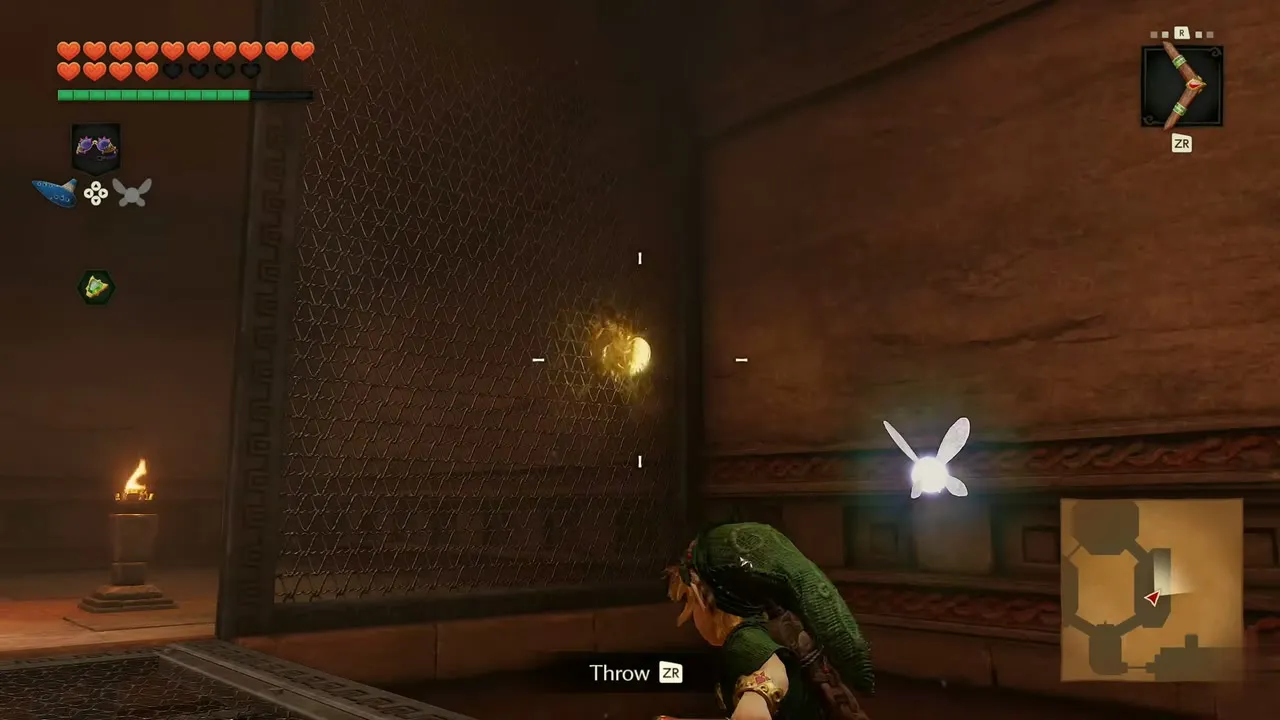
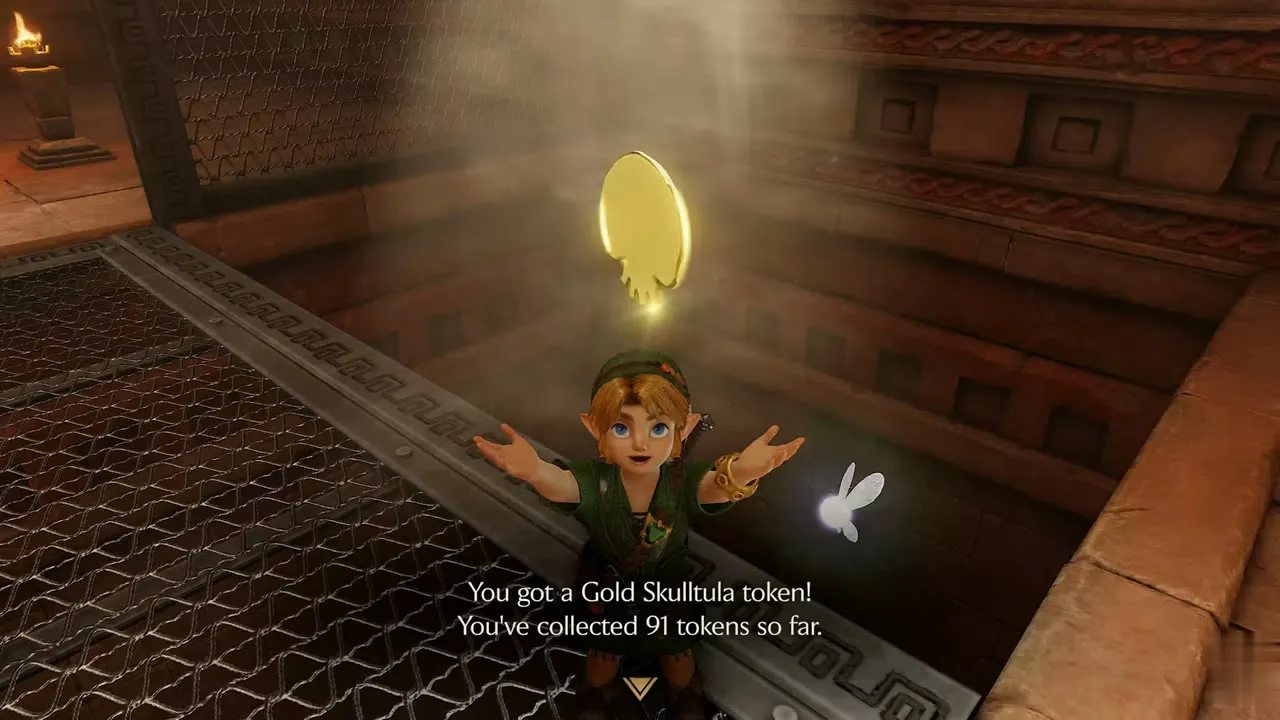
Gold Skulltula #91
Spirit Temple, mesh room wall. Child Link, any time of day. You need: Boomerang. Cross the mesh floor over the pit using Let Go and Jump. In the mesh room beyond, a token hangs in the light on the wall. Throw the Boomerang when the Throw prompt shows.
Gold Skulltula #92
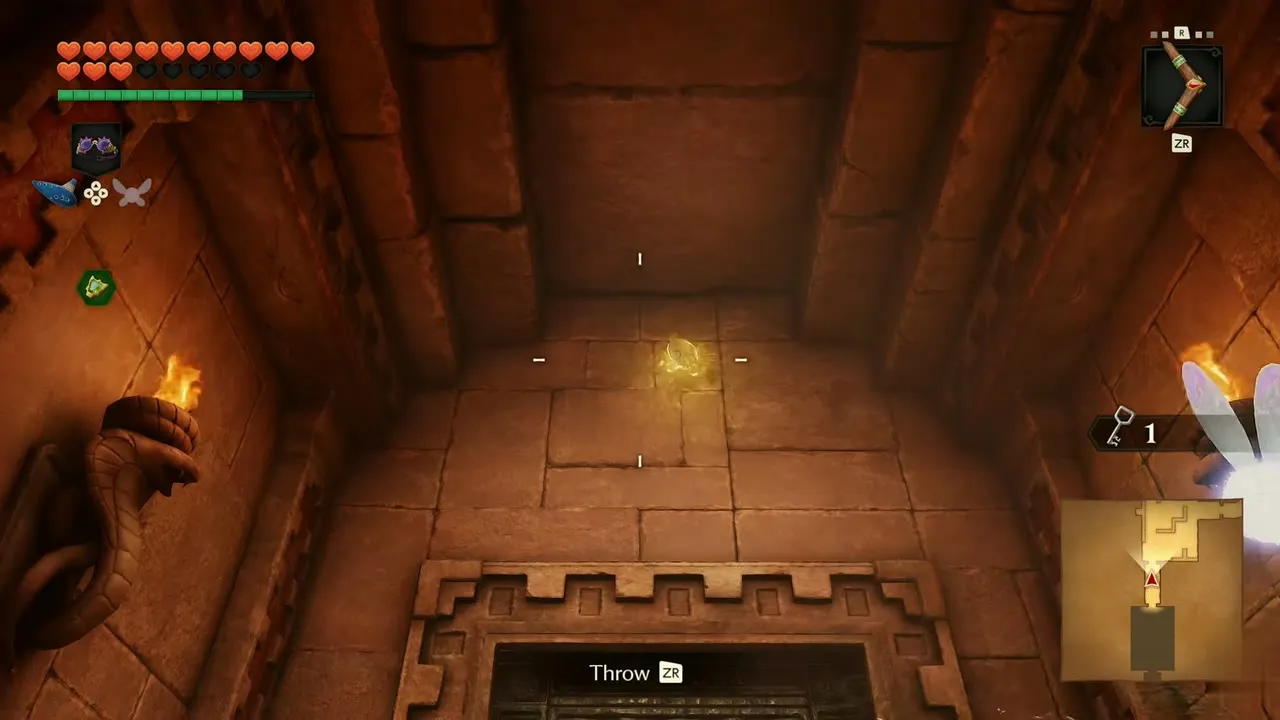
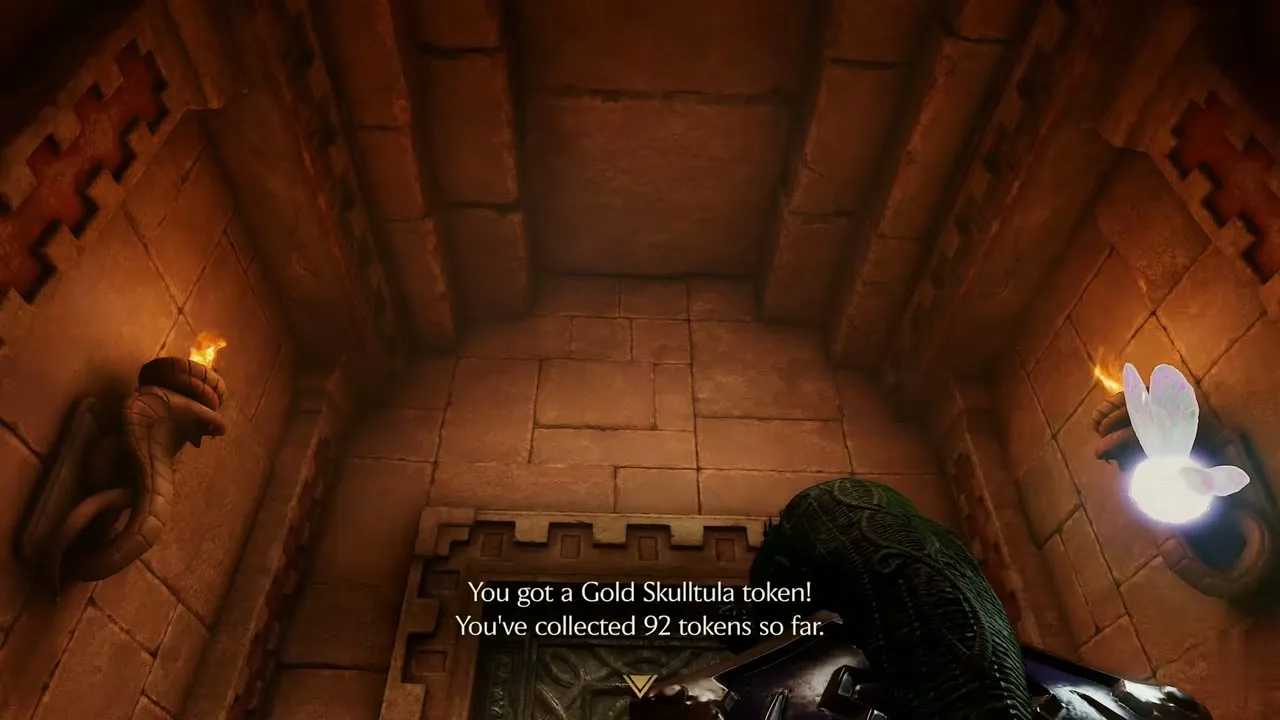
Spirit Temple, ceiling above the stairs on 3F. Child Link, any time of day. You need: Boomerang. On 3F, after the small key chest, a token hangs on the ceiling of the stone passage above the red-carpet stairs. Select the Boomerang and throw it at the ceiling.
Gold Skulltula #93
Spirit Temple, carved wall on 2F. Child Link, any time of day. You need: Boomerang. Right after the boulder hall, a token glints on the wall of the dark carved-wall corridor. Throw the Boomerang at it, then climb the staircase at the end of the corridor.
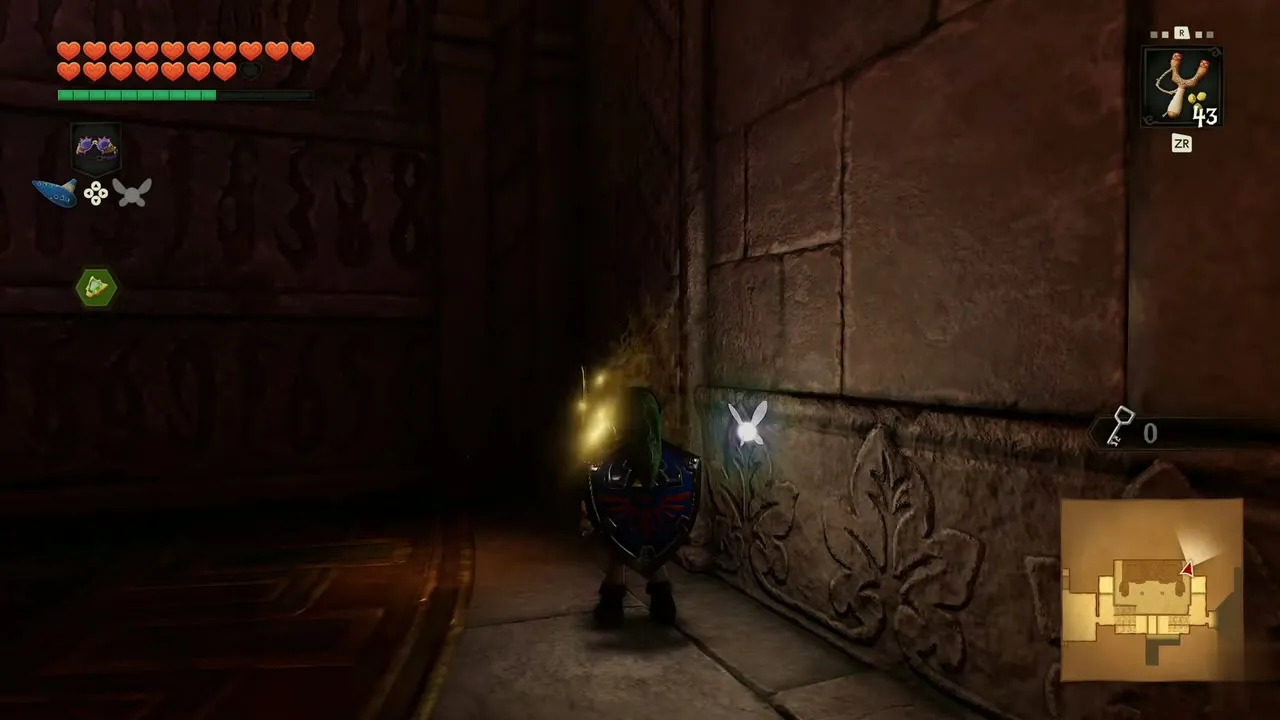
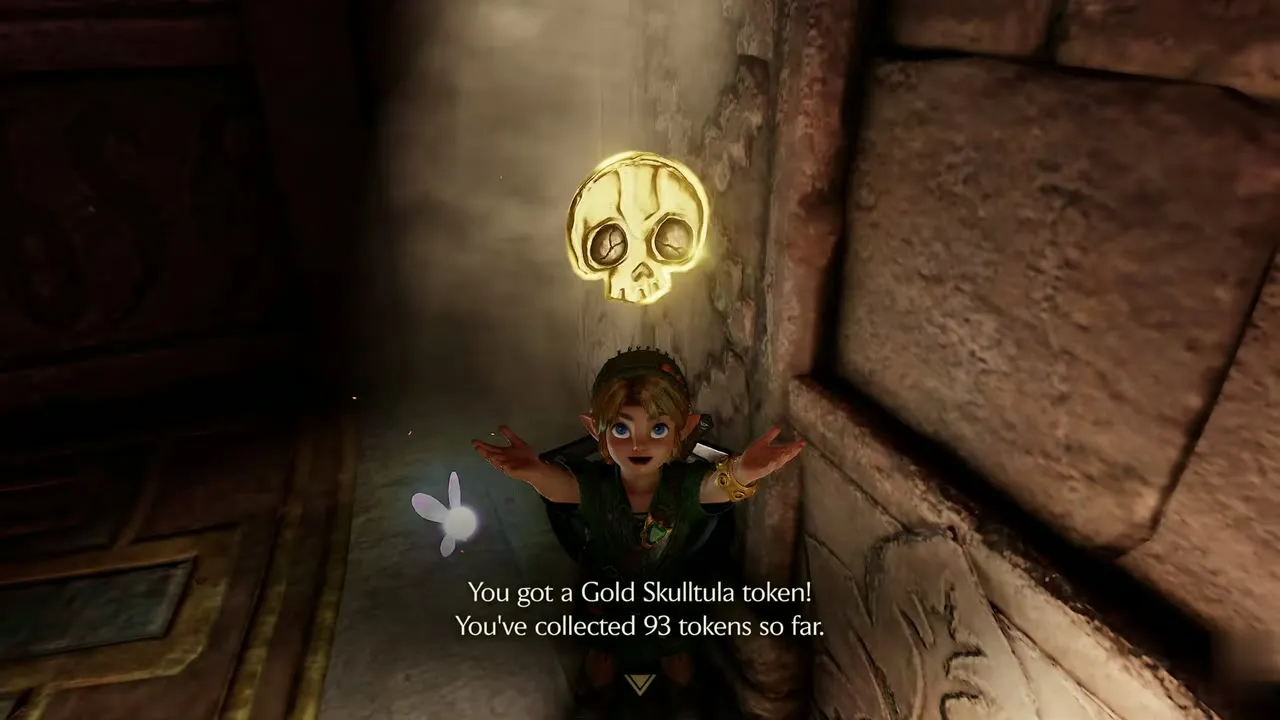
Gold Skulltula #94
Spirit Temple, alcove past the Song of Time door. Adult Link, any time of day. You need: Song of Time, Sword. Play the Song of Time at the Time symbol in the boulder halls to open the blue door. Step into the alcove beyond and strike the token on the wall from the pad.


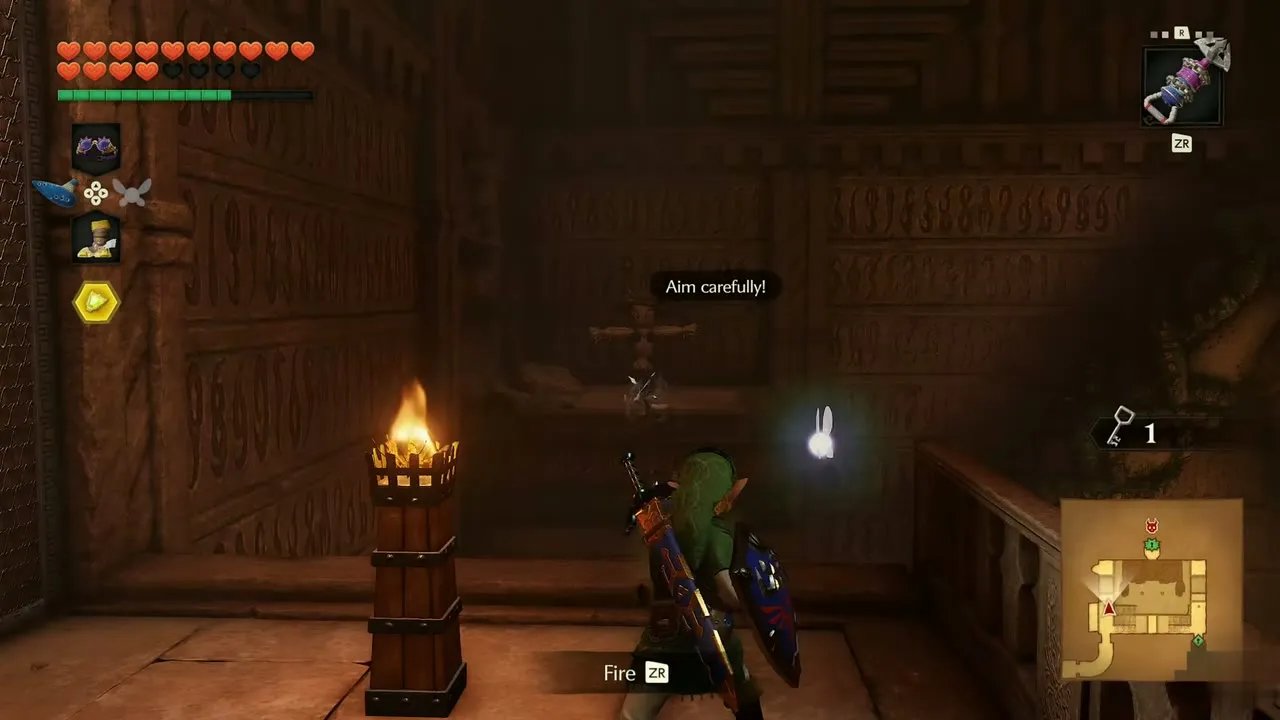
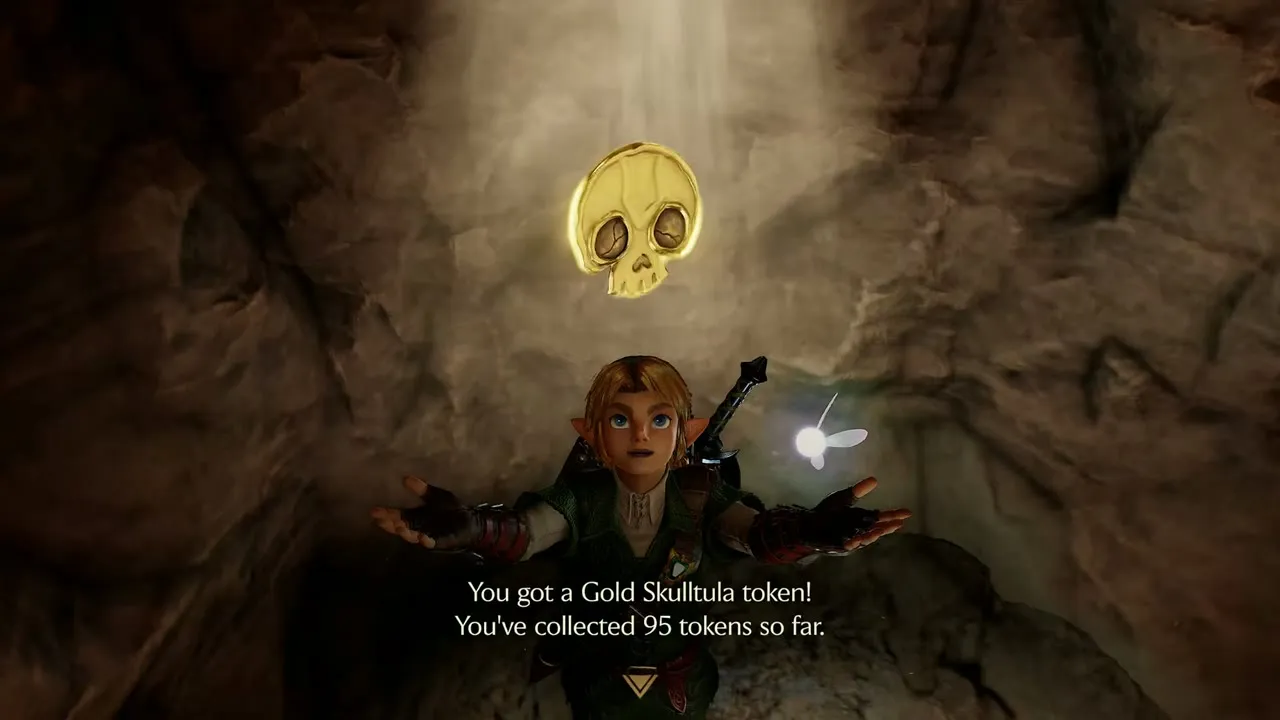
Gold Skulltula #95
Spirit Temple, niche on 3F. Adult Link, any time of day. You need: Longshot, Scarecrow Song. Use the Longshot on the scarecrow to cross to the ledge on 3F. A token hangs in the niche there.
Quick reference
| # | Area | Age | Time | You need |
|---|---|---|---|---|
| 1 | Great Deku Tree | Child | Any time | Sword |
| 2 | Great Deku Tree | Child | Any time |  Fairy Slingshot |
| 3 | Great Deku Tree | Child | Any time | Fairy Slingshot |
| 4 | Great Deku Tree | Child | Any time | Fairy Slingshot |
| 5 | Hyrule Castle Town | Child | Any time | Sword |
| 6 | Hyrule Castle | Child | Day | Sword |
| 7 | Kakariko Village | Child | Night | Fairy Slingshot |
| 8 | Kakariko Village | Child | Night | Sword |
| 9 | Kakariko Village | Child | Night | Sword |
| 10 | Kakariko Village | Child | Night | Fairy Slingshot |
| 11 | Graveyard | Child | Any time |  Empty Bottle,  bug |
| 12 | Kakariko Village | Child | Night | Sword |
| 13 | Lon Lon Ranch | Child | Day | None |
| 14 | Lake Hylia | Child | Any time | Bug in a bottle |
| 15 | Gerudo Valley | Child | Any time | Bug in a bottle |
| 16 | Kokiri Forest | Child | Night | Sun’s Song, Sword |
| 17 | Lost Woods | Child | Any time | Bug in a bottle |
| 18 | Lost Woods | Child | Any time | Bug in a bottle |
| 19 | Lost Woods | Child | Any time | Bug in a bottle |
| 20 | Death Mountain Trail | Child | Any time | Bug in a bottle |
| 21 | Dodongo Cavern | Child | Any time |  Goron Bracelet, Fairy Slingshot |
| 22 | Dodongo Cavern | Child | Any time |  Fairy Slingshot |
| 23 | Dodongo Cavern | Child | Any time | Bombs |
| 24 | Dodongo Cavern | Child | Any time | Bombs |
| 25 | Death Mountain Crater | Child | Any time | Sword |
| 26 | Death Mountain Trail | Child | Any time | Bombs, Echo Gem, Sword |
| 27 | Goron City | Child | Any time | Bombs |
| 28 | Zora River | Child | Any time | Bug in a bottle |
| 29 | Zora River | Child | Night | Sword |
| 30 | Zora Fountain | Child | Night | Sword |
| 31 | Lord Jabu-Jabu’s Belly | Child | Any time | Fairy Slingshot |
| 32 | Lord Jabu-Jabu’s Belly | Child | Any time |  Boomerang |
| 33 | Lord Jabu-Jabu’s Belly | Child | Any time | Boomerang |
| 34 | Lord Jabu-Jabu’s Belly | Child | Any time | Boomerang |
| 35 | Zora Fountain | Child | Night | Sun’s Song, Boomerang |
| 36 | Lake Hylia | Child | Night | Boomerang |
| 37 | Lon Lon Ranch | Child | Night | Sun’s Song, Boomerang |
| 38 | Lon Lon Ranch | Child | Night | Sun’s Song, Boomerang |
| 39 | Hyrule Field | Child | Night | Boomerang, Sword |
| 40 | Gerudo Valley | Child | Night | Sun’s Song, Boomerang |
| 41 | Kakariko Village | Child | Night | Sun’s Song, Boomerang |
| 42 | Hyrule Field | Child | Any | None |
| 43 | Hyrule Castle Town | Adult | Night |  Hookshot |
| 44 | Kokiri Forest | Adult | Night | Hookshot, Sun’s Song |
| 45 | Lost Woods | Adult | Night | Deku Flower launch |
| 46 | Sacred Grove | Adult | Night | Hookshot |
| 47 | Forest Temple | Adult | Any time | Hookshot |
| 48 | Forest Temple | Adult | Any time | Hookshot |
| 49 | Forest Temple | Adult | Any time | Hookshot |
| 50 | Forest Temple | Adult | Any time |  Din’s Fire, Hookshot |
| 51 | Forest Temple | Adult | Any time | Scarecrow Song, Hookshot |
| 52 | Dodongo Cavern | Adult | Any time | Hookshot |
| 53 | Death Mountain Trail | Adult | Any time |  Fairy Bow |
| 54 | Death Mountain Crater | Child | Any time | Bug in a bottle |
| 55 | Fire Temple | Adult | Any time | Bombs,  Goron Tunic |
| 56 | Fire Temple | Adult | Any time | Bombs |
| 57 | Fire Temple | Adult | Any time |  Megaton Hammer |
| 58 | Fire Temple | Adult | Any time | Hookshot |
| 59 | Fire Temple | Adult | Any time | Hookshot |
| 60 | Death Mountain Trail | Adult | Any time | Megaton Hammer |
| 61 | Death Mountain Trail | Adult | Night | Megaton Hammer |
| 62 | Zora River | Adult | Night | Hookshot, Sun’s Song |
| 63 | Zora Domain | Adult | Any time | Hookshot |
| 64 | Ice Cavern | Adult | Any time | Hookshot |
| 65 | Ice Cavern | Adult | Any time | Hookshot |
| 66 | Ice Cavern | Adult | Any time | Hookshot |
| 67 | Gerudo Valley | Adult | Night | Hookshot |
| 68 | Lakeside Laboratory | Adult | Any time | Hookshot, Iron Boots |
| 69 | Water Temple | Adult | Any time |  Longshot |
| 70 | Water Temple | Adult | Any time | Longshot |
| 71 | Water Temple | Adult | Any time | Longshot |
| 72 | Water Temple | Adult | Any time | Longshot |
| 73 | Water Temple | Adult | Any time | Megaton Hammer, Fairy Bow |
| 74 | Lake Hylia | Adult | Night | Sun’s Song |
| 75 | Hyrule Castle | Child | Any time | Song of Storms, Bombs, Boomerang |
| 76 | Bottom of the Well | Child | Any time | Boomerang |
| 77 | Bottom of the Well | Child | Any time |  Lenses of Truth, Boomerang |
| 78 | Bottom of the Well | Child | Any time | Lenses of Truth, Boomerang |
| 79 | Shadow Temple | Adult | Any time | None |
| 80 | Shadow Temple | Adult | Any time | Longshot |
| 81 | Shadow Temple | Adult | Any time | Longshot |
| 82 | Shadow Temple | Adult | Any time | Longshot, Scarecrow Song |
| 83 | Shadow Temple | Adult | Any time | None |
| 84 | Gerudo Valley | Adult | Night | Longshot |
| 85 | Gerudo Fortress | Adult | Night | Longshot |
| 86 | Mirage Desert | Adult | Any time | Longshot |
| 87 | Evil Desert Colossus | Adult | Night | Longshot |
| 88 | Evil Desert Colossus | Child | Any time | Bug in a bottle, Din’s Fire |
| 89 | Evil Desert Colossus | Adult | Night | Sun’s Song, Longshot |
| 90 | Evil Desert Colossus | Adult | Night | Magic Bean, Longshot |
| 91 | Spirit Temple | Child | Any time | Boomerang |
| 92 | Spirit Temple | Child | Any time | Boomerang |
| 93 | Spirit Temple | Child | Any time | Boomerang |
| 94 | Spirit Temple | Adult | Any time | Song of Time, Sword |
| 95 | Spirit Temple | Adult | Any time | Longshot, Scarecrow Song |
| 96 | Graveyard | Adult | Night | Bombs, Longshot |
| 97 | Zora River | Adult | Night | Longshot |
| 98 | Lake Hylia | Child | Any time | Sword |
| 99 | Hyrule Field | Adult | Night | Epona, Sword |
| 100 | Zora Fountain | Adult | Any time | Longshot |
