
























Ocarina of Time Remake 100% Completion Walkthrough41 chapters
- Kokiri ForestFind the Kokiri Sword, buy the Deku Shield for 40 rupees and get past Mido to the Great Deku Tree.
- The Great Deku TreeFairy Slingshot, Dungeon Map, Compass, four Gold Skulltulas, Gohma and the Kokiri Emerald.
- Leaving Kokiri ForestSay goodbye to Mido and Saria, get the Fairy Ocarina, meet Kaepora Gaebora and cross Hyrule Field.
- Hyrule Castle TownGold Skulltula, Bazaar, Shooting Gallery seed bag, Potion Shop bottle and the Temple of Time.
- Hyrule CastleGet the Weird Egg, wake Talon, sneak in, meet Zelda, learn Zelda’s Lullaby and collect Zelda’s Letter.
- Kakariko VillageCucco Lady’s bottle, House of Skulltula, Adult’s Wallet and the rooftop Heart Piece.
- GraveyardDampé’s Grave-Diggin’ Tour Heart Piece, Sharp and Flat, the Royal Family’s Tomb and the Sun’s Song.
- Lon Lon RanchTalon’s cucco game, Lon Lon Milk, Epona’s Song, a Heart Piece and Gold Skulltula.
- Gerudo ValleyTwo Heart Pieces, Lon Lon milk from Miss Moo with Epona’s Song, and a Gold Skulltula token.
- Lake HyliaLakeside Laboratory, the scarecrow quest, a Gold Skulltula and the fishing Heart Piece.
- Lost Woods and Sacred GroveRichard’s Heart Piece, Happy Mask Shop, Skull Kid, Saria’s Song, Gold Skulltulas 16 to 19 and the Business Scrubs.
- Death Mountain Trail and Goron CityClimb to Goron City, win over Darunia with Saria’s Song and take the Goron Bracelet before Dodongo Cavern.
- Dodongo CavernDungeon Map, Compass, Bomb Bag, four Gold Skulltulas, King Dodongo and the Goron Ruby.
- Death Mountain Summit and CraterGoron City Heart Piece and Bigger Bomb Bag, Din’s Fire and magic meter, crater Heart Piece, Echo Gem.
- Bombchu Bowling and the Great Fairy of PowerWin the Bombchus, Biggest Bomb Bag and Heart Piece, then get the enhanced Spin Attack.
- Zora River and Zora DomainHeart Pieces, a Gold Skulltula, the Silver Scale, Ruto’s bottle in Lake Hylia and King Zora’s request.
- Lord Jabu-Jabu’s BellyFarore’s Wind, the Boomerang, Ruto, Barinade, the Heart Container and the Spiritual Stone of Water for child Link.
- Errands Before the Temple of TimeThe child errands before the Temple of Time in the Ocarina of Time Remake.
- Temple of TimeFind the Ocarina of Time, open the Door of Time, draw the Master Sword and earn the Light Medallion.
- Ingo Ranch and EponaIngo’s two horse races, winning Epona and teaching Bonooru the Scarecrow Song.
- Kakariko Village and the HookshotDampé’s race, the Hookshot, Song of Storms and Heart Pieces #17 to #19.
- Sacred Grove as an AdultGet past Mido with Saria’s Song, cross the Moblin maze, beat the Great Moblin.
- Forest TempleSmall keys, Fairy Bow, four Poe Sisters, Phantom Ganon, Heart Container and Forest Medallion.
- Poes, the Hall of Fallen Foes and Lake HyliaBigger Quiver, Prelude of Light, Big Poes, Golden Scale and three Heart Pieces.
- Goron City as an AdultHeart Pieces, a Gold Skulltula, the Goron Tunic from the small Goron.
- Fire TempleFree all nine Gorons, find the Megaton Hammer and Boss Key, beat Volvagia and earn the Fire Medallion.
- Double Magic and Death MountainCrater Great Fairy Fountain, doubled magic, Gold Skulltulas 60 to 62 and a Business Scrub Seed as adult Link.
- Ice CavernBlue Fire, Iron Boots, Serenade of Water, the Zora Tunic and two Heart Pieces.
- The Biggoron Sword RouteBuy the Giant’s Knife, trade from the Pocket Egg to Cojiro, and finish every step up to the Biggoron Sword.
- Water TempleTriforce doors, small keys, Longshot, Dark Link, Morpha, the Water Medallion and Gold Skulltulas 68 to 73.
- Kakariko Village and the Nocturne of ShadowLearn the Nocturne of Shadow and find two Gold Skulltulas and two Heart Pieces.
- Bottom of the WellLenses of Truth, Dungeon Map, Compass, both small keys, Dead Hand and Gold Skulltulas 76 to 78.
- Treasure Box Shop and the Way to the Shadow TempleWin the Piece of Heart with the Lenses of Truth, then warp to the Shadow Temple via the Nocturne.
- Shadow TempleFloors B1 to B4, Hover Boots, Bongo Bongo, Heart Container and the Shadow Medallion from Impa.
- Gerudo FortressRescue all four carpenters, win the Gerudo Pass, find Gold Skulltulas 84 and 85.
- Mirage Desert and Evil Desert ColossusPhantom Guide, Requiem of Spirit, five Gold Skulltulas, three Heart Pieces, Biggest Quiver, Nayru’s Love.
- Spirit TempleChild and adult routes, Silver Gauntlets, Mirror Shield, Boss Key, Iron Knuckle Nabooru, Twinrova.
- Gerudo Proving GroundsPay 30 rupees, solve every room, and claim the Ice Arrow and a Business Scrub Seed.
- Last Heart Pieces and Gold SkulltulasTokens 96 to 100, Heart Pieces 33 to 35, the Rich Man reward and Light Arrow.
- Ganondorf’s CastleClear the six barriers, get the Golden Gauntlets and the Great Fairy of Courage’s gift.
- Ganondorf and GanonTower climb, Boss Key, Ganondorf boss fight, the escape with Zelda and the Ganon boss fight.
| Covers | Zora River, the waterfall gate, Zora Domain, a dive into Lake Hylia |
|---|---|
| Link | Child |
| You need | Bombs, bottles (one with a bug), Deku Sticks, Zelda’s Lullaby, Epona’s Song, at least 10 rupees |
| Rewards | 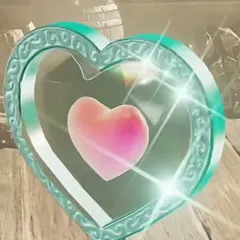 3 Heart Pieces (#14, #15, #16; #16 finishes a Heart Container with #13), 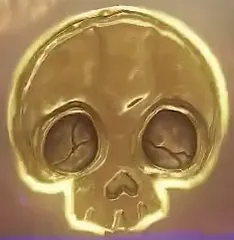 2 Gold Skulltula tokens (#28, #29), Magic Bean, 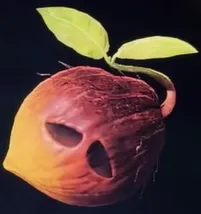 Business Scrub Seed, 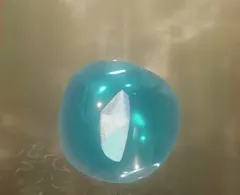 Silver Scale, a new bottle, 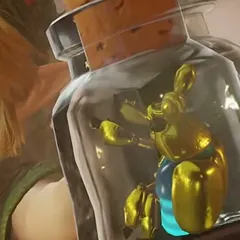 a bug and a fish for your bottles, 1 Fairy’s Thought |
Head up Zora River to Zora Domain, where King Zora asks you to rescue his daughter. Blast through the boulder gate, buy a Magic Bean, collect a Gold Skulltula token and three Heart Pieces, open the waterfall with Zelda’s Lullaby, win the Silver Scale in the diving game, then fish a bottle with Ruto’s letter out of Lake Hylia and hand it to the king.
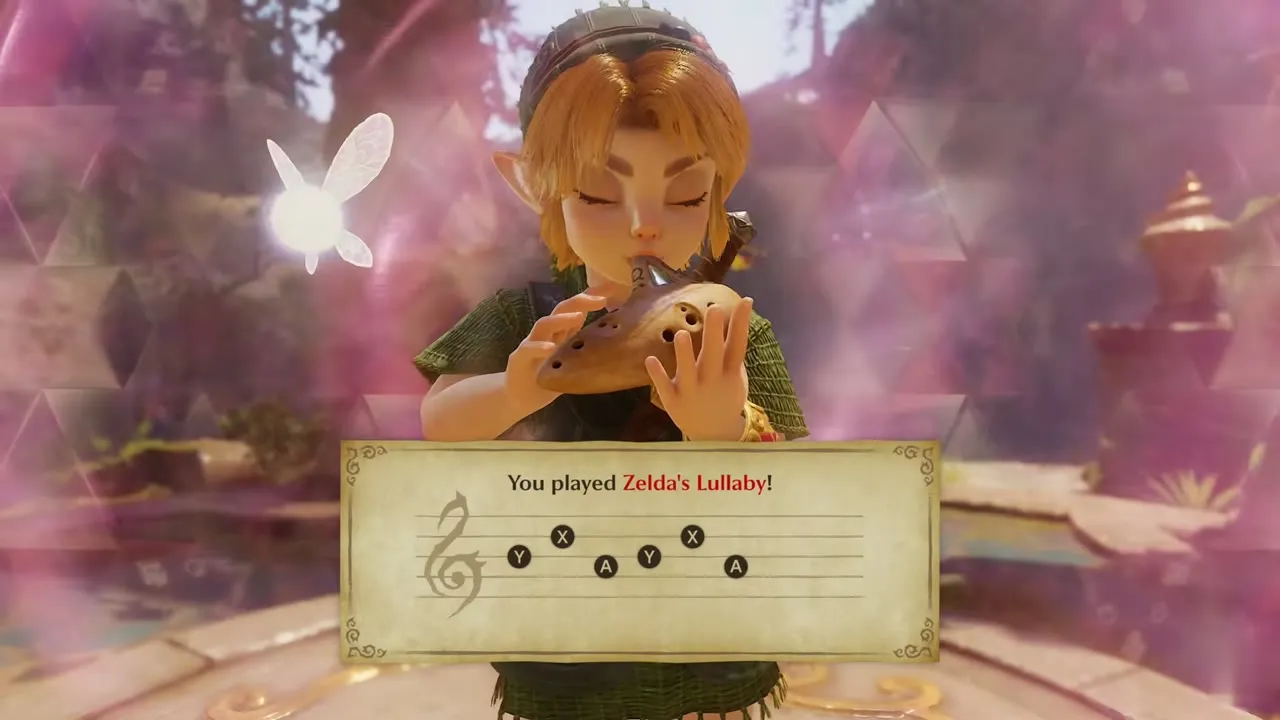
Table of Contents
Zora River
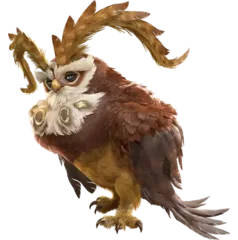
Enter Zora River and meet the owl
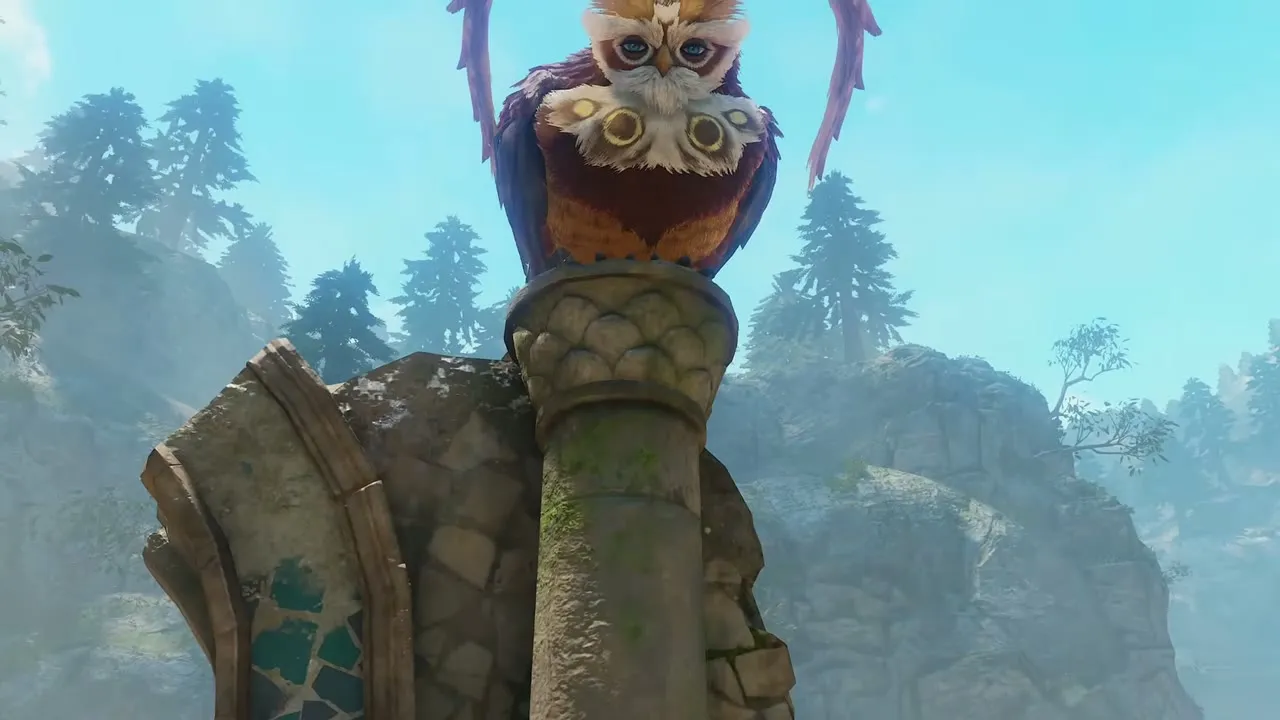
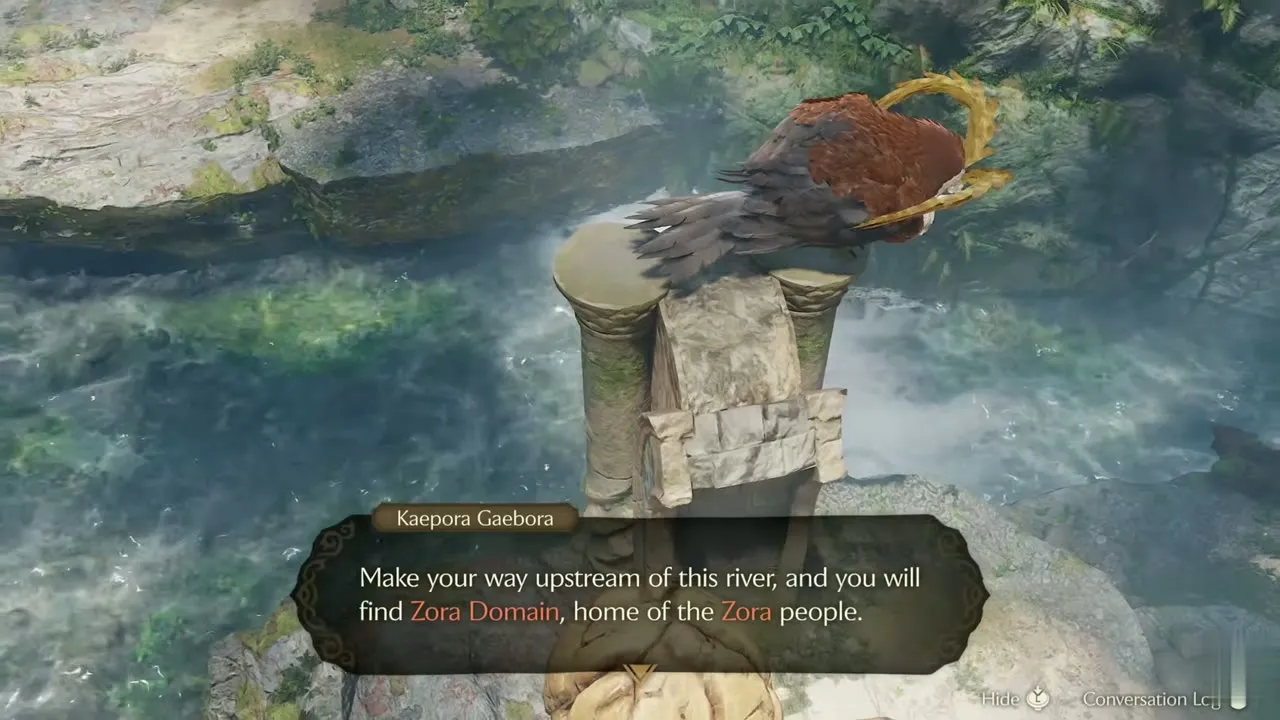
Follow the path out of Hyrule Field to the Zora River banner. A stone statue of Kaepora Gaebora stands at the first waterfall. Talk to it and it tells you to go upstream, reach the gate at the head of the river and play the melody the royal family passed down. Two large golden boulders block the way first.
Bomb the boulder gate
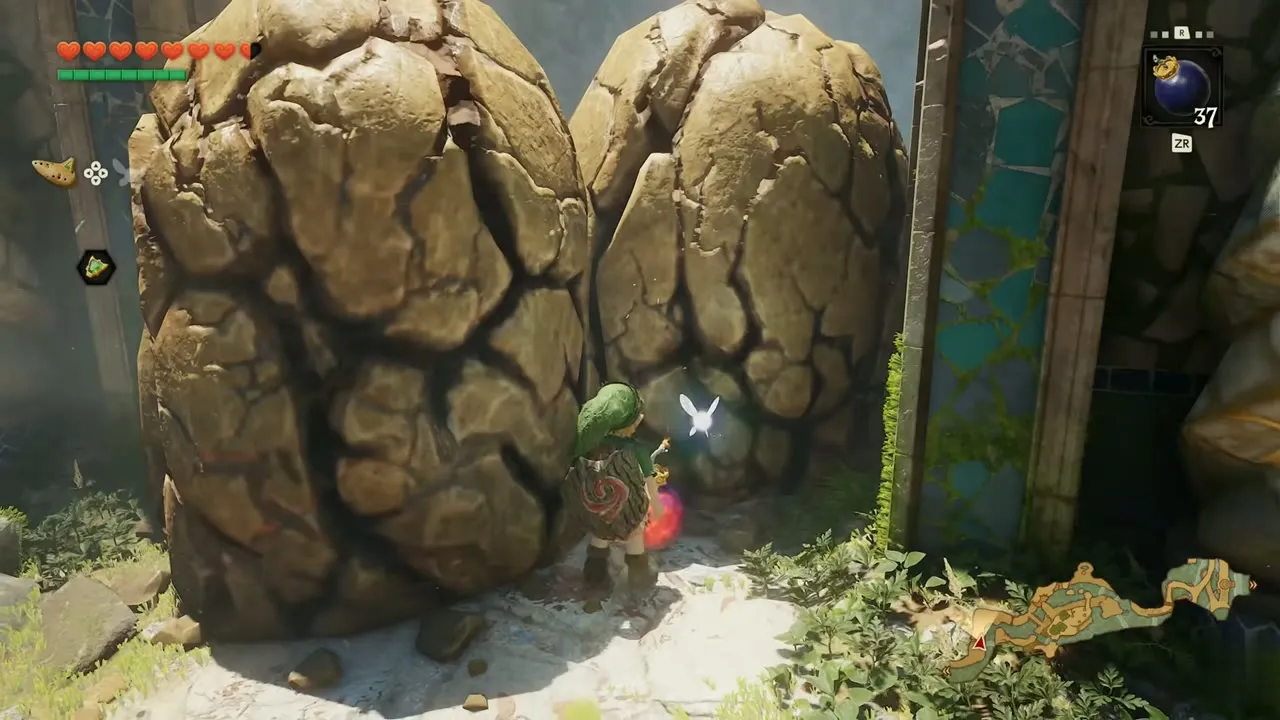
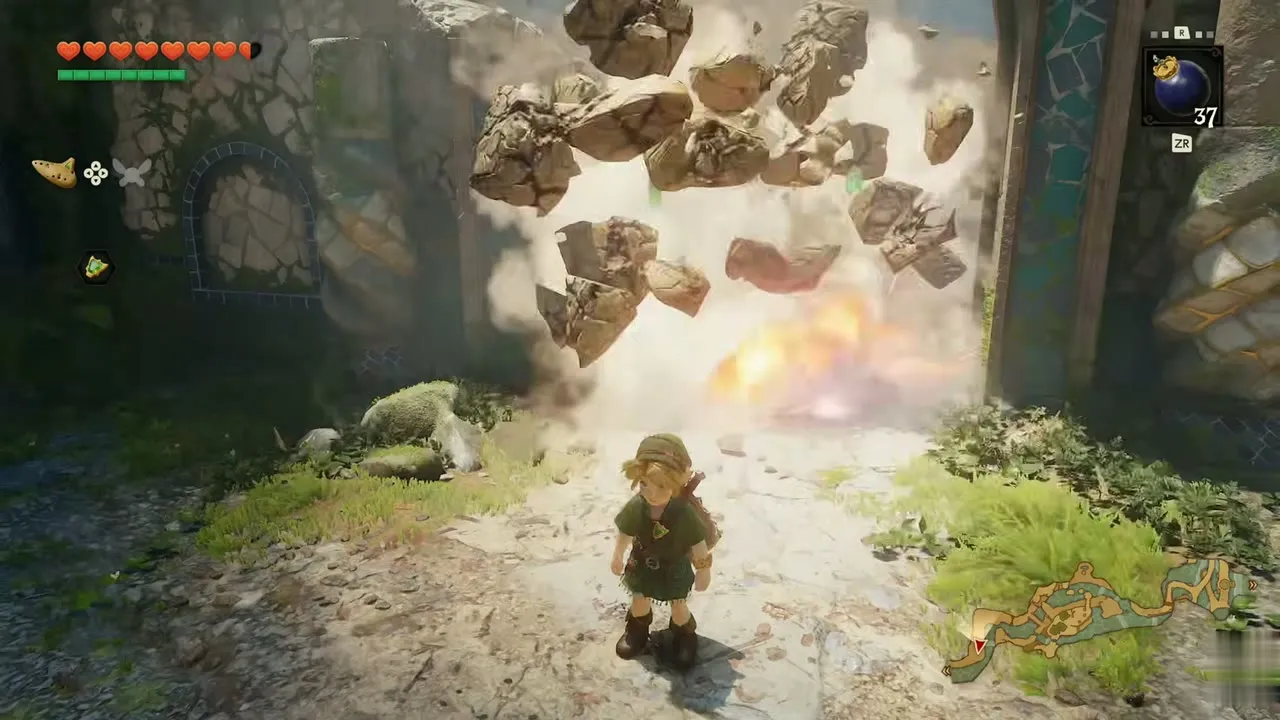
Set a bomb at the base of the two boulders and back away. The blast shatters both and opens the trail upriver. A few rupees lie in the grass along the next stretch.
Buy a Magic Bean from the Bean Seller
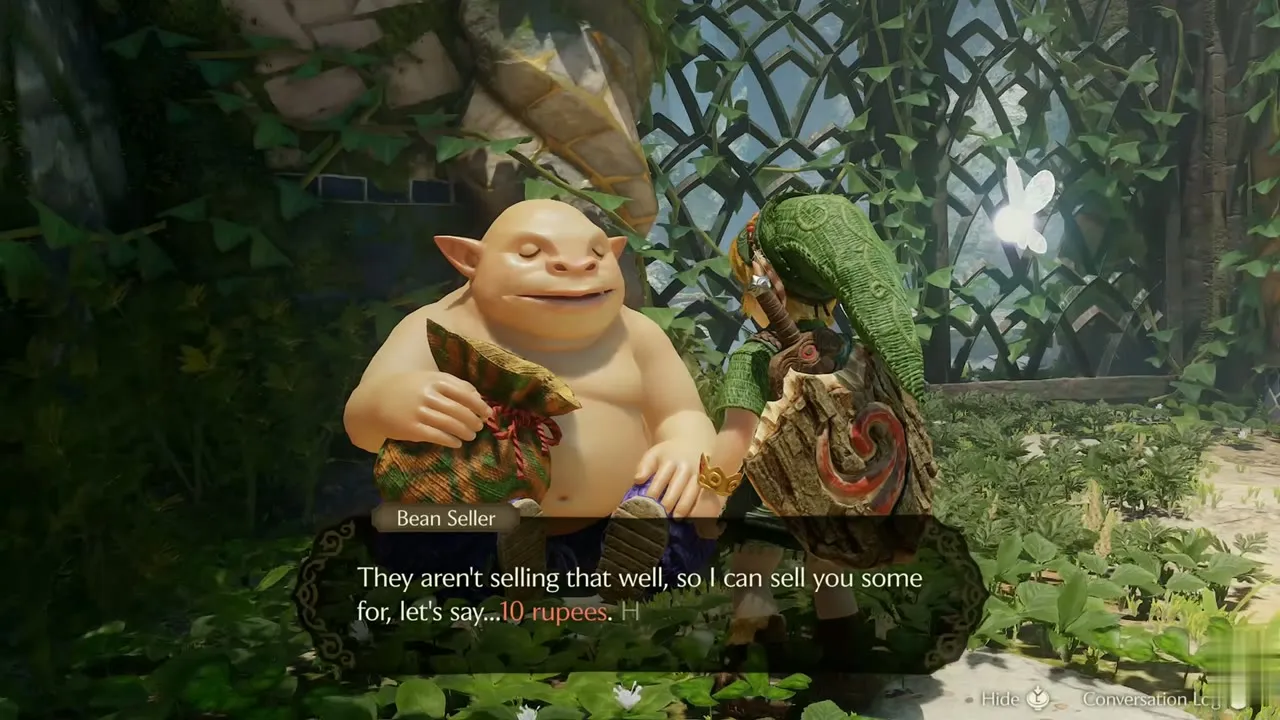
Beside a lattice gate, a Bean Seller sits near a patch of bare soil. He offers a Magic Bean for 10 rupees, and his next beans cost more. Pay the 10 rupees for a Magic Bean. The item text says to bury it in fresh soil and see what happens.
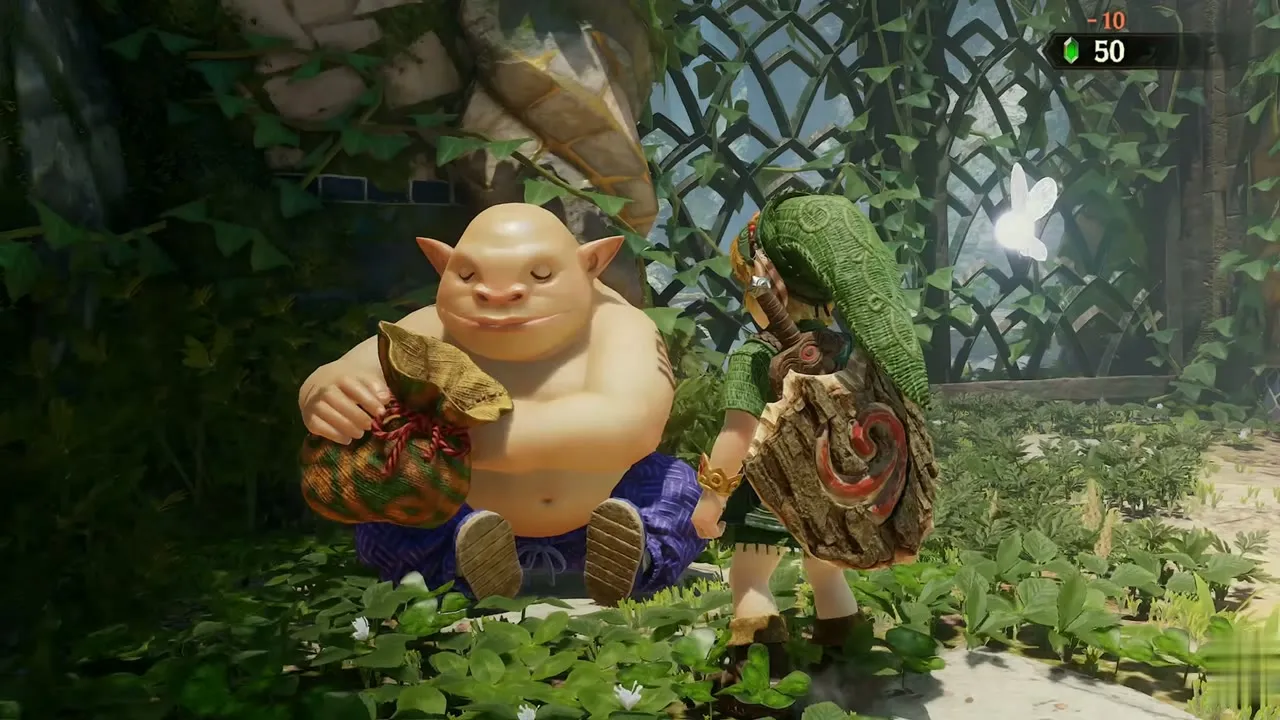
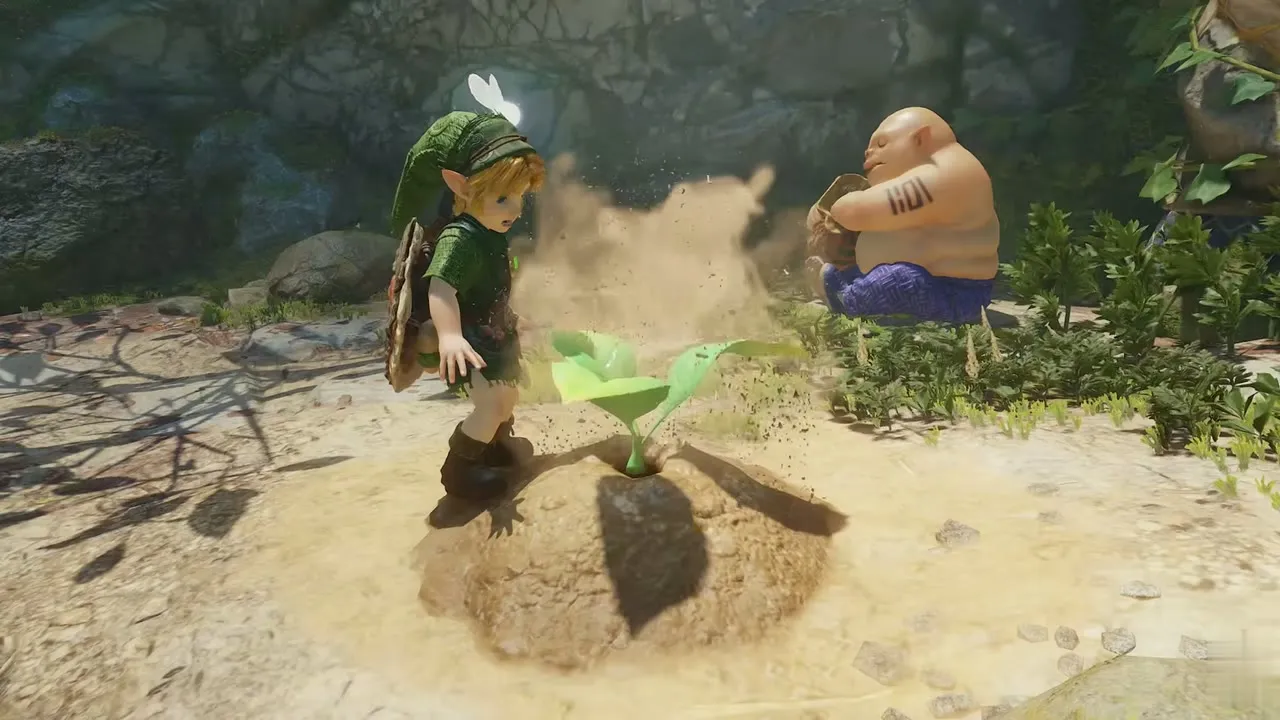
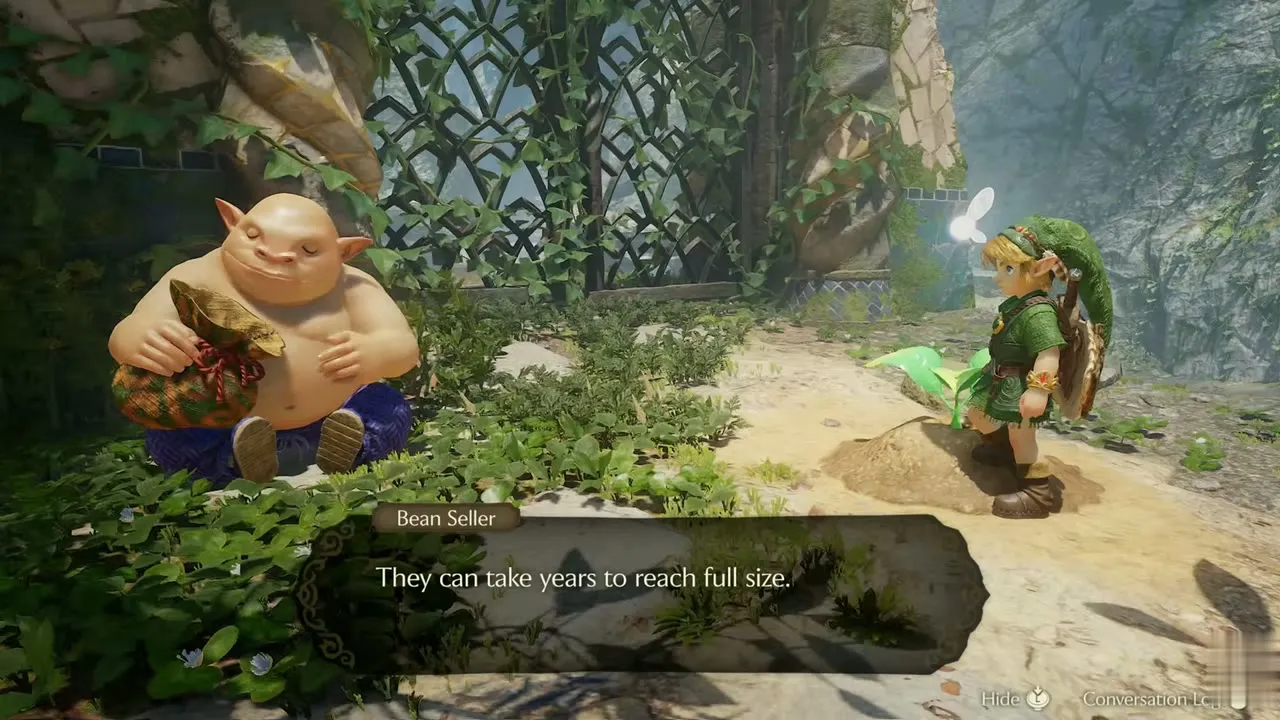
Plant the bean in the patch of fresh soil the seller points to, and a green sprout rises right away. He then offers more beans, first for 20 rupees and then for 30. Buy them if you want spares for other soil patches. The planted bean pays off later, so remember this patch. Soft soil spots are listed on Magic Bean Locations.
Gold Skulltula token #28
Open the item menu and pick the bug in your bottle. Stand on the soil patch by the Bean Seller and release it with the button the screen shows. The bug burrows in, and a Gold Skulltula token pops out. The box confirms you now hold 28 tokens.
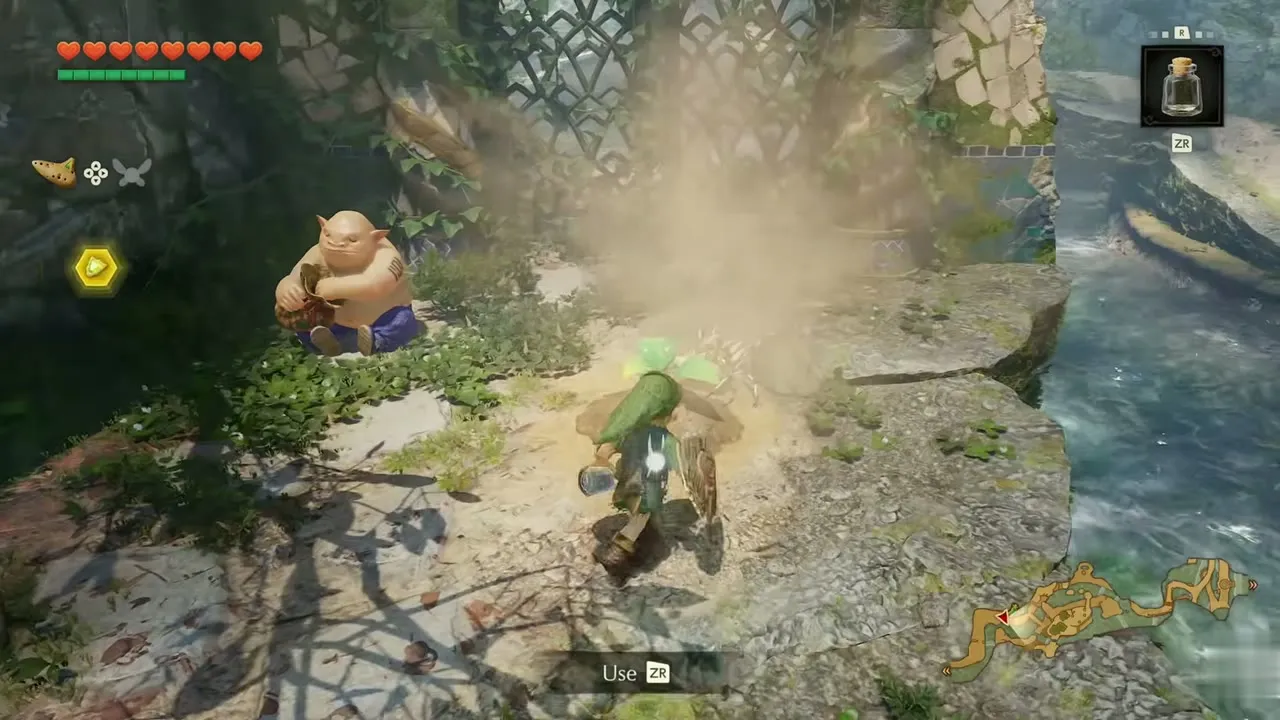

Refill your bottle with a bug
Walk back to the ornate iron gate and look for another bug near its stone wall. Catch it with your empty bottle. The game says “You collected a bug in a bottle!”, so you are ready for any other soil patch. A Cucco wanders around the same gate. Pick it up, since you need it to cross gaps shortly.
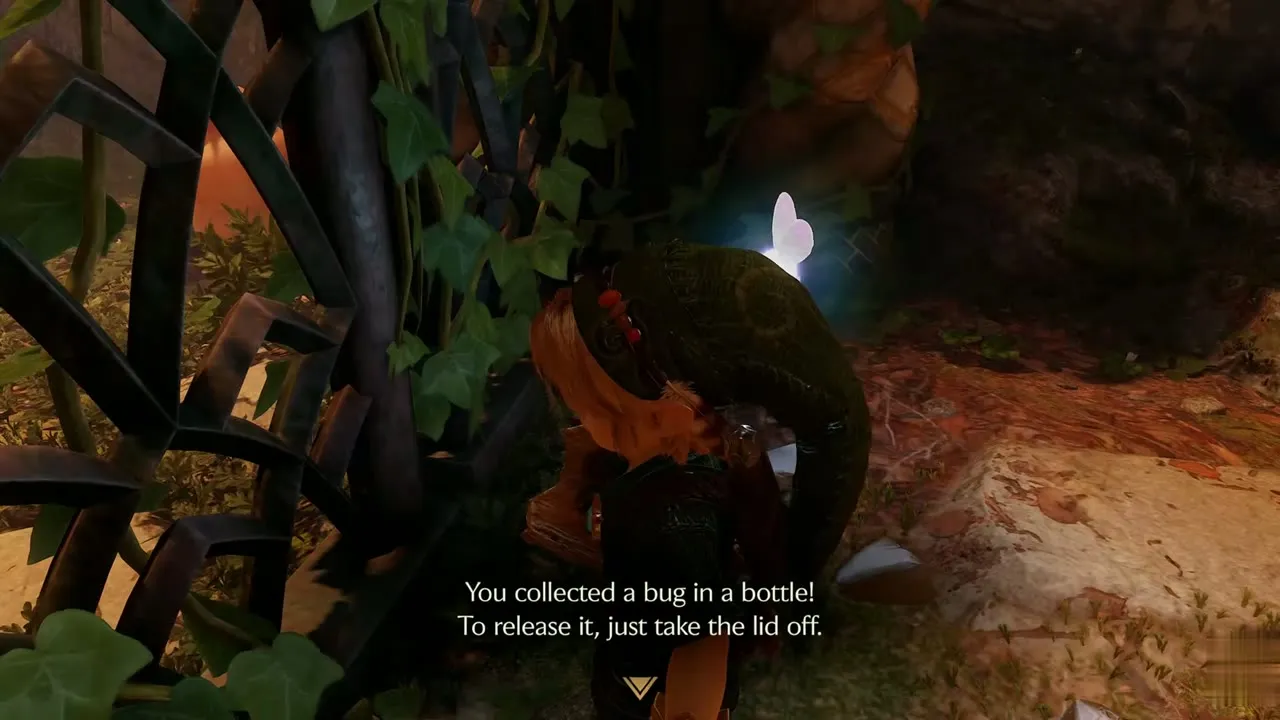

Fairy’s Thought on the cliff path
Follow the cliff trail past a crumbling arch. Navi stops beside a glowing rock face and reads out a Fairy’s Thought: the twitchy one living in the dirt would be good friends with the skittish one under the rock. The hint points you toward bugs, so keep your bottle handy, and carry the Cucco along this stretch.
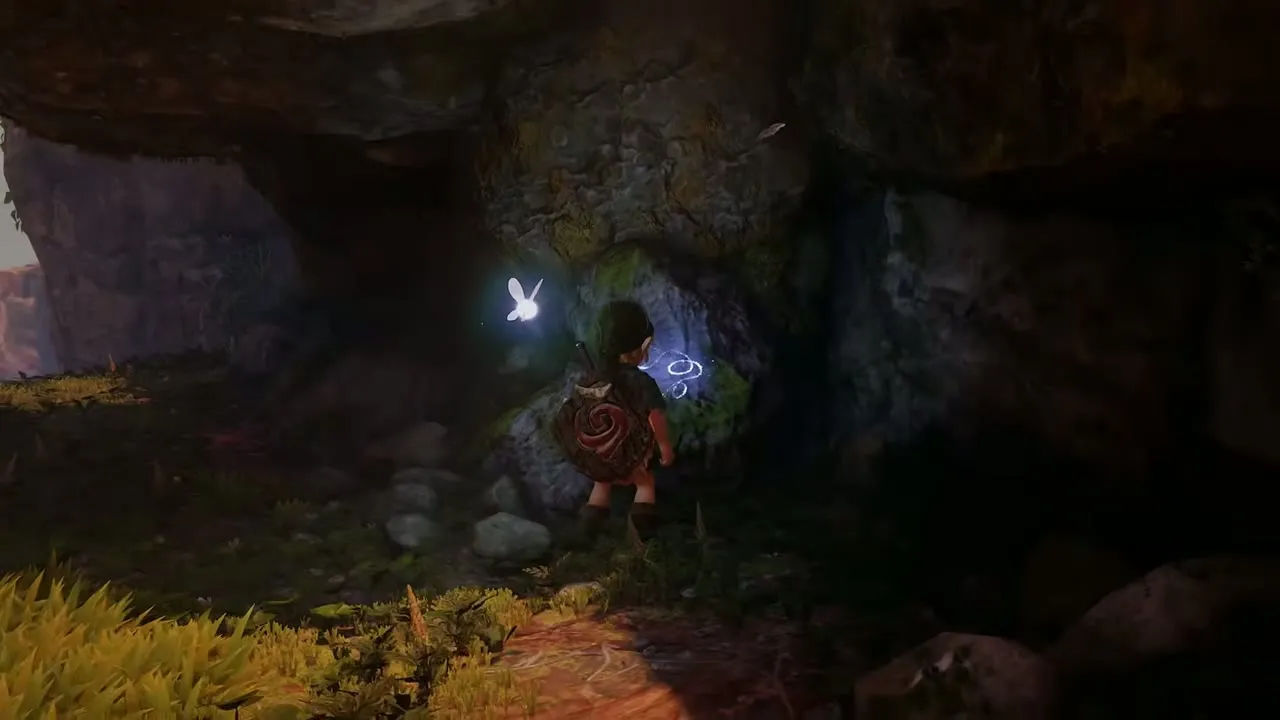

Frog pond and Epona’s Song
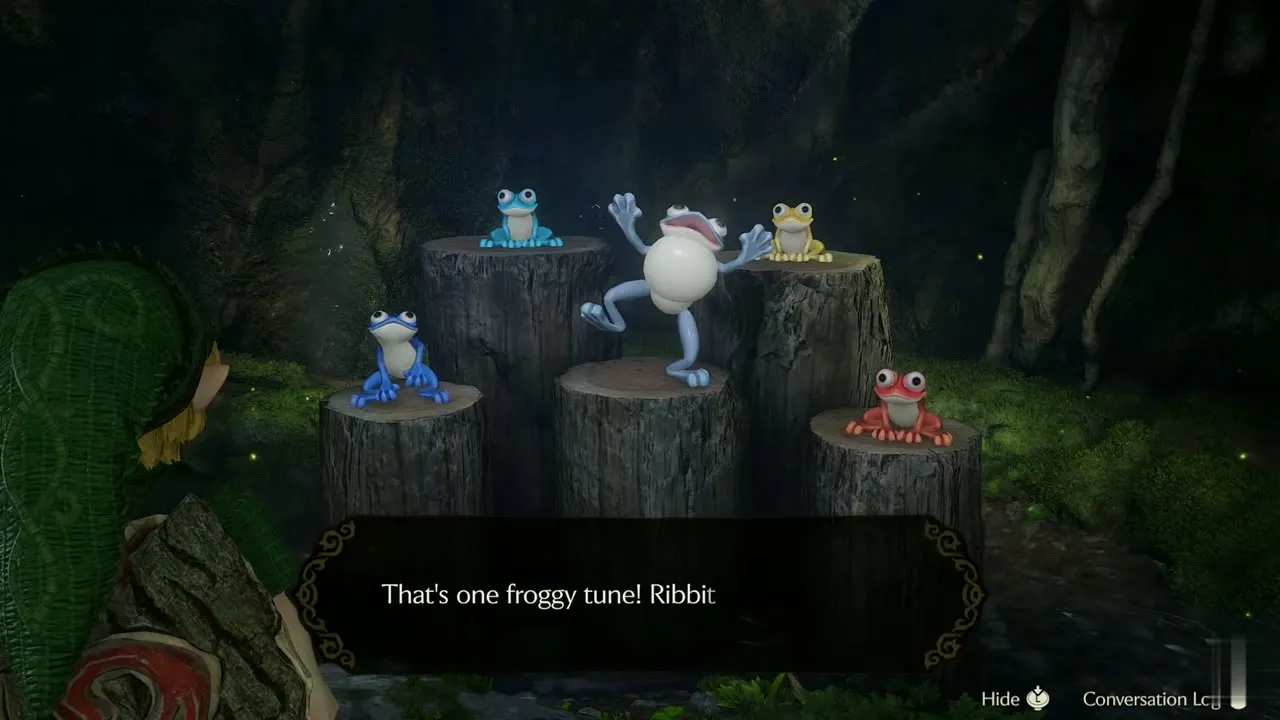
A little farther along, a dark grove holds a ring of five frogs on tree stumps. Talk to a frog and it tells you to play a song from the stony stage. Step onto the staff, open the songbook and play Epona’s Song. The frogs leap in turn and the first one remarks on your froggy tune, but they give you nothing here.
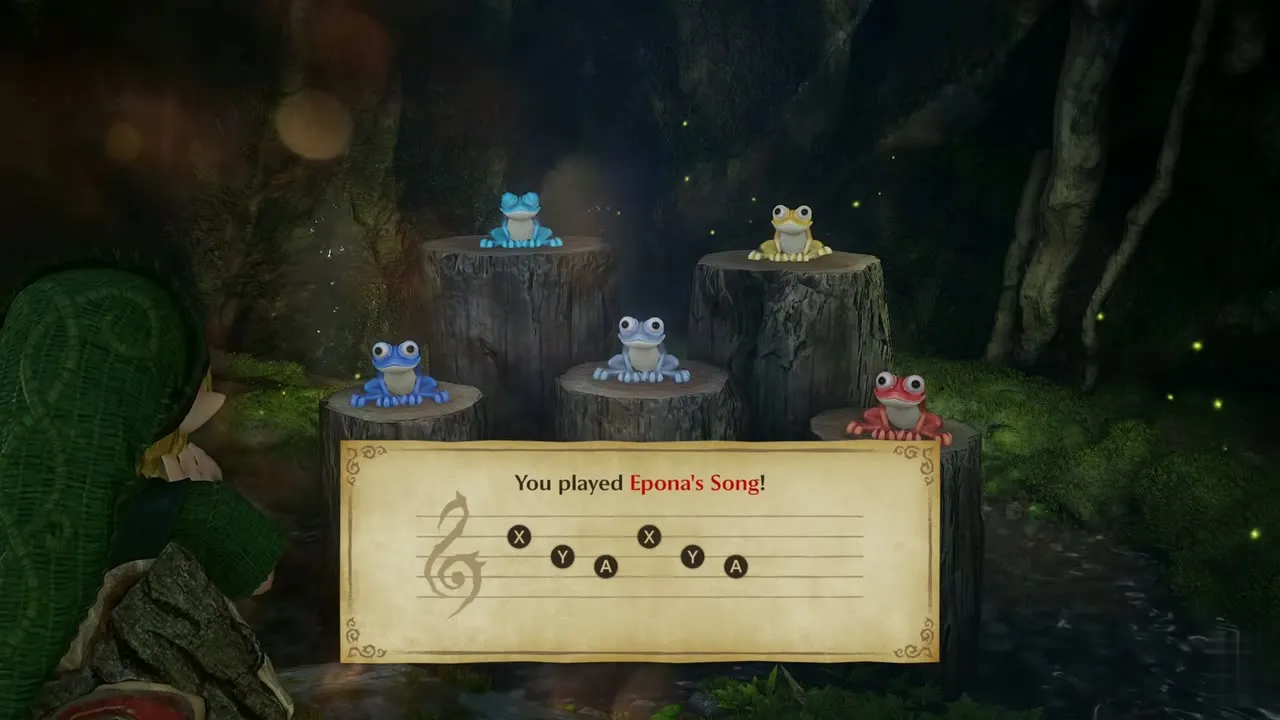
Climb the cliff ledges
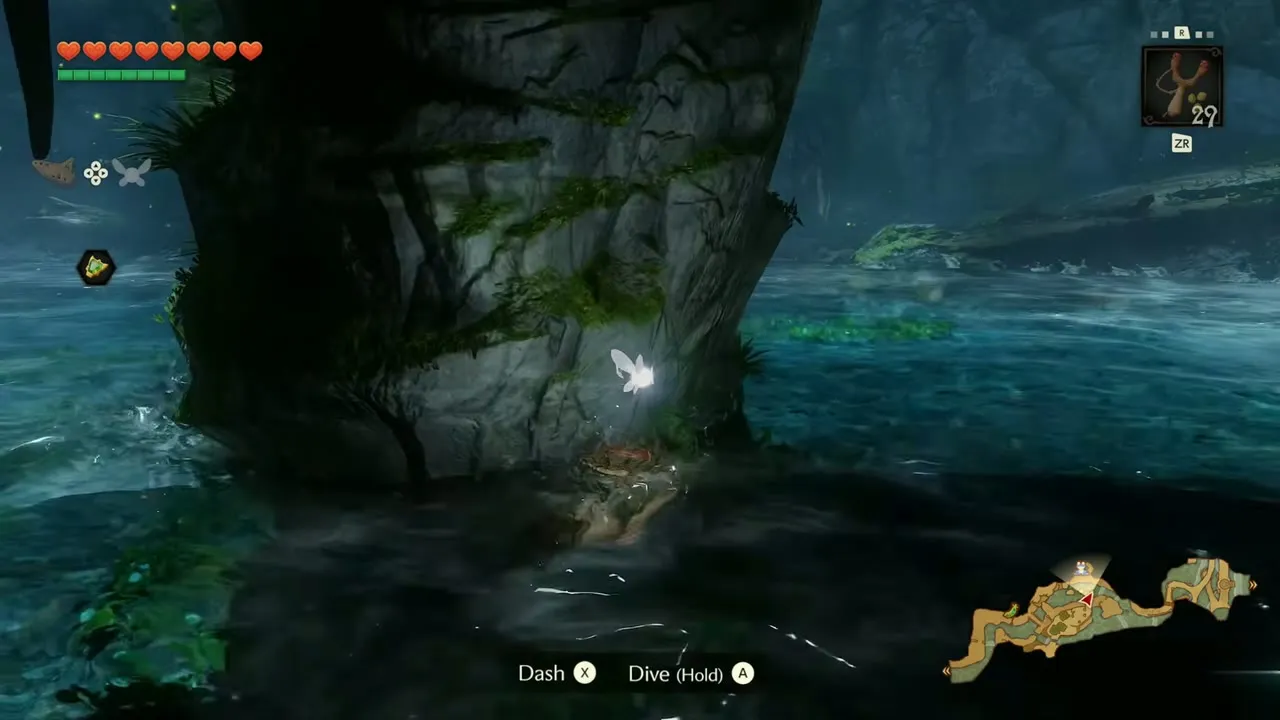
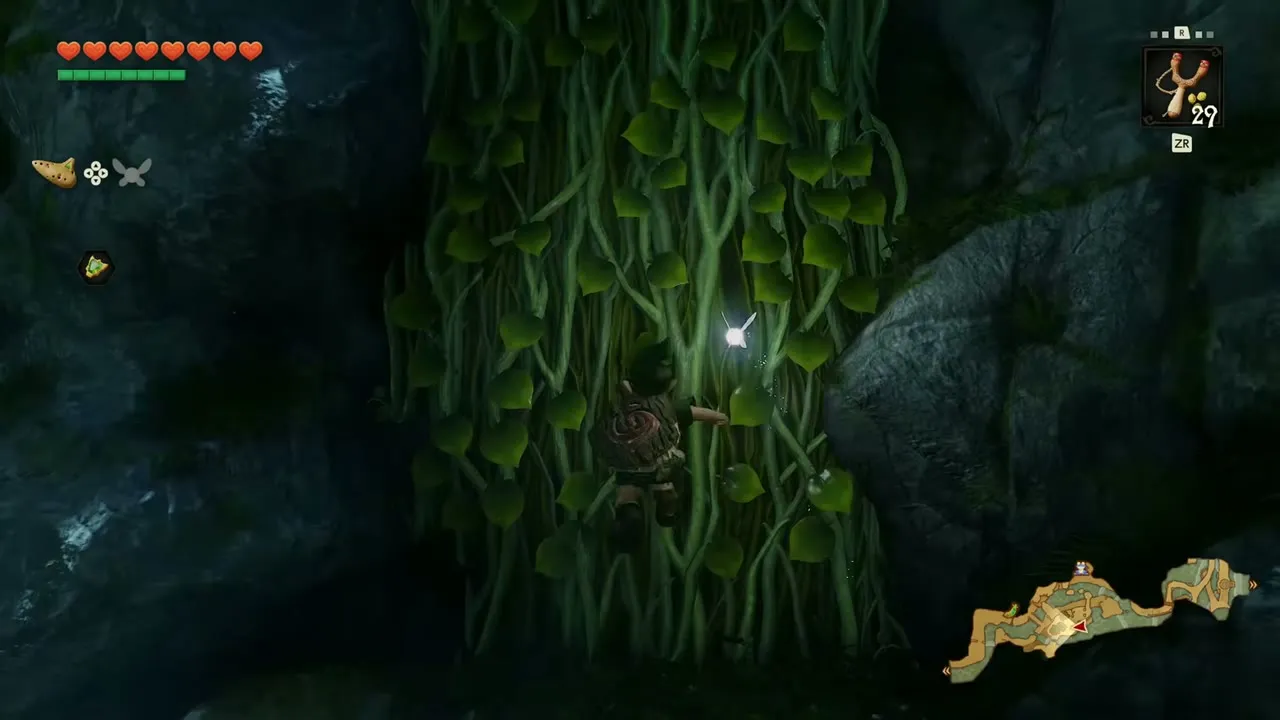
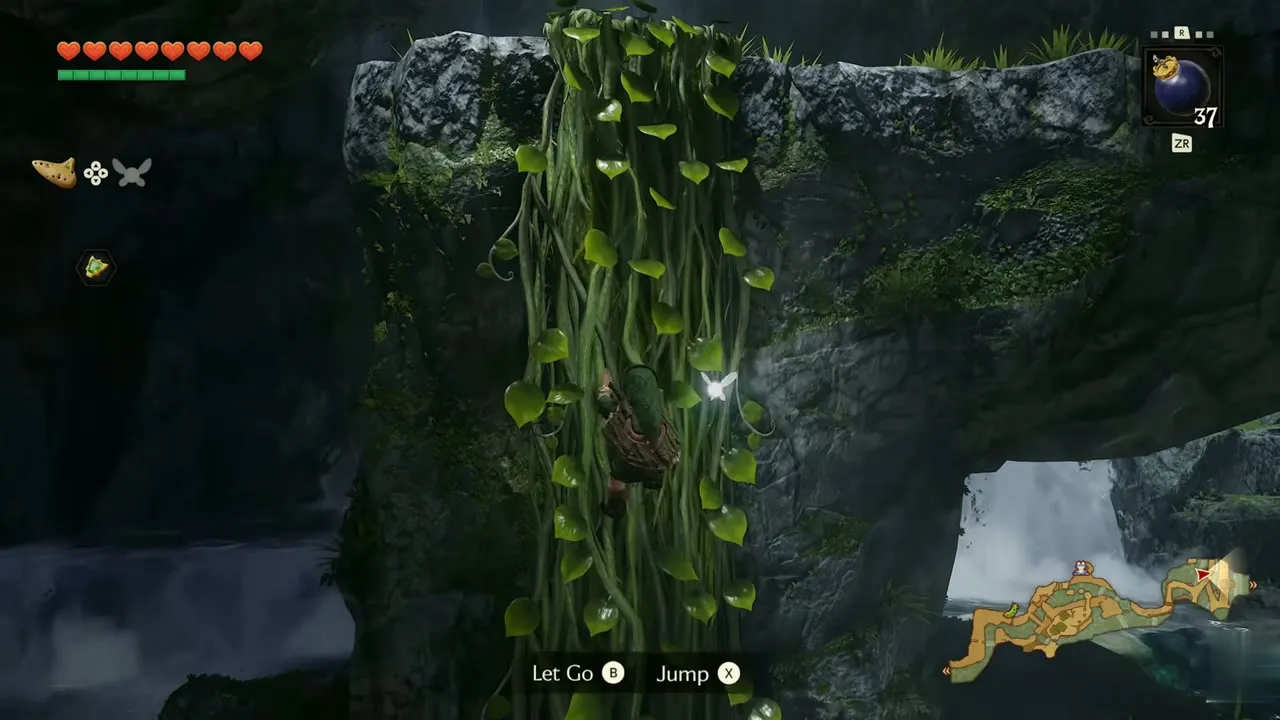
Head down from the frog pond to the waterfall pools. Swim the deep water, then carry the Cucco up the mossy ledges, setting it down or throwing it when you need your hands free. When you reach a wall of green vines, climb it. At the top you stand on a flat shelf between two blue-tiled stone pillars.


Blow open the hole between the pillars
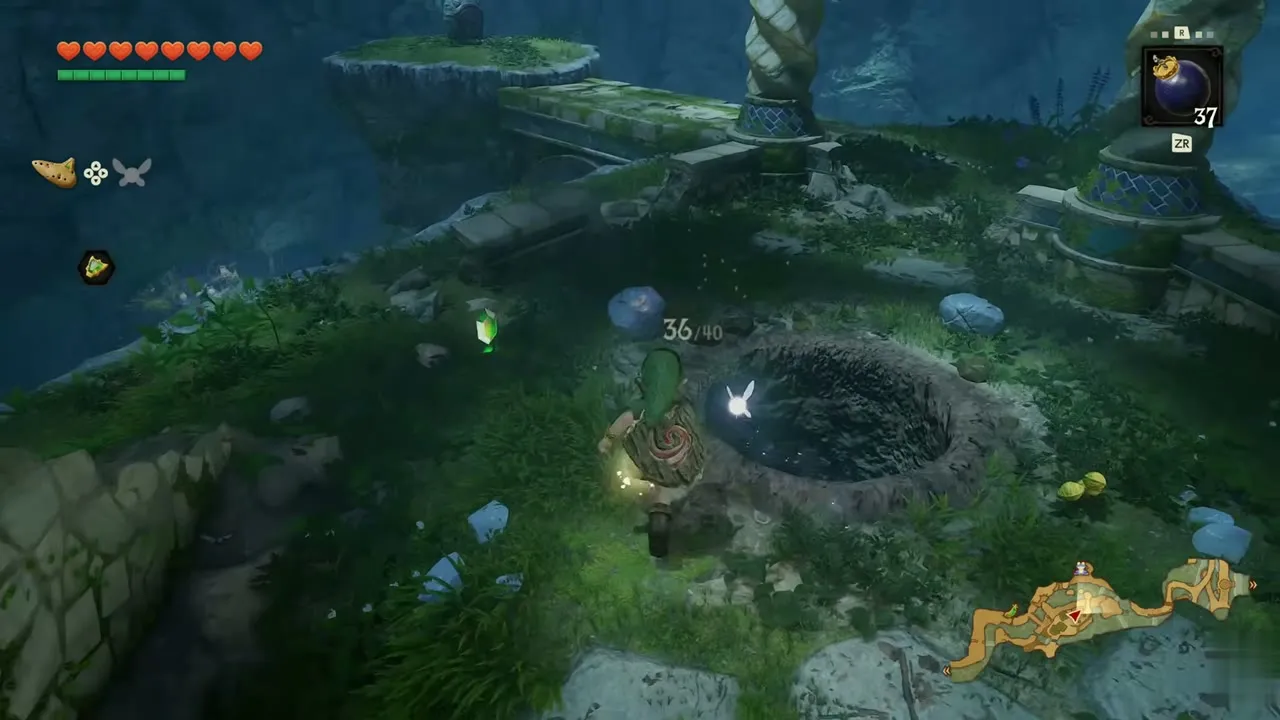
A large cracked boulder stands between two twisted, blue-tiled stone pillars. Set a bomb beside it and back away. The blast clears the boulder and leaves a round hole in the ground, with a green rupee beside it. Drop in to reach a hidden cave beneath the cliff.

Business Scrub Seed
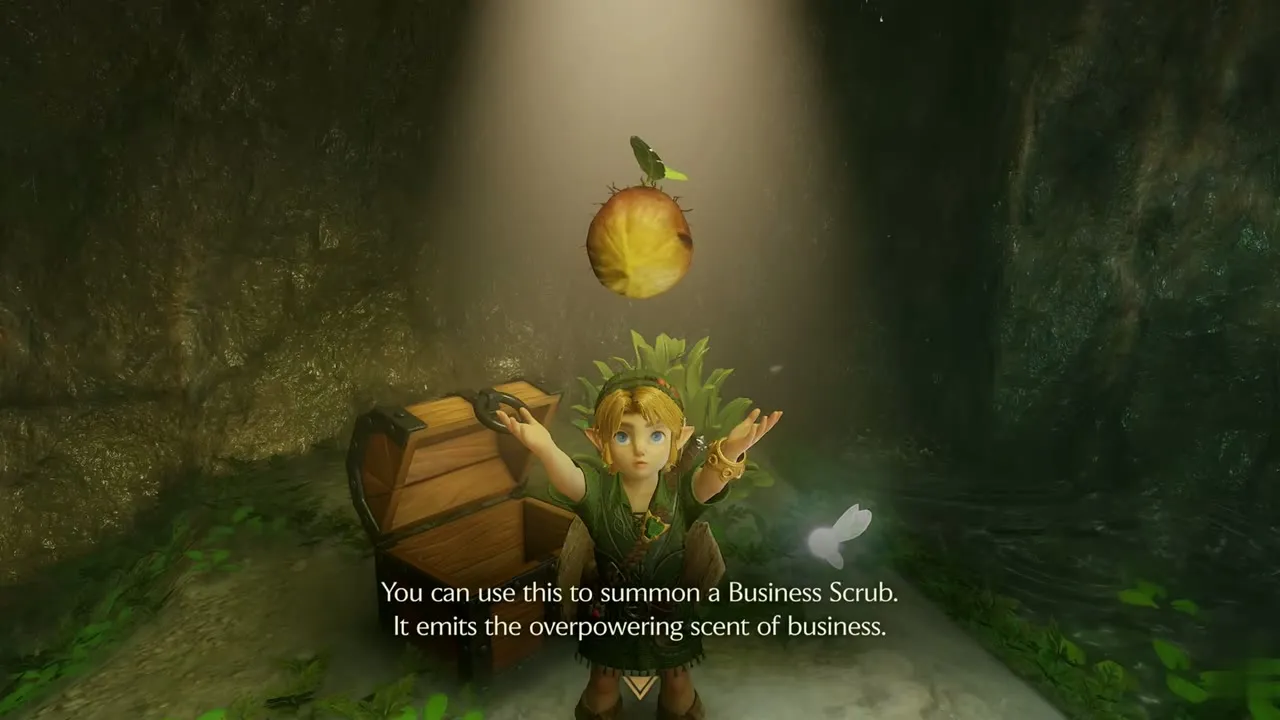
The cave opens into a dark stone room where golden flower pedestals save your progress. Follow the cave to the chest and open it for a Business Scrub Seed, which summons a Business Scrub wherever you stand. Its uses are covered on Business Scrubs and Scrub Seeds.

Heart Piece #14
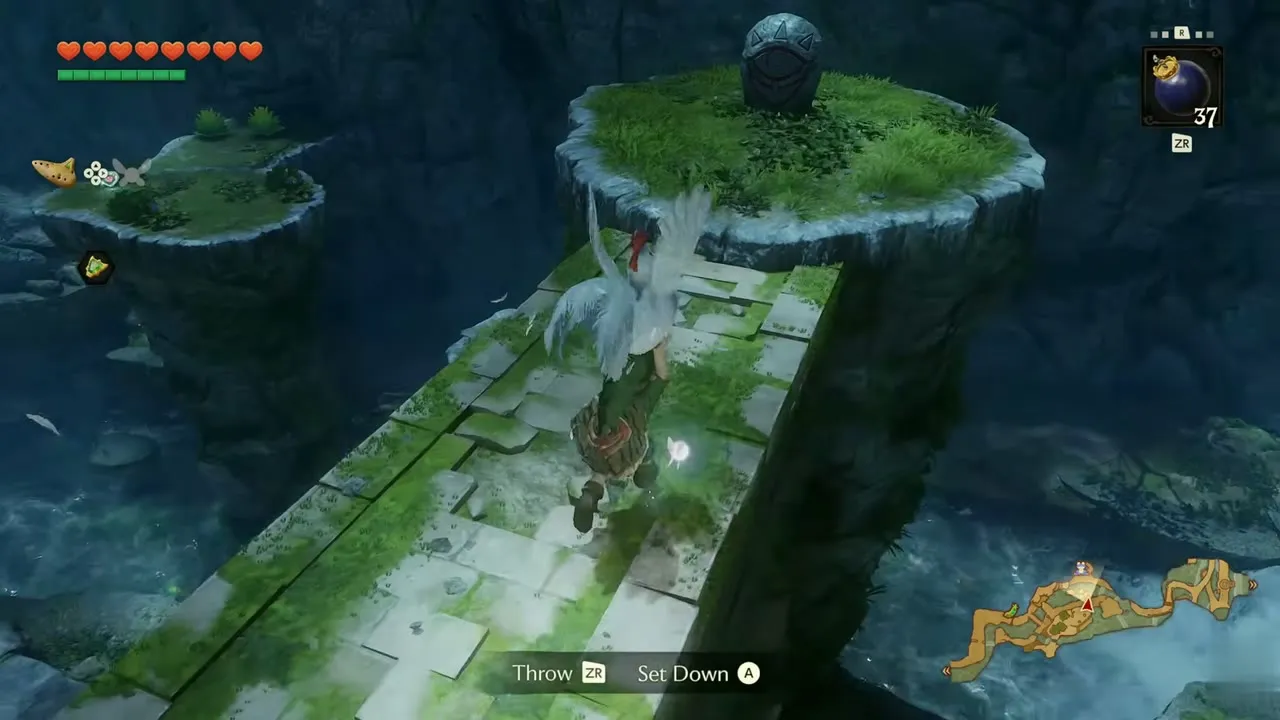
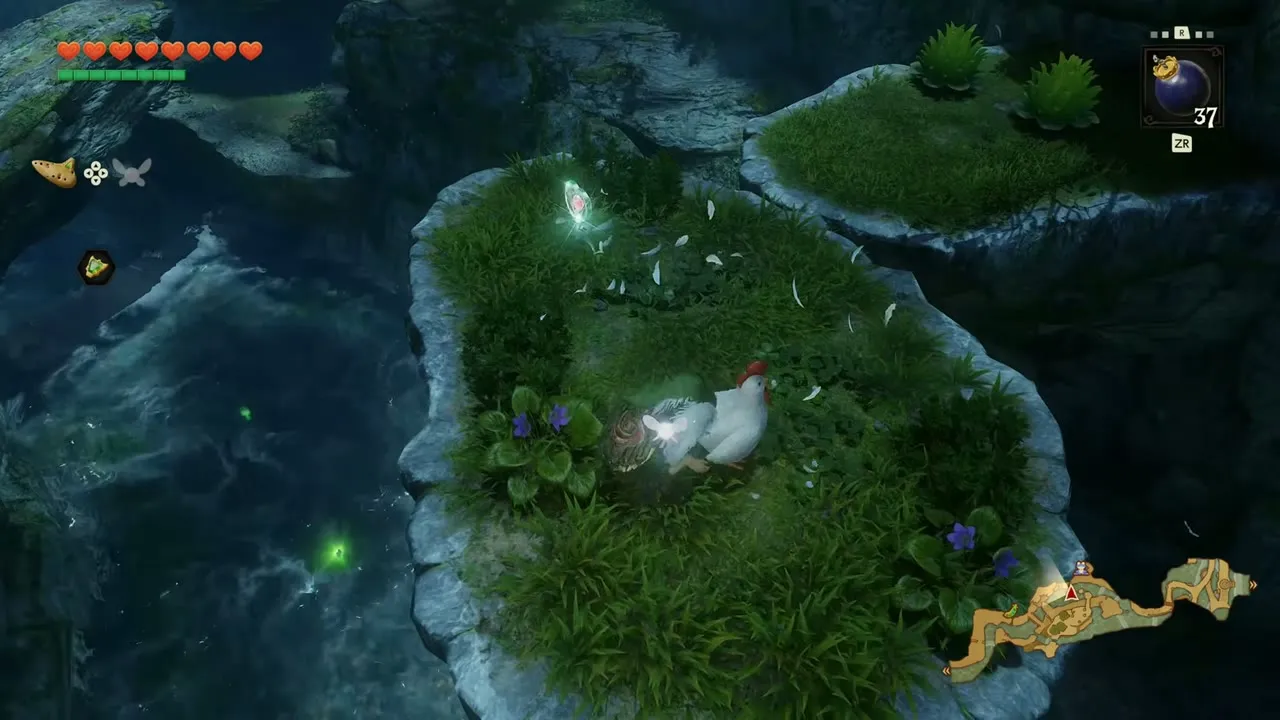
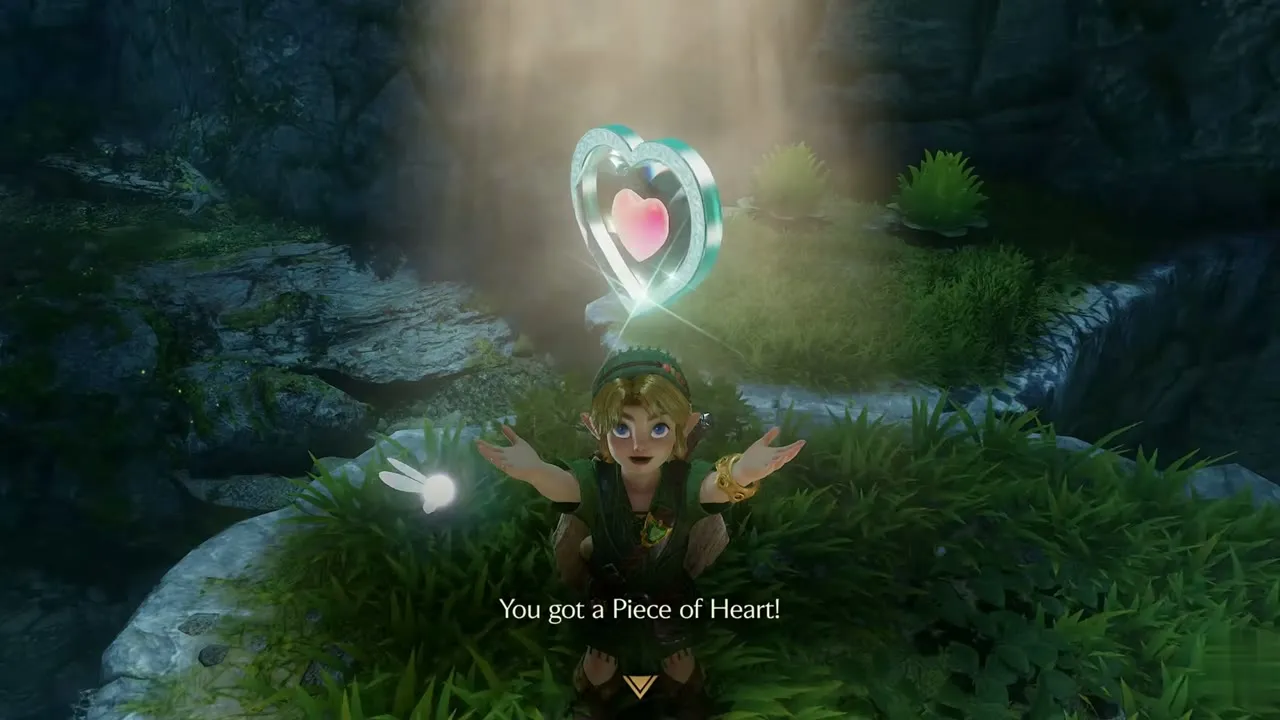
Back outside, pick up a Cucco. A line of small mossy islets crosses the water ahead. With the Cucco in your arms, drop from islet to islet so the bird slows your fall. The chain ends at a glowing Piece of Heart. It is Heart Piece #14, and the box says two more are needed to form a container.
Heart Piece #15
Carry the Cucco back along the cliff path and across the stone bridge. Past the bridge, a stream cuts through the grass. Keep the bird in your arms along the narrow shelf until a Piece of Heart glows in front of you. That is Heart Piece #15, with one more still to find.
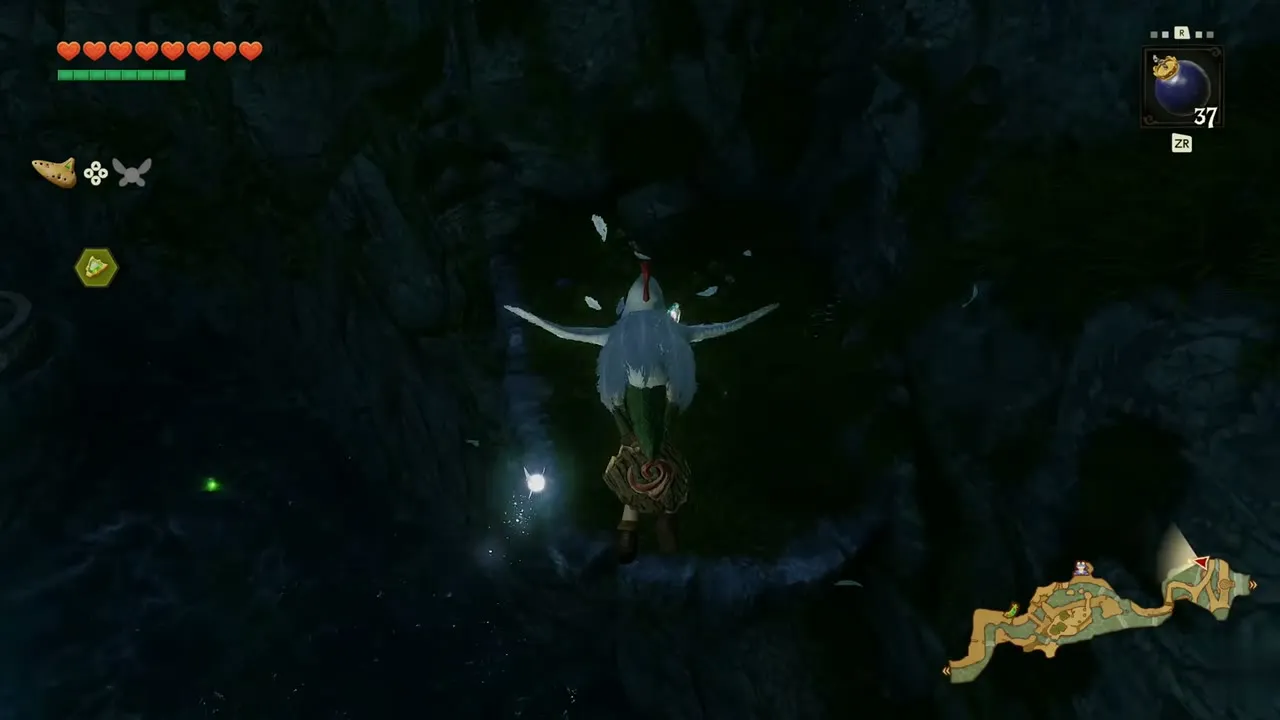

Gold Skulltula #29
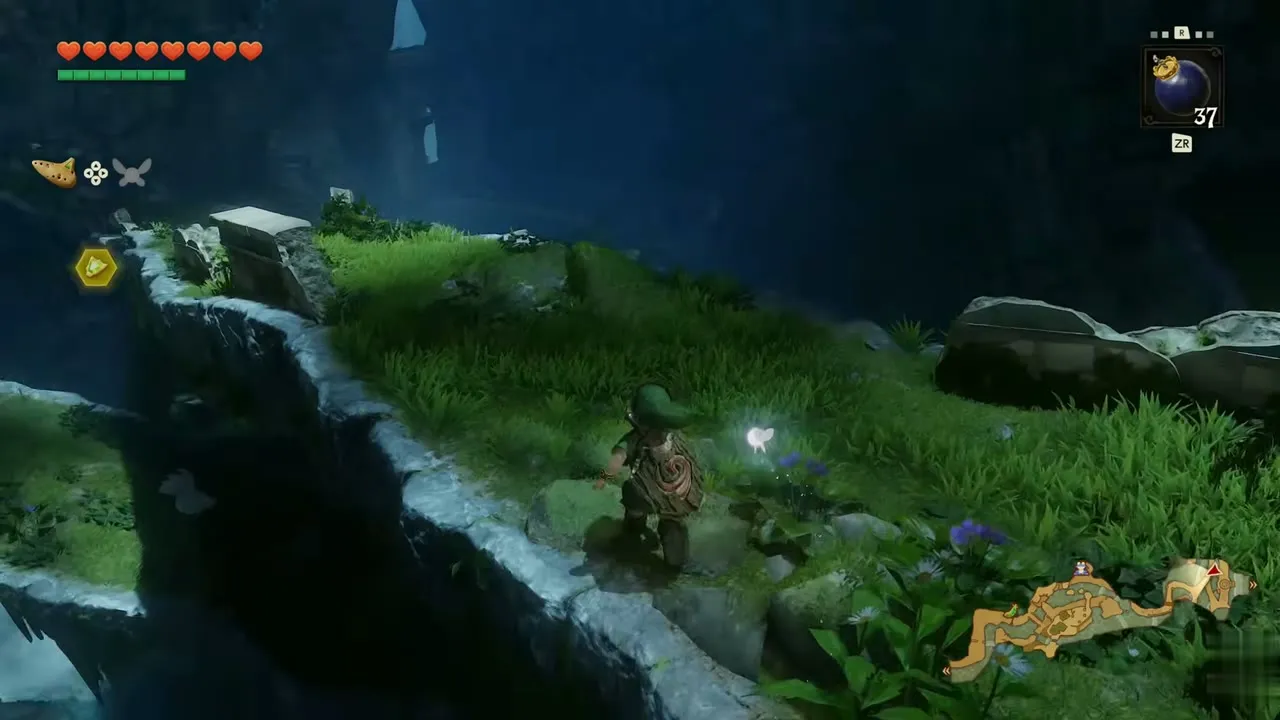
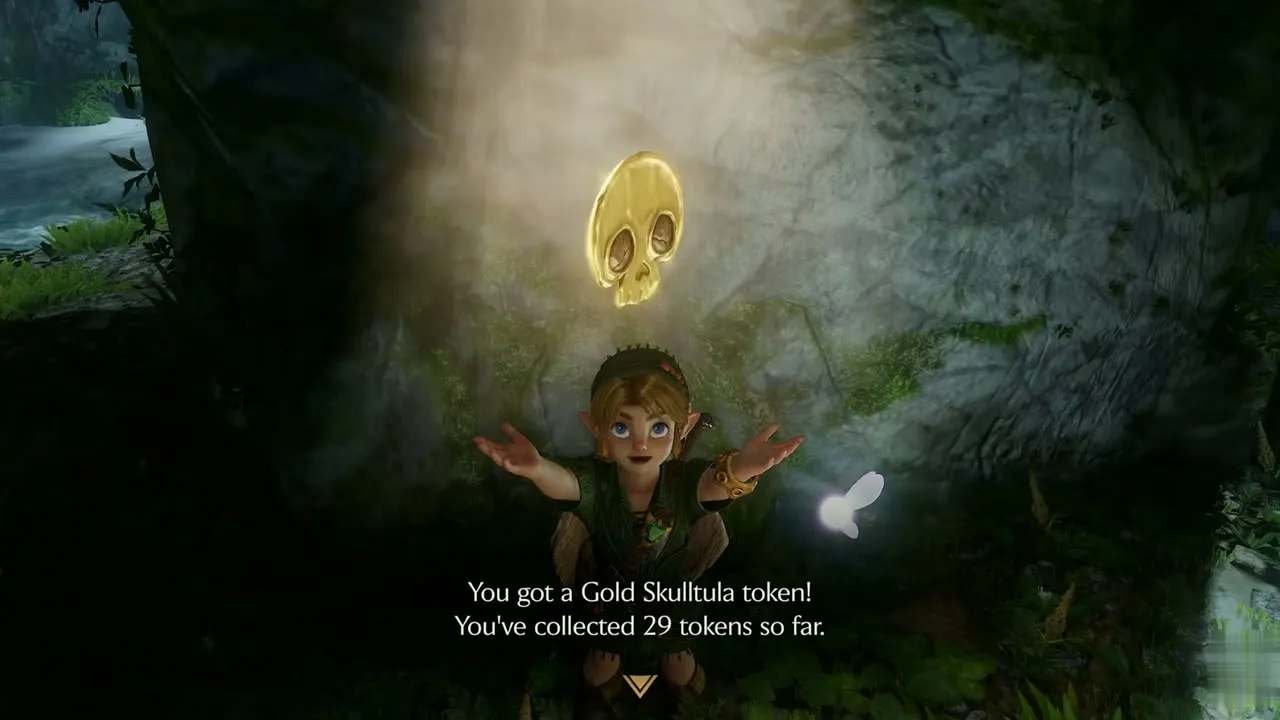
Climb the river stairs to the stone engraved with the Triforce crest, then follow the grassy ledge beyond it and climb down the vines to the river bank. A Gold Skulltula hangs on the rock under the overhang beside the river. Hit it with your sword and take the token. The box reads “You’ve collected 29 tokens so far.”
Zora Domain
Open the waterfall with Zelda’s Lullaby
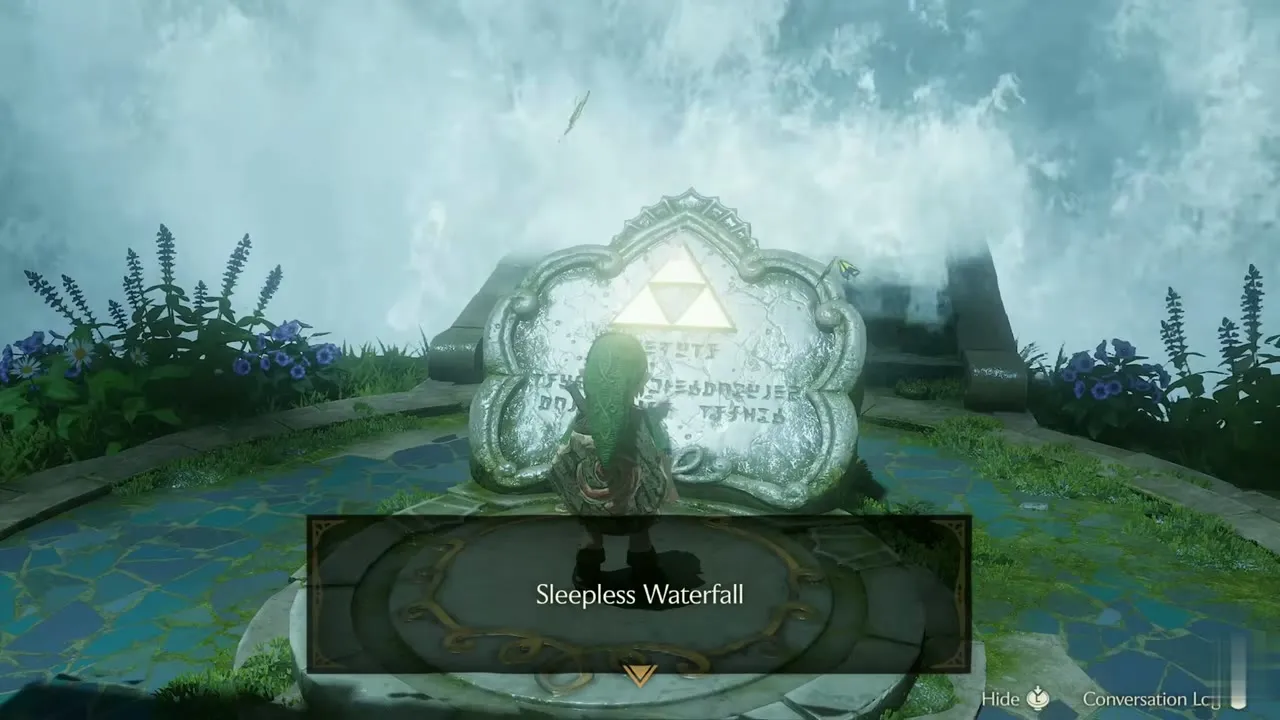
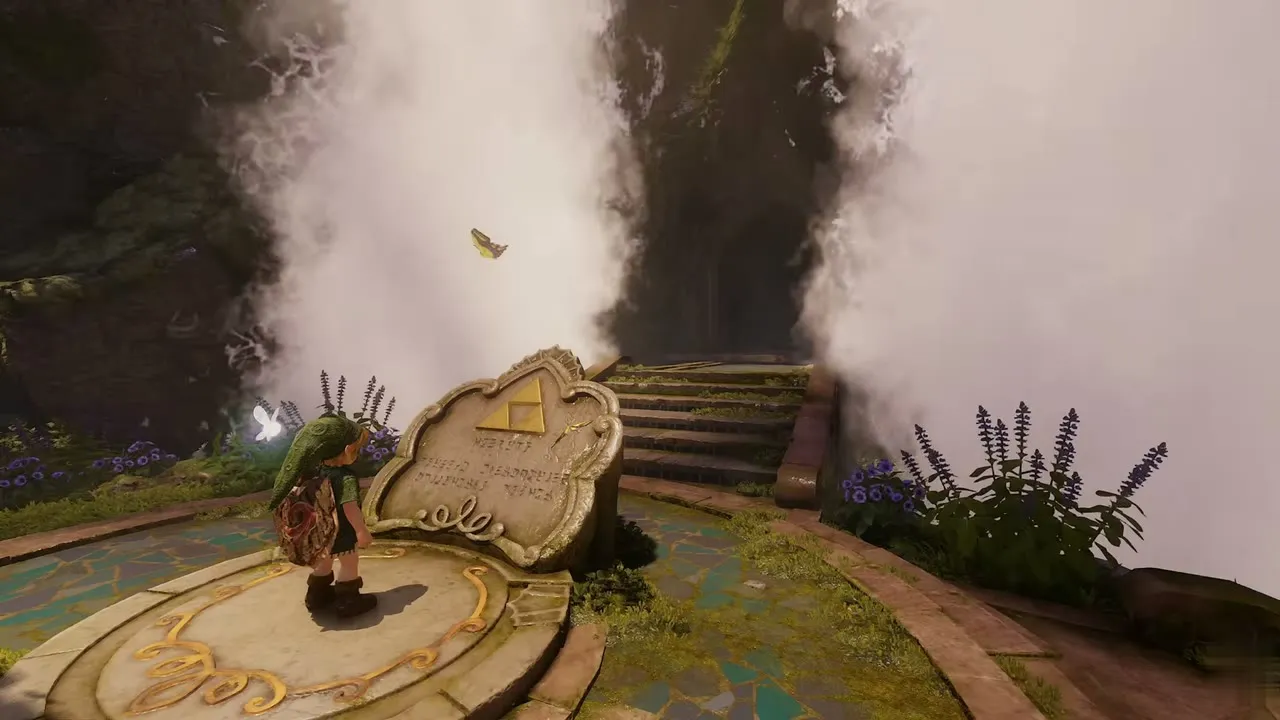
Follow the stream to a flight of stone steps beside a huge waterfall. Climb the steps to the Sleepless Waterfall stone, which says the flow of these falls serves the royal family and the falls slumber when the princess does. Go on along the grassy ledge, climb the vine wall and take the long staircase beside the falls to the platform with the royal crest. Play Zelda’s Lullaby. The message “The waterfall parted!” appears and the water opens onto a stairway.
Arrive at Zora Domain
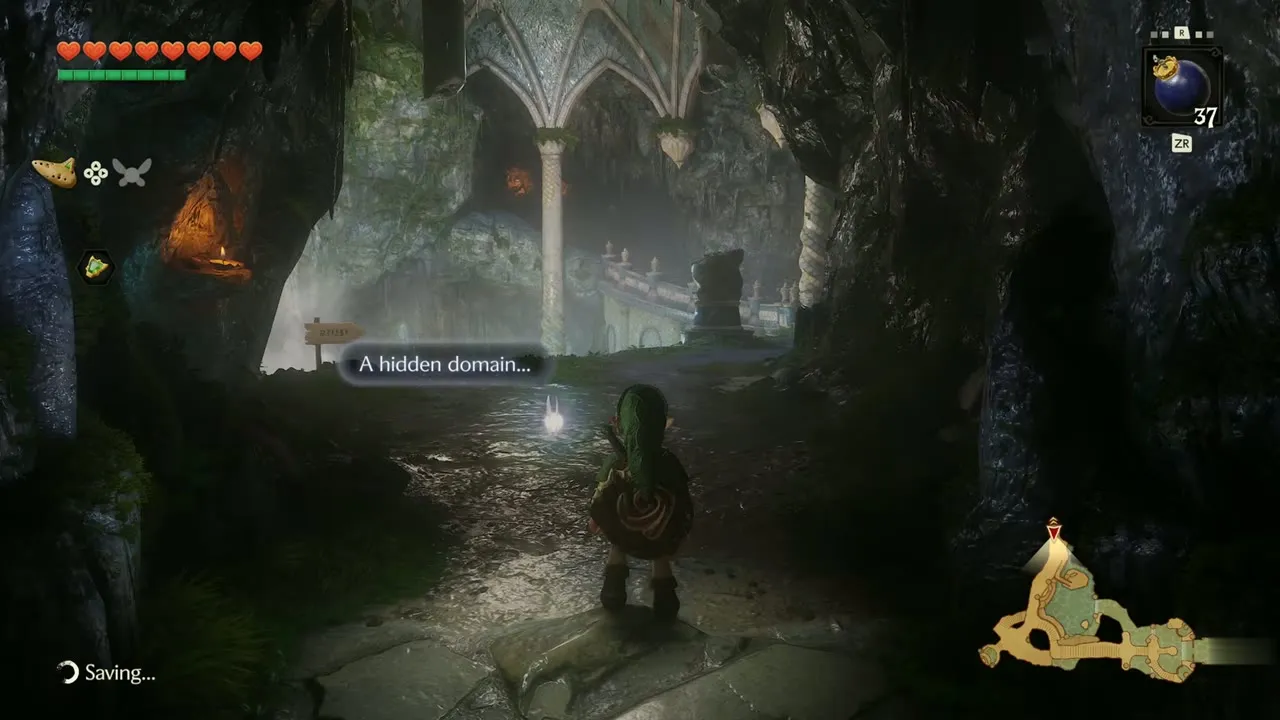
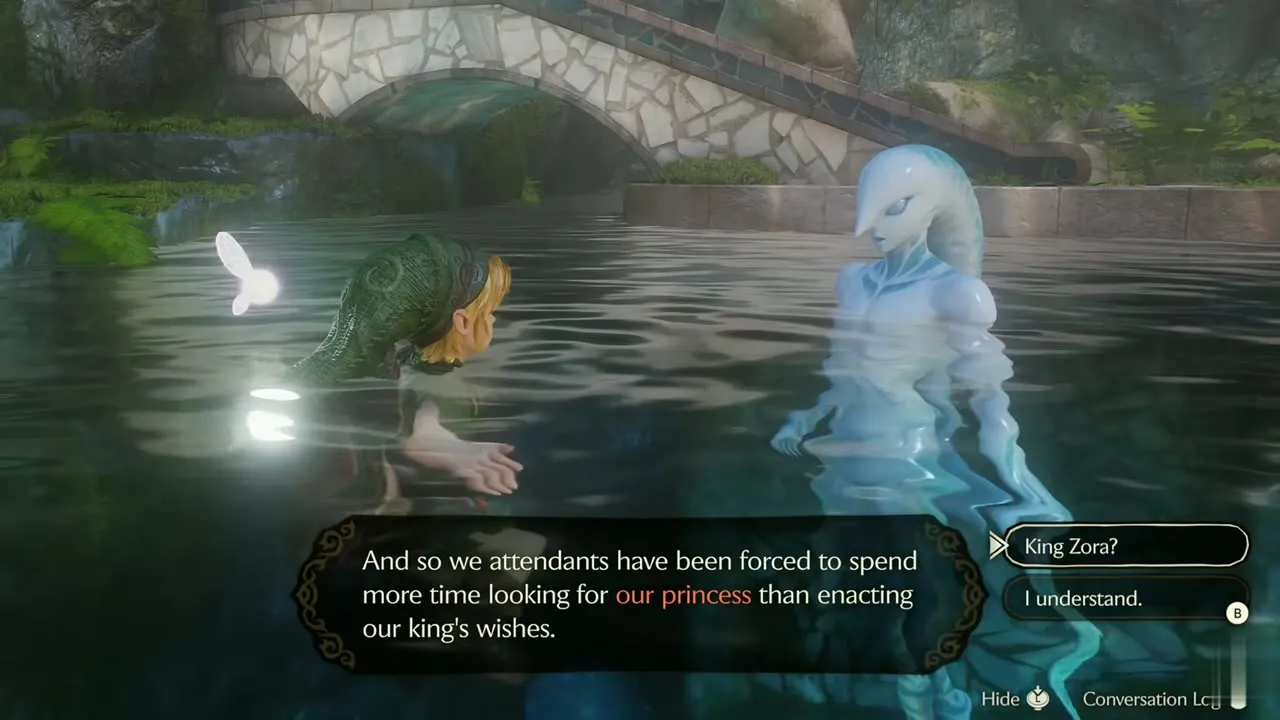
Climb the stairs to reach Zora Domain. A Zora at the water’s edge muses about a spectacular failed dive. Talk to him and, when the prompt appears, choose “King Zora?” to learn that the king’s chamber lies just ahead. He cannot escort you, since the guards are searching for Princess Ruto.
Zora shop
Up the stairs, a Zora shopkeeper welcomes you at a counter that sells arrow bundles and other goods. Nothing here is required, so walk on past the doorway toward the torch-lit corridor.

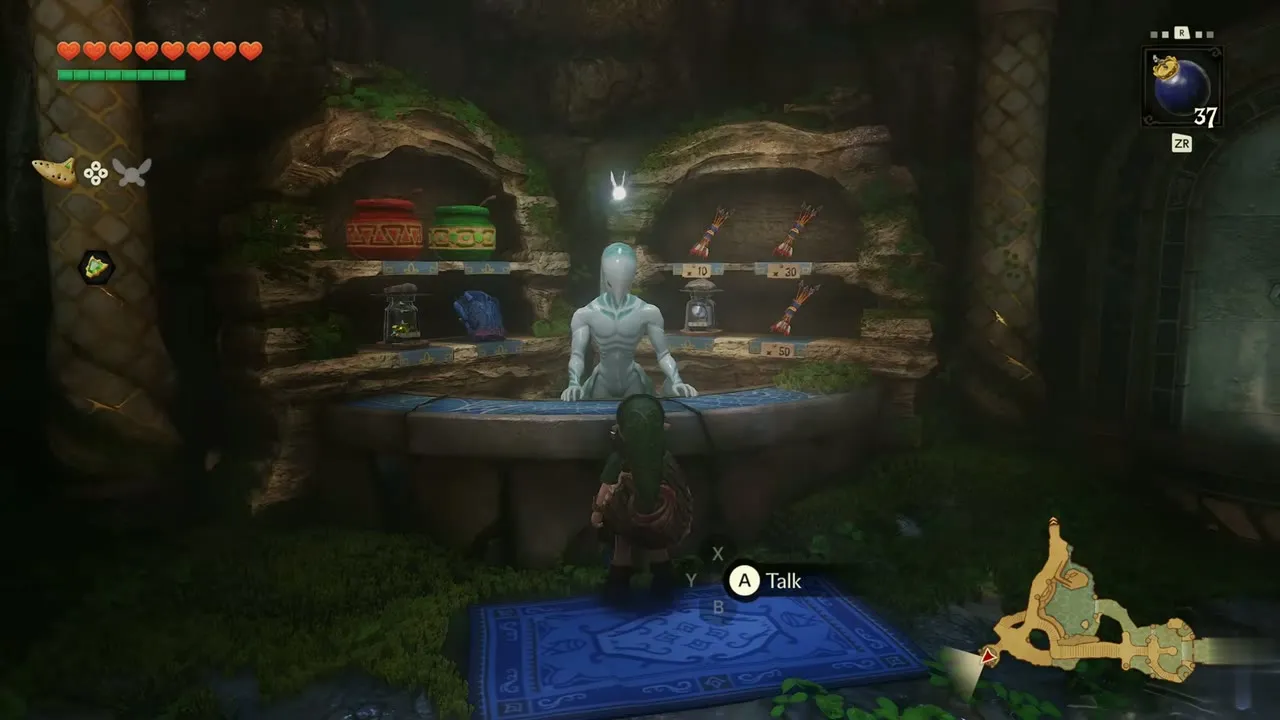
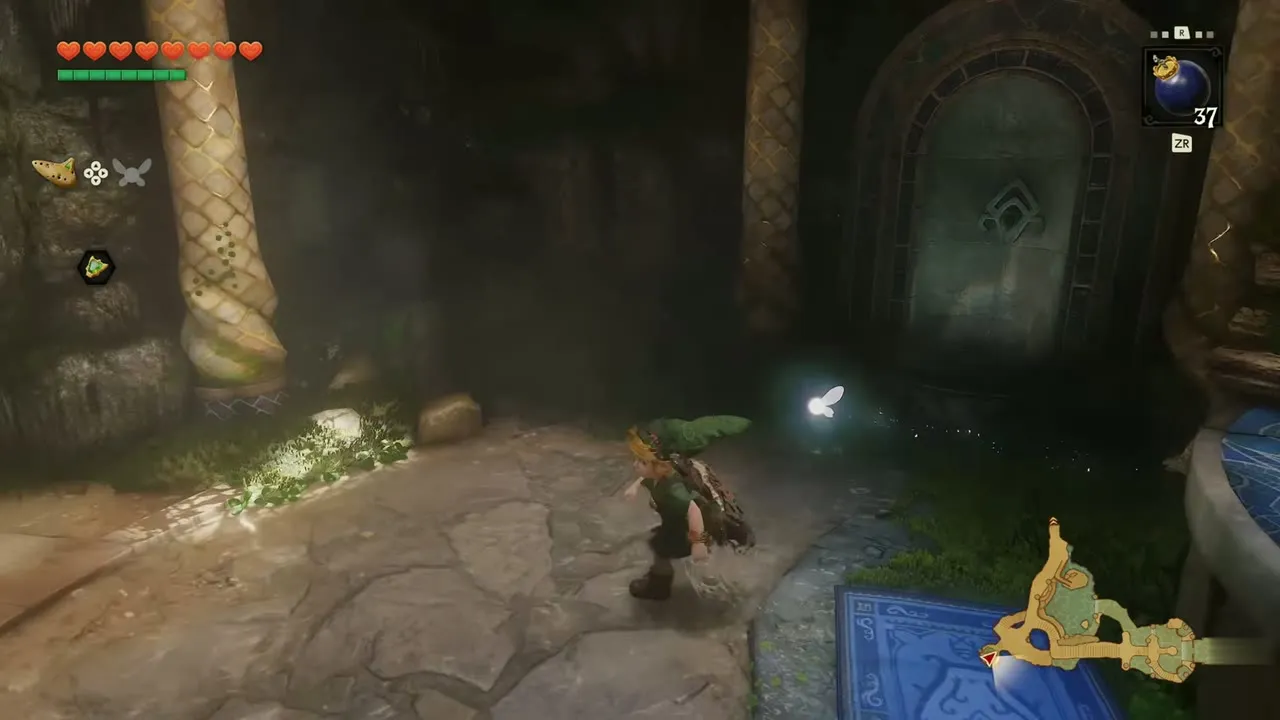
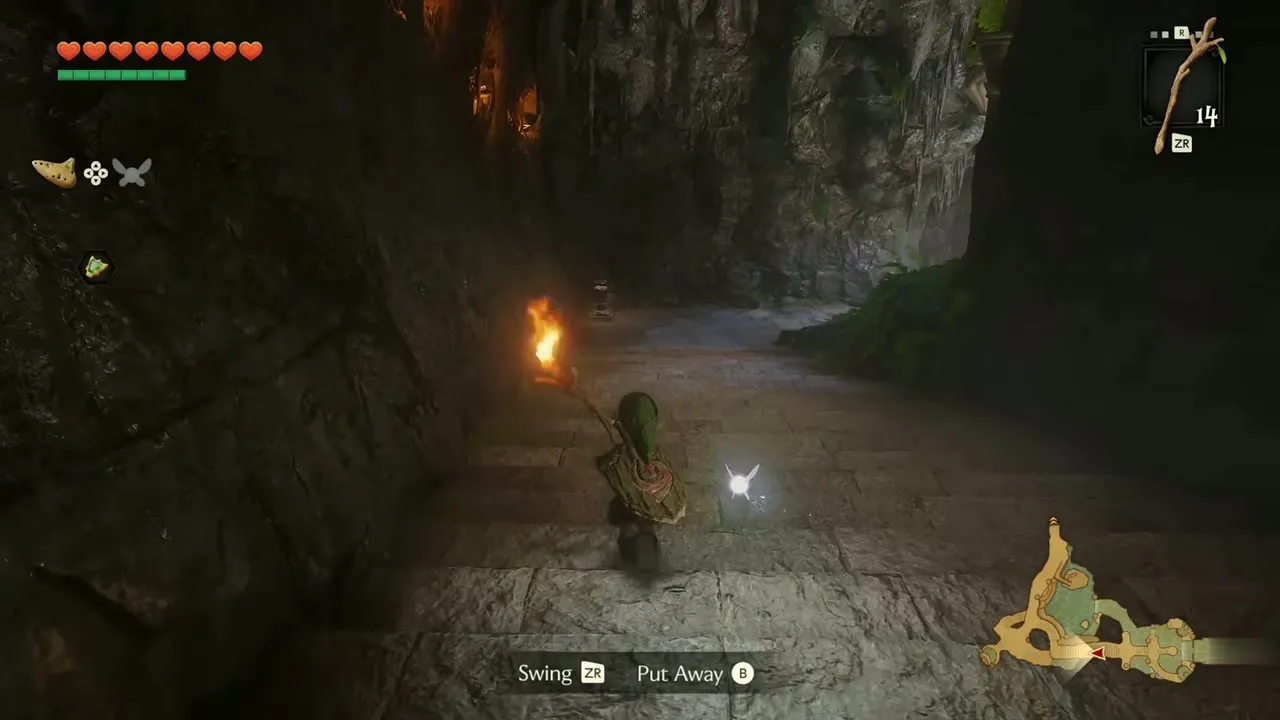
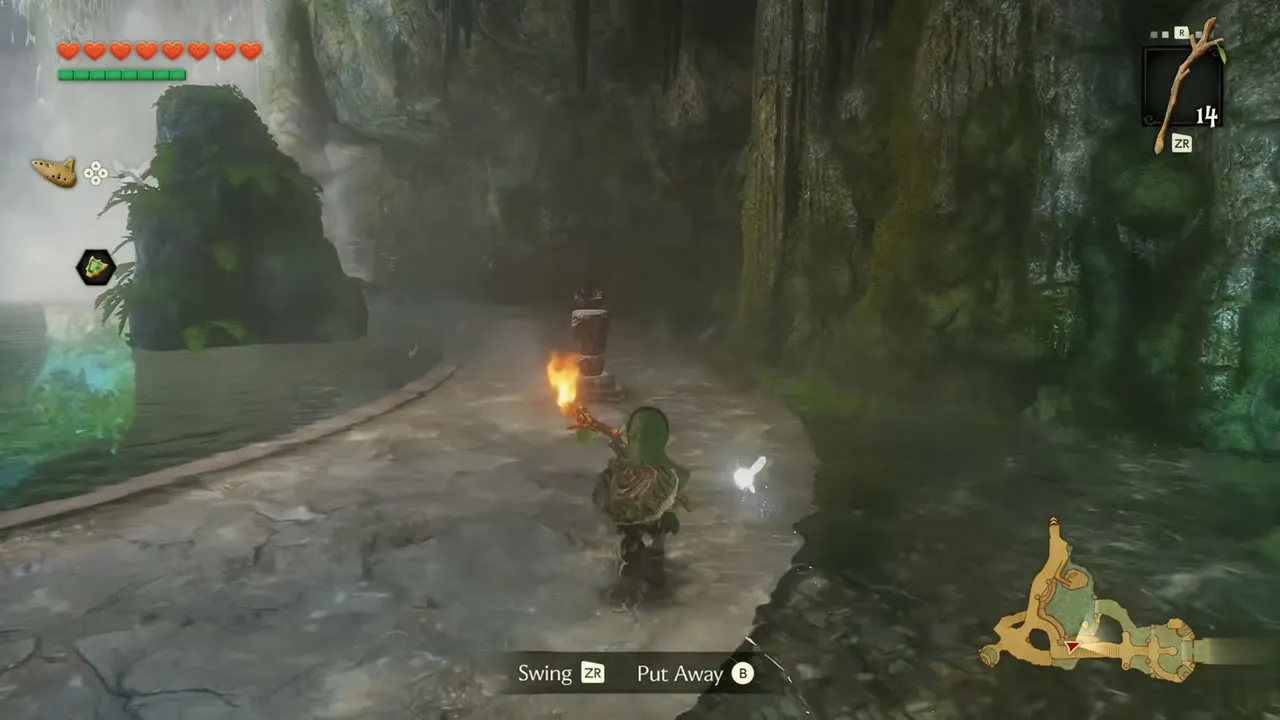
Light the torches
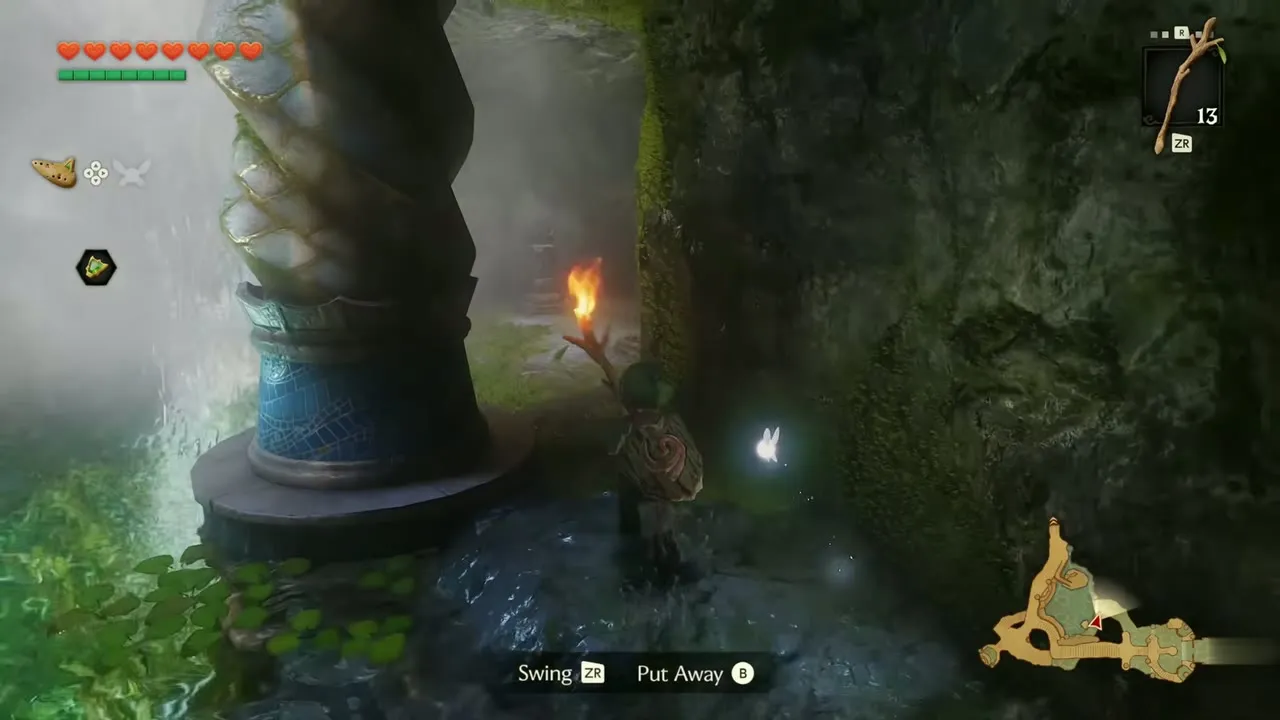
The corridor is dark. Take out a Deku Stick, light it on a burning torch, then use it to light each unlit torch along the hall. The stick burns up after a while, so keep moving. The corridor leads to a small chamber with two torch pillars and a chest.
Heart Piece #16 and a new Heart Container
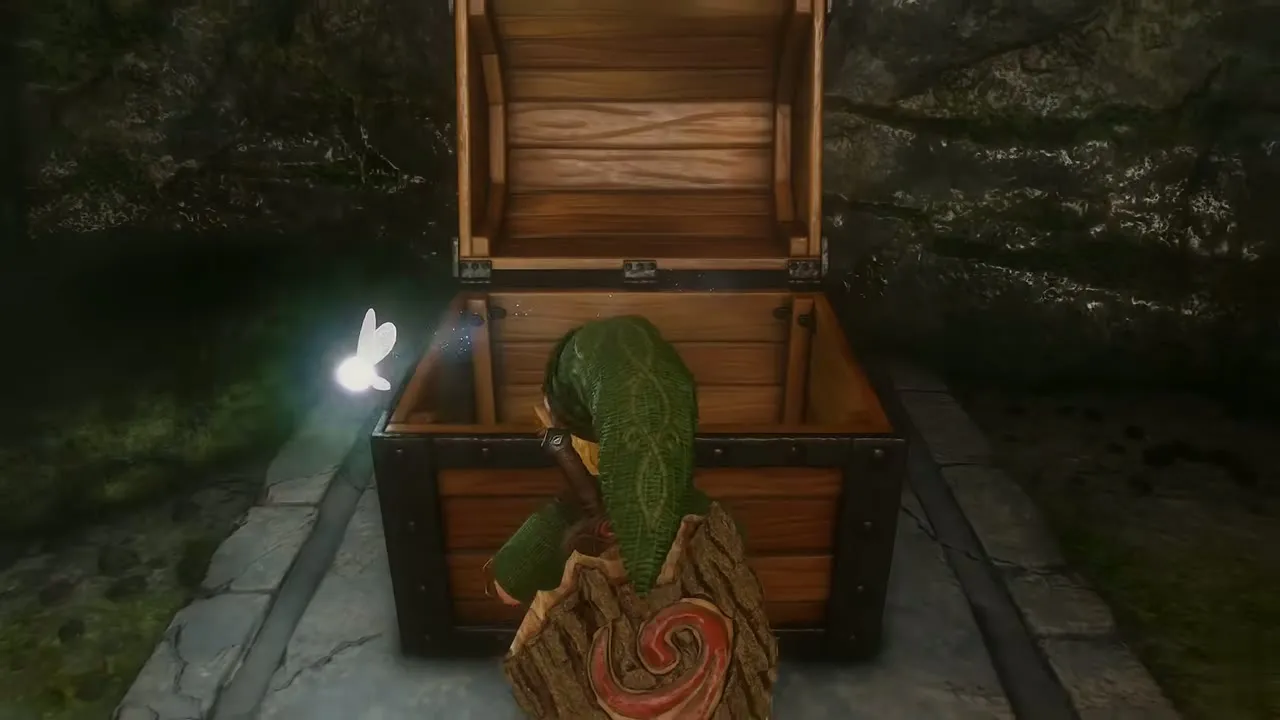
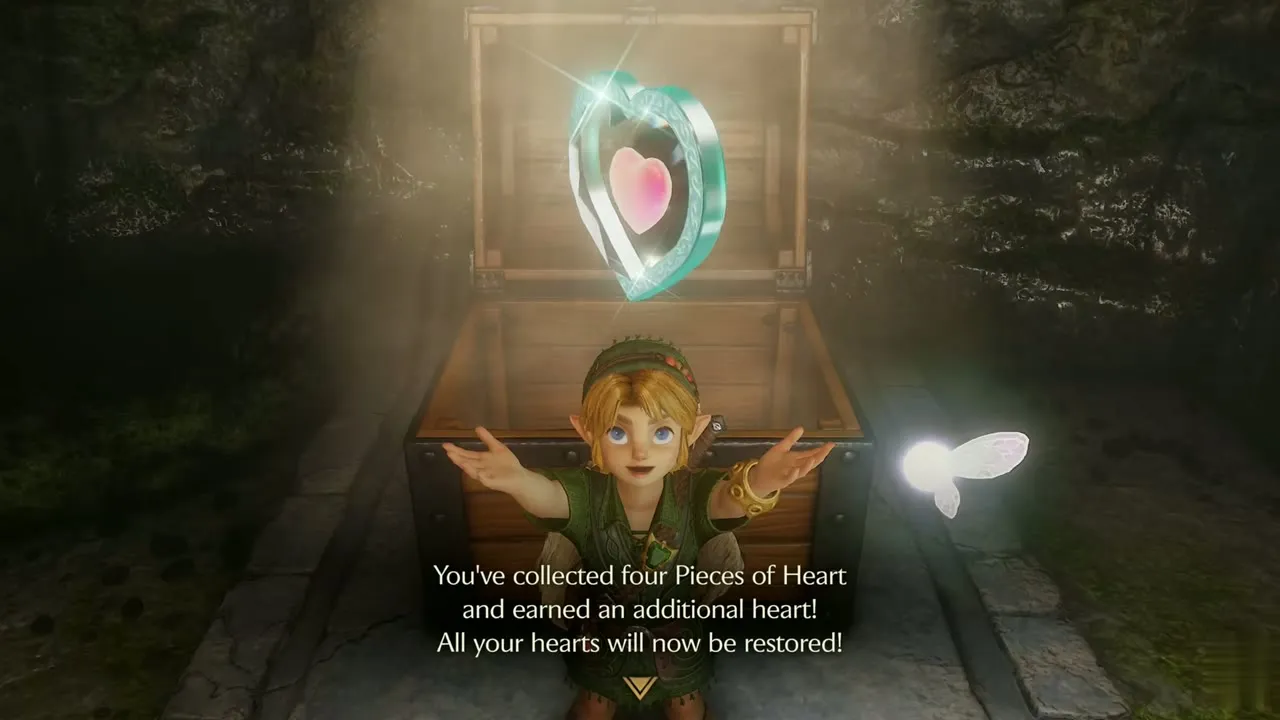
Open the chest. It holds the fourth Piece of Heart of its set, Heart Piece #16, and the box reads that you have collected four Pieces of Heart and earned an additional heart. You gain a full Heart Container and all your hearts refill.
Catch a fish
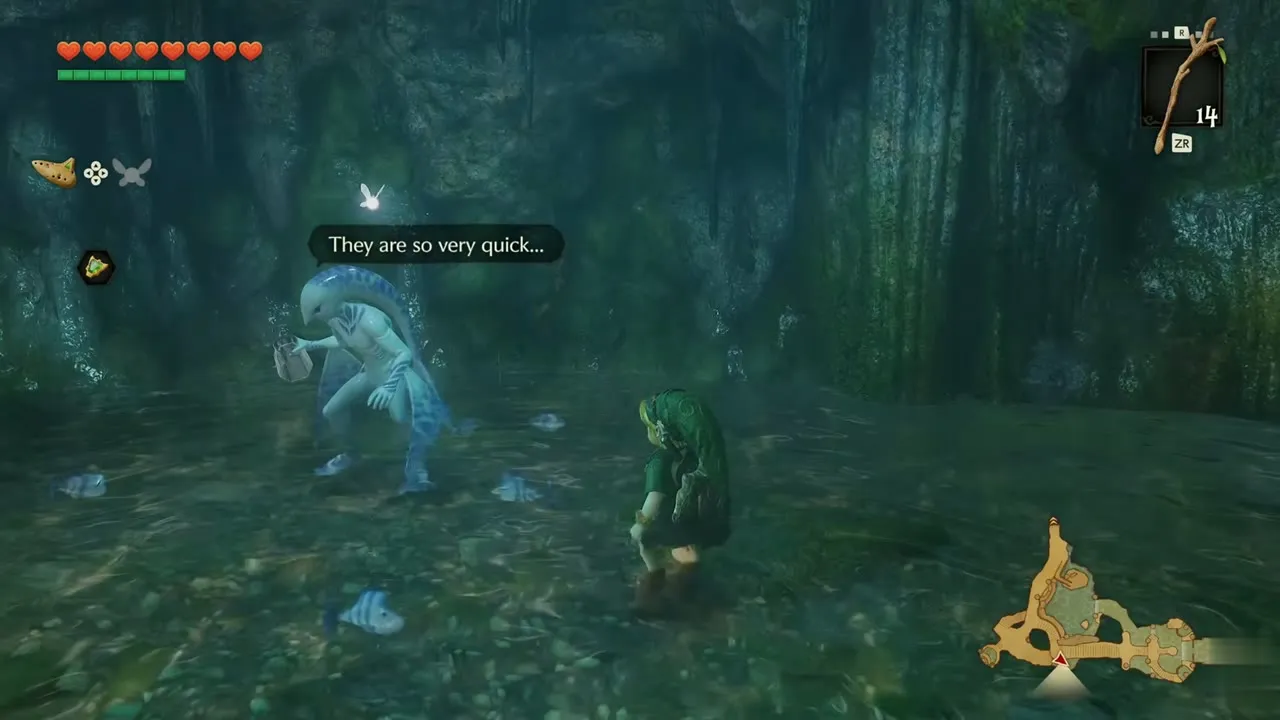
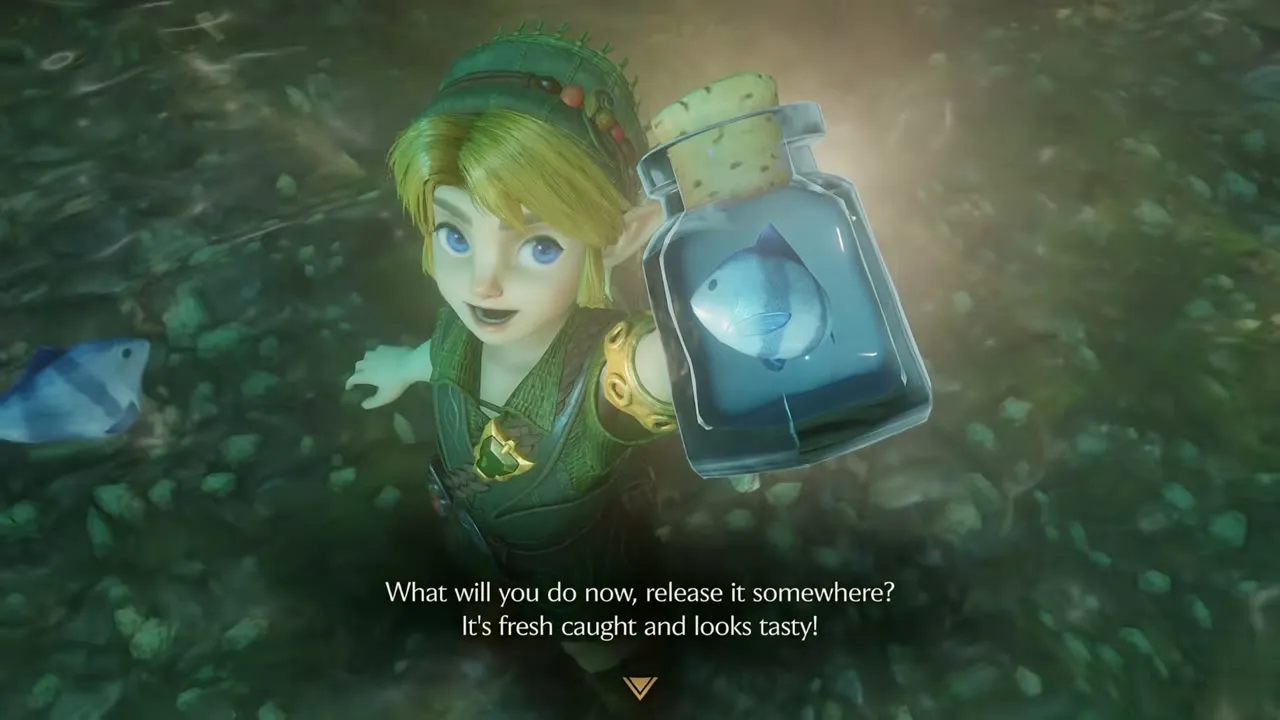
Leave the chamber and drop into the shallow cave pool below. A Zora there is grumbling about fish that keep swimming away. Take out an empty bottle and scoop one of the fish. The box says you collected one, and the game asks if you want to release it. Keep it in the bottle for now.
Diving game explained
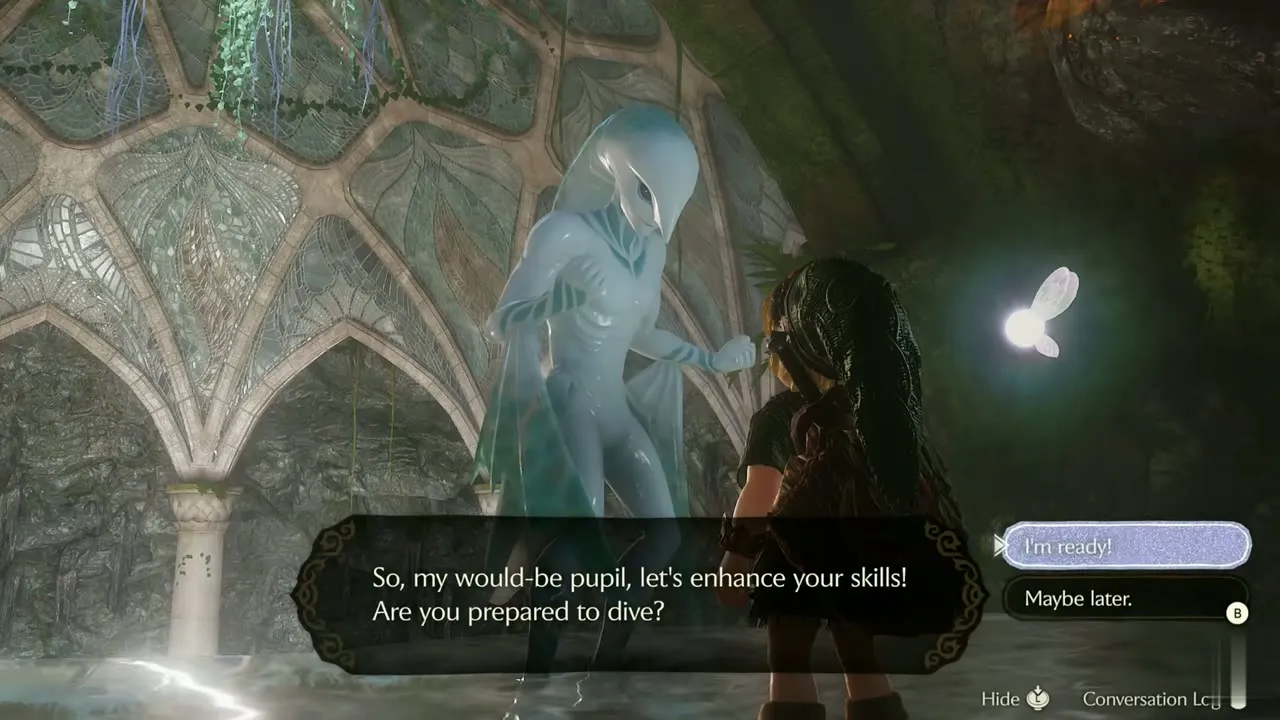
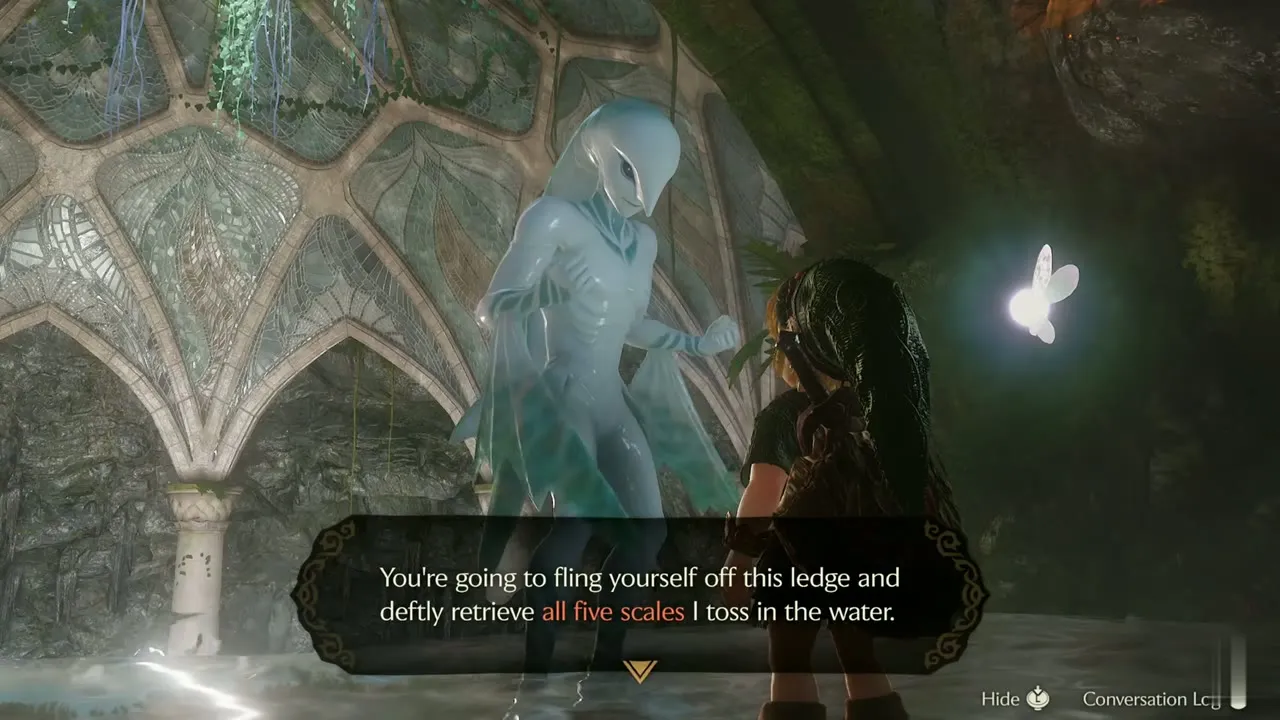
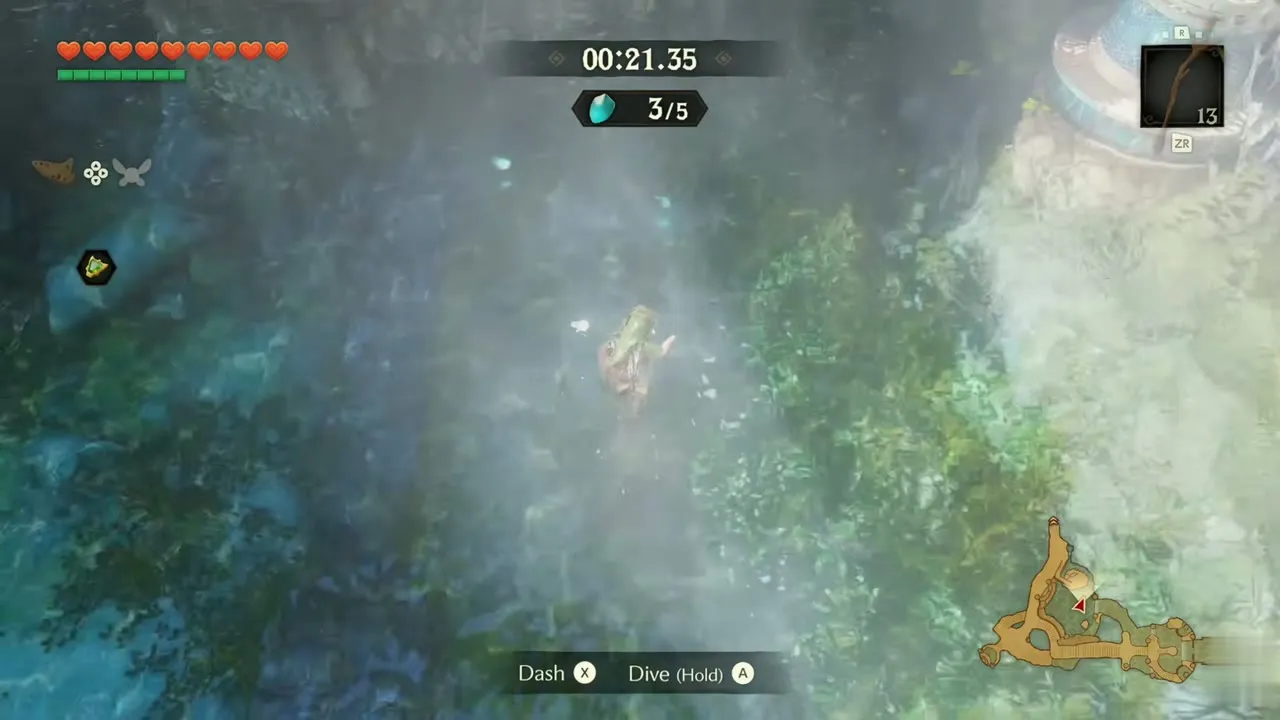
Climb the stairs to the diving instructor, a Zora in a high-vaulted cavern. He wants to teach you to dive deeper. You must fling yourself off the ledge and retrieve all five scales he tosses into the water before time runs out.
Scale dive: five scales in 40 seconds
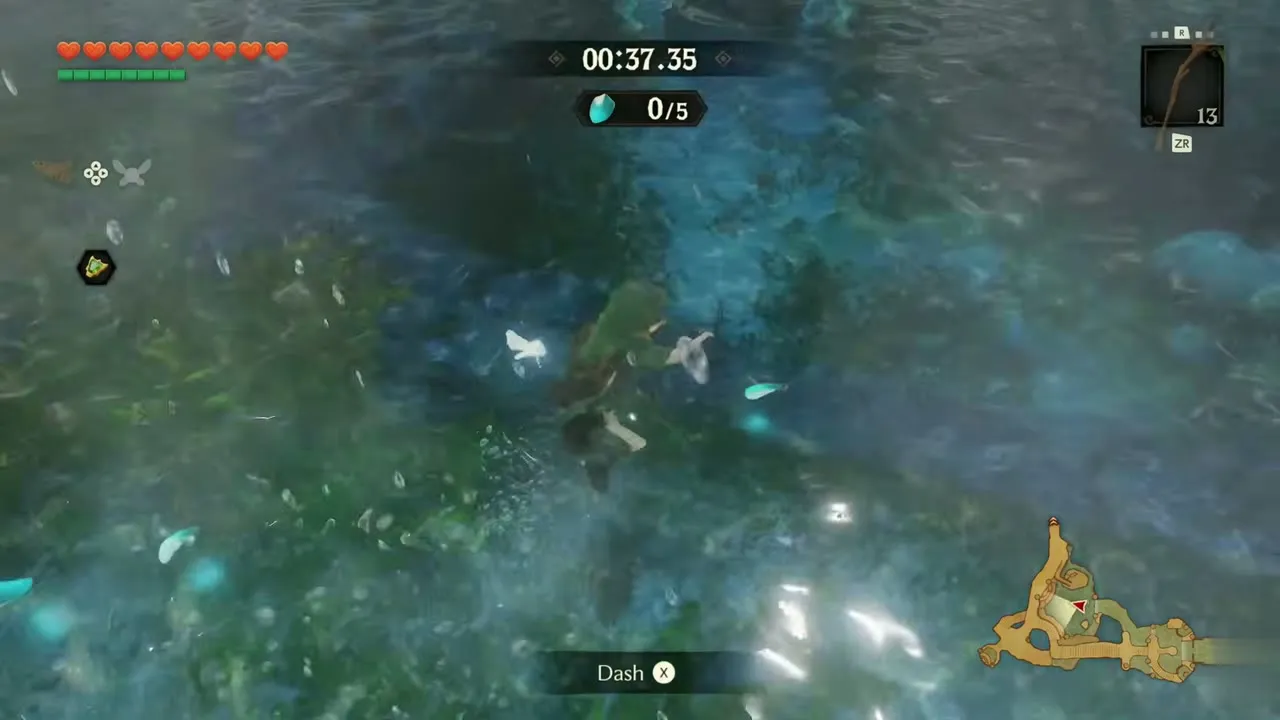
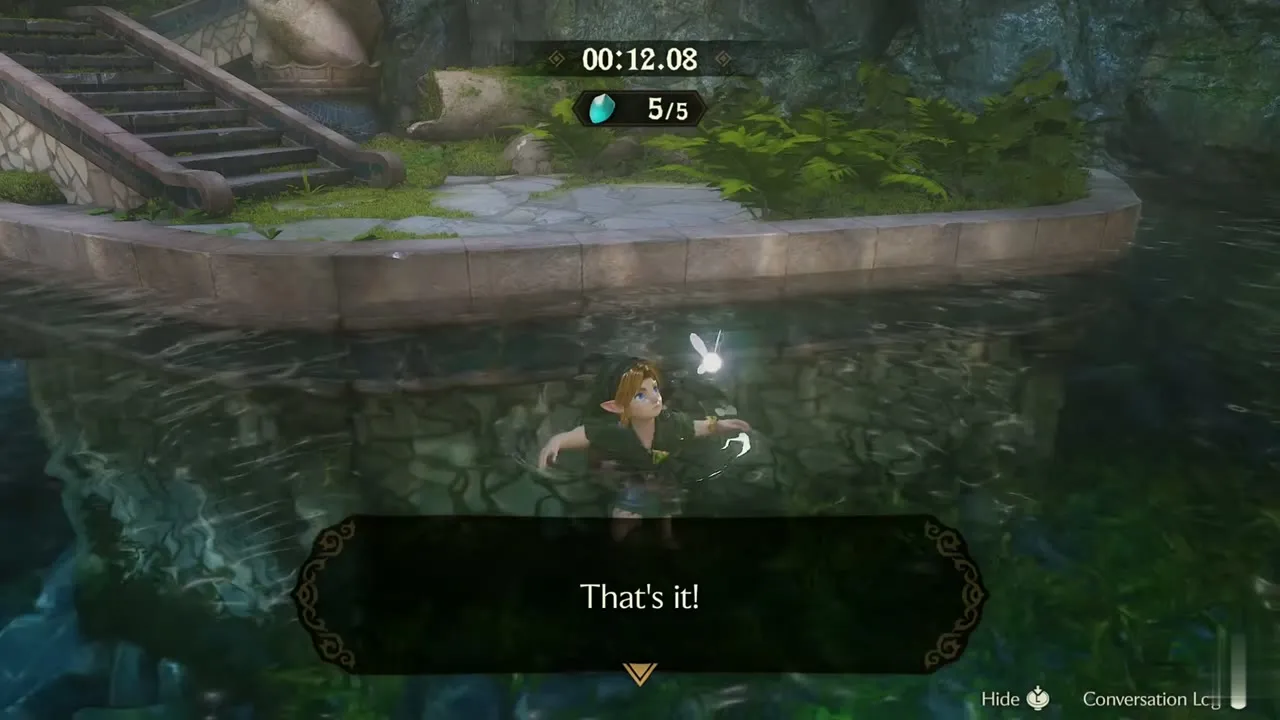
Jump off the ledge. The timer starts at 40 seconds with a counter showing 0 of 5. Hold the dive button, swim down and grab each glowing scale in turn, dashing between them. Collecting the fifth scale ends the dive with about 12 seconds to spare.
Silver Scale
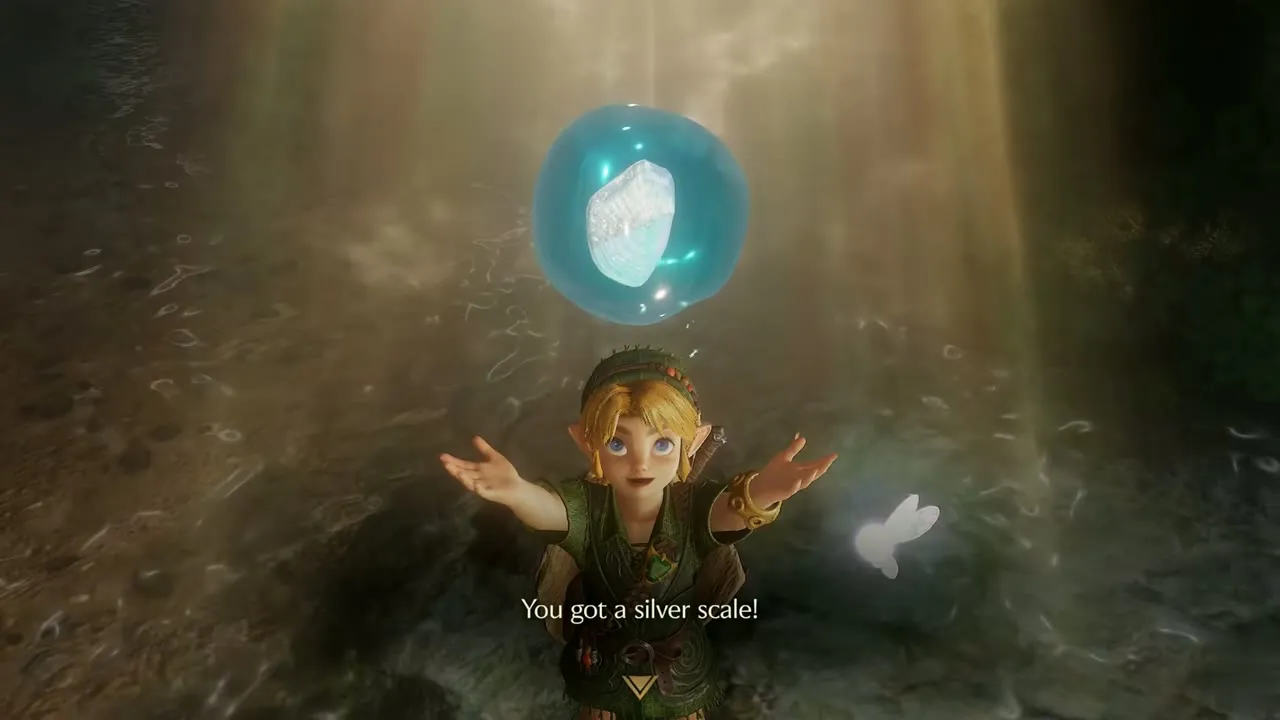
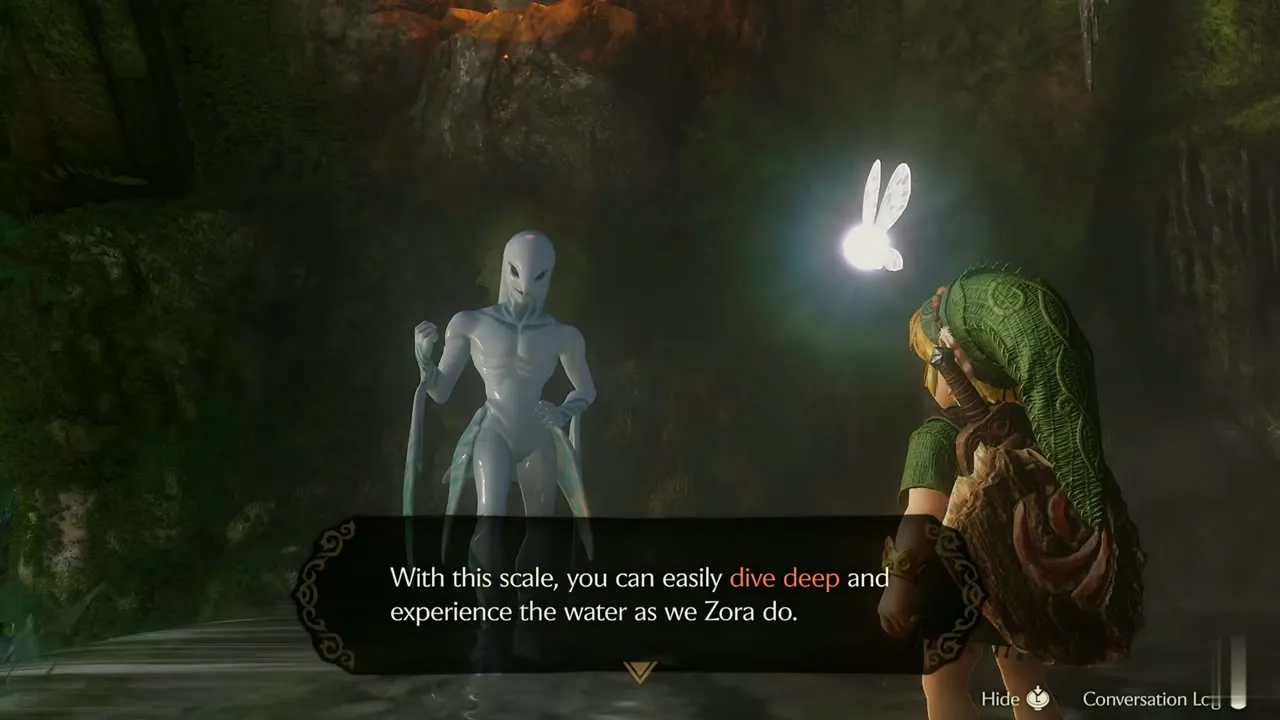
Climb out and the instructor praises your dive. He then gives you the Silver Scale, which lets you dive deeper than before.
First audience with King Zora
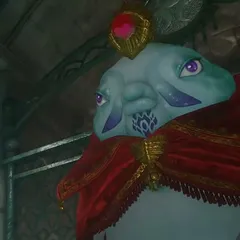
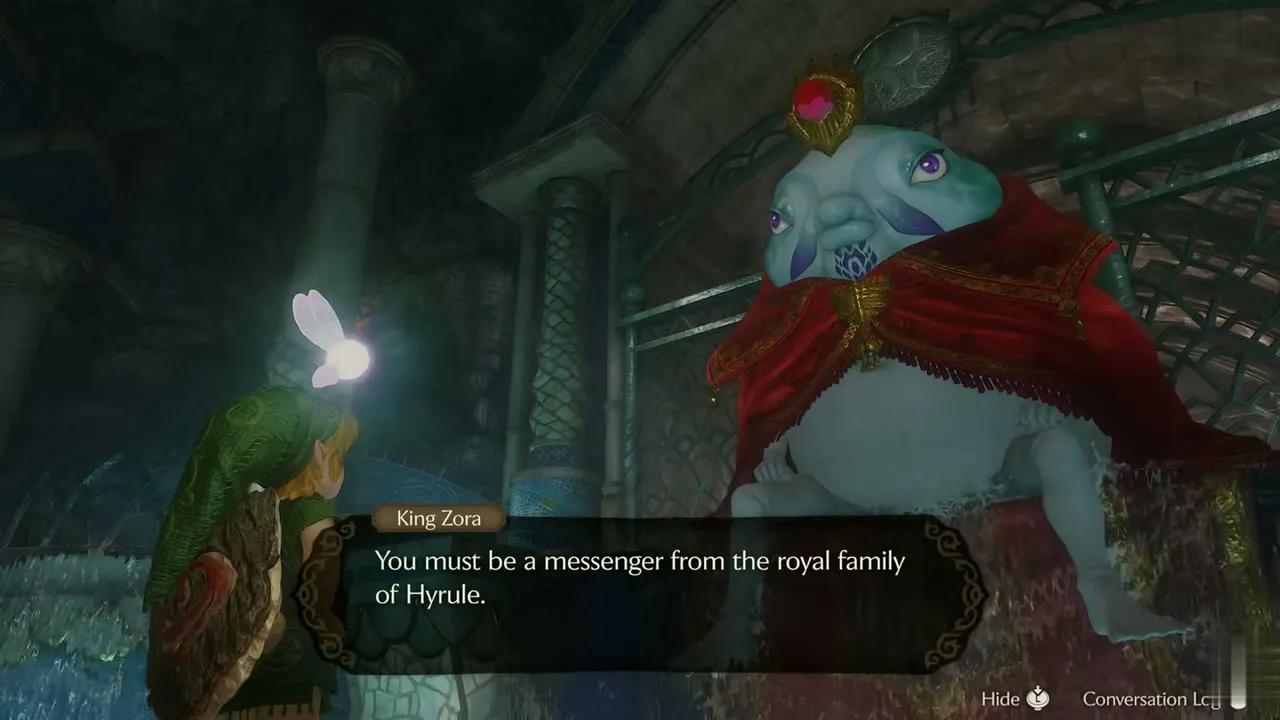
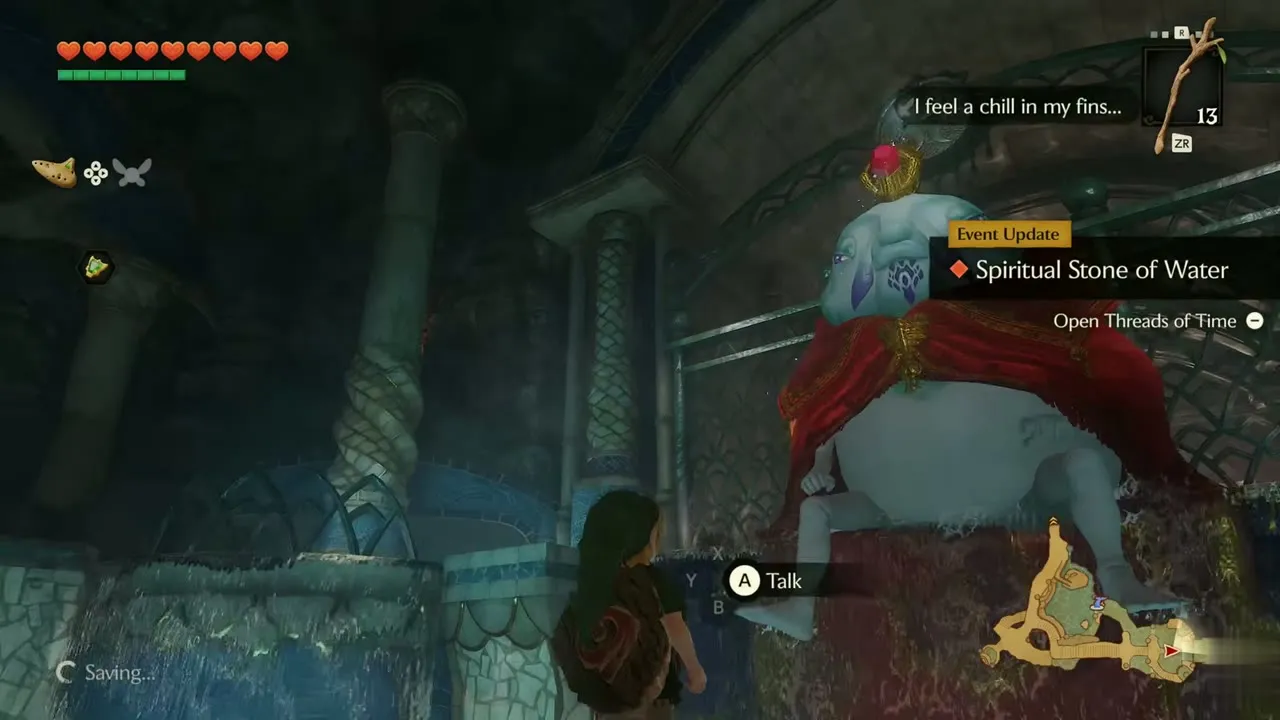
The instructor tells you to stand on the central platform to speak with the king. Walk to the circle in front of the throne and press the talk button. King Zora greets you as a messenger from the royal family. He confesses that Princess Ruto is not at home and suggests you help search, then remembers she may be underwater. A new Spiritual Stone of Water entry appears in Threads of Time.


Ruto’s bottle in Lake Hylia
Swim to Lake Hylia
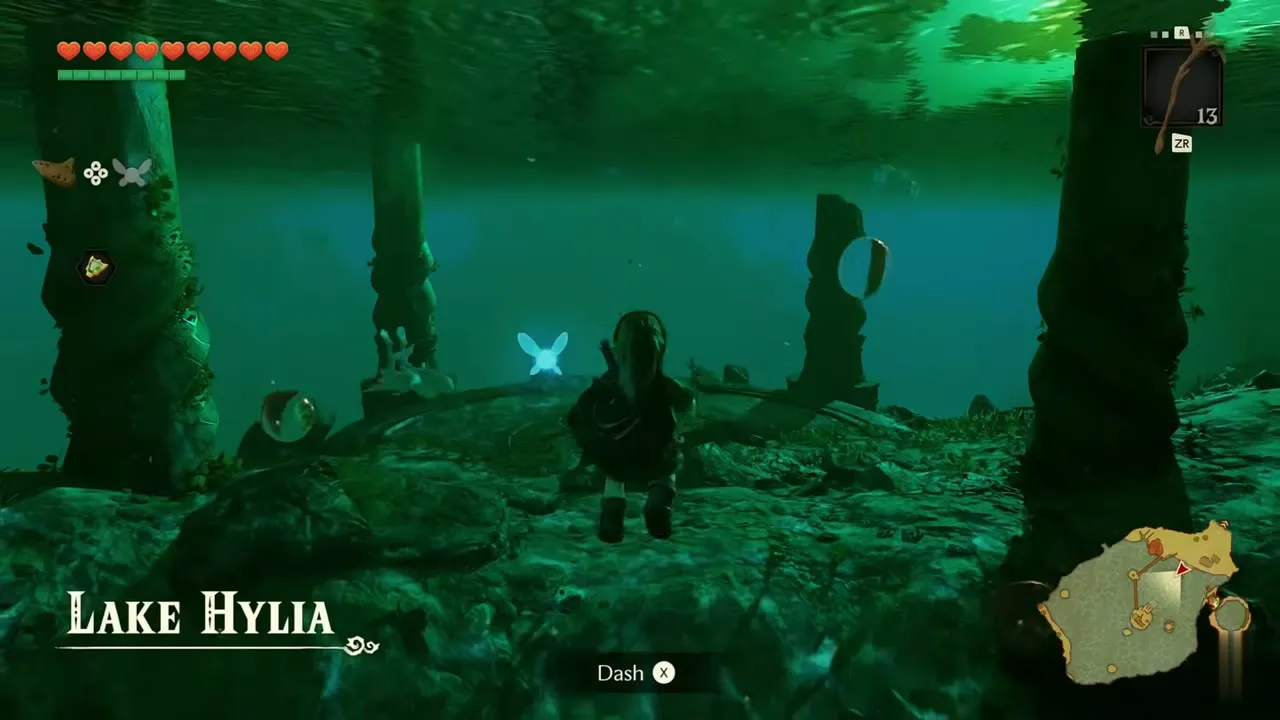
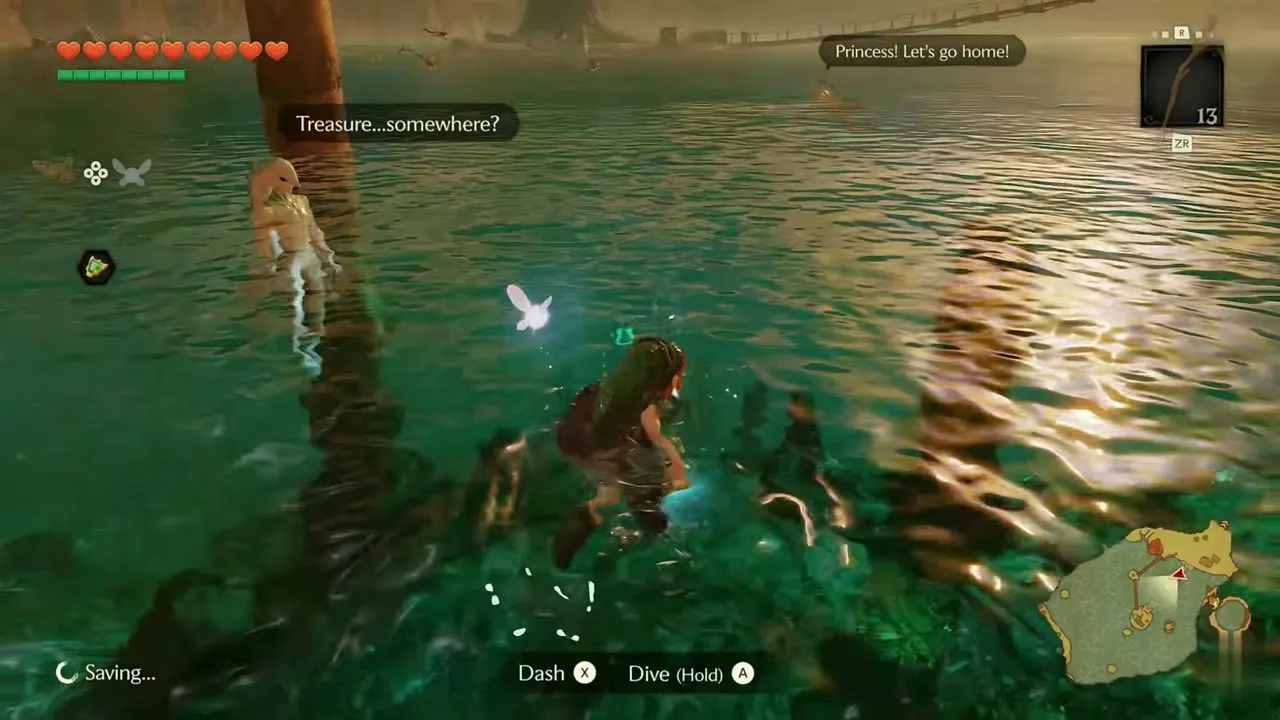
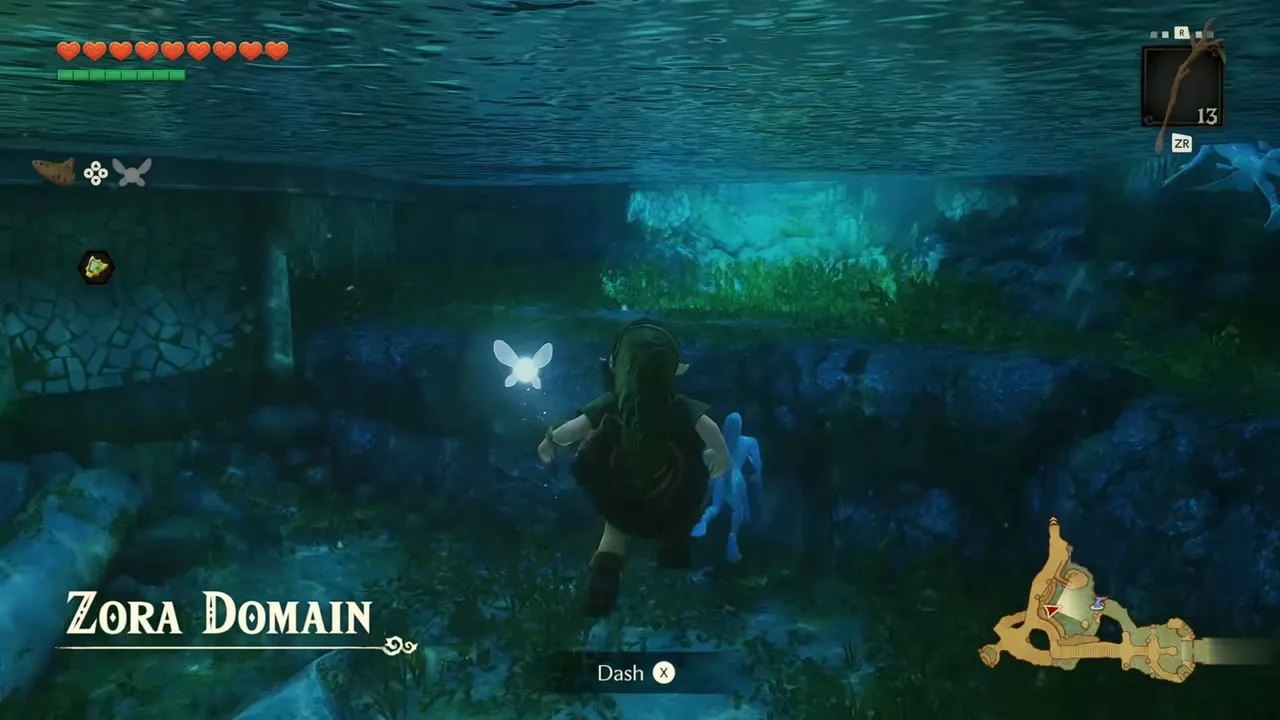
Go down the steps and drop into the pool beneath the gate. Swim under the stone gate and follow the underwater passage until you surface in Lake Hylia. A hint appears reading “Treasure…somewhere?” For the rest of the lake, see Lake Hylia.
Bottle with a letter
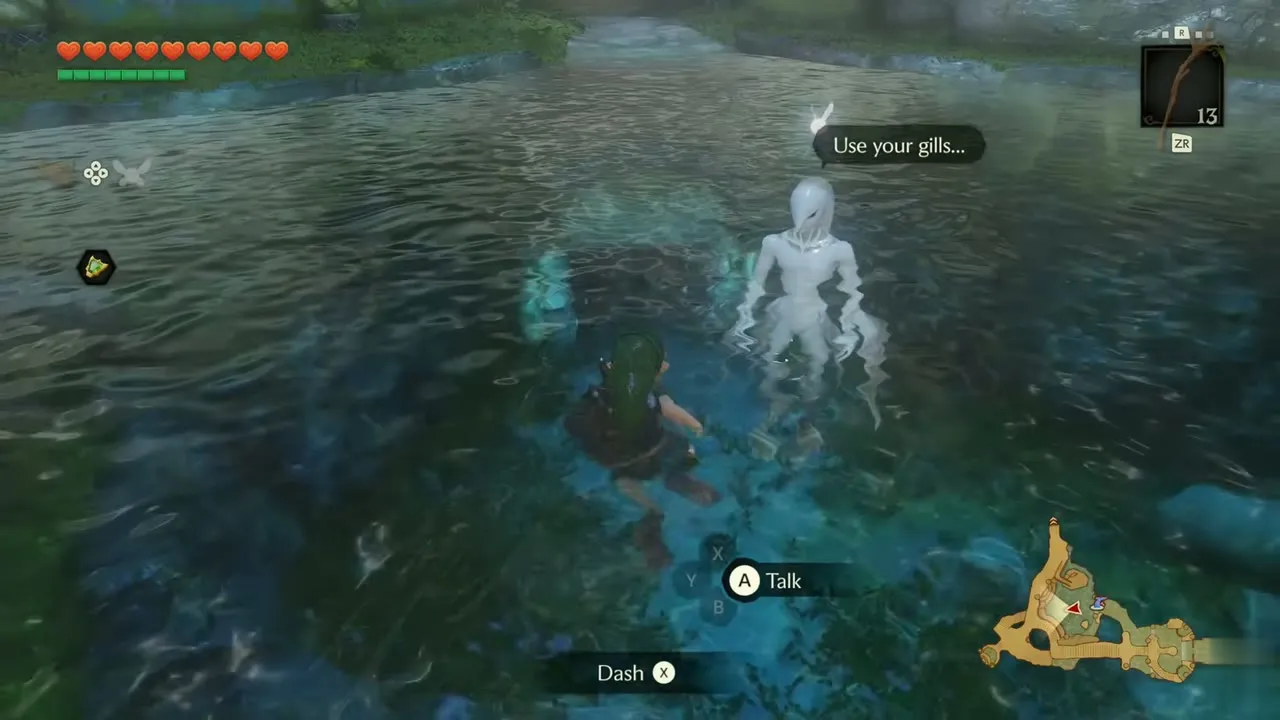
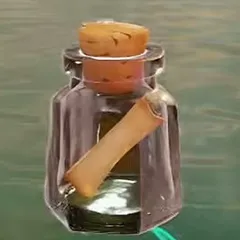
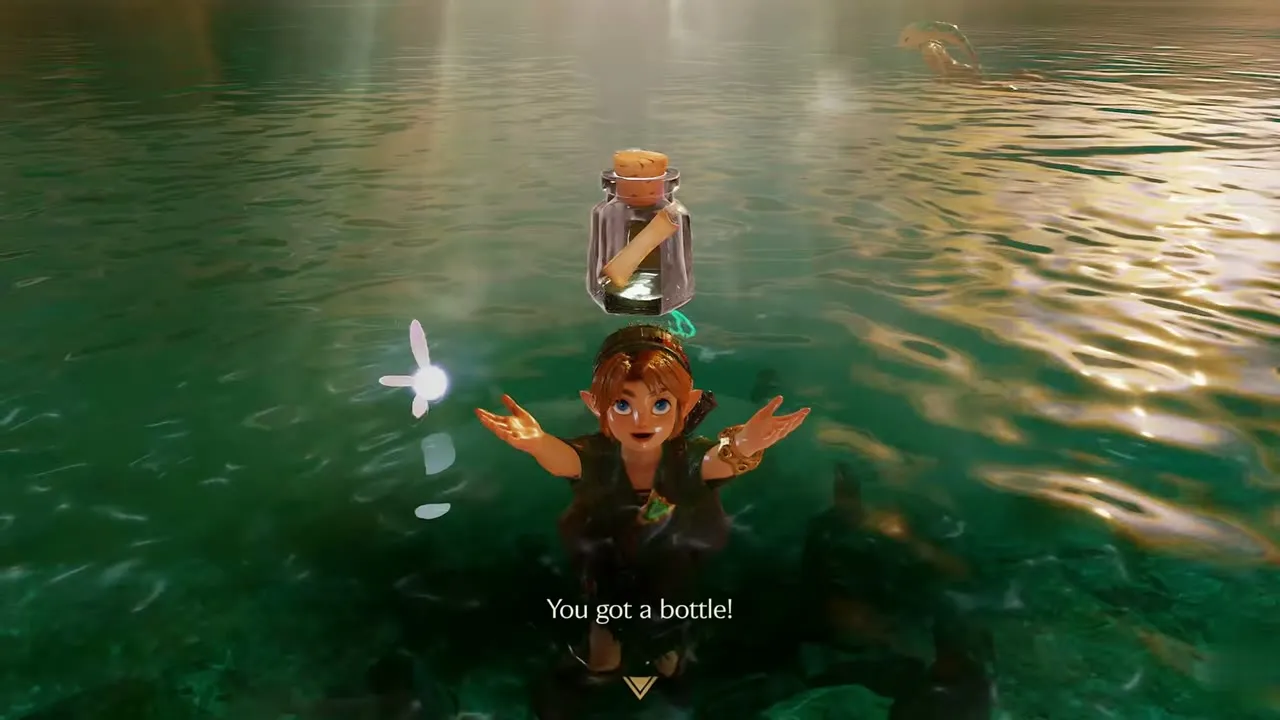
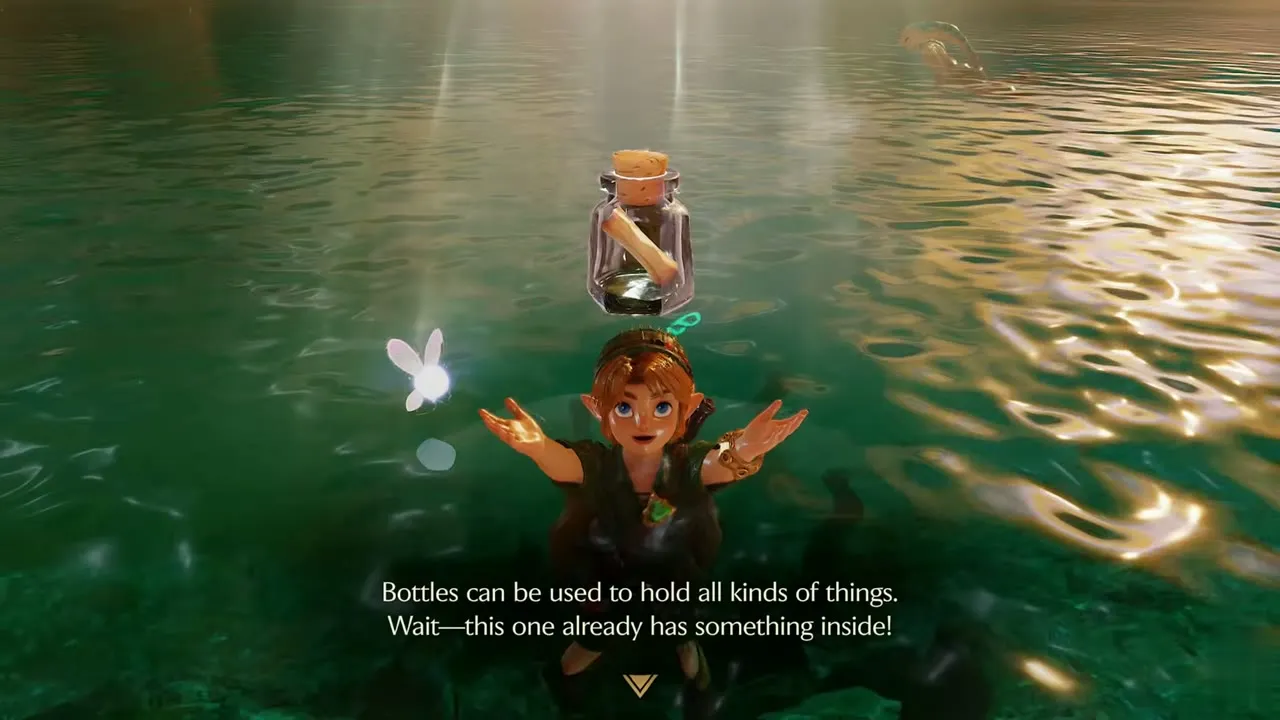
Swim to the wooden post that sticks out of the water. Navi says something is inside, and you pull out a bottle. You see “You got a bottle!” and the text adds that this one already has something inside. A rolled letter is visible through the glass.
Return to the throne room
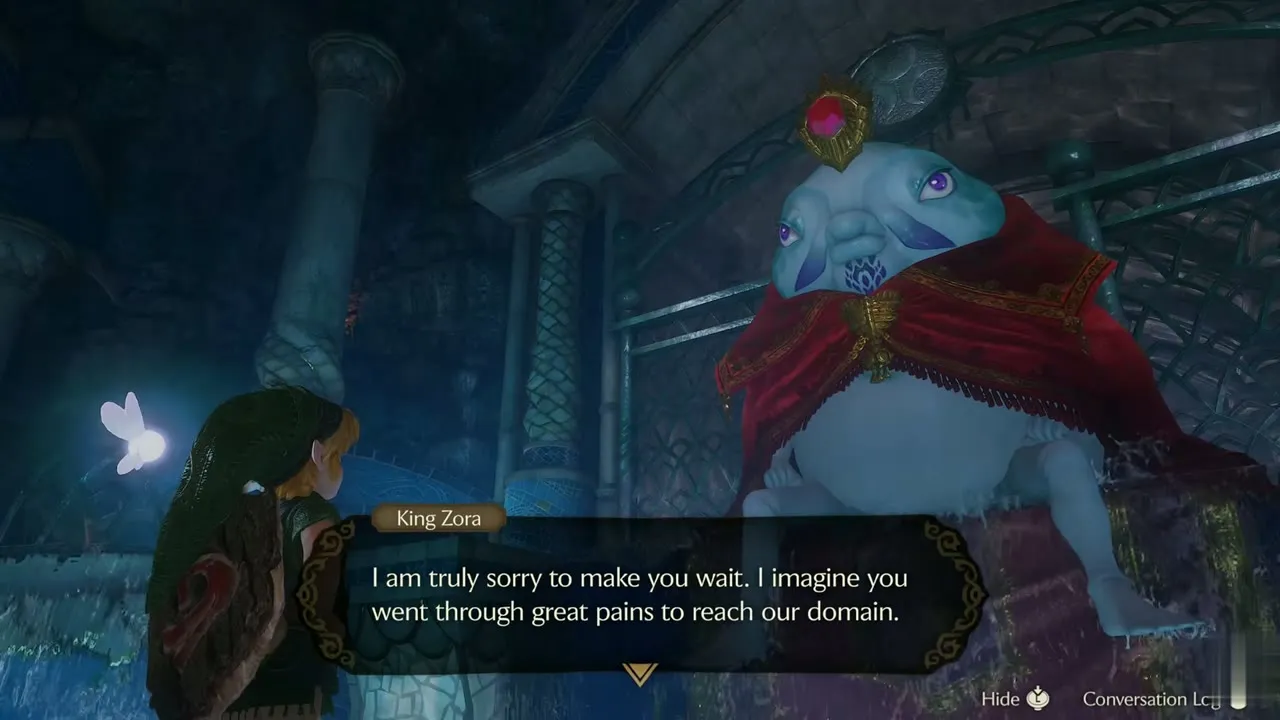
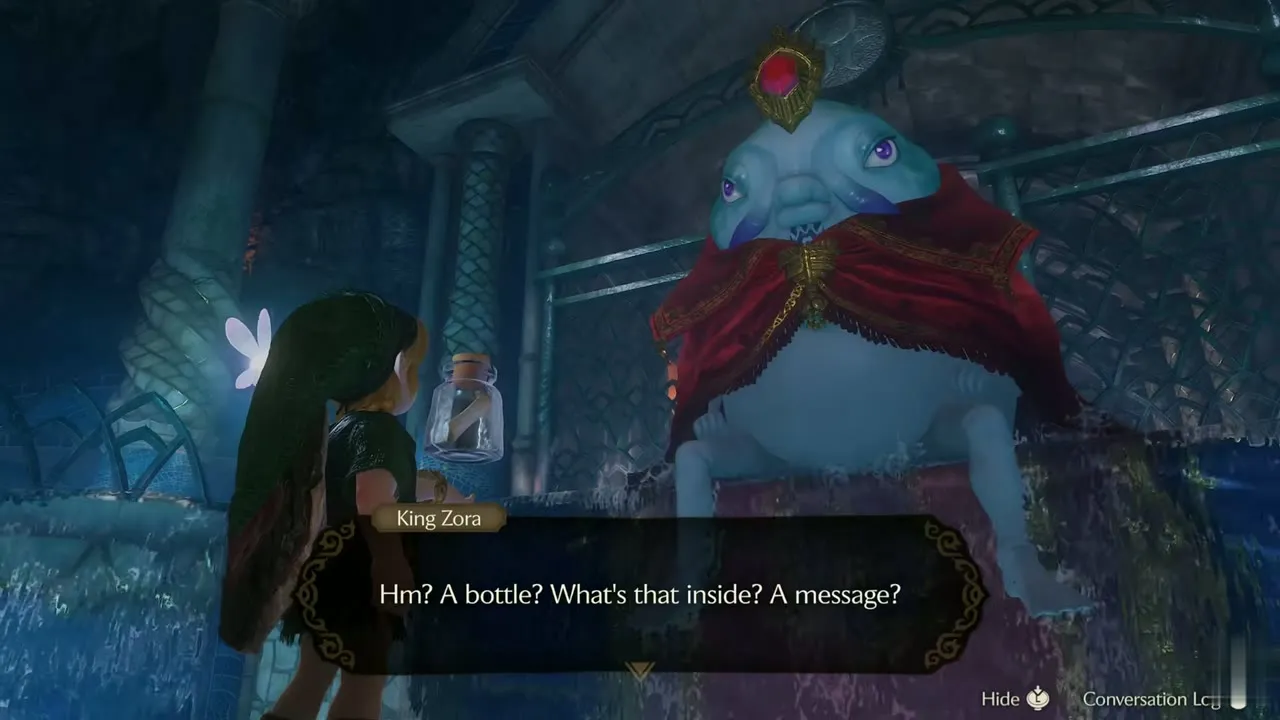
Swim back through the green cavern to Zora Domain, then run up the stairs to the throne room. Walk to the central platform and talk to King Zora again. He apologizes for making you wait, then notices the bottle in your hands.

Ruto’s letter
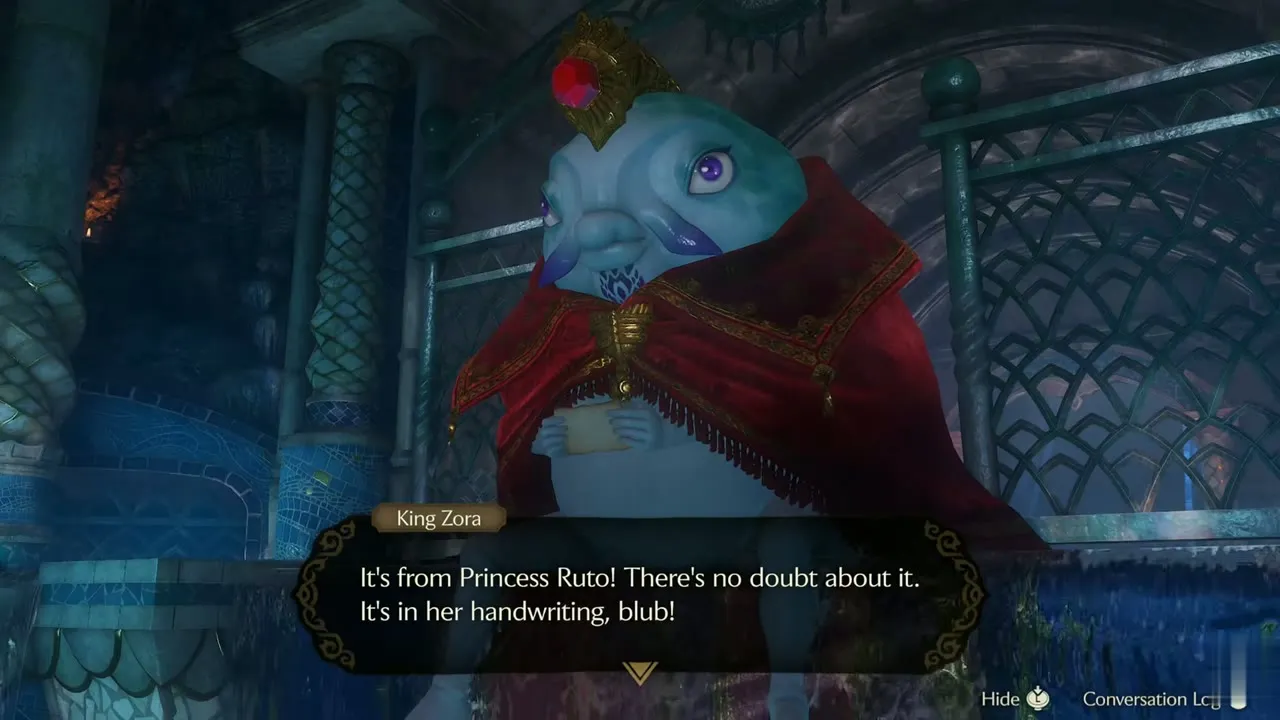
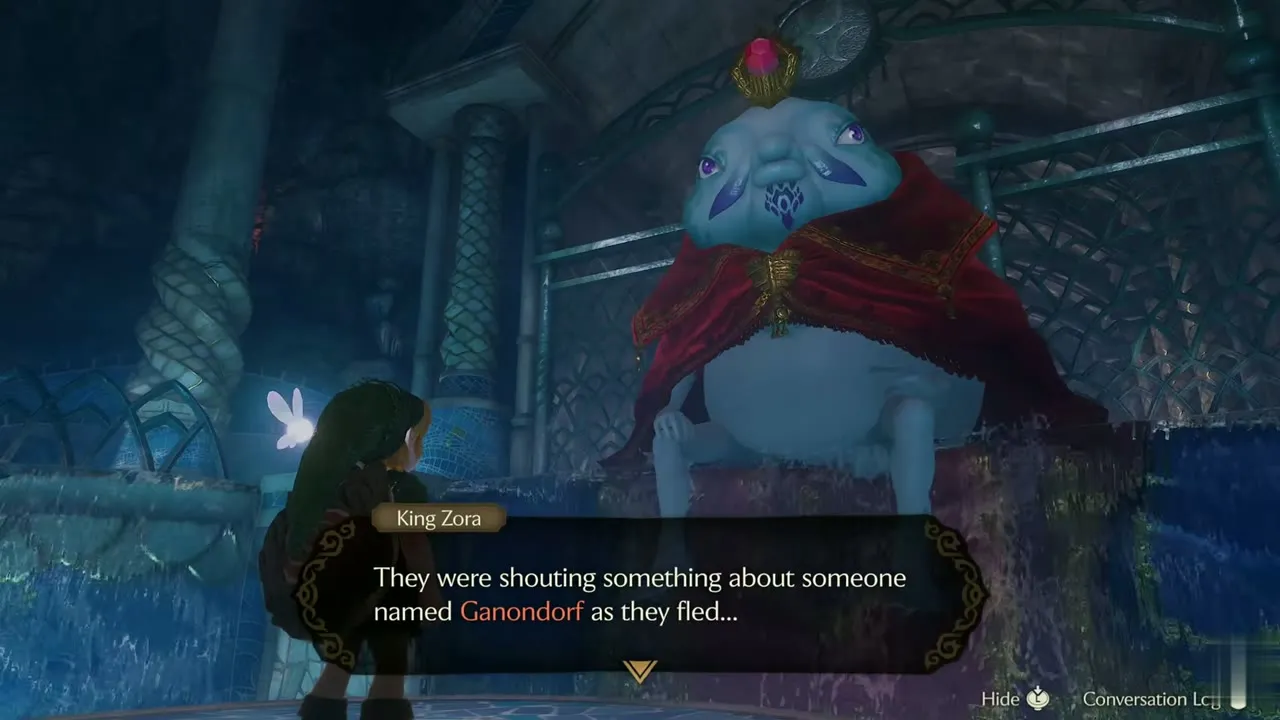
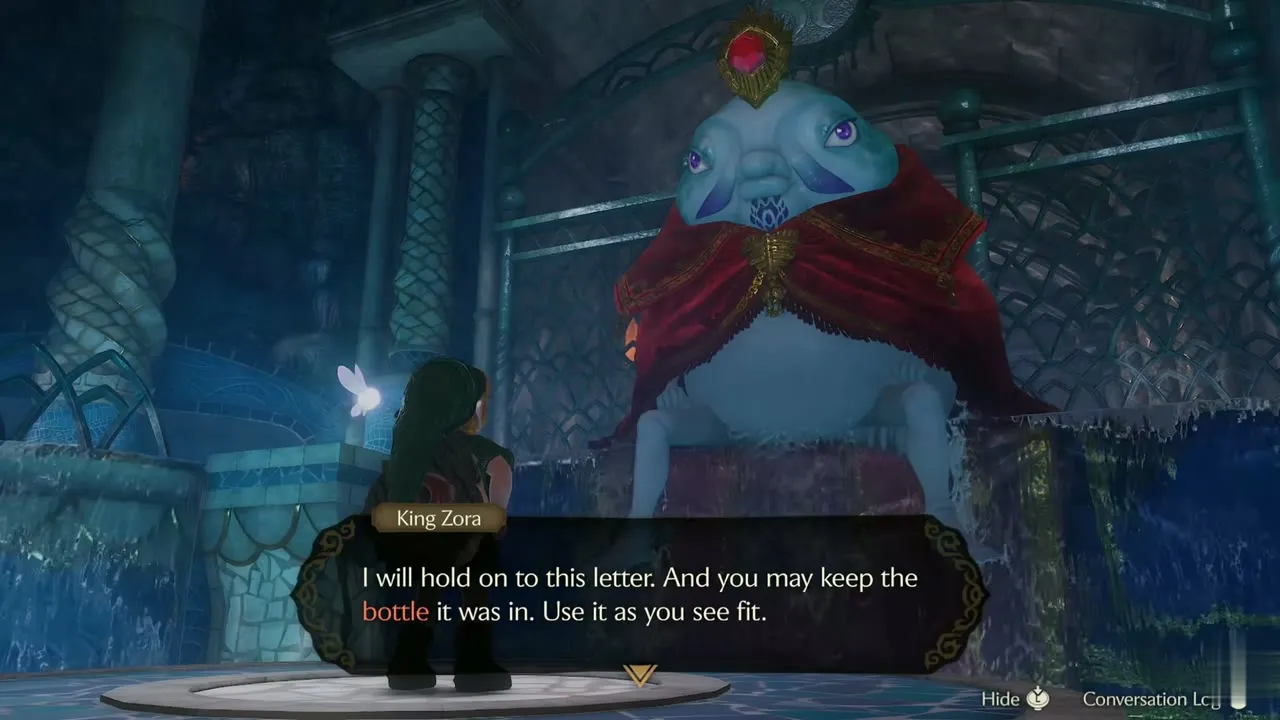
Hand over the bottle. King Zora reads the message, recognizes his daughter’s handwriting and cries out that Lord Jabu-Jabu, the guardian deity of the Zora, would never eat his precious Ruto. Then he remembers that the guardian has been behaving strangely since the Zora drove off a band of Gerudo, who fled shouting about someone named Ganondorf.

Promise to rescue Ruto
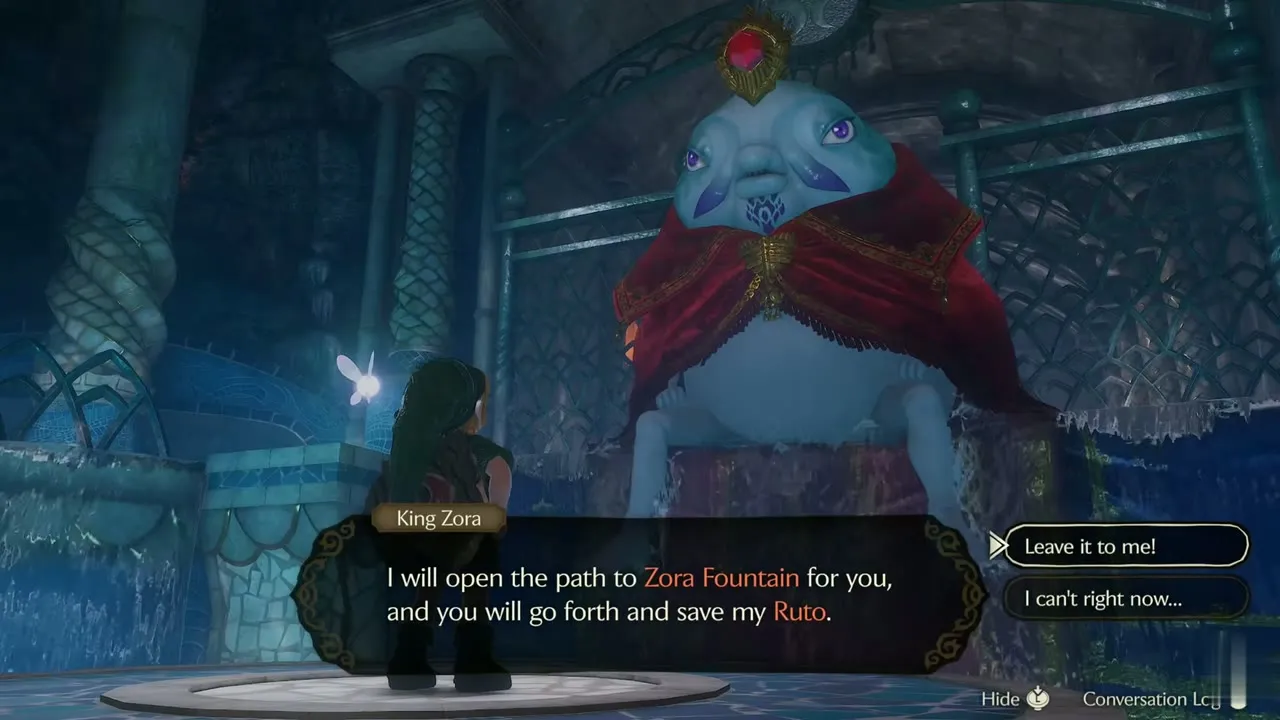
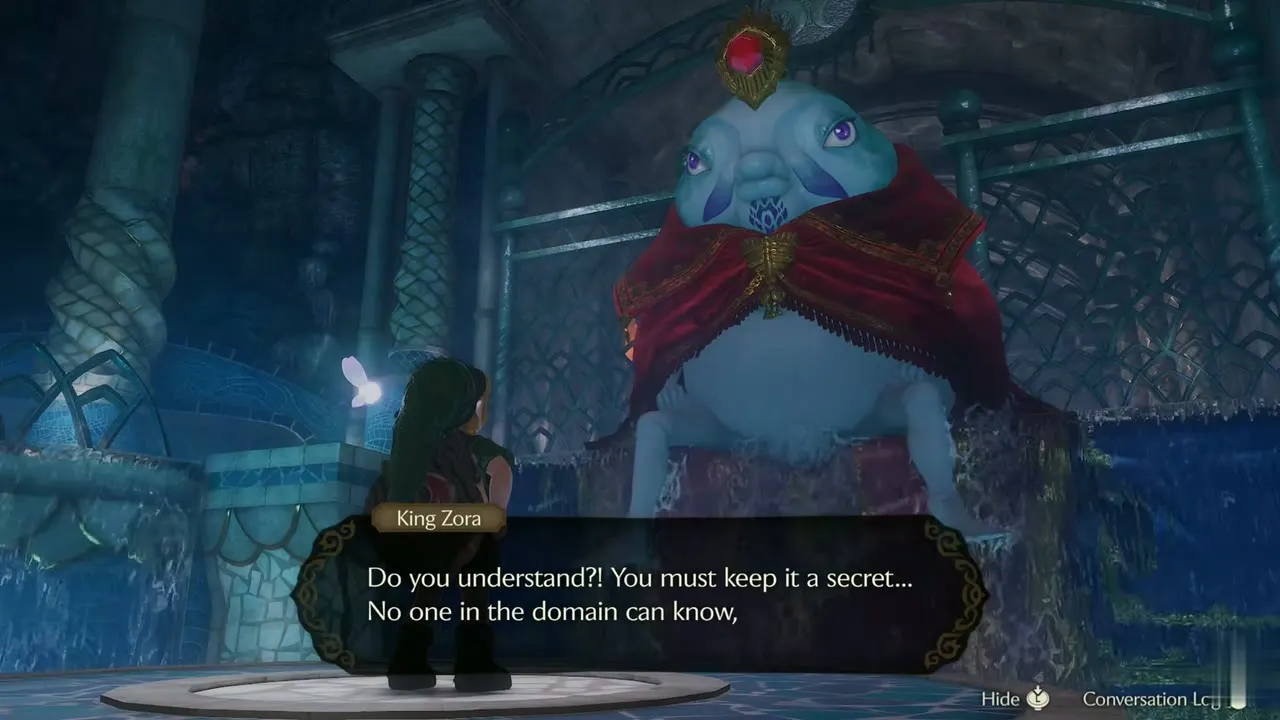
When the prompt appears, choose “Leave it to me!” King Zora agrees to open the way to Zora Fountain and tells you to keep Lord Jabu-Jabu’s condition secret. He keeps the letter, but you may keep the bottle it came in. Your Threads of Time entry for the Spiritual Stone of Water updates.
Head for Zora Fountain
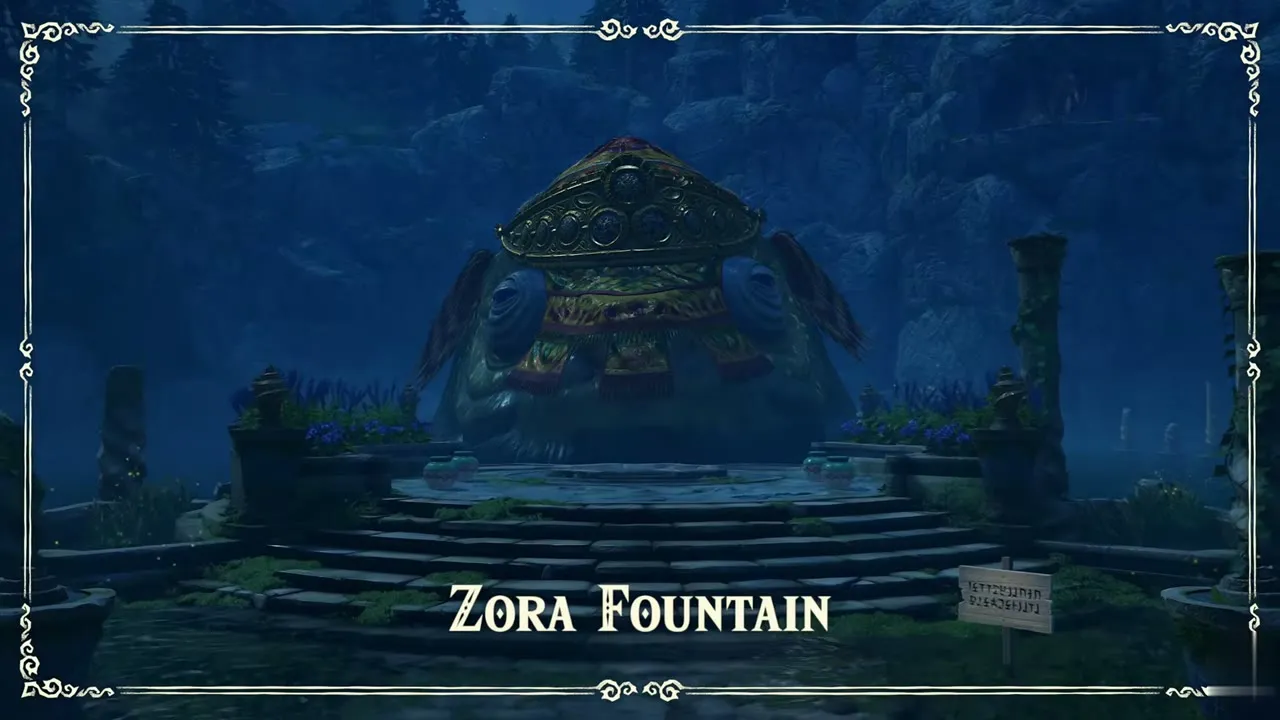
Walk away from the throne and follow the dark, torch-lit corridor. The path climbs out into the night and ends at a staircase with the Zora Fountain banner.


Chapter checklist
| Collectible | Type | Where |
|---|---|---|
| Magic Bean | Item | Bean Seller beside the lattice gate on Zora River, 10 rupees (later bundles 20 and 30) |
| Gold Skulltula #28 | Gold Skulltula token | Release a bug on the soil patch by the Bean Seller |
| Bug in a bottle | Bottle contents | Bugs near the iron gate on Zora River |
| Fairy’s Thought | Hint | Glowing rock face on the cliff path |
| Business Scrub Seed | Item | Chest in the hidden cave under the blue-tiled pillars |
| Gold Skulltula #29 | Gold Skulltula token | Rock under the overhang beside the river, past the crest stone |
| Heart Piece #14 | Heart Piece | Mossy islets over the water, reached with the Cucco |
| Heart Piece #15 | Heart Piece | Cliff path and stream, Cucco carry |
Heart Piece #16 and  Heart Container | Heart Piece, Heart Container | Chest at the end of the torch corridor in Zora Domain |
| Fish in a bottle | Bottle contents | Cave pool in Zora Domain |
| Silver Scale | Item | Dive game with five scales in 40 seconds |
| Bottle with Ruto’s letter | Bottle | Pole in Lake Hylia, reached from Zora Domain |
| Bottle from King Zora | Bottle | Given by King Zora after he reads the letter |
Next is Lord Jabu-Jabu’s Belly.

