
























Skyward Sword 100% Completion Walkthrough18 chapters
- Skyview TempleSmall keys, the Beetle, the Golden Carving door, the Ghirahim boss fight, the Heart Container and the Ruby Tablet.
- Earth TempleGet the Bomb Bag from Ledd, carry the Dragon Sculpture, beat Scaldera and collect the Amber Tablet.
- Lanayru Mining FacilityTimeshift Stones, Gust Bellows, Small Key, Armos, Ancient Circuit, Moldarach and the Goddess’s Harp.
- Ancient CisternBoth Small Keys, the Whip, the Blessed Idol, the Koloktos boss fight, Farore’s Flame and the Goddess Longsword.
- SandshipThe Timeshift Stone, Scervo and the Bow, both generators, Squid Carving, Tentalus and Nayru’s Flame.
- Fire SanctuaryAll three small keys, the Mogma Mitts, the Mysterious Crystals, Ghirahim’s second fight and the Master Sword.
- Skyloft Silent Realm and Sky KeepThe Skyloft Silent Realm and its 15 Sacred Tears, the Stone of Trials, every Sky Keep room and all three Triforces.
- Skyloft and the Goddess SwordFind your Loftwing, win the Wing Ceremony, draw the sword and take your first dive.
- Sealed Grounds, Faron Woods and the Deep WoodsThe Sealed Grounds, the missing Kikwi, the Slingshot, the Deep Woods and the way into Skyview Temple.
- Eldin Volcano and the Key PiecesPlace the Ruby Tablet, run Skyloft errands, earn the Digging Mitts and find all five Earth Temple key pieces.
- Lanayru Mine and Lanayru DesertLanayru Mine, Timeshift Stones, the Hook Beetle, the Temple of Time and how to set the three power generator dials.
- The Goddess’s Harp, The Imprisoned and the Isle of SongsBallad of the Goddess, The Imprisoned, the Light Tower, the Isle of Songs and Farore’s Courage.
- Farore’s Silent Realm and Lake FloriaAll 15 Tears of Farore, the Water Dragon’s Scale and Sacred Water.
- Nayru’s Silent Realm and the Lanayru Sand SeaNayru’s Wisdom, Nayru’s Silent Realm and the Clawshots, Golo’s key, Skipper’s boat, the Shipyard.
- Din’s Silent Realm and Volcano SummitDin’s Power, the Fireshield Earrings, frog statues, the Water Basin and the Scrapper escort.
- True Master Sword, Levias and BilocyteSkyward Sword walkthrough for the True Master Sword, the second Imprisoned fight, the Spiral Charge.
- Song of the HeroEscape Eldin, beat the third Imprisoned, win the Tadtone song in Faron Woods and heal Lanayru’s Thunder Dragon.
- The Horde, Ghirahim and DemiseClear the last side quests, beat the Horde, Ghirahim’s third fight and Demise, then unlock Hero Mode.
| Covers | The Floria Waterfall gate, the Ancient Cistern dungeon, Koloktos and the first Sacred Flame |
|---|---|
| You need |  Water Dragon’s Scale (for swimming), Beetle, Slingshot, Goddess’s Harp and the Goddess Sword; Faron the Water Dragon must already be healed with Sacred Water |
| Rewards | Whip, Dungeon Map, 2 Small Keys, Blessed Idol, Heart Container, Farore’s Flame, Goddess Longsword, 2 Red Rupees from chests, Silver Rupees on the statue’s hands; Jelly Blob, Evil Crystal and Monster Claw as drops. No Piece of Heart, Gratitude Crystal or song inside; 1 Goddess Cube (23) sits just outside and needs the Clawshots |
The Ancient Cistern is the fourth dungeon, hidden behind the Floria Waterfall. You find two Small Keys and the Whip, carry the Blessed Idol up to the boss door, beat the golem Koloktos for a Heart Container, and use the flame beyond it to forge the Goddess Longsword.
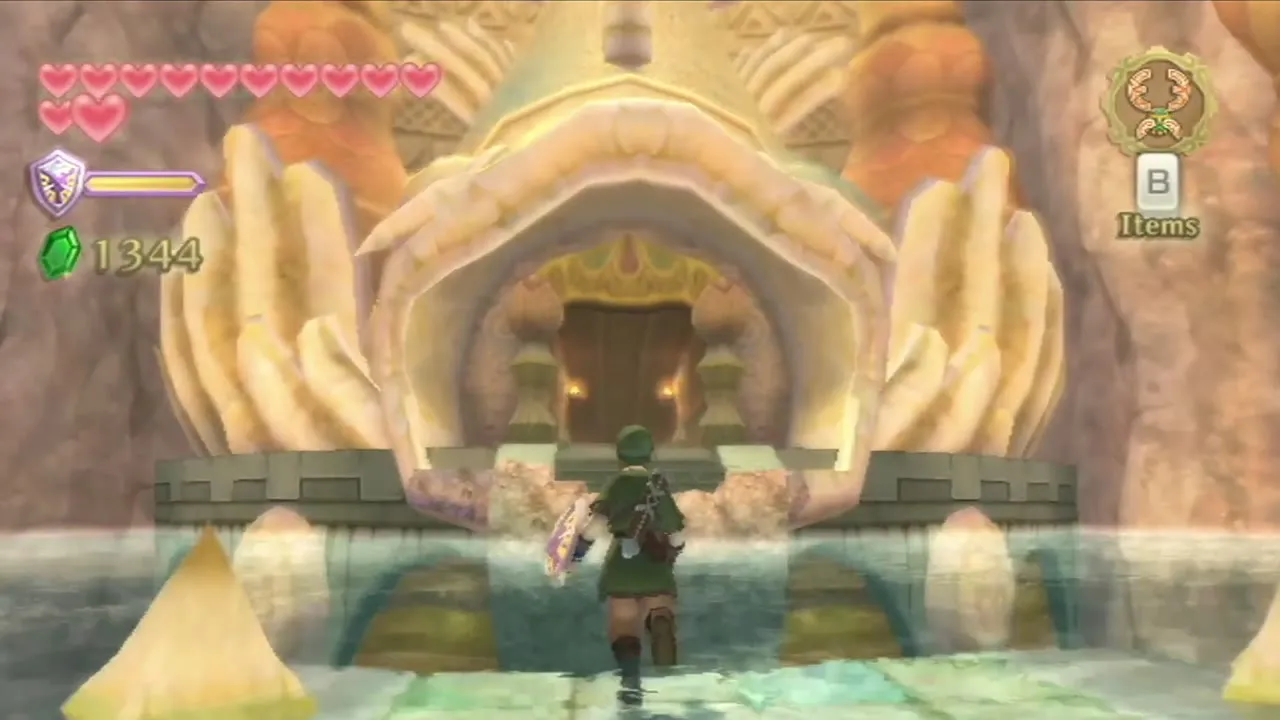
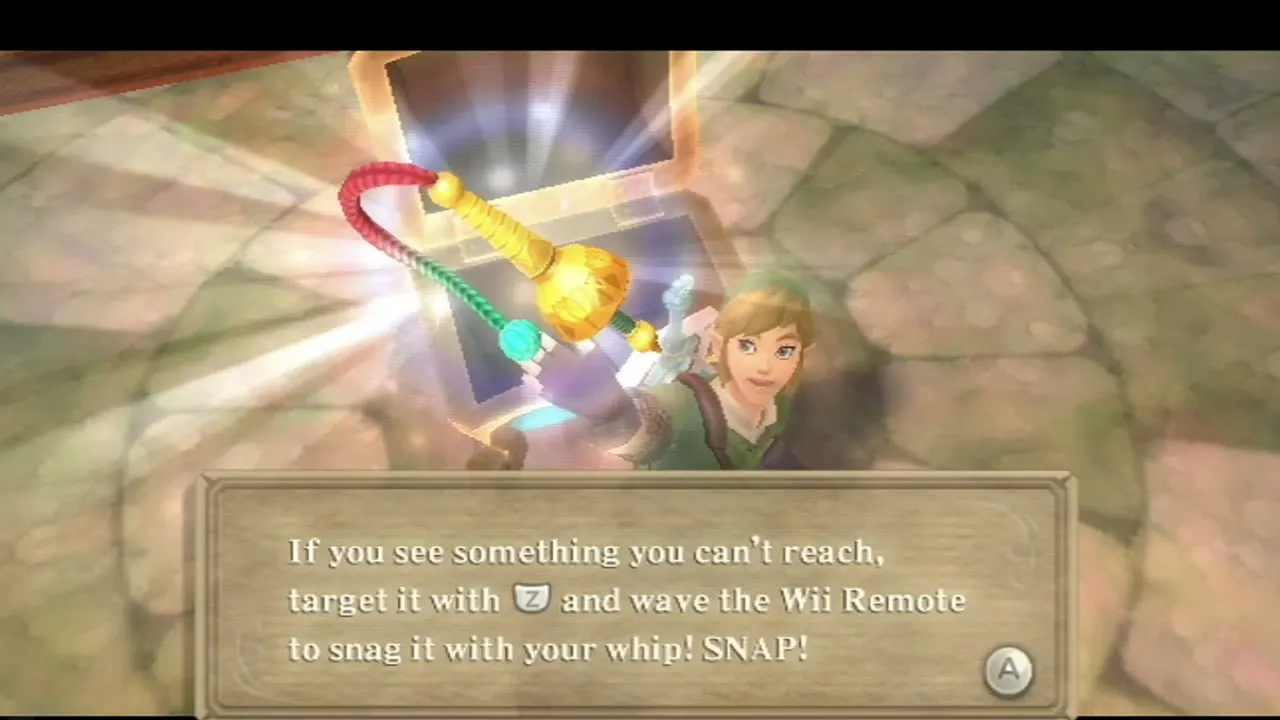
Table of Contents
Entering the Ancient Cistern from Lake Floria
Reach the gate
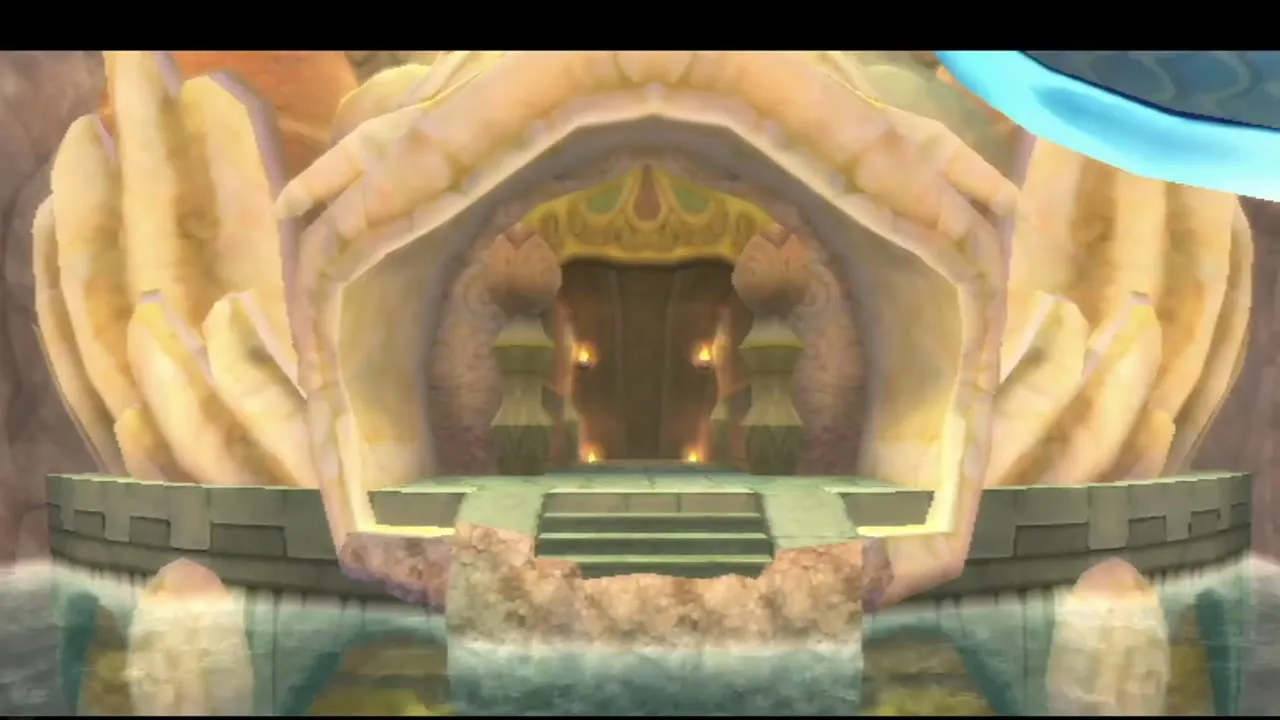
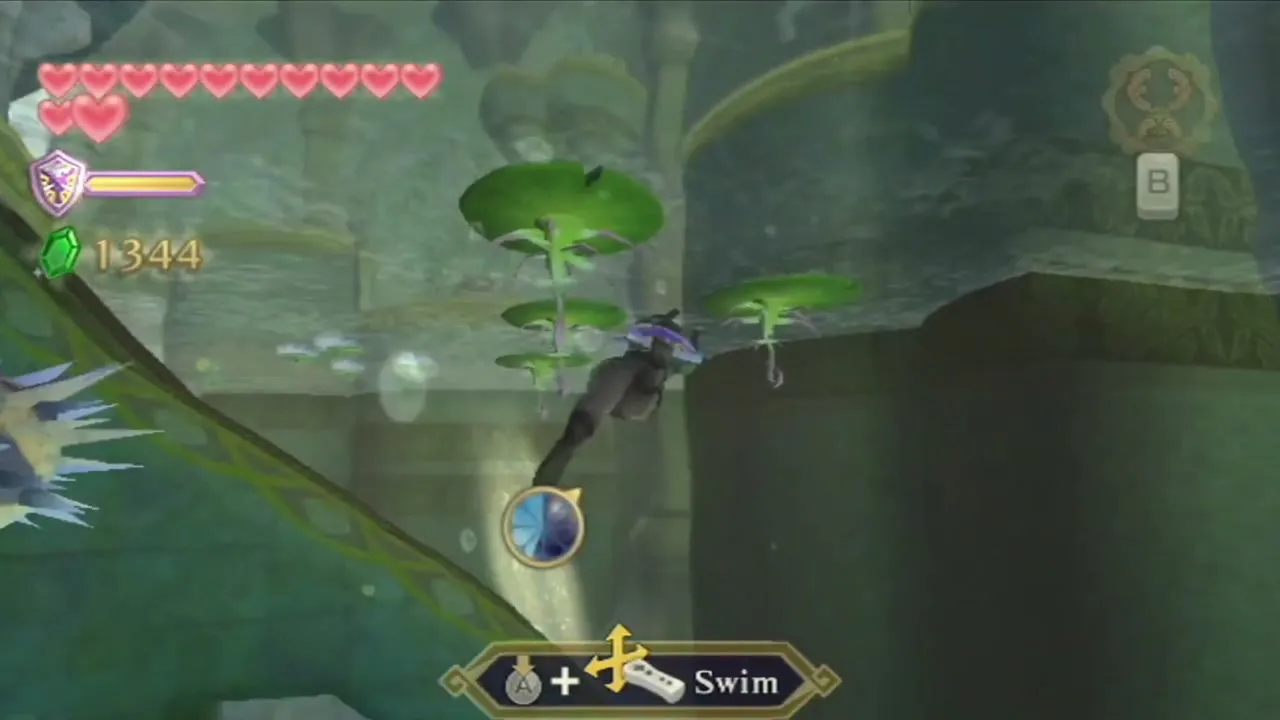
Once Faron has recovered, the Water Dragon stops the flow of the Floria Waterfall and you can walk through to the entrance. The whole dungeon is flooded, and your Water Dragon’s Scale lets you swim, dive and spin underwater wherever the pools allow.
The entrance hall and the great statue
A Bird Statue stands near the entrance, so save before you wander. The central hall holds a giant stone statue with a locked door at the very top of it; you cannot reach it yet. Hop across the lily pads straight ahead and read the stone tablet on the right. It lists four body parts of the statue: back, rear, back of the right hand and back of the left hand.
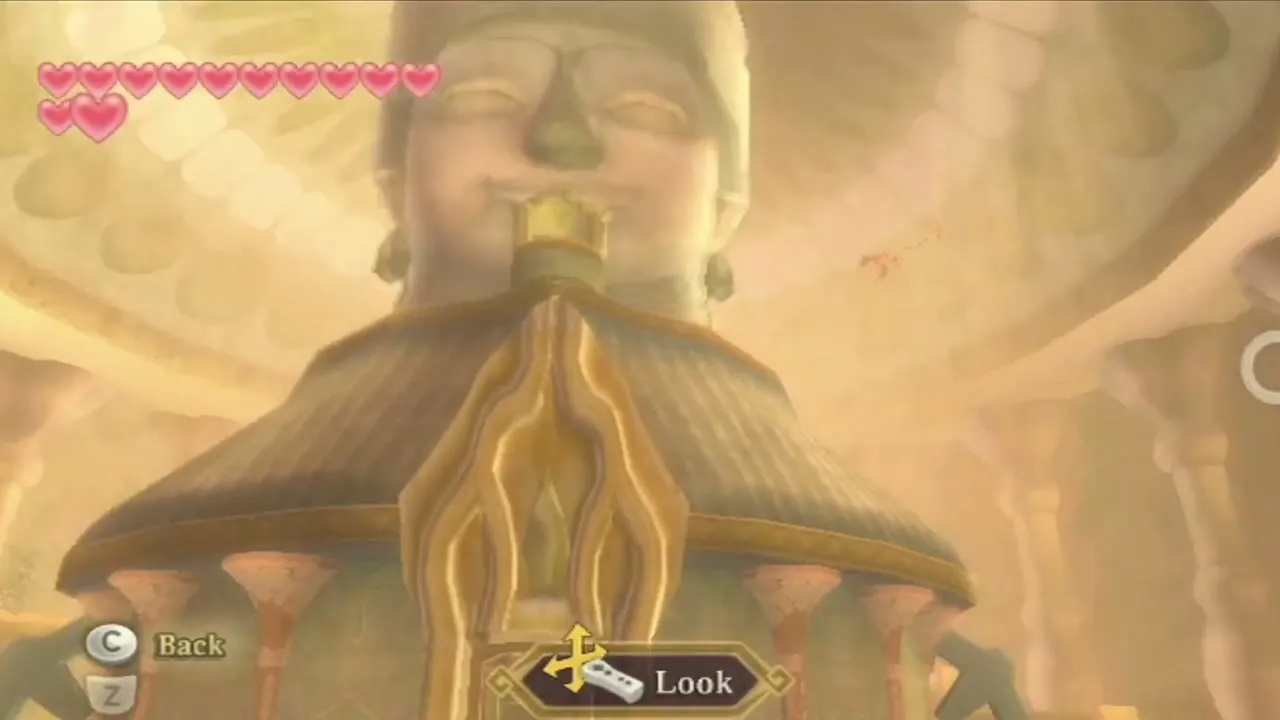
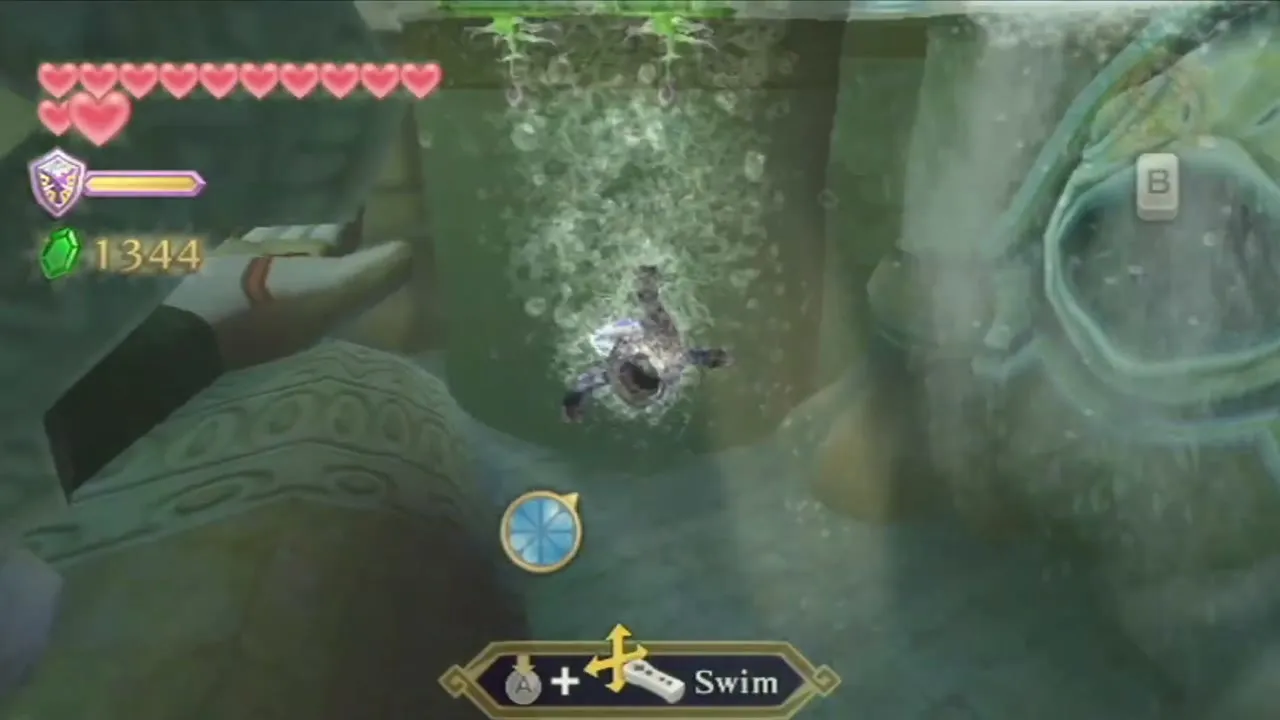
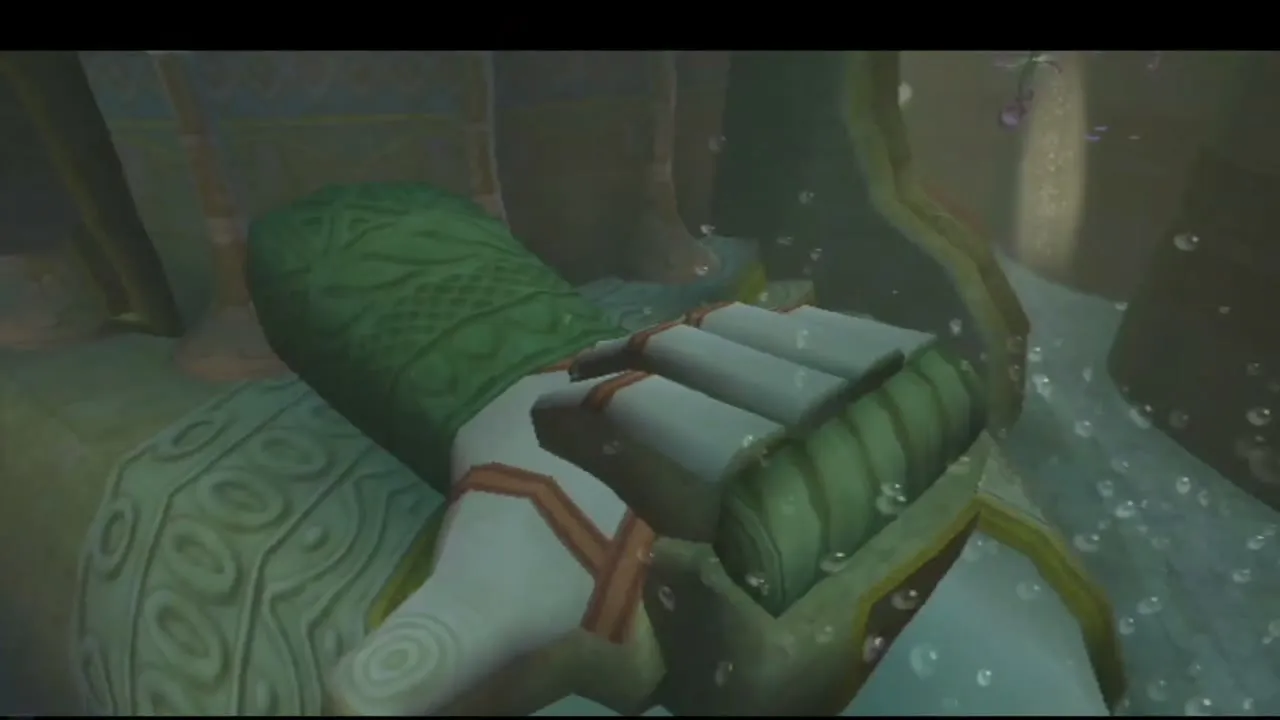
Swim round behind the statue. Symbols on its body are shaded, and each one marks a position: the back of the statue shows the top and bottom, the back of the right hand shows the left side, and the back of the left hand shows the right side. Written down, the sequence is top, bottom, left, right. A Silver Rupee floats above each hand; spin-attack under the water to collect it, but the hand closes behind you, so leave quickly. Blue Chuchus lurk around the statue and a splash attack or a spin finishes them.
The east door and the four gemstones
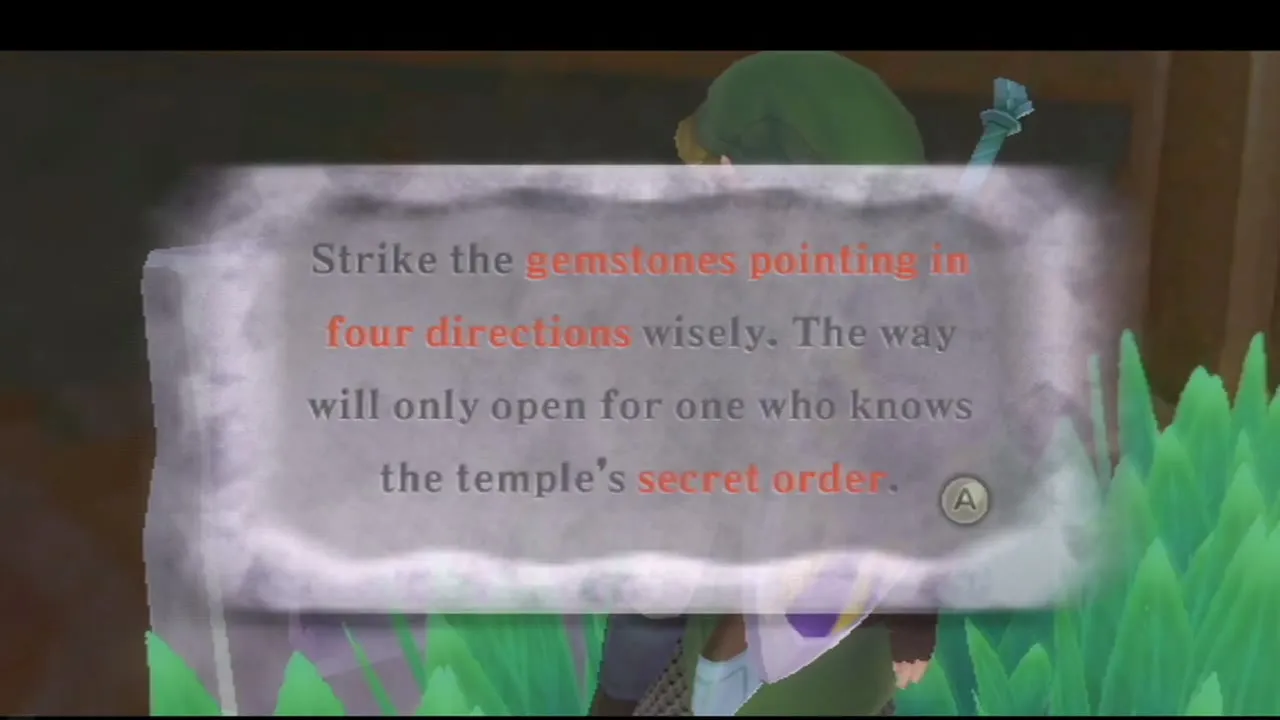
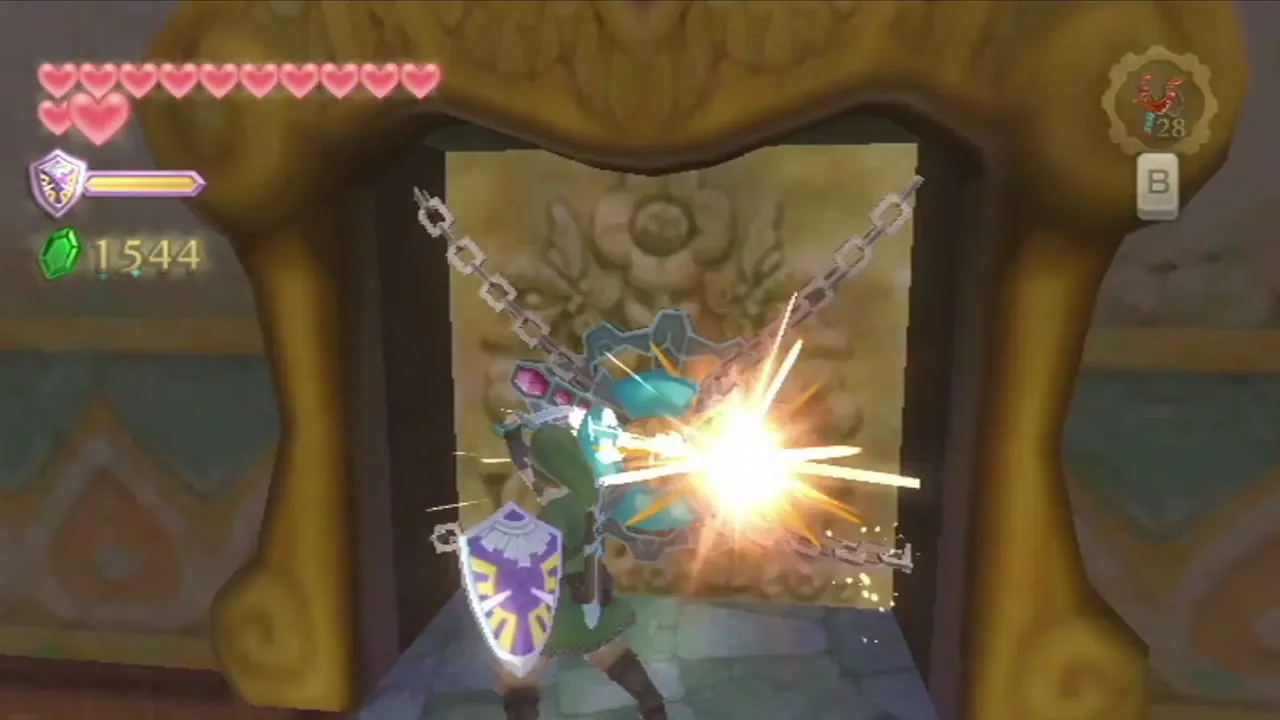
Swim to the east side of the hall, climb onto the ledge and pull the lever by the closed door. Beyond it, cut the Skulltula webs and follow the corridor to a tablet that tells you to strike four gemstones in the temple’s secret order. Hit the gems on the locked door in the order top, bottom, left, right, and be quick about it, because the sequence resets if you dawdle.
First Small Key

Skulltulas and the flipped lily pad
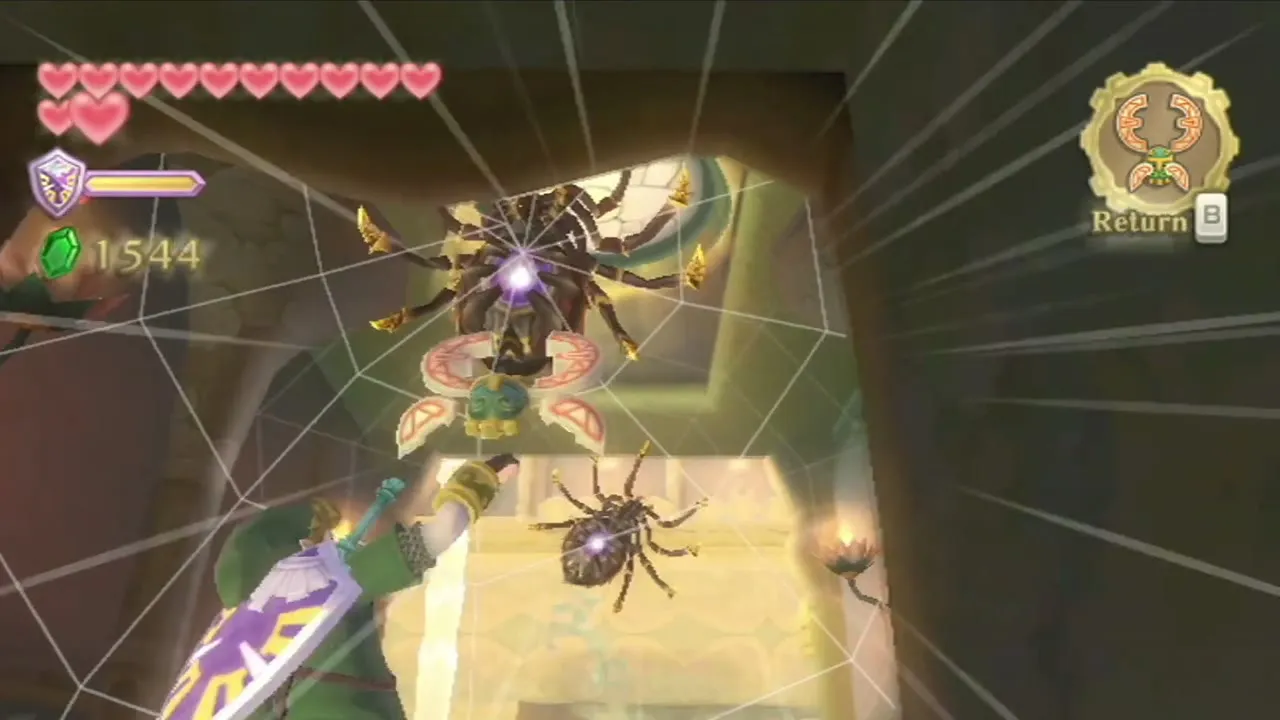
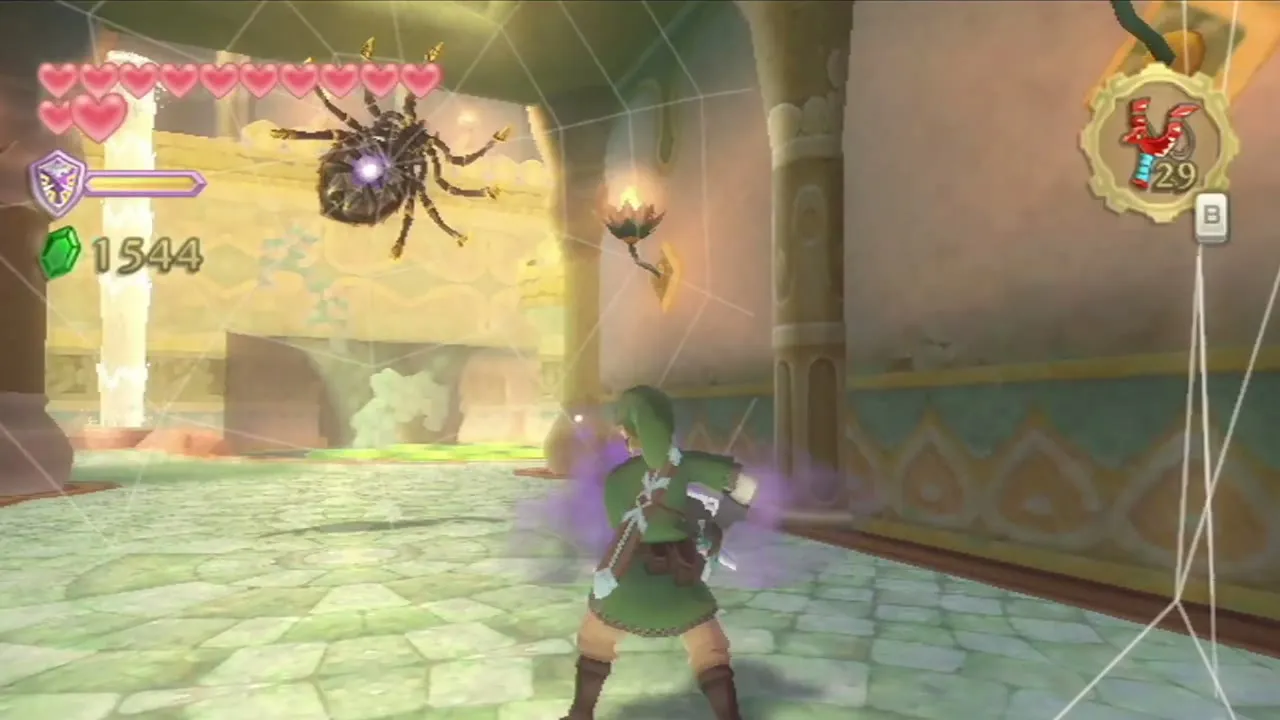
Behind the gem door, two Skulltulas hang from the ceiling above a pool. Send the Beetle at the cords that hold them so they drop into the water, and shoot the Walltulas on the vines with the Slingshot. Jump from the ledge onto the lily pad with the big spikes underneath: landing on a pad from height flips it over and opens the passage below. Swim through, spin-attack the wooden fences in the tunnel and climb out.
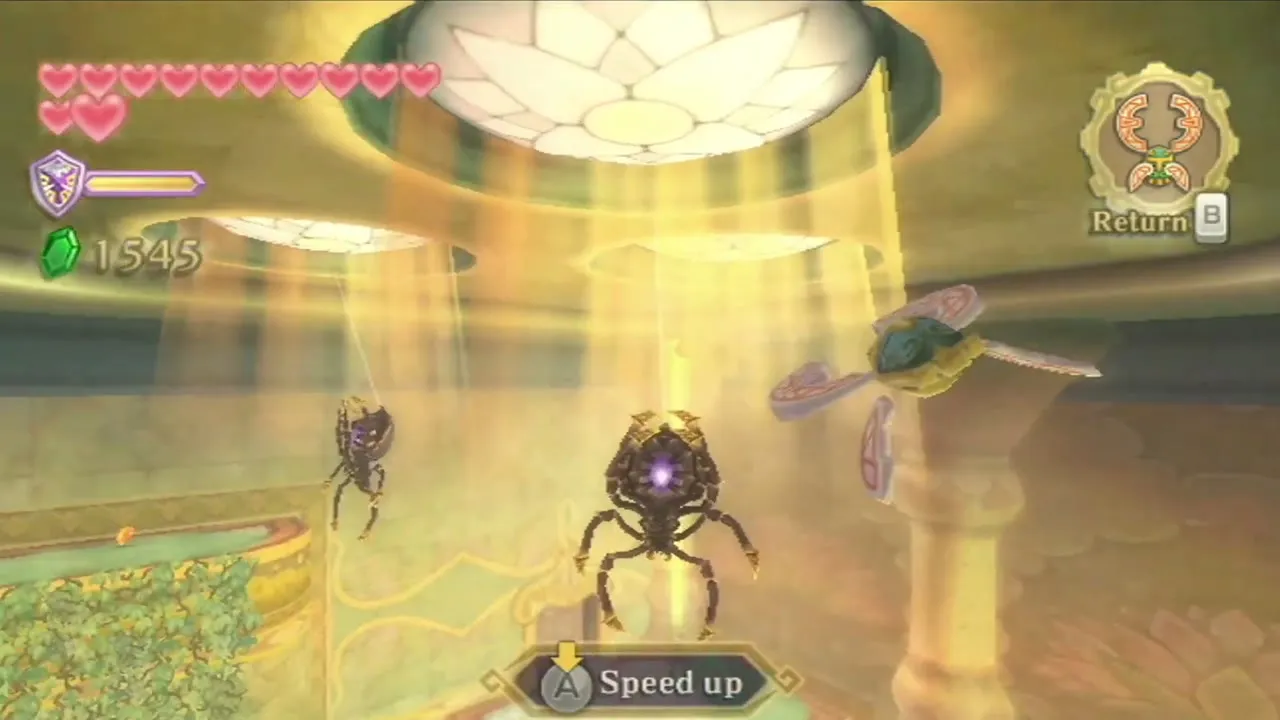
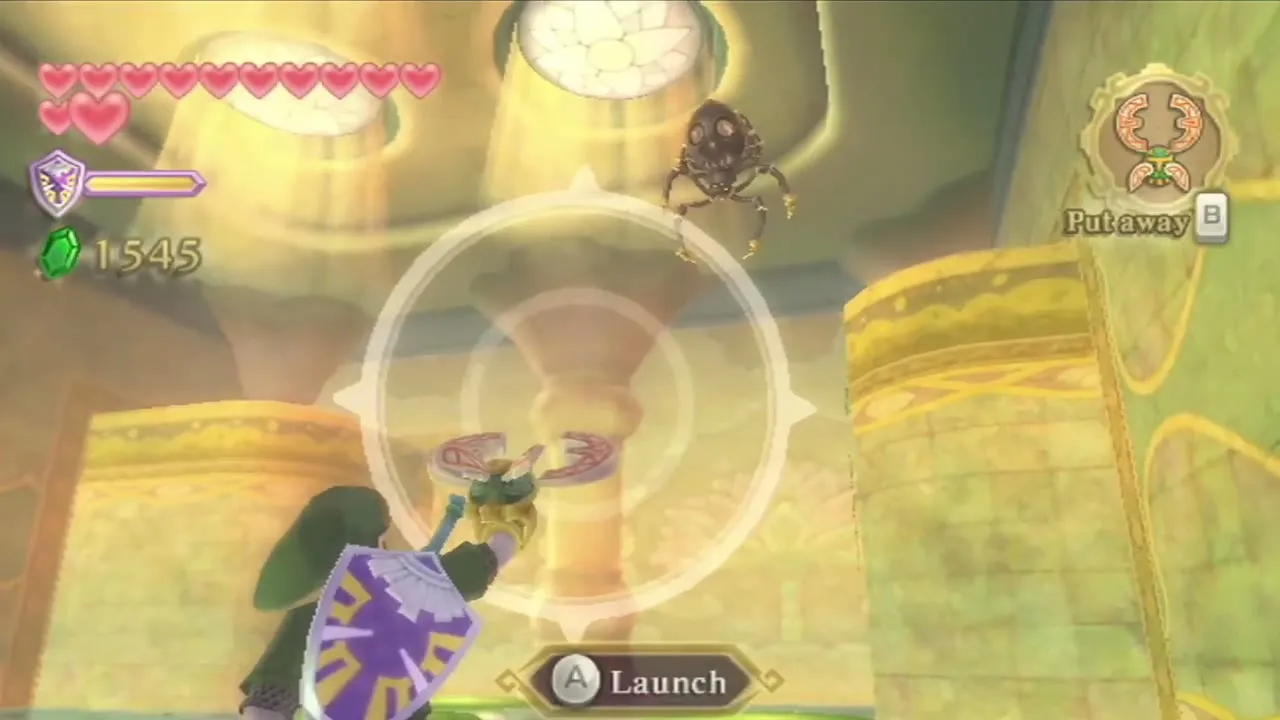
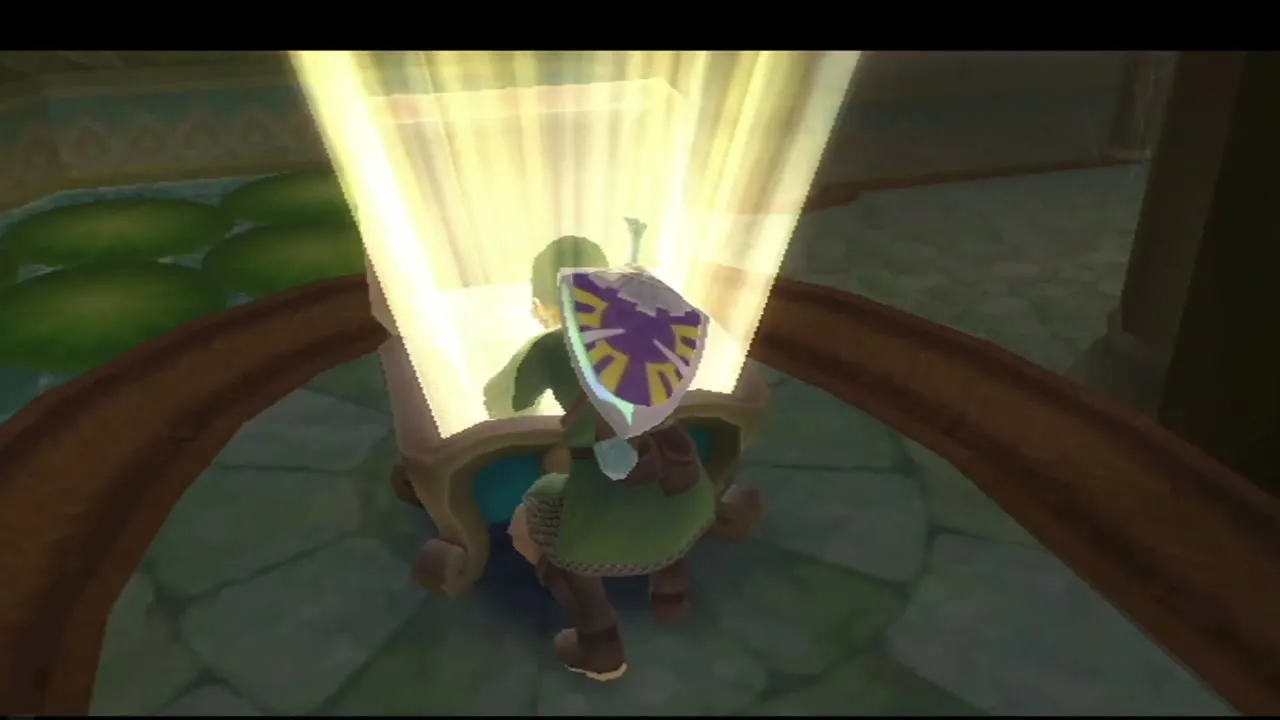
Climb the vines, go through the next door and open the chest for the first Small Key. A water spout on the ledge throws you up to the higher ground; beat the Deku Baba, drop down and leave through the door that takes you back to the entrance hall. A Red Rupee lies in an alcove along the swim.
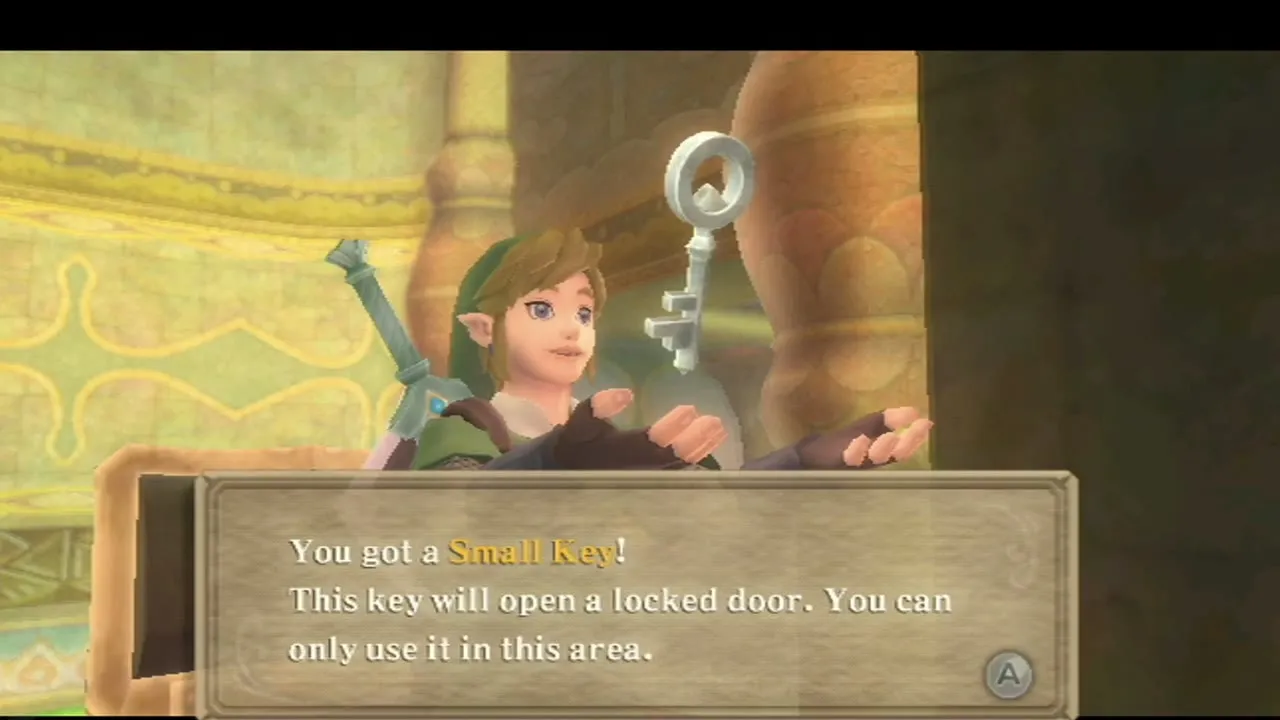
How to get the Whip
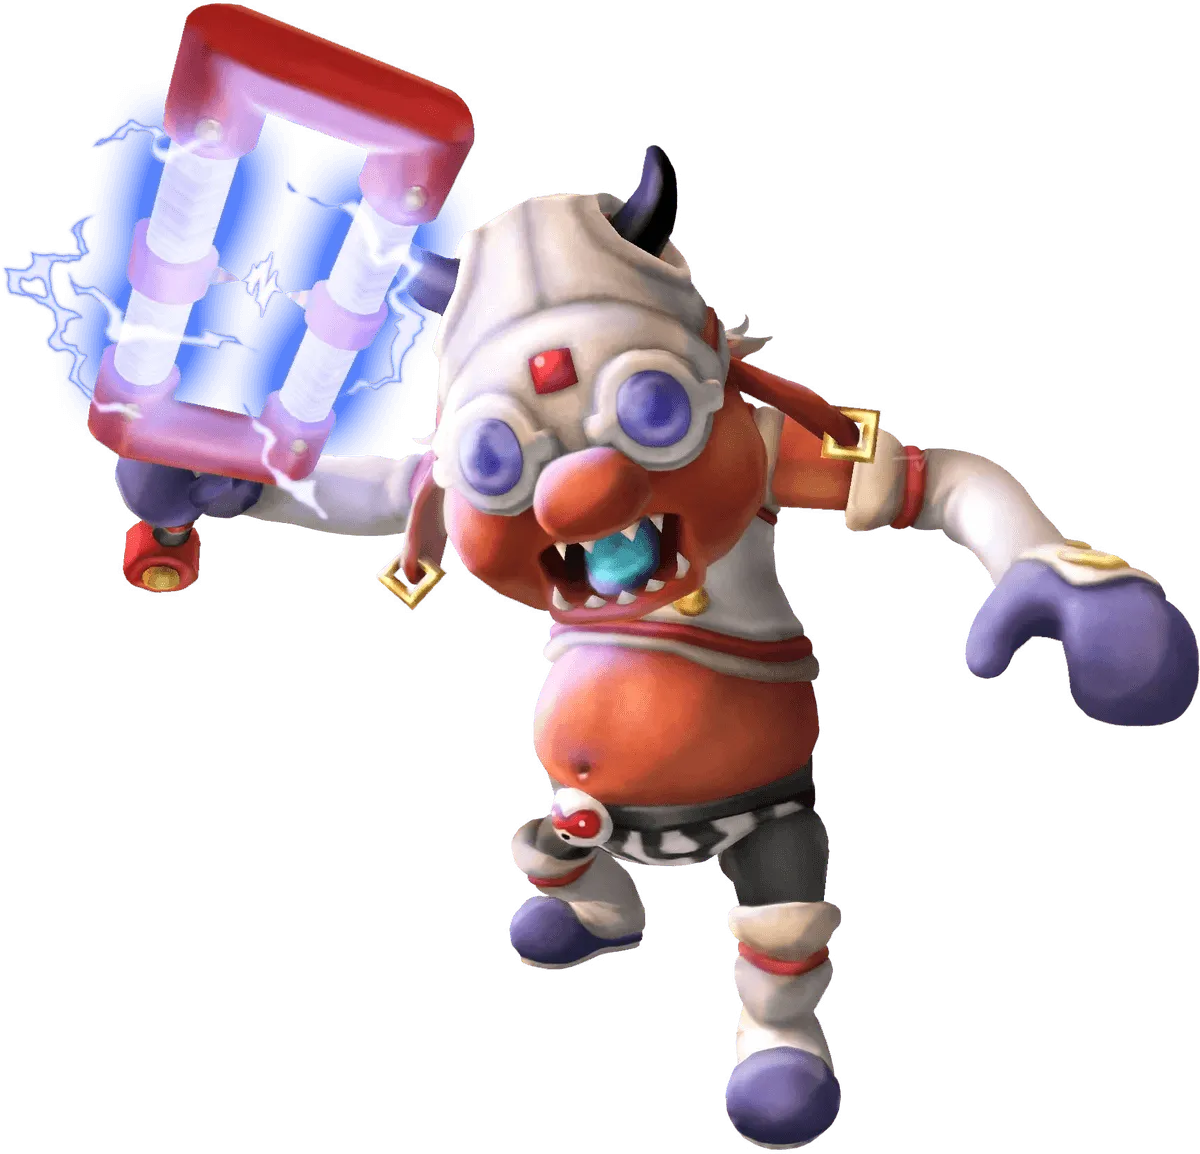
Stalmaster mini-boss
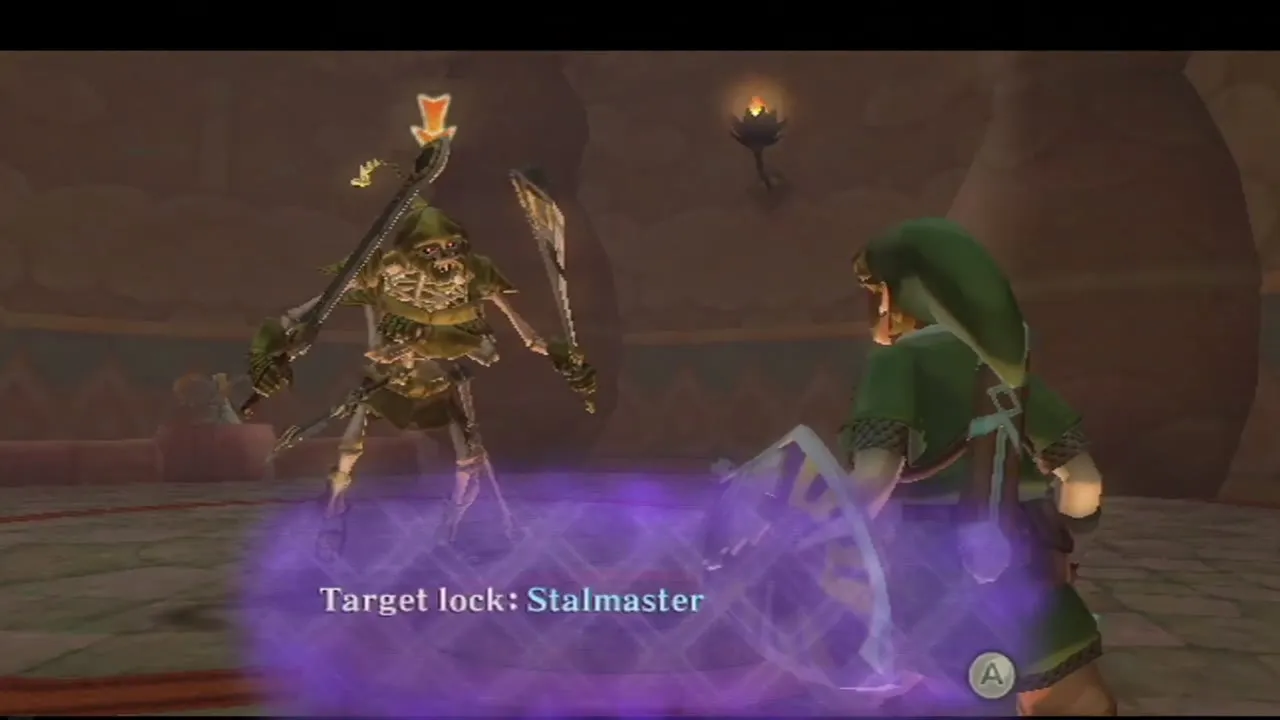
Back in the entrance hall, cross the lily pads to the south end and unlock the door with the Small Key. Drop into the pit to face the Stalmaster, a four-armed skeleton warrior. Early on it fights with two blades: see which side it leaves open, strike that way and back-jump out of its combos. Later it grows extra arms and can strike several times in a row, so wait for it to commit, step away, then hit the exposed side. Hearts drop when its helmet falls off.
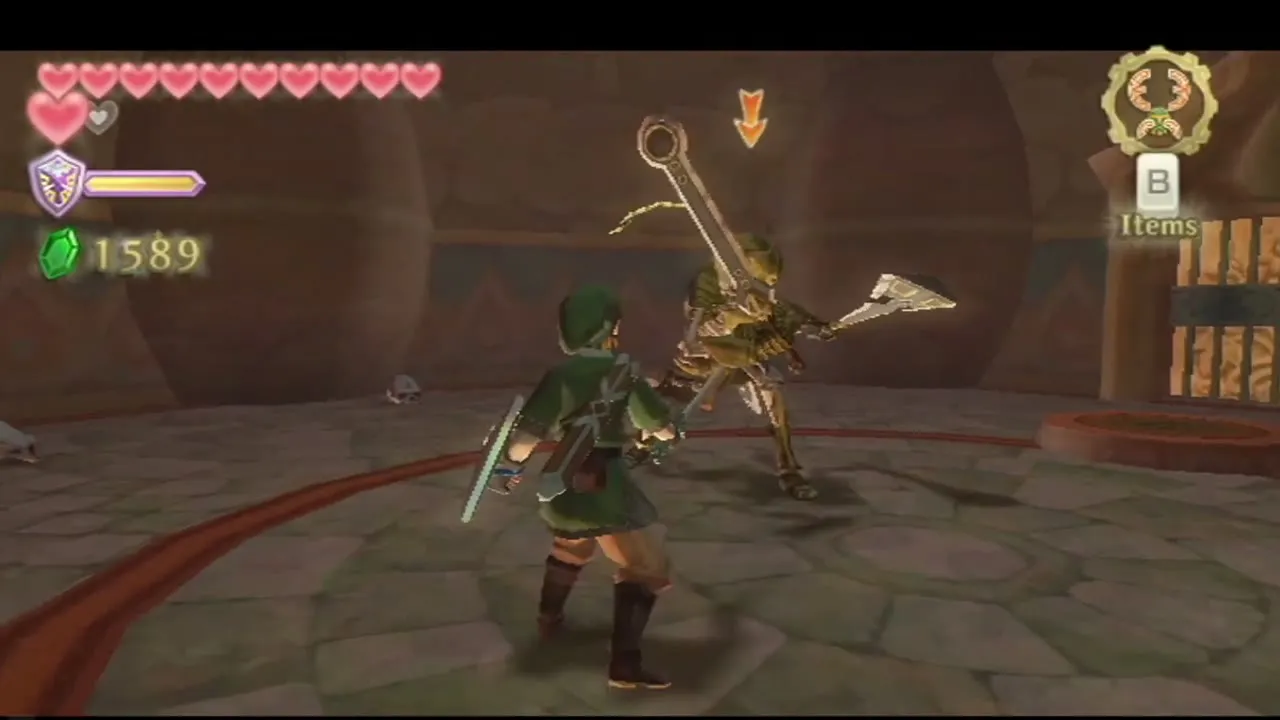
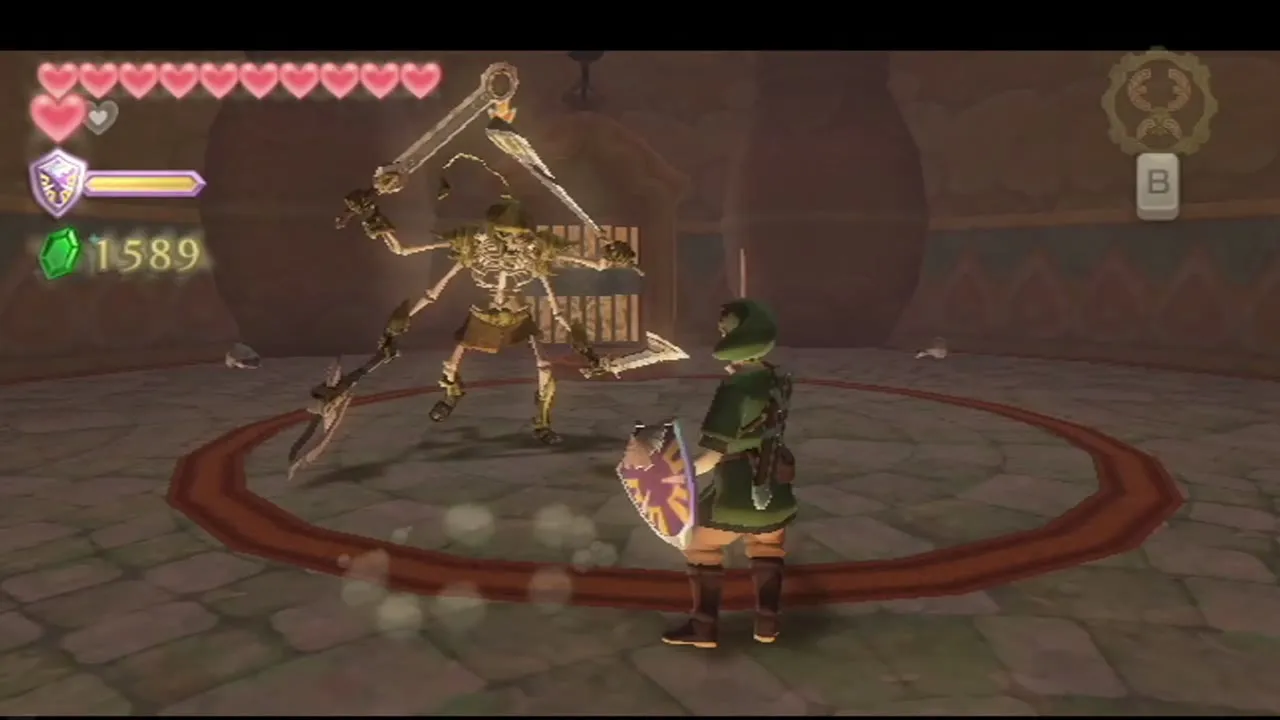
Open the Whip chest
Take the newly opened door and open the chest to receive the Whip. Aim at a ring, lever or tap, then flick the Wii Remote to lash out. It also snatches items from enemies and swings you across gaps.
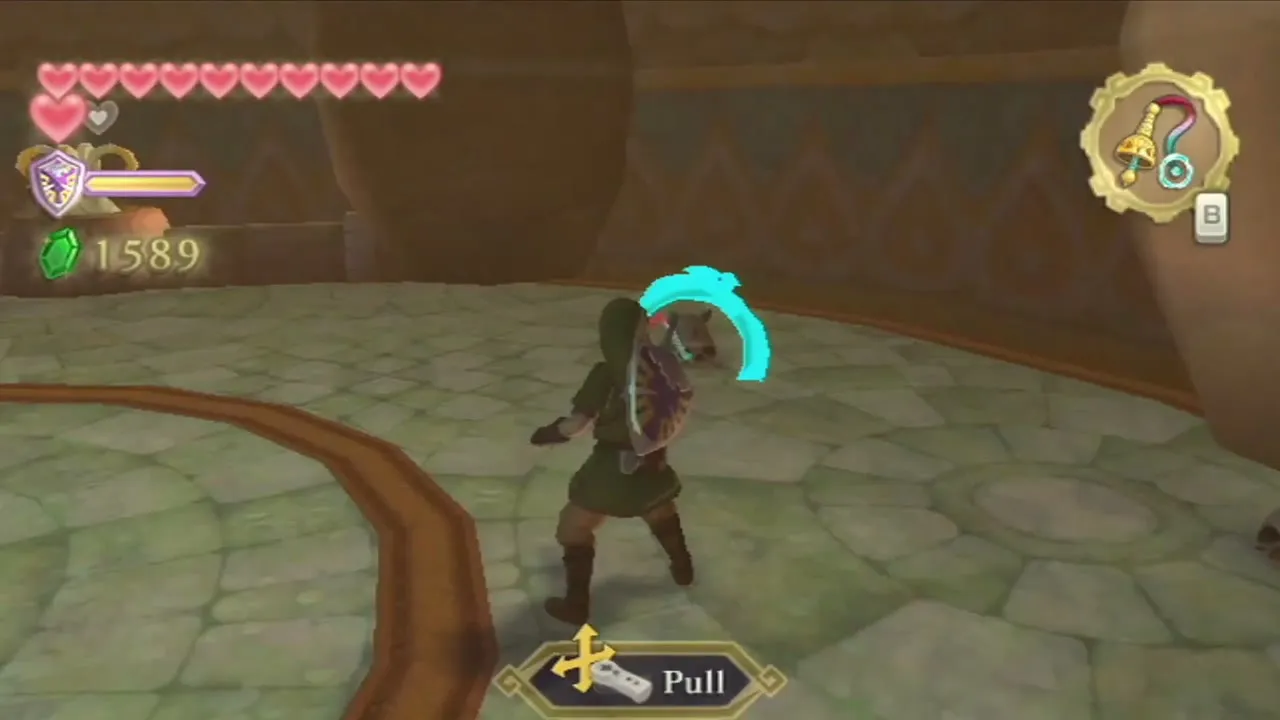
Water geysers up and out
Leave the chest room and look for key-shaped taps on the walls. Whip one and pull it to turn on a water geyser, ride the geyser to the next level and repeat until you reach the top of the pit. Go back through the Small Key door into the main hall.
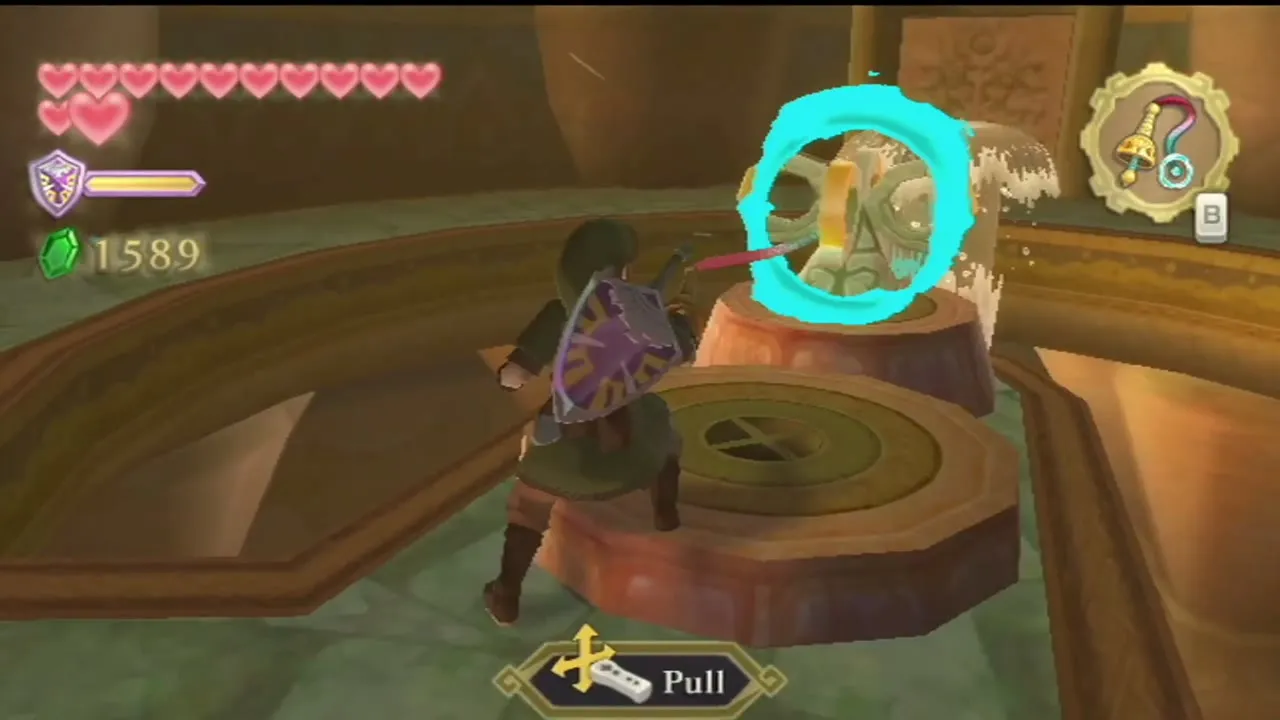
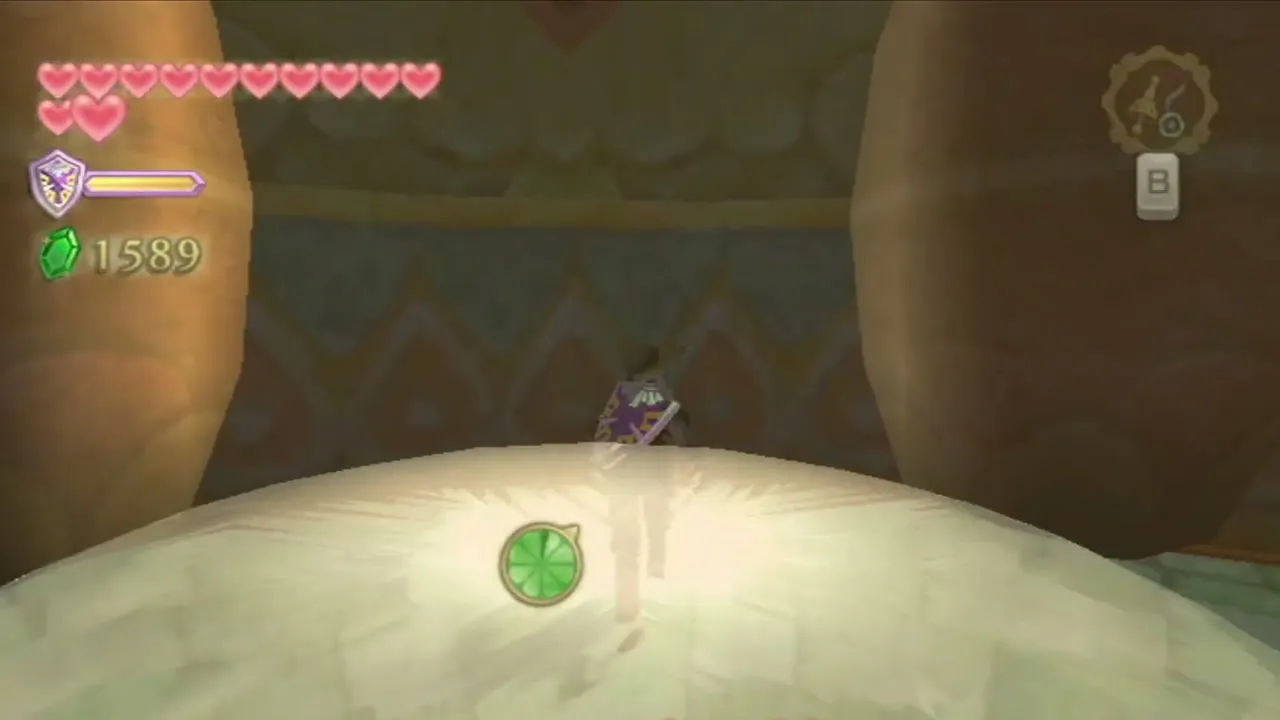
Dungeon Map and the water levels

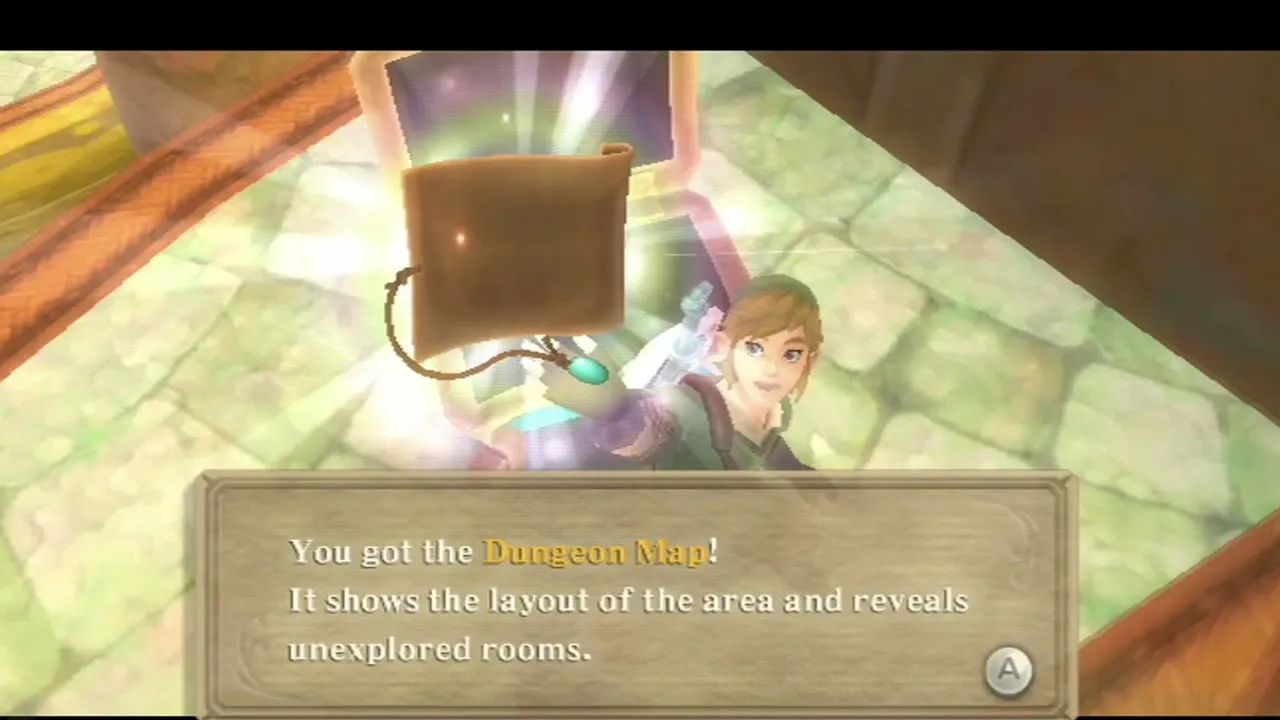
Dungeon Map
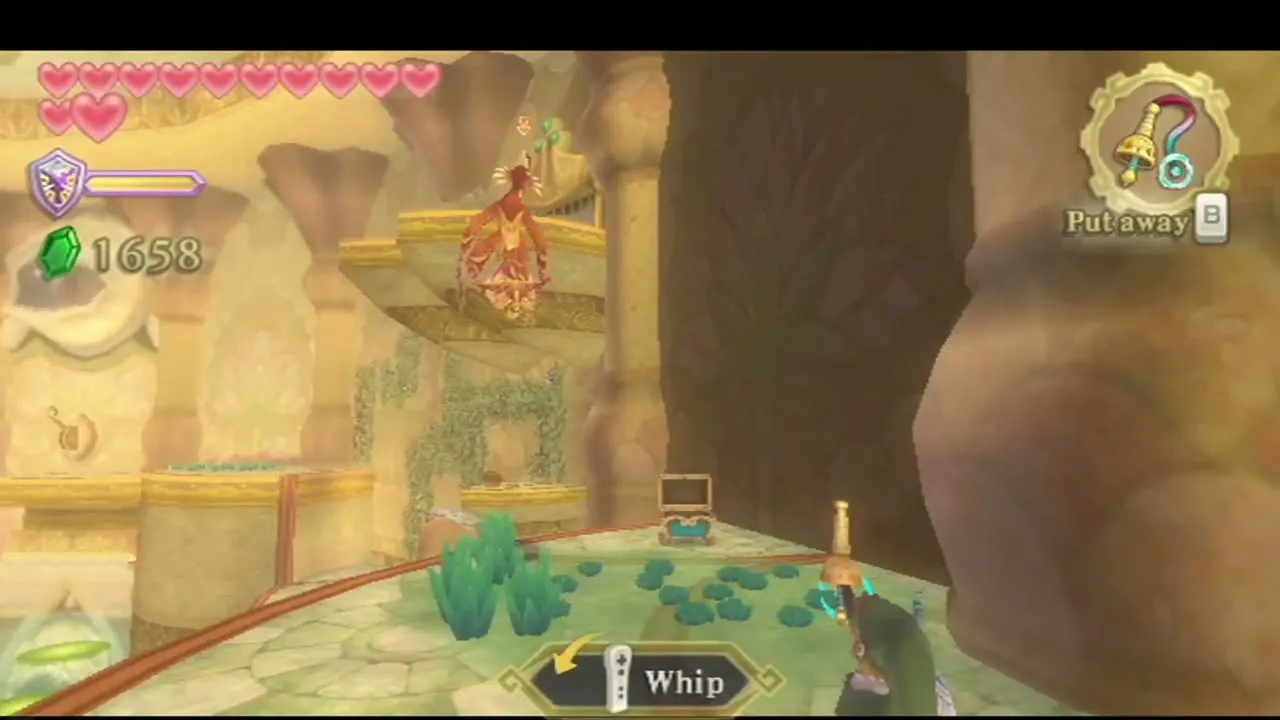
Walk counter-clockwise round the outer ledge of the hall. Latch the Whip onto the poles above the gaps and swing across each one. The chest at the far end holds the Dungeon Map. A Furnix bird patrols here: when its tail drops, whip the tail, pull the bird down and finish it with the sword. A gate in this area cannot be opened yet.
Flip the lily pad and shut off the water
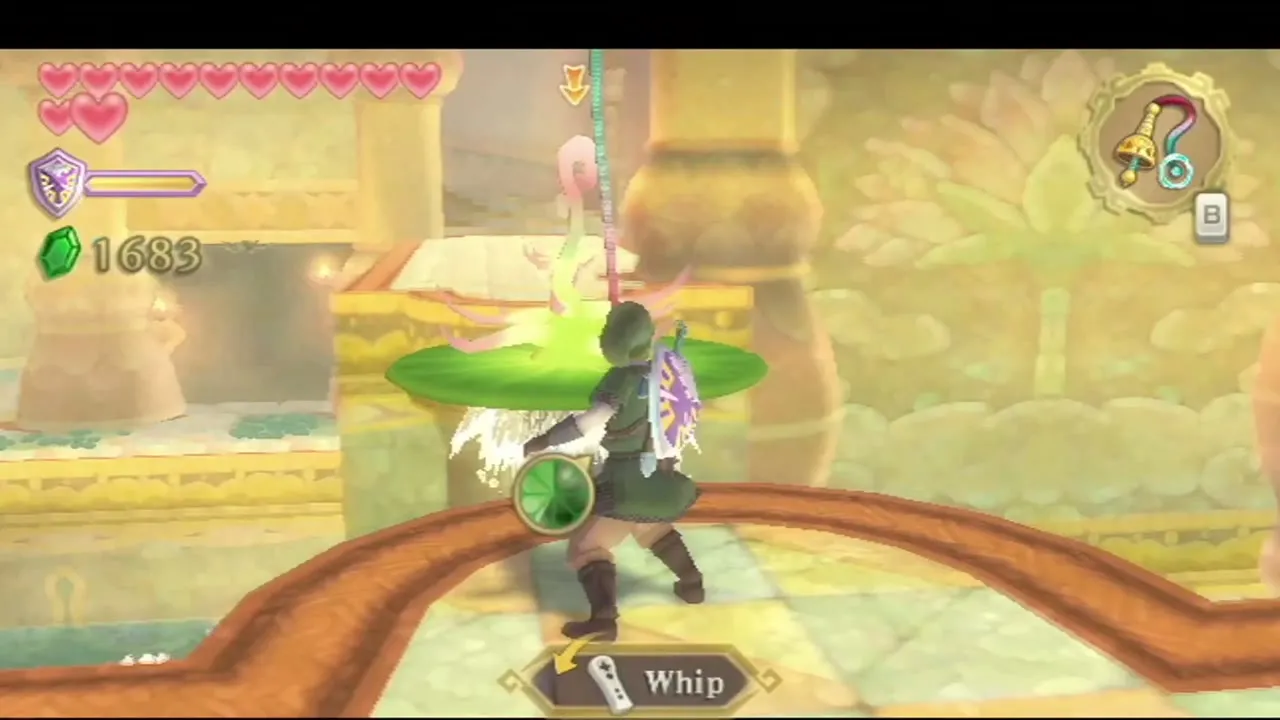
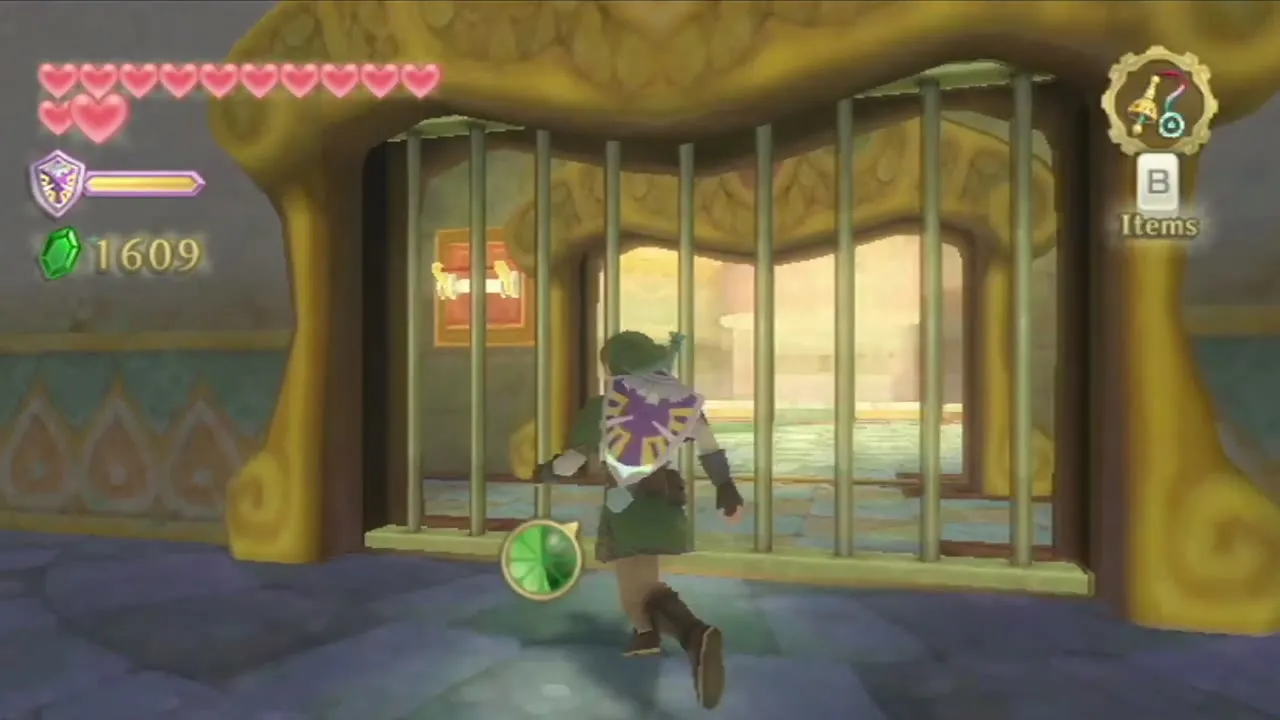
Go to the west side of the hall, the spot marked with an X on your map, and jump into the water by the fish-shaped spout. Whip the spiny rim of the upside-down lily pad to flip it, climb on and whip the lever you could not reach before. The spray from the fish head stops and a passage opens to the west.
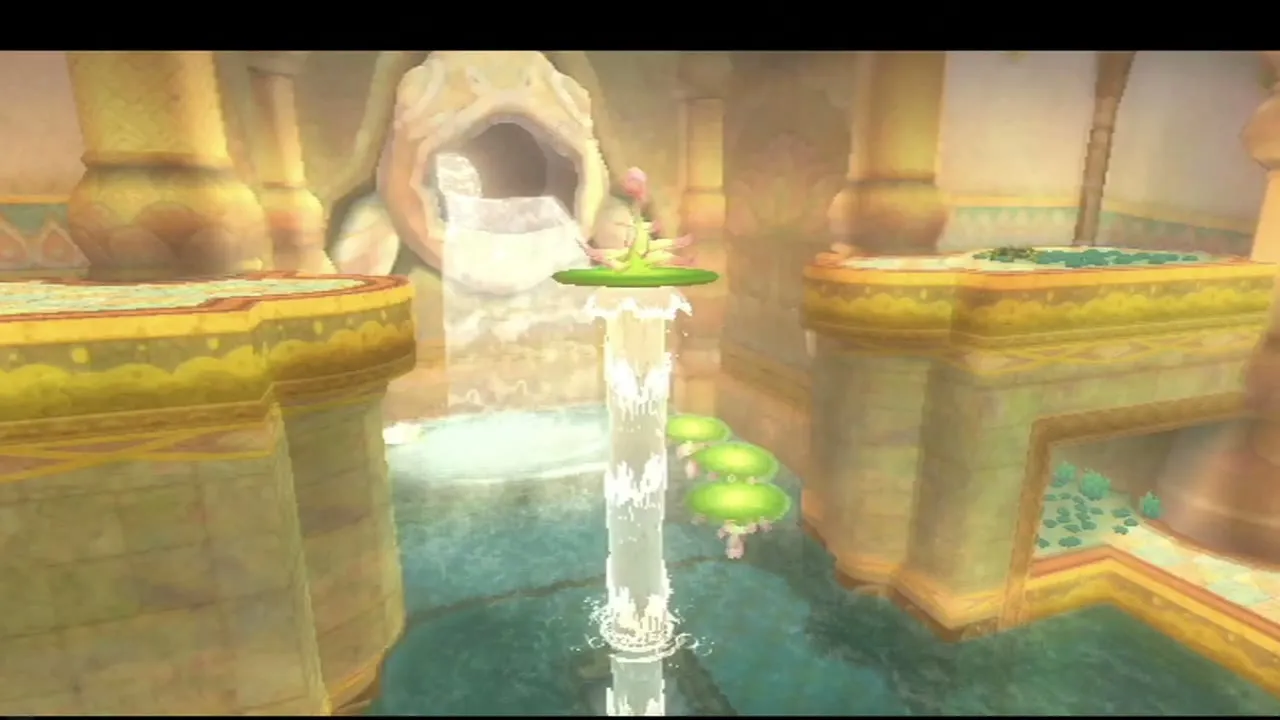
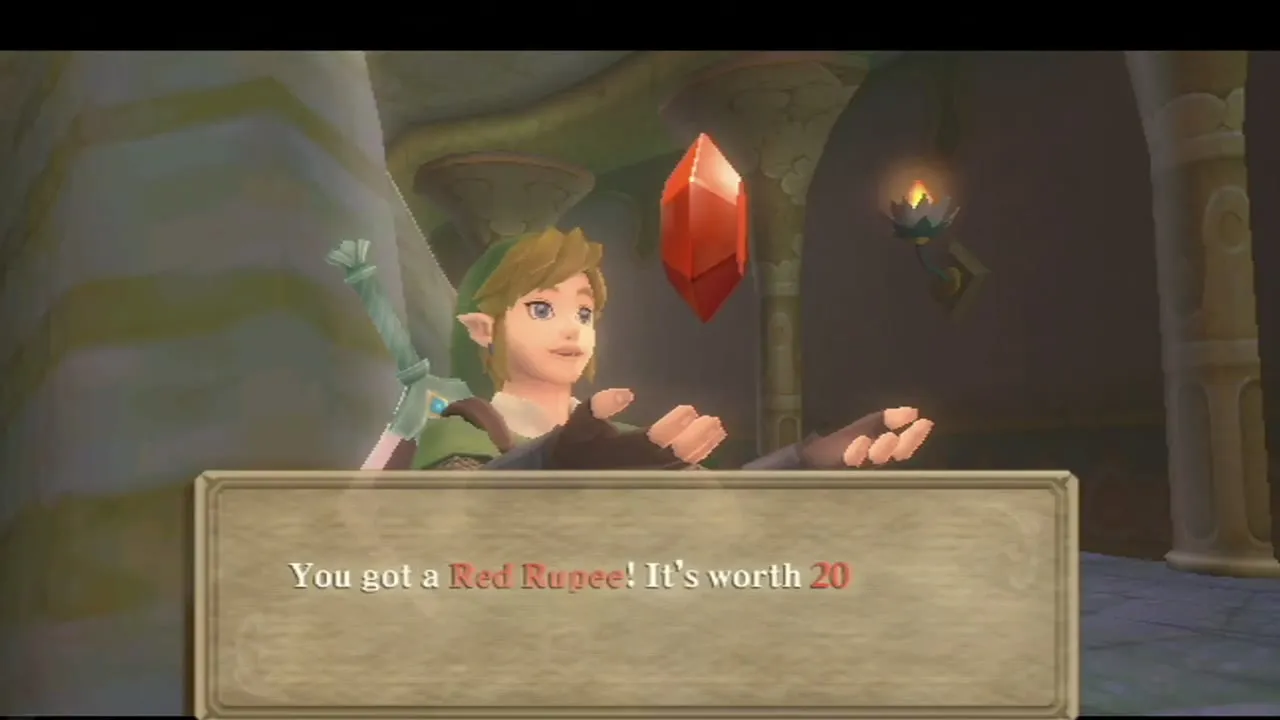
Swim into the tunnel and follow it to the east end, where a chest holds a Red Rupee. Whip the lever on the barred gate and pull it down to lift the gate, then deal with the Skulltula that guards the room.
The vine and swing climb
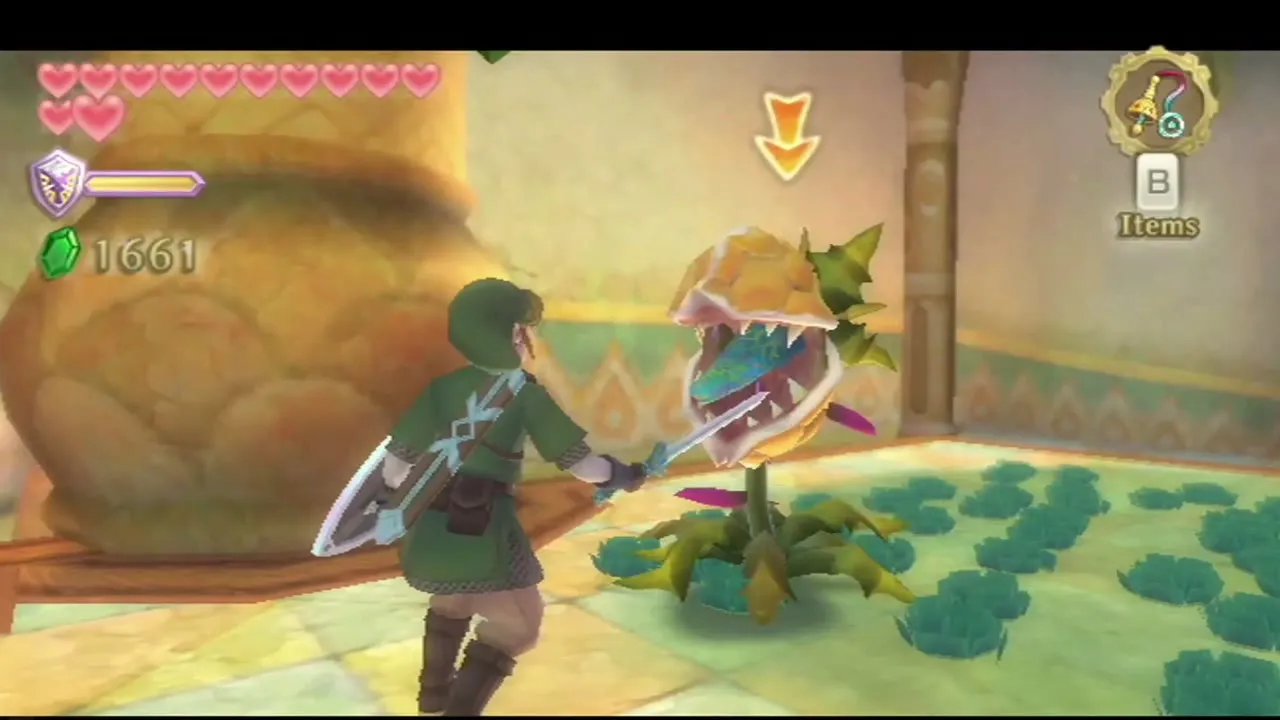
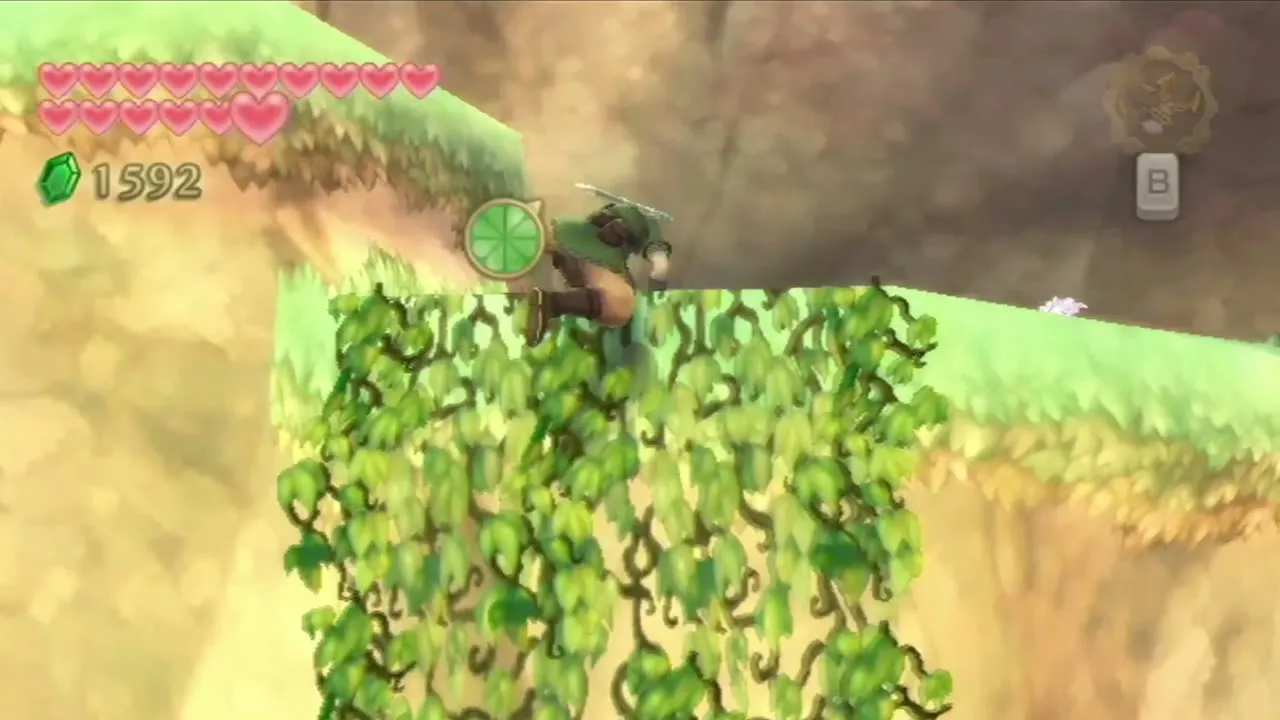
In the next area, clear the Chuchu and Bokoblin, climb the right-hand ledge and whip the bar overhead to swing onto the vines. Climb them, kill the Deku Baba, then dash-jump to the rotating vine column on your left. Whip the next bar; when a gate blocks your swing, stop, turn left, swing again and grab the lever to open it. Shoot the Walltula on the next vines with the Slingshot, climb, swing again and whip the last key to create a whirlpool.
The whirlpool drops you into the lower area. A Bird Statue stands on the west side, so save here.
Second Small Key
Whip the key from the Bokoblin
Use the Beetle on the cords that hold the Skulltulas. They fall onto the lily pads, flip them and open an underwater passage. Swim through. A Green Bokoblin Archer behind a fence carries a Small Key on its belt: stay out of its reach, whip the key away and carry it to the door across the stream. Unlock the door, defeat the Bokoblin inside and let the current take you back to the main hall.
Gates, levers and the central structure
On the east side of the hall swim to the platform, whip the lily pad to flip it, shoot the Walltula and climb the vines. At the top beat the Quadro Baba, then drop onto the lily pad at the gap to flip it and swim beneath it, past a Froak, to surface on the far side. Whip the key in the middle room for a geyser, climb the east vines, whip the next lily pad and pull the lever at the end to open the gate. Climb down the vines to the left of the door you arrived by for a chest of rupees, shooting the Walltula on the way.
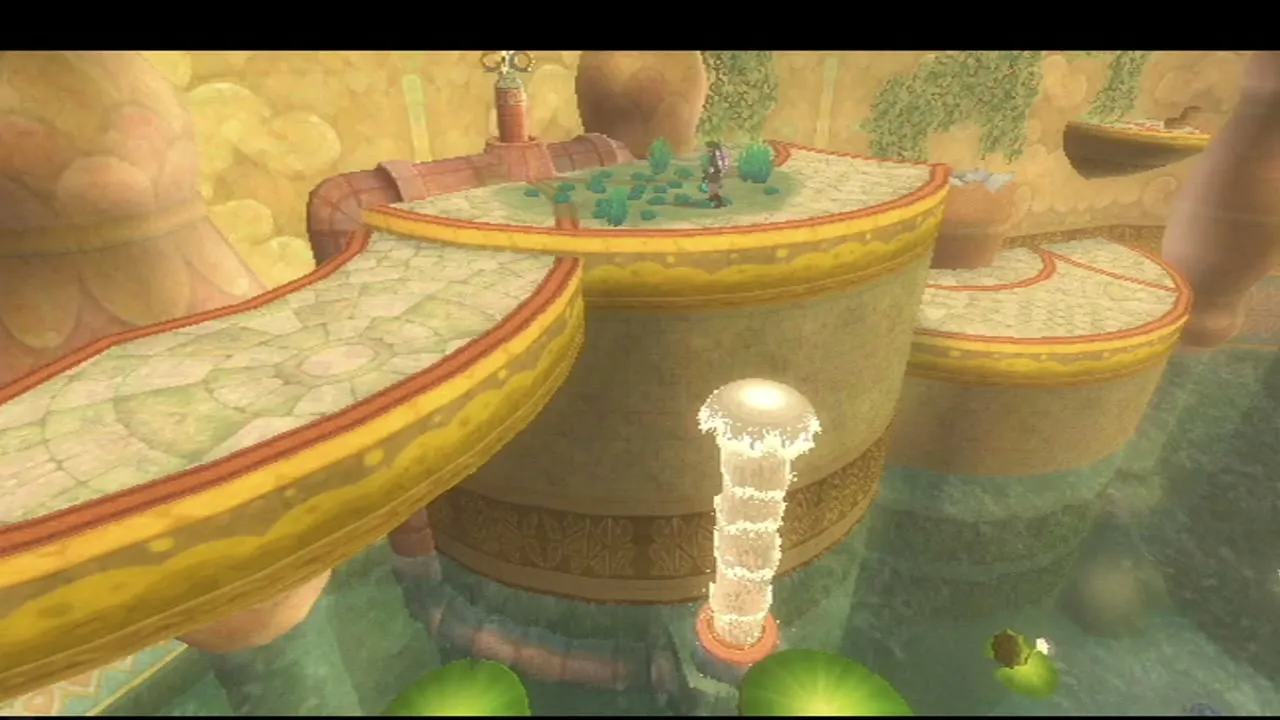
Head west, whip another key to start a geyser, then whip the bar on the west wall and pull it down. The great statue sinks one floor and you can swim to its open door.
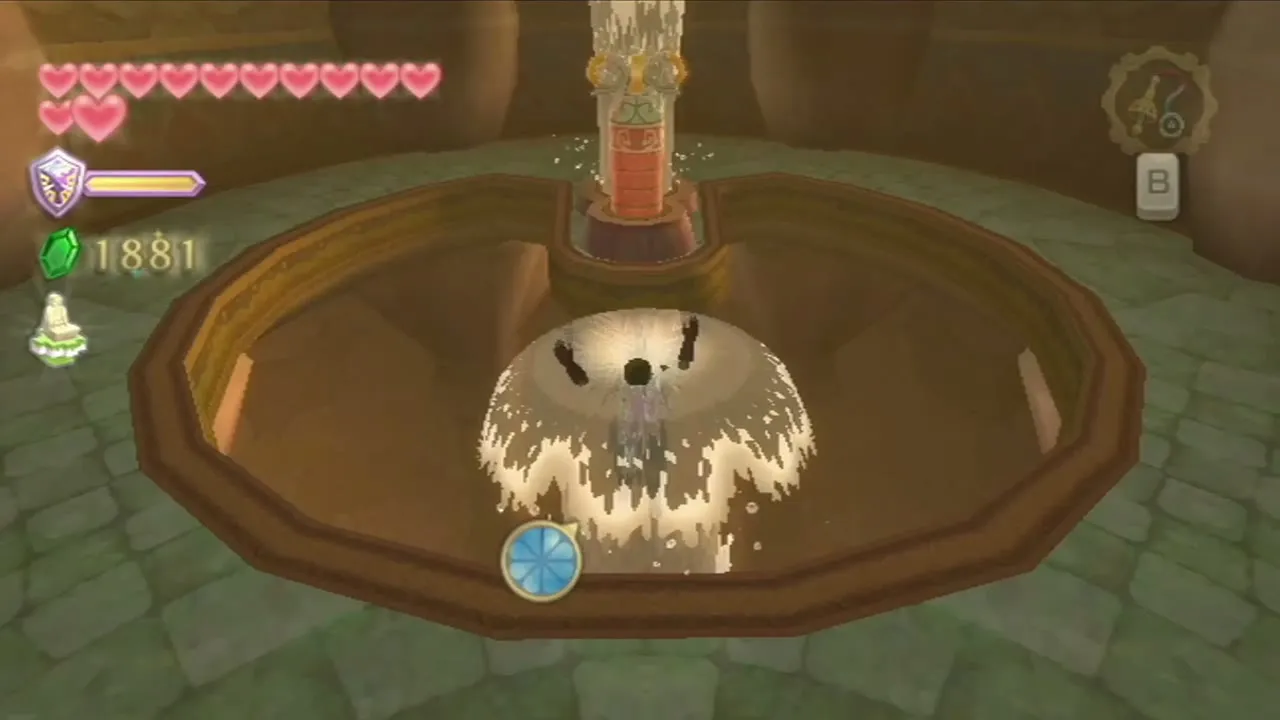
Blessed Idol and the lower cistern

Down to the Cursed Bokoblins
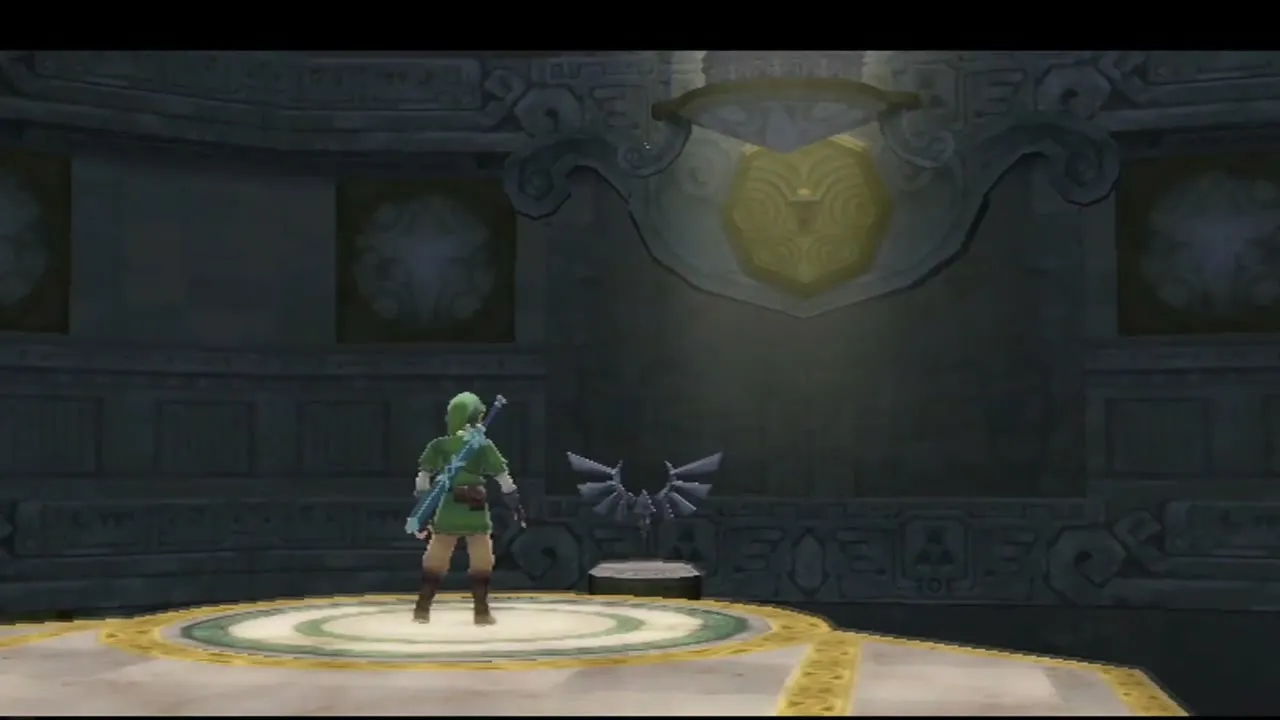
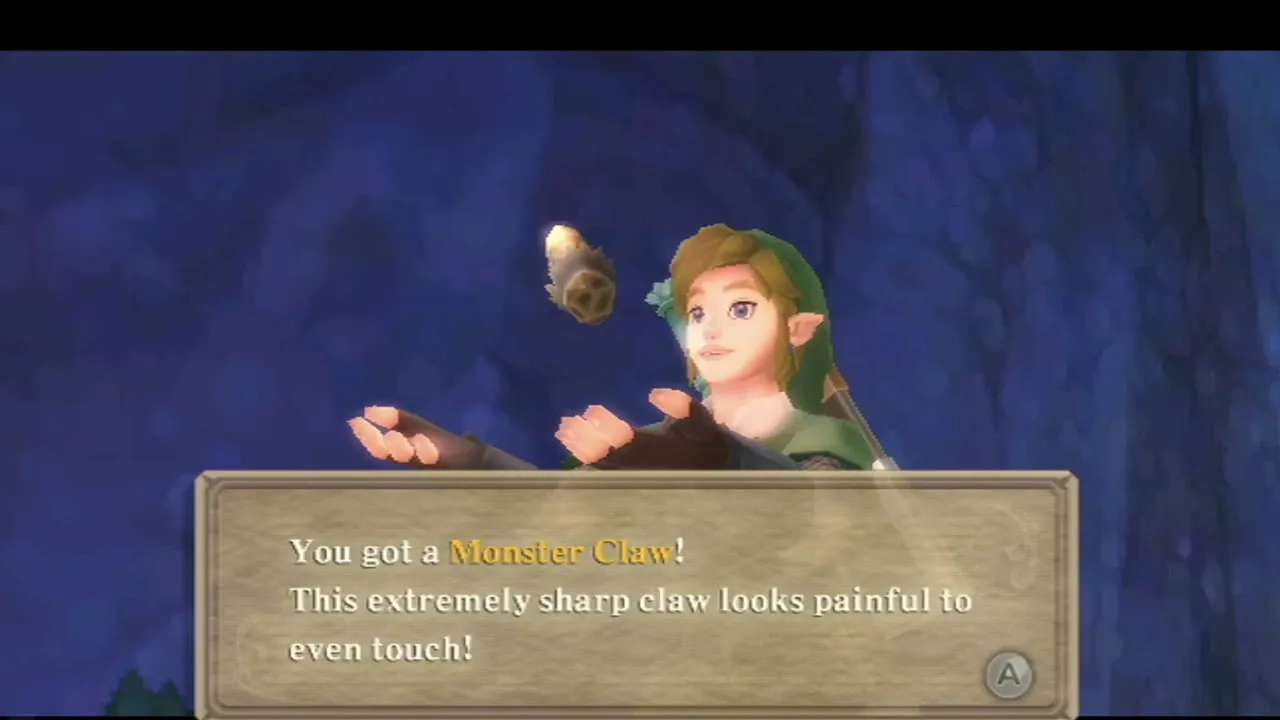
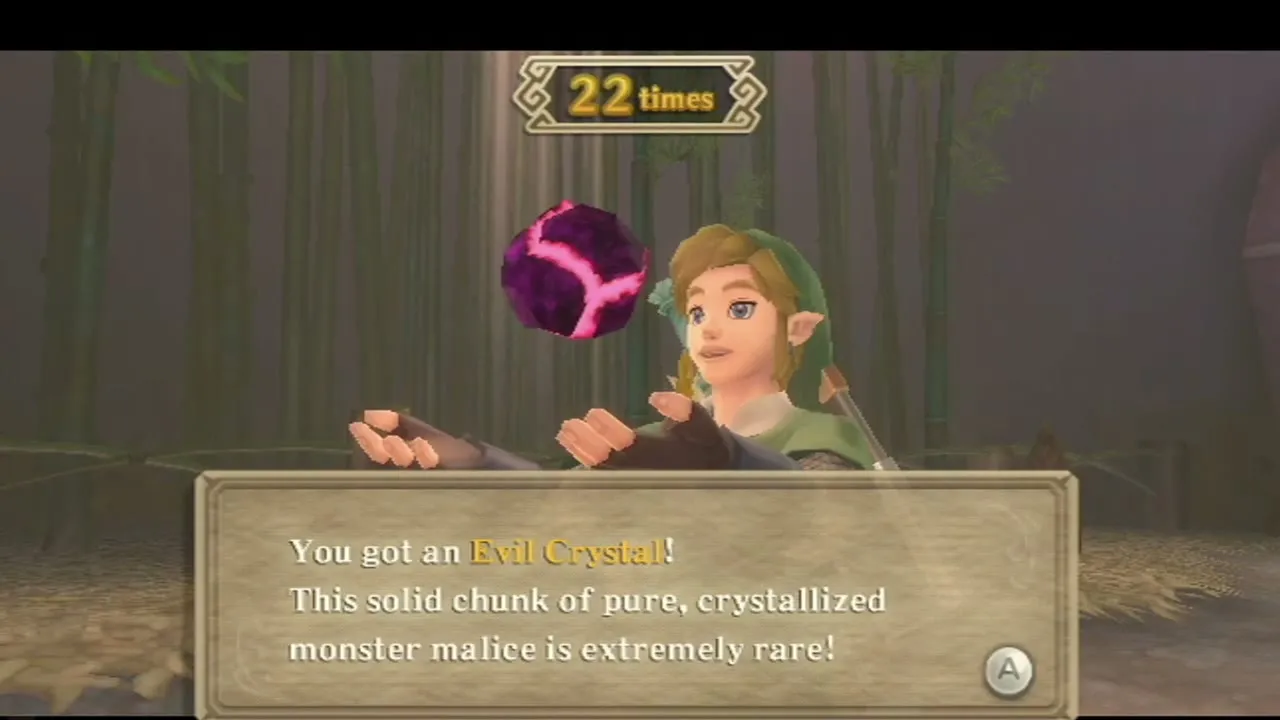
Inside the statue, drop to the bottom floor and take the door into the dark underground. Cursed Bokoblins live here. They have far more health than ordinary Bokoblins; they can leave an Evil Crystal, and other enemies down here may drop a Monster Claw or a Jelly Blob. A tablet tells you to strike the gemstone inside the monster’s eye to stop the flow.
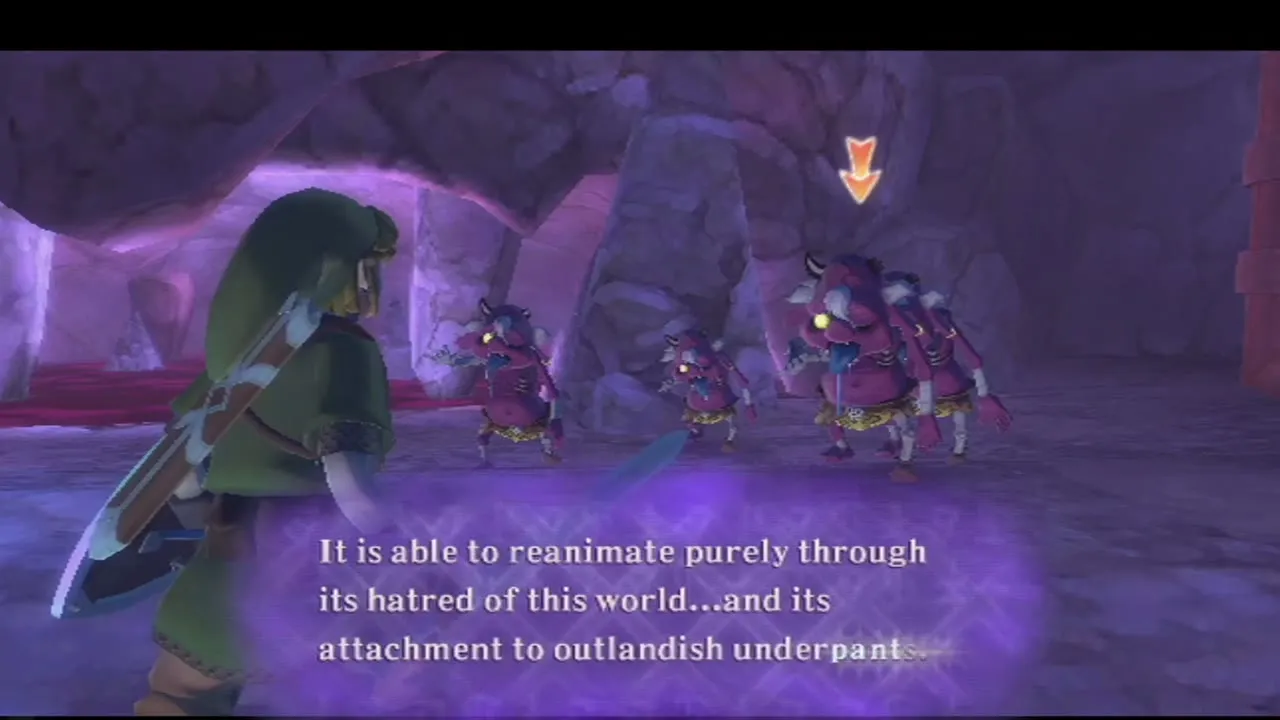
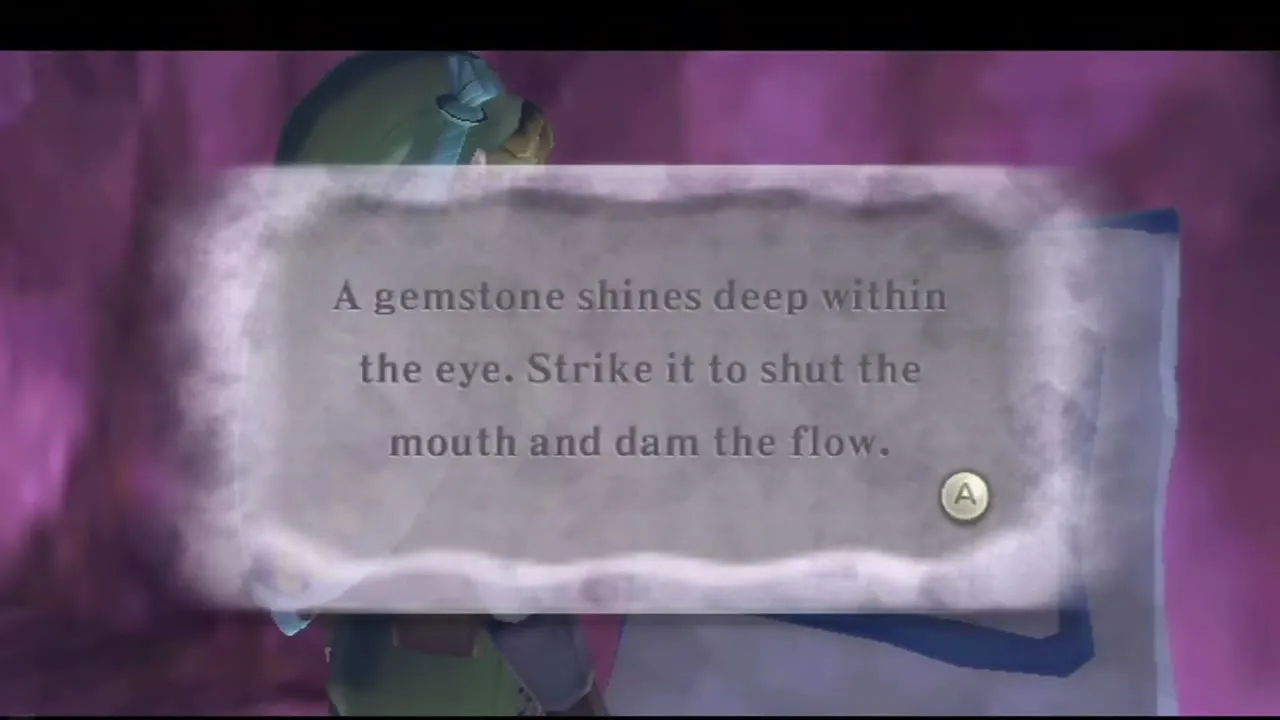
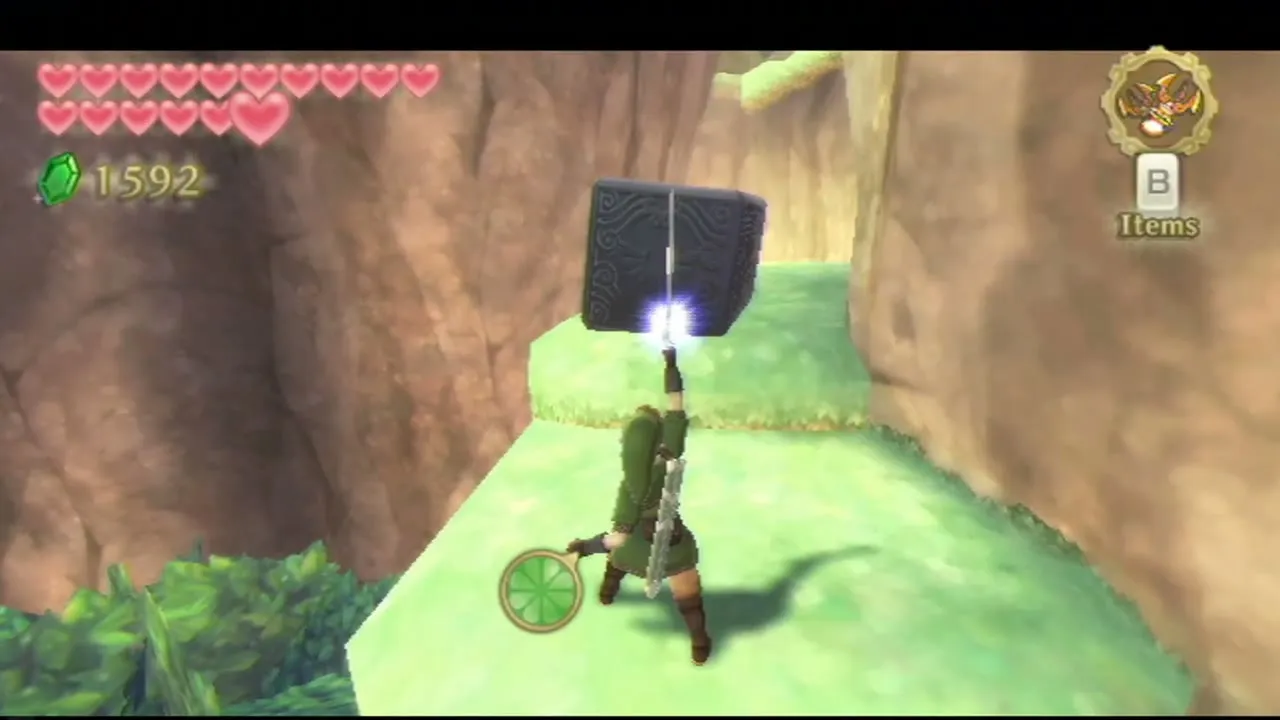
Cross the lily pads, whip the third one to flip it, look up at the face above and fly the Beetle into the eye switch. The liquid stops. Lift a Bomb Flower with the Beetle and drop it on the cracked boulder on the right, then whip the bar to swing to where the boulder stood.
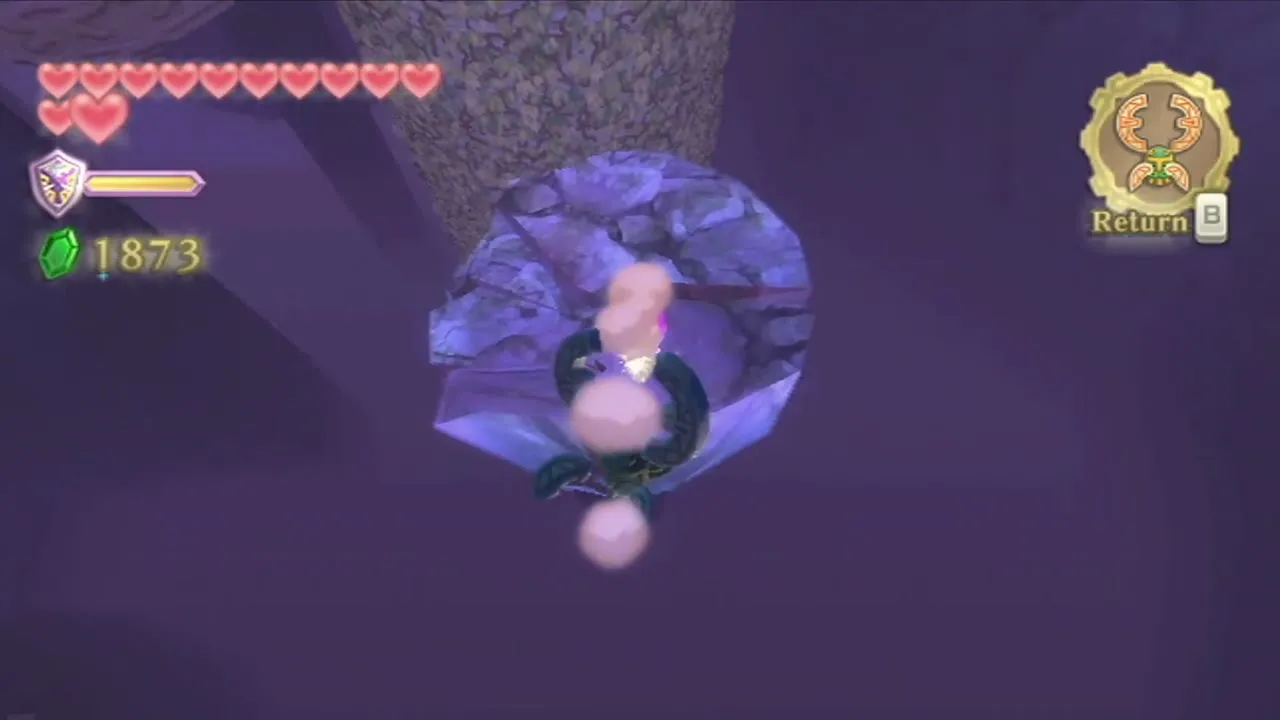
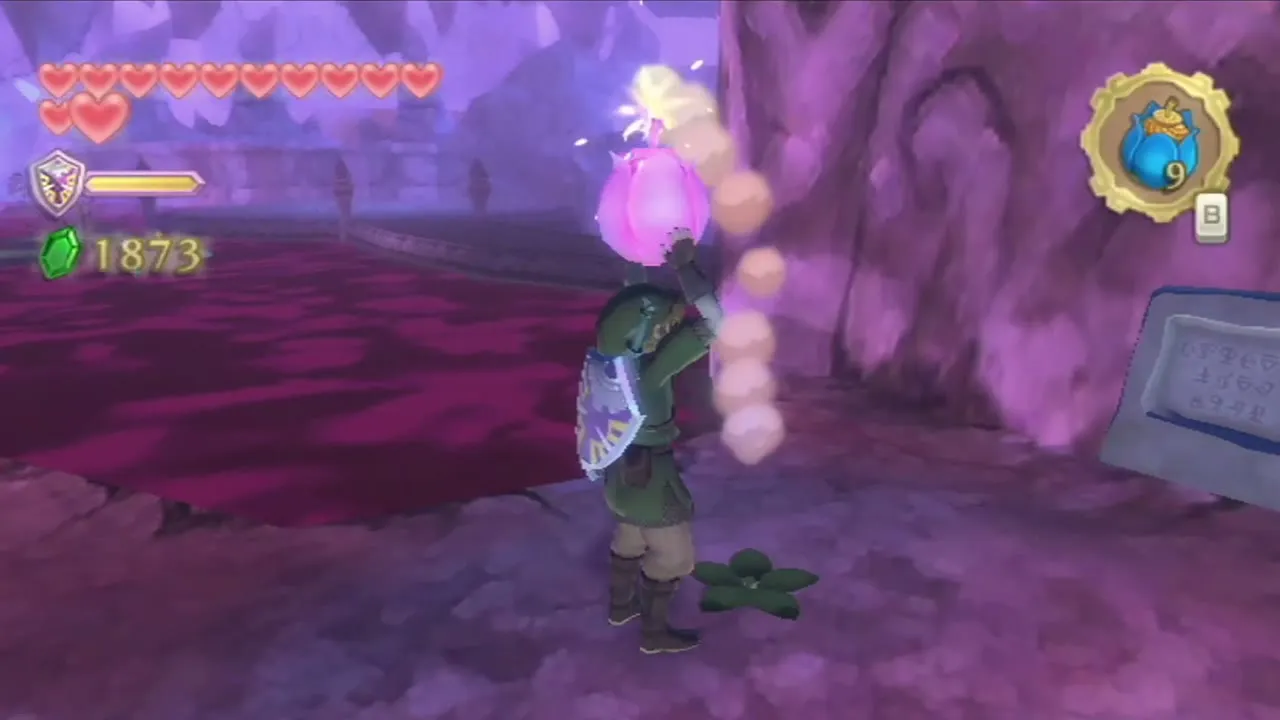
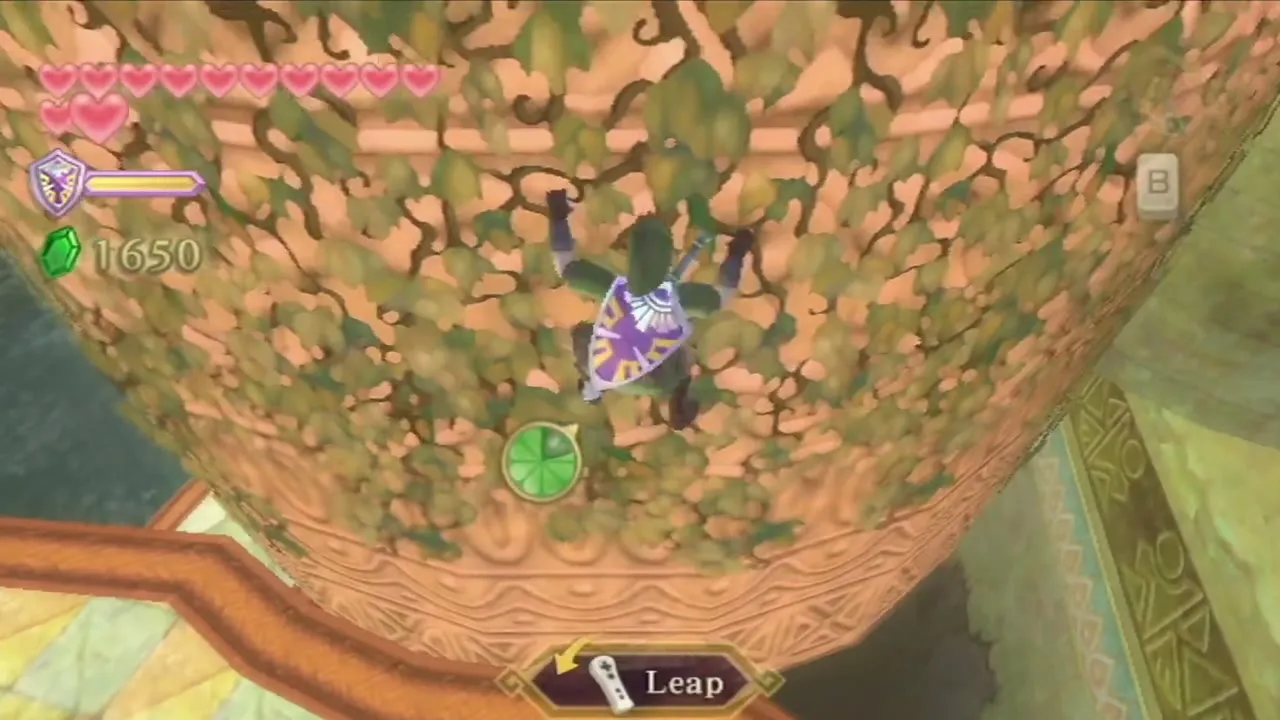
Rotating columns and the thread
Jump onto the vine-covered column and climb to the top, then hop to the second column and the ledge beside it. Whip the lever and pull it across to reverse the columns, ride the moving column until it turns you round, beat the Cursed Bokoblin on the ramp and cross to the far platform. Climb back to the lever and return it to its first position so the columns turn the other way, then ride to the platform you have not visited. Fire Keese flap about here; strike them from the air.
Find the thread that hangs from above and climb it. Cursed Bokoblins climb after you, and one that grabs you must be shaken off by waggling the Wii Remote and Nunchuk. At the top, pull the lever on the left to extend a ramp, cross it and whip the big lever to reset the central statue. A tablet on this floor says to return the stone giant to its original form and descend along the thread again, so raise the statue with that lever and slide back down.
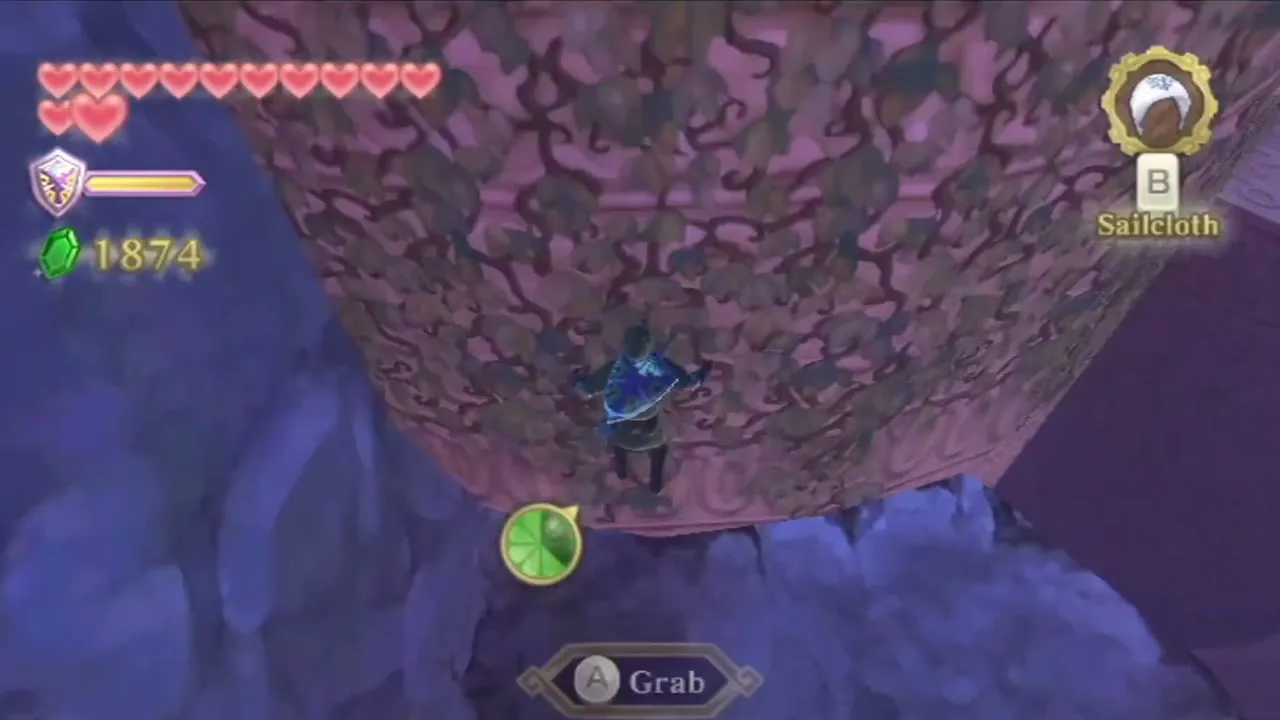
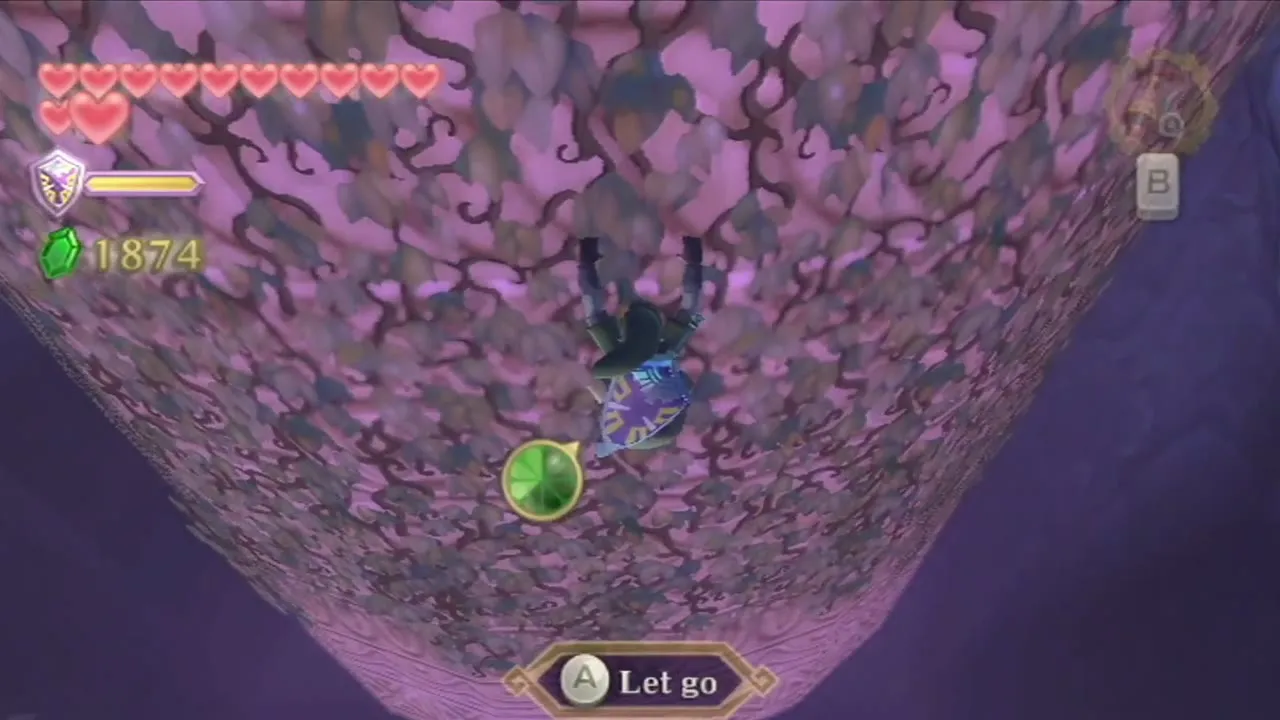

Take the Blessed Idol
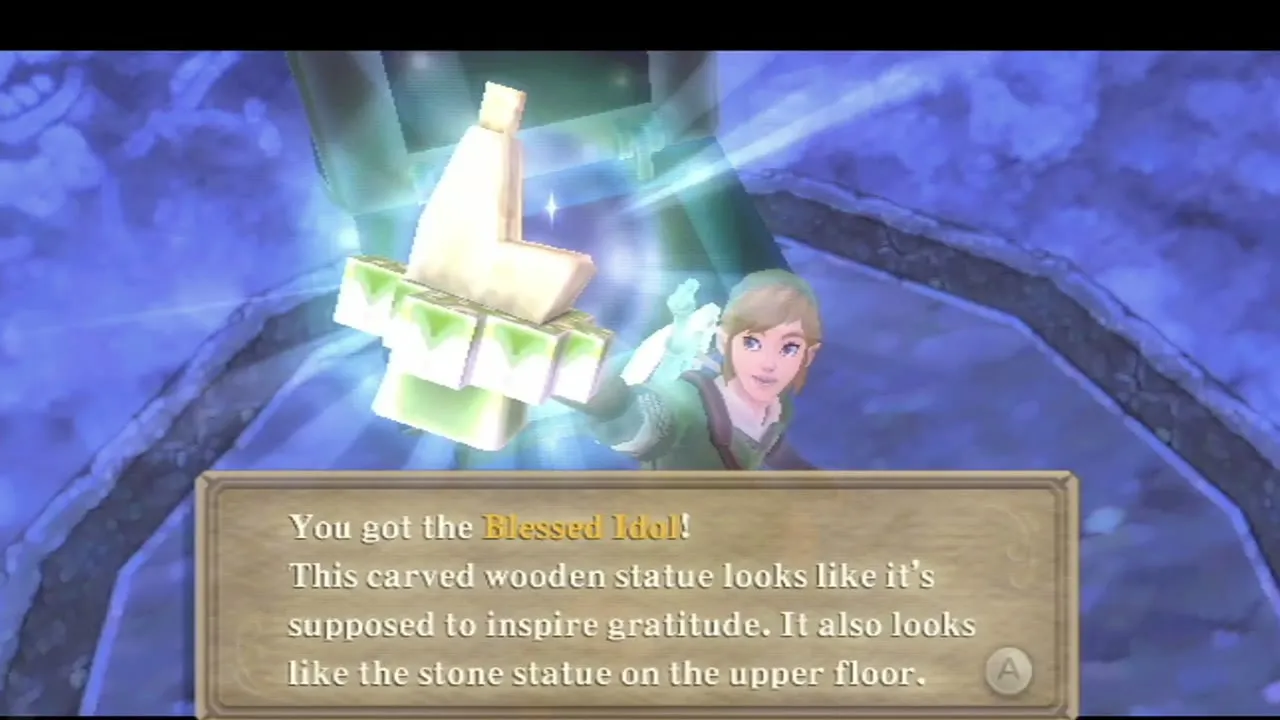
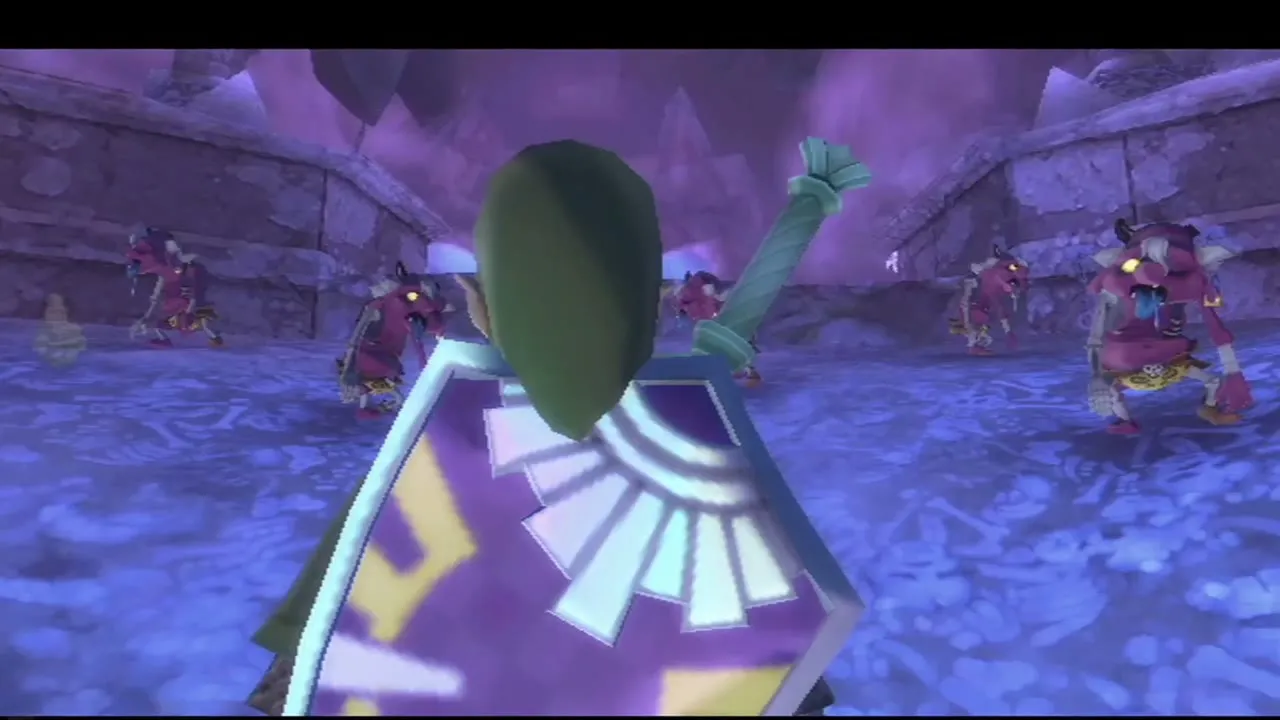
Whip a key near the bottom for a shortcut geyser, then drop into the central pit and open the chest for the Blessed Idol. This carved wooden statue copies the stone figure above and works as the boss door’s key; there is no Boss Key in this dungeon. Opening the chest wakes a crowd of Cursed Bokoblins and the platform begins to fall, so run up the ramp without stopping to fight. At the top the platform collapses and uncovers a door.
Climb to the boss door
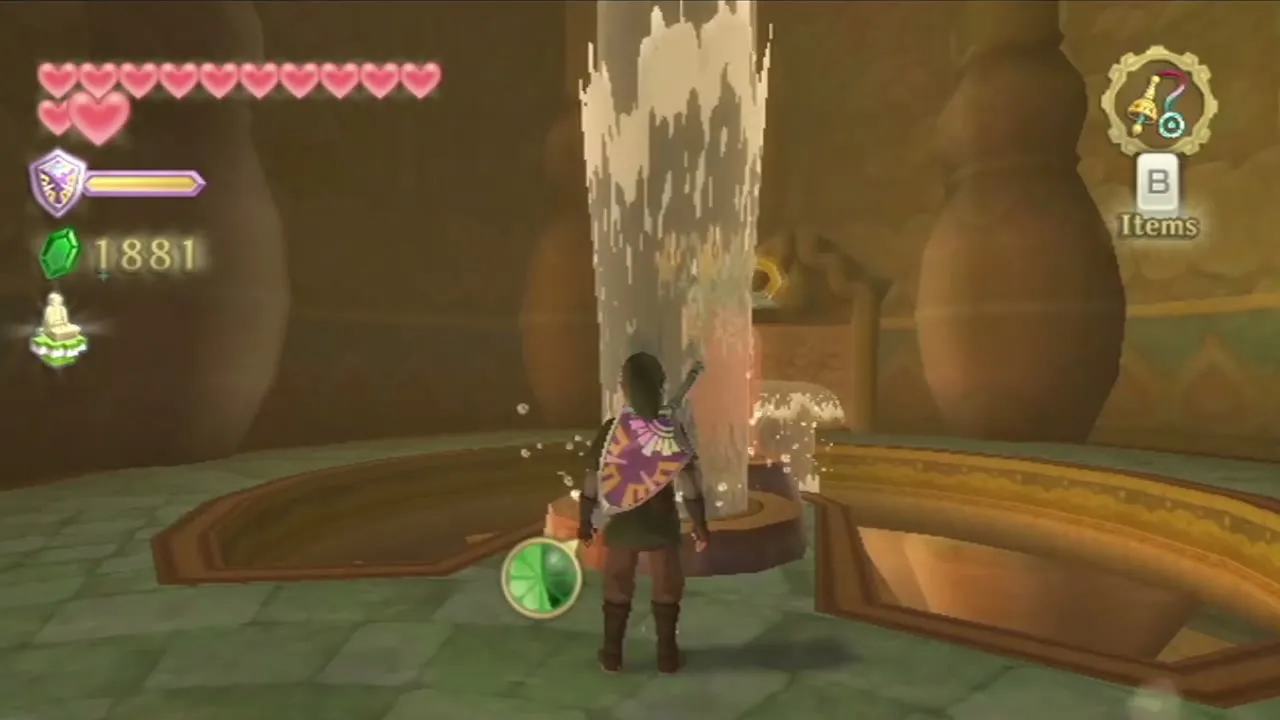
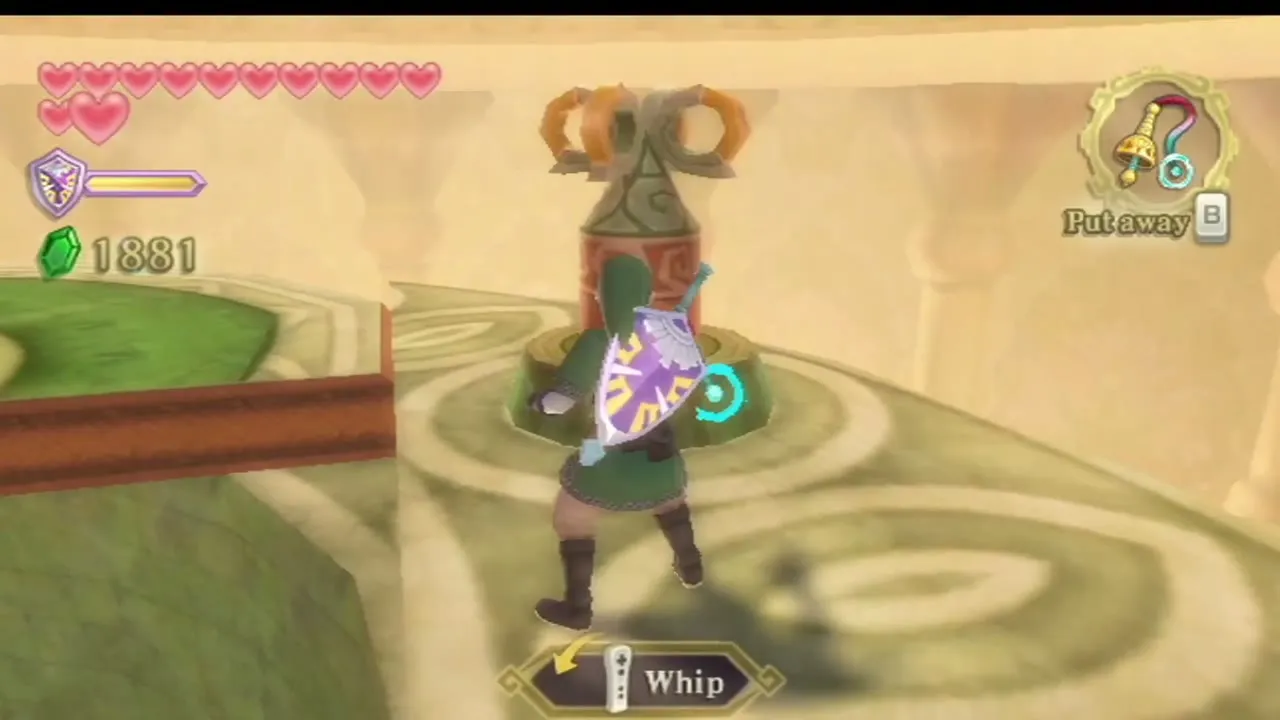
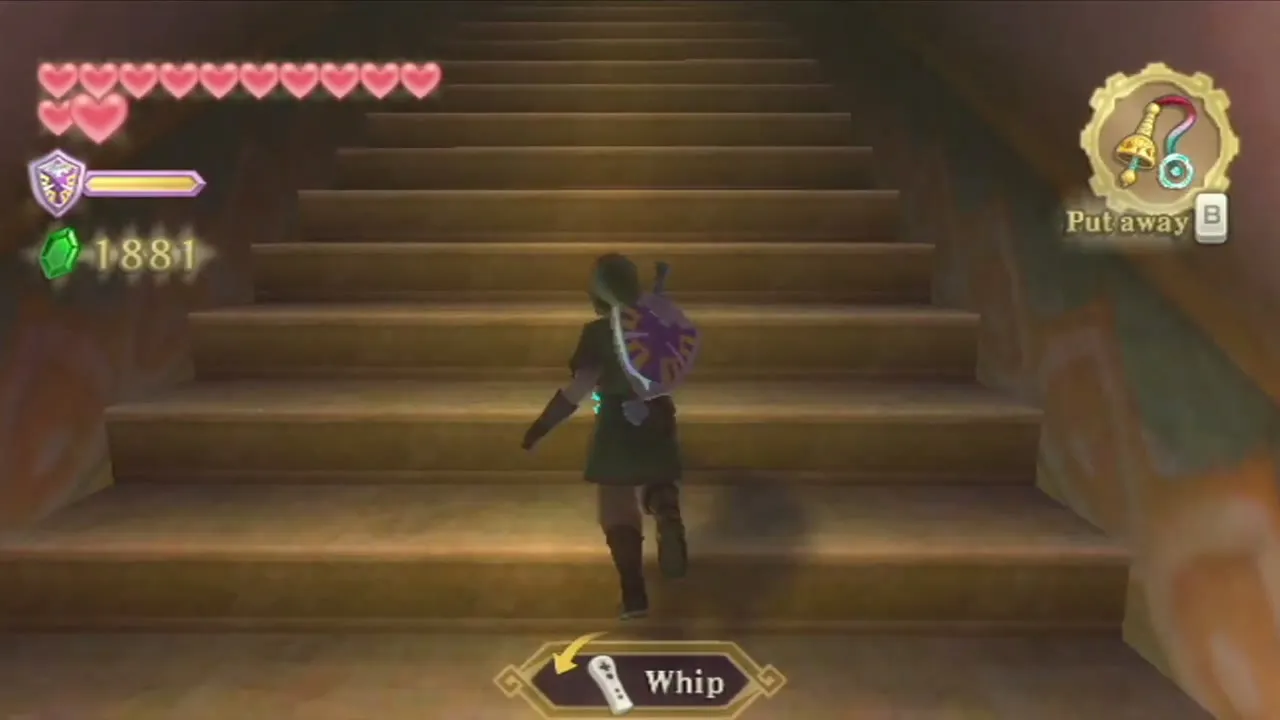
Ride the geysers upward, whipping any keys you skipped earlier. On the top floor, set the Blessed Idol into the lock and the ceiling opens. Climb the steps and whip all four keys to raise the structure. A Bird Statue and a few heart flowers wait at the top, so save, heal and climb the stairs to the boss.
Koloktos boss fight

Phase one: arms
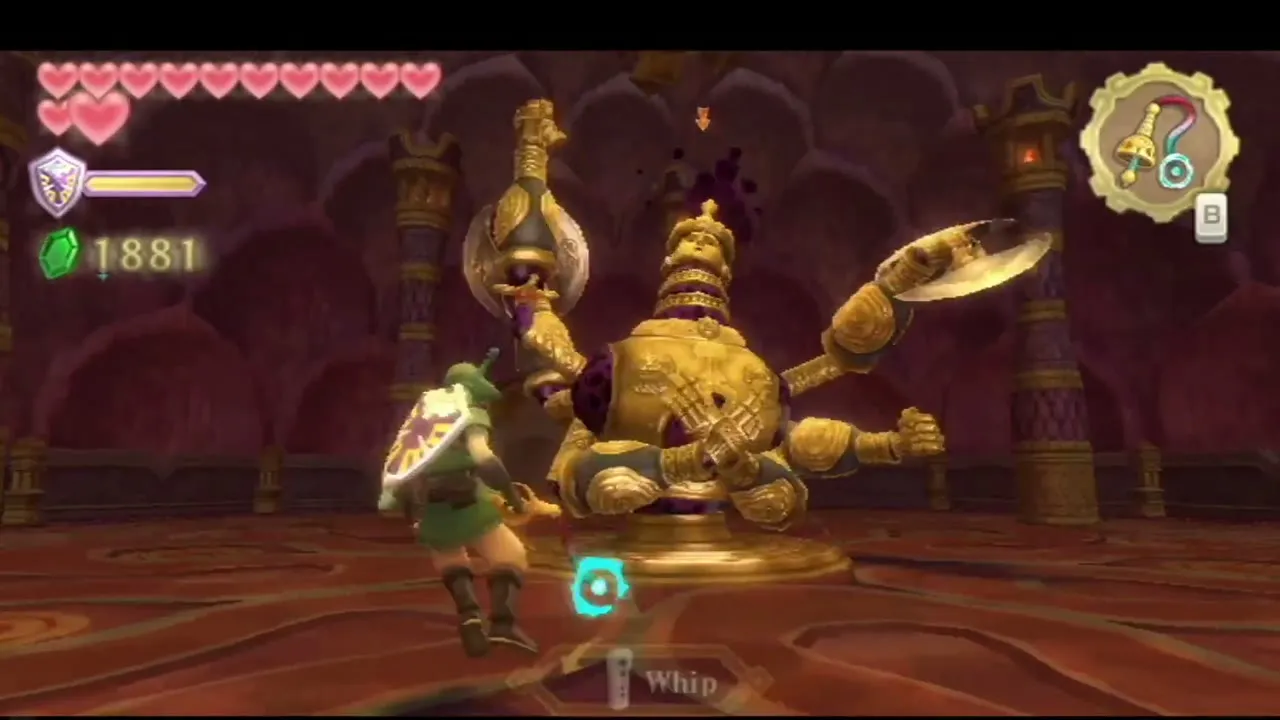
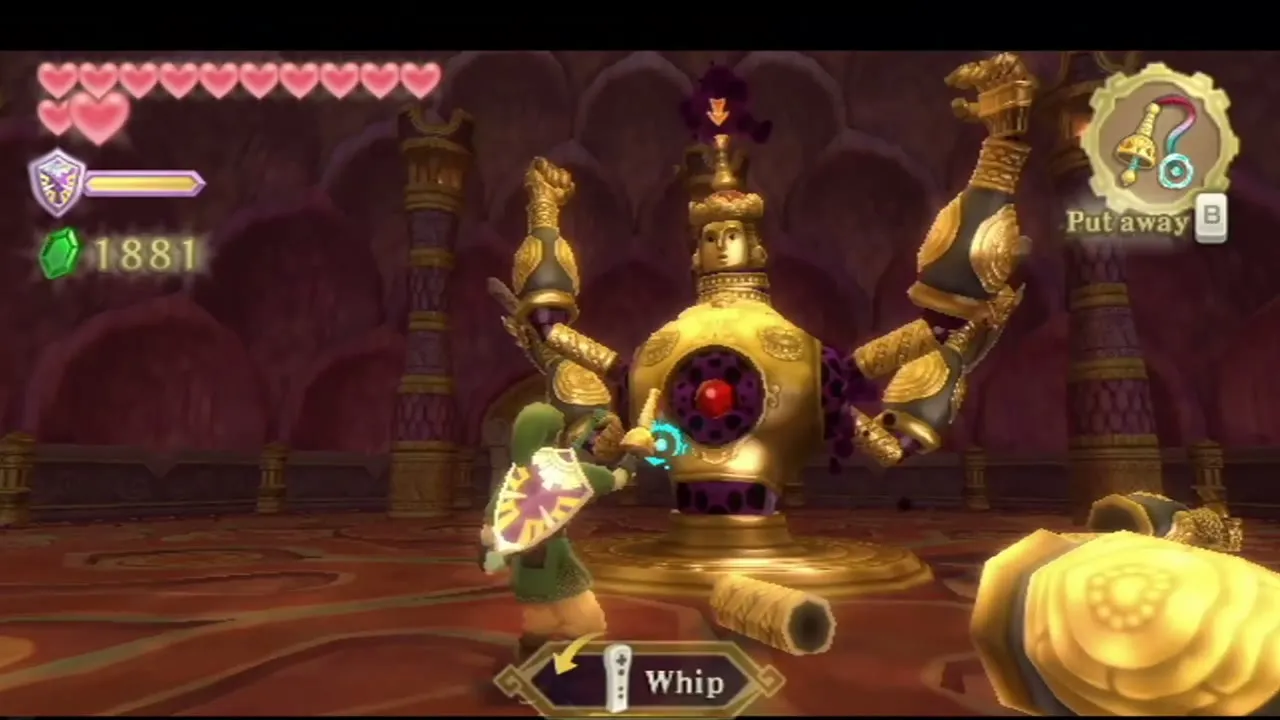
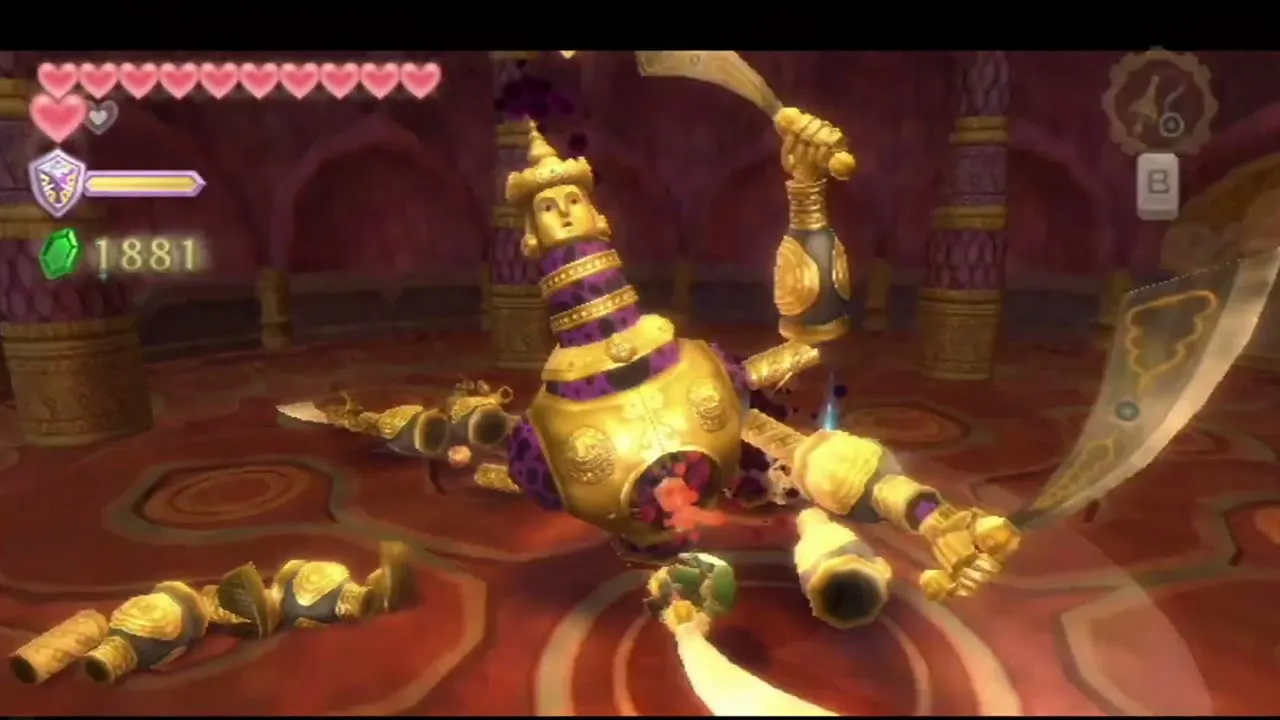
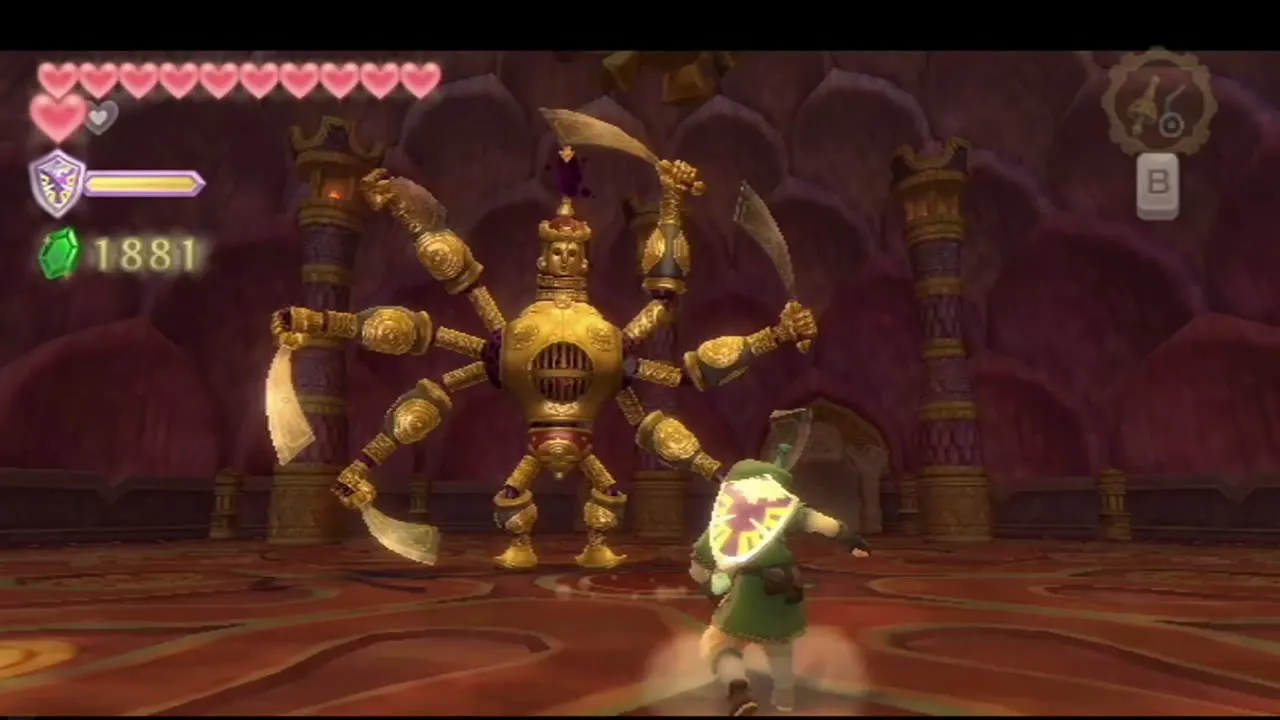
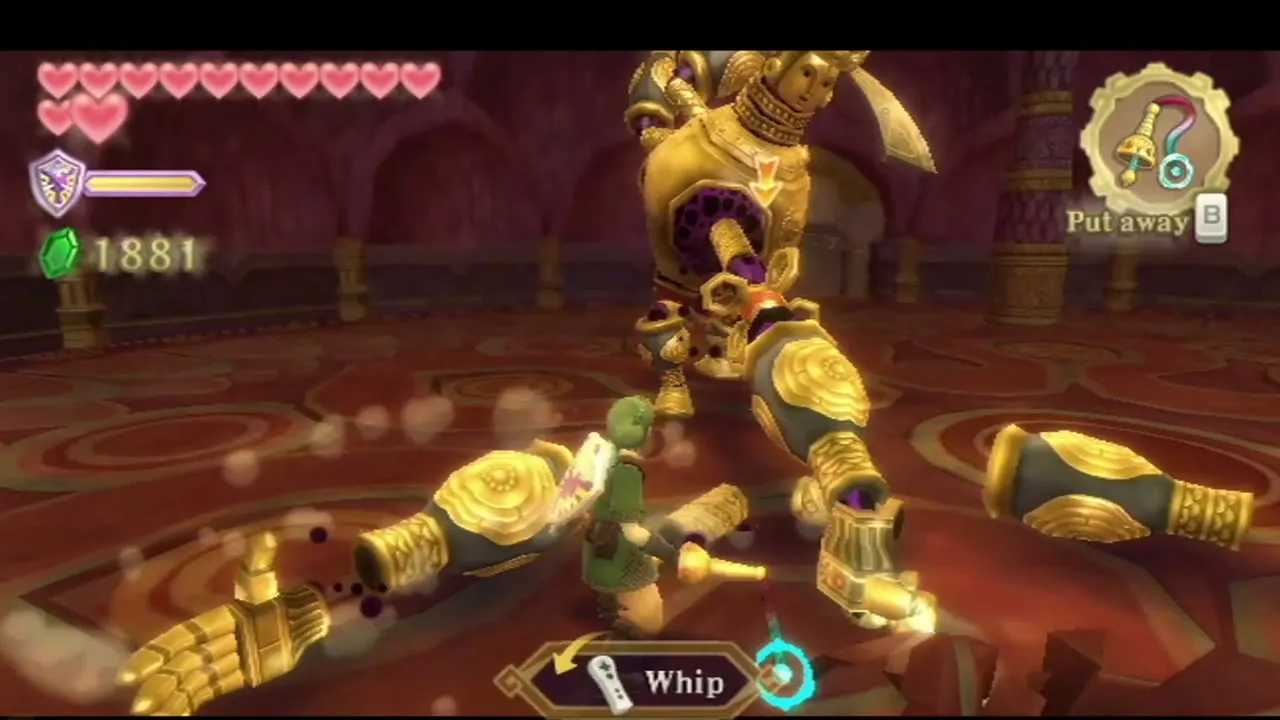
Ghirahim is waiting in the boss room and wakes the golem Koloktos with cursed energy. It has six arms, the upper pair of which hurl blades at you. Keep moving, dodge a swing, and run behind it so an arm sticks in the ground. Whip the arm and pull it off. Pull off the arms and the red core on its body is left open; slash it until the arms reattach, then repeat.
Phase two: giant swords
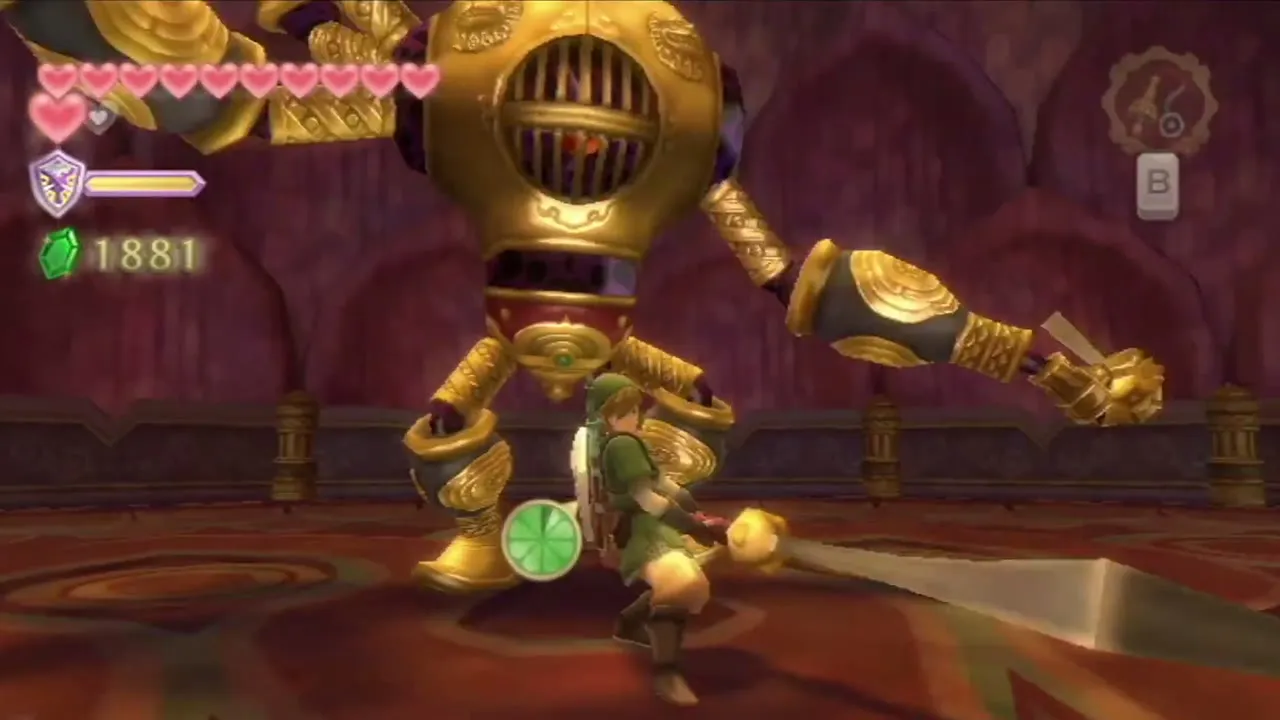
After a few rounds Koloktos grows legs and six giant swords. It stalks you and strikes with several arms at once. Dodge, whip an arm so it drops its sword, then pick the sword up and use it to chop the remaining limbs and legs. Break the cage over the core and strike the core. The arms grow back and you repeat the cycle.
Phase three: frenzy
Koloktos keeps stalking you with its swords and Cursed Bokoblins join the fight; ignore them or cut them down. Pull off the arms, take a sword and hit the core until the machine collapses. The fight is long, so take hearts whenever they drop.
Heart Container and Farore’s Flame
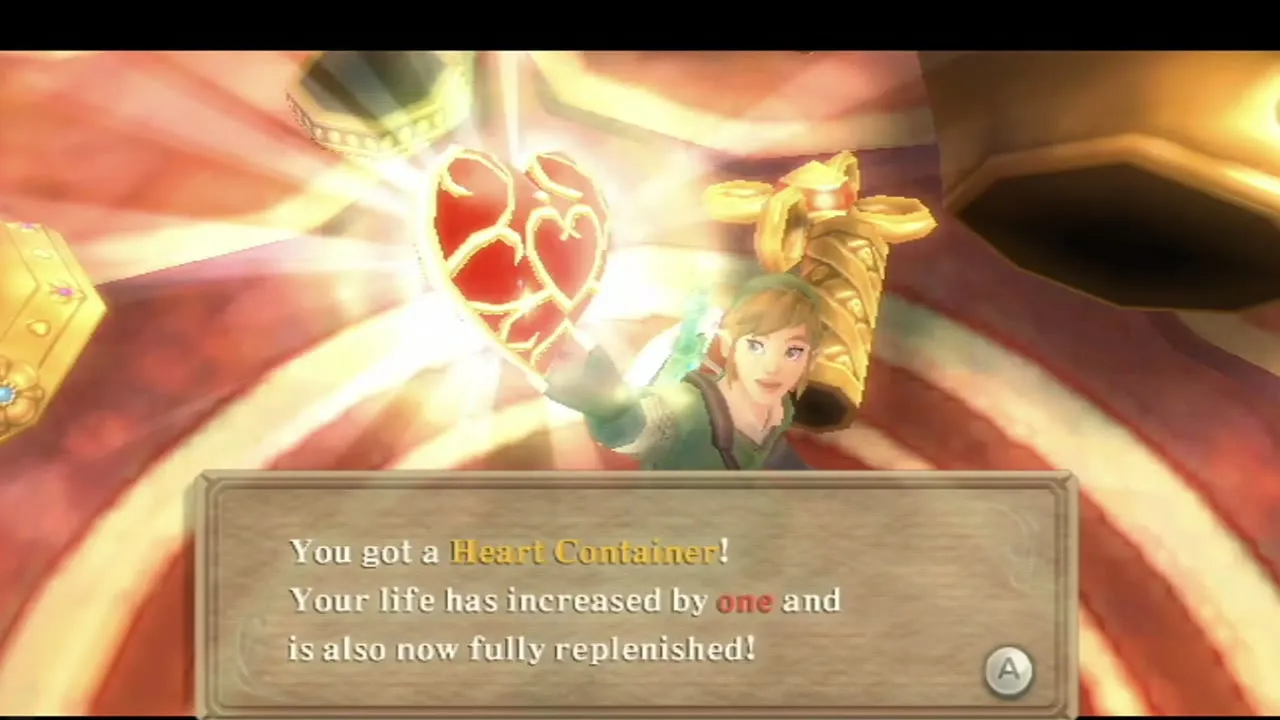
Heart Container
Take the Heart Container from the wreck. It raises your maximum life by one heart and refills your hearts.

Goddess Longsword
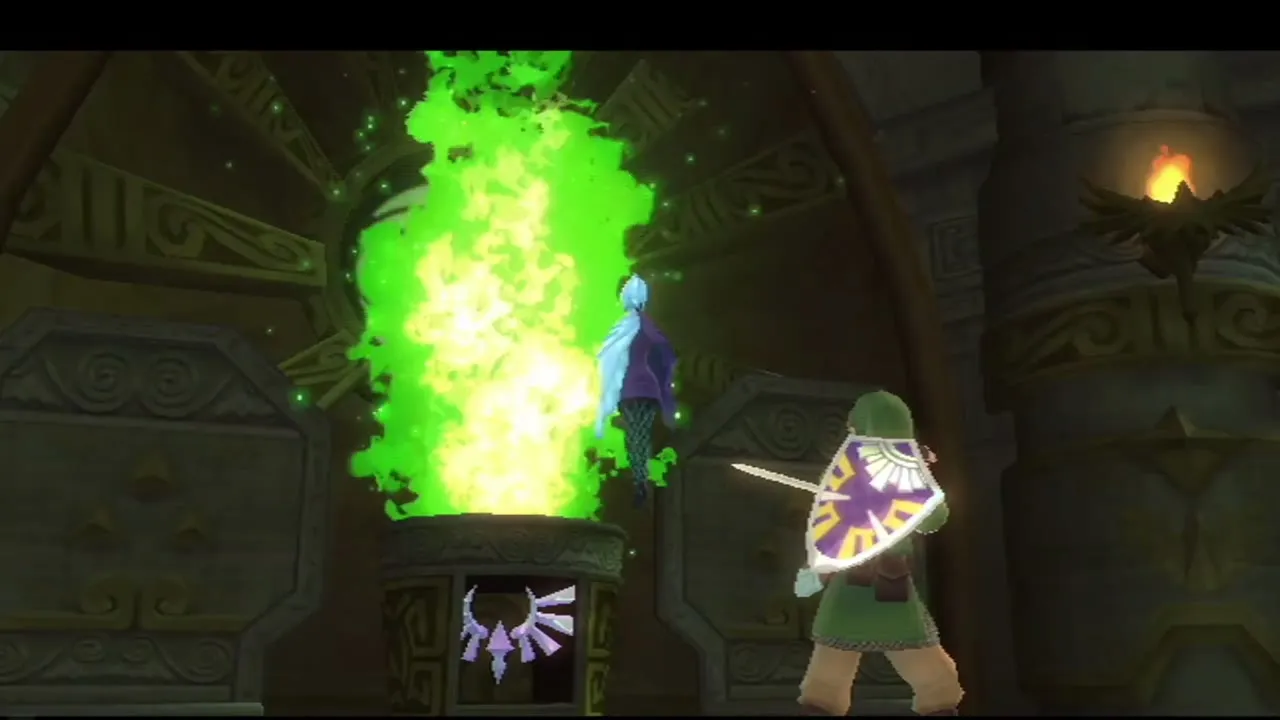
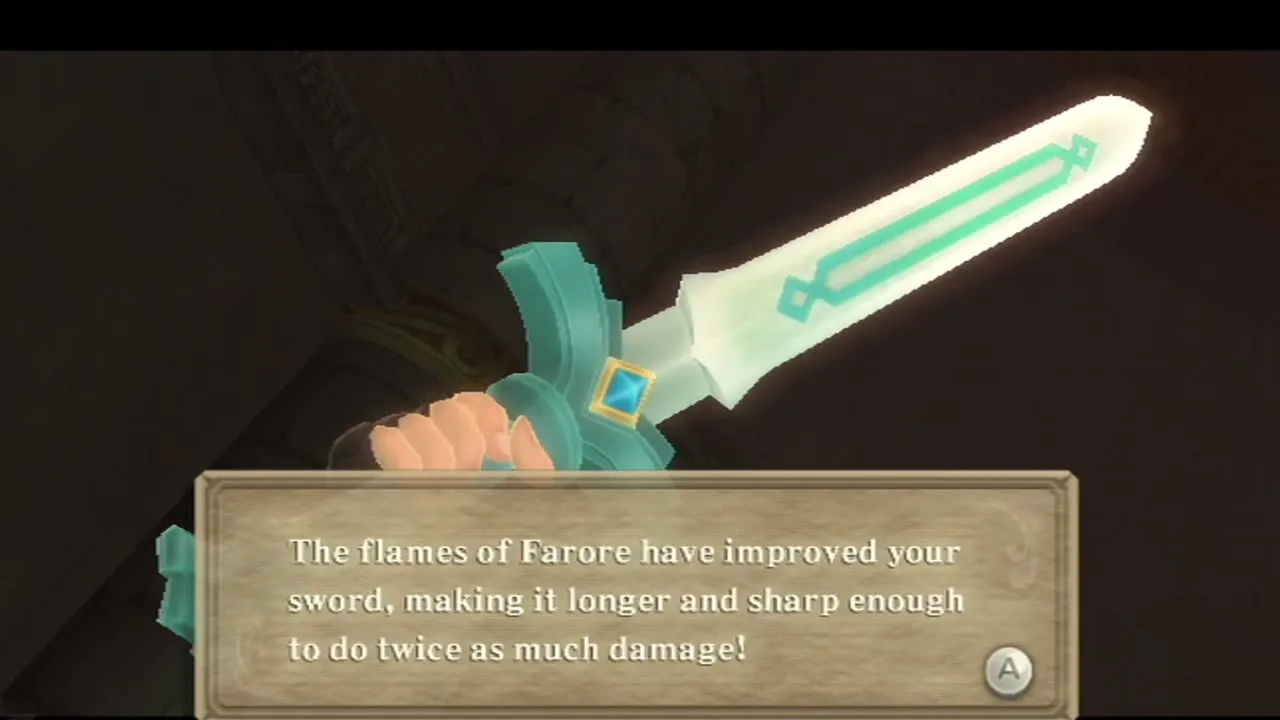
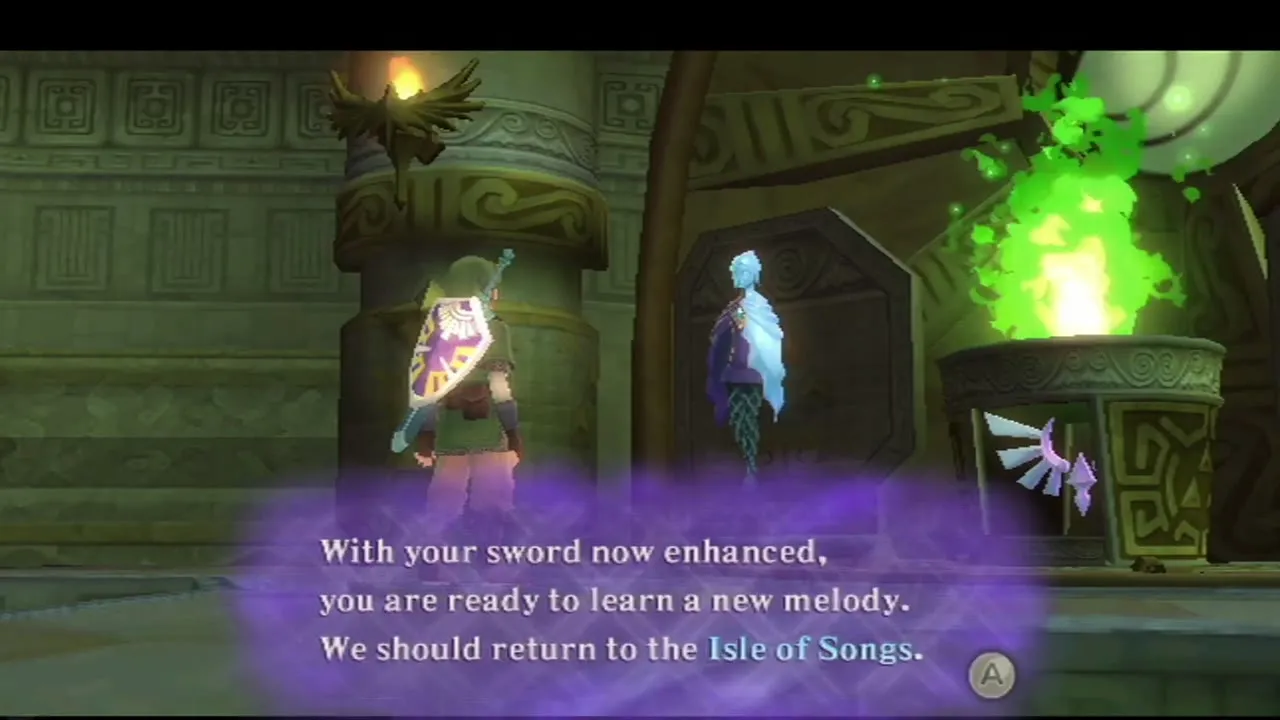
Walk through the golden door into the shrine, stand on the Goddess emblem and aim a Skyward Strike at the green flame. This is Farore’s Flame, the first Sacred Flame. It lengthens your blade and doubles its damage, turning the Goddess Sword into the Goddess Longsword. Fi says you are ready to learn a new melody and should return to the Isle of Songs.
Leaving the dungeon
Leave the Cistern and use the Bird Statue at Lake Floria to return to the sky. Call your Loftwing by diving off an edge and whistling, and fly to the Isle of Songs in the Thunderhead, where you learn Nayru’s Wisdom, the melody that opens Lanayru’s Silent Realm.
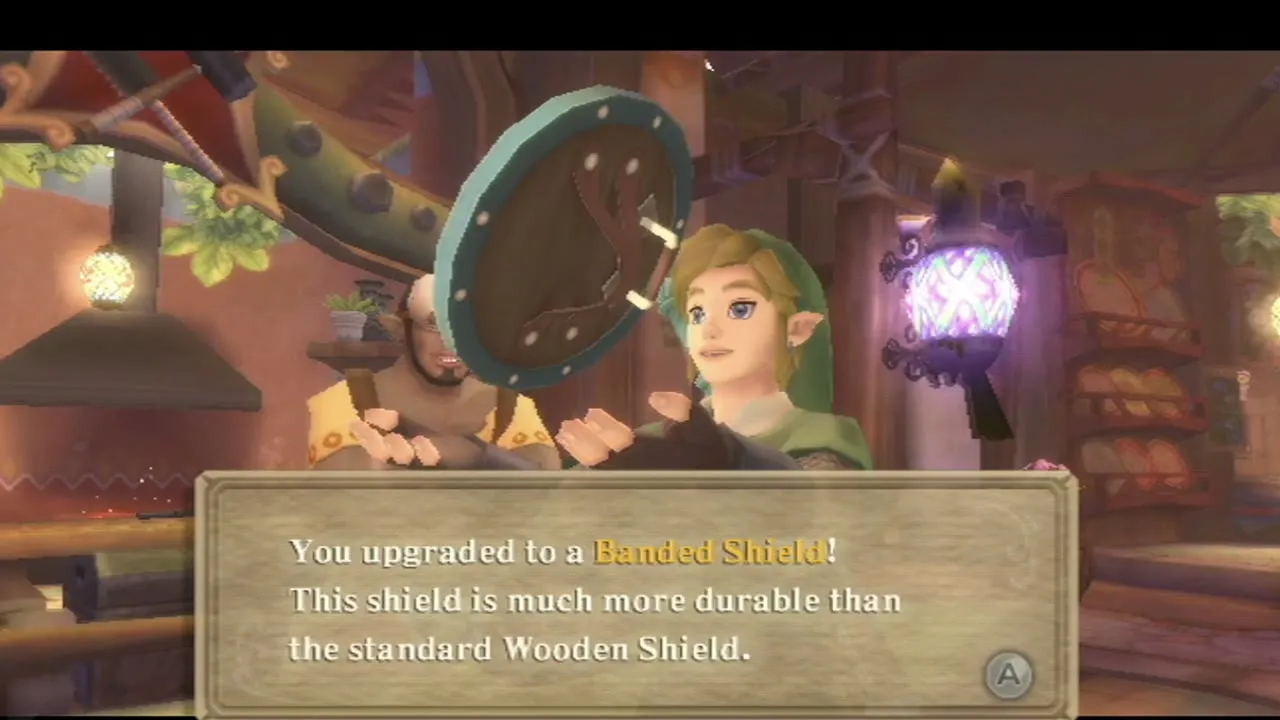
Back in Skyloft, visit Gondo’s Scrap Shop to improve your gear. The Evil Crystal, Jelly Blobs and Monster Claws you gathered here are upgrade materials, and the upgrades page lists what each one needs.

What opens later
Goddess Cube 23 stands south of the Cistern entrance at Lake Floria, up the high vines on the far side. Once you have the Clawshots, climb up and strike it with a Skyward Strike to unlock a Gold Rupee chest under Fun Fun Island. Cube 16, near the bird statue above the water in Lake Floria, opens a chest on the island in the north-east of Skyloft with another Gold Rupee; the Goddess Cubes page lists both. The gate in the entrance hall that would not open, and any chest you cannot reach, need items from later chapters such as the Clawshots.
Chapter checklist
| Collectible | Type | Where |
|---|---|---|
 Silver Rupees | Rupees | Over the hands of the great statue in the entrance hall |
| Small Key 1 | Key | Chest in the east rooms, behind the four-gem door |
 Whip | Item | Chest behind the Stalmaster pit |
 Dungeon Map | Map | Chest at the end of the pole-swing ledge |
 Red Rupee | Rupees | Chest in the west tunnel behind the fish spout |
| Red Rupee | Rupees | Chest among the vines, left of the arrival door |
| Small Key 2 | Key | Belt of the Green Bokoblin Archer in the lower area |
| Blessed Idol | Key item | Chest in the central pit of the lower cistern |
 Evil Crystal, Monster Claw, Jelly Blob | Treasure | Drops from Cursed Bokoblins and other enemies |
 Heart Container | Heart | Koloktos’s remains |
| Farore’s Flame and Goddess Longsword | Upgrade | Shrine behind the boss room |
| Goddess Cube 23 (Gold Rupee chest) | Cube | South of the Cistern entrance, Lake Floria; needs the Clawshots |
Nayru’s Wisdom comes next: continue with Nayru’s Silent Realm and the Lanayru Sand Sea.
