
























Skyward Sword 100% Completion Walkthrough18 chapters
- Skyview TempleSmall keys, the Beetle, the Golden Carving door, the Ghirahim boss fight, the Heart Container and the Ruby Tablet.
- Earth TempleGet the Bomb Bag from Ledd, carry the Dragon Sculpture, beat Scaldera and collect the Amber Tablet.
- Lanayru Mining FacilityTimeshift Stones, Gust Bellows, Small Key, Armos, Ancient Circuit, Moldarach and the Goddess’s Harp.
- Ancient CisternBoth Small Keys, the Whip, the Blessed Idol, the Koloktos boss fight, Farore’s Flame and the Goddess Longsword.
- SandshipThe Timeshift Stone, Scervo and the Bow, both generators, Squid Carving, Tentalus and Nayru’s Flame.
- Fire SanctuaryAll three small keys, the Mogma Mitts, the Mysterious Crystals, Ghirahim’s second fight and the Master Sword.
- Skyloft Silent Realm and Sky KeepThe Skyloft Silent Realm and its 15 Sacred Tears, the Stone of Trials, every Sky Keep room and all three Triforces.
- Skyloft and the Goddess SwordFind your Loftwing, win the Wing Ceremony, draw the sword and take your first dive.
- Sealed Grounds, Faron Woods and the Deep WoodsThe Sealed Grounds, the missing Kikwi, the Slingshot, the Deep Woods and the way into Skyview Temple.
- Eldin Volcano and the Key PiecesPlace the Ruby Tablet, run Skyloft errands, earn the Digging Mitts and find all five Earth Temple key pieces.
- Lanayru Mine and Lanayru DesertLanayru Mine, Timeshift Stones, the Hook Beetle, the Temple of Time and how to set the three power generator dials.
- The Goddess’s Harp, The Imprisoned and the Isle of SongsBallad of the Goddess, The Imprisoned, the Light Tower, the Isle of Songs and Farore’s Courage.
- Farore’s Silent Realm and Lake FloriaAll 15 Tears of Farore, the Water Dragon’s Scale and Sacred Water.
- Nayru’s Silent Realm and the Lanayru Sand SeaNayru’s Wisdom, Nayru’s Silent Realm and the Clawshots, Golo’s key, Skipper’s boat, the Shipyard.
- Din’s Silent Realm and Volcano SummitDin’s Power, the Fireshield Earrings, frog statues, the Water Basin and the Scrapper escort.
- True Master Sword, Levias and BilocyteSkyward Sword walkthrough for the True Master Sword, the second Imprisoned fight, the Spiral Charge.
- Song of the HeroEscape Eldin, beat the third Imprisoned, win the Tadtone song in Faron Woods and heal Lanayru’s Thunder Dragon.
- The Horde, Ghirahim and DemiseClear the last side quests, beat the Horde, Ghirahim’s third fight and Demise, then unlock Hero Mode.
| Covers | The Sealed Grounds and Sealed Temple, the first Imprisoned fight, Skyloft errands (Gaepora, Gondo’s Scrap Shop, the two windmills, the Light Tower, Beedle’s Airshop), the Thunderhead and the Isle of Songs, and the Faron trial gate |
|---|---|
| You need | The Goddess’s Harp, the Gust Bellows, the Hook Beetle, the Sailcloth, the Goddess Sword with the Skyward Strike, and an Ancient Flower (a treasure you pick up in Lanayru) to repair Scrapper |
| Rewards | 2 songs (Ballad of the Goddess, Farore’s Courage); a second Bottle holding Revitalizing Potion; a Gold Rupee from a Goddess Chest on the Isle of Songs; the robot Scrapper; the Sacred Shield becomes buyable; optional extras: Extra Wallets, Adventure Pouch slots and a Piece of Heart at Beedle’s Airshop, a Heart Medal chest, random Gossip Stone treasures; no Piece of Heart, Heart Container or Goddess Cube is found on the main route |
This chapter is the first step toward tempering your sword. You return to the Sealed Grounds to learn the Ballad of the Goddess, beat back The Imprisoned at the bottom of the pit, and then work out how to open the storm cloud over Skyloft. That means repairing the robot Scrapper, retrieving a lost windmill propeller from Eldin Volcano, aiming both windmills at the Light Tower and playing the Ballad on top of it. The beam it fires leads you through the Thunderhead to the Isle of Songs, where you learn Farore’s Courage and then dive to Faron Woods to open the first trial gate.
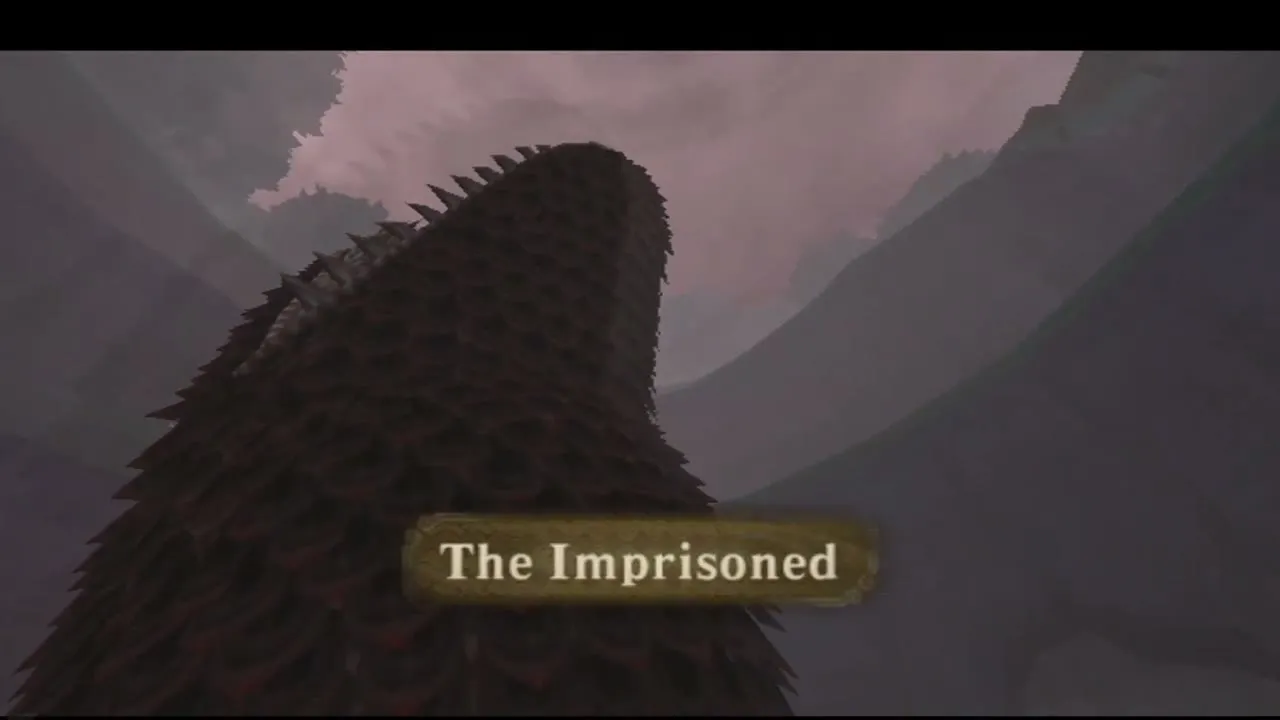
Table of Contents
Back to the Sealed Grounds
Leave the Temple of Time
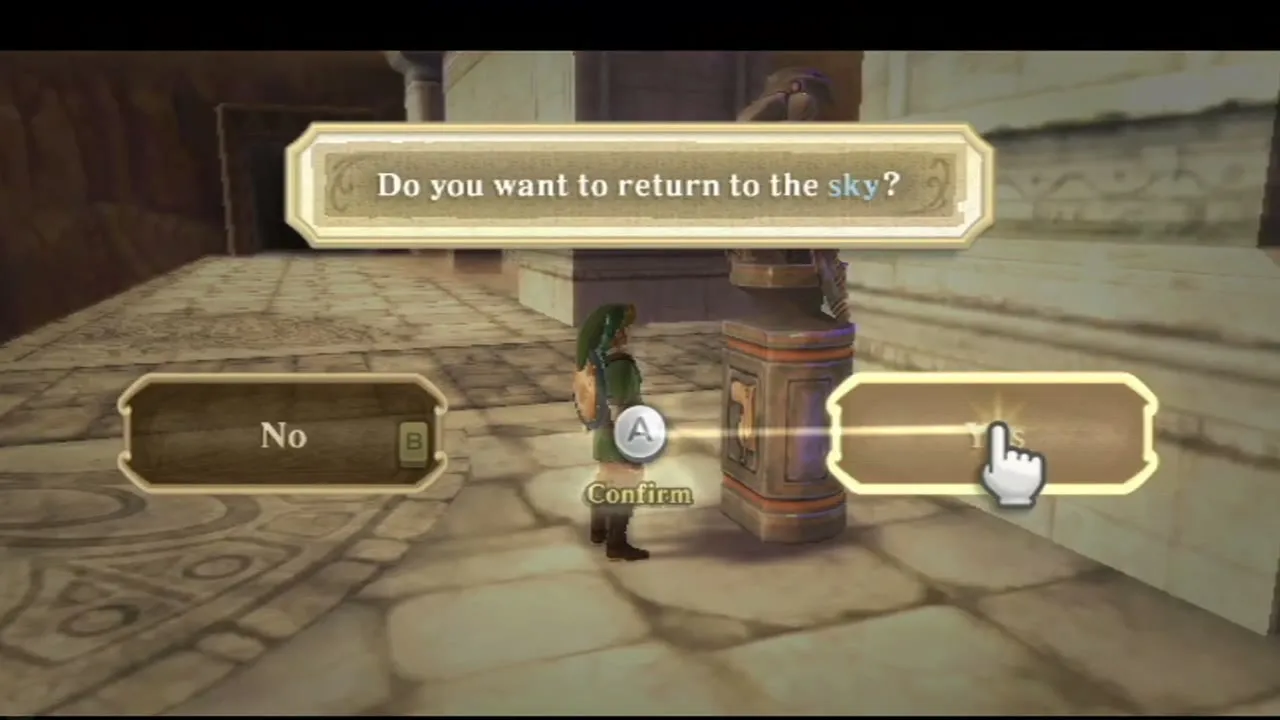
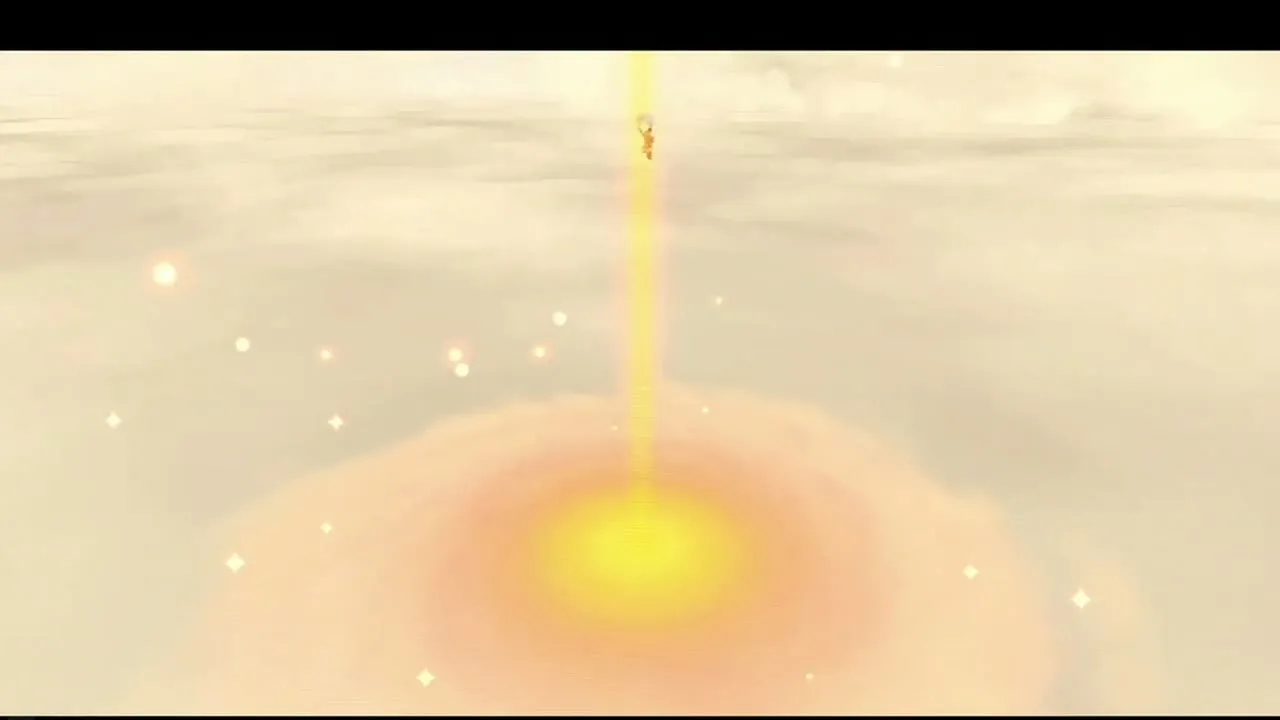
Once Zelda has gone through the Gate of Time, the Goddess’s Harp is your only lead, and she told you to seek out the old woman in the Sealed Grounds. Save at the Temple of Time Bird Statue, choose “To the sky” and call your Loftwing. Fly to the green light pillar above Faron’s forests and dive into it.
Land with Groose and walk to the Sealed Temple
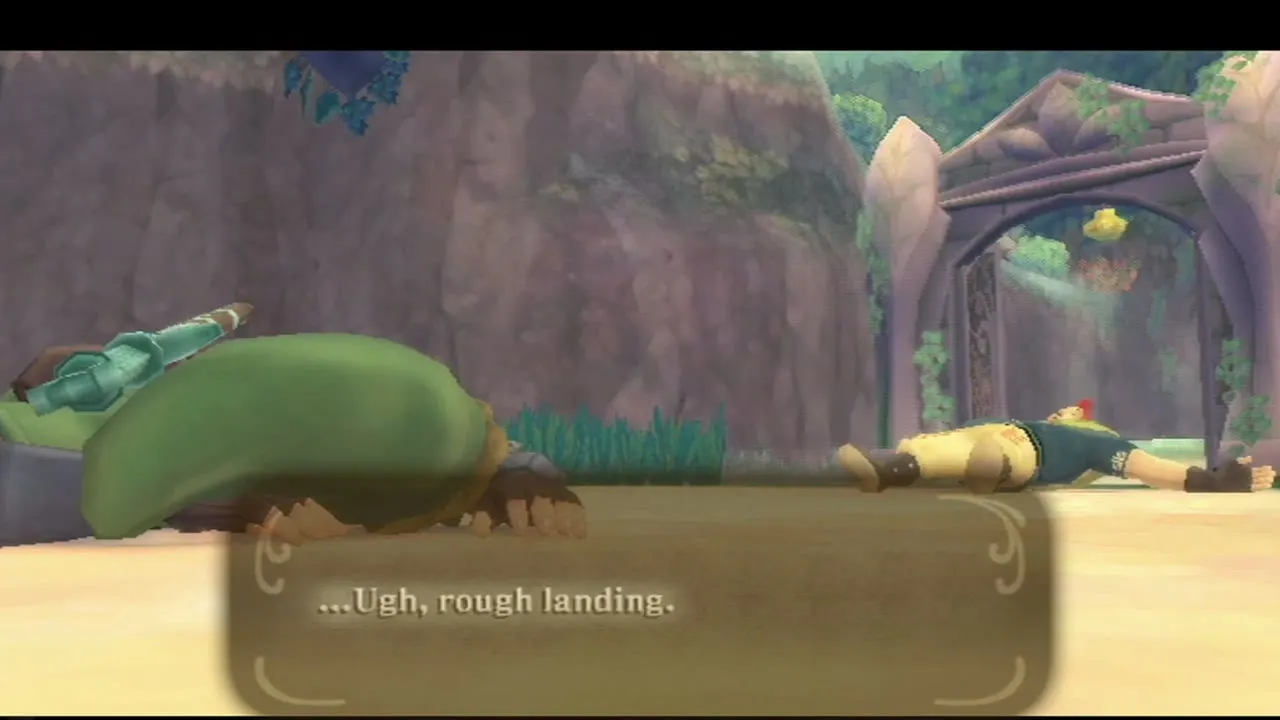
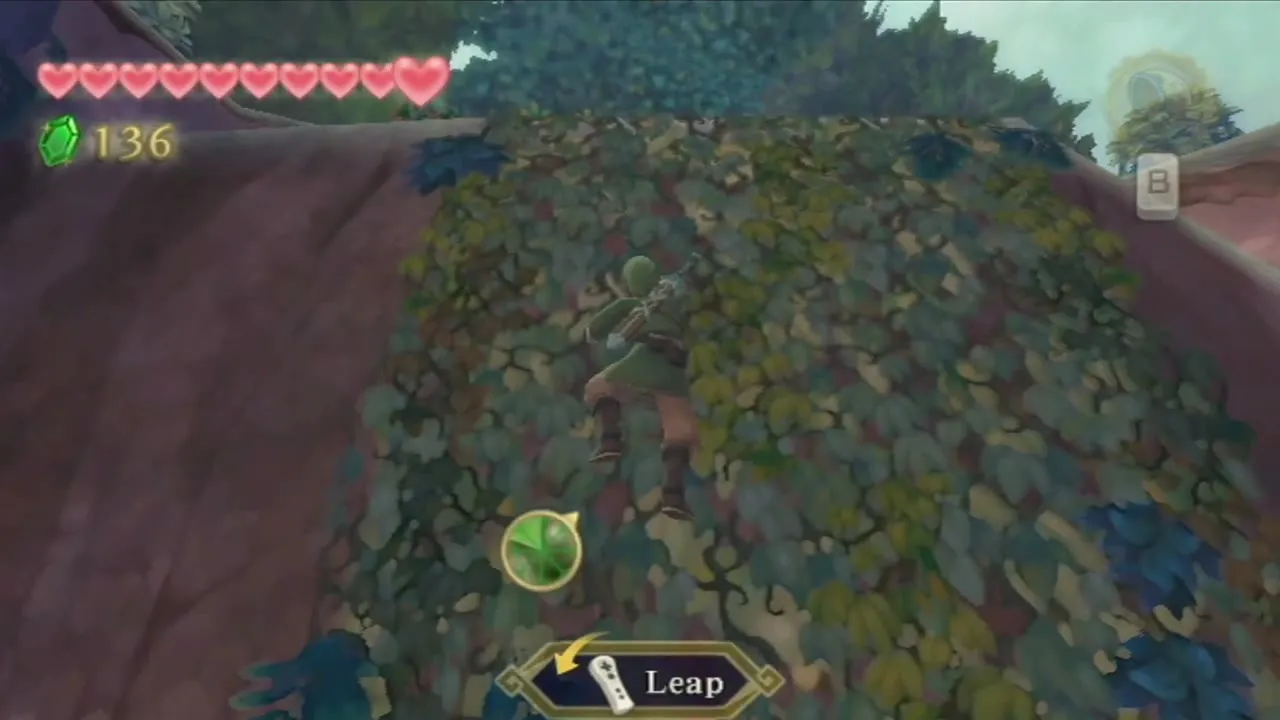
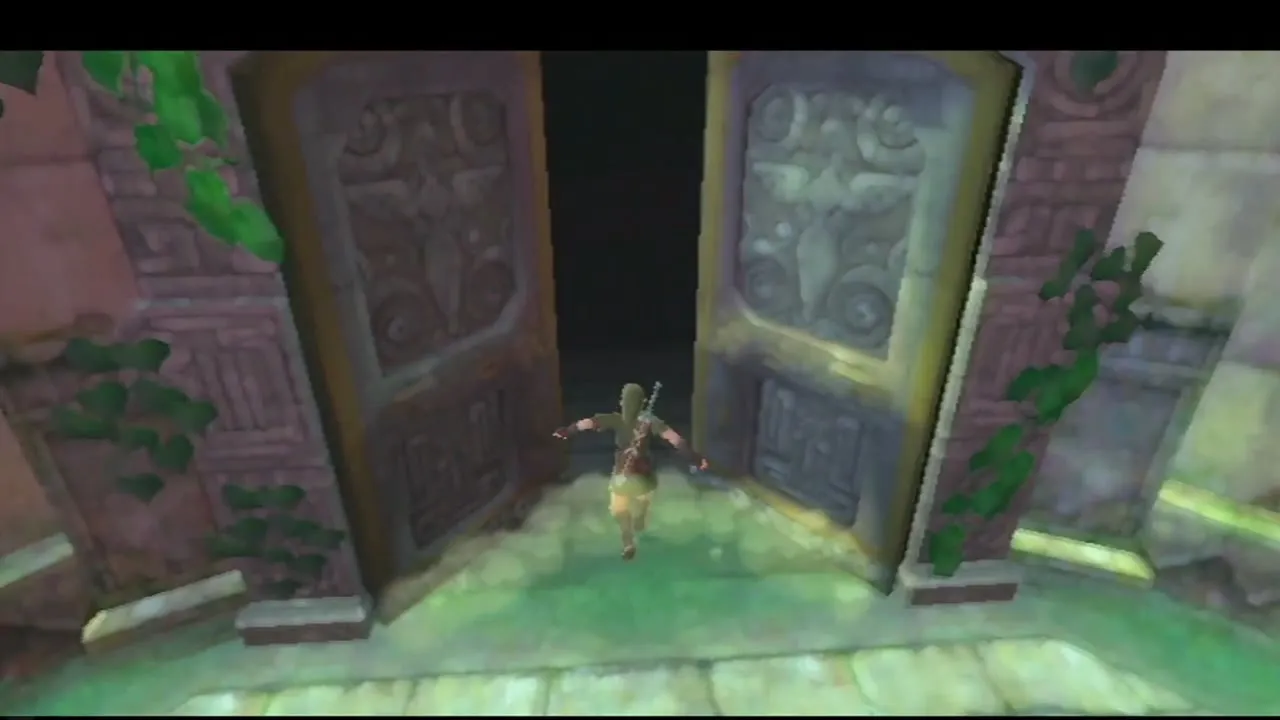
Groose has tailed you down and the landing is rough. When the cutscene ends, follow the path past the ruined gates toward the Sealed Temple. Climb the vines and enter the Sealed Temple.
Sealed Temple: Ballad of the Goddess

Learn to play the Goddess’s Harp
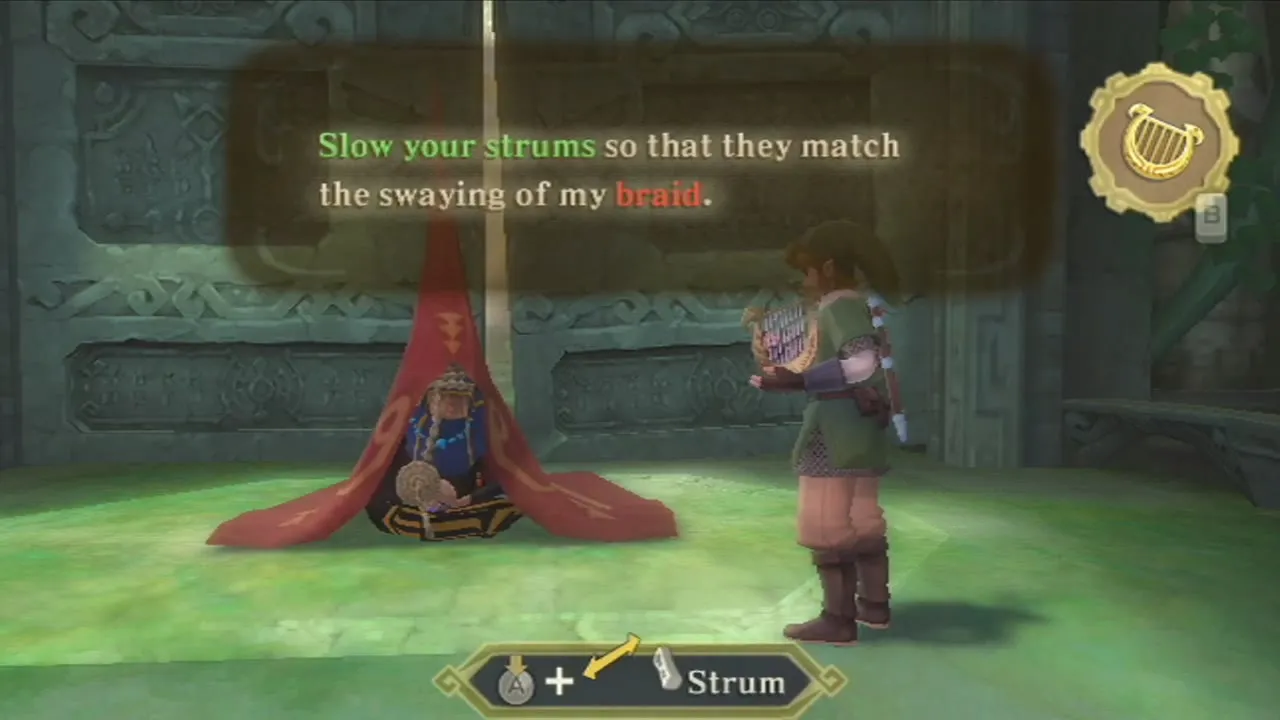
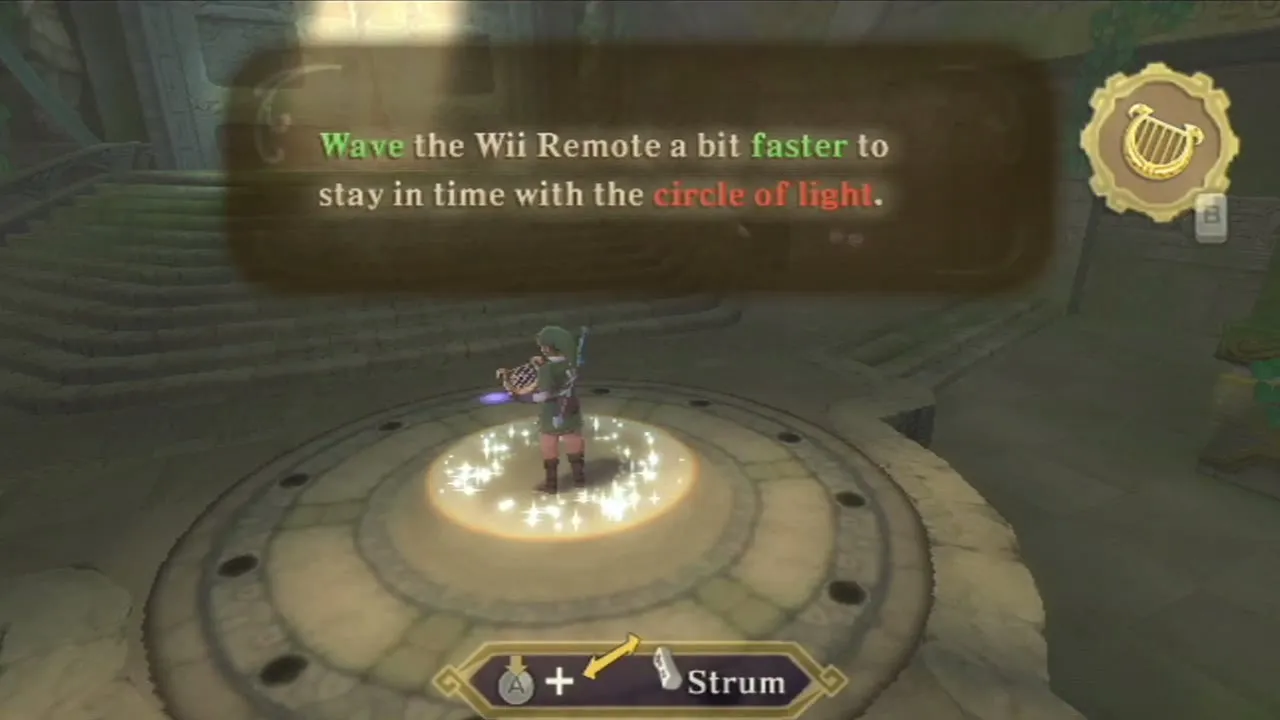
The old woman asks whether you have tried the harp and then teaches you. Press up on the D-pad to ready it, hold A and sweep the Wii Remote left and right in time with her hand. Strum slowly at first, then faster as the rhythm ring fills with lights; more lights mean you are on beat. Keep the rhythm going until beams of light and sparks fill the room.
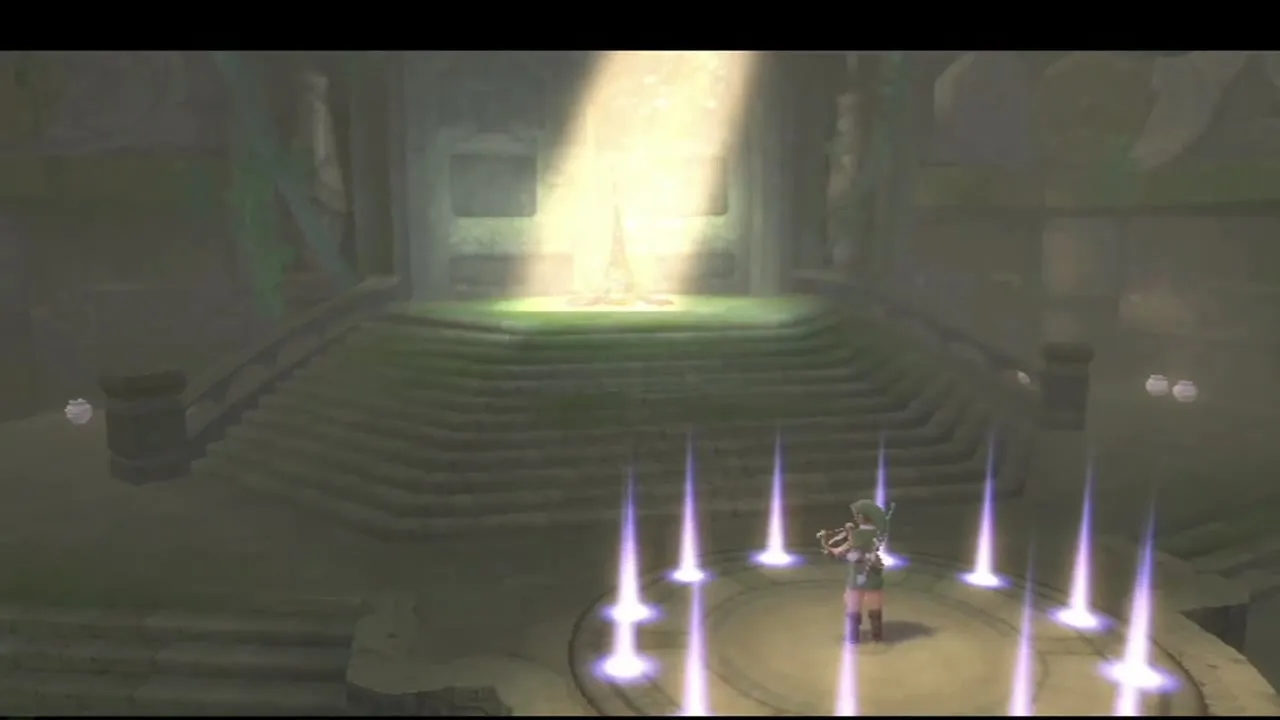
Ballad of the Goddess and the Gate of Time
When the lesson ends you learn the Ballad of the Goddess, a melody you will play again on the Light Tower. The glyph-covered slab in the hall then reveals itself as the Gate of Time. The old woman explains that it will not open until you have grown stronger, and then the ground starts to shake. She sends you out to check the seal at the bottom of the pit.
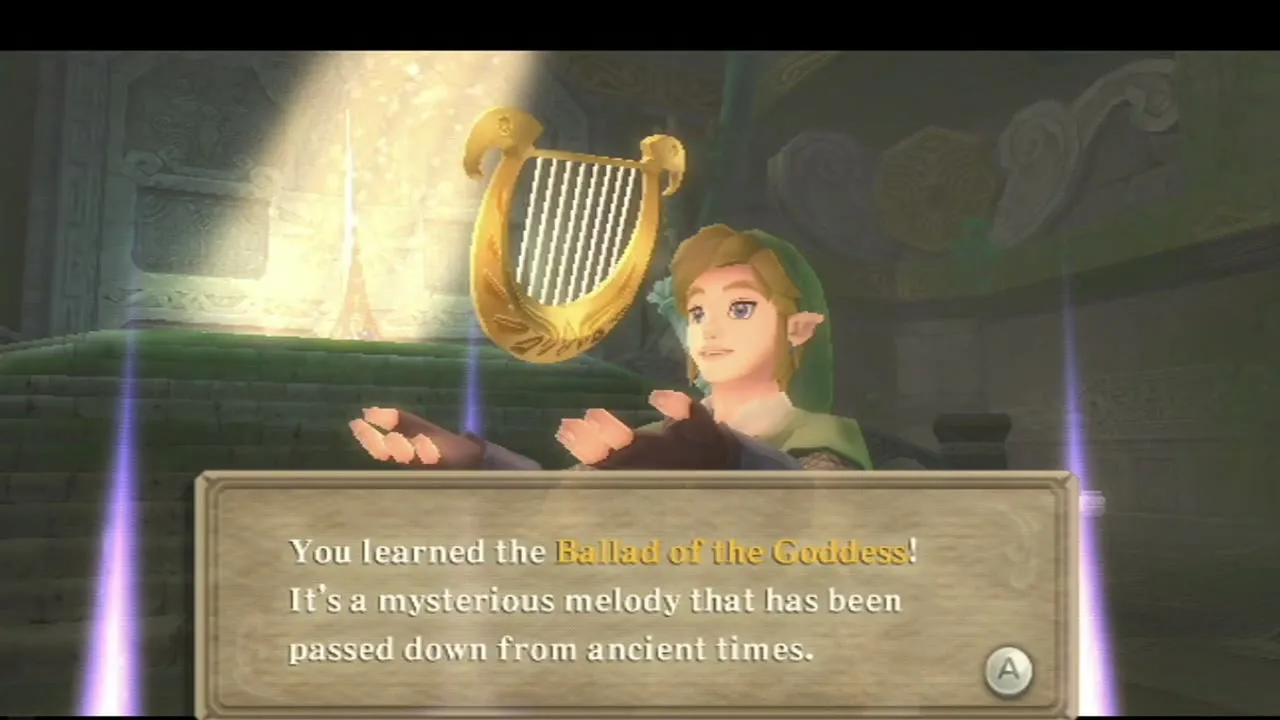
Save before the pit
Save at the Sealed Grounds Bird Statue before you go down. Leave the temple and drop down the ledges of the pit, tapping B for the Sailcloth to soften each landing, until you reach the circular floor at the bottom.
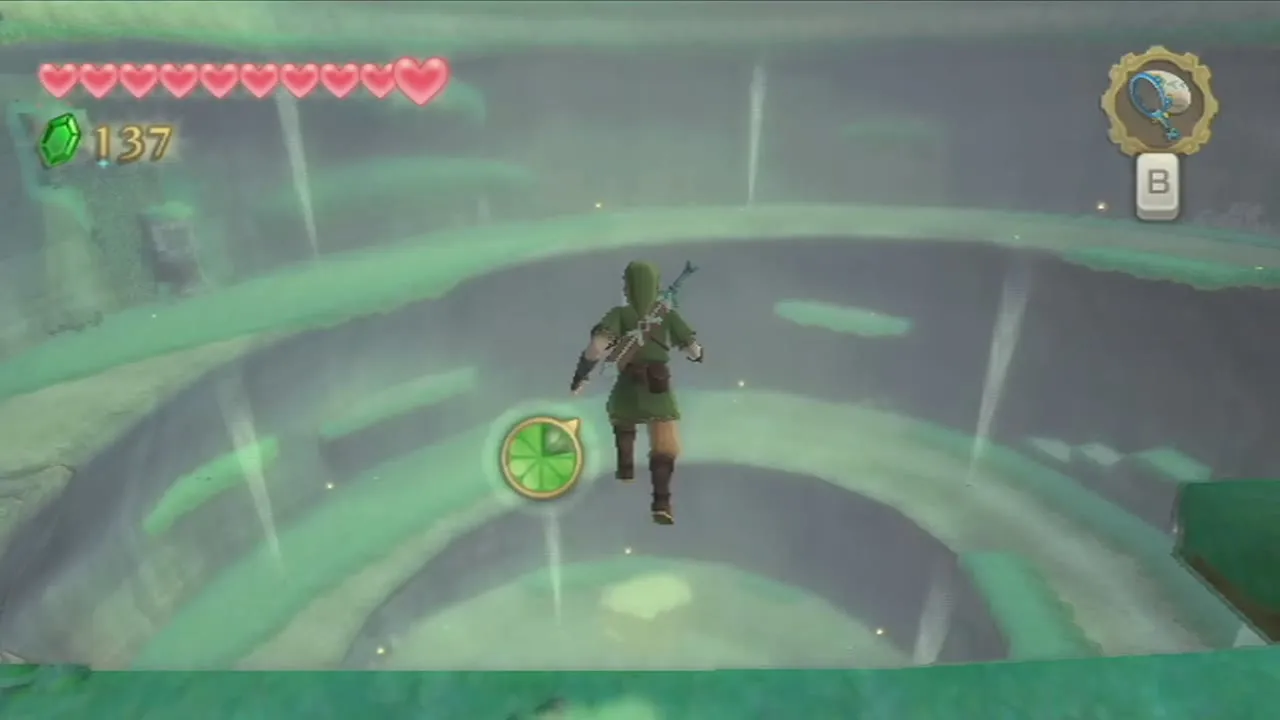
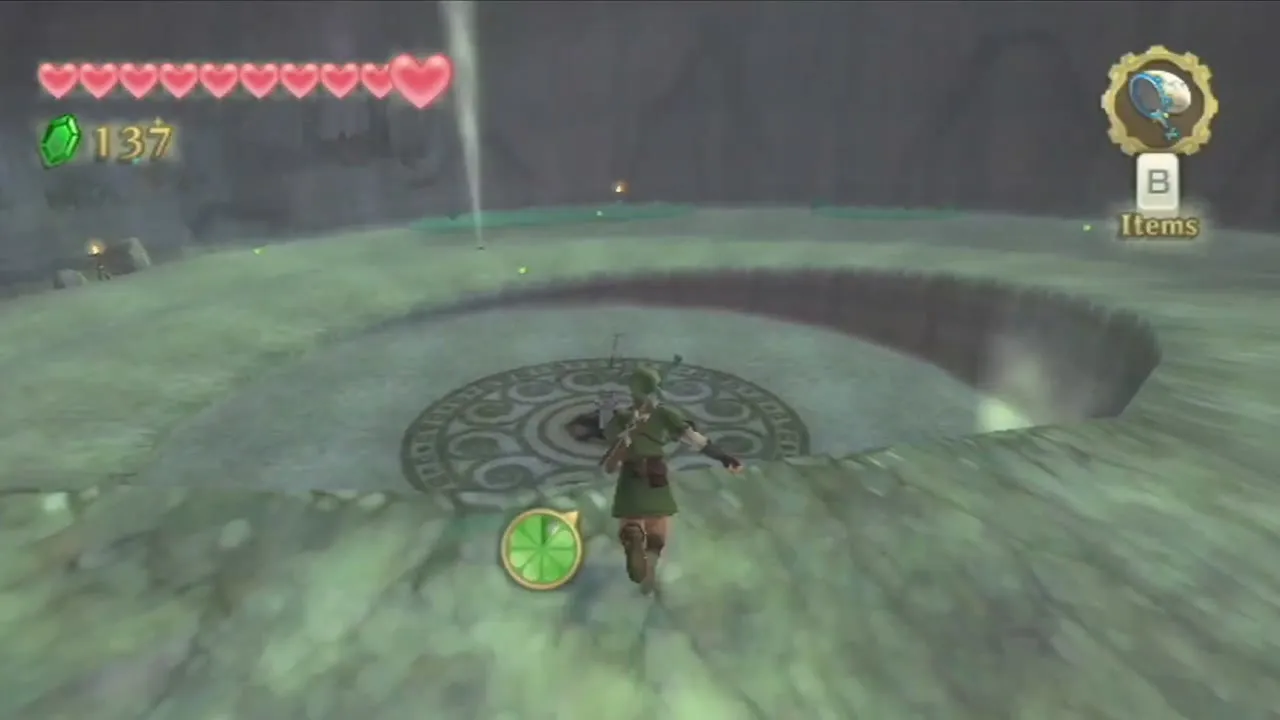
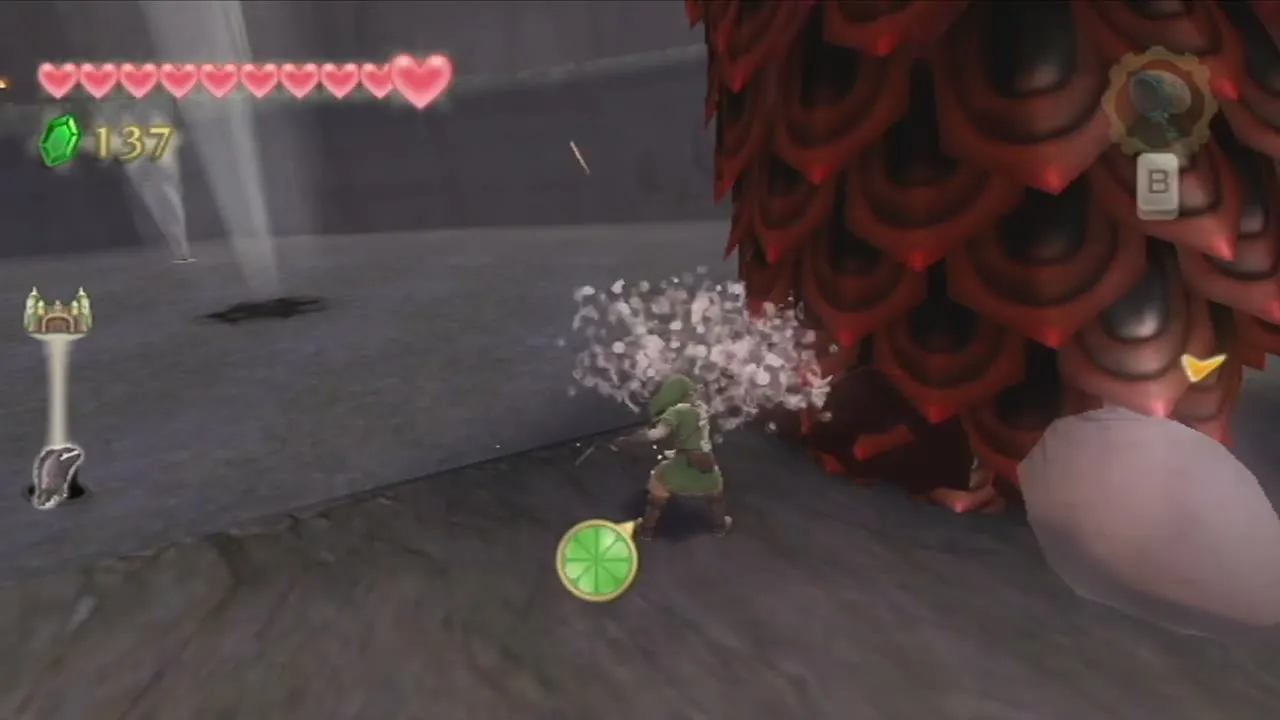
The Imprisoned boss fight (first battle)
Cut off the toes
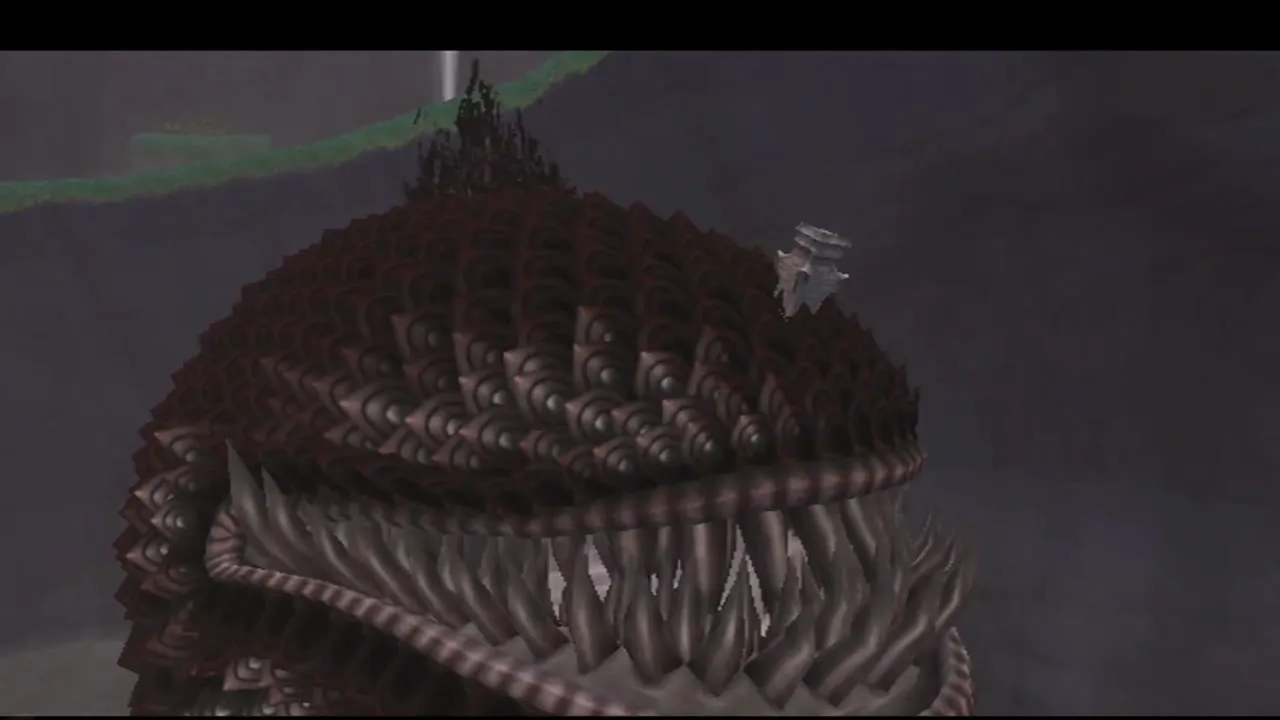
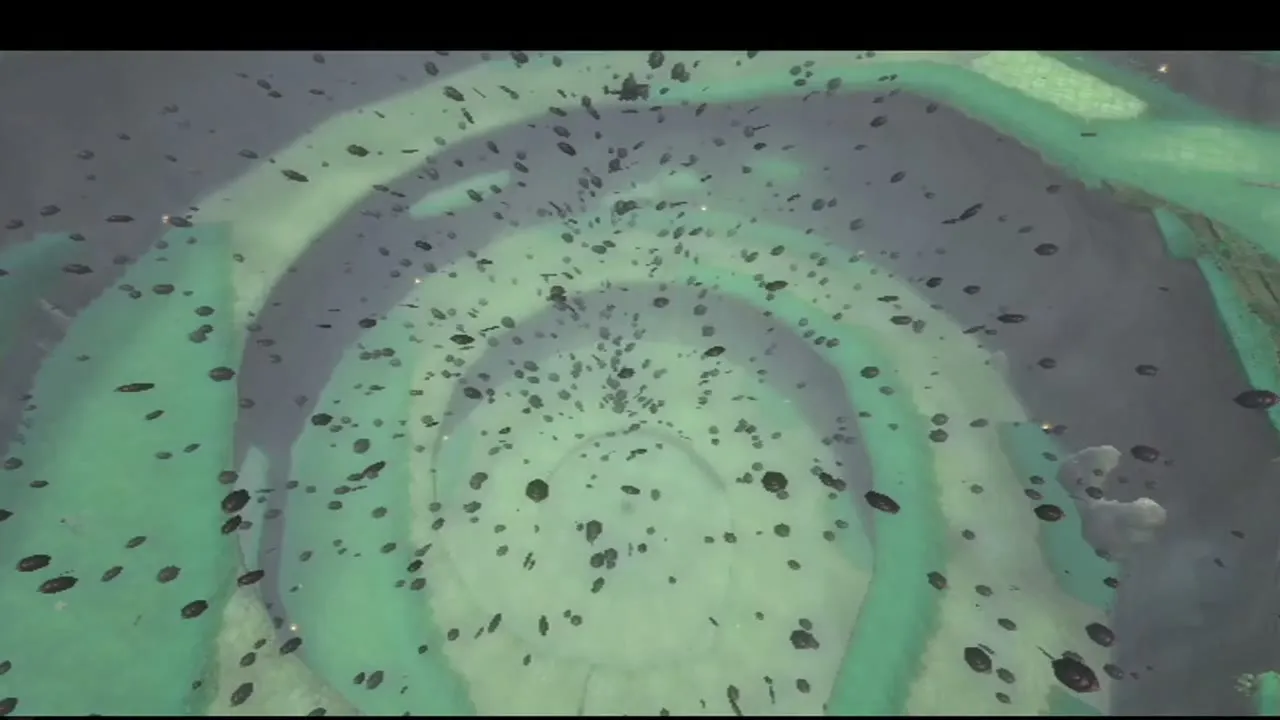
The Imprisoned breaks out of the ground, a huge beast with a spike stuck in its forehead. It plods up the spiral path toward the Sealed Temple, and if it reaches the temple the fight is lost. Slash the white toes on its feet, four on each foot, until each one pops off. When a foot lands it sends out red shock waves, so step clear of each stomp and attack between steps. Recovery Hearts appear in the arena as you fight.
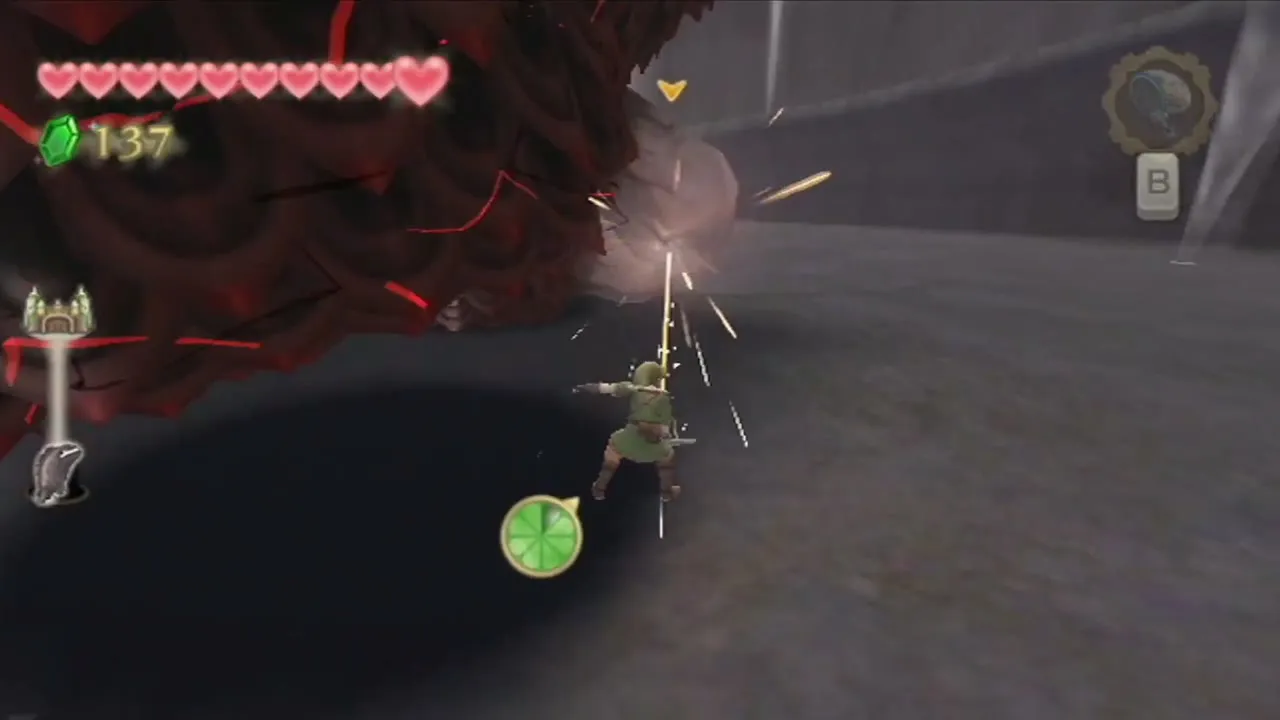
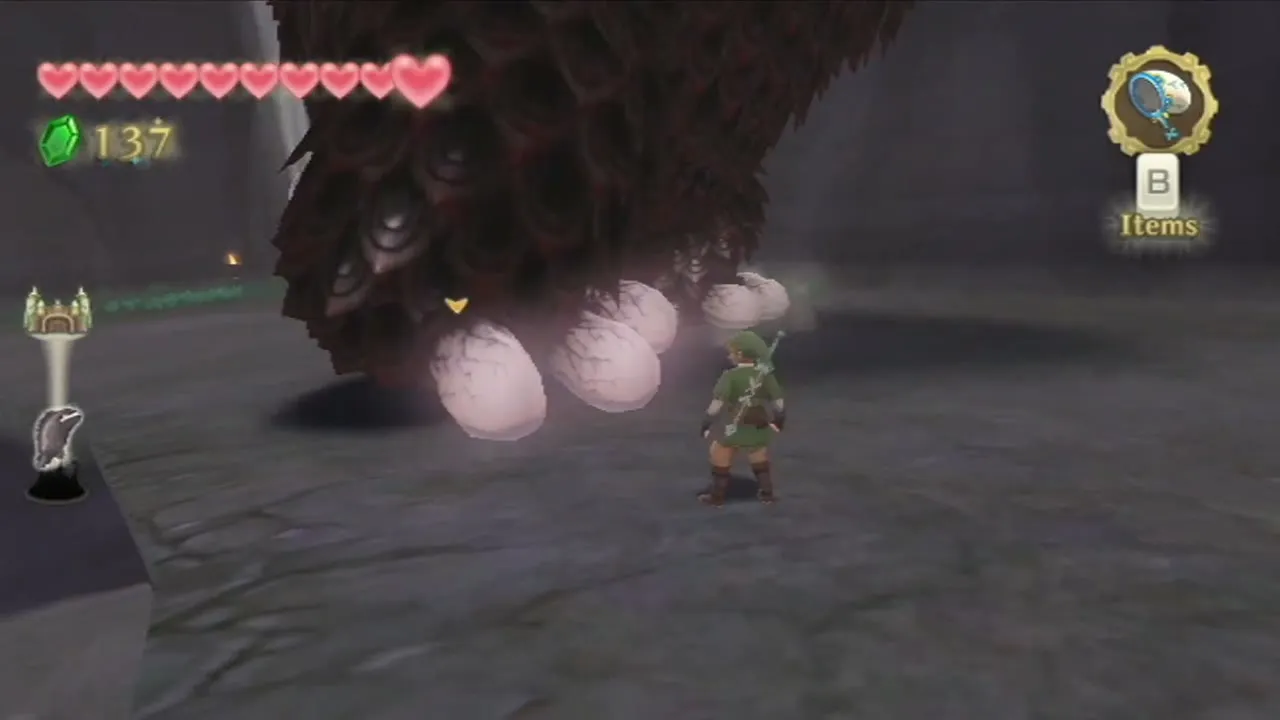
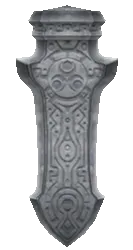
Drive the sealing spike into its head
Once all eight toes are gone, the beast topples and the spike in its head is in reach. Run to its front and slash upward at the spike to drive it deeper, then back away before it gets up. It will rise and walk again, so repeat the same routine until you have driven the spike in three times in all. After the last blow the creature bursts and is drawn into the spike.
Reseal it with a Skyward Strike
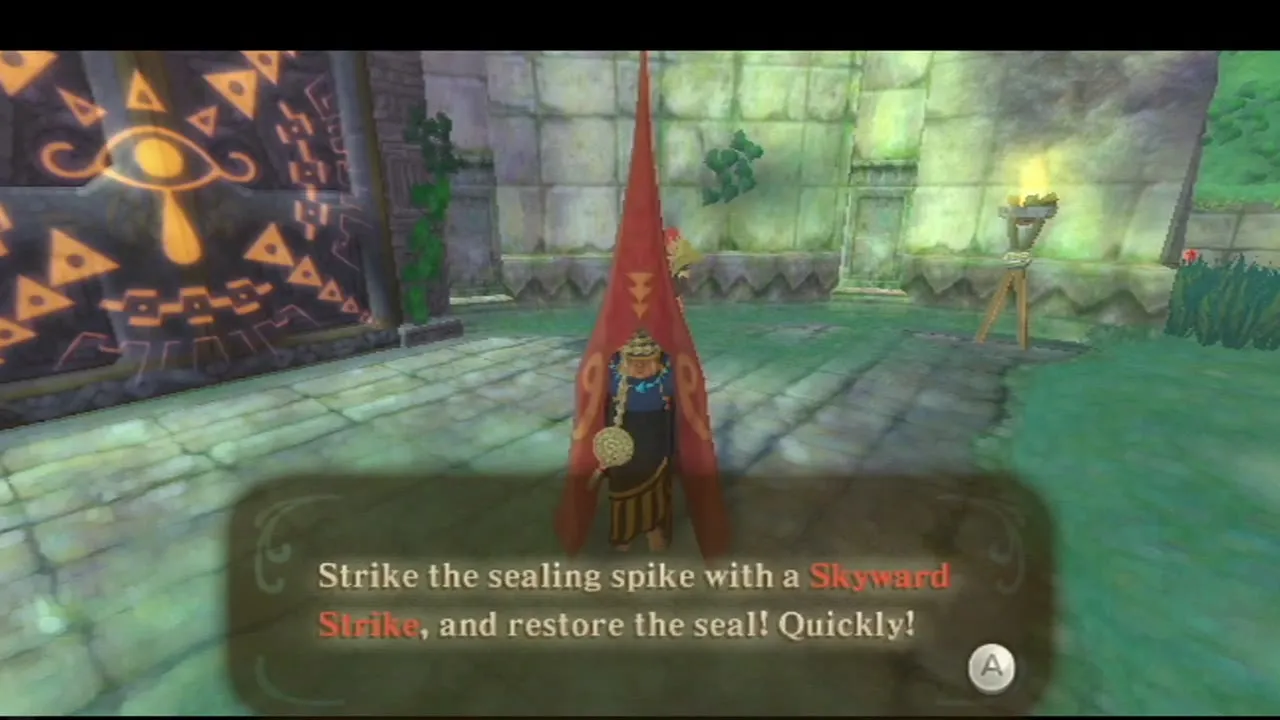
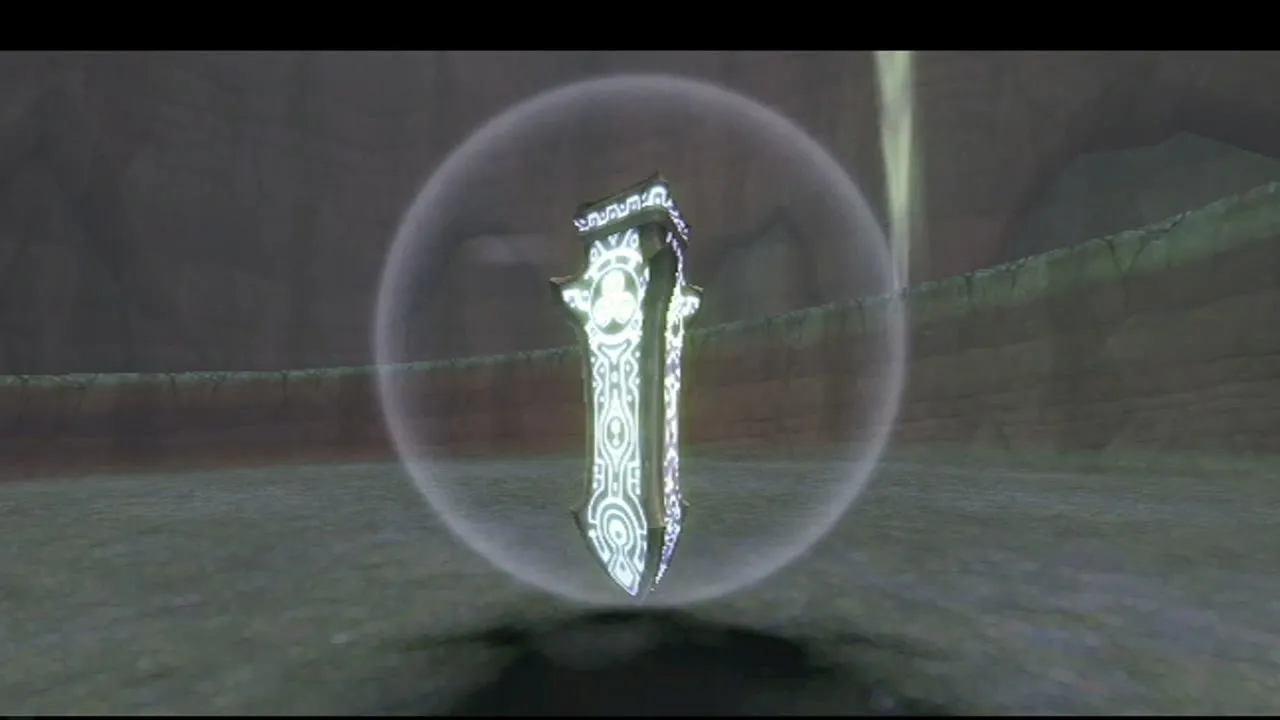
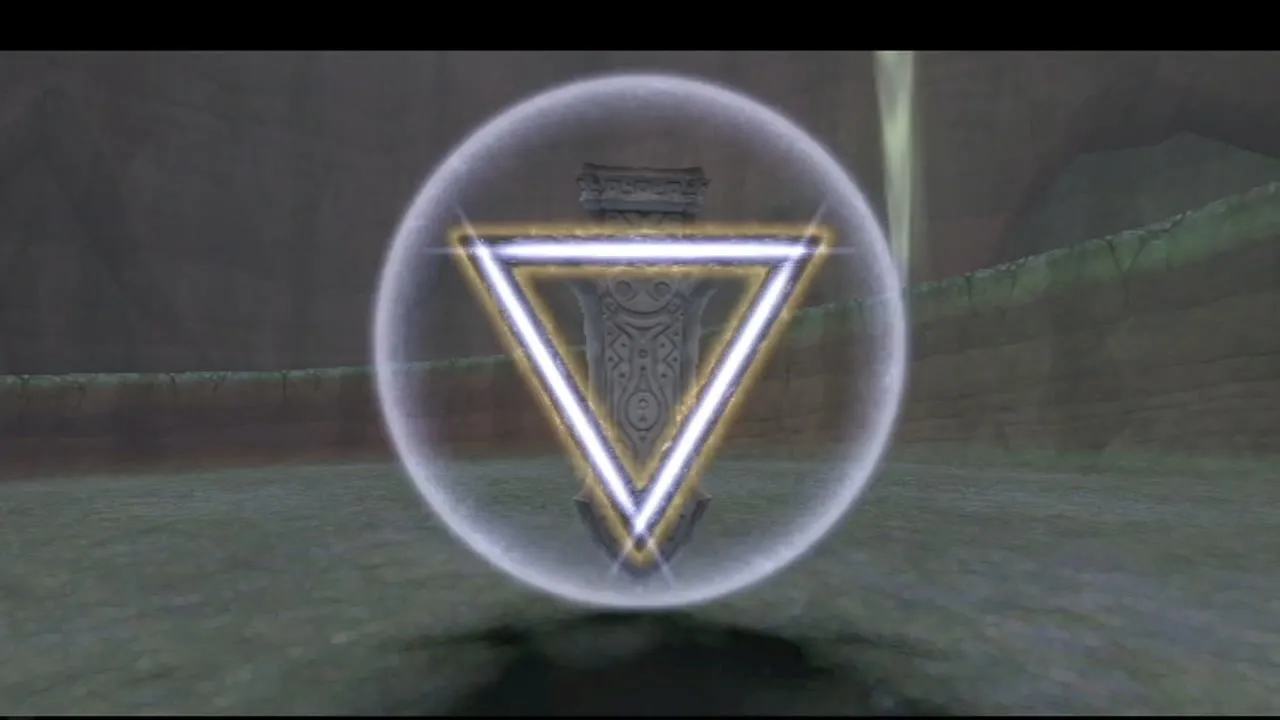
Go to the glowing seal at the centre of the arena, raise the Goddess Sword until it glows, then swing down onto the spike with a Skyward Strike and follow the pattern to redraw the seal. This first seal holds only for a while, but the beast is gone for now. There is no Heart Container for this fight.
After the fight: the potion chest and Gorko
What the old woman tells you
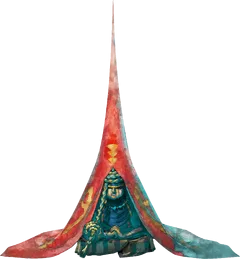
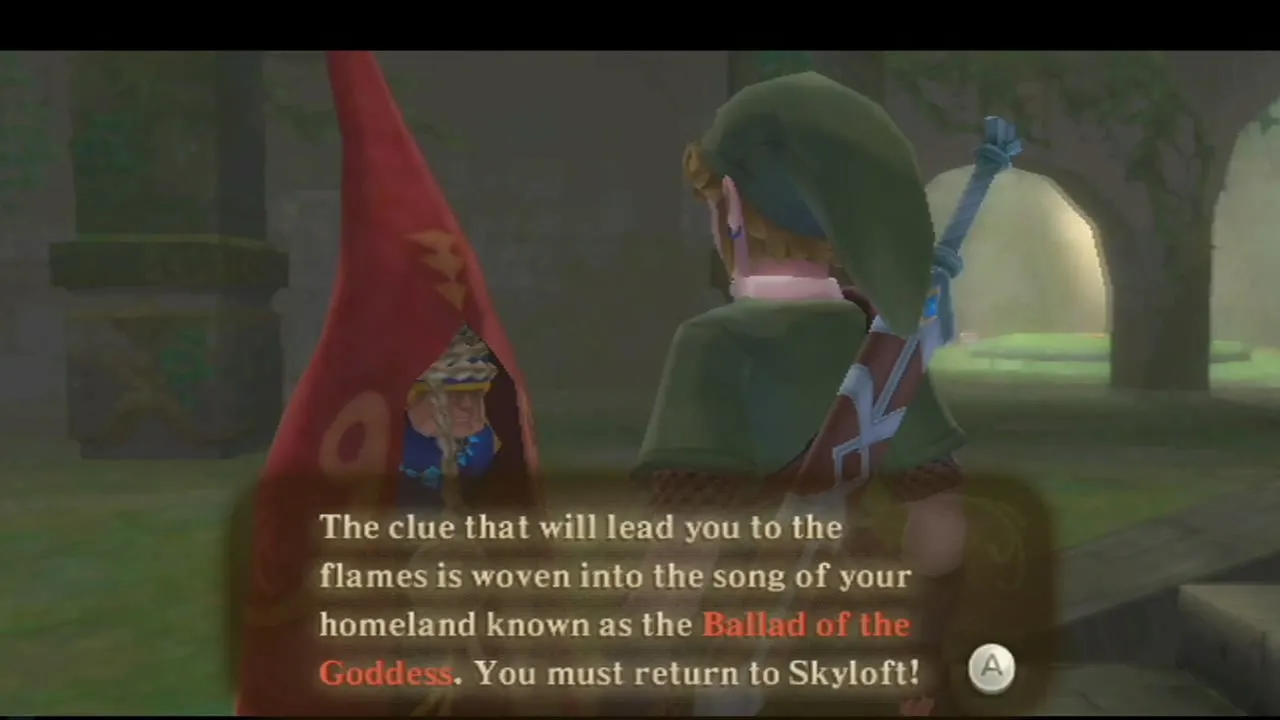
Back in the Sealed Temple the old woman says the Gate of Time cannot open yet, because your sword is not strong enough. A sacred flame is hidden in each of Faron Woods, Eldin Volcano and Lanayru Desert, and bathing the blade in all three will give it the power it needs. Clues to reaching them are woven into the songs of the goddess, and the next one waits on the Isle of Songs.
Revitalizing Potion chest (Bottle 2)
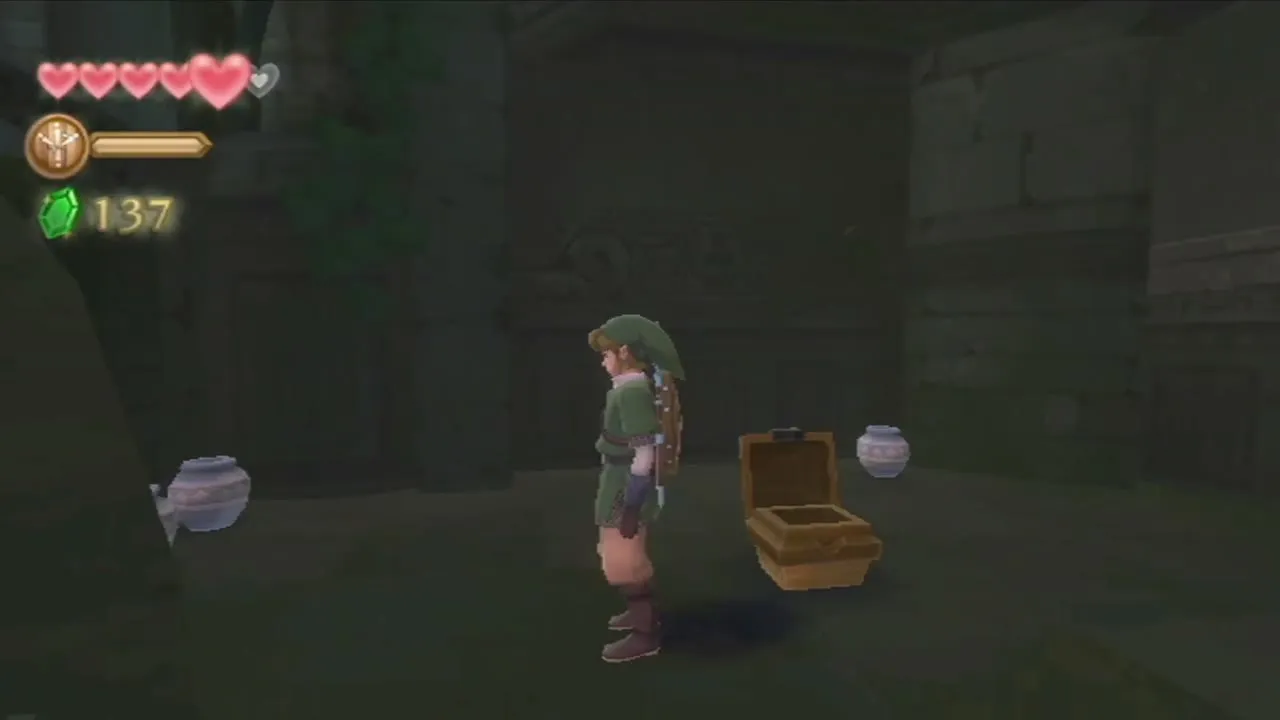
Before you leave, climb the steps beside the old woman in the Sealed Temple and open the chest in the small side room. You get a second Bottle already filled with Revitalizing Potion, which restores four hearts and fully refills your shield gauge, and it also rescues a shield that is about to break. See Bottle Locations for the other four.
Gorko, Blessed Butterflies and the Gossip Stone
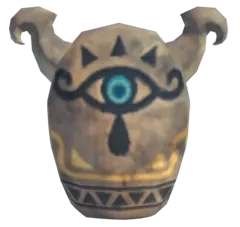
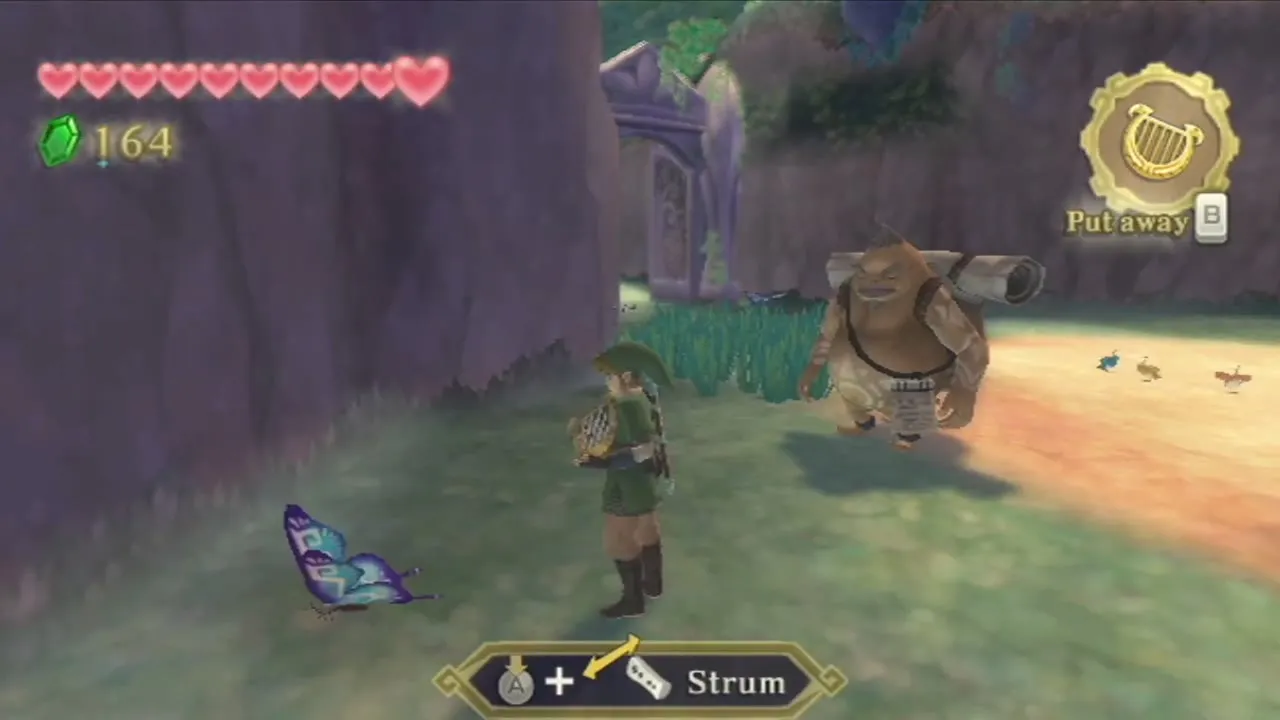
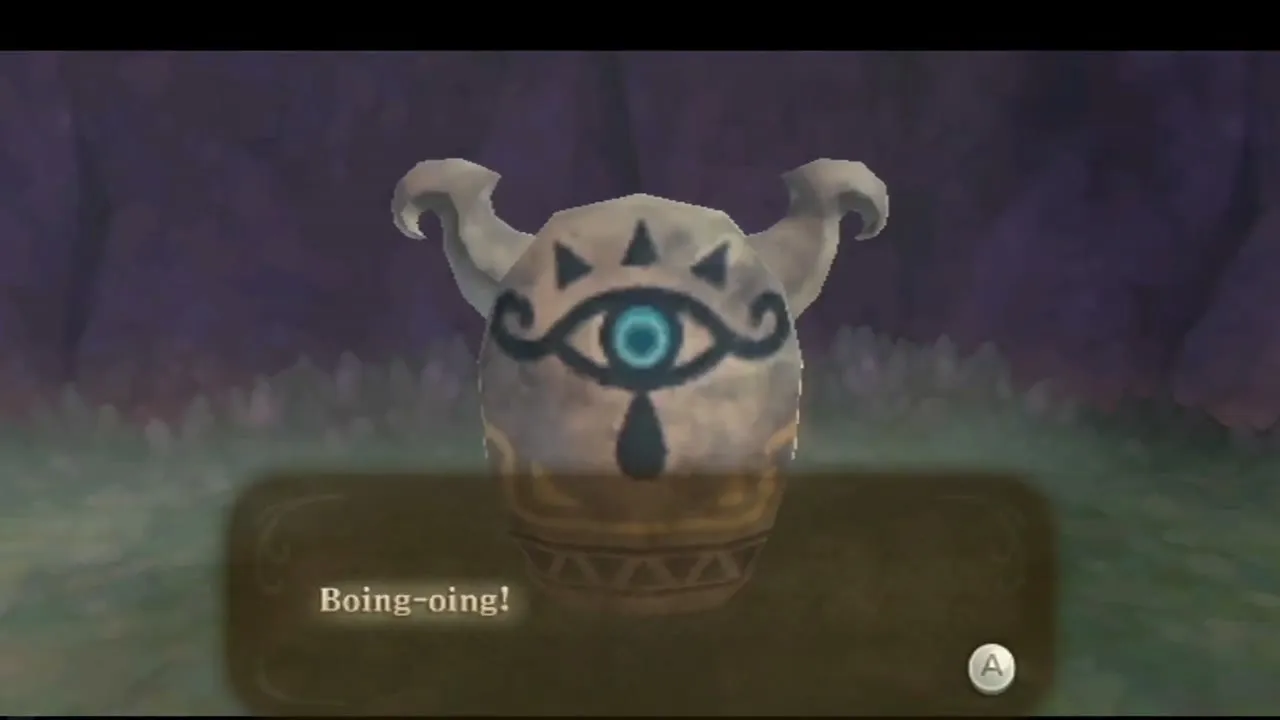
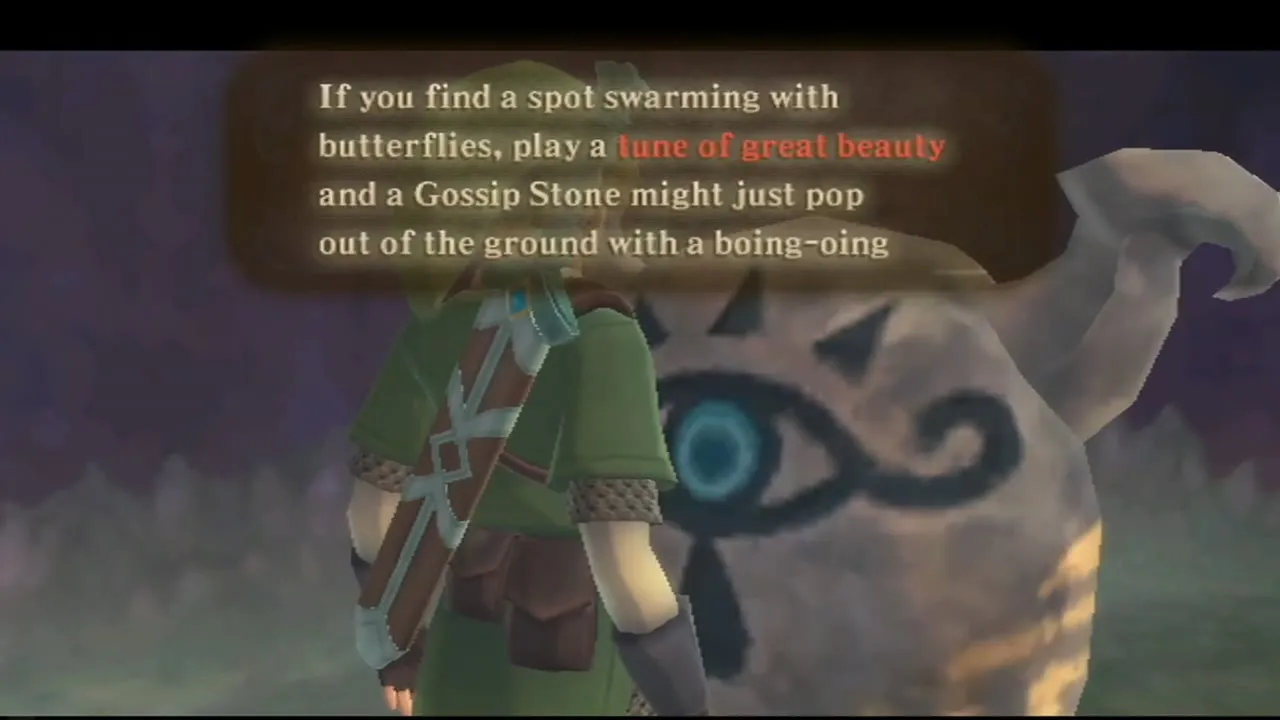
Walk back outside to Gorko and the blue Blessed Butterflies. Ready the harp and strum near the butterflies, and an eye-shaped Gossip Stone appears. Gossip Stones give hints and drop a random treasure when they first appear. You can repeat this trick at any group of butterflies later. Gorko’s Goddess Wall drawing challenge, which pays a Piece of Heart for the first correct shape, opens once you have learned Farore’s Courage, which you do later in this chapter. Come back for it when you return for the True Master Sword after the Fire Sanctuary.
Back in Skyloft: optional shops and quests
Gear Shop: Sacred Shield
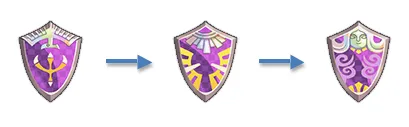
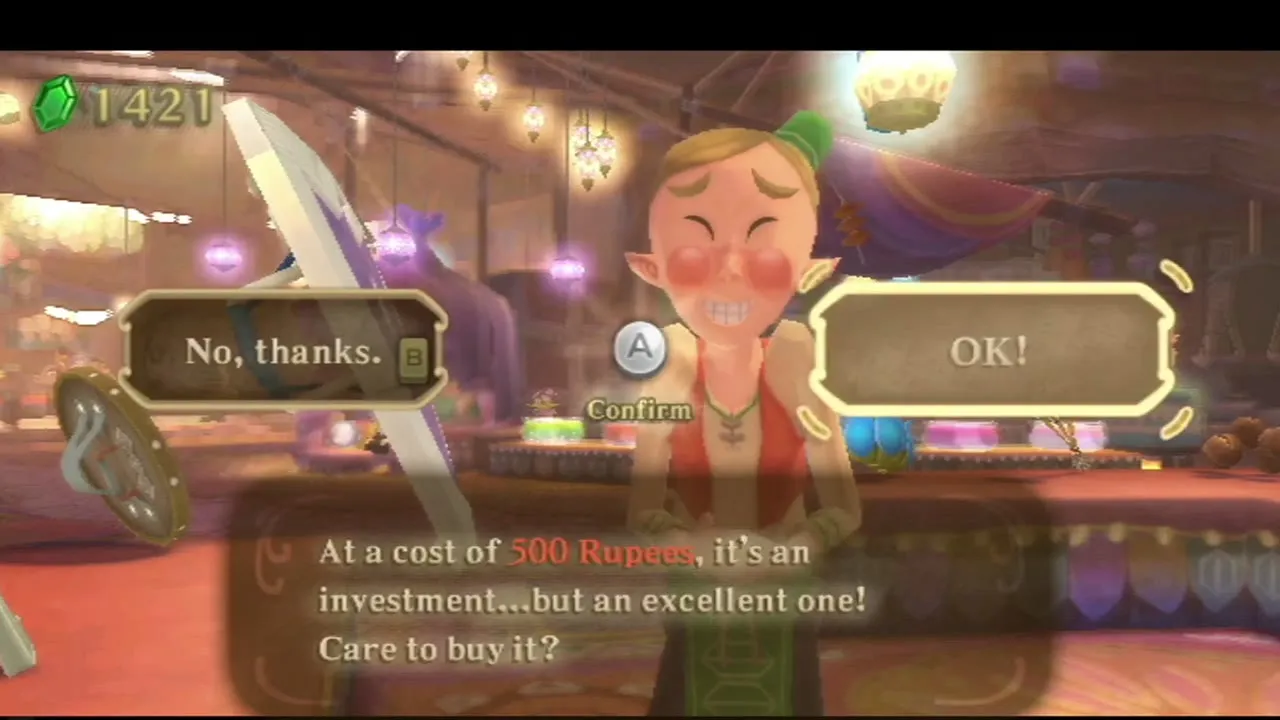
Beating The Imprisoned unlocks the Sacred Shield at Rupin’s Gear Shop in the Bazaar for 500 Rupees. It resists fire, electricity and curses and repairs itself when it is not in use, but its gauge is short. Buy it if you can spare the Rupees, and keep a Revitalizing Potion for emergencies.
Gondo’s Scrap Shop upgrades
Gondo upgrades gear for Rupees and treasures. His counter lists every item he can improve right now, for example the Slingshot to the Scattershot for 50 Rupees, 2 Dusk Relics, 2 Amber Relics and 3 Jelly Blobs. Any damaged shield can be repaired here for 10 Rupees. The full list of costs is on Item and Equipment Upgrades; nothing there is required to continue.
The rumor about sobbing at night
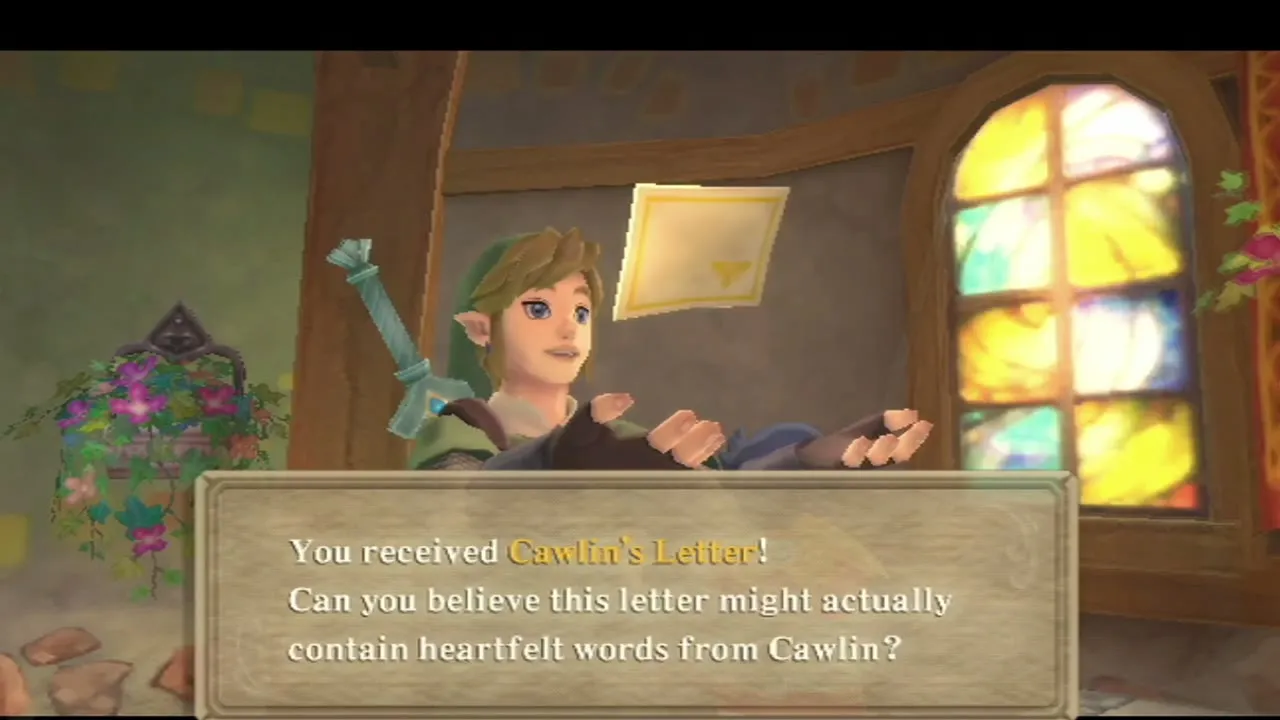
Talk to the townspeople in the Bazaar and you will hear about a strange voice in the Knight Academy dormitory after dark. That rumor starts Cawlin’s Gratitude Crystal quest, Deliver a Letter, which pays 5 Gratitude Crystals whichever way you finish it. Check Gratitude Crystals for the steps.
Beedle’s Airshop: Extra Wallets and Pouch slots
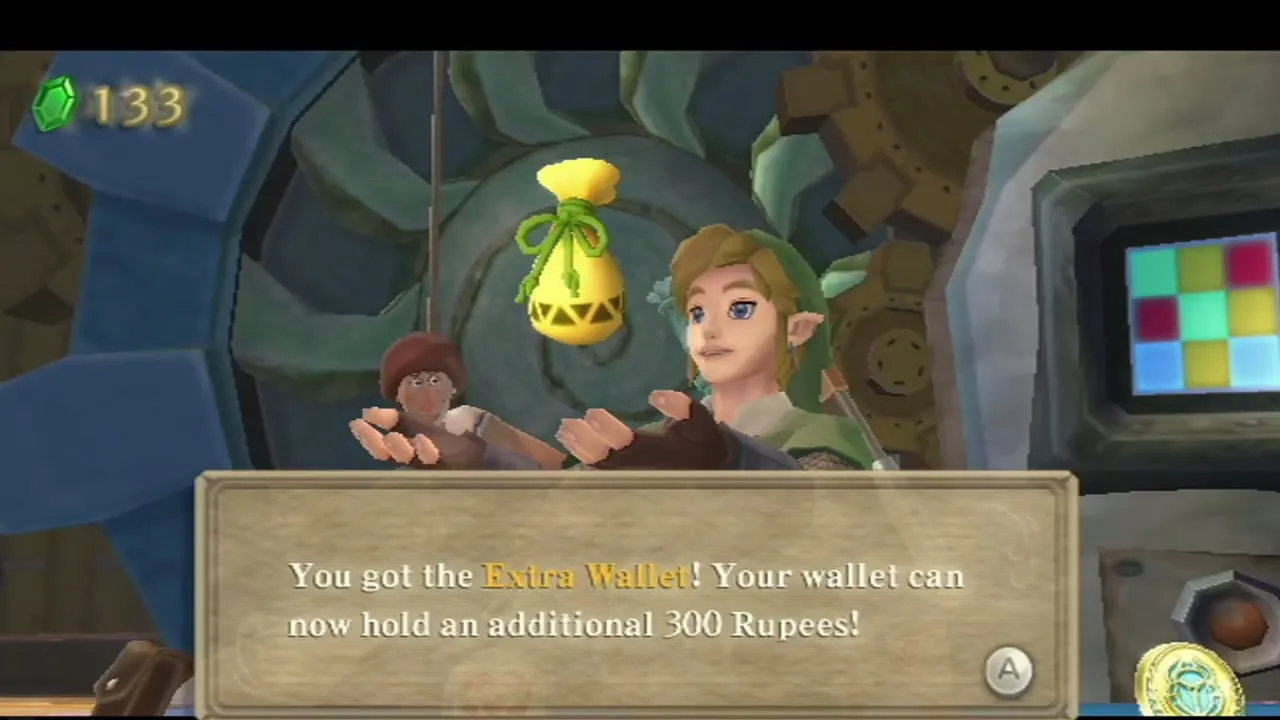
During the day Beedle’s Airshop drifts over Skyloft. Hit the bell hanging under it with the Slingshot or the Beetle, and a rope pulls you aboard. He sells up to three Extra Wallets for 100 Rupees each, which add 300 Rupees of space apiece. He also sells Adventure Pouch slots for 300, 600 and 1,200 Rupees, a Life Medal for 800, a Bug Medal for 1,000, a Bug Net for 50 and a Piece of Heart for 1,600. Walk out without buying and he drops you through the trap door, so decide before you look. After you finish the Find My Beetle quest, one purchase costs half price, which is best spent on the Piece of Heart.

Sky treasure: the Heart Medal and a mushroom cave
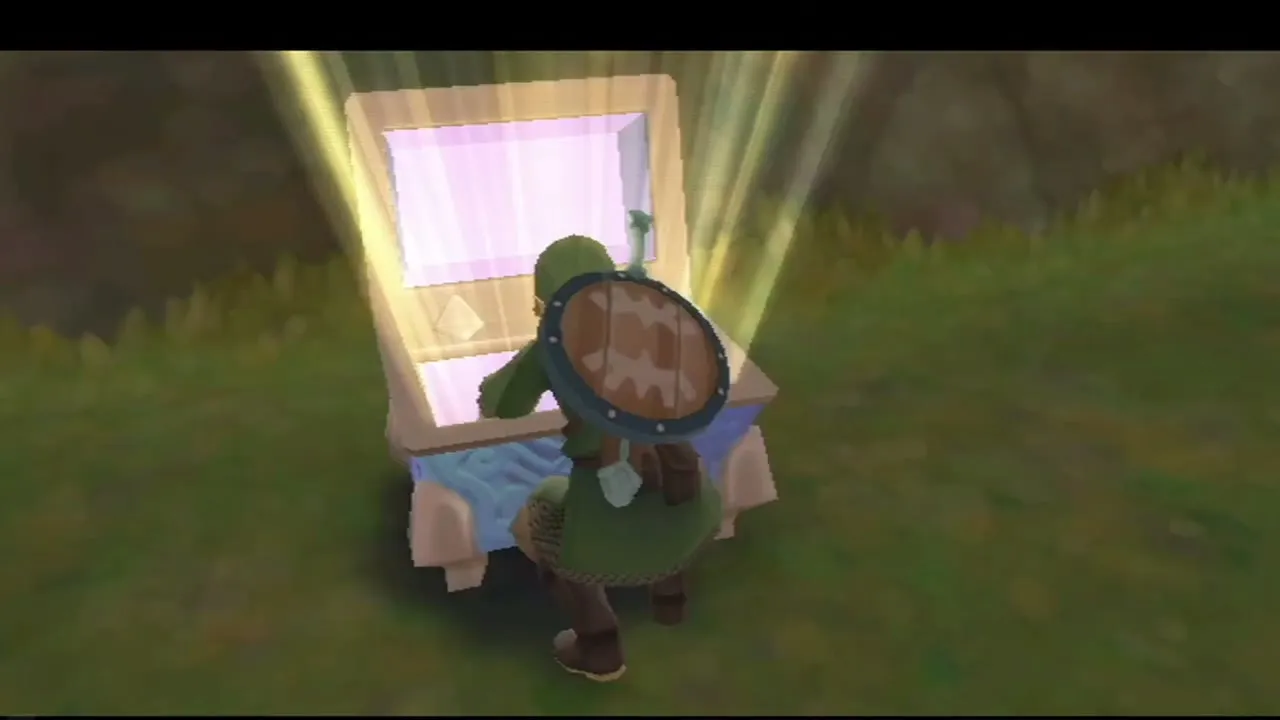
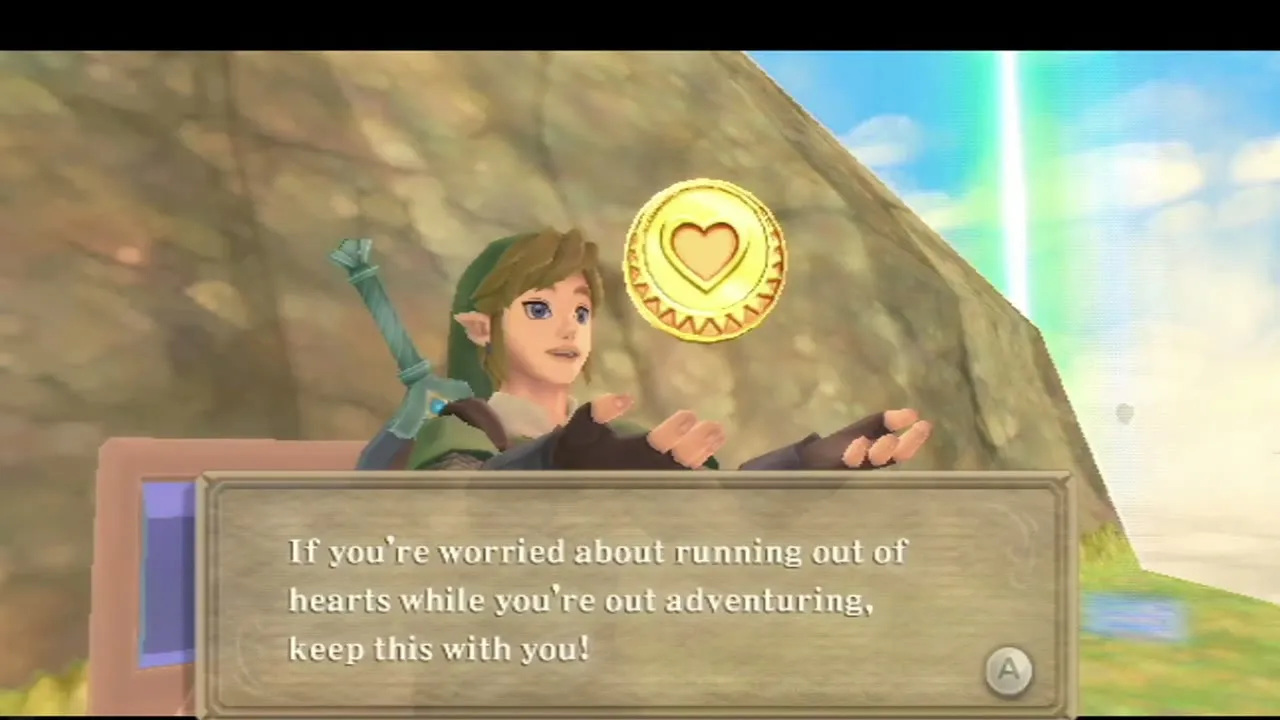
Goddess Cube 11, in the south-west corner of Lanayru Desert, sits on a ledge ringed by quicksand with an Ampilus nearby. Defeat the Ampilus, strike the cube, and its Heart Medal chest opens on the outer ledge of the island south of Skyloft. Carry the medal in your Adventure Pouch and hearts drop more often. Elsewhere in the Sky a small island hides a cave full of orange mushrooms with a Gossip Stone inside: strum your harp near it to receive a random treasure. See Goddess Cubes for all 27.
Skyloft windmills and the Light Tower
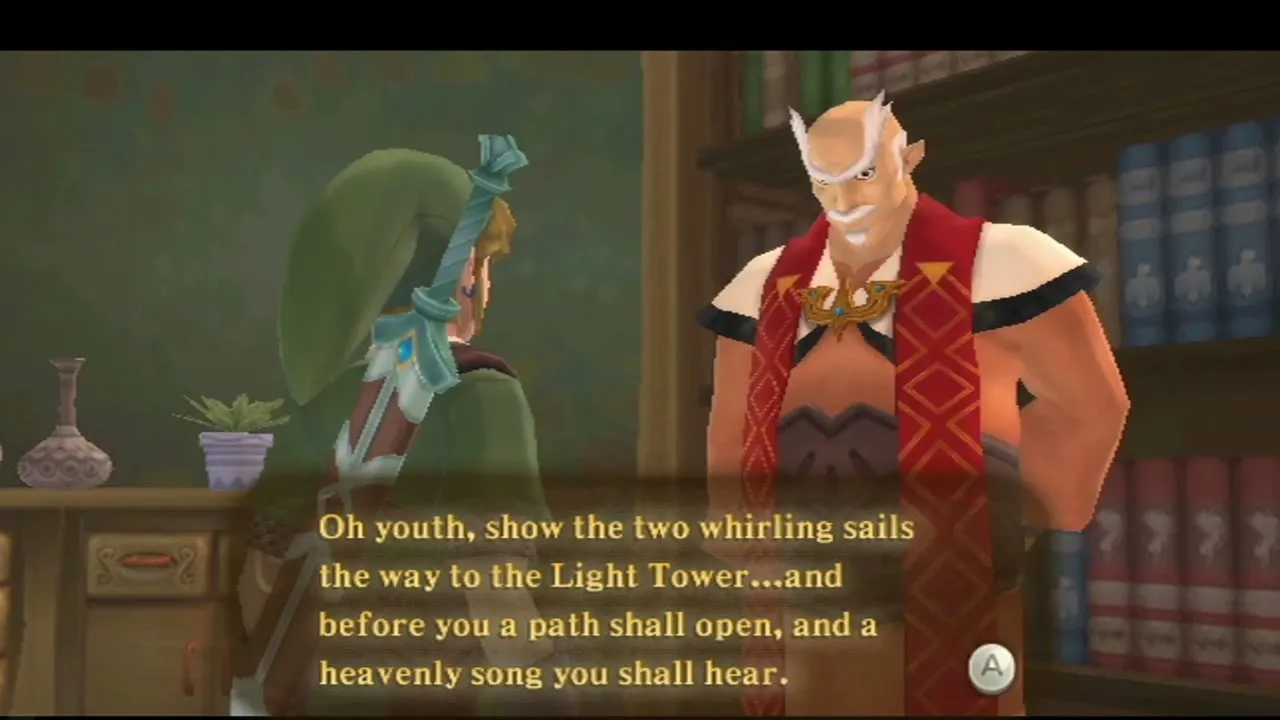
Ask Gaepora about the song
Go to the Knight Academy and talk to Headmaster Gaepora in his study and ask him to sing. The verse says that two whirling sails must show the way to the Light Tower, and then a path will open and a heavenly song will sound. The two sails are Skyloft’s windmills, and the Light Tower is the tall tower they must point at.
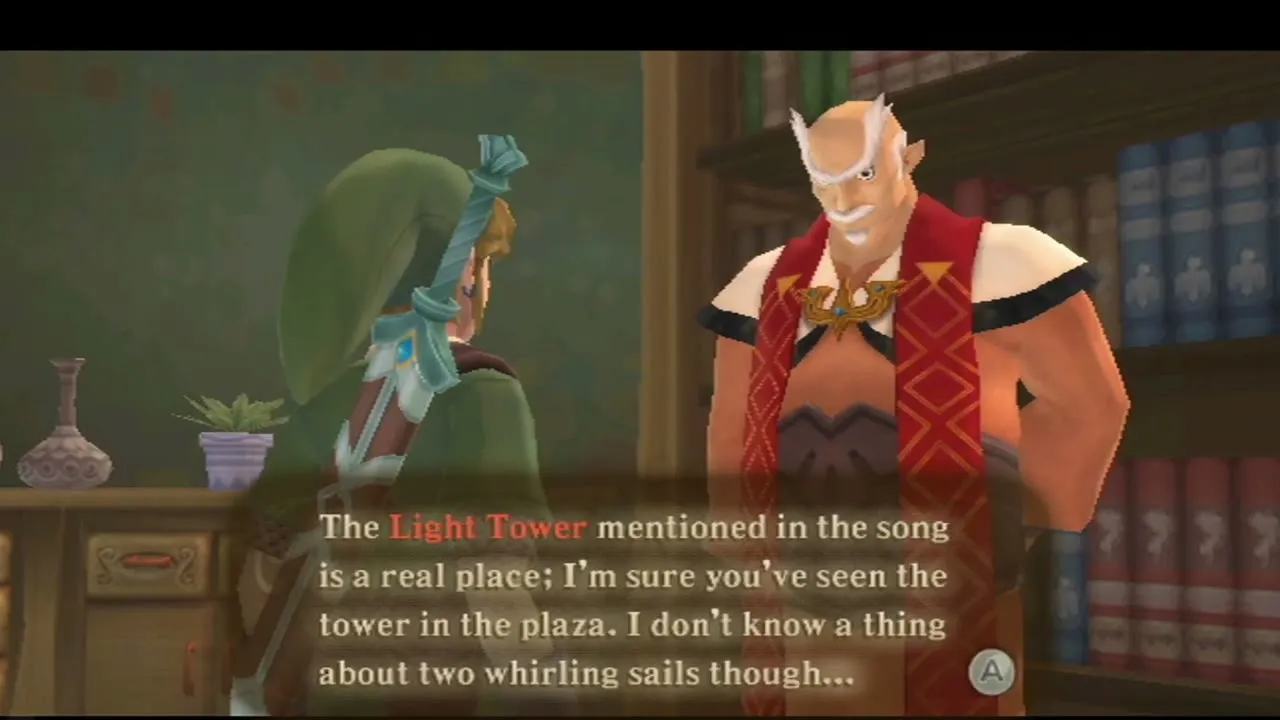

The windmill with no propeller
Run to the windmill tower in eastern Skyloft, where Jakamar stands beside it. Its propeller blew off long ago and fell below the clouds. He says Gondo’s family once owned a flying robot that could haul things up from the Surface. The other windmill, close to the Light Tower, still has its blades, and you will turn it later.
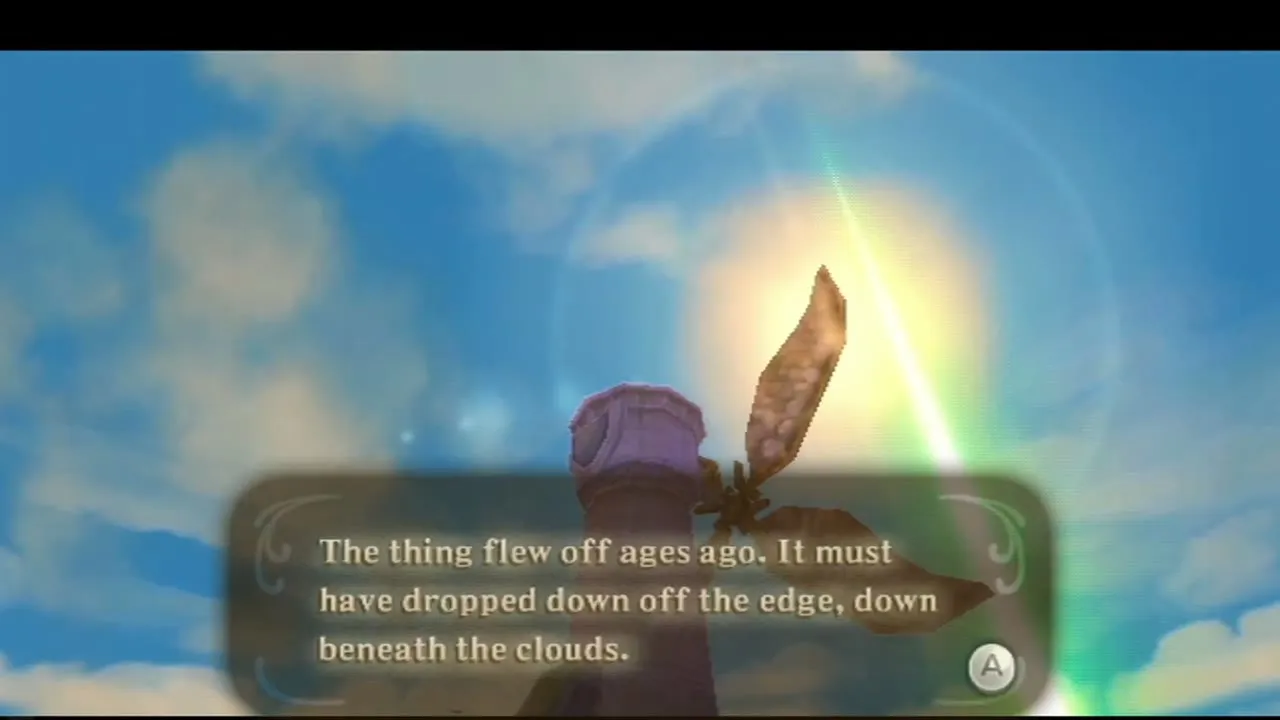
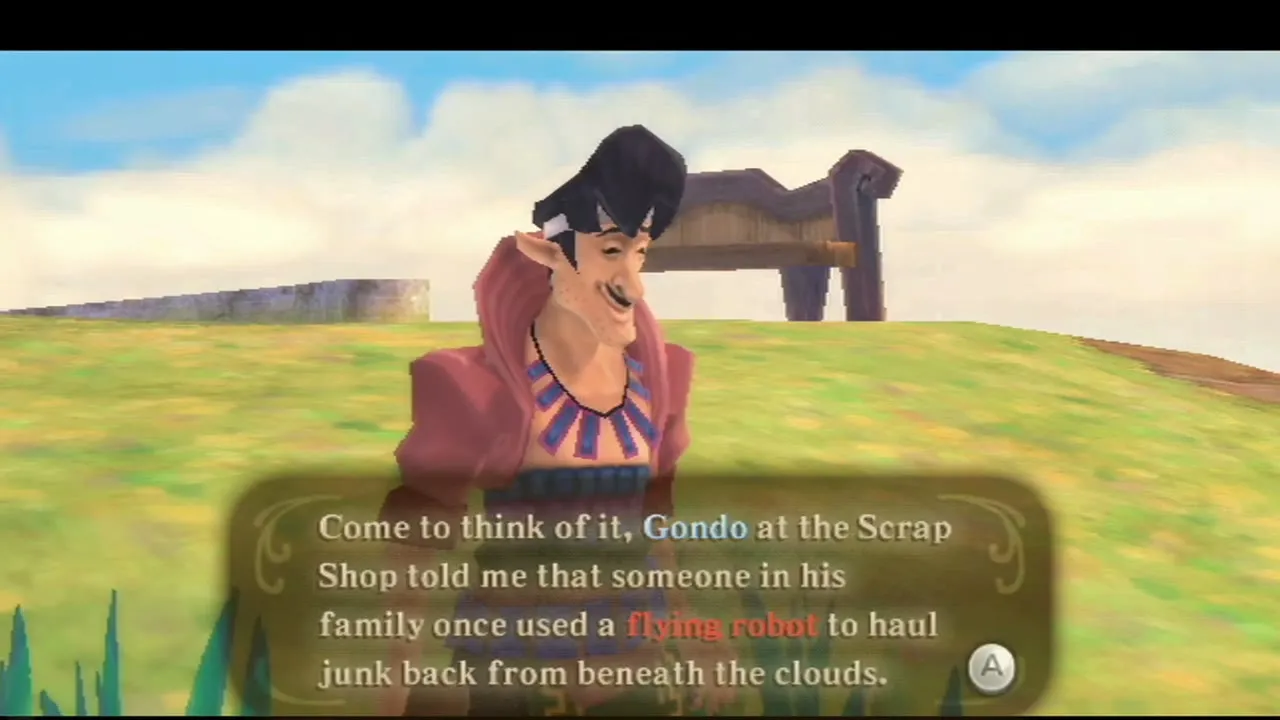
Repair Scrapper at the Scrap Shop
Walk into the Bazaar and talk to Gondo. Answer yes when he asks whether something is on your mind, and he remembers his grandfather’s robot, Scrapper, a broken heap of metal that only an Ancient Flower can wake. Hand him the flower and he repairs it on the spot. Ancient Flowers turn up as treasure in Lanayru, but only in areas that a Timeshift Stone has returned to the past; if you have none, return to the desert and collect one first.
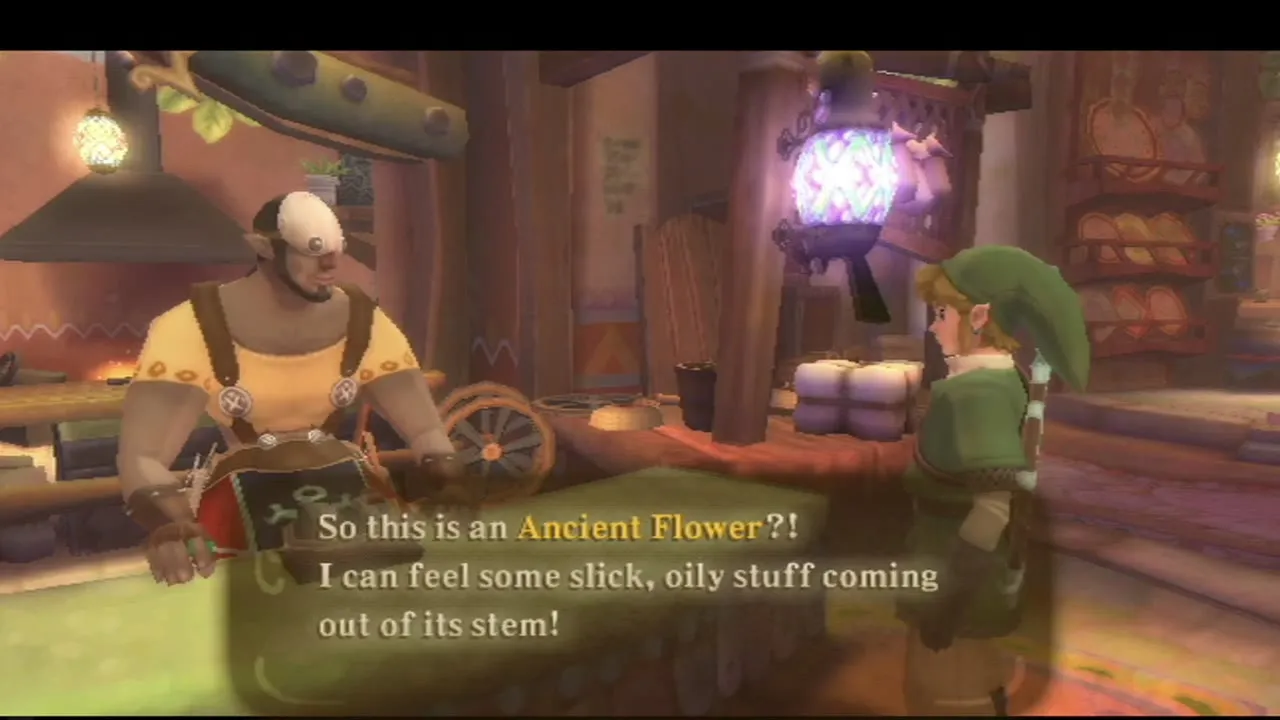
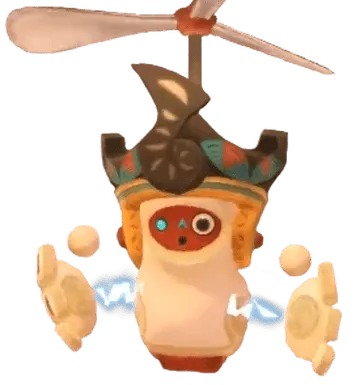
Scrapper takes orders from Fi
Scrapper sulks about serving a child, but changes his tune the moment he sees Fi, whom he calls Mistress Fi. From now on Fi can call him whenever a heavy object needs carrying. His first job is the propeller, and Fi adds it to your dowsing menu. Scrapper also unlocks later Gratitude Crystal jobs, including Dodoh’s lost Party Wheel on Fun Fun Island once Scrapper is repaired; the Side Quests page lists them.
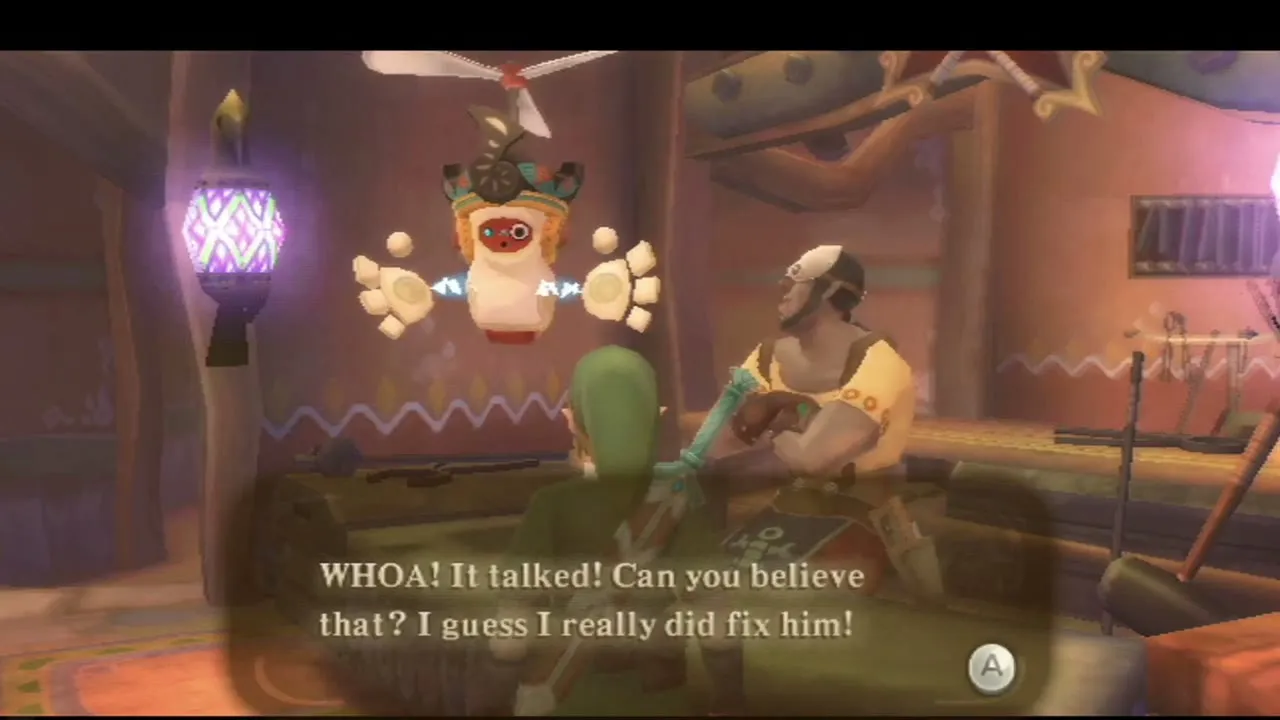
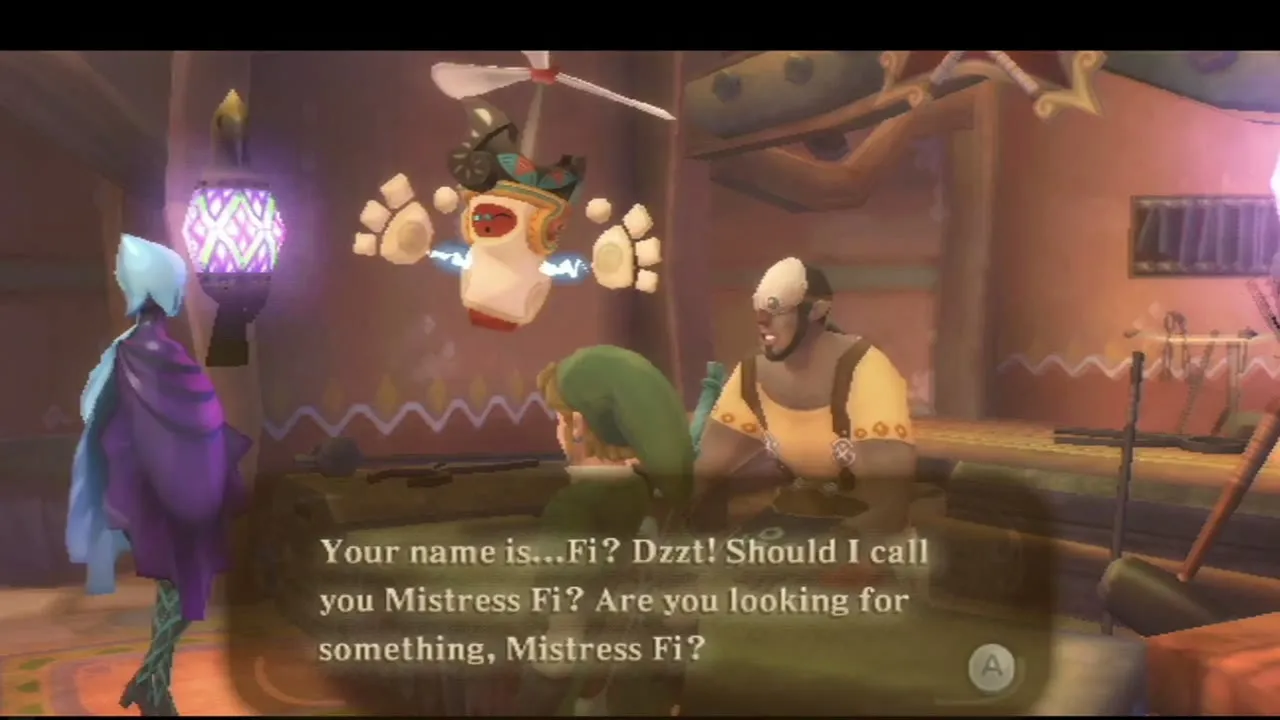
Dowse for the propeller in Eldin Volcano
Fly to Eldin’s pillar and dive into the volcano. Dowse with Fi and choose the propeller. Follow the pulse until Fi stops you at the fallen propeller, which is too heavy for you. Fi calls Scrapper, who lifts it and carries it up toward the sky. Return to Skyloft on your Loftwing.
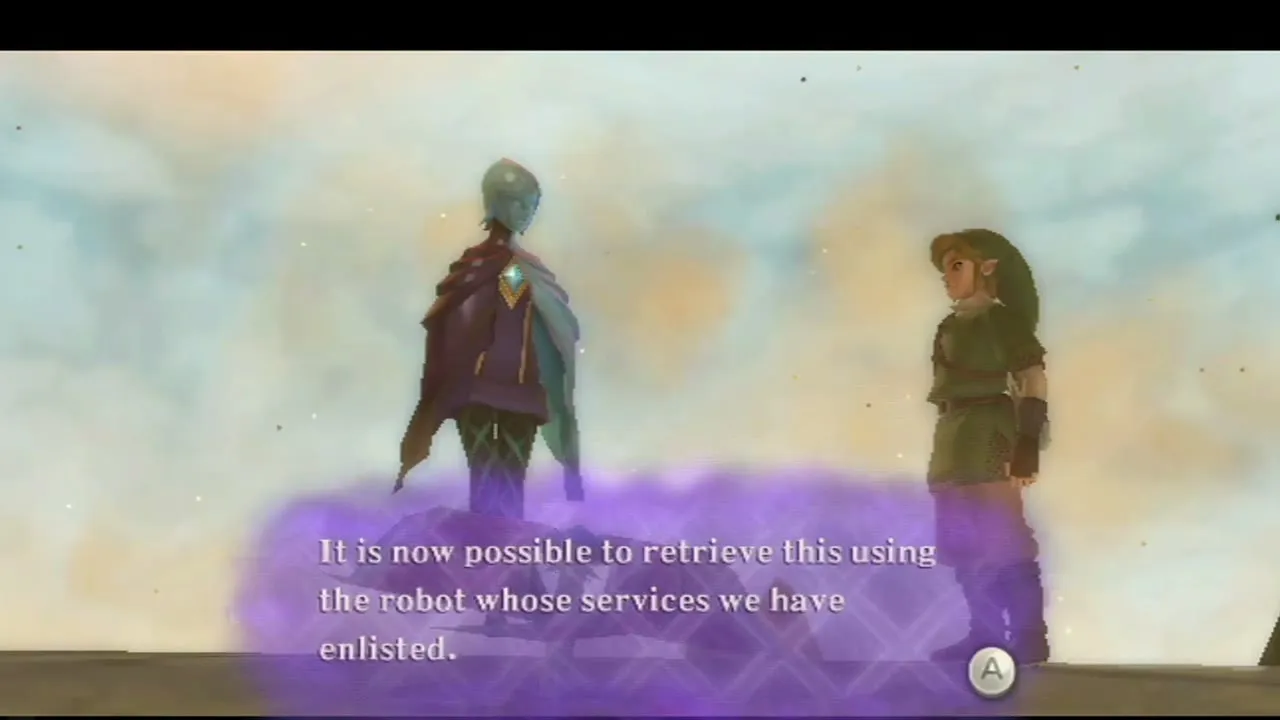
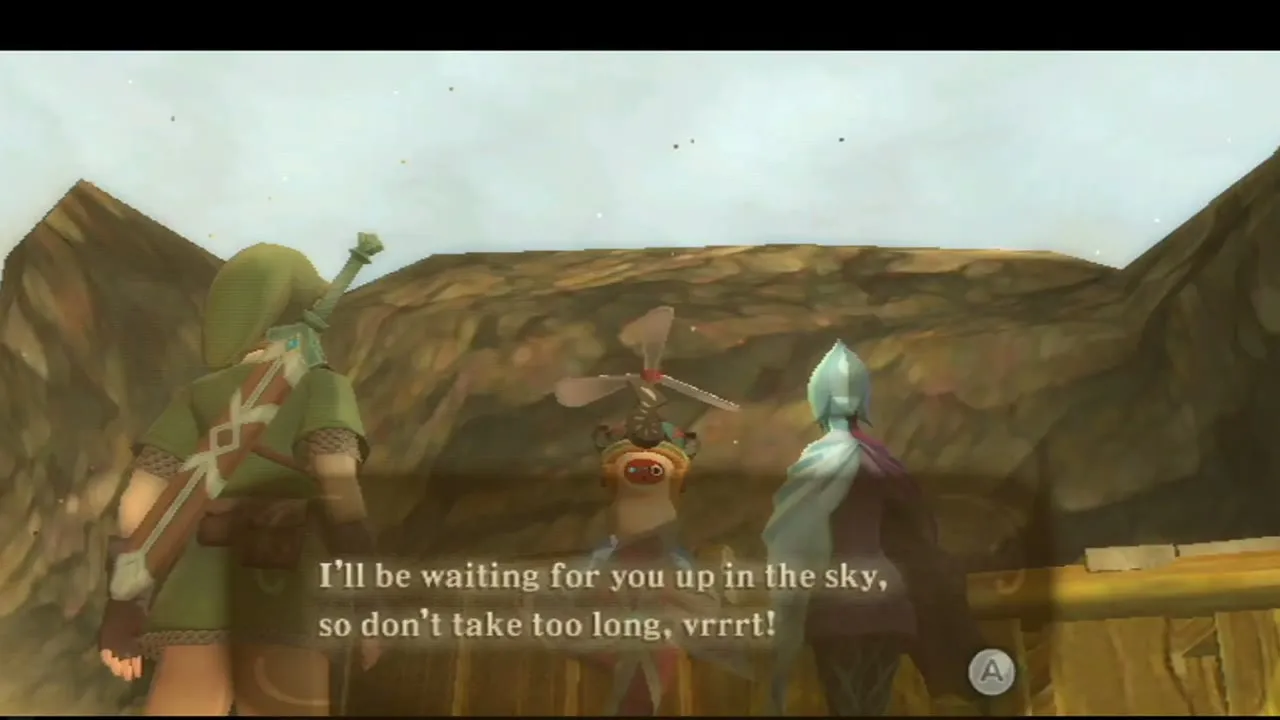
Refit the propeller and aim both windmills
Scrapper brings the propeller to the eastern windmill, where Jakamar fits it. Take out the Gust Bellows, aim at the blades and press A to blow, turning the windmill head a little at a time. Keep blowing until it points straight at the Light Tower. Then walk to the second windmill near the tower and do the same. When both face the tower, a section of it rises and a ladder lets you climb to the top.
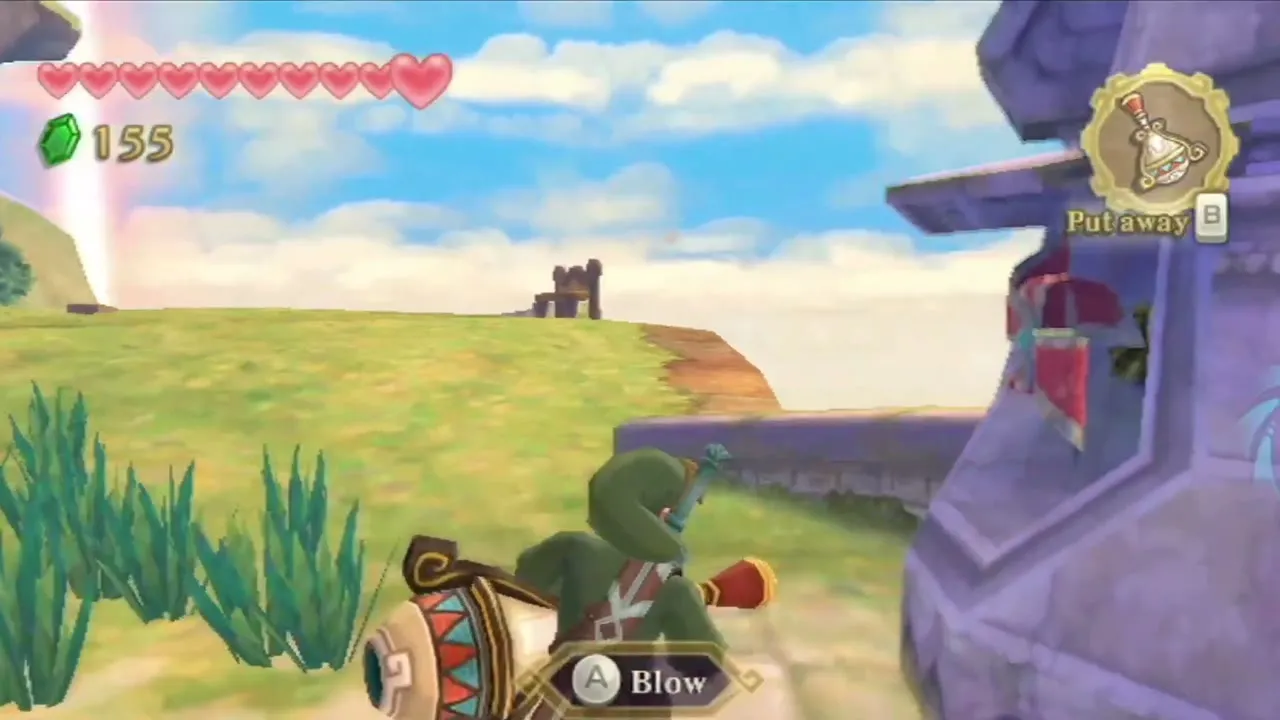
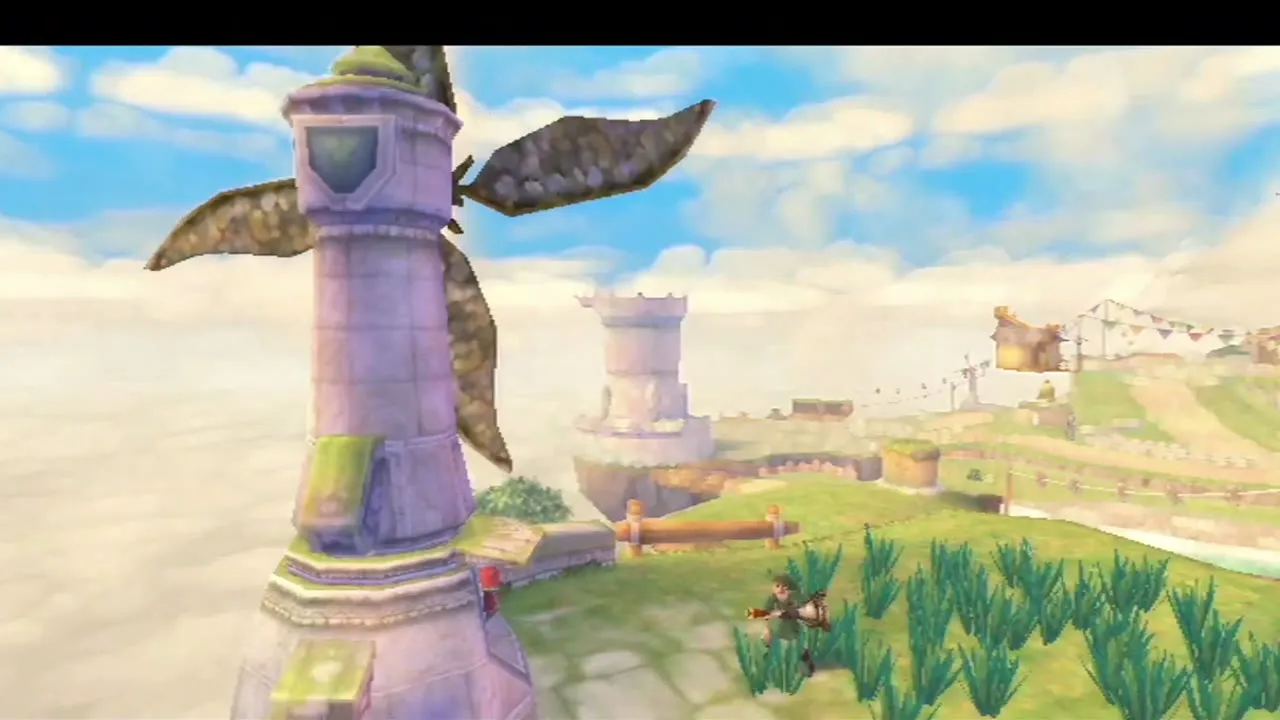
Play the Ballad of the Goddess on the Light Tower
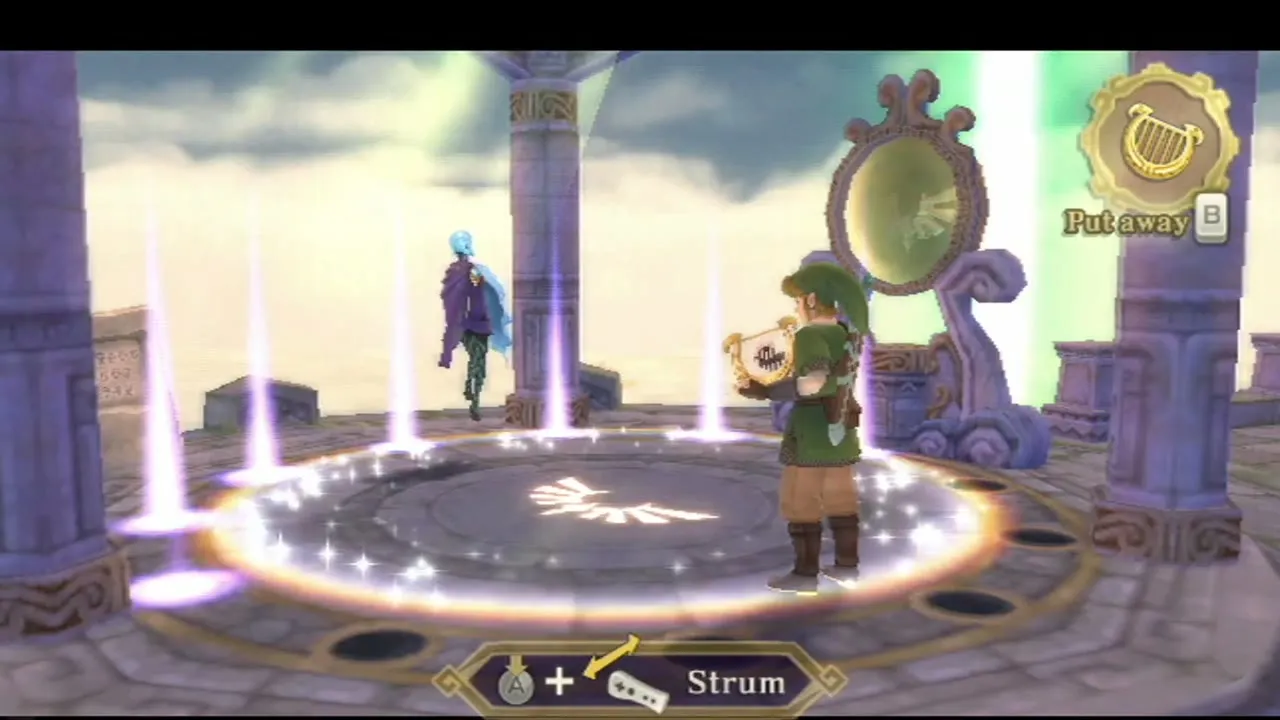
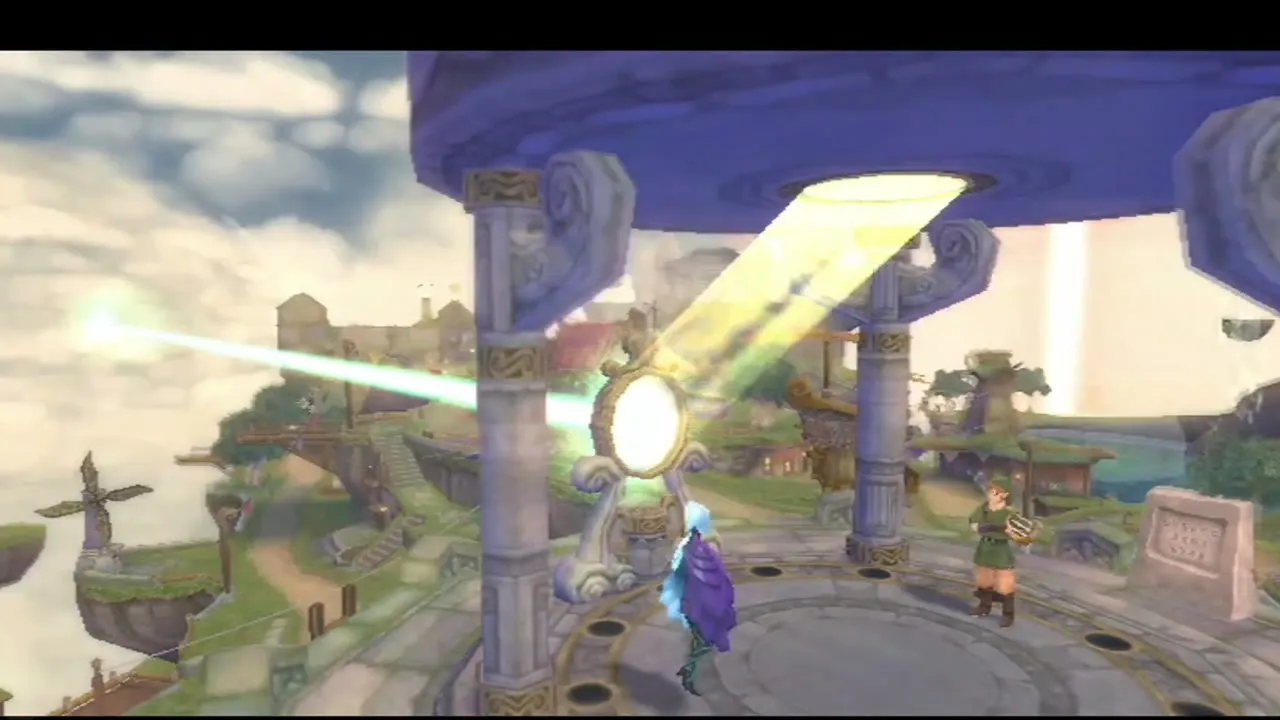
Climb the ladder to the round platform at the top, take out the harp and stand in the circle. Hold A and strum in time with the rings, as Fi sings along. The mirror turns and fires a beam of light north-west into the storm clouds, carving a path into the Thunderhead. Take your Loftwing and follow the beam.
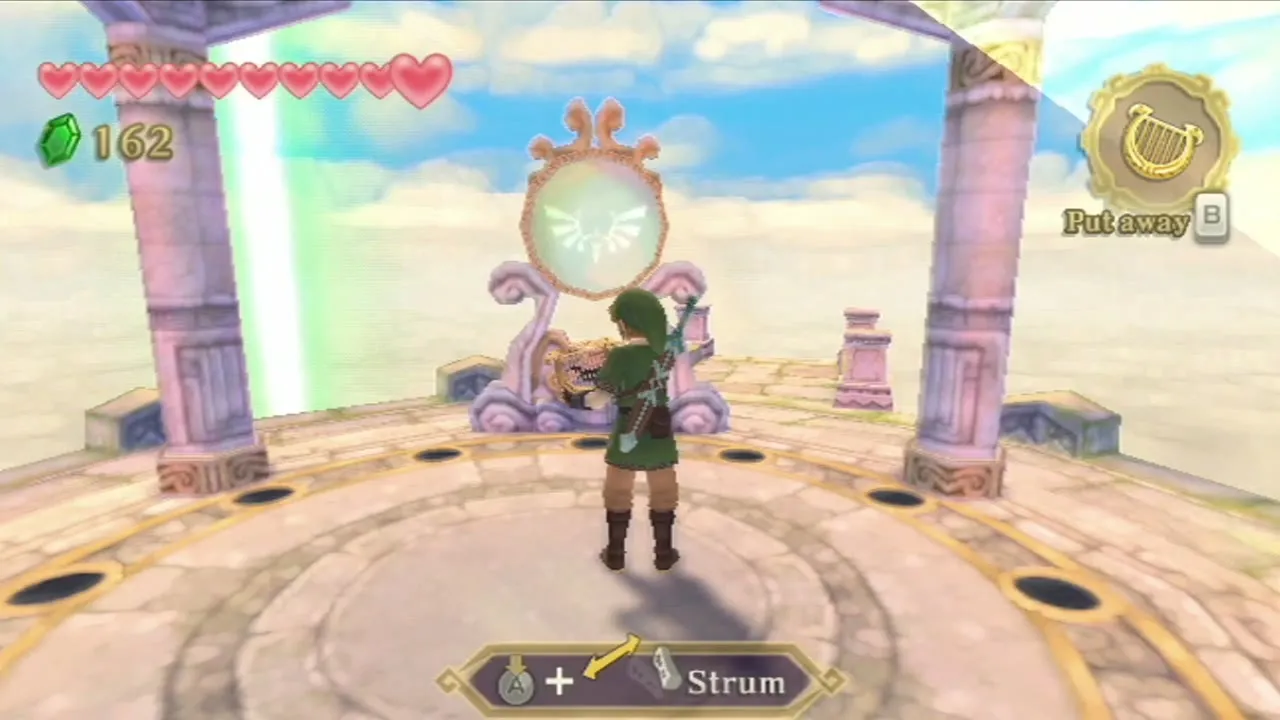
The Thunderhead and the Isle of Songs
Fly the beam into the Thunderhead
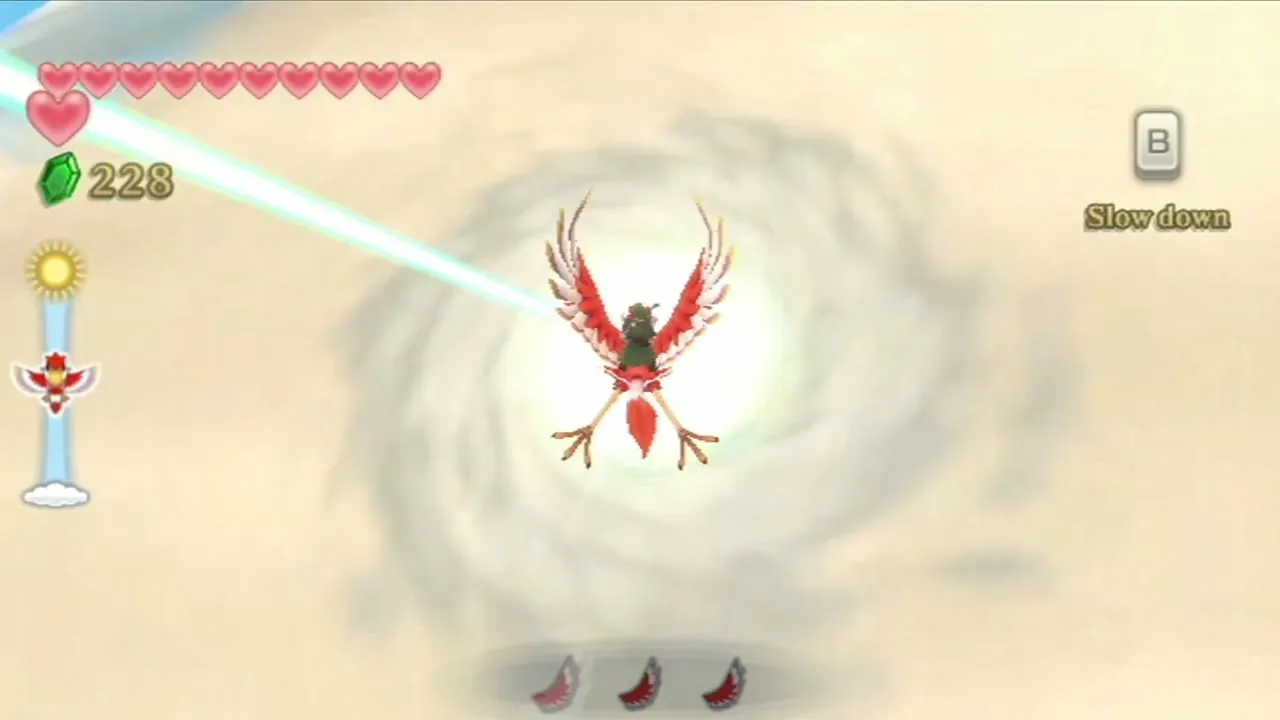
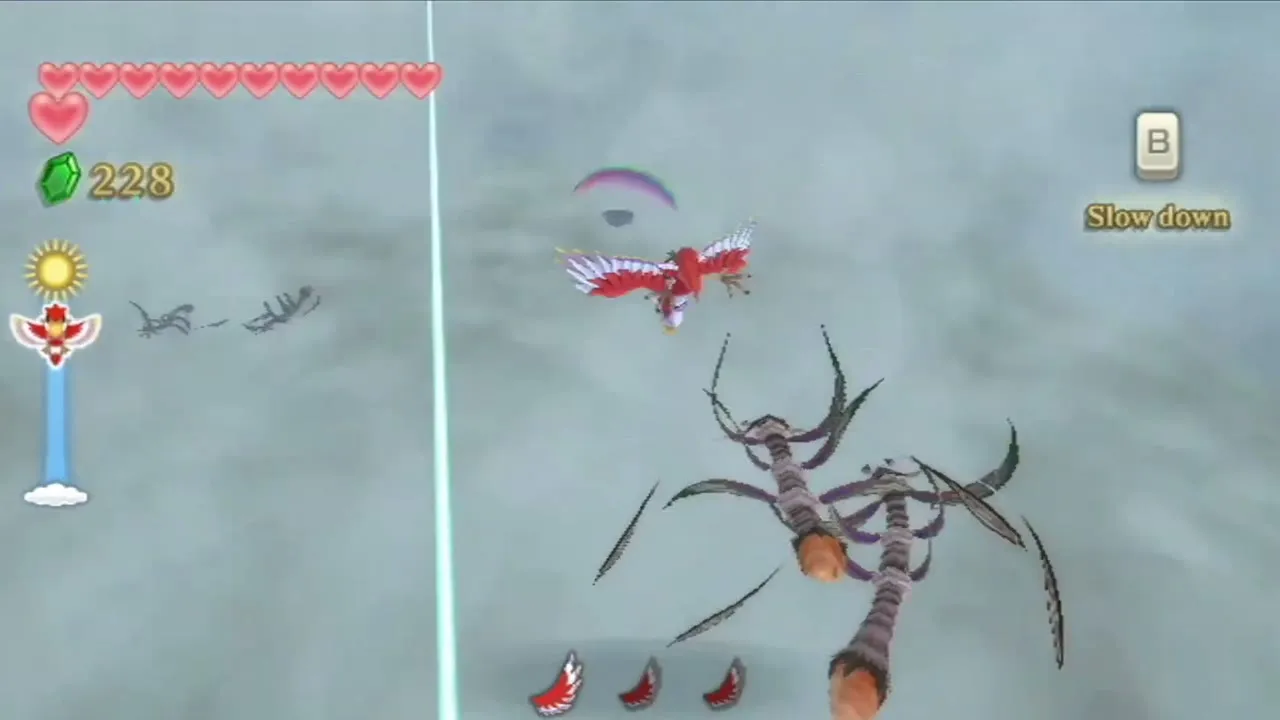
Fly north-west along the beam and drop through the hole in the cloud. Inside, the storm is dark and full of birds and tornadoes that can knock you off your Loftwing, so fly steadily and keep the beam in sight. Follow the light to a tall tower on a green island. This is the Isle of Songs.
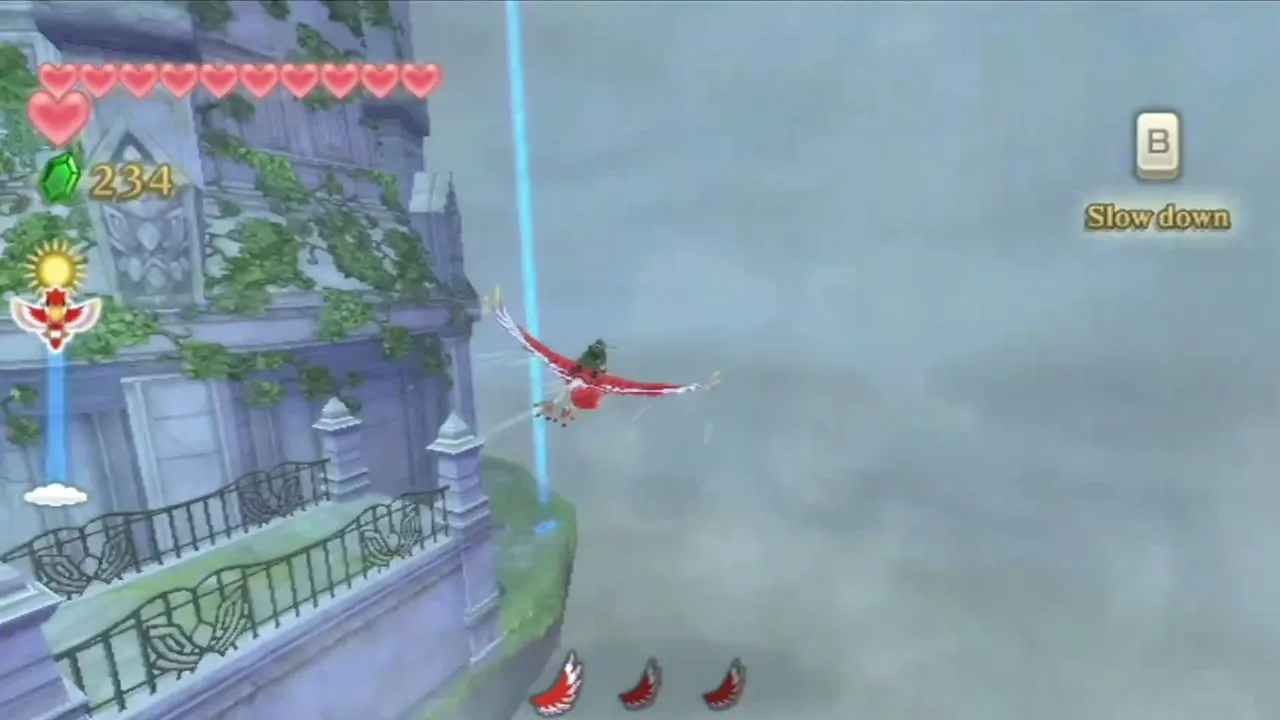
Isle of Songs bridge puzzle
The tower can be entered only through a crawlspace, and a ring of stone bridge pieces blocks the way. The puzzle is to rotate the centre pedestal so that the bridge blocks line up. Turn the pedestal, check how the blocks sit against the gap, and keep turning until the bridge closes. Exact counts vary, so follow the blocks rather than a fixed number of turns.
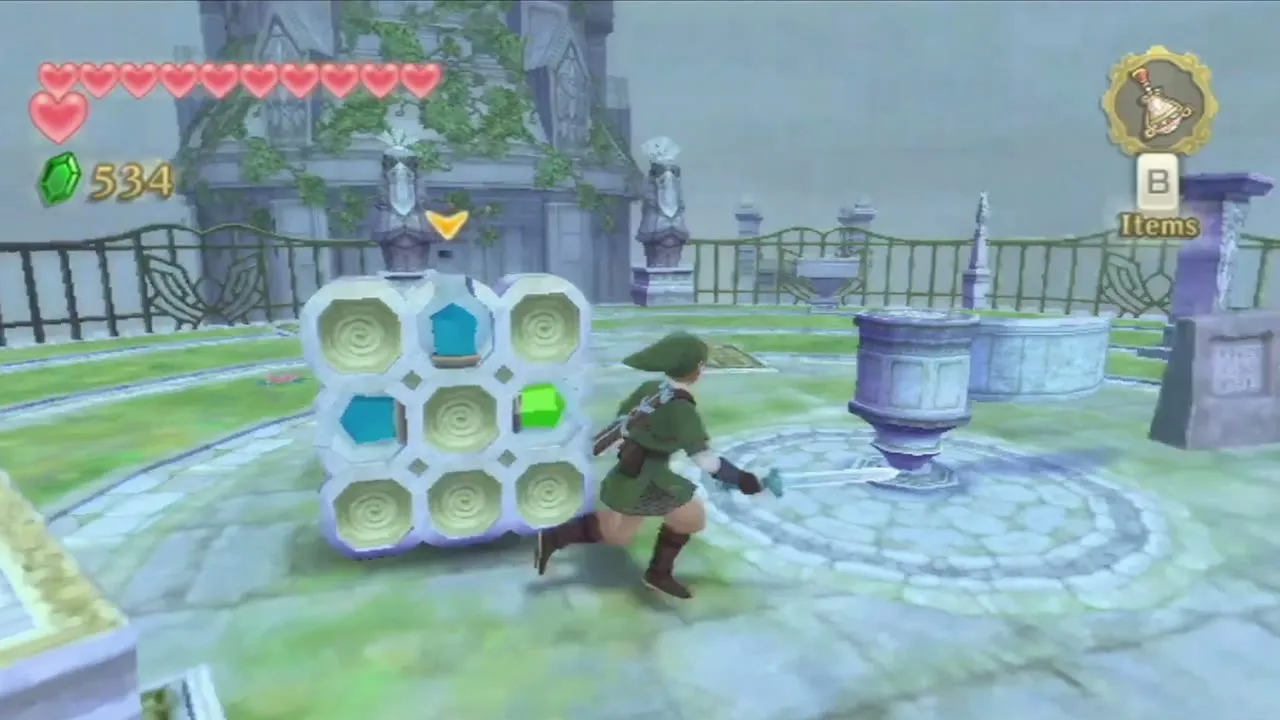
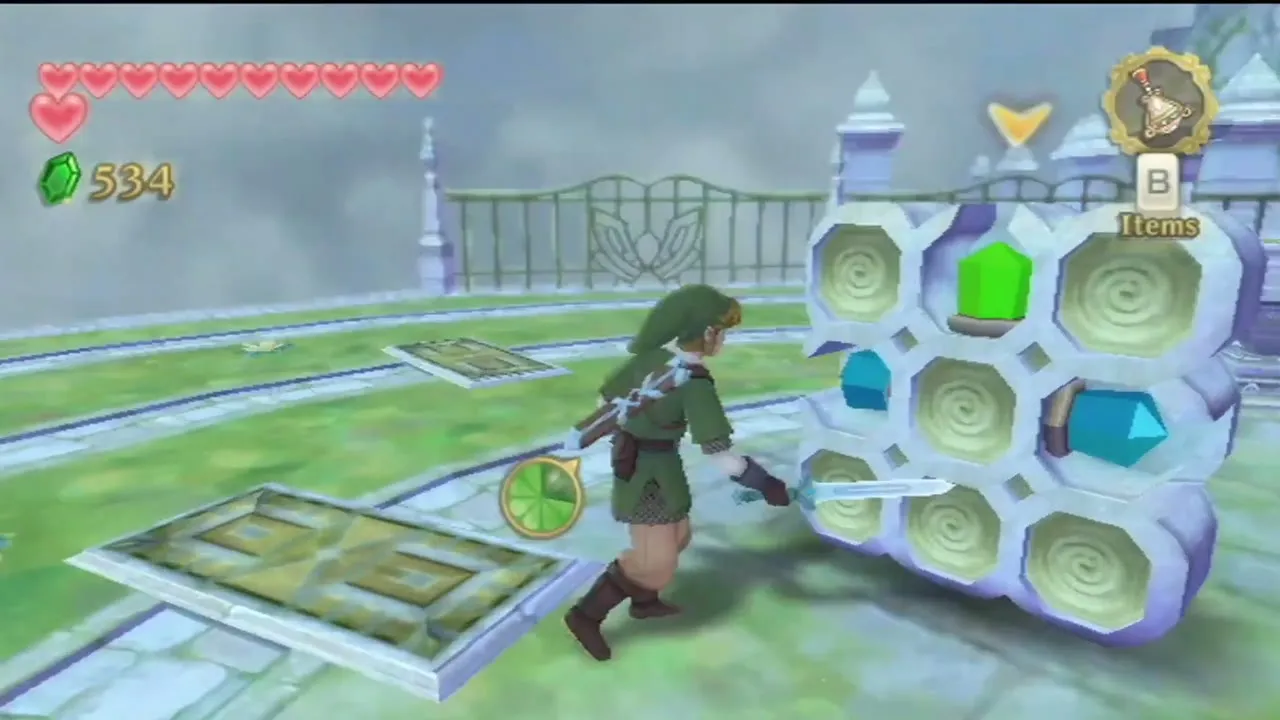

Learn Farore’s Courage
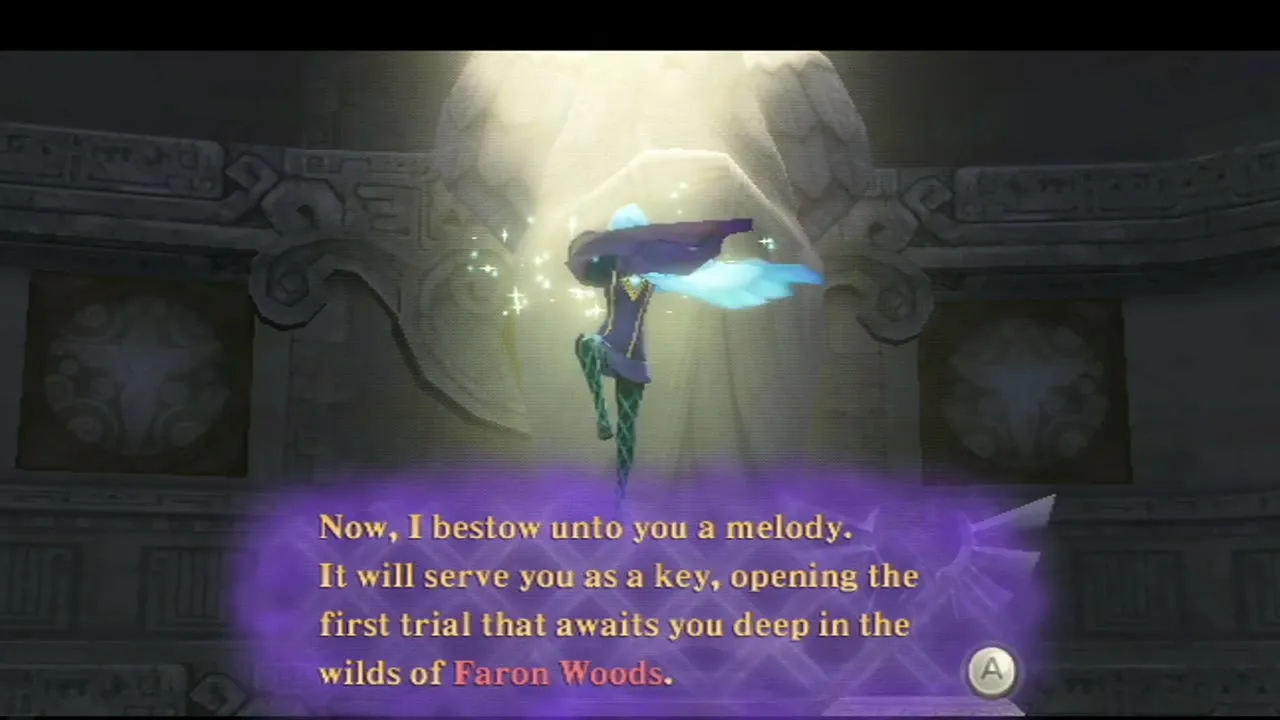
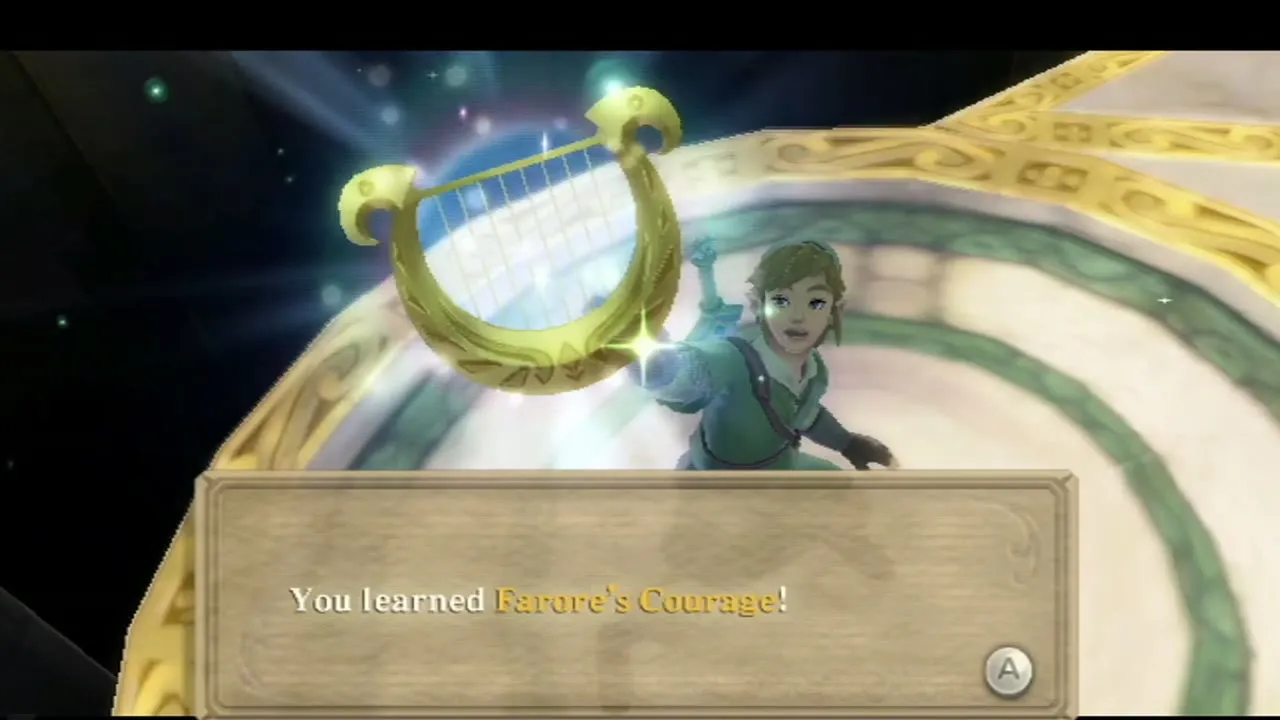
Cross the bridge and crawl through the gap in the tower wall. Use the Bird Statue inside to save, walk to the circle on the floor and strike the crest across the gap with a Skyward Strike. A statue of the goddess rises, the goddess speaks and you play her melody back on the harp. You learn Farore’s Courage, which opens the first trial gate in Faron Woods. Nayru’s Wisdom is taught here after you claim Farore’s Flame, and Din’s Power after you claim Nayru’s Flame.
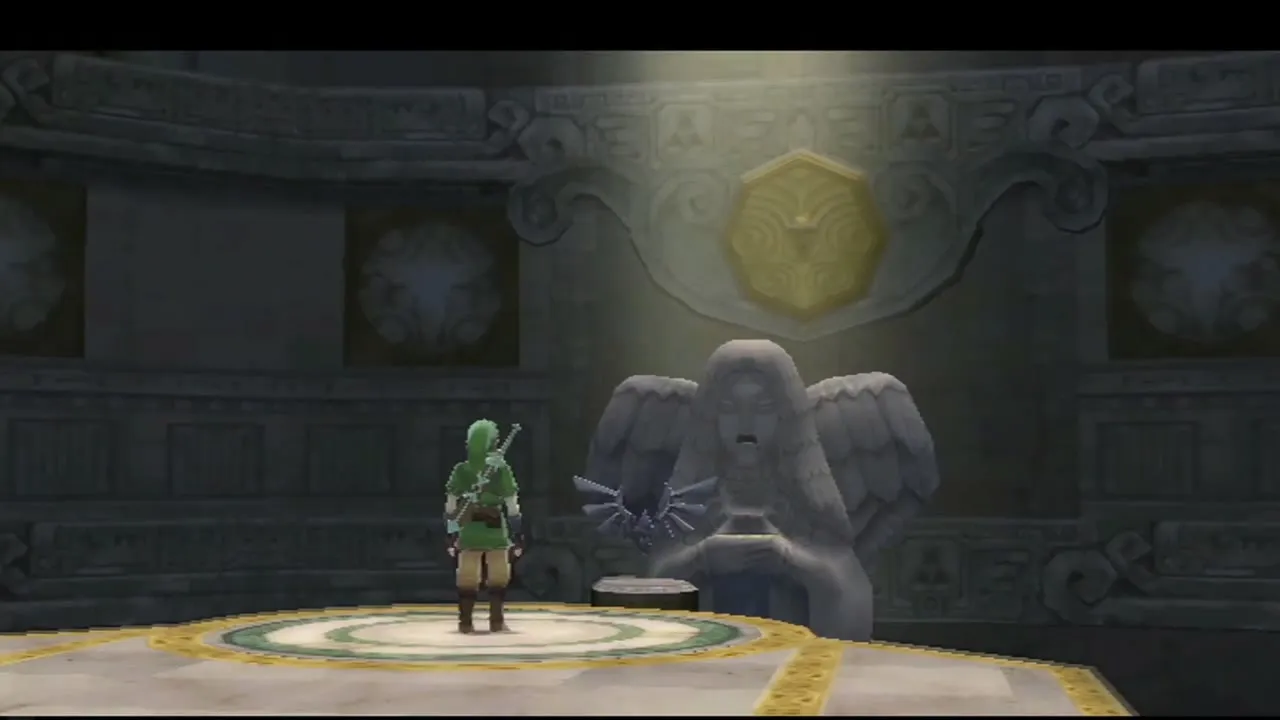
Goddess Chests on the Isle of Songs
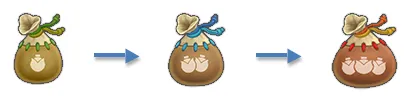
Two Goddess Chests sit on the island. The one beside the tower holds a Gold Rupee worth 300 Rupees, and it opens once you have struck Goddess Cube 6 in Eldin Volcano. The second, on top of the tower, holds a Small Bomb Bag and needs Cube 25 outside the Fire Sanctuary on Volcano Summit, which you will not reach for a while. The Goddess Cubes page lists them.
Farore’s Courage trial gate
Dive to Faron Woods
Leave the Thunderhead on your Loftwing and fly to the green pillar over Faron. Choose the Viewing Platform landing and dive. Fi explains that dowsing will now reveal the trial gate, because you know Farore’s Courage.
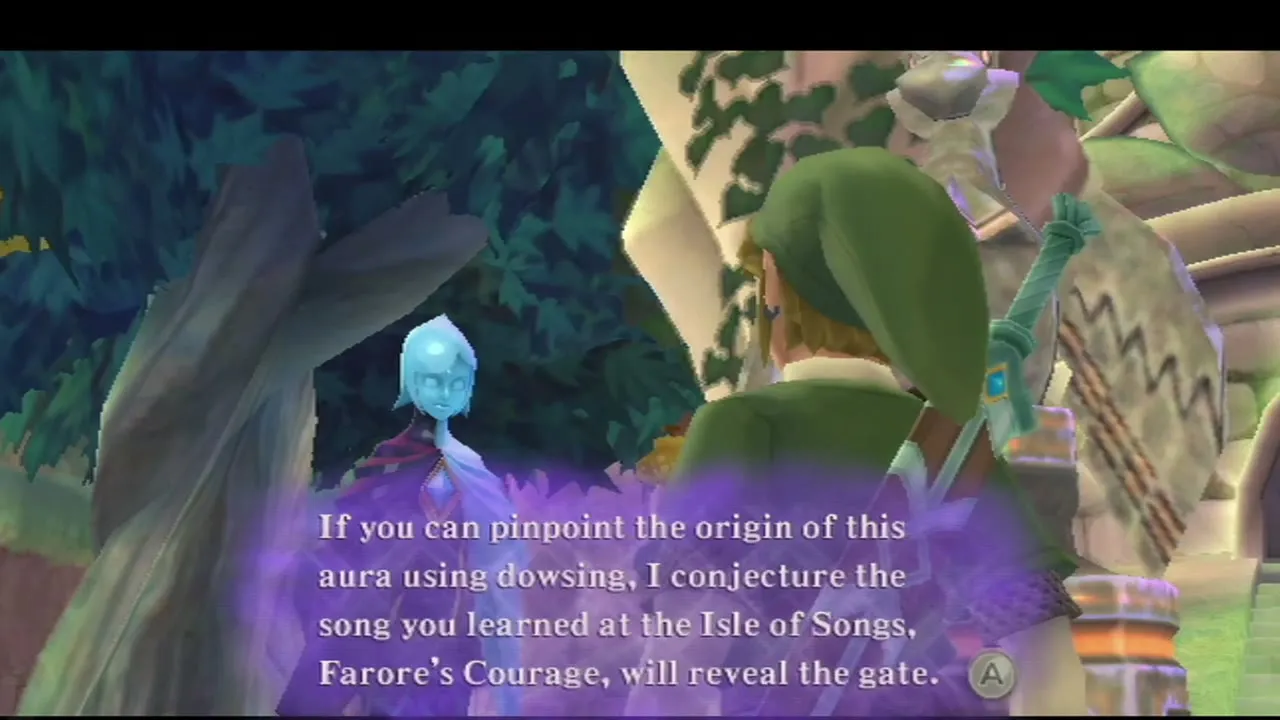
Find and open the gate
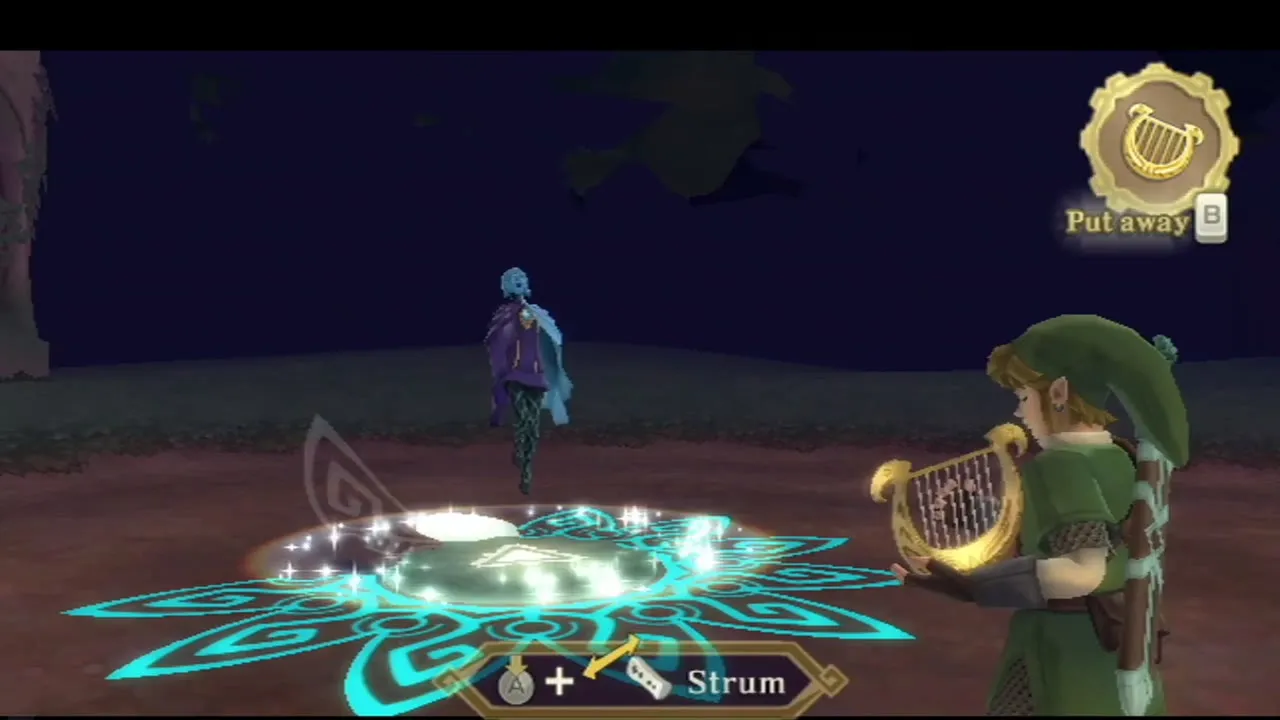
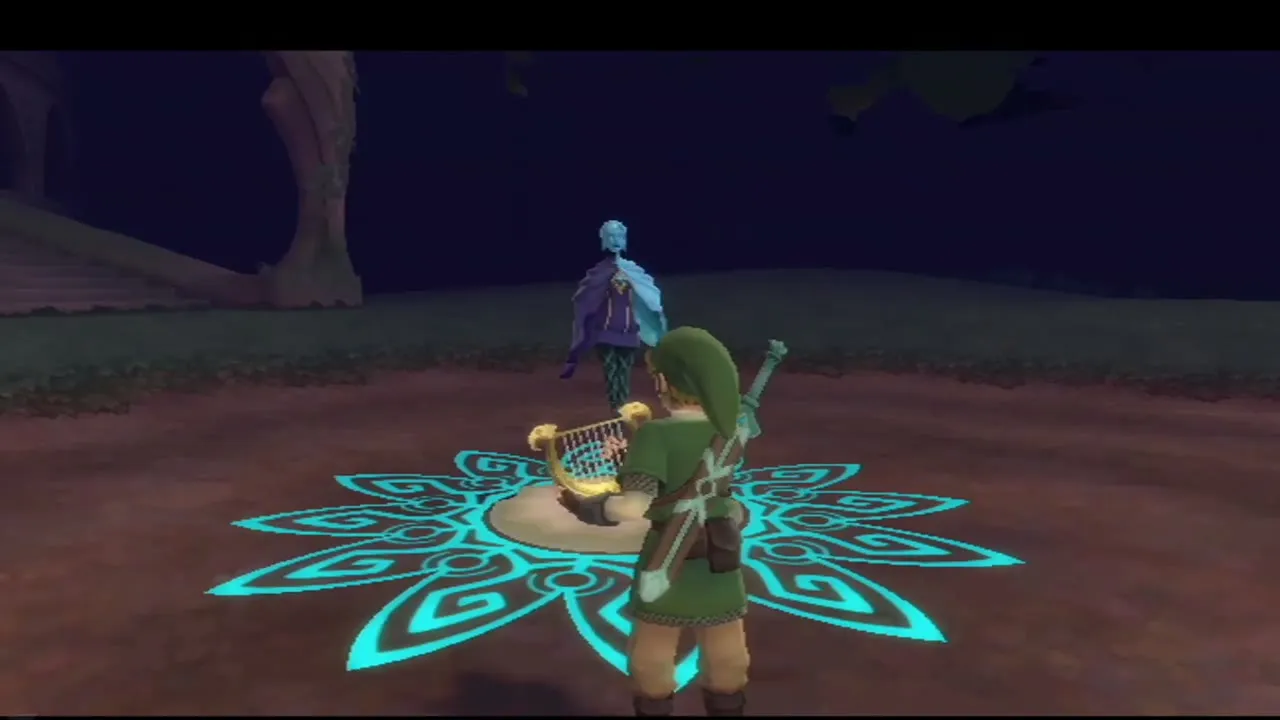
Dowse for the gate and follow the pulse to the clearing by the Viewing Platform, where Blessed Butterflies flutter. Take out the harp, stand at the glowing circle and strum Farore’s Courage along with the rings; a flower-shaped mark spreads across the ground. Thrust your sword into it to enter Farore’s Silent Realm, which the next chapter covers in full.
Chapter checklist
| Collectible | Type | Where |
|---|---|---|
| Ballad of the Goddess | Song | Learn it from the old woman in the Sealed Temple |
 Revitalizing Potion in a second Bottle | Bottle | Chest beside the old woman in the Sealed Temple |
| Random treasure | Gossip Stone | Strum the harp near the Blessed Butterflies beside Gorko |
| Sacred Shield | Shield | Rupin’s Gear Shop, 500 Rupees, after The Imprisoned |
| Scrapper | Robot ally | Give Gondo an Ancient Flower at the Scrap Shop |
 Extra Wallets (3) | Wallet | Beedle’s Airshop, 100 Rupees each, +300 Rupees capacity |
 Adventure Pouch slots (3) | Upgrade | Beedle’s Airshop, 300, 600 and 1,200 Rupees |
 Piece of Heart | Piece of Heart | Beedle’s Airshop, 1,600 Rupees (half price after Find My Beetle) |
| Heart Medal | Medal | Goddess Chest from Goddess Cube 11 in south-west Lanayru Desert |
| Random treasure | Treasure | Random treasure from a Gossip Stone in a mushroom cave on a small Sky island |
 Gold Rupee (300) | Goddess Chest | Isle of Songs, beside the tower (Goddess Cube 6, Eldin Volcano) |
 Small Bomb Bag | Goddess Chest | Isle of Songs, top of the tower (Goddess Cube 25, Volcano Summit; later) |
| Farore’s Courage | Song | Isle of Songs, strike the crest in the tower |
| Deliver a Letter (Cawlin) | Gratitude Crystals (5) | Skyloft Knight Academy, opens after the first Imprisoned fight |
| Gorko’s Goddess Wall | Piece of Heart | Sealed Grounds, once you know Farore’s Courage (best on the True Master Sword visit) |
With Farore’s Courage played, the trial gate is open; continue to Farore’s Silent Realm and Lake Floria.
