Skyward Sword 100% Completion Walkthrough18 chapters
- Skyview TempleSmall keys, the Beetle, the Golden Carving door, the Ghirahim boss fight, the Heart Container and the Ruby Tablet.
- Earth TempleGet the Bomb Bag from Ledd, carry the Dragon Sculpture, beat Scaldera and collect the Amber Tablet.
- Lanayru Mining FacilityTimeshift Stones, Gust Bellows, Small Key, Armos, Ancient Circuit, Moldarach and the Goddess’s Harp.
- Ancient CisternBoth Small Keys, the Whip, the Blessed Idol, the Koloktos boss fight, Farore’s Flame and the Goddess Longsword.
- SandshipThe Timeshift Stone, Scervo and the Bow, both generators, Squid Carving, Tentalus and Nayru’s Flame.
- Fire SanctuaryAll three small keys, the Mogma Mitts, the Mysterious Crystals, Ghirahim’s second fight and the Master Sword.
- Skyloft Silent Realm and Sky KeepThe Skyloft Silent Realm and its 15 Sacred Tears, the Stone of Trials, every Sky Keep room and all three Triforces.
- Skyloft and the Goddess SwordFind your Loftwing, win the Wing Ceremony, draw the sword and take your first dive.
- Sealed Grounds, Faron Woods and the Deep WoodsThe Sealed Grounds, the missing Kikwi, the Slingshot, the Deep Woods and the way into Skyview Temple.
- Eldin Volcano and the Key PiecesPlace the Ruby Tablet, run Skyloft errands, earn the Digging Mitts and find all five Earth Temple key pieces.
- Lanayru Mine and Lanayru DesertLanayru Mine, Timeshift Stones, the Hook Beetle, the Temple of Time and how to set the three power generator dials.
- The Goddess’s Harp, The Imprisoned and the Isle of SongsBallad of the Goddess, The Imprisoned, the Light Tower, the Isle of Songs and Farore’s Courage.
- Farore’s Silent Realm and Lake FloriaAll 15 Tears of Farore, the Water Dragon’s Scale and Sacred Water.
- Nayru’s Silent Realm and the Lanayru Sand SeaNayru’s Wisdom, Nayru’s Silent Realm and the Clawshots, Golo’s key, Skipper’s boat, the Shipyard.
- Din’s Silent Realm and Volcano SummitDin’s Power, the Fireshield Earrings, frog statues, the Water Basin and the Scrapper escort.
- True Master Sword, Levias and BilocyteSkyward Sword walkthrough for the True Master Sword, the second Imprisoned fight, the Spiral Charge.
- Song of the HeroEscape Eldin, beat the third Imprisoned, win the Tadtone song in Faron Woods and heal Lanayru’s Thunder Dragon.
- The Horde, Ghirahim and DemiseClear the last side quests, beat the Horde, Ghirahim’s third fight and Demise, then unlock Hero Mode.
| Covers | The wish at the Statue of the Goddess, the return to the Sealed Grounds, the Gate of Time, the Temple of Hylia in the past, the Horde battle, Ghirahim’s third fight, Demise, the ending and Hero Mode; plus an optional section on the Skyloft and Sky errands still open before you go |
|---|---|
| You need | The three Triforce pieces from Sky Keep, the True Master Sword, the Goddess’s Harp, the Clawshots and the Bow; the best Shield you own, plus Heart Potion+ and Guardian Potion if you have them |
| Rewards | No Heart Container, Piece of Heart or Goddess Cube on the main route; the game ends with Demise sealed in the Master Sword and unlocks Hero Mode. Optional work before the finale: the last Gratitude Crystal batches and Batreaux’s Giant and Tycoon Wallets, three Gold Rupees from Batreaux, the Party Wheel and Insect Cage quests, Dodoh’s High Dive, and the Pieces of Heart behind Zelda’s wardrobe and in the Skyloft mill |
This is the last chapter. After the Triforce wish the story gives you one job: follow Ghirahim through the Gate of Time, fight through a swarm of monsters, defeat Ghirahim for the third and last time and finish Demise on the plain between water and sky. You can go straight there, but anything you want for 100% is easiest to finish first, while Skyloft is still open to you. The route is short: wish, Sealed Grounds, Gate of Time, Horde, Ghirahim, Demise.
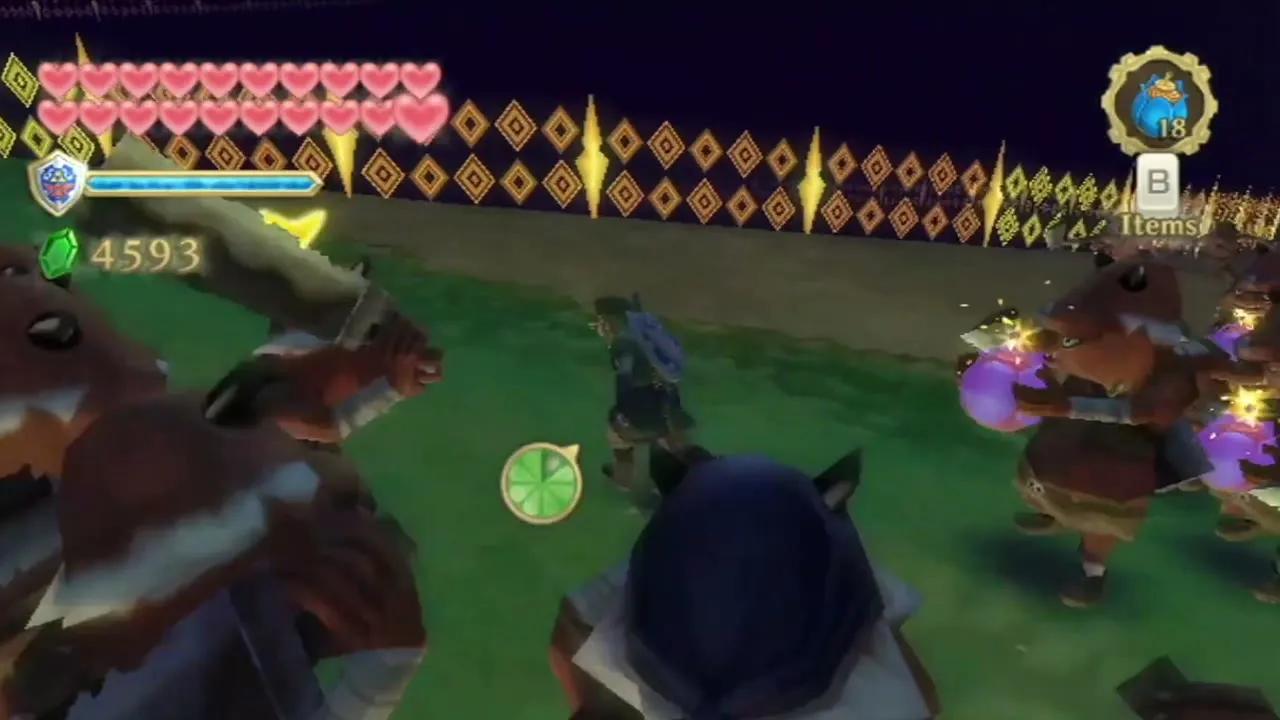
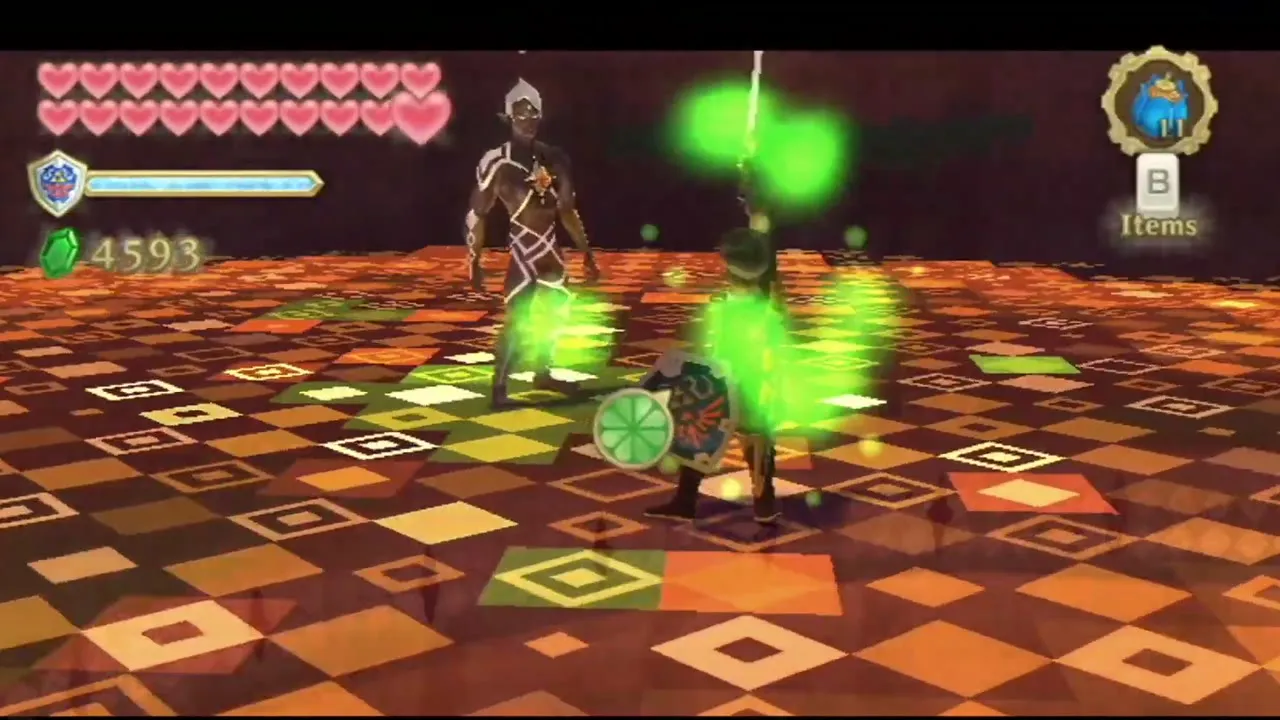
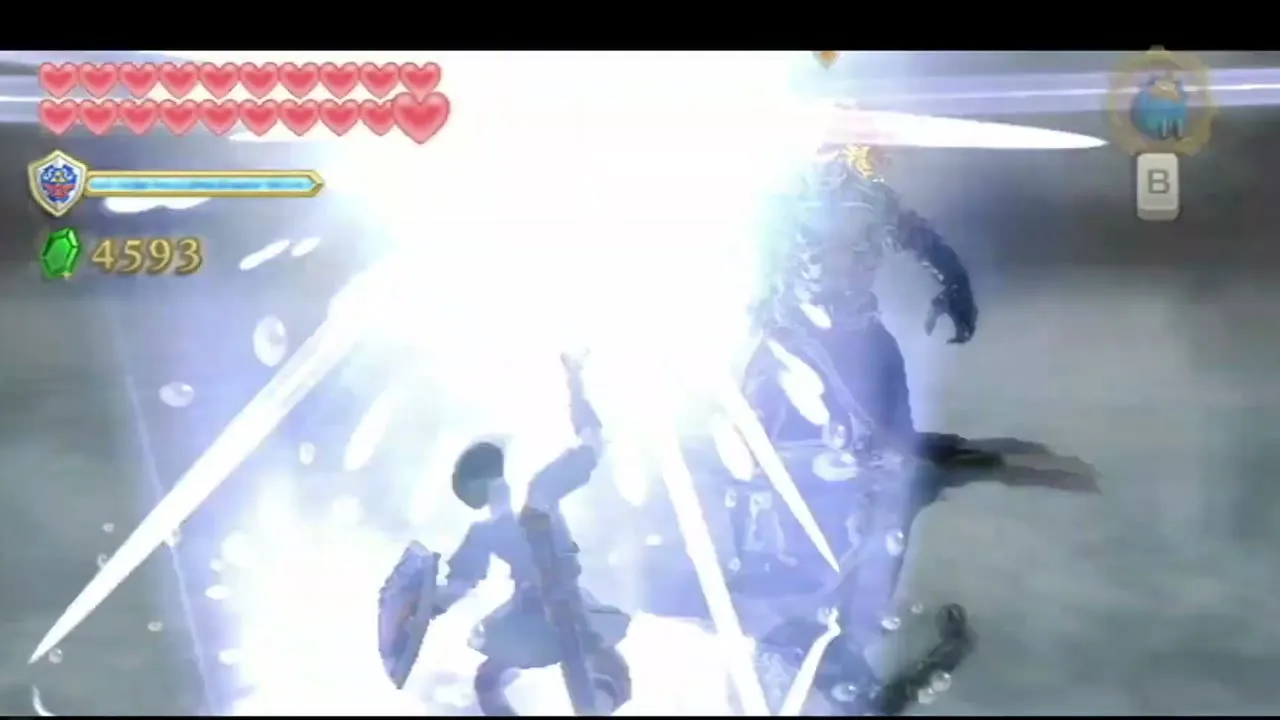
Table of Contents
Before the final battle: what is still open for 100%
Nothing in this section is required. After the wish you can still fly around Skyloft and the Sky to collect, shop and finish quests, so treat this part as a last sweep and move on to the wish when you are done.

Gratitude Crystals still on the board
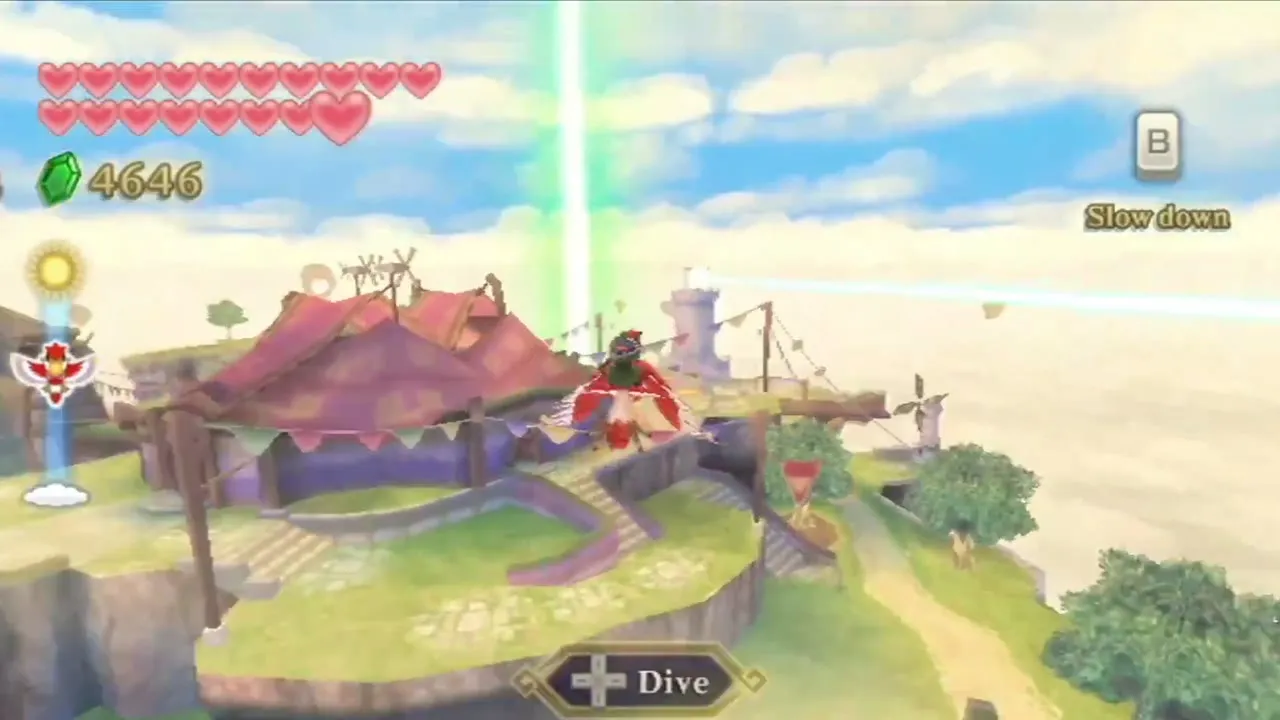
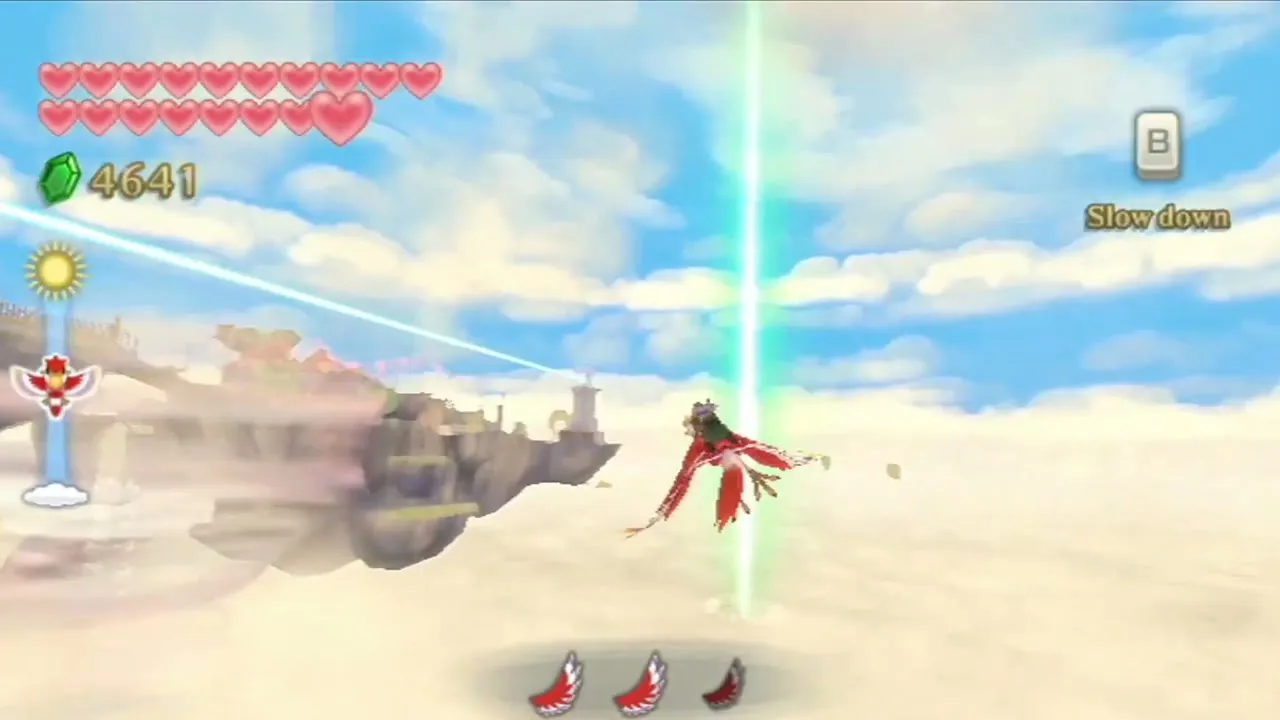
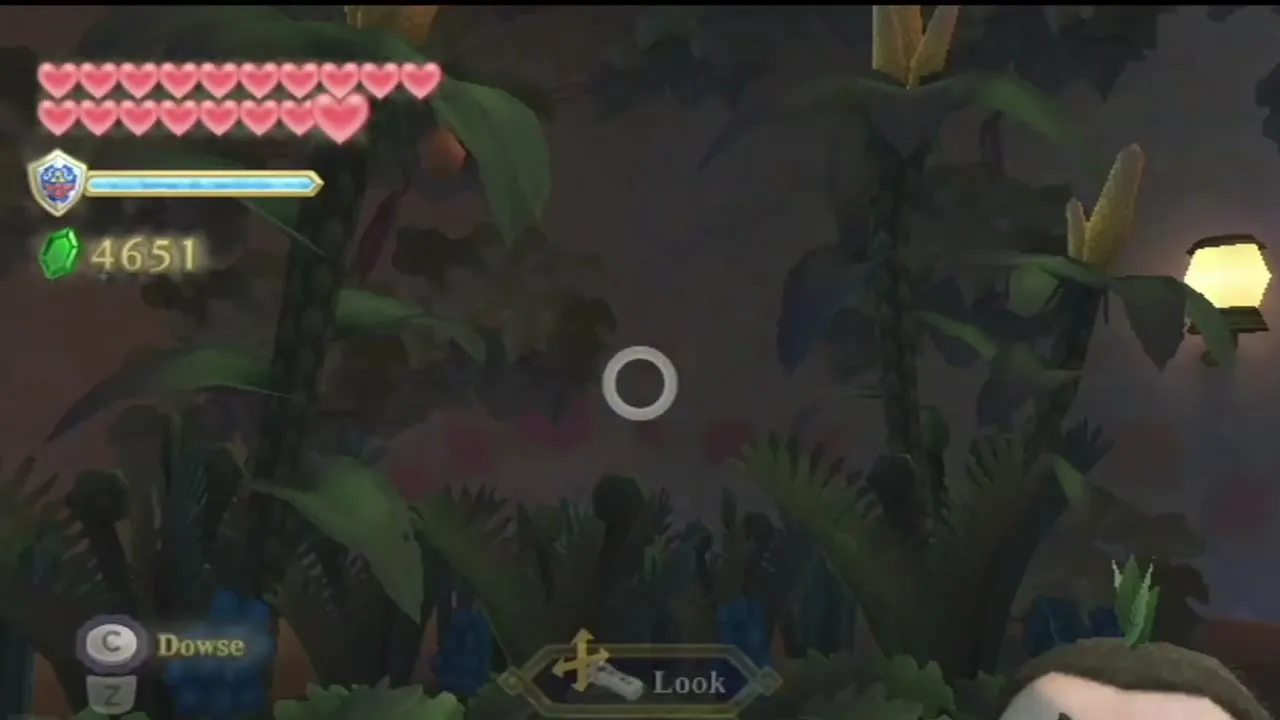
Loose Gratitude Crystals only show up at night, so sleep until night at Link’s house (or in the bed at Beedle’s Airshop) and press C to dowse. Most are in Skyloft: Link’s own desk, the Knight Academy, Zelda’s room, the Sparring Hall rafters, the Light Tower, the Waterfall Cave and Waterfall Island. Open the Collection menu to check your count. The complete list is on the Gratitude Crystals page.
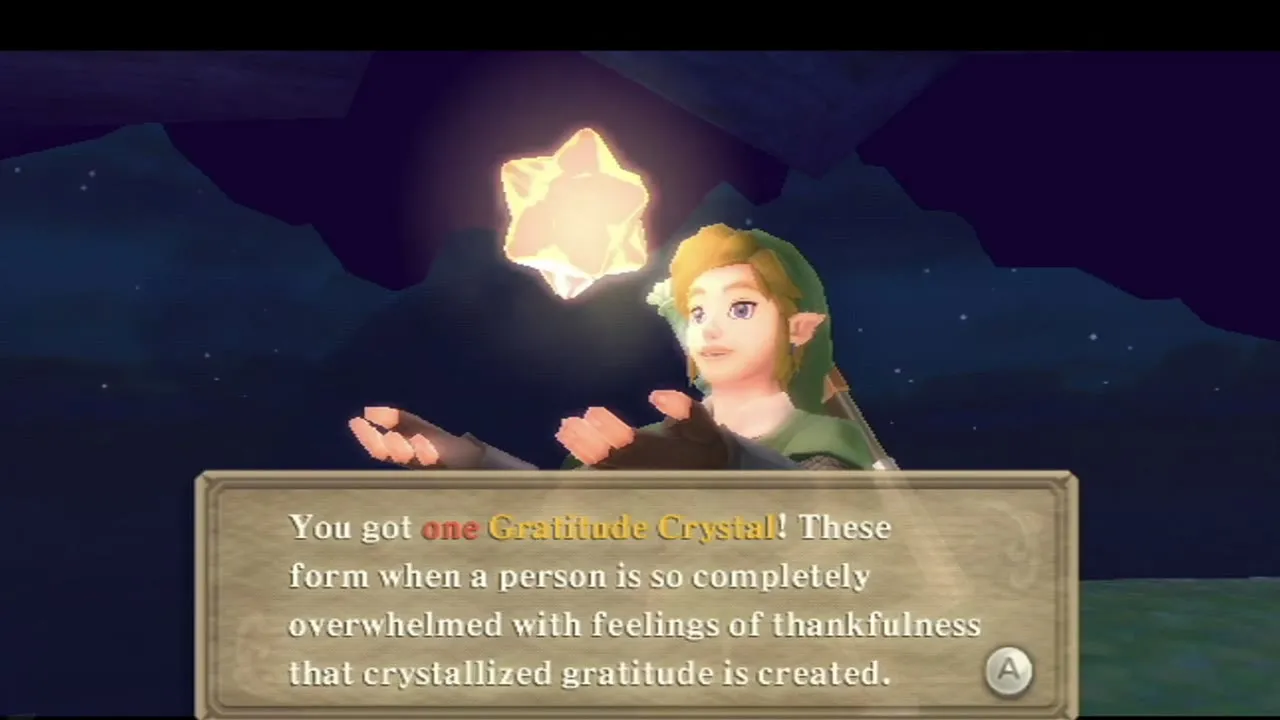
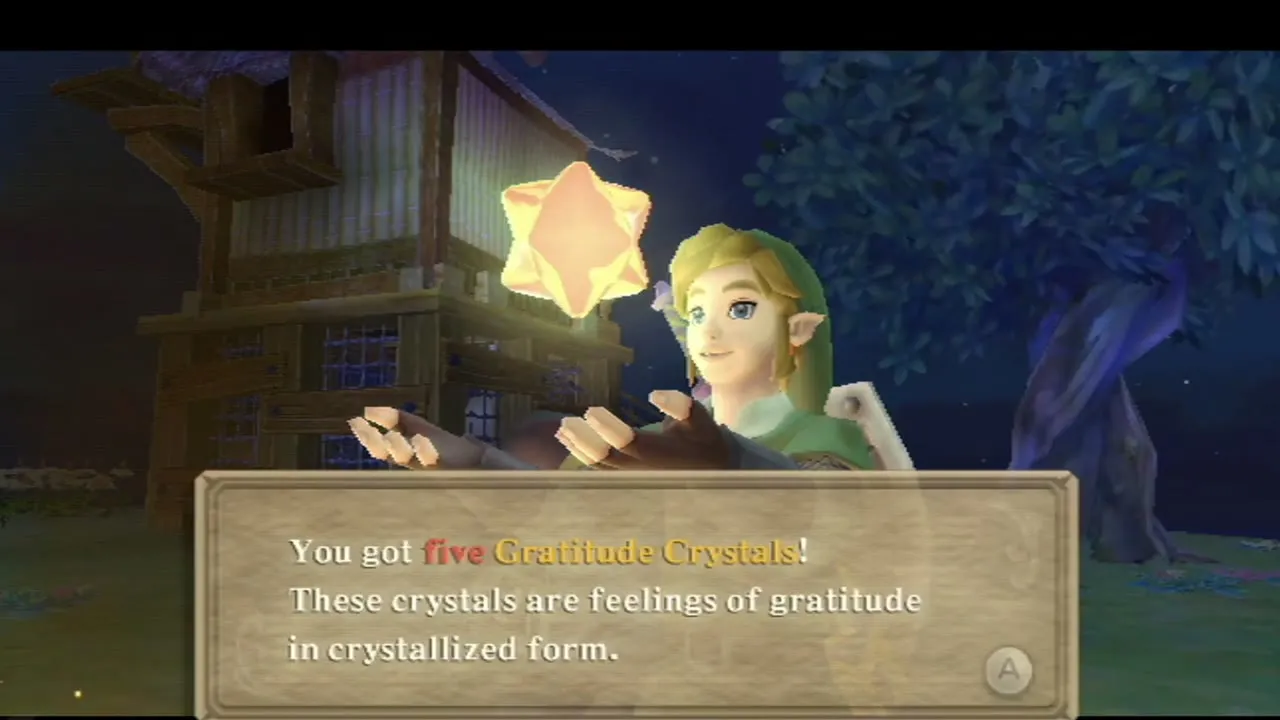
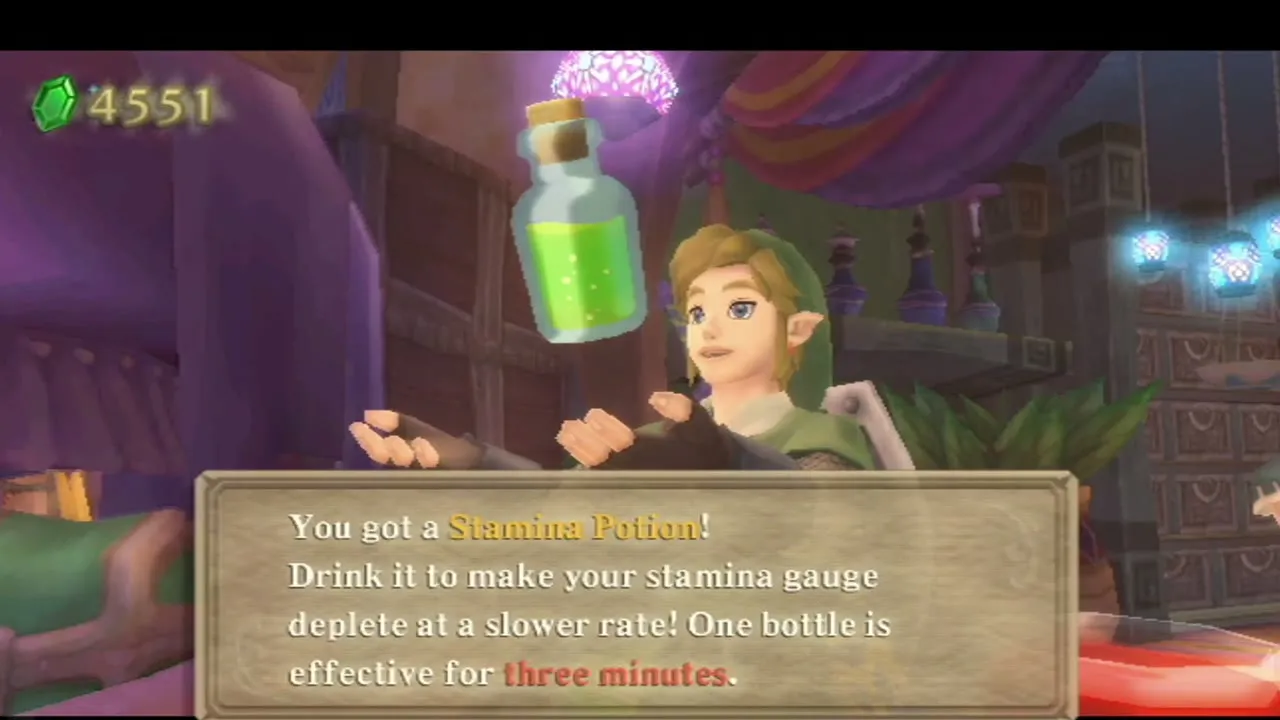
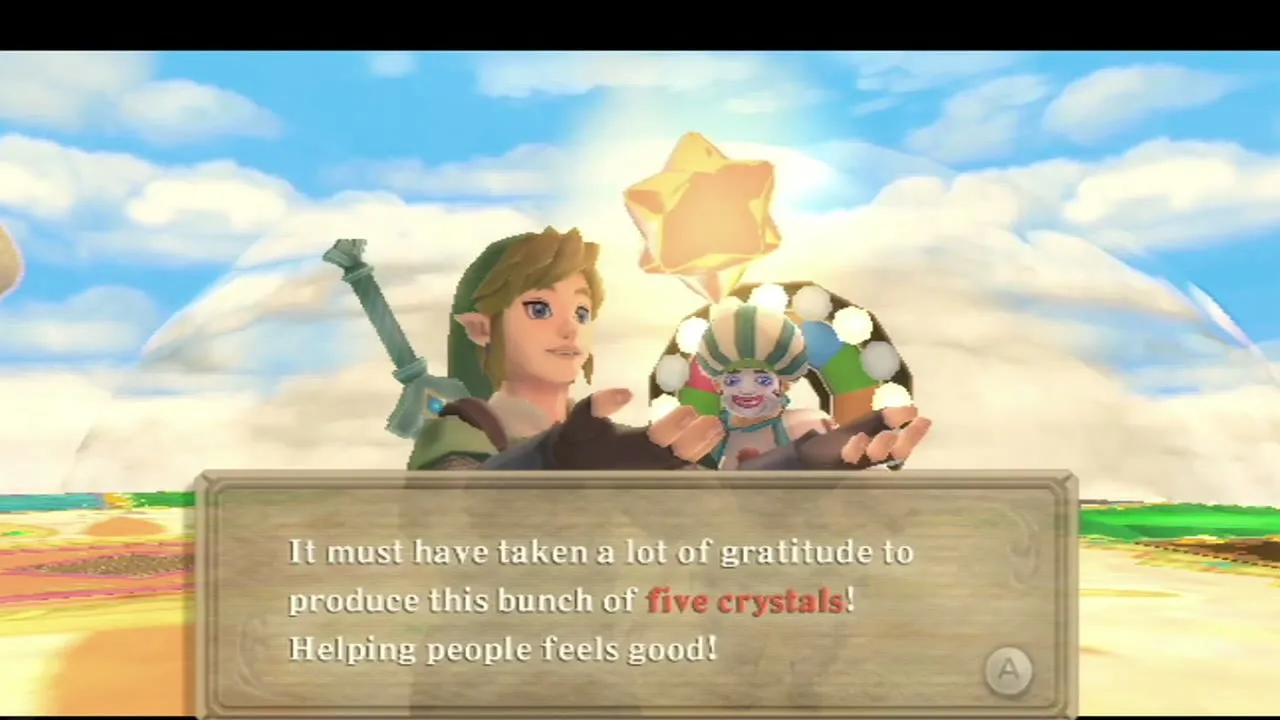
The quest batches pay five crystals each. Fledge’s “I Want to Be Strong” is solved by buying Stamina Potions from Luv’s shop and giving them to Fledge at night over several visits. For Owlan’s rare plant, dowse for Oolo the Kikwi in Faron Woods and call Scrapper to carry him to Owlan. Kina’s pumpkin patch quest needs the Mogma elder Guld from Eldin Volcano, again carried home by Scrapper. Peatrice’s “Do You Love Me?” quest takes several visits to the Item Check and ends at night: accept Peatrice and she pays, refuse and her father Peater pays instead.
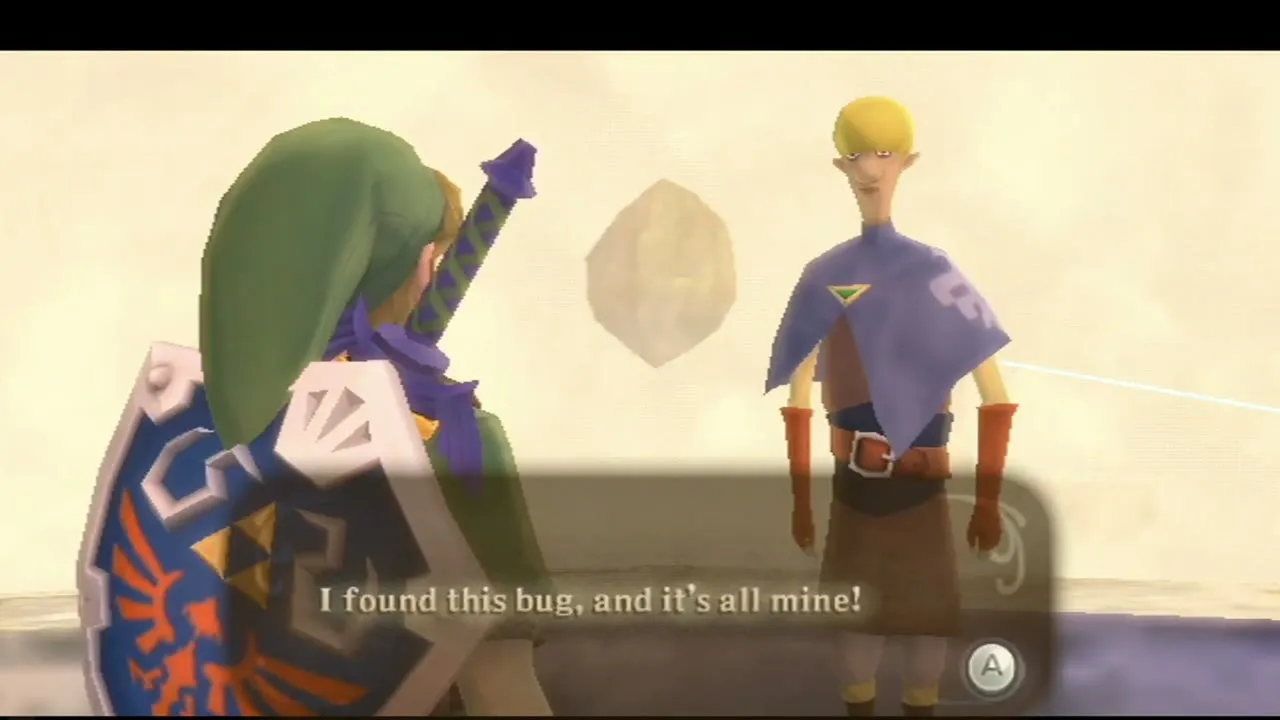
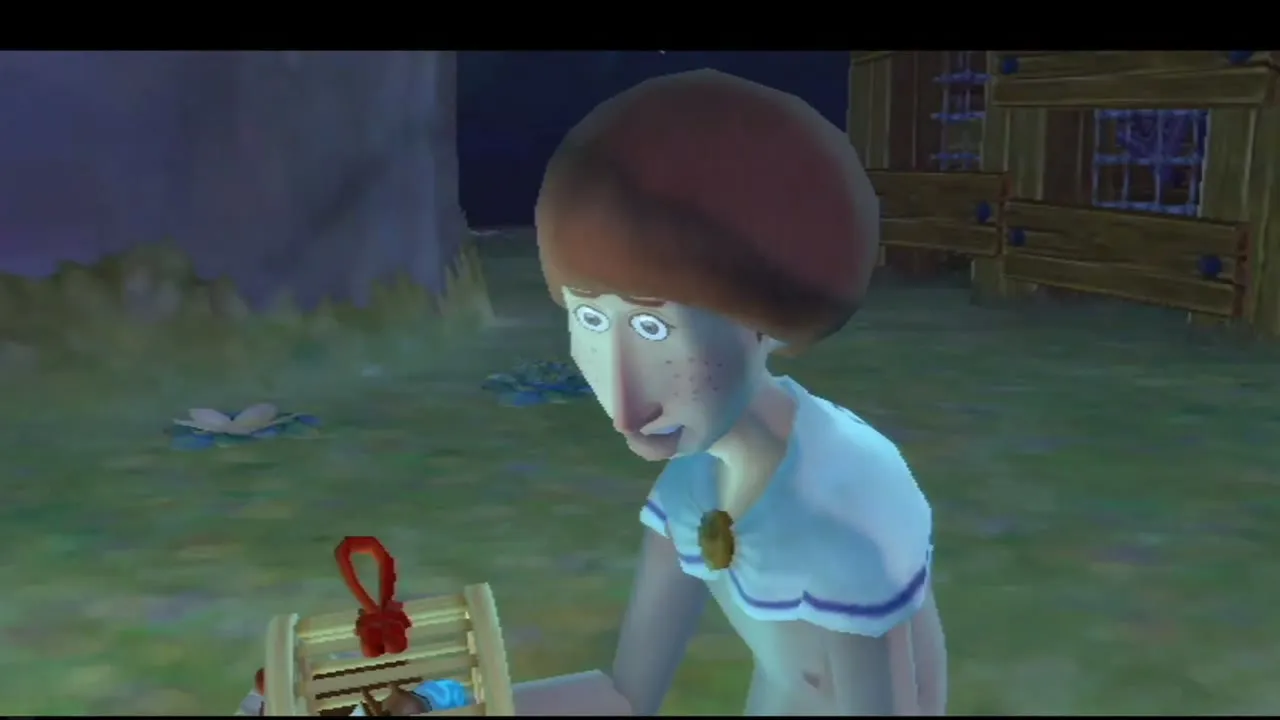
Beedle’s quest is the longest. Once Strich has settled on Bug Rock, sleep in the bed at Beedle’s Airshop and Beedle tells you that his pet, the Horned Colossus Beetle, is missing. Strich has it and holds it as the prize for Bug Heaven on Bug Rock in the Thunderhead. Pay 50 Rupees for the Bug Wrangler course (the Bug Beginner course costs 20), catch the 10 bugs he names in under three minutes and you get Beedle’s Insect Cage. Carry it back to Beedle for five crystals and a half-price item in his shop. The Side Quests page lists when each quest opens.
Batreaux’s rewards
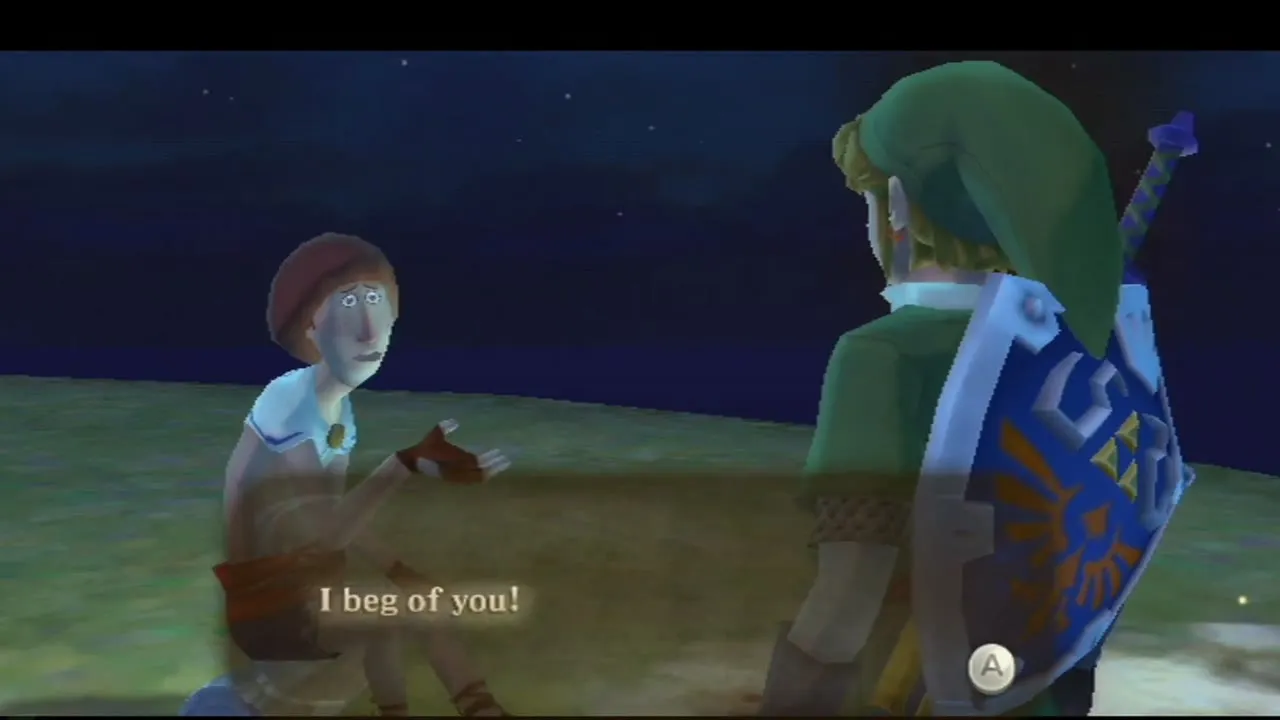
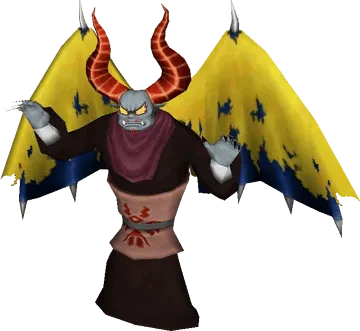
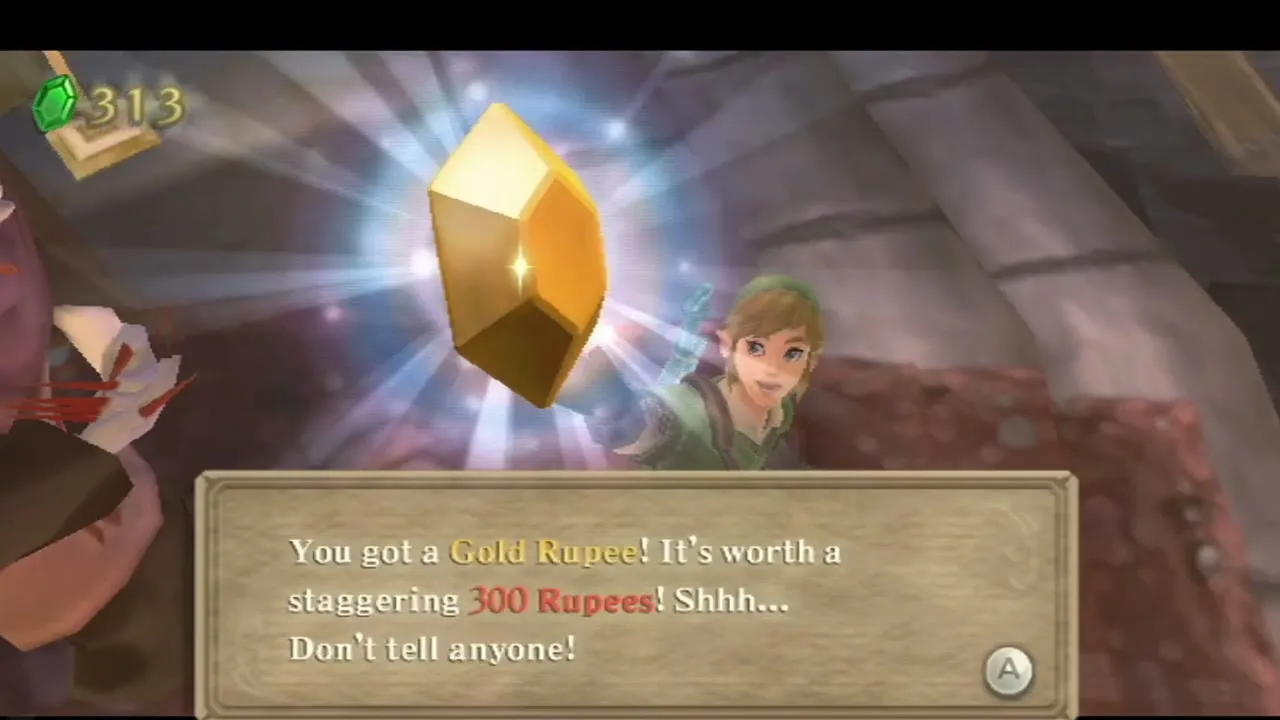
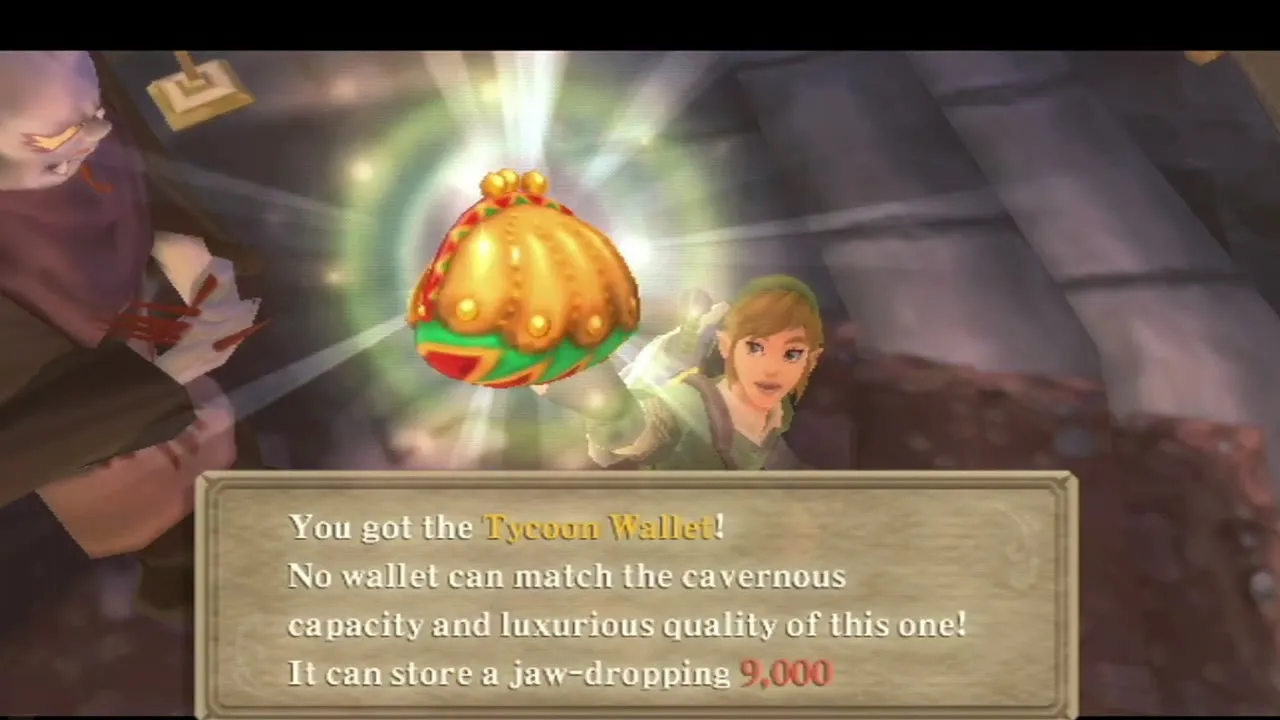
Batreaux’s house is in Skyloft. Hand in crystals whenever you pass: 40 pays a Gold Rupee, 50 the Giant Wallet (5,000 Rupees), 70 two Gold Rupees and 80 the Tycoon Wallet (9,000 Rupees). After the last gift Batreaux has what he wanted and becomes human. The 30-crystal visit opened a chest with the Cursed Medal, which you can leave alone; while you carry it you cannot open your Adventure Pouch.
Pieces of Heart in Skyloft
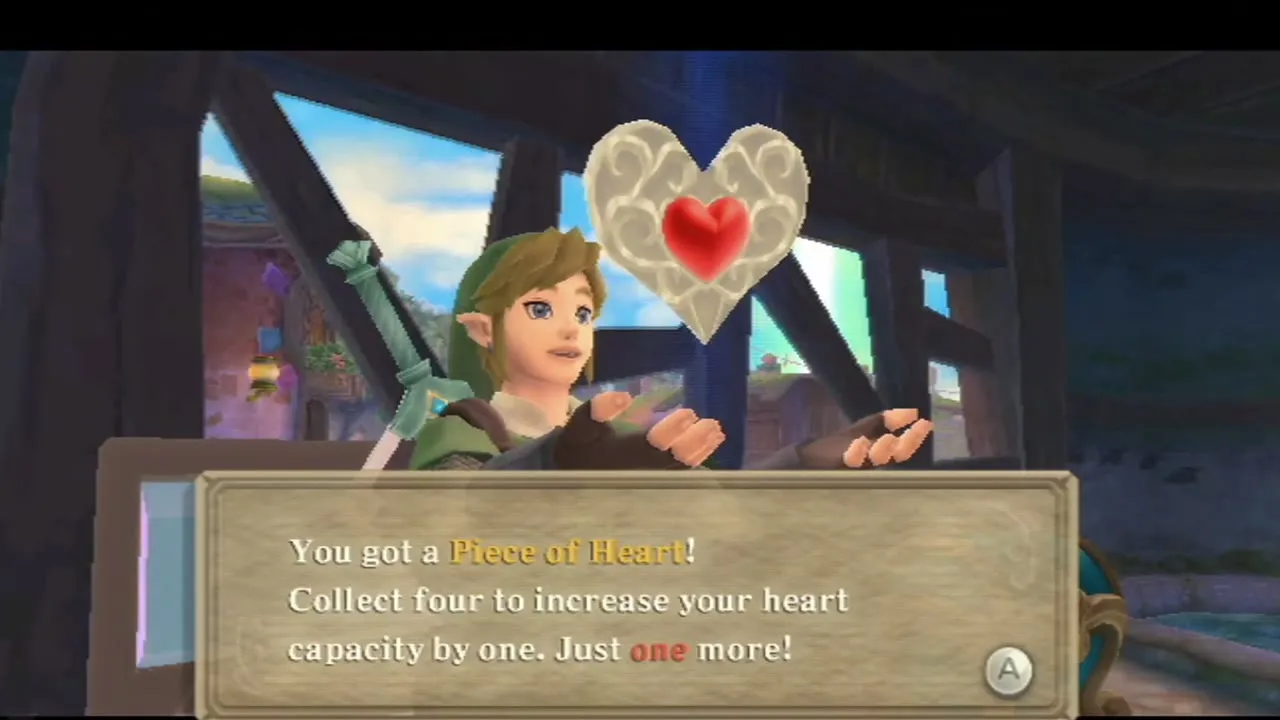
With the Clawshots you can reach Zelda’s room: climb to the Knight Academy roof, aim at the chimney, drop in and open the wardrobe for a Piece of Heart. The Skyloft mill chest, opened by Goddess Cube 9 in Eldin and reached by swimming the tunnel with the Water Dragon’s Scale, holds another. See Heart Piece Locations for all 24 and Goddess Cubes for the chest every cube opens.

Fun Fun Island and the Party Wheel quest
Dodoh, who runs Fun Fun Island, has lost his Party Wheel below the clouds. Agree to look for it, set it as your dowsing target and search the south of the Lanayru Desert. Bomb the rocks, strike the Timeshift Stone, climb the vines and pull the structure aside to find the wheel. Call Scrapper to carry it home and Dodoh pays five crystals and opens Dodoh’s High Dive.
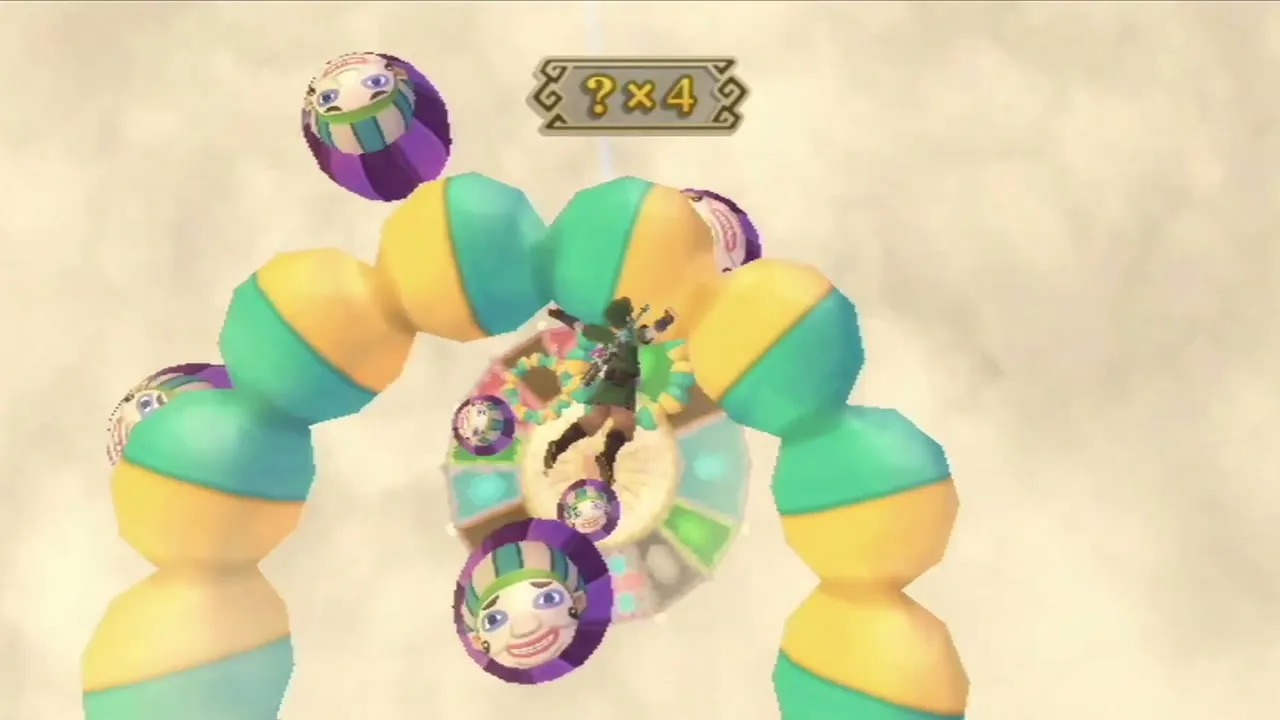
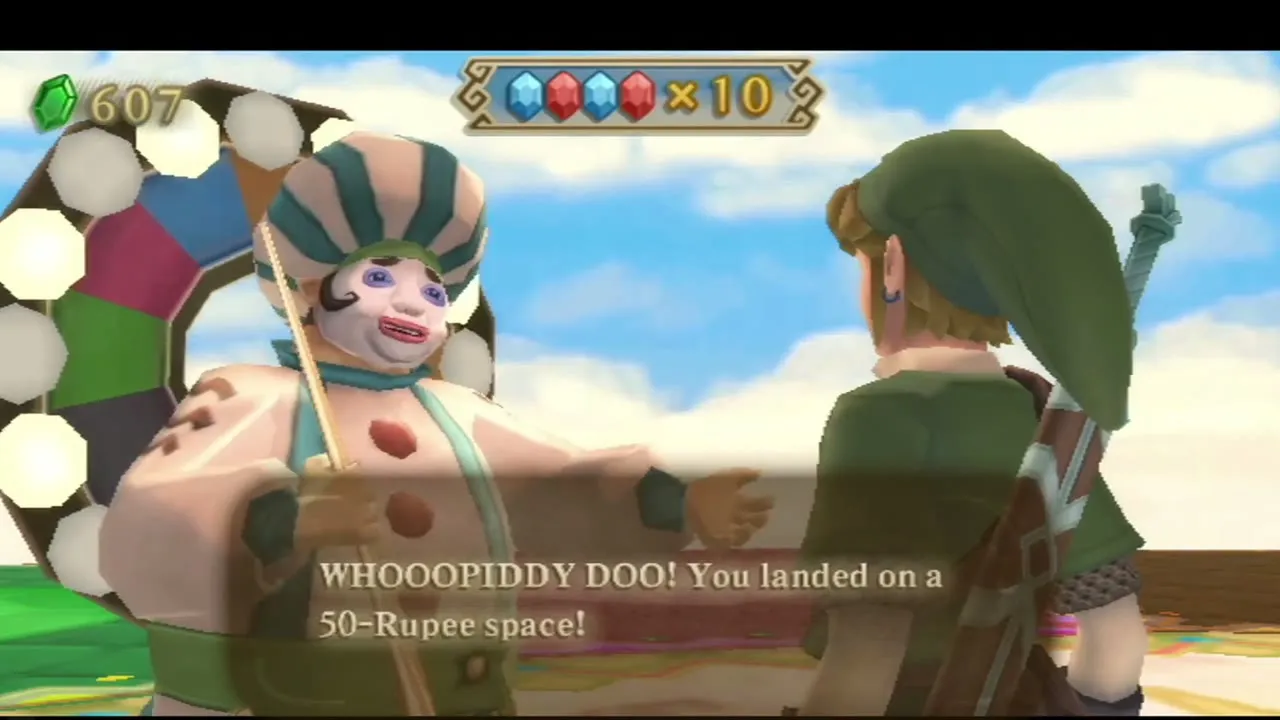
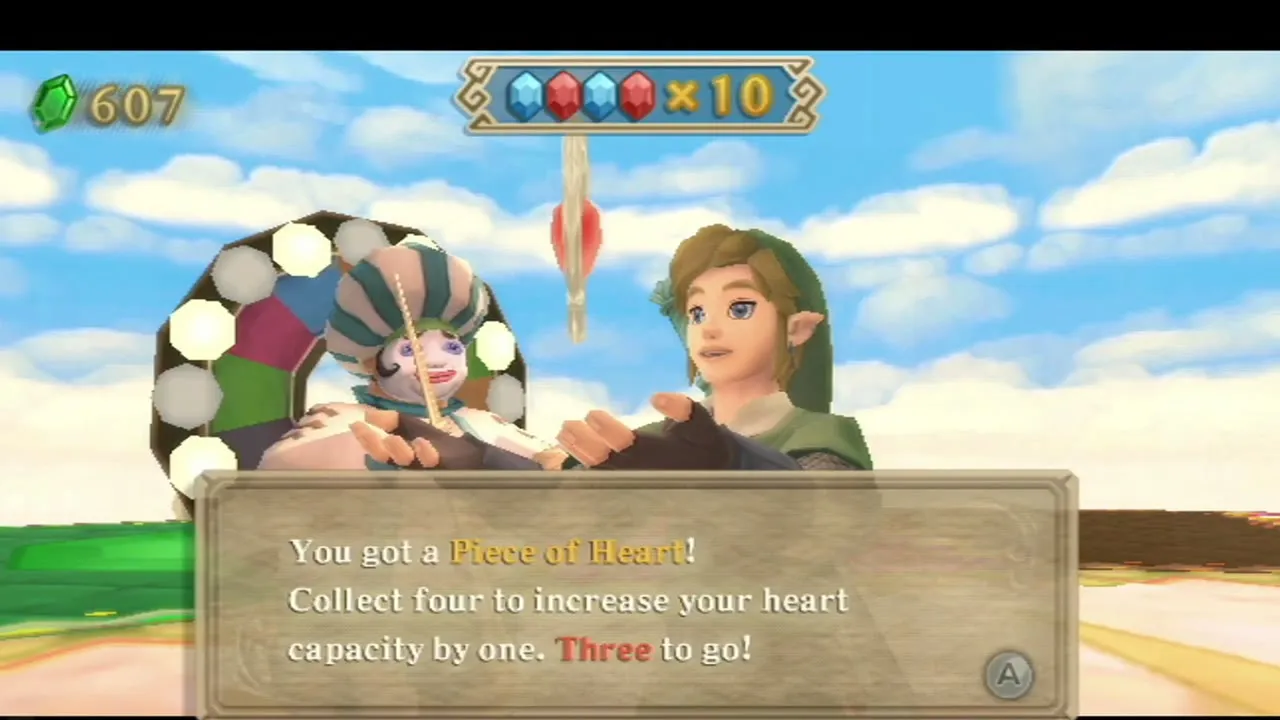
Dodoh’s High Dive costs 20 Rupees a try. Dive onto a spinning board, pass through the rings to raise the multiplier, avoid the Dodoh Balls and land on a coloured space. A 50-Rupee space with a x10 multiplier pays a Piece of Heart, once. The Mini-Games page covers Thrill Digger, Clean Cut, Rickety Coaster, Pumpkin Pull and the Lightning Round.

Last shopping and potion check
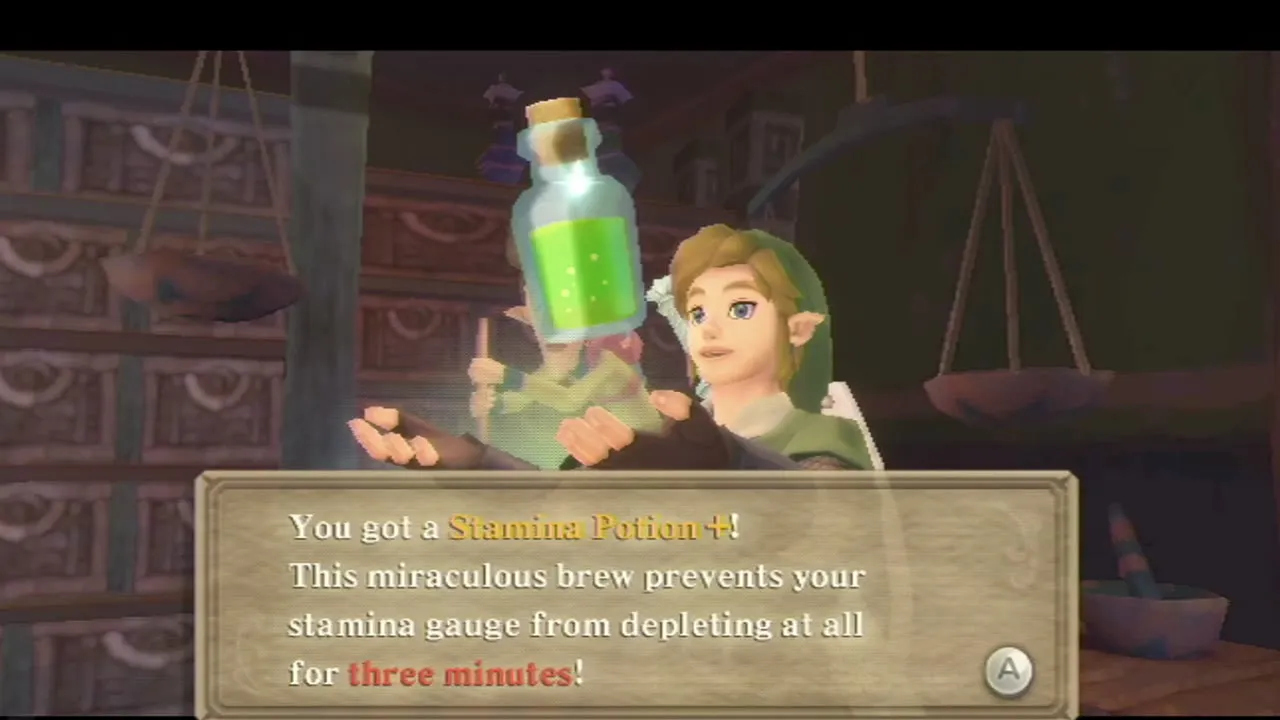
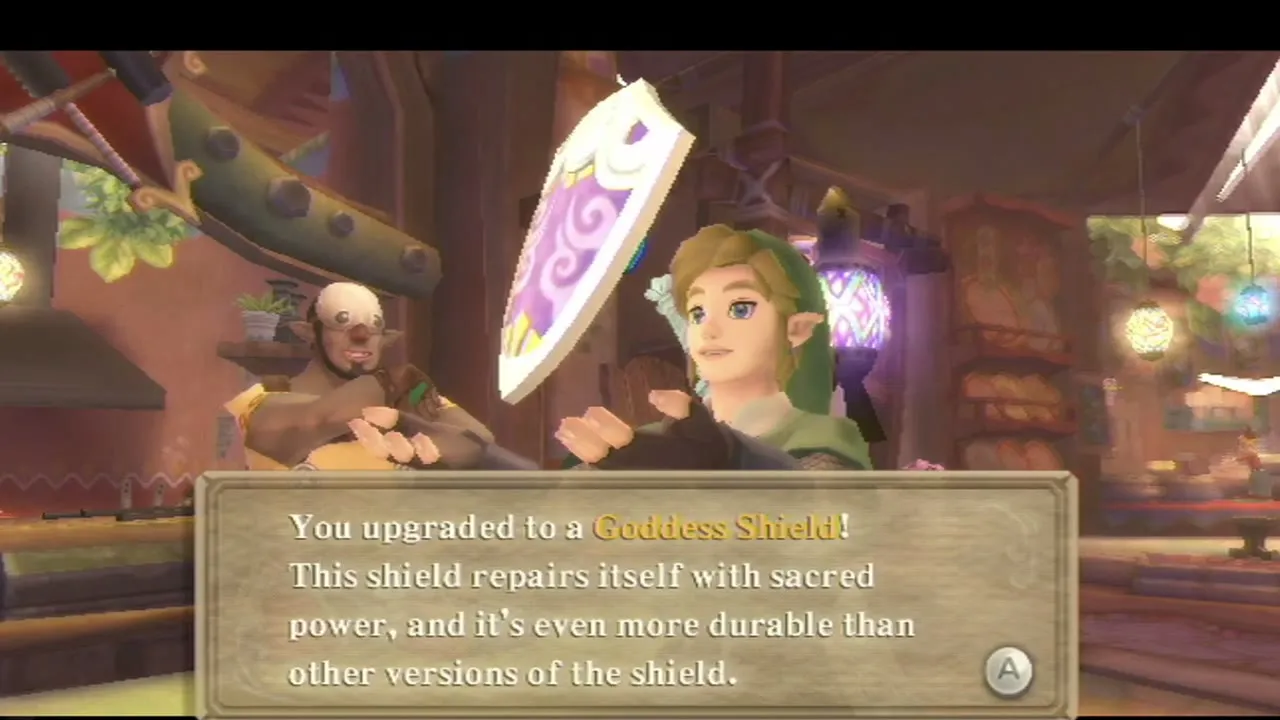
Buy Heart Potions at Luv’s shop and upgrade them at Bertie’s Infusion Shop, and keep a Revitalizing Potion if you want your shield repaired. At Gondo’s Scrap Shop, upgrade the shield you plan to bring. Lanayru’s Lightning Round, played at the Thunder Dragon in Lanayru Gorge, rewards the indestructible Hylian Shield for eight wins in a row, and it is the best shield for the finale. The Item and Equipment Upgrades page lists every upgrade.
The wish at the Statue of the Goddess
Make the wish
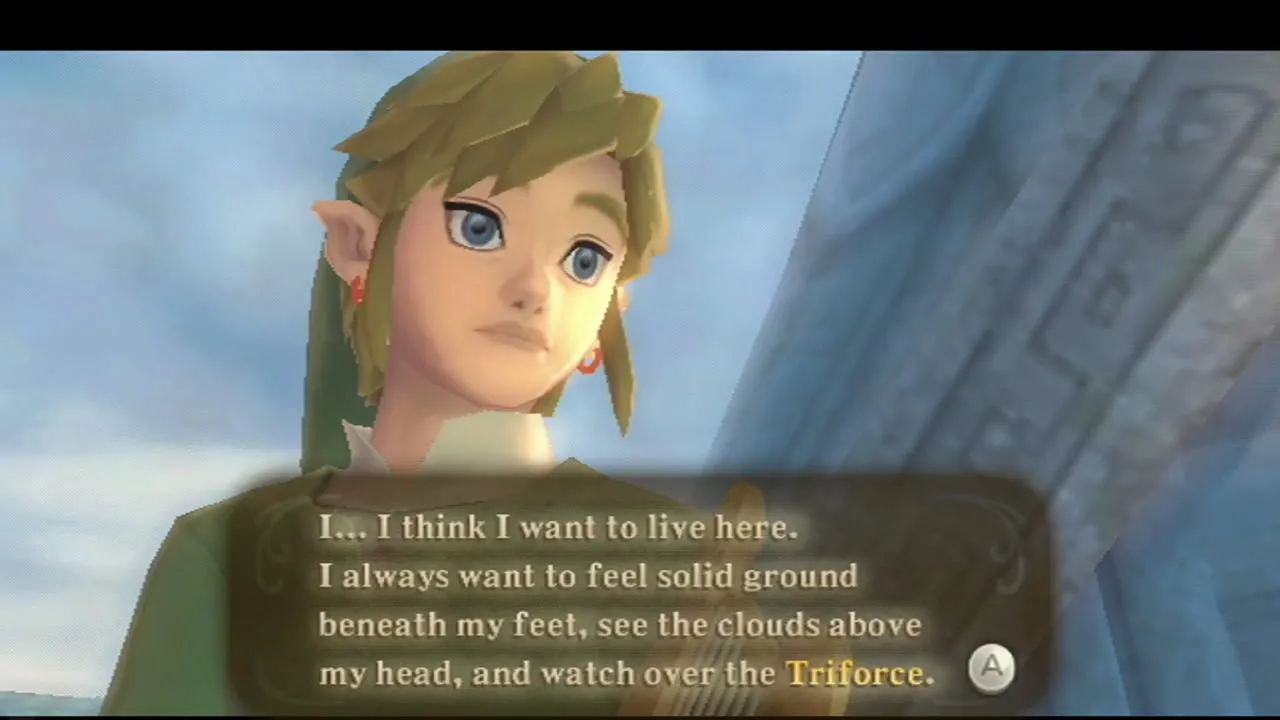
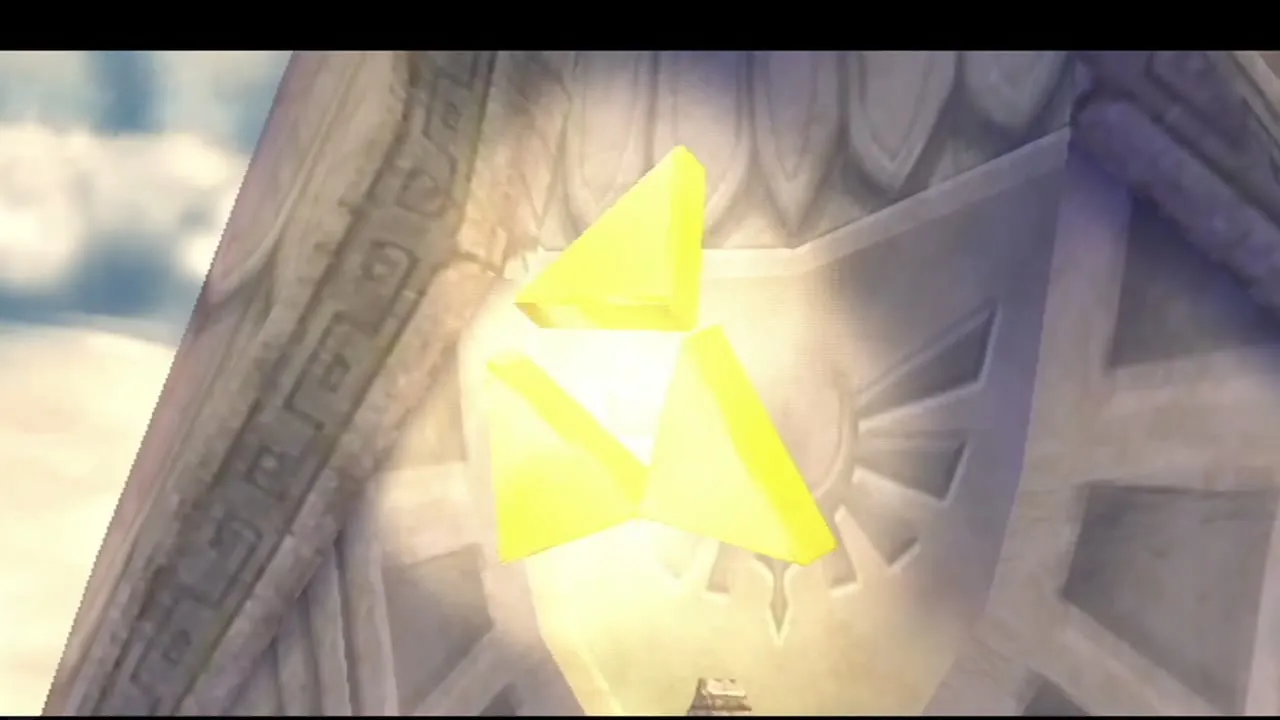
Once you have taken the last Triforce piece in Sky Keep, you are carried to the altar in the Statue of the Goddess. Fi tells you to focus, and Link wishes for the destruction of Demise. The Triforce grants it. Fi reports that Demise has been eradicated and that your prayers to the Triforce have been heard.
The Isle of the Goddess returns
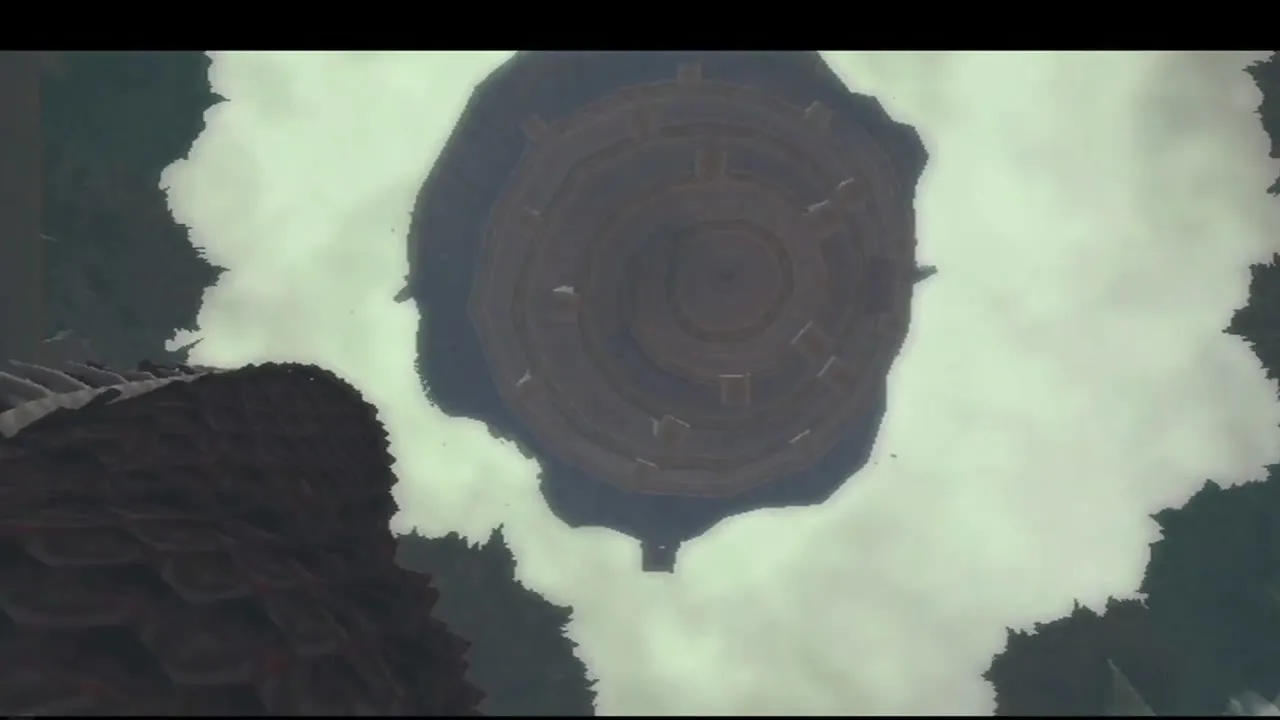
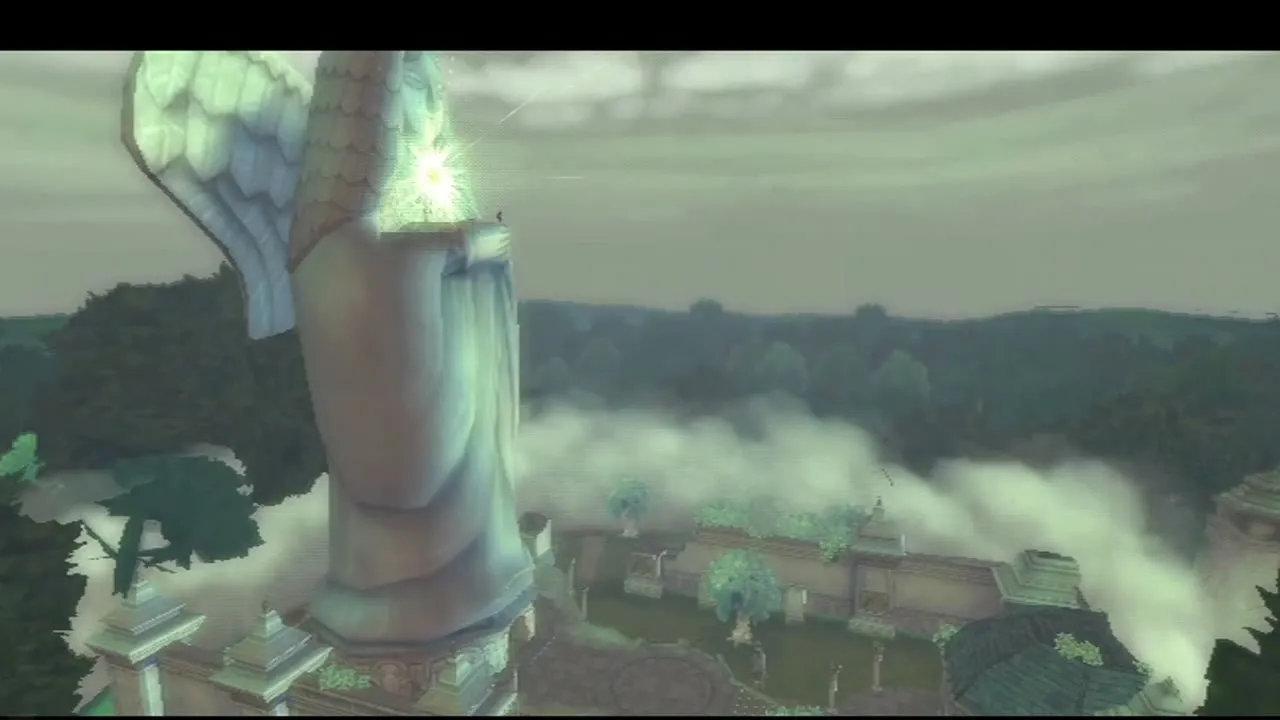
The statue and its island break loose from Skyloft and come down on the Sealed Grounds. They land on the pit where The Imprisoned was rising and crush it for good. Sky Keep can no longer be entered afterwards, so finish anything you wanted there before the wish.
Zelda wakes and Ghirahim returns
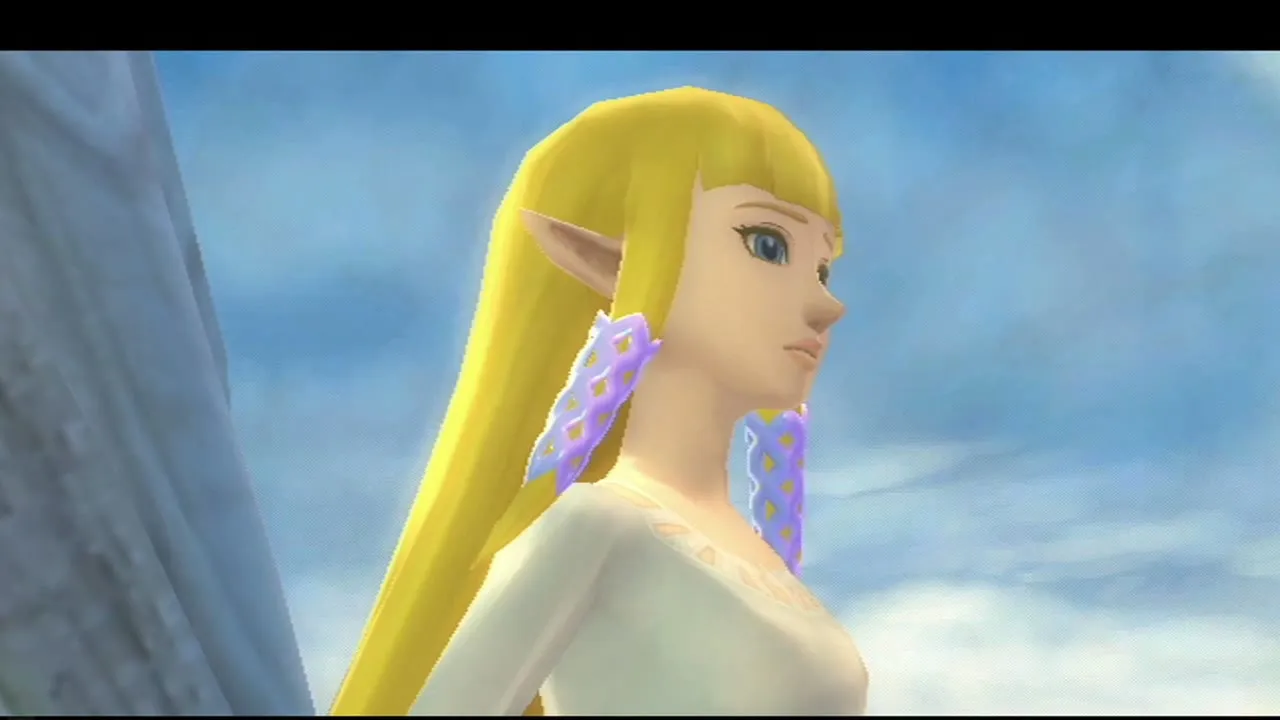
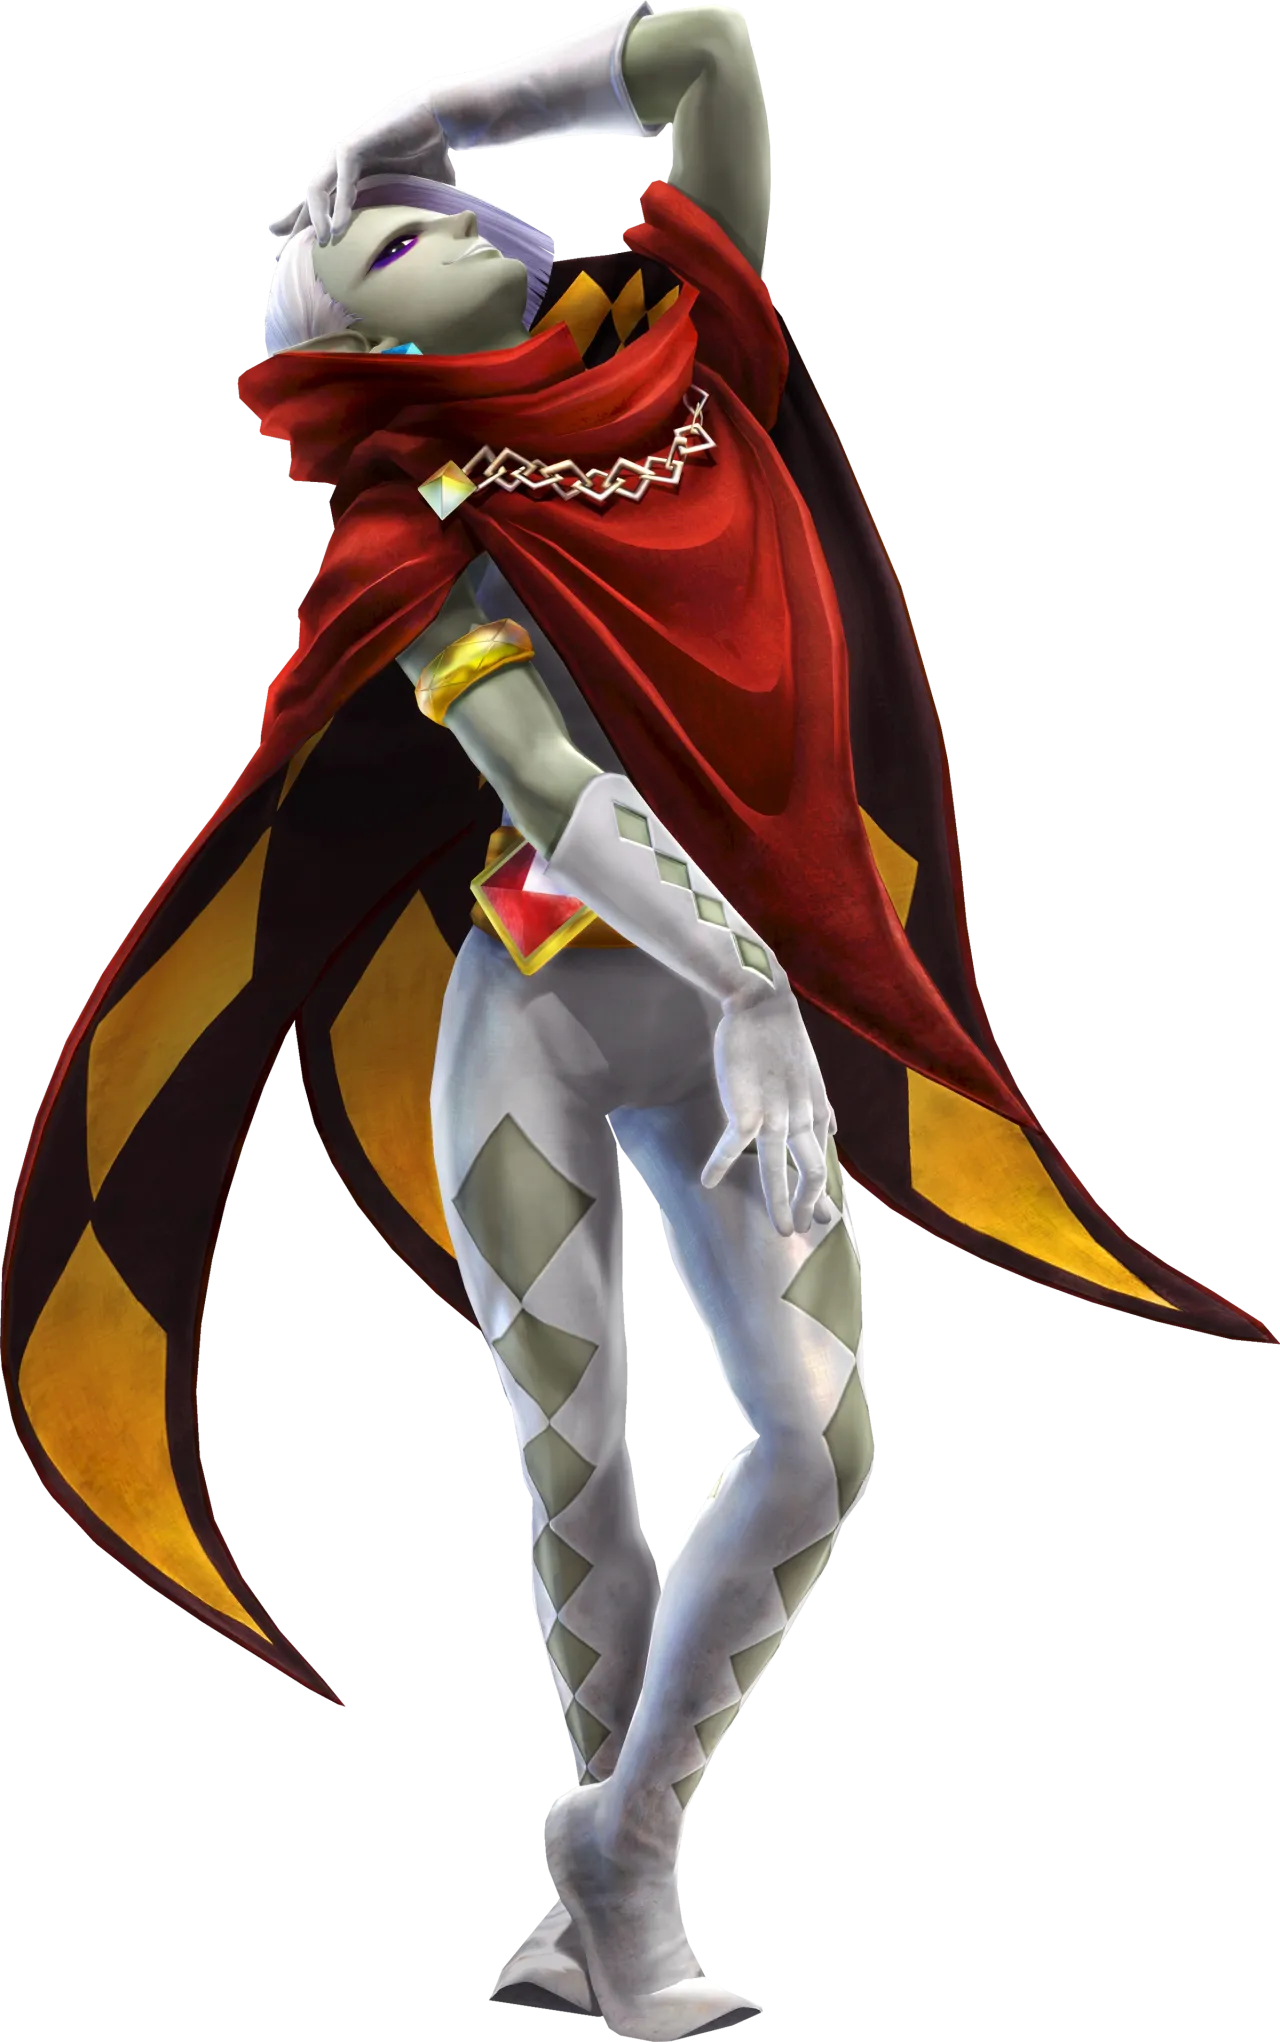
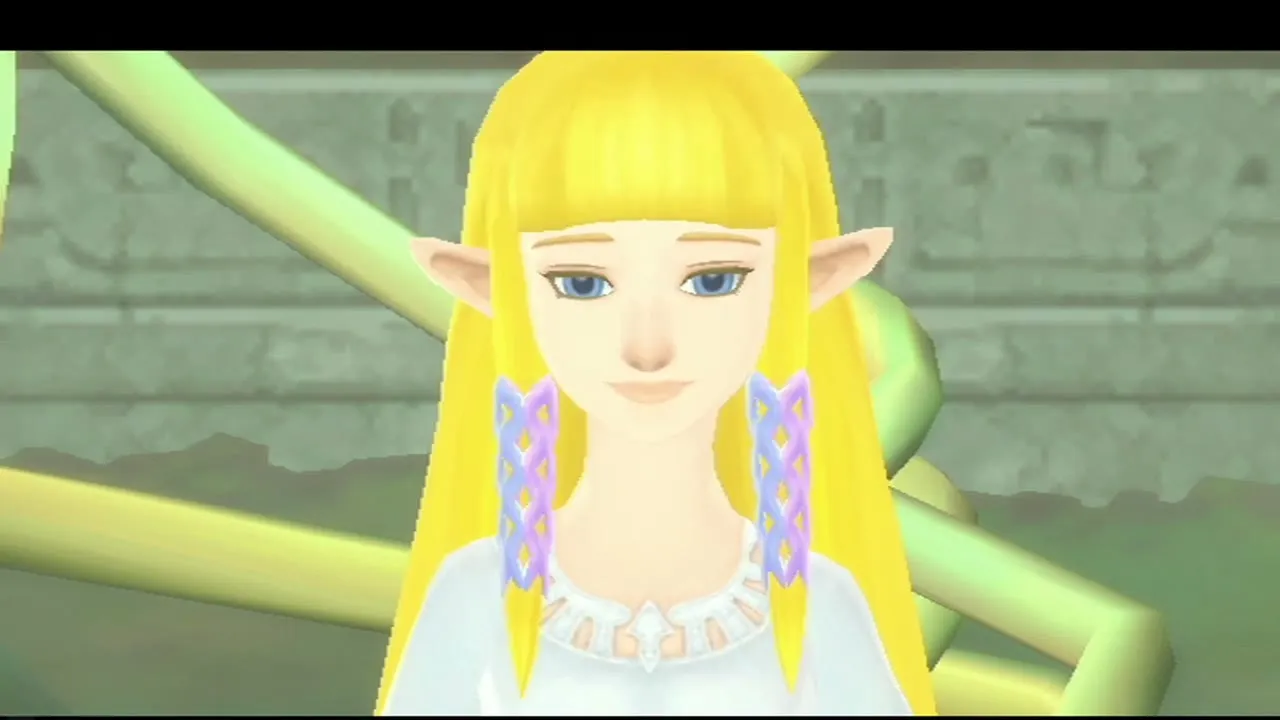
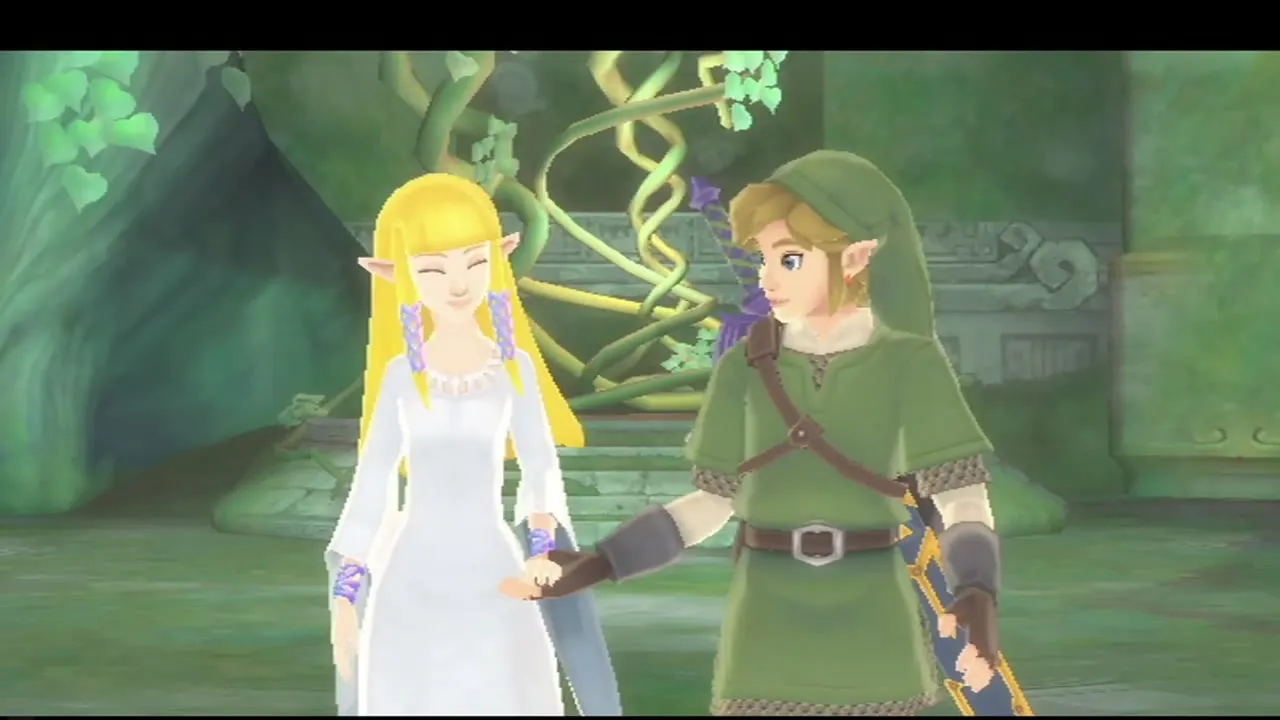
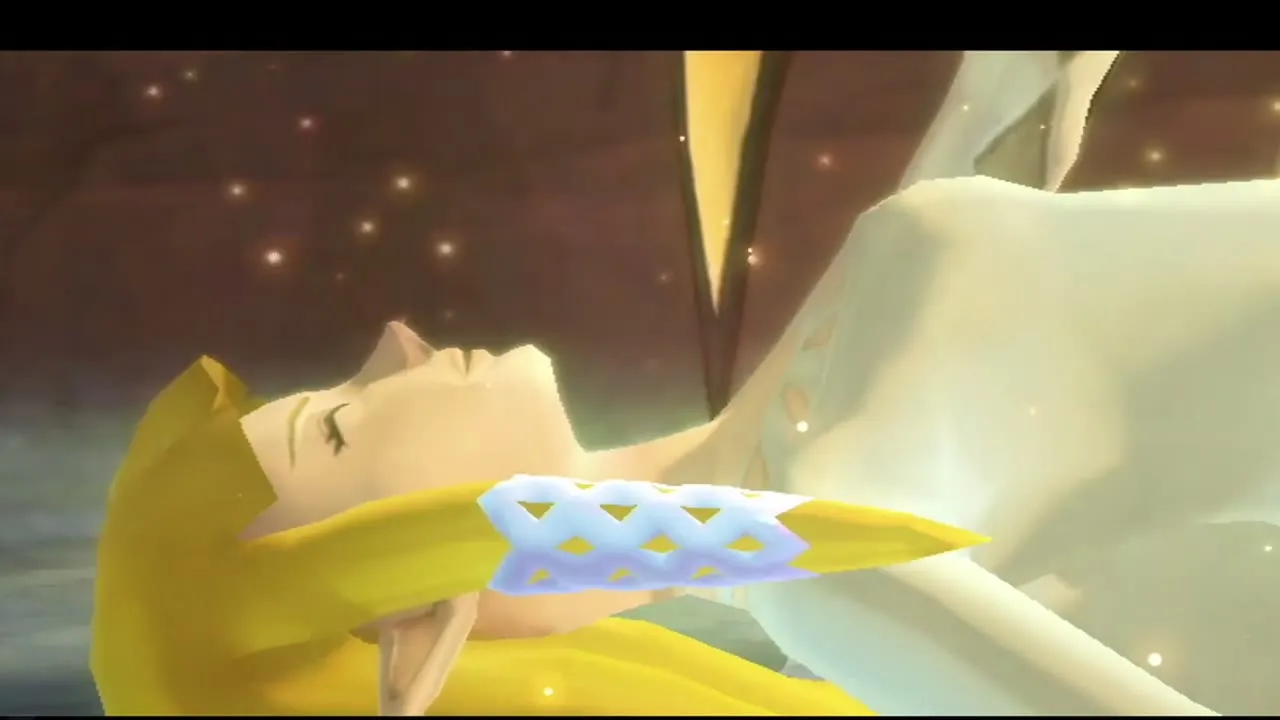
Walk into the Sealed Temple. Zelda wakes from her long sleep and meets you. Ghirahim appears, knocks Link down and carries Zelda through the Gate of Time to the distant past, where he means to revive Demise with her soul. Fi tells you that you must follow, so get up and go after them.
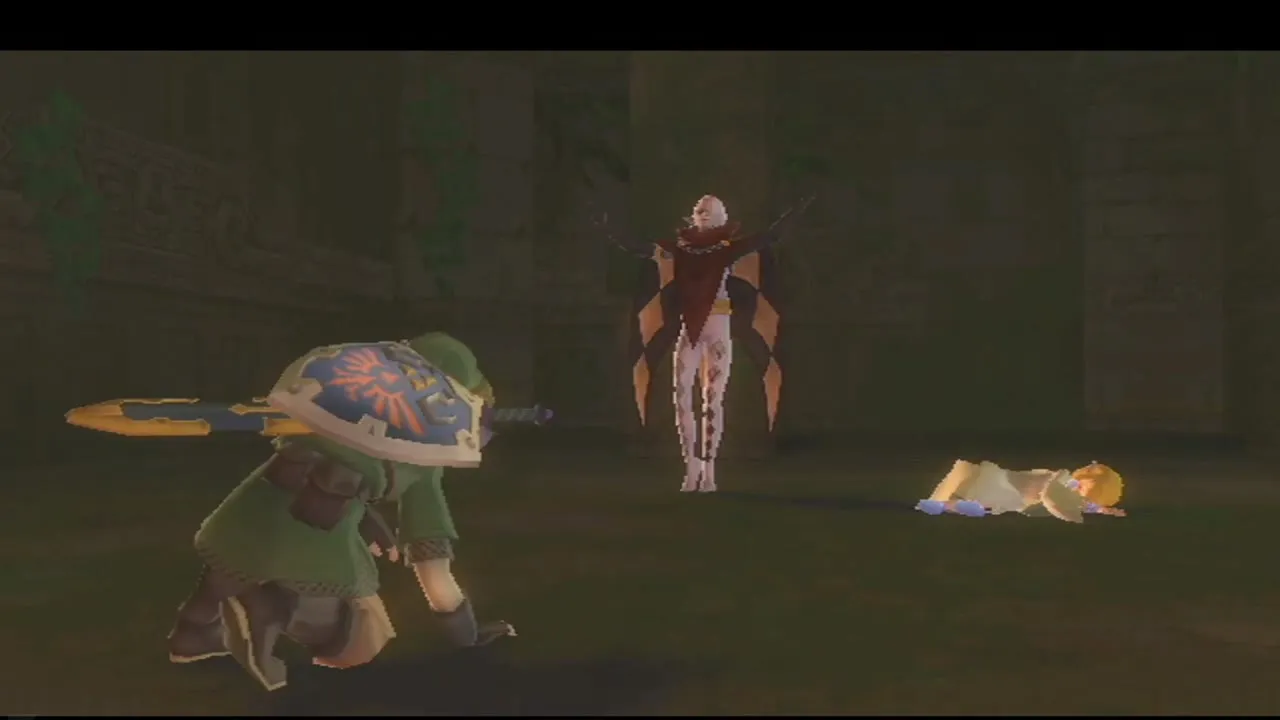
The Gate of Time and the Temple of Hylia
Step into the Gate of Time
The Gate of Time lets you through and back. If you want potions, a repaired shield or the optional quests above, you can return to Skyloft before the final fight. When you are ready, walk up to the glowing gate and step in.
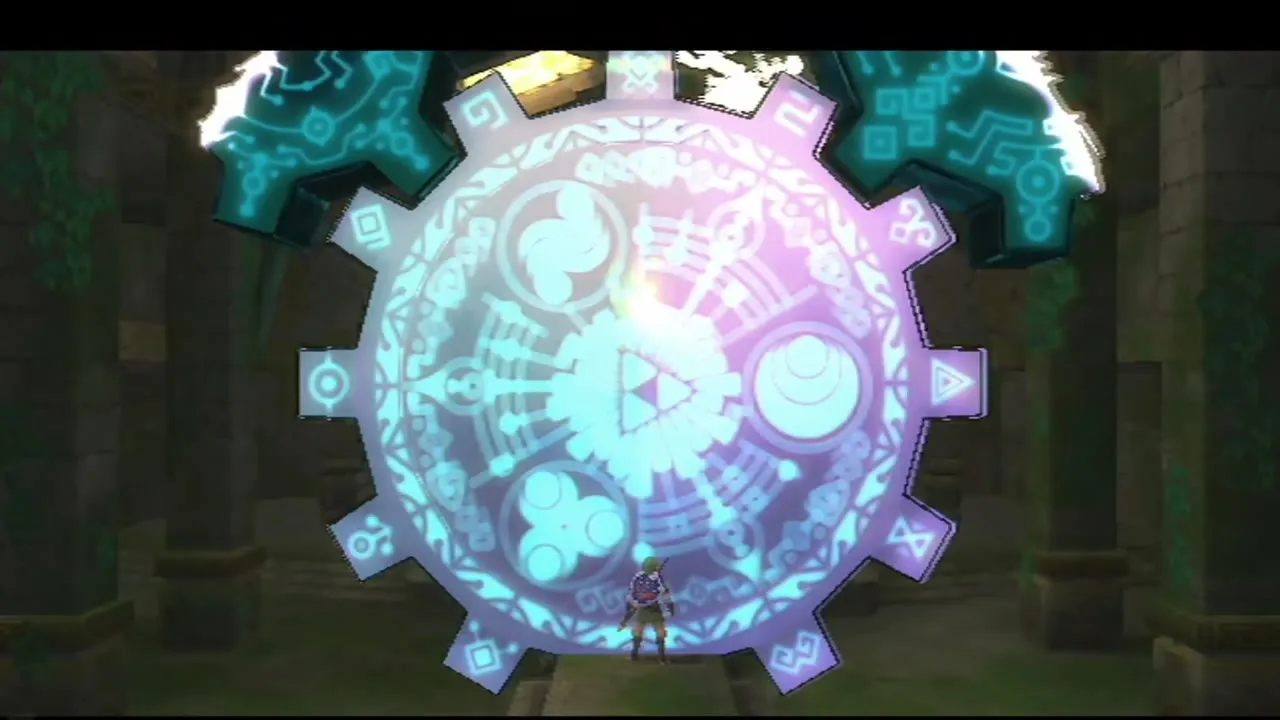
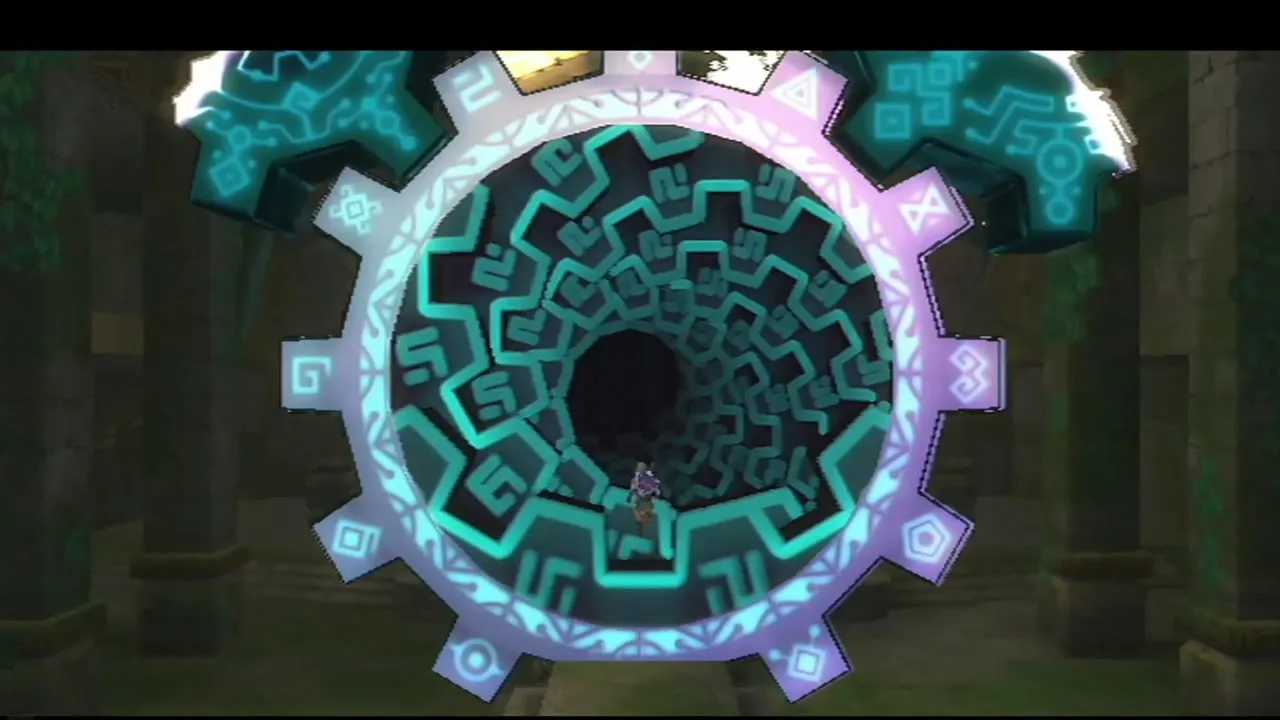
Heal and save in the Temple of Hylia
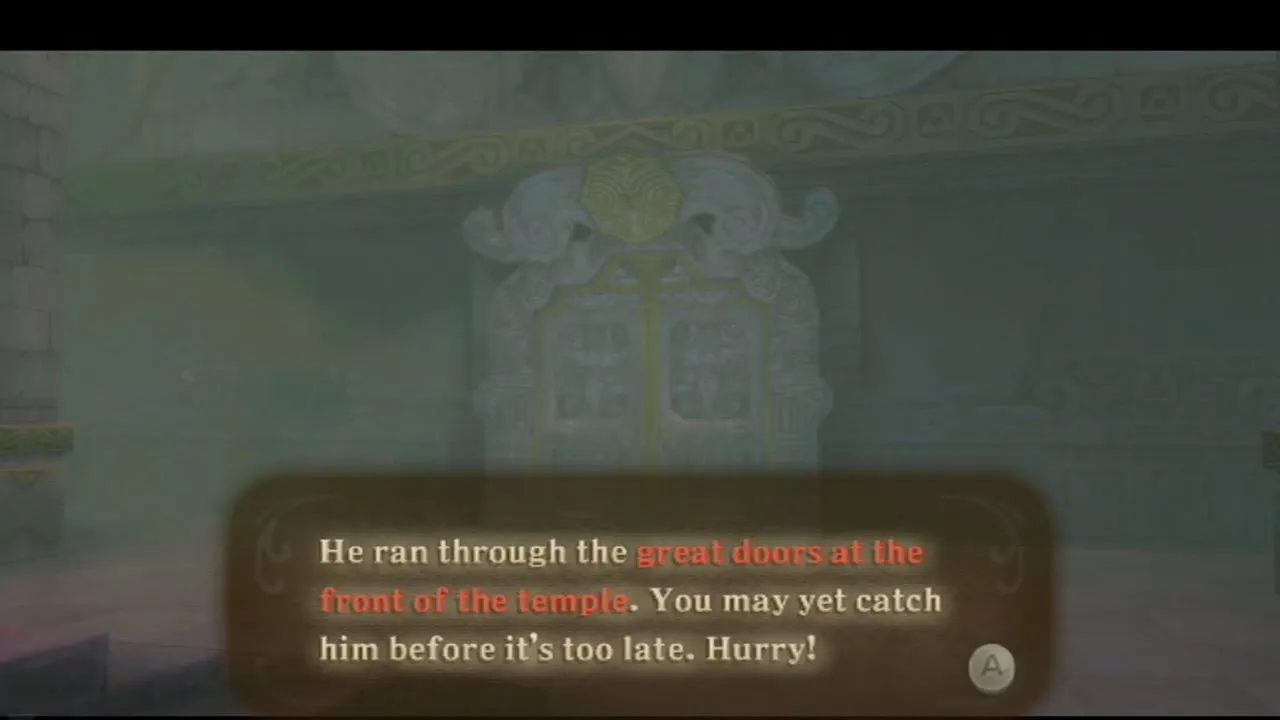
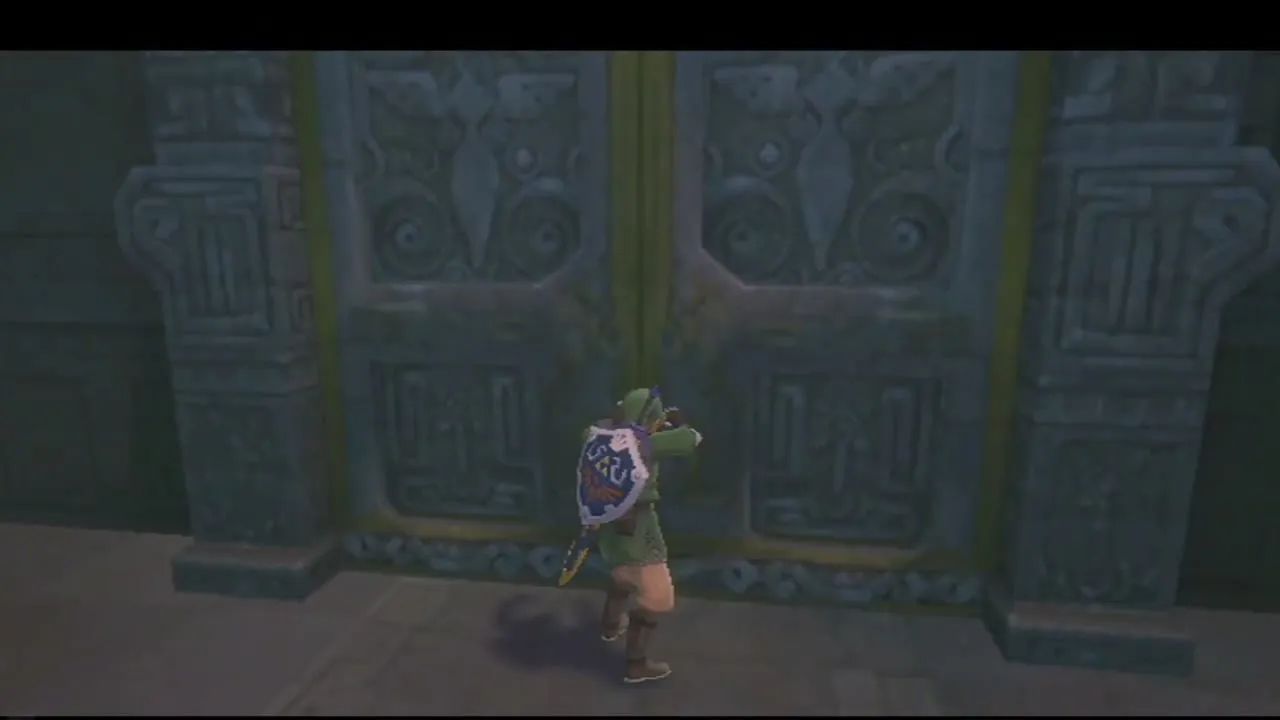
You arrive in the Temple of Hylia, in the past. Ghirahim has gone out through the great doors at the front. Before you follow, sit in the chair in the hall to refill your hearts and save at the Bird Statue next to it. You will use both again after the fights in the next sections.
The Horde battle in Hylia’s Realm
Out through the great doors
Step out into a green field that slopes down into a pit. Zelda lies at the bottom, and Ghirahim performs his ritual over her as the sky darkens. He orders his horde to hold you off while the spell finishes. Run down the field; the fighting begins at once.
Break through the yellow barriers
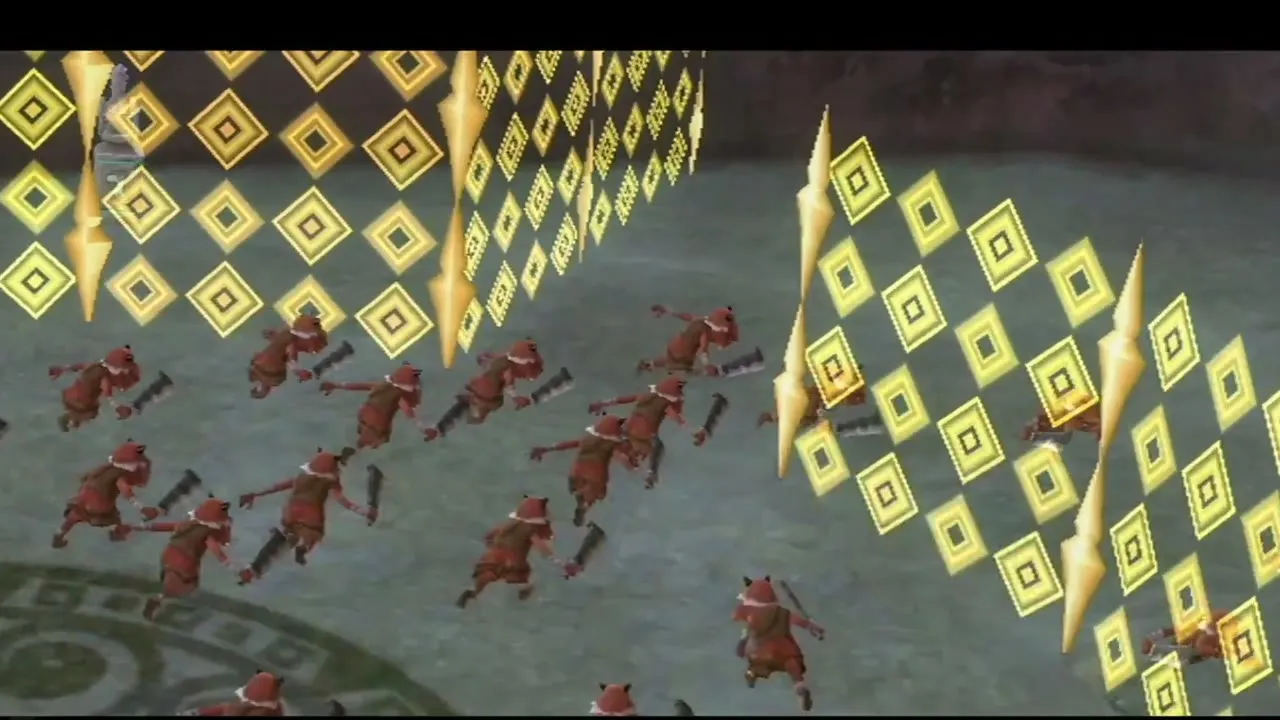
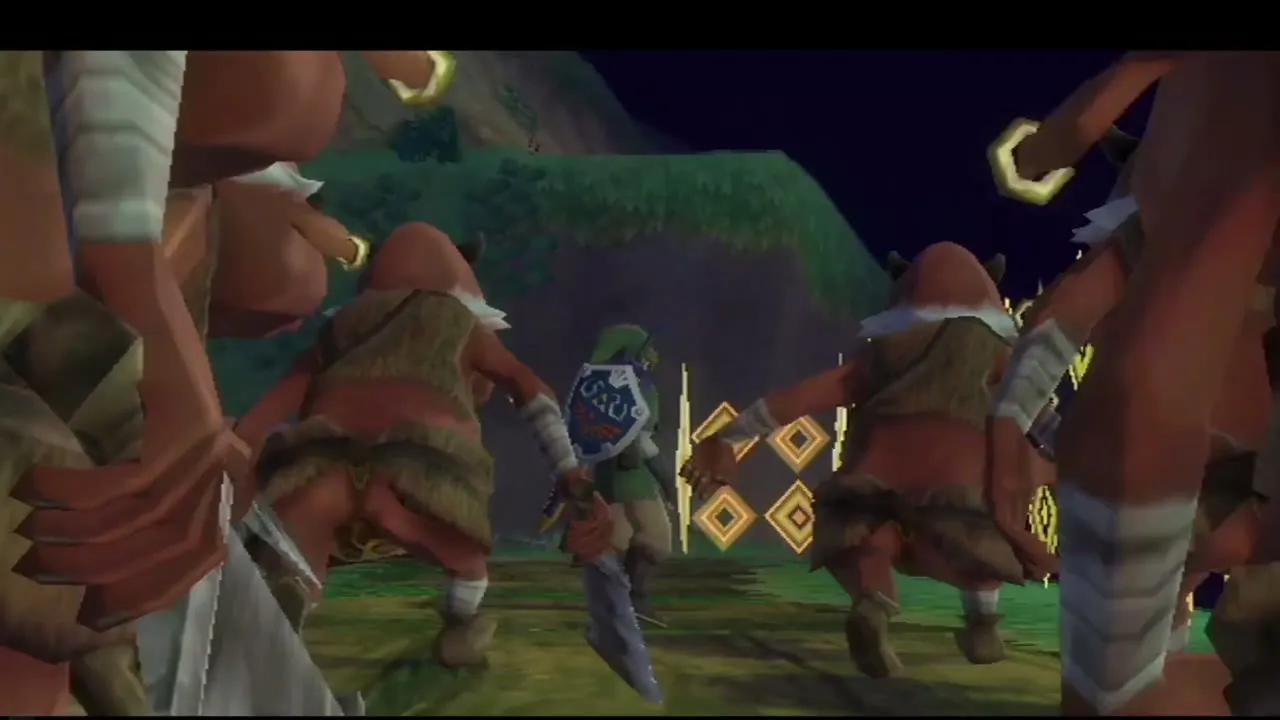
Walls of yellow glyphs cut the field into stages. A wall opens only when every monster in that stage is dead. The early waves are crowds of Red Bokoblins, so use spin attacks to clear them and Skyward Strikes to hit several at once. Hearts drop regularly.
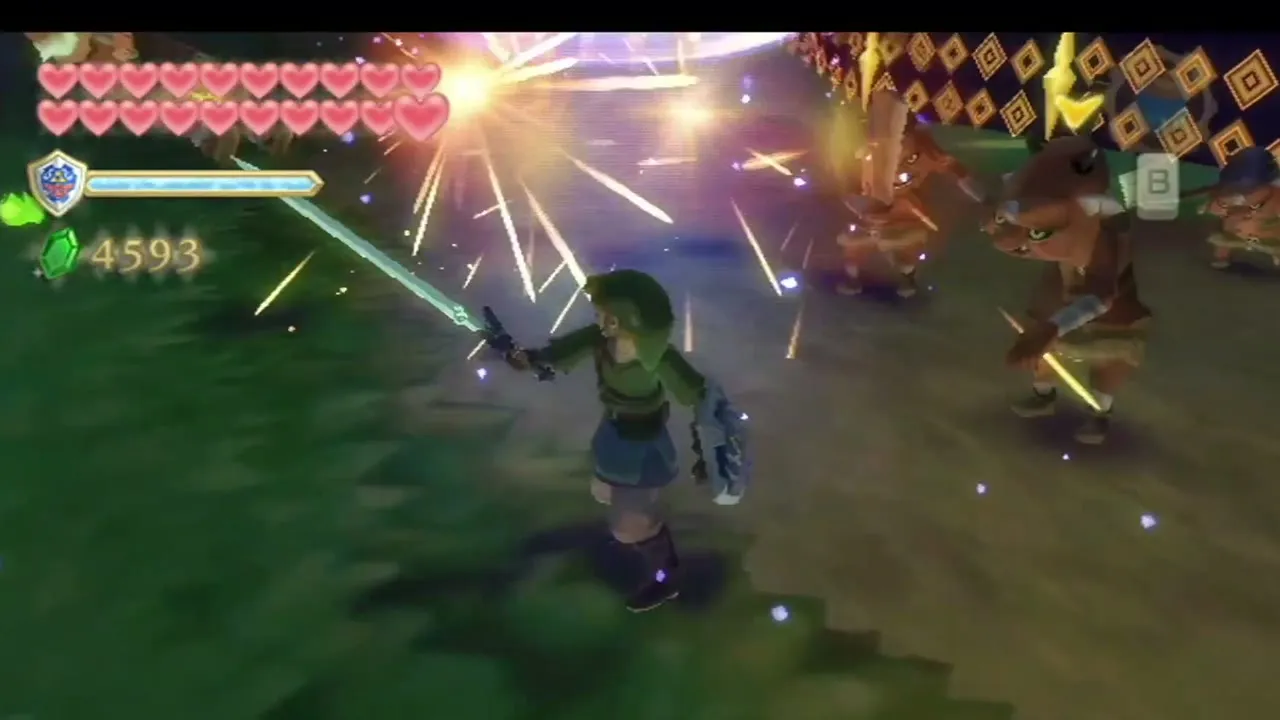
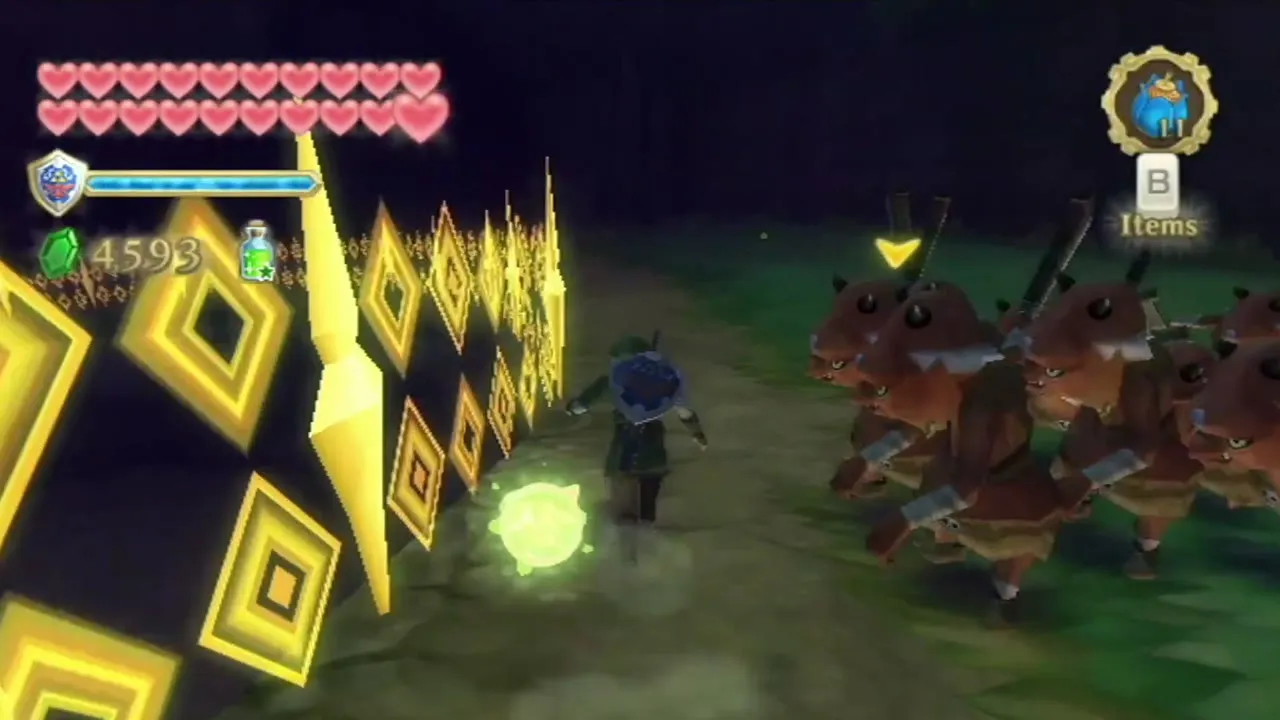
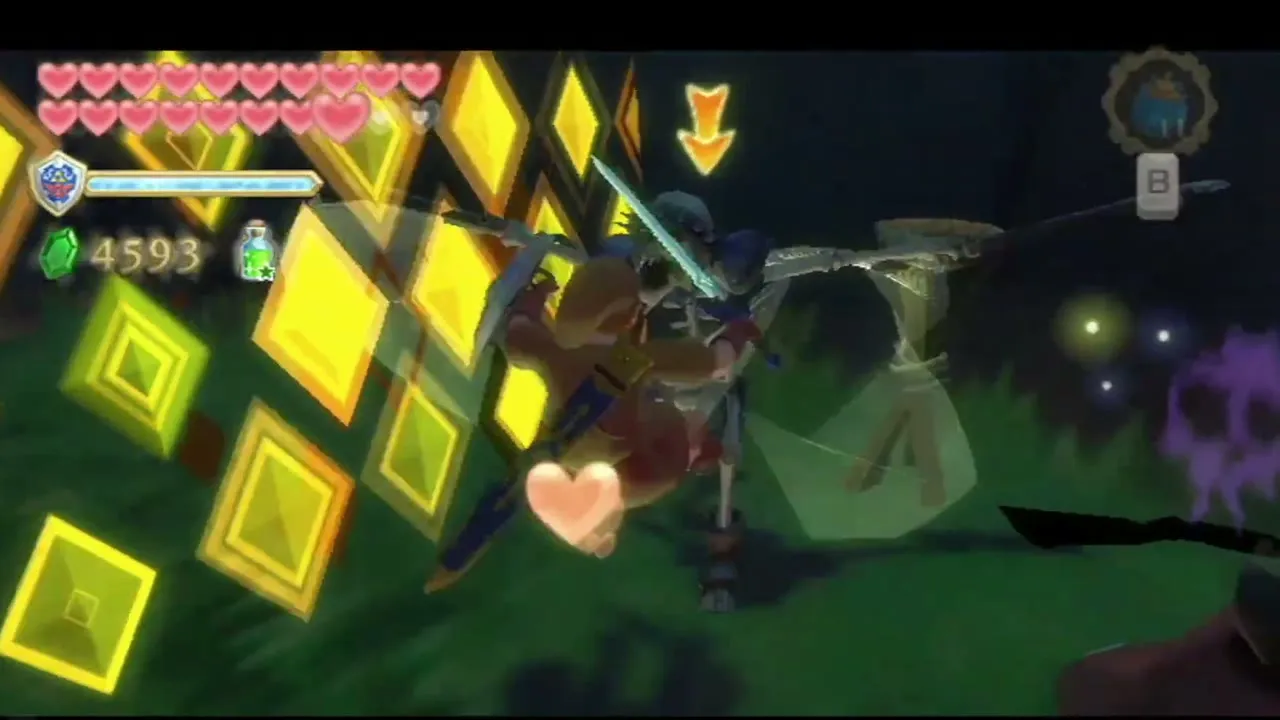
Later stages add Bokoblin archers, bomb carriers, three Moblins carrying wooden shields and two Stalfos. Take out the archers first, since their arrows wear down your shield. Strike the Moblins from the side where their shields do not reach, and let the bomb carriers come to you while you step clear of the blast.
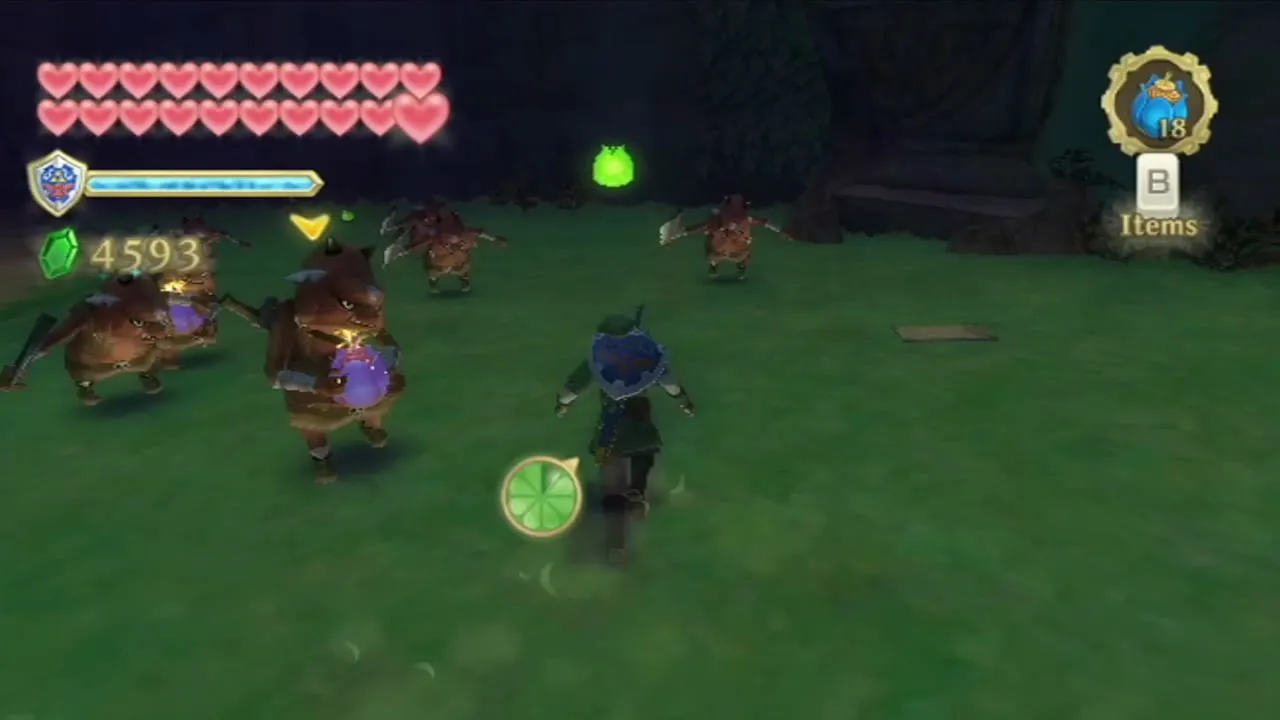
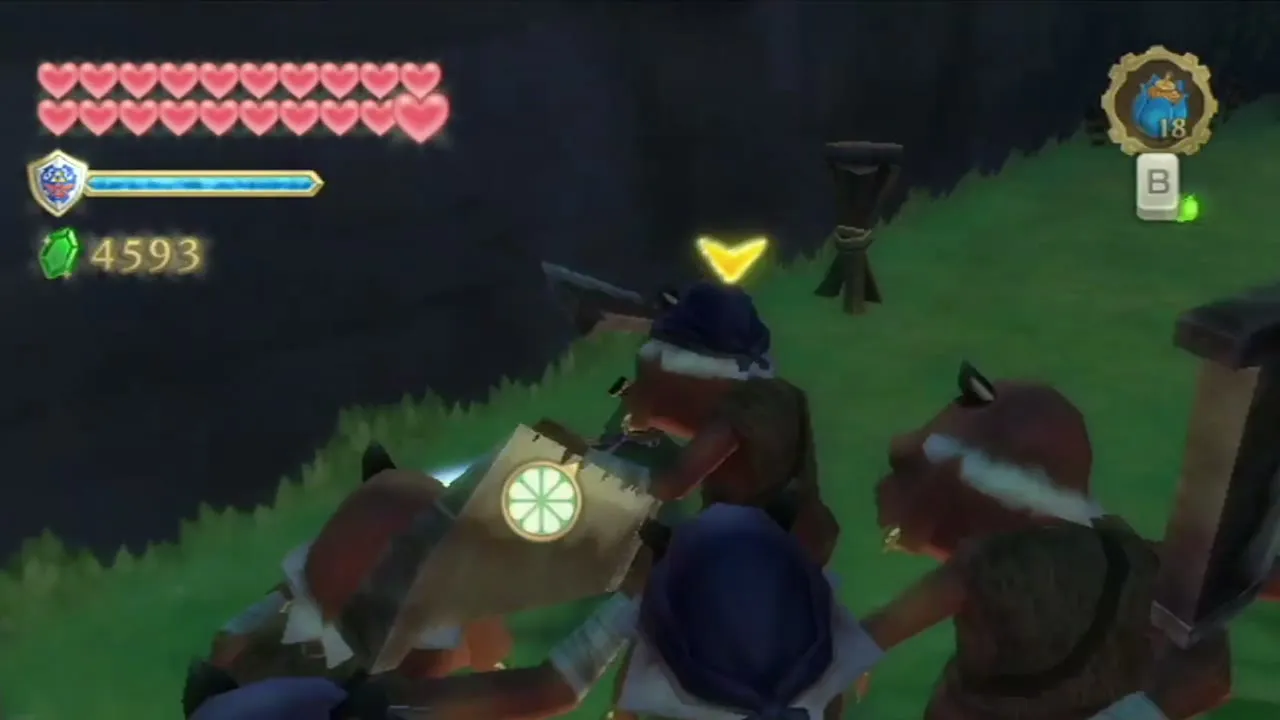
The last wave at the bottom
At the bottom, Ghirahim protects himself with a barrier and sends the largest batch of Bokoblins yet at you. Clear them all with spin attacks and shield bashes. When the last one falls, the barrier drops and the fight with Ghirahim begins.
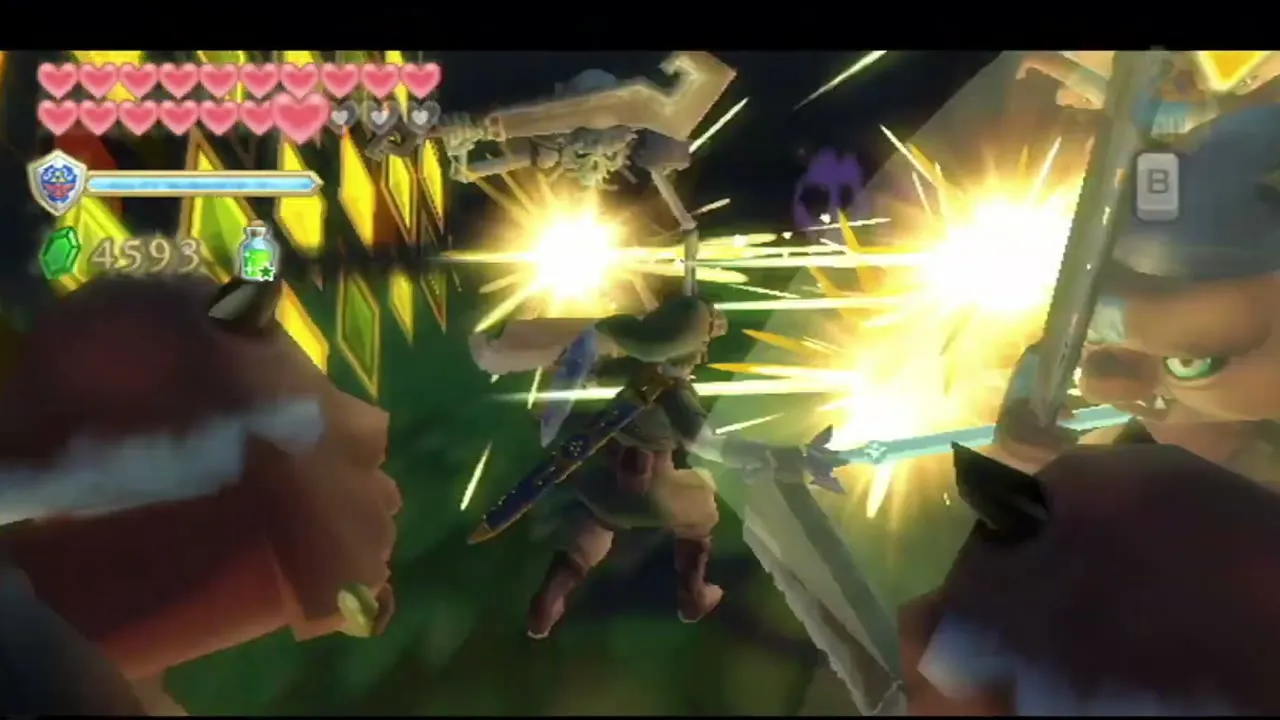
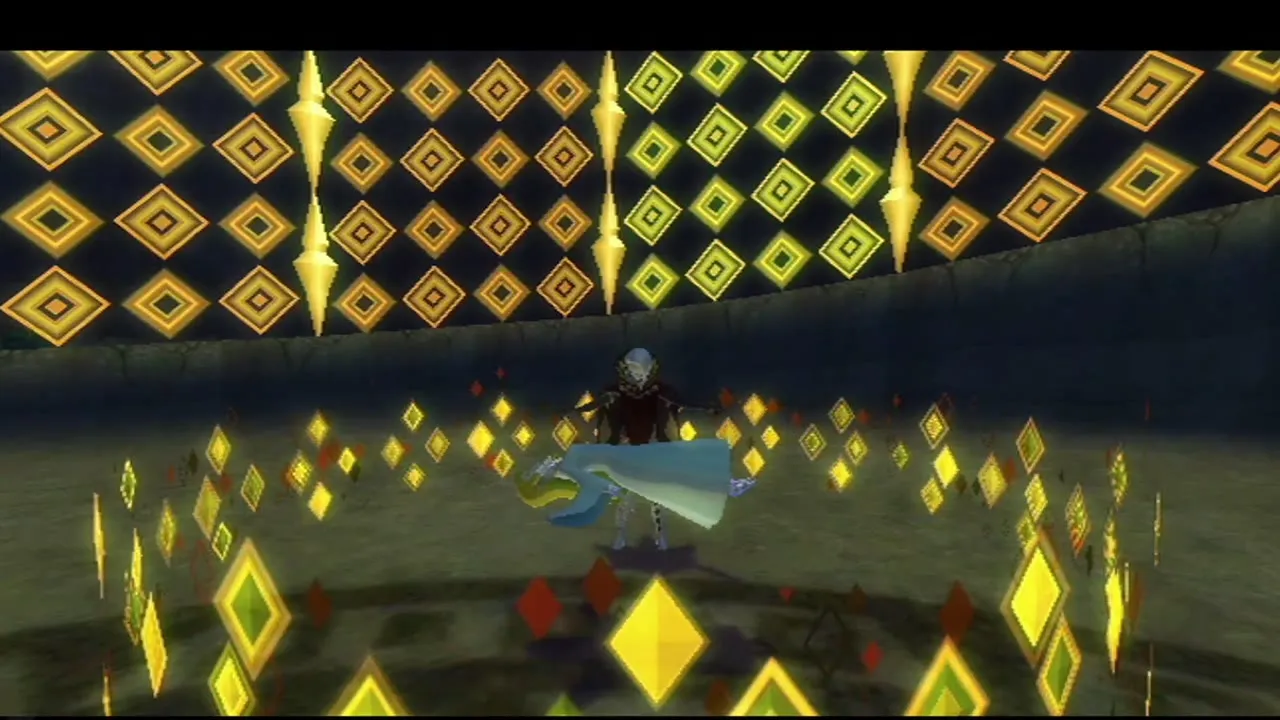
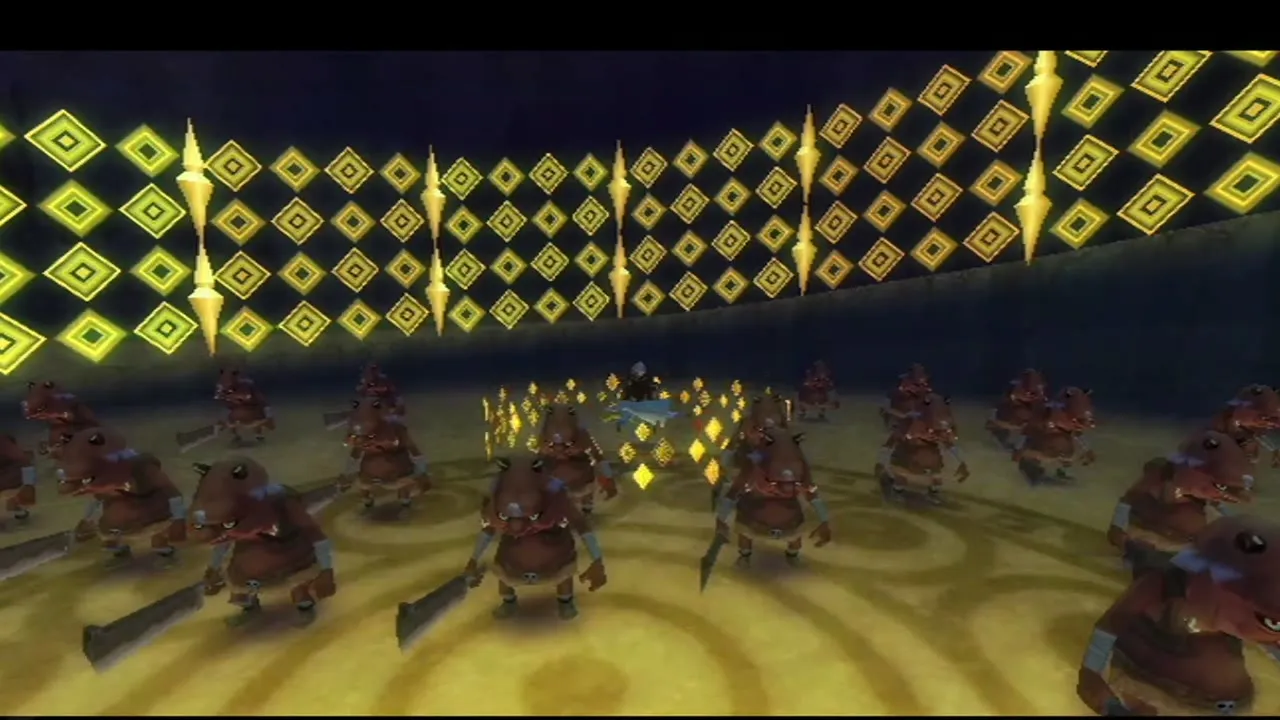
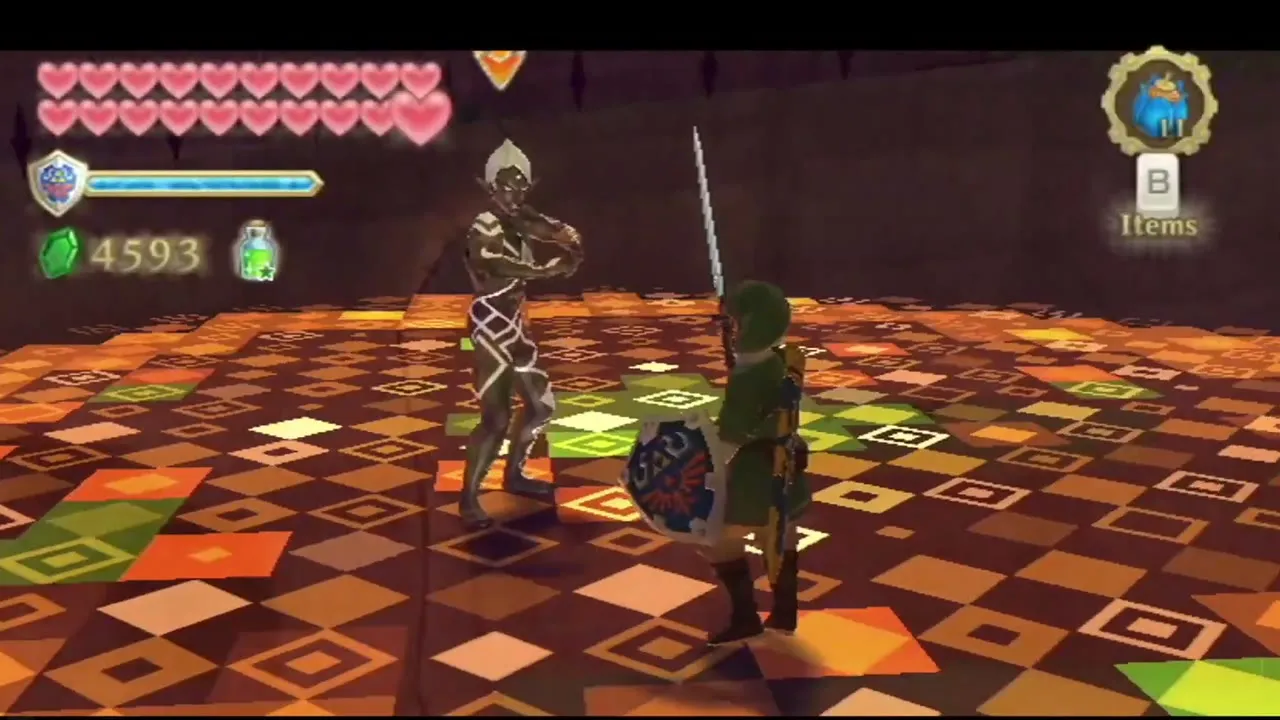
Ghirahim boss fight (third battle)
Stage one: push him off the platform
Ghirahim now fights in his true form on a raised, checkered floor. Lock on and slash him: his body is coated in a hard shell, so your hits only push him back. Keep driving him toward the edge while you block his punches and kicks with your shield. When he falls off, jump after him and land a Fatal Blow. He climbs back up, so repeat until the platform lowers.
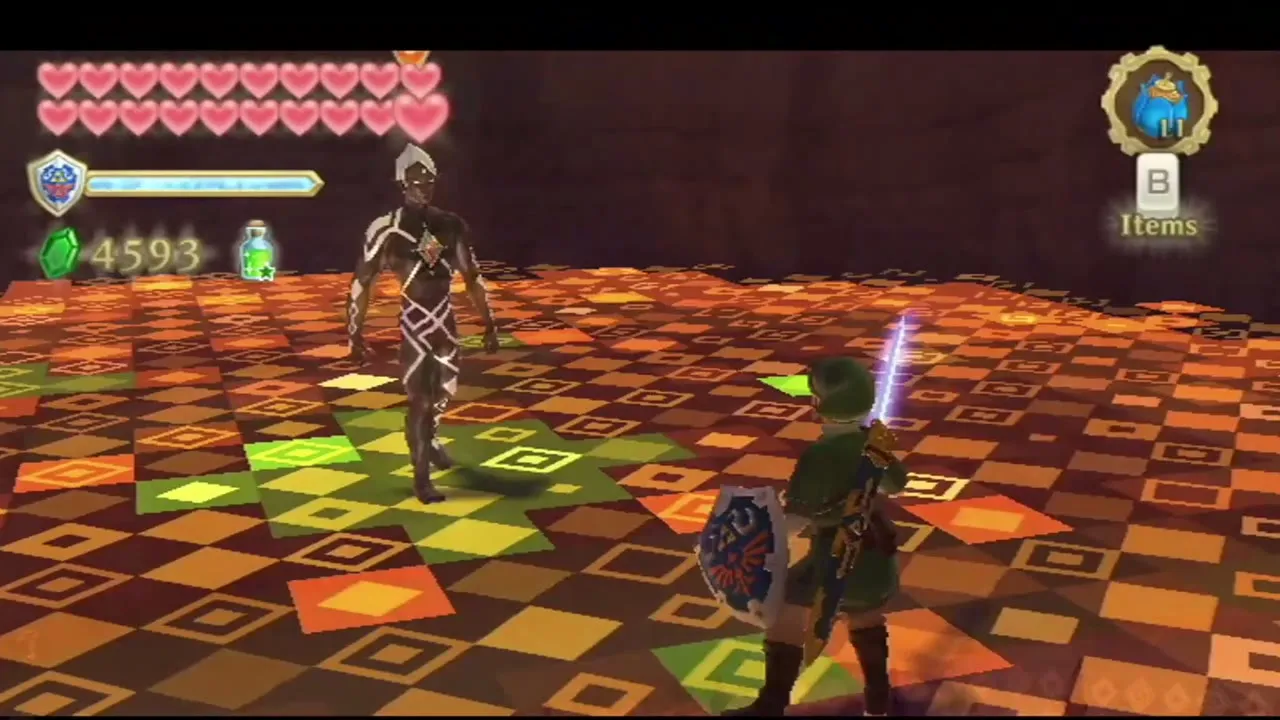

Stage two: slash between the purple hands
When purple magic glows in both of Ghirahim’s hands, slash him from a direction the glow does not cover until he drops his hands. If you stand near the edge he can grab you and swap places, so move back round to him quickly. Repeat until he draws his weapon.
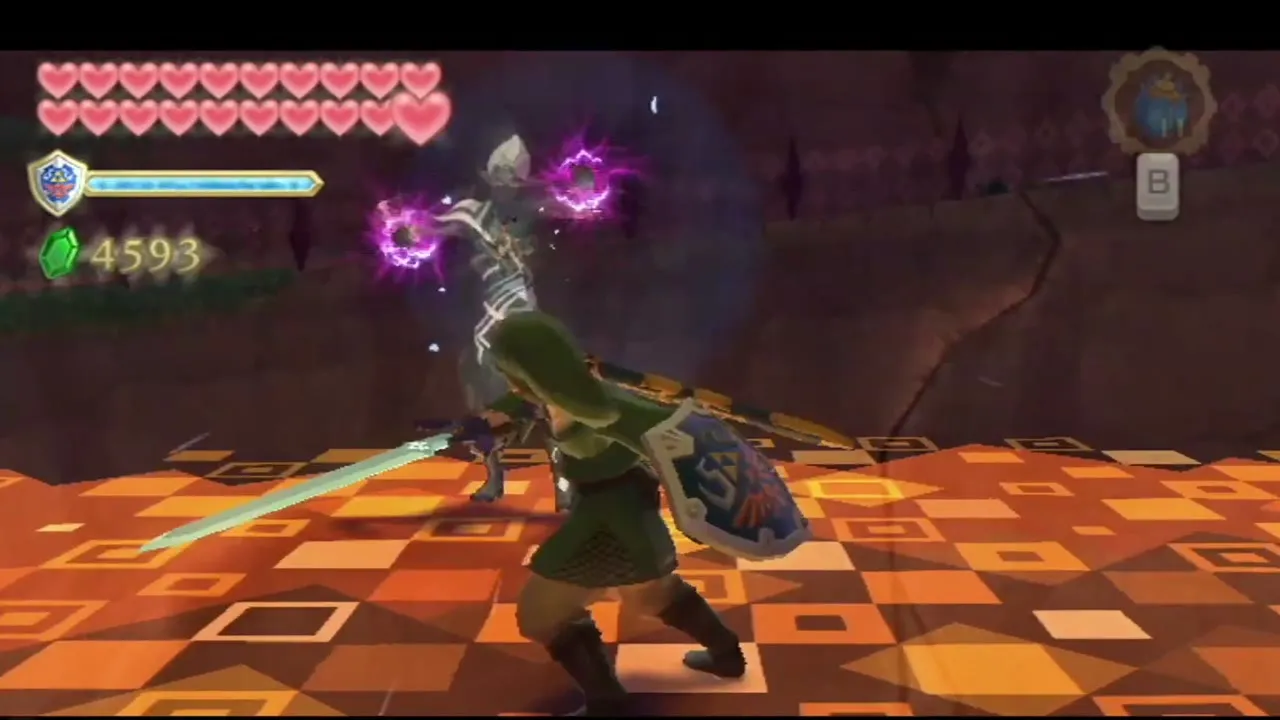
Stage three: reflect the red discs and break the sword
Ghirahim then fires a slow, dark disc of energy. Swing the sword in the direction it travels to bat it back at him and stun him, then thrust at the gem on his chest. When he charges, shield-bash the attack before you strike. After several hits he drops the first blade and takes a larger one.
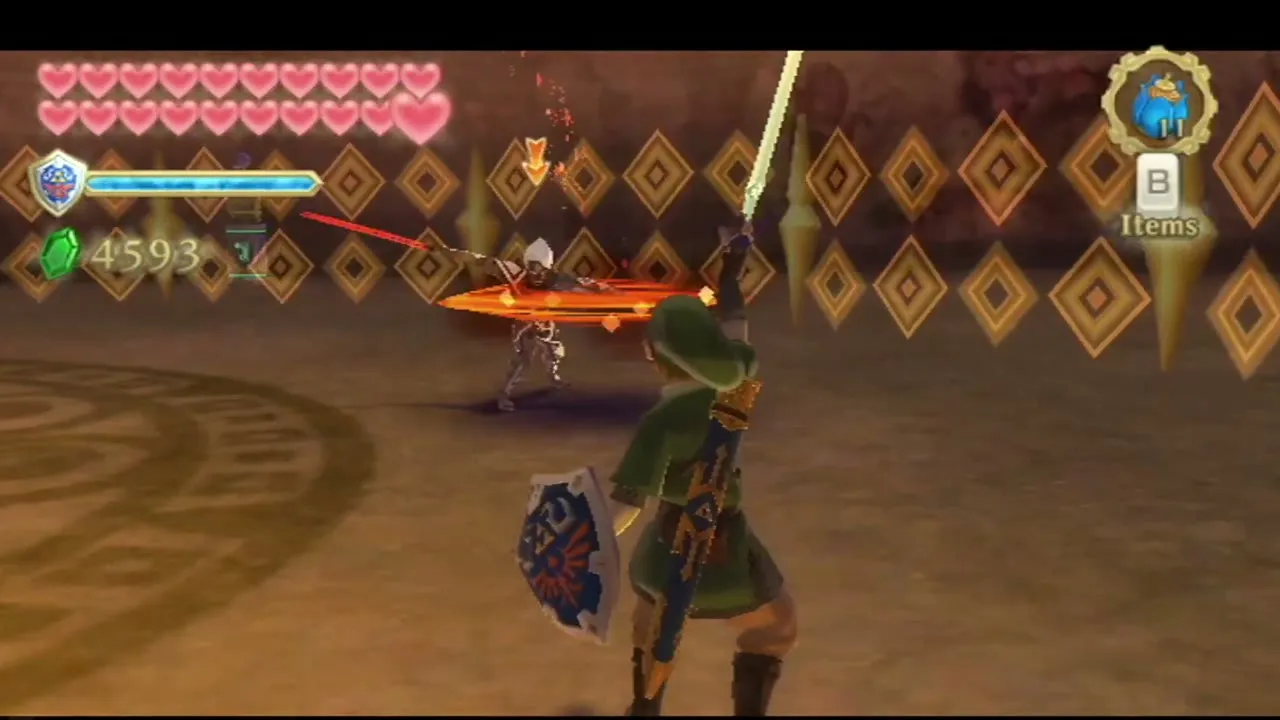
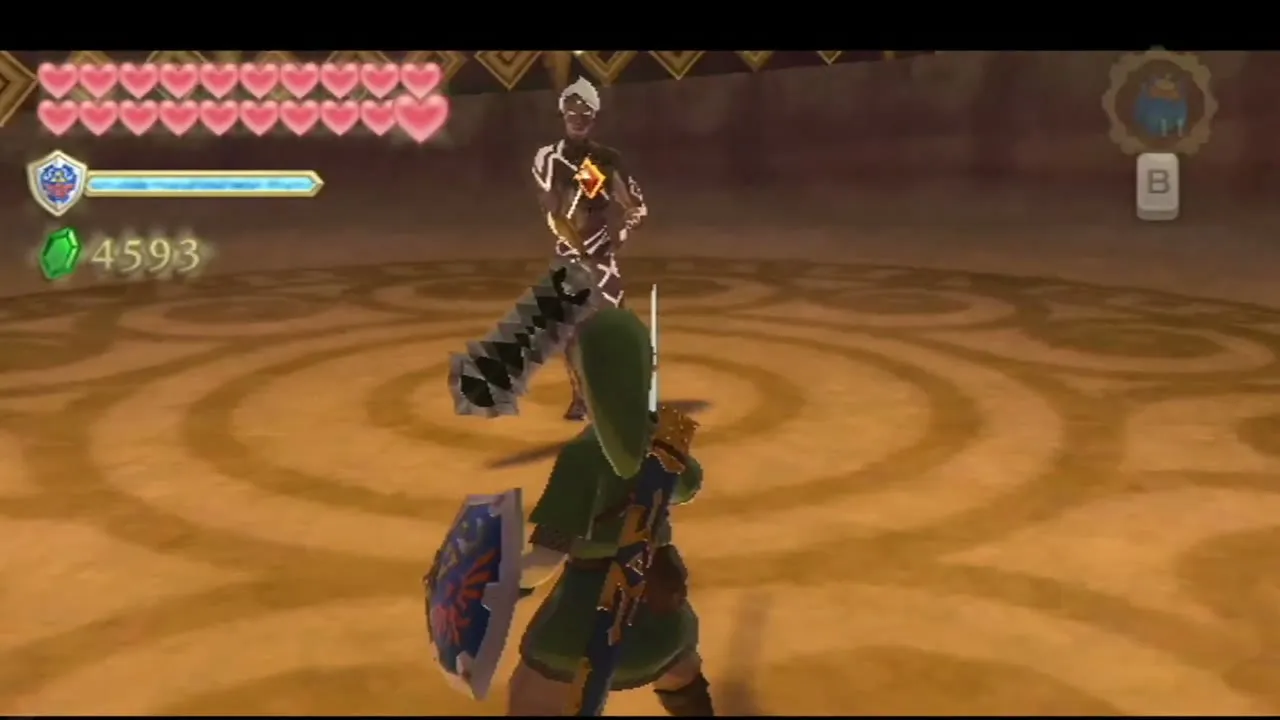
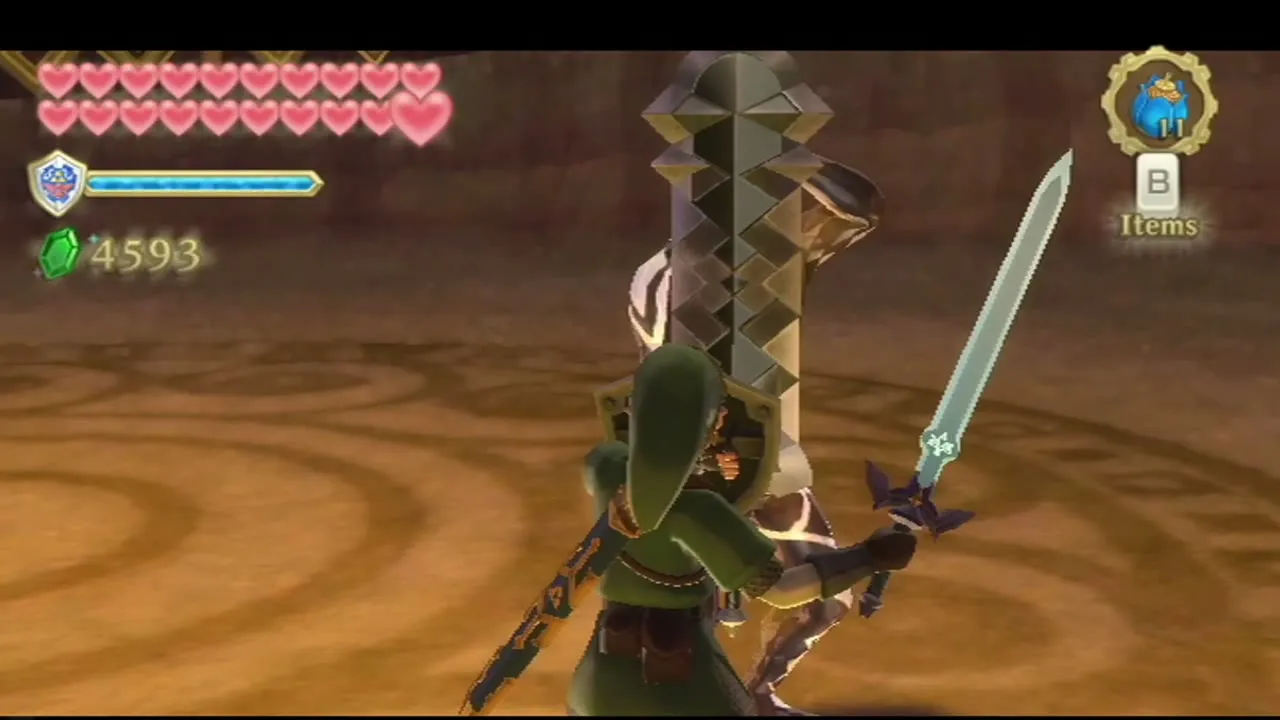
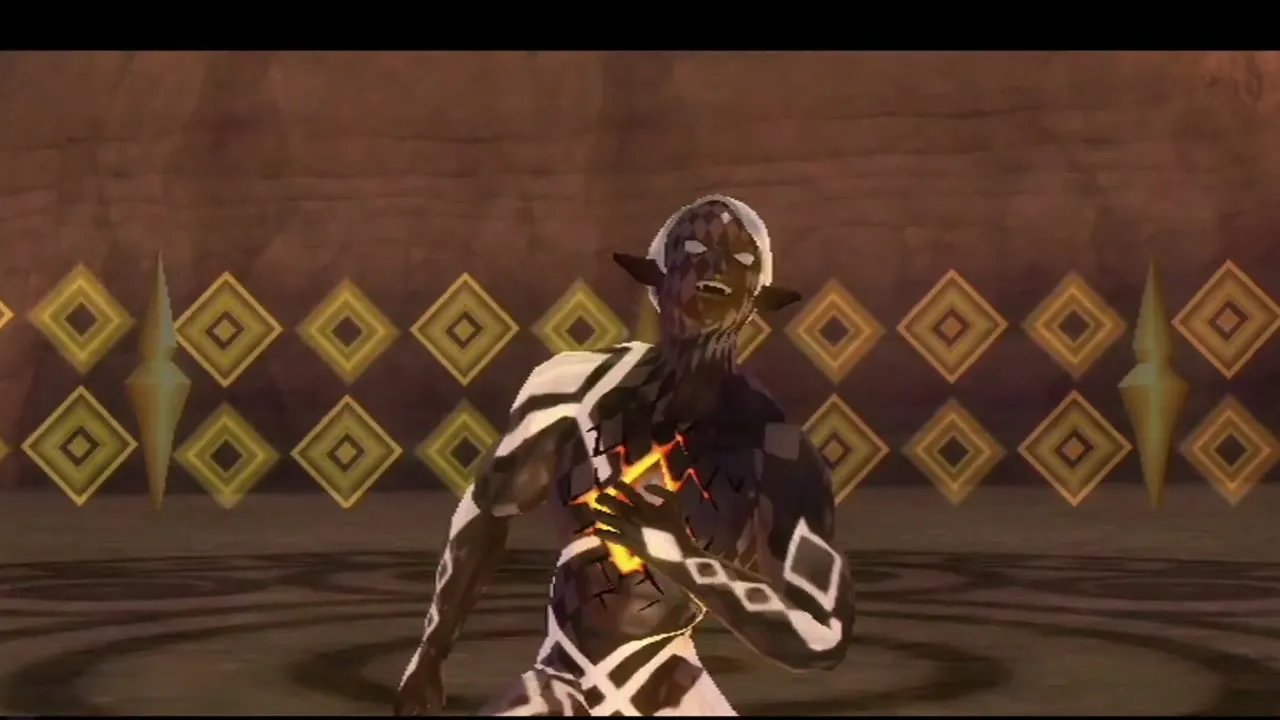
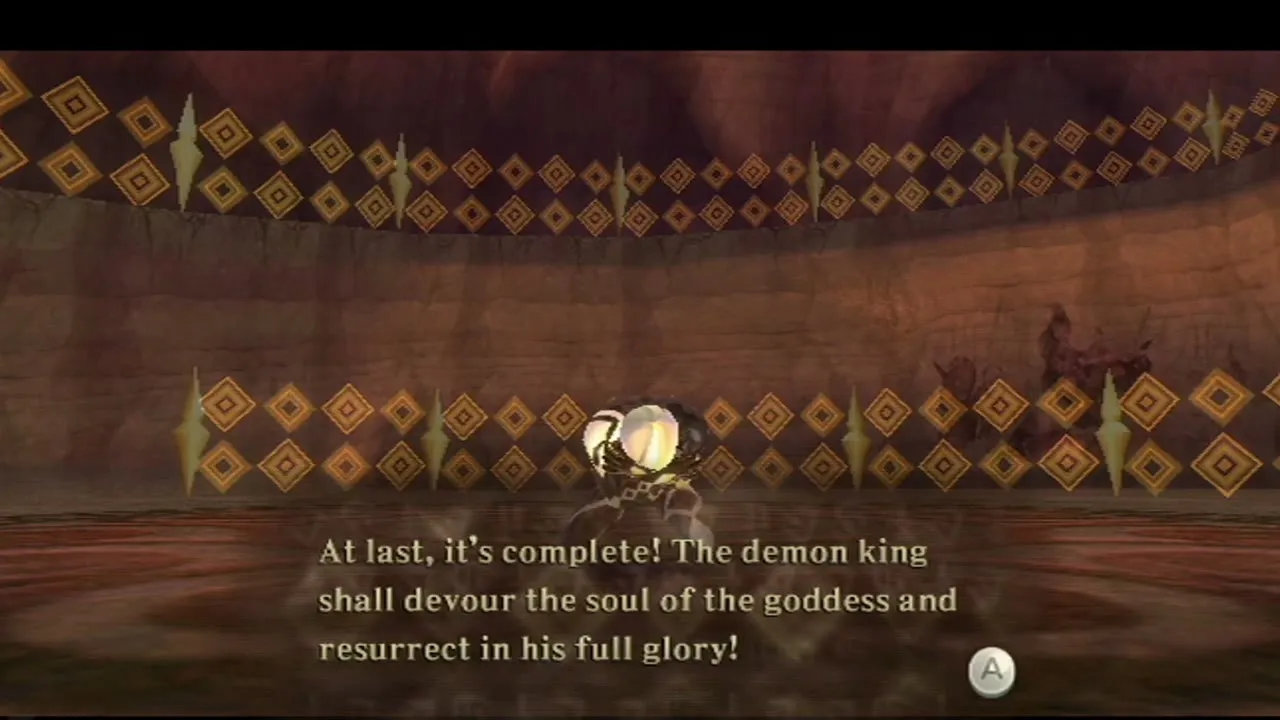
Break the large sword by hitting it across its direction: slash vertically when he holds it horizontally and horizontally when he holds it vertically. If you do not land enough blows in a row, he repairs it. Keep breaking it and he is open to a last round of strikes. He falls, declares that the ritual is complete and that the demon king will rise, and the fight ends.
Demise boss fight
Prepare and enter the portal
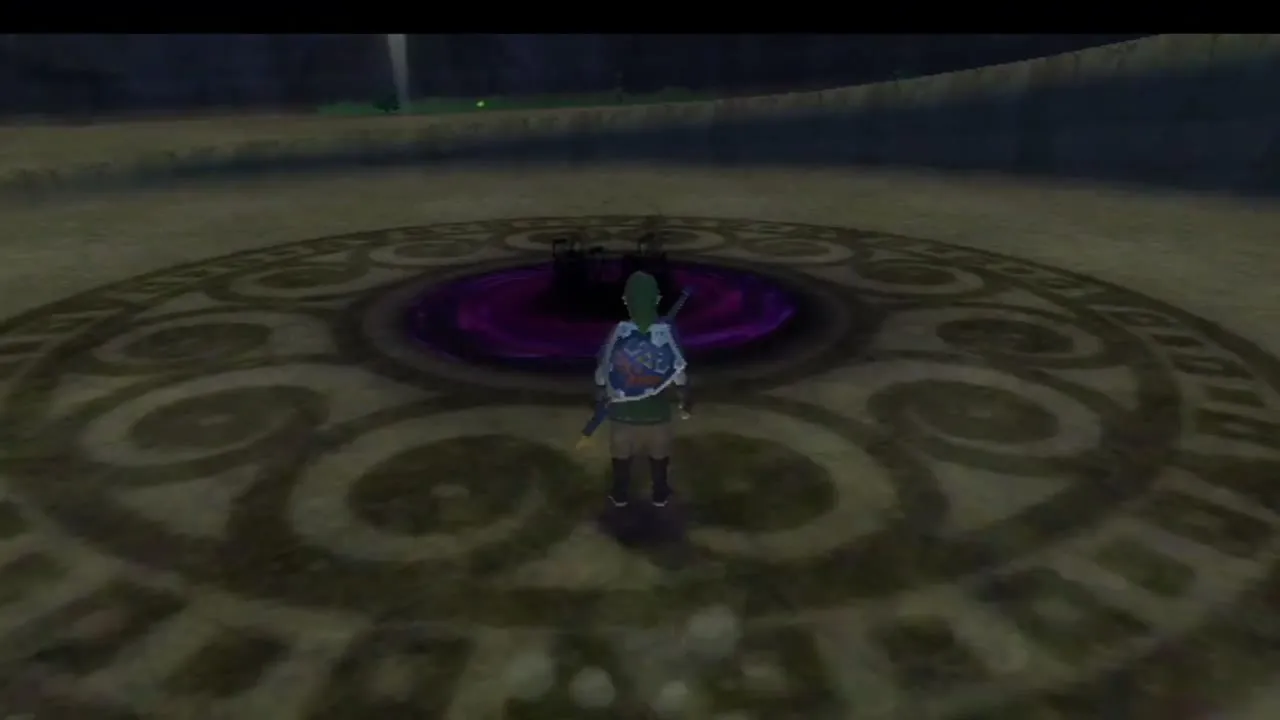
Back in the Temple of Hylia, sit in the chair to heal and save at the Bird Statue. You can still return to Skyloft through the Gate of Time for potions. Bring your best shield, one or two Heart Potion+ and a Guardian Potion if you have it. Then drop down to the pit, walk into the dark circle and tell Fi you are ready.
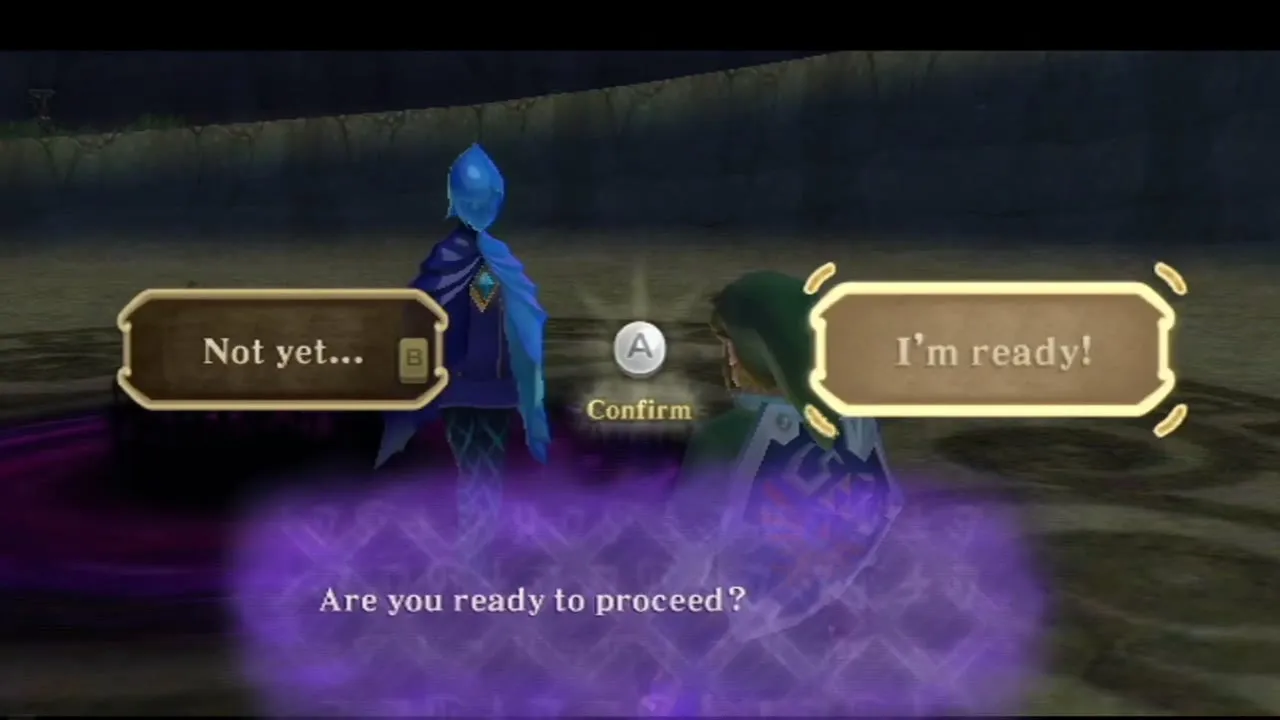
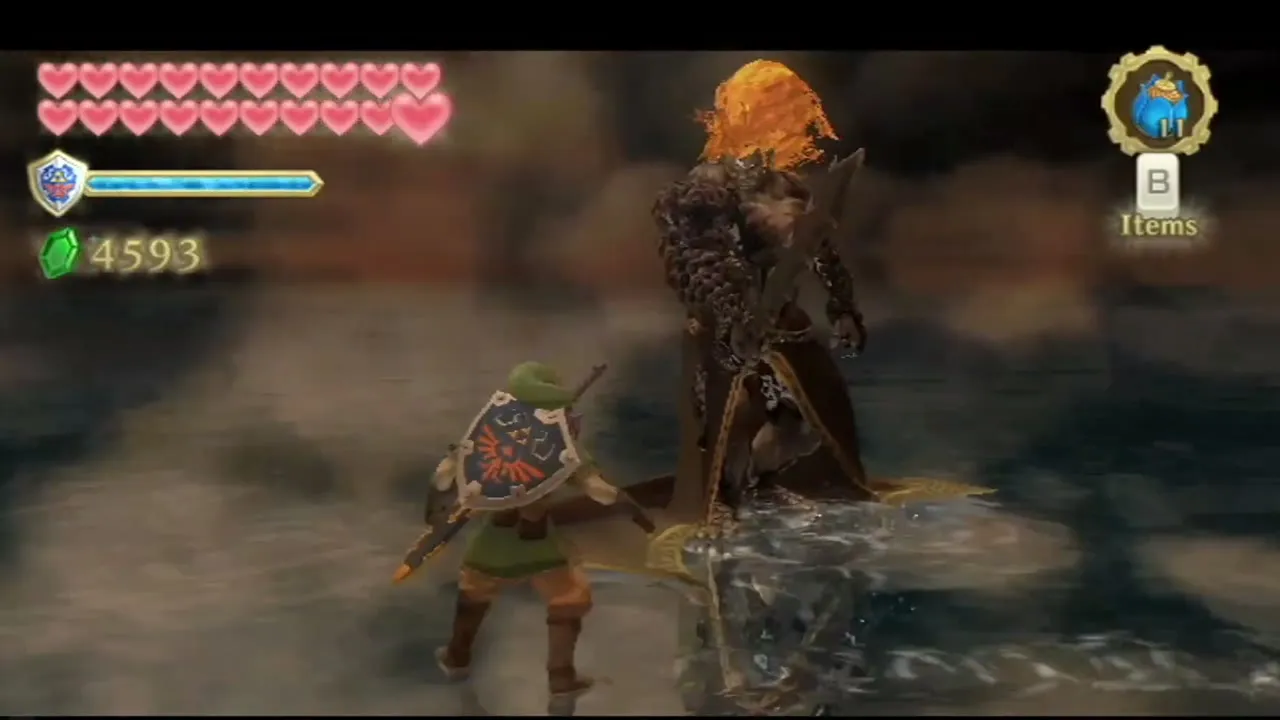
Demise rises, speaks, and takes you to a flat plain of water under a stormy sky. The fight begins when his name appears.
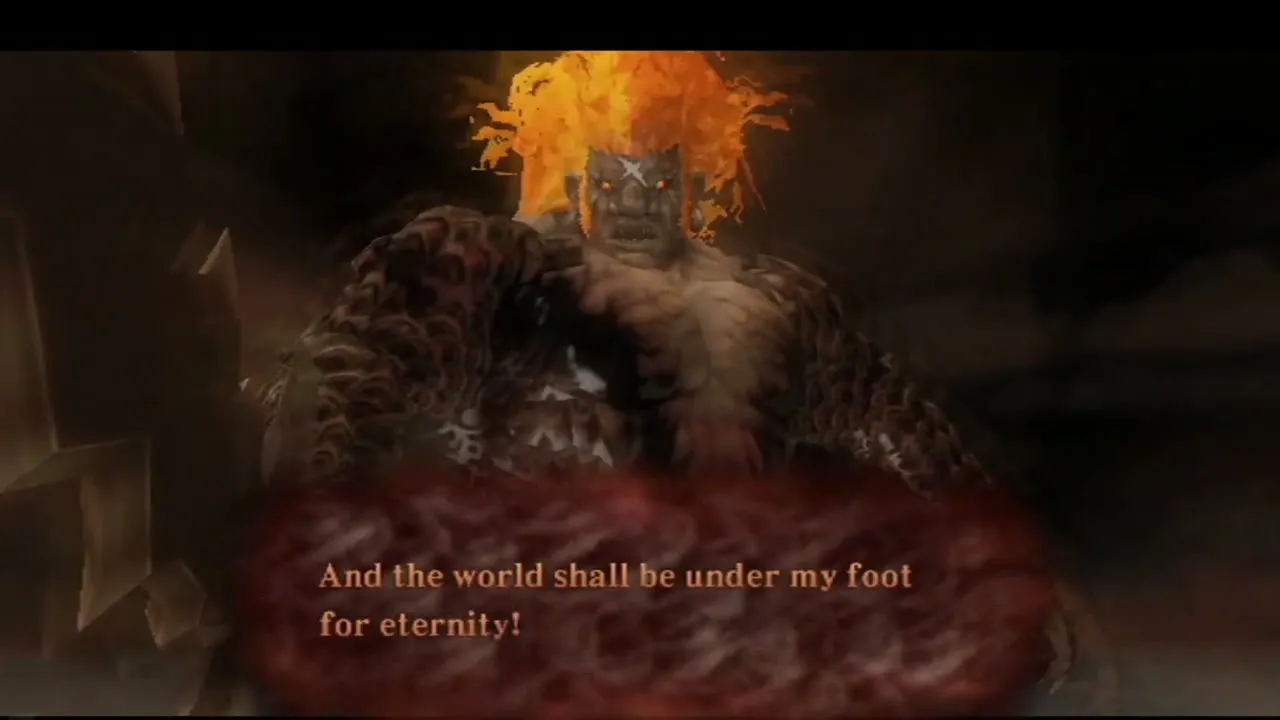
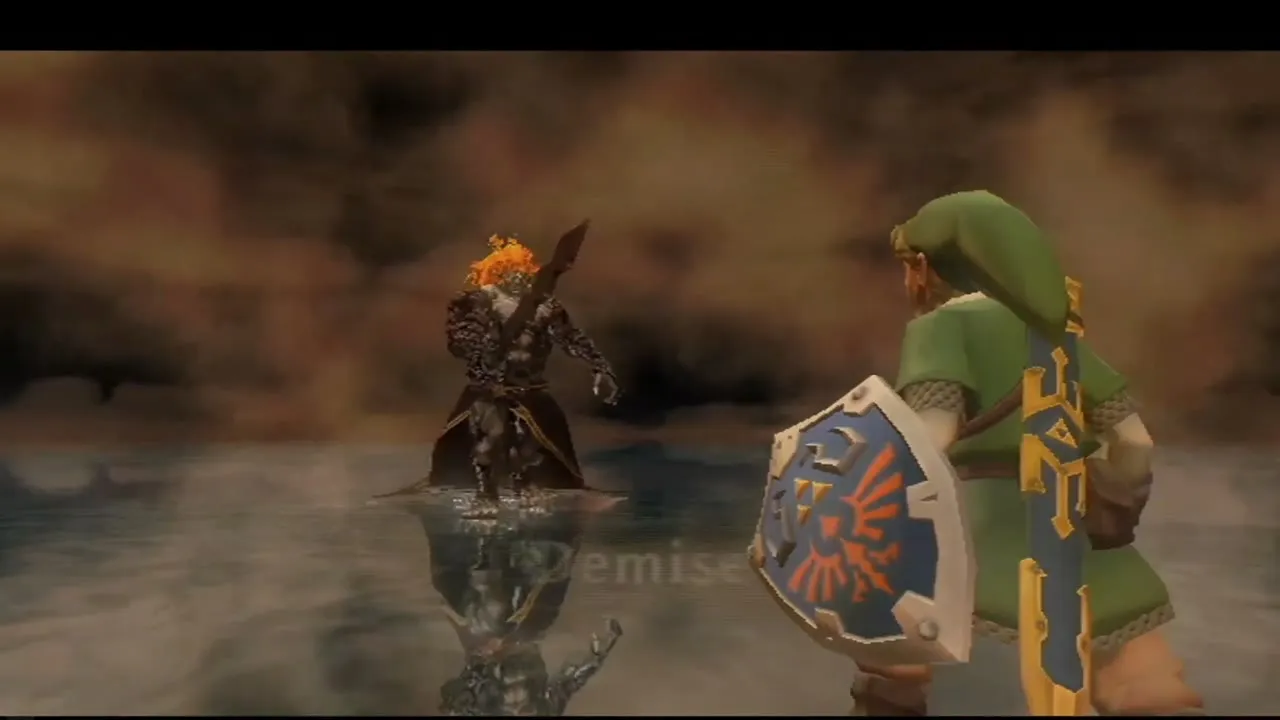

Phase one: shield bash his sword
Stay close, because distance lets him use a powerful charge attack, and when he starts one, jump back. Alternate right-to-left and left-to-right slashes to work through his guard, or wait for his attack, shield-bash it and strike while he reels. If he falls, hit him as many times as you can before he stands. If your shield breaks, swing from different angles and dodge with backflips and side jumps.
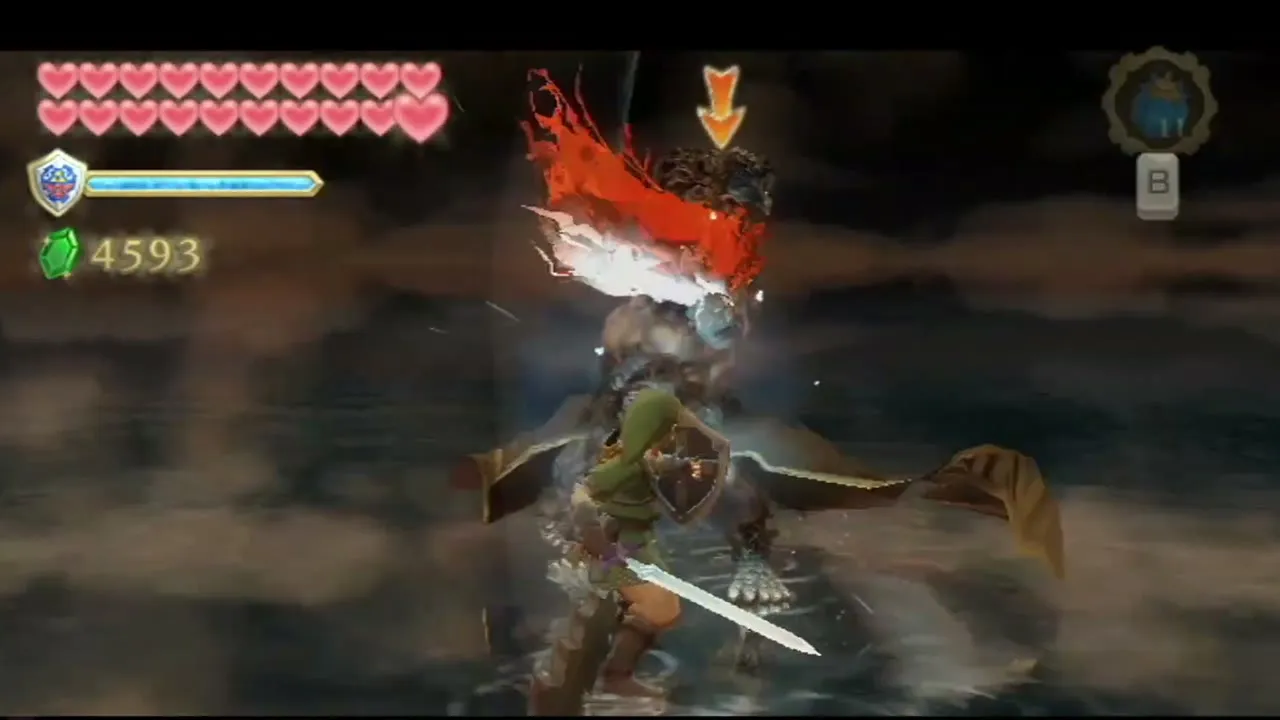
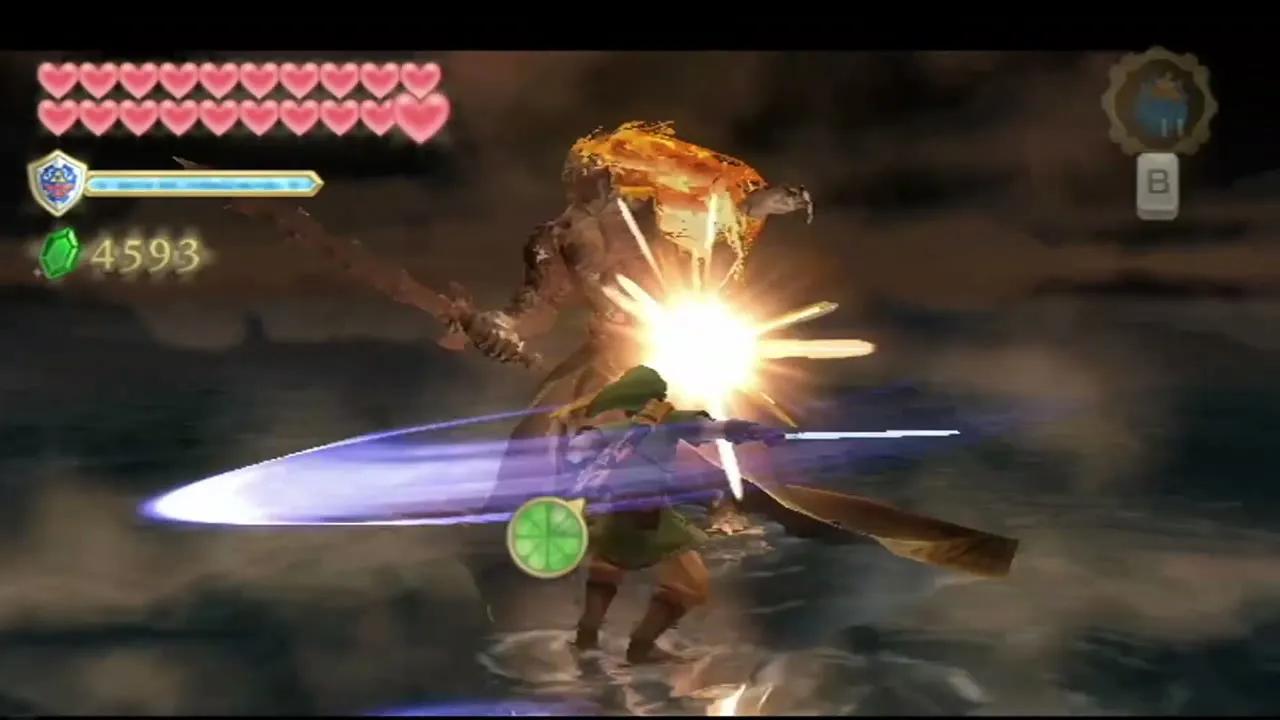
After enough hits he is enraged and lightning begins to crackle around him, which starts phase two.
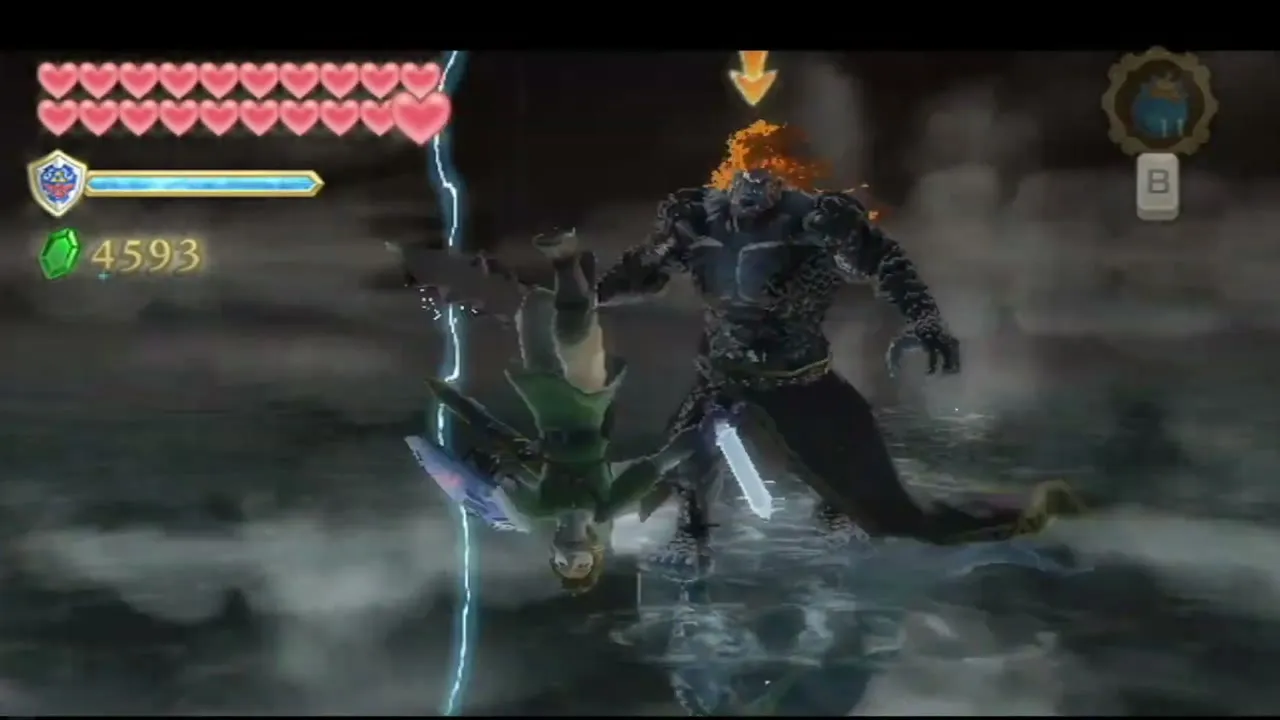
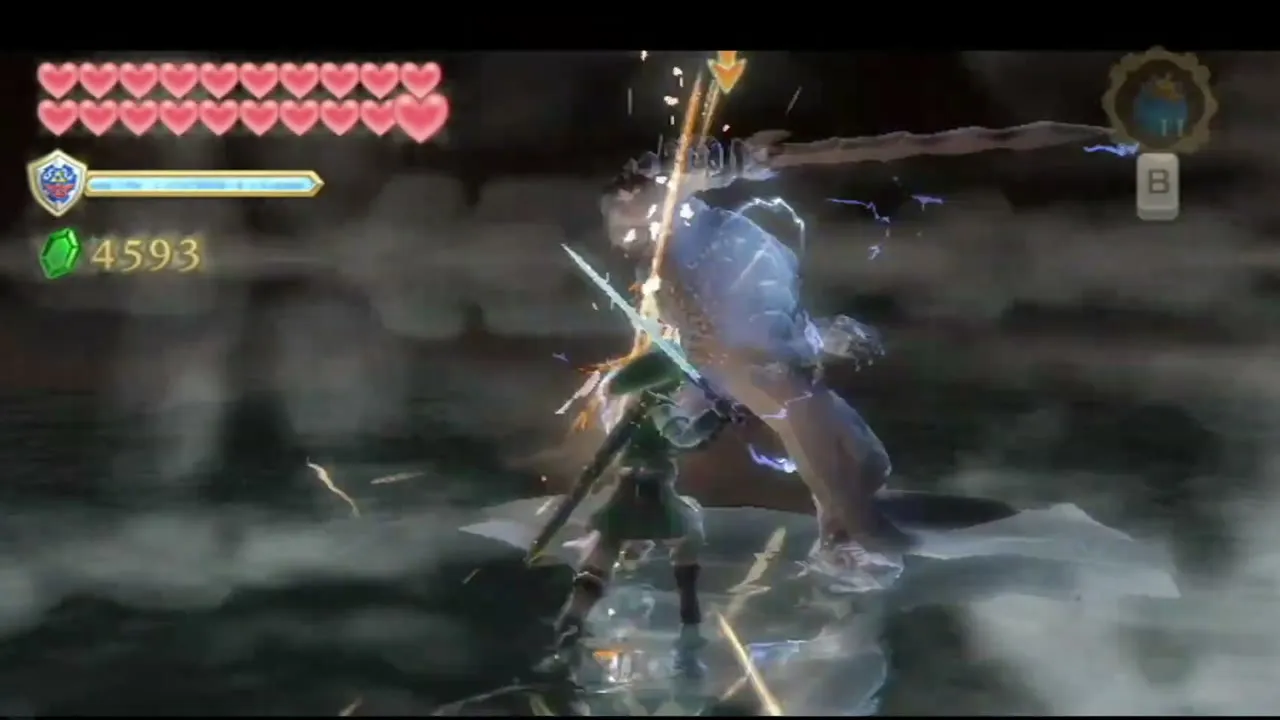
Phase two: charge a lightning Skyward Strike
Lightning now strikes around the arena. Raise the Master Sword while lightning is falling to charge a Skyward Strike; the charge fails if you wait too long, so dodge and try at the next strike. Release the Skyward Strike at him quickly. If it connects, run in and slash him repeatedly until he stands up.
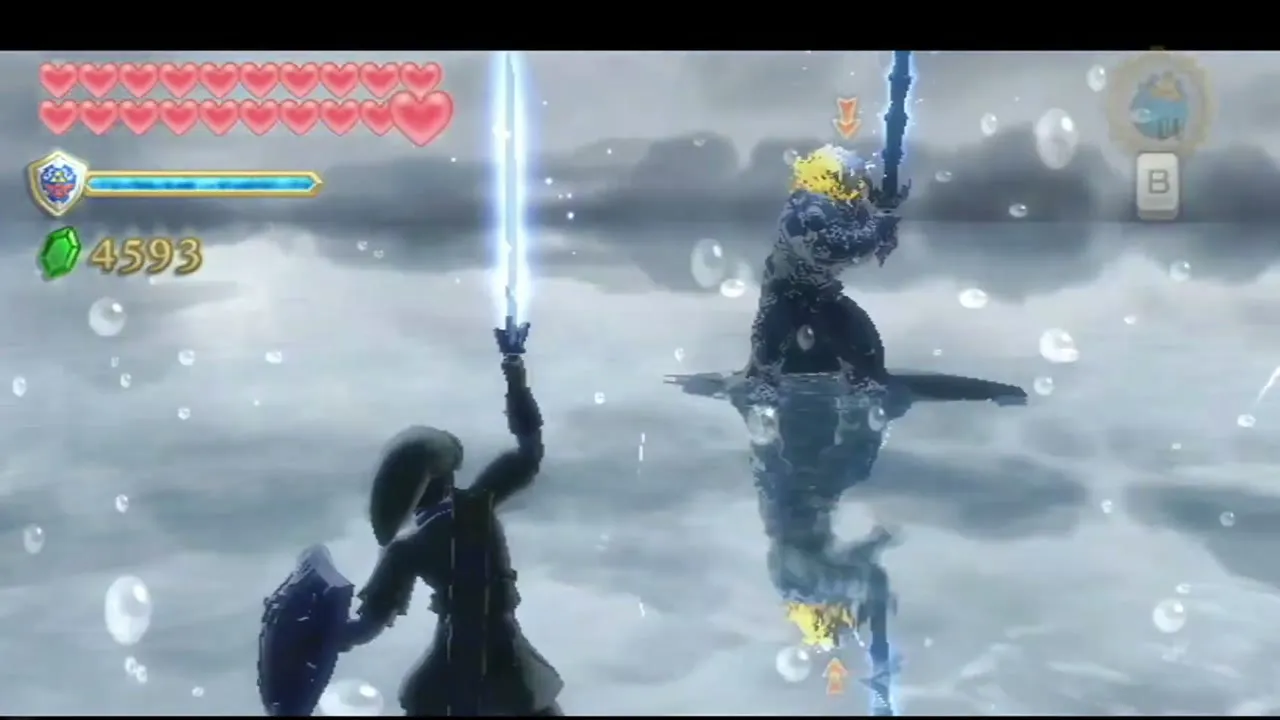
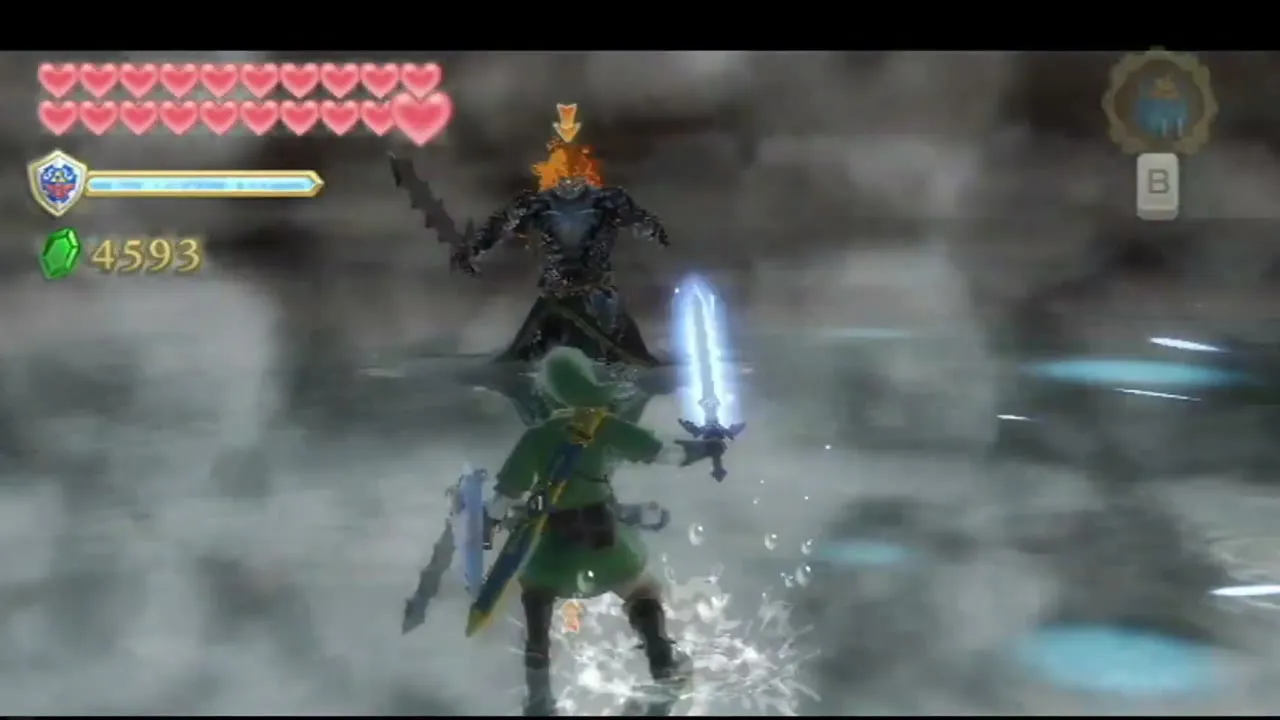
Do not strike his electrified sword, or you will be shocked. When he dashes at you, backflip. Demise can fire a Skyward Strike of his own and then has to raise his sword to recharge, so release yours when he is not attacking. Trying a Fatal Blow right after the first hit does not work, so follow up with slashes.
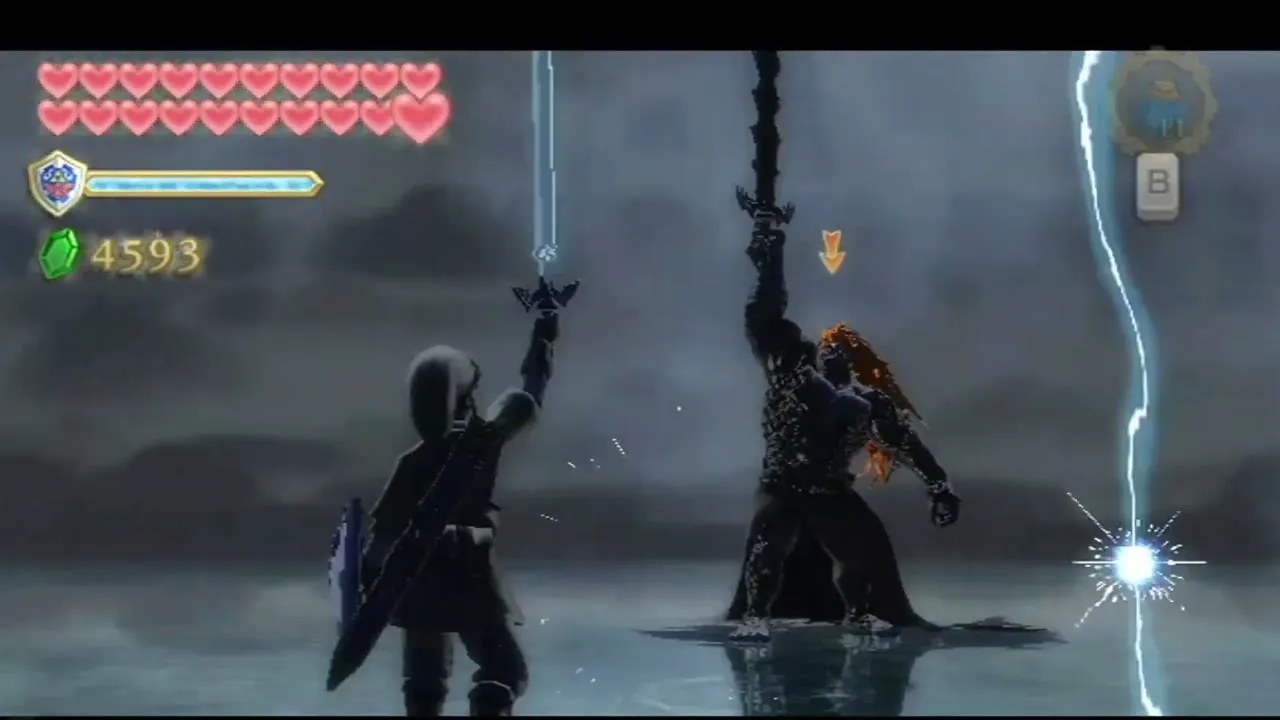
Finish him with the Fatal Blow
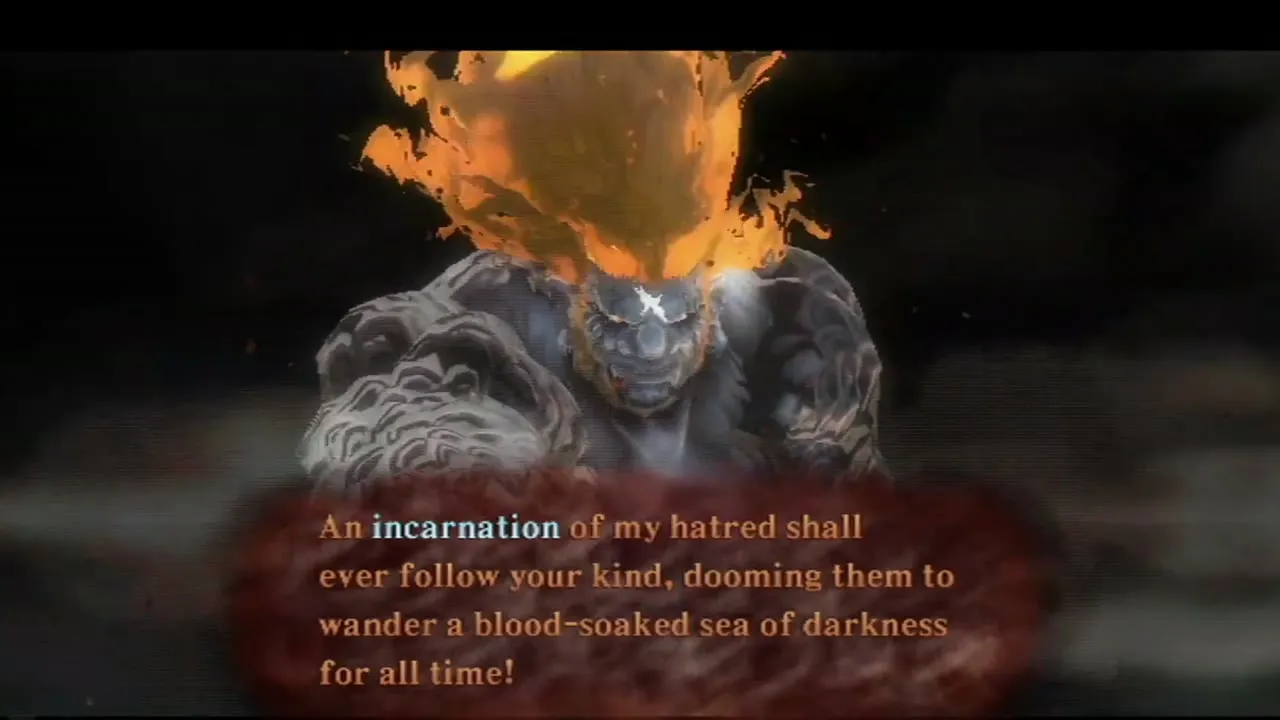
Repeat the cycle of lightning Skyward Strike, slashes and shield bashes until he is down. The finishing blow usually comes on his third fall, so watch for the Fatal Blow arrow and thrust down as soon as it appears. Demise curses the hero’s line and swears that his hatred will be reborn again and again.
The ending and Hero Mode
Seal Demise in the Master Sword
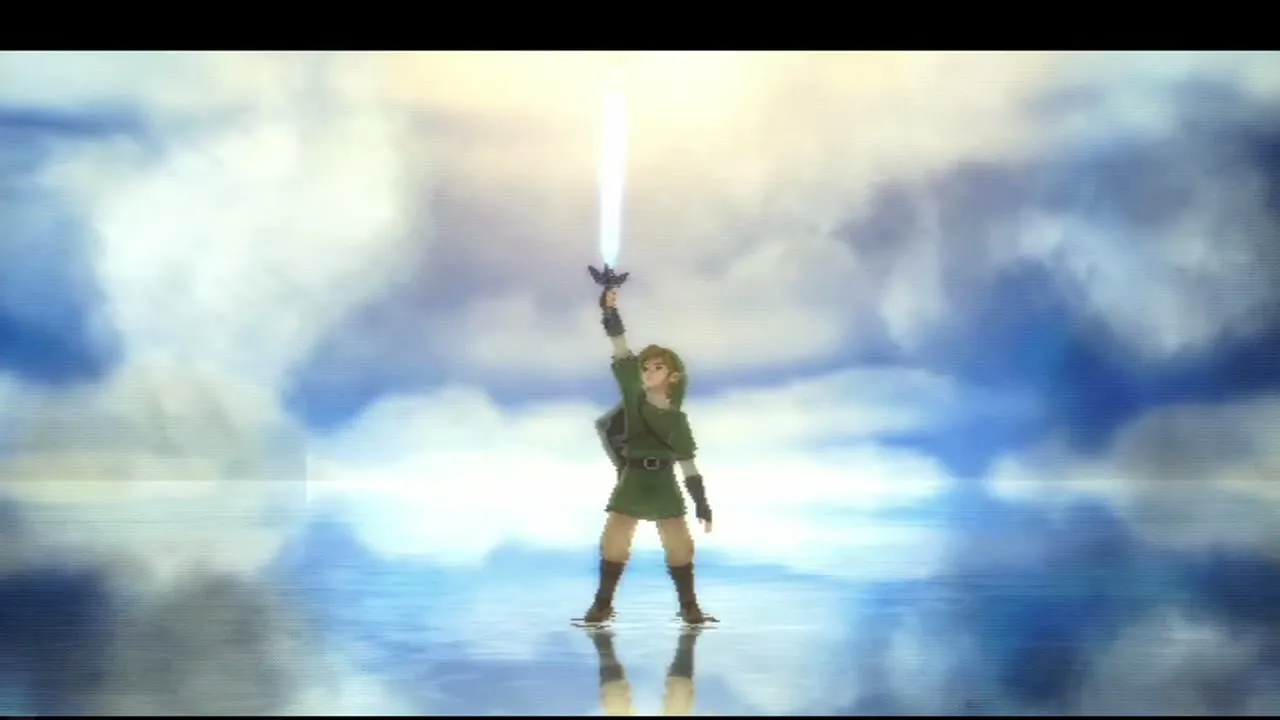
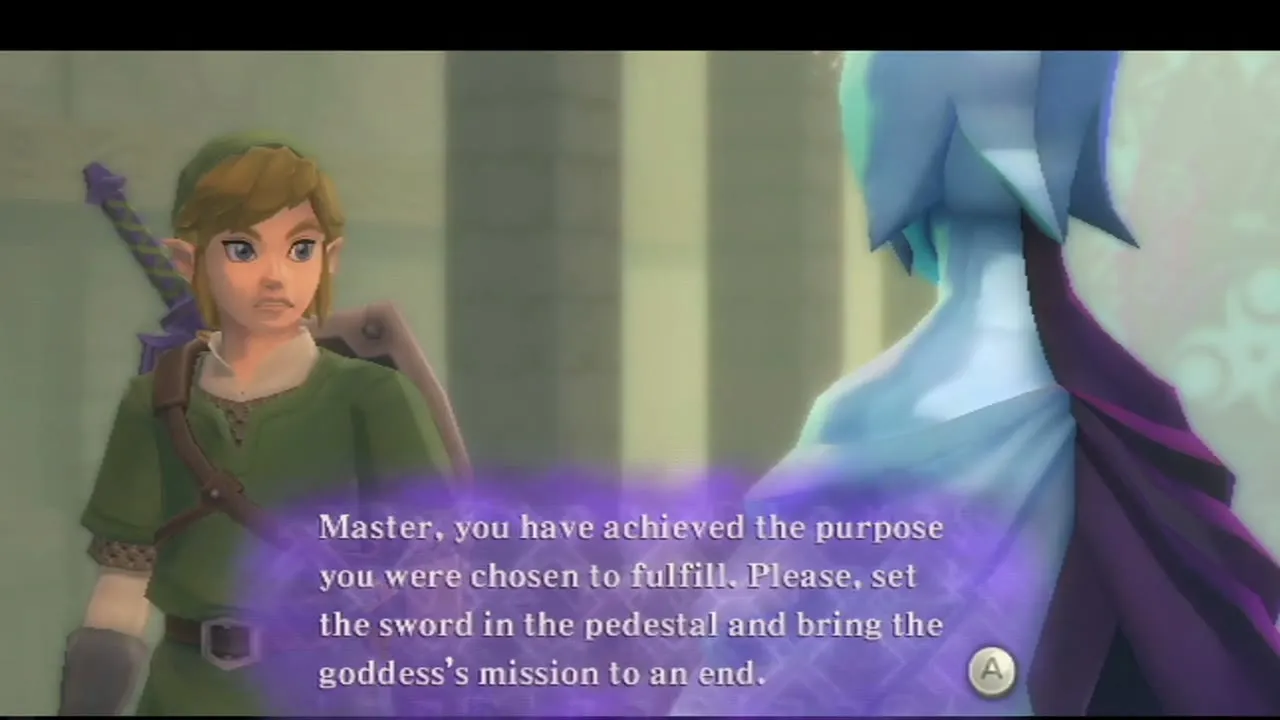
Raise the Master Sword and his remaining soul is absorbed and sealed inside it. Back in the Temple of Hylia, Zelda and Impa are waiting. Fi says your mission is complete and asks you to set the sword in its pedestal. Place it there and Fi thanks you before she sleeps within the blade.
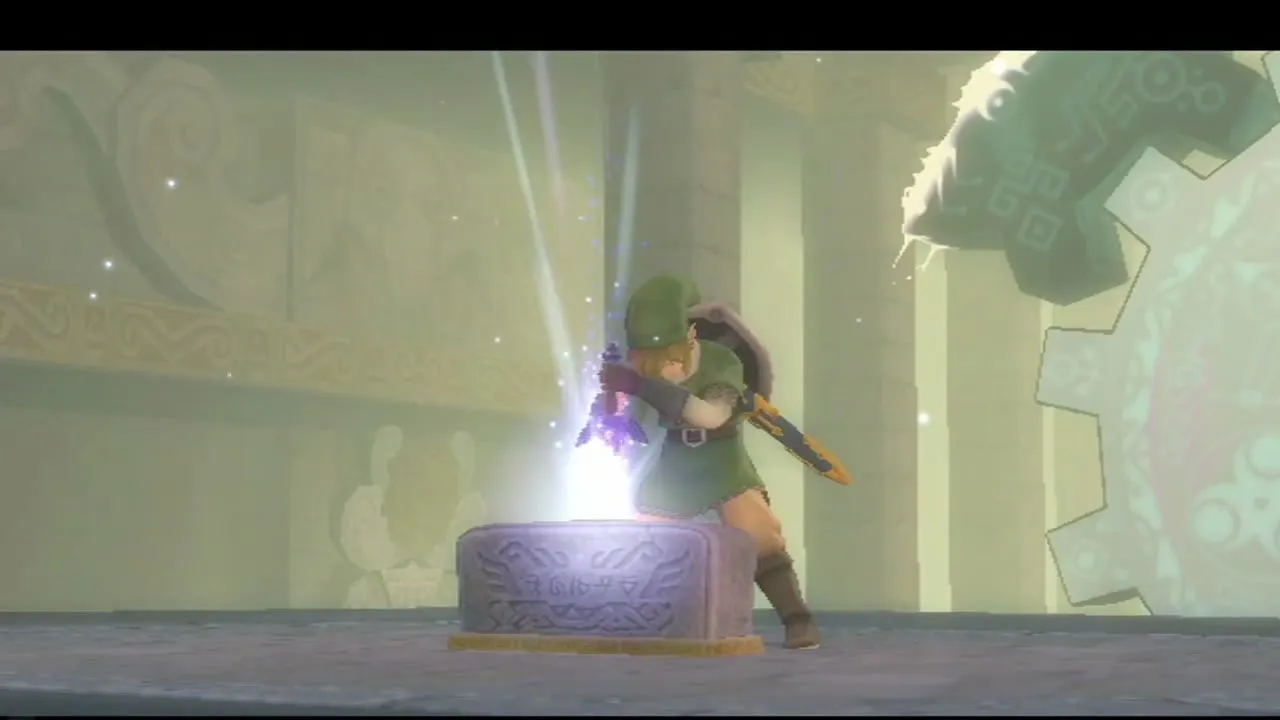
The farewell and the credits
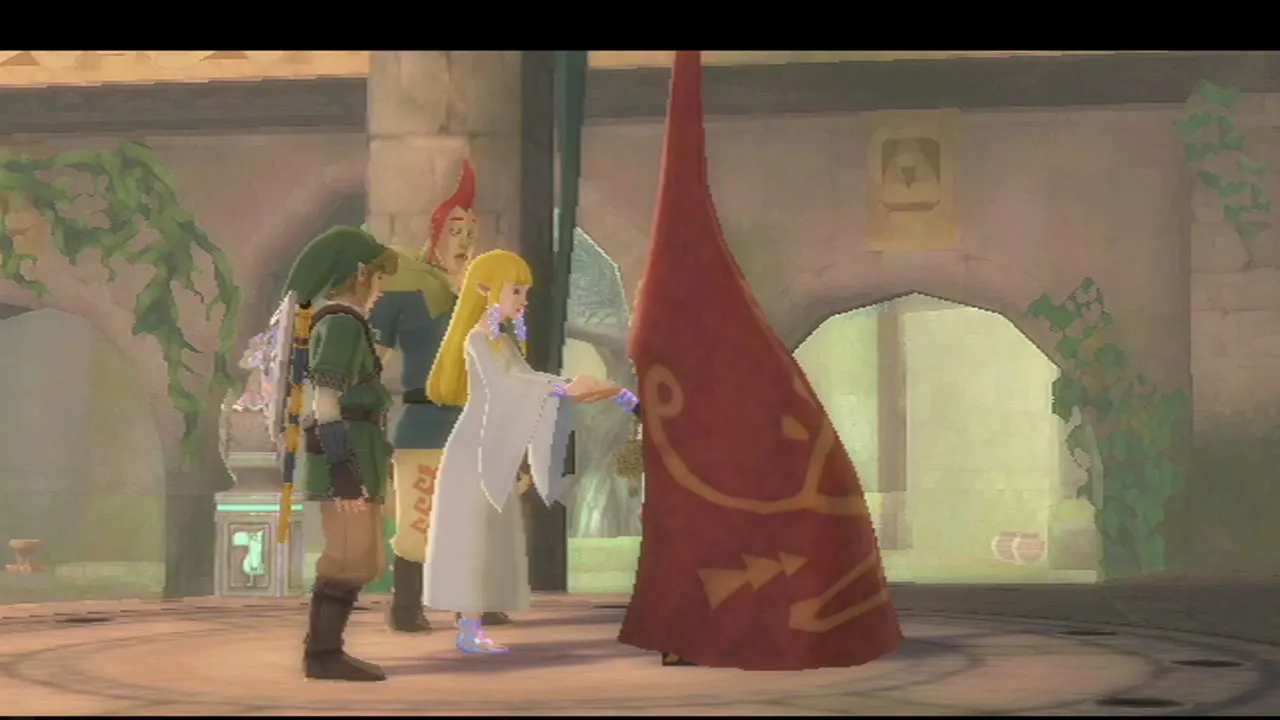
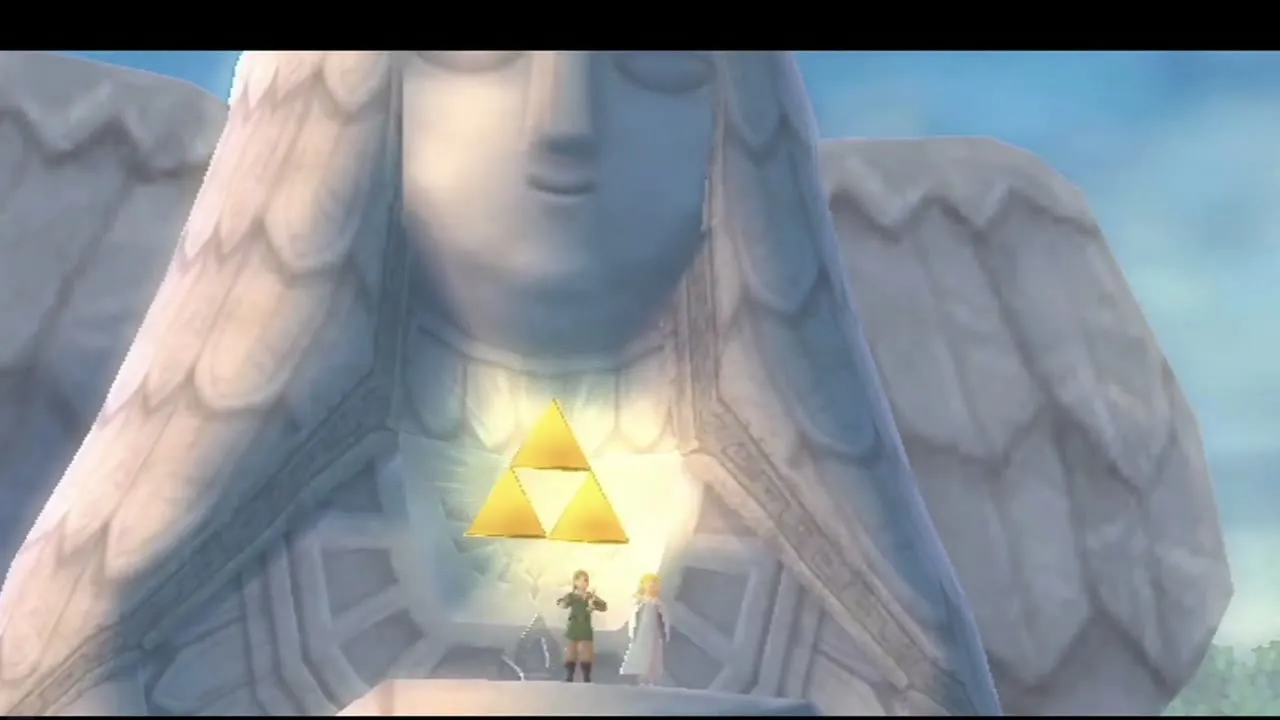
Impa stays in the past to watch over the sword, as one of the Sheikah, the goddess’s chosen guardians. You and Zelda return to your own time, the Gate of Time closes behind you and the aged Impa waiting there says goodbye to Zelda and fades away. The credits follow, and the game ends with a short closing scene of Link and Zelda together.
Unlock Hero Mode
Finishing the game unlocks Hero Mode. After the credits you can start a new file in Hero Mode from your clear data. In Hero Mode enemies deal double damage and Recovery Hearts no longer drop, though a Heart Medal in your pouch brings hearts back. Your treasures and bugs carry over.
Chapter checklist
| Collectible | Type | Where |
|---|---|---|
| Five Gratitude Crystals | Side quest | Fledge, Owlan, Kina, Peatrice or Peater, Beedle’s Insect Cage and Dodoh’s Party Wheel |
| Loose Gratitude Crystals | Dowsing | Skyloft at night |
 Gold Rupee | Reward | Batreaux, 40 crystals |
 Giant Wallet (5,000 Rupees) | Wallet | Batreaux, 50 crystals |
| Two Gold Rupees | Reward | Batreaux, 70 crystals |
 Tycoon Wallet (9,000 Rupees) | Wallet | Batreaux, 80 crystals |
 Piece of Heart | Piece of Heart | Zelda’s wardrobe, Knight Academy (Clawshots) |
| Piece of Heart | Piece of Heart | Skyloft mill chest (Cube 9, Water Dragon’s Scale) |
| Piece of Heart | Mini-game | Dodoh’s High Dive, Fun Fun Island |
| Beedle’s Insect Cage | Quest item | Bug Heaven, Bug Rock |
 Hylian Shield | Shield | Lanayru’s Lightning Round, Lanayru Gorge |
| Hero Mode | Unlock | Finish the game |
That is the end of the story. Use the 100% Completion Checklist to see what is left on your file, or return to the Skyward Sword Walkthrough hub to replay any chapter.