Age of Imprisonment 100% Completion Walkthrough28 chapters
- To the Great Plateau Walkthrough (Chapter 1, Battle 1)A short tutorial walk with Zelda, Rauru and Sonia. Controls, rewards and what opens next.
- The Art of the Blade Walkthrough (Chapter 1, Battle 2)Beat Typhan, Quino, Rauru, Pastos, Braton and Agraston, find the Korok Seed, chests and rewards.
- Where Ancient Wisdom Sleeps Walkthrough (Chapter 1, Battle 3)Flame Emitter, Time Bomb, Frox, Stone Talus and Flux Construct I, plus all five chests.
- Raging Sands Walkthrough (Chapter 2, Battle 4)Take the outposts, beat four Gerudo Captains, the Molduga and Ardi, and find all 3 Korok Seeds and 4 chests.
- The Hands of Evil Walkthrough (Chapter 2, Battle 5)Capture the outpost as the Mysterious Construct, get the Rocket and rescue Ardi from two Gerudo Captains.
- Growing Suspicion Walkthrough (Chapter 2, Battle 6)All three Korok Seeds, both chests, the Gerudo Assassin, Stone Talus and the final corrupted construct.
- Striking North Walkthrough (Chapter 2, Battle 7)Rescue three Hylian Captains, beat the Hinox and Lynel, and find both Korok Seeds and all seven chests.
- Beneath the Blood Moon Walkthrough (Chapter 2, Battle 8)Flight controls, both Korok Seed ring runs and how to beat the Frost Gleeok.
- The Howling Tempests Walkthrough (Chapter 2, Battle 9)Unlock Fuse attacks, Calamo and Typhan, find all 3 Korok Seeds and 4 chests, and beat Grimgera.
- Shadows in the Snow Walkthrough (Chapter 3, Battle 10)Unlock Raphica, rescue Pinnec, beat the ice enemies, and find all 3 Korok Seeds and 4 chests.
- Lanayru Defiled Walkthrough (Chapter 3, Battle 11)Clear sludge enemies, recruit Qia, get the Hydrant, beat Grimtorok, and find 3 Korok Seeds and 4 chests.
- The Behemoth in the Crater Walkthrough (Chapter 3, Battle 12)How to beat the Moragia flight battle with Zonai attack devices and get the Korok Seed.
- Crisis on Death Mountain Walkthrough (Chapter 3, Battle 13)Rescue the Gorons, unlock Agraston, beat the Fire Lynels and find all 5 Korok Seeds and 5 chests.
- Under Cover of Mist Walkthrough (Chapter 3, Battle 14)Capture outposts through hidden passages, beat the Aerocudas and Grimgera, and find all 7 Korok Seeds.
- Terror of the Sands Walkthrough (Chapter 4, Battle 15)Play as Ardi, clear Gibdo hives, defend the main outpost, and find all 4 Korok Seeds and 7 chests.
- The Crimson Omen Walkthrough (Chapter 4, Battle 16)Beat the corrupted Forbidden Construct as Calamo and the Knight Construct, with tips for its attacks.
- A Time for Action Walkthrough (Chapter 4, Battle 17)Four-sage outpost siege, all 4 Korok Seeds, 4 chests and the five elites.
- The Counterstrike Walkthrough (Chapter 4, Battle 18)Outposts, Zelda joining, the Grimgohma boss fight, 4 Korok Seeds and 4 chests.
- Ambush in the Depths Walkthrough (Chapter 4, Battle 19)Flight battle devices, Rock Octoroks, the breakable wall and the Black Hinox finale.
- Purging the Shadows Walkthrough (Chapter 4, Battle 20)Flux Construct outposts, Gloom Spawns, Phantom Ganon boss fight and all 5 chests.
- Fire and Sand Walkthrough (Chapter 4, Battle 21)Outposts, Silver Moblins, Grimgibdo boss tips, eight chests and first-clear rewards.
- Into the Fray Walkthrough (Chapter 5, Battle 22)Zonai devices for the flight battle, the Korok ring seed and how to beat King Gleeok.
- The Archfiend’s Return Walkthrough (Chapter 5, Battle 23)How to beat Grimgera in his third fight, best warriors and first-clear rewards.
- The Battle of Hyrule Castle Walkthrough (Chapter 5, Battle 24)Outposts, Grimtorok and Grimgohma, 5 Korok Seeds and 6 chests.
- The Demon King, Ensnared Walkthrough (Chapter 5, Battle 25)Outposts, Silver Lynel, Captain Construct III, three Phantom Ganons, 3 Korok Seeds and 4 chests.
- The Battle of Hyrule Field Walkthrough (Chapter 5, Battle 26)Empty the enemy army gauge, then defeat the Archfiend Grimgibdo.
- The Final Confrontation Walkthrough (Chapter 5, Battle 27)The Phantom Ganon wave, the L-button blast and Demon King Ganondorf strategy with Zelda and Rauru.
- A Clash of Constructs Walkthrough (Chapter 6, Battle 28)The three-phase Forbidden Construct fight, flight tips, the ending and what opens in the post-game.
| Chapter | Chapter 5, Battle 22 |
|---|---|
| Region | Sky (flight battle over the floating islands, on the way to Hyrule Castle) |
| Recommended level | Lv 47 |
| Warriors |  Knight Construct, fixed; no other warriors |
| Boss | King Gleeok, Scourge of the Hyrulean Skies |
| Korok Seeds | 1 |
| Unlocks | The next story battle, The Archfiend’s Return; the fight runs straight on without a results screen |
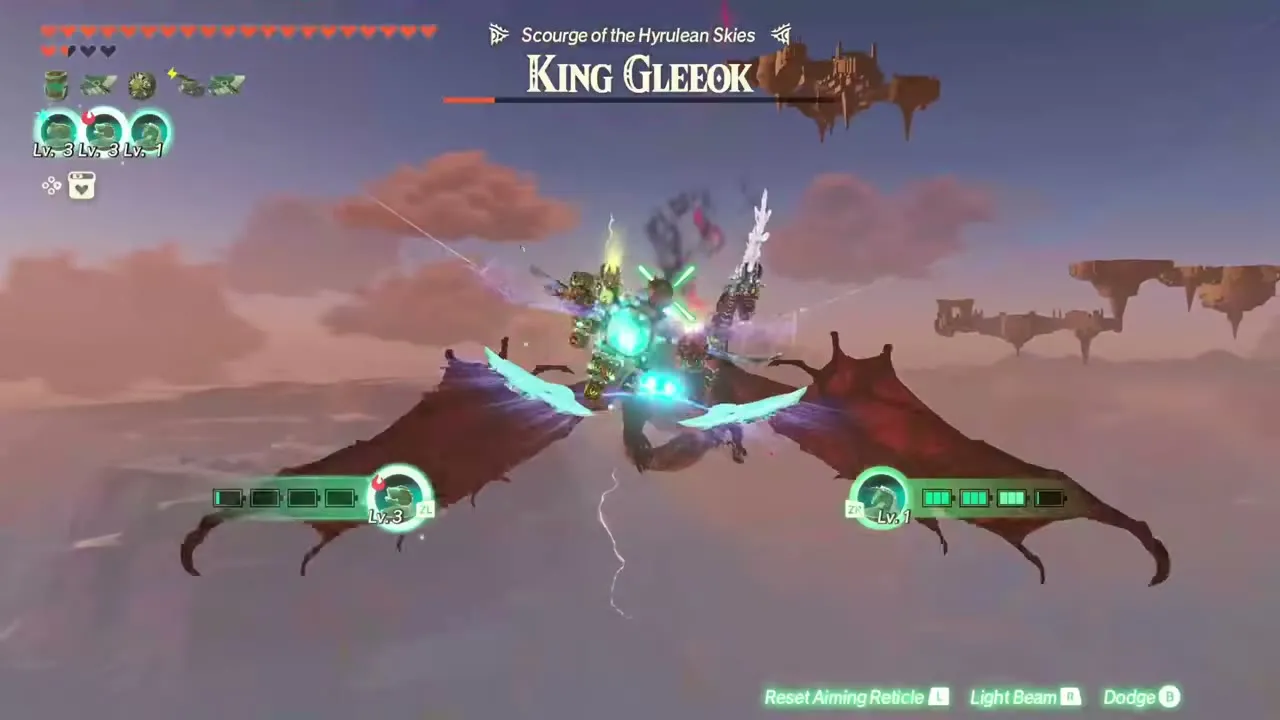
Into the Fray opens Chapter 5 and is a flight battle: you pilot the Knight Construct through the air towards Hyrule Castle, shoot down the swarms in your way, and finish by defeating a King Gleeok. There is one Korok Seed, earned by flying through rings.
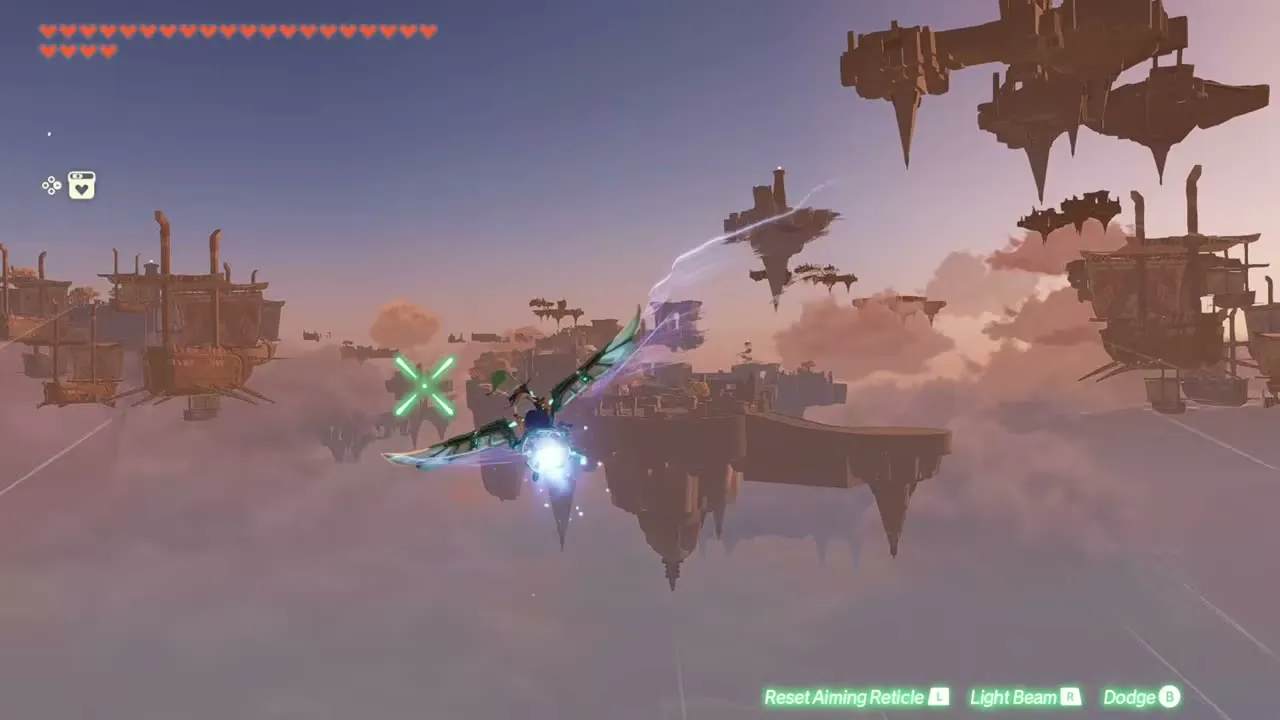

Table of Contents
Before you start
The recommended level is 47, but you control only the construct, so there is no party to build. The battle hands you seven Zonai devices: Frost Emitter, Flame Emitter, Beam Emitter, Battery, Wing, Fan and Shock Emitter. Soldiers fighting alongside you drop the first devices soon after take-off (the Beam Emitter, then the Flame Emitter, and the Wing a little later). The Frost and Flame Emitters deal ice and fire damage, the Beam Emitter fires piercing light beams, the Battery raises the other devices’ capacity, the Wing adds support fire, the Fan deflects projectiles when you dodge, and the Shock Emitter adds electric damage to your dodges.
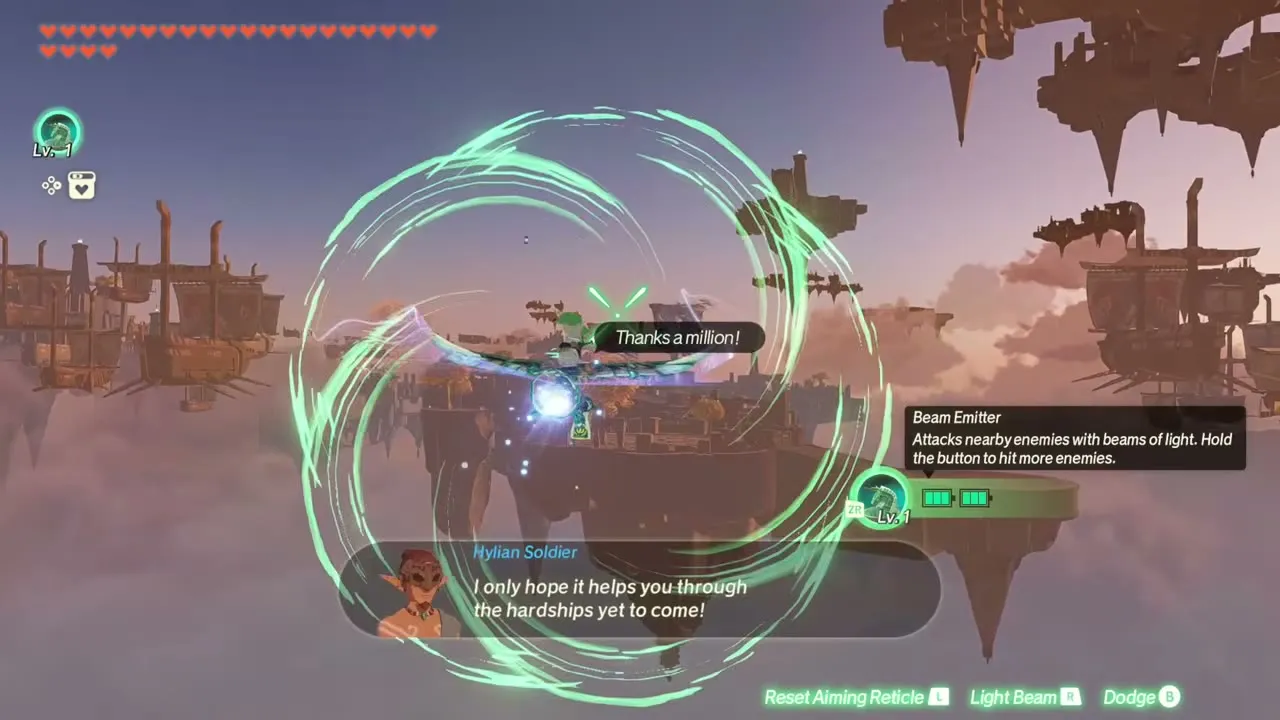
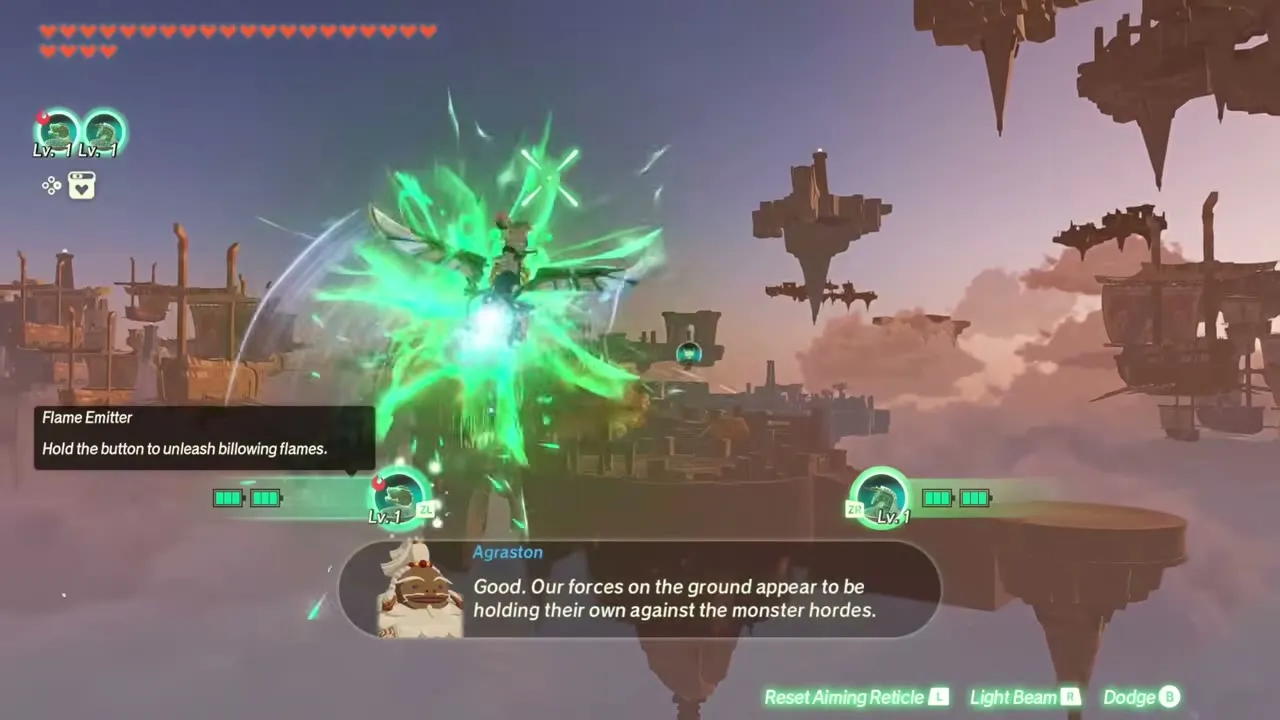
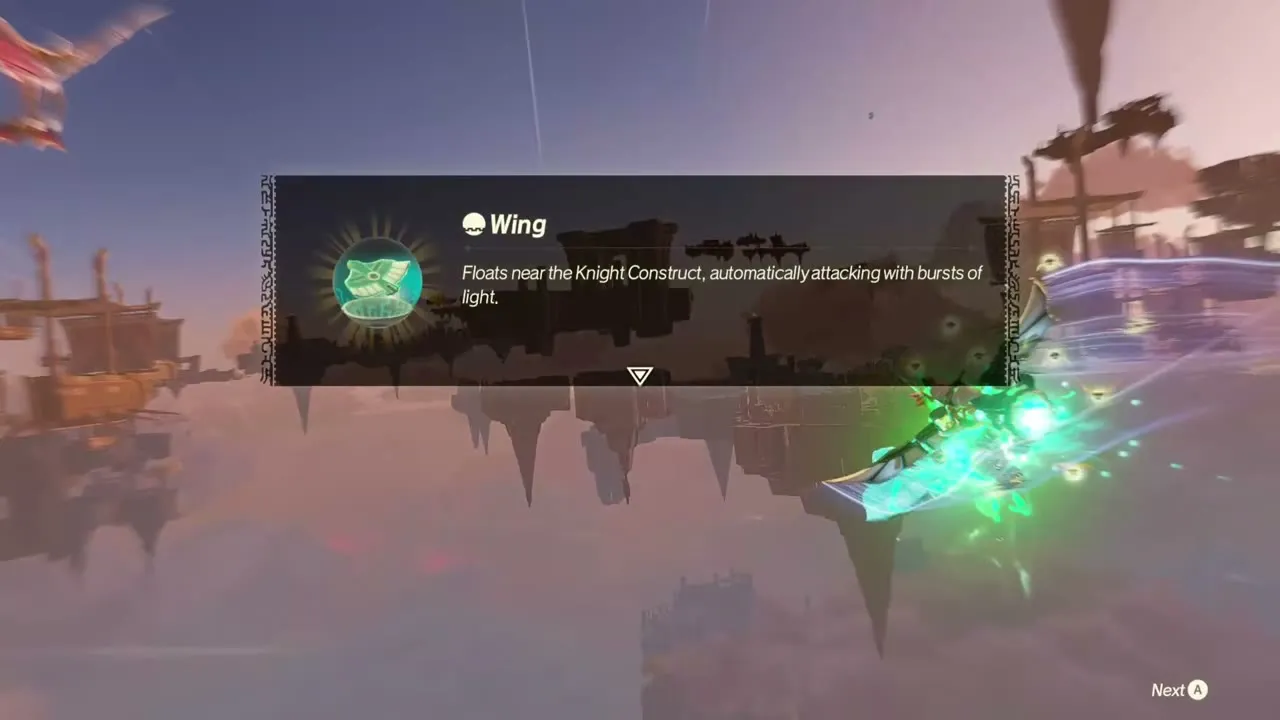
Flight battle route
Fly through the Korok rings
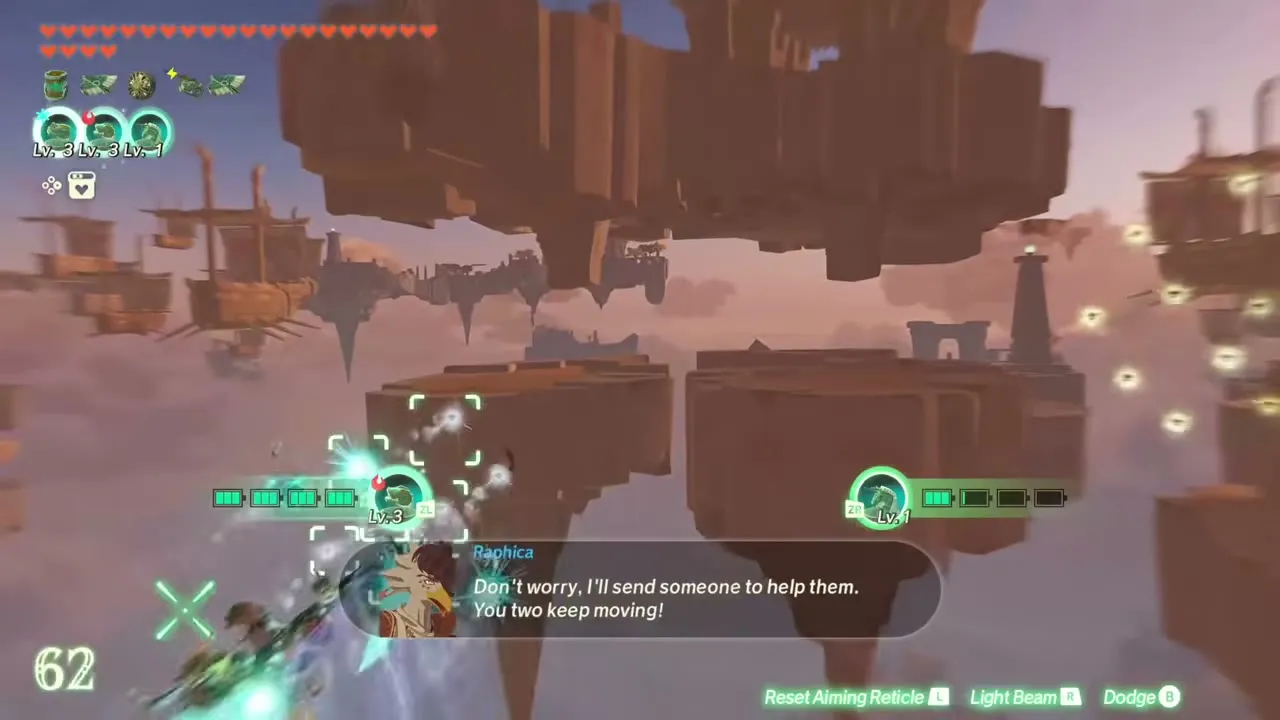
Fly along the main route between the floating islands, shooting the enemies that approach. Watch for the glowing yellow rings arranged in circles between the islands, soon after the start: flying through them gives the level’s Korok Seed.
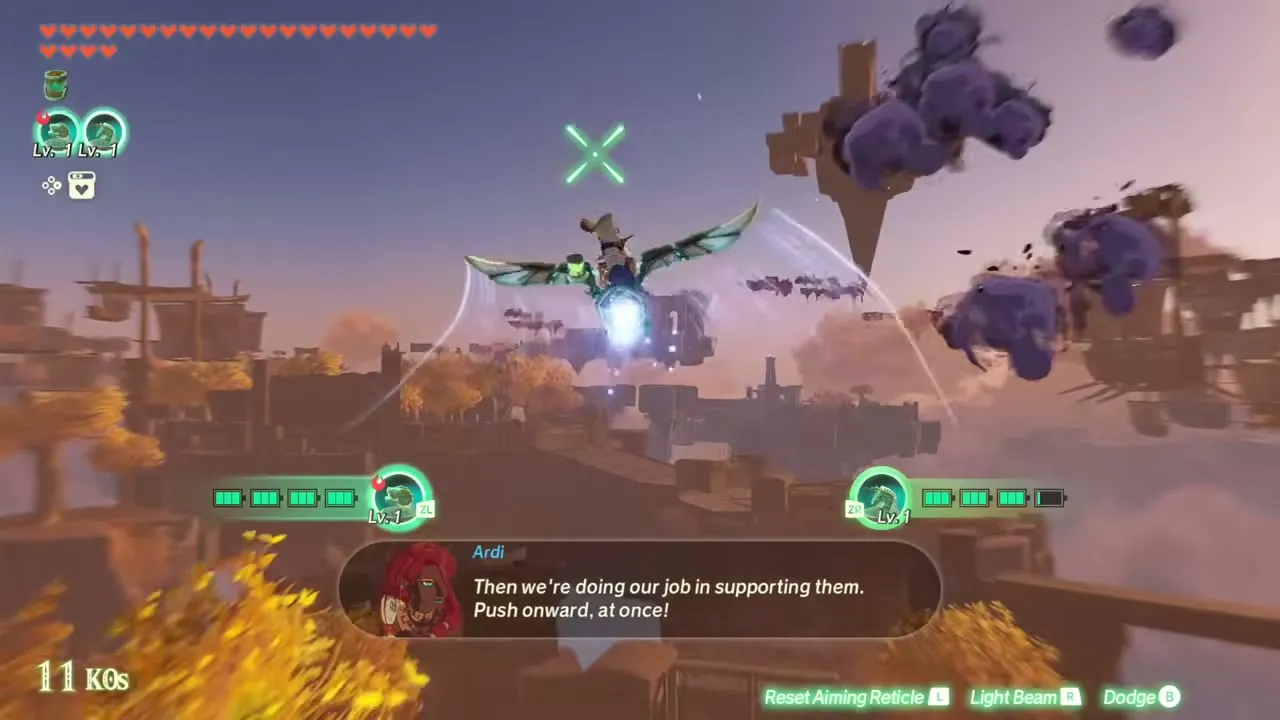
Top-down section
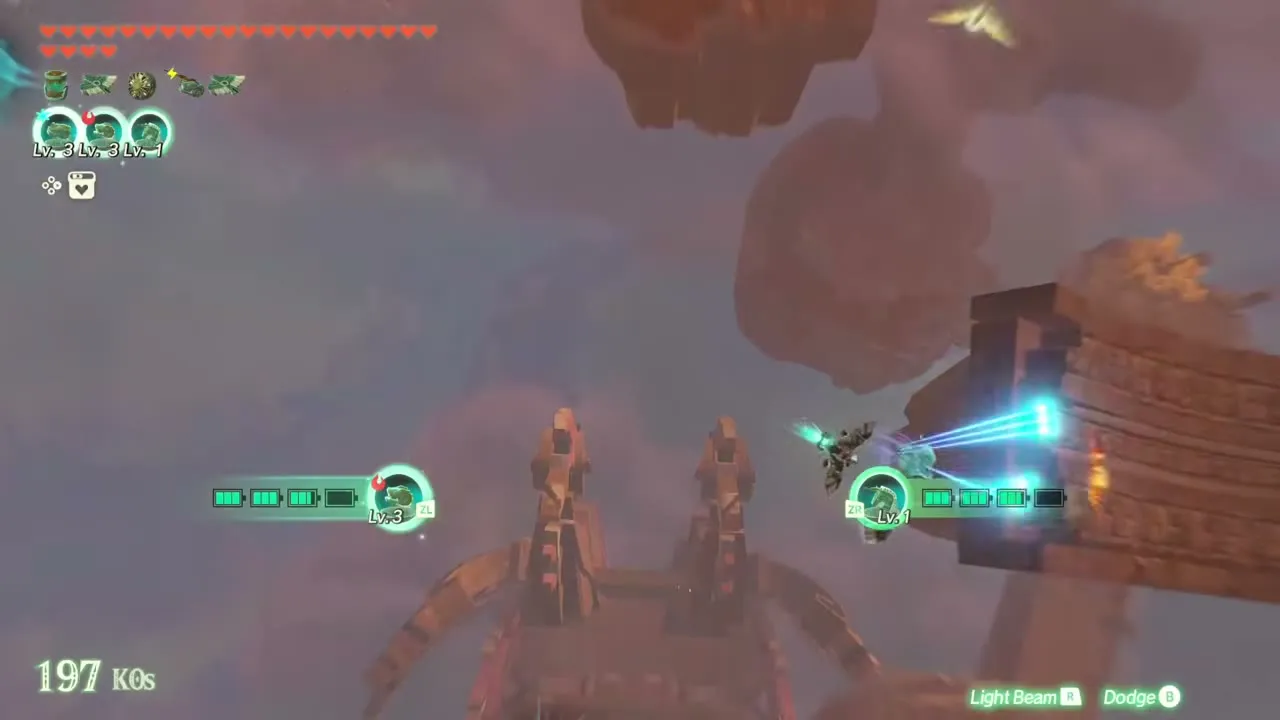
After the rings the view changes to a top-down angle and enemies come at you from every side. Lock on and let them close in, because the Beam Emitter pierces everything in a line and hits the back rank as well as the front. It is the best device for this section.


King Gleeok boss fight
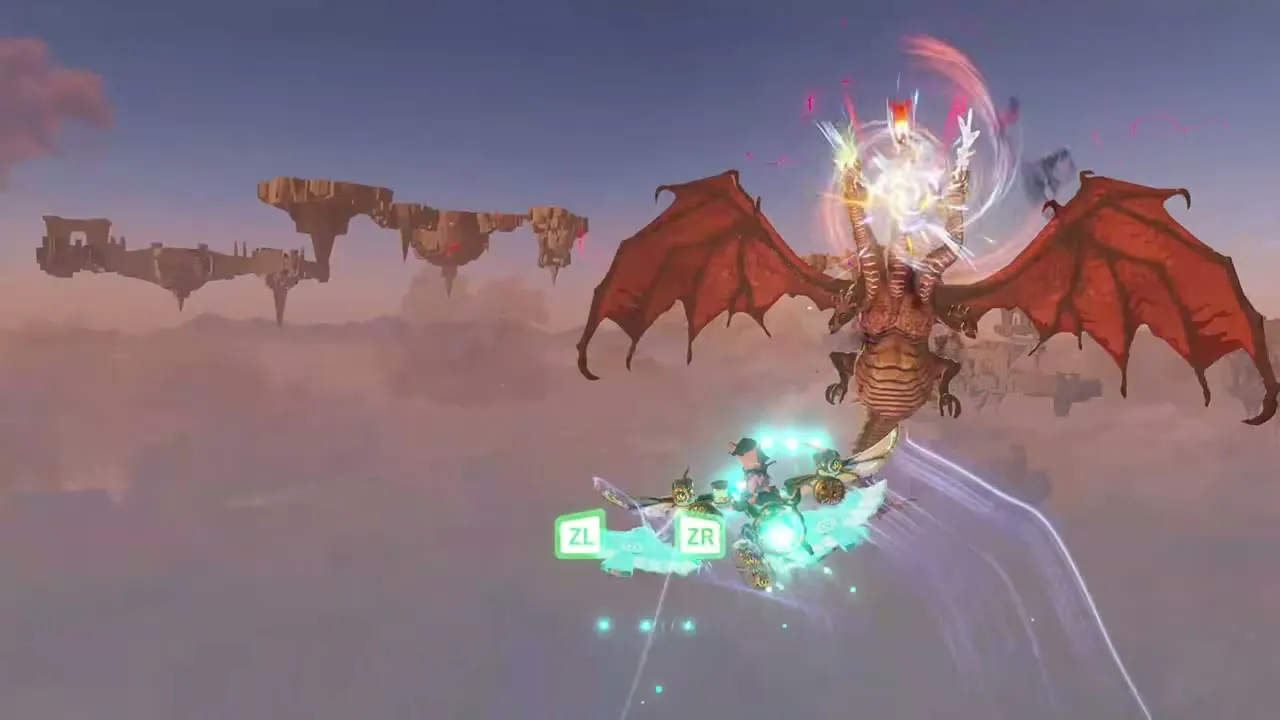
Each of King Gleeok’s three heads uses a different element. Dodge its attacks while firing a Flame or Frost Emitter at it until Burn or Freeze is applied, which lowers its weak-point gauge. Then hit it with ordinary beam shots to break the gauge and finish with a weak-point smash.
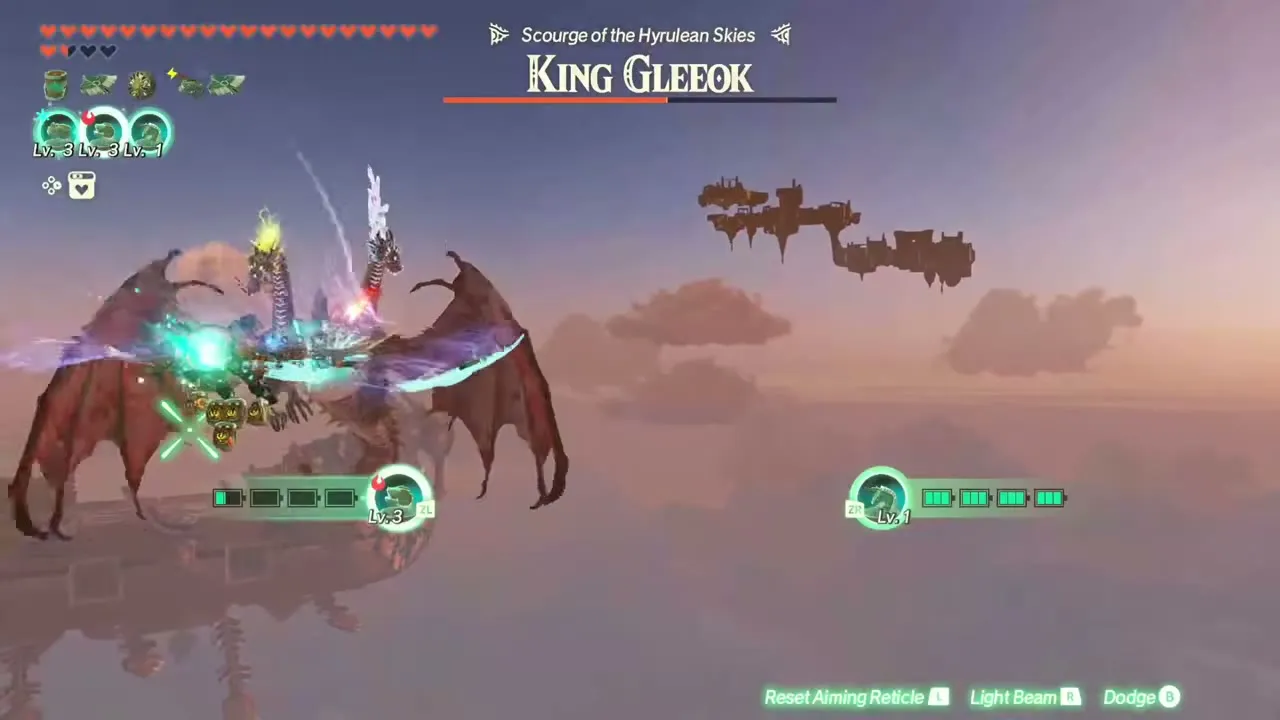
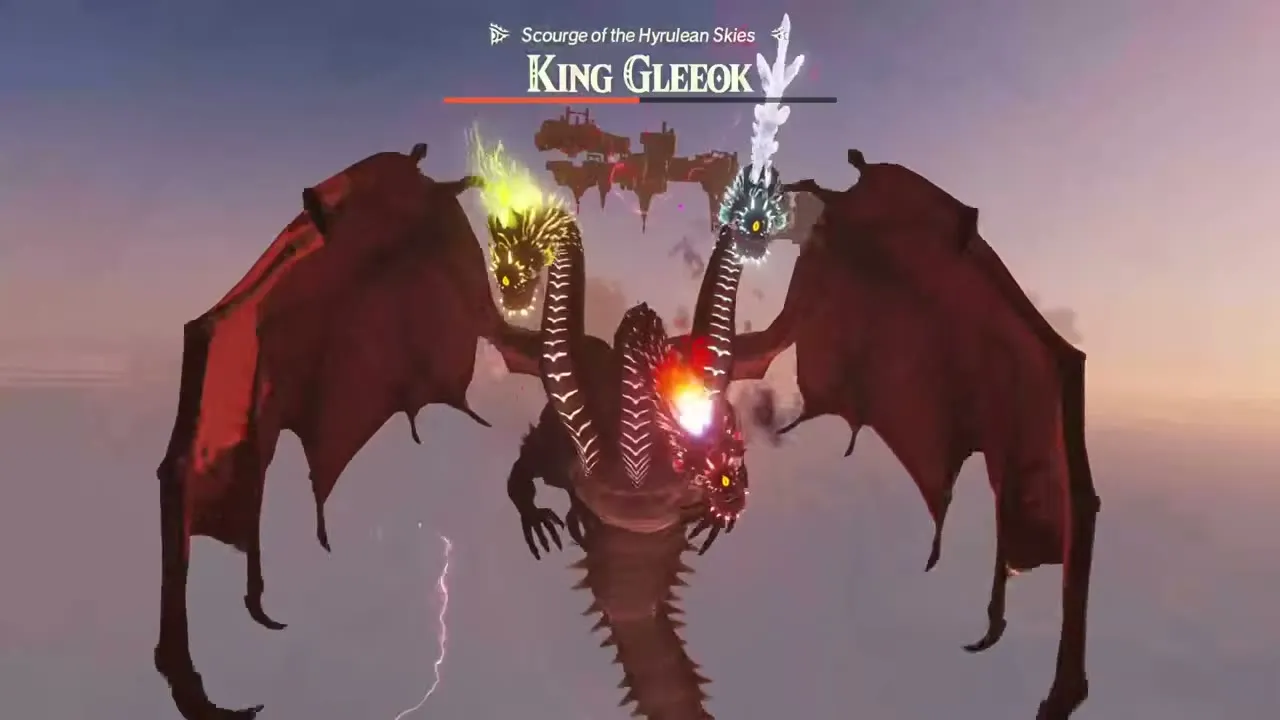
If you would rather keep things simple, the Beam Emitter alone can break the gauge without a status effect. Repeat the cycle until the King Gleeok is nearly beaten, then press the prompted button repeatedly to land the final blow and end the battle.

Into the Fray Korok Seed

Korok Seed 1: yellow rings
Fly through the circles of yellow rings hanging between the floating islands, soon after the Wing device arrives and before the top-down section. Calamo remarks that it is one of his brothers when the Korok appears.


Rewards and what unlocks next
| Collectible | Type | Where |
|---|---|---|
| Into the Fray Korok Seed 1 | Korok Seed | Circles of yellow rings between the floating islands, before the top-down section |
The flight battle has no results screen of its own: once King Gleeok falls, the story cuts straight to the next fight. The Archfiend Grimgera is waiting next in The Archfiend’s Return.