
























Twilight Princess 100% Completion Walkthrough23 chapters
- Hyrule Castle and the Ganondorf BattleEvery key and chest, then how to beat Puppet Zelda, Dark Beast Ganon, the horse chase and the final duel.
- Snowpeak Ruins (Dungeon 5)Every key, chest, Heart Piece and Poe Soul, the Ball and Chain, Darkhammer and the Blizzeta boss fight.
- Temple of Time (Dungeon 6)All keys and chests, the Dominion Rod, statue puzzles, Big Key, two Heart Pieces and Armogohma.
- City in the Sky (Dungeon 7)Every chest, Heart Piece and Poe, the Double Clawshots, Aeralfos, the Big Key and how to beat Argorok.
- Ordon VillageGoat herding, fishing rod, Sera’s bottle, slingshot, Wooden Sword, Faron Woods cave Heart Piece, Lantern.
- Enter the Twilight RealmEscape the cell as Wolf Link, meet Midna and Zelda, get the Ordon Sword and Shield, meet Ordona.
- Faron WoodsAll 12 Tears of Light, Faron Spring, Coro’s key and lantern oil bottle, and the Golden Wolf’s Ending Blow.
- Forest Temple (Dungeon 1)All 8 monkeys, 4 small keys, Map, Compass, Big Key, 2 Heart Pieces, Ook, Gale Boomerang and Diababa.
- Hyrule Field, Kakariko Gorge and Twilight Kakariko12 Tears of Light, Epona, Pill Bugs, Heart Pieces.
- Iron Boots, King Bulblin and Death MountainIron Boots from Mayor Bo, the King Bulblin bridge fight, Golden Bugs and Gor Coron’s sumo match.
- Goron Mines (Dungeon 2)Every chest, both Heart Pieces, the Hero’s Bow, three Key Shards, Dangoro and Fyrus boss tactics.
- Lanayru Province, Castle Town and Zora’s DomainKakariko extras, Bridge of Eldin bugs, Castle Town, Lake Hylia, thawing Zora’s Domain and all 12 Tears of Light.
- Telma Escort, Castle Town and Lake Hylia Side QuestsTelma escort, Zora Armor, Water Bombs, 9 Golden Bugs, Agitha, Charlo, fishing, Rapid Ride and the Lakebed entrance.
- Lakebed Temple (Dungeon 3)Small keys, map, compass, Big Key, two Heart Pieces, Clawshot, Deku Toad and Morpheel boss tactics.
- Midna, Zelda and the Master SwordTelma’s Bar to Zelda, the Sacred Grove, Skull Kid, the guardian puzzle, plus its Heart Piece, Poe and Golden Bug.
- Poe Soul Collection, Malo Mart and Heart PiecesThe first 29 Poe Souls, Jovani’s rewards, Malo Mart donations and Magic Armor, Miiverse stamps and five Heart Pieces.
- Gerudo Desert and the Bulblin CampOasis Flight, eight Poe Souls, both Dayflies, Mortal Draw, Bulblin Camp and King Bulblin.
- Arbiter’s Grounds (Dungeon 4)Four Poe Souls, Dungeon Map, Compass, Spinner, Big Key, two Heart Pieces and the Stallord boss fight.
- Mirror Chamber, Reekfish and Snowpeak MountainMirror Chamber, Spinner Heart Pieces, Reekfish bait, Jump Strike, Poe Souls and the climb to Yeto.
- Heart Pieces Hunt and Return to the Sacred GroveTwo Heart Pieces, Rusl, the Skull Kid rematch, the last Golden Bug and the Temple of Time door.
- Ilia’s Memory, Hidden Village and the SkyIlia’s memory, 20 Bulblins, 20 cats, six Sky characters, Great Spin and the Sky Cannon repair.
- Palace of Twilight (Dungeon 8)Both Sols, all seven small keys, map, compass, Big Key, 2 Heart Pieces and how to beat Zant.
- Cave of OrdealsAll 50 floors, the 3 Poe Souls, every Great Fairy, buried items, the Tears and Jovani.
| Covers | Fyer’s cannon, Telma’s bar, the carriage escort, Kakariko Village, Hyrule Field, Castle Town, Zora’s Domain, Upper Zora’s River, Lake Hylia |
|---|---|
| Boss fight | King Bulblin, round two, on the Great Bridge of Hylia (Hero’s Bow and Epona) |
| Key items | Zora Armor, Water Bombs, Bomb Bags 2 and 3, Giant Bomb Bag, Big Wallet, Back Slice, Empty Bottle (bottle 3 of 4) |
| Heart Pieces | 3: Charlo’s donations (#30), Hena’s Fishing Hole (#29) and Flight-By-Fowl (#25) |
| Golden Bugs | 9 in this chapter: Mantis pair, Dragonfly pair, Stag Beetle pair, Ladybug pair and the Male Butterfly (the Female Butterfly needs the Clawshot and is in the Poe Soul chapter) |
This chapter covers everything between the thawed Lanayru Province and the Lakebed Temple. First comes the story: Telma’s bar, the carriage escort to Kakariko, the Zora Armor and Water Bombs, which are all the Lakebed Temple needs. Then comes the long optional sweep: Back Slice, nine Golden Bugs, Agitha, Charlo, Bomb Bags 2 and 3, the Giant Bomb Bag, Hena’s Fishing Hole and Flight-By-Fowl. Directions use the Normal Mode layout. Hero Mode mirrors the world, so swap left and right and east and west.
Keep your wallet in mind. The starting Wallet holds 500 Rupees, and Agitha’s first Golden Bug upgrades it to the Big Wallet (1,000), so turn in one bug before you spend or collect much. The Poe Souls around Lake Hylia need the Master Sword and are collected in the Poe Soul chapter.
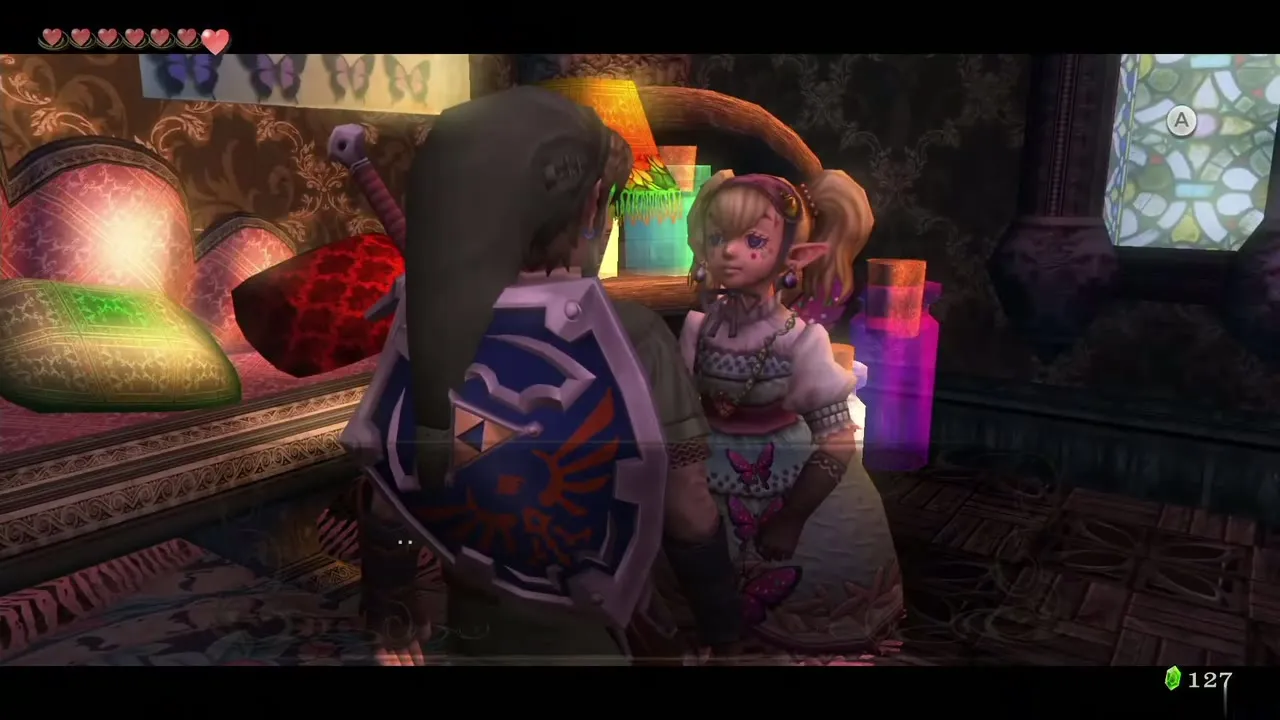
Table of Contents
Fyer’s cannon, Telma’s bar and the carriage escort
Out of the lake and down to Castle Town
With the Twilight lifted you start in Lake Hylia. Cross the bridges on your left to the building floating on the water, where Fyer the clown offers a cannon ride up to the top of Lake Hylia for 10 Rupees. Accept. Inside the house at the top, climb down the ladder and leave by the door to reach Hyrule Field near the Great Bridge of Hylia. Run along the path to the horse grass, call Epona and ride to Castle Town. On the way the Postman delivers letters; one announces new attractions in the Lanayru region and another says Barnes has a new bomb in stock.
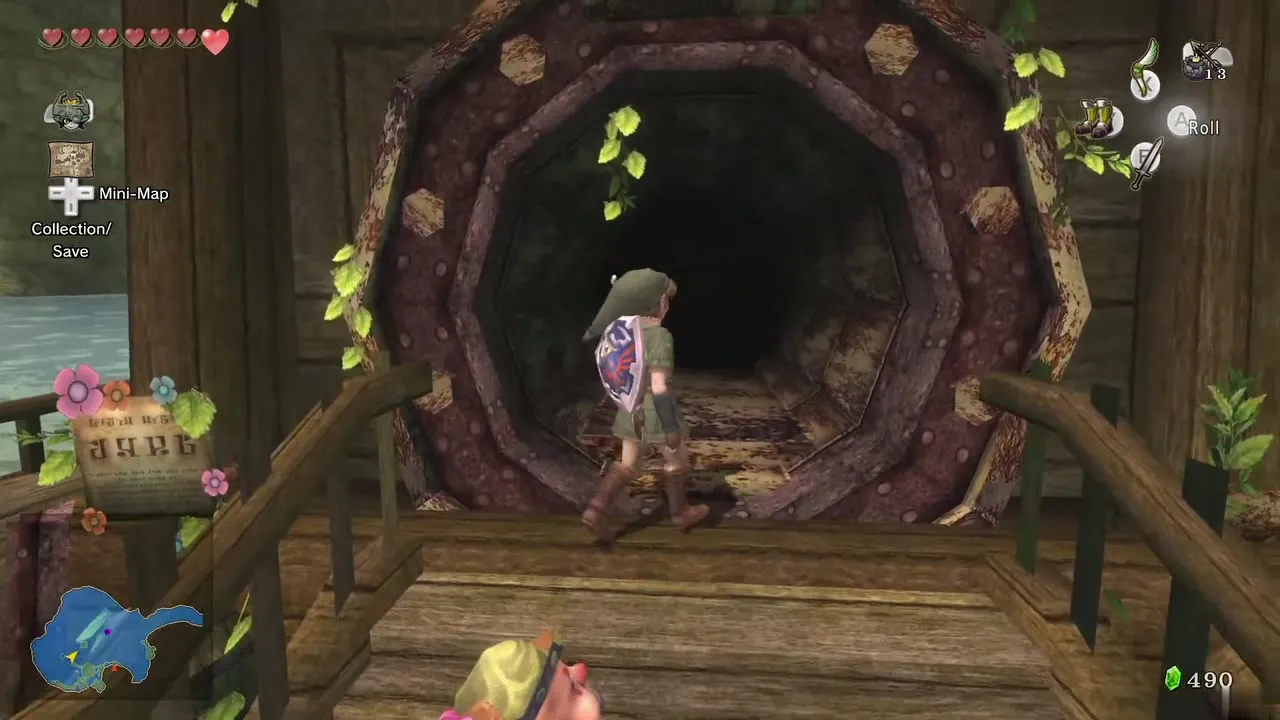
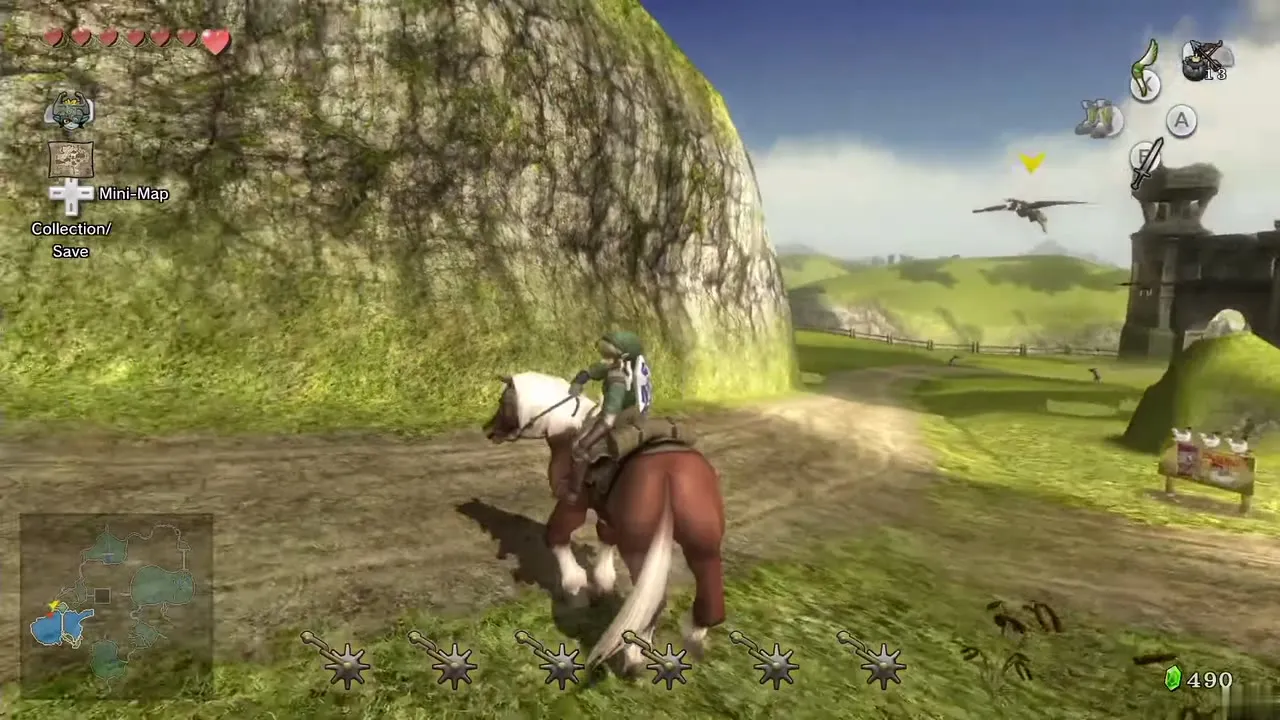
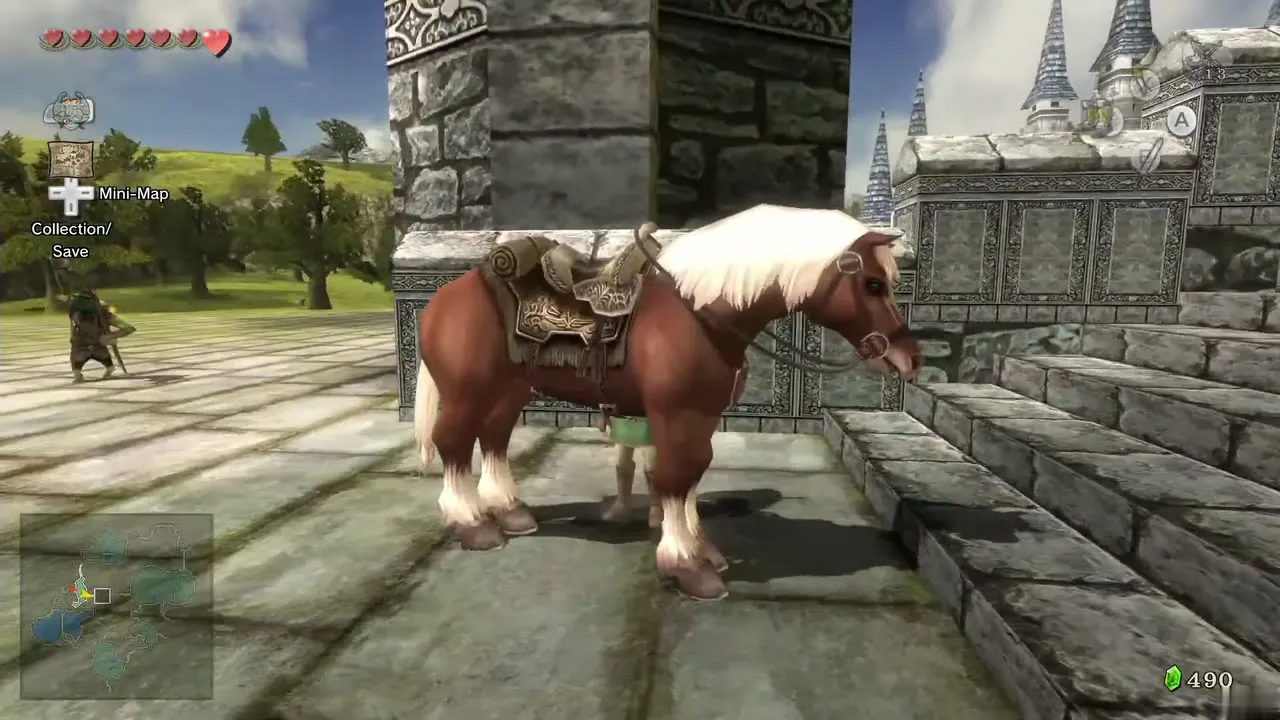
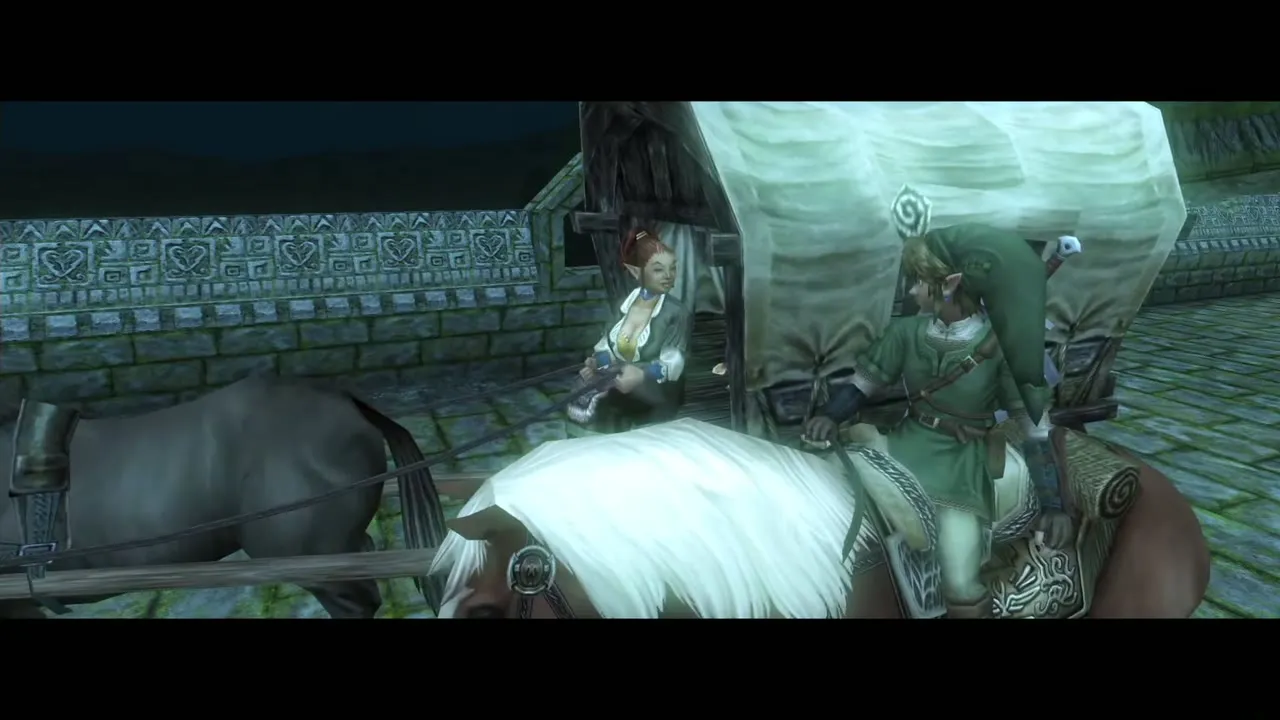
In Castle Town go to Telma’s bar in South Castle Town. A scene plays: Ilia has lost her memory, the injured Prince Ralis still needs help and Telma suggests taking him to Kakariko Village. The Hylian guards refuse to help, so Telma and Ilia turn to you. The group looks toward the Great Bridge of Hylia and sees King Bulblin waiting, then sets off with Telma driving the carriage.
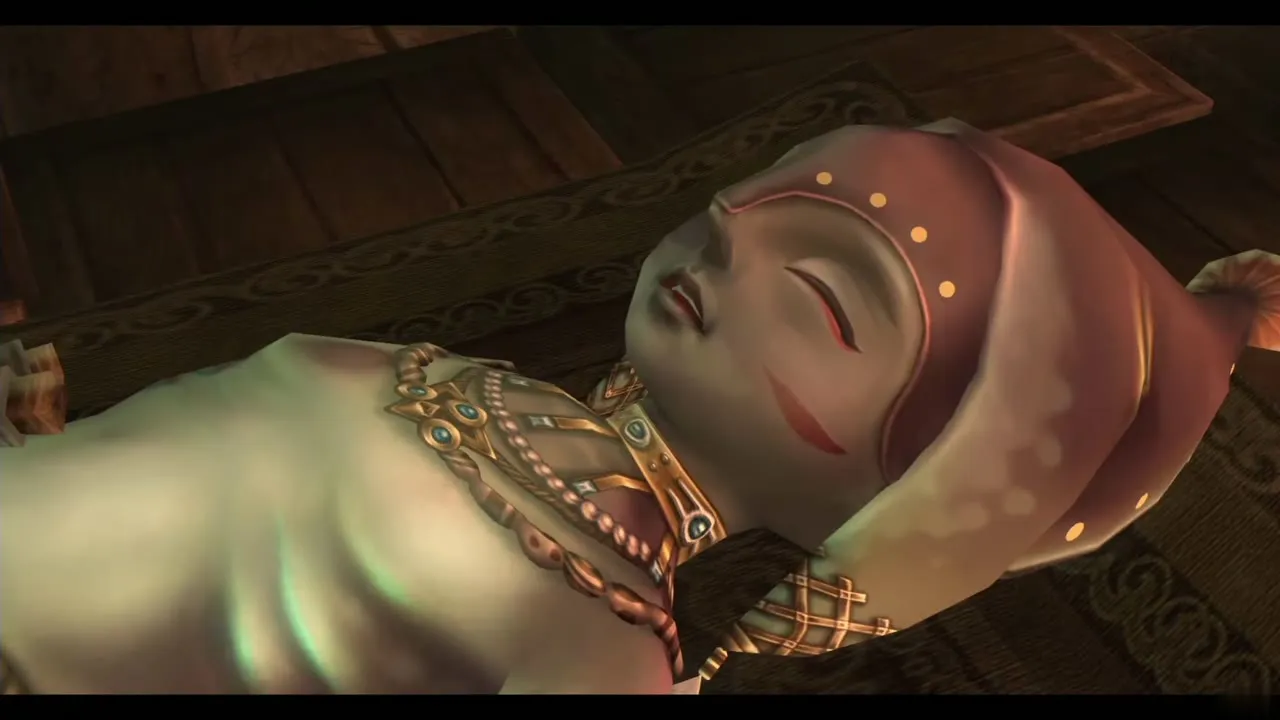
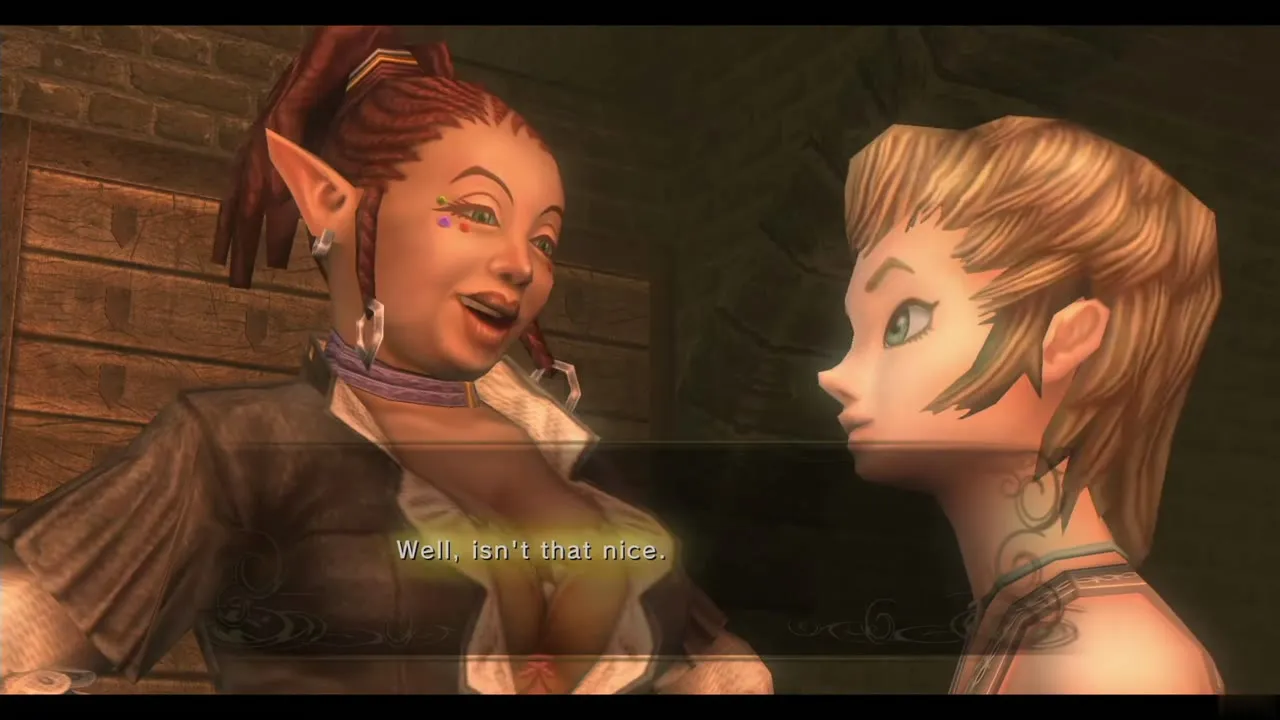
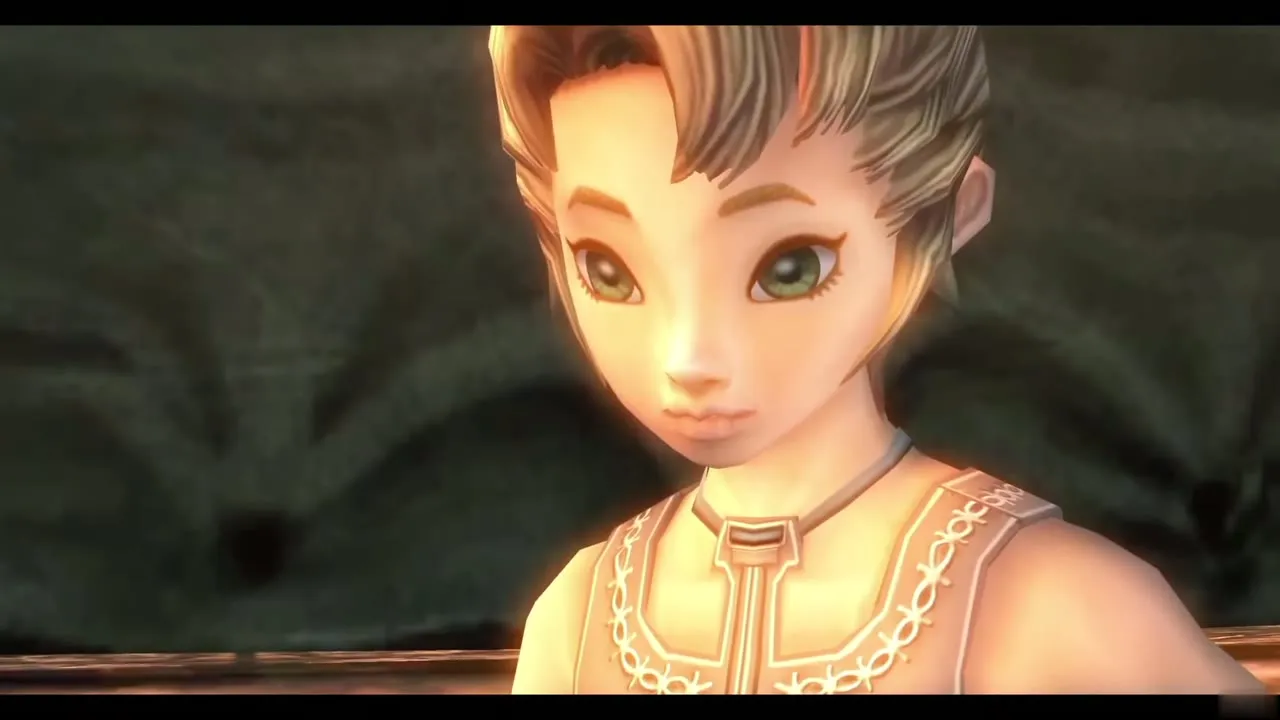
Great Bridge of Hylia: King Bulblin, round two
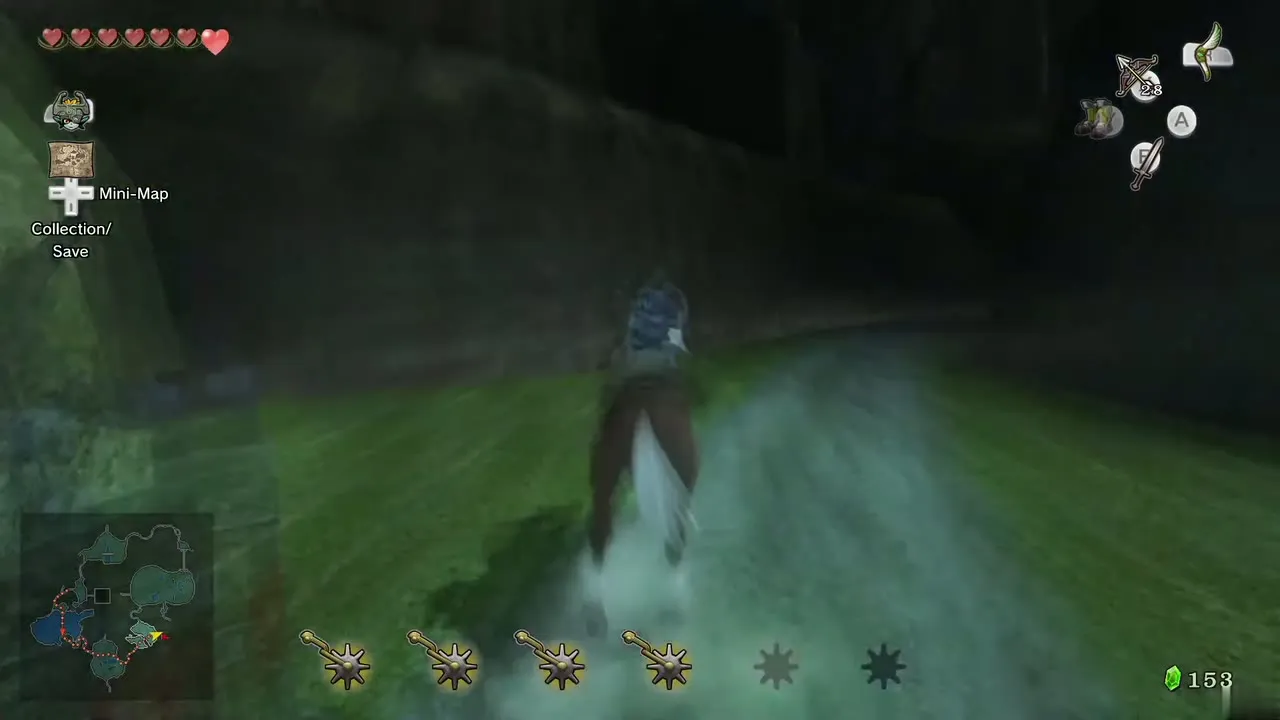
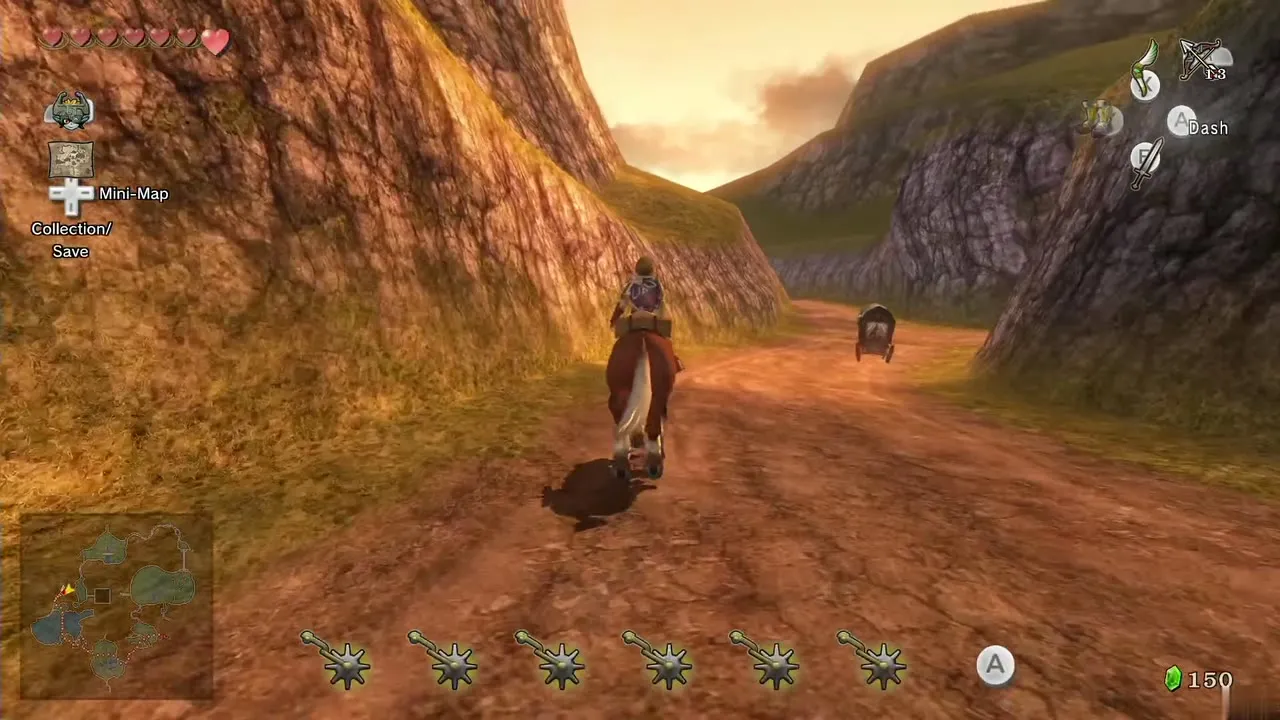
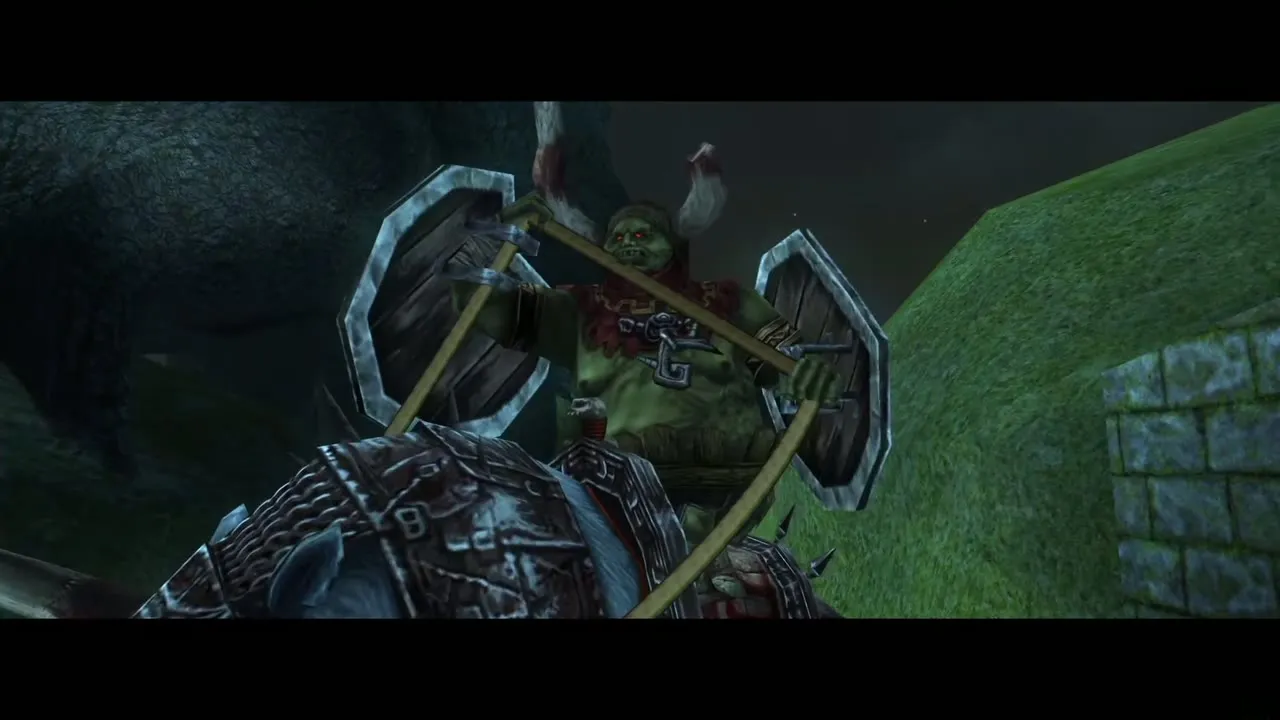
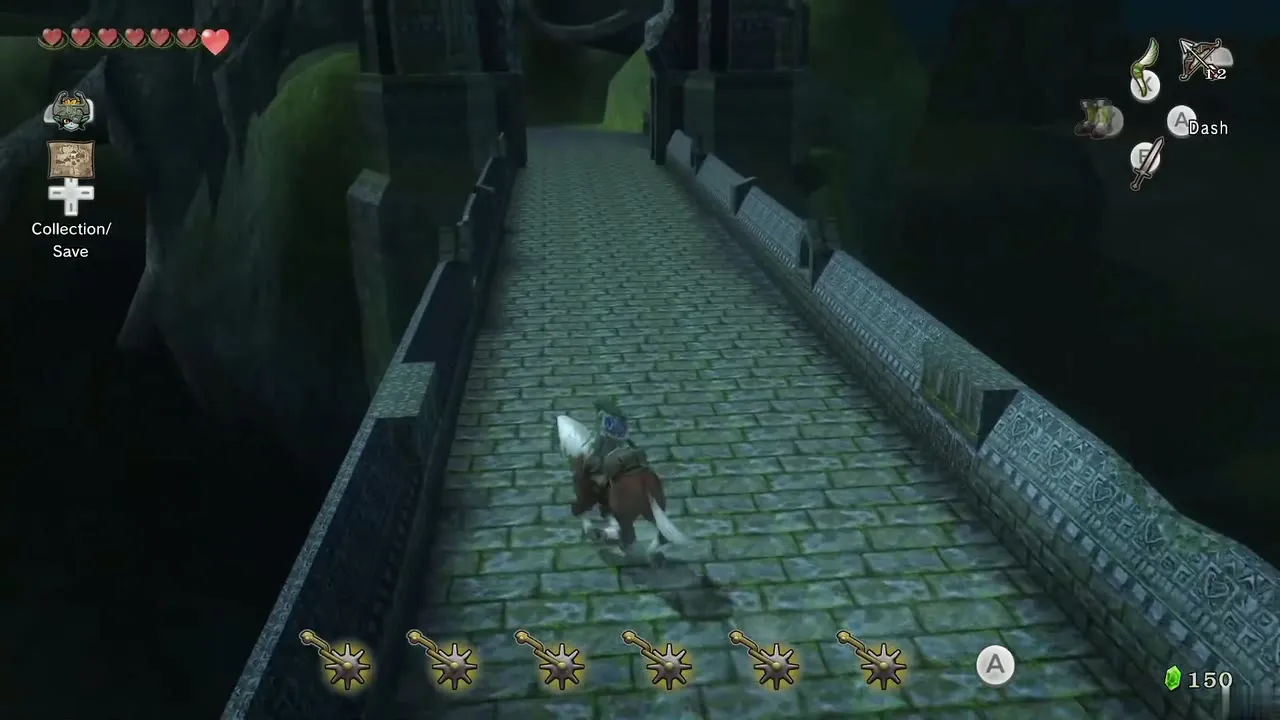
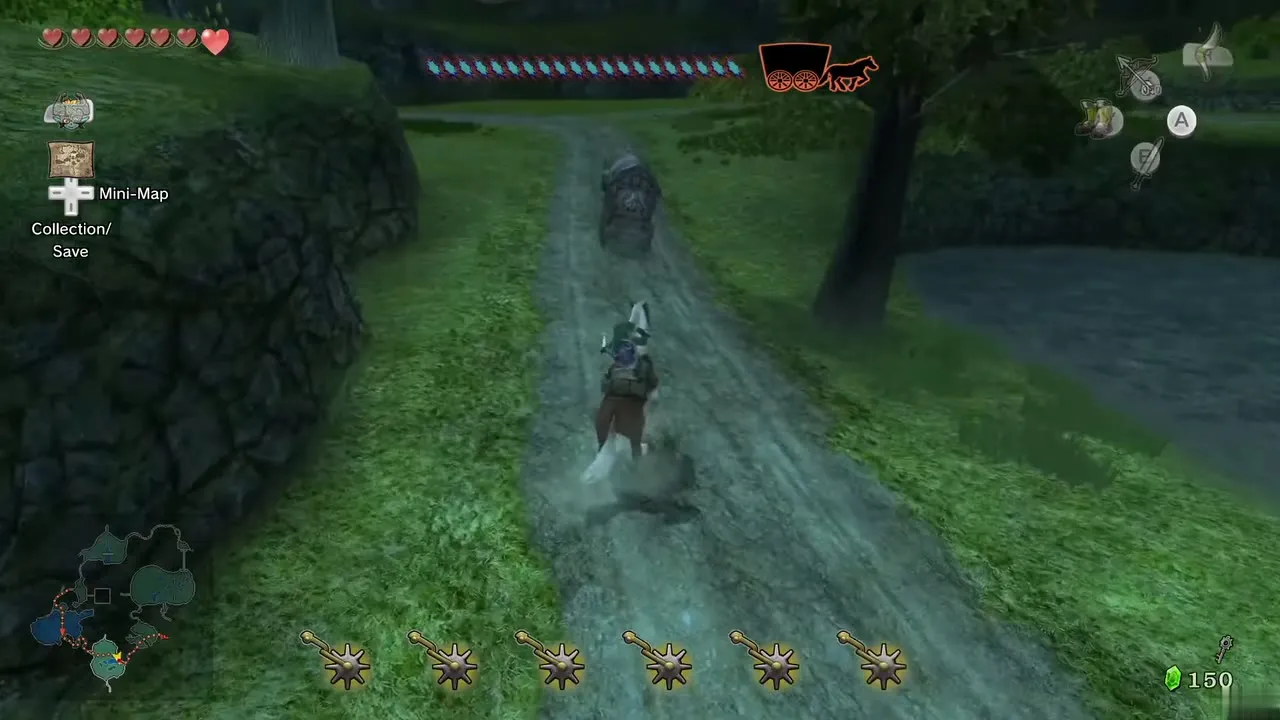
You ride Epona beside the carriage. Bulblin archers fire at the wagon throughout, and if a flaming arrow sets it alight, lock on to the wagon and throw the Gale Boomerang to put the fire out. At the bridge, King Bulblin charges at you again, this time carrying a pair of huge shields that your sword cannot get past. Ride toward him, equip the Hero’s Bow and shoot him once, then steer clear as he charges past. Turn around and shoot him a second time; two arrows defeat him and he drops the Gate Keys. Bomb arrows work but fly slowly and do no extra damage, so ordinary arrows are the better choice.
Gates, Kargaroks and the arrival in Kakariko
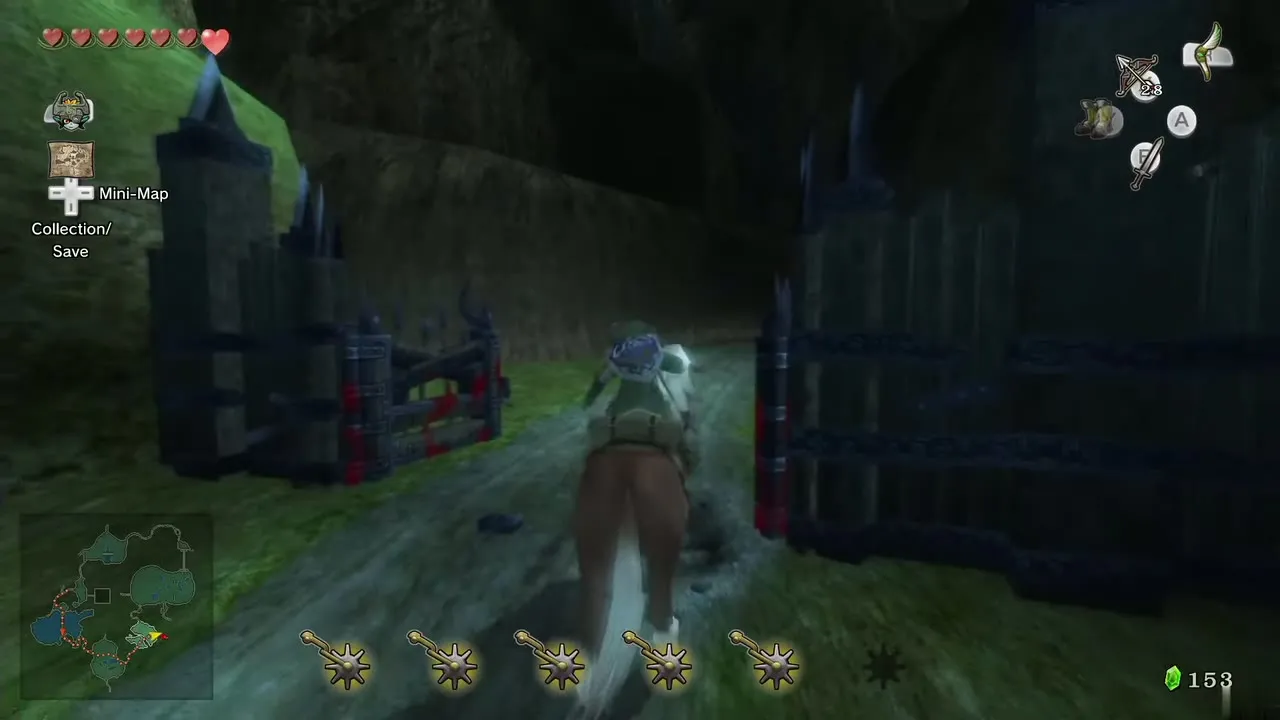
Ride on, put out any fire on the wagon and stop at the first gate. Dismount, unlock it with a Gate Key and the carriage rolls into South Hyrule Field. Here archers ride Bullbos and Kargaroks drop bombs onto the road, which would send the carriage circling back. When you see a Kargarok waiting near a fork in the road, stay close to the wagon and knock the bird down with the Gale Boomerang or the bow before it can drop its bomb.
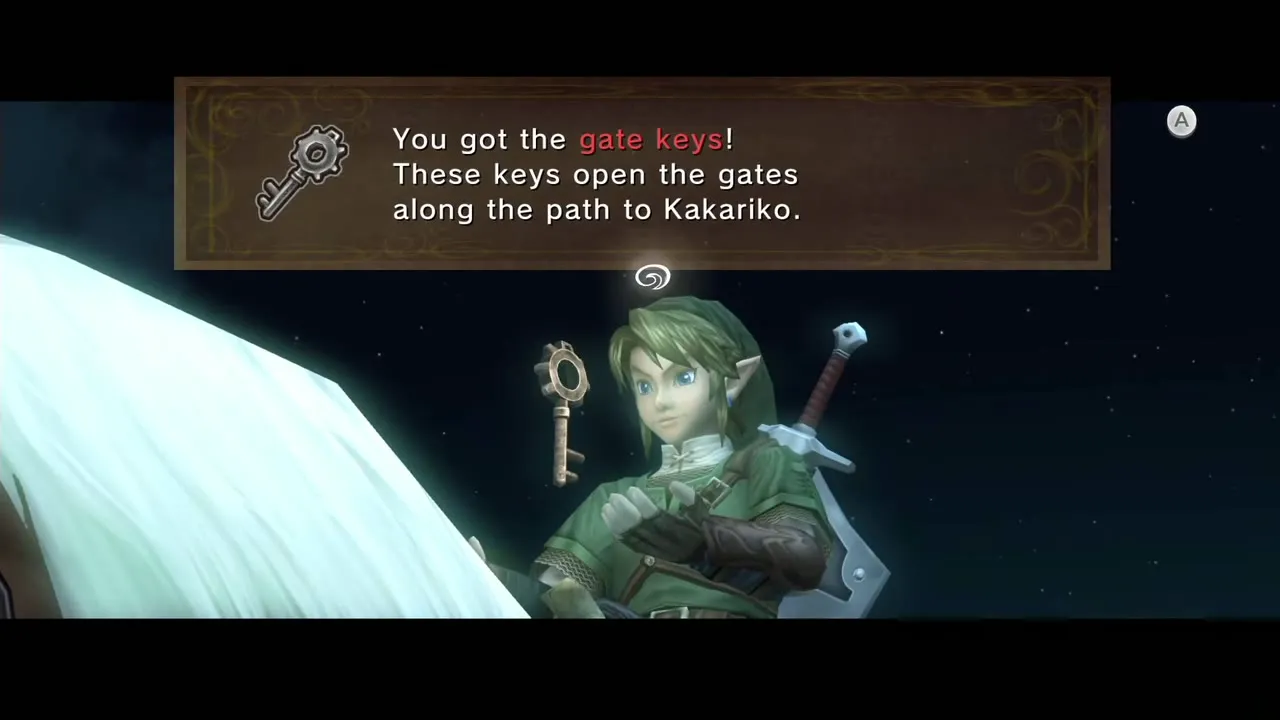
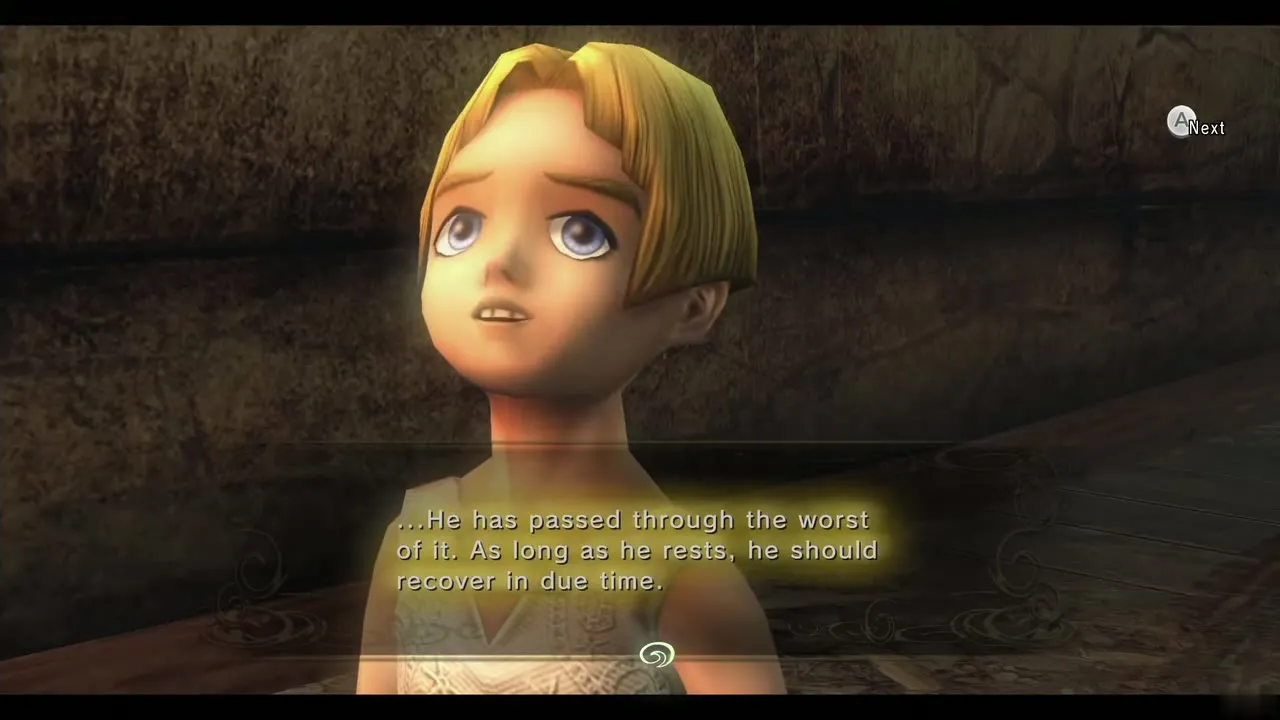
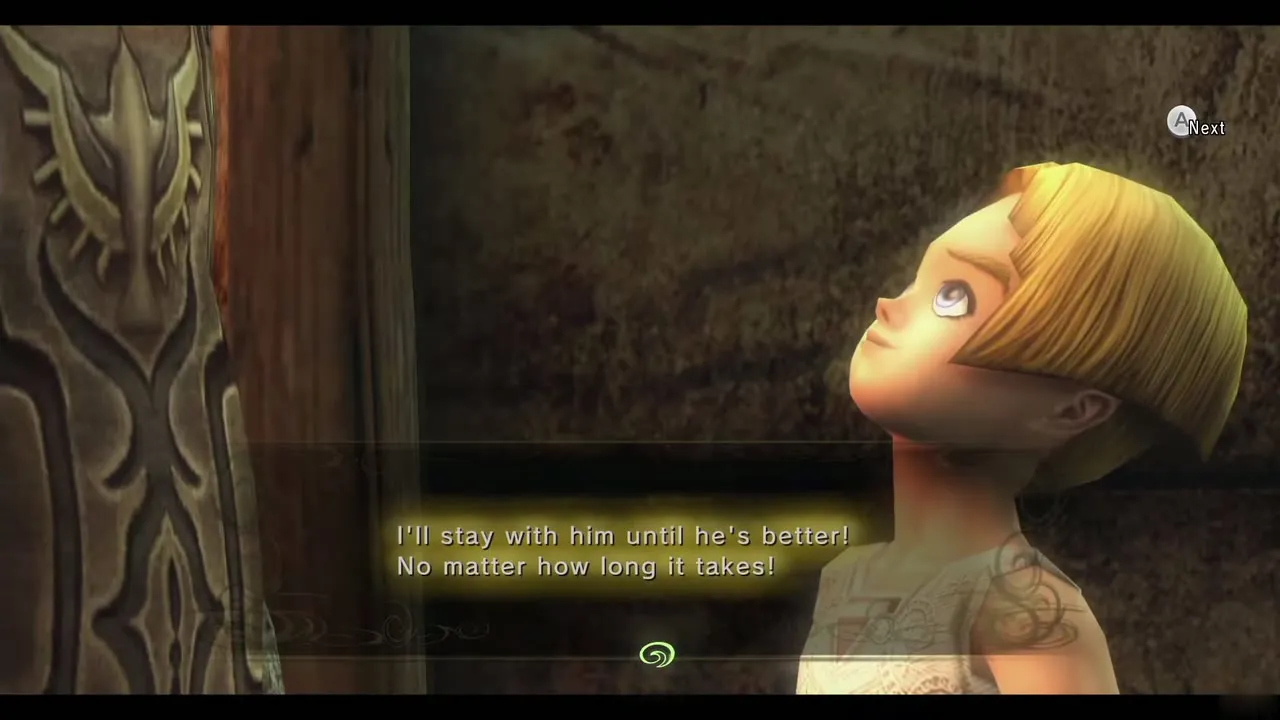
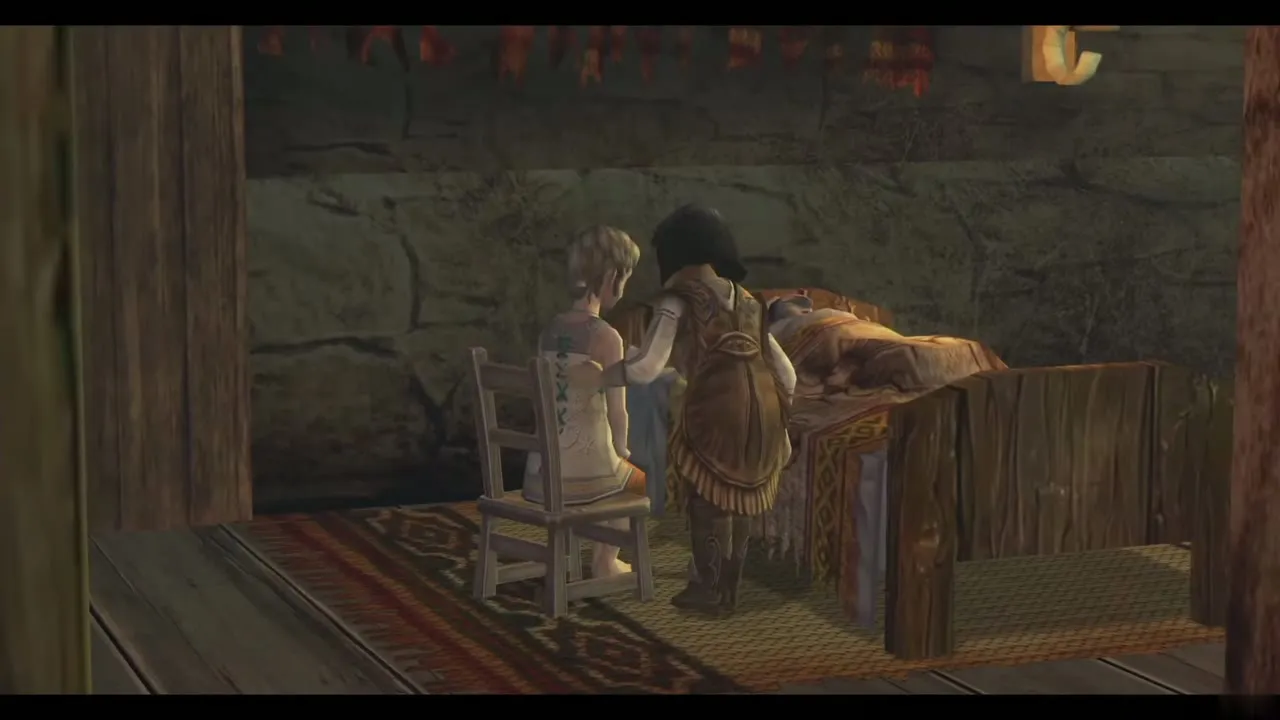
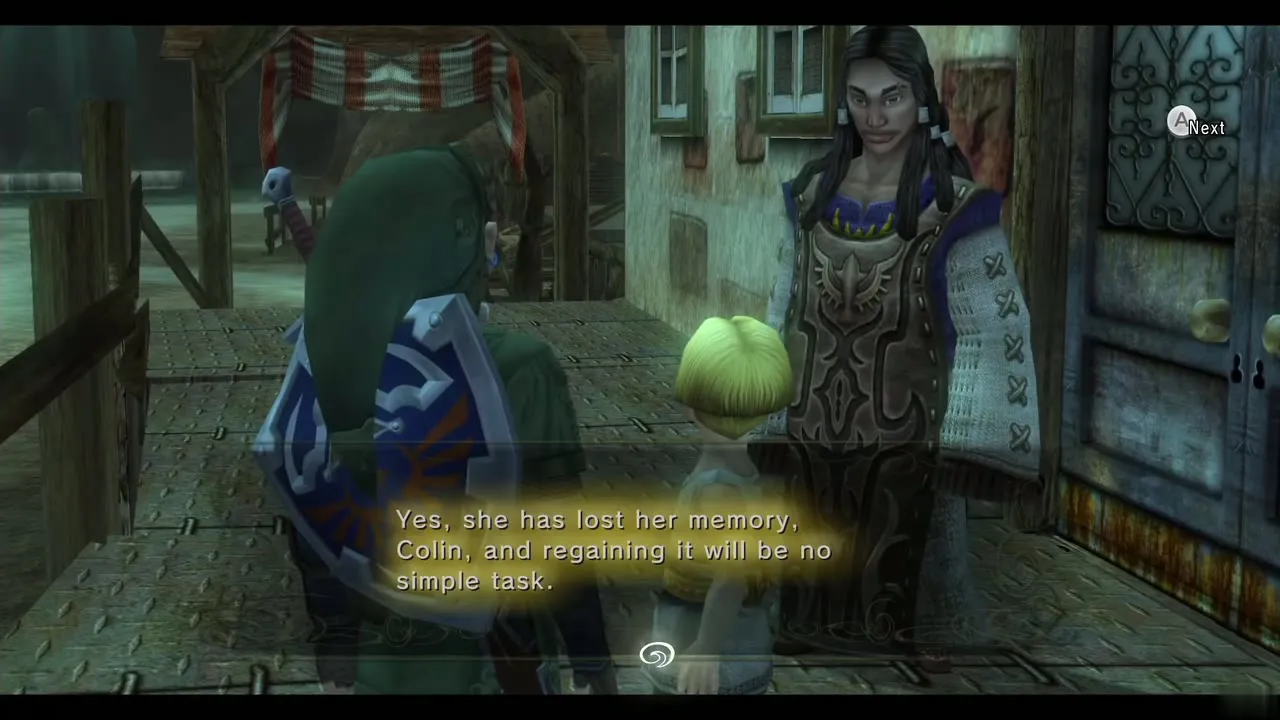
Kakariko Gorge repeats the pattern: another Kargarok to shoot, then another gate to open with a Gate Key. Ride into Kakariko Village. A long scene shows that Ralis will recover if he rests, and you talk with Renado and Colin.
Kakariko Village: Zora Armor and Water Bombs
How to get the Zora Armor
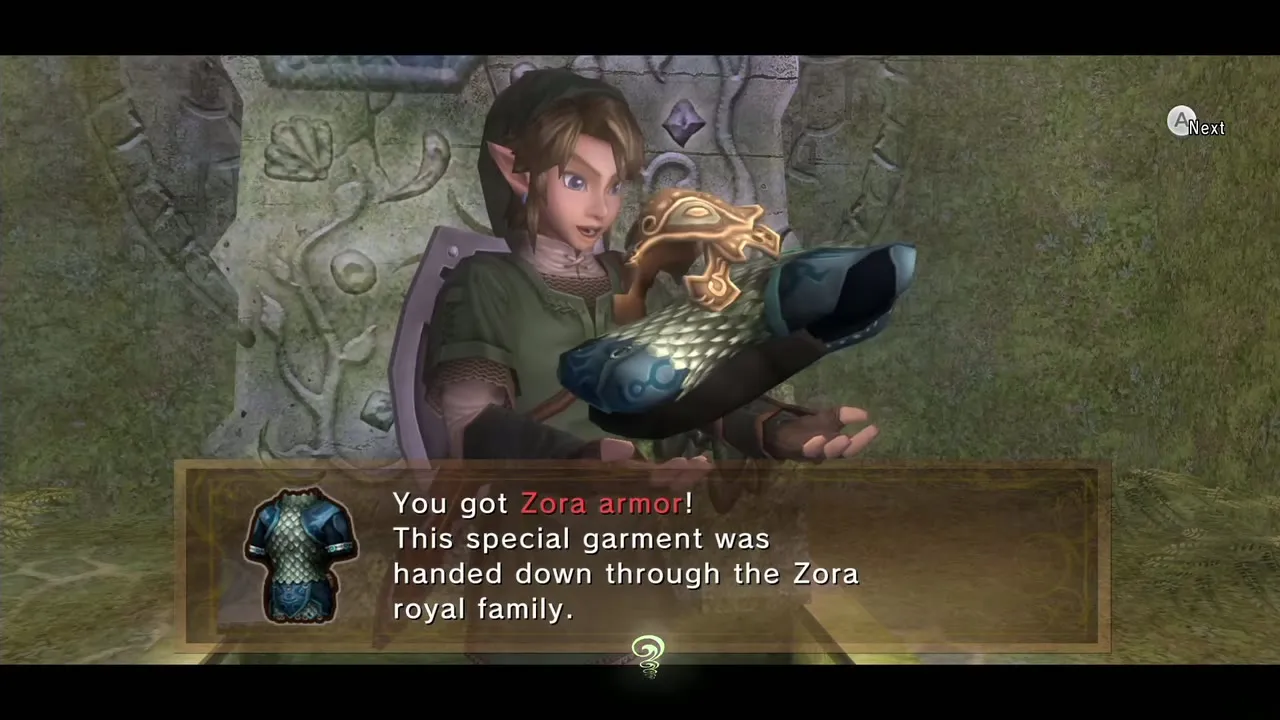
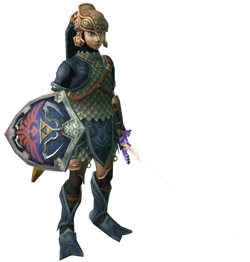
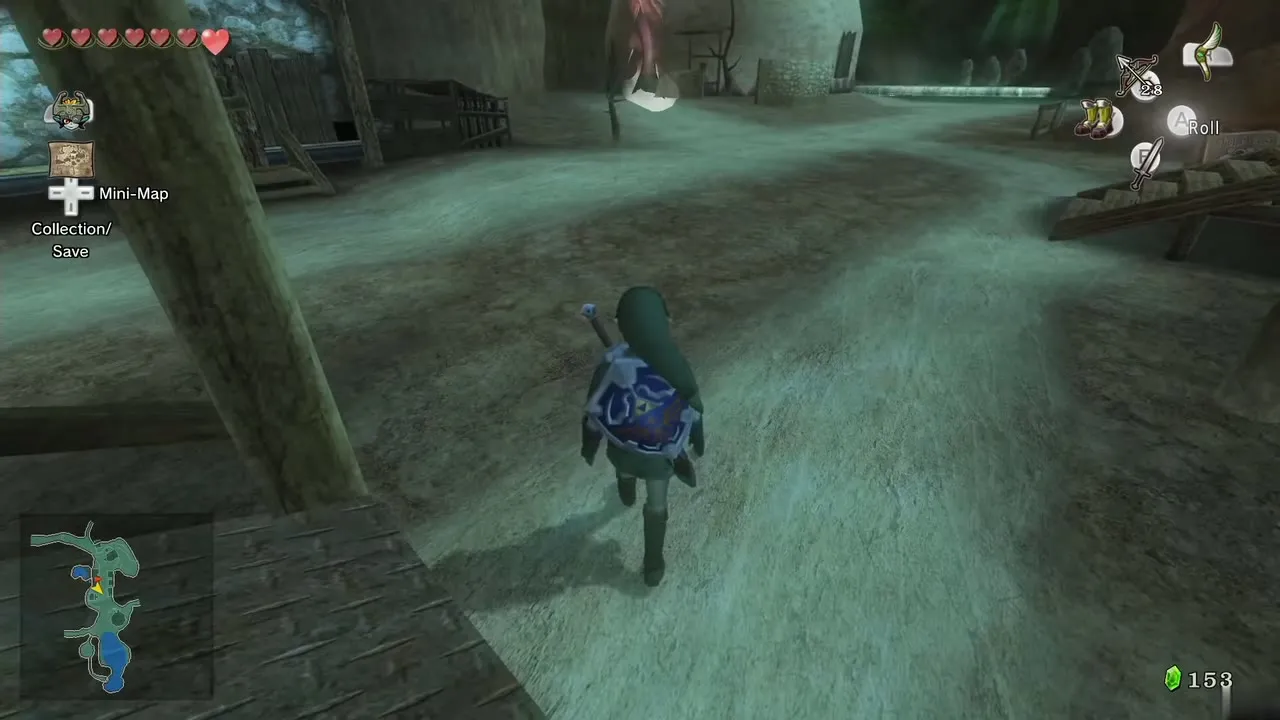
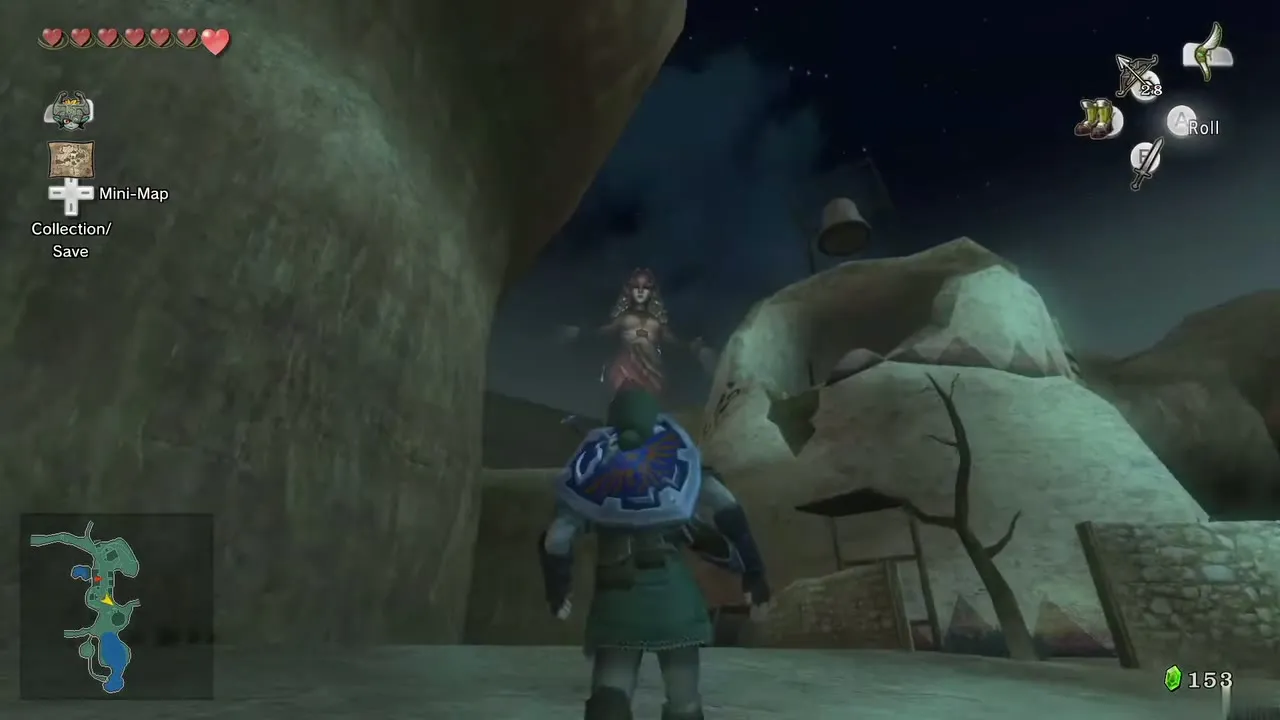
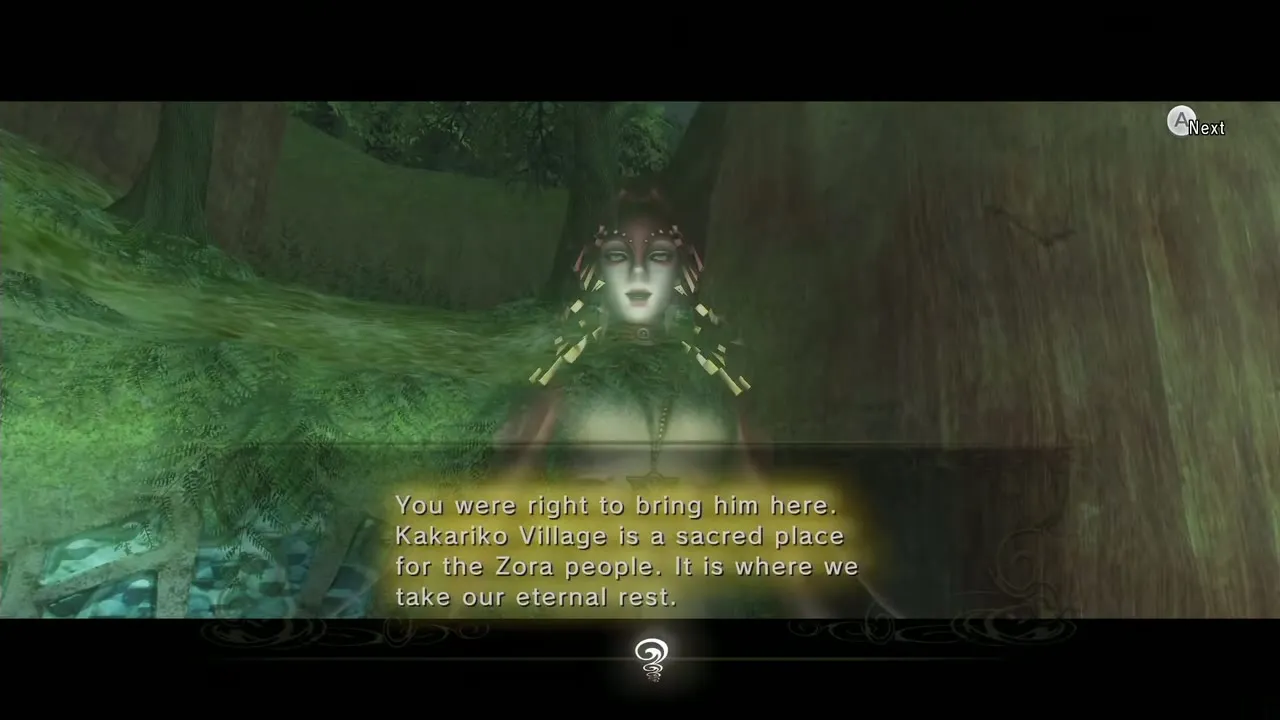
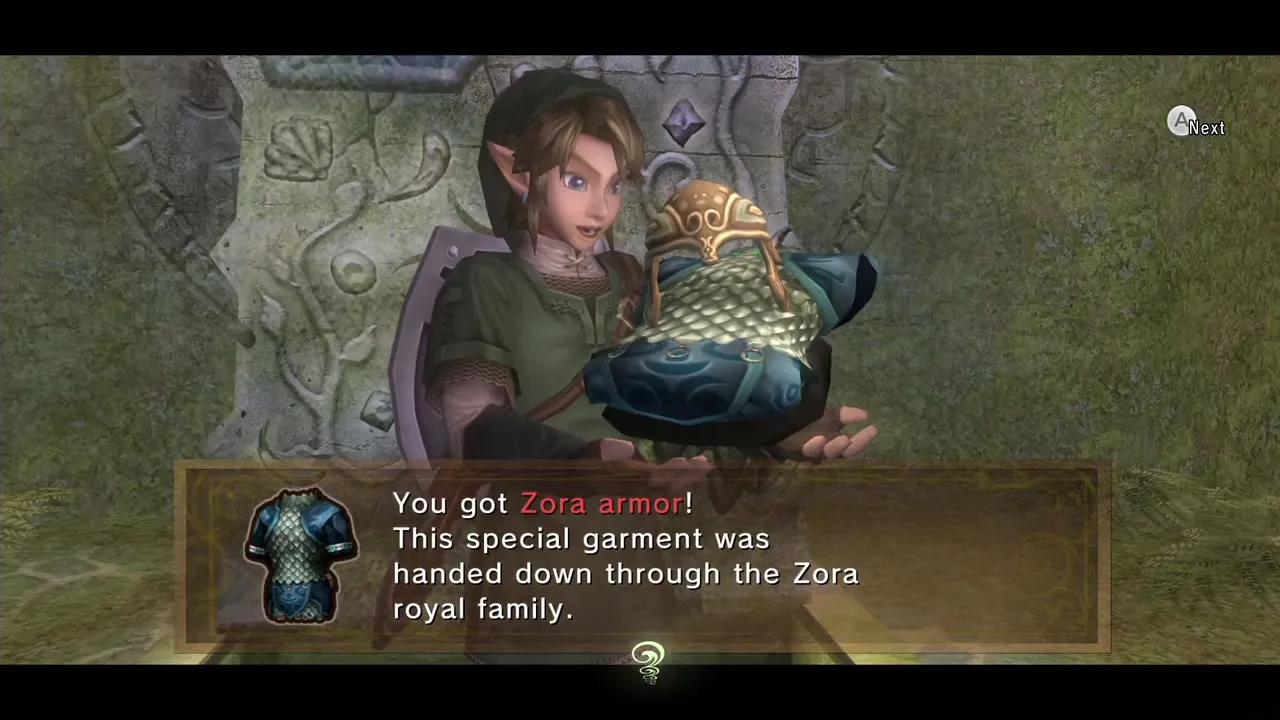
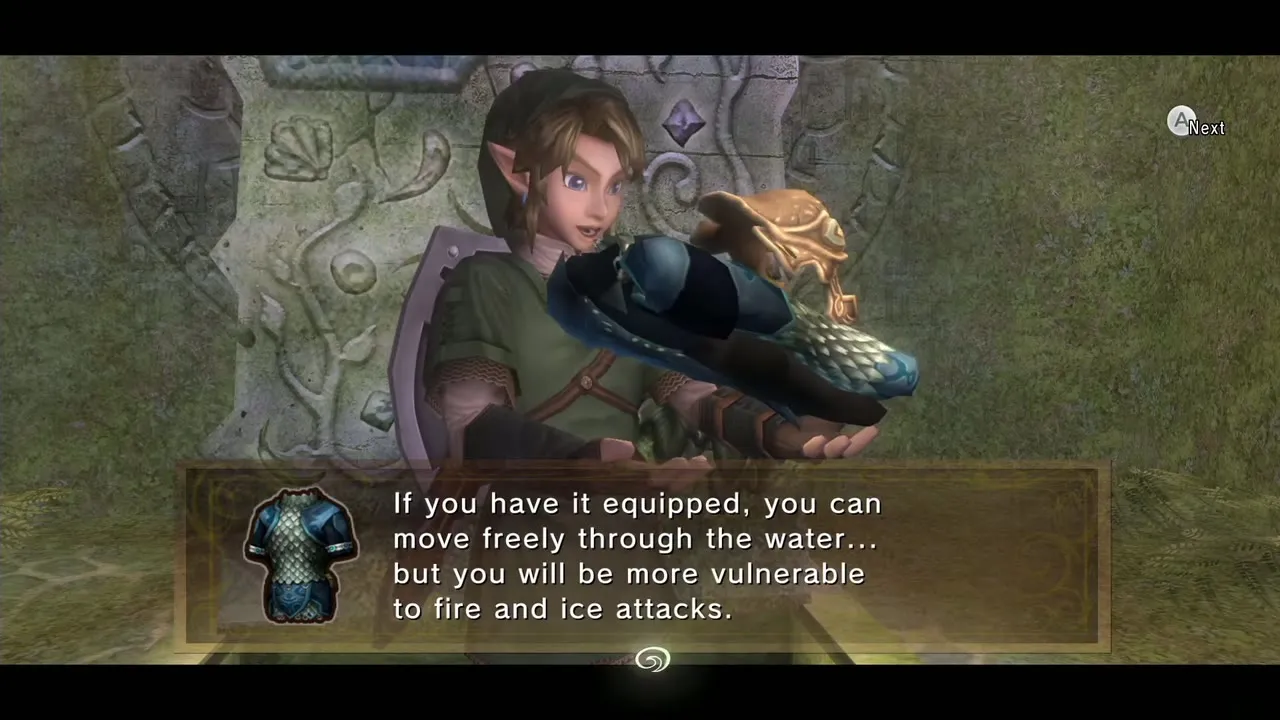
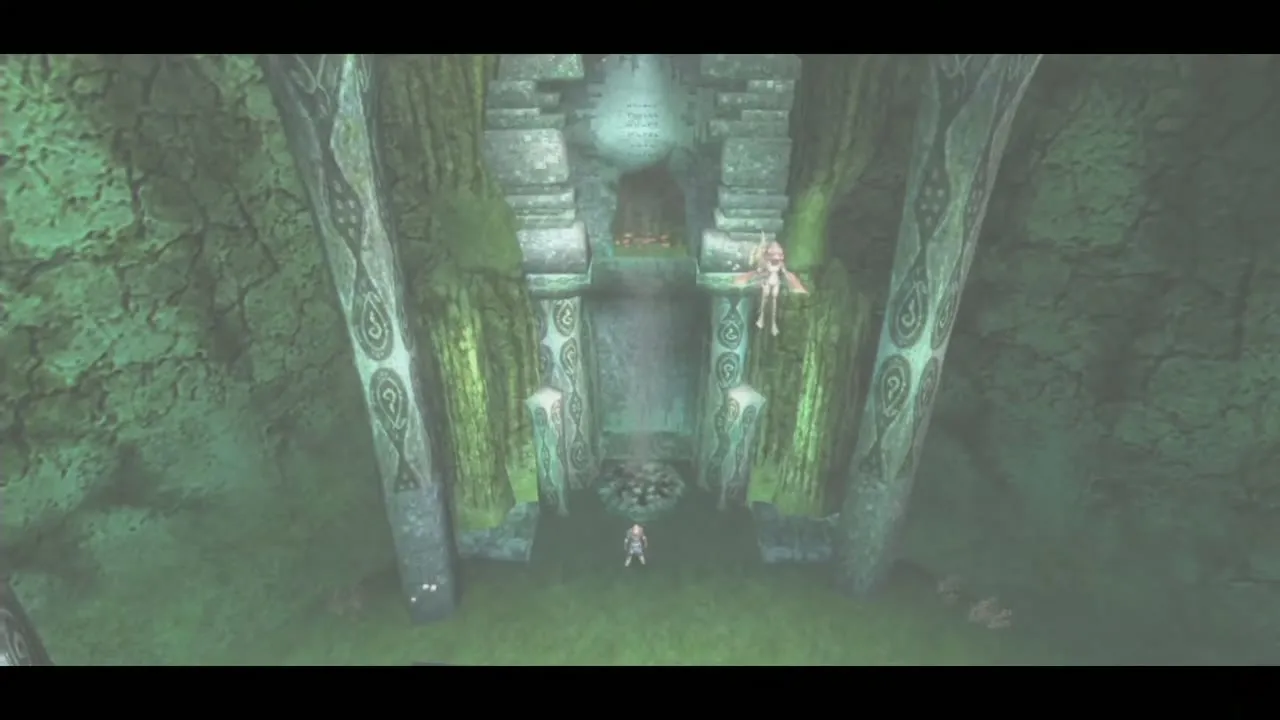
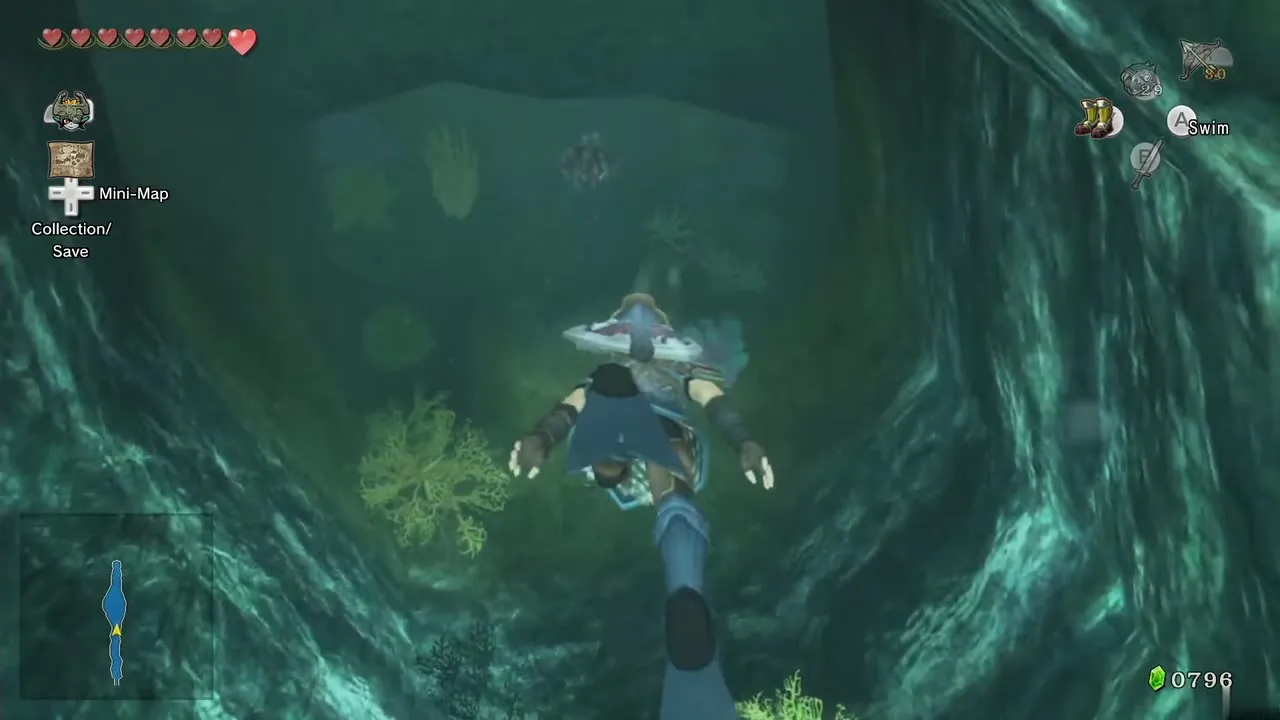
The spirit of Queen Rutela appears and leads you into the Kakariko Graveyard. Follow her to the back, where she makes a rock disappear and lets you crawl through. Swim to the grave ahead, which belongs to King Zora, and the Queen gives you the Zora Armor as thanks for saving her son. In it you can breathe underwater without limit and swim freely, though you take extra damage from fire and ice attacks. Keep it for the Lakebed Temple.
Buy Water Bombs at Barnes Bombs
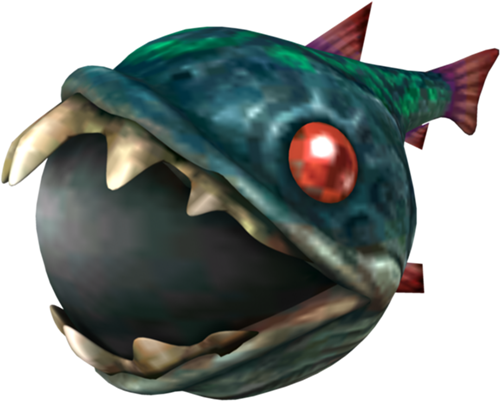
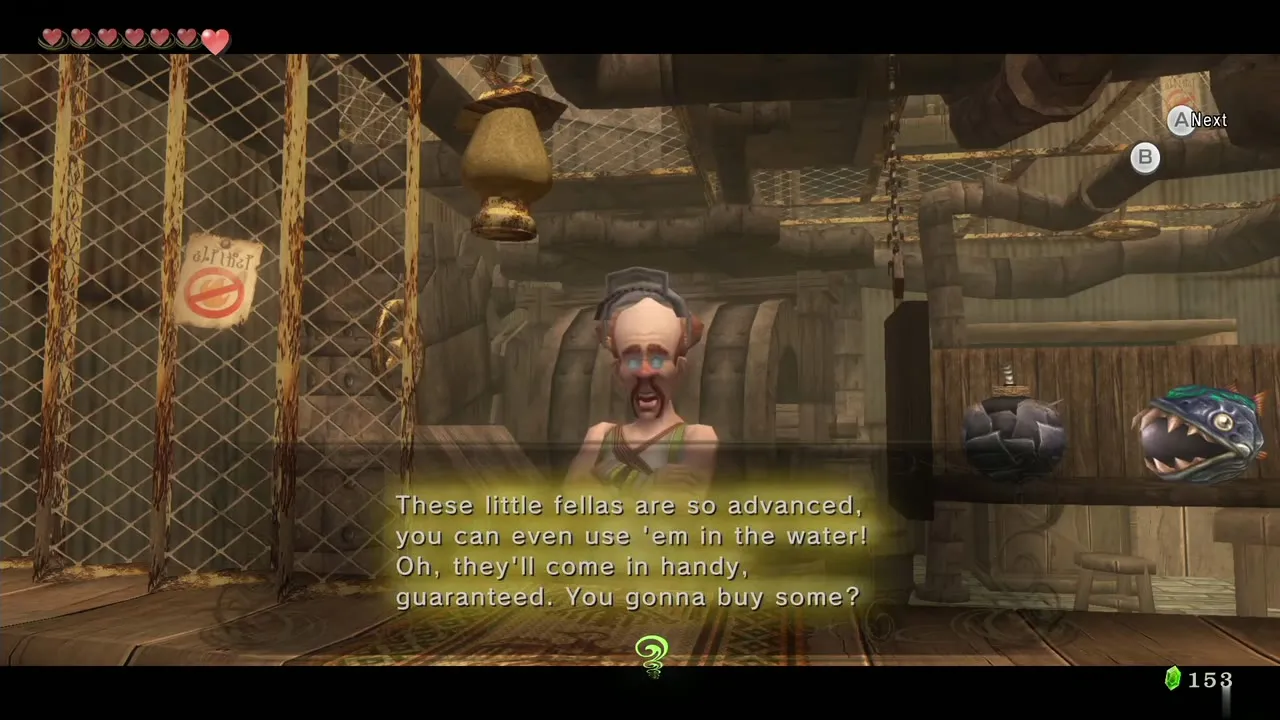
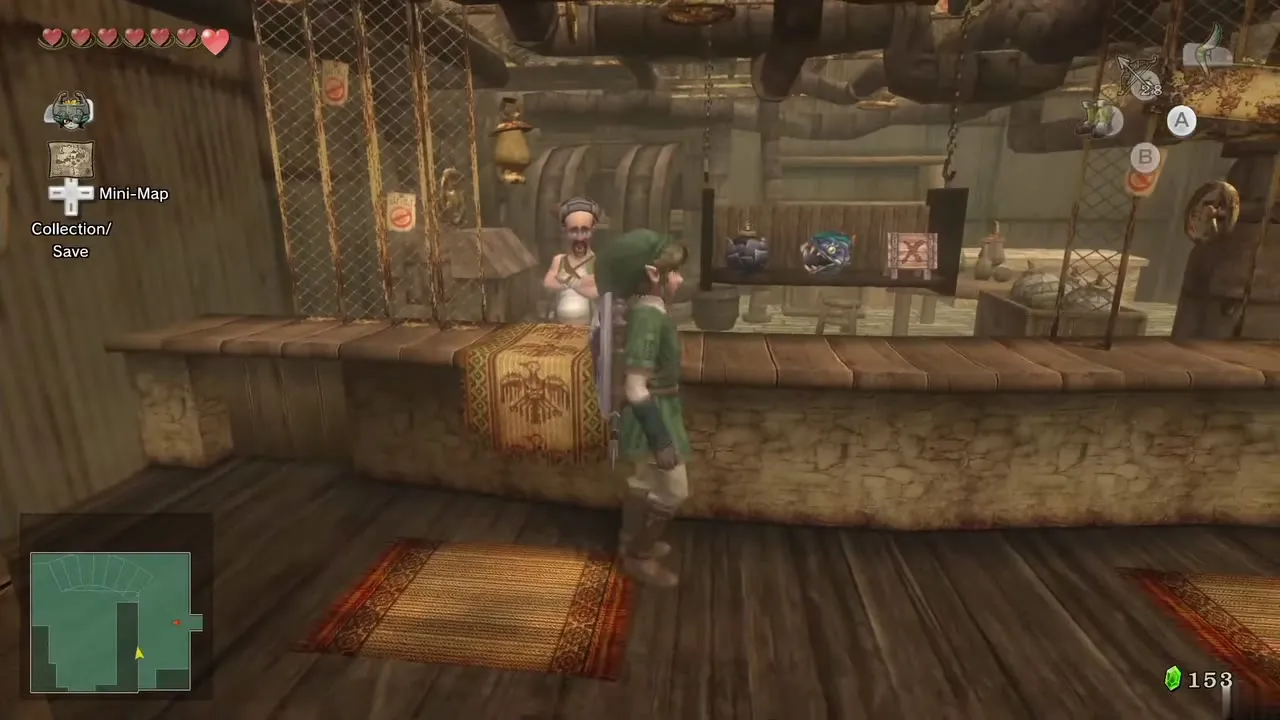
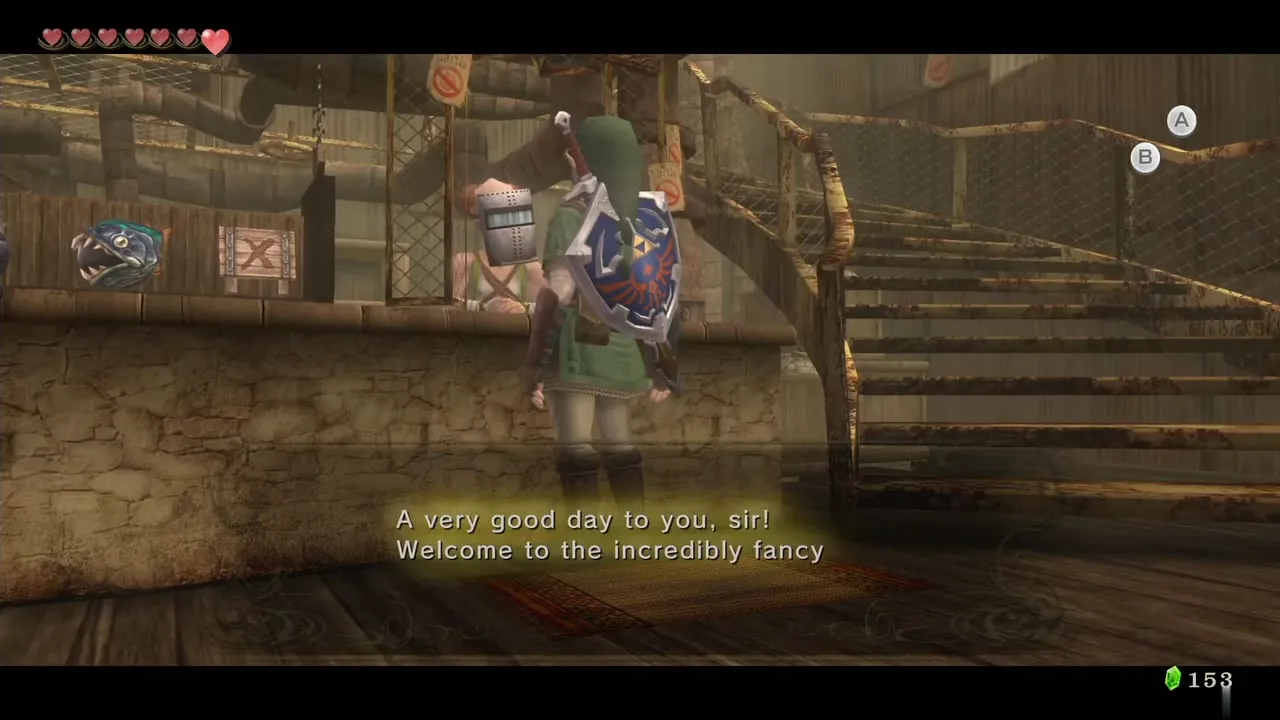
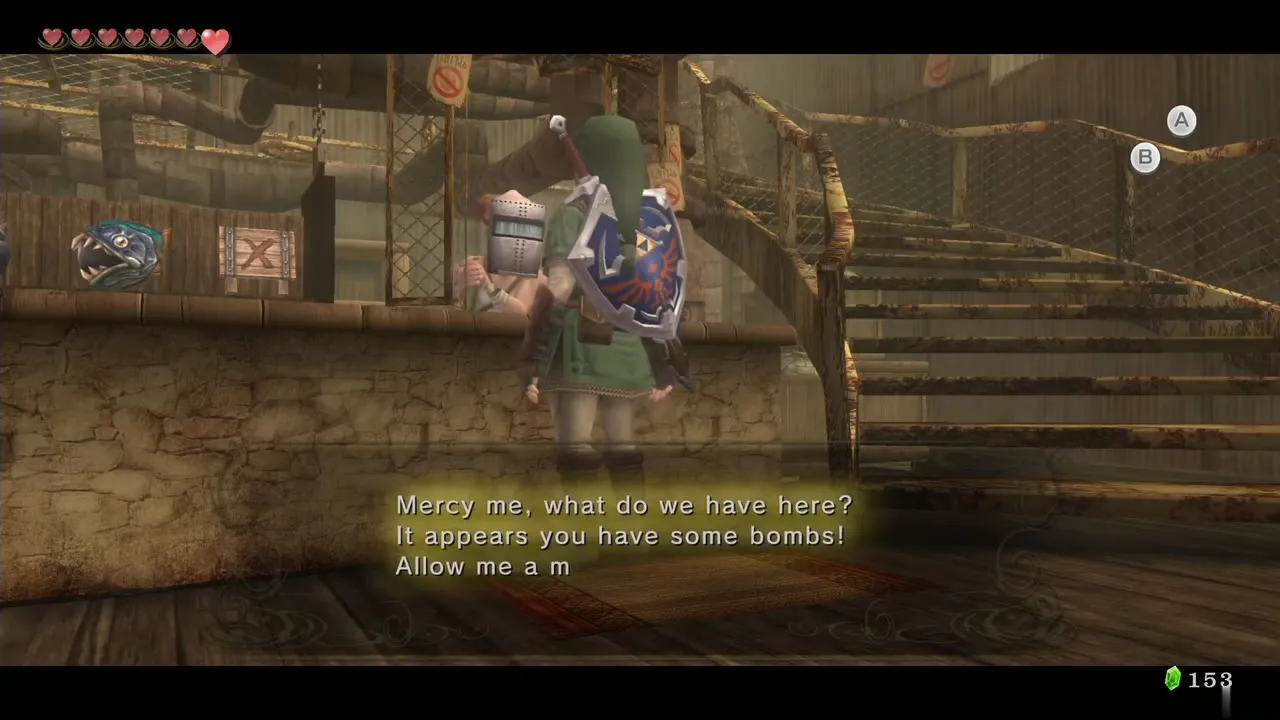
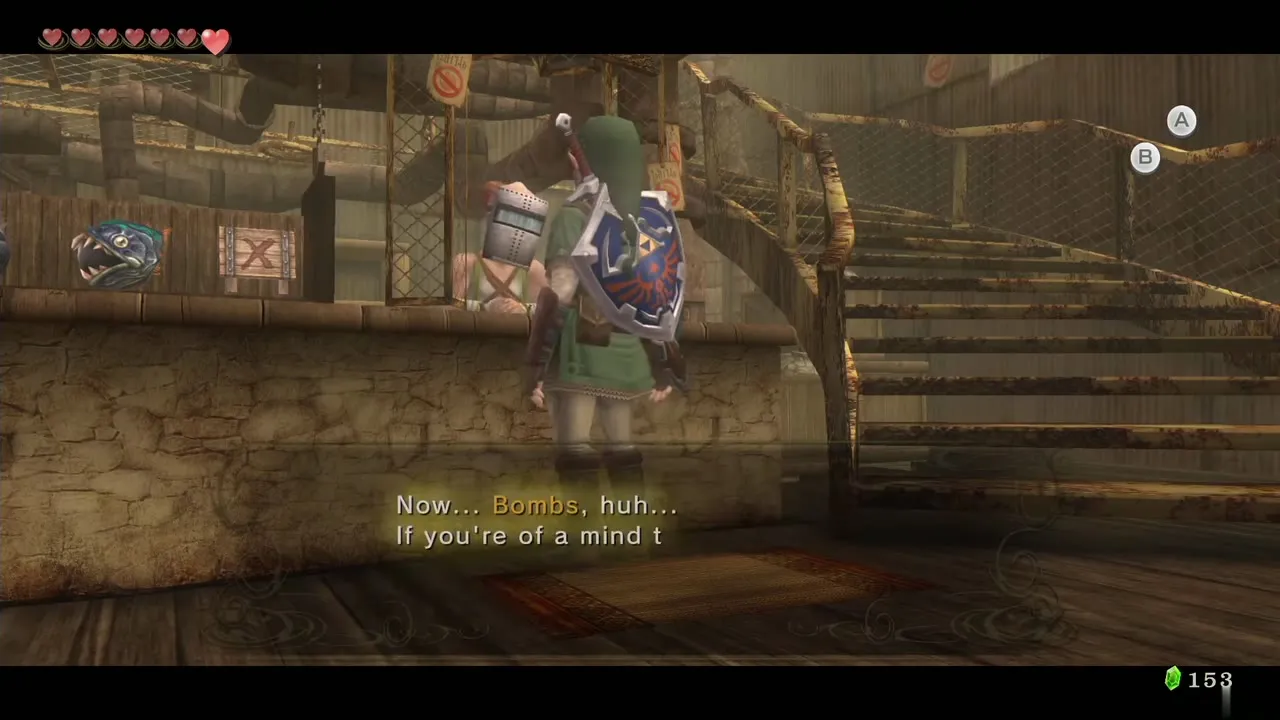
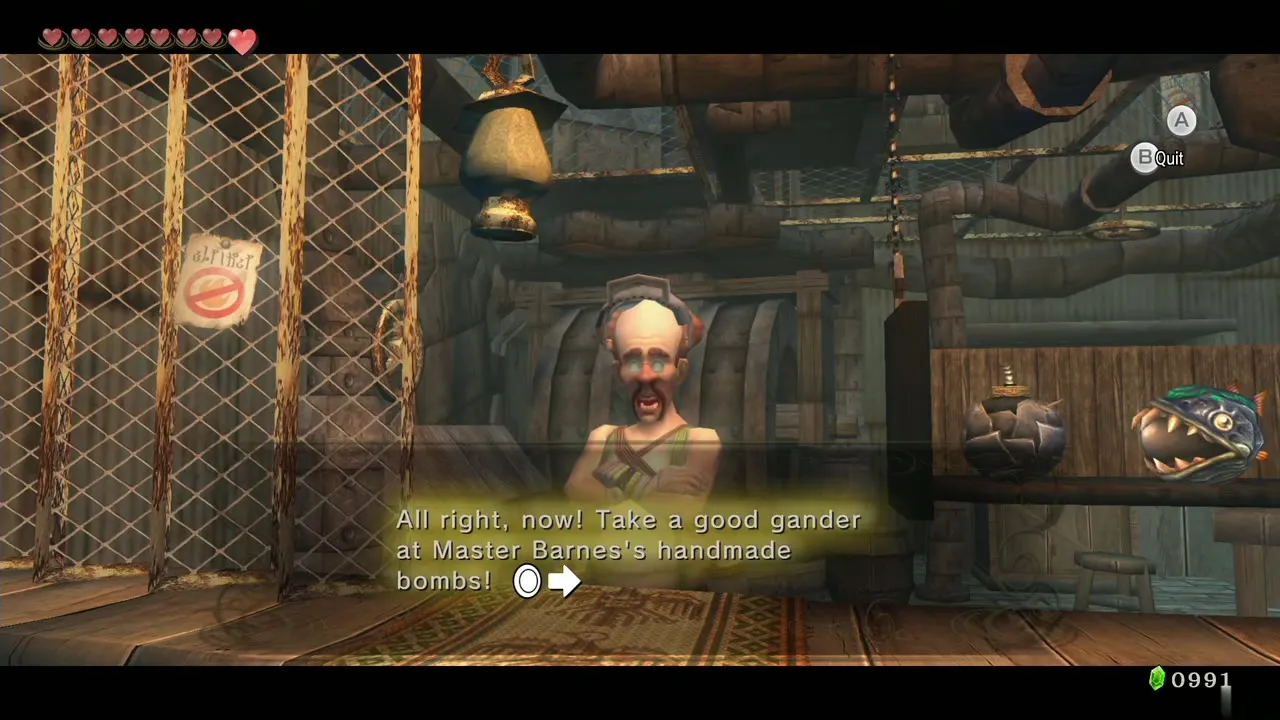
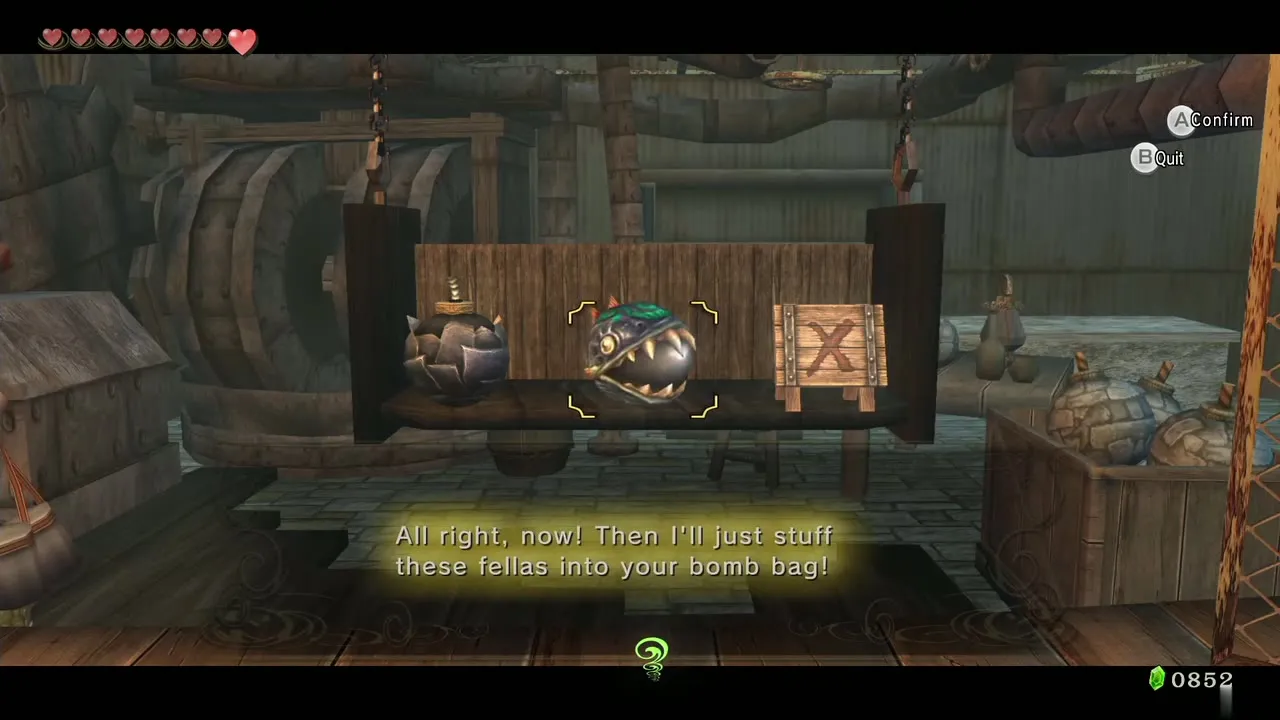
Go to Barnes Bombs at the north end of the village and use the right-hand (buyback) counter. Barnes runs over, and you must sell all your ordinary bombs before you can buy the new Water Bombs from the other counter. A Bomb Bag that holds 30 ordinary bombs holds only 15 Water Bombs, which is enough for the temple. The optional Bomb Bags below add capacity later.
You may enter the Lakebed Temple now: skip straight to the Lakebed Temple entrance. For 100% the usual route is to finish the sweep below first, because you can collect everything here with only the Gale Boomerang, the Hero’s Bow, the Iron Boots and bombs.
Hyrule Field: Back Slice and Golden Bugs

Great Bridge of Hylia: the Mantis pair
Ride Epona back through South Hyrule Field to the Great Bridge of Hylia part of the map. This is the Lanayru half of the Golden Bug sweep; the Gale Boomerang does the catching, and the full list is on the Golden Bugs page. Cross the small wooden bridge and look at the wall on the left: the Female Golden Mantis sits on it a little above reach, so pull her in with the boomerang.
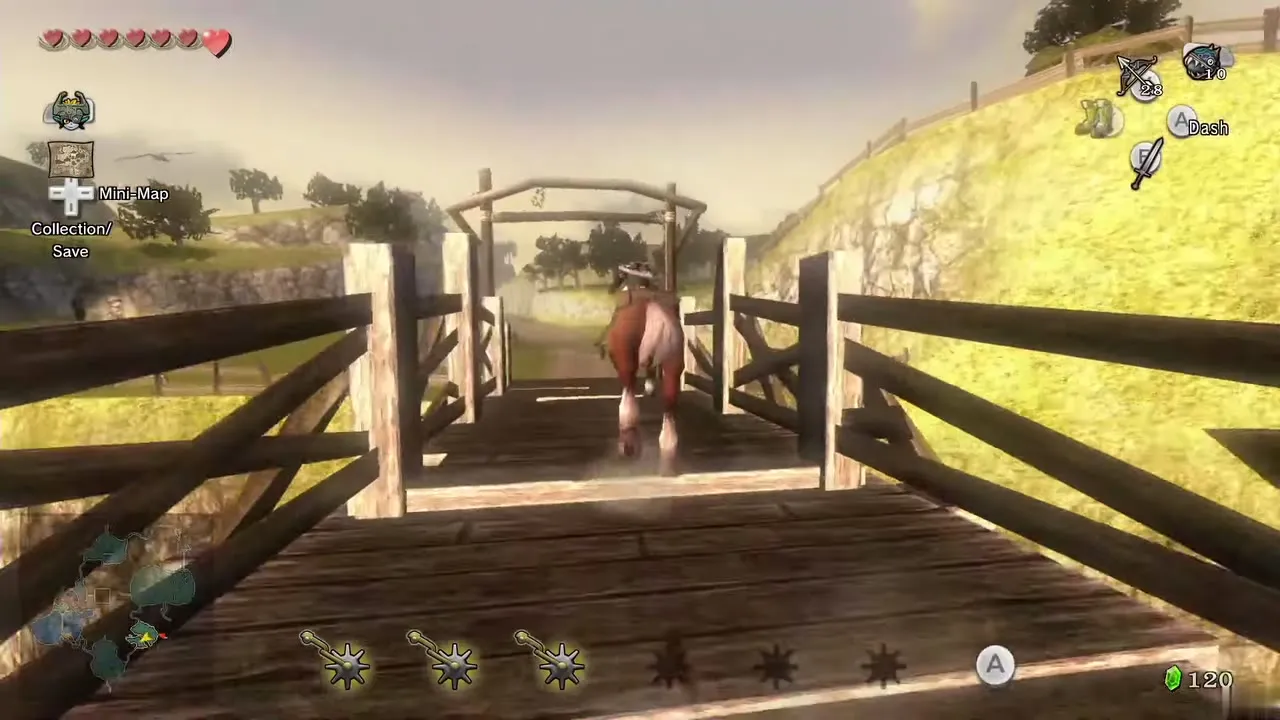
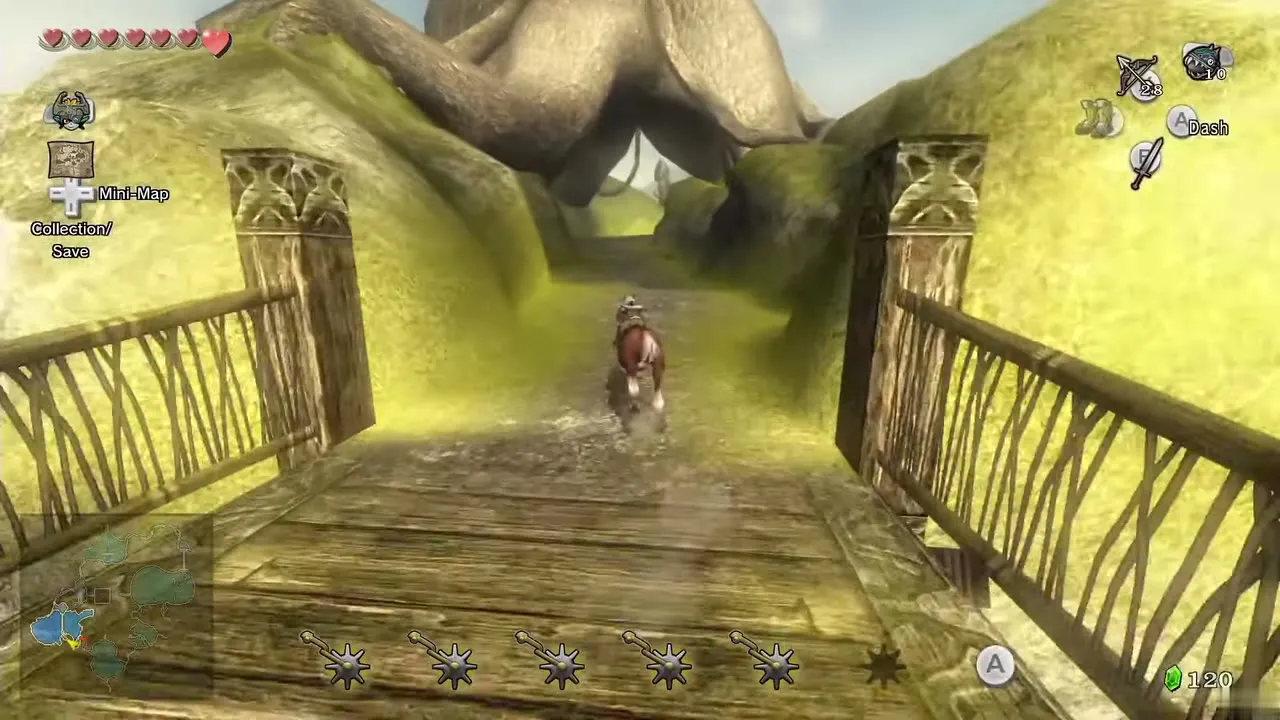
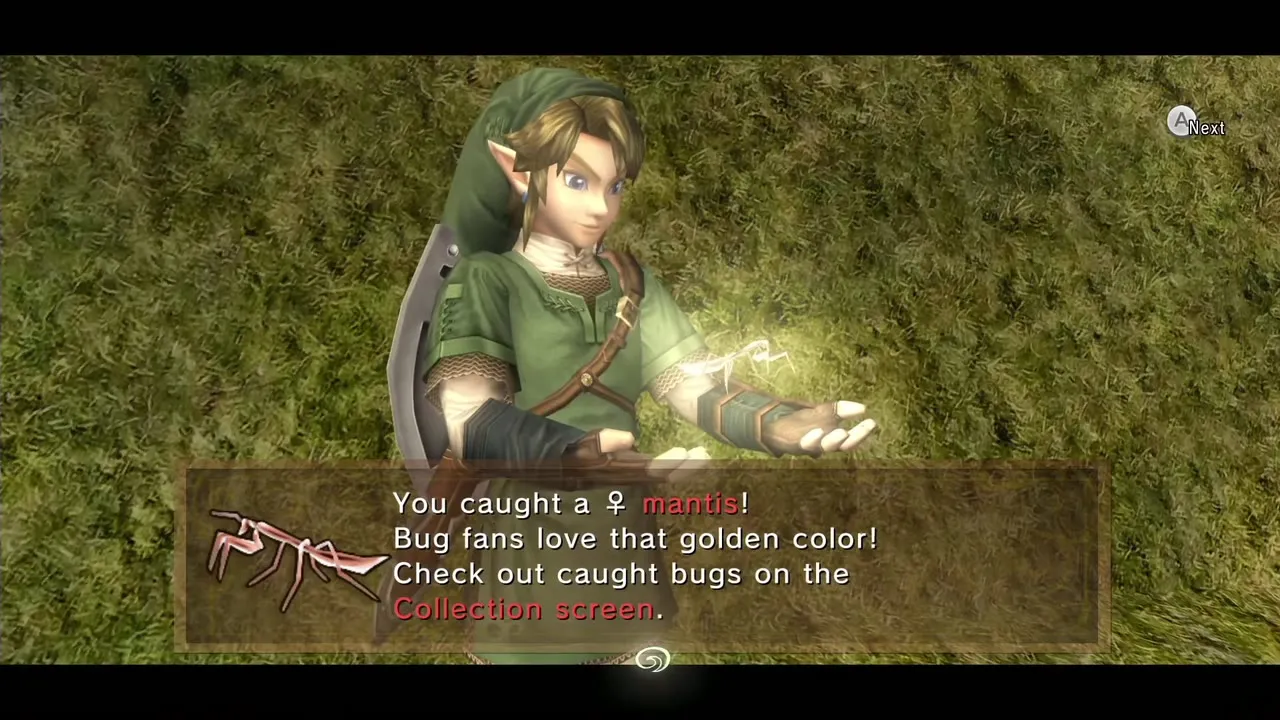
The Male Golden Mantis flies in and out of the north archway of the Great Bridge. Wait for him to swing into view and hit him with the boomerang. He drifts around, so look about if he is not where you expect. On the road toward Castle Town a branch is blocked by boulders; it links this field to North Hyrule Field. Bomb the boulders at either end for extra Rupees, but the path itself has nothing else for you until later.
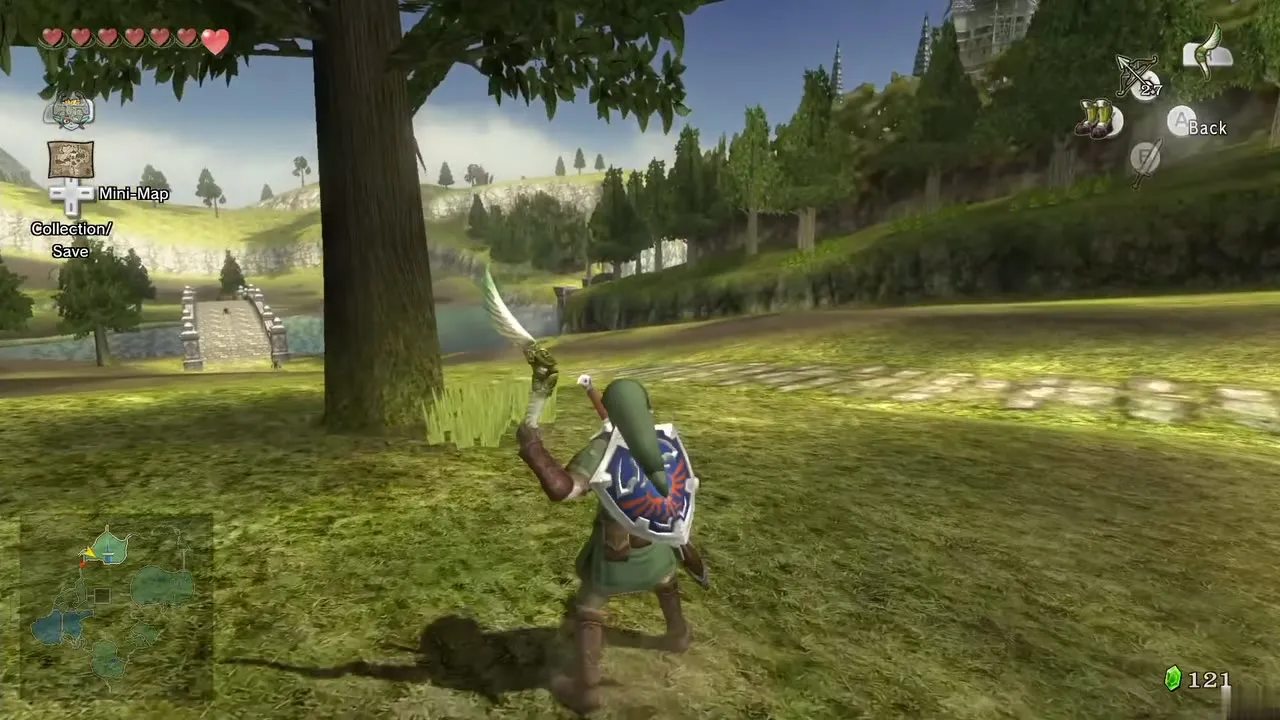
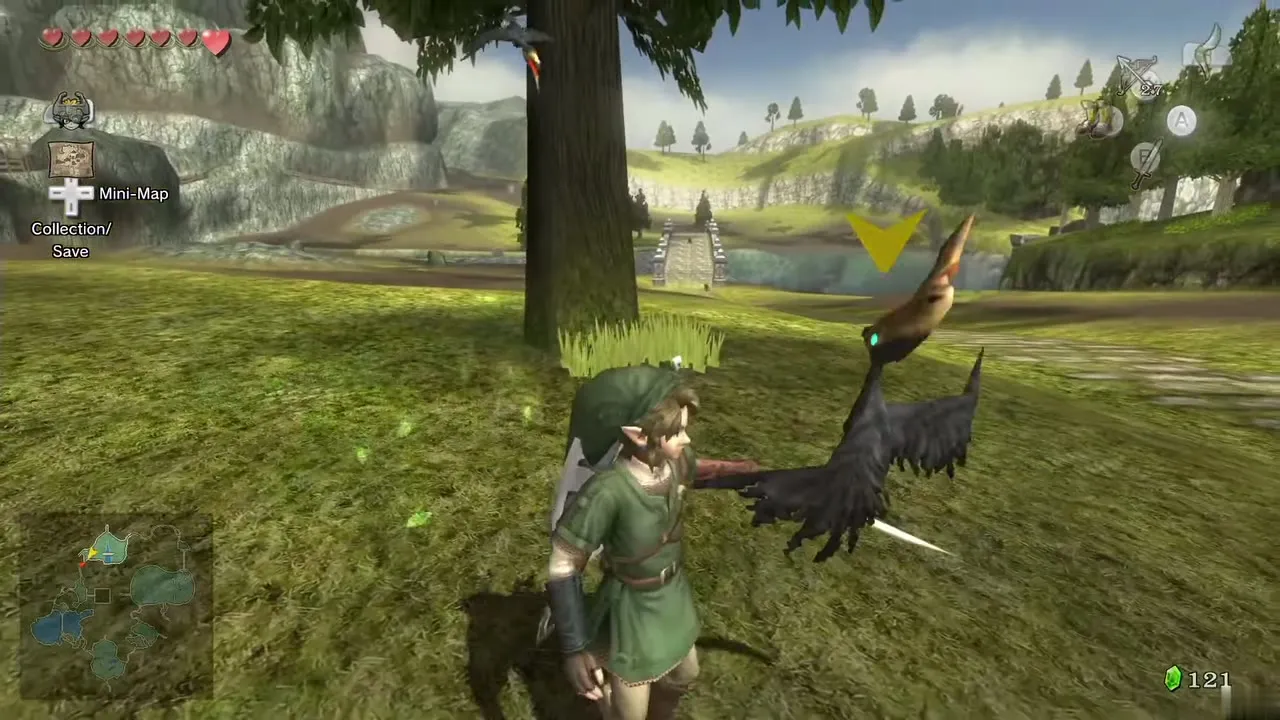
Back Slice (hidden skill)
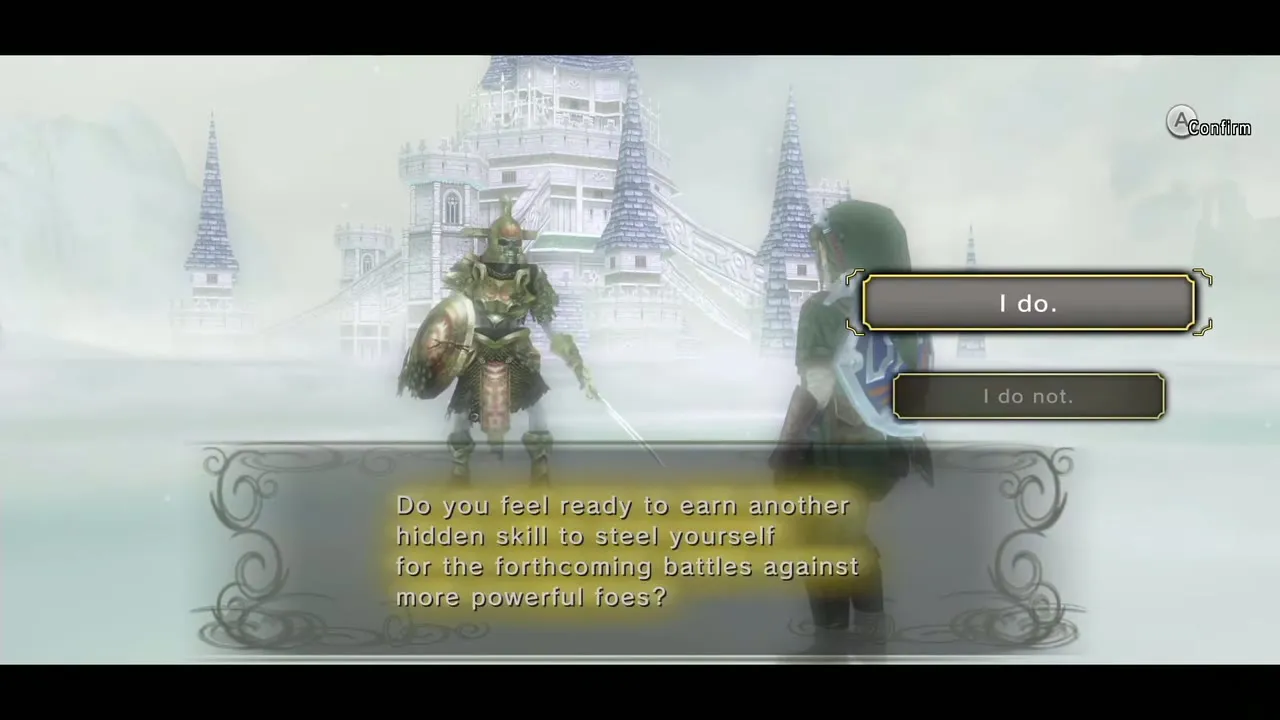
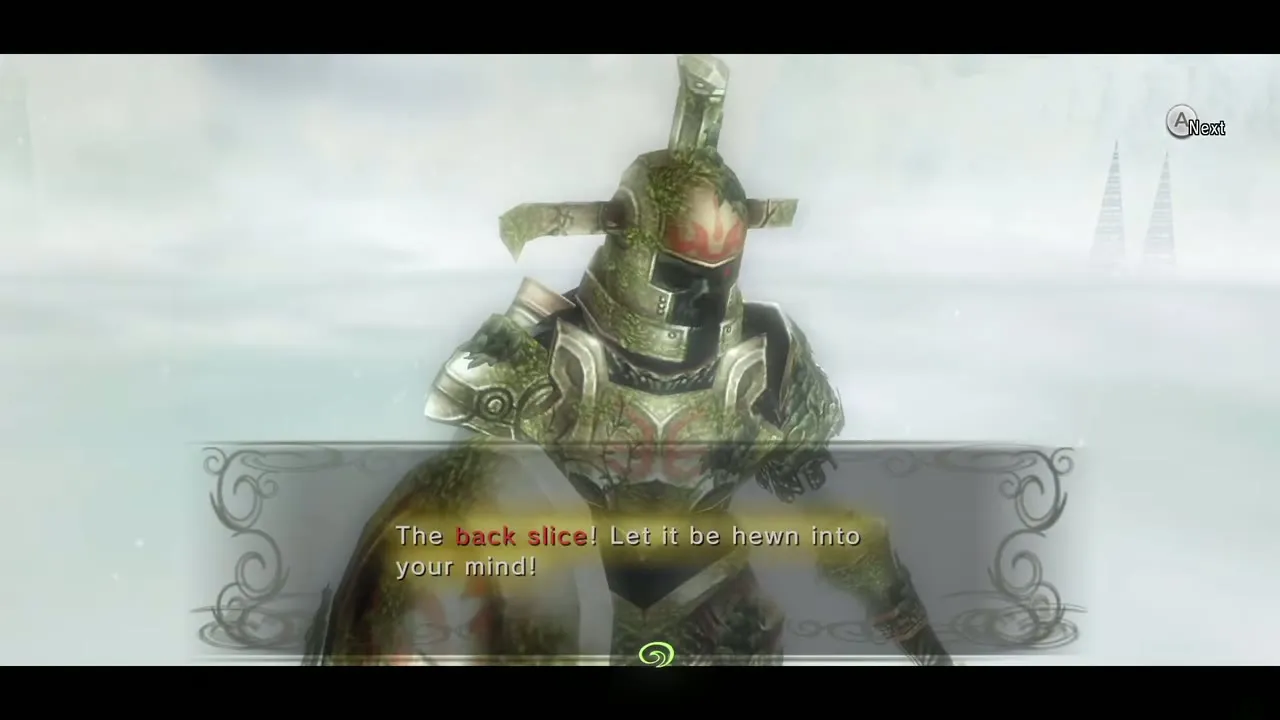
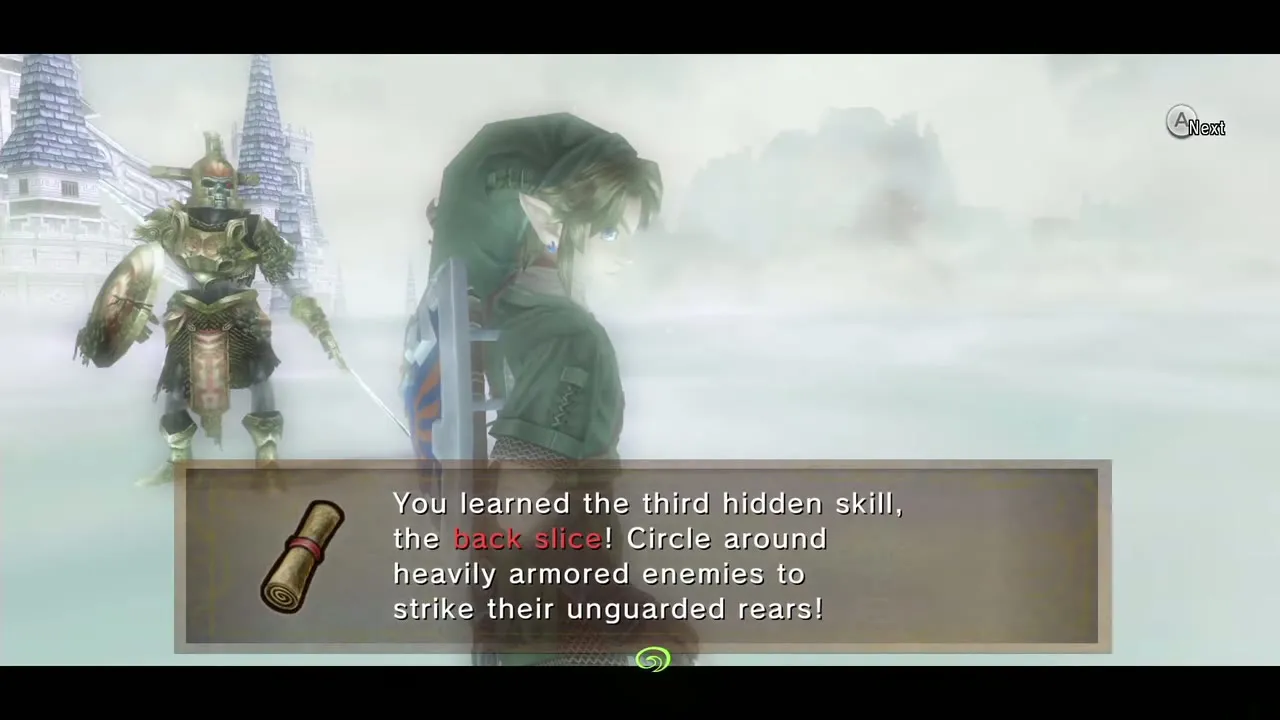
Walk on to the field just west of Castle Town. If you howled at the Upper Zora’s River Howling Stone earlier, a Golden Wolf waits on a higher ledge just north of the bridge into Castle Town. Climb up and talk to him; the Hero’s Shade first asks you to prove the Shield Attack and then teaches the Back Slice. To use it, lock on to an enemy, side-jump twice and press A after the roll to strike its back. It beats enemies with armor on the front. The other skills are on the Hidden Skills page.
Butterflies and Stag Beetles
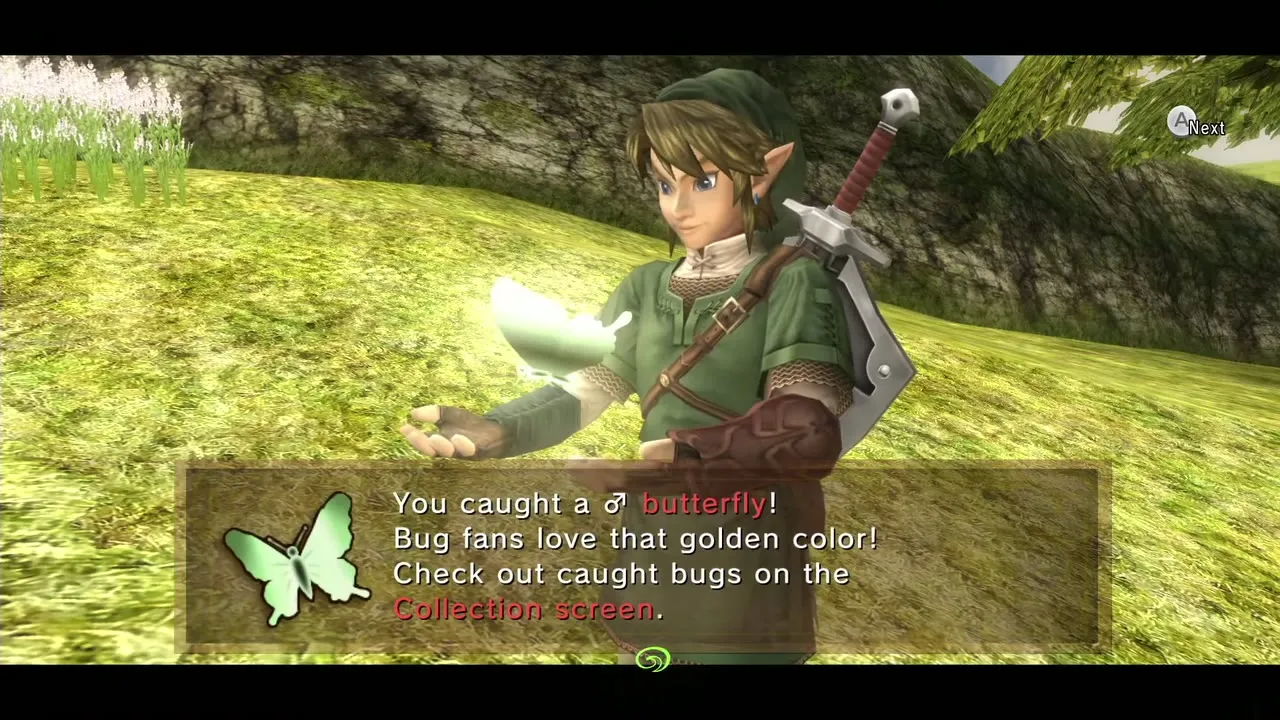
In this west field the Female Golden Butterfly flutters on the high ledge near the road to the bridge, but she is awkward to reach before you own the Clawshot, so she is collected in the Poe Soul chapter. The Male Golden Butterfly is easy: follow the road south until you see another batch of flowers and pull him in with the boomerang.
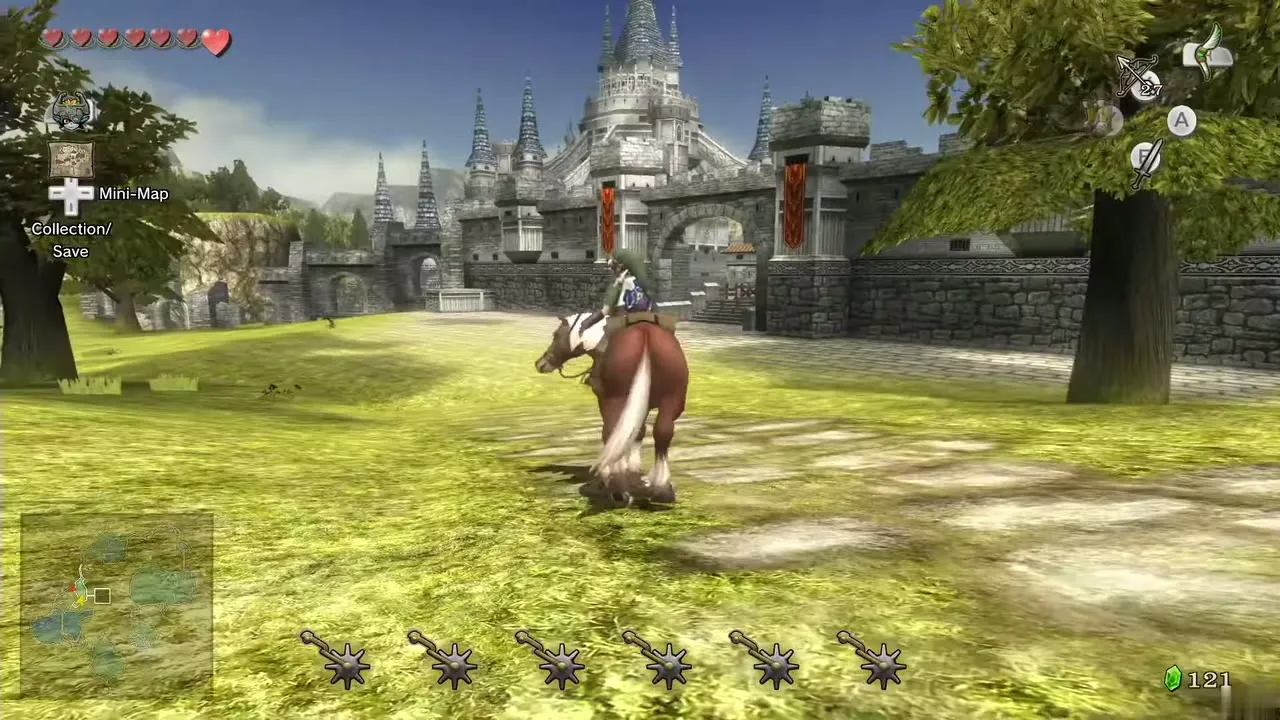
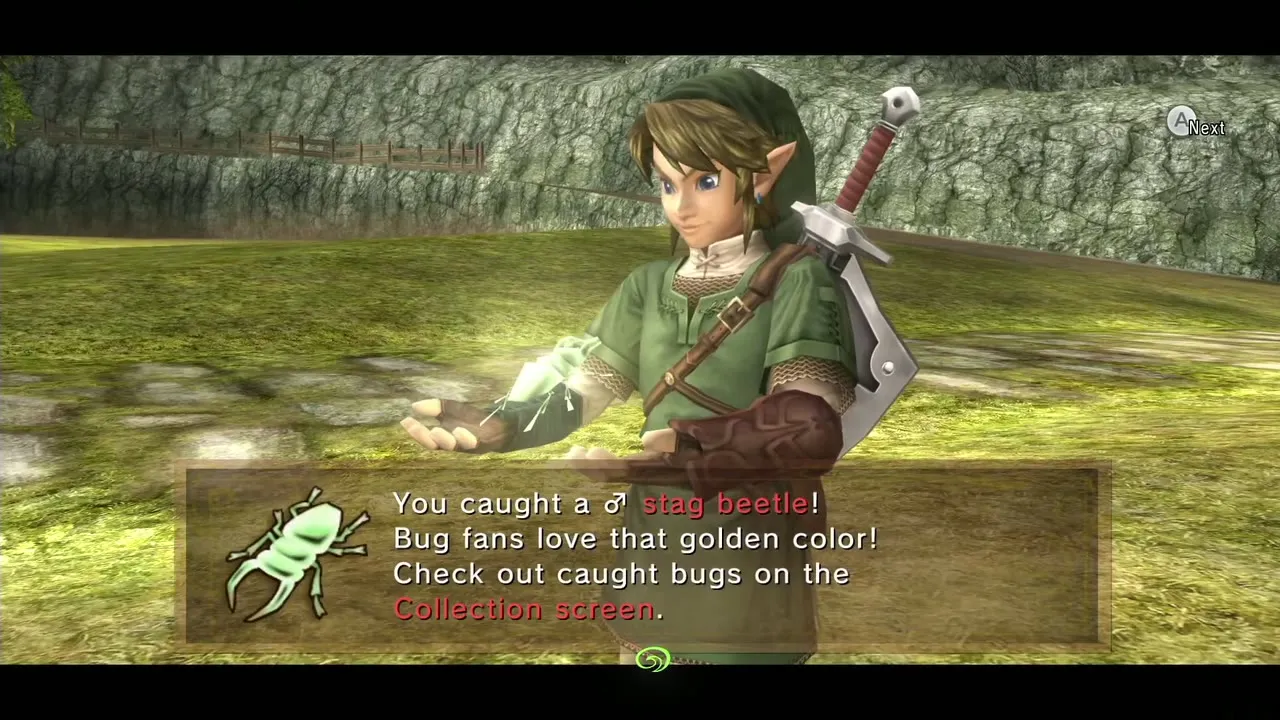
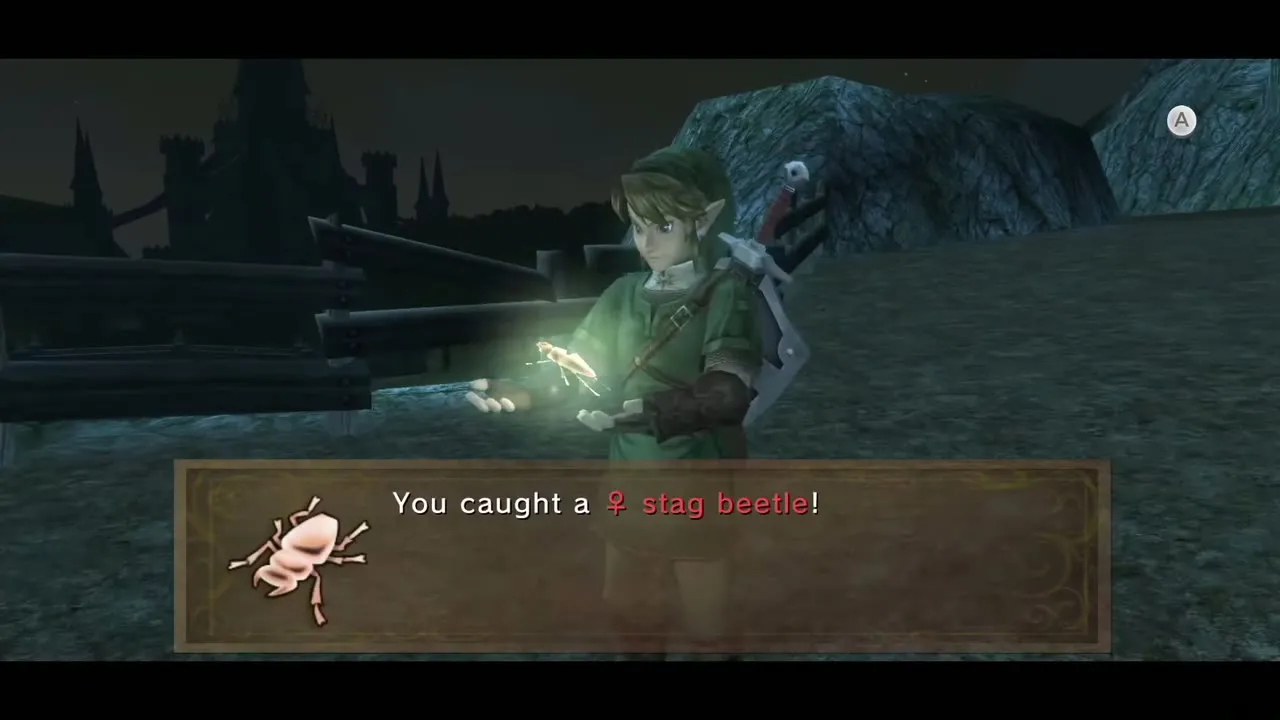
Next ride to North Hyrule Field. Take the path straight ahead to the first fork and look straight on: the Male Golden Stag Beetle sits on a tree stump there. Boomerang him. Then climb toward the north end of the field and stay on the lower path at the second fork. Where it opens up there is a boulder you can bomb, but leave it, since the cave behind it needs an item you do not own yet. Just above it floats the Female Golden Stag Beetle; pull her in with the boomerang.
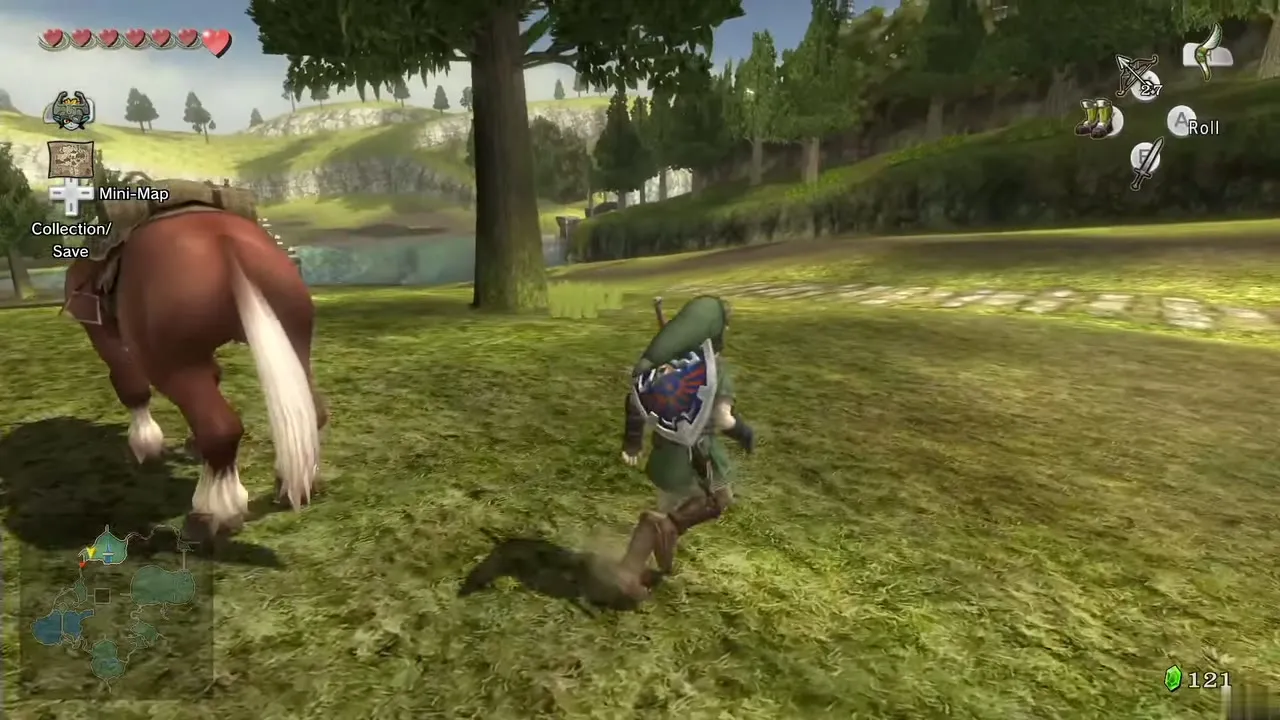
Also in North Hyrule Field, jump into the river and swim to the far south end, in the direction of Hyrule Castle. Underwater a blocked-off area holds a treasure chest. Drop down in the Iron Boots and open it for the Miiverse stamp of the Hylian letter F. The cave behind the boulder above the Stag Beetle returns in the Return to the Sacred Grove chapter.
Castle Town: Charlo, Agitha and the Ladybugs
Charlo’s donations (Heart Piece #30)
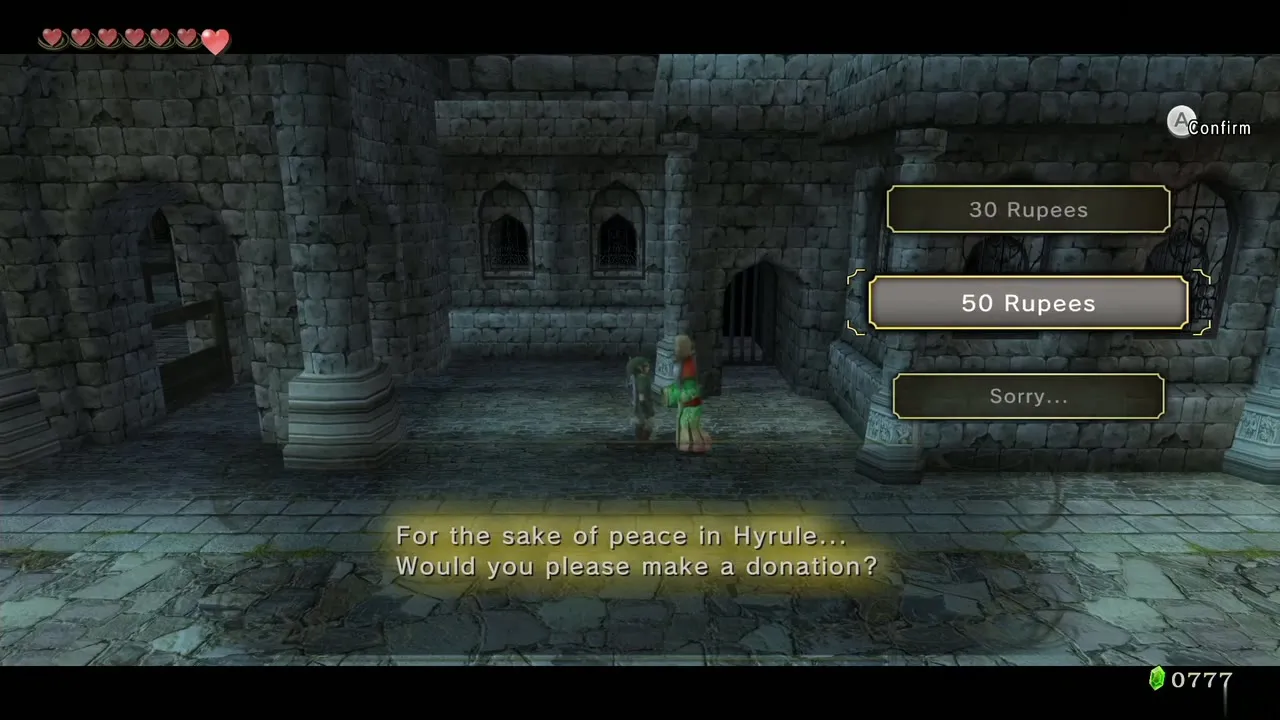
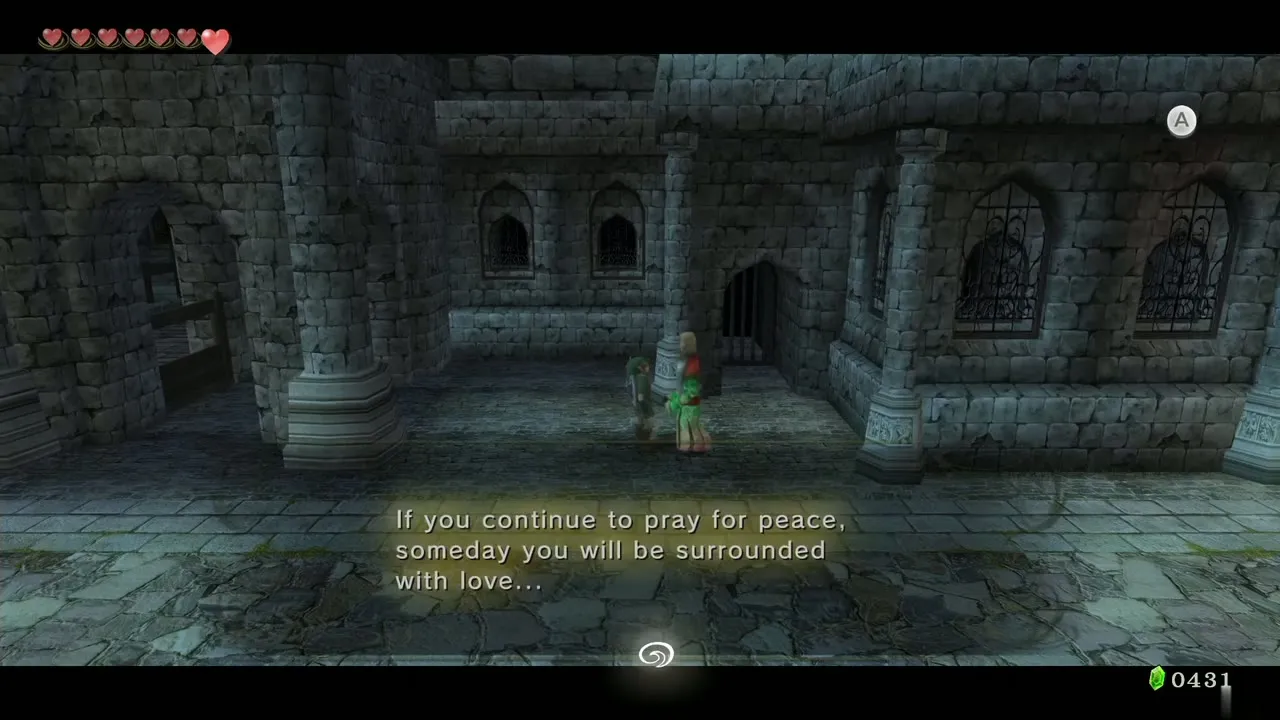
Just inside the west gate, an old man named Charlo collects donations. Talking to him offers 30 Rupees, 50 Rupees or nothing. Always give 50, since that keeps the total tidy, and keep donating until his Piece of Heart (#30) drops. He never states the running total, but the piece arrives automatically after 1,000 Rupees in all and he accepts no more after that. You will not have 1,000 Rupees yet, so pay him in rounds as Agitha‘s money comes in.
Agitha’s Castle and the Big Wallet
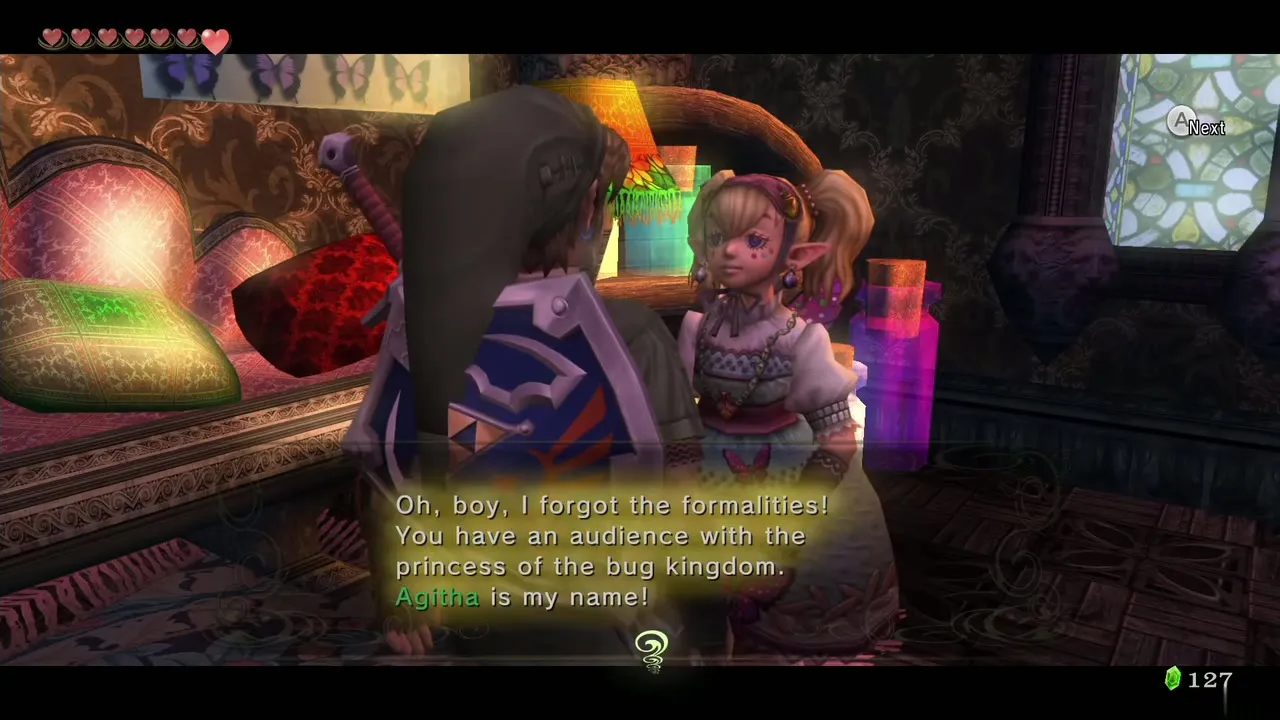
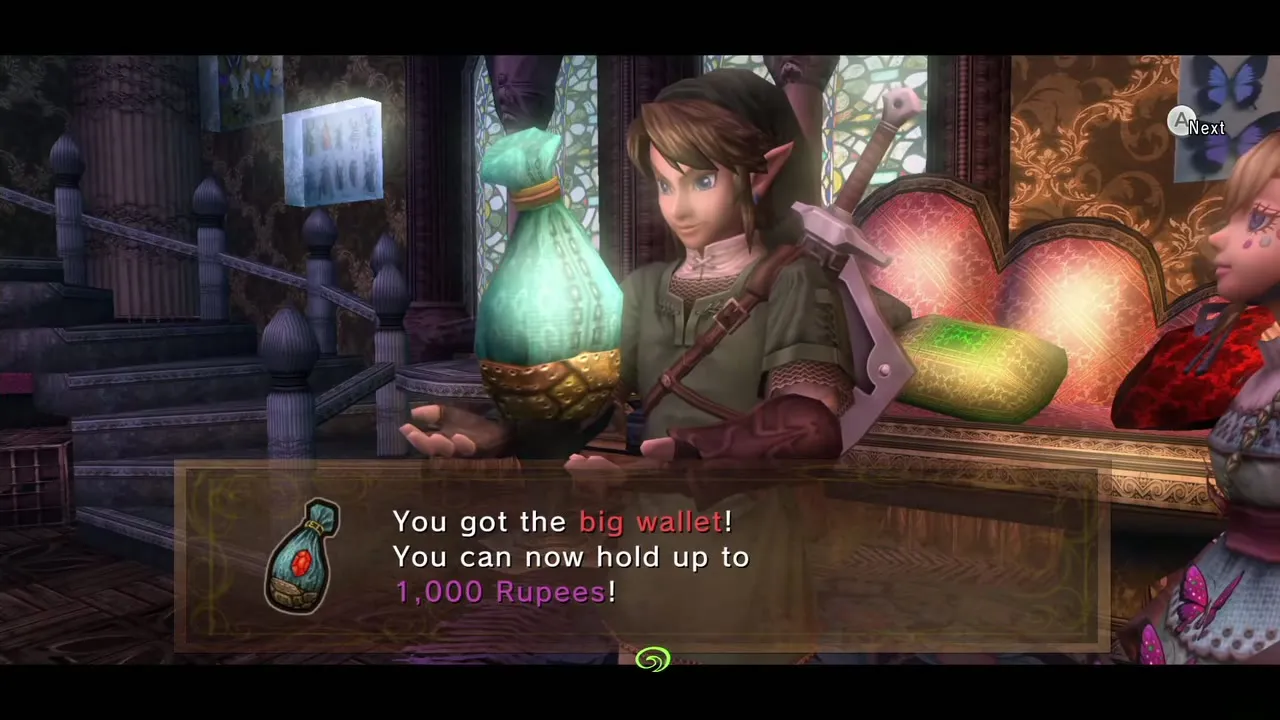
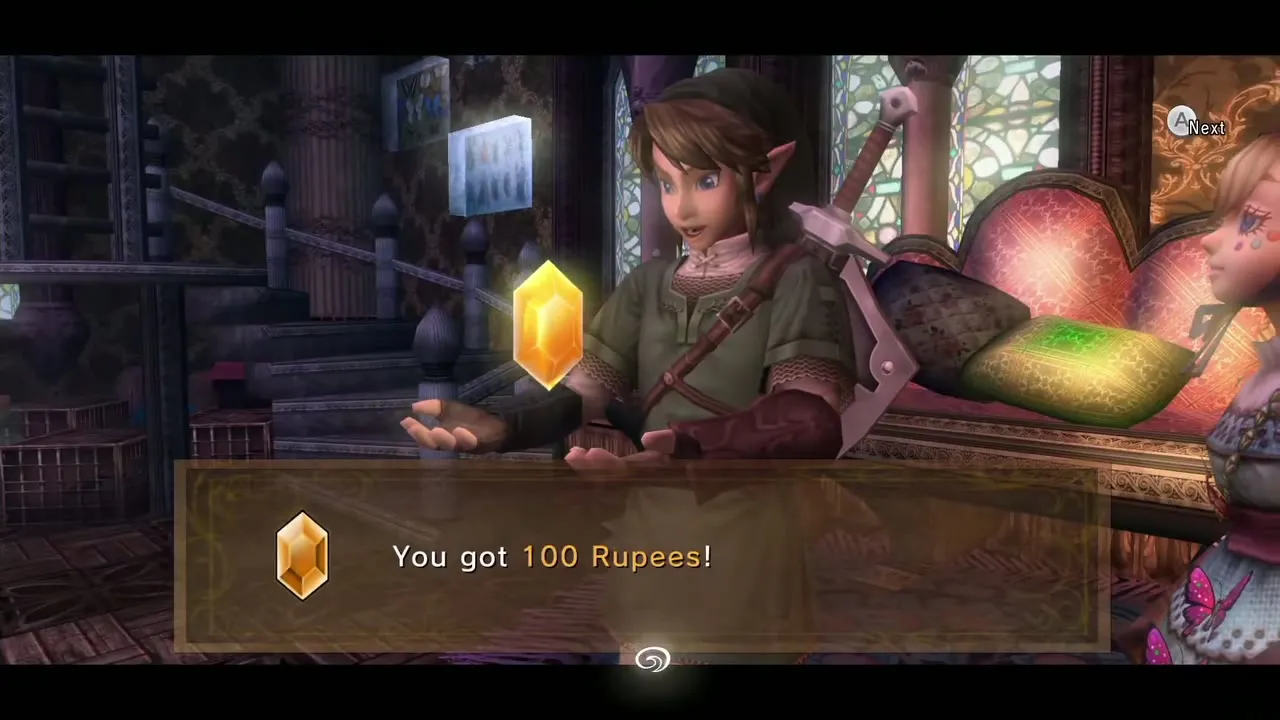
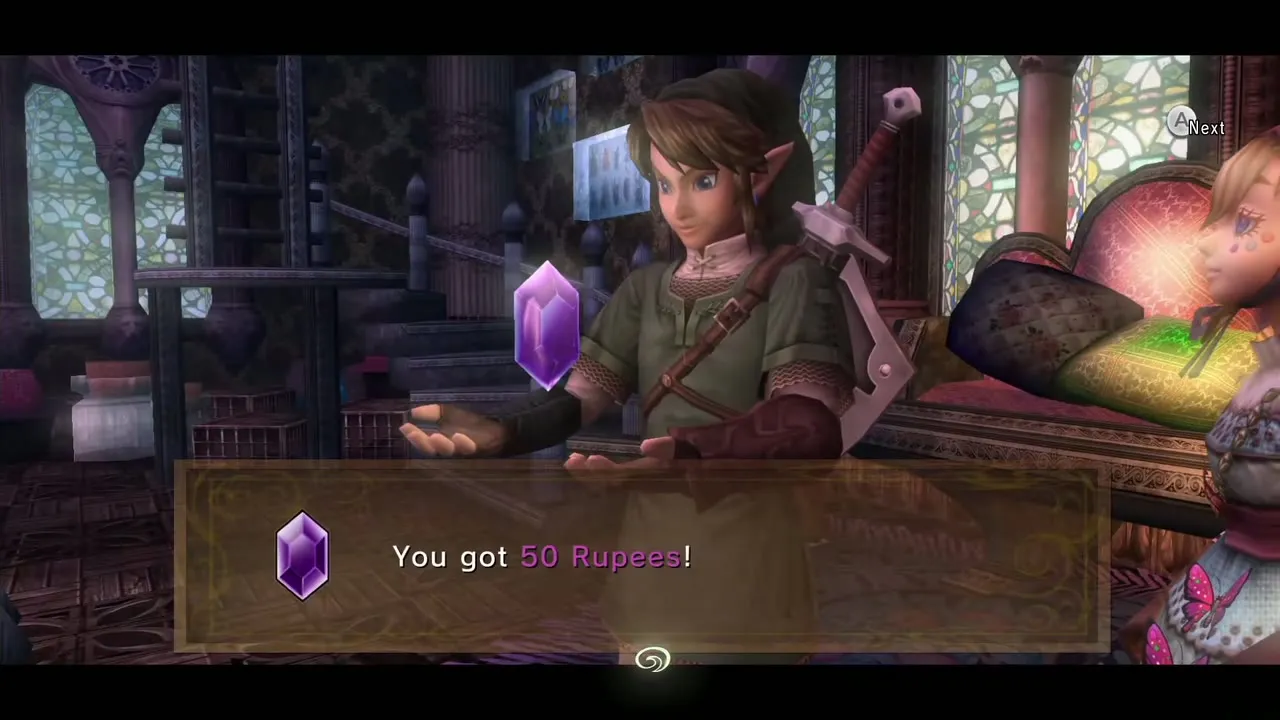
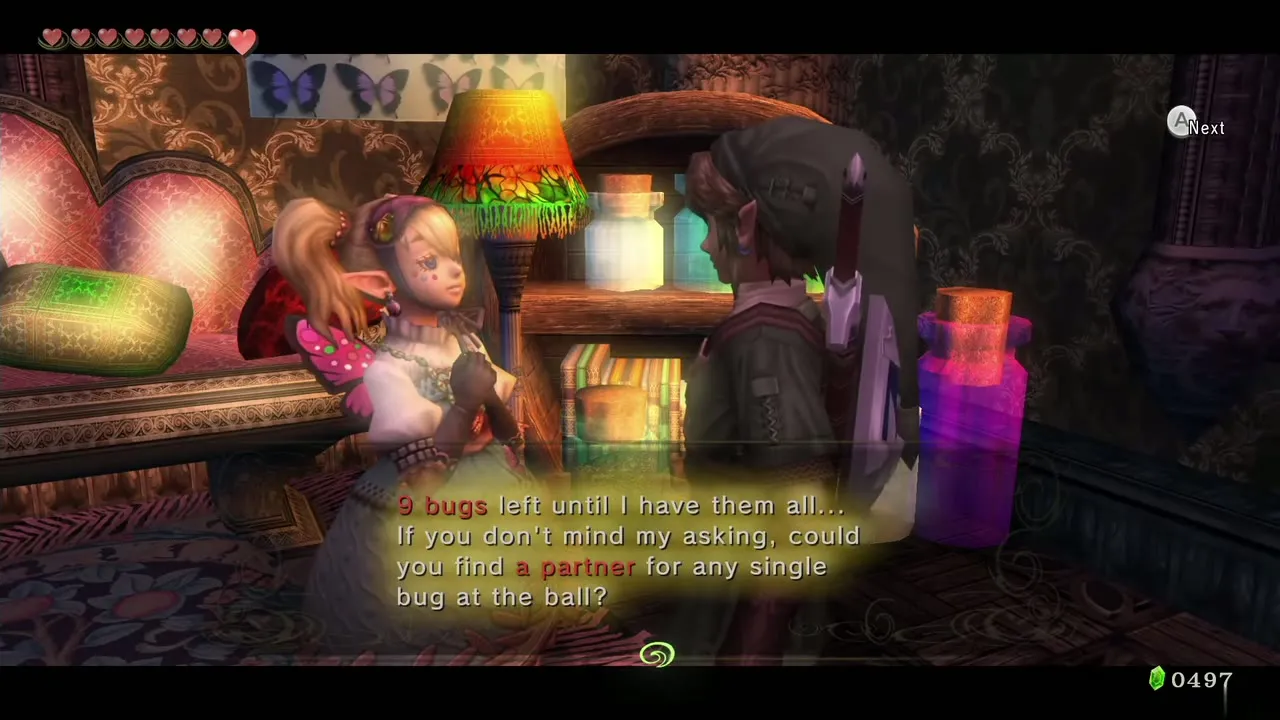
From Charlo, follow the back alley south until it joins South Castle Town; the first building you meet is Agitha’s Castle. Speak to Agitha twice and she asks about bugs, which opens the bug menu. Hand over any one Golden Bug and she gives you the Big Wallet (1,000 Rupees). After that every bug earns a Purple Rupee (50). The second bug of a pair, such as the male and female Butterfly, earns an Orange Rupee (100) instead, so a pair pays 150 in total.
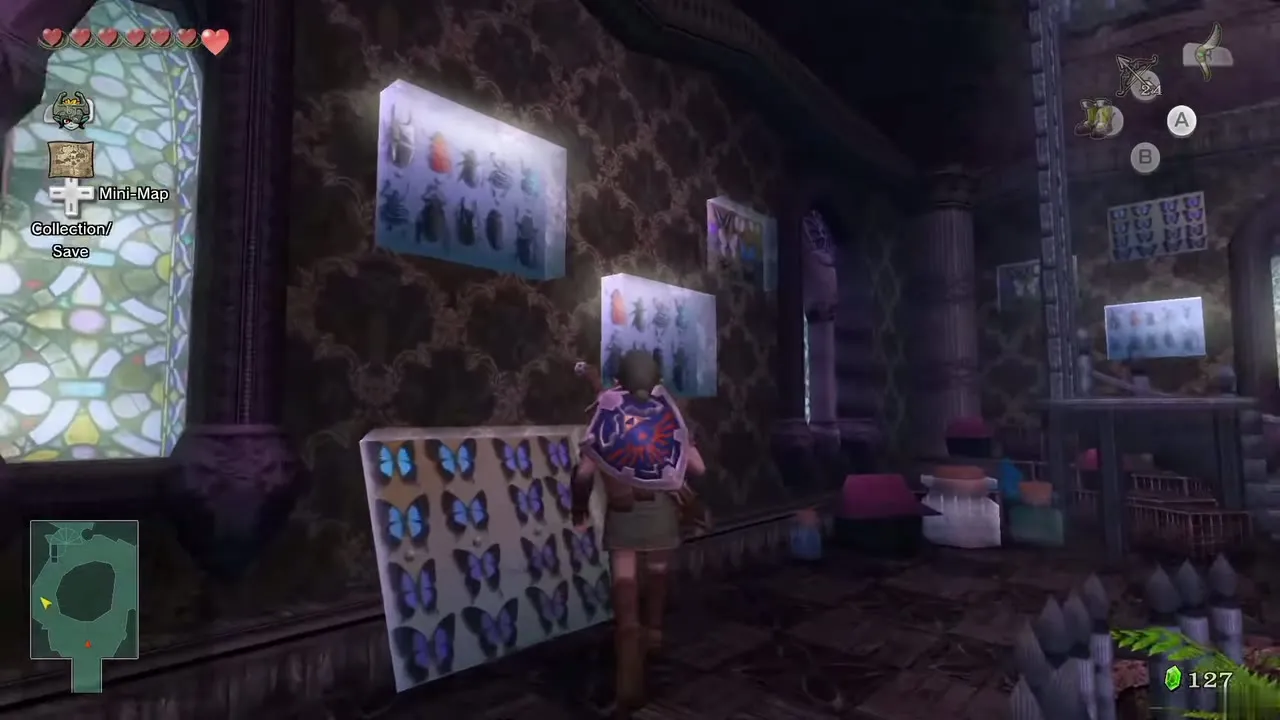
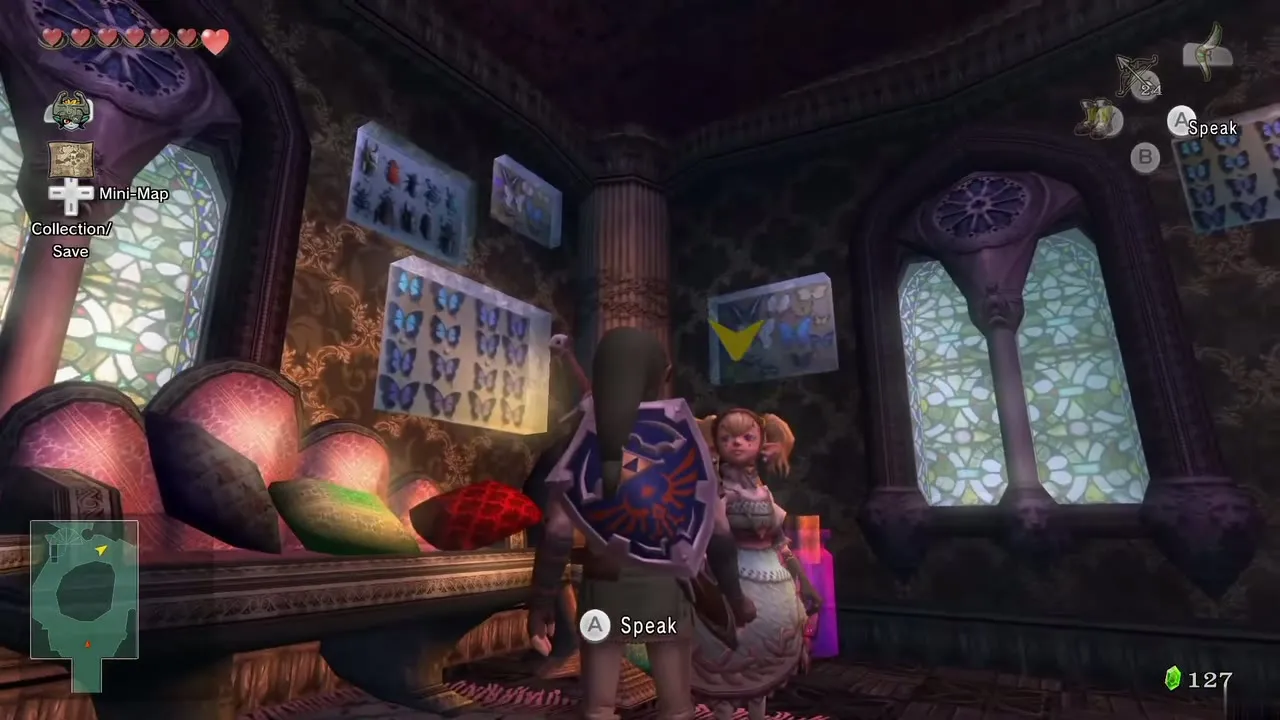
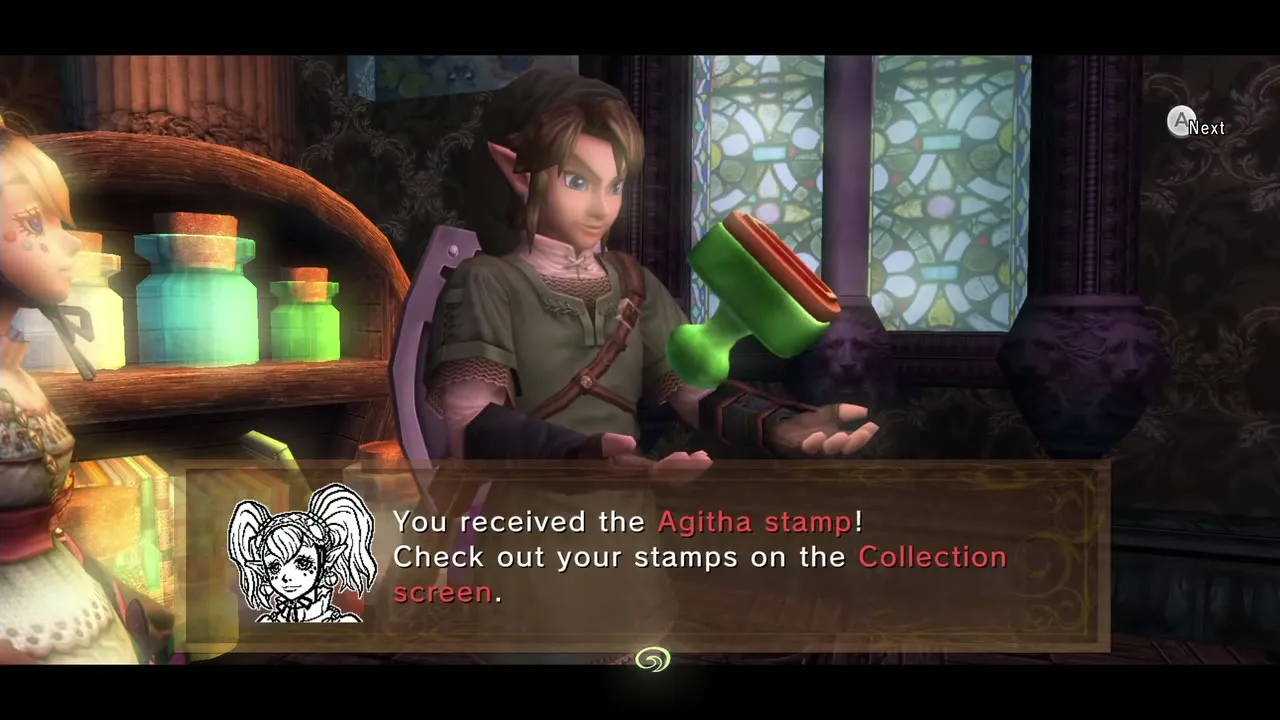
After 12 bugs she gives you the Agitha stamp in the HD Miiverse collection. Hand over everything you have so far, but never turn in a bug if your wallet cannot hold the payout, because the surplus is lost. She grumbles that you have not shown her everything; ignore it. Go back to Charlo and keep donating 50 at a time until his Piece of Heart appears. Then hold the remaining bugs, keep a few hundred Rupees for mini-games and leave space in the wallet for the Rupee chests ahead. All 24 bugs earn the Giant Wallet later.

Ladybug pair outside the south gate
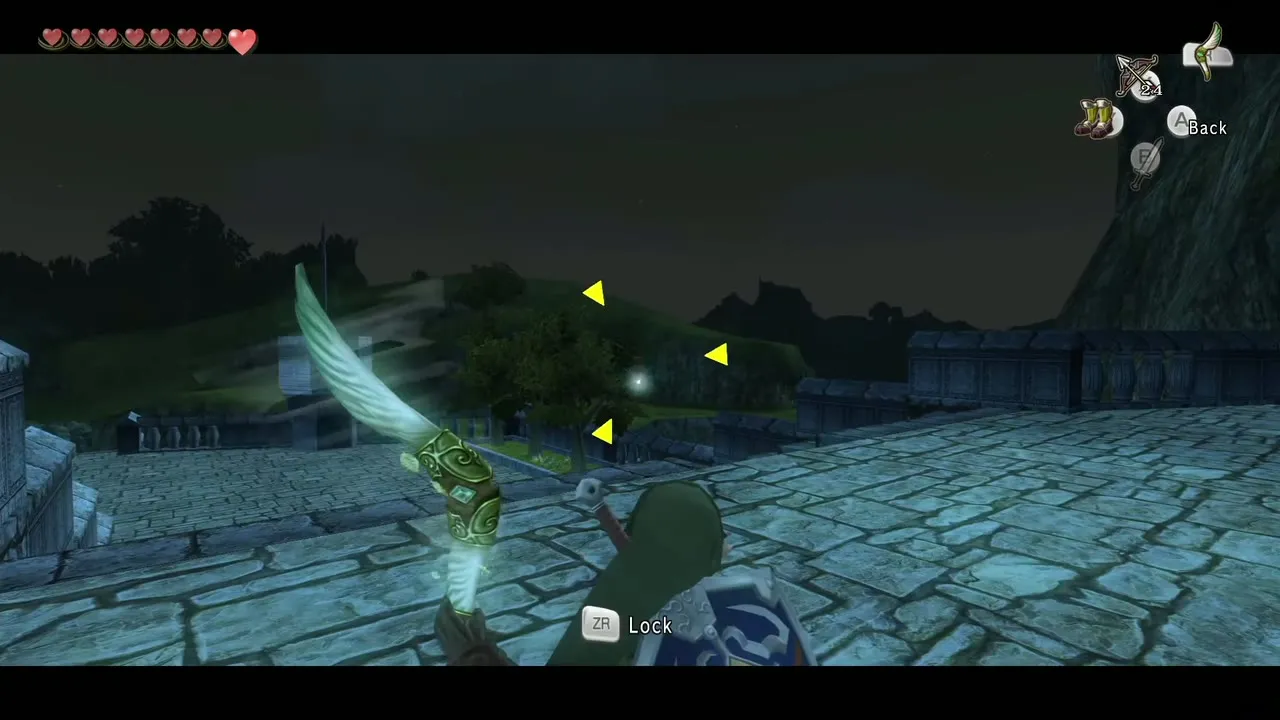
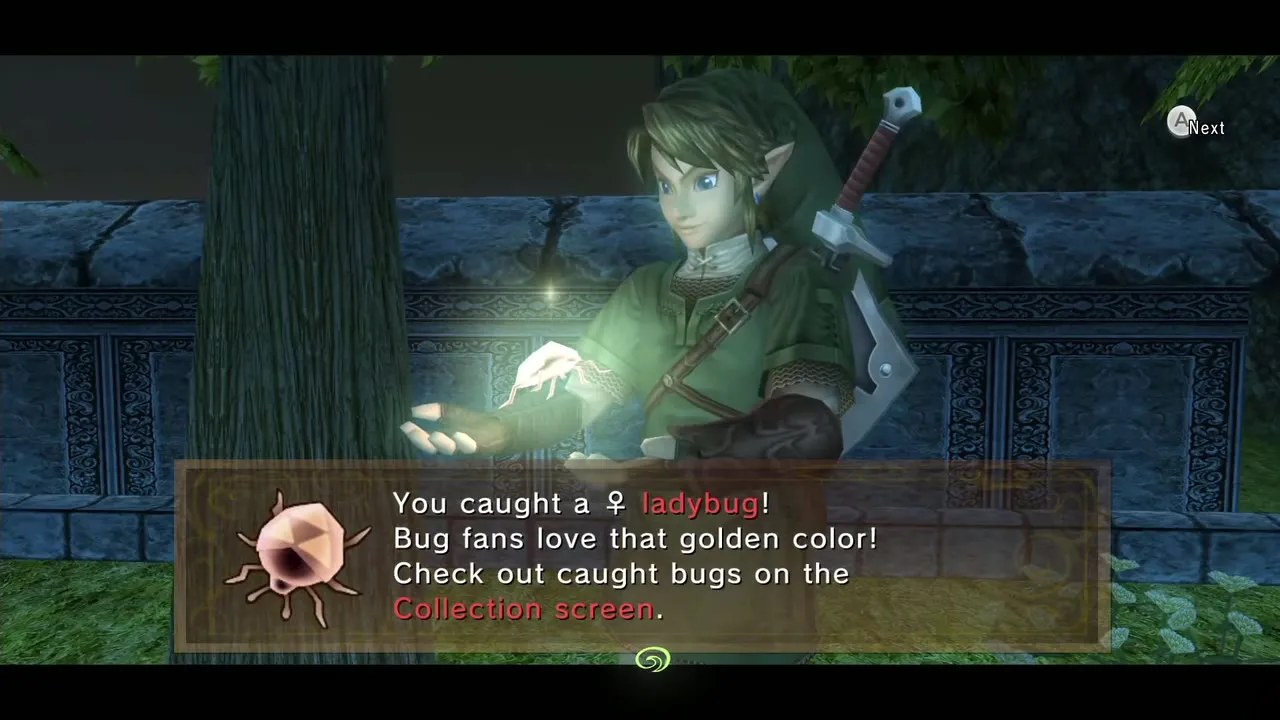
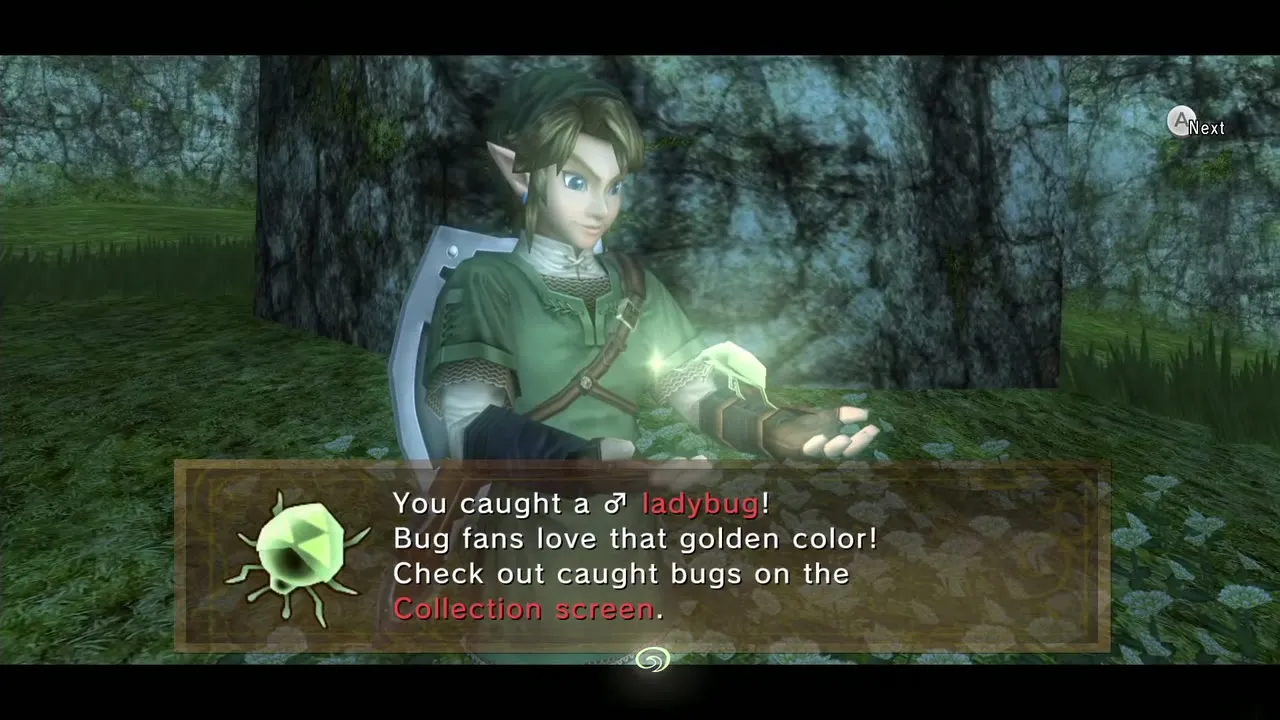
Leave Castle Town by the south gate, cross the bridge and climb down the steps on the right. Three trees stand here; the Female Golden Ladybug rests in the middle one. She flies off if you approach, so pull her in with the boomerang from a distance. Walk to the east side of the area to a large pillar in the grass with flowers beside it, where the Male Golden Ladybug hovers. Defeat the Guays in this area and Rupees drop.
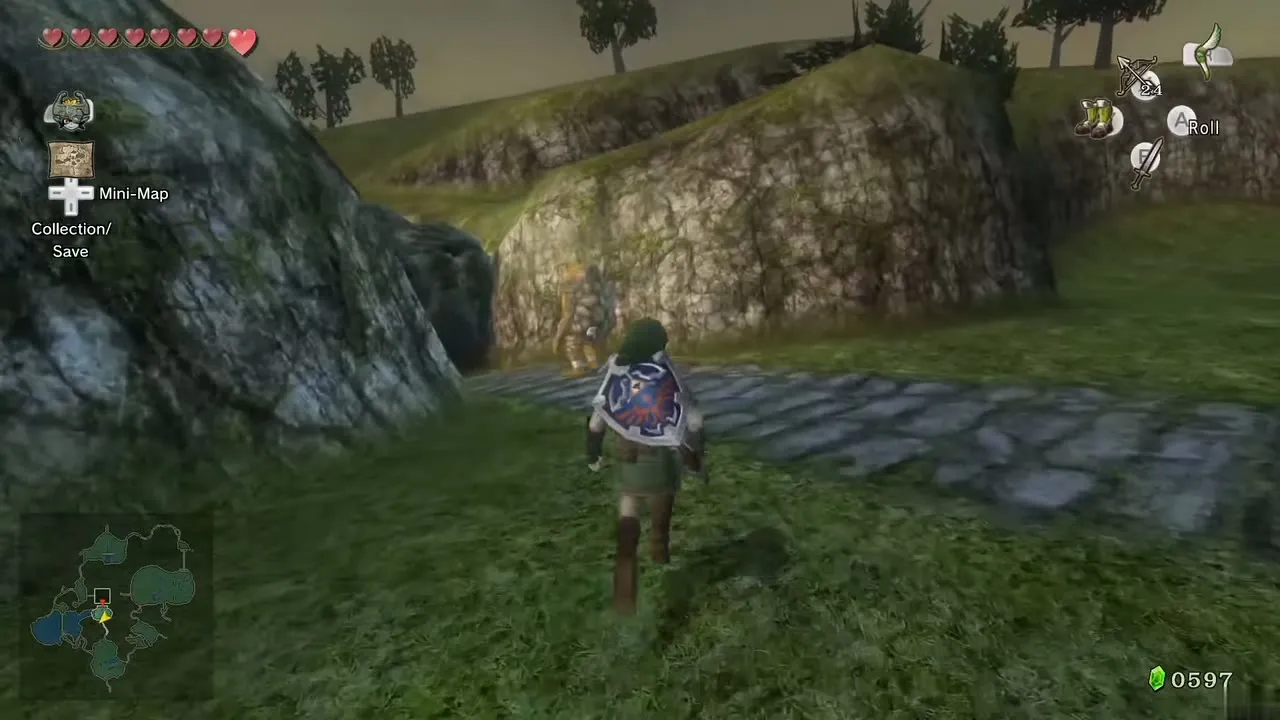
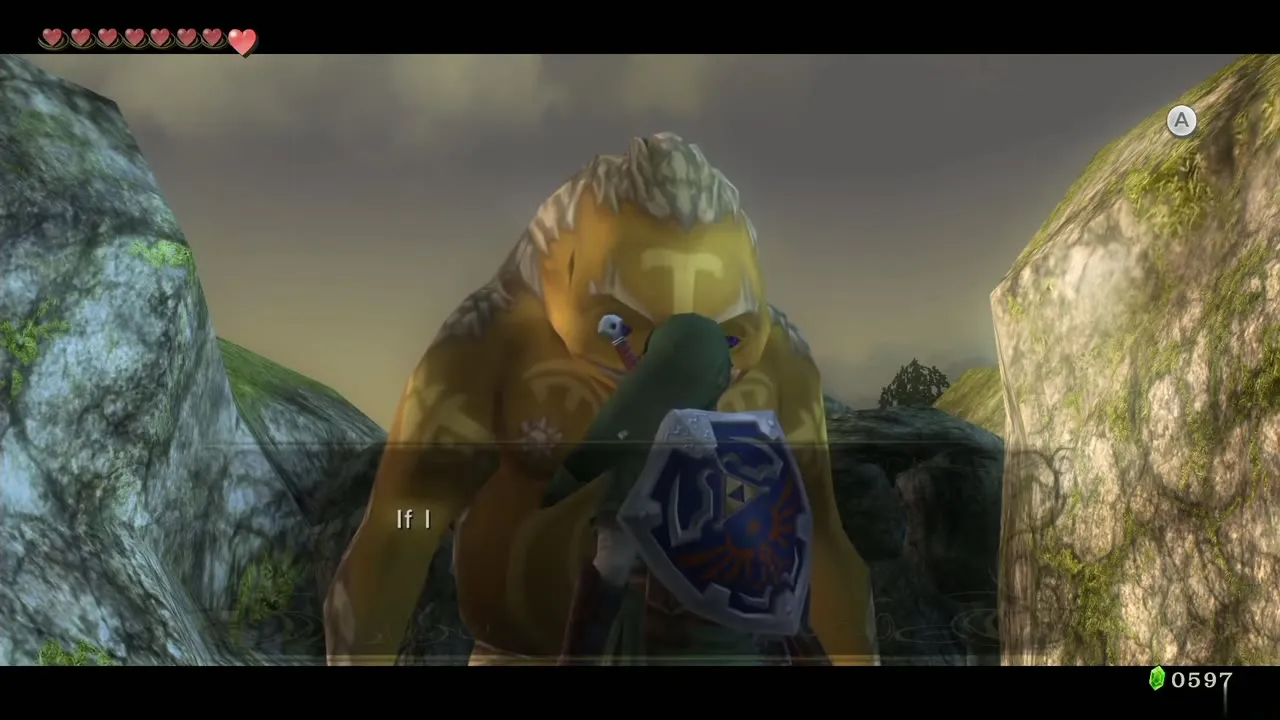
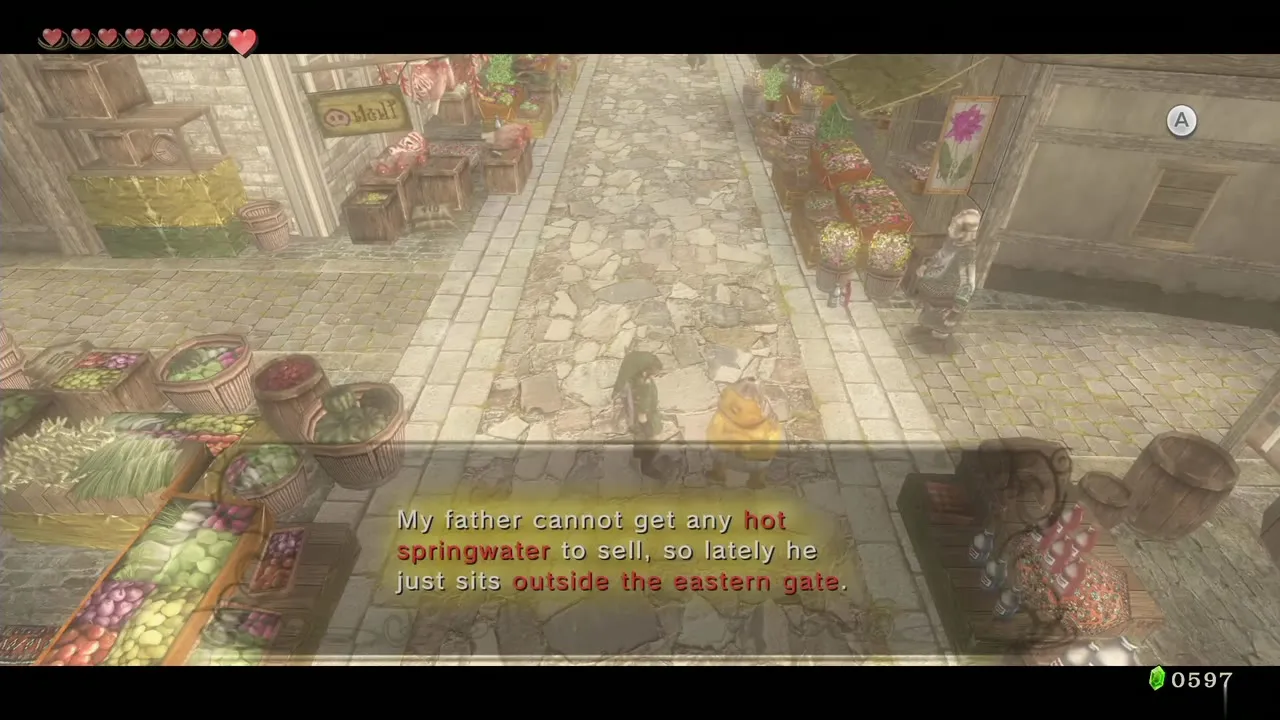
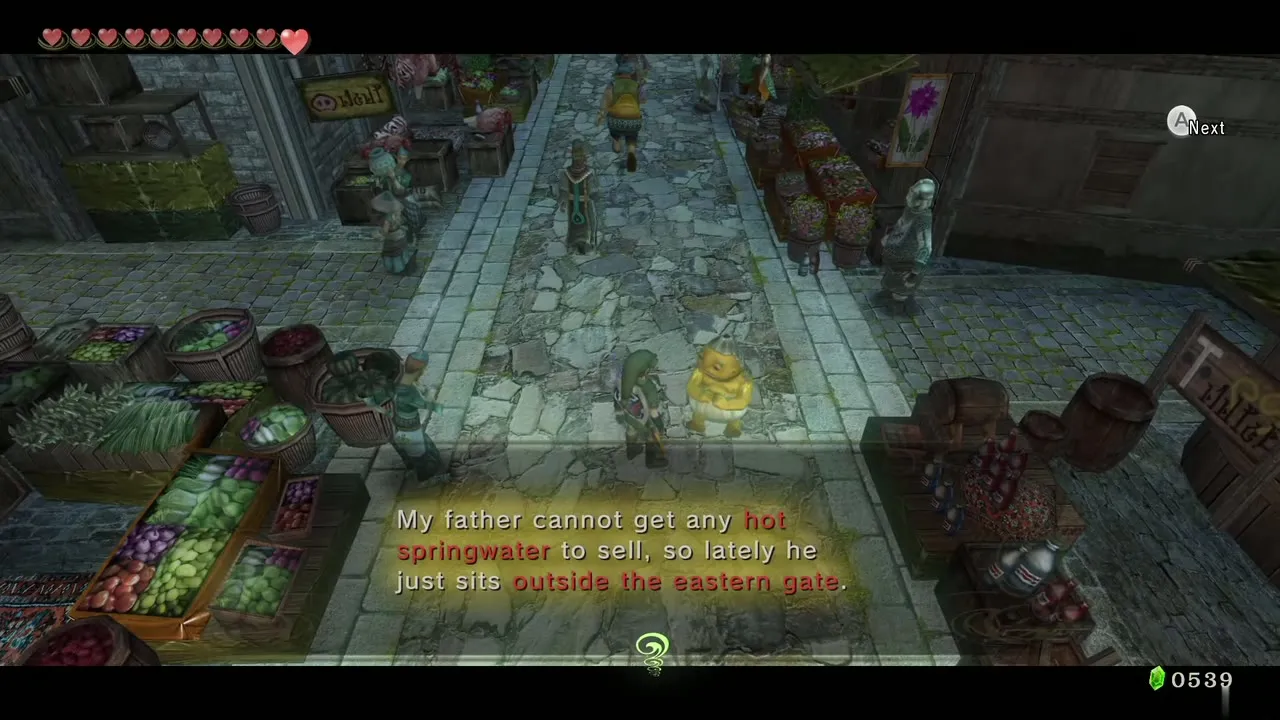
At the south end of this field a Goron stands in front of a pile of rocks, wanting Hot Spring Water to clear them. Just inside Castle Town’s south entrance a young Goron talks about his father, who lies on the ground outside the east gate beside a broken bridge. This is the Hot Spring Water delivery, which unlocks Heart Piece #19 after the Lakebed Temple; it is covered in the Poe Soul and Malo Mart chapter.
Zora’s Domain: Bomb Bag 2 and the Male Dragonfly
Reach Zora’s Domain
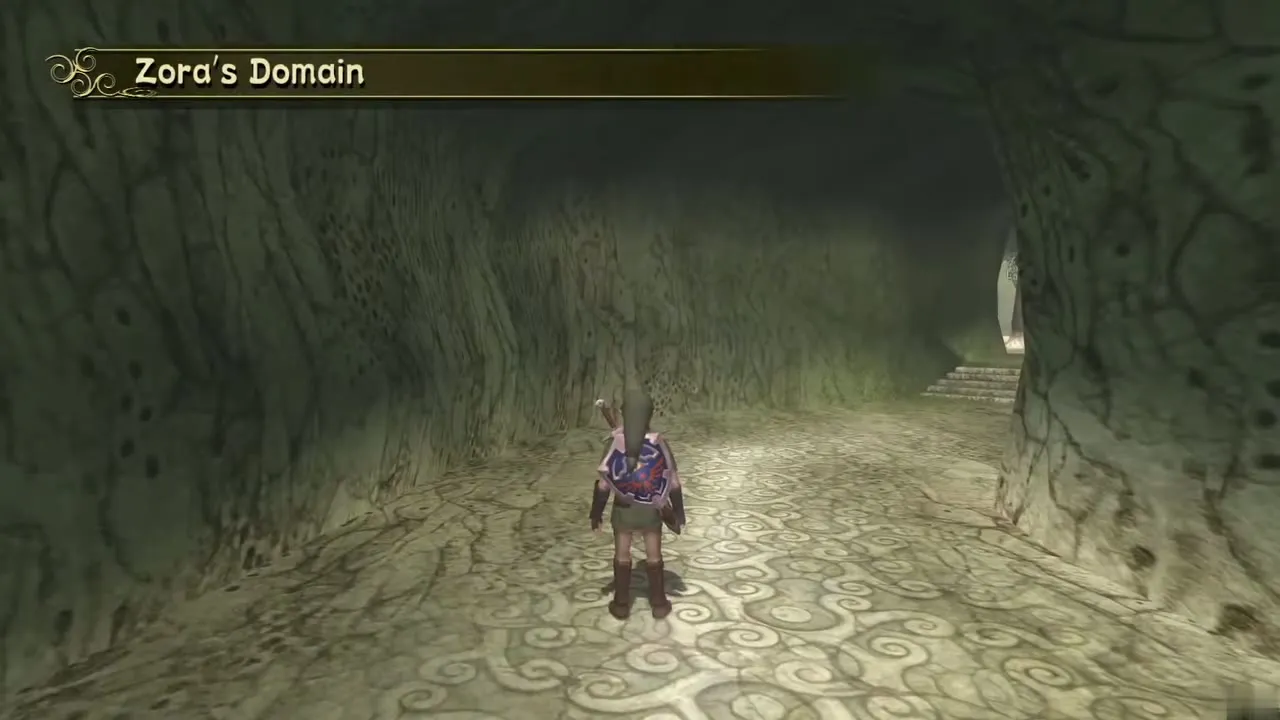
Leave Castle Town by the west gate, call Epona and ride to North Hyrule Field. Climb the mountainous area to the northernmost point and bomb the boulder blocking the path ahead; the tunnel leads to Zora’s Domain. Do not jump into the water. Instead, follow the west path and climb up, using bombs on the two boulders in the way (the second sits on a slope, so a bomb arrow is easier). This brings you to the top of the waterfall near the throne room.
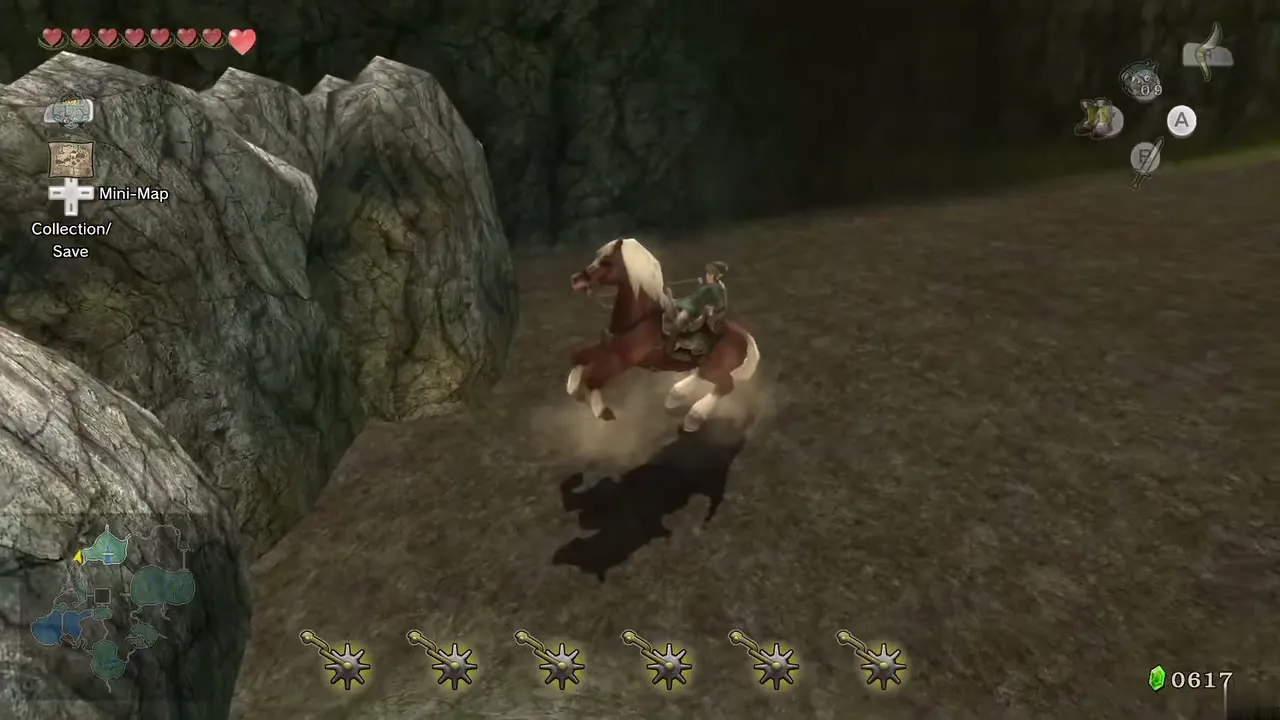
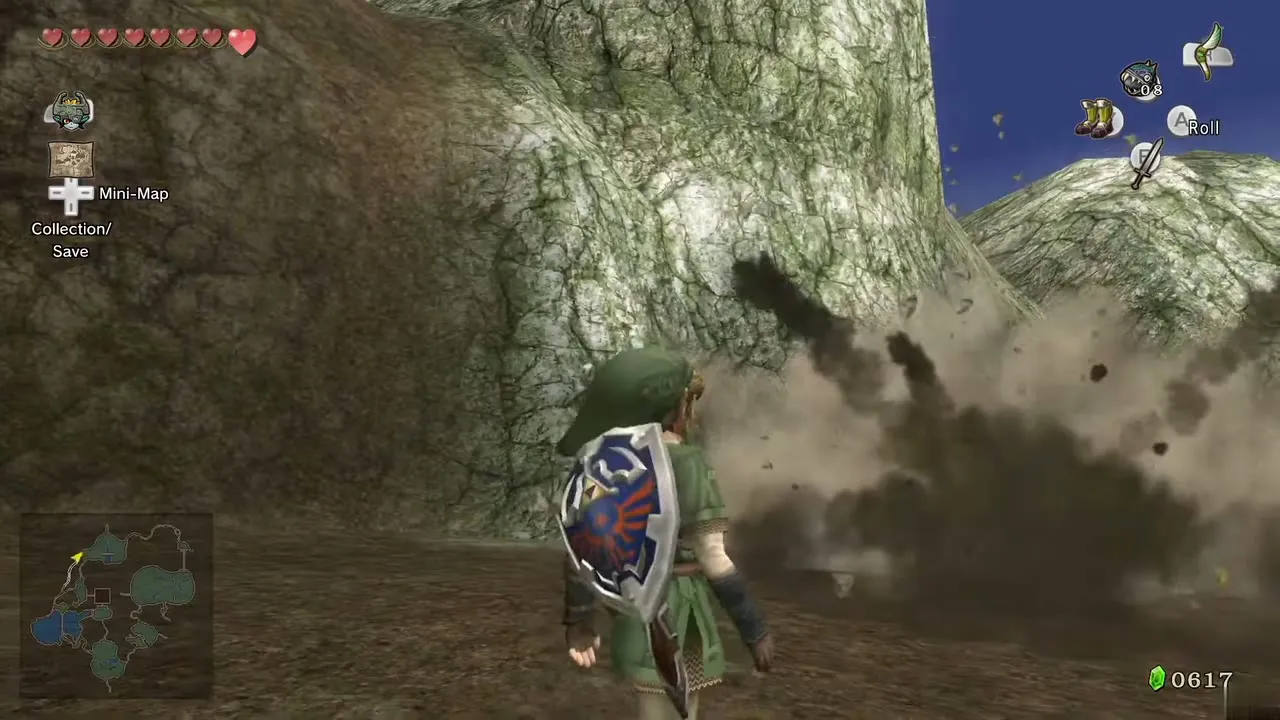
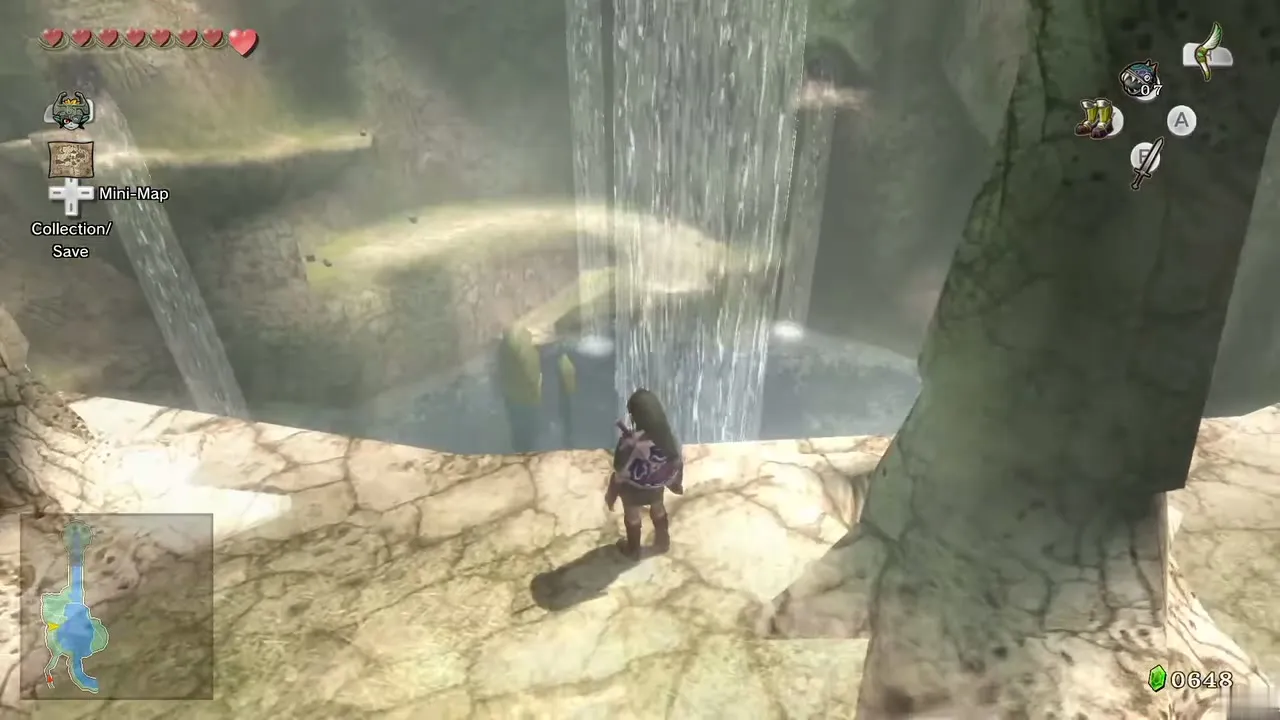
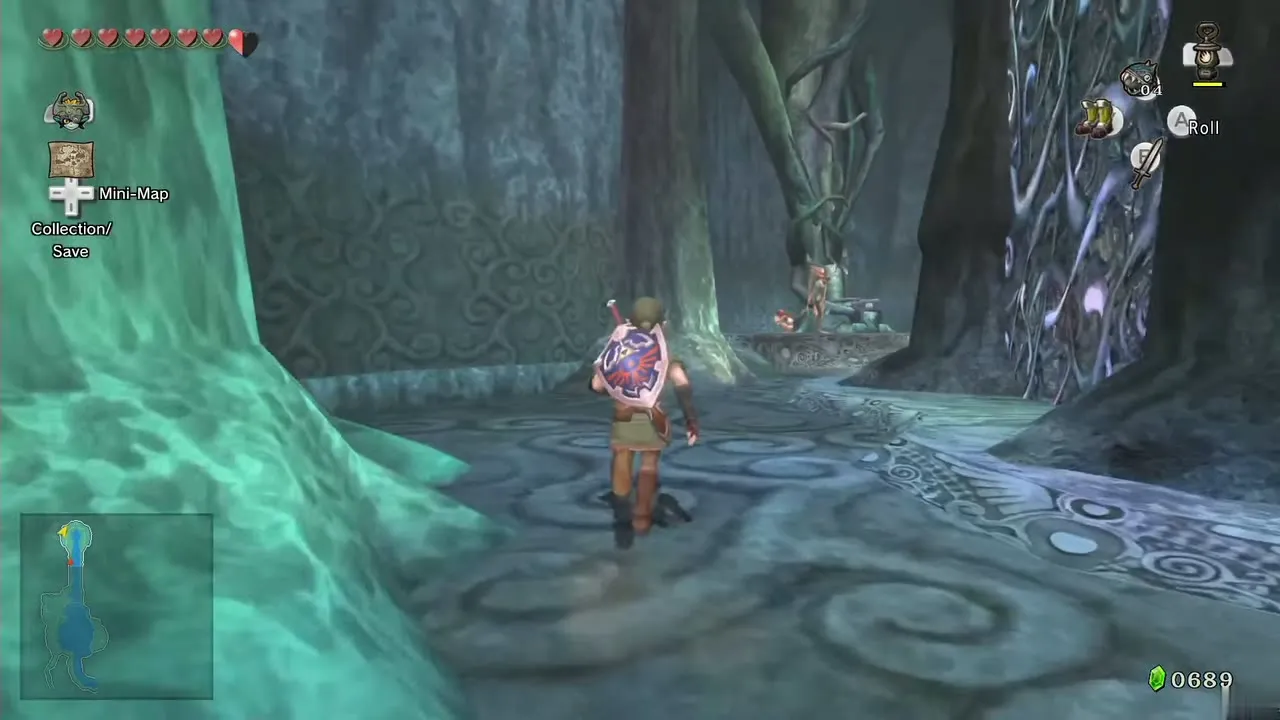
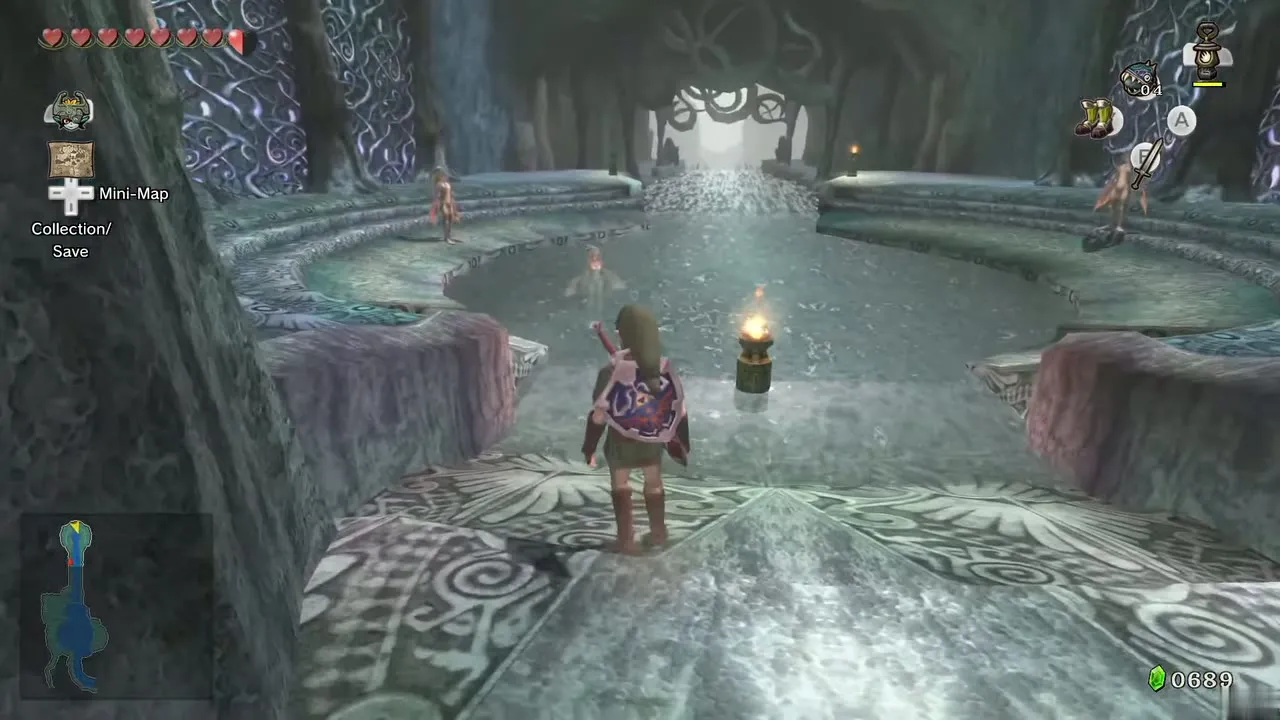
If you do drop into the central pool, swim to the waterfall and talk to the Zora there. Ask to visit the throne room and he carries you up the waterfall and sets you beside it. Walk north to the Throne Room.
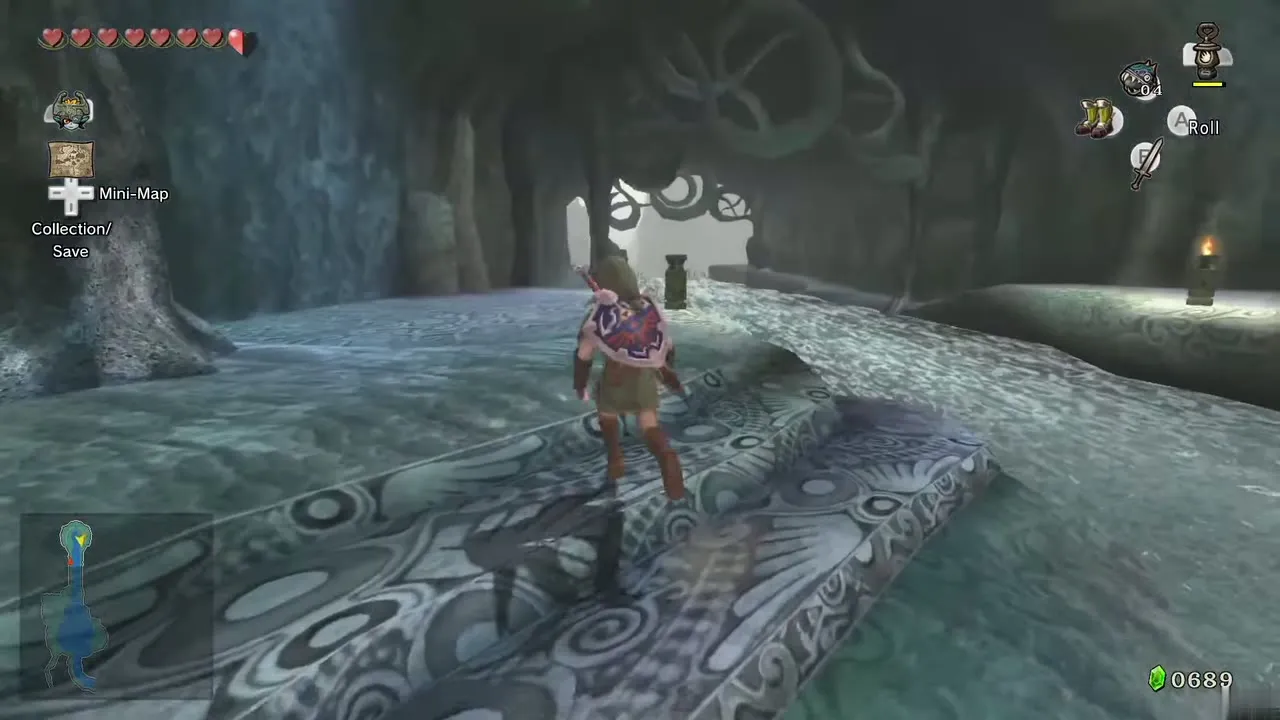

Water Bomb the rock for Bomb Bag 2
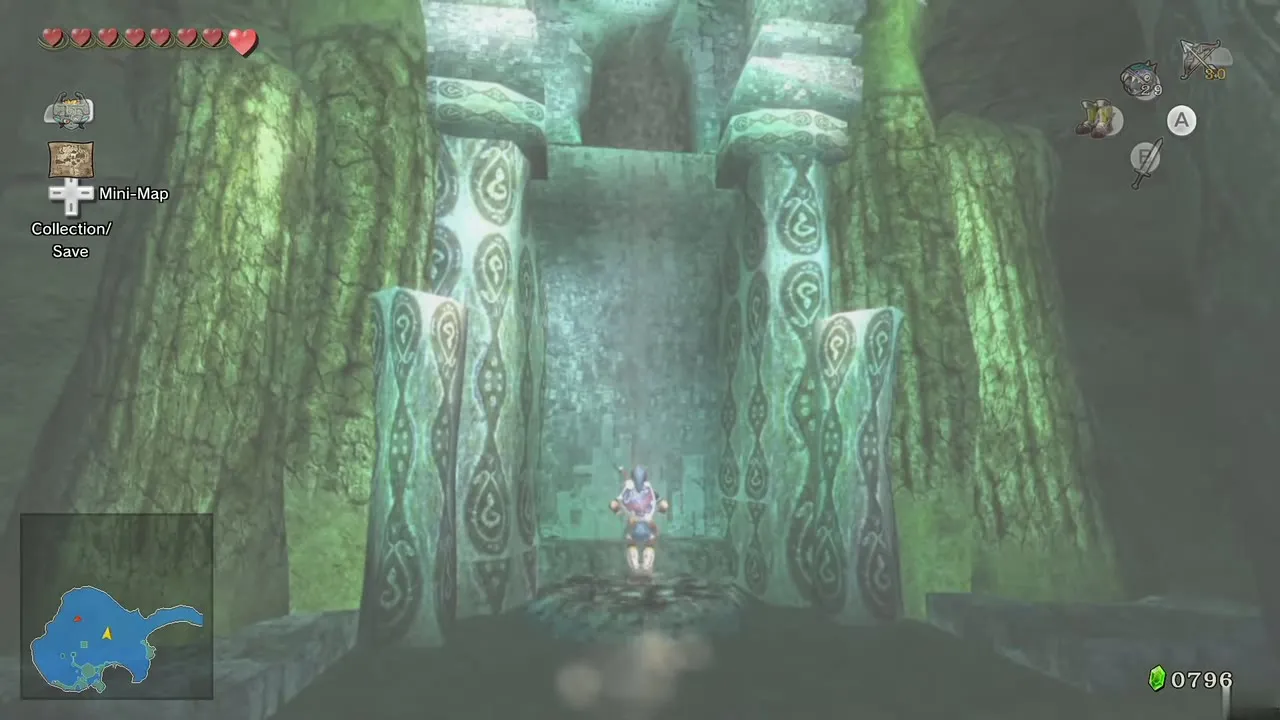
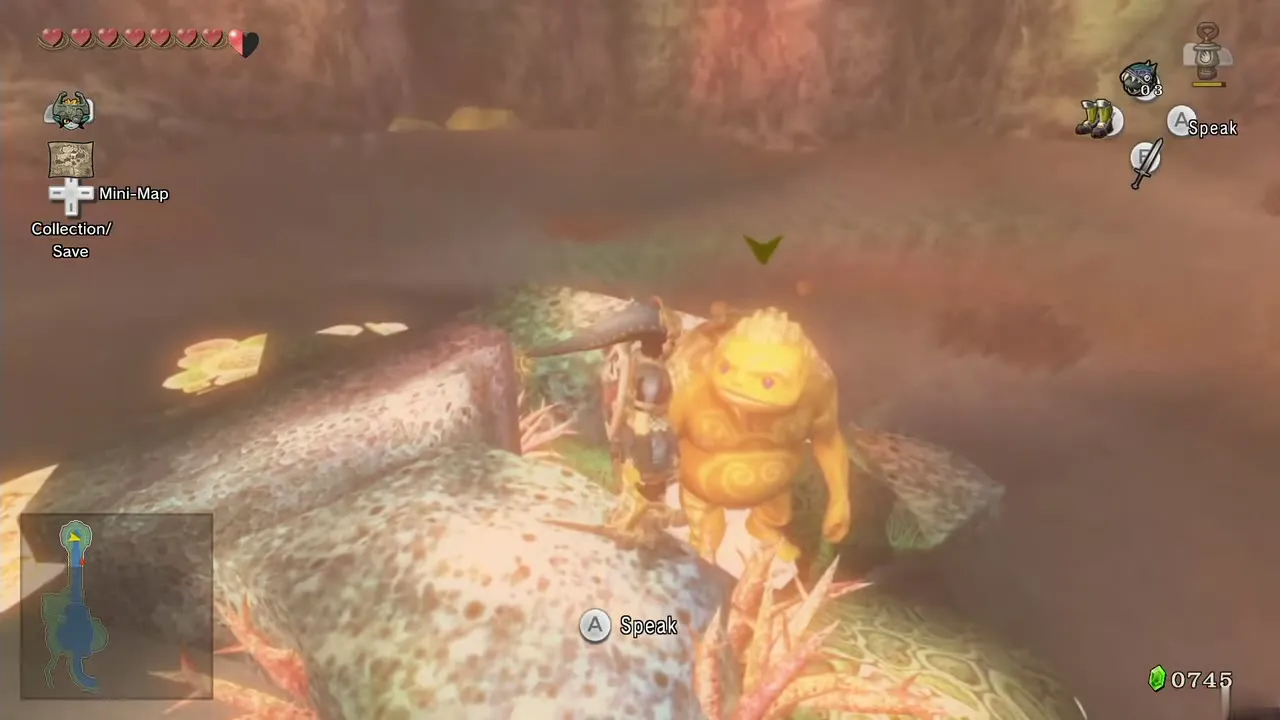
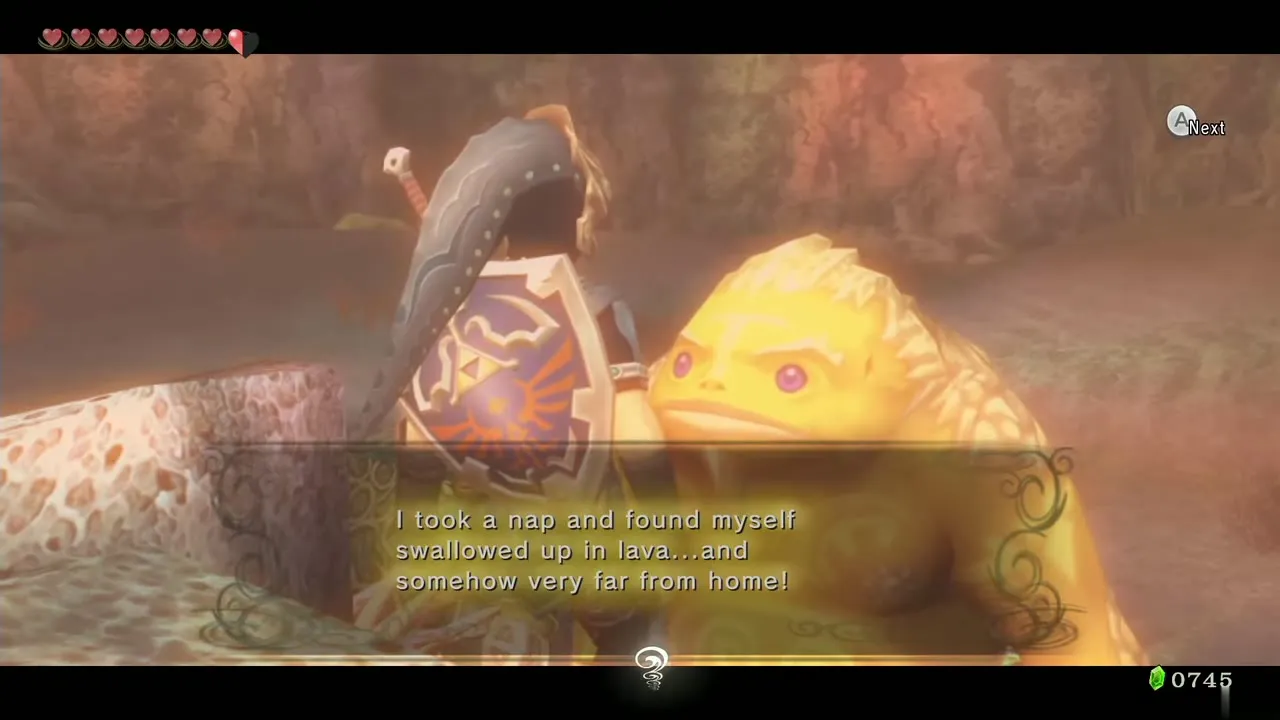
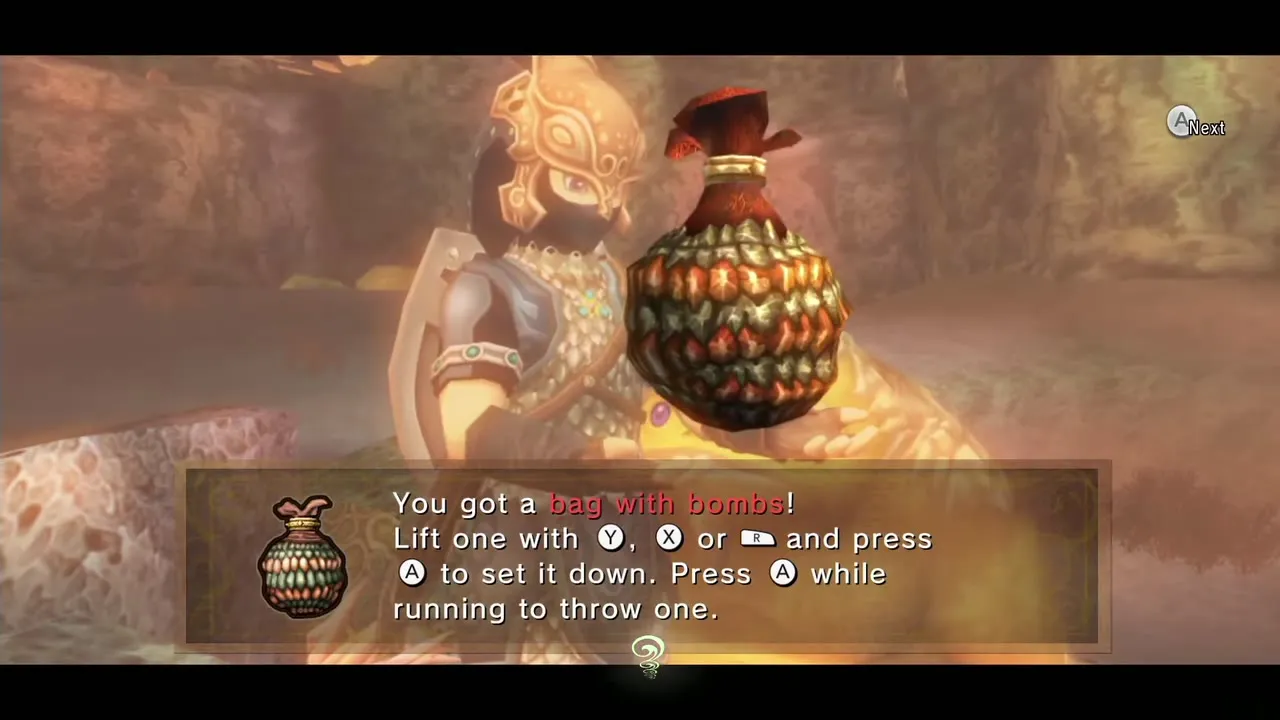
Put on the Zora Armor, jump into the water in the middle of the throne room and use the Iron Boots to sink to the bottom. The huge rock that Midna warped here from Death Mountain is still on the bed, with a Goron’s eyes visible through it. Place a Water Bomb against it. The rock bursts and frees a Goron who has been trapped inside; as thanks he gives you a Bomb Bag already filled with ordinary bombs, so the two bags work as a pair. Swim around the throne room for the handful of Yellow Rupees on the ledges, then resurface.
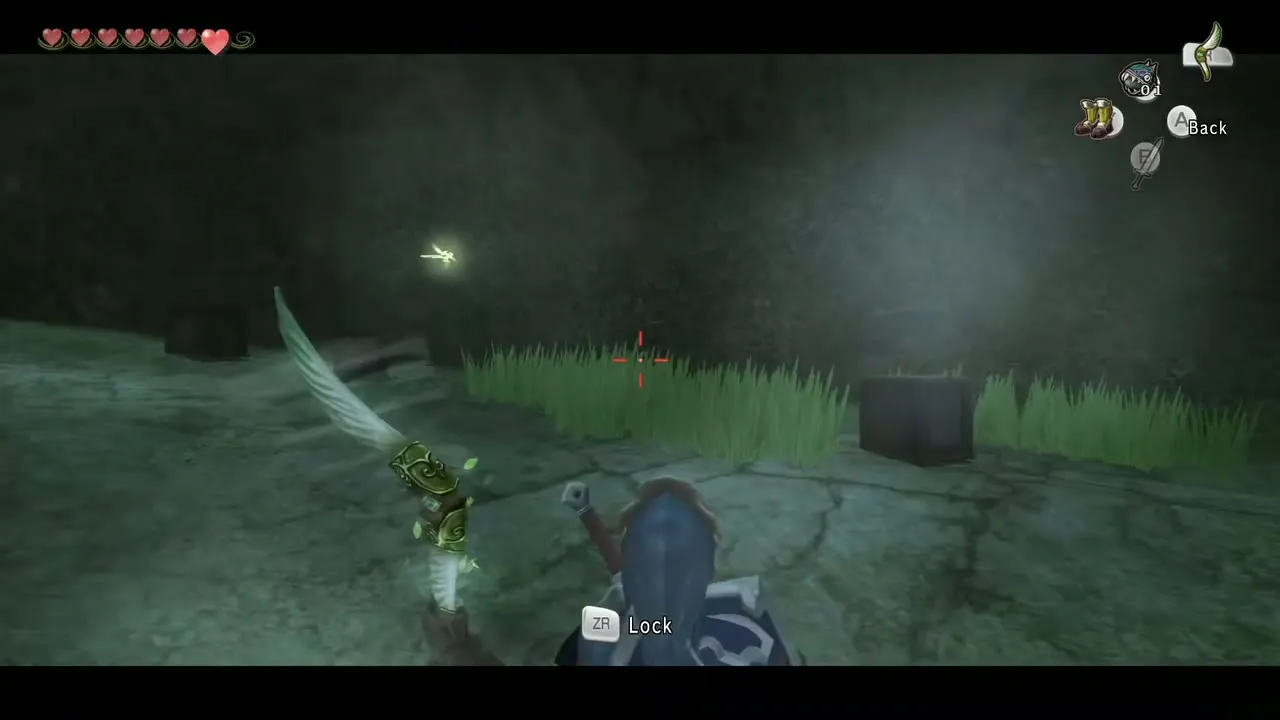
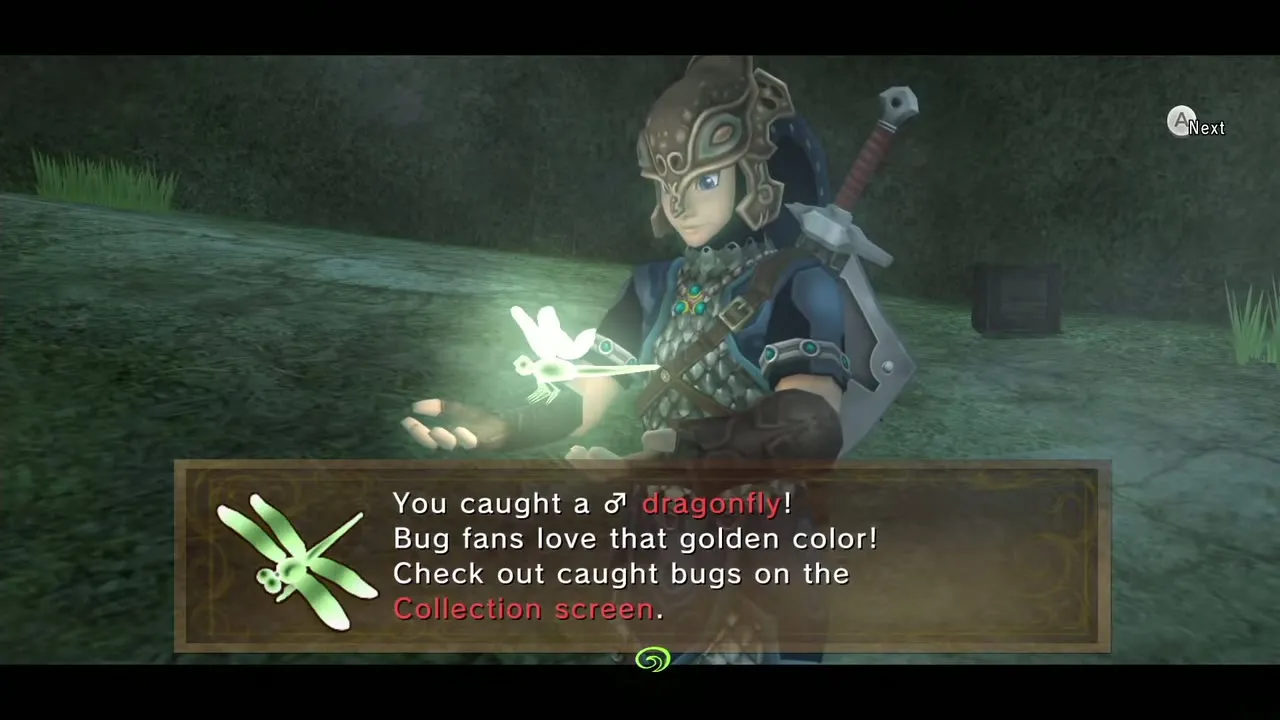
Male Dragonfly
Go to the surface at the east end of the domain and climb up. The Male Golden Dragonfly hovers around some boxes on the hill. Pull him in with the boomerang. The Female Dragonfly is further down the river, near Iza. A path on the west side leads to Snowpeak, but it is only an overview for now.
Upper Zora’s River: Fishing Hole, Iza and the Rapid Ride

Hena’s Fishing Hole: Heart Piece #29 and the Empty Bottle
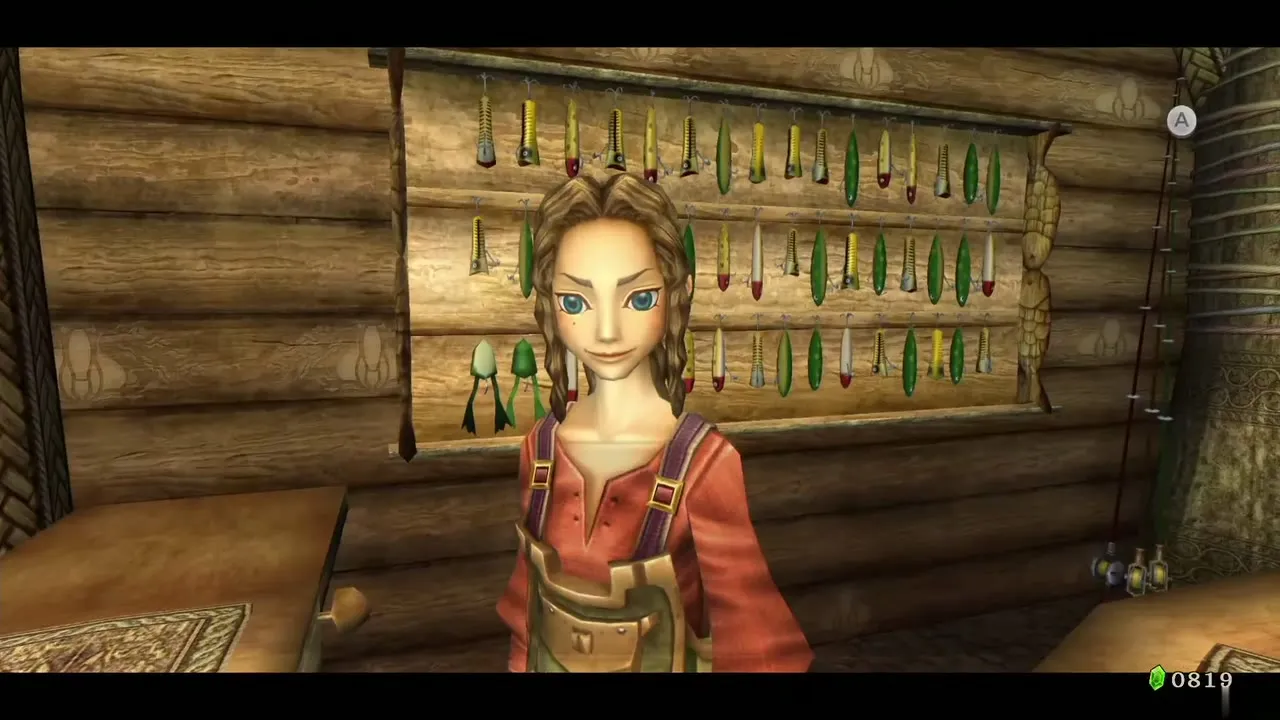
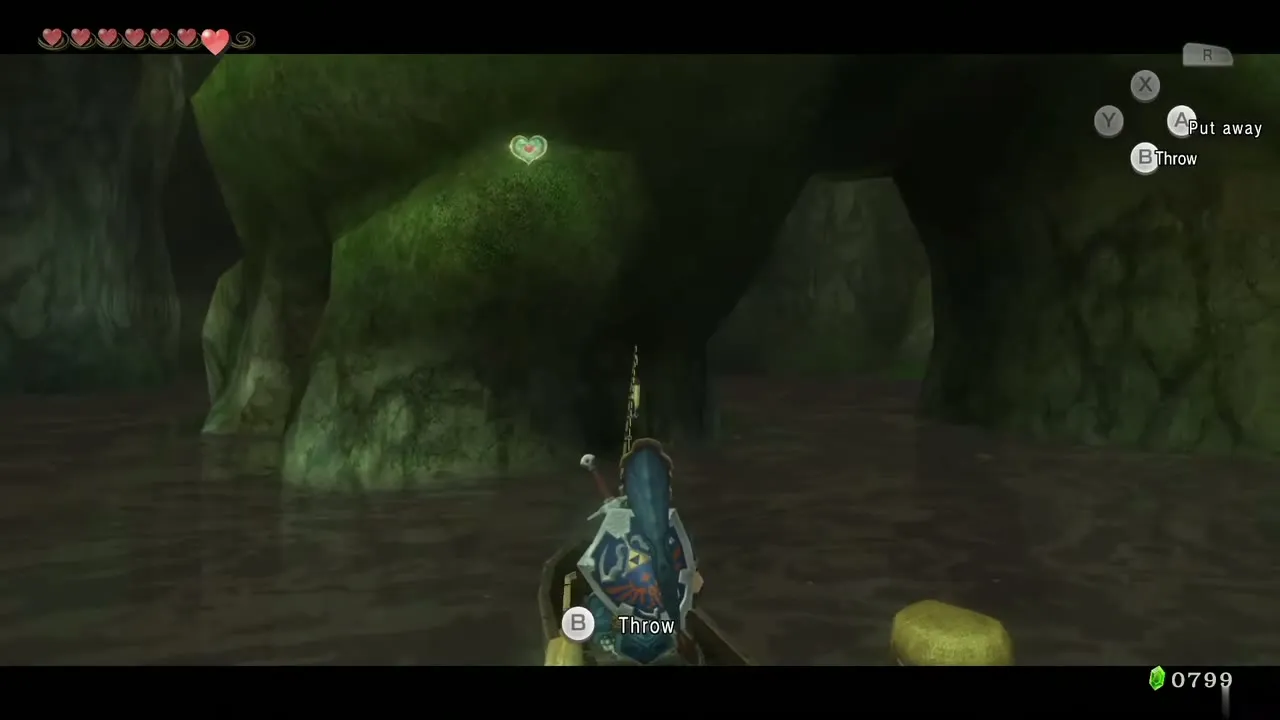
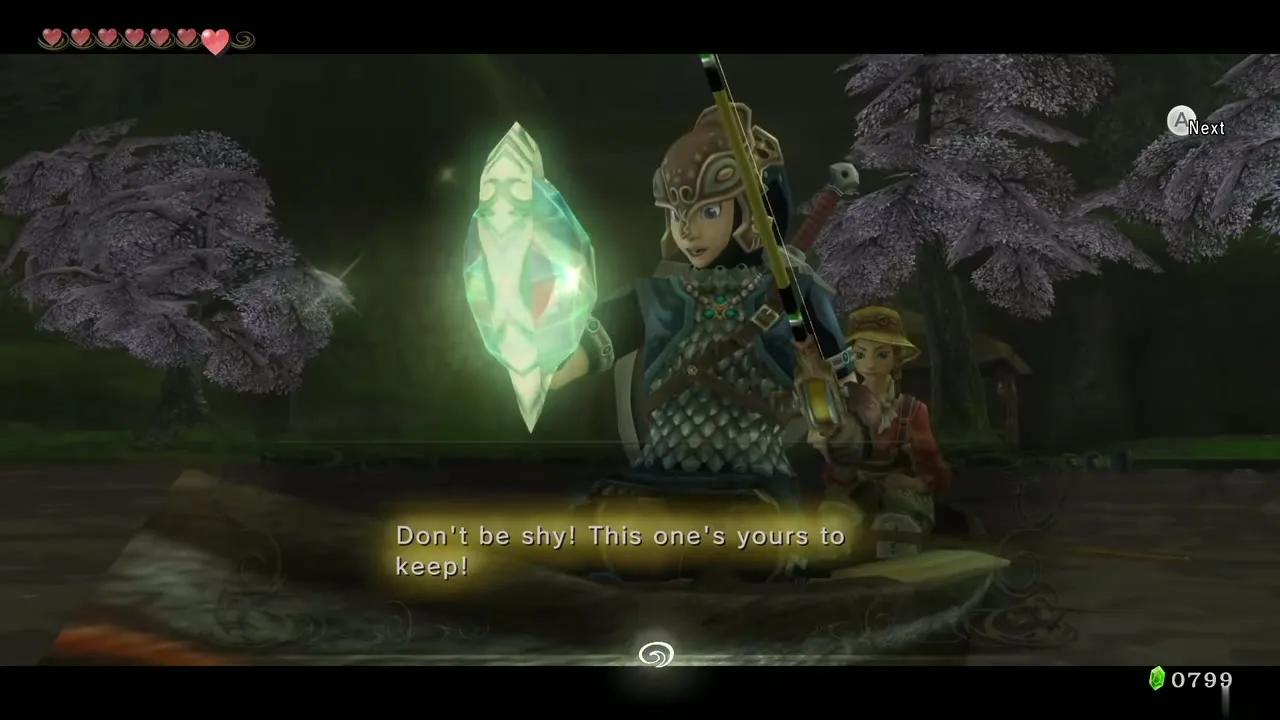
Jump into the water and swim south to Upper Zora’s River. At the north end of the area a door leads to Hena’s Fishing Hole. Inside, pay Hena 20 Rupees for the rowboat. Row straight ahead and look at the ledge above to find a Piece of Heart sitting there. Row close, press B to take out the fishing rod, point it directly at the heart and cast. A precise cast hooks it. Reel it in for Piece of Heart #29, then talk to Hena to end the trip. More on the fishing page.
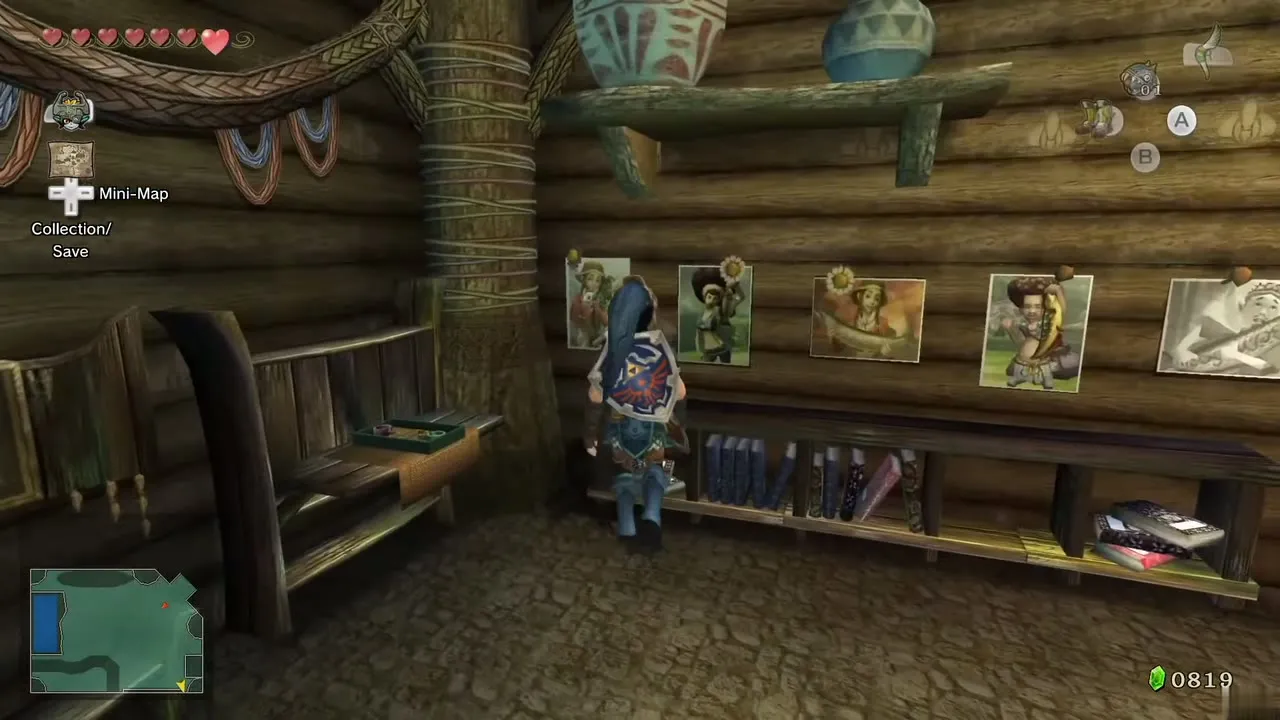
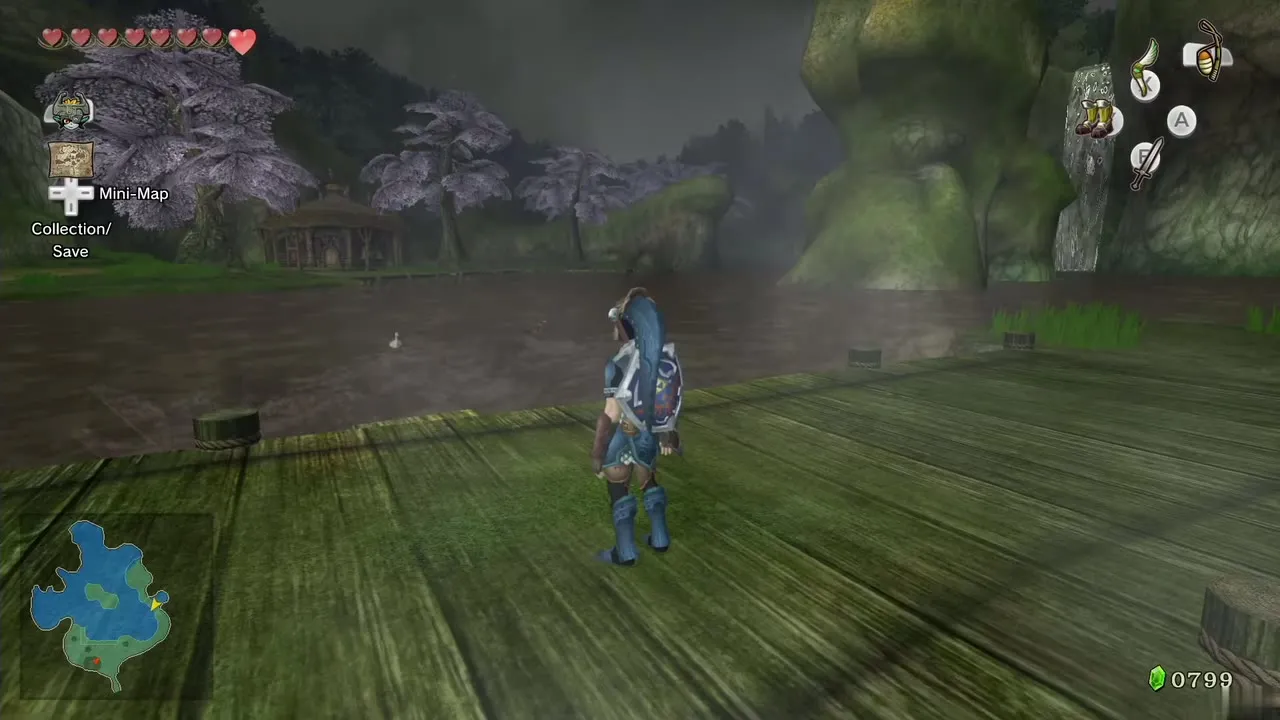
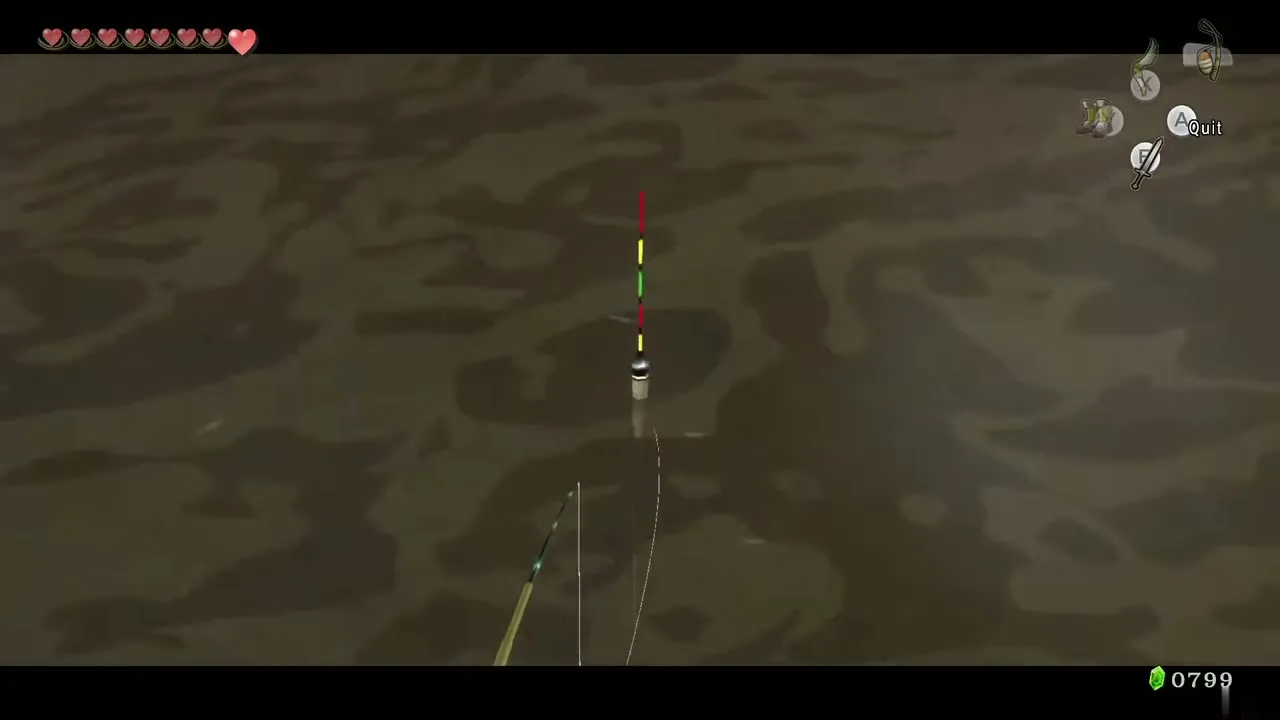
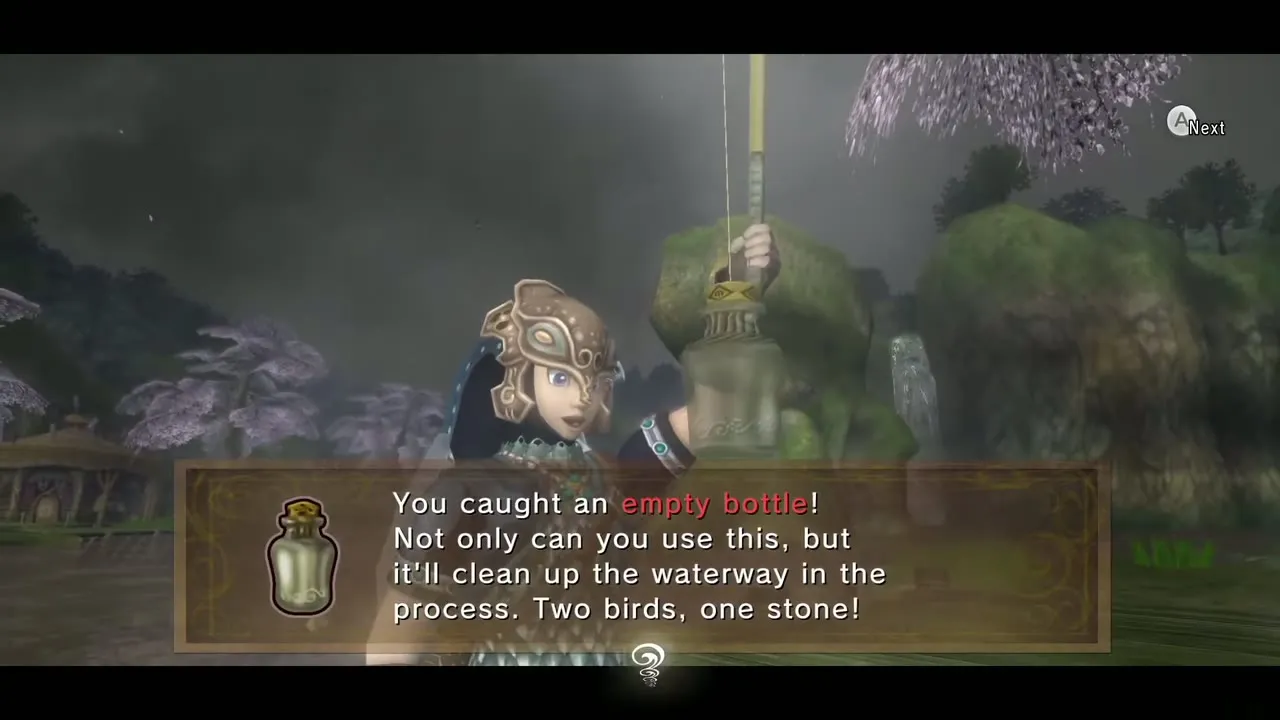
Outside Hena’s hut, walk to the east side of the Fishing Hole to a bridge with a sign in front of it. Cast your ordinary rod to the right of the bridge, into the section away from the main pond. The first catch there is an Empty Bottle, which is your third bottle (the other three are on the bottle page).

Female Dragonfly and the Shadow Beasts
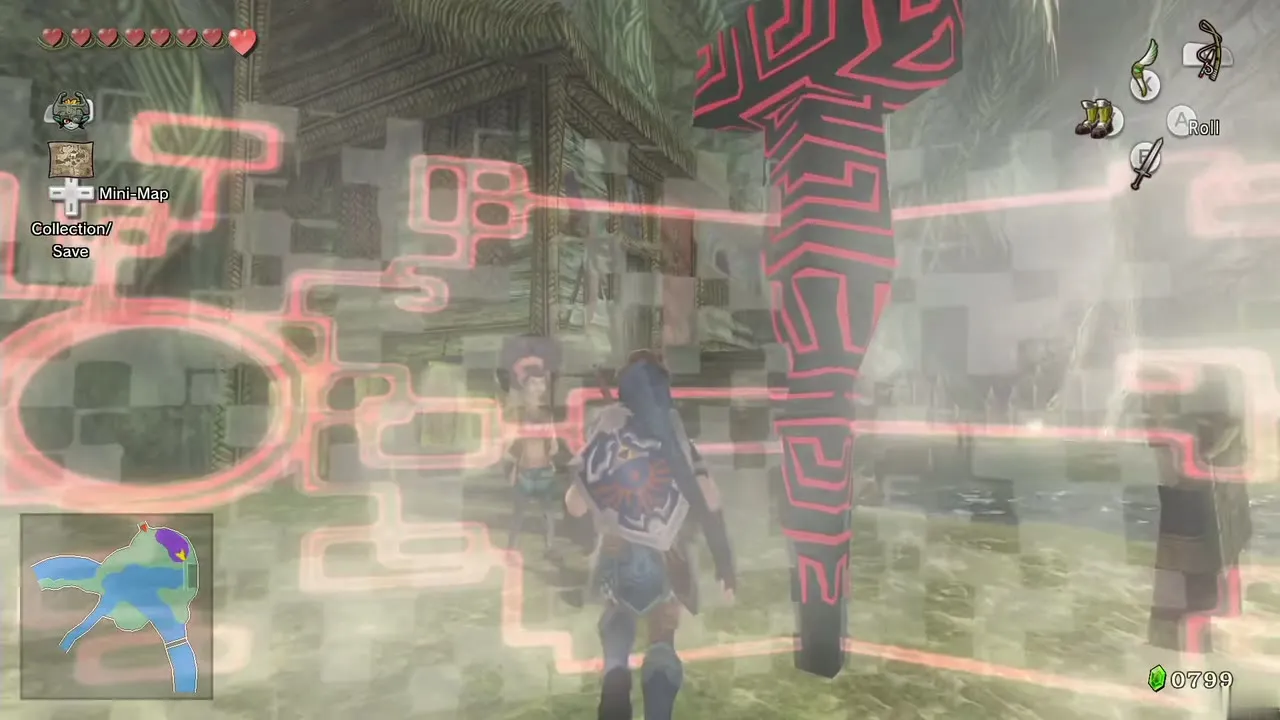
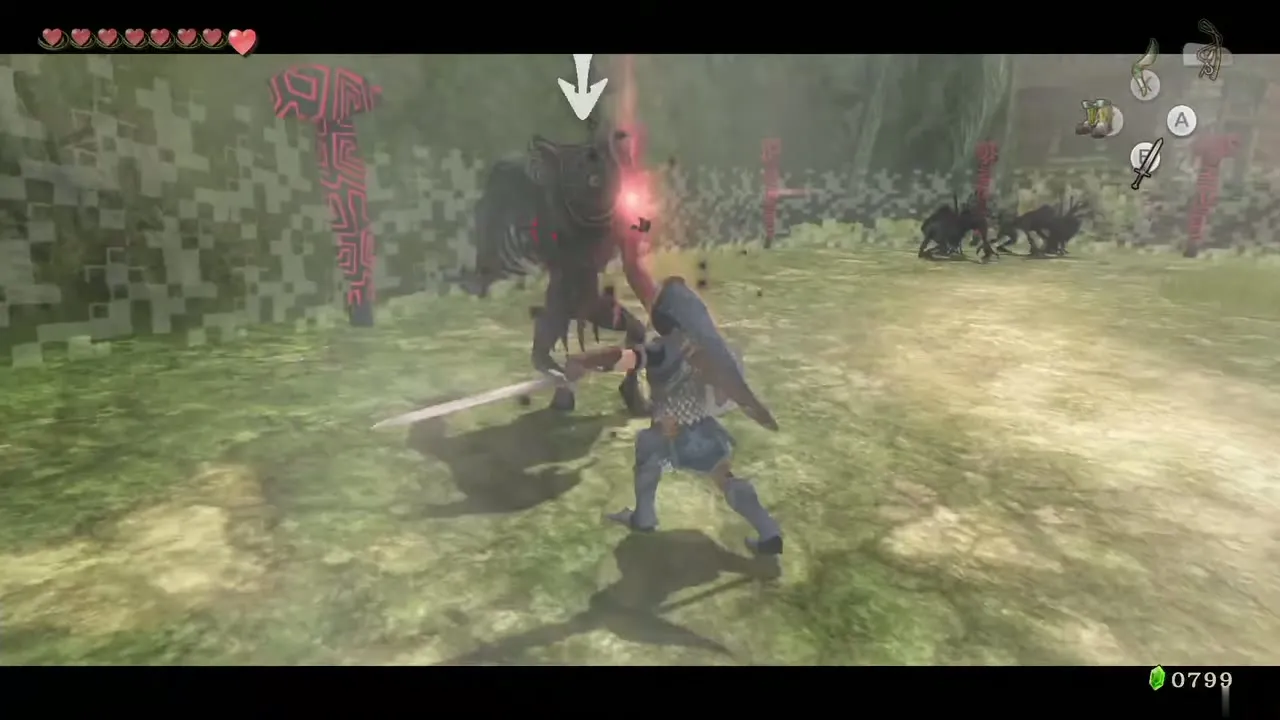
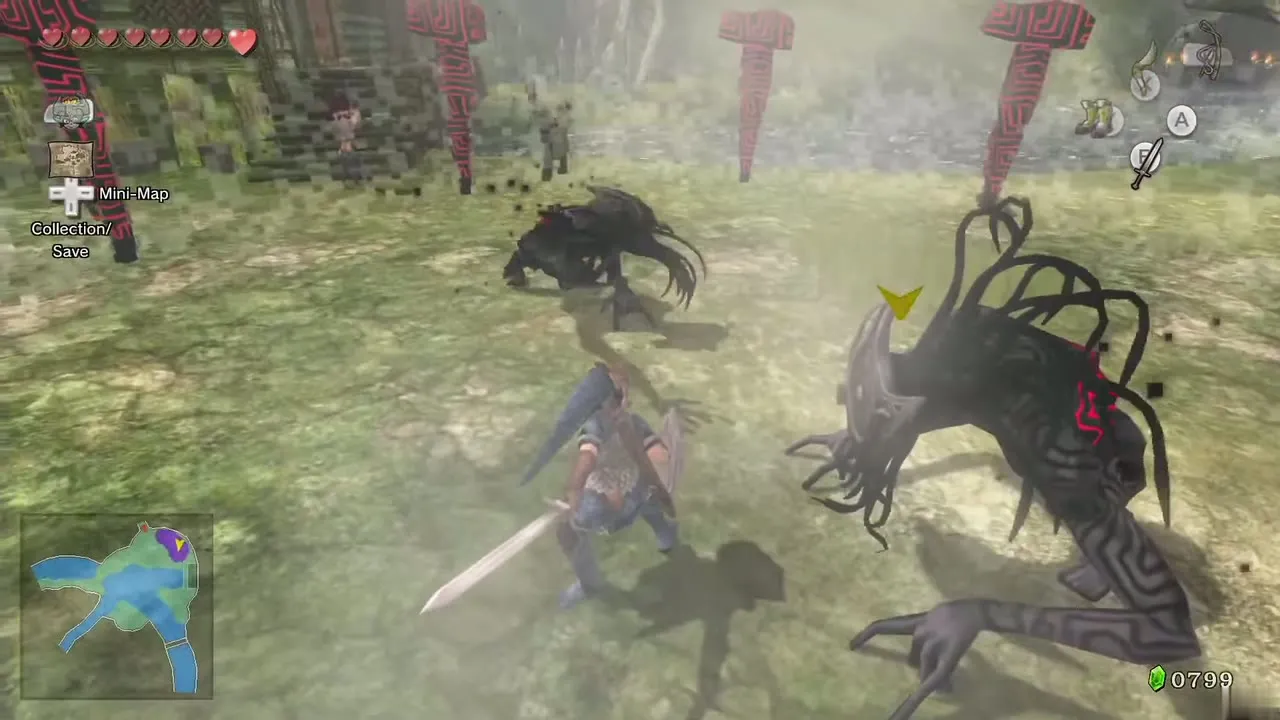
Leave the Fishing Hole and go to Iza beside her boat rental. The Female Golden Dragonfly floats in the water next to her, so pull her in with the boomerang. When you talk to Iza and step back, barriers close around you and a twilight portal drops three Shadow Beasts. Hold B for the spin attack to hit them all. When they fall, Iza invites you inside.
Iza’s boat trip: Bomb Bag 3
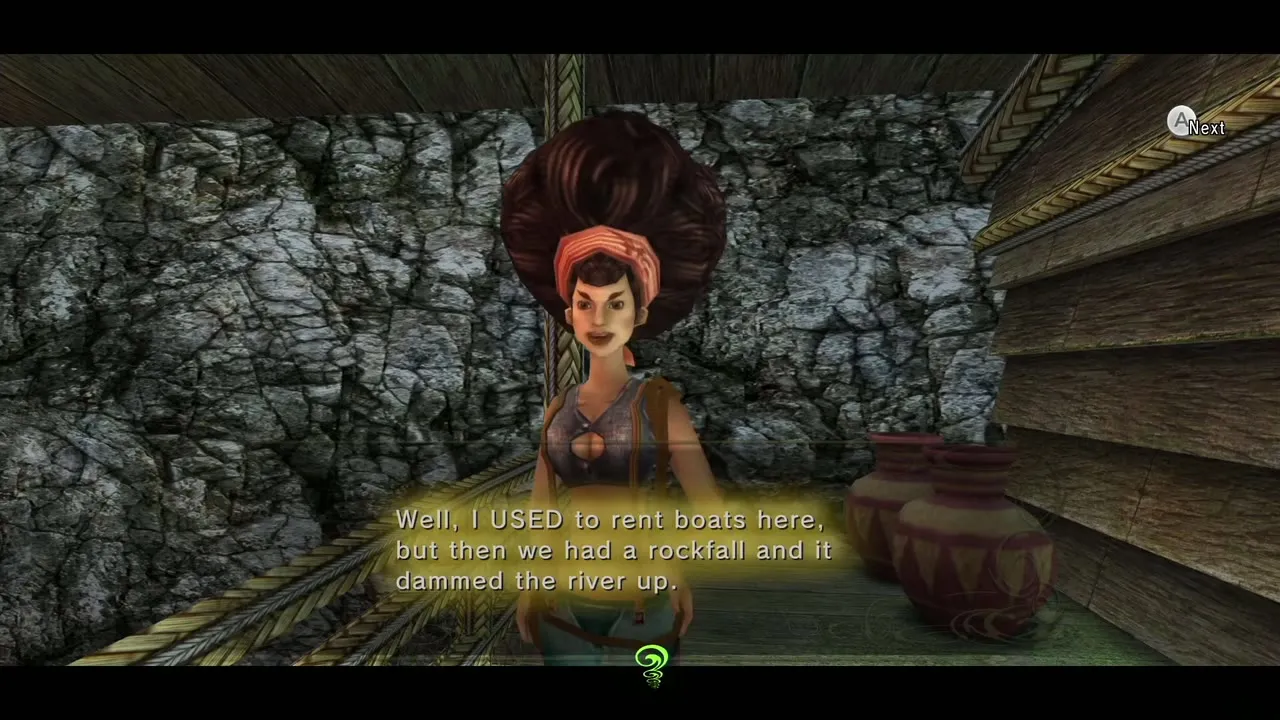
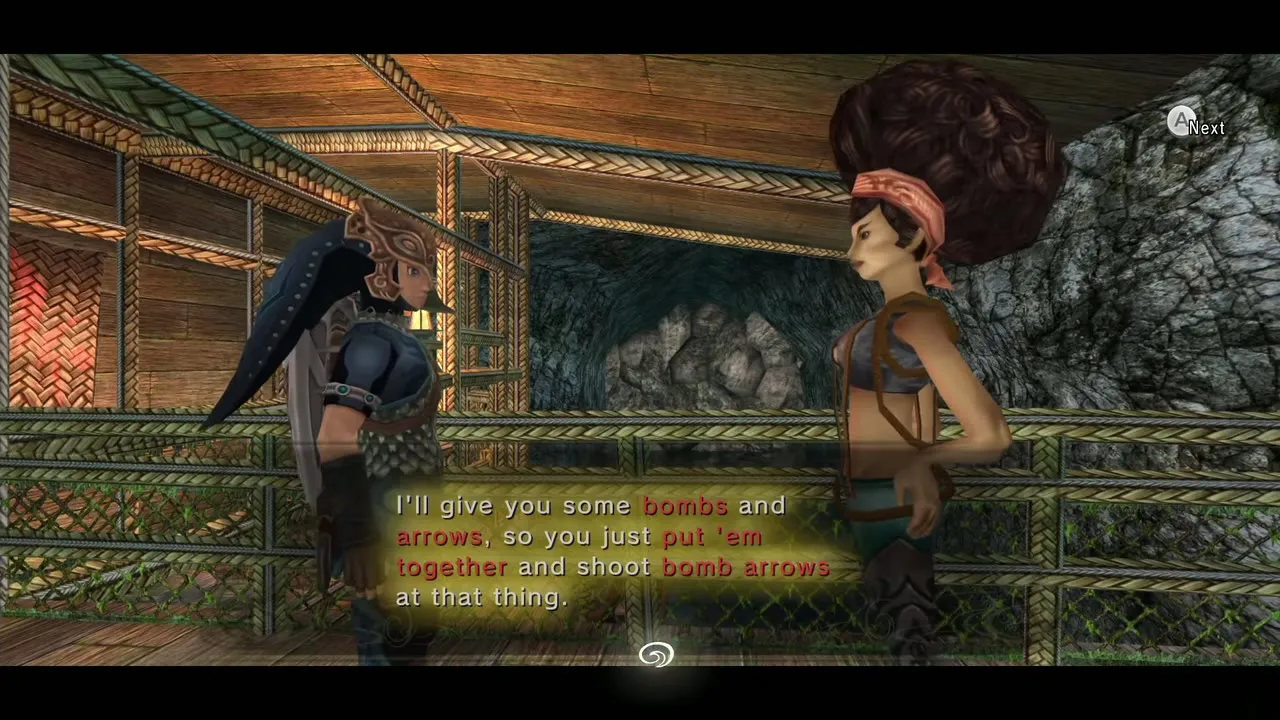
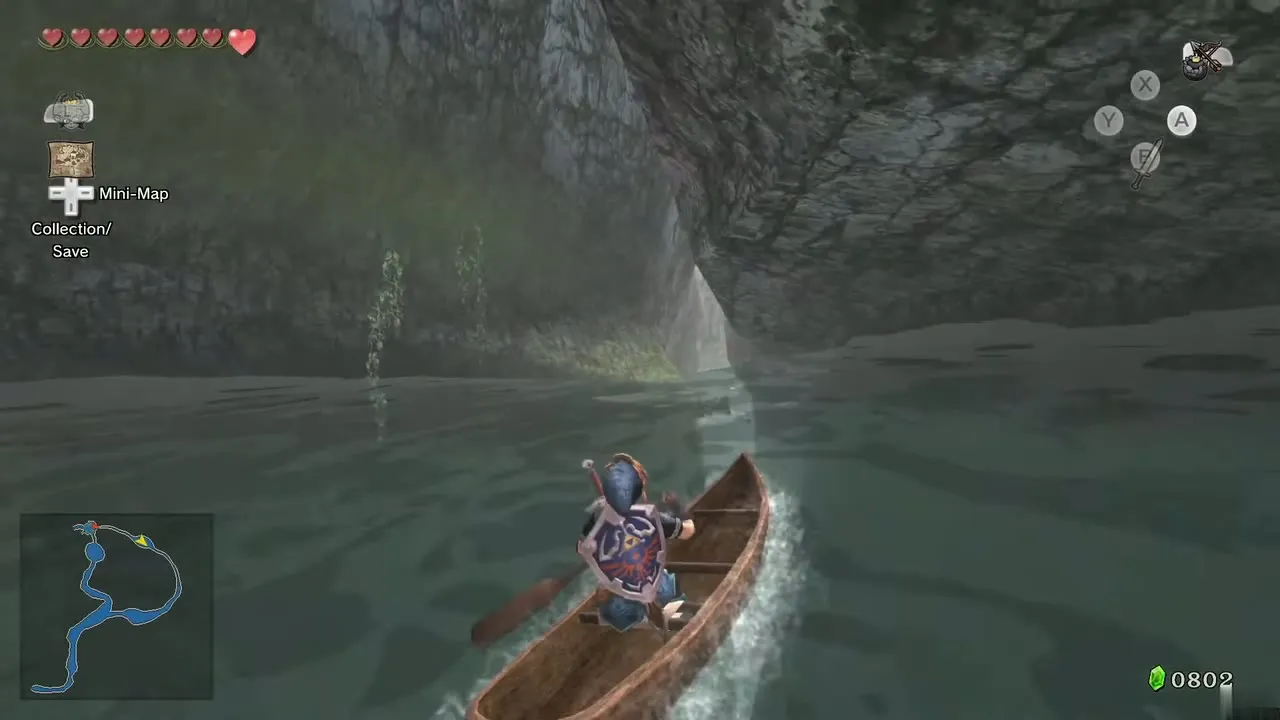
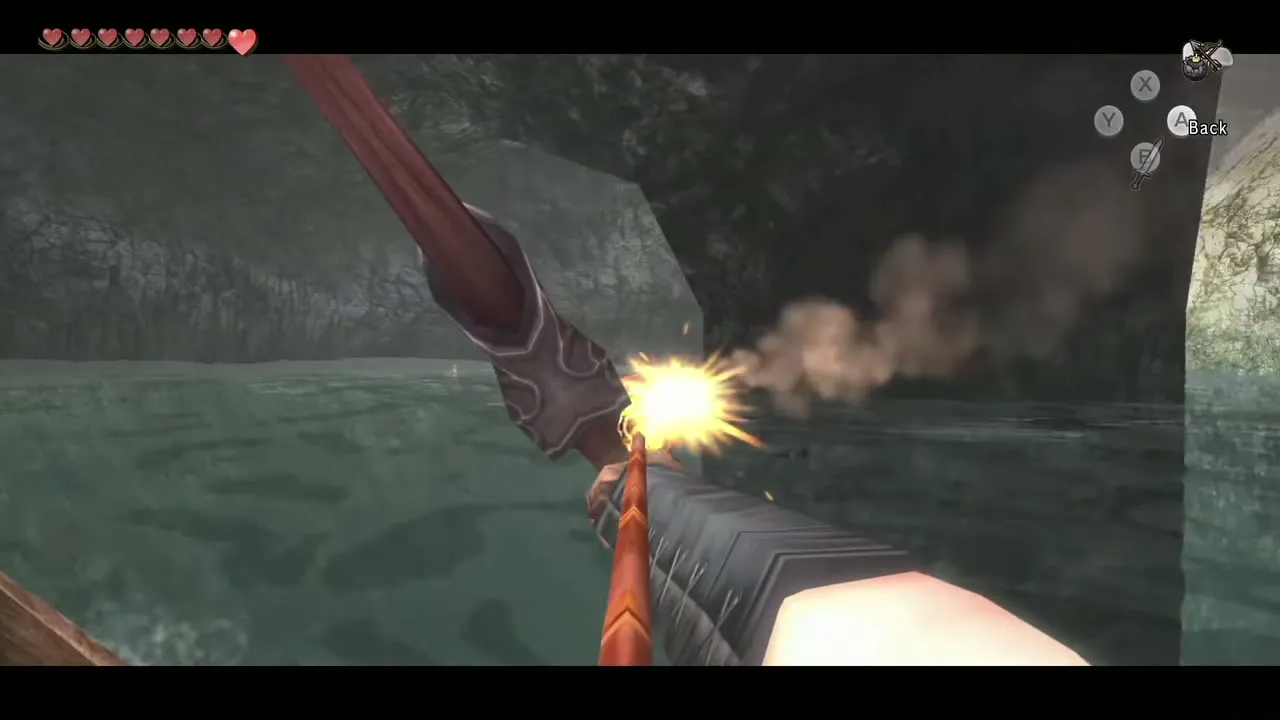
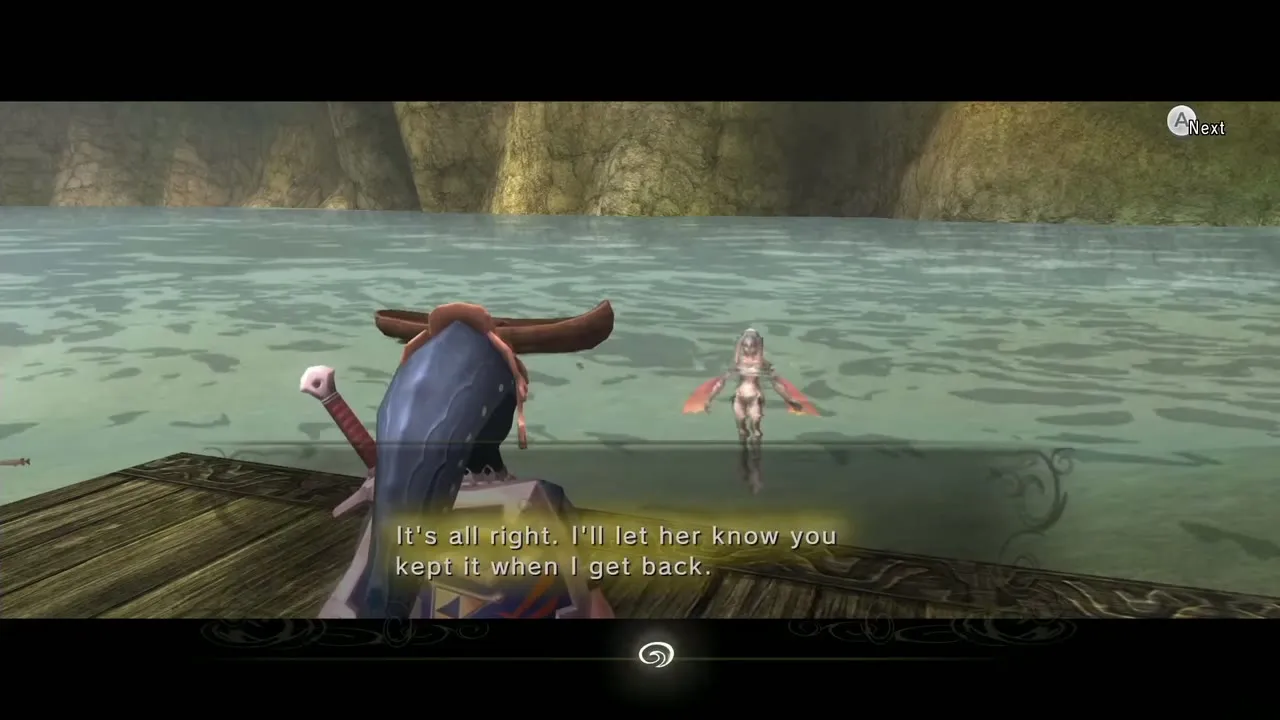
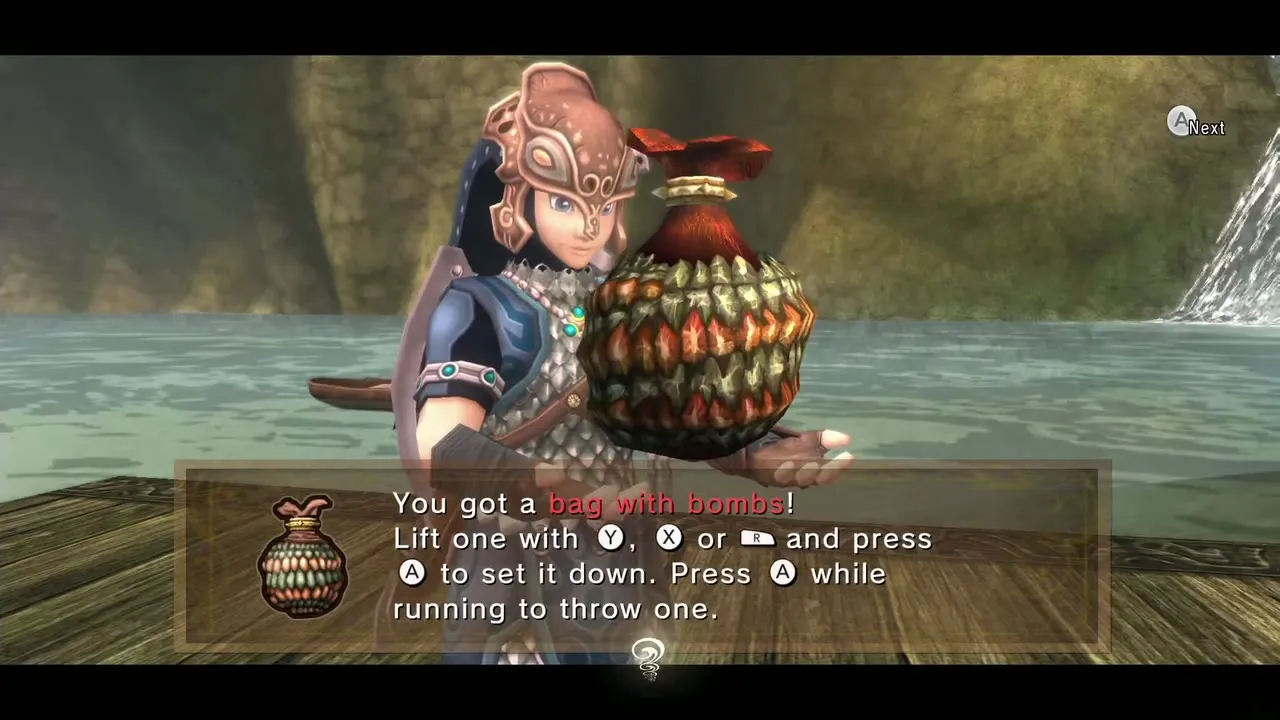
Boulders block the river, so Iza cannot open her business. She lends you a bomb bag and some arrows and asks you to clear the first boulder with bomb arrows; two arrows destroy it and water floods through. You then ride a rowboat down the river. The current does most of the work, so paddle as little as you can. When you reach an open area a Zora, Iza’s part-time helper, appears; shoot two bomb arrows at the rock ahead and carry on. She leaves Rupees in her wake, which are good practice for steering. The ride ends at Lake Hylia and the Zora lets you keep the bag. That is your third Bomb Bag, counting Barnes’s (first) and the Goron’s in Zora’s Domain (second).

Iza’s Rapid Ride: Giant Bomb Bag
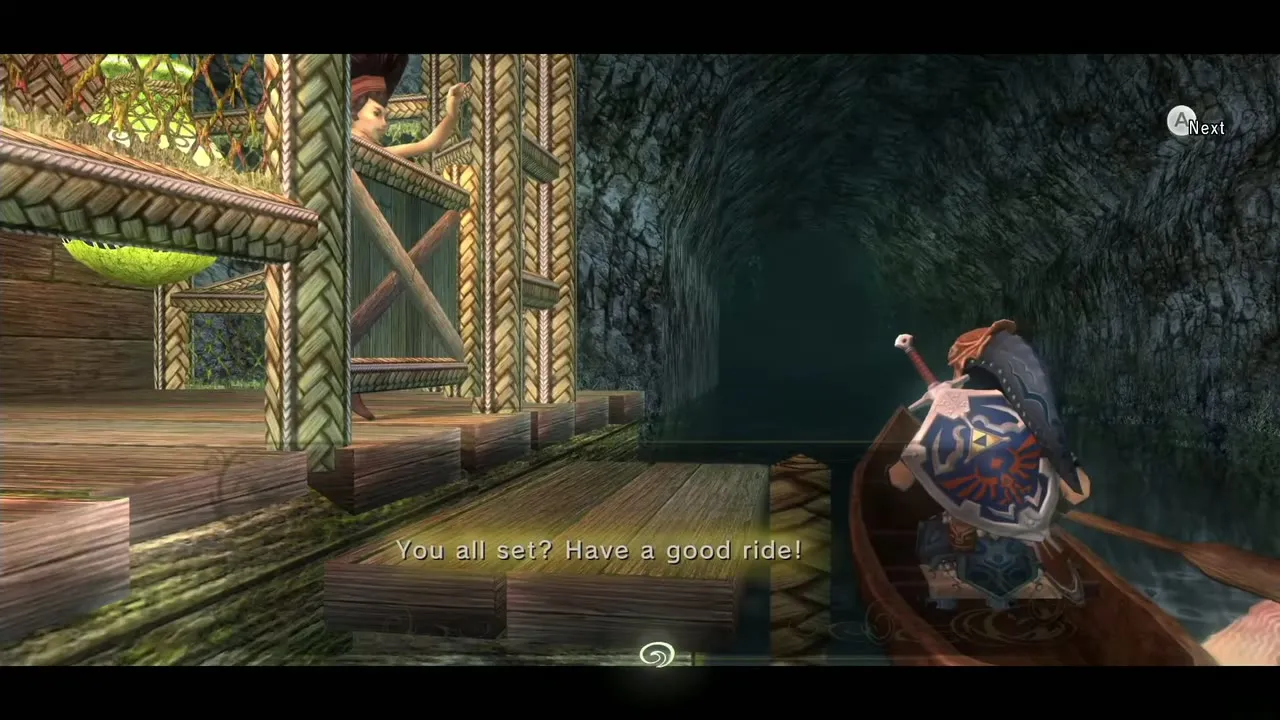
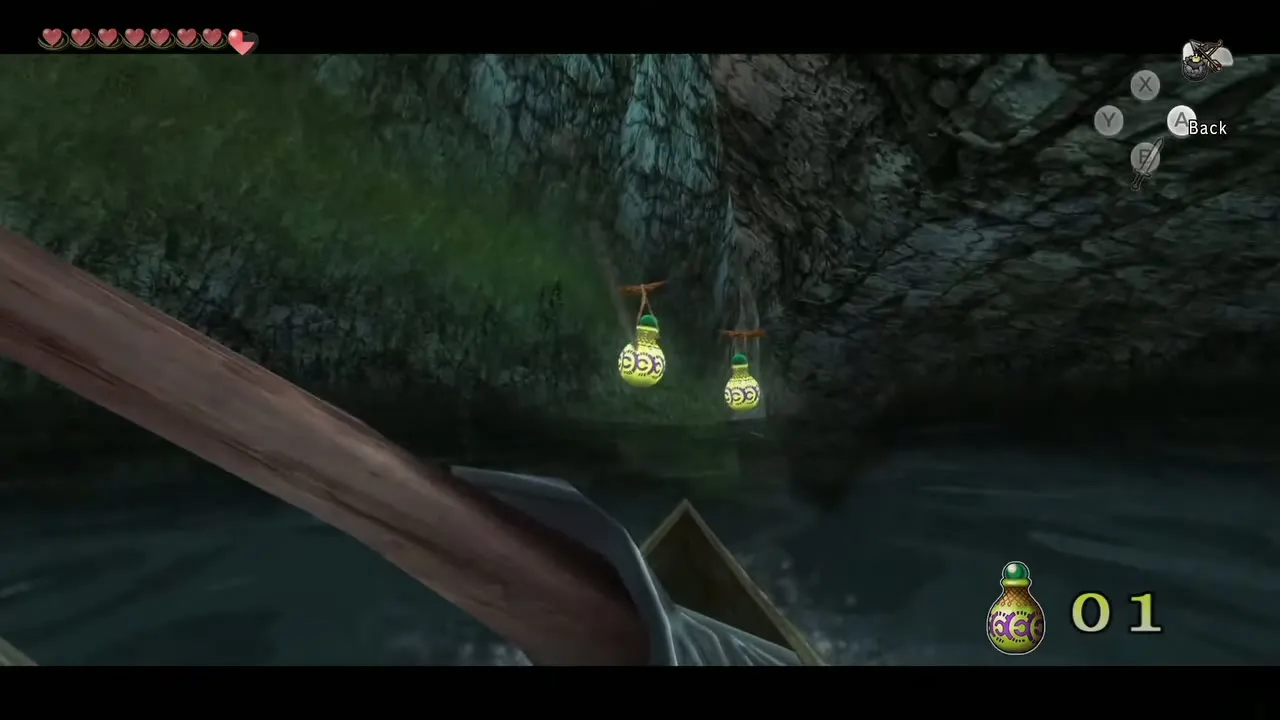
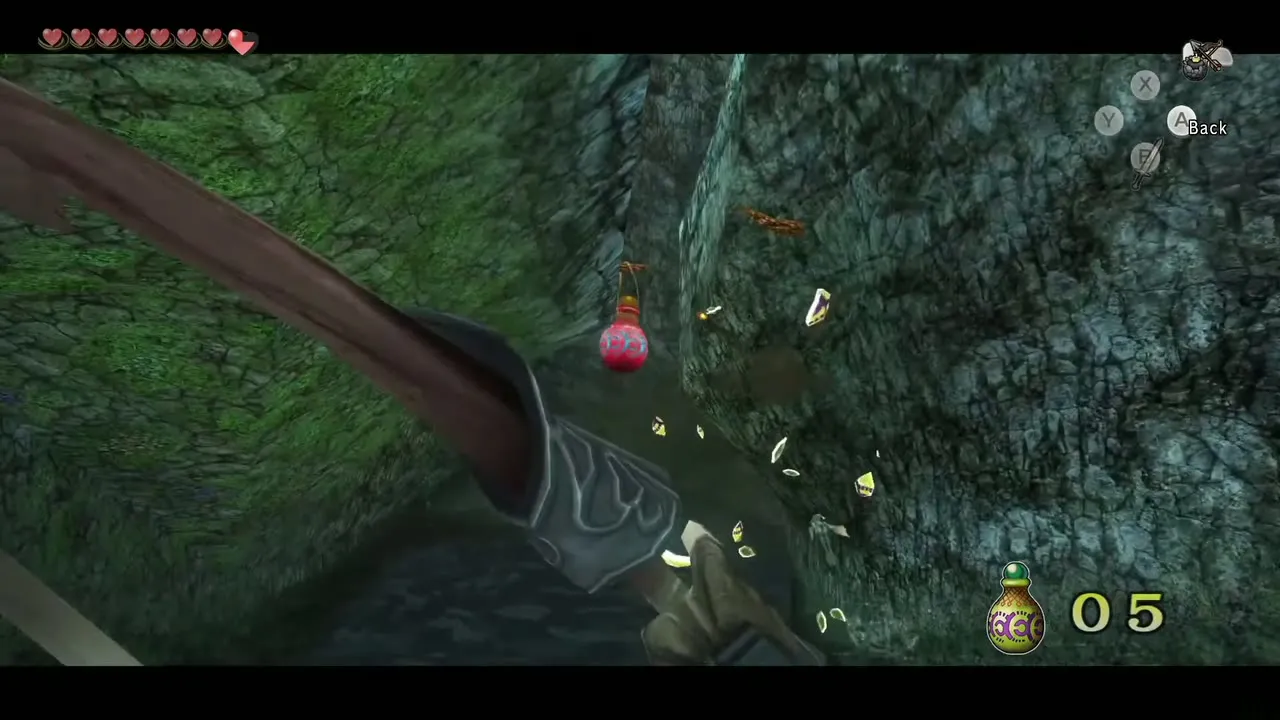
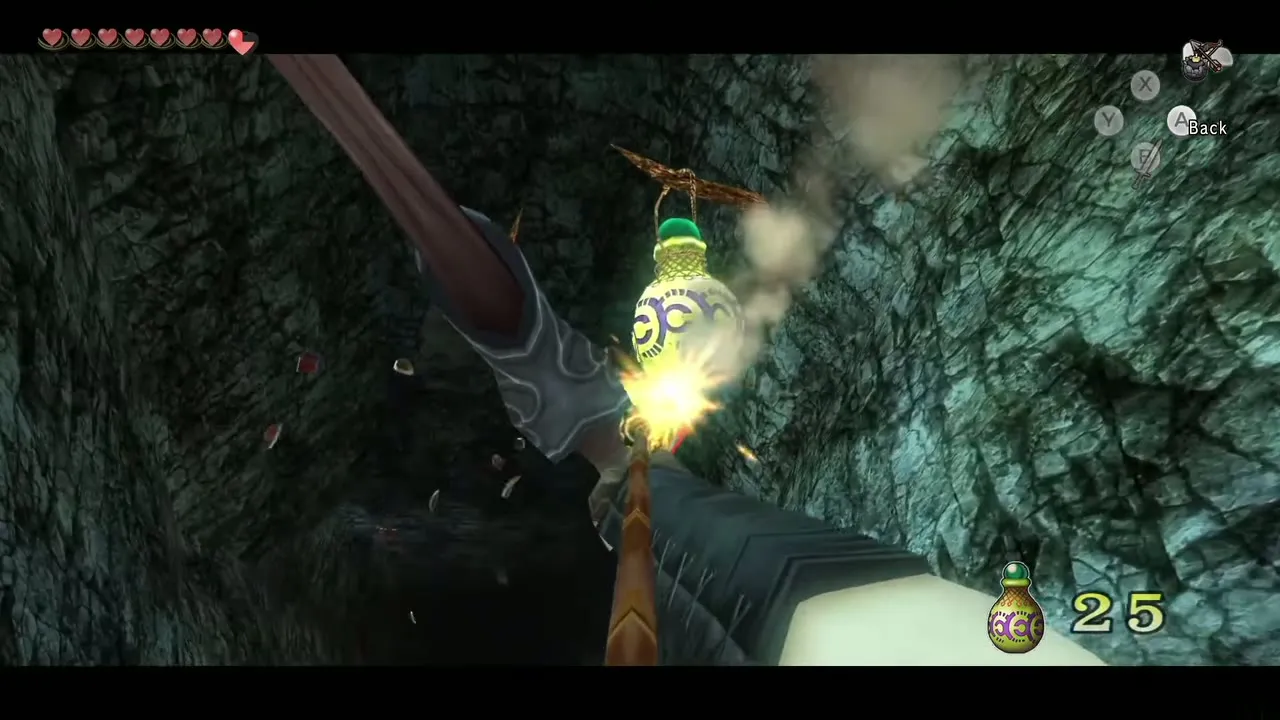
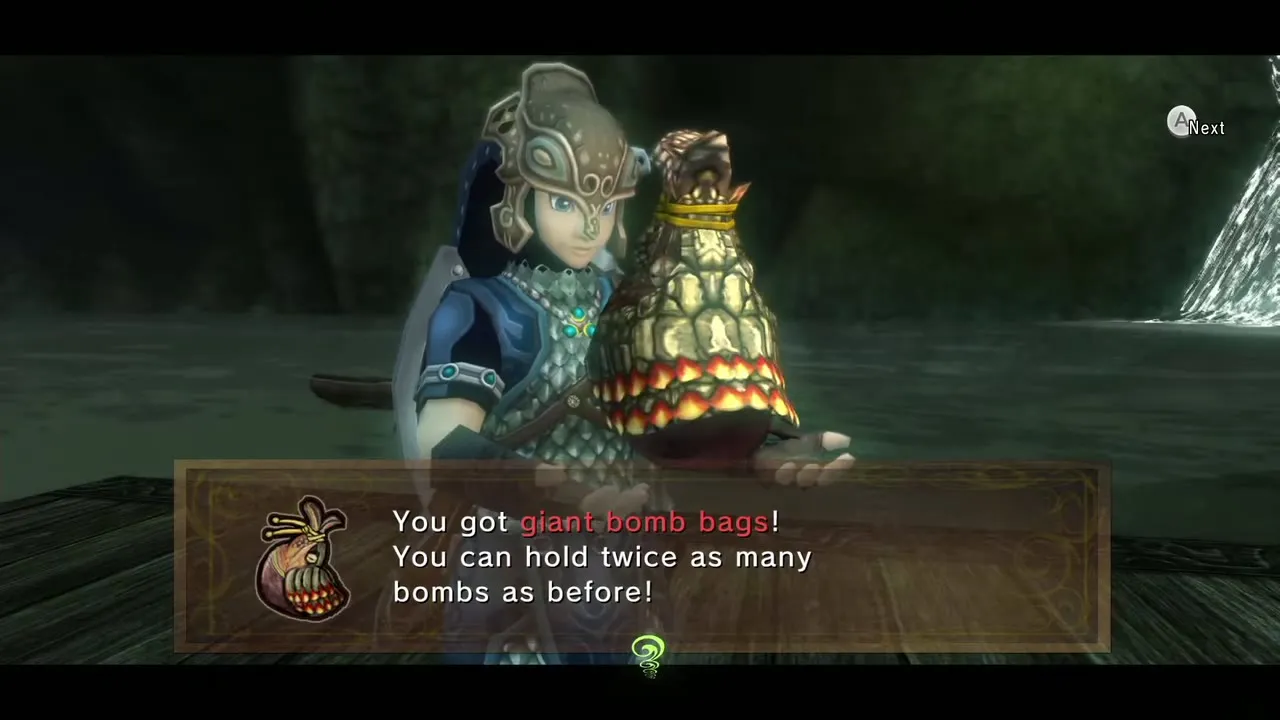
The cleared river opens a mini-game. It is optional here, so skip it if the long trip back up is not worth it yet, but you will want the Giant Bomb Bag eventually. To return, pay Fyer 10 Rupees at the lake, ride to North Hyrule Field, go through Zora’s Domain and swim down to Upper Zora’s River. Enter Iza’s Boat Rental and pay 20 Rupees. You ride the river again with bomb arrows and break the big pots hanging along it. A yellow pot gives 1 point and a red pot gives 2; hitting a wall or obstacle loses a point. Score at least 25 and you receive the Giant Bomb Bag, which doubles the capacity of every bomb bag you own. Row as little as possible and save first so a poor run is easy to redo.
Lake Hylia: Flight-By-Fowl and the south platforms
Flight-By-Fowl: Heart Piece #25
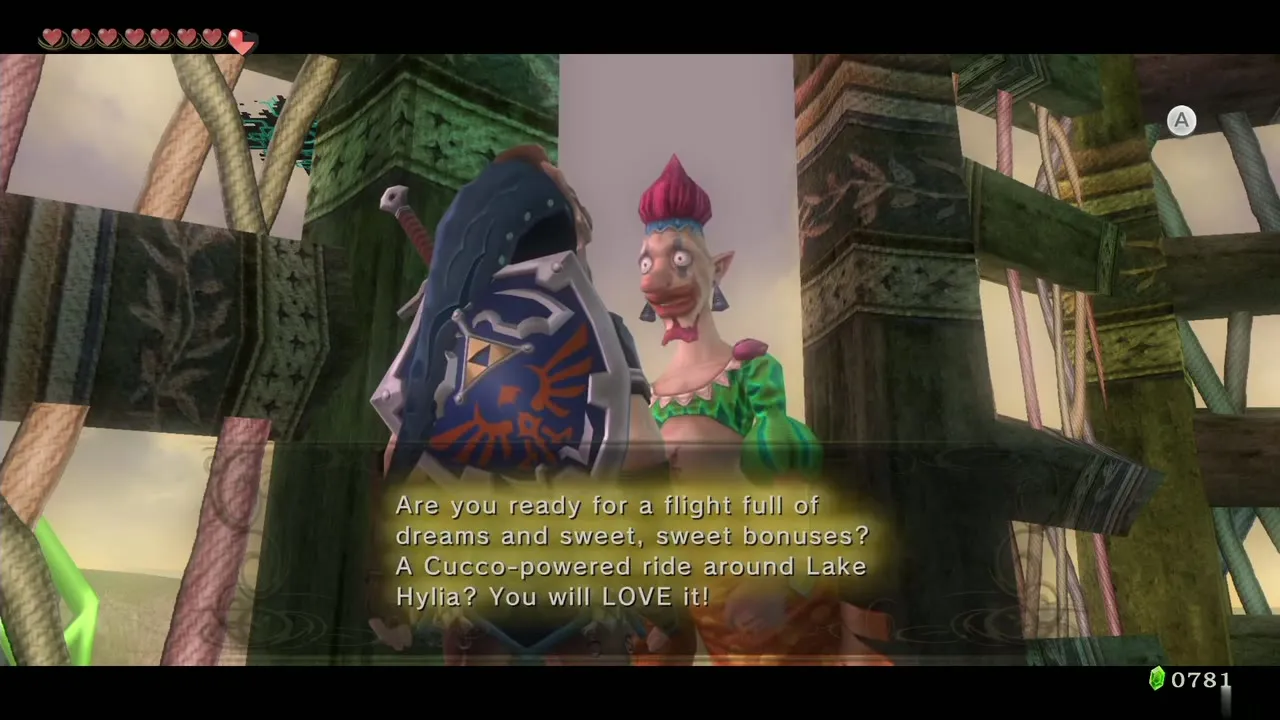
Return to Fyer in the middle of the lake and pay 10 Rupees for the cannon. This time, climb down the ladder in the house and take the other direction to meet Falbi. Pay him 20 Rupees to play, pick up a Cucco and leap from the ledge. Hold forward to fly faster and back to slow down. Ignore the Rupees floating in the air.
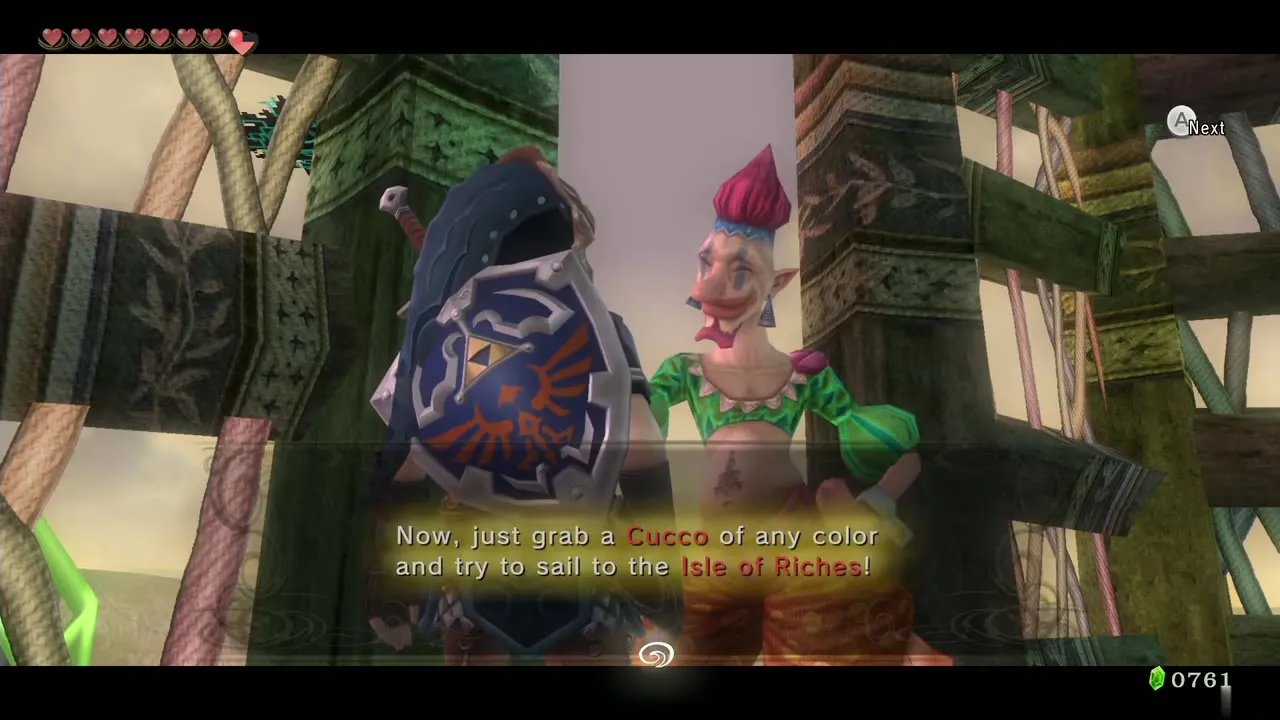
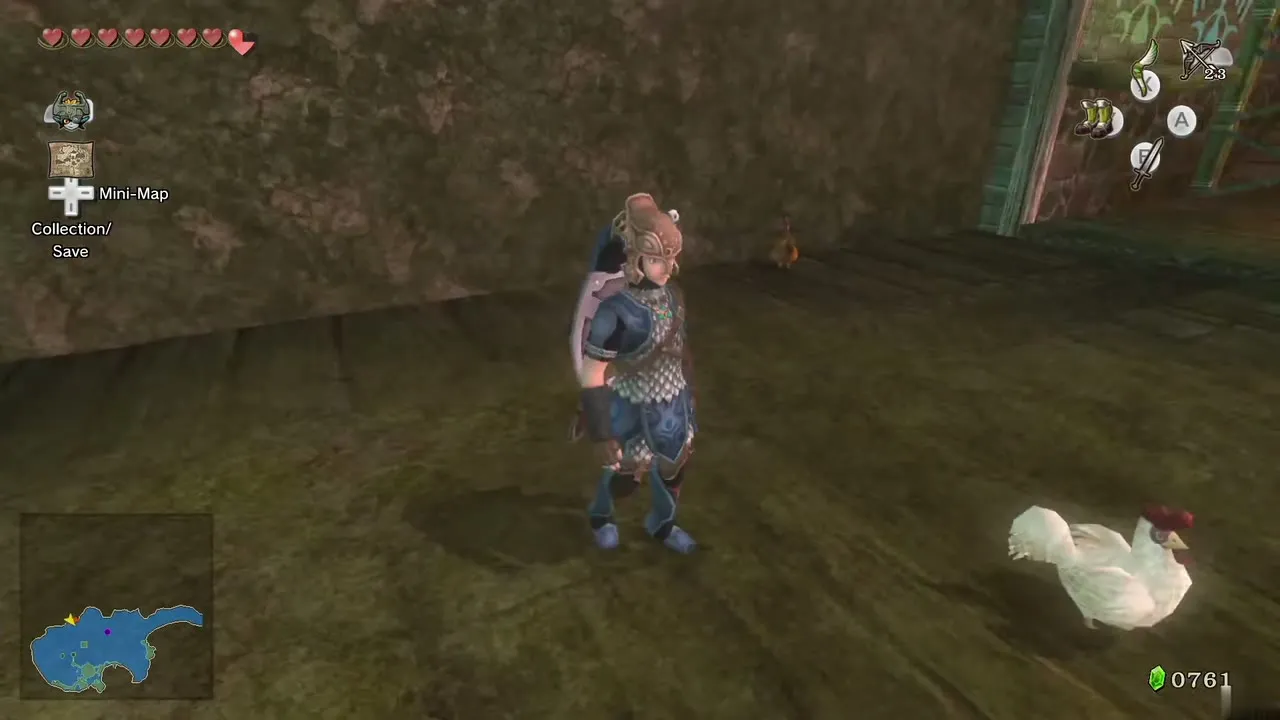
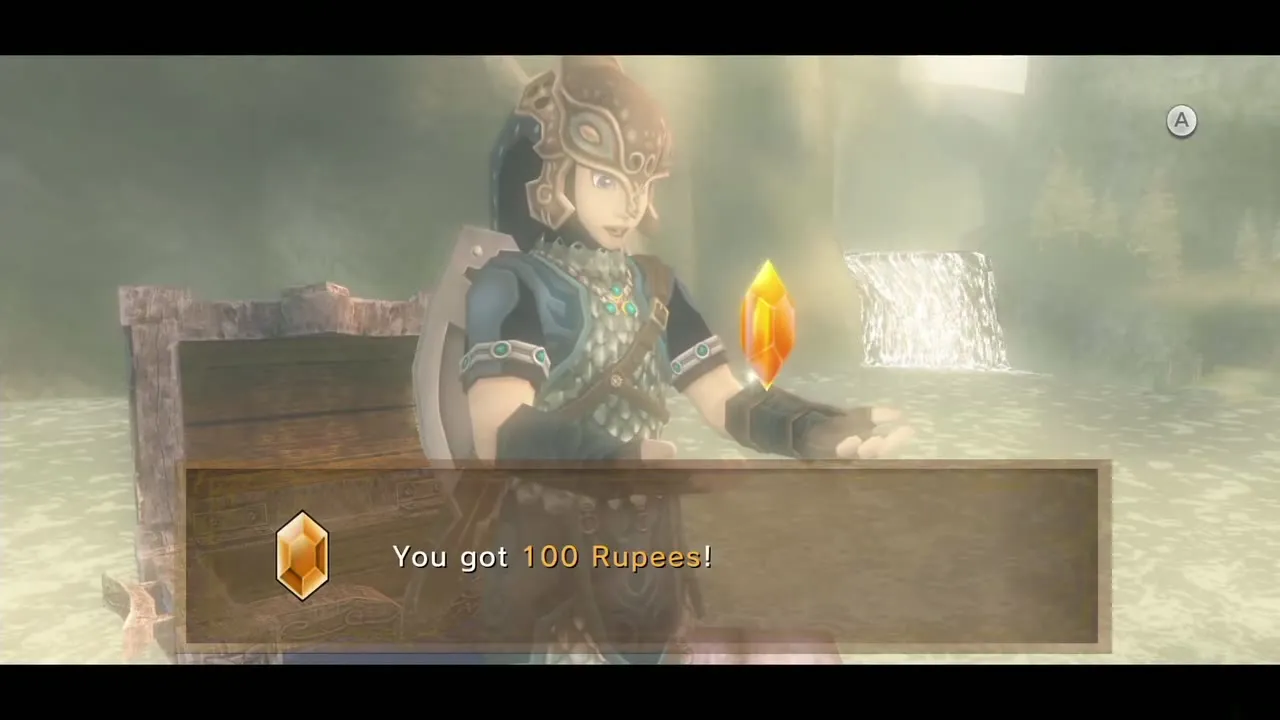
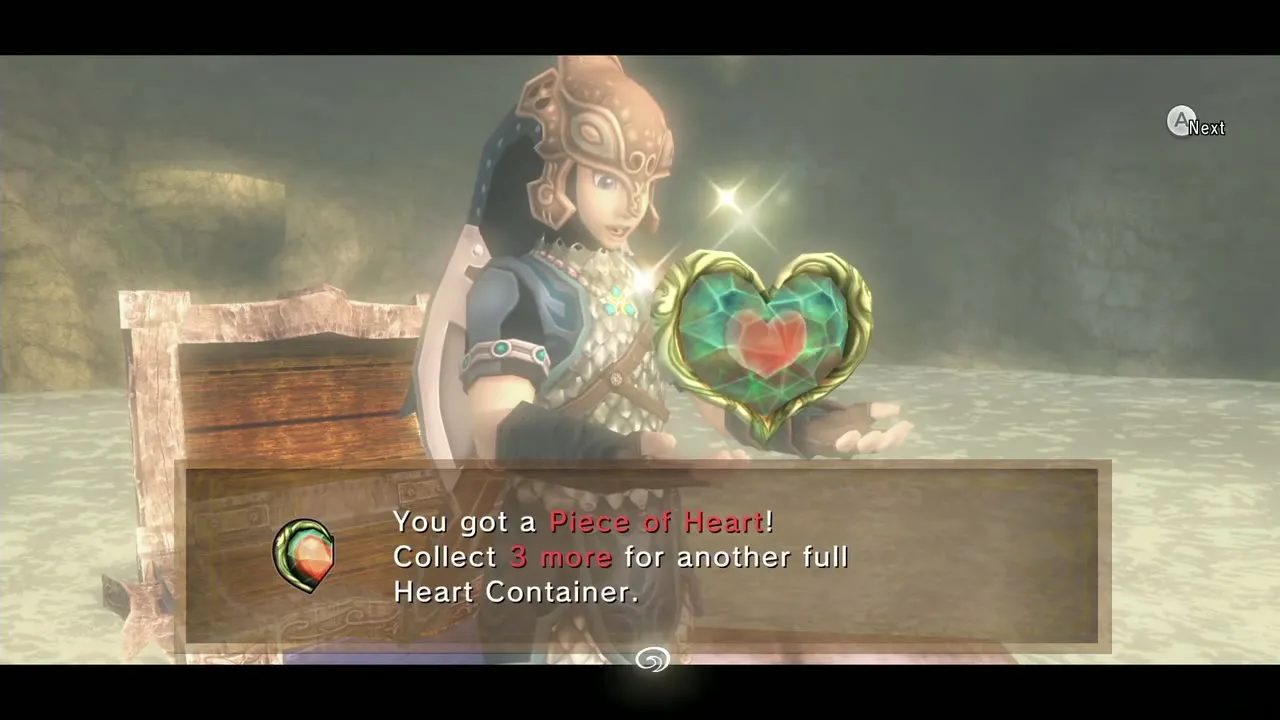
Below you is a platform with several tiers and a spinning platform on top. Each tier holds a chest. Aim for the second tier from the top, the highest one that does not rotate, because it holds Piece of Heart #25. After opening it, drop to the other tiers: the top tier gives 100 Rupees (an Orange Rupee), the third a Miiverse stamp with a Cucco, the fourth a Red Rupee (20) and the fifth a Yellow Rupee (10). If you land on the spinning top tier instead, open its chest, then hang off the right side and let go when the next level is under you. You can replay the game for Rupees whenever you like.
Two Poes belong to this game as well: one on the platform under the launch point (turn back right after the jump) and one on the tiered Isle of Riches, both at night. You need the Master Sword for them, so see the Poe Soul chapter.
Underwater chest and the cavern
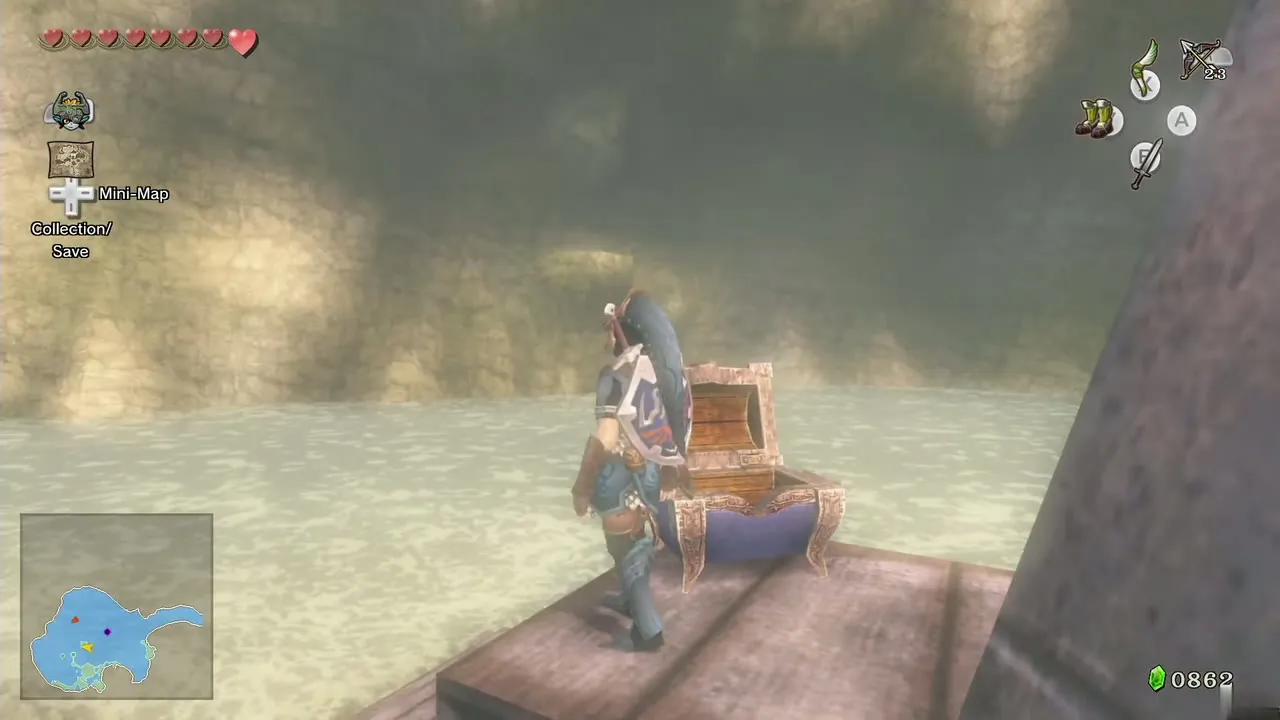
In the south-central part of Lake Hylia a series of platforms rises from the water. Dive in, swim to the far south-central end and sink in the Iron Boots to open the chest and take the Miiverse stamp of the Hylian letter W.
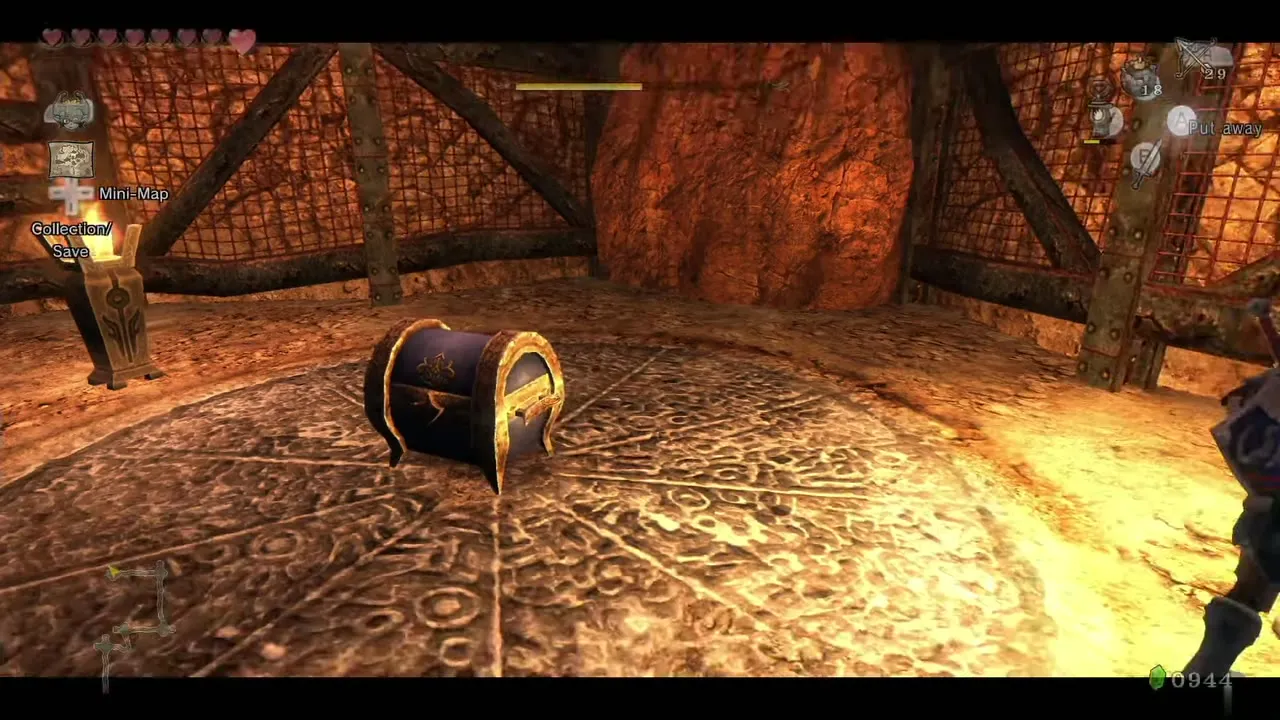
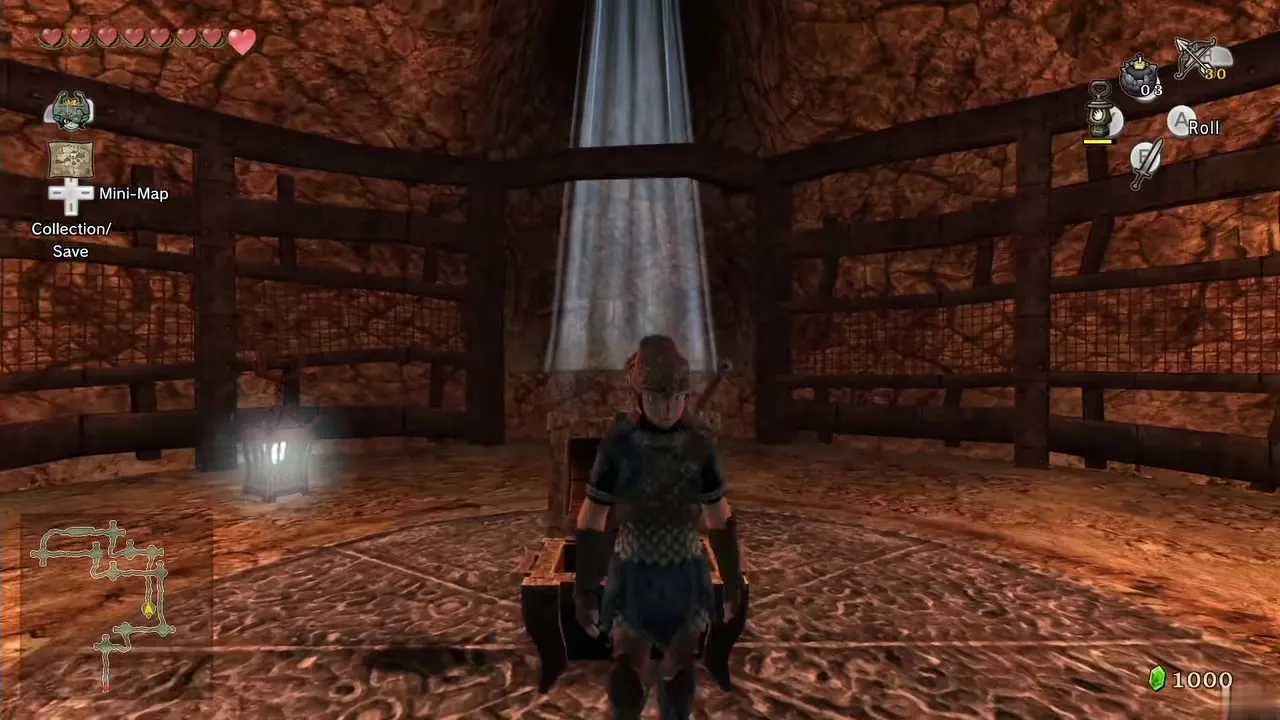
The Lake Hylia Cavern is a long series of dark rooms entered through a boulder you bomb in the corner at the top of the ladder on the south-west cliffs. It holds Piece of Heart #24, two stamps (the letter J and a treasure chest stamp), Rupee, bomb and arrow chests, Yellow Chus for Chu Jelly and three Poe Souls you cannot take yet. Because the Poes need the Master Sword, it is covered in full in the Poe Soul and Malo Mart chapter.
Lakebed Temple entrance
Open the way with Water Bombs
Check the map of Lake Hylia for the large purple dot in the middle of the lake. Swim there, put on the Zora Armor, equip the Iron Boots and sink to the lake floor. A few Zoras stand here, and the one at the south end sells Water Bombs if you are short. You need at least two. Walk north to the place where bubbles rise from the floor and drop one Water Bomb there; a water geyser appears. Place a second bomb and the geyser lifts it to the boulder above, which blows apart and reveals the entrance. Swim into the Lakebed Temple when ready.
Chapter checklist
| Type | Name | Where |
|---|---|---|
| Item | Zora Armor | King Zora’s grave, Kakariko Graveyard |
| Item | Water Bombs | Barnes Bombs after selling ordinary bombs |
 Hidden skill | Back Slice | Golden Wolf on the ledge north of the Castle Town bridge, west field |
| Golden Bug | Male and Female Mantis | Great Bridge of Hylia north archway; wall left of the small wooden bridge |
| Golden Bug |  Male Butterfly | Flower patch along the south road, west field |
| Golden Bug | Male and Female Stag Beetle | Stump at the first fork; above the boulder on the lower north path, North Hyrule Field |
| Golden Bug | Male and Female Ladybug | South of Castle Town: middle of three trees; beside the pillar and flowers |
| Golden Bug |  Male Dragonfly | Zora’s Domain, east hill by the boxes |
| Golden Bug | Female Dragonfly | Next to Iza, Upper Zora’s River |
| Heart Piece | #30 Charlo | Castle Town west gate, 1,000 Rupees in total |
| Heart Piece | #29 Hena’s rock | Fishing Hole ledge, cast from the rowboat (20 Rupees) |
| Heart Piece | #25 Flight-By-Fowl | Second tier from the top of the Isle of Riches (20 Rupees) |
 Bottle |  Empty Bottle (3 of 4) | First catch right of the signed bridge, Fishing Hole |
| Upgrade |  Big Wallet | Agitha, first Golden Bug |
| Upgrade | Bomb Bags 2 and 3 | Goron in the Zora’s Domain rock; Iza’s boat trip |
| Upgrade | Giant Bomb Bag | Iza’s Rapid Ride, 25 points (20 Rupees) |
| Stamps | Hylian letters F and W; Agitha; Cucco | North Hyrule Field river; south Lake Hylia; 12 bugs; Flight-By-Fowl |
| Later | Lake Hylia Cavern, Poes, Female Butterfly | Poe Soul chapter |
Next: the Lakebed Temple. Lists: Heart Pieces, mini-games, shops and prices.
