
























Twilight Princess 100% Completion Walkthrough23 chapters
- Hyrule Castle and the Ganondorf BattleEvery key and chest, then how to beat Puppet Zelda, Dark Beast Ganon, the horse chase and the final duel.
- Snowpeak Ruins (Dungeon 5)Every key, chest, Heart Piece and Poe Soul, the Ball and Chain, Darkhammer and the Blizzeta boss fight.
- Temple of Time (Dungeon 6)All keys and chests, the Dominion Rod, statue puzzles, Big Key, two Heart Pieces and Armogohma.
- City in the Sky (Dungeon 7)Every chest, Heart Piece and Poe, the Double Clawshots, Aeralfos, the Big Key and how to beat Argorok.
- Ordon VillageGoat herding, fishing rod, Sera’s bottle, slingshot, Wooden Sword, Faron Woods cave Heart Piece, Lantern.
- Enter the Twilight RealmEscape the cell as Wolf Link, meet Midna and Zelda, get the Ordon Sword and Shield, meet Ordona.
- Faron WoodsAll 12 Tears of Light, Faron Spring, Coro’s key and lantern oil bottle, and the Golden Wolf’s Ending Blow.
- Forest Temple (Dungeon 1)All 8 monkeys, 4 small keys, Map, Compass, Big Key, 2 Heart Pieces, Ook, Gale Boomerang and Diababa.
- Hyrule Field, Kakariko Gorge and Twilight Kakariko12 Tears of Light, Epona, Pill Bugs, Heart Pieces.
- Iron Boots, King Bulblin and Death MountainIron Boots from Mayor Bo, the King Bulblin bridge fight, Golden Bugs and Gor Coron’s sumo match.
- Goron Mines (Dungeon 2)Every chest, both Heart Pieces, the Hero’s Bow, three Key Shards, Dangoro and Fyrus boss tactics.
- Lanayru Province, Castle Town and Zora’s DomainKakariko extras, Bridge of Eldin bugs, Castle Town, Lake Hylia, thawing Zora’s Domain and all 12 Tears of Light.
- Telma Escort, Castle Town and Lake Hylia Side QuestsTelma escort, Zora Armor, Water Bombs, 9 Golden Bugs, Agitha, Charlo, fishing, Rapid Ride and the Lakebed entrance.
- Lakebed Temple (Dungeon 3)Small keys, map, compass, Big Key, two Heart Pieces, Clawshot, Deku Toad and Morpheel boss tactics.
- Midna, Zelda and the Master SwordTelma’s Bar to Zelda, the Sacred Grove, Skull Kid, the guardian puzzle, plus its Heart Piece, Poe and Golden Bug.
- Poe Soul Collection, Malo Mart and Heart PiecesThe first 29 Poe Souls, Jovani’s rewards, Malo Mart donations and Magic Armor, Miiverse stamps and five Heart Pieces.
- Gerudo Desert and the Bulblin CampOasis Flight, eight Poe Souls, both Dayflies, Mortal Draw, Bulblin Camp and King Bulblin.
- Arbiter’s Grounds (Dungeon 4)Four Poe Souls, Dungeon Map, Compass, Spinner, Big Key, two Heart Pieces and the Stallord boss fight.
- Mirror Chamber, Reekfish and Snowpeak MountainMirror Chamber, Spinner Heart Pieces, Reekfish bait, Jump Strike, Poe Souls and the climb to Yeto.
- Heart Pieces Hunt and Return to the Sacred GroveTwo Heart Pieces, Rusl, the Skull Kid rematch, the last Golden Bug and the Temple of Time door.
- Ilia’s Memory, Hidden Village and the SkyIlia’s memory, 20 Bulblins, 20 cats, six Sky characters, Great Spin and the Sky Cannon repair.
- Palace of Twilight (Dungeon 8)Both Sols, all seven small keys, map, compass, Big Key, 2 Heart Pieces and how to beat Zant.
- Cave of OrdealsAll 50 floors, the 3 Poe Souls, every Great Fairy, buried items, the Tears and Jovani.
| Covers | Kakariko Village, Kakariko Gorge Cavern, Bridge of Eldin, Twilight Hyrule Field, Castle Town, Lake Hylia, Upper Zora’s River and Zora’s Domain |
|---|---|
| Dungeon | None. This chapter ends with the Lanayru Tears of Light and the Light Spirit’s revelation about the Lakebed Temple |
| Rewards | Bomb Bag with 30 bombs, Hawkeye, bomb arrows, Scent of Ilia, Vessel of Light (Lanayru), 6 Heart Pieces (#8, #10, #16, #17, #18 and #20 on the Heart Piece list), 4 Golden Bugs, Hylian letter O stamp, Howling Stone |
With the Goron Mines cleared, Kakariko Village opens up a string of optional rewards, including six Heart Pieces and four Golden Bugs, before you cross the Bridge of Eldin into the Lanayru Twilight. As a wolf you track Ilia to Castle Town, learn the lake is drying out, thaw Zora’s Domain with the fiery rock from Death Mountain and collect the Tears of Light to restore Lanayru. Directions use the Normal Mode layout. Hero Mode mirrors the world, so swap left and right and east and west.
Table of Contents
Kakariko Village: shops, archery and Heart Pieces
Barnes’s Bombs and the watchtower
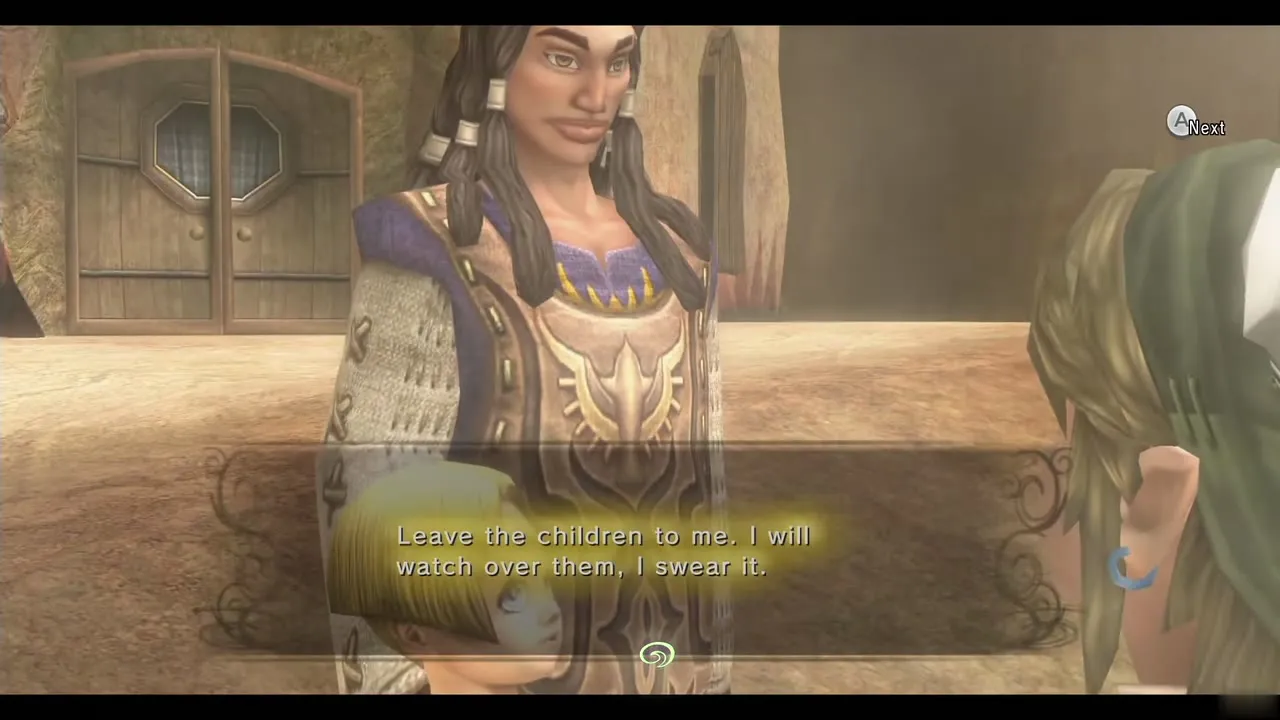
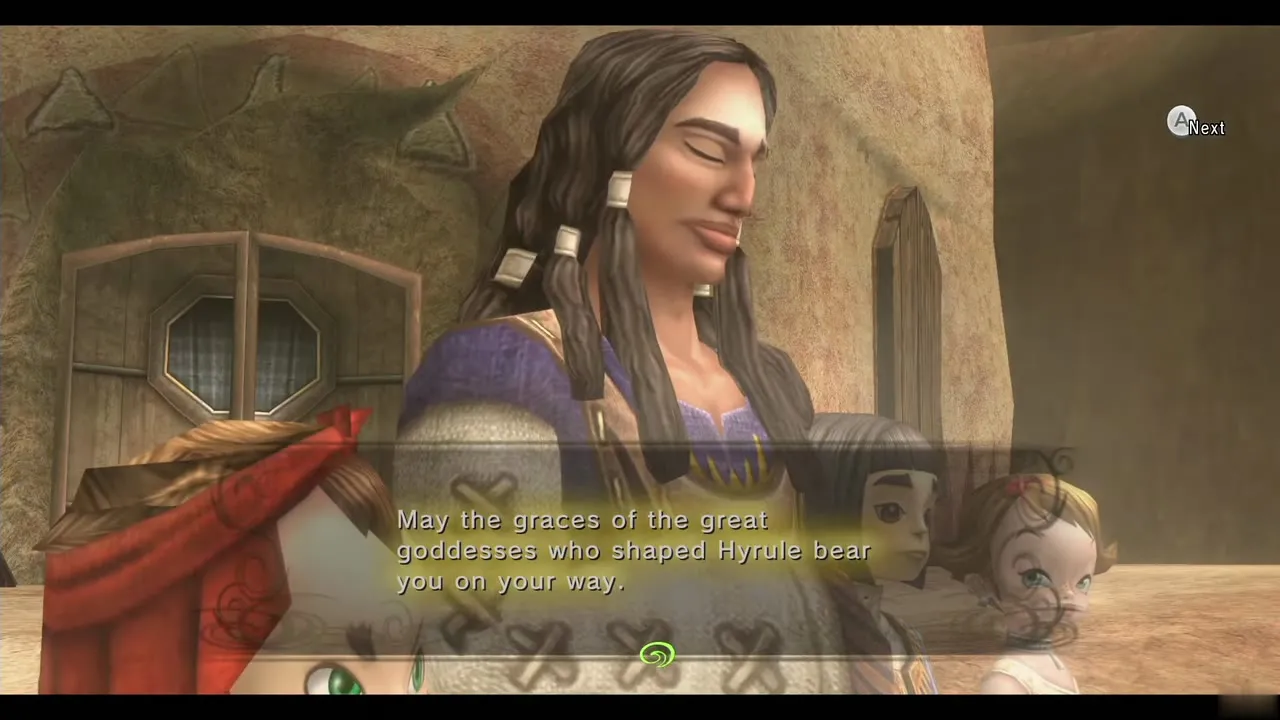
The Light Spirit Eldin speaks to you in Kakariko and points you north toward the land guarded by Lanayru. Renado stays to look after the children, and Colin is awake. Everything in this section is optional, but it is the cheapest time to do it.
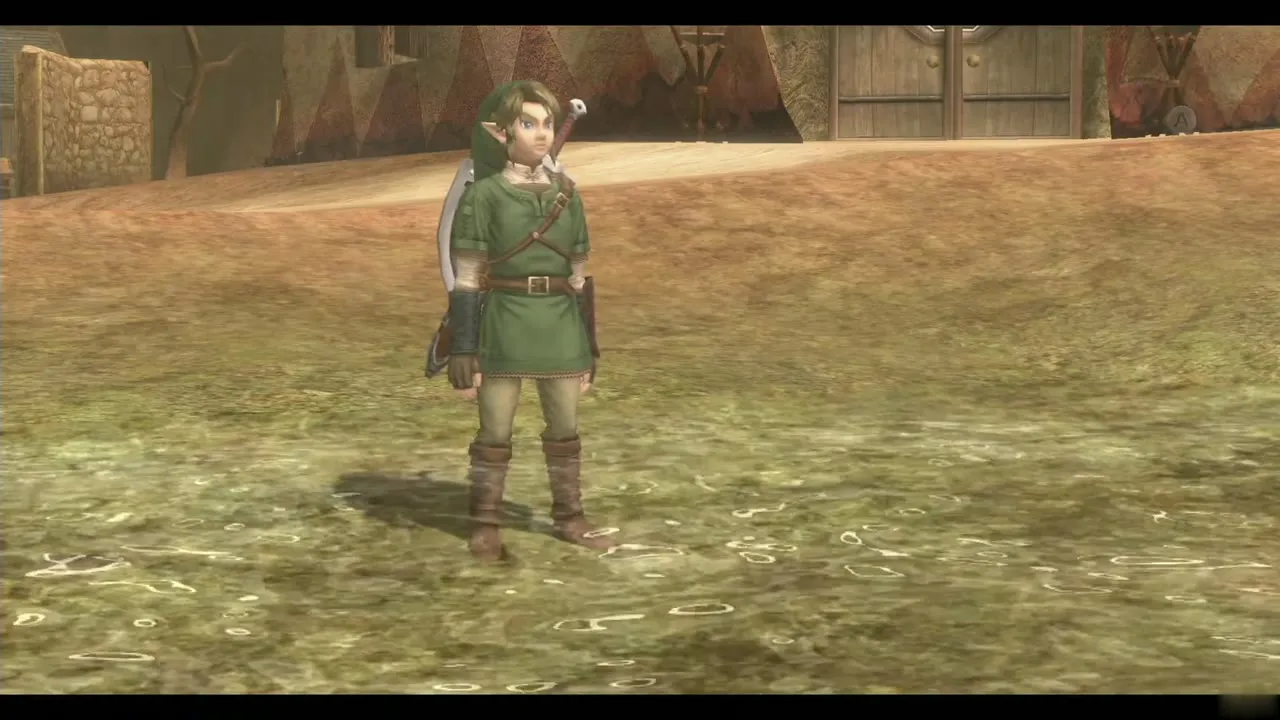
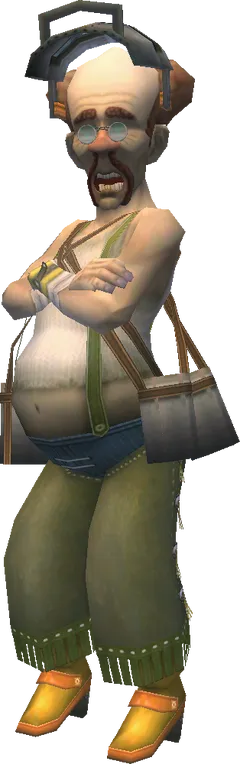
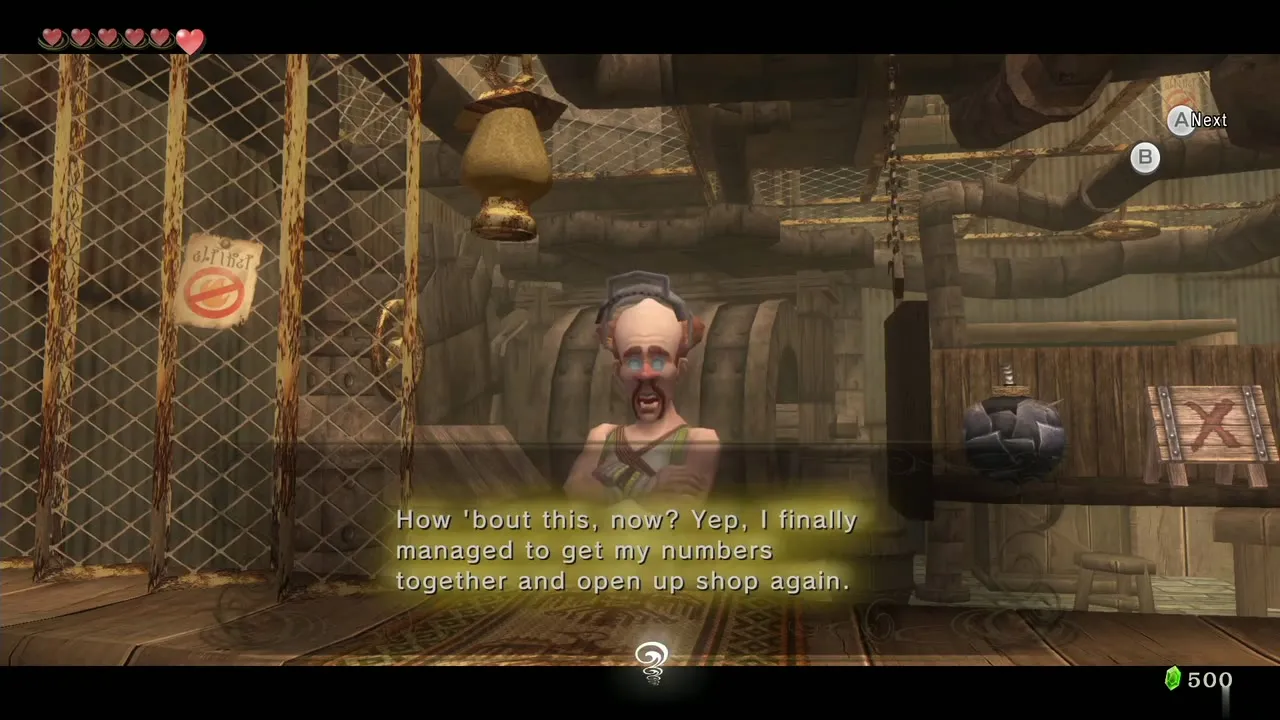
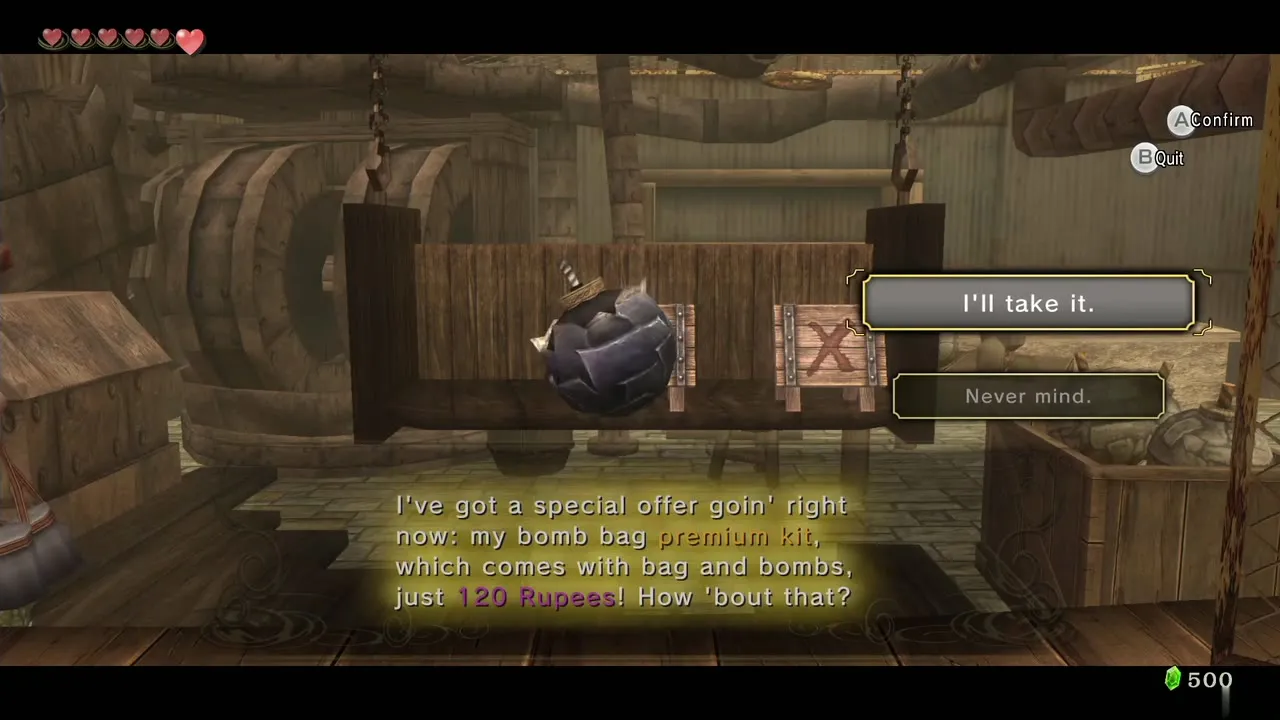
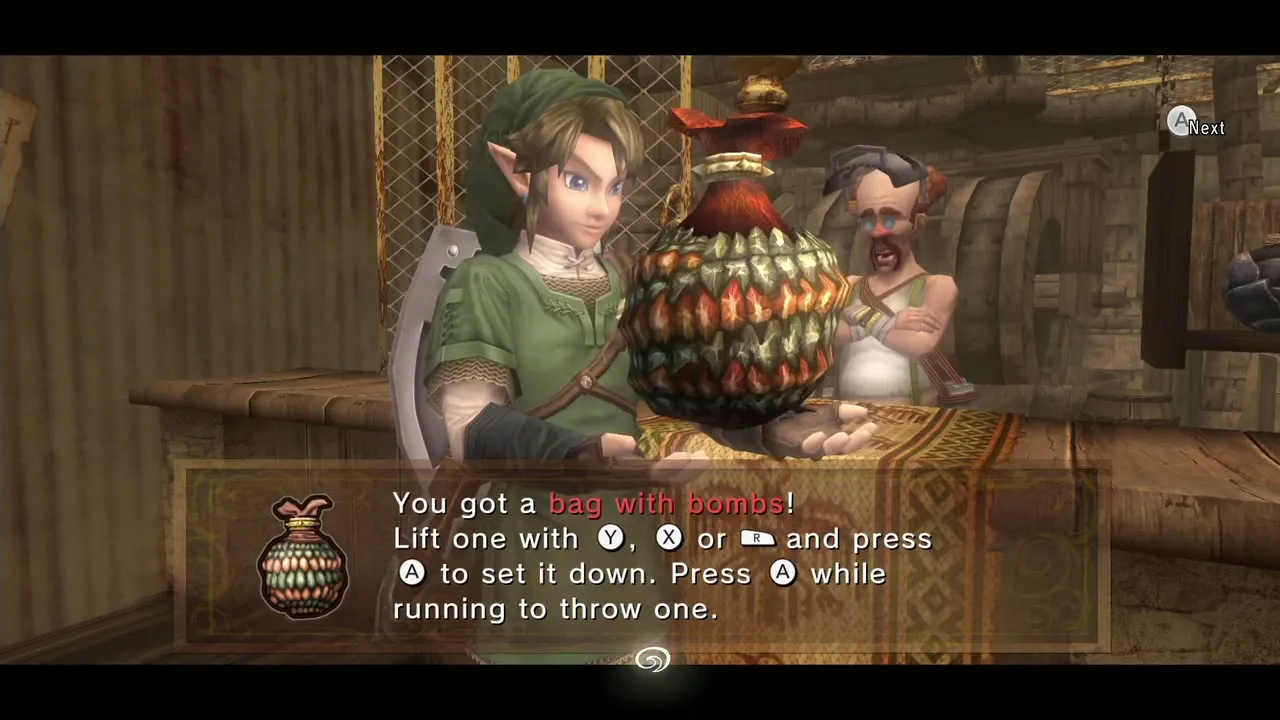
Run to the north end of town and enter the last building on the right, Barnes Bombs. With no Bomb Bag, you are offered a bag already holding 30 bombs for 120 Rupees. Buy it; you need bombs for the next hours of the route. If you are short on Rupees, return after the chests below.
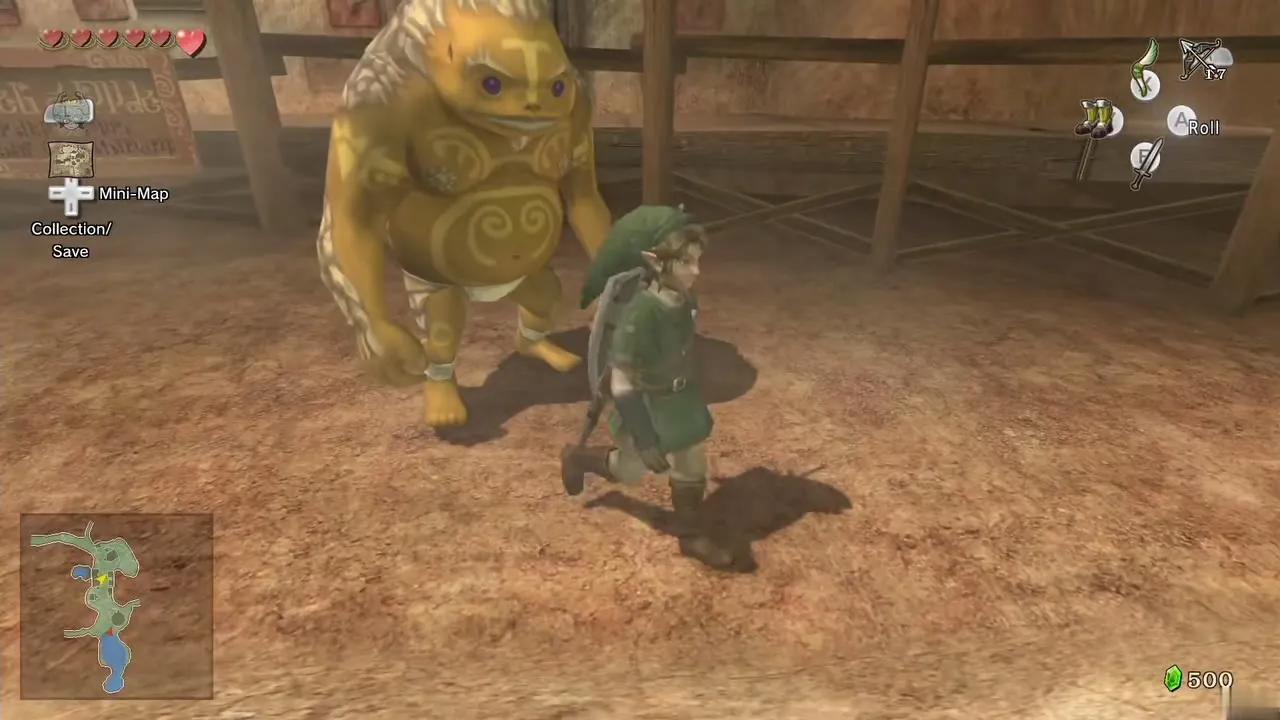
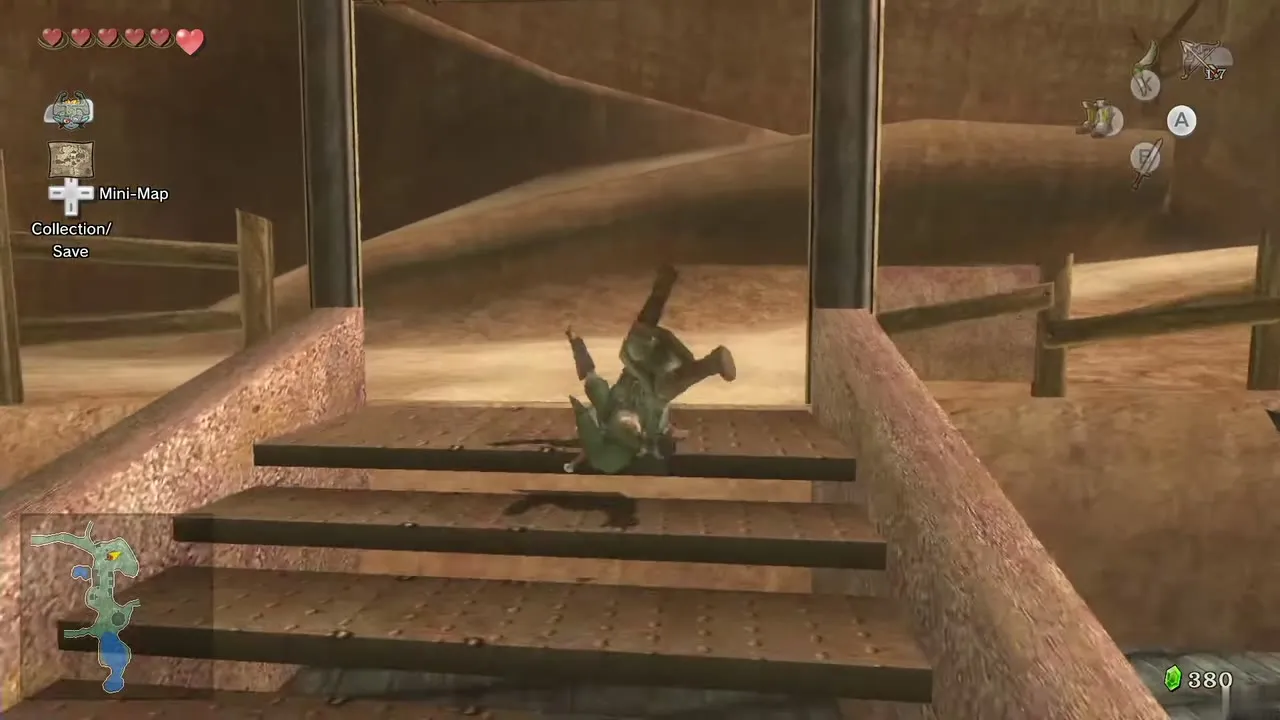
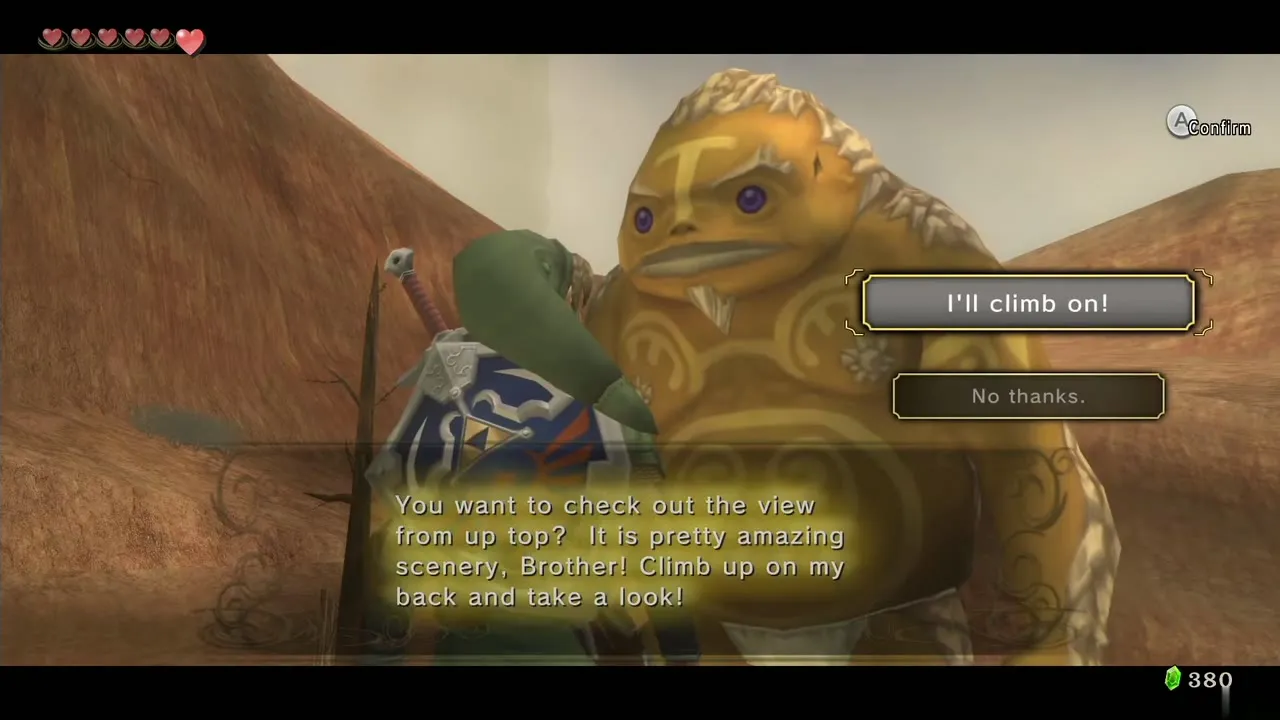
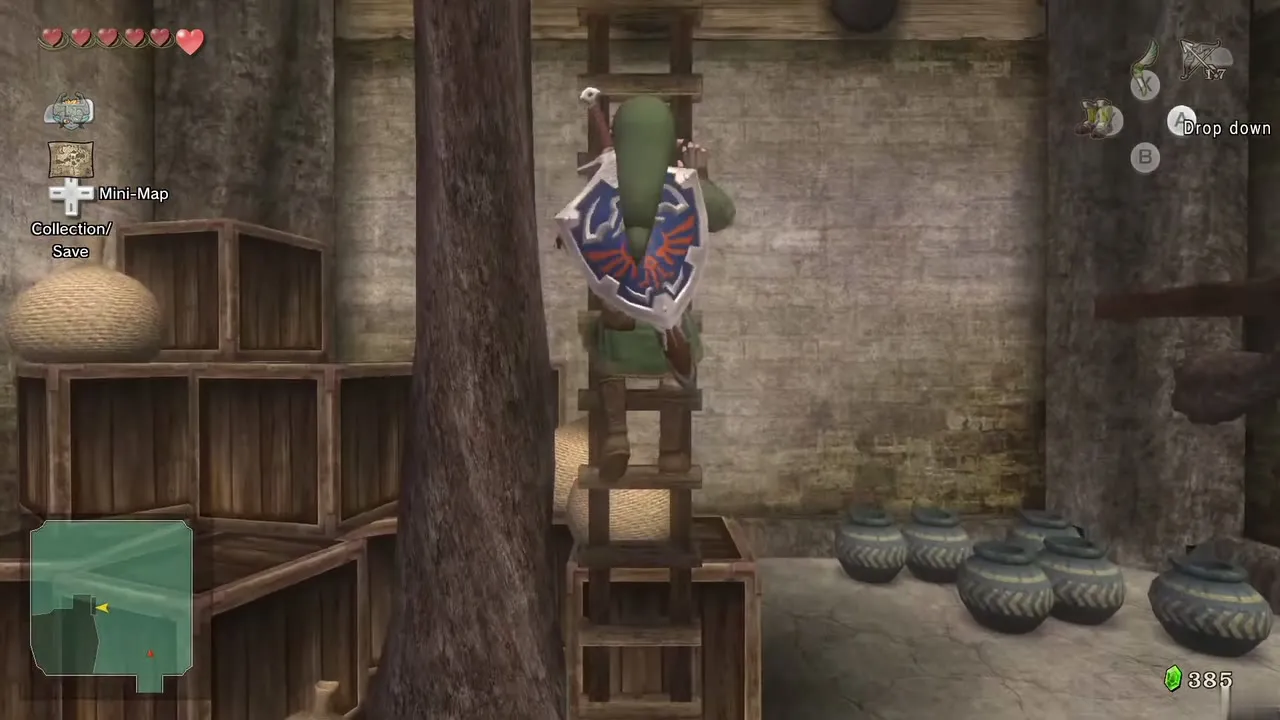
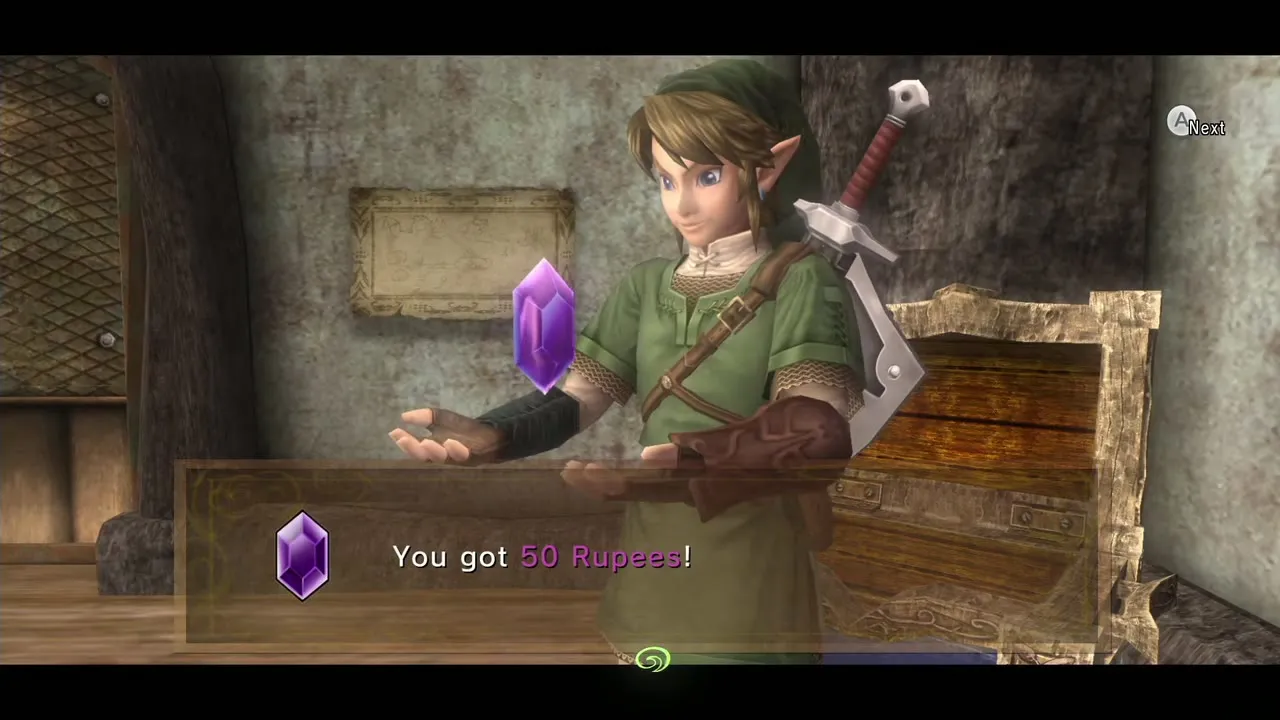
Climb the stairs and ladder at the back of the shop to the outdoor ledges you crossed as a wolf. A Goron by the watchtower launches you up to the higher ledge. The house up here holds a chest with a Purple Rupee (50 Rupees). Climb the ladder to the top of the watchtower to meet Talo.
Malo’s archery game: Heart Piece #16
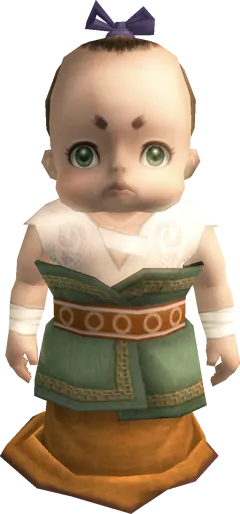
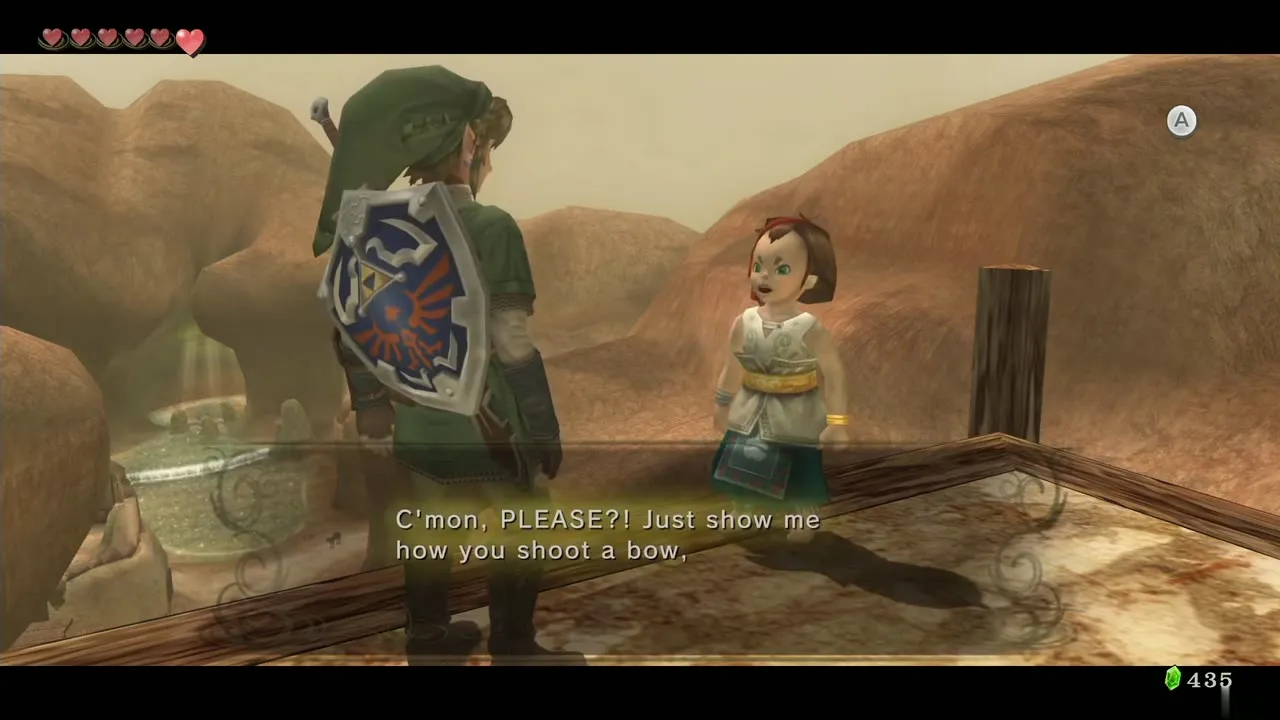
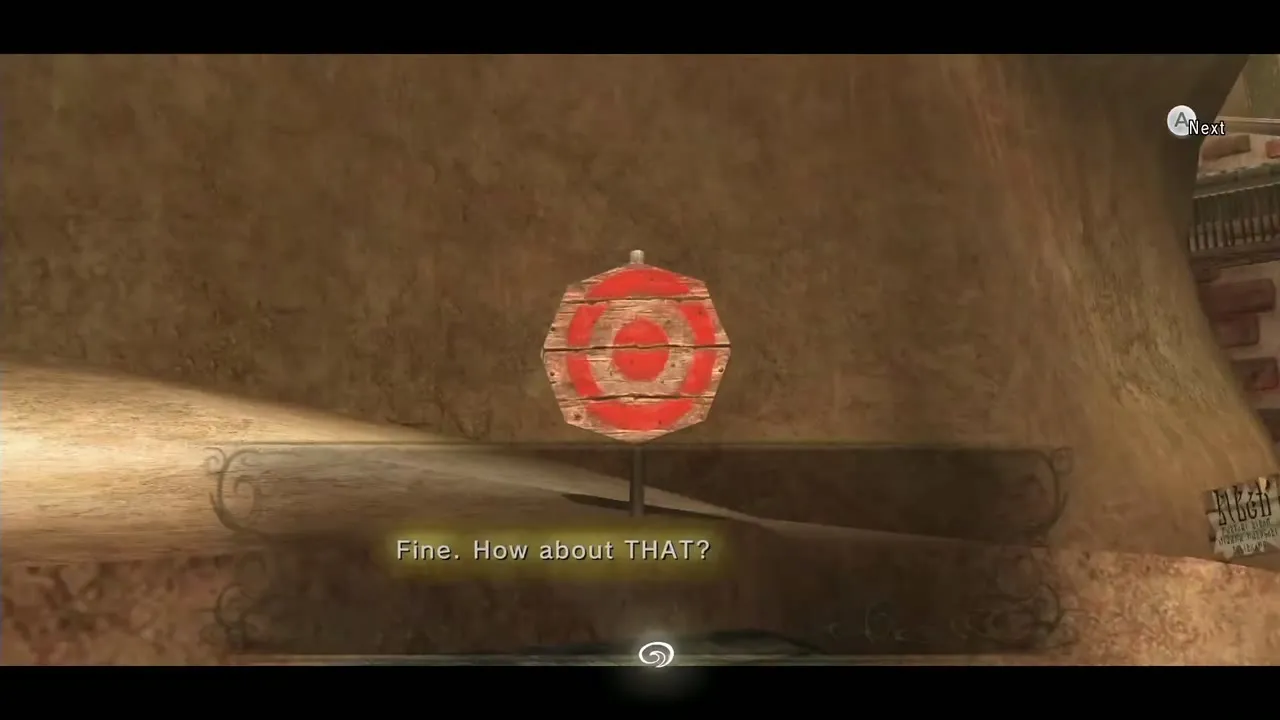
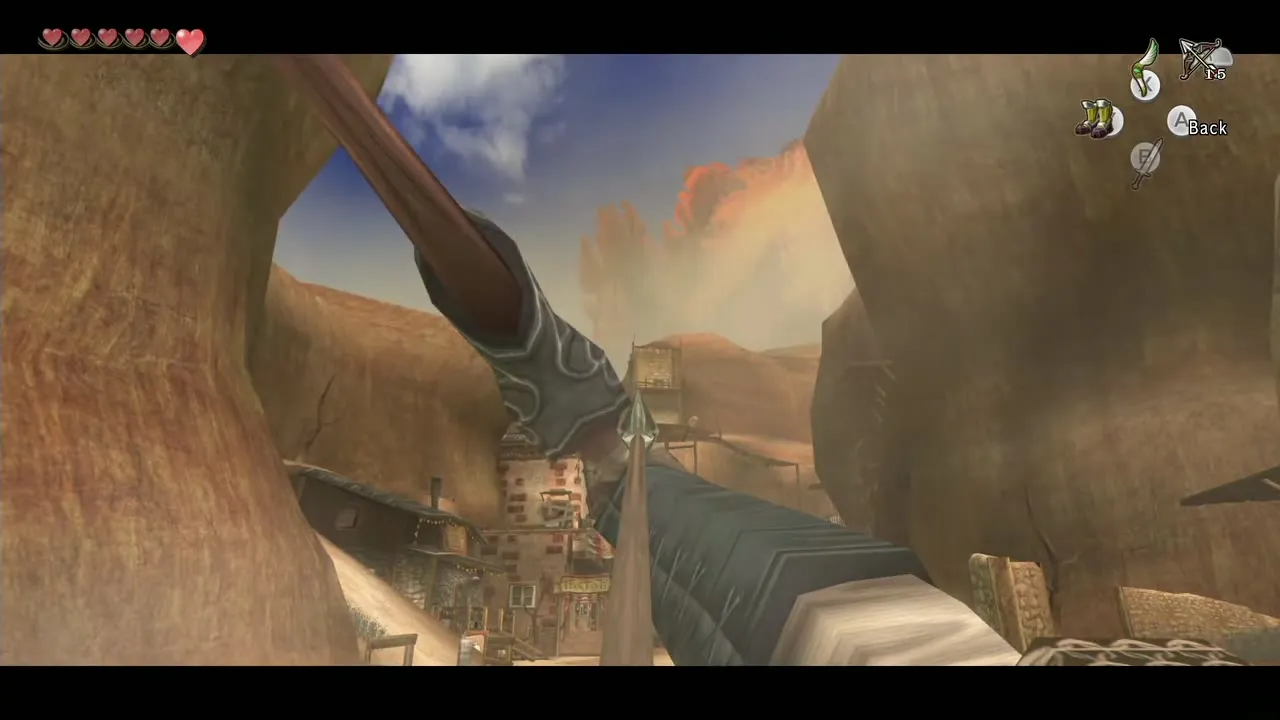
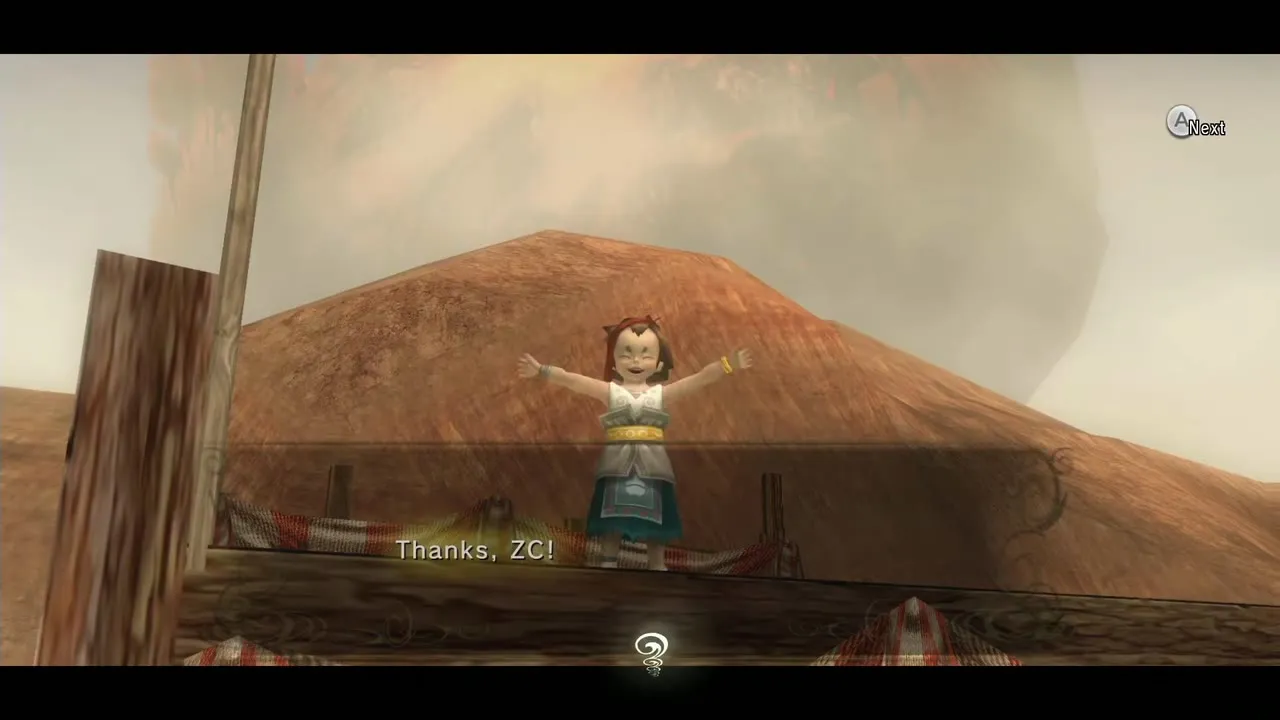
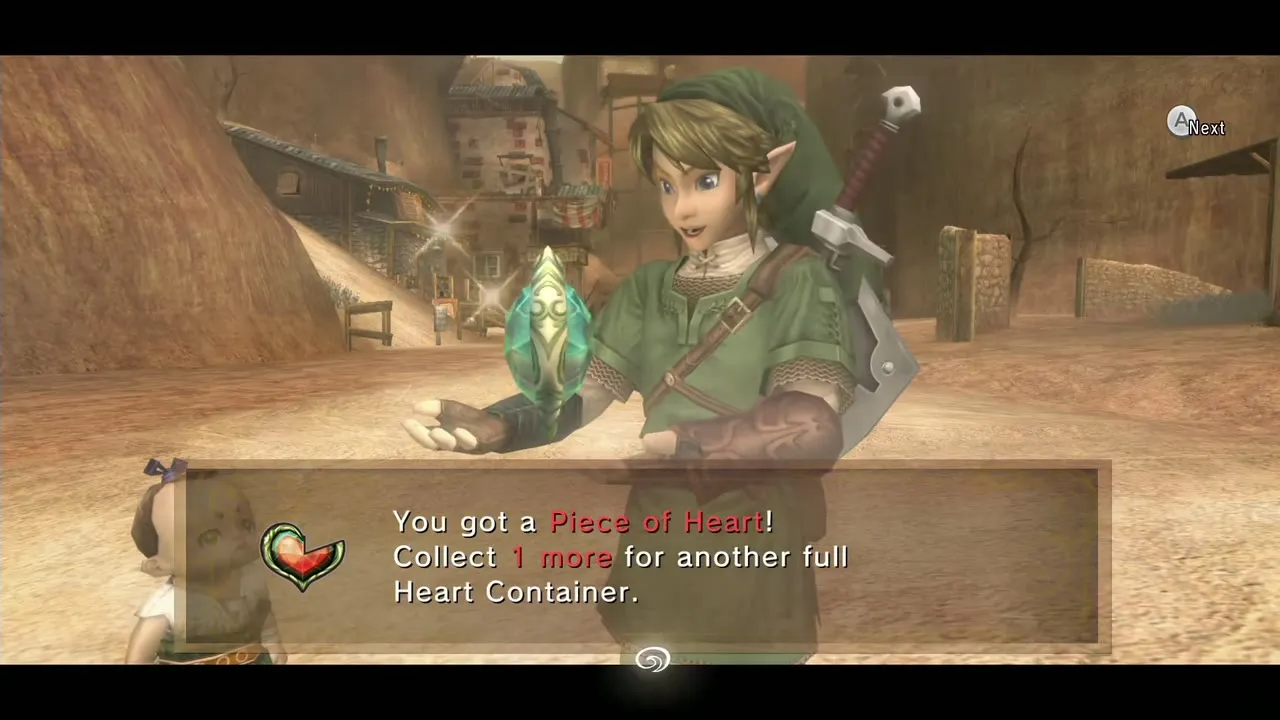
Talk to Talo and he asks you to show him how to use the bow, starting a target game with Malo near the Eldin Spring. The first target is straight ahead, the second is on top of Malo Mart, and the last is the pole beside Talo on the watchtower, the hardest of the three. Draw the string all the way back and lift the arrow a little before letting go. Hit all three and Malo hands over Piece of Heart #16. If you miss, talk to Talo again to retry.
Hawkeye, bomb arrows and the cliff Heart Piece (#18)
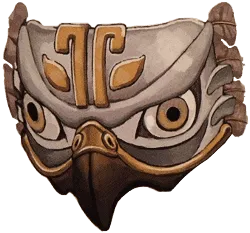
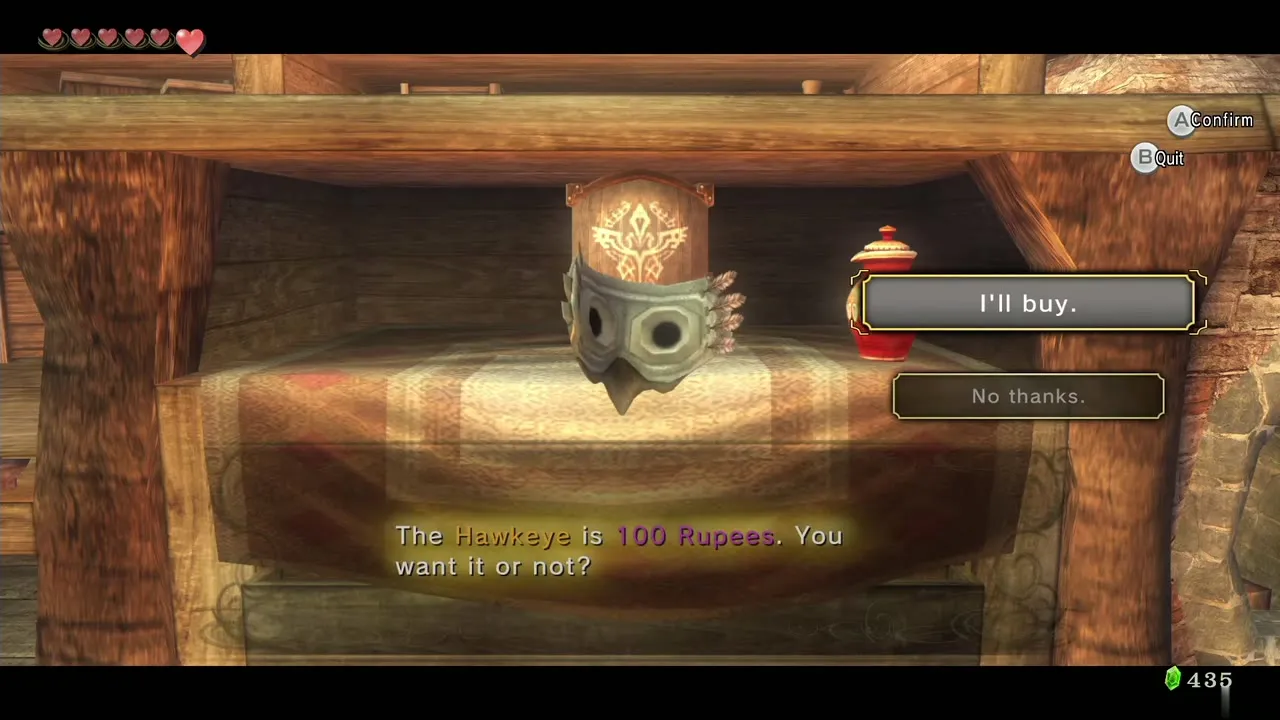
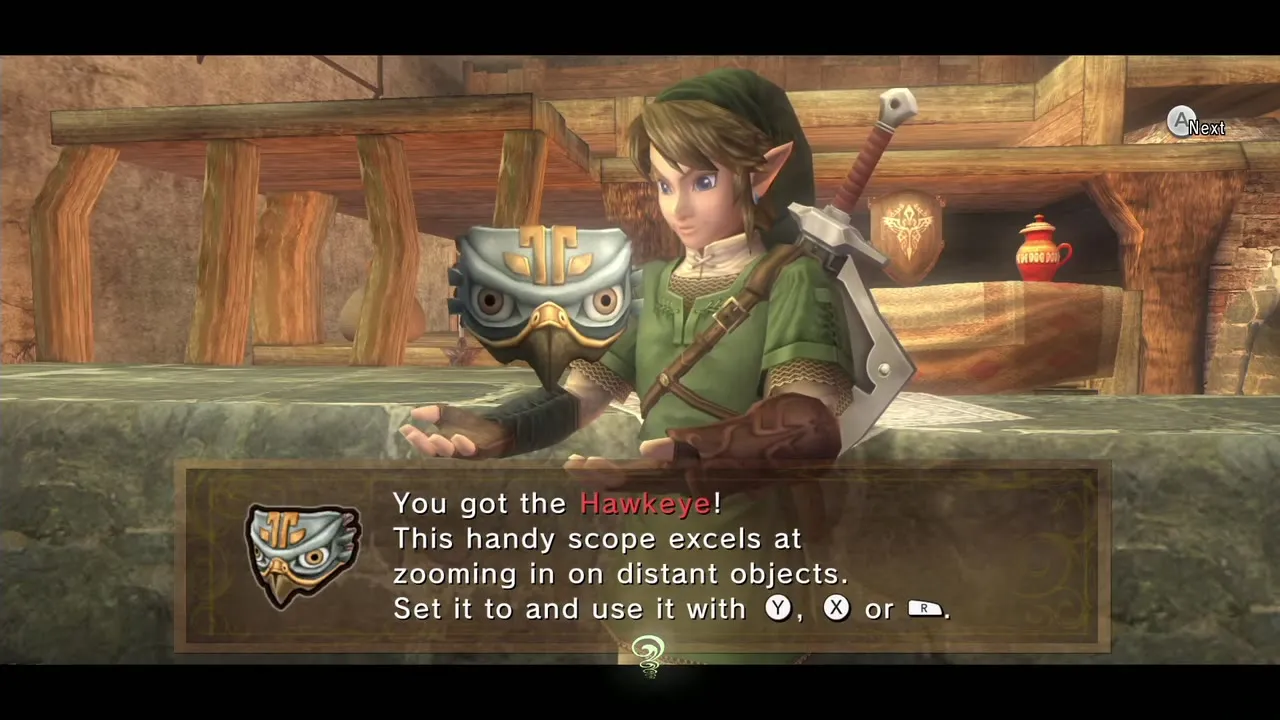
Enter Malo Mart and buy the Hawkeye for 100 Rupees; it works like a telescope for scouting distant ledges and can be paired with the bow for long shots. (This is the first stage of the Malo Mart story; the donation quest comes much later, see Poes, Malo Mart and hearts.) To make bomb arrows, put the Bow on an item slot, then drag the Bombs onto the combined bomb-and-arrow slot on the ZL wheel.
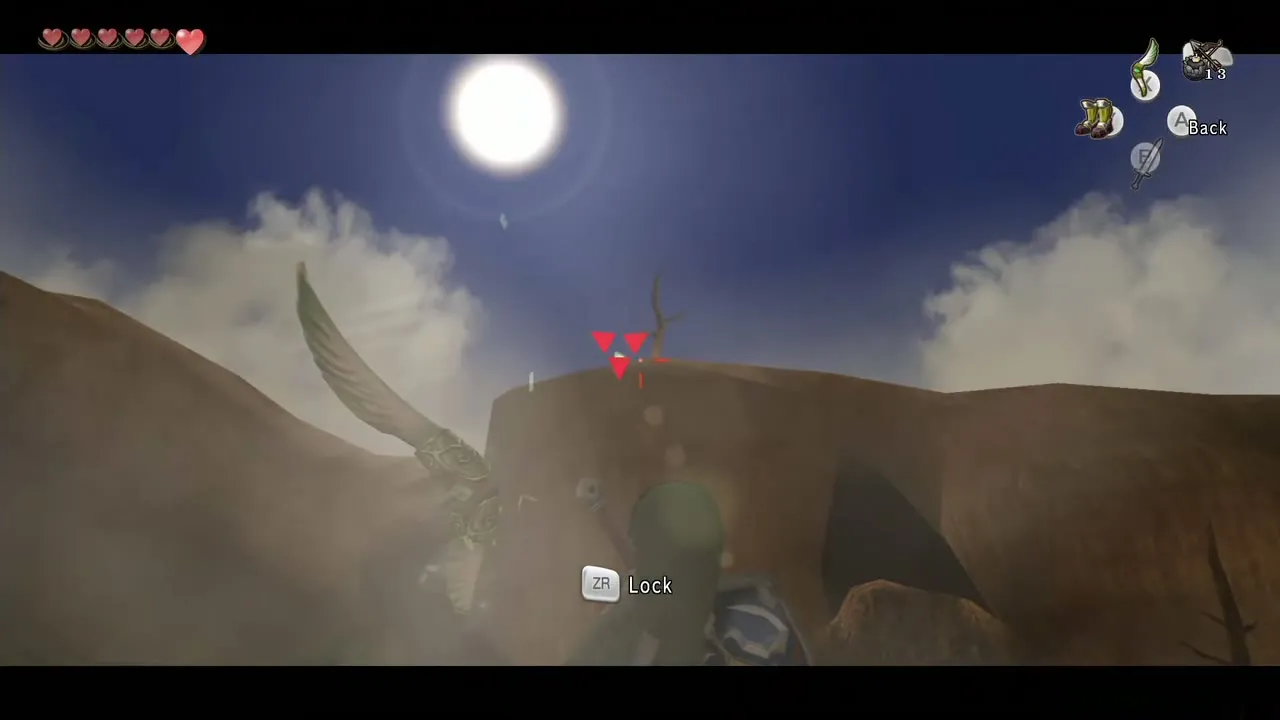
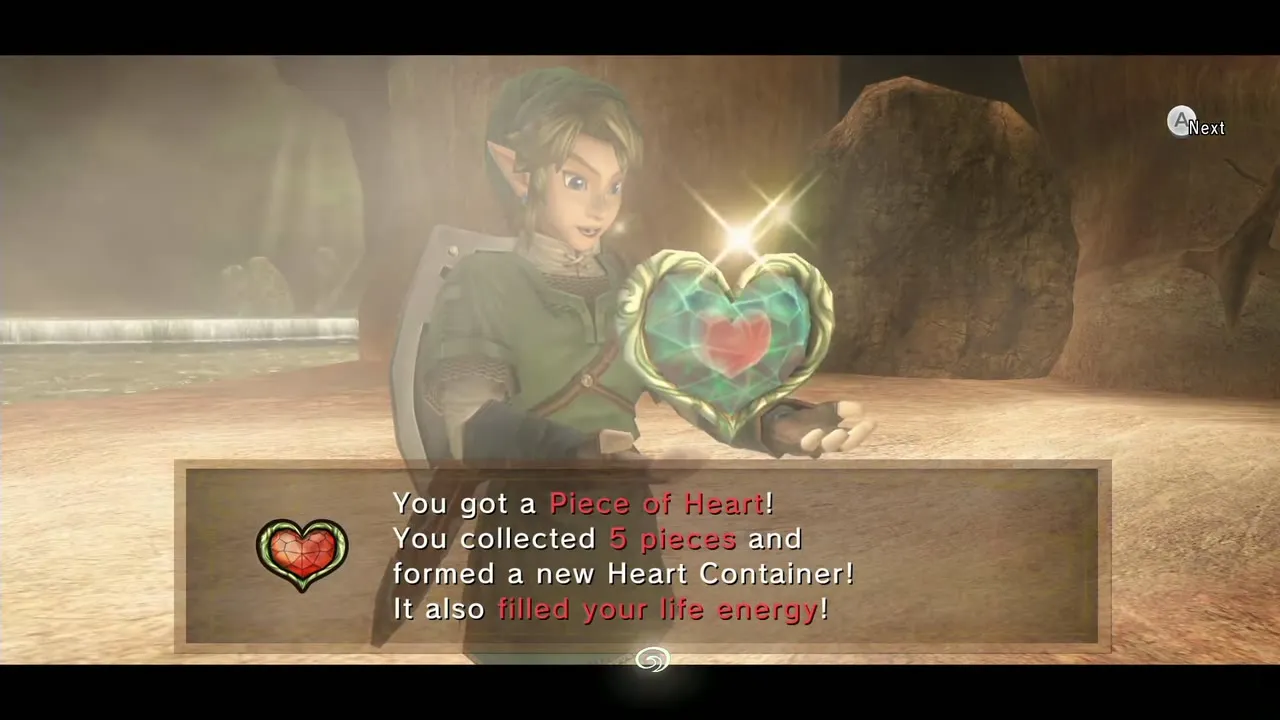
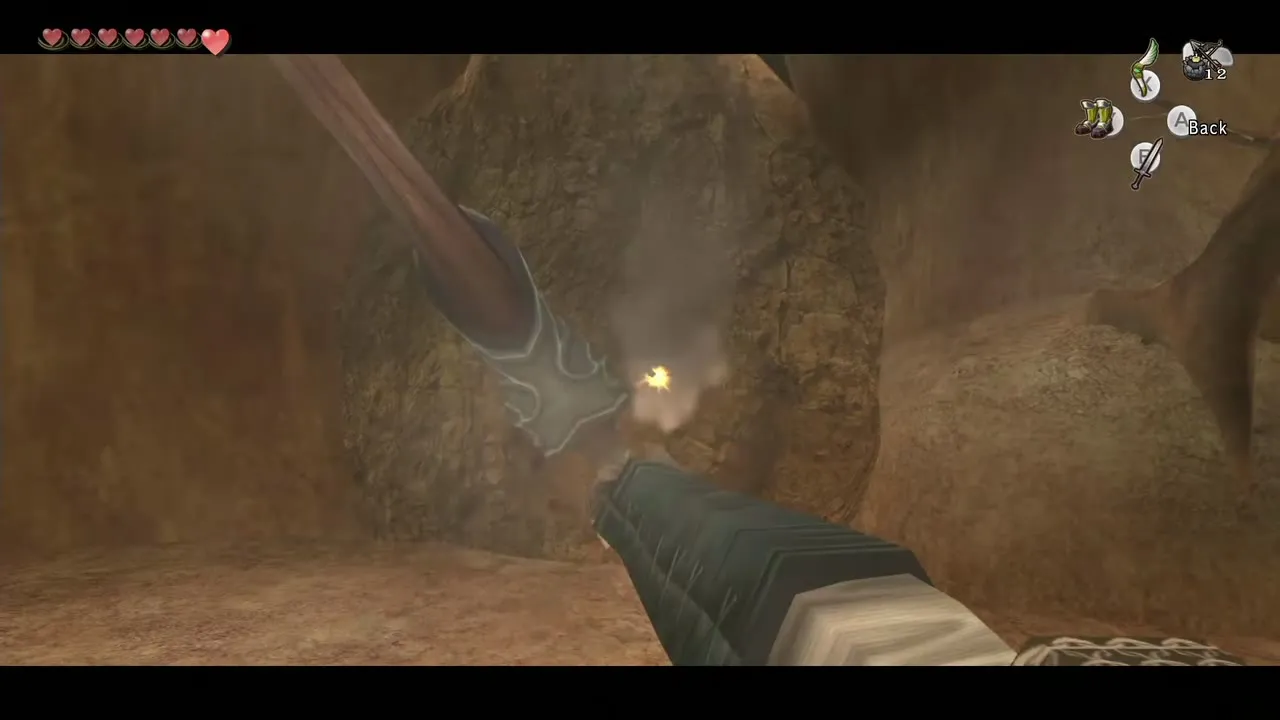
Near the Eldin Spring at the south end of town, look up toward the entrance for two boulders on the cliff. Shoot them with bomb arrows to reveal a Piece of Heart, then lock on and pull it to you with the Gale Boomerang for #18.

Spring Heart Piece (#17)
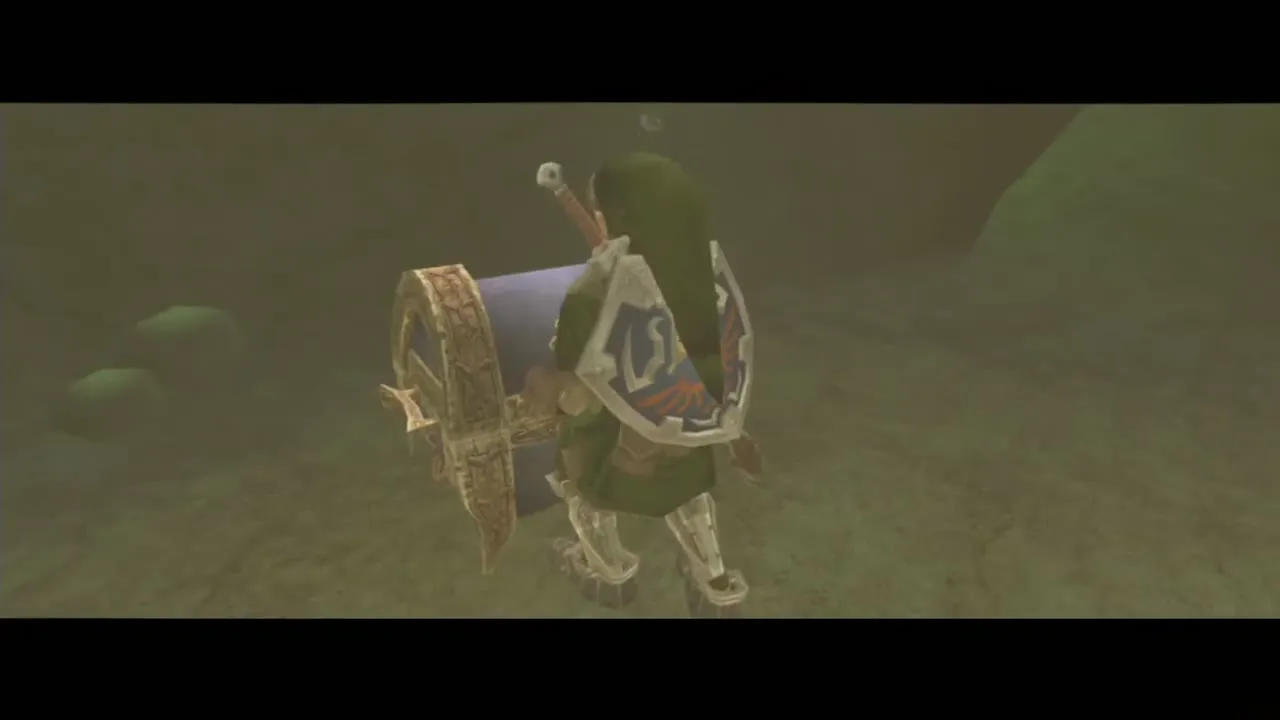
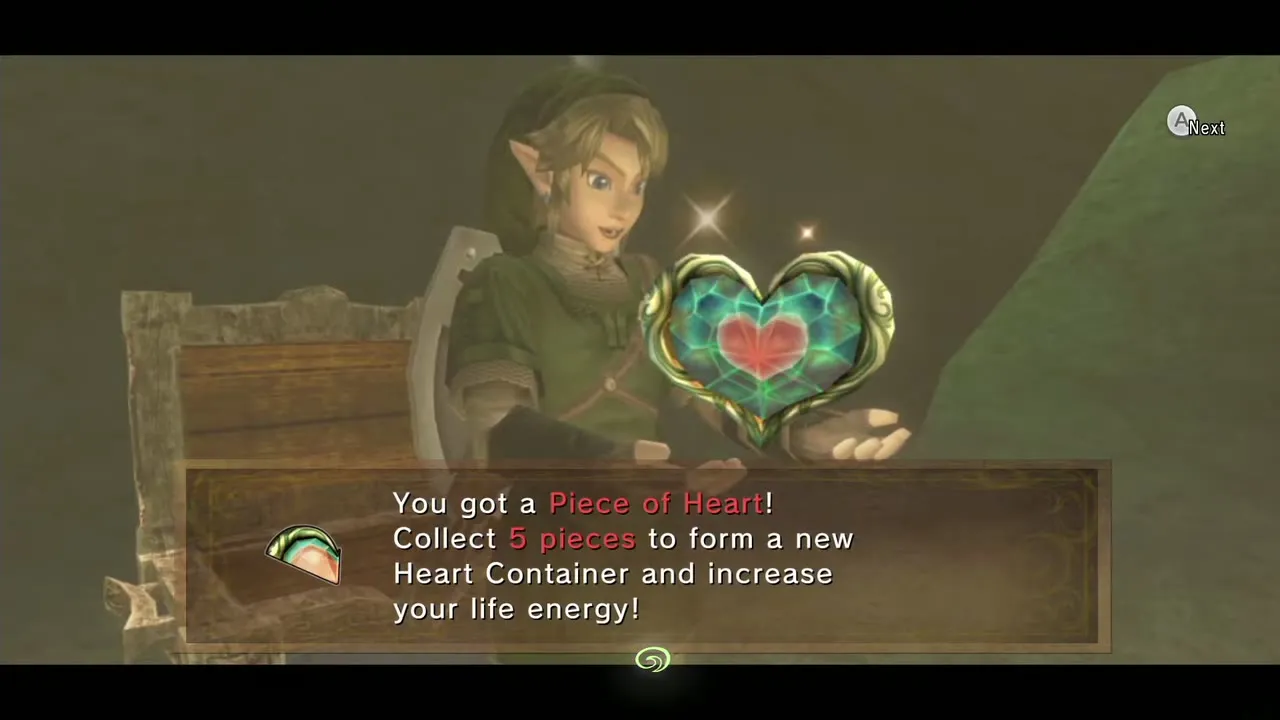
Just below those boulders, on the path toward Kakariko Gorge, bomb the boulder and walk through the tunnel to a ledge above the spring. Jump down, equip the Iron Boots and sink to the bottom to open the chest for Piece of Heart #17.
Death Mountain Trail Heart Piece (#20)
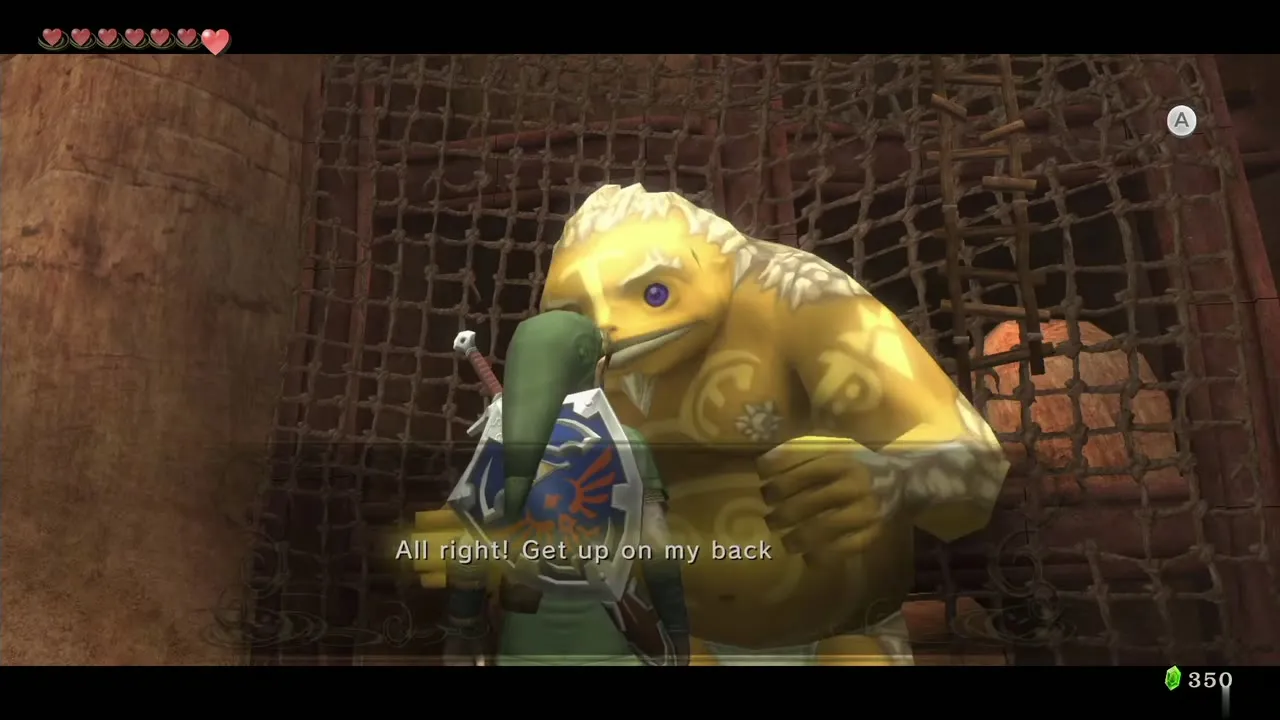
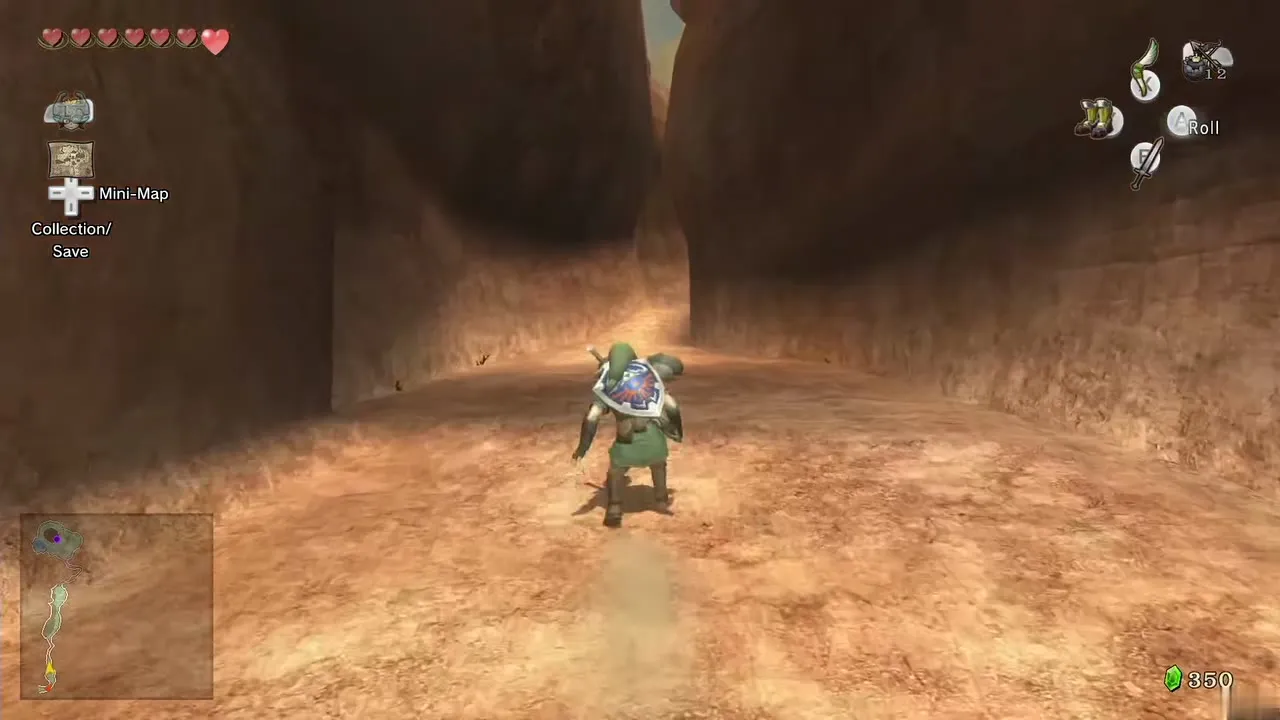
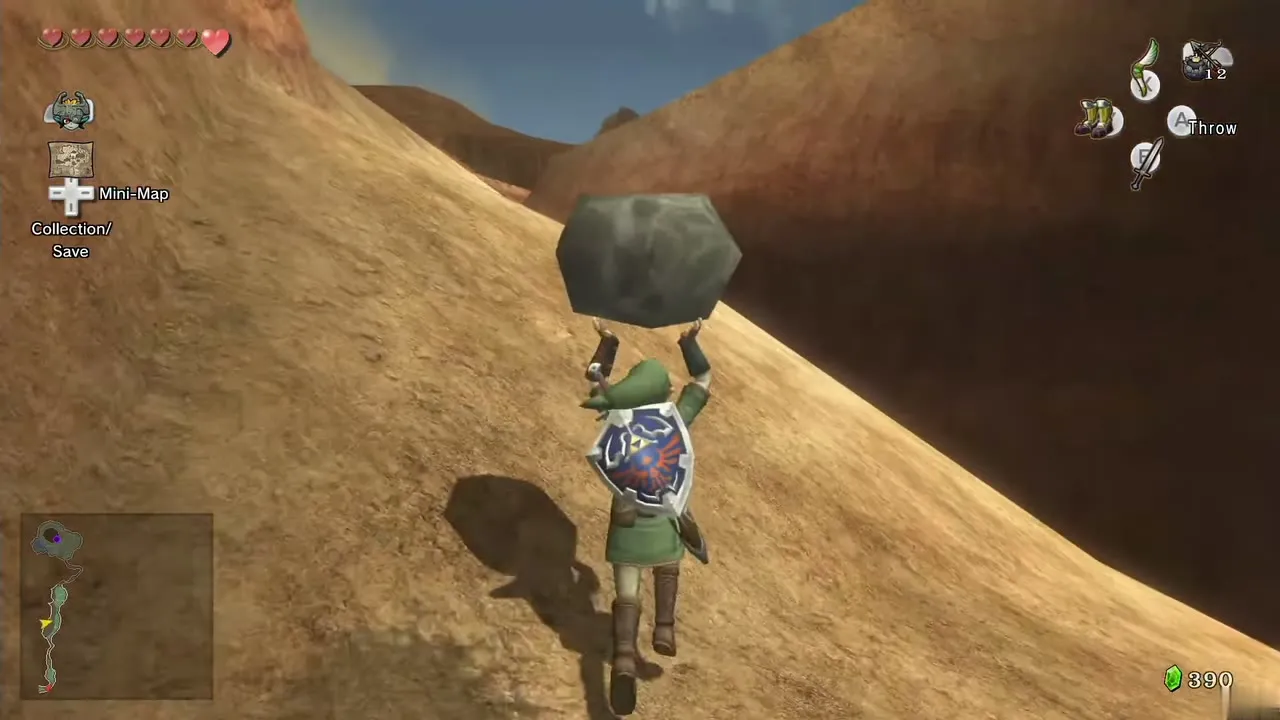
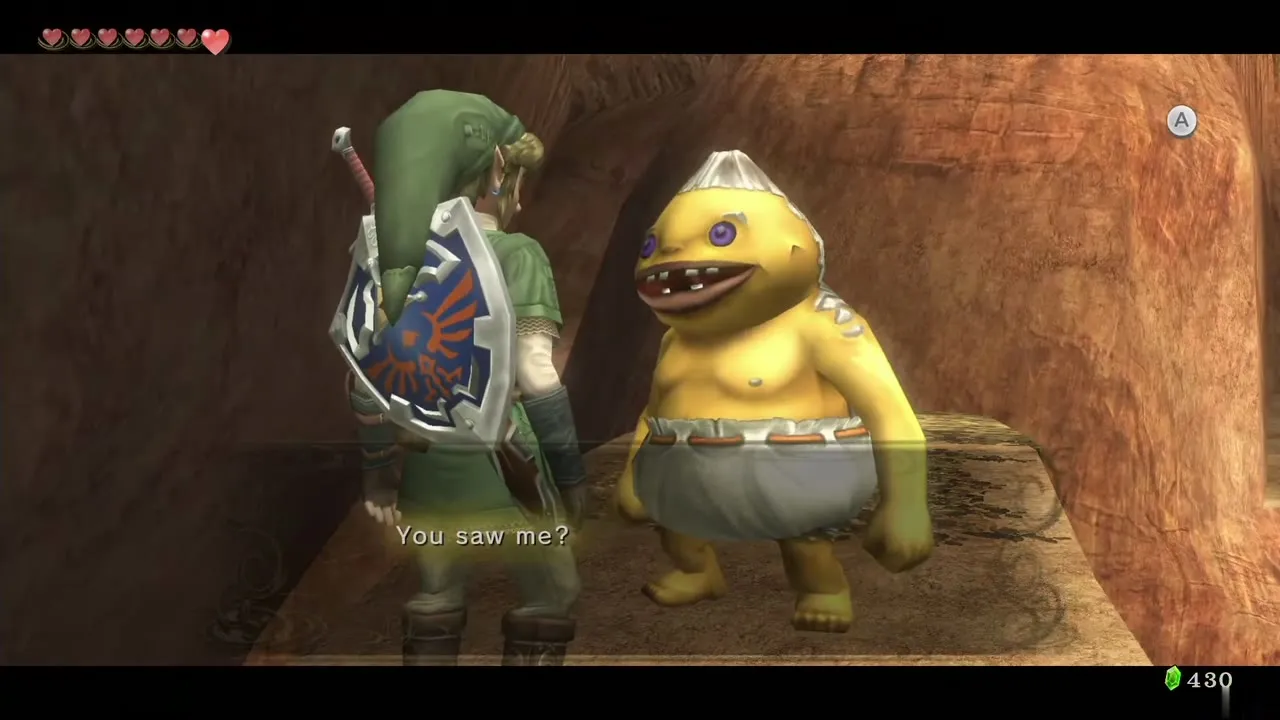
Go up the Death Mountain Trail. The first Goron launches you to the next stretch, and the second Goron can fire you to a high ledge on the west side instead of up the main trail. Follow the ledge north until, before reaching the young Goron, you find a hole in the left wall. Drop in and open the chest for Piece of Heart #20. After dark a floating lantern drifts here: it belongs to a Poe, which you cannot take yet.
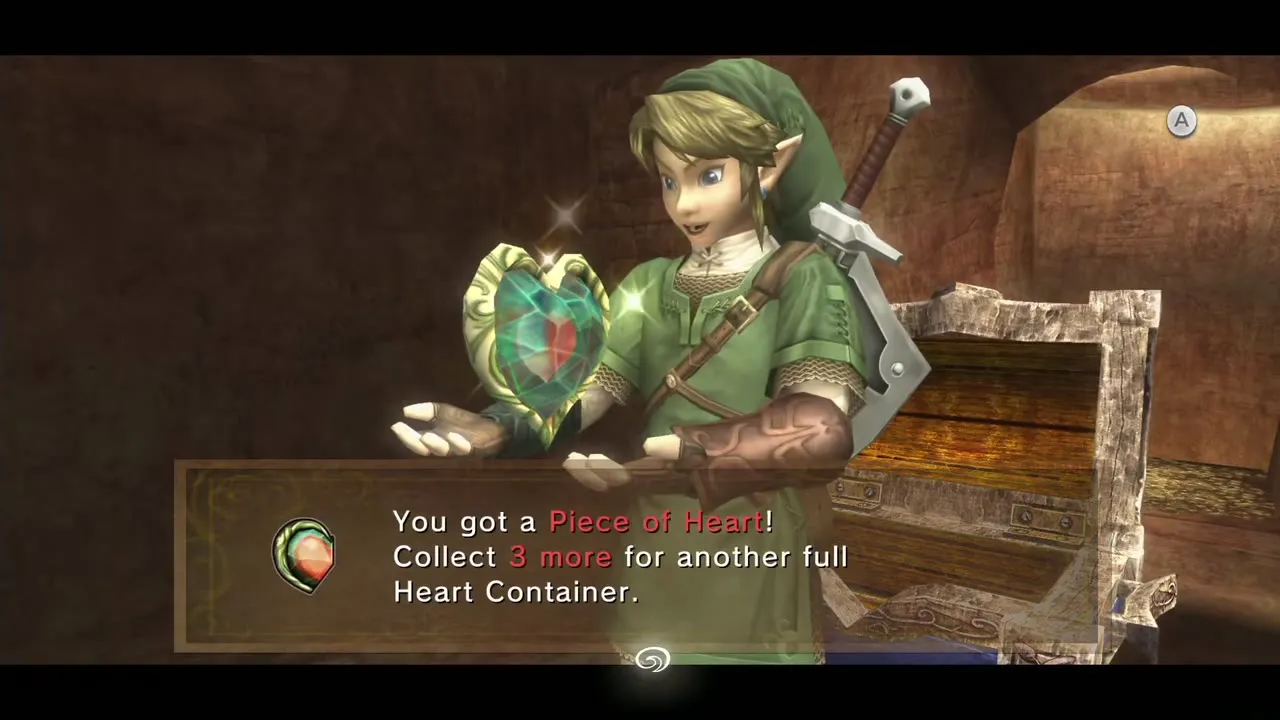

Graveyard torch chest
At the back of the Kakariko Graveyard, light the two torches near the step with the Lantern to reveal a chest holding a Purple Rupee. This is a quick way to top up Rupees for the shops.
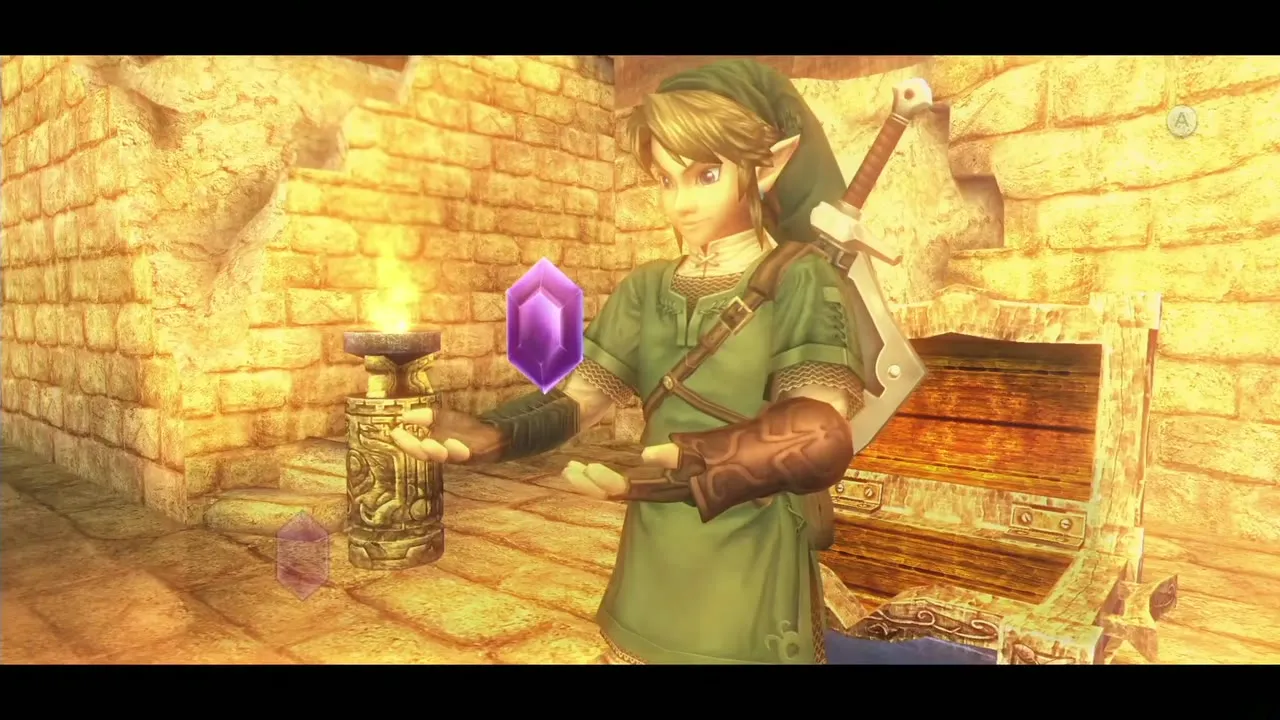
Kakariko Gorge Cavern
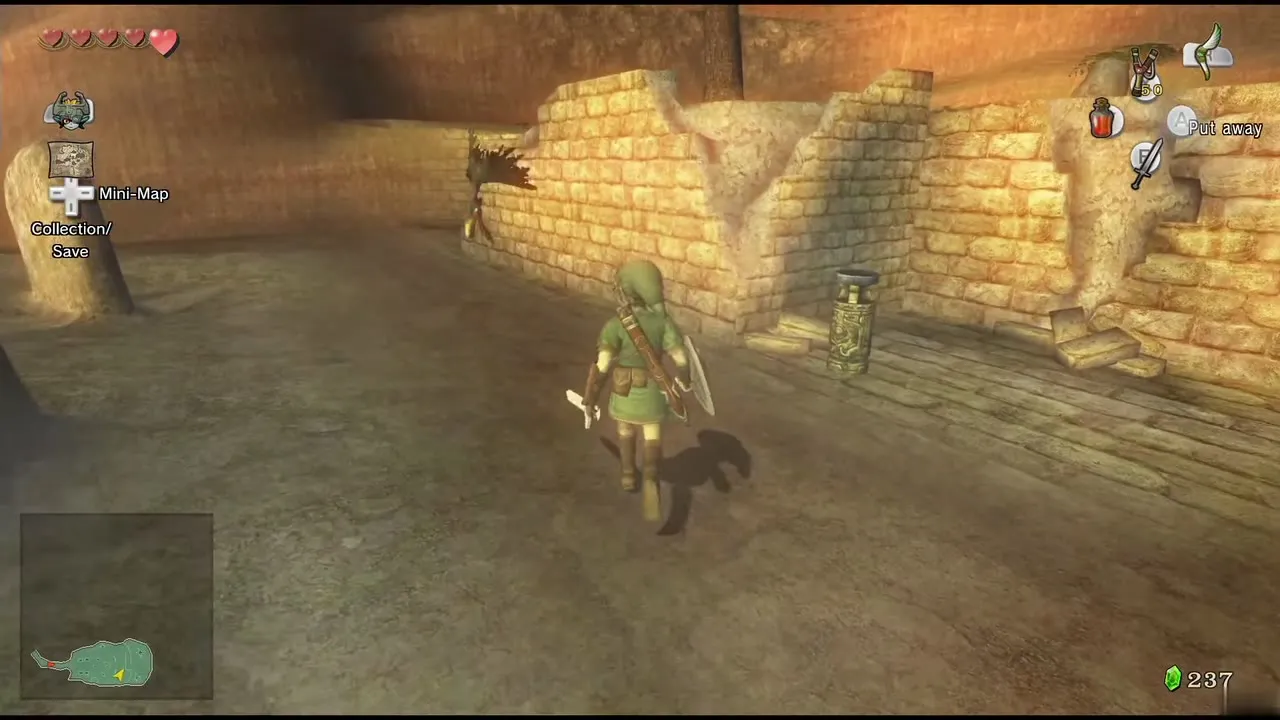
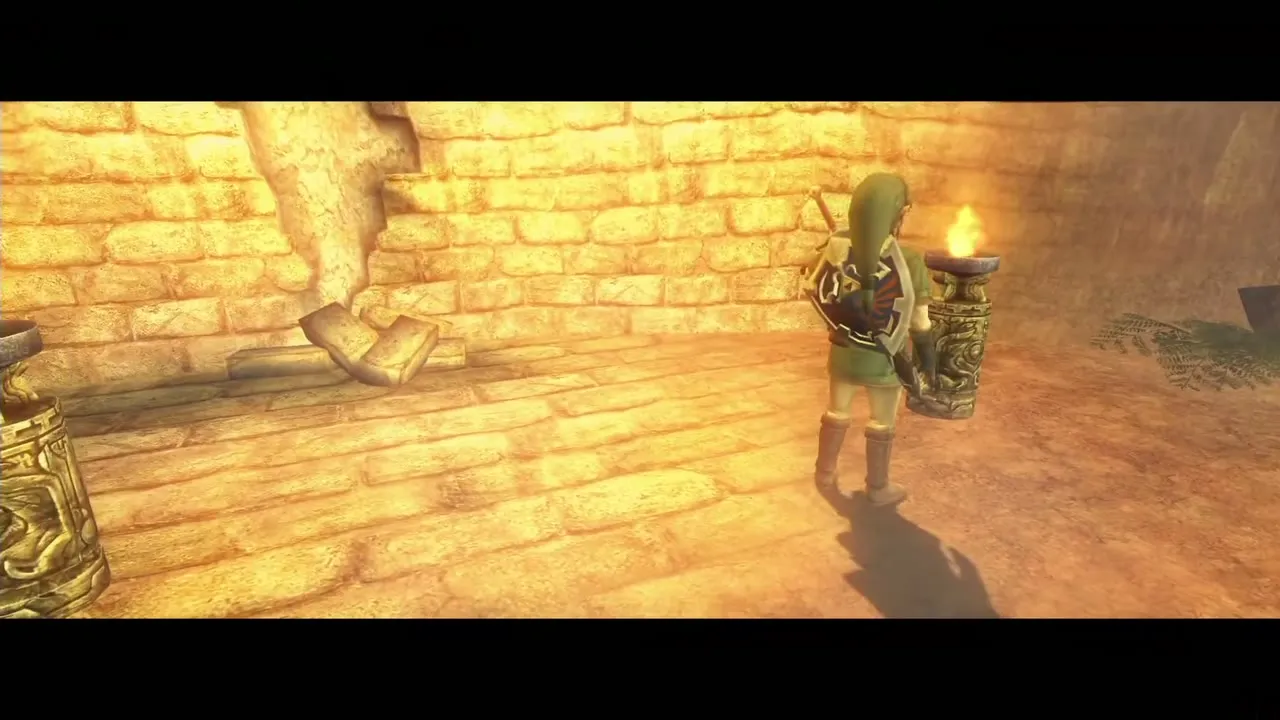
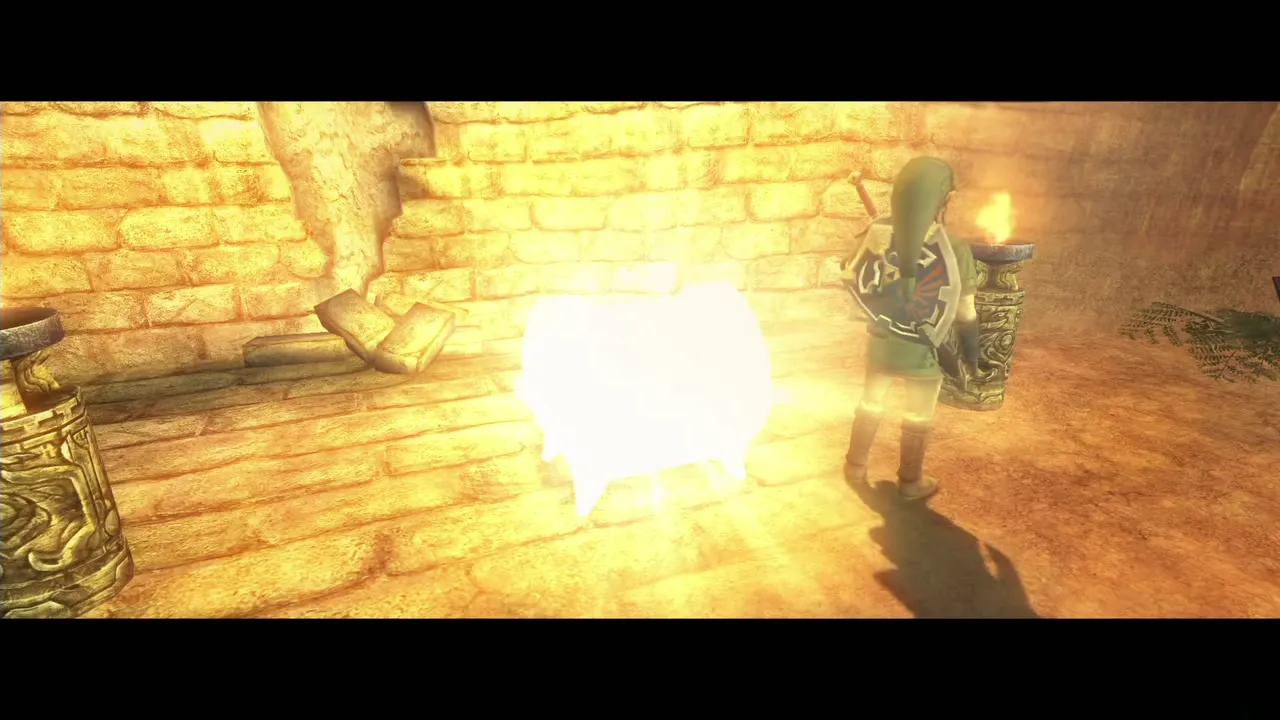
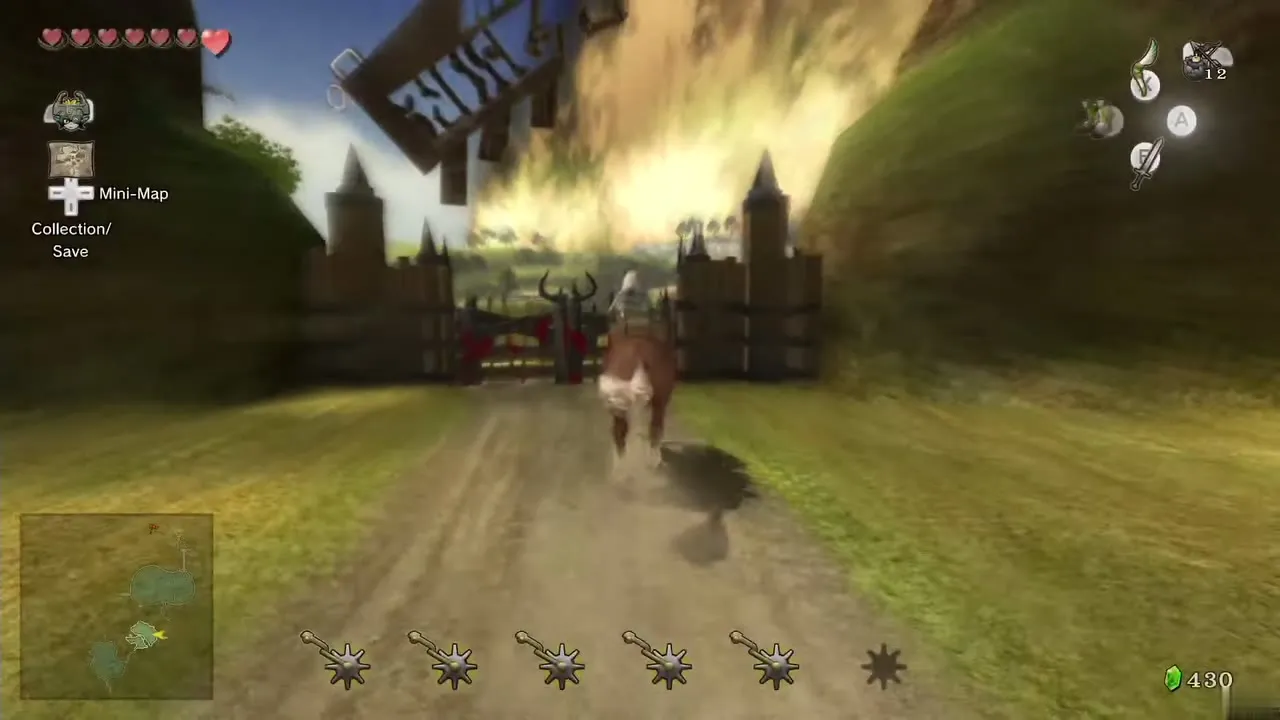
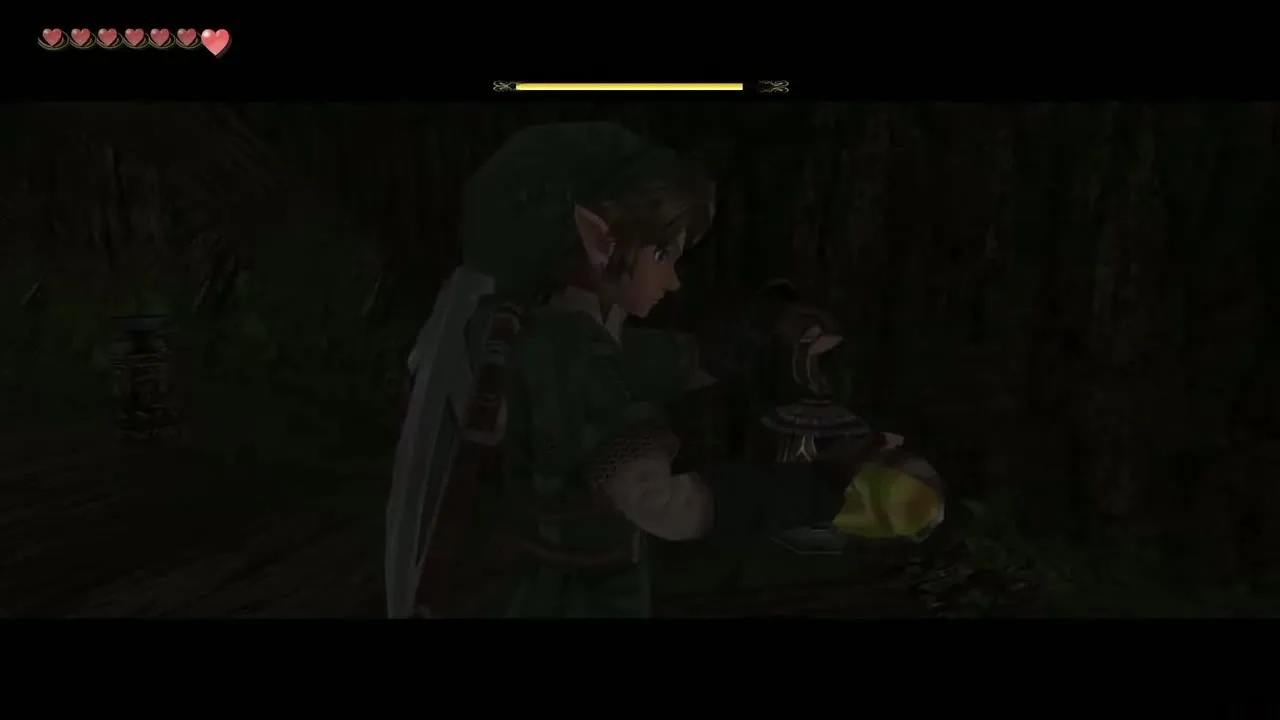
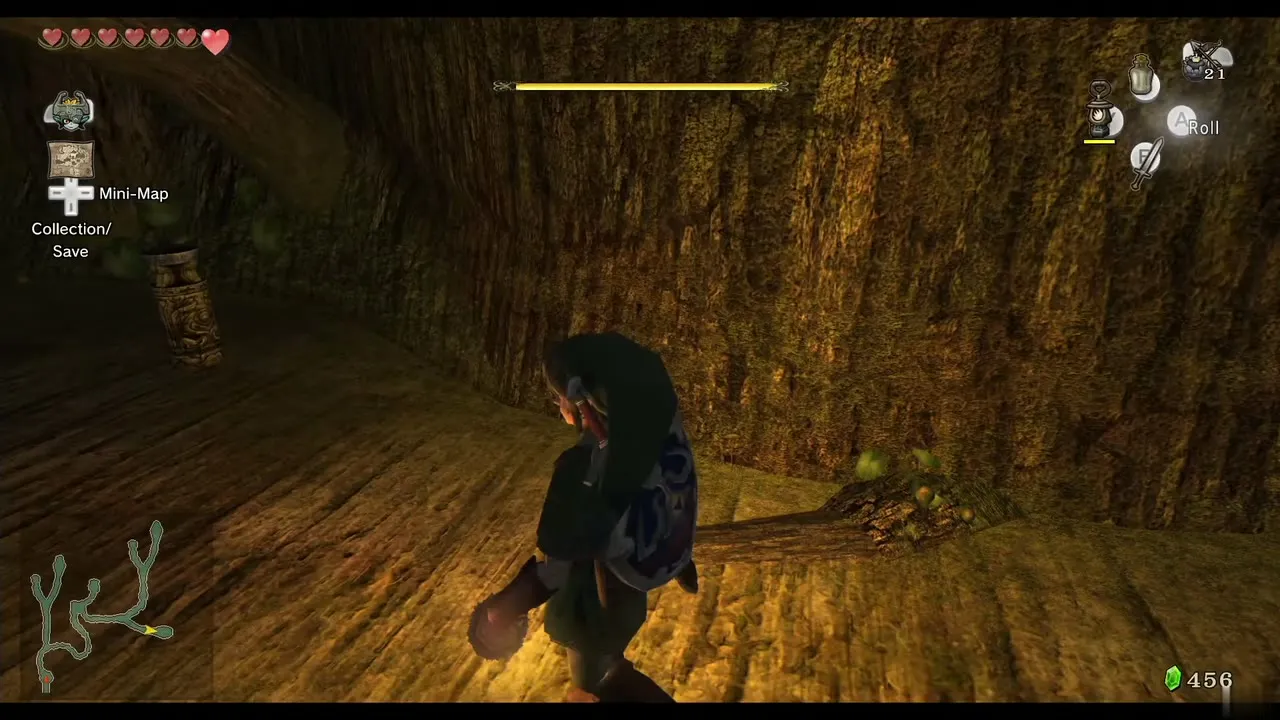
Ride to Kakariko Gorge, jump the gate with Epona, cross the bridge and go to the south end where a boulder hides the cave. Bomb it and enter. The cave is a maze of dark rooms, so use the Lantern sparingly: light torches to keep rooms lit, and burn spiderwebs that block you. Skulltulas, rats and keese are easy.
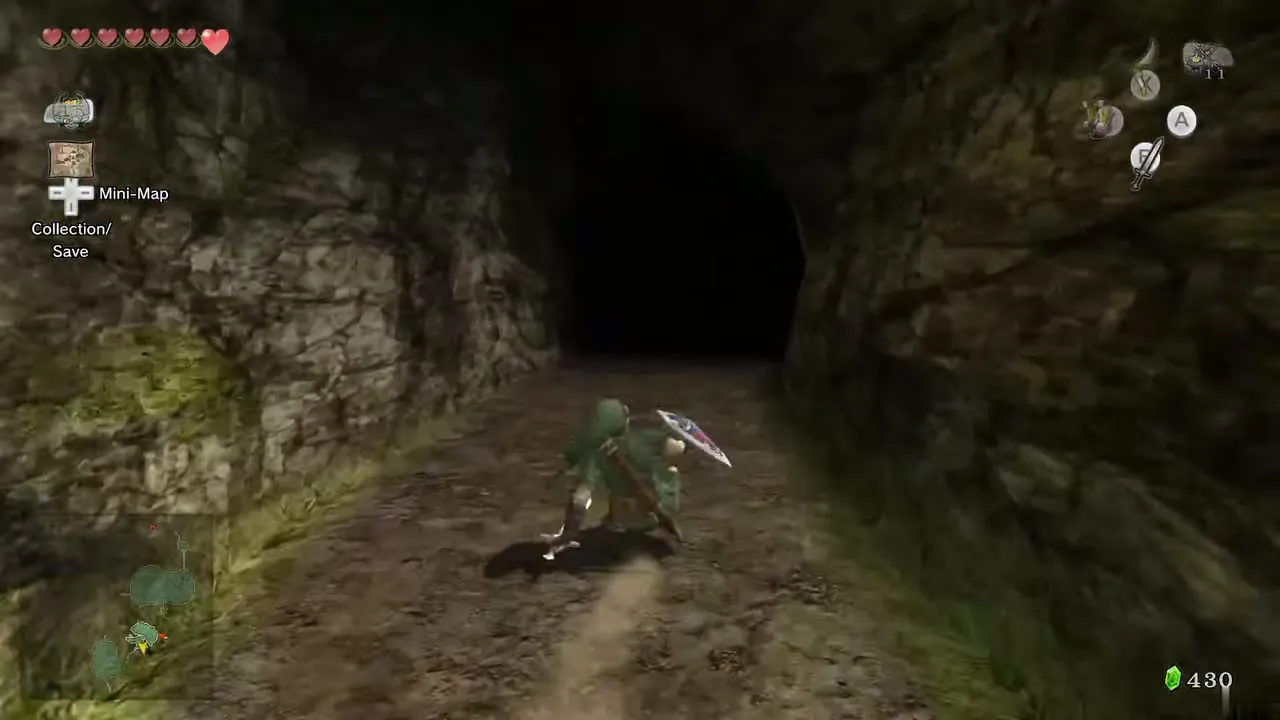
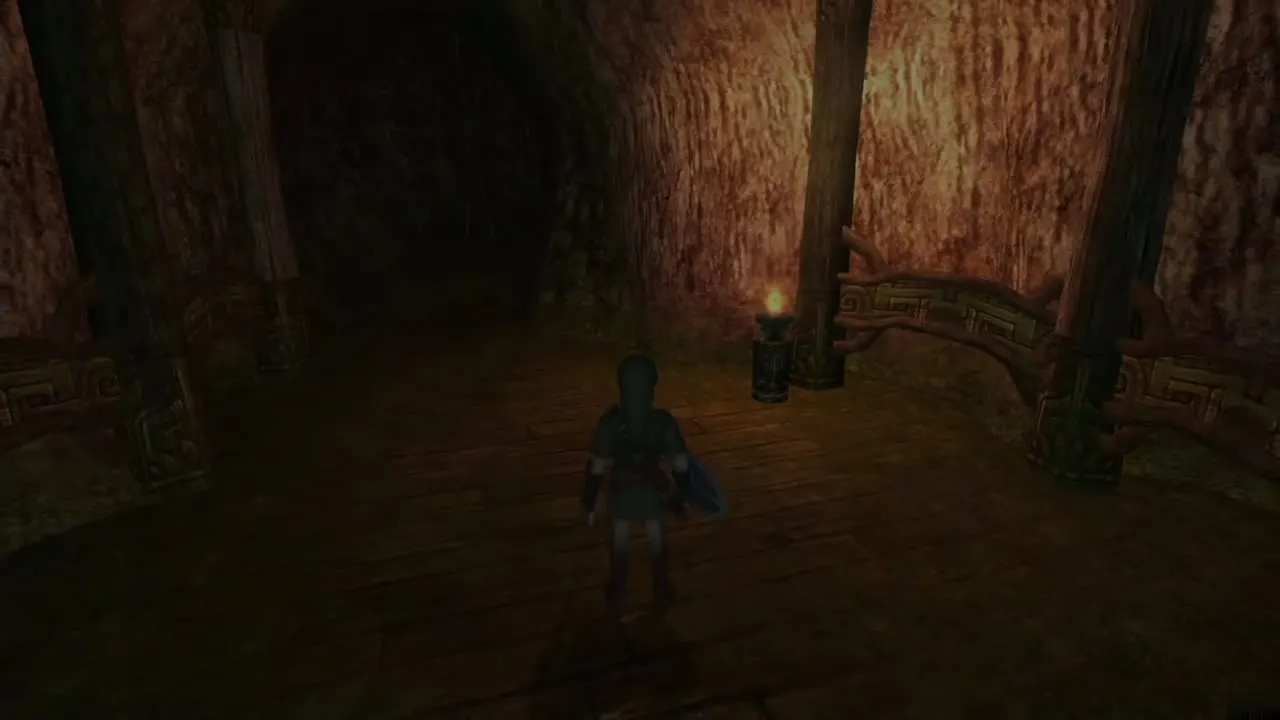
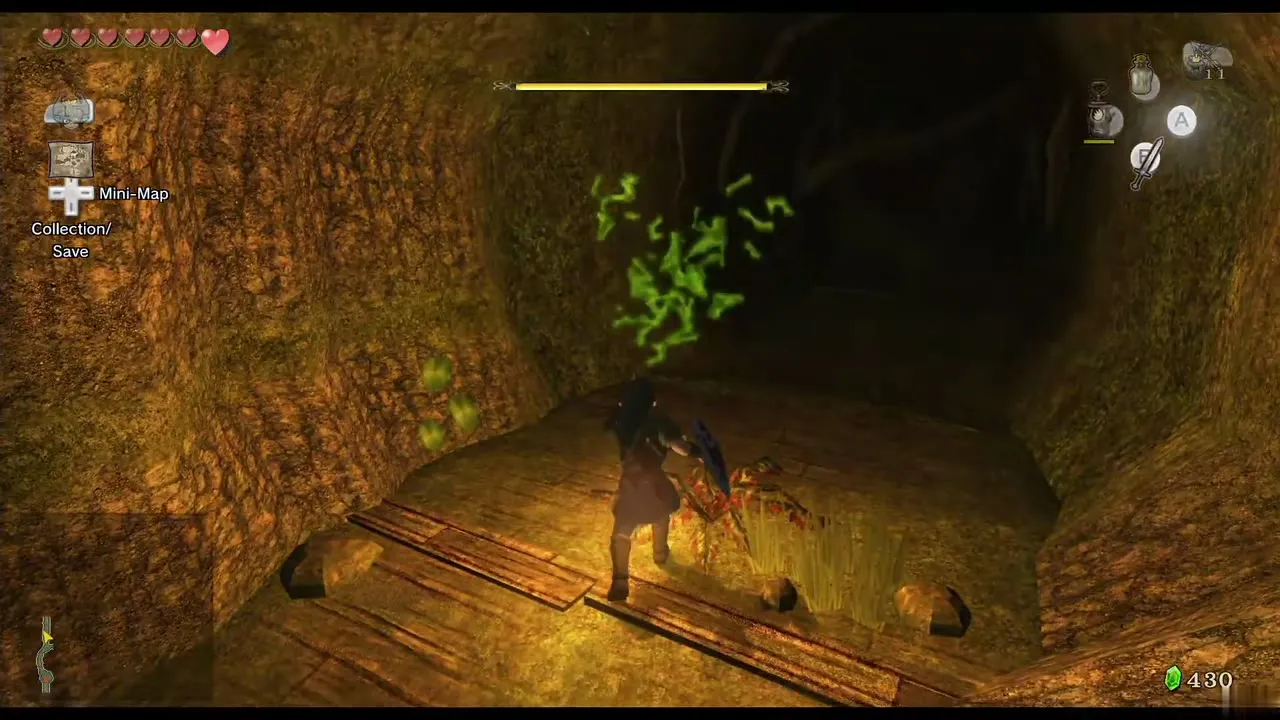
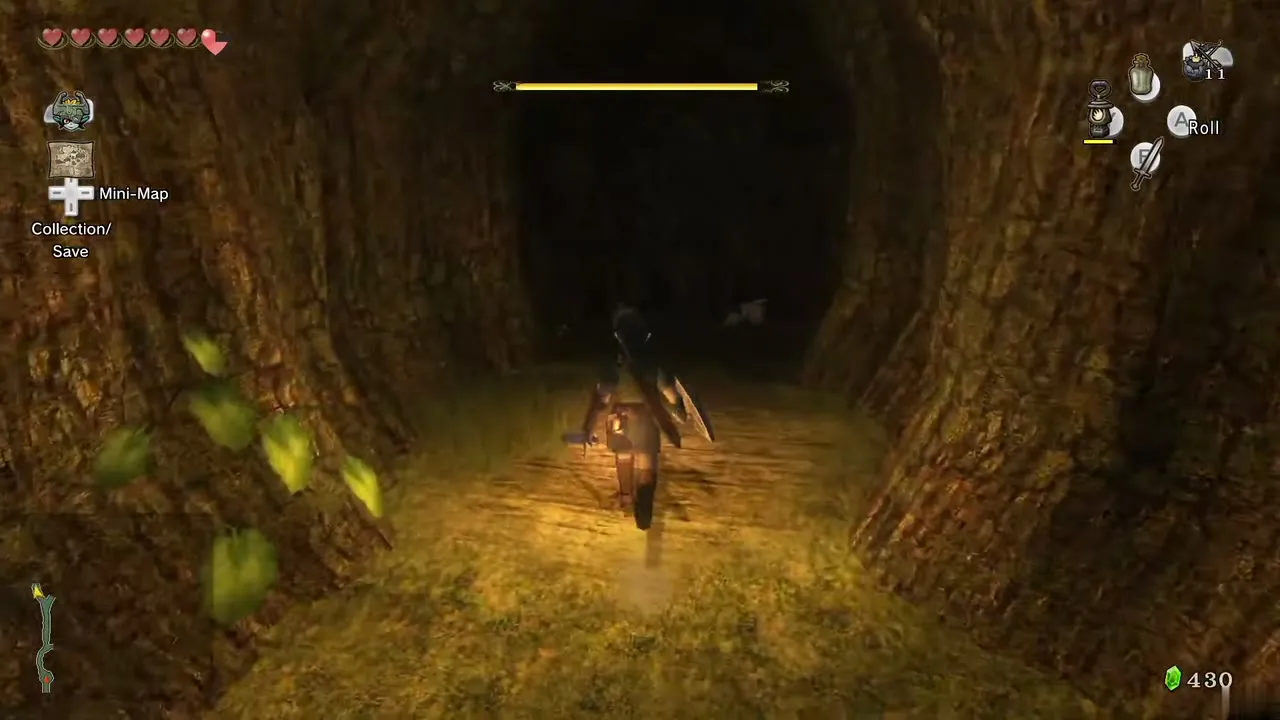
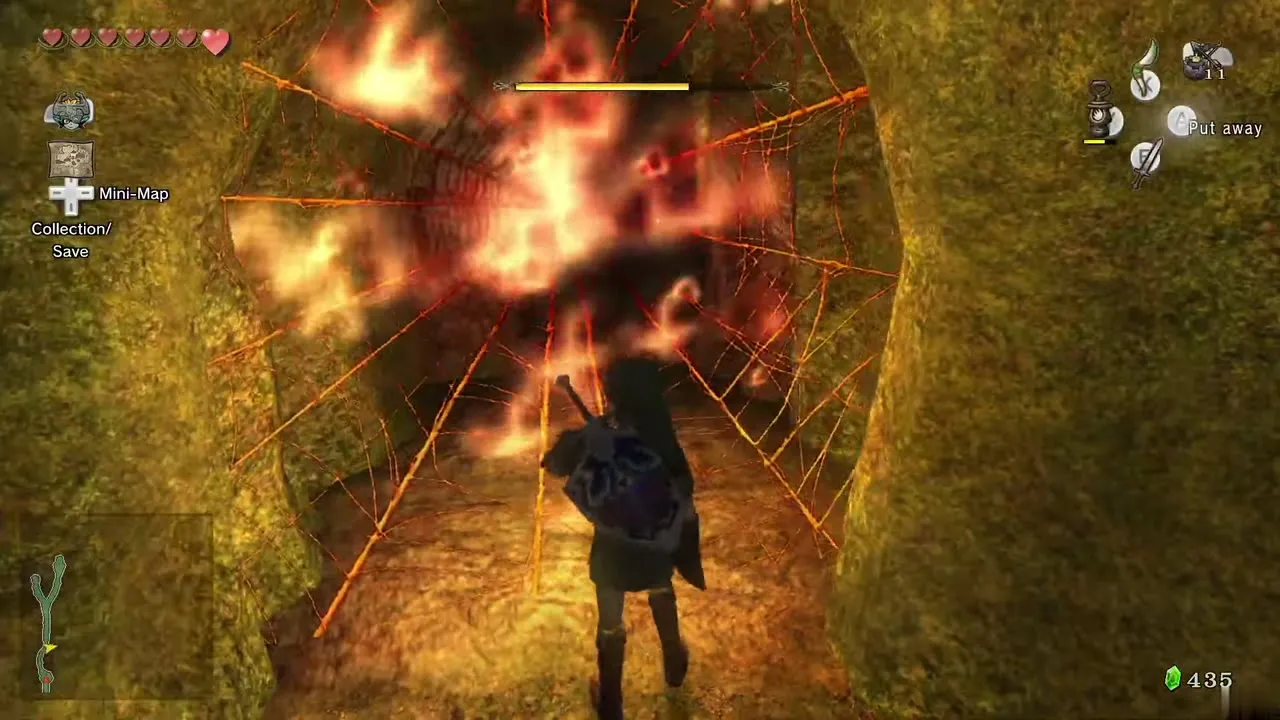
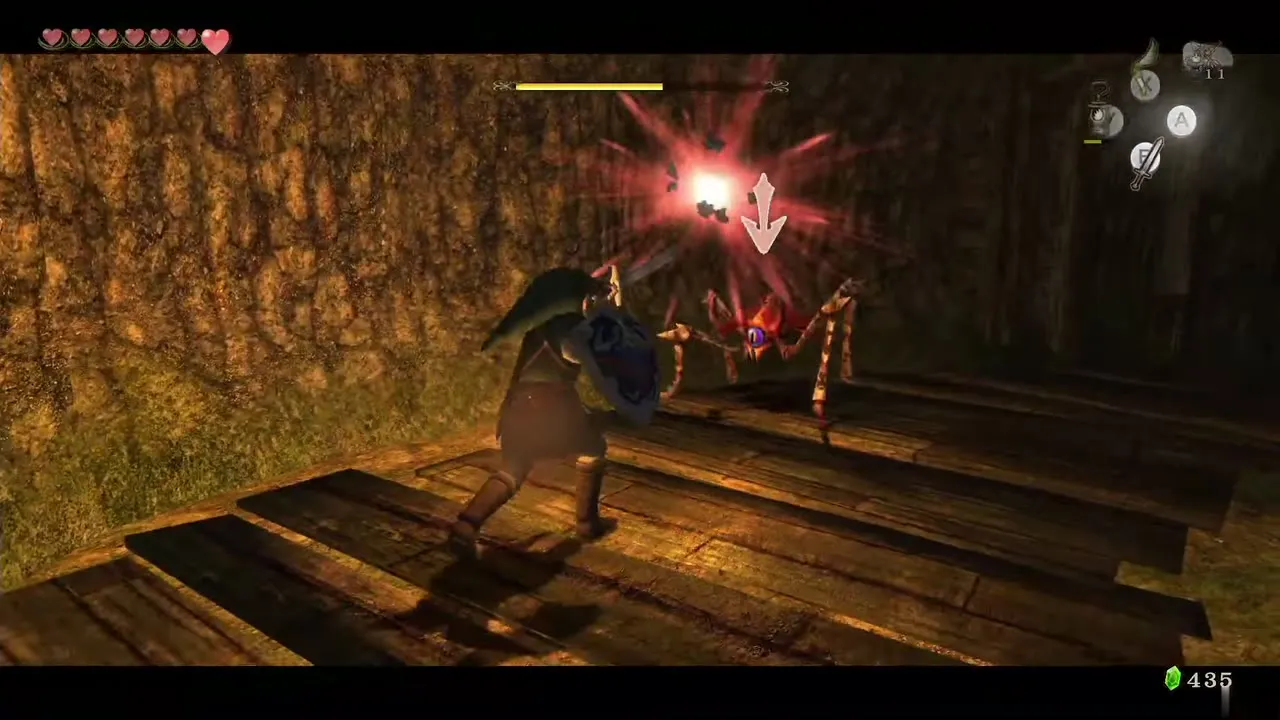
At each fork, the route to the Heart Piece is right, right, left, right; it ends at two torches beside a Skulltula. Light both and a chest rises holding Heart Piece #8. A Purple Rupee (50) lies down right, right, right, and the Miiverse stamp of the Hylian letter O is at left, then right. These turns are mirrored in Hero Mode.
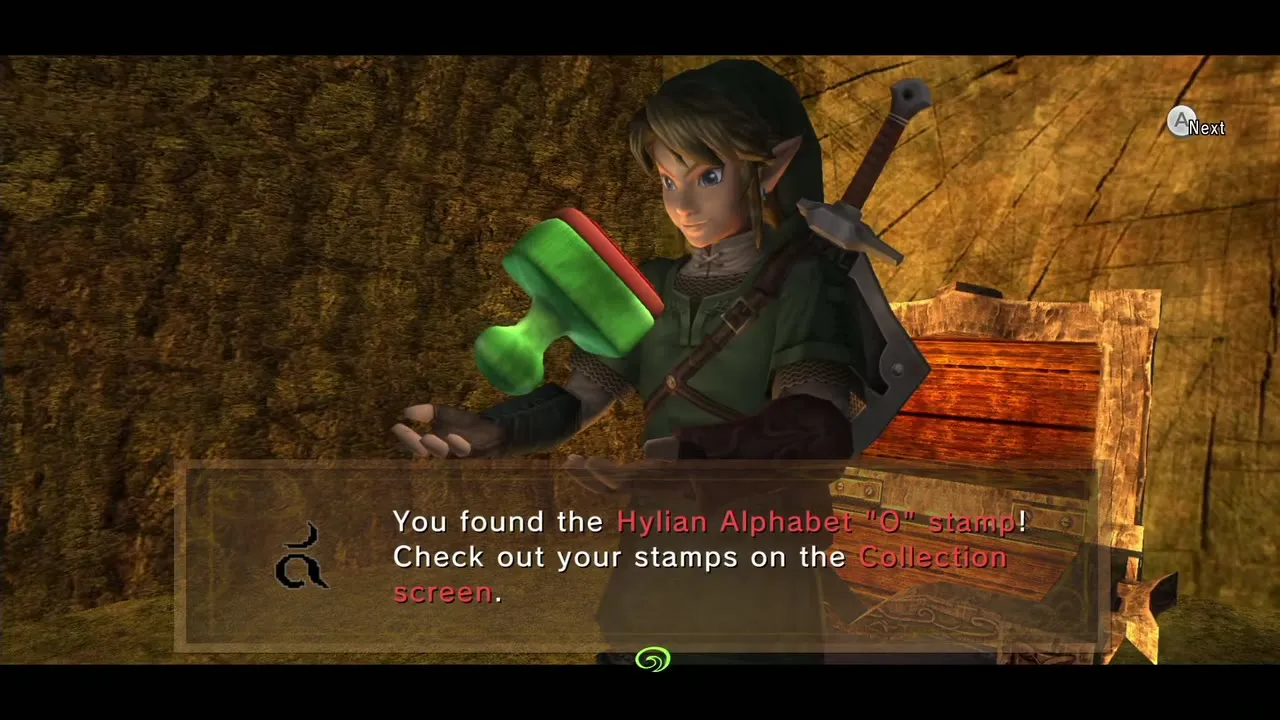
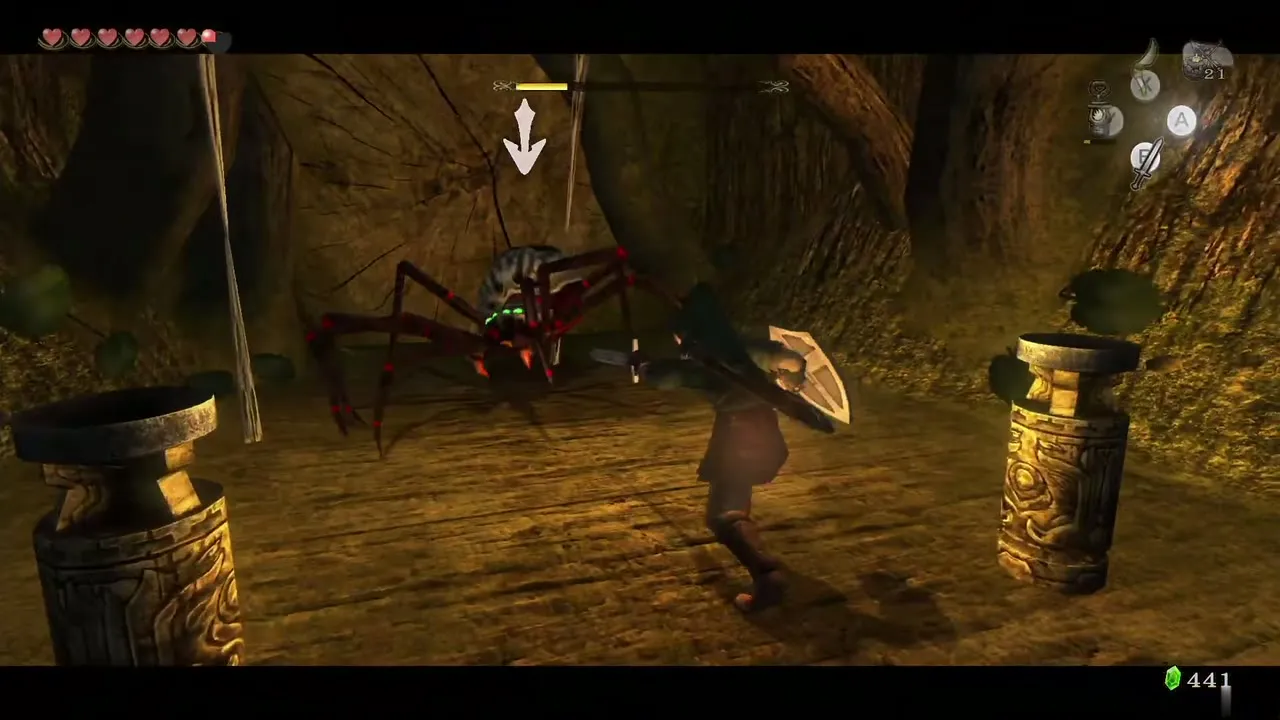
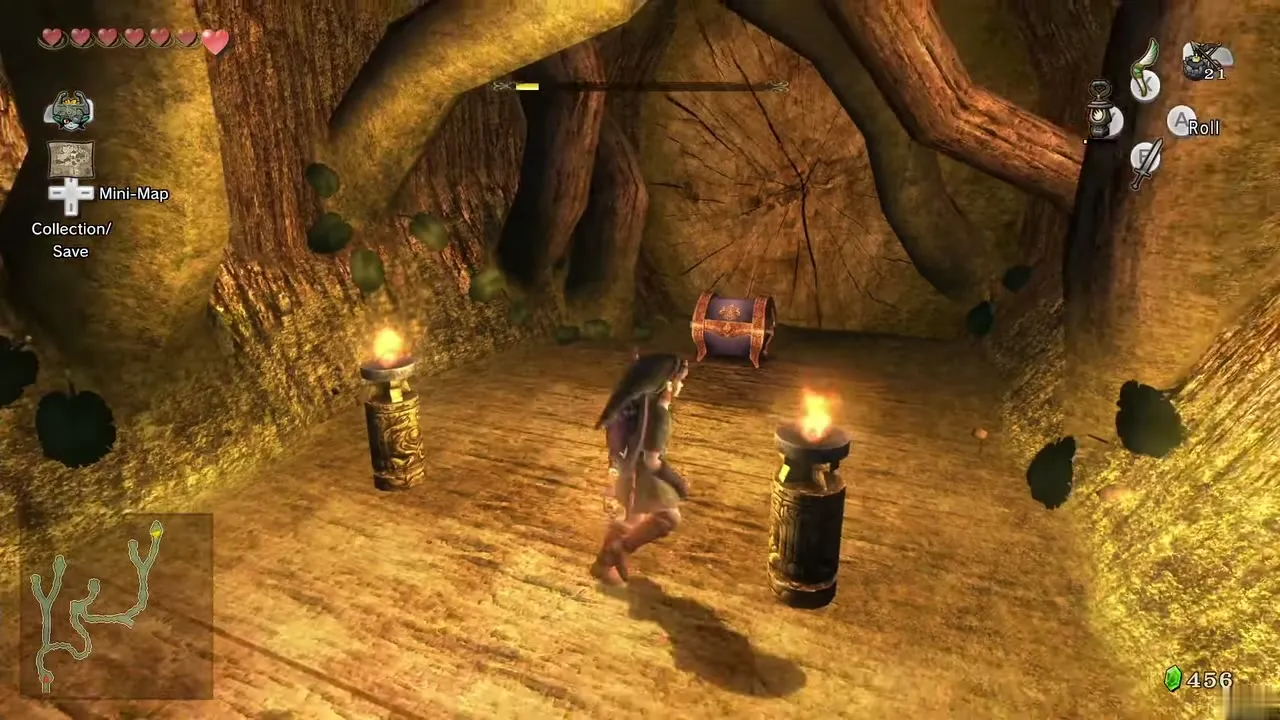
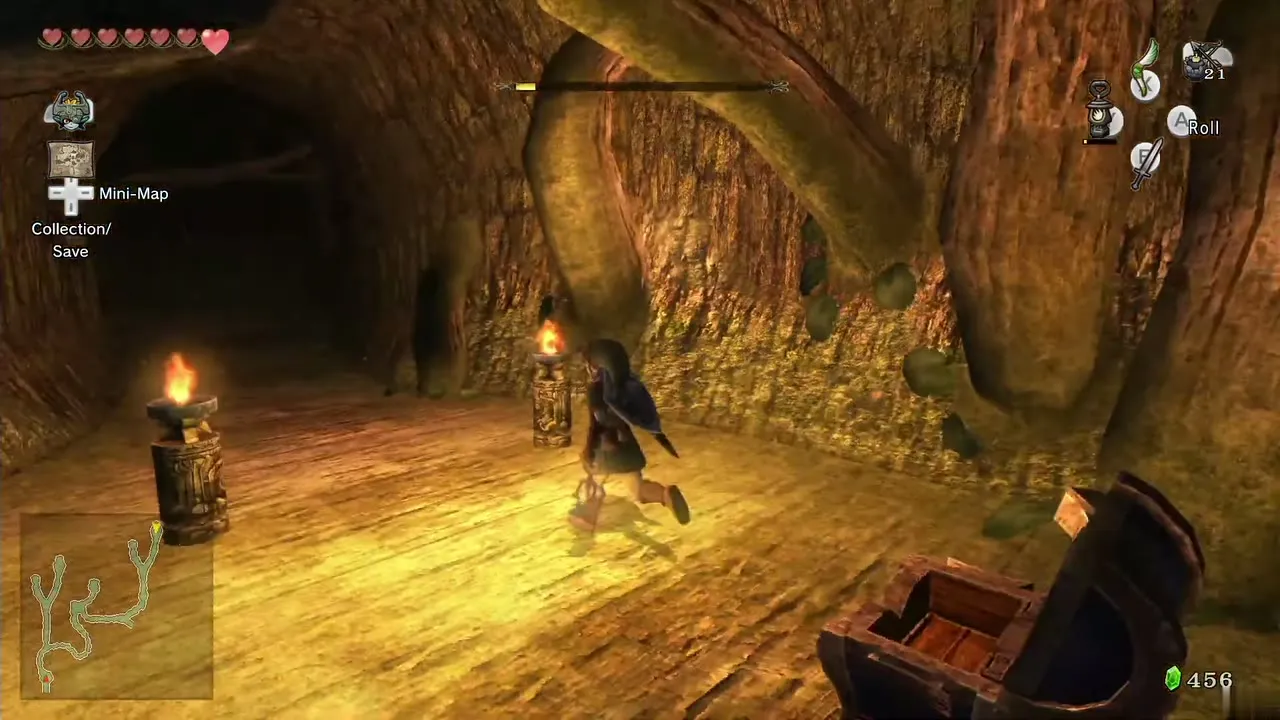
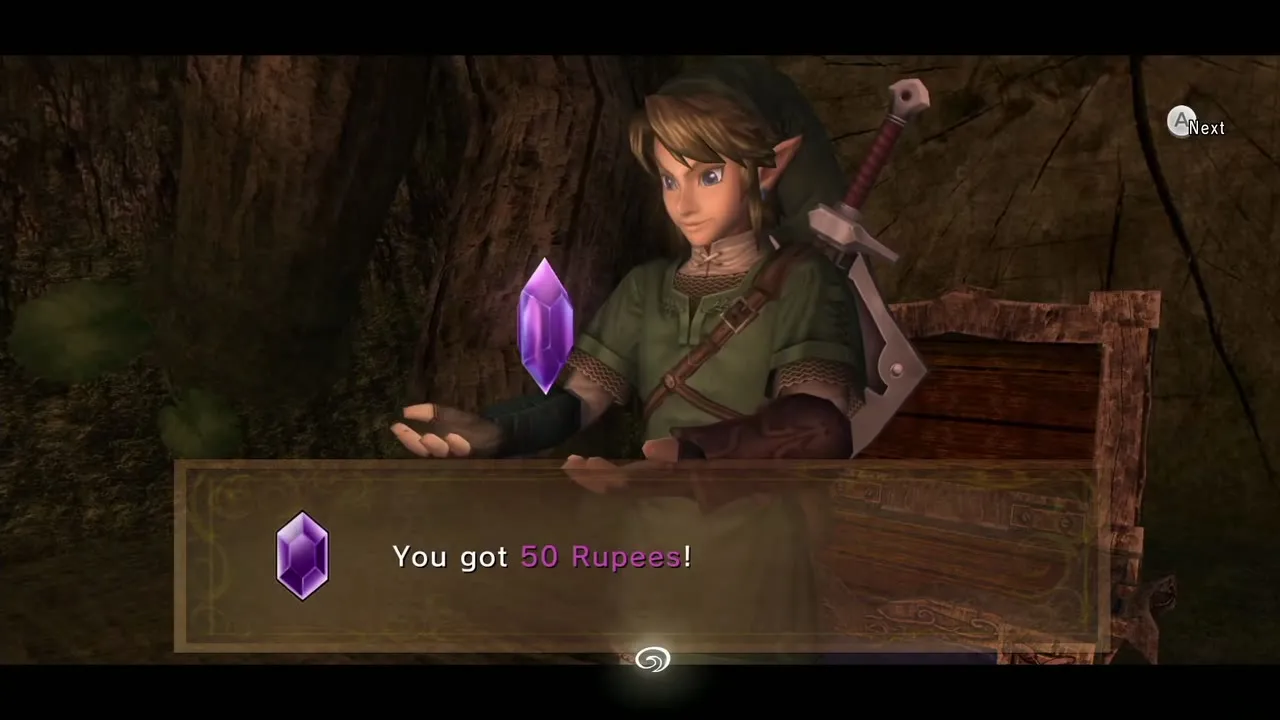
A Yellow Chu lives here too. Defeat it and bottle its Yellow Chu Jelly, which stands in for Lantern Oil. A Poe Soul is also hidden in the cave, but you cannot collect it yet; come back after the Master Sword.
Hyrule Field near the Bridge of Eldin
Entering from the gorge
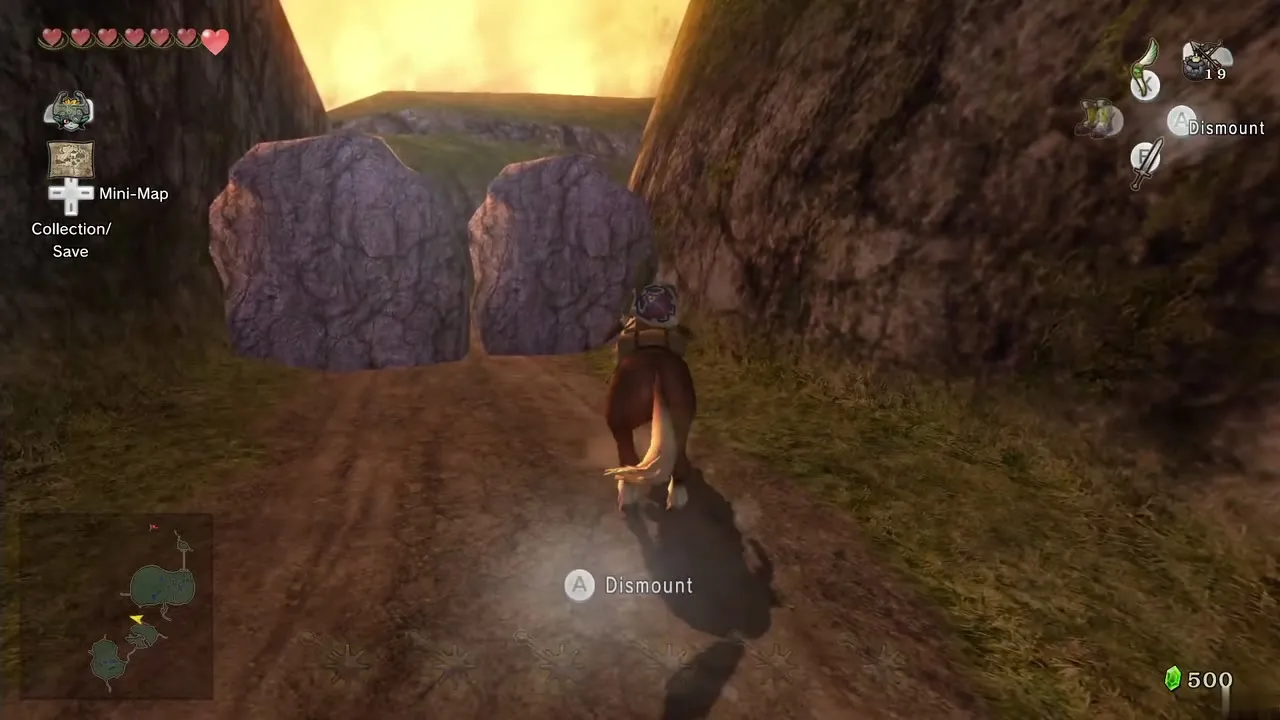
A path along the gorge’s north side is blocked by boulders. Bomb them from either side to connect the gorge to the Bridge of Eldin region. Leevers burst from the ground here, so keep moving.
Female Grasshopper
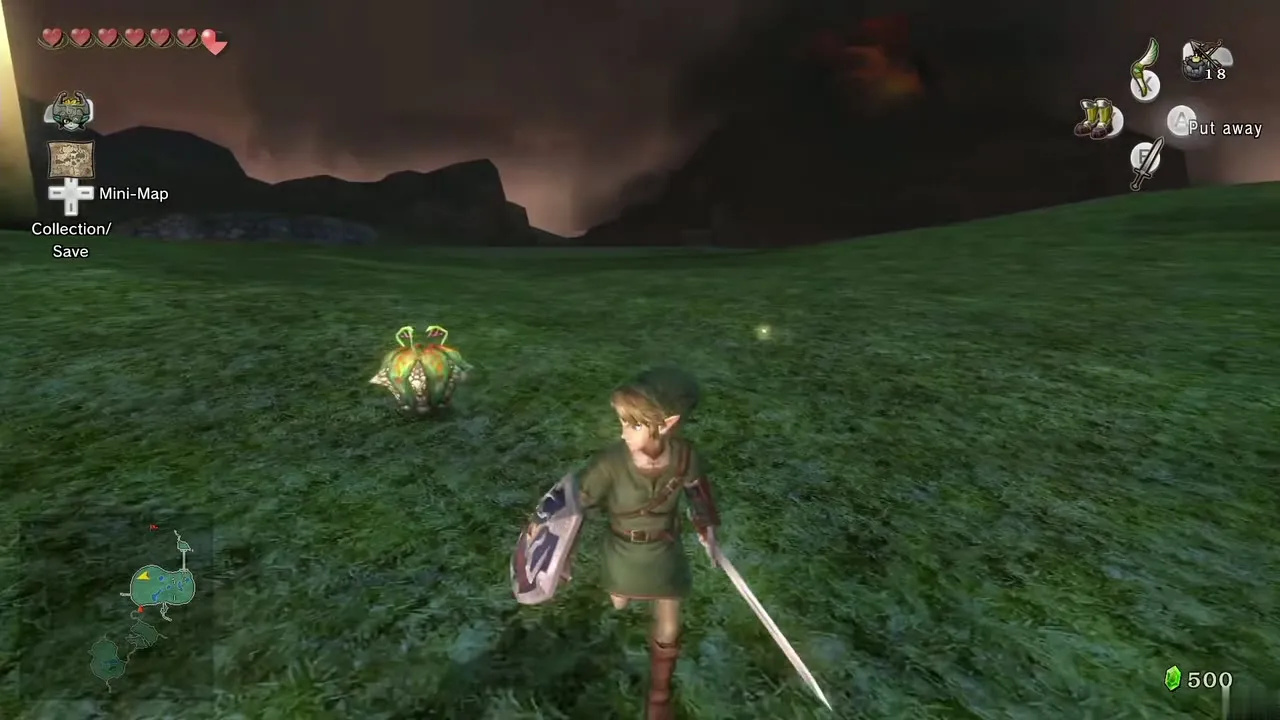
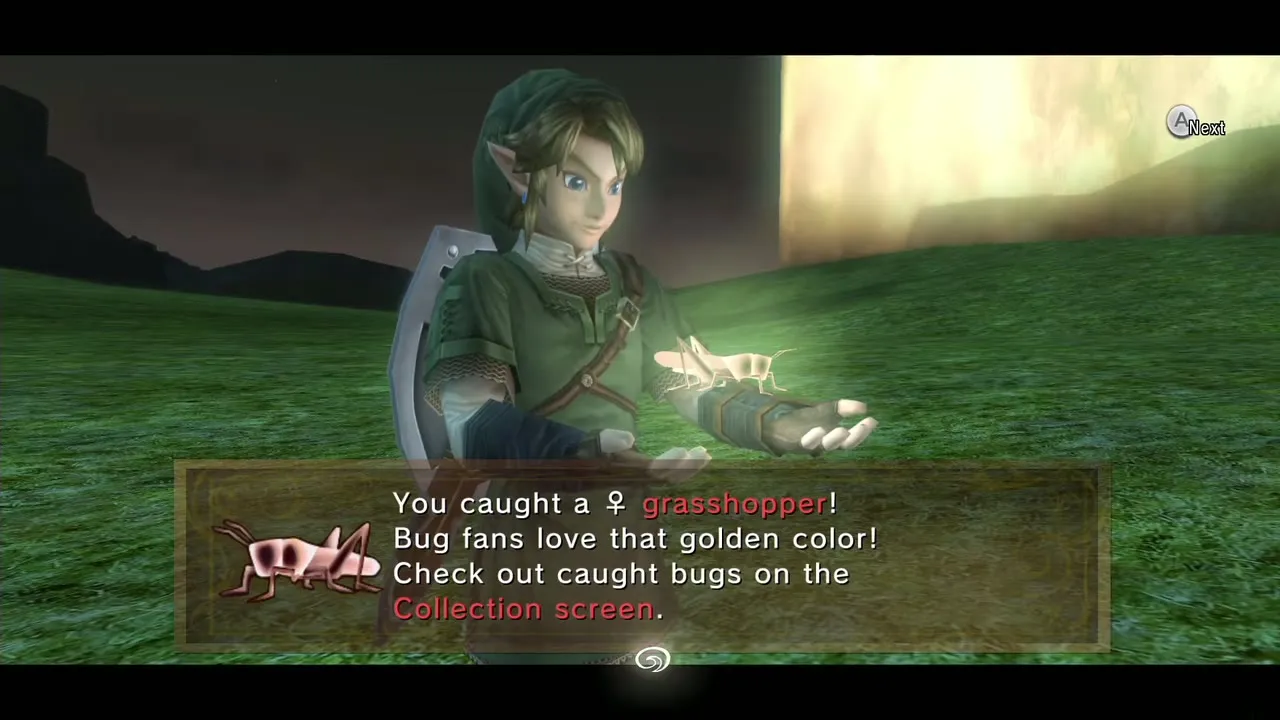
In the north-west of the field, out in the open, a female Golden Grasshopper hops about. It is easiest to see at night. Knock it down with the Gale Boomerang and bring it to you.
Heart Piece #10
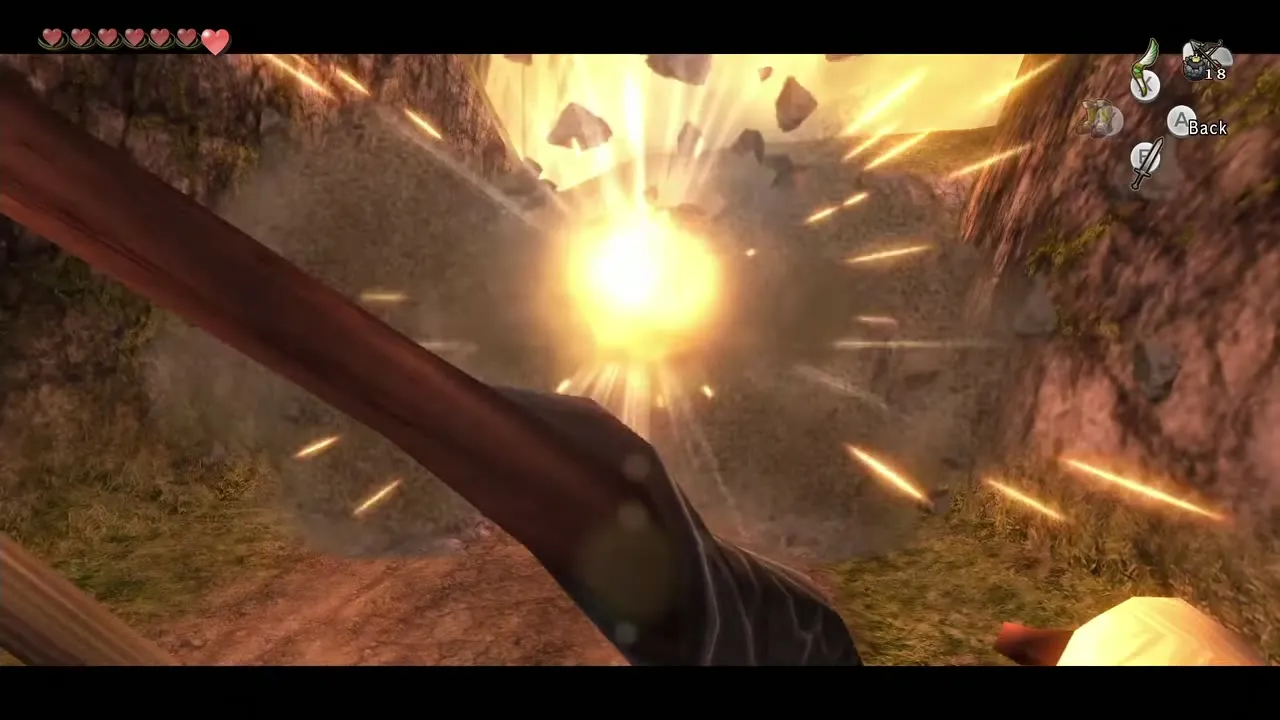
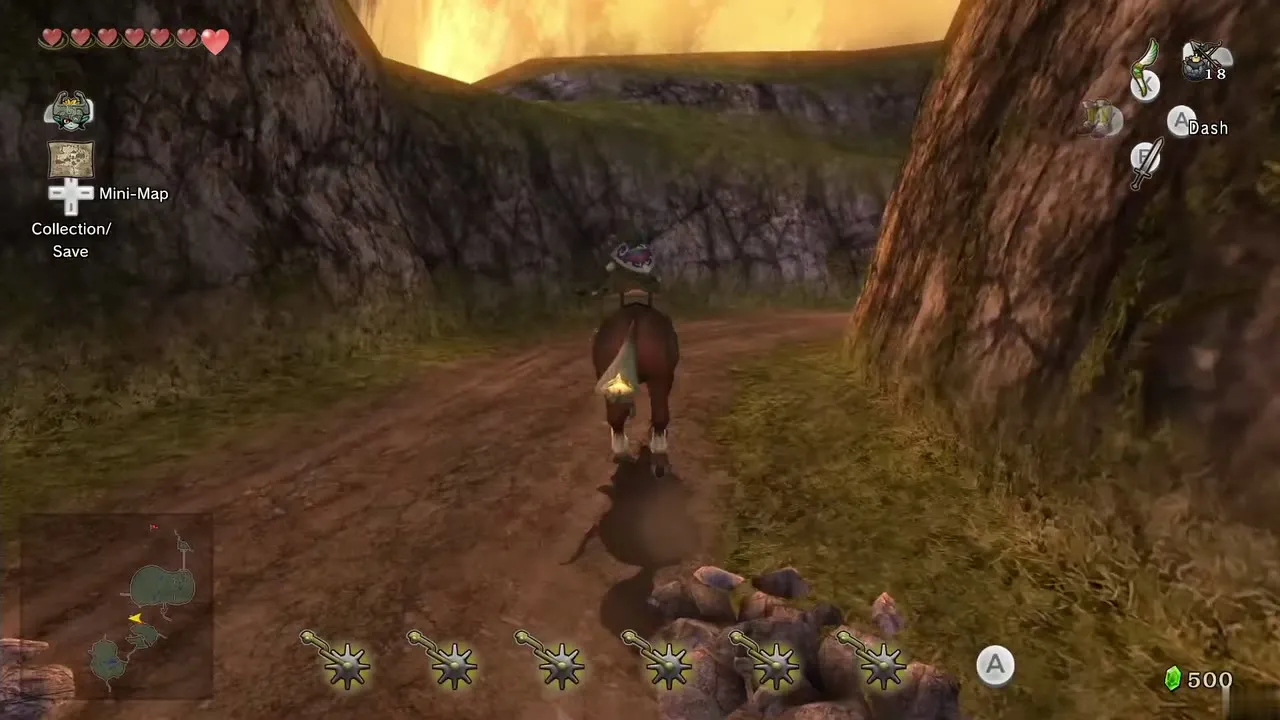
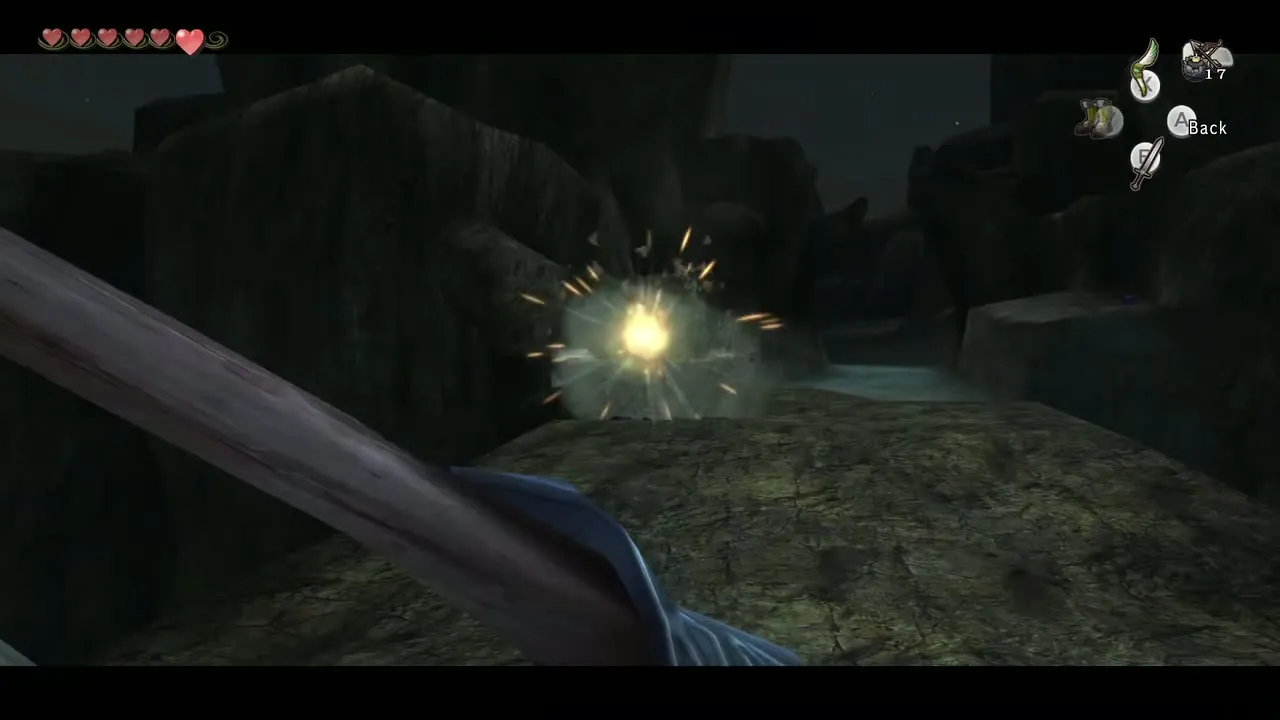
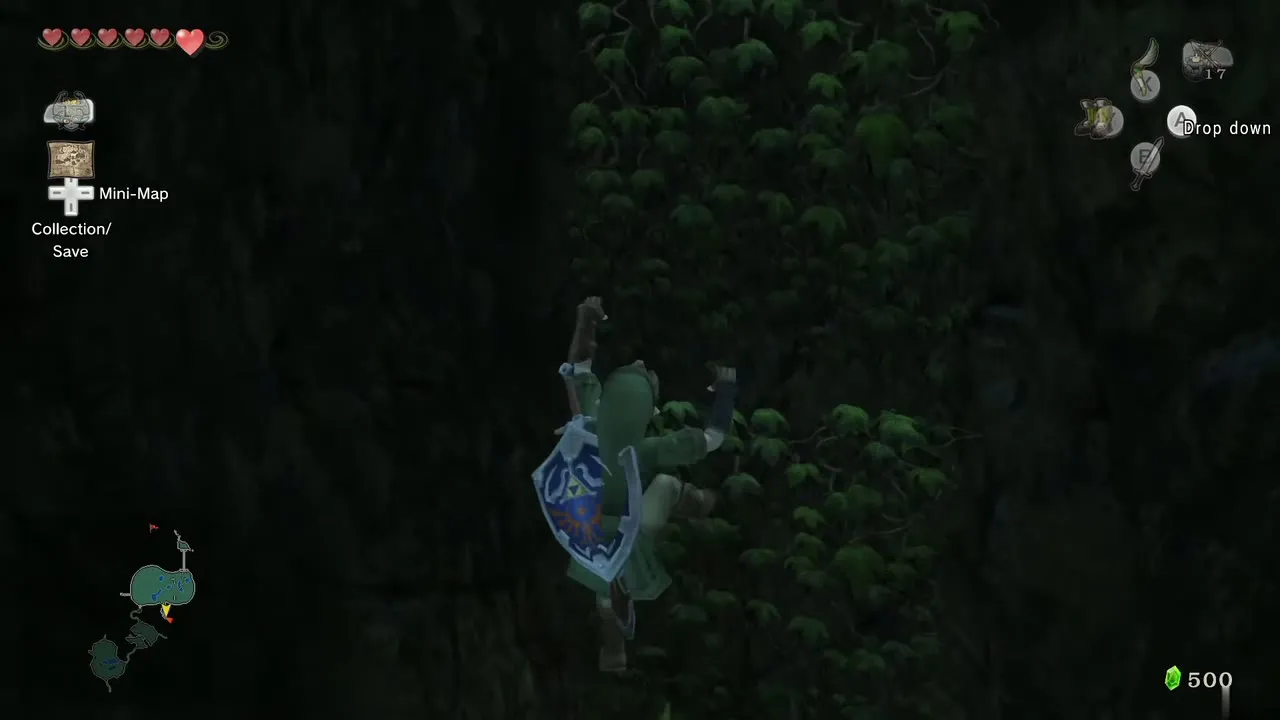
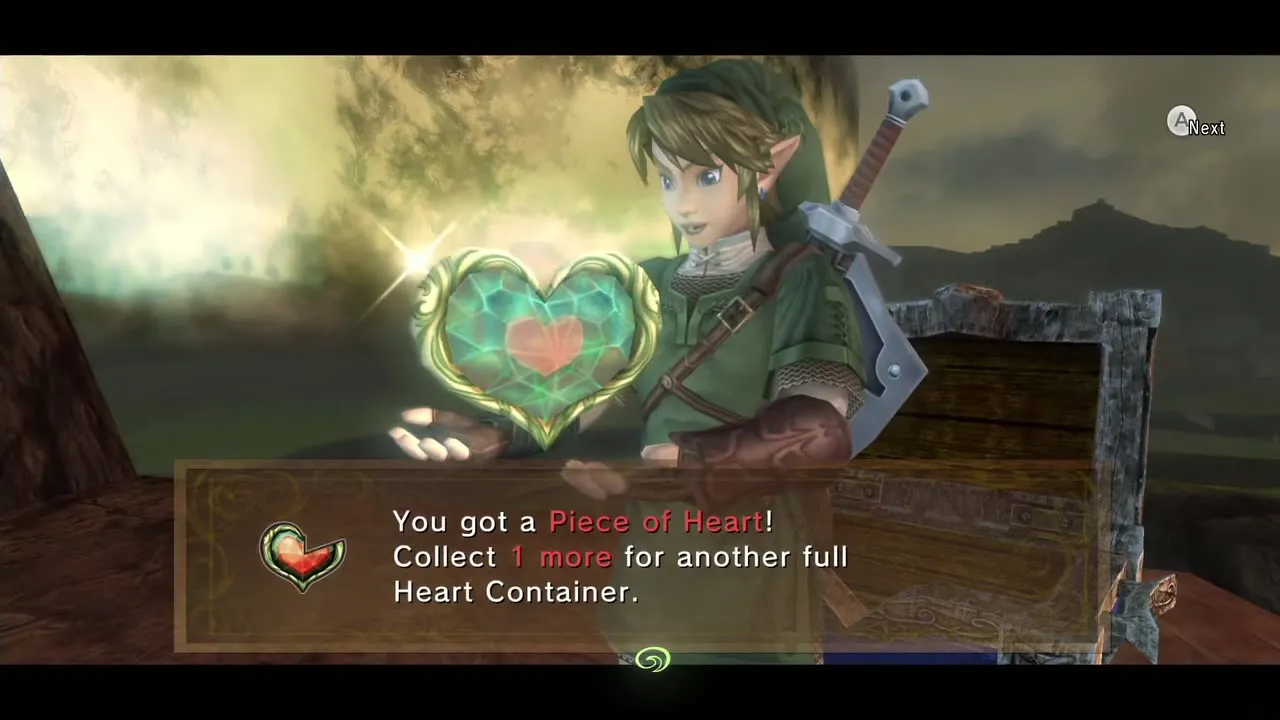
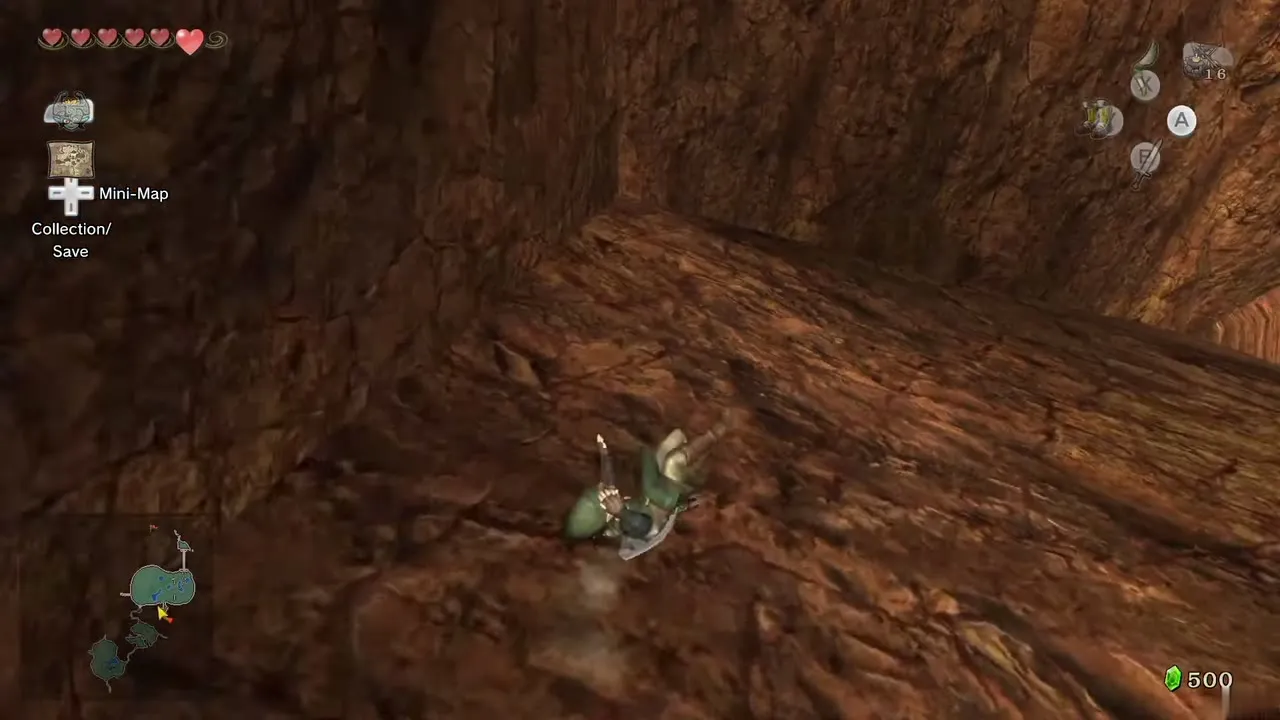
Head east then south toward the canyon leading to Kakariko’s north entrance. To its left are two large boulders; bomb them and climb the ledge. Follow the ramp, jump the platforms and climb the vines. Cross the bridge to a second set of vines, but first destroy the boulder above them with a bomb arrow, then climb across. Look down on your right near where you started to spot a chest; drop to it for a Piece of Heart.

Male Grasshopper, Male and Female Phasmid
Drop back to ground level and look slightly north-east. On your map a short vertical line marks a low rock wall; the male Golden Grasshopper sits just west of it. Use the boomerang.
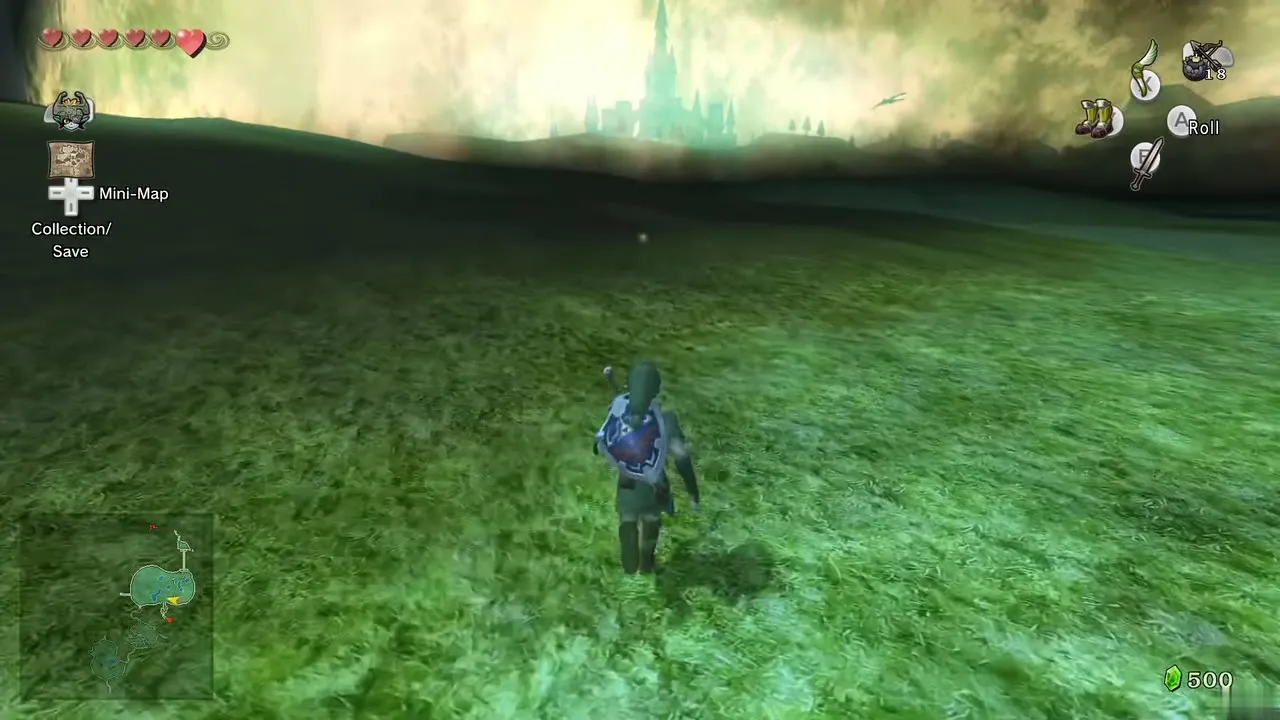
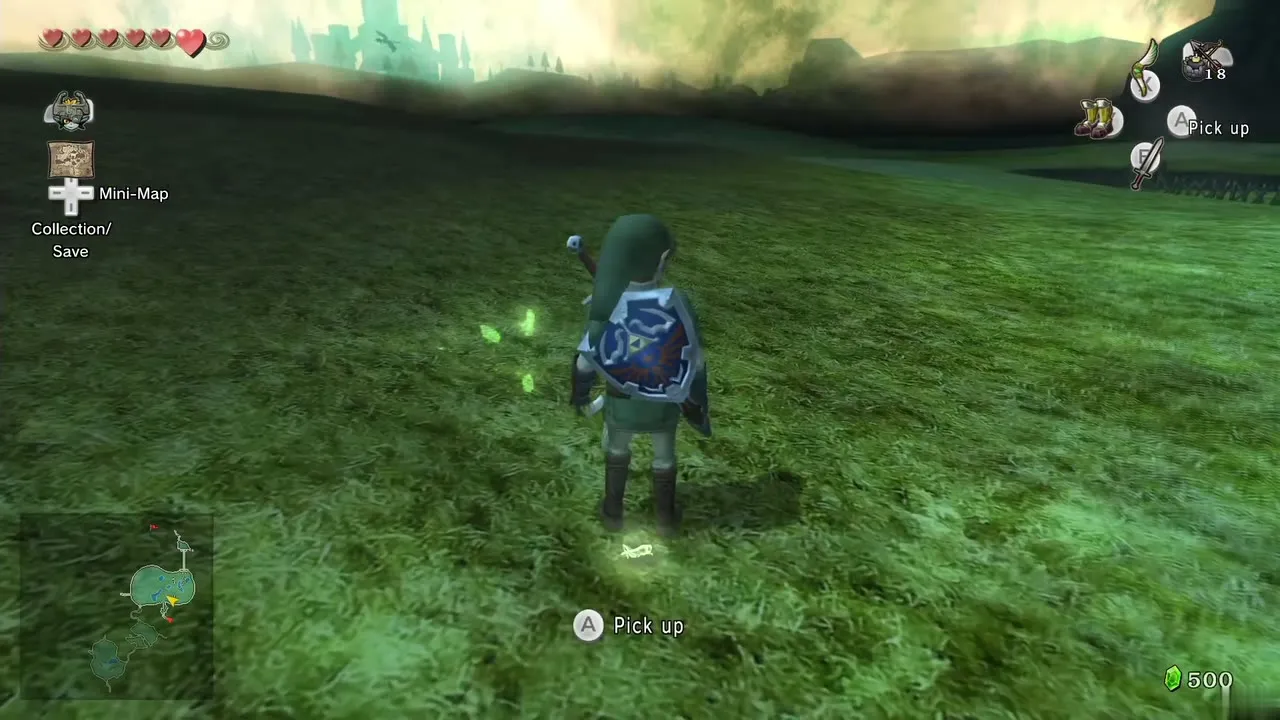
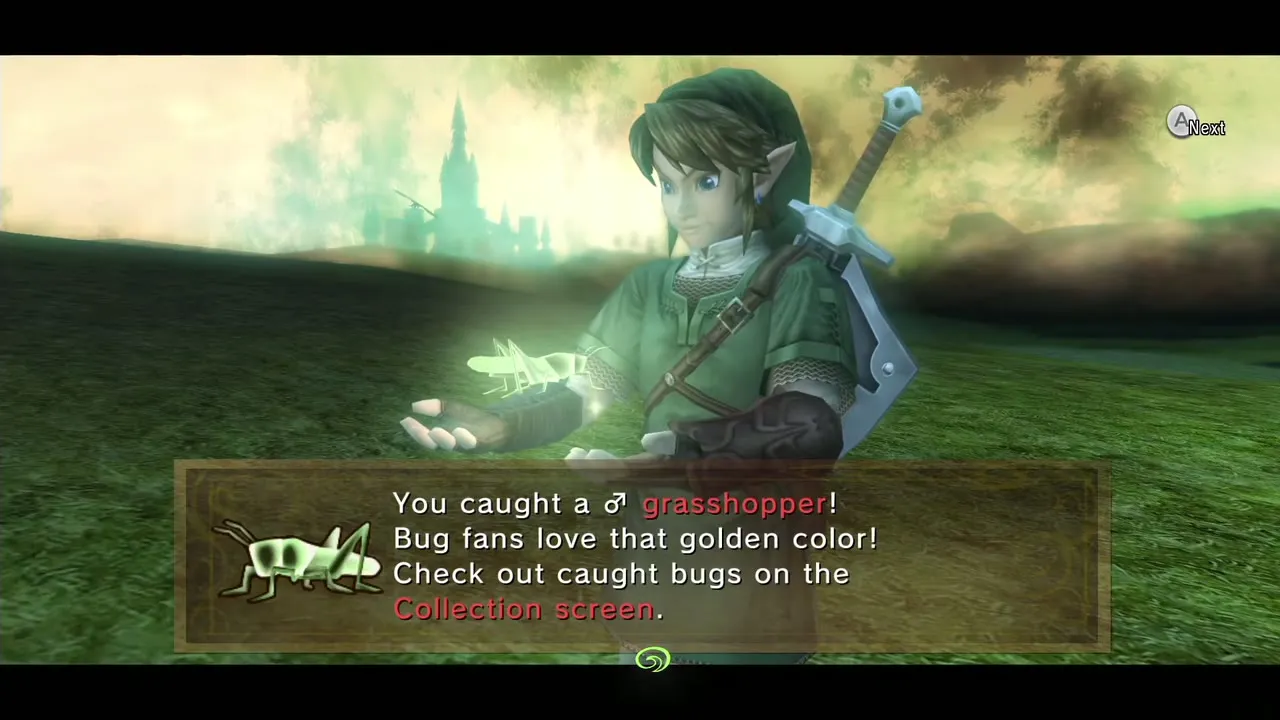
Go north to the Bridge of Eldin. Just inside the entrance gateway, a bug sits high on the right: the male Golden Phasmid. Hit it with the boomerang. Leevers keep surfacing in this field, so kill them first.
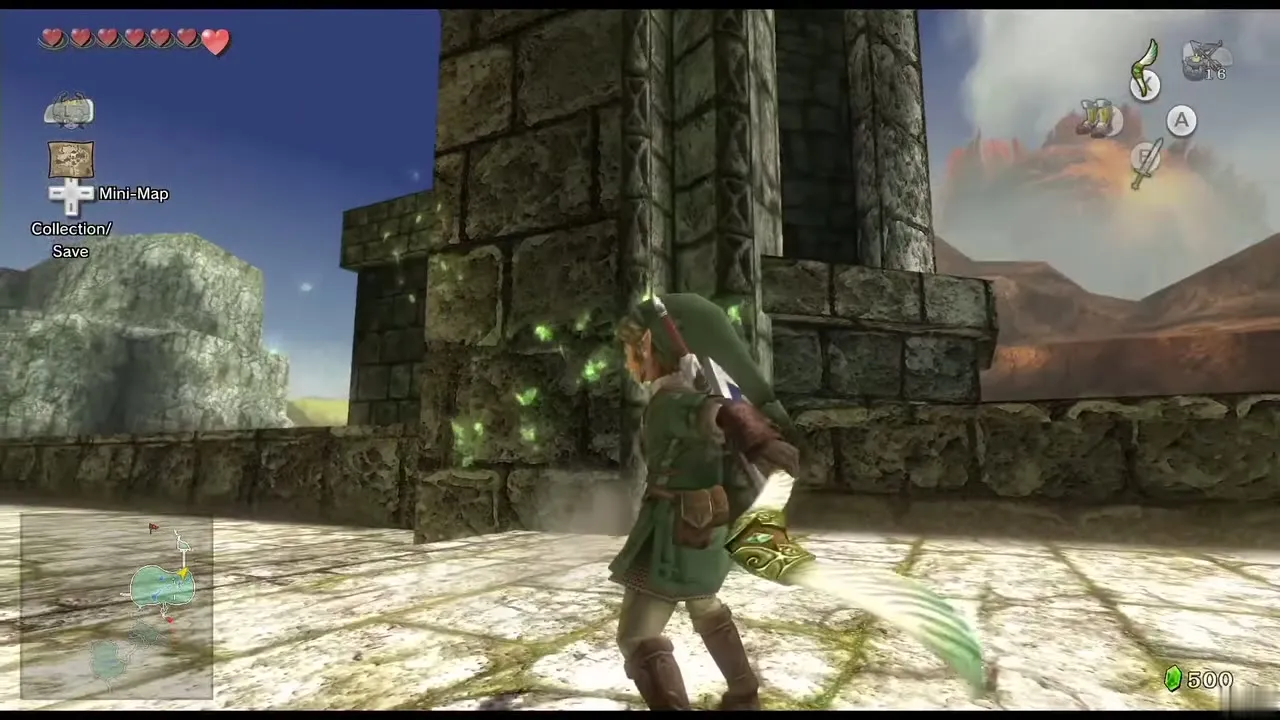
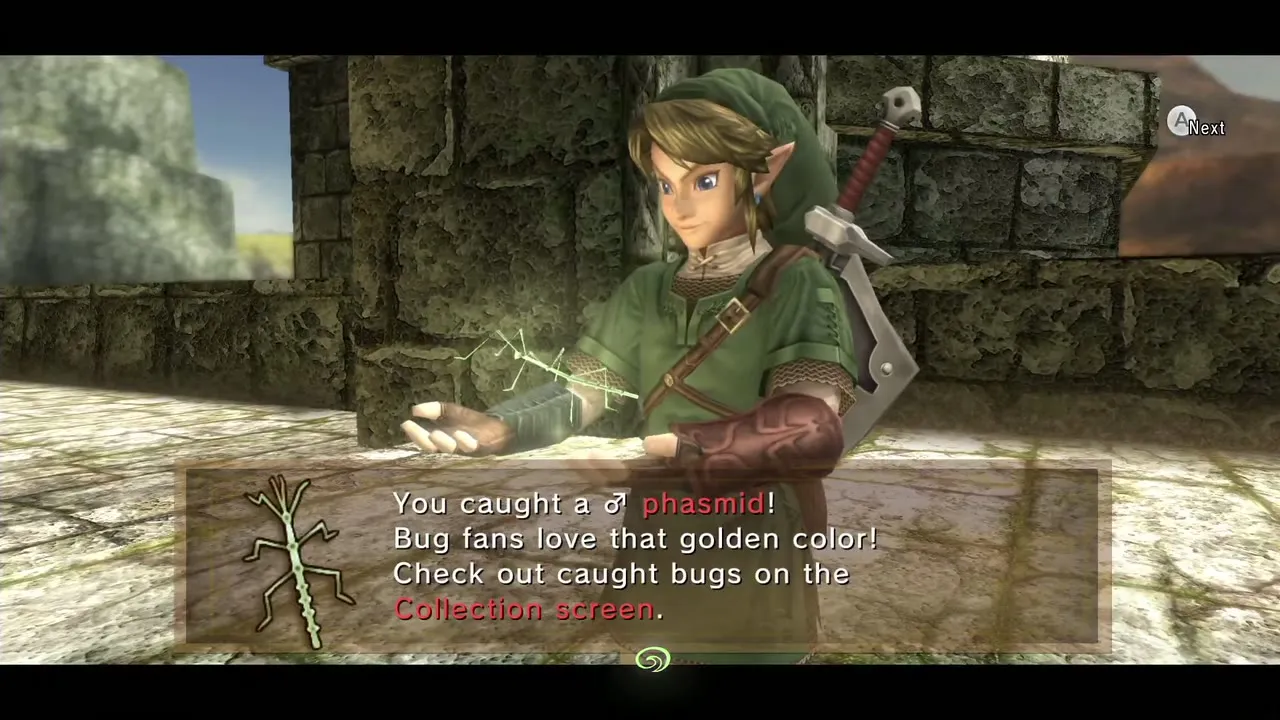
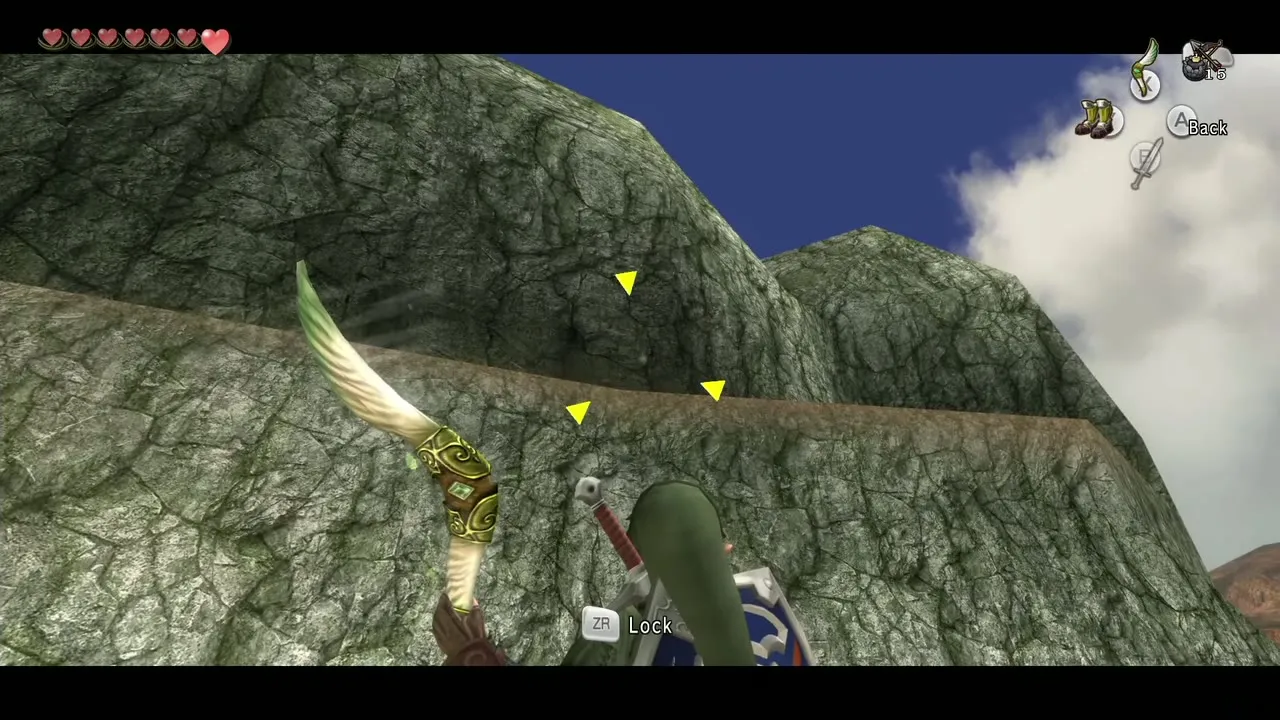
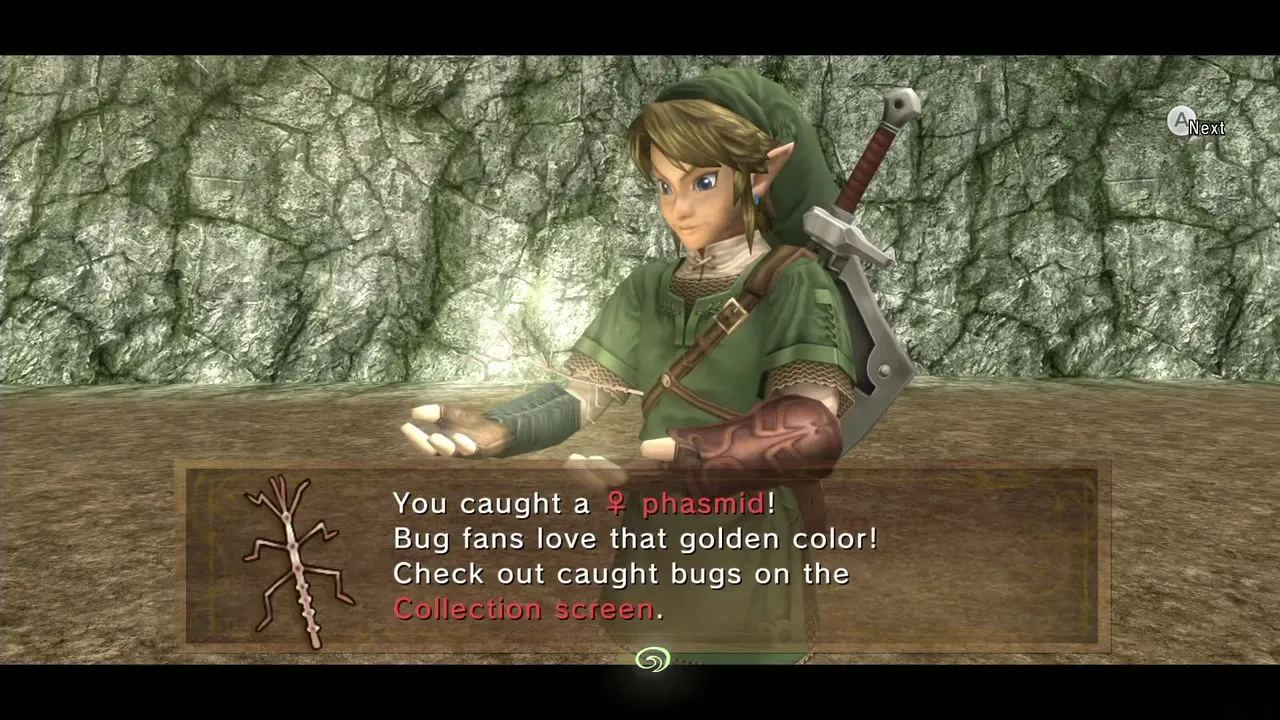
Ride across the bridge and look right toward the higher platform past the end. The female Golden Phasmid glows at night. Creep close and use the Gale Boomerang. That makes four more Golden Bugs from this stretch (Female and Male Grasshopper, Male and Female Phasmid), ten in total including Kakariko and Death Mountain. Agitha’s castle is not open yet; hold them until you reach her.
Bridge of Eldin to the Lanayru Twilight
North of the bridge, boulders block the path ahead. Bomb them; a twilight portal pulls part of the bridge into the sky and drops three Shadow Beasts. Fight them on the bridge as human Link and use the spin attack, holding the sword button and releasing it, to hit all of them.
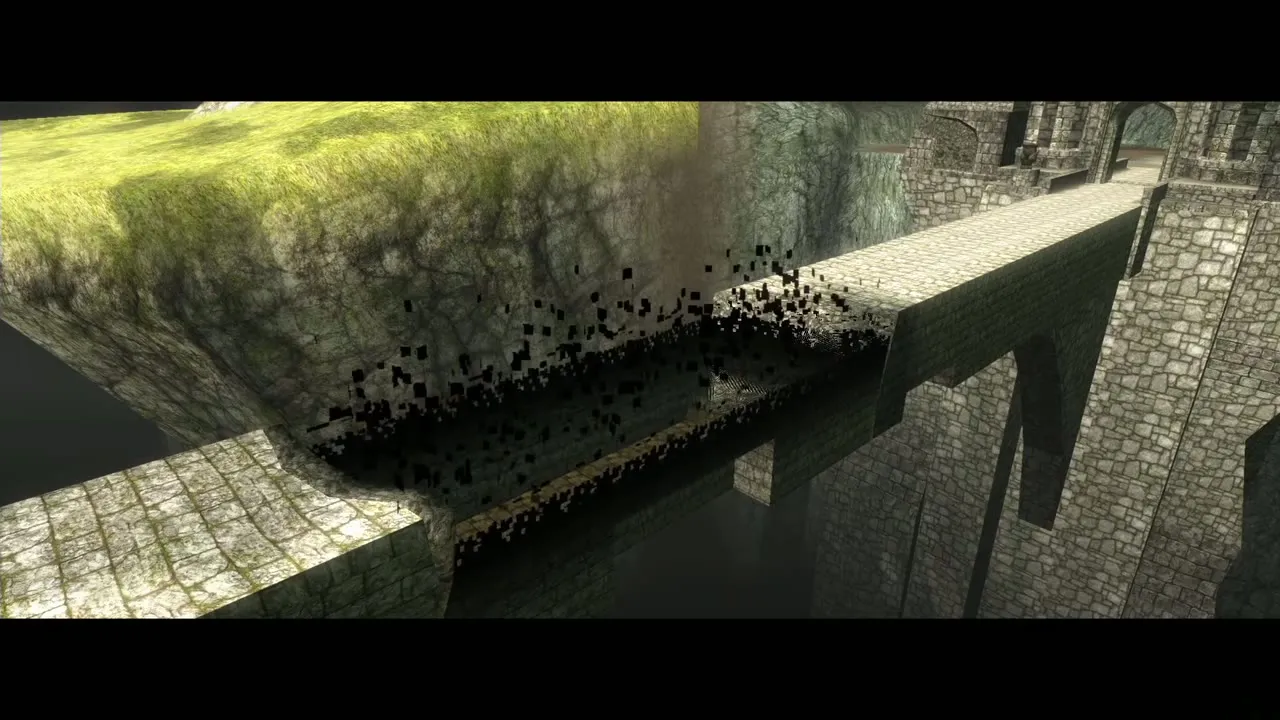
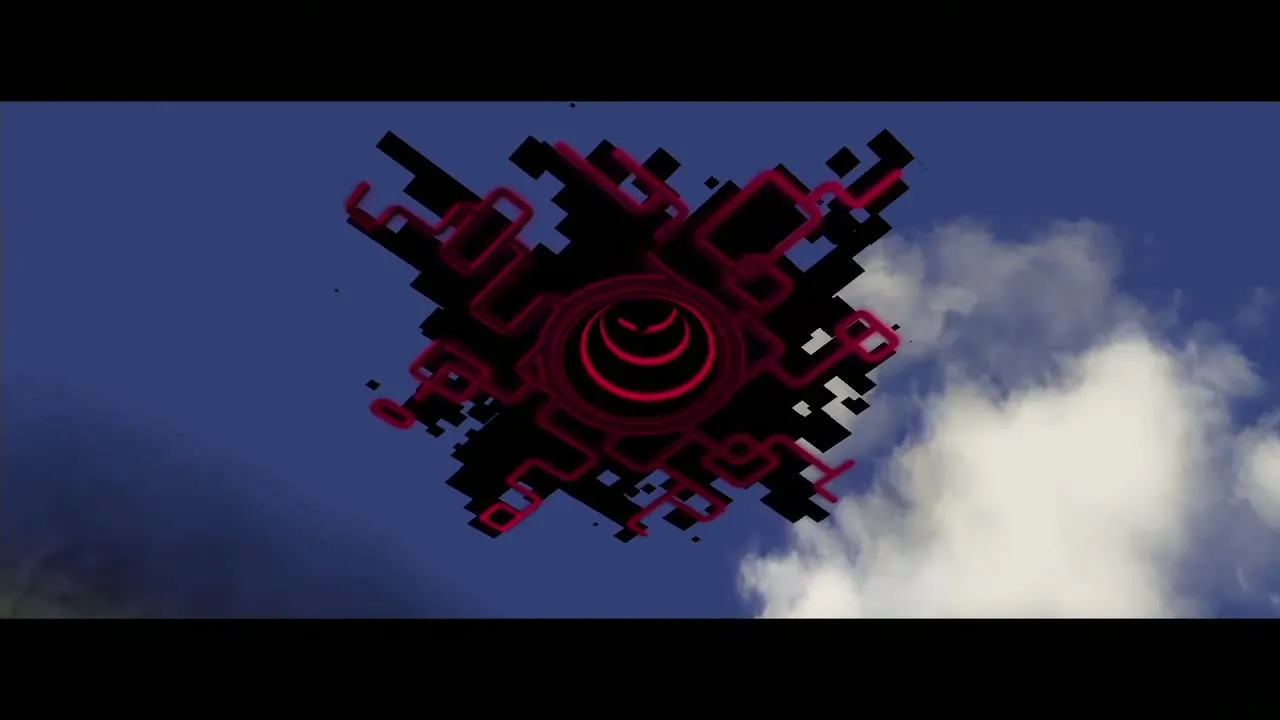
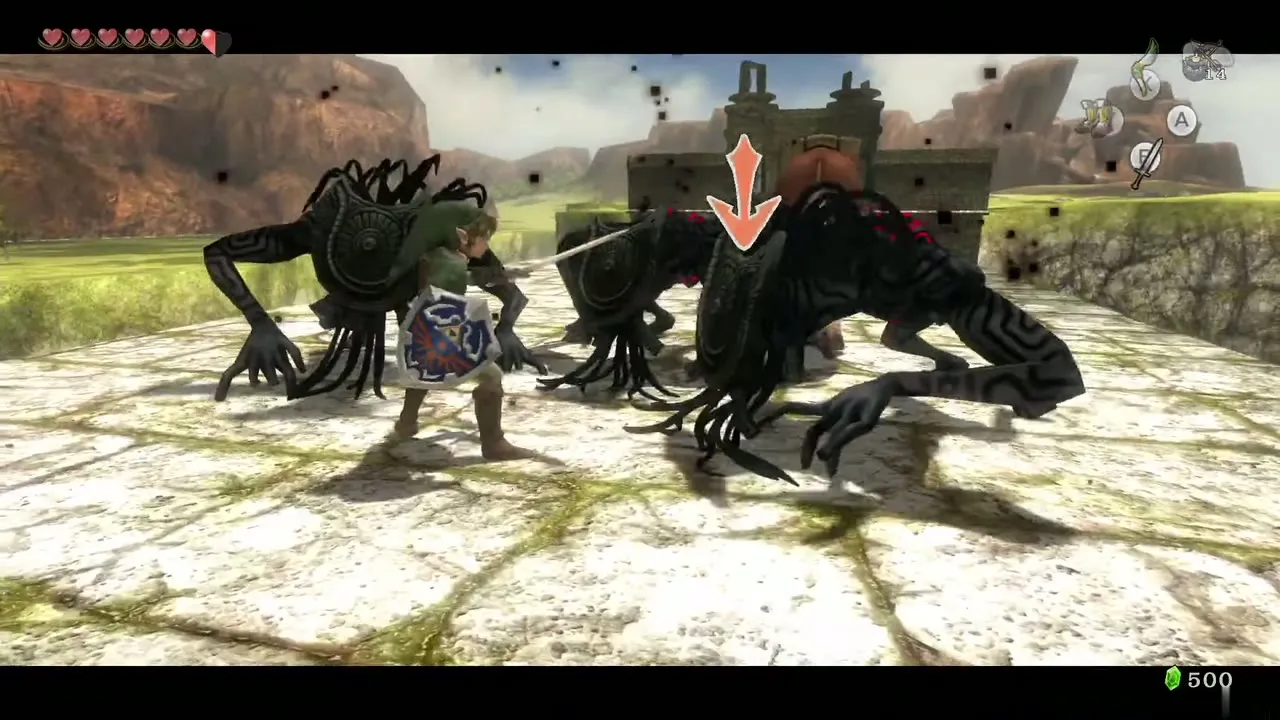
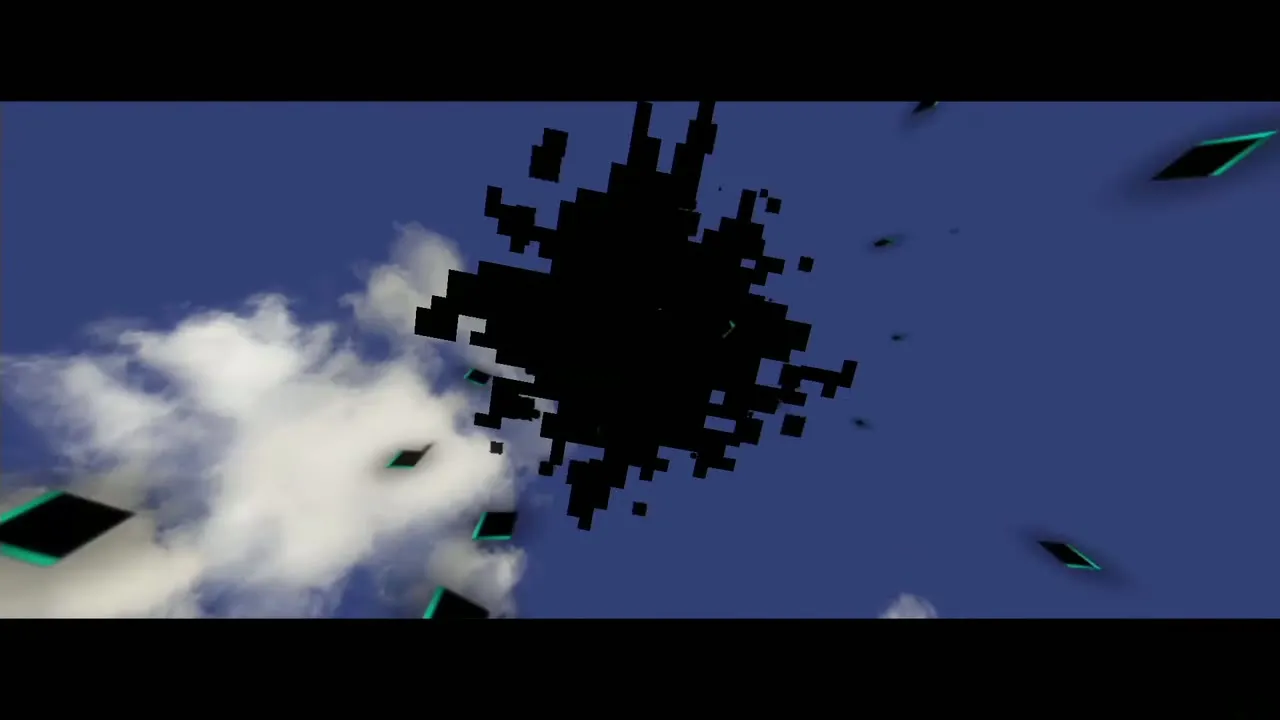
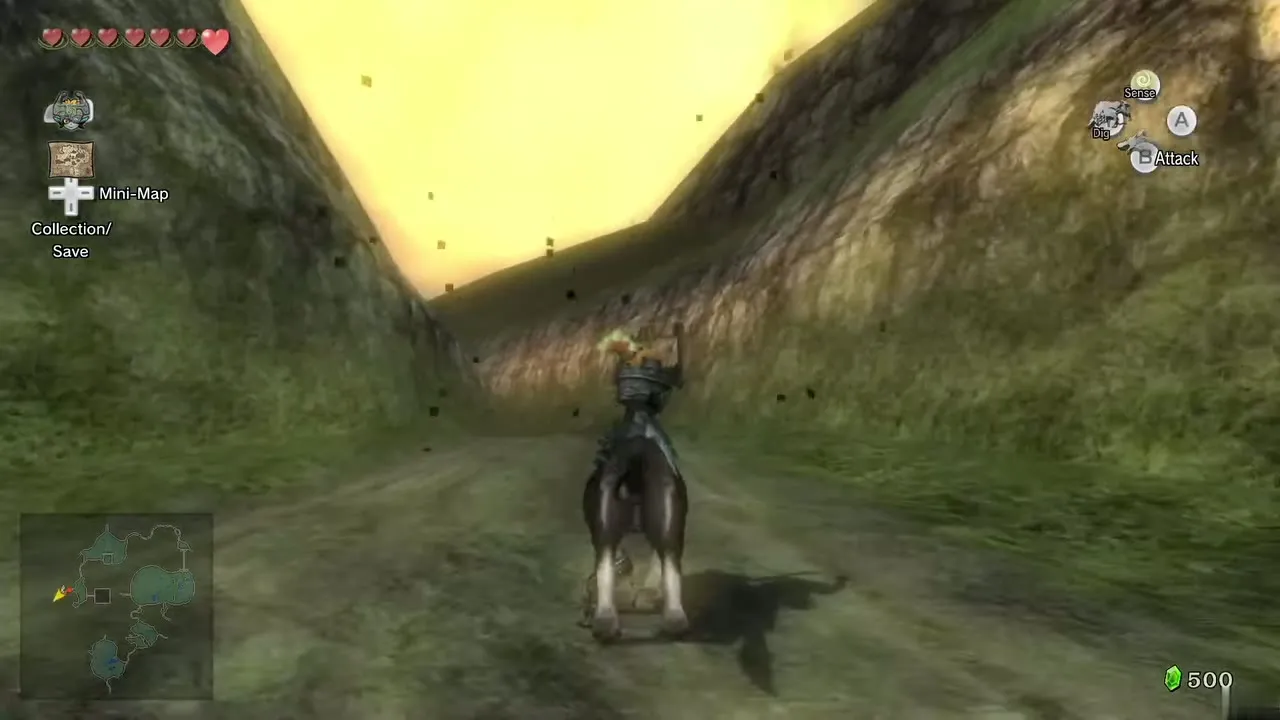
Ride north to the wall of twilight. Walk into it and let Midna pull you in, which turns you into a wolf.
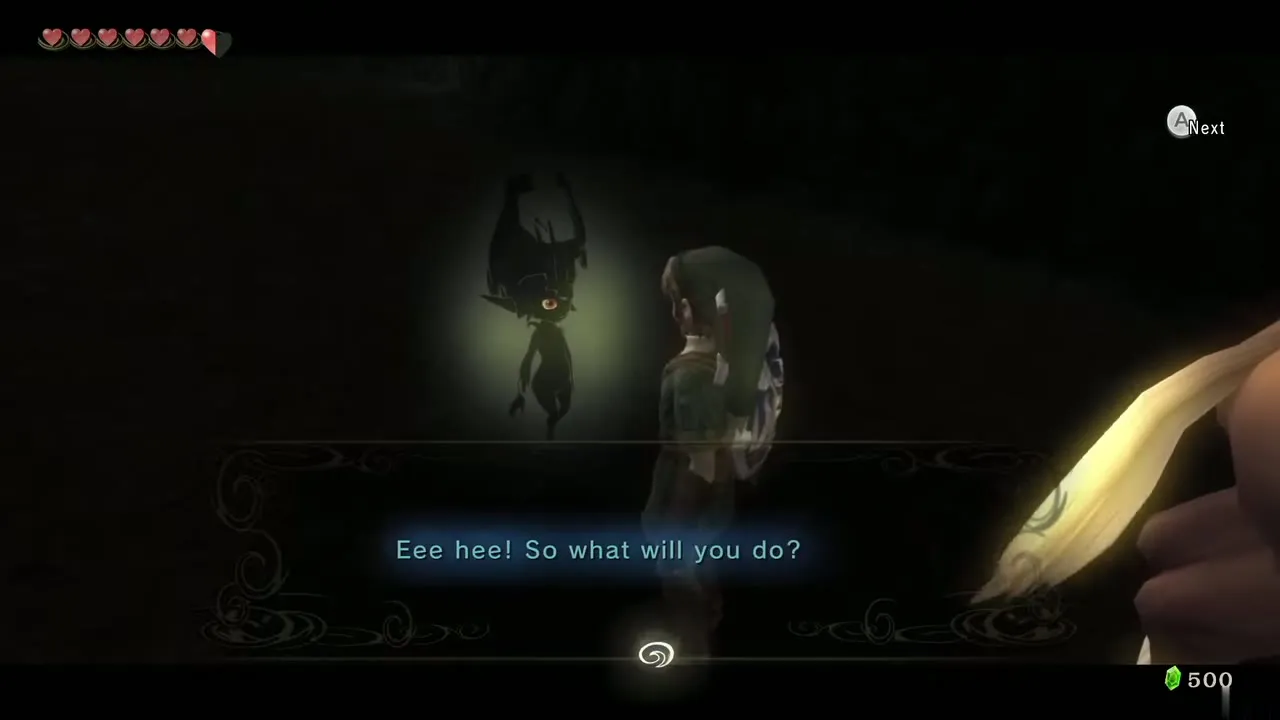
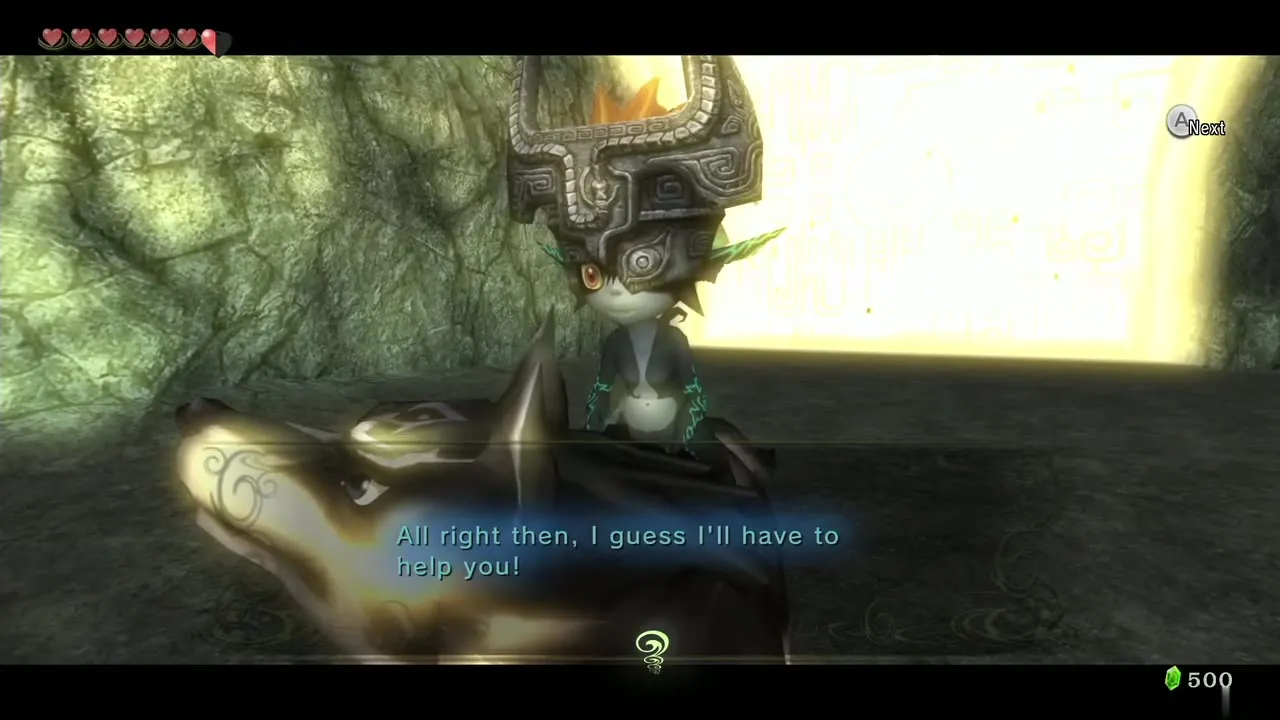
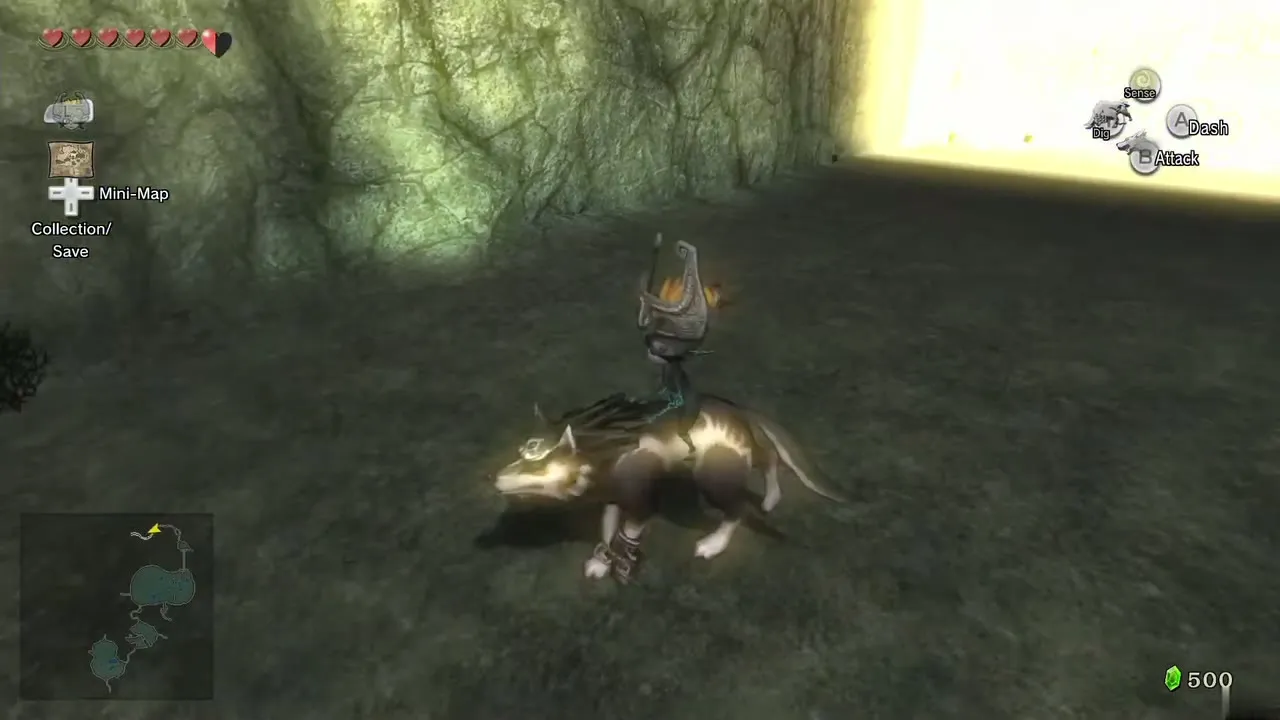
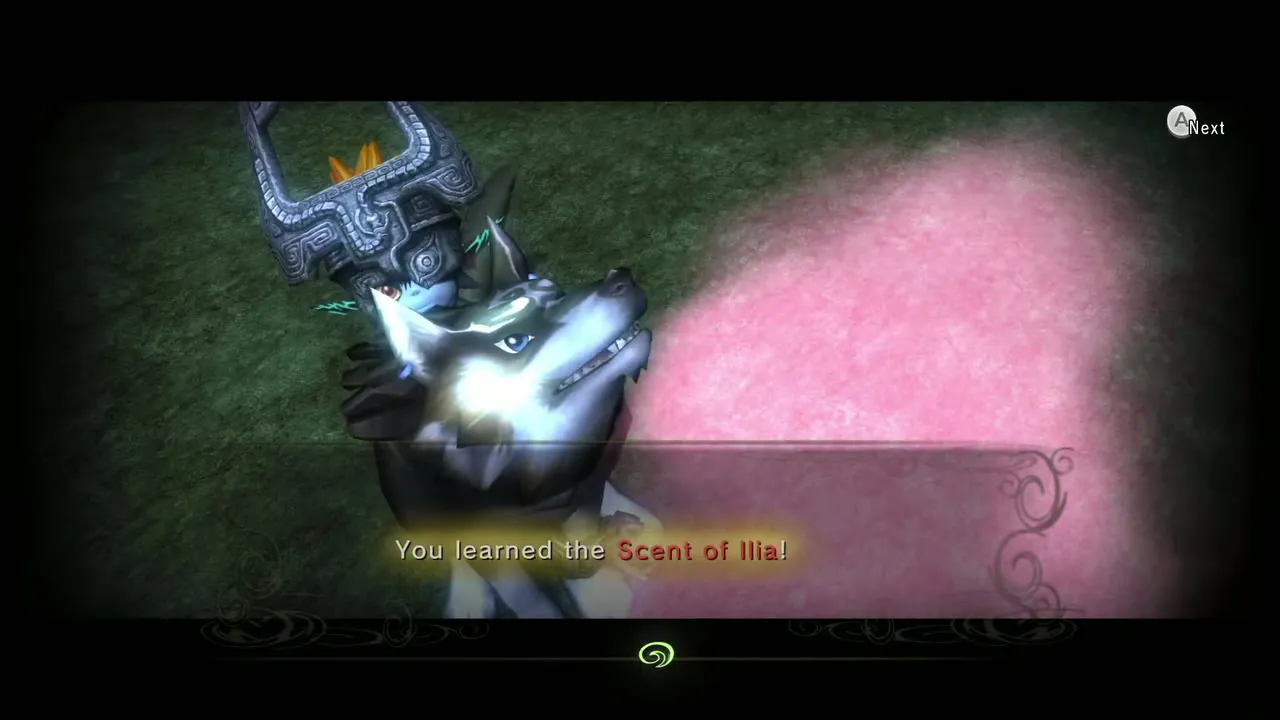
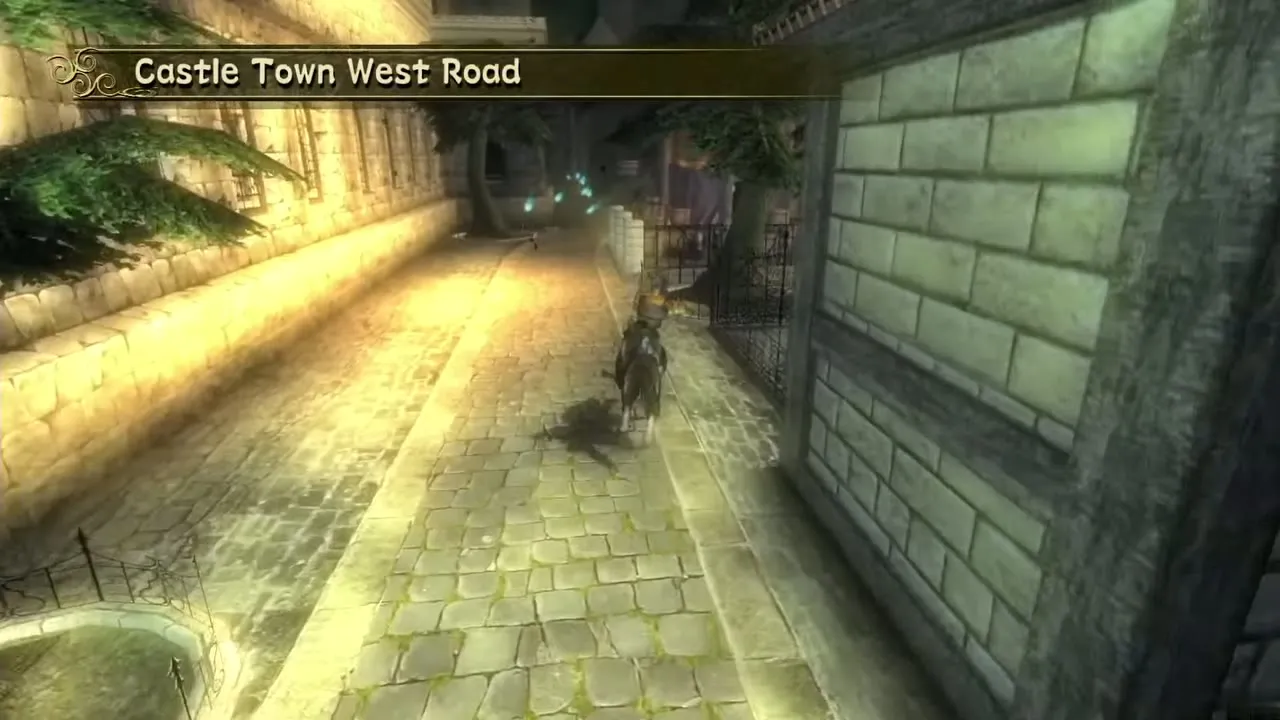
Run ahead to find a pouch of Ilia’s. Sniff it, forget the Youth’s Scent and learn the Scent of Ilia. Then follow the trail across the field, over the bridge and into Hyrule Castle Town. In wolf form you hear the townsfolk only as spirits, through your senses.
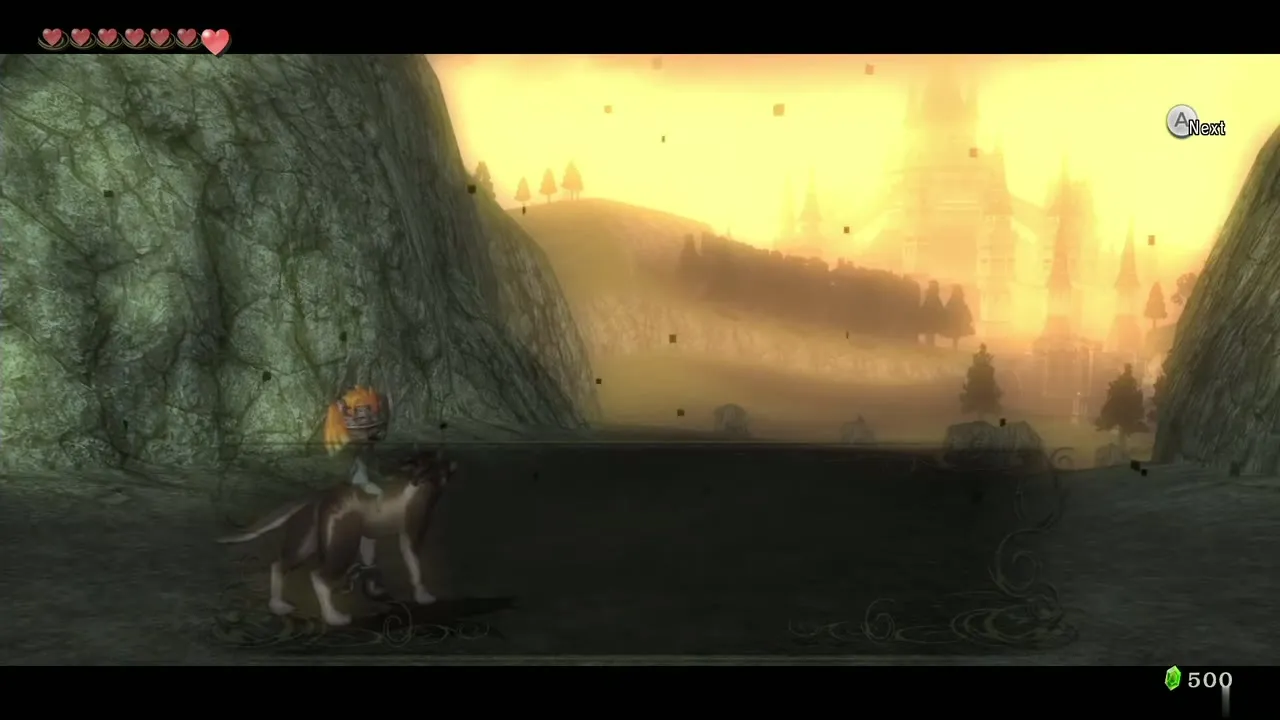
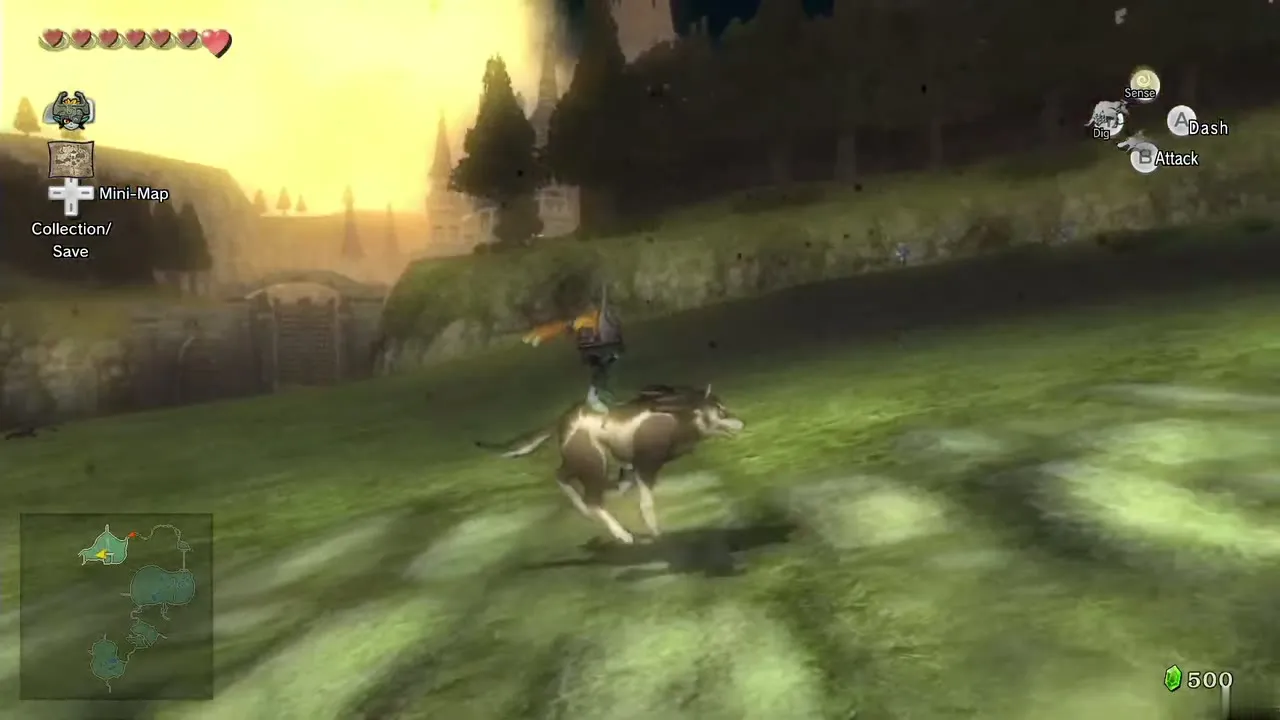
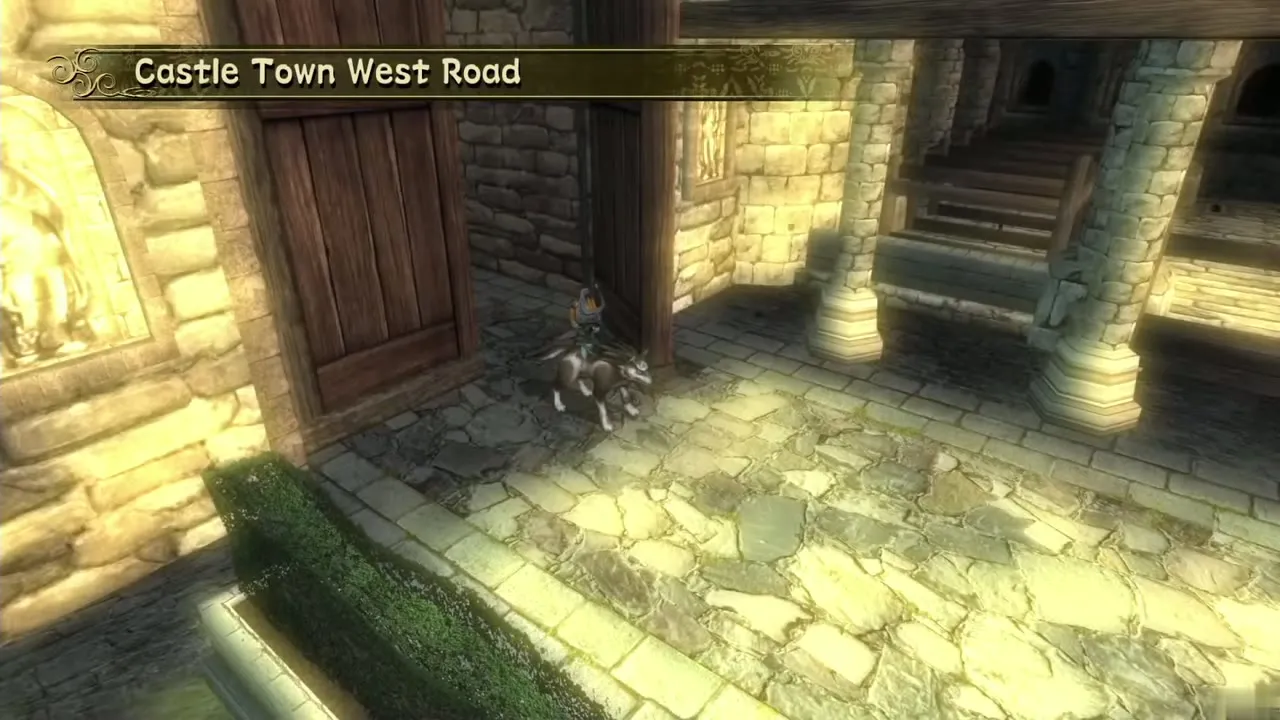
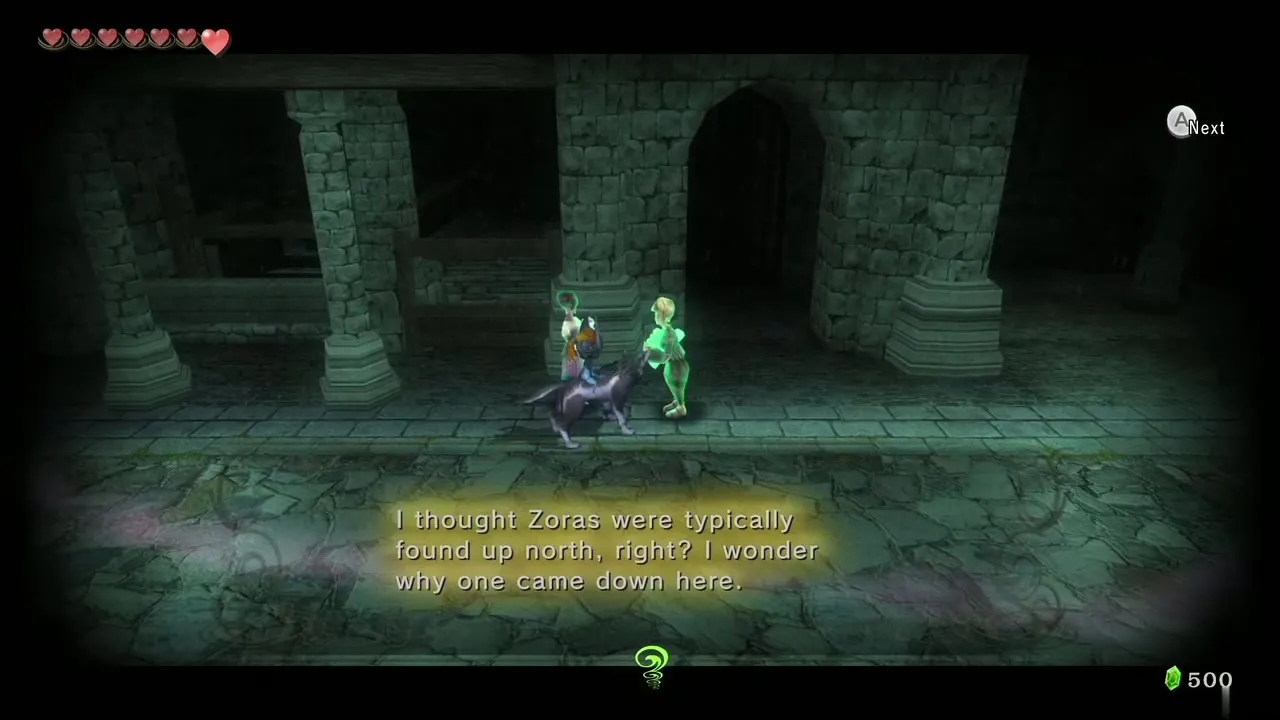
Hyrule Castle Town in the Twilight
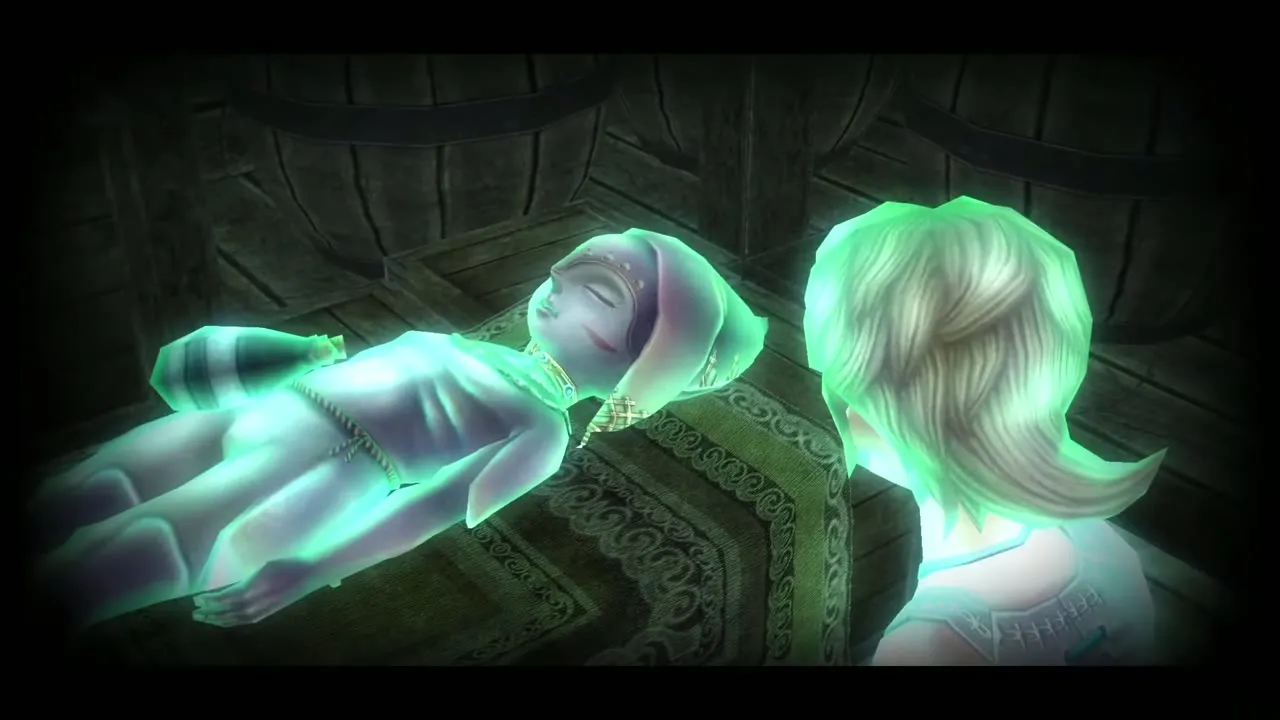
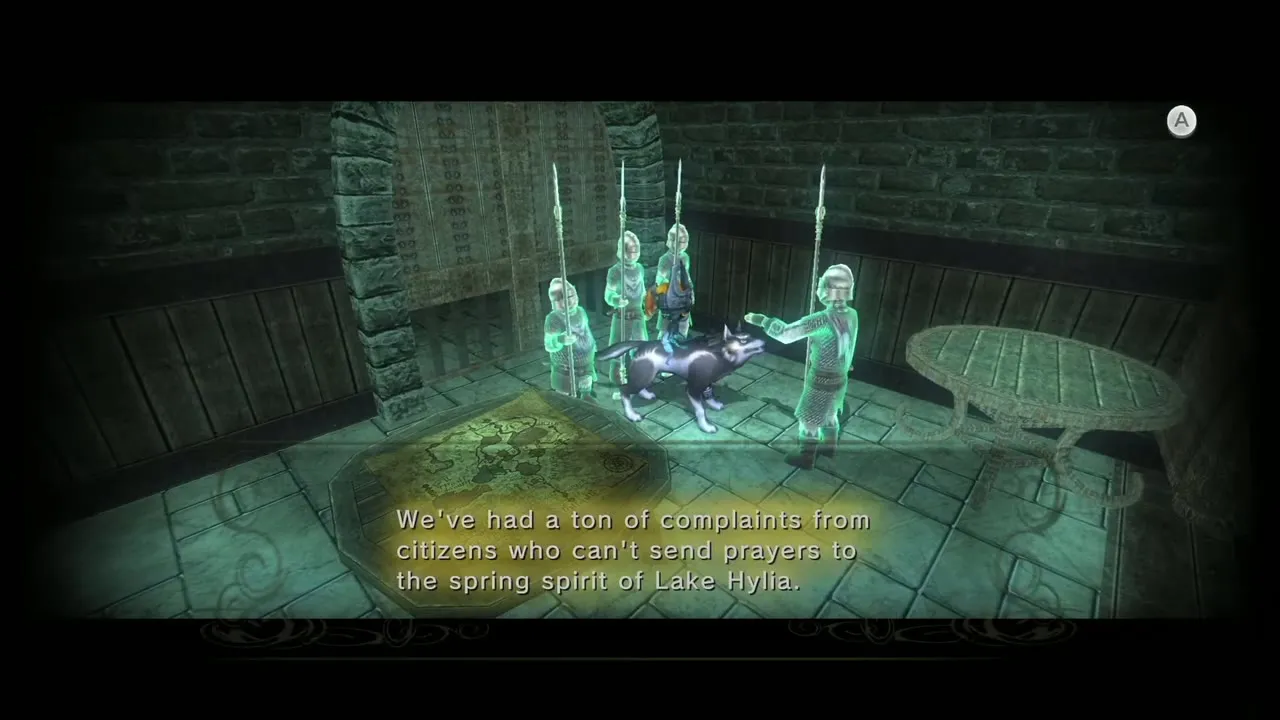
Spirits in town mention the water trouble at Lake Hylia. Follow the scent through the south of town into Telma’s Bar, where Ilia and Telma are tending a wounded Zora. Listen to the guards at the back; a map on their table has a mark that appears on your own map. Leave the way you came to head to that mark, which is the Great Bridge of Hylia to the west.
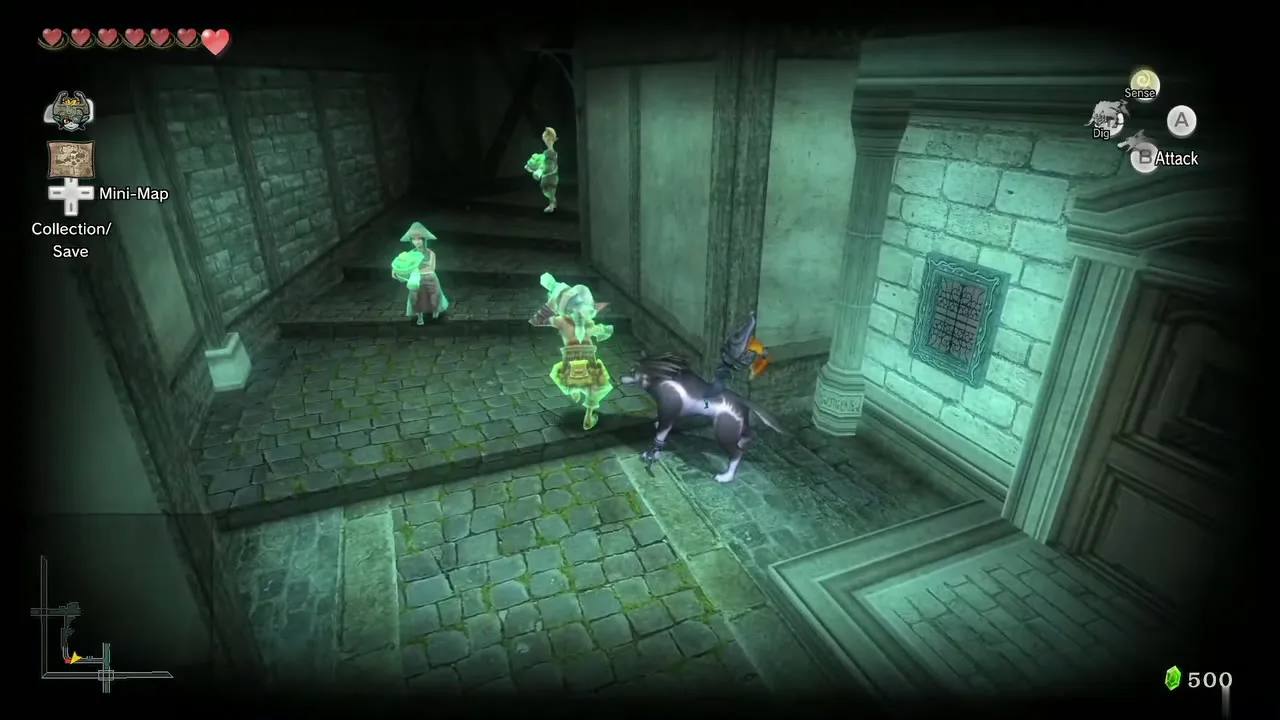
Lake Hylia and the Great Bridge
Head west through Hyrule Field to the Great Bridge of Hylia, which crosses the drained lake. Halfway across, a black oily substance coats the planks and a shadow bulblin archer lights it with fire arrows. Push a crate against the wall, climb up and leap off to land in the lake basin.
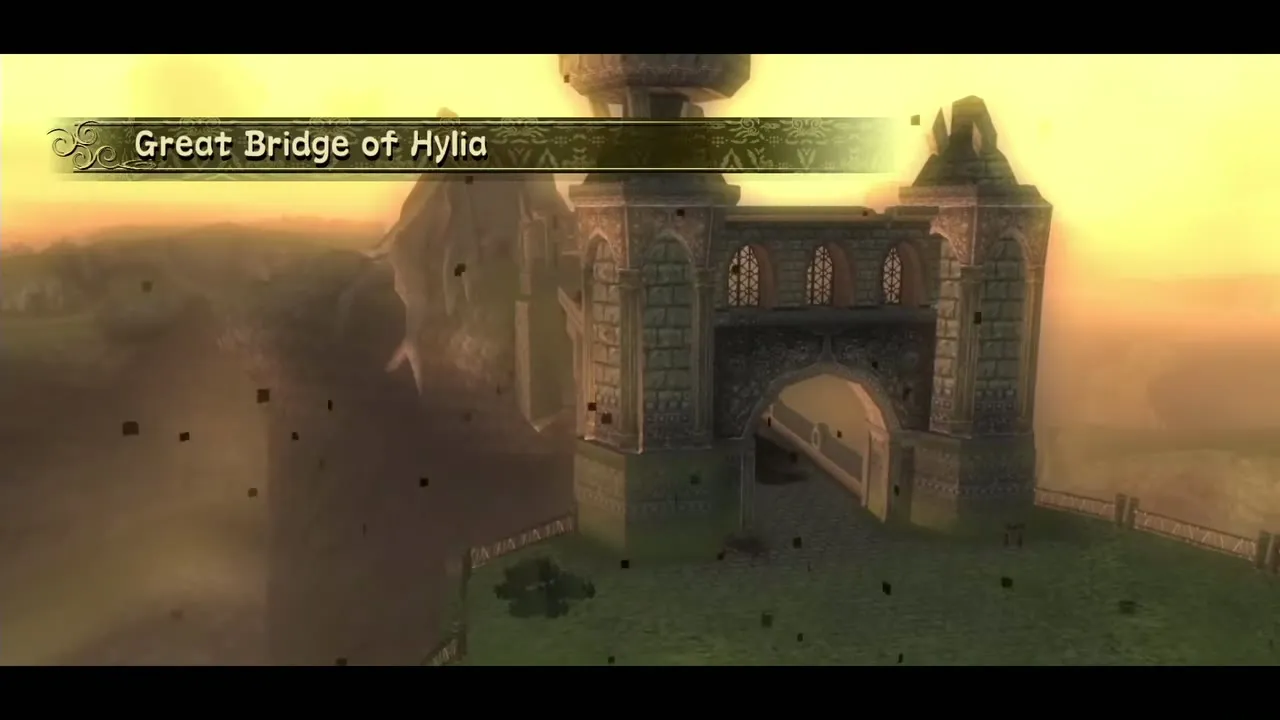
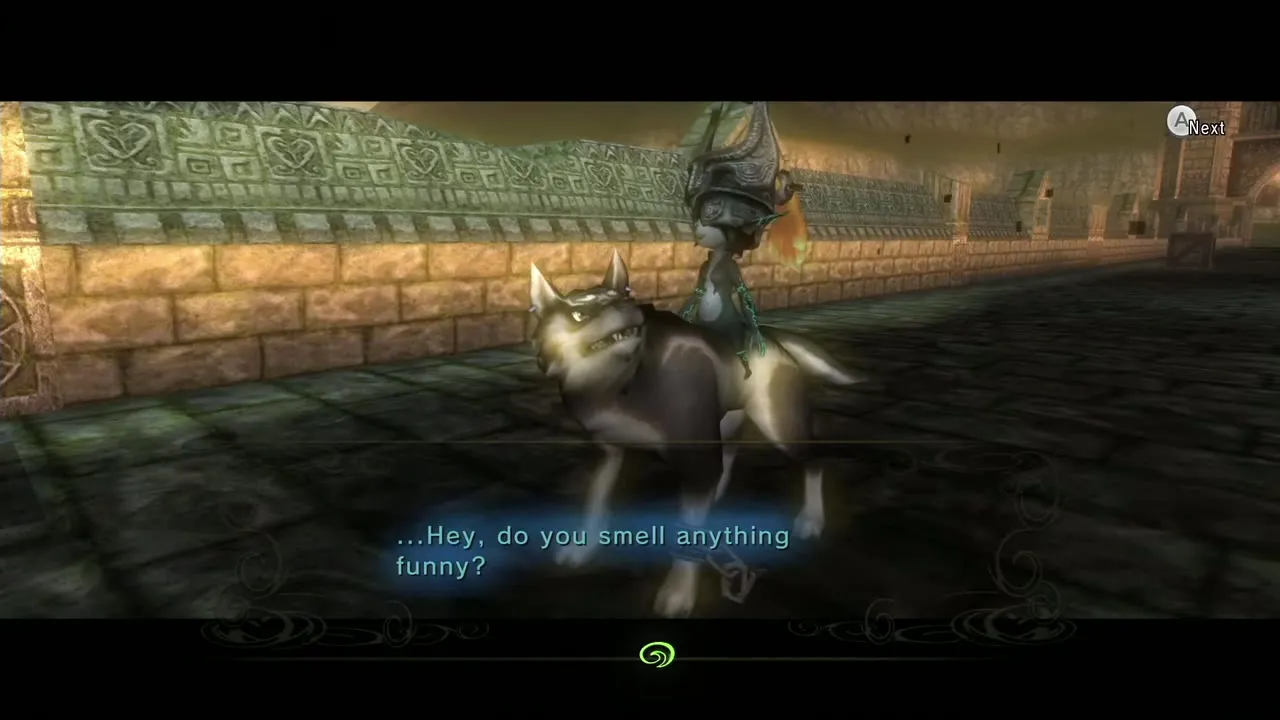
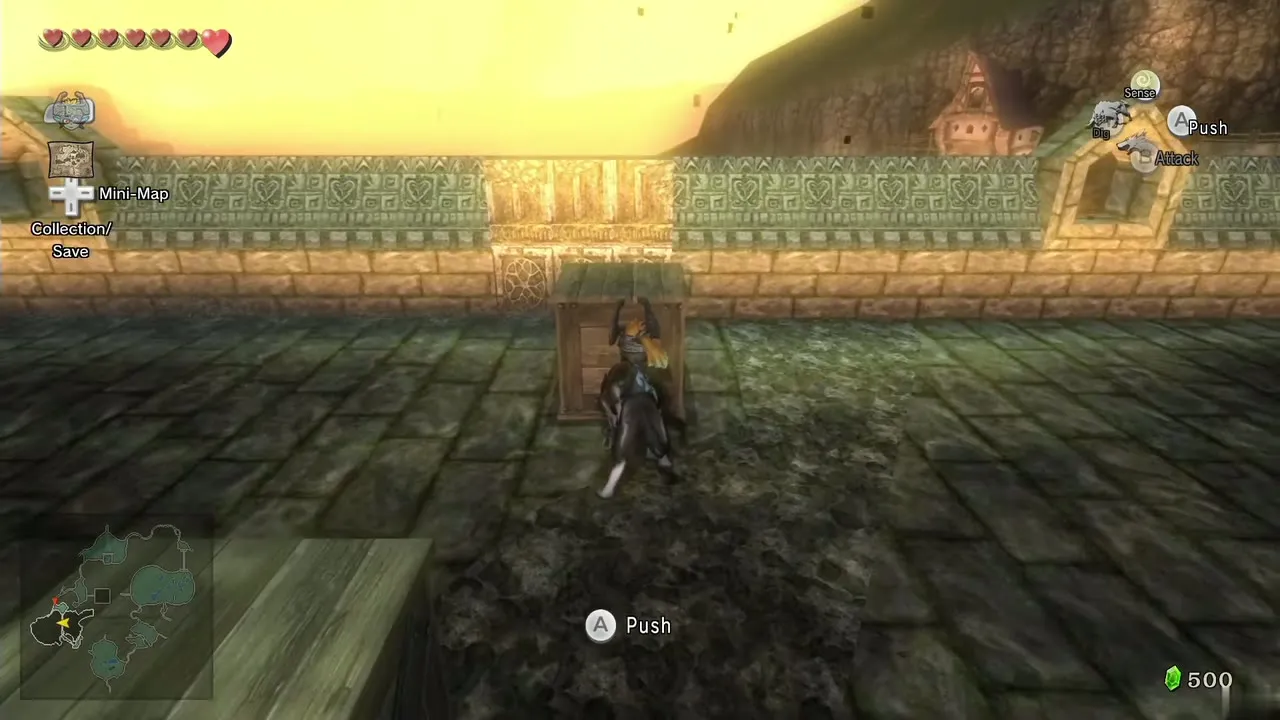
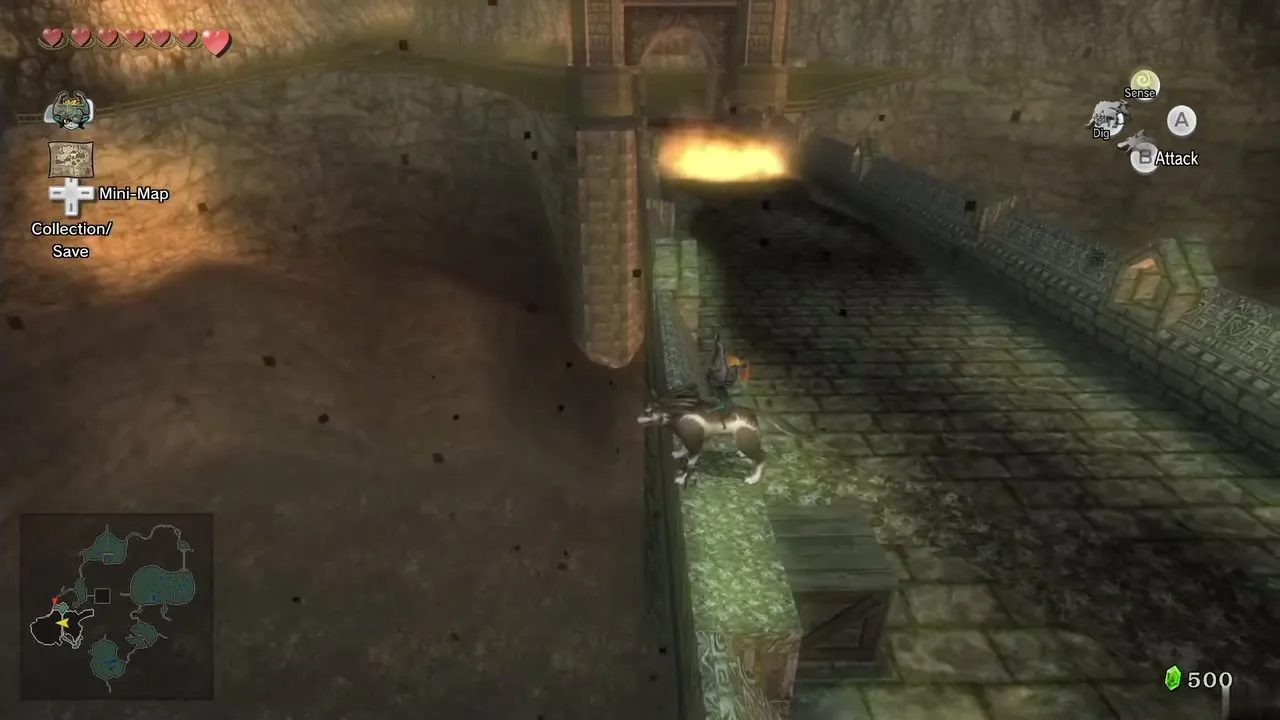
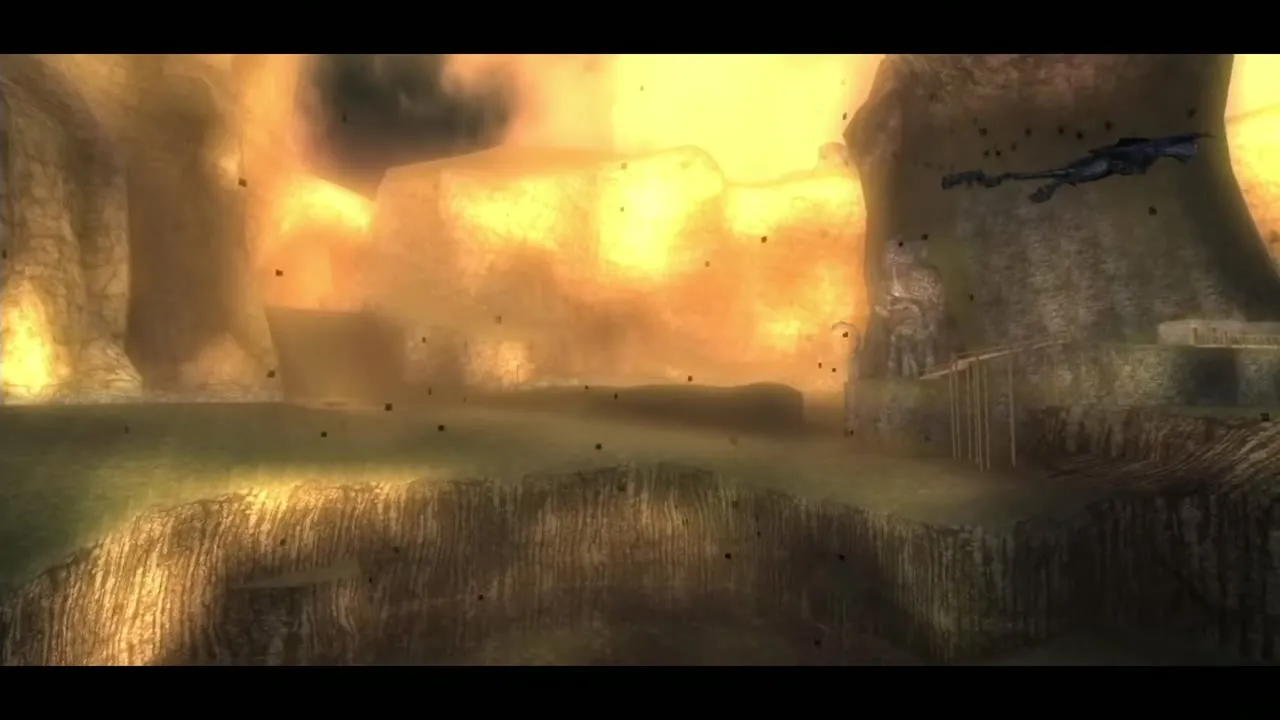
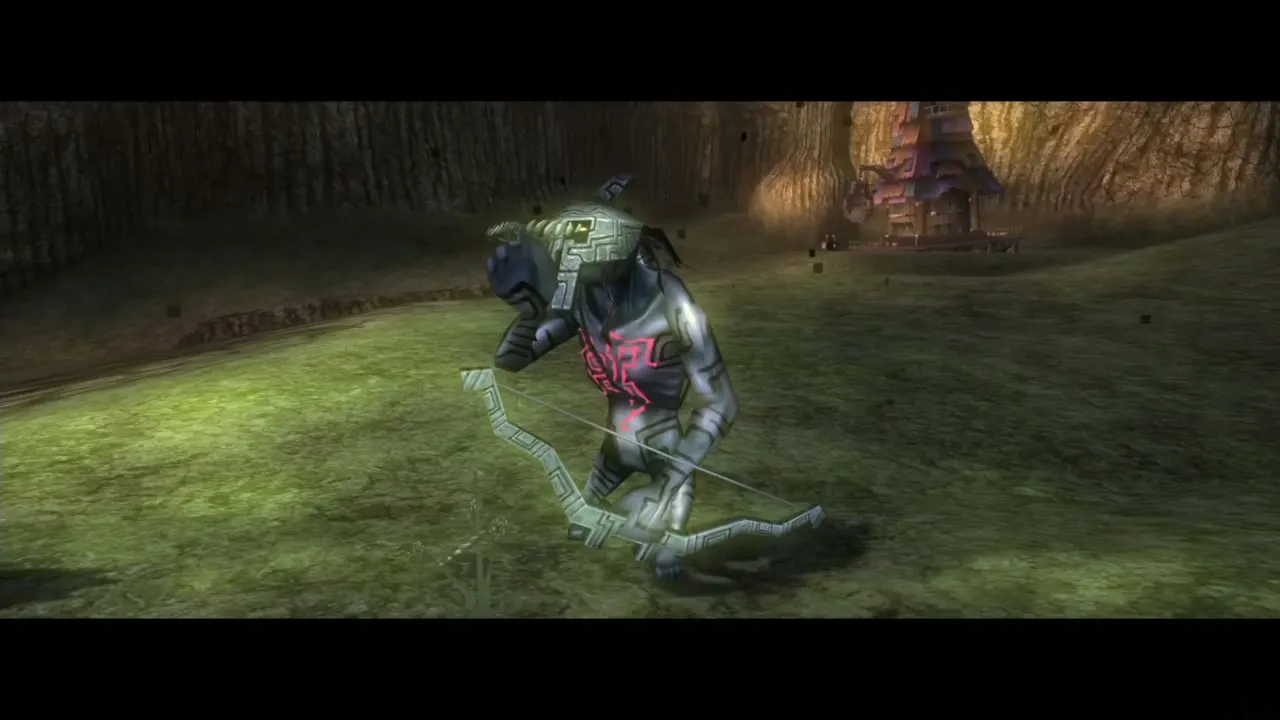
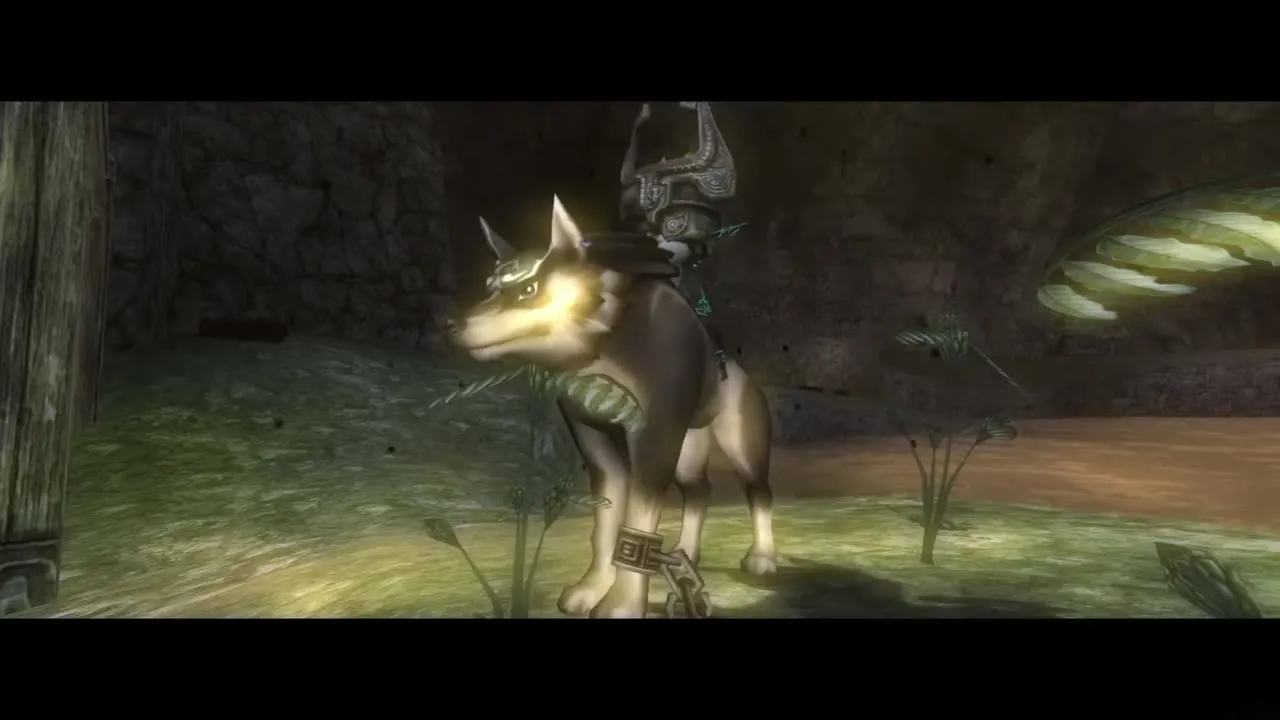
Talk to the Zoras and run to the west side to hear Fyer. When he spots an enemy, approach the Shadow Bulblin. It calls a Twilit Carrier Kargarok and rides it. Side-jump its arrows, Z-target the bird when it swoops low, jump onto it and hit it repeatedly. Do this twice and the bulblin falls; finish it on the ground.
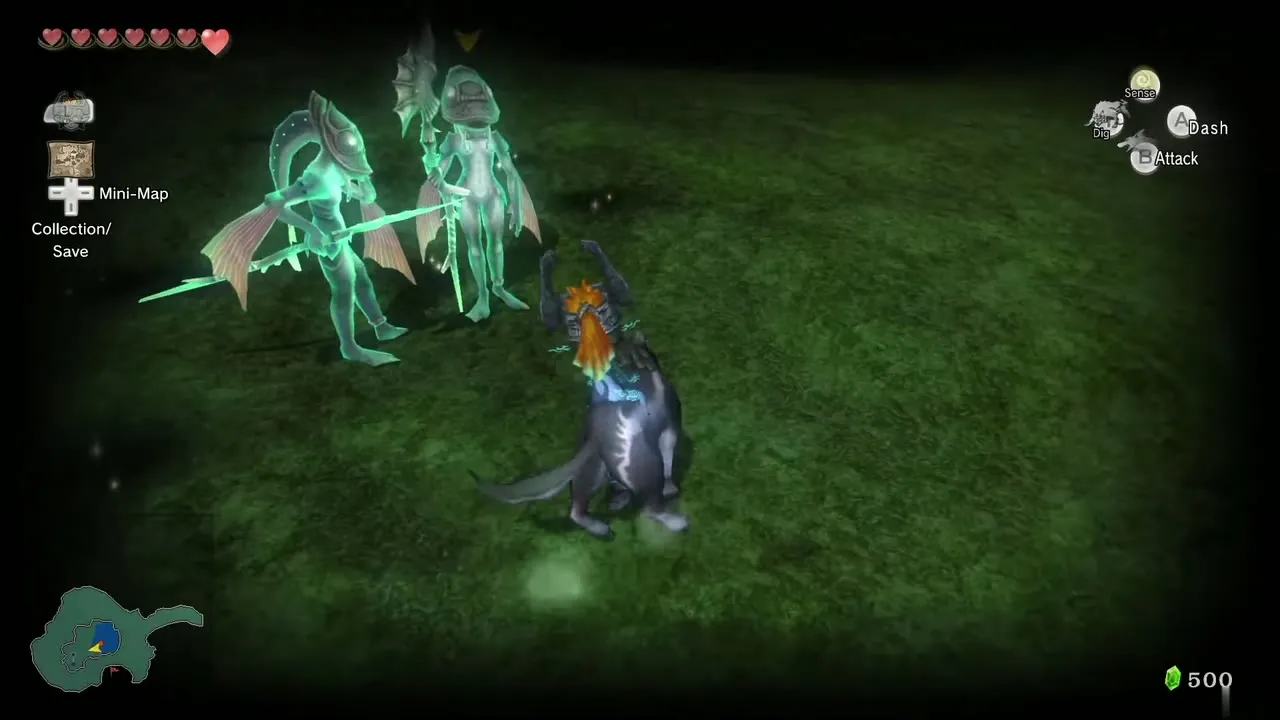
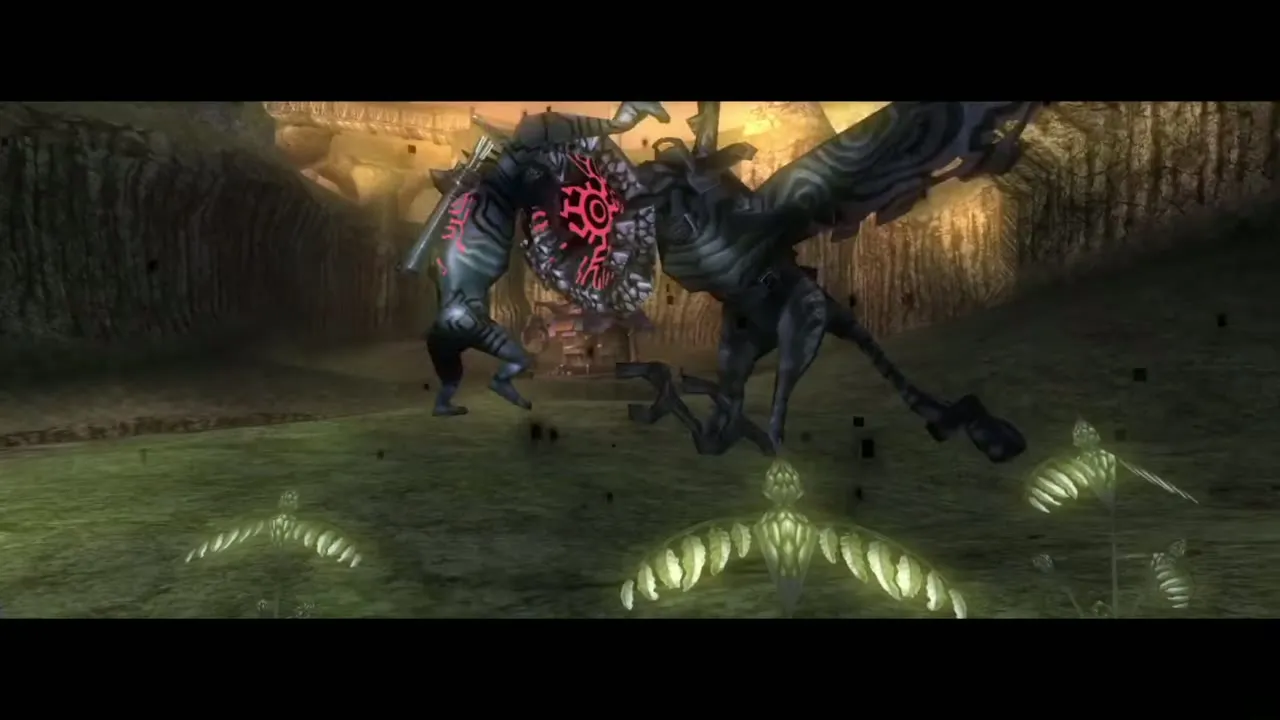
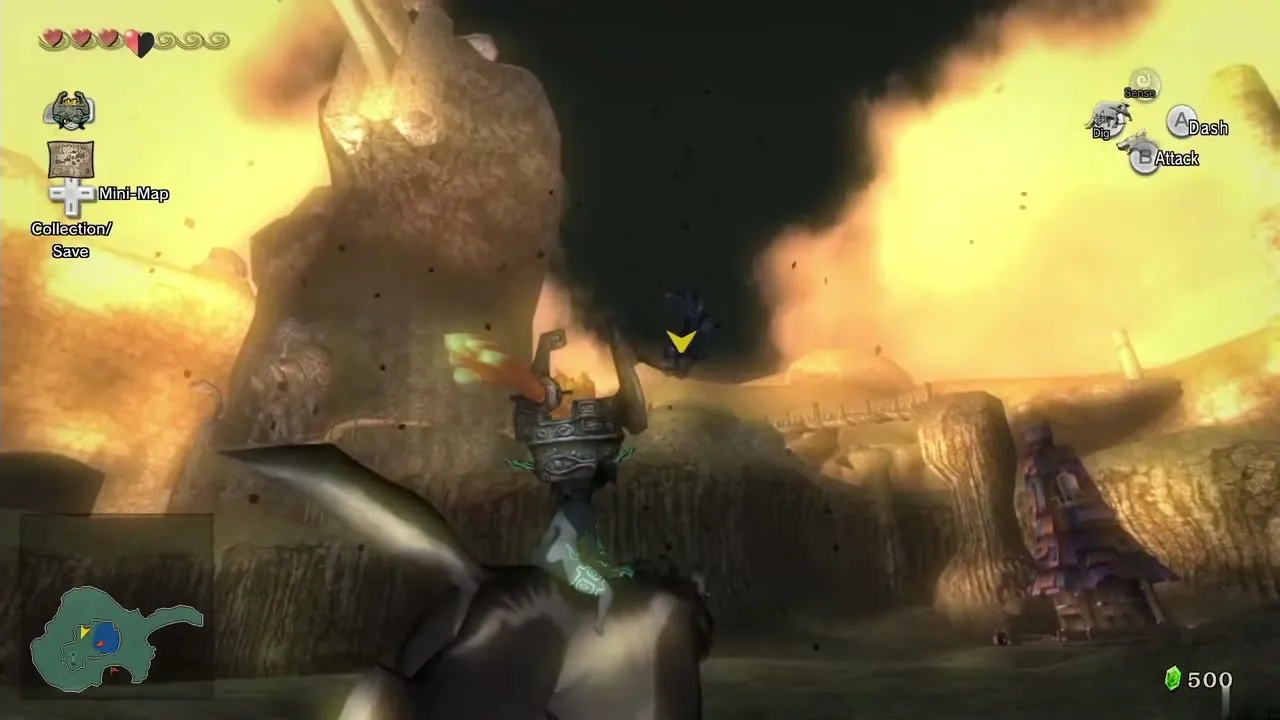
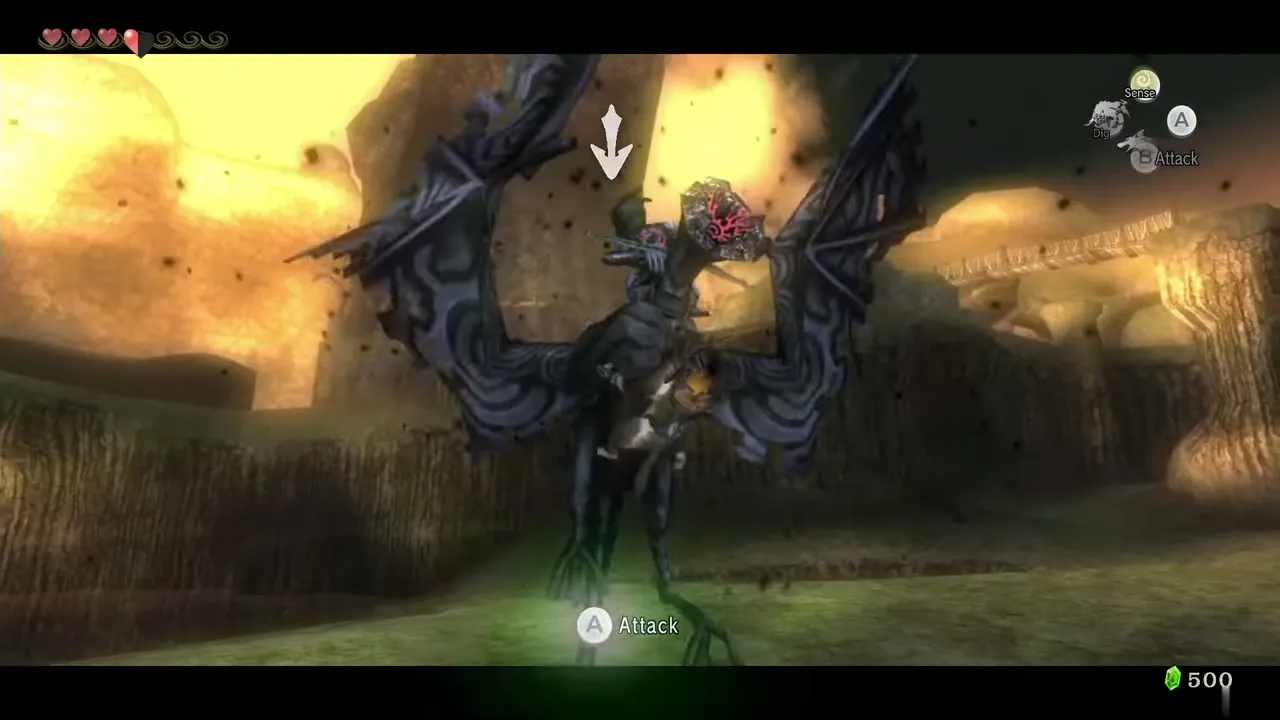
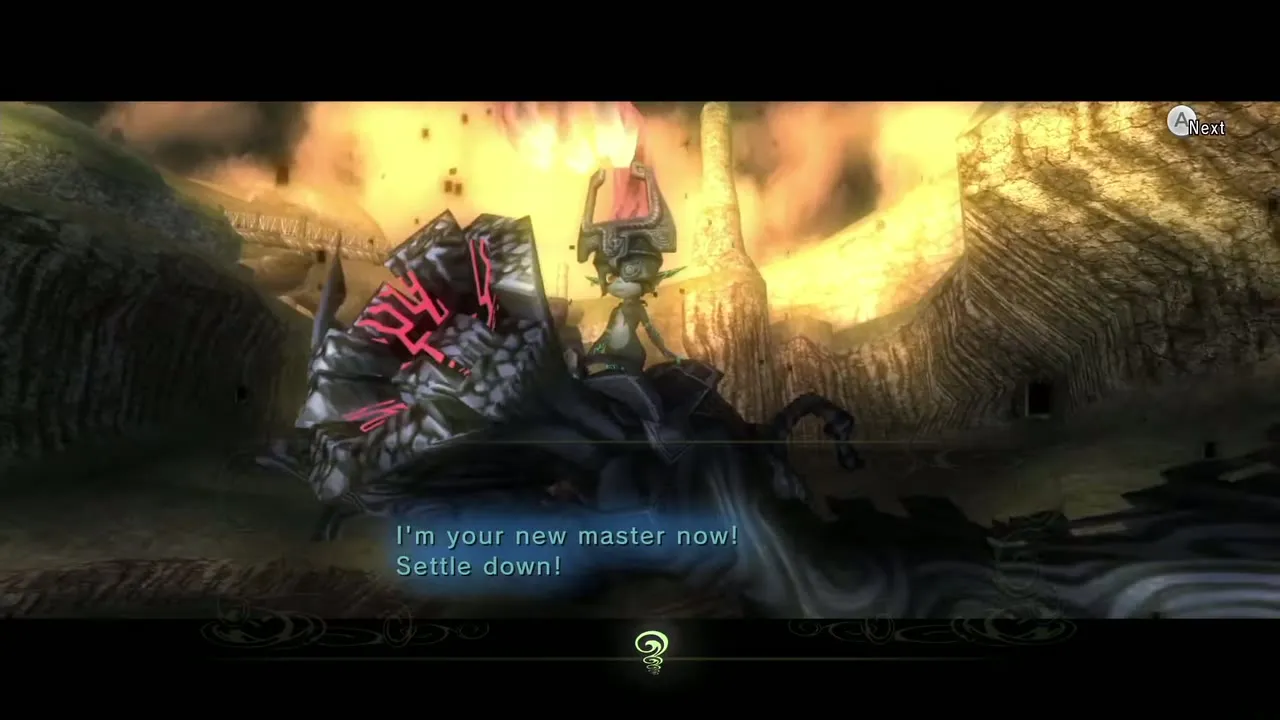
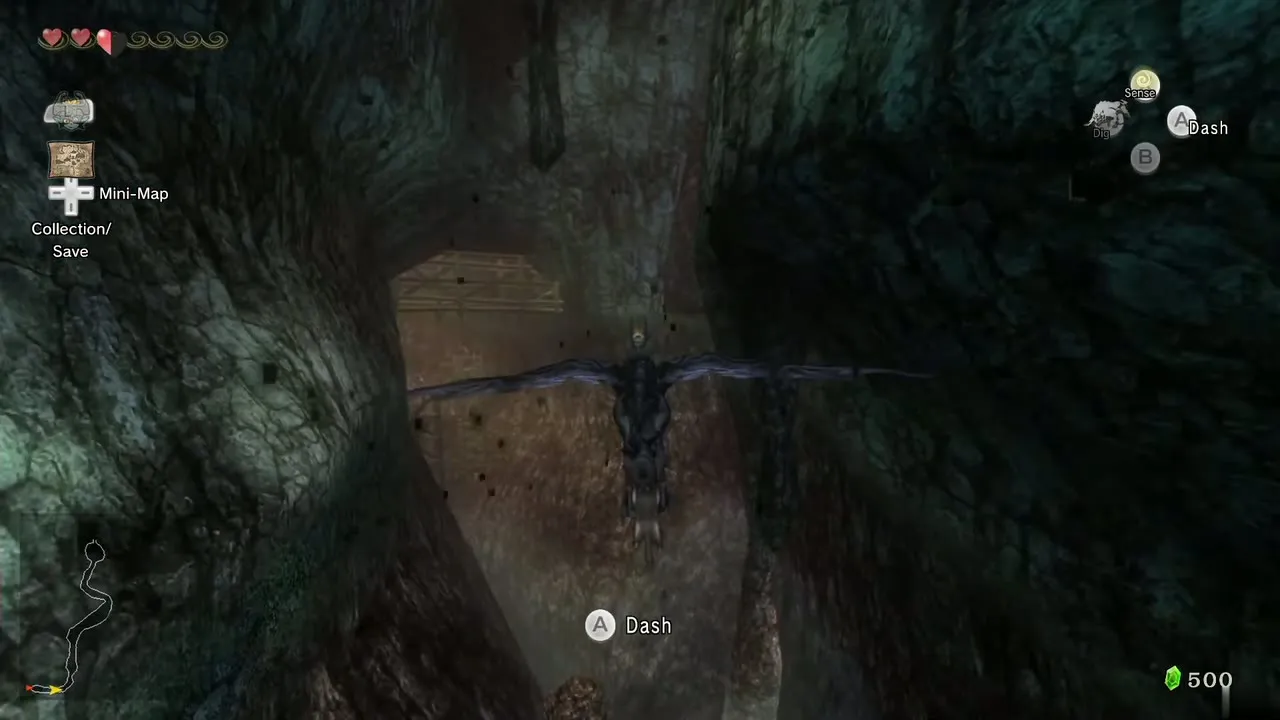
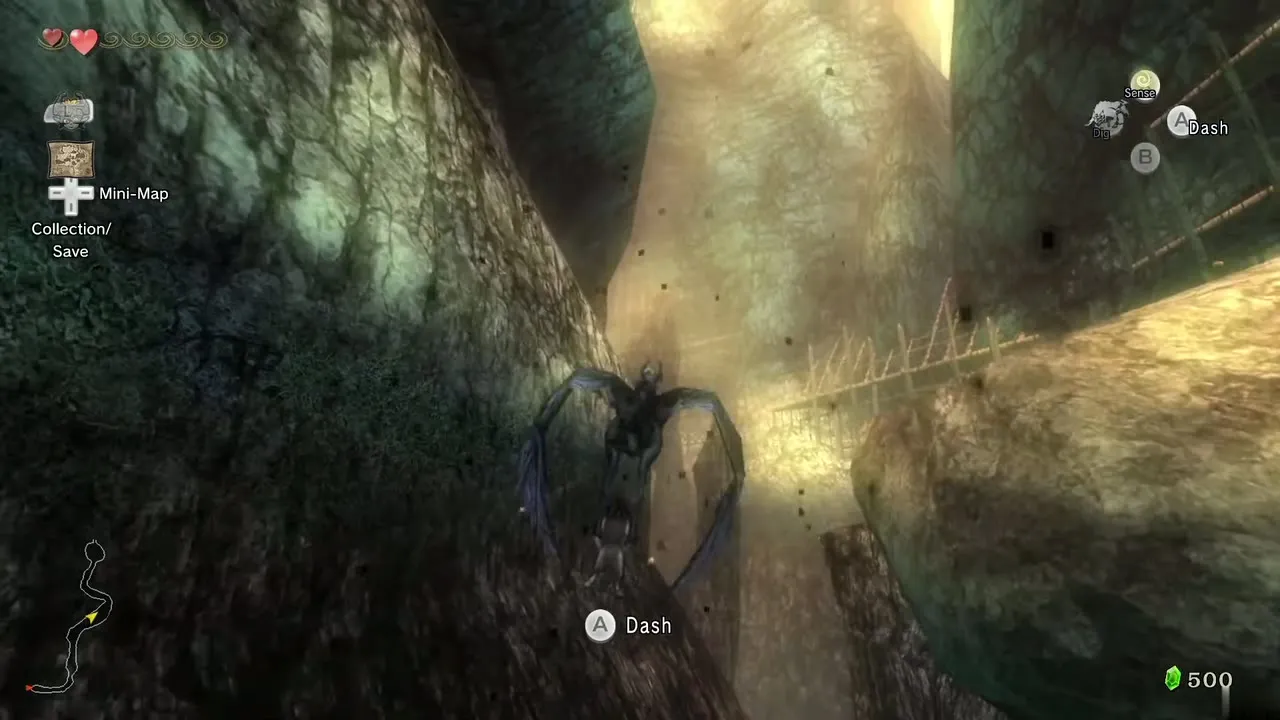
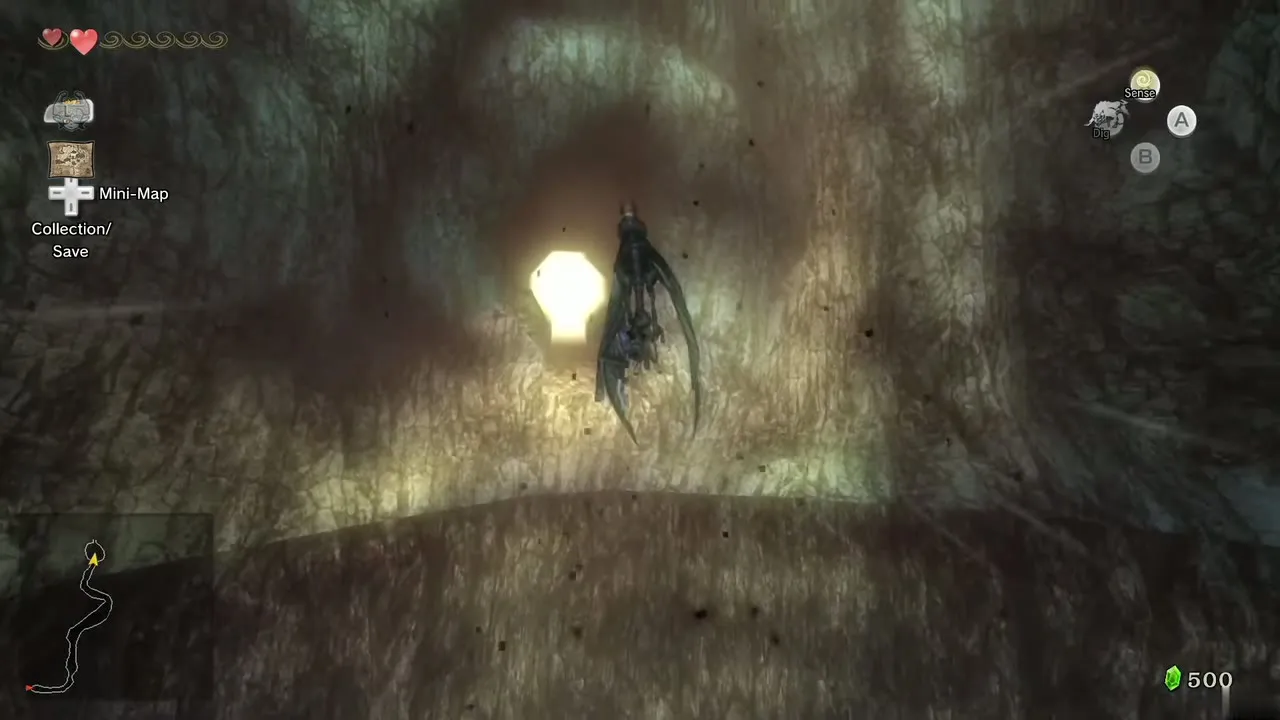
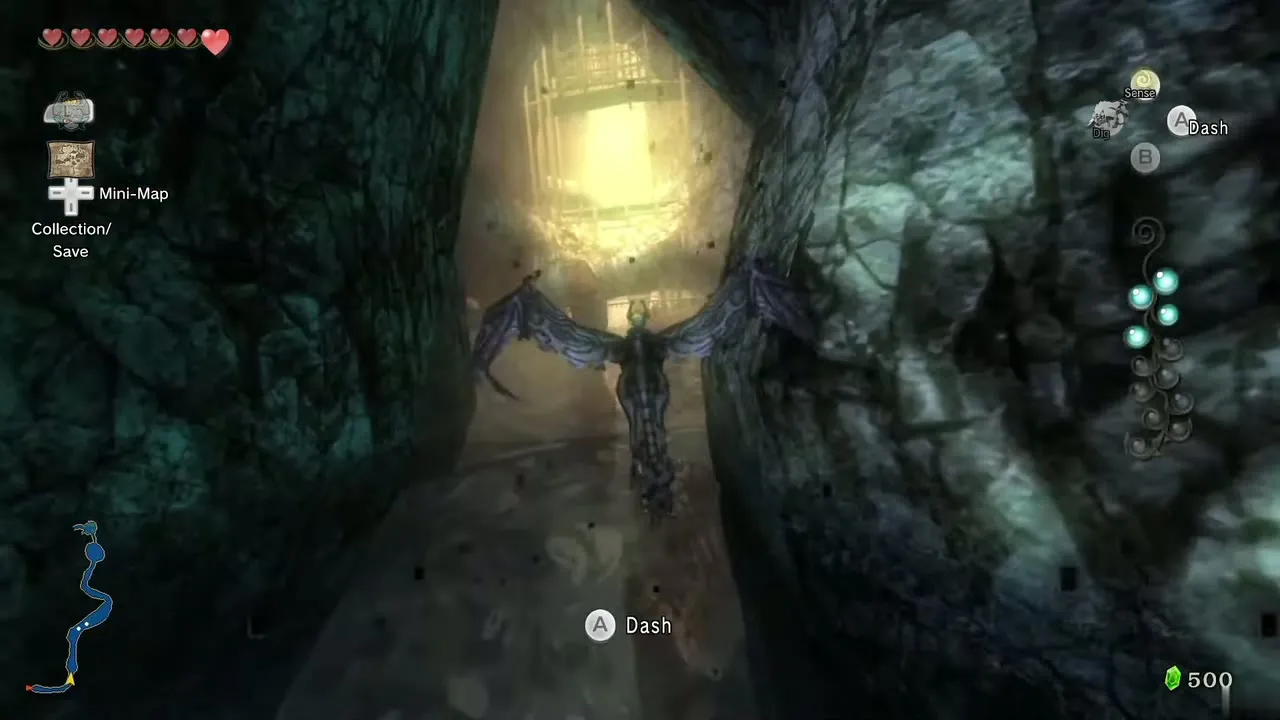
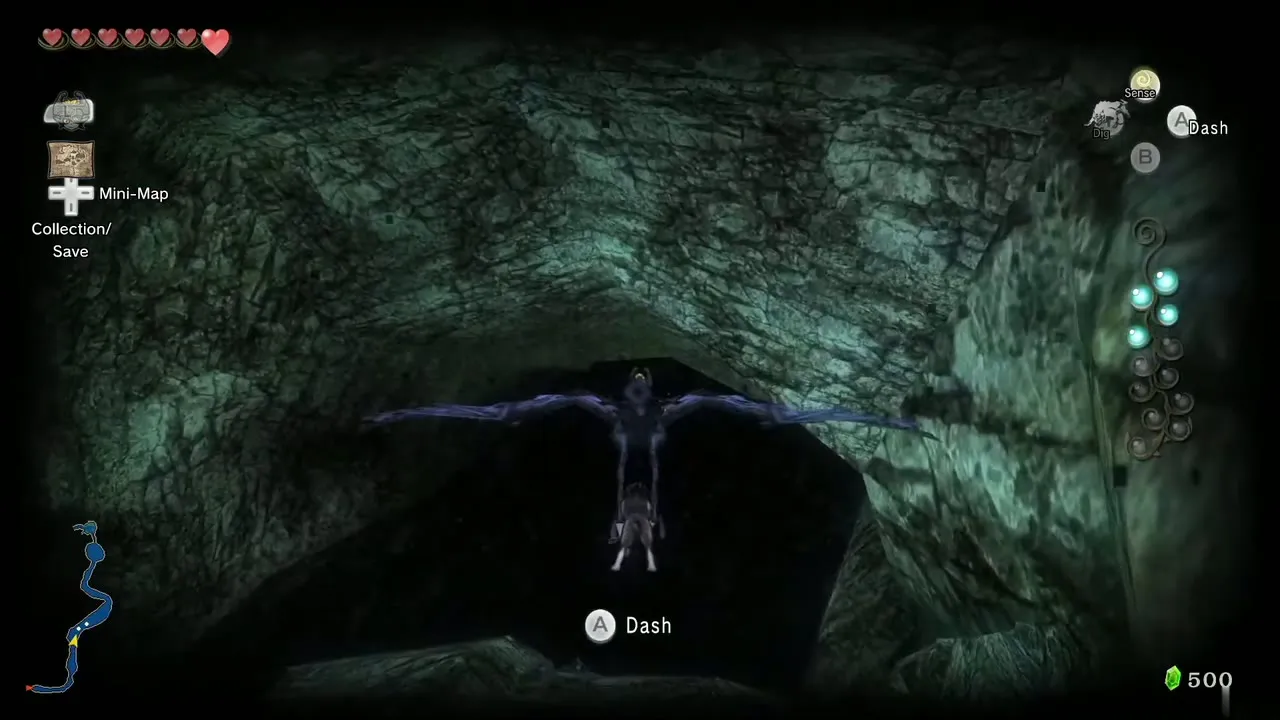
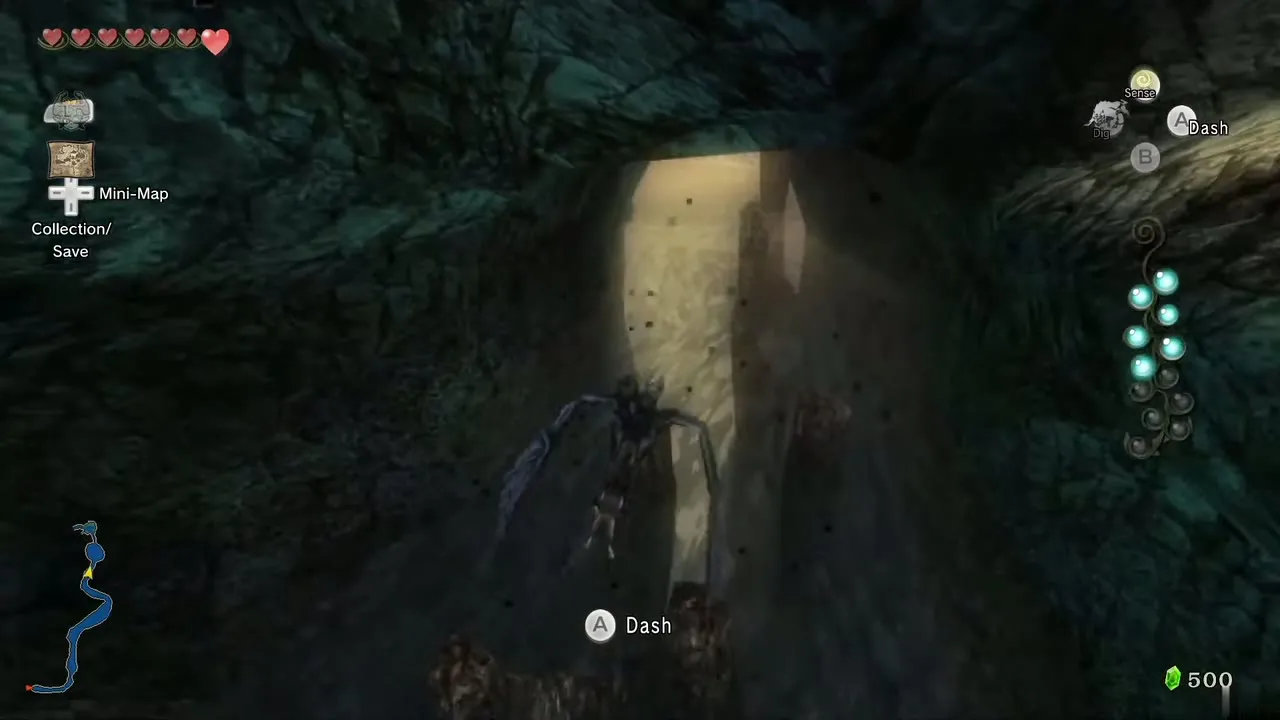
Midna takes control of the shadow bird. You steer it up Zora’s River, pressing A to dash. It is safest to stay high and avoid dashing near walls and falling rocks. Aim toward the bright light at the top.
Zora’s Domain: thawing the ice
You land at Upper Zora’s River. Drop down into the river bed and head west through snow. At Zora’s Domain the waterfall is frozen. Use Midna’s jumps at the snowy platforms to climb it, watching for falling icicles and slippery ice on the second ledge.
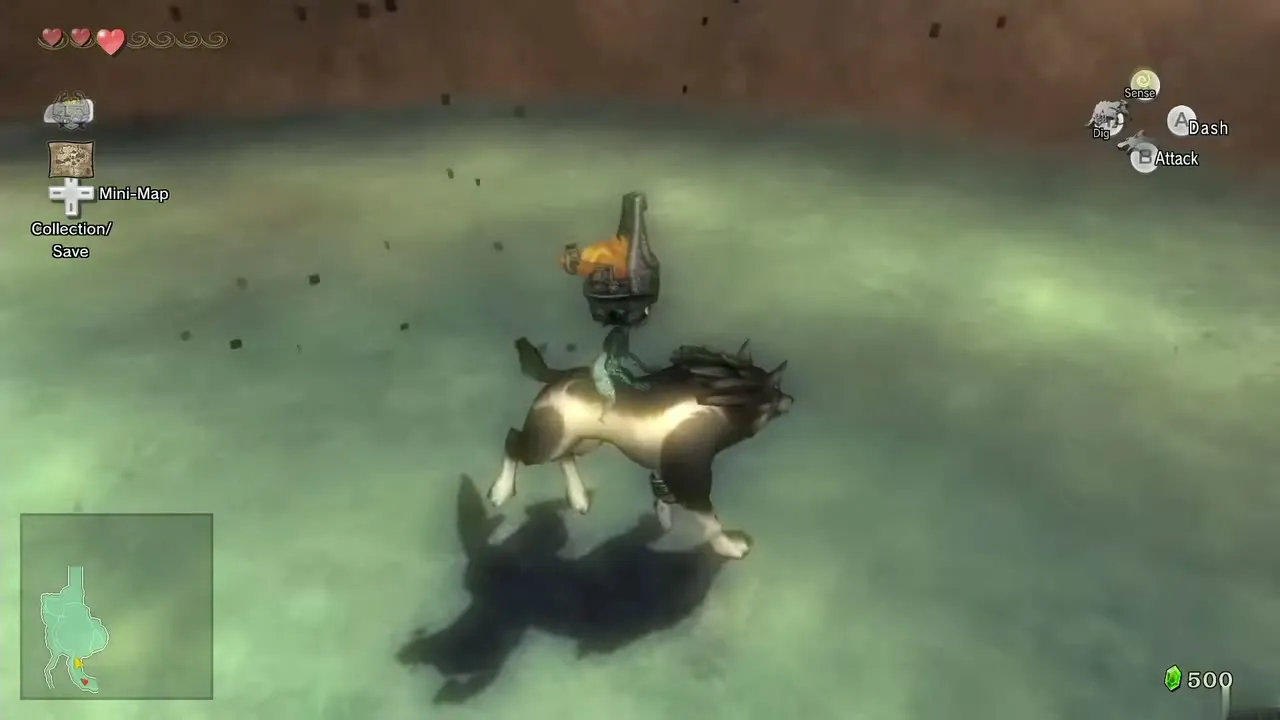
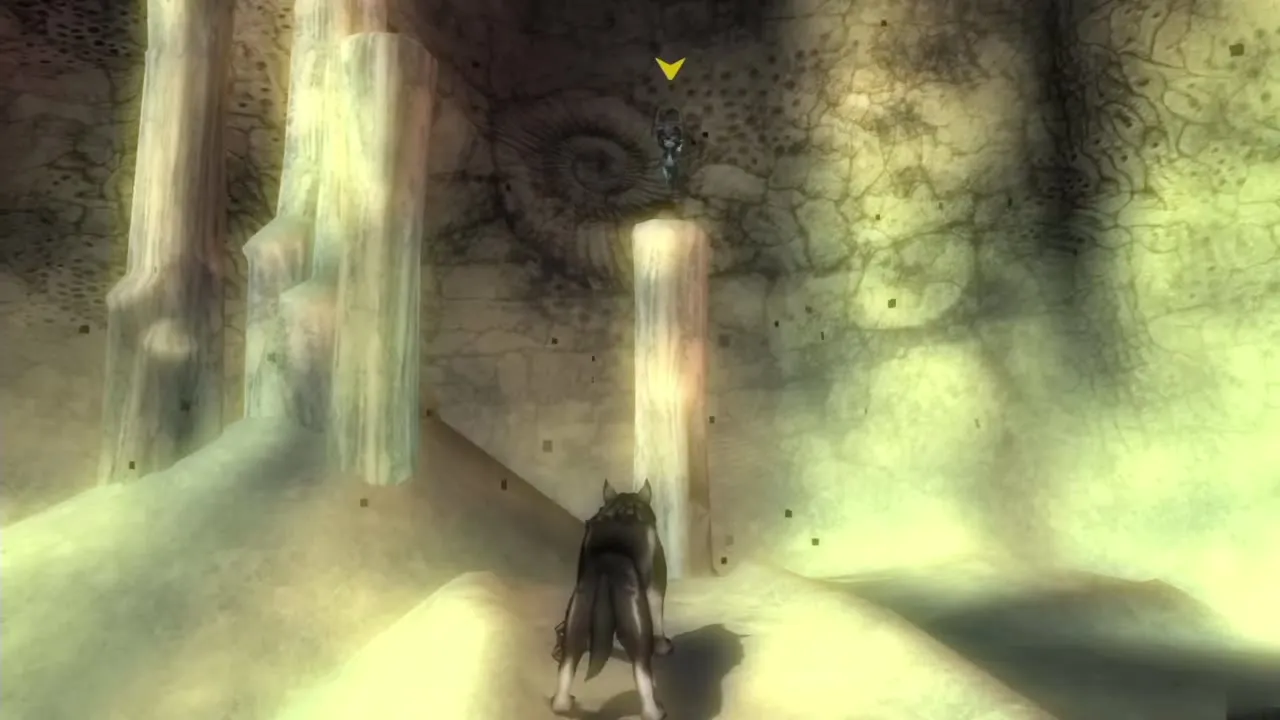
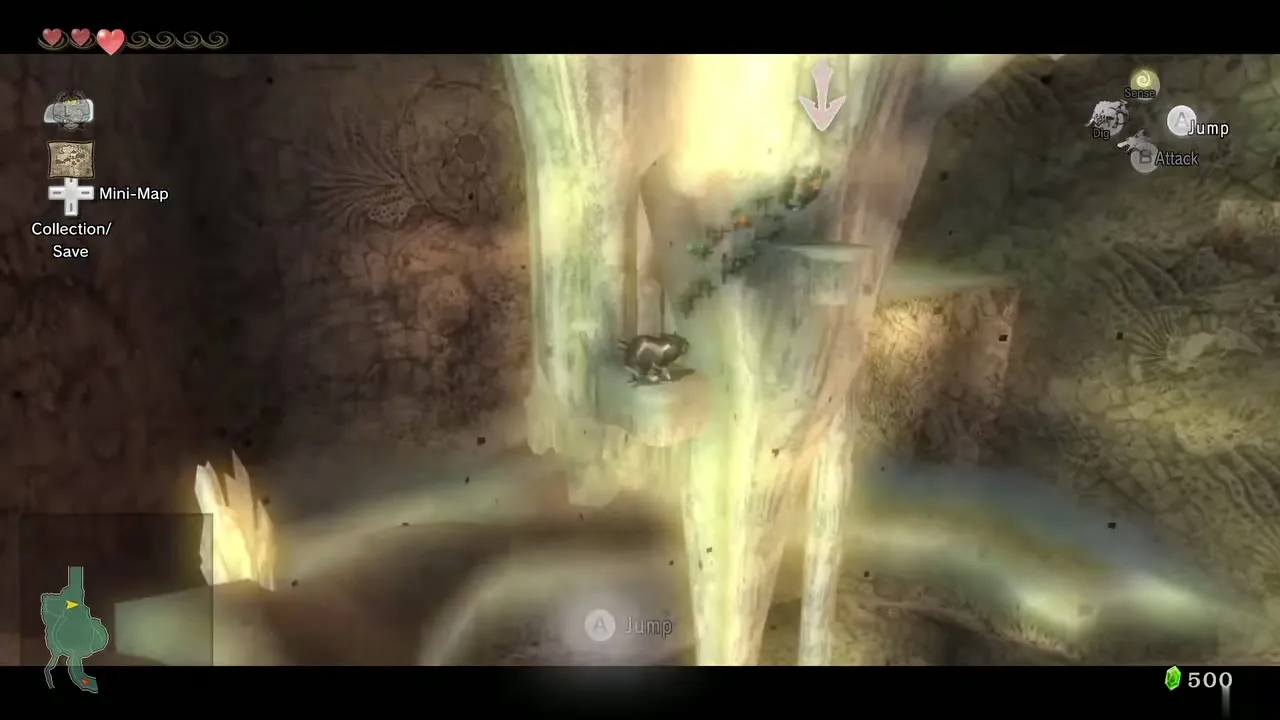
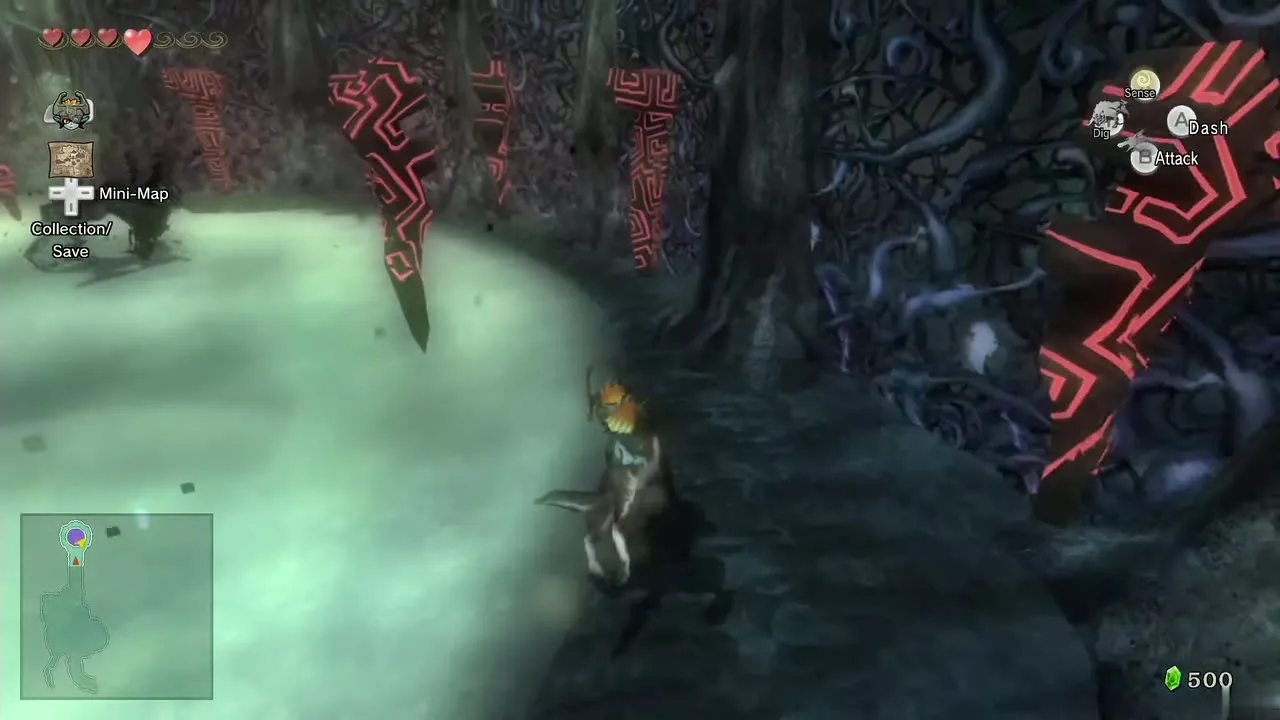
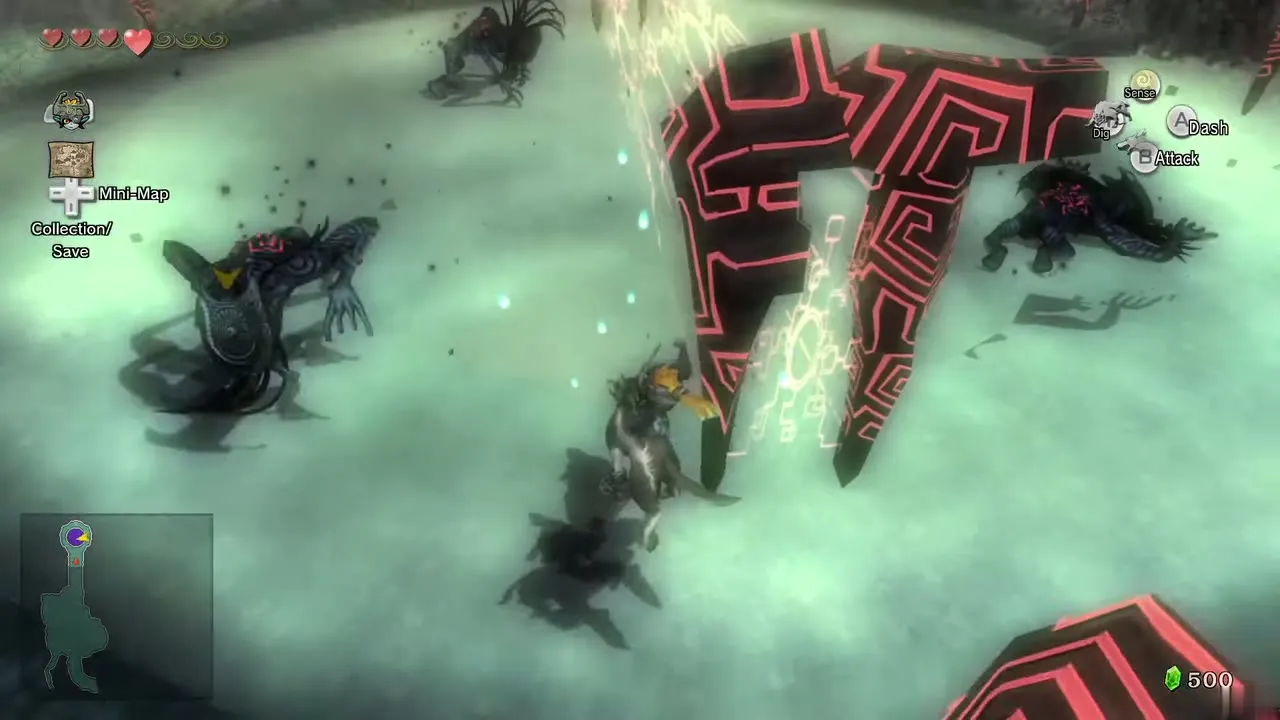
At the top, three Shadow Beasts attack. Beat them to open another warp portal. Use your senses to see Zoras frozen beneath the ice. Midna says you need heat, so ask her to warp and choose Death Mountain.
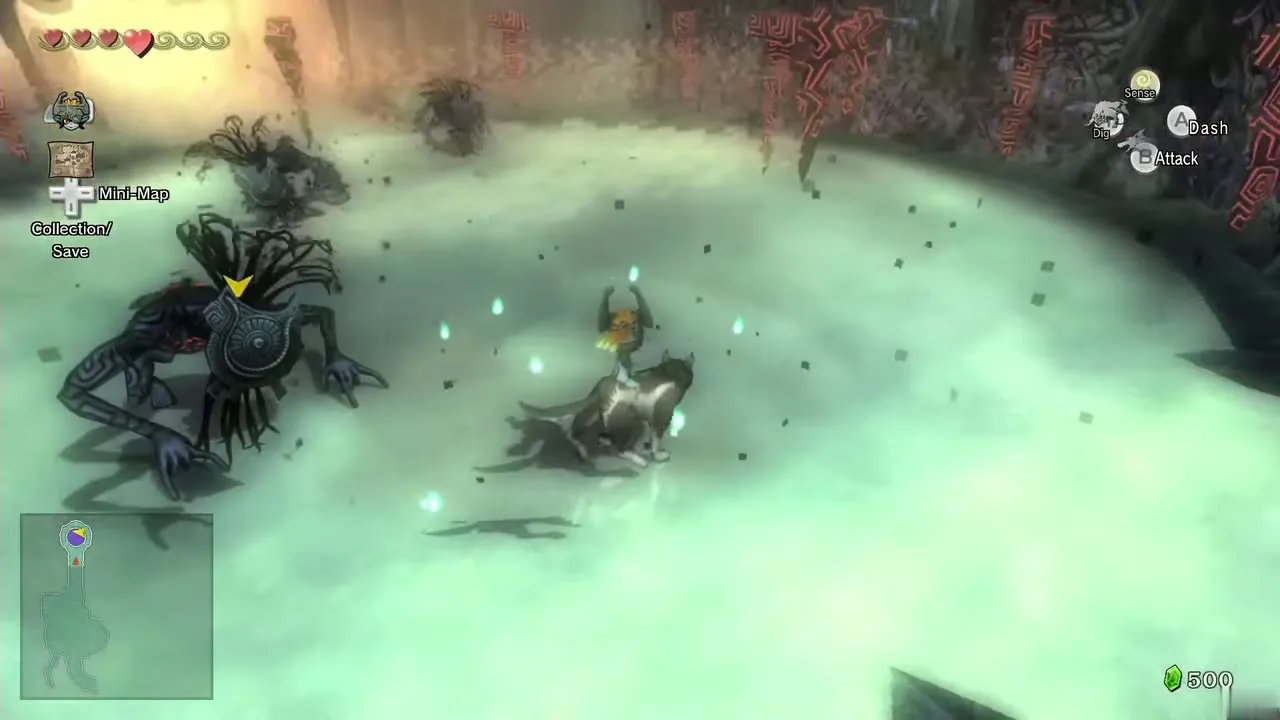
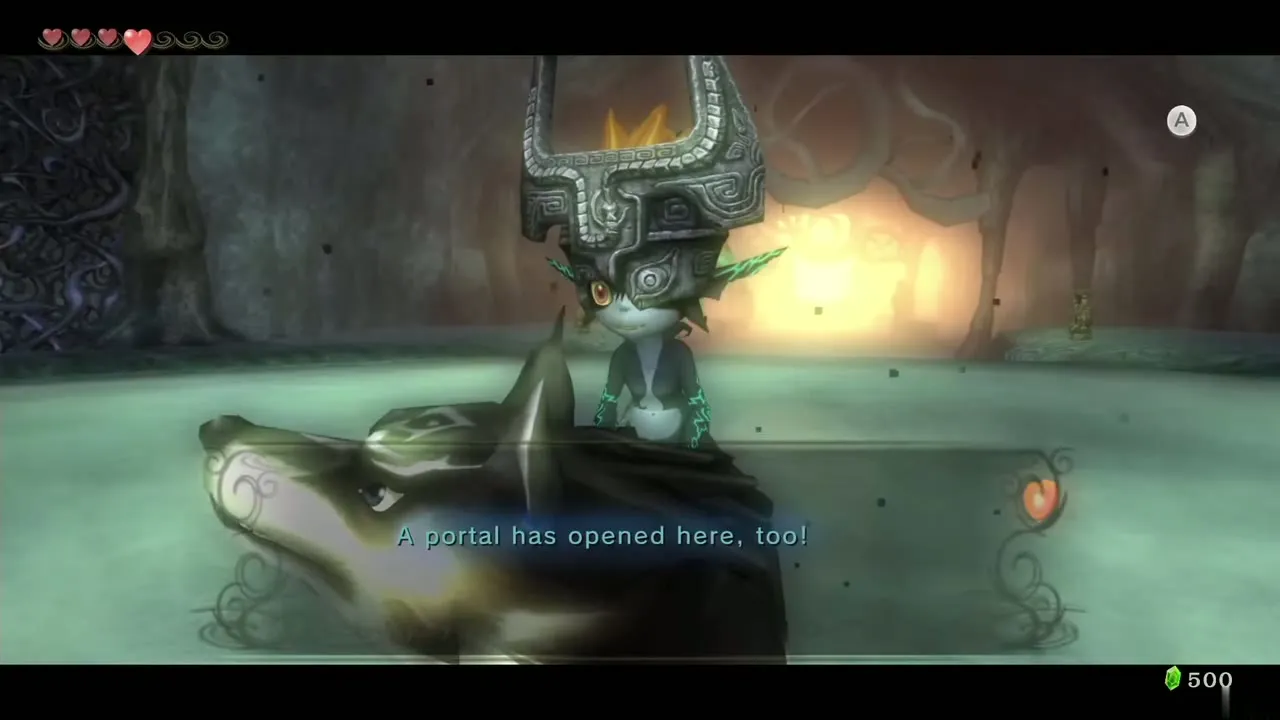
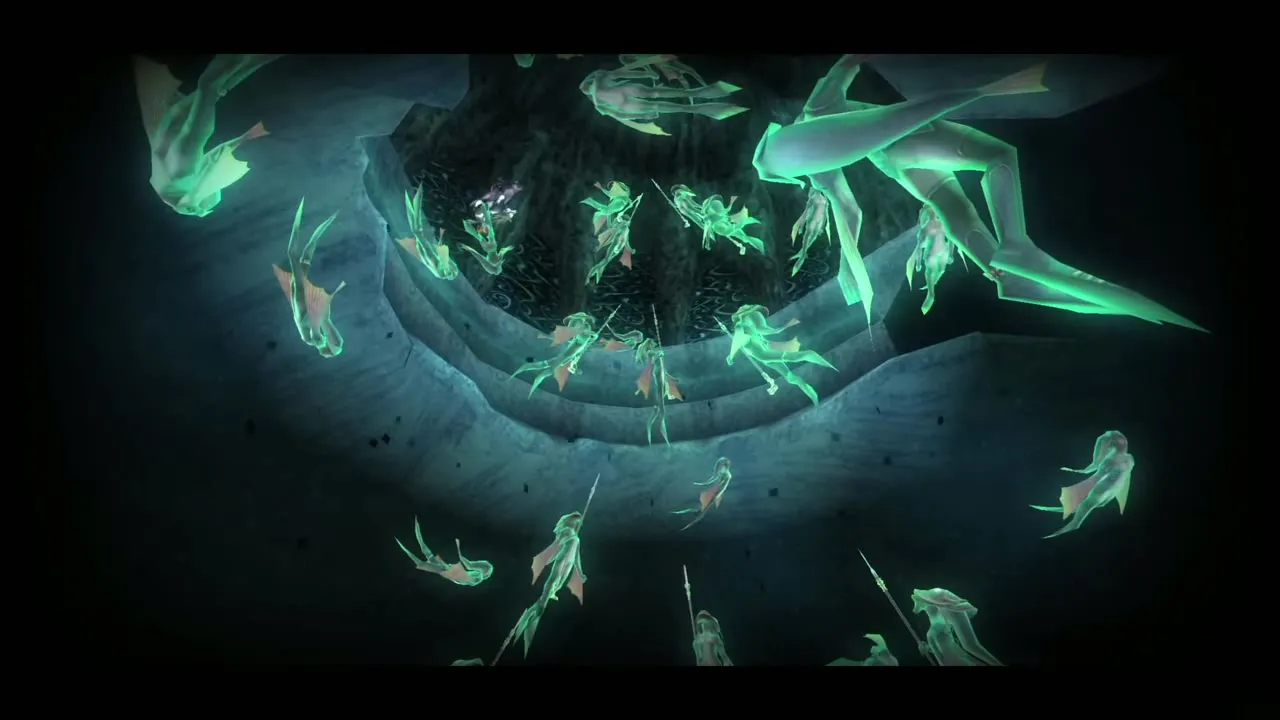
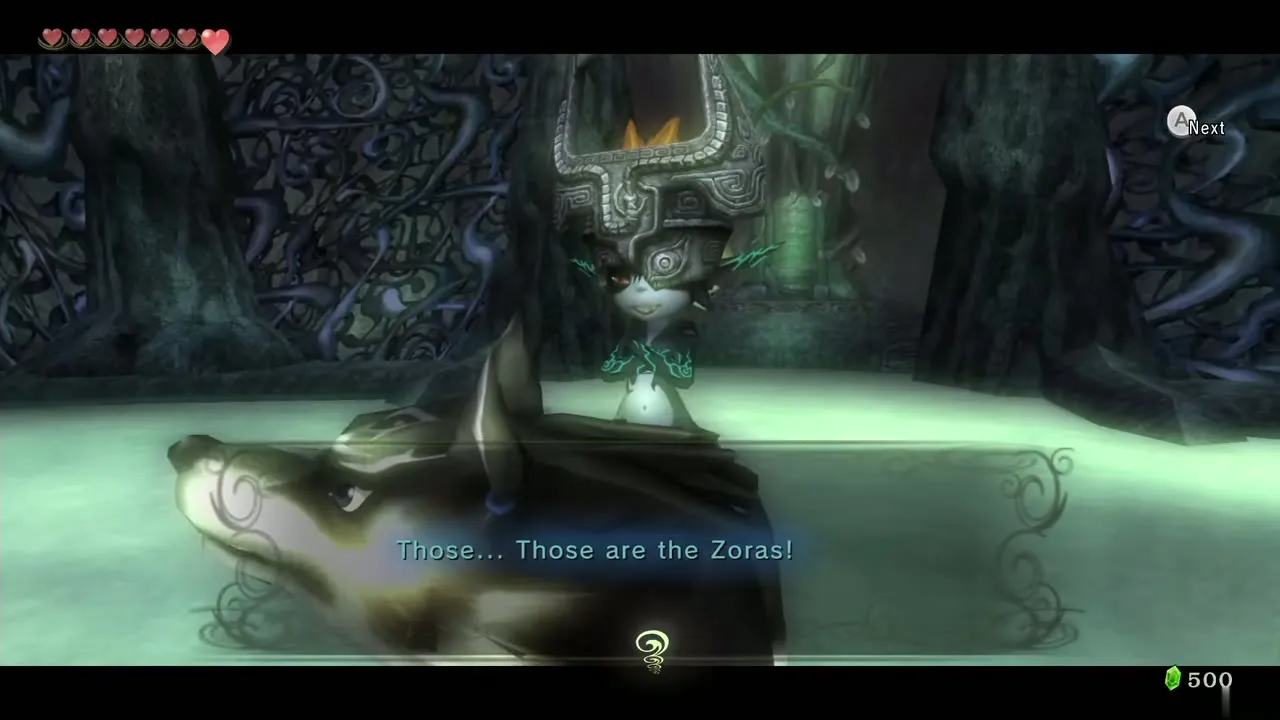
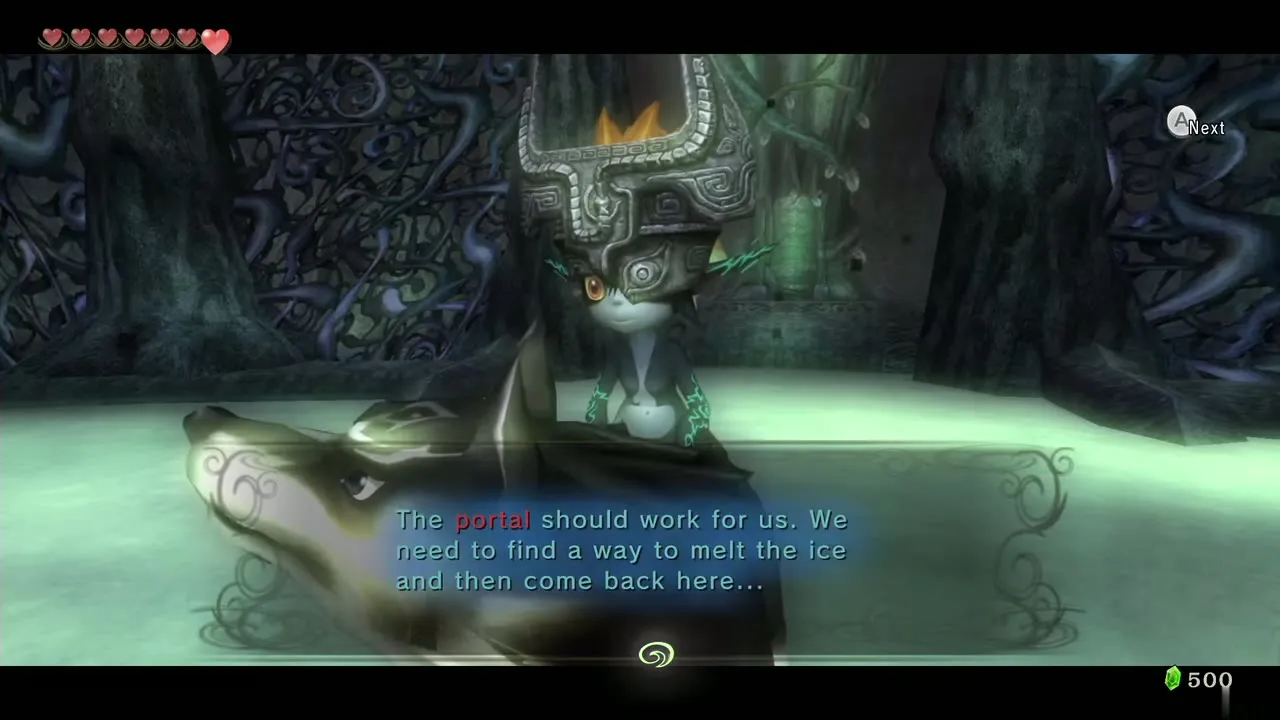
Examine the giant flaming rock at the foot of Death Mountain, then ask Midna to warp it to Zora’s Domain. It crashes into the ice and melts it, and the water rushes down.
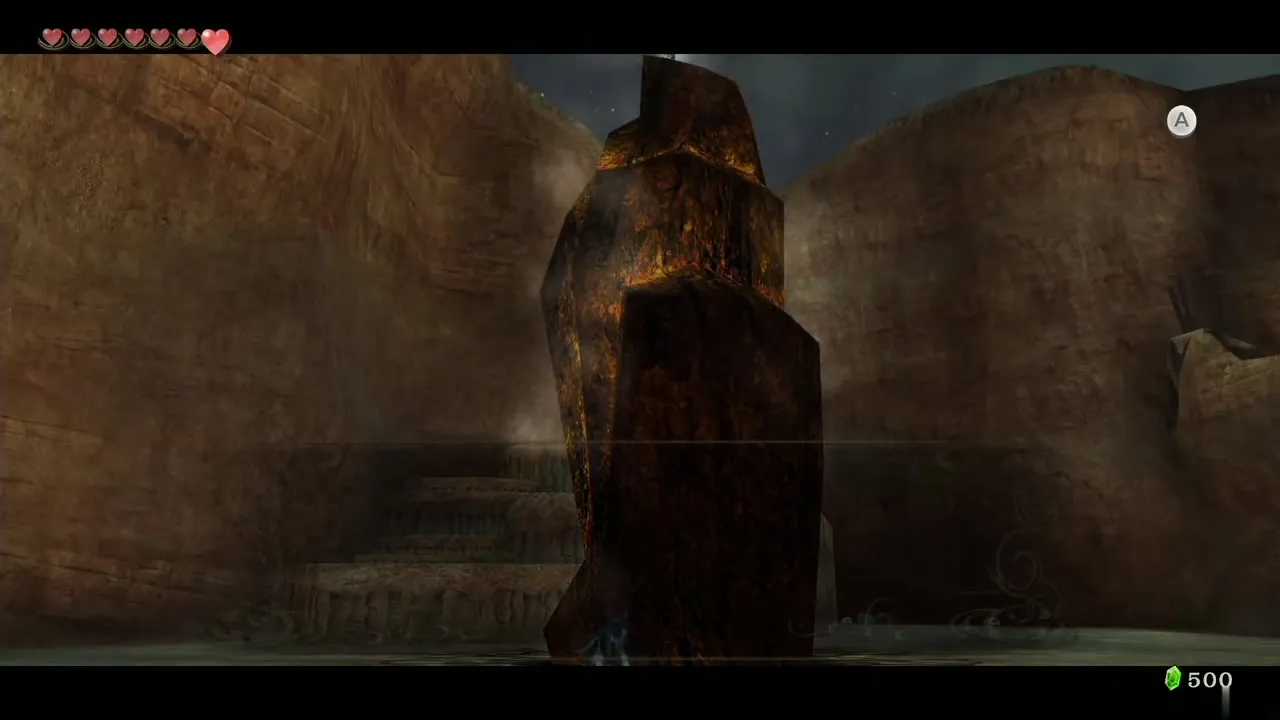
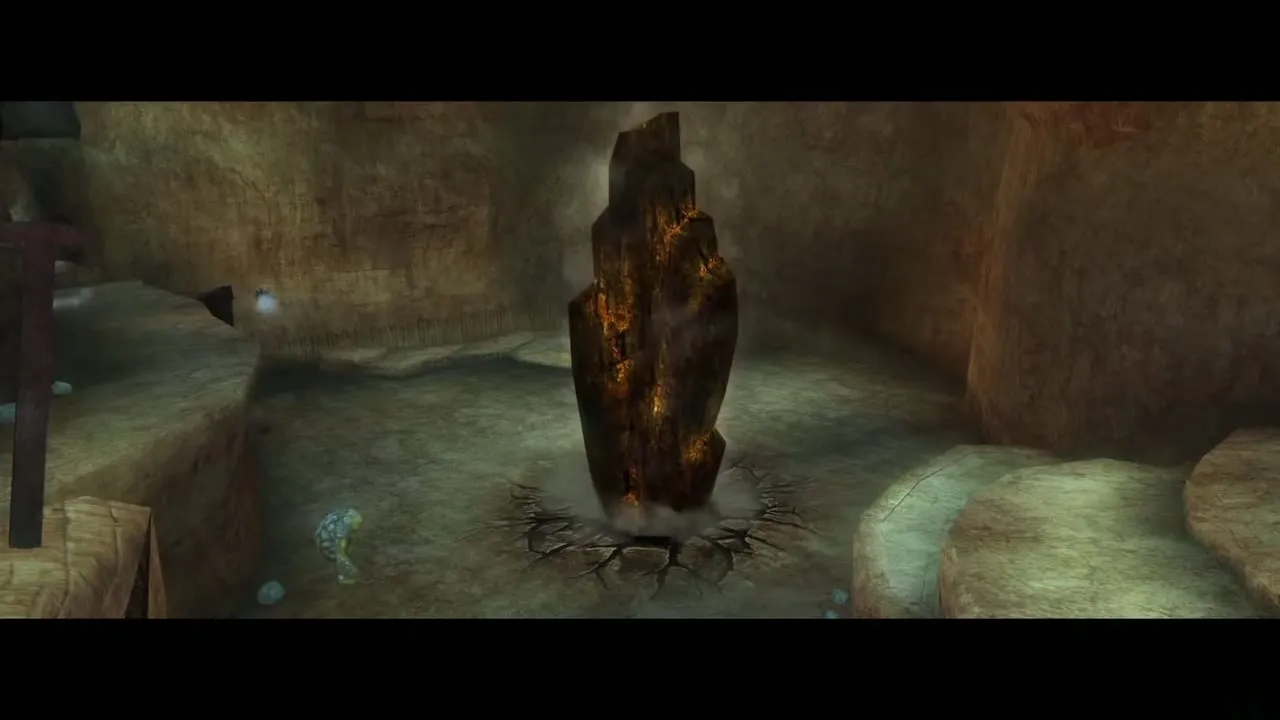
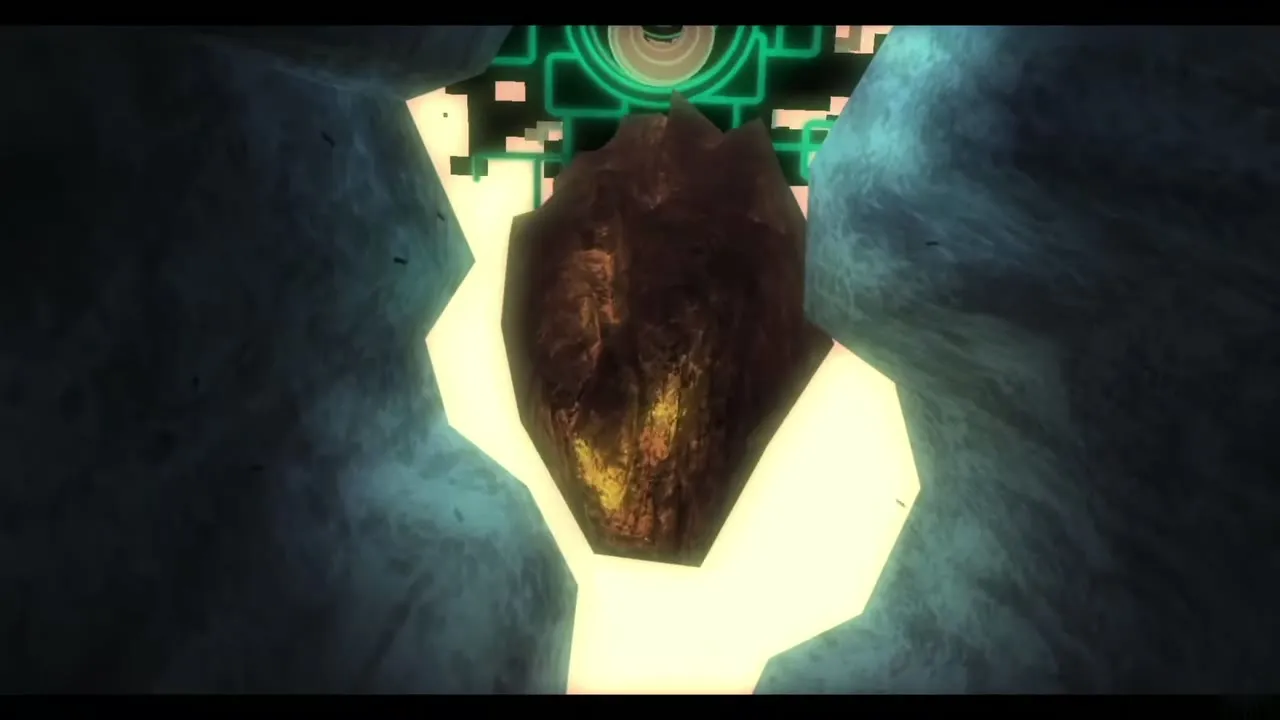
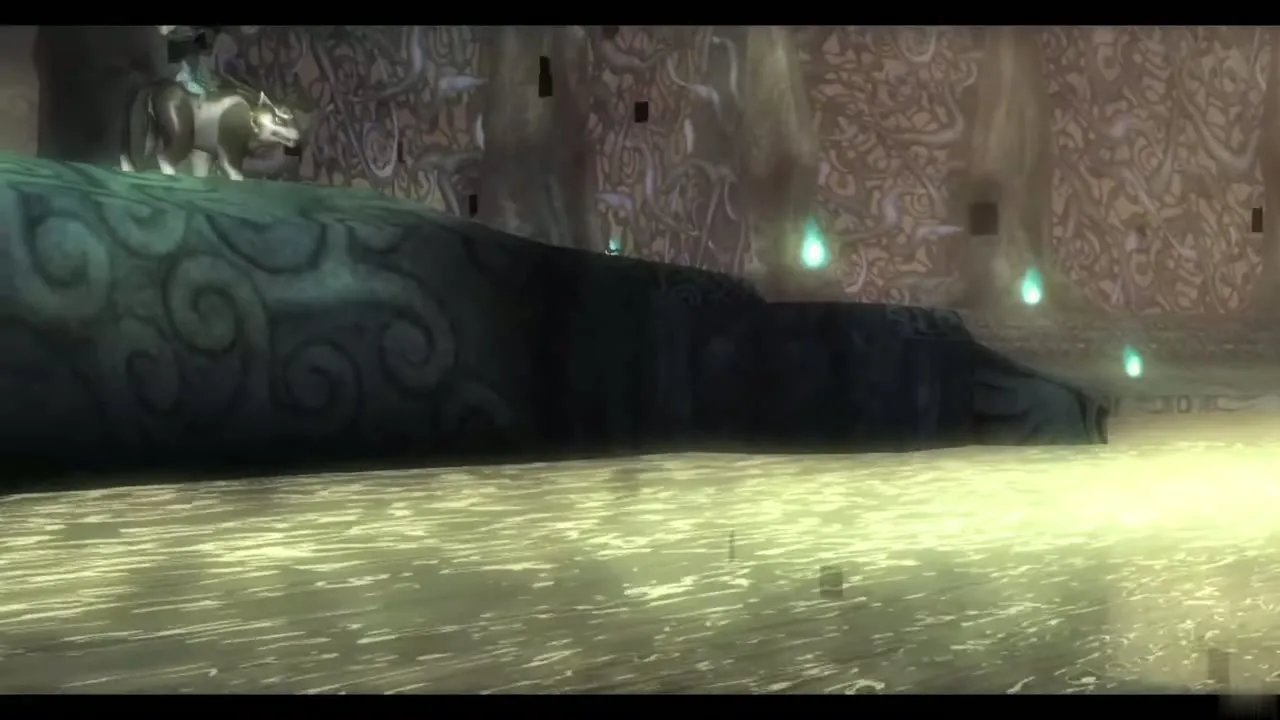
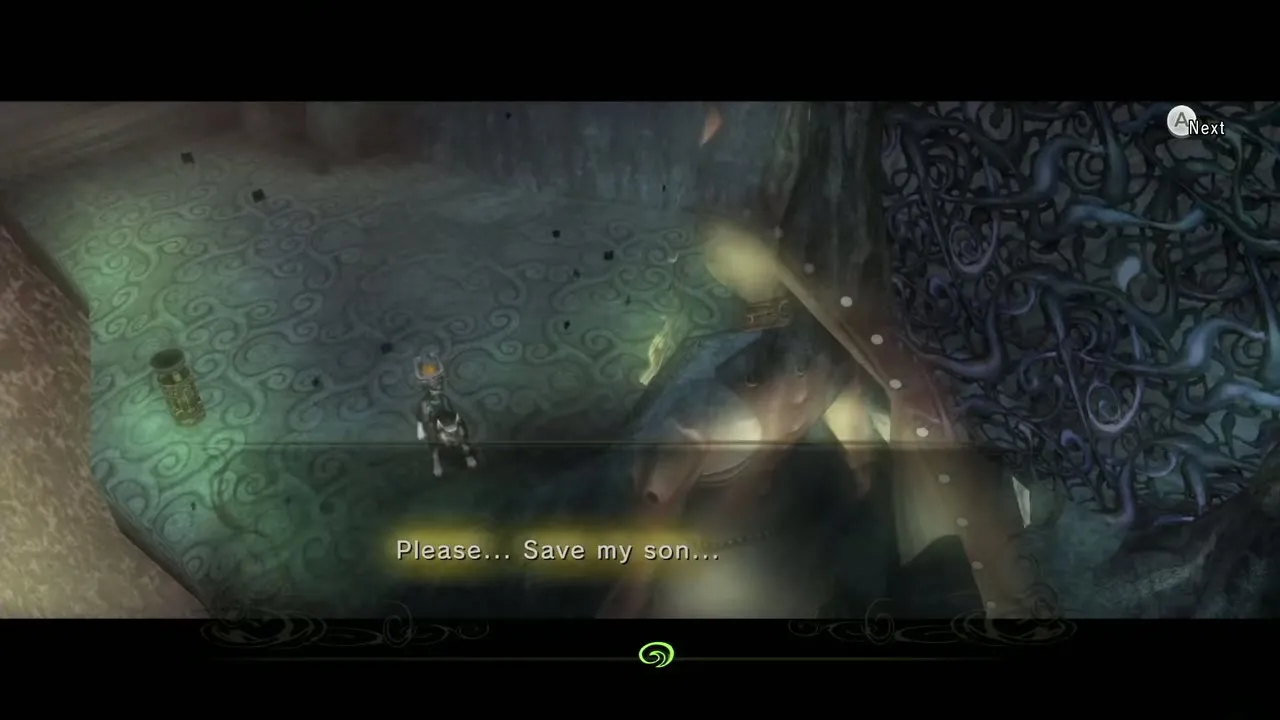
When you try to leave, the voice of the late Queen Rutela asks you to rescue her son, Prince Ralis. She promises to let you swim like a Zora in return. Jump into the river and let the current carry you back to Lake Hylia, where you land at the cave of the Spirit Lanayru.
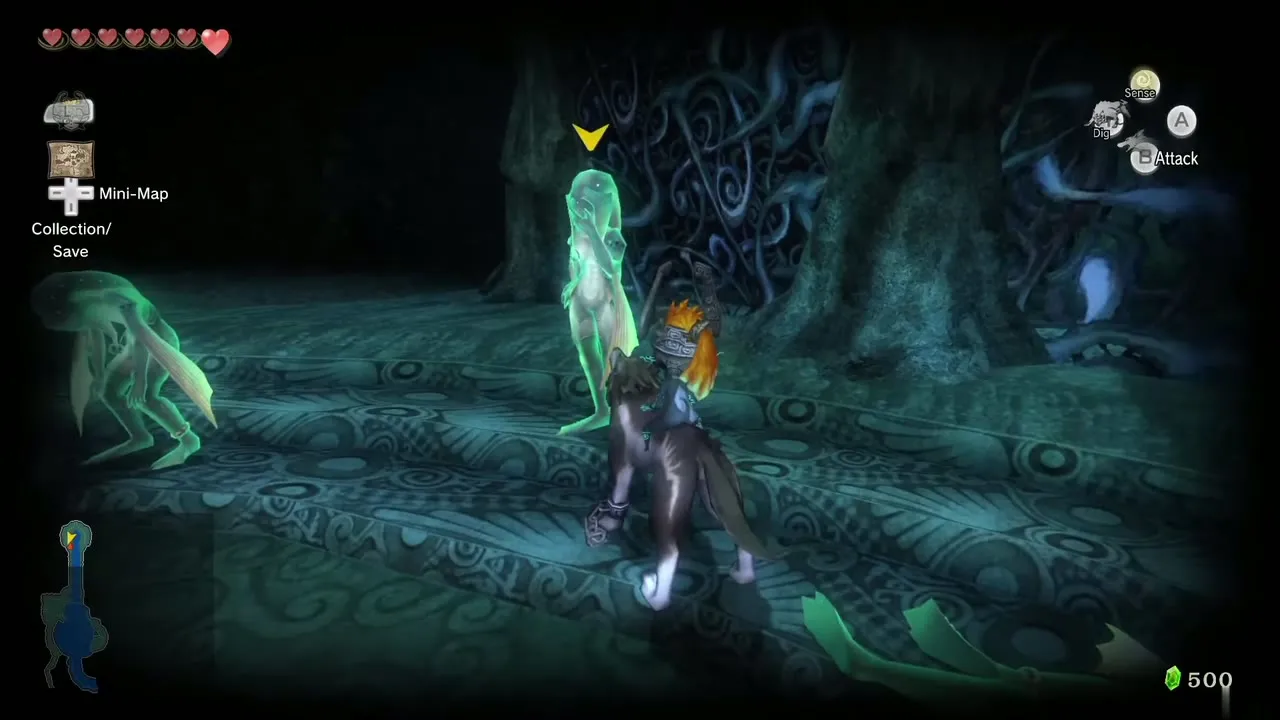
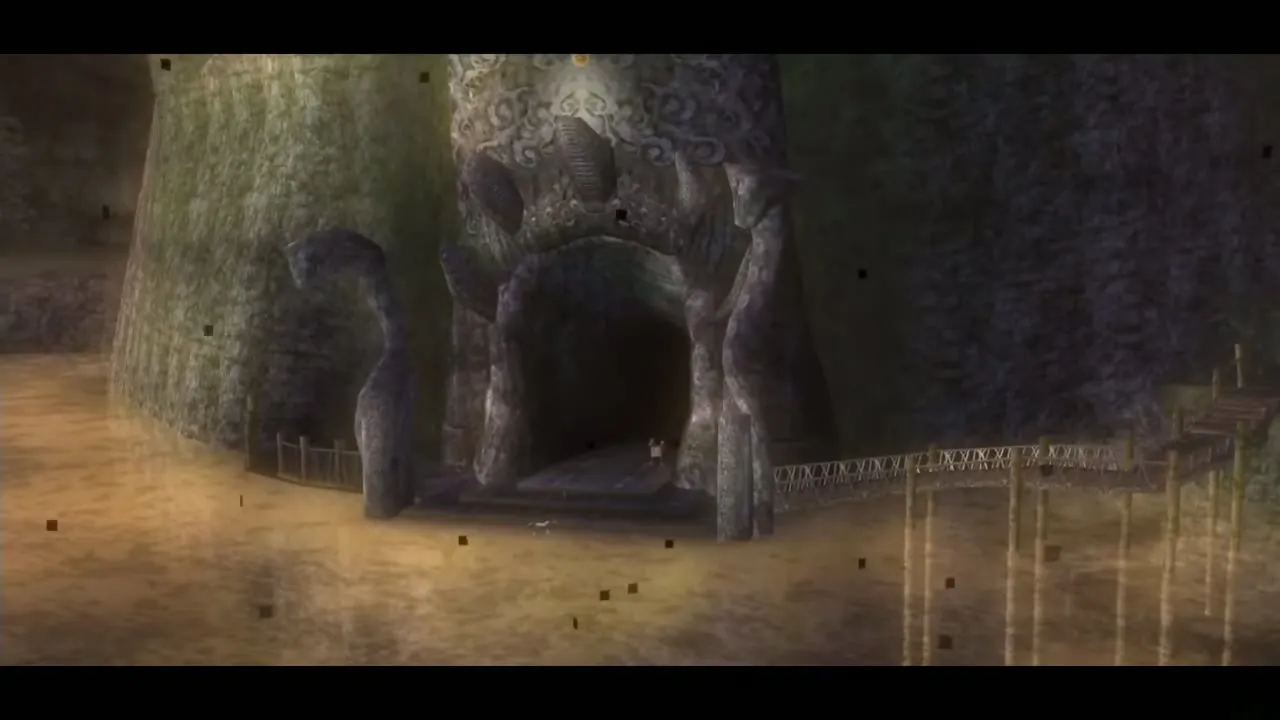
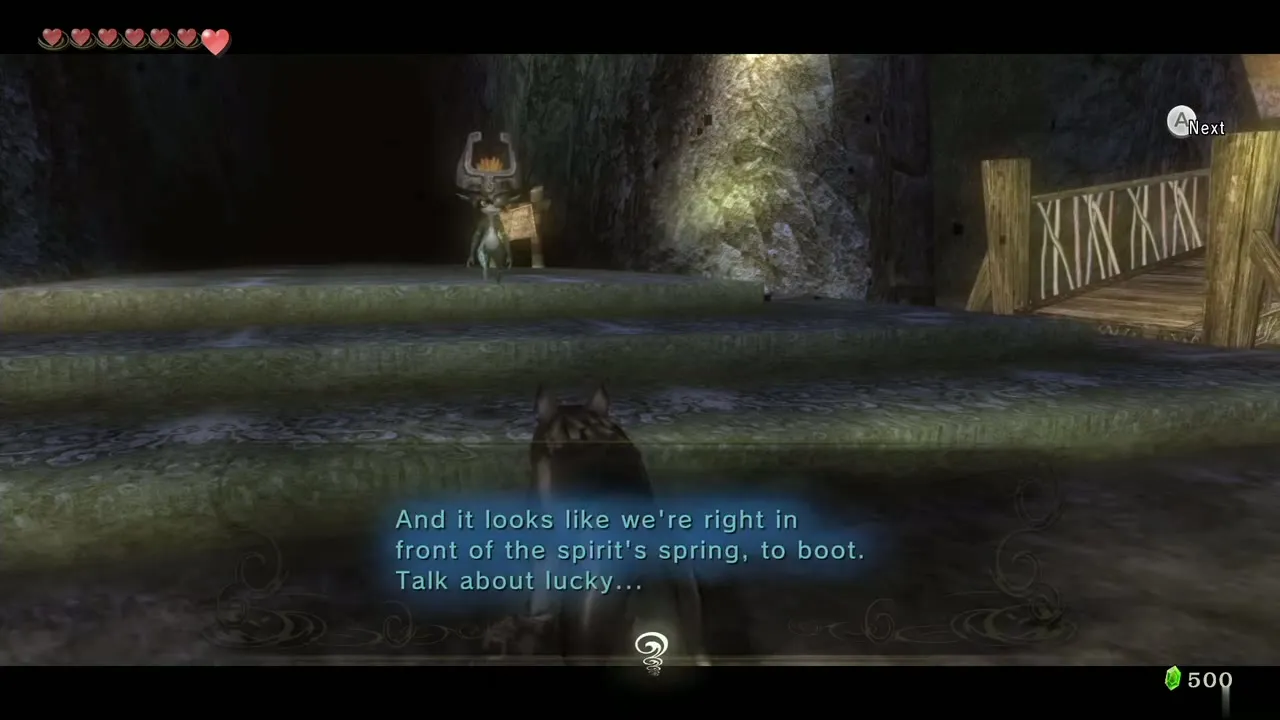
Tears of Light in Lanayru (12)
Lanayru and the first three tears
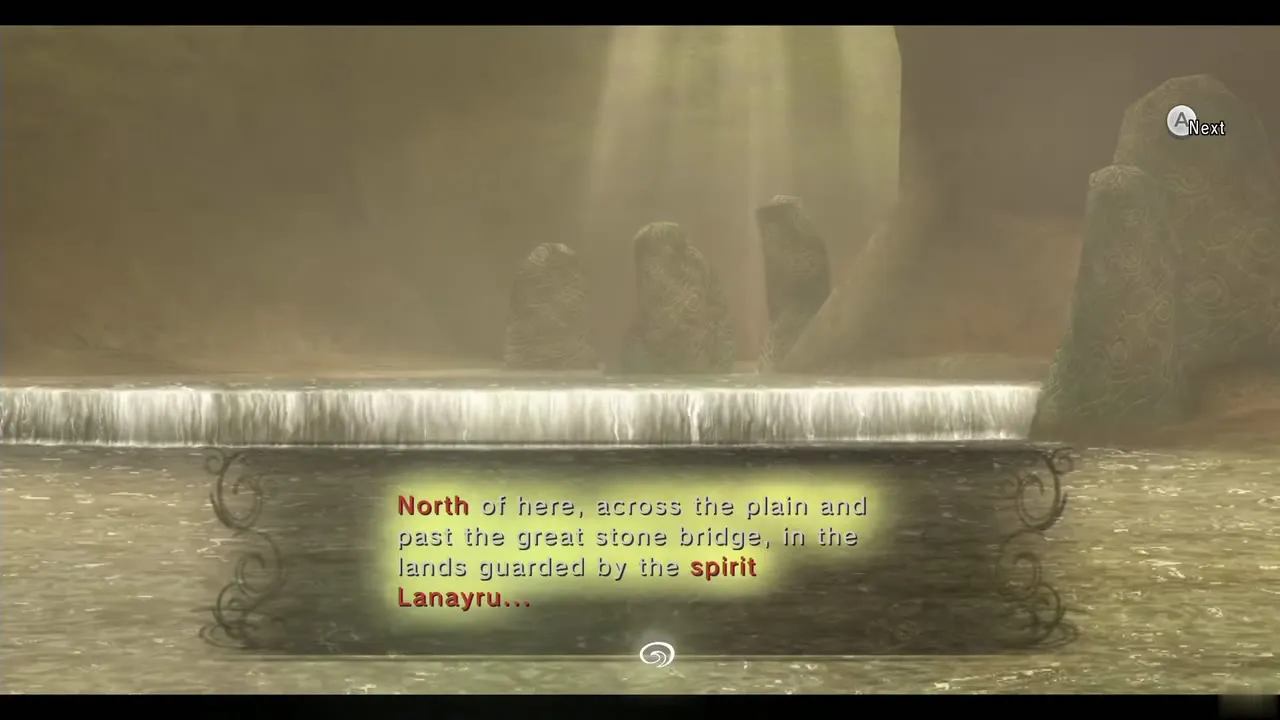
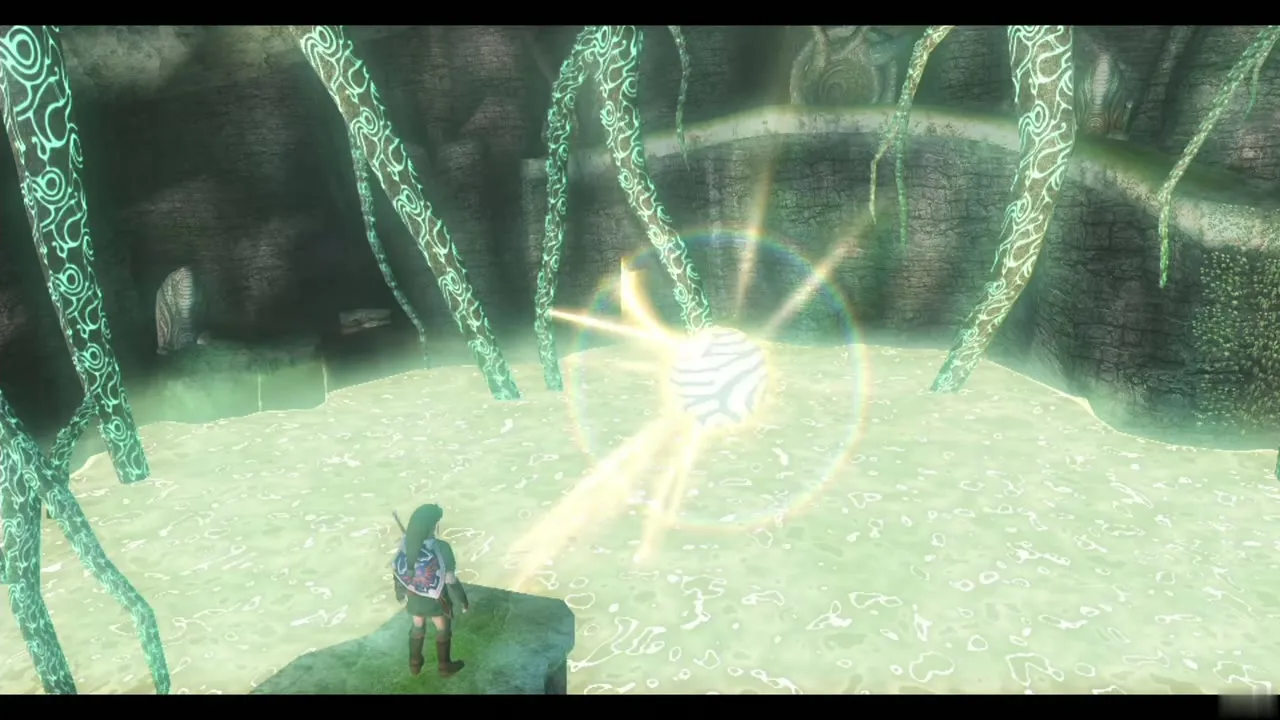
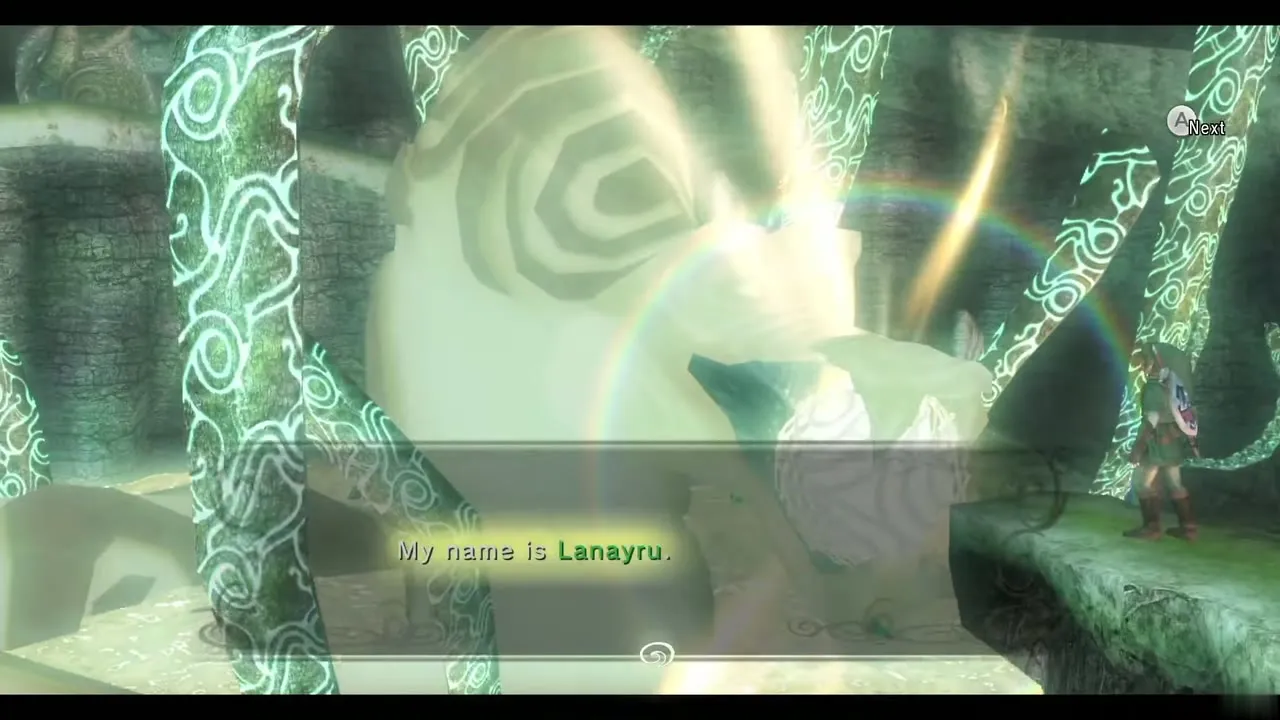
Enter the cave and talk to Lanayru, who gives you the Vessel of Light. The Tears of Light are marked on your map. The GameCube and Wii versions needed 16 per region; the HD version needs 12 in each.
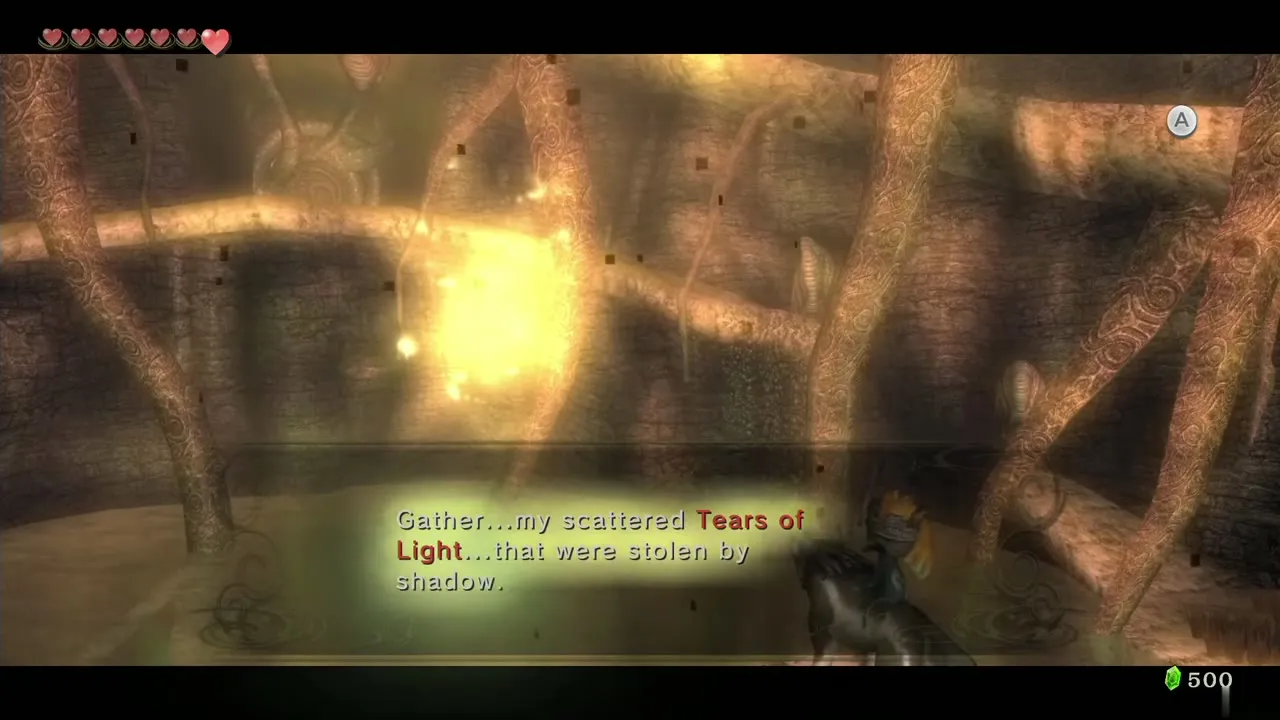
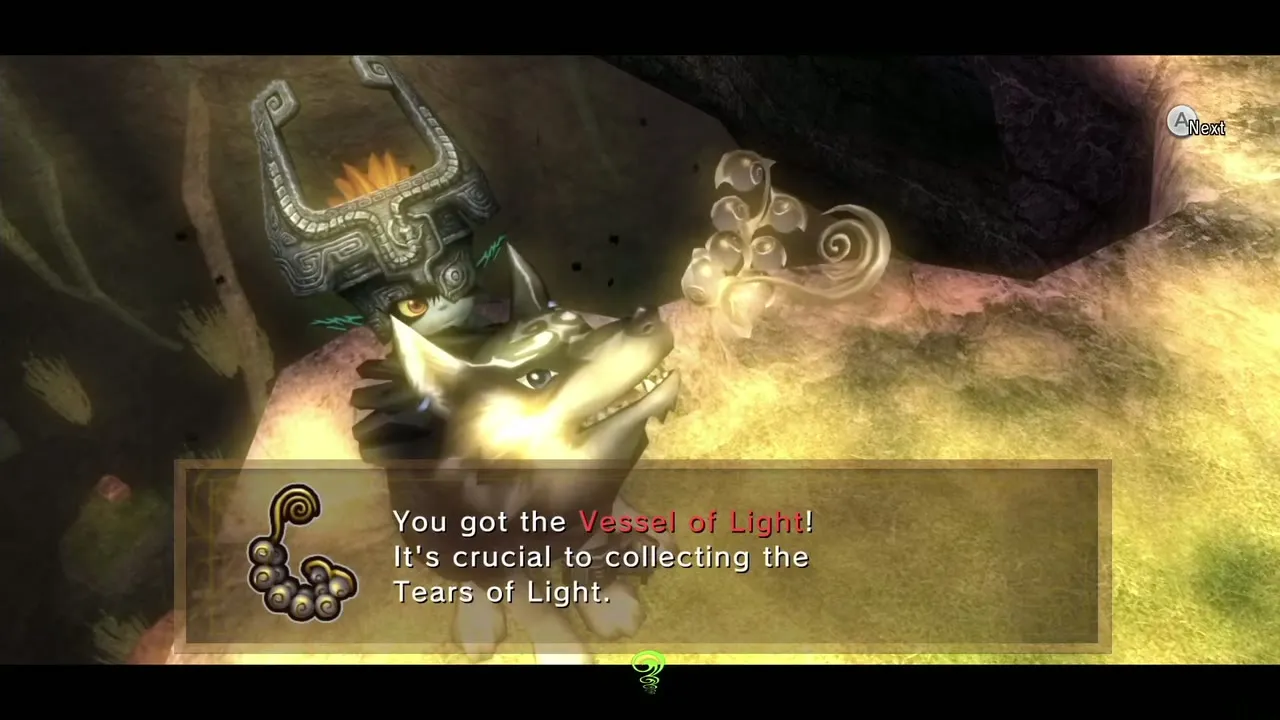
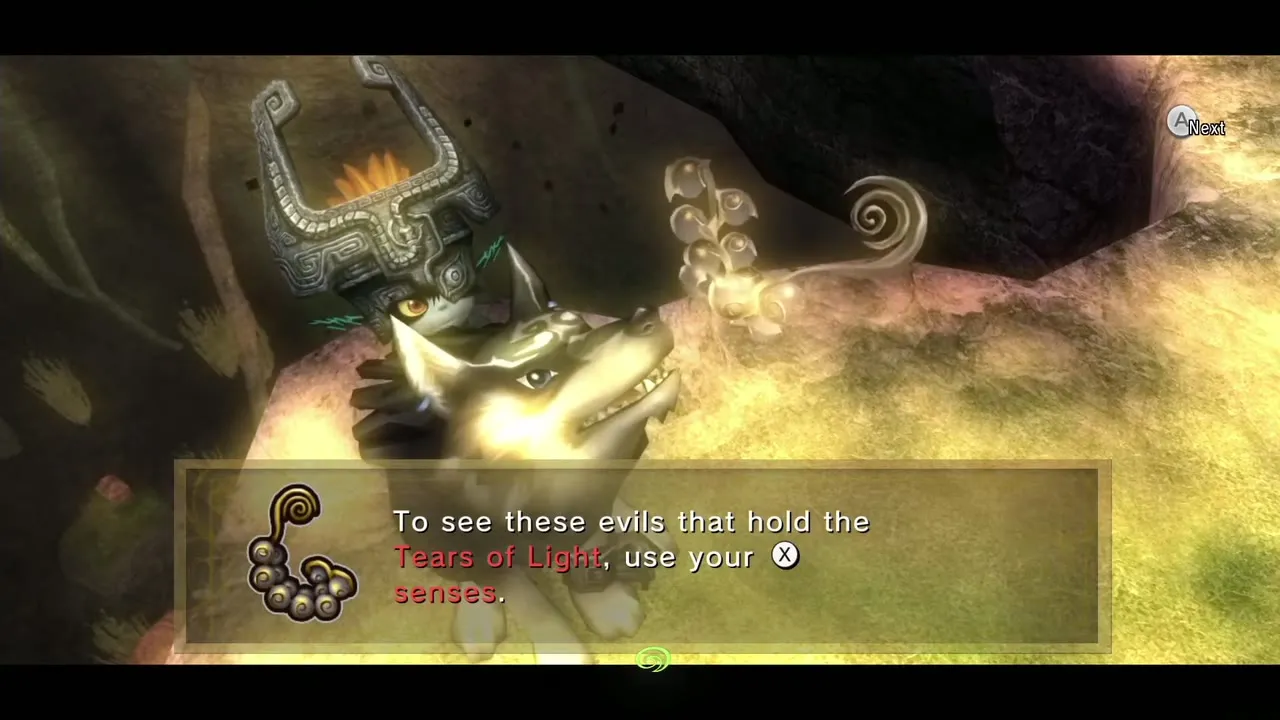
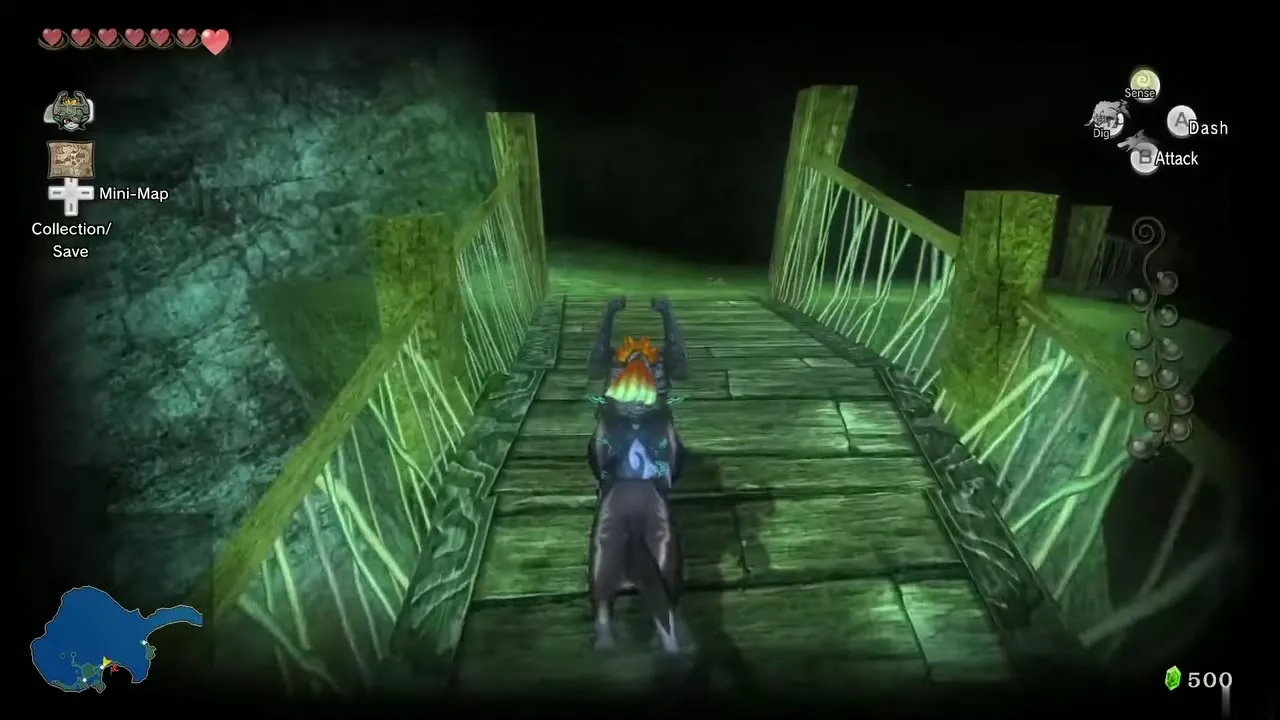
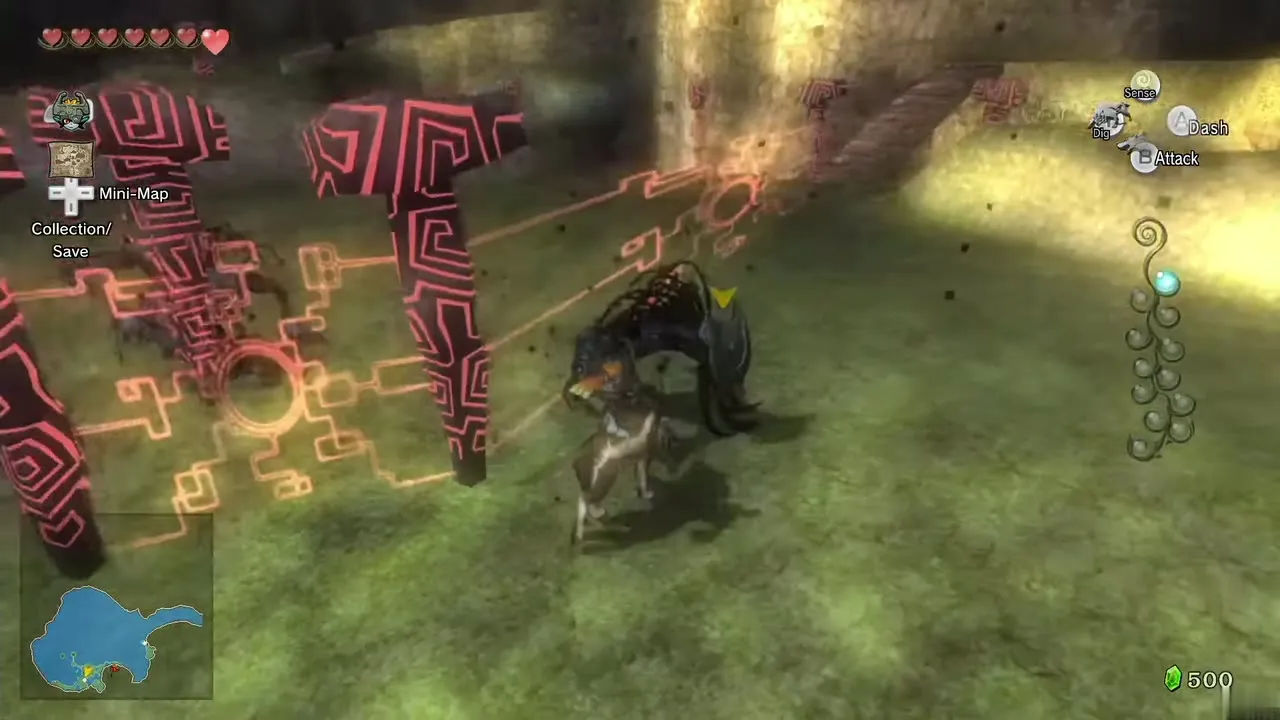
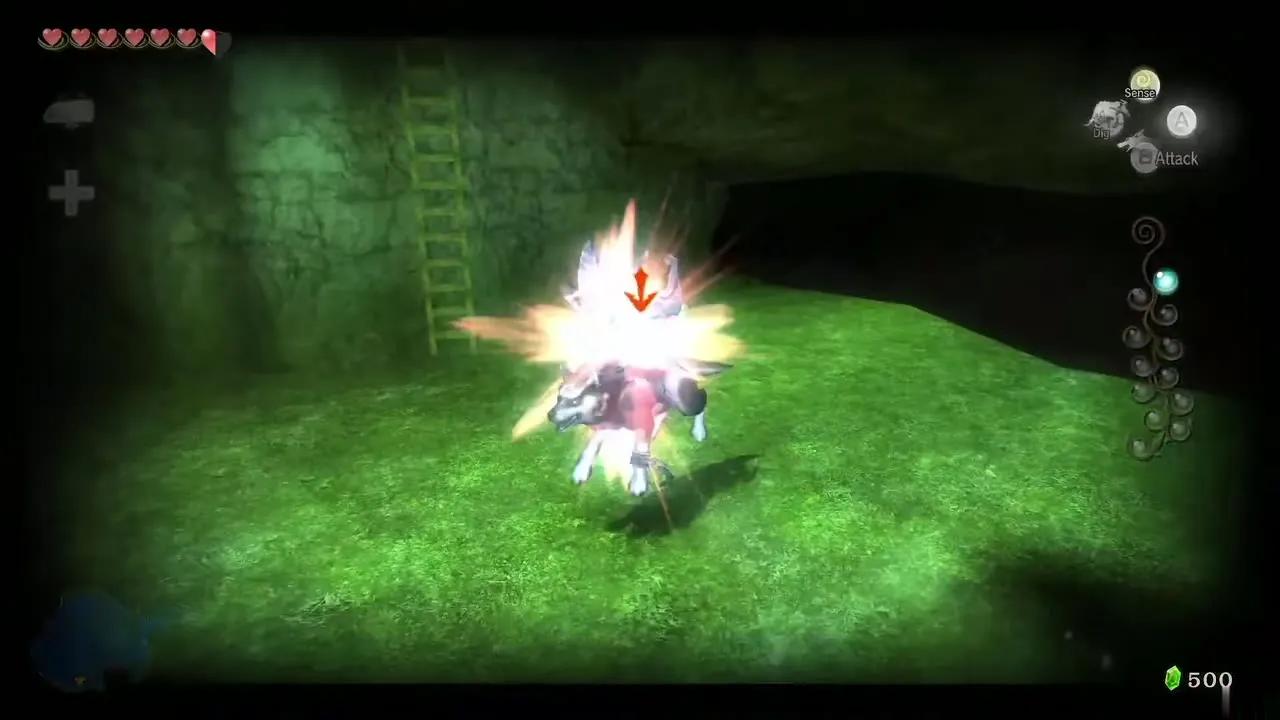
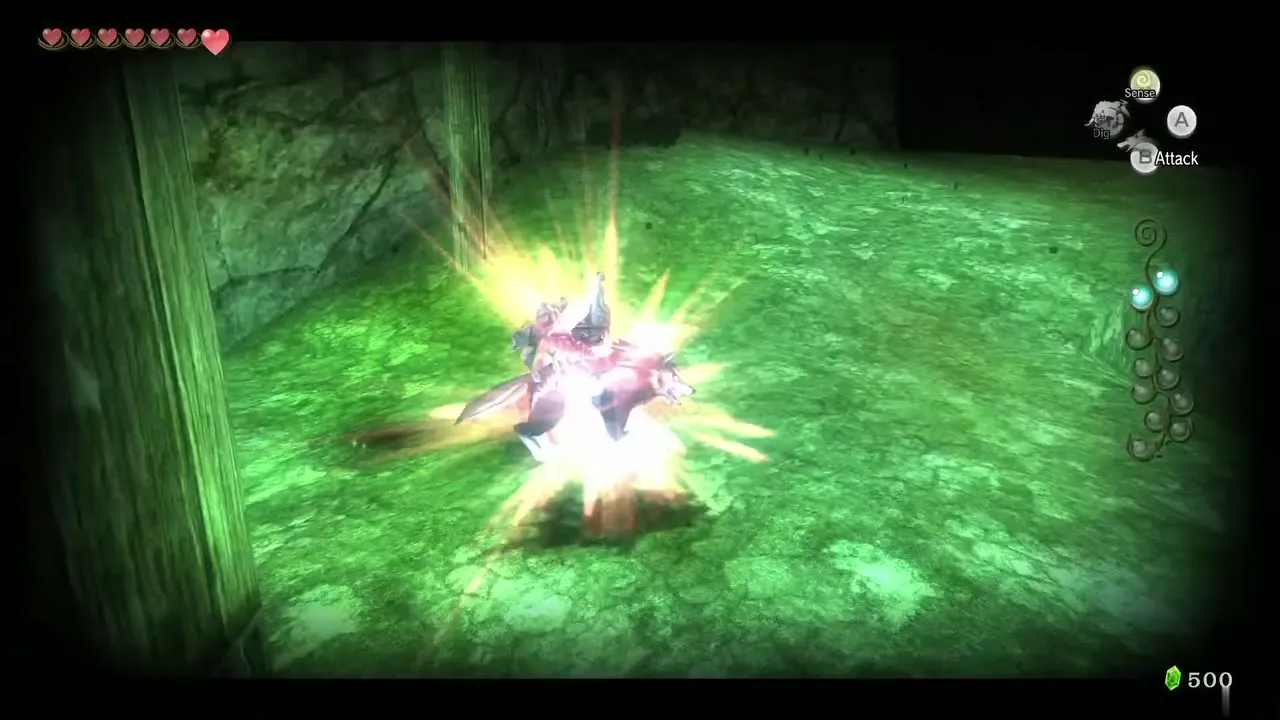
Tear #1: leave the cave and follow the insect that climbs the wooden bridge, then use your senses to defeat it. Tear #2: three Shadow Beasts drop from a portal to the west. Beat them; the insect on a higher ledge burrows when you approach, so dig it up. Tear #3: swim to the far end of the lake and use your senses to kill the insect there.
Tears #4 to #7 (kargarok ride and Upper Zora’s River)
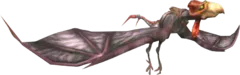
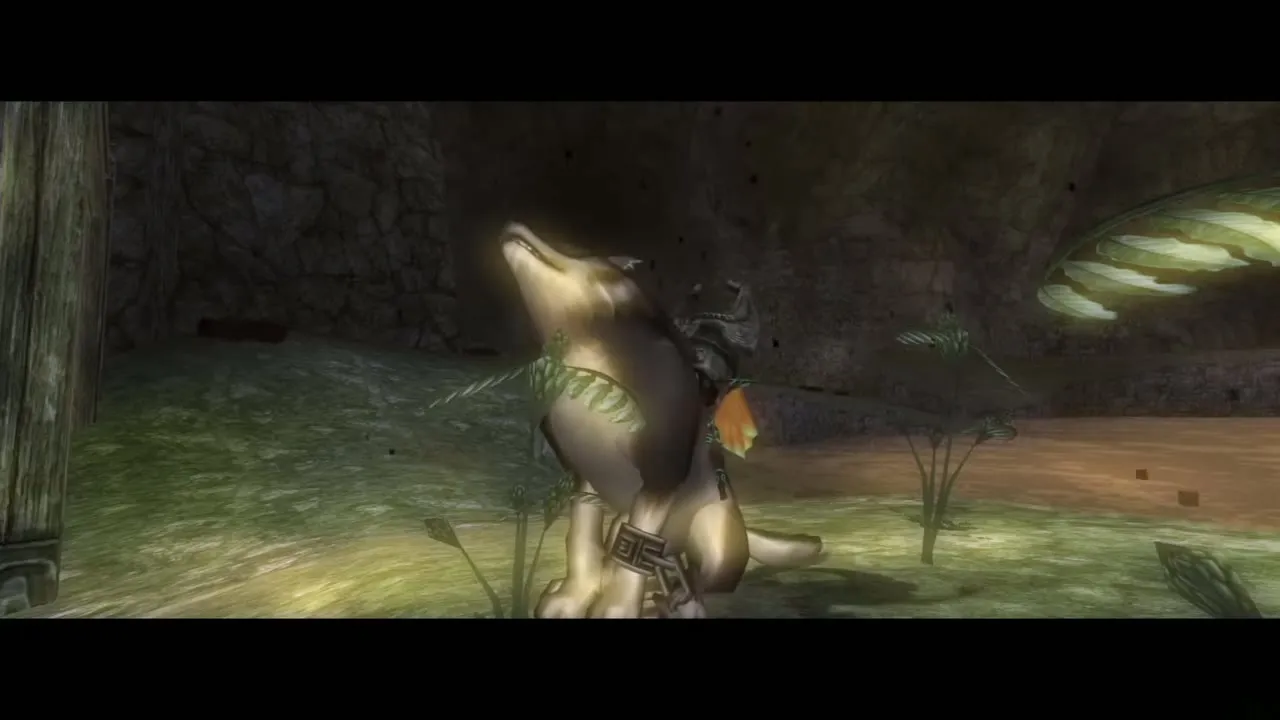
Near the third insect is a patch of grass where a human would blow a grass whistle; Wolf Link howls the tune on screen instead to call the kargarok. On the ride up Zora’s River, three insects show on the map. Target each and dash into it with A to collect Tears #4, #5 and #6.
At Upper Zora’s River, talk to the woman by the boat shop, Iza, and a shadow insect crawls from under the platform. Defeat it for Tear #7.
Howling Stone
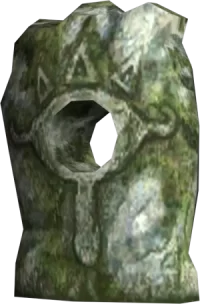
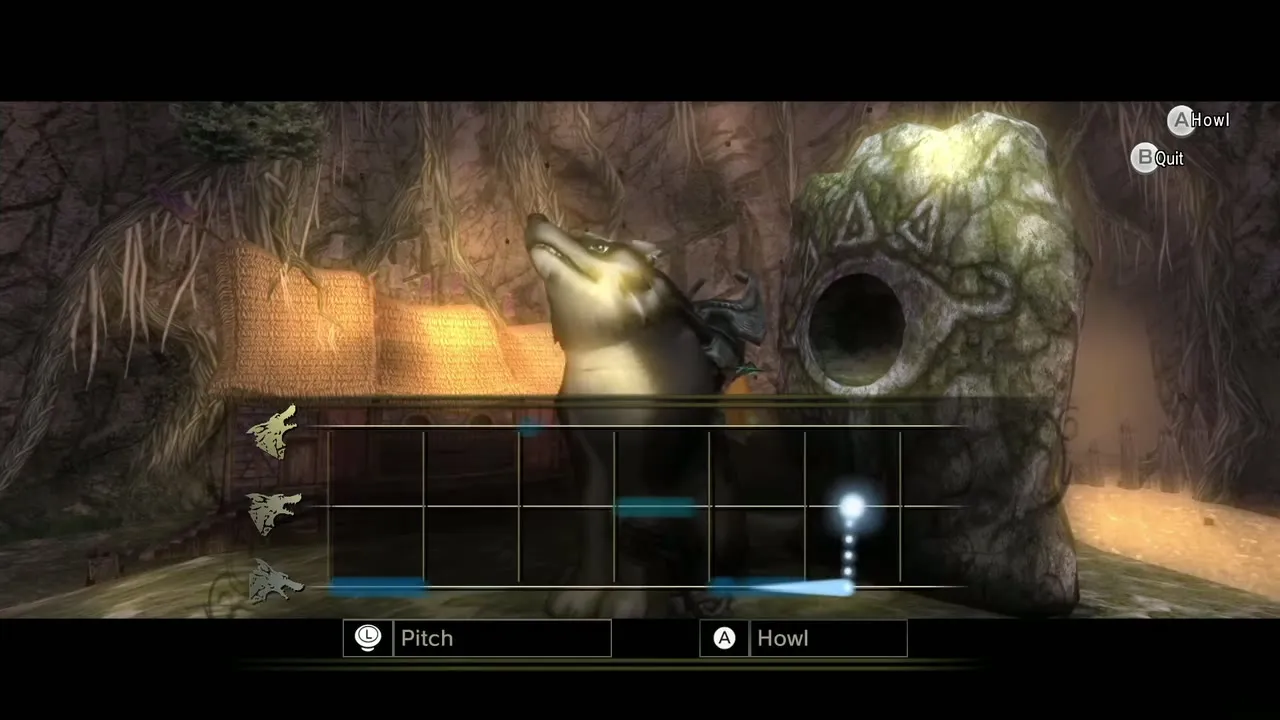
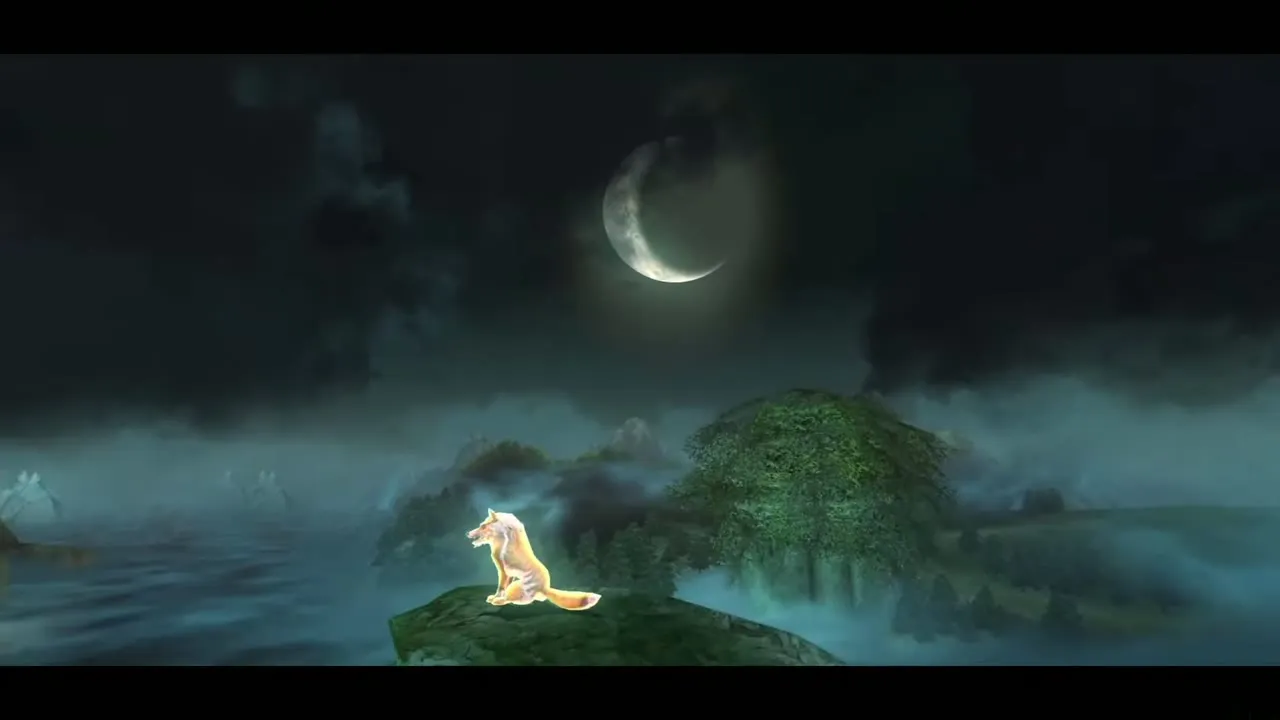
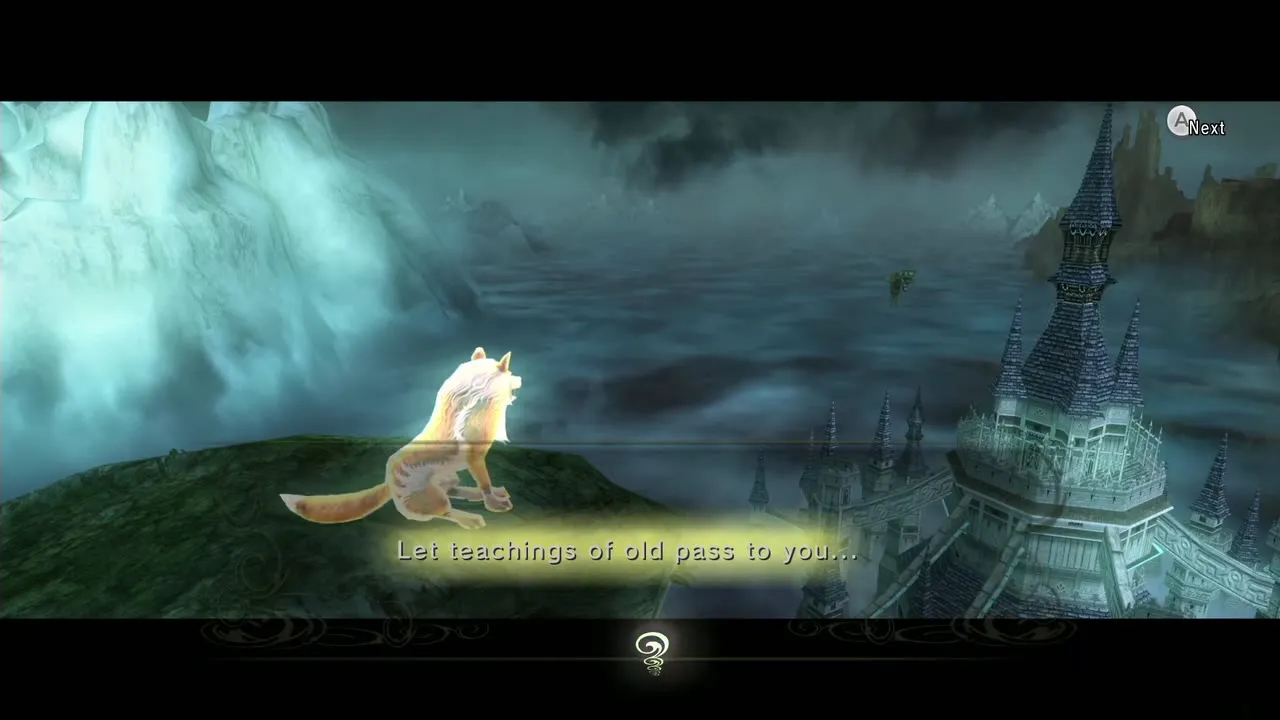
Walk to the north side of Upper Zora’s River to the Howling Stone on the outcrop in front of the door to Hena’s Fishing Hole. Howl its tune to reveal the Golden Wolf, who waits on a higher ledge just north of the bridge into Castle Town, in the field west of the town. He teaches the Back Slice, but only to human Link, so return after the Twilight is lifted (see Hidden Skills).
Castle Town tear (#8)
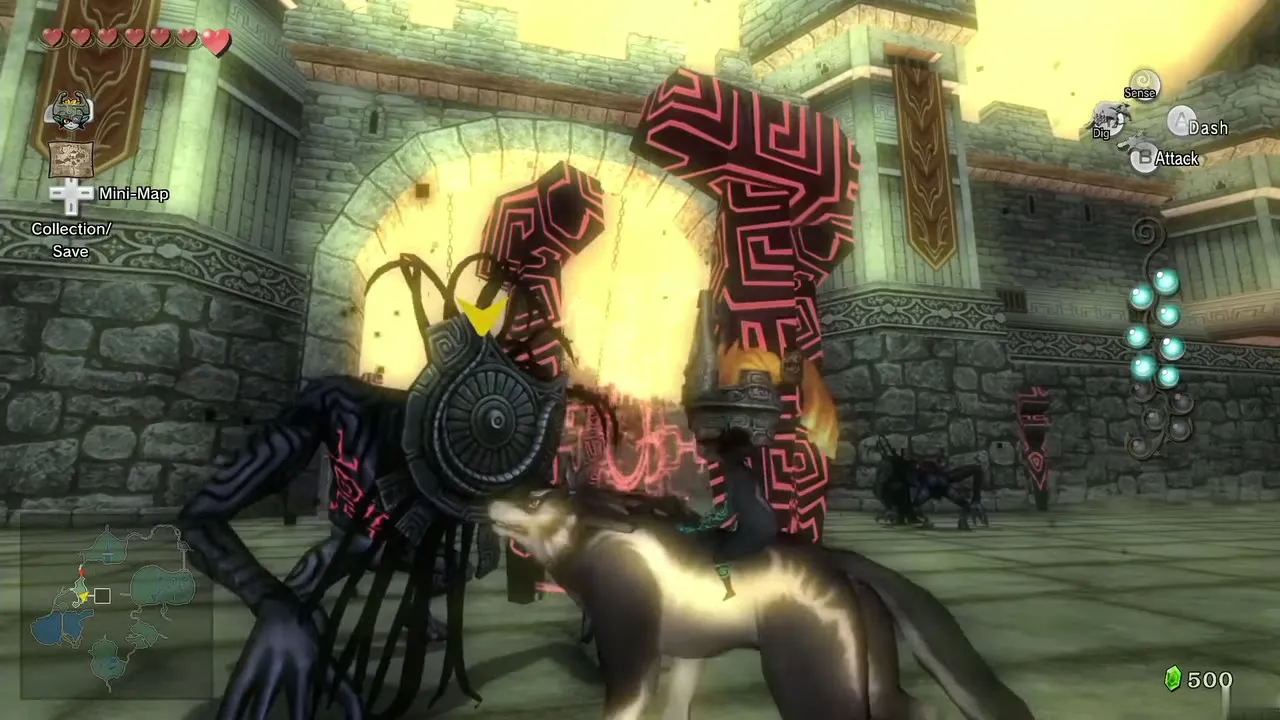
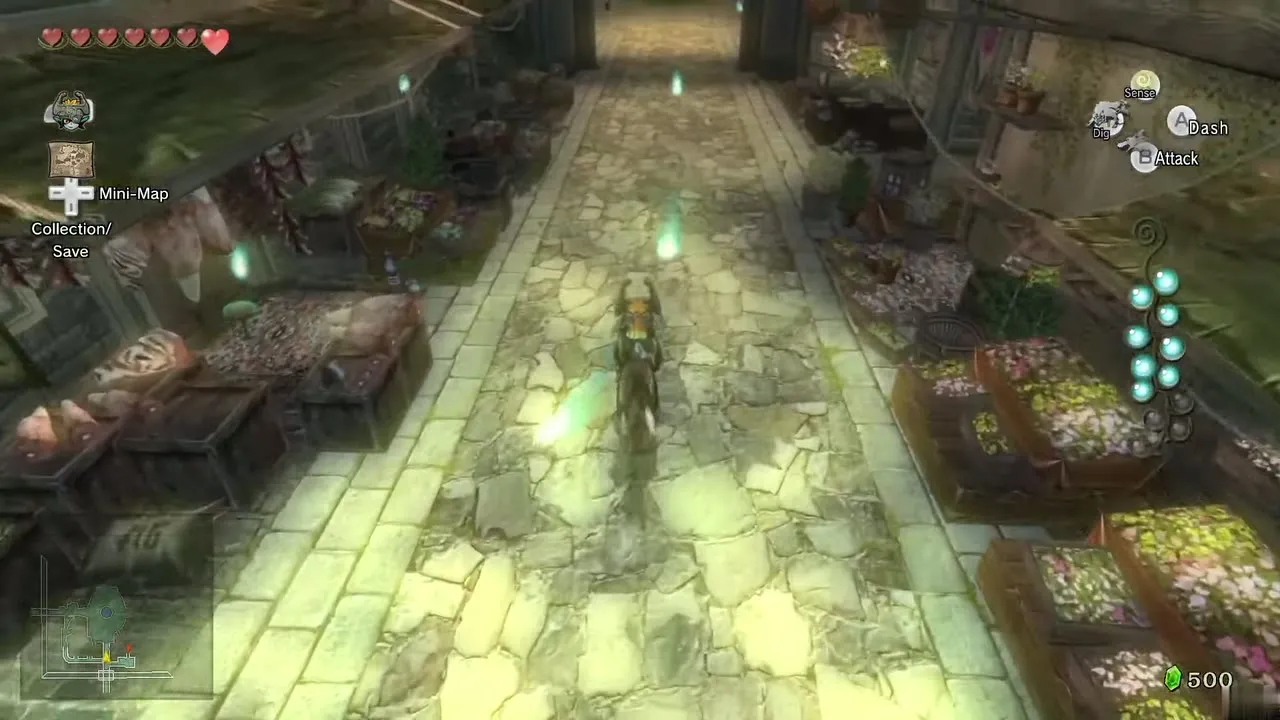
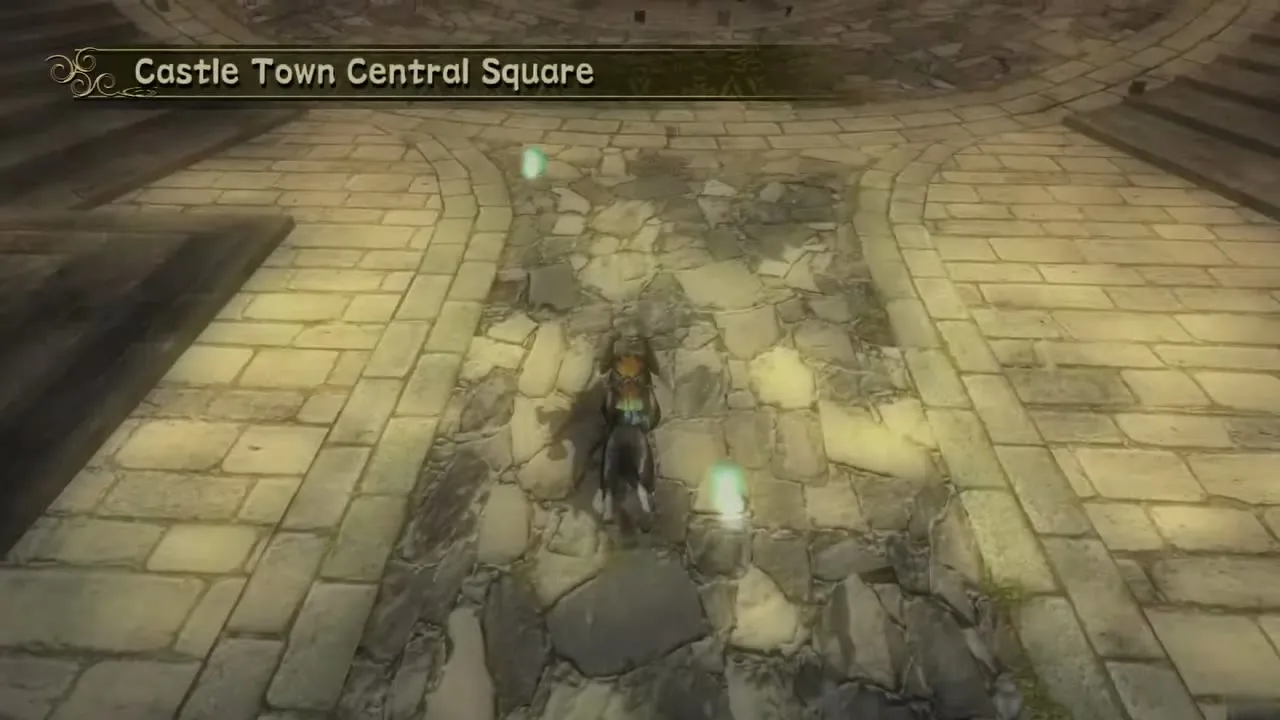
Head west to two Zora spirits looking for Ralis, and follow them into the water to reach North Hyrule Field. Go to Castle Town; three more Shadow Beasts appear outside the gate and open another portal. Inside the town, find the insect near Telma’s Bar hiding behind the crates. Smash them and defeat it for Tear #8.
Tears #9 to #12
Warp to Zora’s Domain. Tear #9: the insect near the entrance clings high on the wall; dash into the wall to shake it free, jump and grab it. Tear #10: jump down the waterfall to the lily pads in the central pool and defeat the insect in the middle. Tear #11: swim east; the insect burrows, so dig it up.
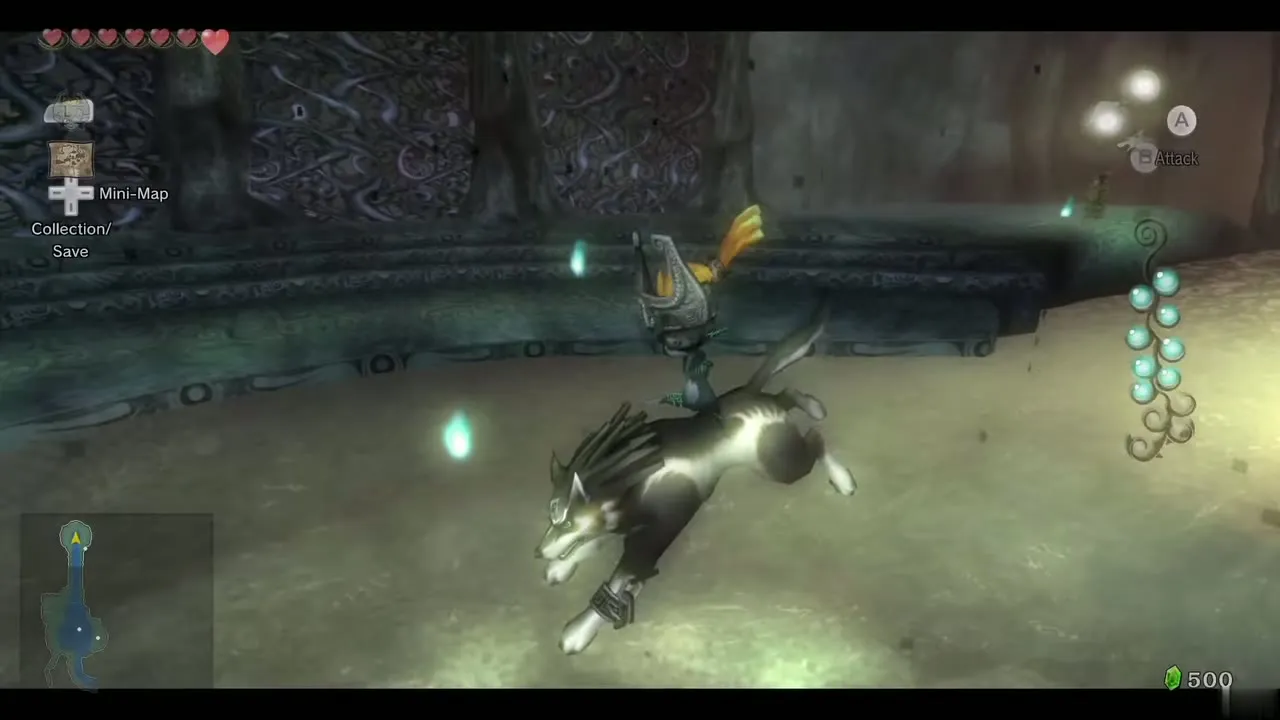
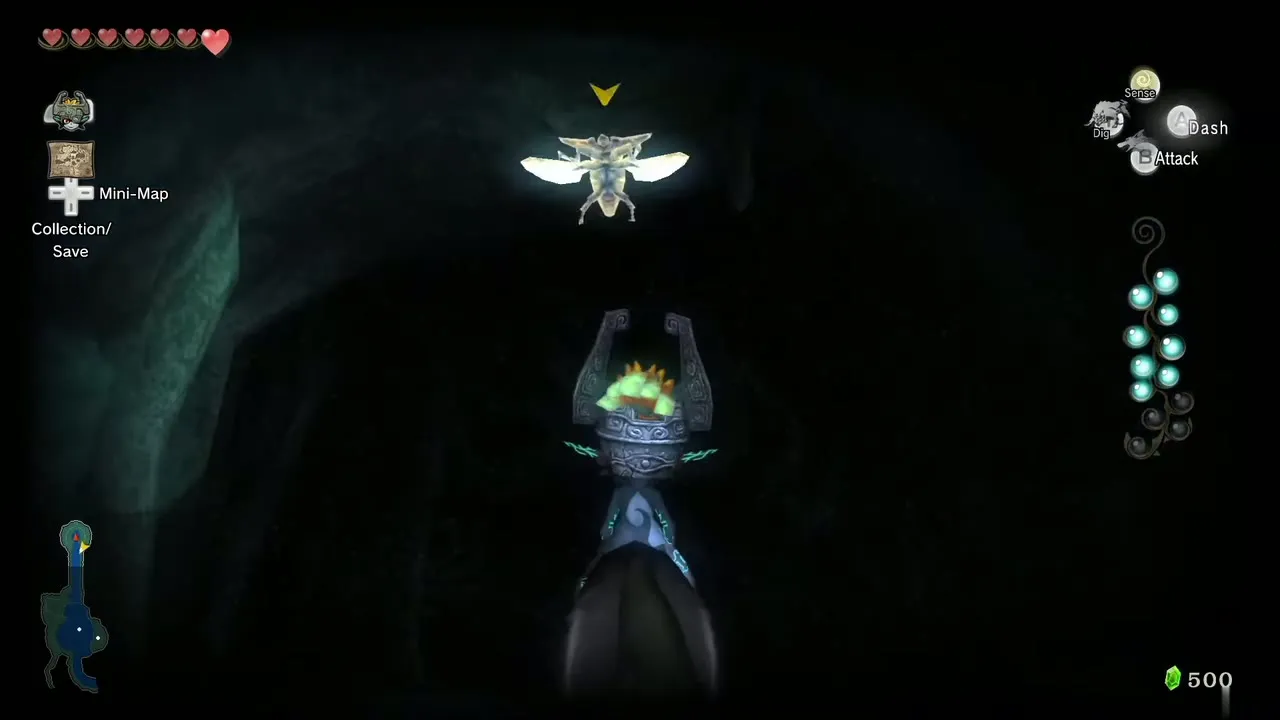
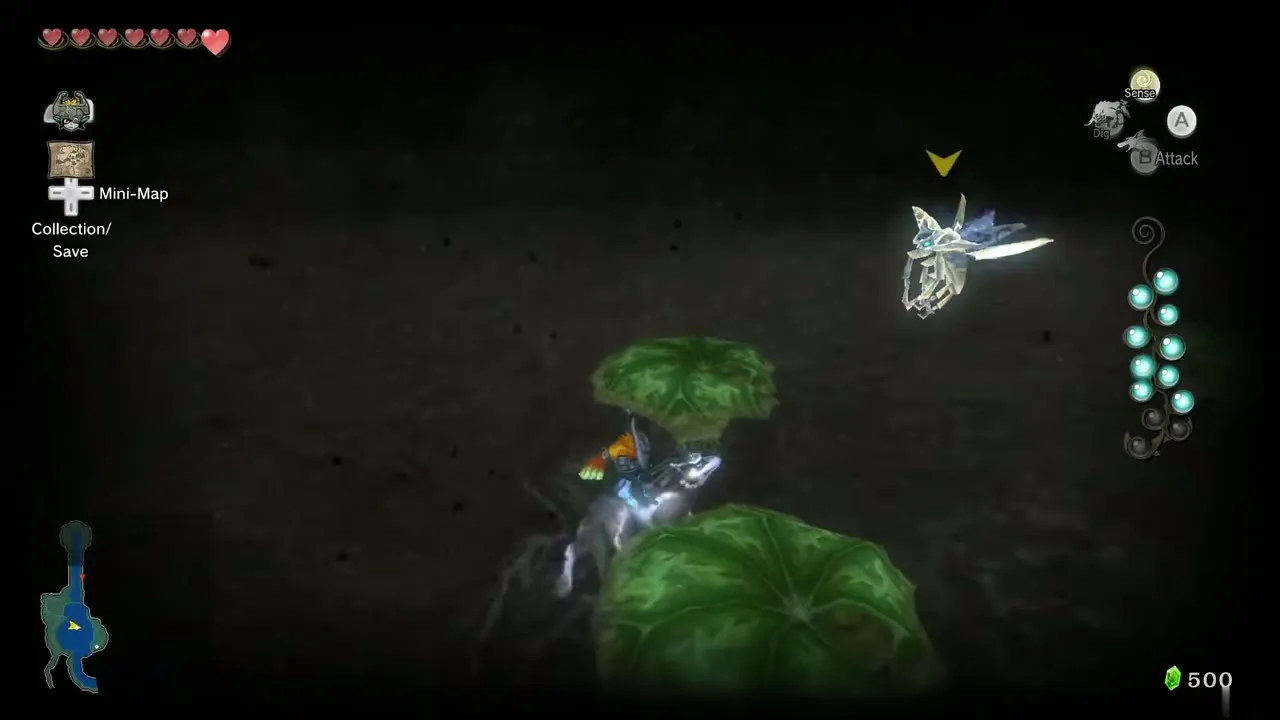
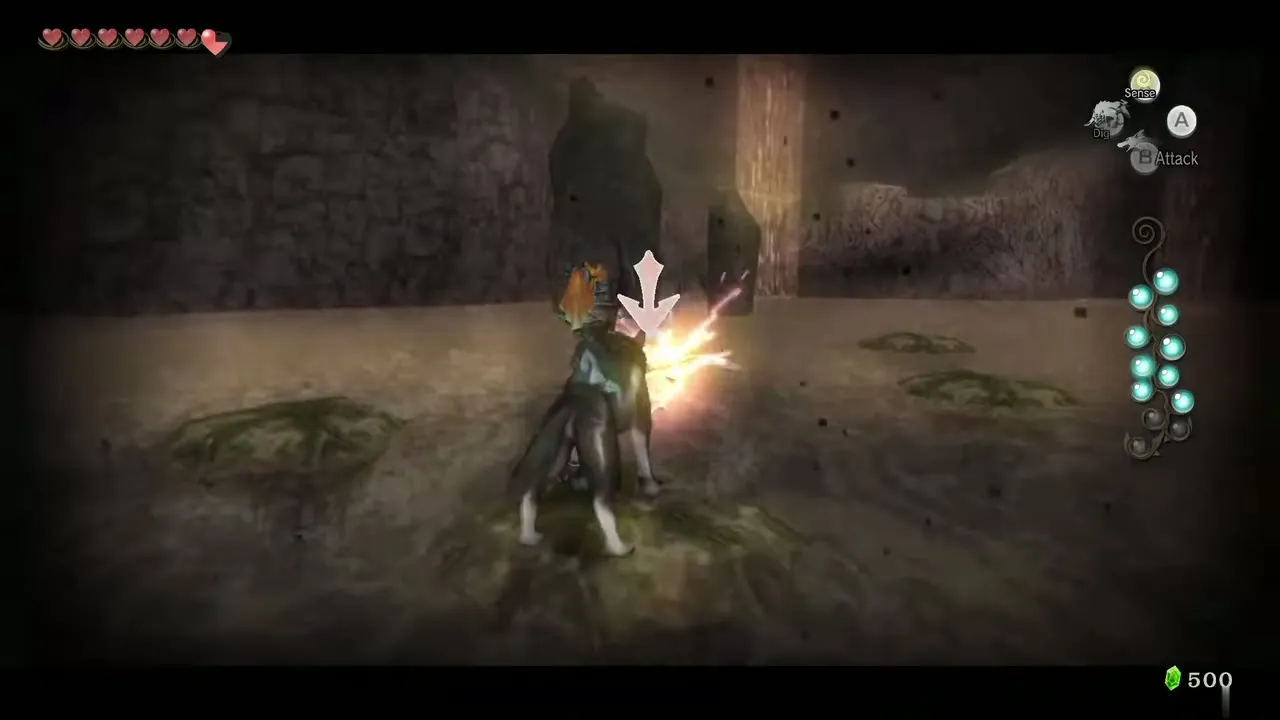
After the eleventh tear, a twelfth mark appears at Lake Hylia. Warp there and use your senses to meet the Twilit Bloat, a giant electrified insect. Side-step its swoops and attack when it lowers and loses its charge. It falls into the water, swims fast toward you and surfaces again, so jump to another platform or into the water. After a few rounds it rolls onto its back. Jump on it and hold B to attack all its legs.
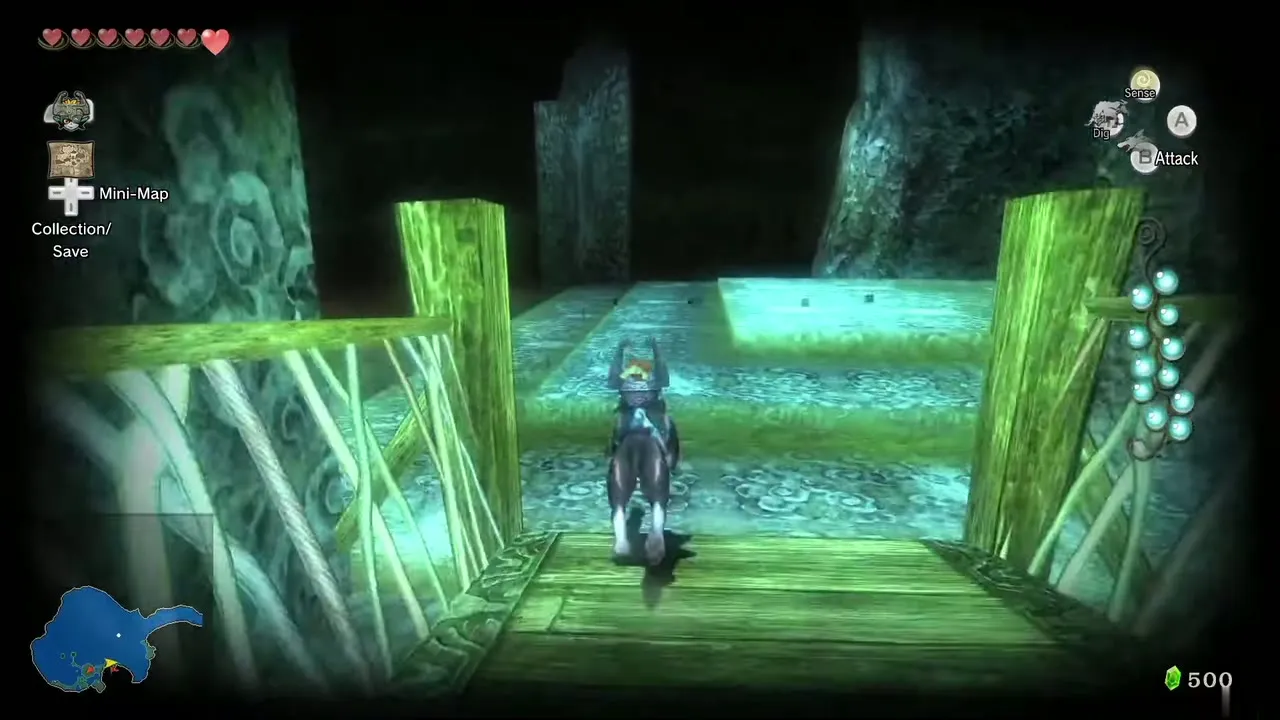
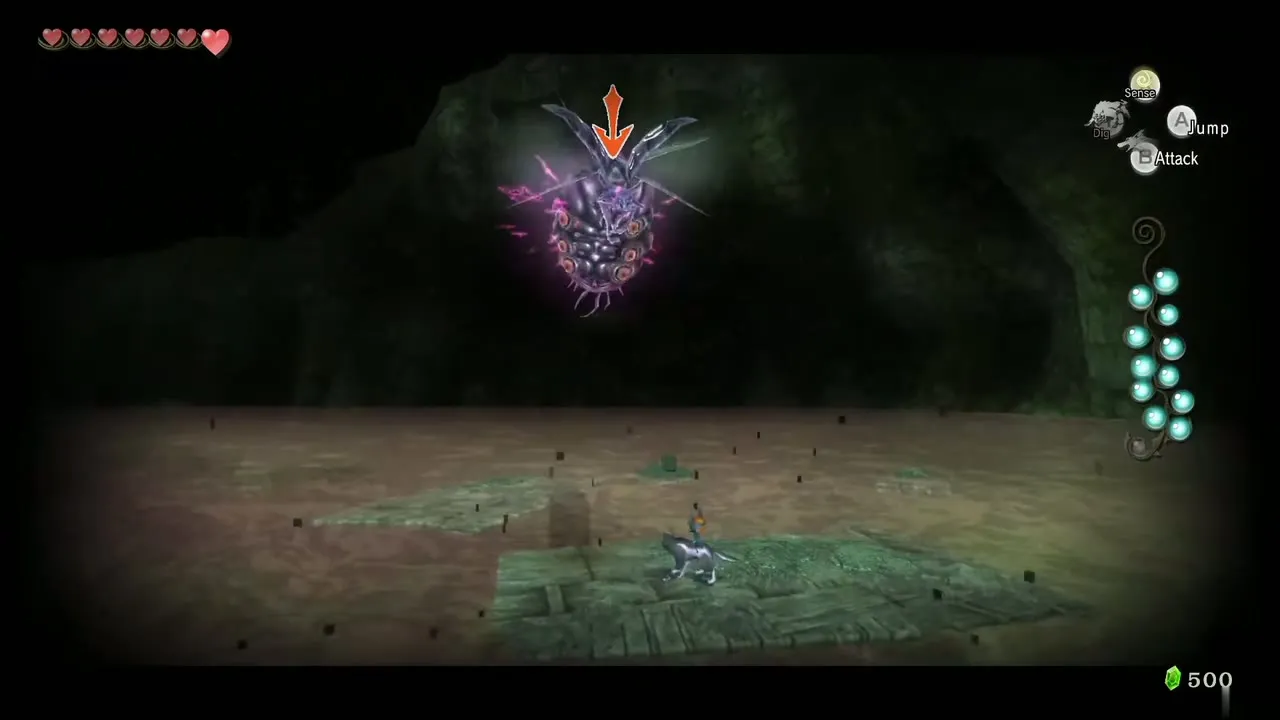
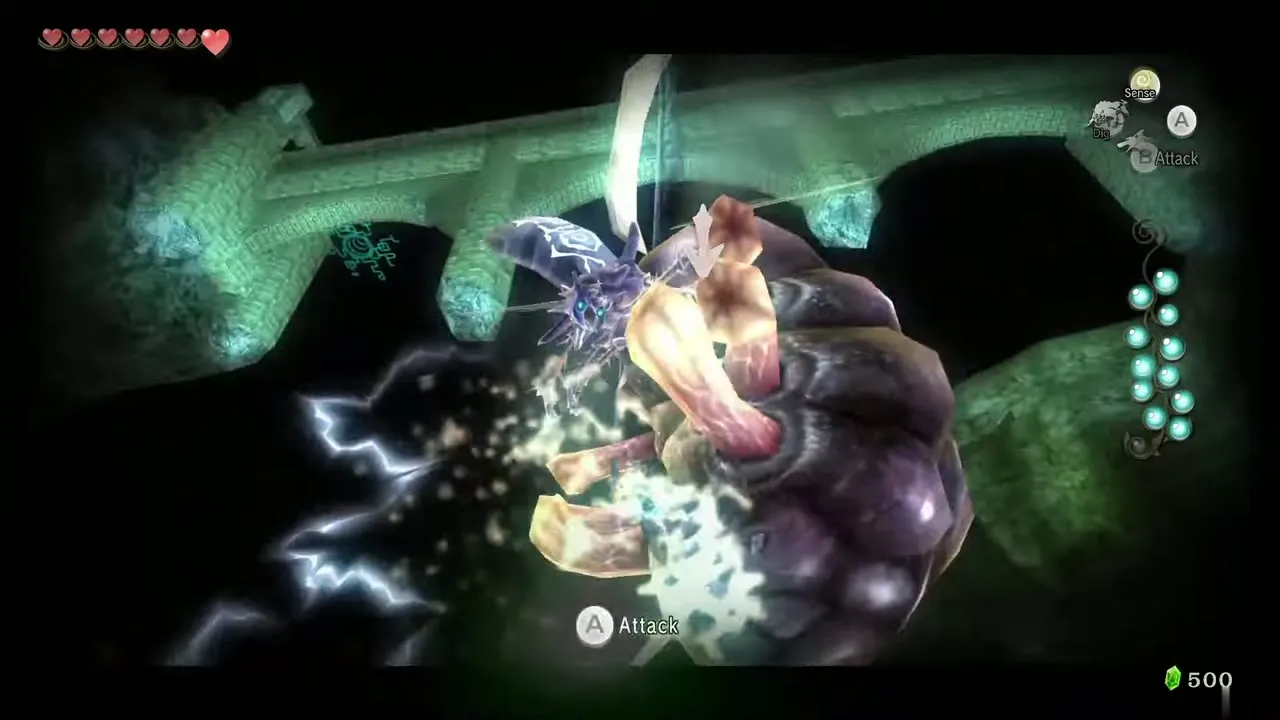
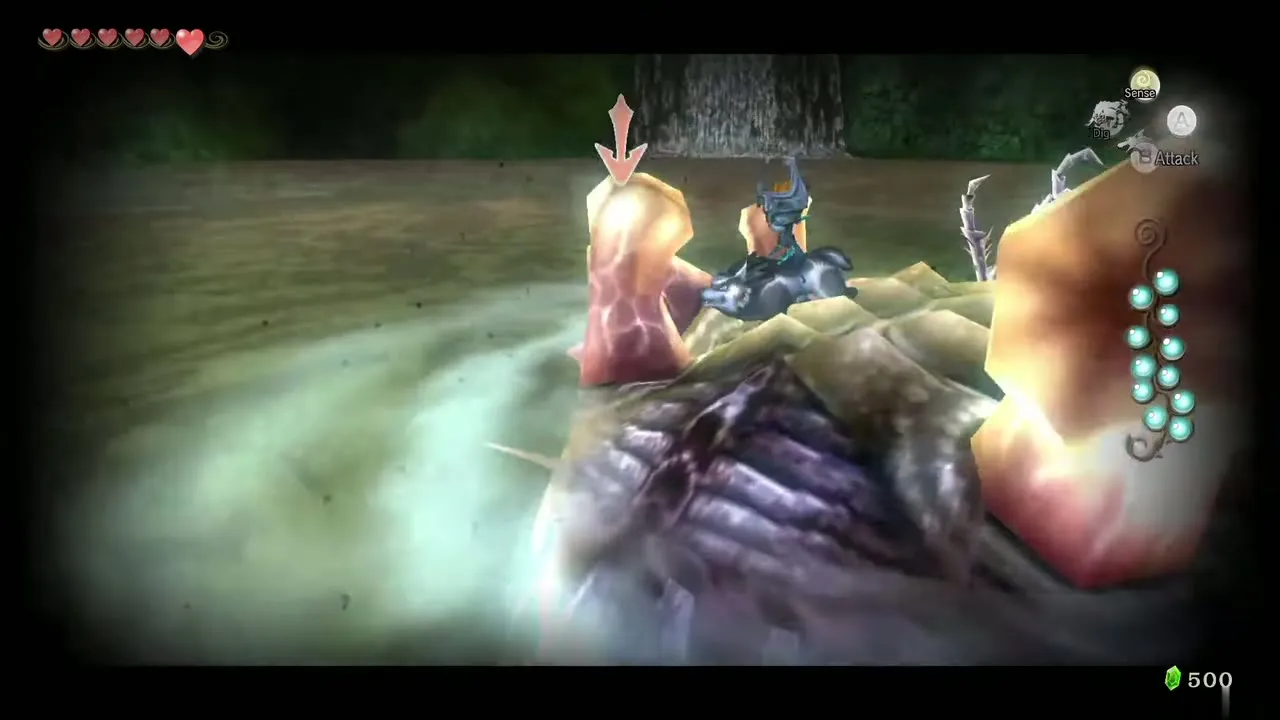
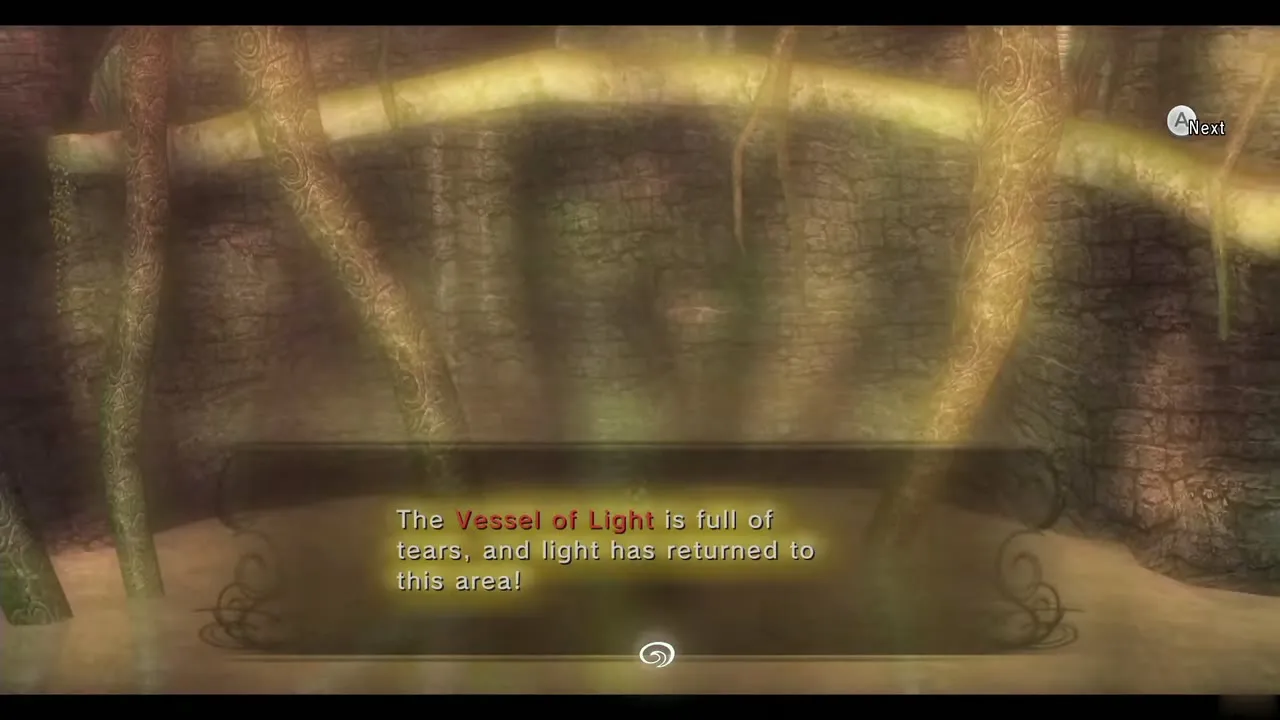
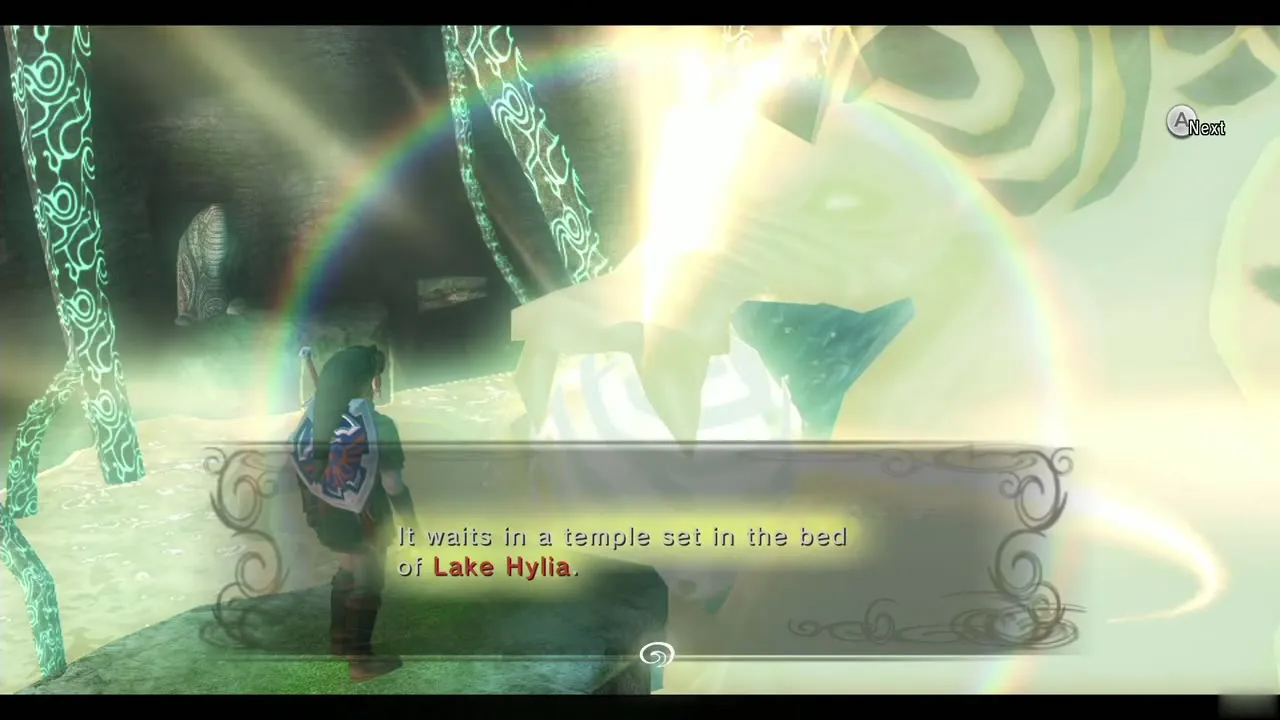
Collect Tear #12 to fill the Vessel. Lanayru’s light restores your human form. A long scene about the Fused Shadows ends with the Spirit telling you the power lies at the bottom of Lake Hylia, in the Lakebed Temple. Much optional work remains before that dungeon.
Chapter checklist
| Type | Item | Where |
|---|---|---|
| Shop | Bomb Bag with 30 bombs (120 Rupees) | Barnes Bombs, Kakariko |
| Shop | Hawkeye (100 Rupees) | Malo Mart, Kakariko |
| Heart Piece | #16 | Malo’s archery game |
| Heart Piece | #18 | Cliff boulders near Eldin Spring (bomb arrows, Gale Boomerang) |
| Heart Piece | #17 | Chest at the bottom of the Eldin Spring (Iron Boots) |
| Heart Piece | #20 | Hole on the Death Mountain Trail west ledge |
| Heart Piece | #8 | Kakariko Gorge Cavern torch chest |
| Heart Piece | #10 | Chest above the canyon by the Bridge of Eldin field |
| Stamp | Hylian letter O | Kakariko Gorge Cavern |
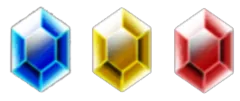 Rupees | Purple Rupee x3 | Watchtower house, Gorge Cavern, Graveyard |
| Golden Bug | Female and Male Grasshopper | Field north-west; field by short rock wall |
| Golden Bug | Male and Female Phasmid | Bridge of Eldin gateway; platform past the bridge |
| Bottle item | Yellow Chu Jelly | Yellow Chu in Kakariko Gorge Cavern |
| Howling Stone | Upper Zora’s River (Back Slice) | Outcrop in front of the door to Hena’s Fishing Hole |
| Key item | Scent of Ilia, Vessel of Light | Pouch after the twilight wall; Lanayru |
| Tears of Light | 12 | Lake Hylia, Zora’s River, Upper Zora’s River, Castle Town, Zora’s Domain |
Full lists: Heart Pieces, Golden Bugs, Tears of Light and Howling Stones. Next: Telma escort and Lake Hylia side quests.
