
























Twilight Princess 100% Completion Walkthrough23 chapters
- Hyrule Castle and the Ganondorf BattleEvery key and chest, then how to beat Puppet Zelda, Dark Beast Ganon, the horse chase and the final duel.
- Snowpeak Ruins (Dungeon 5)Every key, chest, Heart Piece and Poe Soul, the Ball and Chain, Darkhammer and the Blizzeta boss fight.
- Temple of Time (Dungeon 6)All keys and chests, the Dominion Rod, statue puzzles, Big Key, two Heart Pieces and Armogohma.
- City in the Sky (Dungeon 7)Every chest, Heart Piece and Poe, the Double Clawshots, Aeralfos, the Big Key and how to beat Argorok.
- Ordon VillageGoat herding, fishing rod, Sera’s bottle, slingshot, Wooden Sword, Faron Woods cave Heart Piece, Lantern.
- Enter the Twilight RealmEscape the cell as Wolf Link, meet Midna and Zelda, get the Ordon Sword and Shield, meet Ordona.
- Faron WoodsAll 12 Tears of Light, Faron Spring, Coro’s key and lantern oil bottle, and the Golden Wolf’s Ending Blow.
- Forest Temple (Dungeon 1)All 8 monkeys, 4 small keys, Map, Compass, Big Key, 2 Heart Pieces, Ook, Gale Boomerang and Diababa.
- Hyrule Field, Kakariko Gorge and Twilight Kakariko12 Tears of Light, Epona, Pill Bugs, Heart Pieces.
- Iron Boots, King Bulblin and Death MountainIron Boots from Mayor Bo, the King Bulblin bridge fight, Golden Bugs and Gor Coron’s sumo match.
- Goron Mines (Dungeon 2)Every chest, both Heart Pieces, the Hero’s Bow, three Key Shards, Dangoro and Fyrus boss tactics.
- Lanayru Province, Castle Town and Zora’s DomainKakariko extras, Bridge of Eldin bugs, Castle Town, Lake Hylia, thawing Zora’s Domain and all 12 Tears of Light.
- Telma Escort, Castle Town and Lake Hylia Side QuestsTelma escort, Zora Armor, Water Bombs, 9 Golden Bugs, Agitha, Charlo, fishing, Rapid Ride and the Lakebed entrance.
- Lakebed Temple (Dungeon 3)Small keys, map, compass, Big Key, two Heart Pieces, Clawshot, Deku Toad and Morpheel boss tactics.
- Midna, Zelda and the Master SwordTelma’s Bar to Zelda, the Sacred Grove, Skull Kid, the guardian puzzle, plus its Heart Piece, Poe and Golden Bug.
- Poe Soul Collection, Malo Mart and Heart PiecesThe first 29 Poe Souls, Jovani’s rewards, Malo Mart donations and Magic Armor, Miiverse stamps and five Heart Pieces.
- Gerudo Desert and the Bulblin CampOasis Flight, eight Poe Souls, both Dayflies, Mortal Draw, Bulblin Camp and King Bulblin.
- Arbiter’s Grounds (Dungeon 4)Four Poe Souls, Dungeon Map, Compass, Spinner, Big Key, two Heart Pieces and the Stallord boss fight.
- Mirror Chamber, Reekfish and Snowpeak MountainMirror Chamber, Spinner Heart Pieces, Reekfish bait, Jump Strike, Poe Souls and the climb to Yeto.
- Heart Pieces Hunt and Return to the Sacred GroveTwo Heart Pieces, Rusl, the Skull Kid rematch, the last Golden Bug and the Temple of Time door.
- Ilia’s Memory, Hidden Village and the SkyIlia’s memory, 20 Bulblins, 20 cats, six Sky characters, Great Spin and the Sky Cannon repair.
- Palace of Twilight (Dungeon 8)Both Sols, all seven small keys, map, compass, Big Key, 2 Heart Pieces and how to beat Zant.
- Cave of OrdealsAll 50 floors, the 3 Poe Souls, every Great Fairy, buried items, the Tears and Jovani.
| Covers | Snowpeak Mountain, northern Hyrule Field, Castle Town, North Faron Woods, the Sacred Grove, the Temple of Time doorway |
|---|---|
| You need | 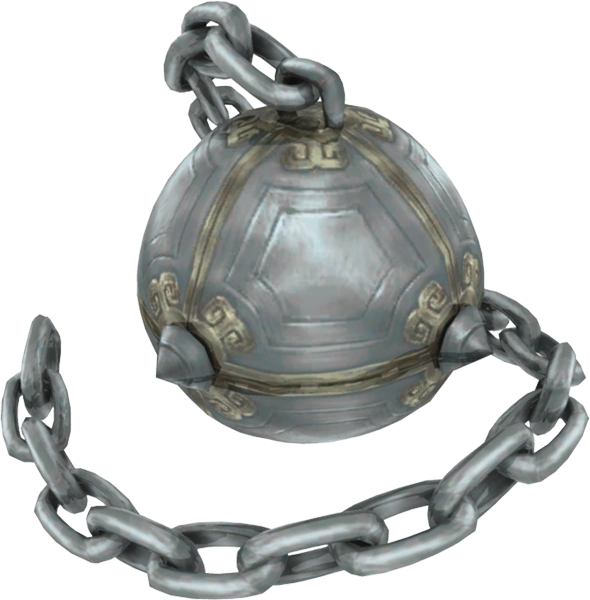 Ball and Chain (from Snowpeak Ruins), Gale Boomerang, Hero’s Bow, Lantern |
| Rewards | 2 Heart Pieces (#15, #36), 3 Poe Souls, the 24th Golden Bug, the Giant Wallet, the Hylian Letter X stamp, a Sacred Grove warp point, access to the Temple of Time |
With the Ball and Chain in hand, this chapter collects two Heart Pieces, then follows Rusl back to the Sacred Grove, beats the Skull Kid a second time and opens the way into the Temple of Time. On the way you pick up three Poe Souls, the last Golden Bug, the Giant Wallet and a Miiverse stamp. Directions use the Normal Mode layout. Hero Mode mirrors the world, so swap left and right and east and west.
Table of Contents
Snowpeak: ice cave Poe Soul
Break the ice blocks
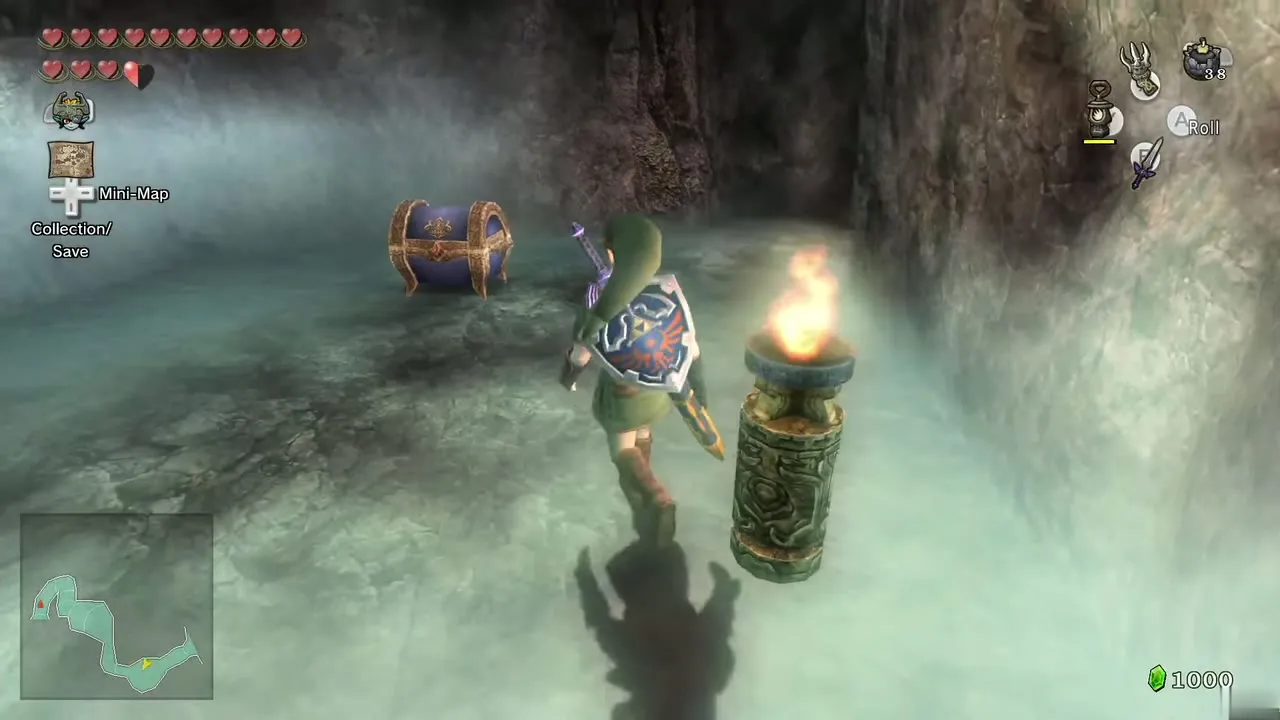
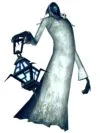
Warp to the Snowpeak summit and head east into the cave you passed on the way up. Drop down through most of it, clearing the Ice Keese as you go. At the far east end, smash the two ice blocks with the Ball and Chain. One of them hides a Poe: turn into Wolf Link and kill it for a Poe Soul (see Poe Souls).
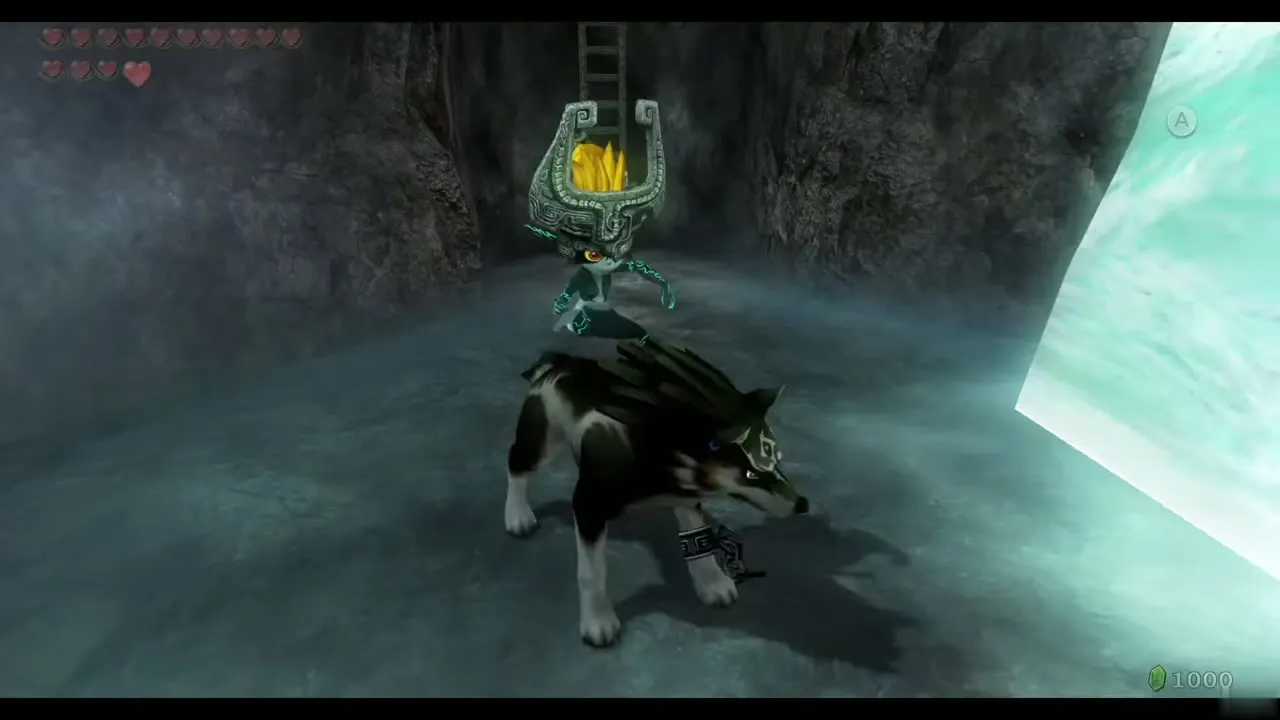
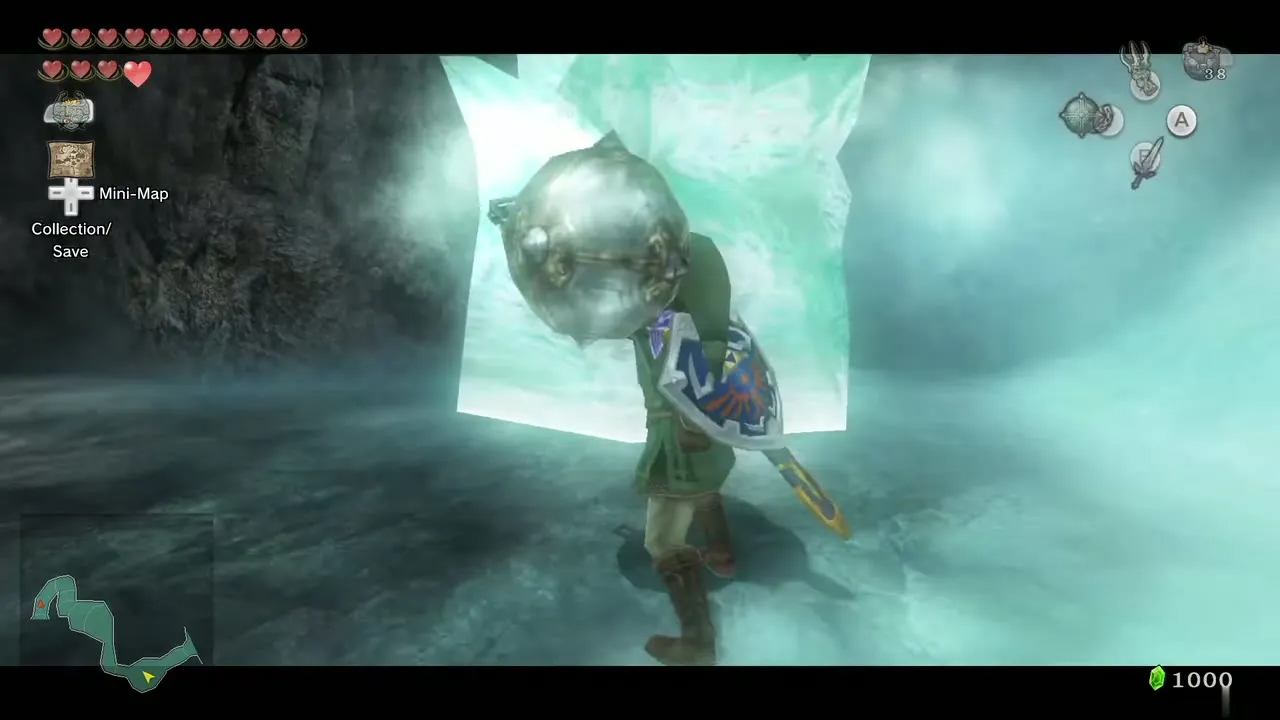
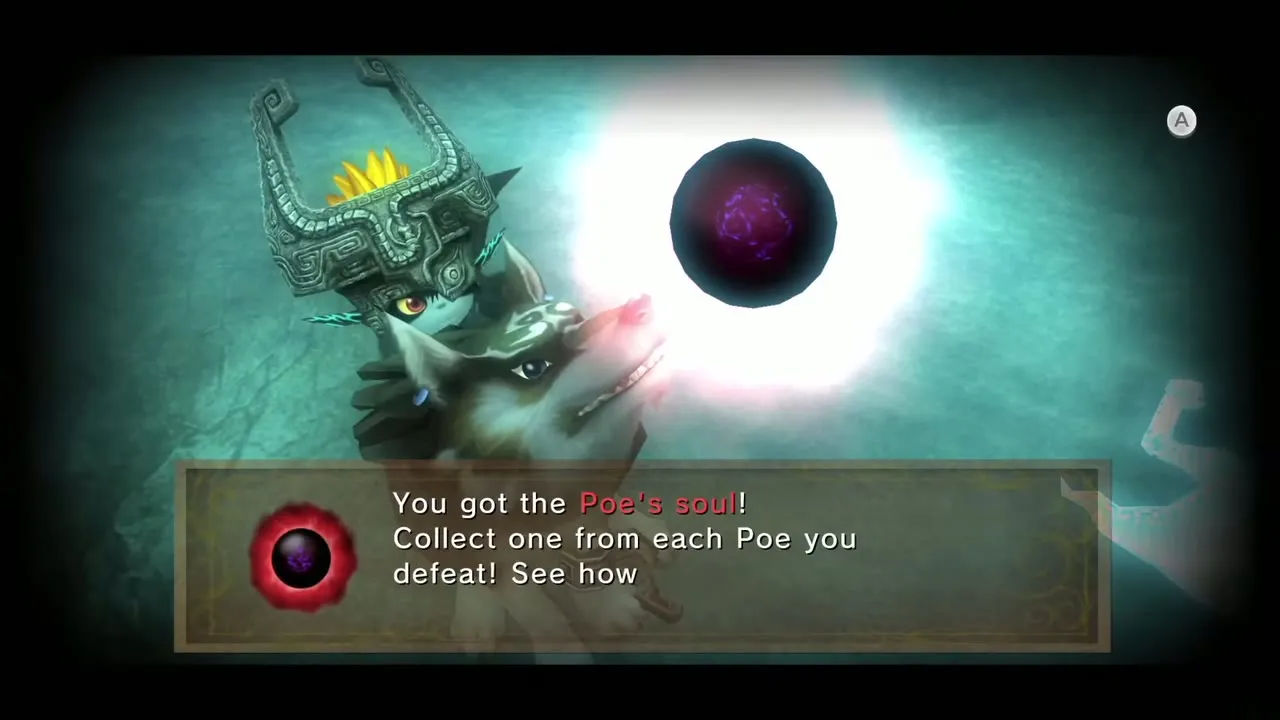
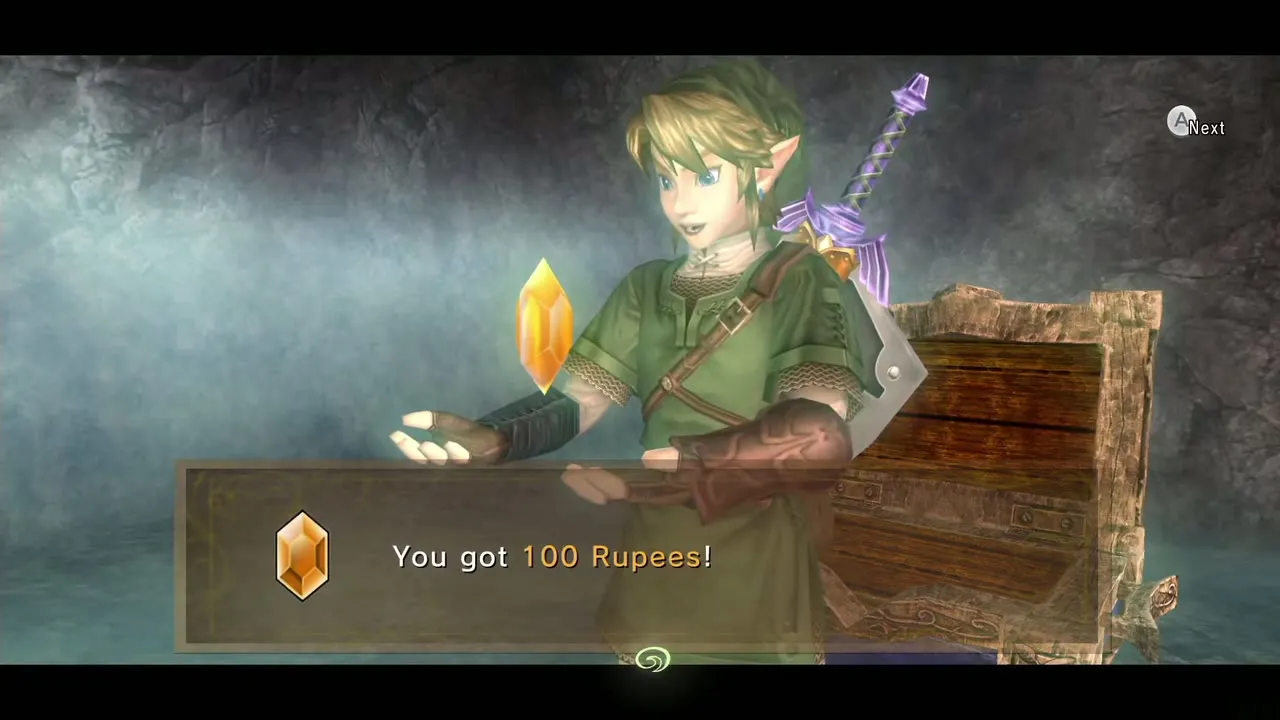
Change back to human Link and light the two nearby torches with the Lantern. A chest appears holding an orange Rupee worth 100. Then ask Midna to warp you to Castle Town.
Northern Hyrule Field: ice-block cave Heart Piece
Find the cavern
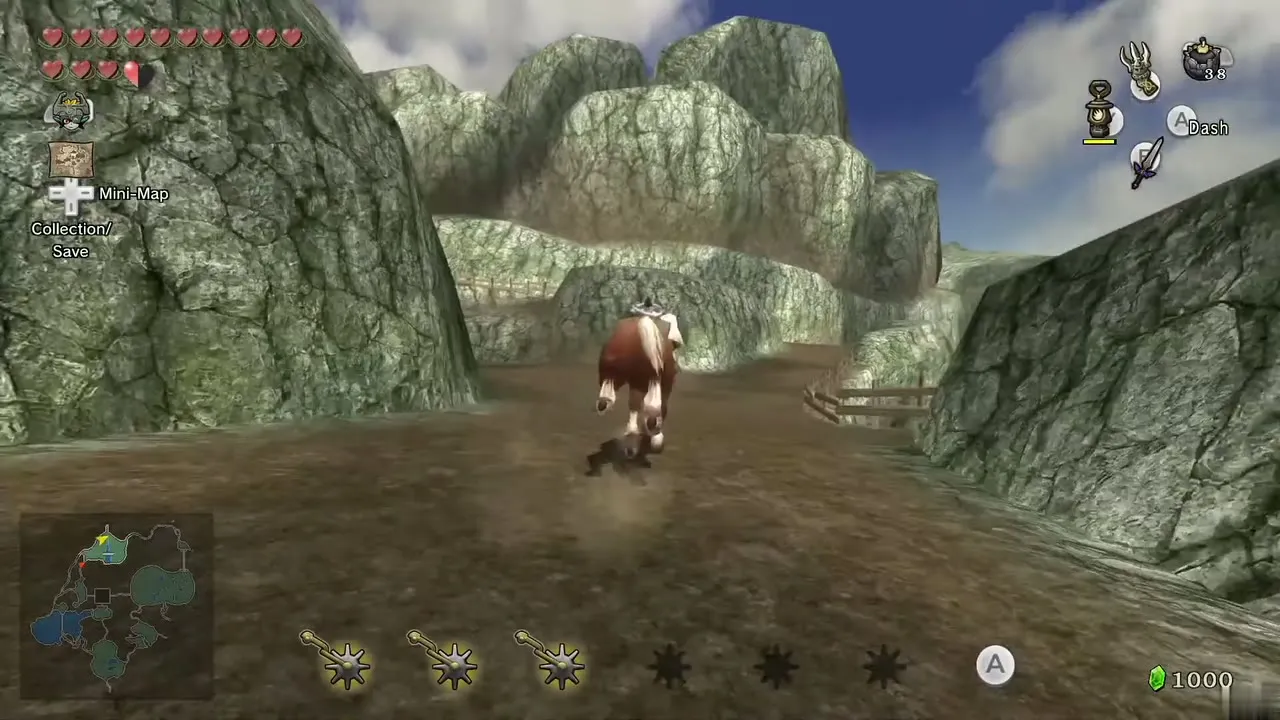
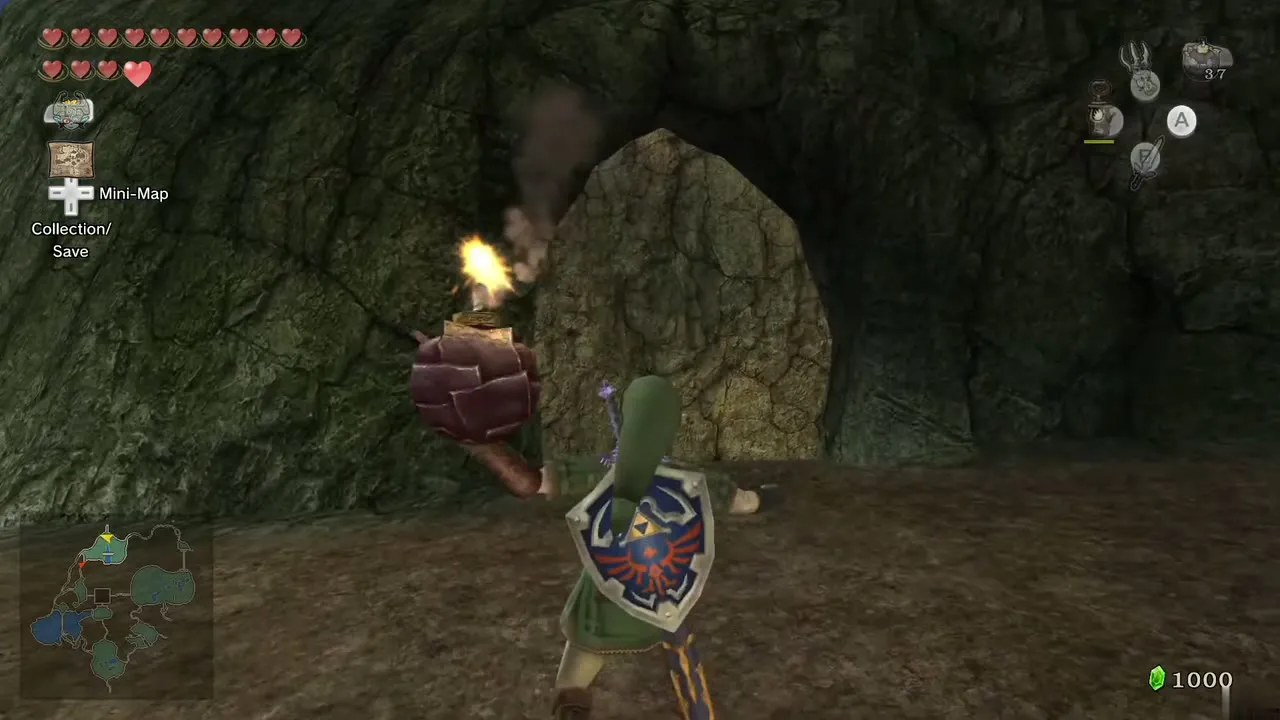
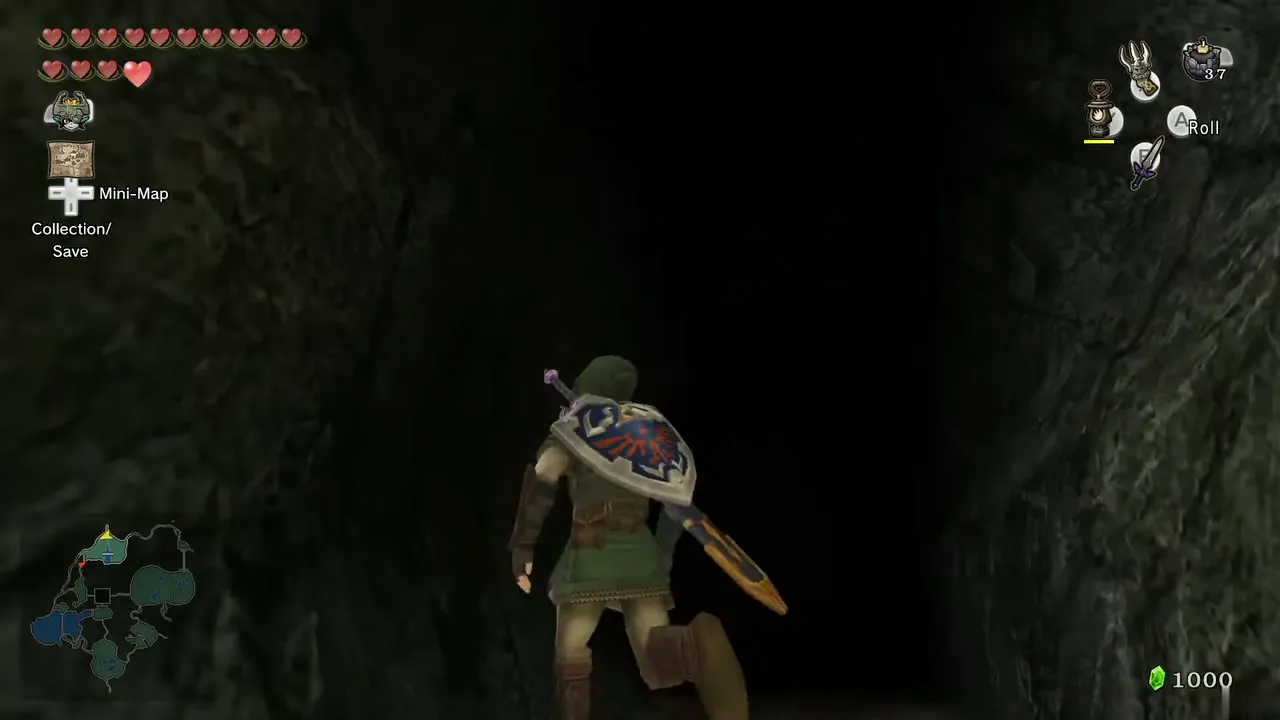
Walk into the northern part of Hyrule Field and follow the rocky path. At the first fork, take the branch on the left that climbs into the higher, rock-walled area. At the next fork the north branch goes to Zora’s Domain, so take the one on the right. A little way along, a boulder blocks an entrance in the left-hand wall. Blow it up with a Bomb and go inside.
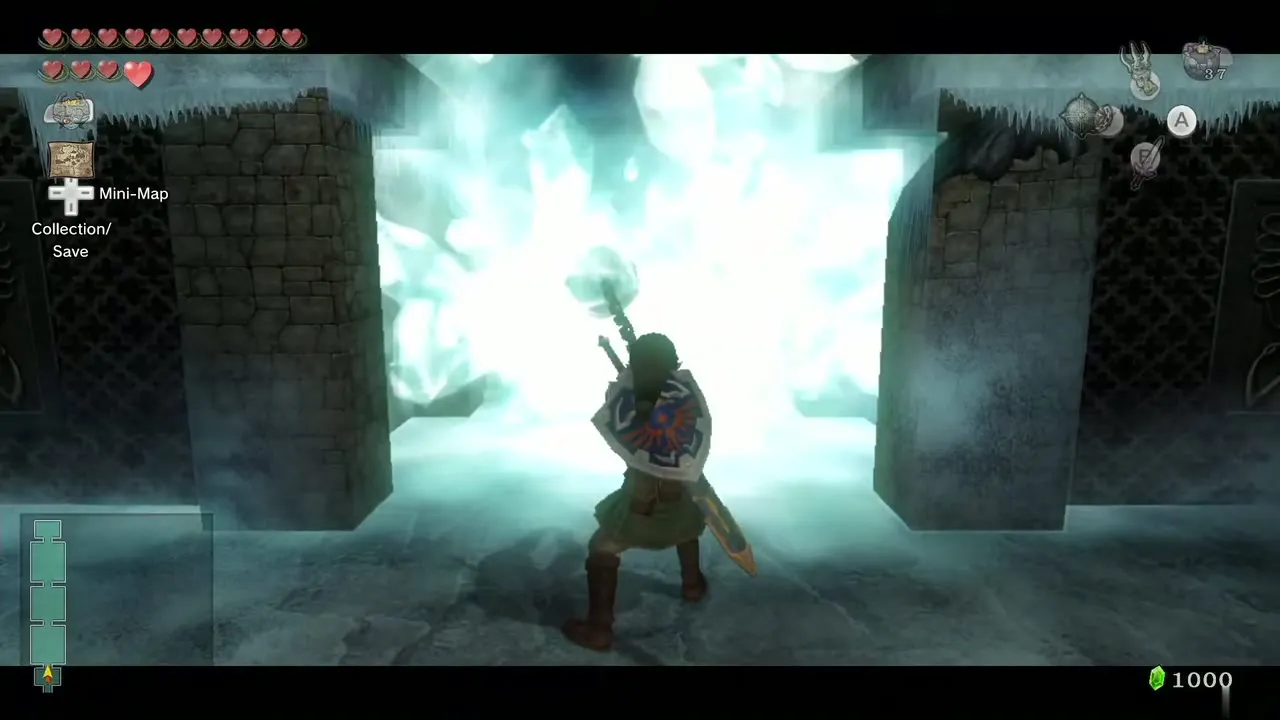
Three block puzzles
Smash the ice straight ahead with the Ball and Chain. In the first room, push the north-west block east, then the south-east block west and north. Push the north-east block south, west and north. Finish by pushing the northernmost block east, south, west and north, so that it lands on the switch.
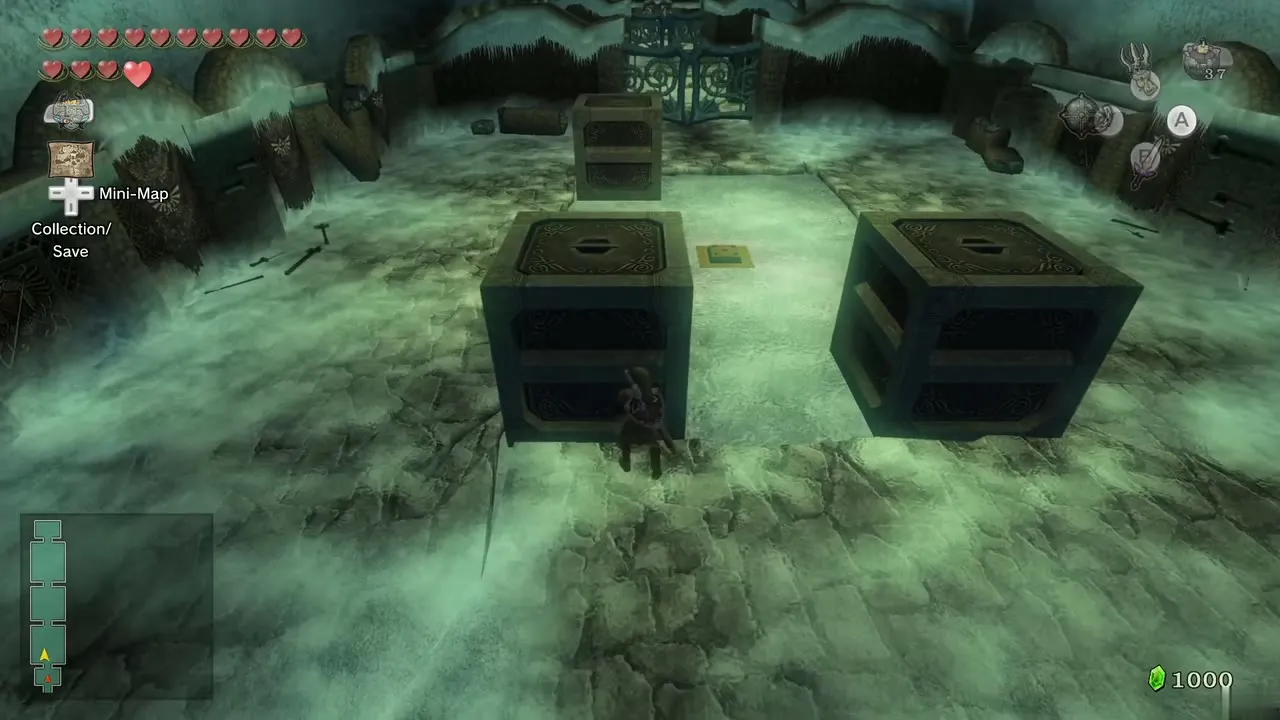
The north room has three blocks and two switches. Push the south-east block west and the north-west block east. Push the south-west block north, east and south onto a switch, which opens one cage. Then push the southern block west, north, east and south, and push the north-east block south, east, north and west onto the second switch. The north gate opens.
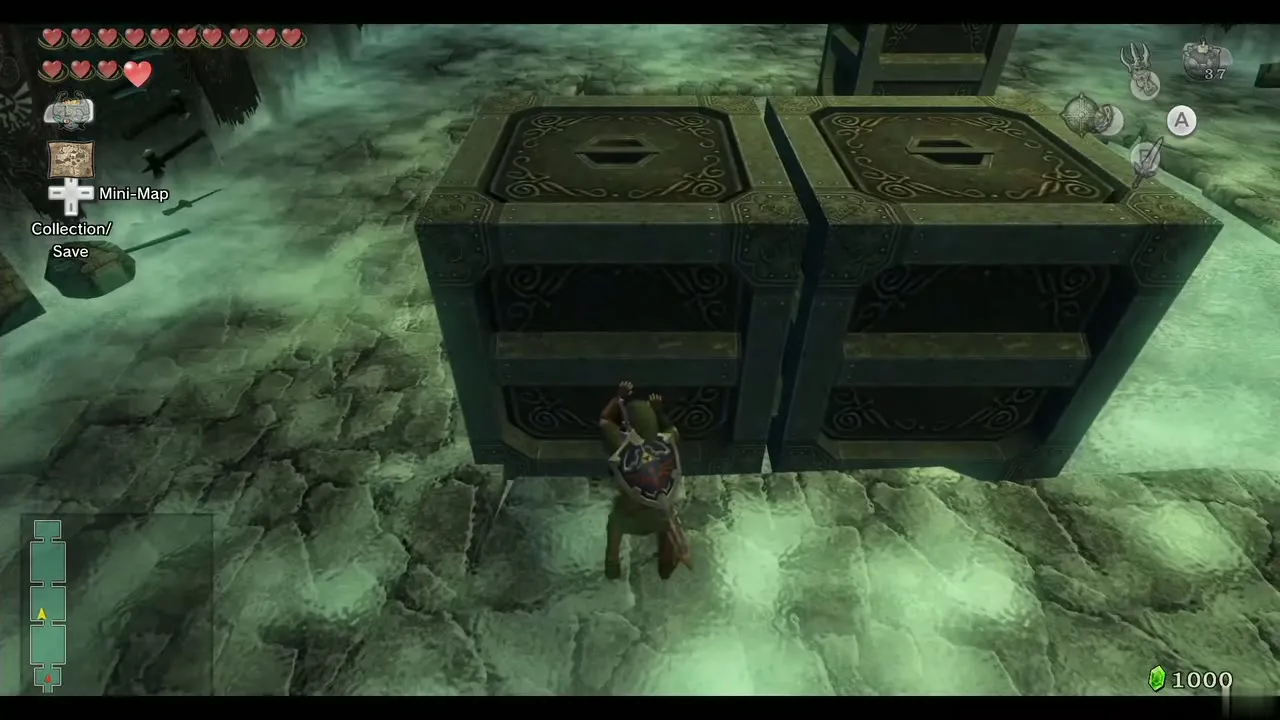
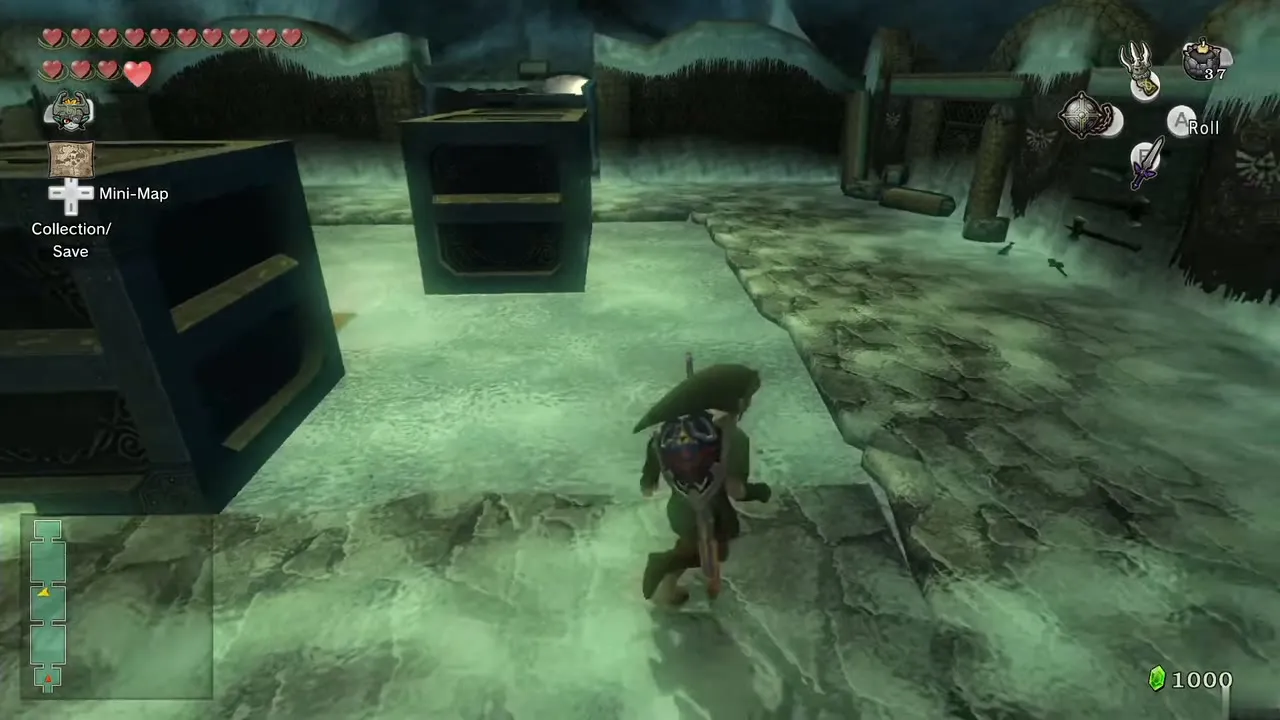
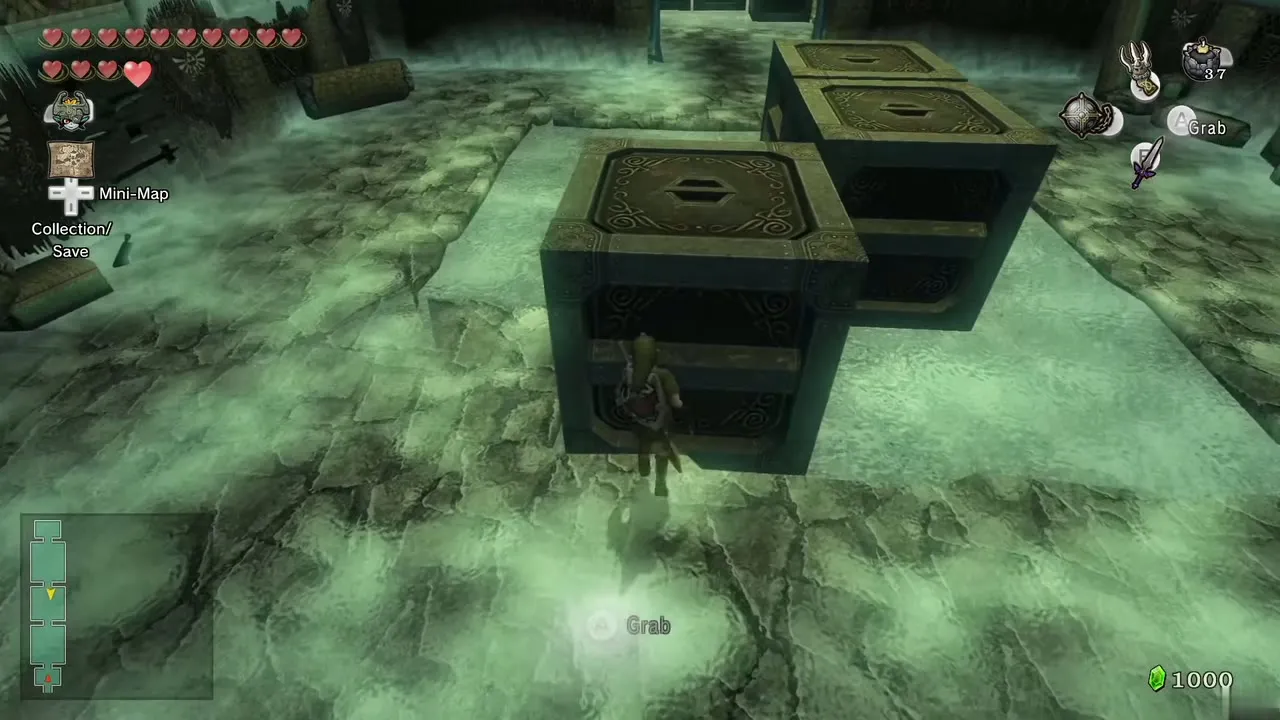
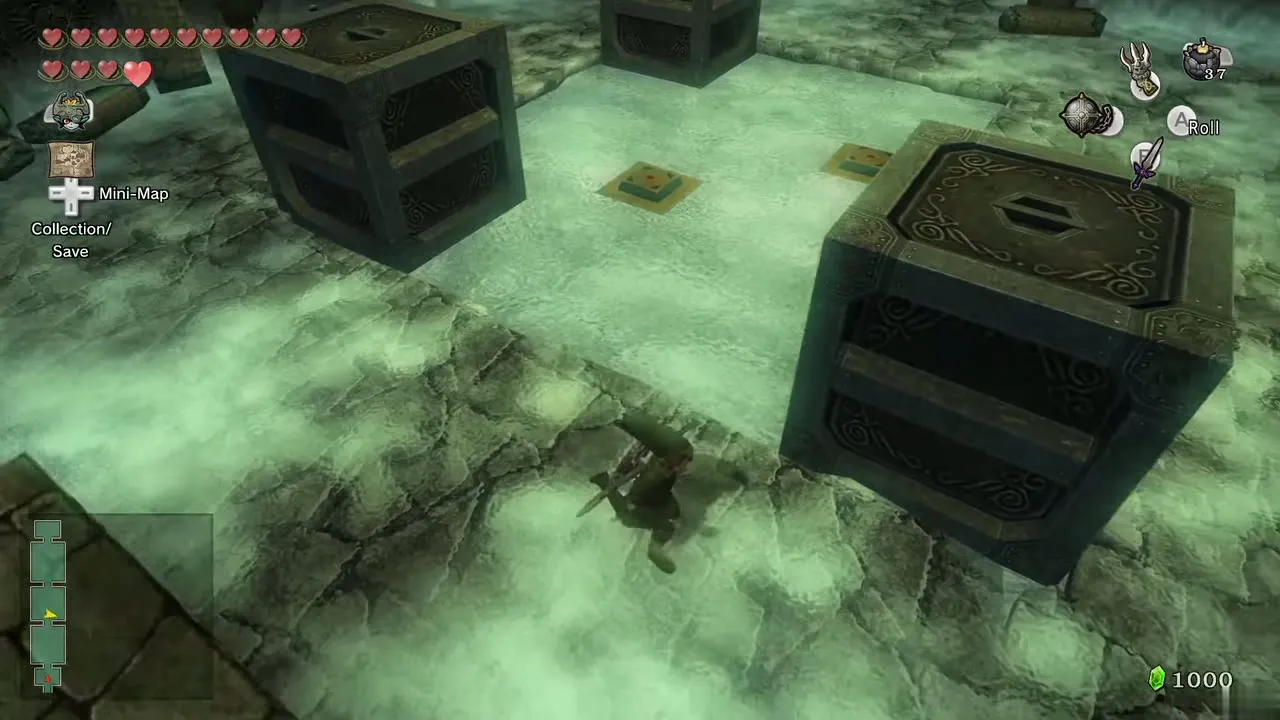
The third room has an icy floor and a single switch. Push the south-west block north. Push the south-east block west, north and east. Push the north-west block east, the east block north and the west block east, so all three bunch in the north-east corner. Now push the north-east block west, south and east; then the next one north, west, south, east and north; then the northern block west; and last the south-east block west, north and east onto the switch.
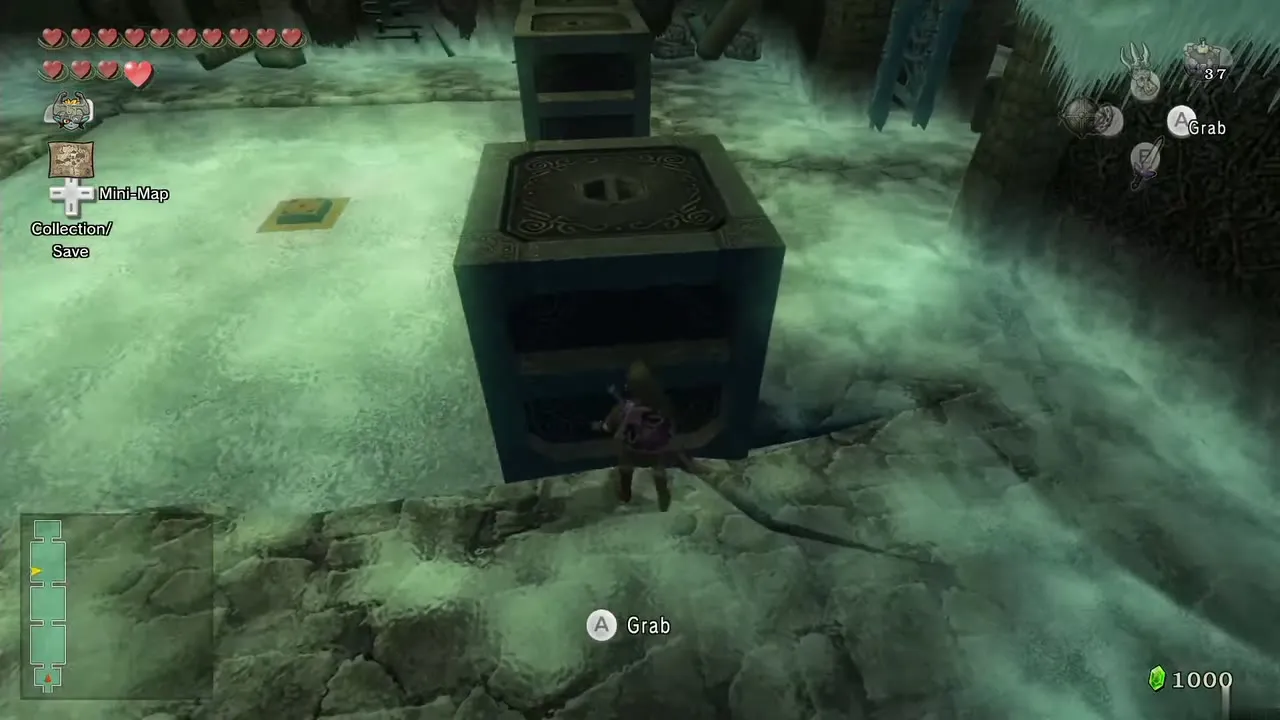
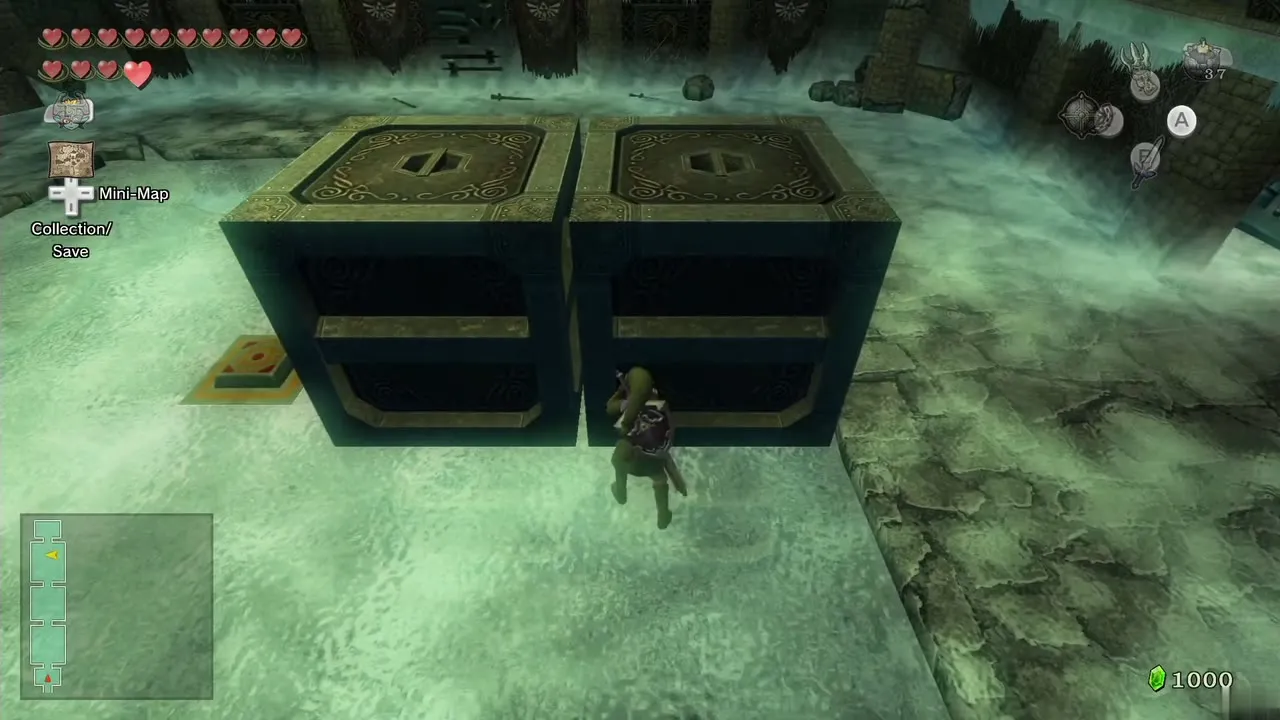
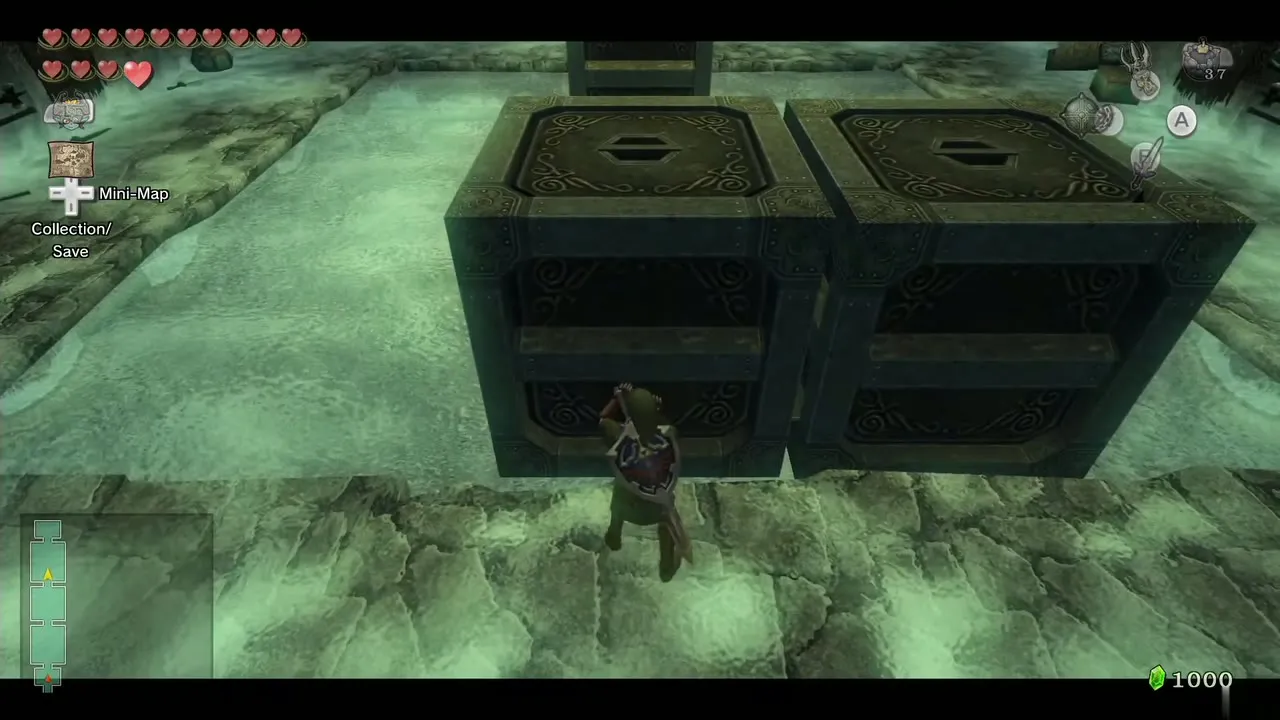
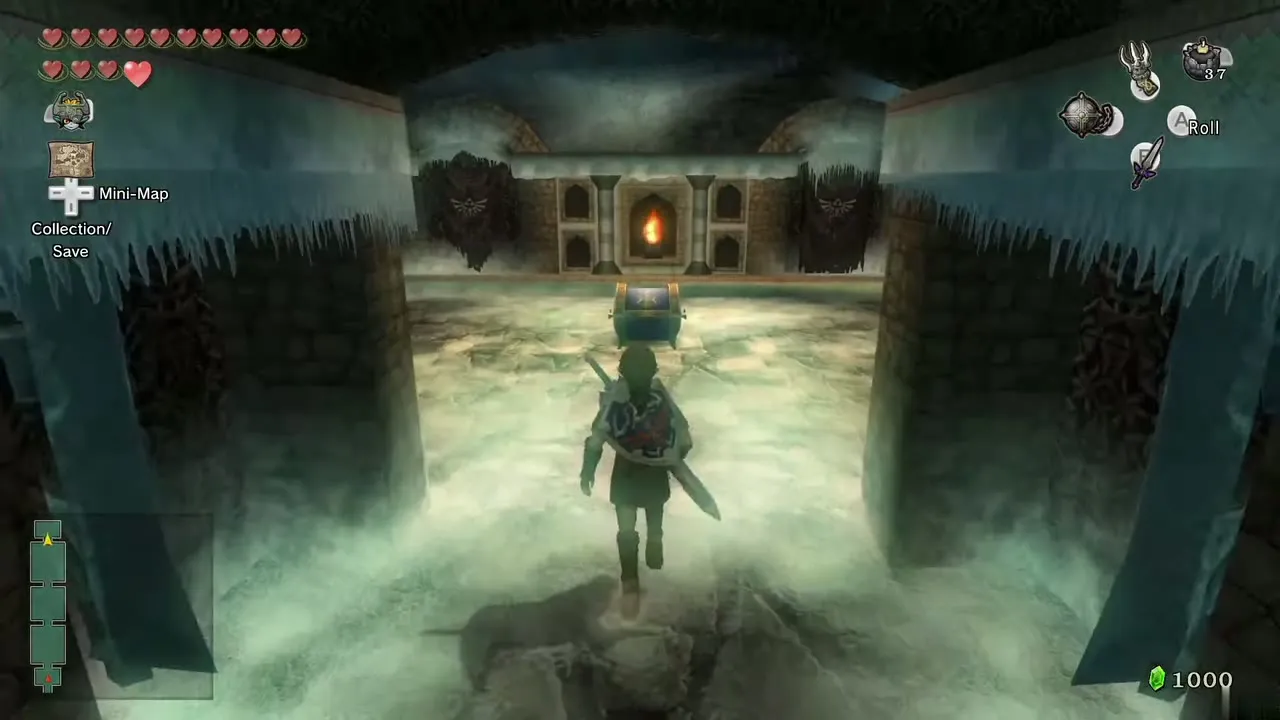
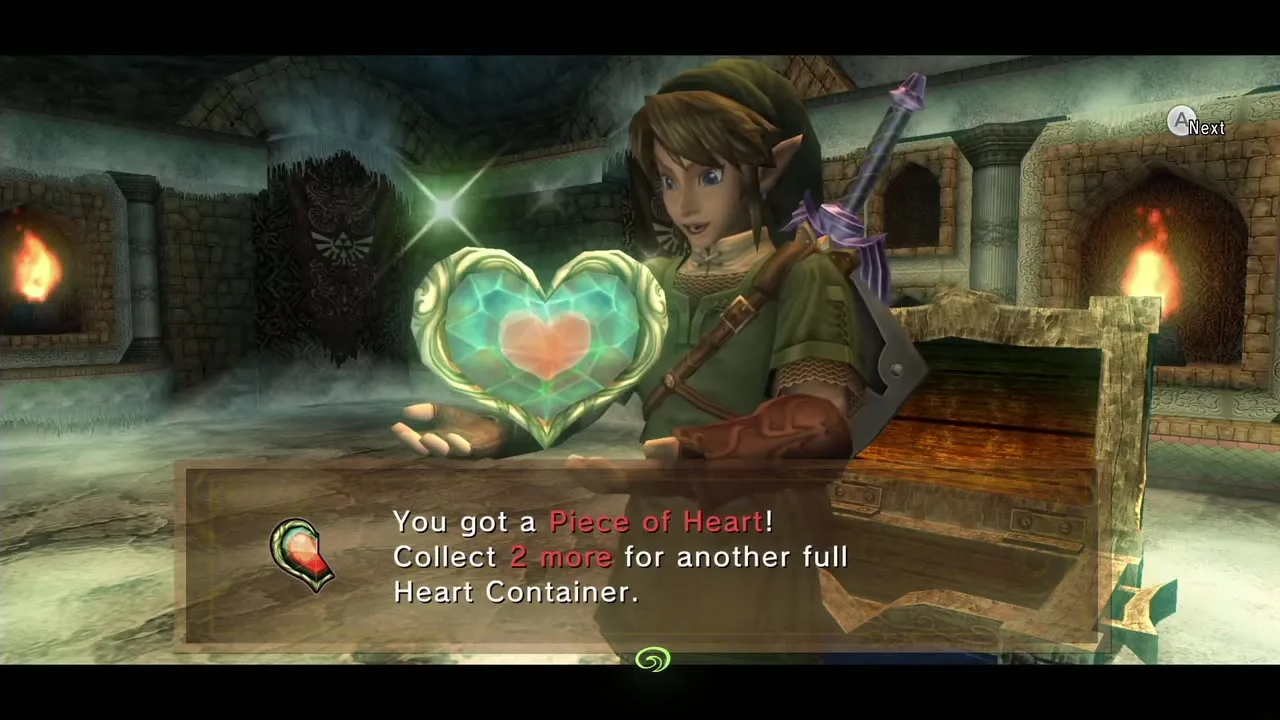
Walk through the north passage and open the chest for Piece of Heart #15 (Heart Pieces). Leave the cave and warp to Castle Town.
Castle Town, Telma’s Bar and the Snowpeak sled races

Letter and Telma’s tip
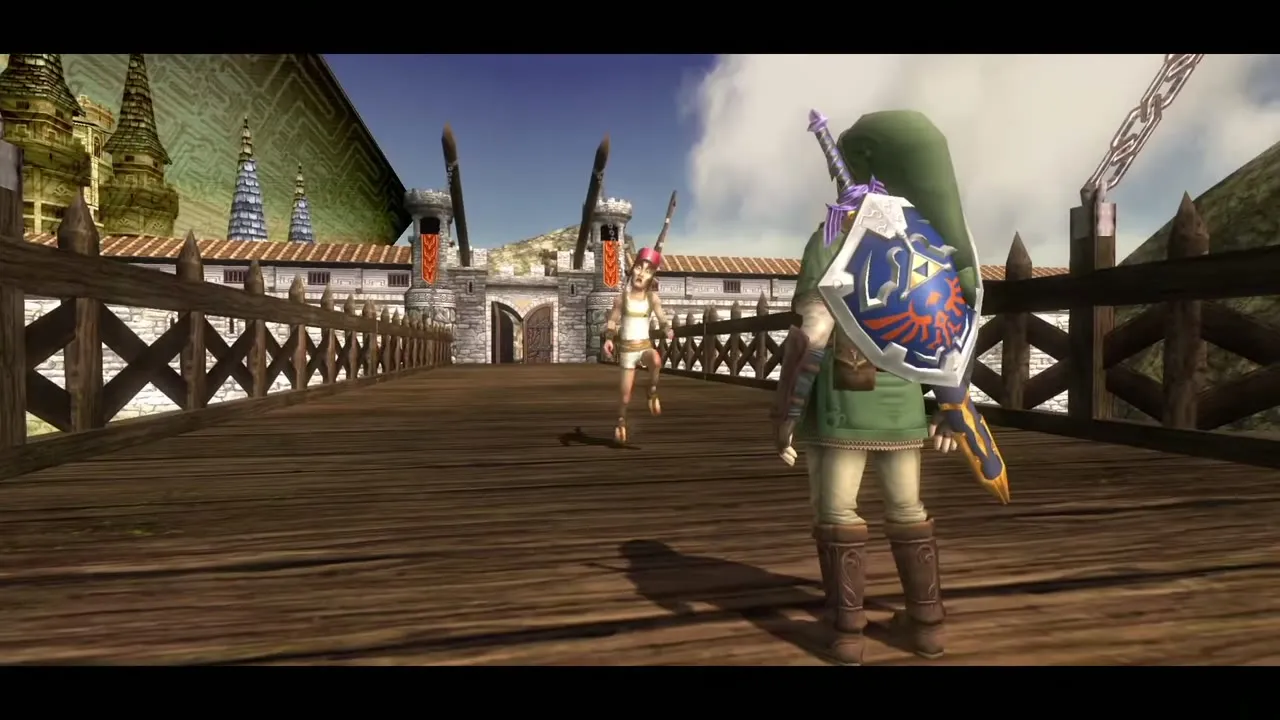
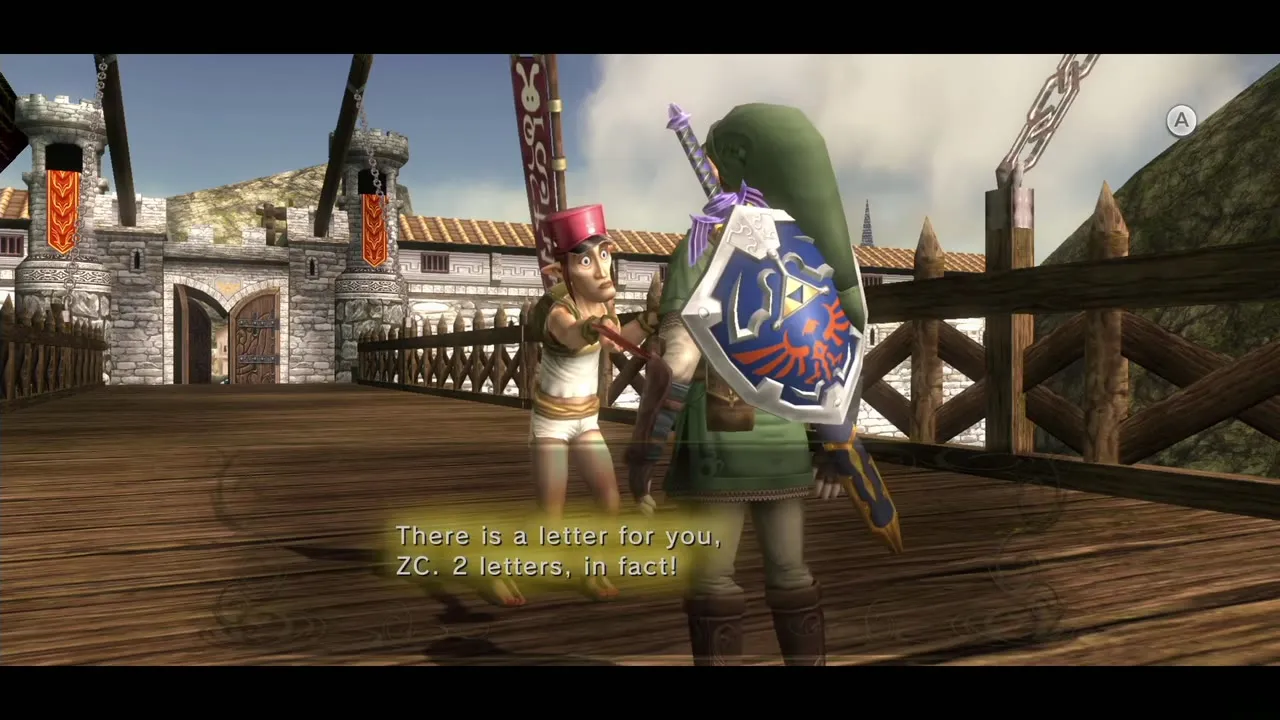
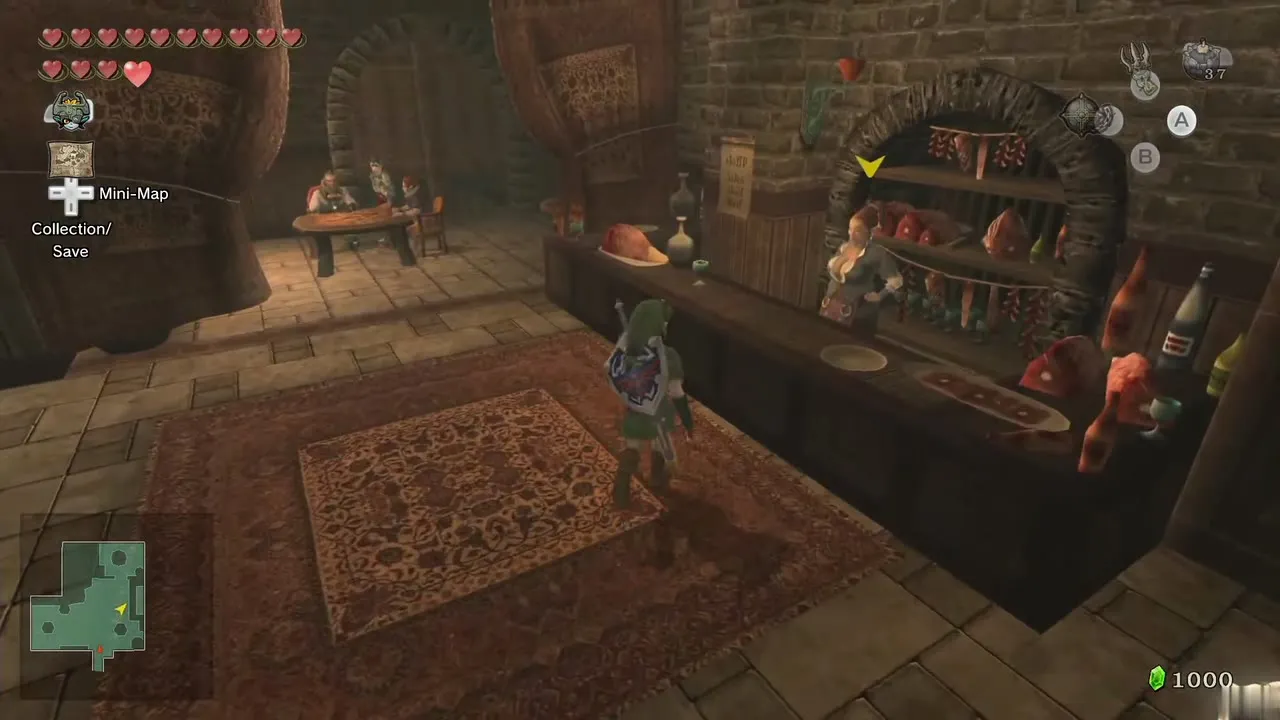
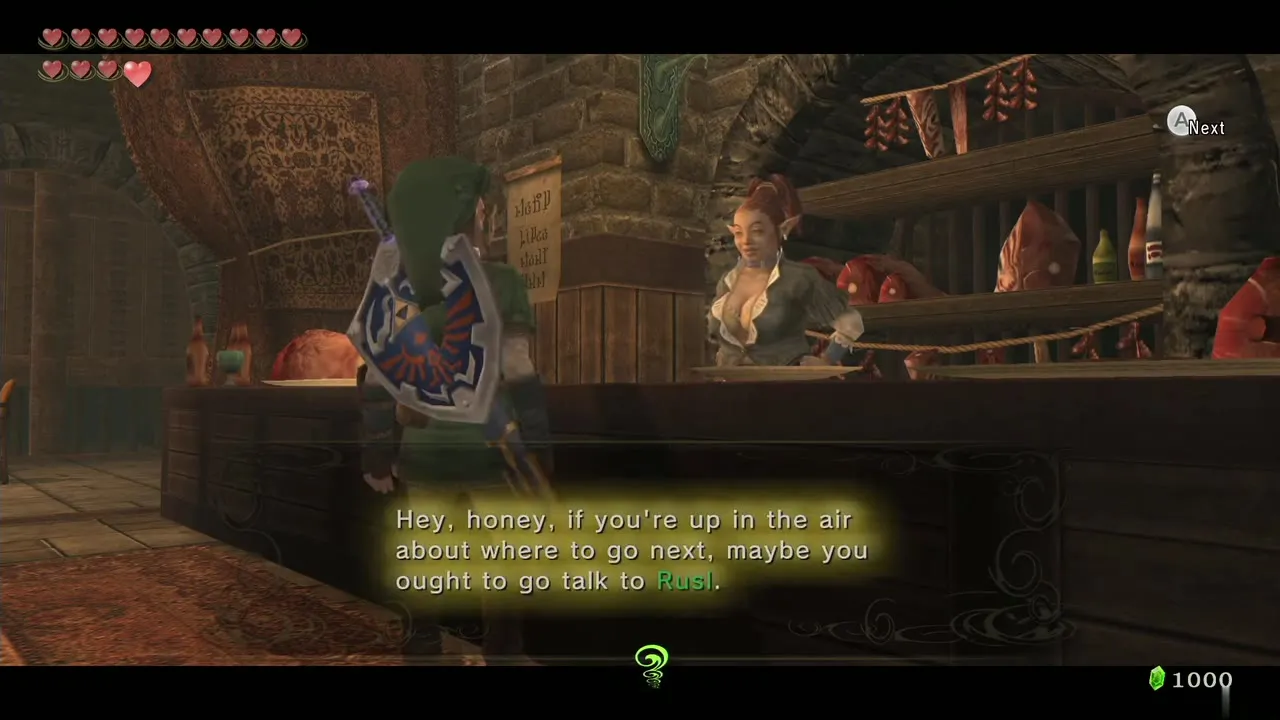
On entering Castle Town you receive a letter from Yeta saying she feels much better and you can visit any time. Go to Telma’s Bar and talk to Telma: she says Rusl has gone to the Faron Woods, and the map marks him just outside the Forest Temple.
Race Yeto
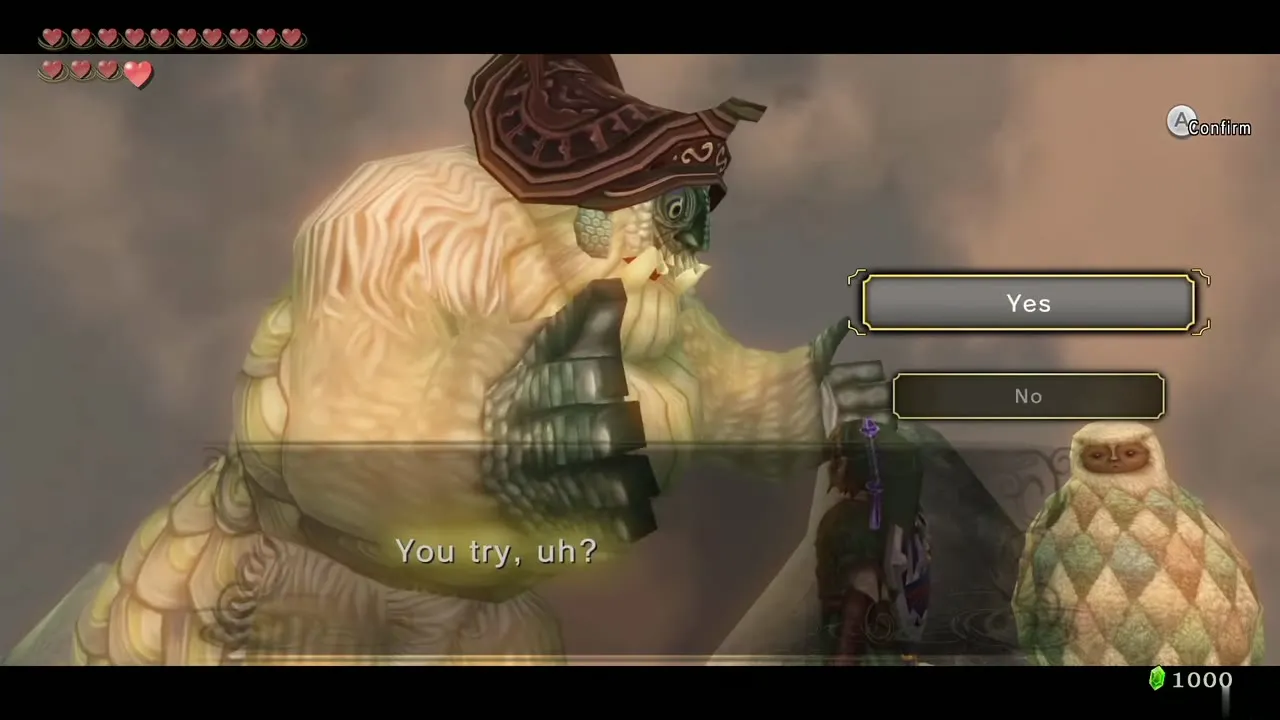
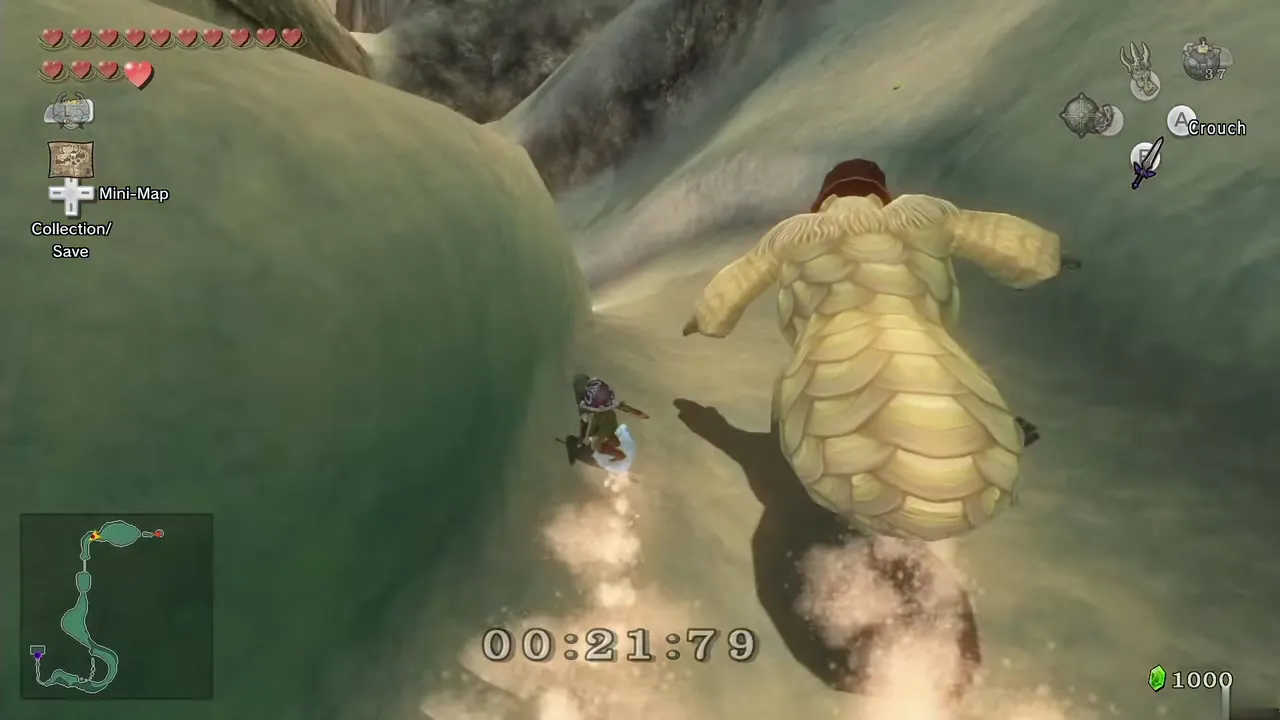
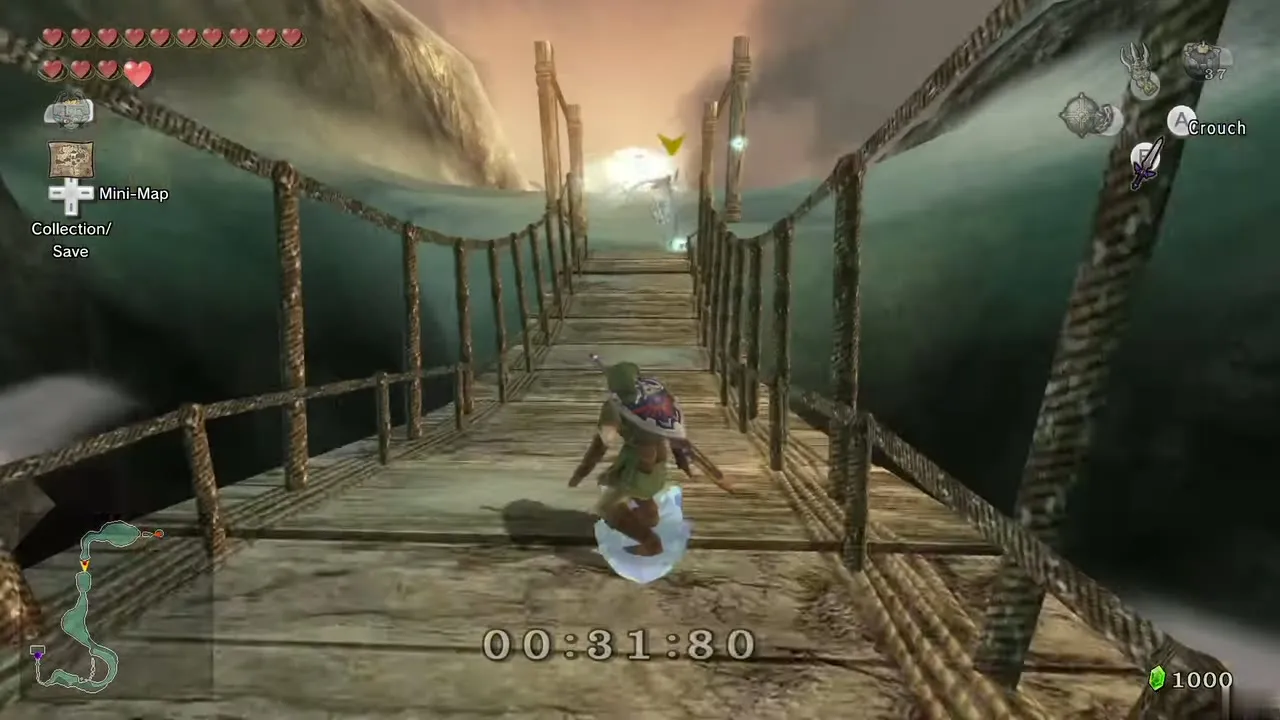
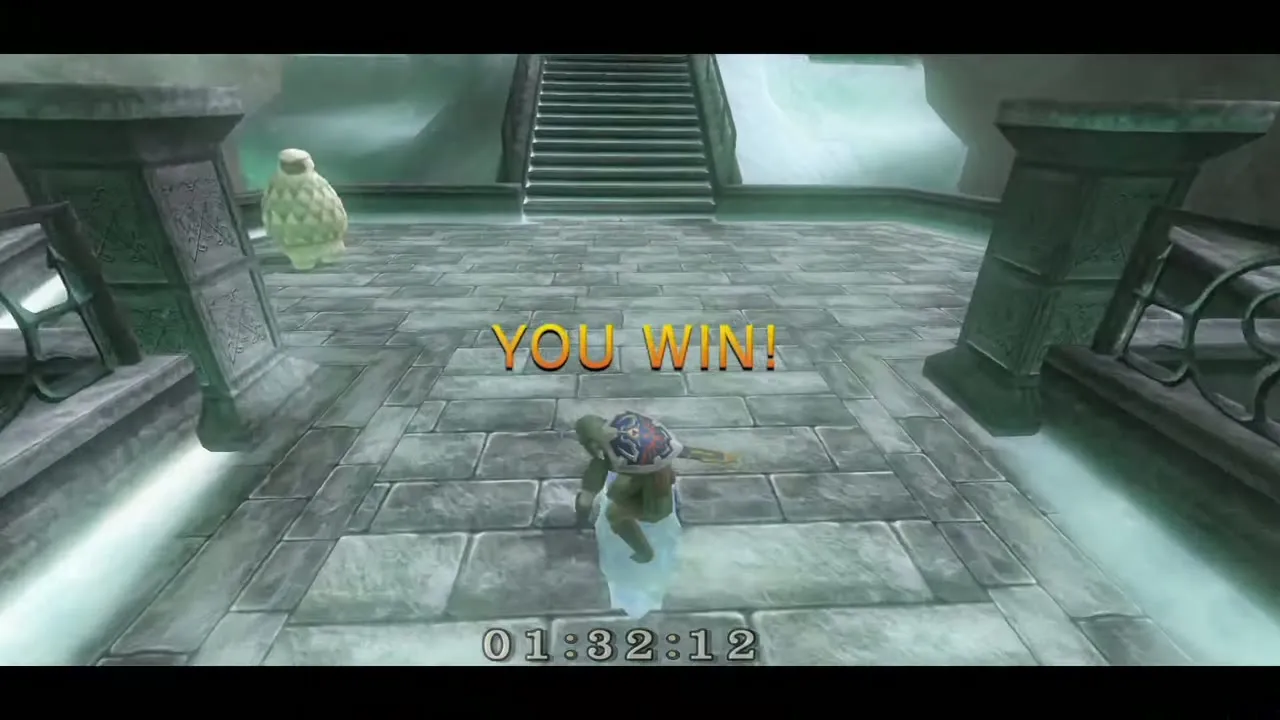
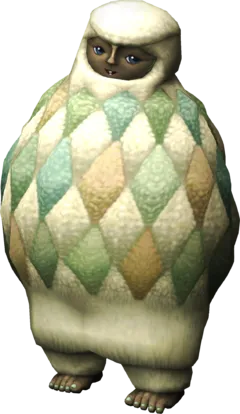
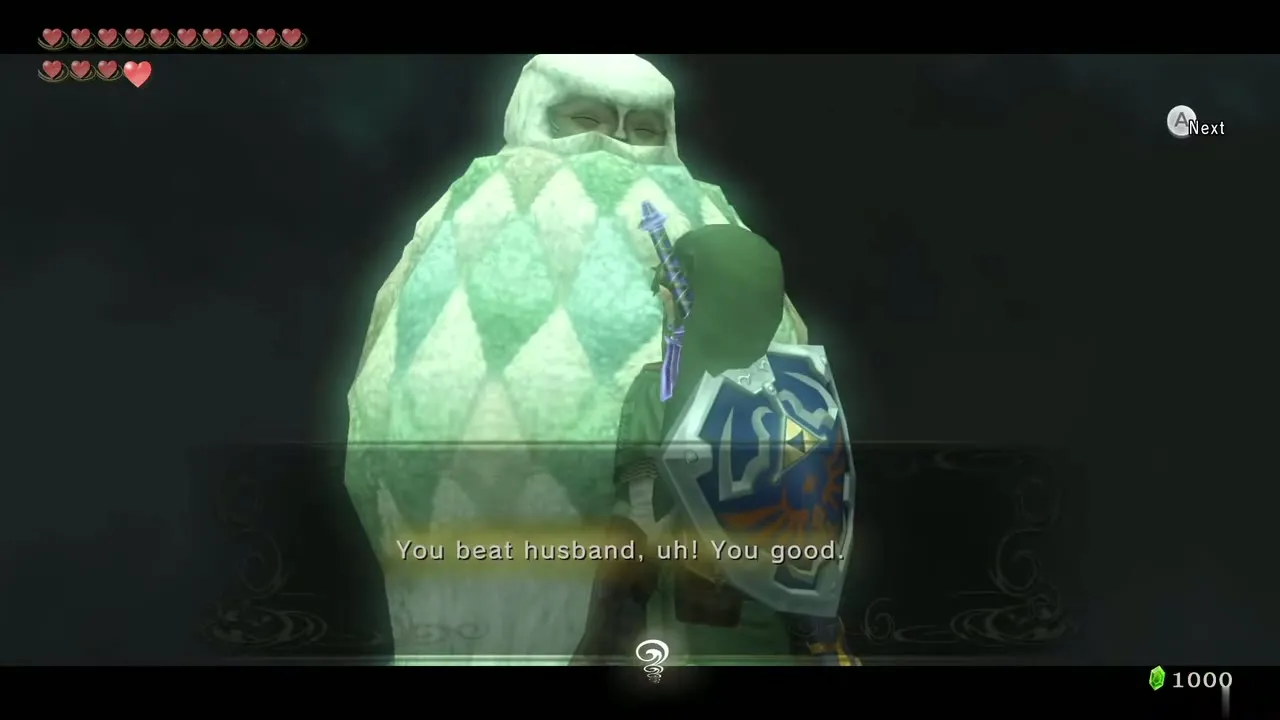
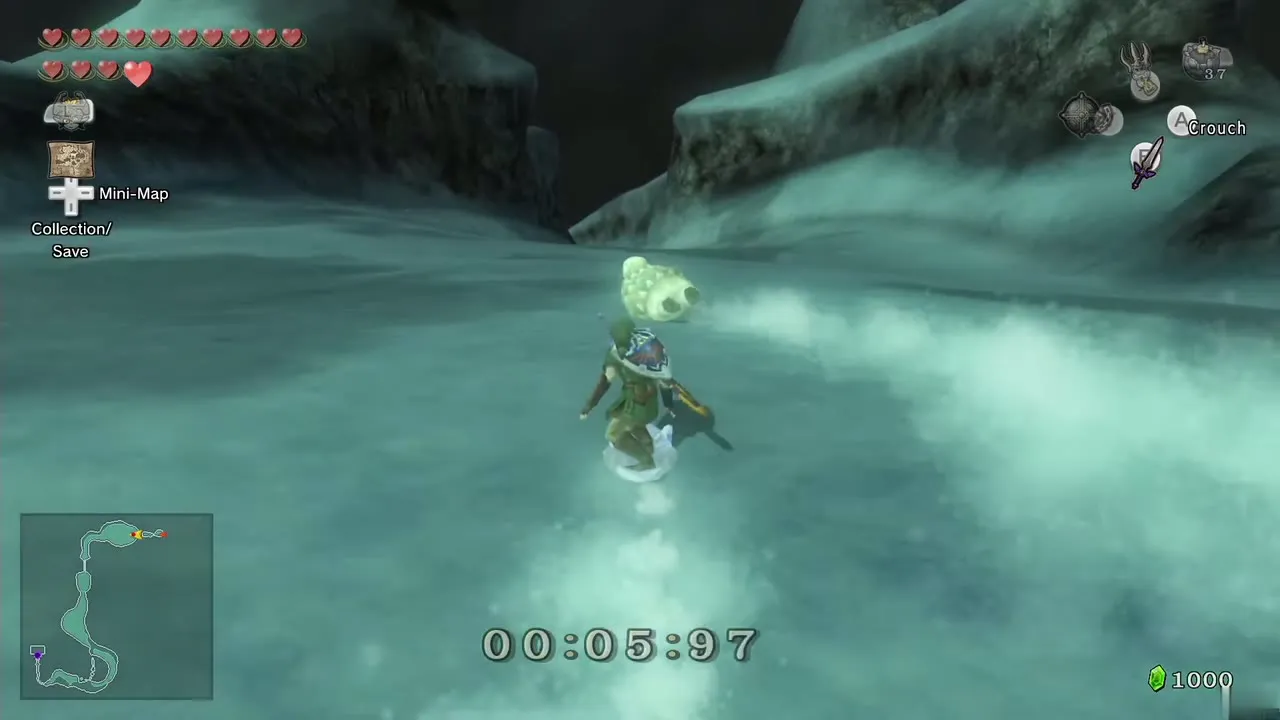
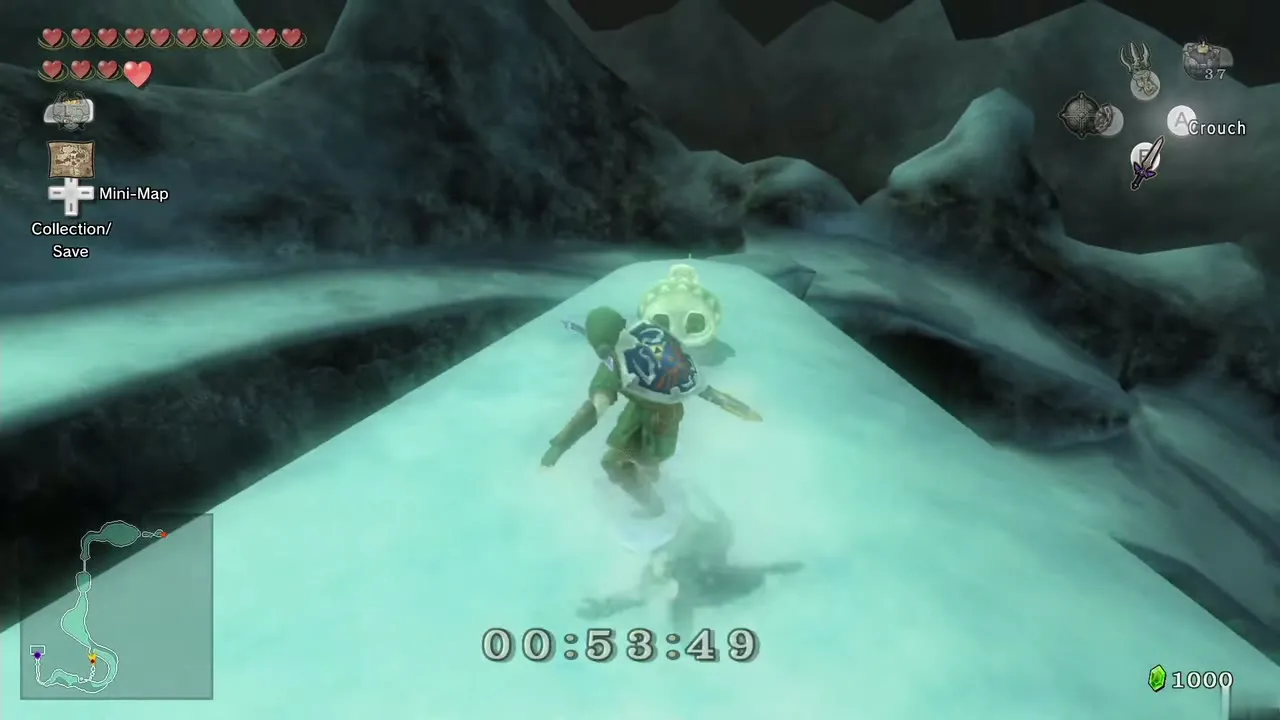
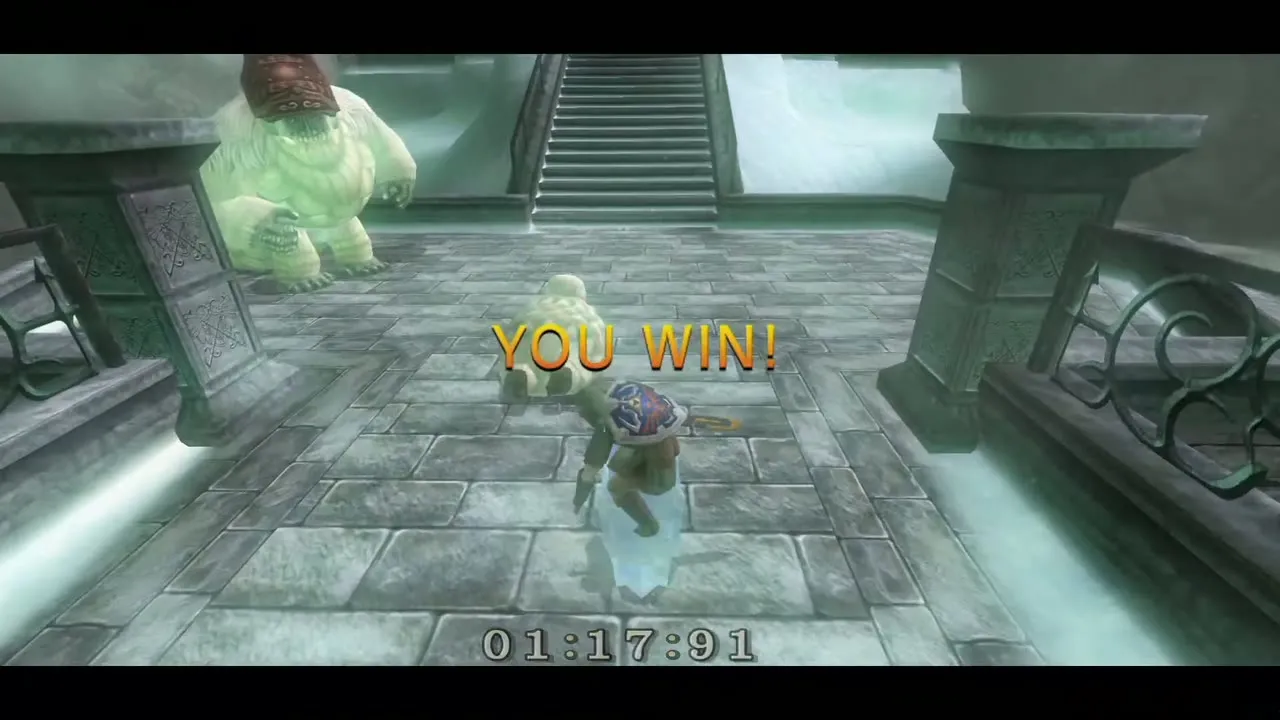
Warp back to the Snowpeak summit and walk west to the tree where Yeto and Yeta stand. Yeto remarks that it is a good day for sledding and asks if you want to try; agree. The first race is against Yeto down to the mansion: hold forward the whole way. About two thirds down the course veers off to the right, and that branch is a shortcut that saves time. You do not need it for this race, but do not bump Yeto: contact knocks you off your sled and costs seconds.
Race Yeta
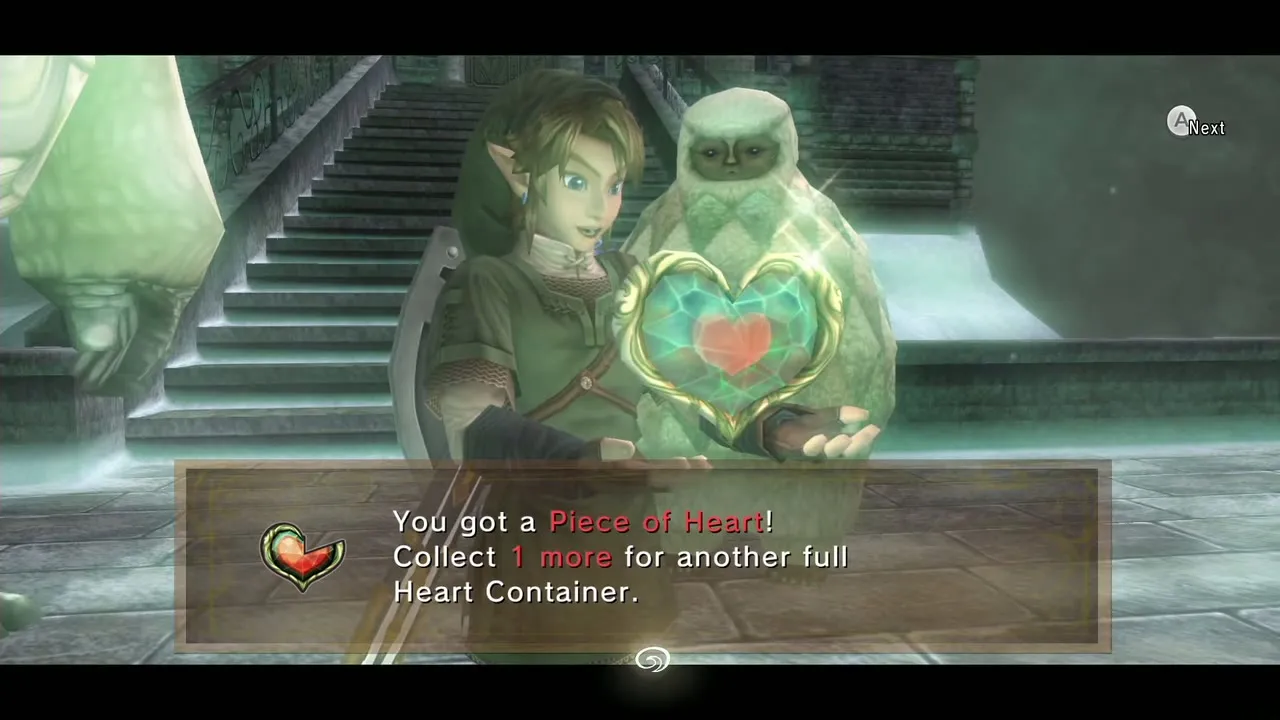
After beating Yeto, move away, warp to the summit again and talk to Yeta. She runs the same course much faster and also takes the shortcut, so you must take it too and keep a clean line. It may take several tries. The prize is Piece of Heart #36. Then warp to North Faron Woods.
North Faron Woods: Rusl and the gorge
Meet Rusl
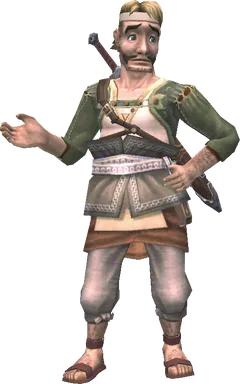
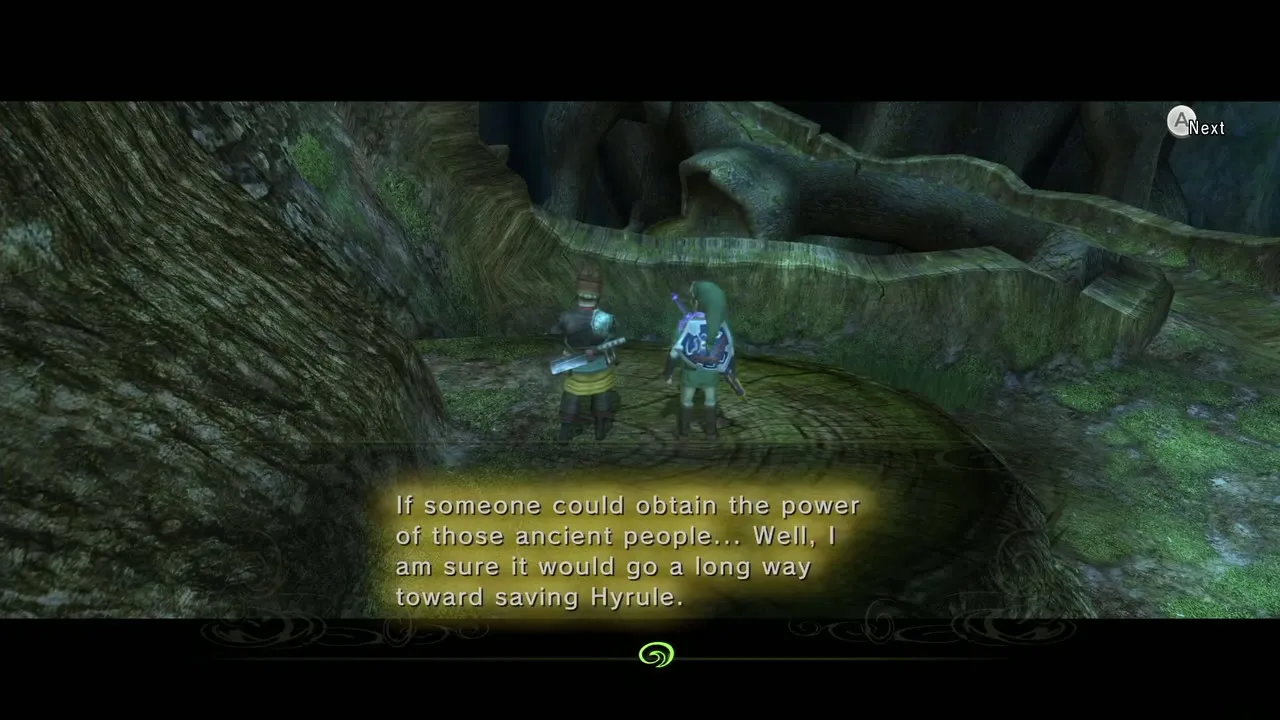
As human Link, walk north toward the Forest Temple and talk to Rusl. He speaks about the Sacred Grove and the power of the ancients, asks you to cross the gorge and find it, and calls over his Golden Cucco for you to use.
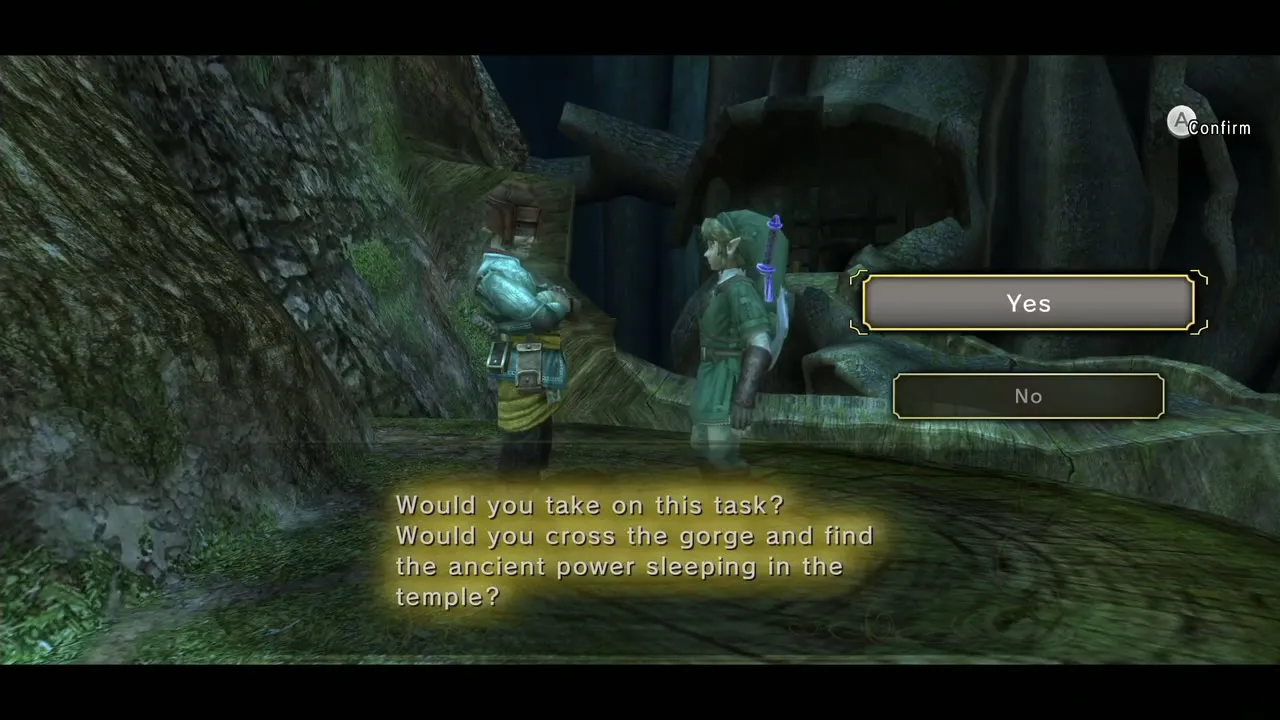
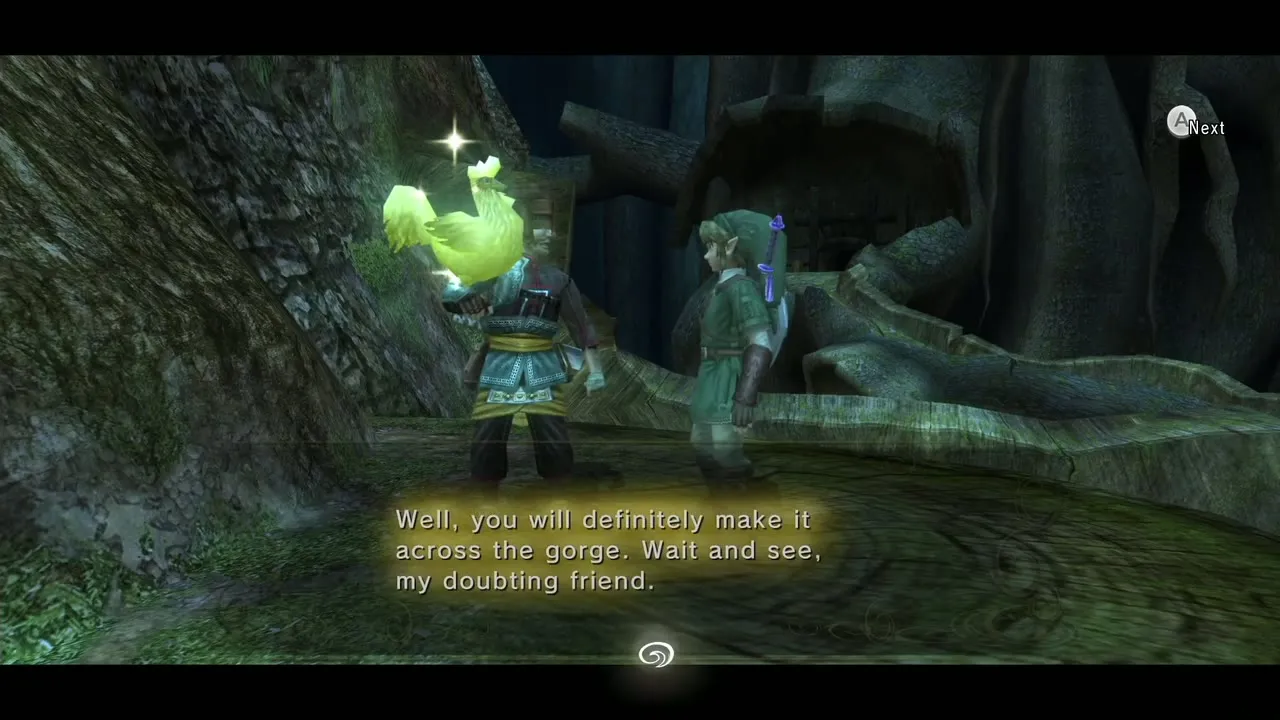
Cross with the Cucco
Pick up the Golden Cucco and glide along the route you took as Wolf Link. First fly over the ledge to the alcove beside the path to the Forest Temple, continue north-west to the next landing and then across a short gap to the platform on the west. The wind no longer spins these platforms, so turn the platform with the Gale Boomerang, glide toward it, drop the Cucco for a moment and spin the platform again.
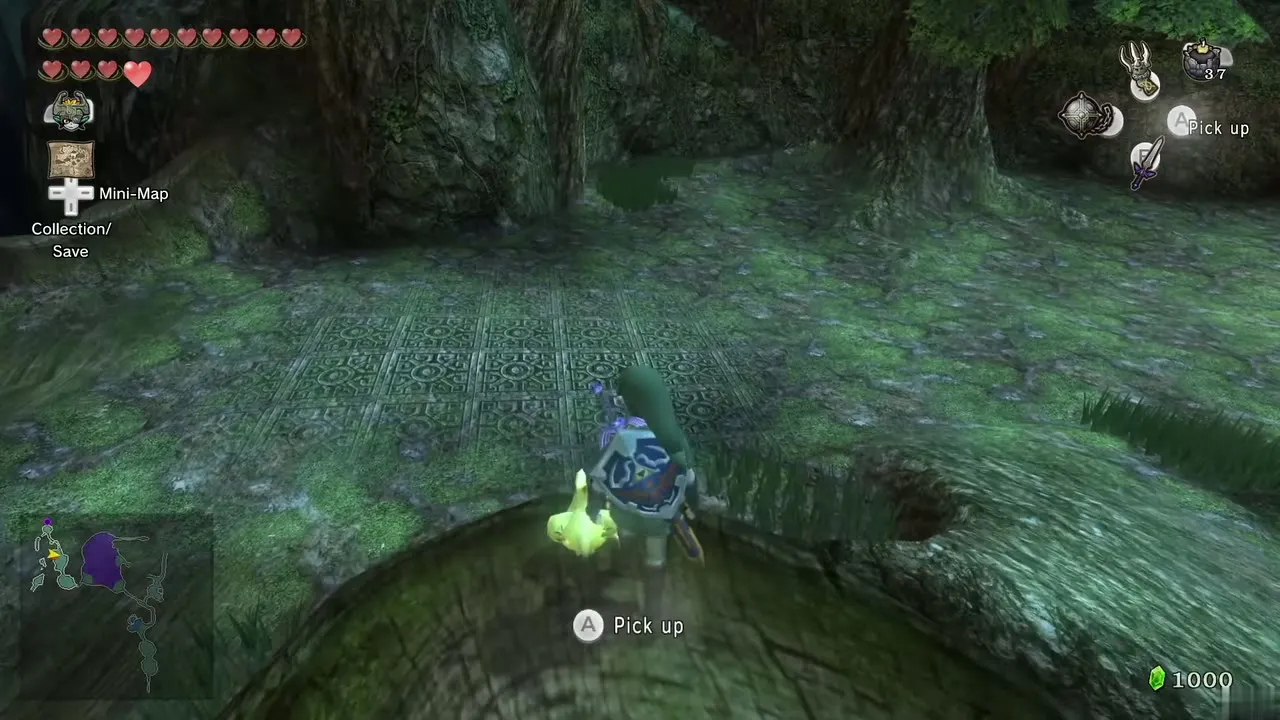
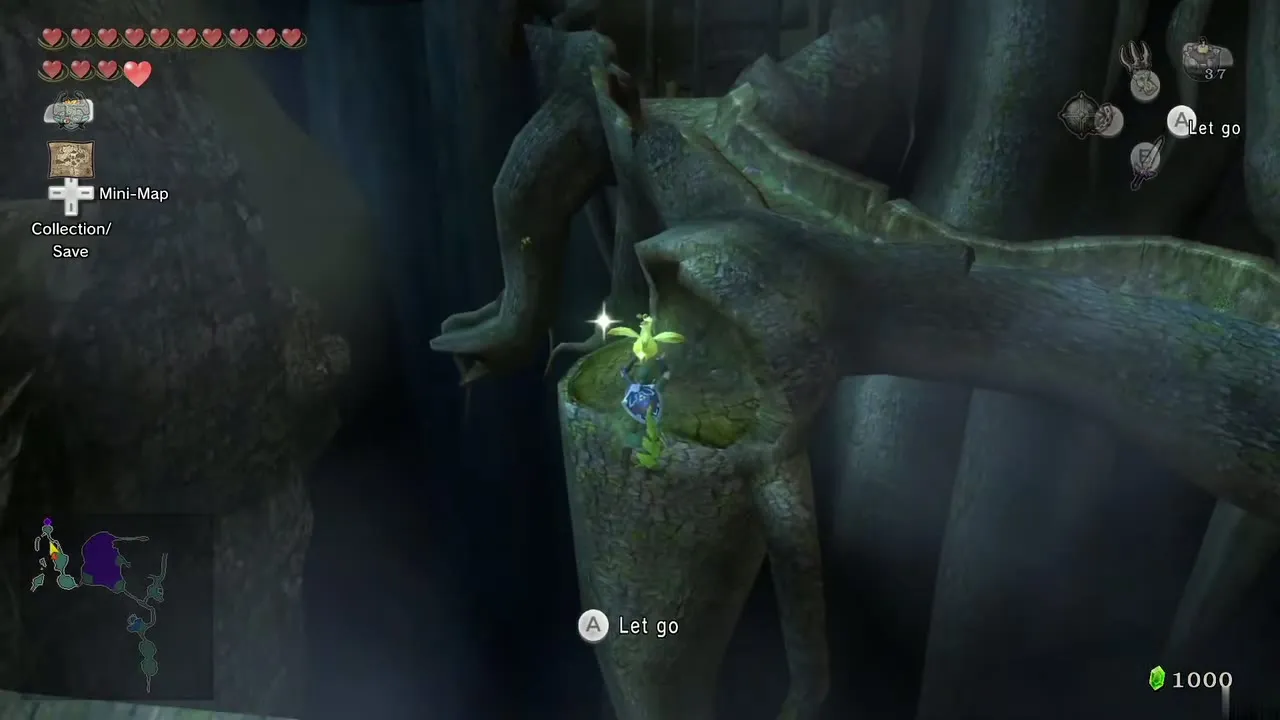
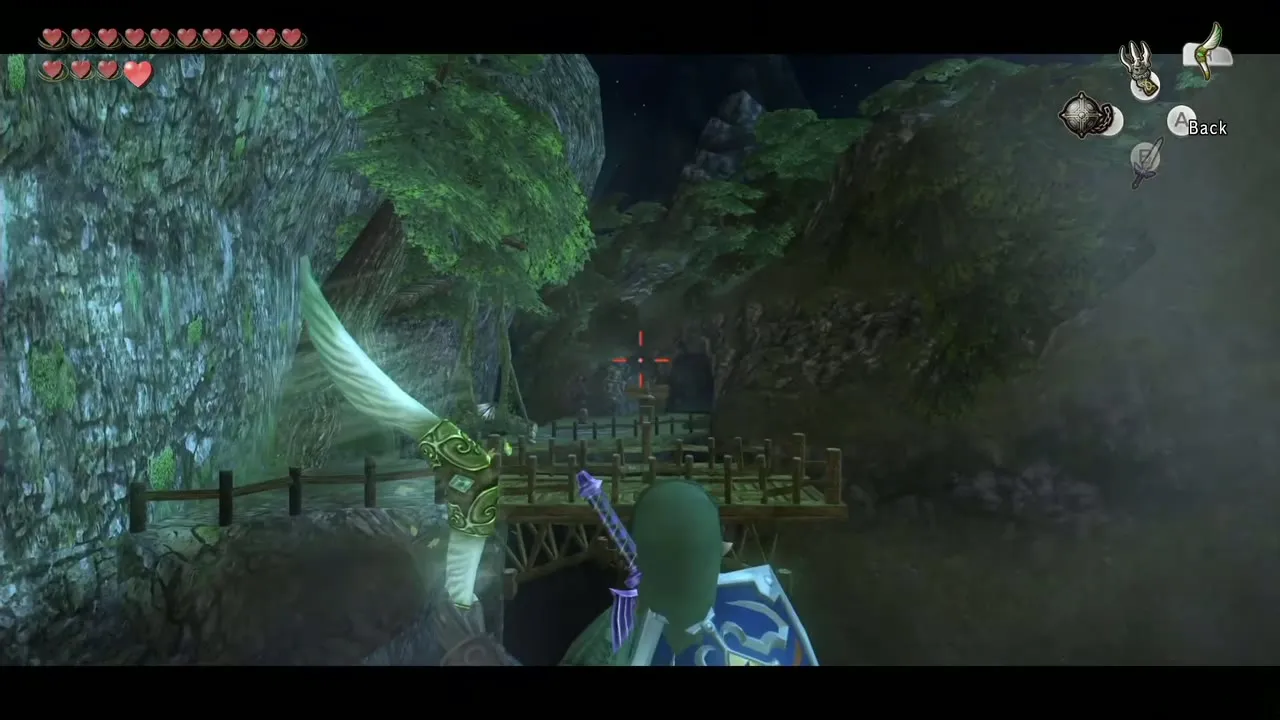
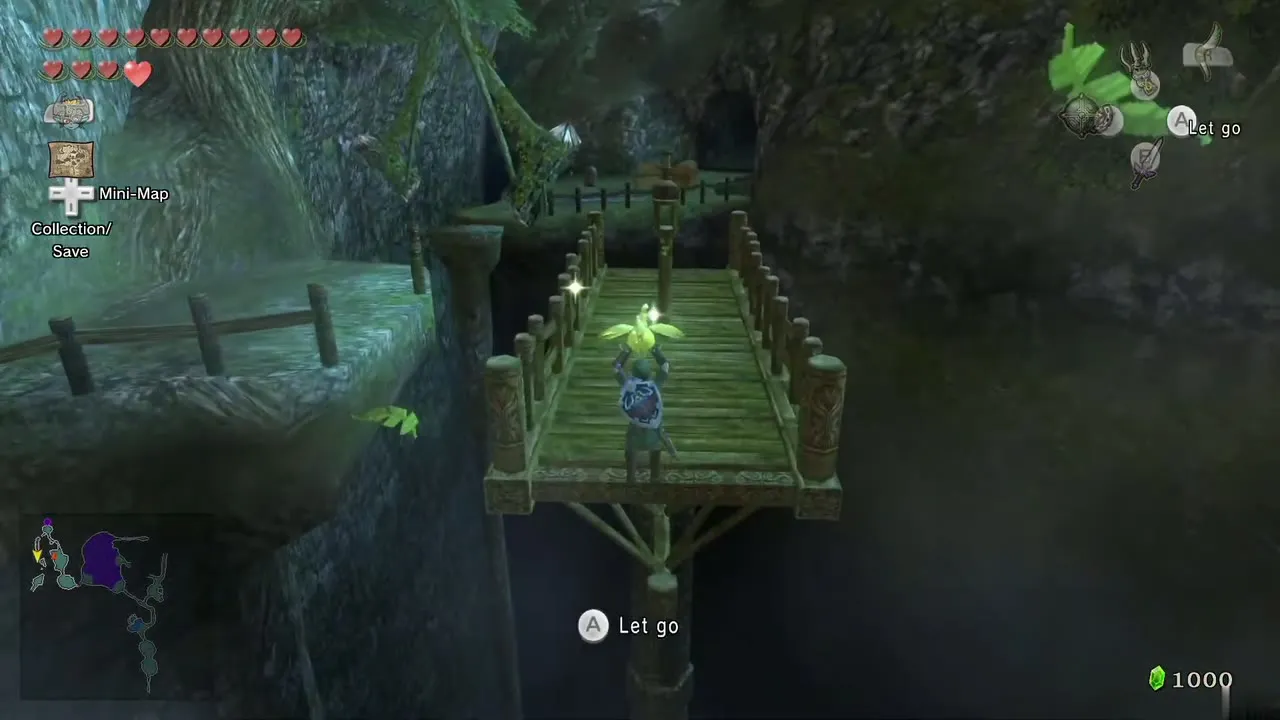
Pick up the Cucco again and time your jump to the next platform so the moving log does not hit you. Hop to the last piece of land in the south and leave the Cucco there. A Howling Stone stands here; if you skipped it earlier, call the wolf now. Walk forward into the Sacred Grove.
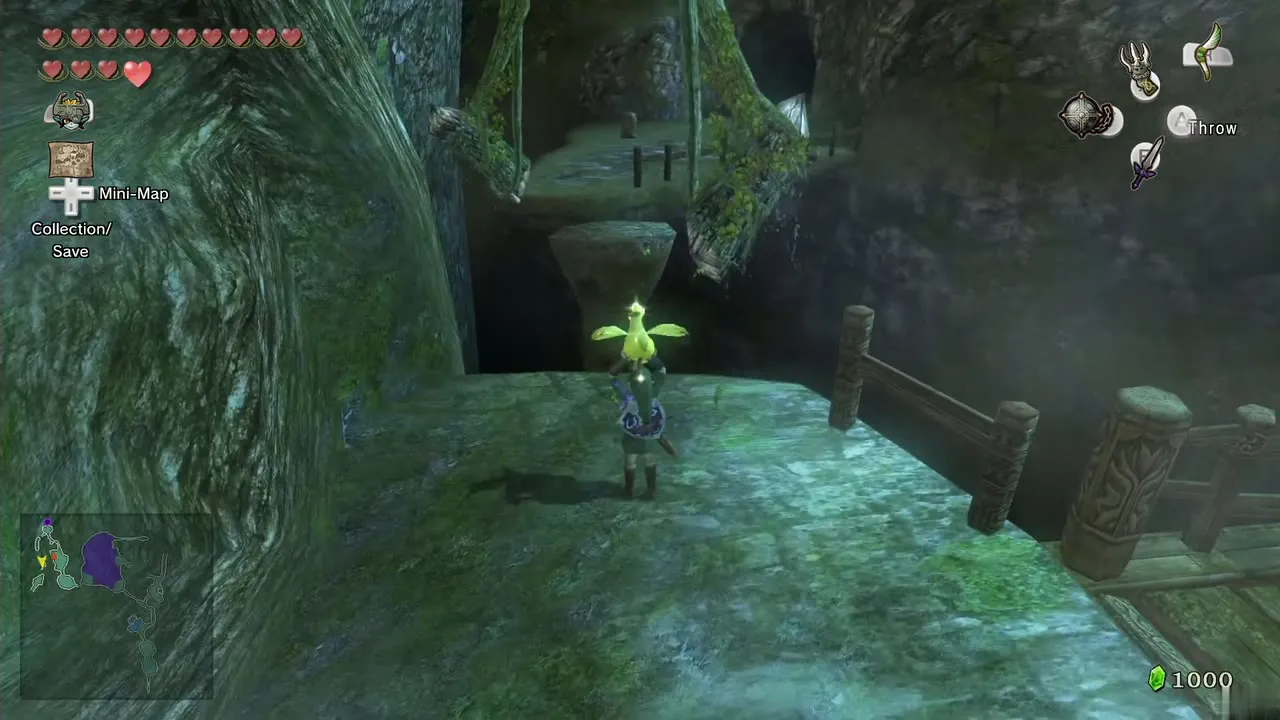
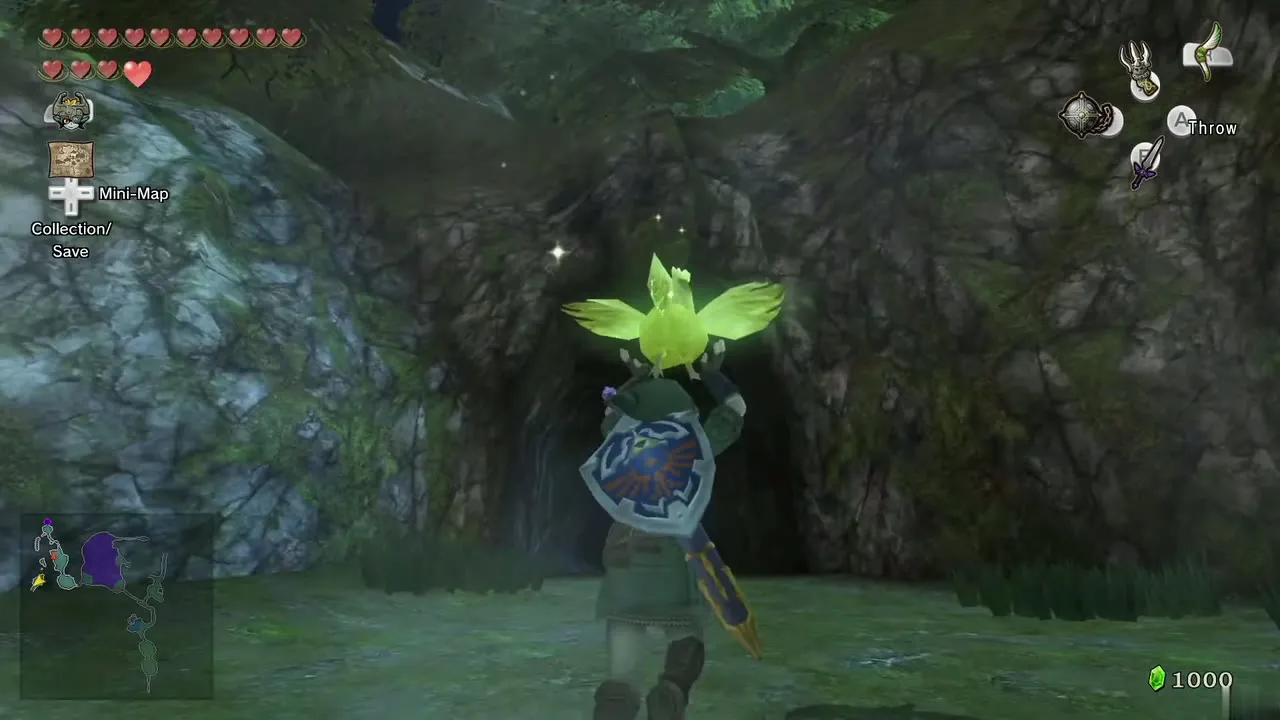
Sacred Grove: Skull Kid rematch
Chase through the dark grove
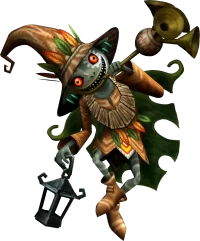
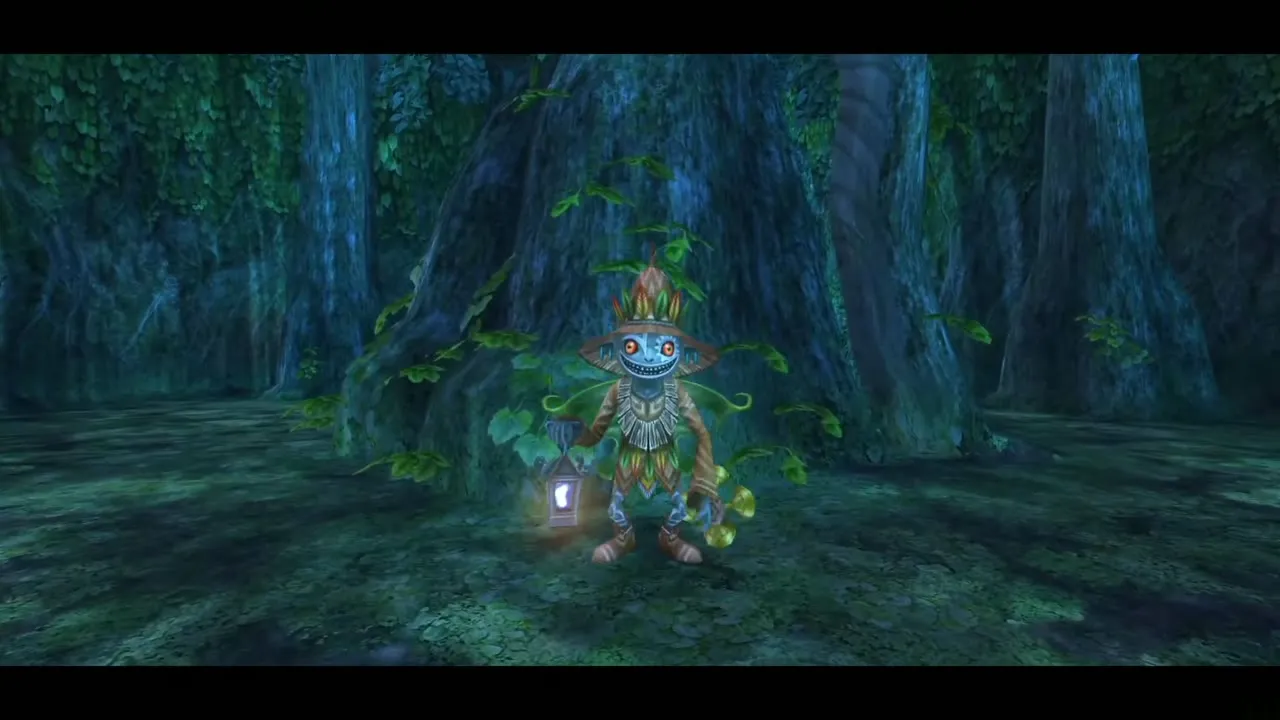
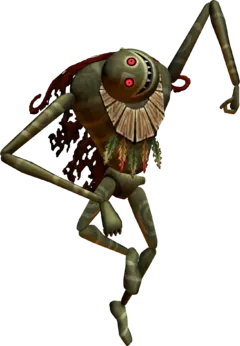
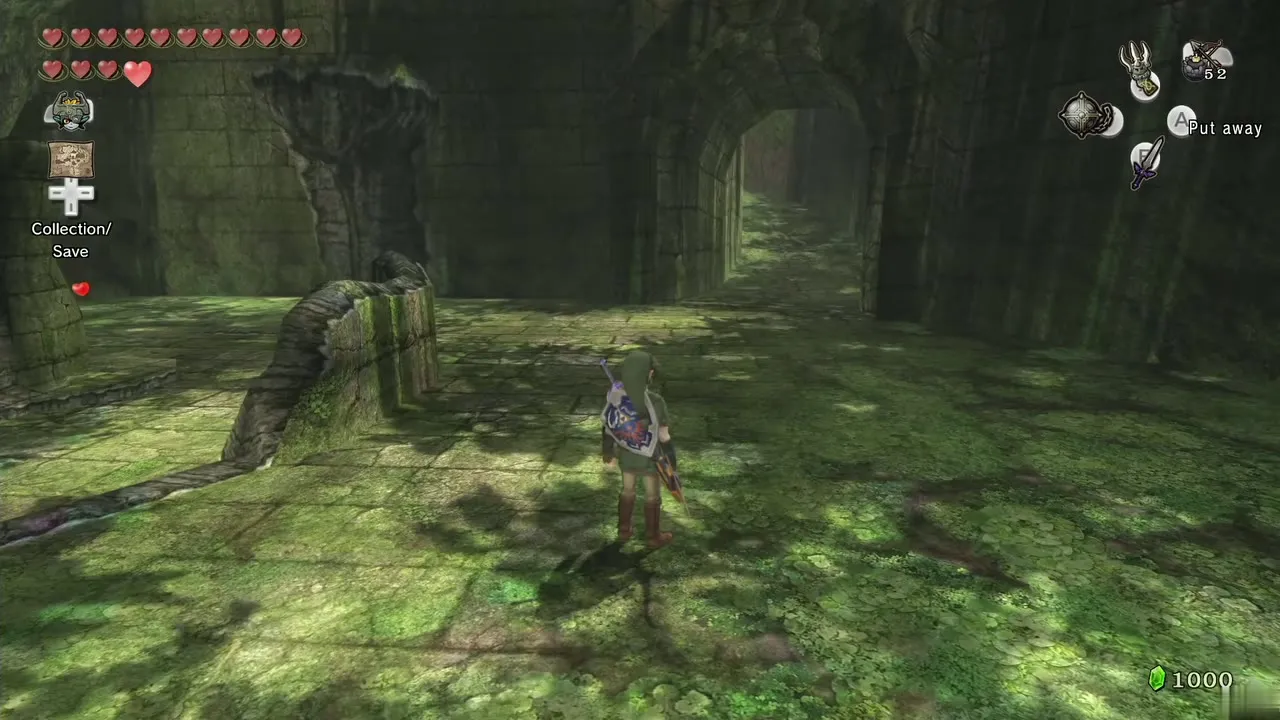
The Skull Kid shows up, blows his horn to make four puppets and runs off. It is night, so follow the glow of his lantern. The layout matches your first visit but has more branching paths and it is easy to get lost. Go straight ahead, then take the path on the left into the next area. He appears on a higher ledge to the left: jump up and slash him to finish the first cycle.
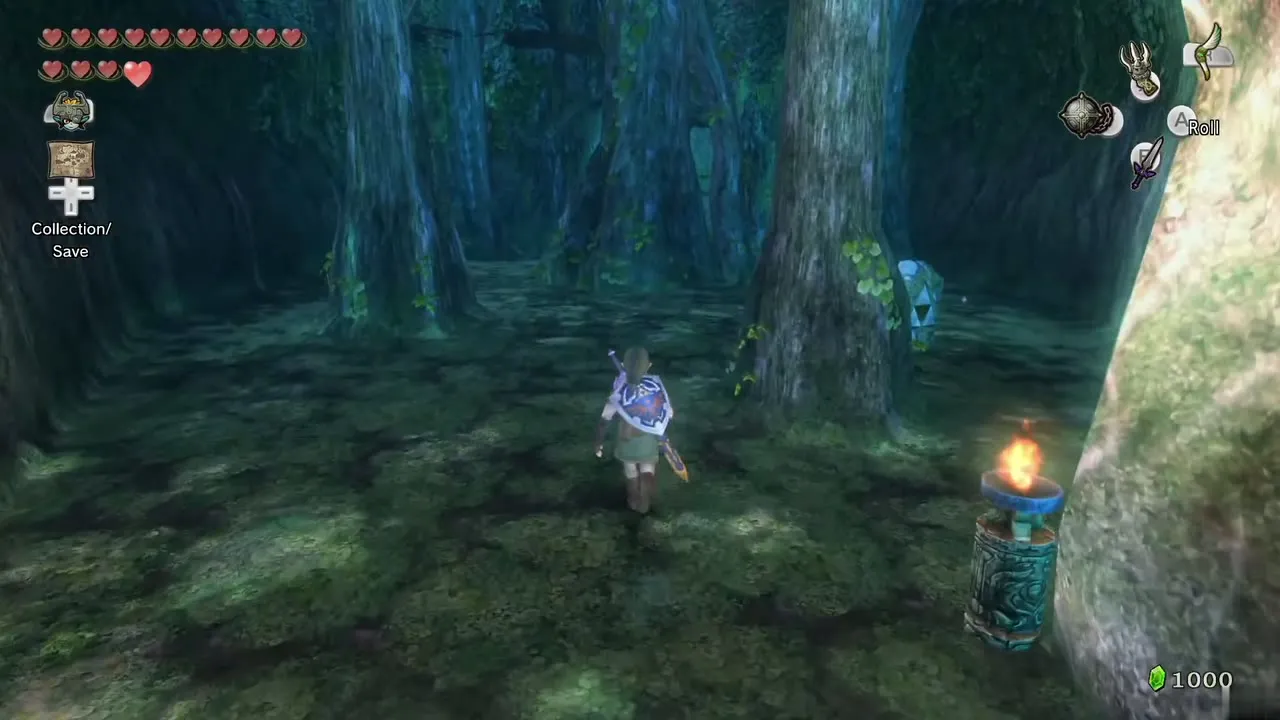
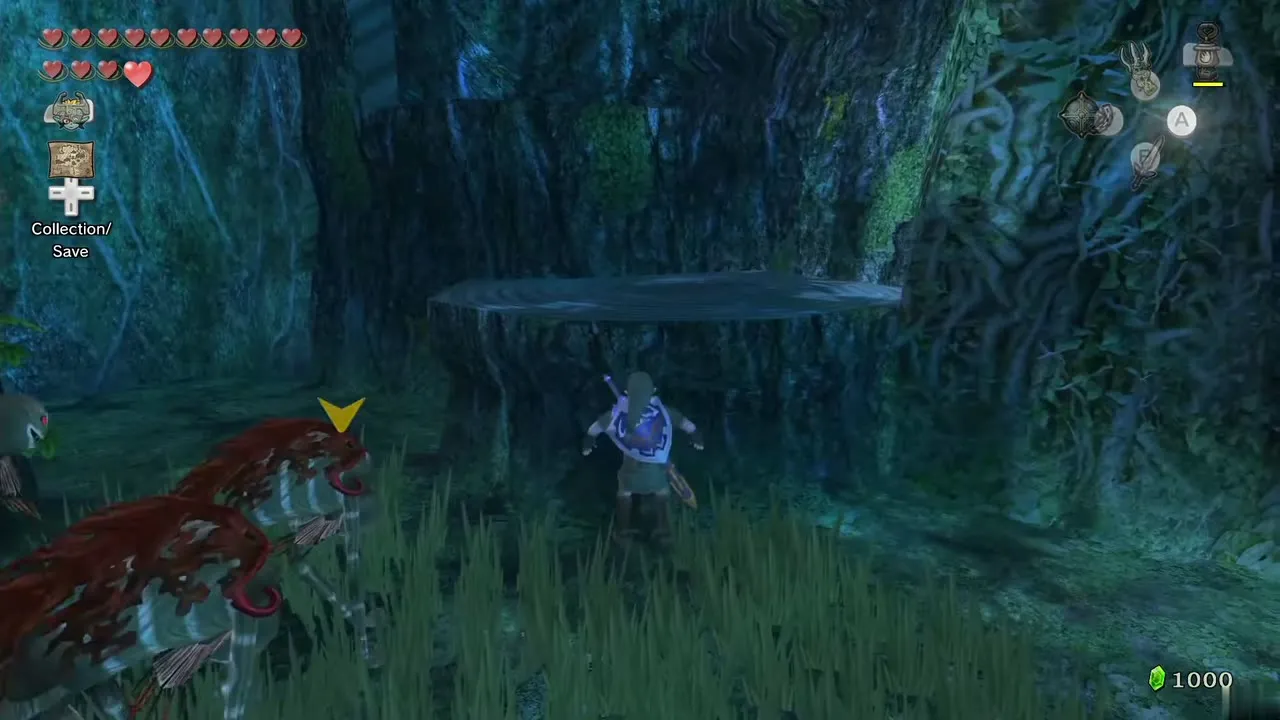
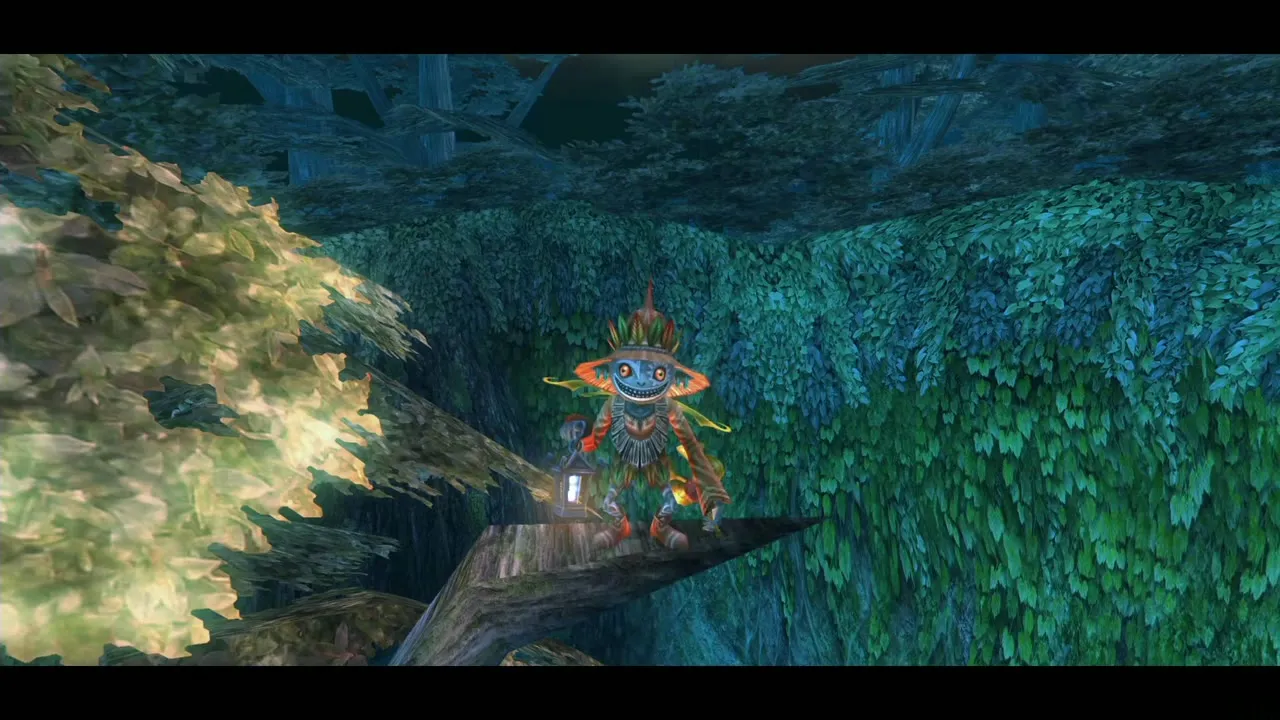
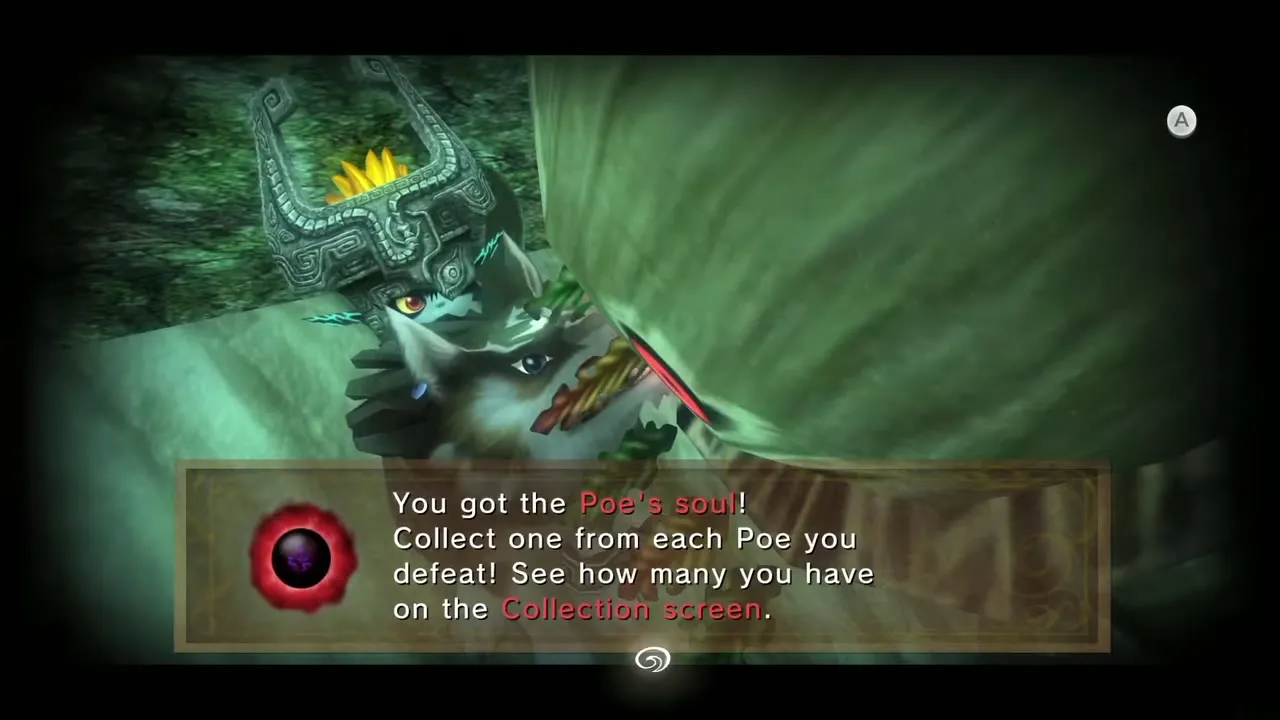
Continue north through the next opening. A Poe’s lantern hangs overhead. Walk behind the waterfall, become Wolf Link and defeat the Poe for another Poe Soul. Drop off the ledge and use the opening on the far side, where the Skull Kid’s light drifts.
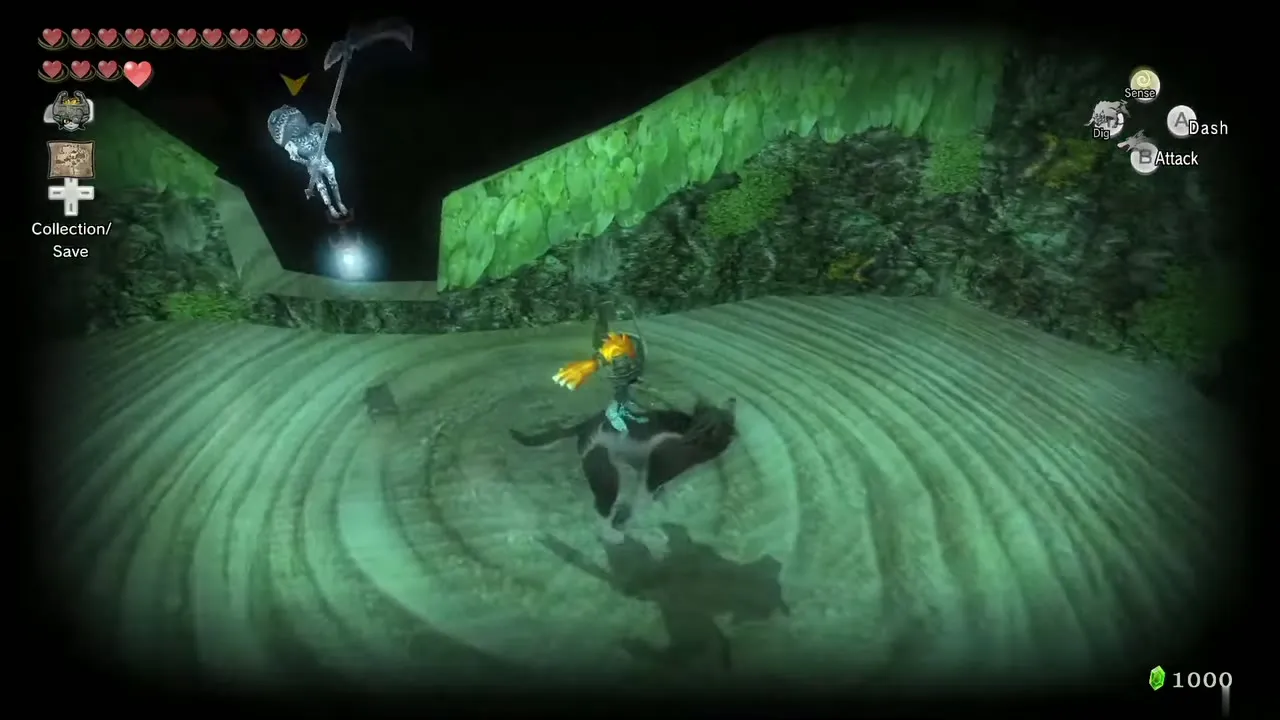
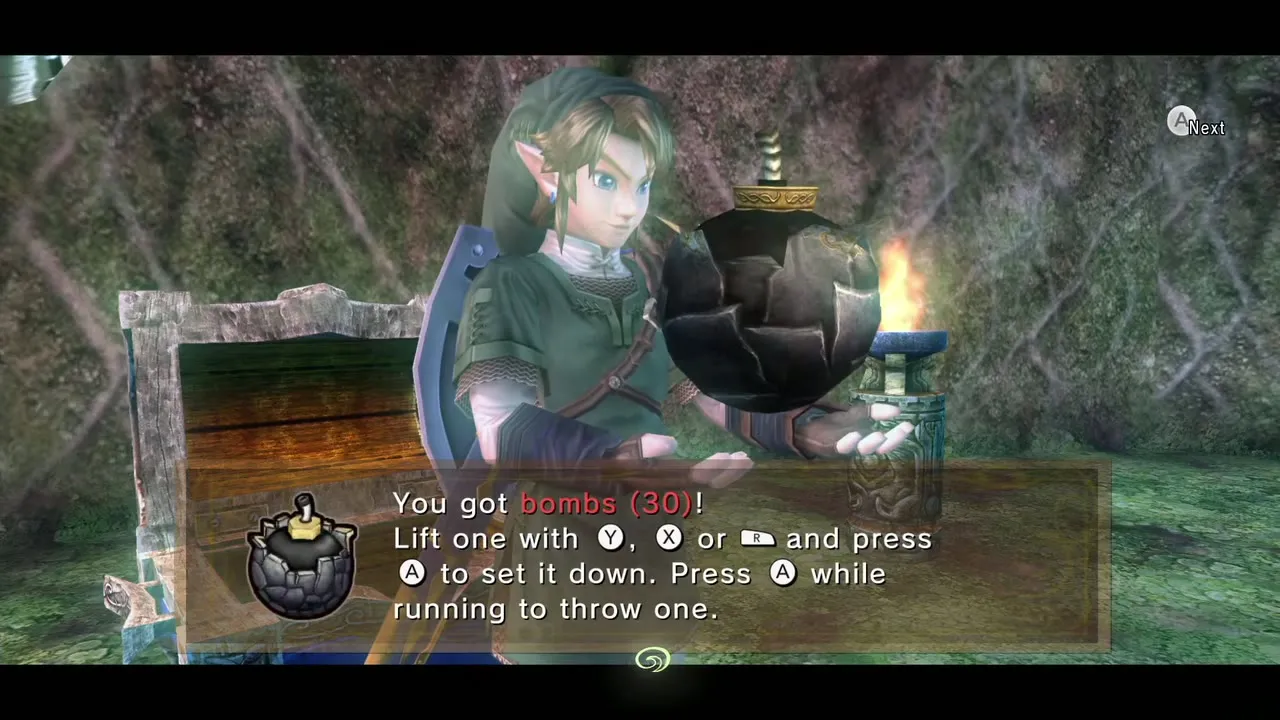
In the large central room, go straight on along the lit path. Two torches here can be lit with the Lantern to reveal a chest with Bombs. Follow the light to the next area, where the Skull Kid stands on a platform over water. Shoot him with the bow. He runs off and a new path opens beside you.
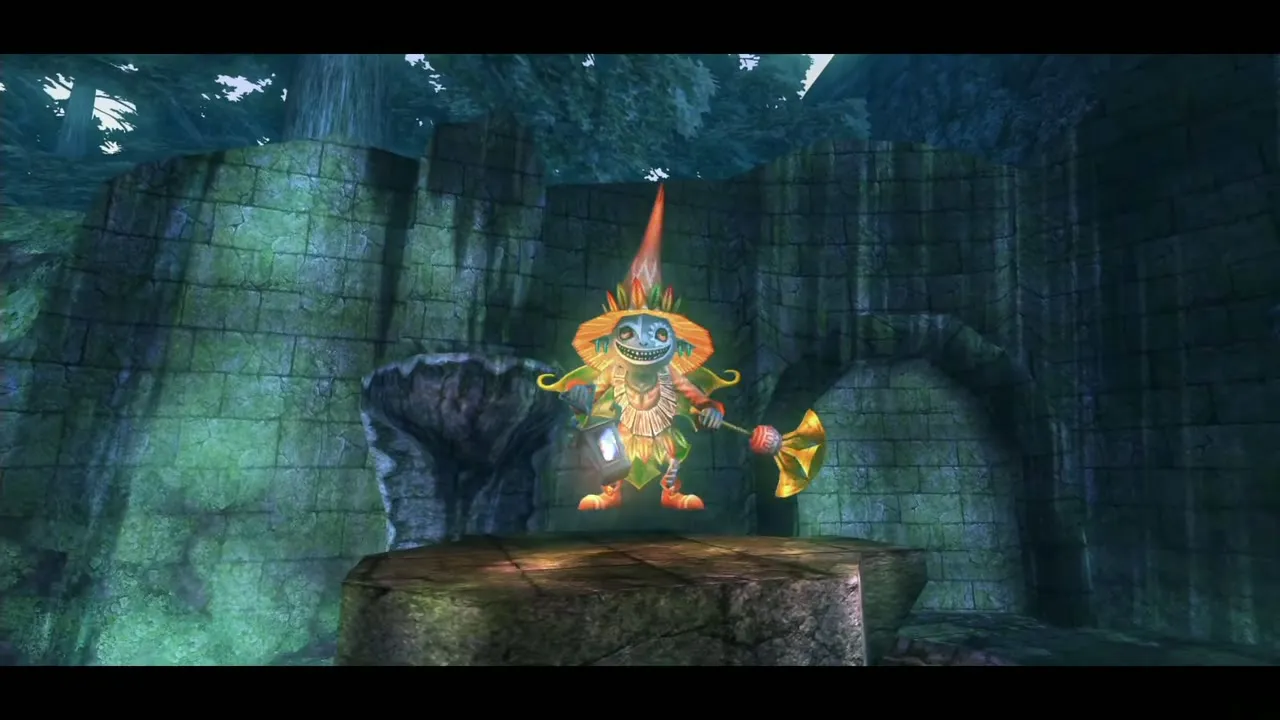
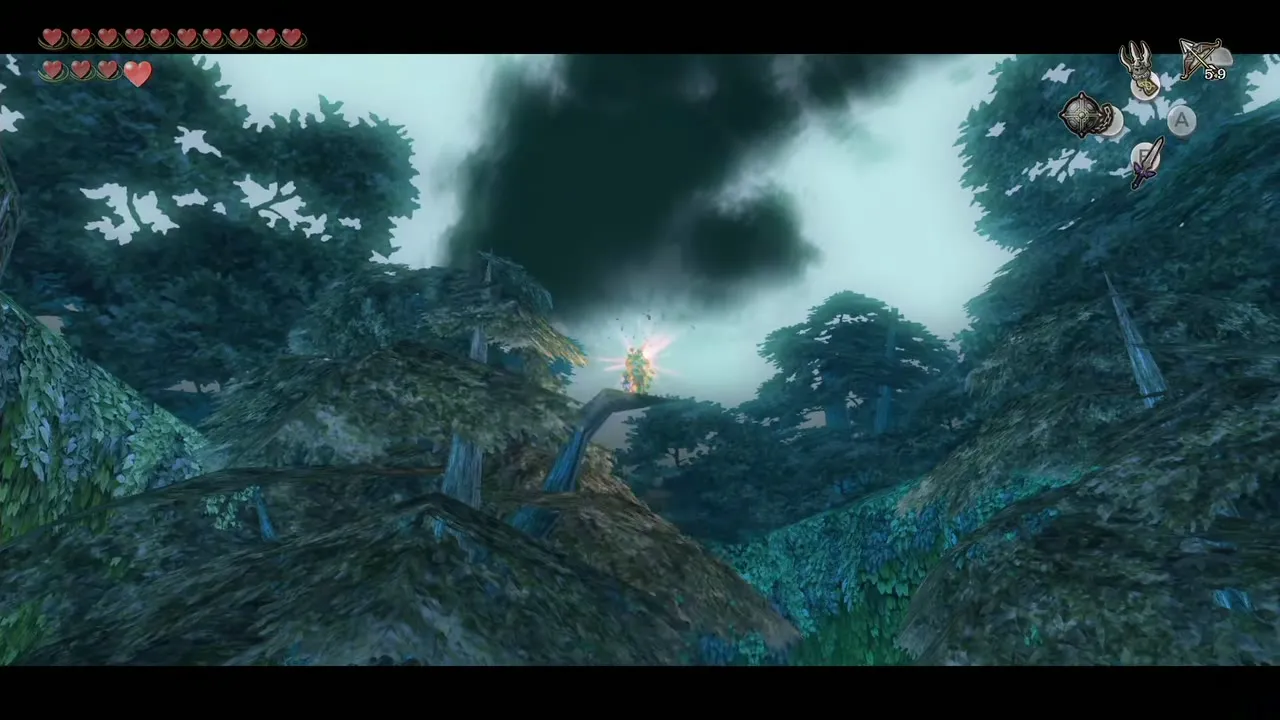
He leads you back through areas you have already passed, to the waterfall area at the entrance. Take the path that forms between the waterfalls and keep following his light as he circles. He settles in the big central room with several openings, where you hear his instrument. Climb the large stumps to the top, spot him on the treetops and shoot him down with an arrow. A nearby path opens.
Puppets and arrows
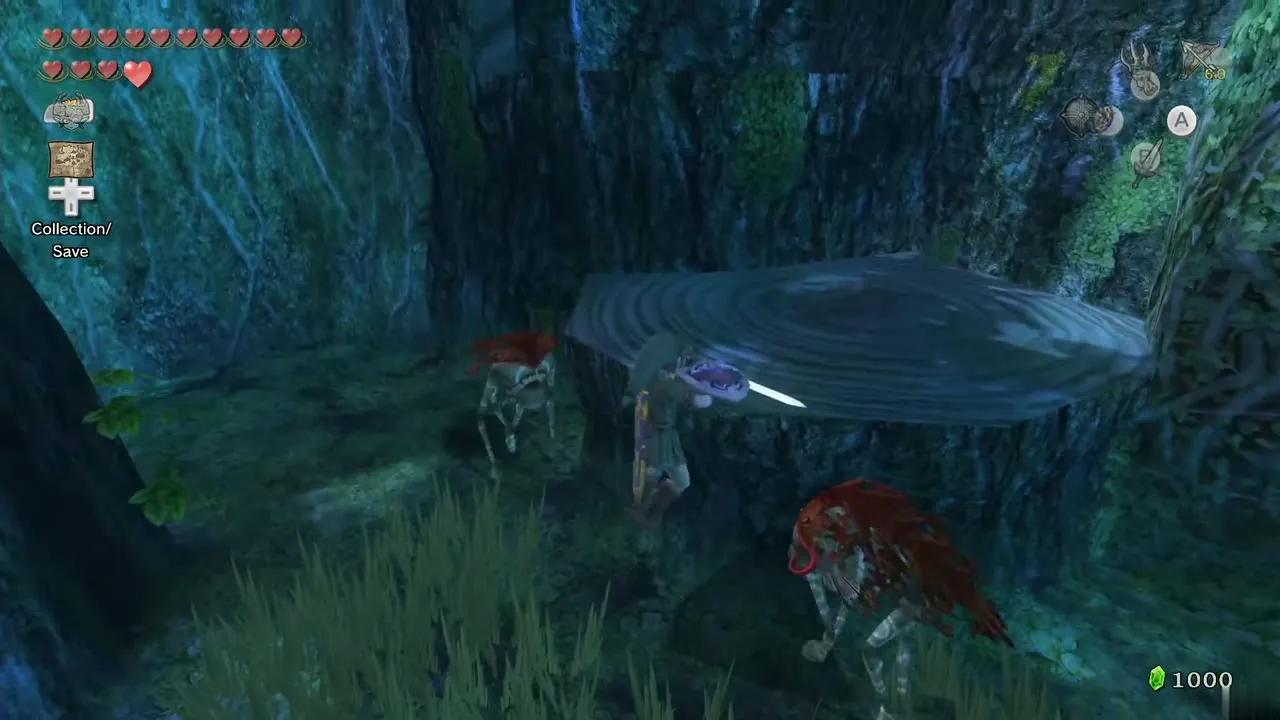
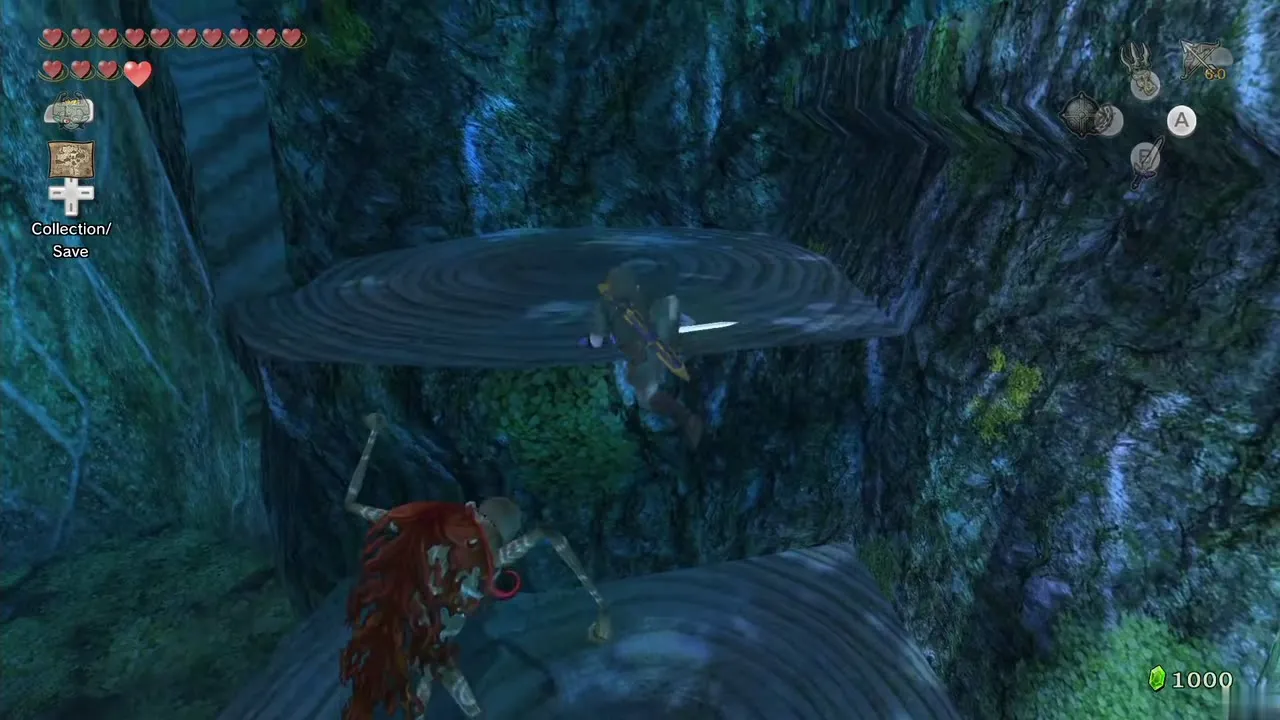
The fight is almost the same as the first one. He keeps calling puppets, so defeat them as they appear, then draw your bow and shoot him before he summons more. After a few hits he gives up and lets you pass.
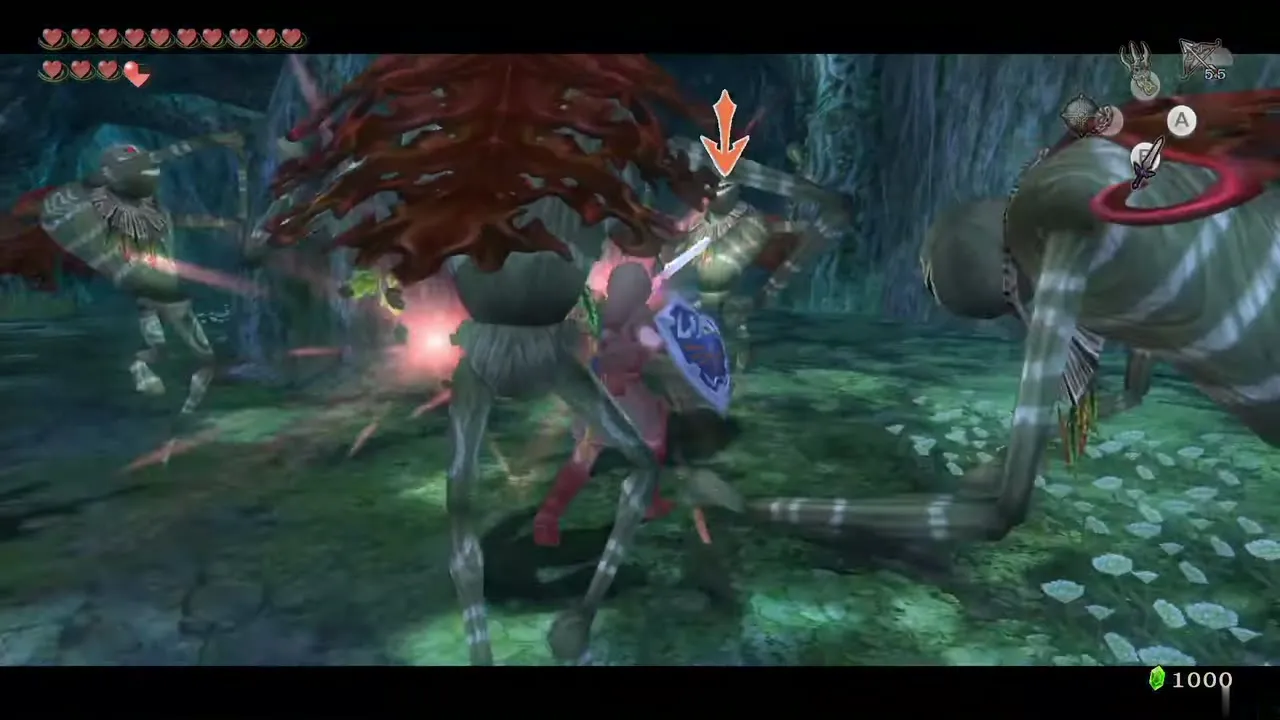
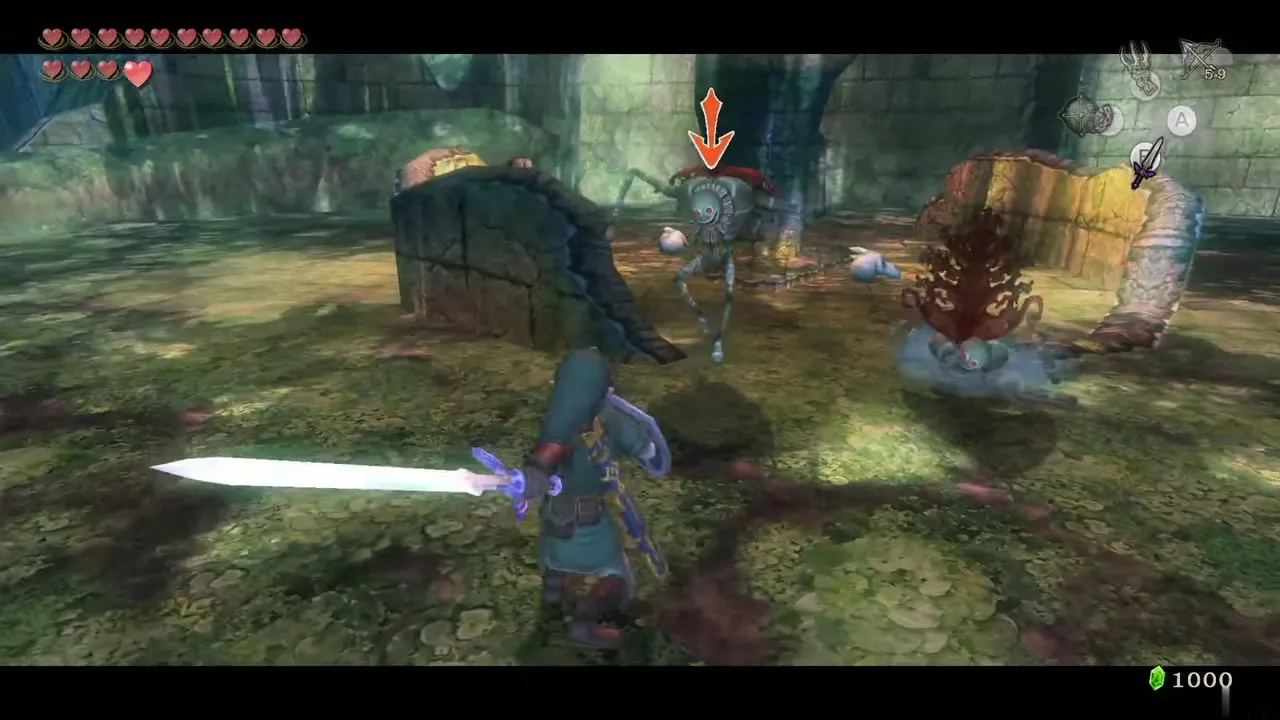
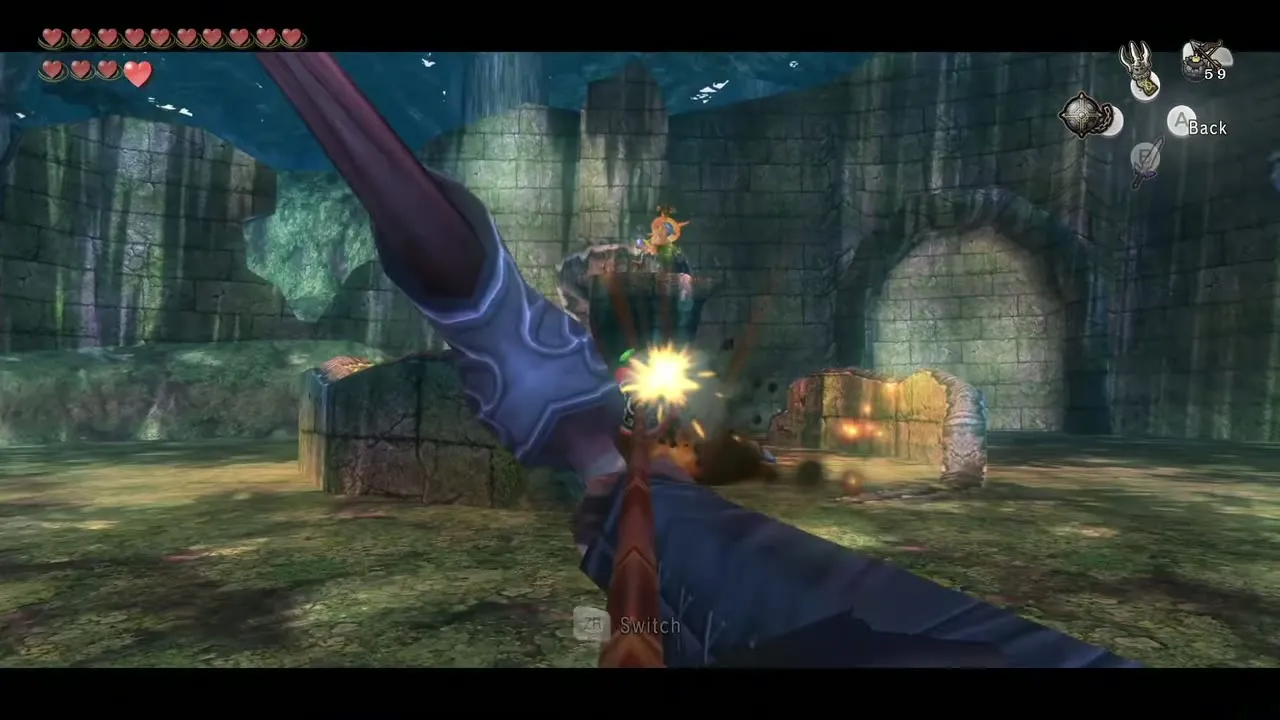
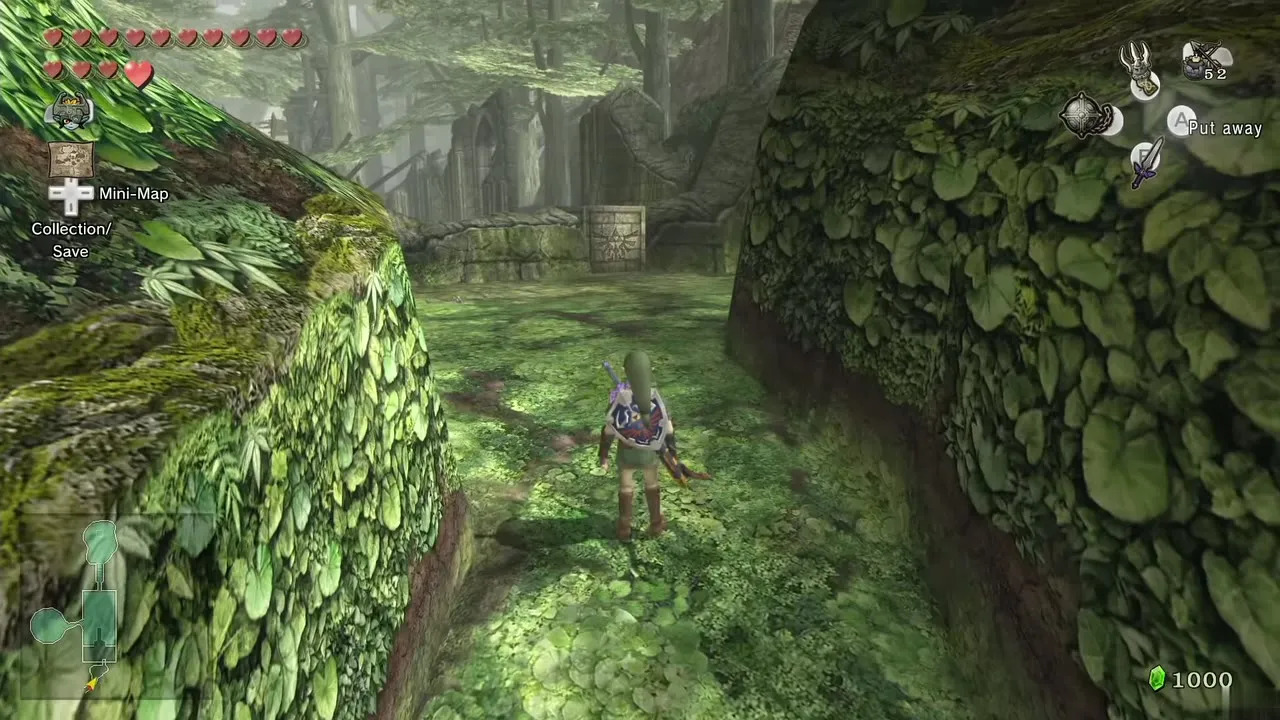
Follow him on to the ruins of the Sacred Grove, the clearing where you first took the Master Sword.
Ruins: Poe, pedestal and Shadow Beasts
Poe by the pedestal
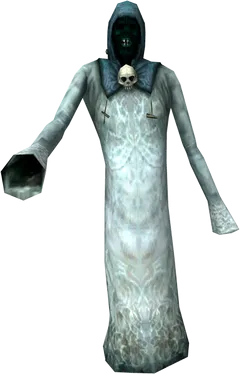
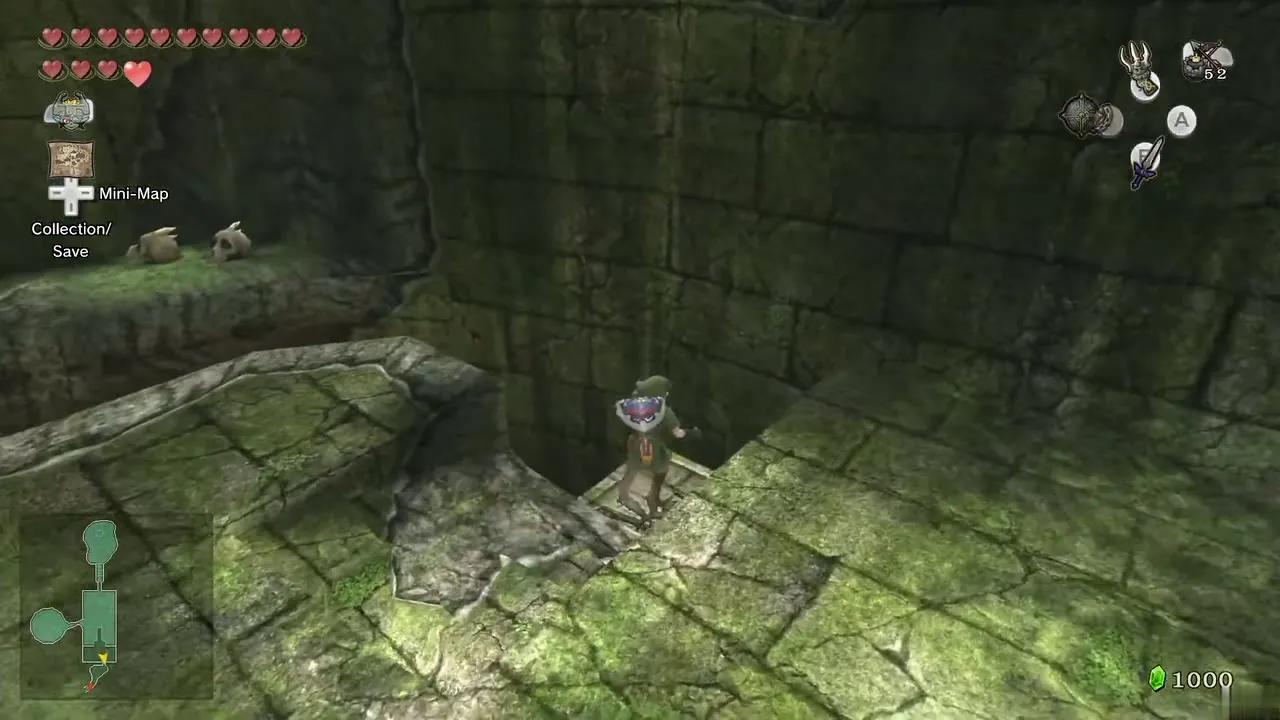
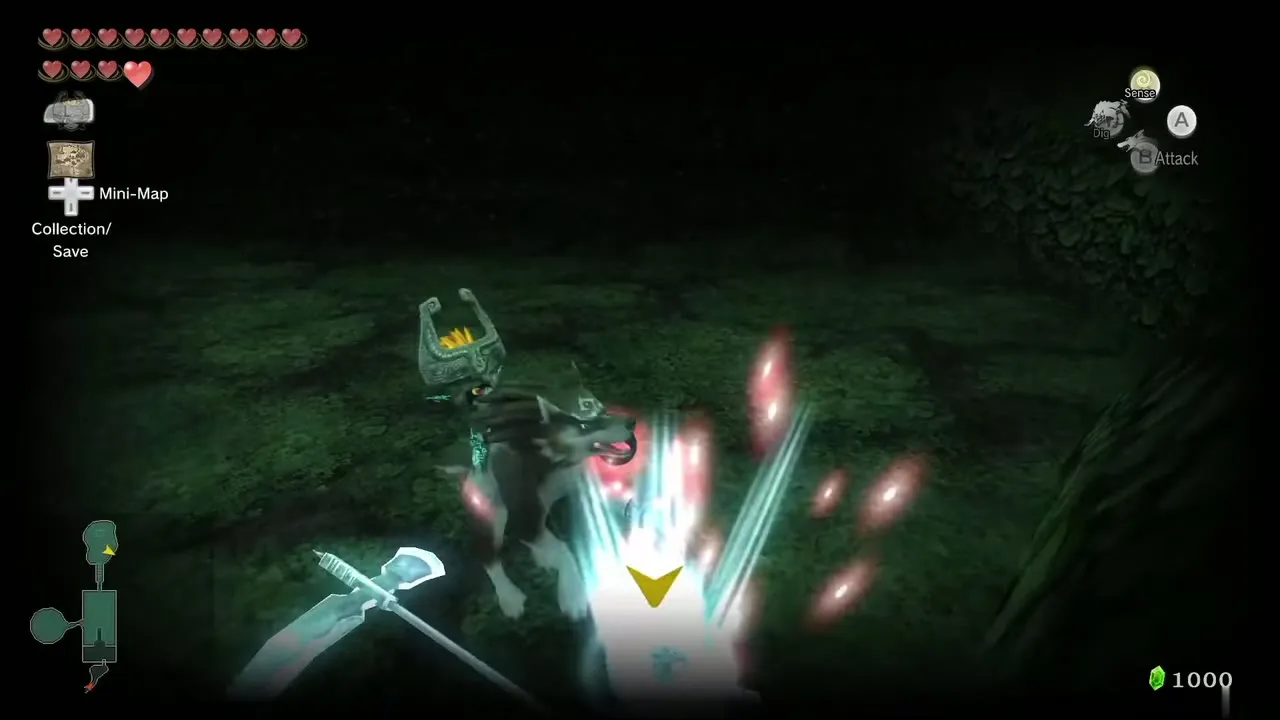
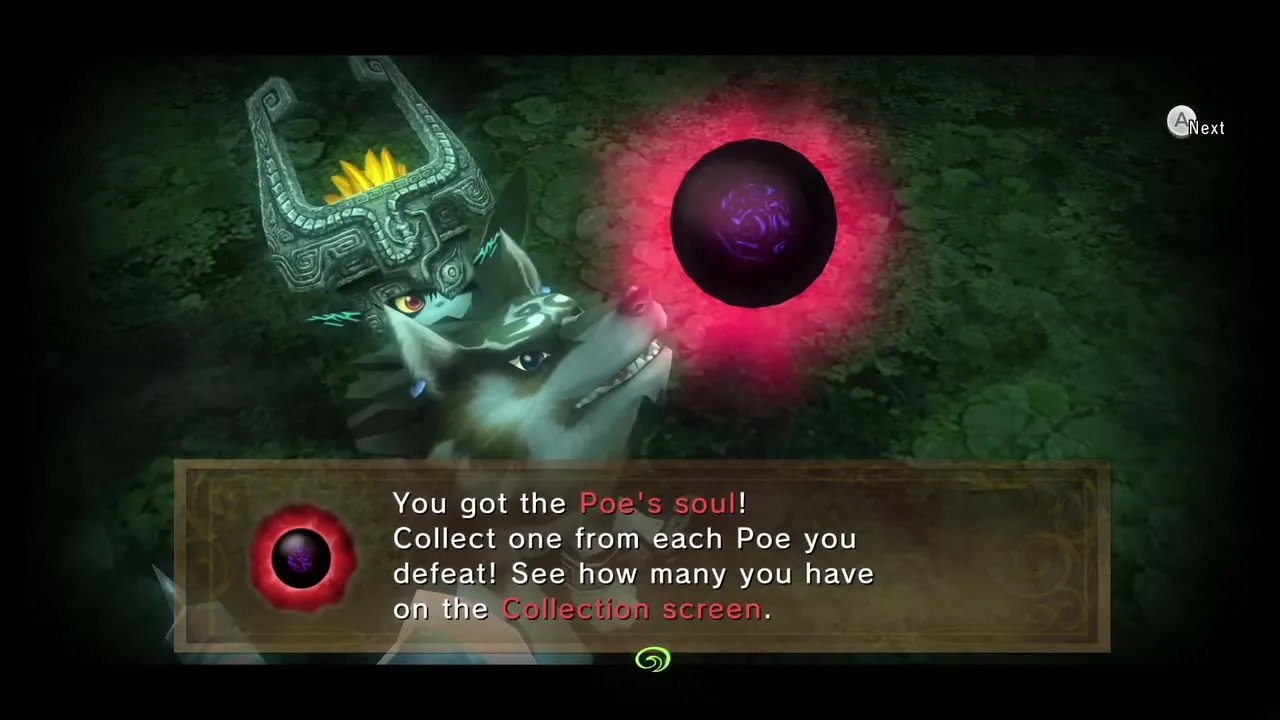
You arrive on a high ledge at the south of the ruins. Push down the block nearby and walk to the centre. At night a Poe floats around the pedestal where the Master Sword rested: as Wolf Link, defeat it for a Poe Soul.
Remove the statue
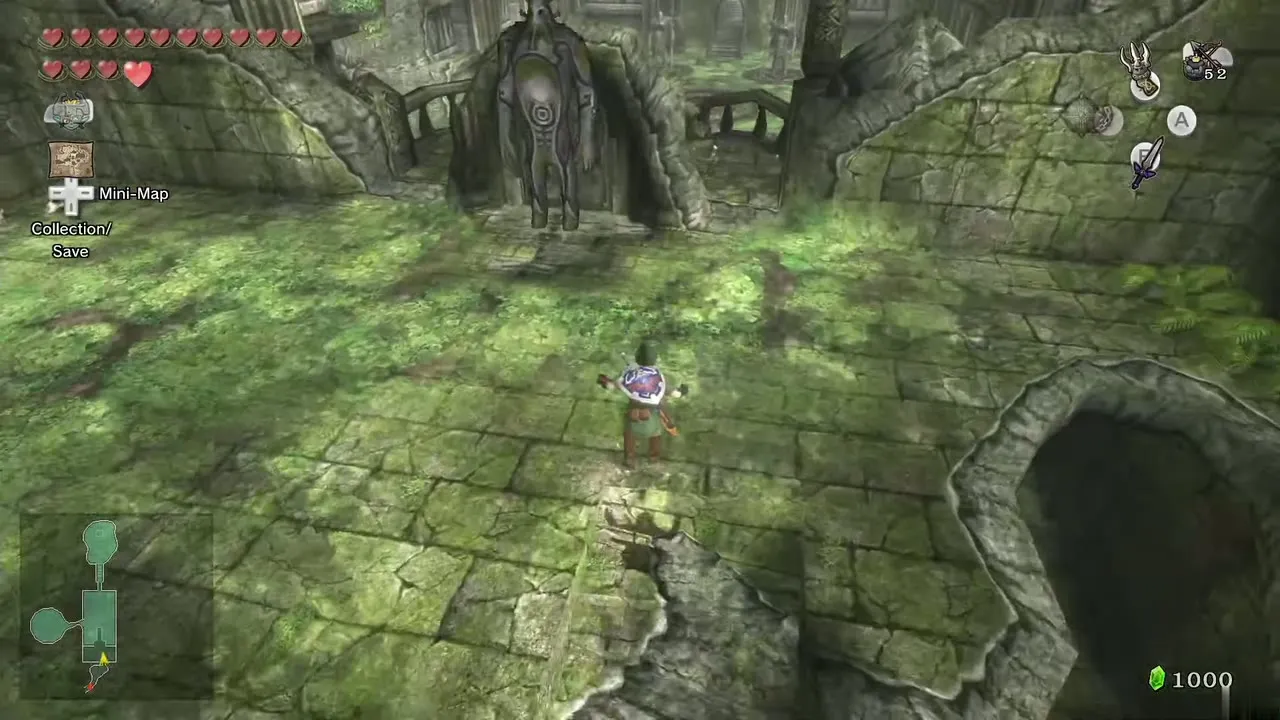
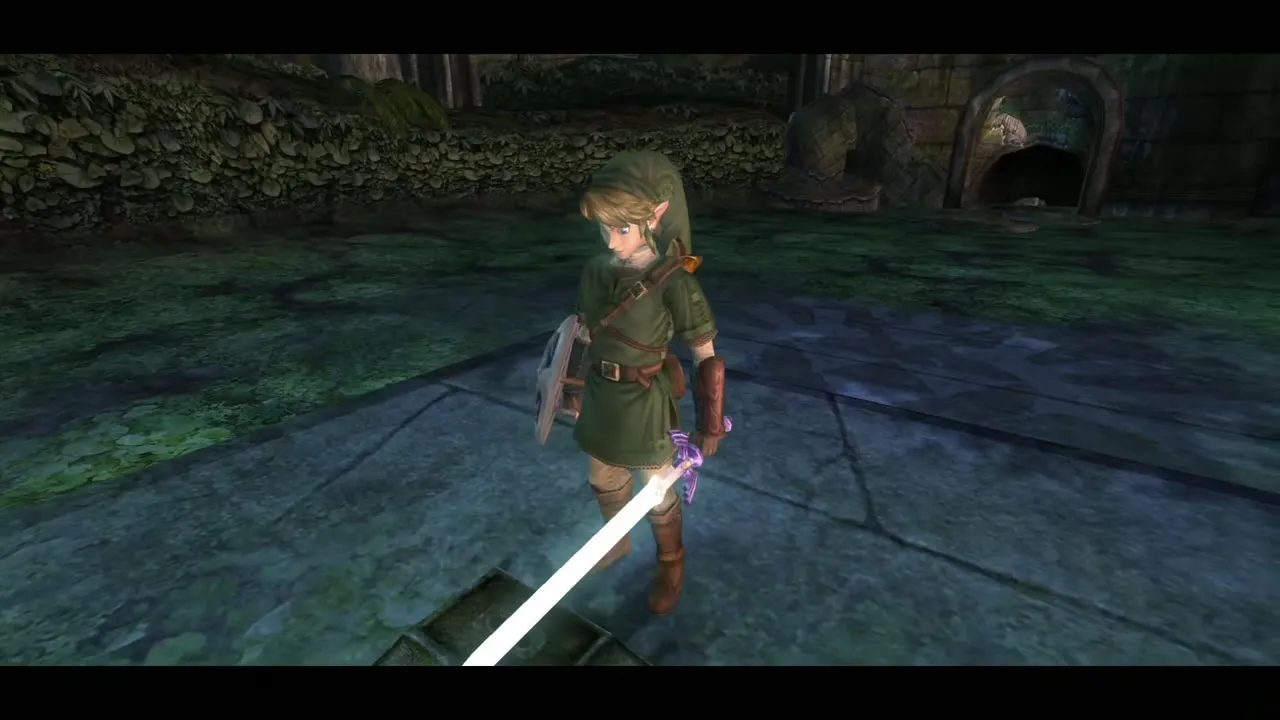
Change back to human Link, walk up to the empty pedestal and press A beside it to stab your sword into it. The statue blocking the door at the south end of the ruins vanishes. As you walk back that way a wall of twilight rises and five Shadow Beasts drop in through a portal. Kill three, then finish the last two together.
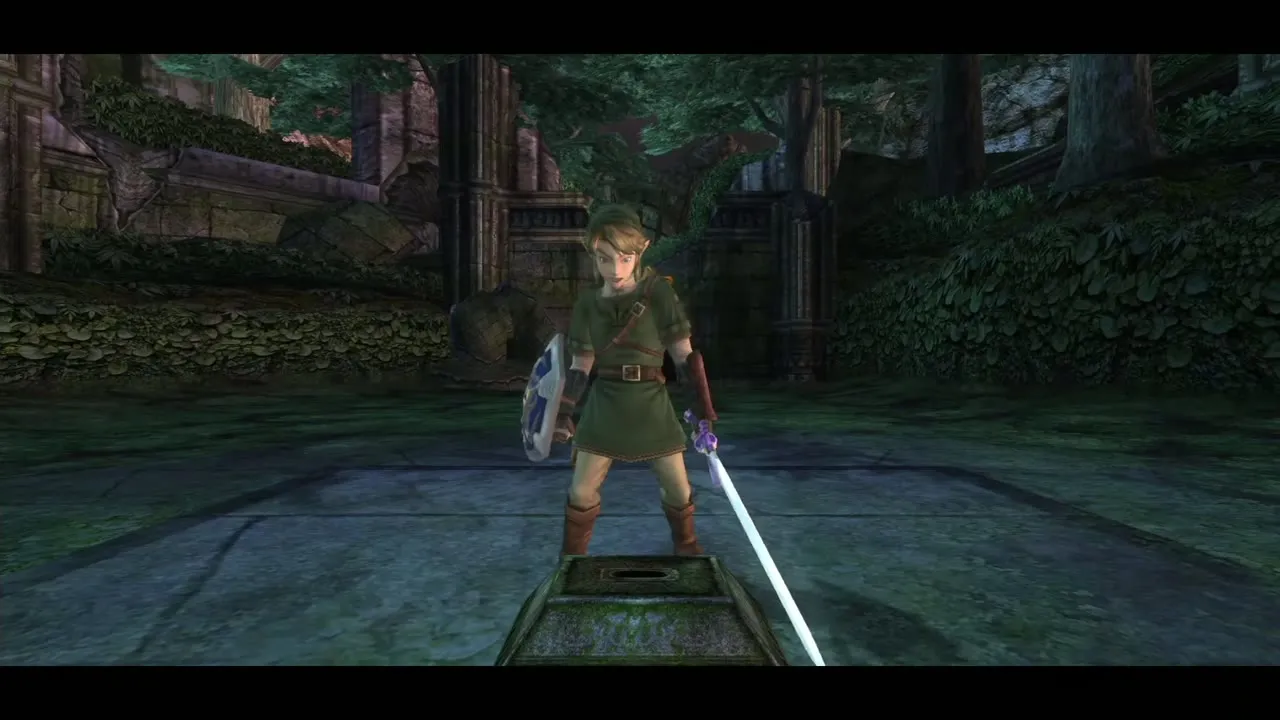
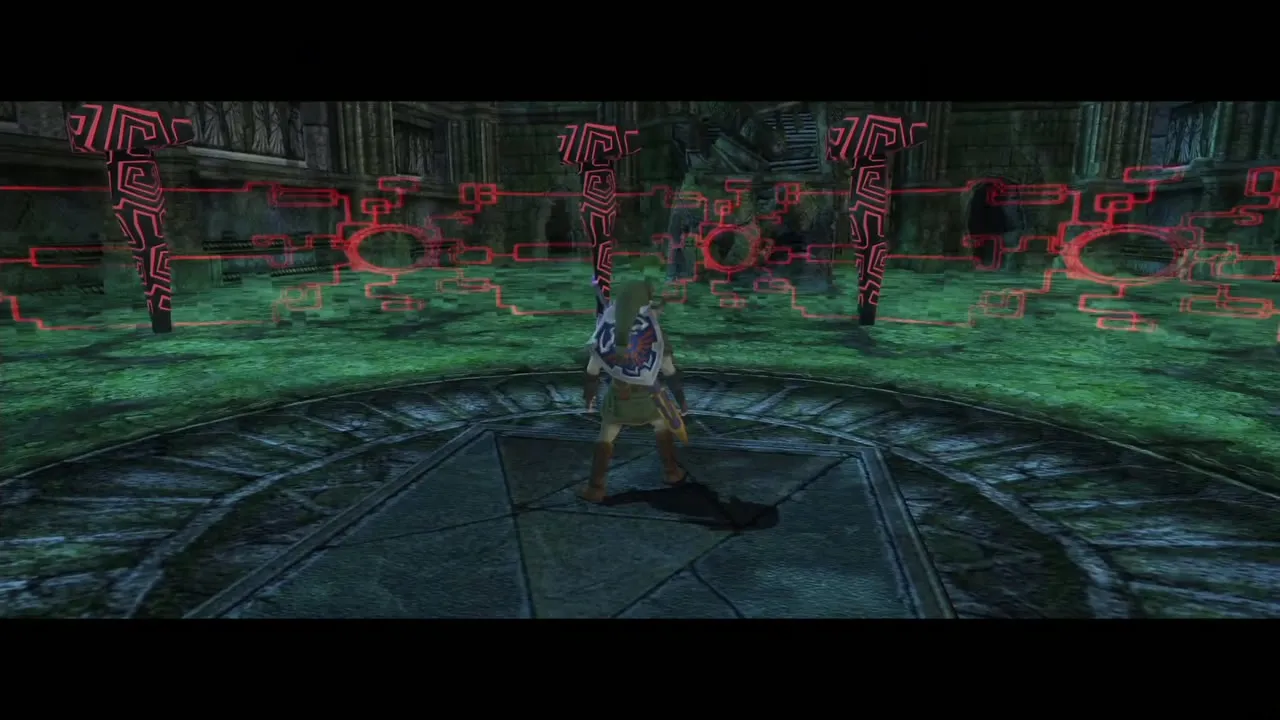
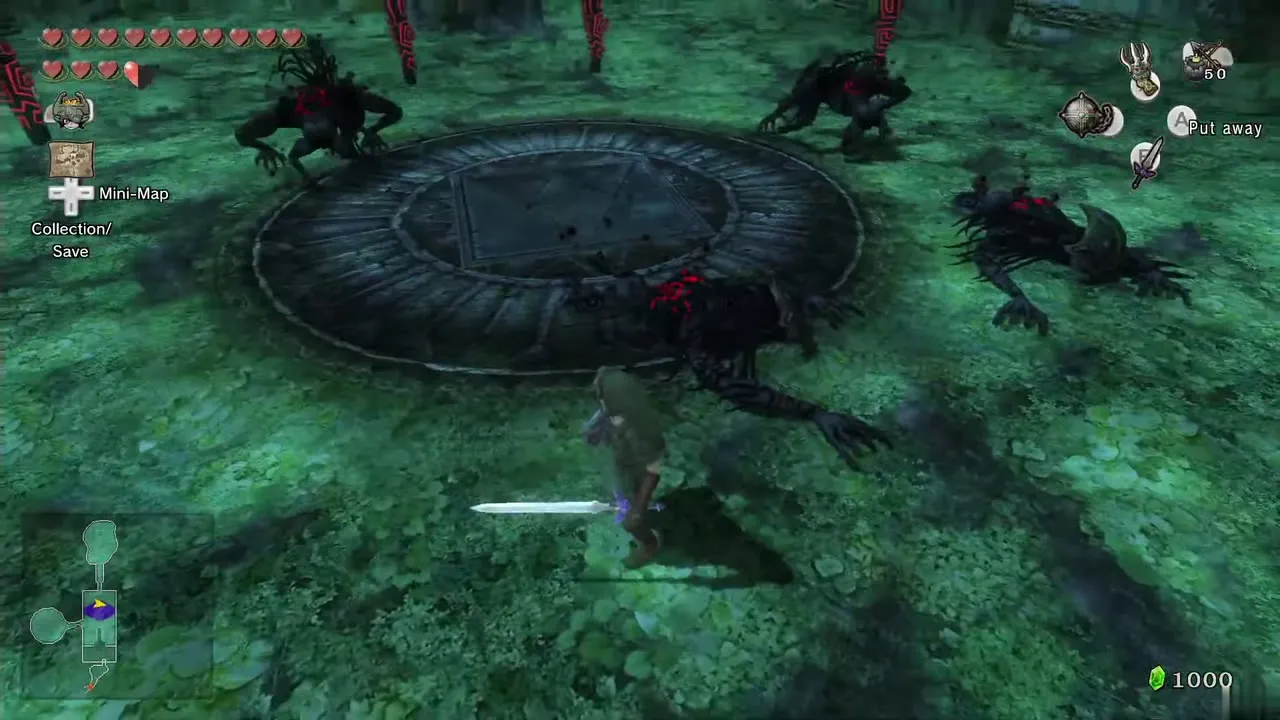
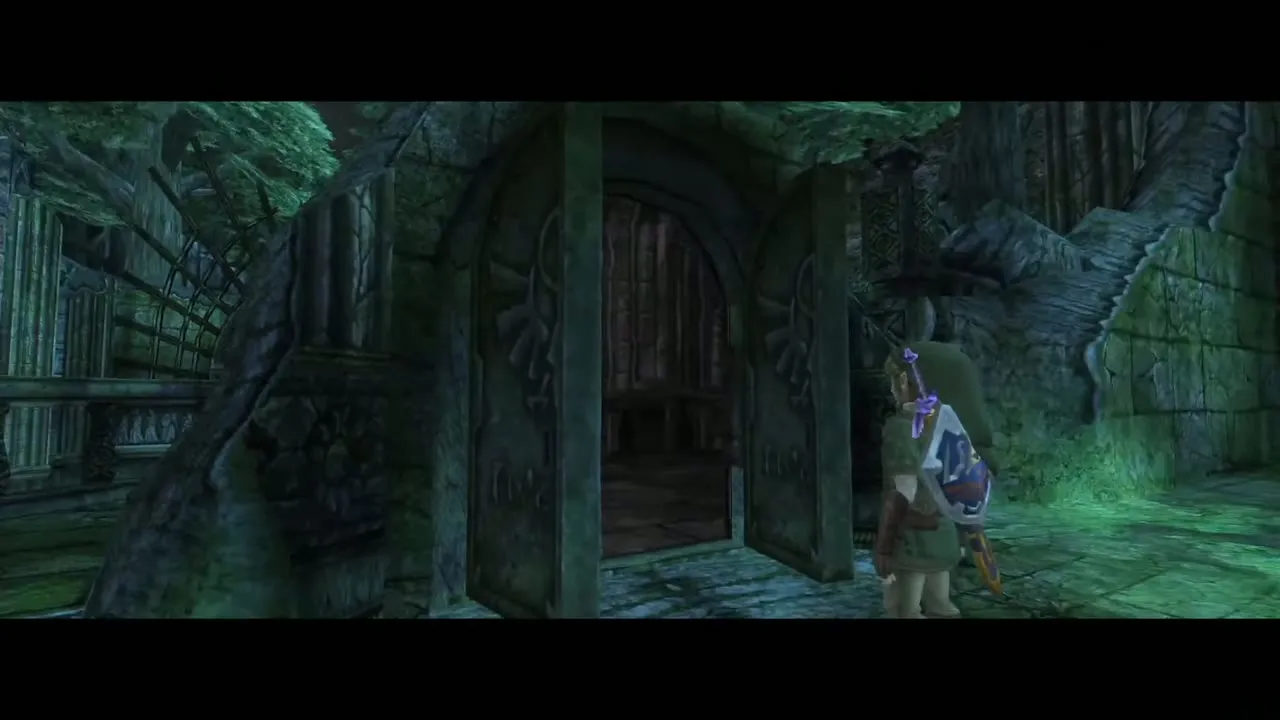
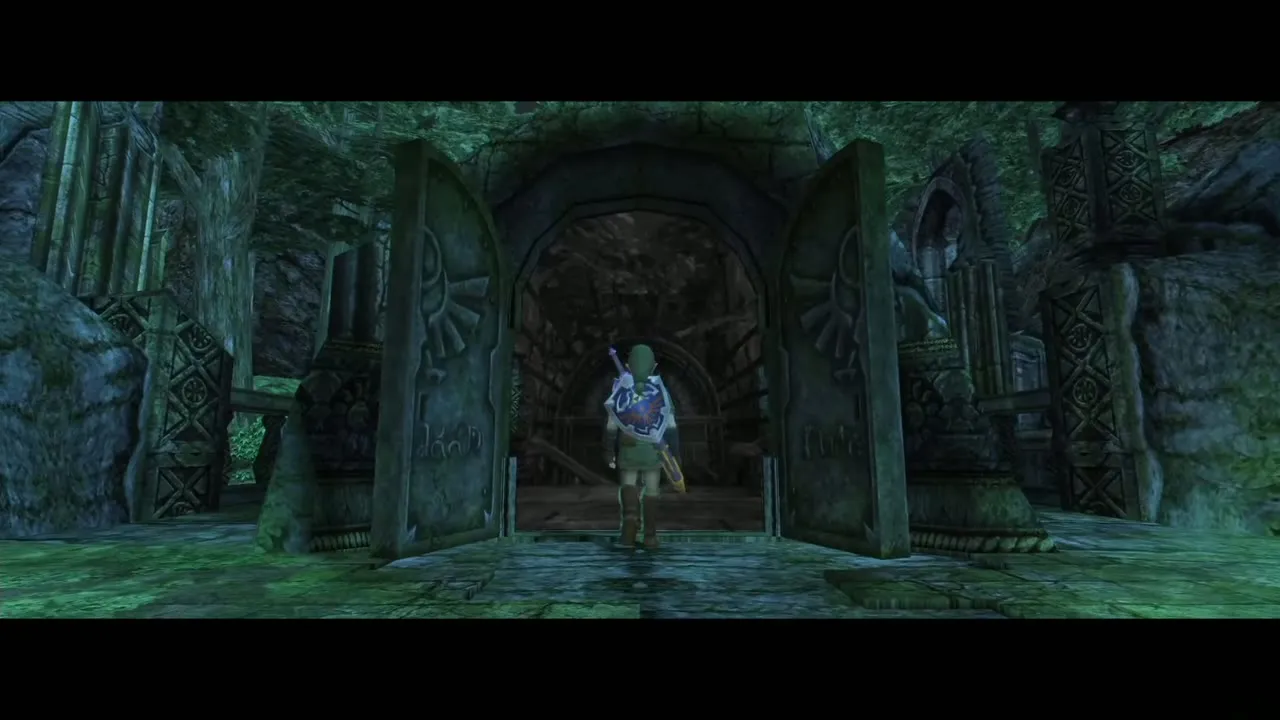
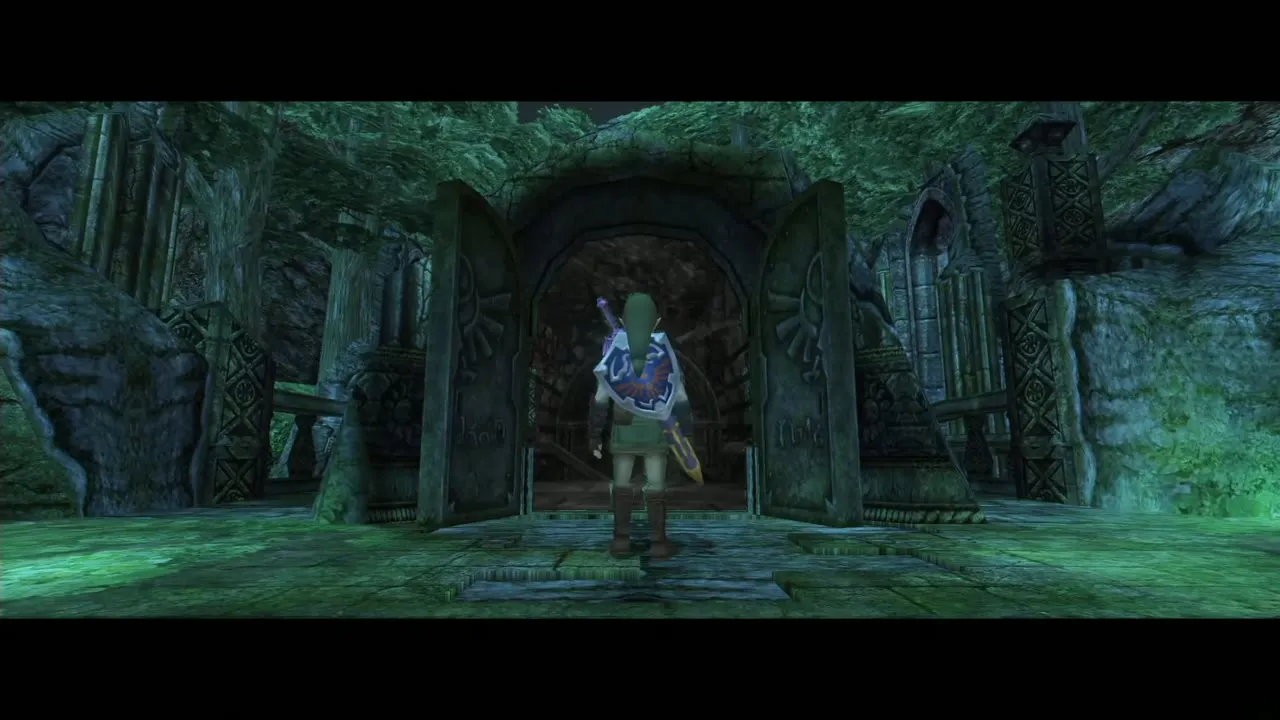
Climb the block you pushed down, walk to the door that is now free and open it. You step into the entrance hall of the Temple of Time.
Last Golden Bug and the Giant Wallet

Female Snail
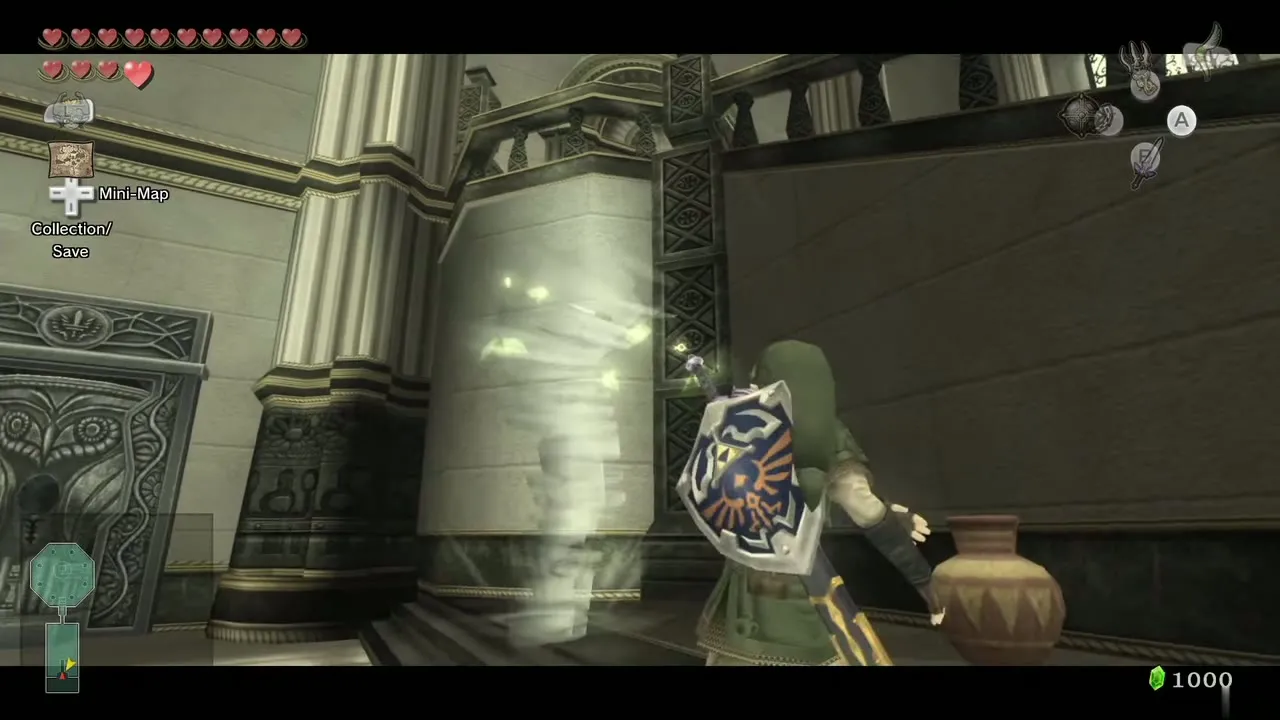
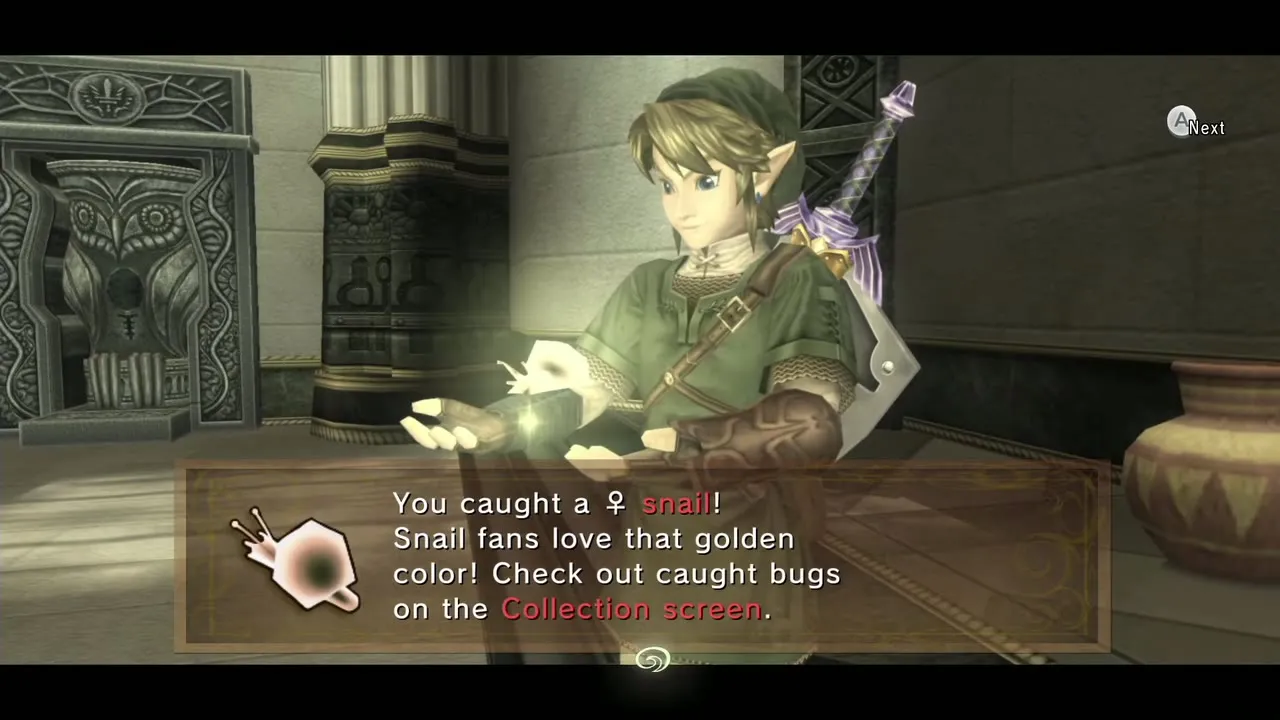
Walk down the stairs and take a U-turn to the right. The Female Snail, the 24th and last Golden Bug, clings to the wall. Catch it with the Gale Boomerang, then leave the way you came.
Agitha’s Castle
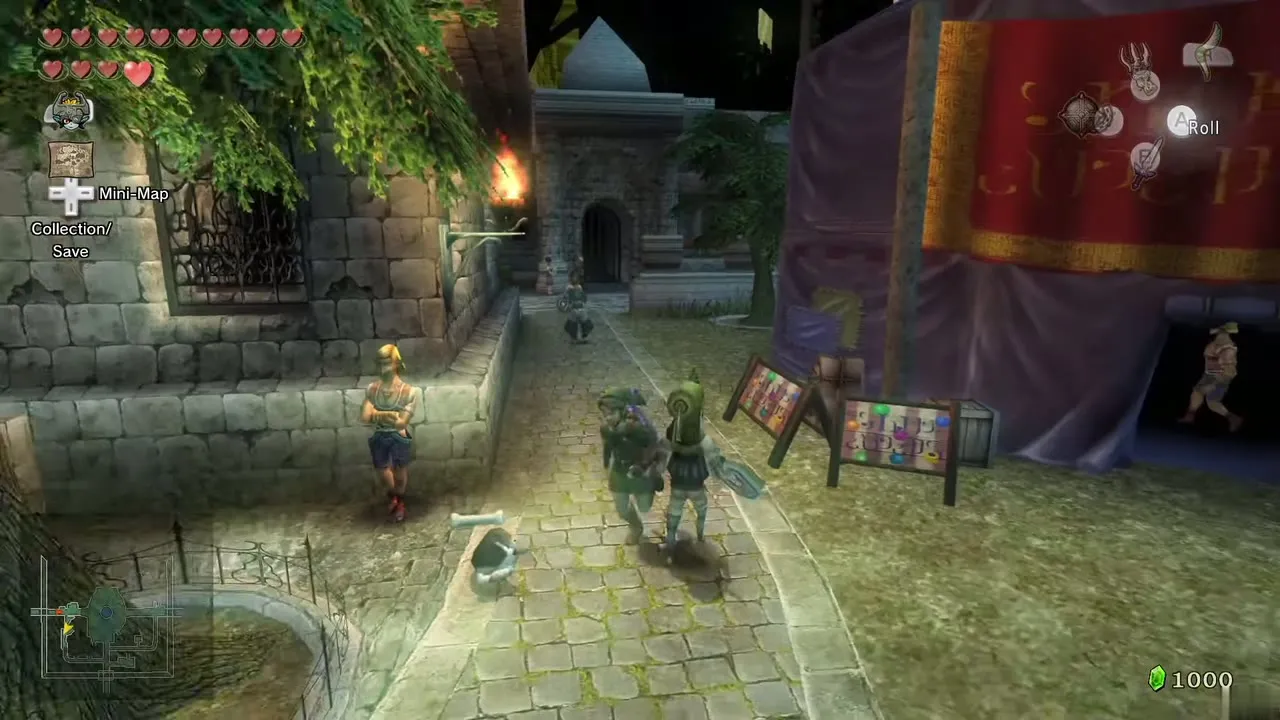
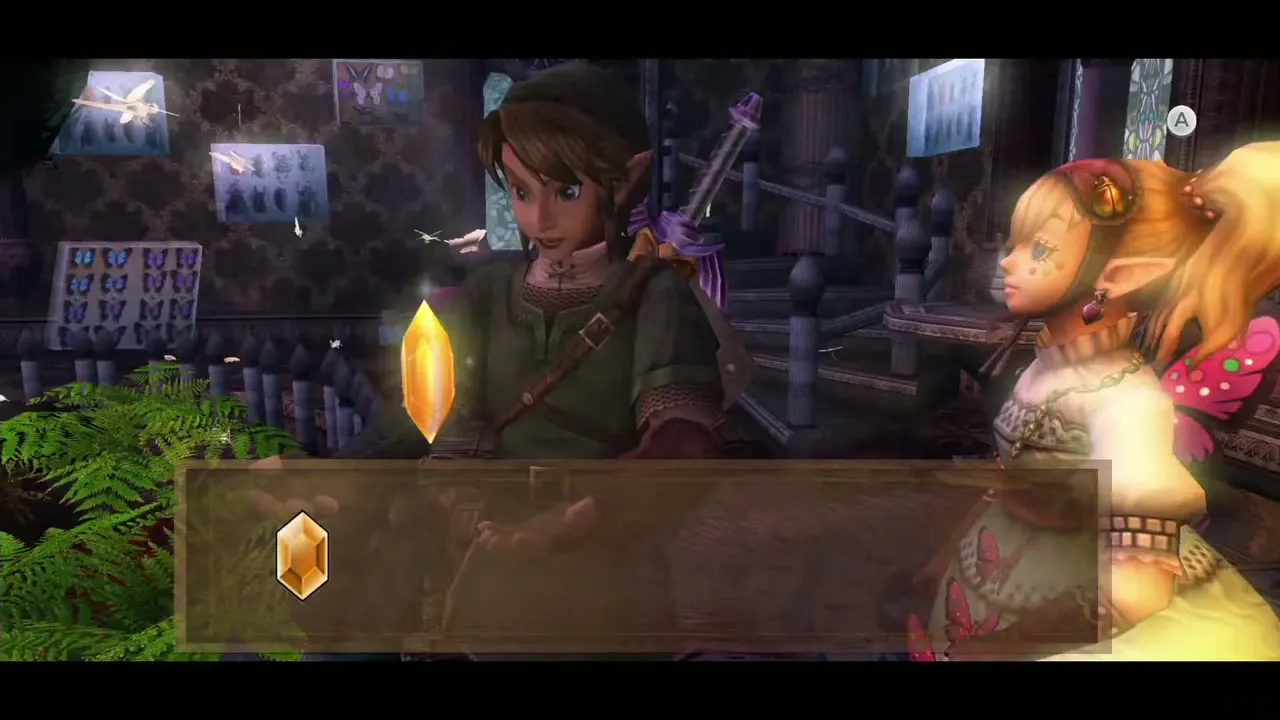
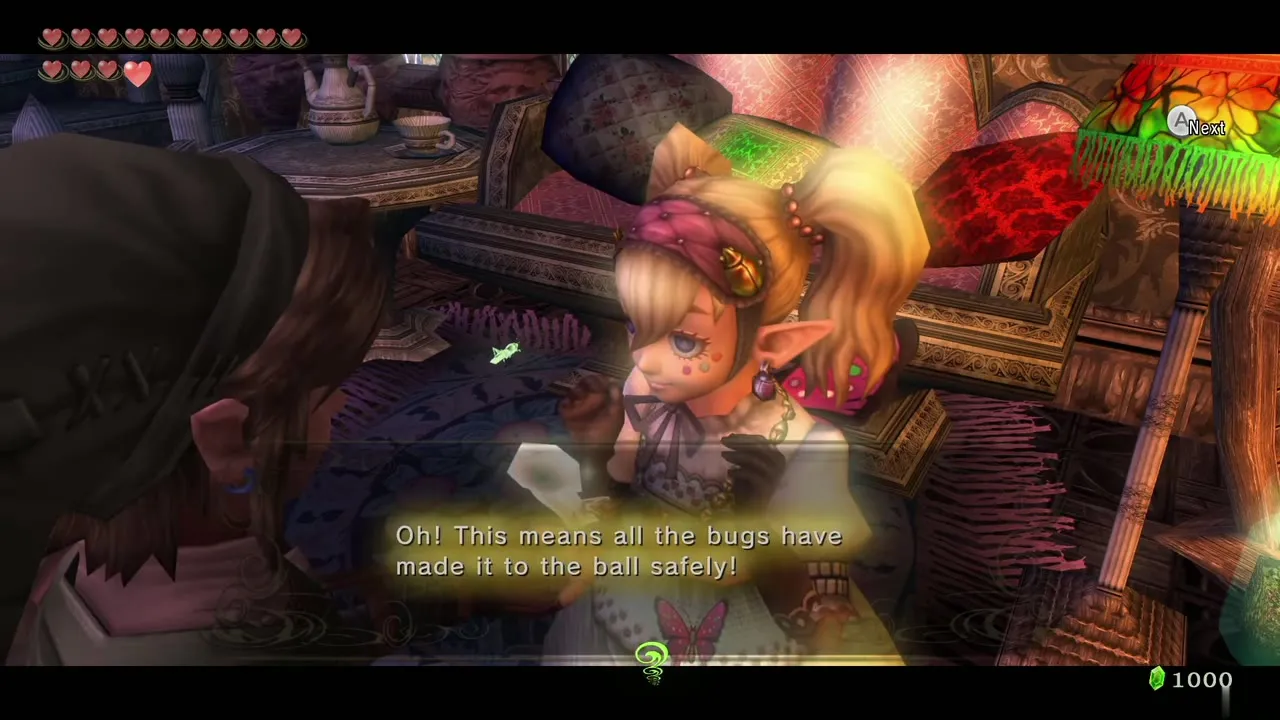
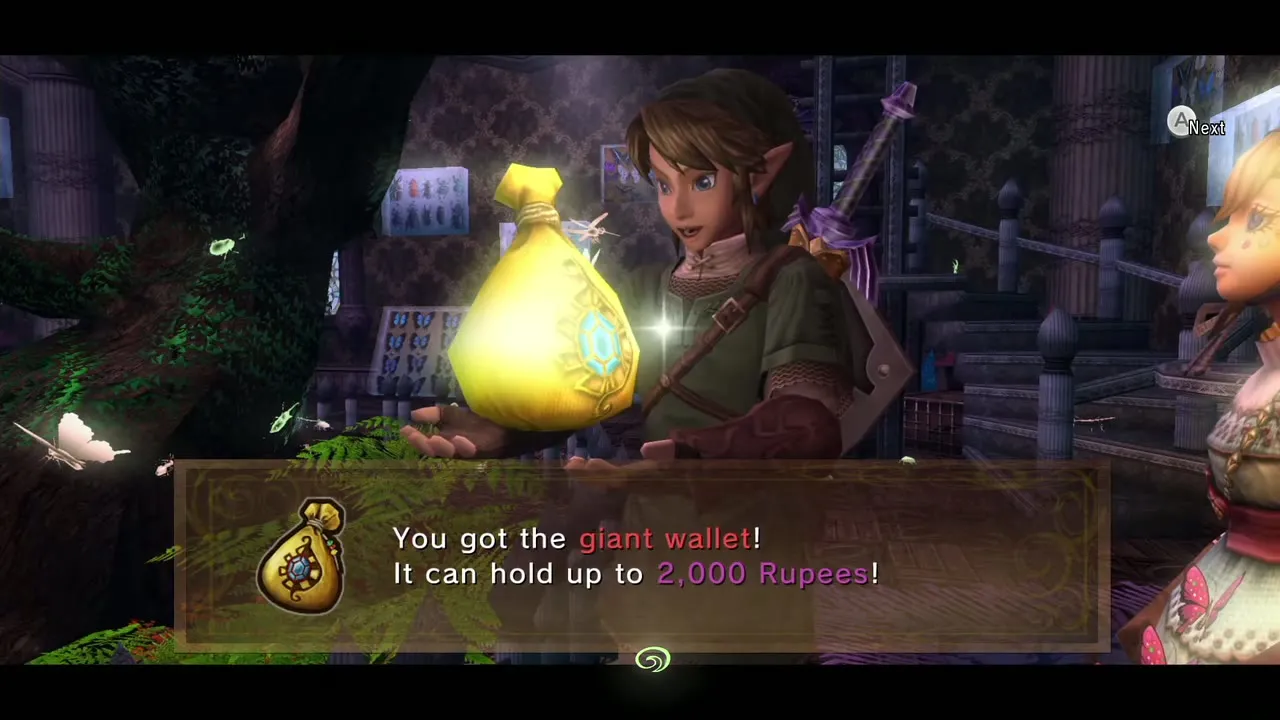
Warp to Castle Town and go to Agitha’s Castle in the south of town. Give her all the bugs you still hold. For the full set of 24 she gives you the Giant Wallet, which holds 2,000 Rupees in the HD version. Then use Midna to warp to your new Sacred Grove warp point.
Open the Temple of Time

Stamp for the Spinner
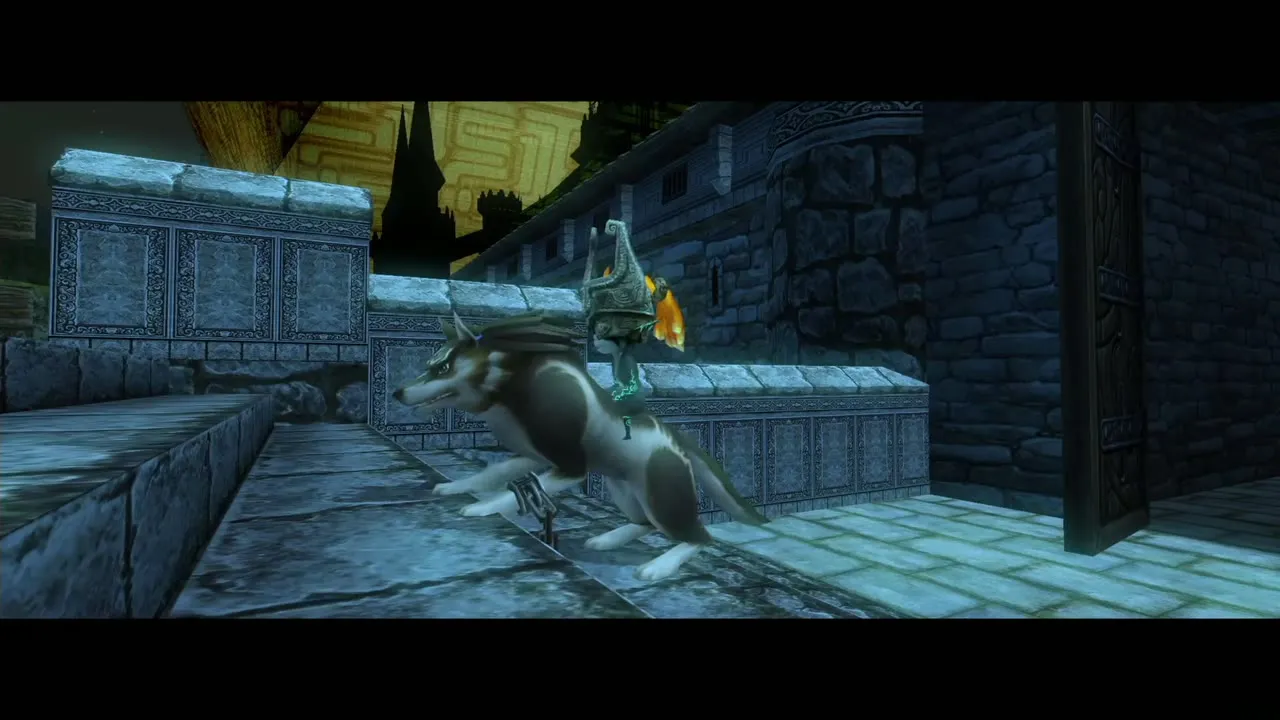
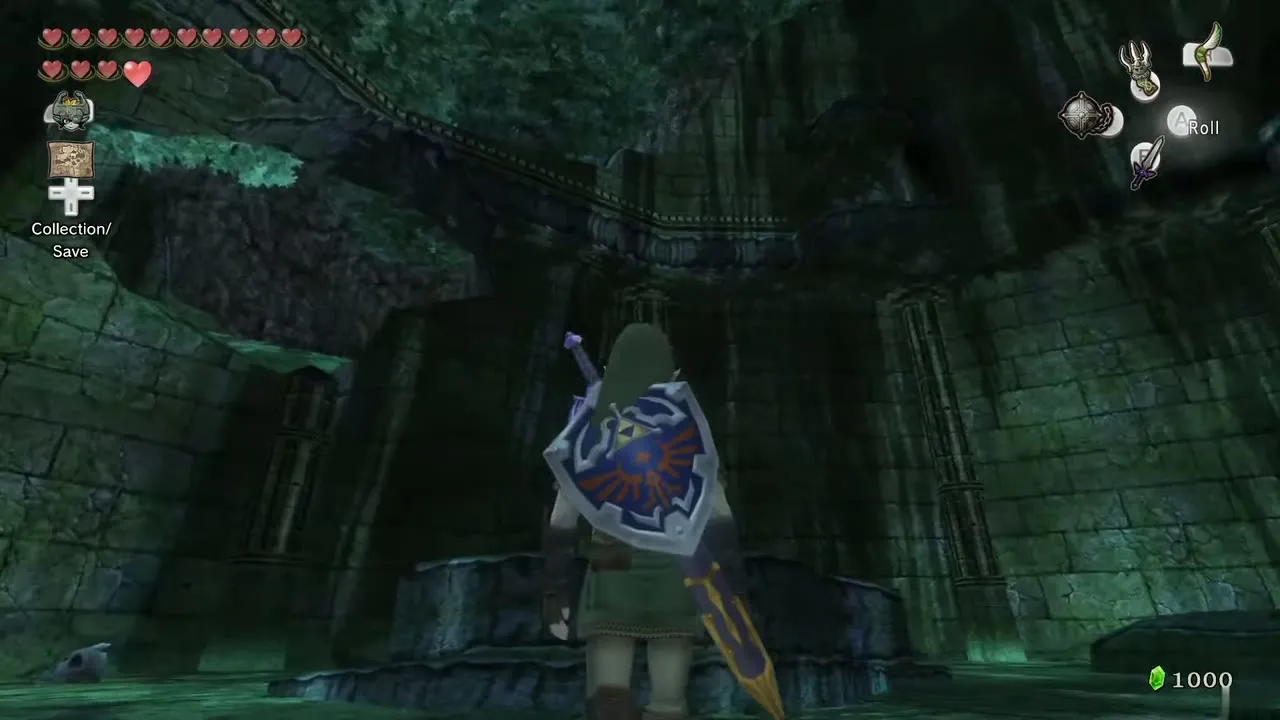
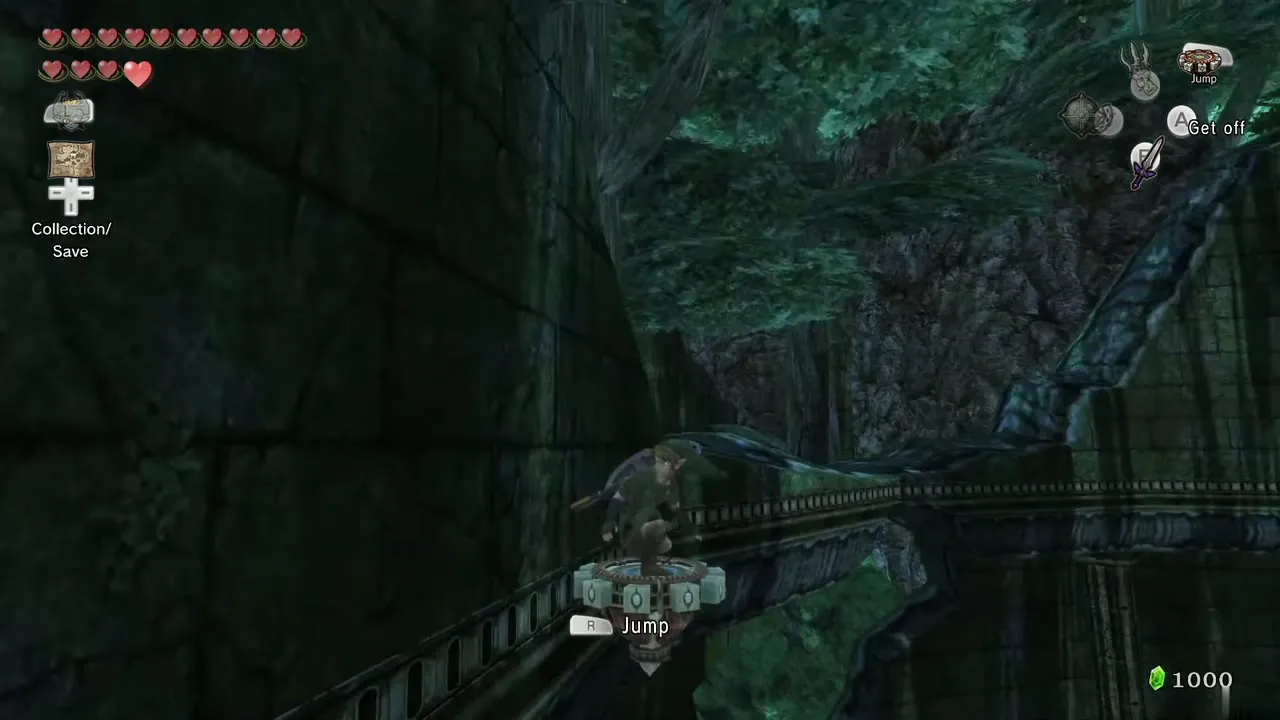
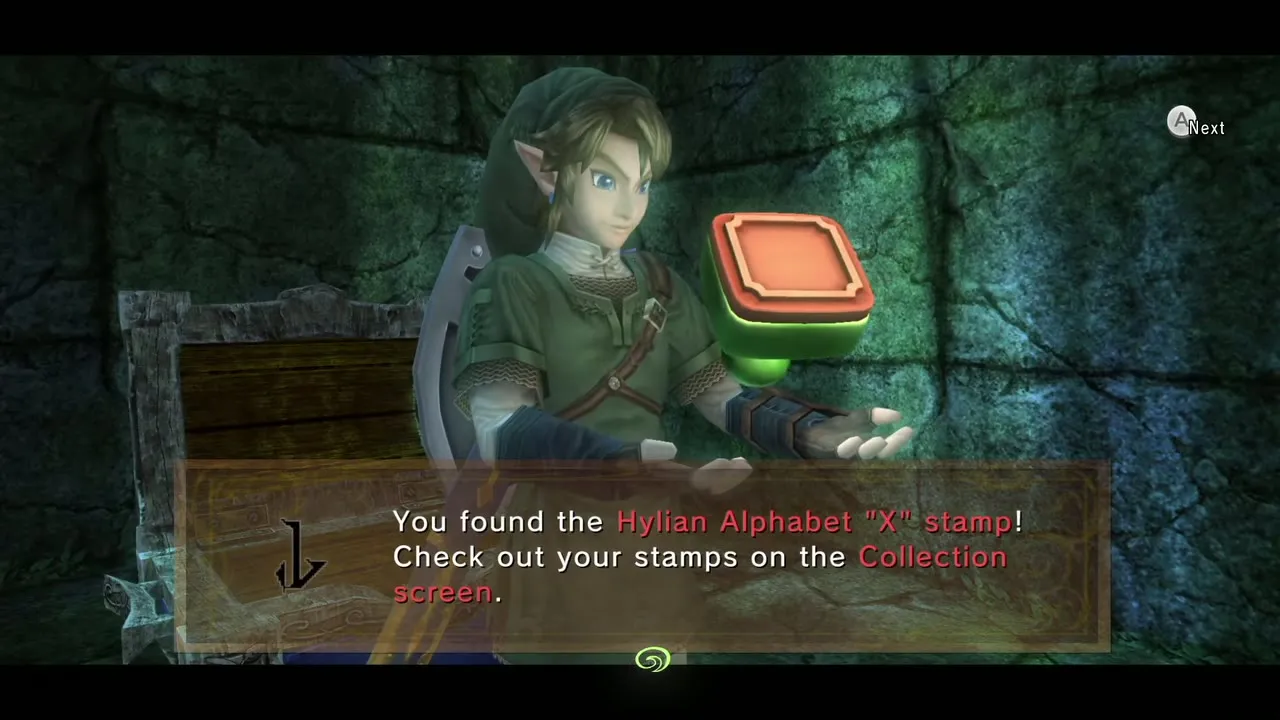
Before you go in, there is one more stamp. From the Sacred Grove warp point head west into the area where you first fought the Skull Kid. Past the ruins a long set of vines hangs on a wall: Clawshot up to the top and you find a Spinner track. Ride it around the arena and open the chest at the end for the Stamp for the Hylian Letter X.
Pedestal in the hall
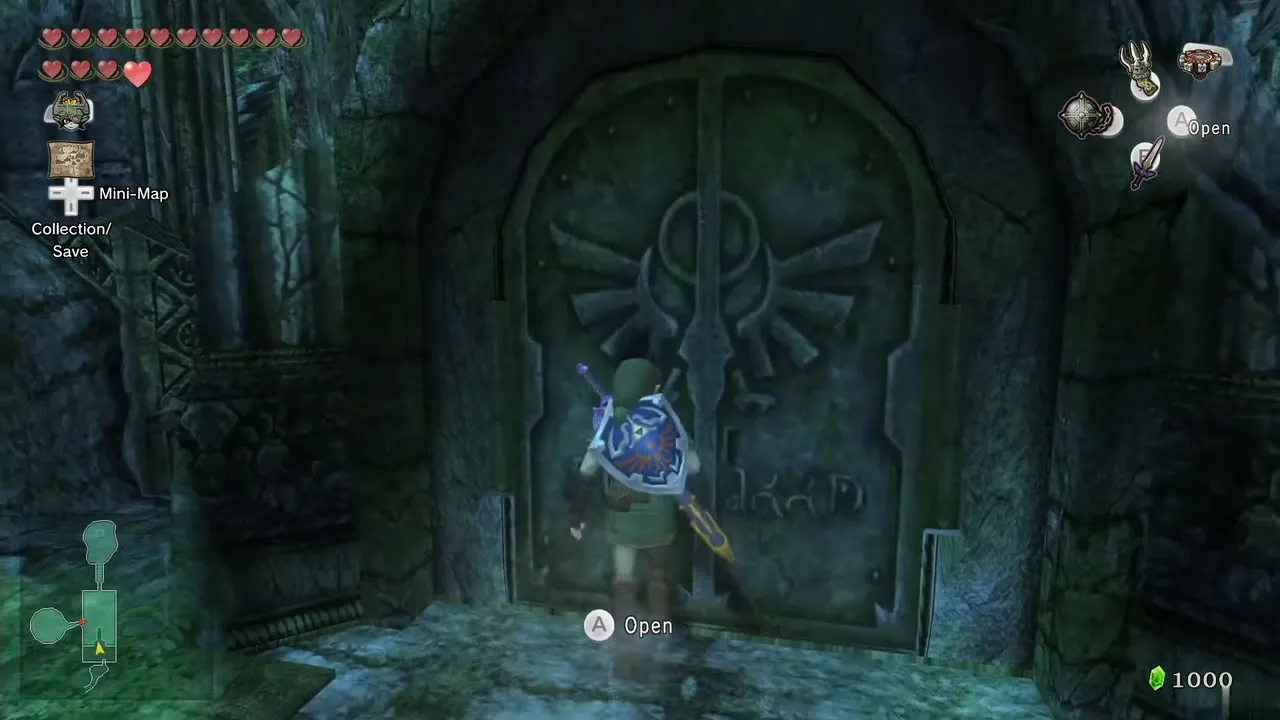
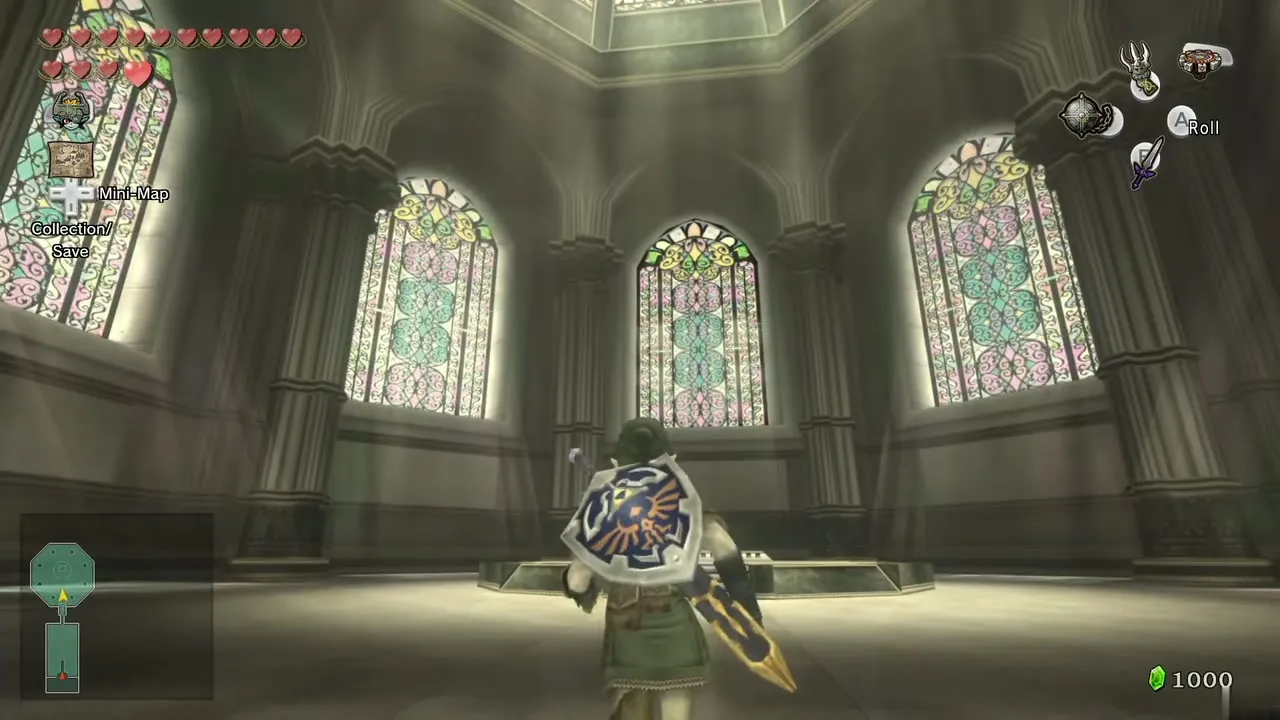
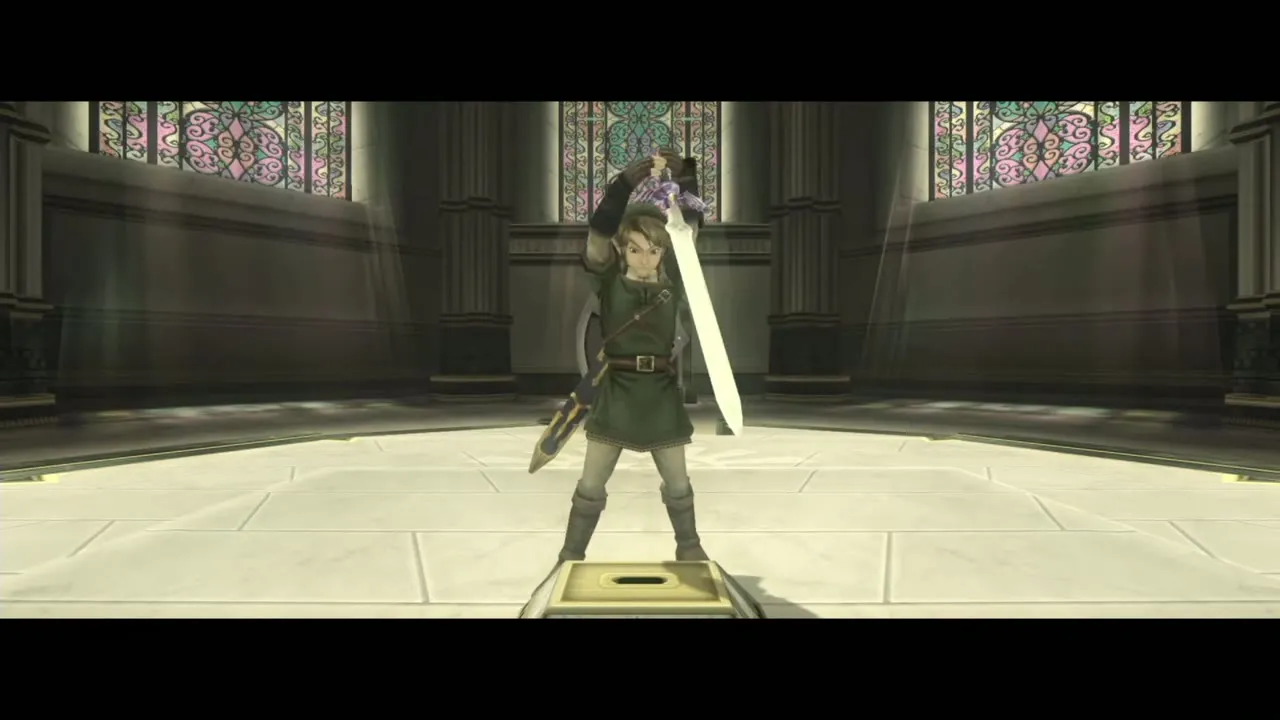
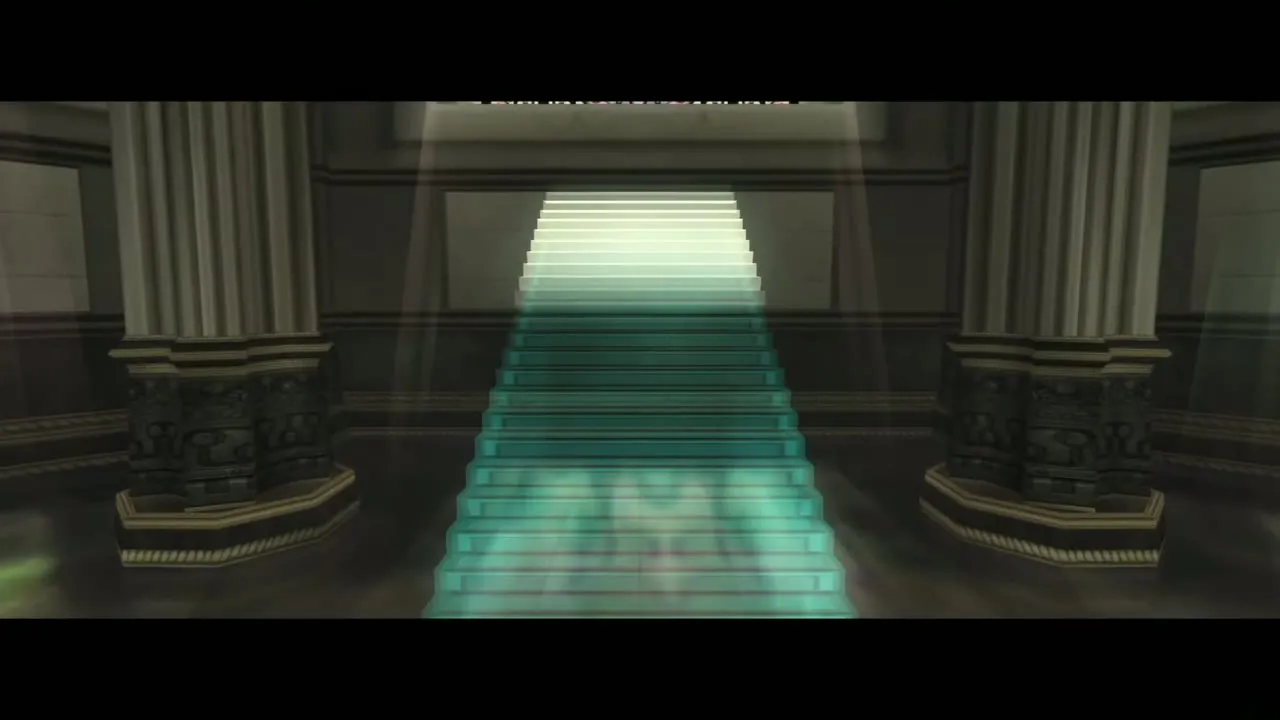
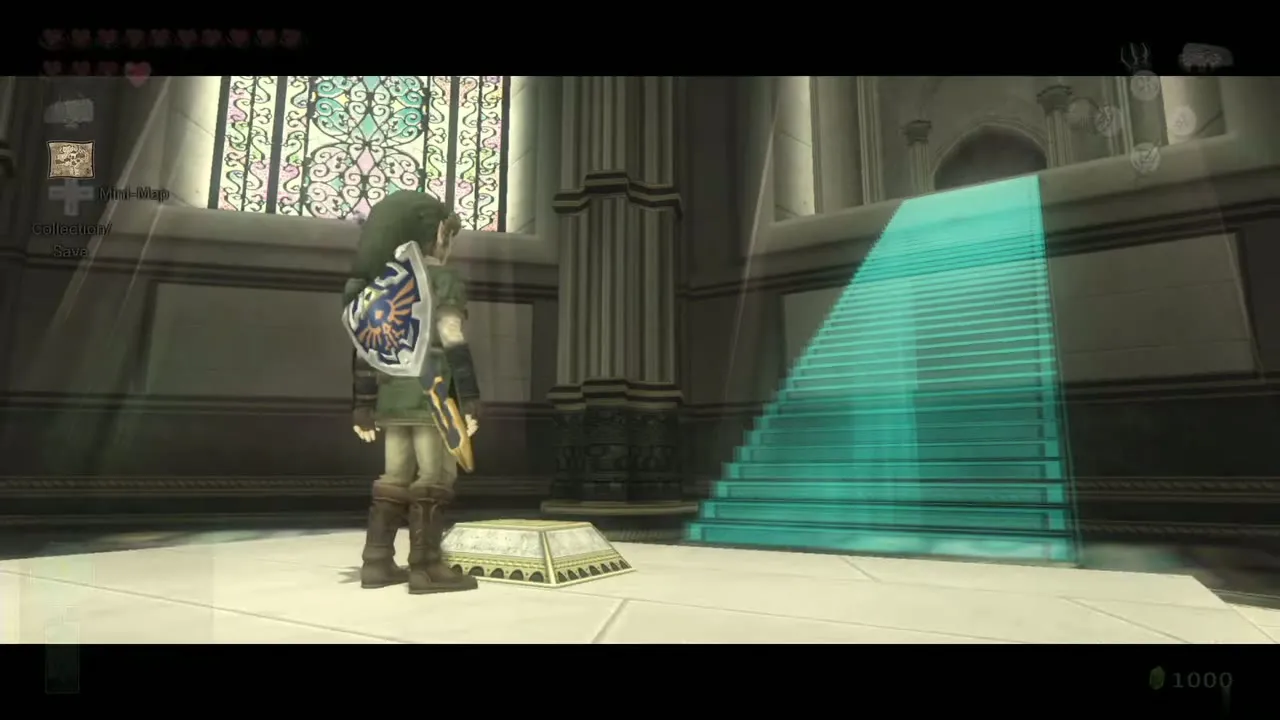
Climb to the north of the ruins and enter the Temple of Time again. Walk down the stairs past the guardian statues to the pedestal at the end. Stab your sword into it and a holographic staircase appears, leading to a window. Ooccoo runs up it, so follow, and a passage opens as you approach. Continue north into the temple itself (Temple of Time walkthrough).
Chapter checklist
| Type | Item | Where |
|---|---|---|
 Poe Soul | Ice-block Poe | East end of the Snowpeak cave |
 Rupees |  Orange Rupee (100) | Chest from the two torches in the same cave |
| Heart Piece | Ice-block cavern (#15) | North Hyrule Field, chest after three block puzzles |
| Heart Piece | Yeta’s sled race (#36) | Snowpeak summit |
| Poe Soul | Waterfall Poe | Sacred Grove, behind the waterfall |
 Bombs | Torch chest | Sacred Grove central room |
| Poe Soul | Pedestal Poe | Master Sword ruins at night |
| Golden Bug | Female Snail | Wall inside the Temple of Time entrance hall |
| Stamp | Hylian Letter X | Spinner track chest, west of the Sacred Grove warp point |
| Upgrade |  Giant Wallet | Agitha’s Castle, all 24 bugs |
