Ocarina of Time Remake 100% Completion Walkthrough41 chapters
- Kokiri ForestFind the Kokiri Sword, buy the Deku Shield for 40 rupees and get past Mido to the Great Deku Tree.
- The Great Deku TreeFairy Slingshot, Dungeon Map, Compass, four Gold Skulltulas, Gohma and the Kokiri Emerald.
- Leaving Kokiri ForestSay goodbye to Mido and Saria, get the Fairy Ocarina, meet Kaepora Gaebora and cross Hyrule Field.
- Hyrule Castle TownGold Skulltula, Bazaar, Shooting Gallery seed bag, Potion Shop bottle and the Temple of Time.
- Hyrule CastleGet the Weird Egg, wake Talon, sneak in, meet Zelda, learn Zelda’s Lullaby and collect Zelda’s Letter.
- Kakariko VillageCucco Lady’s bottle, House of Skulltula, Adult’s Wallet and the rooftop Heart Piece.
- GraveyardDampé’s Grave-Diggin’ Tour Heart Piece, Sharp and Flat, the Royal Family’s Tomb and the Sun’s Song.
- Lon Lon RanchTalon’s cucco game, Lon Lon Milk, Epona’s Song, a Heart Piece and Gold Skulltula.
- Gerudo ValleyTwo Heart Pieces, Lon Lon milk from Miss Moo with Epona’s Song, and a Gold Skulltula token.
- Lake HyliaLakeside Laboratory, the scarecrow quest, a Gold Skulltula and the fishing Heart Piece.
- Lost Woods and Sacred GroveRichard’s Heart Piece, Happy Mask Shop, Skull Kid, Saria’s Song, Gold Skulltulas 16 to 19 and the Business Scrubs.
- Death Mountain Trail and Goron CityClimb to Goron City, win over Darunia with Saria’s Song and take the Goron Bracelet before Dodongo Cavern.
- Dodongo CavernDungeon Map, Compass, Bomb Bag, four Gold Skulltulas, King Dodongo and the Goron Ruby.
- Death Mountain Summit and CraterGoron City Heart Piece and Bigger Bomb Bag, Din’s Fire and magic meter, crater Heart Piece, Echo Gem.
- Bombchu Bowling and the Great Fairy of PowerWin the Bombchus, Biggest Bomb Bag and Heart Piece, then get the enhanced Spin Attack.
- Zora River and Zora DomainHeart Pieces, a Gold Skulltula, the Silver Scale, Ruto’s bottle in Lake Hylia and King Zora’s request.
- Lord Jabu-Jabu’s BellyFarore’s Wind, the Boomerang, Ruto, Barinade, the Heart Container and the Spiritual Stone of Water for child Link.
- Errands Before the Temple of TimeThe child errands before the Temple of Time in the Ocarina of Time Remake.
- Temple of TimeFind the Ocarina of Time, open the Door of Time, draw the Master Sword and earn the Light Medallion.
- Ingo Ranch and EponaIngo’s two horse races, winning Epona and teaching Bonooru the Scarecrow Song.
- Kakariko Village and the HookshotDampé’s race, the Hookshot, Song of Storms and Heart Pieces #17 to #19.
- Sacred Grove as an AdultGet past Mido with Saria’s Song, cross the Moblin maze, beat the Great Moblin.
- Forest TempleSmall keys, Fairy Bow, four Poe Sisters, Phantom Ganon, Heart Container and Forest Medallion.
- Poes, the Hall of Fallen Foes and Lake HyliaBigger Quiver, Prelude of Light, Big Poes, Golden Scale and three Heart Pieces.
- Goron City as an AdultHeart Pieces, a Gold Skulltula, the Goron Tunic from the small Goron.
- Fire TempleFree all nine Gorons, find the Megaton Hammer and Boss Key, beat Volvagia and earn the Fire Medallion.
- Double Magic and Death MountainCrater Great Fairy Fountain, doubled magic, Gold Skulltulas 60 to 62 and a Business Scrub Seed as adult Link.
- Ice CavernBlue Fire, Iron Boots, Serenade of Water, the Zora Tunic and two Heart Pieces.
- The Biggoron Sword RouteBuy the Giant’s Knife, trade from the Pocket Egg to Cojiro, and finish every step up to the Biggoron Sword.
- Water TempleTriforce doors, small keys, Longshot, Dark Link, Morpha, the Water Medallion and Gold Skulltulas 68 to 73.
- Kakariko Village and the Nocturne of ShadowLearn the Nocturne of Shadow and find two Gold Skulltulas and two Heart Pieces.
- Bottom of the WellLenses of Truth, Dungeon Map, Compass, both small keys, Dead Hand and Gold Skulltulas 76 to 78.
- Treasure Box Shop and the Way to the Shadow TempleWin the Piece of Heart with the Lenses of Truth, then warp to the Shadow Temple via the Nocturne.
- Shadow TempleFloors B1 to B4, Hover Boots, Bongo Bongo, Heart Container and the Shadow Medallion from Impa.
- Gerudo FortressRescue all four carpenters, win the Gerudo Pass, find Gold Skulltulas 84 and 85.
- Mirage Desert and Evil Desert ColossusPhantom Guide, Requiem of Spirit, five Gold Skulltulas, three Heart Pieces, Biggest Quiver, Nayru’s Love.
- Spirit TempleChild and adult routes, Silver Gauntlets, Mirror Shield, Boss Key, Iron Knuckle Nabooru, Twinrova.
- Gerudo Proving GroundsPay 30 rupees, solve every room, and claim the Ice Arrow and a Business Scrub Seed.
- Last Heart Pieces and Gold SkulltulasTokens 96 to 100, Heart Pieces 33 to 35, the Rich Man reward and Light Arrow.
- Ganondorf’s CastleClear the six barriers, get the Golden Gauntlets and the Great Fairy of Courage’s gift.
- Ganondorf and GanonTower climb, Boss Key, Ganondorf boss fight, the escape with Zelda and the Ganon boss fight.
| Covers | Zora Fountain, the Great Fairy‘s Fountain, Lord Jabu-Jabu’s Belly (B1, 1F and 2F) and the Barinade boss fight |
|---|---|
| Link | Child |
| You need | Fairy Slingshot, Deku Nuts, Bombs, Zelda’s Lullaby, 100 rupees, a bottle holding a Fish and a second Empty Bottle |
| Rewards |  Farore’s Wind, 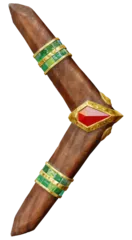 Boomerang,  Dungeon Map,  Compass,  Heart Container (1),  Spiritual Stone of Water (1),  Gold Skulltula tokens #30 to #34 (5), a Fish in a bottle |
King Zora has opened the way to Zora Fountain, and the princess he wants back is somewhere inside Lord Jabu-Jabu. On the way you collect a Gold Skulltula token, bomb open the Great Fairy’s Fountain for Farore’s Wind, then feed Lord Jabu-Jabu a fish so he opens his mouth. Inside, you carry Ruto through the belly, win the Boomerang, beat Big Octo and Barinade, and finish with the Spiritual Stone of Water.
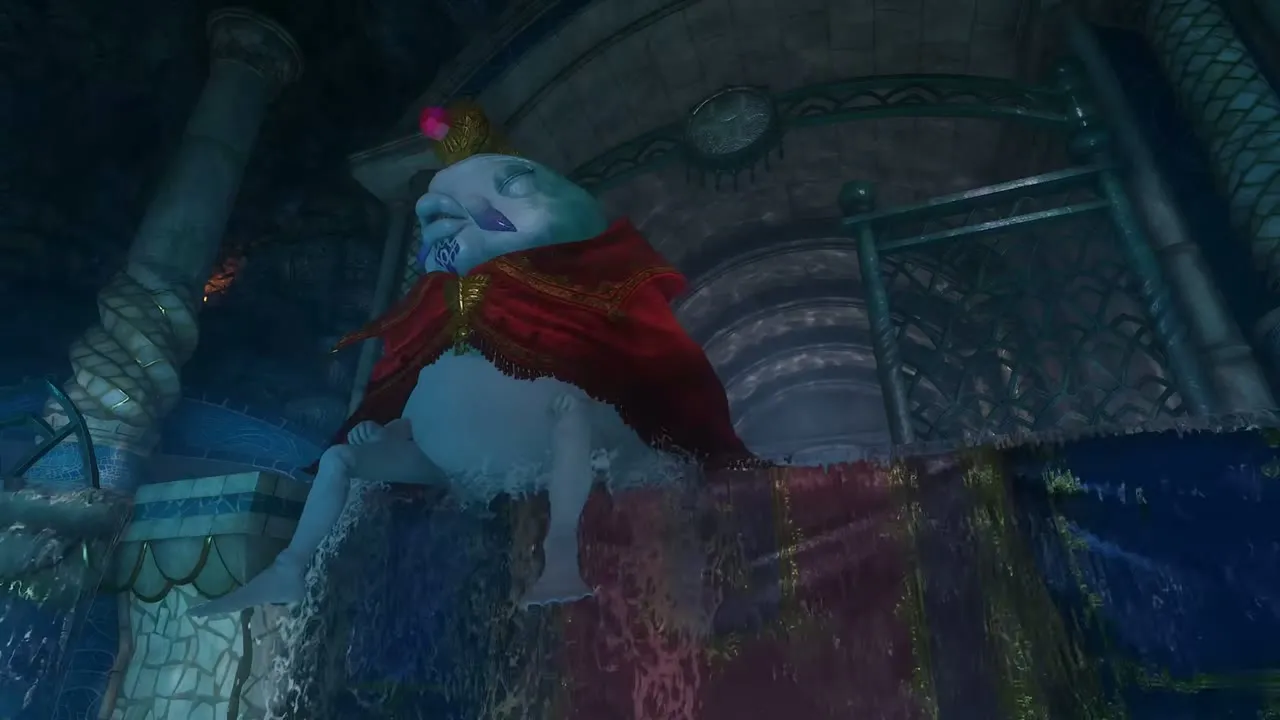
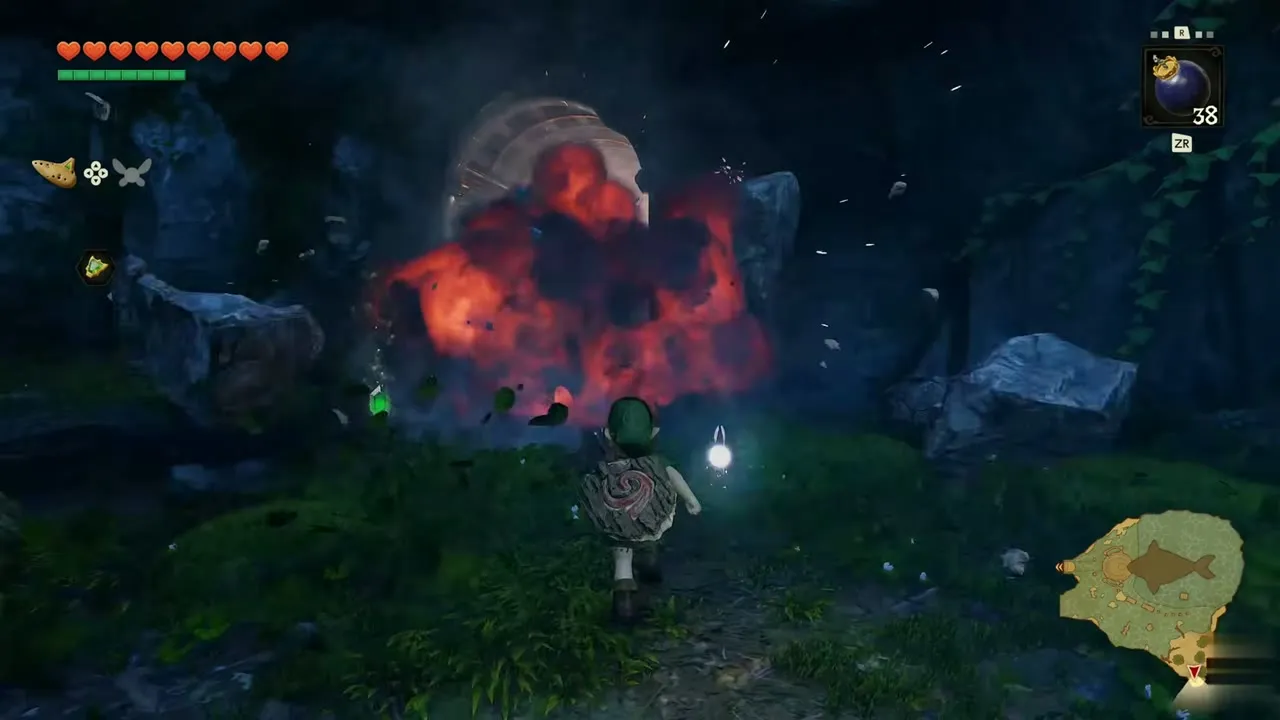
Table of Contents
Zora Fountain and the Great Fairy of Magic
Gold Skulltula #30 at the tree in Zora Fountain
Leave Zora Domain and follow the stone steps and mossy path into Zora Fountain. At night, a Gold Skulltula sits in the undergrowth at the foot of a big tree beside the path, just before the rocky wall. Walk up to it and cut it down with your sword. It drops the token, and Navi cheers about reaching 30.


Bomb the cracked wall
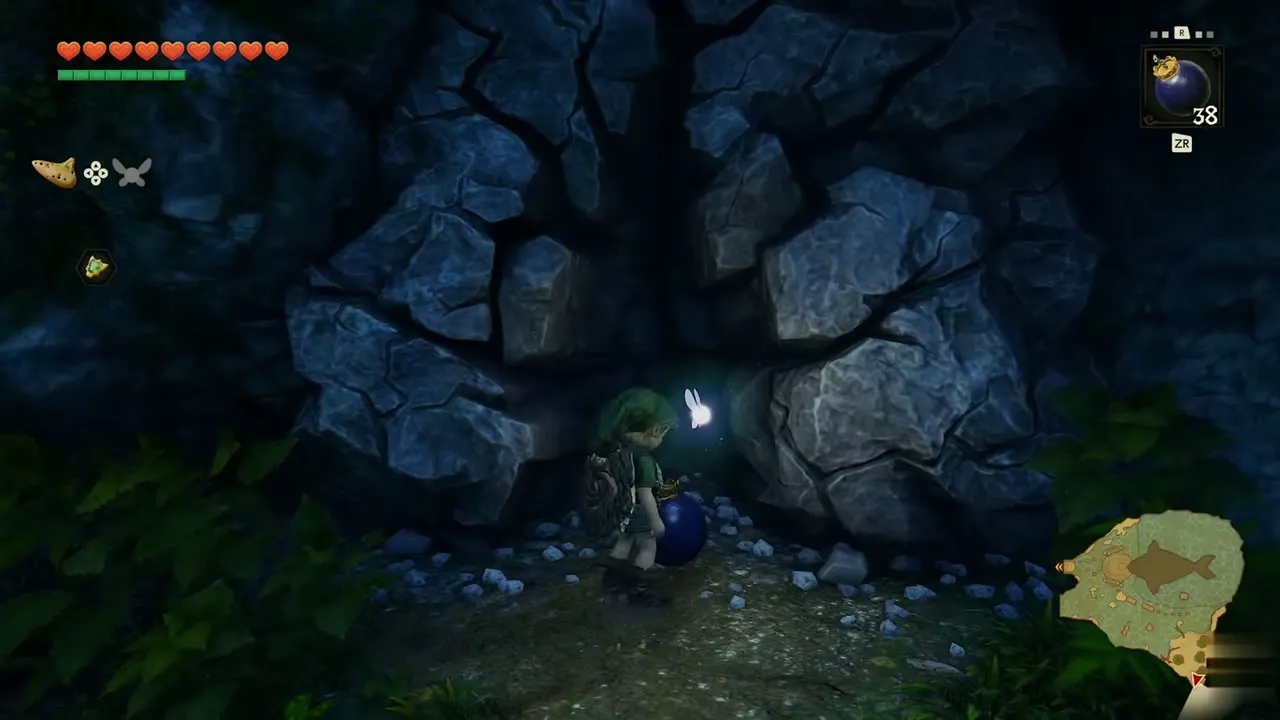
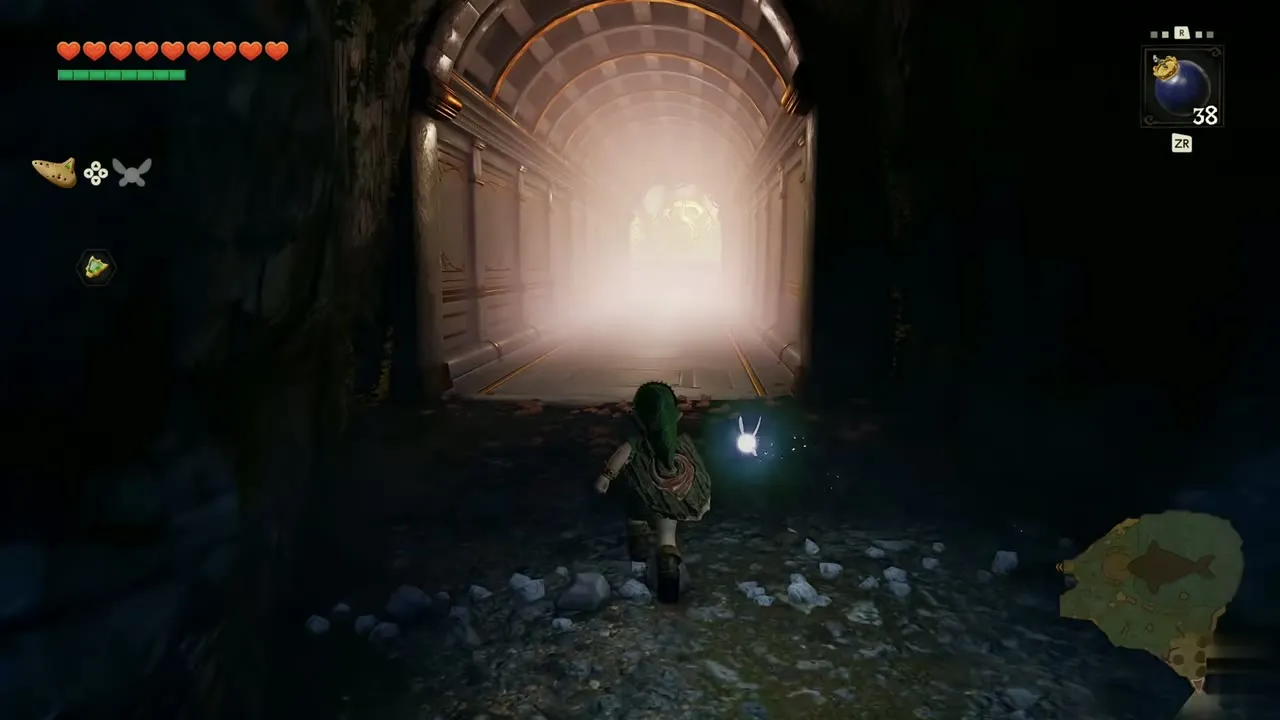
Keep going along the path until you reach a dark rock face with a cracked section. Take out a Bomb, set it against the crack and step back. The blast opens a tunnel, and a lit stone corridor runs from it straight into the Great Fairy‘s Fountain.
Great Fairy of Magic and Farore’s Wind
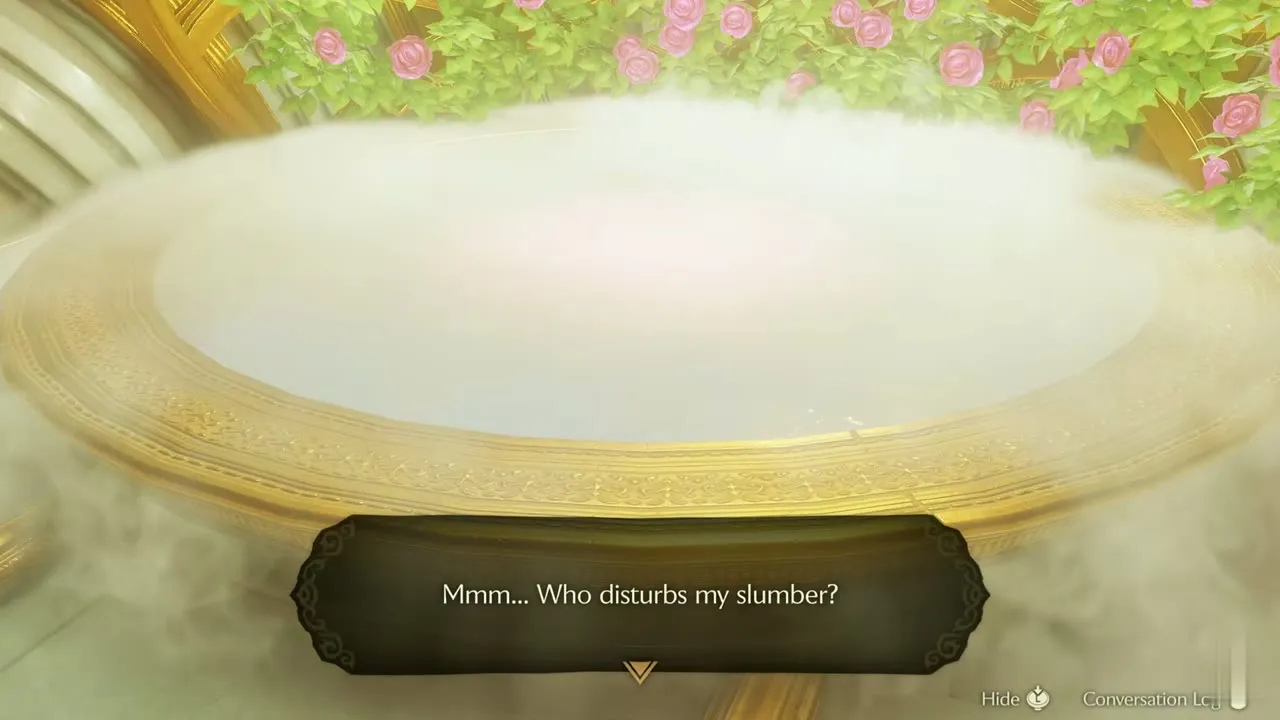
Walk into the golden hall and stand on the Triforce mark in front of the fountain. Take out the Ocarina and play Zelda’s Lullaby. Mist fills the basin and a sleepy voice asks who has disturbed her.


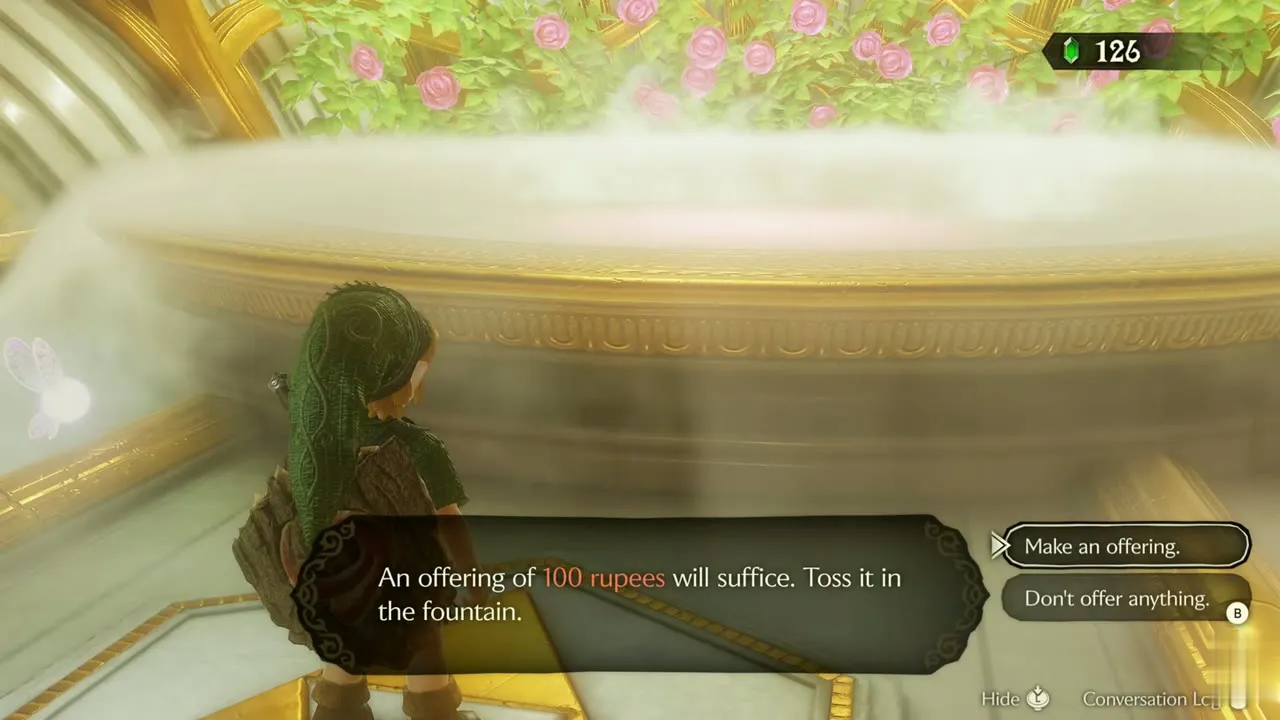
The fairy asks for an offering of 100 rupees. Pick Make an offering, and the rupees are tossed into the fountain. Have the rupees ready before you play the song.

Farore’s Wind
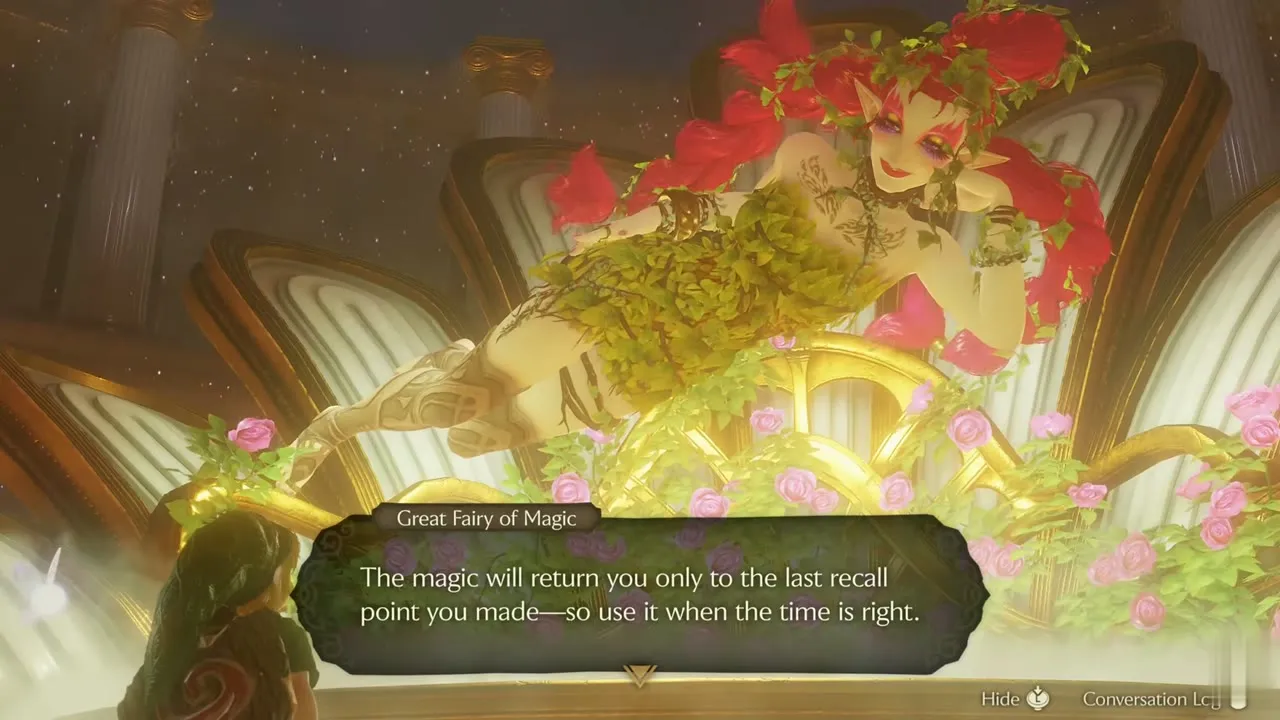
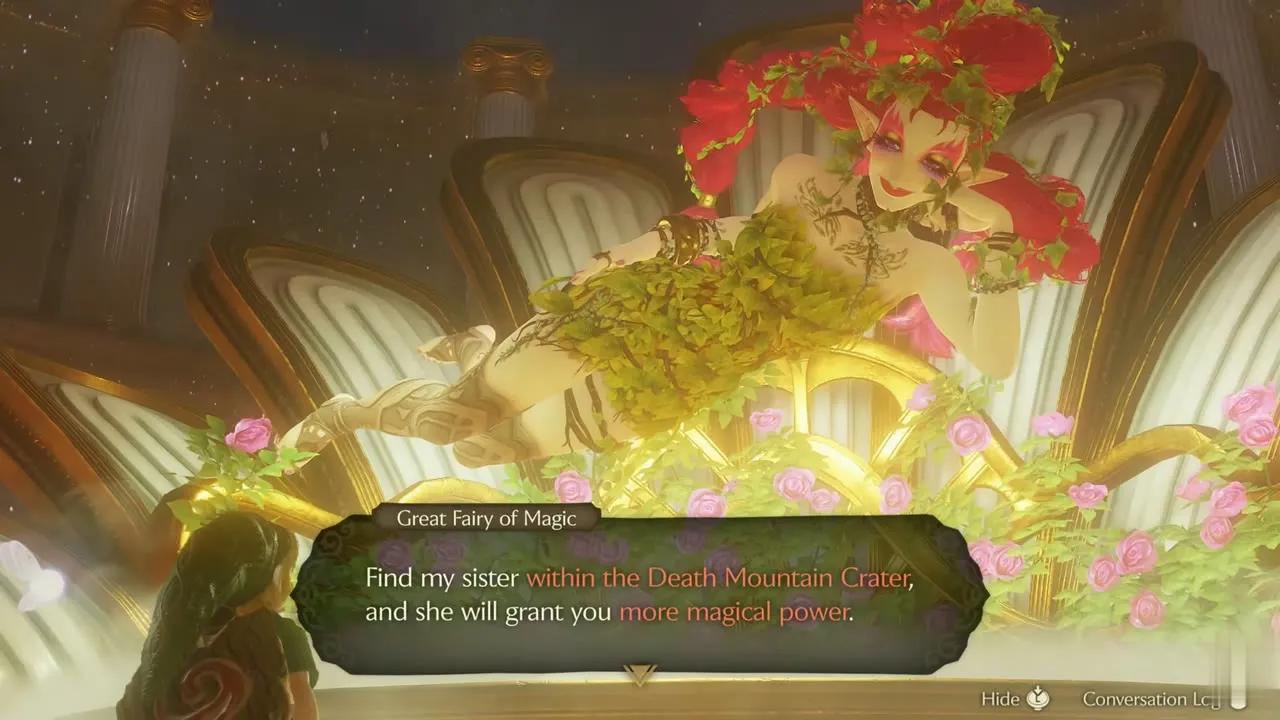
The Great Fairy of Magic rises from the flower bed and teaches you Farore’s Wind. Cast it inside a dungeon to set a warp point, then cast it again to warp back to that point. It uses magic, and the warp always returns you to the most recent point you made. She tells you to look for her sister in Death Mountain Crater, and that you can return here for healing whenever you are tired.

Getting into Lord Jabu-Jabu
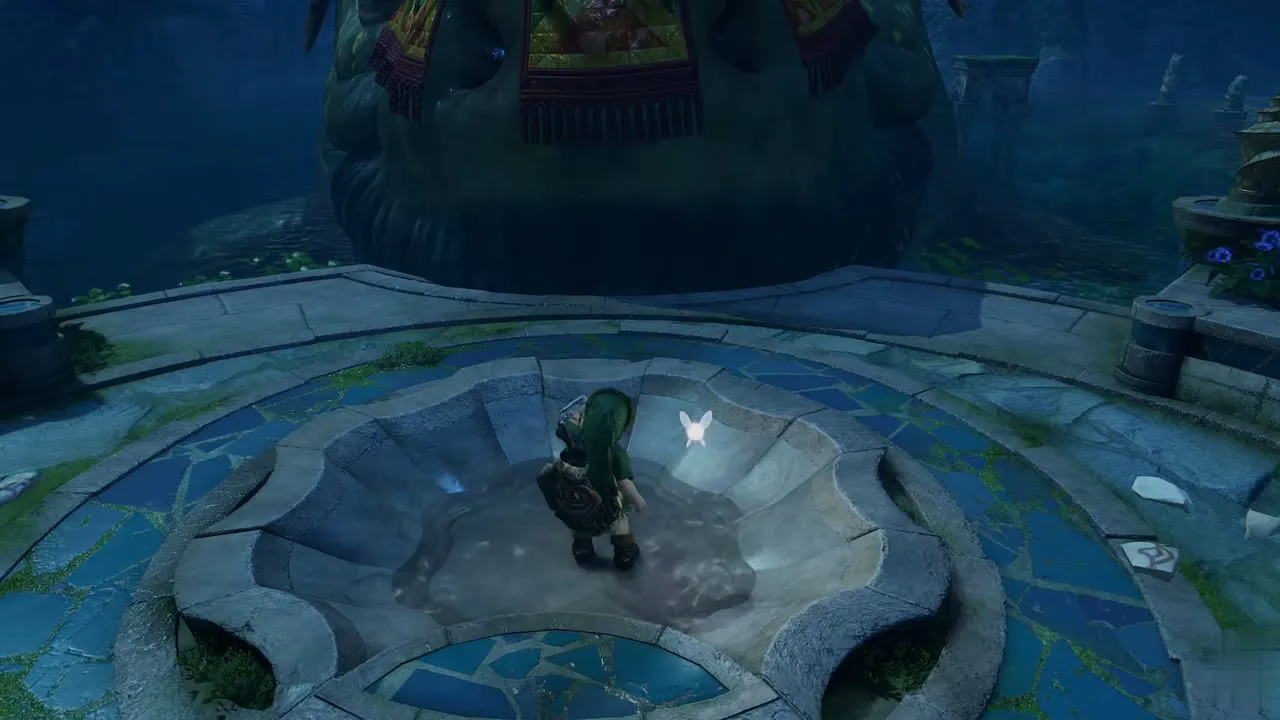
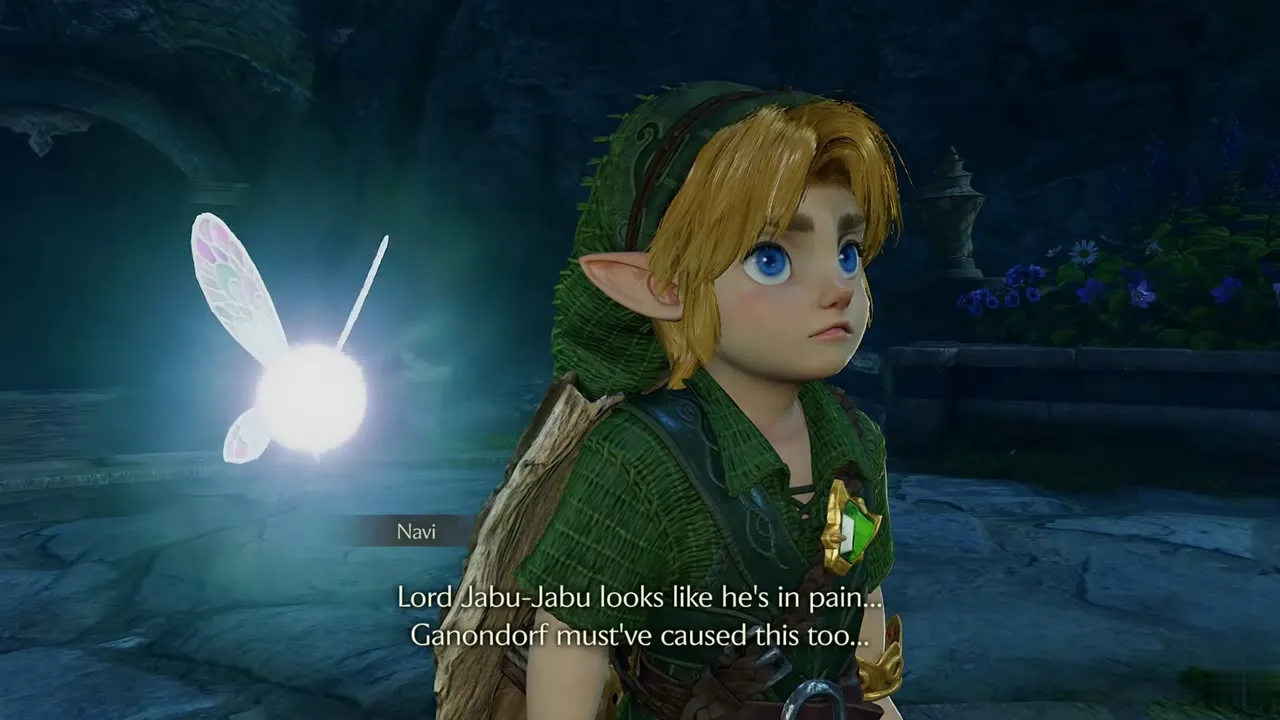
Leave the fountain, walk back down the path and cross to the stone ring with the blue flowers beside Lord Jabu-Jabu’s pool. The giant fish is awake but sealed shut. Navi worries about him and suspects Ganondorf is behind it.
Feed Lord Jabu-Jabu a fish
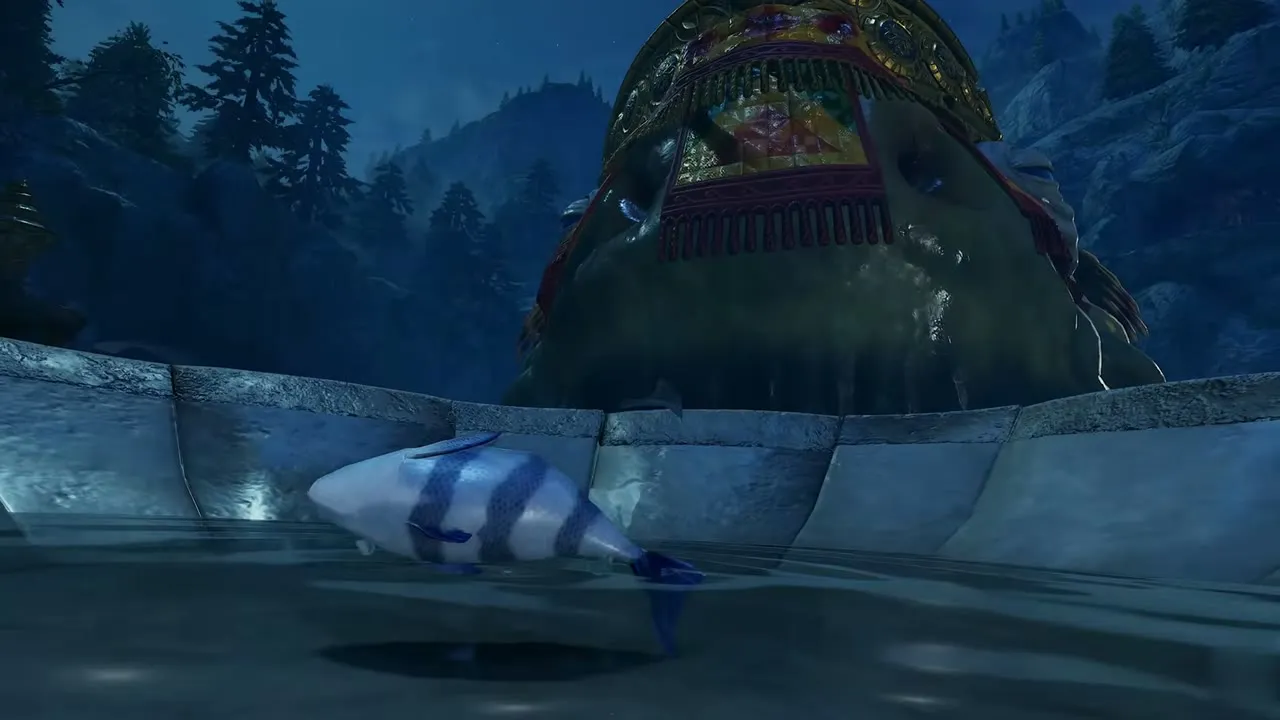
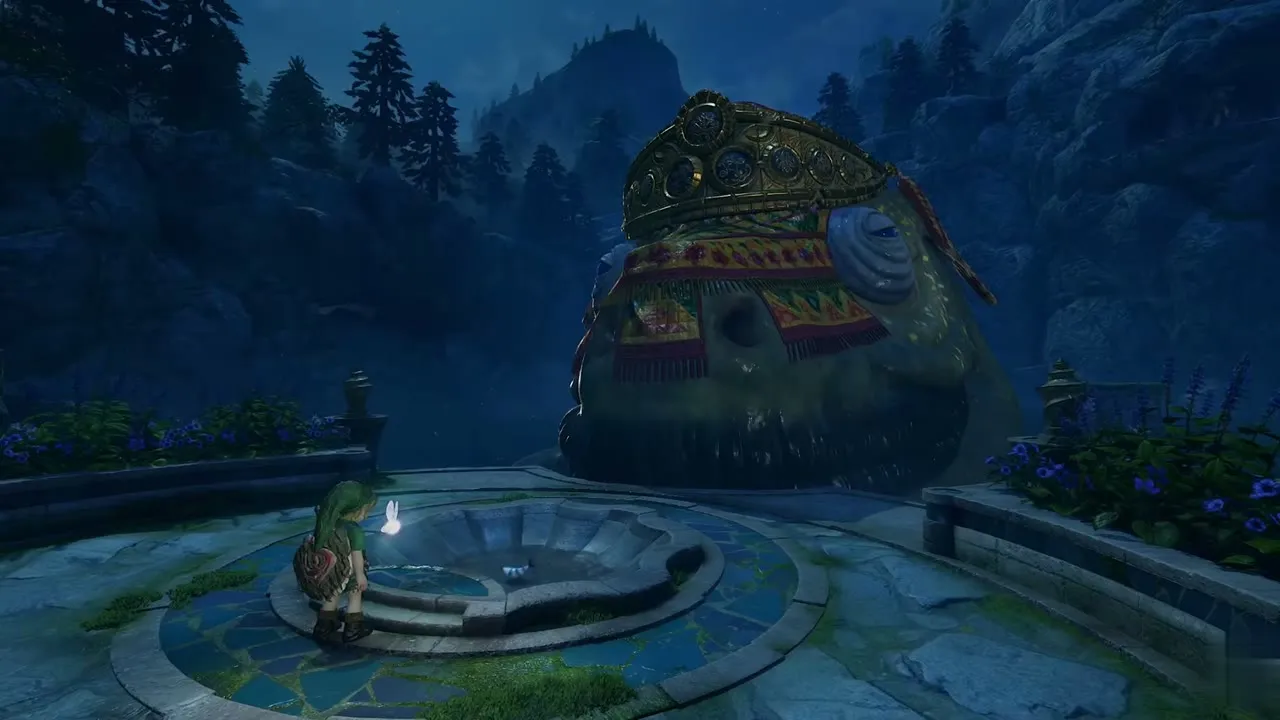
Open your items, select the bottle holding the Fish, and stand at the edge of the pool in the circular plaza. Release the fish into the water. It swims toward Lord Jabu-Jabu, who opens his mouth. Navi warns that you are going to get sucked in, so stay at the edge of the pool and he pulls you into his throat.
Fresh fish in the belly
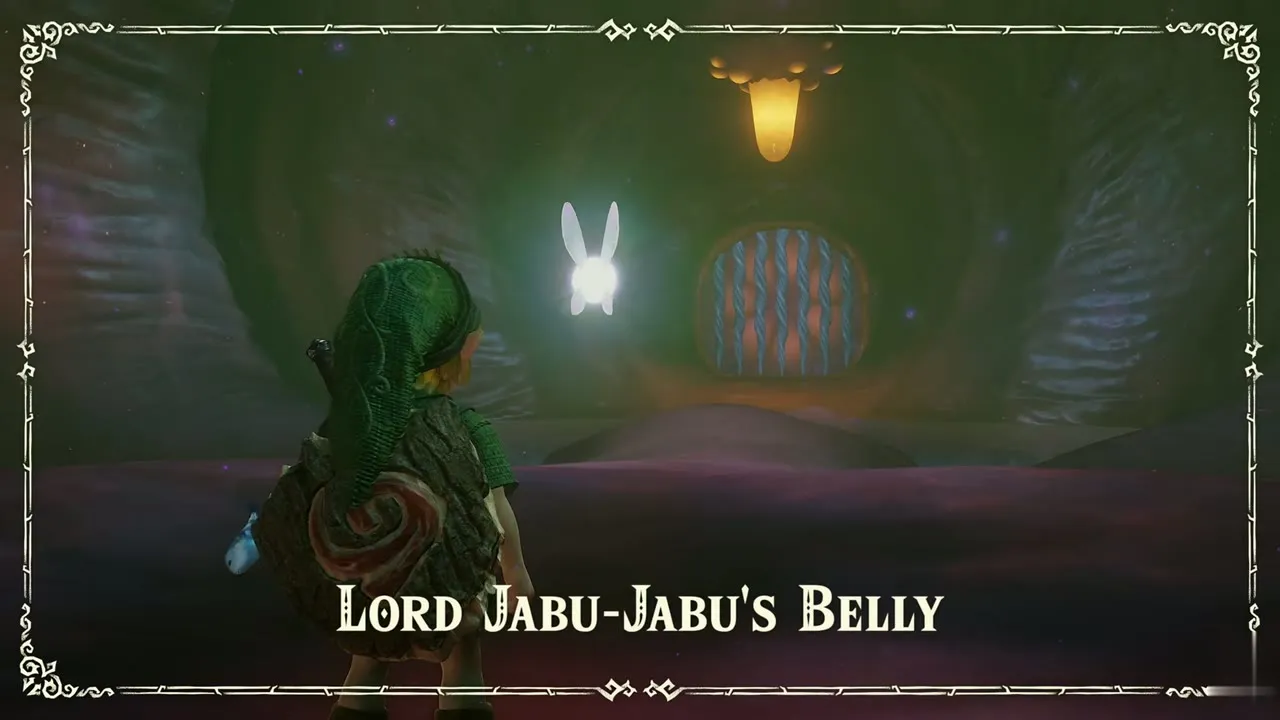
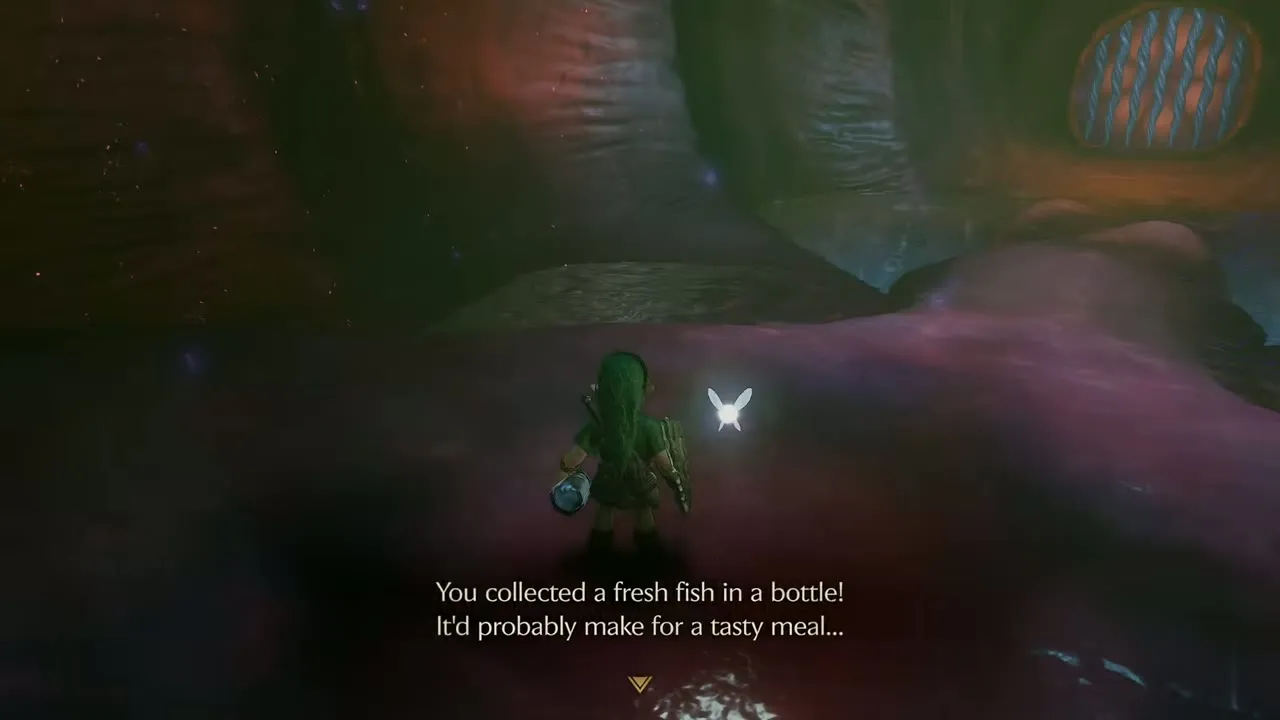
Once the Lord Jabu-Jabu’s Belly banner clears, you land in a soft, dark chamber with an empty bottle in hand. Select the Empty Bottle again at the water to scoop up a fresh fish. Keep it in the bottle.
Meeting Ruto in the first rooms
Biri jellyfish and the first membrane doors
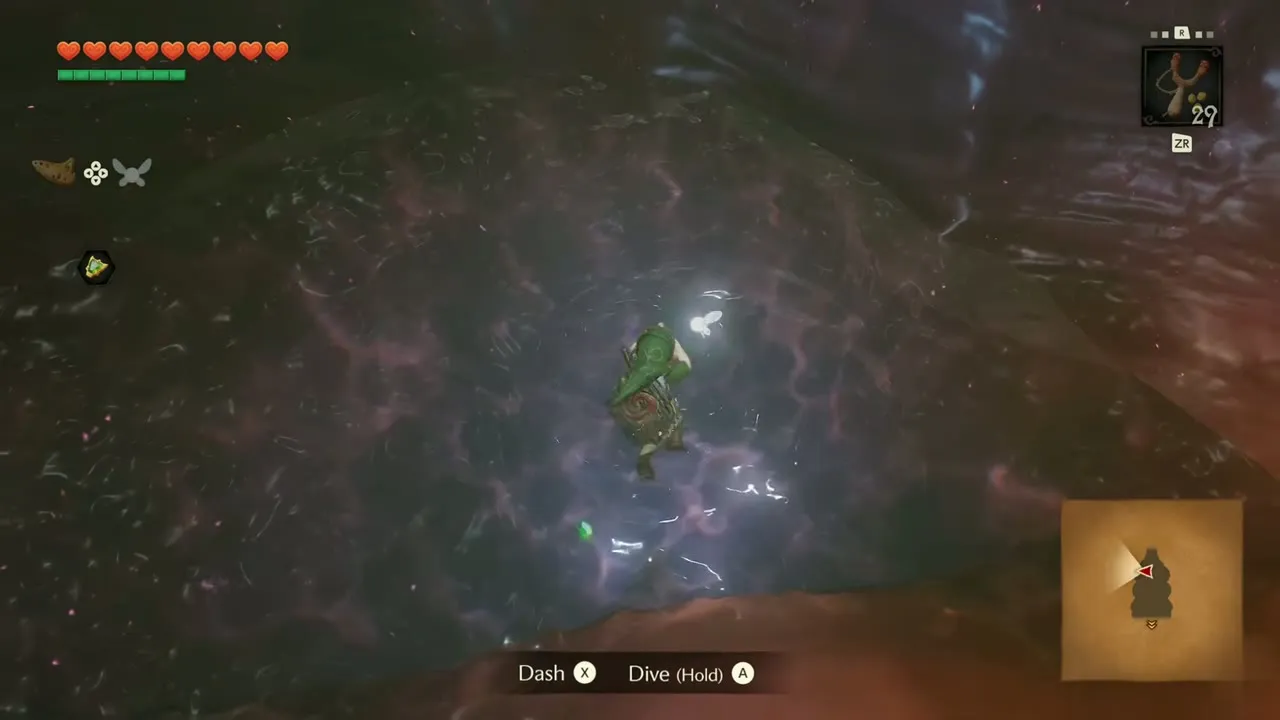
Fight your way up the first passage with the Fairy Slingshot. The purple jellyfish are Biri, and Navi warns that touching one will shock you. Knock one out first with a Deku Nut or a seed, then finish it with the sword. Swim through the pool with the Dash and Dive prompts, and cross the round membrane doors by walking up to them and pressing A when the Open prompt appears.

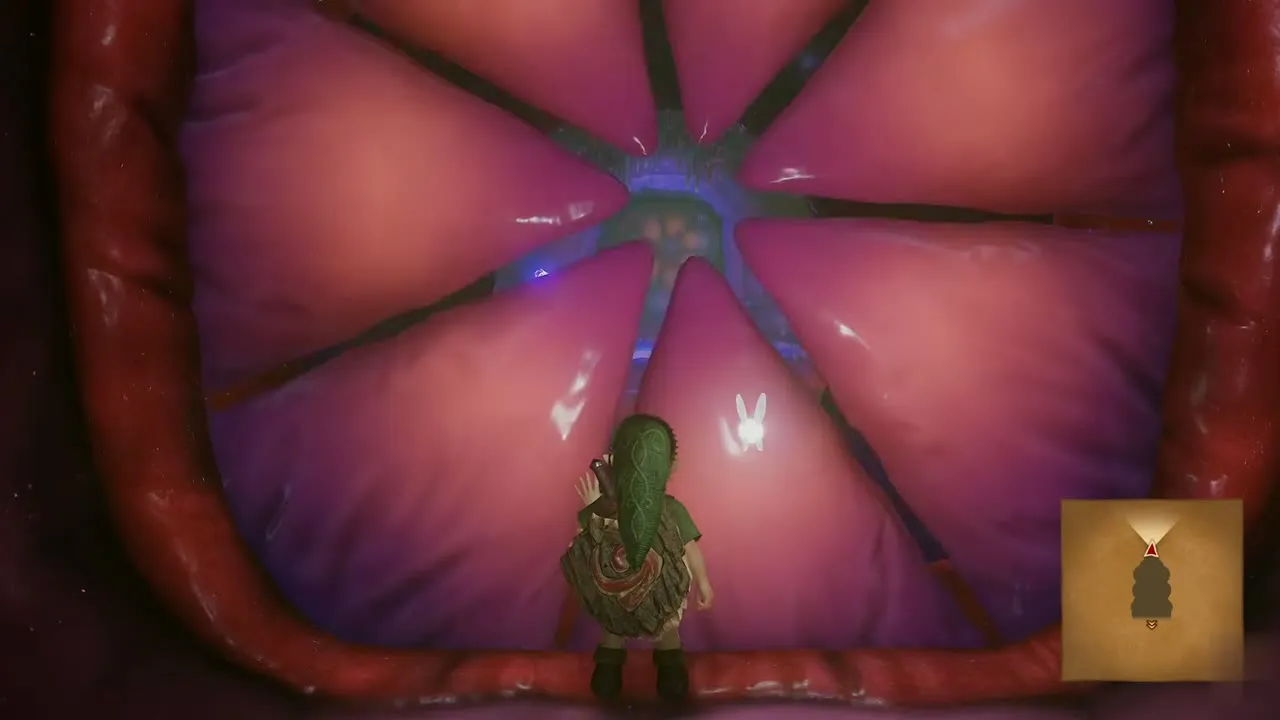

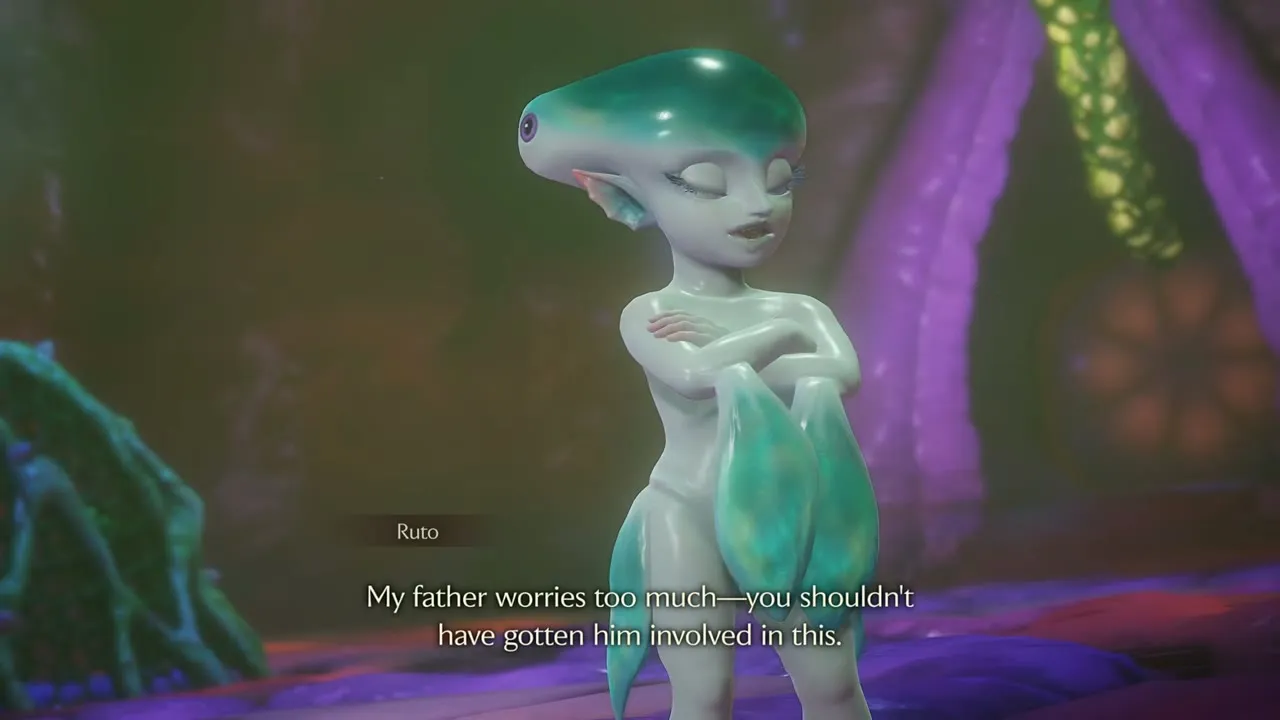
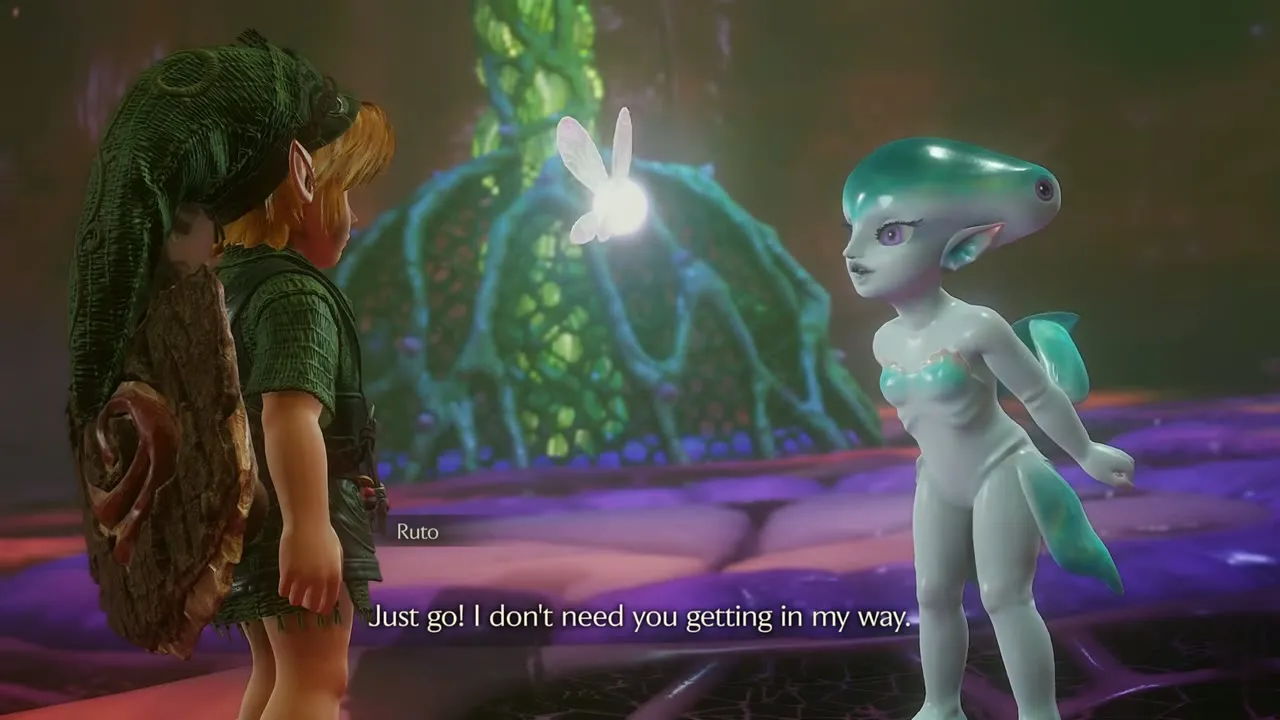
In the purple room beyond, you find Ruto, Princess of the Zora. She is furious that her father sent you and says she will not leave until she finds what she came for. She tells you to go away and then drops down a hole in the floor, so follow her through it. Down on B1 she keeps telling you to leave. Pick Let’s go together when she asks, and she gives in and says you must carry her.


Carry Ruto
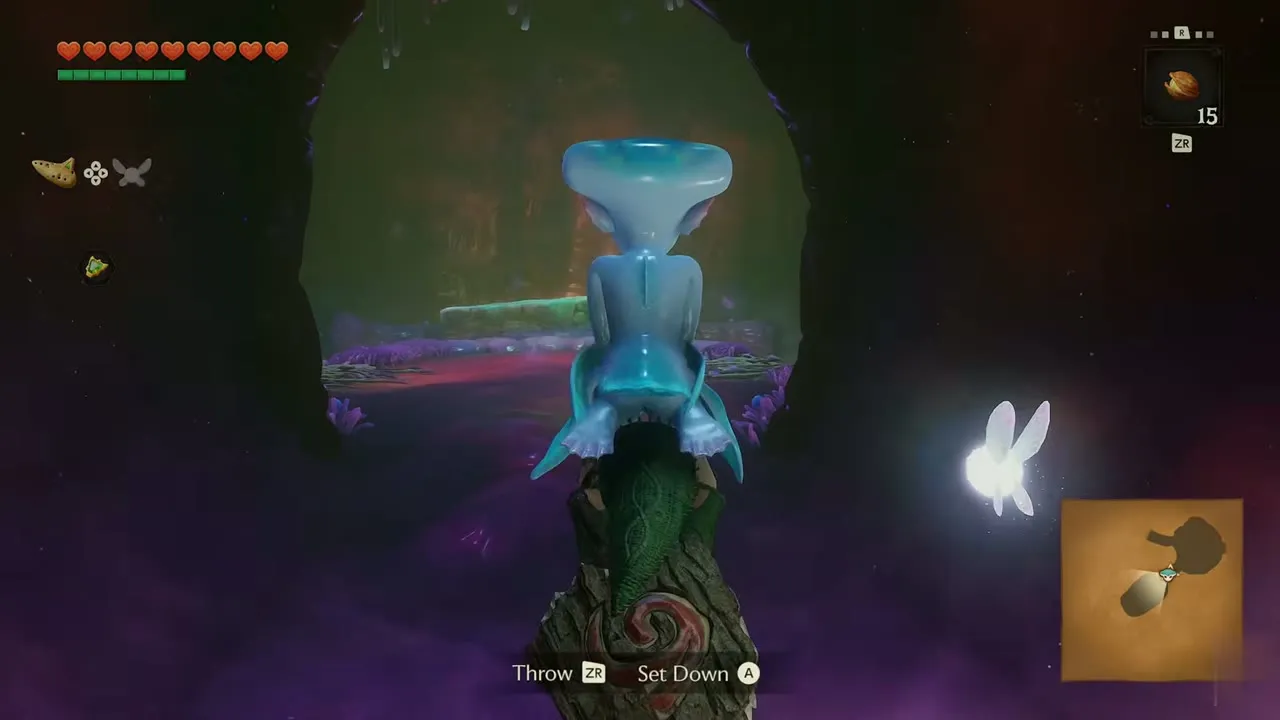
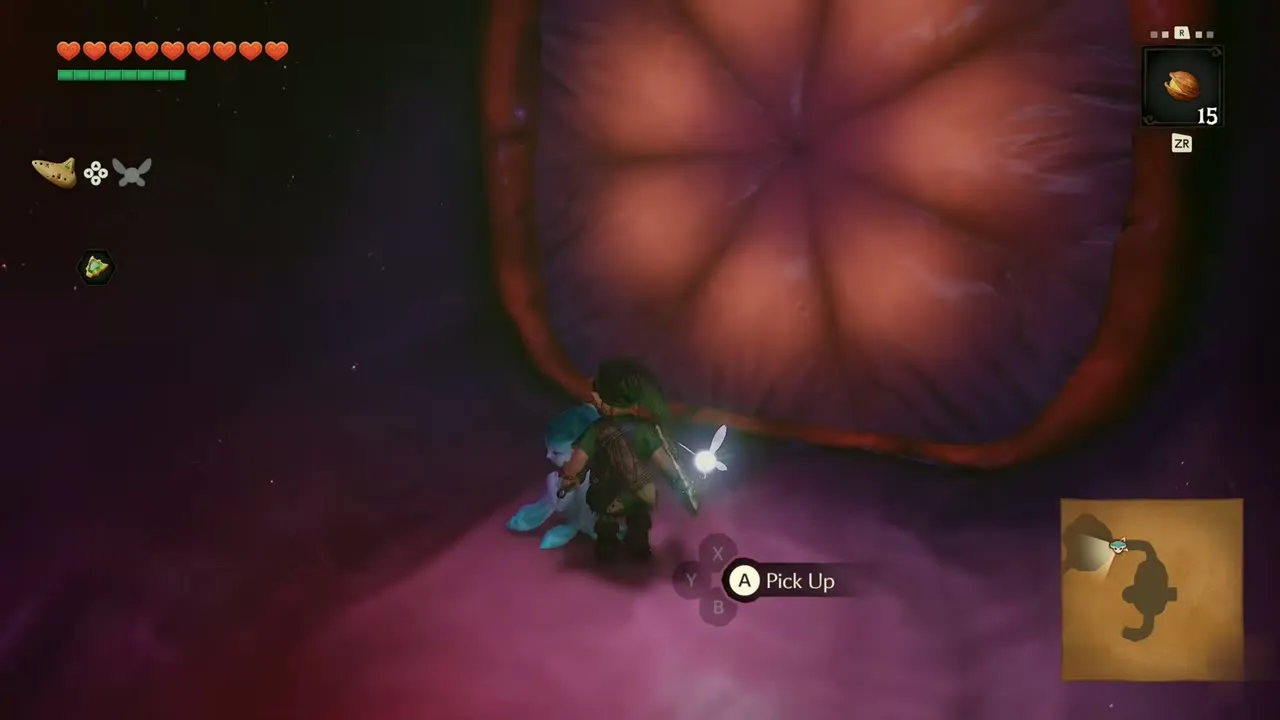
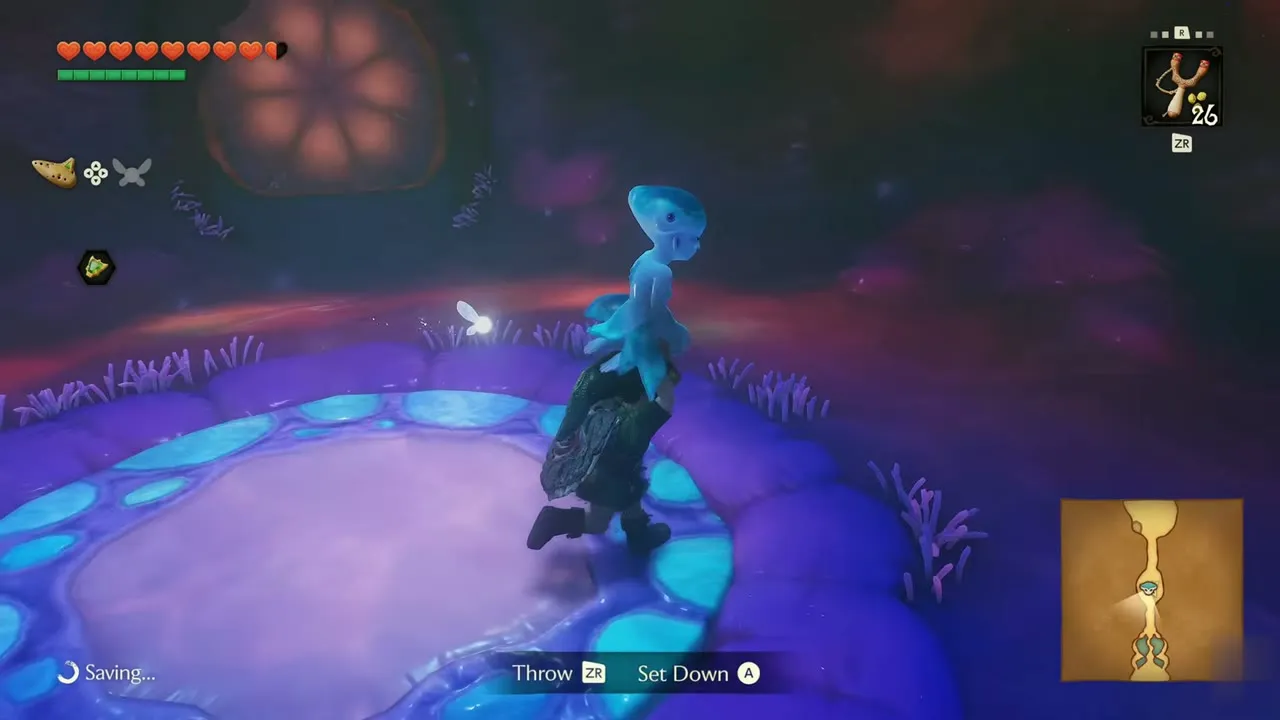
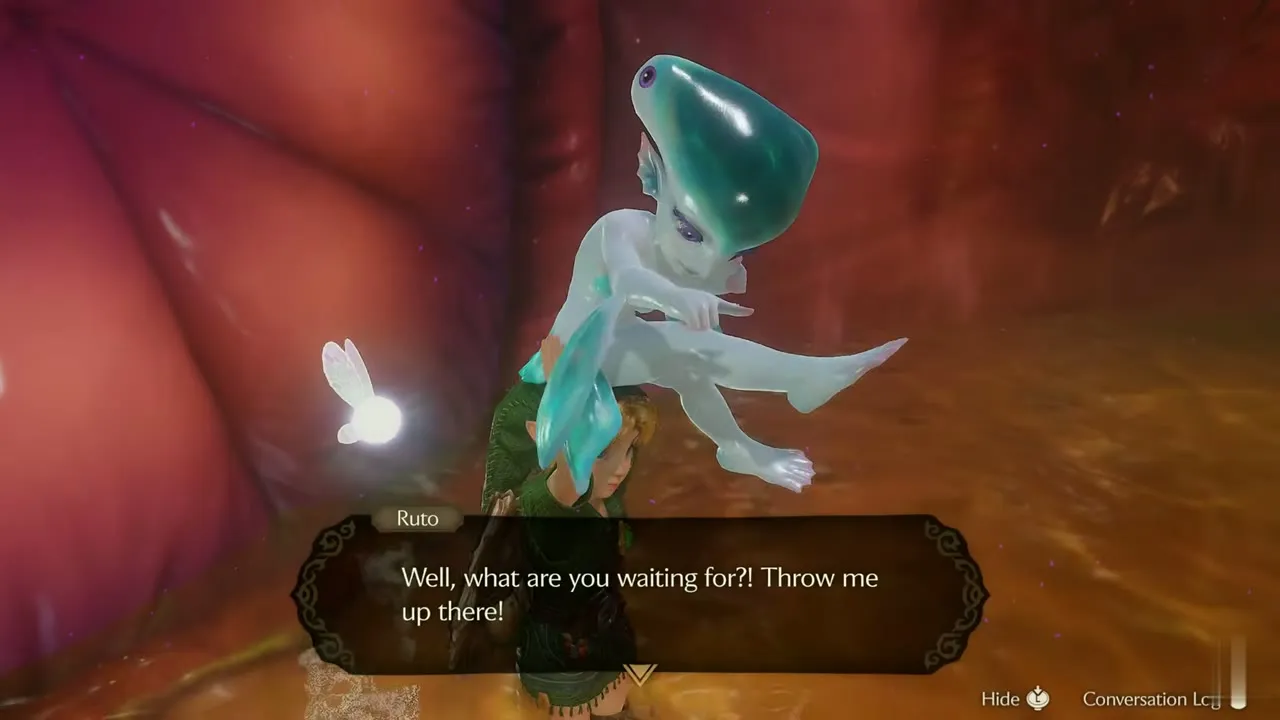
Ruto’s event update puts the Spiritual Stone of Water on your quest list. Stand next to her and press A when the Pick Up prompt appears. While she rides on your back you can only Throw or Set Down. Put her down before every fight and before climbing, and keep her away from the Biri.


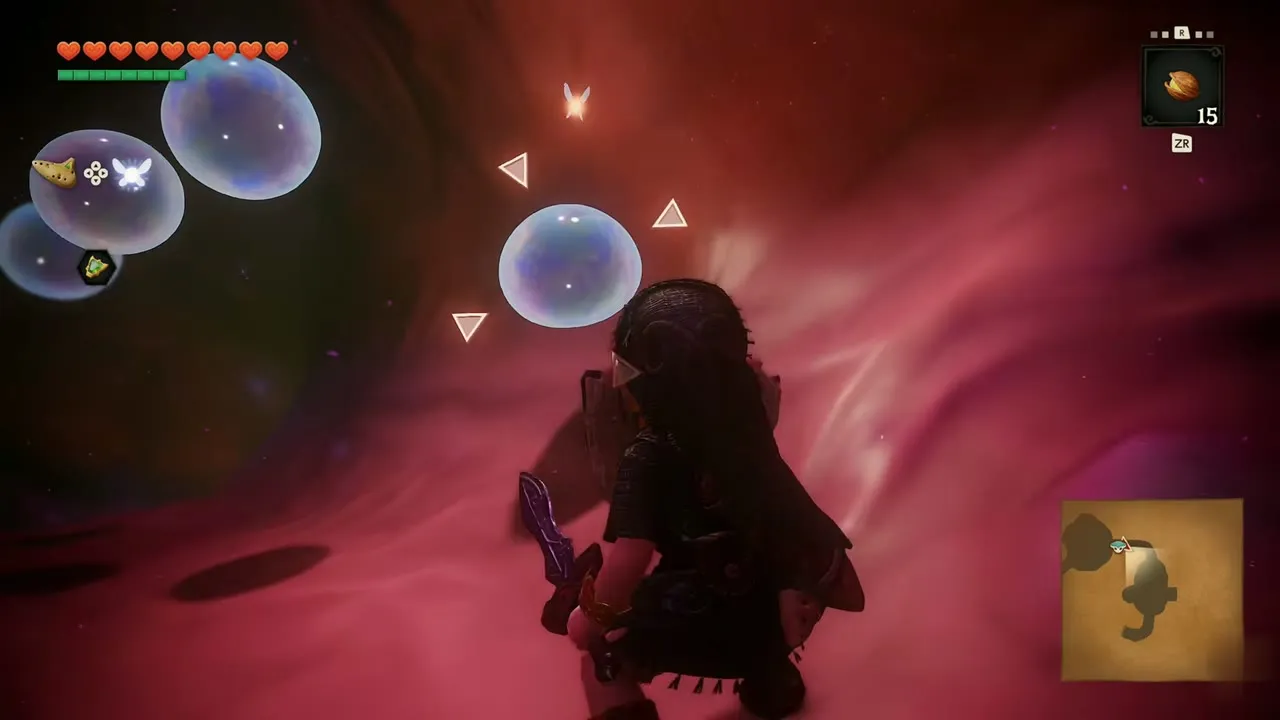
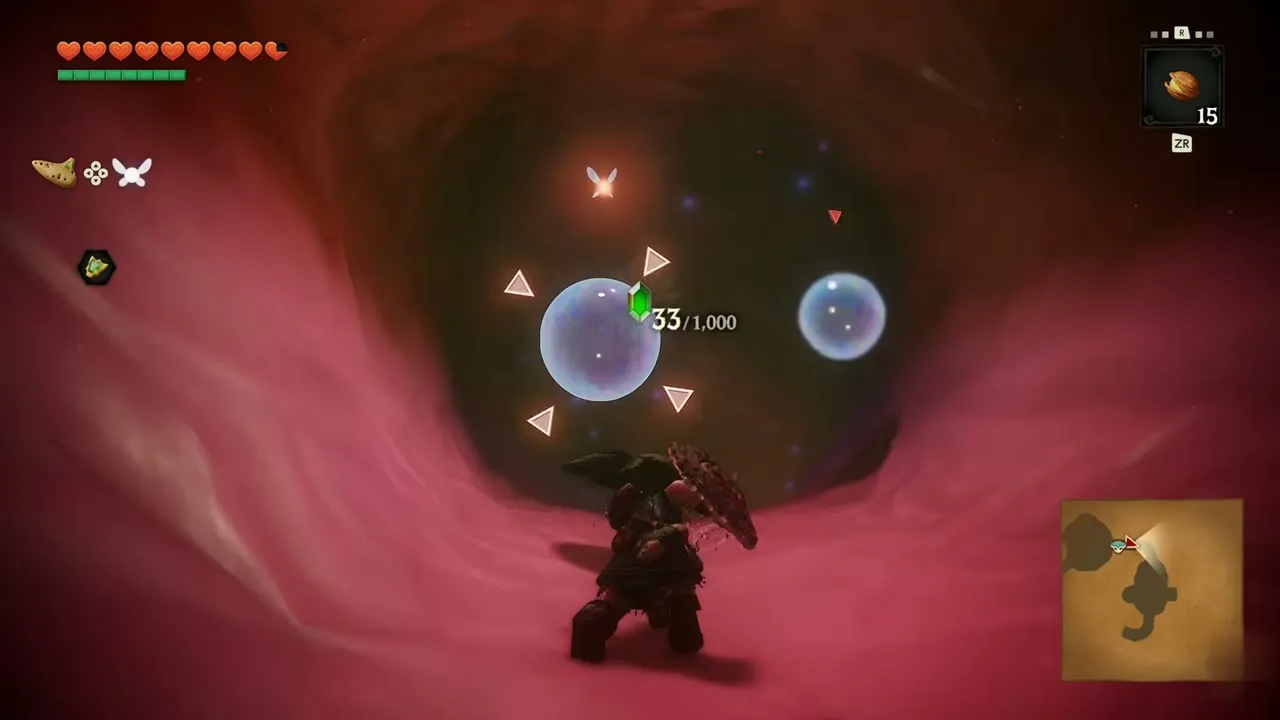
The next room is full of drifting bubbles, which are Shabom. Navi points out that your Slingshot cannot pop them, so keep Ruto safe and cut the bubbles with your sword. After the bubbles, you reach a red tissue passage and a round shell-shaped pad where you can put Ruto down.
Dungeon Map
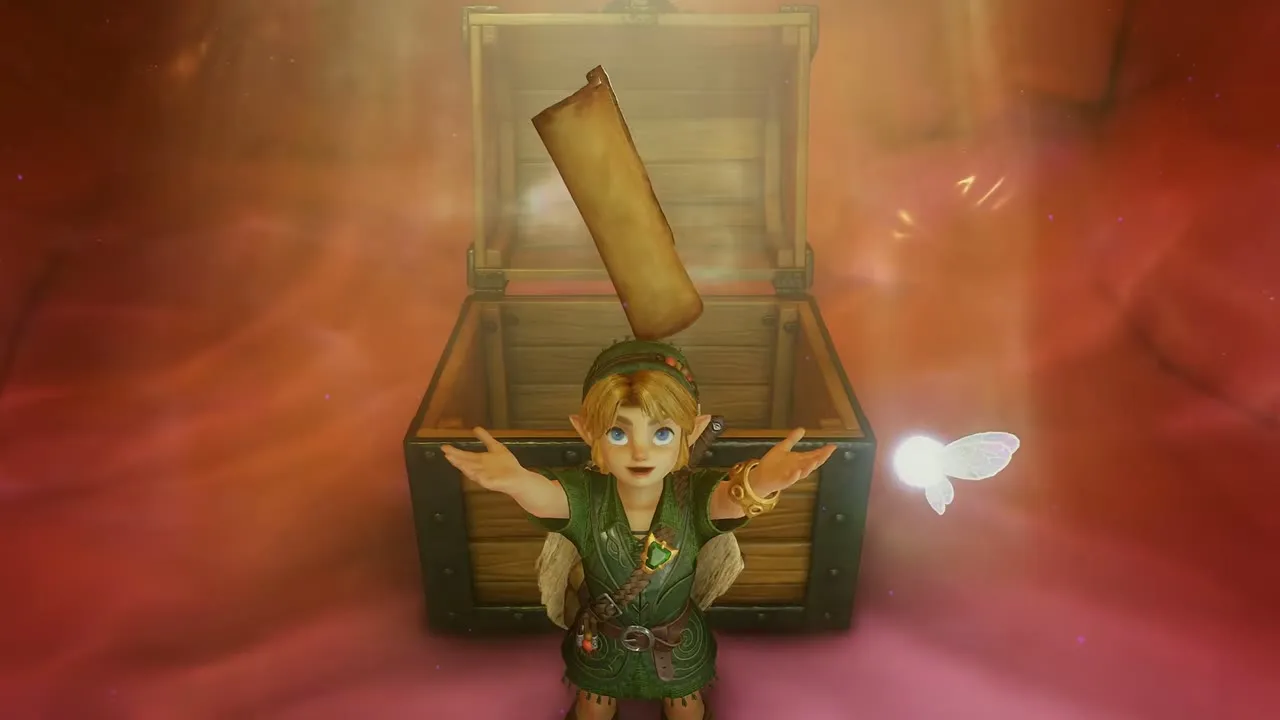
Follow the stone path on B1 and dive through the blue water to a chest beside the next shell pad. Open it for the Dungeon Map. The map shows three floors, 2F, 1F and B1, with Zora Fountain at the bottom of the screen.

Gold Skulltula #31 above the pots
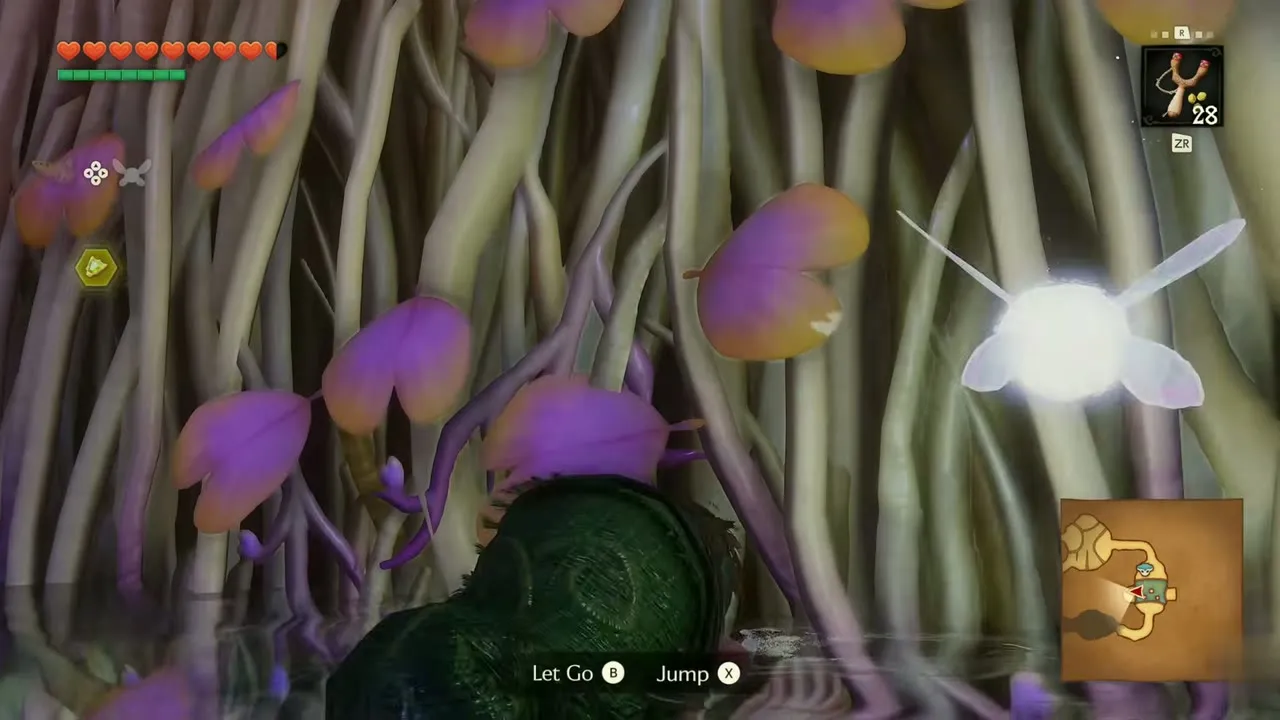
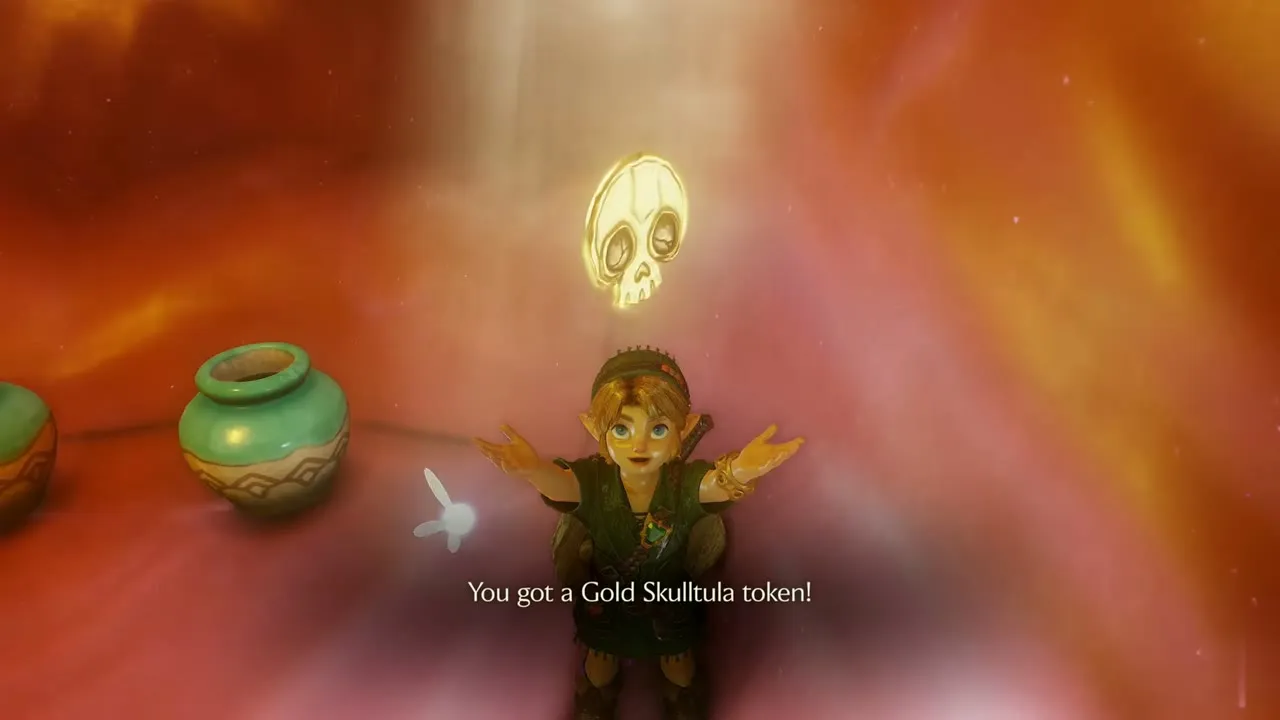
Still on B1, swim to the purple wall near the yellow shell pad and climb the thick vine wall. Press Jump to hop off at the top. A room with three pots lies behind it, and a Gold Skulltula token floats near the ceiling. Fire a Slingshot seed at it to claim token 31.
Business Scrub on B1
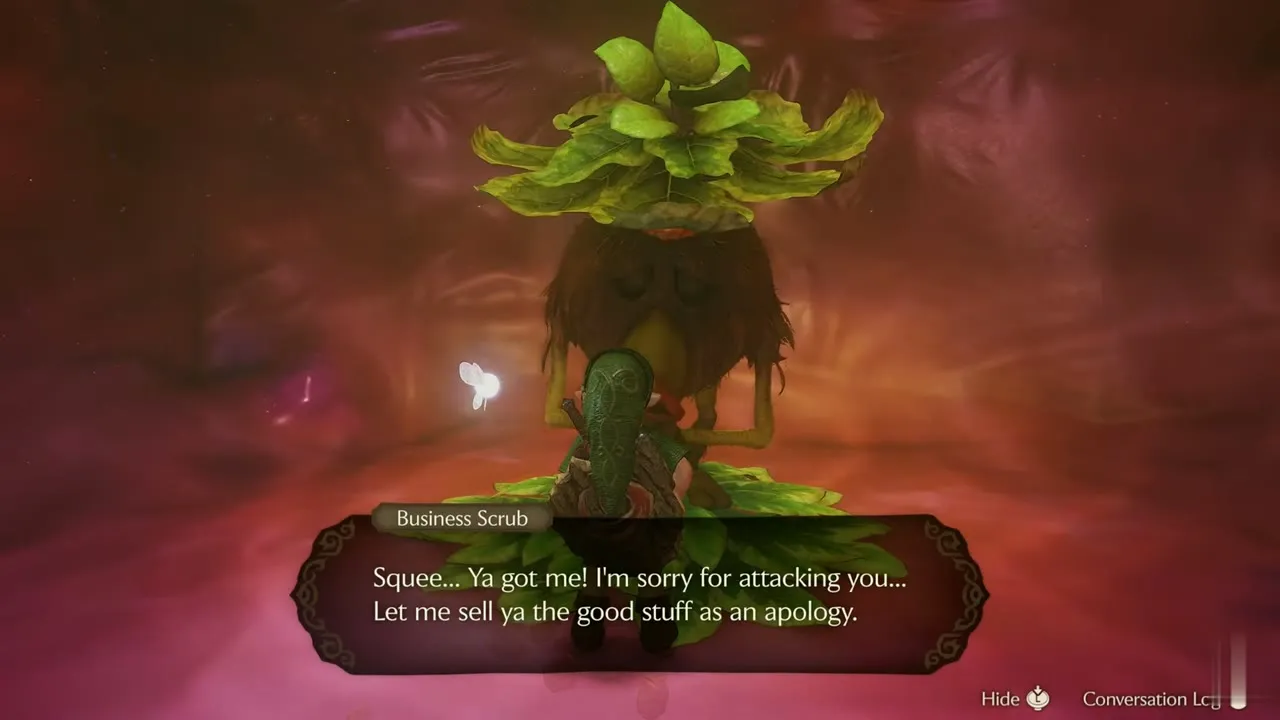
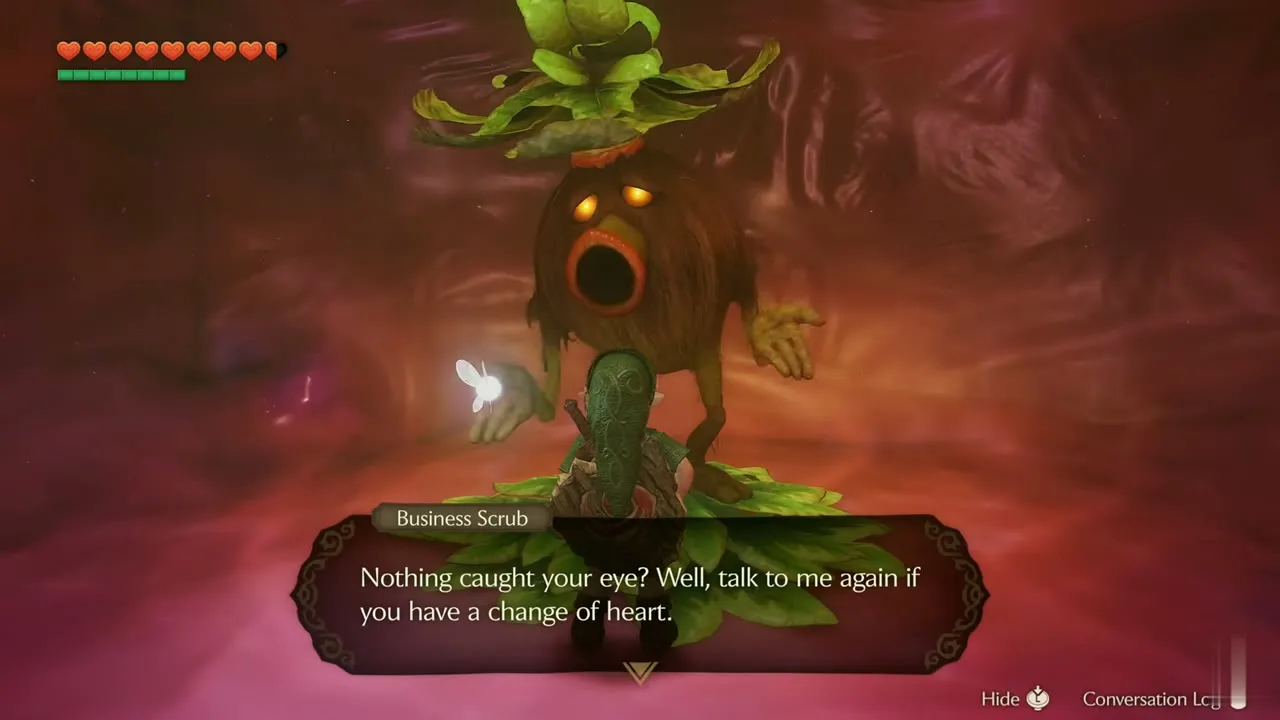
Swim on through the pools to a leaf pad where a Business Scrub hides. He apologises for attacking and offers 10 Deku Seeds, five Deku Nuts and a Business Scrub Seed. Choose See you later to leave without buying.
1F: the Boomerang, tentacles and Compass
Carry Ruto to the tentacle stair and up to the first floor. A green vine room with a large glowing pillar lies past the round doors. Cross the pale pads while Ruto is on your back.

Boomerang
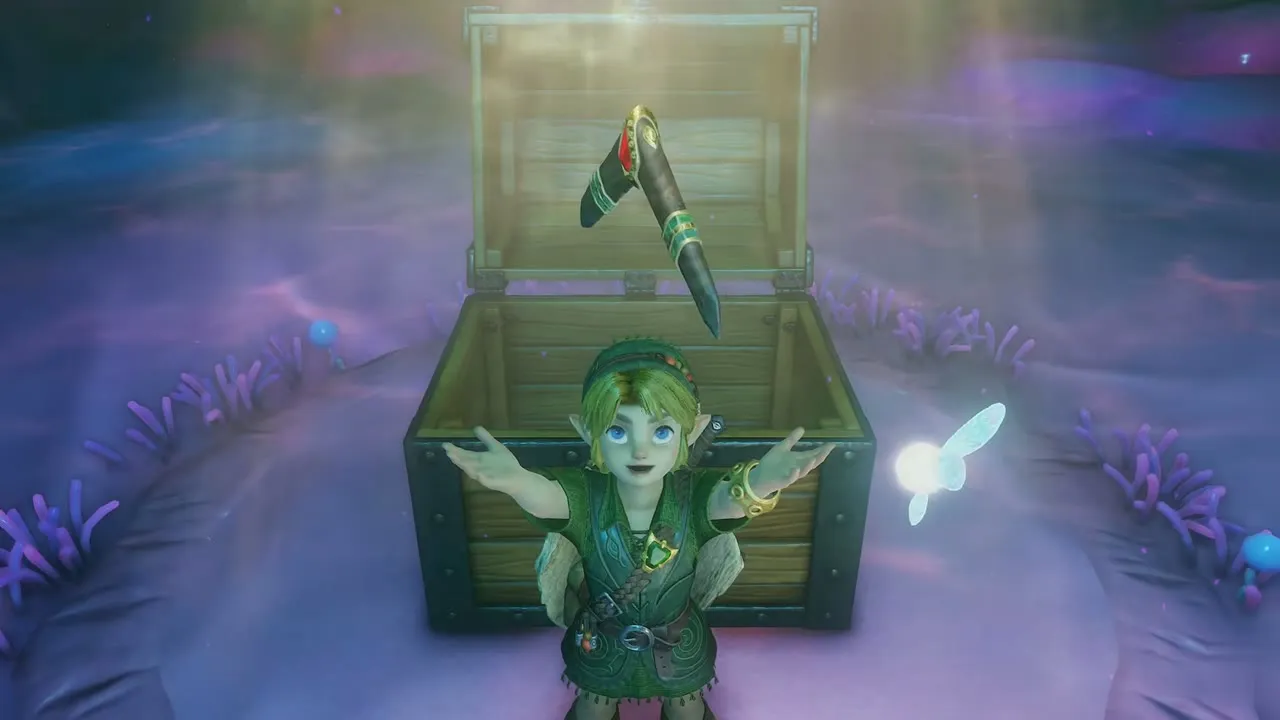
Set Ruto on the yellow shell pad next to the round door, then go through alone. In a dark pale chamber, a chest sits on a circular pad. Open it to get the Boomerang. It returns when thrown and can grab distant items, and you hold and release the button to aim it.
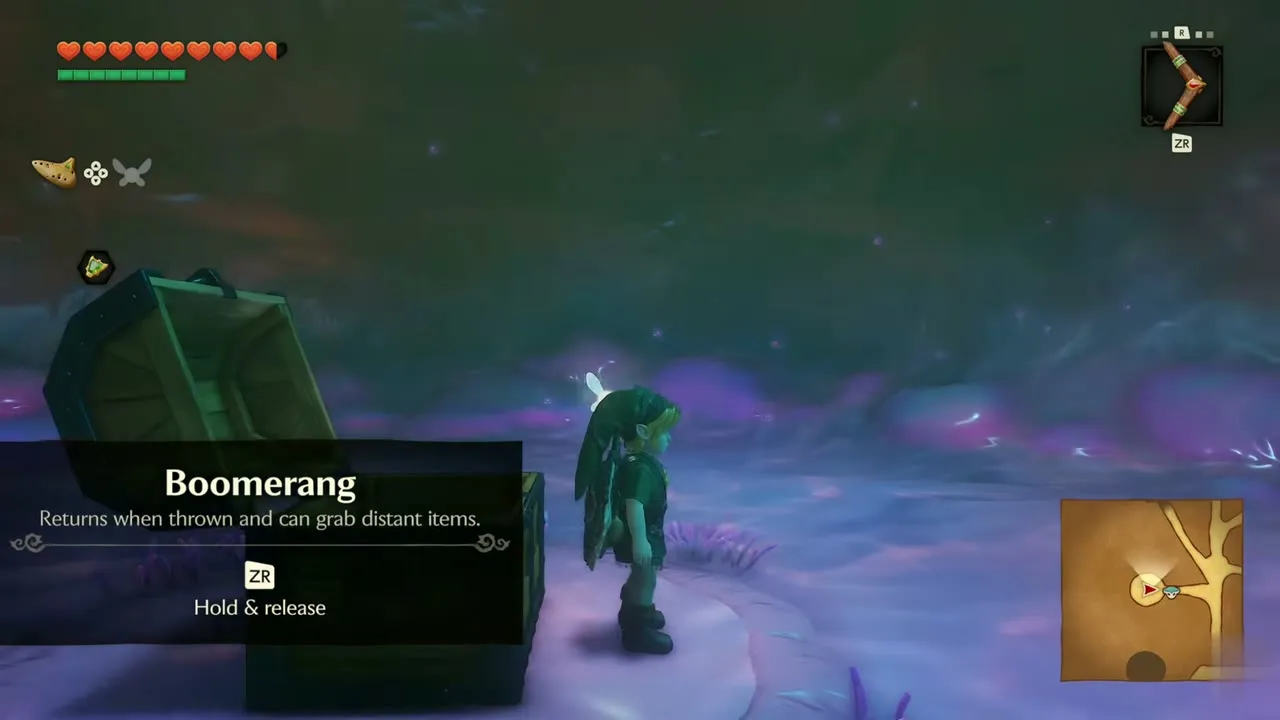
Equip the Boomerang from the item screen and throw it at the lock-on targets in the next cave. Try it on anything beyond reach too.
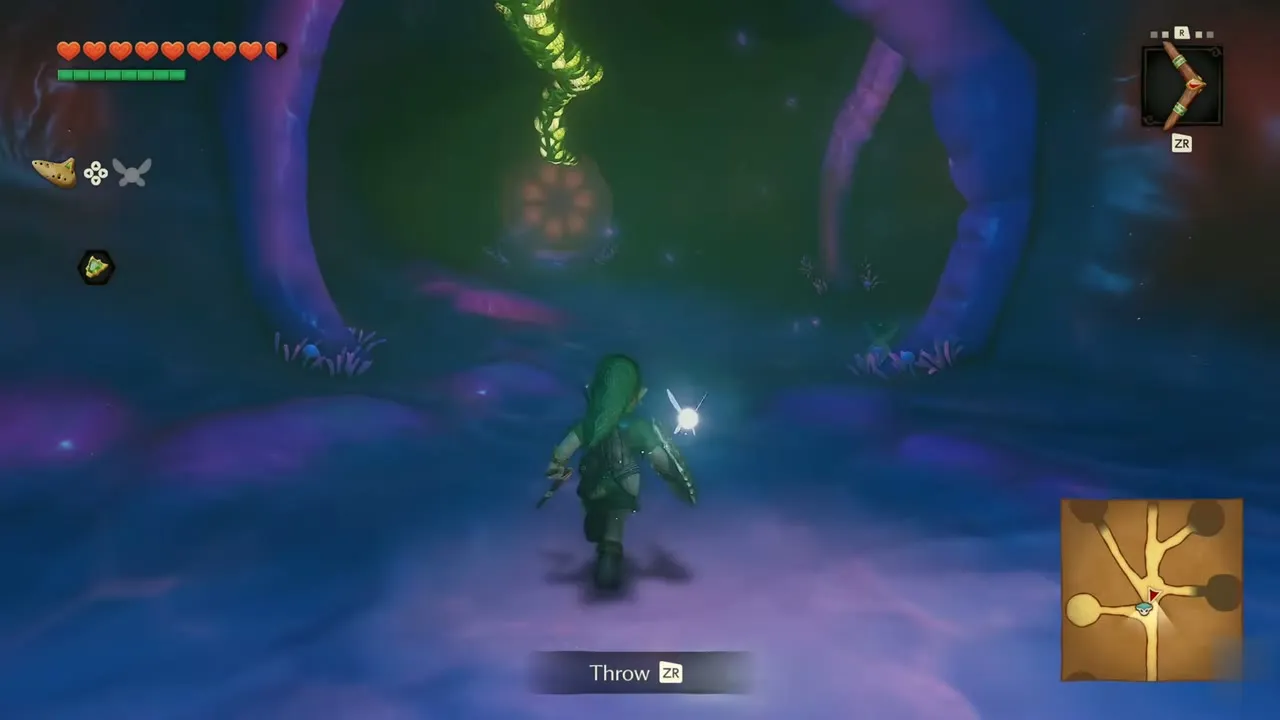
Tentacle barriers
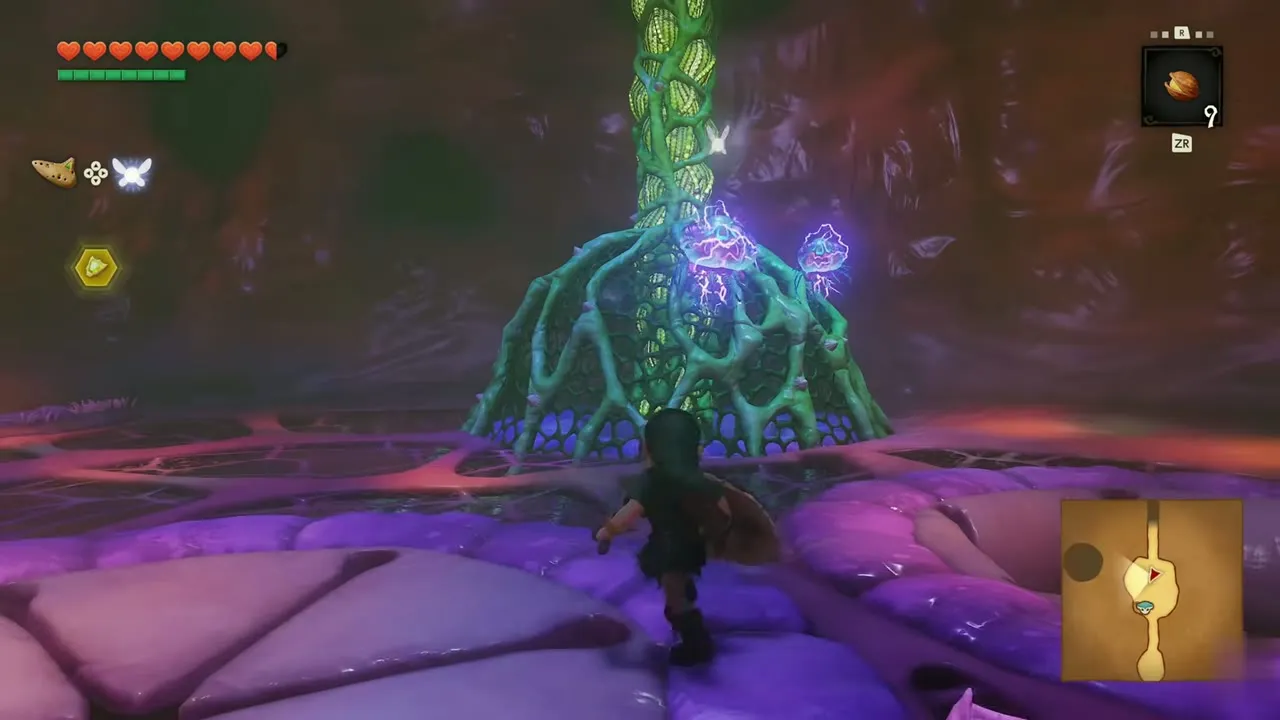
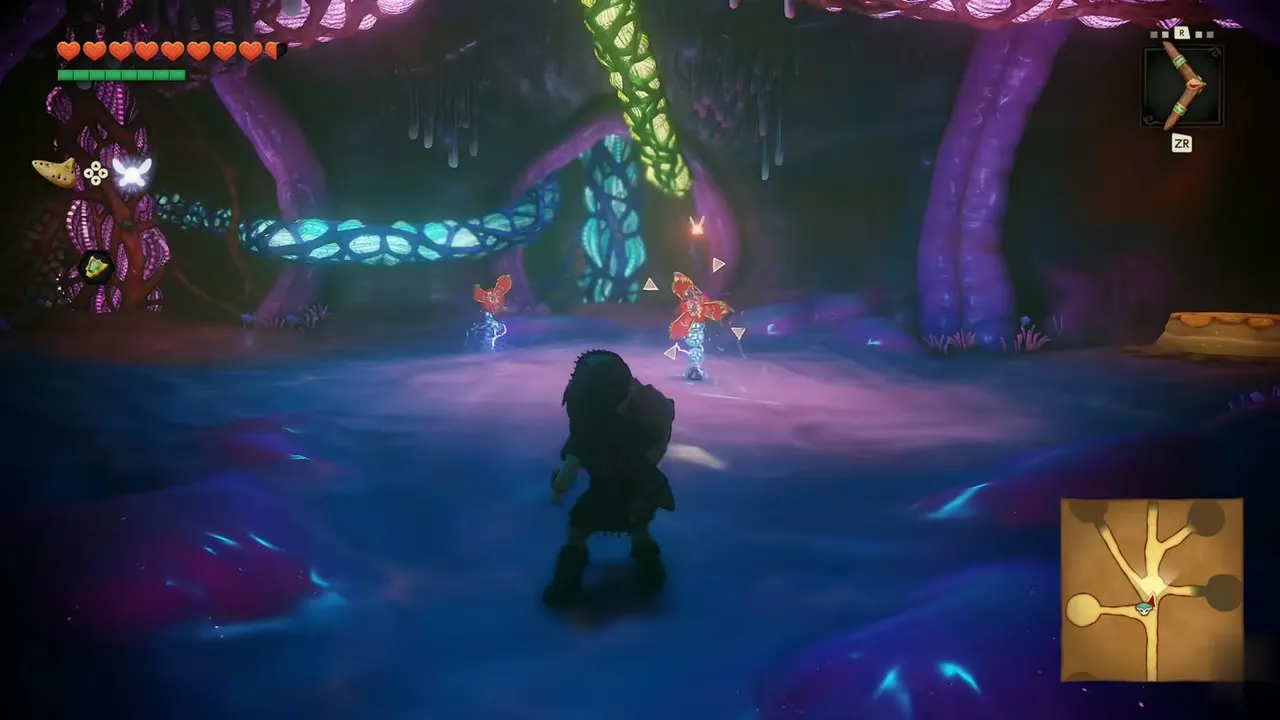
Large tentacles now hang across the passages. Navi calls the first one a parasite that robs its host of strength. Target the glowing spot on each tentacle and throw the Boomerang until it recoils. Pick up Ruto again, pass through the cleared gap, and repeat for the blue and green ones as you move on.
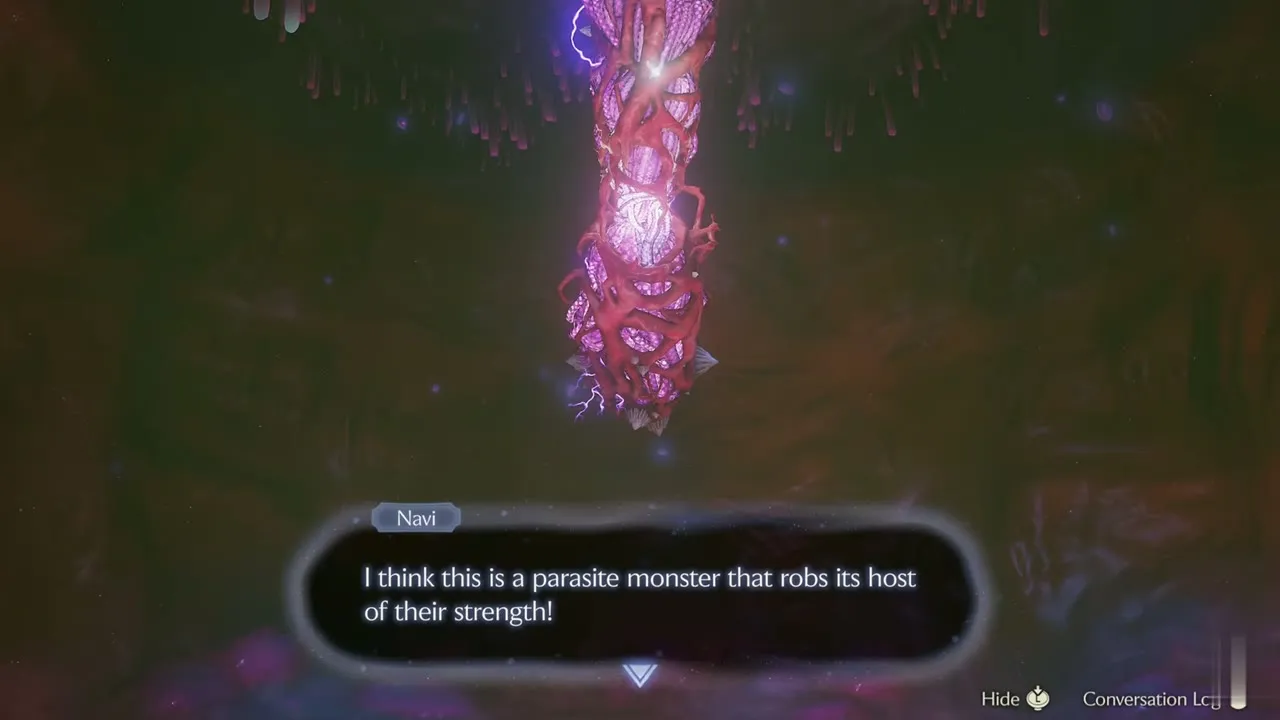

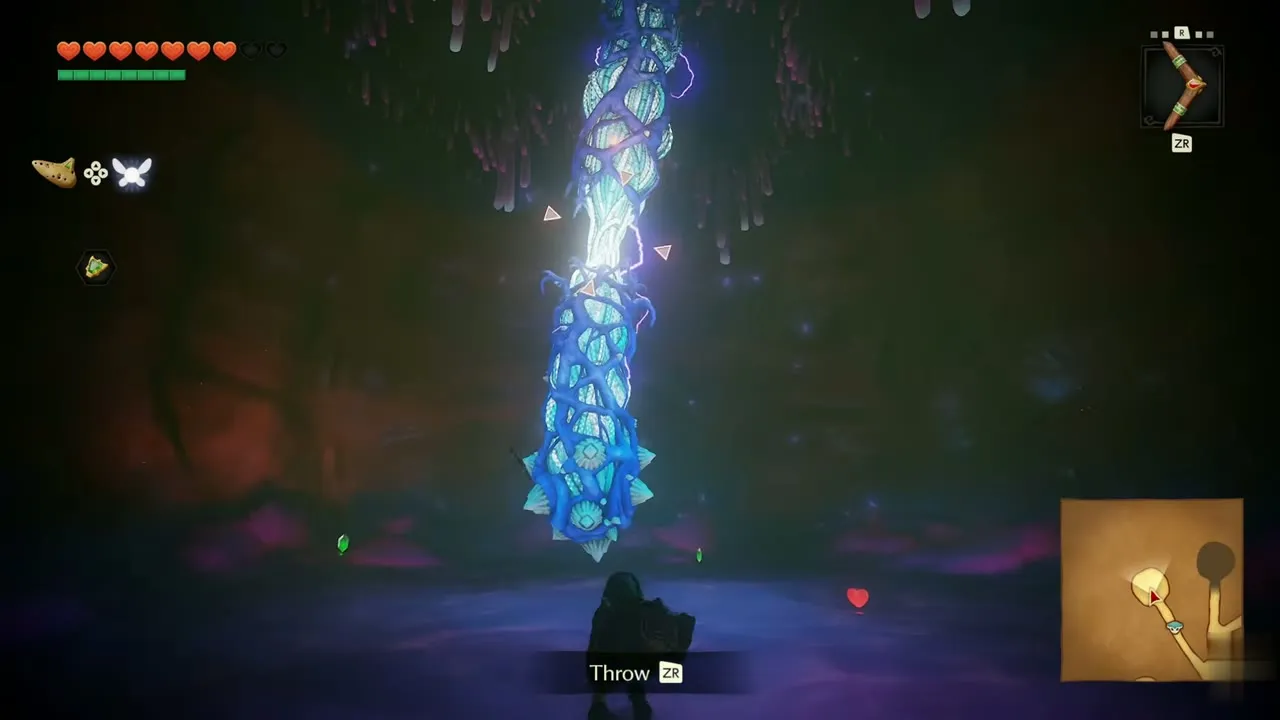
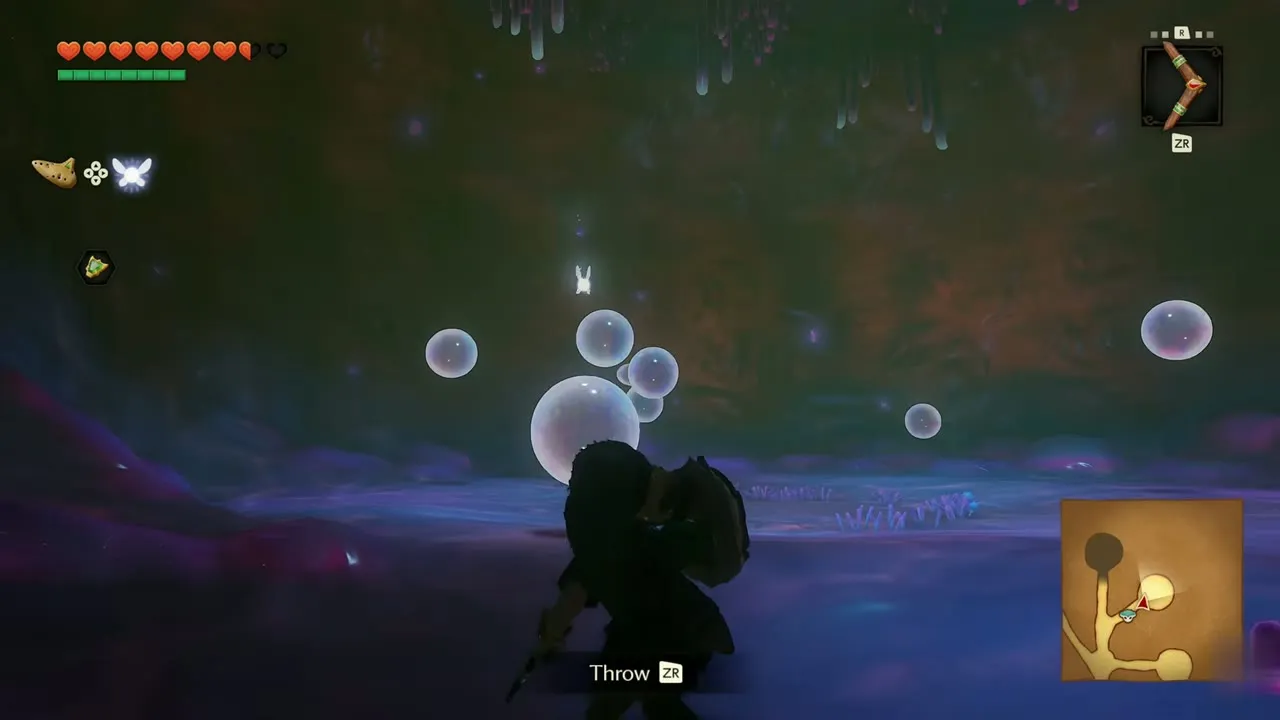
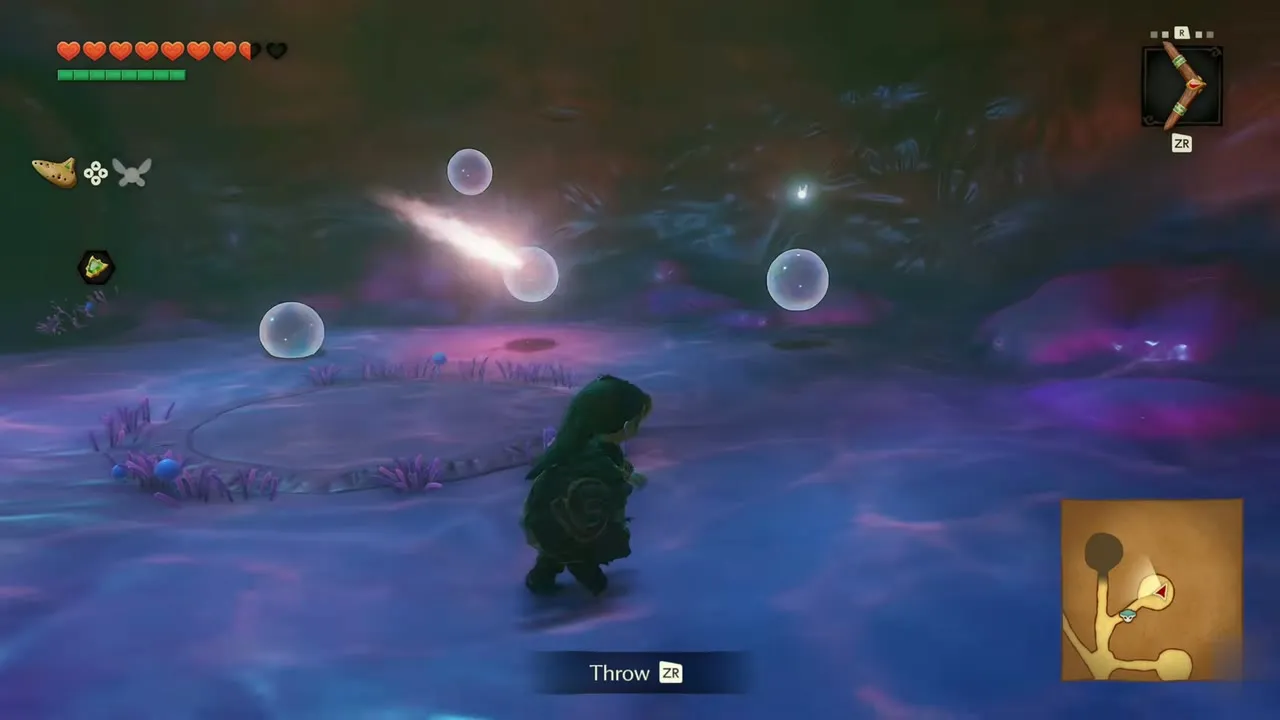
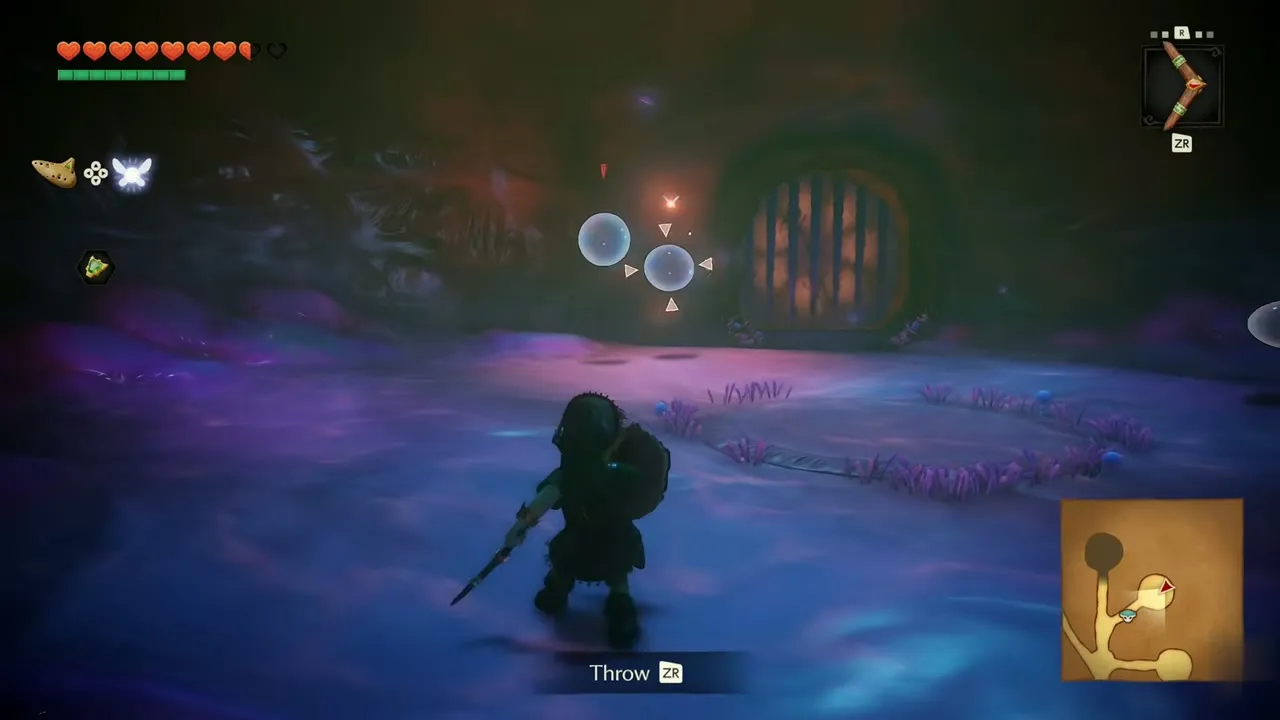
Next comes a dark cavern with several floating bubbles. Cut each Shabom with your sword while stepping around the blasts. When the bubbles are gone a chest appears on a pale circle in the middle of the room.
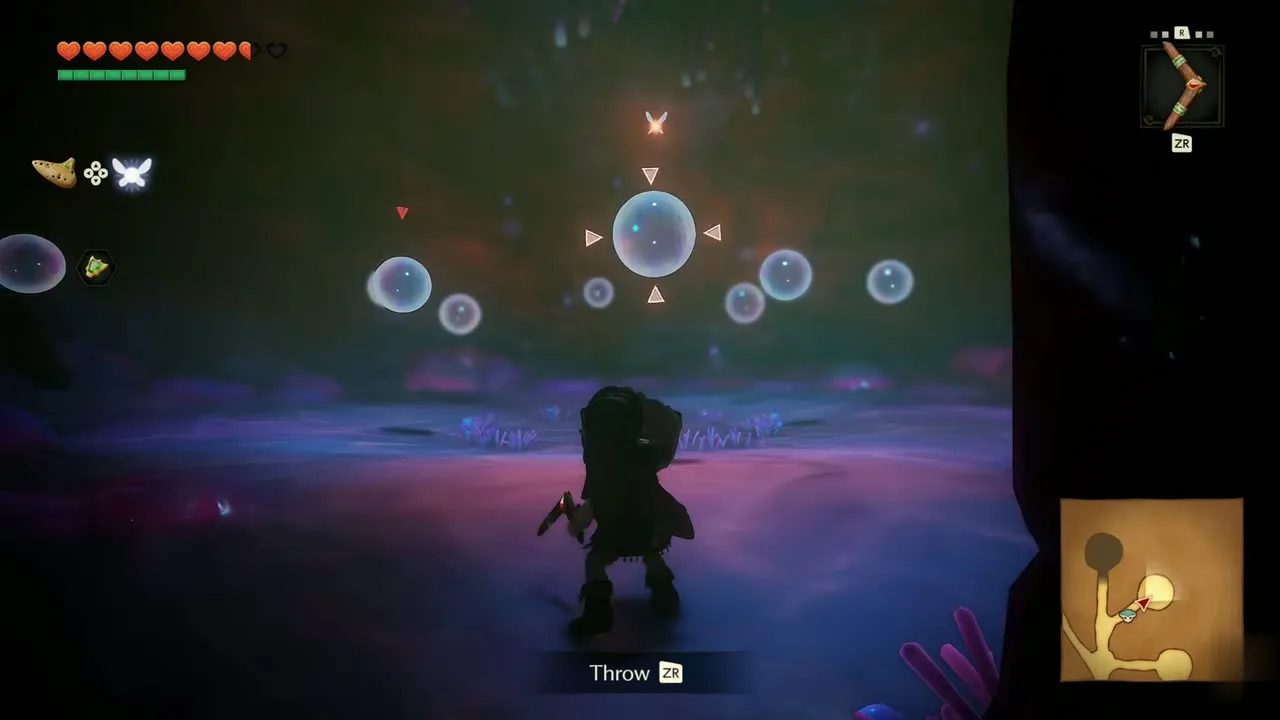
Compass
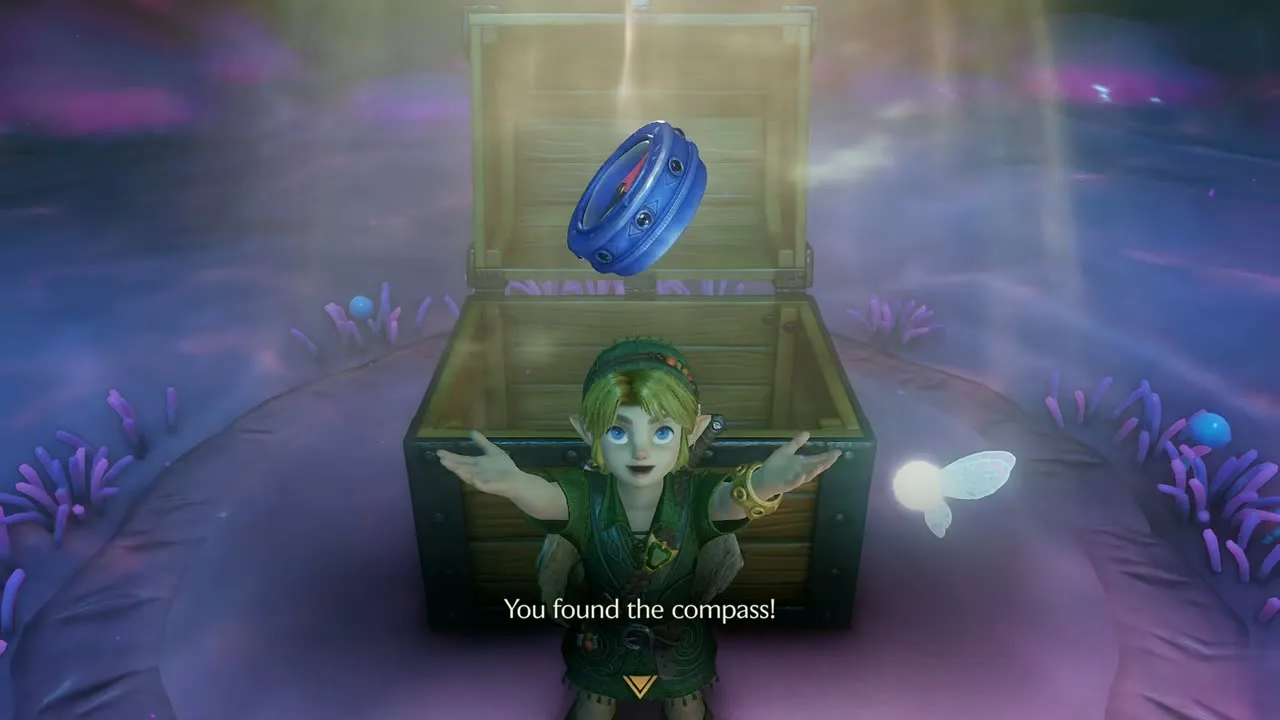
Open the chest for the Compass. Ruto is waiting by the round door beyond. Throw the Boomerang at the glowing green tentacle that hangs over the green vine column until it recoils, then pick Ruto up again and carry her on through the stone archway.
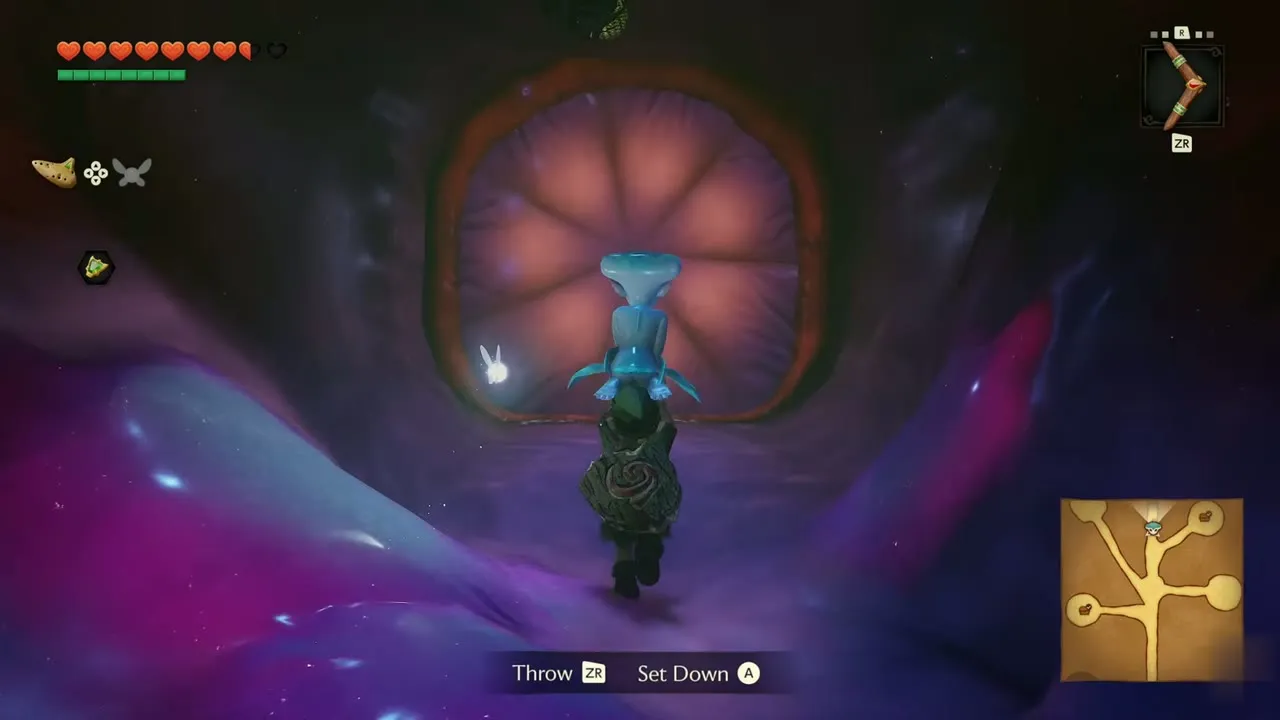
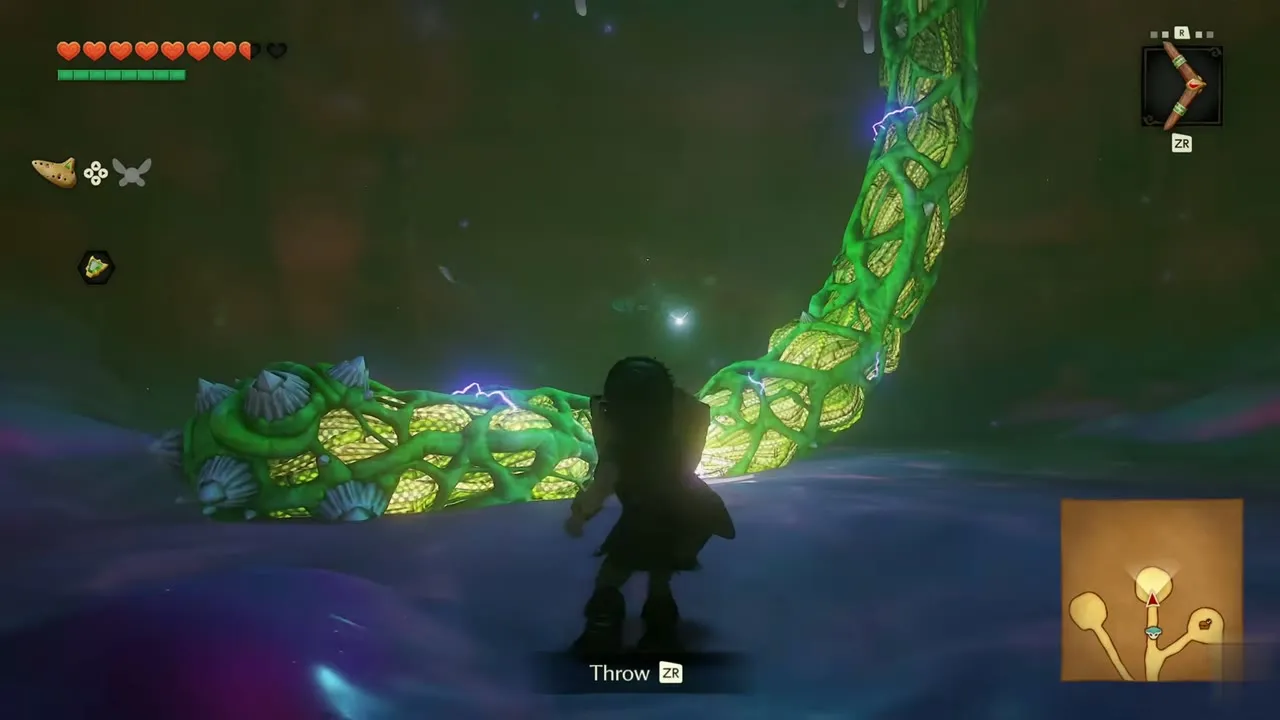

Crossing the flower pads, Ruto exclaims that her stone is gone and asks where it went. You have to find it, and the way on leads down to B1.
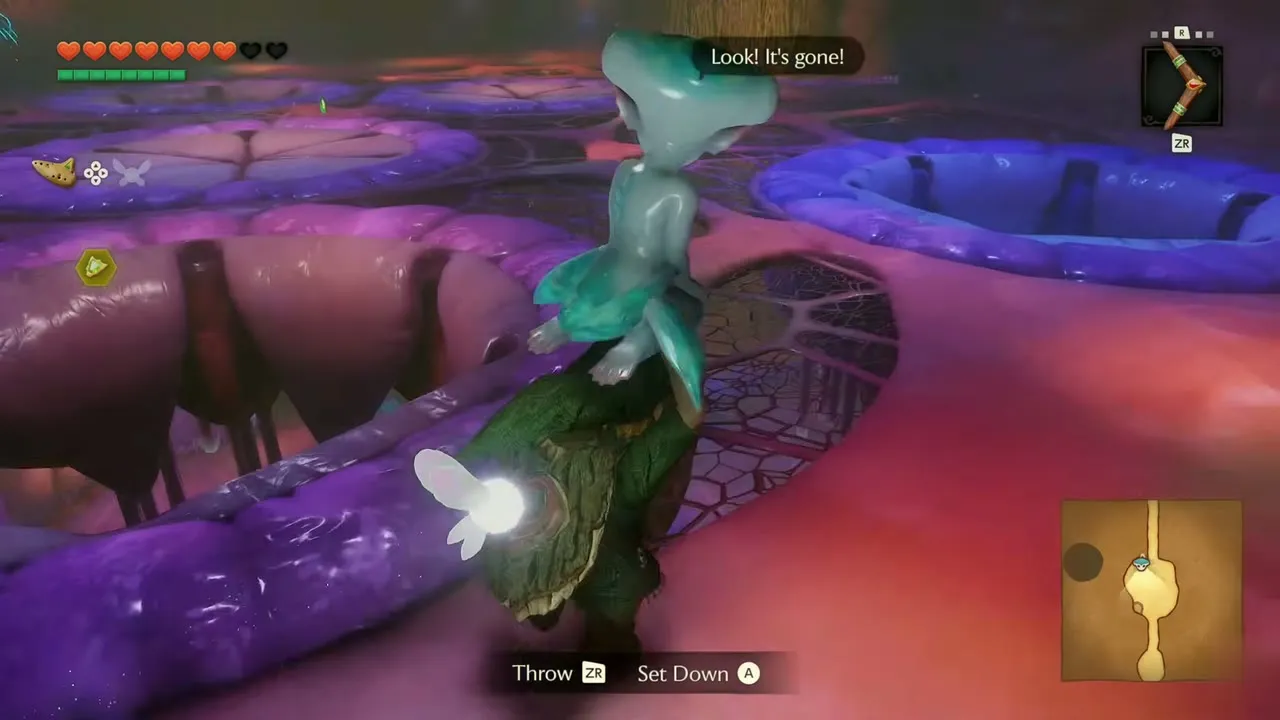
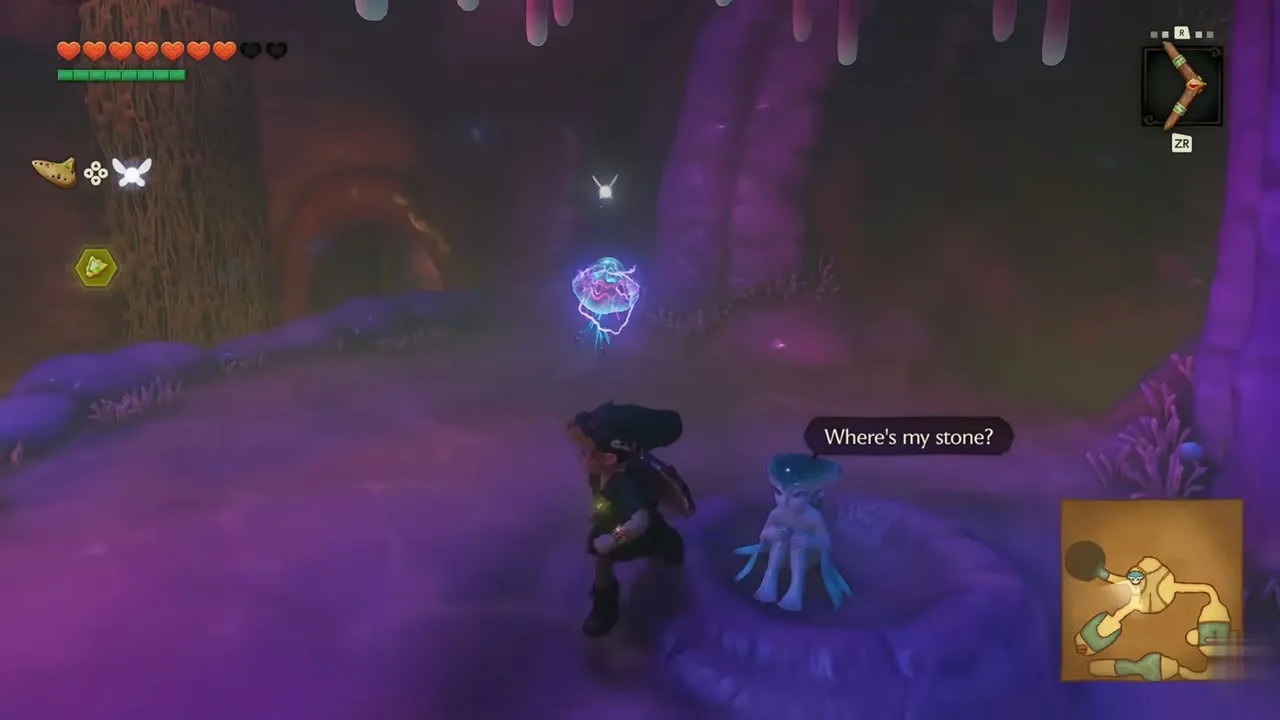
Gold Skulltula #32 on the B1 ceiling
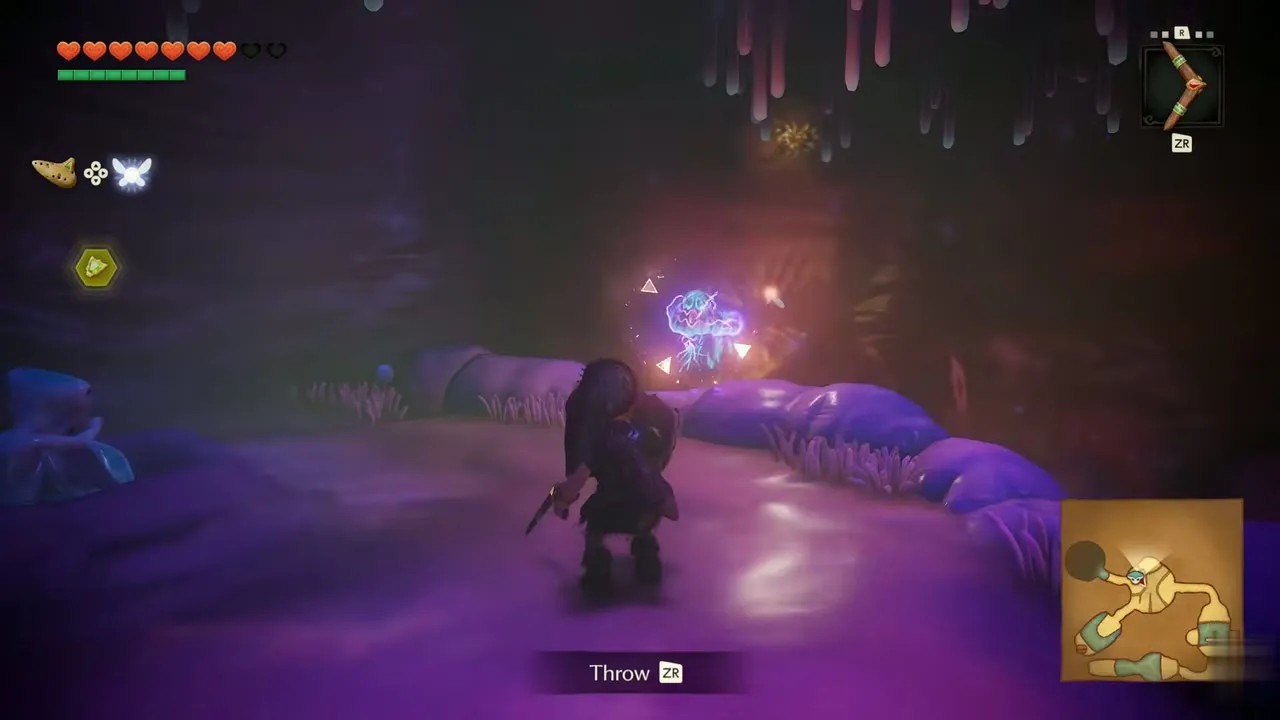
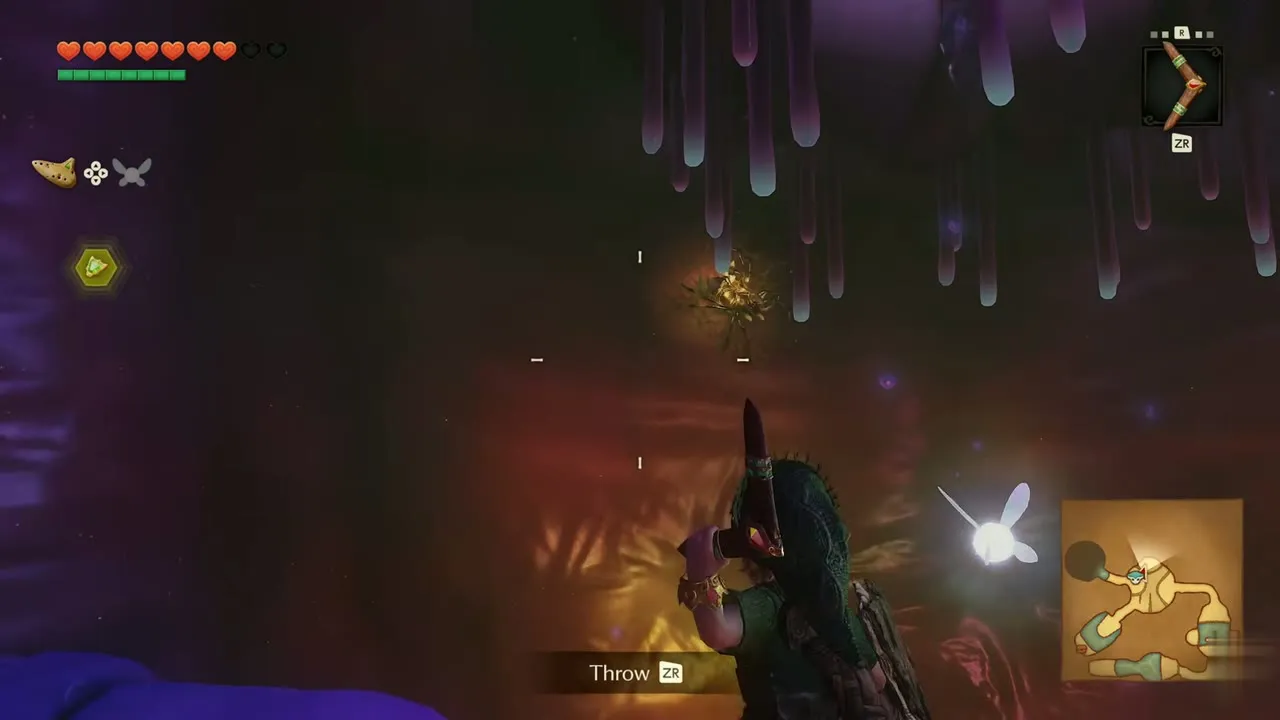
On B1, walk along the purple ridge in the cave with dripping stalactites. A Gold Skulltula waits on the ceiling. Turn on it and throw the Boomerang. The box reads “You’ve collected 32 tokens so far.”
Gold Skulltula #33 past the ridge
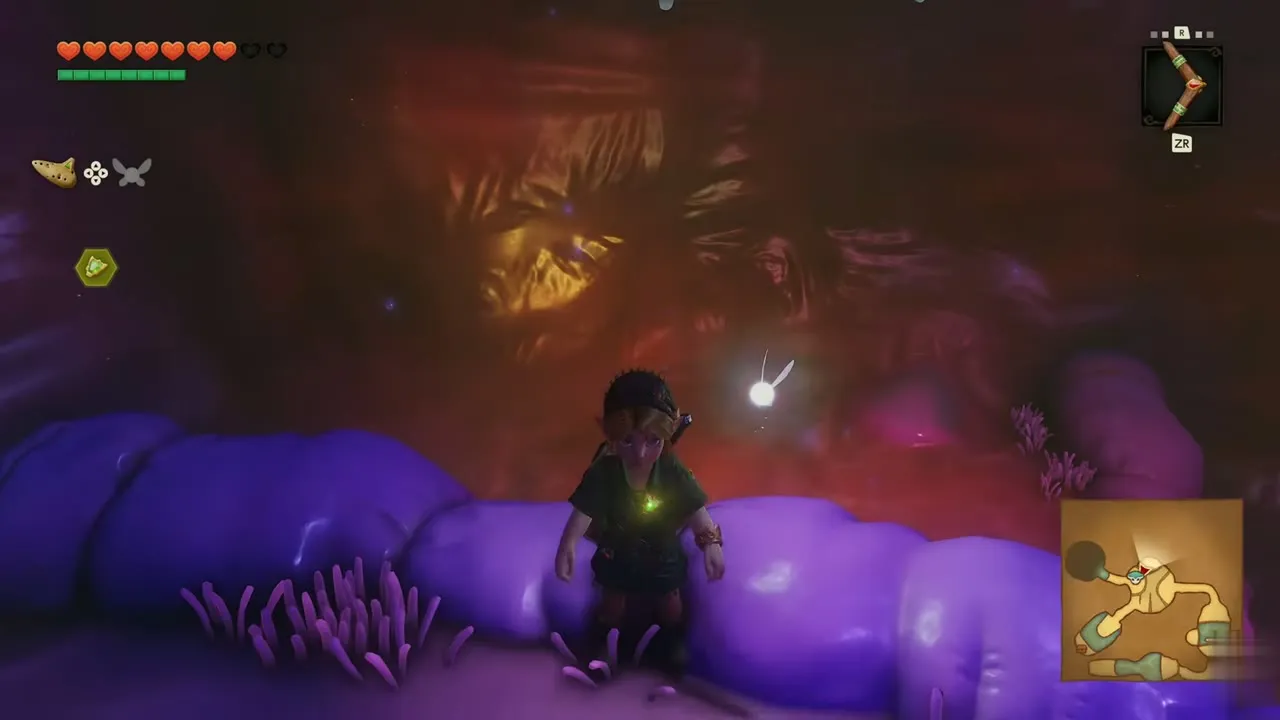
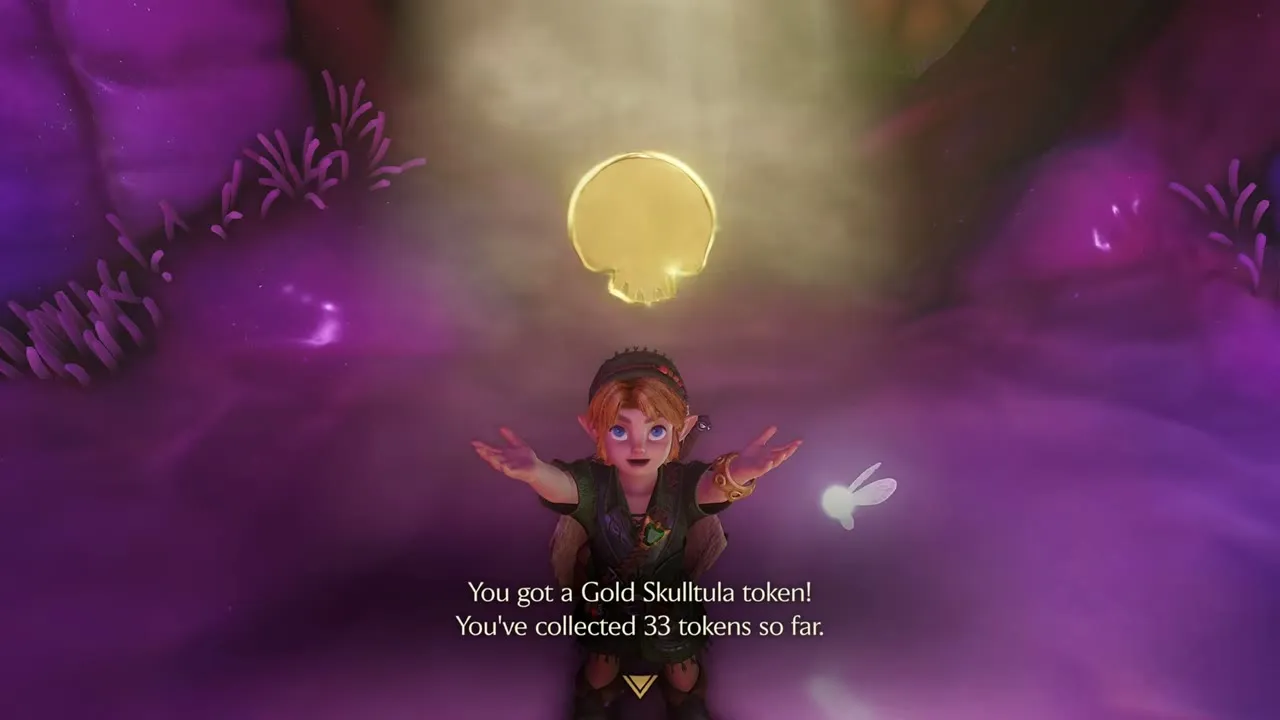
Follow the ridge on into the dark passage beyond the first ceiling token. A second gold glint shows on the ceiling there. Turn on it and throw the Boomerang again. The token falls in, and the box confirms you now hold 33.
The pots room, the vine and the stone pedestal
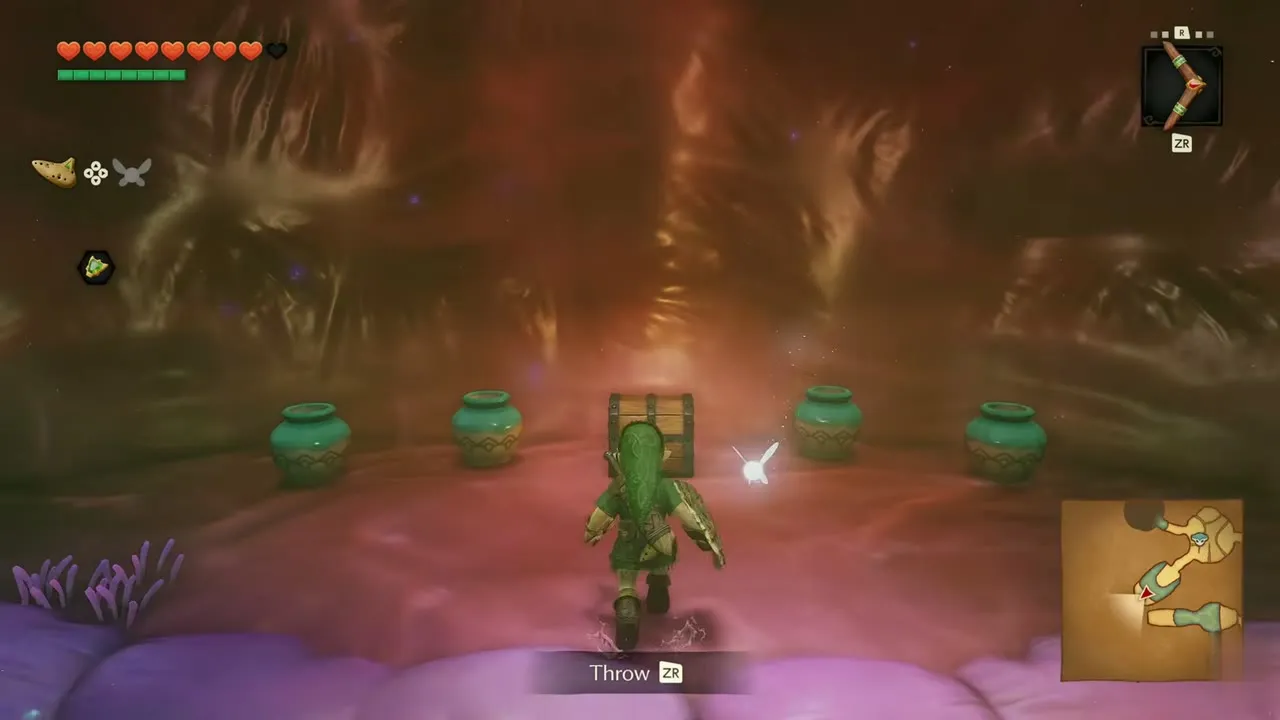
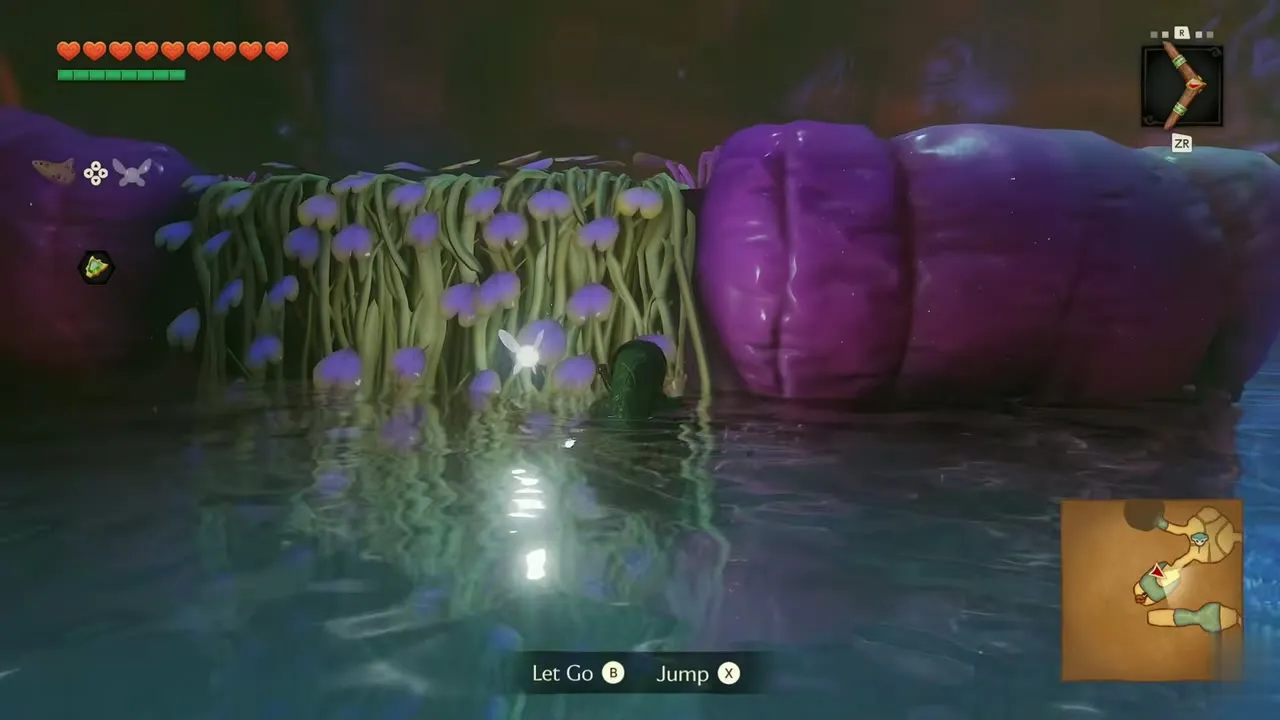
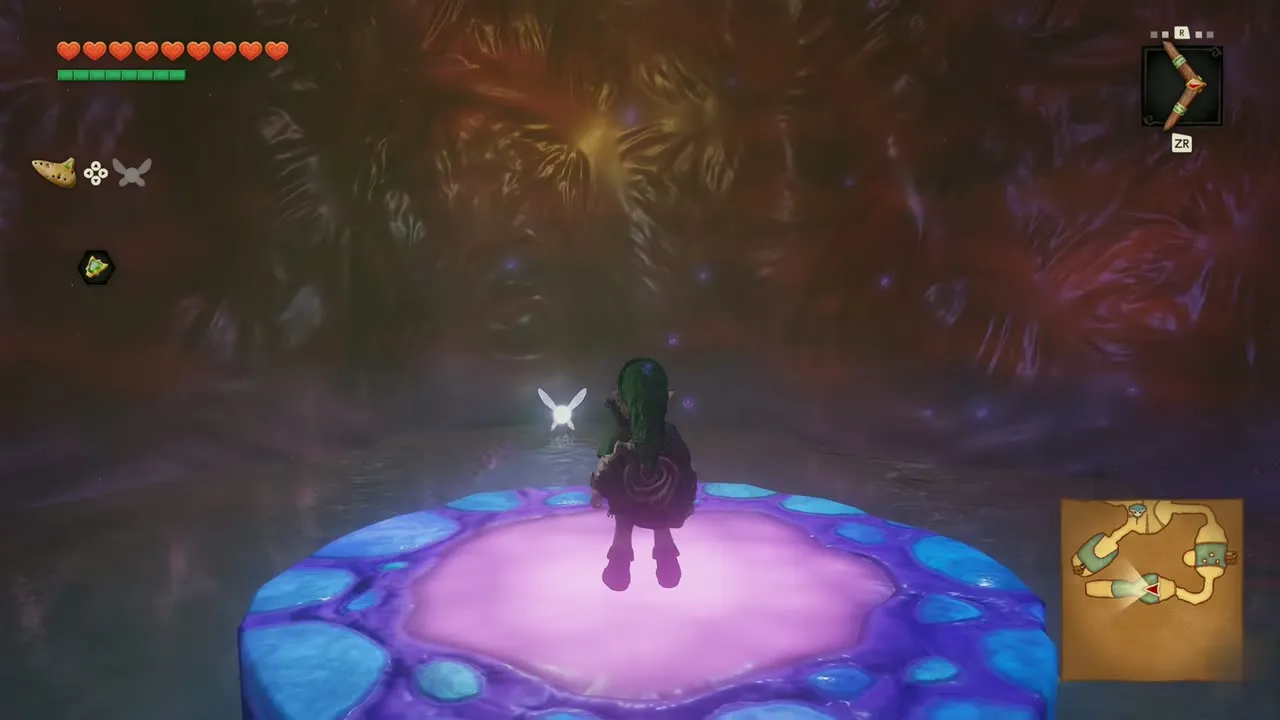
Pass the next round door into the red room with pots and a chest. Open the chest for a red rupee. Dive through the blue pool, press Jump to leave the vine, and open the last round door to a purple pad. Pick Ruto up for the final stretch.

Throw Ruto up for the Spiritual Stone of Water
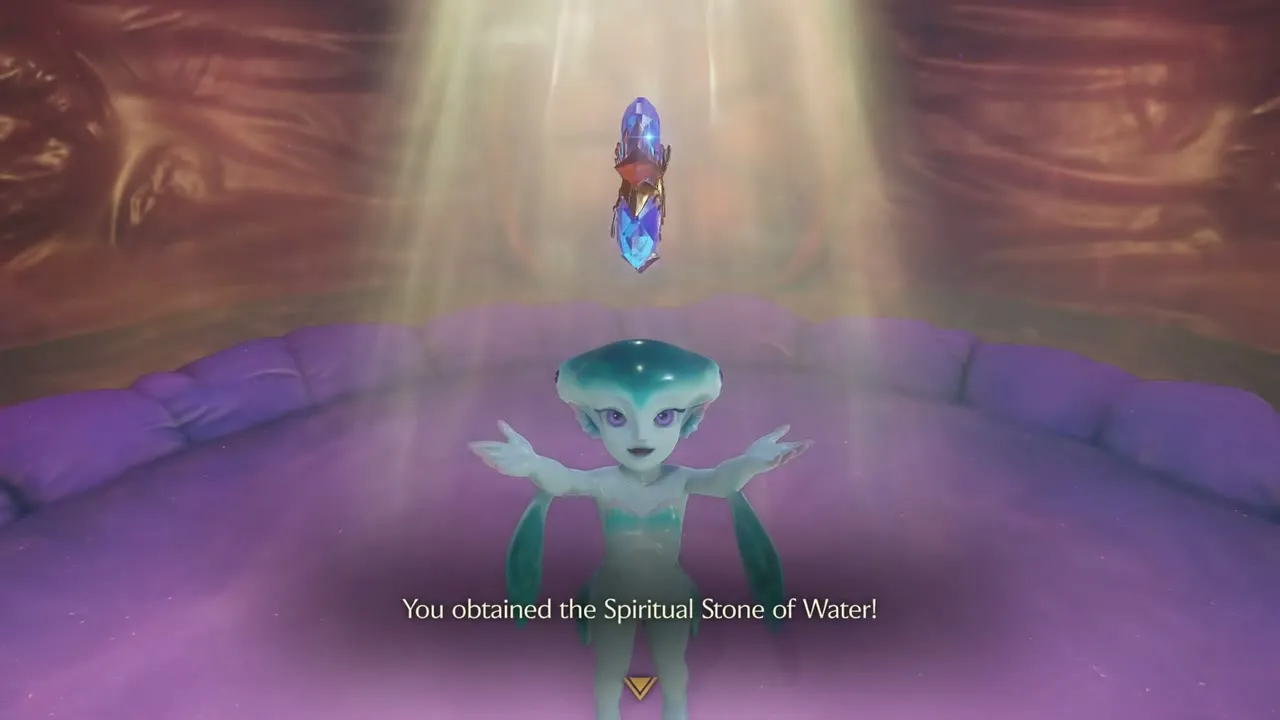
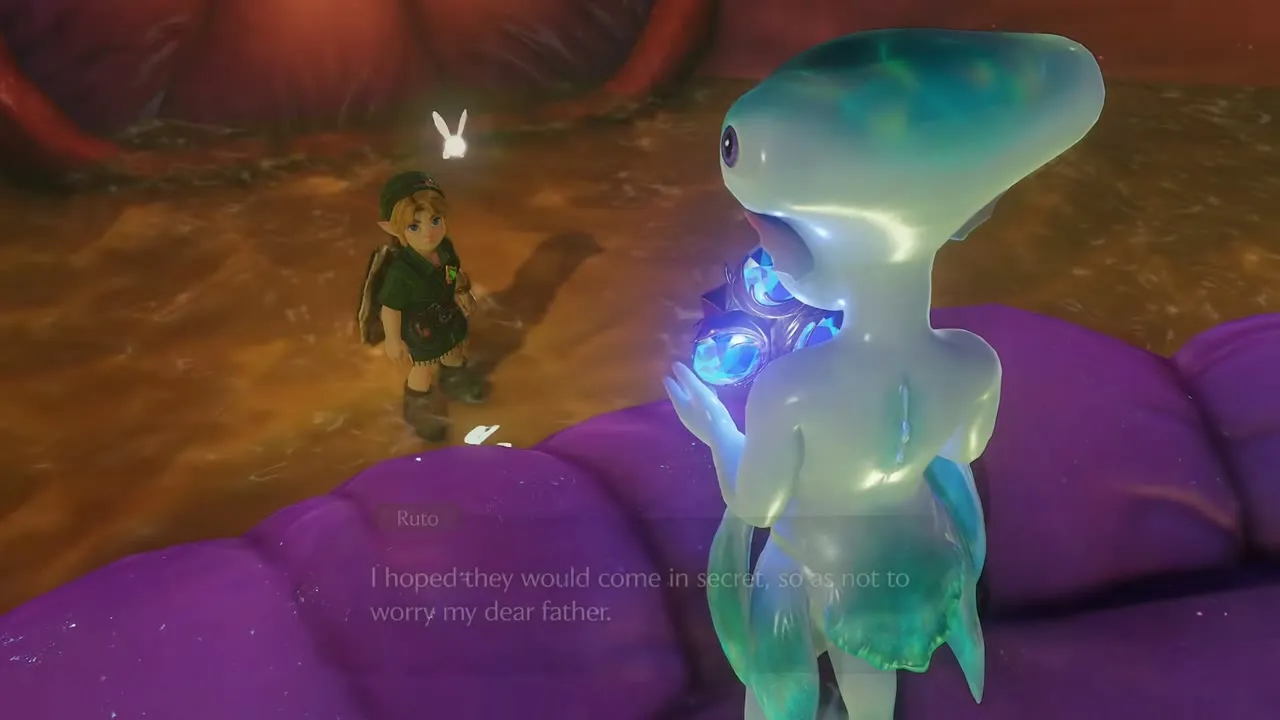
The chamber beyond is bright and warm. A column holds the stone high above the floor. Carry Ruto to the base, and when she tells you to throw her up there, throw her. You get the Spiritual Stone of Water for a moment, and then learn that Ruto took it herself.
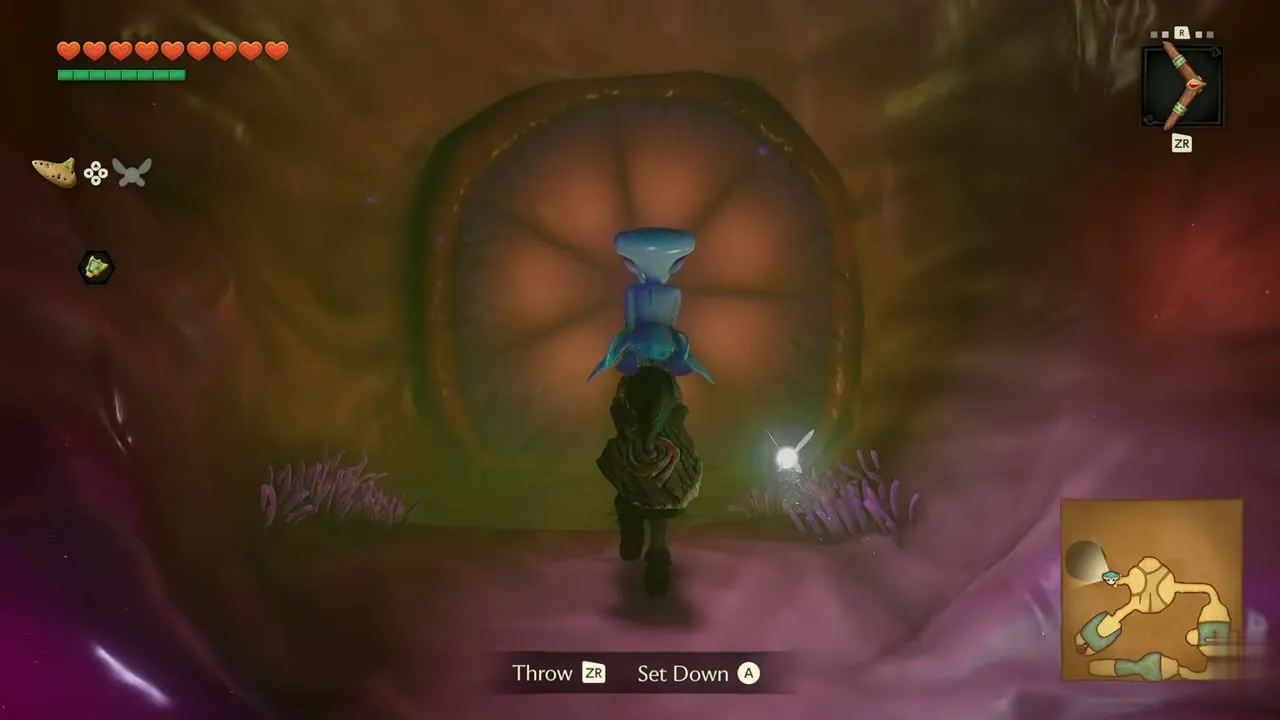
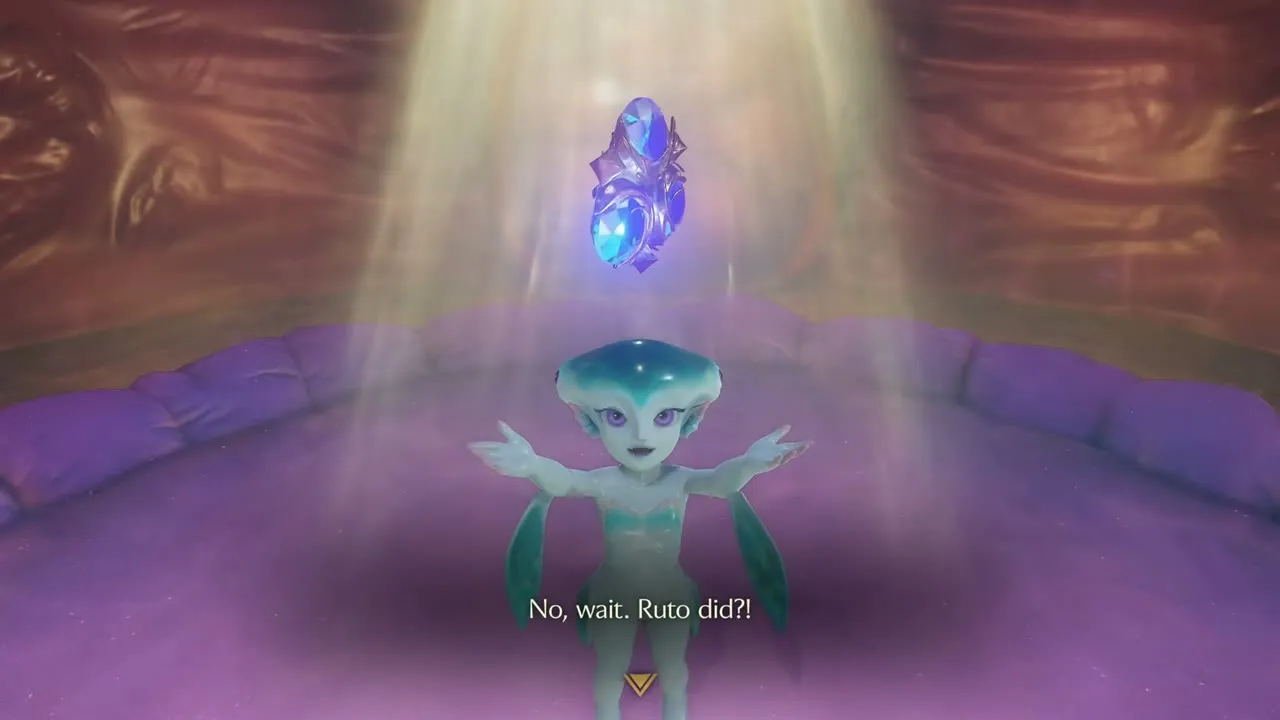
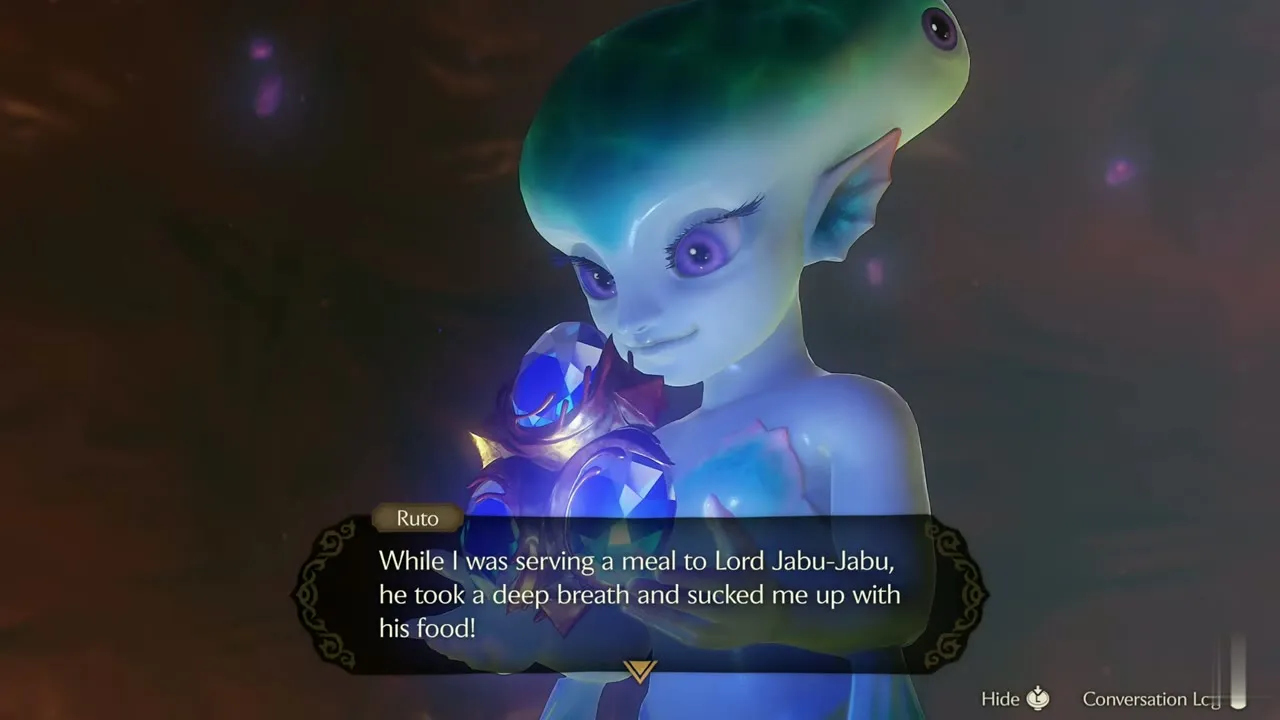
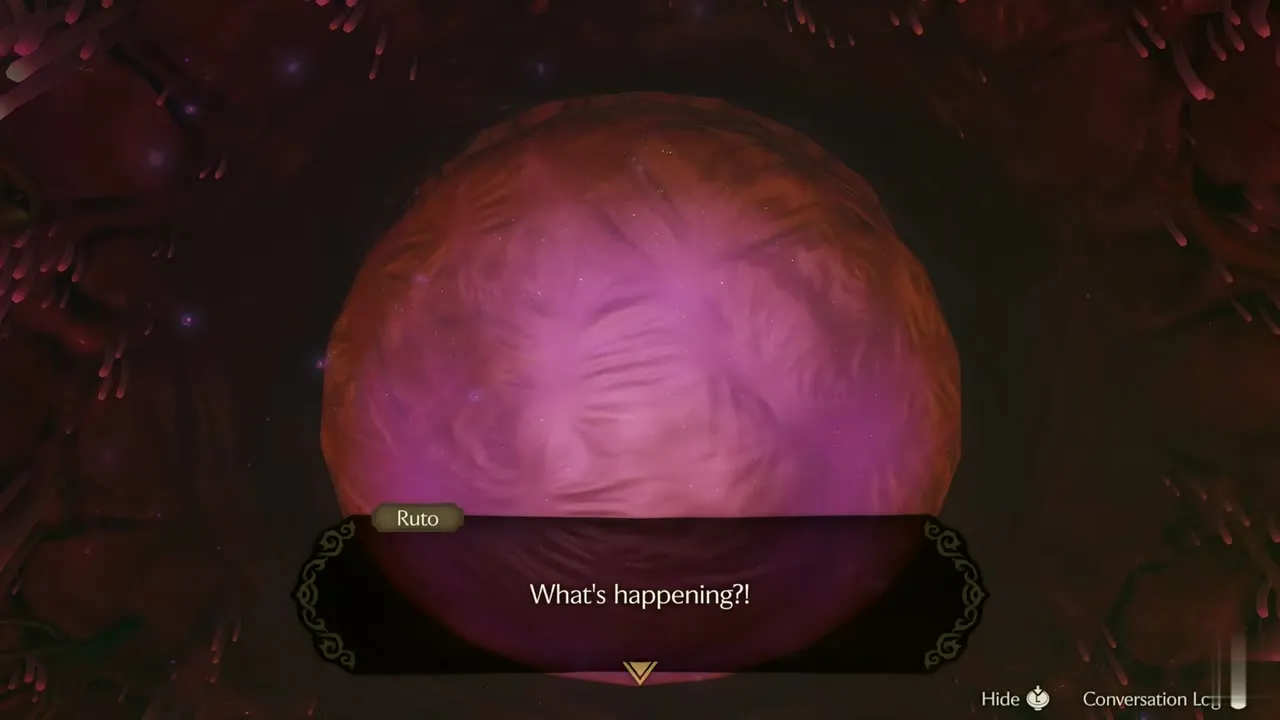
Ruto explains that Lord Jabu-Jabu swallowed her mid-meal and that she dropped the stone, and that the letter was meant to bring a Zora in secret. She then demands you carry her home. Before you can leave, the chamber shudders and Ruto is carried off.

Big Octo mini-boss
You enter the sac with a pink wall of flesh blocking the way. Navi fears that Big Octo has eaten Ruto. The monster hides in the shallow yellow water behind the wall, and Navi spots a weak point on its rump that you cannot reach from the front.


Circle around the pink bulge through the shallows to the back. A glowing green core sits there. Lock on to it, throw the Boomerang and run clear when it thrashes. Floating Shabom drift across the room, so pop them with your sword. Repeat until the core fades and Big Octo collapses.

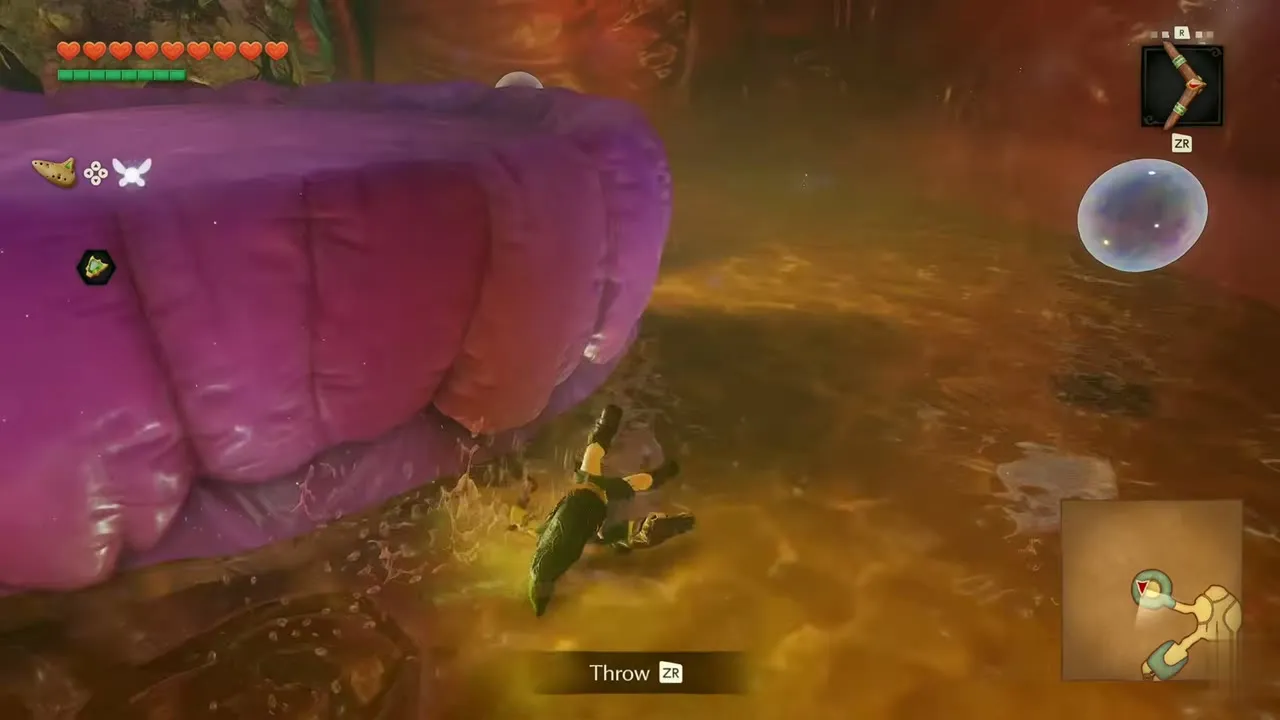
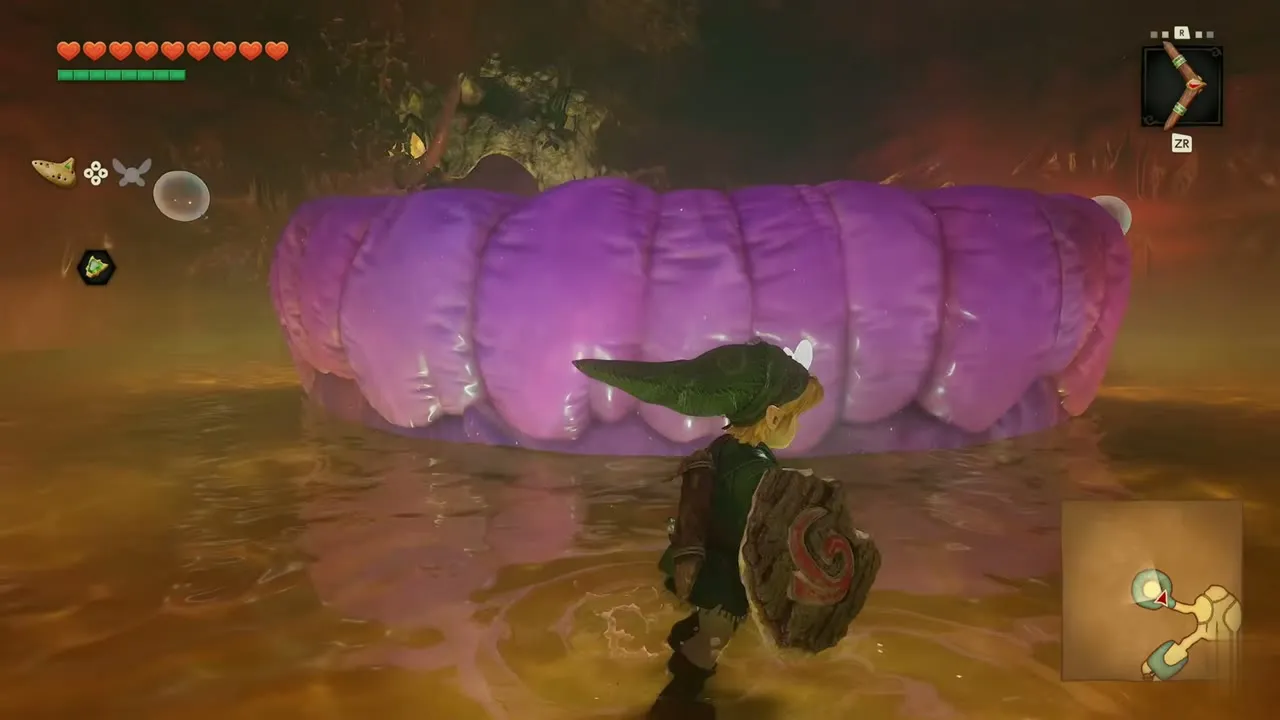
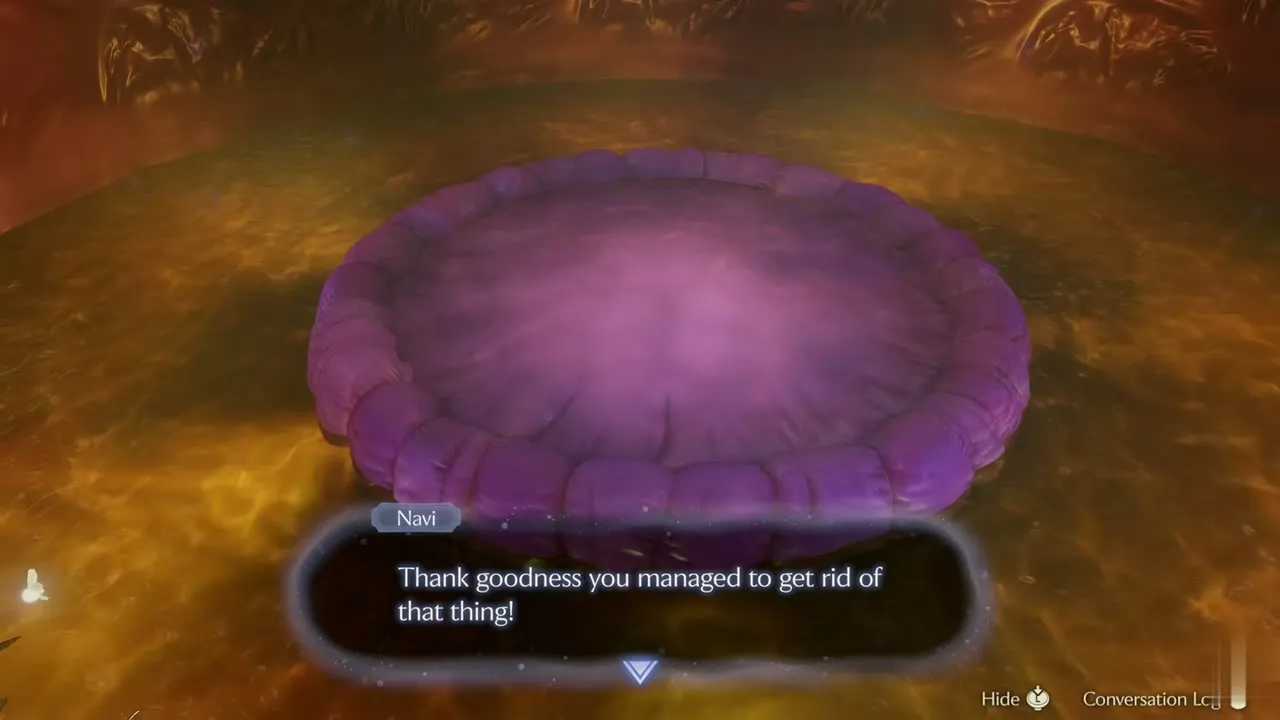
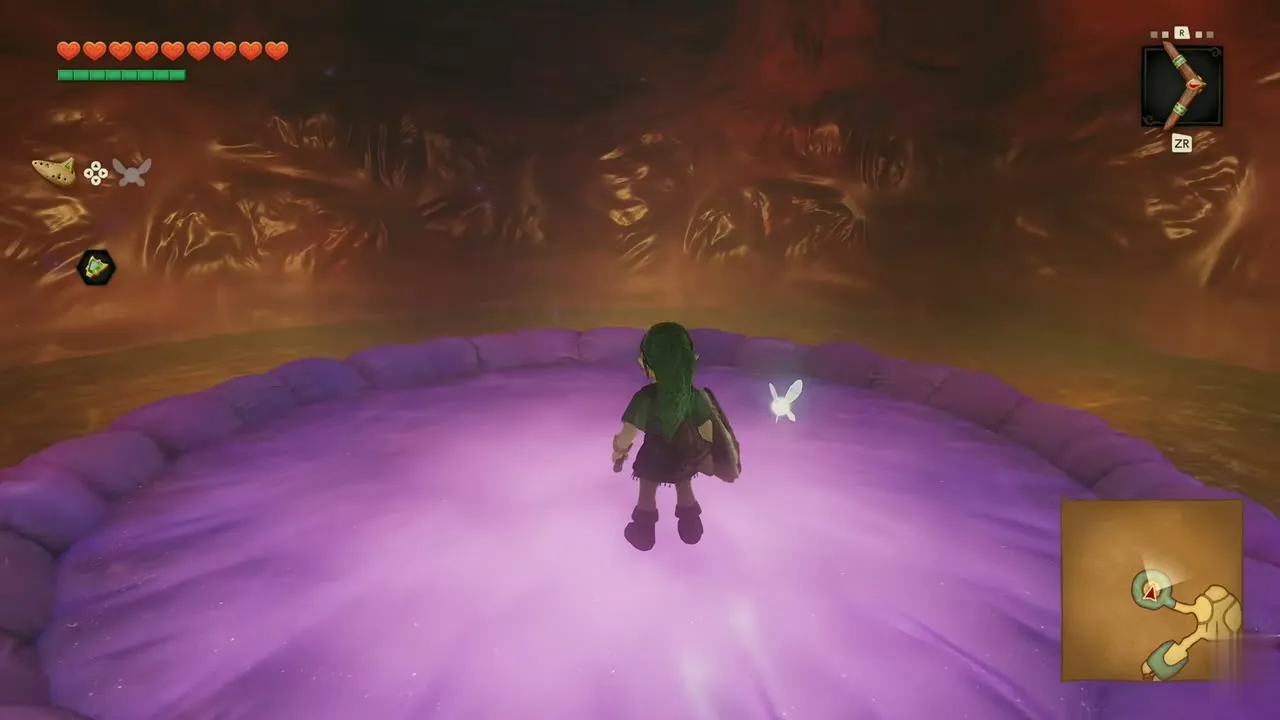
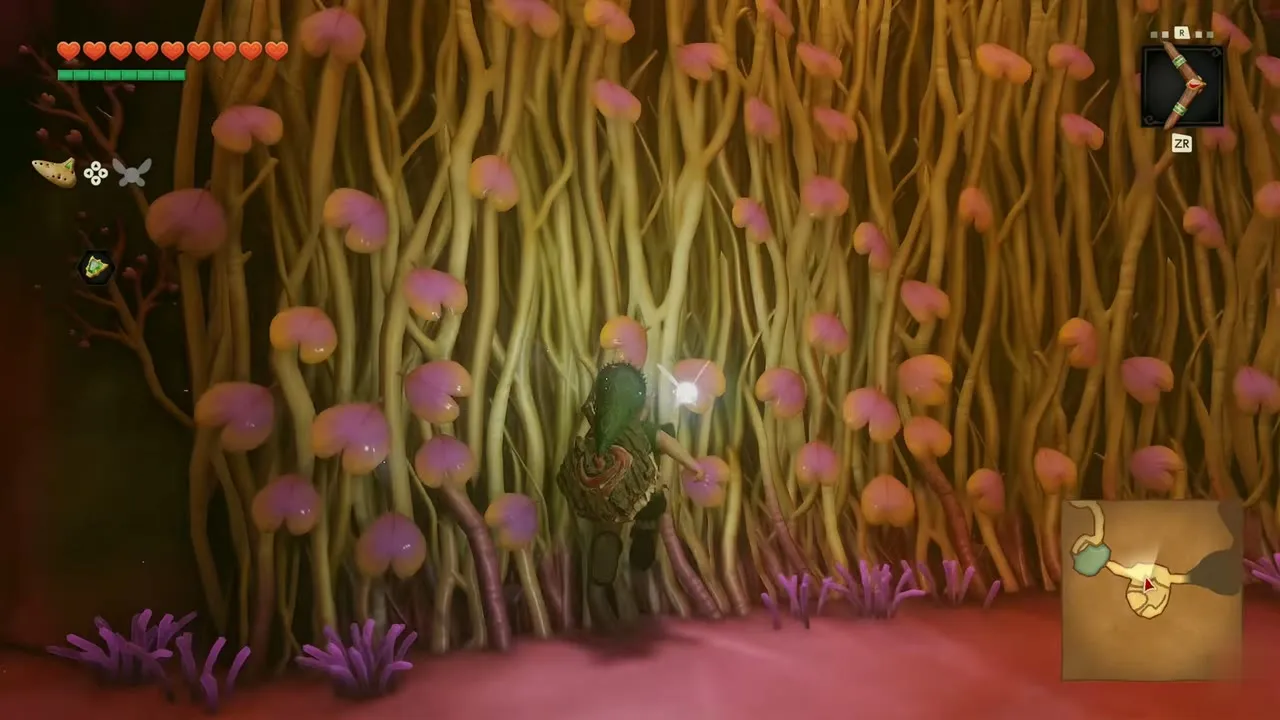
Navi cheers that the thing is gone and worries about Ruto. Climb onto the purple pad and use the golden grass wall to reach the next room, where a patterned block waits. Pick it up and set it on the glowing shell pad in front of the round door to open it.
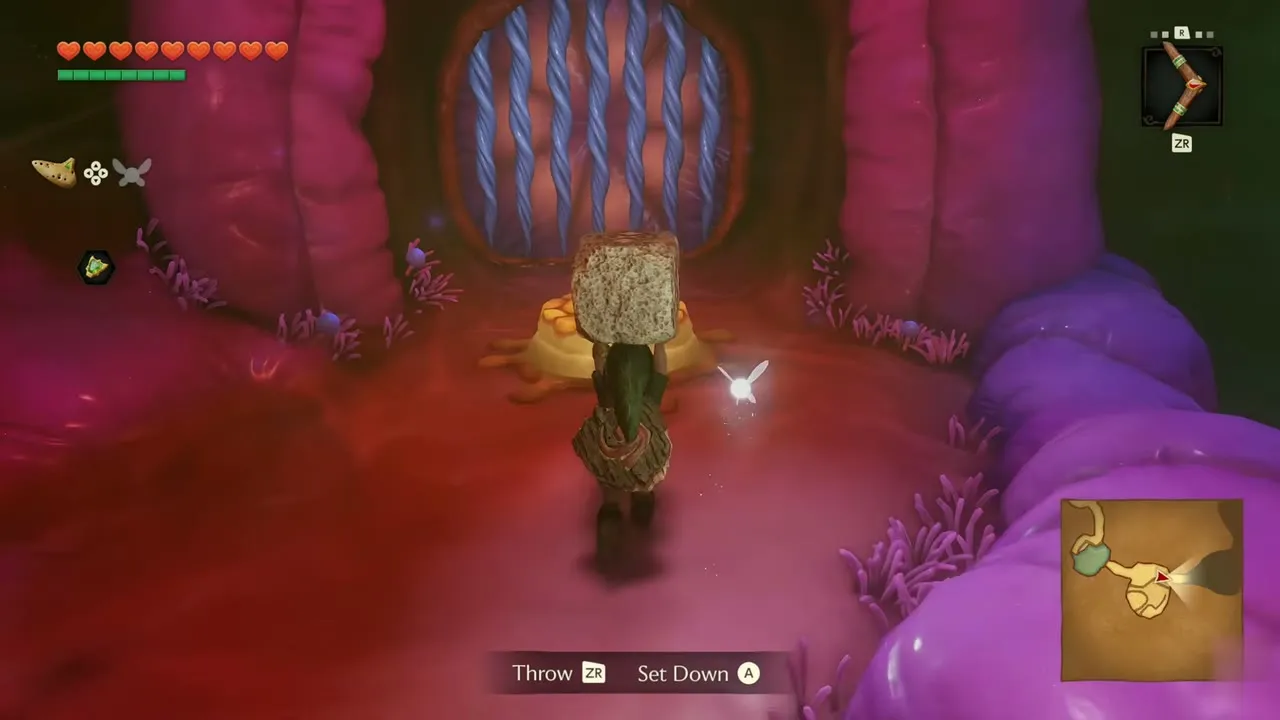
2F and the Gold Skulltula #34
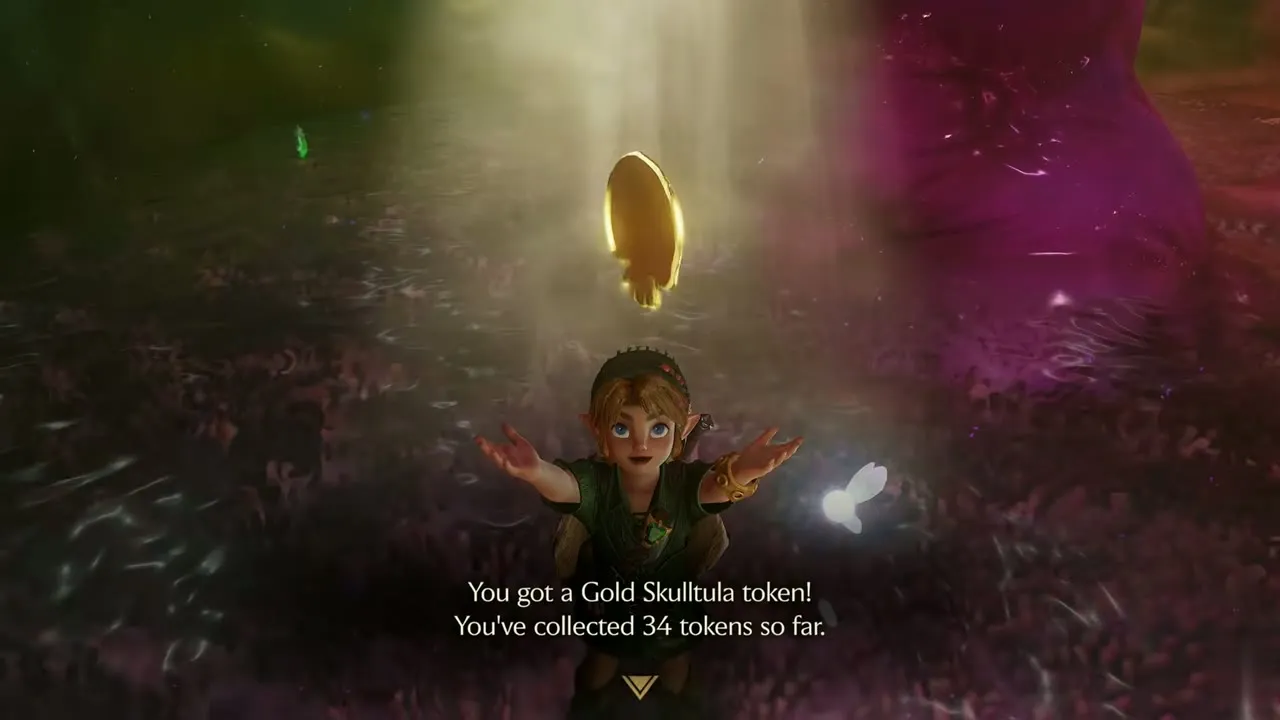
Gold Skulltula #34 on the vine pillar
On 2F, climb the purple tissue ledge and drop onto the pad. A purple tentacle pillar wrapped in vines stands in the middle of the passage. Throw the Boomerang at the pillar and the token falls into your reach. Step through the red chamber beyond, pick up the loose rupees and take the next round door.
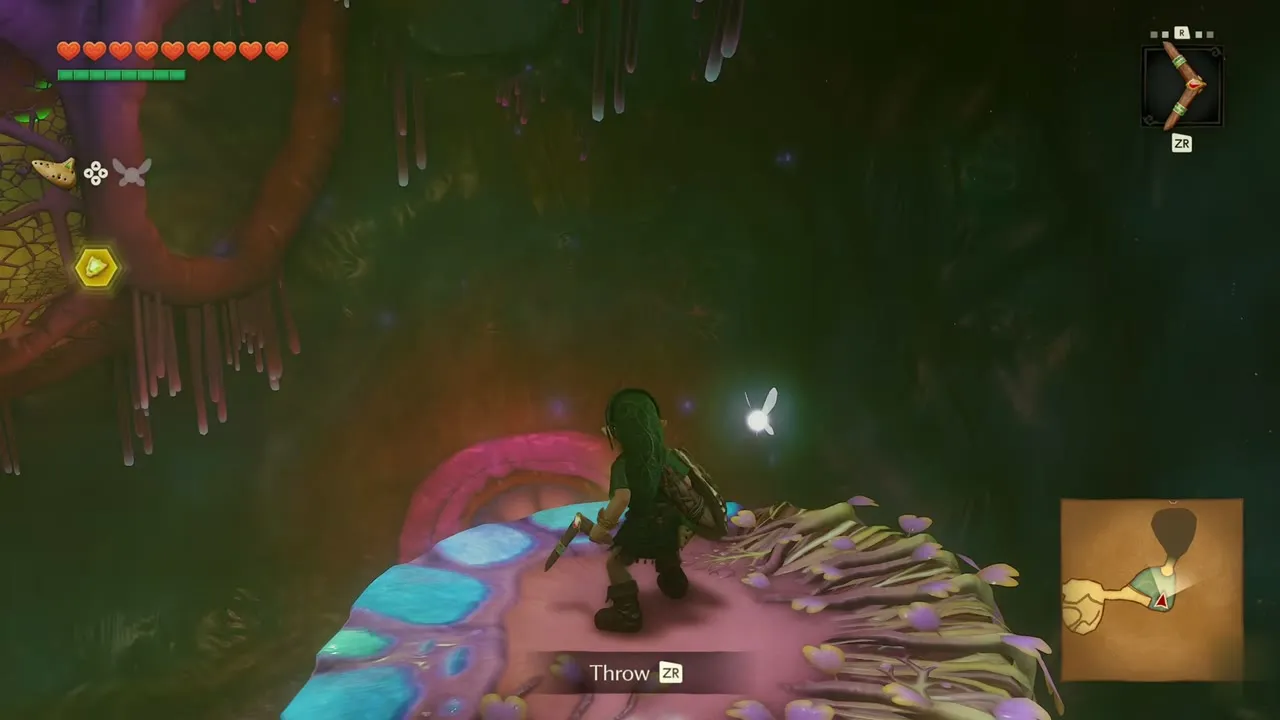
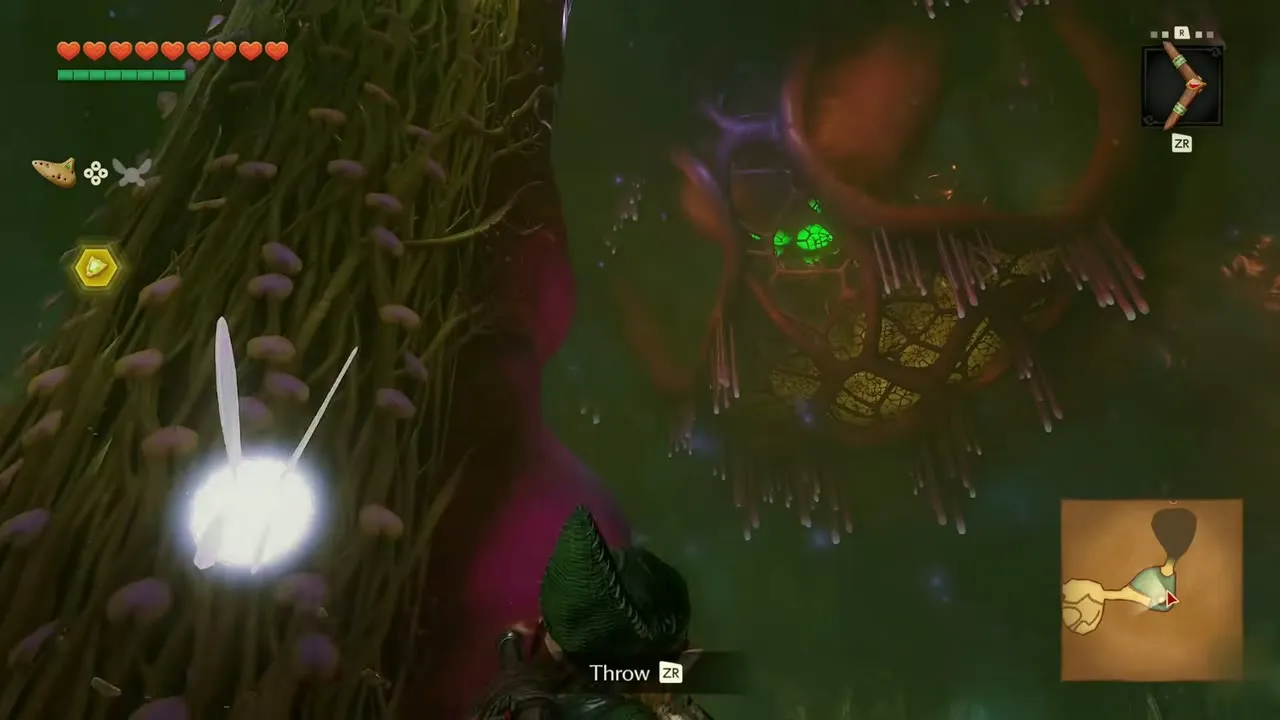
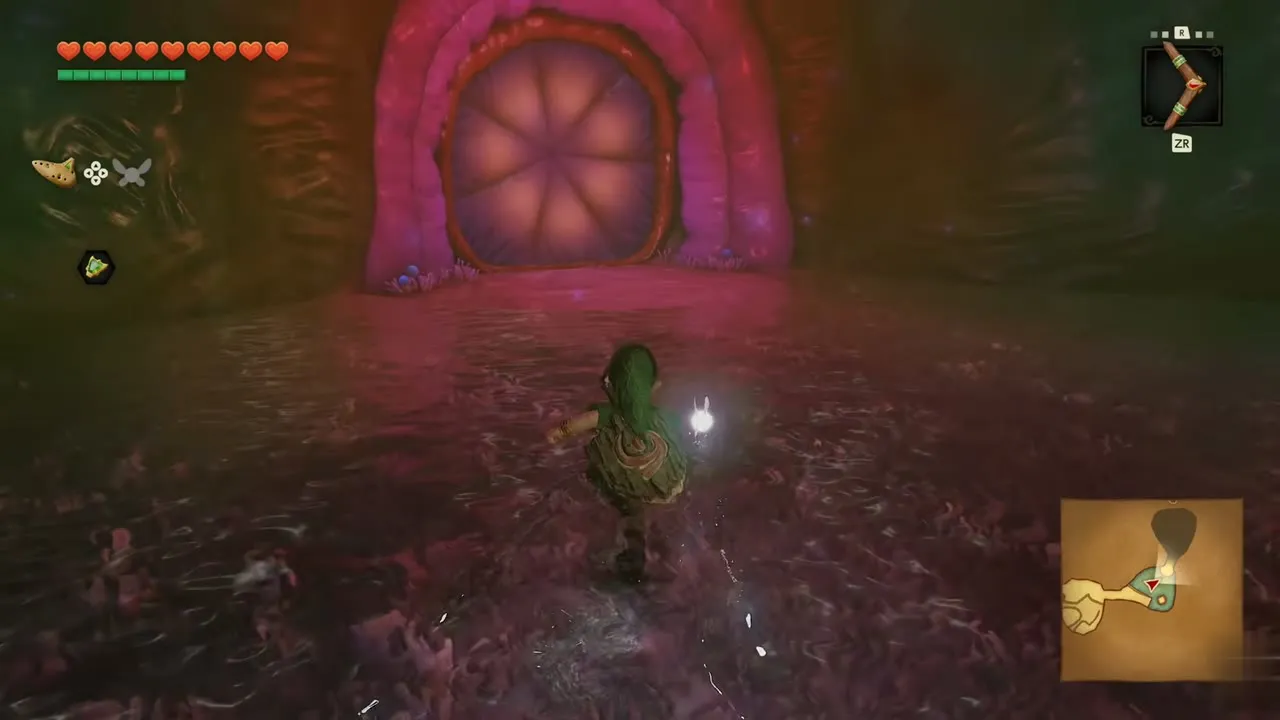
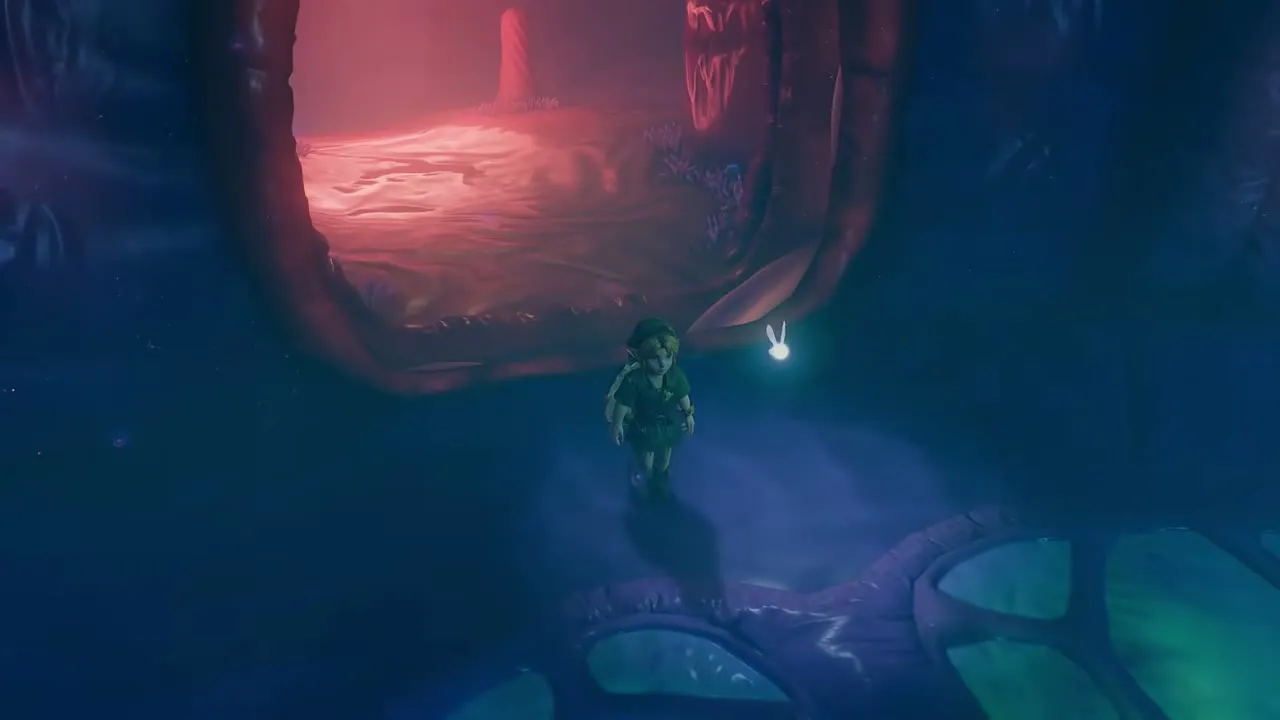
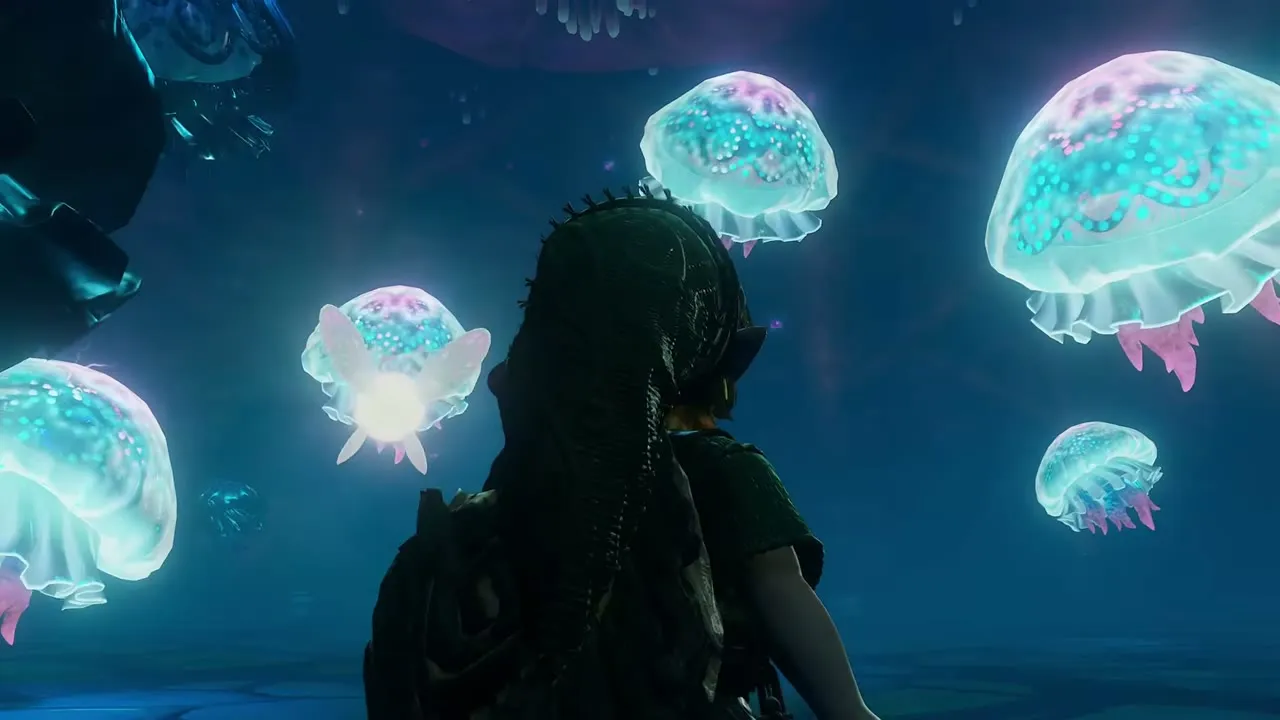
Beyond it is a dark blue chamber. Follow Ruto’s cries of “Hello? I’m here! Over here!” into the next room. A swarm of cyan and pink jellyfish waits there.

Barinade boss fight
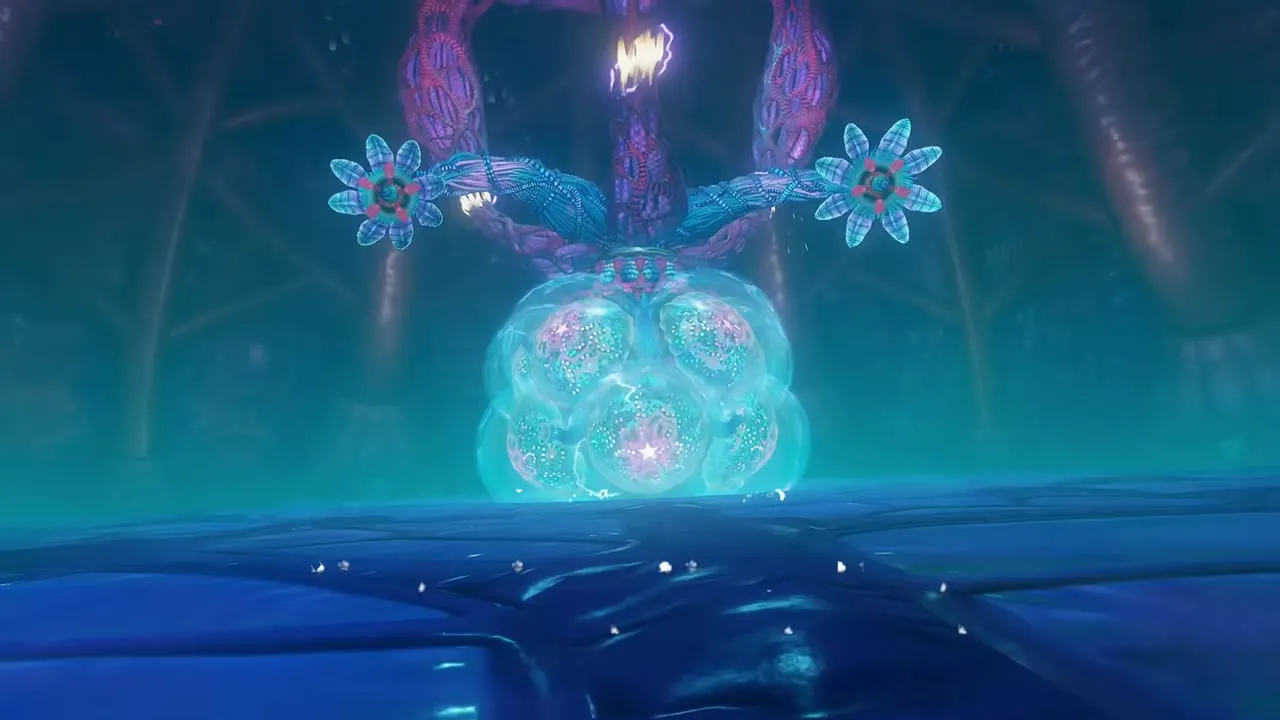
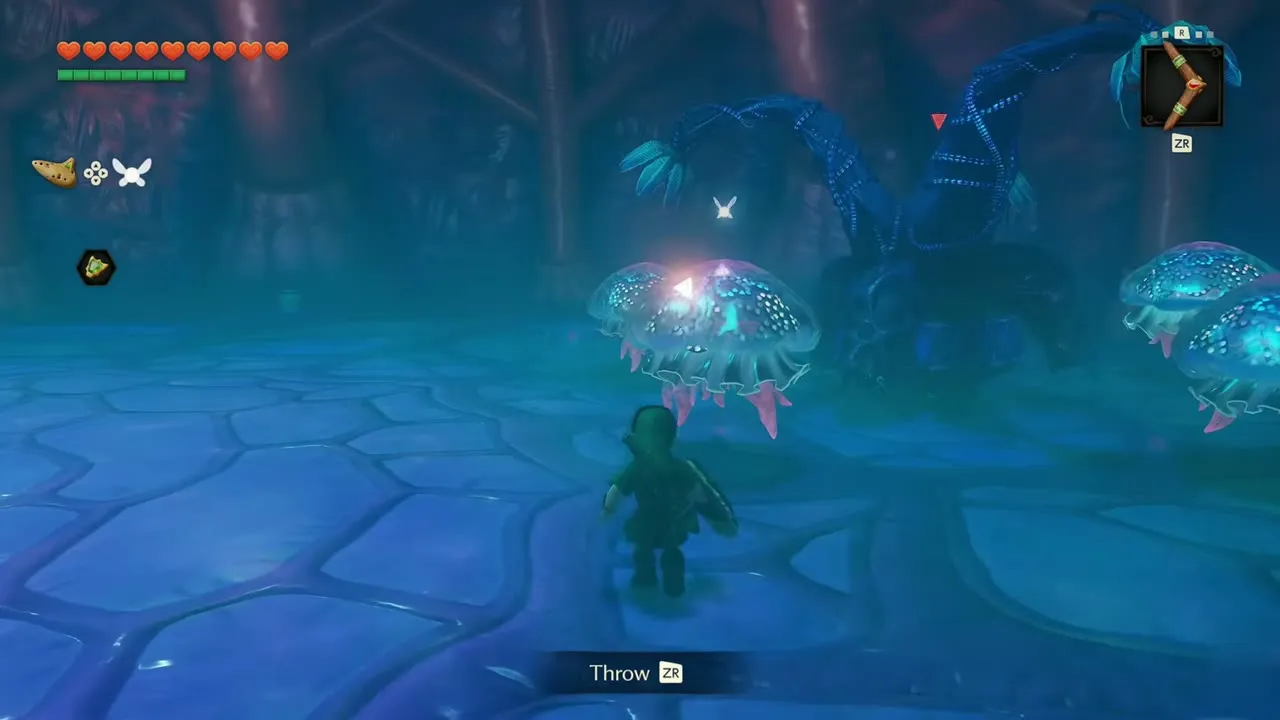
Bioelectric Anemone Barinade hangs from the ceiling, wrapped in a ring of glowing bubbles. It shoots arcs of lightning across the floor and sends jellyfish after you, so stay on the move and use the Boomerang as your main weapon.
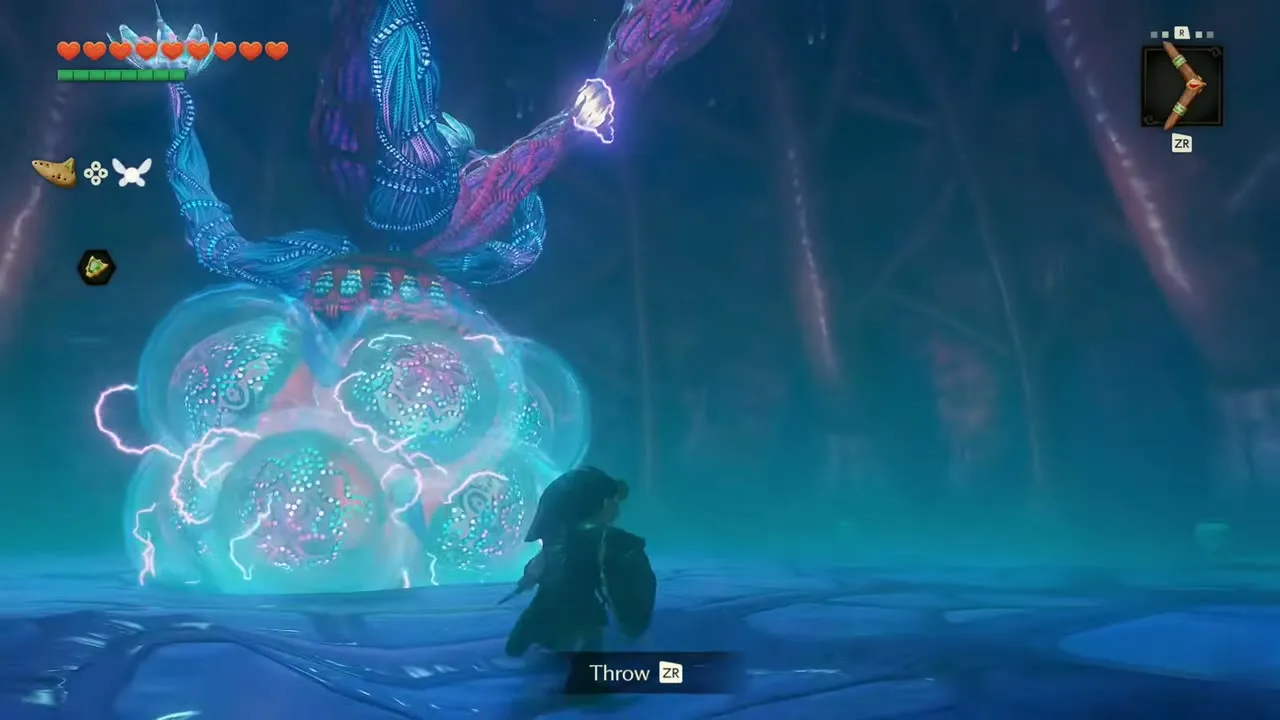
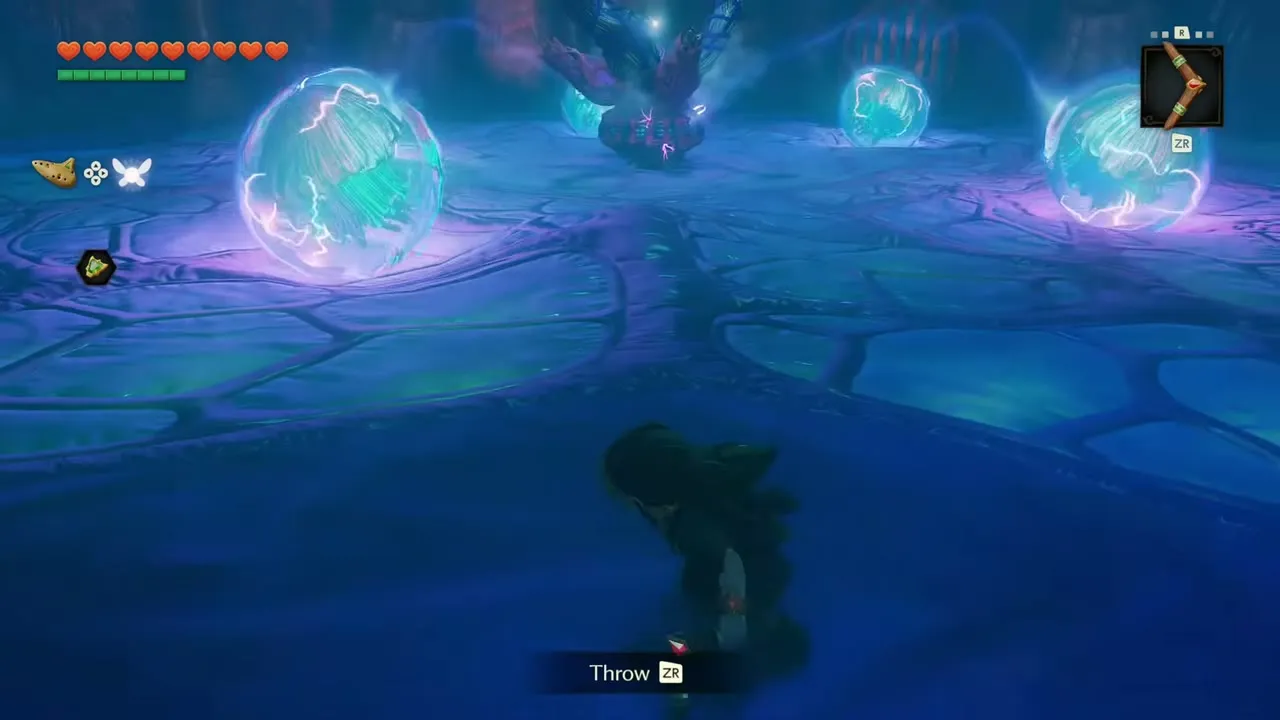
Phase 1: break the jellyfish shield
Start by throwing the Boomerang at the cluster hanging from the ceiling while you dodge the lightning. It breaks up, and glowing bubbles and small jellyfish drift around the room. Run in circles, lock on to the bubbles and jellyfish and throw the Boomerang to pop each one. Keep your shield up and keep moving, because the electric sparks hit hard if you stand still.
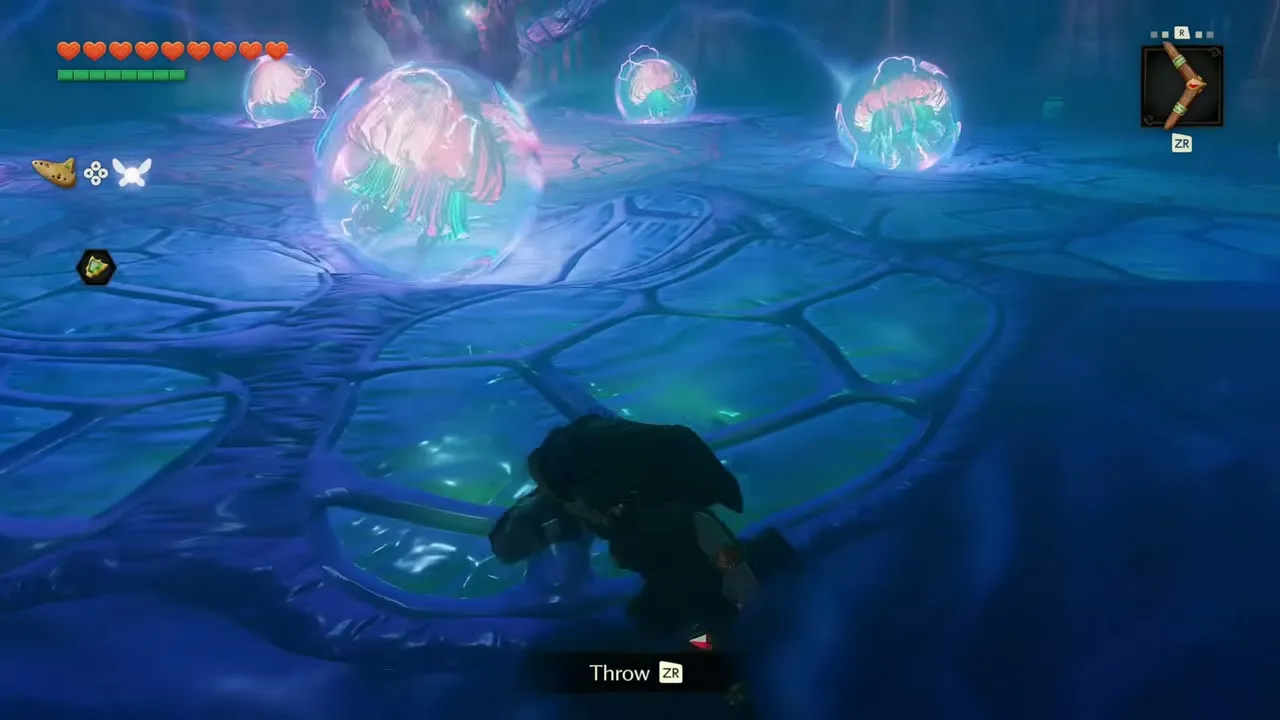
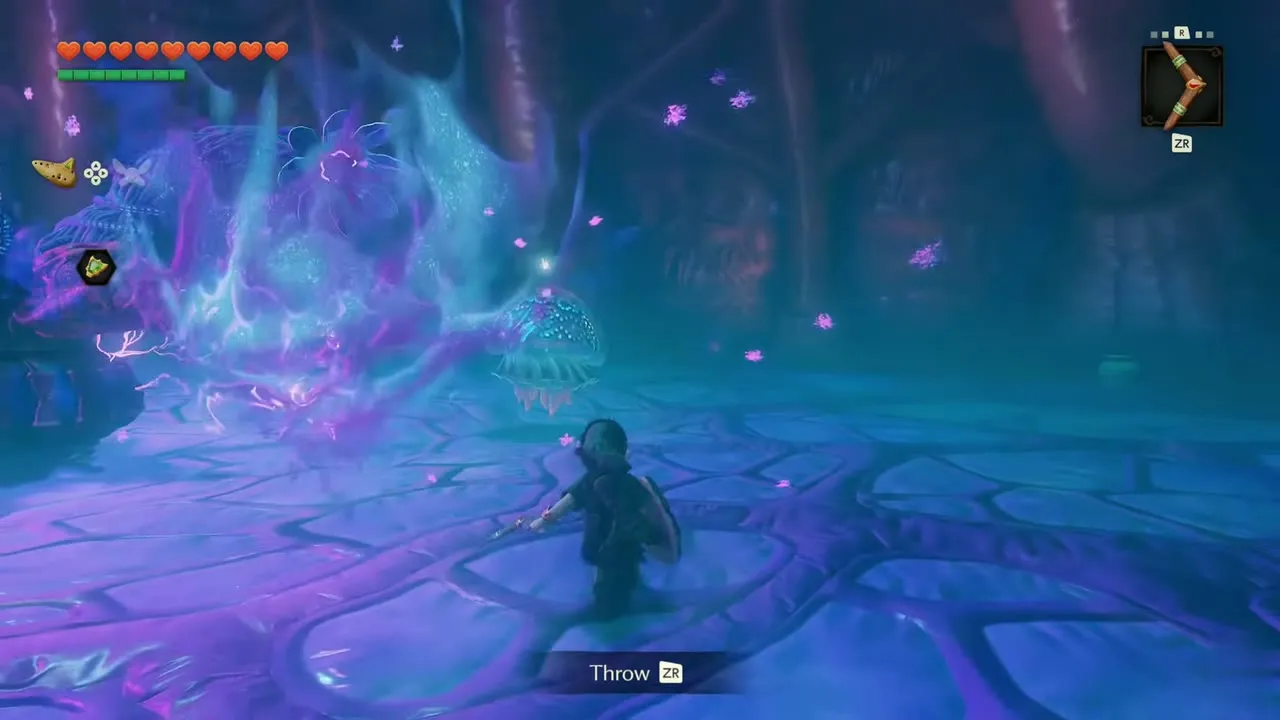
Phase 2: hit the exposed core
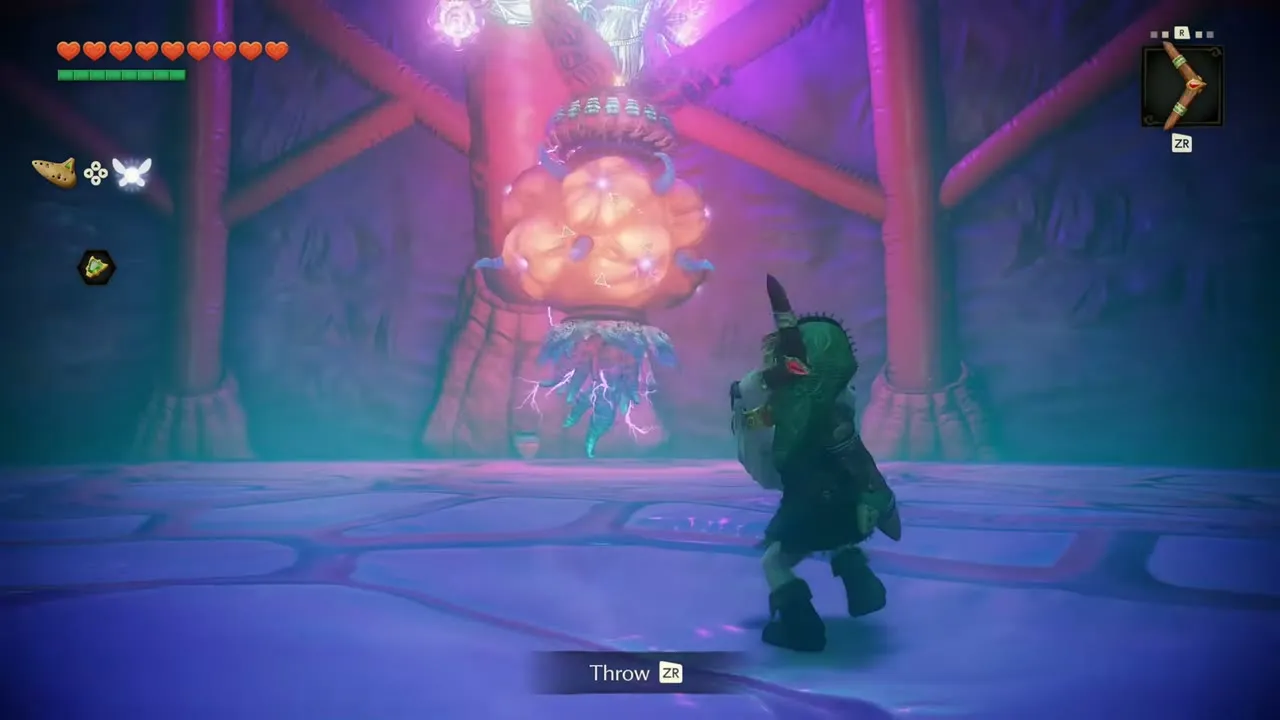
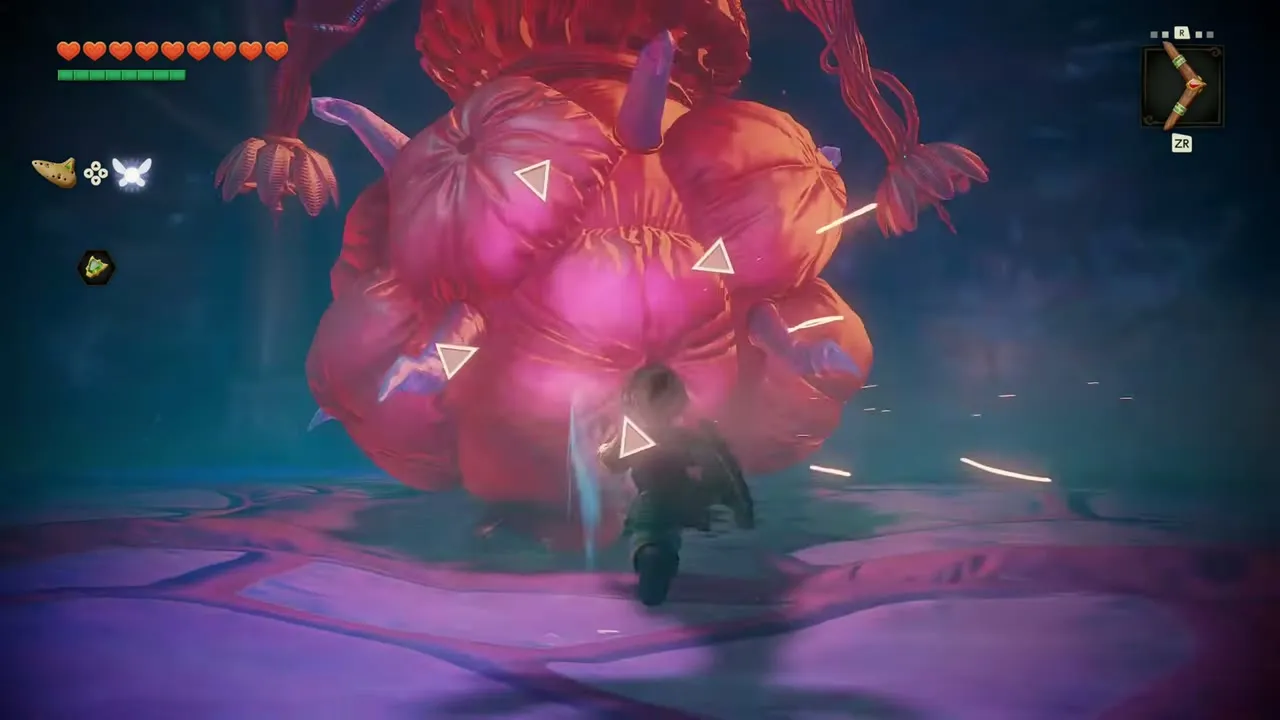
Once the shell of jellyfish is gone, an orange core swells beneath the body. Target it and throw the Boomerang. The tentacles whip down and lightning arcs between them when it is hit, so back off as soon as the throw lands.
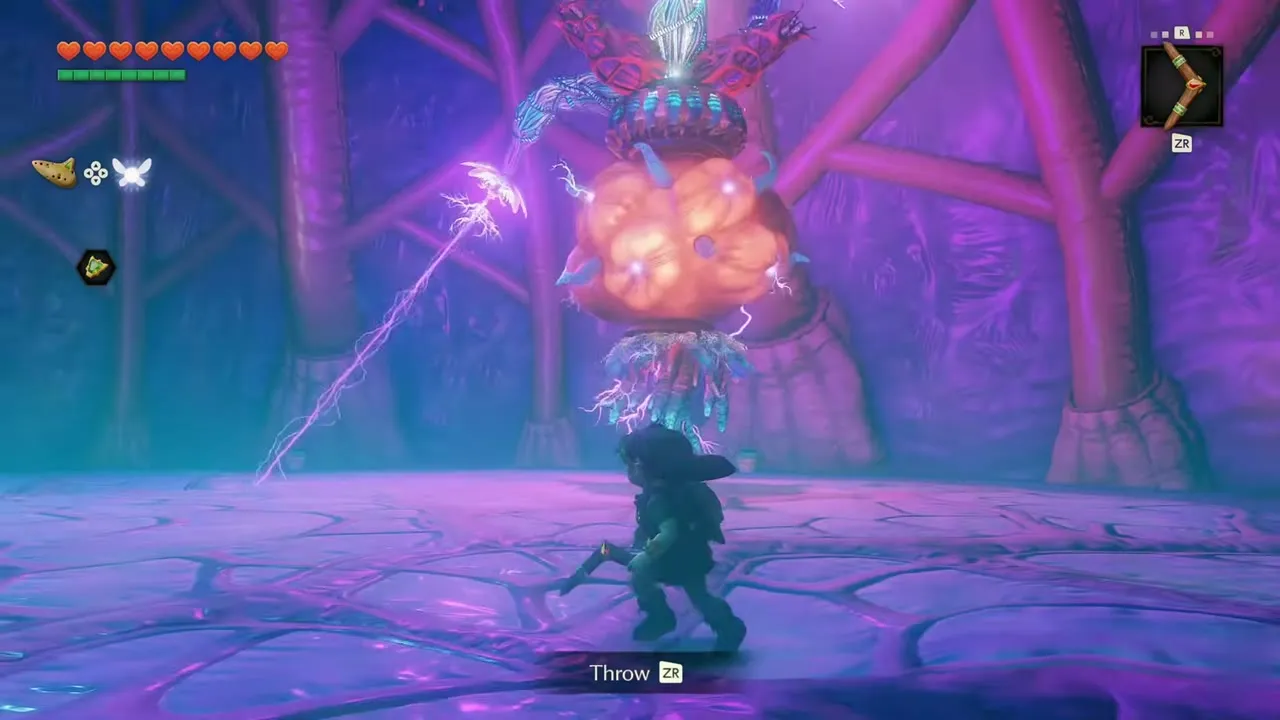
Phase 3: finish it
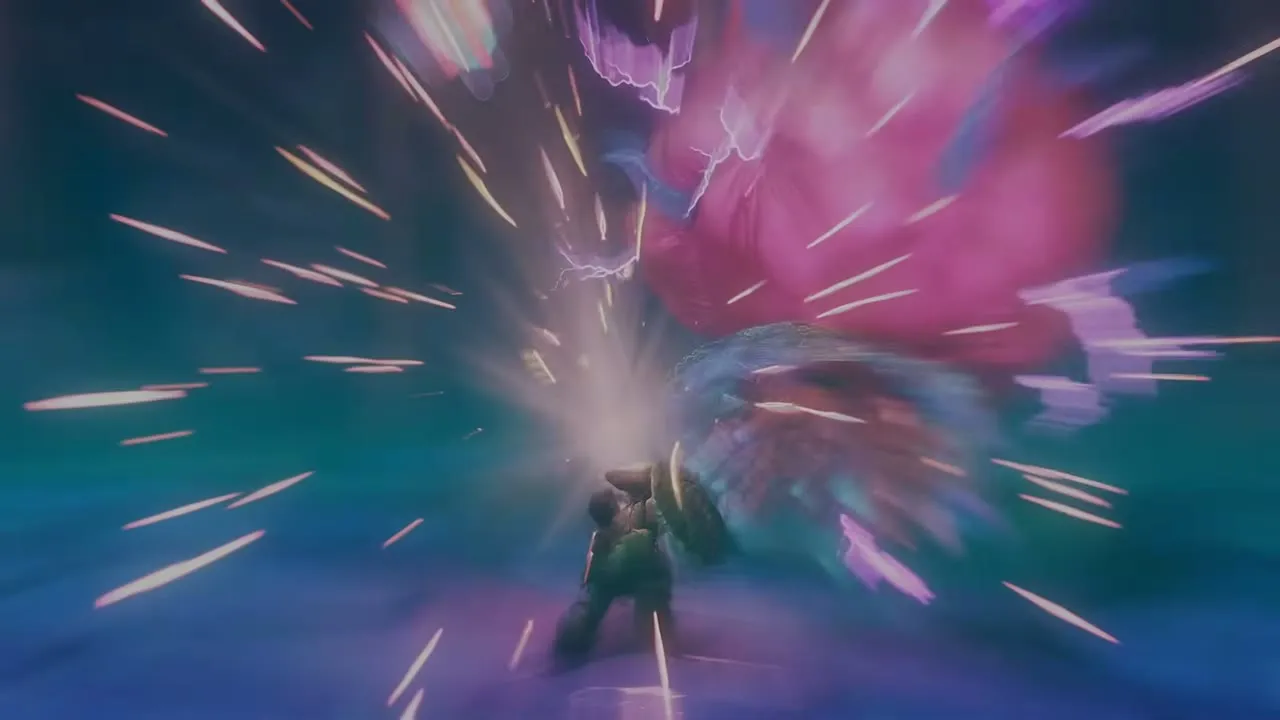
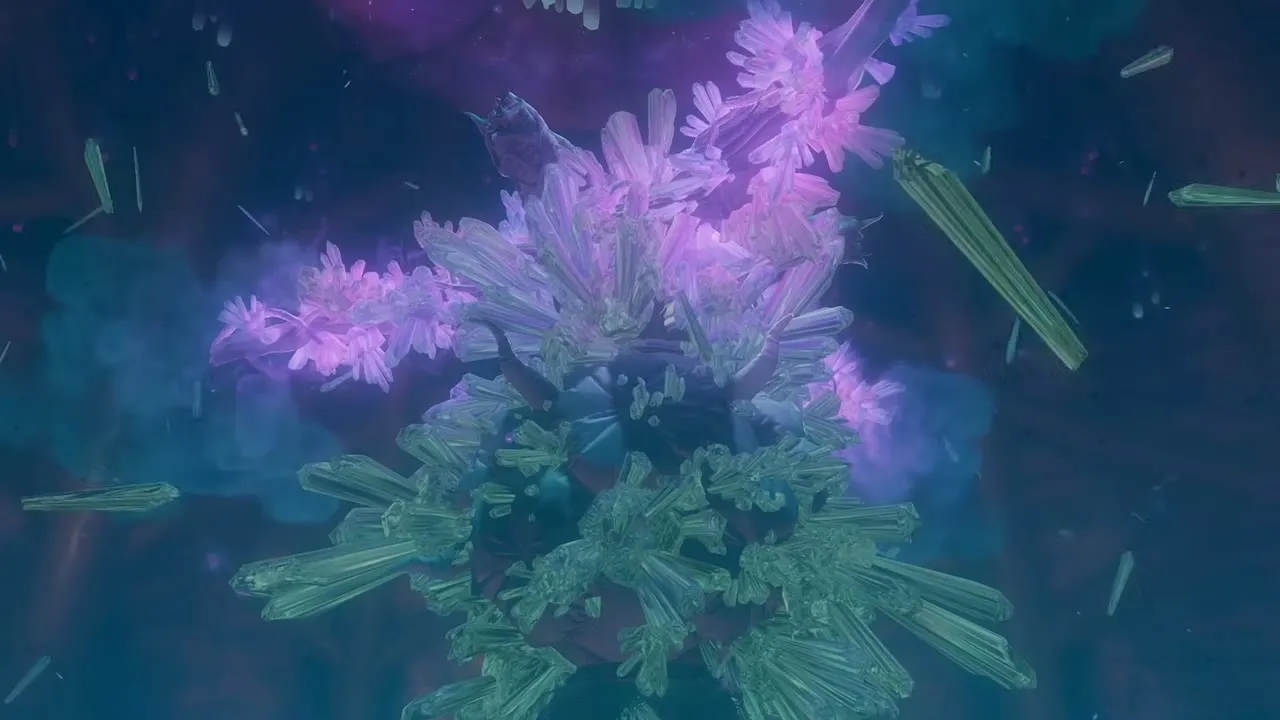
After a few hits the core drops closer to the ground. Run up and slash it with your sword before it recovers. A final blow shatters Barinade into purple crystal shards and a cloud of smoke.


Heart Container
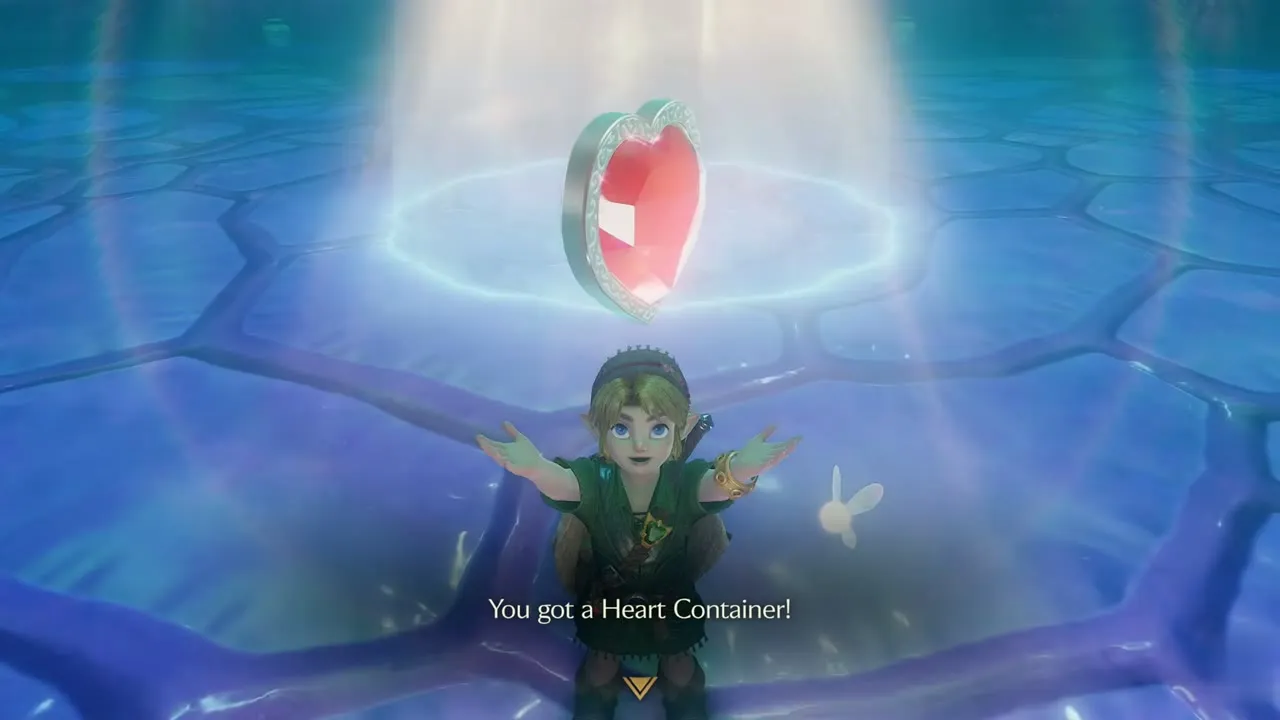
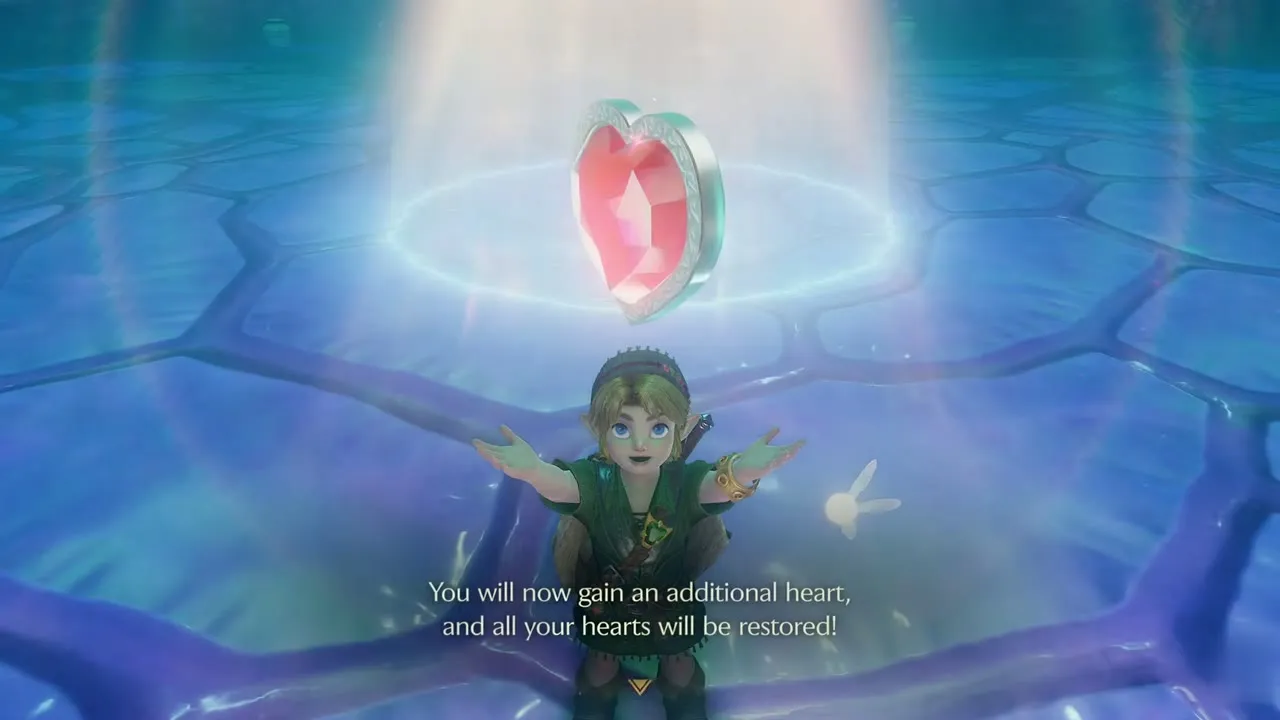
Ruto is lying on the arena floor, and Navi cheers that she is OK. Step into the ring of light and take the Heart Container. You get one more heart and all your hearts are restored.
Ruto and the Spiritual Stone of Water
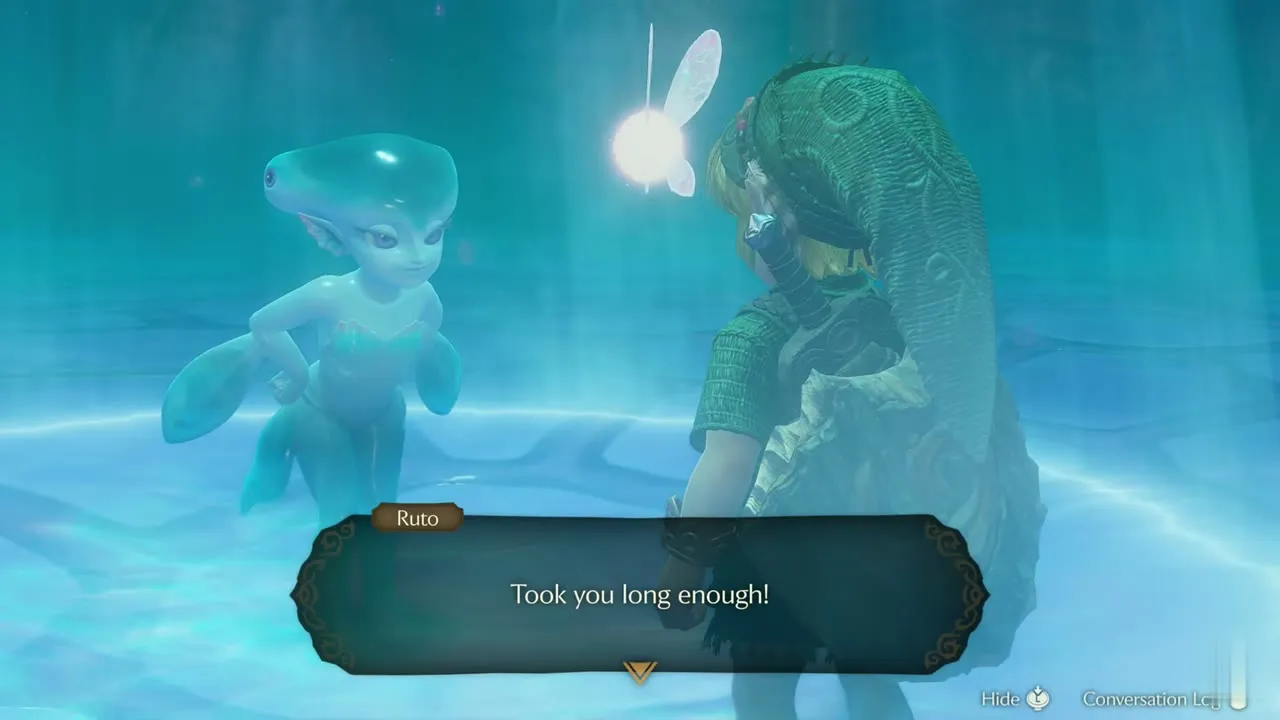
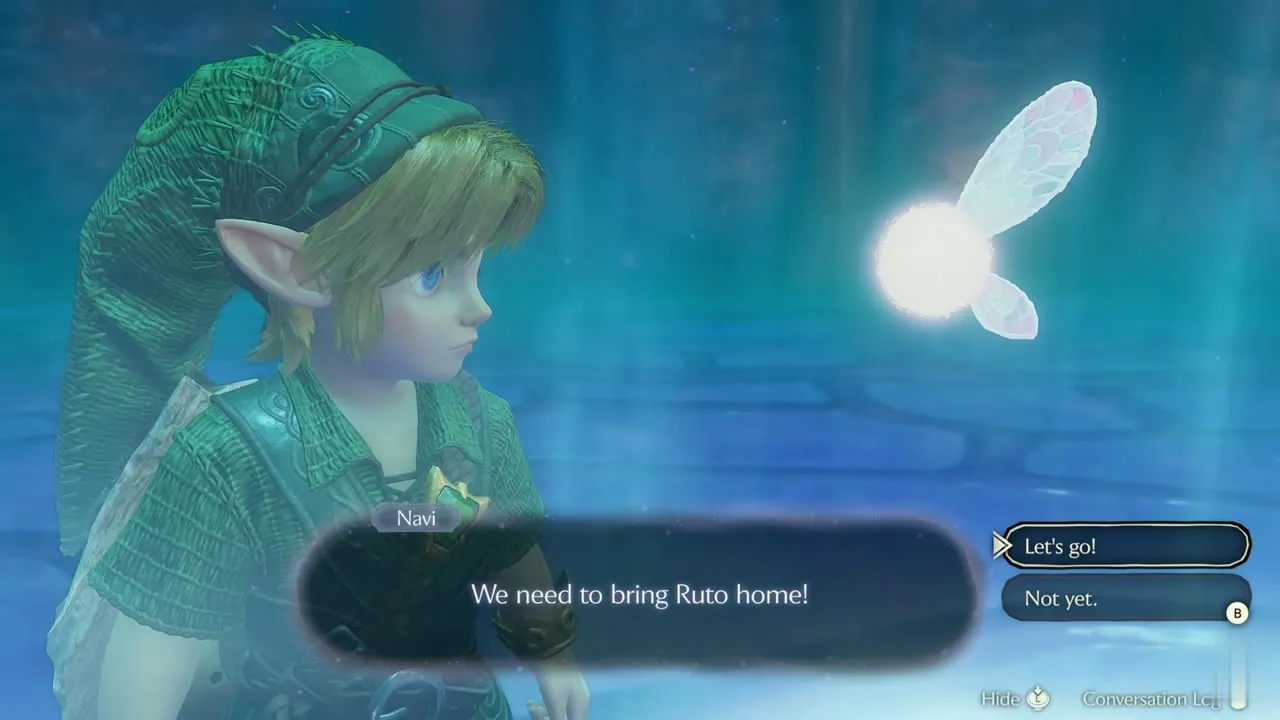
Ruto reaches you complaining that it took you long enough, then apologises because she has been lonely. When Navi reminds you that Ruto must go home, answer Let’s go to leave the belly.

Spiritual Stone of Water
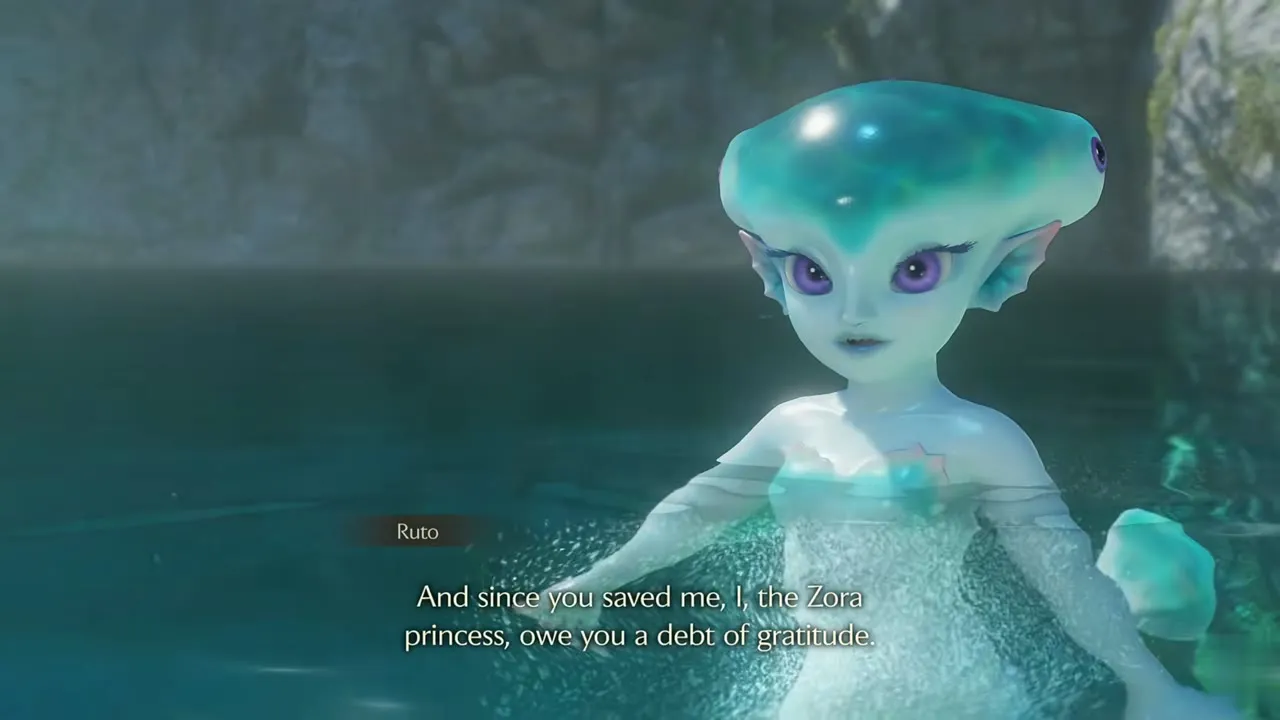
Outside, you and Ruto surface in the water of Zora Fountain. She thanks you for saving her and offers a reward, then confesses that her mother’s gem is meant for her future husband. Press on through the speech, and she hands over the Spiritual Stone of Water, which the Zora call the Zora Sapphire.

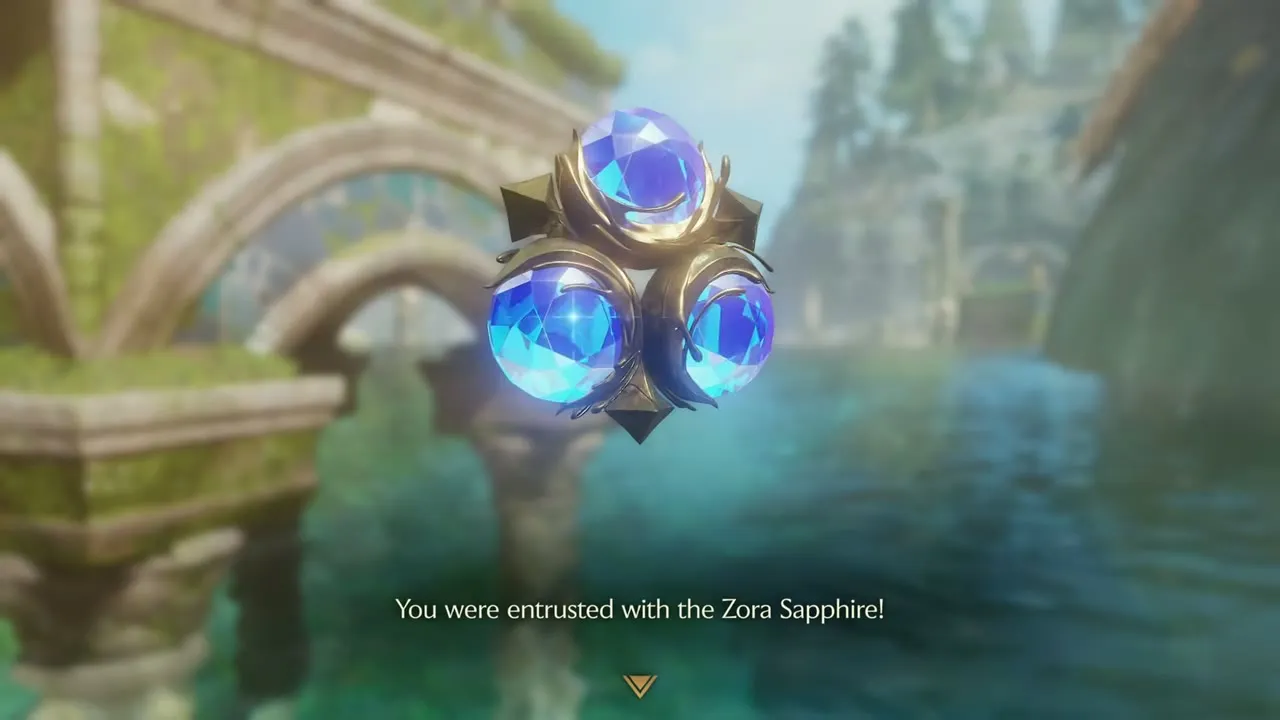
With the stone in hand, the quest log updates to Three Spiritual Stones. You have all three now, and the message tells you to return to Princess Zelda at the castle. You emerge back at Zora Fountain.


Chapter checklist
| Collectible | Type | Where |
|---|---|---|
| Gold Skulltula #30 | Gold Skulltula | Zora Fountain, tree beside the night path |
| Farore’s Wind | Spell | Great Fairy‘s Fountain, Zora Fountain (100 rupees) |
| Dungeon Map | Dungeon item | Chest on B1 |
| Gold Skulltula #31 | Gold Skulltula | B1, pot room above the vine wall |
| Business Scrub | Shop | B1, leaf pad (Deku Seeds, Deku Nuts, Business Scrub Seed) |
| Boomerang | Main item | Chest on 1F |
| Compass | Dungeon item | Chest on 1F |
| Gold Skulltula #32 | Gold Skulltula | B1, ceiling of the dripping cavern |
| Gold Skulltula #33 | Gold Skulltula | B1, dark passage past the first ceiling token |
| Gold Skulltula #34 | Gold Skulltula | 2F, vine pillar |
| Heart Container | Heart Container | Barinade boss room |
| Spiritual Stone of Water | Spiritual Stone | Given by Ruto on Zora Fountain |
| Fish in a bottle | Bottle contents | Inside the entrance of the belly |
With all three stones in hand, the next chapter covers a few errands in Hyrule before Temple of Time.