
























Ocarina of Time Remake 100% Completion Walkthrough41 chapters
- Kokiri ForestFind the Kokiri Sword, buy the Deku Shield for 40 rupees and get past Mido to the Great Deku Tree.
- The Great Deku TreeFairy Slingshot, Dungeon Map, Compass, four Gold Skulltulas, Gohma and the Kokiri Emerald.
- Leaving Kokiri ForestSay goodbye to Mido and Saria, get the Fairy Ocarina, meet Kaepora Gaebora and cross Hyrule Field.
- Hyrule Castle TownGold Skulltula, Bazaar, Shooting Gallery seed bag, Potion Shop bottle and the Temple of Time.
- Hyrule CastleGet the Weird Egg, wake Talon, sneak in, meet Zelda, learn Zelda’s Lullaby and collect Zelda’s Letter.
- Kakariko VillageCucco Lady’s bottle, House of Skulltula, Adult’s Wallet and the rooftop Heart Piece.
- GraveyardDampé’s Grave-Diggin’ Tour Heart Piece, Sharp and Flat, the Royal Family’s Tomb and the Sun’s Song.
- Lon Lon RanchTalon’s cucco game, Lon Lon Milk, Epona’s Song, a Heart Piece and Gold Skulltula.
- Gerudo ValleyTwo Heart Pieces, Lon Lon milk from Miss Moo with Epona’s Song, and a Gold Skulltula token.
- Lake HyliaLakeside Laboratory, the scarecrow quest, a Gold Skulltula and the fishing Heart Piece.
- Lost Woods and Sacred GroveRichard’s Heart Piece, Happy Mask Shop, Skull Kid, Saria’s Song, Gold Skulltulas 16 to 19 and the Business Scrubs.
- Death Mountain Trail and Goron CityClimb to Goron City, win over Darunia with Saria’s Song and take the Goron Bracelet before Dodongo Cavern.
- Dodongo CavernDungeon Map, Compass, Bomb Bag, four Gold Skulltulas, King Dodongo and the Goron Ruby.
- Death Mountain Summit and CraterGoron City Heart Piece and Bigger Bomb Bag, Din’s Fire and magic meter, crater Heart Piece, Echo Gem.
- Bombchu Bowling and the Great Fairy of PowerWin the Bombchus, Biggest Bomb Bag and Heart Piece, then get the enhanced Spin Attack.
- Zora River and Zora DomainHeart Pieces, a Gold Skulltula, the Silver Scale, Ruto’s bottle in Lake Hylia and King Zora’s request.
- Lord Jabu-Jabu’s BellyFarore’s Wind, the Boomerang, Ruto, Barinade, the Heart Container and the Spiritual Stone of Water for child Link.
- Errands Before the Temple of TimeThe child errands before the Temple of Time in the Ocarina of Time Remake.
- Temple of TimeFind the Ocarina of Time, open the Door of Time, draw the Master Sword and earn the Light Medallion.
- Ingo Ranch and EponaIngo’s two horse races, winning Epona and teaching Bonooru the Scarecrow Song.
- Kakariko Village and the HookshotDampé’s race, the Hookshot, Song of Storms and Heart Pieces #17 to #19.
- Sacred Grove as an AdultGet past Mido with Saria’s Song, cross the Moblin maze, beat the Great Moblin.
- Forest TempleSmall keys, Fairy Bow, four Poe Sisters, Phantom Ganon, Heart Container and Forest Medallion.
- Poes, the Hall of Fallen Foes and Lake HyliaBigger Quiver, Prelude of Light, Big Poes, Golden Scale and three Heart Pieces.
- Goron City as an AdultHeart Pieces, a Gold Skulltula, the Goron Tunic from the small Goron.
- Fire TempleFree all nine Gorons, find the Megaton Hammer and Boss Key, beat Volvagia and earn the Fire Medallion.
- Double Magic and Death MountainCrater Great Fairy Fountain, doubled magic, Gold Skulltulas 60 to 62 and a Business Scrub Seed as adult Link.
- Ice CavernBlue Fire, Iron Boots, Serenade of Water, the Zora Tunic and two Heart Pieces.
- The Biggoron Sword RouteBuy the Giant’s Knife, trade from the Pocket Egg to Cojiro, and finish every step up to the Biggoron Sword.
- Water TempleTriforce doors, small keys, Longshot, Dark Link, Morpha, the Water Medallion and Gold Skulltulas 68 to 73.
- Kakariko Village and the Nocturne of ShadowLearn the Nocturne of Shadow and find two Gold Skulltulas and two Heart Pieces.
- Bottom of the WellLenses of Truth, Dungeon Map, Compass, both small keys, Dead Hand and Gold Skulltulas 76 to 78.
- Treasure Box Shop and the Way to the Shadow TempleWin the Piece of Heart with the Lenses of Truth, then warp to the Shadow Temple via the Nocturne.
- Shadow TempleFloors B1 to B4, Hover Boots, Bongo Bongo, Heart Container and the Shadow Medallion from Impa.
- Gerudo FortressRescue all four carpenters, win the Gerudo Pass, find Gold Skulltulas 84 and 85.
- Mirage Desert and Evil Desert ColossusPhantom Guide, Requiem of Spirit, five Gold Skulltulas, three Heart Pieces, Biggest Quiver, Nayru’s Love.
- Spirit TempleChild and adult routes, Silver Gauntlets, Mirror Shield, Boss Key, Iron Knuckle Nabooru, Twinrova.
- Gerudo Proving GroundsPay 30 rupees, solve every room, and claim the Ice Arrow and a Business Scrub Seed.
- Last Heart Pieces and Gold SkulltulasTokens 96 to 100, Heart Pieces 33 to 35, the Rich Man reward and Light Arrow.
- Ganondorf’s CastleClear the six barriers, get the Golden Gauntlets and the Great Fairy of Courage’s gift.
- Ganondorf and GanonTower climb, Boss Key, Ganondorf boss fight, the escape with Zelda and the Ganon boss fight.
| Covers | Death Mountain Crater, Goron City, Kakariko Village, Lost Woods, Gerudo Valley, Zora River, Zora Domain, Lake Hylia, Death Mountain Trail |
|---|---|
| Link | Adult |
| You need | Epona and Epona’s Song, the Sun’s Song, the Bolero of Fire, Hookshot, Megaton Hammer, Zora Tunic, at least 200 rupees |
| Rewards | 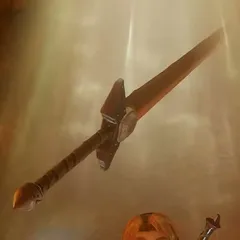 Giant’s Knife, Pocket Egg, Pocket Cucco, 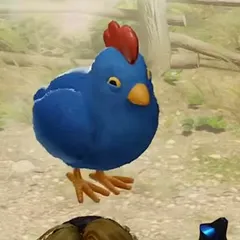 Cojiro, 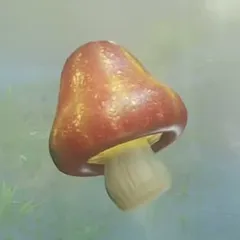 Odd Mushroom, 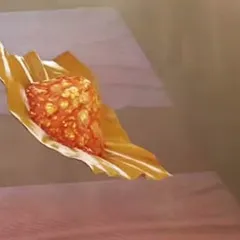 Odd Poultice,  Poacher’s Saw, 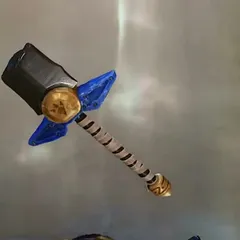 Broken Goron Sword, 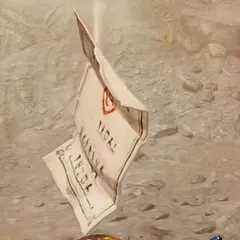 Prescription,  Eyeball Frog, 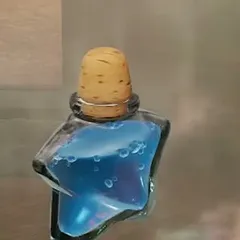 specialty eye drops, 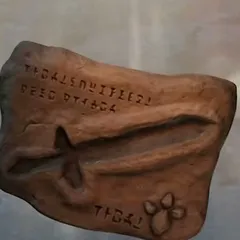 Biggoron Receipt, Biggoron Sword,  Gold Skulltula #67, a red rupee; starts Missing in the Desert; no Heart Pieces or Heart Containers |
This route turns a 200 rupee purchase and a borrowed egg into the Biggoron Sword, a huge blade that needs both hands and cannot be used with a shield. You buy the Giant’s Knife from Medigoron, hatch the Pocket Egg for the Cucco Lady, swap the Pocket Cucco for Cojiro, and then carry one item after another across Hyrule until Biggoron hands over the receipt and, a few days later, the sword. The whole chain is covered in the trading sequence guide; this page walks it in route order.


Table of Contents
Medigoron’s Giant’s Knife in Goron City
Warp to Death Mountain Crater
Play the Bolero of Fire and confirm the prompt “Warp to the Death Mountain Crater?”. Link lands on the red pedestal. Cross to the chained gate on the far wall and use the Hookshot where the Fire prompt shows, then go through the cave beyond it and you arrive in Goron City. A Goron in the tunnels greets you with “Welcome back!”, but the person you want is deeper in the tunnels, so keep going toward the glowing alcove at the end.


Giant’s Knife from Medigoron
Talk to Medigoron, who runs Medigoron Masterworks from a nook in the cave. He offers a sword he handcrafted for 200 rupees. Say yes and you get a giant’s knife. The box warns that you need both hands to swing it and that it is too heavy to use with a shield. Your wallet drops by 200 rupees. Keep the knife for the whole chain, because Biggoron takes it off you at the end.


From a Pocket Egg Comes… in Kakariko Village
Walk down to Kakariko Village
Leave Goron City and follow Death Mountain Trail down in the dark, past the narrow ledges and the stone gate, until you walk into Kakariko Village at night. Head for the Cucco Lady’s pen and house. The Kakariko Village chapter has the rest of the town.


Pocket Egg
Speak to the Cucco Lady. She tells you she came across a very rare cucco egg, then asks whether you would look after it. Accept and you borrow a pocket egg; she says it hatches at dawn and that you must return it when you are done. The quest banner “From a Pocket Egg Comes…” appears, and her hint is simple: find a heavy sleeper and let the cucco’s crow wake him.


Wake the heavy sleeper
Search the village houses until you find a man asleep on a bed in a small room, then open the songbook and play the Sun’s Song beside him. Day and night swap places each time you play it, and the egg hatches only at dawn. While you wait, the Bazaar sells 10 arrows for 20 rupees, which you can skip. Back outside in the village, play the Sun’s Song to bring night, then play it once more to bring the dawn.


Pocket Cucco
When dawn arrives the egg hatches and a pocket cucco lands in your arms. The text says its crow is loud enough to wake even the soundest of sleepers, and the bird now sits in your item menu. Carry it straight back to the house with the sleeping man so the cucco can do its work.


Wake Talon
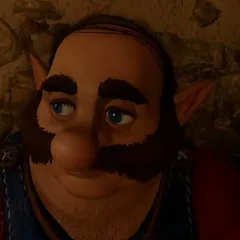
Walk into the sleeper’s room and the Pocket Cucco crows. The sleeper turns out to be Talon, who jumps up groggily, asks whether you went to Ingo Ranch, and then declares he is going to turn over a new leaf and work the ranch properly again. He runs off calling for Malon, and the game saves while you stand in the empty room.


Cojiro
Return to the Cucco Lady and she inspects the pocket cucco, saying she has never seen a happier bird. She then offers a trade: your cucco for Cojiro, a blue cucco that used to belong to her big brother and has not crowed since he left. Say yes and you receive Cojiro. She asks you to find her brother and reunite them.


Cojiro, the Odd Mushroom and the Odd Poultice
Odd Mushroom from the Master Craftsman’s Son
Call Epona with Epona’s Song, ride from Hyrule Field to the Lost Woods and make your way to the clearing with the big tree. A man sits there, the Master Craftsman’s Son. Show him Cojiro and he cries out in surprise, then trades the bird for an Odd Mushroom. He tells you a woman in Kakariko Village runs a potion shop, and a 4:00 countdown starts, because the mushroom spoils quickly. The item text tells you to take it to Granny.


Odd Poultice from Granny
Hurry out of the woods and ride back to Kakariko Village, using Epona’s Song again in the field if you need the horse. Enter Granny’s Potion Shop and show her the mushroom. She wrinkles her nose at the smell, grumbles about her son, asks you to stay put for a moment, and hands you an odd poultice. She remarks that no remedy exists for foolishness, and adds that she will make you some potions too to make up for the trouble. Take the poultice back to the Lost Woods.


Poacher’s Saw
Ride back to the Lost Woods and the big tree. Fado stands where the craftsman’s son used to sit. He asks whether you are looking for the fellow who was here before, then says he knew you were hiding something made with something from the forest and asks for it back. Hand over the odd poultice and you receive a poacher’s saw, which he says the craftsman’s son left behind. Take it to where it will be of use.


Broken Goron Sword in Gerudo Valley
Find the master craftsman
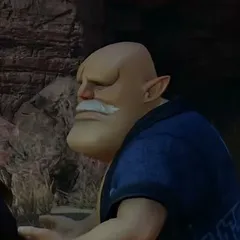
Ride Epona past Lake Hylia into Gerudo Valley. Smash the dark rock pile with the Megaton Hammer. A chest in the rocks holds a red rupee, and nearby stands the Master Craftsman. He asks for a favor: his four apprentices are prisoners in the Gerudo Fortress. Agree to help and the quest banner “Missing in the Desert” appears; Gerudo Fortress picks it up later.


Gold Skulltula #67
On the way in, look up at the rock arch beside the canyon path, where a Gold Skulltula clings to the stone. Equip the Hookshot, aim at it and fire when the prompt shows. This is Gold Skulltula #67.


Broken Goron Sword
Give the Master Craftsman the saw he sent his son to deliver. He thanks you and swaps it for a broken Goron sword. The text says it was originally meant for a Goron and can be used once repaired, and he points you to Biggoron at the top of Death Mountain, calling him second to none. Open the item menu to read the sword’s description before you leave.


Biggoron and the prescription
Prescription
Play the Bolero of Fire again and warp to Death Mountain Crater. Take the cave route out of the Crater, shooting the Hookshot at the chains where the Fire prompt appears and climbing the net with the Let Go and Jump prompts, until you reach Death Mountain Trail. Biggoron is rubbing his burning eyes and cannot work. Talk to him and he asks for eye drops, saying Zora Domain makes the top ones. He keeps the broken Goron sword for now and gives you a prescription for King Zora.


Eyeball Frog from King Zora
Travel to Zora Domain through Zora River and climb the icy steps to King Zora. He reads the prescription and gives you an eyeball frog, saying the scientist at the Lakeside Laboratory on Lake Hylia can turn it into what you need. A 2:30 countdown starts, because the frog spoils quickly, so run back down the ice steps.


Swim down Zora River
Run back through Zora Domain to the ledge above the waterfall. Navi reminds you of the Serenade of Water and says that if you want to get to the Water Temple, it might be worth trying. Jump into Zora River, hold Dive with the Zora Tunic on and swim down to Hyrule Field. Call Epona with Epona’s Song, mount up and gallop to Lake Hylia.


Specialty eye drops from the Lake Scientist
Enter the Lakeside Laboratory and talk to the Lake Scientist, who gleefully announces that you have brought him an eyeball frog and wants to eat it. Choose “Make some eye drops!” rather than keeping it. He is disappointed, asks why you want eye drops, then tells you to wait. You receive some specialty eye drops that have no preservatives, and a new 3:30 countdown starts.


Biggoron Receipt
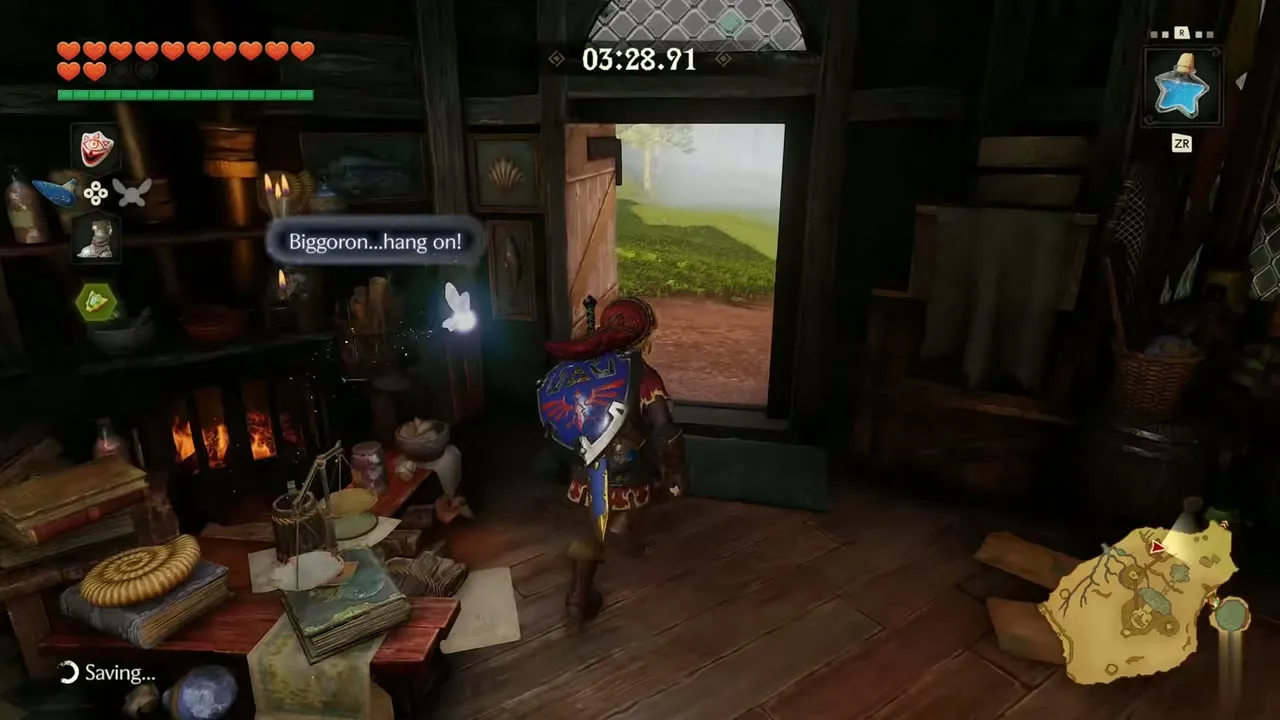
Ride back across Hyrule Field to Kakariko Village, then run up Death Mountain Trail, through the dark cave and up the net to the top. Biggoron sees the drops and is back in action, saying he can fix the broken sword. He hands you a receipt; the box announces the Biggoron Sword, but the item menu lists it as the Biggoron Receipt, a claim check for a sword still being repaired. He tells you to come back in three days, and all you can do now is wait.


Wait for the sword
Open the songbook beside Biggoron and play the Sun’s Song to pass time. When you speak to him afterward he says the repair is still in the works, then that it needs about one more day, then that it will not be much longer. Play the Sun’s Song again after each conversation and talk to him again until he tells you his work is done and asks to see your receipt.


Biggoron Sword
Hand over the receipt. Biggoron notices the giant’s knife on your back and takes it from you, then gives you the Biggoron Sword, calling it his crowning achievement. The text calls its blade indestructible, and the item menu says that while it is equipped you cannot use a shield. He adds that you can keep your receipt, which cannot be traded in for anything, as a keepsake.


Chapter checklist
| Collectible | Type | Where |
|---|---|---|
| Giant’s Knife | Equipment, 200 rupees | Medigoron Masterworks, Goron City |
| Pocket Egg | Borrowed trade item | Cucco Lady, Kakariko Village |
| Pocket Cucco | Trade item | Hatched by playing the Sun’s Song, Kakariko Village |
| Cojiro | Trade item | Cucco Lady, Kakariko Village |
| Odd Mushroom | Trade item (4:00 timer) | Master Craftsman’s Son, Lost Woods |
| Odd Poultice | Trade item | Granny’s Potion Shop, Kakariko Village |
| Poacher’s Saw | Trade item | Fado, Lost Woods |
| Broken Goron Sword | Trade item | Master Craftsman, Gerudo Valley |
| Prescription | Trade item | Biggoron, Death Mountain Trail |
| Eyeball Frog | Trade item (2:30 timer) | King Zora, Zora Domain |
| Specialty eye drops | Trade item (3:30 timer) | Lake Scientist, Lakeside Laboratory |
| Biggoron Receipt | Trade item | Biggoron, Death Mountain Trail |
| Biggoron Sword | Equipment | Biggoron, Death Mountain Trail |
| Gold Skulltula #67 | Gold Skulltula token | Rock arch beside the canyon path, Gerudo Valley, Hookshot |
| Red rupee | Rupees | Chest in the rock pile, Gerudo Valley |
| Missing in the Desert | Quest started | Master Craftsman, Gerudo Valley |
With the Biggoron Sword equipped, play the Serenade of Water on the plateau to warp to Lake Hylia, where the Water Temple waits. Carry on with the Water Temple.


