
























Ocarina of Time Remake 100% Completion Walkthrough41 chapters
- Kokiri ForestFind the Kokiri Sword, buy the Deku Shield for 40 rupees and get past Mido to the Great Deku Tree.
- The Great Deku TreeFairy Slingshot, Dungeon Map, Compass, four Gold Skulltulas, Gohma and the Kokiri Emerald.
- Leaving Kokiri ForestSay goodbye to Mido and Saria, get the Fairy Ocarina, meet Kaepora Gaebora and cross Hyrule Field.
- Hyrule Castle TownGold Skulltula, Bazaar, Shooting Gallery seed bag, Potion Shop bottle and the Temple of Time.
- Hyrule CastleGet the Weird Egg, wake Talon, sneak in, meet Zelda, learn Zelda’s Lullaby and collect Zelda’s Letter.
- Kakariko VillageCucco Lady’s bottle, House of Skulltula, Adult’s Wallet and the rooftop Heart Piece.
- GraveyardDampé’s Grave-Diggin’ Tour Heart Piece, Sharp and Flat, the Royal Family’s Tomb and the Sun’s Song.
- Lon Lon RanchTalon’s cucco game, Lon Lon Milk, Epona’s Song, a Heart Piece and Gold Skulltula.
- Gerudo ValleyTwo Heart Pieces, Lon Lon milk from Miss Moo with Epona’s Song, and a Gold Skulltula token.
- Lake HyliaLakeside Laboratory, the scarecrow quest, a Gold Skulltula and the fishing Heart Piece.
- Lost Woods and Sacred GroveRichard’s Heart Piece, Happy Mask Shop, Skull Kid, Saria’s Song, Gold Skulltulas 16 to 19 and the Business Scrubs.
- Death Mountain Trail and Goron CityClimb to Goron City, win over Darunia with Saria’s Song and take the Goron Bracelet before Dodongo Cavern.
- Dodongo CavernDungeon Map, Compass, Bomb Bag, four Gold Skulltulas, King Dodongo and the Goron Ruby.
- Death Mountain Summit and CraterGoron City Heart Piece and Bigger Bomb Bag, Din’s Fire and magic meter, crater Heart Piece, Echo Gem.
- Bombchu Bowling and the Great Fairy of PowerWin the Bombchus, Biggest Bomb Bag and Heart Piece, then get the enhanced Spin Attack.
- Zora River and Zora DomainHeart Pieces, a Gold Skulltula, the Silver Scale, Ruto’s bottle in Lake Hylia and King Zora’s request.
- Lord Jabu-Jabu’s BellyFarore’s Wind, the Boomerang, Ruto, Barinade, the Heart Container and the Spiritual Stone of Water for child Link.
- Errands Before the Temple of TimeThe child errands before the Temple of Time in the Ocarina of Time Remake.
- Temple of TimeFind the Ocarina of Time, open the Door of Time, draw the Master Sword and earn the Light Medallion.
- Ingo Ranch and EponaIngo’s two horse races, winning Epona and teaching Bonooru the Scarecrow Song.
- Kakariko Village and the HookshotDampé’s race, the Hookshot, Song of Storms and Heart Pieces #17 to #19.
- Sacred Grove as an AdultGet past Mido with Saria’s Song, cross the Moblin maze, beat the Great Moblin.
- Forest TempleSmall keys, Fairy Bow, four Poe Sisters, Phantom Ganon, Heart Container and Forest Medallion.
- Poes, the Hall of Fallen Foes and Lake HyliaBigger Quiver, Prelude of Light, Big Poes, Golden Scale and three Heart Pieces.
- Goron City as an AdultHeart Pieces, a Gold Skulltula, the Goron Tunic from the small Goron.
- Fire TempleFree all nine Gorons, find the Megaton Hammer and Boss Key, beat Volvagia and earn the Fire Medallion.
- Double Magic and Death MountainCrater Great Fairy Fountain, doubled magic, Gold Skulltulas 60 to 62 and a Business Scrub Seed as adult Link.
- Ice CavernBlue Fire, Iron Boots, Serenade of Water, the Zora Tunic and two Heart Pieces.
- The Biggoron Sword RouteBuy the Giant’s Knife, trade from the Pocket Egg to Cojiro, and finish every step up to the Biggoron Sword.
- Water TempleTriforce doors, small keys, Longshot, Dark Link, Morpha, the Water Medallion and Gold Skulltulas 68 to 73.
- Kakariko Village and the Nocturne of ShadowLearn the Nocturne of Shadow and find two Gold Skulltulas and two Heart Pieces.
- Bottom of the WellLenses of Truth, Dungeon Map, Compass, both small keys, Dead Hand and Gold Skulltulas 76 to 78.
- Treasure Box Shop and the Way to the Shadow TempleWin the Piece of Heart with the Lenses of Truth, then warp to the Shadow Temple via the Nocturne.
- Shadow TempleFloors B1 to B4, Hover Boots, Bongo Bongo, Heart Container and the Shadow Medallion from Impa.
- Gerudo FortressRescue all four carpenters, win the Gerudo Pass, find Gold Skulltulas 84 and 85.
- Mirage Desert and Evil Desert ColossusPhantom Guide, Requiem of Spirit, five Gold Skulltulas, three Heart Pieces, Biggest Quiver, Nayru’s Love.
- Spirit TempleChild and adult routes, Silver Gauntlets, Mirror Shield, Boss Key, Iron Knuckle Nabooru, Twinrova.
- Gerudo Proving GroundsPay 30 rupees, solve every room, and claim the Ice Arrow and a Business Scrub Seed.
- Last Heart Pieces and Gold SkulltulasTokens 96 to 100, Heart Pieces 33 to 35, the Rich Man reward and Light Arrow.
- Ganondorf’s CastleClear the six barriers, get the Golden Gauntlets and the Great Fairy of Courage’s gift.
- Ganondorf and GanonTower climb, Boss Key, Ganondorf boss fight, the escape with Zelda and the Ganon boss fight.
| Covers | Lake Hylia, the Lakeside Laboratory, the Water Temple (3F, 2F, 1F and B1), Dark Link, Morpha, Ruto’s chamber, the Fire Arrow at Lake Hylia |
|---|---|
| Link | Adult |
| You need | Serenade of Water, Zelda’s Lullaby, Sun’s Song, Iron Boots, Zora Tunic, Master Sword, Hookshot, Fairy Bow, Bombs, Din’s Fire, Megaton Hammer |
| Rewards | 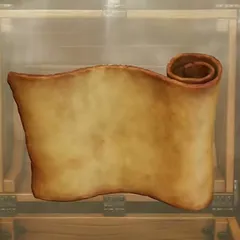 Dungeon Map, 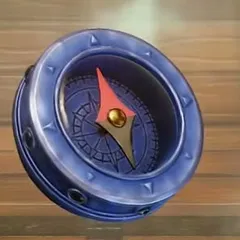 Compass,  4 small keys, 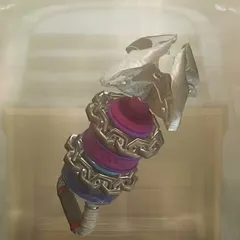 Longshot, 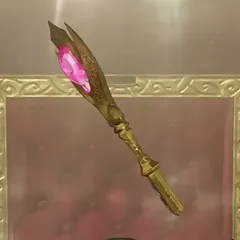 Boss Key, 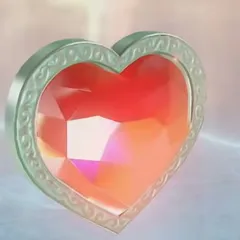 Heart Container (1), 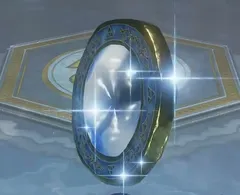 Water Medallion, 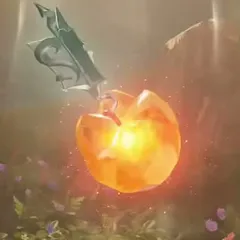 Fire Arrow,  Gold Skulltula tokens 68 to 73 (6), Fairy’s Thought (1), a Fairy in a bottle, Red Rupee (1) |
The Water Temple is a flooded maze where Zelda’s Lullaby, played at Triforce doors, changes the water level. Ruto’s spirit meets you inside, you win the Longshot after a duel with Dark Link, and you carry the Boss Key to Morpha. Afterwards Ruto joins the Sages, Sheik waits at Lake Hylia, and the lake gives you the Fire Arrow. Seven Gold Skulltula tokens, numbers 68 to 74, turn up along the way.

Table of Contents
Lake Hylia and the Lakeside Laboratory
Warp to Lake Hylia
Open the songbook and play the Serenade of Water. The warp light carries you to the pad at Lake Hylia, and the area banner appears over it. The lake has drained away, so the wooden path leading down to the Lakeside Laboratory now runs over dry ground. Follow it to the laboratory at the end.


Drop into the laboratory cellar
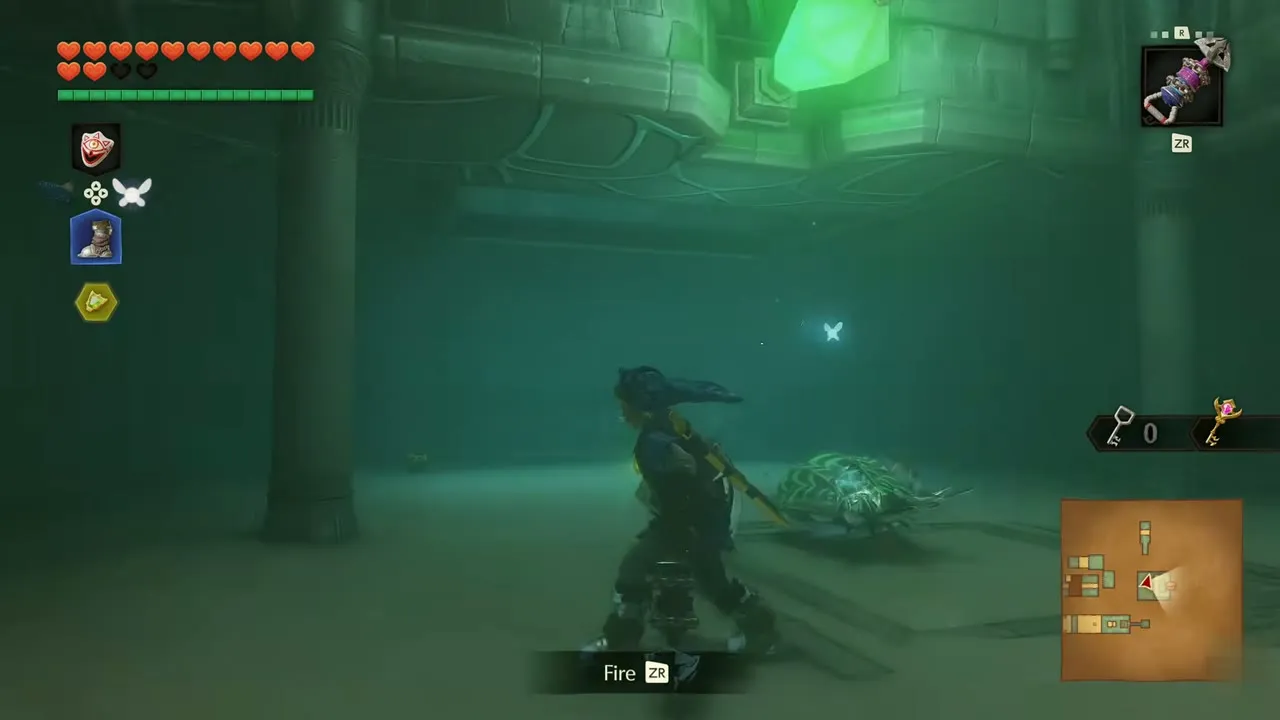
Go through the laboratory door. Papers cover the table inside. Head down into the flooded cellar beneath the floor, and put on the Iron Boots from the shortcut slot so that you sink to the bottom instead of floating. A Gold Skulltula hangs overhead, glowing against the dark green water.


Gold Skulltula #68
Pick the Hookshot from the item menu and fire it at the Gold Skulltula when the Fire prompt appears. The token drops in a golden shimmer, and the box tells you that you have collected 68 tokens. The Collection screen now shows the token with the number 68 beneath it. Swim and Dash back up to the laboratory floor.


The scientist and the Zora Tunic
The Lake Scientist scolds you for taking the lazy way down. He says you could have dived all that way on your own. Ignore the lecture, open the Equipment screen and put on the Zora Tunic. You can stay underwater as long as you want in it. Then leave through the laboratory door.


Open the gate with the Hookshot
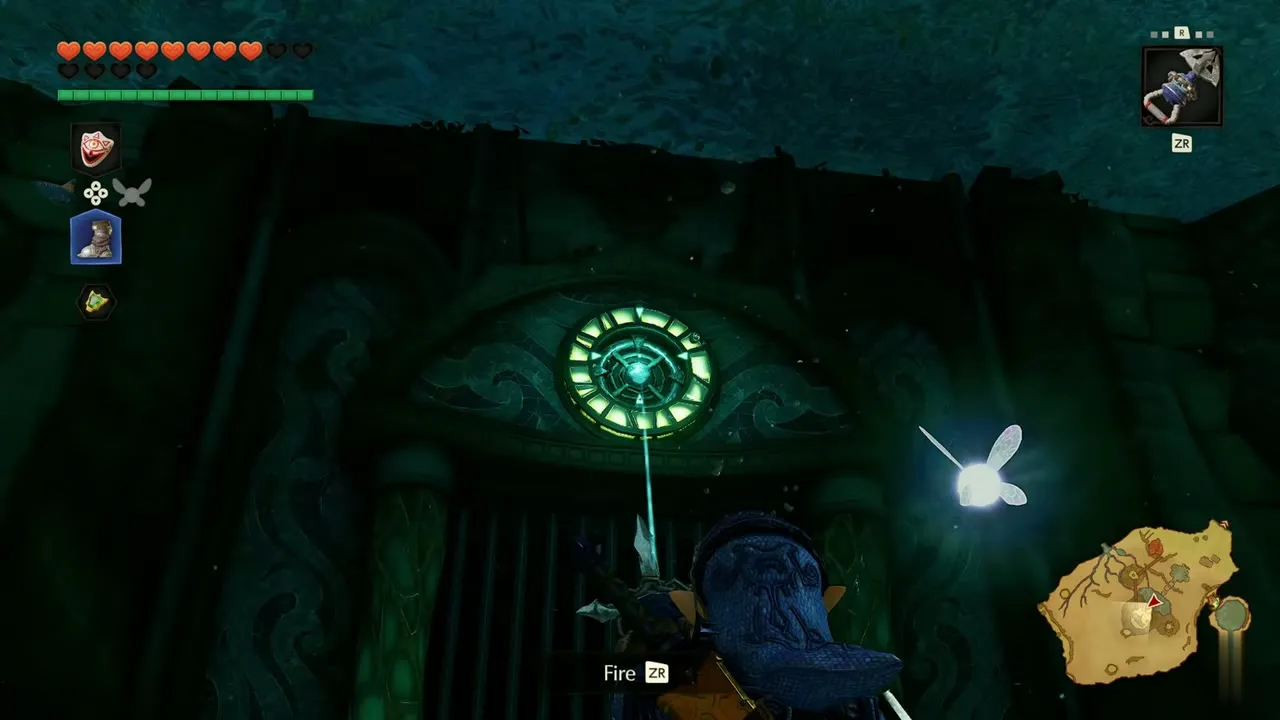
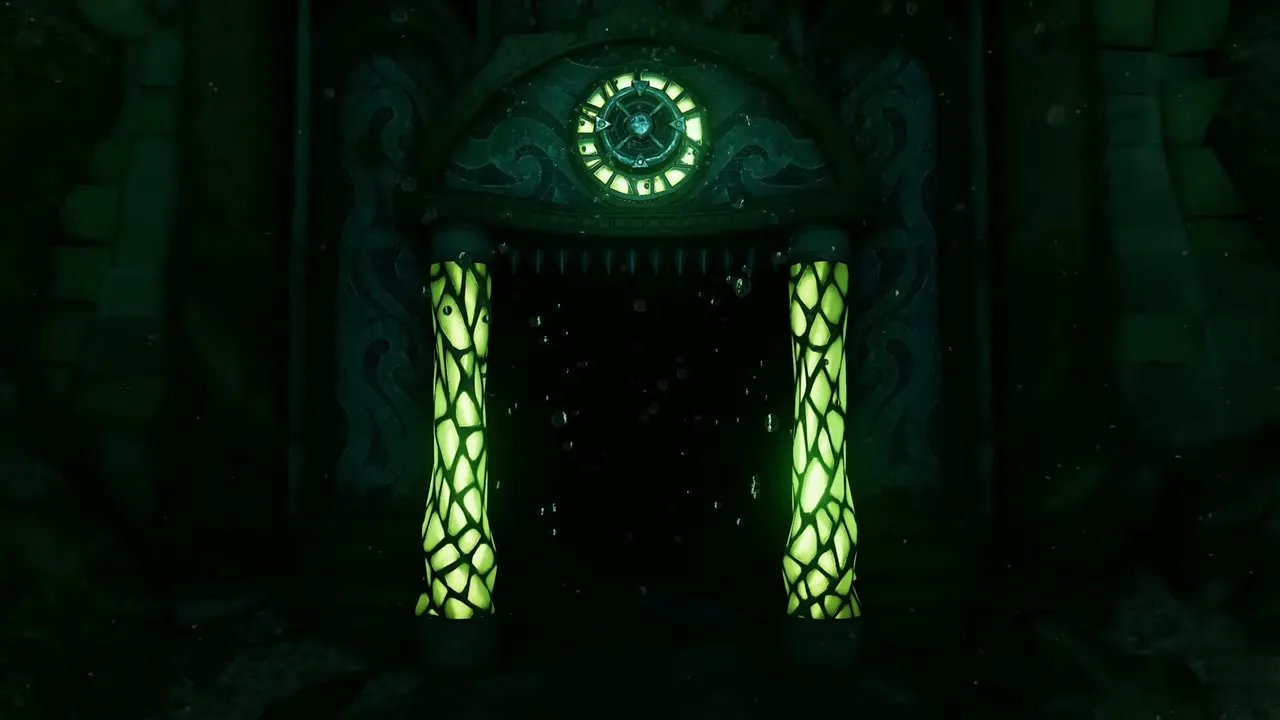
Walk down the slope outside the laboratory and sink into the water with the Iron Boots. A barred gate stands in the rock below, with a glowing ring above it. Select the Hookshot and fire it at the ring when the Fire prompt appears. The ring turns, the bars lift and the passage behind opens between two green glowing pillars.

Swim up to the temple
Walk through the dark tunnel to a flooded shaft and Dash up it to the surface. You come out on a stone landing in front of the Water Temple, and the title card appears.


First halls and Ruto’s spirit
Cross the first hall and meet the Spikes
Cross the stone ledges of the entrance hall, jumping the gaps and using Dash and Dive wherever the prompts appear. A spiked enemy called a Spike patrols the corridors. Navi warns you to watch its pointy bits and says to attack it only when the spines are retracted, so strike it then and don’t touch it. Where an underwater target blocks a passage, fire the Hookshot at it when the Fire prompt shows.


Ruto appears underwater
Swim on through the flooded halls until Ruto appears in the water as a glowing spirit. She calls herself your fiancée and scolds you for abandoning her for seven years, then admits that Sheik saved her. She asks you to help her save the Zora and restore Zora Domain, says she must go to the depths of the temple, and swims out of sight. You carry on alone from here.


Dungeon Map
Climb out onto the stone floor and use the Hookshot targets and Dash prompts to reach a chest in a hall with blue glowing walls. Open it for the Dungeon Map. The Map screen now lets you switch between the floors 3F, 2F, 1F and B1.


Play Zelda’s Lullaby at the Triforce door
A door nearby carries the Triforce crest. Navi points out that the crest belongs to the Hyrule royal family, as Ruto said. Stand in front of it, press the prompt to open the songbook, pick Zelda’s Lullaby and play it. A short cutscene follows, and a message says the water went down. Each Triforce door in this temple changes the water level in the same way.


1F: Spikes and the first small key
Clear the Spike room
With the water lowered you can walk on 1F. Light the torches beside the teal door by selecting Din’s Fire from the item menu, and open the Equipment screen to swap the Biggoron Sword for the Master Sword so that you carry the Hylian Shield again. The door opens onto a round room where more Spikes roll around. Fight the first with the Master Sword, then switch to the Fairy Bow and shoot the rest from a distance when the Shoot Arrow prompt shows. A door at the far side is sealed by purple light while they live.


Small key
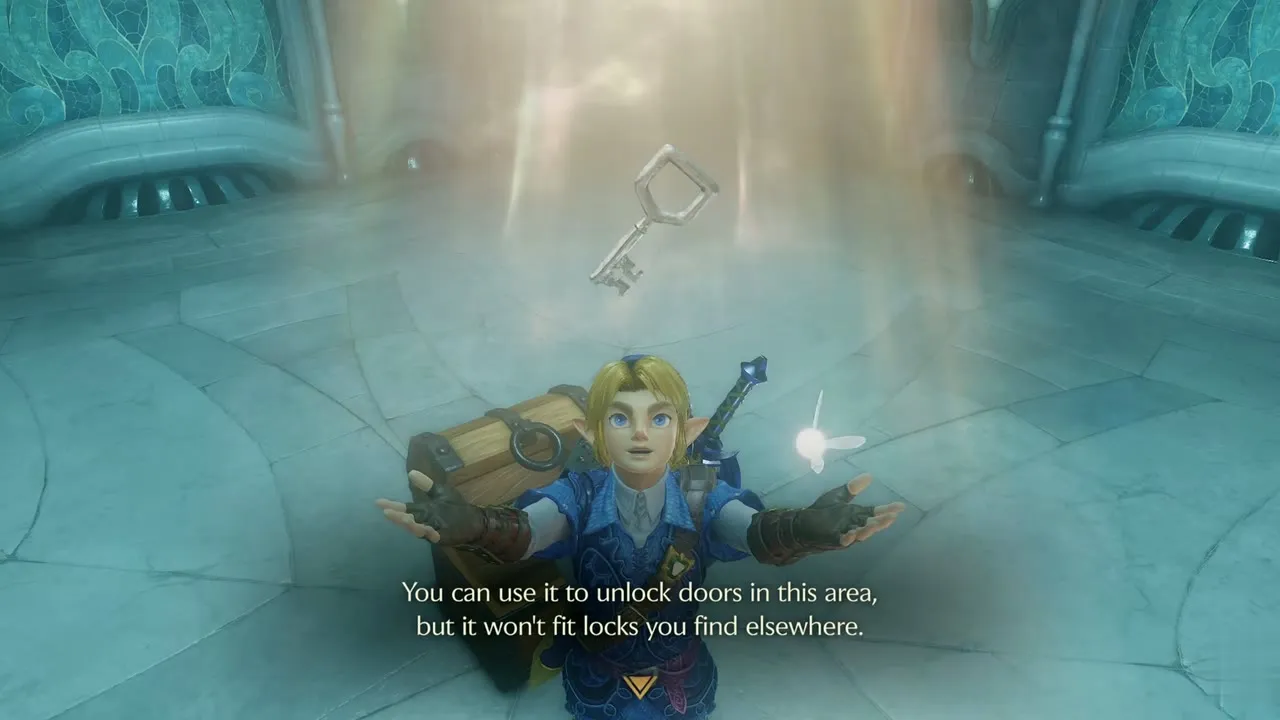
After the last Spike falls, light shimmers on the floor and a chest appears in the middle of the room. Open it for a small key. The message says it unlocks doors in this area but will not fit locks you find elsewhere, and the key counter on the right of the screen now reads 1.
Bomb the cracked wall
Follow the sandy corridor past the lit torch. A doorway ahead is filled with cracked stone. Take a Bomb out of your bag, carry it to the wall and press Throw, or set it down and step back. The blast clears the doorway. Beyond it a pool opens up, so drop into the water and follow the lower passages.


Compass and the flooded halls
Compass
Dive through the deep rooms with Dash and Dive, then climb out into a long hall lined with carved pillars. Use the Hookshot on the targets along it and shoot any switch the Bow can reach. At the end, a gold-decorated room holds a chest. Open it for the Compass, which shows the treasure chests and secrets of the dungeon. The game saves as you leave.


Work through the flooded rooms
The next rooms are pools and sandy halls linked by Hookshot rings and short dives. Keep Dash and Dive ready, take out the Fairy Bow when a target or an enemy plant needs an arrow. A stone door with a gear-like mechanism marks the way on. Open the Map screen whenever you lose track of which floor you are on.


Use the first key and find the second Triforce door
Spend your small key on the locked door in the sandy hall. The key counter drops to 0. Green glowing glyphs line the corridor beyond, and a second Triforce door waits at the end of it. Play Zelda’s Lullaby in front of it. The pink light of the song swirls around Link and the water level changes again. A small Gold Skulltula icon appears on the left of the HUD in this room, so a token is close.


Second and third small keys
Small key on 2F
Swim through the flooded passage to a room with another cracked doorway and blow it open with a Bomb. Beyond it, use the Hookshot on the targets across the water and hit the pink crystal with it. A chest sits in a gold-barred alcove. Open it for the second small key, which brings the counter to 1.


Small key on 1F
Dive down the shaft and follow the green water through the dark halls, using Dash and the Hookshot’s Fire prompt on targets and plants. In a warm, amber-lit room, a chest stands beside a platform surrounded by water. Open it for a third small key. The counter now reads 2, and the game saves.


Spend both keys
Walk back through the rocky and teal halls, where one locked door takes a key at a time. A hall lit by a pink crystal and glowing pink walls leads up to a third Triforce door. Play Zelda’s Lullaby once more and cross the pool room that opens. The key counter reads 0 once the second lock is open.


The grate lift and the Fairy’s Thought
Ride the grate lift
Stand on the grated floor, open the item menu and choose the Fairy Bow. Shoot the glowing target above you when the Shoot Arrow prompt appears. A platform rises and carries you up toward a door. The next doors are lit gold, and the game saves as you pass through them.


Fairy’s Thought
In a dark brick room, Navi says a fairy’s thoughts are lingering here and asks if you want to see them. Choose “Yeah, let’s see!” and Navi remarks that playing in the water is fun, but the humidity in the temple is something else. It is only a remark and gives no clue, so move on to the stairs ahead. The way on is a stretch of 3F halls where you fire the Hookshot at pink and blue crystals and wall targets, with Shell Blades in the pools, until you reach a golden hall.


Dark Link
Step through the green door
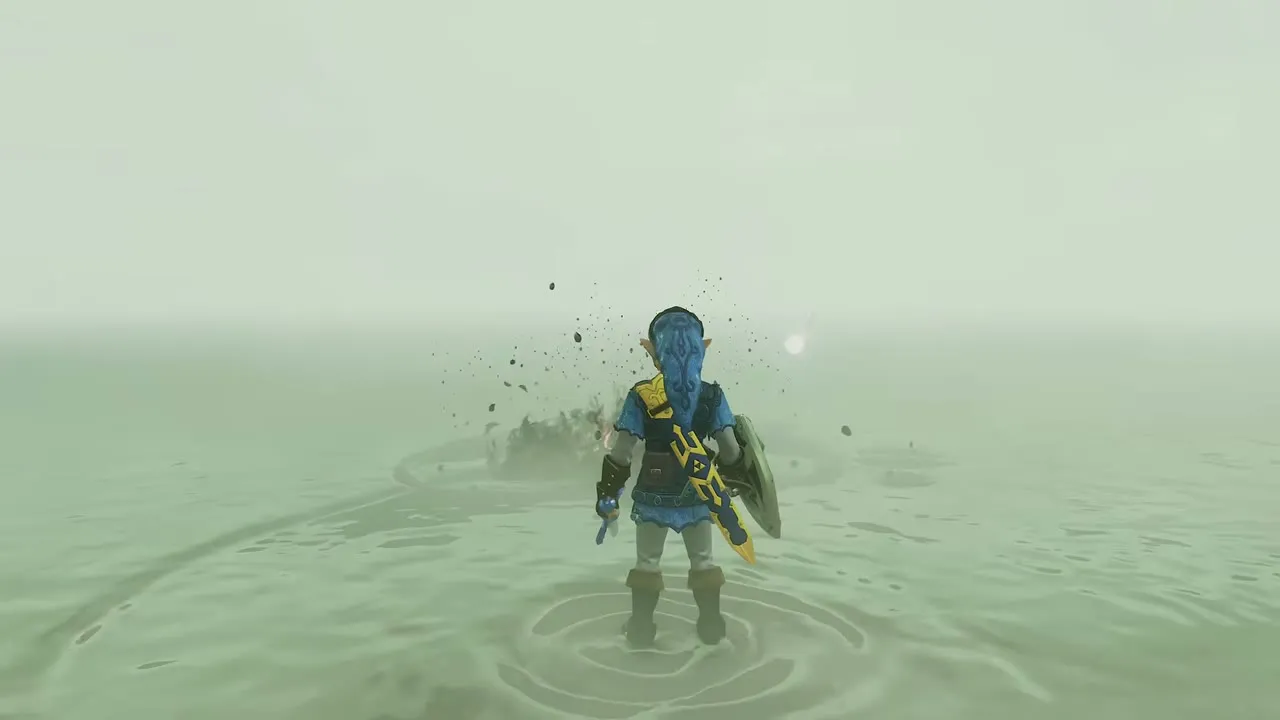
Cross the torch-lit golden hall to the carved green door at its end. The game saves as you reach it. It opens onto a pale fog, with a dead tree on the white ground and a single square room on the corner map. A dark figure stands in the mist and turns to face you.


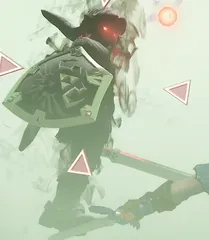
Dark Link fight
Dark Link carries a sword and a shield of his own and fights like you. Stay close, raise your shield against his swings and strike when he finishes an attack. Sparks fly when blades meet. Your hearts drop as the duel goes on, so back off and swing again until he goes down. A stone temple door comes into view in the fog.


Longshot
Walk up to the door with the teal glow and press Open. Inside, climb the steps and open the chest for the Longshot. The box says this upgraded Hookshot reaches targets twice as far. Select it from the item menu. A hold-and-release prompt appears, and Fire prompts now show on distant targets inside the dungeon.


After the Longshot
Gold Skulltula #69
Leave the chest room and aim the Longshot at the green ring above the barred cage near it to move on. Follow the long water tunnel where the current drags you along, using Dash and Dive. In a dark cave section on 2F, fire the Longshot at the Gold Skulltula glowing ahead of you. The box says you now have 69 tokens. Nearby, touch the glowing fairy to collect it in a bottle, and it will revive you if you run out of hearts.


3F, 1F and the next small key
Play Zelda’s Lullaby at the 3F door
From the cave, shoot the wall target with the Fairy Bow and fire the Hookshot at the gear target to climb back to the Triforce door at the top of the stairs on 3F. Play Zelda’s Lullaby in front of it again. A short cutscene shows the water level changing, and you can skip it. Navi reminds you that these doors change the water level, so use them to reach places that were out of reach before.


Gold Skulltula #70
On 1F, walk to the stone chamber with a Triforce door and green glowing glyphs. A Gold Skulltula hangs from the vaulted ceiling above you. Look up and fire the Longshot at it when the Fire prompt shows. The box says you have collected 70 tokens.

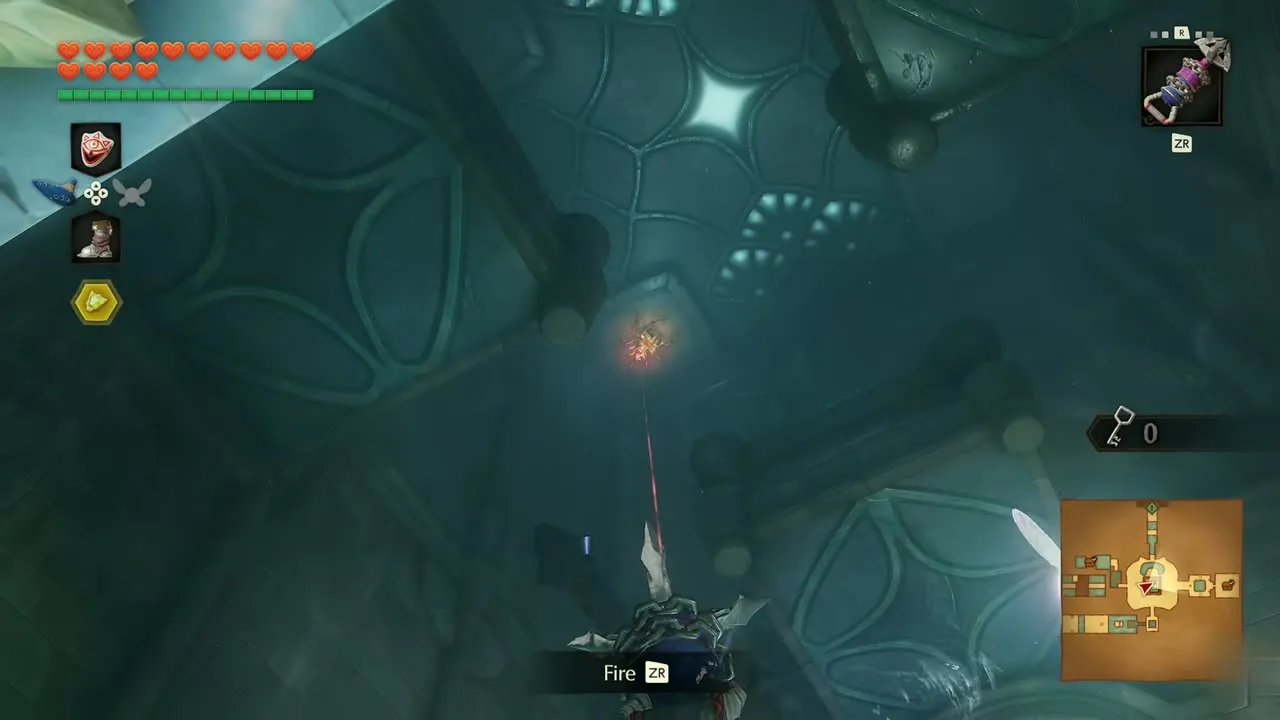

Play Zelda’s Lullaby on 1F
Right there, open the songbook and play Zelda’s Lullaby at the Triforce door. The door opens and the water drops, and a cutscene shows the new water level. You can skip it. Follow the green-lit corridor beyond the door up to 2F.


Small key from the eye door
On 2F, equip the Fairy Bow and shoot the eye-shaped door when the Shoot Arrow prompt appears. The door opens. Walk the flooded passages beyond it and open the chest in the glowing niche. It holds a small key, and the counter reads 1.


Megaton Hammer rooms and the Boss Key
Triforce door and the chained door
Dash along a blue corridor to another Triforce door. Navi says the doors change the water level and suggests using them to make your way through the dungeon. Play Zelda’s Lullaby, then drop into the pool room beyond. On 1F, a golden chained door waits in a flooded sandy room. Spend the small key on it, and the counter drops to 0.


Use the Megaton Hammer
Beyond the chained door, fight the Shell Blades in the flooded room and go through the teal door. Select the Megaton Hammer from the item menu and hit the cracked wall and stone when the Hit prompt appears, then grab and push the carved stone block. Wade across the flooded room and step onto the square stone switch in the floor; round platforms rise out of the water. Cross them with the Fairy Bow and the Longshot, using the Shoot Arrow and Fire prompts.

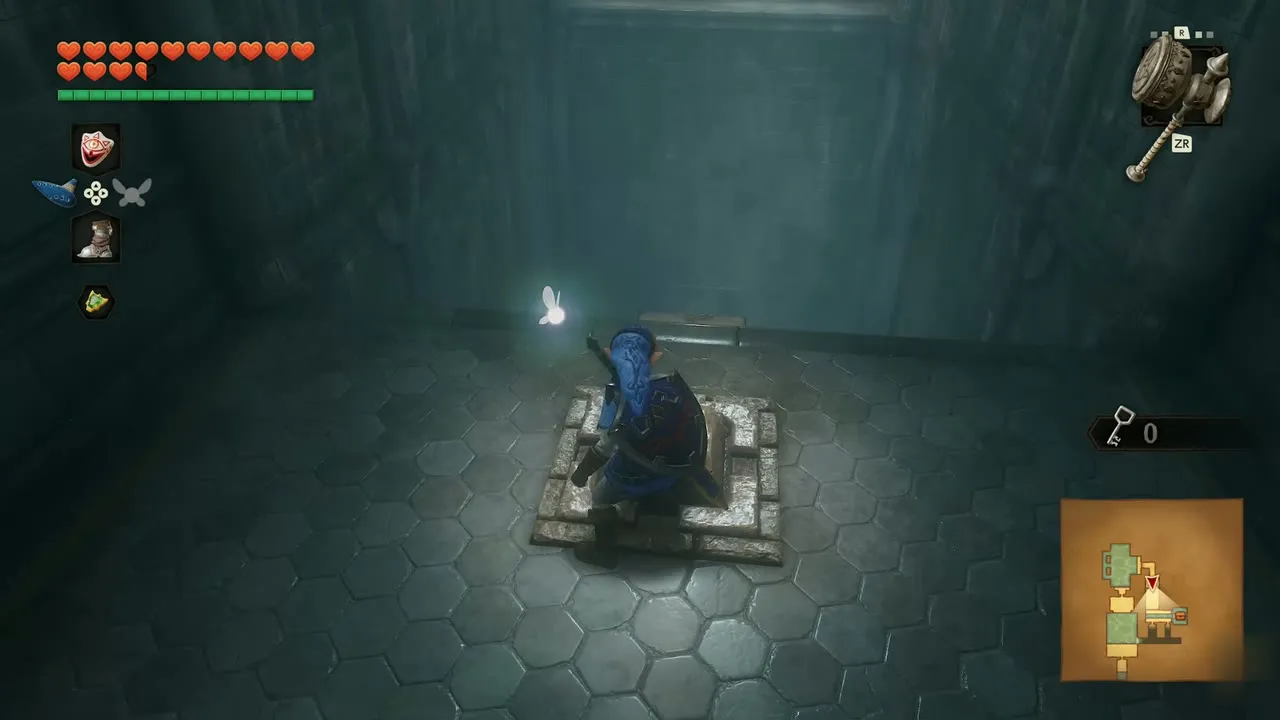

Boss Key
Walk through the teal door and past the plant beside it, into a gold room with a chest on a dais. Open it. The box says you found the boss key, and the Map screen now has a Boss Key slot next to the Dungeon Map and Compass. The game saves as you walk back out.


Gold Skulltula #71
Follow the golden corridor away from the Boss Key room. Water pours down its walls, and a Gold Skulltula hides behind the falling water. Fire the Longshot at it when the Fire prompt appears. The box says you have collected 71 tokens.


B1 and the last Gold Skulltulas
Play Zelda’s Lullaby to reach B1
Cross the flooded halls on 1F with Dash and Dive until you reach a corridor with green glowing walls and a Triforce door. Open the songbook and play Zelda’s Lullaby once more. The door opens onto a grid-walled room on B1 with a fish in the water. The game saves as you pass through.


Gold Skulltula #72
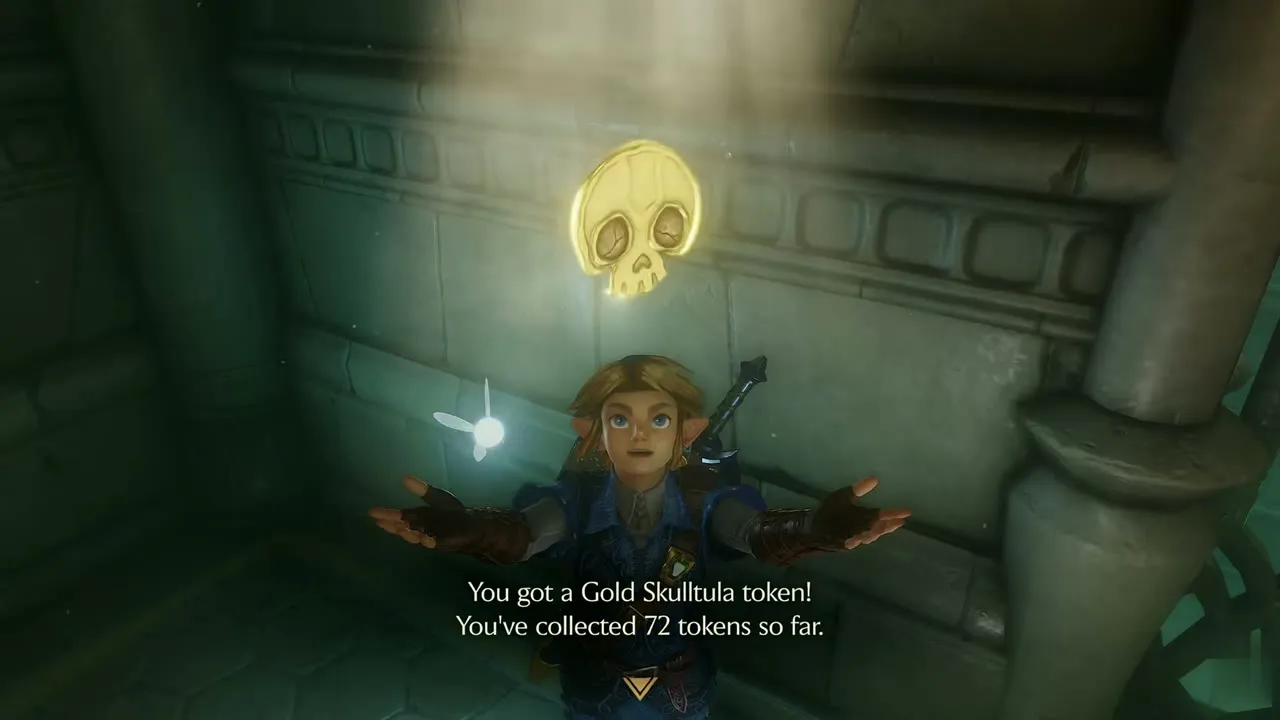
On B1, swim through the green-lit hall. Fire the Longshot at the enemy plants and shell creatures that block you when the Fire prompt appears. A Gold Skulltula clings high in the flooded hall near the end. Pull it down with the Longshot. The box says you have collected 72 tokens.

Red rupee on B1
Keep going along the dark hall, saving at the save spot when it appears. Press the Pick Up prompt on the object on the floor ahead. It is a red rupee, and the box says so. The Map screen shows B1 as your current floor.

Gold Skulltula #73
Swim up to 2F. Equip the Megaton Hammer and hit the stone block in the room with the red plant enemy when the Hit prompt shows. In the next room a golden shimmer glows on a stained-glass wall. Switch to the Fairy Bow and shoot the shimmer with an arrow. The token drops, and the box says you have collected 73 tokens.


To the boss door
Pink-lit hall and the Triforce door
Swim through the water hall with the blue crystals, then walk the hall lit in pink. Fire the Longshot at the blue crystal when the Fire prompt shows, and play Zelda’s Lullaby at the pink-lit Triforce door. A short cutscene shows a tiled pavilion in the middle of the water, and you can cross to it.


Hang from the ledge
Drop to the next ledge and hold on with the Let Go prompt, then pull yourself up. Fire the Longshot at the golden gear column to cross. Check the item menu and select the Longshot before you go on, because Morpha needs it. A dark passage with a red flicker leads to the boss door.


Open the Boss Key door
Walk up to the golden chained door and use the Boss Key. The lock opens. A dark transition carries you onto a stone platform above a flooded arena. Stand on the platform and wait for the water to move.


Morpha boss fight
Morpha appears
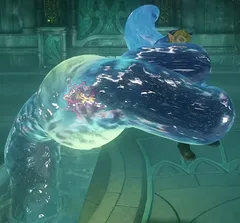
A tentacle of water breaks the surface, and the title card reads Giant Aquatic Amoeba Morpha. The arena is mostly water with narrow stone walkways between the pools. Keep moving along the walkways and run from any tentacle that slams down beside you.


Pull out the nucleus and cut it
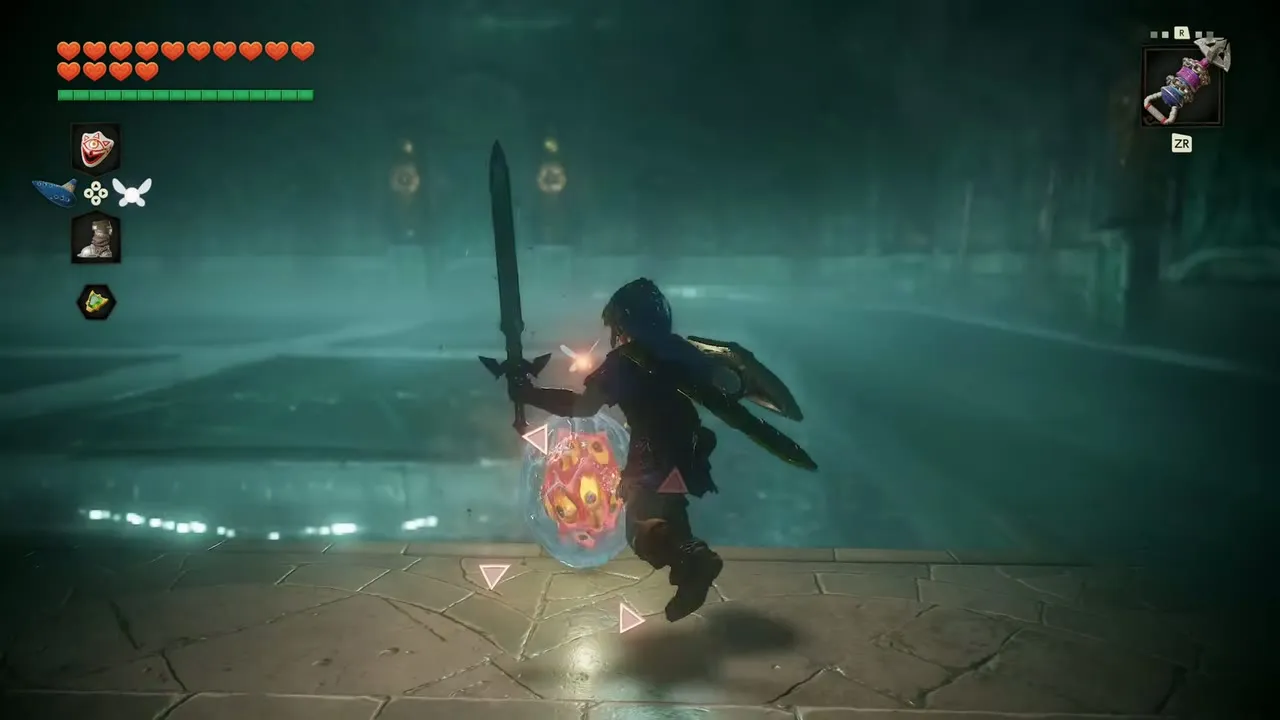
Morpha’s red core floats inside a bubble of water. Aim the Longshot at it when the Fire prompt appears. The hook yanks the core out of the water and onto the floor. Run to it and slash with the Master Sword while it flops, then dodge the tentacles as it slides back toward the pools. Repeat the pull and slash several times, dodging the tentacles between rounds. When the last round ends, the core is drawn into a spout of water and Morpha is finished.



Heart Container
After Morpha falls, a Heart Container drops out of a beam of light in the middle of the arena. Walk up to it and take it. The box says you will gain an additional heart and all your hearts will be restored. The game saves on the blue circle that appears. When Navi asks if you are ready to go back outside, choose “Let’s go!”


Ruto and the Water Medallion
Ruto in the Sage chamber
You arrive in the Sage chamber, where Ruto stands inside a blue crystal. She tells you that you fought magnificently and that Zora Domain will be as it once was. As Sage of Water she must stay here and help bind the Demon King, which she calls her destiny and a great joy. She tells you Princess Zelda is still alive and that you will meet again if you do not give up.

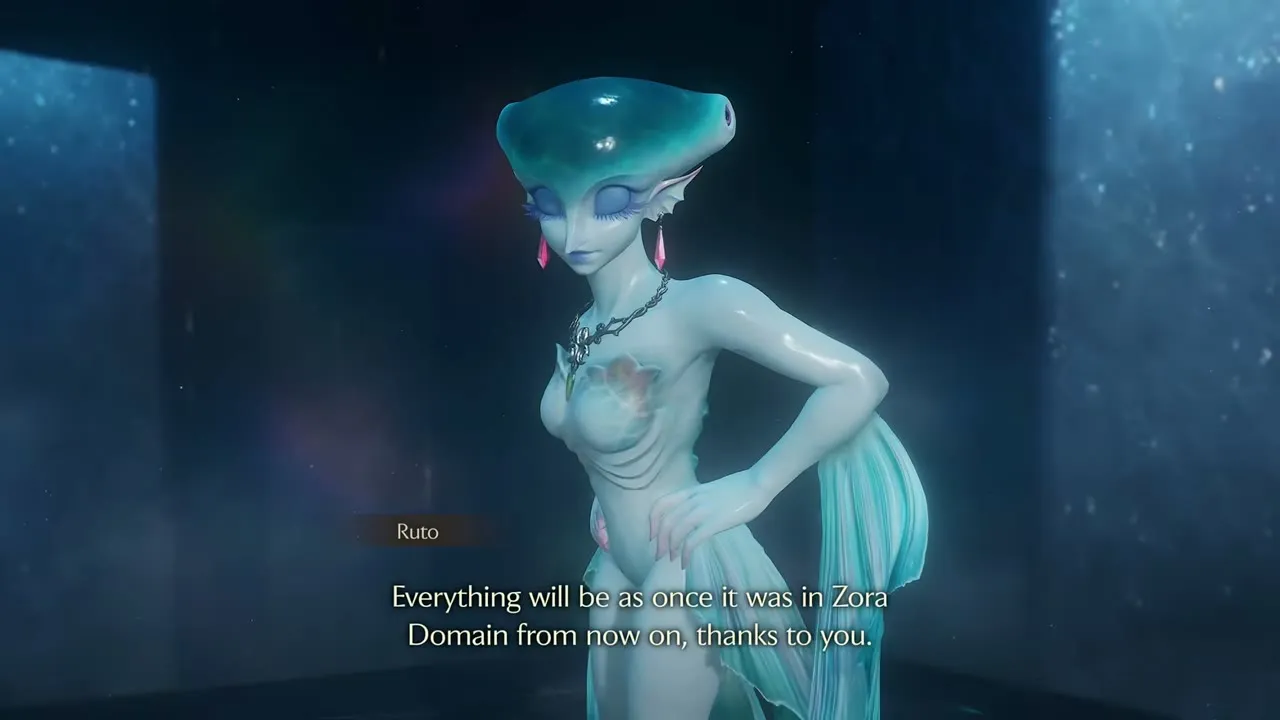


Water Medallion
Ruto gives you the Water Medallion. The box says you were entrusted with it, and that it is imbued with her resolve as the Sage of Water. A white flash carries you away, and she asks you to give Sheik her thanks if you see him.


Lake Hylia and the Fire Arrow
Sheik at the lake
You come out at Lake Hylia in the evening, with the waterfall crashing onto the rocks. Sheik tells you the water flows and evil is washed away. He says Ruto has become a sage, that your combined powers rid the temple of the evil creature, and that the lake is full of pure water again.


Fire Arrow
Walk along the causeway to the gravestone at the edge of the lake and press Check. It reads: when the lake is full and dawn breaks, release an arrow toward the halo of light. As the sun rises, aim the Fairy Bow at the halo and fire. The light falls on a stone dais on the island across the water. Swim over and take the flame. The box says you got the Fire Arrow. The Awakening the Five Sages quest updates as you reach the gravestone.


Gold Skulltula #74
The big tree at the edge of the lake holds one more token, Gold Skulltula #74. Its route is on the Kakariko Village and the Nocturne of Shadow page, where the night begins at this tree.


Chapter checklist
| Collectible | Type | Where |
|---|---|---|
| Gold Skulltula #68 | Gold Skulltula token | Lakeside Laboratory cellar, Hookshot from the bottom with the Iron Boots |
| Dungeon Map | Dungeon item | Chest in the blue-walled hall near the first Triforce door |
| Small key 1 | Small key | Chest that appears after you shoot the Spikes on 1F |
| Compass | Dungeon item | Chest in a gold room at the end of a long hall on 1F |
| Small key 2 | Small key | Chest in a gold-barred alcove on 2F |
| Small key 3 | Small key | Chest in an amber-lit room on 1F |
| Fairy’s Thought | Fairy’s Thought | Dark brick room on 3F, where Navi offers to show it |
| Longshot | Main item | Chest in the temple beyond the Dark Link fight |
| Gold Skulltula #69 | Gold Skulltula token | Cave tunnel on 2F, Longshot |
| Gold Skulltula #70 | Gold Skulltula token | Ceiling of the 1F Triforce door chamber, Longshot |
| Small key 4 | Small key | Chest in a glowing niche on 2F behind the eye door |
| Boss Key | Dungeon item | Chest in the gold room on 1F beyond the Megaton Hammer rooms |
| Gold Skulltula #71 | Gold Skulltula token | Behind the waterfall in the golden corridor on 1F, Longshot |
| Gold Skulltula #72 | Gold Skulltula token | Flooded green hall on B1, Longshot |
| Gold Skulltula #73 | Gold Skulltula token | Stained-glass wall on 2F, Fairy Bow |
| Heart Container | Heart Container | Dropped by Morpha |
| Water Medallion | Medallion | From Ruto in the Sage chamber |
| Fire Arrow | Main item | Island dais at Lake Hylia, after shooting the dawn halo |
With the Water Medallion and the Fire Arrow in hand, leave Lake Hylia and ride for Kakariko Village, where the Nocturne of Shadow waits.


