
























Ocarina of Time Remake 100% Completion Walkthrough41 chapters
- Kokiri ForestFind the Kokiri Sword, buy the Deku Shield for 40 rupees and get past Mido to the Great Deku Tree.
- The Great Deku TreeFairy Slingshot, Dungeon Map, Compass, four Gold Skulltulas, Gohma and the Kokiri Emerald.
- Leaving Kokiri ForestSay goodbye to Mido and Saria, get the Fairy Ocarina, meet Kaepora Gaebora and cross Hyrule Field.
- Hyrule Castle TownGold Skulltula, Bazaar, Shooting Gallery seed bag, Potion Shop bottle and the Temple of Time.
- Hyrule CastleGet the Weird Egg, wake Talon, sneak in, meet Zelda, learn Zelda’s Lullaby and collect Zelda’s Letter.
- Kakariko VillageCucco Lady’s bottle, House of Skulltula, Adult’s Wallet and the rooftop Heart Piece.
- GraveyardDampé’s Grave-Diggin’ Tour Heart Piece, Sharp and Flat, the Royal Family’s Tomb and the Sun’s Song.
- Lon Lon RanchTalon’s cucco game, Lon Lon Milk, Epona’s Song, a Heart Piece and Gold Skulltula.
- Gerudo ValleyTwo Heart Pieces, Lon Lon milk from Miss Moo with Epona’s Song, and a Gold Skulltula token.
- Lake HyliaLakeside Laboratory, the scarecrow quest, a Gold Skulltula and the fishing Heart Piece.
- Lost Woods and Sacred GroveRichard’s Heart Piece, Happy Mask Shop, Skull Kid, Saria’s Song, Gold Skulltulas 16 to 19 and the Business Scrubs.
- Death Mountain Trail and Goron CityClimb to Goron City, win over Darunia with Saria’s Song and take the Goron Bracelet before Dodongo Cavern.
- Dodongo CavernDungeon Map, Compass, Bomb Bag, four Gold Skulltulas, King Dodongo and the Goron Ruby.
- Death Mountain Summit and CraterGoron City Heart Piece and Bigger Bomb Bag, Din’s Fire and magic meter, crater Heart Piece, Echo Gem.
- Bombchu Bowling and the Great Fairy of PowerWin the Bombchus, Biggest Bomb Bag and Heart Piece, then get the enhanced Spin Attack.
- Zora River and Zora DomainHeart Pieces, a Gold Skulltula, the Silver Scale, Ruto’s bottle in Lake Hylia and King Zora’s request.
- Lord Jabu-Jabu’s BellyFarore’s Wind, the Boomerang, Ruto, Barinade, the Heart Container and the Spiritual Stone of Water for child Link.
- Errands Before the Temple of TimeThe child errands before the Temple of Time in the Ocarina of Time Remake.
- Temple of TimeFind the Ocarina of Time, open the Door of Time, draw the Master Sword and earn the Light Medallion.
- Ingo Ranch and EponaIngo’s two horse races, winning Epona and teaching Bonooru the Scarecrow Song.
- Kakariko Village and the HookshotDampé’s race, the Hookshot, Song of Storms and Heart Pieces #17 to #19.
- Sacred Grove as an AdultGet past Mido with Saria’s Song, cross the Moblin maze, beat the Great Moblin.
- Forest TempleSmall keys, Fairy Bow, four Poe Sisters, Phantom Ganon, Heart Container and Forest Medallion.
- Poes, the Hall of Fallen Foes and Lake HyliaBigger Quiver, Prelude of Light, Big Poes, Golden Scale and three Heart Pieces.
- Goron City as an AdultHeart Pieces, a Gold Skulltula, the Goron Tunic from the small Goron.
- Fire TempleFree all nine Gorons, find the Megaton Hammer and Boss Key, beat Volvagia and earn the Fire Medallion.
- Double Magic and Death MountainCrater Great Fairy Fountain, doubled magic, Gold Skulltulas 60 to 62 and a Business Scrub Seed as adult Link.
- Ice CavernBlue Fire, Iron Boots, Serenade of Water, the Zora Tunic and two Heart Pieces.
- The Biggoron Sword RouteBuy the Giant’s Knife, trade from the Pocket Egg to Cojiro, and finish every step up to the Biggoron Sword.
- Water TempleTriforce doors, small keys, Longshot, Dark Link, Morpha, the Water Medallion and Gold Skulltulas 68 to 73.
- Kakariko Village and the Nocturne of ShadowLearn the Nocturne of Shadow and find two Gold Skulltulas and two Heart Pieces.
- Bottom of the WellLenses of Truth, Dungeon Map, Compass, both small keys, Dead Hand and Gold Skulltulas 76 to 78.
- Treasure Box Shop and the Way to the Shadow TempleWin the Piece of Heart with the Lenses of Truth, then warp to the Shadow Temple via the Nocturne.
- Shadow TempleFloors B1 to B4, Hover Boots, Bongo Bongo, Heart Container and the Shadow Medallion from Impa.
- Gerudo FortressRescue all four carpenters, win the Gerudo Pass, find Gold Skulltulas 84 and 85.
- Mirage Desert and Evil Desert ColossusPhantom Guide, Requiem of Spirit, five Gold Skulltulas, three Heart Pieces, Biggest Quiver, Nayru’s Love.
- Spirit TempleChild and adult routes, Silver Gauntlets, Mirror Shield, Boss Key, Iron Knuckle Nabooru, Twinrova.
- Gerudo Proving GroundsPay 30 rupees, solve every room, and claim the Ice Arrow and a Business Scrub Seed.
- Last Heart Pieces and Gold SkulltulasTokens 96 to 100, Heart Pieces 33 to 35, the Rich Man reward and Light Arrow.
- Ganondorf’s CastleClear the six barriers, get the Golden Gauntlets and the Great Fairy of Courage’s gift.
- Ganondorf and GanonTower climb, Boss Key, Ganondorf boss fight, the escape with Zelda and the Ganon boss fight.
| Covers | Graveyard entrance, Shadow Temple floors B1 to B4, Bongo Bongo, Sage of Shadow chamber |
|---|---|
| Link | Adult |
| You need | Nocturne of Shadow, Lenses of Truth, Din’s Fire, Fairy Bow with Fire Arrows, Megaton Hammer, Longshot, Bombs, Zelda’s Lullaby, Sun’s Song, Scarecrow Song, plenty of magic |
| Rewards | 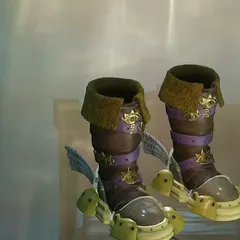 Hover Boots, 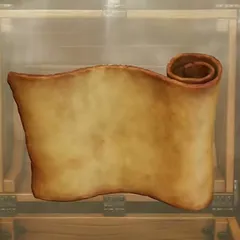 Dungeon Map, 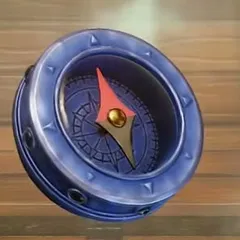 Compass, 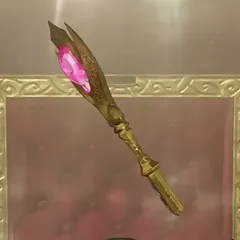 Boss Key,  5 small keys,  Gold Skulltula tokens 79 to 83 (5),  Business Scrub Seed, 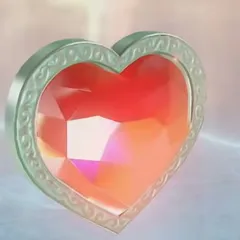 Heart Container (1), 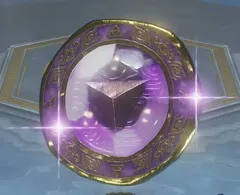 Shadow Medallion |
The Shadow Temple sits behind the Graveyard and you need the Lenses of Truth from the first room to the last. Light the entrance with Din’s Fire, find the Dungeon Map and win the Hover Boots from the mini-boss in the mist on B1. Work down through B2 and B3 with the Hammer and the Longshot, ride the ghost ship on B4 with Zelda’s Lullaby, take the Boss Key and face Bongo Bongo. Impa gives you the Shadow Medallion afterwards.


Table of Contents
Shadow Temple entrance and floor B1
Reach the Shadow Temple
Play the Nocturne of Shadow and answer the warp prompt to land in the Graveyard. Follow the dark stone path to the end, where the “Shadow Temple” title card appears at the gate. Link mutters that the place feels creepy. A gravestone beside the door says those who lack the eyes of truth are not granted the way forward, so keep the Lenses of Truth handy.


Light the entrance with Din’s Fire
Step onto the round floor inside the door and cast Din’s Fire from the Items tab. A dome of fire spreads out and lights the torches around the floor. Then walk on through the doorway. Din’s Fire costs magic, so check your meter before you go deeper.


B1 corridors and pot rooms
The first rooms on B1 are dark corridors lined with pots and a few barred doors. Smash the pots for Rupees and hearts. Navi warns that some of them are really monsters called Flying Pots. One flies straight at you and hurts as much as a real pot would. Further on, a carved stone face looks down a corridor. Switch to the Longshot, aim at the face and fire to pull yourself across. Then follow the passage to a Sheikah eye door.


The skull statues in the corridors beyond speak when you check them. One says that only the one who has obtained the eyes of truth shall see what lies hidden in the darkness, and another speaks of the bloodstained, dark history of the temple. Neither changes anything. Open the door with the eye symbol and go on into the room full of pots and torches.


Dungeon Map
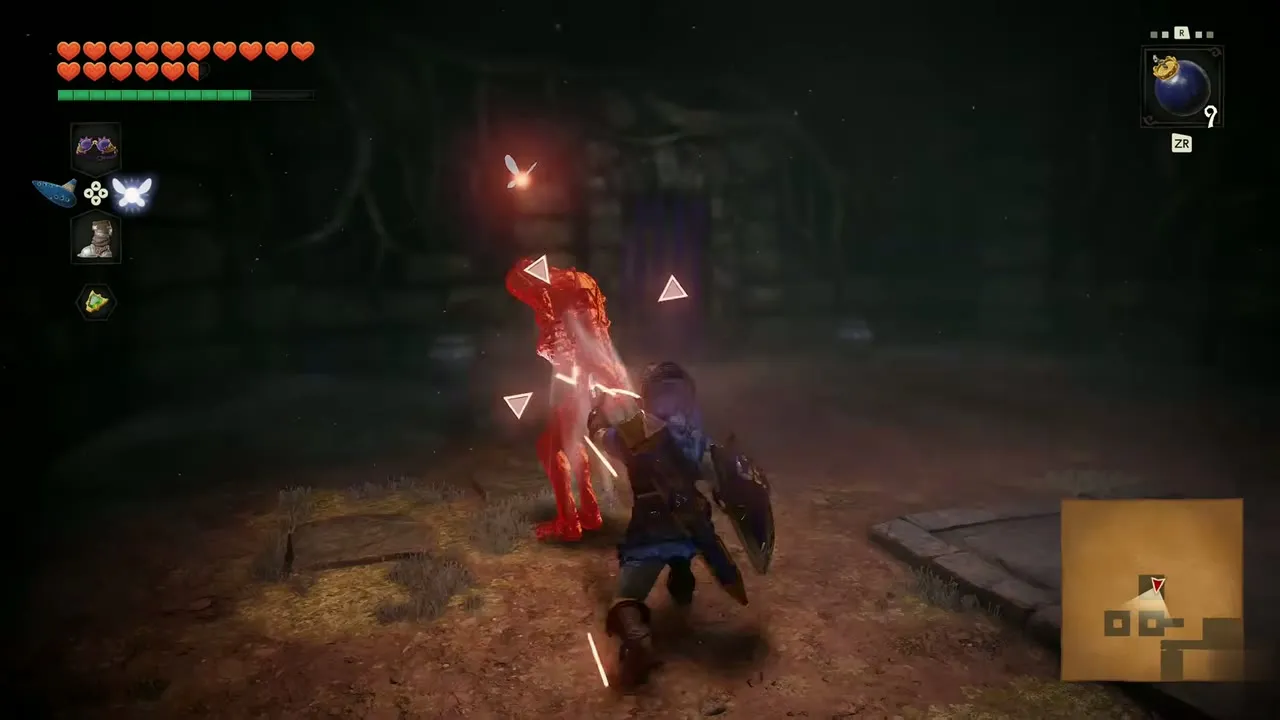
Red-glowing enemies guard the pot and torch room, and Bombs are handy for the pots and walls in it. Beat the enemies with the sword and a chest appears on a stone pad in the dark. It holds the Dungeon Map: “Now you have a detailed map of the area. Your location is marked with an arrow.” Open the Map tab to change floors.


Dead Hand and the Hover Boots
Into the mist
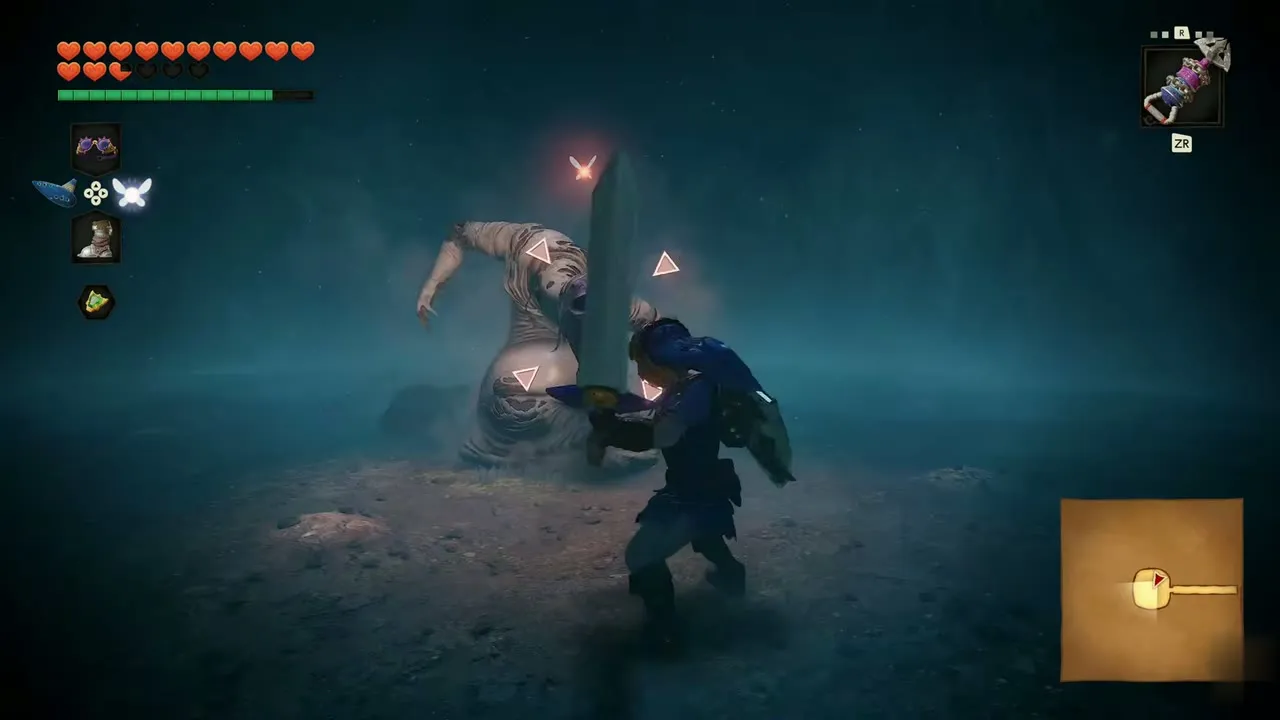
Leave the map room through the next Sheikah eye door and walk the corridors until a purple barred gate stands in your way. The Lenses of Truth show it is not solid, so you can walk through. Beyond lies a foggy graveyard where pale hands reach up out of the ground between dead trees. Draw your sword before you walk into the middle.


Dead Hand mini-boss
A pale, hunched creature pulls itself out of the ground, and the hands around it grab at you. This is the Dead Hand. Keep moving, because the hands grab anything standing still, and slash its body each time it comes up. Bombs also work if you want something heavier. When it falls and the mist settles, a chest stands where it died.

Hover Boots
Open the chest in the mist for the Hover Boots: “You found the Hover Boots!” The description says they let you float just off the ground and briefly walk on thin air. Equip them on the Equipment tab when you need them and take them off afterwards. Navi comments on the wings, then cries out in surprise when Link starts to float.


Floor B2
The winged statue
Go back out through the eye door and keep going until you reach a room with a winged stone statue between two skull posts. Check it and it recites a riddle: the tip of its beak seeks the skull of truth, and should it find falsehood, darkness shall fall. Open the next eye door and take the stairs down to floor B2, labelled “B2” in the corner of the screen.


Hammer and Longshot
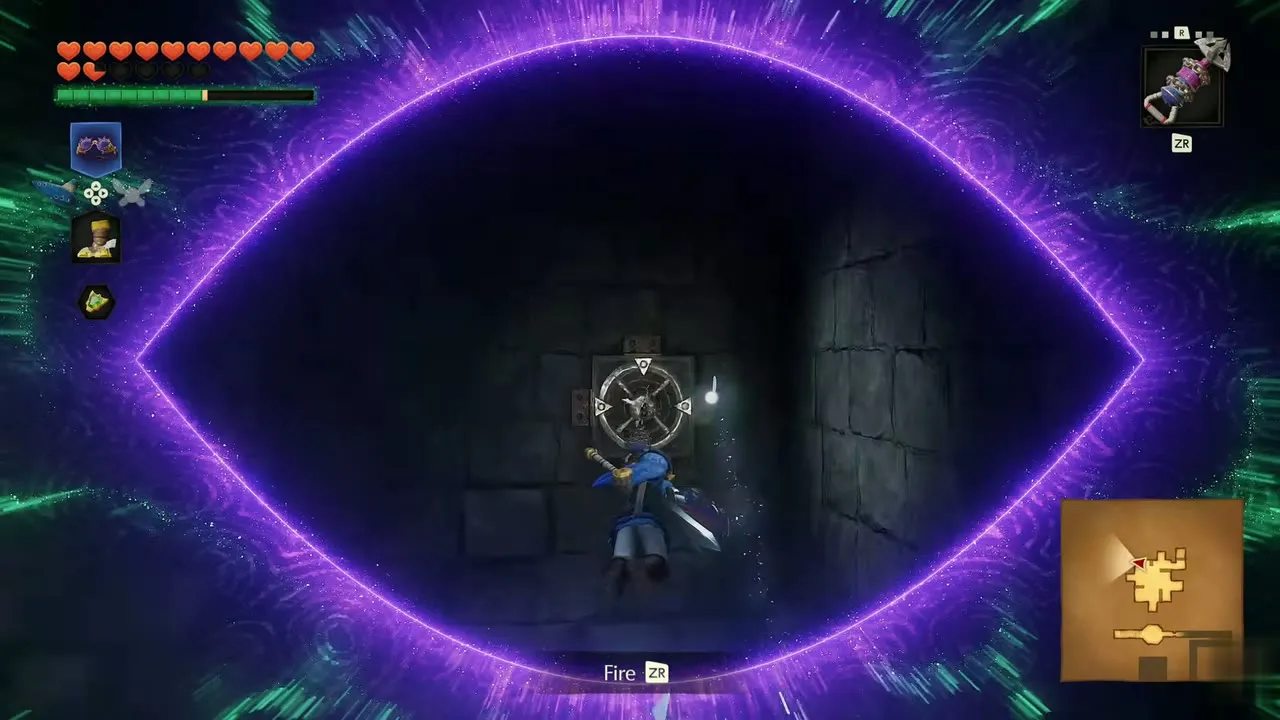
B2 is a maze of dark stone corridors with chains and wooden planks. Equip the Megaton Hammer and smash whatever the Hit prompt points at to clear the wooden planks in the way. When you see a round target on a wall, switch to the Longshot, aim at it and fire to pull yourself across the gap. Use the sword on the enemies you meet.


Small key on B2
Work past the chains and planks with the Hammer and the Longshot to reach a side room, where a chest holds a small key: “You found a small key!” Keep it for the locked door past the Compass room.


Compass
Past a Sheikah eye door the passage is full of bandaged, mummy-like enemies. Fight them with the sword and open the gold chest at the end. It holds the Compass: “You can use this to find the treasure chests and hidden secrets in this dungeon!” Chests now show on the Dungeon Map.


Down to B3
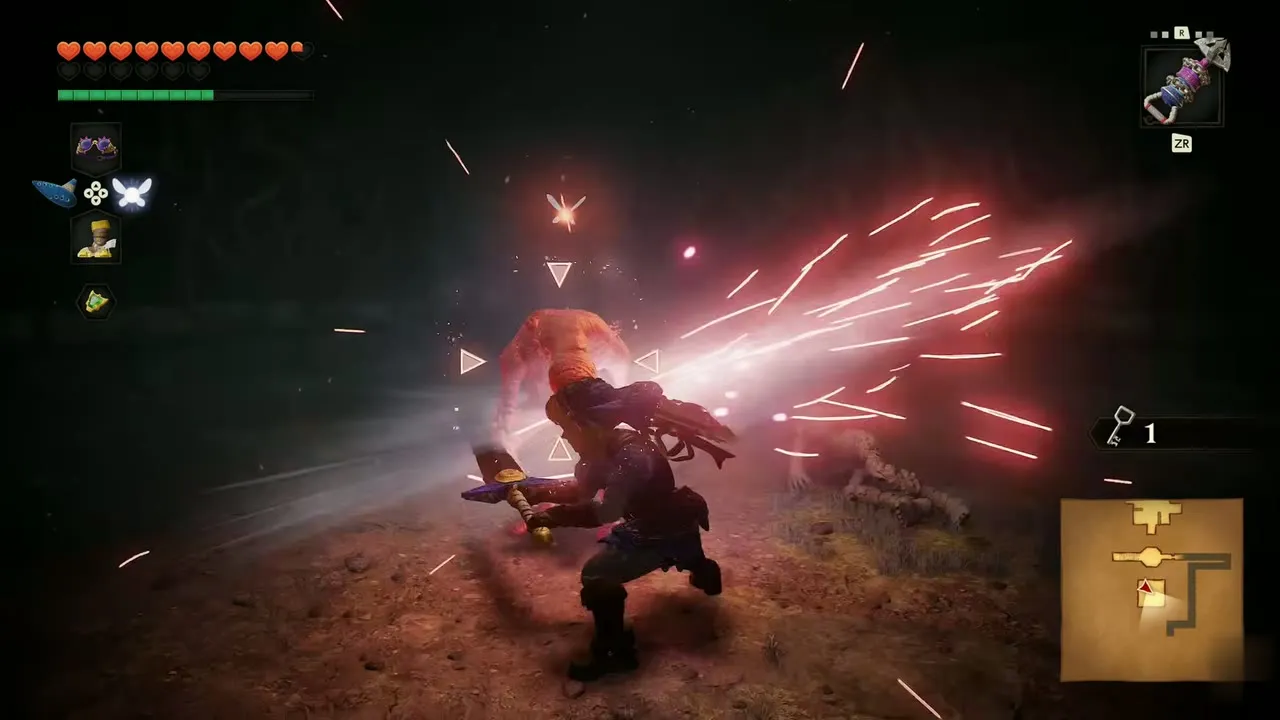
Use the small key on the wooden door past the Compass room, then fight through the next eye door room and the spiked corridors. Pots along the way hold Rupees, and a skull-shaped enemy attacks near the end. The last corridor leads down to B3.


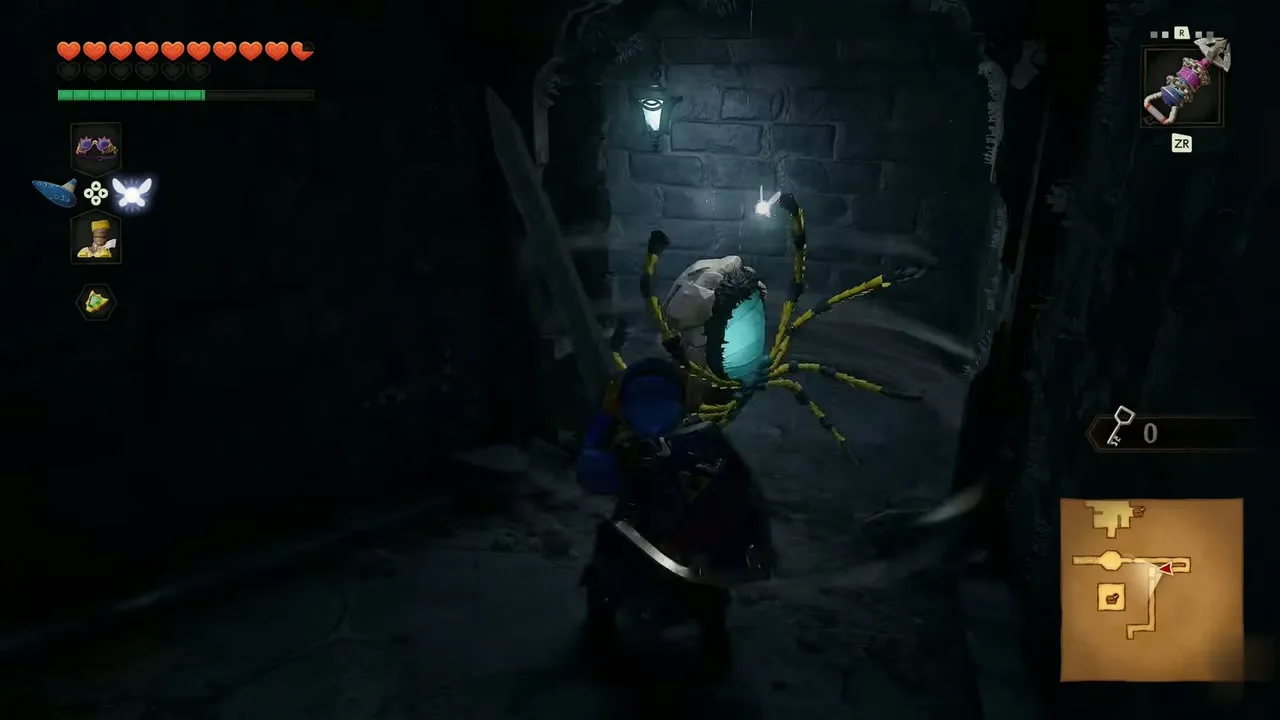

Floor B3
Business Scrub on B3
Pass the glowing purple gate on B3 and step into the dark chamber on the far side. A Business Scrub there says you got him and offers to sell you something as an apology. Its list shows a Green Potion, a Magic Jar and a Business Scrub Seed. The seed costs 30 rupees and summons another Business Scrub later. Buy something or tell him you will see him later.


Gold Skulltula #79
Fight through the rooms past the scrub, where red-glowing enemies attack in the dark, to the next eye door. In the room behind it a chest sits against the wall with a Gold Skulltula above it. Defeat it and collect Gold Skulltula #79 (“You’ve collected 79 tokens so far”).


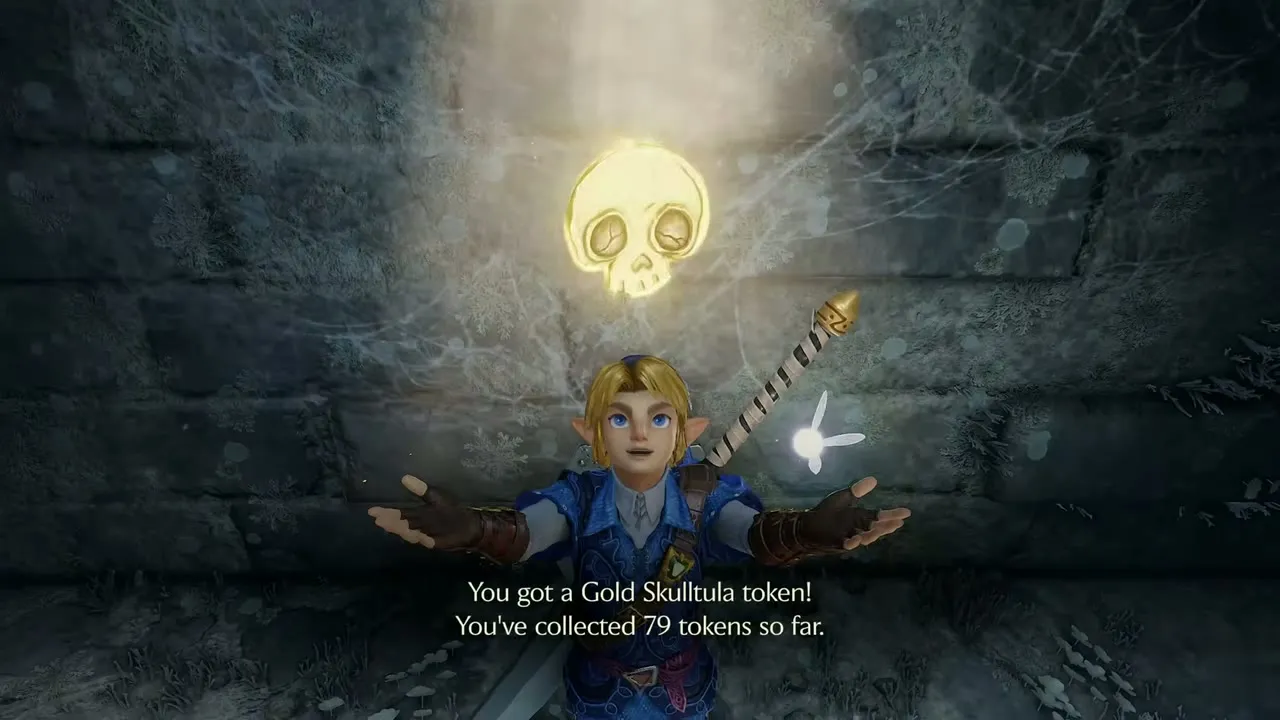
Chain halls and the tablet
Walk through the web-covered hall and work past the chain gates, picking up a Bomb where you need one. In the barred hall Navi senses a fairy\’s thoughts lingering; say yes and she reads a short note about windy places. A stone tablet says only one with the eyes of truth can find the stone umbrella that shields against a rain of blades, so use the Lenses of Truth in the barred hall.
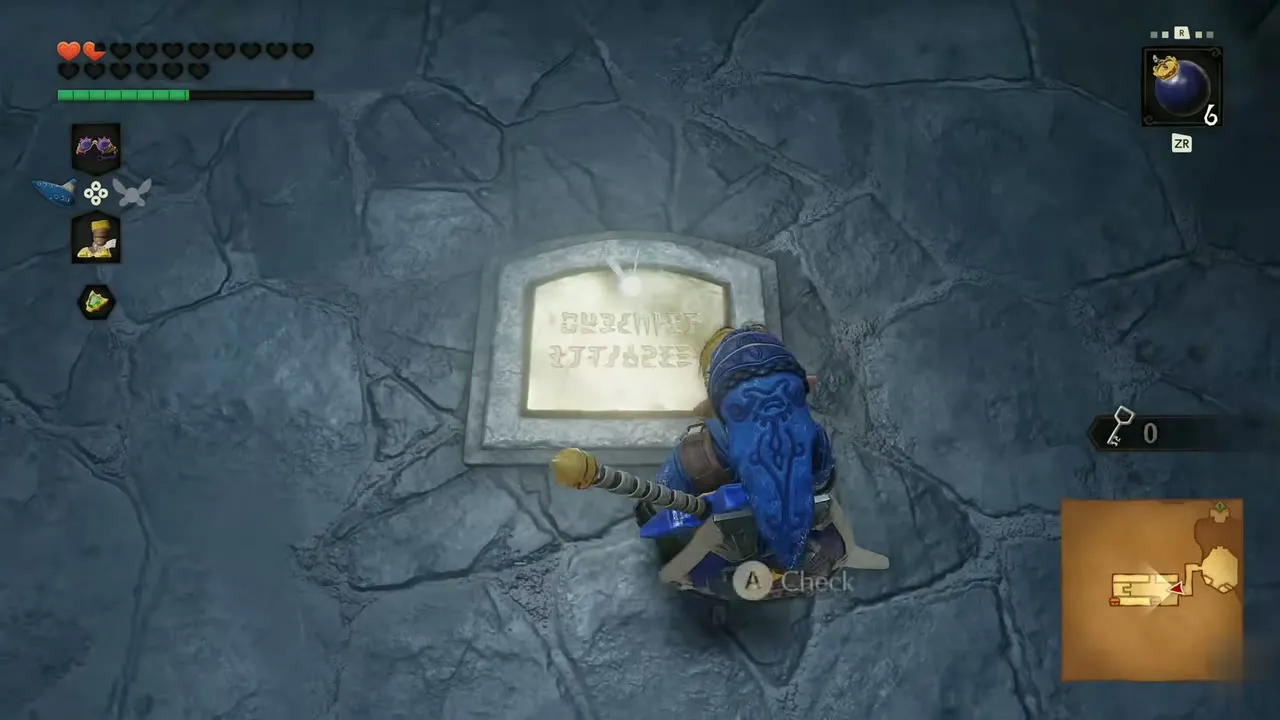


The Sheikah block
A corridor leads to a heavy stone block carved with a Sheikah symbol. Grab it, push it along the floor until it falls into place and climb over it. A second block in the next room sits against a wall beside a glowing switch. Beat the red-glowing enemy there before you push on.


Gold Skulltula #80
A glowing gold light marks a corridor with a barred gate, and a Gold Skulltula crawls on the wall behind it. Aim the Longshot through the bars and fire, then pick up Gold Skulltula #80: “You’ve collected 80 tokens so far.”


Small key on B3
A chest sits on a platform beyond the gate. It holds another small key: “You found a small key!” A ladder and a barred gate lead on from here, and the key opens the chained Sheikah door at the end of the dark corridor.


The round skull room
Past the stone hall, where the Longshot helps against the red-glowing enemy, a round chamber holds a huge stone skull with torches on both sides. A tablet says a dark orb must be cast into a black skull. Climb the stairs to the circular balcony, where bats attack, and take a Bomb from a pot. Throw it from the balcony, then drop down to the round stone floor below and pick up the small key lying there: “You found a small key!”


Creature of Darkness quest
Before you go on, open the Map tab. It lists floors B1 to B4, so you can see which floor you are on and where you have been. The key you just found opens a locked door in the halls ahead.
Gold Skulltula #81
Past the skull room, follow a dark, narrow corridor with the Longshot equipped. The Gold Skulltula sits on the wall ahead, so fire the Longshot at it from a distance and collect Gold Skulltula #81: “You’ve collected 81 tokens so far.”


The hidden path of the wind
Open the next eye door and walk through the graveyard. A stone tablet at the end reads “Lighten your steps and seek the hidden path of the wind.” Keep the Lenses of Truth up and float across the gap to a chest on the far side. It holds a Business Scrub Seed: “You can use this to summon a Business Scrub.”


The undead room
Return across the path and open the next Sheikah eye door. Inside the root-covered room with orange light, undead figures shuffle across the floor. Play the Sun’s Song on the Ocarina and golden light stops them where they stand. Walk past them and smash the cracked stones beside the carved doorway with the Hammer.


Small key in the roots
Inside, a chest stands under a stone arch with a small key: “You found a small key!” Use it on the barred door in the next passage, which leads out onto a wooden walkway above the dark. The floor label changes to B4.


Floor B4 and the Scarecrow
Push the block
The wooden walkway is open to a night sky and a long drop. Push the carved block along it, then step around it. Beyond, a wooden cage hangs above the planks. Play your Scarecrow Song on the Ocarina: “You played your Scarecrow Song!” A Scarecrow appears on top of the cage and calls “Come on!”


Gold Skulltula #82
Switch to the Longshot, aim at the Scarecrow and fire. It is a small target, so aim carefully. The Longshot pulls you over to the Scarecrow, who says hi. Walk along the planks inside the cage to a Gold Skulltula and collect Gold Skulltula #82: “You’ve collected 82 tokens so far.” Drop down again afterwards.


Restock in Goron City
Set Farore’s Wind and leave
This is a good place to leave for supplies. Cast Farore’s Wind on the walkway and choose “Replace warp point”. Then play the Bolero of Fire and answer “Warp to the Death Mountain Crater?” The Goron City shop sells a Red Potion for 30 rupees. To come back, cast Farore’s Wind again, choose “Warp” and answer “Warp to the following place: Shadow Temple?”


The ghost ship
Zelda’s Lullaby on the ship
You arrive on a mist-covered deck at the edge of a bottomless pit. A skeletal ship with iron cages and a hanging bell sits in the fog. Stand on the Triforce marker on the planks and play Zelda’s Lullaby. The box reads “You played Zelda’s Lullaby!” and the ship starts to sail. Navi says “It’s moving…” when the planks shift under you.


Deck fights and the bridge
Fight the red-shielded skeletons on the planks with the sword. Cross to the stone archway, then follow the dark ship bridge across the pit. Navi remarks that the ship must be old.


Fire Arrow on the web
Past the bridge, a spider web fills a doorway. Equip the Fairy Bow, draw it and release to shoot a Fire Arrow at the web, which burns away. The Fire Arrow tip says it uses magic power to shoot and burn things.

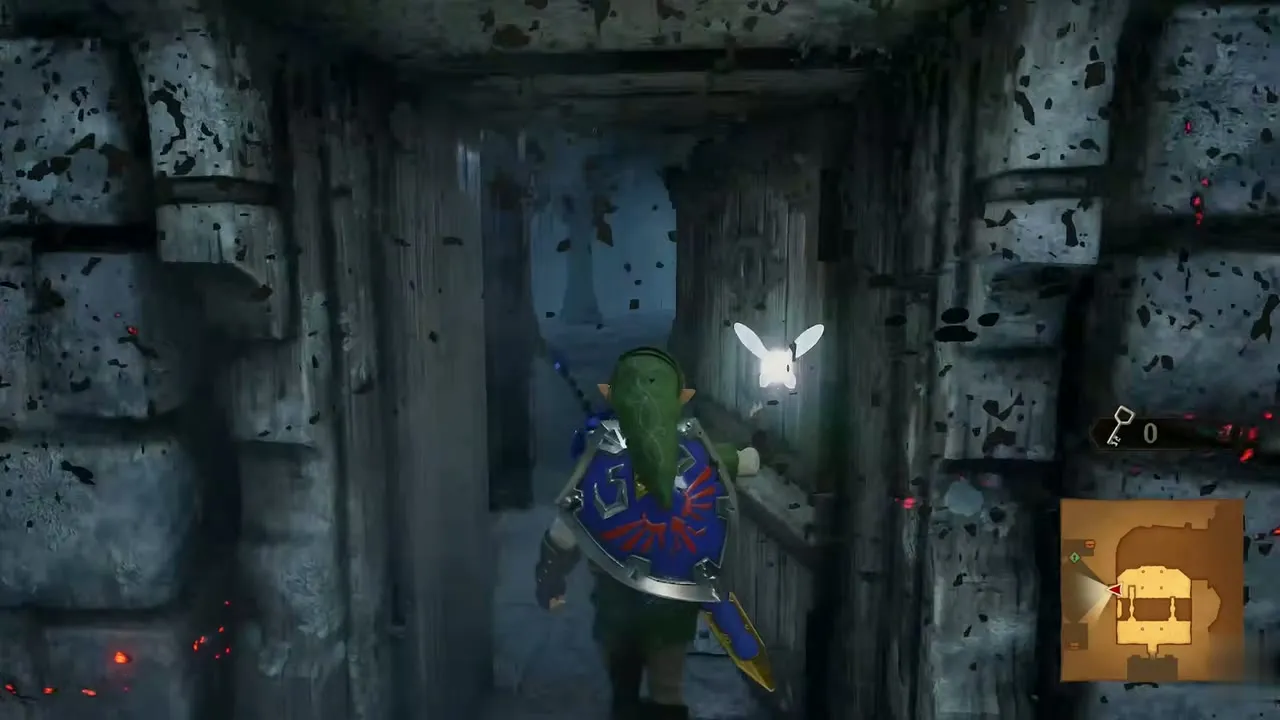
Fights in the B4 halls
The pillared halls beyond hold several enemies, among them one with a green glow and a pink cloud. Use the sword and Bombs, and expect a chained door in the torch room. Past the sunlit gate room, the chest on the pad holds a small key: “You found a small key!”


Boss Key
Unlock the chained door with the small key. The hall beyond is choked with thorny webs and Navi cries “Link! What do we do?!” Cast Din\’s Fire to burn them away. Past the burning webs, a large blue and gold chest holds the Boss Key: “With this, you’ll be able to enter the chamber where the boss of the dungeon lurks!”


Large Magic Jar
Walk back out and defeat the red enemy in front of the next gate. A chest at the wall nearby holds a large magic jar: “A large portion of your magic power will now be refilled!” That refills what you spent on Din’s Fire and Fire Arrows. Then open the eye door and carry on into the round platform rooms.


Gold Skulltula #83
A balcony railing overlooks metal cauldrons. Throw Bombs at the cauldrons and they burst into Rupees. Walk down to the round wooden platform, where a golden plaque lies on the floor. Slash it, check it and collect Gold Skulltula #83, then walk on towards the dark, foggy wooden bridge.


The chained door
Follow the stone passage to a golden skull door held by crossed chains and open it with the Boss Key. Behind it, green fog fills a round chamber.


Bongo Bongo boss fight
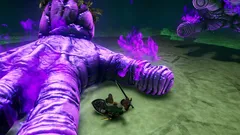
Bongo Bongo arena
Large hand-like shapes lie in the fog as you step onto the round arena. The title card reads “Phantom Shadow Beast Bongo Bongo”. Two huge purple-flamed hands rise from the floor and the glowing orange eye in the middle of the boss looks down at you. Equip the Fairy Bow, because you need arrows in both phases.


Phase one: the hands
The hands slam down across the arena in turn. Run in circles to avoid them and shoot arrows at a hand as it comes down. The shadow of a hand on the floor shows where it will land, so keep out of it. Save some arrows for the eye.


Phase two: the eye
With the hands down, Bongo Bongo shows its eye at the centre of its body. Hold up the Lenses of Truth and shoot the glowing eye to stun it. It bursts open with a purple flash and the boss staggers. Run in and slash the eye while it is open, then roll away when the hands rise again. Repeat until the body collapses.


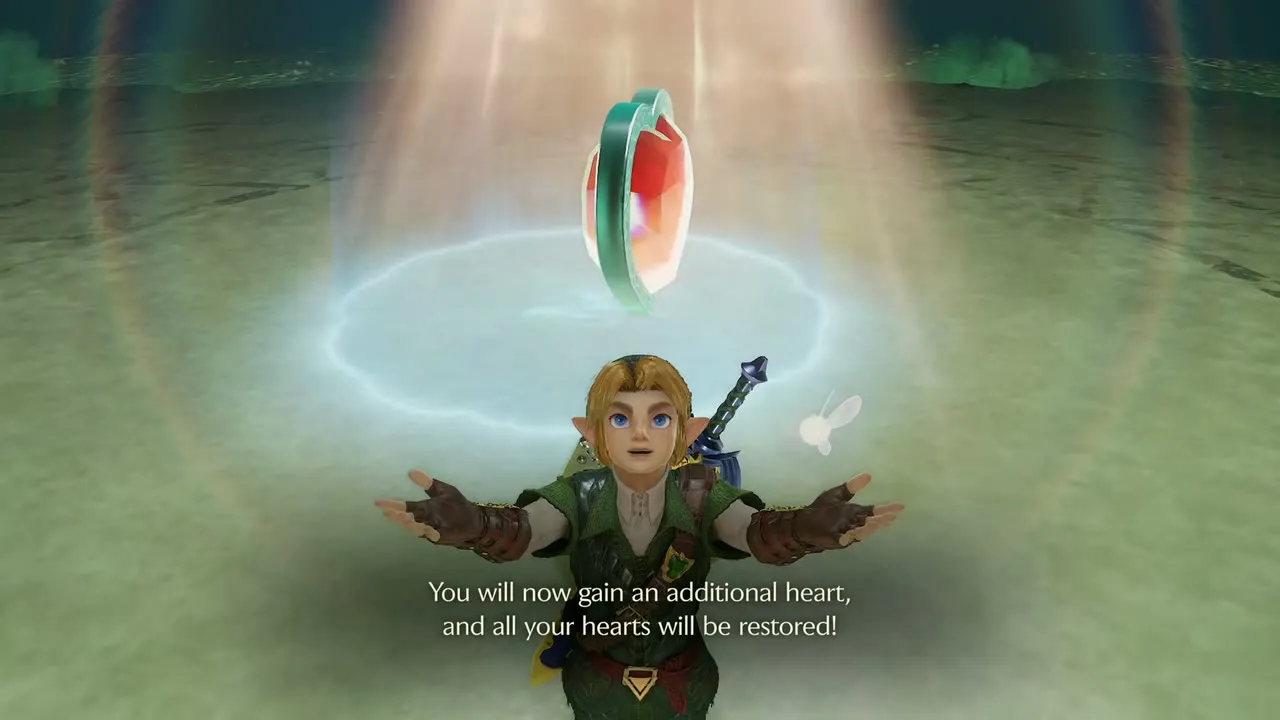
Heart Container
A red Heart Container floats in the middle of the arena in a column of light. Walk up and take it: “You will now gain an additional heart, and all your hearts will be restored!” Navi asks whether you are forgetting anything. Choose “Let’s go!” to leave through the blue warp.


Impa and the Shadow Medallion
The Sage of Shadow
The warp takes you to the Sage of Shadow’s chamber, where Impa appears on her pad and greets you: “It’s been awhile. Greetings, brave one.” She thanks you for slaying the beast and says Her Highness is safe and will make herself known soon. Navi realises Impa is the Sage of Shadow, and Impa admits she failed to stop Ganondorf seven years ago. She asks you to protect the princess.


Shadow Medallion
White light swirls around Link and the Shadow Medallion appears over his head: “You were entrusted with the Shadow Medallion!” The box adds that it holds Impa’s resolve as the Sage of Shadow. She says she is counting on you to tend to Her Highness. A flash carries you out to the Graveyard warp pad, and the Awakening the Five Sages quest updates.


Chapter checklist
| Collectible | Type | Where |
|---|---|---|
| Dungeon Map | Dungeon item | B1, chest in the pot and torch room |
| Hover Boots | Main item | B1, chest in the mist after the Dead Hand |
| Small key (1 of 5) | Key | B2, chest in the side room |
| Compass | Dungeon item | B2, gold chest behind the eye door |
| Business Scrub Seed | Business Scrub | B3, 30 rupees from the scrub in the dark chamber |
| Gold Skulltula #79 | Gold Skulltula token | B3, room behind the eye door by the chest |
| Gold Skulltula #80 | Gold Skulltula token | B3, wall above the barred gate |
| Small key (2 of 5) | Key | B3, chest on a platform |
| Gold Skulltula #81 | Gold Skulltula token | B3, skull statue room, Longshot |
| Business Scrub Seed | Item | B3, chest at the end of the hidden path |
| Small key (3 of 5) | Key | B3, on the round stone floor below the balcony |
| Small key (4 of 5) | Key | B3, chest in the root-covered alcove |
| Gold Skulltula #82 | Gold Skulltula token | B4, cage reached with the Scarecrow and Longshot |
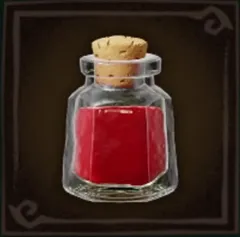 Red Potion | Shop item | Goron City shop, 30 rupees |
| Small key (5 of 5) | Key | B4, chest on a pad in the halls |
| Boss Key | Dungeon item | B4, gold and blue chest past the fire hall |
| Large magic jar | Item | B4, chest at the wall |
| Gold Skulltula #83 | Gold Skulltula token | B4, round platform with the cauldrons |
| Heart Container | Heart Container | Bongo Bongo arena |
| Shadow Medallion | Medallion | Sage of Shadow chamber, from Impa |
Next, head west to Gerudo Fortress, where a carpenter is waiting in a cell.
