Ocarina of Time Remake 100% Completion Walkthrough41 chapters
- Kokiri ForestFind the Kokiri Sword, buy the Deku Shield for 40 rupees and get past Mido to the Great Deku Tree.
- The Great Deku TreeFairy Slingshot, Dungeon Map, Compass, four Gold Skulltulas, Gohma and the Kokiri Emerald.
- Leaving Kokiri ForestSay goodbye to Mido and Saria, get the Fairy Ocarina, meet Kaepora Gaebora and cross Hyrule Field.
- Hyrule Castle TownGold Skulltula, Bazaar, Shooting Gallery seed bag, Potion Shop bottle and the Temple of Time.
- Hyrule CastleGet the Weird Egg, wake Talon, sneak in, meet Zelda, learn Zelda’s Lullaby and collect Zelda’s Letter.
- Kakariko VillageCucco Lady’s bottle, House of Skulltula, Adult’s Wallet and the rooftop Heart Piece.
- GraveyardDampé’s Grave-Diggin’ Tour Heart Piece, Sharp and Flat, the Royal Family’s Tomb and the Sun’s Song.
- Lon Lon RanchTalon’s cucco game, Lon Lon Milk, Epona’s Song, a Heart Piece and Gold Skulltula.
- Gerudo ValleyTwo Heart Pieces, Lon Lon milk from Miss Moo with Epona’s Song, and a Gold Skulltula token.
- Lake HyliaLakeside Laboratory, the scarecrow quest, a Gold Skulltula and the fishing Heart Piece.
- Lost Woods and Sacred GroveRichard’s Heart Piece, Happy Mask Shop, Skull Kid, Saria’s Song, Gold Skulltulas 16 to 19 and the Business Scrubs.
- Death Mountain Trail and Goron CityClimb to Goron City, win over Darunia with Saria’s Song and take the Goron Bracelet before Dodongo Cavern.
- Dodongo CavernDungeon Map, Compass, Bomb Bag, four Gold Skulltulas, King Dodongo and the Goron Ruby.
- Death Mountain Summit and CraterGoron City Heart Piece and Bigger Bomb Bag, Din’s Fire and magic meter, crater Heart Piece, Echo Gem.
- Bombchu Bowling and the Great Fairy of PowerWin the Bombchus, Biggest Bomb Bag and Heart Piece, then get the enhanced Spin Attack.
- Zora River and Zora DomainHeart Pieces, a Gold Skulltula, the Silver Scale, Ruto’s bottle in Lake Hylia and King Zora’s request.
- Lord Jabu-Jabu’s BellyFarore’s Wind, the Boomerang, Ruto, Barinade, the Heart Container and the Spiritual Stone of Water for child Link.
- Errands Before the Temple of TimeThe child errands before the Temple of Time in the Ocarina of Time Remake.
- Temple of TimeFind the Ocarina of Time, open the Door of Time, draw the Master Sword and earn the Light Medallion.
- Ingo Ranch and EponaIngo’s two horse races, winning Epona and teaching Bonooru the Scarecrow Song.
- Kakariko Village and the HookshotDampé’s race, the Hookshot, Song of Storms and Heart Pieces #17 to #19.
- Sacred Grove as an AdultGet past Mido with Saria’s Song, cross the Moblin maze, beat the Great Moblin.
- Forest TempleSmall keys, Fairy Bow, four Poe Sisters, Phantom Ganon, Heart Container and Forest Medallion.
- Poes, the Hall of Fallen Foes and Lake HyliaBigger Quiver, Prelude of Light, Big Poes, Golden Scale and three Heart Pieces.
- Goron City as an AdultHeart Pieces, a Gold Skulltula, the Goron Tunic from the small Goron.
- Fire TempleFree all nine Gorons, find the Megaton Hammer and Boss Key, beat Volvagia and earn the Fire Medallion.
- Double Magic and Death MountainCrater Great Fairy Fountain, doubled magic, Gold Skulltulas 60 to 62 and a Business Scrub Seed as adult Link.
- Ice CavernBlue Fire, Iron Boots, Serenade of Water, the Zora Tunic and two Heart Pieces.
- The Biggoron Sword RouteBuy the Giant’s Knife, trade from the Pocket Egg to Cojiro, and finish every step up to the Biggoron Sword.
- Water TempleTriforce doors, small keys, Longshot, Dark Link, Morpha, the Water Medallion and Gold Skulltulas 68 to 73.
- Kakariko Village and the Nocturne of ShadowLearn the Nocturne of Shadow and find two Gold Skulltulas and two Heart Pieces.
- Bottom of the WellLenses of Truth, Dungeon Map, Compass, both small keys, Dead Hand and Gold Skulltulas 76 to 78.
- Treasure Box Shop and the Way to the Shadow TempleWin the Piece of Heart with the Lenses of Truth, then warp to the Shadow Temple via the Nocturne.
- Shadow TempleFloors B1 to B4, Hover Boots, Bongo Bongo, Heart Container and the Shadow Medallion from Impa.
- Gerudo FortressRescue all four carpenters, win the Gerudo Pass, find Gold Skulltulas 84 and 85.
- Mirage Desert and Evil Desert ColossusPhantom Guide, Requiem of Spirit, five Gold Skulltulas, three Heart Pieces, Biggest Quiver, Nayru’s Love.
- Spirit TempleChild and adult routes, Silver Gauntlets, Mirror Shield, Boss Key, Iron Knuckle Nabooru, Twinrova.
- Gerudo Proving GroundsPay 30 rupees, solve every room, and claim the Ice Arrow and a Business Scrub Seed.
- Last Heart Pieces and Gold SkulltulasTokens 96 to 100, Heart Pieces 33 to 35, the Rich Man reward and Light Arrow.
- Ganondorf’s CastleClear the six barriers, get the Golden Gauntlets and the Great Fairy of Courage’s gift.
- Ganondorf and GanonTower climb, Boss Key, Ganondorf boss fight, the escape with Zelda and the Ganon boss fight.
| Covers | Spirit Temple (1F to 4F, child side and adult side), Evil Desert Colossus, Temple of Time |
|---|---|
| Link | Child, then adult |
| You need | Requiem of Spirit, Zelda’s Lullaby, Song of Time, your Scarecrow Song, Longshot, Fairy Slingshot, Boomerang, Fairy Bow, Megaton Hammer, bombs, Din’s Fire; a Hylian Shield is wise for the child half |
| Rewards |  Silver Gauntlets,  Mirror Shield,  Boss Key,  Compass, Spirit Temple Map,  five Bombchus,  5 small keys,  Gold Skulltulas #91 to #95 (5), 1  Heart Container,  Spirit Medallion |
Spirit Temple is a two-visit dungeon. As a child you meet Nabooru, climb to the top of the temple’s child side and collect the Silver Gauntlets from a chest outside, which gets Nabooru captured by Twinrova. As an adult you return through the Temple of Time, work through the lamp and mirror rooms, win the Mirror Shield, beat the Iron Knuckle that was once Nabooru, defeat Twinrova and receive the Spirit Medallion.
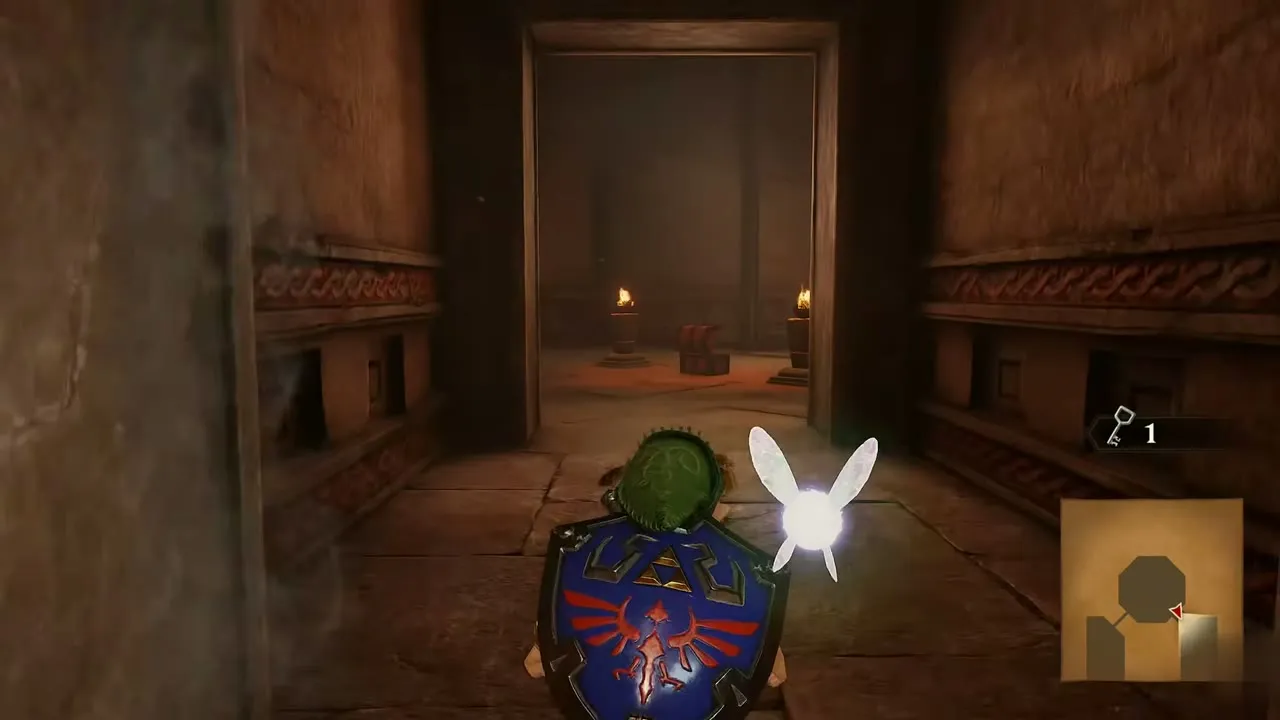
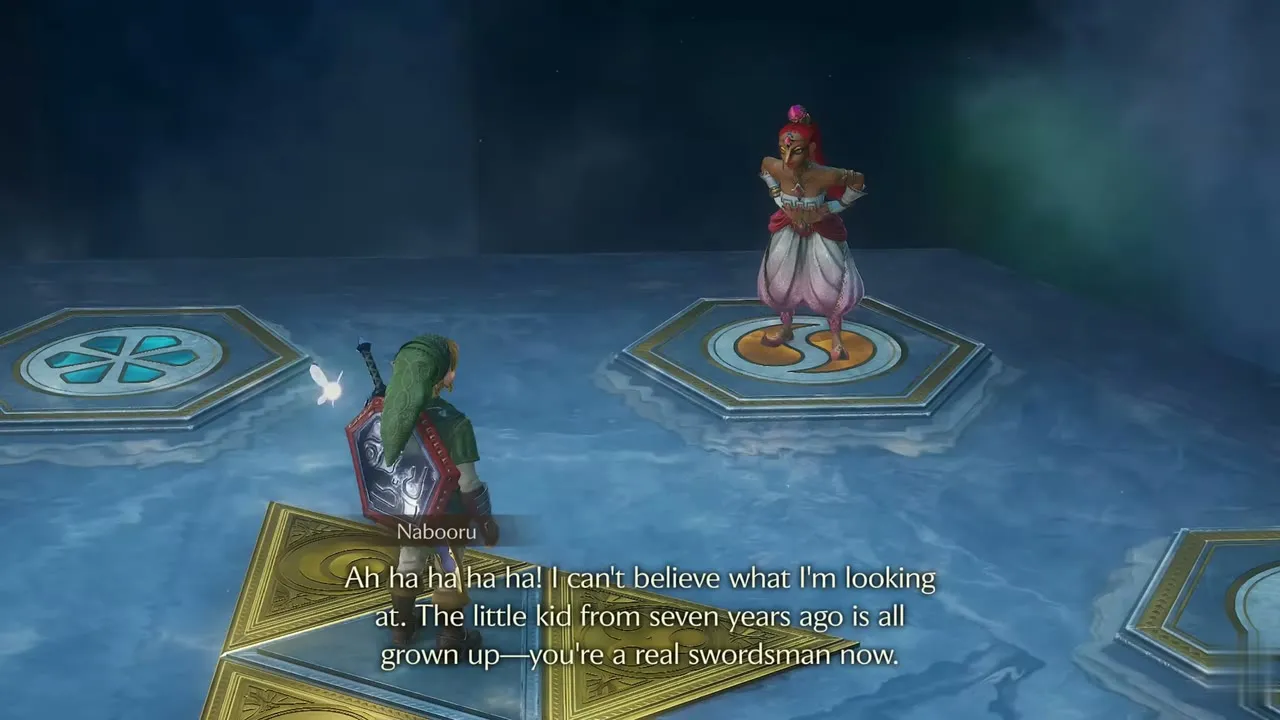
Table of Contents
Spirit Temple as a child: meeting Nabooru
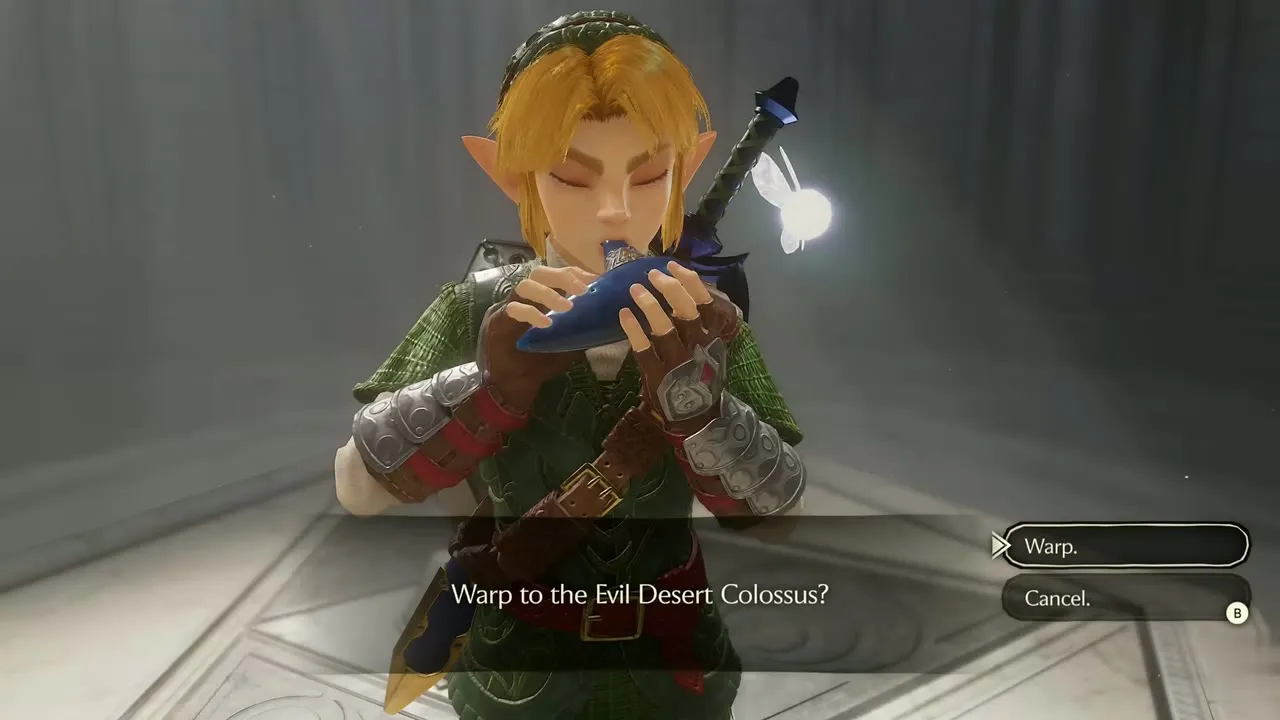
Warp to the Evil Desert Colossus
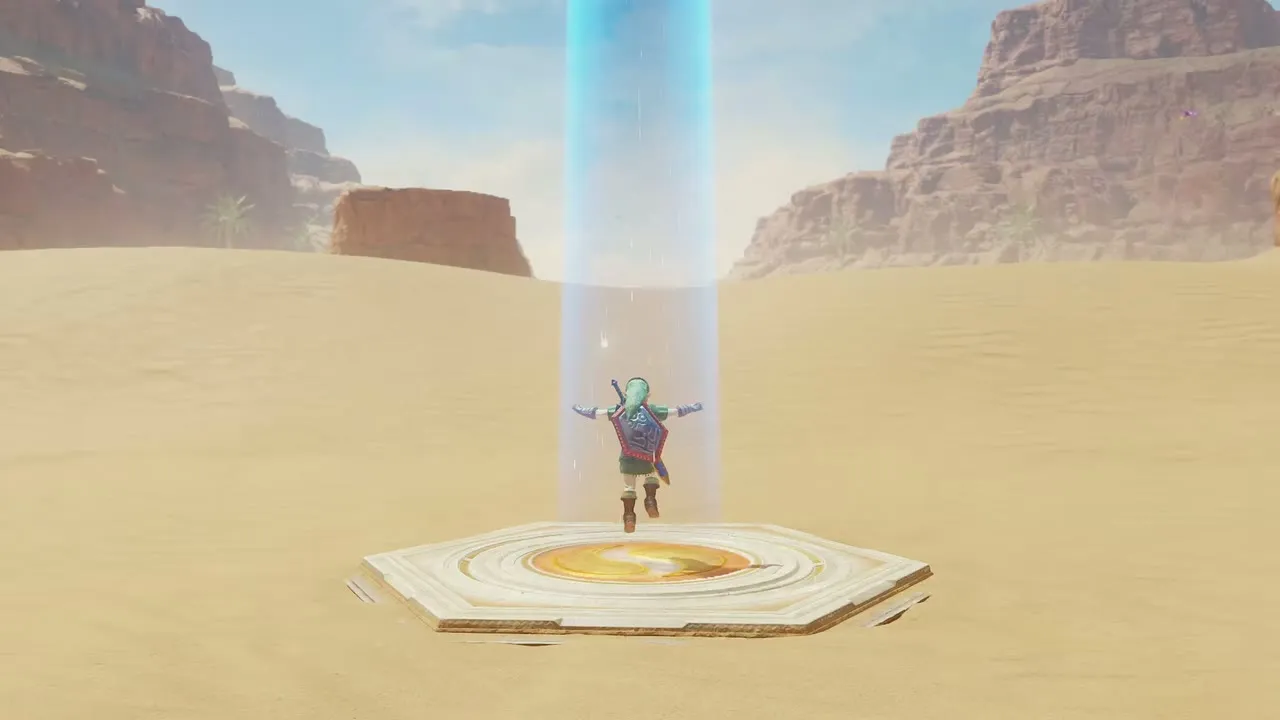
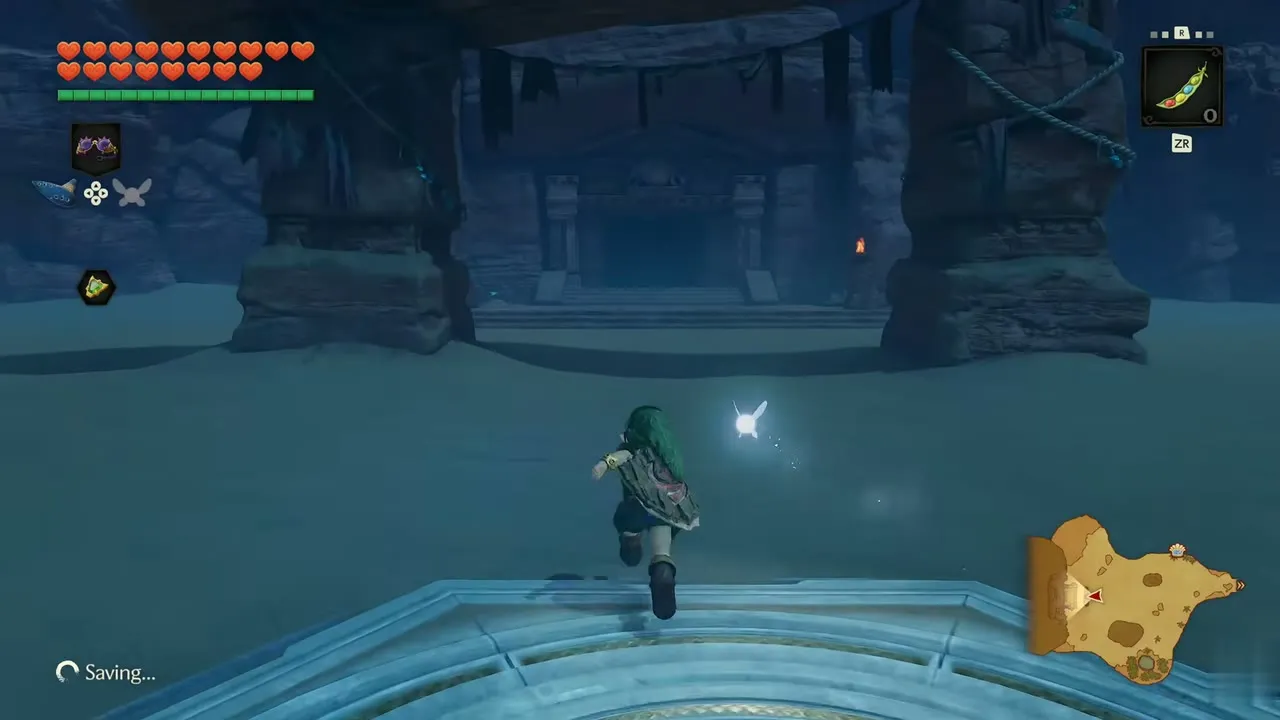
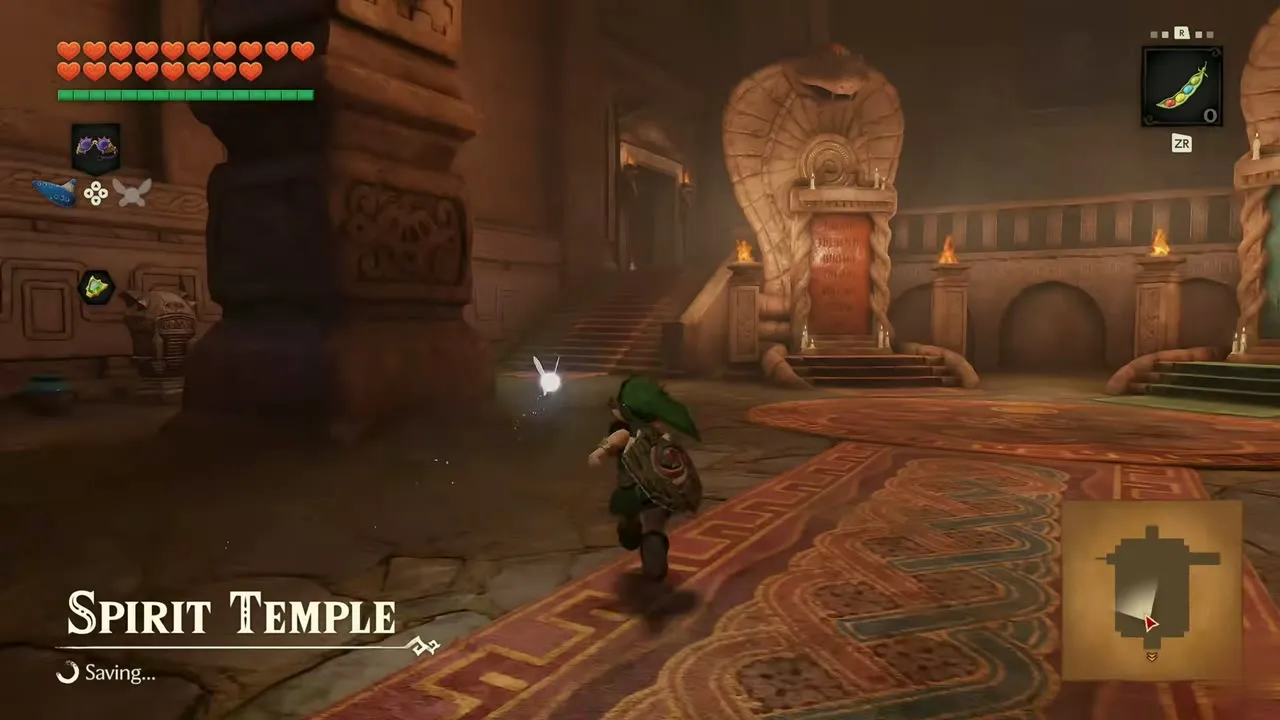
Stand in the Temple of Time as a child, open your songbook and play the Requiem of Spirit. Choose Warp when the game asks whether you want to go to the Evil Desert Colossus. You land outside the temple entrance, so walk in and the Spirit Temple banner appears with the 1F map. If you still need the song, see Mirage Desert and Evil Desert Colossus.

Talk to Nabooru
Just inside the entrance hall a Gerudo woman is peering at a gap in the wall too small for her. She spots you, introduces herself as Nabooru, a thief who works alone, and explains that she wants no part of Ganondorf. She asks you to crawl through the child-sized hole and bring her the treasure, the Silver Gauntlets, and swears she will repay the favour. The Missing in the Desert quest begins.

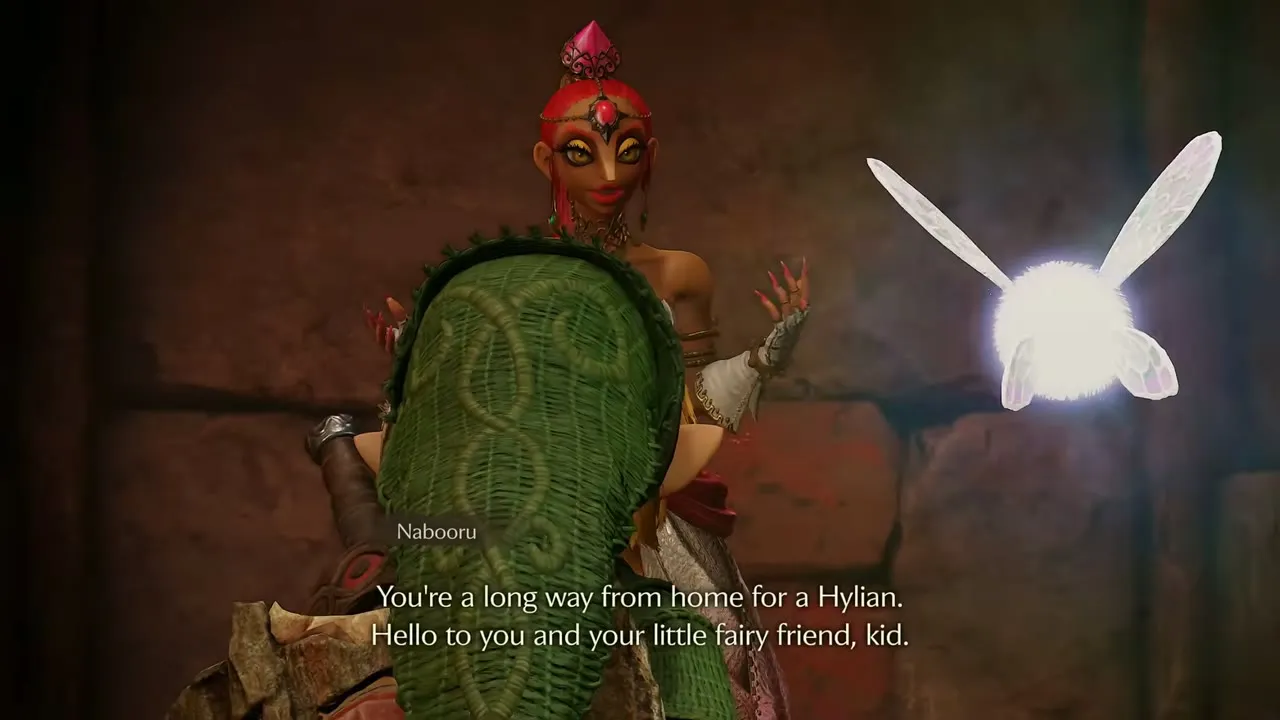
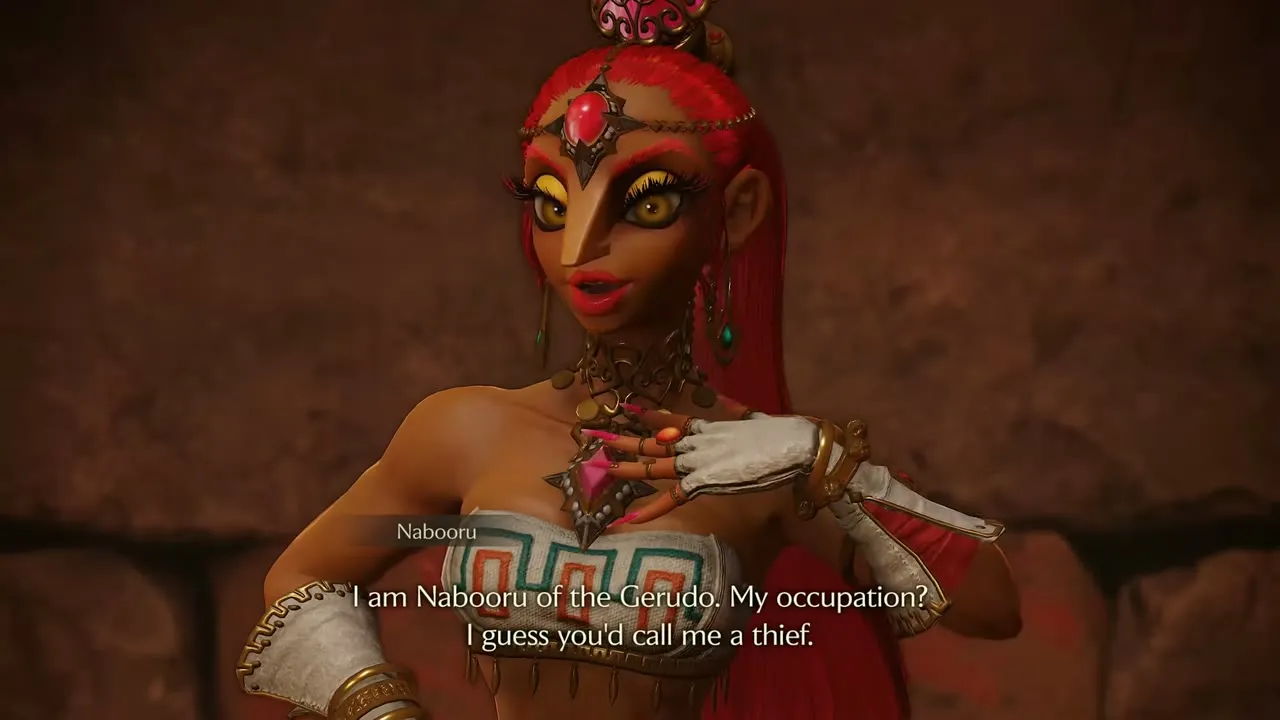
Child side, 1F
Round hall and green rupee room
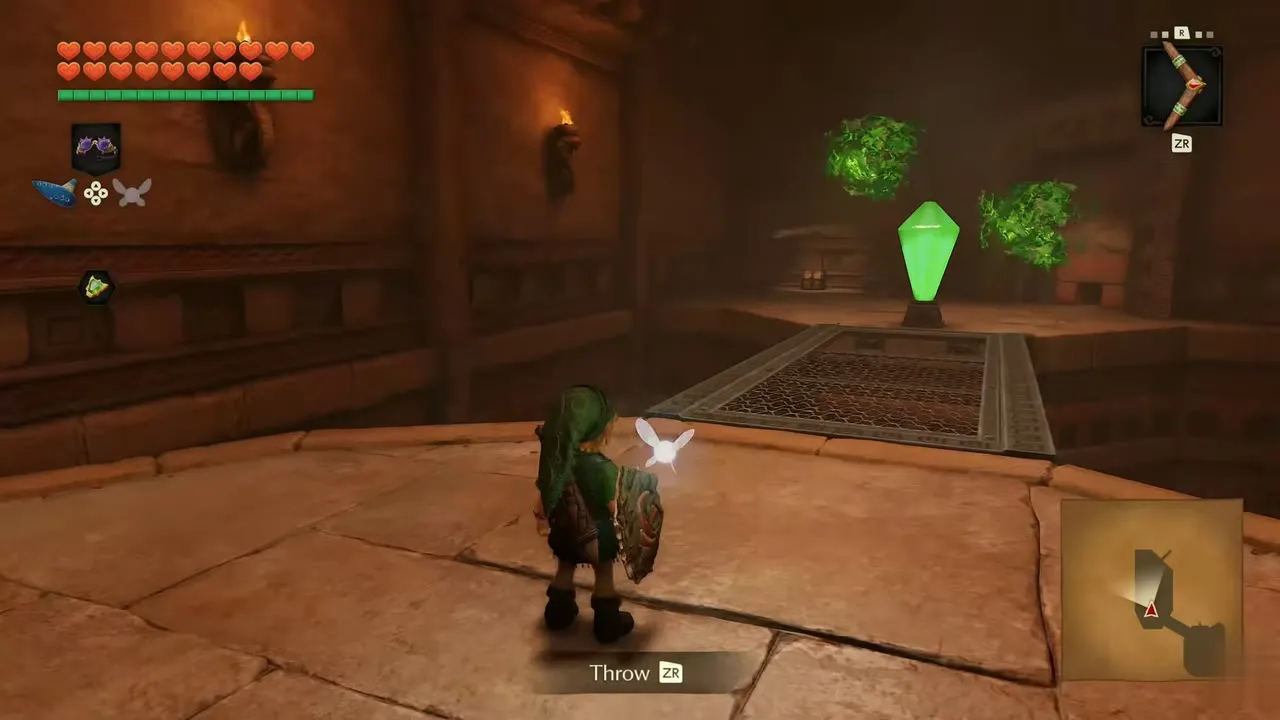
Follow the corridor into the round hall with the purple curtains and fight the armored Stalfos that stand in the next rooms. Further on, a room lit green holds a large green rupee on a pedestal with two small critters beside it. Pick up the green rupees scattered around and lift the crates for more.

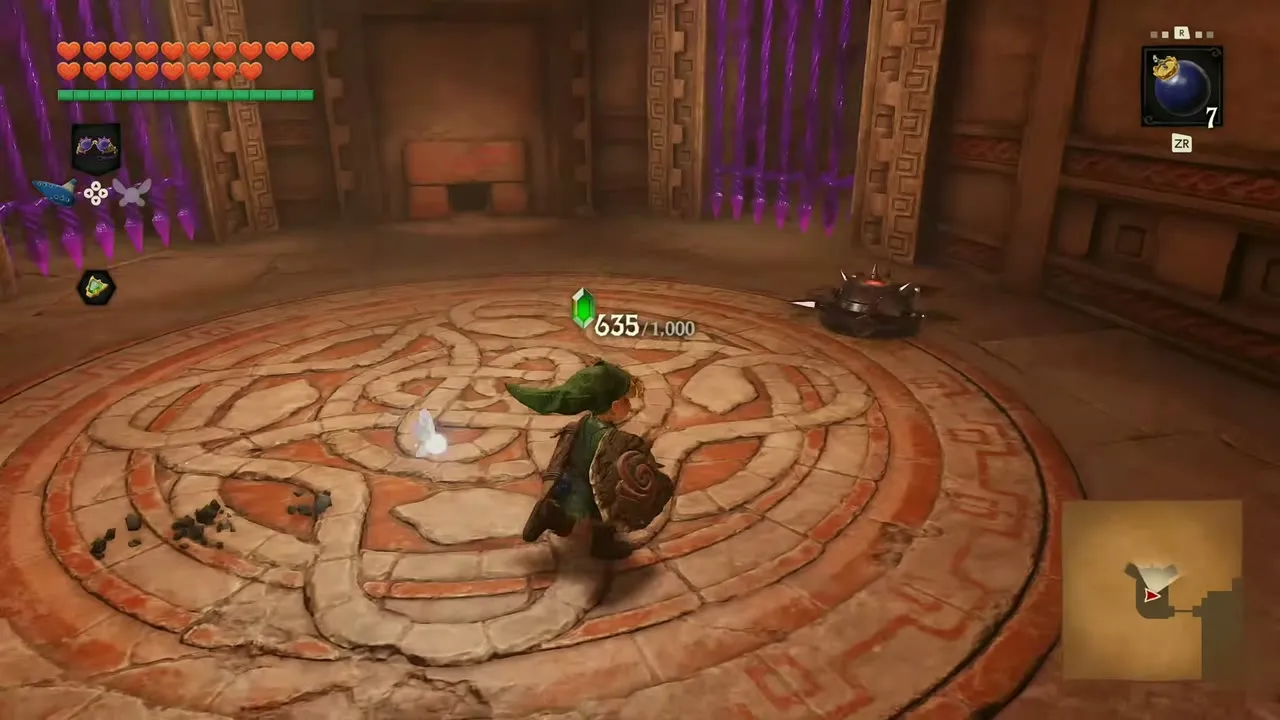
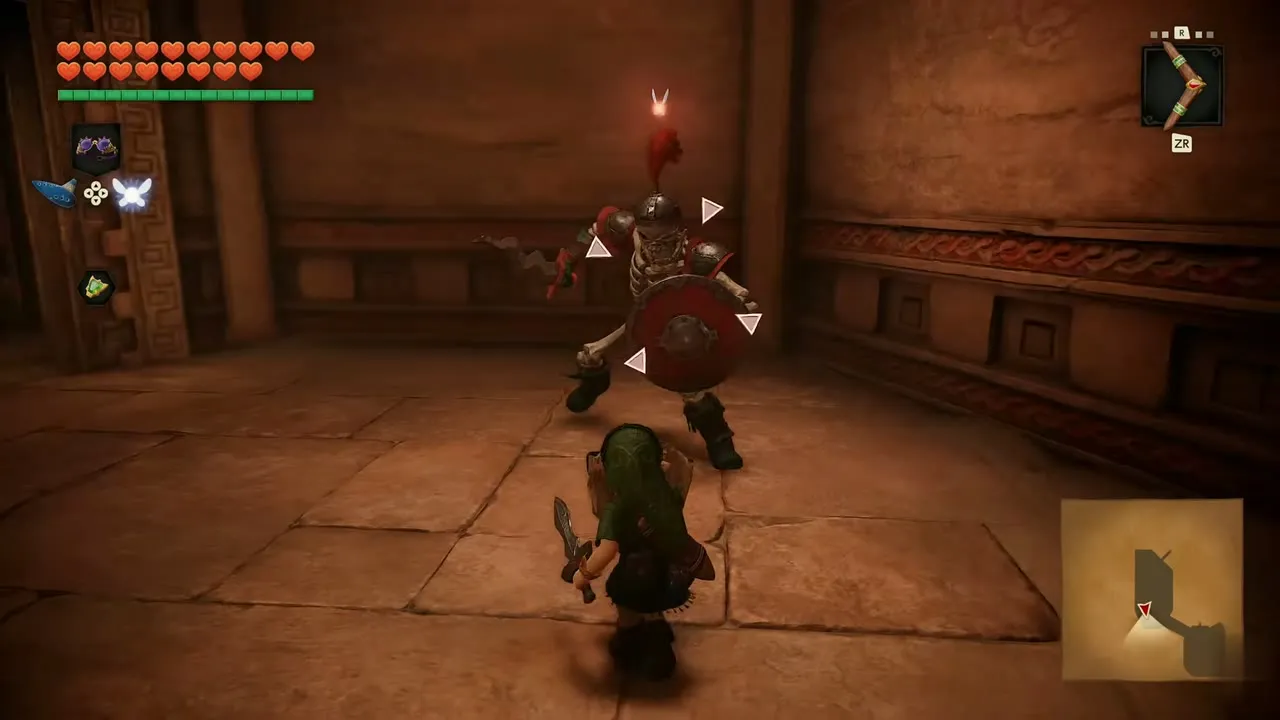
Fire corridor and Deku Shield warning
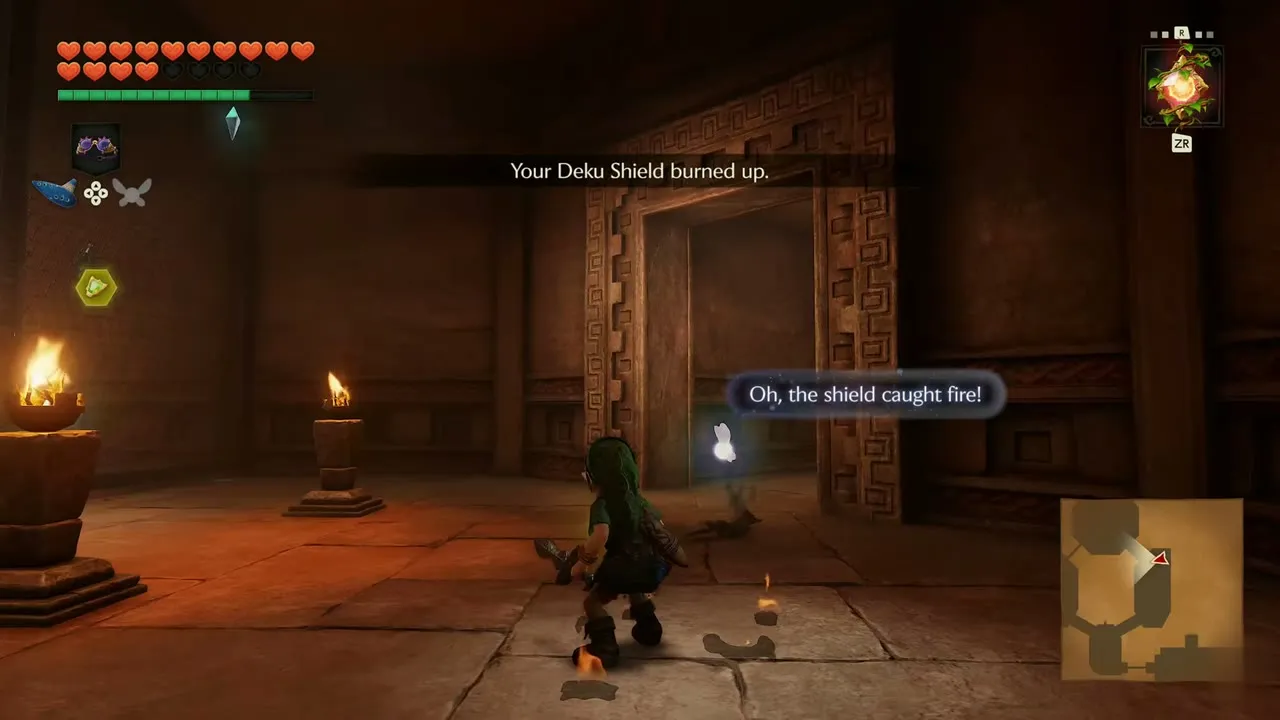
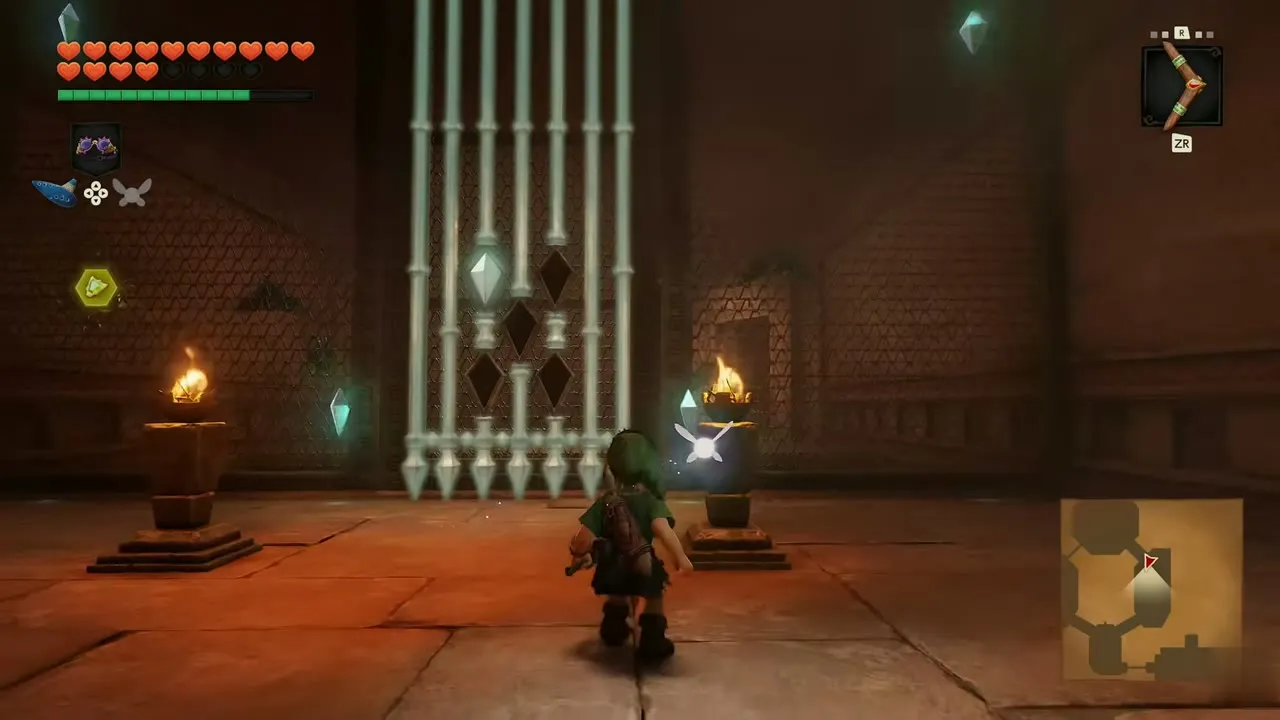
In the octagonal stool room, open the Items screen, choose Din’s Fire and cast it at the totem torch. The flames light it and the purple barrier over the door fades. In the torch-lit rooms beyond, flames reach you and your Deku Shield burns up. Open the Equipment screen and put on the Hylian Shield. It is heavy for a child but it does not burn.
Gold Skulltula #91
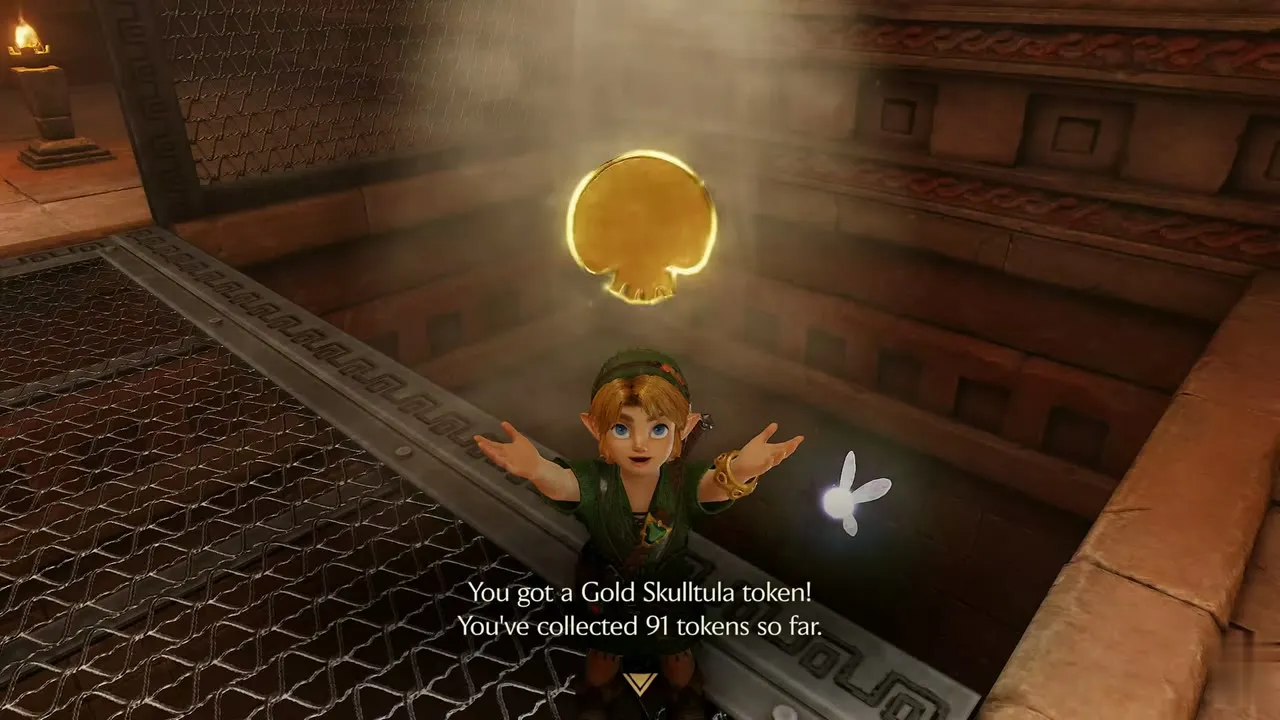
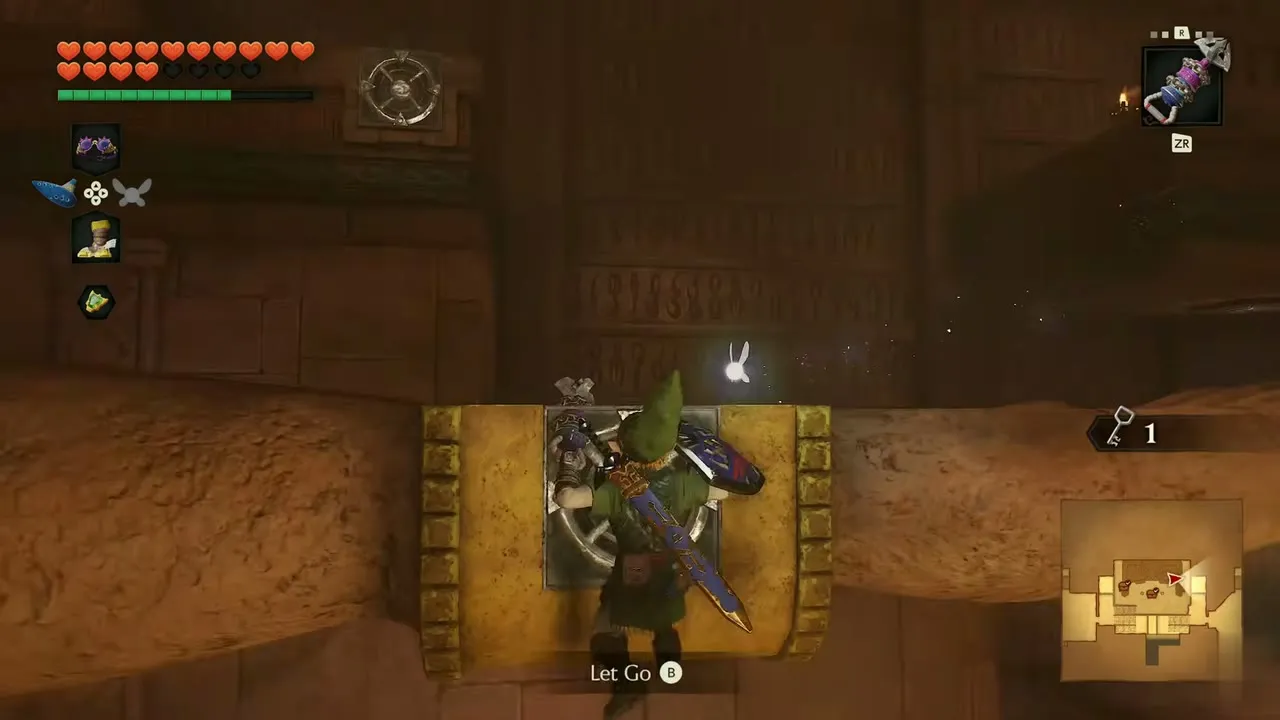
Cross the mesh floor over the pit, using Let Go and Jump when the game prompts you. In the mesh room beyond, a Gold Skulltula token hangs in the light. Take it to bring your total to 91 tokens.

First small key
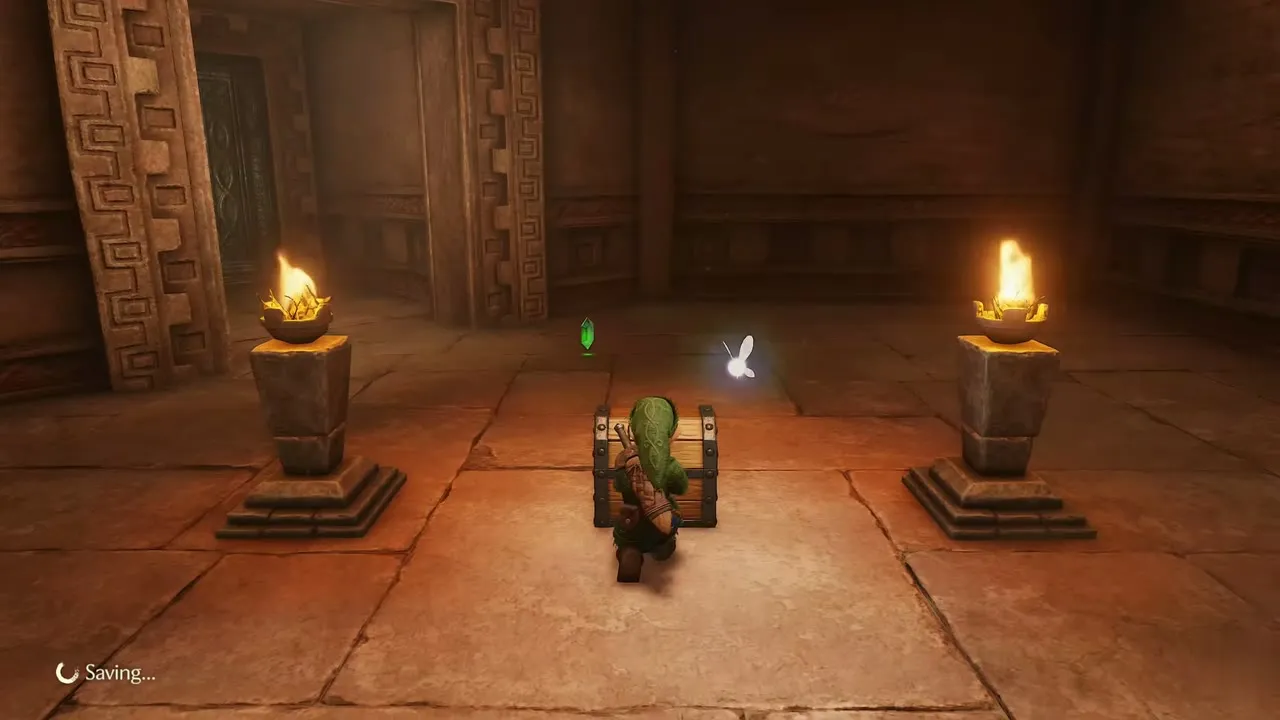
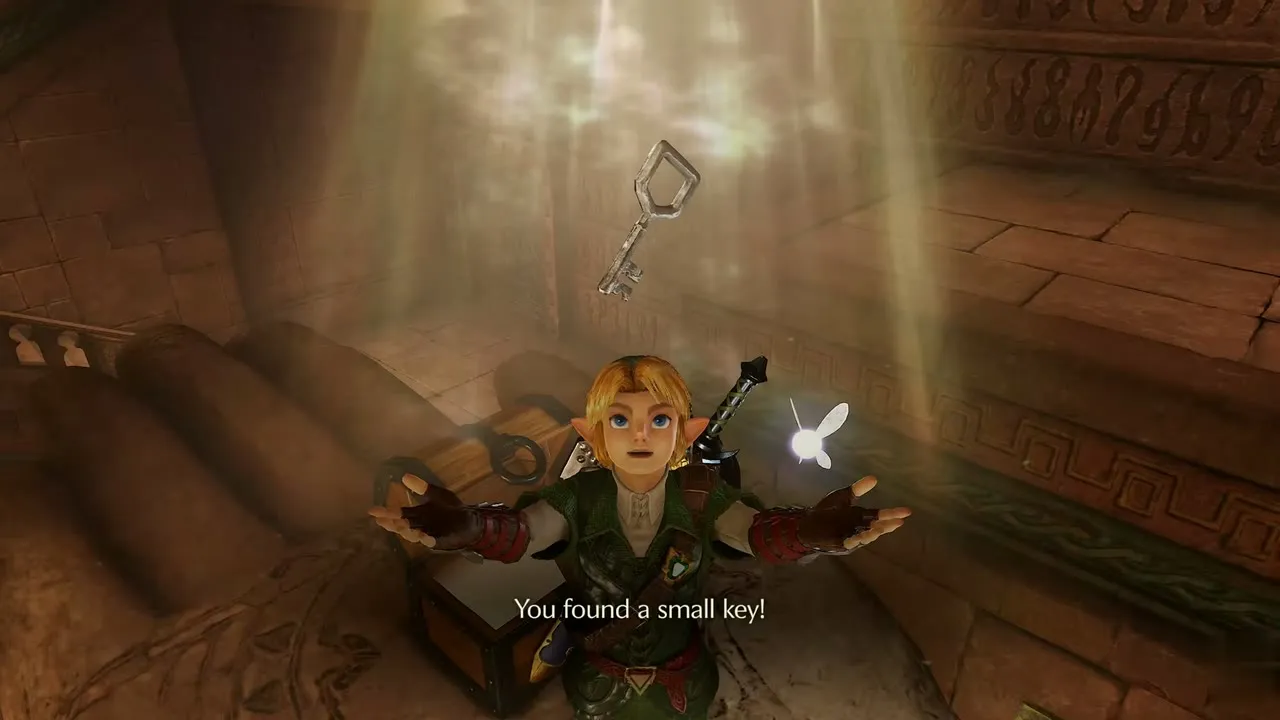
Walk on to the pair of braziers and open the chest standing between them. It holds a small key, the first of two for the child half. Keep it for the locked door ahead, then pass through the octagonal room and the dark tunnels until you reach the heavy ornate door.

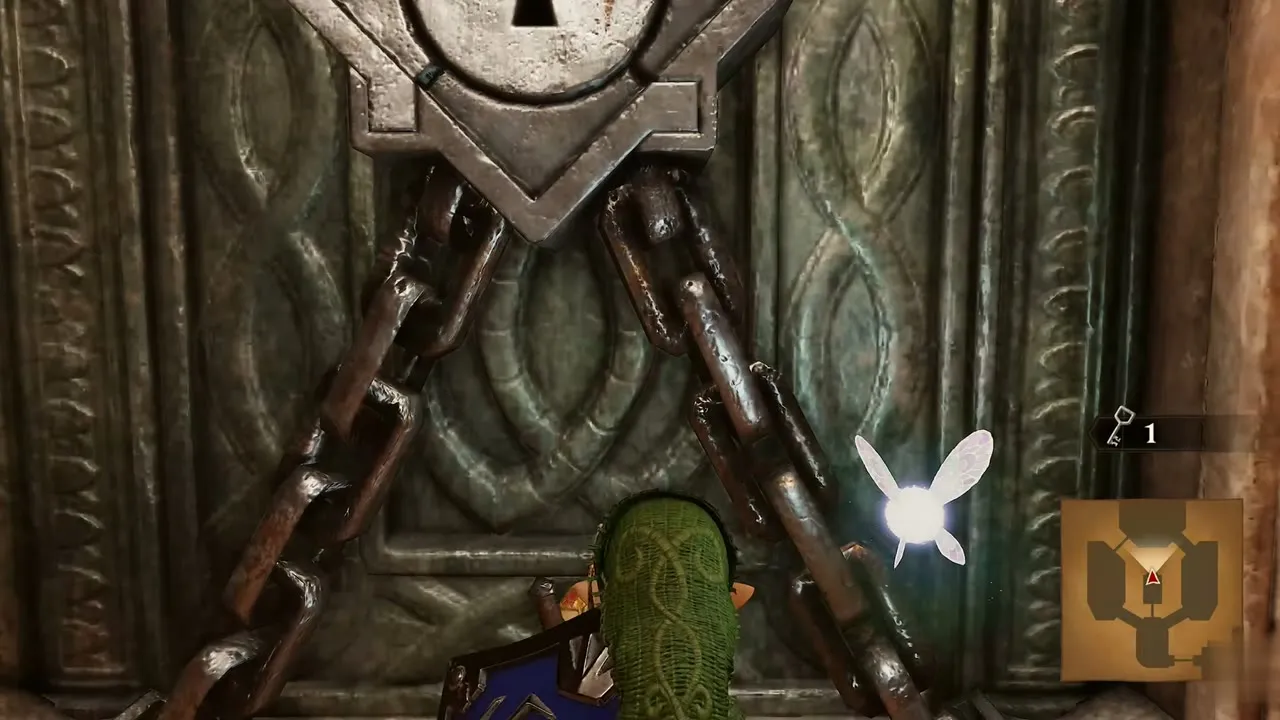
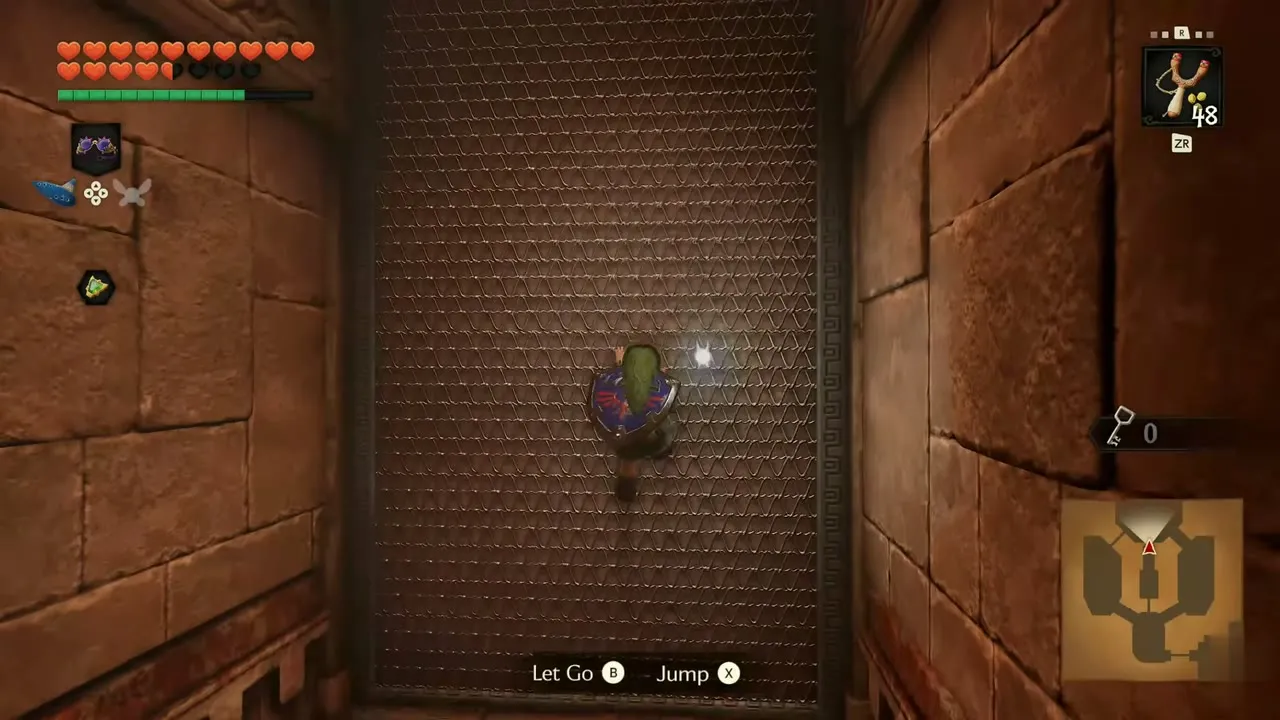
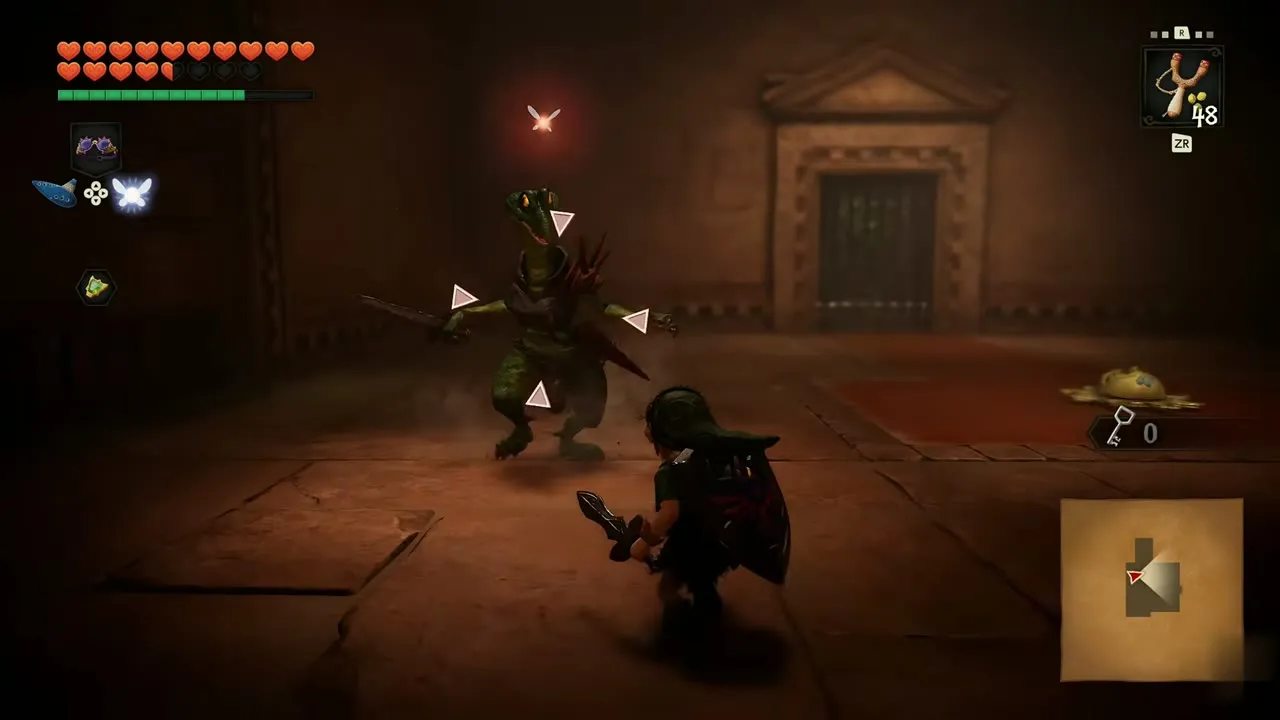
Open the door with the small key. A mesh corridor lies beyond: climb it, pressing Let Go and Jump as prompted, and you arrive on 2F, where a green Lizalfos is waiting.
Child side, 2F and 3F
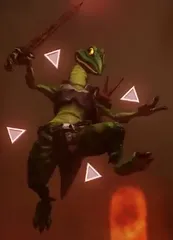
Lizalfos on 2F
Raise the Hylian Shield and fight the Lizalfos in the dark hall at the top of the mesh. Block its attacks and strike when it pauses. The walls here carry targets, so keep the Fairy Slingshot handy and shoot seeds when the prompt appears.
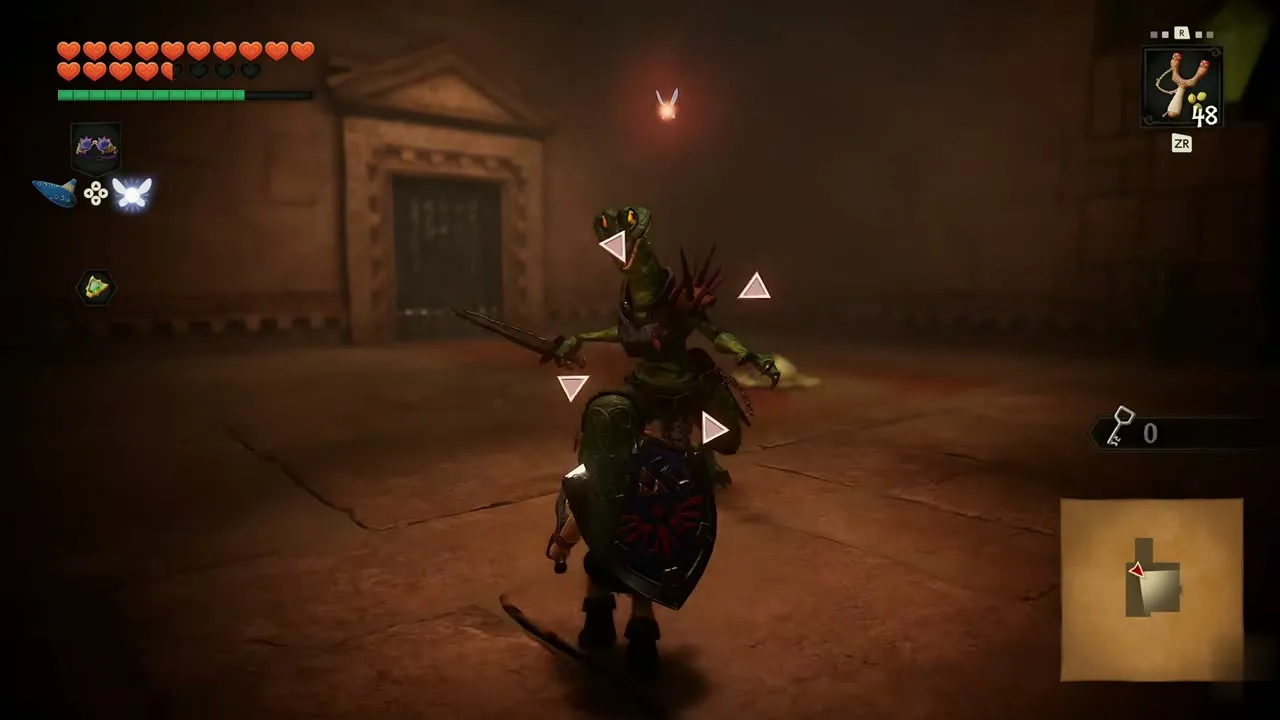
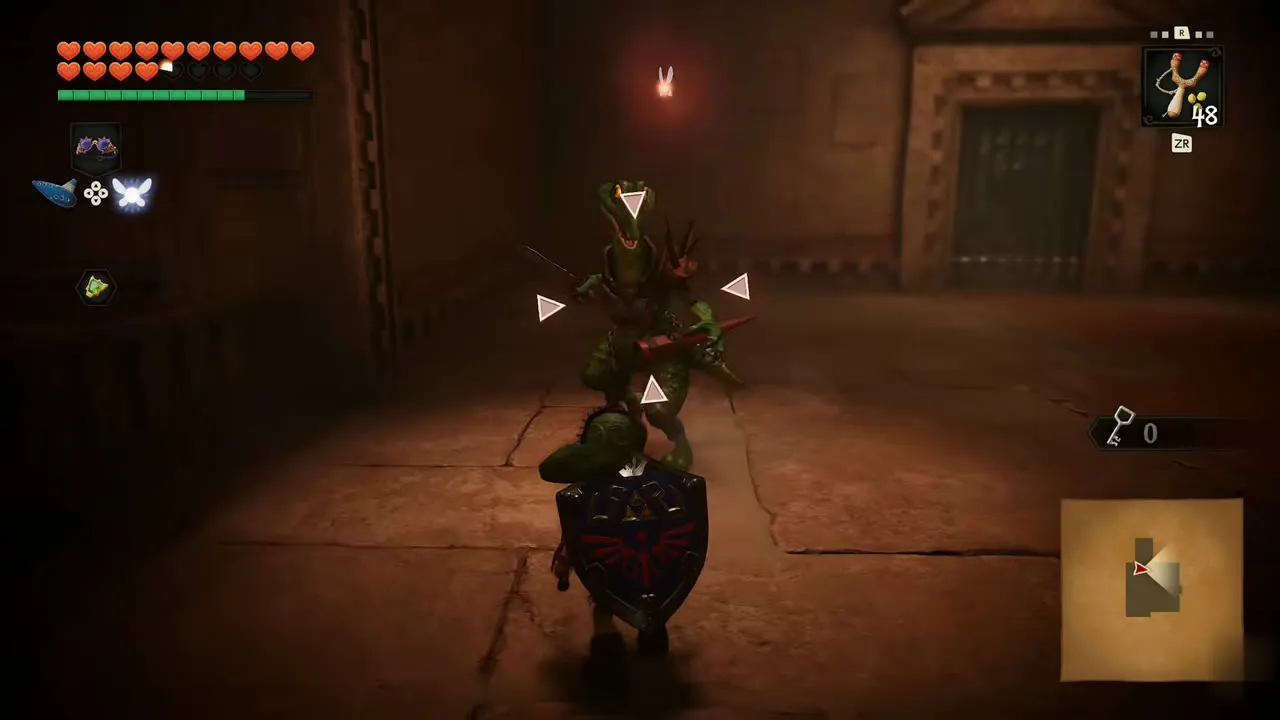
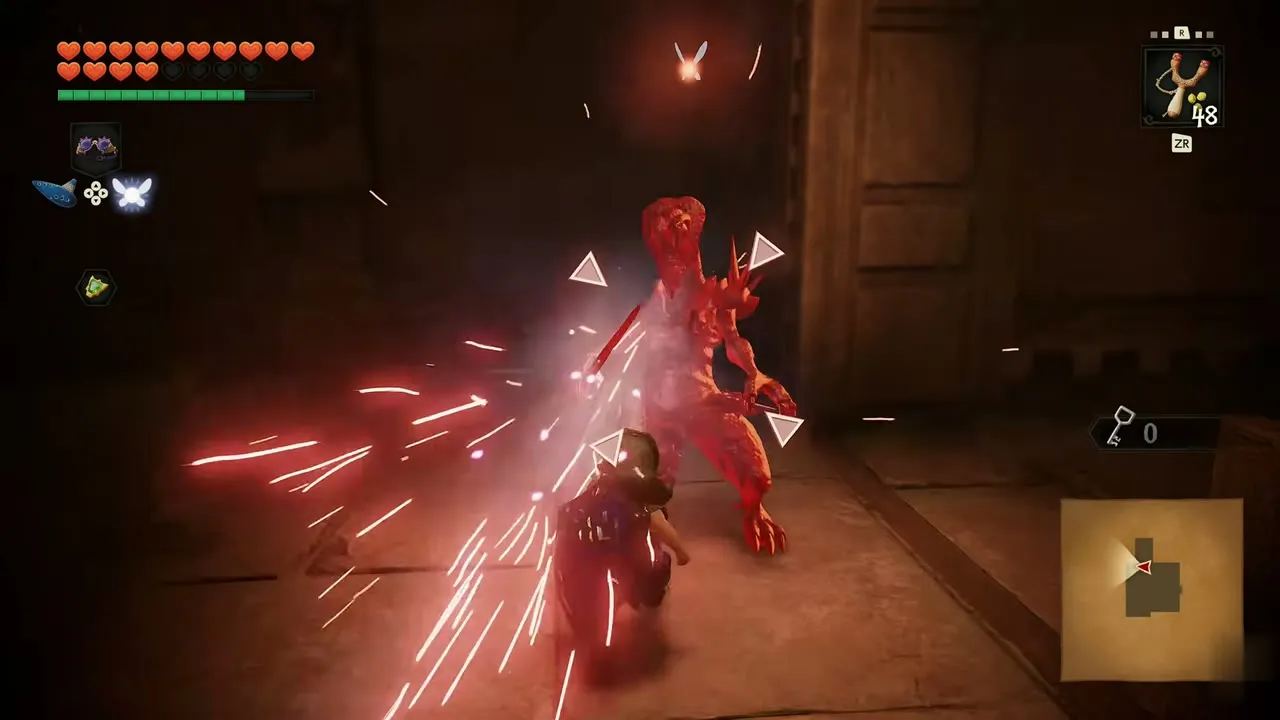
Five Bombchus
Beyond the targets, a chest stands in a dark room. Open it and Link raises five Bombchus. The count appears in your Items screen.
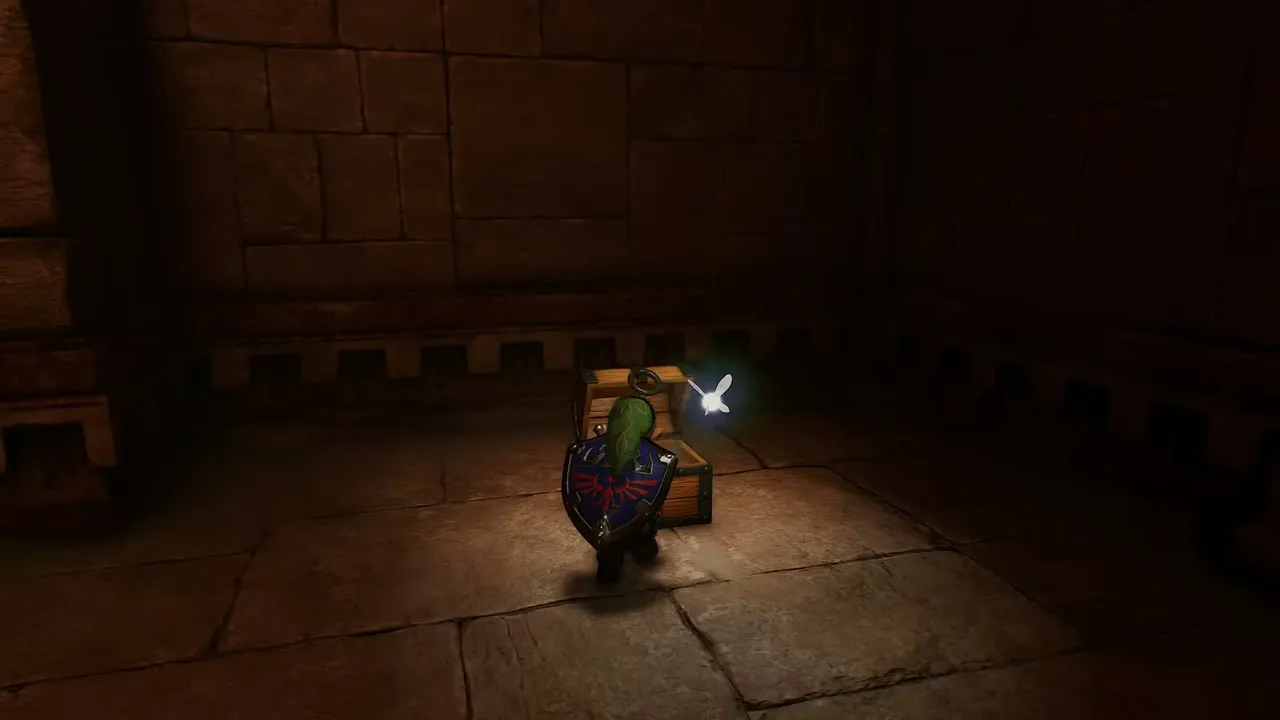

Spirit Temple Map
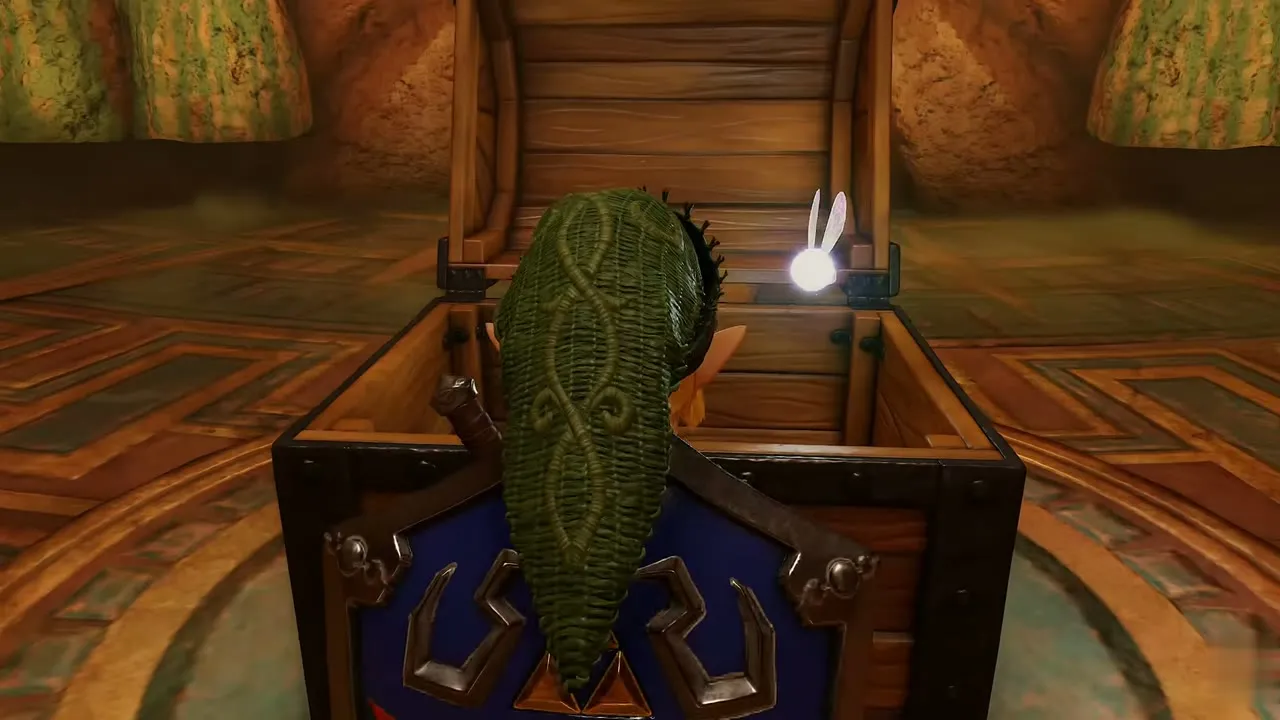
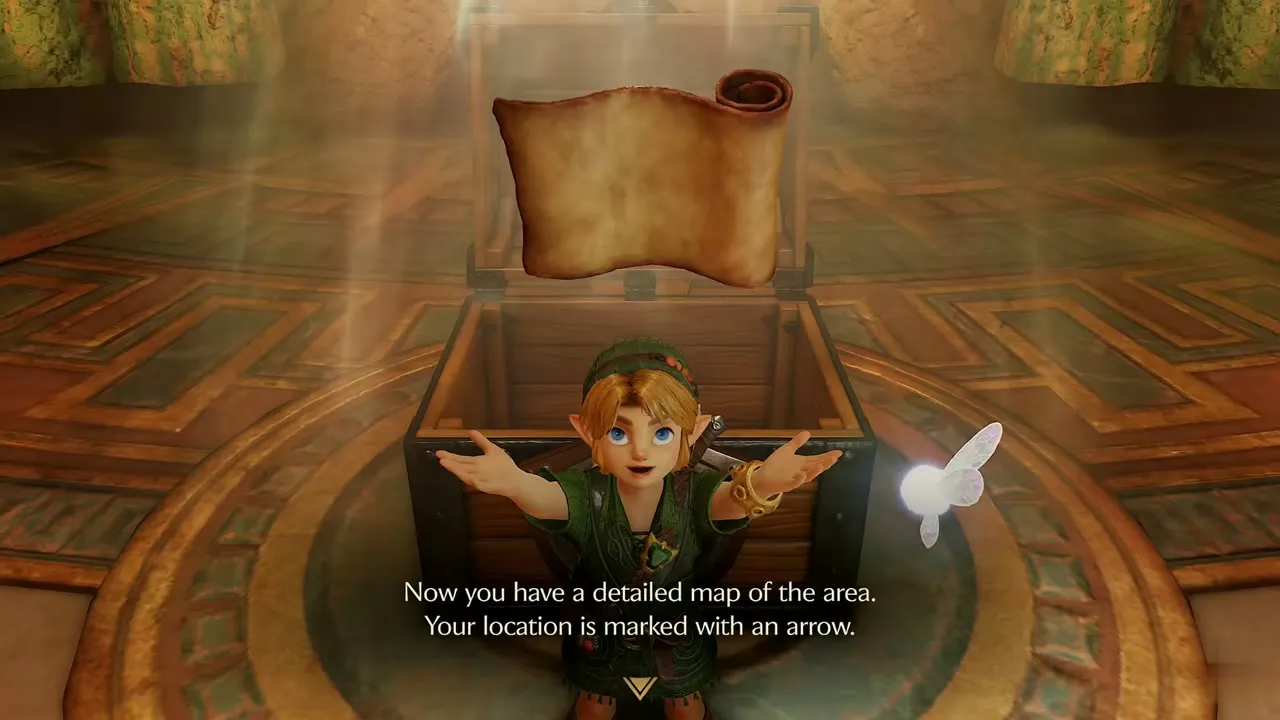
Continue to the fountain hall with the glowing pool between two torches. A wooden chest with an ornate frame sits here. Open it for the Spirit Temple Map, which shows your position with an arrow on the pause map.
Boulder hall and the stairs to 3F
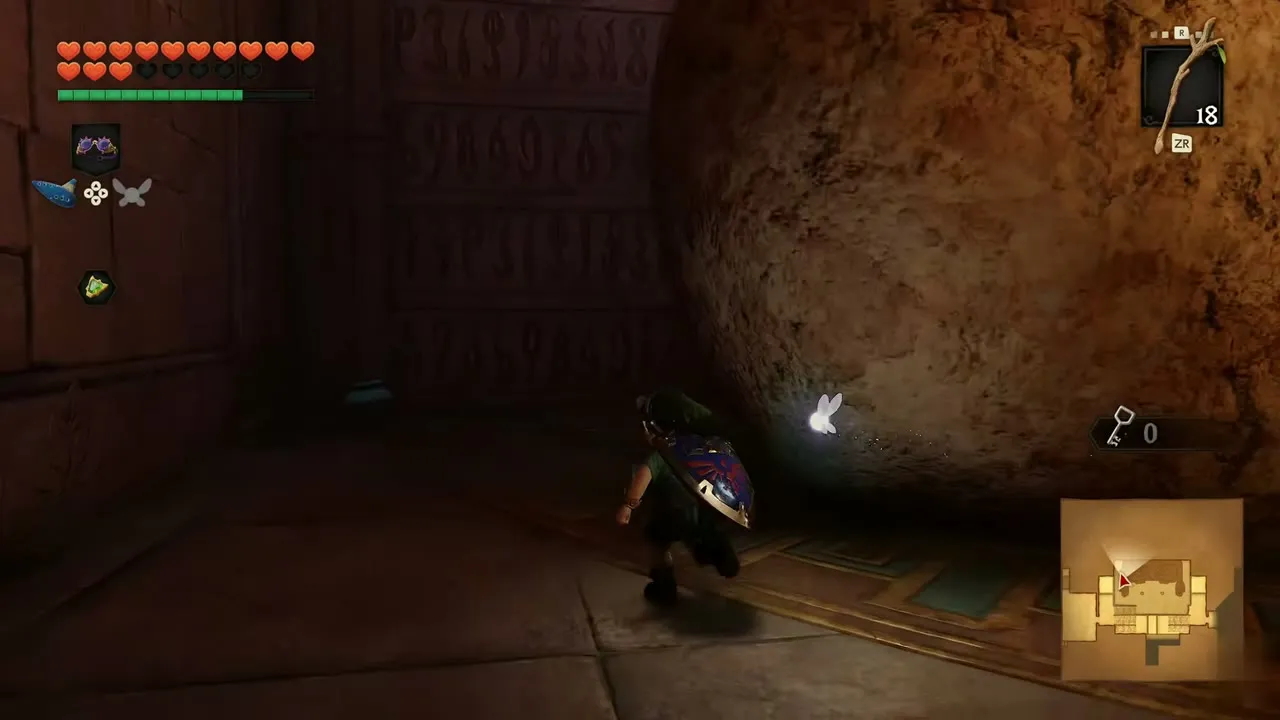
A huge boulder rolls along the next hall. Time your run and slip past it while it rolls away.

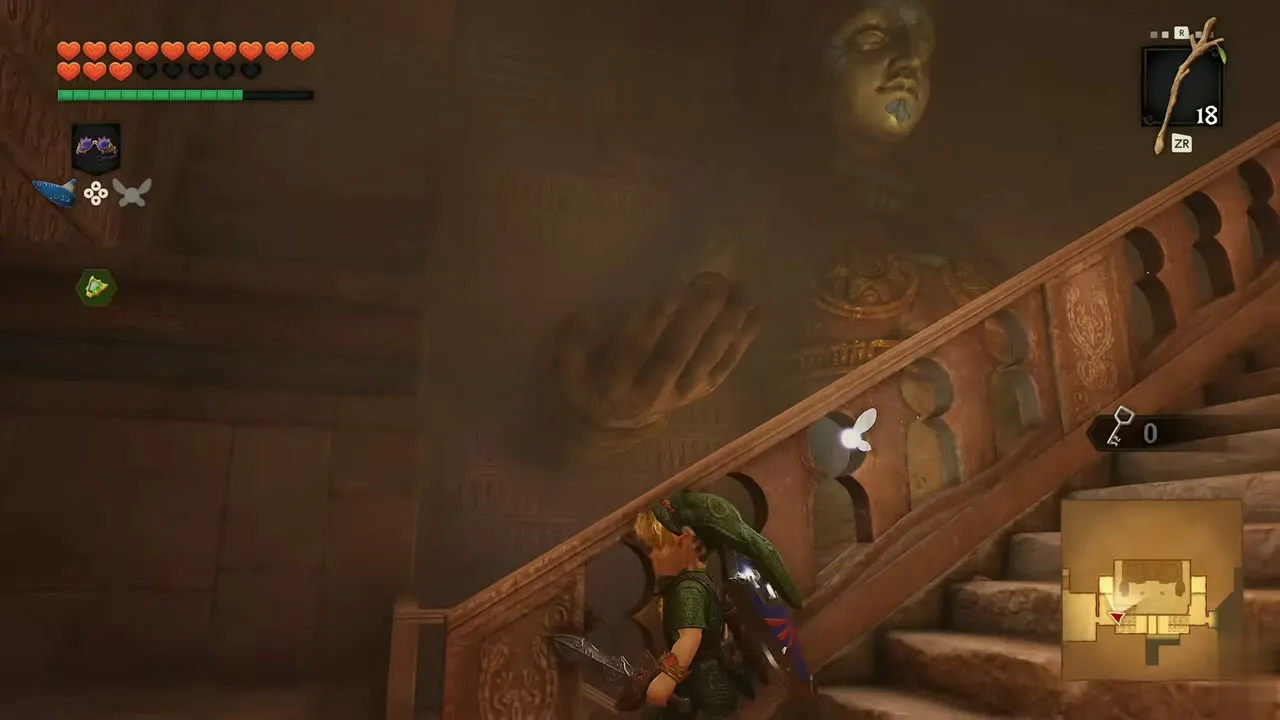
Gold Skulltula #93
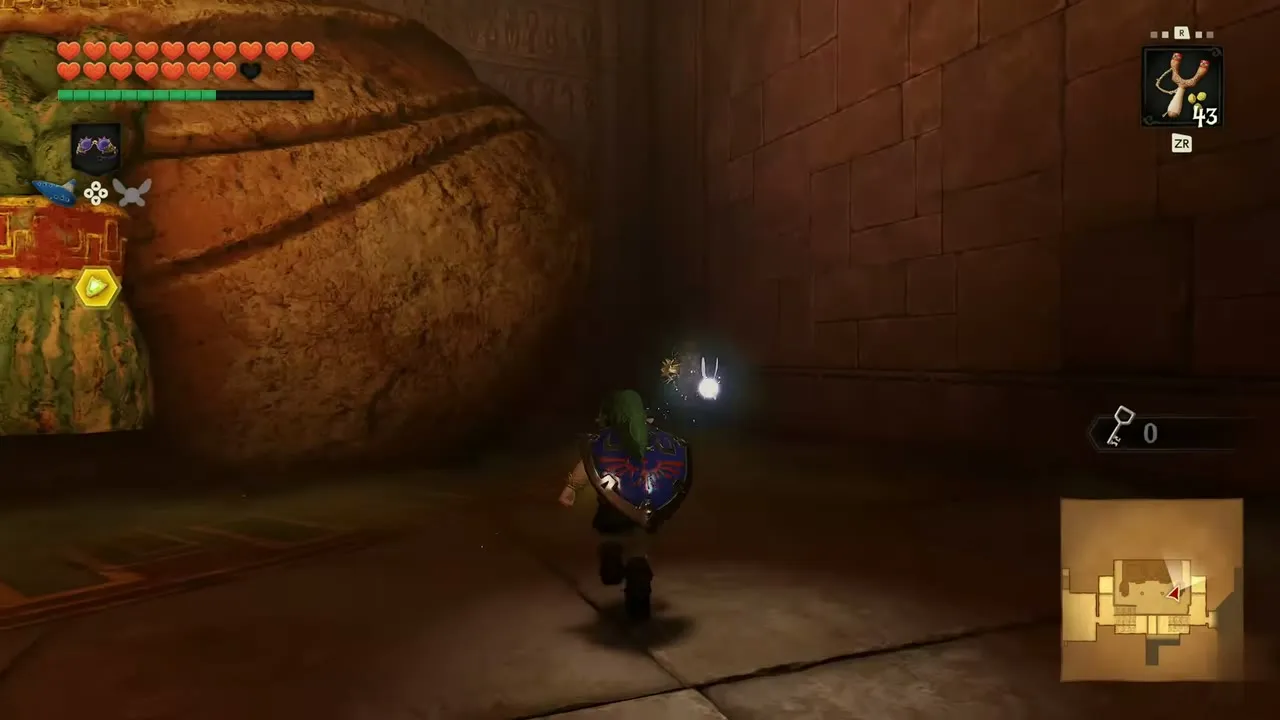
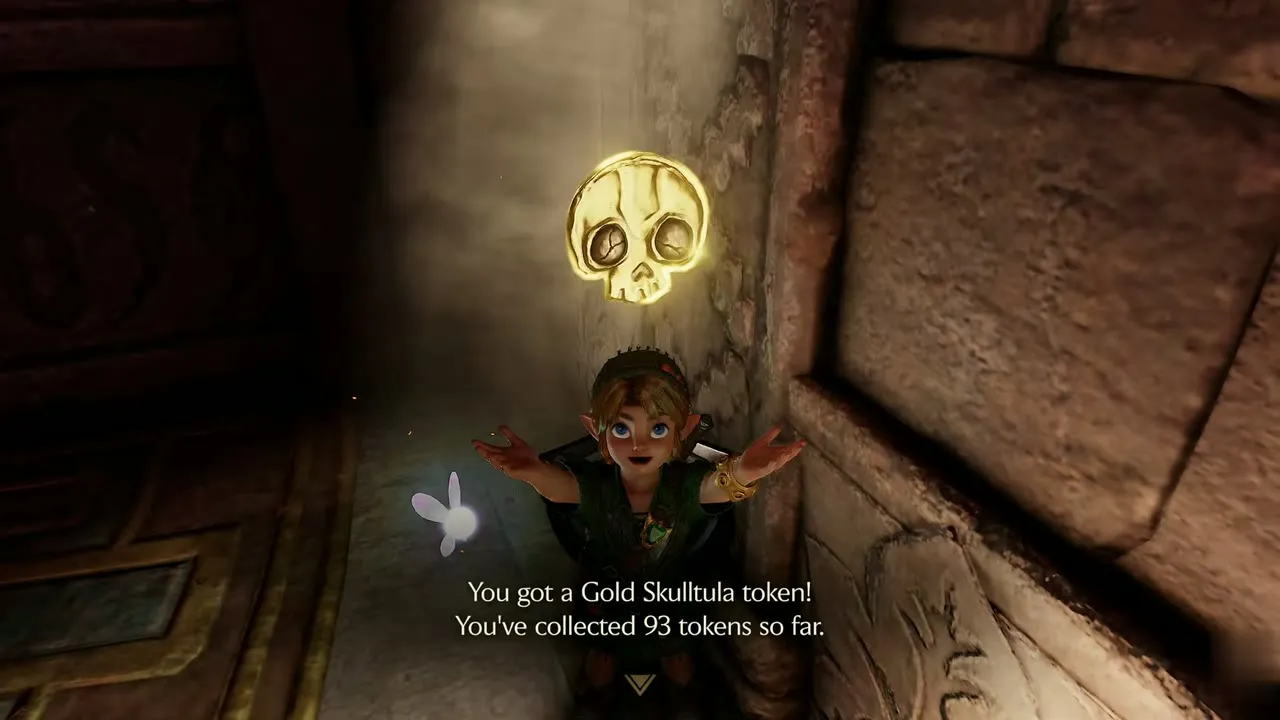
Right after the boulder hall, a token glints on the wall of the dark carved-wall corridor. Throw the Boomerang at it and the box reads “You’ve collected 93 tokens so far.” Then climb the staircase at the end of the corridor and go through the door at the top. Mesh floors lead on to 3F.
Sun block room
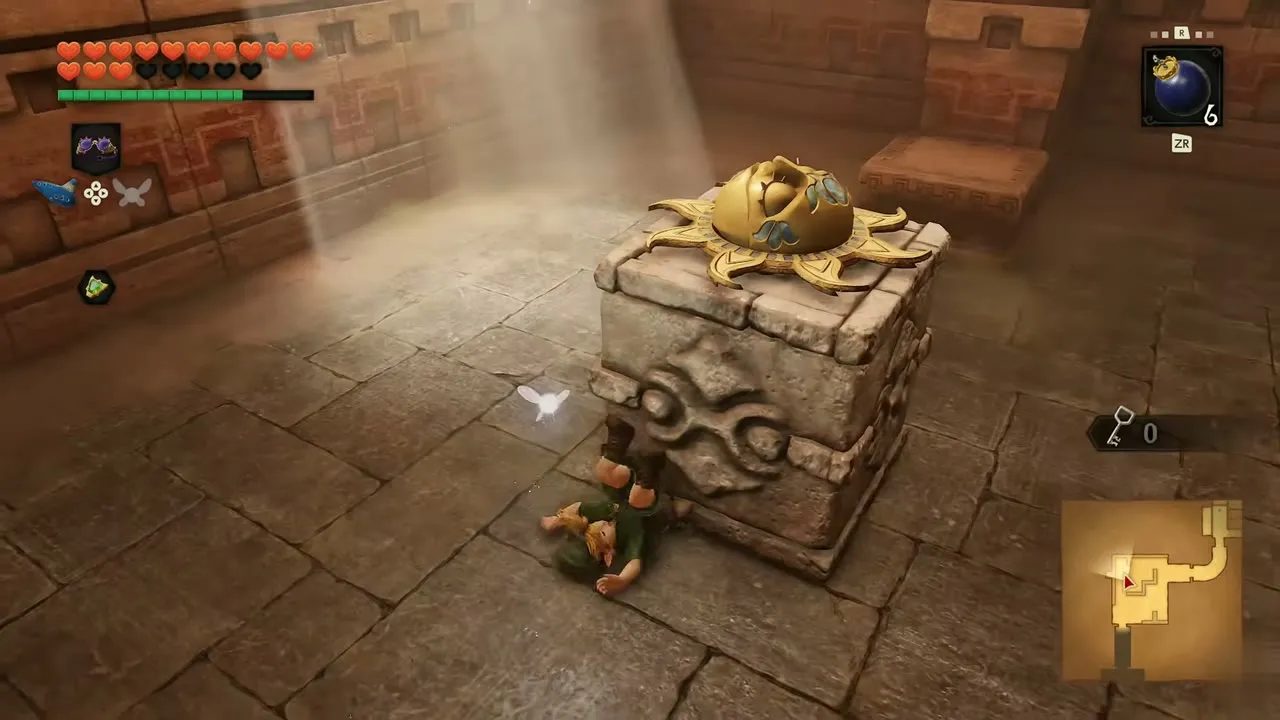
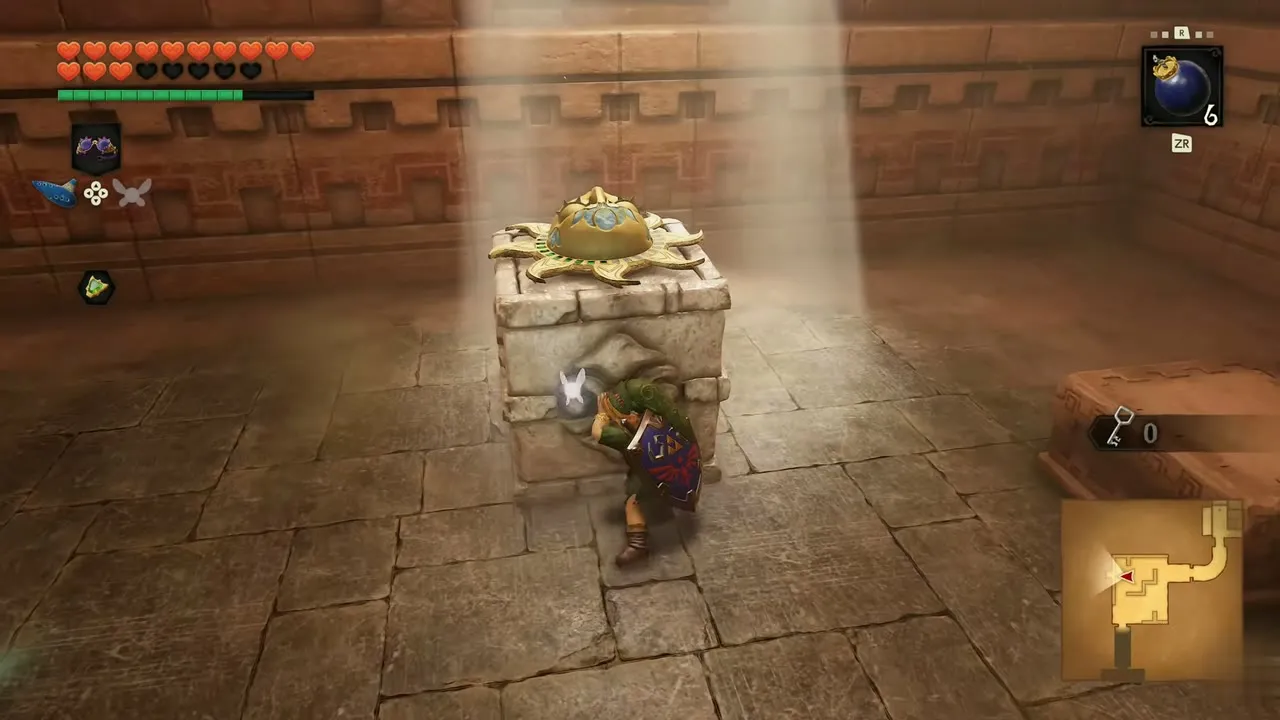
On 3F, grab the stone block and drag it clear of the doorway. In the next room beams of light fall through the ceiling. Carry a bomb with you and set it down or throw it at the barred grate on the far side. Several blocks stand about, one topped with a gold sun emblem. Push the sun block into the beam. The wall beyond lights up and opens a way forward.
Second small key
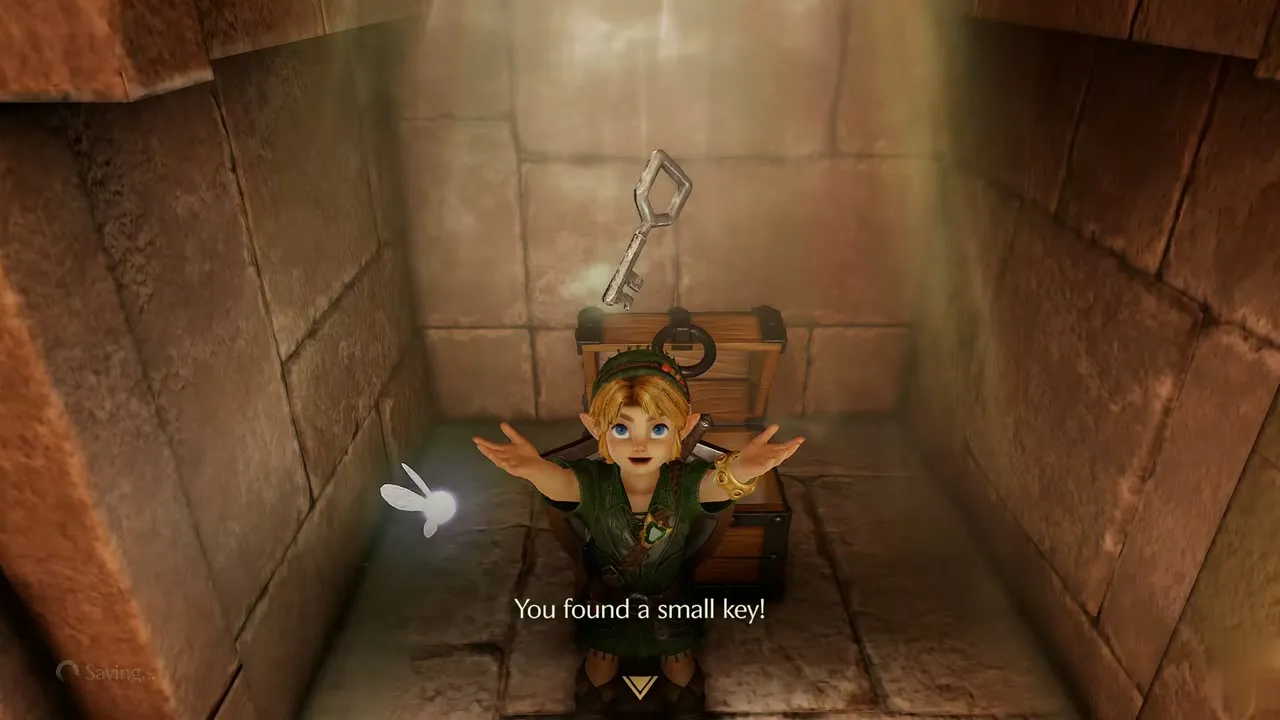
Pass through the opening and open the chest in the barred room. Link finds a small key, the second of this side. Take it to the large ornate door at the end of the passage.
Gold Skulltula #92
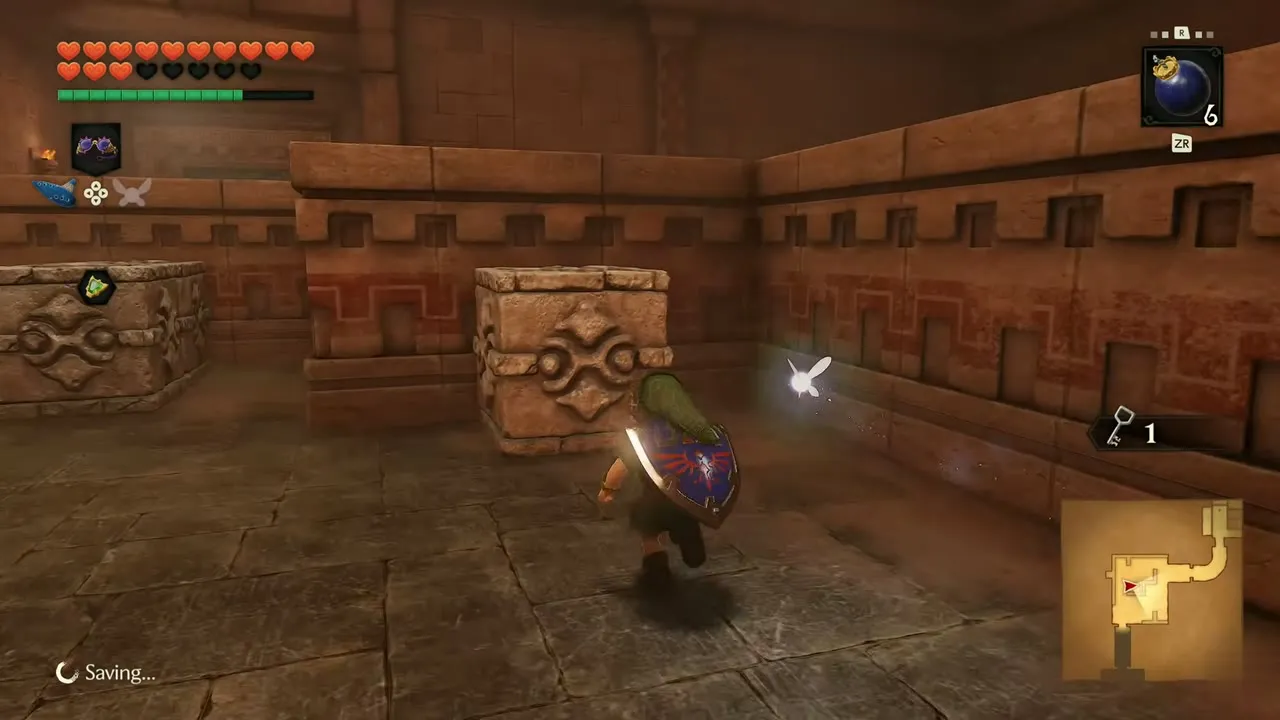
On 3F, after the small key chest, a token hangs on the ceiling of the stone passage above the red-carpet stairs. Throw the Boomerang at the ceiling to bring down “You’ve collected 92 tokens so far.”
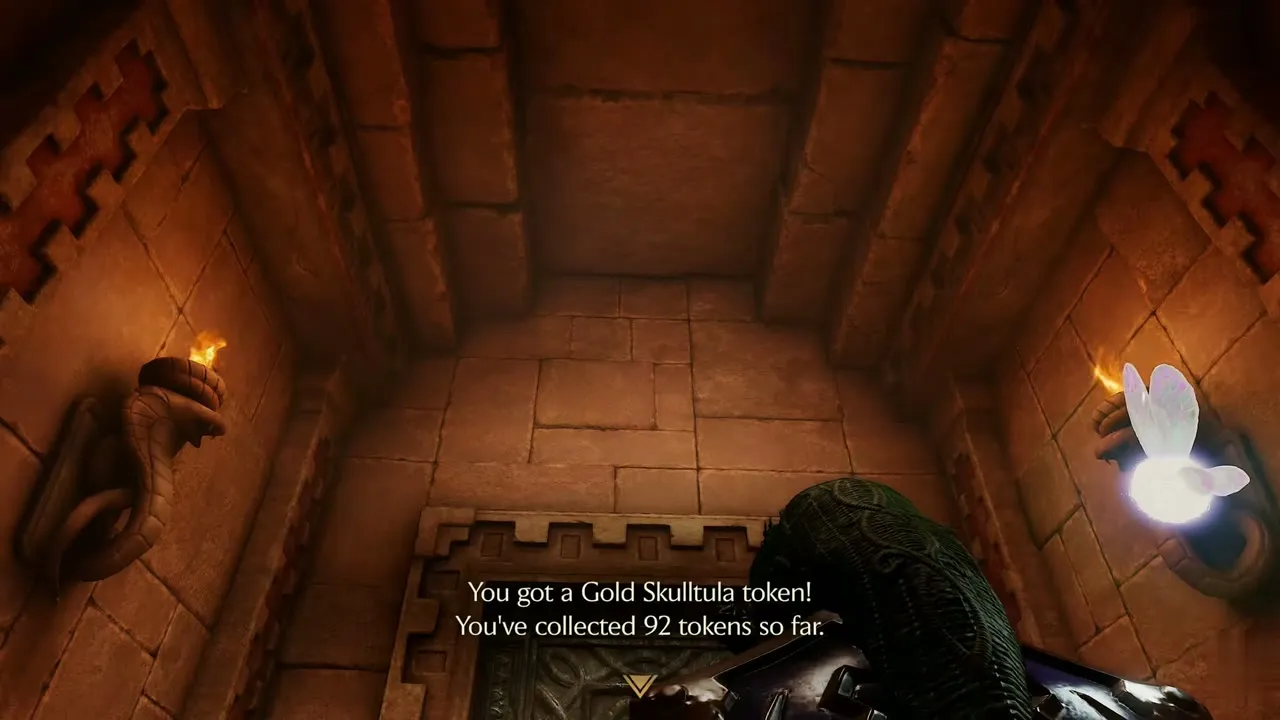
Iron Knuckle and the Silver Gauntlets
Iron Knuckle fight
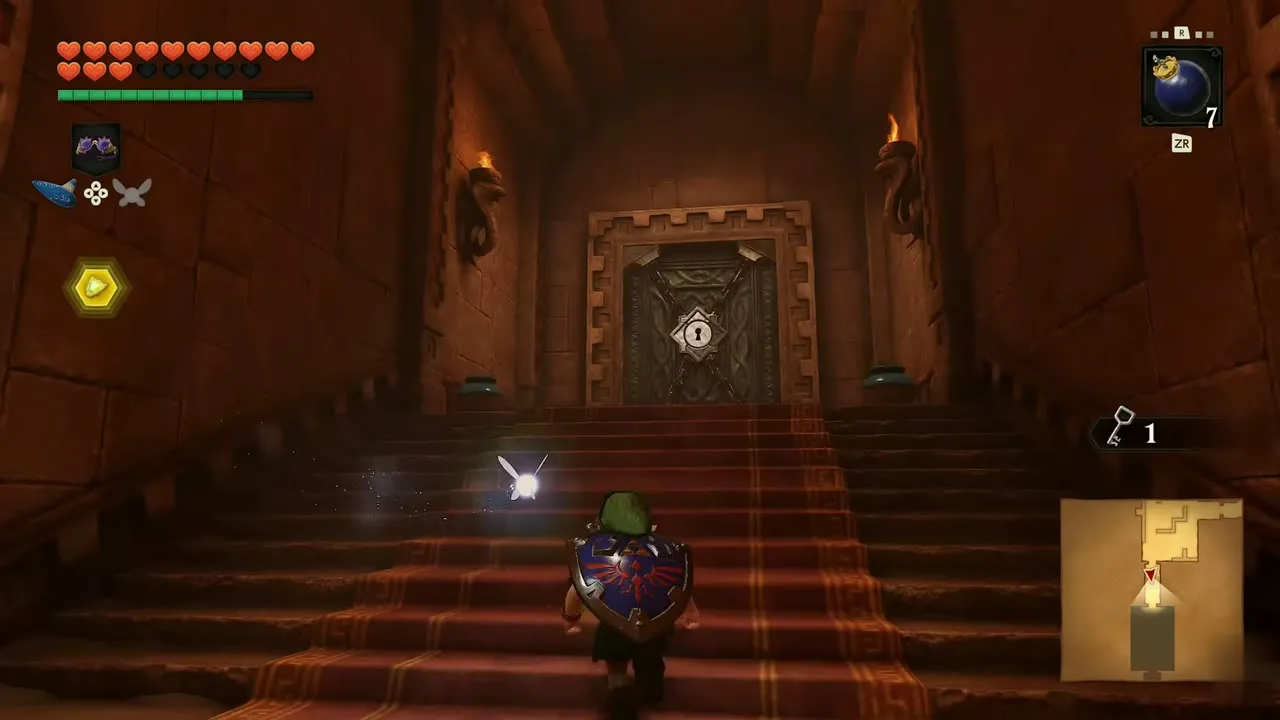
Open the locked door with the small key. An Iron Knuckle walks into the hall wielding a huge axe. Keep your distance and hold the shield up, because its swings are slow but strong. Pick up a bomb, wait until it lights, and throw it at the Iron Knuckle as it closes in. Repeat, and hearts drop from it. When it falls, the purple barrier at the far end opens.
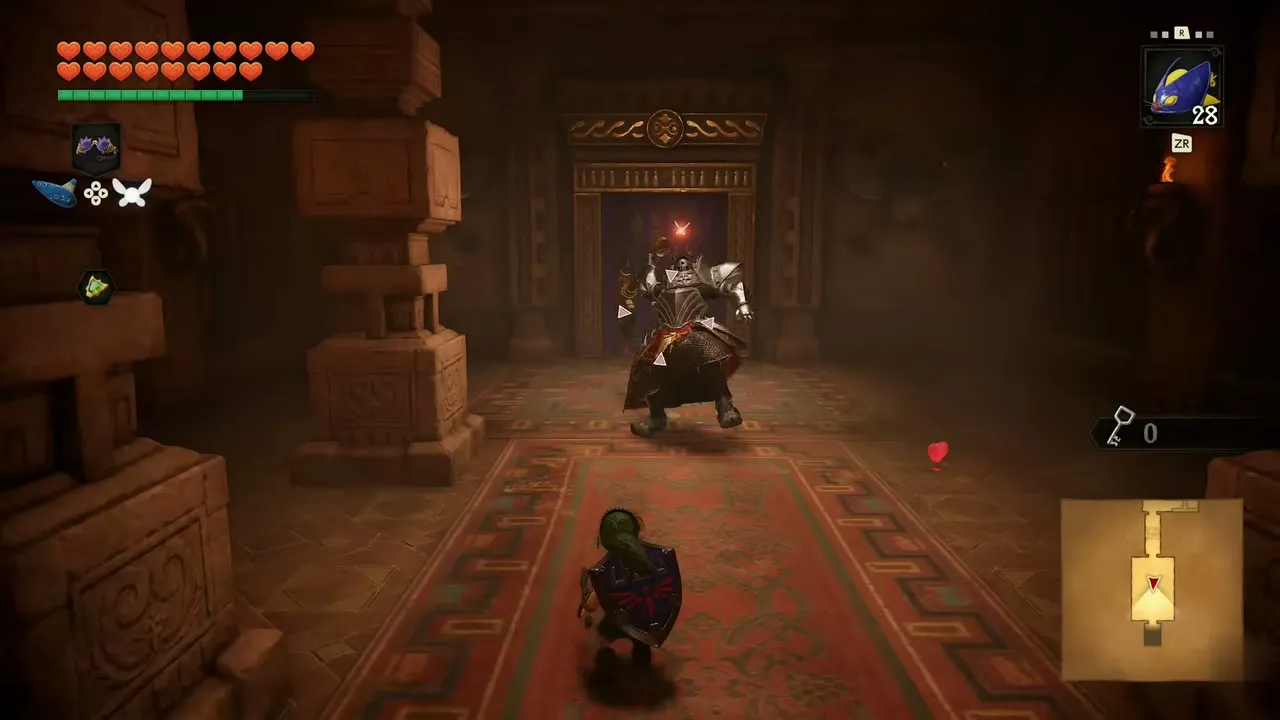

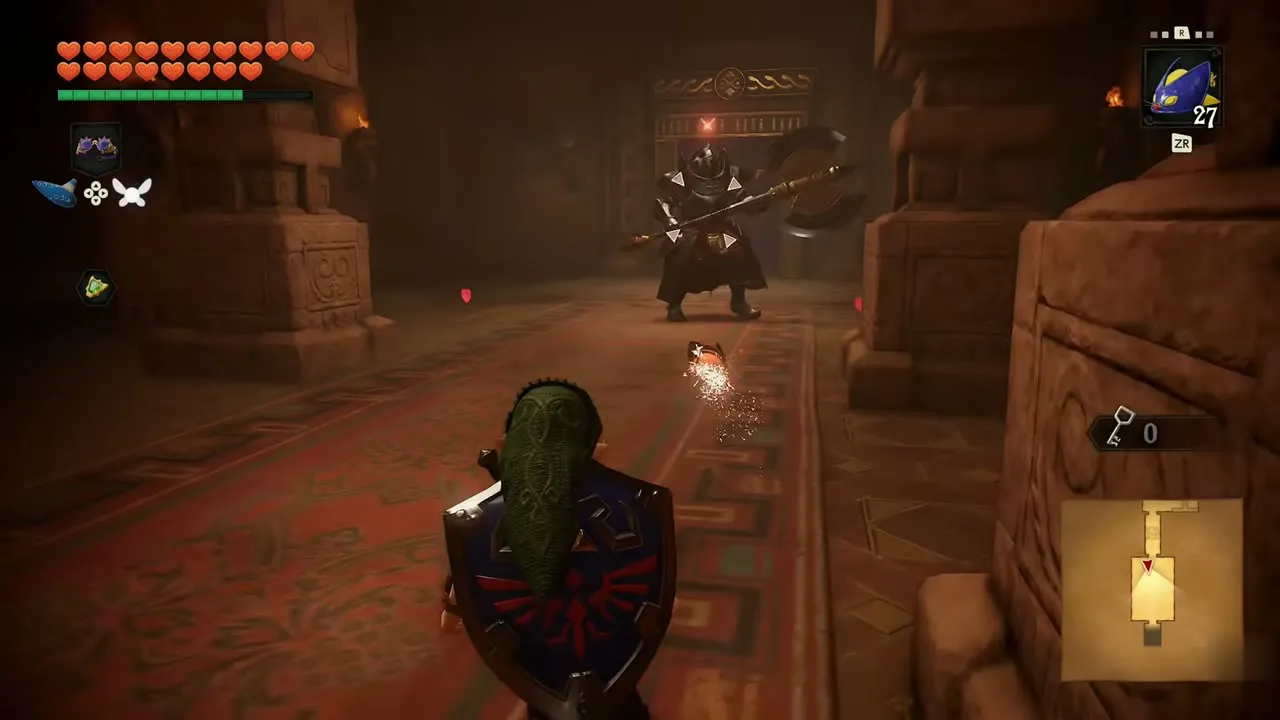
Silver Gauntlets
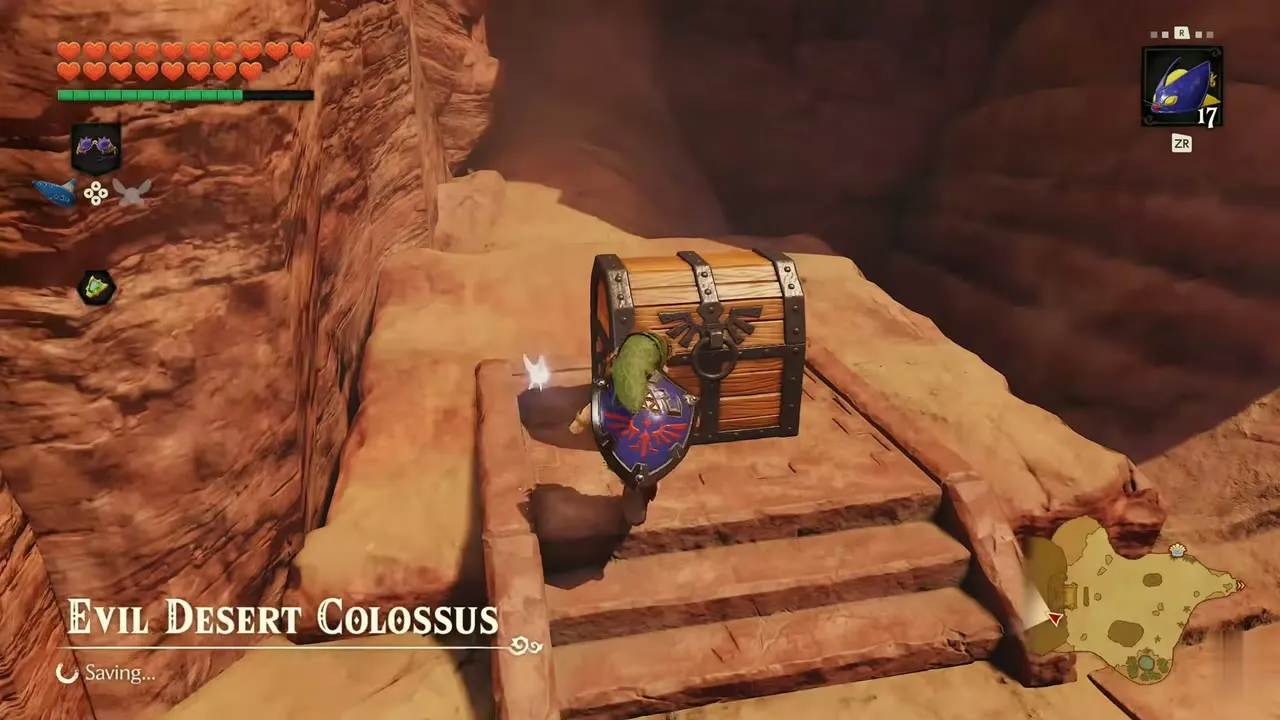
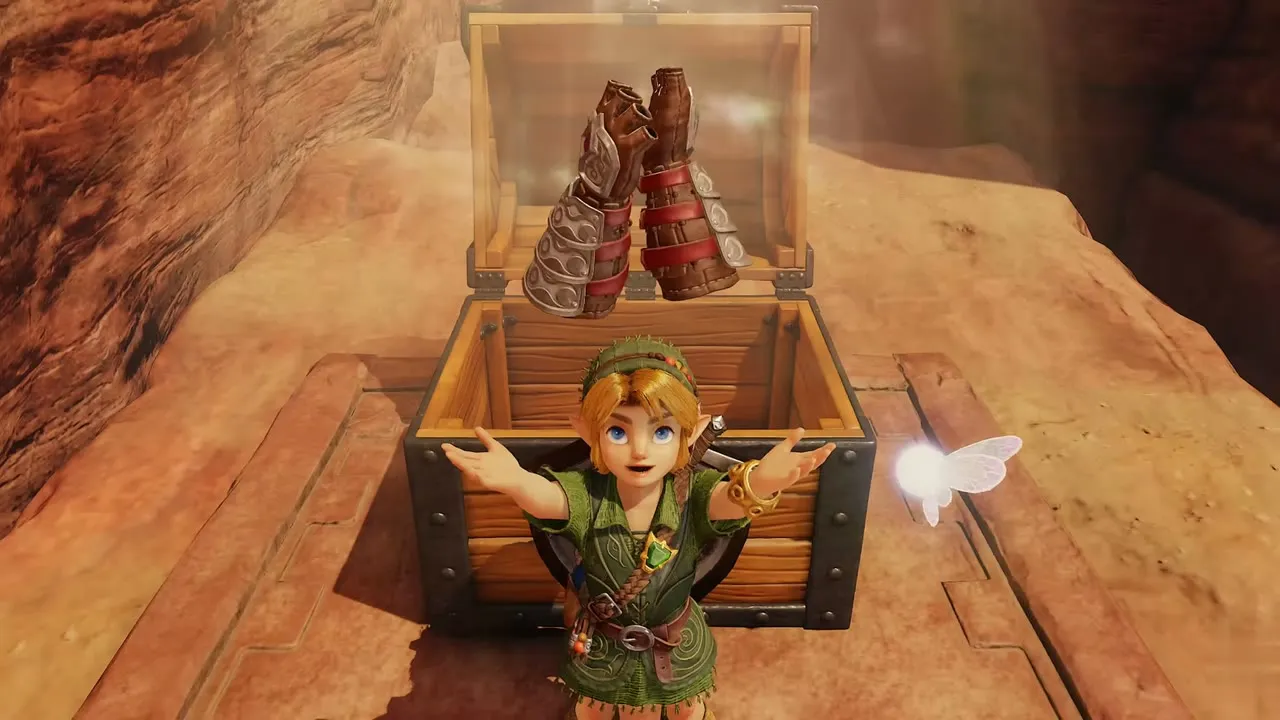
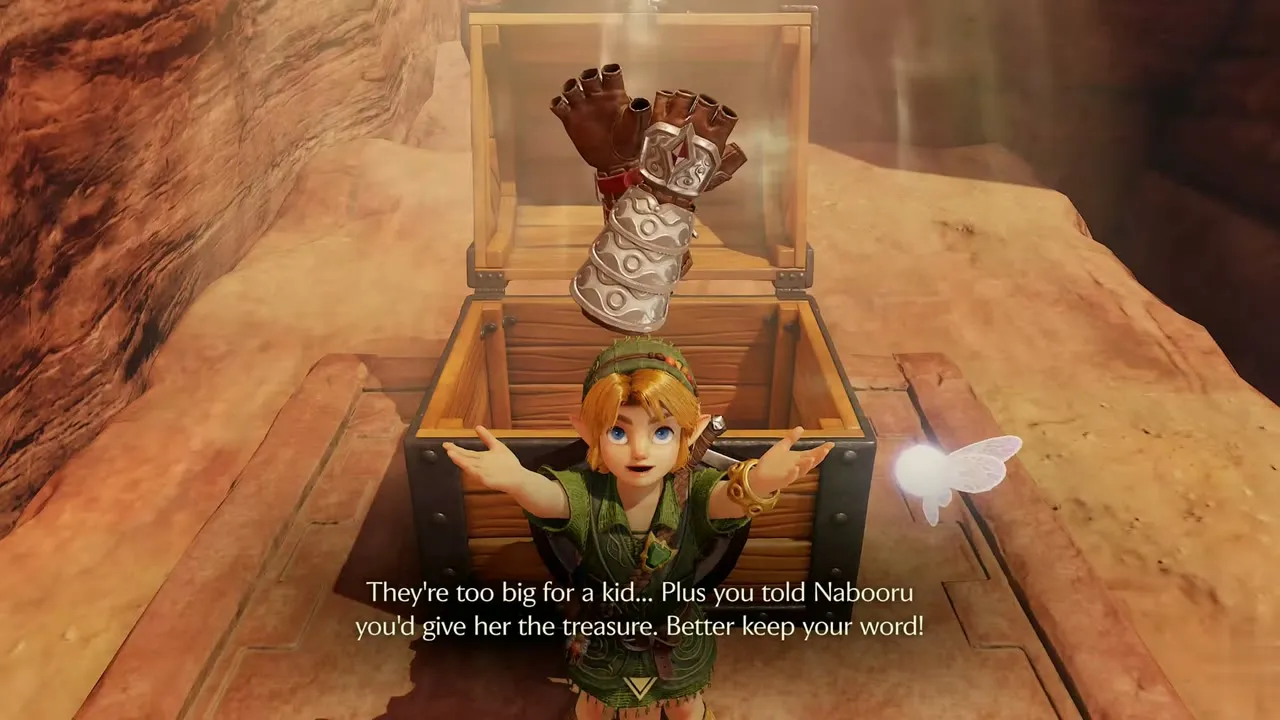
Walk through the door and out onto the sand of the Evil Desert Colossus. A chest waits on the ledge. Open it for the Silver Gauntlets. The message says they are too big for a kid, but you promised Nabooru the treasure, so you hold on to them for her.
Twinrova captures Nabooru
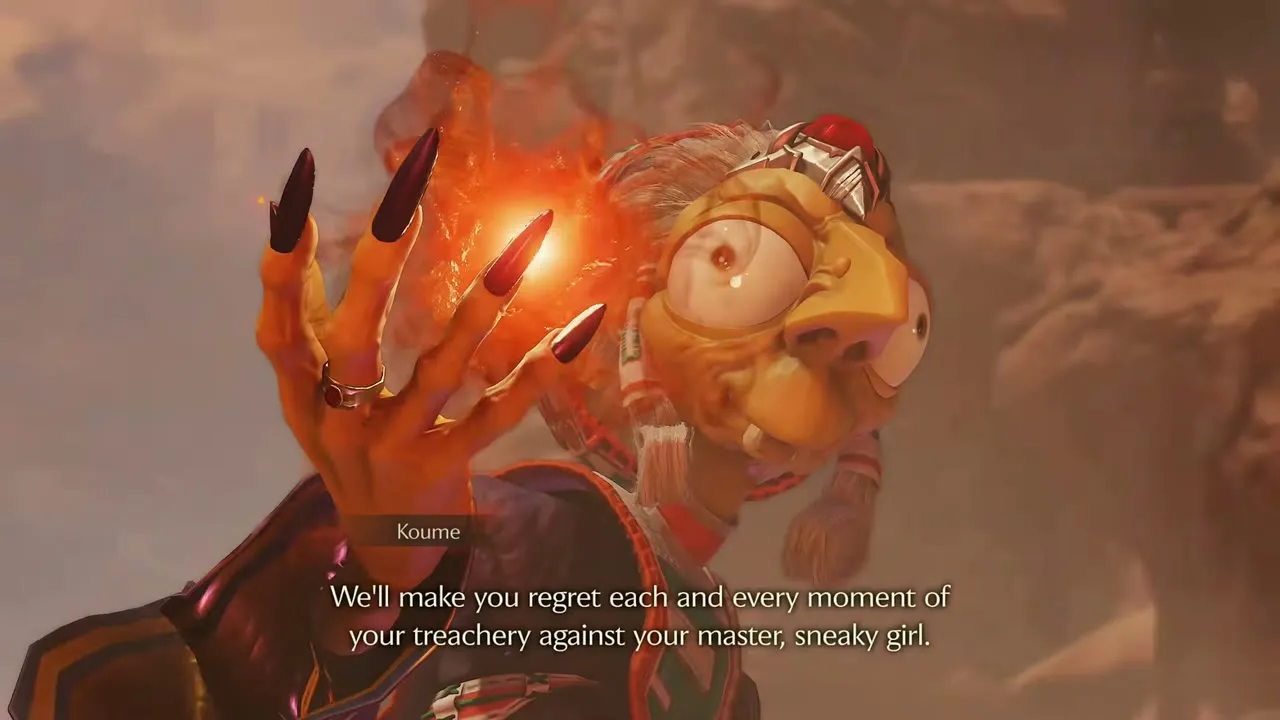
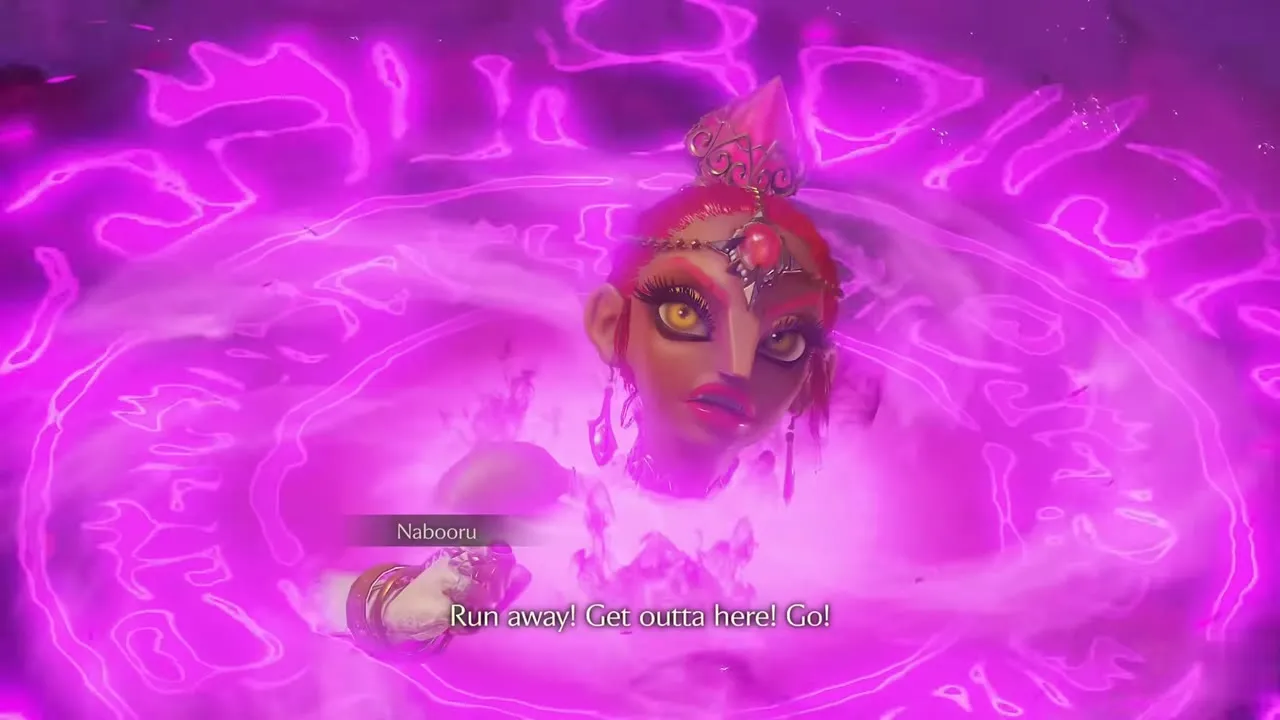
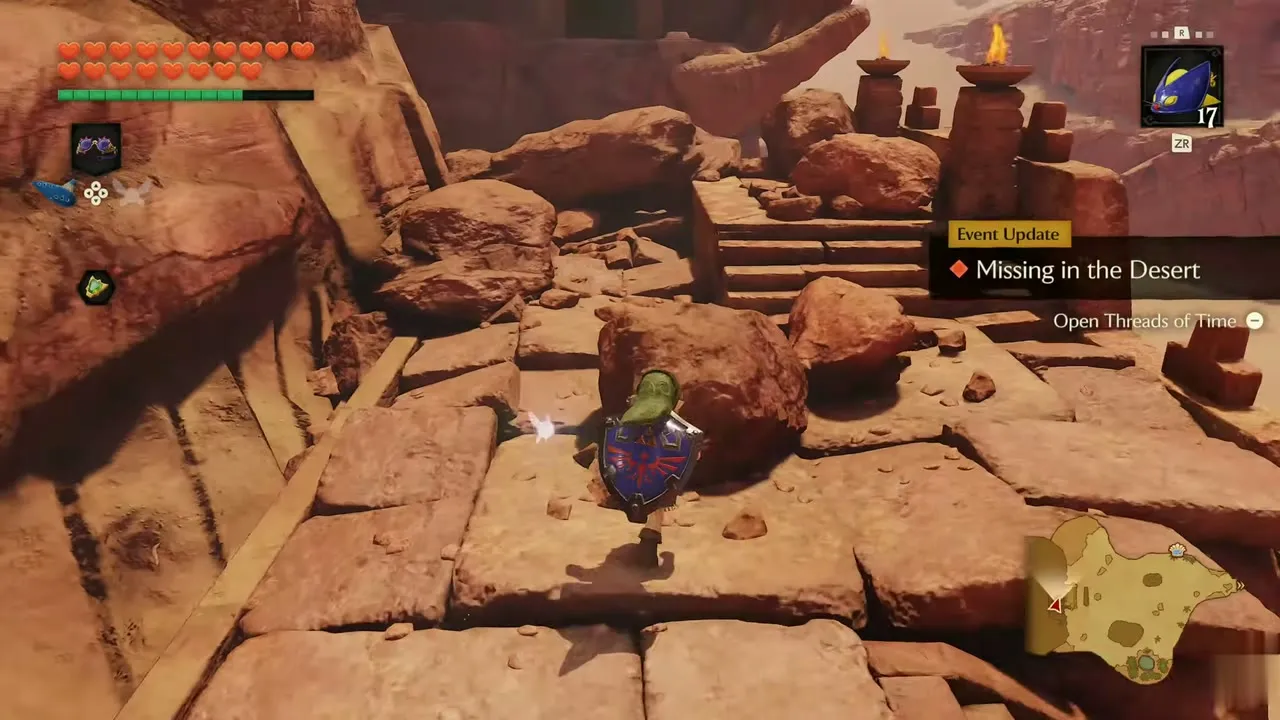
Nabooru is waiting outside and congratulates you. Then Kotake and Koume, the sorceresses called Twinrova, appear in a swirl of purple magic. They scoff at her rebellion, cast a spell over Nabooru and take her away. A quest update, Missing in the Desert, appears. Nothing more can be done here as a child, so accept the prompt to warp to the Temple of Time.
Back to the Temple of Time
Kaepora Gaebora says goodbye
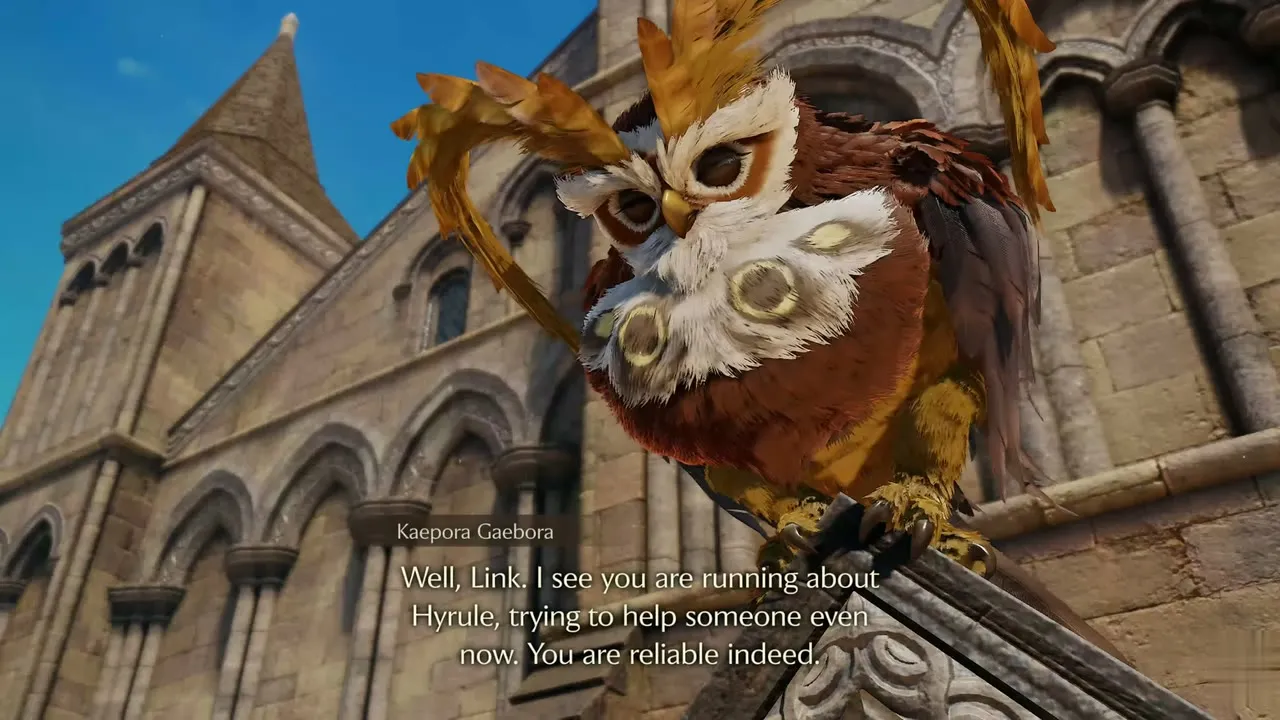
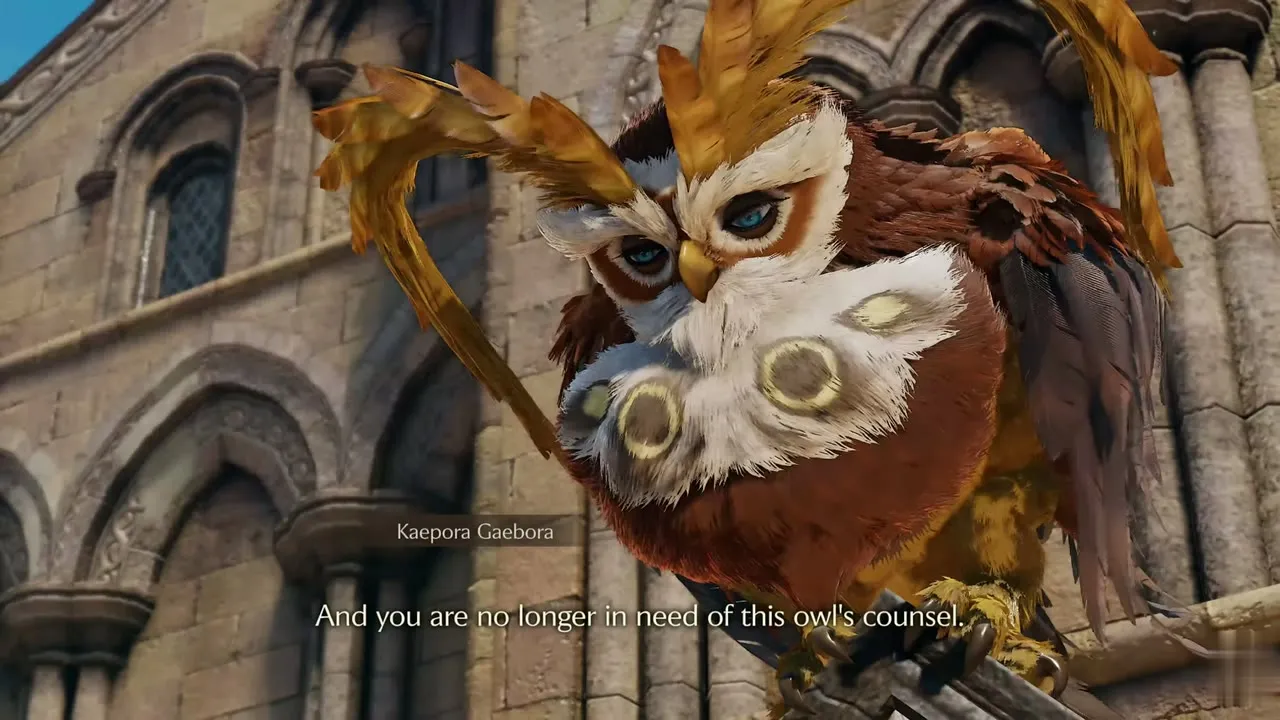
Outside the Temple of Time, Kaepora Gaebora perches on the roof and thanks you for helping others across Hyrule. He explains that you no longer need his counsel and wishes you well. Listen to the end and he flies off.
Pull the Master Sword
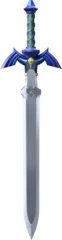
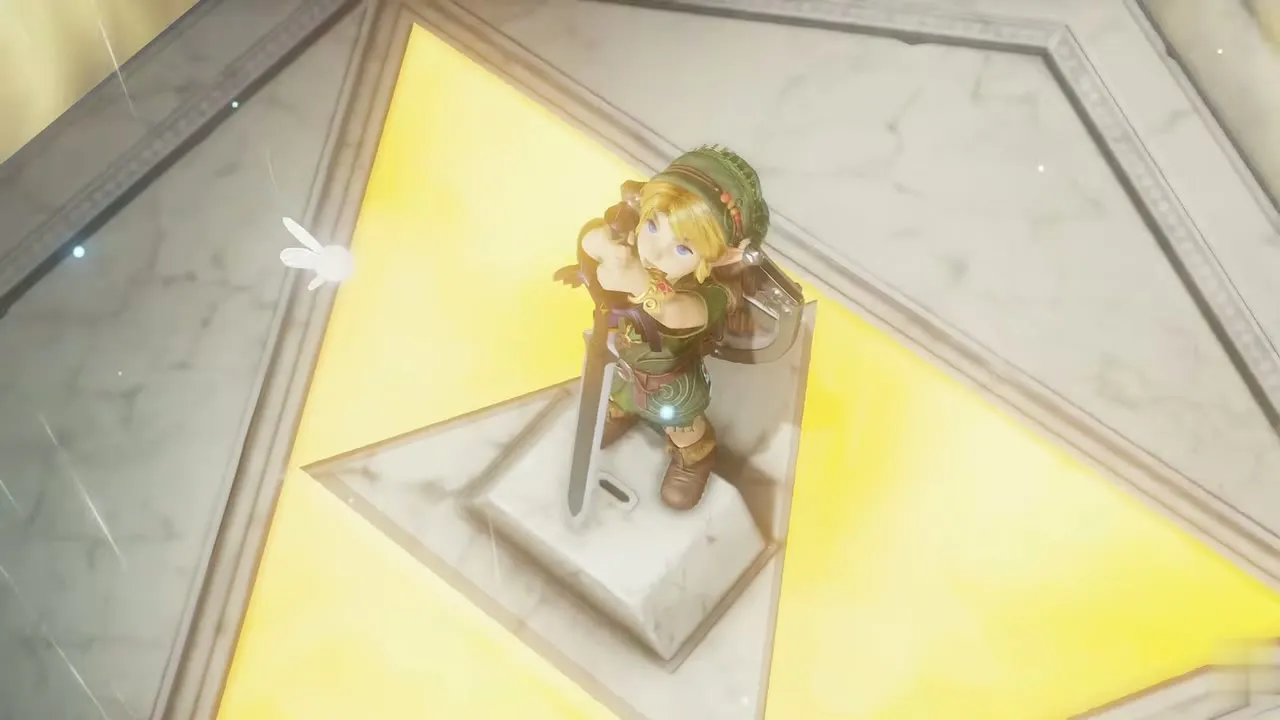
Walk to the pedestal in the Temple of Time and pull the Master Sword. You grow up and carry the sword again. Open your songbook, play the Requiem of Spirit, choose Warp and return to the Evil Desert Colossus. The Temple of Time is also covered in Temple of Time.
Adult side, 1F
Enter with the Longshot
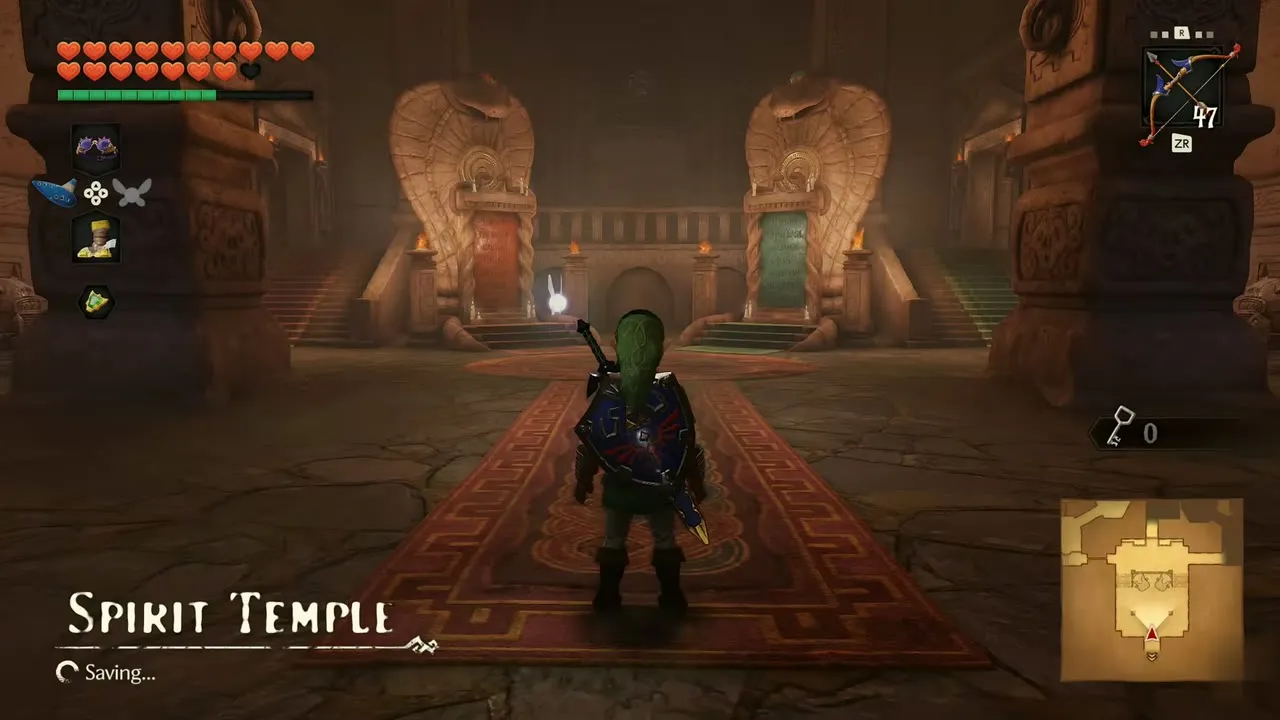
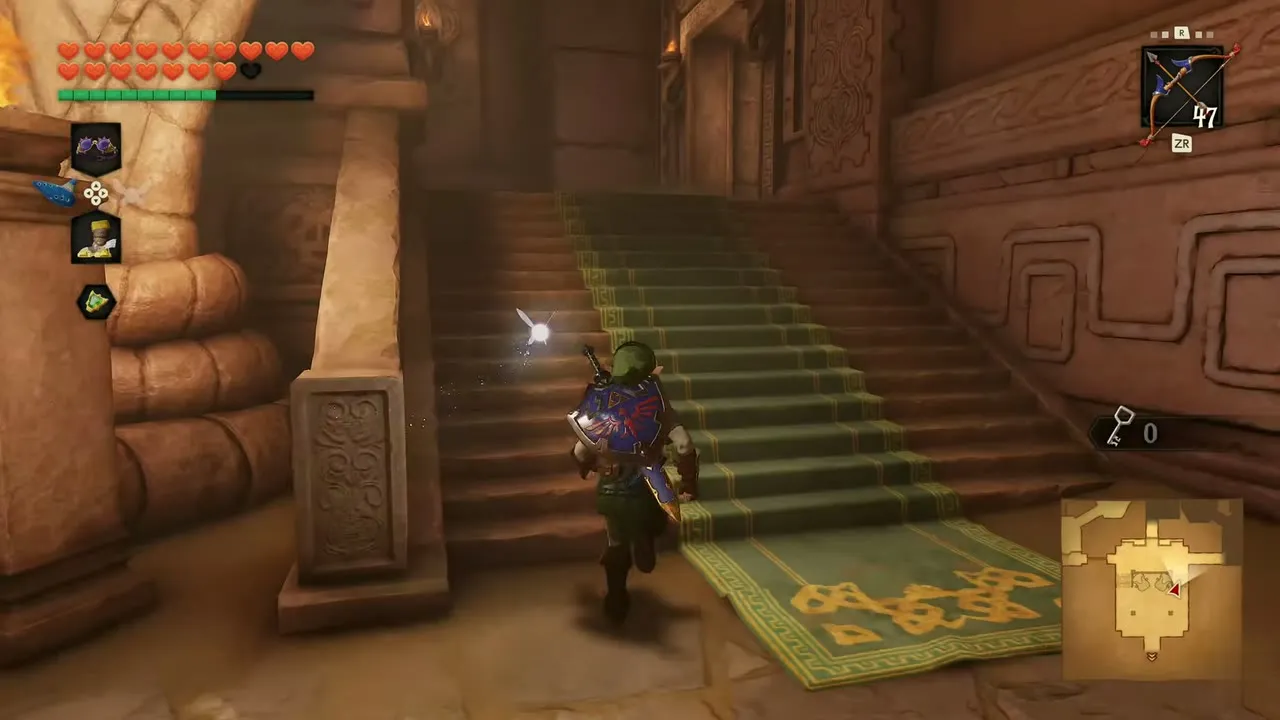
Pull up the Longshot on the Items screen and walk into the temple again. The Spirit Temple banner appears. Climb the staircase into the torch-lit halls. A sealed door stands to the left and a mosaic round room lies ahead.
Mosaic room
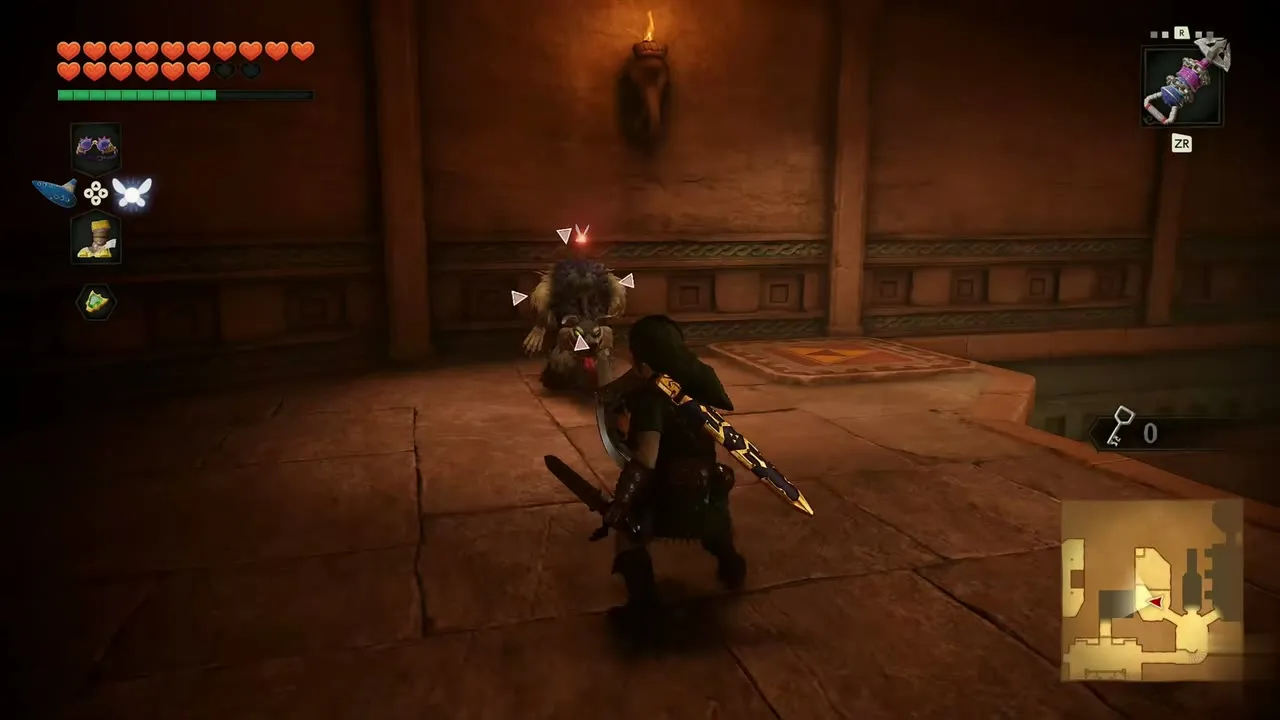
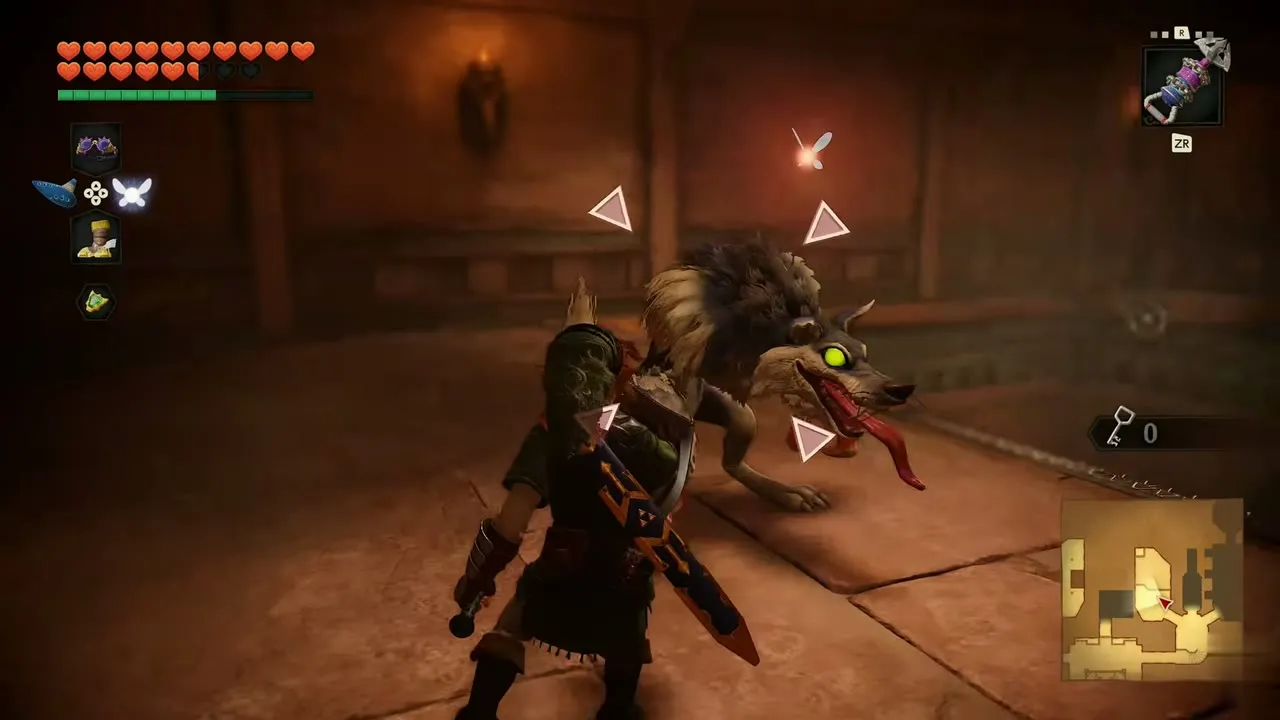
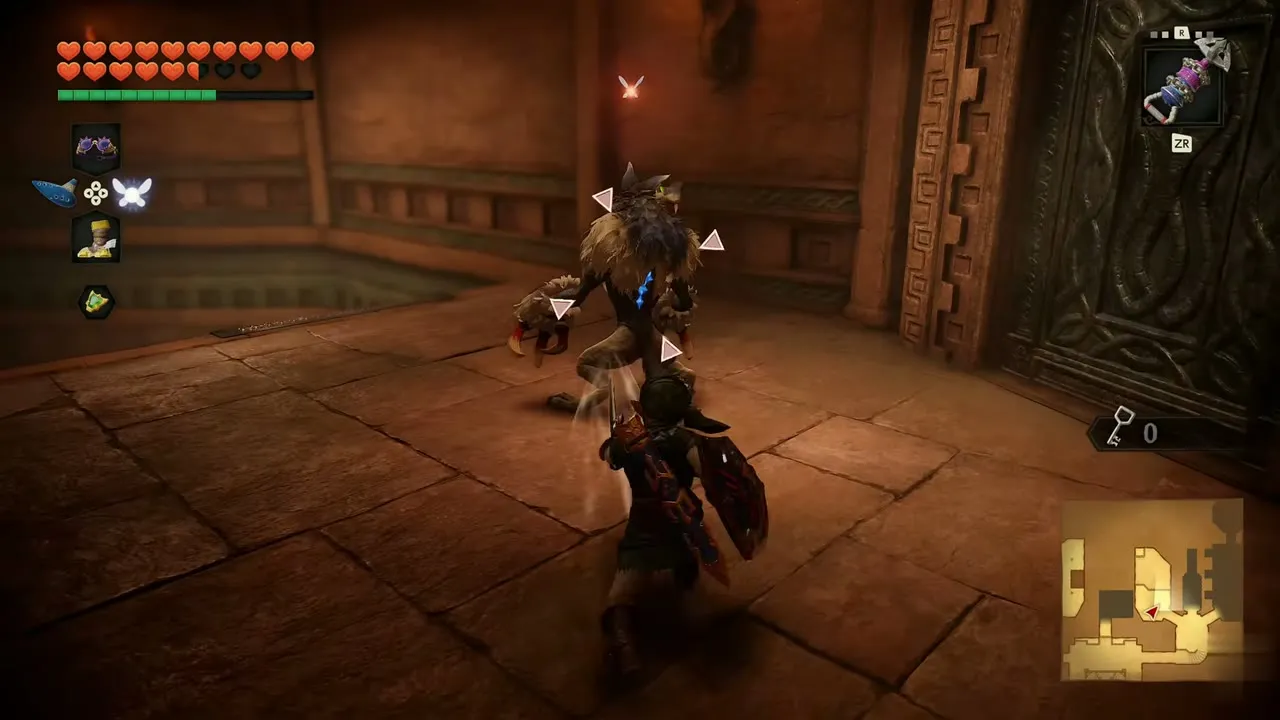
In the mosaic round room, enemies attack as you cross. Use the Fairy Bow and your sword to clear them, then continue through the ornate door that follows.
Compass
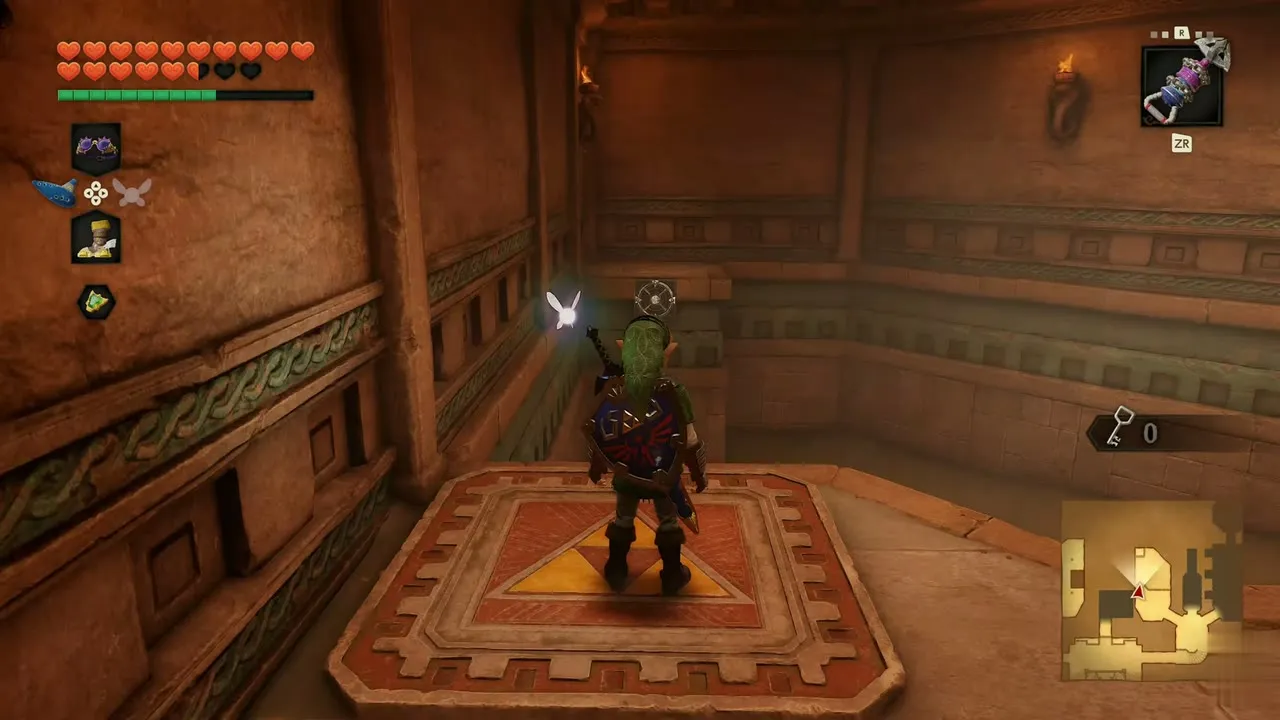
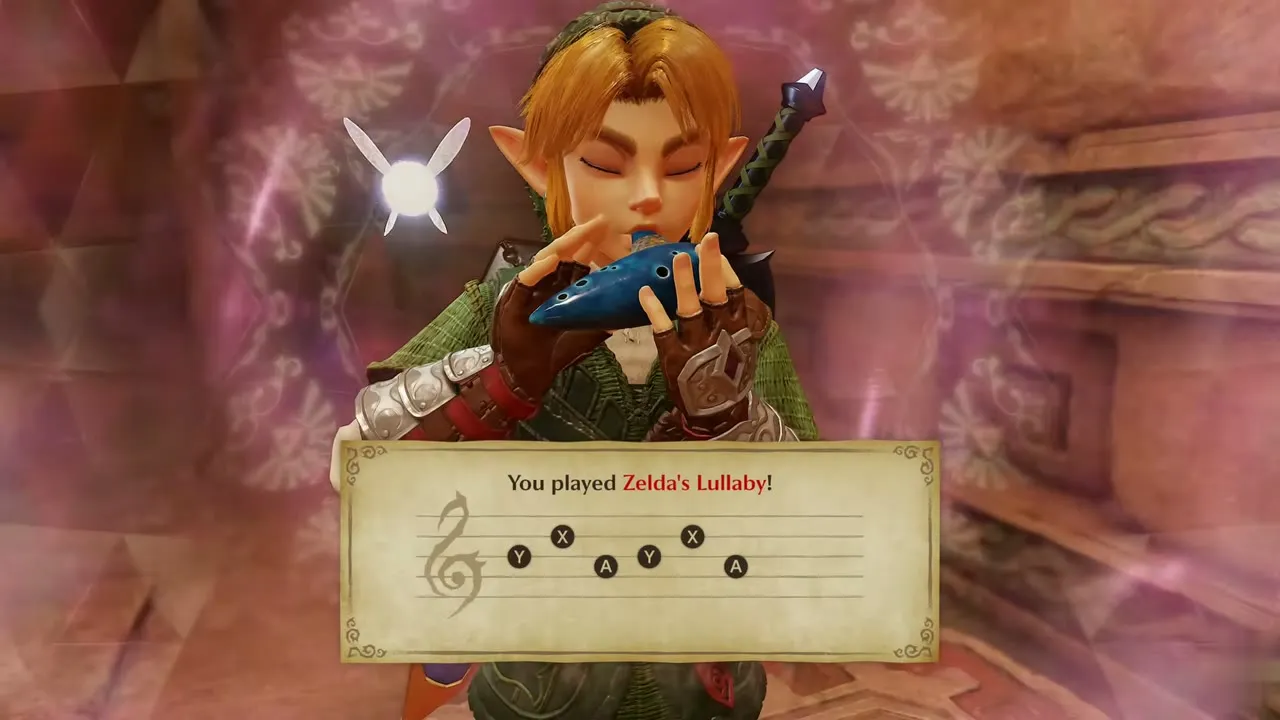
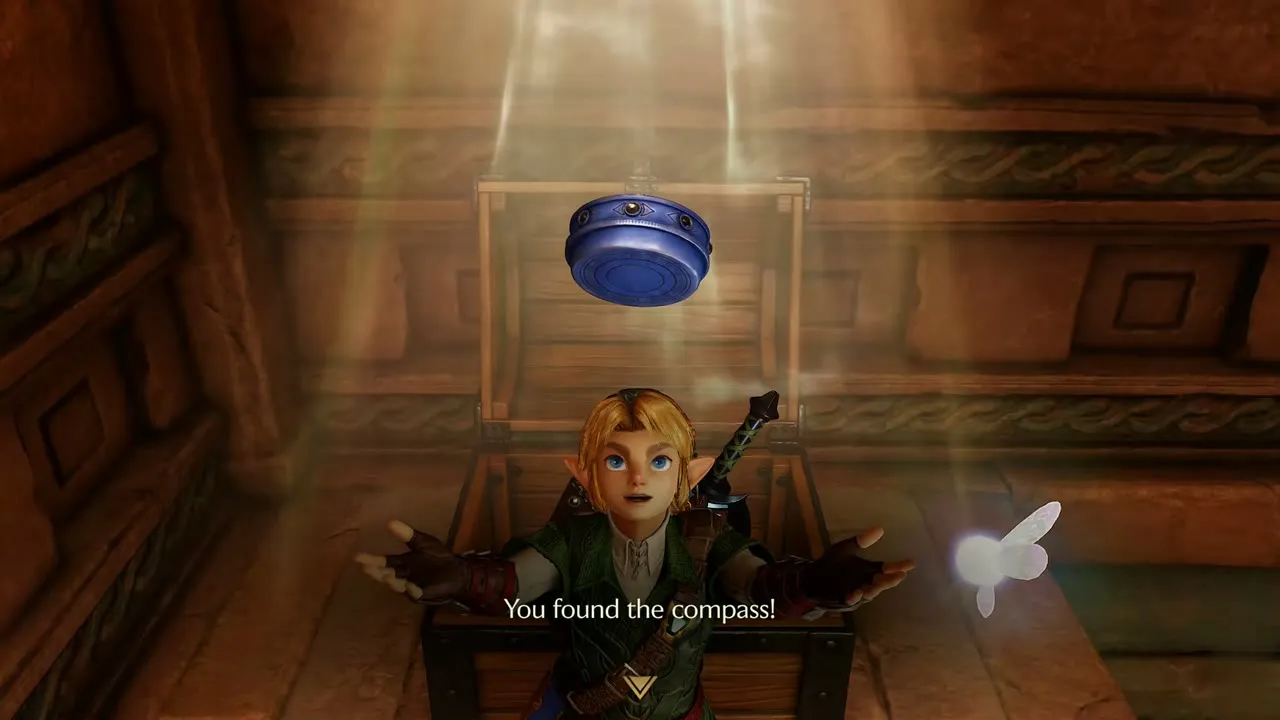
Stand on the red carpet marked with the Triforce symbol and play Zelda’s Lullaby. Not far past it, open the chest to take the Compass. The dungeon screen now shows the Compass beside the key counter.
Song of Time block
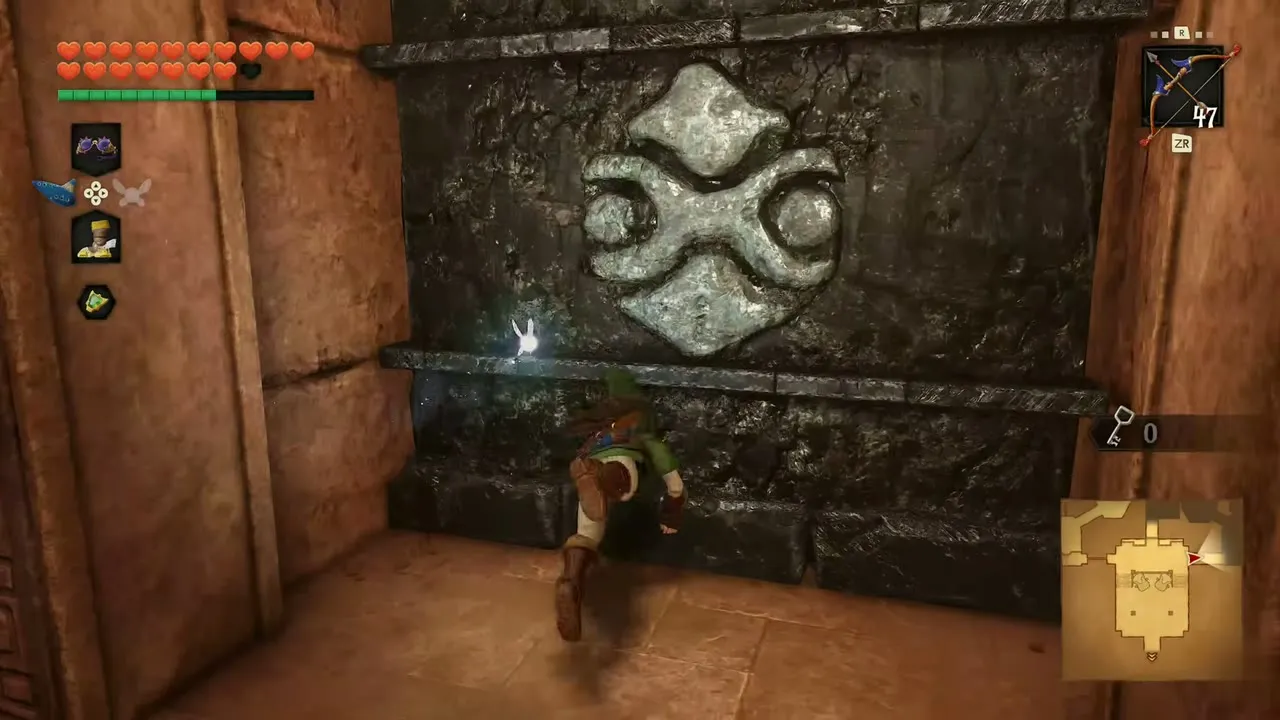
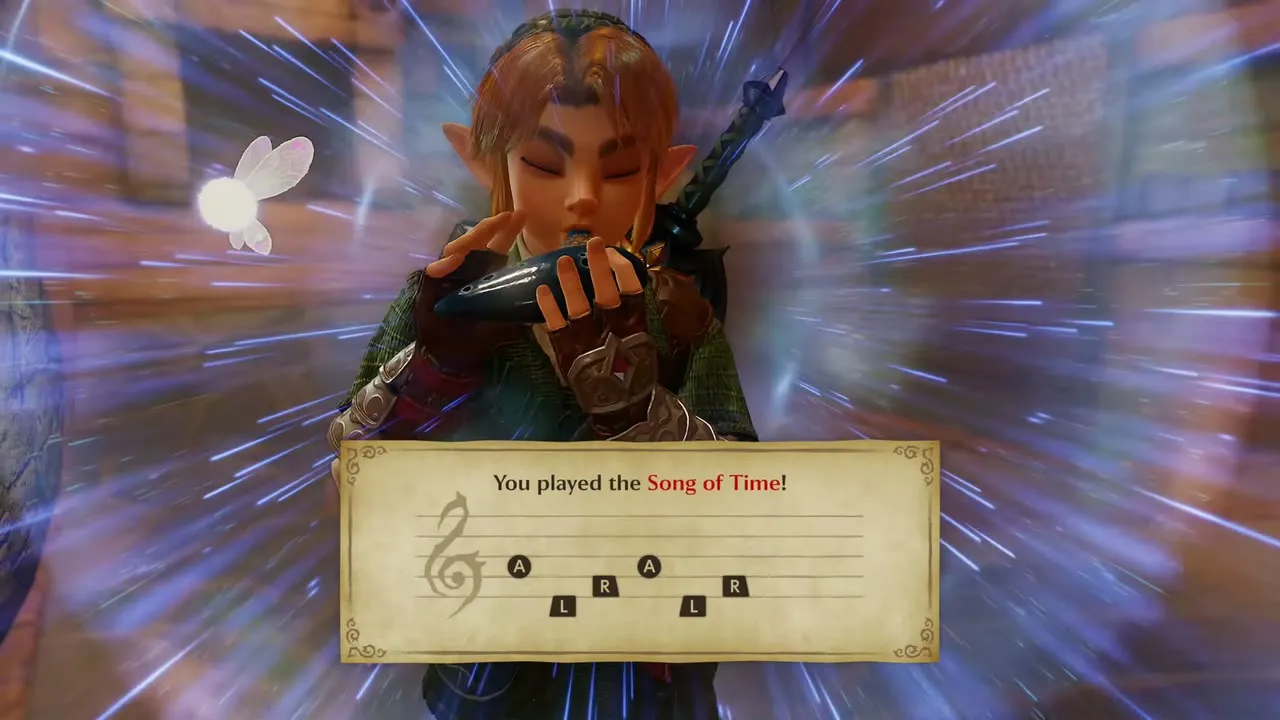
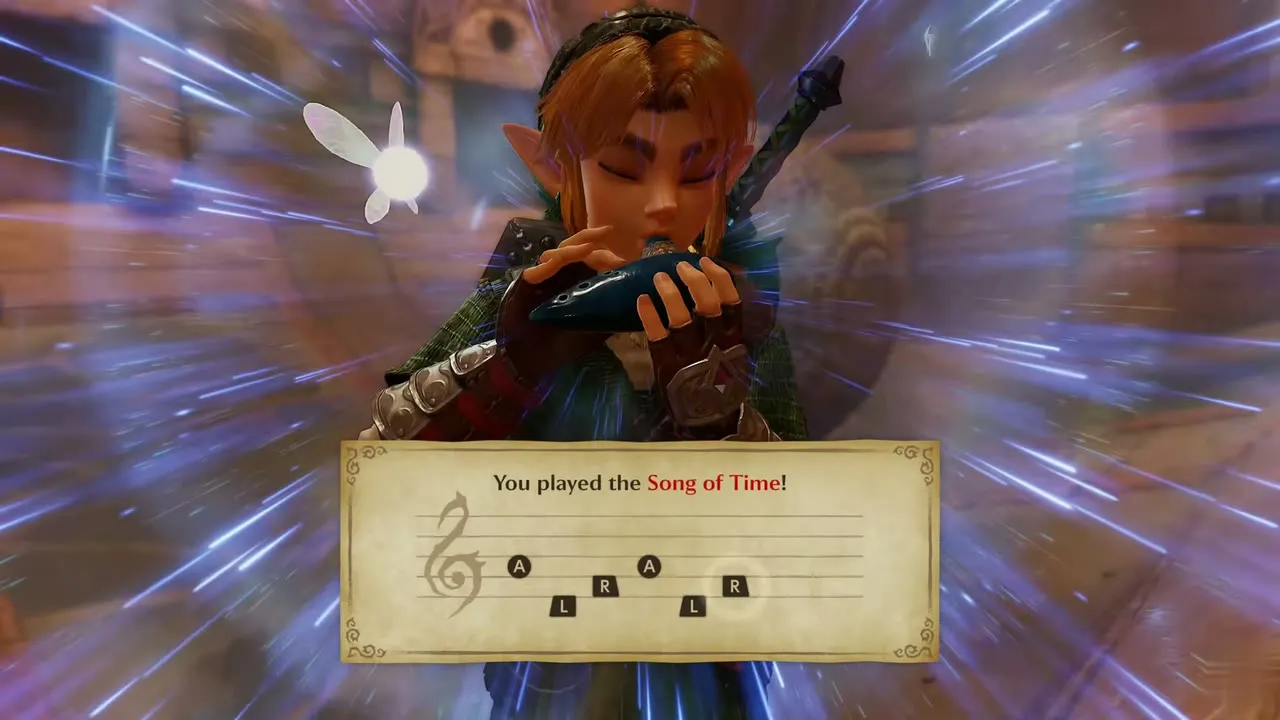
Follow the corridor into the boulder halls. Huge boulders roll from side to side, so time your steps. At the first blue Time block in the wall, open your songbook and play the Song of Time. The block fades away. Keep going past the boulders and play it again at the next blue block to open the way on.


Gold Skulltula #94
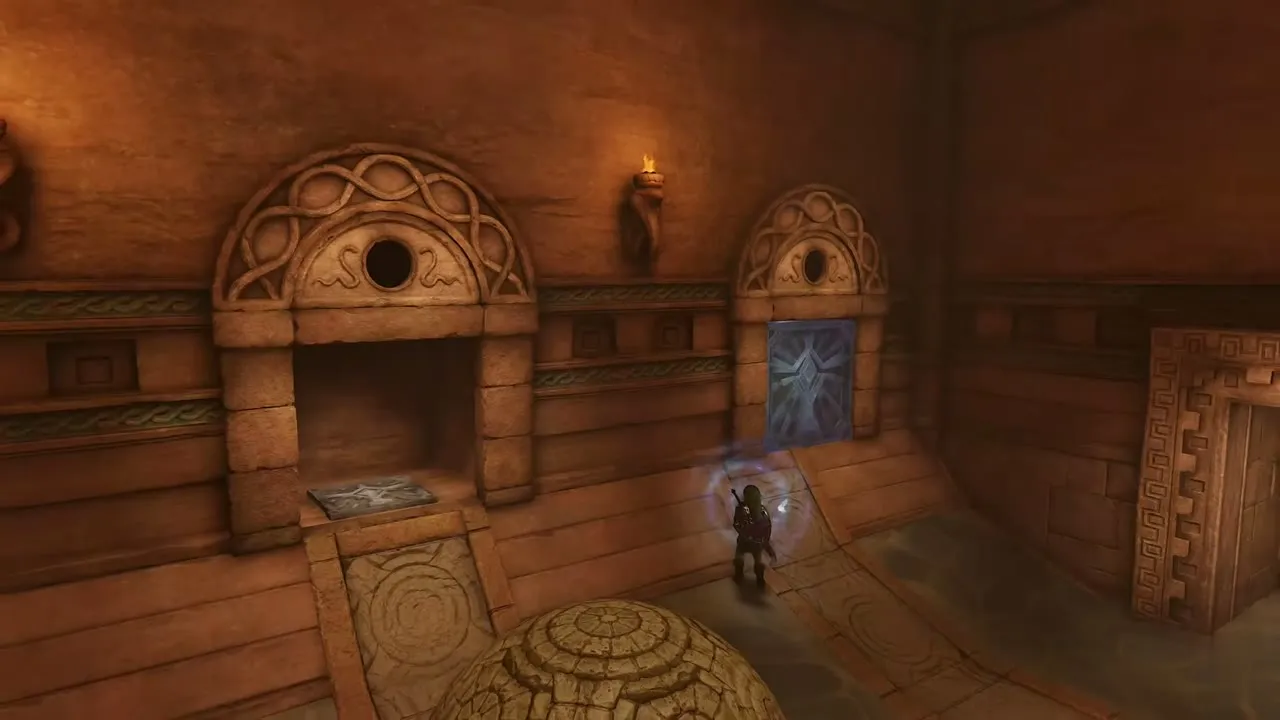
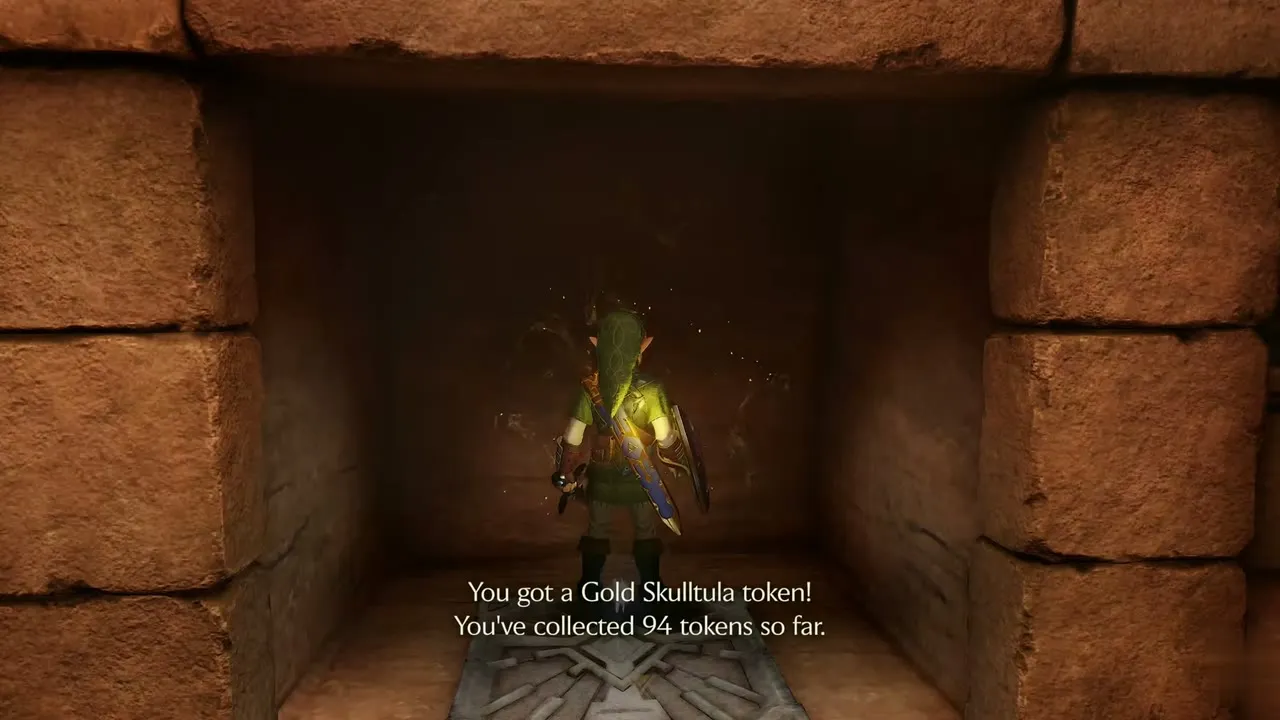
As an adult, play the Song of Time at the Time symbol in the boulder halls to open the blue door. Step into the alcove beyond and strike the token on the wall from the pad. The count moves to “You’ve collected 94 tokens so far.”
First adult small key
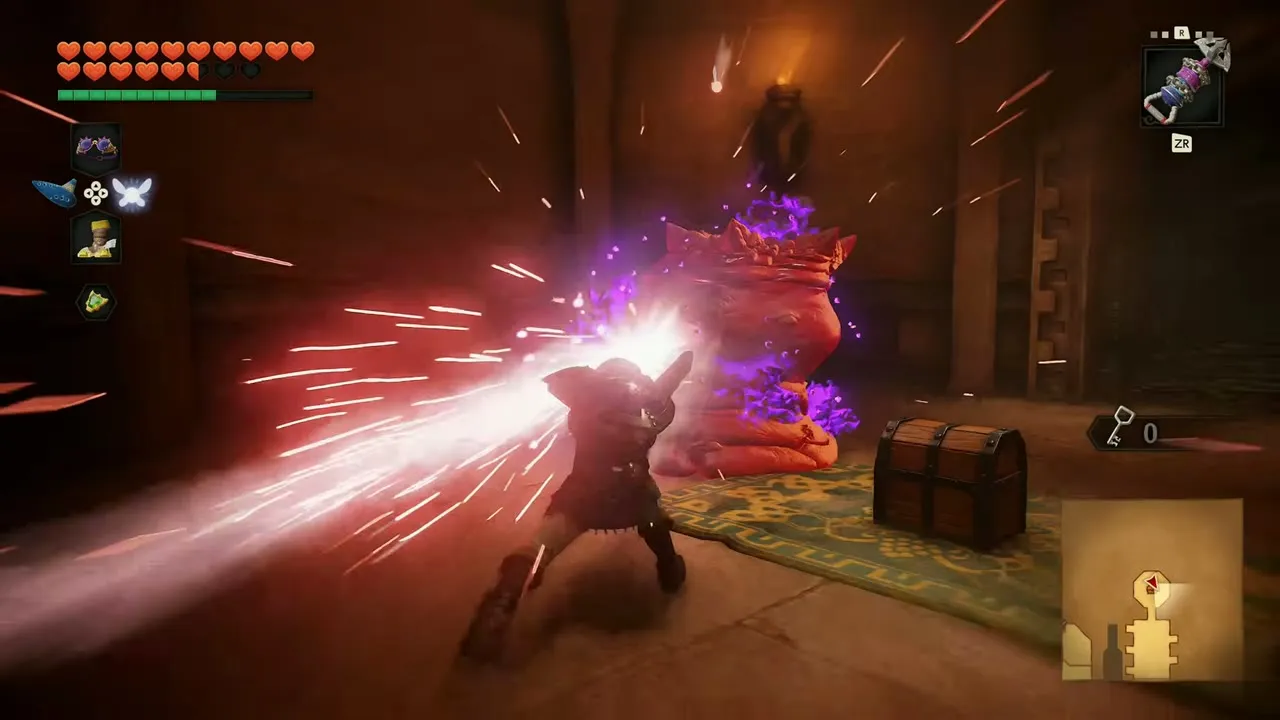
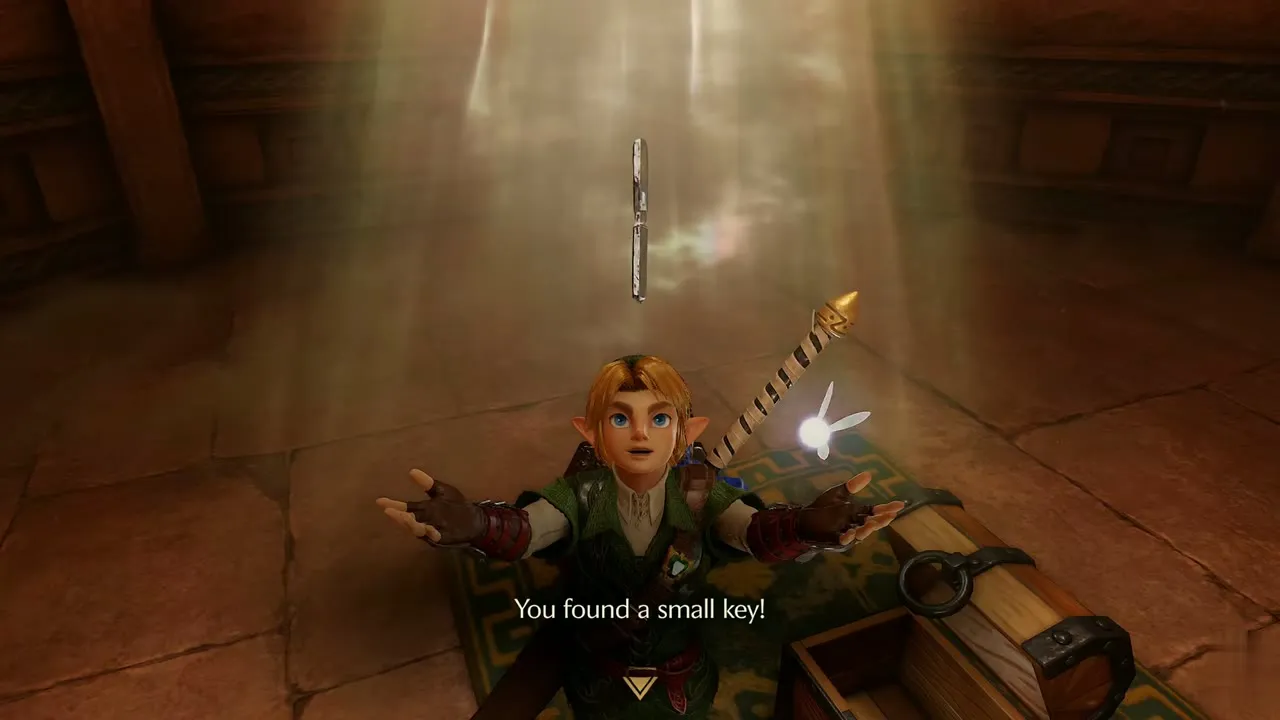
Past the boulders, a spiked plant enemy guards a carpeted room with a chest. Open the Equipment screen and ready the Biggoron Sword if you like. Defeat the plant, then open the chest to receive a small key. Take it to the ornate door and unlock it. A purple barrier gate and a mesh corridor follow.
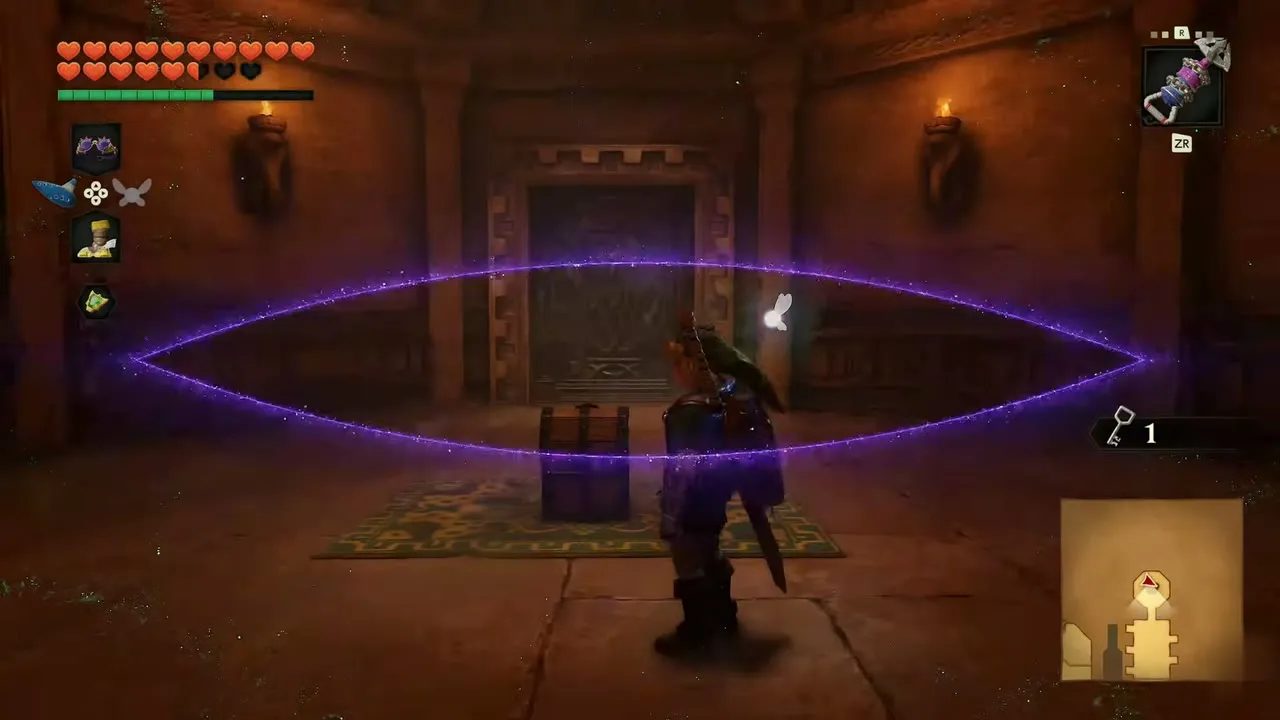
Adult side, 2F: lamps and mirrors
Round hall with the lamp
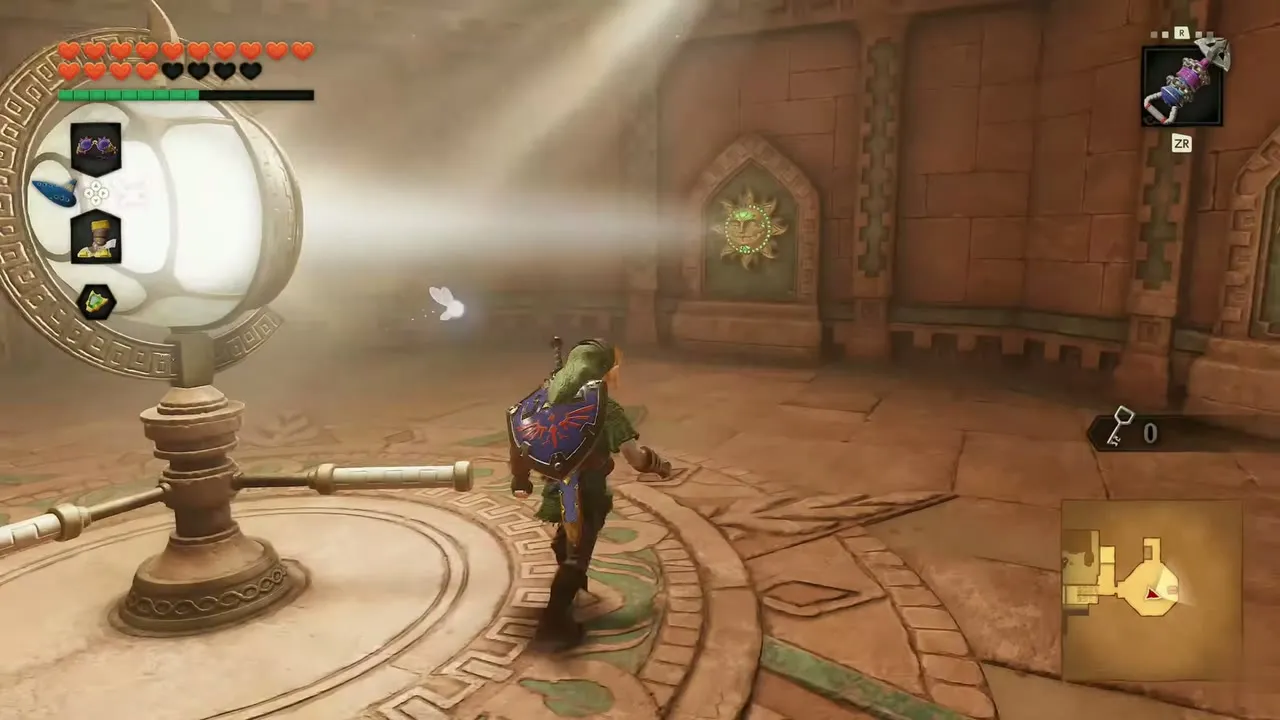
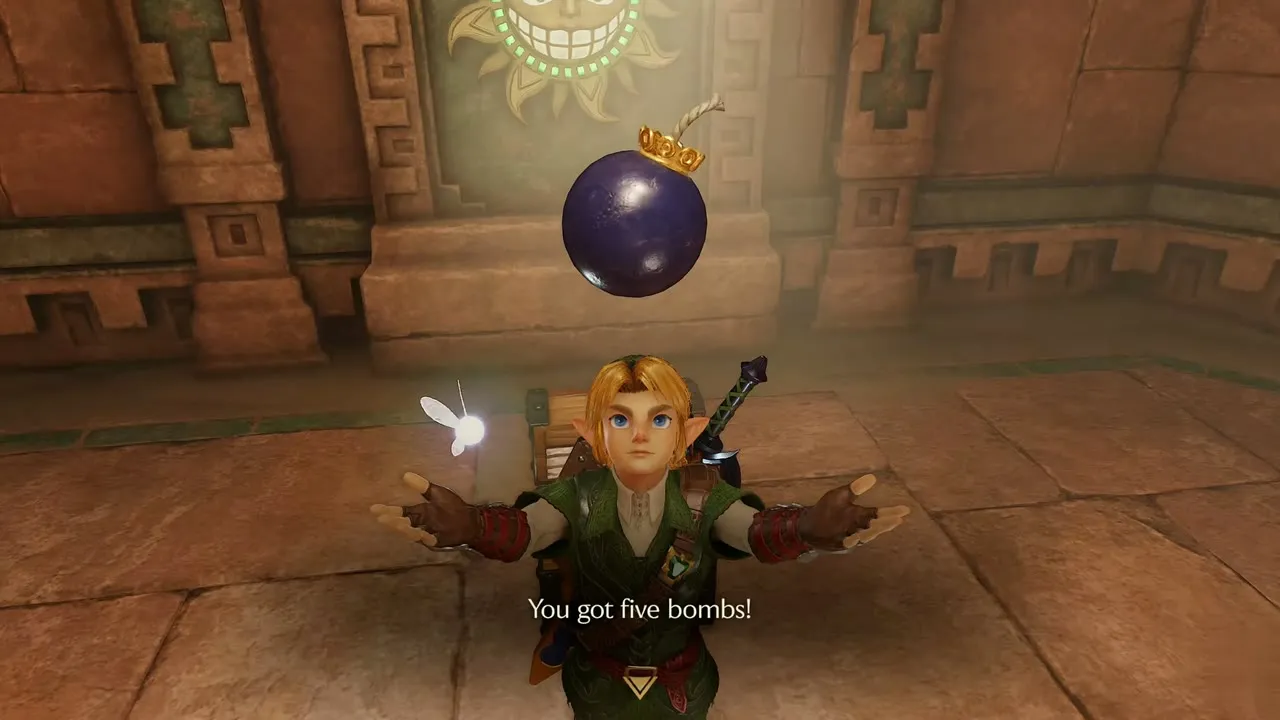
The mesh corridor ends in a round hall with a light-beam lamp on a stand and a sun emblem on the wall. Enemies attack inside a purple barrier as you enter, so clear them first. Light from a window falls across the room, so turn the lamp until the beam strikes the emblem. A wooden chest appears and holds five bombs.

Iron gate fight
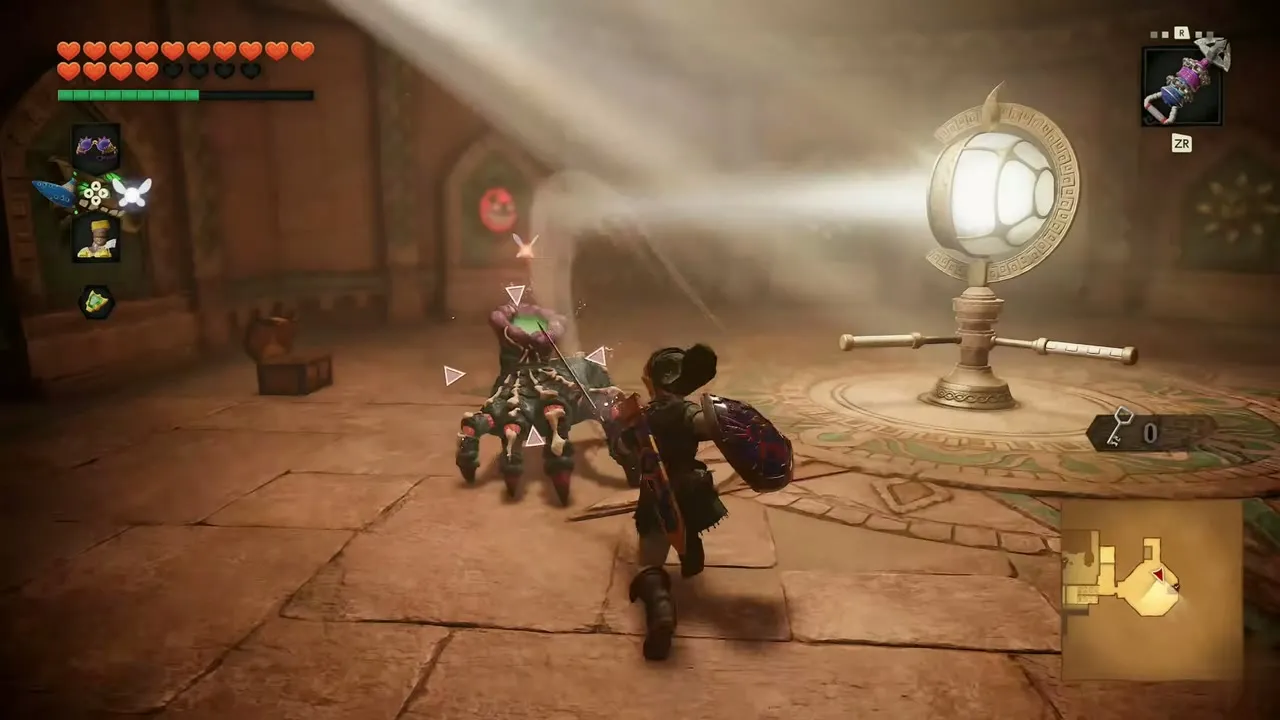
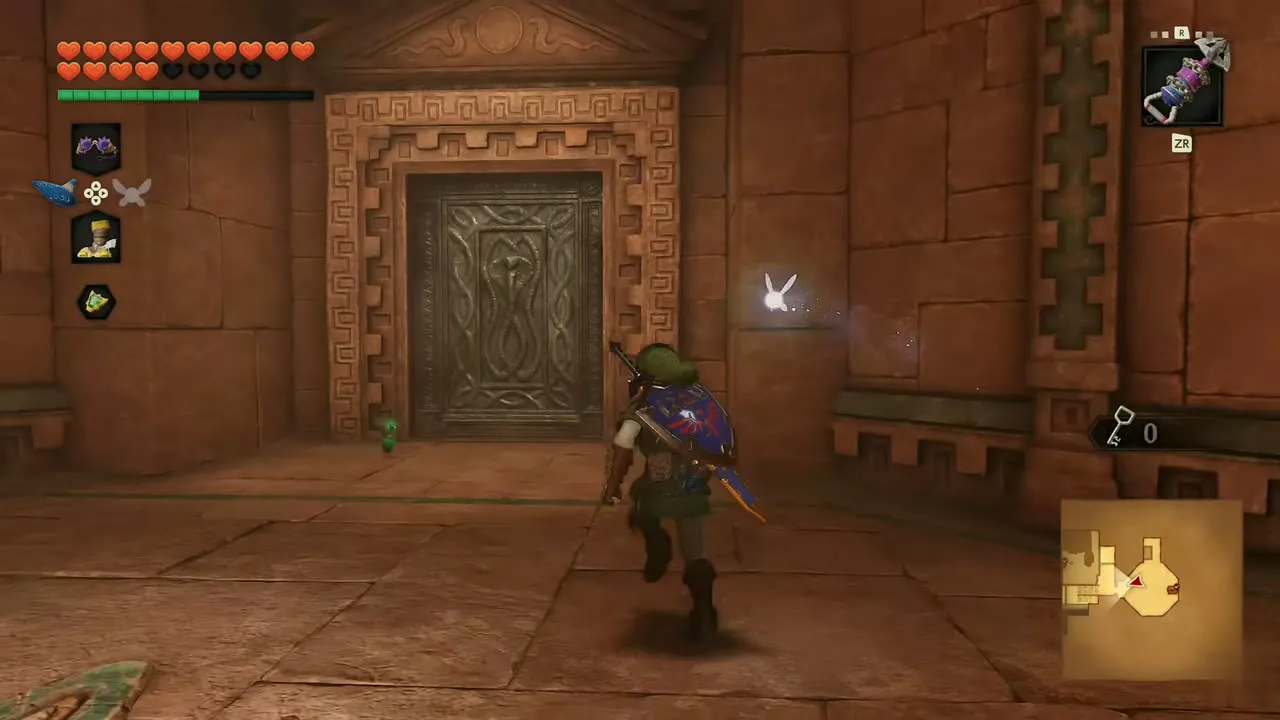
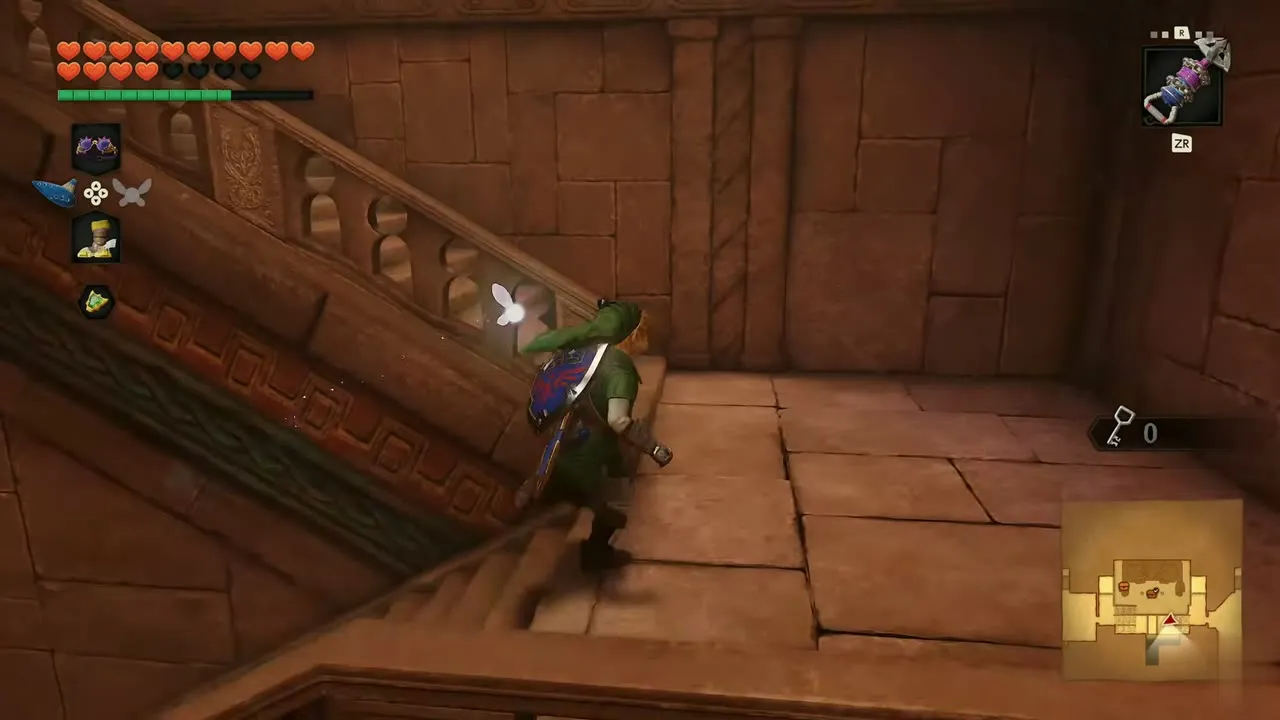
An armored enemy fights you near the lamp. Defeat it, then walk through the iron gate and take the stairs up. The ornate door at the top opens when you press Open.
Stone hand and second small key
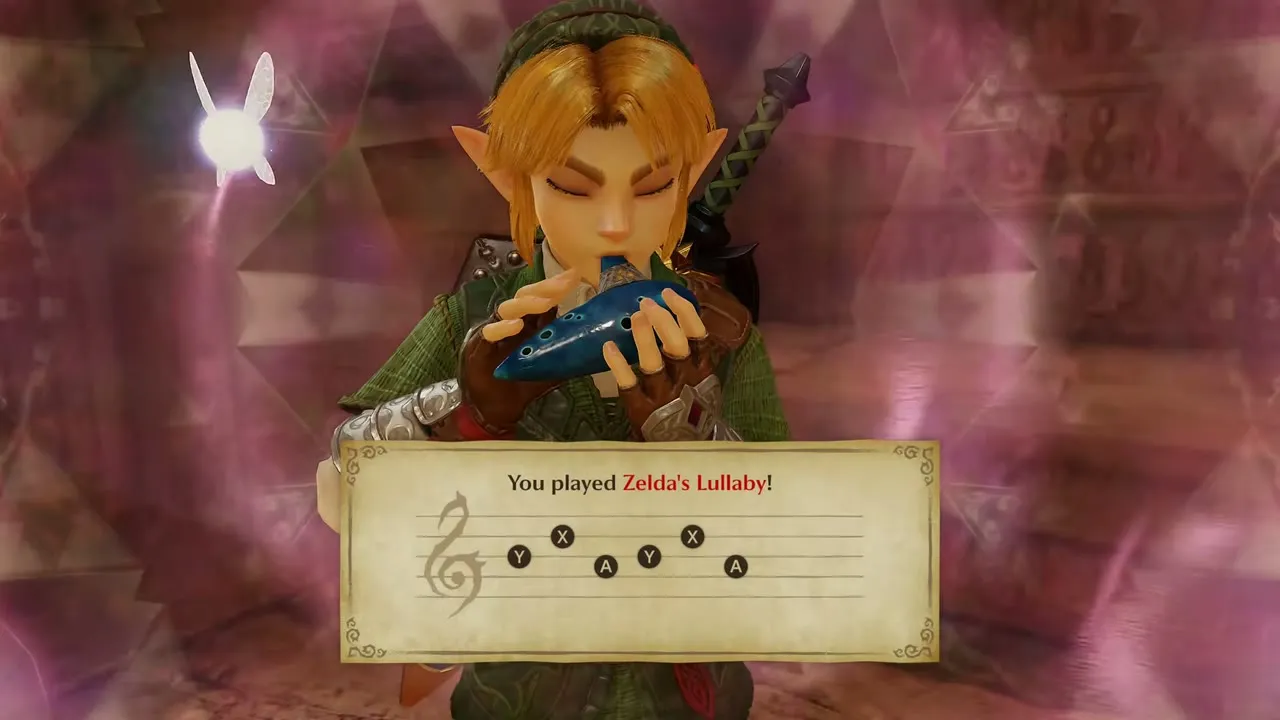
Climb to the large stone hand. Play Zelda’s Lullaby in front of it. Open the chest close by for a small key, then take the stairs further up.
Scarecrow Song and Gold Skulltula #95
Play the Scarecrow Song
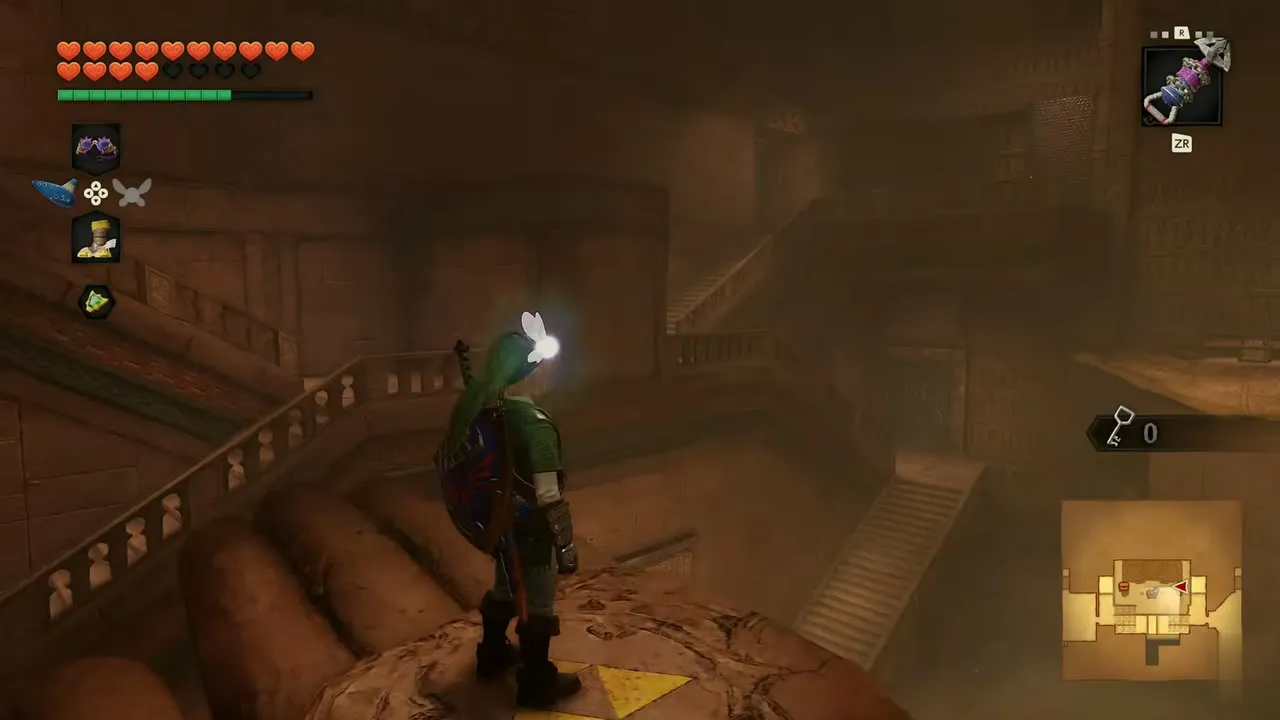
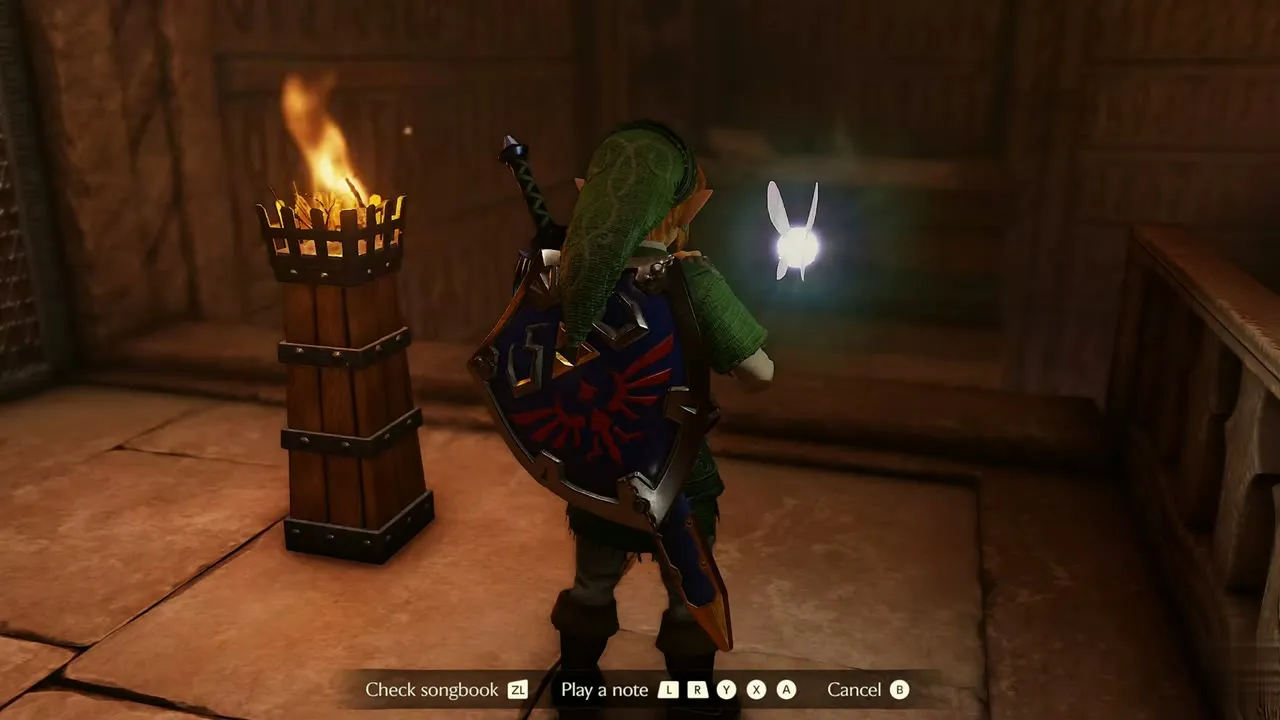
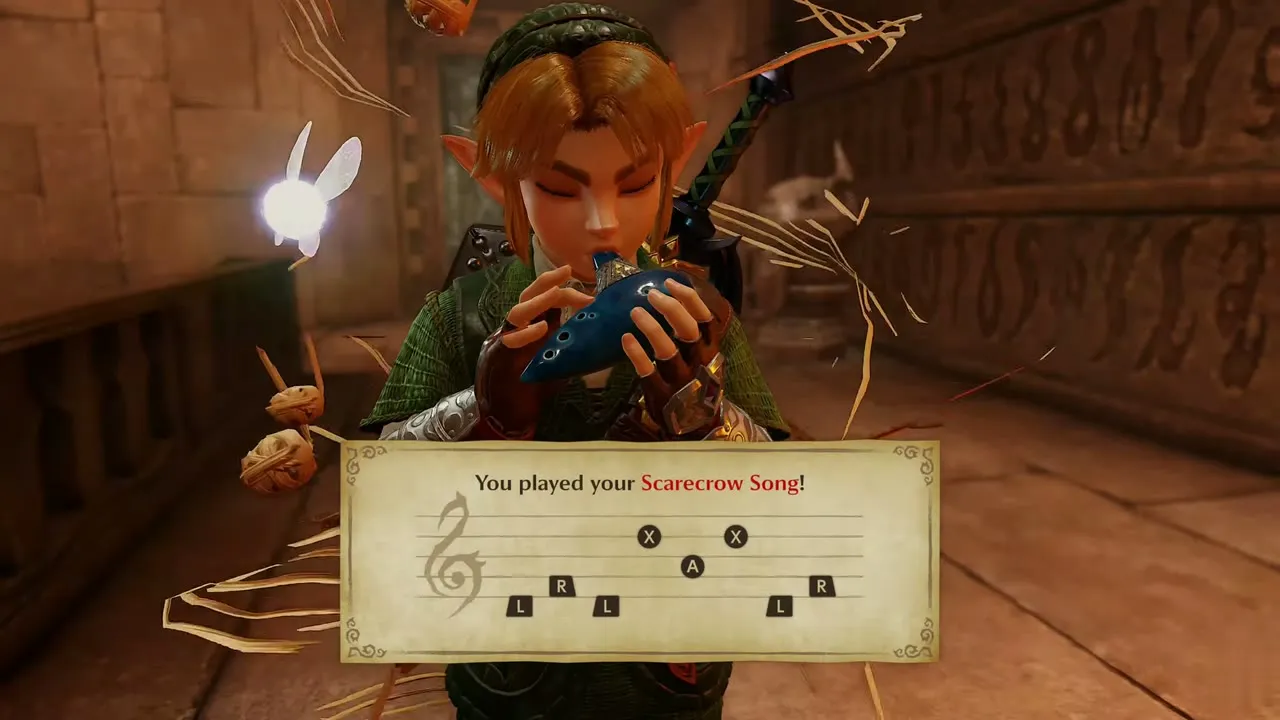
On the stairs, stand beside the torch and play the Scarecrow Song you composed earlier. A scarecrow answers with a shout of “Howdy!” and offers a Longshot perch. If you have not made a song yet, see Side Quests for Stir the Scarecrow’s Soul!.

Gold Skulltula #95
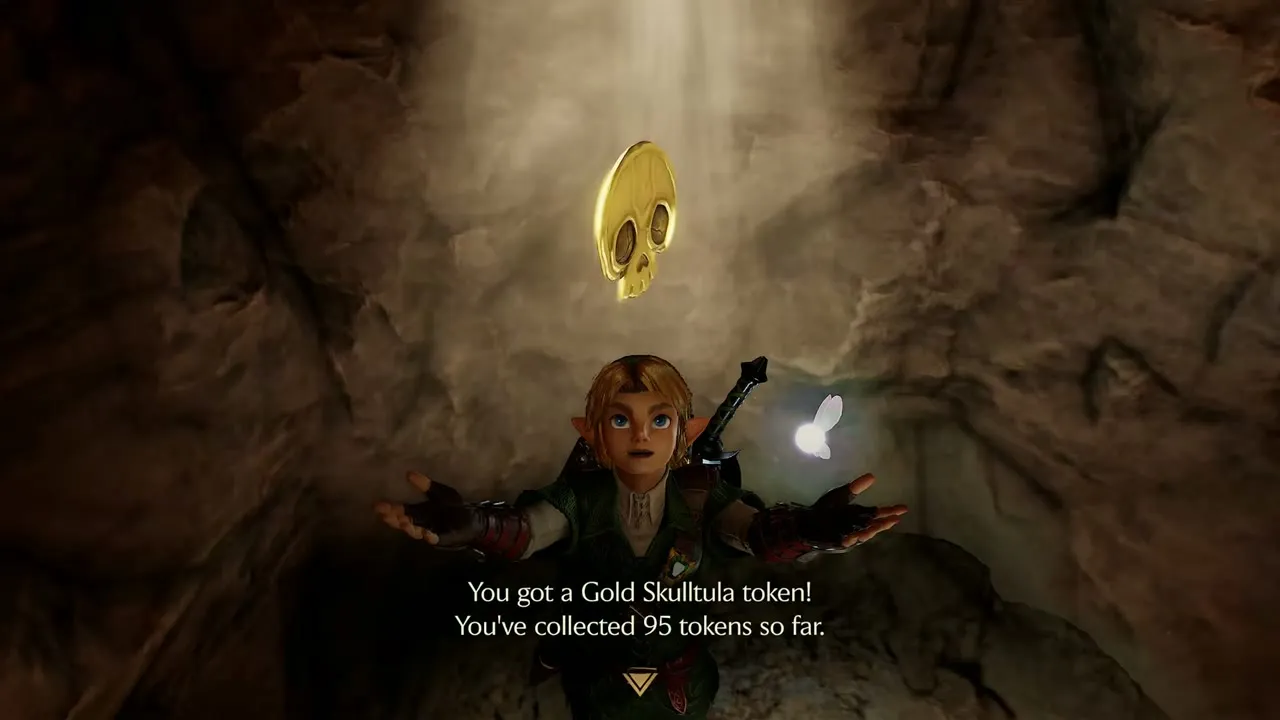
Use the Longshot on the scarecrow to cross to the ledge on 3F. A Gold Skulltula token hangs in the niche there. Take it to bring your total to 95 tokens, then let go and drop back to the dark room with the ornate gate.
Adult side, 3F
Second lamp room
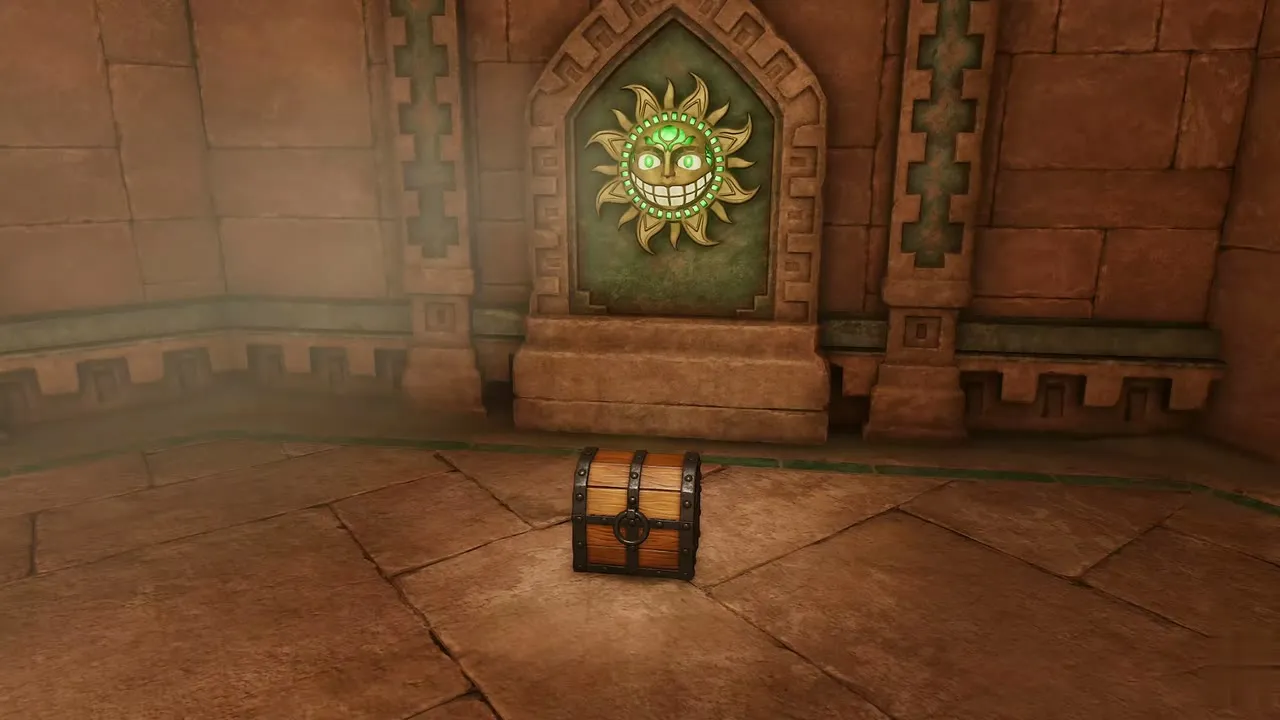
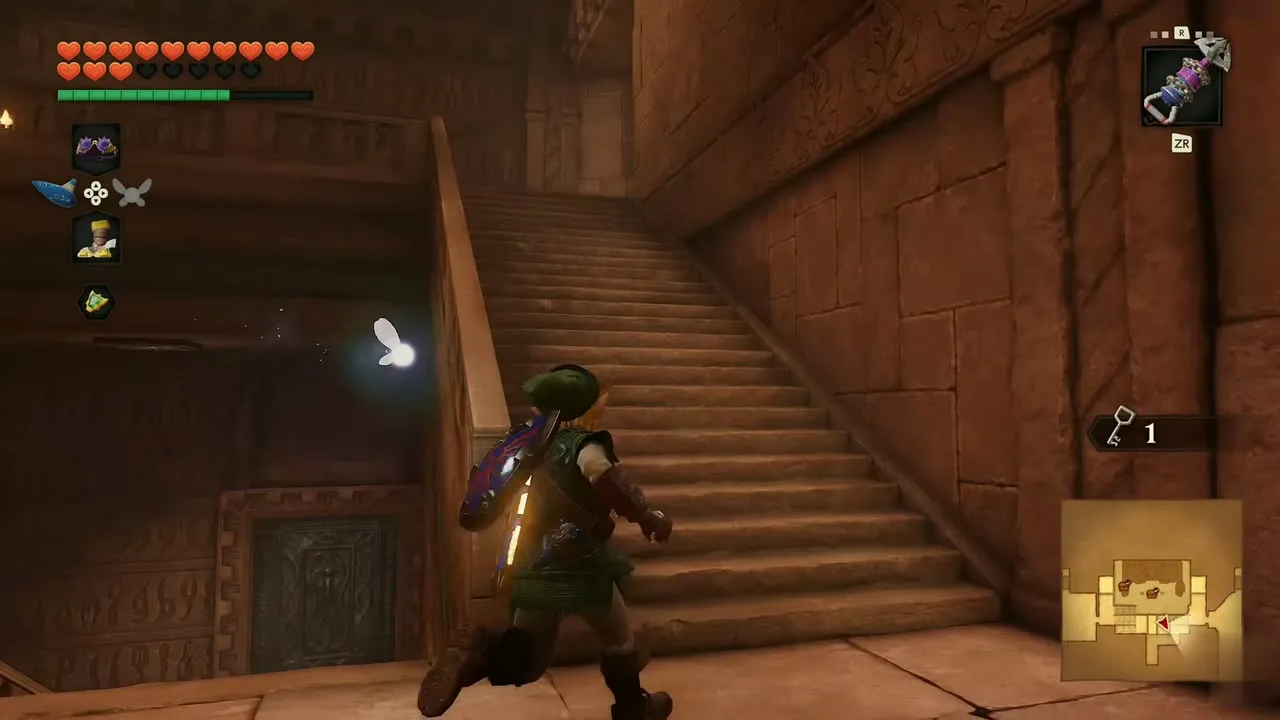
Light-beam lamps fill the next room on 2F. Turn them until the beam opens the purple barrier at the door. A closed chest sits between two sun-emblem doors here. Climb the staircase and unlock the ornate door at the top with the small key from the stone hand, then go on up to 3F.

Honeycomb hall
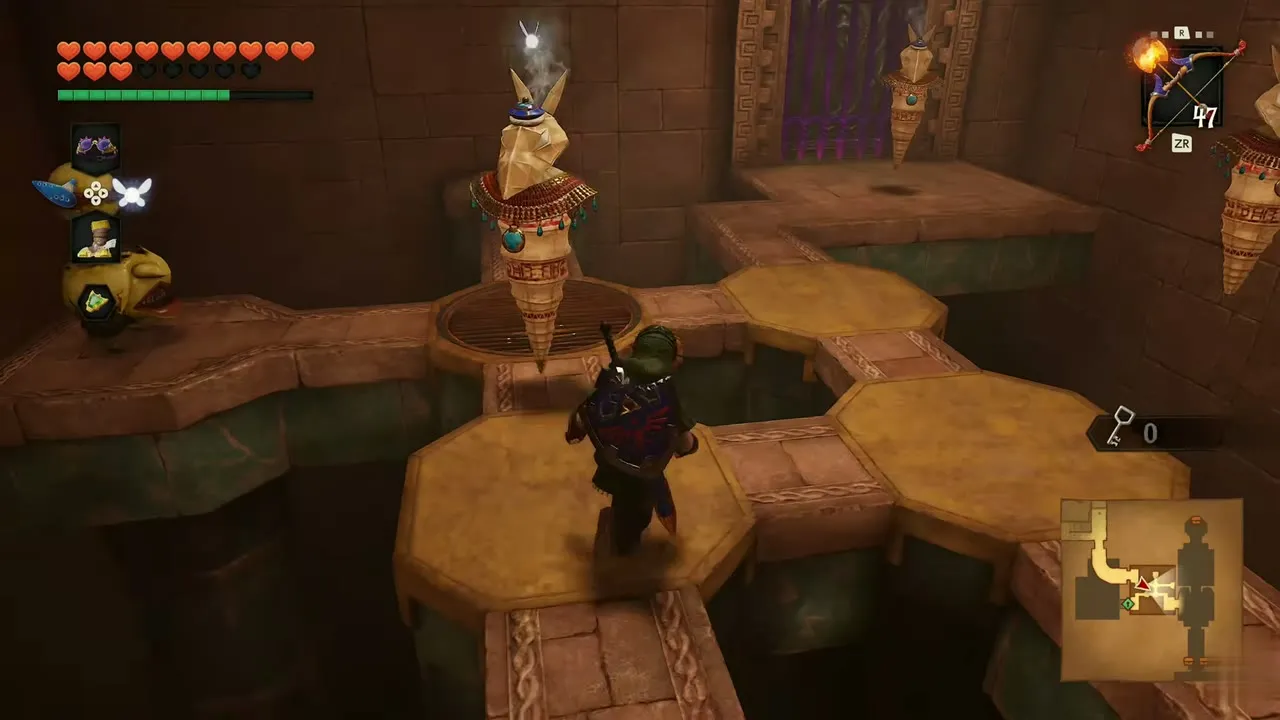
A hexagonal hall of platforms and torches follows. Step from platform to platform over the pits, shield up against the enemies that drop in. Open the Items screen, choose the Fire Arrow and shoot the unlit torches along the way.
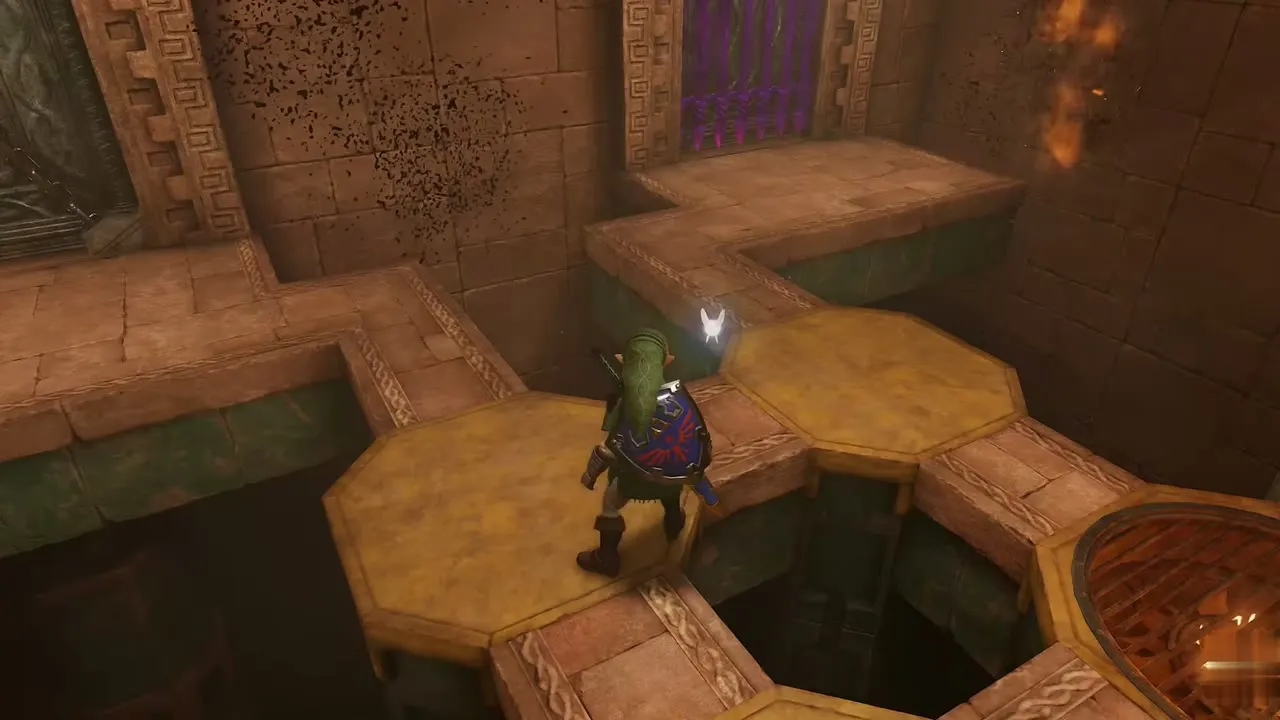
Hammer the switches
A red statue and then a square block in a pit show a Hit prompt. Equip the Megaton Hammer and strike both. The door ahead opens onto a green carpet hall.

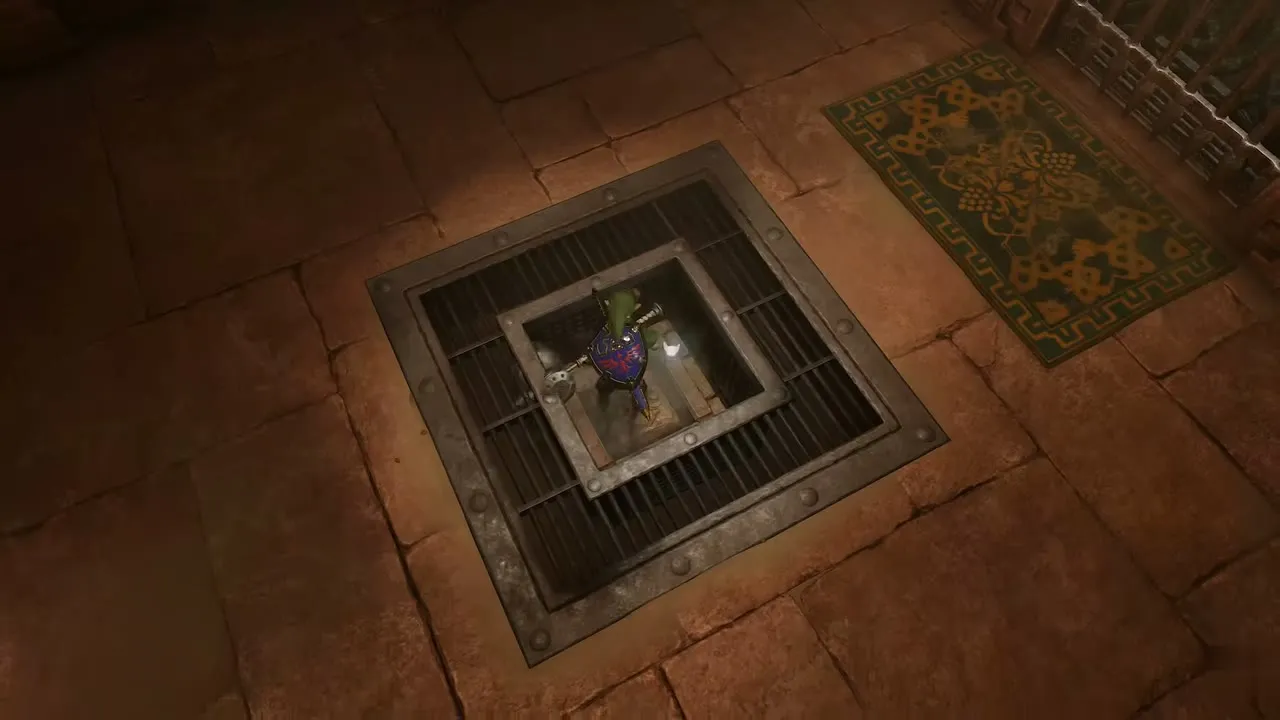
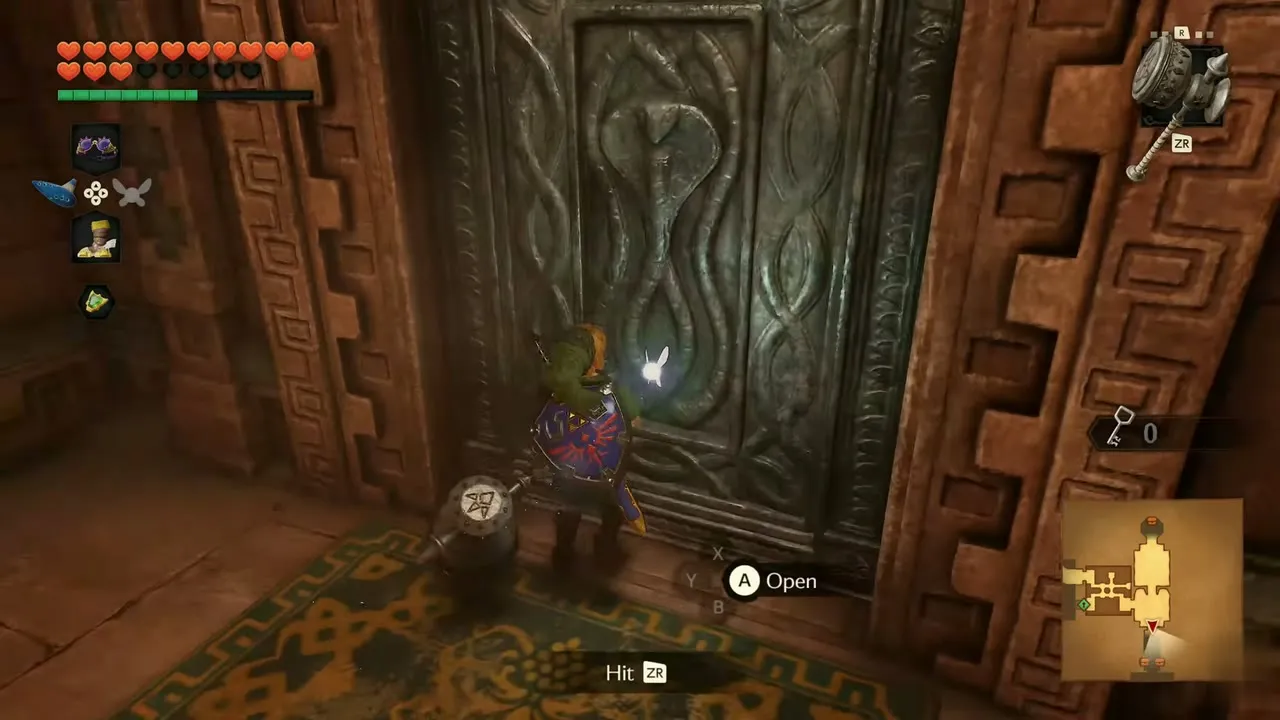
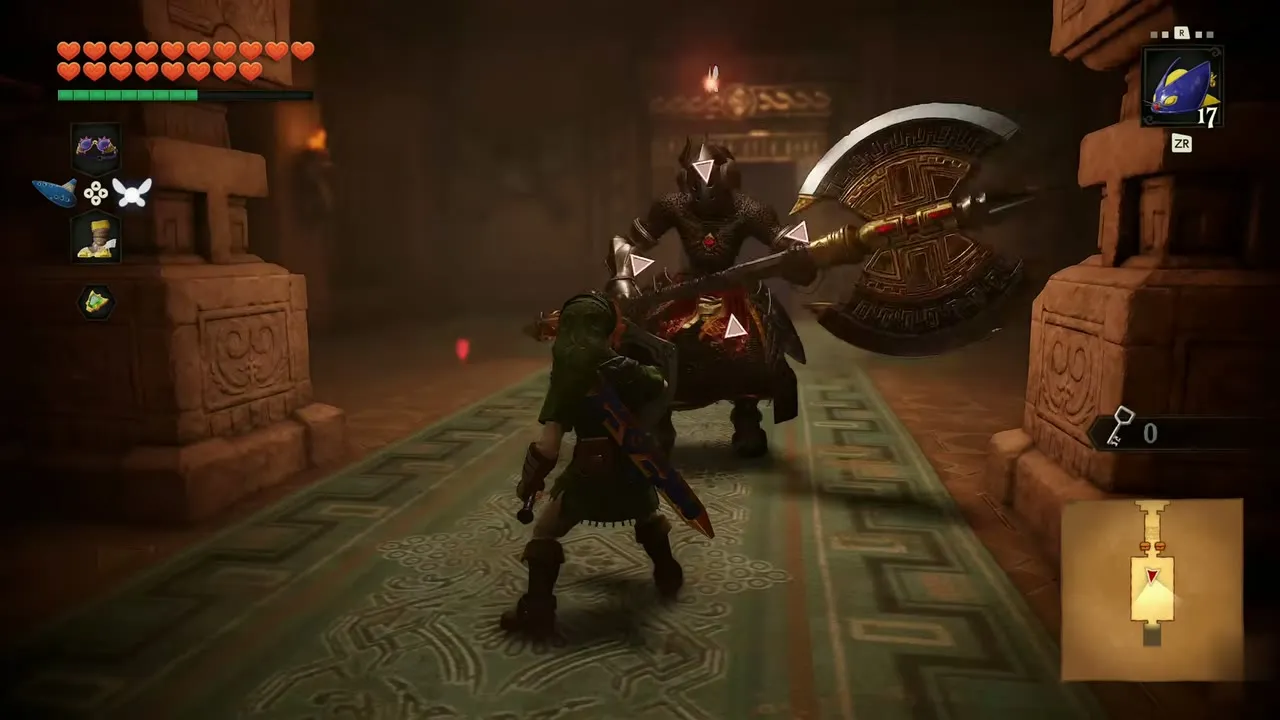
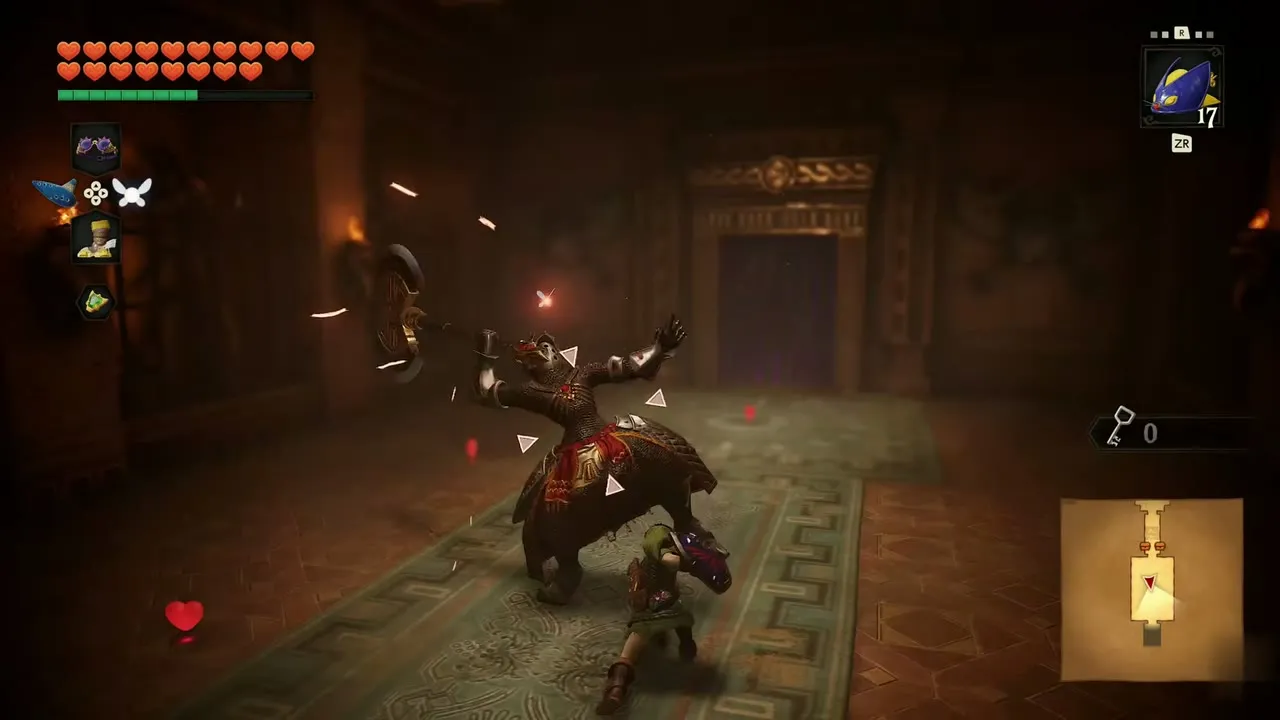
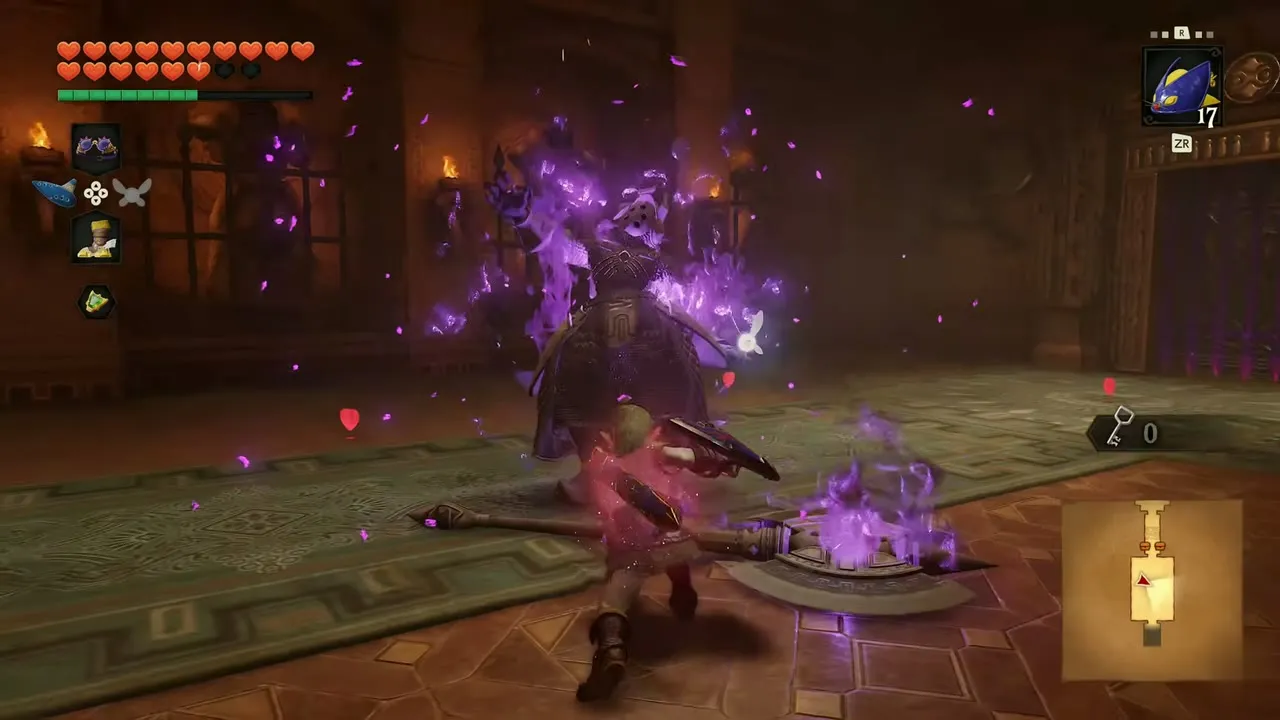
Iron Knuckle on 3F
An armored Iron Knuckle with a huge axe charges you in the green carpet hall. Keep moving with your shield up and strike after each swing. When it falls a heart drops. The ornate door at the end leads out into the sunlight.
Mirror Shield
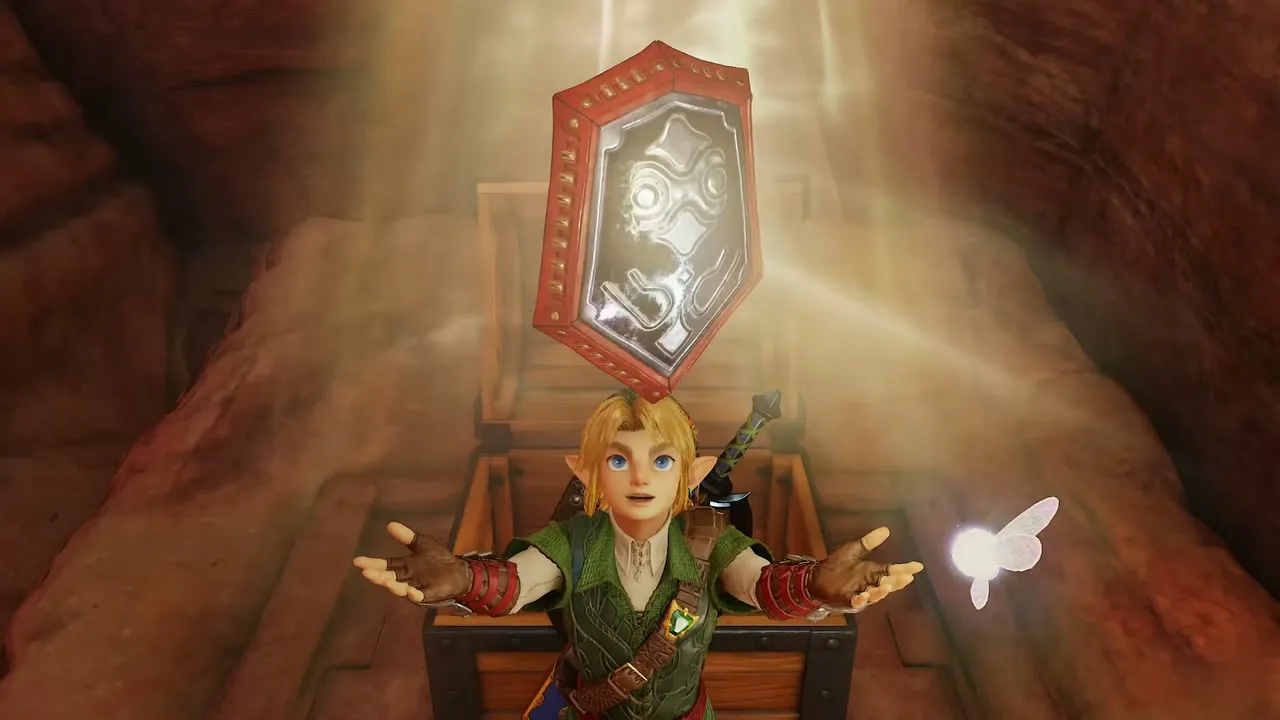
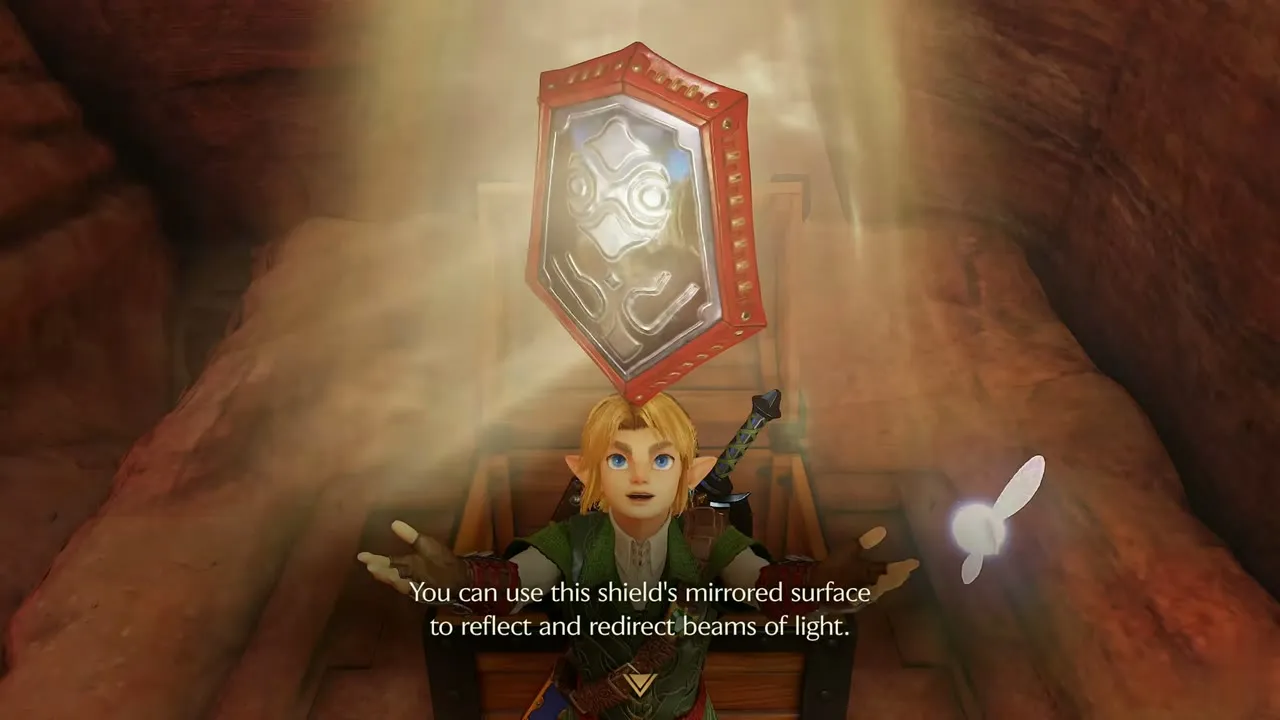
Mirror Shield chest
Step out into the Evil Desert Colossus. A chest sits at the top of a short stair beside a barrel and a wooden box. Open it to receive the Mirror Shield, which reflects beams of light. Equip it from the Equipment screen.

Red rupee and third small key
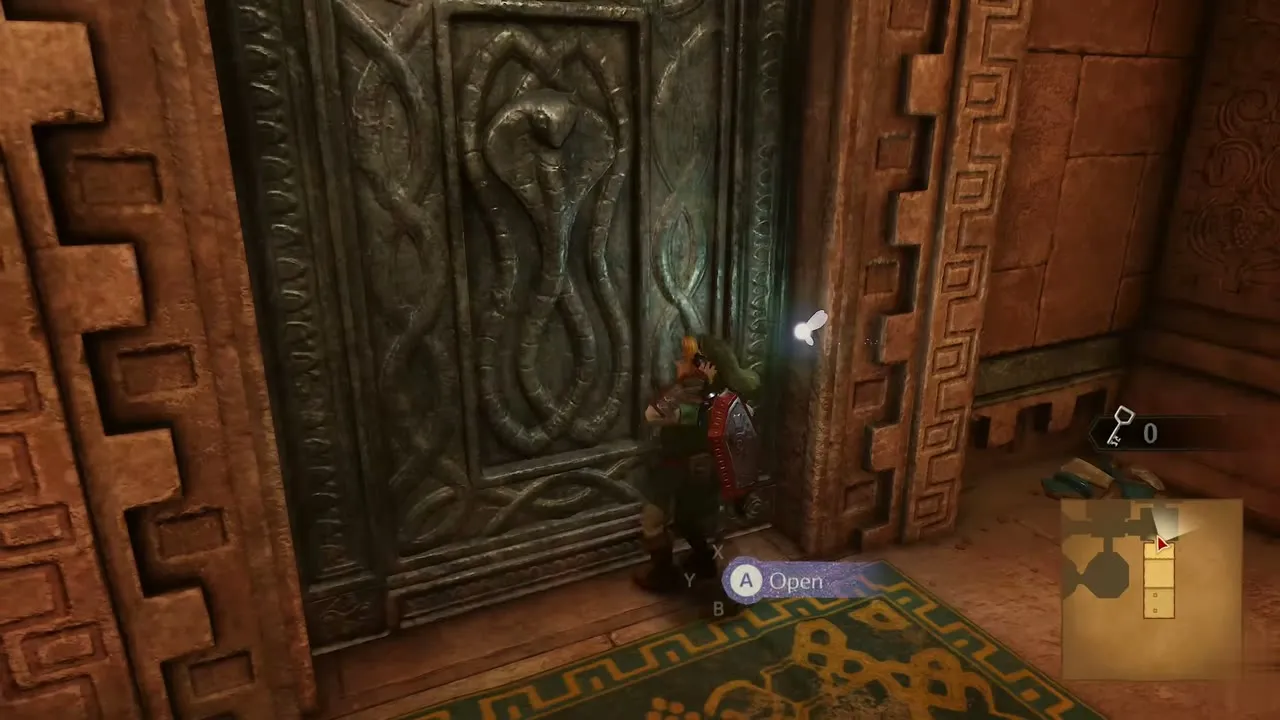
Return to the temple 3F through the same door. Cross the purple barrier room and pick up a red rupee worth 20 rupees. In the light shaft hall, bounce the beam with the Mirror Shield. Take the small key from the raised platform in the room beyond and use it on the chained door with the keyhole.


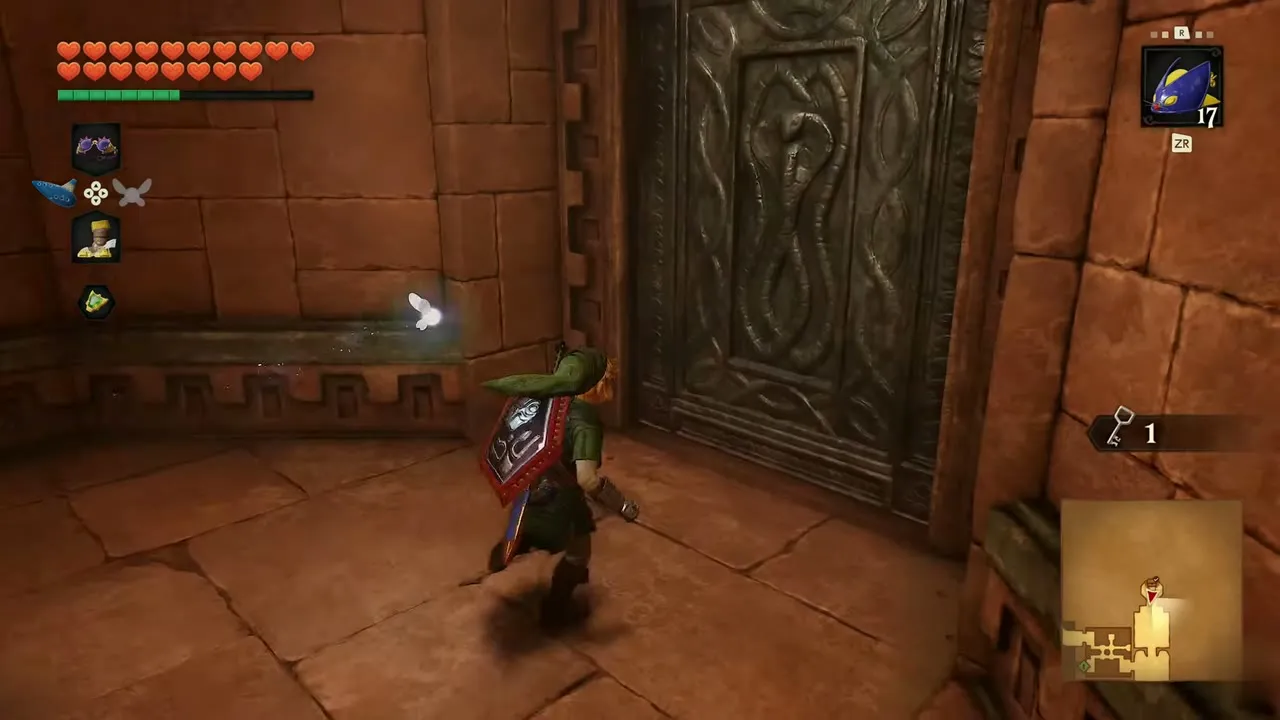
Light beams on 3F
Past the keyhole door, ready the Megaton Hammer and strike the Hit prompts in the room of golden statues. Cross the mesh floors, fight through the purple barrier room, then take the green rug hall to the ornate door that leads up to 4F.
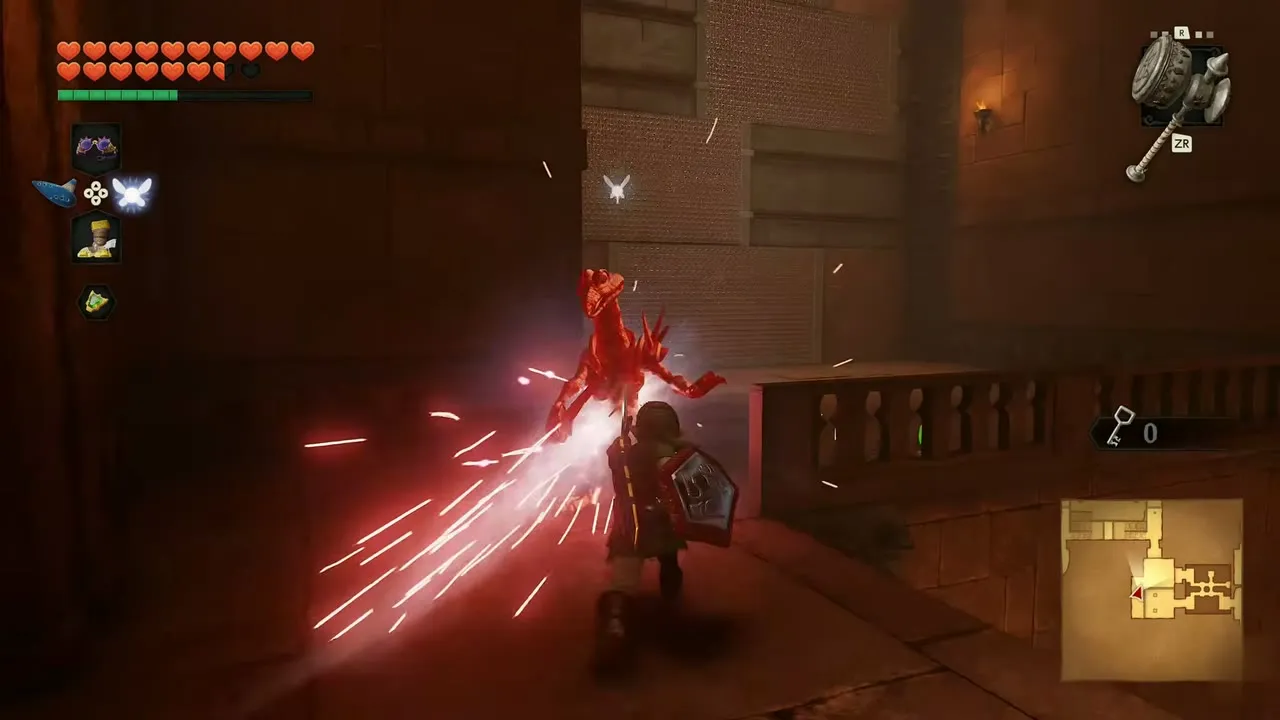
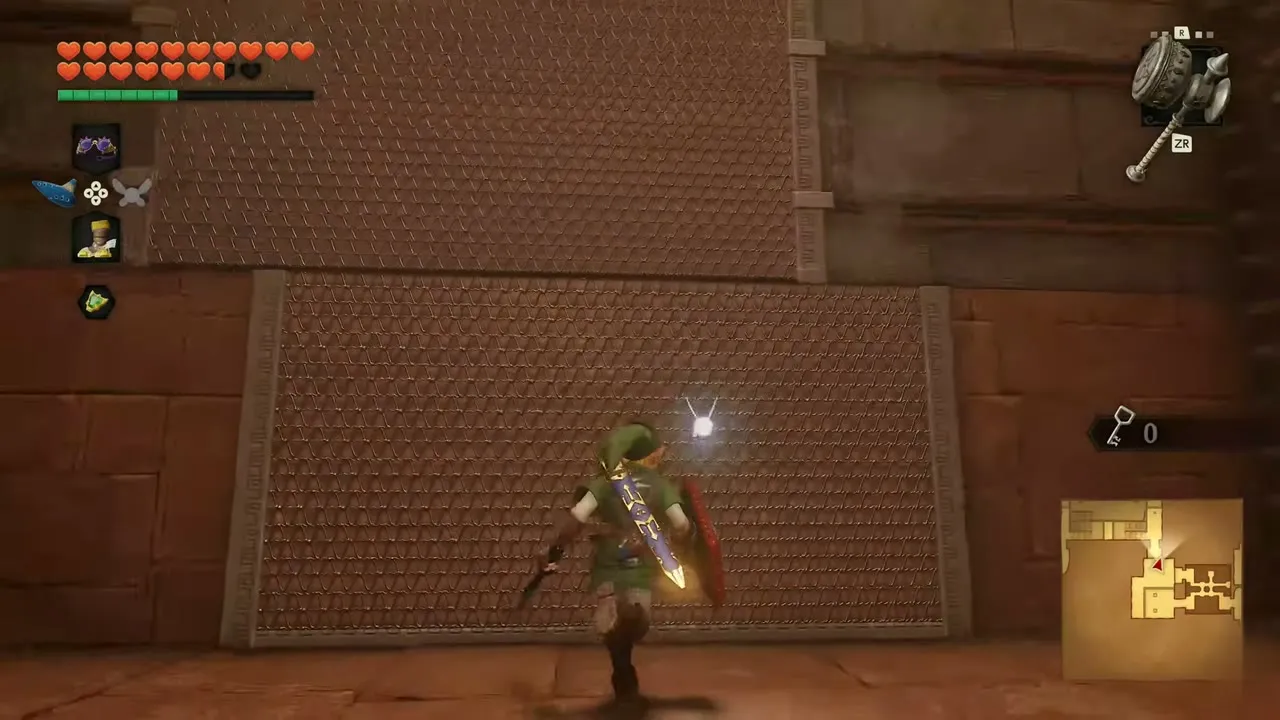
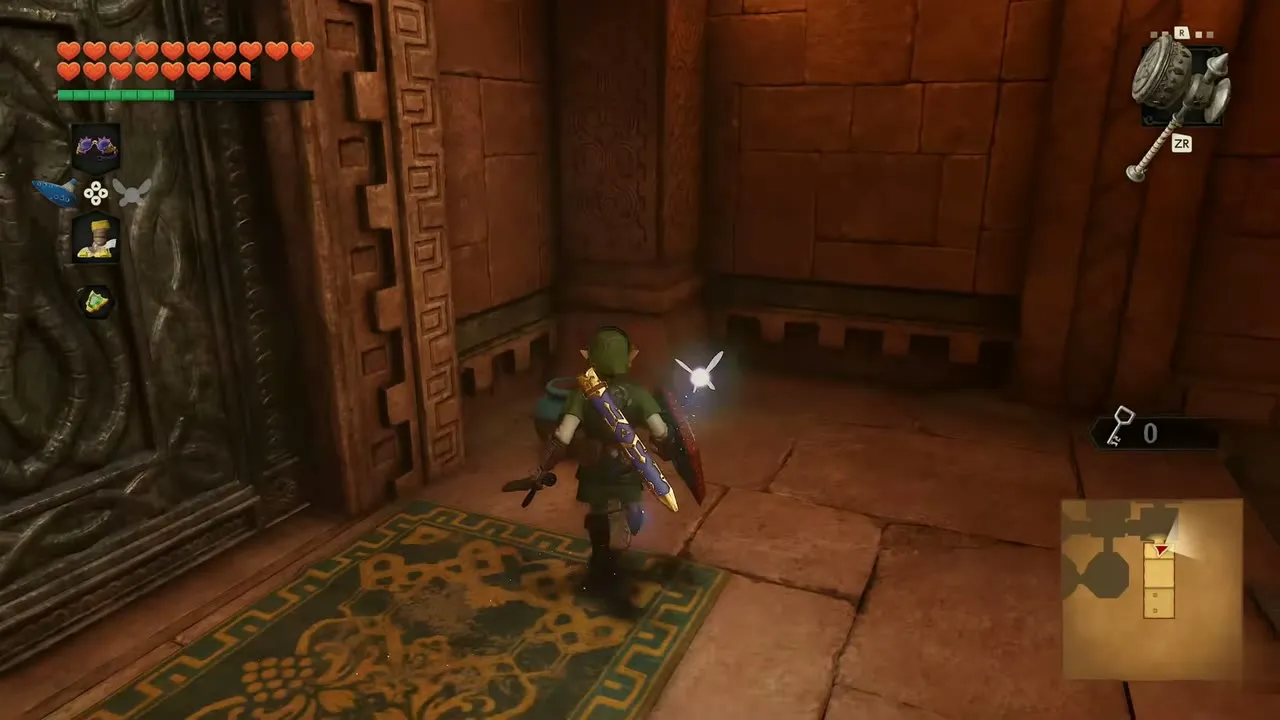
Adult side, 4F
Sand lamp room
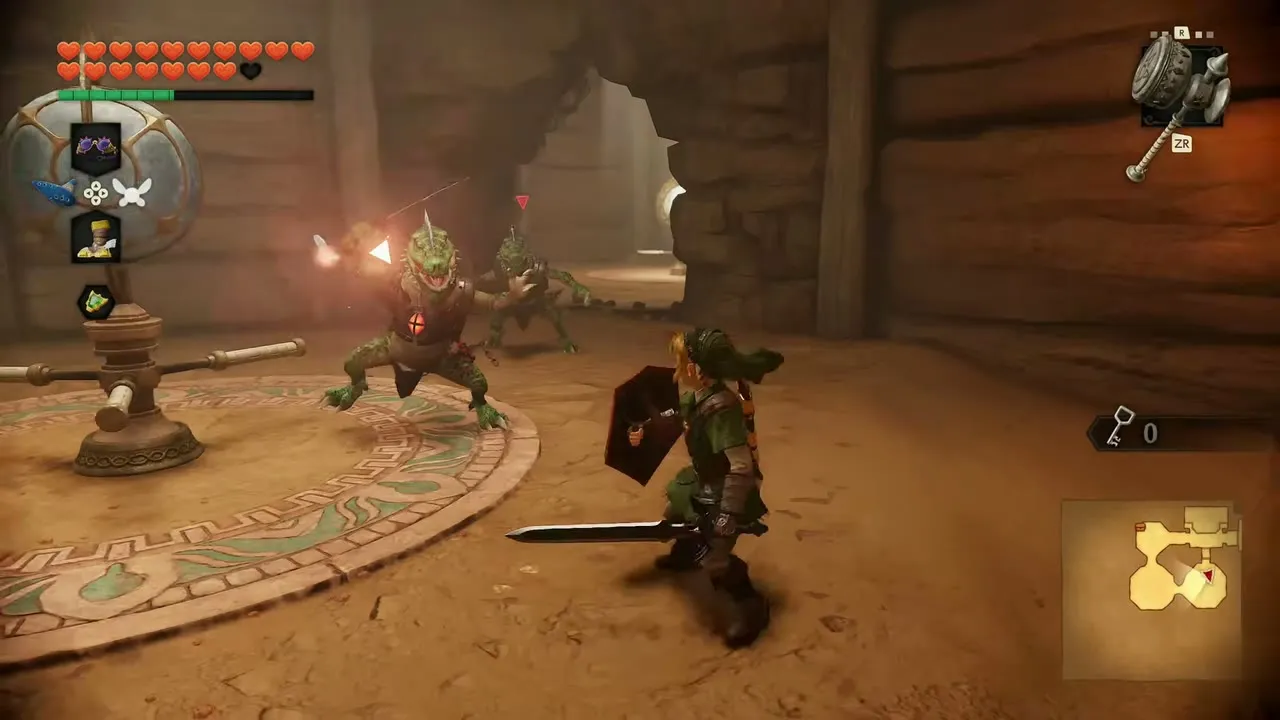
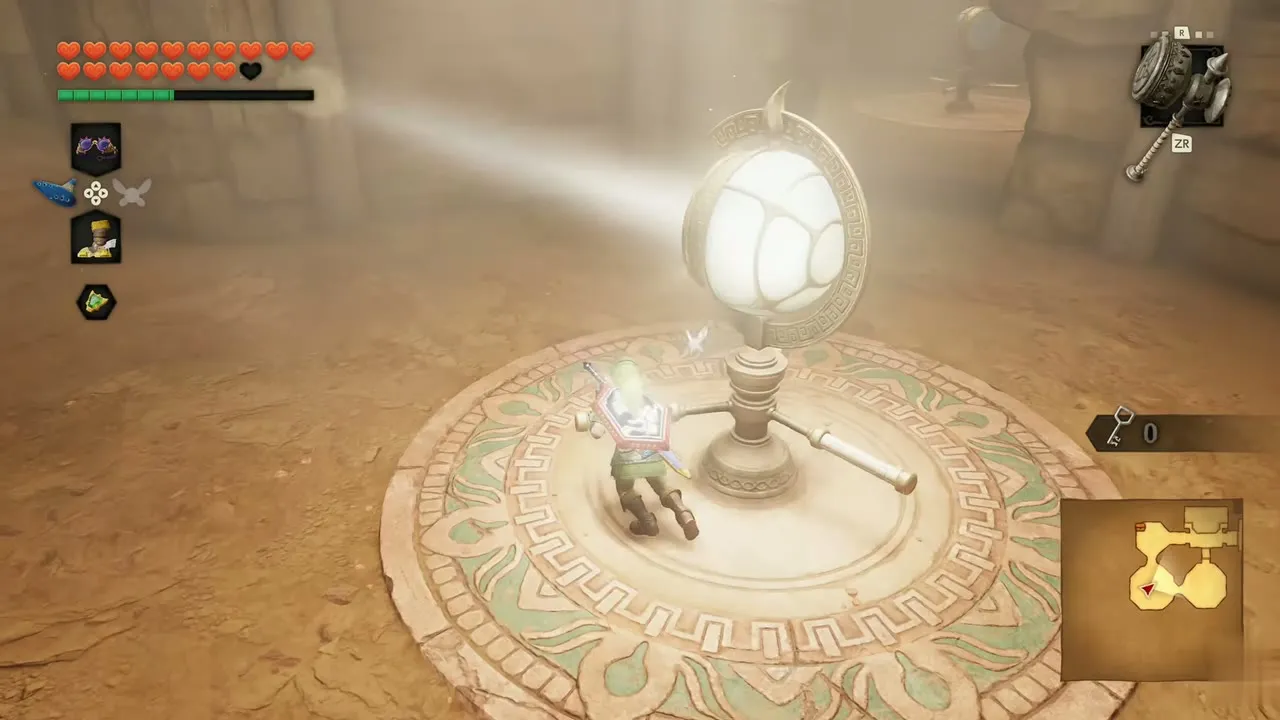
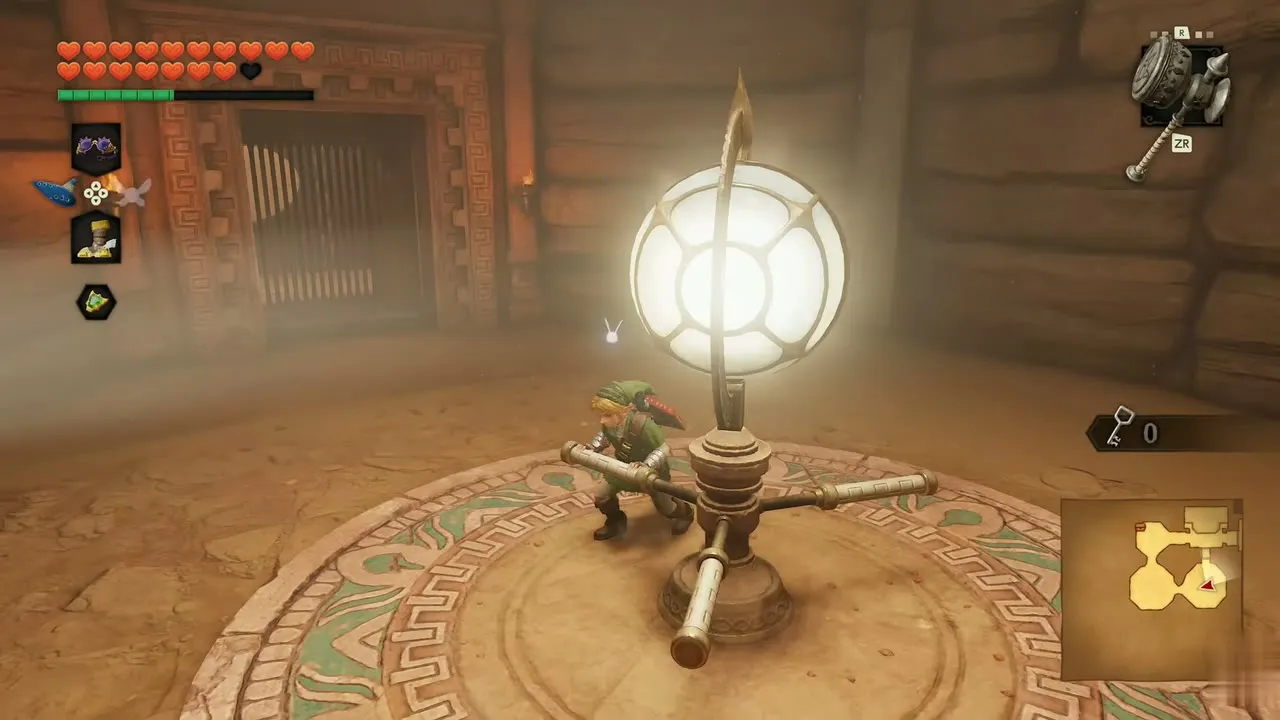
On 4F, an iron gate opens into a sandy room with a light lamp in the middle. Lizard warriors and other armed enemies fight you while you work, so clear them first. Rotate the lamp so the beam reaches the purple barrier and the way opens.
Light the chest room
In the next area, use Move Shield to bounce the beam into the sun-emblem chest room. Open the glowing chest on the pad for five more bombs, then walk to the ornate door where a fairy waits.
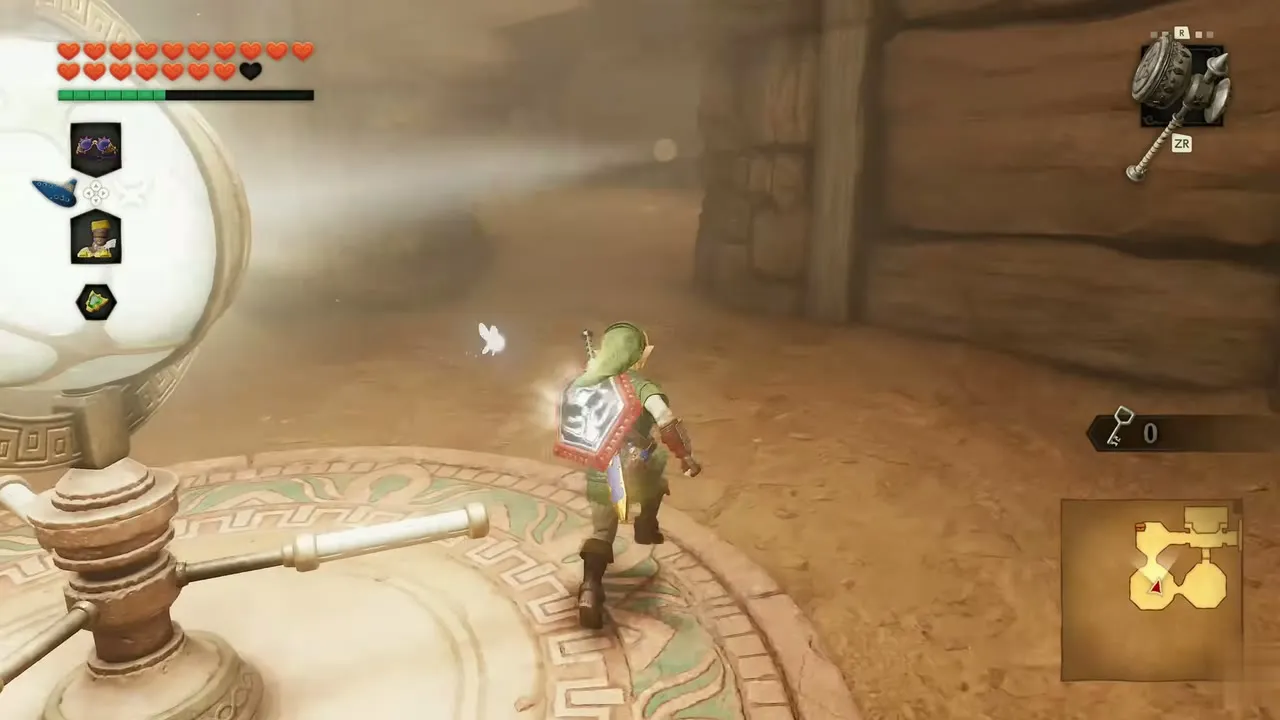
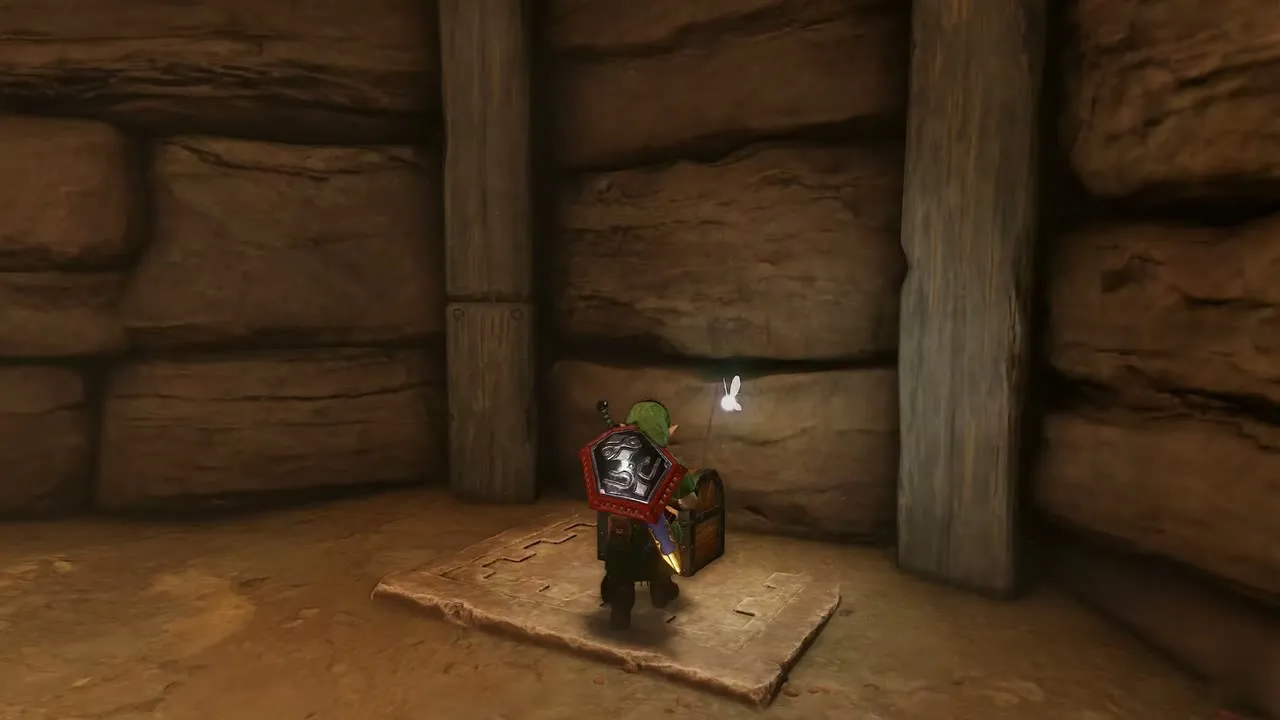
Chain platforms and statue face
In the hexagonal hall, hanging cage platforms on chains carry you toward giant face statues. Ride to the platform under the sun face and aim the Mirror Shield at it until the face glows green. Its mouth opens, and you can walk in.
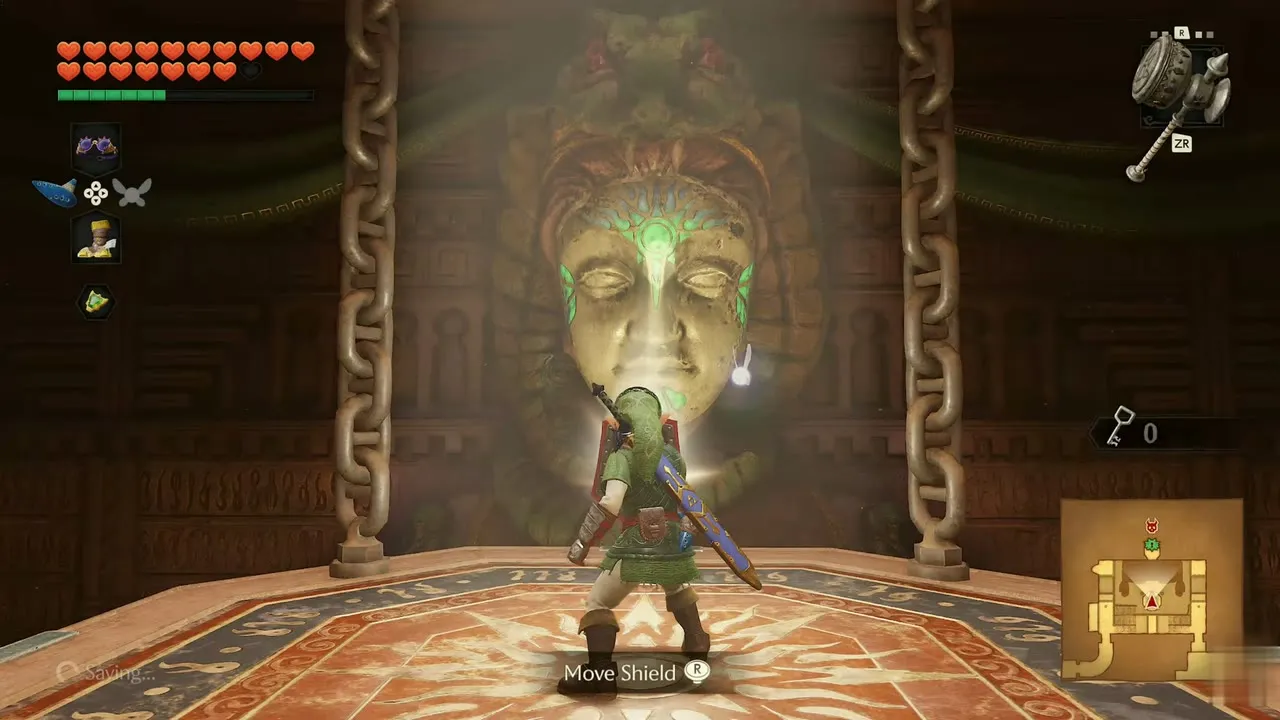
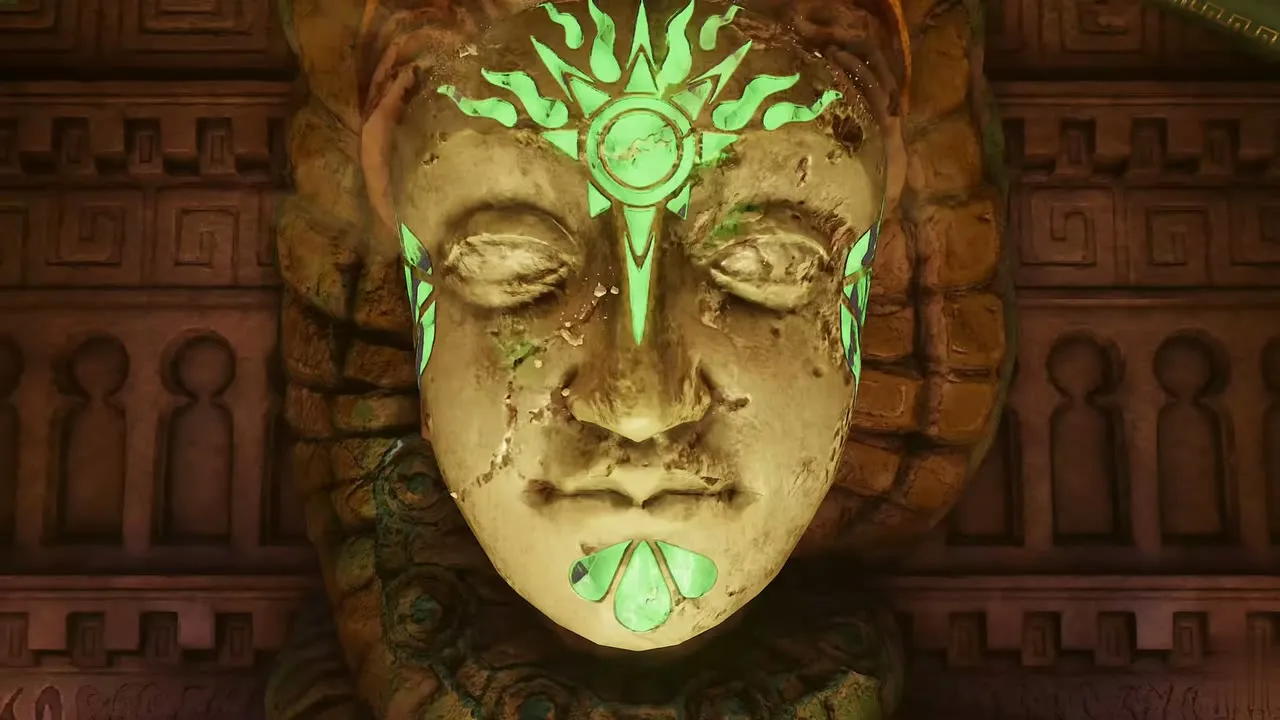
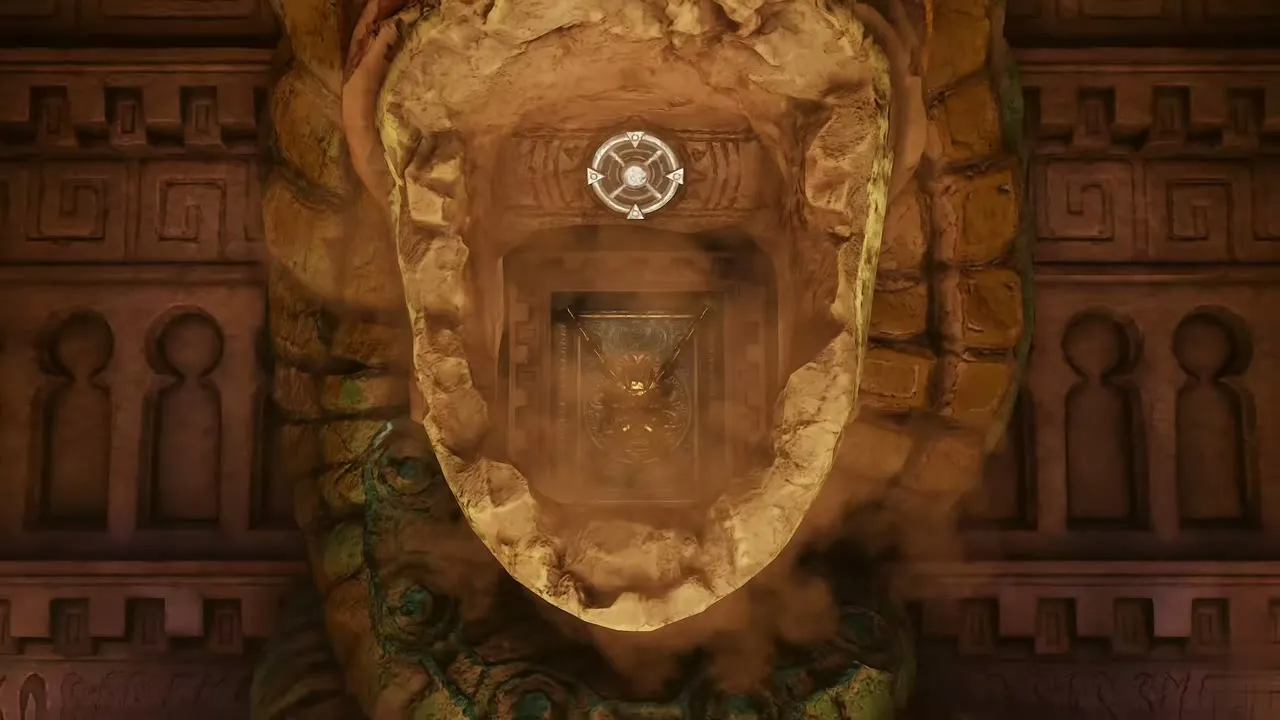
Triforce lullaby door
Beyond the portal, stand on the Triforce rug before the stone gate and play Zelda’s Lullaby. In the next hall a fire column sweeps over a golden chest while the Mirror Shield beam crosses the room.

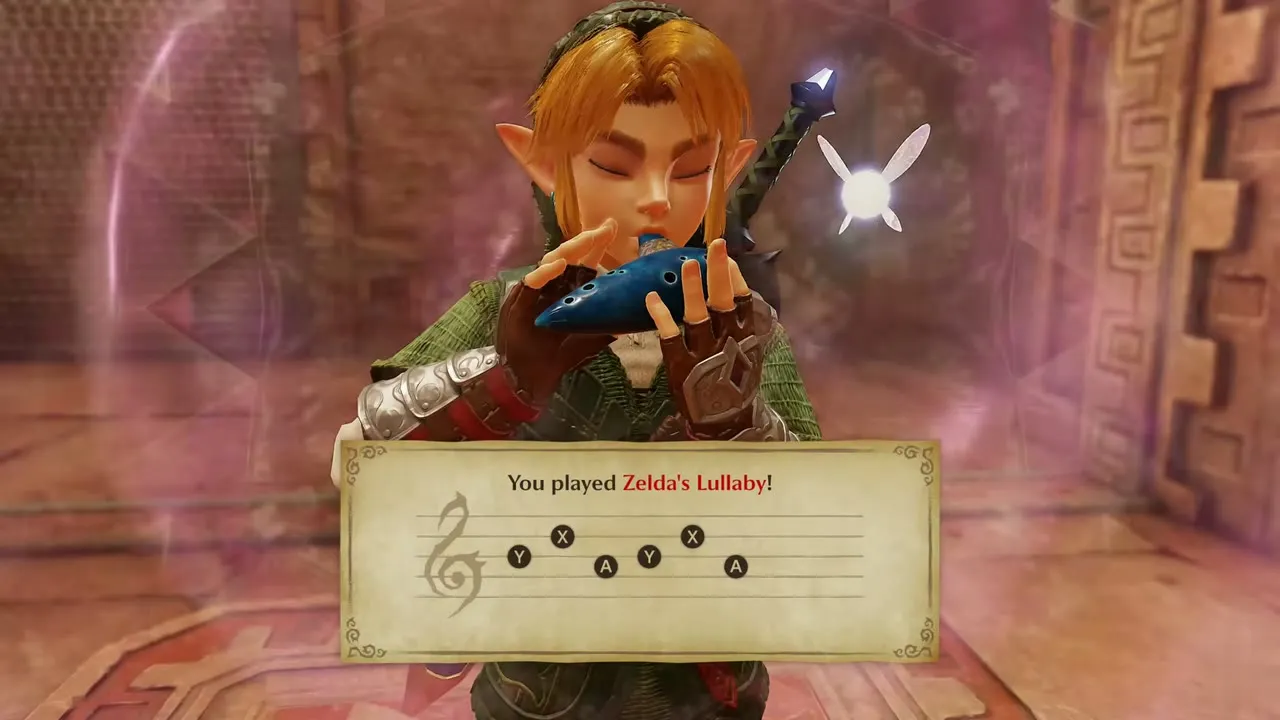
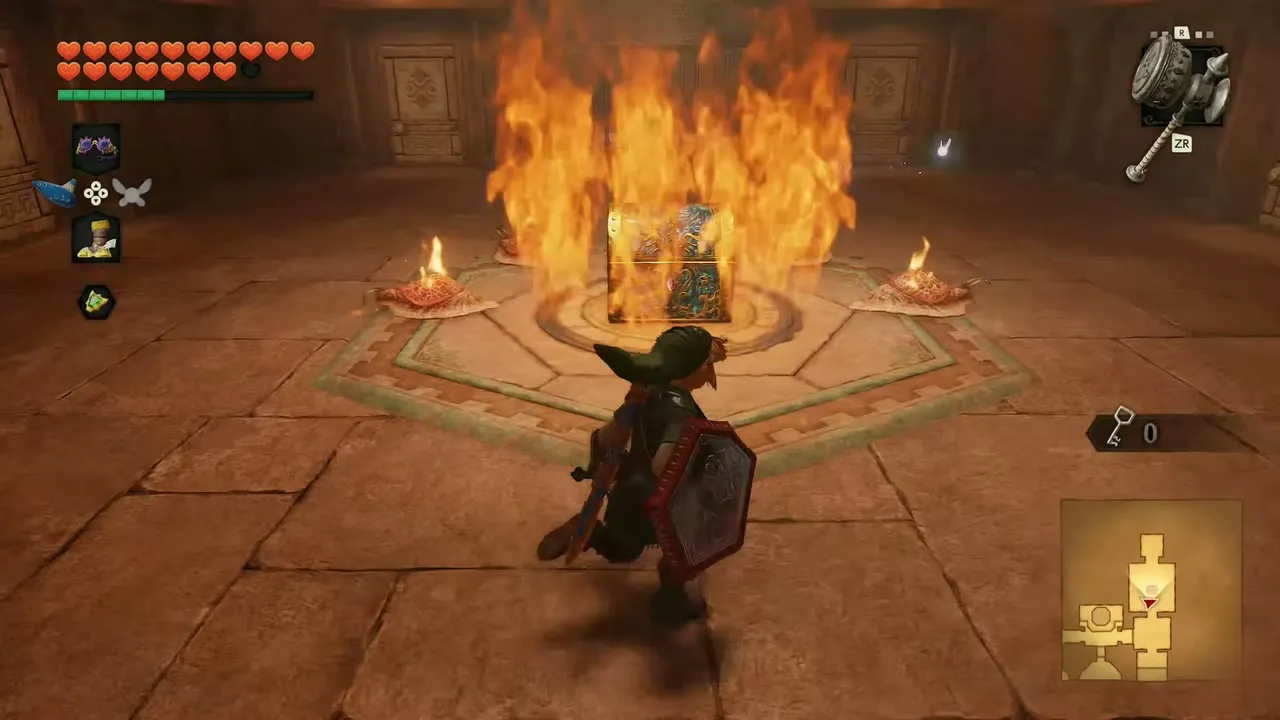

Eye switch and the arrow shot
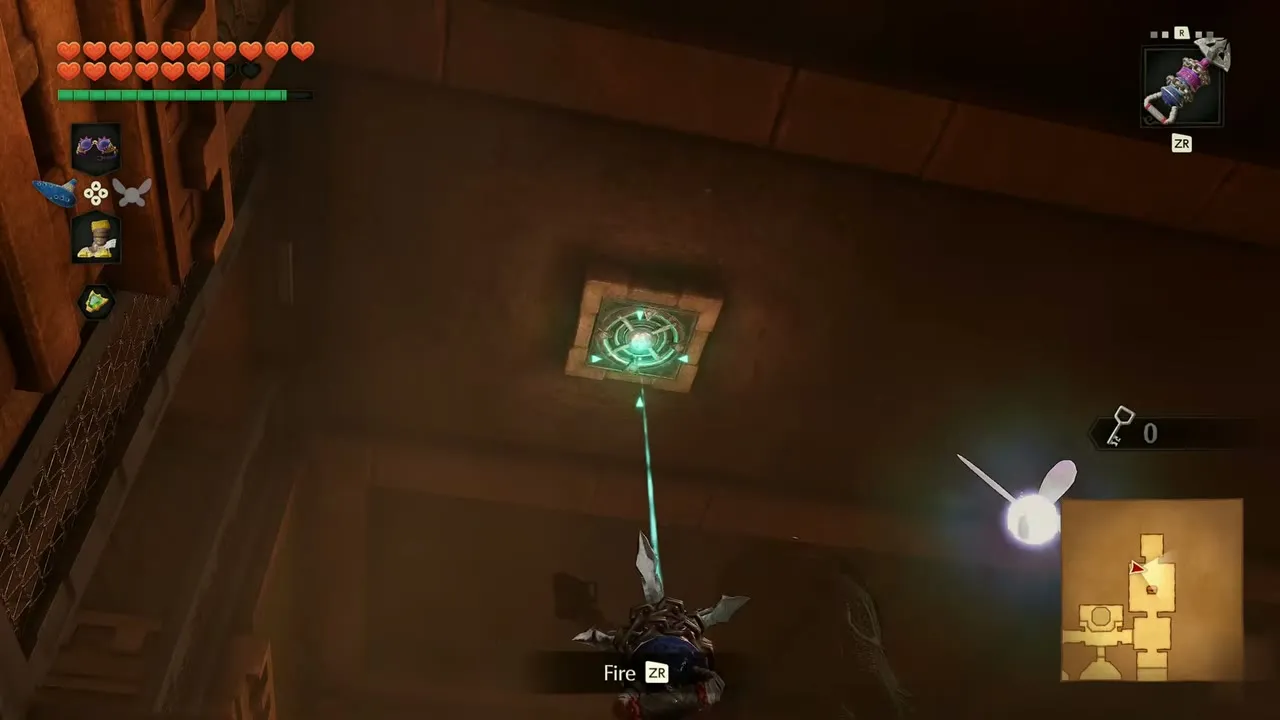
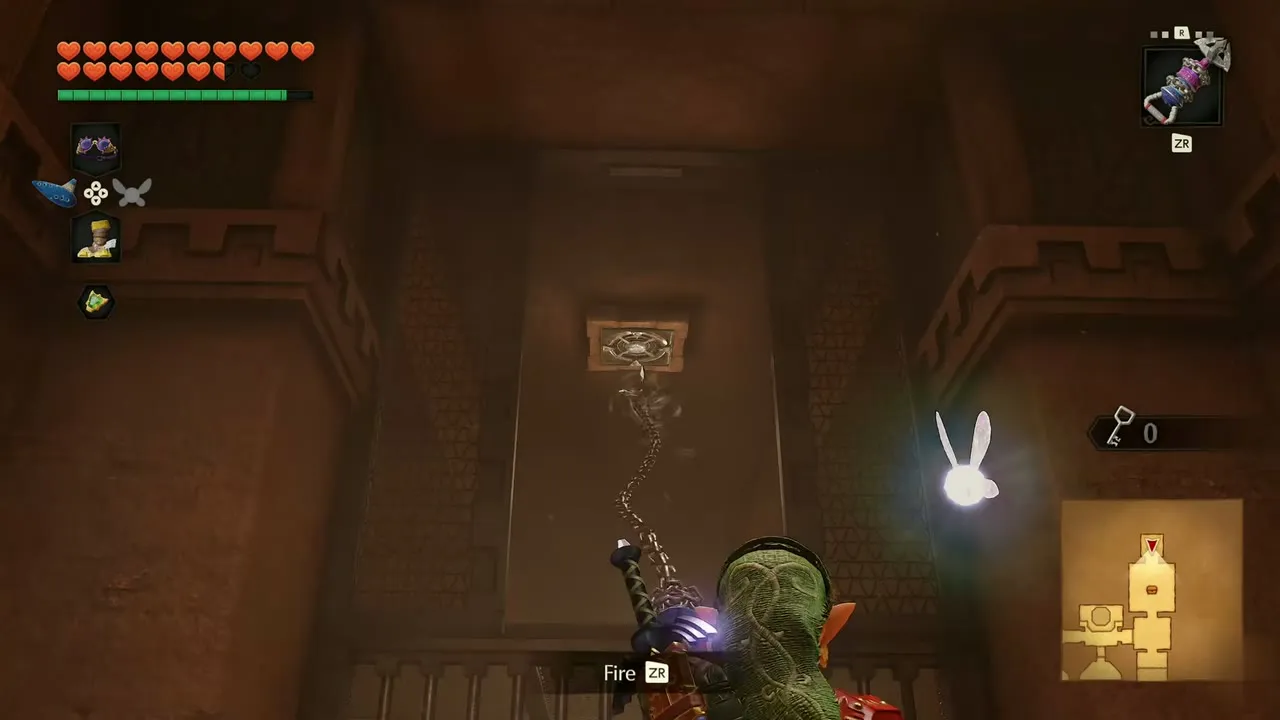
In the purple barrier room, fight the green and red enemies. Then shoot the eye switch above the door with an arrow from the Fairy Bow.
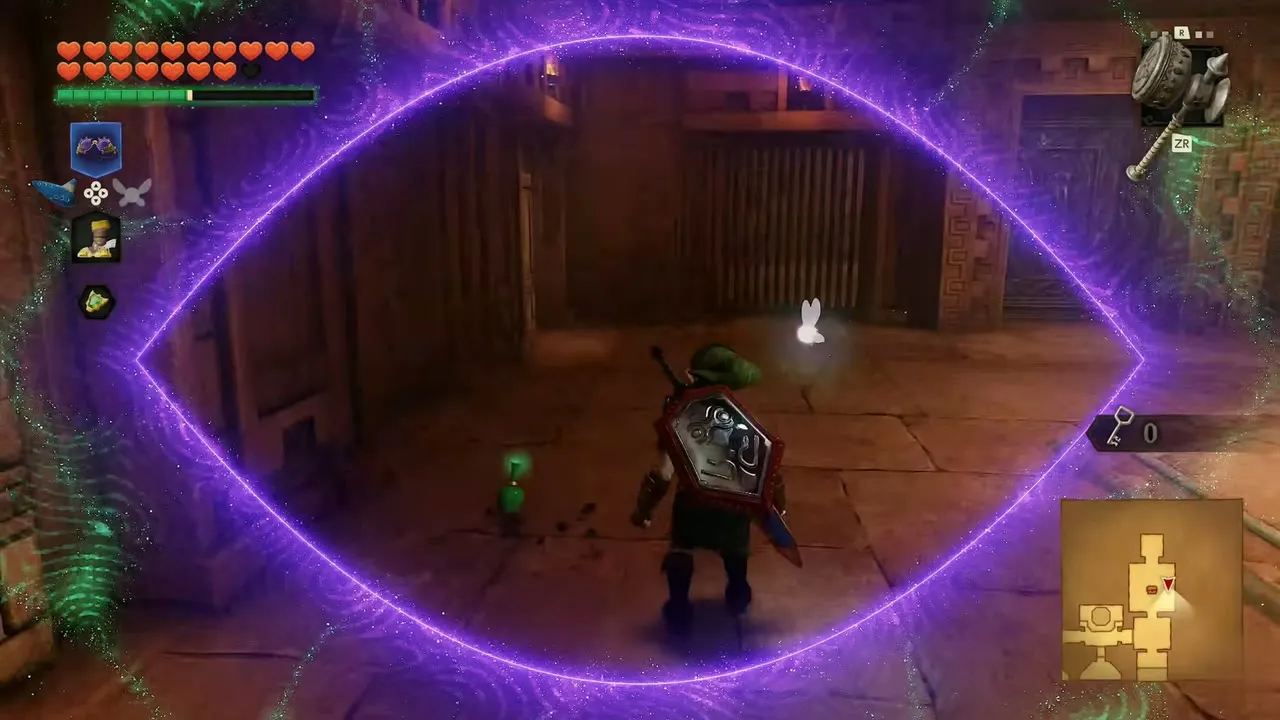
Boss Key
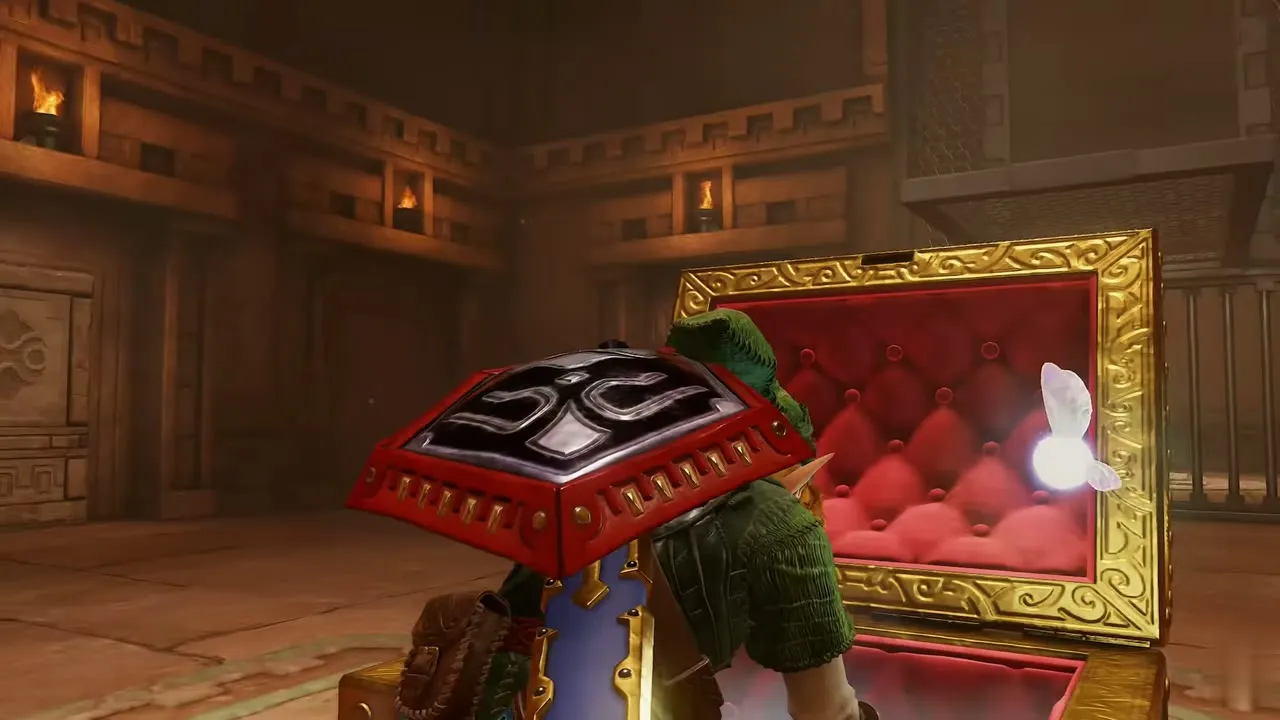
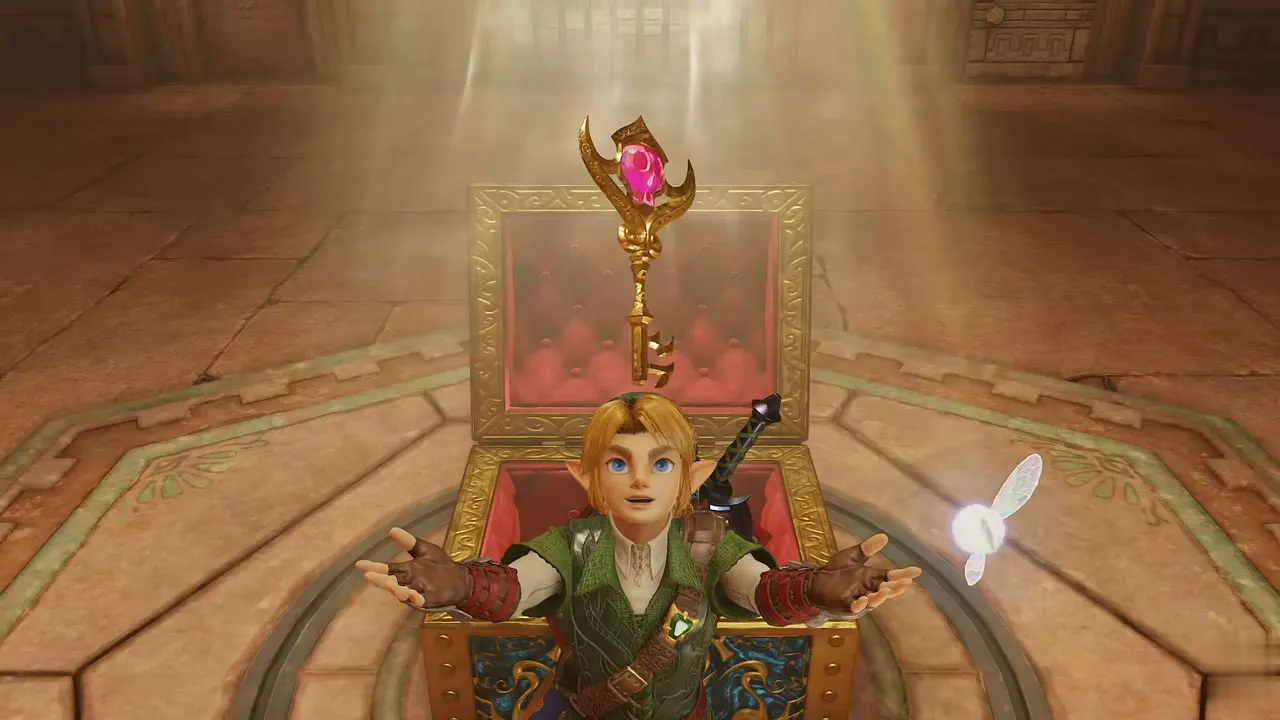
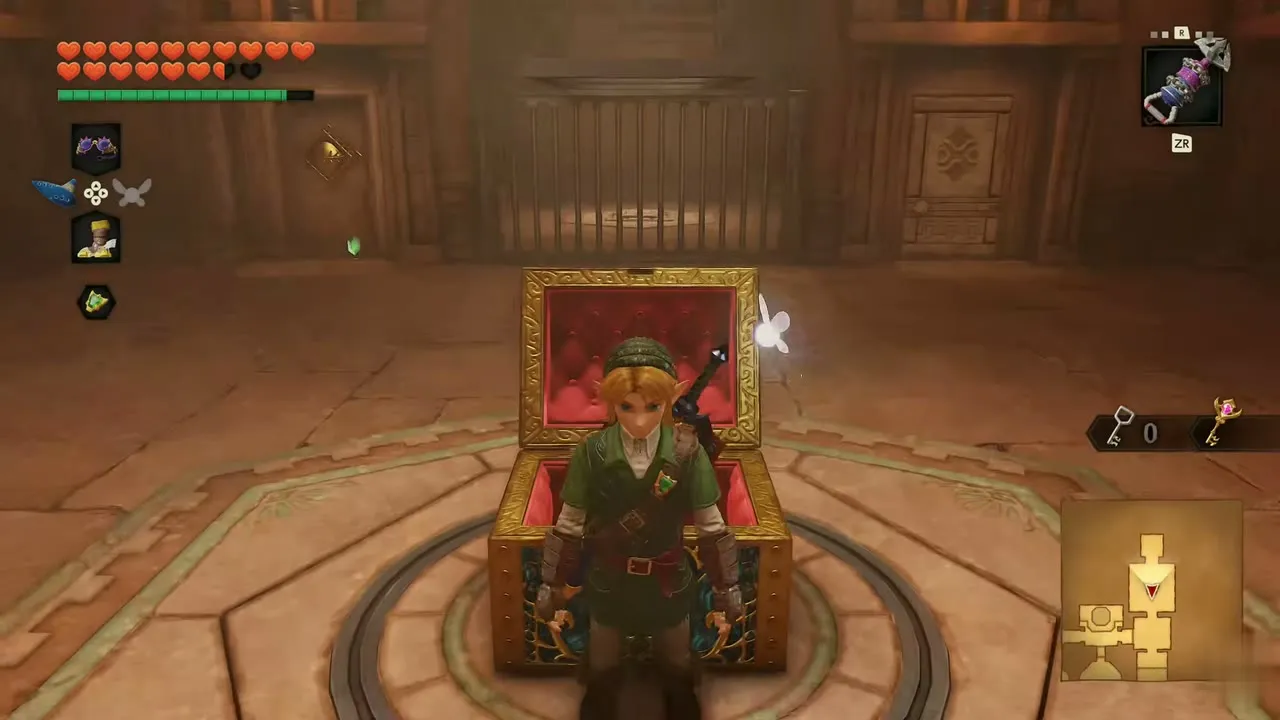
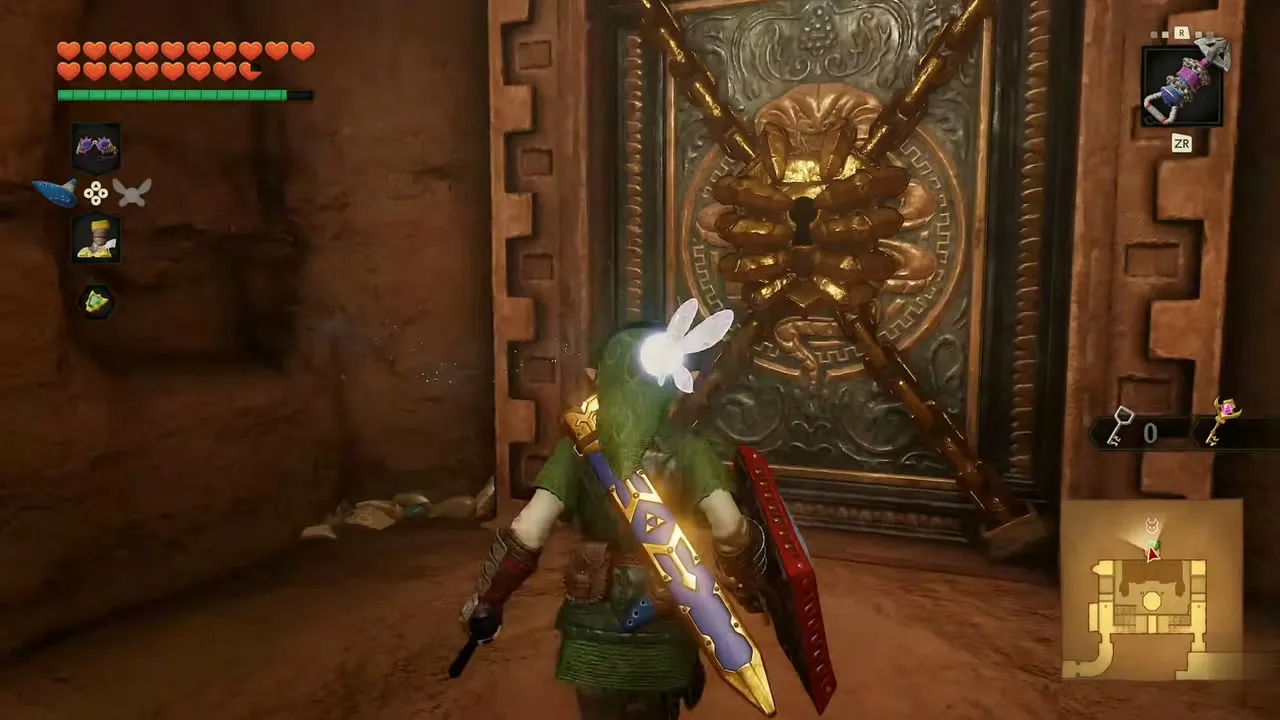
Cross to the hall with the ornate chest. Open the one with the red cushion, and Link raises the Boss Key. The Boss Key icon now shows beside the key counter. Take the chain hall and the golden ornate door with the keyhole.
Iron Knuckle Nabooru
Twinrova’s trap
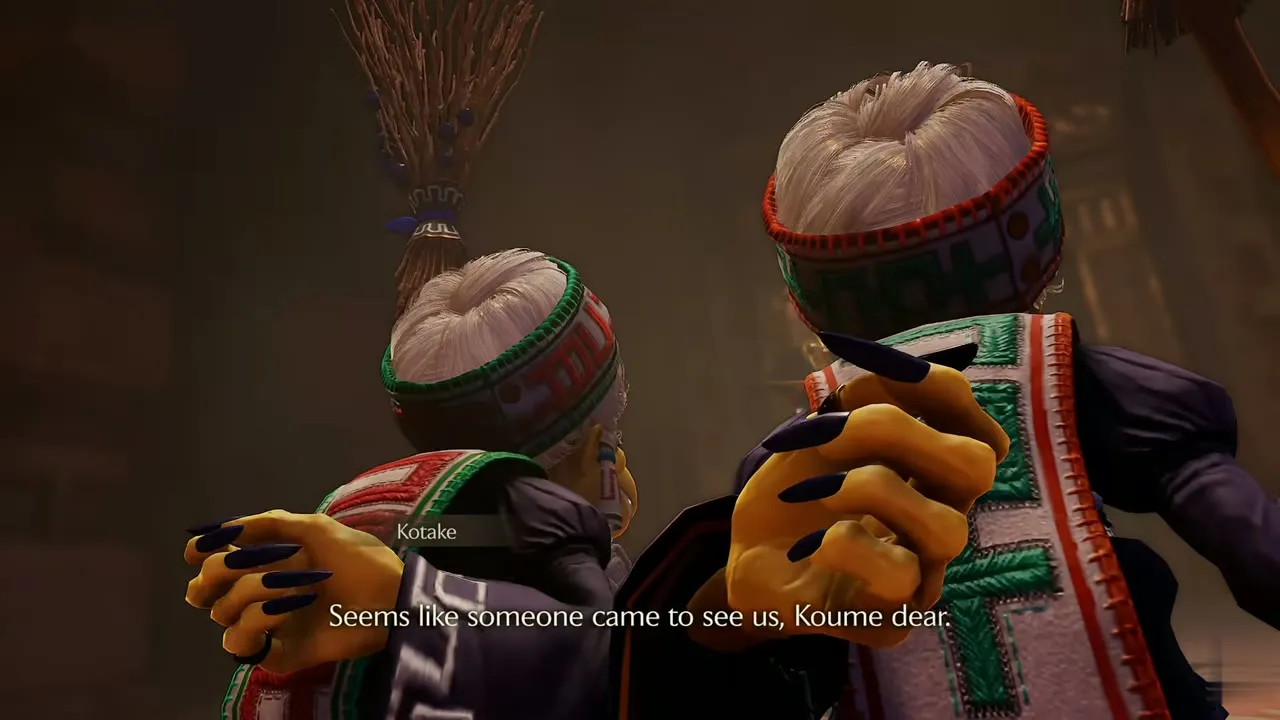
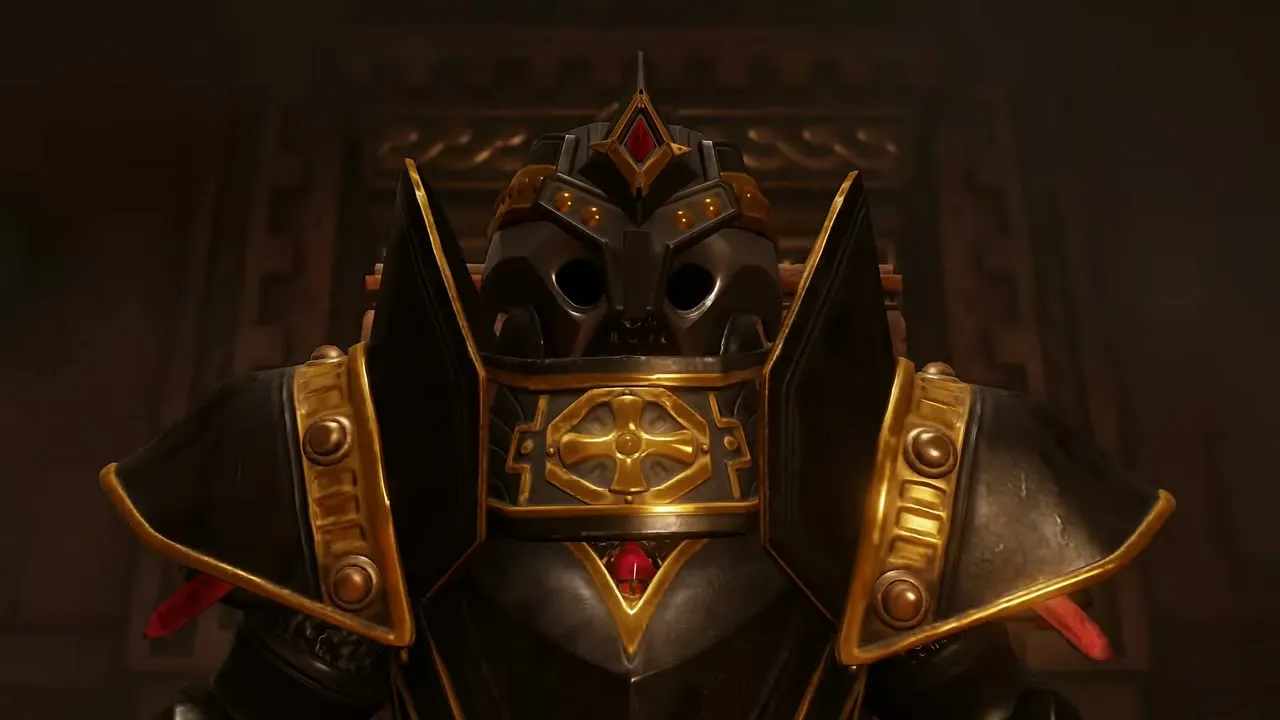
Use the Boss Key on the golden door. Kotake and Koume are waiting inside and say that someone came to see them. They order their loyal servant to rise, and a knight in black and gold armor with a huge long-handled axe stands up to attack you.
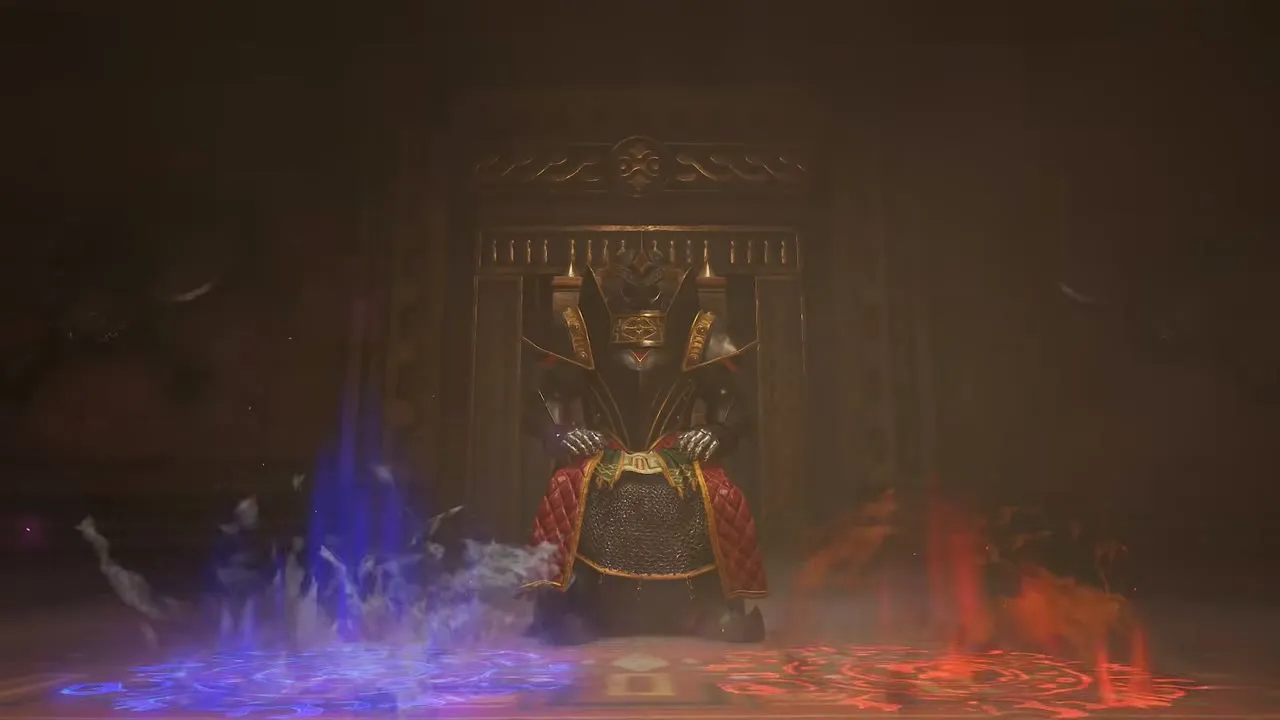
Fight Iron Knuckle Nabooru
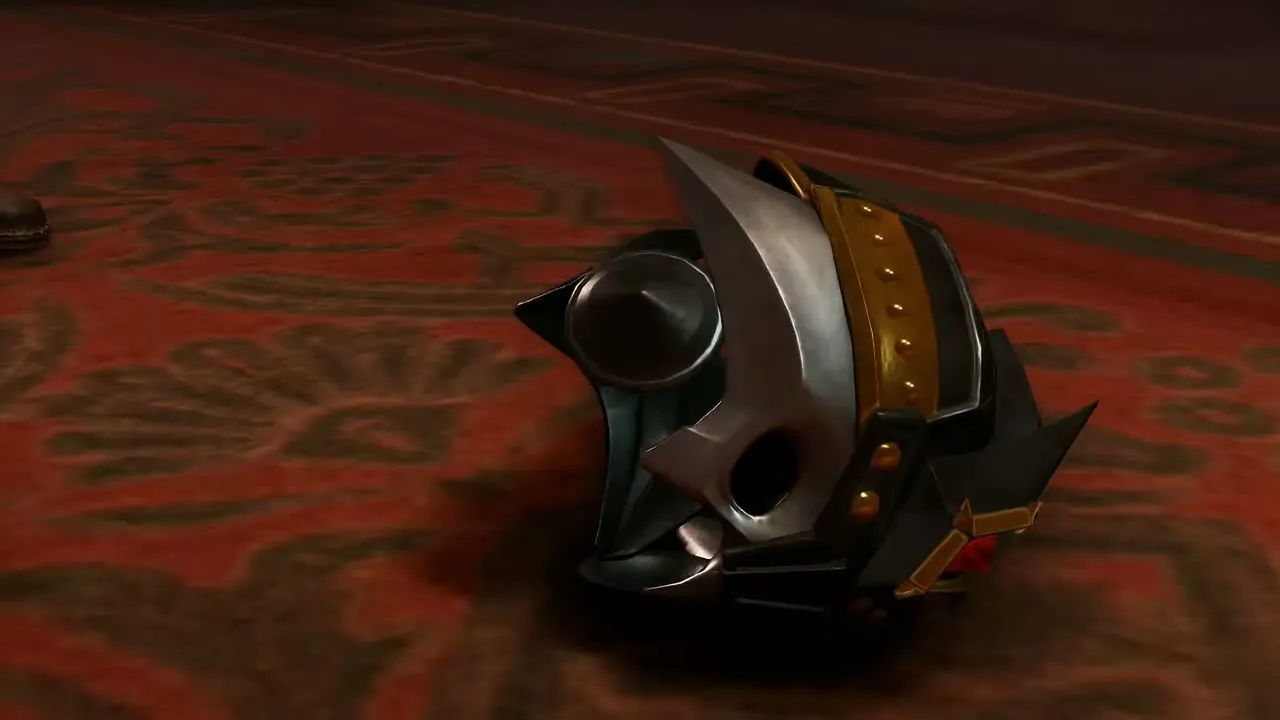
Equip the Biggoron Sword from the Equipment screen. It hits hard, but you cannot use a shield while holding it. Dodge the long axe strikes and attack when the knight recovers. After a long fight the helmet falls off and the knight is Nabooru, freed from the spell.
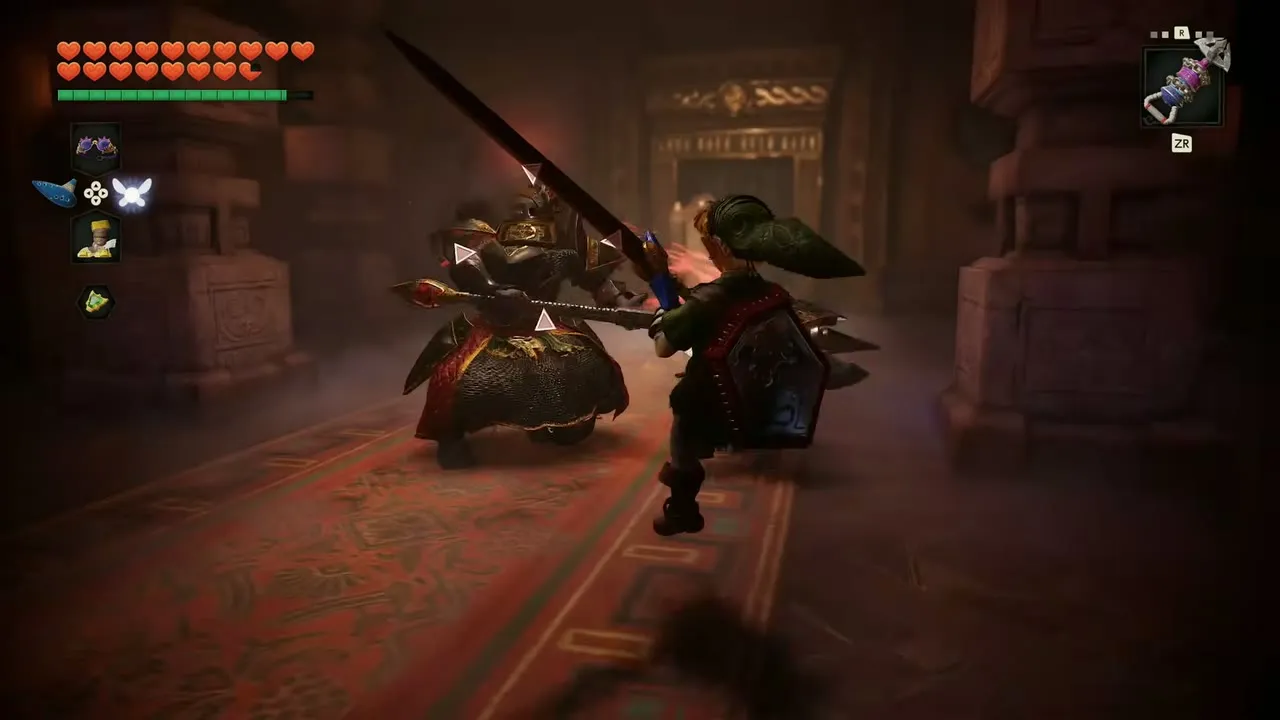
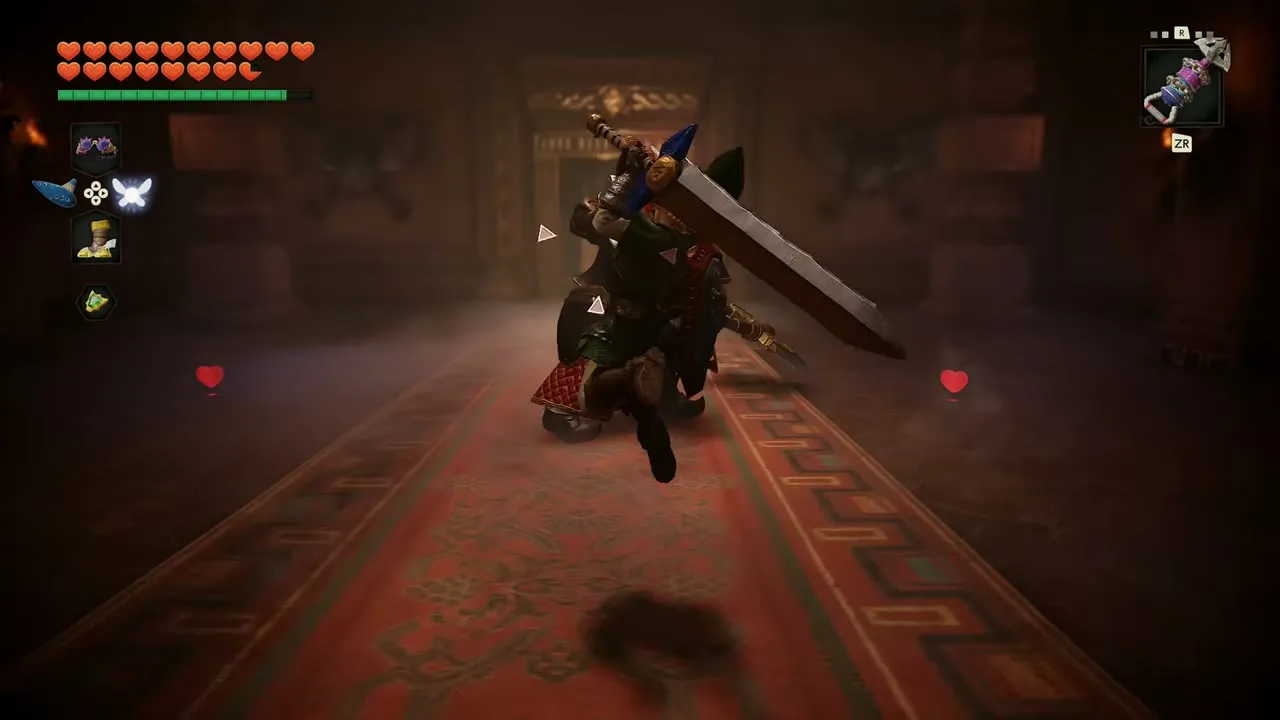
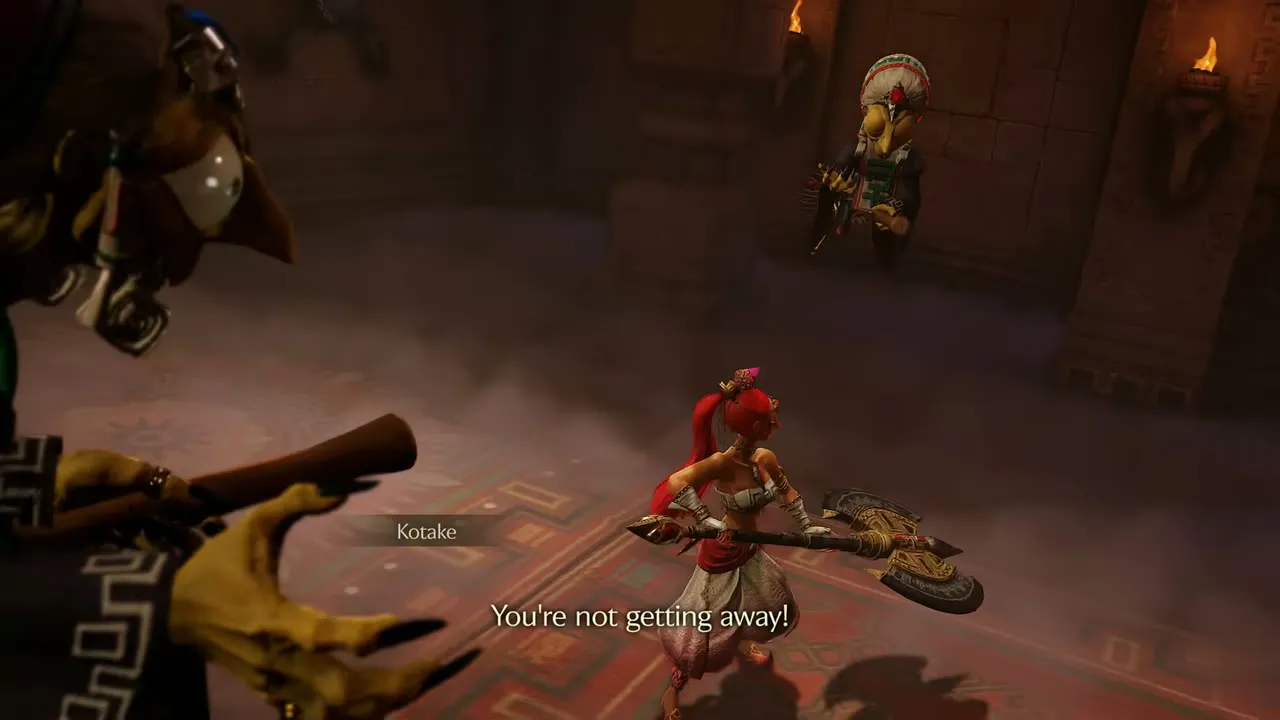
Twinrova boss fight
The red room
The sisters catch Nabooru again and shackle her. Kotake says she goes free if you get through the door. Walk down the red carpet, past torches, and open the door. The room beyond is the boss arena.
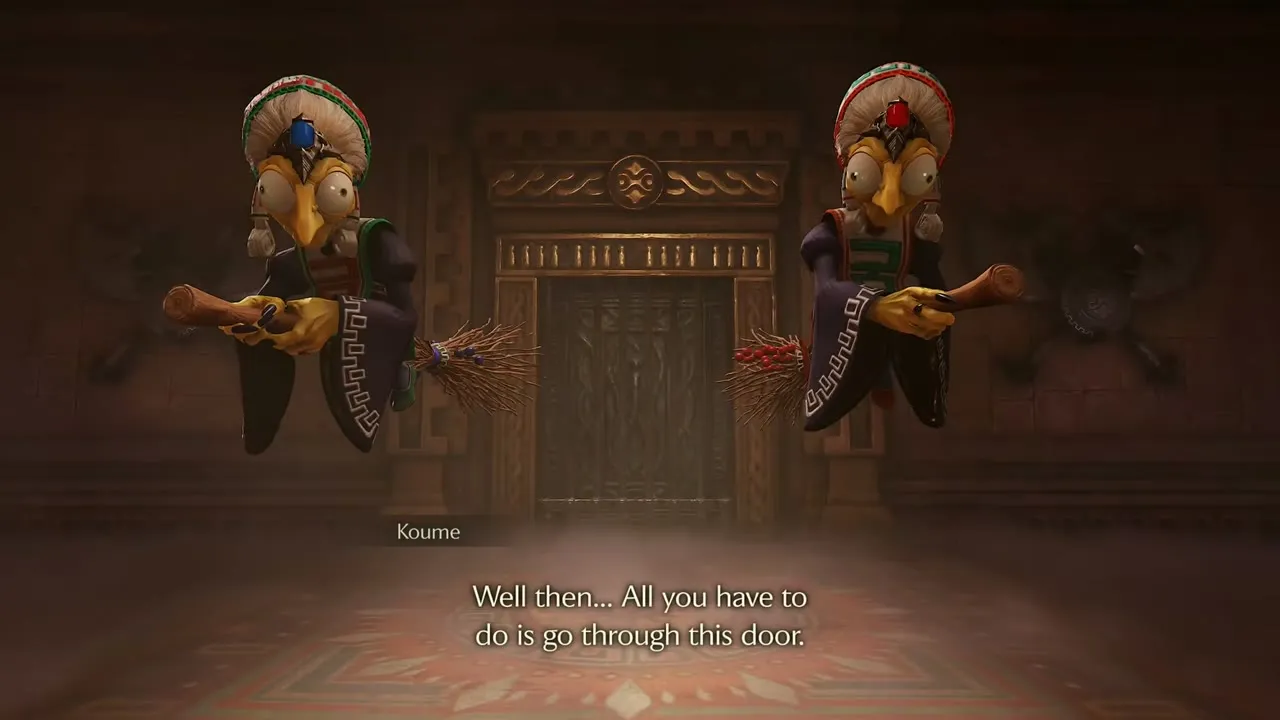
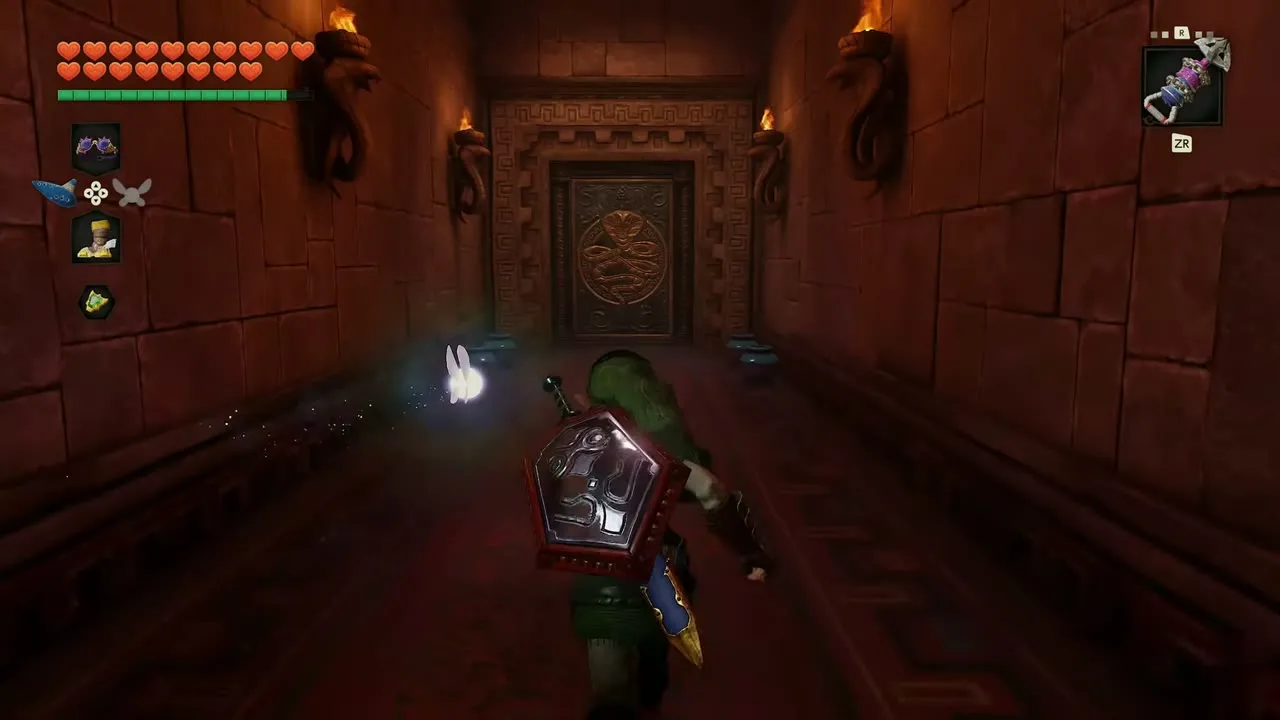
Twinrova boss fight: Koume and Kotake
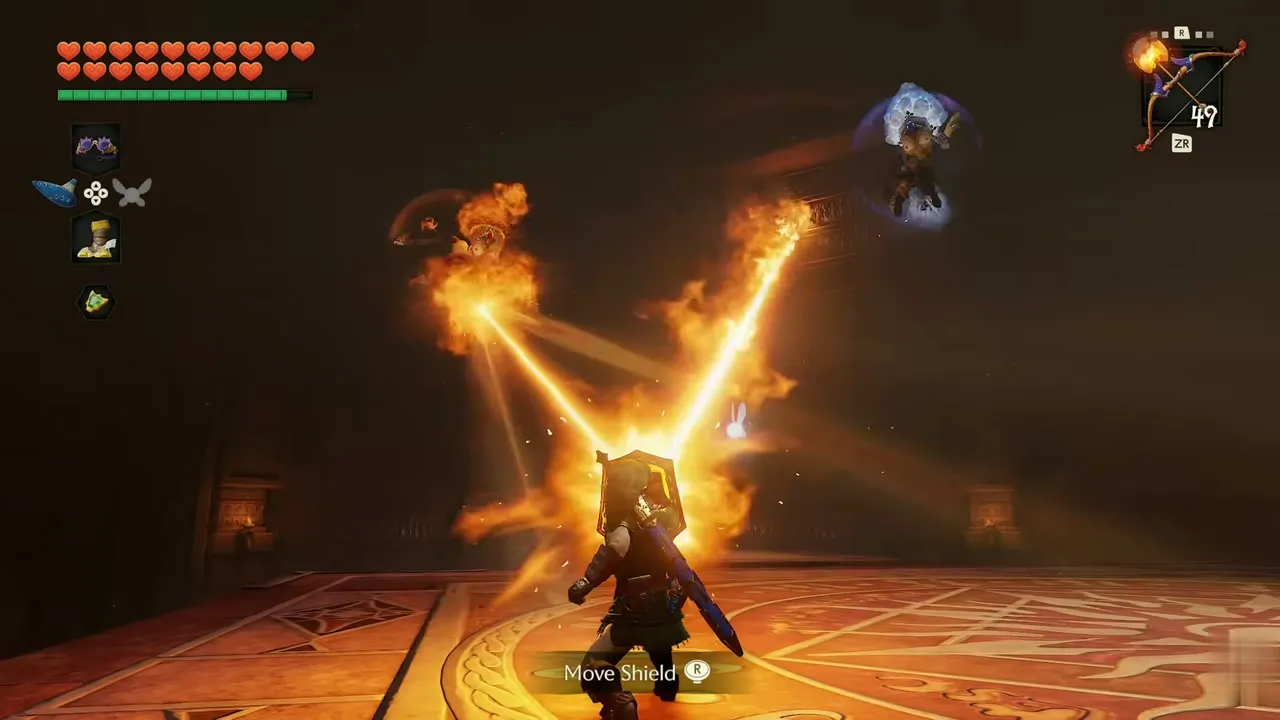
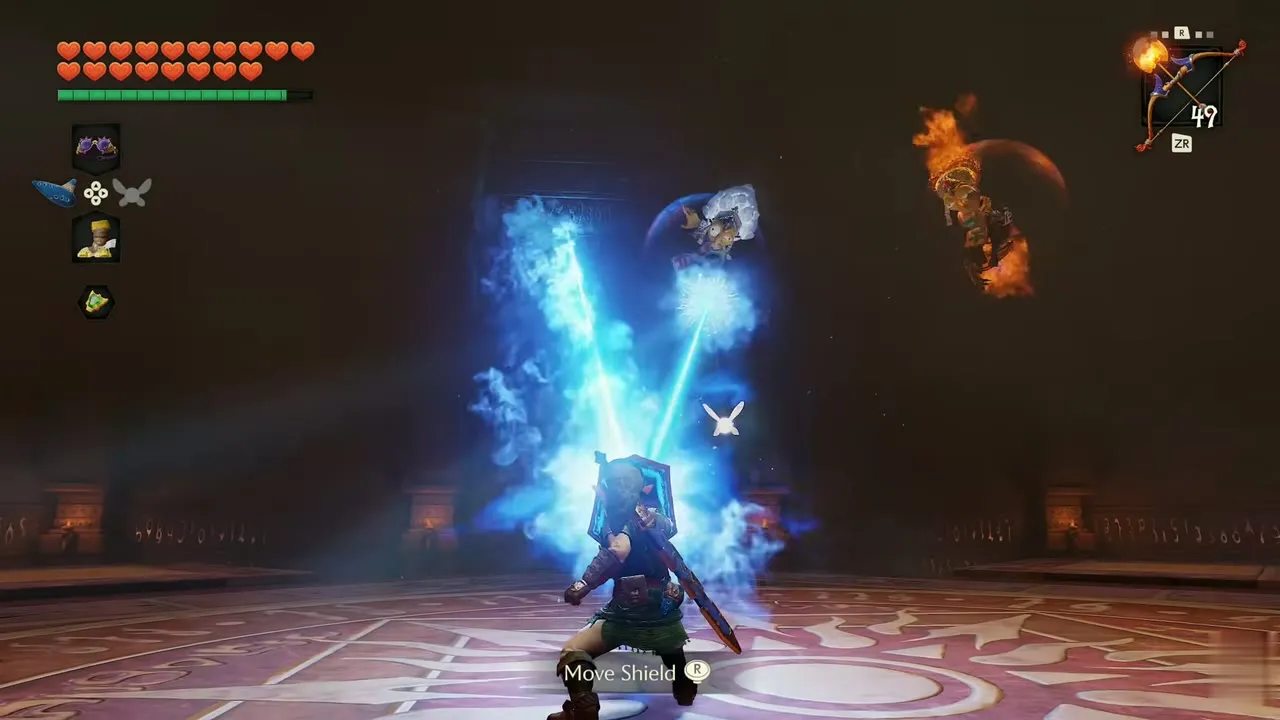
Koume throws fire and Kotake ice. Hold the Mirror Shield up and angle it with Move Shield so their blasts bounce back at them. Keep circling the arena between attacks.
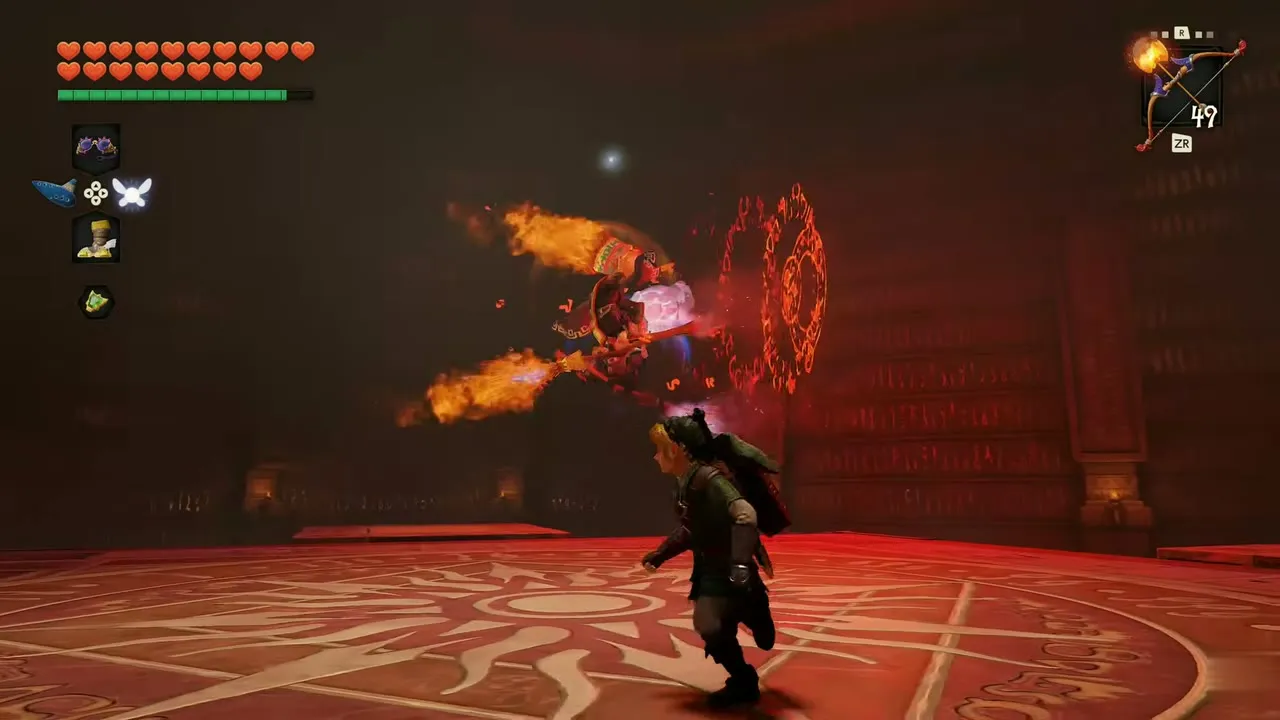
Twinrova boss fight: fused Twinrova
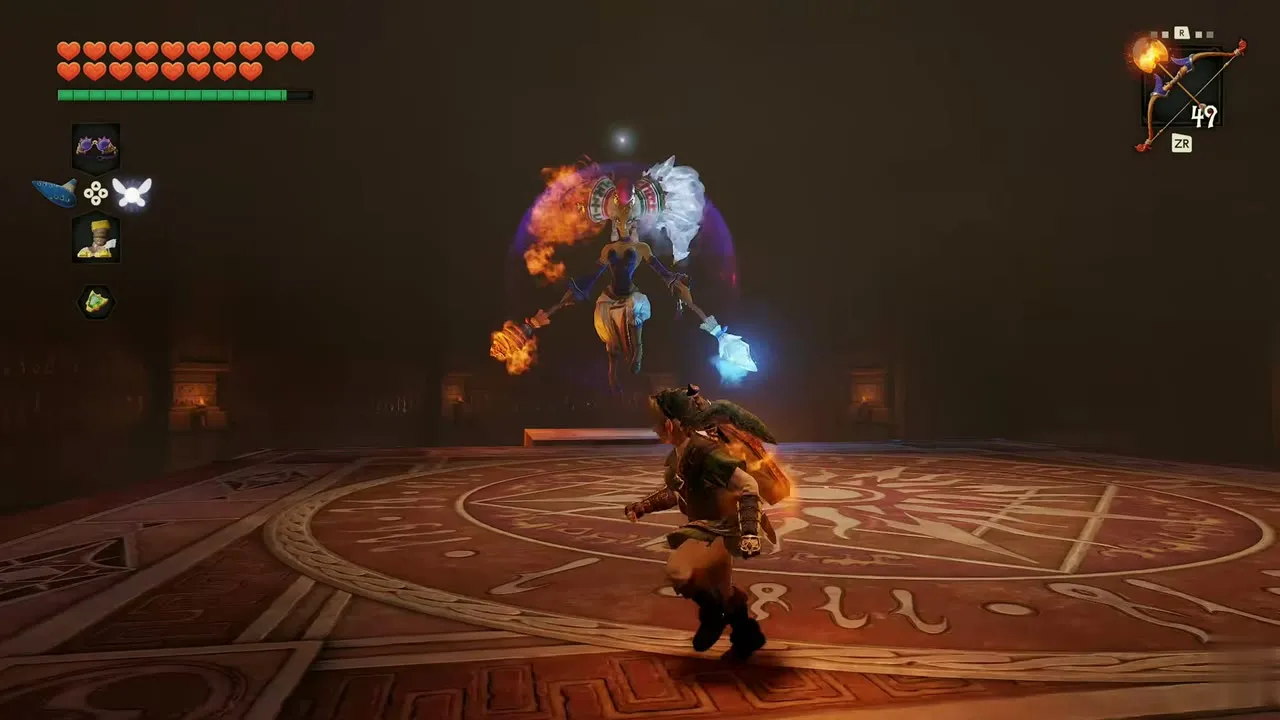
After some damage they fuse into Twinrova, who attacks with stronger fire and ice. Reflect her blasts with the Mirror Shield. When she falls to the floor, run in and slash her with your sword.

Twinrova boss fight: the finish
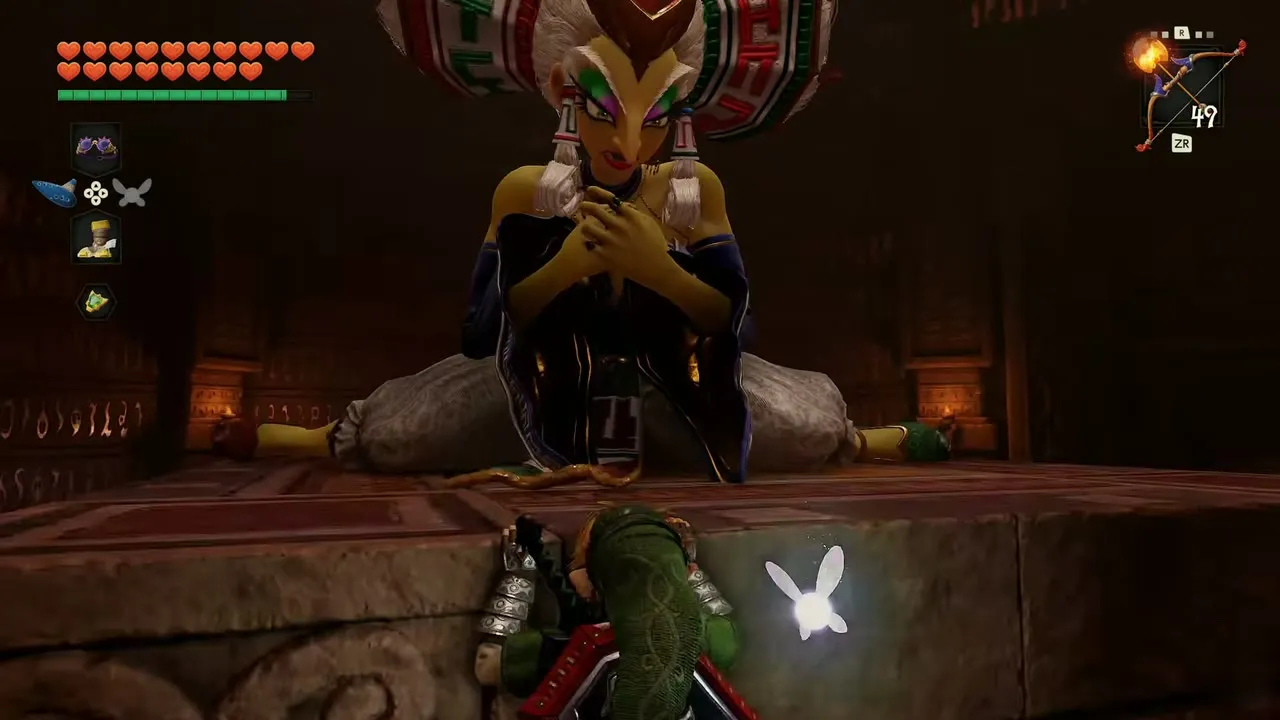
Keep repeating the reflect and slash cycle. In the end she splits into Kotake and Koume again, halos appear above them and they argue about their ages. They vanish with a promise to come back and haunt you.

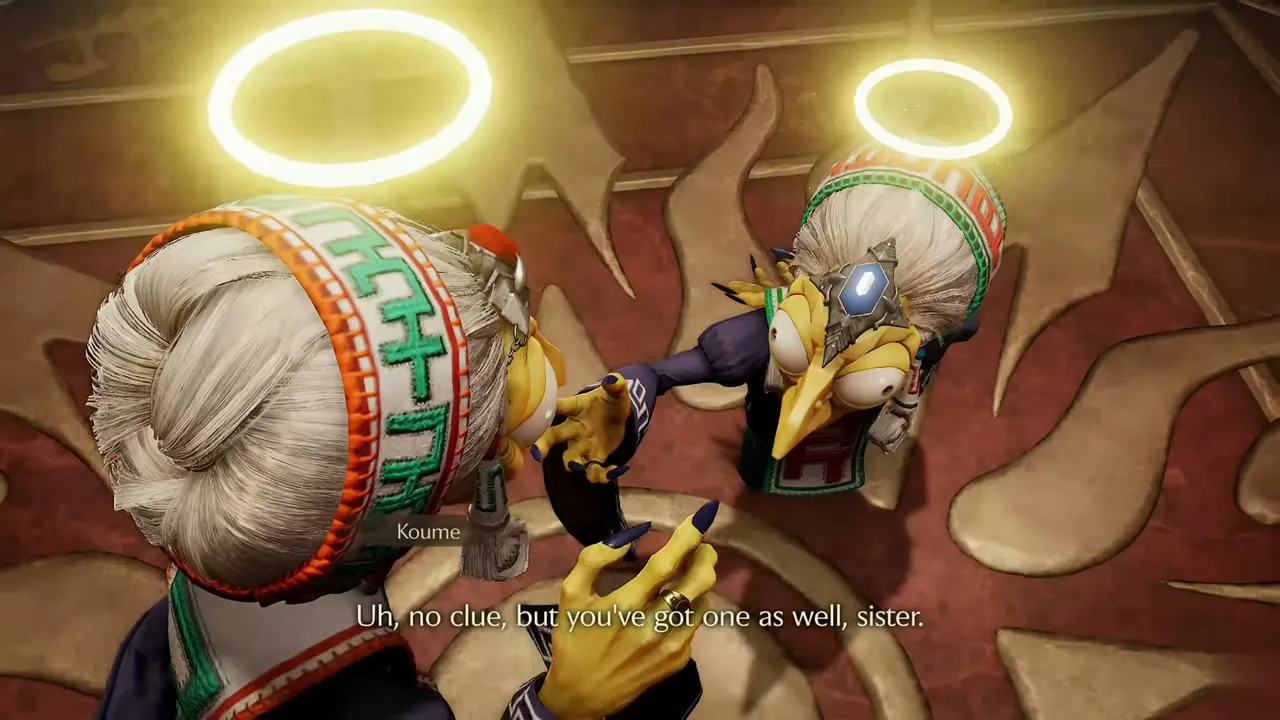
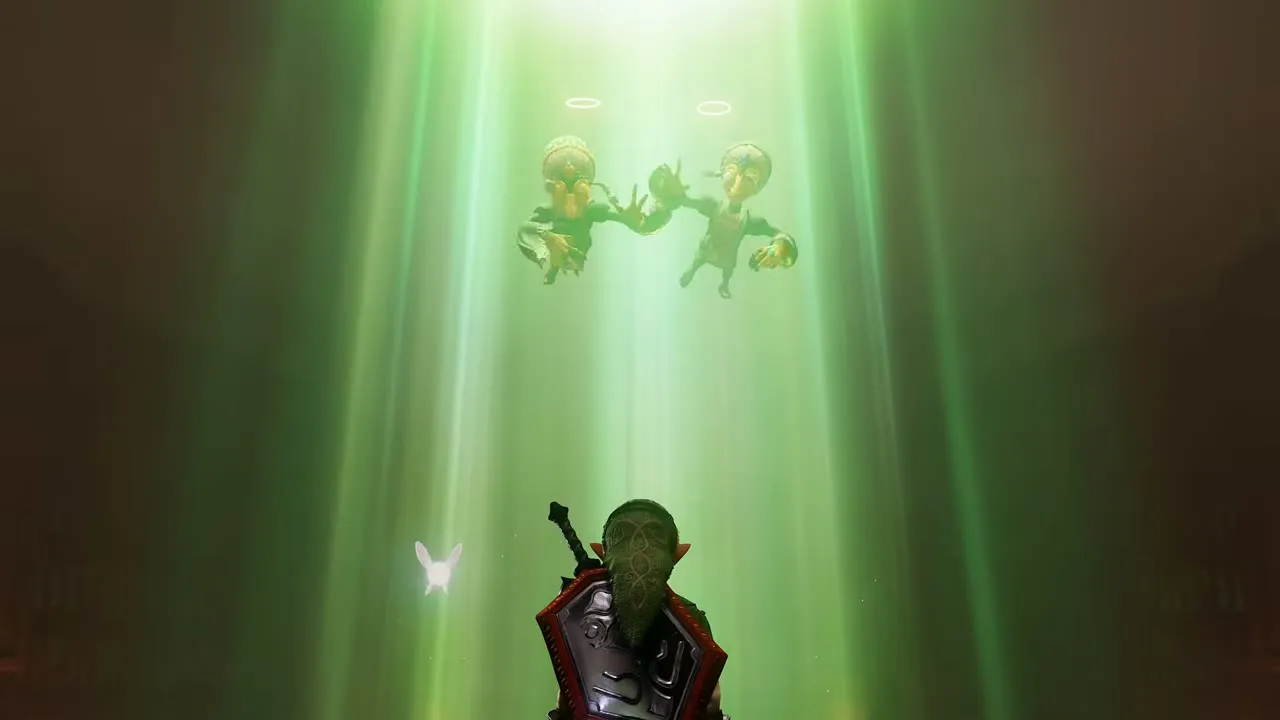
Heart Container and Spirit Medallion
Heart Container
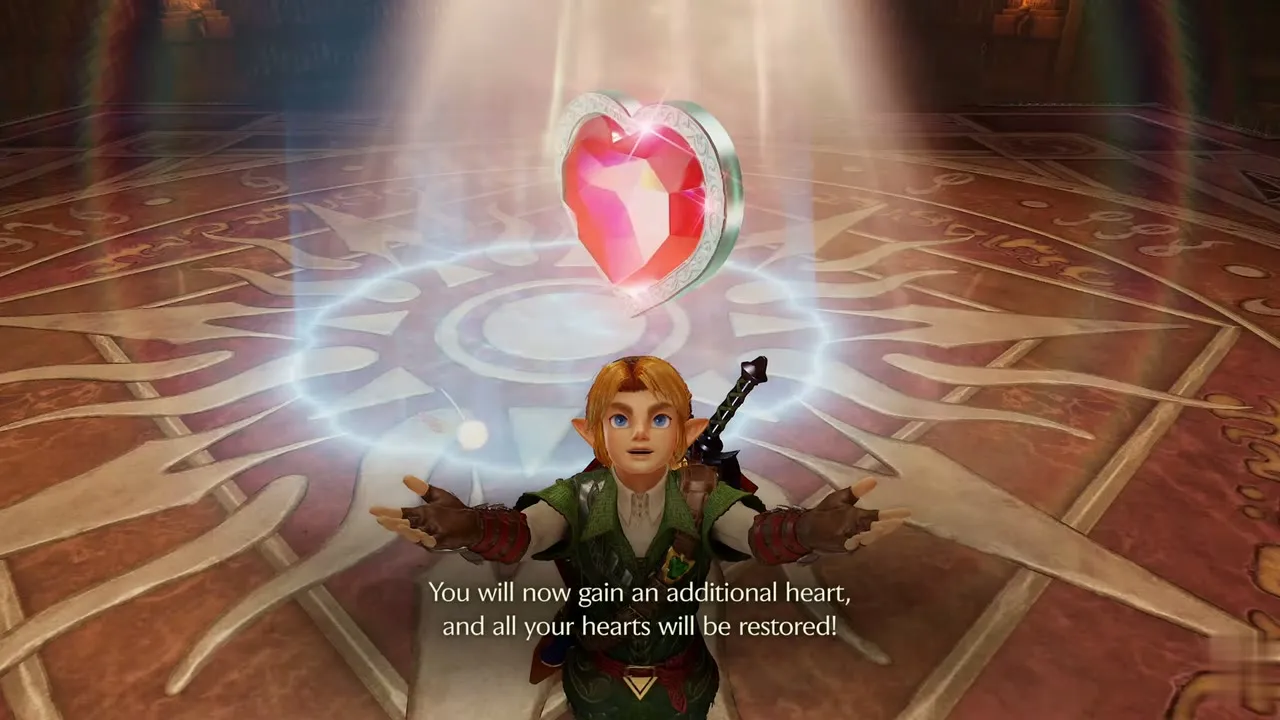
A Heart Container sits on the floor where Twinrova fell. Pick it up to add a heart and refill your health.
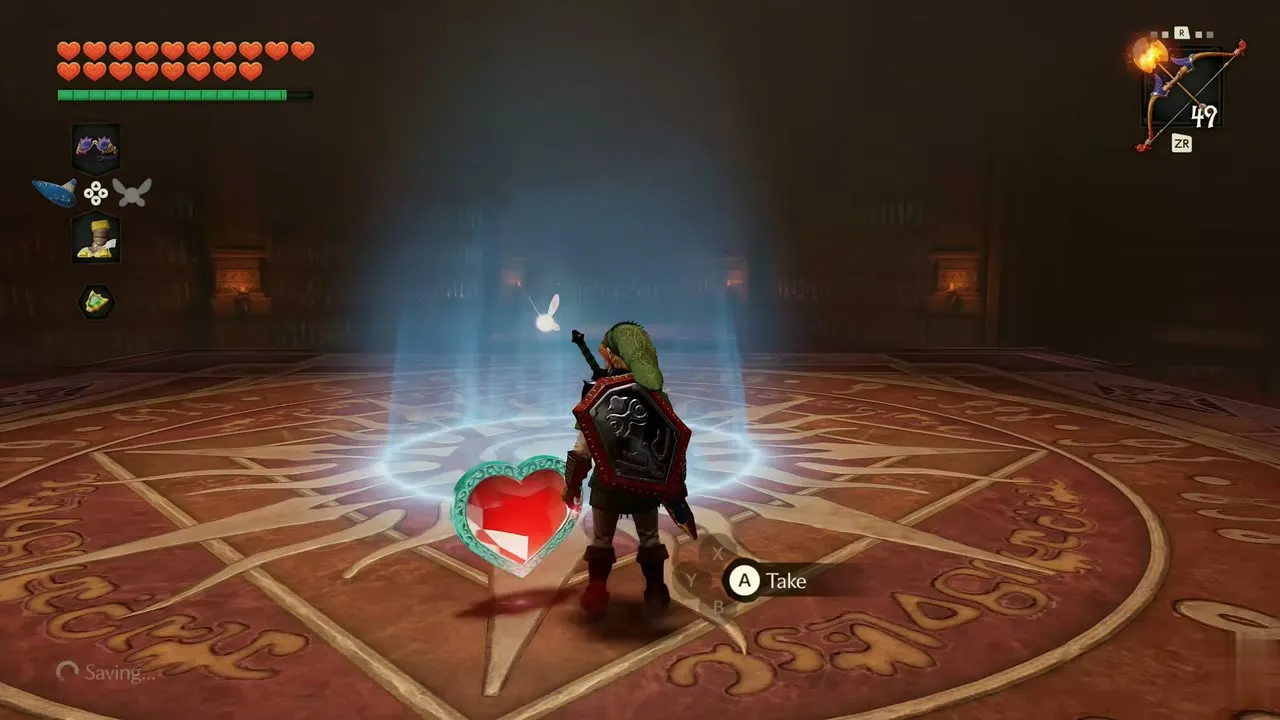
Leave the temple
Step into the blue warp. Navi asks whether you are ready to go back outside; choose Yes. You arrive in a blue crystal chamber where Nabooru appears and thanks you.
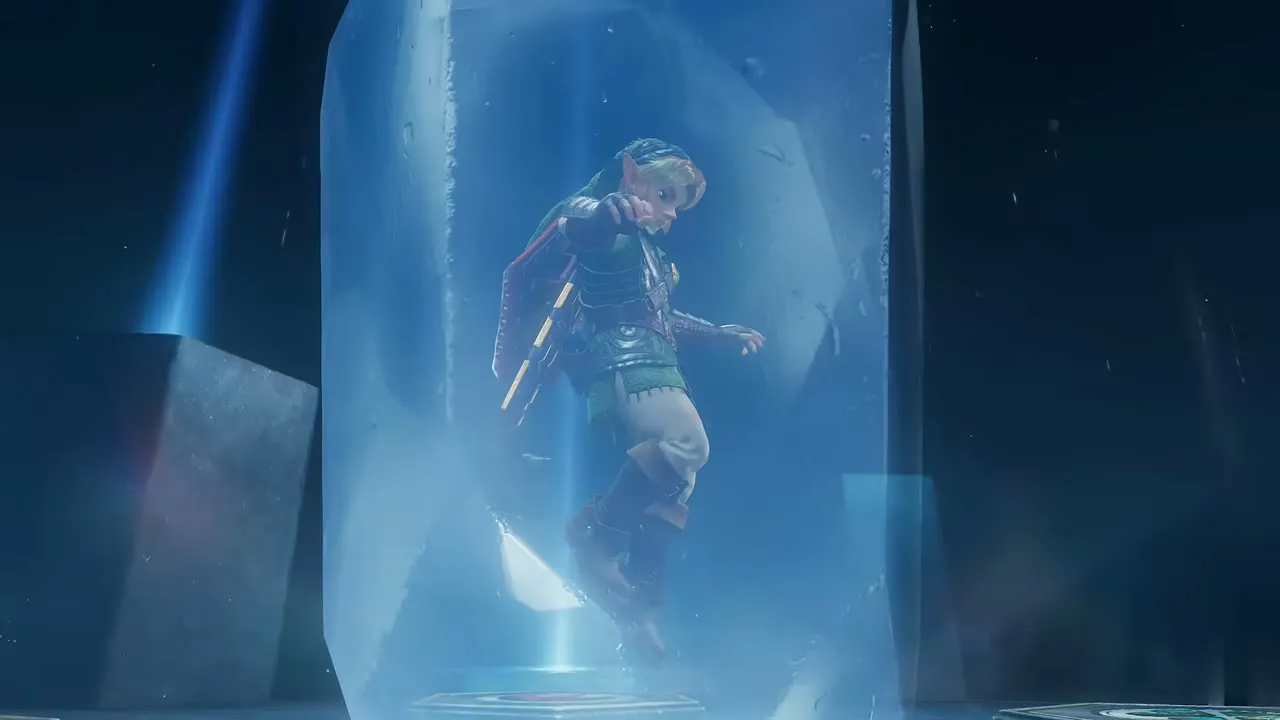
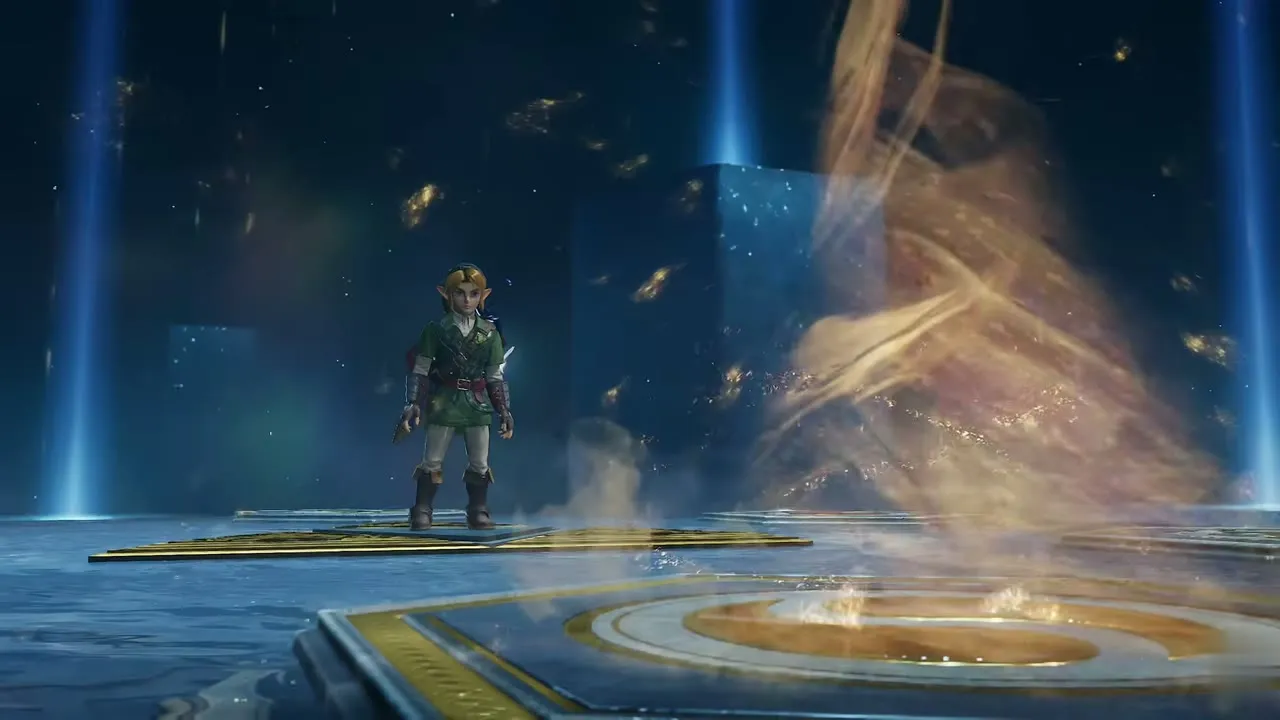
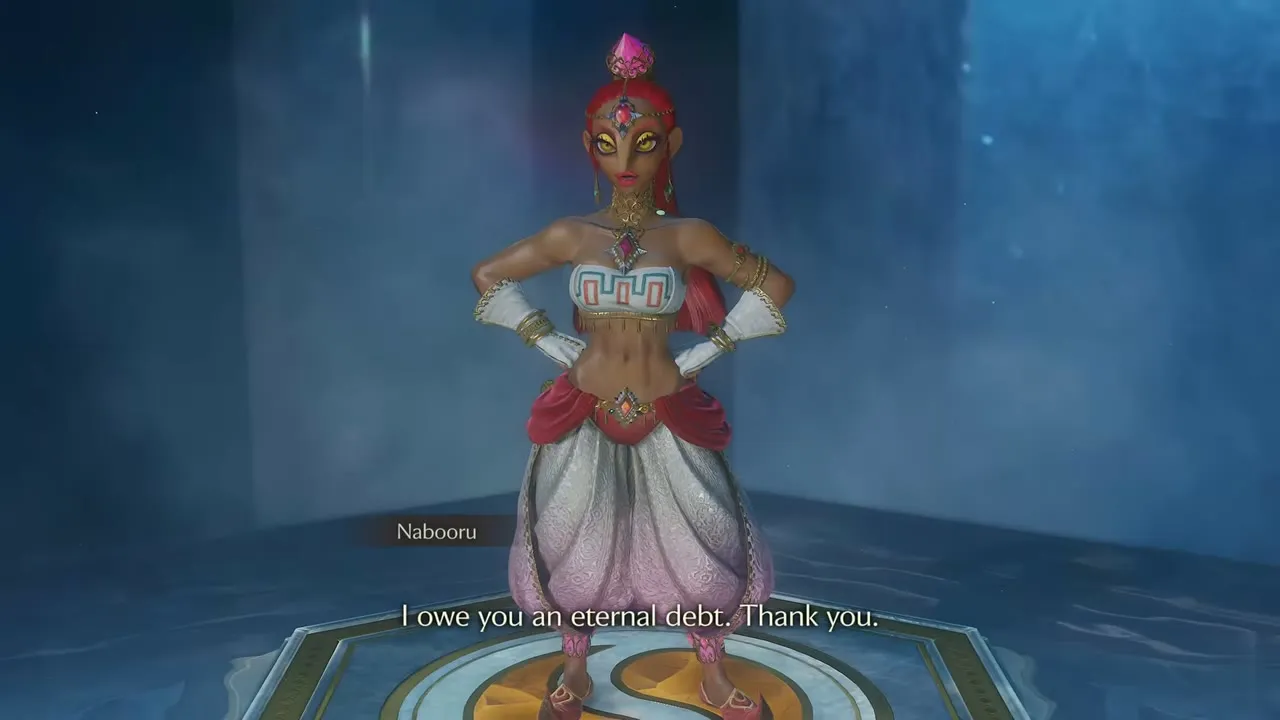
Spirit Medallion
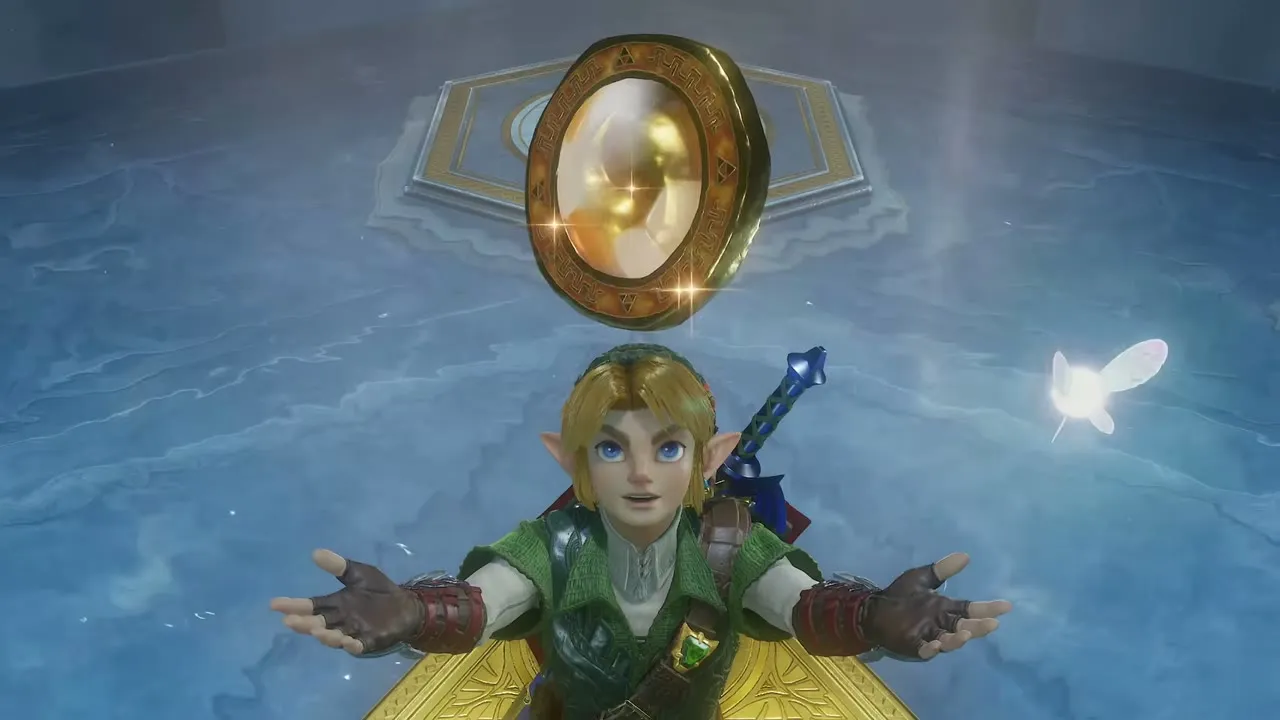
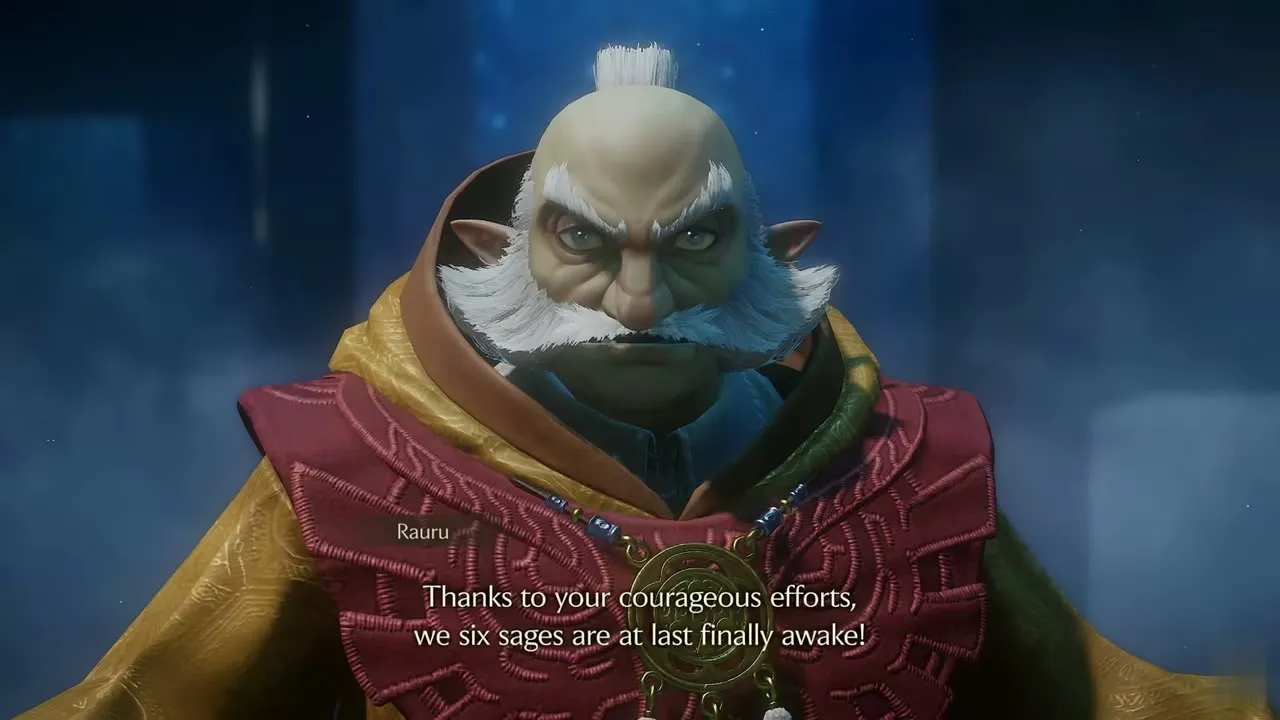
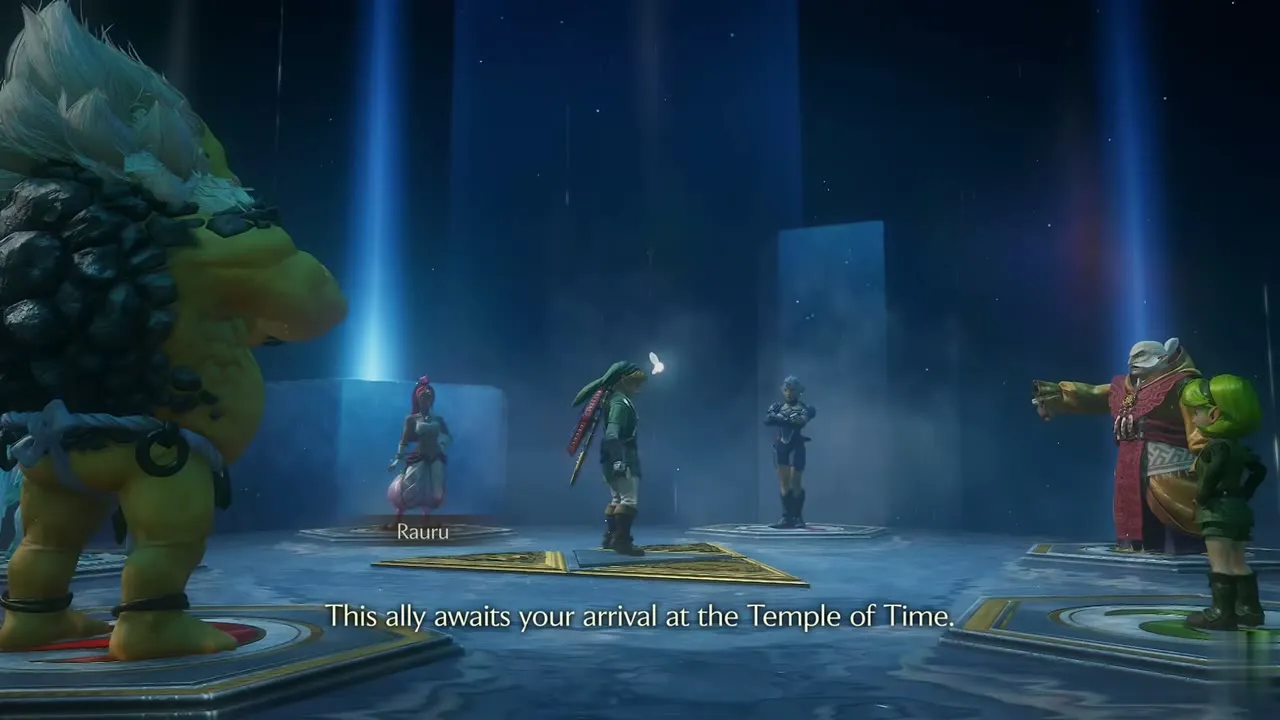
Nabooru explains how Twinrova used her and says she will help take on Ganondorf. She gives you the Spirit Medallion. You are in the Chamber of Sages, where the message “You were entrusted with the Spirit Medallion!” appears. Rauru says all six sages are awake and asks you to meet one more ally at the Temple of Time. The Awakening the Five Sages quest updates.
Chapter checklist
| Collectible | Type | Where |
|---|---|---|
| Gold Skulltula #91 | Gold Skulltula | Child side, 1F mesh room |
| Gold Skulltula #92 | Gold Skulltula | Ceiling of the stone passage above the red-carpet stairs, 3F, Boomerang |
| Small key | Small key | Child side, 1F chest between braziers |
| Five Bombchus | Item | Child side, 2F dark room |
| Gold Skulltula #93 | Gold Skulltula | Carved-wall corridor on 2F, Boomerang |
| Spirit Temple Map | Dungeon item | Child side, 2F fountain hall |
| Small key | Small key | Child side, 3F barred room |
| Silver Gauntlets | Equipment | Evil Desert Colossus chest after the child Iron Knuckle |
| Gold Skulltula #94 | Gold Skulltula | Alcove behind the Song of Time door |
| Compass | Dungeon item | Adult side, 1F |
| Small key | Small key | Adult side, 1F carpeted room |
 Five bombs | Item | Adult side, 2F lamp hall chest |
| Small key | Small key | Adult side, 2F chest near the stone hand |
| Gold Skulltula #95 | Gold Skulltula | Adult side, 3F alcove reached with the scarecrow |
| Five bombs | Item | Adult side, 4F glowing chest in the sun-emblem room |
| Mirror Shield | Equipment | Evil Desert Colossus chest after the 3F Iron Knuckle |
| Small key | Small key | Adult side, 3F light shaft hall |
| Boss Key | Dungeon item | Adult side, 4F ornate chest |
| Heart Container | Heart Container | Twinrova arena |
| Spirit Medallion | Medallion | Nabooru, after Twinrova |
Rauru’s message sends you back to the desert, where Nabooru waits at the Gerudo Fortress. Next up is Gerudo Proving Grounds.